Thin hair gets cranky at shoulder length.
Add too many short layers and the ends vanish. Keep it one length and the whole cut can hang like a curtain. The sweet spot is shoulder length layered hairstyles for thin hair—cuts that keep a visible edge at the collarbone while moving the eye with face-framing pieces, soft texture, and just enough lift at the crown.
The reason these cuts work is almost annoyingly simple. Thin hair needs an outline. It also needs motion. When the layer placement is smart, the hair looks fuller because the perimeter stays strong and the light catches the bends in different places, not because the haircut has been shredded into wisps. That difference matters a lot more than people think.
Some of the looks below lean polished. Some live in the messy, piecey zone. A few borrow from shag territory, which can be brilliant on thin hair if the stylist leaves enough weight at the bottom. If your hair goes flat by noon, your ends look see-through in photos, or your blowout collapses the second you step outside, there’s a good chance one of these cuts will behave better than the blunt shape you’ve been fighting.
Why This Collection Works
- The collarbone does the heavy lifting: A shoulder-grazing perimeter keeps the ends visible, which stops thin hair from looking stringy near the bottom.
- Layers are placed where they matter: Face-framing and crown layers create movement without carving away so much hair that the cut loses shape.
- Different parts change the whole mood: A deep side part, center part, or soft off-center part can make the same cut look flatter, fuller, or softer.
- These cuts style fast: Most of them look best with a quick bend, a root-lift spray, or a round-brush blow-dry rather than a long styling session.
- They grow out with less drama: A good shoulder-length layered cut doesn’t fall apart in three weeks; it just softens.
How Shoulder-Length Layers Add Lift Without Losing the Ends

The trick is balance. Thin hair usually looks best when the bottom line stays solid enough to read from across the room, while the upper sections get just enough internal movement to avoid that flat, helmet-like finish. If a stylist takes too much weight out of the ends, the haircut starts to look older than it is. If they leave too much bulk everywhere, the hair can sit there like a sheet.
Longer layers are the quiet hero here. A layer that starts around the cheekbone or jaw gives the front some swing, but it does not steal all the density from the bottom. Short layers at the crown can help, but they need a light hand. A few well-placed snips do more than heavy texturizing ever will.
The visual goal is simple: a visible edge, some bend through the sides, and enough air at the top that the hair does not collapse against the scalp. That is why shoulder length keeps coming up. There’s enough length to hold shape, but not so much that the weight drags everything downward.
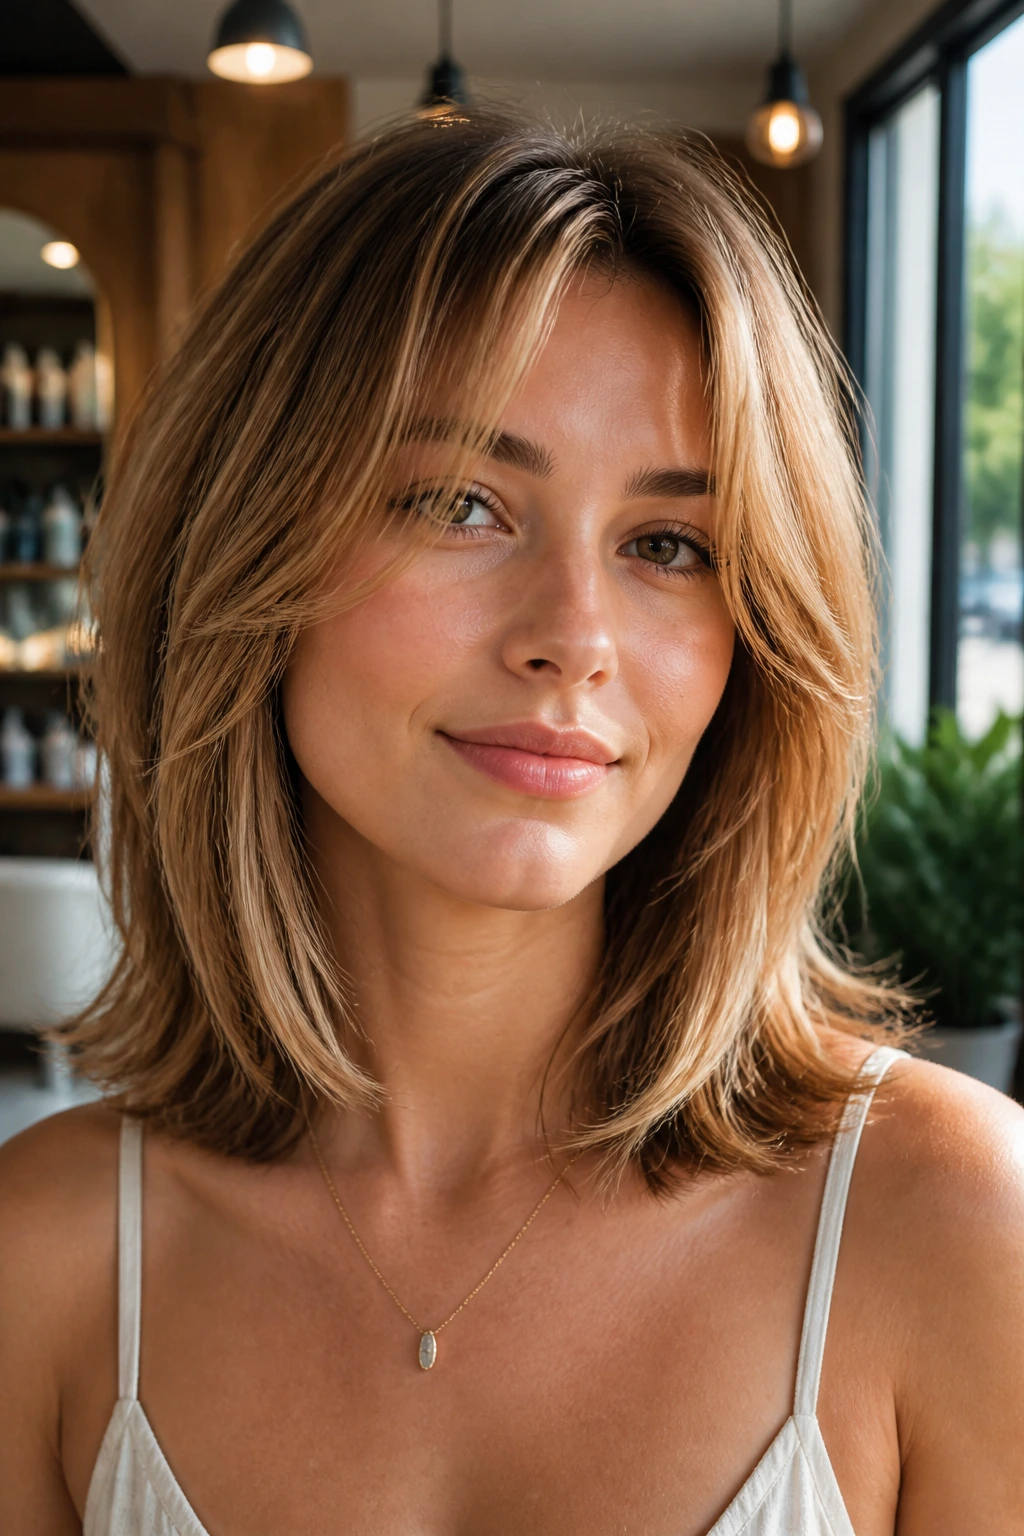
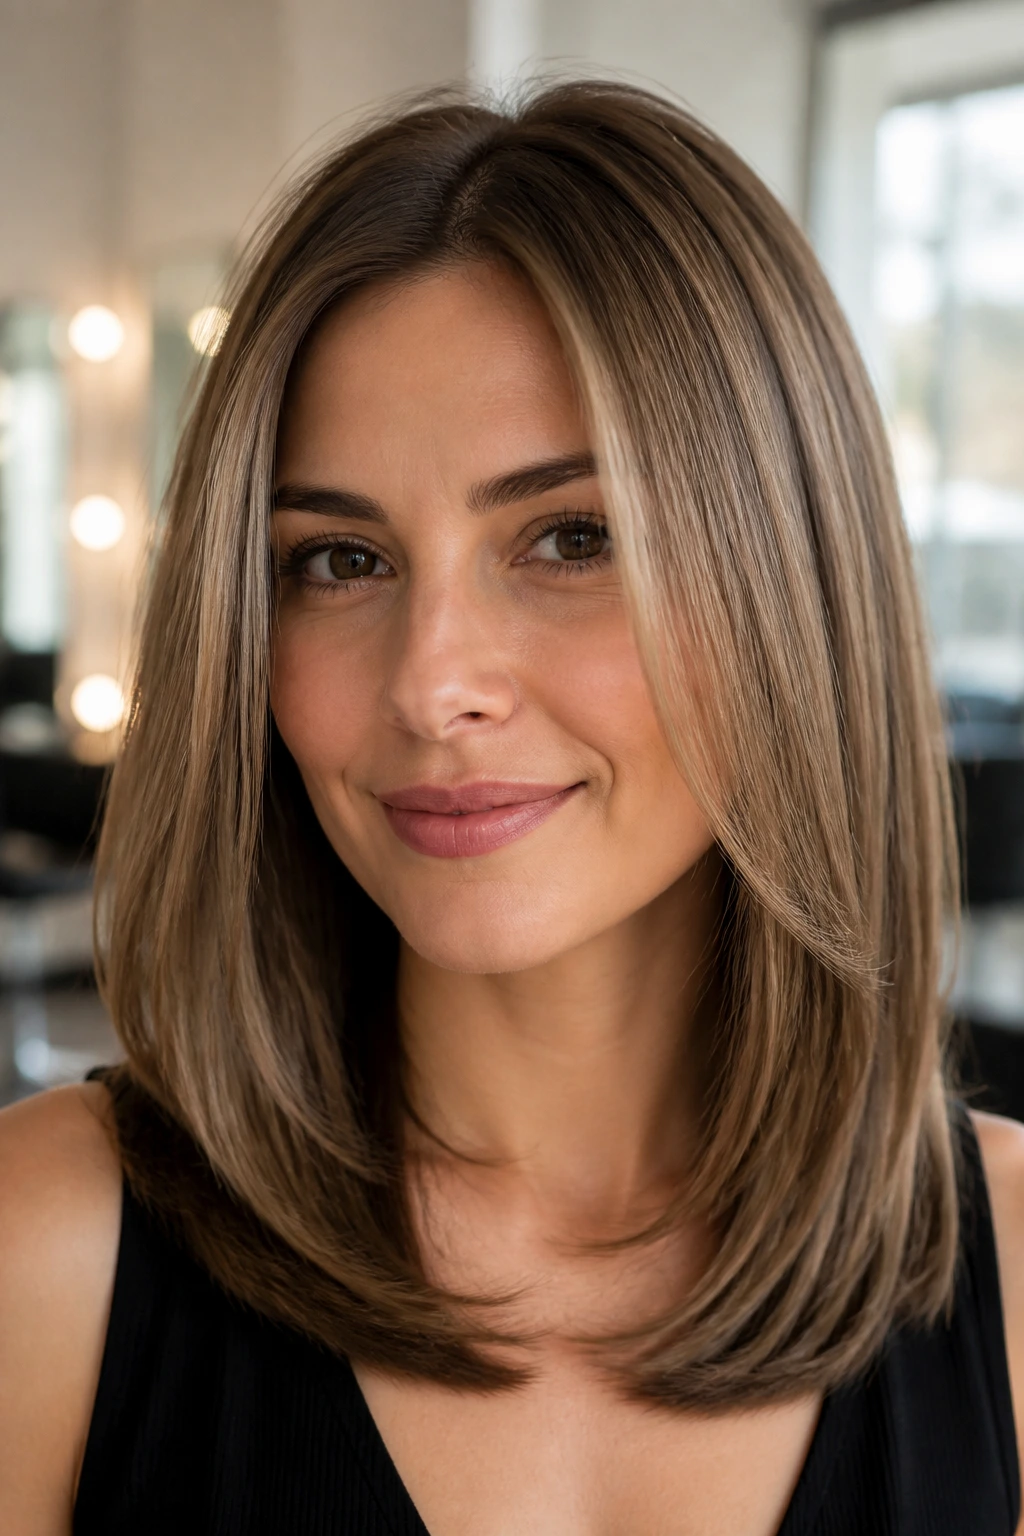
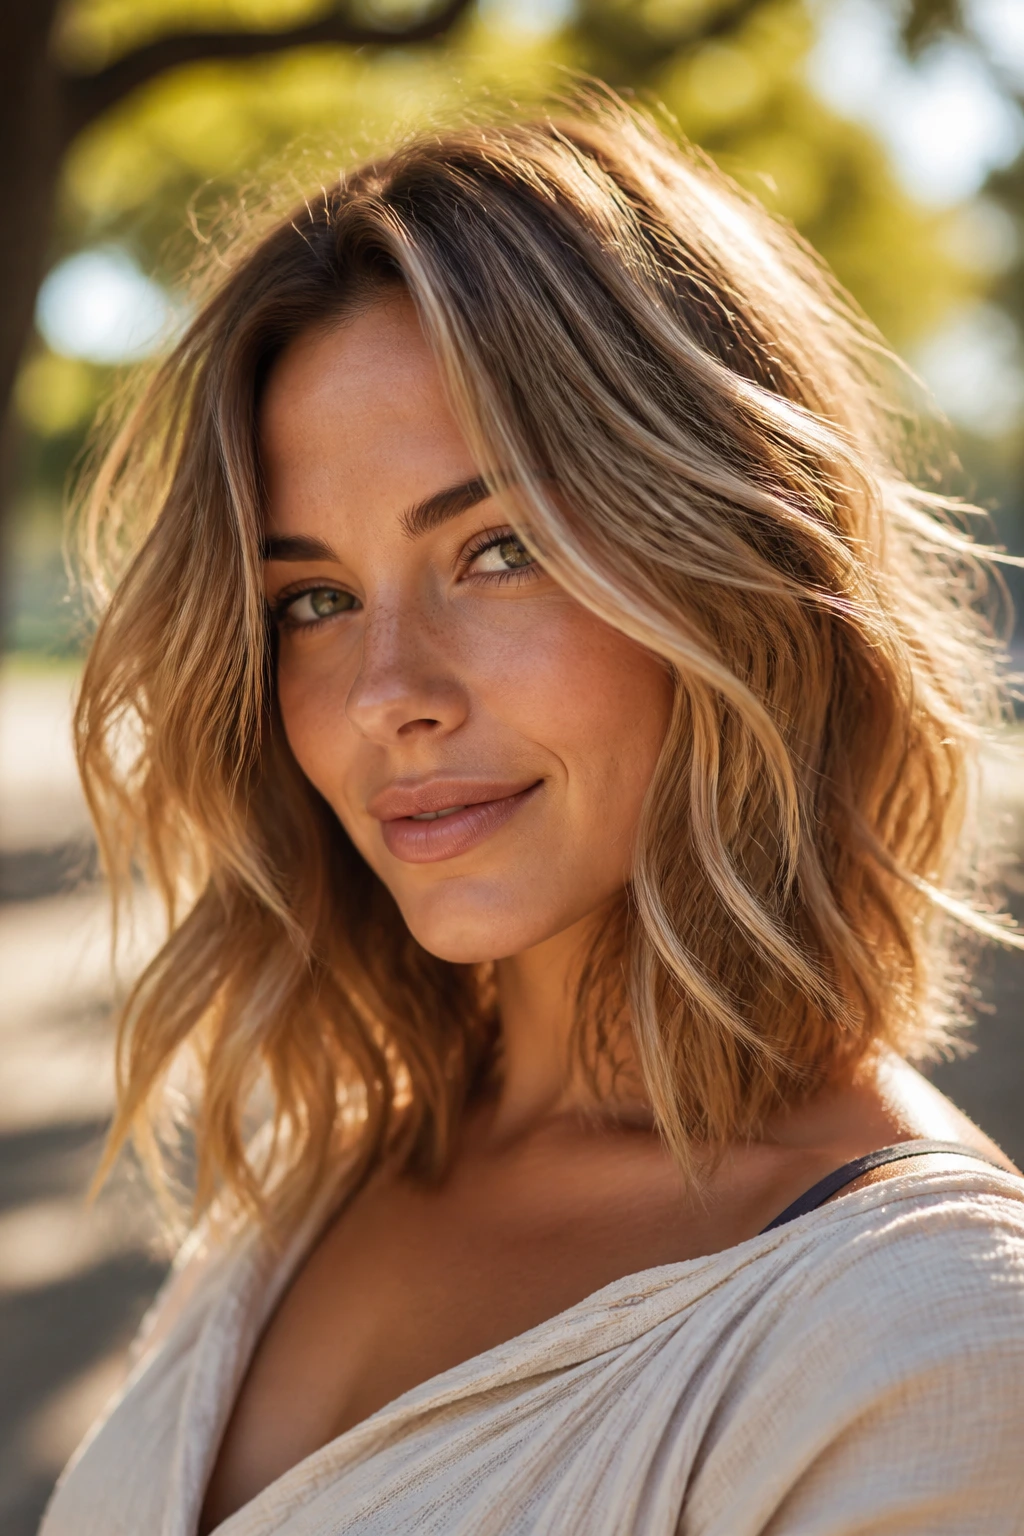
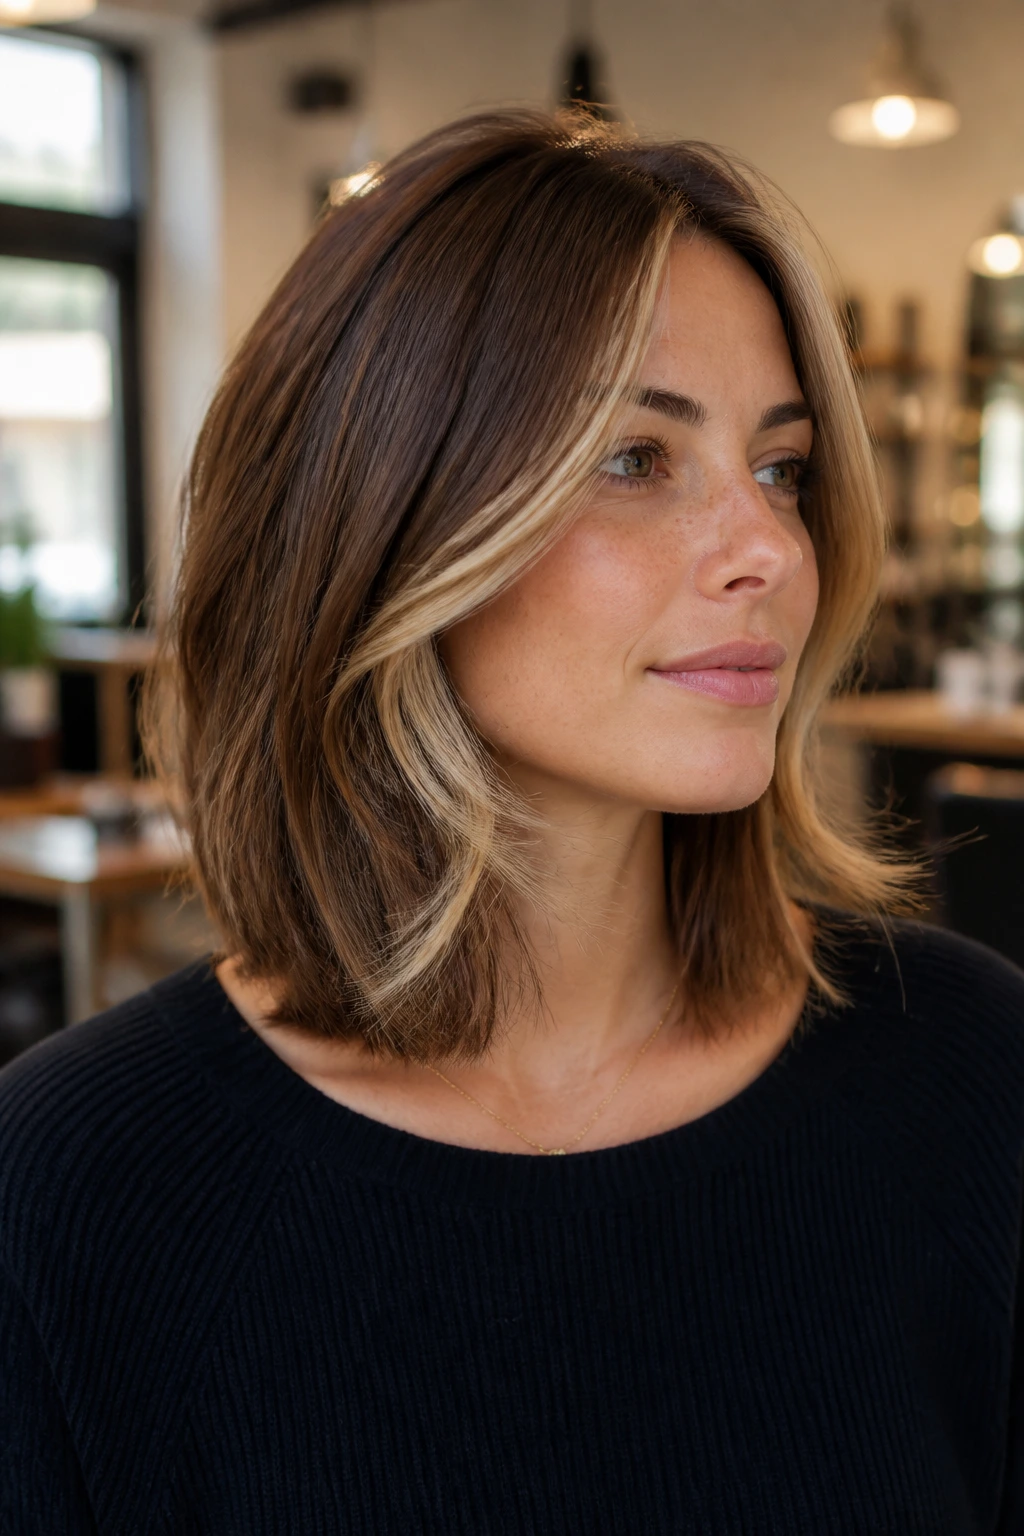
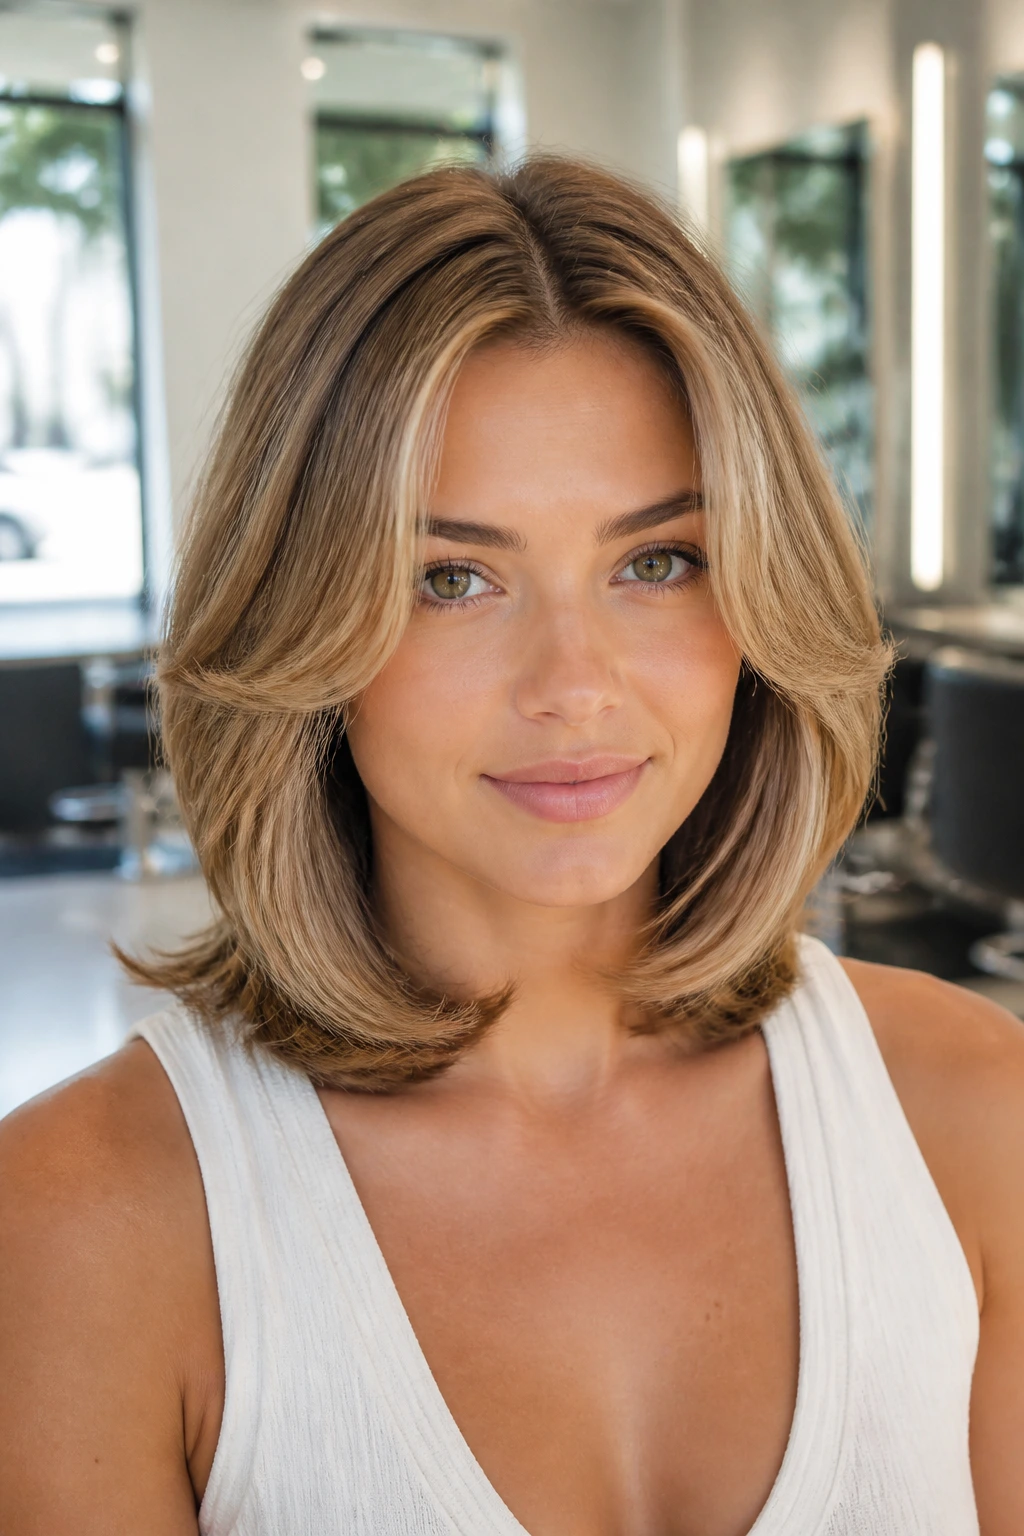
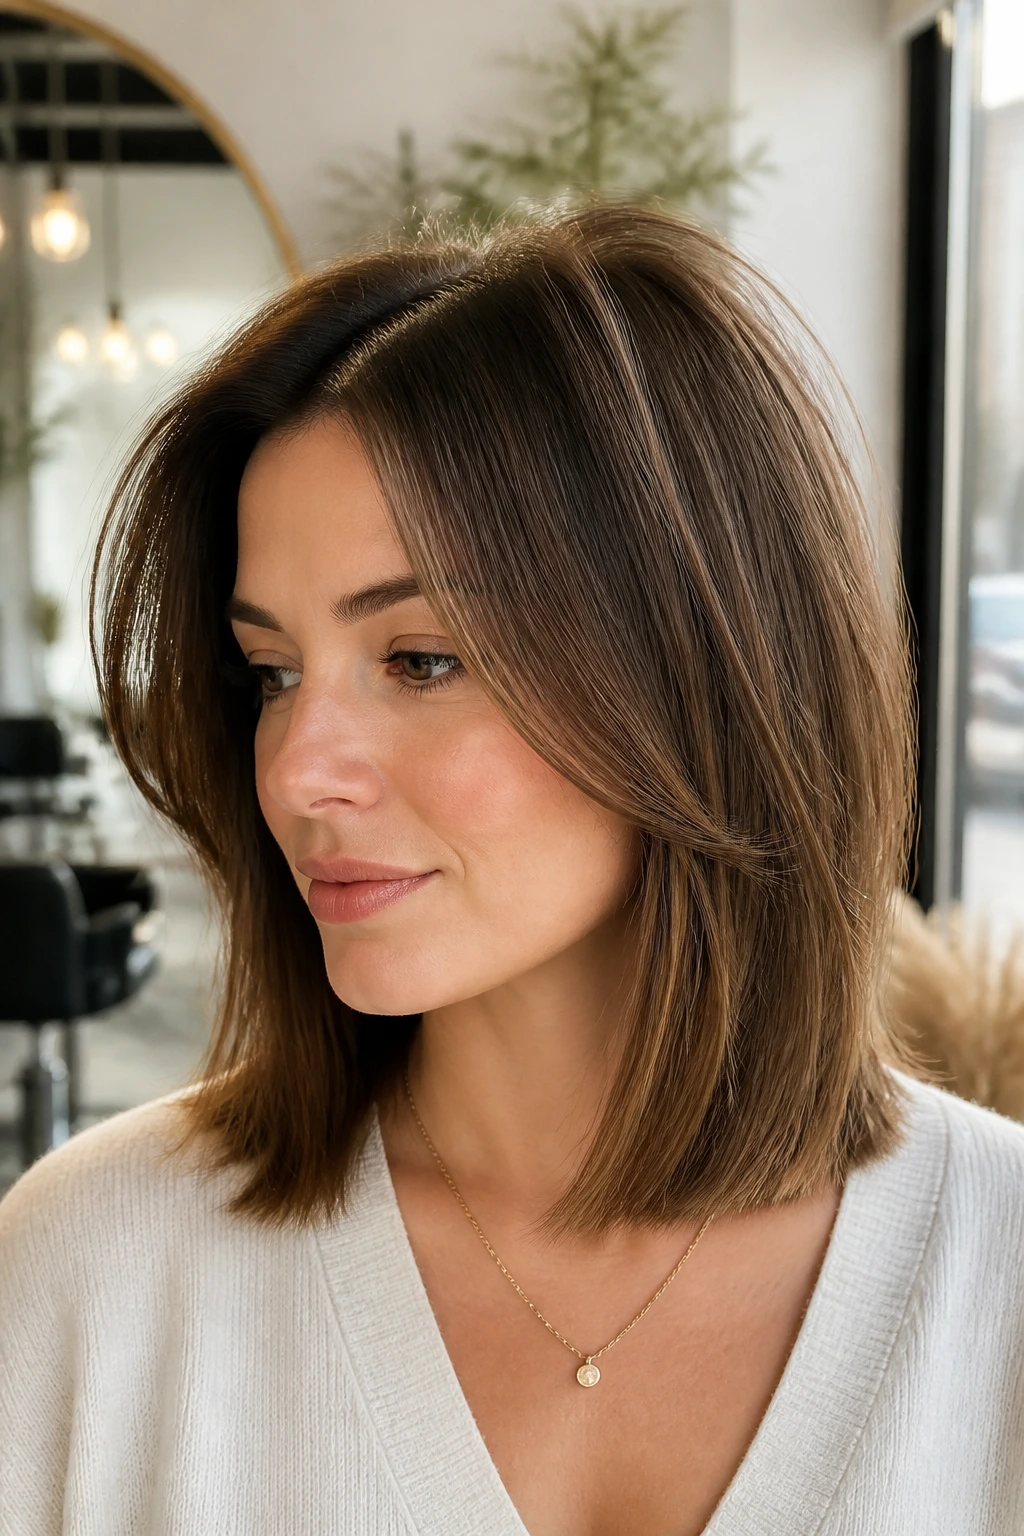
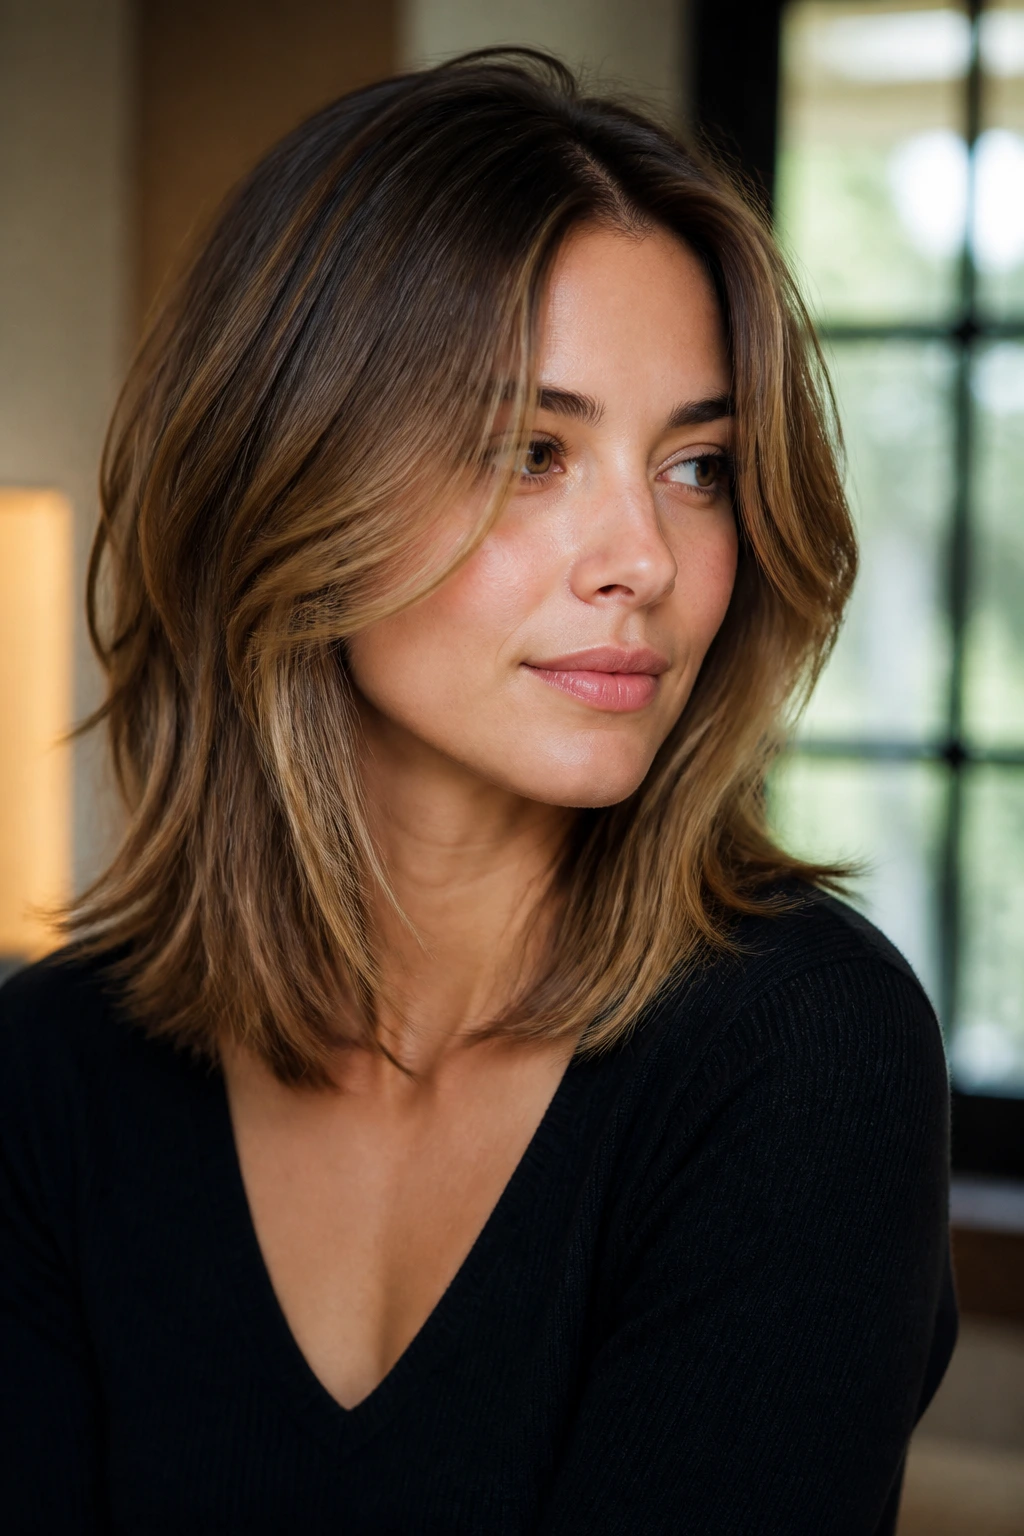
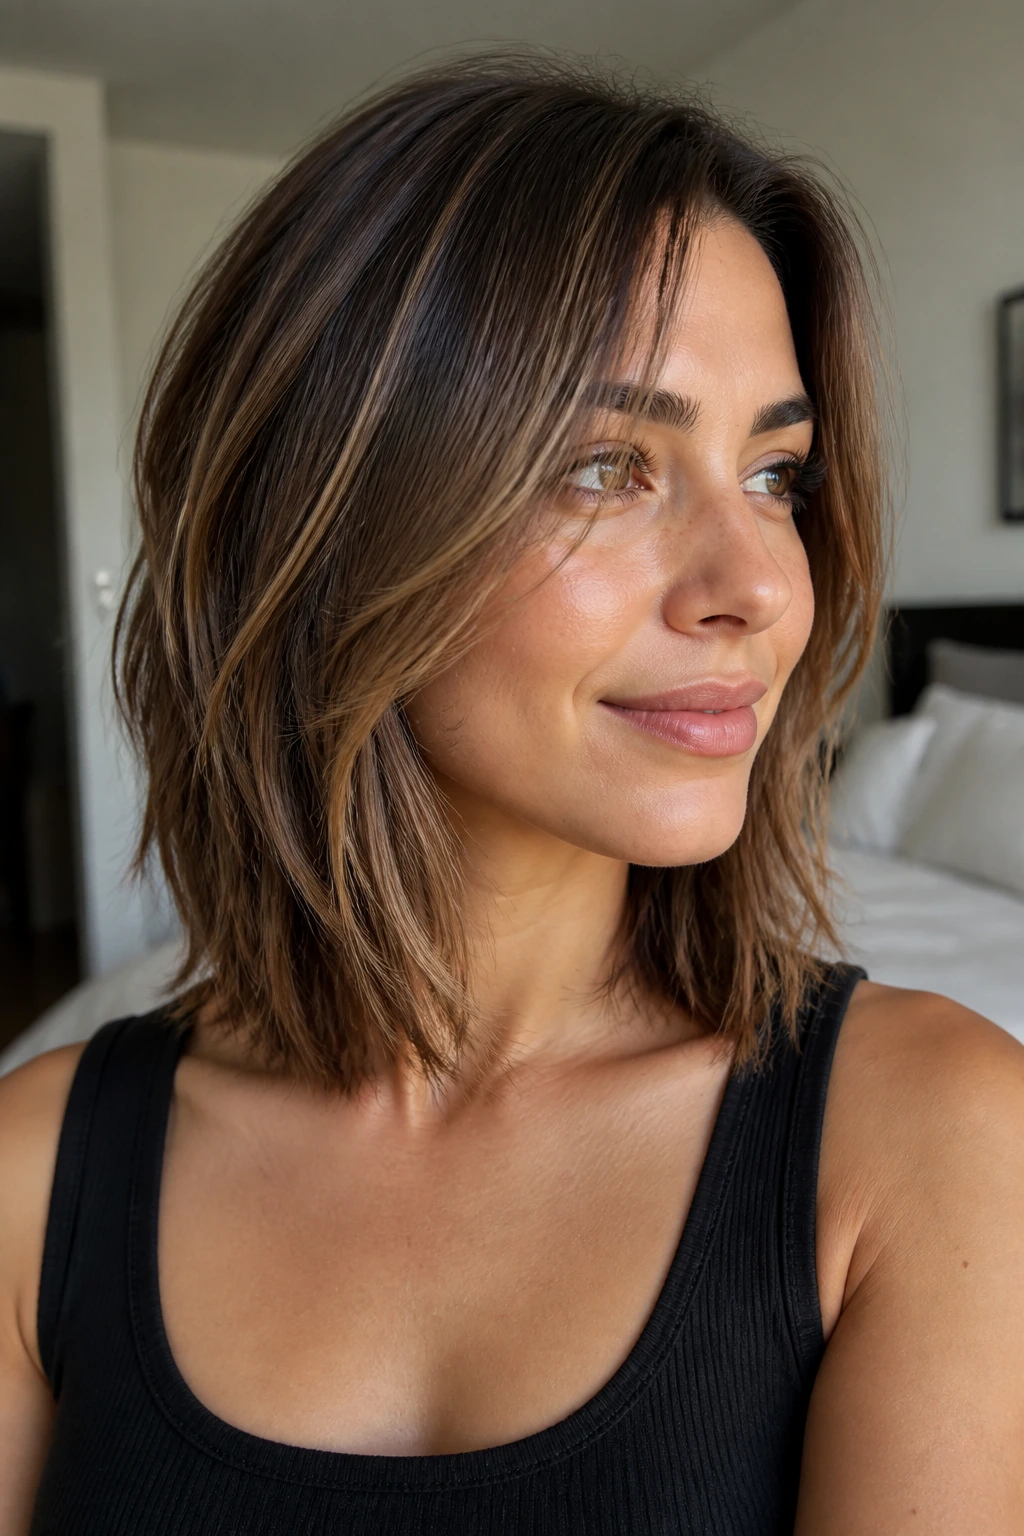
1. Collarbone Lob with Long Face-Framing Layers
This is the cleanest place to start if you want a low-risk cut that still looks modern. The length lands right at the collarbone, which gives thin hair a visible edge, and the front layers fall around the cheekbones instead of disappearing into the rest of the cut. Nothing feels chopped up.
What to ask for
- Keep the perimeter blunt enough to read thick.
- Start the shortest face frame around cheekbone level.
- Skip heavy thinning at the ends.
The appeal here is that the style works with a quick blow-dry and a middle or off-center part. A round brush at the front, a small bend at the ends, and the whole shape looks fuller without trying too hard. If your hair is fine and straight, this is one of the safest bets.
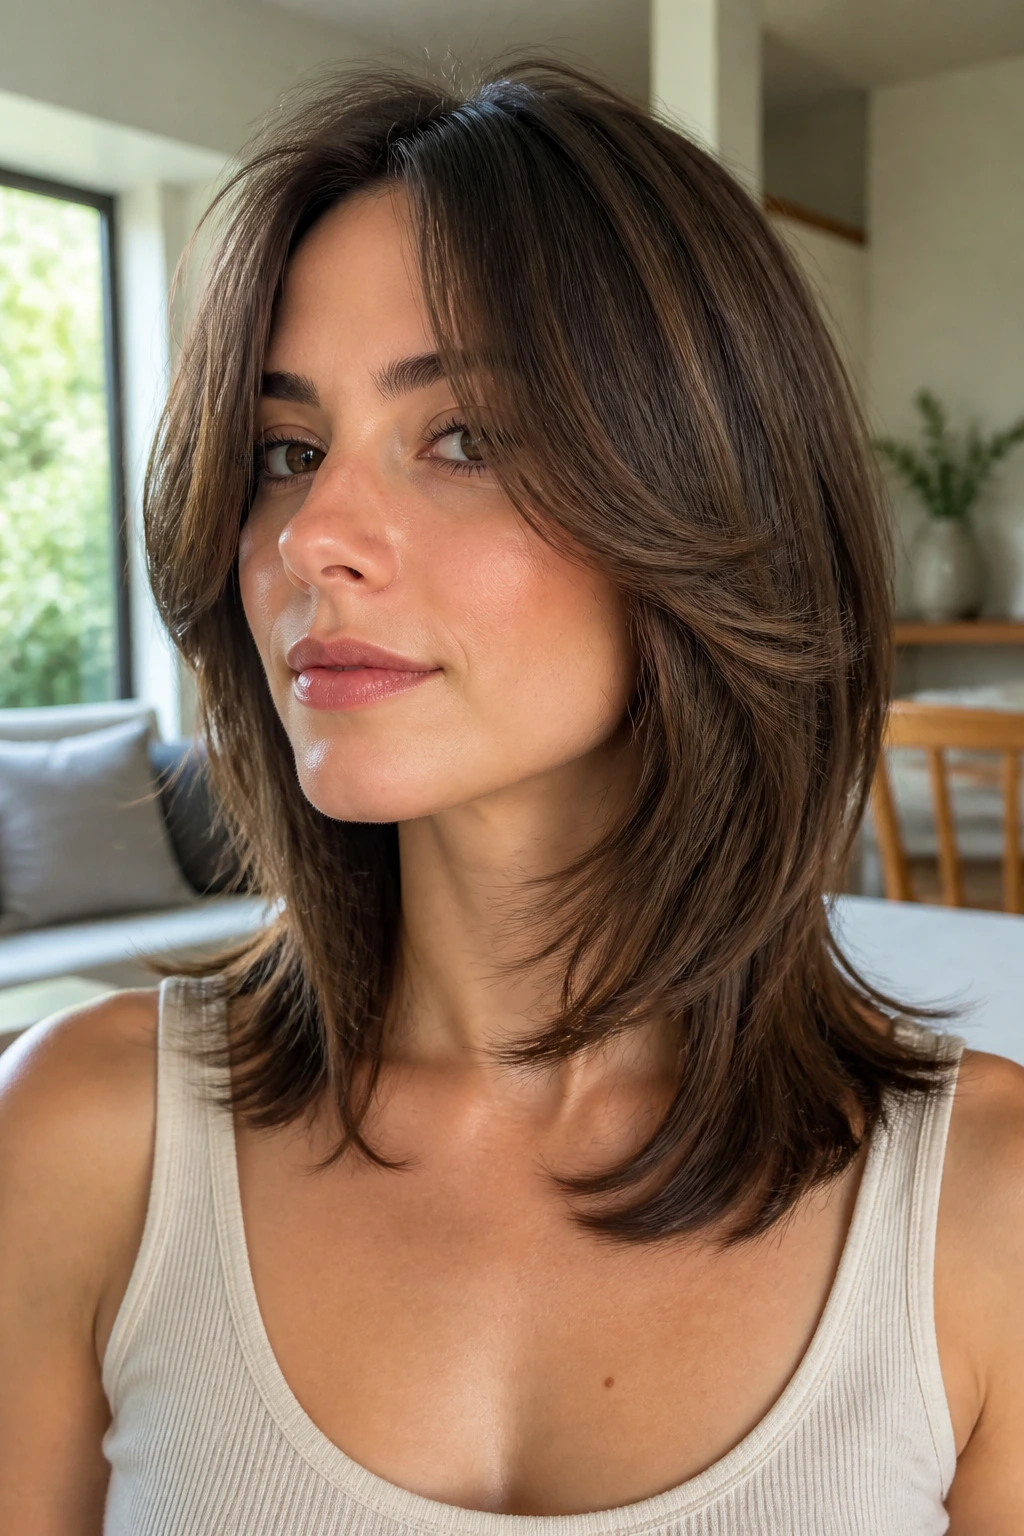
2. Feathered Shoulder Cut with a Deep Side Part
A deep side part does more for this cut than most people expect. It lifts the root on the heavier side, which makes the crown look less plastered to the scalp, and the feathered layers keep the front from hanging in one flat curtain. Thin hair likes a bit of asymmetry.
The cut works especially well when the stylist keeps the ends soft, not wispy. Feathering should look like movement, not fraying. Pair it with a blow-dry that pushes the front away from the face, then let the shorter side tuck a little behind the ear. That little detail changes the whole silhouette.
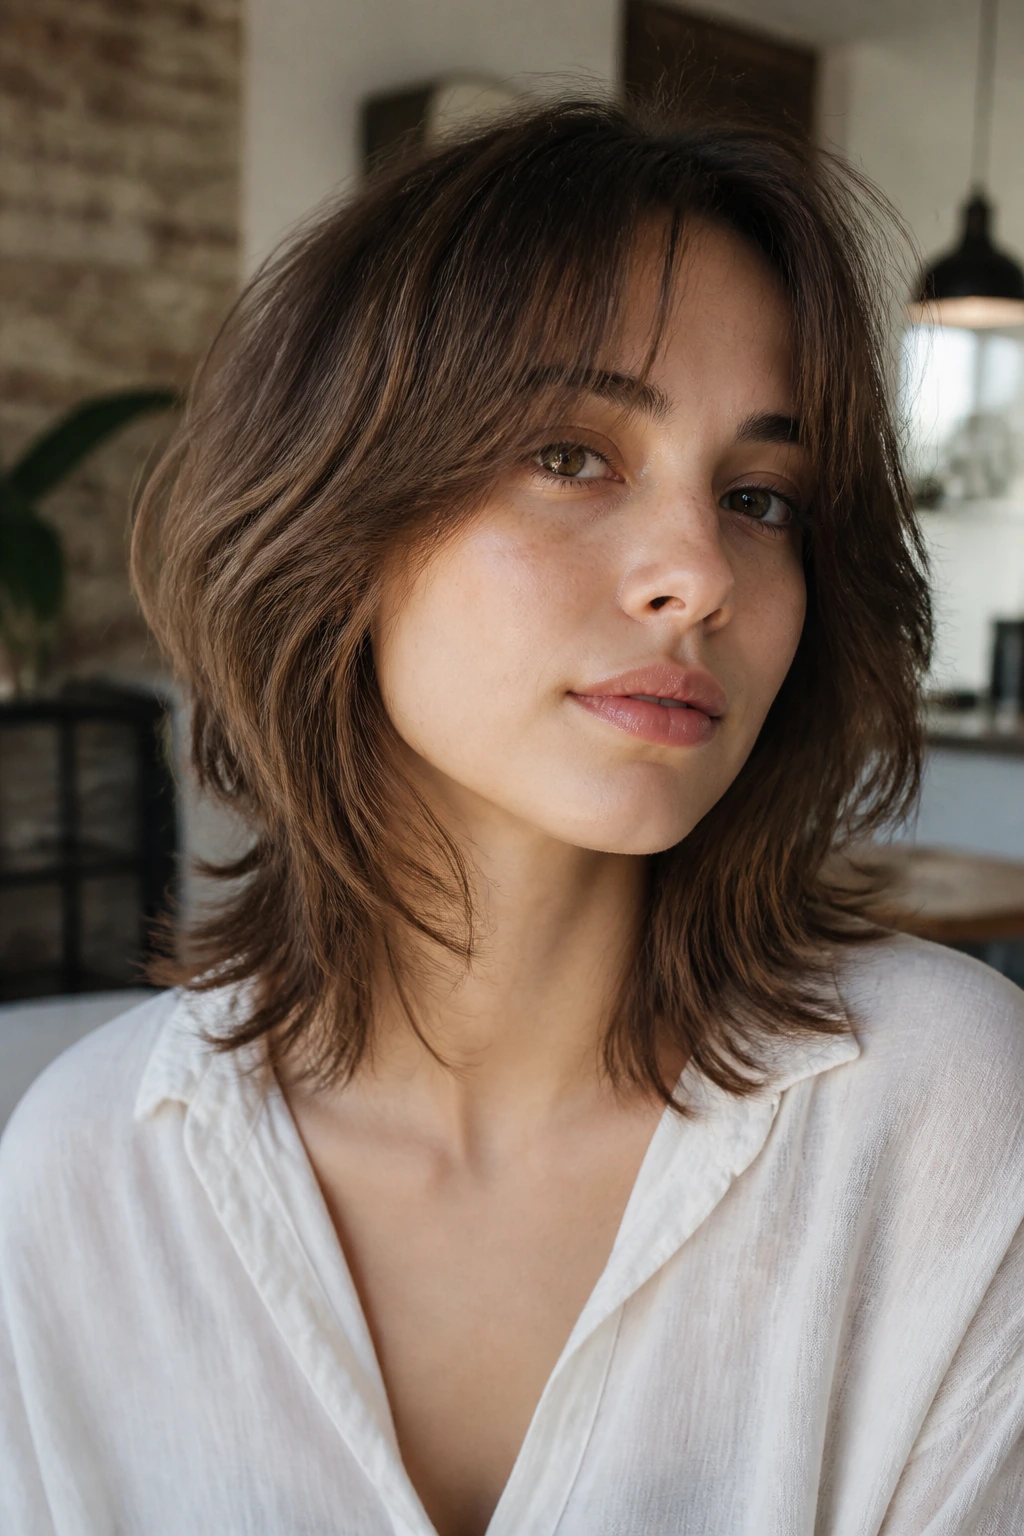
3. Textured Lob with Curtain Bangs

Need shape around the face without losing the shoulder-length line? Curtain bangs are a smart answer. They break up the front of the haircut, which gives thin hair more visual action, and they blend into the longer layers so the ends still feel substantial.
How to wear it
- Blow-dry the bangs away from the face with a round brush.
- Keep the center a little shorter and the outer corners longer.
- Use a light mist of texture spray only on the mid-lengths.
Curtain bangs are not about hiding the forehead. They’re about redirecting the eye. On thin hair, that matters. A blunt fringe can steal too much density, but a soft curtain shape lets the rest of the cut breathe.
4. Butterfly Layers That Skim the Collarbone
Butterfly layers can be lovely on thin hair if they stay soft and controlled. The short front pieces lift around the cheekbone and chin, while the longer bottom layer hangs around the shoulders and keeps the overall shape from going sparse. The result is movement without losing the outline.
This style has a built-in illusion. When you curl or blow it out, the top layer seems fuller because it has separation, and the longer underlayer makes the whole head of hair look larger from the side. I’d call it a smart cut, not a loud one. It does not shout. It just gives the hair more room to move.
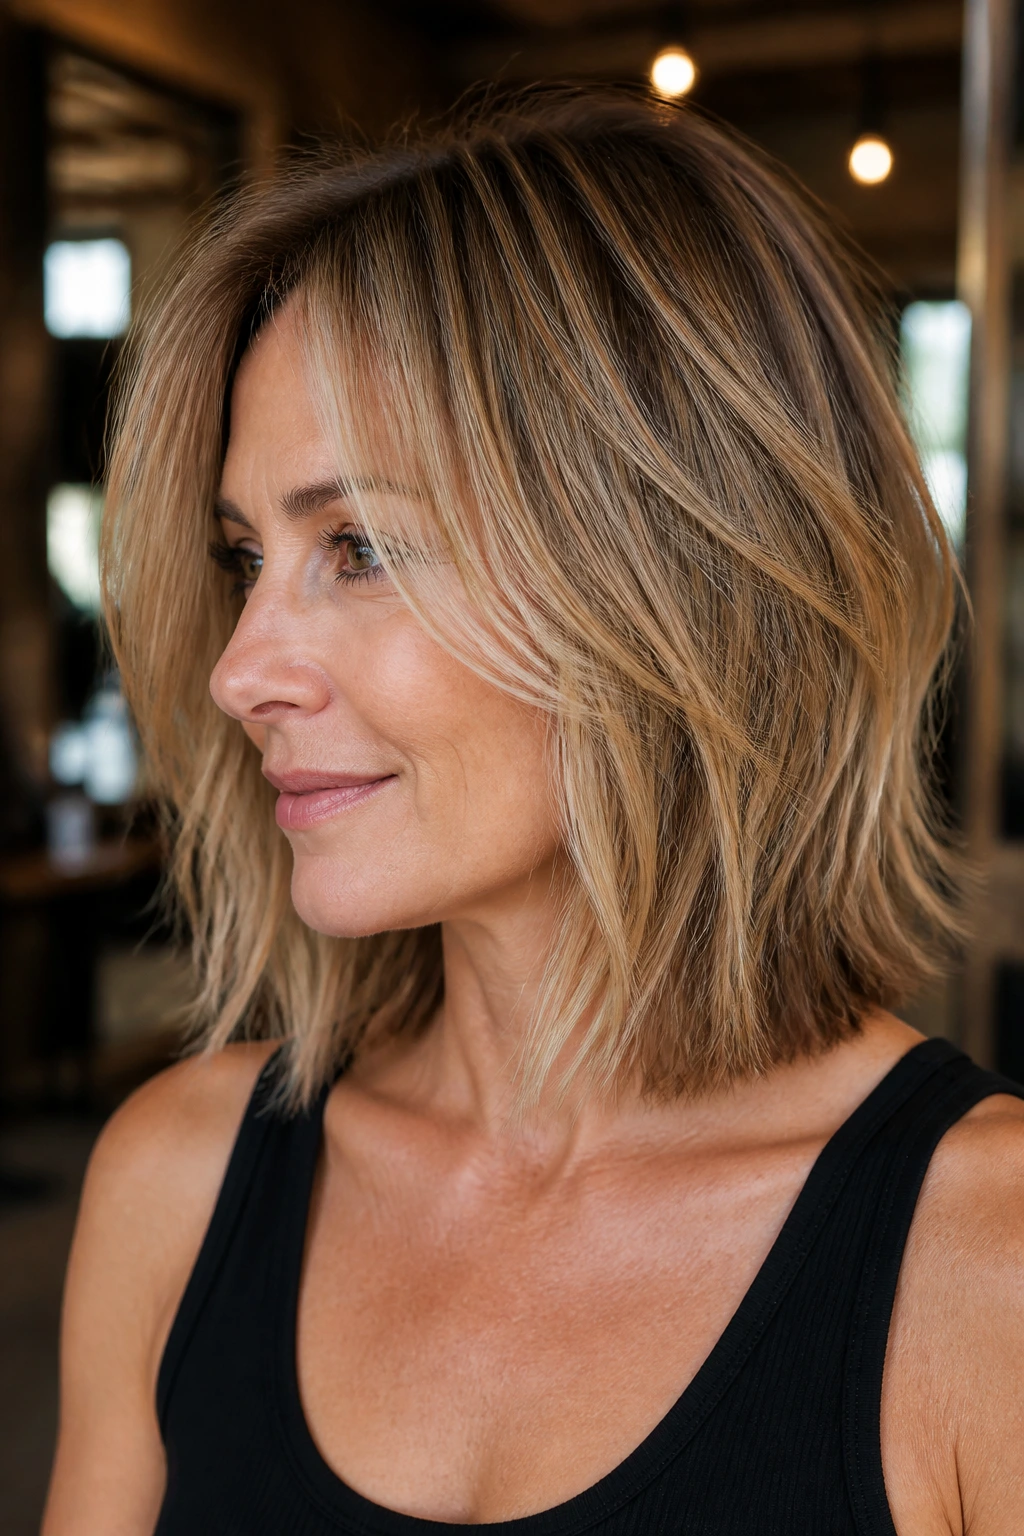
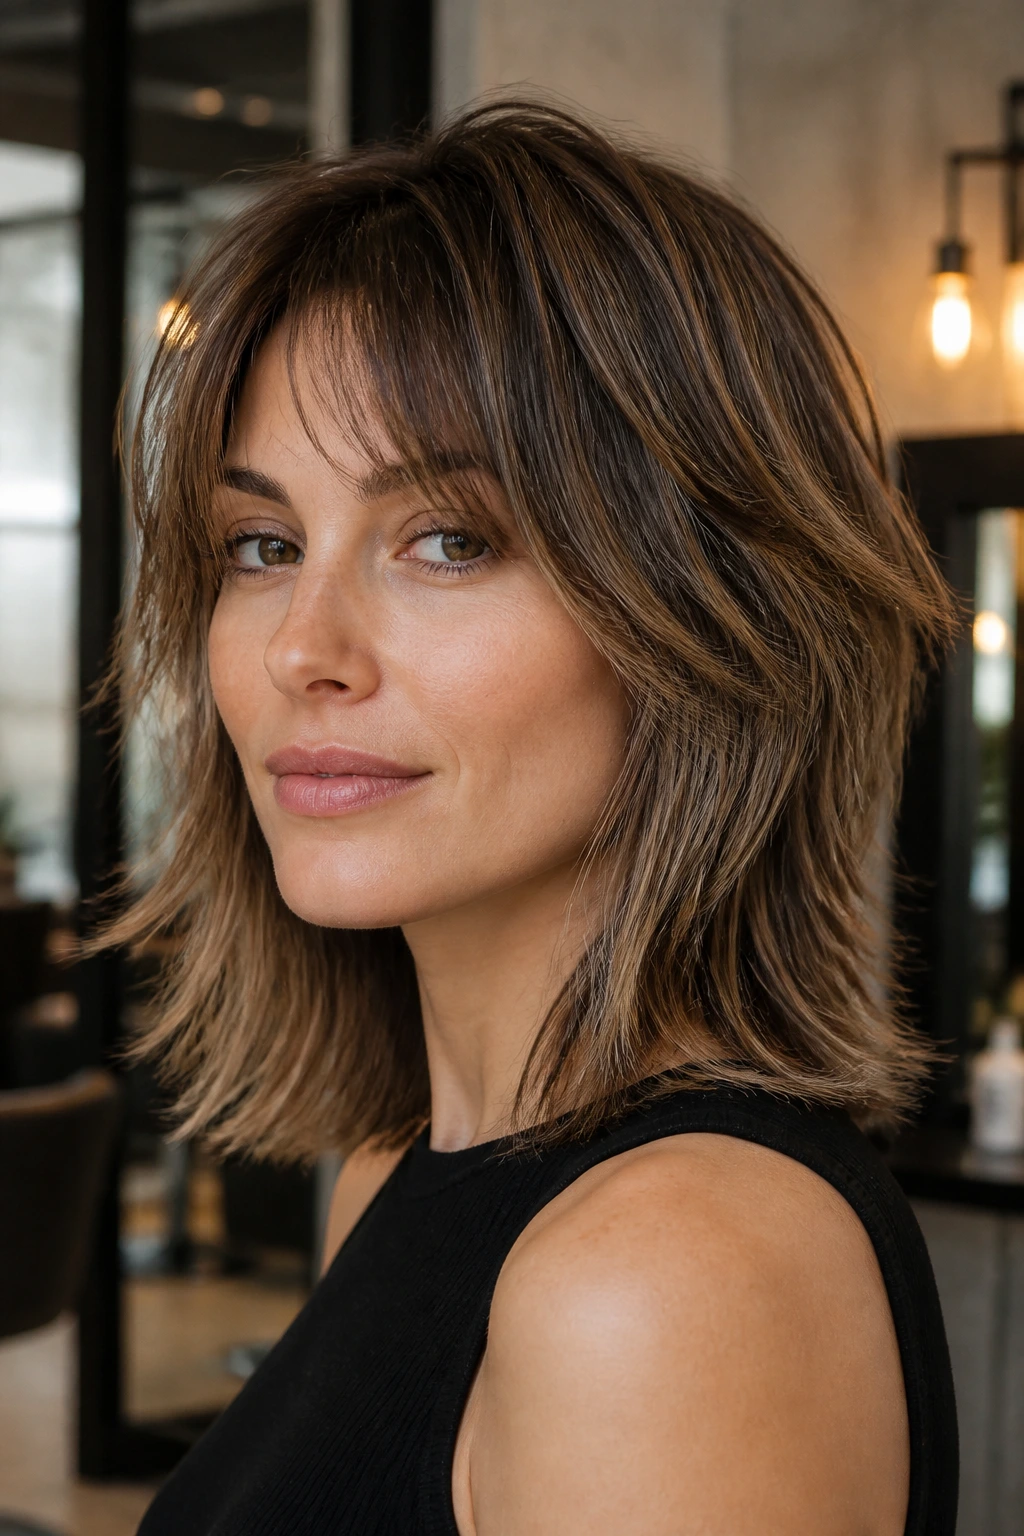
5. Soft Shag with Wispy Ends
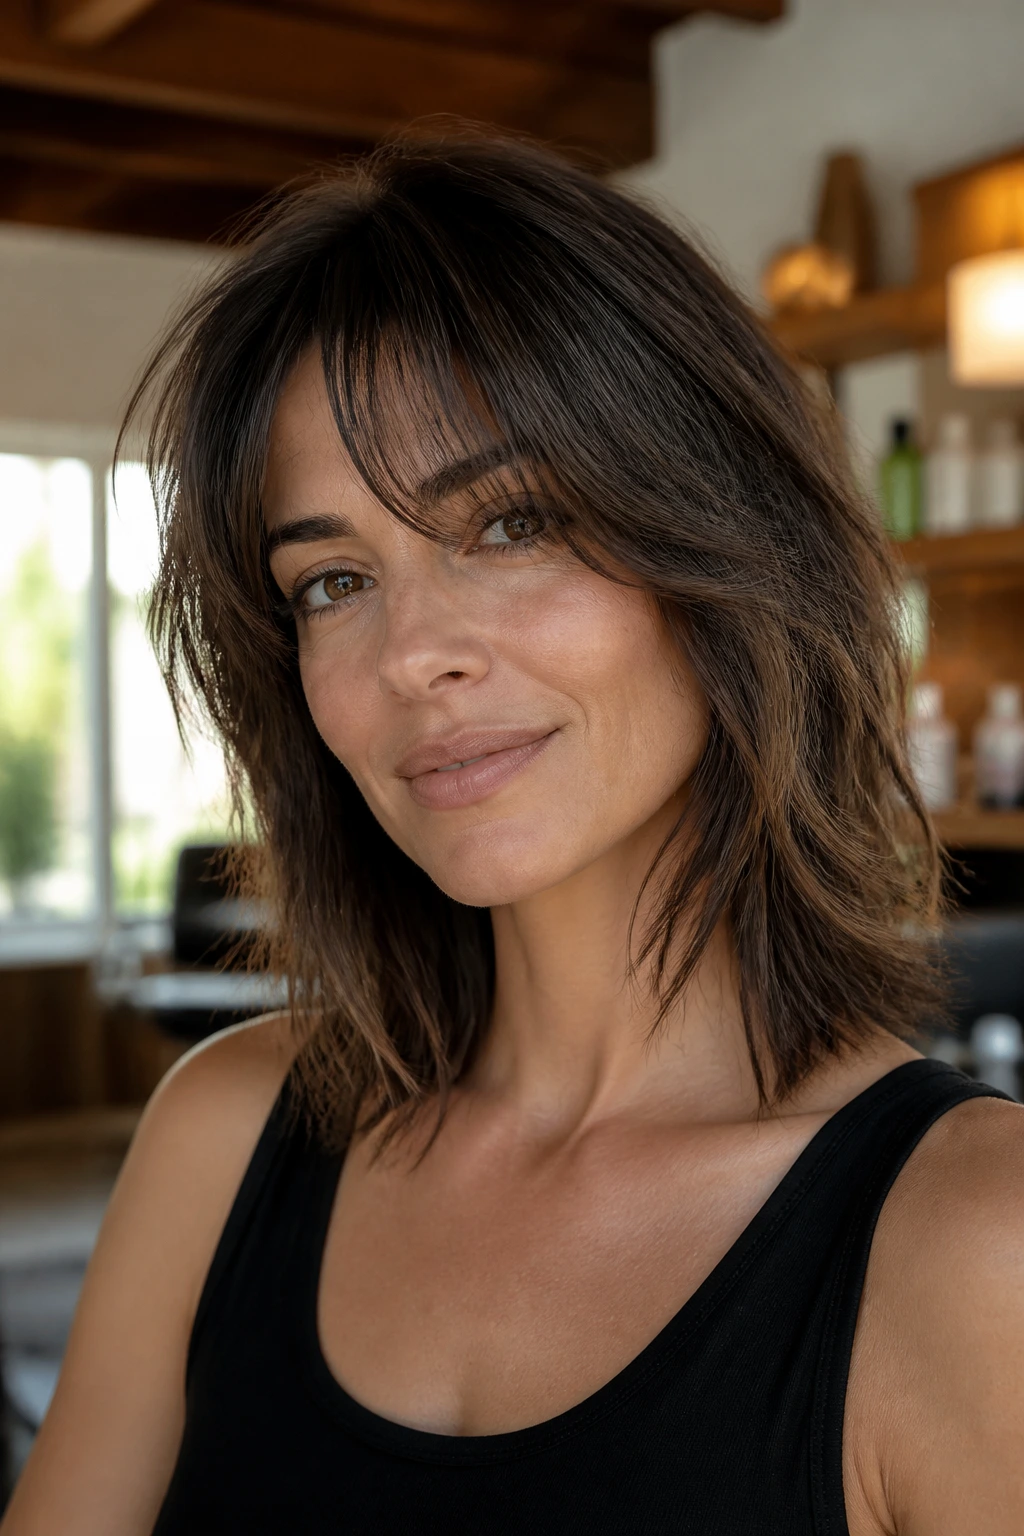
A classic shag can be too hungry for thin hair. This softer version keeps the spirit of the cut without ripping away too much weight. The layers are broken up, but the perimeter still reads clearly, which is the part people often forget.
That clean bottom line matters. Without it, the hair can start looking like frayed thread. With it, the wispy texture reads as airy instead of sparse. Ask for a shag that has softness around the face and crown, then keep the ends controlled. If the cut starts to look too ragged, it has gone too far.
6. Choppy Layered Lob with a Clean Perimeter
This one is all about contrast. The inside of the cut has enough choppy movement to keep the hair from lying flat, but the outer edge stays tidy and strong. That gives thin hair a fuller look because the eye sees both texture and structure at once.
A lot of people think choppy and messy have to travel together. They do not. The best version of this cut feels piecey, not shredded. It works well if you like styling cream, a little wave, or a loose tuck behind one ear. The clean perimeter keeps it from going hollow at the bottom.
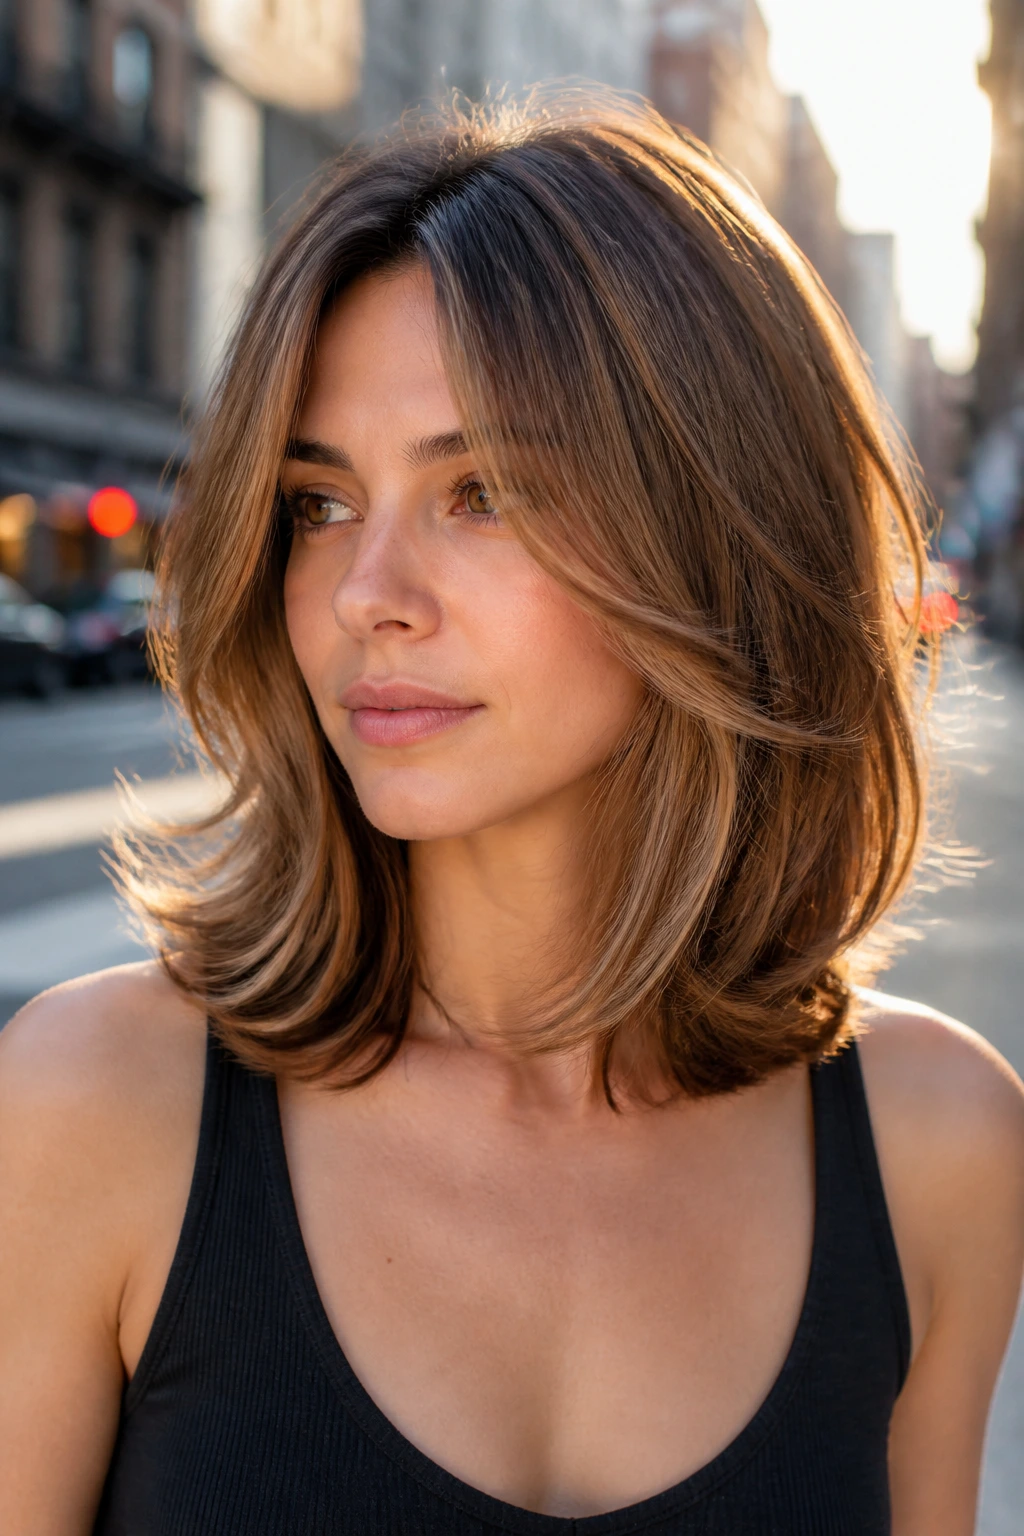
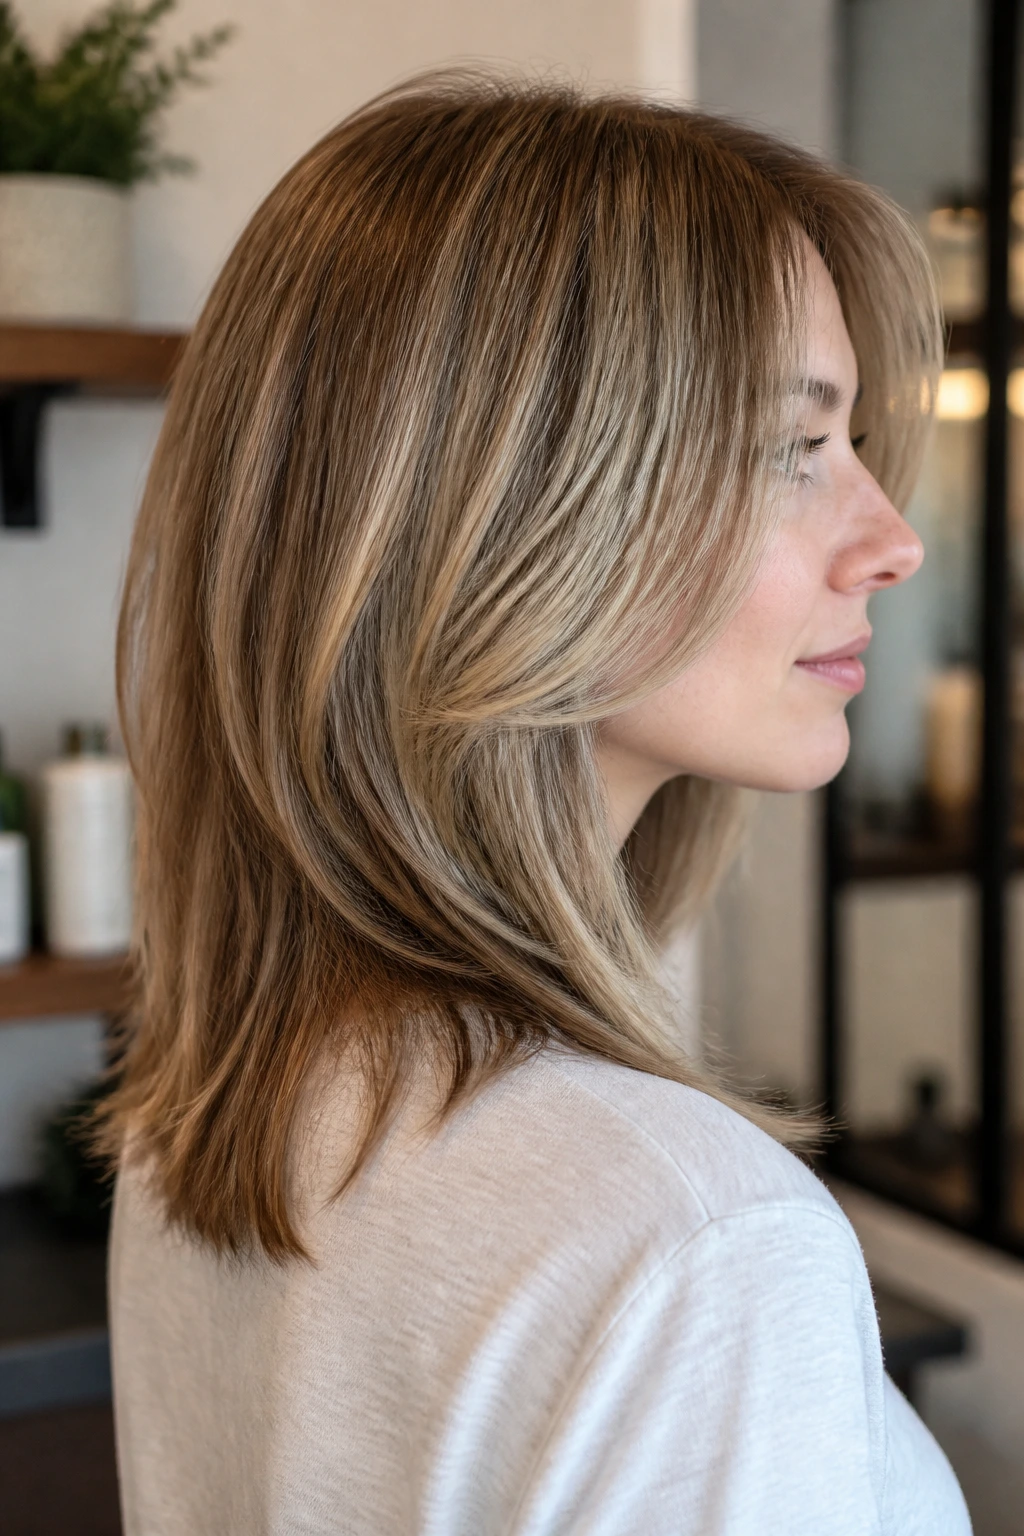
7. Rounded Blowout Layers for Straight Hair
Straight thin hair can look stringy when it hangs in a sharp line. A rounded blowout shape fixes that by curving the hair inward at the ends and lifting the sides away from the face. The round silhouette makes the cut feel softer and thicker.
A medium round brush is the real hero here. Pull the front sections up and slightly forward, then turn the brush under at the ends so the layer stack blends rather than separates. A cool shot at the end sets the bend. No heavy serum near the roots. That part matters more than people admit.
8. Razor-Cut Shoulder Crop with Airy Movement
A razor cut can be gorgeous on thin hair, but only when the hair is healthy enough to handle it. The softness it creates around the face can make the cut feel feather-light, which is useful if your hair is fine and tends to sit in one flat sheet. If your strands split easily, ask for point cutting instead.
The best version of this cut has a little roughness near the front and a clearer line at the bottom. That tension keeps the style from looking too precious. It feels easy, but not careless. I’d avoid this one if your hair already breaks at the ends, because the razor can make that problem louder.
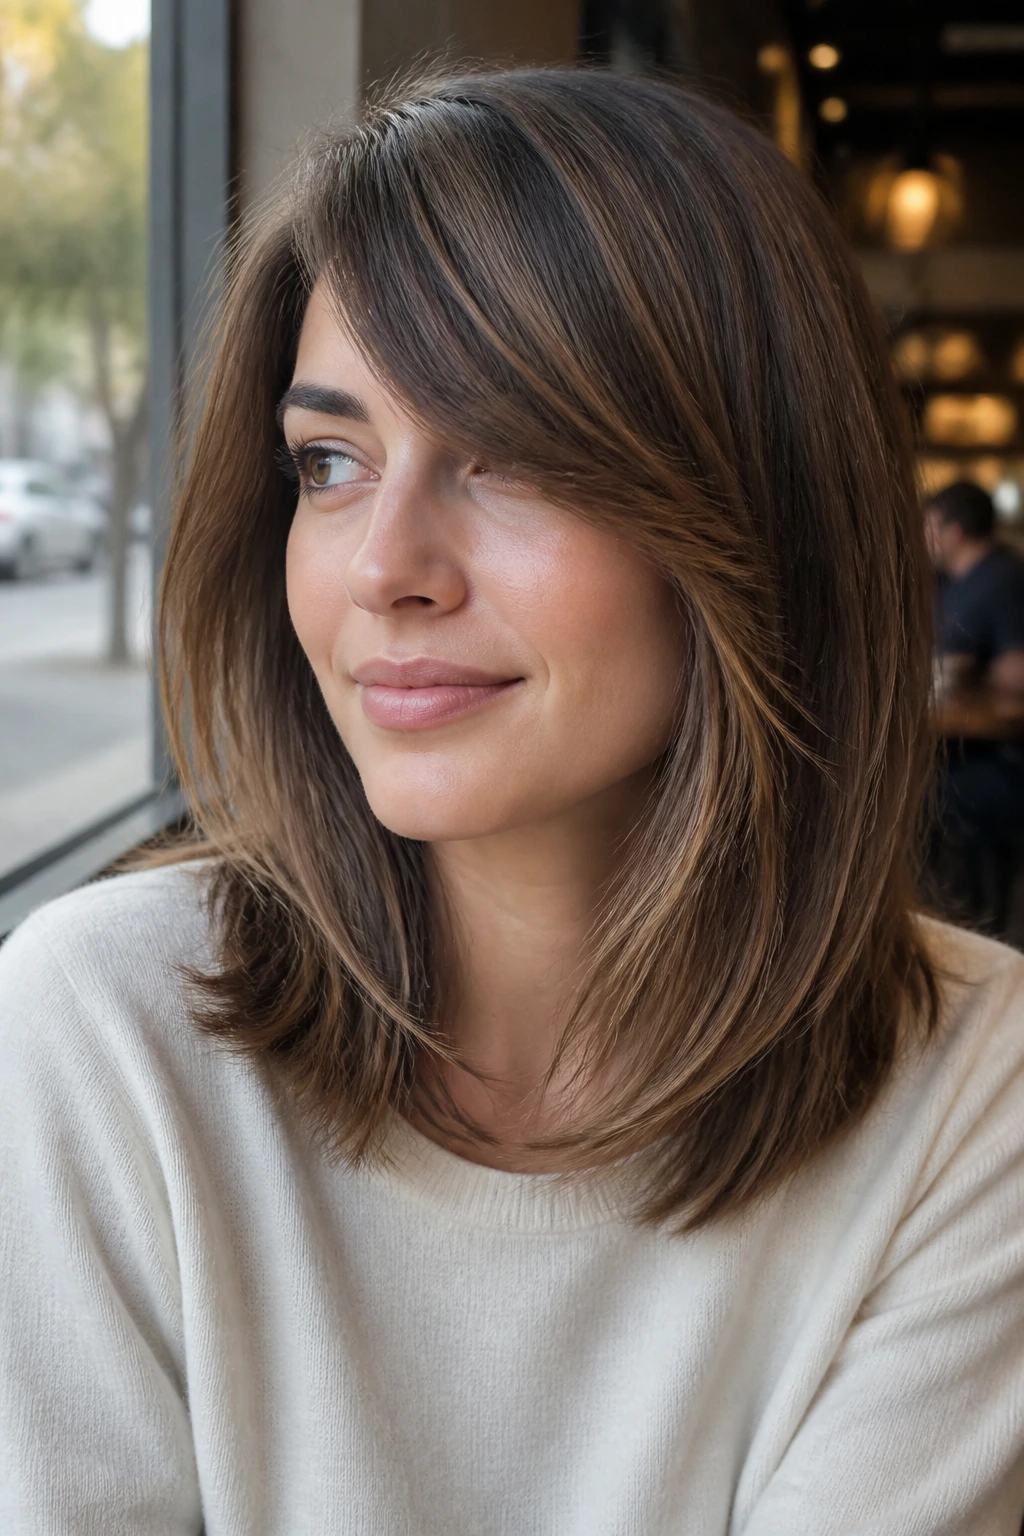
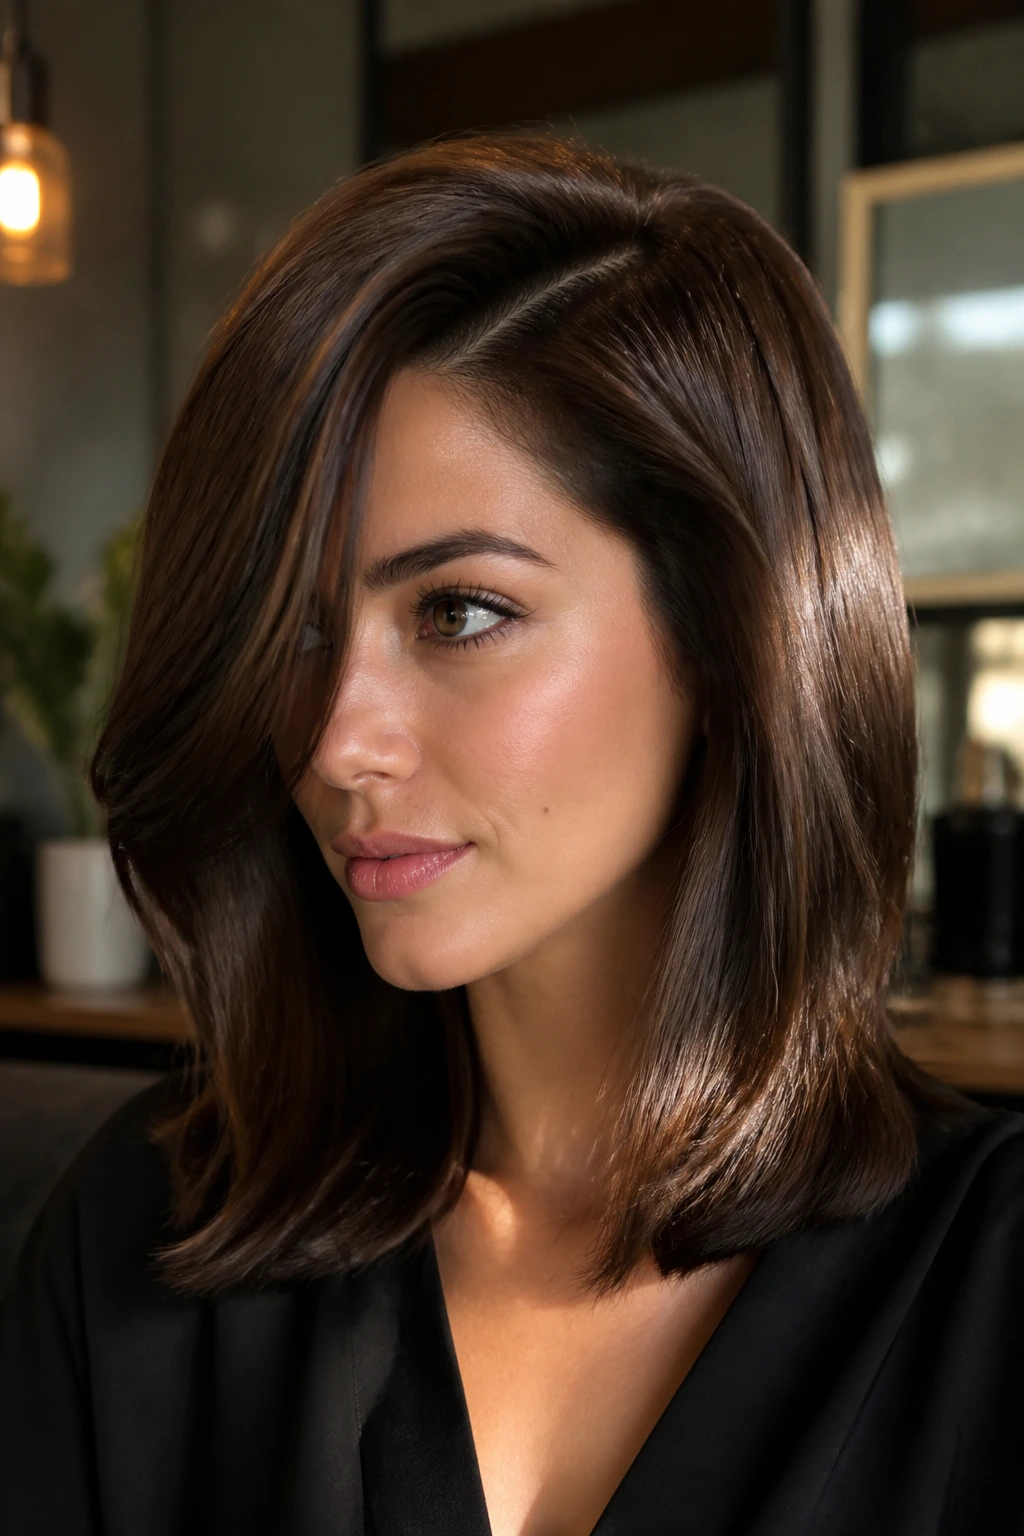
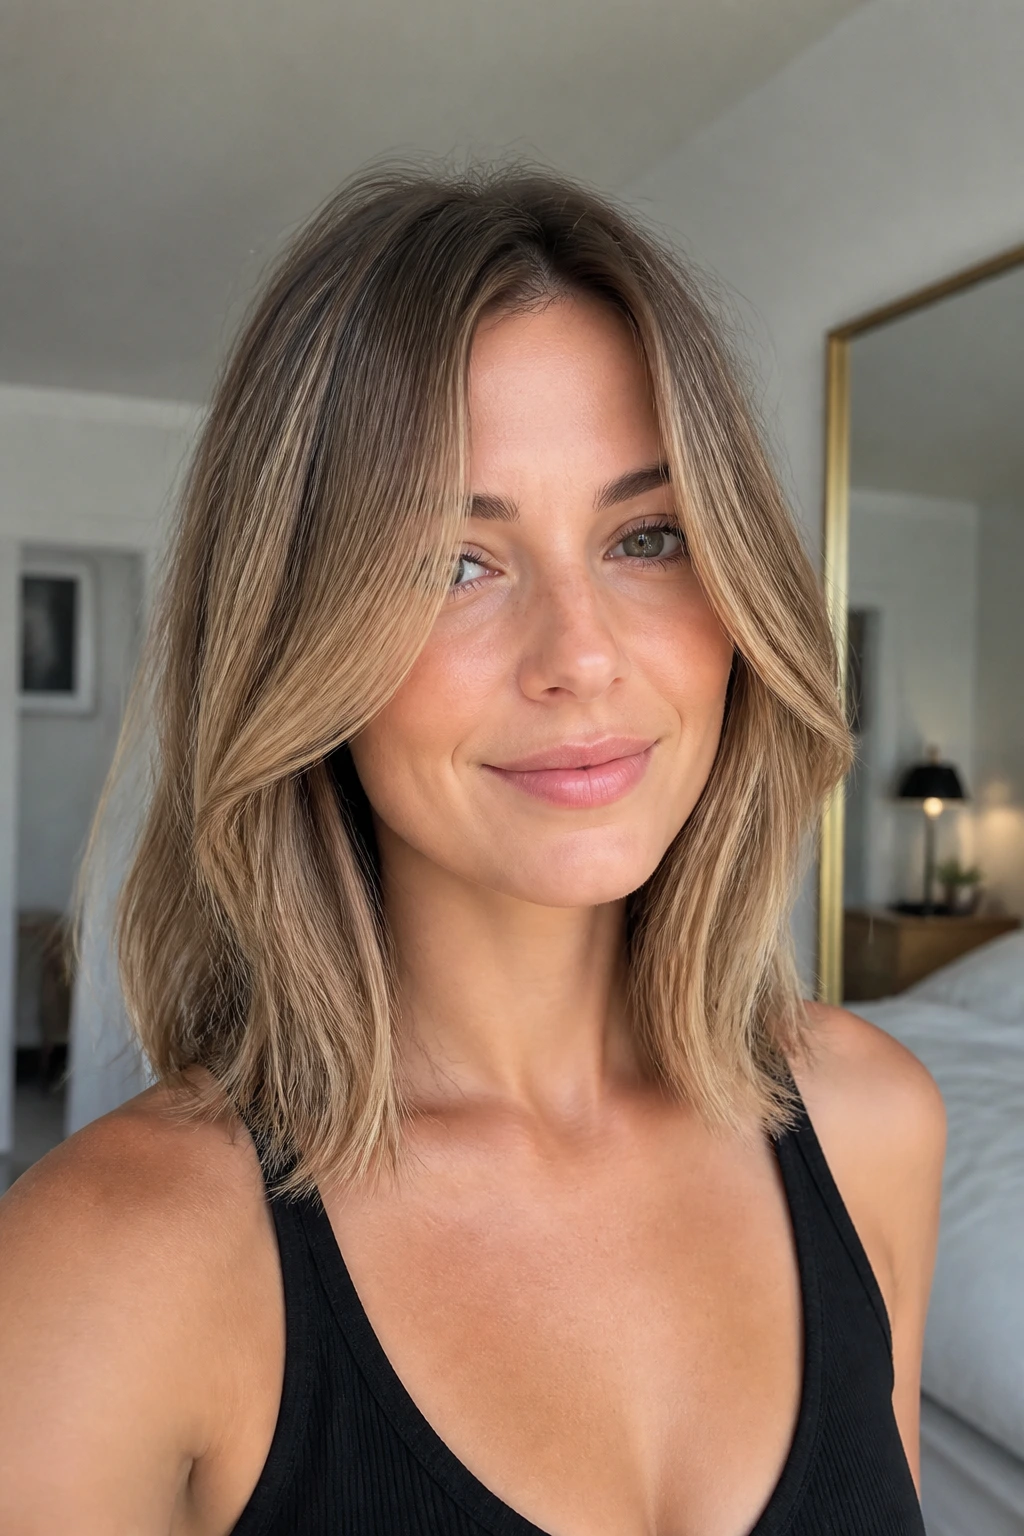
9. Sleek Center-Part Layers with a Tucked Finish
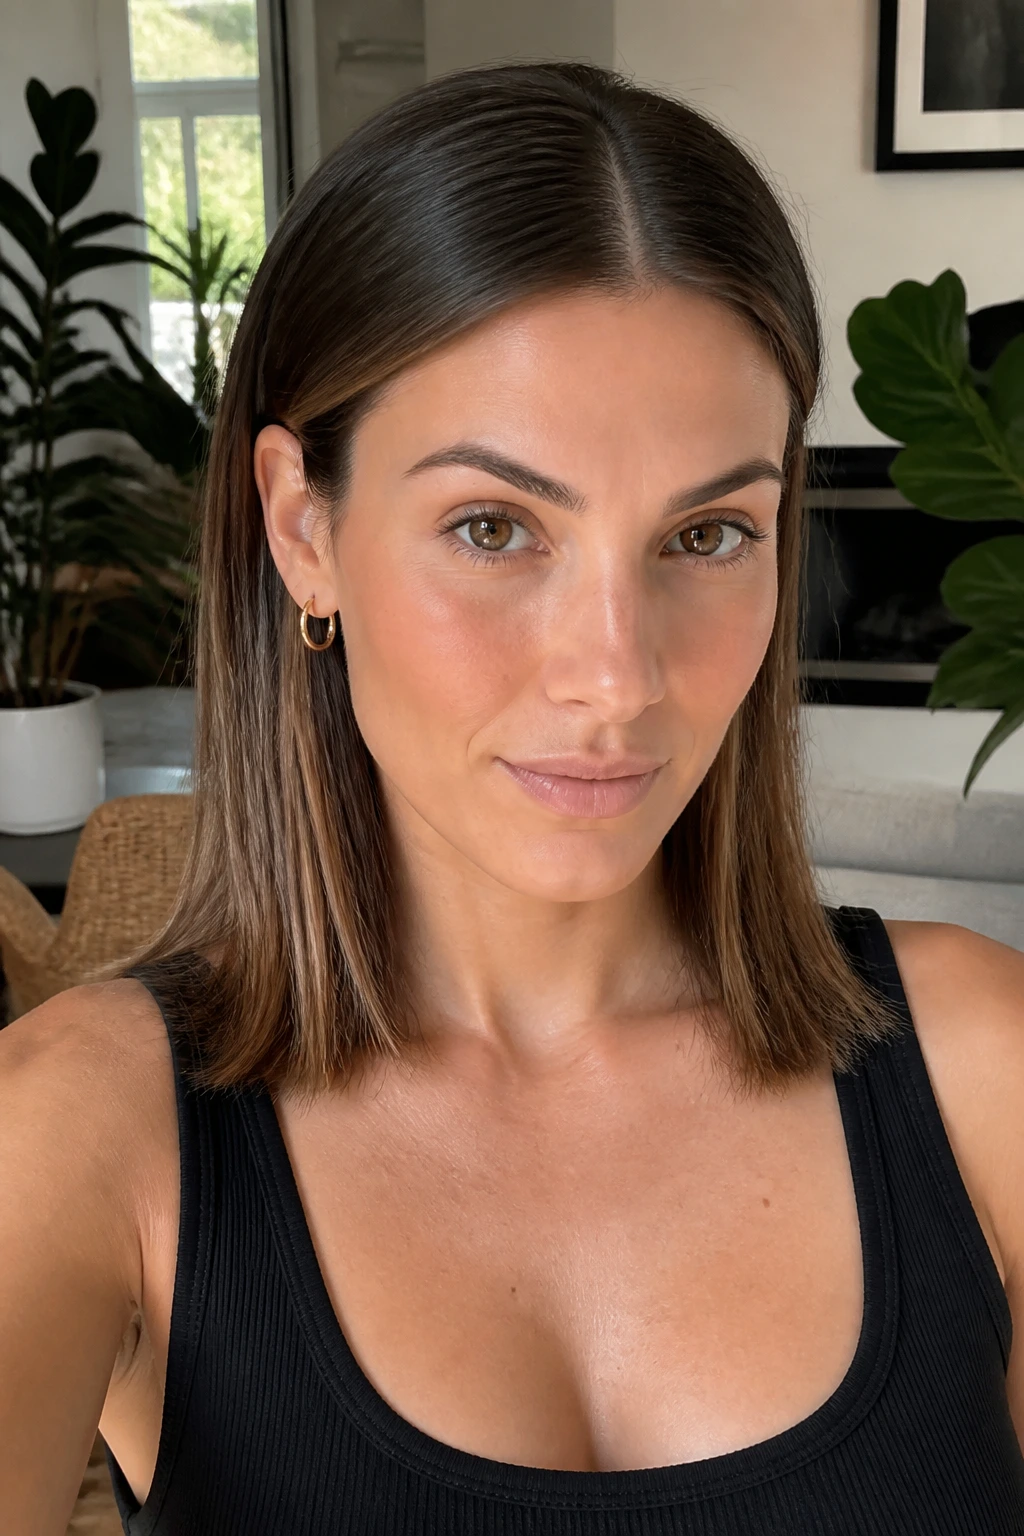
A center part can expose a weak crown, but it can also create a very clean frame when the layers are cut well. The key is keeping the shortest pieces long enough to blend into the sides instead of creating a thin halo around the part. A tucked finish behind the ears helps the shape stay deliberate.
This style is better than it gets credit for. Thin hair often looks fuller when the line is crisp and the length is controlled, especially if the ends sit right at the shoulders. A smooth finish gives the impression of density because there’s no visual clutter. Just keep the roots lifted a bit. Flat roots defeat the whole thing.
10. Flipped-Out Shoulder Layers
There is a reason that flipped ends keep coming back. They widen the silhouette at shoulder level, which is exactly where thin hair can use a little help. The outward bend catches the eye and makes the cut seem broader without adding bulk.
Styling note
- Use a 1-inch or 1.25-inch iron, turning the last inch away from the face.
- Aim the flip slightly outward, not into a hard curl.
- Set it with a light mist of flexible hairspray.
The finish should look airy and a bit lively, not costume-like. If the flip is too neat, it can read dated. If it’s loose and intentional, it gives the whole haircut a lift that a straight finish just can’t match.
11. U-Shaped Cut with Long Internal Layers

A U-shape keeps more weight in the back while still letting the front move. That extra fullness in the rear can make thin hair look denser because the bottom line curves instead of ending in a harsh straight edge. It’s one of the most practical shapes for people who hate seeing see-through ends.
Internal layers hide inside the haircut, so you get movement without giving up the thick-looking outline. That’s the part I like most. It behaves well in a ponytail, too, which is helpful when the hair has to look decent both down and tied back. Not every cut can do that.
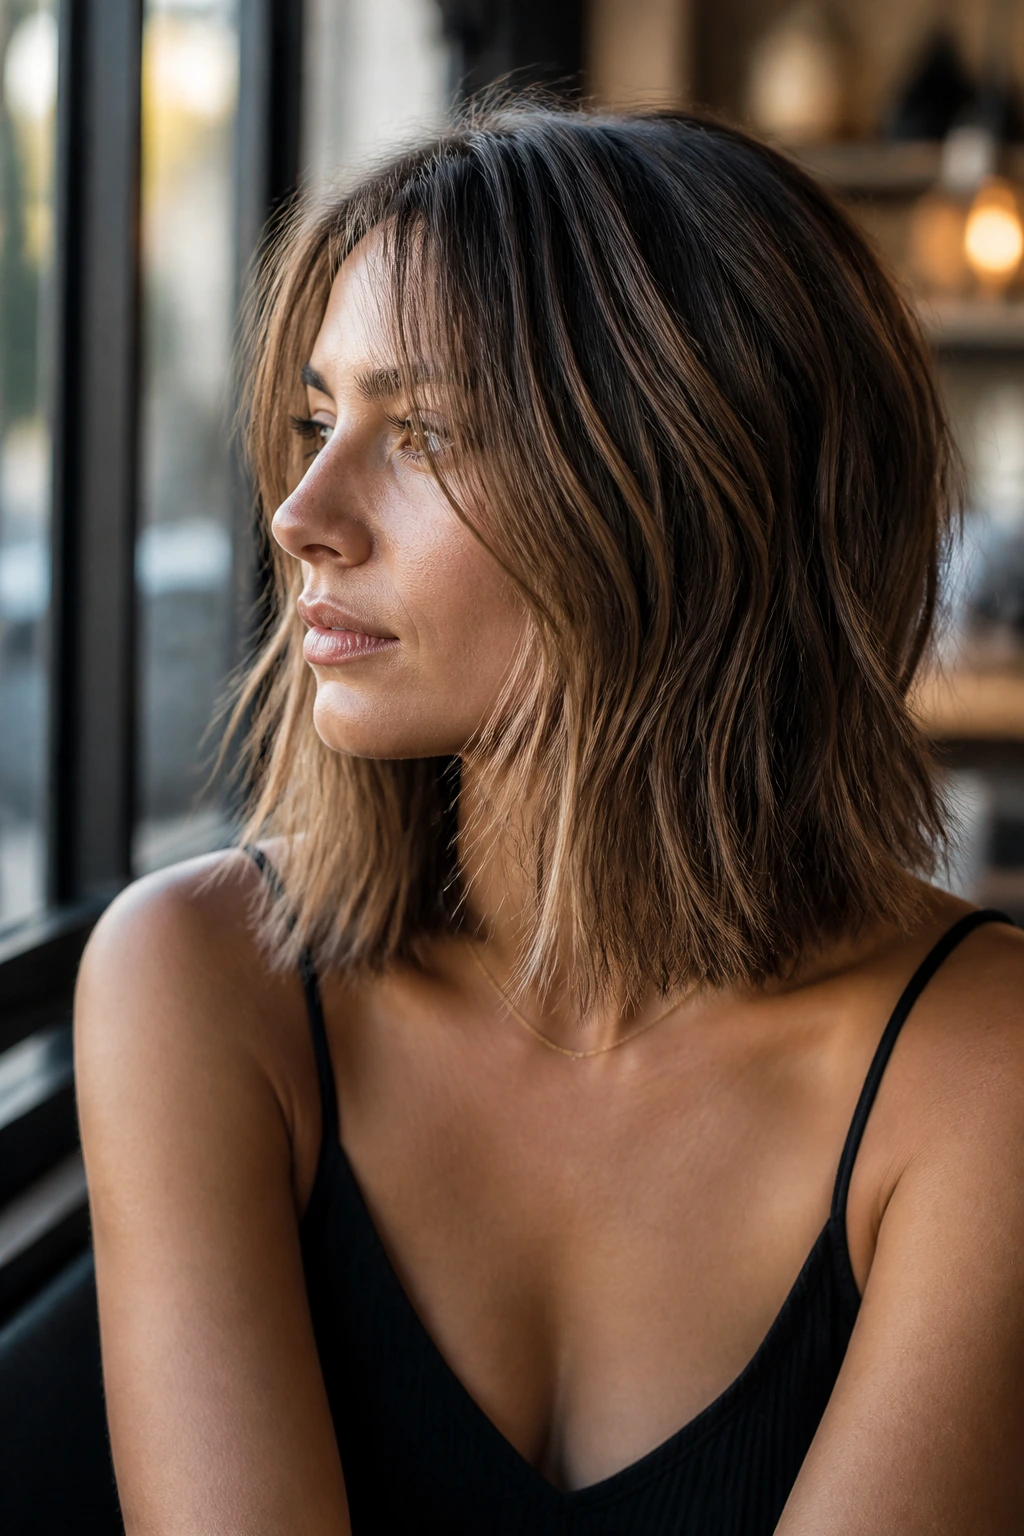
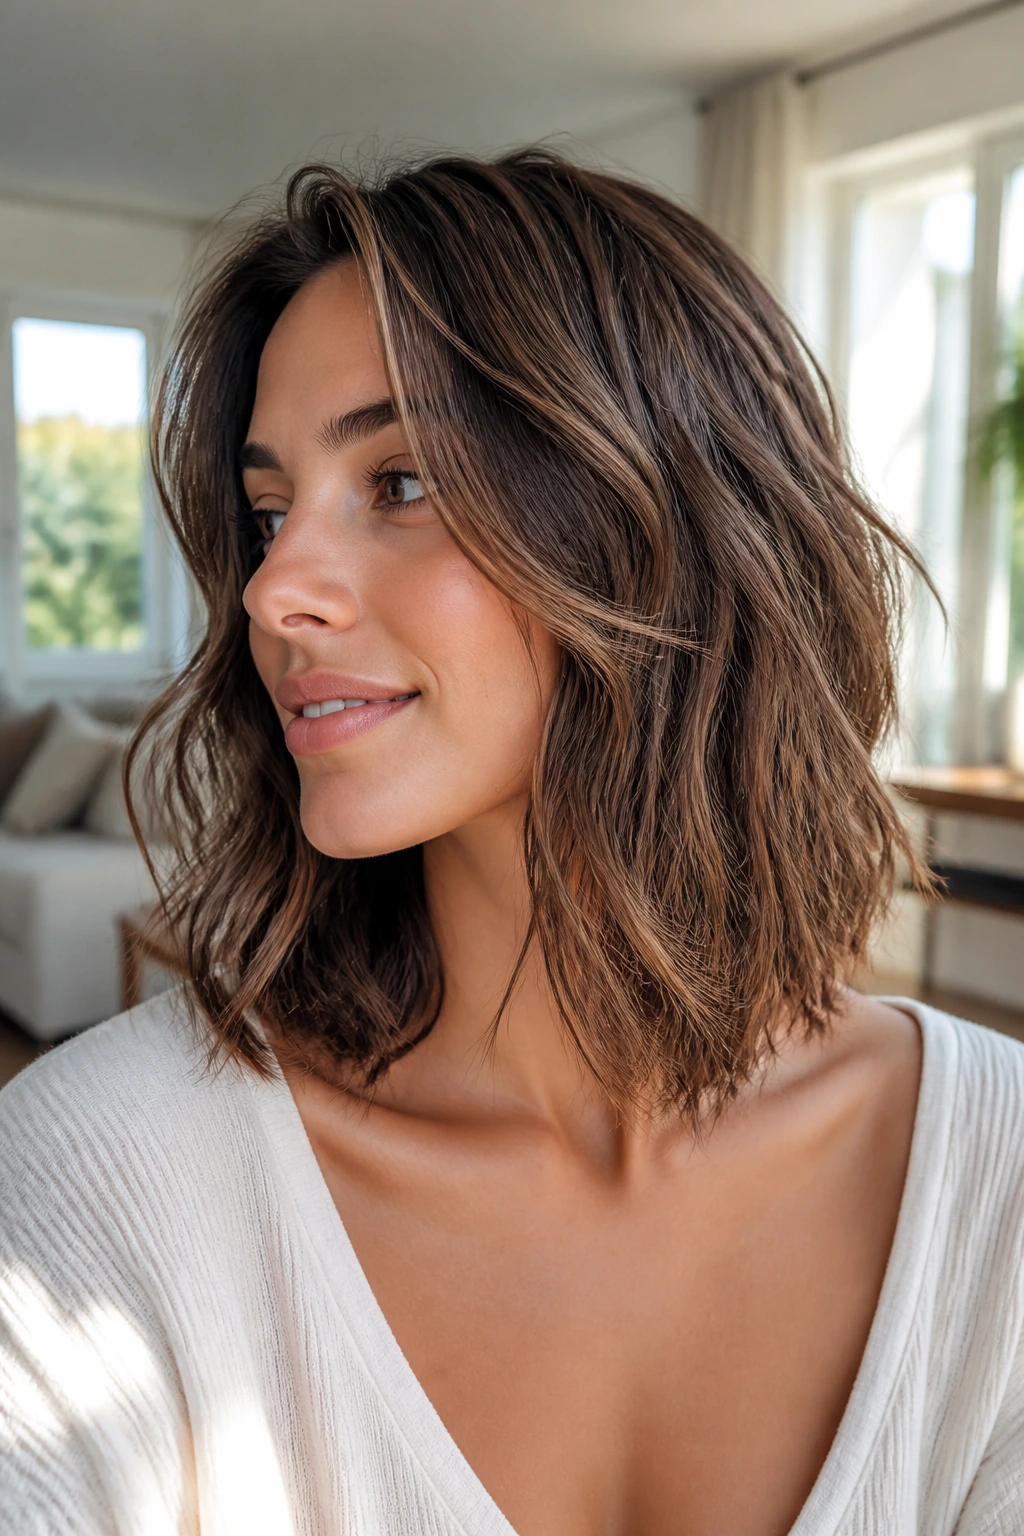
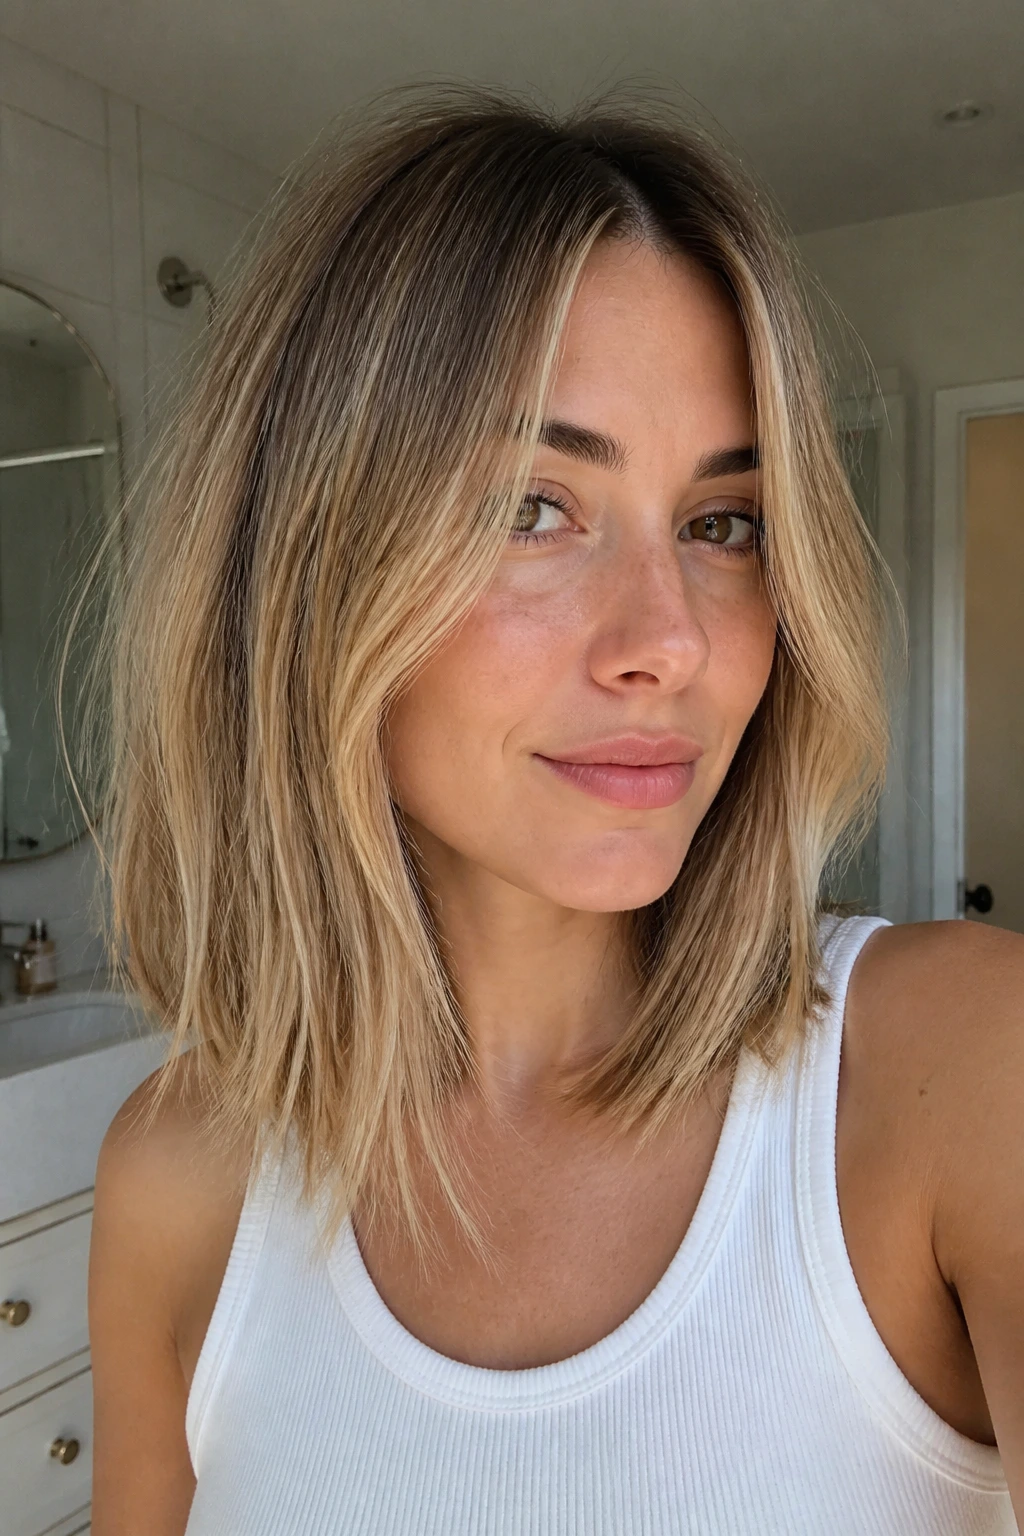
12. Tousled Waves with Invisible Layers
If your hair can hold a wave even a little, invisible layers are a smart choice. The cut gains shape from the bend, but the layers stay tucked inside the silhouette so the ends do not look broken apart. That keeps the style from going see-through.
How to style it
- Wrap 1-inch sections around a wand, leaving the last inch out.
- Brush the waves out with fingers or a wide-tooth comb.
- Finish with dry texture spray only on the mid-lengths.
The point is movement, not curl. Thin hair usually looks better when the wave is loose enough to look lived-in and not like it’s fighting the natural texture. A good tousled wave makes the haircut seem fuller from every angle.
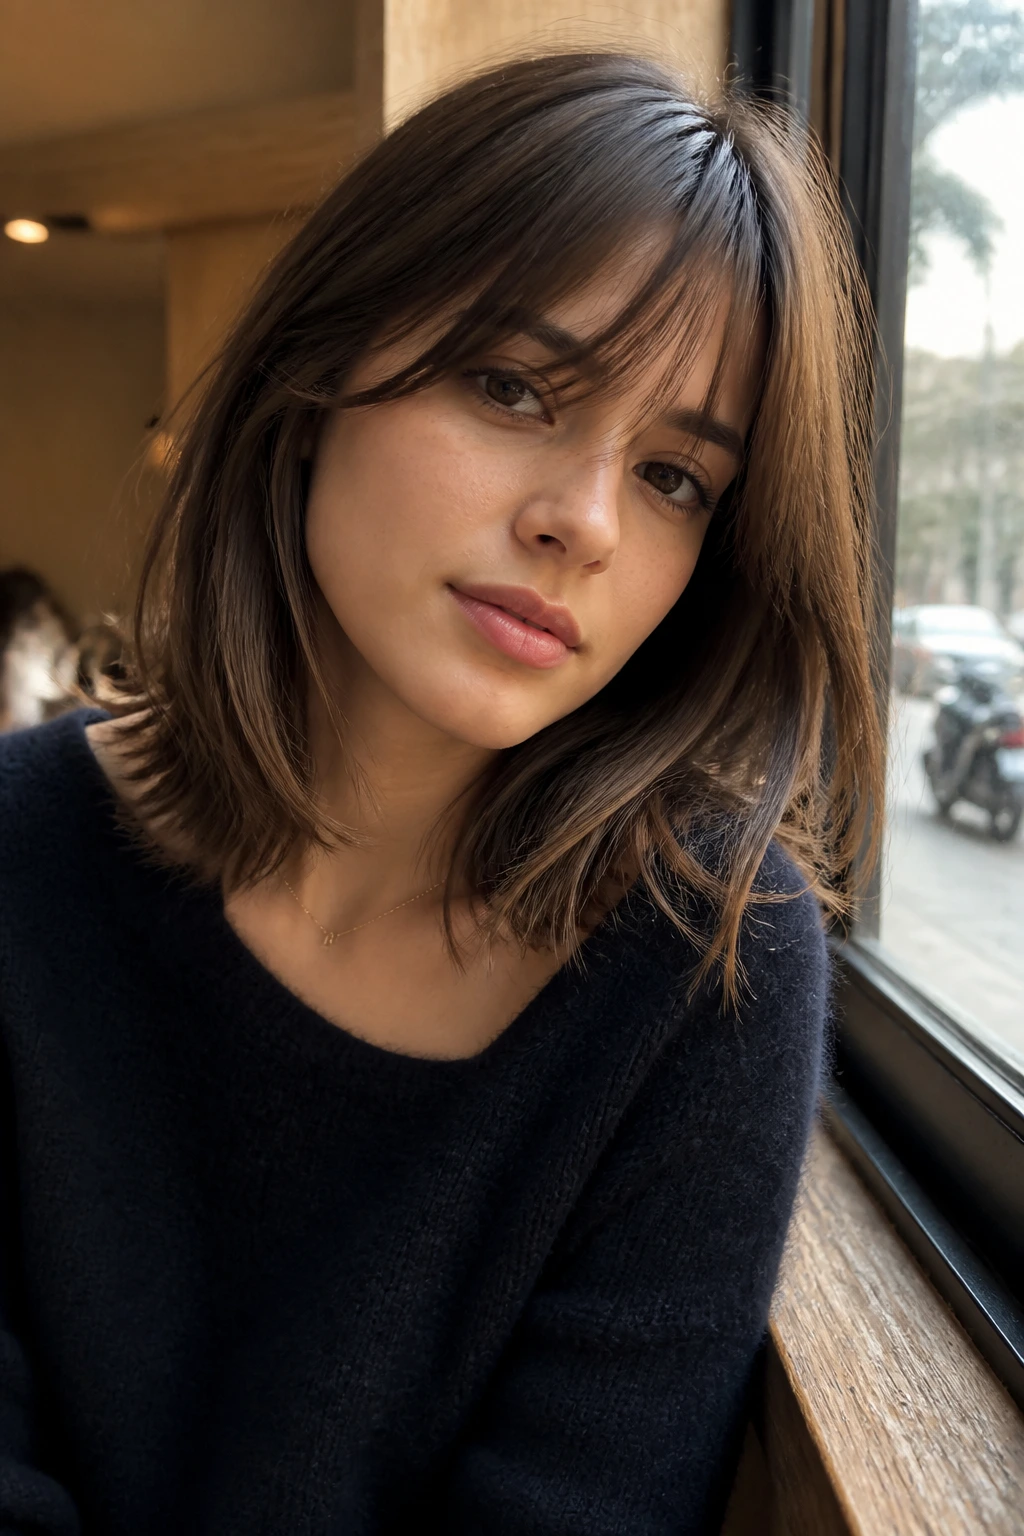
13. Side-Swept Fringe with Soft Length Through the Ends
A side-swept fringe gives thin hair a front panel that feels fuller because the hair is all moving in one direction. That sweep also adds a little drama near the eyes, which keeps the cut from looking like it’s hanging straight down. The trick is keeping the fringe diagonal and light.
This is a nice choice if your face shape wants a bit of softness near the cheek and forehead. The rest of the haircut should stay long enough to keep the ends from vanishing. You want the fringe to lead the eye, not steal all the density from the front.
14. Bottleneck Bangs and Light Shoulder Layers

Bottleneck bangs are good news for thin hair because they stay narrow at the center and get softer at the sides. That means the forehead gets a little framing without a heavy wall of hair sitting there. The shoulder-length layers behind them keep the whole cut balanced.
They also grow out well, which is not a small thing. A blunt bang on thin hair can get awkward fast. Bottleneck bangs soften the transition. If your hair sits straight and fine, blow them down first, then curve them away from the face with the brush so they do not stick in one flat line.
15. Piecey Ends with Micro-Layers at the Front
This is for someone who wants movement but gets nervous about losing too much hair. The layers stay tiny and concentrated near the front, while the ends are left piecey rather than heavily thinned. That keeps the outline honest.
Best if you want
- A light, modern shape.
- A front that breaks up a rounder face.
- A style that looks better with a little texture spray.
The important part is restraint. Micro-layers should add motion around the face, not turn the whole cut into scraps. A small amount of bend at the bottom is enough. More than that and thin hair starts looking tired.
16. Polished Volume Layers for Fine, Straight Hair
Fine straight hair usually needs a cut that looks tidy before styling begins. Polished volume layers do that by keeping the perimeter clean while adding subtle movement through the mid-lengths. The result is a shape that responds well to blow-drying instead of collapsing under its own weight.
I like this cut because it does not ask for much. A volumizing mousse at the roots, a round brush, and a cool blast at the end are often enough. The finish should feel smooth to the touch and look slightly lifted at the crown. If you can run your fingers through it without hitting chunks of short layers, the cut is probably behaving.
17. Layered Lob with a Money-Piece Accent
Color can help thin hair as much as the cut can. A softly lighter face frame gives the eye a place to land, which makes the front sections look more defined and a little more dimensional. Paired with a layered lob, it can make the hair feel thicker than it is.
Keep the highlights subtle. Chunky light streaks can expose the scalp more than people expect. A gentle money piece, blended into the front layers, is enough. The cut still needs good structure underneath, but the color adds a bit of lift without asking for more length.
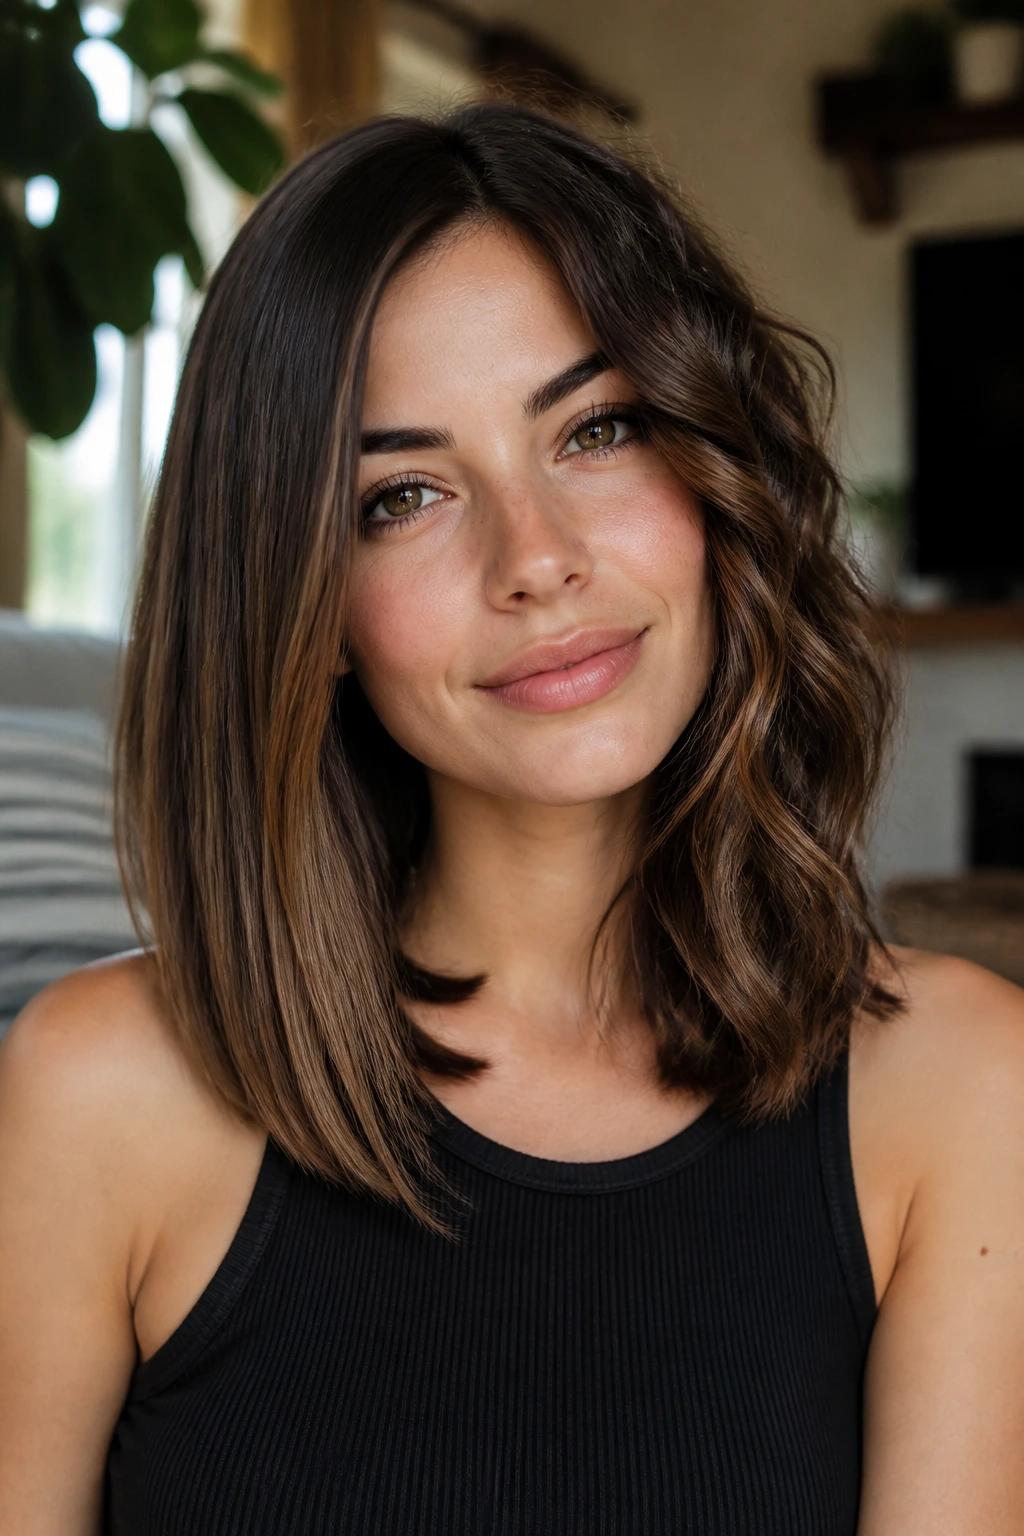
18. Wavy Collarbone Cut with Long Internal Layers
A natural wave loves a cut that respects its bend. Long internal layers help the hair move without breaking apart the outline, and the collarbone length keeps the ends from getting lost in the wave pattern. Thin wavy hair often looks best when the shape is soft, not overworked.
How it wears
- Air-dry with a light curl cream if your wave pattern is loose.
- Scrunch only the lower half if the roots flatten easily.
- Keep the top layer long enough to avoid a puffy crown.
This cut has a nice, easy rhythm. It works with the way the hair wants to fall rather than forcing it into a sharp style every morning.
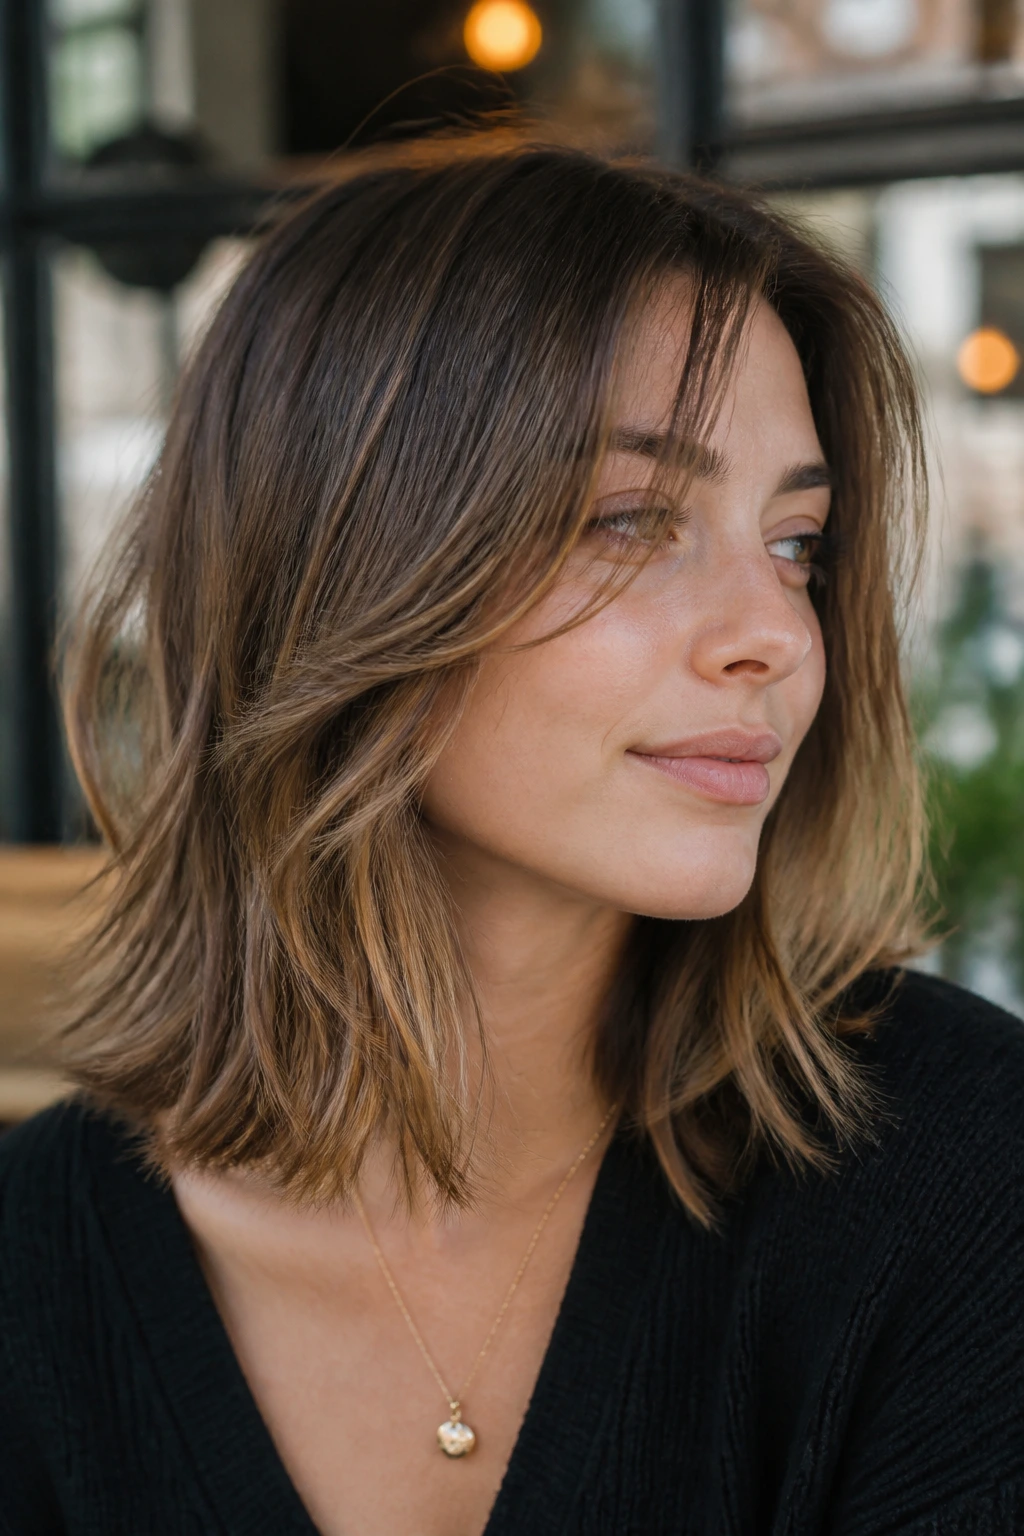
19. French-Girl Shoulder Layers
This is the cut that looks casual but still has a plan. The layers are soft, the fringe is usually slightly off-center, and the shoulders catch the ends in a way that gives the whole shape a lived-in bend. Thin hair likes that because the style doesn’t demand a lot of density to look intentional.
The key is not making the layers too obvious. A French-girl look depends on softness and movement, not a heavily chopped interior. A little bend from a small round brush or a flat iron flip at the ends is enough. Too much polish and it loses the point.
20. Curly-Wavy Layered Shape with Soft Roundness
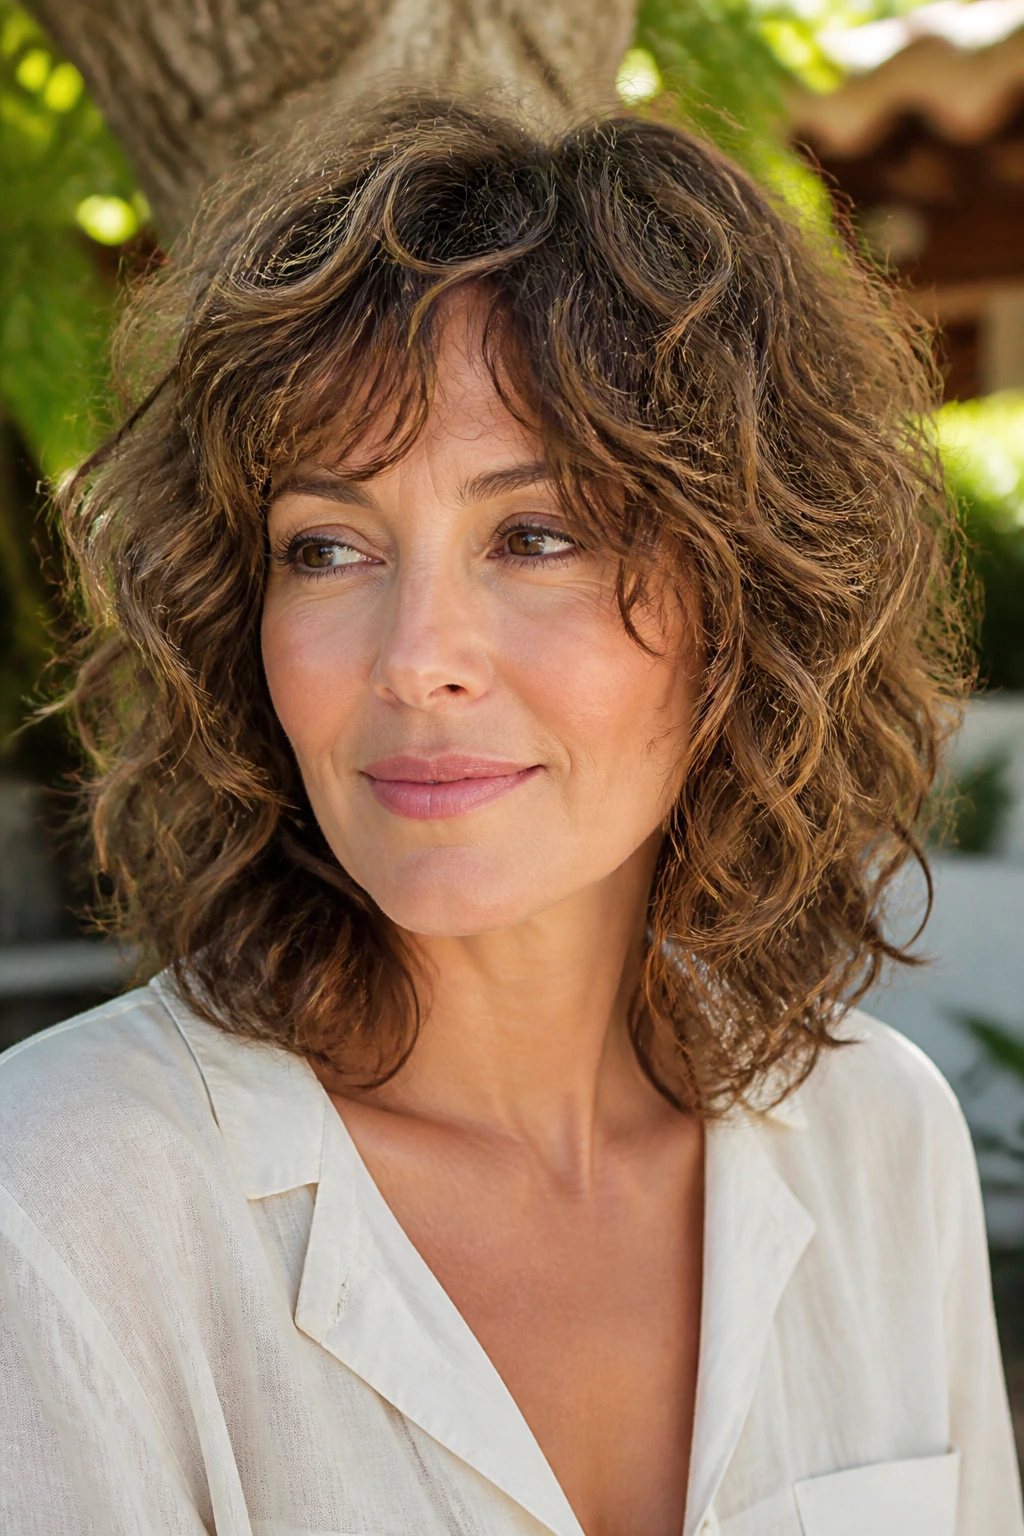
Thin hair with a curl or wave pattern needs layers that follow the texture, not fight it. A soft round shape keeps the volume from bunching up at the sides while preserving enough length for the ends to look full. The haircut should move with the pattern of the hair, not against it.
If the curl shrinks a lot, the layer placement matters even more. Ask your stylist to check how the hair behaves when dry, or at least to avoid cutting the shortest pieces too high. Curly thin hair can look airy in a good way, but it can also disappear if the layers are too aggressive.
21. Bouncy Blowout Cut with Lift at the Crown
This cut is built for people who like a little body at the roots and a soft curve through the rest. The crown gets enough shape to stand away from the scalp, and the ends stay rounded so the hair still looks thick. It’s one of those cuts that looks better with a round brush than with air-drying.
A blowout cut like this wants a bit of structure from the start. If the interior is too shredded, the bounce goes missing. Keep the layers long enough to swing, not so short that they fight the rest of the haircut. Then set the crown with clips while it cools. That pause matters.
22. Soft Wolf Cut for Thin Hair
A wolf cut can work on thin hair, but only if it stays soft. Too much texture and the whole thing looks sparse. The safer version keeps the nape and perimeter fuller while letting the top layers break up the shape just enough to add edge.
This cut is not for everyone, and that’s fair. It has attitude. But when the balance is right, the hair looks lifted around the face and less weighed down at the back. Ask your stylist to keep the shortest pieces longer than you think you need. Thin hair usually looks better with a little restraint here.
23. Angled Lob with Extra Weight in Back
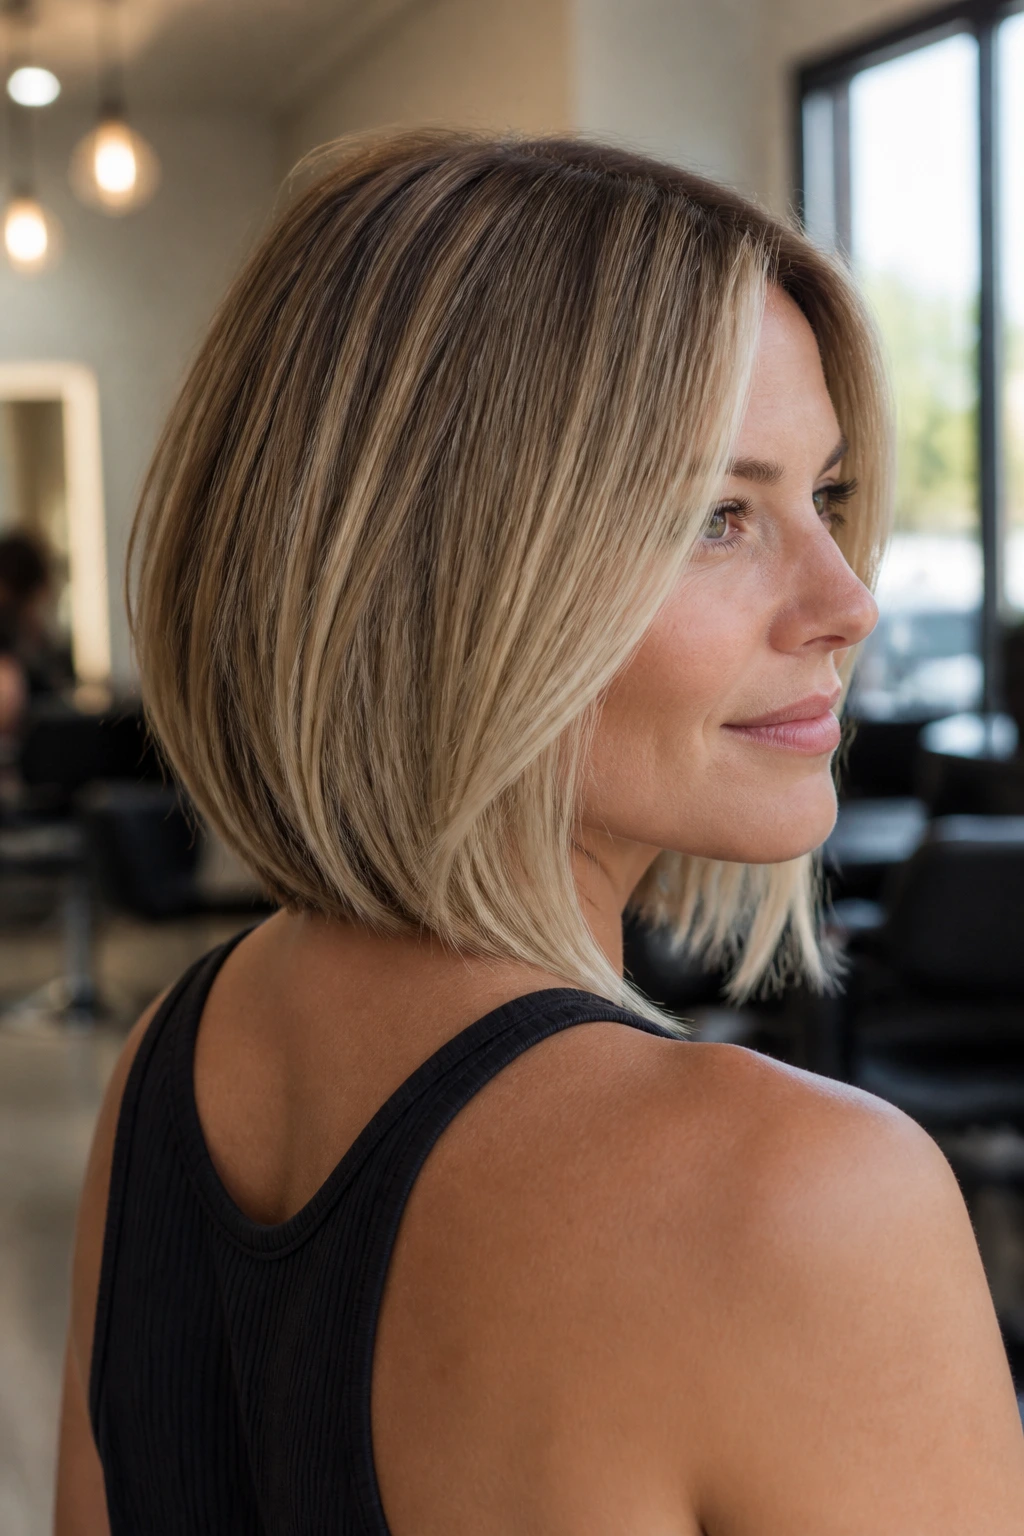
An angled lob adds visual fullness by keeping the front slightly longer and the back a touch shorter. That difference creates movement every time you turn your head, and thin hair benefits from that motion. The back still has enough weight to avoid looking wispy.
Why it flatters thin hair
- The front pieces frame the jaw and collarbone.
- The shorter back keeps the shape from drooping.
- The angle gives the haircut a clean, modern line.
This is a good choice if you want something structured. It reads as neat without being stiff. And unlike a heavily layered cut, it does not rely on texture spray to make sense.
24. Razor Shag with a Clean Edge
Think of this as the sharper cousin of the soft shag. There’s movement around the face and a bit of bite through the interior, but the outer line stays controlled. Thin hair needs that clean edge. Otherwise the haircut can start looking hollow.
The razor should be used with care, not enthusiasm. A little softness at the front can be lovely. Too much and the ends fray. If your hair breaks easily, tell the stylist to keep the edge tidy and use shears for the perimeter. The goal is air, not damage.
25. Shoulder-Length Cut with Hidden Crown Layers
Some of the best volume cuts are the least visible ones. Hidden crown layers create lift where the hair tends to collapse, but they stay buried enough that the haircut still looks full from the outside. That matters on thin hair, because exposed short layers can look patchy fast.
This shape works best when the stylist keeps the surface smooth. The top should not look choppy; it should just sit away from the scalp a little more than usual. A root-lift spray at the crown and a quick blast with the dryer make this cut come alive.
26. Chin-Grazing Face Frame and Longer Back Length
This cut draws a clear line from chin to shoulder, which gives thin hair a longer vertical shape and a denser-looking back. The face frame takes attention away from any sparse spots near the temples, and the back length keeps the haircut grounded.
It’s especially nice on round or square faces because the diagonal front pieces soften the outline. The back should stay full enough to hold shape when the hair is tucked behind the ears. If the face frame is too short, the cut starts to feel disconnected. Keep it long and graceful.
27. Air-Dry Layered Lob for Flat Roots
Not everyone wants to blow-dry every morning. This version is built for hair that needs to air-dry well and still look decent by lunch. The layers stay long and soft, and the perimeter keeps enough weight that the cut does not puff up in weird places.
Air-dry routine
- Work a light mousse through damp roots.
- Scrunch only the mid-lengths if you have a wave.
- Clip the crown up for 15 to 20 minutes while it dries.
That little clip trick helps the root set away from the scalp. It sounds small. It isn’t. Thin hair often needs that one practical move more than it needs another product.
28. Feathered Ends with a Soft C-Shape
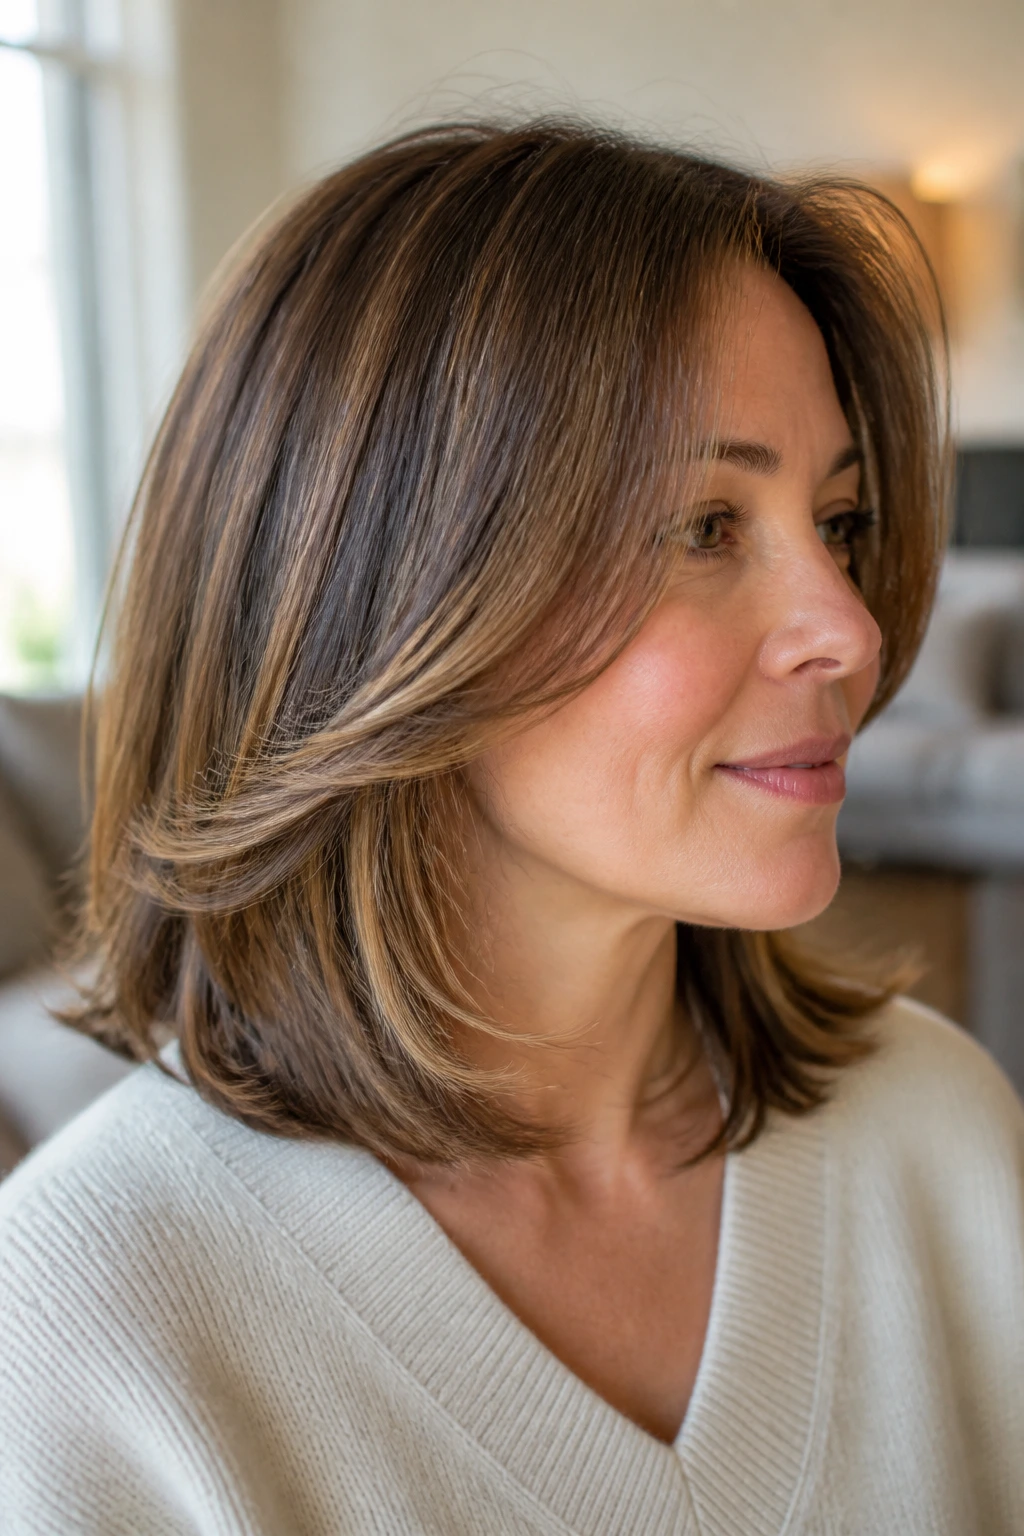
A soft C-shape curves gently around the jaw and shoulders, which makes thin hair look shaped without being overstyled. Feathered ends keep the cut from sitting too bluntly, but the feathering should be subtle, not shredded. The line still has to show.
This cut works well if you like a bit of movement but hate big curls. A round brush or large-barrel iron can make the C-shape appear with very little effort. It’s a friendly haircut. Nothing fussy about it. The shape does the work.
29. Low-Maintenance Layered Lob for Grow-Out
This is the cut for people who do not want to panic at week six. The layers are long enough to soften the shape without making the haircut collapse as it grows, and the perimeter stays tidy even when the ends start to lose their snap. Thin hair benefits from that grace period.
What makes it hold up
- Layer lengths are kept close together.
- The perimeter stays slightly blunt.
- The front pieces blend instead of stopping abruptly.
It’s a good salon request if you want a cut that can survive a longer stretch between appointments. A little dry shampoo and a quick bend at the ends keep it looking deliberate as it grows.
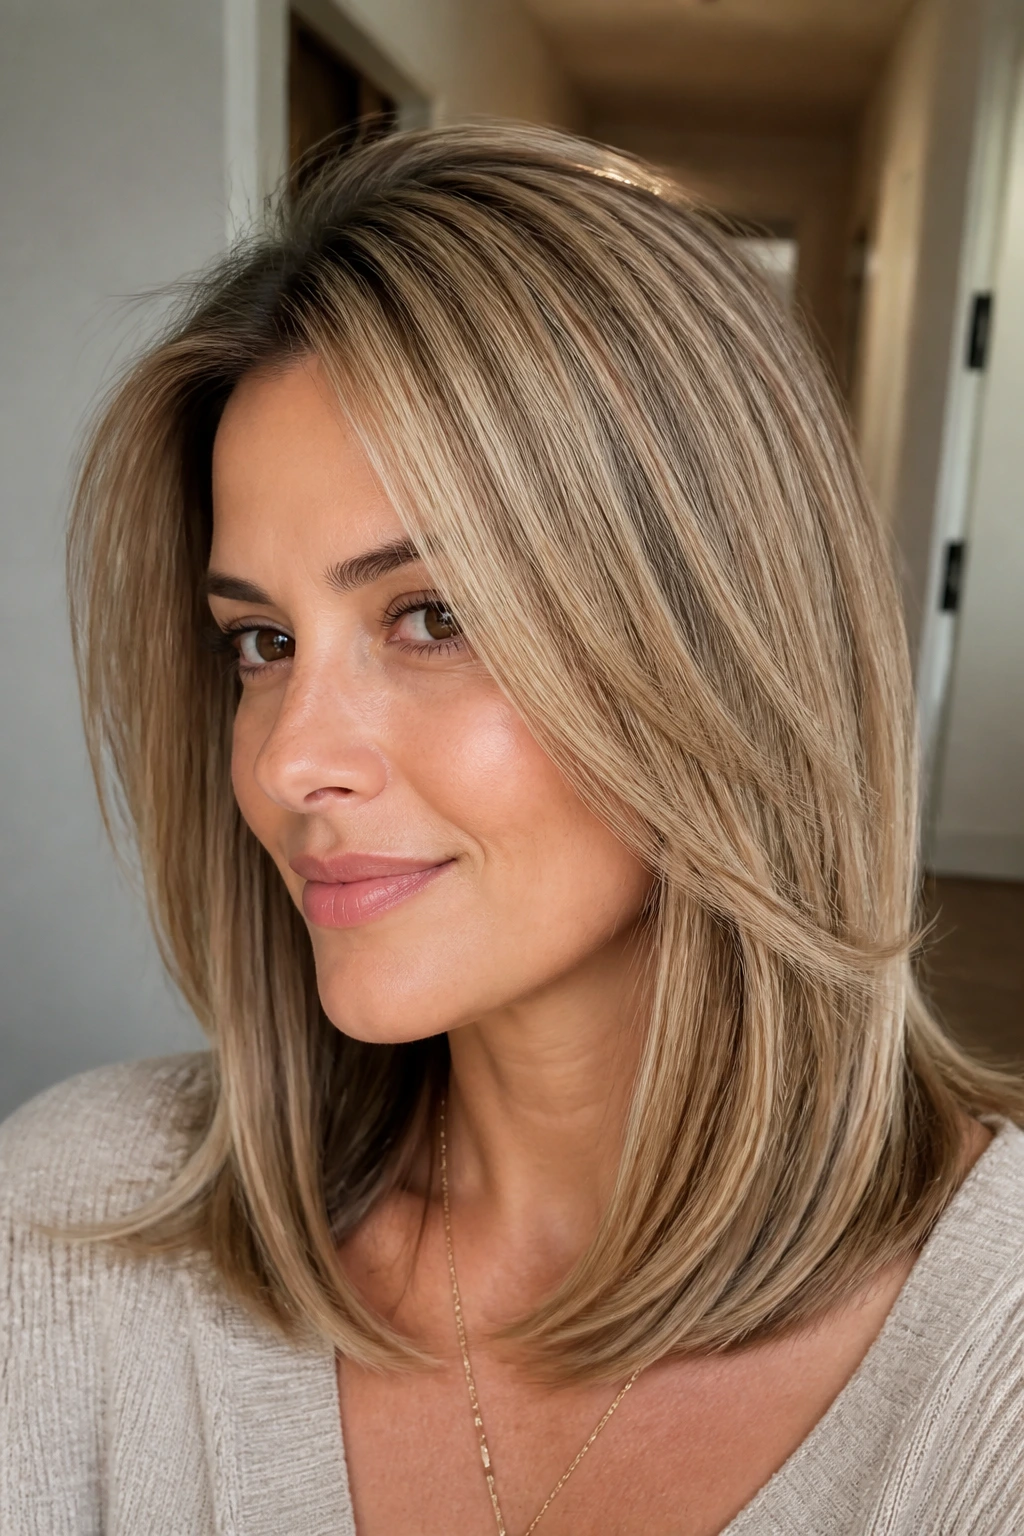
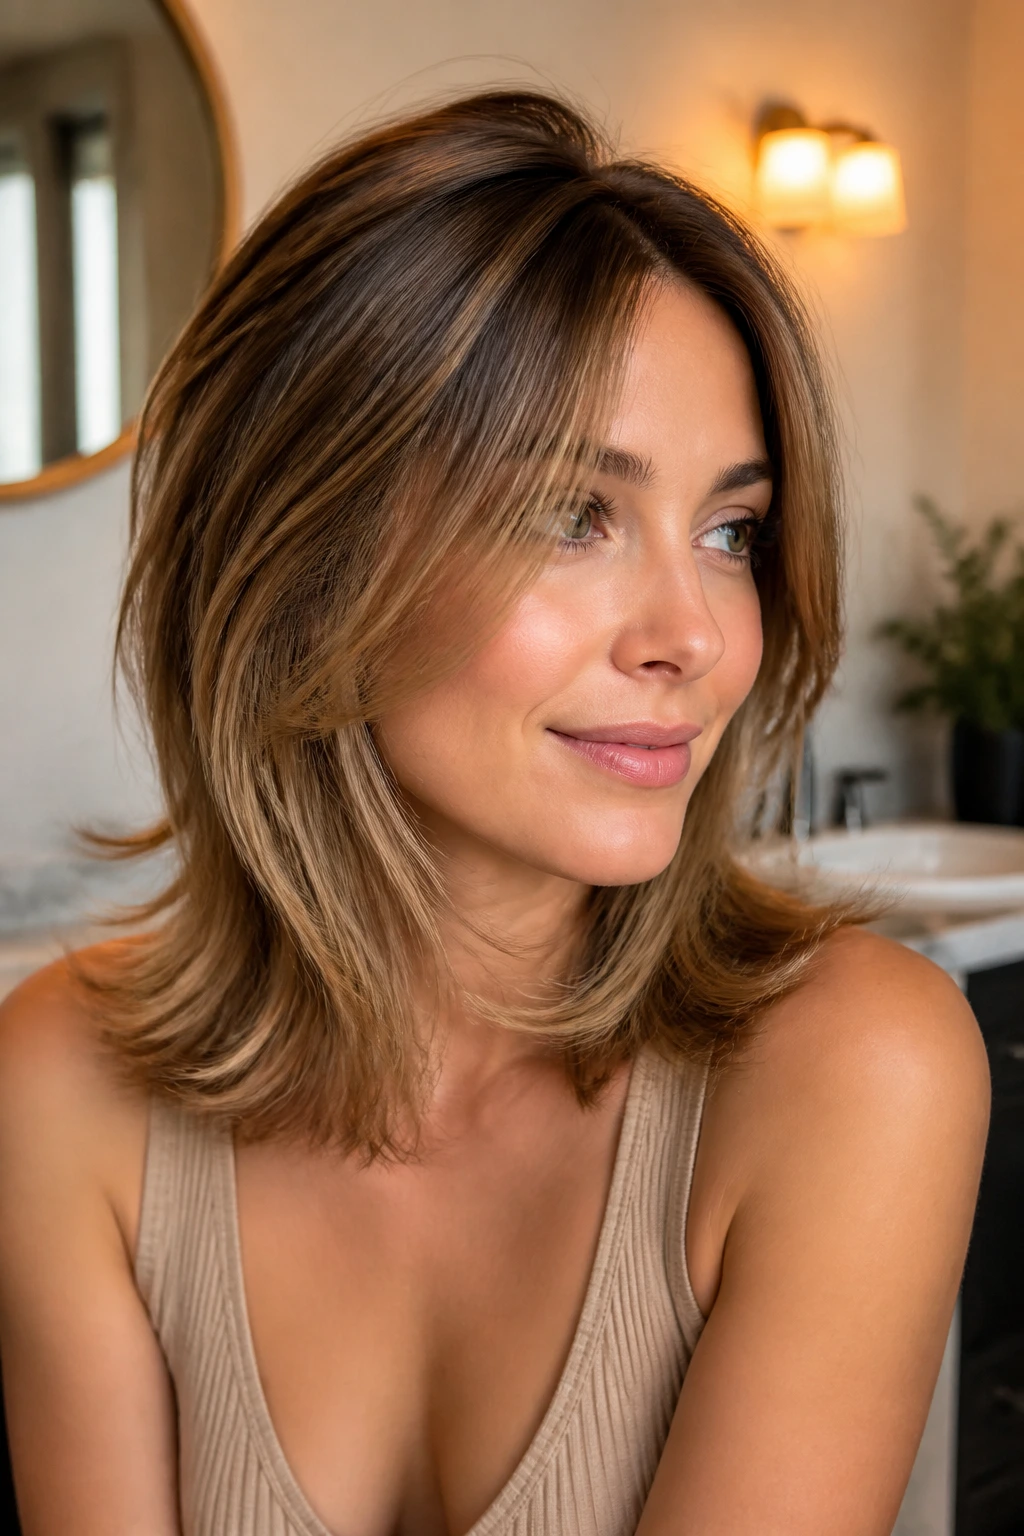
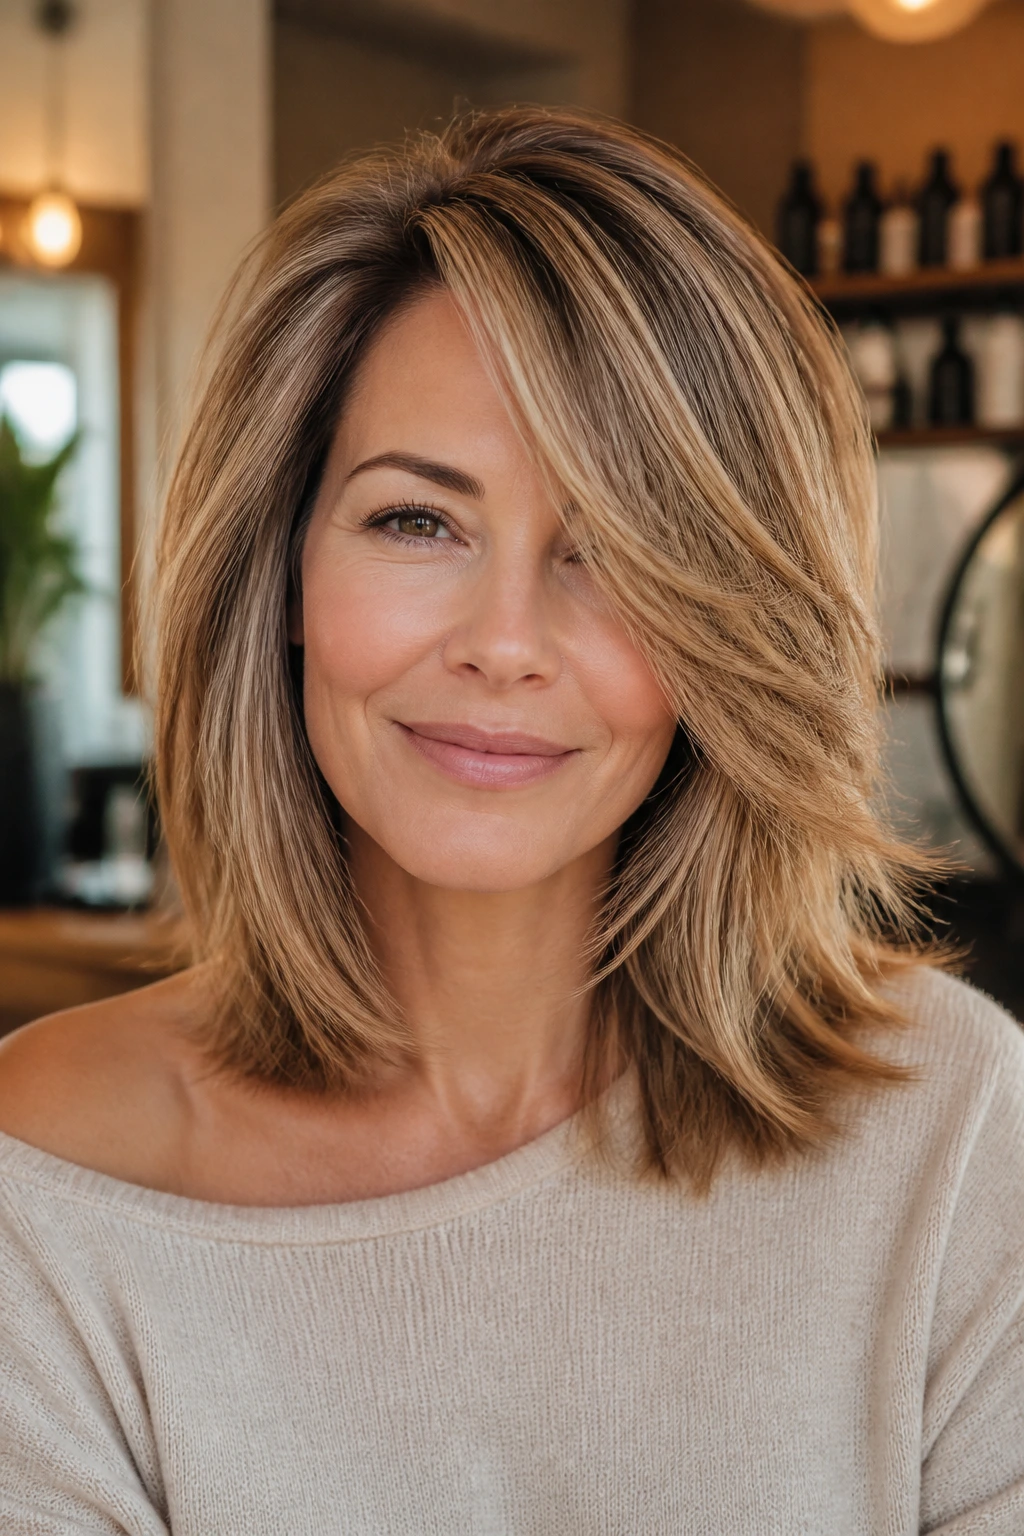
30. Glossy Shoulder-Length Layers with a Deep Side Part
If you want polish, this is the final stop. The deep side part adds height at the root, the layers create movement through the lengths, and the glossy finish makes the whole style look cleaner and denser. Thin hair often looks best when the cut is controlled and the finish is smooth.
The shine matters because it reflects light across the layers, which makes the hair read as healthier and more substantial. Keep the product light. A pea-sized amount of serum on the ends is enough. Anything heavier will drag the roots down, and the whole point of this cut is lift.
What to Tell Your Stylist Before the First Snip

A good haircut starts with a precise conversation. Tell your stylist whether your hair is fine, sparse, or both, because those are not the same problem. Fine strands can still have a lot of density. Sparse density needs a different layering plan, usually with a stronger perimeter and less removal at the crown.
Bring photos, but bring the right kind. Look for cuts with the same texture and movement as your own hair, not just the same length. Then point out what you like in each photo: the fringe, the body at the ends, the side part, the amount of layering around the face. That gives the stylist something useful instead of a vague “I want volume.”
Ask where the shortest layer will start. Ask whether they plan to use point cutting, slide cutting, or thinning shears. Thin hair usually does better with controlled texturizing than with aggressive thinning near the ends. And if your hair has a cowlick or a part that refuses to sit still, say that out loud. It saves regret later.
Essential Tools and Products for Thin Hair
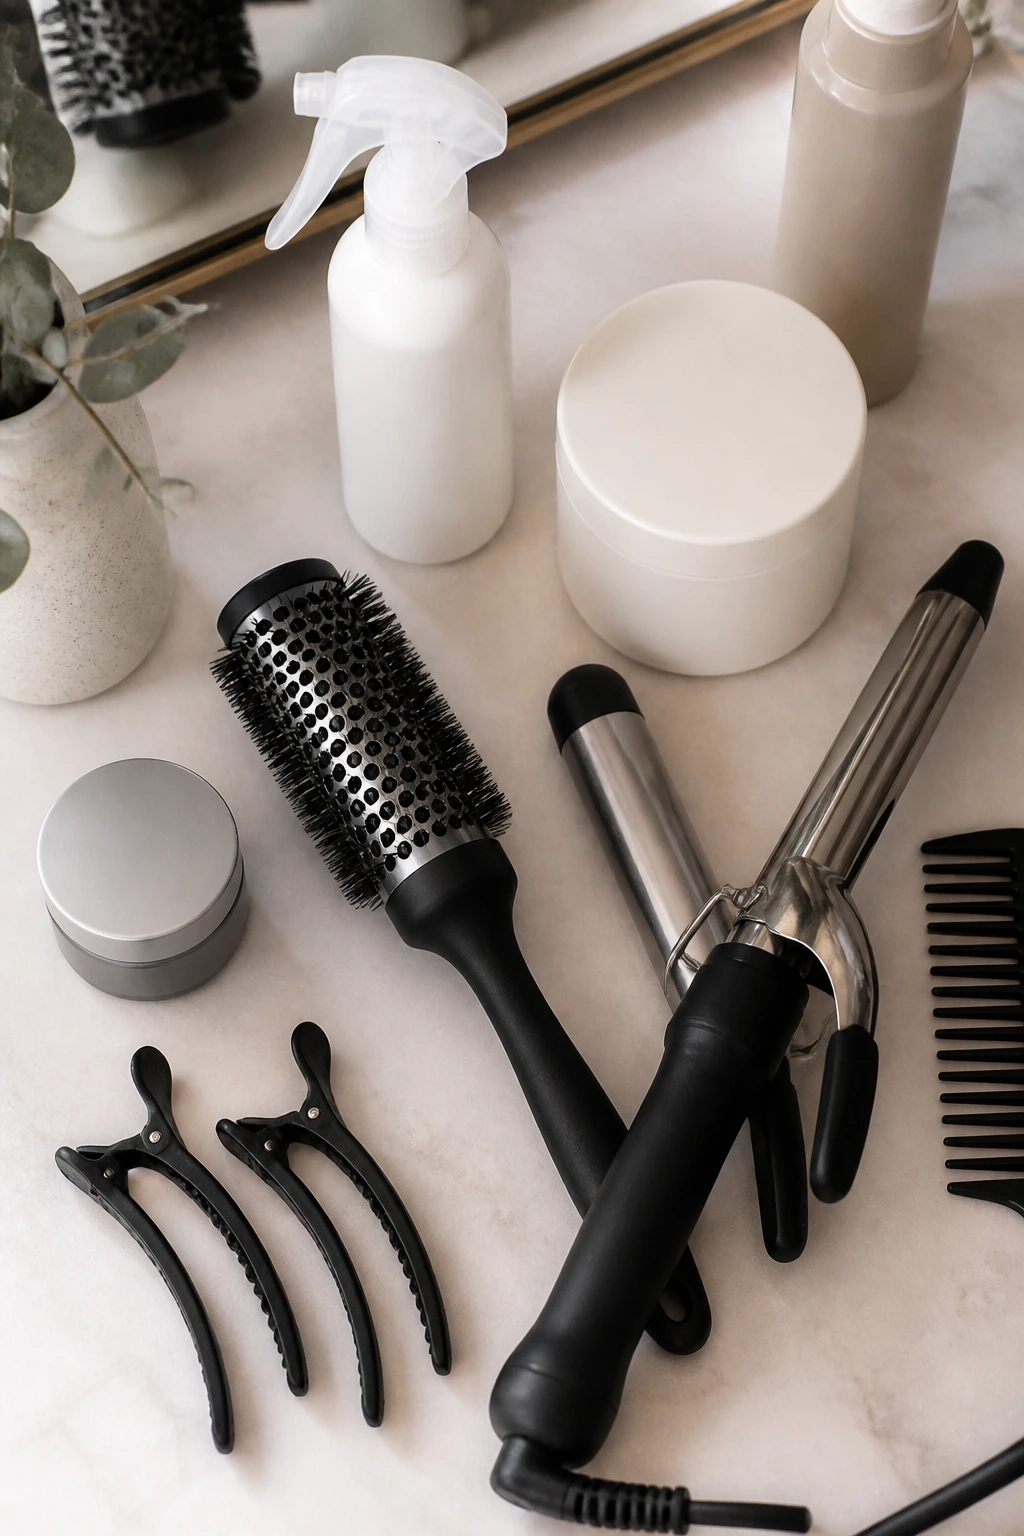
- Blow dryer with a concentrator nozzle: Directs airflow to the roots and makes round-brush work much easier.
- Medium round brush, about 1.5 to 2 inches: Best for collarbone bends, flips, and soft volume at the sides.
- Large velcro rollers: Useful for setting the crown and face frame while the hair cools.
- 1-inch curling iron or wand: Good for loose bends and undone waves without huge curls.
- Lightweight volumizing mousse: Gives damp hair some grip so it does not slip flat as it dries.
- Root-lift spray: Best applied at the crown and part line, not all over the head.
- Heat protectant: Skipping this on thin hair is a fast way to get frayed ends.
- Dry shampoo: Helps on day two or three when the roots start to show oil and the top loses lift.
- Texturizing spray: Use it on mid-lengths and ends for a piecey finish, never as a heavy blanket.
- Duckbill clips or sectioning clips: Handy for holding the crown up while it cools.
- Lightweight conditioner: Keep it from the ears down so the roots do not collapse.
- Wide-tooth comb: Better than rough brushing when the hair is damp and fragile.
How to Style These Cuts So They Do Not Fall Flat
The first rule is simple: get the roots off the scalp while the hair is drying. A little mousse at the root area, then rough-dry the hair until it is about 80 percent dry. After that, use a brush or fingers to direct the front pieces where you want them. If you try to force shape into soaking-wet thin hair, it often loses the fight.
A round brush gives the cleanest result on most of these cuts, but the goal is not a huge salon blowout unless that’s what you want. A slight bend at the ends and a bit of lift at the crown are enough. Let the sections cool before touching them. Warm hair has no memory. Cool hair does.
If you prefer air-drying, clip the crown up for 10 to 20 minutes while the roots set. That one trick can change the way the top sits for the rest of the day. Finish with a tiny amount of texture spray through the mid-lengths and ends, then stop. Thin hair usually looks worse when it is overloaded with product.
How to Keep the Shape Between Trims
Thin hair shows grown-out layers faster than thicker hair does, so the trim schedule matters. Most shoulder-length layered styles do best with a dusting every 6 to 10 weeks, depending on how fast your hair grows and how precise the cut is. When the front pieces stop hitting the cheekbone cleanly, or the ends start flipping in random directions, it’s time.
Heavy conditioner near the roots is a common trap. It makes the hair feel soft for ten minutes and flat for the next two days. Keep richer masks from mid-length to ends, then rinse well. A clarifying shampoo every couple of weeks can also help if styling products start building up and stealing volume.
Sleep matters more than people admit. A silk or satin pillowcase cuts down on friction, which keeps the ends smoother and helps the layers hold their shape. If the style starts looking tired on day two, a quick blast from the dryer at the crown and a puff of dry shampoo at the part can bring it back without a full wash.
Common Mistakes That Make Thin Hair Look Thinner
- Too many short layers near the crown: The top can start to see through, which makes the scalp more obvious. Ask for longer internal layers instead.
- Thinning the ends too aggressively: The haircut may feel light at first, then turn see-through and stringy. Keep the perimeter strong.
- Using heavy oils at the root: They flatten the lift and make the hair separate in weak-looking strands. Save oils for the last inch or two.
- Skipping heat protection: Thin hair shows damage fast, and split ends make a layered cut look older than it is. Use protection every time.
- Choosing bangs that are too dense: Heavy fringe can steal too much visual weight from the rest of the style. Softer curtain or bottleneck shapes are safer.
- Cutting layers without considering the part: A center part and a deep side part need different balance. The haircut should work with the way you wear it, not against it.
Variations and Adaptations for Straight, Wavy, and Curly Hair
Straight and Fine: Keep the layers longer and the perimeter clean. Straight hair shows every line, so a neat collarbone cut with subtle face framing usually looks richer than a highly chopped shape.
Natural Wave: Let the wave help. Soft internal layers and a little extra room through the sides keep the hair from puffing in the wrong spots. A diffuser or air-dry cream can do more than a hard blowout here.
Curly Texture: Ask for dry-cutting or a stylist who checks curl shrinkage. Shoulder length with layers can be gorgeous, but the shortest pieces need to land carefully or the shape will jump too high once the curls dry.
Very Thin Density: Choose fewer, longer layers and keep the bottom edge obvious. The goal is to fake fullness with shape, not to remove every heavy section in sight.
Grow-Out Friendly: If you hate frequent trims, keep the face frame long enough to blend into the rest of the cut for months, not weeks. The shape should soften well instead of collapsing into mismatched pieces.
Frequently Asked Questions
Can thin hair really look fuller with layers?
Yes, if the layers are placed carefully. A strong perimeter with soft face-framing and some crown lift usually reads fuller than a blunt cut that sits flat against the head.
Are bangs a bad idea for thin hair?
Not automatically. Heavy blunt bangs can drain density from the front, but curtain bangs, bottleneck bangs, and side-swept fringe can add shape without making the rest of the cut look sparse.
How short should shoulder-length layers be?
Usually, the shortest visible layer should start around the cheekbone, jawline, or collarbone area, depending on your face shape and density. If the layers start too high, the haircut can look skimpy fast.
What if my hair is fine and flat at the roots?
Keep the layers longer, use a root-lift product, and dry the crown away from the scalp. A little clip at the roots while the hair cools can make more difference than a heavy mousse.
Which part works best with these cuts?
That depends on your face shape and the growth pattern of your hair. A deep side part adds lift, a center part gives a cleaner line, and a soft off-center part often splits the difference nicely.
Can I air-dry these styles and still get volume?
Yes, but the cut has to support it. Long internal layers, a little mousse, and a clipped crown can help the hair dry with more body instead of sticking flat to the head.
Do these cuts need a lot of styling every day?
Not if the layering is done well. Some styles need a brush and a quick bend; others look decent with texture spray and a finger-comb. The worst thing for thin hair is overworking it into submission.
What should I avoid if my hair is already fragile?
Skip aggressive razoring, heavy thinning shears near the ends, and thick oils at the roots. Fragile thin hair tends to look best when the cut is clean and the product load stays light.
The Cut That Keeps Working
The best shoulder-length layered haircut for thin hair is not the one that looks busiest in the chair. It’s the one that keeps its shape after you leave the salon, after one wash, after the second-day dry shampoo rescue, and after you tuck it behind your ears for a minute and forget about it.
That’s the real standard here. A good cut gives thin hair a job to do: hold an outline, catch some light, move at the face, and keep the ends from disappearing. If you choose one of these shapes with your texture, part, and density in mind, the haircut does the work instead of you having to fight it every morning.