Fine hair remembers bad layers. One overzealous snip and the ends start to look like they were scraped thin with a butter knife. Short angled layers for long hair with fine hair work because they take weight off the front and around the face without turning the whole length into a wispy curtain.
That balance matters more than people think. Fine hair is about strand diameter, not how much hair you have on your head, so a cut that suits thick hair can leave fine hair looking patchy in daylight or limp by lunch. The best angled layers keep a visible line at the bottom, then move the shape forward with shorter pieces that land at the jaw, cheekbone, or collarbone, depending on how much face-framing you want.
A good version of this cut should move when you turn your head. Not swing. Move. If it has enough shape to look intentional in a ponytail and enough body to survive a two-minute blow-dry, you’re in the right neighborhood. The tricky part is choosing the right version for your density, face shape, and styling habits, so the list below stays practical instead of pretty-for-photos-only.
Why These 22 Angled Layers Work So Well on Fine Hair
Keeps the bottom line honest: the length still reads as long hair, so the cut doesn’t go see-through at the ends.
Lifts the face first: shorter pieces sit where people actually look, which is more useful than piling volume into the crown and hoping for the best.
Gives you options on wash day: a blowout, a bend with a flat iron, or a rough air-dry can all land in the same shape if the angle is cut well.
Helps fine hair look styled, not overworked: the shape does the heavy lifting, so you don’t need a mountain of teasing or thick creams.
Grows out with less drama: soft angles blur better than sharp, blunt steps, which matters when you can’t get to the salon every six weeks.
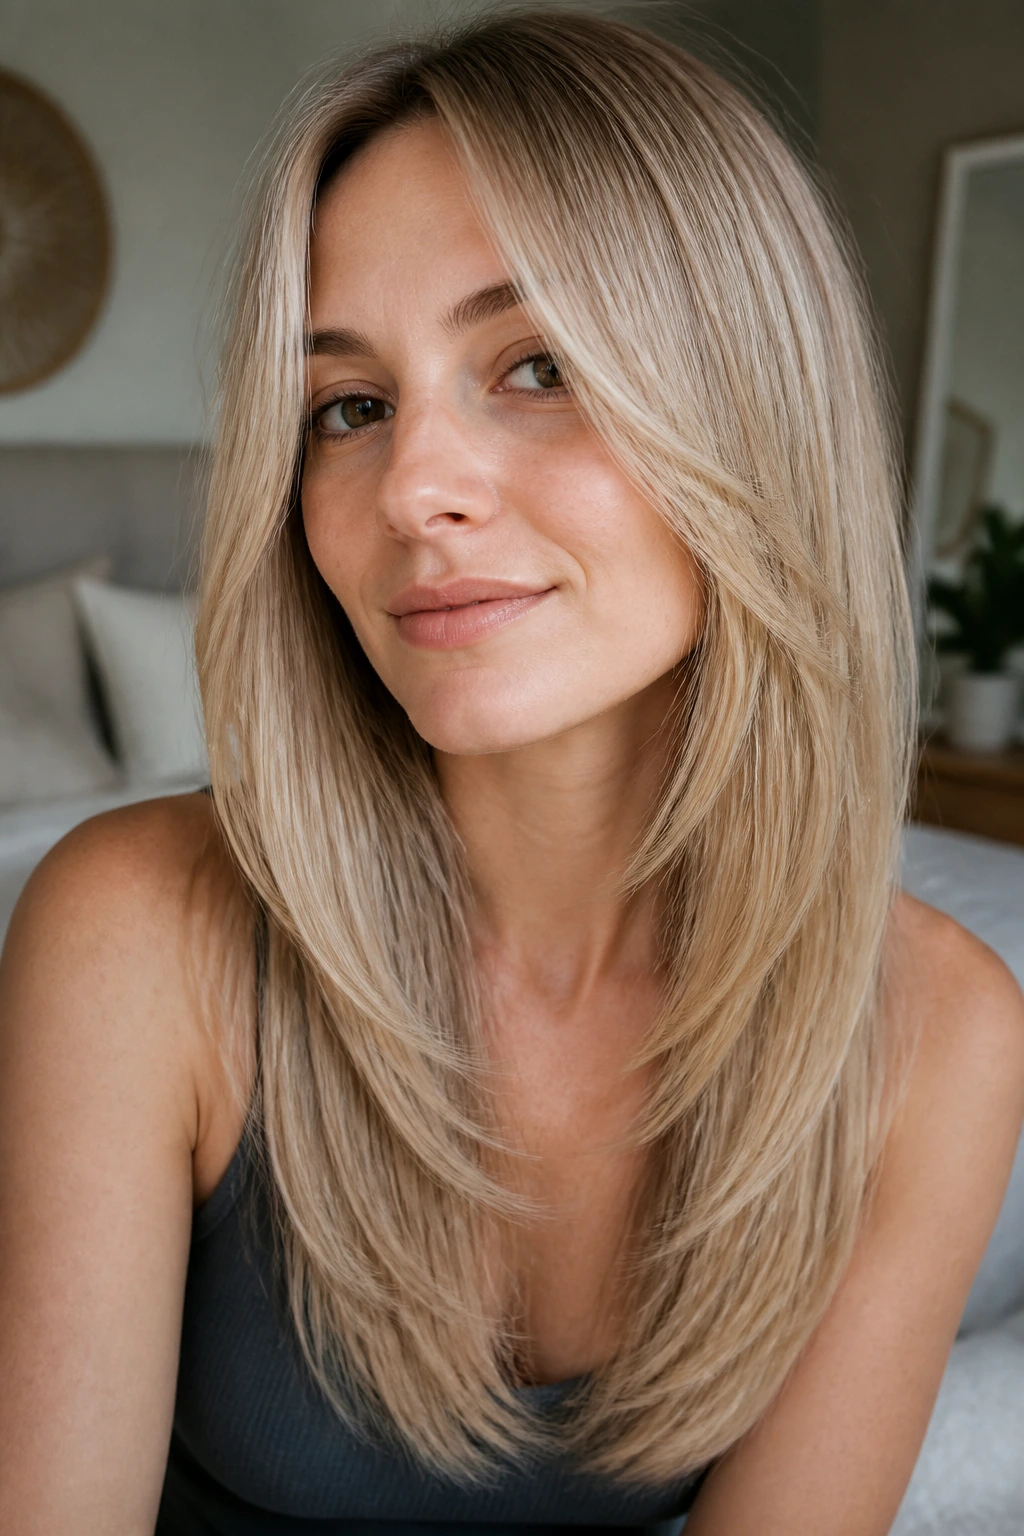
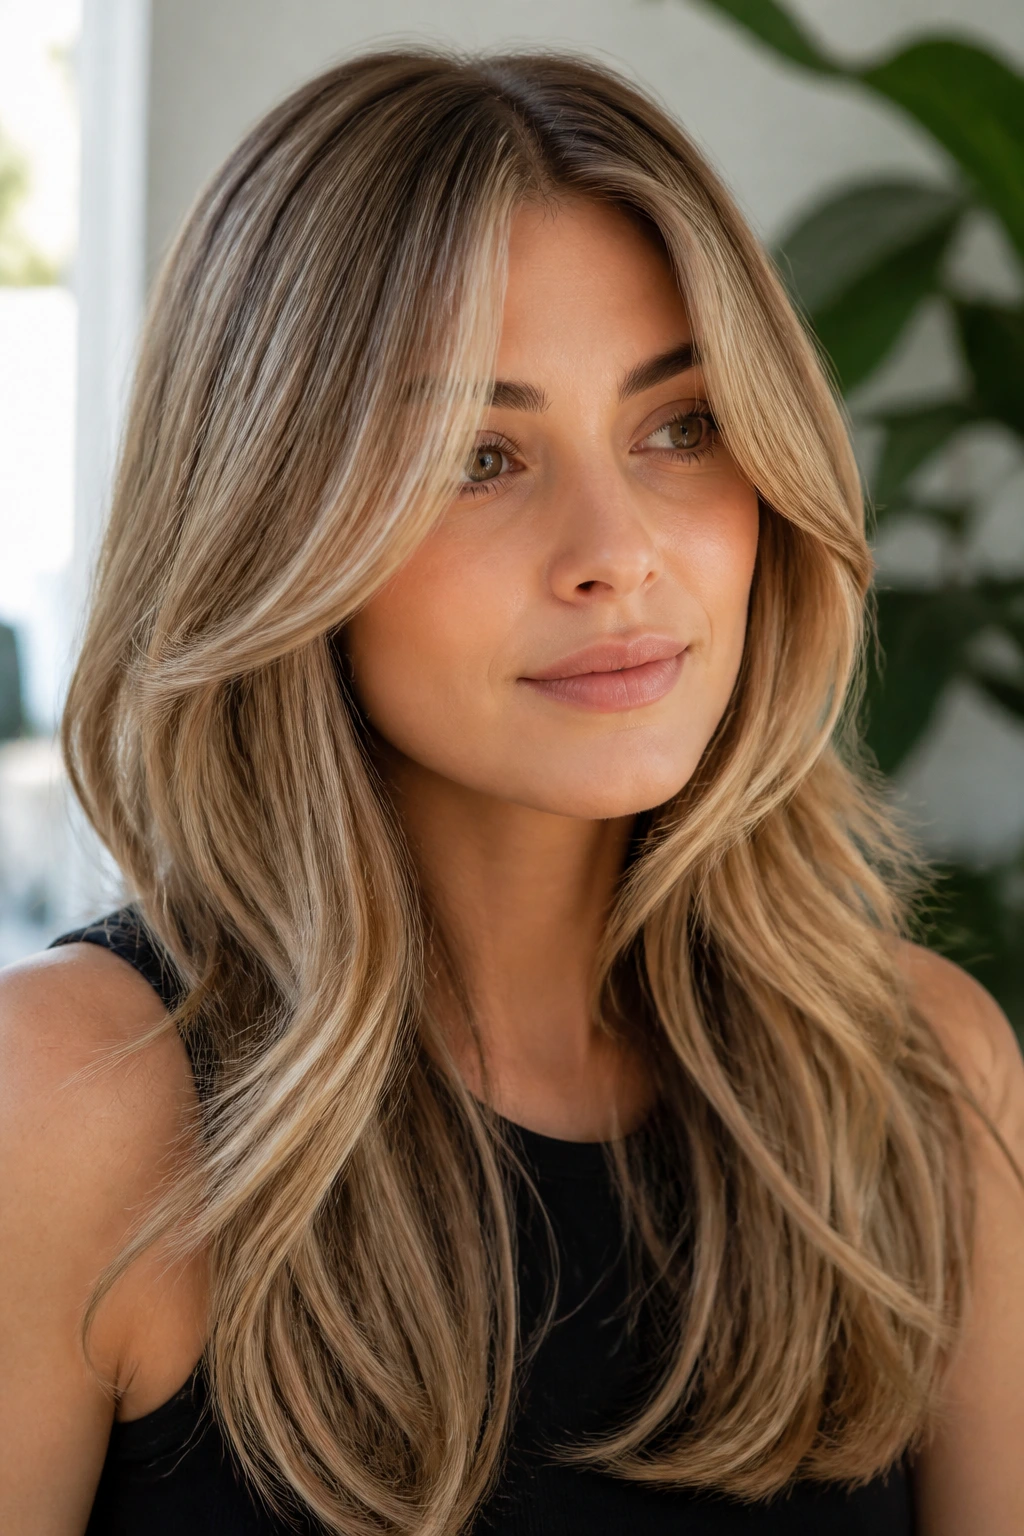
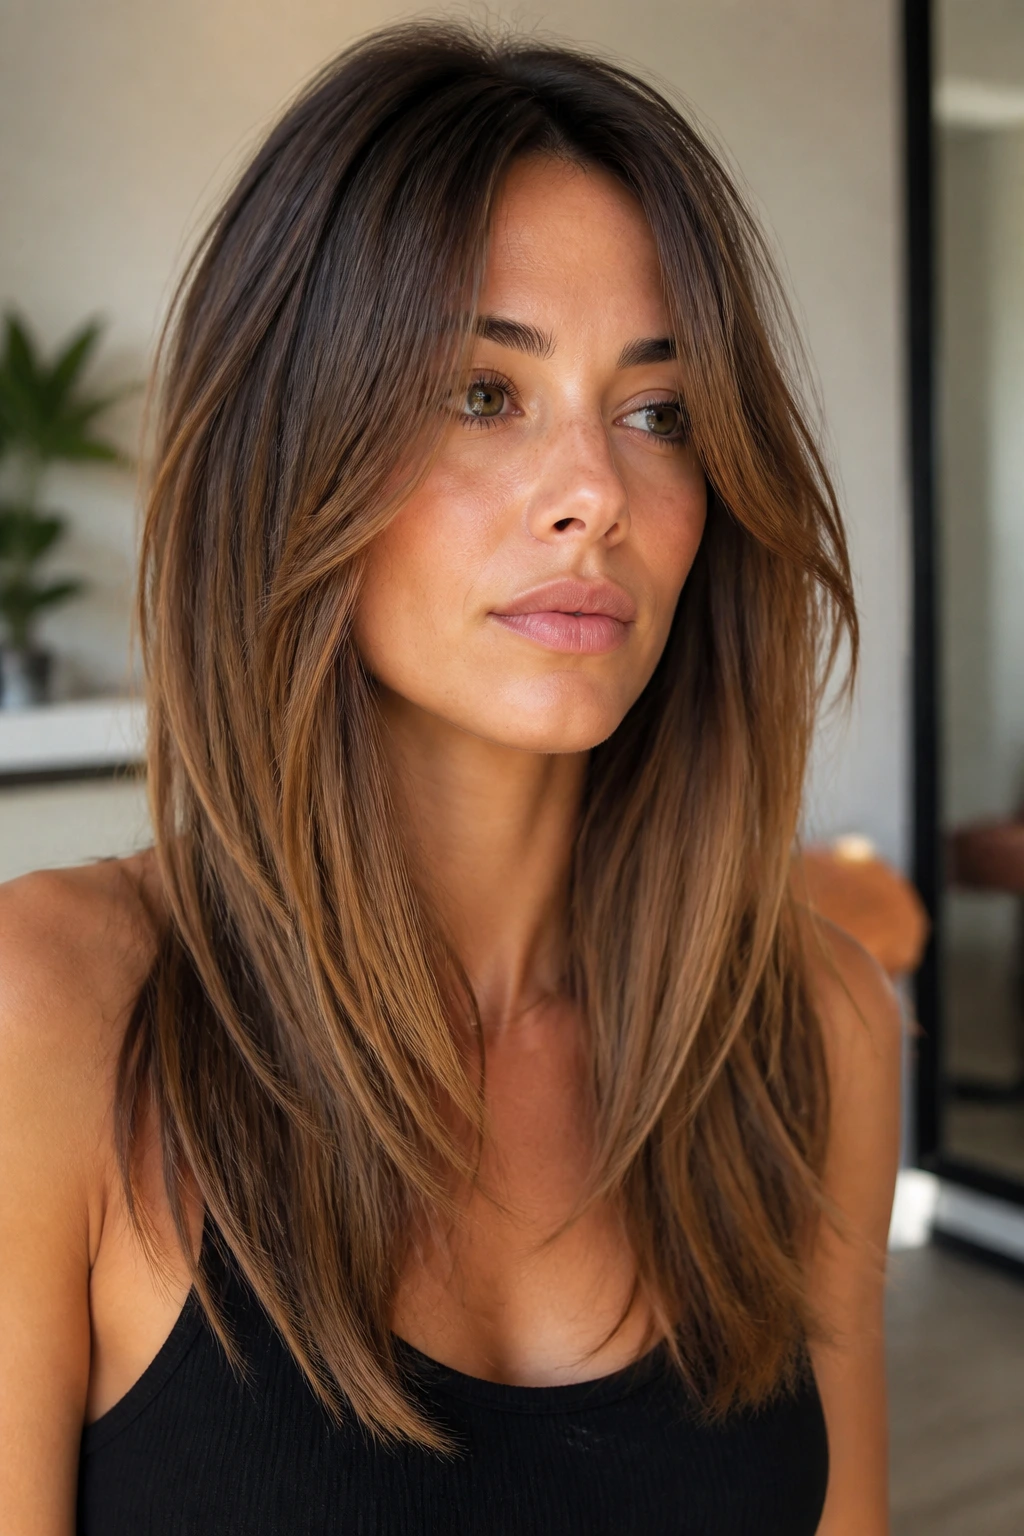
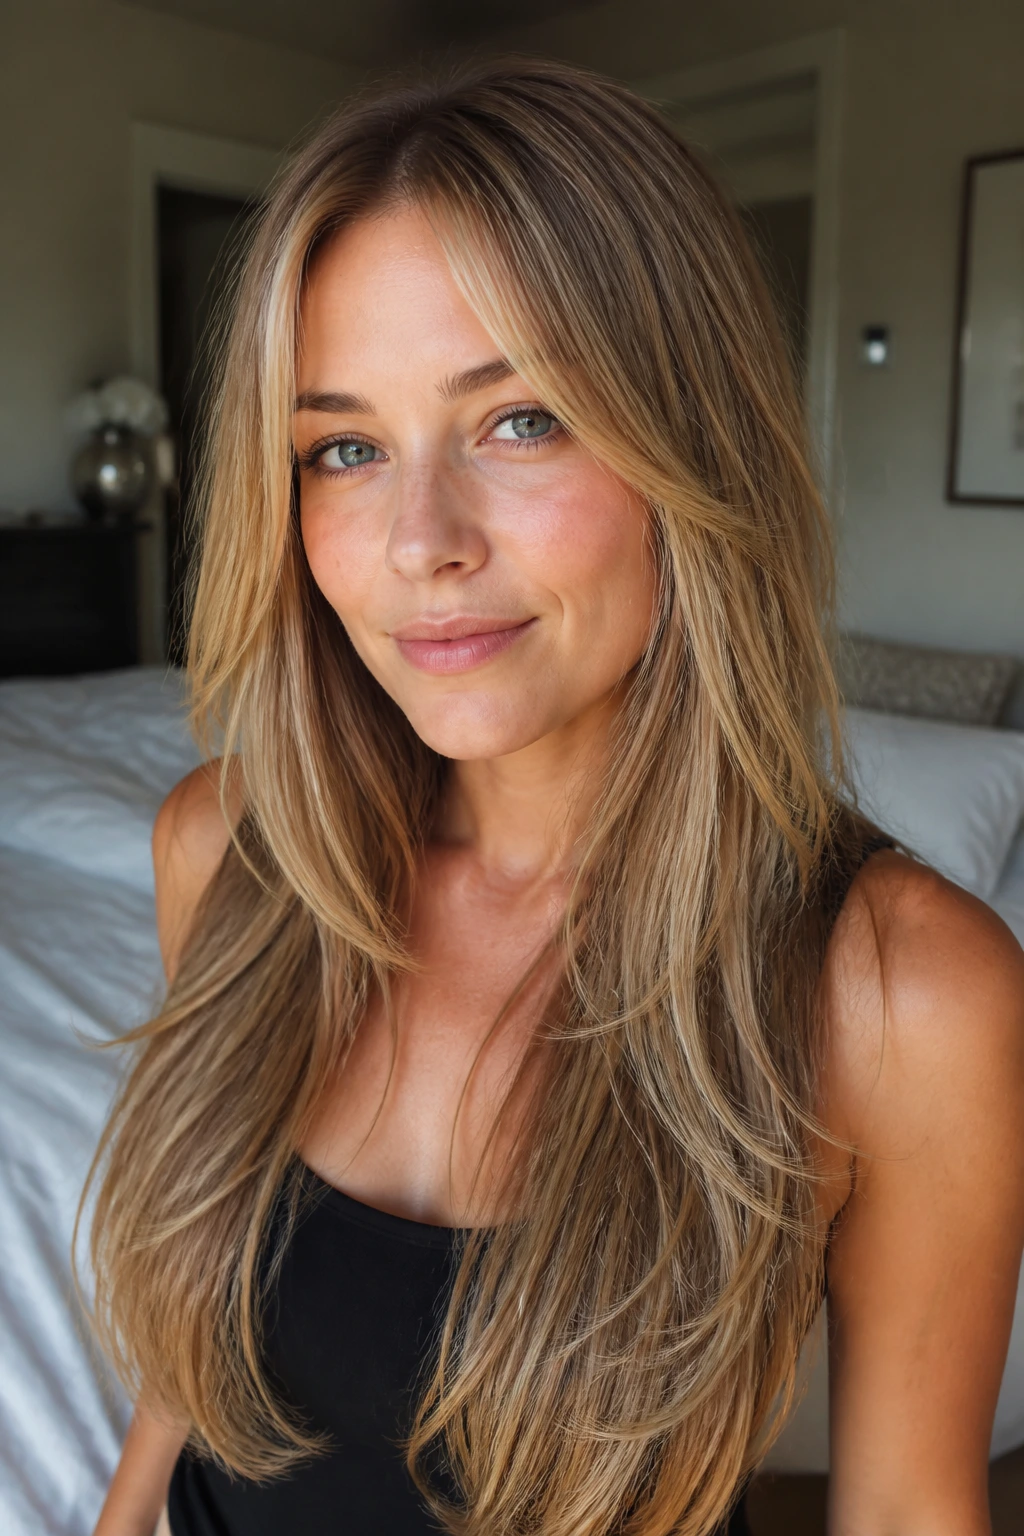
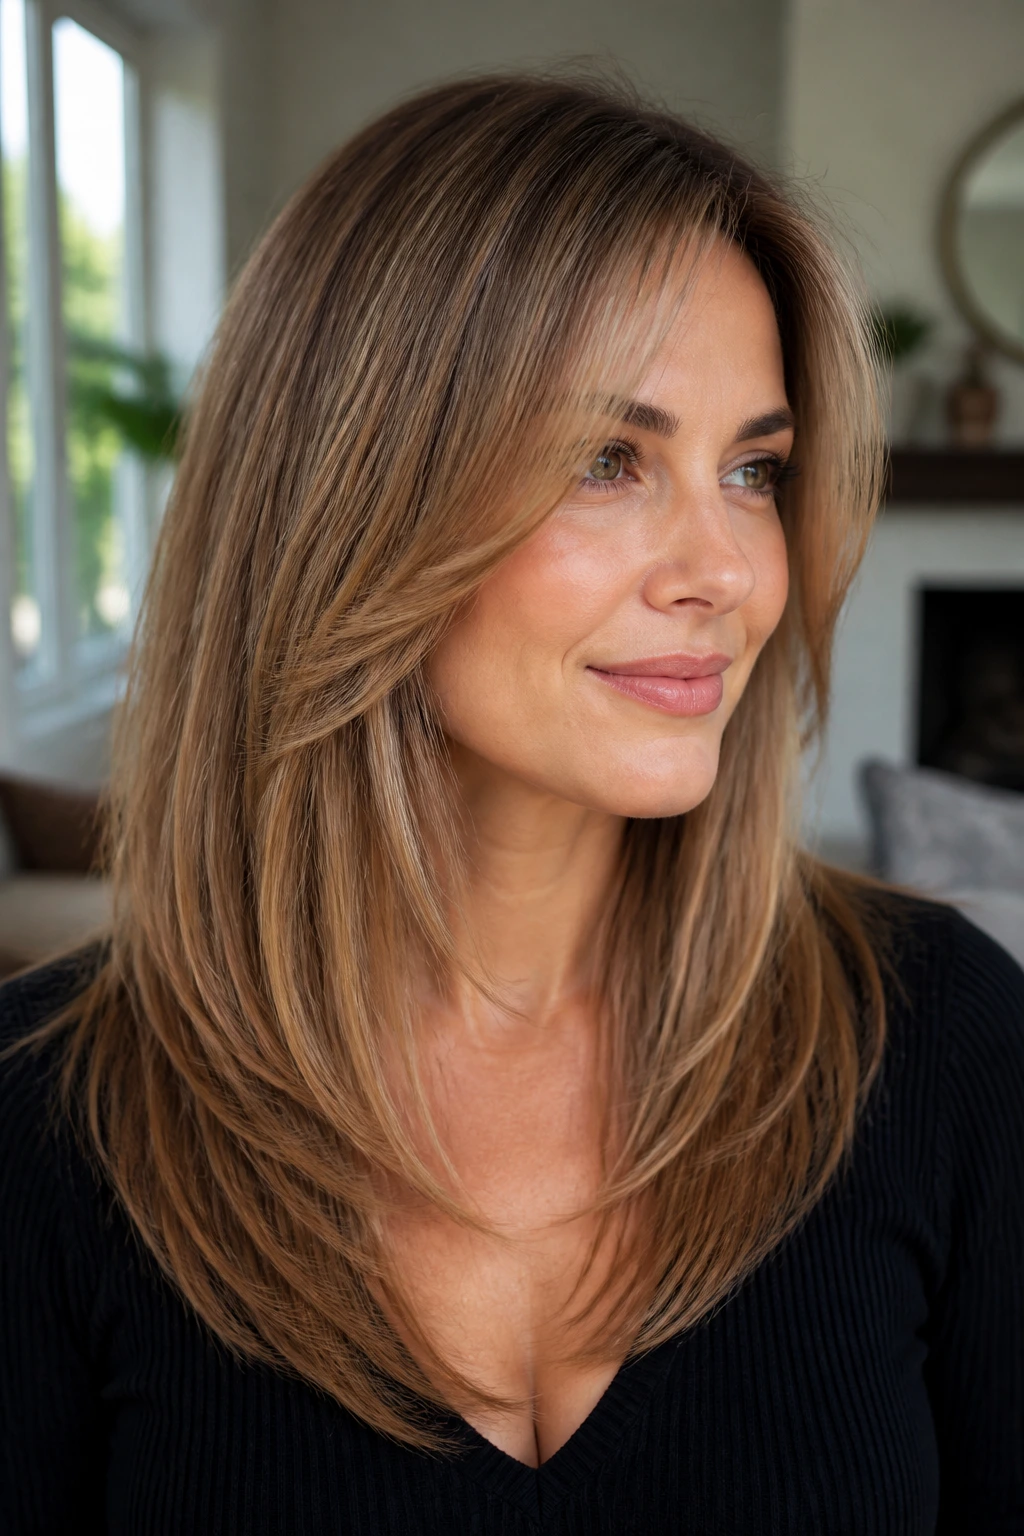
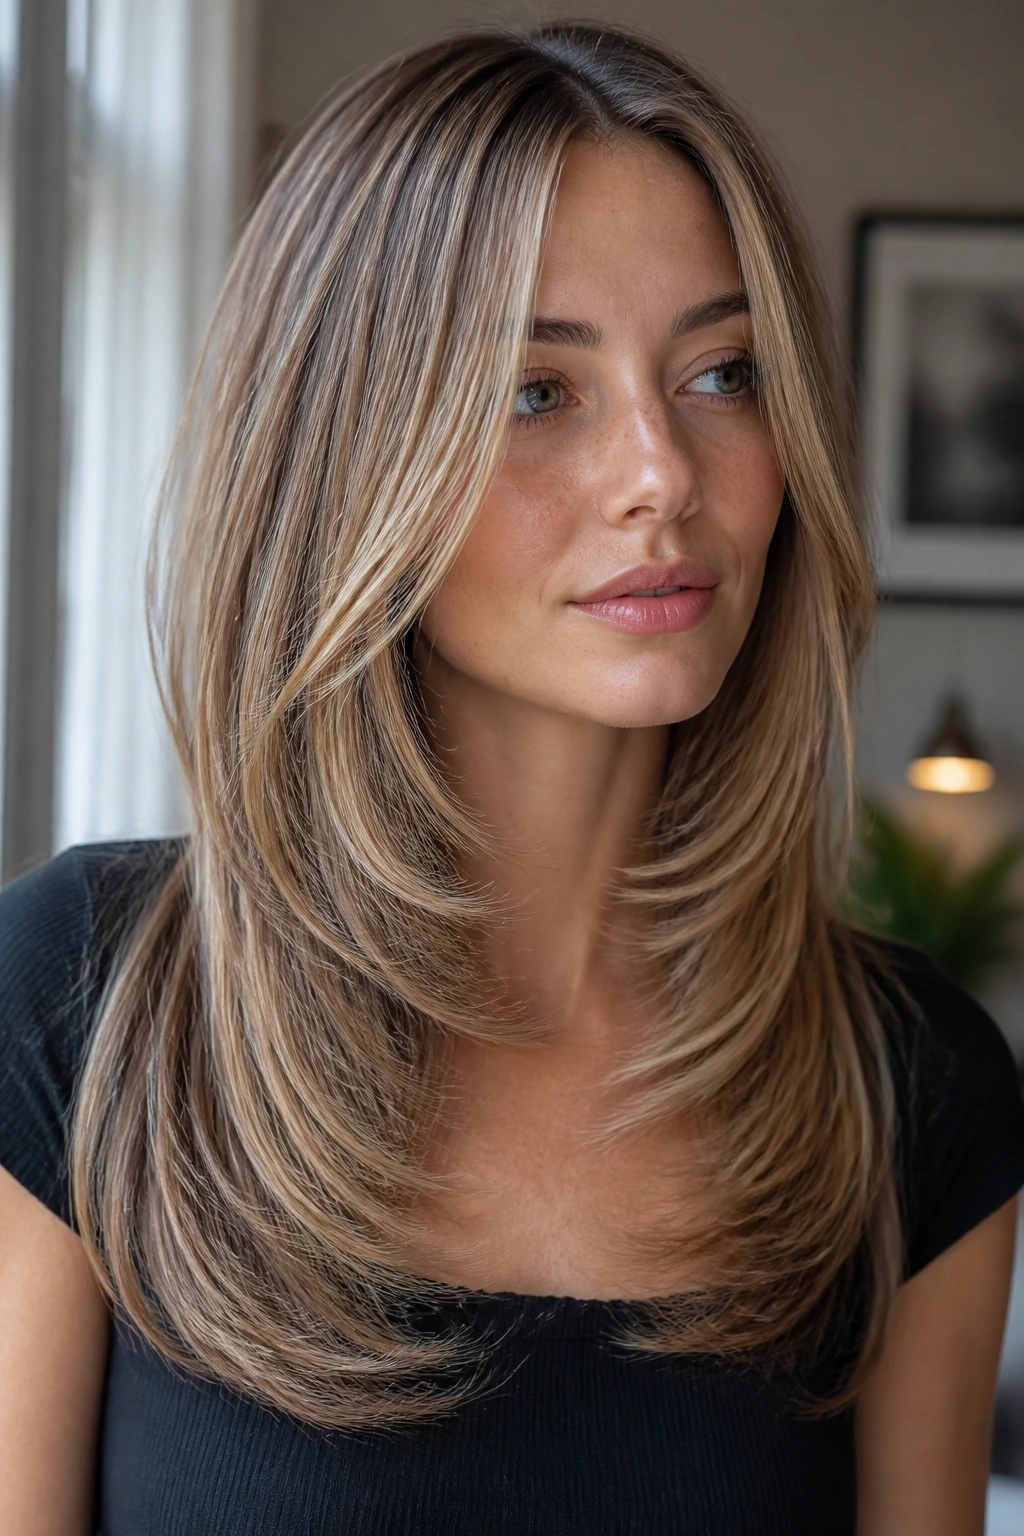
1. Collarbone Sweep with a Soft Face Frame
This is the version I recommend to people who want the safest doorway into angled layers. The shortest pieces start around the collarbone and slide into longer lengths in the back, so the cut creates movement without shouting for attention.
The reason it works on fine hair is simple: the collarbone is high enough to lift the front, but not so high that the perimeter goes stringy. When you tuck one side behind your ear, the front still falls in a clean diagonal line. That line does a lot of work.
Best for: straight or slightly wavy hair that flops when it gets too long.
Styling note: a 1.5-inch round brush and a small bend at the ends are enough. Don’t overcurl it. The shape is the point.
2. Butterfly Lift with Long Curtain Pieces
The butterfly look gets thrown around a lot, and on fine hair I’m picky about it. Too much layering turns the whole head into soft fuzz. The version that works keeps the long curtain pieces around the cheekbone and chin, then leaves the rest of the length mostly intact.
That creates the feeling of lift without sacrificing the heavier bottom line that fine hair needs. You get the little flutter around the face, but the back still hangs with enough weight to look like hair, not a suggestion of hair.
What Makes It Behave
The shortest pieces should blend, not separate. If you can see each layer as a hard step, the cut has gone too far.
Use this version if you like a blowout that swings away from the face and folds back in near the shoulders. It’s especially good when the ends are healthy but the front feels flat and lifeless.
3. Chin-Start Angle for Slimmer Front Pieces
Want the face frame to actually show up in a mirror selfie? Start the shortest layer around the chin. That gives the front pieces enough length to skim the jaw while still creating a clear angle down into the long back.
The cut reads sharper than a collarbone sweep, which makes it a smart choice for rounder faces or for anyone who feels buried under one-length hair. Fine hair likes this placement because the front pieces can be styled with a slight bend and still look full. If the shortest layer starts too high, though, the ends can go transparent fast.
A little secret here: the chin-start angle looks best when the back stays calm. Keep the bottom line soft and controlled, and let the front do the talking.
4. U-Shape with Hidden Interior Layers
A U-shape is the quietest member of this group, and that’s why I like it so much. The visible perimeter curves gently instead of dropping in a hard blunt line, while the layers live inside the haircut where they add movement without stealing bulk from the ends.
For fine hair, this is one of the smartest ways to keep length. You still get the sense of motion when you walk, but you don’t lose density the way you can with lots of short layers stacked through the whole head.
The trick is restraint. The interior layers should be soft and measured, not choppy. If you can feel the shape move but don’t immediately spot every layer, the cut is doing its job.
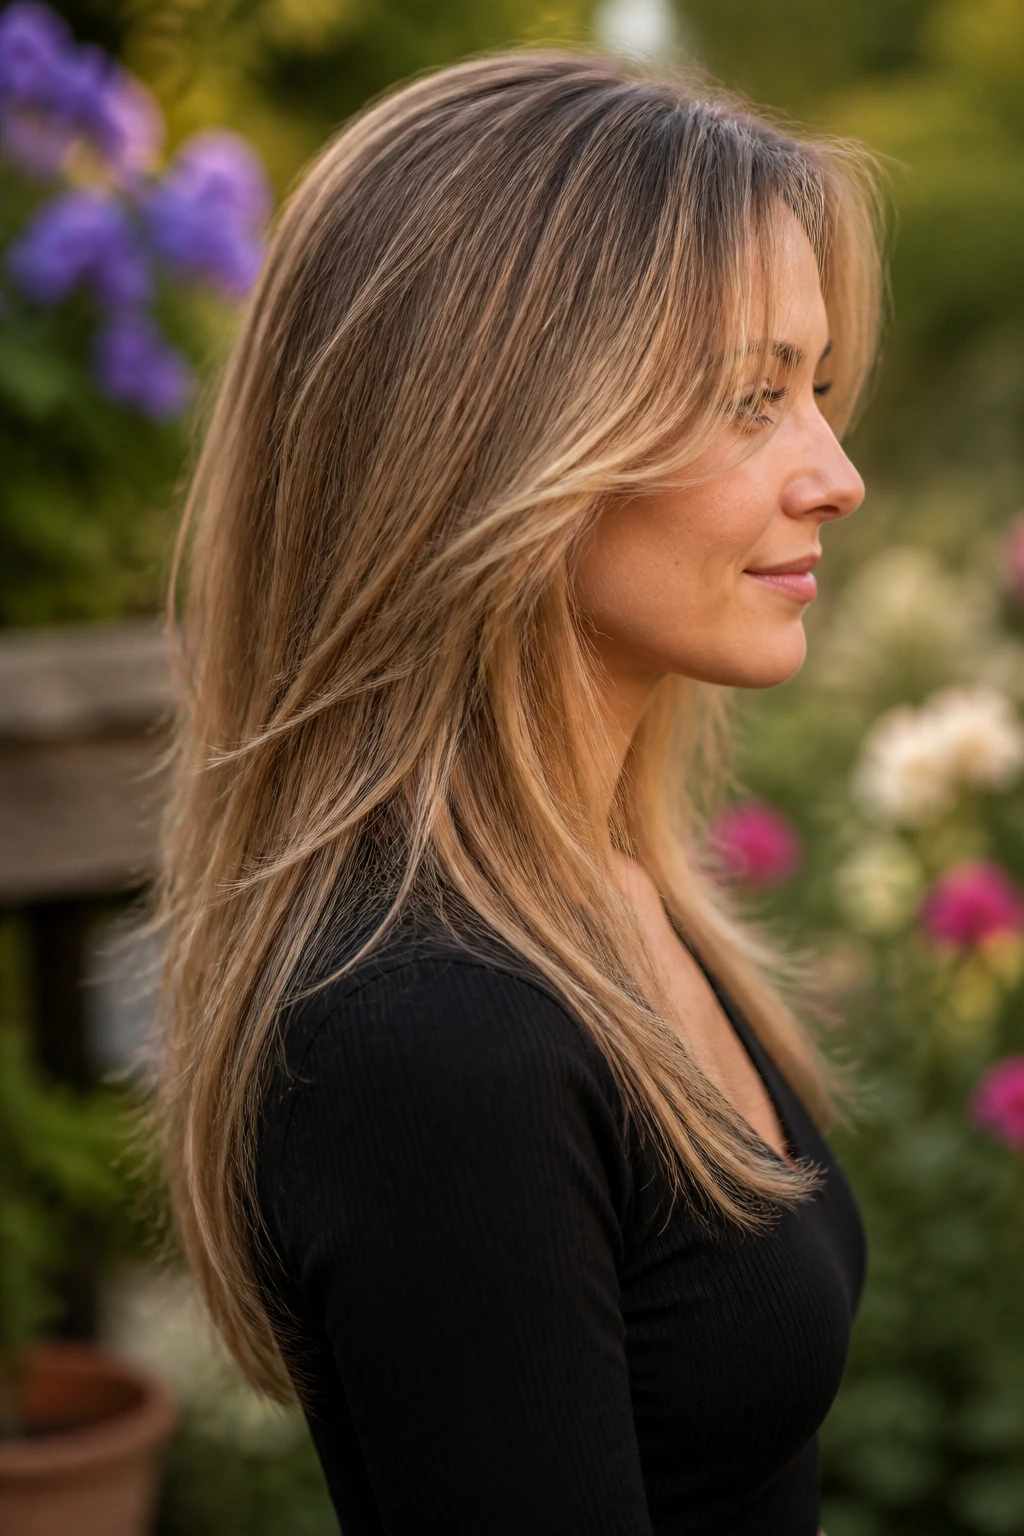
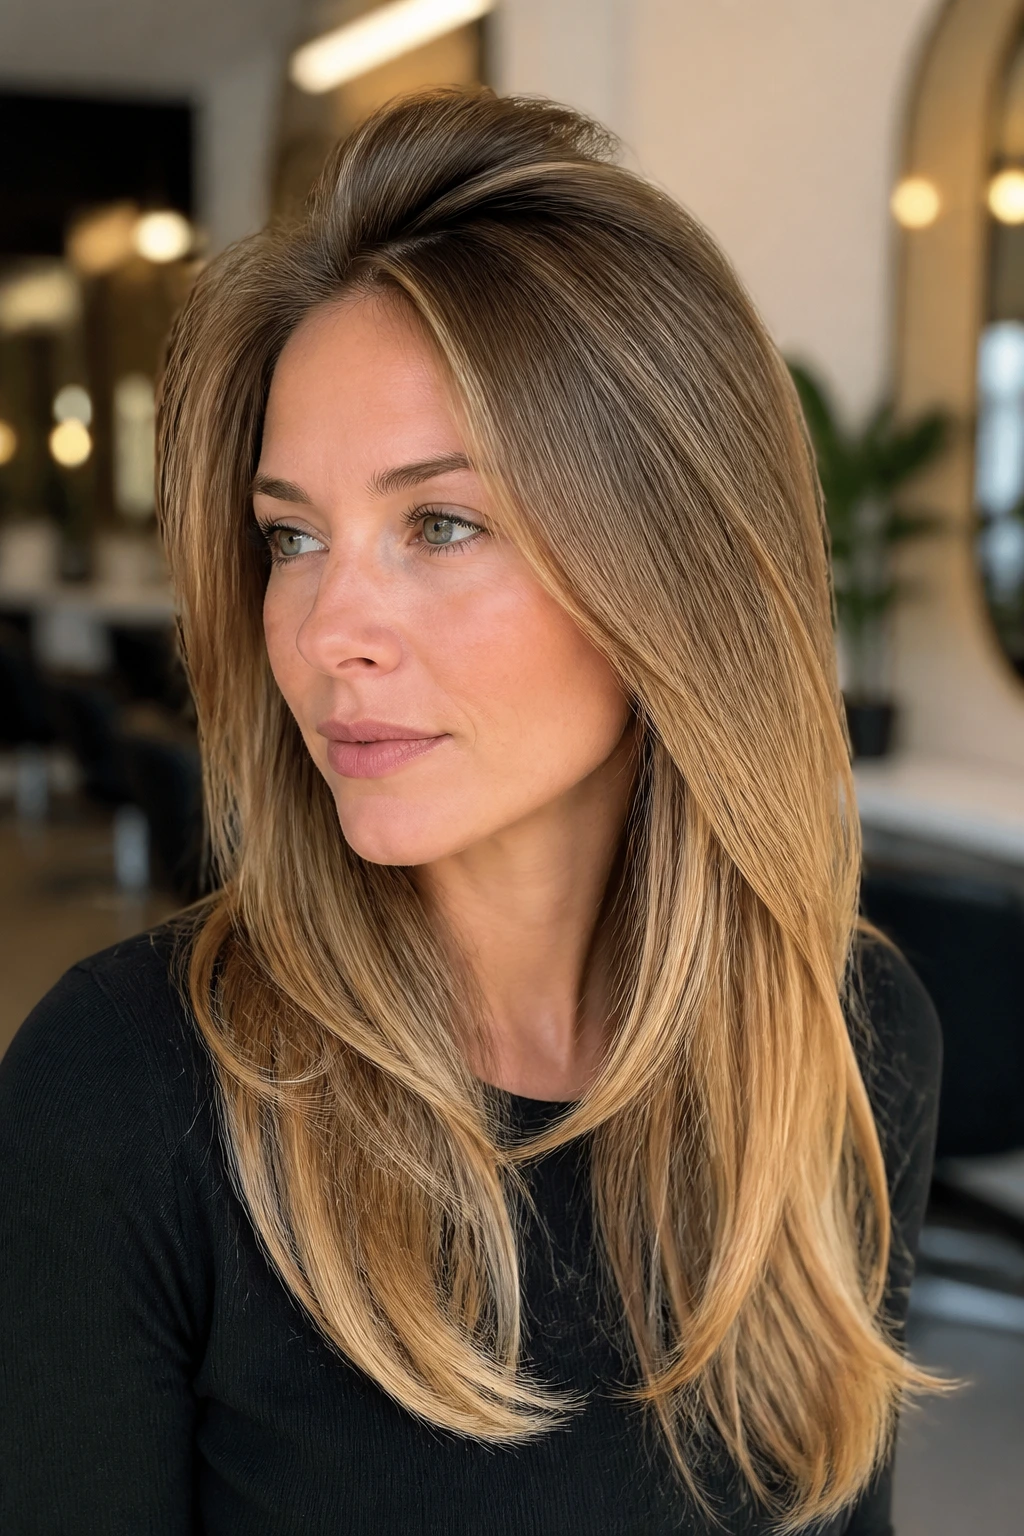
5. C-Curve Frame for Cheekbone Focus
This one is all about the arc around the face. The shortest pieces bend inward near the cheeks, then taper down into longer lengths, almost like the curve of a well-drawn C. It’s graceful, but not fussy.
On fine hair, that curve creates the illusion of thickness because the eye follows the shape instead of measuring the density. It also gives round brush styling a head start. Once the front has that bend baked into the cut, a few minutes with heat can sharpen it right back up.
The cut flatters hair that lies a little too straight at the cheek and then collapses at the shoulders. With the curve in place, the hair feels lifted even when it’s worn loose.
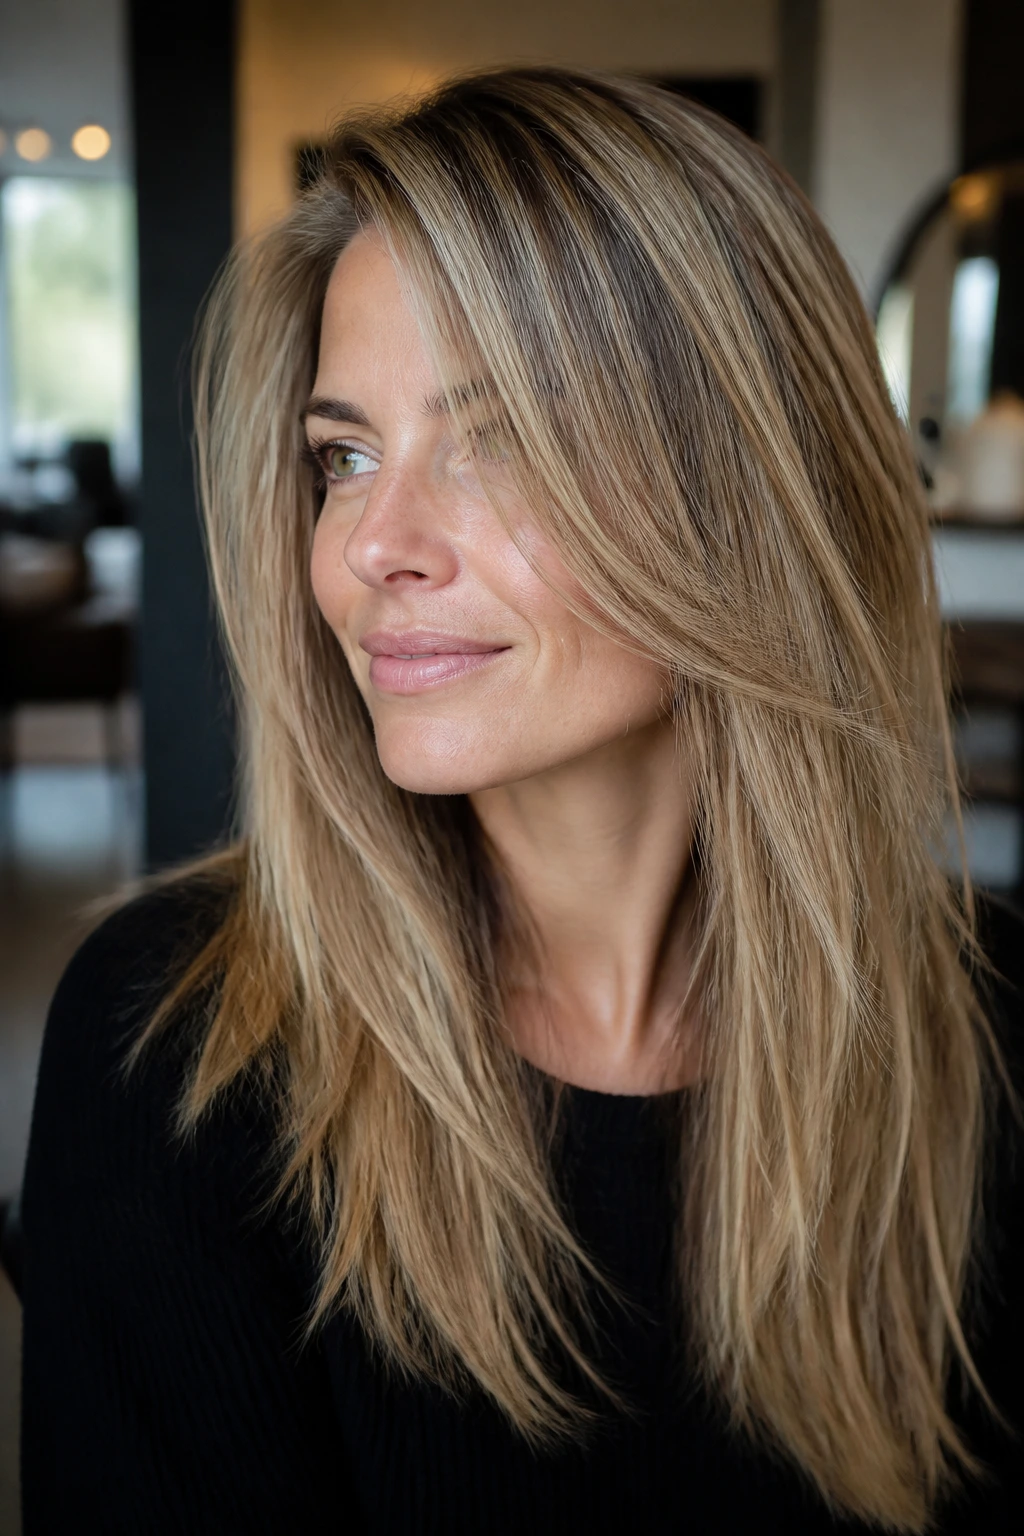
6. Side-Part Sweep with Long Front Angles
Deep side parts can rescue fine hair on a flat day. They give the crown a natural lift because the hair is being redirected, not just flattened straight down from the part line. Pair that with long front angles and the result is a cut that looks deliberate without asking for much extra work.
I like this version for people whose hair falls heavy on one side and sparse on the other. The shorter side can sit near the cheekbone, while the longer side keeps enough length to tuck or pin back. That asymmetry creates visual interest, but it also tricks the eye into reading the hair as fuller.
If you live in blow-dry territory, this is an easy win. If you air-dry, make sure the front pieces are not cut too short or they’ll kick out in odd places.
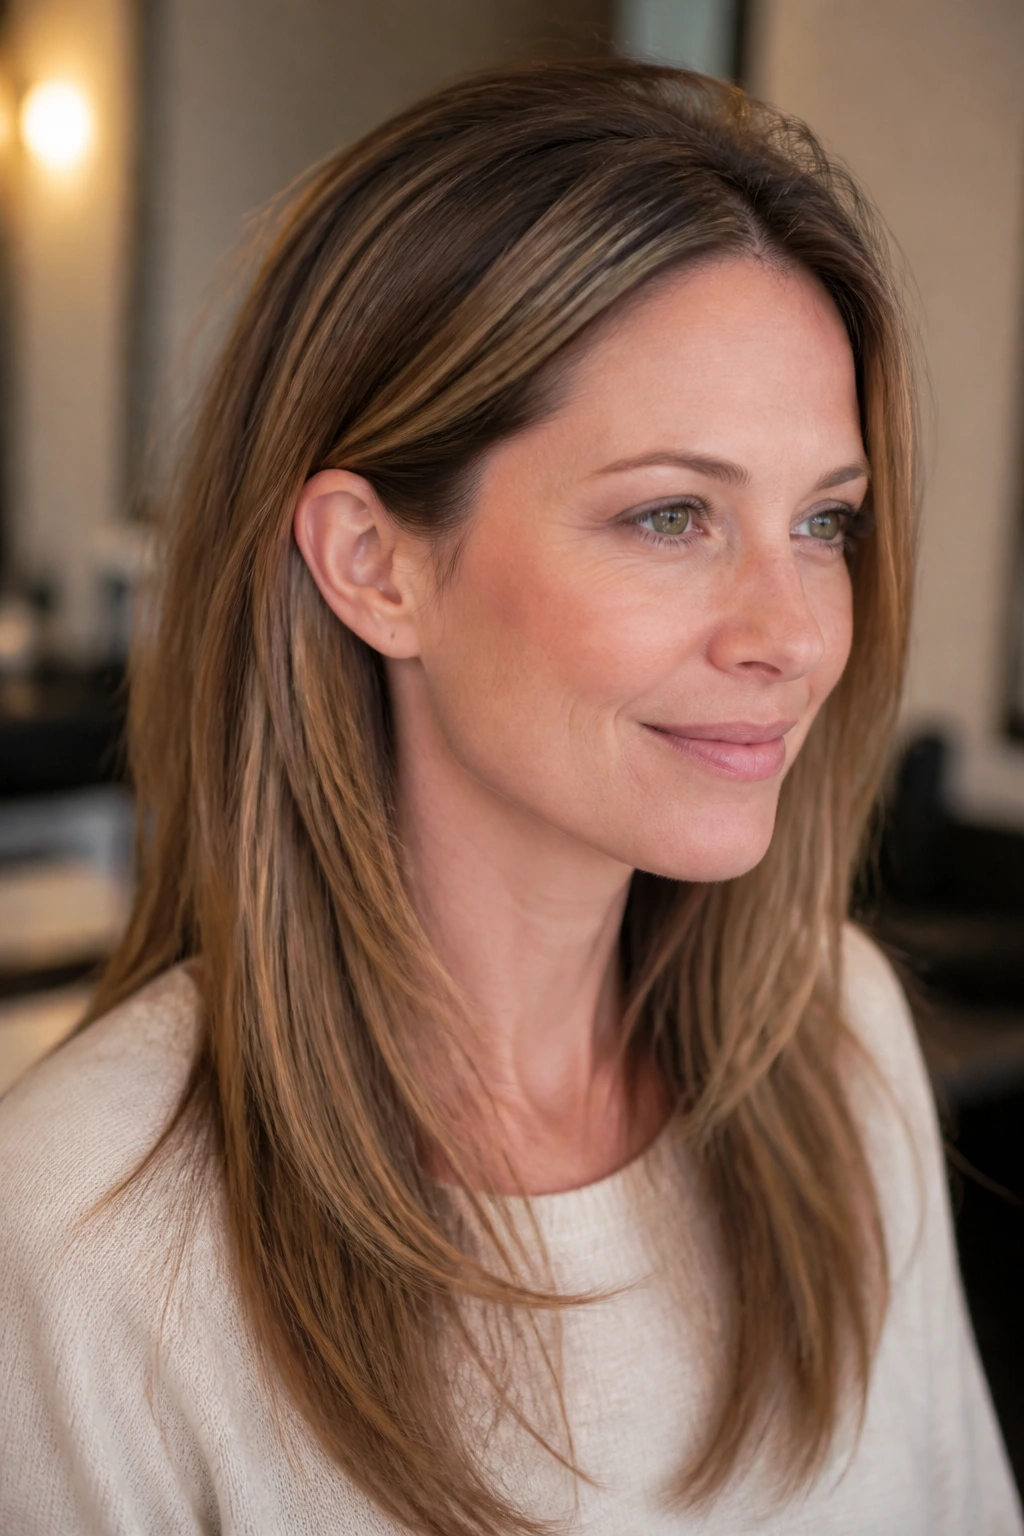
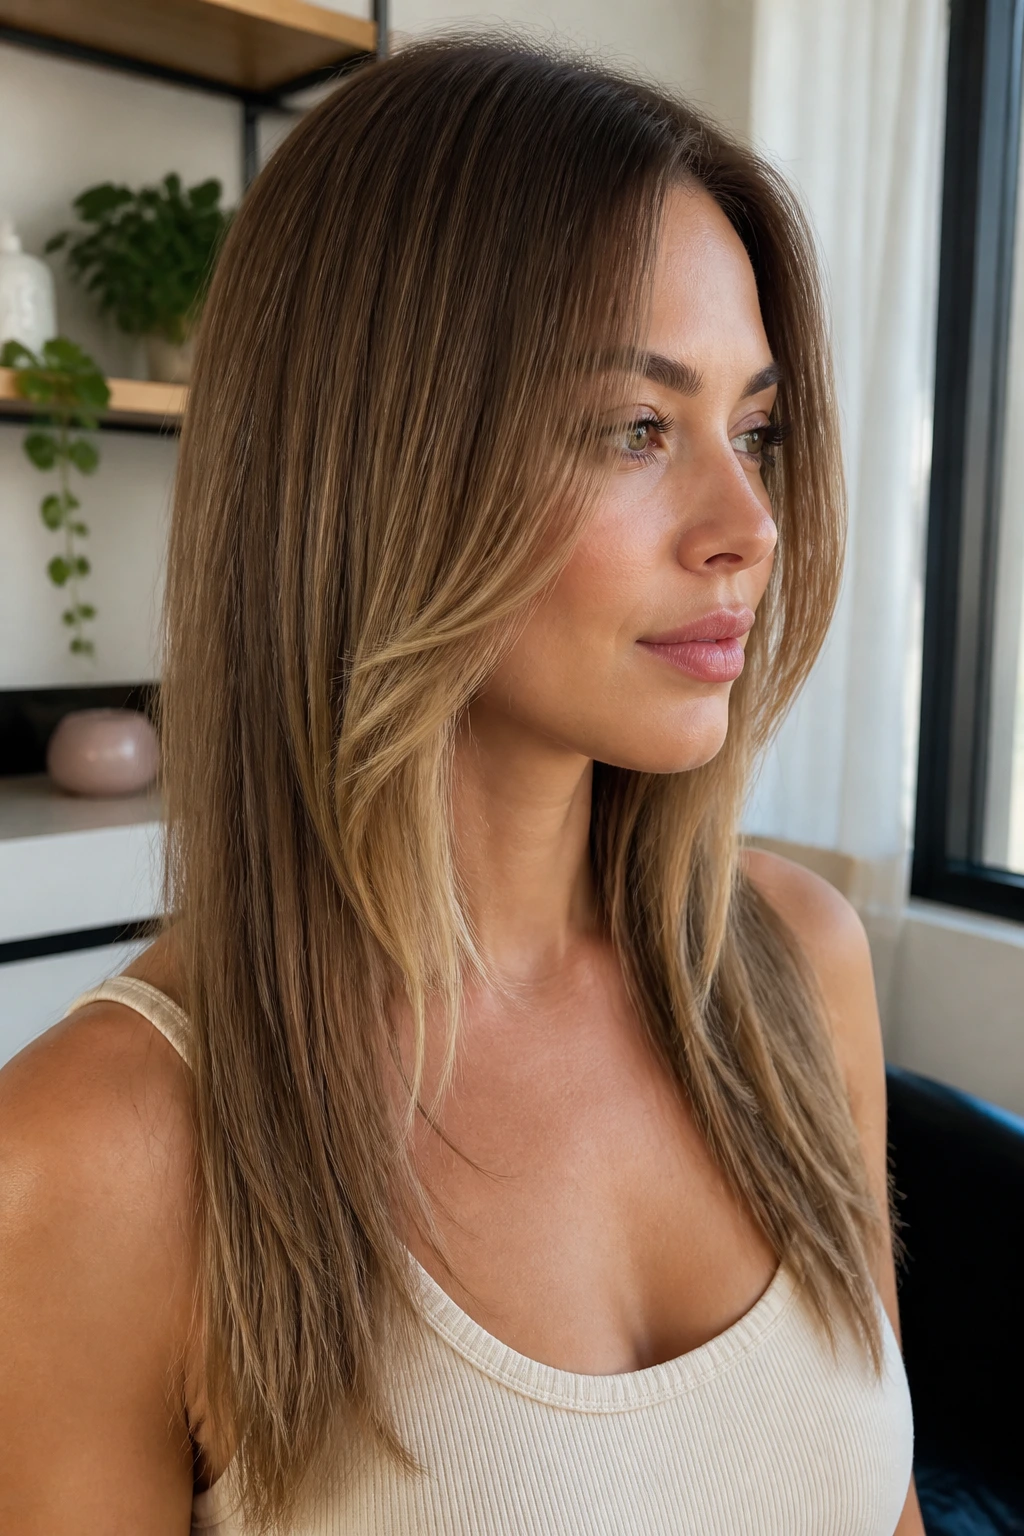
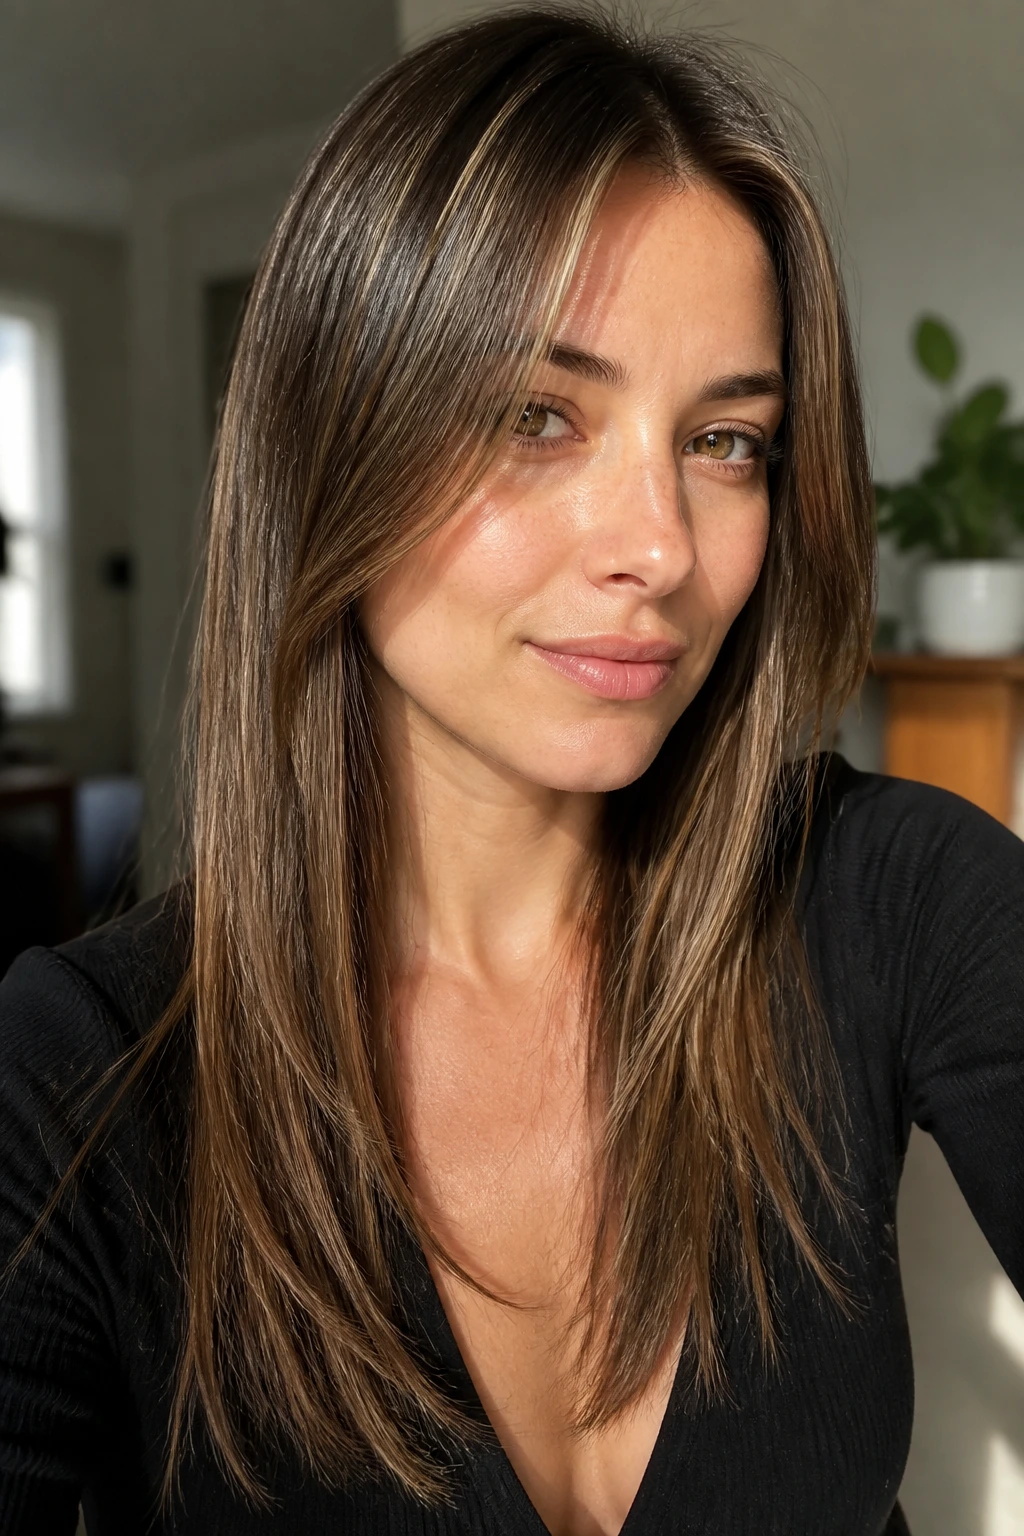
7. Polished Straight Finish with Invisible Layers
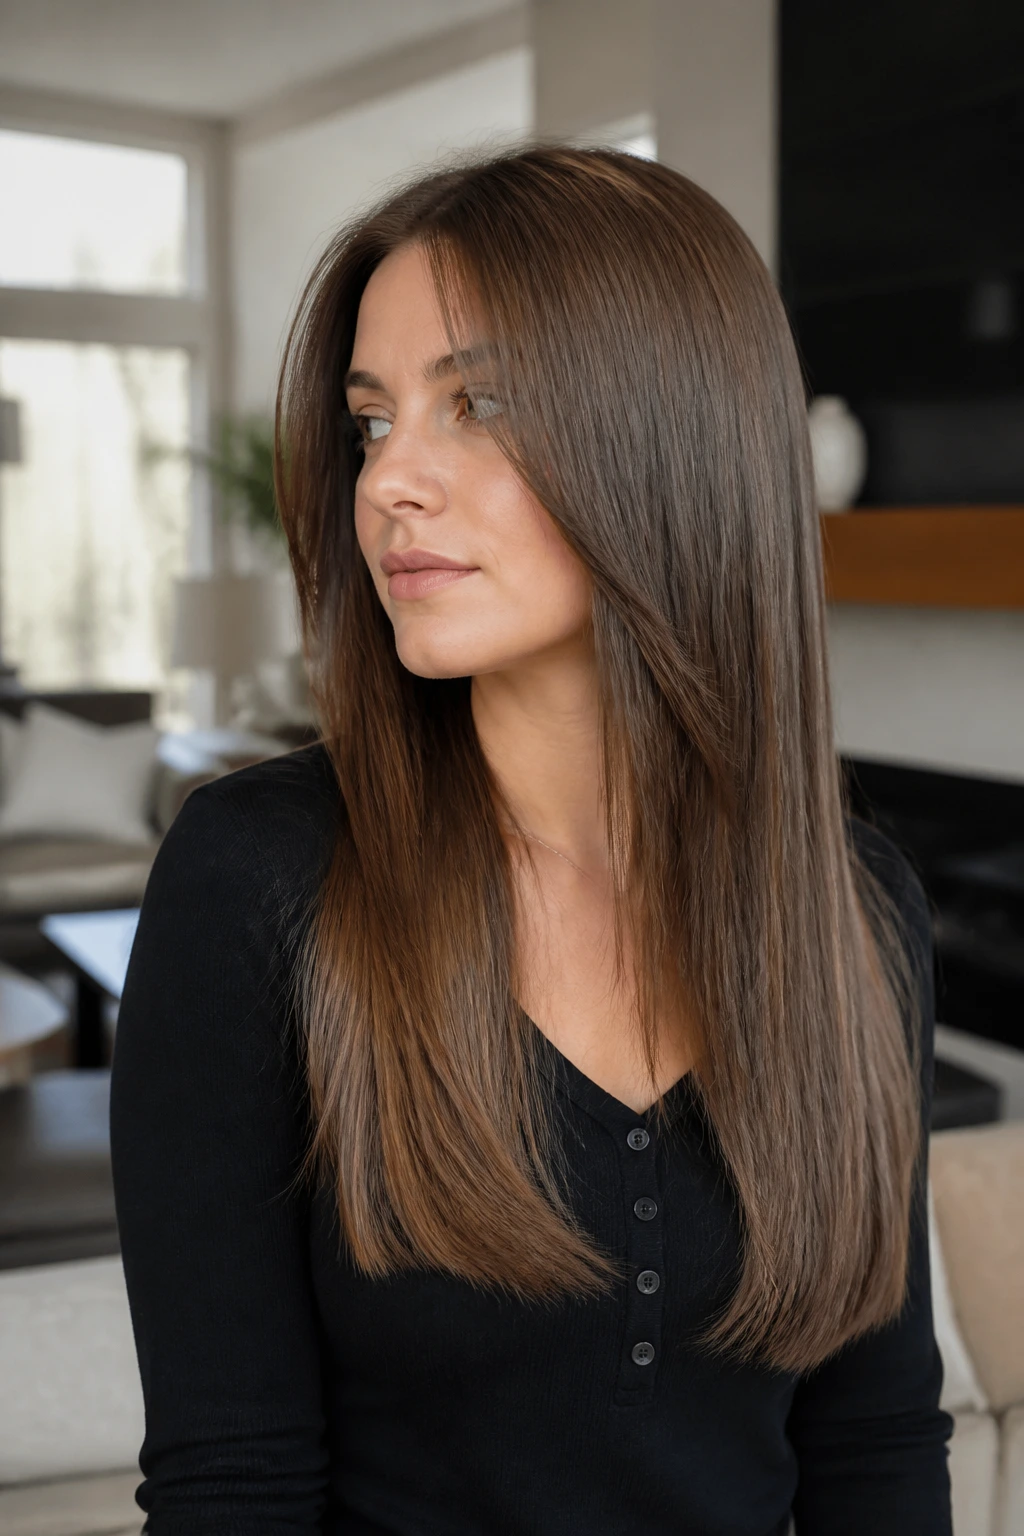
This is the sleek version for people who hate obvious layering. The cut keeps the outside looking nearly one-length, but the interior is carved just enough to stop the hair from hanging like a curtain with no life in it.
Fine hair often looks better with a cleaner silhouette than with a shaggy one. That’s my opinion, and I’m sticking to it. If your strands are soft and smooth by nature, an aggressive layer pattern can look sparse by the second week. Invisible layers preserve the finish while still creating a little bend at the ends.
Use a flat brush or a paddle brush for the initial dry, then add the smallest bend with a straightener only if you need it. The shape should look expensive in the plainest possible way.
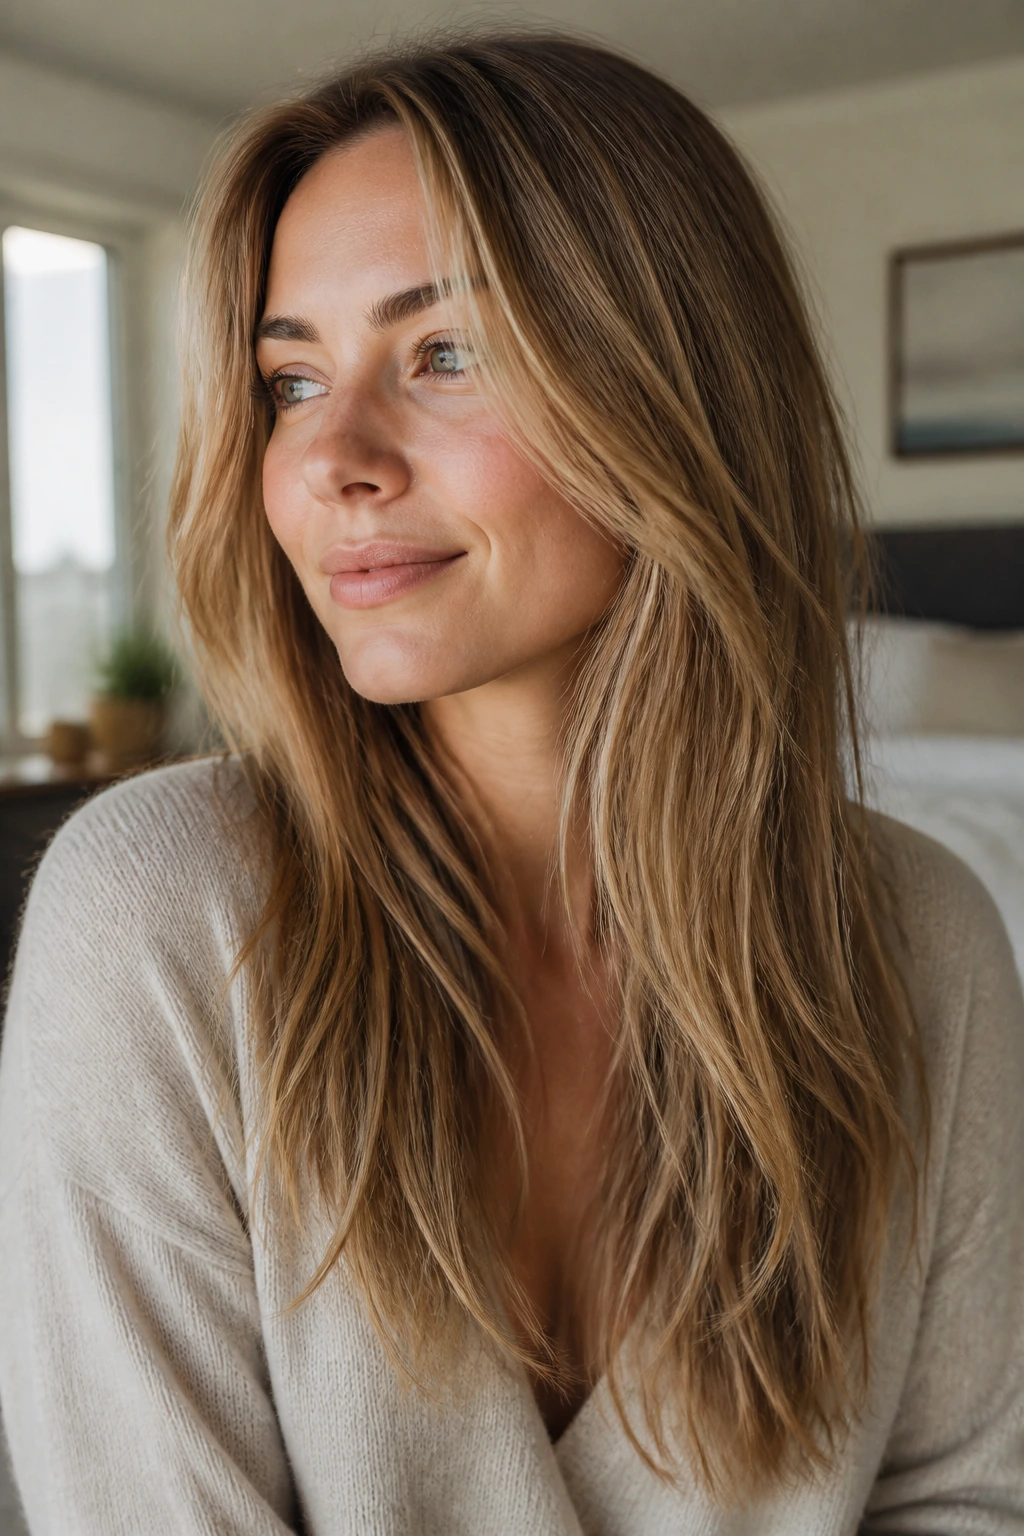
8. Shag-Lite Texture Cut for Wavy Hair
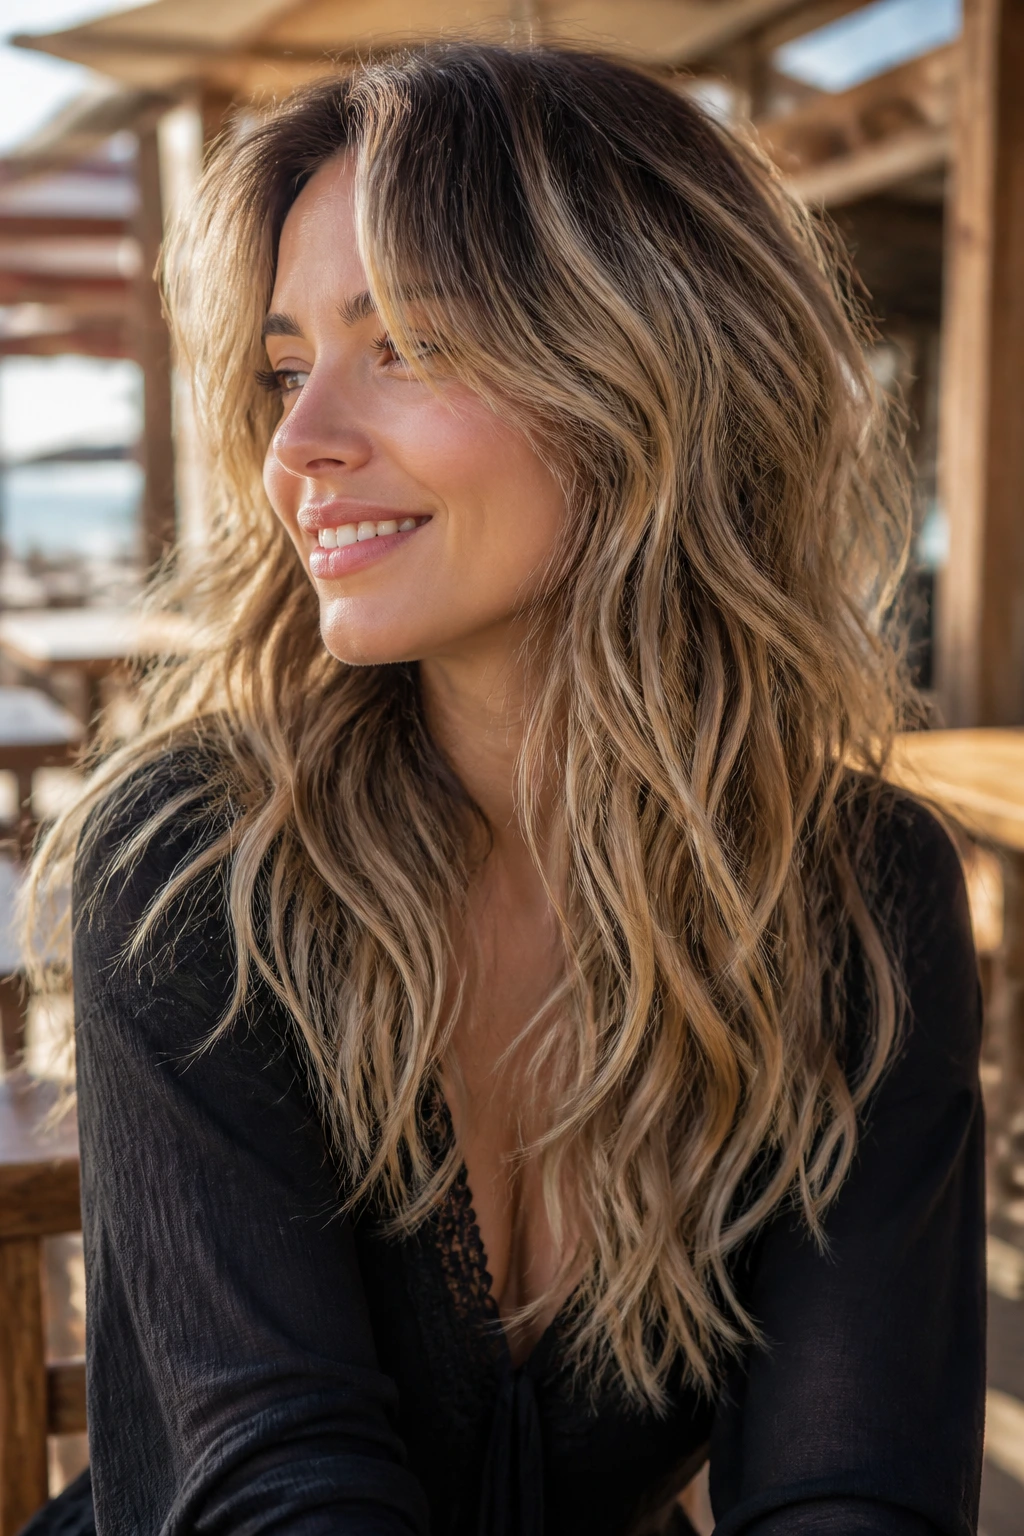
A full shag can be too much for fine hair, but a soft shag-lite cut can be excellent. The layers are lighter and less chopped up, so the waves have room to bend without exposing too much scalp or turning the ends feathery.
This version works when your hair already has some natural texture. The cut is there to help the wave pattern, not fight it. You want ends that separate in a loose, piecey way, not a thousand tiny layers that dry into a frizz halo.
A sea-salt spray may seem tempting here, but go easy. Fine hair gets overwhelmed fast. A light mousse at the roots and a touch of cream at the mids usually gives a better result.
9. Rounded Cascade for a Softer Outline
Picture the hair falling in a rounded waterfall rather than a pointy triangle. That’s the logic behind this cut. The layers are staggered in a way that keeps the silhouette soft and curved, which is kinder to fine hair than a harsh V or a dramatic disconnect.
Rounded cascade layers are useful when your ends tend to kick out or split the difference between straight and wavy. The shape creates a controlled fall, and the hair looks fuller because the outline stays broad instead of narrow.
The Detail That Matters
The side sections should blend smoothly into the back. If the transition is too abrupt, the front pieces can look like they belong to another haircut.
I’d choose this cut for someone who wants movement but doesn’t want to explain their haircut to three different people at brunch. It just looks balanced. That’s the appeal.
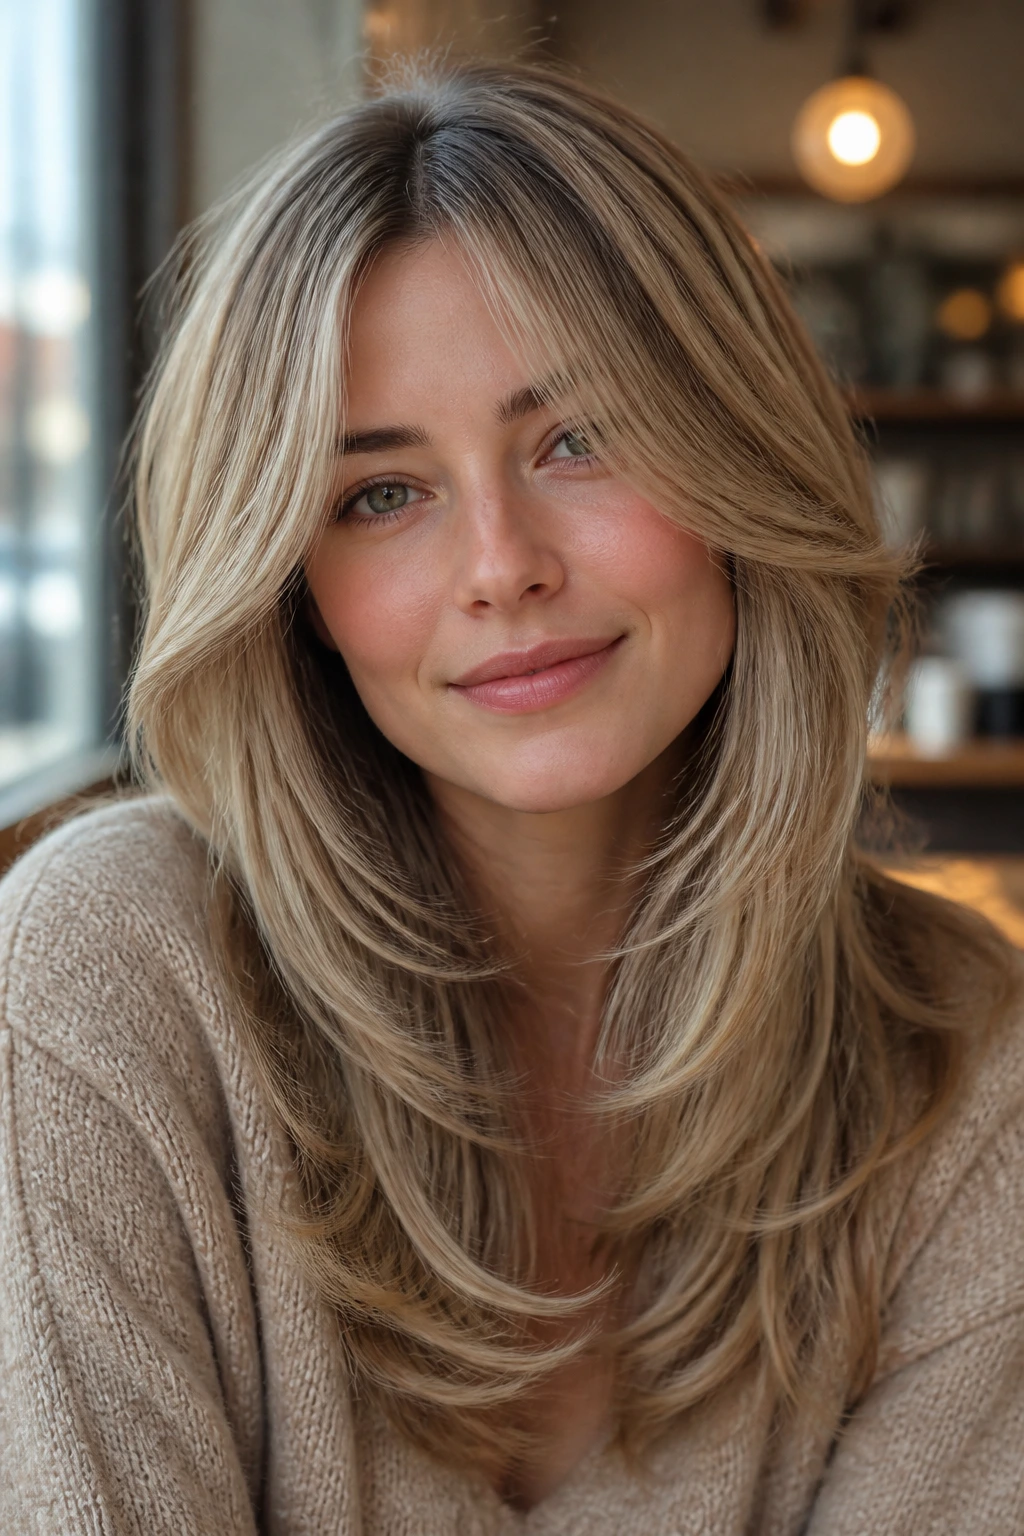
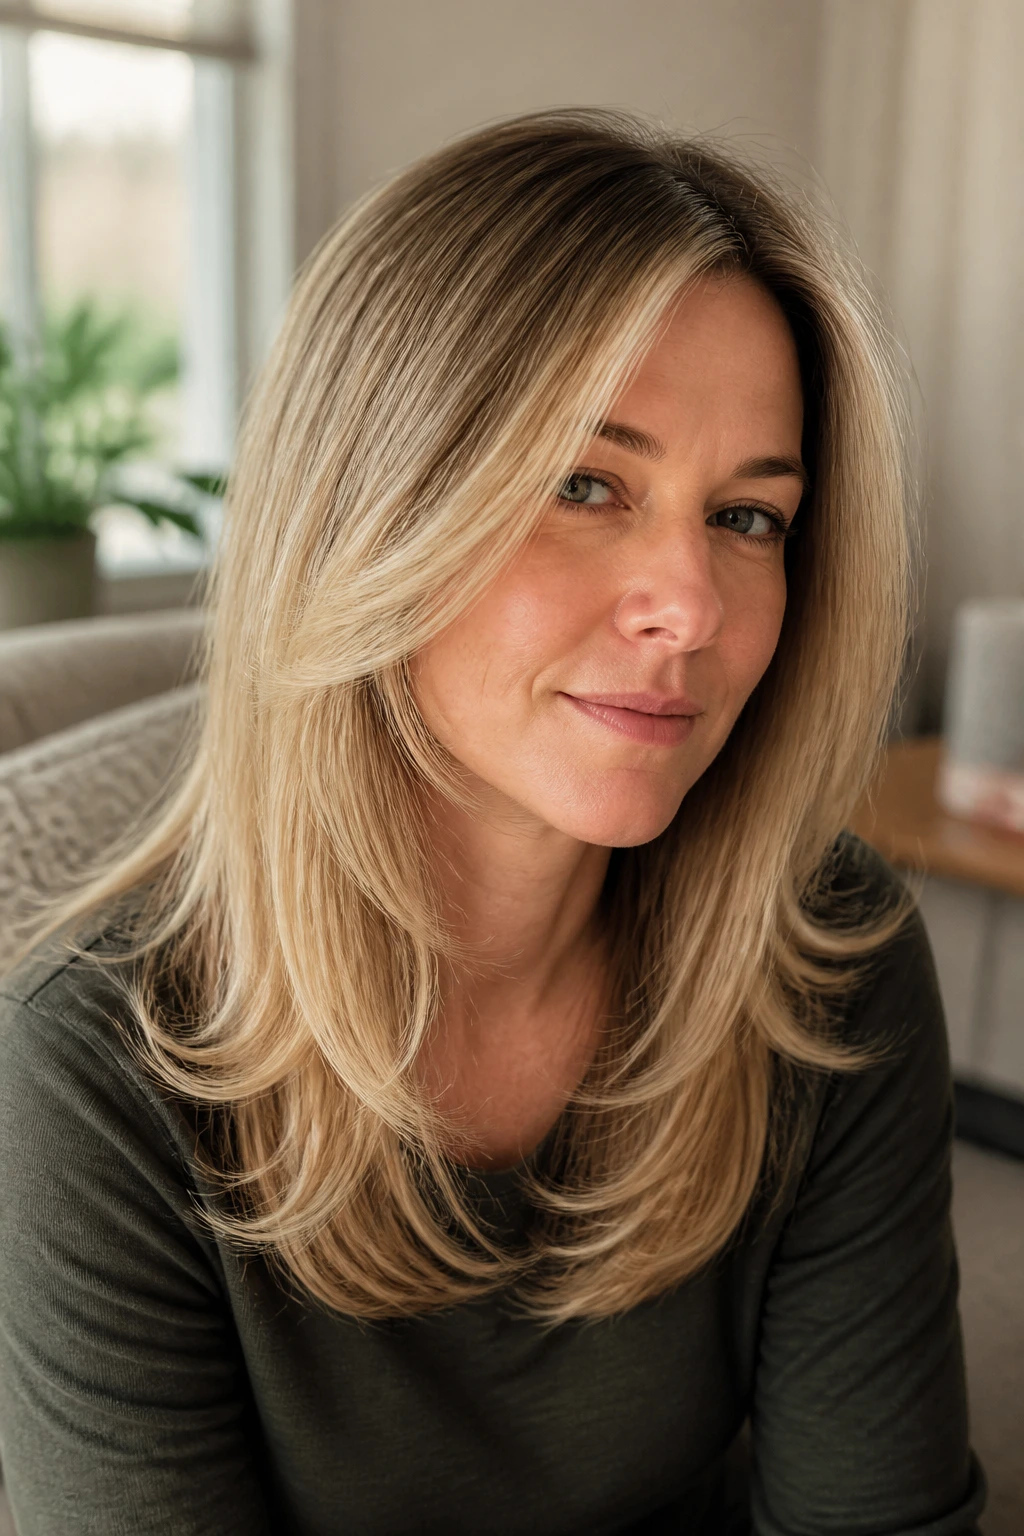
10. Center-Part Curtain Cut
The center part is honest. It shows everything. Which is exactly why a good center-part curtain cut can be so flattering on fine hair. When the front pieces are cut to fall away from the face in a clean split, they create two vertical frames that make the hair look more intentional.
Fine hair likes symmetry when the cut is subtle. The curtain pieces should start somewhere between the cheekbone and chin, then travel into the longer length with a soft angle. Too short, and the front looks sparse. Too long, and the whole idea disappears.
This is one of the easiest cuts to grow out, too. The middle stays elegant as the layers lengthen, and you don’t get that awkward shelf effect that some angled cuts develop after a few weeks.
11. V-Shape with Feathered Front Pieces
A V-shape gives long hair a pointed back silhouette, which sounds bolder than it usually looks. On fine hair, the point should be gentle, not severe. The front pieces are feathered so the face frame stays soft while the back narrows just enough to show movement.
This cut works best when the ends are healthy. A tired V-shape can look frayed, because the eye goes straight to the taper. With strong ends, though, the shape feels lively and a little dressed up, especially if you wear your hair down a lot.
If your hair has a natural bend, the V gives it somewhere to go. The line helps the shape stay visible even after the hair settles.
12. End-Textured Long Layers for Fine Strands
Sometimes the smartest move is to leave the layers long and do the interesting work near the ends. That’s what this cut does. Instead of stacking short layers through the mid-lengths, it uses subtle texturizing at the perimeter to prevent the bottom from feeling too heavy.
Fine hair can look stringy when the layering gets greedy. This version avoids that. The length stays intact, and the ends get just enough movement to keep the whole cut from falling flat against the shoulders.
A tiny warning: texturizing should be light and careful. Over-thinning the ends is how people end up with that see-through tail effect. You want the edges to move, not disappear.
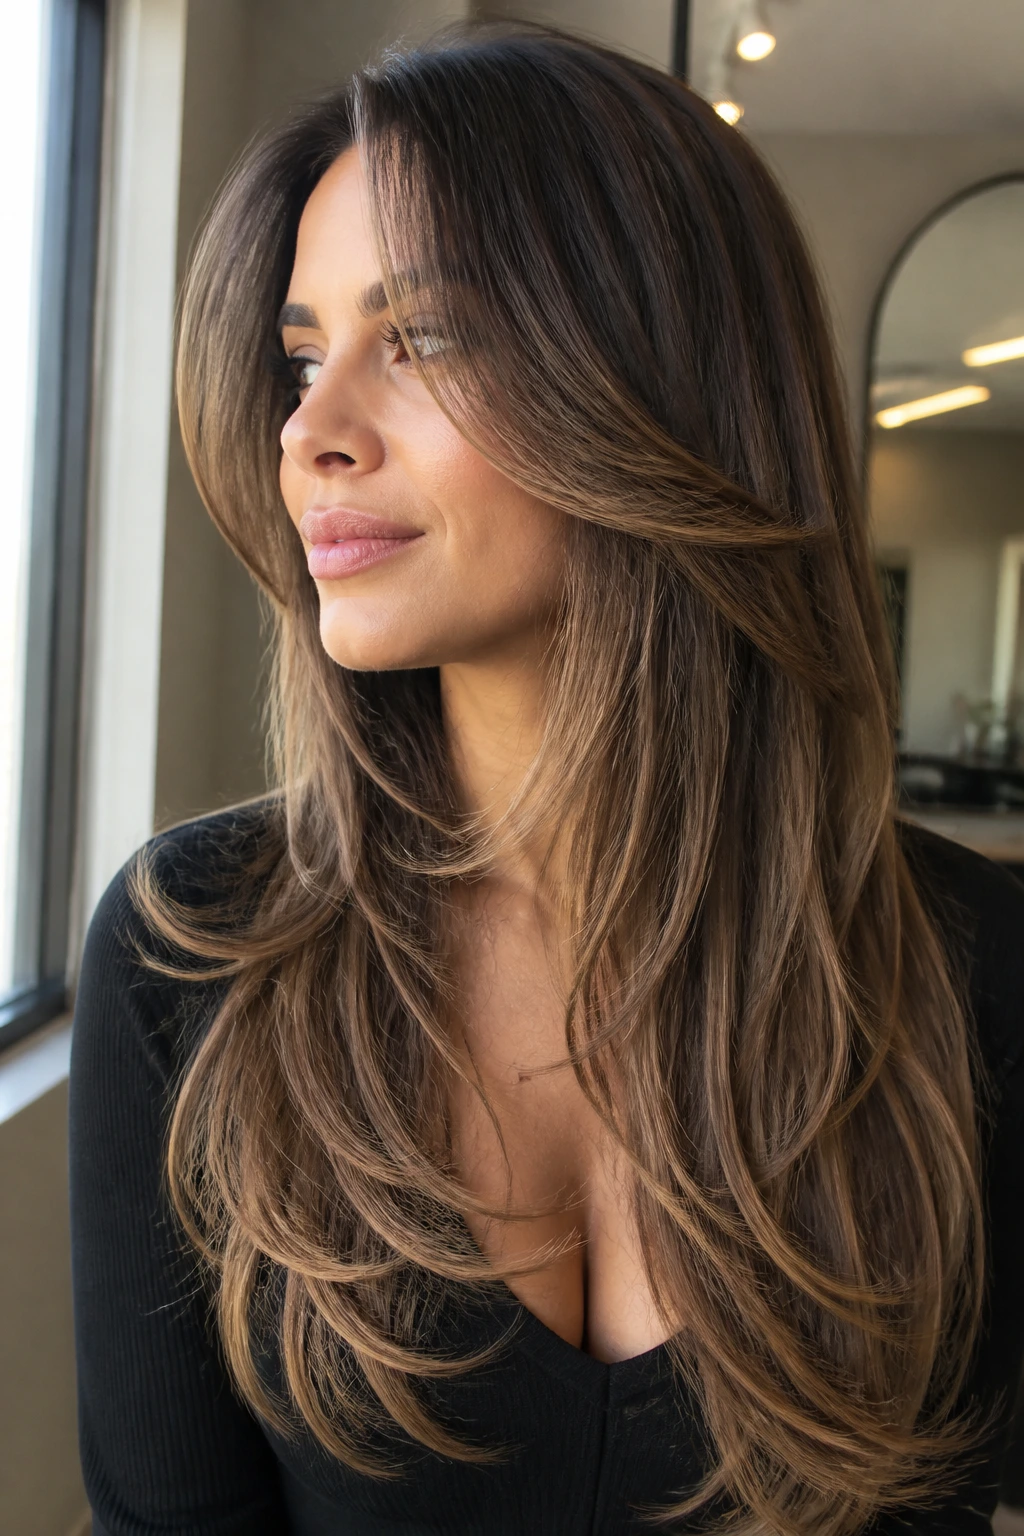
13. Blowout Layer Cut with a Heavier Bottom Line
If you enjoy a smooth salon blowout, this cut makes life easier. The bottom line stays a little heavier than in a feathered cut, and the layers are placed so the hair bends outward and around the face when brushed round.
The result is polished without looking stiff. Fine hair loves a bit of controlled heaviness because it keeps the cut from collapsing after an hour. The longer back helps the overall shape feel substantial, while the front angles give you the lift that stops the haircut from reading flat.
Use this version if you like styling with a round brush, hot rollers, or a large curling iron. It’s not the most casual option, but it’s one of the prettiest when you want the hair to fall in one smooth, glossy sweep.
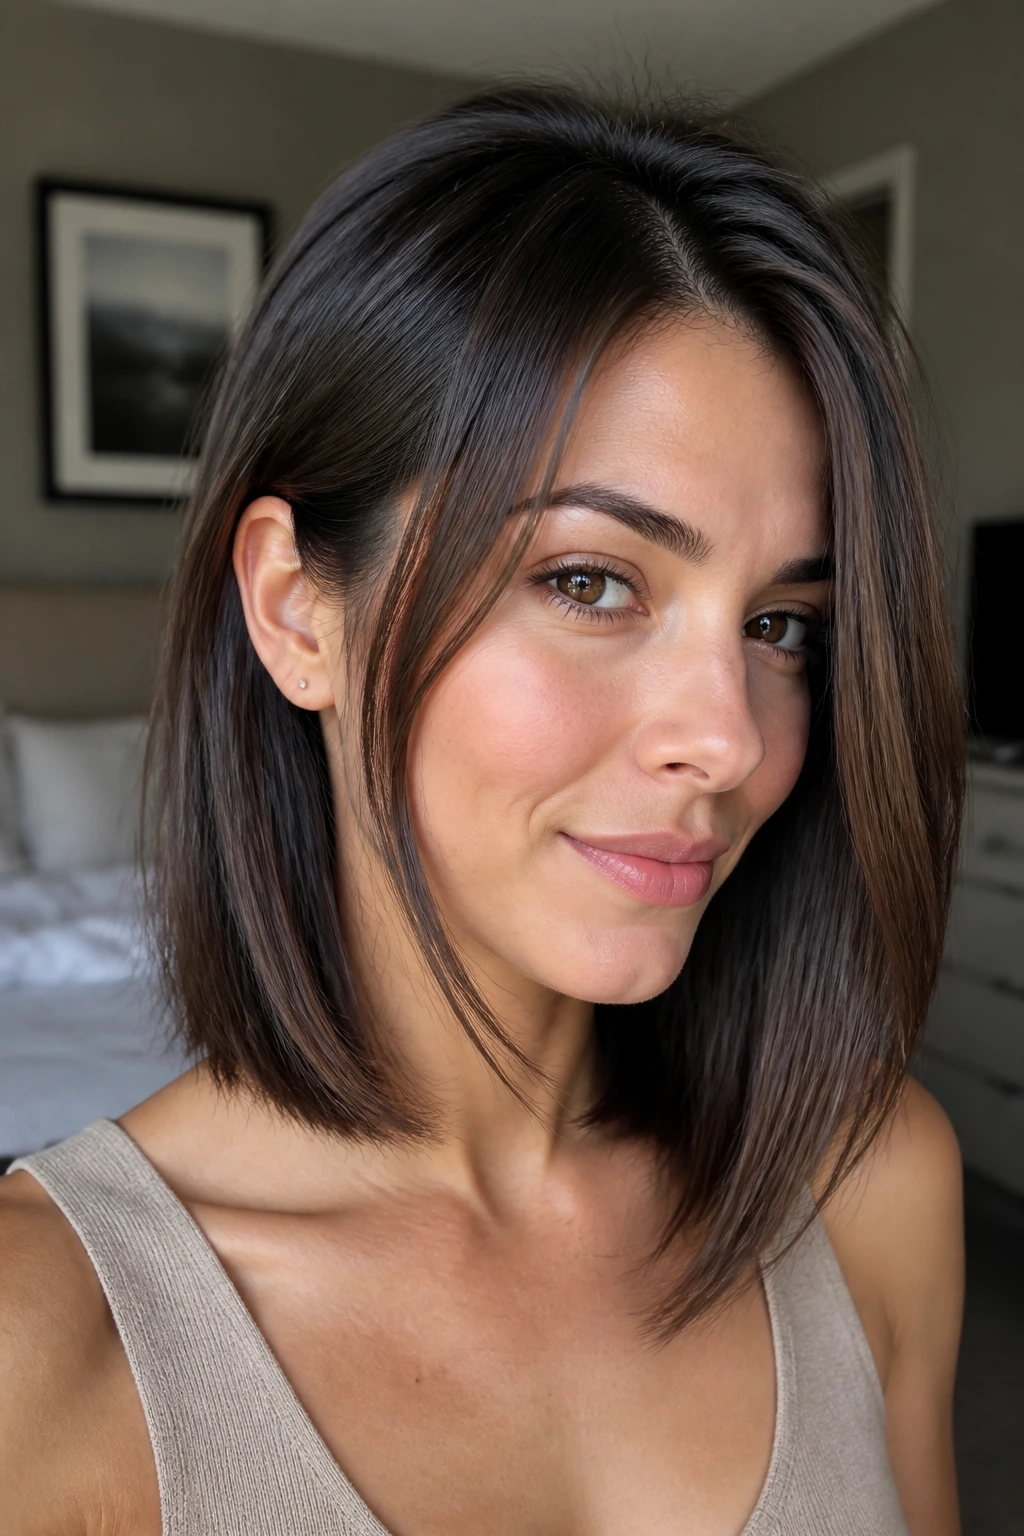
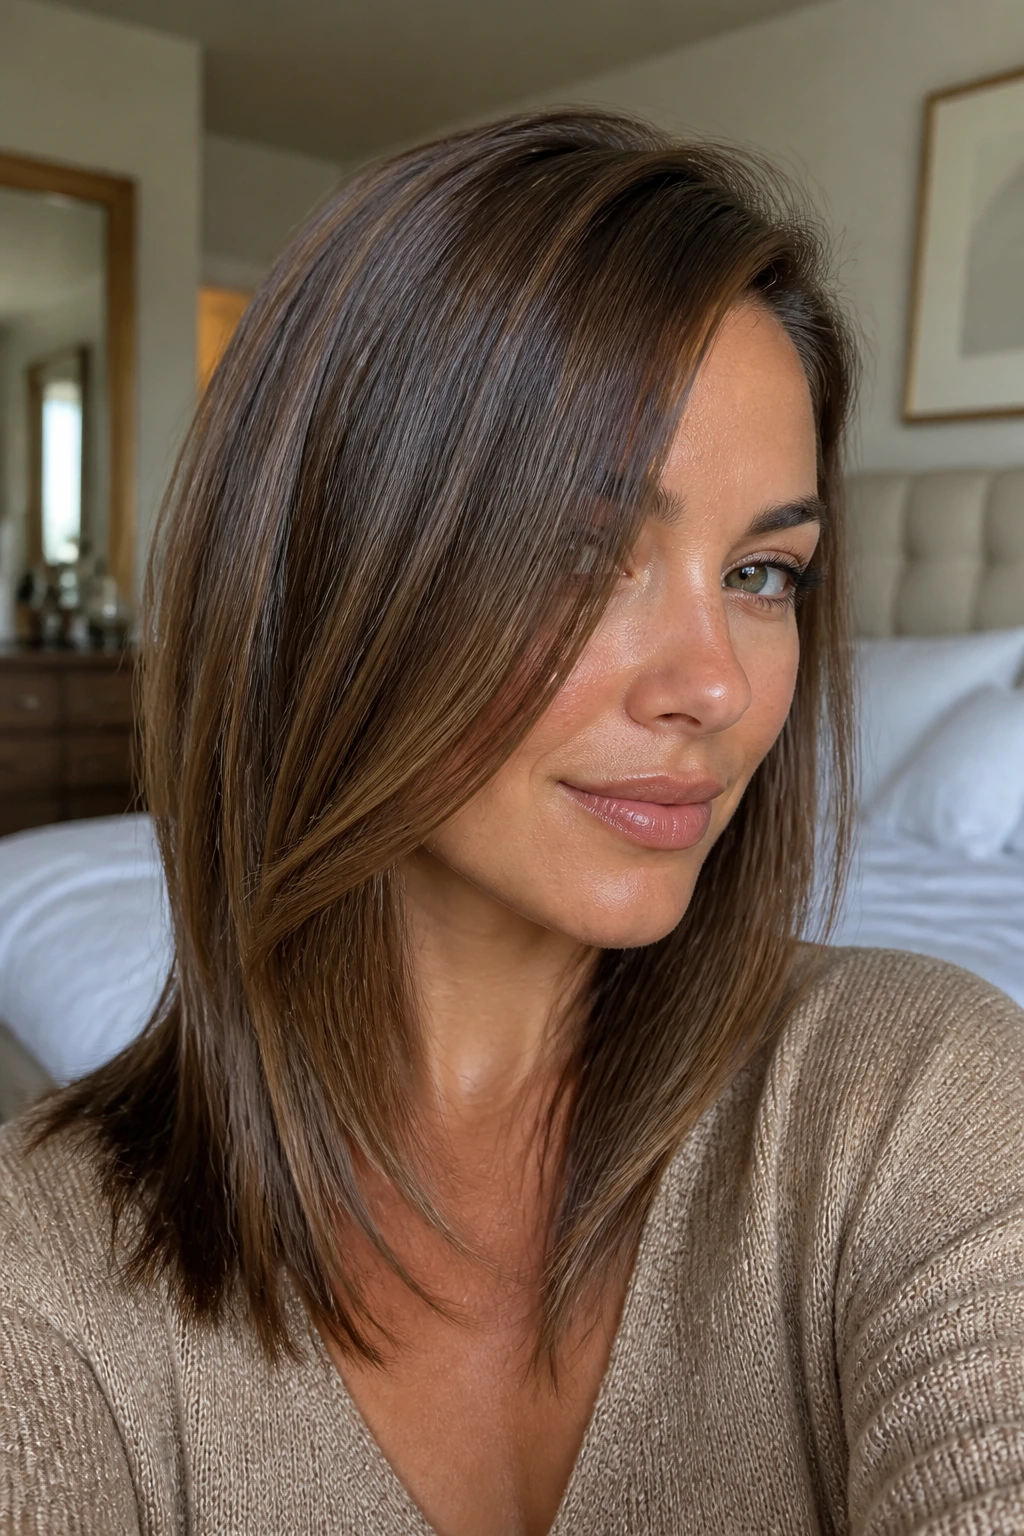
14. Long Hair Lob-Front Hybrid
This one gives you the attitude of a lob in front while keeping the length in back. The front pieces sit near the collarbone or just above it, and the back stays long enough to keep the feeling of actual length.
That contrast does something useful for fine hair: it makes the front look fuller because the eye sees a stronger shape near the face. At the same time, the long back preserves the density that long fine hair so often loses when too much weight is removed.
It’s a smart choice if you’re bored with classic long layers and want something that looks a little more current without giving up your ponytail length.
15. Wolf-Lite with Controlled Mess
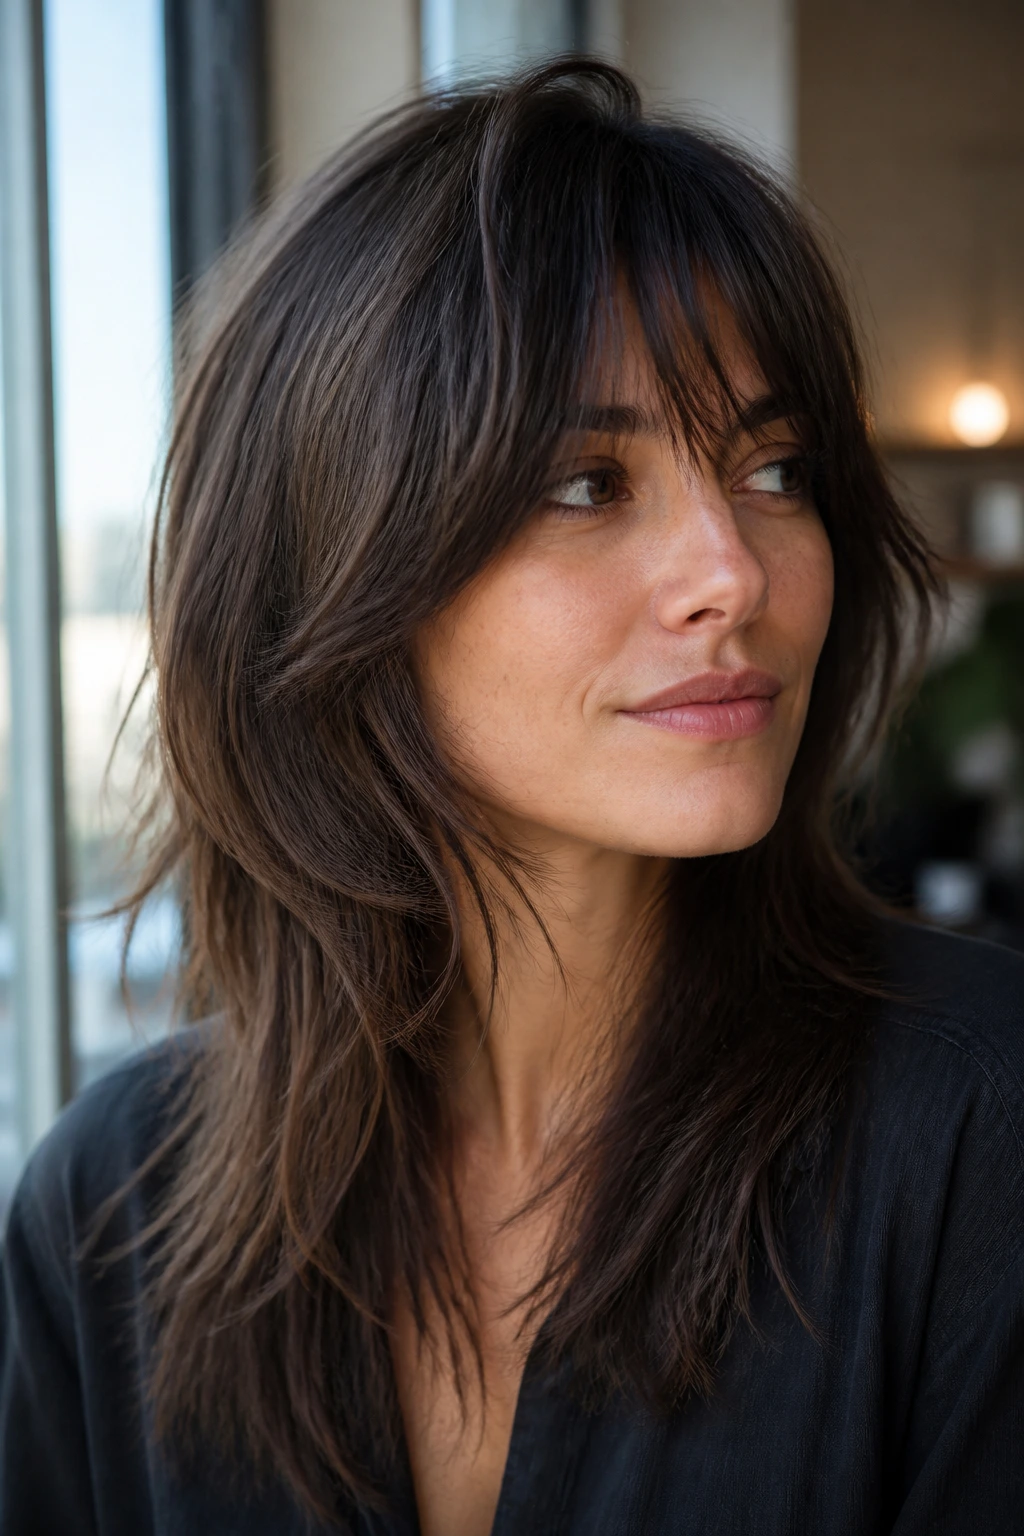
A full wolf cut can be too brutal for fine hair. The top goes airy, the ends go jagged, and suddenly the haircut looks like it lost a fight. The wolf-lite version keeps the spirit — texture, lift, some coolness around the face — but trims back the extremes.
The shortest pieces stay soft, and the layers are spread farther apart. That keeps the shape from breaking apart. If your hair is fine but has some bend, this cut can add edge without exposing too much scalp or making the ends look shredded.
Best for:
- Wavy hair that needs a bit of structure
- People who like rough-dry texture
- Anyone who wants movement with a little attitude
Use a light mousse or texture cream, not both. Too much product makes the whole thing hang.
16. Tucked-Ear Angle with Subtle Graduation
This is one of those cuts that sounds boring until you wear it. The front angles are long enough to tuck behind the ear, but they still angle sharply enough to frame the cheek and jaw. The back has a soft graduation, not a heavy shelf.
That tucked-behind-ear option matters more than people admit. When a cut can live neatly behind the ear and still look finished when released, it tends to feel more wearable day to day. Fine hair benefits because the shape doesn’t rely on dramatic styling to look intentional.
If you wear glasses, this version is especially nice. The temples of the frames sit cleanly under the front pieces instead of fighting with them.
17. Asymmetric Front Sweep
A little asymmetry goes a long way on fine hair. One side is cut slightly longer or parted more deeply, so the front sweeps across the face instead of falling equally on both sides. It’s a small change, but it changes the read of the whole cut.
This works because the hair never looks too symmetrical or too perfect. Fine hair can go flat when it’s cut with absolute precision and then left alone. A soft asymmetry adds energy, and energy reads as fullness.
The one thing to avoid is making the asymmetry too obvious. You want a gentle difference in length, not a dramatic one-sided statement unless that’s your actual style.
18. Minimal-Short-Front Mermaid Layer Set
If you love your length and refuse to sacrifice it, this is the minimalist route. The front gets only a few short pieces — enough to frame the face and lift the outline — while the rest of the hair stays long and flowing.
It’s especially useful for fine hair that gets stringy only near the front. A tiny amount of short layering around the face can freshen the whole head without taking away weight where it’s needed. The mermaid-length feel stays intact. The front just stops hiding underneath it.
This is also one of the easiest ways to keep braids and half-up styles looking full. The long back remains the hero, and the front pieces soften the overall shape when the hair is down.
19. Air-Dry Friendly Angle Cut

Some haircuts only look good after a blowout. That’s annoying. This one is built to look decent without heat, which is why I like it for fine hair with a little natural wave.
The layers follow the way the hair wants to fall, not the way it looks in a salon mirror for twenty minutes. The shortest pieces are cut with enough angle to keep the face frame visible, but not so much that they spring away into odd bends when the hair dries on its own.
Use a small amount of leave-in conditioner or curl cream, and don’t rake through it too much. The less you disturb the pattern, the better the shape holds.
20. Root-Lift Cut for Flat Crowns
Flat crown? This one’s for you. The shortest layers live a touch higher through the top, which can make the roots appear more lifted without making the whole haircut choppy. That’s a tricky balance on fine hair, but it’s worth the effort when the crown collapses by noon.
The important part is keeping the layers controlled. If they’re too short or too numerous, the top loses density and starts looking transparent under bright light. A gentle crown lift works best when the front and back still keep some weight.
Good signs this cut will work for you
- Your hair dries flat at the scalp but has decent length
- You like a little volume at the root without teasing
- You’re willing to use mousse or root spray near the base
21. Soft Flip-Out Layer Cut
This is one of my favorites for straight fine hair because it gives the ends somewhere to go. The layers are beveled just enough so the bottom pieces flip outward with a brush or a quick pass of the dryer.
It adds motion without creating a lot of height through the crown, which is useful if the top already wants to puff. The flip-out at the ends makes the haircut feel playful and modern, not limp.
A round brush helps, but a flat iron with a slight outward bend works too. Keep the turn small. If you overflip the ends, the style starts looking retro in a bad way.
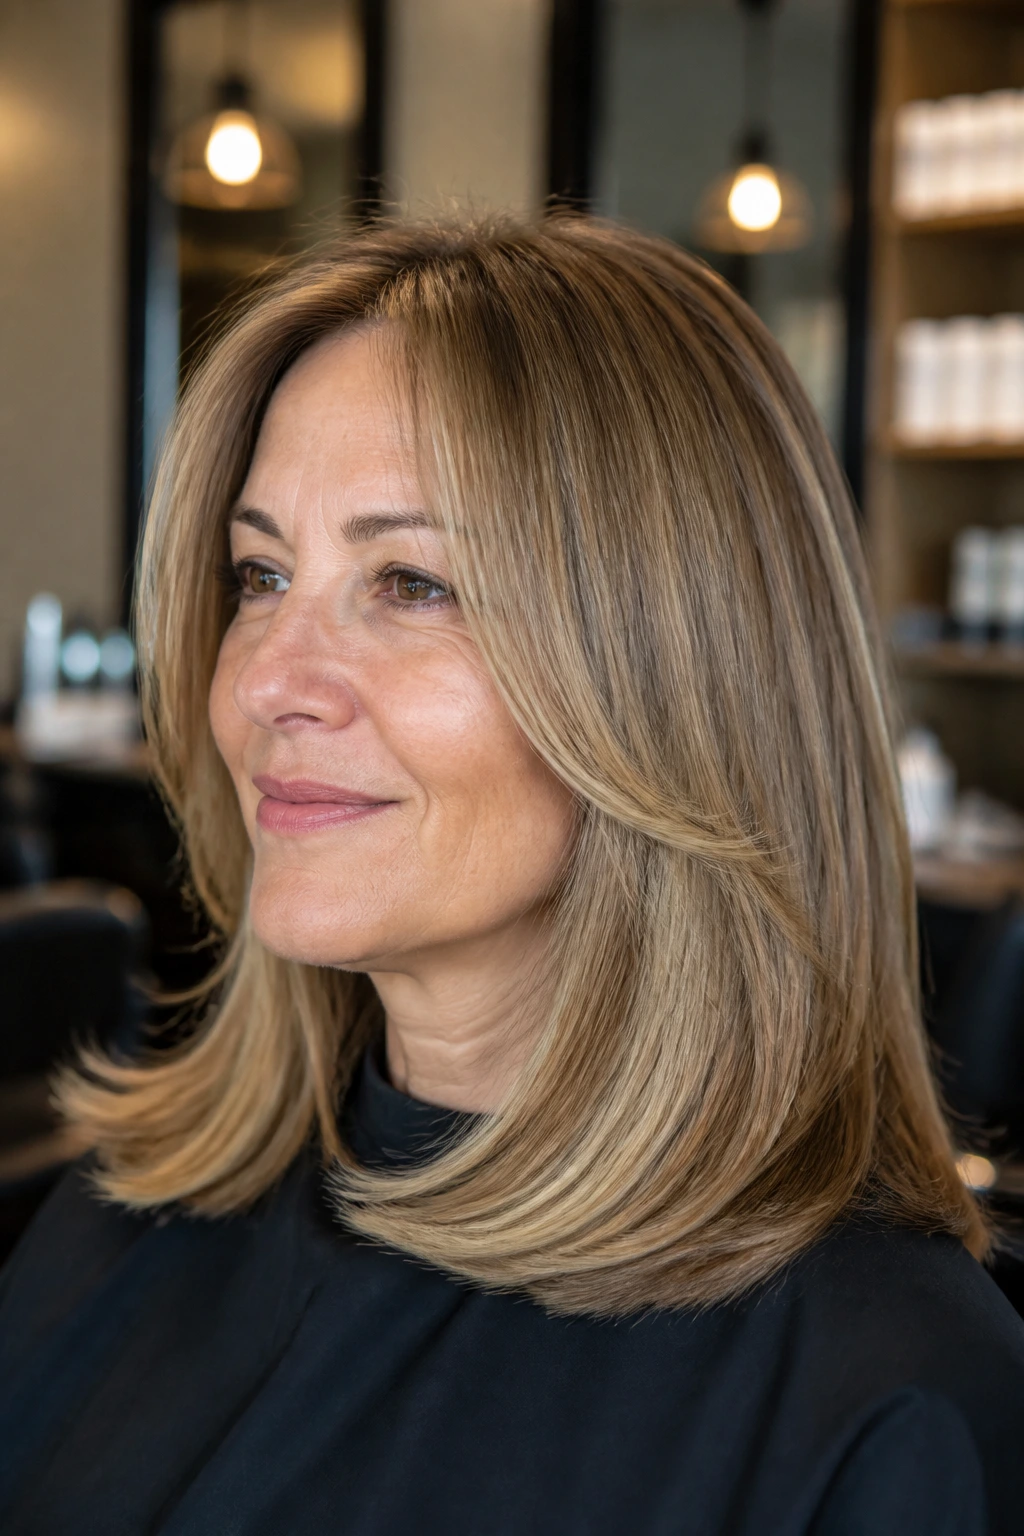
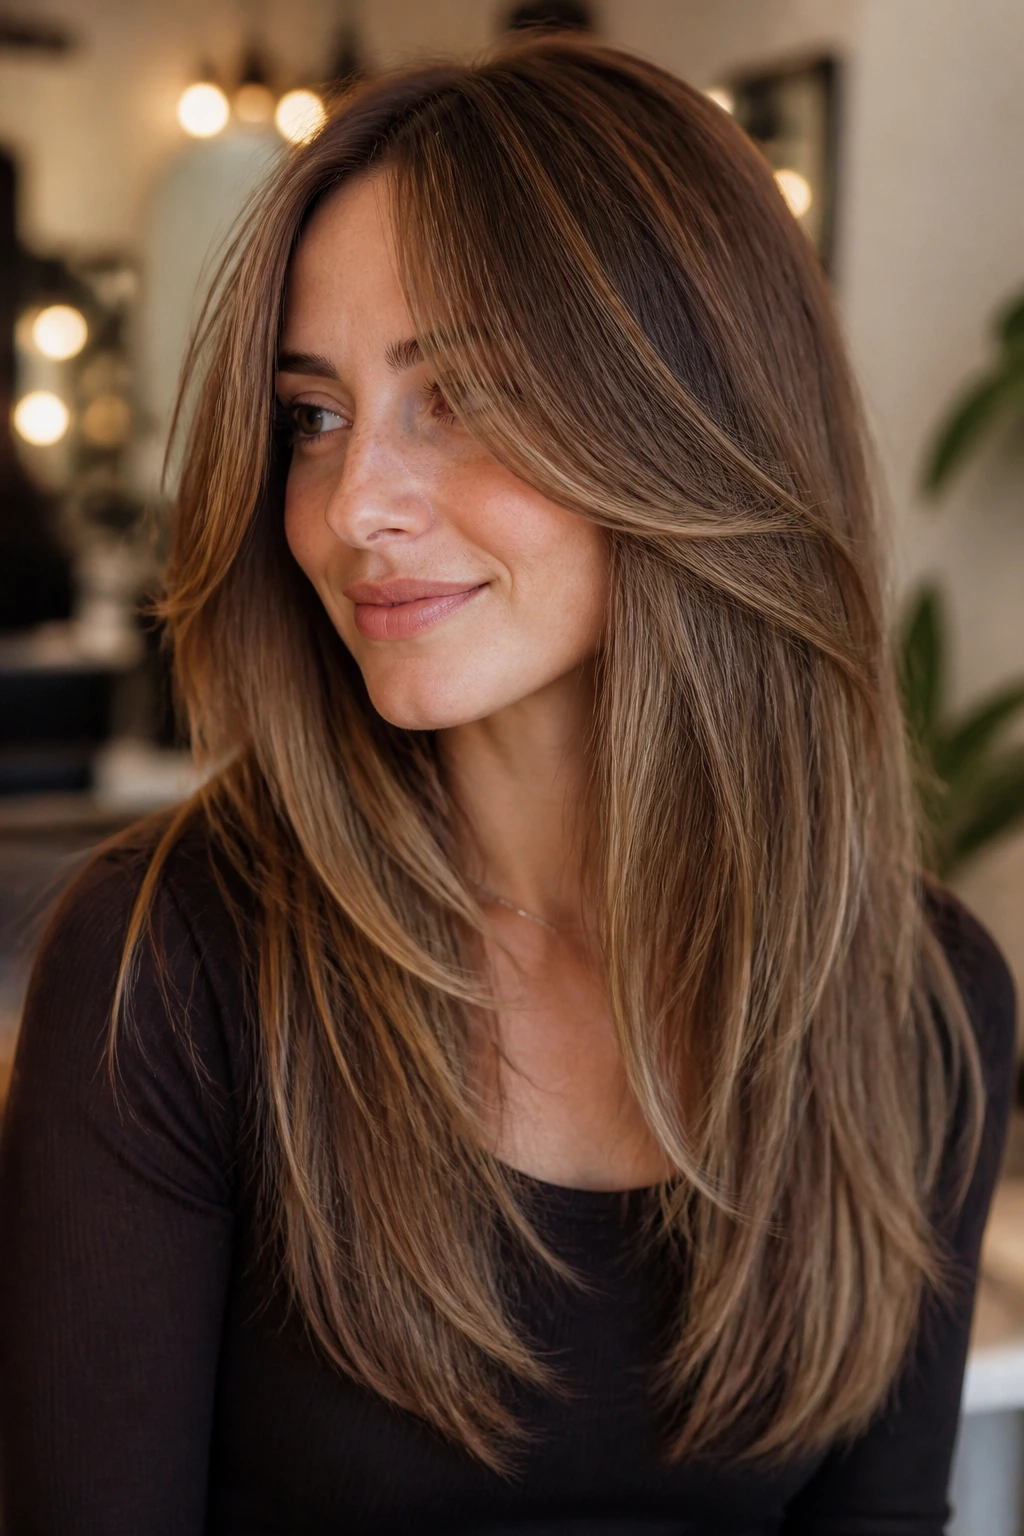
22. Salon Blowout Angle
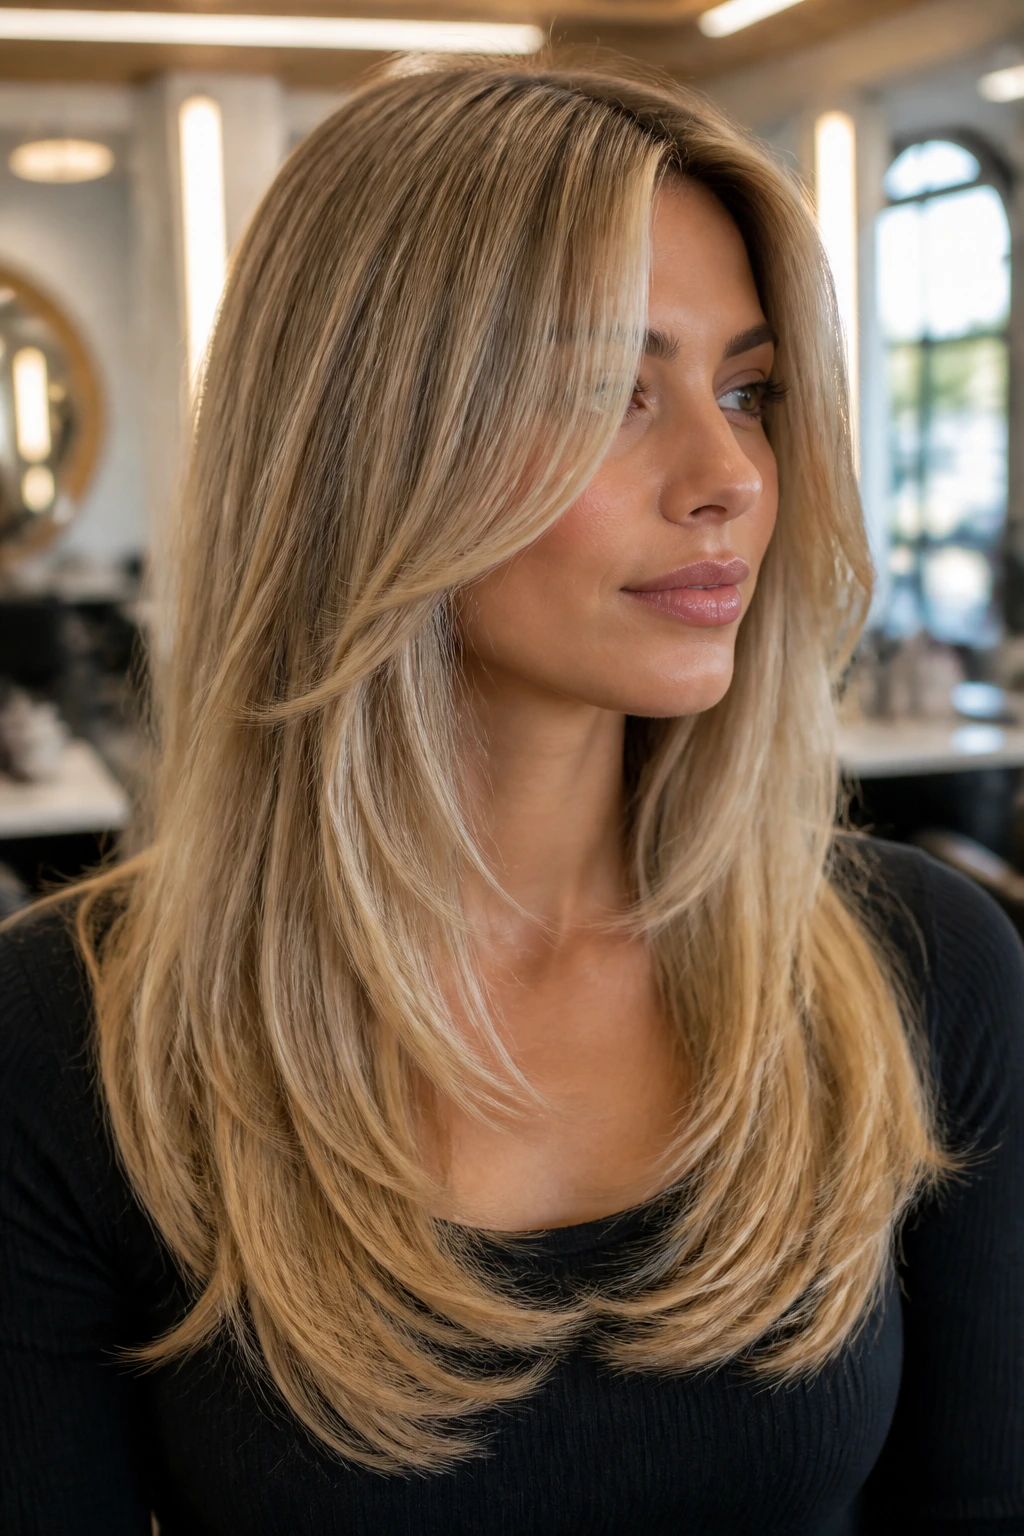
This is the version you ask for when you want the haircut to look like it was meant to be styled, not simply dried. The front layers are angled to frame the face, the back stays sleek and full, and the whole shape lands somewhere between polished and relaxed.
It’s the most camera-friendly option in the bunch, but it also earns its keep in daily life because it doesn’t depend on extreme layering. The finish matters: smooth roots, a gentle bend at the ends, and enough weight at the bottom to keep the hair from floating away.
If you like a salon blowout that still looks good two days later, this is the cut I’d point you toward first.
How the Angle Keeps Fine Hair Looking Dense
The biggest mistake people make with fine hair is chasing movement so hard that they erase the outline. That’s backward. A good angled cut uses short front pieces and controlled interior shaping to keep the eye moving, while the perimeter stays heavy enough to look full.
Think of it like framing a painting. The frame matters. If the outer line is too thin, the whole thing feels unfinished. Short angled layers work because they push lift toward the face — where it counts — instead of scattering it evenly through the whole head. Fine hair usually needs that concentration of shape.
The other piece people miss is density versus texture. Hair can be fine in strand diameter and still fairly dense overall. If that’s you, a bit more layering may be fine. If the density is low as well, the safest choices are the U-shape, the collarbone sweep, or the invisible-layer version. Those hold the line better than a heavily texturized cut.
How to Ask for the Cut at the Salon
Bring photos, but speak in plain terms. A stylist can work with “I want the front to start around the collarbone and angle back into the length” more easily than “something layered but not too layered.” Specific beats vague every time.
Say whether you want the perimeter to stay blunt, softly beveled, or curved into a U. That one sentence changes the whole haircut. If you have fine hair, ask your stylist to be careful with thinning shears and aggressive slicing near the ends. Those tools can be useful in the right hands, but they can also make the bottom edge look see-through faster than you expect.
If your hair is low-density, ask for fewer layers and a stronger outline. If your hair is dense but fine, you can usually handle a bit more layering through the face and interior. And if you wear your hair in a part most days, show your stylist the side you use. The cut should be built around that habit, not around a fantasy middle part you never actually wear.
Styling Moves That Keep the Shape in Place
Salon Script: ask for a face frame that starts at the chin, cheekbone, or collarbone, not six random short layers spread through the head.
Blow-Dry Trick: dry the roots first with the hair lifted up and away from the scalp, then bend the front pieces under or away from the face with a round brush. That order matters. If you smooth the whole head flat first, you’ve already lost the lift.
Product Load: use less than you think. Fine hair gets greasy and limp fast, especially if you stack mousse, cream, oil, and spray all at once. One root product and one light finishing product is usually enough.
Day-Two Rescue: mist the front pieces with water, re-bend them with a brush or a flat iron, and revive the roots with a small amount of dry shampoo. You do not need a full wash just because the face frame dropped.
Tools and Products That Earn Their Counter Space
- Blow dryer with a nozzle attachment — directs airflow at the roots and keeps the cut smooth instead of frizzy.
- 1.5-inch round brush — the best all-purpose size for bending long front layers on fine hair.
- Tail comb — helps clean up the part and section off the face frame without roughing up the roots.
- Lightweight mousse — gives root support without the sticky, crunchy feel heavy styling cream can leave behind.
- Heat protectant spray — useful if you round-brush or flat-iron the front pieces often.
- Dry shampoo — keeps day-two roots from collapsing; spray lightly and wait a minute before brushing.
- Duckbill clips — handy for lifting sections at the crown while the hair sets or cools.
- Velcro rollers or large hot rollers — optional, but they’re excellent if you want the front layers to hold a bend for hours.
Keeping the Shape Between Salon Visits
Fine hair grows out fast in the mirror, even when the actual growth is modest. That’s why trim timing matters. For most angled layered cuts, a trim every 8 to 10 weeks keeps the face frame visible and the ends from fraying into a thin line. If your shortest front pieces sit near the chin or cheekbone, they may need a quick cleanup closer to 6 to 8 weeks so they don’t drag into your mouth or split into awkward lengths.
Wash day matters, too. If you use a lot of dry shampoo or root-lifting spray, a clarifying wash every 2 to 4 weeks helps the cut regain swing. Fine hair gets weighed down by product residue faster than thick hair does, and once the roots are coated, the whole haircut looks flatter than it should.
For daily care, sleep on a smooth pillowcase if you can. It cuts down on the little bends and static that make the front pieces puff in the wrong places. If the cut is blowout-friendly, a quick warm-brush refresh on the second day usually brings it back. If it’s air-dry friendly, a light mist and scrunch at the mids is enough. Don’t keep piling on oils at the ends; that’s the fastest way to make fine hair look tired.
Common Mistakes That Make Fine Hair Look Thinner

Starting the shortest layer too high: if the face frame begins up near the temples, the ends can look sparse almost immediately. Ask for the shortest point to live lower unless you have a lot of density to work with.
Texturizing the ends too hard: this is the classic mistake. The hair feels airy in the chair, then looks stringy in daylight. If the stylist is using thinning shears or a razor, the finish should still keep a visible edge.
Chasing too many short layers: more layers do not equal more volume. On fine hair, too many steps can break up the outline and make the whole haircut look smaller than it is.
Ignoring your natural part: a cut designed for a middle part can behave badly with a deep side part, and vice versa. Wear the part you actually use when the haircut is being planned.
Overloading with product: heavy creams, oils, and thick sprays collapse the shape. Fine hair needs support, not insulation.
Best Variations for Straight, Wavy, and Curly Hair
For Straight Hair: keep the angle clean and the perimeter strong. Straight fine hair shows every line, which is useful if the cut is precise and dangerous if it isn’t. A collarbone sweep or salon blowout angle usually looks the richest.
For Wavy Hair: lean into a shag-lite or air-dry friendly version. The cut should work with the wave pattern, not fight it. Leave enough length in the front so the waves don’t spring up too high and expose the weight line.
For Curly Hair: keep the layers softer and longer than you might think. Curly fine hair needs shape, but it also needs enough length to let the curl form a proper ring instead of collapsing into fluff. A rounded cascade or U-shape tends to behave well.
For Very Low Density Hair: choose fewer layers and a heavier bottom line. The haircut should create the feeling of movement around the face while protecting the bulk where the eye notices it most.
For People Who Love Updos: ask for longer front pieces that still frame the face when tied back. That way the cut looks intentional in a ponytail or twist instead of disappearing entirely.
Frequently Asked Questions
Will short angled layers make fine hair look thinner?
They can, if the layers are too short or too many. The safer version keeps the bottom line full and places the shortest pieces around the chin, cheekbone, or collarbone instead of scattering short steps through the entire head.
Where should the shortest layer start on long fine hair?
For most people, somewhere between the chin and collarbone is the sweet spot. Chin-level gives more face frame; collarbone-level keeps more weight. If your density is low, start lower.
Is a center part or side part better with this cut?
Both can work, but they do different jobs. A center part gives symmetry and a clean curtain effect, while a deep side part creates crown lift and a little more drama. Wear the part you’ll actually style every day.
Can I air-dry this haircut and still like how it looks?
Yes, if the cut is shaped around your natural texture. Wavy hair often does well with an air-dry angle, while pin-straight fine hair usually needs a bit of root support or a bend at the ends to keep the layers visible.
How often should I trim short angled layers?
Every 8 to 10 weeks is a good starting point. If the front pieces are the star of the cut and they start falling into your face, you may want a quicker cleanup around 6 to 8 weeks.
Do I need bangs for this style to work?
No. Bangs can help, but they’re not required. In many cases, a strong face frame around the cheekbone or collarbone gives all the movement you need without adding another section to maintain.
What if the back starts looking stringy after a few weeks?
That usually means the layers were cut too aggressively or the ends need a trim. A smoothing blow-dry, a very light product load, and a perimeter cleanup can restore the shape faster than adding more styling product.
Is this cut good for people who wear ponytails a lot?
Yes, as long as the front pieces are long enough to fall out softly around the face. Ask for face-framing sections that still have enough length to tuck behind the ear or loop into a ponytail without looking like stray bits.
A Shape That Keeps Its Length
The best thing about short angled layers on long fine hair is that they don’t force you to choose between movement and fullness. You can have a face frame that actually shows up, a bottom line that still looks thick, and a cut that doesn’t need a full styling routine to make sense.
That’s the real win here. Not drama. Not fluff. Just a shape that gives fine hair a little lift where it matters and leaves the rest alone enough to keep its dignity. If your long hair has been hanging a little too flat or looking a little too see-through at the ends, one of these versions can change the whole read of it without cutting off the length you like.
The smartest move is to pick the version that matches how you live, not just how you wish your hair behaved on a good day. Bring that to the chair, keep the layers controlled, and the haircut will keep paying you back every time you turn your head.