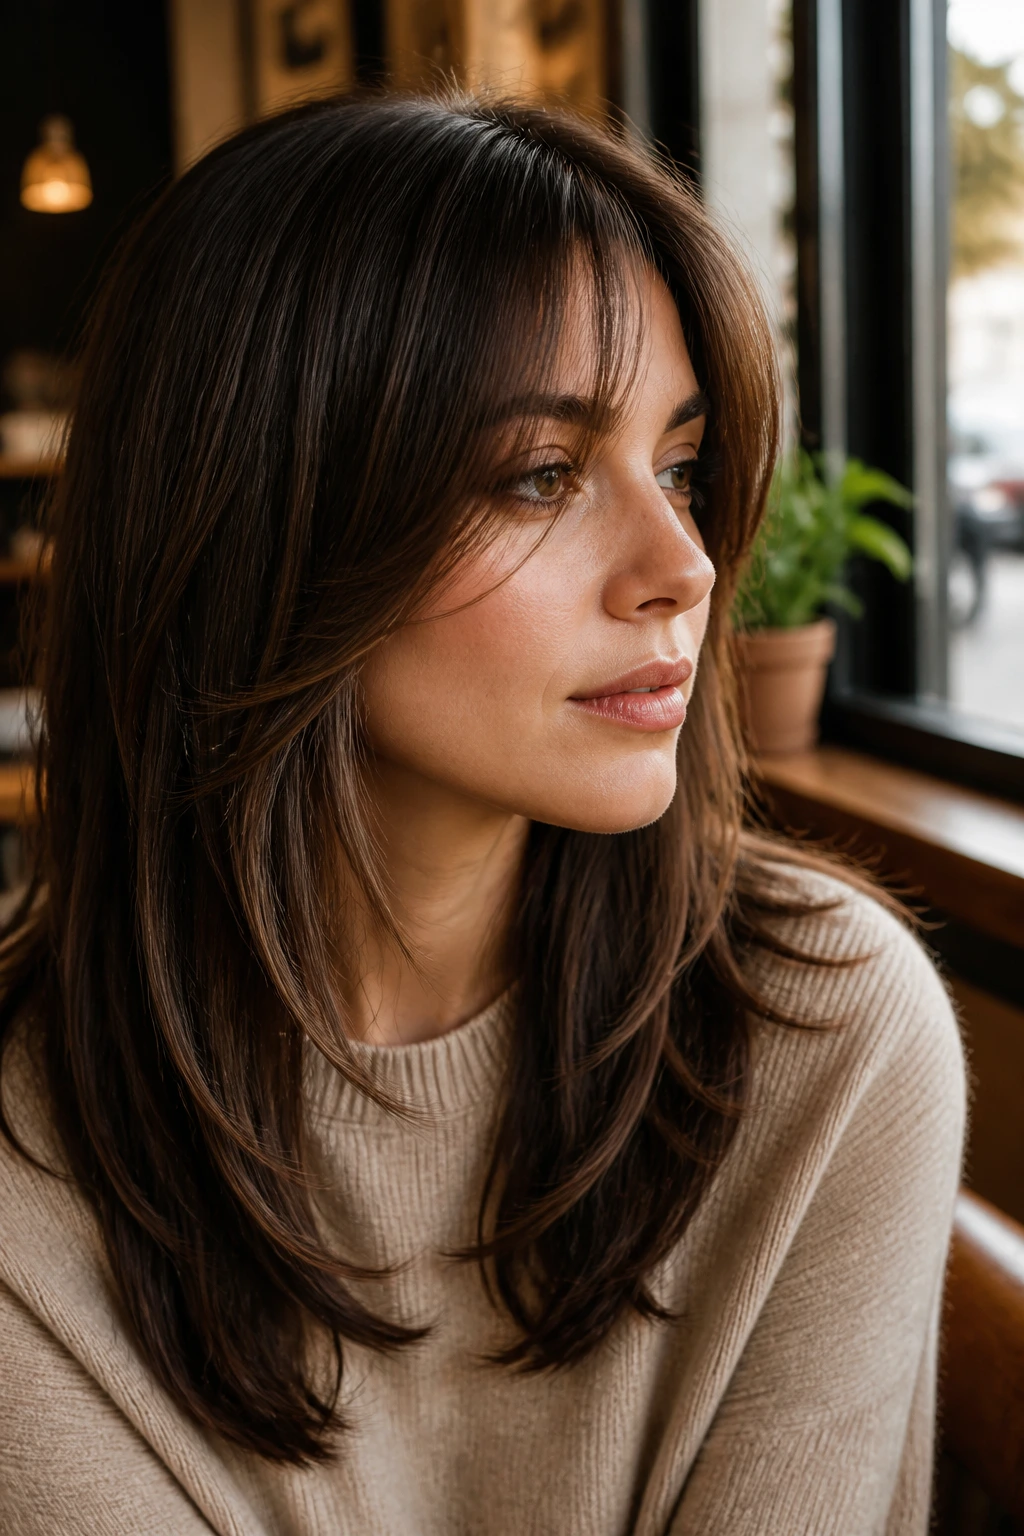
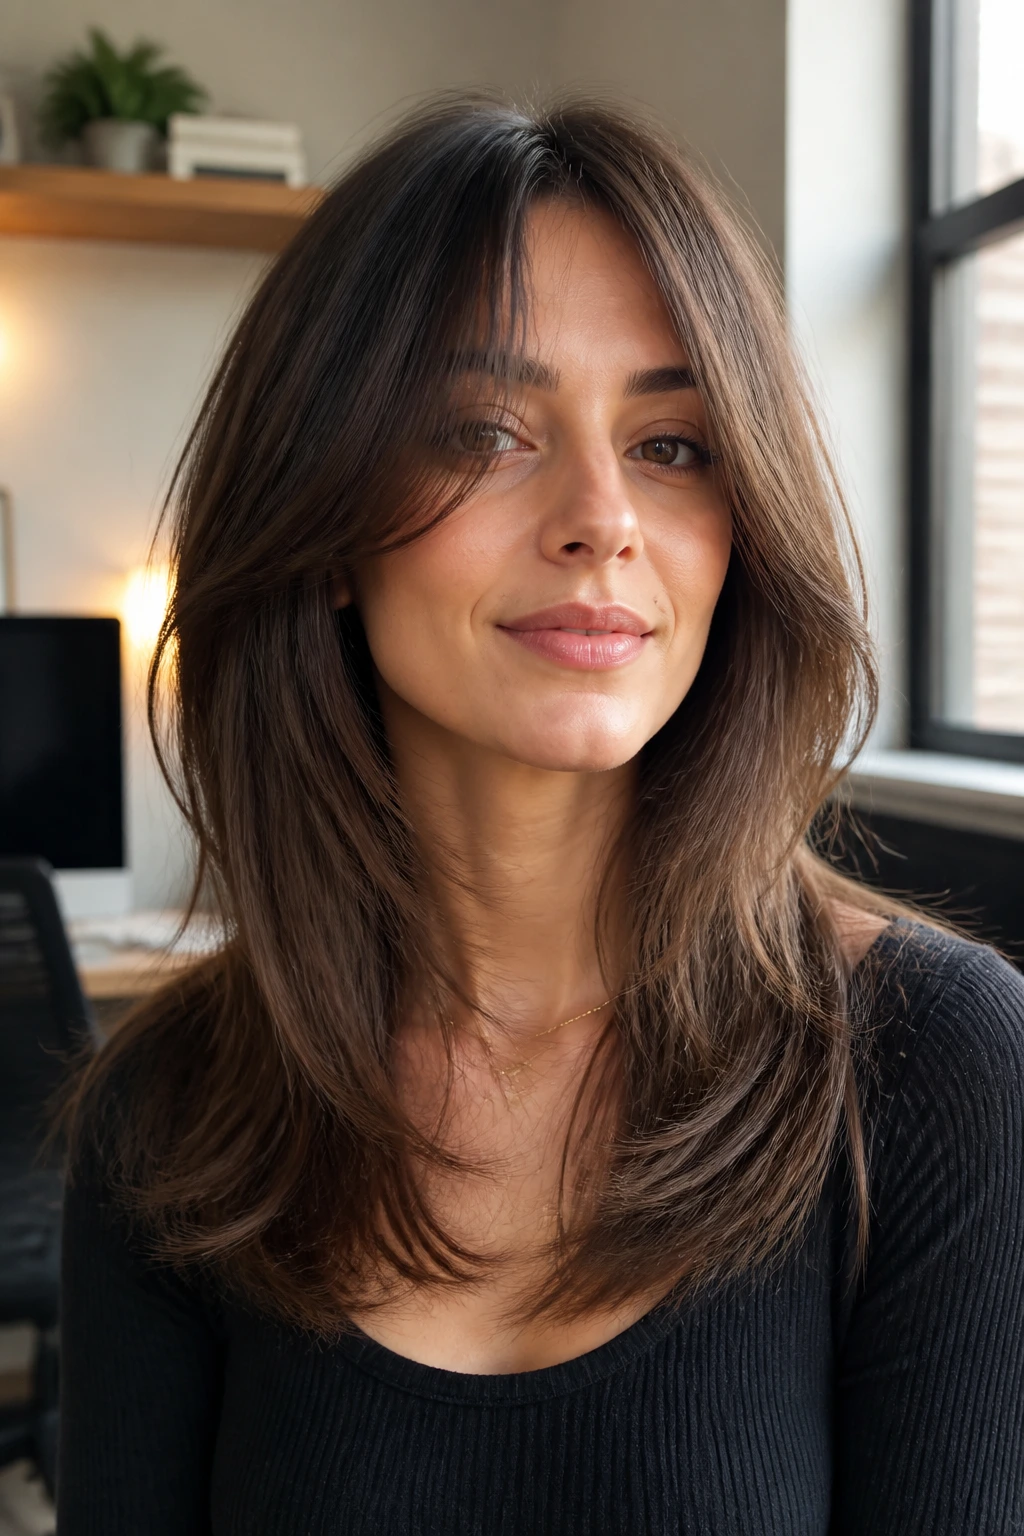
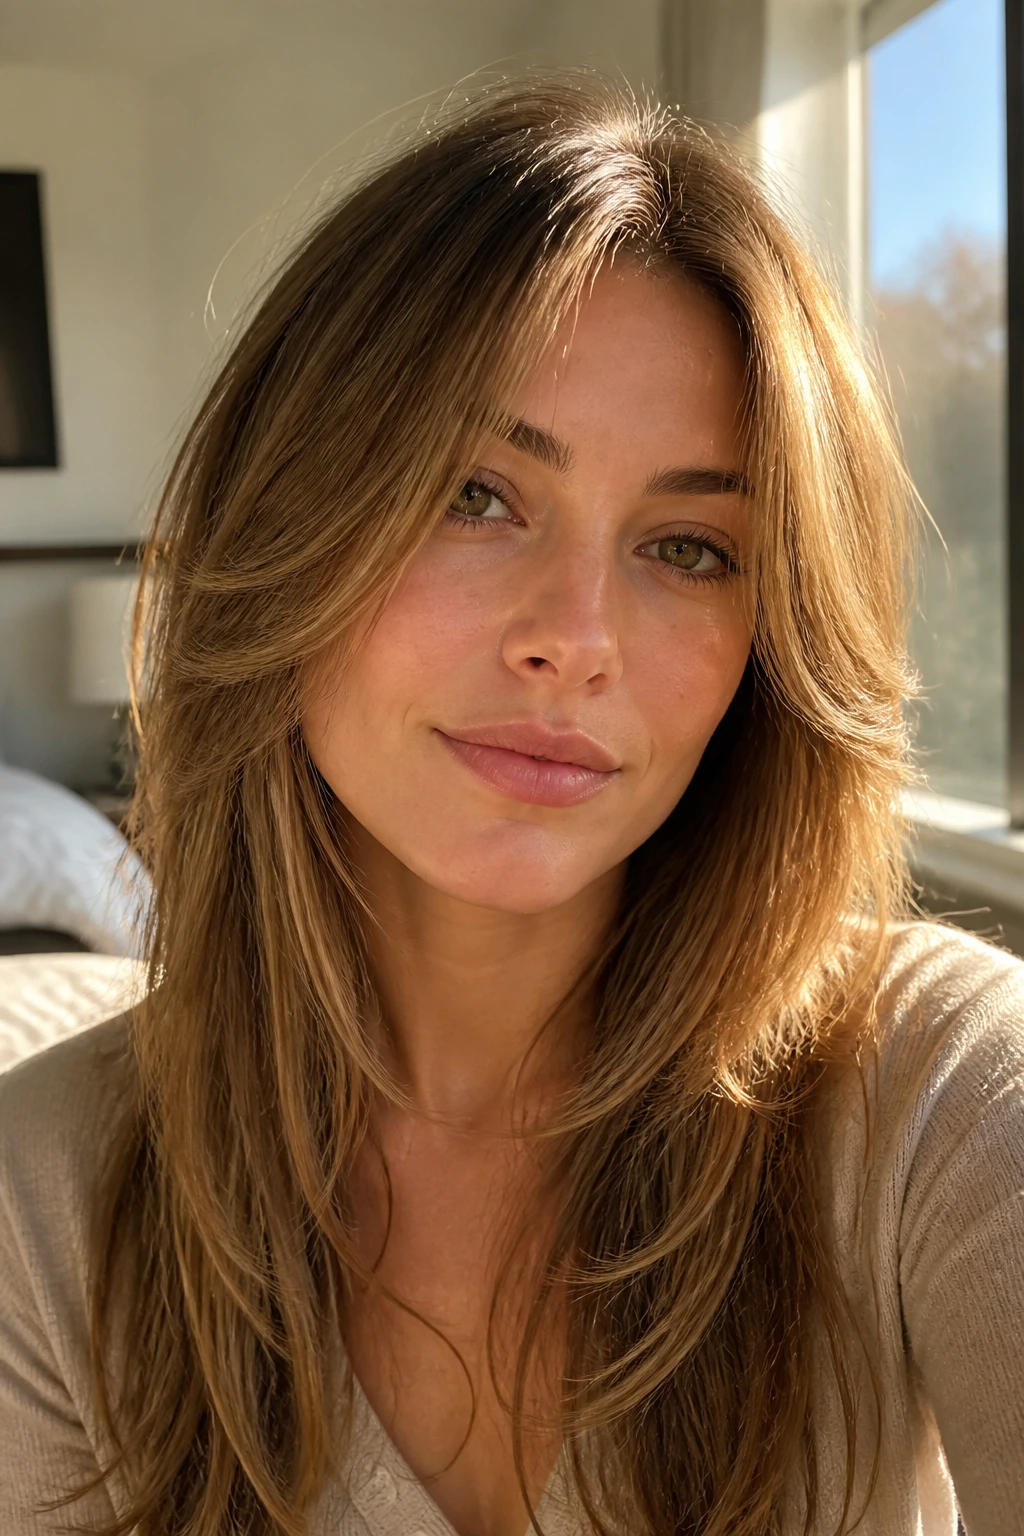
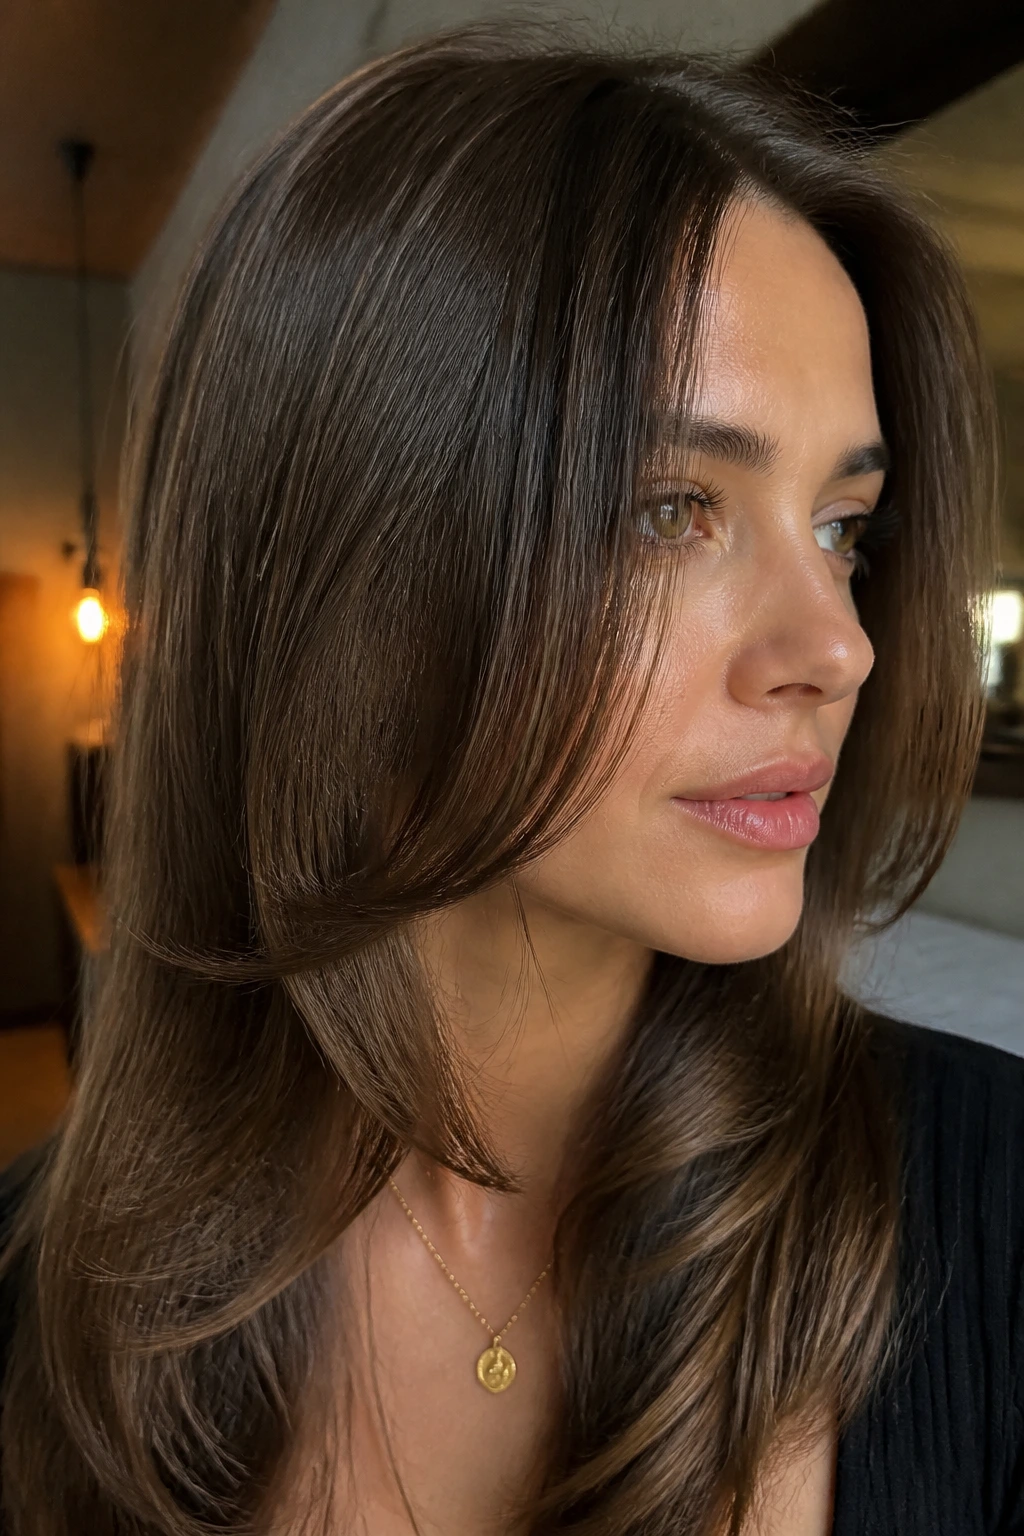
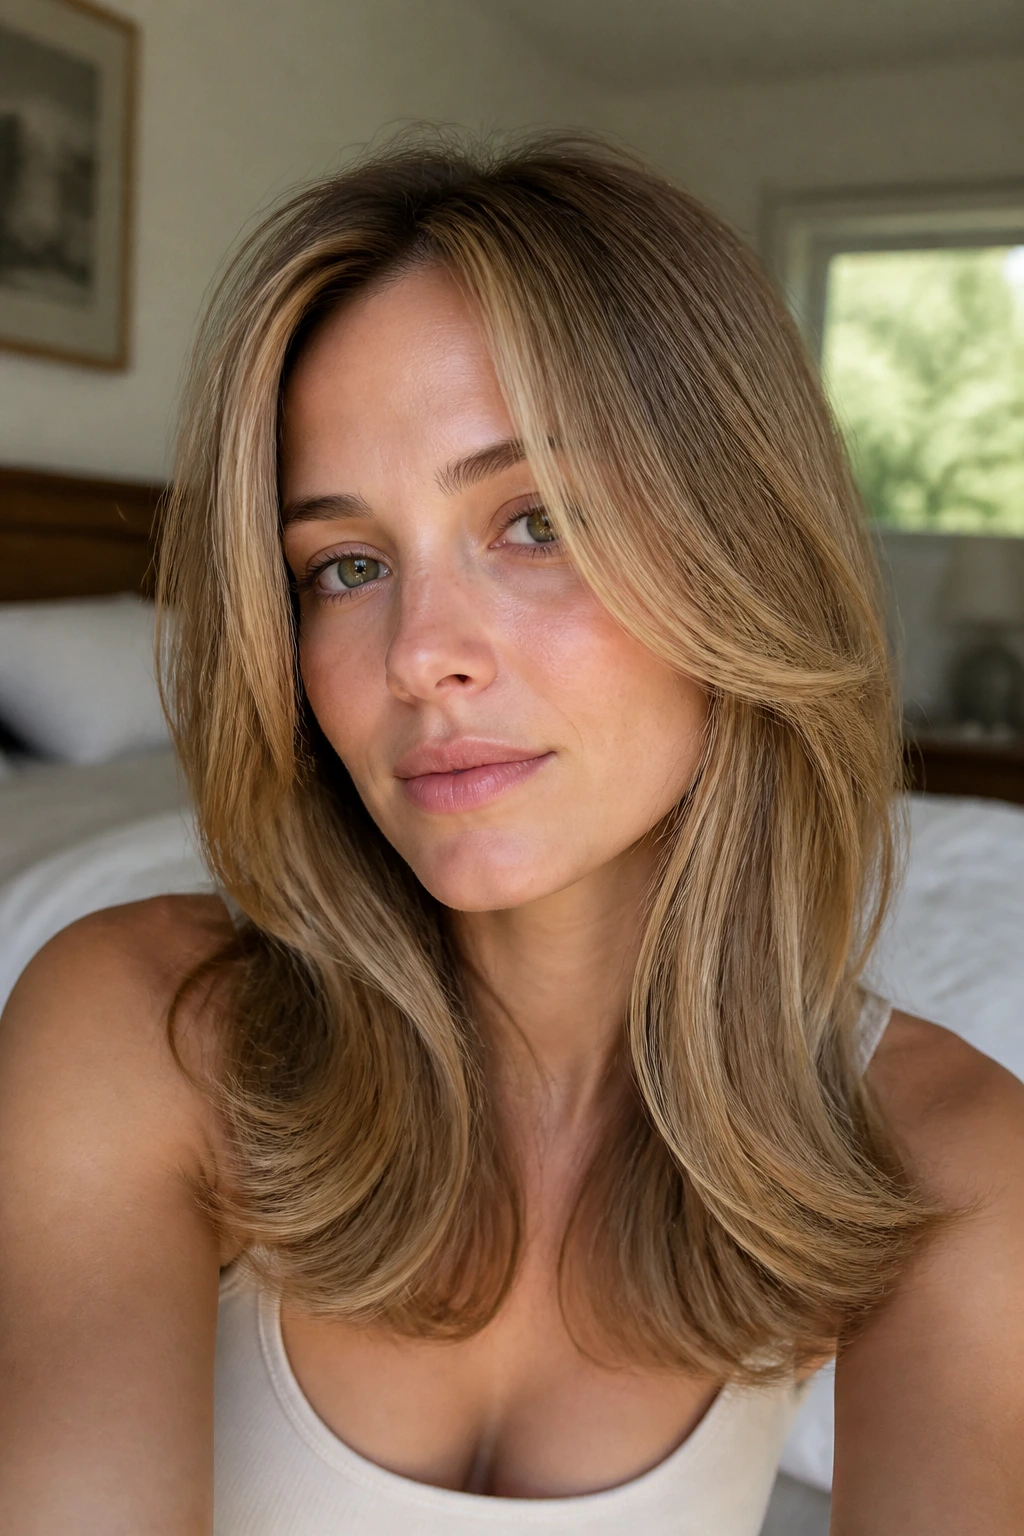
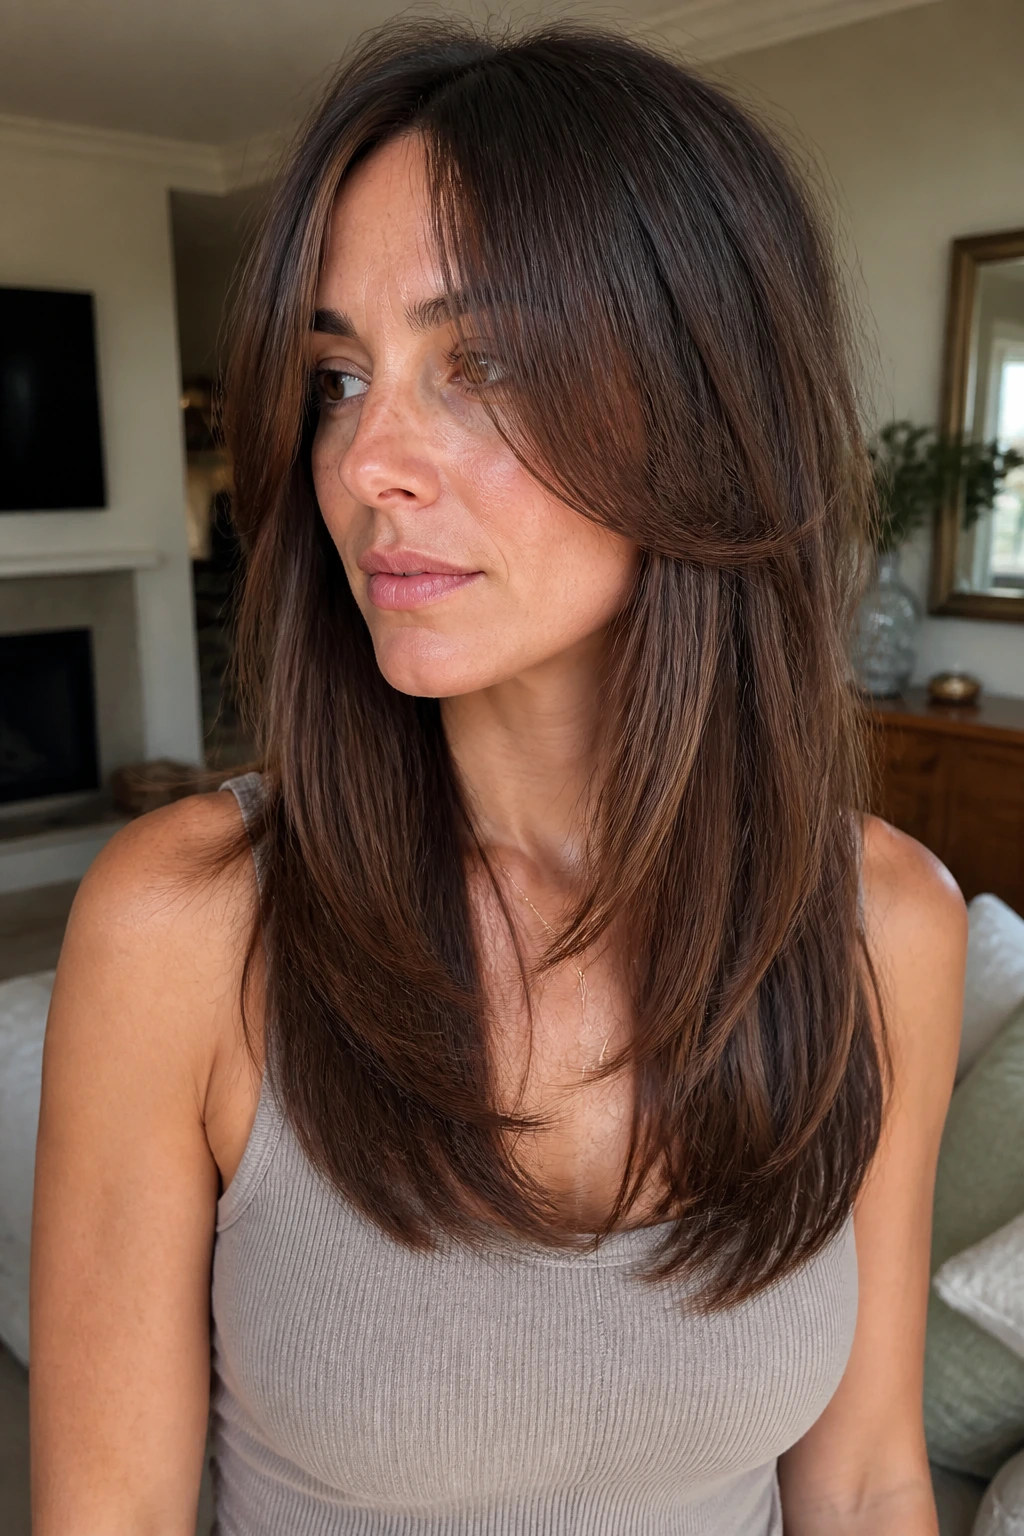
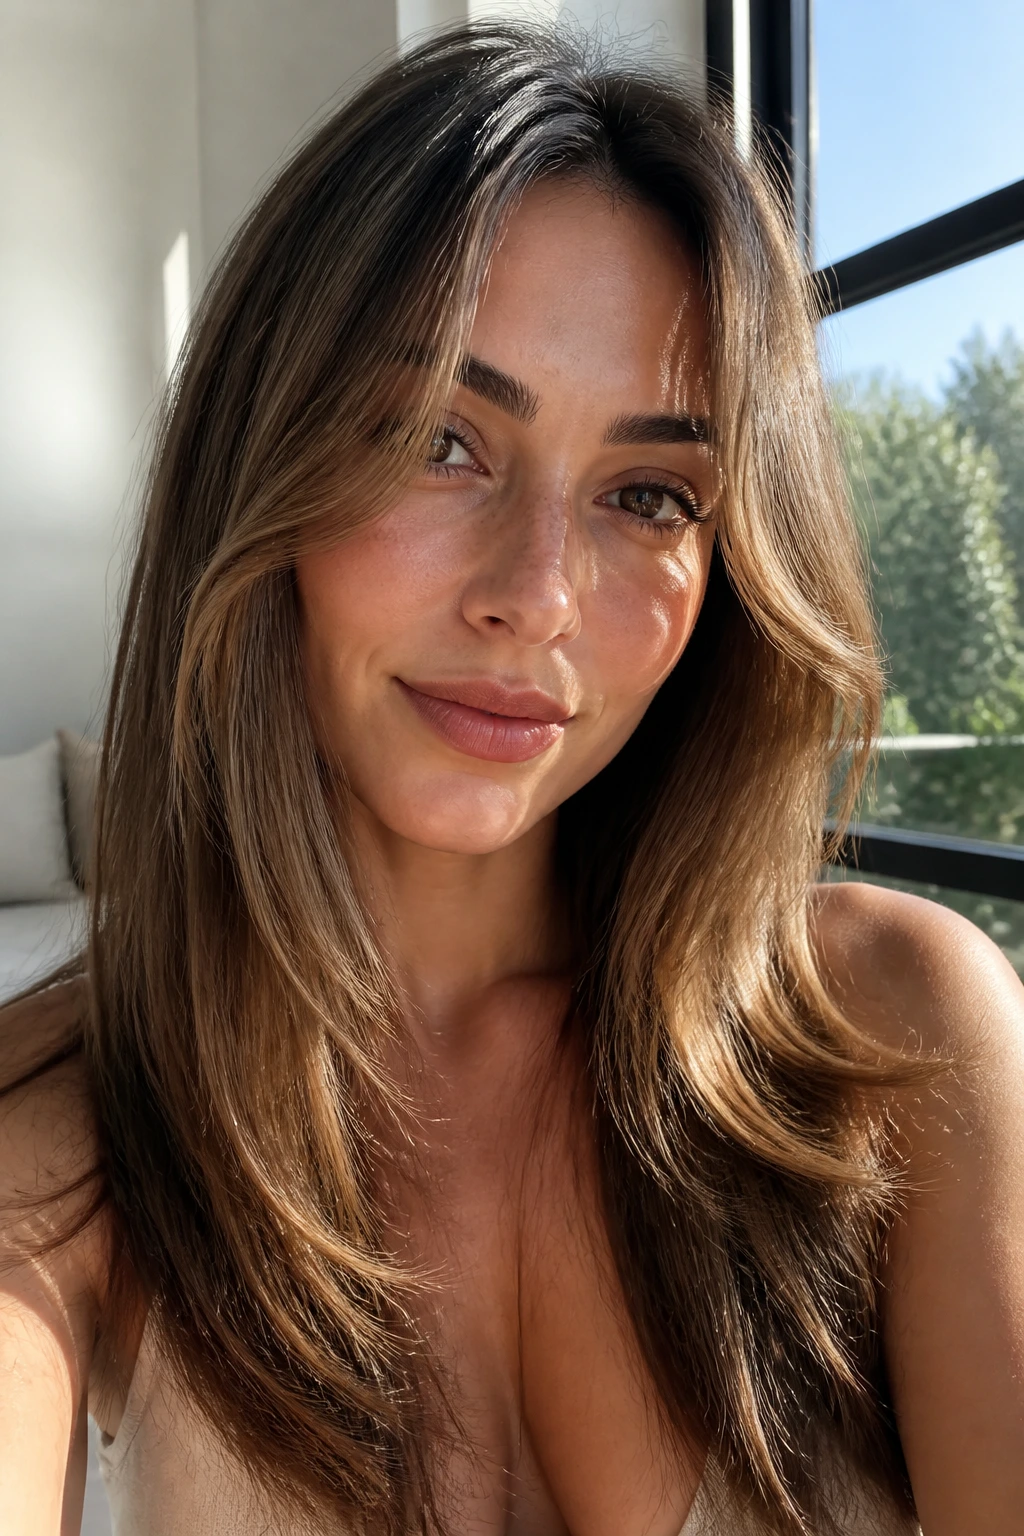
Thin hair has a tricky relationship with layers. Too many short pieces, and the ends start looking see-through. Too little shape, and the whole cut hangs flat, like it gave up halfway down your head. The sweet spot for 90s face-framing layers for thin hair is a long, controlled shape that bends around the face without chewing through the perimeter.
The 90s version is not the choppy, over-thinned haircut people sometimes mistake it for. It’s softer. The front pieces are long enough to tuck, flip, or curl, and the body of the cut keeps enough weight to make the hair look like it has actual substance. That difference matters a lot more on thin hair than on dense hair, because a tiny change in layer placement can make the ends look blunt and full or wispy and tired.
One more thing that gets glossed over: thin hair and fine hair are not the same problem. Fine hair refers to strand thickness. Thin hair usually means lower density. A haircut can solve one and accidentally expose the other, which is why the best face-framing layers are always built with the perimeter in mind. The shape should make the front feel lifted and expensive-looking, not airy in that sad, over-sheared way. The good news is that there are a lot of ways to wear this idea without sacrificing length.
Why These Layers Earn Their Keep
-
They keep weight where thin hair needs it most: Long face-framing layers move the eye forward while the bottom line stays full enough to look dense.
-
They make the front look expensive without going short: A cheekbone or jawline frame can do more for shape than six inches of choppy layering ever will.
-
They grow out with less drama: When the shortest pieces stay long, the cut doesn’t turn into a weird half-stage after a few weeks.
-
They work with a blowout or a lazy air-dry: A round brush gives them polish; a bend from a flat iron or a velcro roller still reads as intentional.
-
They suit ponytails and loose wear alike: The front pieces can fall around the face during the day and still pull back without turning into little broken-off wisps.
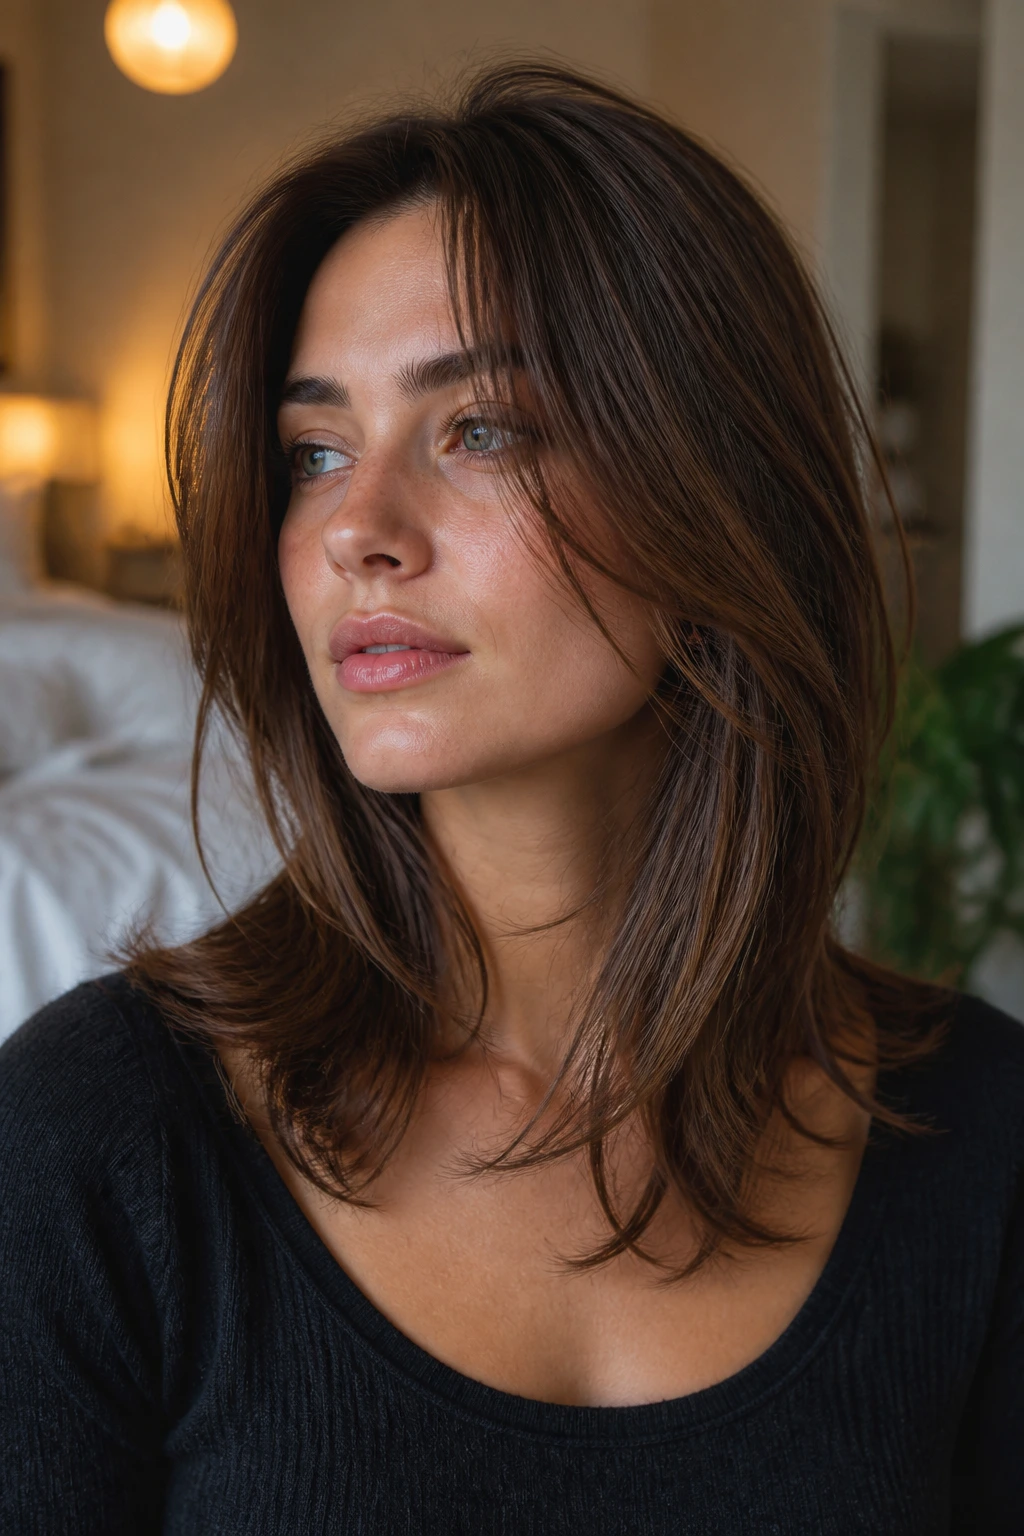
1. Cheekbone Curtain Layers
These are the safest starting point if you want movement without gambling with density. The shortest pieces begin around the cheekbone, then fall longer toward the jaw, which gives thin hair a soft frame right where the face needs it most. The shape is pretty, but not precious. It looks like hair with enough body to swing.
Ask for a center part and a gentle curve away from the face. That’s the 90s part people love, but with restraint. If your hair collapses at the crown, blow-dry the roots upward first, then wrap the front pieces around a 1.5-inch round brush. The result is better when the bend starts high and relaxes low.
2. Collarbone Sweep Layers
Want the face frame to read subtle instead of obvious? Start lower. Collarbone sweep layers keep the front long enough to preserve weight, which matters a lot if your ends already feel a little fragile. They still shape the face, but they don’t announce themselves from across the room.
This cut is the one I’d hand to someone who says, “I like layers, but I hate seeing scalp through my ends.” Good instinct. The lower starting point lets the hair move while the perimeter stays dense. It’s also easy to style with a single bend at the bottom third of the hair, so you’re not wrestling with every section every morning.
3. Soft Side-Part Lift
A side part can do what a shorter layer often tries to fake: instant root height. With thin hair, that matters. The front pieces on the heavier side can begin around the mouth or chin, then fall softly into the lengths, which creates the feeling of volume without cutting a big hole in the outline.
This one is especially useful if your crown goes flat the minute humidity shows up. A side part shifts weight and gives the roots a little memory. Pair it with a loose blowout or a bend from a flat iron, and the face frame feels fuller because the hair is sitting on a diagonal instead of lying in a straight sheet.
4. Invisible Internal Layers
These are for people who want movement but are terrified of a wispy finish. Internal layers hide inside the cut instead of carving obvious steps along the outside, so the perimeter still looks solid. That’s the whole trick. Thin hair usually looks best when the eye sees one strong line first and the movement second.
If your stylist has a heavy hand with texturizing, be careful here. Ask for internal movement only where the hair needs it, usually through the mid-lengths and around the front corners. The result is less “layered haircut” and more “my hair suddenly has better posture.”
5. Chin-Grazing Front Swoop
There’s something very 90s about a front piece that starts near the cheek and curves down toward the chin. It gives the face a long, soft line without taking the shortest point too high. That’s why it works on thin hair. The front feels deliberate, but the ends still look like they belong to the same head of hair.
This shape is nice if your jawline feels a little sharp and you want a softer edge. The swoop can be worn tucked, blown away from the face, or curled under for a more polished bend. Keep the rest of the layers long and spare. The front does the talking; the back just needs to keep up.
6. Rounded Blowout Layers
If you want the full 90s mood, this is the one. Rounded blowout layers are cut to support a curved finish at the cheek and jaw, which means the styling falls into place instead of fighting you. Thin hair benefits from that kind of cooperation. The less you have to force, the fuller it tends to look.
The shape works best when the ends aren’t overly thinned. A blunt-ish hem with soft front layers gives the round brush something to grab. If your hair is straight, set the front in large sections around the brush and let them cool before touching them. Warm hair lies. Cool hair keeps the shape.
7. U-Shaped Hem with Long Fronts
A U-shape keeps the center back a touch longer than the sides, which sounds small but matters when density is low. The eye reads fullness at the bottom, then catches the face-framing pieces moving forward. That combo gives you softness without making the whole head look scraped thinner.
This is a strong choice if you usually wear your hair down and want the outline to feel graceful rather than square. It’s also one of the easier shapes to grow out because the bottom remains heavy. You’re not constantly chasing a clean line every six weeks.
8. Bottleneck Bang Blend
This one sits between curtain bangs and long face-framing layers, and that’s exactly why it helps thin hair. The center is a little shorter, the temples stay longer, and the pieces melt into the rest of the cut instead of looking like a separate fringe. It gives the face shape without stealing too much length from the sides.
Best for
- Hair that needs a stronger focal point around the eyes
- People who want a little 90s nostalgia without a full bang commitment
- Styles that are blown out or set with a soft roller
The key is keeping the temple pieces long enough to tuck behind the ears. If they stop too high, the whole shape can feel chopped. Let them fall and blend. That’s where the cut earns its softness.
9. Jawline Flick Layers
A jawline flick gives the front a little attitude without shrinking the face frame. The pieces are cut so they naturally flip outward or under at the jaw, which keeps the silhouette lively. On thin hair, that flick matters because it creates motion at one clear point instead of scattering texture everywhere.
This is the kind of cut that looks especially good with earrings, a blazer, or a clean black top. The hair does not have to work hard. A side part or center part both work, but keep the bend focused near the lower face so the ends don’t spread out too much.
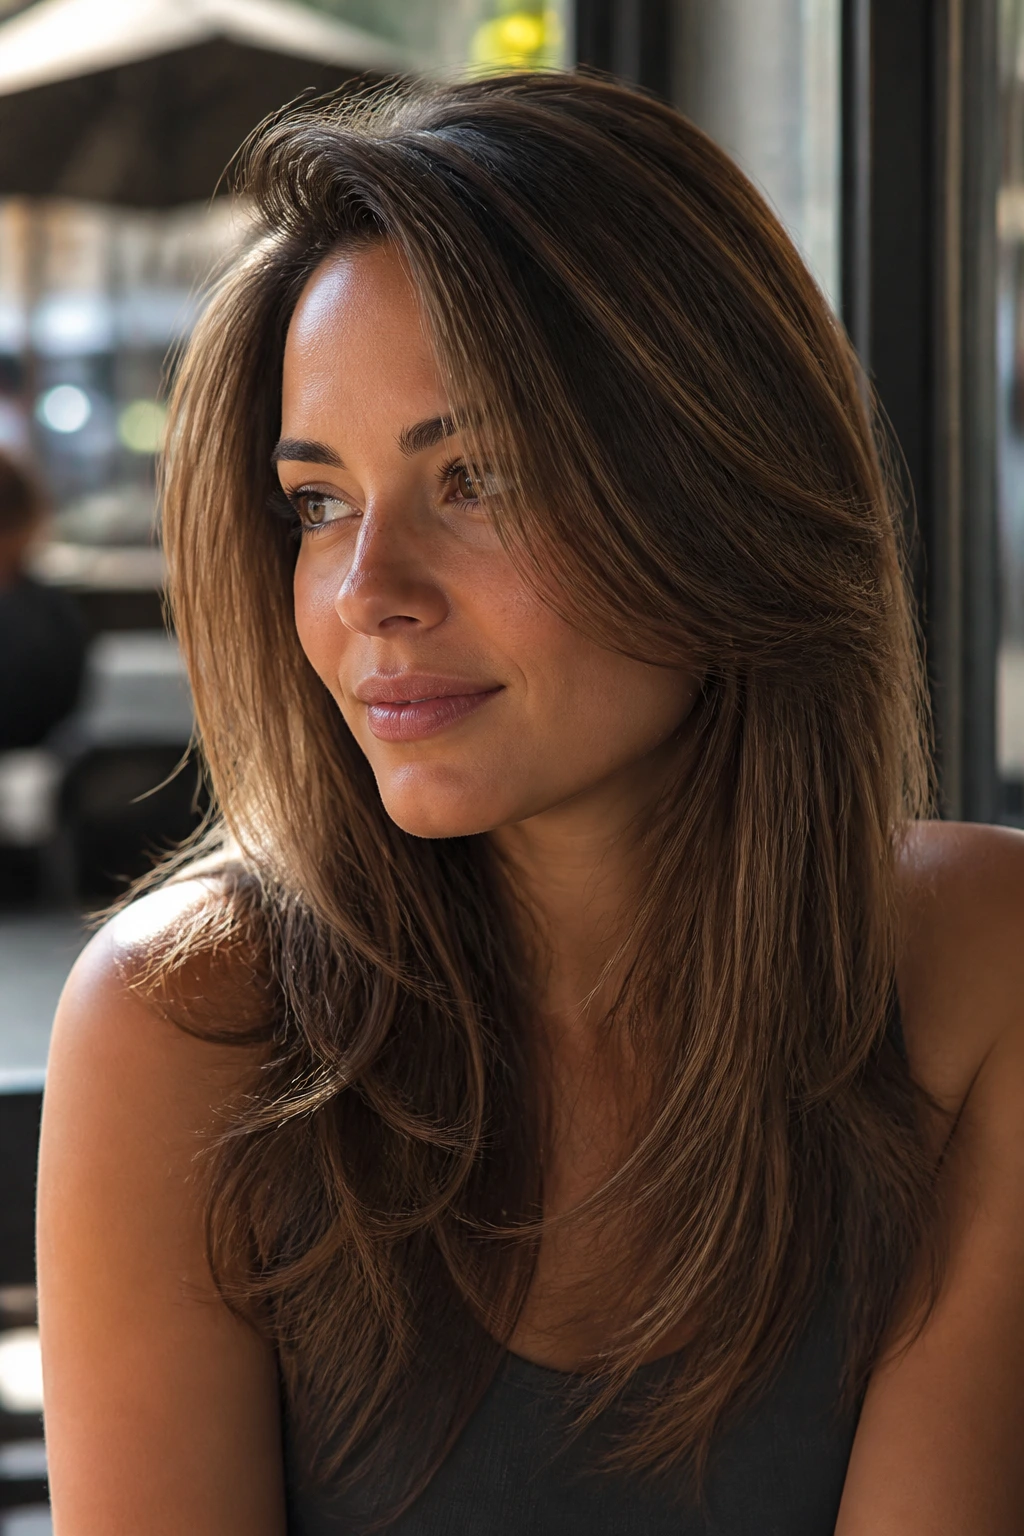
10. Feathered Mid-Length Pieces
Feathering gets a bad reputation when it’s overdone. On thin hair, though, a light feather through the mid-lengths can keep the cut from looking heavy and blunt in a bad way. The trick is to feather the front and a little of the body, not the whole head. You want lift, not fray.
This is a nice middle ground if you like movement but don’t want obvious layers. It works especially well with a blow-dry brush or a round brush because the ends have room to arc. If your hair is fine and slippery, keep the feathering soft and the ends intact.
11. Soft Razor Ends
Razor-cut ends can be dangerous on thin hair if the stylist gets enthusiastic. Used lightly, though, they can soften a blunt edge and help the front pieces blend. The result should look like a whisper, not shredded paper. That line matters.
This style is best when the density is thin but the strands themselves are not ultra-fine. A tiny bit of edge removal keeps the cut from looking boxy. If your hair already feels fragile, tell the stylist you want texture only at the front corners and a fuller bottom line everywhere else.
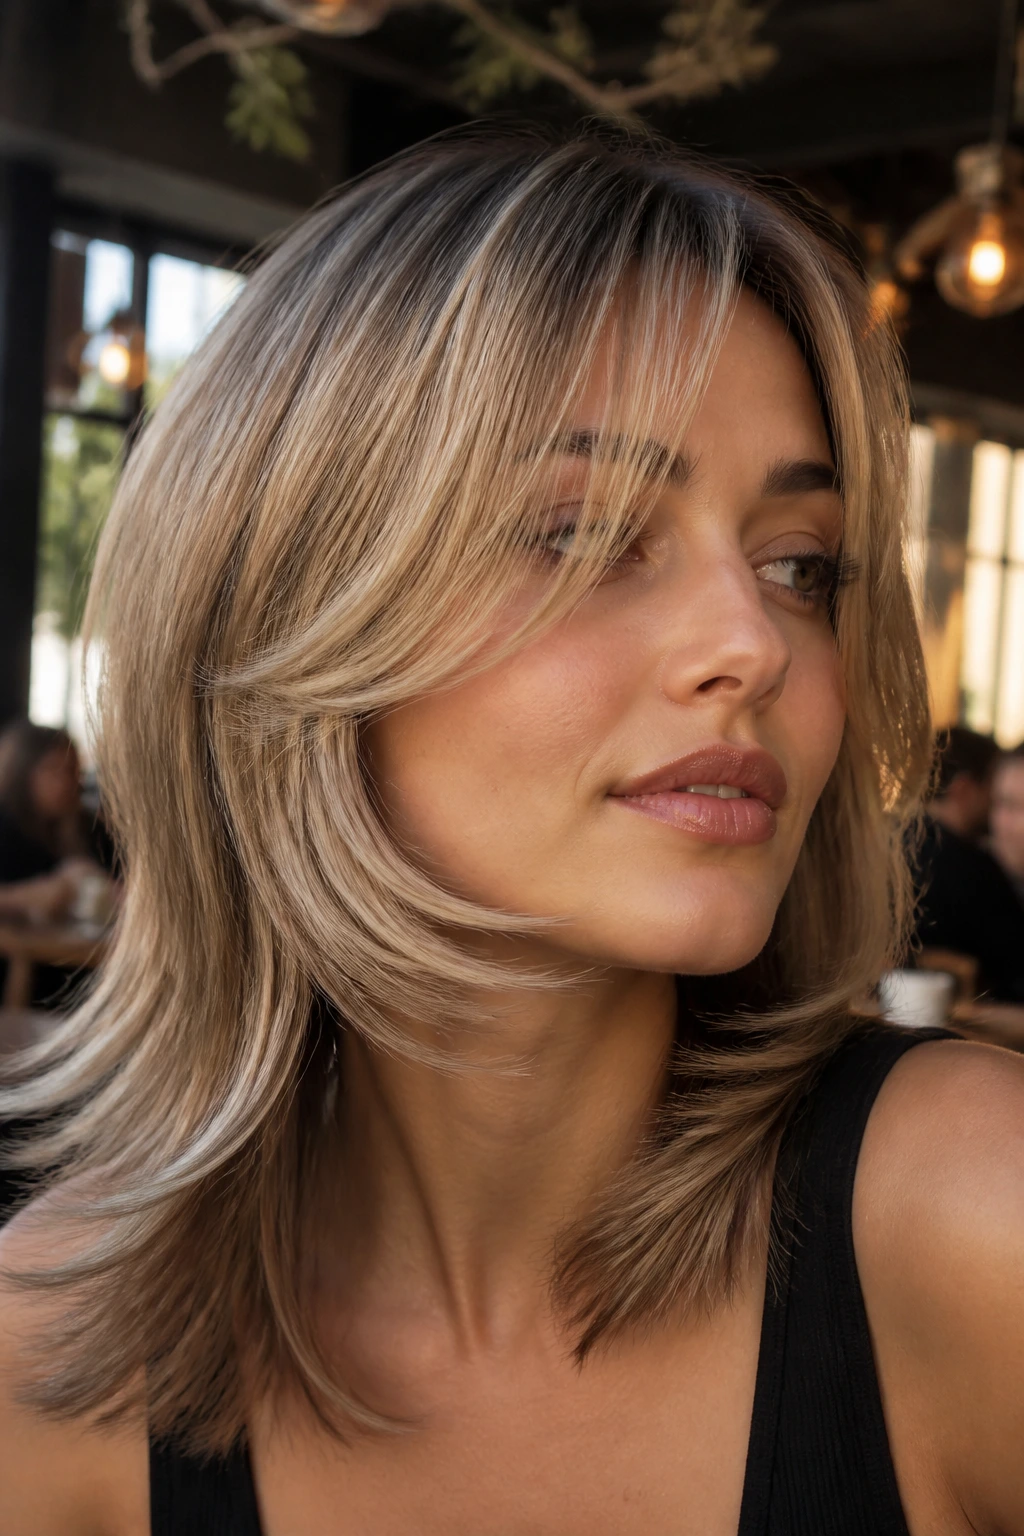
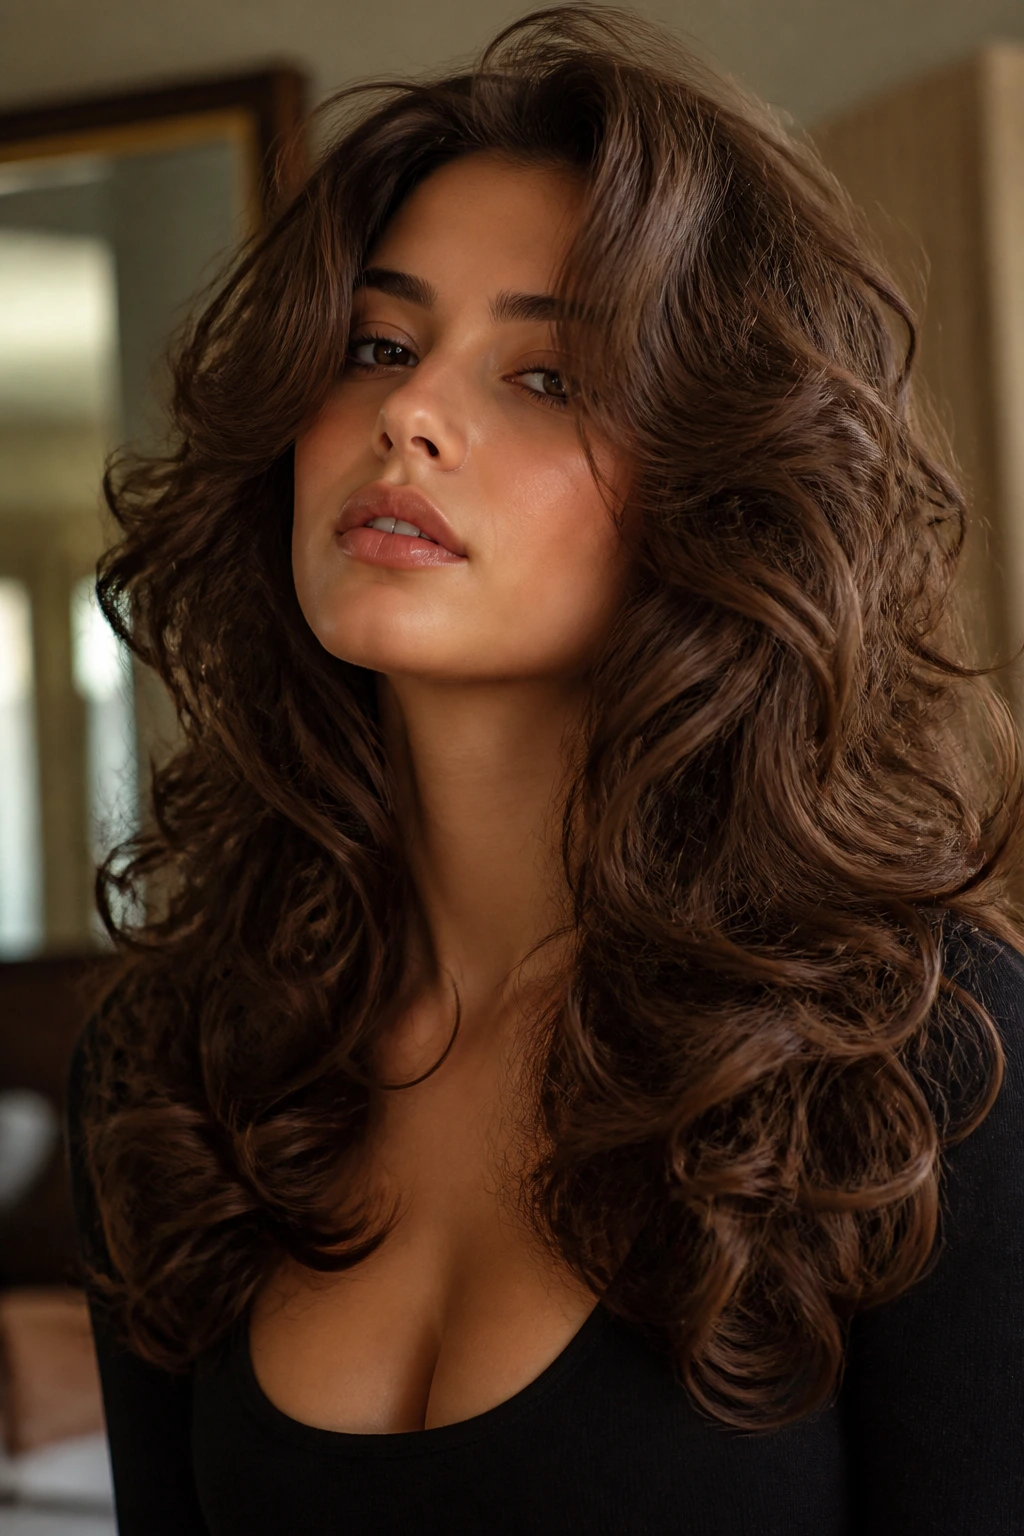
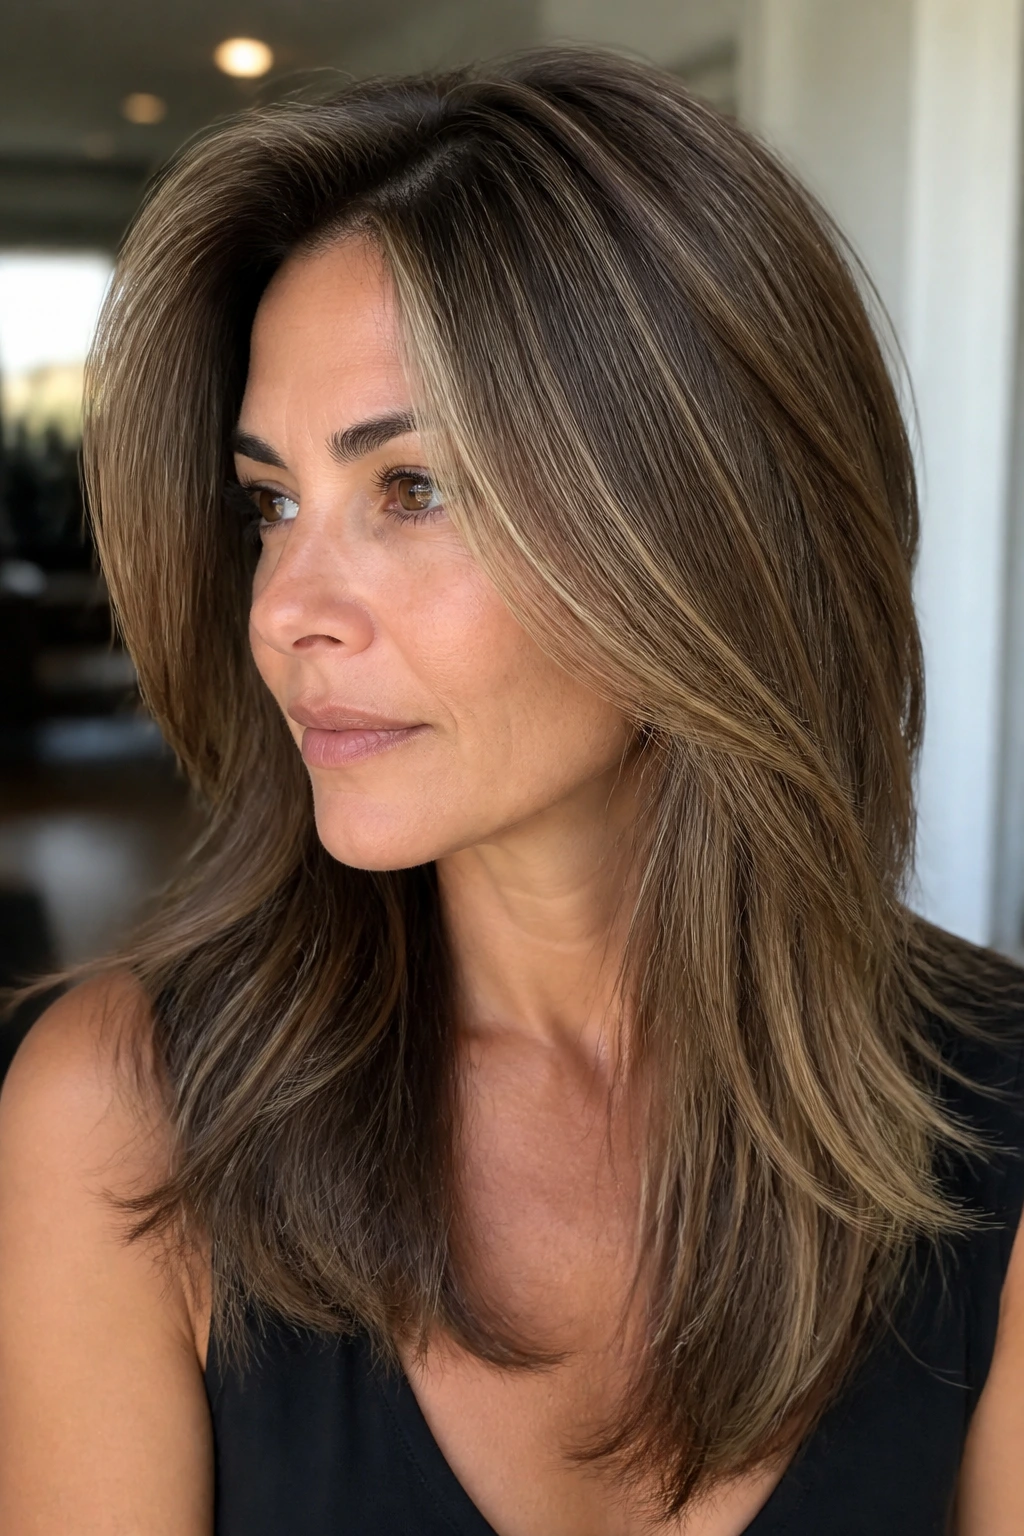
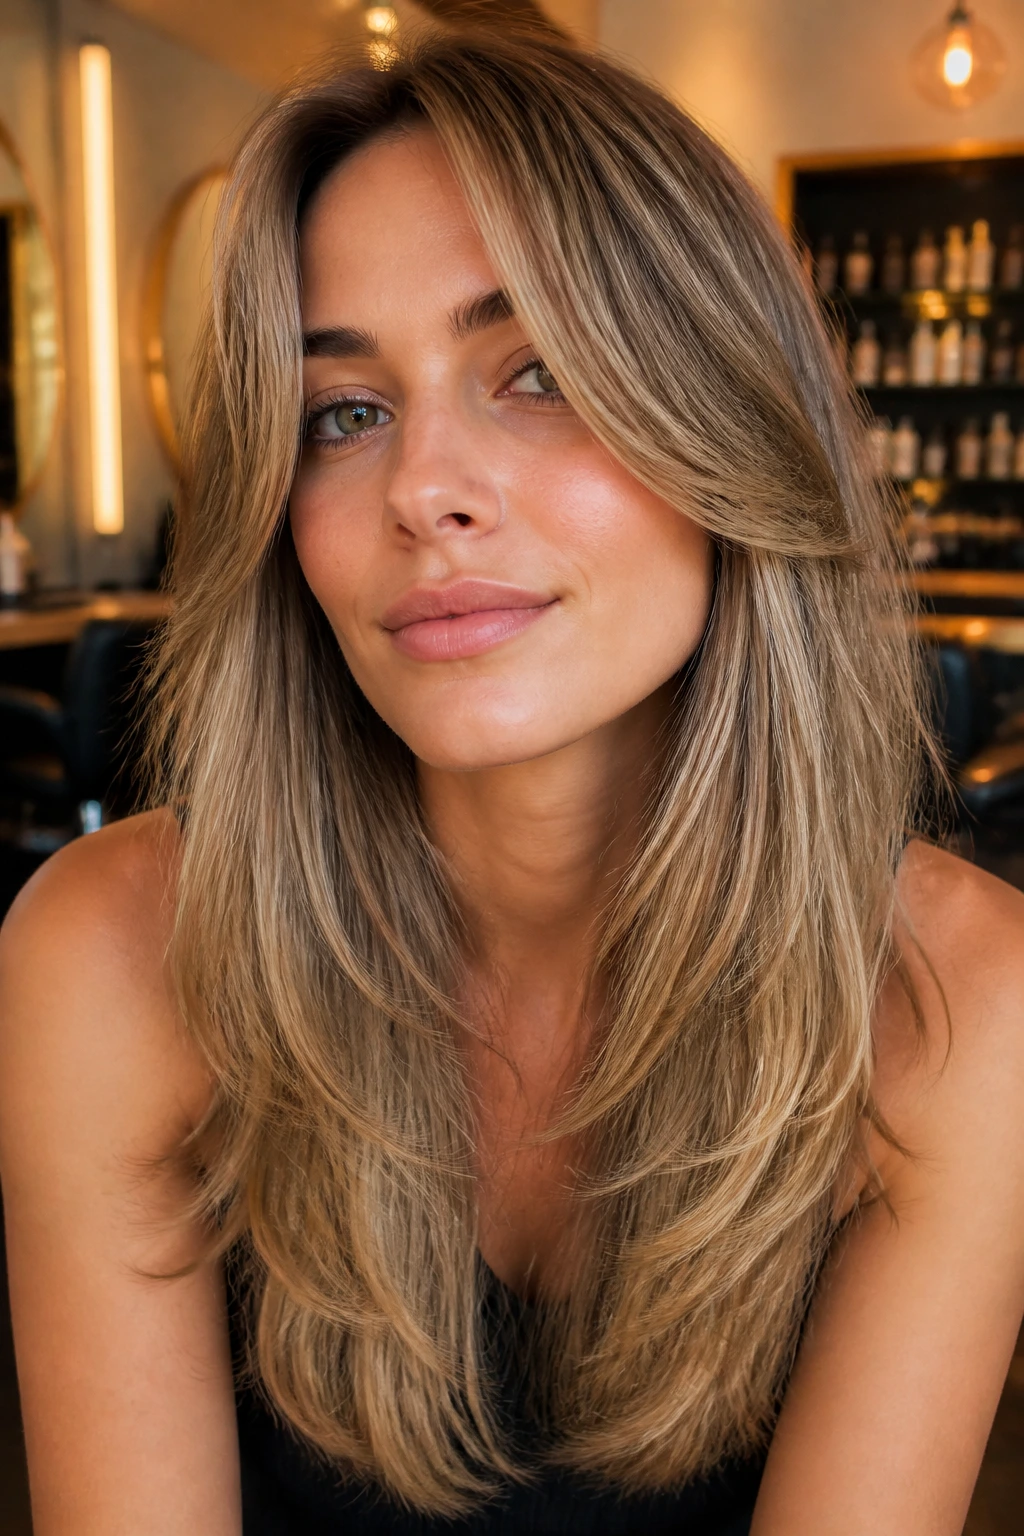
12. Supermodel 90s Layers

This is the big, glossy version of the trend. The front pieces start around the cheekbone or just below it, then curve outward in a way that makes the whole head look lifted. It’s still long. It’s still controlled. But it has that polished blowout energy people remember from old fashion editorials.
Thin hair likes this shape when the layers are placed, not chopped. You’re aiming for movement that shows up after a 20-minute blow-dry, not a haircut that needs three styling tools to make sense. If your roots are flat, clip them up while drying and finish the front last. It helps the shape hold instead of collapsing before you leave the house.
13. Side-Swept Glam Layers
A deep side part changes everything. Suddenly the front has a sweep, the roots get lift, and the face frame reads richer because the hair crosses the forehead on a diagonal. It’s a small move with a big visual payoff, which is the kind of thing thin hair tends to like.
The layers themselves should stay long and soft. You don’t need a lot of short pieces for this to work. Let the heavier side create the drama, then bend the ends under slightly so the shape stays controlled. Too much flip makes the cut feel busy; a single clean sweep is enough.
14. Long Butterfly Face Frame
The butterfly shape gets overused, but the long version earns its place here. It keeps shorter movement near the front and crown while leaving the bottom length intact, which is exactly what thin hair needs when it wants body without losing its hemline. Think of it as framing, not stripping.
This works best when the shortest front layer still falls below the cheekbone. That keeps the volume from looking top-heavy. If you wear your hair in loose waves, the butterfly effect gets more obvious. Straight hair shows it more quietly, which can be a plus if you want the cut to look expensive instead of trendy.
15. Blunt Bottom, Long Top
A blunt bottom with long top layers is one of the smartest moves for thin hair. The base line stays dense and solid, while the upper face-framing pieces give shape and swing. You get movement where people notice it, and fullness where it actually matters.
Why it works
The perimeter acts like a frame. The long pieces act like a spotlight. That balance is what keeps the hair from looking too broken up.
Ask your stylist not to over-layer the ends. The bottom should still read as one piece when the hair hangs straight. If you style with a round brush, bend only the top layers and leave the hemline clean. That contrast is the point.
16. Air-Dry Friendly Pieces
Not every 90s-inspired cut needs a blowout to make sense. Air-dry friendly layers are cut with soft curves that fall in a decent shape even when you only rough-dry the roots and let the rest dry on its own. On thin hair, that matters because too much styling can make the ends puff out and look tired.
This is the cut I’d recommend for anyone who styles their hair by speed, not by plan. Keep the layers long enough to land in a natural bend. A light cream on the mid-lengths and a touch of mousse at the roots is enough. Heavy products will flatten the whole thing before it starts.
17. Tuck-Behind-the-Ear Layers
Some cuts are built for the mirror; this one is built for real life. Tuck-behind-the-ear layers leave enough length around the face that you can sweep one side back without losing the frame. Thin hair benefits because the tuck creates a clean line at the front while the longer pieces still show shape.
It’s a good choice if you wear glasses, earrings, or just like getting hair off your face during the day. The best versions keep the shortest piece around the cheekbone or lower. Anything shorter starts behaving like a bang, and that changes the whole mood.
18. Money-Piece Lite Layers
Ignore the color name if it annoys you. The haircut version is about a slightly brighter, lighter-looking front frame created by placement, not bleach. The front pieces open the face, the rest of the hair stays long, and thin hair gets a little bit of visual emphasis where it needs it most.
This shape is especially useful if your hair is naturally dark and tends to disappear in low light. A soft, long frame around the face catches attention without demanding a dramatic cut. Keep it subtle. The best part of this style is that it looks like a small adjustment, not a reinvention.
19. Shoulder-Flip Layers
Shoulder-length contact can be useful. A front piece that skims the shoulder naturally flips as you move, and that flip gives thin hair a lot of life with very little effort. The rest of the hair can stay long and softly layered, which keeps the ends from looking overworked.
This is a good one if you like a cut that changes through the day. It looks neat tucked into a coat, then loose and swingy when you pull the hair forward. The key is not cutting the front too short. Let the shoulder do some of the styling for you.
20. Low-Maintenance Barely-There Layers
Not every face frame needs to be loud. Barely-there layers work because they give the front just enough movement to prevent a flat curtain effect, while the long lengths stay intact. On thin hair, restraint is often the smartest choice.
This cut suits people who don’t want to think about their hair every morning. A little bend near the ends is enough. If your natural texture is straight, this shape still works because the haircut itself is doing the heavy lifting. No dramatic styling ritual required.
21. Glam Curl Layers
Curls change the game for thin hair, but only if the layers are cut to support them. Glam curl layers keep the front long enough for a 1-inch or 1.25-inch iron to make a soft bend instead of a tight ringlet. The shape feels 90s in the best way: full at the front, smooth through the lengths, and not overdone.
The trick is direction. Curl the pieces away from the face, then brush them out once they cool. That gives you movement instead of poodle texture. If your hair is fine, use less heat and more set time. The curl memory matters more than brute force.
22. Straight and Sleek 90s Layers
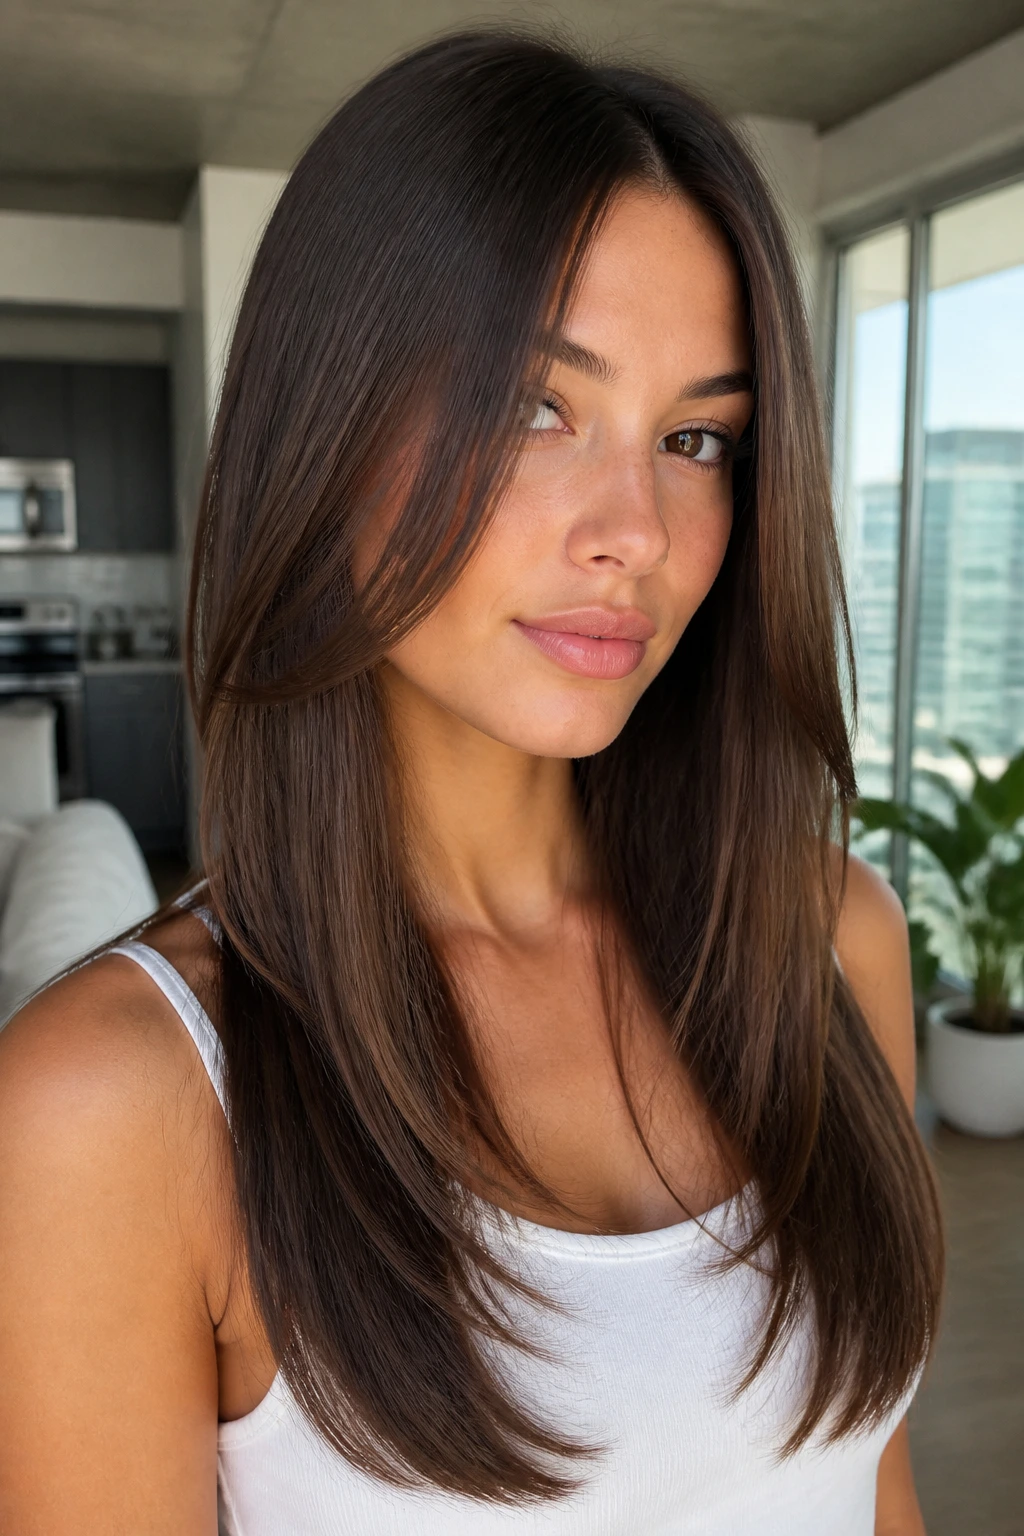
Straight hair can wear face-framing layers, too. The cut just needs to be clean enough that the front pieces fall like a line instead of a fray. Think polished, beveled ends, not flat-iron stiffness. Thin hair often looks thicker when the shape is controlled.
What to watch for
- Keep the face frame long enough to move
- Use a heat protectant and a low-pass flat iron bend
- Skip heavy oils near the roots
This version is especially good if you like a middle part and a glossy finish. The sleekness makes the cut look deliberate. Thin hair doesn’t need extra fluff to look good; sometimes it just needs a cleaner outline.
23. Wavy Bend Layers

Loose waves and face-framing layers get along because both rely on motion, not volume that’s forced into place. The layers should sit long enough that the wave pattern stretches through them instead of bunching up at the cheek. That makes the hair look fuller, not busier.
This is where a 1-inch iron or a few fast bends with a flat iron can help. Don’t curl every strand the same way. Alternate directions through the lengths, then leave the front pieces wrapped away from the face. The result is softer than beach waves and less crunchy than a lot of “textured” hair you see online.
24. Curtain Bangs That Grow Out
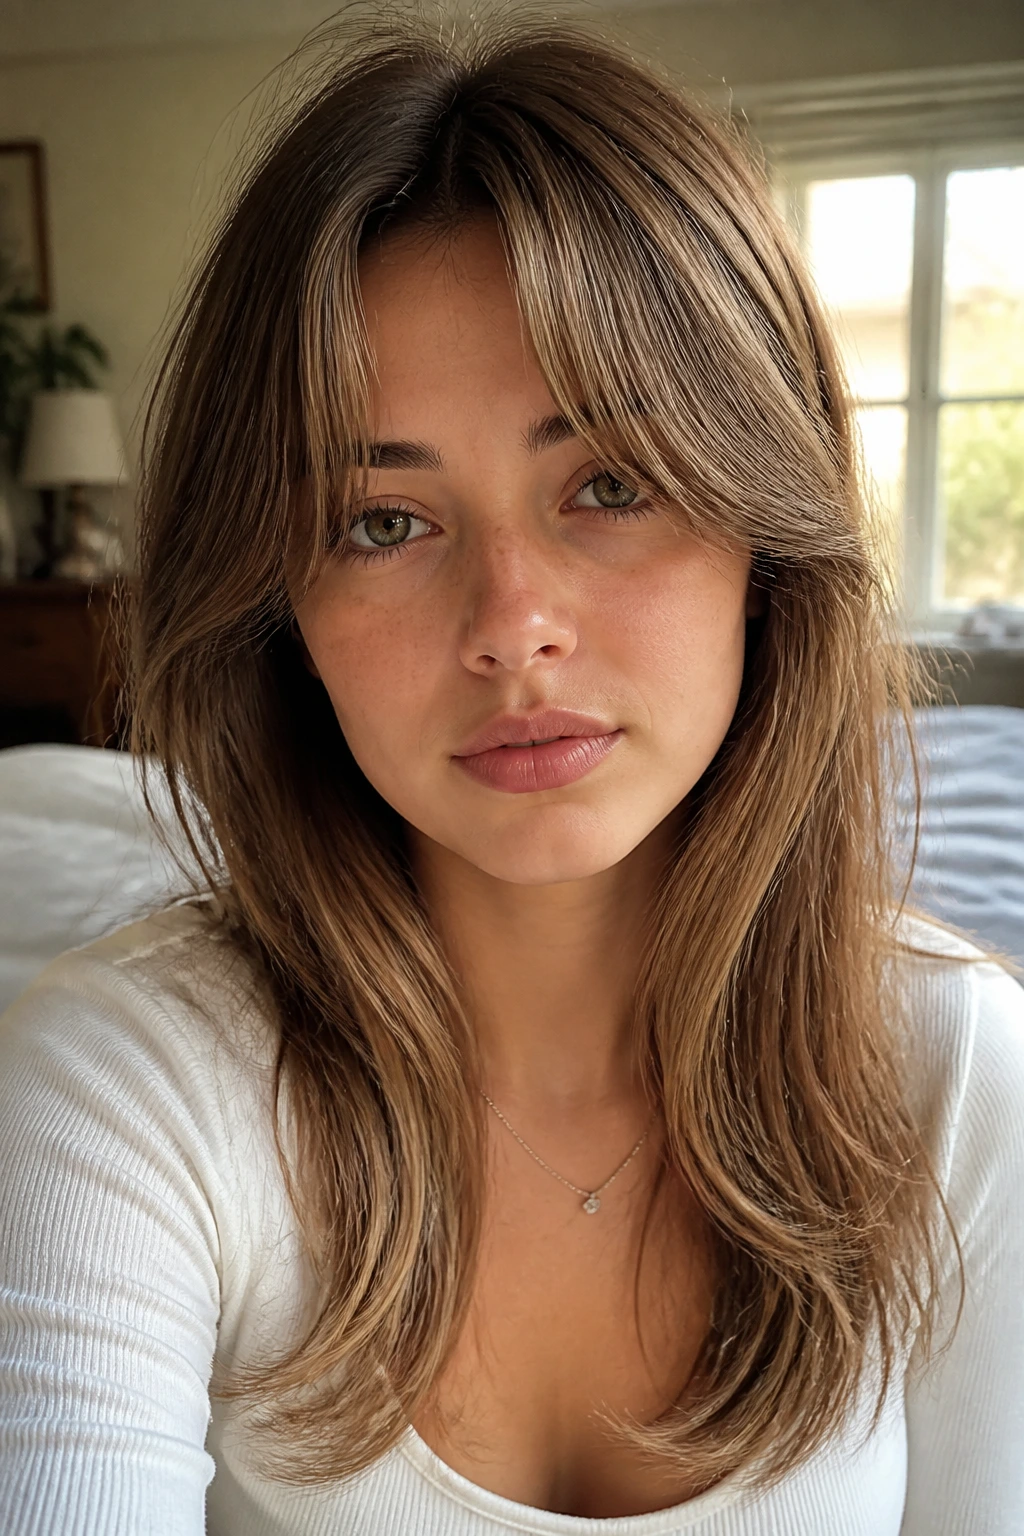
This is the hybrid cut for anyone who wants fringe energy without committing to a full bang. The center pieces are short enough to frame the eyes, then the sides slip into long layers. Thin hair likes this because the cut creates interest right at the front while keeping the rest of the hair long and honest.
The grow-out is easier than with blunt bangs, which is worth saying out loud. If you’re nervous about maintenance, this is the version to try first. Ask for the middle to hit somewhere around the brows or slightly below, then let the sides taper into the rest of the cut.
25. Deep Side-Part Layers
A deep side part and long front layers can make thin hair look twice as intentional. The part gives lift. The long sweep gives shape. The whole thing feels a little dramatic without turning into a hard-edged style. That balance is why it lands so well with 90s clothing, by the way — it has the same soft structure.
This version suits people whose hair tends to fall flat in the same place every day. Shift the part, clip the front while it cools after drying, and let gravity do some of the work. It’s not a complicated fix. It just needs the haircut to support the part, not fight it.
26. Ponytail-Friendly Frame
Some cuts look lovely down and odd up. This is not one of them. A ponytail-friendly frame keeps the front pieces long enough to soften a tie-back style, which matters if you actually wear your hair pulled back more often than you wear it loose. Thin hair can still have shape in a ponytail if the face frame is built with intention.
Keep the shortest pieces around the cheekbone or lower, and ask for long tapering near the temples. That way the ponytail doesn’t leave you with broken-off bits at the sides. The frame stays elegant, and the updo feels finished instead of accidental.
27. Crown-Lift Layers
Flat roots can make thin hair look thinner than it is. Crown-lift layers place a little more movement near the top so the head doesn’t collapse visually from the part downward. The front still matters, but the lift starts higher up, which changes the whole silhouette.
This cut is useful if your hair is long enough to weigh itself down. A root spray, a round brush, and a few clips at the crown are enough to help the layers take shape. You do not need a lot of product. Too much near the scalp will bury the lift before lunch.
28. Hush Cut on Long Hair
A hush cut is all about soft, whisper-light movement, and the long version can be very kind to thin hair when it’s done lightly. The layers are quiet. The face frame is gentle. The perimeter stays long enough to keep the ends from going sparse.
This one suits people who want softness more than obvious shape. It’s a good answer if you love the 90s mood but don’t want a blowout that feels too styled. The danger is over-texturizing. Keep the cut airy, not shredded, and it will stay elegant instead of fussy.
29. Polished C-Shape Layers
C-shape layers curve inward around the face, almost like the hair is folding itself into place. That curve can make thin hair look fuller because the eye sees a line with direction instead of flat lengths hanging straight down. The result feels tidy, feminine, and a little old-school in the best way.
This style is especially nice on medium-to-long hair that needs a soft face frame without a lot of obvious graduation. It also styles fast. A round brush or a single pass with a flat iron at the front is enough to make the curve show. The rest can stay straight.
30. Grown-Out Rachel Echo
If you grew up seeing layered 90s hair everywhere, this is the calmer, longer, thin-hair-friendly version of that energy. The frame is still there. The movement is still there. But the pieces are kept long enough that the cut doesn’t swallow the ends whole. It nods to the era without dragging the hair back into that heavily chopped look.
Best when you want
- Shape around the face
- A little bounce at the ends
- A cut that still looks sane after it grows
This is the version I’d choose for someone who wants nostalgia without the maintenance headache. It has the feel of the decade, minus the over-layered extremes. That’s a pretty useful upgrade.
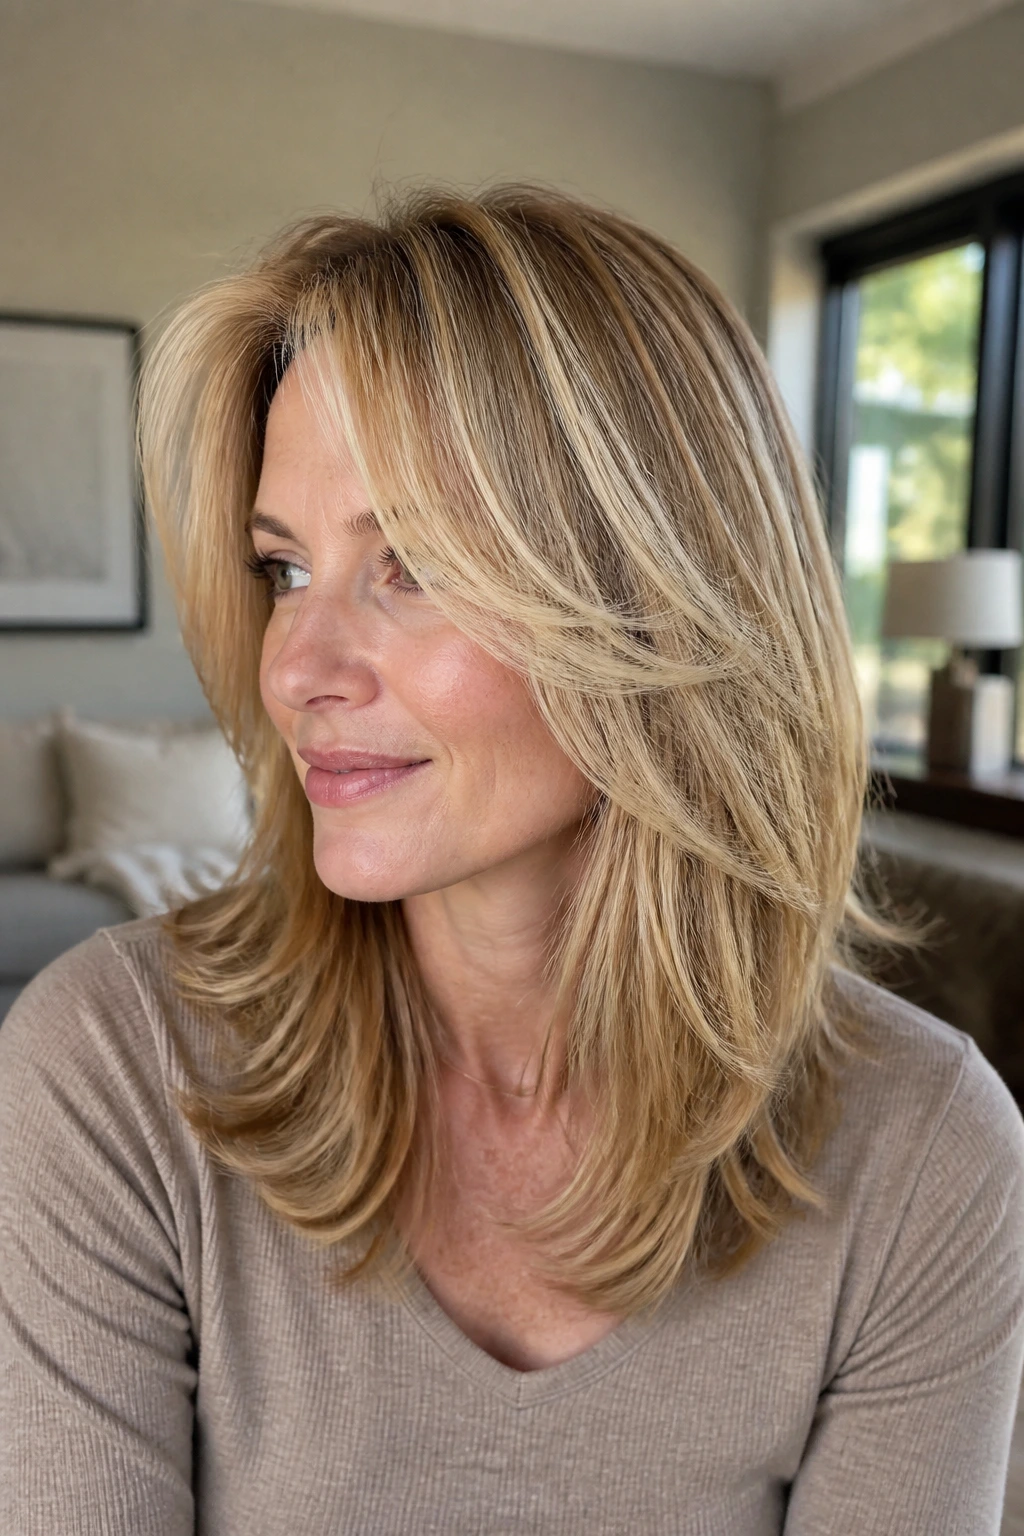
Why 90s Face-Framing Layers Work on Thin Hair

The basic reason is weight distribution. Thin hair often looks best when the bottom stays solid and the movement happens in the front and upper sides. That keeps the outline from looking hollow. A 90s-inspired cut respects that by leaving enough length in the body of the hair to keep the ends looking present, while the front pieces create all the swing and shape.
There’s also a visual trick at work. Face-framing layers pull attention to the cheekbones, jaw, and eyes, which makes the hair seem more intentional than it really is. You’re not adding hair. You’re directing the eye. That matters when density is low, because a good shape can do a lot of the heavy lifting that extra thickness normally would.
The best versions are never overcut. They use a blunt or softly U-shaped base, then place long layers where the hair naturally bends. That’s why these cuts look good air-dried, blown out, or curled. They’re built around how hair falls, not against it.
What to Tell Your Stylist Before the First Snip
Bring photos, yes, but bring the right ones. Look for cuts that match your density and length, not just the vibe. A photo of thick, high-volume hair on someone with a completely different hairline can send the appointment sideways fast. Your stylist needs a visual reference and a density reference.
Use plain language about the shortest point you want. Say “cheekbone,” “jawline,” or “collarbone” instead of “shorter in front” and hope for the best. Those landmarks matter. On thin hair, one inch too high can change the whole feel of the cut.
Mention how you wear your hair most days. If you air-dry, the cut needs softer lines. If you blow it out, the layers can be more shaped. If you wear a middle part, the face frame should support it. And if you live in ponytails, say that first. A lot of haircut regret starts with people forgetting to mention the most boring, daily part of their routine.
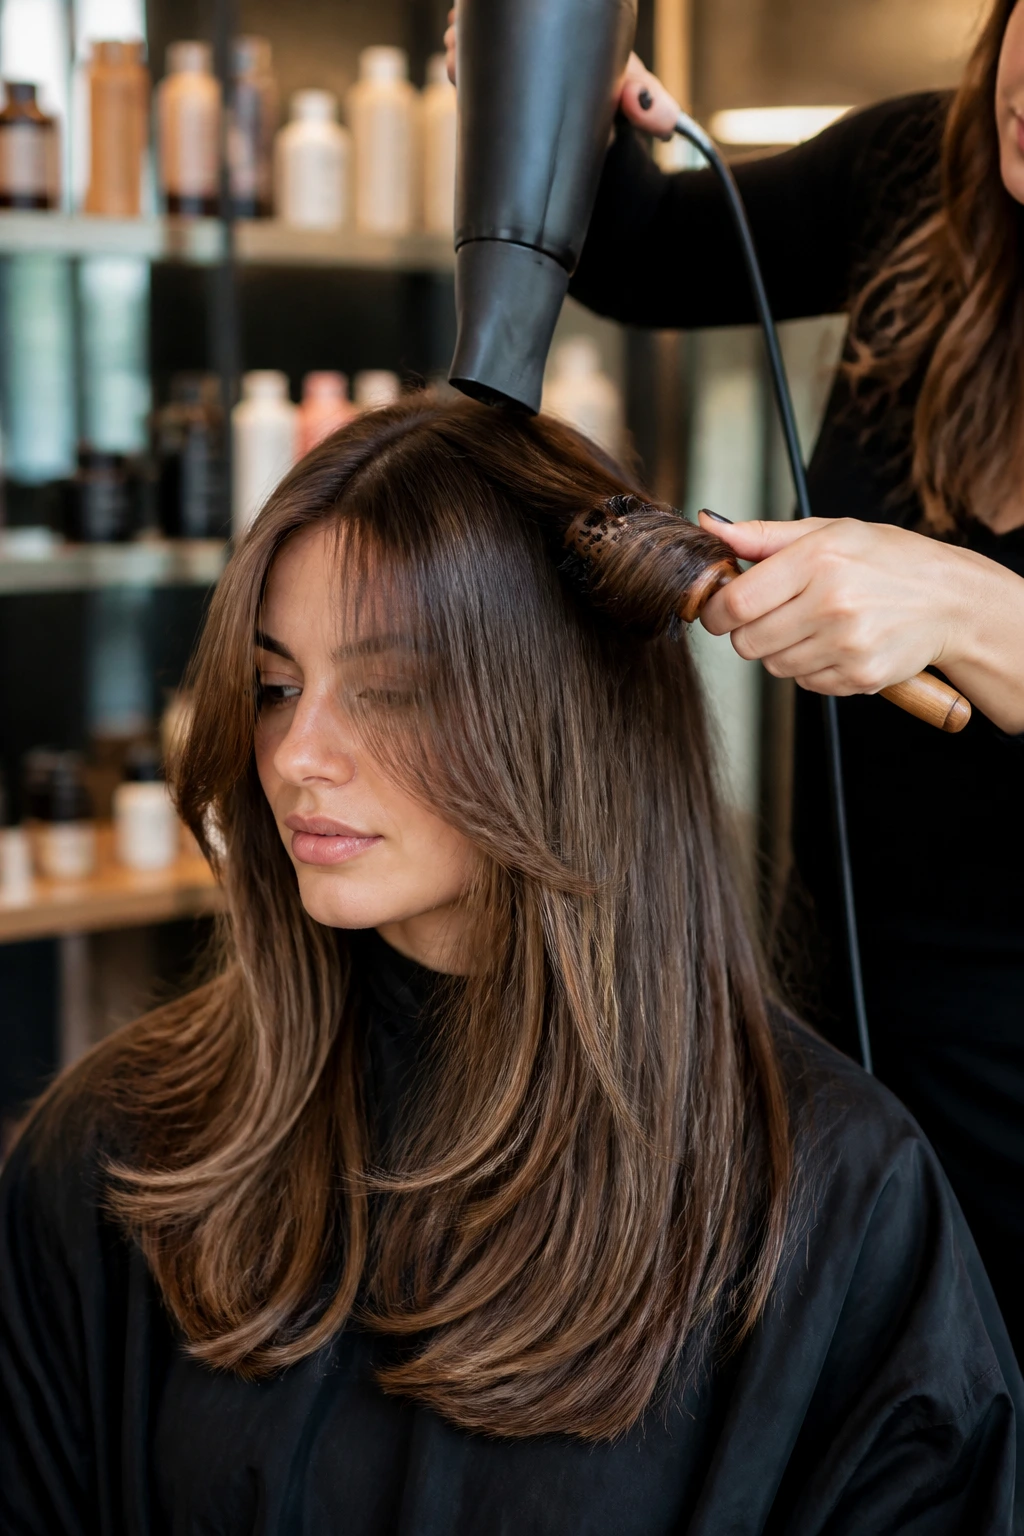
Essential Tools and Products for Styling the Cut
-
1.5-inch round brush: Big enough to build bend without making the front pieces look curled to death.
-
Blow dryer with a nozzle attachment: The nozzle matters more than people think; it lets you direct the roots instead of blasting them sideways.
-
Heat protectant spray: Thin hair can get fried fast, and fried ends look even thinner.
-
Lightweight mousse: Use it at the roots for lift, not through the lengths where it can stiffen the face frame.
-
Velcro rollers or large hot rollers: Good for setting the front while you do makeup or get dressed.
-
1-inch or 1.25-inch curling iron: Best for a soft 90s bend, not tight curls.
-
Dry shampoo: Helpful on day two, but keep it near the roots only.
-
Fine-tooth tail comb: Useful for clean parts and controlled sectioning.
How to Wear the Shape Day to Day
Everyday: Rough-dry the roots, then let the front pieces fall naturally or tuck them behind one ear. The shape should still make sense without a full blowout.
Polished: Use a round brush to bend the front away from the face and clip the pieces while they cool. That’s the fastest route to a 90s look that reads deliberate.
Straight: Keep the ends blunt and add a tiny inward bend at the last inch. That stops the hair from looking stringy at the bottom.
Wavy: Leave the face frame a little looser than the rest of the hair. If every section has the same wave pattern, thin hair can start to look busy instead of full.
Additional Tips and Shape Boosters

Root Lift: Put mousse or root spray only at the crown and part line, then blow-dry upward with your fingers before touching the rest of the hair. That keeps the front from falling flat while the lengths stay soft.
Texture Control: If your hair gets airy at the ends, stop reaching for more product. A touch of lightweight serum on the last inch is enough. Heavy creams are the fastest way to kill a good face frame.
Parting Trick: Try shifting your part by half an inch when your hair feels lifeless. Small changes matter more than people expect, especially on thin hair where a full side part can create instant lift.
Make-It-Yours: If you like a cleaner look, tuck one side behind the ear and let the other side fall. If you want more drama, set the front pieces with a roller while the rest air-dries. Same cut. Different attitude.
Common Mistakes That Make Thin Hair Look Thinner
The first mistake is asking for too many short layers. The symptom is obvious: the ends look ragged, and the hair loses that heavy line at the bottom that thin hair depends on. The fix is to keep the perimeter full and place movement mainly at the front and upper sides.
Another one is starting the face frame too high. If the shortest piece lands above the cheekbone, the cut can drift into bang territory before you’re ready for it. That usually means more upkeep and a grow-out that annoys you. Keep the shortest point lower unless your stylist has a very specific reason not to.
Razor-thinning the ends is another trap. It can make good hair move for a minute, then it starts looking dry and airy in the wrong way. If you want softness, ask for point cutting or very light texturizing only where the hair is dense enough to handle it.
Heavy product is the quiet killer. Thick oils and rich creams make the roots droop and the front pieces clump together. Use lighter styling products and keep anything creamy away from the scalp unless your hair is coarse enough to handle it.
Variations and Adaptations to Try
Curtain Bang Bridge: Keep the center a little shorter and let the sides slide into long layers. This is the easiest path if you want fringe energy without committing to a full bang schedule.
Side-Part Supermodel Sweep: Move the part off-center and let the heavier side fall in a big curve. The look is dramatic, but the haircut still stays long and friendly to thin ends.
Blunt-Base Revival: Preserve a strong hemline and keep the layers concentrated near the face. This is the safest version if your hair feels sparse and you want maximum fullness.
Air-Dry Whisper Layers: Ask for the softest possible face frame, then let texture do the rest. This version is low-maintenance and tends to look better on day two than on day one.
Ponytail-First Cut: Tell your stylist you wear your hair up often. The face frame should be long enough to escape the elastic without breaking into awkward little pieces.
How to Keep the Shape Looking Fresh Between Trims
For most people, a trim every 8 to 12 weeks keeps the layers sitting where they should. If the front pieces fall into your mouth or keep flipping into your collar, that’s usually the sign the shape has wandered. You do not need a full haircut every time; sometimes a small dusting around the face is enough.
At home, refresh the front before you refresh the whole head. A quick round-brush bend or a pass with a flat iron on the last inch can bring the cut back to life in under 10 minutes. That matters on thin hair because the face frame is often the first thing to sag.
If you’re growing the cut out, ask for maintenance trims that preserve the perimeter and only clean up the face frame. That way you keep the 90s shape without backsliding into a random, overgrown layer situation. It’s a much calmer grow-out.
Frequently Asked Questions
Will face-framing layers make thin hair look thinner?
Not if they’re placed well. The problem is usually too many short layers or a perimeter that gets thinned out, not the face frame itself. Long front pieces and a solid bottom line usually make thin hair look fuller, not less.
What’s the best length for the shortest front layer?
Cheekbone or jawline is the safest range for most thin hair. Going shorter can look cool, but it also asks for more styling and more frequent trims. If you want a softer grow-out, stay lower.
Are curtain bangs a bad idea for thin hair?
No, but they need restraint. A curtain fringe that blends into long layers can work nicely; a heavy, chopped fringe can make the front look sparse fast. Keep the center soft and the sides long.
Should I ask for layers if my hair is very fine?
Yes, but not a lot of them. Fine hair often does better with a blunt base and light face-framing movement than with all-over layering. The cut should create motion without removing too much weight.
Can I wear this cut with a middle part and still get volume?
Absolutely. A middle part works well when the front pieces are long enough to curve away from the face. The trick is root lift at the crown, not forcing the part to do all the work.
What if my hair flips out at the ends?
That’s usually a styling issue, a cut-length issue, or both. A round brush or a quick bend with a flat iron can tame it, but if the ends are flipping because the layer is too short, ask for a small trim and a softer angle.
How often should I trim face-framing layers?
Every 6 to 10 weeks if you want them to stay put, longer if you’re fine with a softer grow-out. The front shows wear first because it gets tucked, brushed, and heat-styled more often than the rest.
Can I still wear ponytails with these layers?
Yes, if the shortest pieces stay long enough to clear the elastic. Tell your stylist you want a ponytail-friendly frame, and they can keep the sides long enough to soften the updo instead of fighting it.
The Cut That Keeps Its Weight
Thin hair does not need a haircut that fights its own body. It needs one that knows where to keep the weight and where to let the movement happen. That’s the real promise of 90s face-framing layers: not more hair, just smarter hair.
The best versions feel easy when they’re worn loose and still make sense when they’re tucked, curled, or shoved into a clip. That’s the kind of shape that earns repeat appointments. Pick the version that fits your part, your styling habits, and your tolerance for upkeep, then let the front pieces do the flattering while the ends stay full enough to matter.