A blunt line that stops right at the cheek can make a round face look broader than it is. The fix is usually not more volume. It’s smarter placement: layers that bend around the face, move past the cheeks, and leave a little breathing room at the jaw.
That’s why flow hairstyles for round faces with face-framing layers keep working so well. They don’t fight the shape of the face. They guide the eye downward, soften the widest point, and let the hair move instead of sitting there like a shelf.
Some of these styles do that with curtain pieces. Some use a soft blowout. A few lean into texture and a little mess. The common thread is simple: the shortest front pieces land somewhere useful — usually below the cheekbone, often closer to the mouth, chin, or collarbone — and the silhouette never gets boxed in at the sides.
Why These Layers Keep the Face Open and Long
-
They pull the eye downward: Layers that fall past the widest part of the cheek build a vertical line, which matters more than most people think on a round face.
-
They break up a circle without making the hair look chopped up: A few soft front pieces can do more than a hundred tiny layers packed around the cheeks.
-
They work with the texture you already have: Waves, bends, curls, and straight hair all change the shape differently, but the same placement rules still help.
-
They stay useful on day two: The styles that loosen a little and still hold their shape are the ones you actually keep wearing.
-
They give you room to customize: Shift the part, change the bend, shorten the fringe, or move the front layer by an inch and the whole haircut changes.
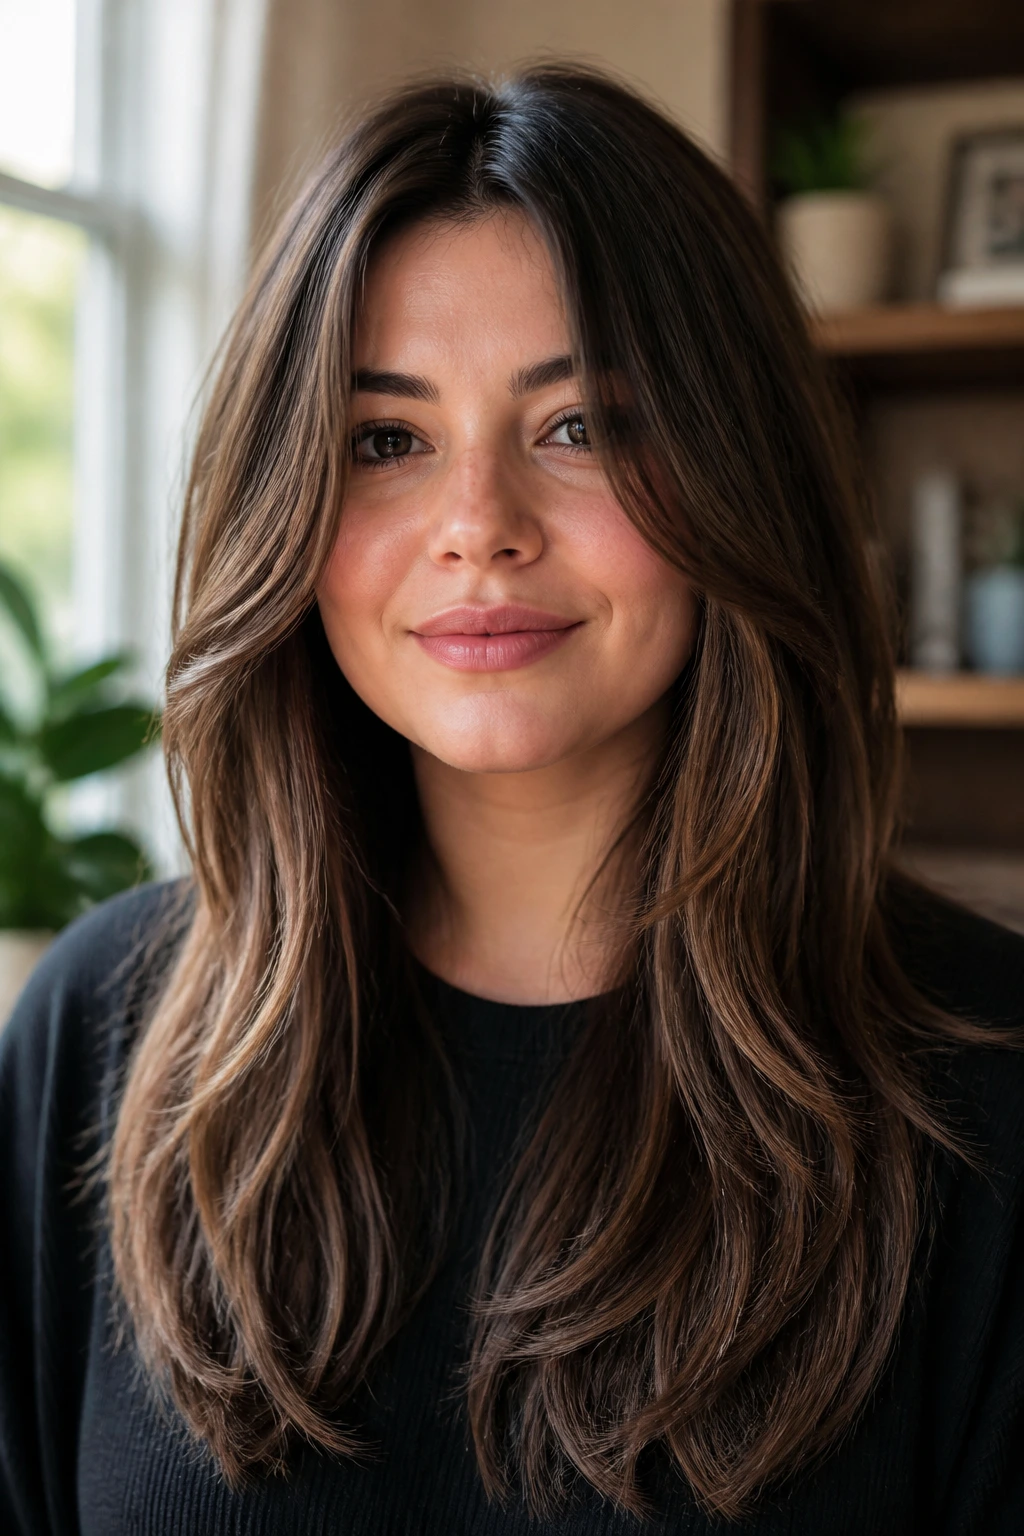
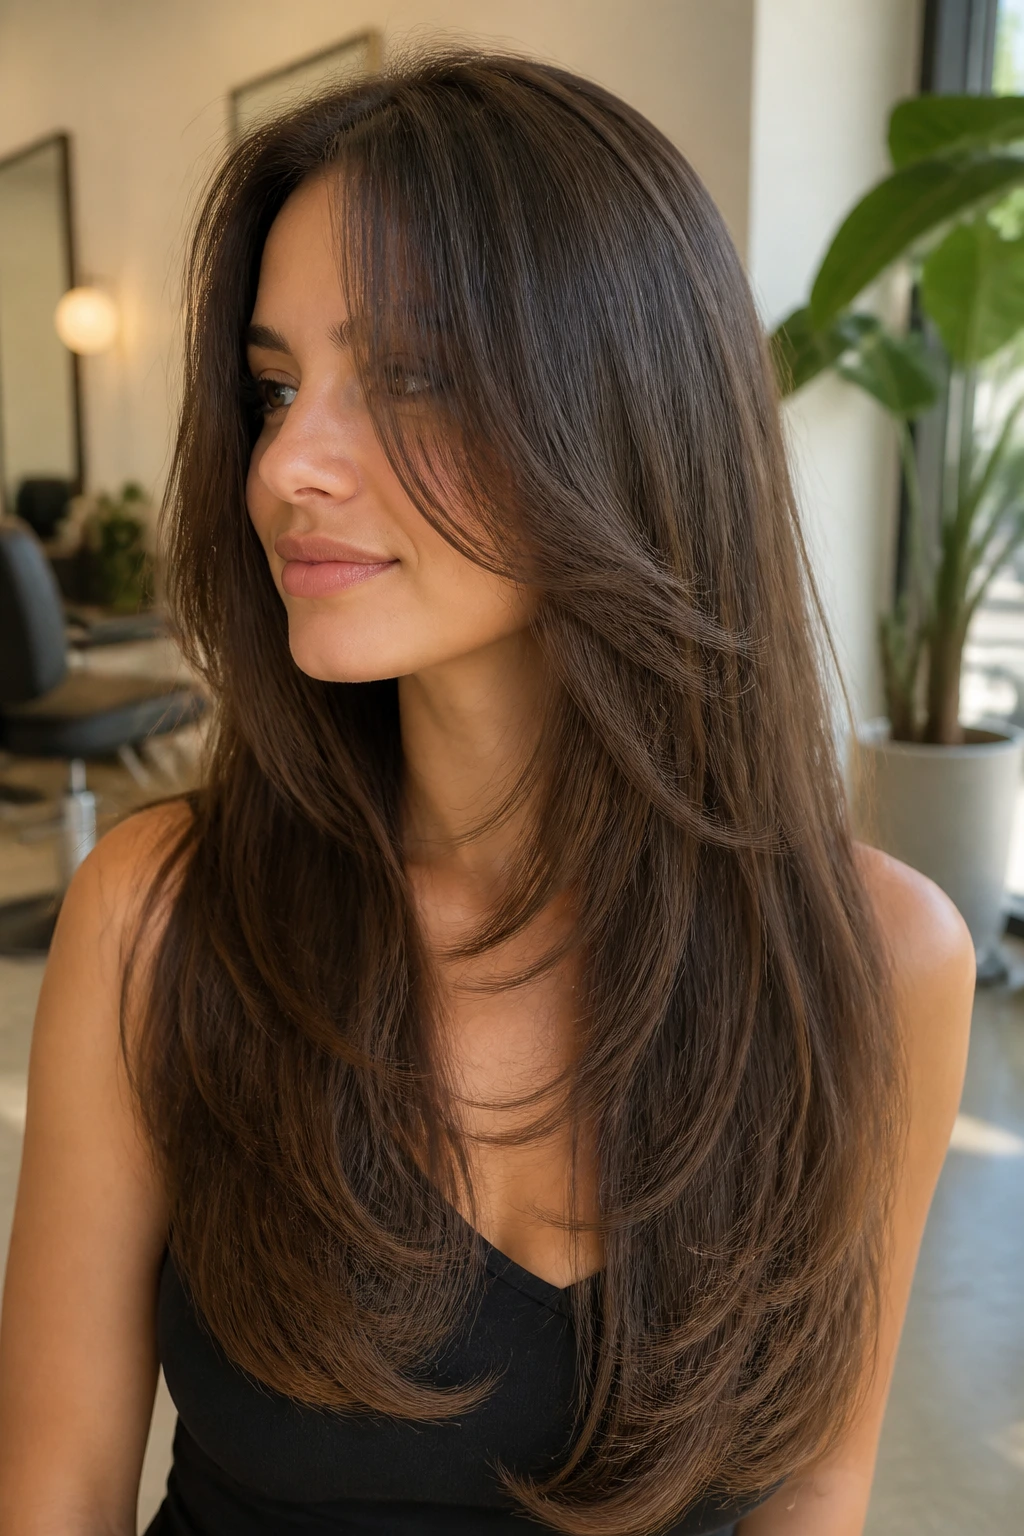
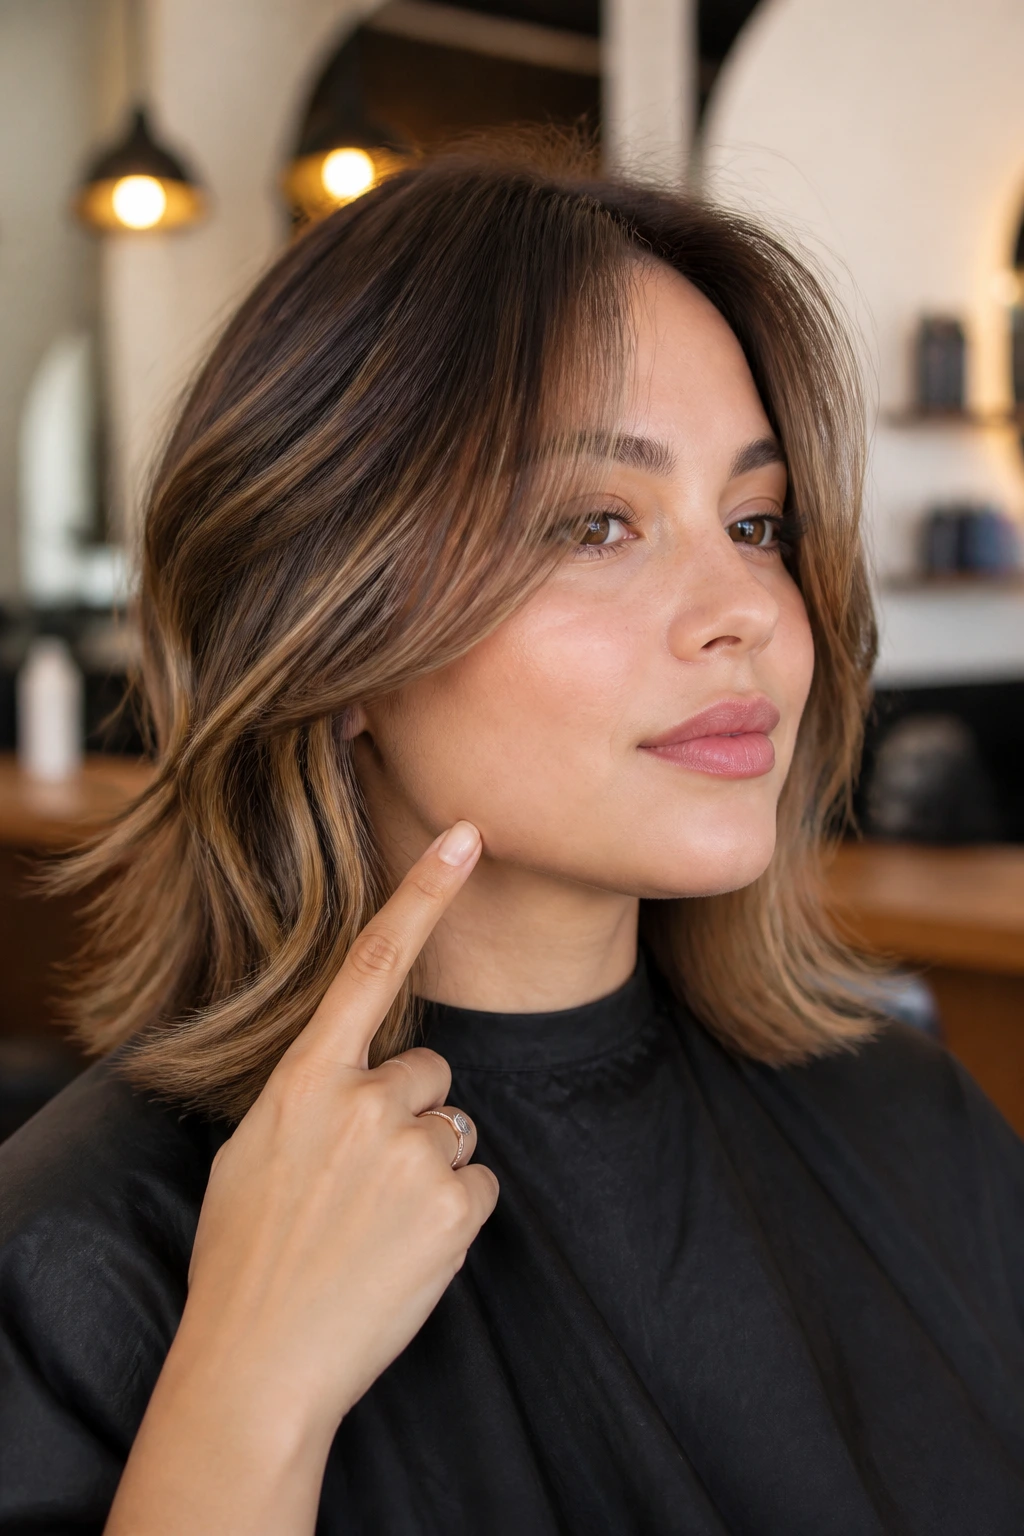
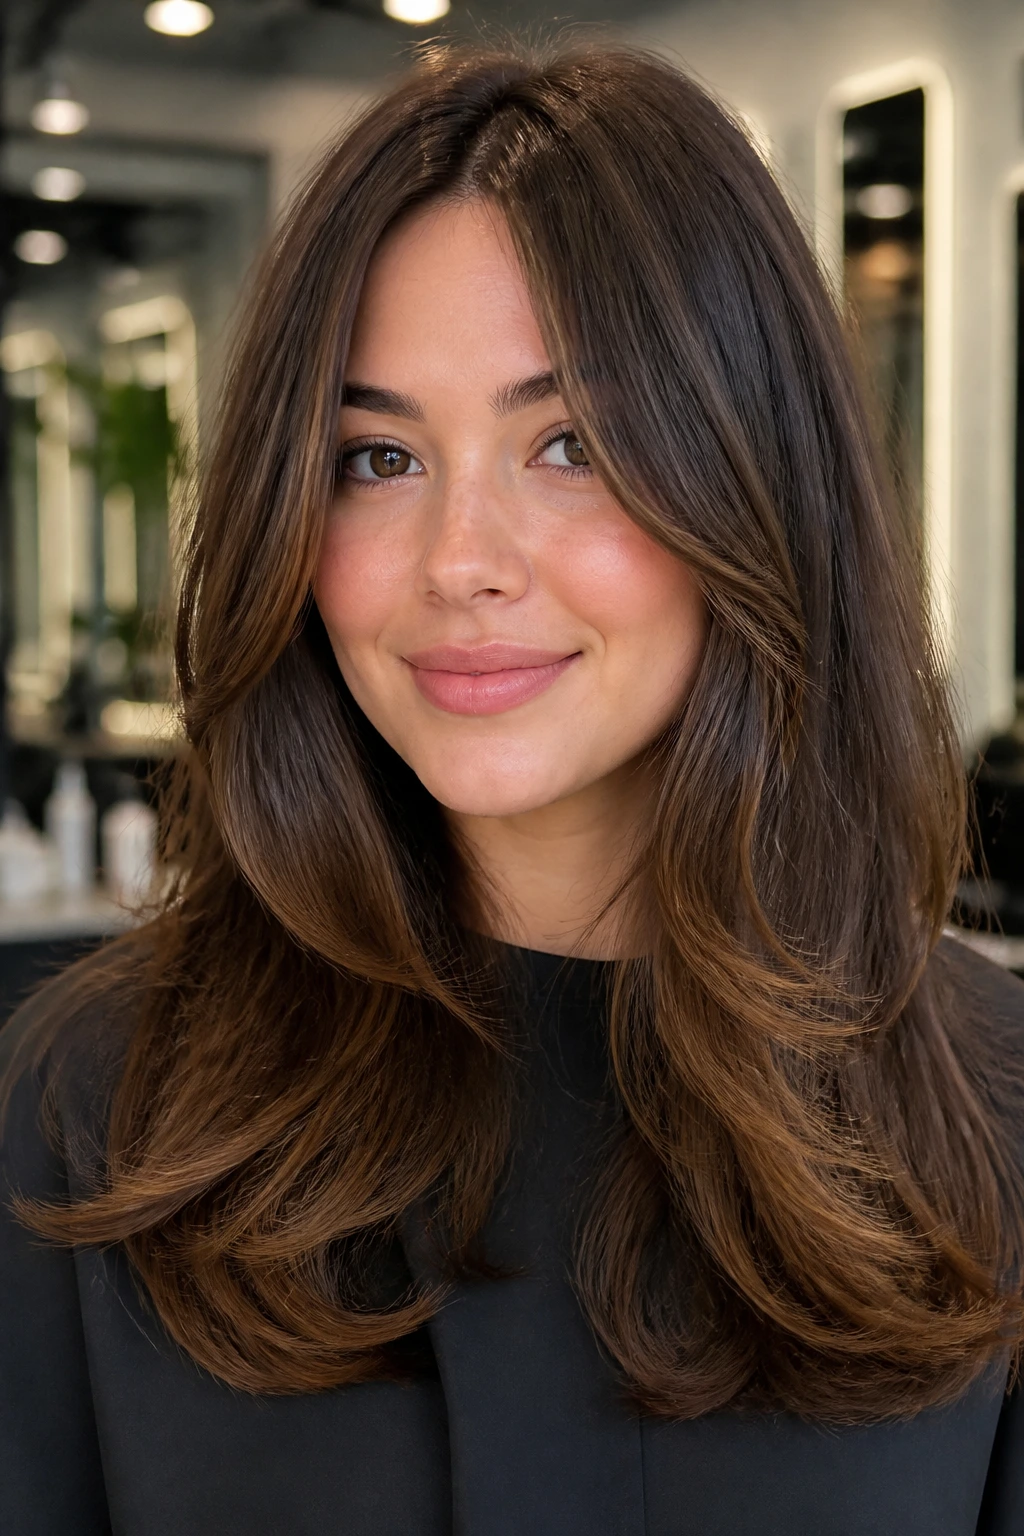
1. Curtain Layers That Start Below the Cheekbones
These are the easiest place to start if you want softness without turning the sides into a puff. The front pieces should begin below the cheekbone — usually near the mouth or just above the chin — so the eye keeps traveling down instead of stopping where the face is fullest.
Ask for a center or slight off-center part, long layers through the back, and point-cut ends around the face. A blunt horizontal line at cheek level is the one thing that works against this shape. Keep the outline loose, not boxy.
A round brush or a simple blow-dry bend away from the face makes this cut come alive. It is one of those styles that still looks deliberate when you let it air-dry a little imperfectly.
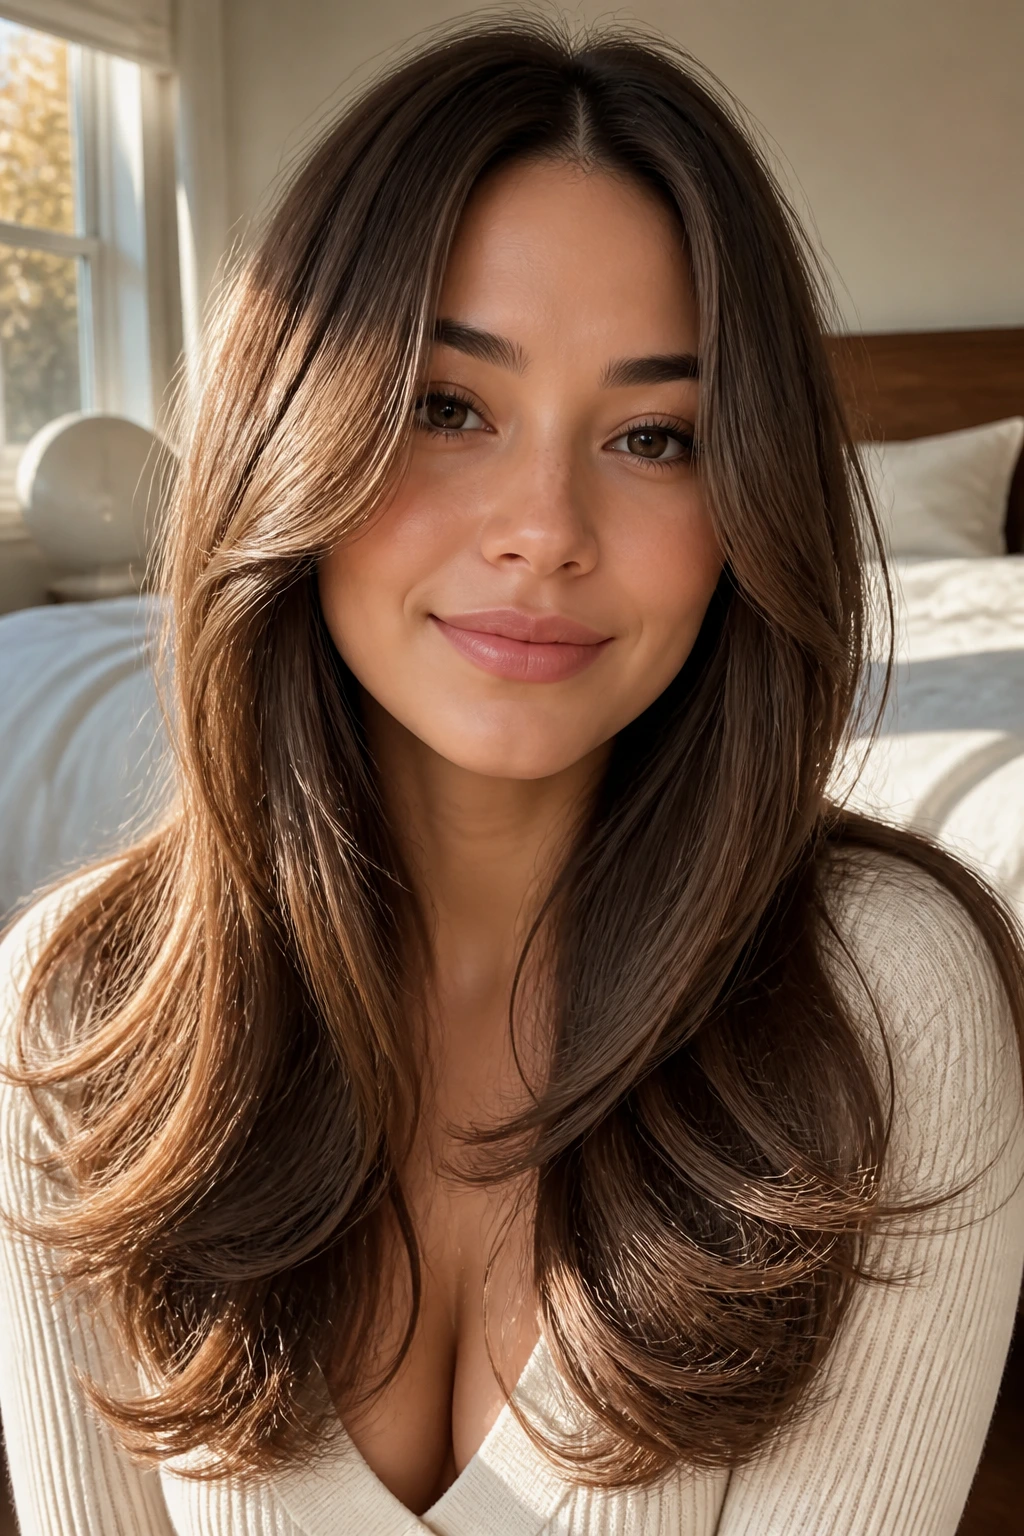
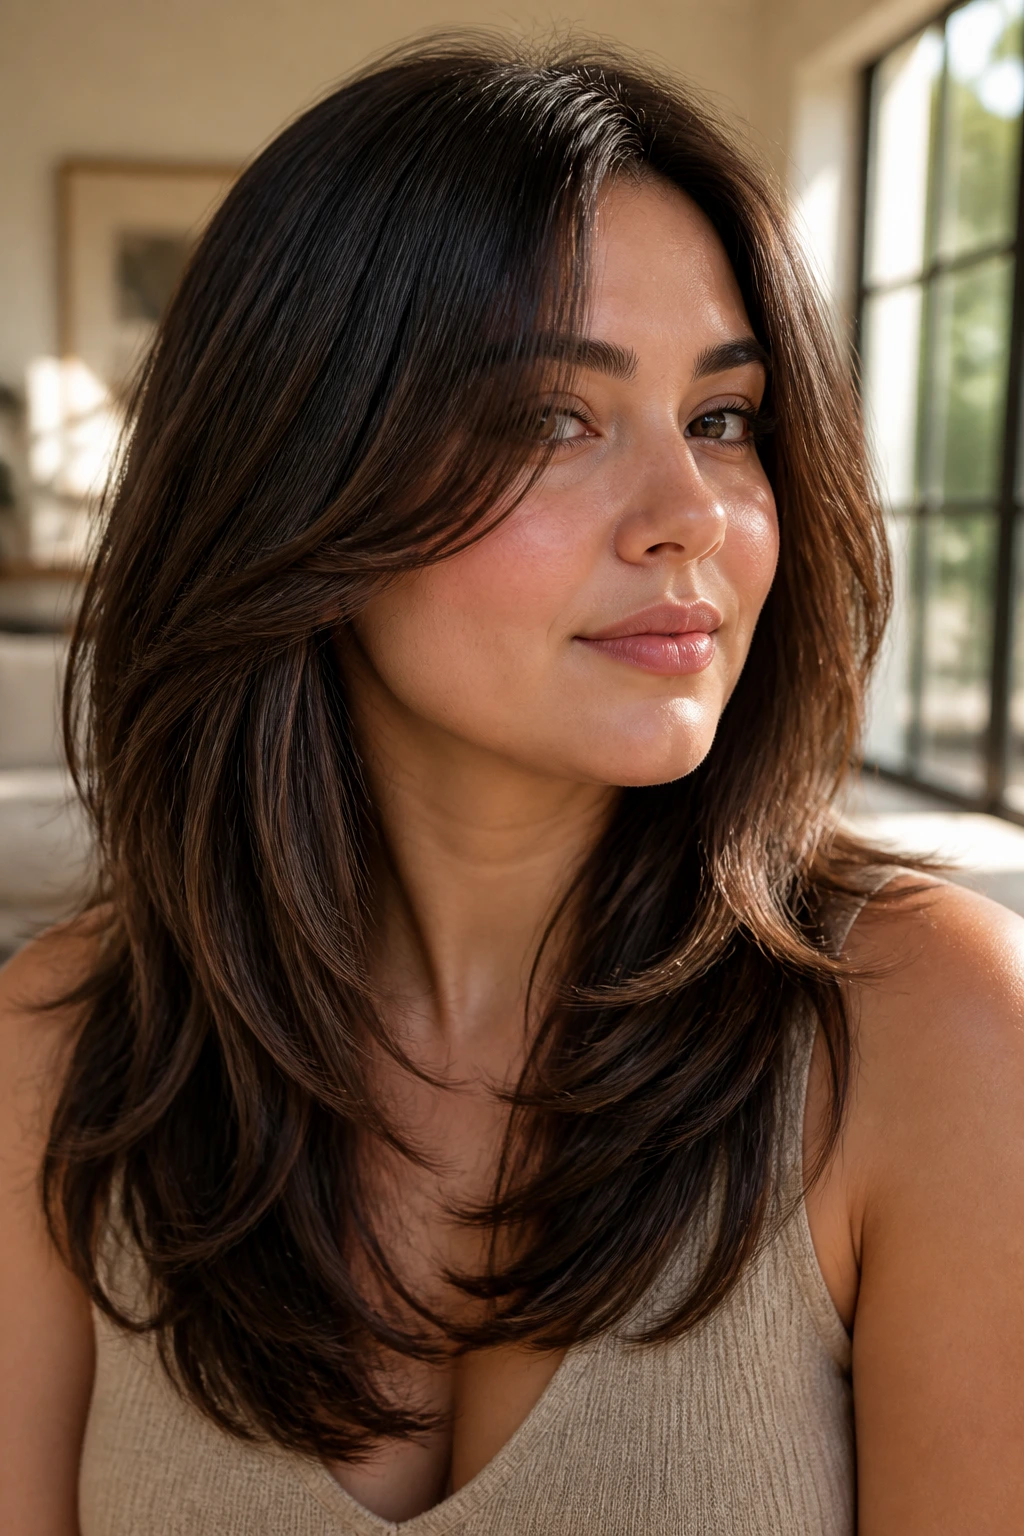
2. Butterfly Layers with a Soft Crown Lift
The butterfly cut can get too fluffy if the top layers are cut too short. On a round face, that extra width at the cheeks is the enemy. Keep the crown lifted, yes, but let the face-framing pieces drop long enough to skim the jaw or even the collarbone.
What makes this shape work is the contrast. The shorter upper layers create movement around the crown and mid-lengths, while the longer front pieces act like curtains that narrow the face visually. You get air and swing without building a wide halo around the cheeks.
This is especially good if you wear your hair in loose waves or a polished blowout. The bounce sits higher, the frame stays lower, and the whole cut feels lighter than a one-length shape. That balance is the point.
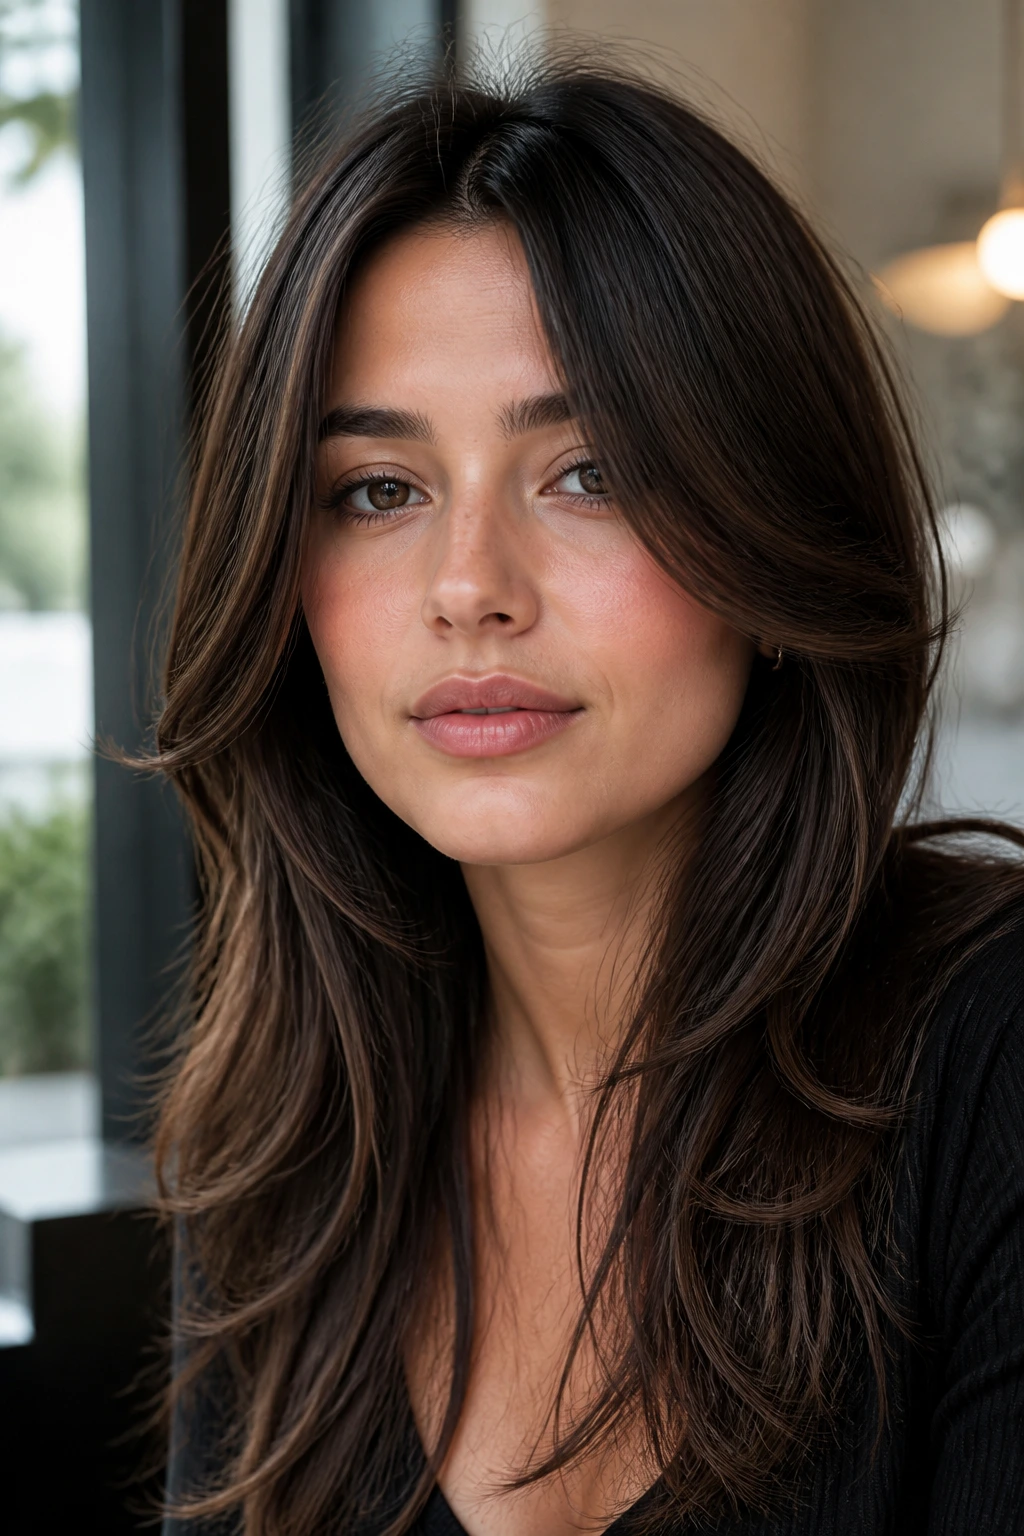
3. Off-Center Waves with Long Face-Framing Pieces
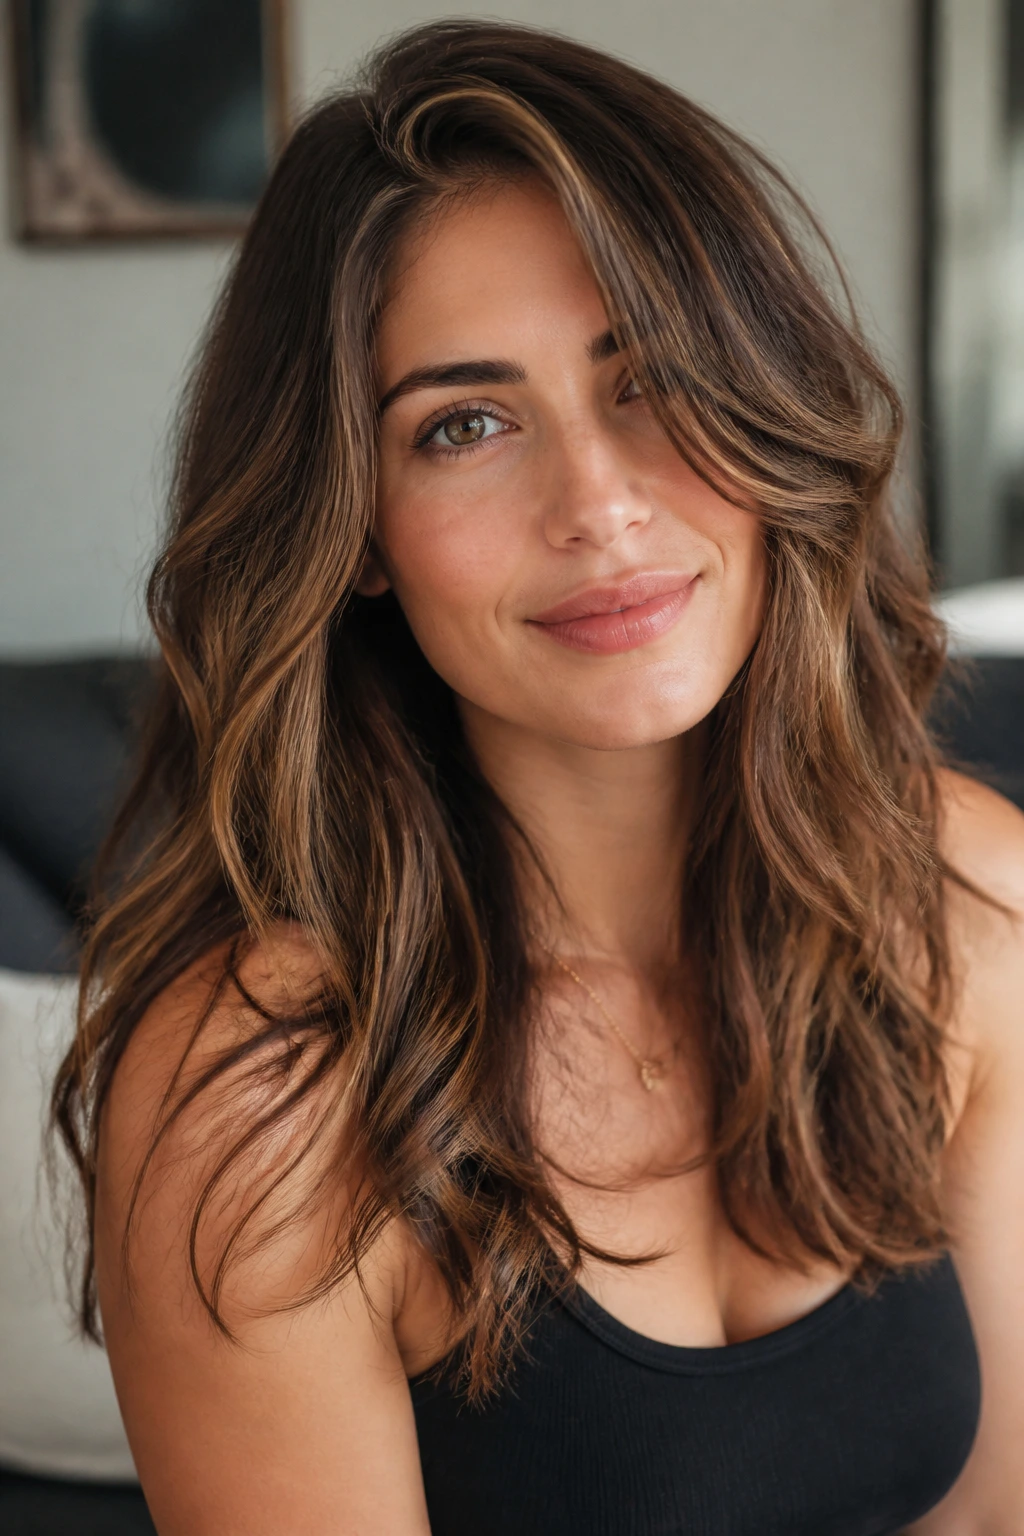
Why does a tiny shift in parting matter so much? Because a deep or even slight off-center part cuts a diagonal line across the face, and diagonals are your friend when the face is round. They break the symmetry that makes a centered shape feel wide.
The front pieces should be long enough to skim the lips, chin, or collarbone. Short face pieces that end at the cheekbone can puff outward when waved, especially if your hair has any natural body. Longer ones drop cleanly and swing when you turn your head.
This style is one of my favorites for everyday wear because it looks intentional without needing a lot of polish. A quick bend with a 1-inch iron, then a finger-comb through the ends, gives you that loose, lived-in shape that moves instead of sitting in place.
4. Feathered Shag Layers That Break Up the Width
If your hair tends to balloon at the sides, a feathered shag can fix more than you’d expect. The trick is keeping the perimeter soft and the texture broken up, not building a mushroom shape around the temples. That’s the part that can make a round face look even rounder.
A good shag for this face shape has movement that starts lower and separates into light pieces. The front should angle past the cheek rather than stop there, and the ends need point-cutting or razor-soft texture so they don’t sit in one solid sheet.
Best for: wavy hair, dense hair, and anyone who likes a little edge without going full mullet.
Avoid: a heavy fringe that lands straight across the forehead and a super-wide shape at ear level.
This cut looks best when it’s a little undone. Clean hair can make it feel too tidy; a bit of dry texture gives it the lift it needs.
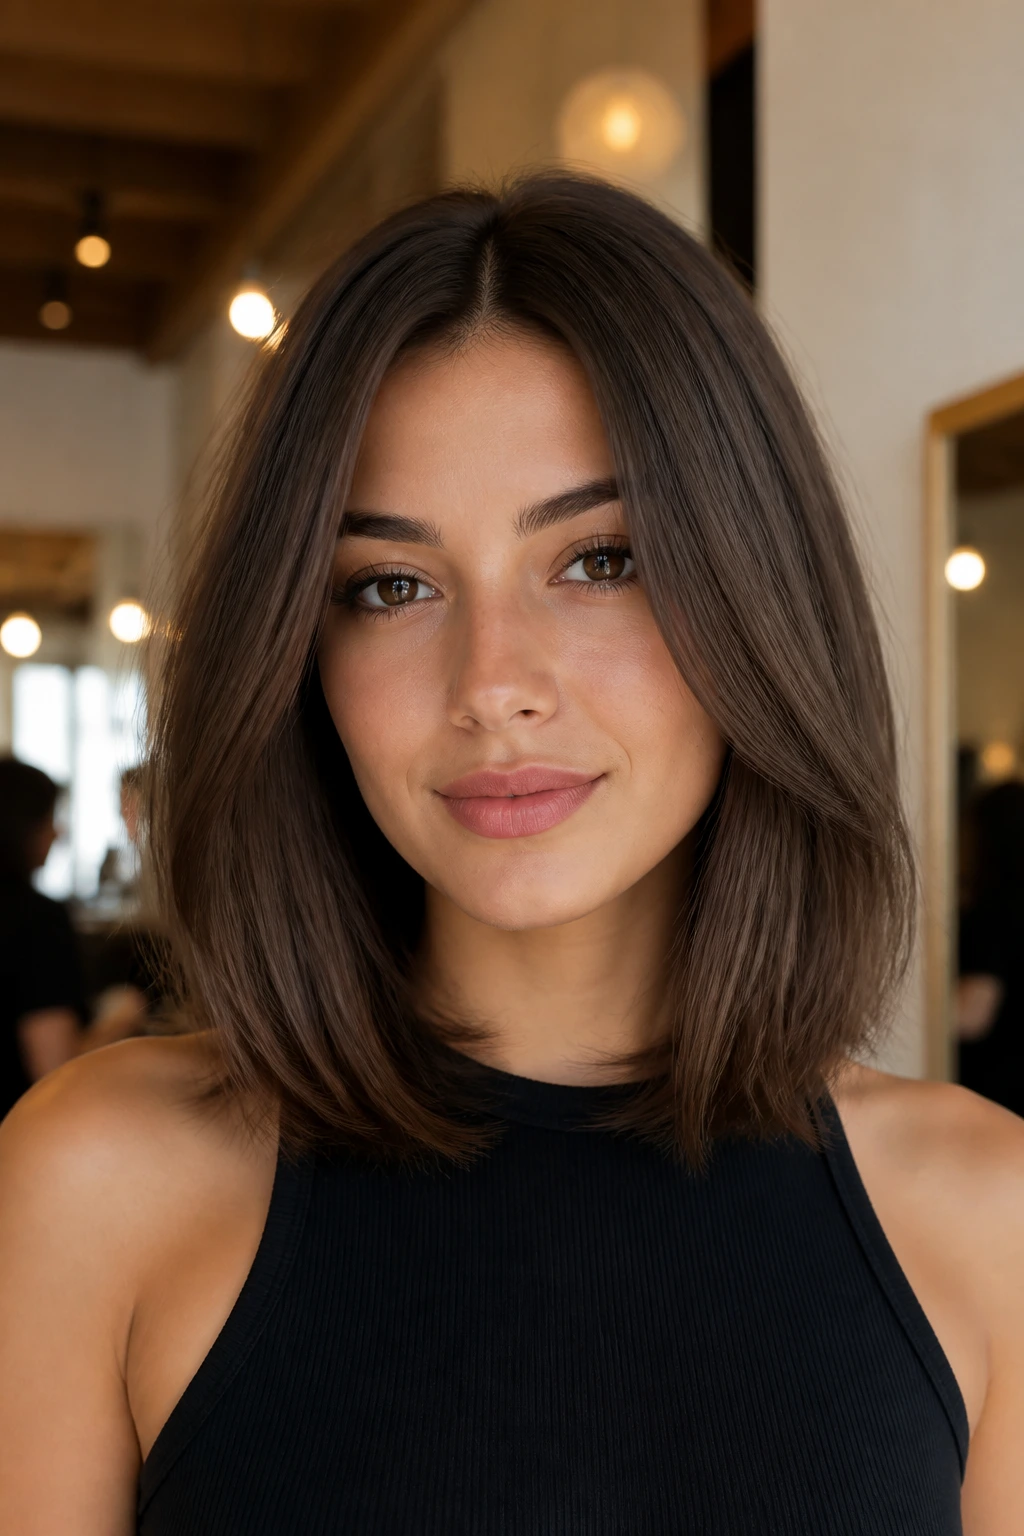
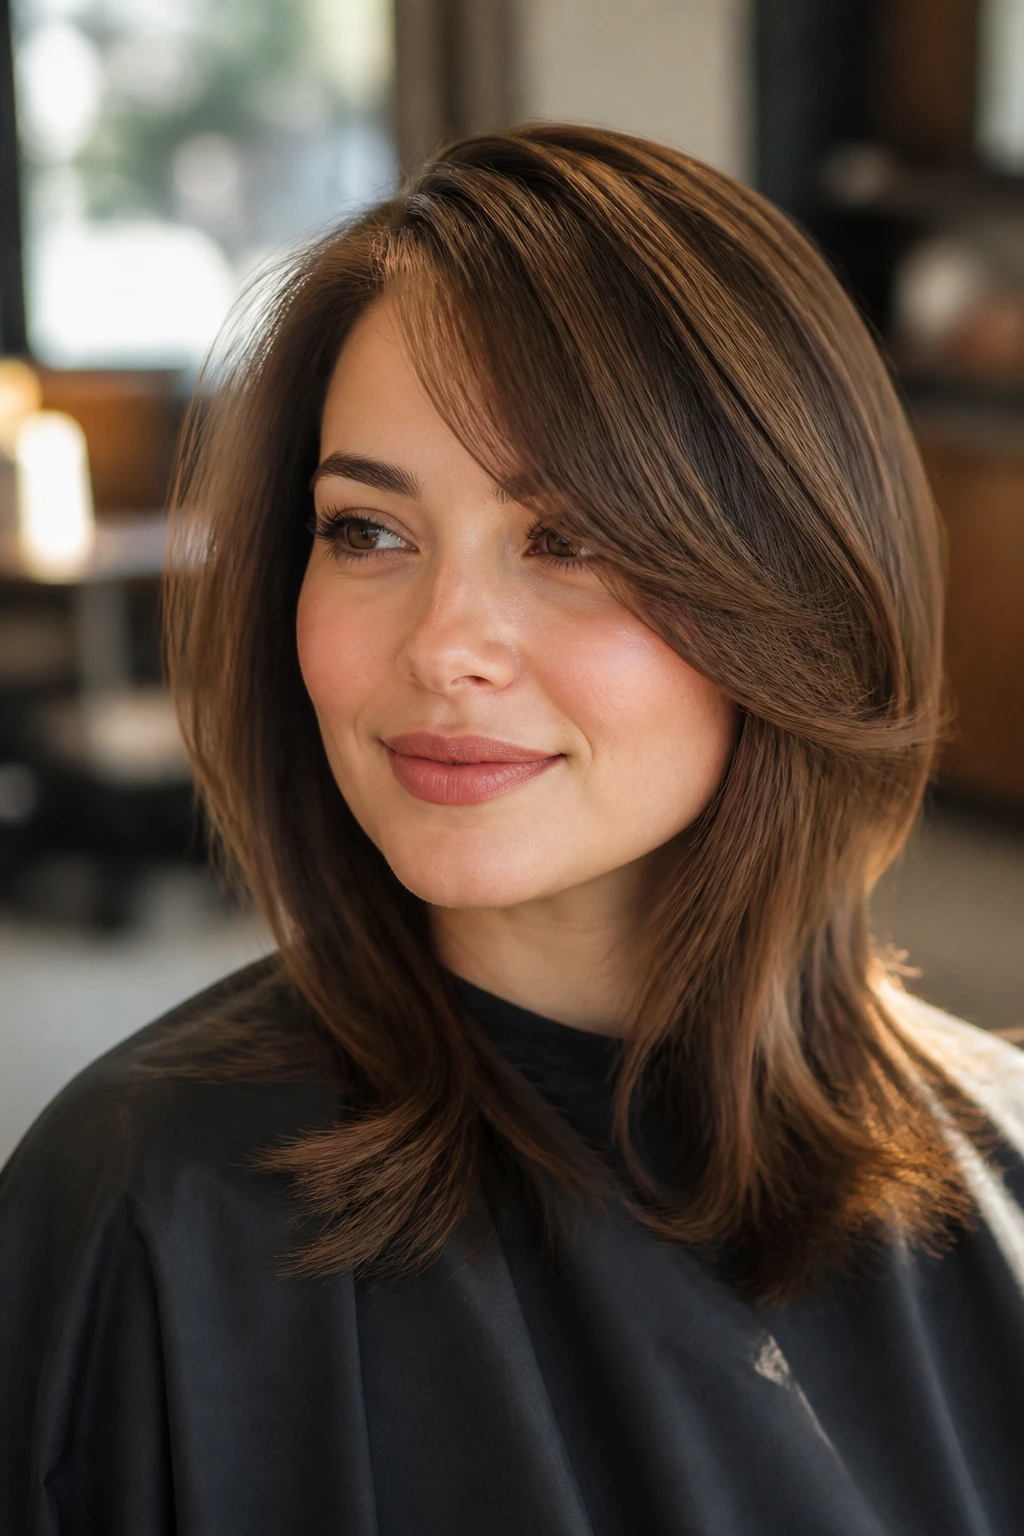
5. Collarbone Lob with Flipped-Out Ends
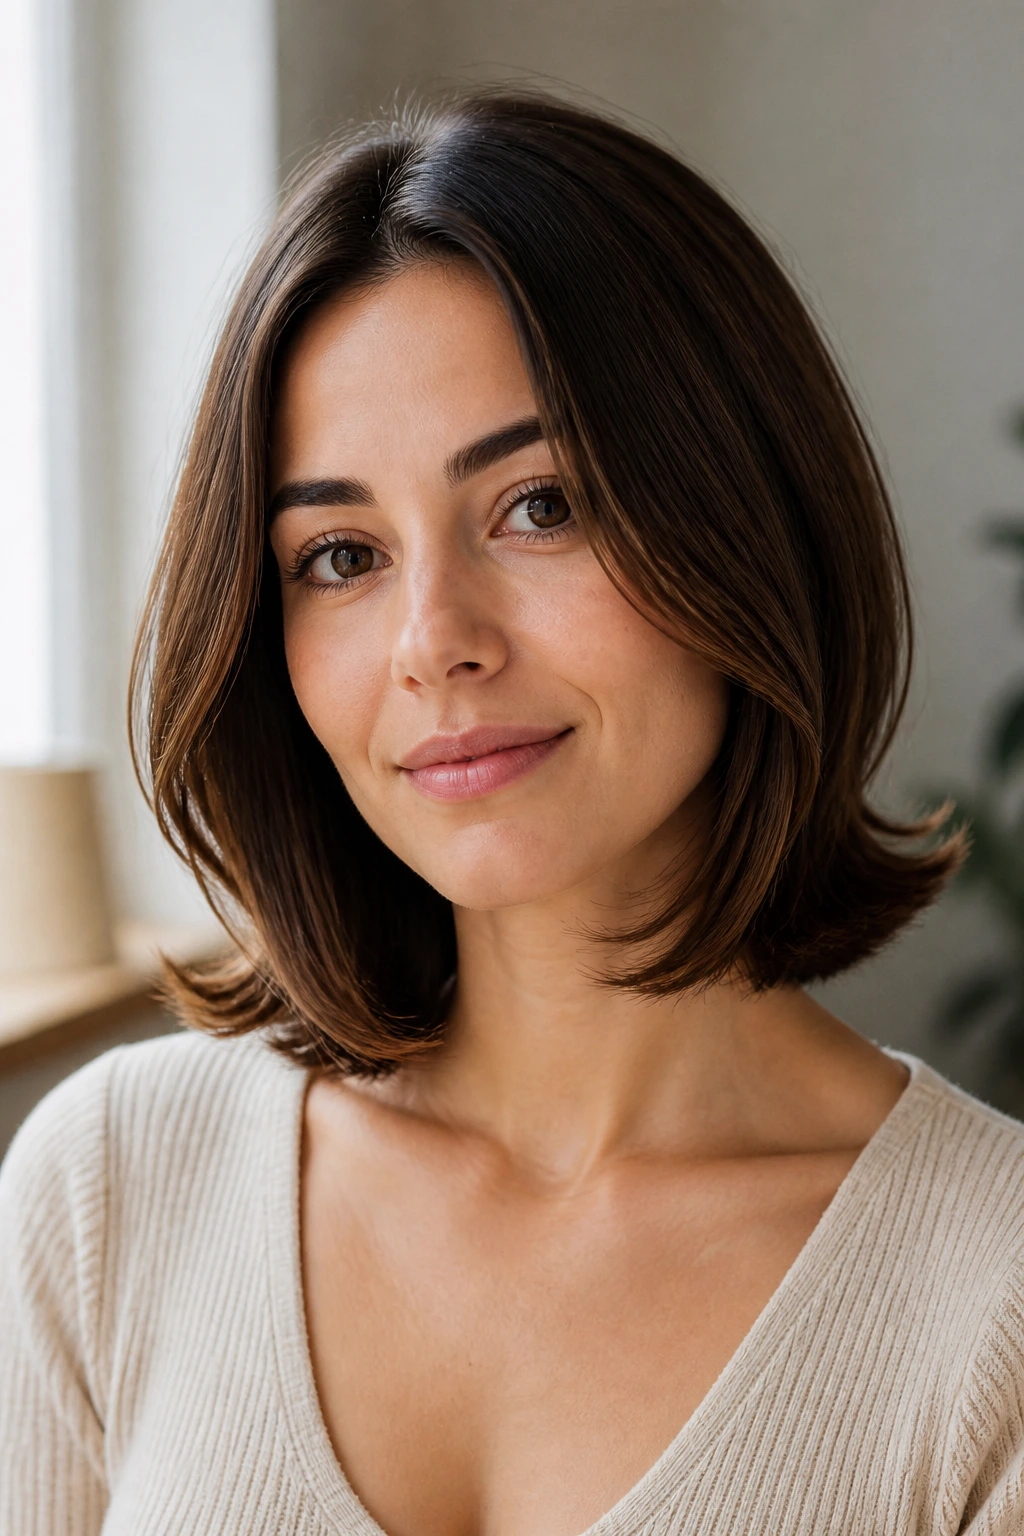
A collarbone lob is one of the most forgiving lengths for a round face because it lands below the jaw and gives the front pieces room to bend away from the cheeks. The collarbone is a useful stopping point. It keeps the cut from sitting right on the widest part of the face.
The flipped-out ends matter more than people realize. If the ends turn out slightly, the shape reads open and light. If they curl in toward the face, the line can feel boxed in. That small direction change changes the whole mood of the haircut.
This version is especially useful for fine hair, because a blunt lob keeps the ends looking thicker while the face-framing pieces create movement. You get shape without losing that solid edge through the bottom.
6. Long U-Cut with Floating Front Layers
A U-cut is quieter than a layered shag, and that’s exactly why it works. The outer shape curves gently instead of making a hard line across the back, and the front pieces can float forward without stealing width at the cheeks.
The best version starts the shortest face-framing layer around the chin or just below it, then lets the lengths fall in a soft U shape down the back. That keeps the silhouette from feeling boxy. It also helps long hair move better, especially if the ends tend to look heavy.
What makes it different: the movement is built into the outline, not just piled on top.
Who it suits: long, thick, or medium-density hair that needs shape without too many visible layers.
If you like hair that looks graceful when you wear it down and still falls neatly into a ponytail, this is a strong choice.
7. Deep Side Part Blowout with Swept Fringe
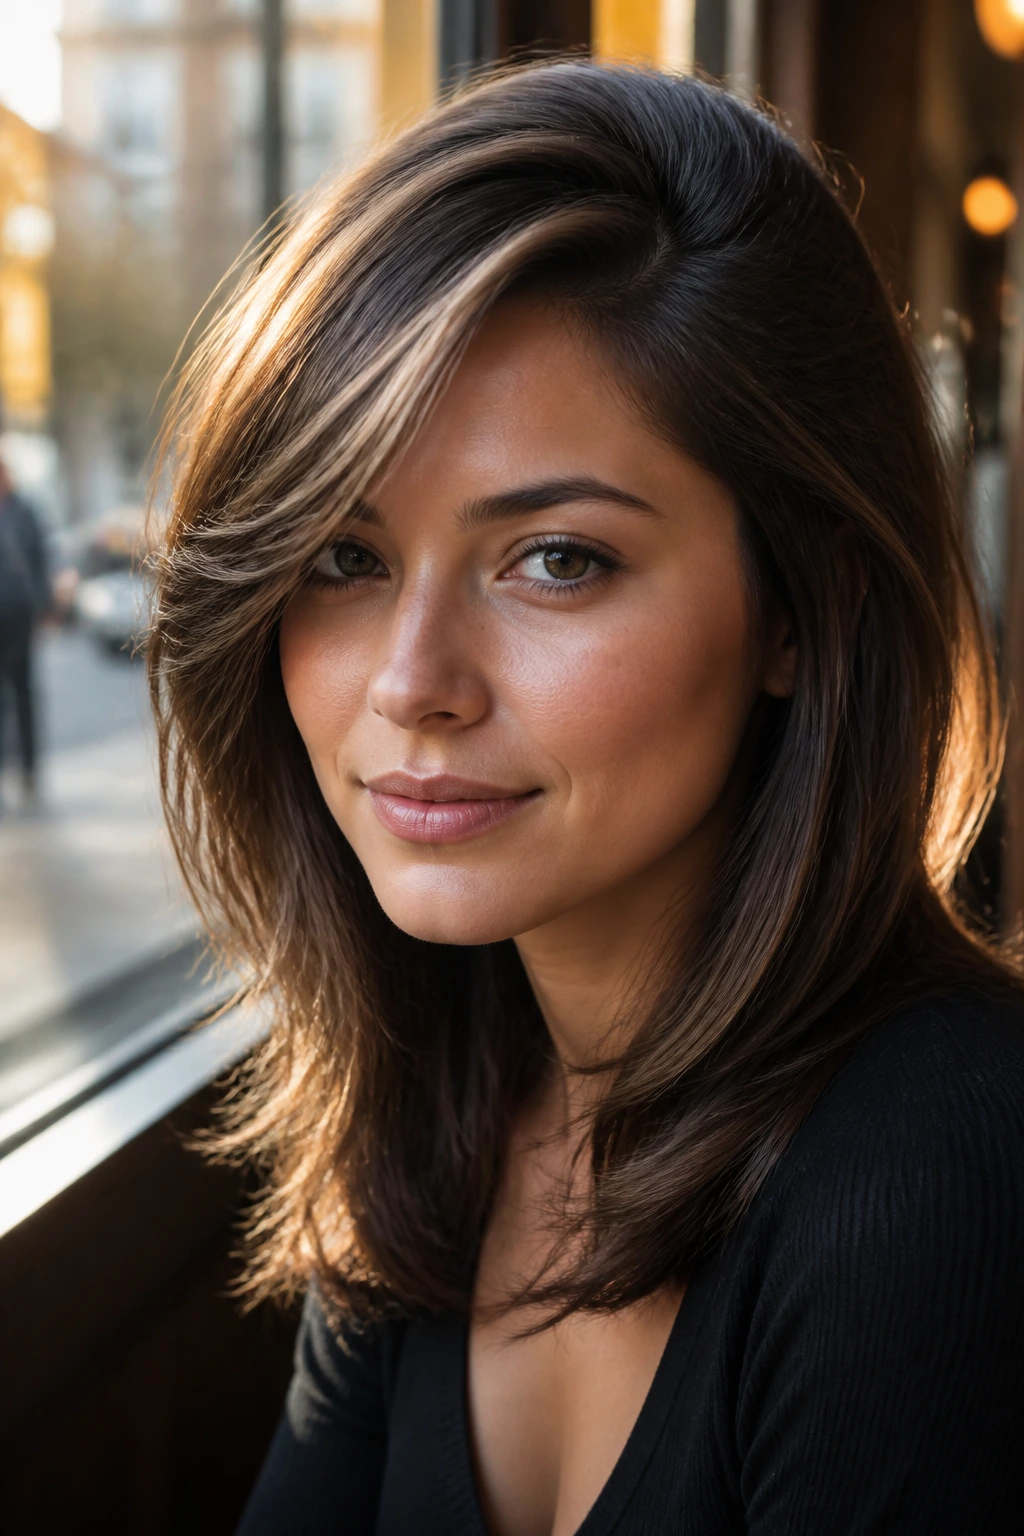
A deep side part can change a round face faster than almost any haircut tweak. It creates a long diagonal line, and that line narrows the face visually before the rest of the style even has a chance to work.
The fringe should sweep across the forehead in a soft arc, not sit as a thick, heavy curtain. Too much density right across the brow pushes the eye outward. A lighter sweep opens the face and lets the front layers connect into the rest of the cut.
How to wear it
Use a round brush or large roller on the front section only, then direct the hair away from the face as it cools. A small amount of root lift at the part helps, but keep the sides smooth. The whole look depends on that contrast between a lifted top and soft, long pieces around the jaw.
This is one of those styles that looks especially good with a blazer, earrings, or even a plain T-shirt. It has shape without shouting.
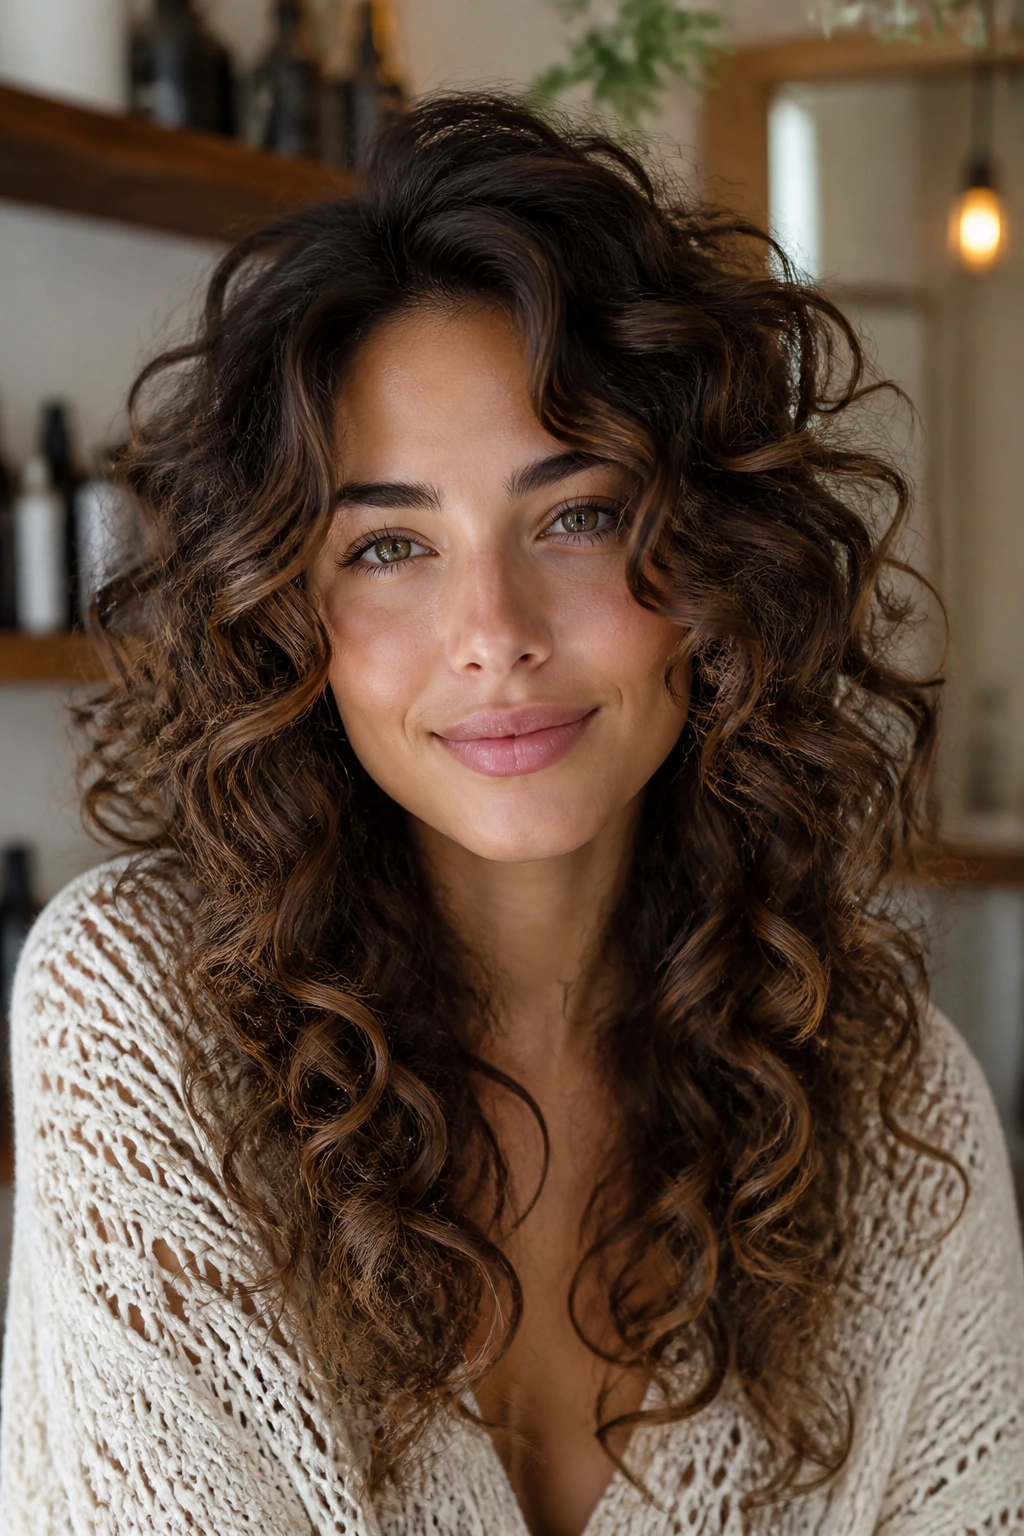
8. Bouncy Curls with Chin-Long Framing
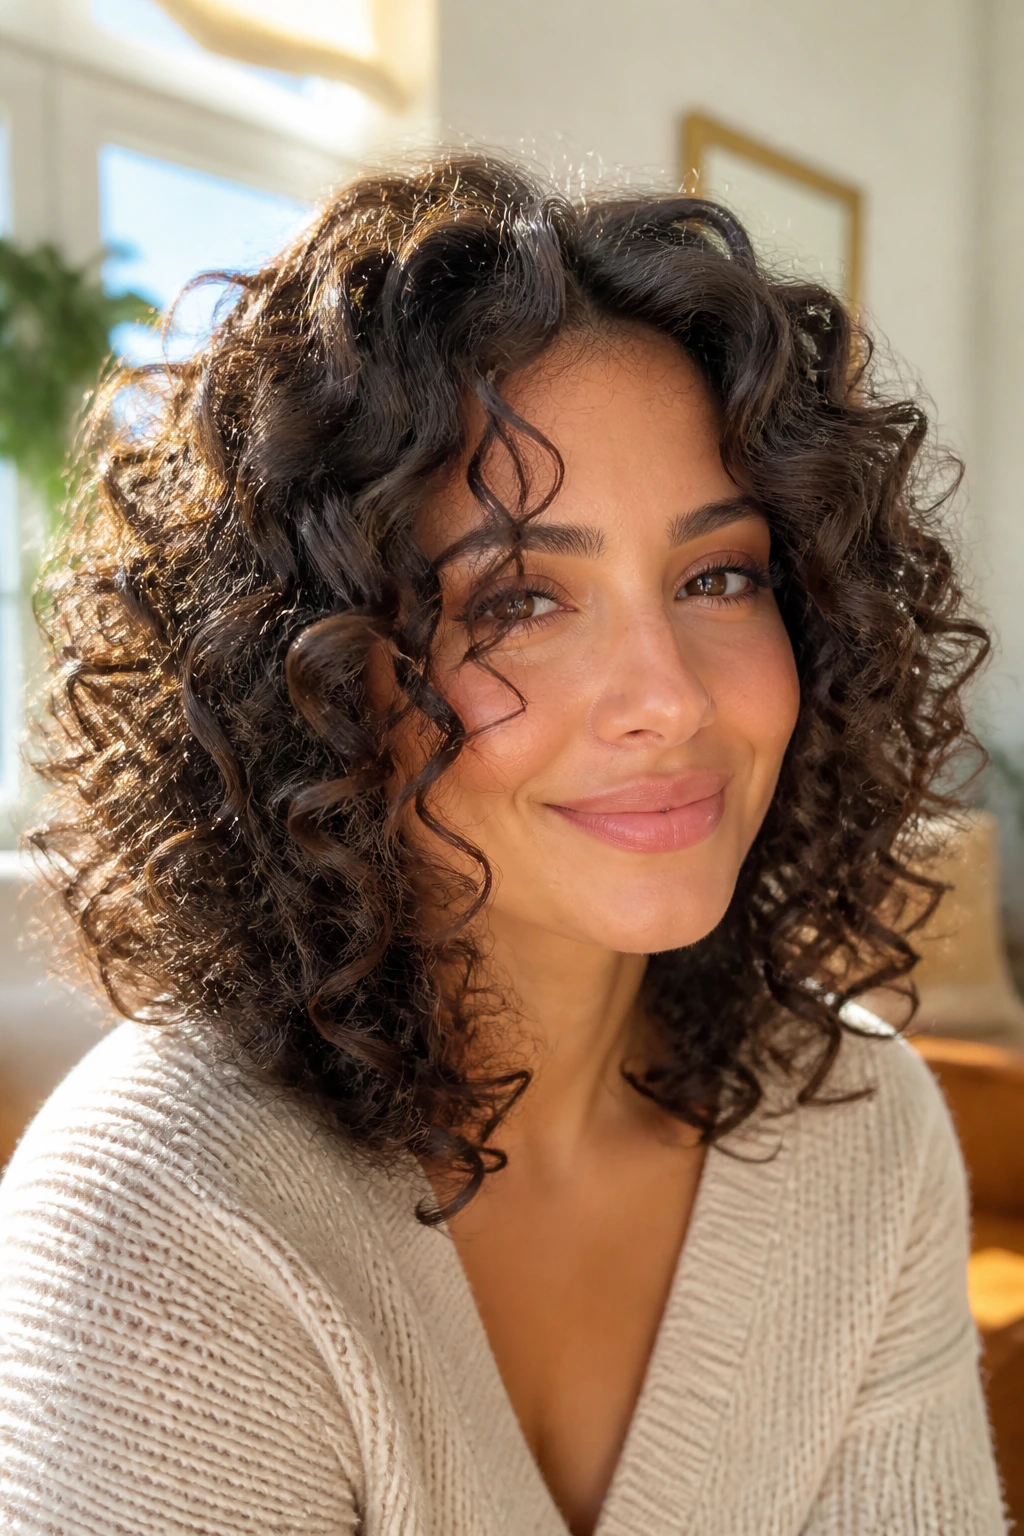
Curly hair needs a different rulebook. A round face and a short curly frame can turn into a puff if the front pieces shrink too high, so the layers need to be cut with shrinkage in mind. That usually means the shortest face-framing pieces should land longer than you think they should.
Dry cutting helps here. It lets the stylist see where each curl sits instead of guessing based on wet length. Ask for the front pieces to start around the chin or below, then let the curls spring up naturally from there.
The best curly version keeps the crown balanced and the sides controlled. You want bounce, not width. A diffuser on low heat, a little curl cream, and a hands-off finish usually do more than a lot of scrunching and fluffing.
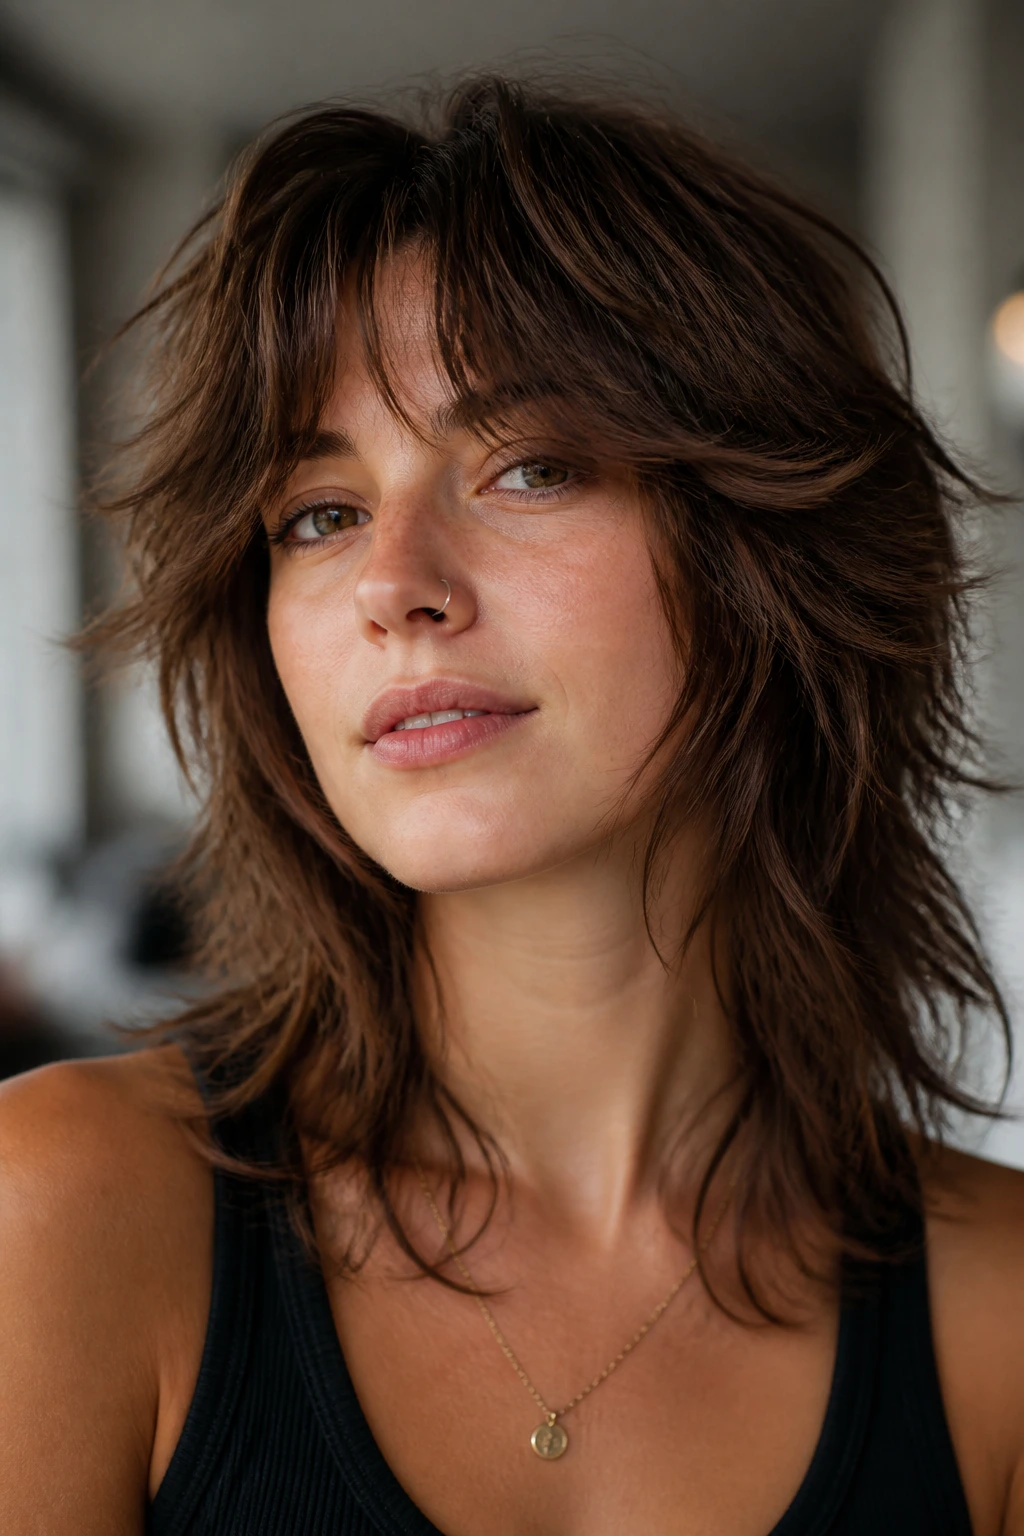
9. Wavy Wolf Cut with Broken Texture
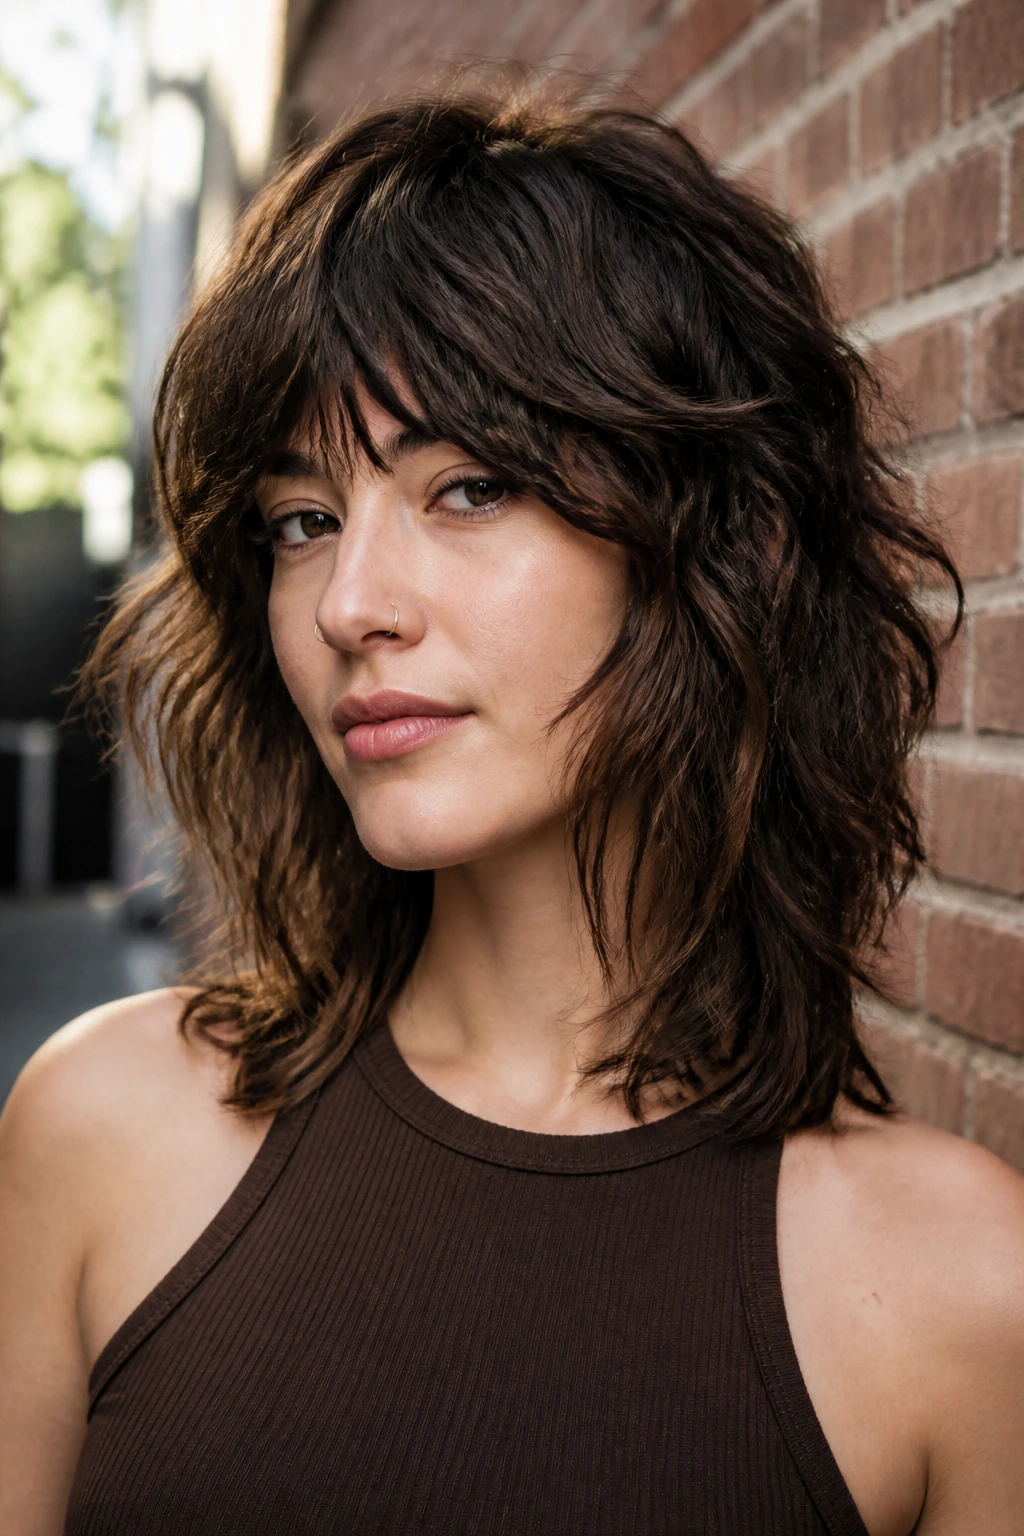
A soft wolf cut can be excellent on a round face, but only if the sides stay longer than the widest part of the cheeks. The whole point is broken texture and movement, not a triangle of volume right at ear level.
What makes this version different from a harsher wolf cut is the length in front. The face-framing layers should slide past the chin, and the top should stay feathered instead of piled up. That keeps the cut from looking too square or too busy.
This style is good if you want a little attitude in the hair without needing a polished blowout every day. Air-dried texture, a bit of mousse, and a rough bend with your fingers are enough. It’s messy in a controlled way. That’s the charm.
10. Angled Lob with Longer Front Length
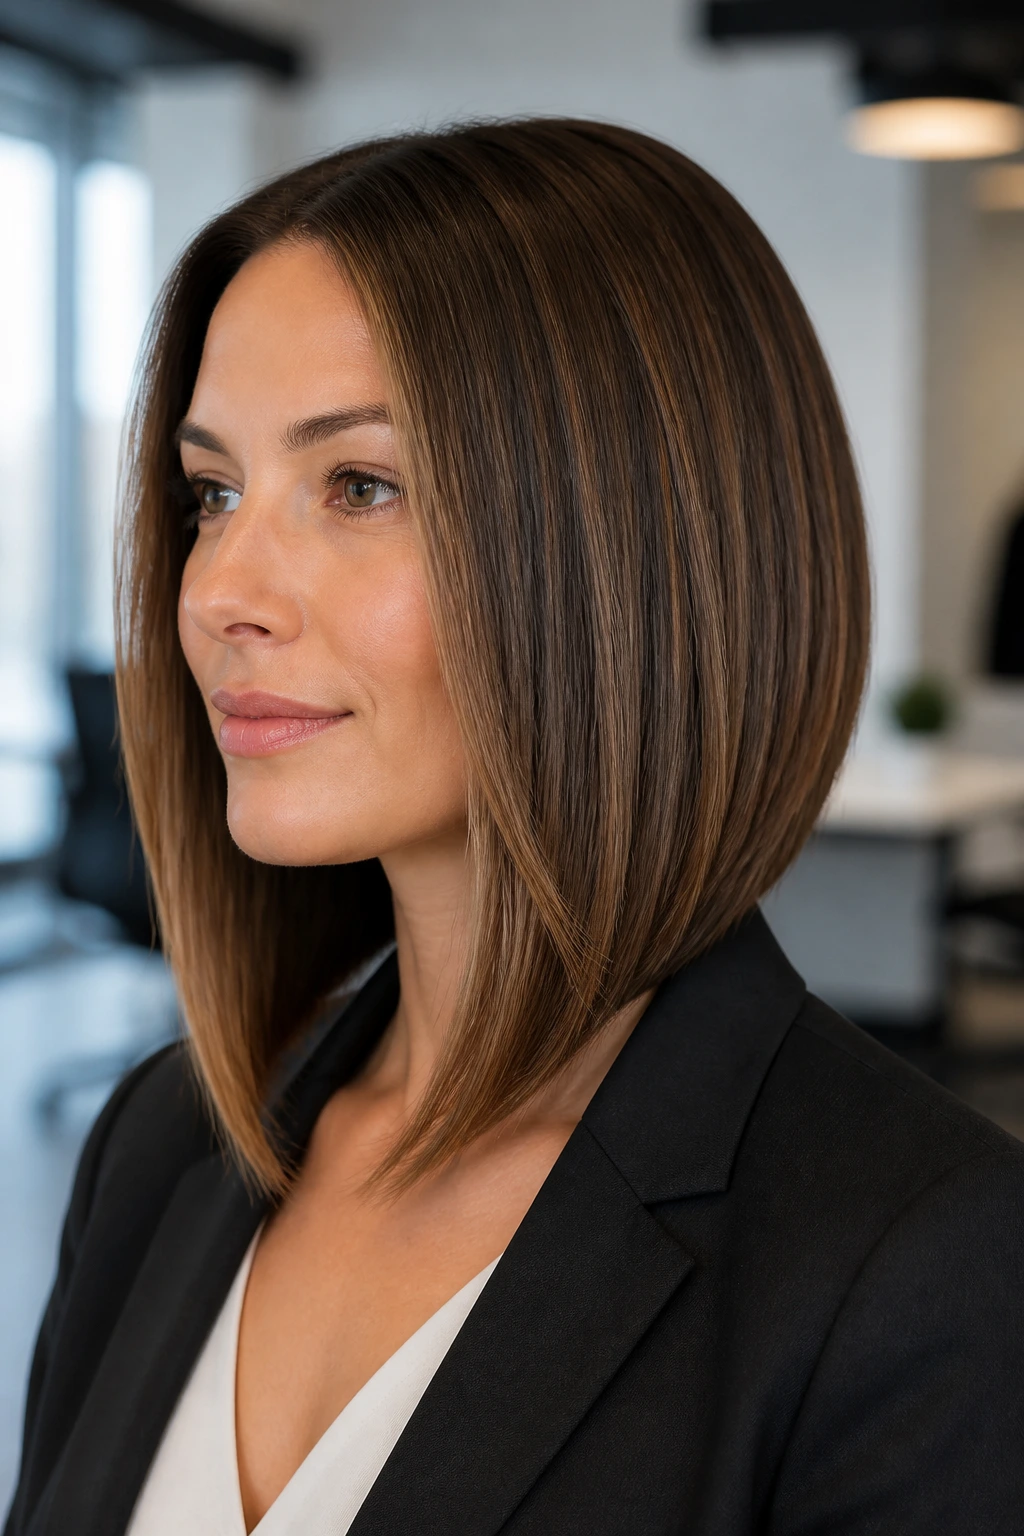
The angled lob works because it gives the eye a built-in path to follow. Shorter in back, longer in front. Simple. The front length moves past the cheek and points downward, which is the direction a round face usually needs most.
Keep the angle subtle. A dramatic A-line can feel sharp in theory but awkward in real life if the front pieces get too heavy or too steep. A gentle slope — maybe an inch or two difference from back to front — tends to look cleaner and easier to wear.
Best for: straight or slightly wavy hair that likes a clear shape.
Ask for: front length at or below the collarbone, with the shortest side of the angle still avoiding cheek level.
It is a very tidy haircut, but not stiff. That matters.
11. Long Layers with a Center Part and Ribbon Finish
A center part can work on a round face if the layers do enough of the shaping. The mistake is assuming the part alone will carry the look. It won’t. The front pieces have to be long enough to create two vertical lines on either side of the face.
Ribbon finish means the ends are soft, separated, and slightly bent — not curled into one giant wave. That keeps the length moving without making the sides balloon. It also looks good on straight hair that tends to fall flat, because the bend gives the cut a little lift at the end.
This style is best when the lengths are past the shoulders. Shorter than that, a center part can sometimes emphasize width rather than break it up. Once the hair drops lower, the line gets more flattering and the face pieces can do their job.
12. Feathered Midi with Airy Internal Layers
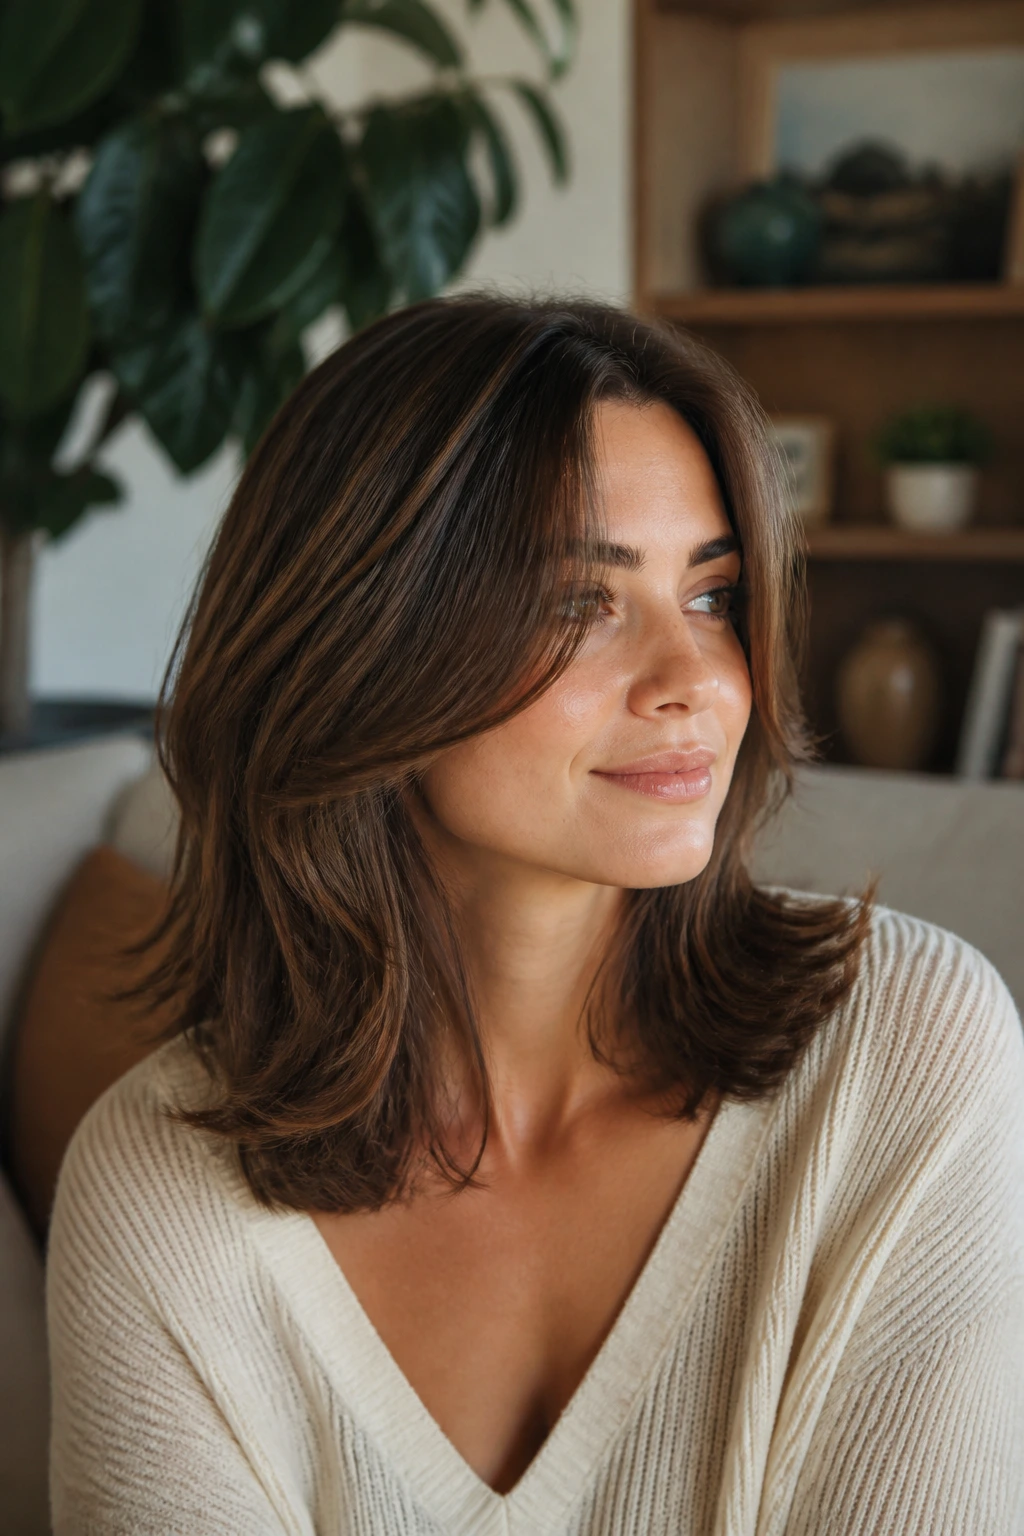
What if you want movement without obvious choppy layers? A feathered midi is the answer. The outer shape stays clean, but the inside of the haircut is softened so the hair bends and swings instead of hanging in one dense block.
This works especially well when the length sits around the shoulders or just below them. The front pieces should remain longer than the cheekbone, and the feathering should happen mostly through the interior, not right on the outer edge where it can widen the face.
The result feels light without looking thin. That’s the sweet spot. If your hair is dense, this shape removes some visual weight without exposing too much scalp or making the ends look stringy.
13. Sleek Straight Style with Bent Under Ends
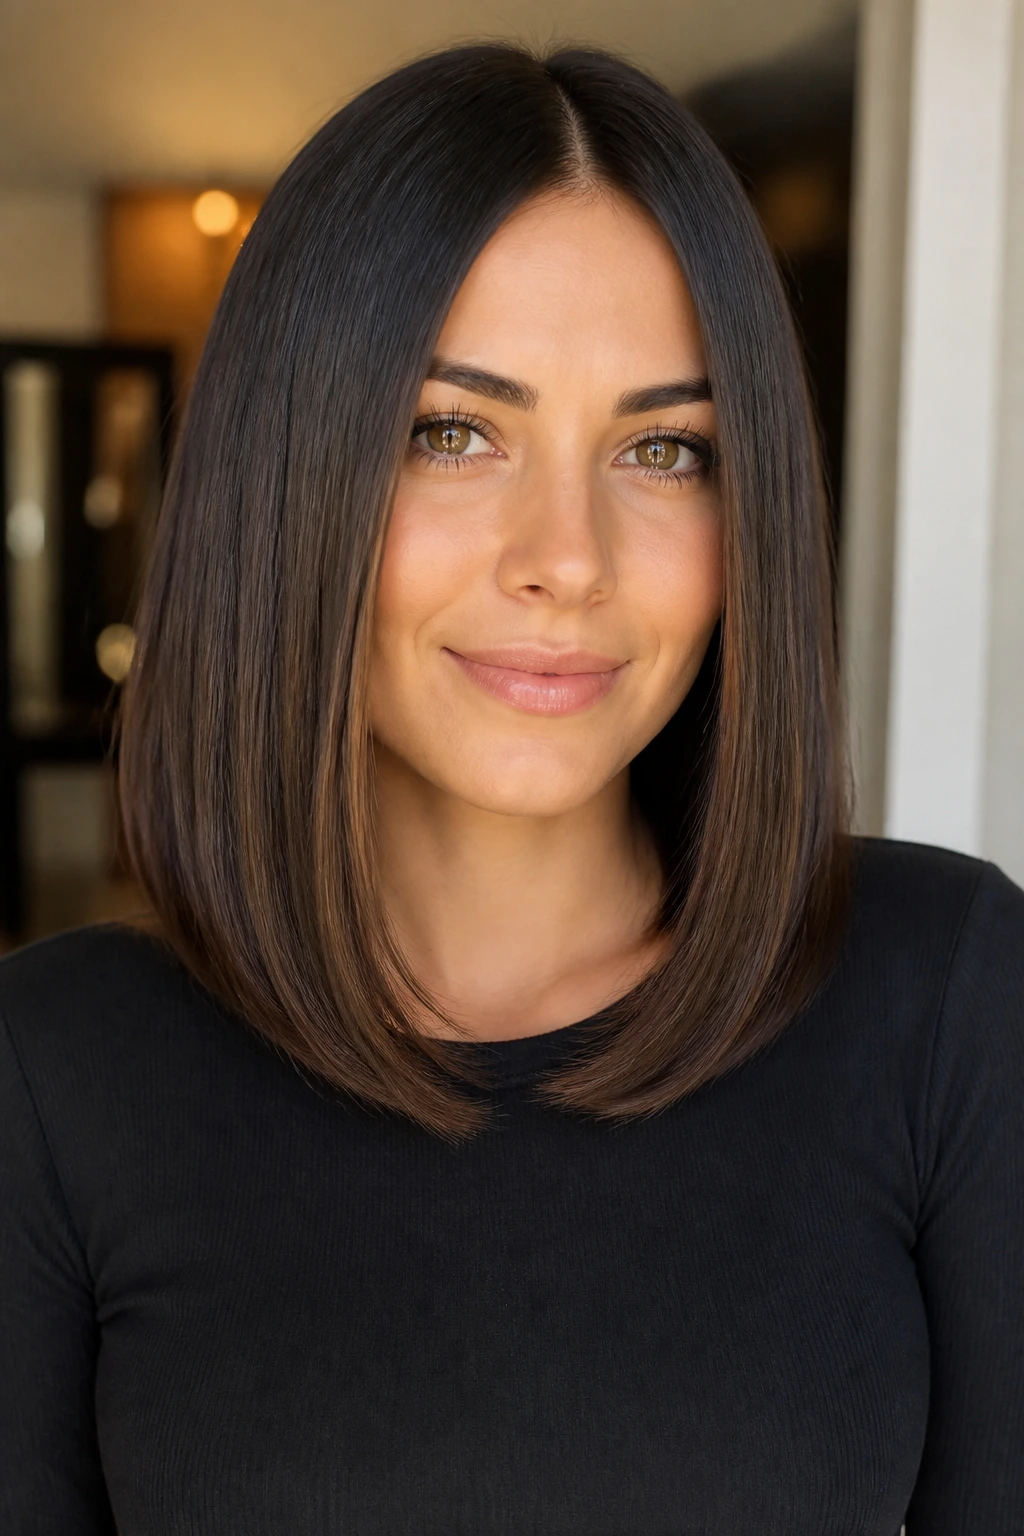
Pin-straight hair can be harsh on a round face if the ends stop cleanly at the cheek or jaw. A slight bend under at the bottom changes that in a hurry. It adds line without making the hair look stiff, and the face-framing layers can curve softly around the chin instead of cutting across the widest point.
The trick is restraint. A flat iron bend, not a tight curl. A little movement at the ends and a smooth top is enough. Keep the front pieces longer, and do not tuck all the volume to the sides — that widens the silhouette.
Pro tip: use heat protectant and bend only the last 2 to 3 inches of the hair.
That small detail keeps the length polished while avoiding the helmet effect.
This is the style for someone who likes clean, neat hair but still wants the face to look a little narrower.
14. Half-Up Style with Loose Face Pieces
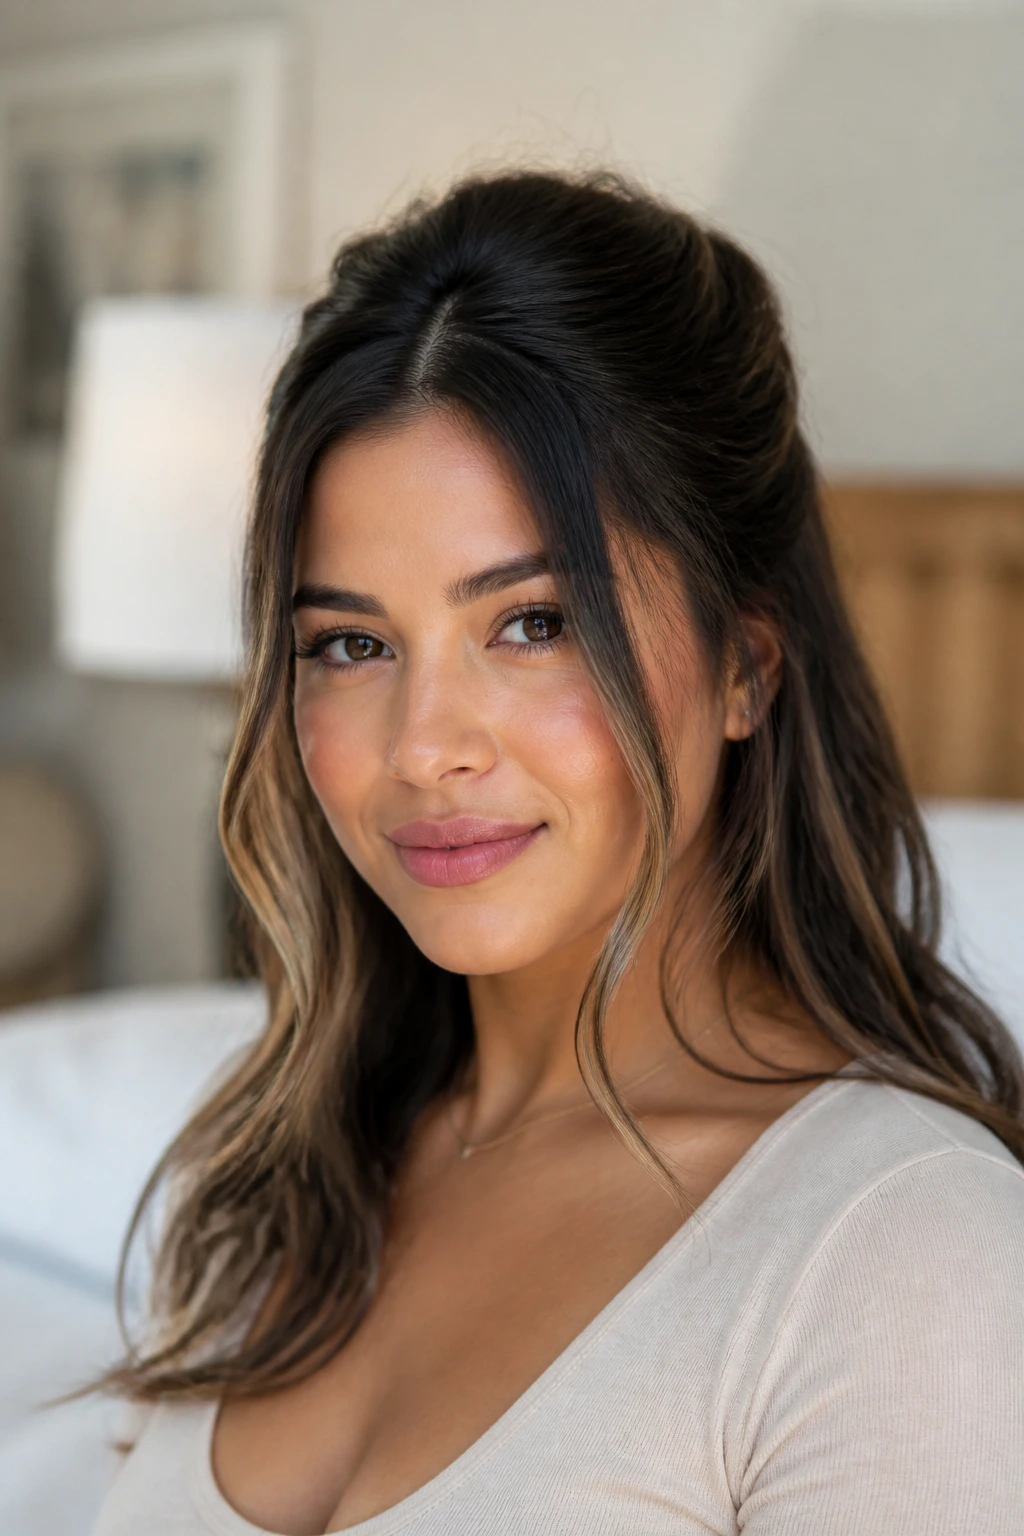
A half-up style can do a lot of quiet work on a round face. Pulling the top section back adds lift at the crown, and that lift changes the proportions fast. Leave the face-framing layers out, though, or the whole thing becomes too severe.
The loose front pieces should stay soft around the mouth or chin. If they’re too short, they can puff at the cheeks when the rest of the hair is pinned back. Longer front strands keep the face looking open and the style looking intentional.
This is the kind of look that saves a rushed morning. It makes second-day hair useful, not embarrassing. A clip, a small elastic, and two loose pieces around the face — that’s usually enough.
15. Low Ponytail with Cascading Tendrils
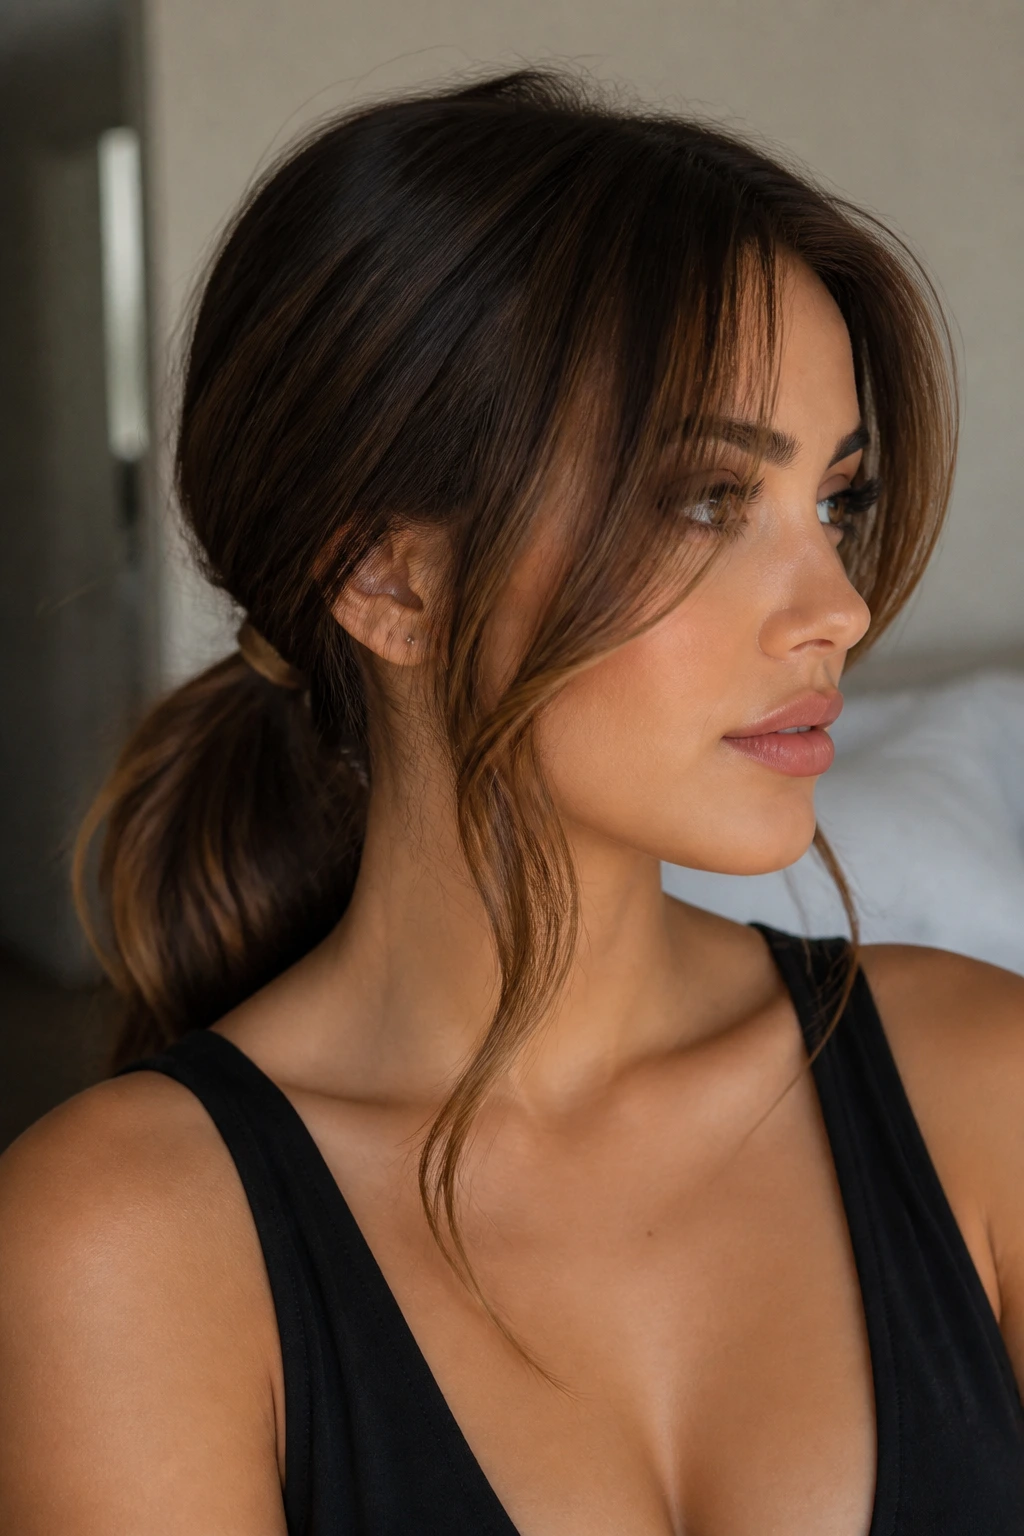
A low ponytail sits where a round face needs help most: lower, closer to the neck, away from the cheek line. That alone makes it friendlier than a high pony that can exaggerate width at the top of the face.
The face-framing pieces matter here too. Leave a pair of longer tendrils around the front, and keep them soft rather than polished to the point of stiffness. A little bend through those pieces creates motion and stops the ponytail from looking severe.
- Best placement: at the nape or just above it.
- Best texture: smooth at the crown, loose through the front.
- Best add-on: wrap a small piece of hair around the elastic for a cleaner finish.
This one is simple, but simple doesn’t mean boring. If the layers are cut well, even a plain ponytail looks considered.
16. Clavicle Cut with Outward-Flicked Ends
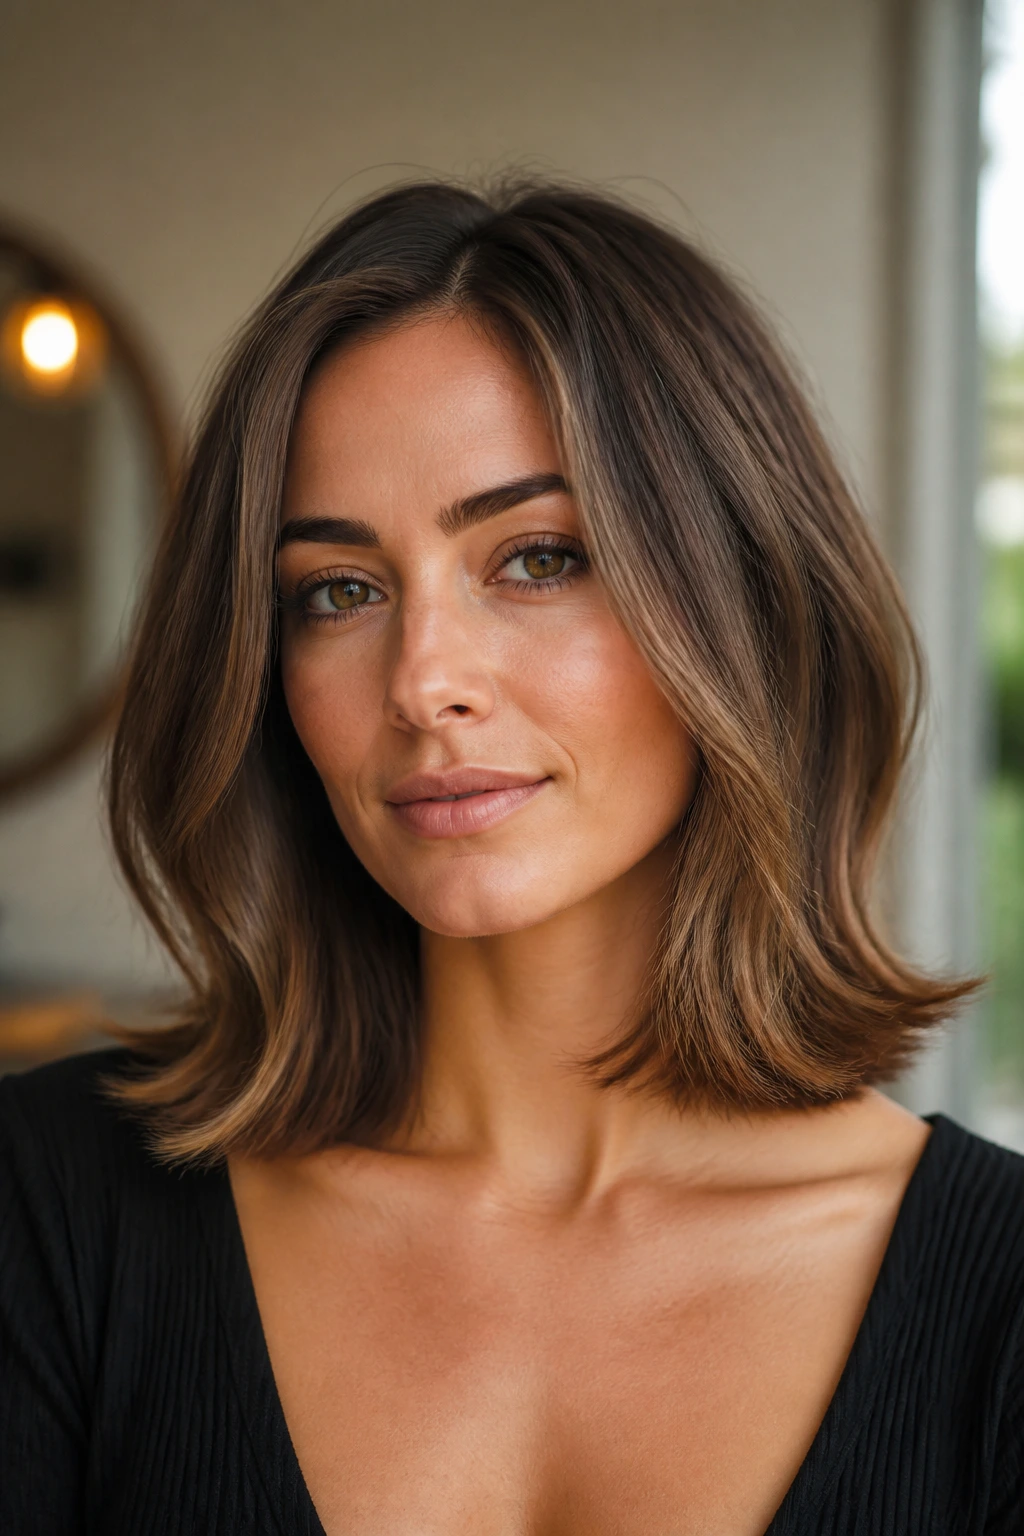
The clavicle cut sits in that useful middle zone between a bob and longer hair. It clears the jaw, lands lower than the cheeks, and gives the ends enough length to flick outward instead of hugging the face.
That outward flick changes the shape more than you’d think. It opens the jawline and keeps the sides from collapsing inward. For round faces, that little outward move is one of the cleanest ways to avoid extra width.
It works especially well on hair that holds a bend easily. A round brush, a blow-dryer nozzle, or a quick pass with a medium barrel iron can give you the curve. Keep the front pieces longer than the chin if you want the style to keep its lengthening effect.
17. Air-Dried Waves with Invisible Layers

Some people want the haircut to work without heat. Fair enough. In that case, invisible layers are the better bet. The movement is built inside the shape, so the outer line still looks smooth while the hair bends and separates naturally as it dries.
The face-framing pieces should be long enough to hang under the cheeks before the wave pattern takes over. That matters because curls and waves spring up more than straight hair does. If the stylist cuts them too short, the bounce can land right at the widest point of the face.
A leave-in cream, a touch of gel, and a scrunch with a microfiber towel are usually enough. The goal is soft separation, not crunchy definition. You want the hair to look like it fell that way, even though a good cut did most of the work.
18. Layered Pixie with a Long Sweep
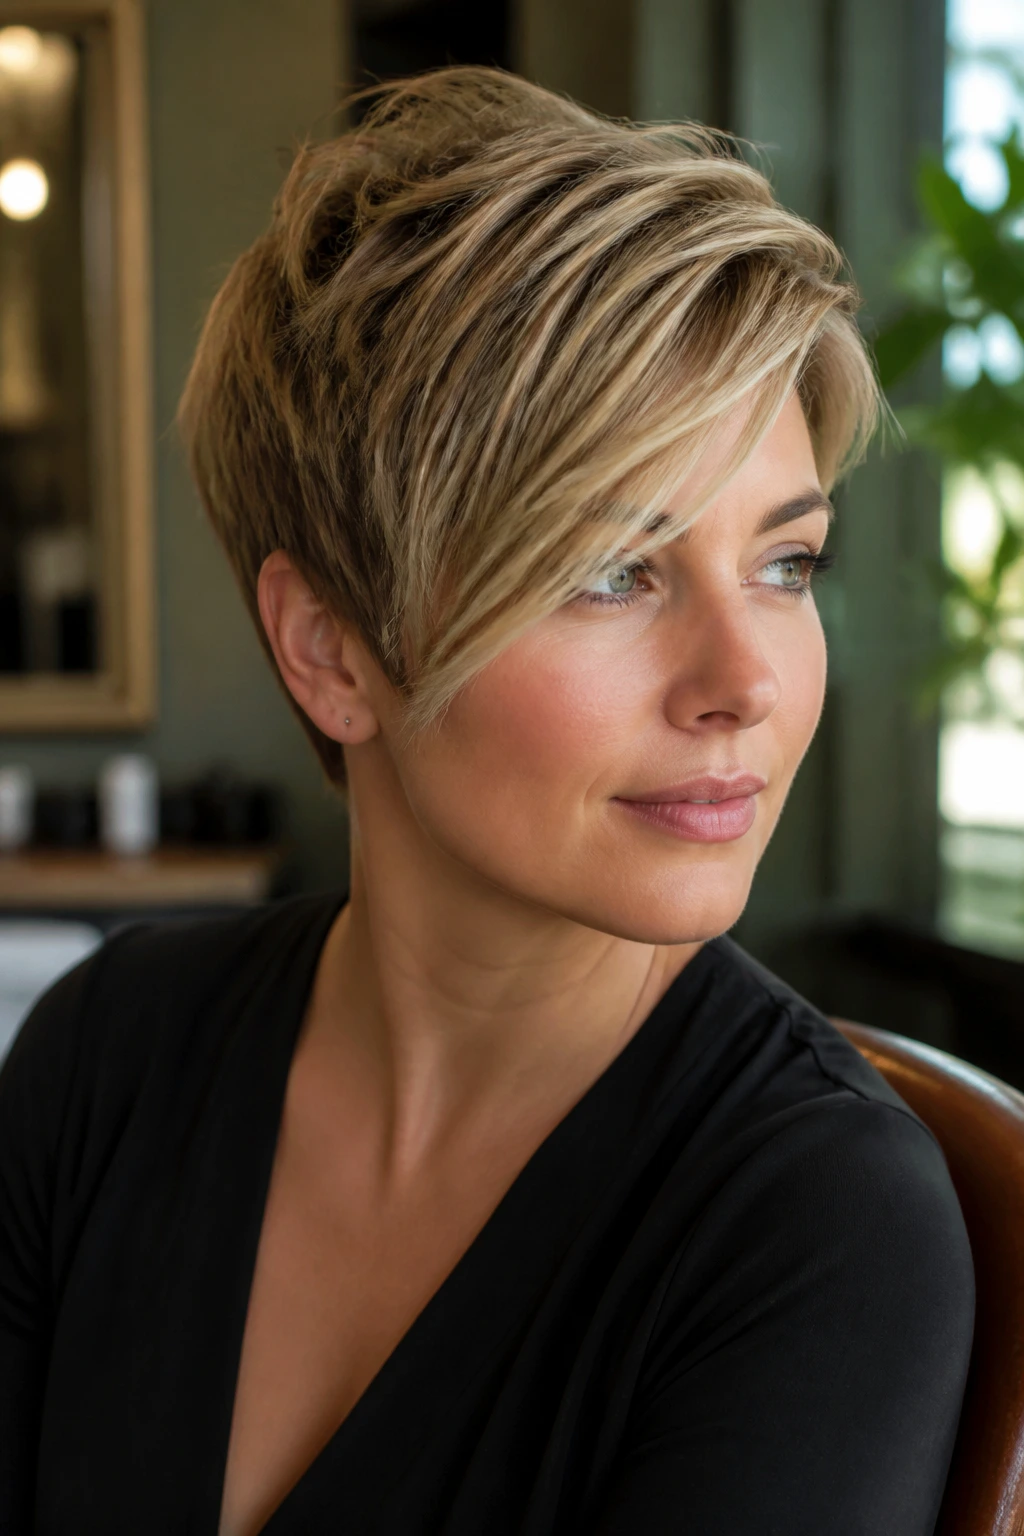
Can a pixie work on a round face? Yes, if the shape is handled carefully. The sides need to stay closer to the head, while the top and fringe stay long enough to sweep across the forehead and break up the width.
The long sweep is the whole point. It creates a diagonal line, which is the opposite of the wide, even line that can make the face feel fuller. Keep the fringe airy, not heavy, and let the texture move a little instead of standing in one place.
This style suits anyone who wants short hair without giving up softness around the face. It is sharp in a good way. And unlike some ultra-short cuts, it doesn’t flatten the face into one fixed shape.
19. Brushed-Out Ringlets with a Soft Halo Shape
Ringlets can be gorgeous on a round face, but only when they’re placed with intention. The problem is not curl. It’s width. A halo shape that sits too far out from the head can add bulk at the cheeks, so the longer front pieces have to do some real work.
The safest move is to keep the face-framing layers longer than the chin and brush the curls only after they’re completely dry. That turns a tight set into a softer cloud of movement without stretching the shape horizontally. A little oil on the ends keeps the separation clean.
This style has a romantic feel, but it isn’t fussy. It’s more controlled than it looks. If your curls naturally spring wide, this is the version that keeps them from taking over the whole face.
20. Blunt Midi with Hidden Interior Movement
A blunt midi sounds counterintuitive for a round face, and honestly, it can be if it’s cut the wrong way. But a clean outer line with hidden interior movement can be one of the smartest shapes in the bunch.
The outside stays tidy and slightly graphic. Inside, the layers are softened so the hair bends instead of hanging like one thick curtain. The face-framing pieces should still live below the cheekbone, but they don’t need to be obvious or choppy to do their job.
This is the style for someone who likes a crisp shape and doesn’t want obvious layering everywhere. It feels controlled. It also photographs like a clean line from the front while still moving when you turn your head.
21. Feathered Long Cut with Side Bangs
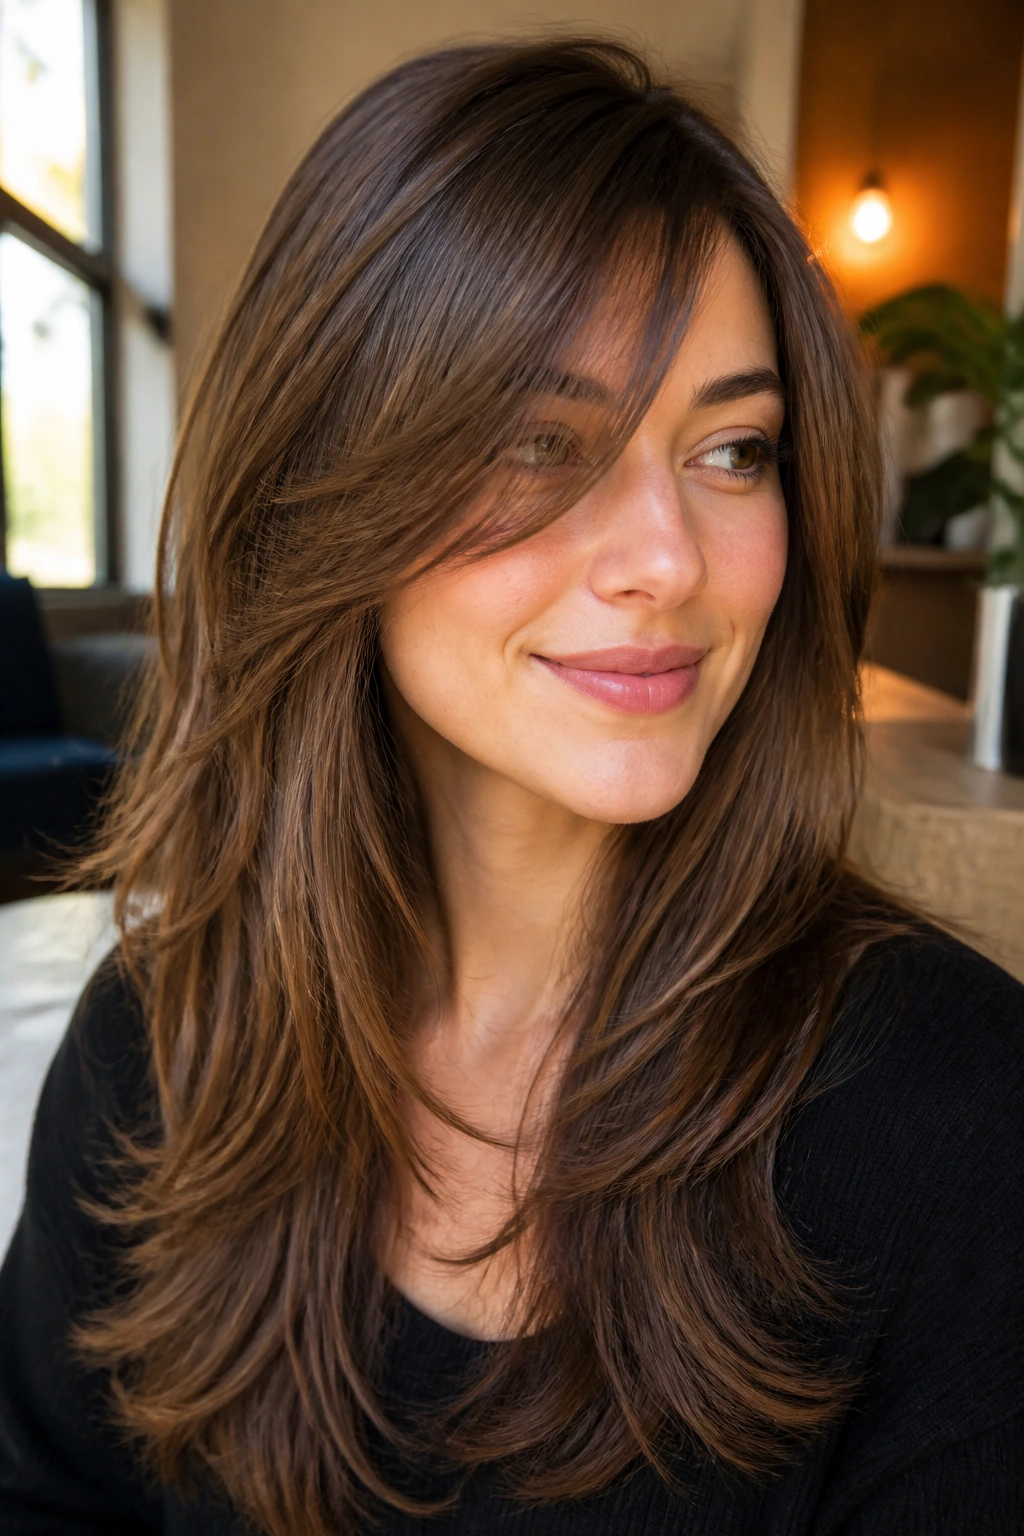
Side bangs are underrated on round faces because they create a slanted line right where you need it most. They interrupt the width of the forehead and lead the eye diagonally into the face-framing layers.
The rest of the cut should stay feathered and soft, not stacked heavily at the cheeks. If the layers flare out too much near the ears, the shape turns wide fast. Keep the bangs light, keep the sides long, and let the hair fall around the face rather than sit on top of it.
This is a good option if curtain bangs feel too centered for you. Side bangs have a little more movement and a little less symmetry. That difference can be enough.
22. Relaxed Updo with Face-Framing Strands
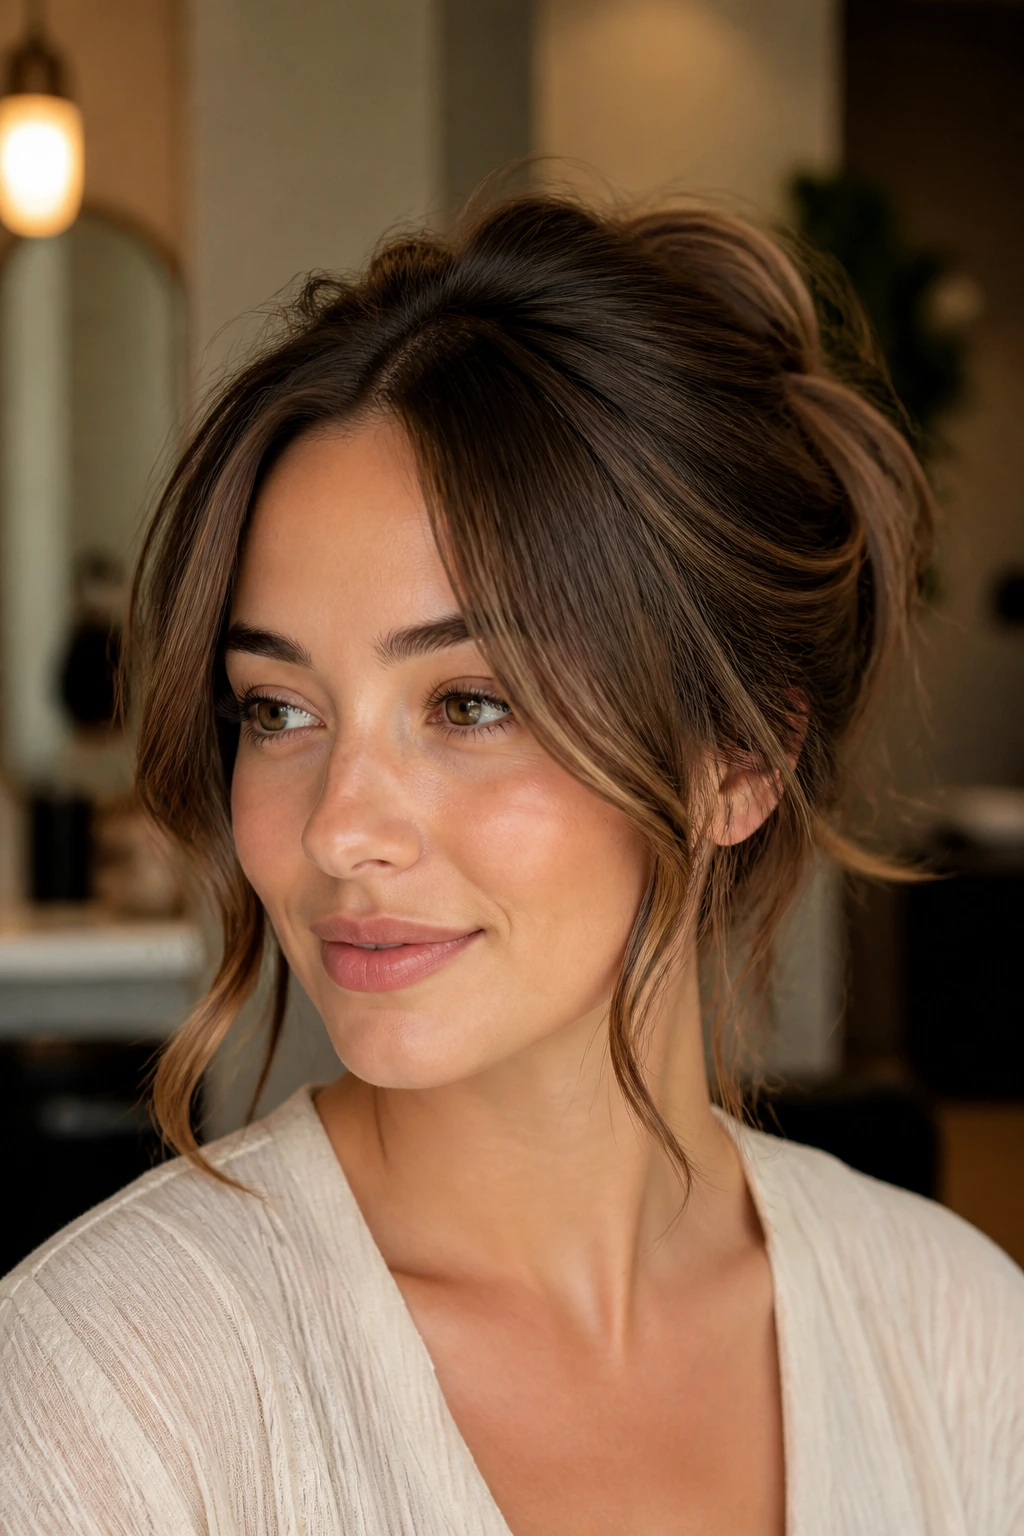
A loose bun or relaxed chignon can look severe on a round face if every strand is pulled back. Leave the face-framing layers out on purpose, and the whole style softens immediately. The updo can stay casual or polished; the front pieces are what keep it from feeling tight.
The strands around the face should not be random leftovers. Pick them. Place them. Let them fall near the mouth or jaw, and give them a light bend so they move with the rest of the hair. If they stop at the cheek, the width comes back fast.
This is the style I’d reach for if the haircut has good framing but the day calls for hair off the neck. It looks easier than it is, which is usually the best kind of updo.
How to Ask for Face-Framing Layers That Fit a Round Face
The fastest way to get the wrong result is to ask for “more layers” and leave it there. That phrase means different things to different stylists, and on a round face, the placement matters more than the amount. Say where you want the shortest front piece to land. Mouth, chin, or collarbone are all specific answers. “Somewhere around the cheeks” is not.
Bring a photo, but bring one that shows the front and side together. A pretty front view with no profile can hide the very thing you care about — the way the layers fall around the jaw. If you usually wear a center part, say so. If you never do, don’t let the cut depend on one.
A better salon conversation
- Shortest front layer: tell them exactly where you want it to start.
- Part placement: point out where your hair naturally separates.
- Texture goal: say whether you want swing, bend, separation, or smoothness.
- Maintenance: be honest about whether you’ll style it every day or mostly air-dry it.
That last one matters more than people admit. A cut that only looks right after 20 minutes of round-brush work is a different haircut from one that falls into place after a quick finger dry. Be clear about which one you want.
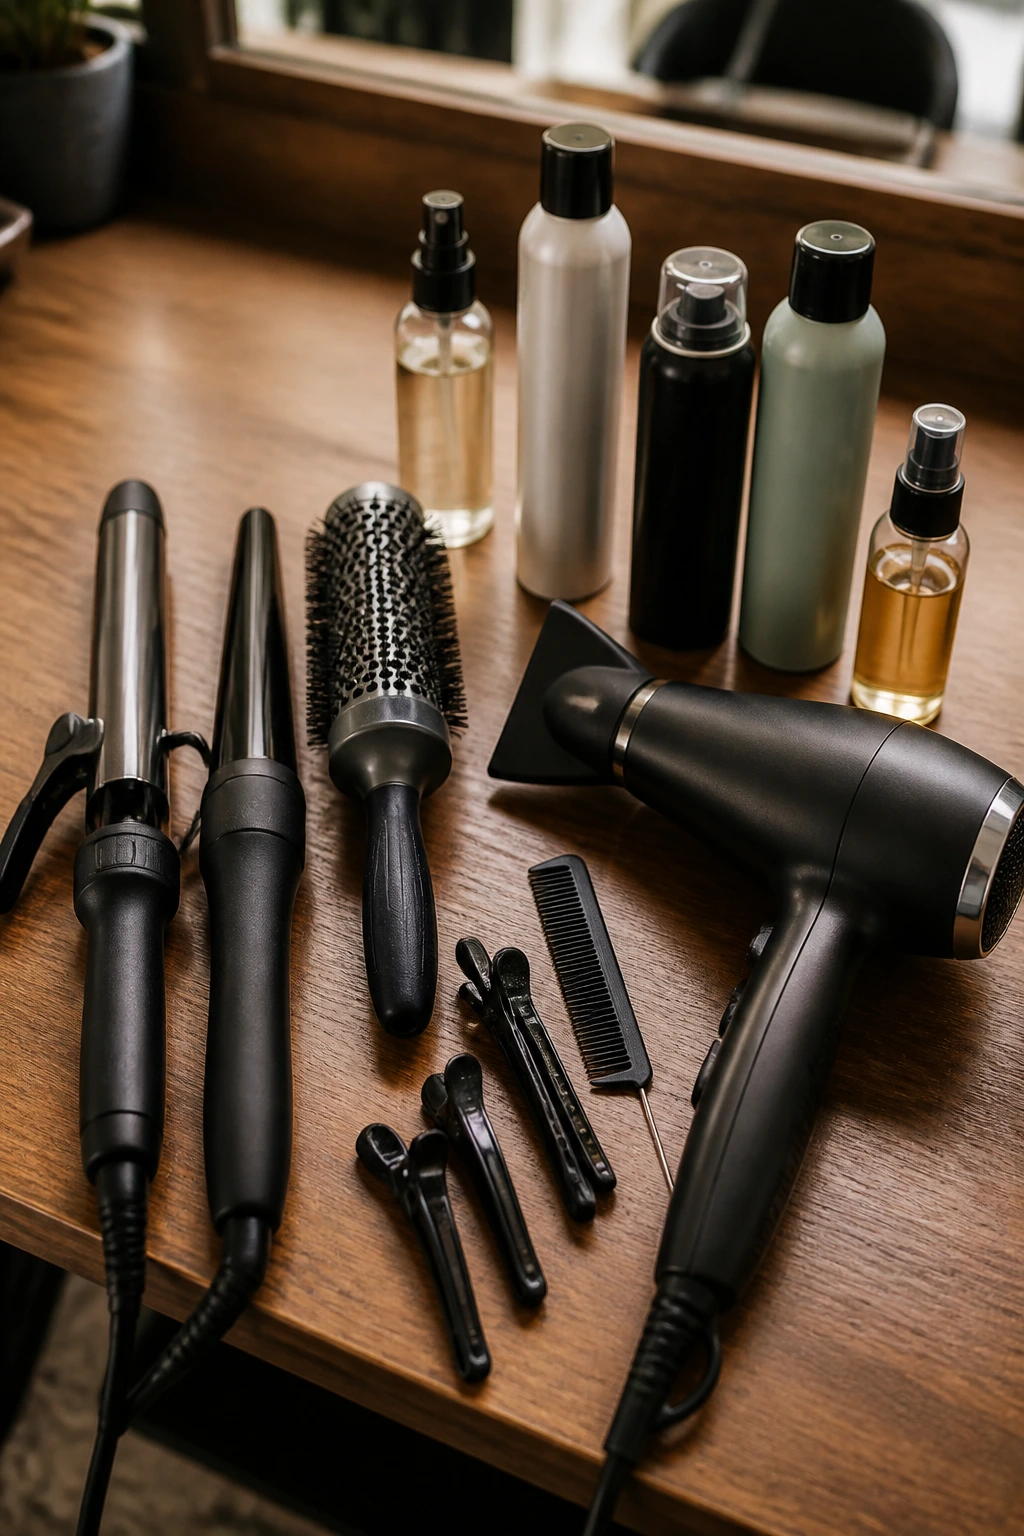
The Tools That Keep the Shape Moving
-
1-inch or 1.25-inch curling iron or wand: Best for soft bends in the front pieces and loose waves that don’t turn into tight curls.
-
Round brush, 1.5 to 2 inches: Useful for blowouts on lobs, long layers, and collarbone cuts where you want a gentle flip away from the face.
-
Blow-dryer with a nozzle attachment: The nozzle keeps the air pointed where you want it, which matters more than the dryer’s power.
-
Sectioning clips: They make it easier to set the front pieces apart from the rest of the hair, especially when you’re styling face-framing layers.
-
Tail comb: Handy for clean parts and for lifting a small crown section without disturbing the rest.
-
Heat protectant spray: Non-negotiable if you’re bending the ends or doing a blowout. A dry front layer shows damage fast.
-
Light mousse or root lift spray: Good for fine hair or a butterfly cut that needs height at the crown.
-
Texturizing spray or dry shampoo: Helps shaggy cuts, wave sets, and day-two styling keep their shape.
-
Light oil or cream: Useful on the ends of curls, feathered lengths, and updos where the front pieces need a softer finish.
Smart Cutting and Styling Tips for Round Faces
The best result usually starts before the scissors do. Ask the stylist to look at where your cheeks are widest and keep the shortest face-framing piece below that point. That tiny decision changes how the whole haircut sits. If the front layer ends at the cheek, the eye stops there. If it lands at the mouth, chin, or collarbone, the face reads longer.
The part matters too. A slight offset can make the front layers fall in a more flattering line, especially if your hair is thick and wants to push outward. A deep side part does even more. On the other hand, a center part works best when the lengths are long enough to drop cleanly and the front pieces are soft, not blunt.
What to say out loud at the salon
- “I want the front pieces to start below my cheekbone.”
- “I like movement, but I don’t want width at the sides.”
- “My hair usually dries [straight / wavy / curly], so please cut with that in mind.”
- “I wear it [center / off-center / side part] most days.”
If your hair is curly or highly wavy, ask whether the stylist cuts it wet, dry, or with a mix of both. A dry curl cut can be worth it because shrinkage changes everything. And if you’re going short, ask them to leave the front a touch longer than you think you need. Round faces usually look better when the frame has room to breathe.
Common Mistakes That Make the Face Look Wider
-
Starting the shortest layer at cheek level: This is the classic problem. The hair ends exactly where the face is widest, and the whole cut spreads sideways. Move that first layer lower.
-
Building too much side volume: Big width at the temples can make a round face look fuller, not slimmer. Keep lift at the crown or keep the sides soft and close.
-
Using a blunt fringe that cuts straight across the forehead: A dense, horizontal bang can shorten the face visually. A curtain, sweep, or airy side fringe usually works better.
-
Curling everything inward: Inward bends around the cheeks create a round frame around a round face. Flip some ends out, or leave the front longer and looser.
-
Leaving updos too tight at the front: A slick crown with no face pieces can look severe. Pull out the right strands and give them a bend.
-
Ignoring shrinkage on curls and waves: What looks like a chin-length layer when wet may spring up to the cheek once dry. Cut longer than you think, then refine.
A lot of haircut disappointment comes from placement, not the haircut concept itself. The idea may have been fine. The starting point was off by an inch.
Variations and Alternatives Worth Trying
The Softest Center-Part Version
Keep the middle part, but push the front pieces longer — more mouth and collarbone, less cheekbone. This is the calmest option if you want the face to look open without obvious asymmetry.
The Side-Part Lift Version
Use a deeper side part and build height at the crown. This works well for fine hair because the lift gives you shape without needing heavy layering through the sides.
The Curl-Friendly Version
Ask for dry-cut framing pieces and leave extra length for shrinkage. This version gives curls space to spring without widening the face at the cheeks.
The Thick-Hair Lightener
Use internal layers, point-cut ends, and a soft perimeter. Thick hair can go heavy fast, so the goal is movement without a bulky wall around the head.
The Low-Maintenance Air-Dry Version
Keep the cut longer and softer, then let the product do the shaping. A leave-in cream and a little scrunching are enough if the layers are placed well.
The Polished Blowout Version
Build the style around a round brush, a nozzle, and a soft bend at the ends. This one is for people who want the haircut to look refined instead of lived-in.
Keeping the Layers from Collapsing Between Trims

Face-framing layers lose their shape faster than the rest of the haircut because they take the most friction. They hit scarves, jackets, pillowcases, and hands. That’s normal. It also means they often need a little more maintenance than the back.
A trim every 6 to 10 weeks keeps the front pieces from getting too heavy or turning into one long curtain. Shorter layers or bangs may need dusting more often. Longer, softer pieces can stretch farther, but once they start landing directly on the cheeks, the shape usually loses its edge.
Night care helps more than people expect. A silk or satin pillowcase reduces the frizz that makes front pieces stick outward. If the layers bend weirdly while you sleep, clip them loosely out of the face or wrap them with a soft scrunchie. Nothing fancy. Just enough to keep them from folding in the wrong direction.
On wash day, do not overwash the front pieces if they dry too fluffy. A little dry shampoo at the roots and a small amount of cream on the ends often works better than another full wash. If the style needs a refresh, mist the front with water, twist the pieces around your fingers, and re-bend them with a low-heat tool for 30 seconds or so.
Frequently Asked Questions

What face-framing length works best on a round face?
Most of the time, the safest range is from the mouth down to the collarbone. That keeps the frame below the cheek width, which is where a lot of round faces get their visual lift. Chin-length can work too, but only if the pieces are soft and not too blunt.
Are curtain bangs good for round faces?
They can be, if they’re long enough. The shortest point should usually sit below the cheekbone, and the pieces need to sweep away from the face instead of sitting flat across it. Heavy curtain bangs that end too high can add width.
Can short hair still look flowy on a round face?
Yes, but the texture has to be handled carefully. A layered pixie with a long fringe or a short shag with softer sides can create movement without making the face look wider. The key is keeping the sides controlled and the front diagonal.
Is a center part bad for a round face?
Not automatically. A center part works best when the length is long enough and the face-framing pieces are soft and low. If the hair is short or the front layers stop at the cheek, a slight offset usually looks easier.
Do layers make fine hair look thinner?
They can, if too much weight is removed from the ends. Fine hair does better with controlled layering, a solid perimeter, and face-framing pieces that don’t start too high. Hidden interior movement is usually safer than a lot of choppy layers.
What if my curls shrink a lot?
Ask for the framing pieces longer than you think you need. Dry cutting helps because the stylist can see where the curl will sit once it springs up. For round faces, shrinkage that lands at the cheeks is the thing to avoid.
Which is better for a round face, blunt ends or feathered ends?
Feathered ends usually create a softer line and more movement, which helps most round faces. Blunt ends can still work on longer styles, especially if the front pieces are long enough to pull the eye downward. The shape matters more than the label.
How often should I trim face-framing layers?
Usually every 6 to 10 weeks, depending on length and texture. Bangs and shorter face pieces need more frequent cleanups; longer layers can wait a little longer. Once the frame starts landing right at the cheek again, it’s time.
The Shape That Moves With You
Round faces do not need to be hidden. They need a frame that keeps moving. That’s the real difference between a cut that merely sits on the head and one that changes the whole line of the face.
The best flow hairstyles here all do the same useful thing in different ways: they move the weight away from the cheeks, keep the front pieces long enough to breathe, and let the hair swing instead of box in the face. Once you start noticing where a layer begins — not just where it ends — the salon conversation gets easier.
Bring one photo, yes. Bring a clear opinion even more. If you can point to the exact front length you want, the cut has a much better chance of landing where it should, and that is the part that keeps paying off every time you look in the mirror.