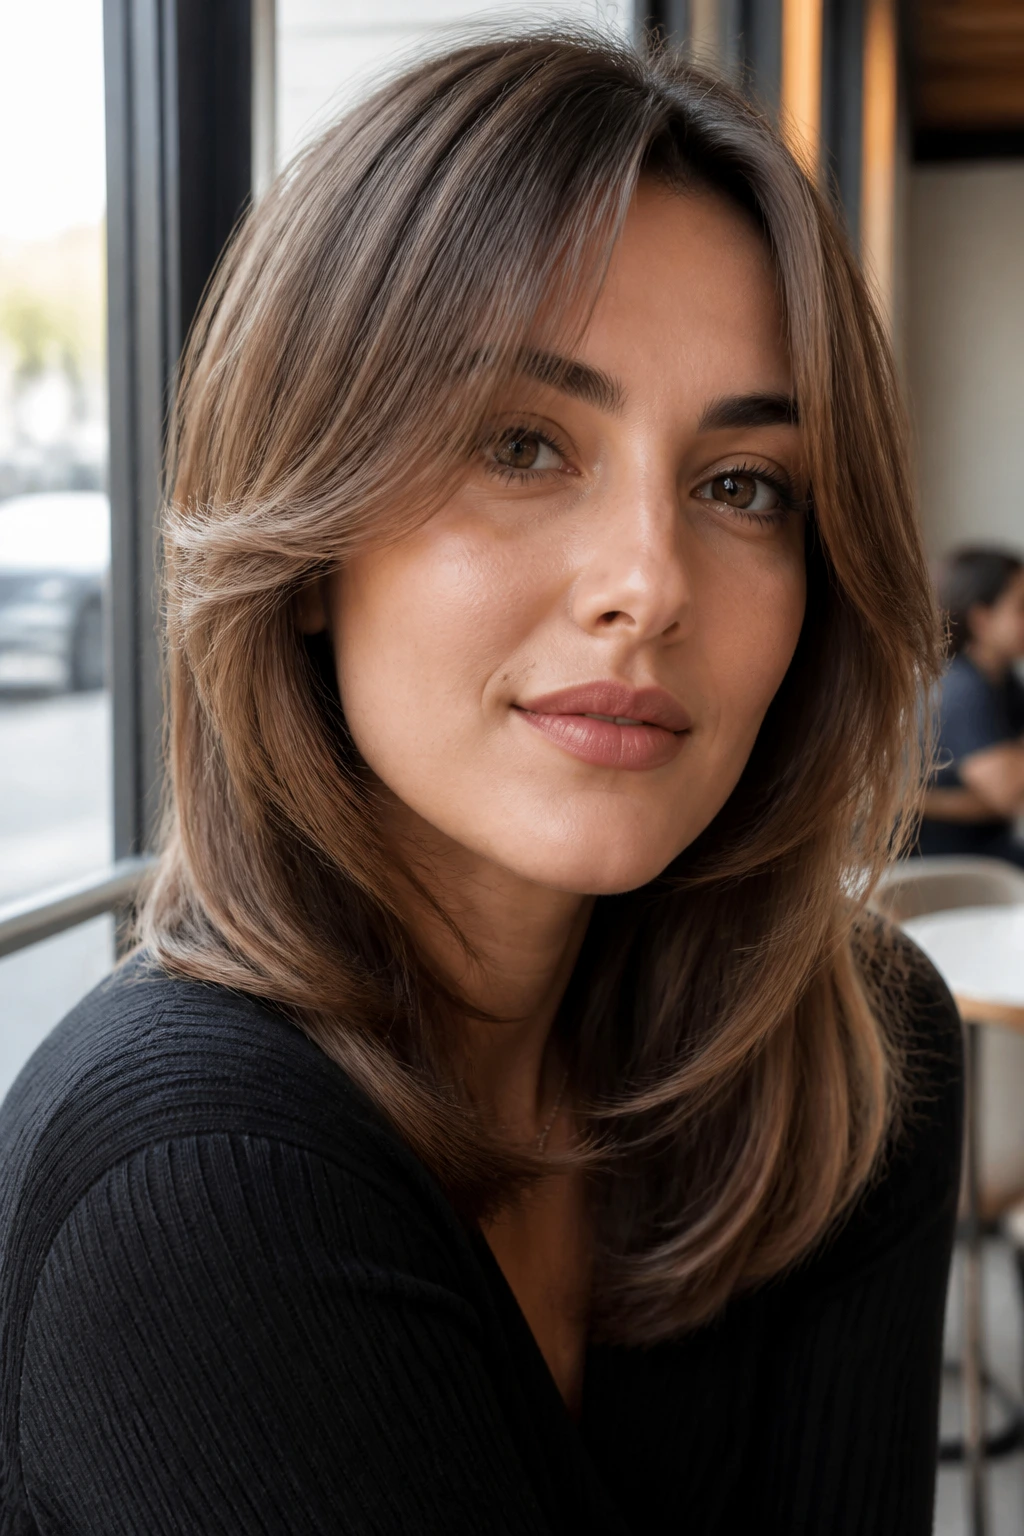
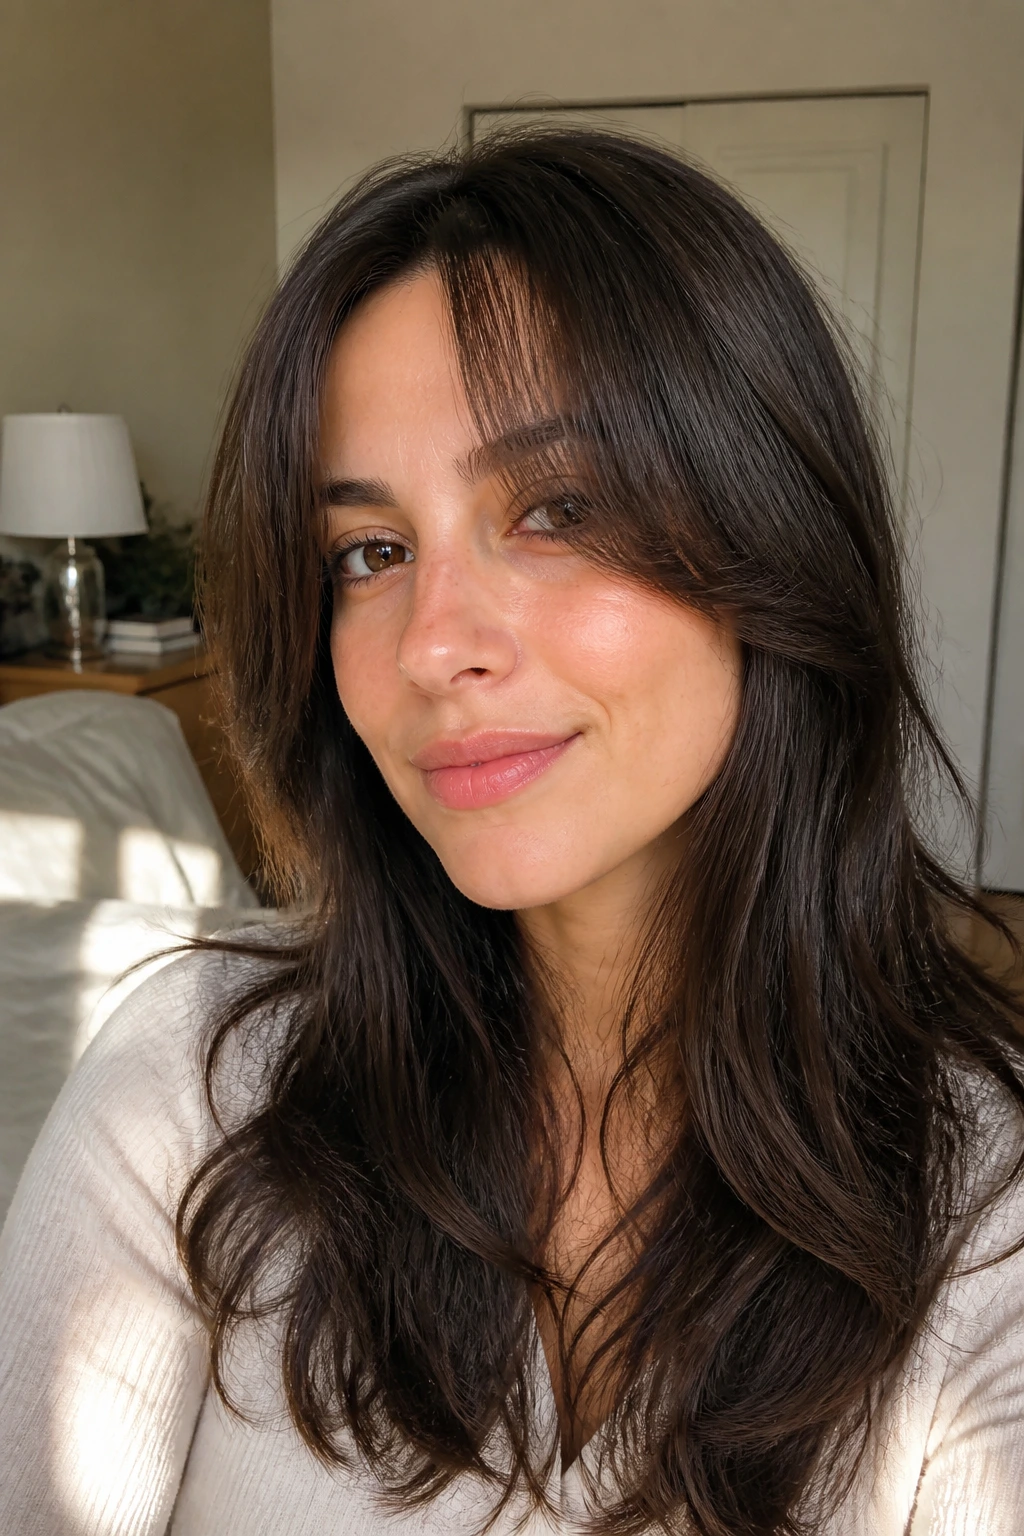
Fine brown hair can look flat in a hurry when the cut is too blunt and the front is left untouched. A well-placed face frame changes the whole read of it. The cheekbones get a little lift, the jawline softens, and the ends stop looking like they were trimmed with a ruler and then forgotten. On brown hair, that shift shows up fast because shine, shadow, and dimension sit on the surface in a very visible way.
The mistake a lot of people make is going too short, too high, and too heavy on the layering. Fine hair does not need a pile of chopped pieces near the crown. It needs smart placement: a front layer that starts around the cheekbone, lip, or chin, then melts into the length so the perimeter still looks full. That’s the sweet spot. Too much texture at the wrong spot and the whole cut can go wispy, which is the last thing you want.
Brown face-framing layers for fine hair can look polished, soft, messy, sleek, airy, or blunt-edged depending on where the first layer lands and how the front is styled. That’s why the details matter so much. A few inches in the wrong place can make the difference between “my hair looks thicker” and “why does it feel see-through at the sides?”
Why These Brown Face-Framing Layers Earn Their Keep
Keeps the ends looking dense: The best versions leave the perimeter strong, so the hair still has a real outline instead of disappearing into thin wisps.
Lifts the face without hacking the bulk away: A front piece that starts near the cheekbone or lip line gives shape where people actually notice it.
Works with brown shine in a smart way: Chestnut, mocha, cocoa, and espresso shades show soft bends and layers beautifully when the cut has movement in the front.
Grows out cleanly: A longer face frame usually holds its shape for weeks, which matters when fine hair starts to lose lift fast.
Lets you change the mood fast: Blow it smooth for a polished finish, bend the front with a flat iron, or let it fall naturally for a softer, undone look.
Plays nicely with color: Even subtle caramel or toffee ribbons around the face can make the layers look more obvious without needing a dramatic dye job.
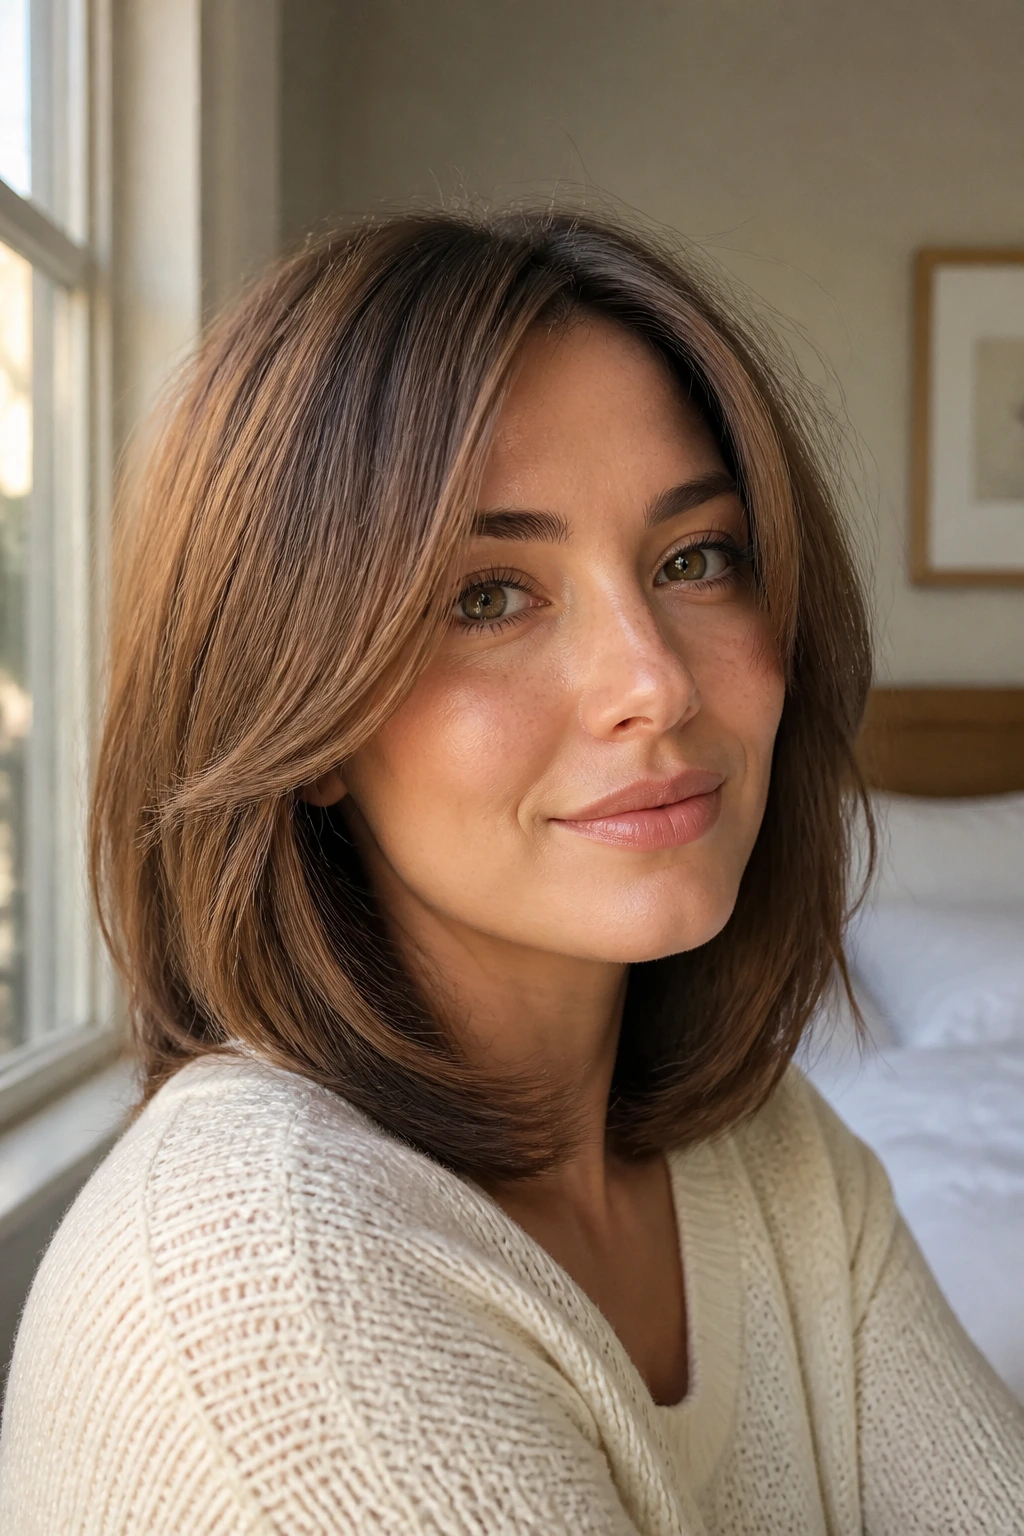
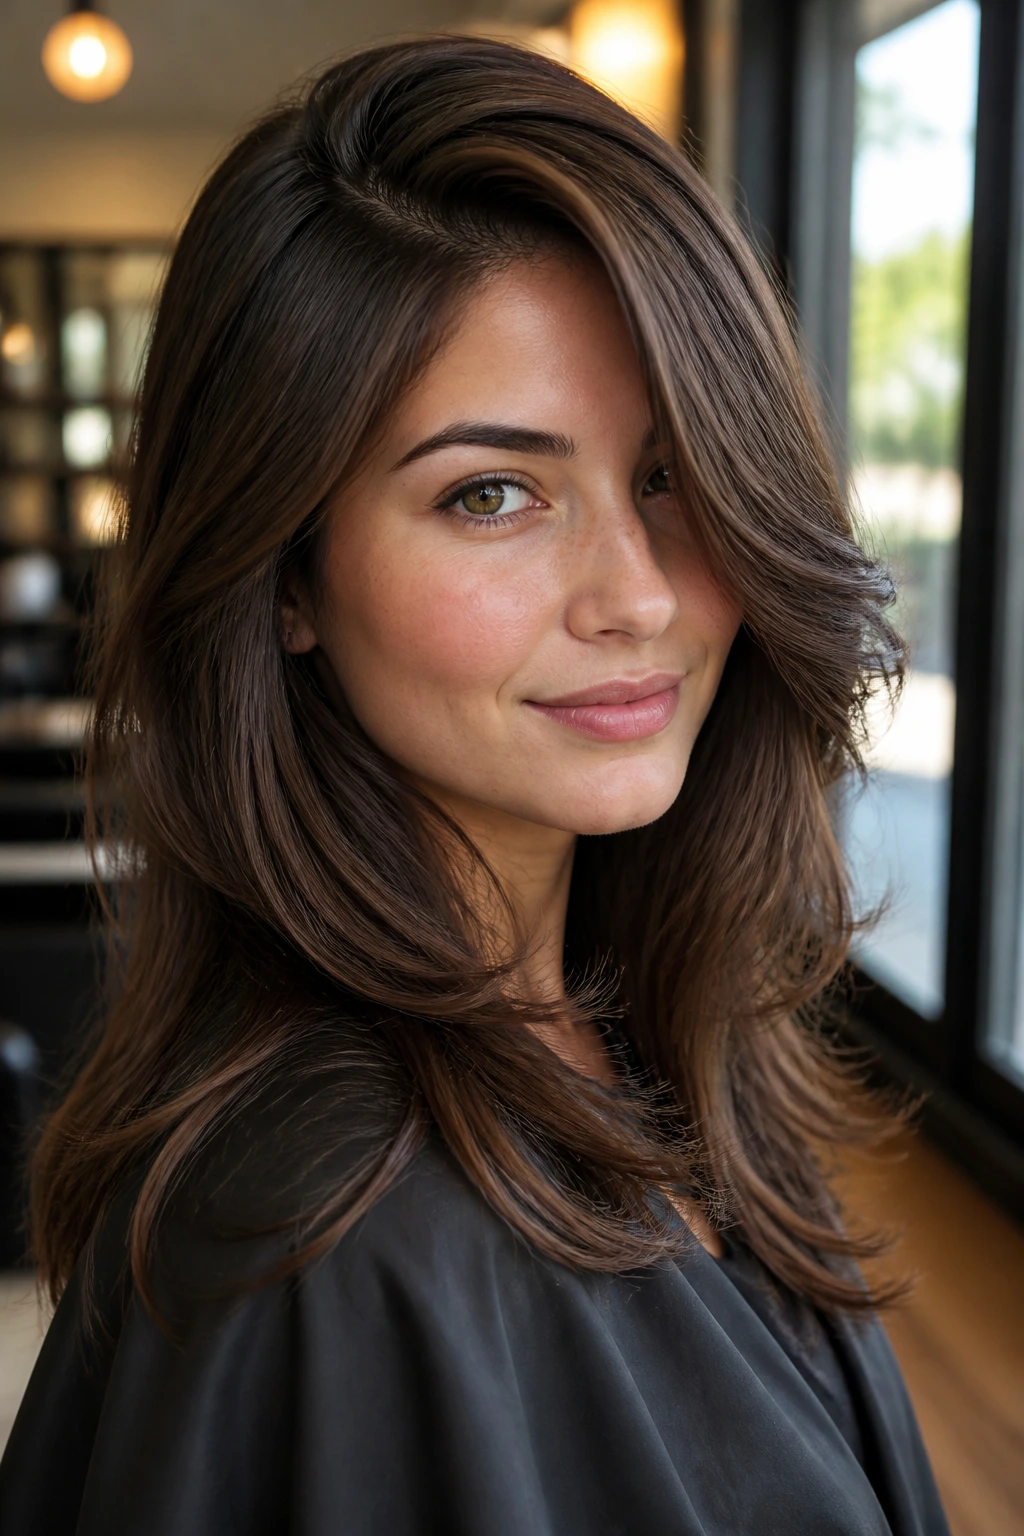
1. Chestnut Curtain Layers at Cheekbone Level
If you want the safest starting point, this is it. Chestnut curtain layers that begin around the cheekbones give fine hair movement without stripping away the fullness at the ends. The middle part opens the face, and the front pieces land in that sweet spot where they soften the cheek without turning stringy.
Why it works
The cheekbone start keeps the shortest pieces long enough to hold shape. That matters on fine hair, because the higher the layer starts, the faster the front goes sparse. A clean blow-dry with a round brush makes the front fold inward just enough to frame the eyes.
- Ask for the first layer to hit around the cheekbone.
- Keep the rest of the cut long and softly tapered.
- Use a 1.25-inch brush and dry the front away from the face first, then tuck it back in.
A tiny bend at the ends is all this needs. Too much curl makes it feel dated fast.
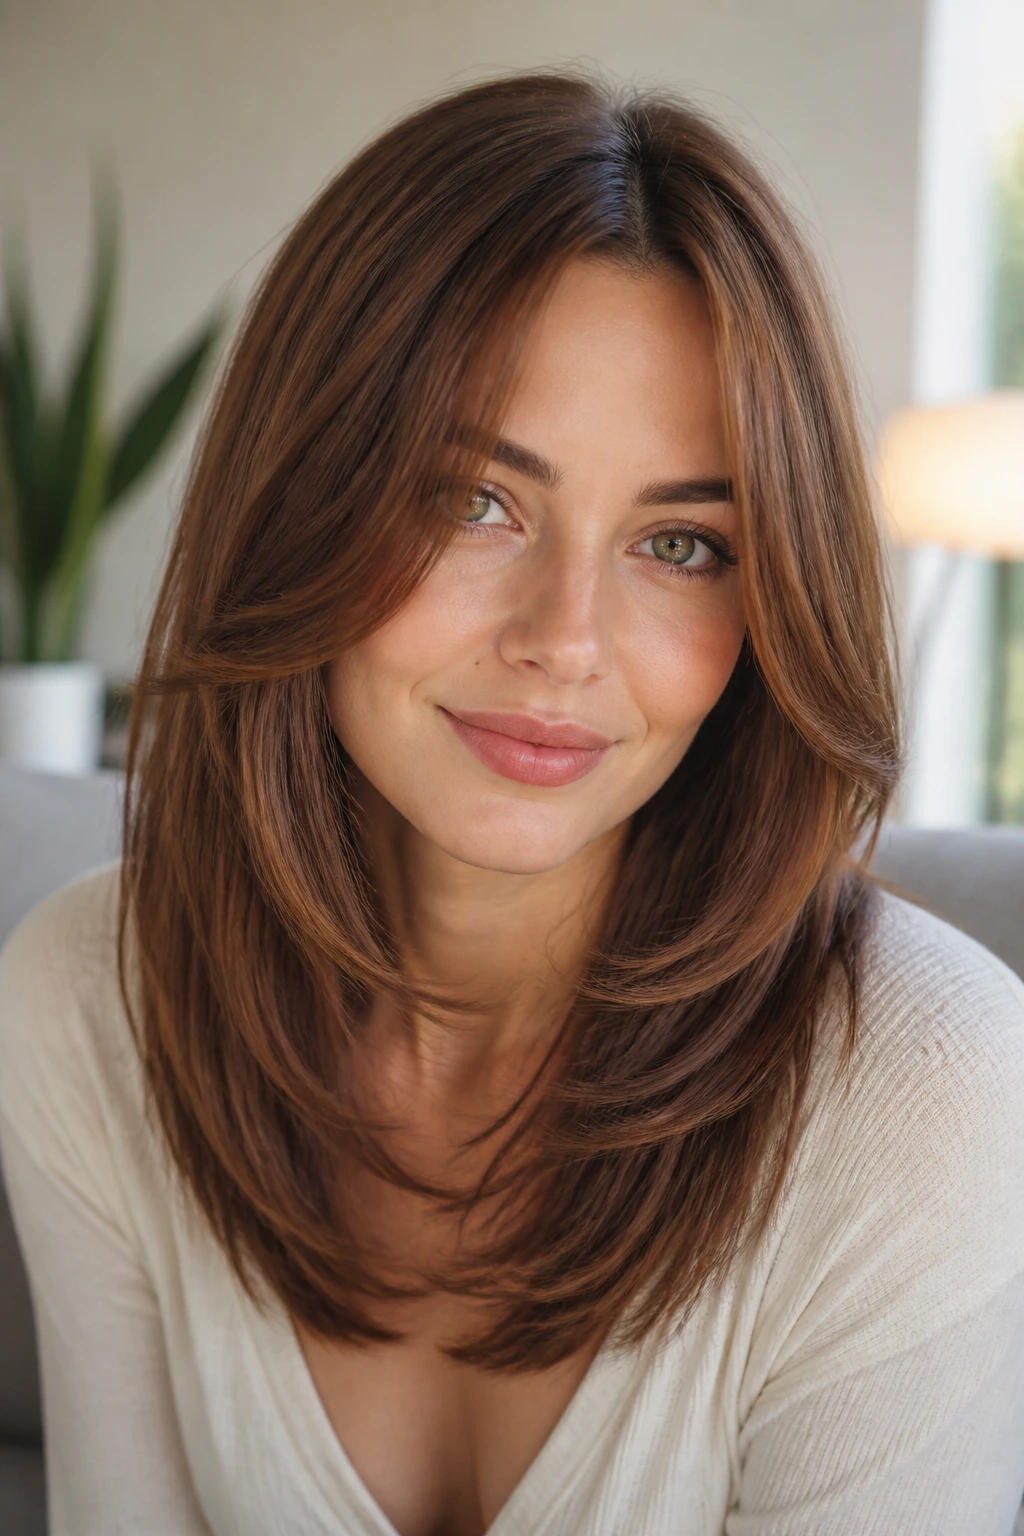
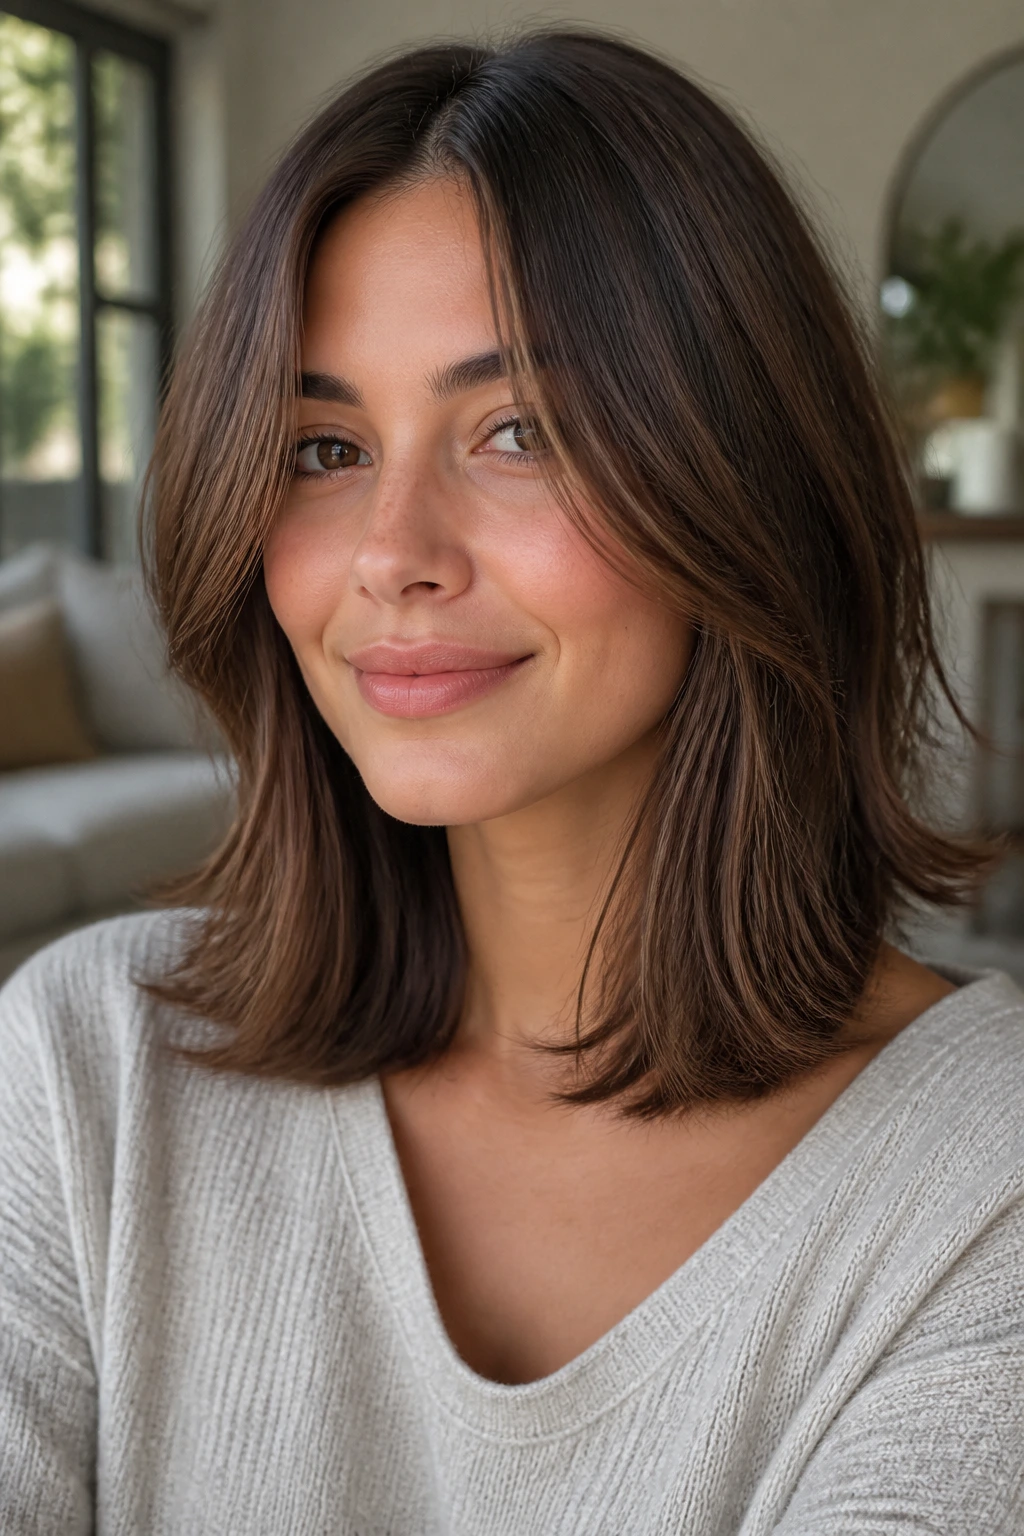
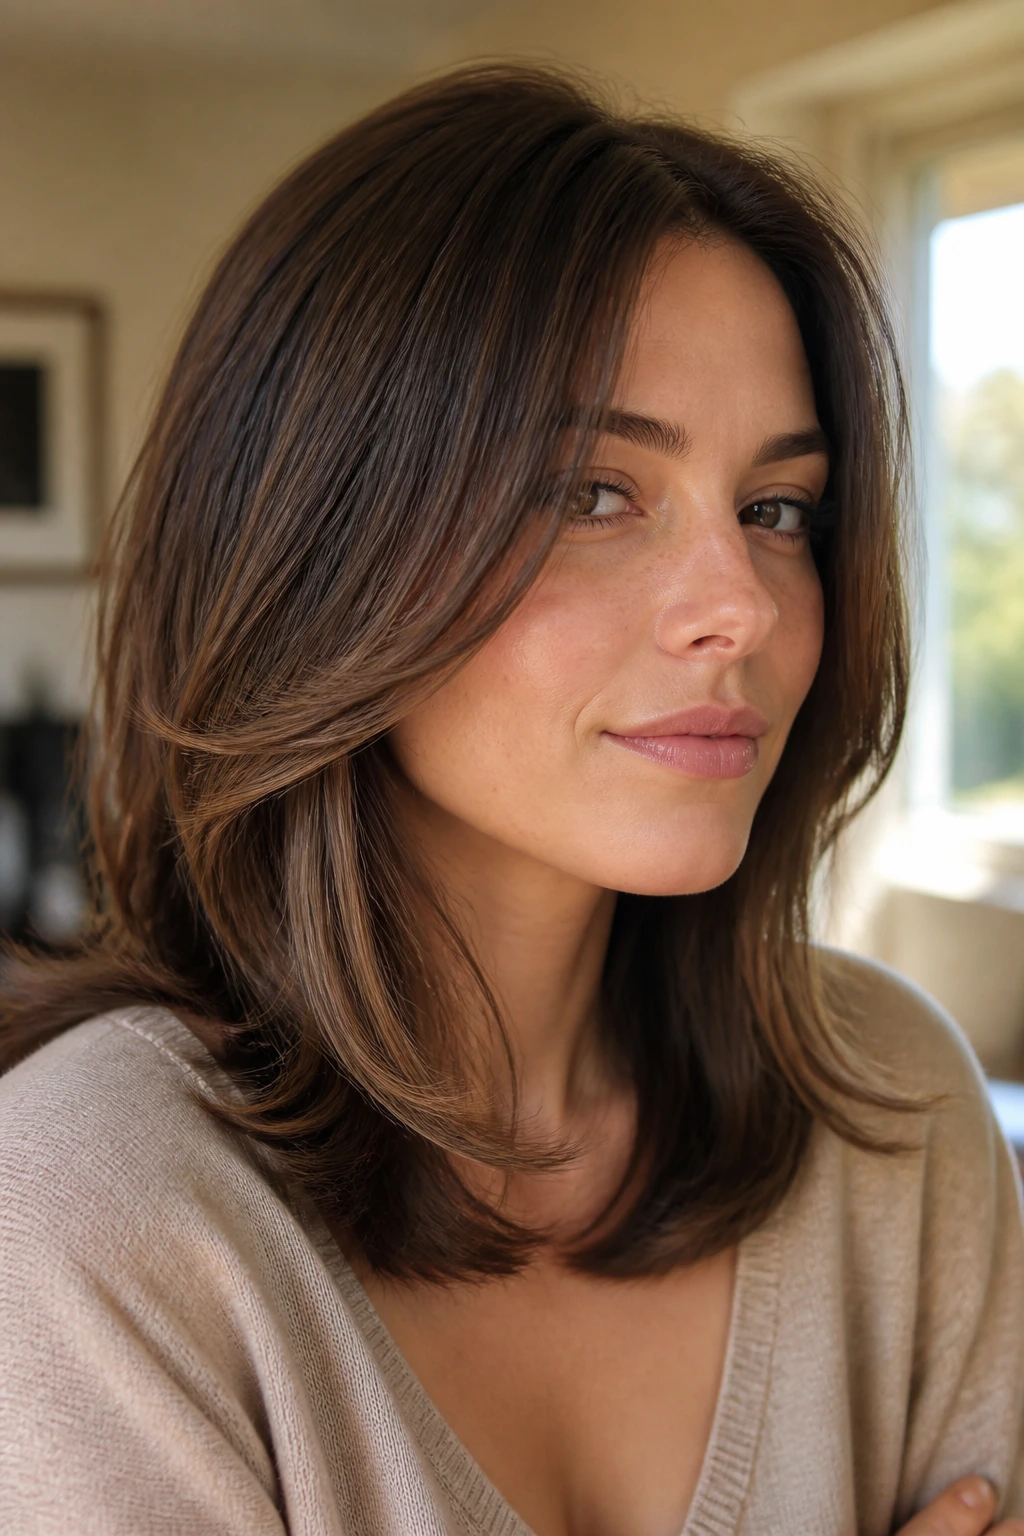
2. Mocha Collarbone Layers with a Soft Center Part
This is the cut for someone who wants shape without looking “layered.” The collarbone length gives fine hair a solid base, and the face-framing pieces slide in from the front without eating into the density. It looks neat even when air-dried.
The soft center part keeps the front open, but not severe. That matters if your hair lies flat near the temples. A little bend at the collarbone keeps the whole cut from hanging like a curtain.
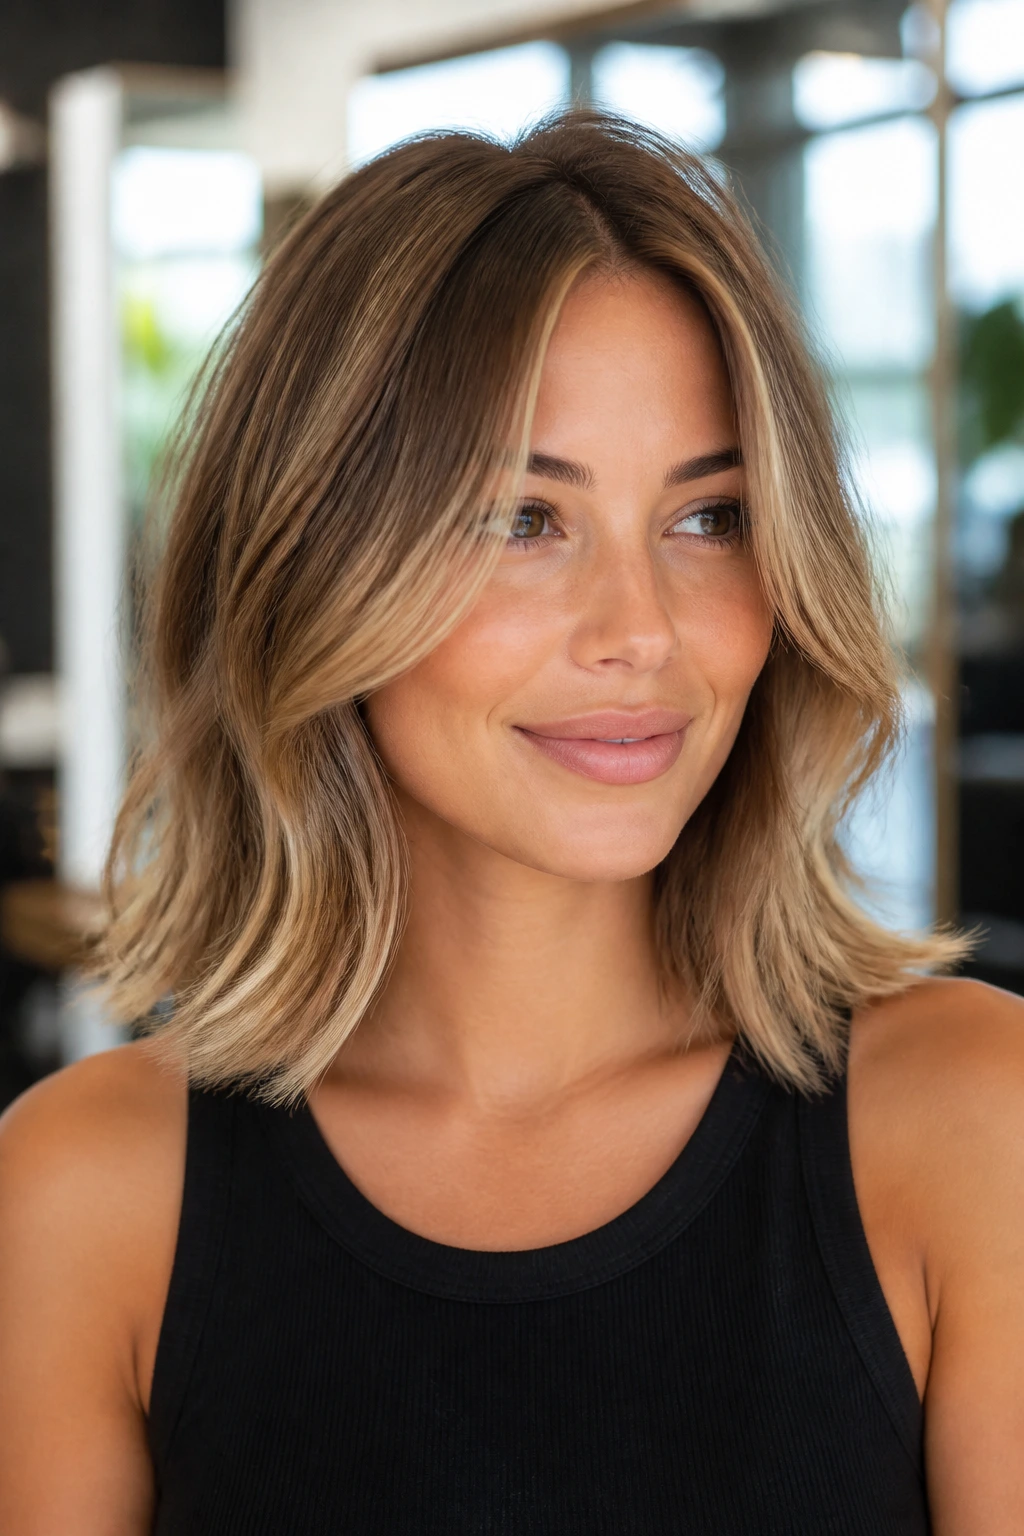
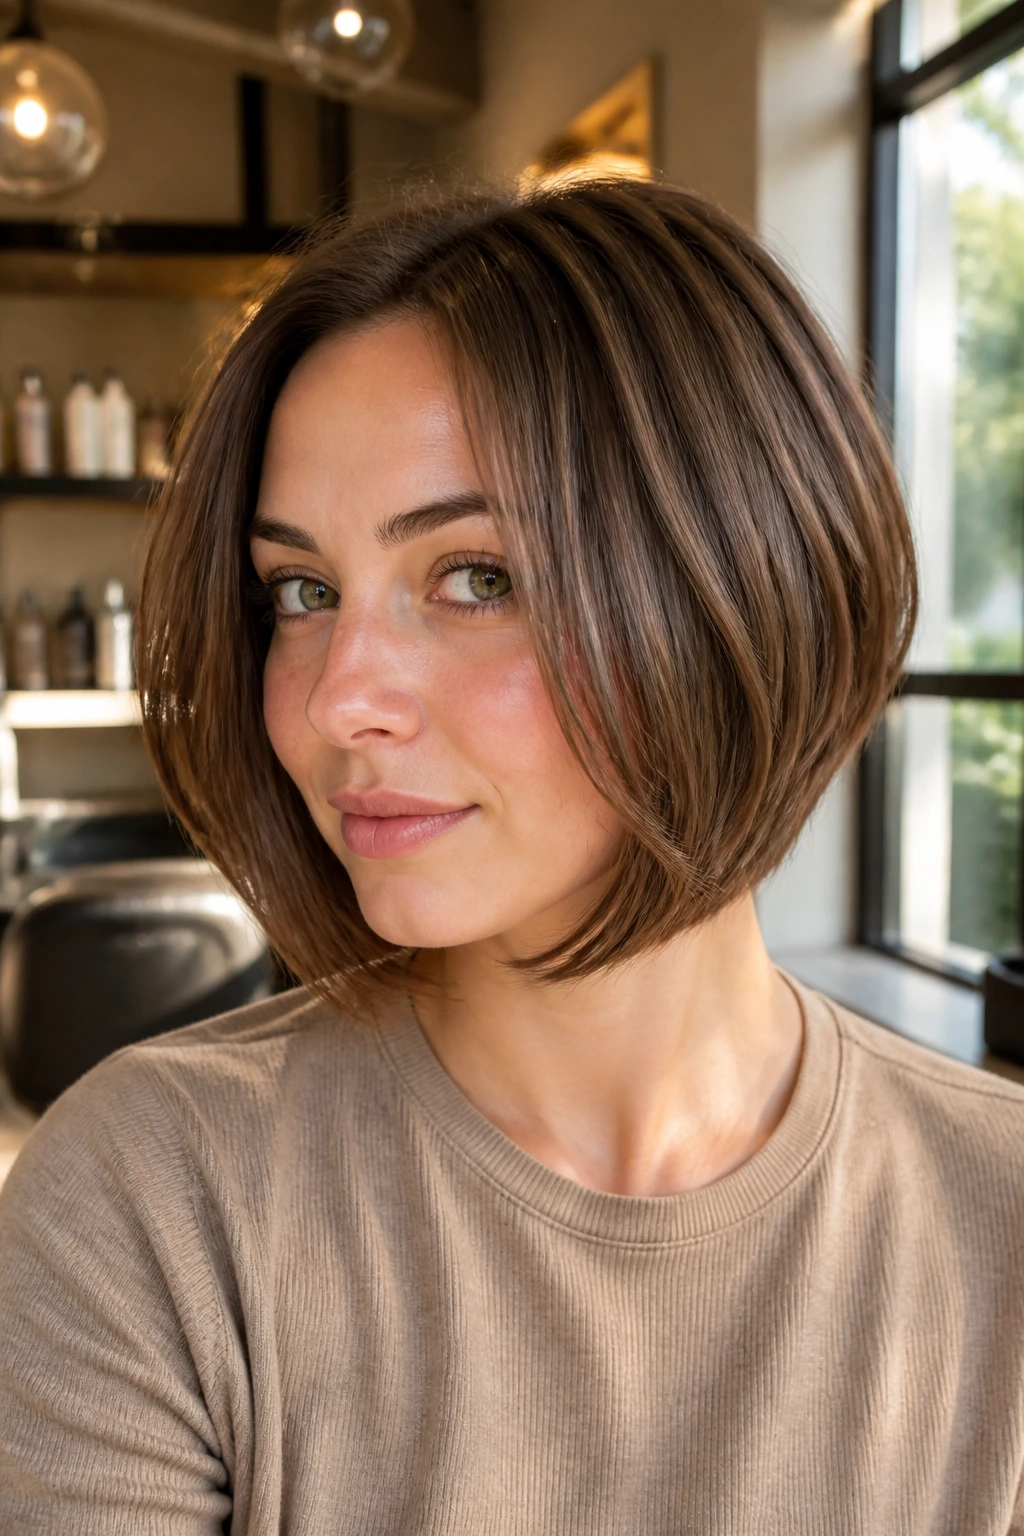
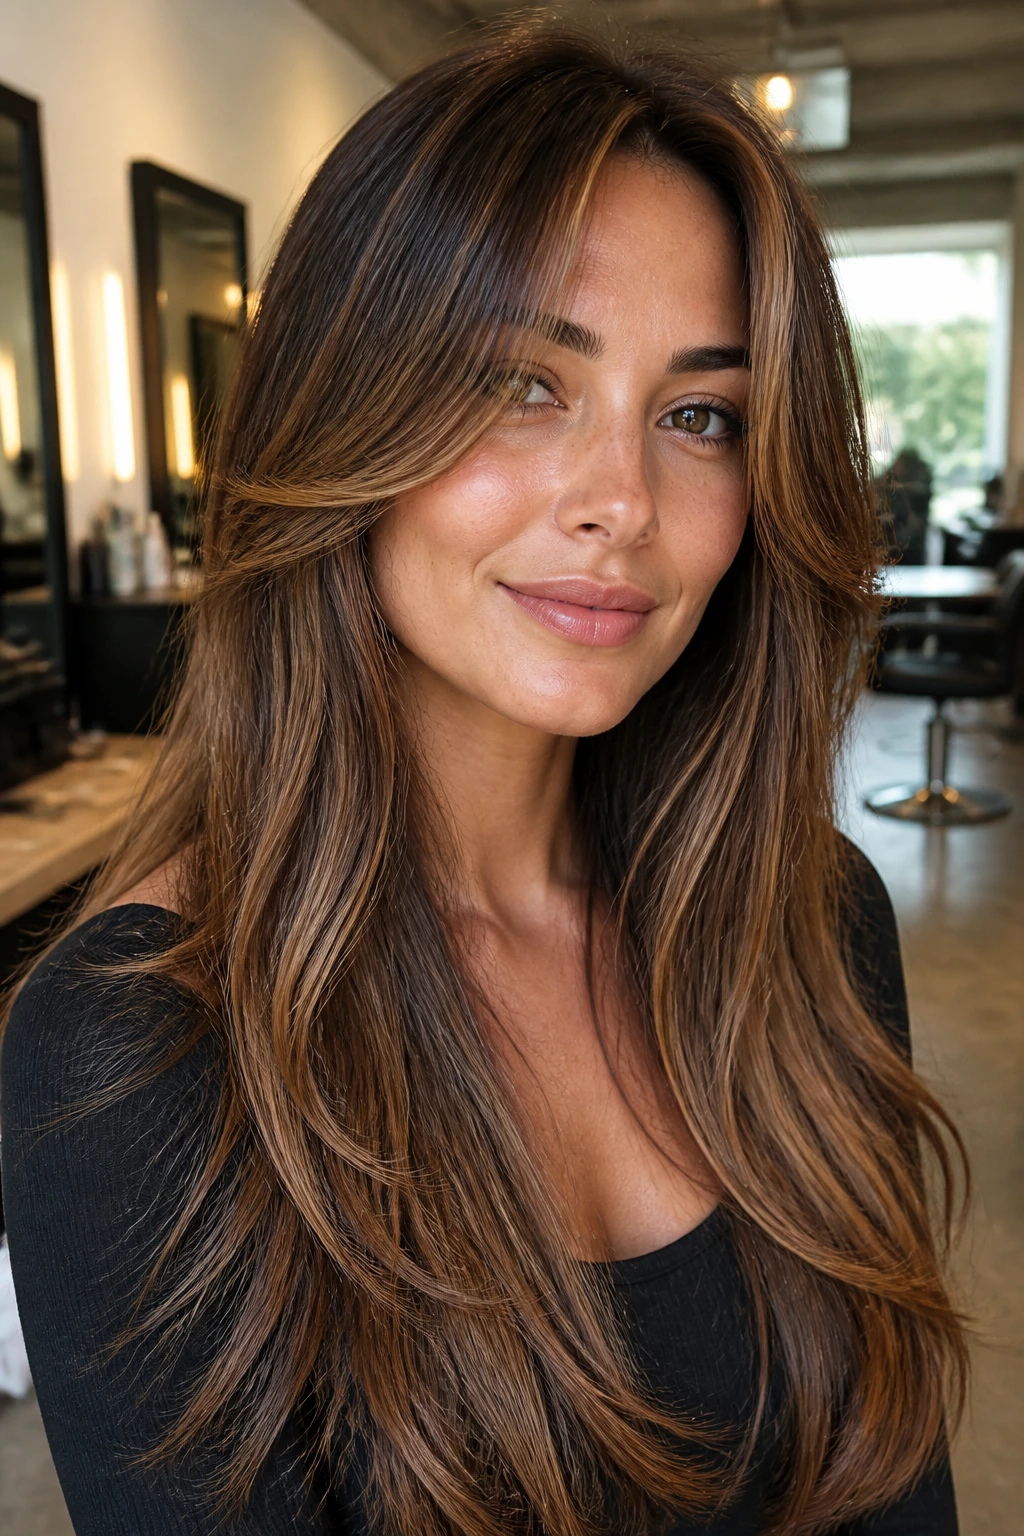
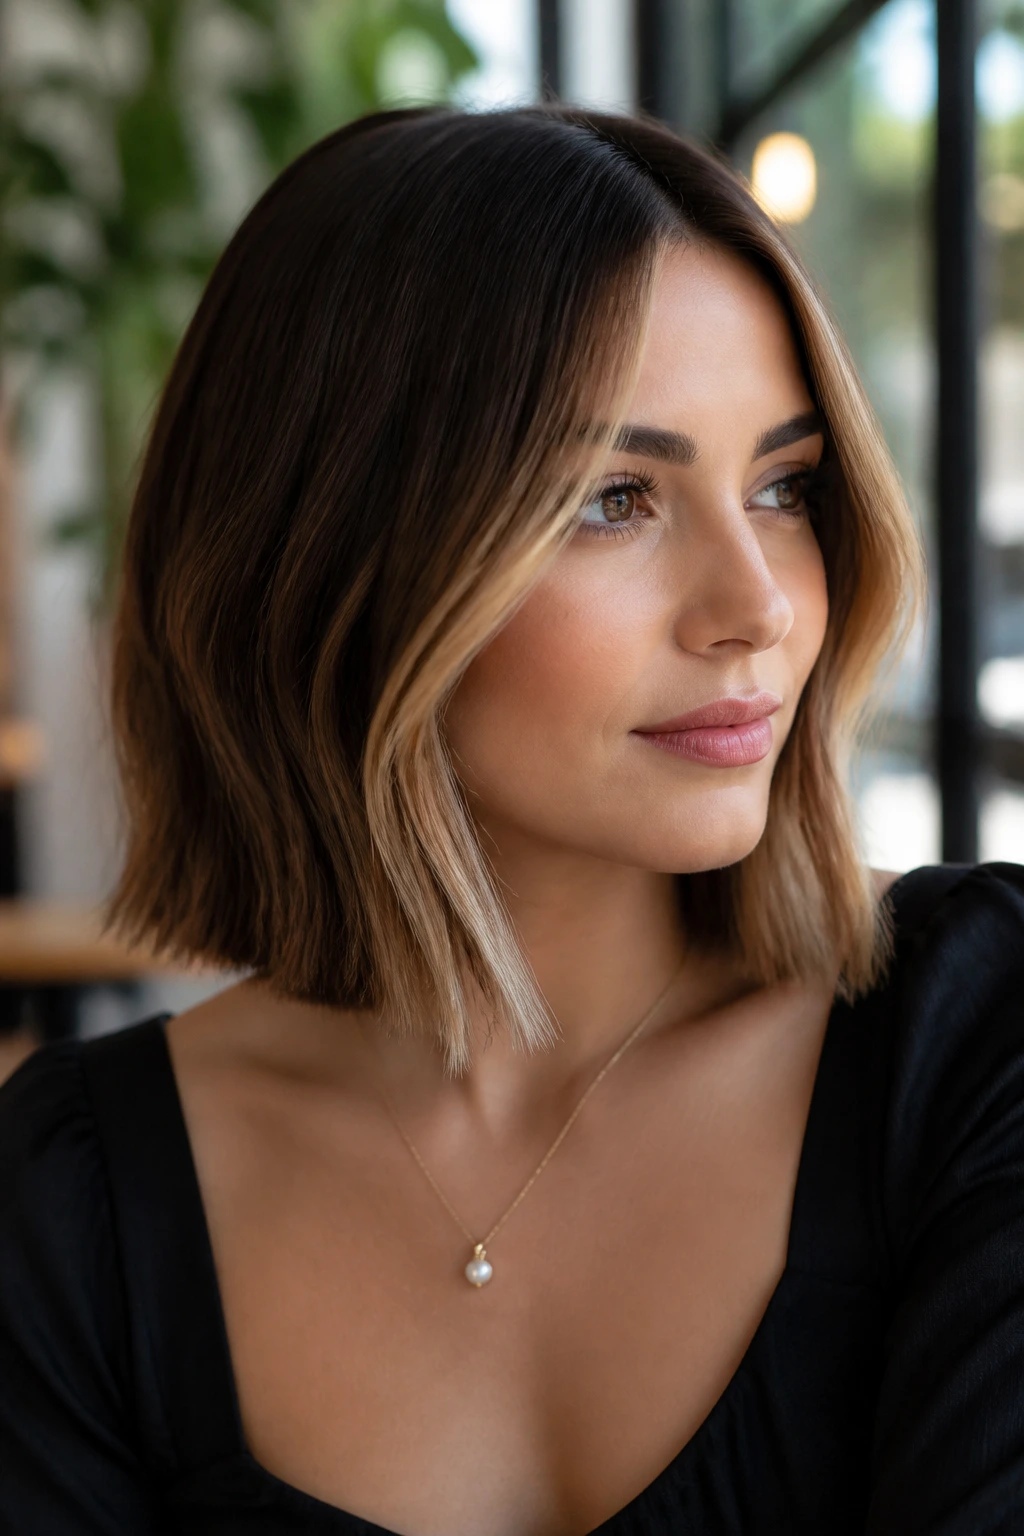
3. Caramel Money Piece Layers on a Blunt Lob
Why do blunt lobs keep showing up in the best fine-hair cuts? Because they cheat thickness. Add a lighter caramel money piece around the face, and the cut suddenly has a focal point. The blunt bottom edge keeps weight, while the brighter front pieces make the layers read more clearly.
How to wear it
Keep the front pieces just a touch shorter than the rest of the lob, usually around chin to cheekbone length. That gives the face a soft frame without turning the sides wispy. A flat iron bend at the front, not a full curl, keeps the line modern.
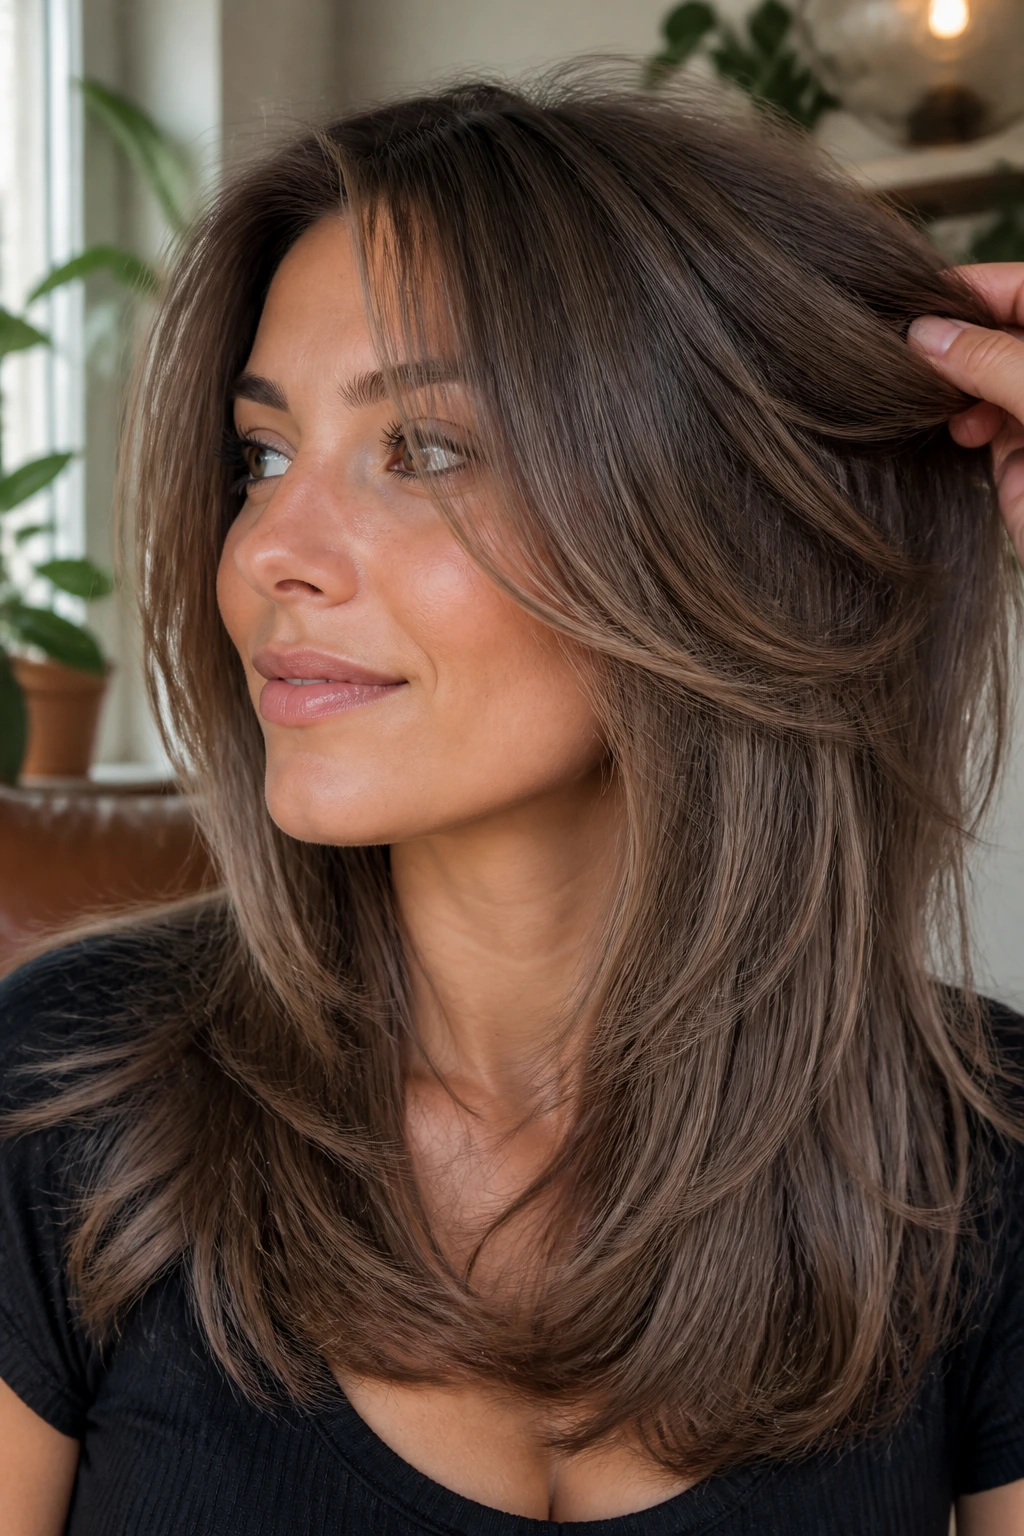
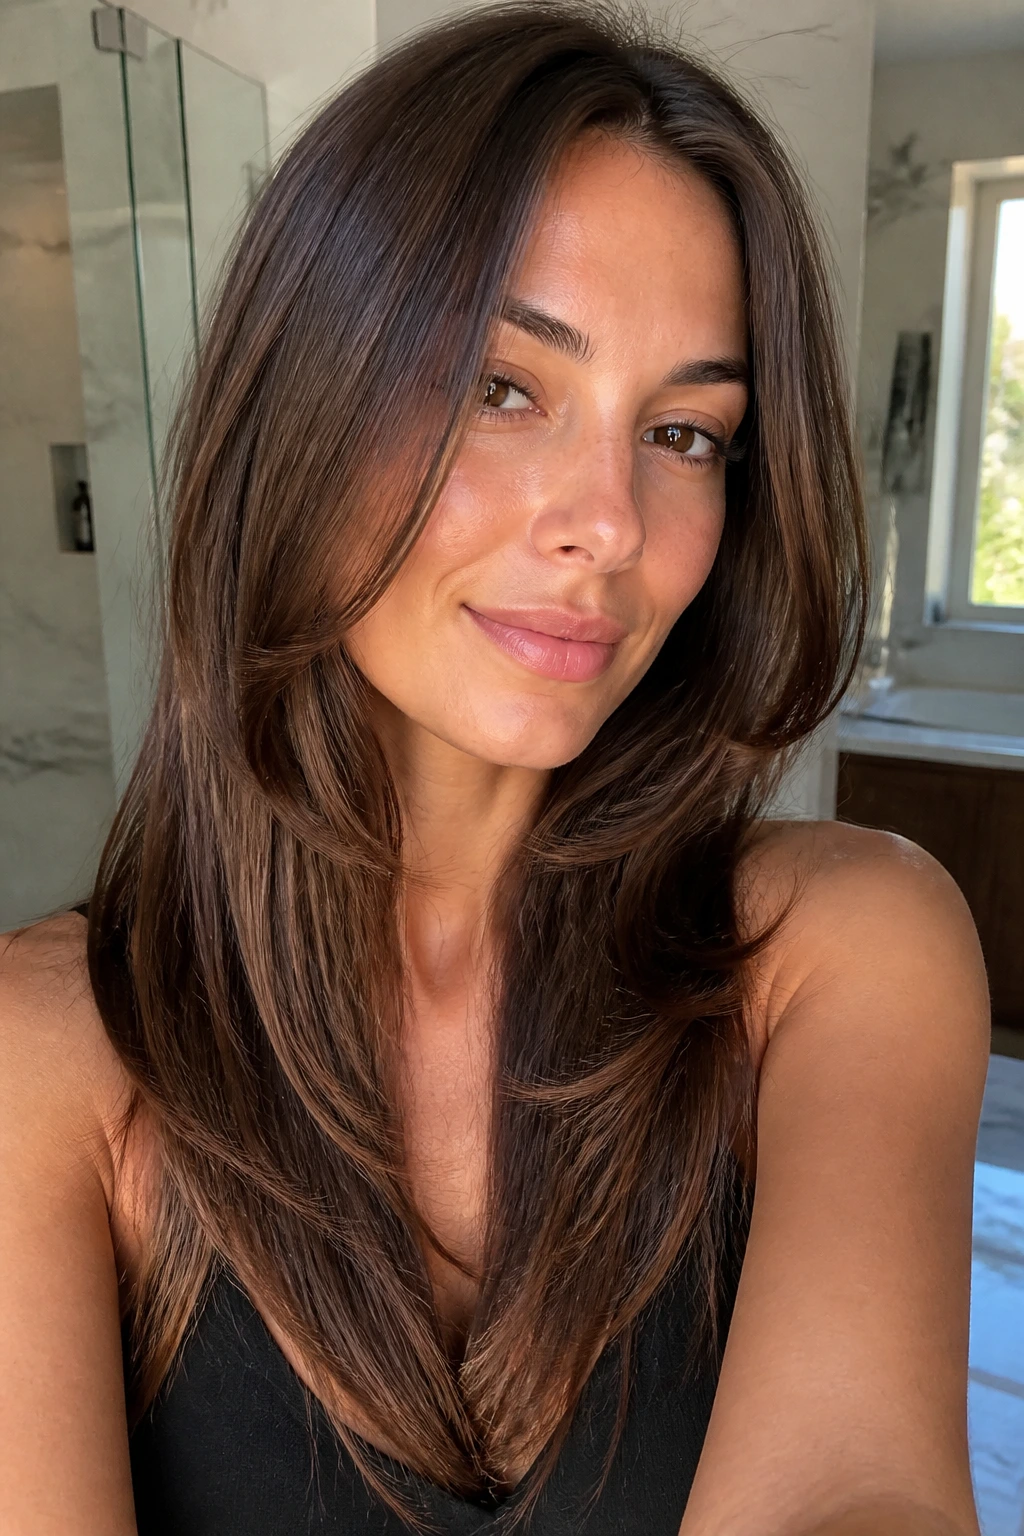
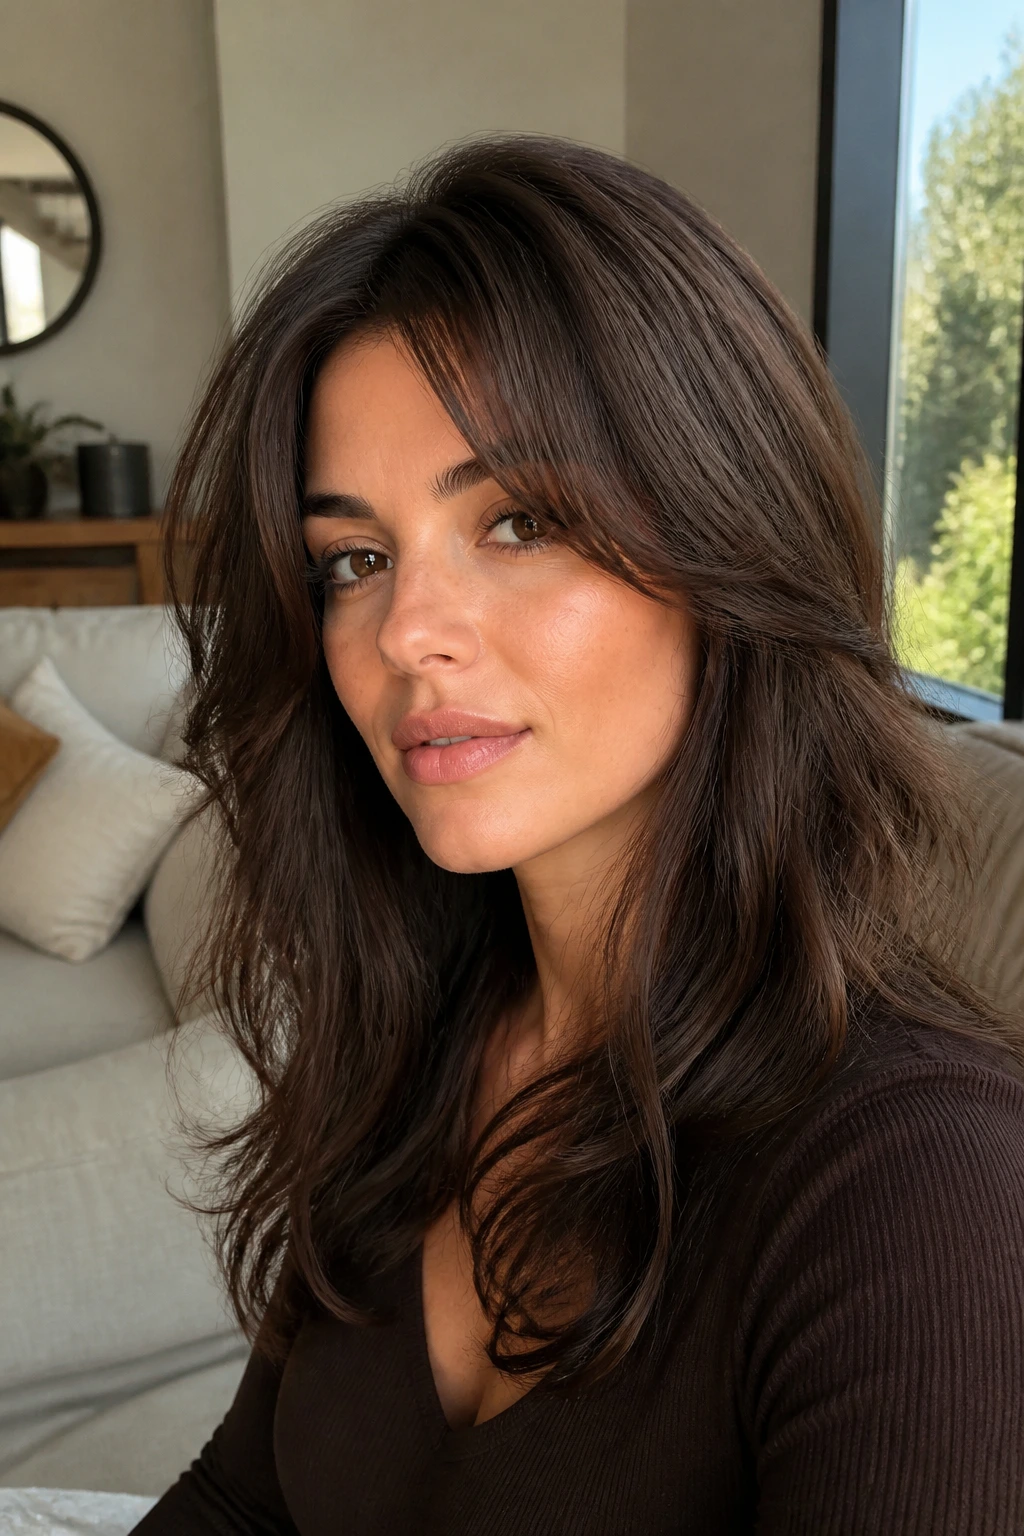
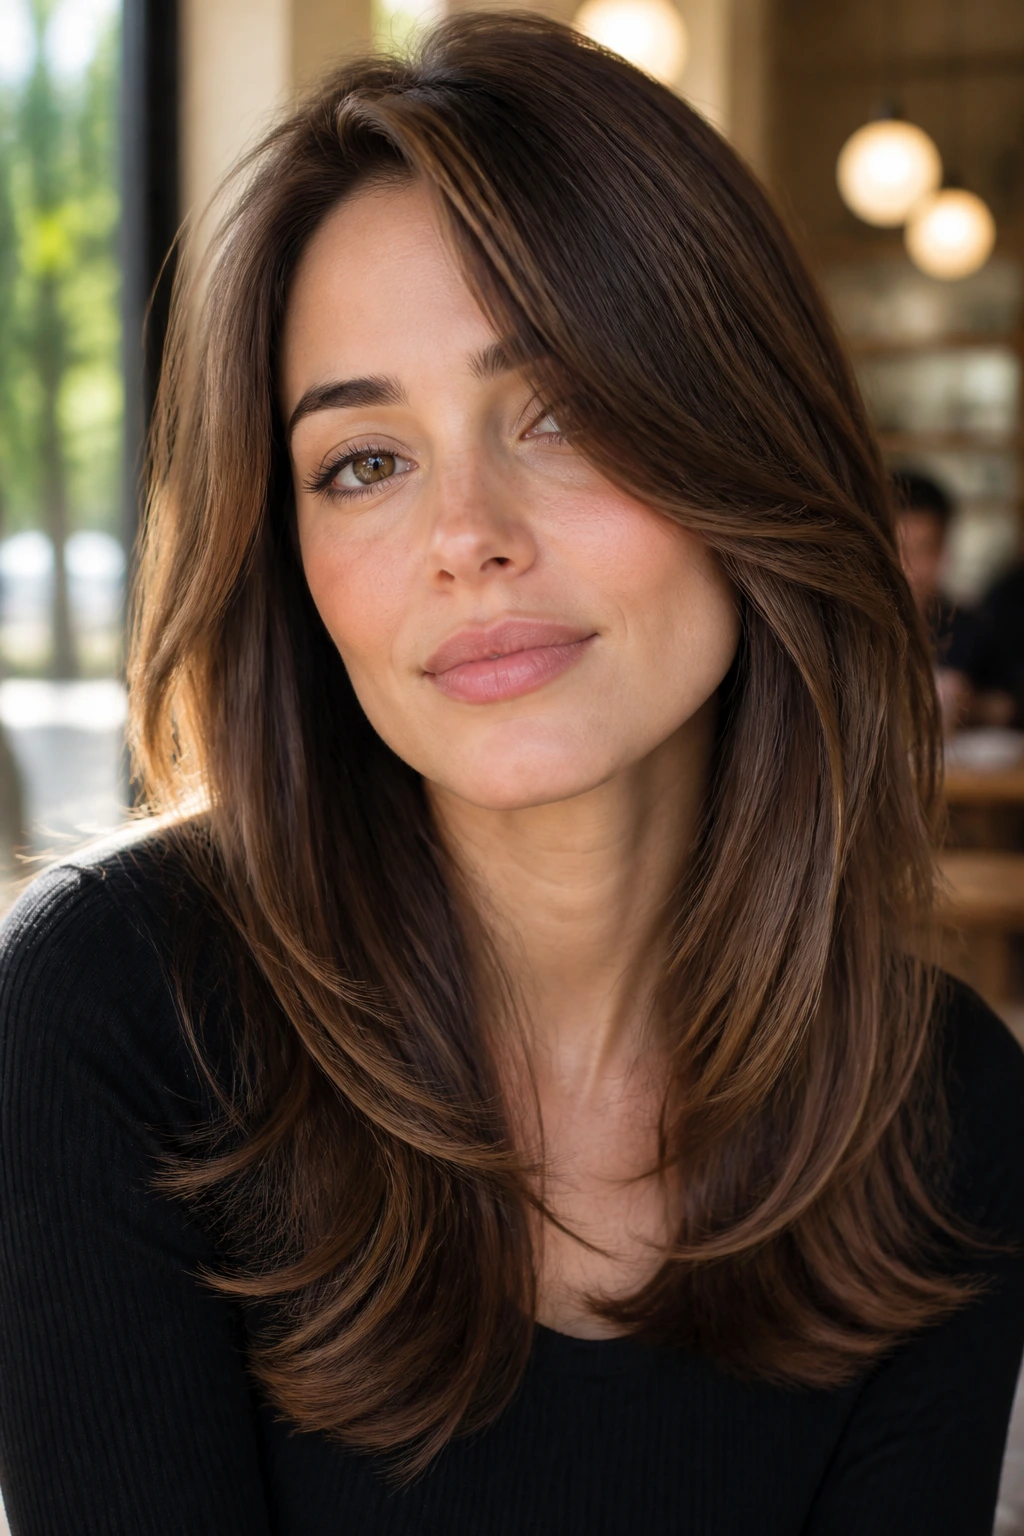
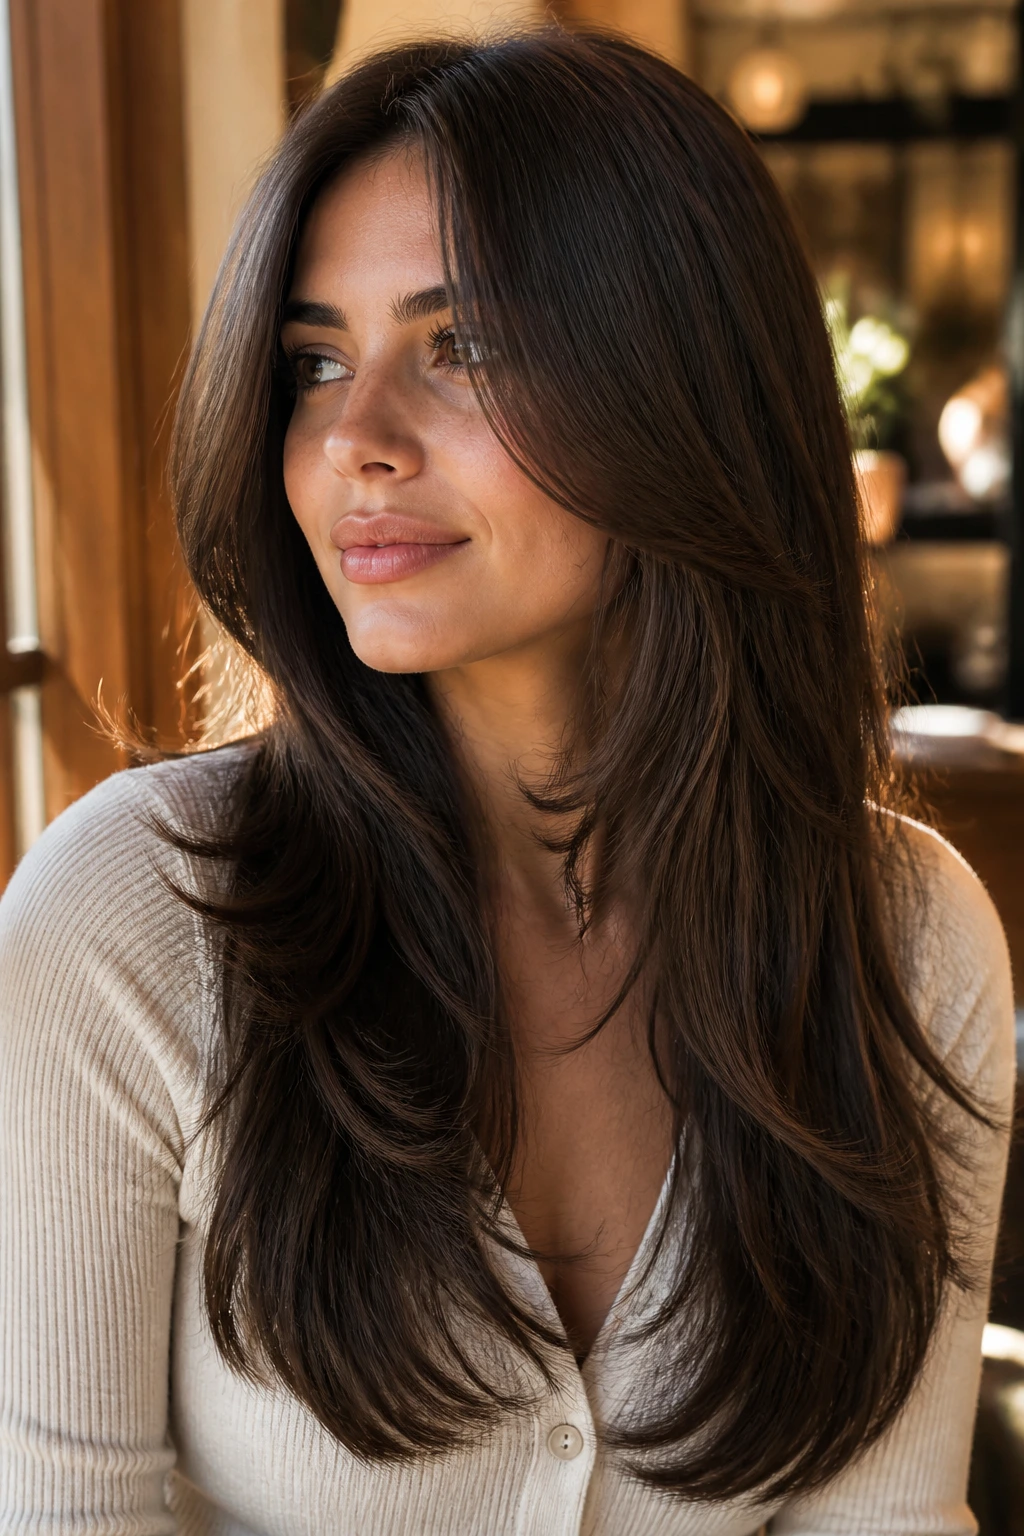
4. Espresso Butterfly Layers with Long Ends
Butterfly layers can work on fine hair, but only when they’re handled with a light touch. The trick is to keep the longest length in place and let the face frame do most of the talking. On espresso brown hair, that contrast reads clean and rich rather than overdone.
Picture the front pieces folding away from the face while the back stays long and steady. That’s the whole appeal. You get movement near the cheeks, but the bottom still looks full enough to matter.
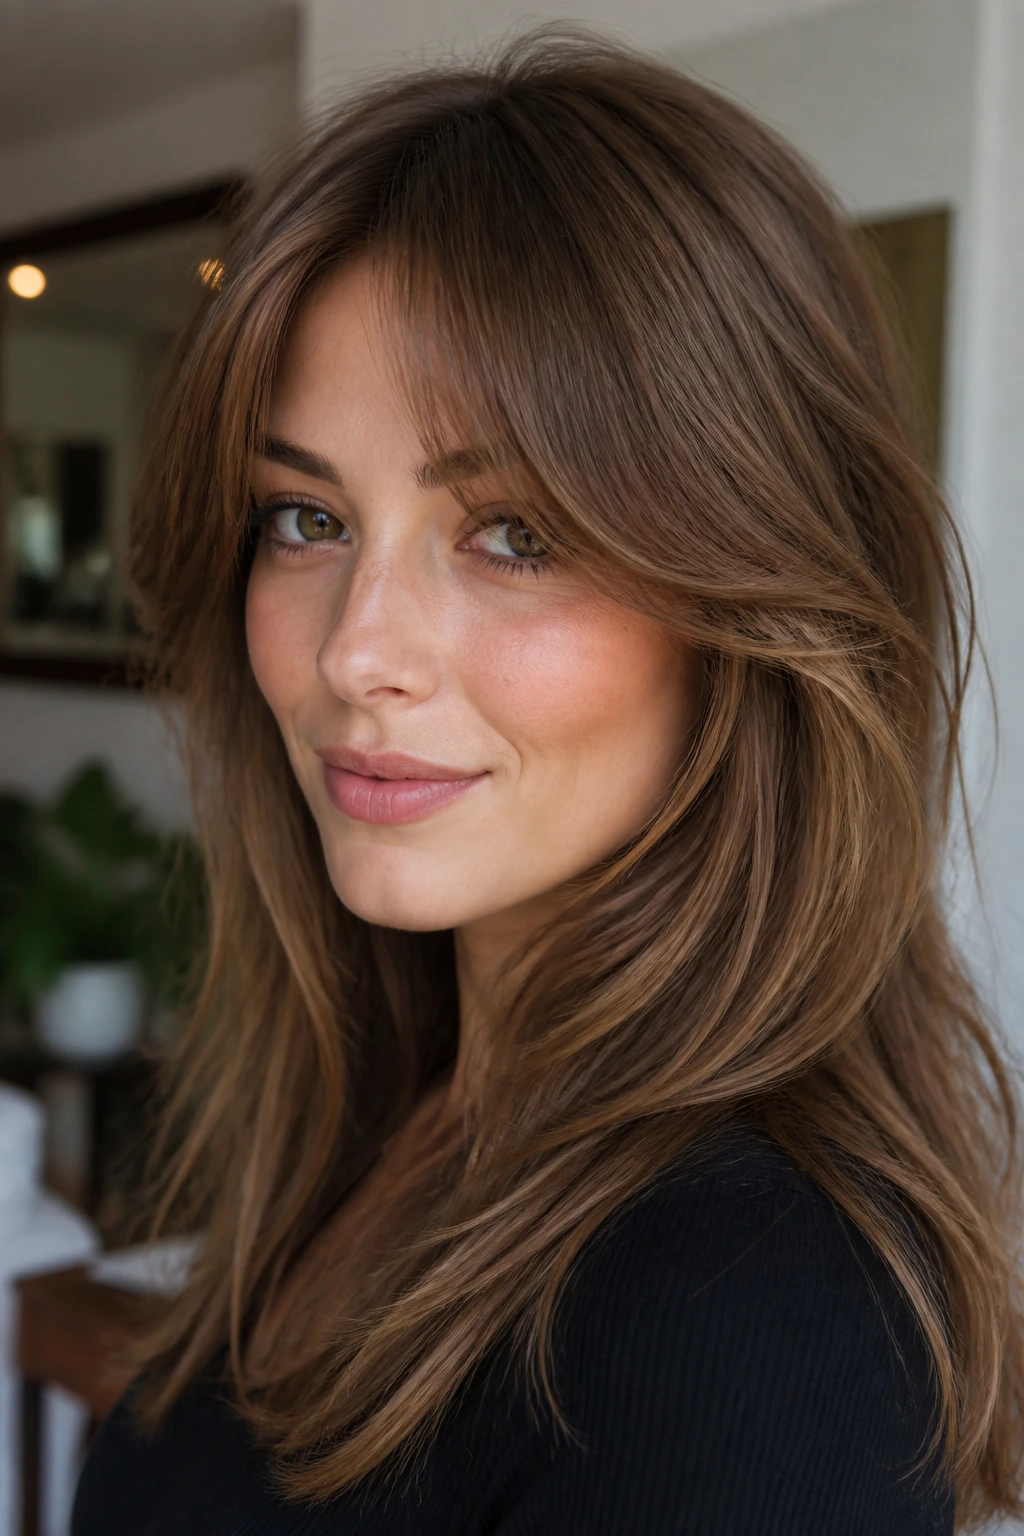
5. Hazelnut Bottleneck Bangs and Airy Sides
Bottleneck bangs are a smart move when fine hair needs softness up front. They start narrower in the center and widen toward the temples, which keeps the forehead covered without building a heavy wall of fringe. Hazelnut brown makes the shape look a little warmer and less severe.
What makes it different
The side pieces need to be longer than the center so the bangs melt into the rest of the layers. If the edges are cut too blunt, the whole thing can sit on the face like a cap. Ask for the sides to skim the cheekbones, not stop above them.
A little root lift at the part keeps these from closing in too much.
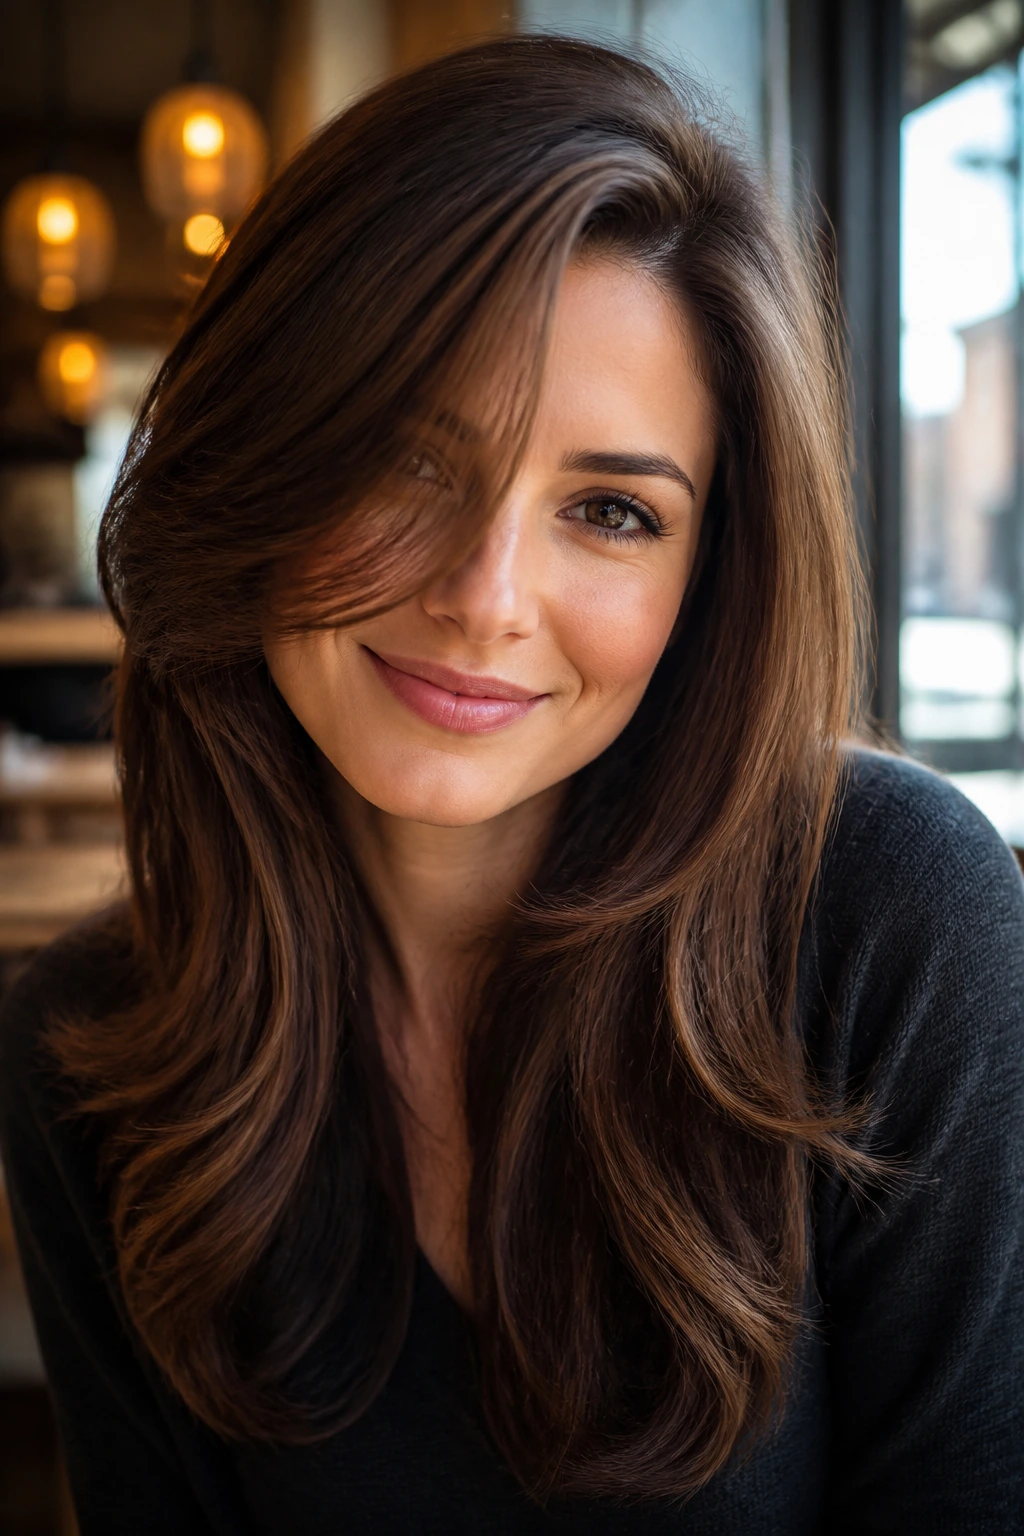
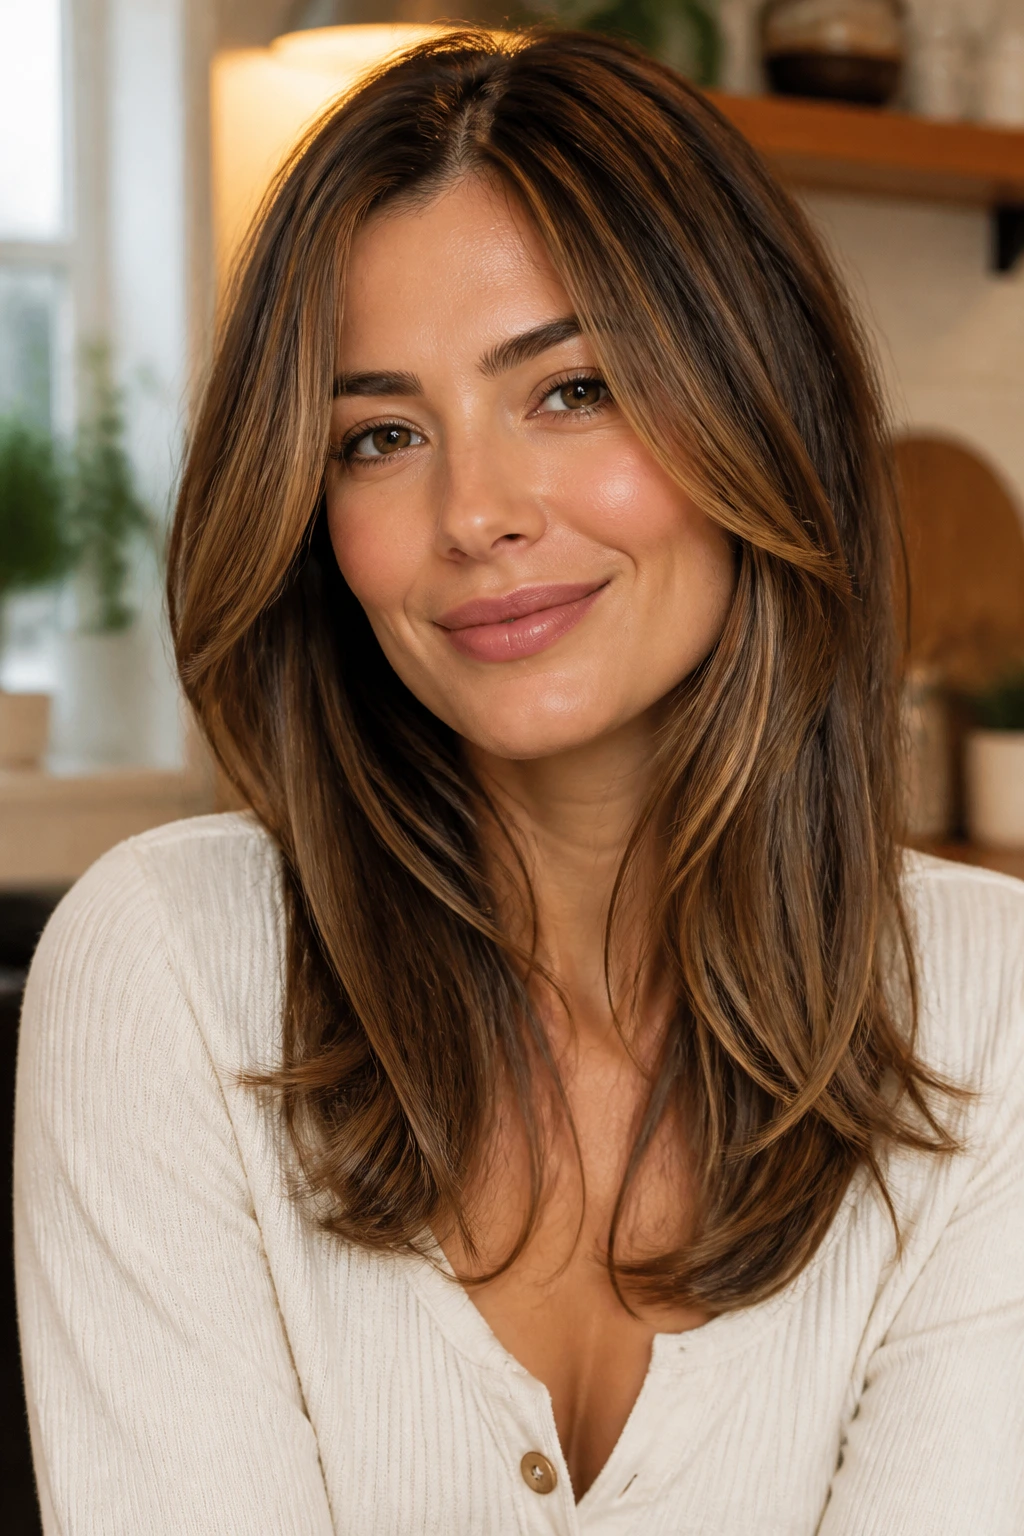
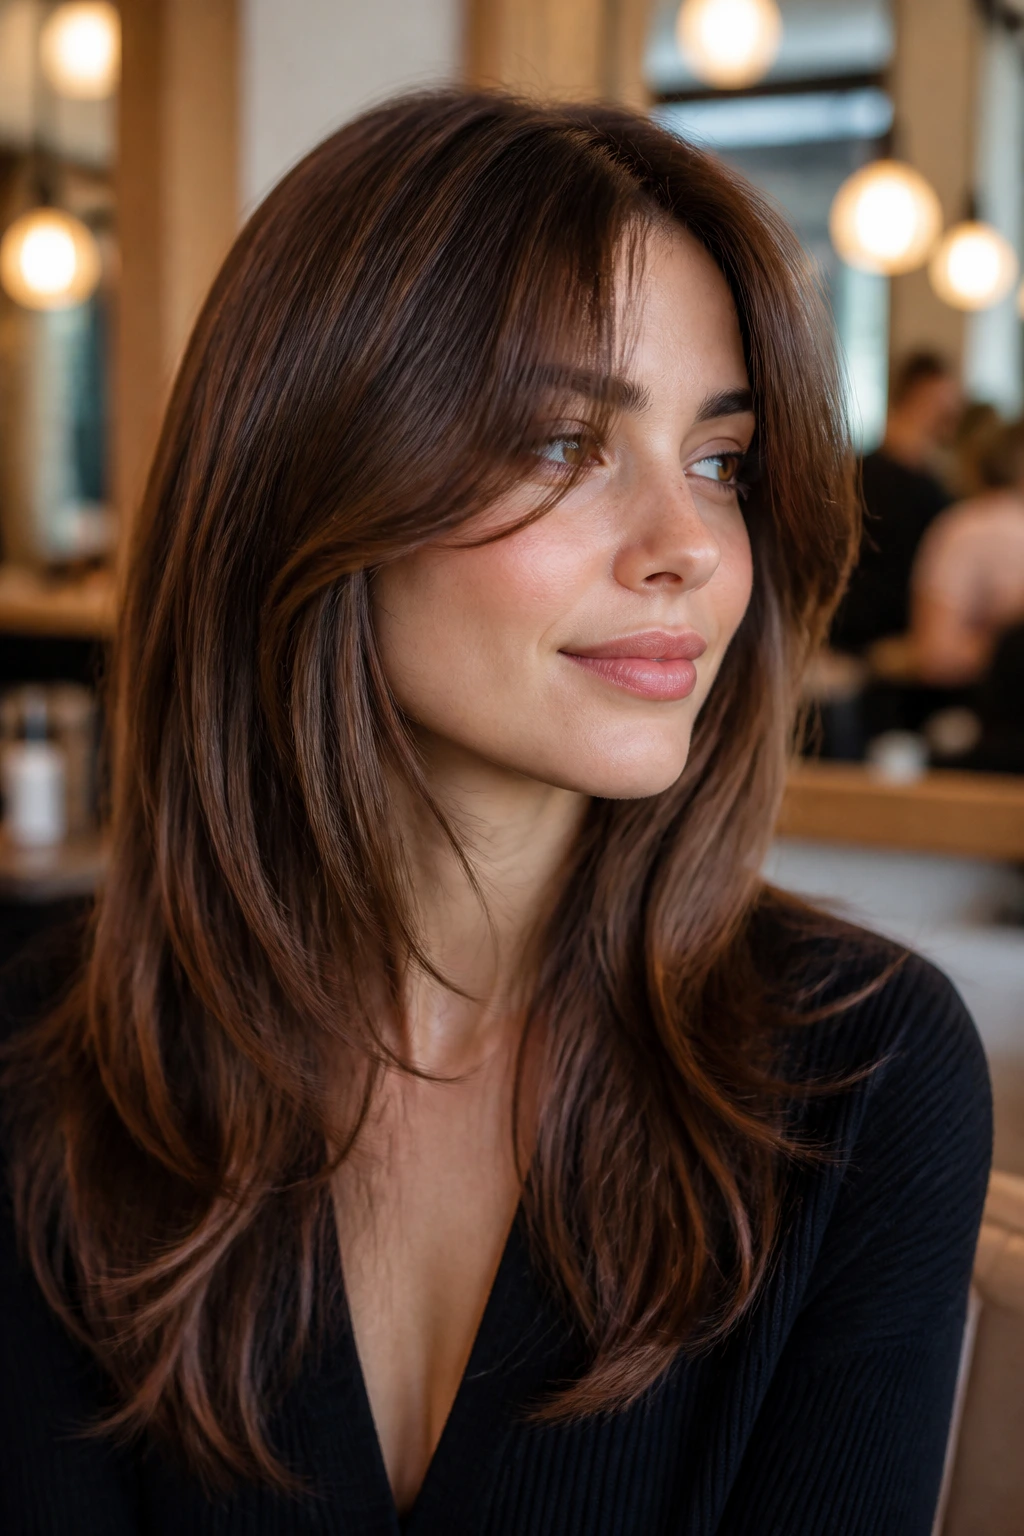
6. Cocoa Swoop Layers with a Side Part
A side part can do more for fine hair than a pile of texture spray ever will. It creates instant lift at the roots and lets the front pieces sweep across the face in a way that feels easy, not stiff. Cocoa brown adds depth, so the shadow under the swoop gives the cut some dimension.
This look is especially good if one side of your hair falls flatter than the other. The front layers can be angled longer on the heavy side and a touch shorter on the lighter side. That tiny imbalance helps the hair look fuller when it settles.
7. Walnut Rounded Layers for a Narrow Face
A narrow face can disappear inside long straight hair if the shape is too vertical. Rounded layers fix that by creating a soft curve around the jaw and cheek area. Walnut brown, with its deep middle tone, shows the rounded outline in a nice subtle way.
Best part
Keep the front layers curved, not sharply angled. That means the shortest piece should graze the cheekbone and the next piece should fall a little lower, so the front reads like a soft arc. It’s an easy cut to style because the shape is already doing half the work.
8. Toffee Feather Layers with Flip Ends
Feathered layers can go wrong fast on fine hair if they’re too shredded. But a light, toffee-toned version with flipped ends feels fresh and airy. The front gets movement, the ends stay soft, and the whole haircut looks lighter without actually losing much bulk.
Use a round brush or a flat iron to turn the ends just slightly outward. Not a full flip. Just enough to catch the light and keep the hair from sticking to the neck. That little turn gives the style a lived-in edge.
9. Warm Brown U-Shape with Face Framing
A U-shape is one of those quiet cuts that looks expensive without showing off. The back stays softly rounded, and the face-framing layers drop in from the front to soften the line. On fine hair, that extra curve helps the ends look fuller than they would in a flat, straight cut.
A center part or a soft off-center part both work here. What matters is that the front isn’t cut too short. You want the first layer to sit low enough that it blends into the U, not fight it.
10. Mushroom Brown Invisible Layers
Invisible layers are a lifesaver when you want movement and you do not want to lose density. They sit inside the haircut instead of hanging out on top, so the surface still looks full. Mushroom brown gives the shape a soft, cool depth that makes the internal movement easier to see.
Why I like this on fine hair
It gives the hair a little push at the ends without making the front frayed. That’s rare. Most layered cuts on fine hair either feel too heavy or too chopped. This one stays in the middle, which is usually where the best cuts live.
11. Cinnamon Shag-Inspired Layers
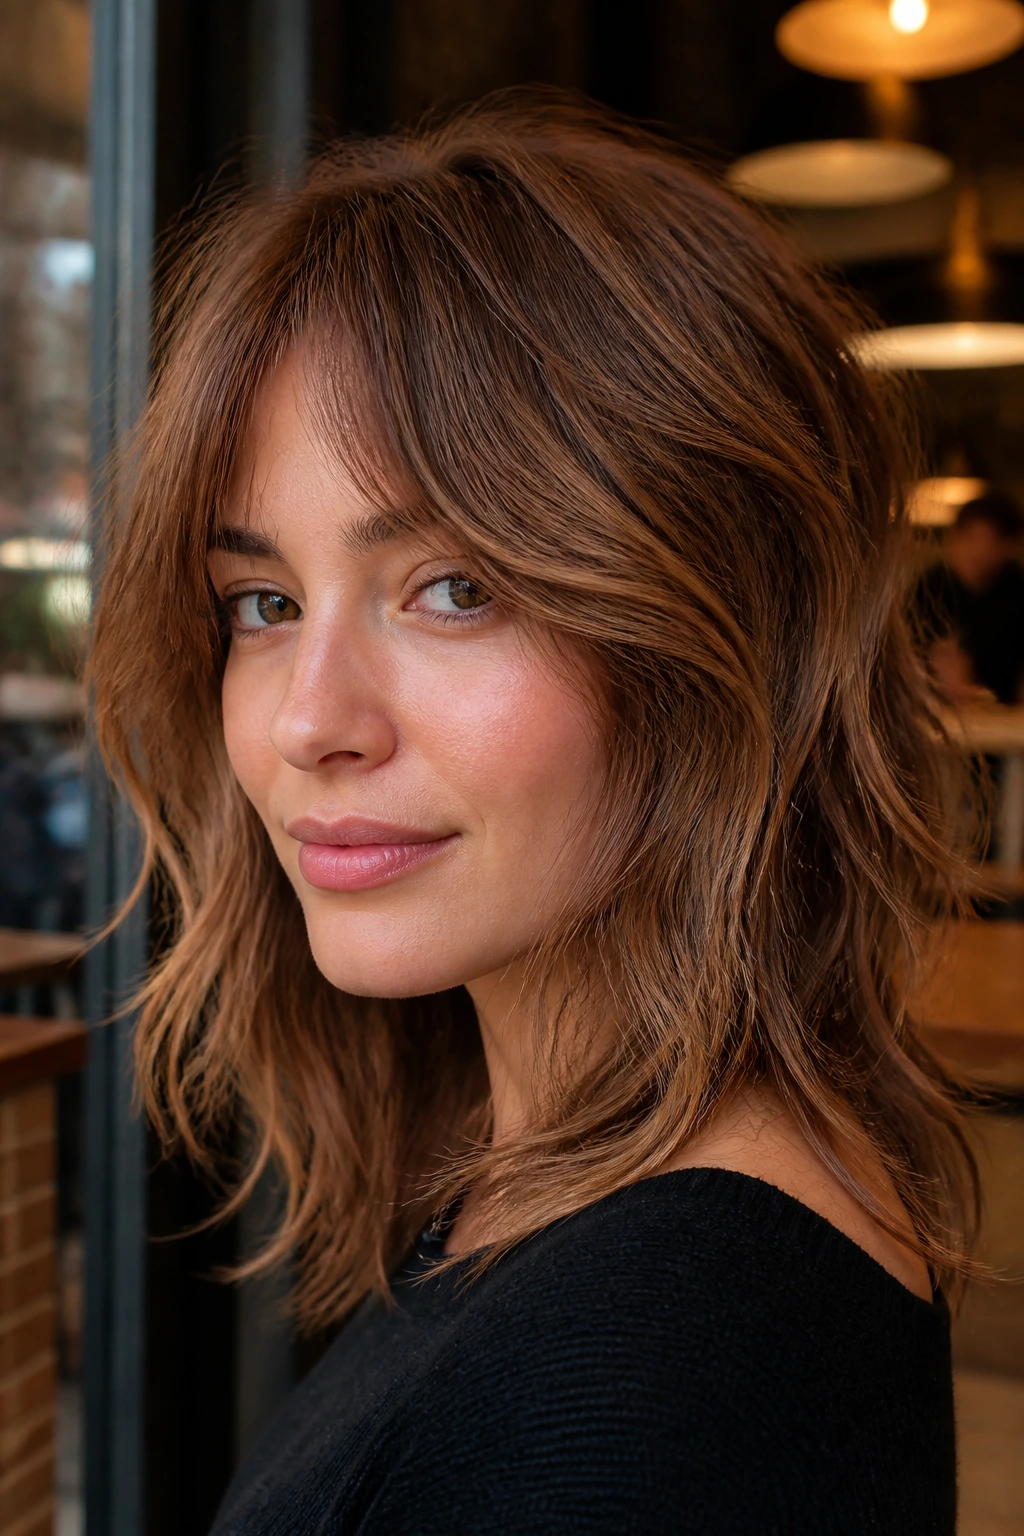
A shag-inspired cut on fine hair needs restraint. Too many short pieces and you get a feather duster. A restrained cinnamon version keeps the front pieces soft, the crown light, and the ends long enough to hold shape.
The front should be the star here. Ask for face-framing layers that start around the lip or chin line, then ask for the rest of the texture to stay loose. That keeps the shag feel without making the haircut collapse.
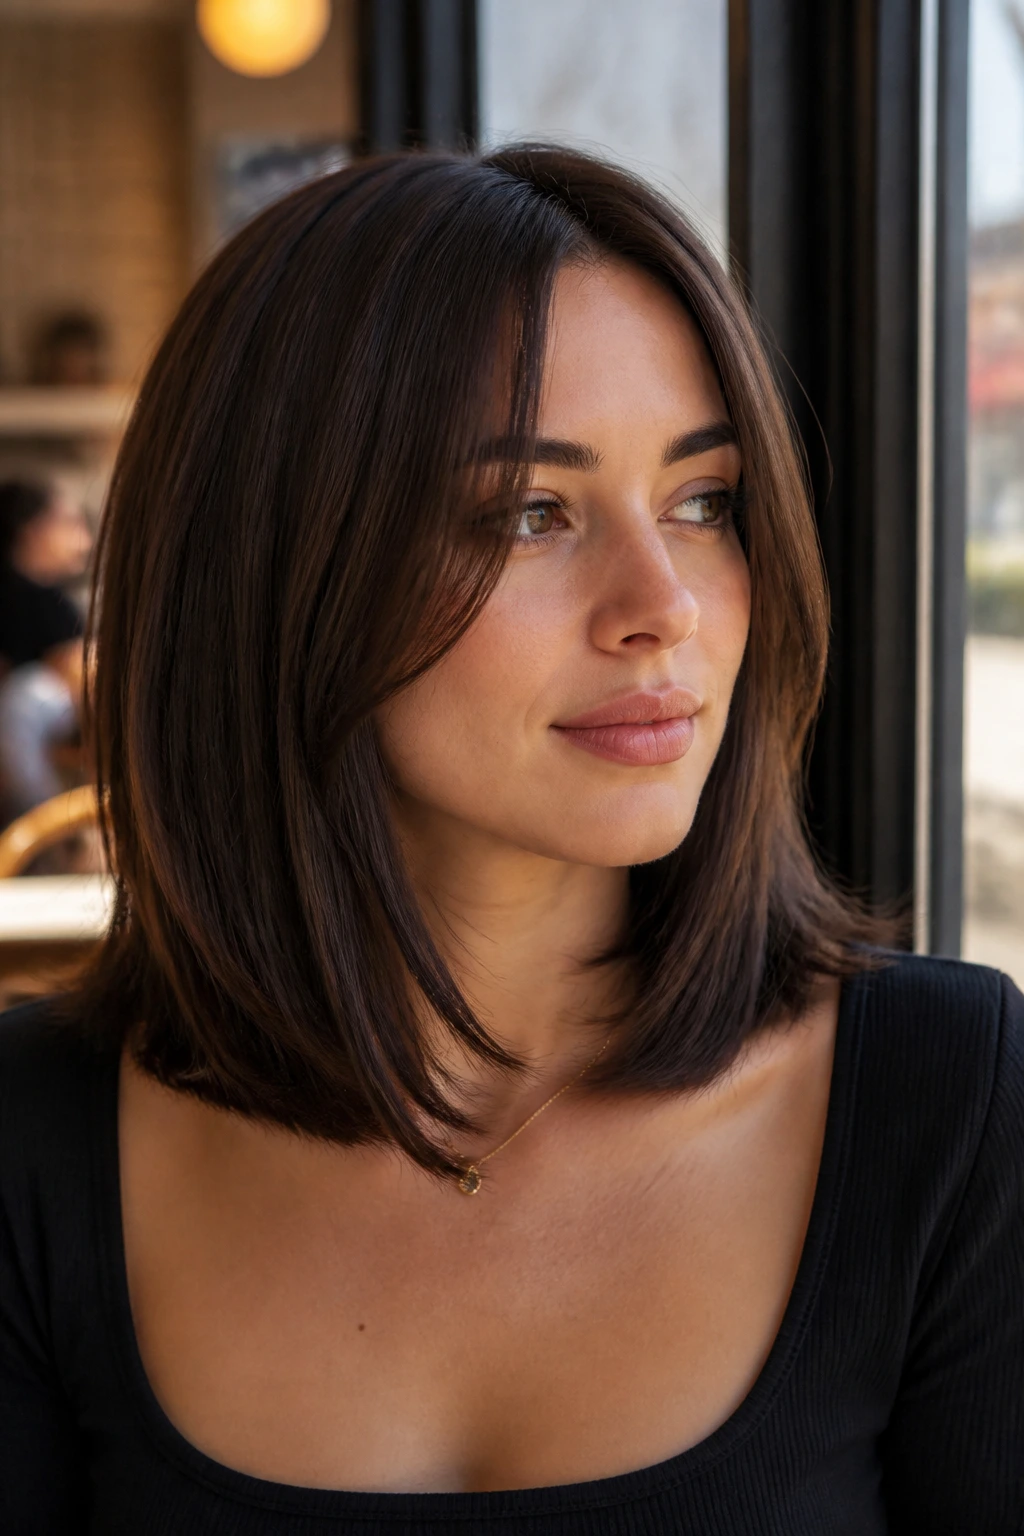
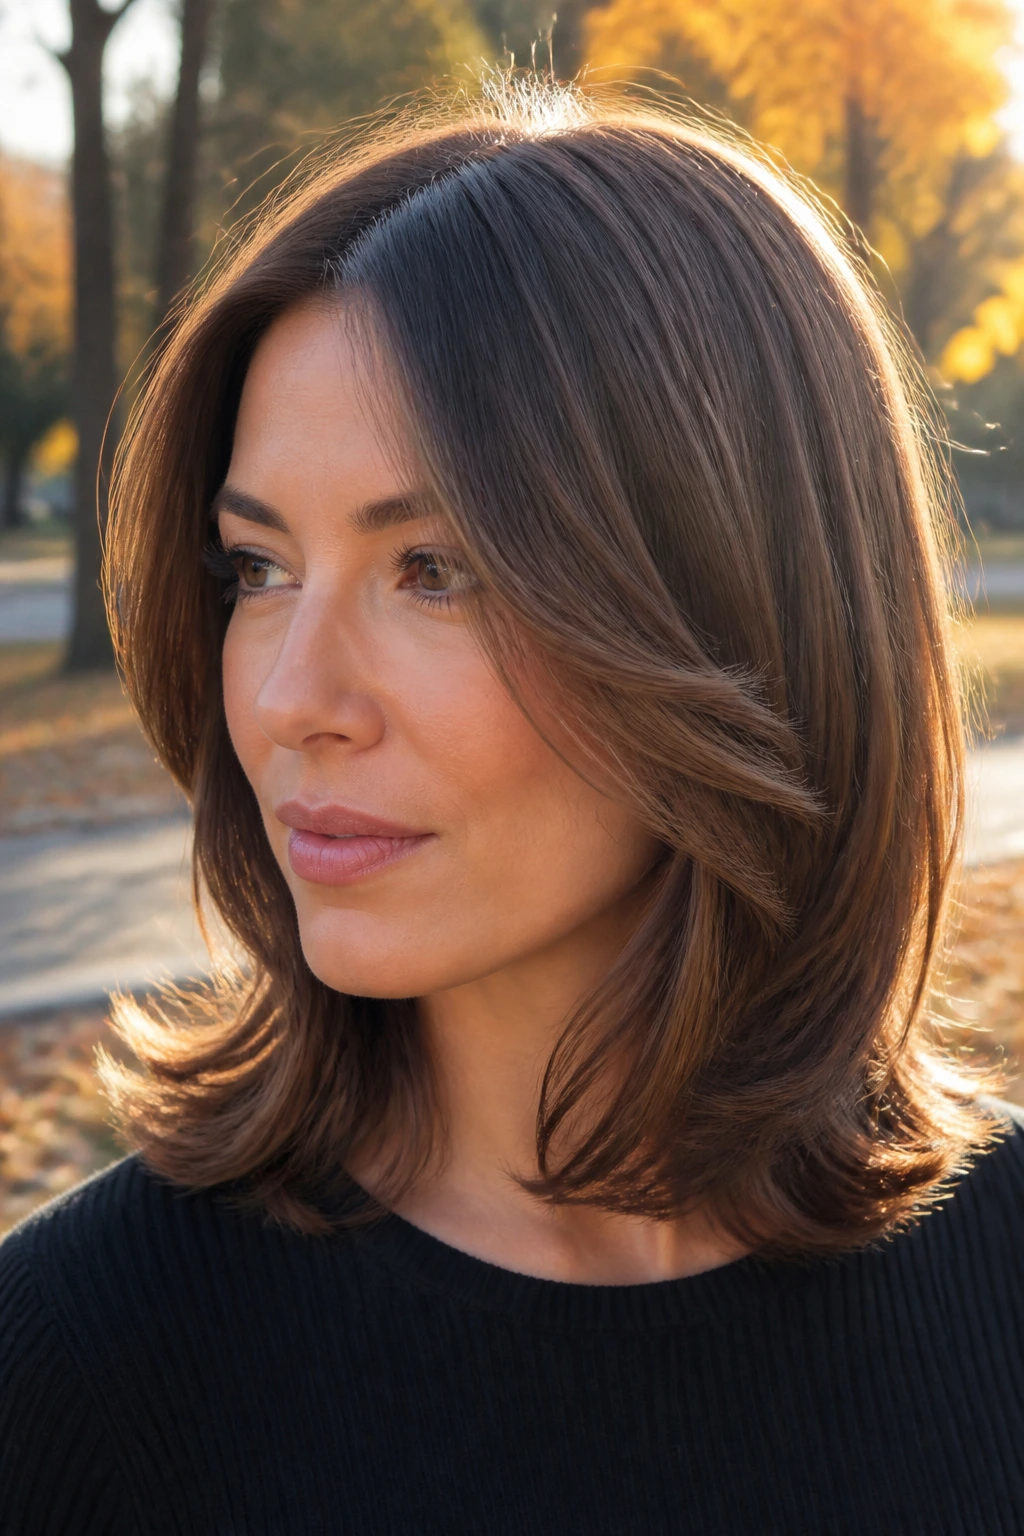
12. Chestnut C-Cut Layers That Keep Length
A C-cut is just what it sounds like: the front curves around the face in a soft C shape. On chestnut brown hair, it creates a polished bend that fine hair can actually hold. It’s a good choice if you want movement but hate choppy ends.
How to ask for it
Tell your stylist you want the front to curve in toward the chin and cheekbone, with the length staying intact in back. That phrasing matters. If you ask for “lots of layers,” you may get more movement than your hair can support.
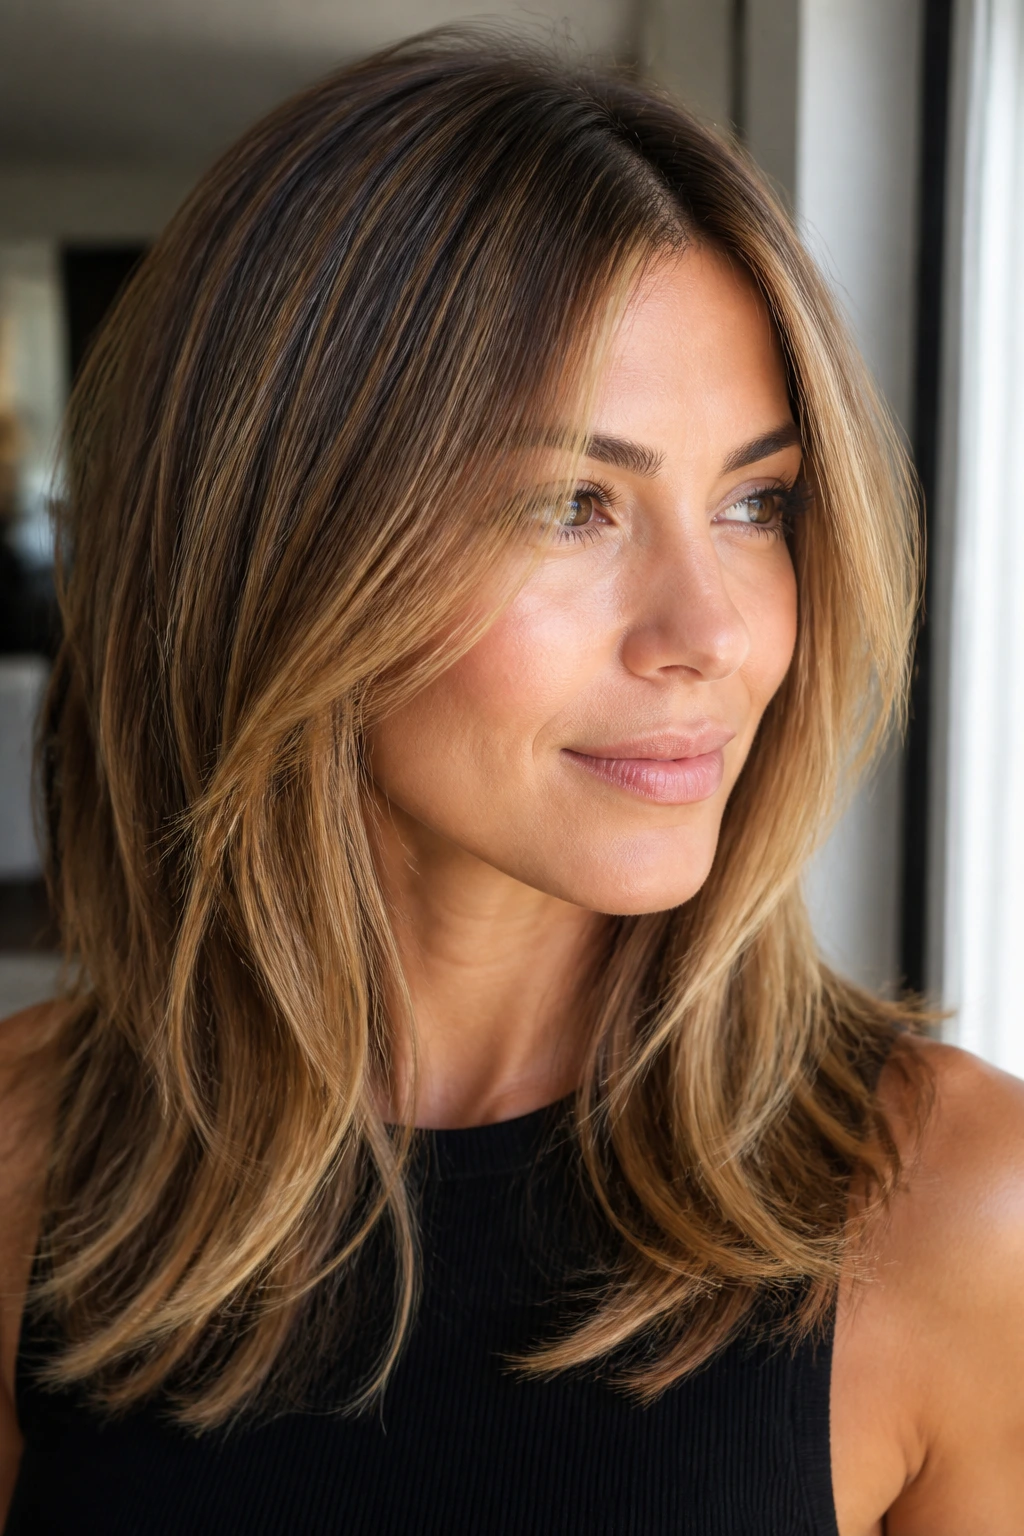
13. Bronde Face-Framing Lob with Lifted Ends
Bronde — that brown-blonde middle ground — gives fine hair a little visual lift around the face. The lob keeps the bottom line full, and the front framing stops the cut from looking square. A slight lift at the ends makes the shape feel lighter without giving up thickness.
This is one of the easiest styles to maintain because it works with a quick blow-dry or even a rough dry plus a few bends around the face. If your hair tends to fall flat by lunchtime, the shorter length helps. So does the color contrast.
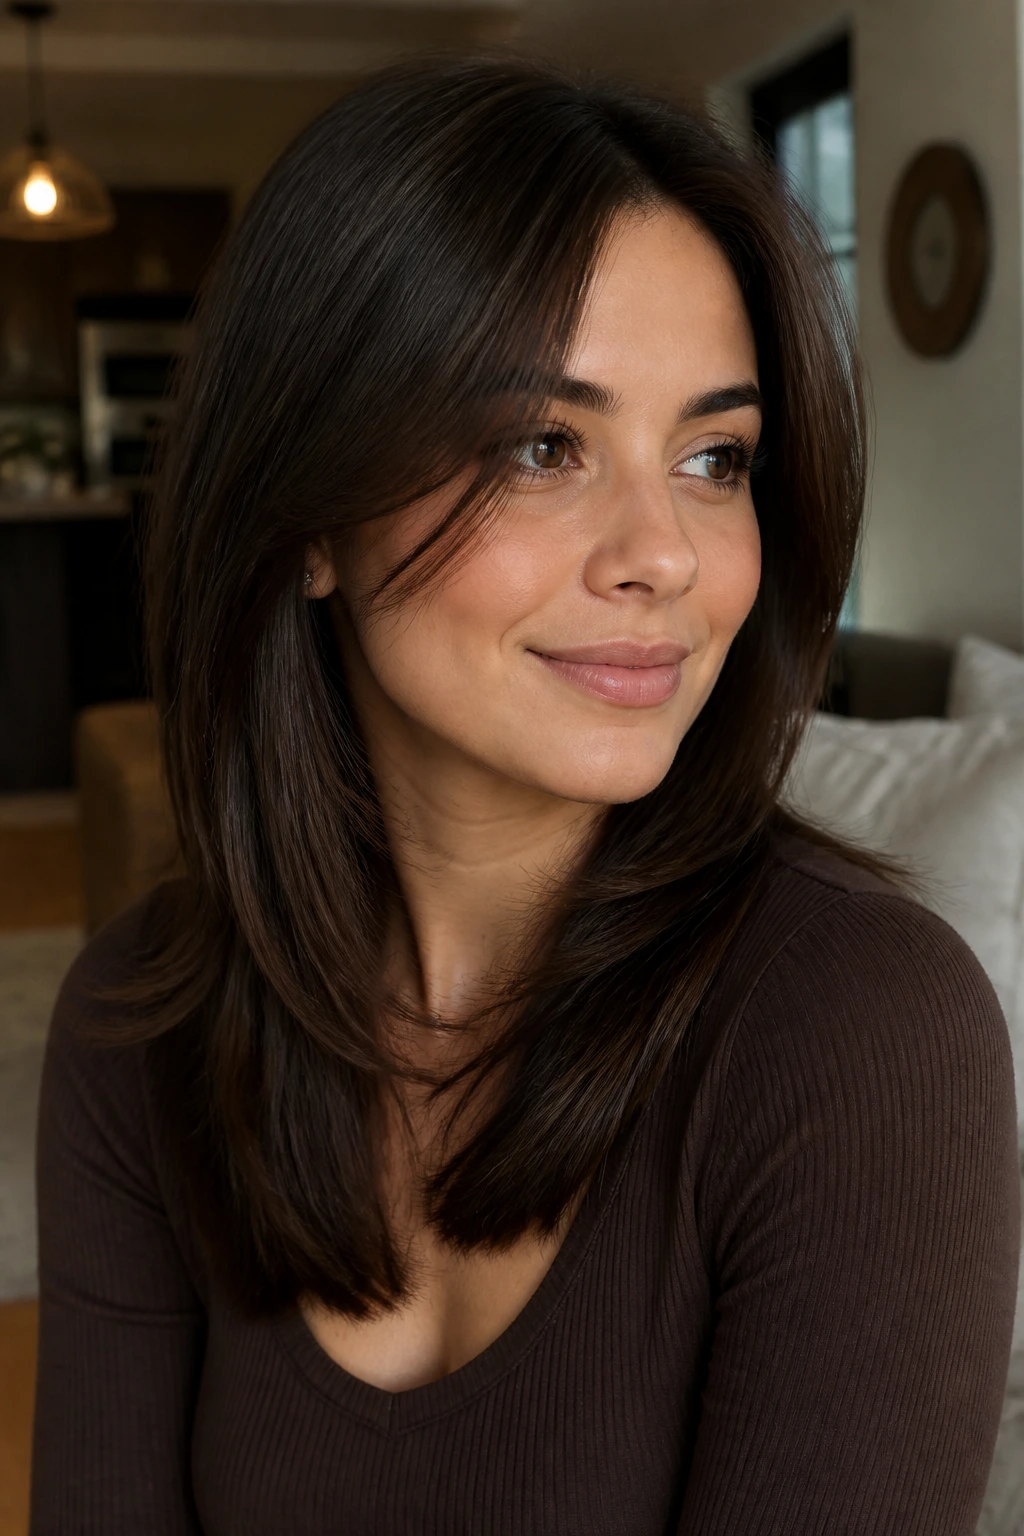
14. Dark Brown Chin-Framing Pieces on a Mid-Length Cut
Chin-framing pieces are blunt little tools. They sharpen the jaw, which is useful if your face needs a bit more structure. On dark brown hair, those pieces show up as a clean line against the rest of the cut.
The trick is not to cut them too far forward. They should sit just in front of the face, not cut across it. Leave the back soft and keep the mid-length base full, and the front will feel intentional instead of random.
15. Honey-Brown Soft Fringe and Long Layers
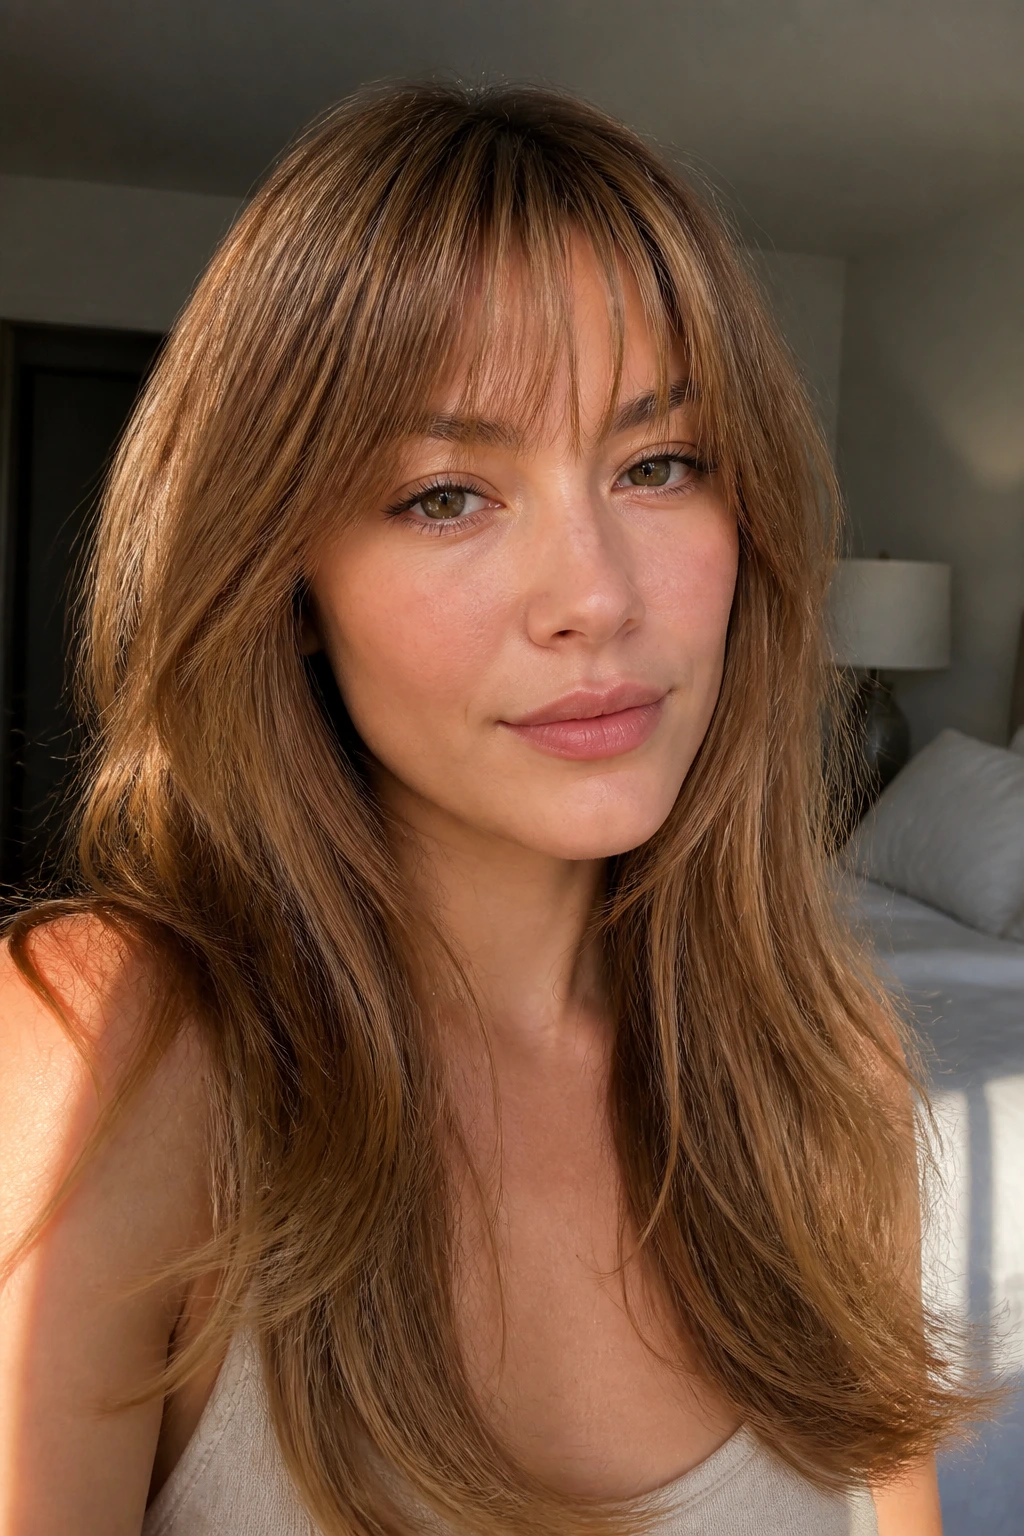
A soft fringe can be a good idea for fine hair if it stays light. Honey-brown tones help the fringe look airy instead of heavy. Pair that with long layers, and you get movement near the eyes without losing the body around the shoulders.
A fringe like this should barely graze the brows or sit just above them when dry. Wet hair lies. Always. If your stylist cuts the fringe too short while it’s damp, it can spring up more than you expected.
16. Ash Brown Razor-Soft Layers
Razor cutting on fine hair is a risky business. Too much and the ends go soft in the wrong way. Used carefully, though, it can create a cool ash-brown shape with very clean face-framing pieces that move instead of sit.
This style works best if the razor is only used at the very ends and the front edge is kept longer. Think softness, not shredding. The goal is a whisper of texture, not a chopped-up outline.
17. Chestnut Blowout Layers with Big Front Movement
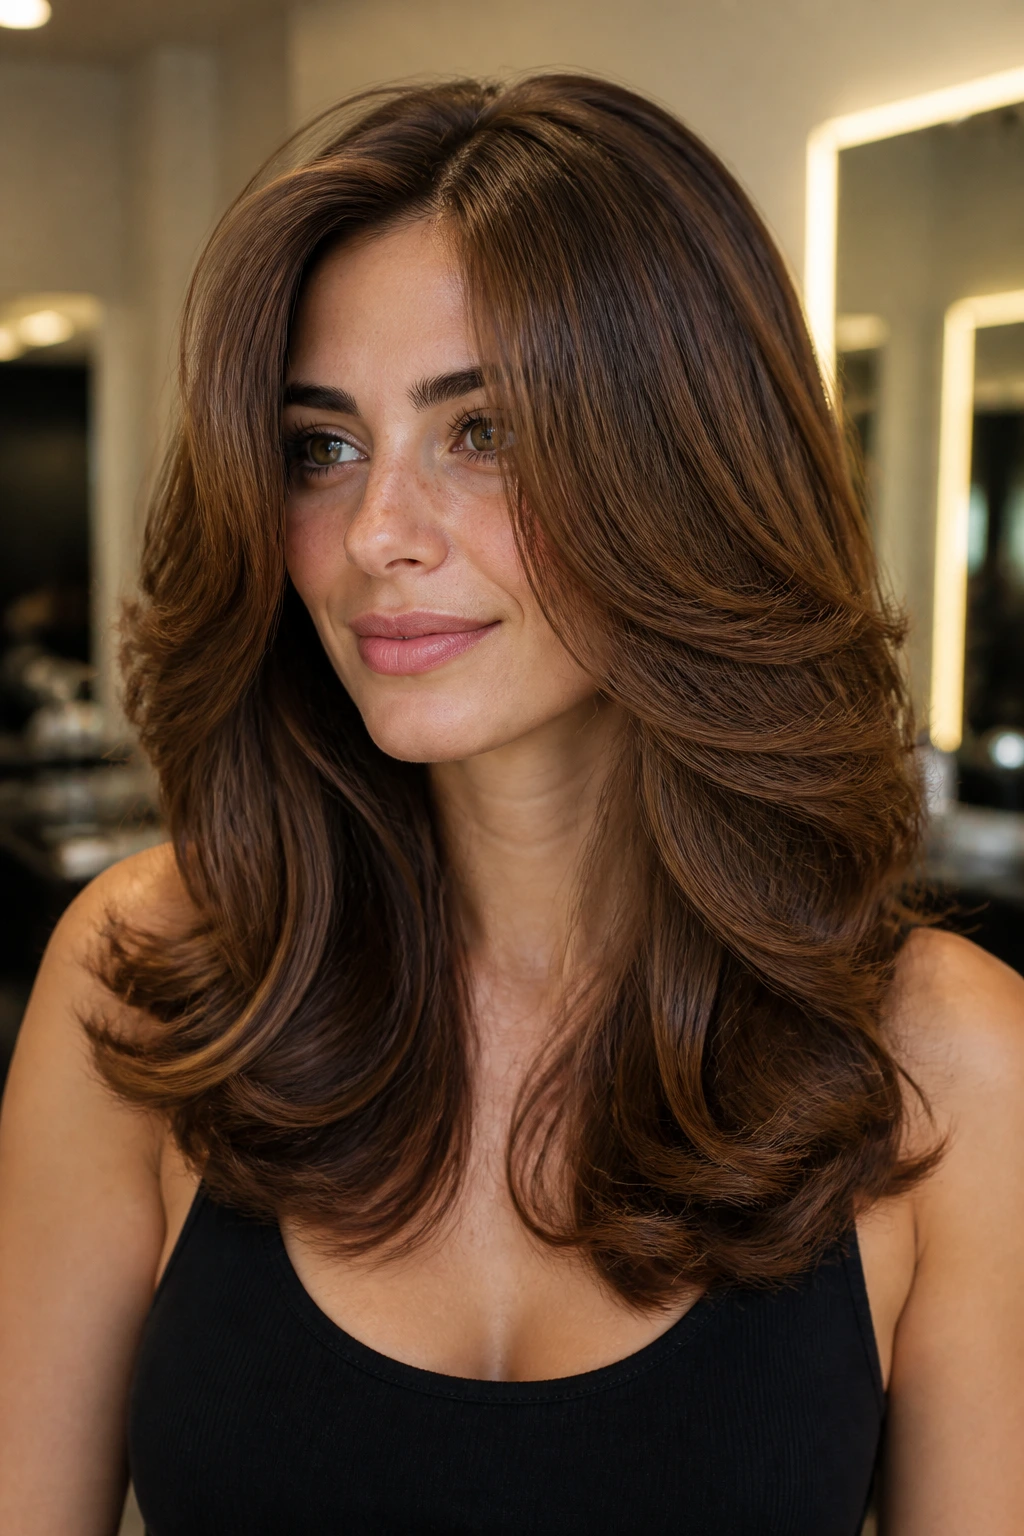
This is the one if you love a salon blowout. The layers are designed to swing away from the face, then curl back in around the cheekbones. On chestnut brown hair, that movement looks glossy and full, even if the actual density is low.
Styling note
Use a round brush and direct the front away from the face first, then roll it back under at the ends. That two-step bend gives the illusion of volume at the sides. A little root spray at the crown helps, but don’t drown the hair in product.
18. Mocha Octagonal Shape with Soft Corners
An octagonal shape sounds sharp, but on hair it just means the outline has subtle corners instead of one soft curve. That can be a nice fix for fine hair that needs structure. Mocha brown makes the corners and front angles look richer, not harsh.
This cut is especially flattering if your hair slips flat at the sides. The front pieces can be cut to hit around the chin, then the next section can angle down a little farther. It gives the haircut a shape you can actually see.
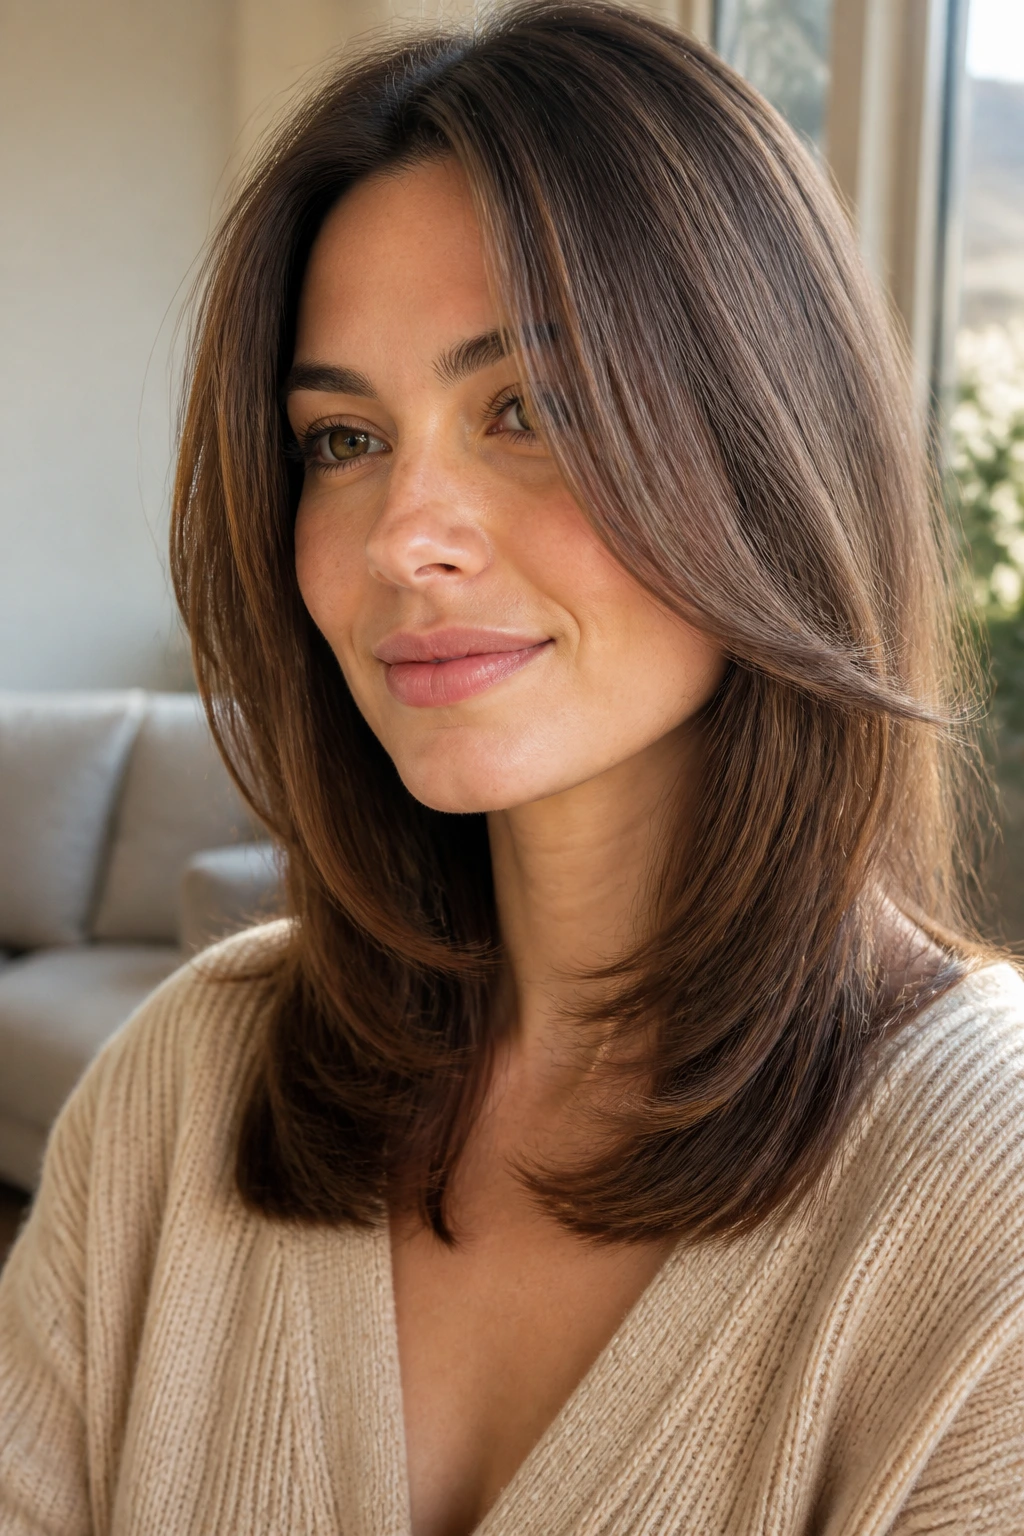
19. Glossy Brown Long Layers with Tucked-Under Sides
Long layers can work on fine hair when they stay glossy and low-key. The tucked-under sides matter here. They keep the face frame from floating away from the head, which is a problem with longer fine hair that lacks bend.
A smooth blow-dry with the ends turned under a little gives this style its best shape. You don’t need a dramatic curl. Just enough inward movement to keep the front pieces hugging the face instead of hanging straight down.
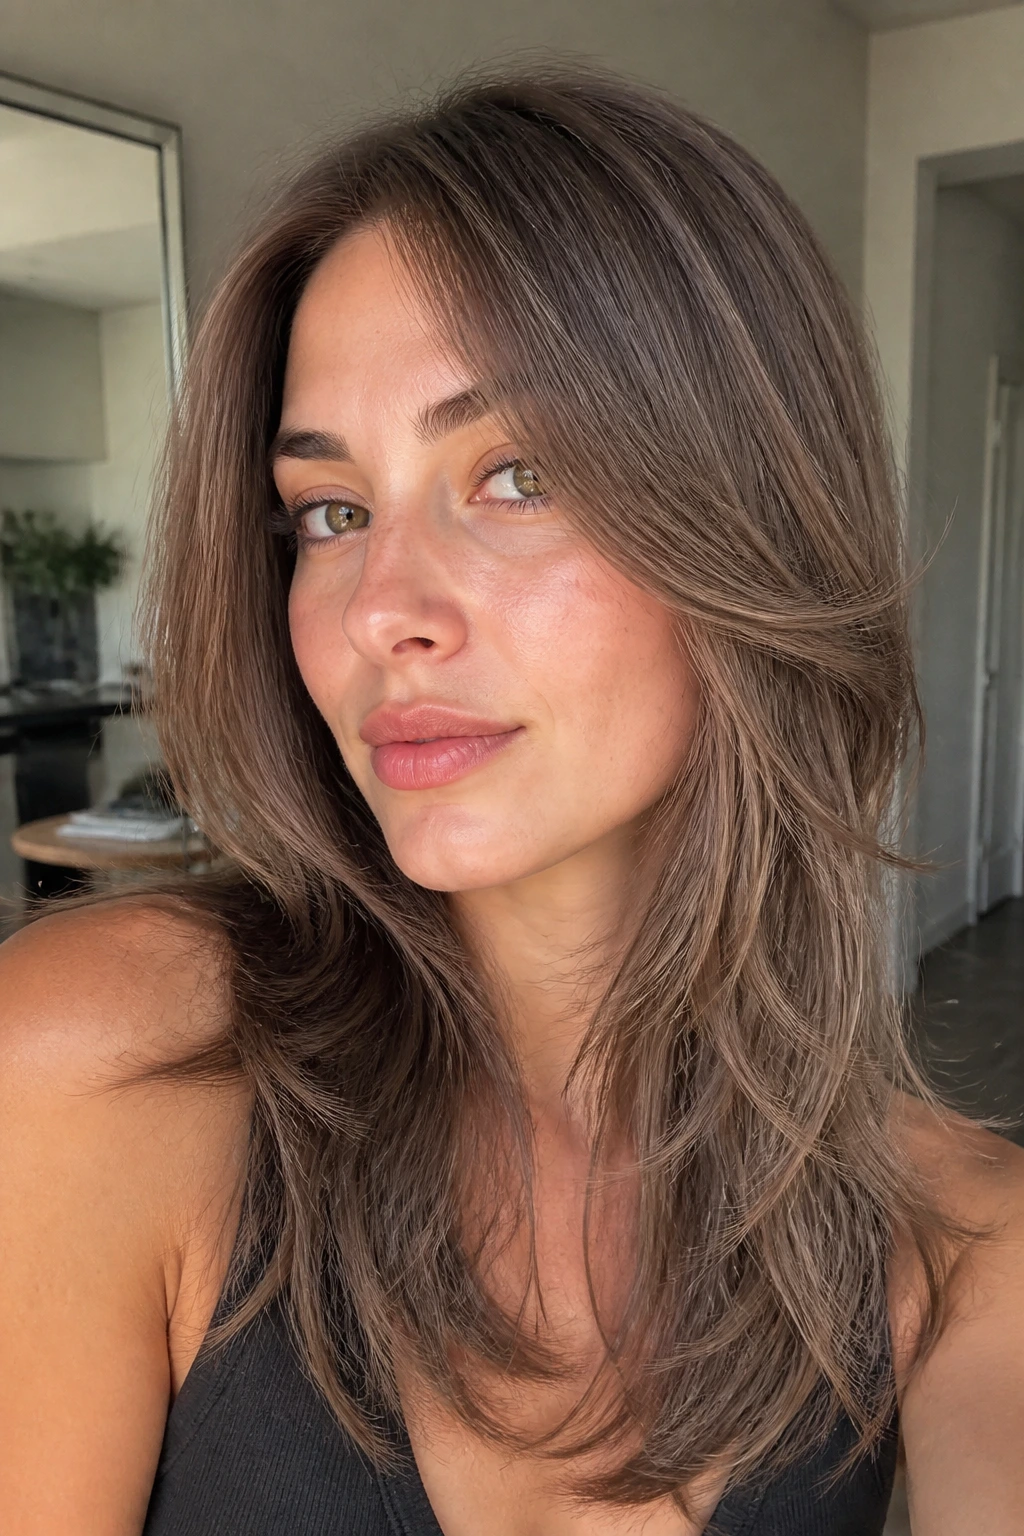
20. Walnut Side-Swept Layers for a Deep Part
A deep side part can save fine hair on days when it feels limp at the roots. The side-swept layers drop over the forehead and cheek in a way that instantly adds body. Walnut brown gives the shape depth, which helps the sweep show up more clearly.
This is a good cut if you like a little drama but not a lot of maintenance. The part does most of the work. Style the front with a round brush, keep the roots lifted, and the rest falls into place.
21. Espresso Minimal Layers for Maximum Fullness
Sometimes the answer is fewer layers, not more. Espresso hair with only a minimal face frame keeps the weight at the ends, which is where fine hair often needs help most. The front pieces still open the face, but the outline stays solid.
This cut is for people who hate that “thinned-out” feeling. The face frame should be long and soft, maybe only a couple of inches shorter than the perimeter. That restraint is the point.
Best for
If your hair is fine but not especially dense, this is a strong move. It gives shape without giving away thickness you can’t spare.
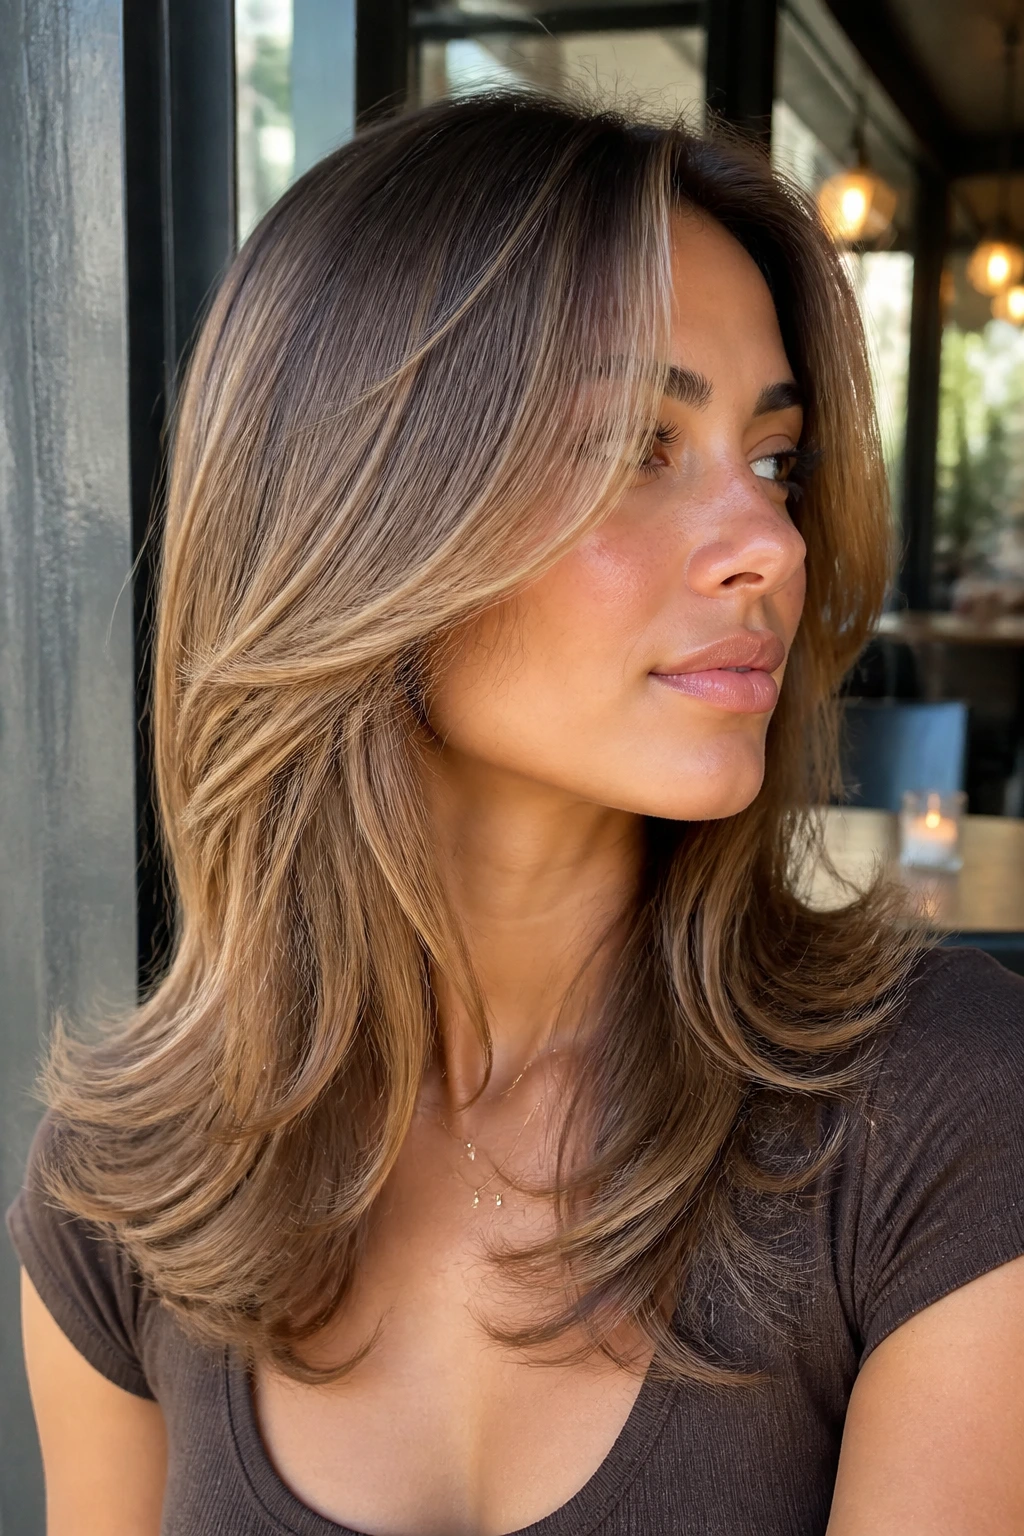
22. Caramel Balayage Layers with a Light Front Veil
A light front veil of caramel can make a simple layer cut look far more dimensional. The brightness around the face pulls the eye outward, while the brown underneath keeps the overall look grounded. It’s a useful trick when the haircut itself needs to stay subtle.
The veil should be narrow enough to frame the face, not stripe across it. Keep the lightest pieces near the cheekbone and temple area, and let the rest melt into the brown base. Too much contrast near the front can make fine hair look patchy.
23. Cocoa Collarbone Flip Layers
A collarbone flip is one of the easiest ways to give fine hair some personality. The ends turn outward just enough to catch the air, and the front layers guide the eye toward the jaw and neck. Cocoa brown keeps the whole thing soft and wearable.
This one looks best with a gentle bevel through the ends. If the haircut is too sharp, the flip can feel dated. Keep it rounded, keep it loose, and let the face framing do the rest.
24. Brunette Wolf-Lite Layers
A wolf cut can be brutal on fine hair if it goes too short in the crown. A wolf-lite version keeps the attitude but softens the damage. The front layers are longer, the crown stays controlled, and the brown tone keeps the whole thing from reading as too edgy.
This is for someone who wants texture near the face and a little irregularity, but still wants to keep the hair wearable. The best version has movement, not holes. That distinction matters more than people think.
25. Soft Brown Halo Layers Around the Cheeks
Halo layers sit around the face like a soft frame, not a blunt curtain. They’re nice on fine hair because they create a light border without chopping the whole head into pieces. Soft brown coloring keeps the effect gentle and dimensional.
Why this one is useful
If your cheeks feel a little wide or you want the front to look fuller, halo layers can help. The shape draws the eye upward and outward. It’s flattering without being loud about it.
26. Chestnut Layers for Round Faces
Round faces usually look better with vertical movement and a little space around the cheeks. Chestnut layers that start lower — around the mouth or chin — do that job well. They lengthen the face without making the cut feel severe.
The most useful detail here is the angle. Keep the front pieces longer in front of the cheek and shorter only near the jaw. That gives the face a gentle taper and keeps fine hair from puffing out at the widest point.
27. Mocha Layers for Heart-Shaped Faces
Heart-shaped faces often need a little balance at the chin. Mocha layers can do that if the front frame is kept longer and softer than the crown. The result is less top-heavy and more even from forehead to jaw.
A side-swept front piece works especially well here. It breaks up a wide forehead without hiding it, and it gives the lower half of the face a bit more presence. On fine hair, that kind of balance is gold.
28. Toffee Layers for Oval Faces
Oval faces can wear a lot of shapes, which sounds easy until you realize it also means the haircut can drift into boring territory. Toffee layers keep the shape alive with just enough curve around the face. They don’t need to do much; they just need to be placed well.
This is a good spot for cheekbone framing and soft ends that move away from the jaw. Because the face shape is already balanced, the cut can stay light and simple. That restraint works on fine hair.
29. Dark Roast Layers with Airy Curtain Bangs
Dark roast brown hair loves a soft curtain bang when the rest of the cut is kept long. The bangs open at the center, curve toward the temples, and give the face some shape without building a heavy fringe line. Fine hair can handle this better than a dense blunt bang.
The trick is keeping the center shorter than the sides, but not so short that the bangs stand away from the face. You want them to bend, not sit up. A quick round-brush pass at the front usually does it.
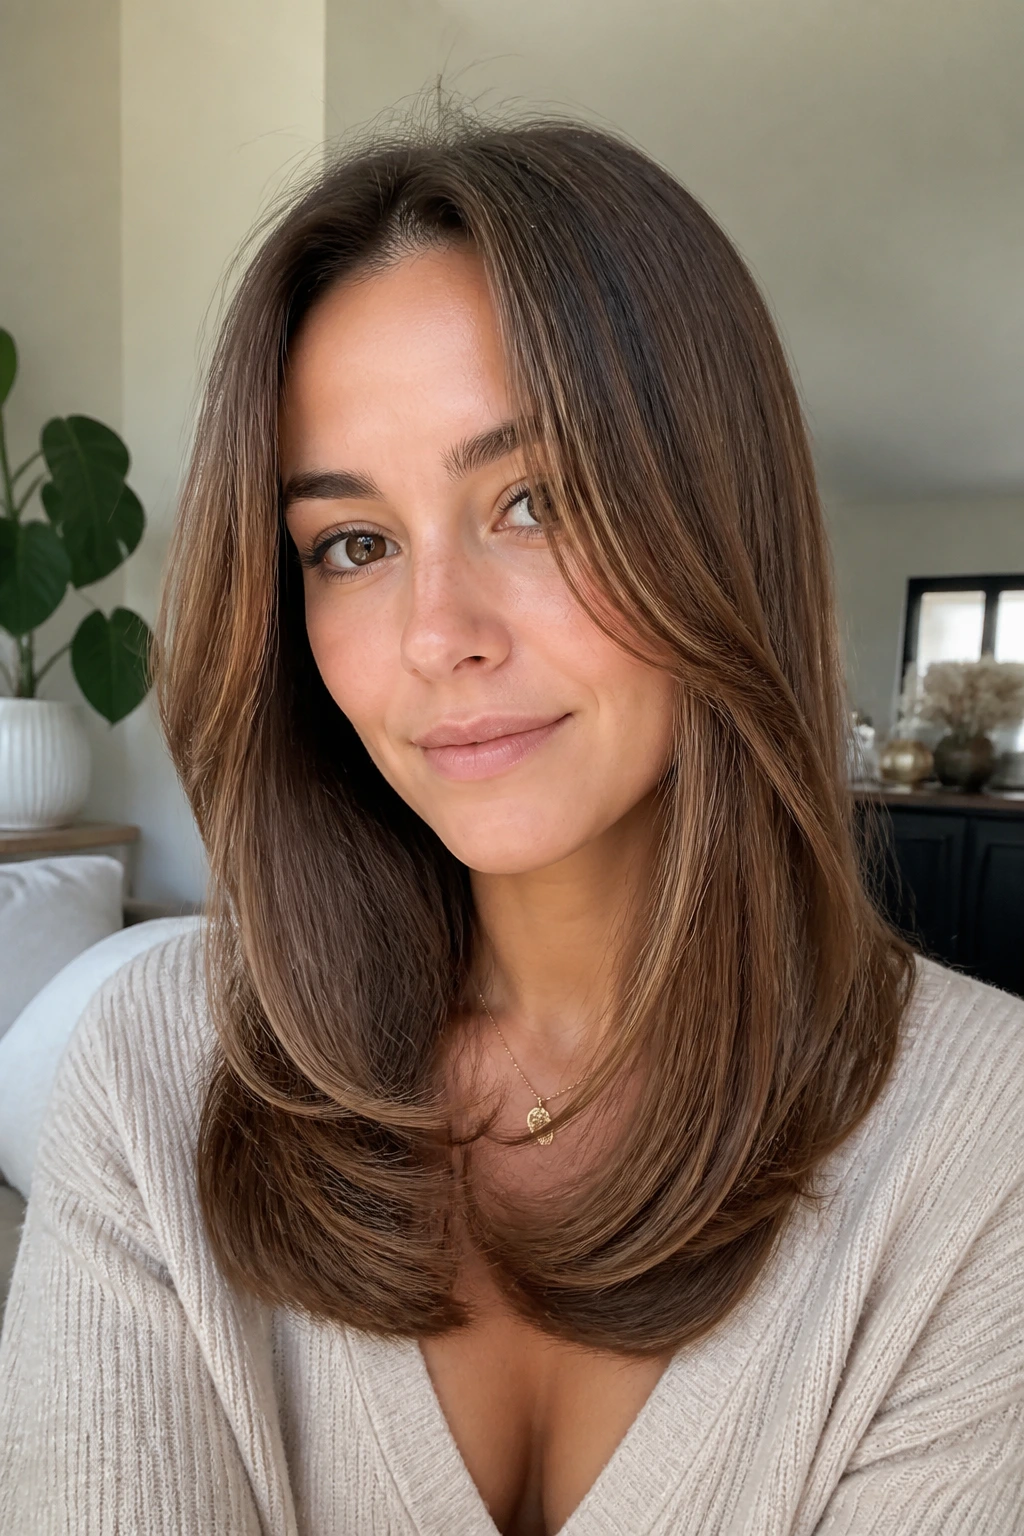
30. The Keep-the-Length Brown Layer Cut
This is the one for people who want layers but do not want to lose their hair. The perimeter stays long and full, and the face-framing pieces are the only parts that get real movement. It’s a strong choice for very fine hair that needs help around the face but not through the entire head.
The cut can be styled sleek, waved, or tucked behind one ear and still look intentional. That flexibility is why I like it. It doesn’t ask your hair to be more than it is.
Why Layer Placement Matters More Than Layer Count
Fine brown hair does not need a pile of chopped sections to look good. It needs a clear plan. The first layer does most of the visual work, and if that layer starts too high, the ends lose their weight and the whole cut starts to look airy in the wrong way.
The smartest brown face-framing layers for fine hair keep the front long enough to show shape and short enough to create lift where the eye lands first. Cheekbone, lip, and chin are the zones that matter. Temple-level layers can work, but only if the hair is dense enough to support them. If not, the front gets hollow fast.
Color changes the game too. Deep brown makes soft bends look richer. Caramel or toffee around the face can fake even more fullness because the eye reads light as texture. That’s why a simple cut with good color placement often beats a heavily layered haircut with no plan.
Essential Tools for Styling These Cuts
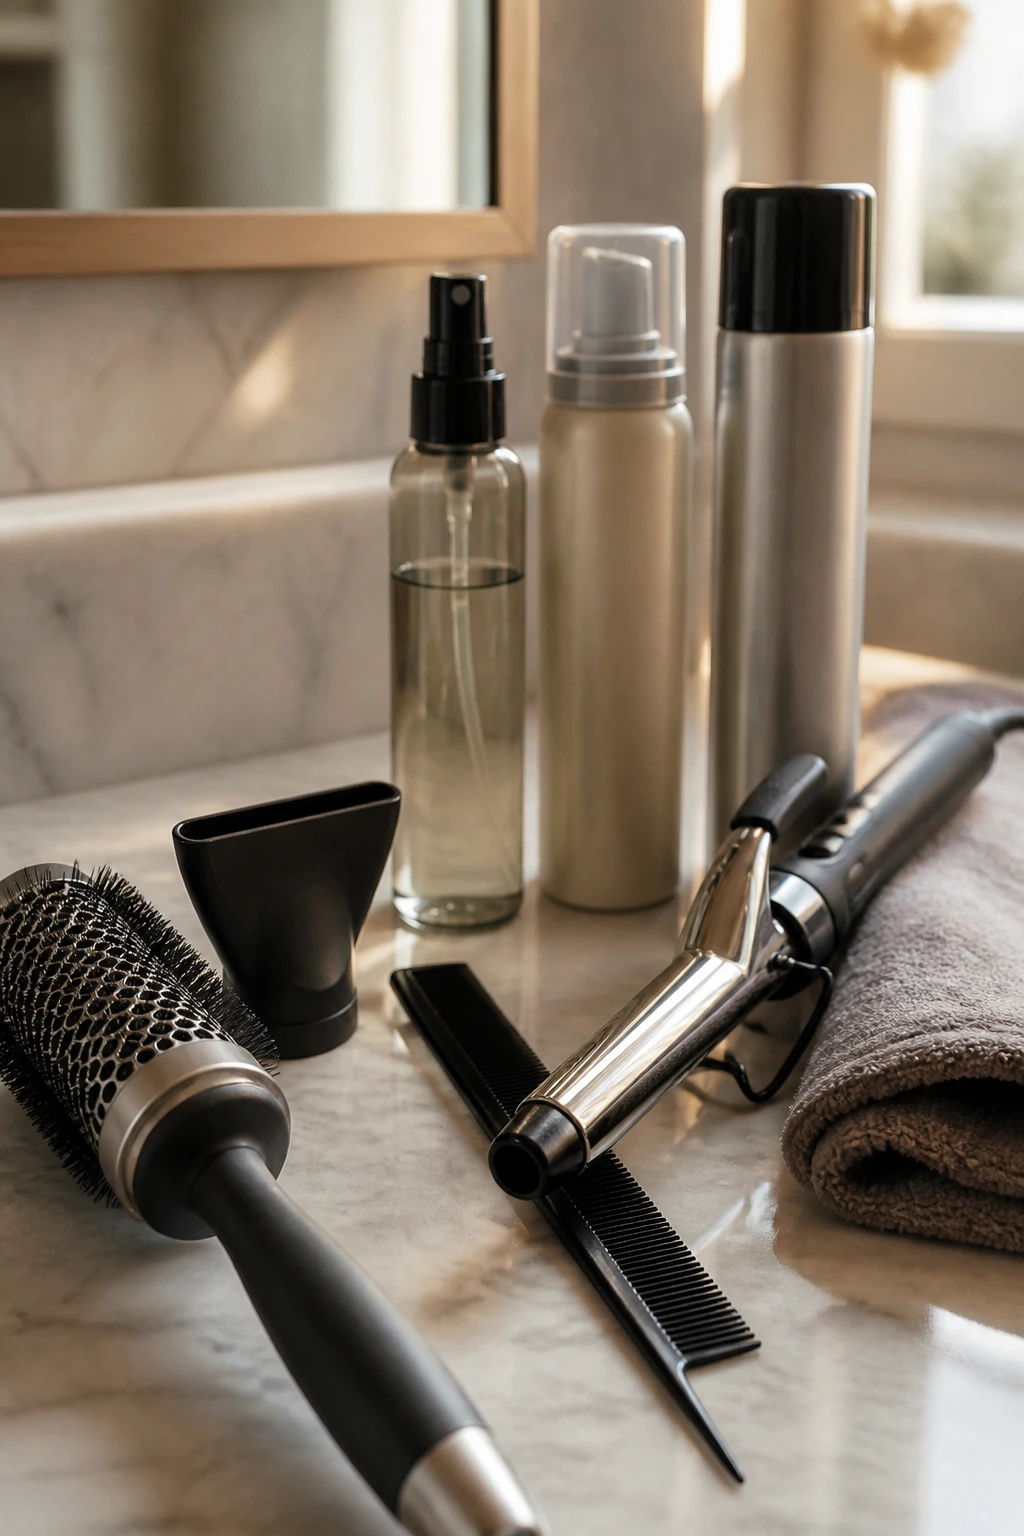
- Round brush, 1 to 1.5 inches: Best for turning the front layers inward or outward without making them curl too much.
- Blow dryer with a concentrator nozzle: Helps direct the front pieces so they sit where you want them instead of puffing out.
- Tail comb: Useful for clean parts and for lifting the front section while you dry the roots.
- Heat protectant spray: Fine hair shows heat damage fast, especially at the face frame where you style the most.
- Light mousse or root lift foam: A small amount at the roots adds grip without making the hair sticky.
- 1-inch or 1.25-inch curling iron: Good for soft bends and a little face framing when you don’t want a full curl.
- Microfiber towel or cotton T-shirt: Cuts down on rough drying, which helps fine hair keep a smoother surface.
- Light finishing spray: Enough hold to keep the front from collapsing, not enough to freeze the cut.
What to Tell Your Stylist Before the First Snip
Bring photos, but bring the right ones. Show one photo of the front and another of the side, because those are often two different haircuts hiding in the same Pinterest board. Tell your stylist where your part lives most of the time, how often you heat-style, and whether you want the perimeter to stay blunt, rounded, or slightly tapered.
Say the actual point where you want the first face-framing layer to start. That single detail matters more than a lot of people realize. “Cheekbone,” “lip,” and “chin” all create different effects on fine hair. Cheekbone gives lift. Lip feels softer. Chin gives structure and usually reads fuller.
If your hair is very fine at the temples, say so. A good stylist will keep those pieces long enough to avoid a see-through edge. Also tell them if you tuck your hair behind your ears often, because that changes where the front layer should fall once the hair is out in the real world instead of in the chair.
How to Style the Shape So It Doesn’t Collapse by Noon
Root lift: Start with a small amount of mousse or root spray at the crown and the front part line. Fine hair does not need a lot; it needs the product placed in the right spot. Blow-dry the roots first so the cut gets some body before you touch the ends.
Direction: Dry the front pieces away from the face first, then bend them back in with the brush or iron. That little change in direction keeps the layer from sticking flat against the cheek. It also gives the hair a softer fold instead of a hard line.
Finish: Use a touch of light spray on the face-framing sections only. Heavy oil on the front will kill the lift and make the ends look slick in the wrong way. Save the oil for the last inch if the hair feels dry.
Air-dry trick: If you skip heat, twist the front pieces away from the face while they’re damp, clip them for 10 to 15 minutes, then release them and let them settle. It’s low effort and it works better than leaving the hair to dry however it wants.
Extra Volume, Shine, and Finish Tricks
Gloss boost: A clear or brown-toned gloss keeps chestnut, mocha, and espresso shades from looking dull under indoor light. Fine hair reflects shine fast, so a smooth surface matters.
Texture boost: A mist of dry texture spray at the mid-lengths gives the layers something to hold onto. Spray underneath, not on top. Top-layer overload can make the hair look dusty.
Shape boost: Tuck one side behind the ear and leave the layered side forward. That simple move makes the face frame read more clearly and gives the illusion of extra body on the exposed side.
Make-it-yours: If you like a clean finish, blow the layers under. If you like a looser look, bend only the front and leave the ends straight. Fine hair usually looks better with one clear idea, not five mixed together.
Common Mistakes That Make Fine Hair Look Thinner
Cutting too many short layers: This is the fastest way to make the crown and sides look sparse. The symptom is a haircut that feels airy for a week and then starts to look broken. The fix is a longer, softer face frame and fewer interior chops.
Starting the front layer too high: If the shortest piece sits above the cheekbone on very fine hair, it can look wispy around the eyes and temples. Move the starting point lower and let the hair keep some weight.
Using heavy cream or oil at the roots: Fine hair goes flat fast when the roots are coated. The symptom is a cut that looks clean for 20 minutes and then sinks. Put richer products only from the mid-lengths down.
Over-blowing the front straight down: That pulls the layers flat against the face and makes them disappear. Aim the dryer forward and slightly up at the roots, then bend the ends with a brush so they have some shape.
Ignoring the perimeter: A thin, shredded bottom line makes fine hair look even finer. Keep some density at the ends. That blunt edge does more work than most people think.
Variations and Adaptations Worth Trying
Soft Fringe Blend: Add a light fringe that barely brushes the brows, then let the side pieces fall into the cheekbones. This works when you want a little forehead coverage without a heavy bang line.
Air-Dry Brown Layers: Ask for longer layers that still frame the face but don’t depend on heat to look good. This keeps the shape softer and saves time on busy mornings.
Blowout-Ready Shape: Keep the front pieces a touch longer and ask for a rounded interior that rolls under with a brush. It’s the best choice if you like a polished finish and don’t mind styling.
Low-Maintenance Minimal Layers: Leave the base strong and cut only a small face frame. This is smart for very fine hair that loses fullness quickly.
High-Contrast Front Veil: Add a lighter caramel or bronde veil around the face. The contrast gives the haircut more visible shape without needing a dramatic chop.
Keeping the Shape Sharp Between Salon Visits
Fine hair grows out in a way that can make a good haircut look sleepy fast. The front pieces lose their exact landing point first, and once that happens the whole frame around the face gets soft. For most people, a trim every 6 to 8 weeks keeps the shape crisp. If you’re keeping the layers long and minimal, 8 to 10 weeks can work.
The front is the part worth watching. When the cheekbone pieces start dropping into the mouth area, the frame can feel heavy and the lift disappears. That’s usually the sign to clean up the shape, even if the rest of the haircut still looks fine. You don’t need a full overhaul every time. Sometimes the front and the ends are the only parts that need a touch-up.
Sleeping on a satin or silk pillowcase helps the face frame stay smoother. So does dry shampoo at the roots the day after a wash, not after the hair is already oily. And if your hair is color-treated, a gloss or toner every 6 to 8 weeks keeps the brown tones from turning dull, which matters more than people admit. Flat color makes layers harder to see.
Frequently Asked Questions About Brown Face-Framing Layers for Fine Hair
Do face-framing layers make fine hair look thinner?
They can, if they start too high or get cut too aggressively. The safer version is a longer front frame that begins around the cheekbone, lip, or chin so the outline stays full. The layer should shape the face, not hollow it out.
What’s the best length for fine brown hair with layers?
Collarbone to mid-back is usually the easiest range to manage, because the hair still has enough weight to sit well. If your hair is very sparse, a blunt lob with face-framing pieces often looks fuller than long, heavily layered hair.
Should I get curtain bangs with fine hair?
Yes, if you want movement around the eyes and you’re willing to style them a little. Curtain bangs work best when they’re light, soft, and blended into the front layers instead of cut as a thick fringe.
Will this work on straight hair?
Yes, but straight fine hair usually needs some bend at the front or the layers can disappear. A quick round-brush blow-dry or a soft flat-iron curve at the face frame brings the shape back.
How often do I need a trim?
Most fine-hair cuts need cleaning up every 6 to 8 weeks if you want the front layers to stay in the right place. If you’re keeping a longer, softer shape, you can stretch that a little, but the front usually tells the truth first.
Can I ask for layers without losing thickness?
Absolutely. Ask for long face-framing layers and a mostly blunt perimeter. That gives you movement near the face while keeping the ends dense.
What color placement helps fine brown hair the most?
A soft money piece, caramel veil, or subtle bronde placement around the front usually helps the cut look fuller. You don’t need bright streaks everywhere. A little brightness near the face is enough to show the layers.
How do I keep the front from flipping out weird?
Dry the front in the direction you want it to sit, and let it cool there. If the piece keeps turning out, it may be cut too short or with too much texture. A longer, softer face frame usually behaves better.
The Shape That Keeps Fine Brown Hair Looking Full
The best brown face-framing layers for fine hair do one thing really well: they give the face shape without stealing the hair’s weight from the ends. That’s the whole game. A good cut should feel soft around the cheekbones and still leave you with a solid outline when the hair falls.
If you remember only one thing, make it this: start the shortest front piece lower than you think you need, especially if your hair is fine or sparse at the temples. That single choice protects fullness and makes the haircut grow out in a much kinder way. The rest is styling, and styling can be learned.
Pick the version that matches your length, your part, and how much effort you’re willing to put in each morning. The right one will look like your hair, only better behaved.