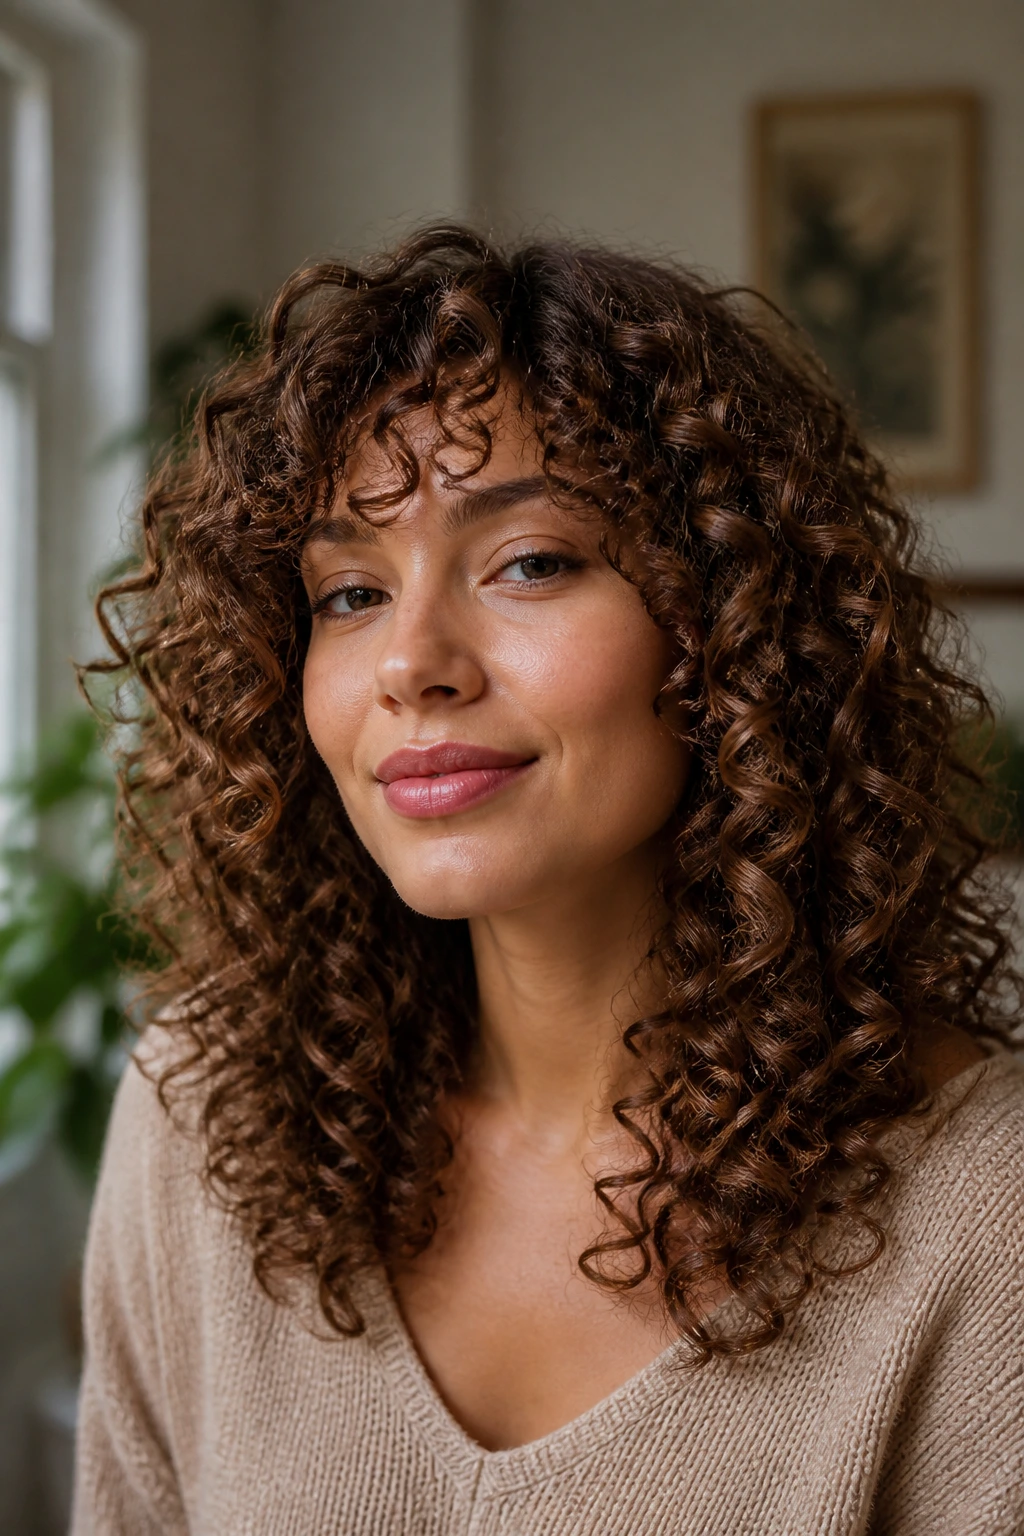
A round face does not need to be hidden; it needs a haircut that stops the curl halo from sitting at the widest part of the cheeks. Textured layers for curly hair and round faces do that job when they’re placed with a little nerve: a few pieces that skim below the cheekbone, enough length through the perimeter to keep the silhouette from ballooning, and some lift at the crown so the eye keeps traveling upward instead of getting stuck at the jaw.
The mistake I see most often is the blunt, tidy cut that looks polite when wet and turns into a soft mushroom once it dries. Curls spring up. They expand sideways. They change their mind halfway through the drying process. On a round face, that can make the whole shape feel broader than it needs to be, especially if the shortest layers land right at the cheeks. The fix is not to thin the hair into submission. It’s to place the texture where it builds length, not width.
Some of these shapes are long and swishy. Some barely graze the jaw. A few lean shaggy, because shag lines can be brilliant on curls when the shortest pieces are kept out of the cheek zone. The common thread is movement with a plan. That’s the difference between a cut that looks “curly” and a cut that actually flatters the face it’s sitting on.
Why These Layers Change the Shape So Well
Round faces already have softness built in. That’s not a flaw. It just means the haircut has to do a little geometry instead of adding more width where width already exists. The most useful textured cuts create vertical motion: the curls lift at the crown, bend around the cheekbone, then fall lower through the ends.
The shape math is simple
A blunt line at chin level can read as a shelf. A layer that starts below the cheekbone reads as a sweep. That tiny difference changes the whole front view. You still get fullness, but it sits lower and moves down the face instead of fanning out at the widest point.
Curl shrinkage changes everything
Curls do not cut like straight hair. They rebound. A piece that lands at the collarbone when wet may sit an inch or three higher once it dries, sometimes more if the curl is springy. That’s why the best textured layers for curly hair and round faces are usually planned with dry length in mind, not wet length alone.
Crown lift matters more than people think
If the top lies flat, the sides do all the talking. If the crown has a little lift, the shape looks longer and lighter, even when the hair is dense. I like a cut that gives the top room to breathe without turning the sides into a triangle. That balance is the whole trick.
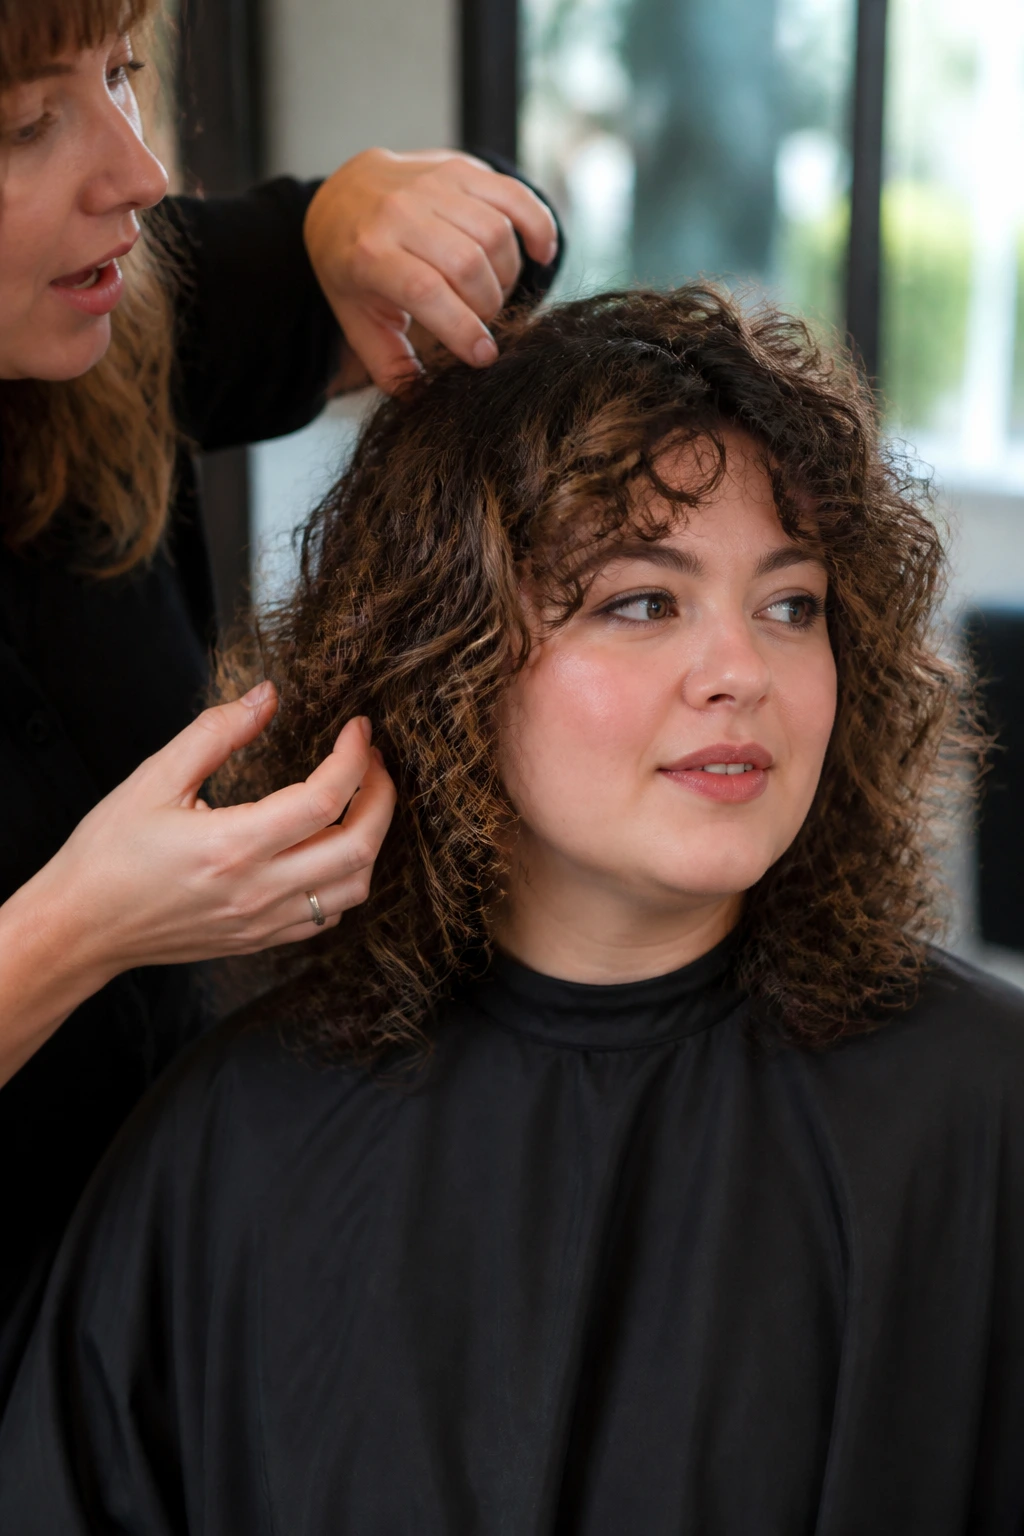
How to Ask for Textured Layers for Curly Hair and Round Faces
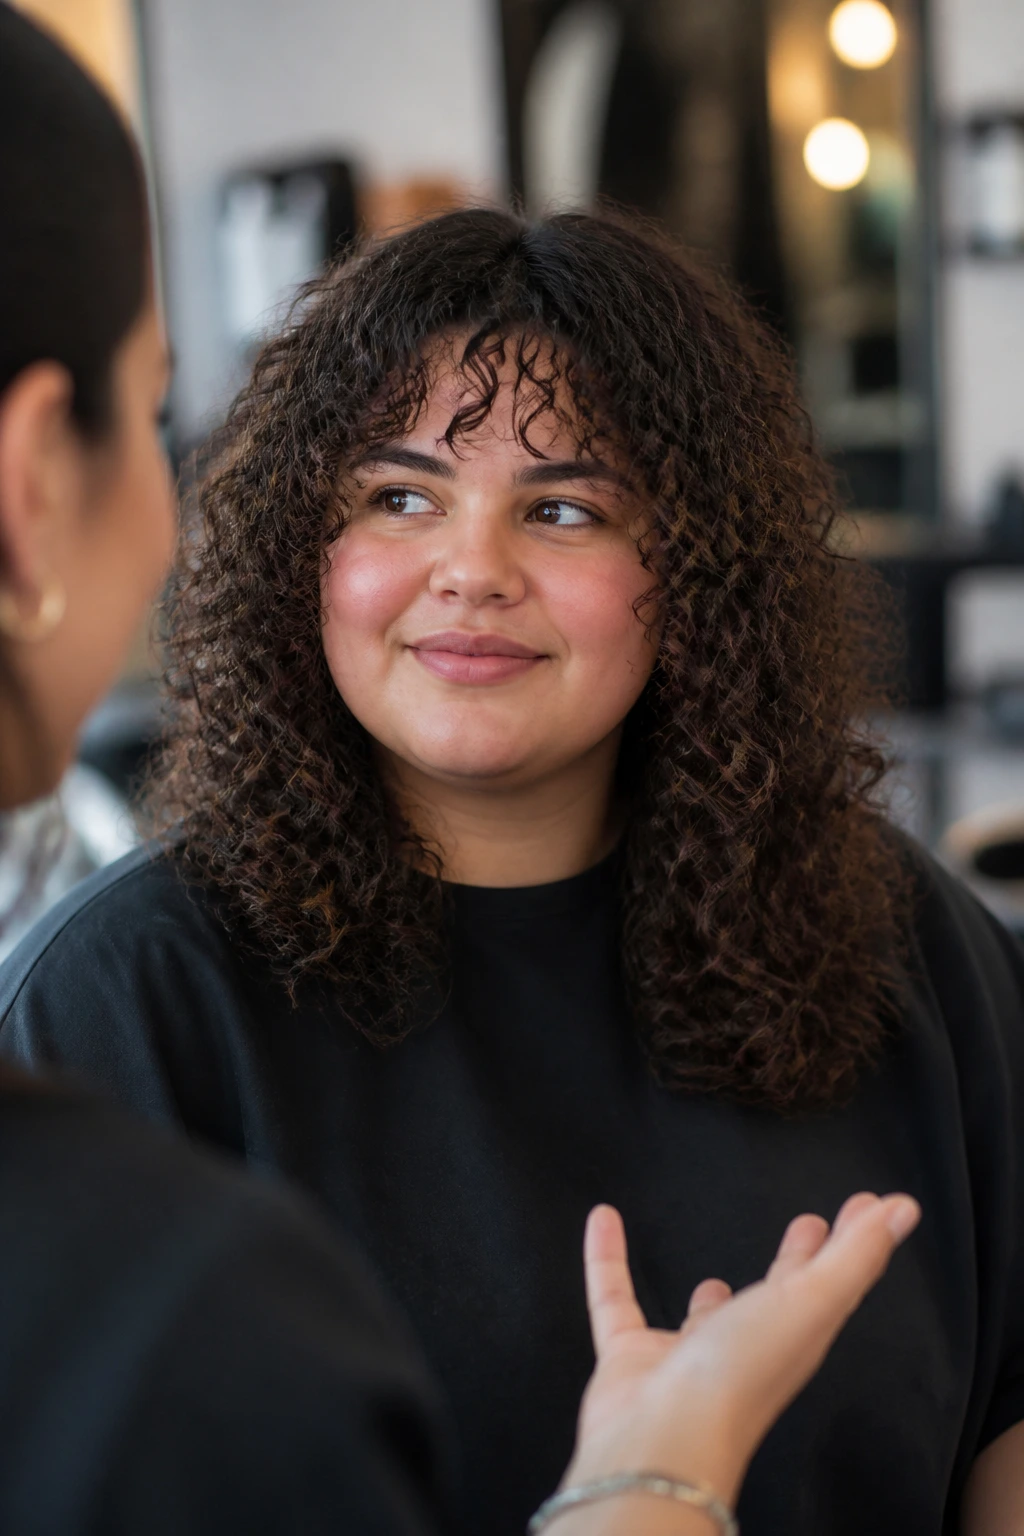
Bring pictures, yes, but bring the right pictures. Show your stylist a front view, a side view, and one shot where the hair is dry and behaving the way you actually wear it. A photo of stretched-out curls can be useful, but only if you explain that your real-life length is shorter once the curls spring back. Half the bad cuts I hear about start with a reference that was never honest about shrinkage.
Say where you don’t want bulk. Be specific. “Keep the shortest face-framing pieces below my cheekbones” is a better sentence than “give me layers.” If your curls are dense, ask for internal shaping rather than aggressive thinning. If your hair is fine, ask for fewer, longer layers so the ends don’t go wispy and see-through.
A dry cut helps a lot of curly heads, especially when the curl pattern changes from one zone to the next. Wet cutting can still work, but the stylist should keep checking the dry shape as they go. And if someone reaches for thinning shears like they’re solving a lawn problem, pause. Curly hair needs shaping, not sandblasting.
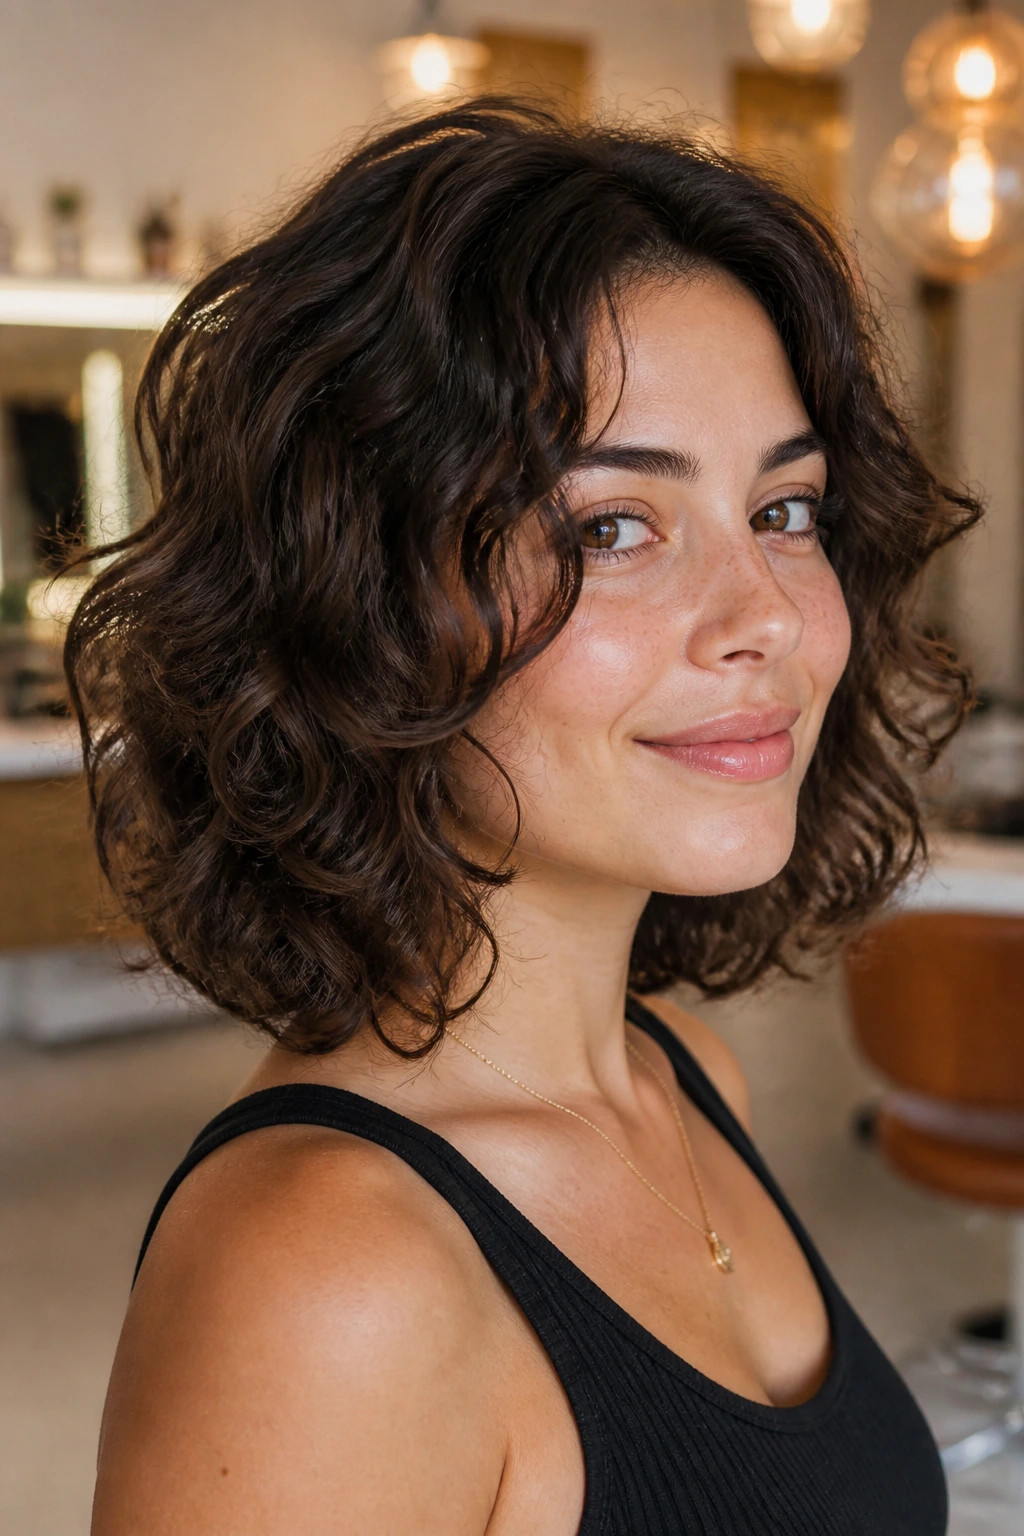
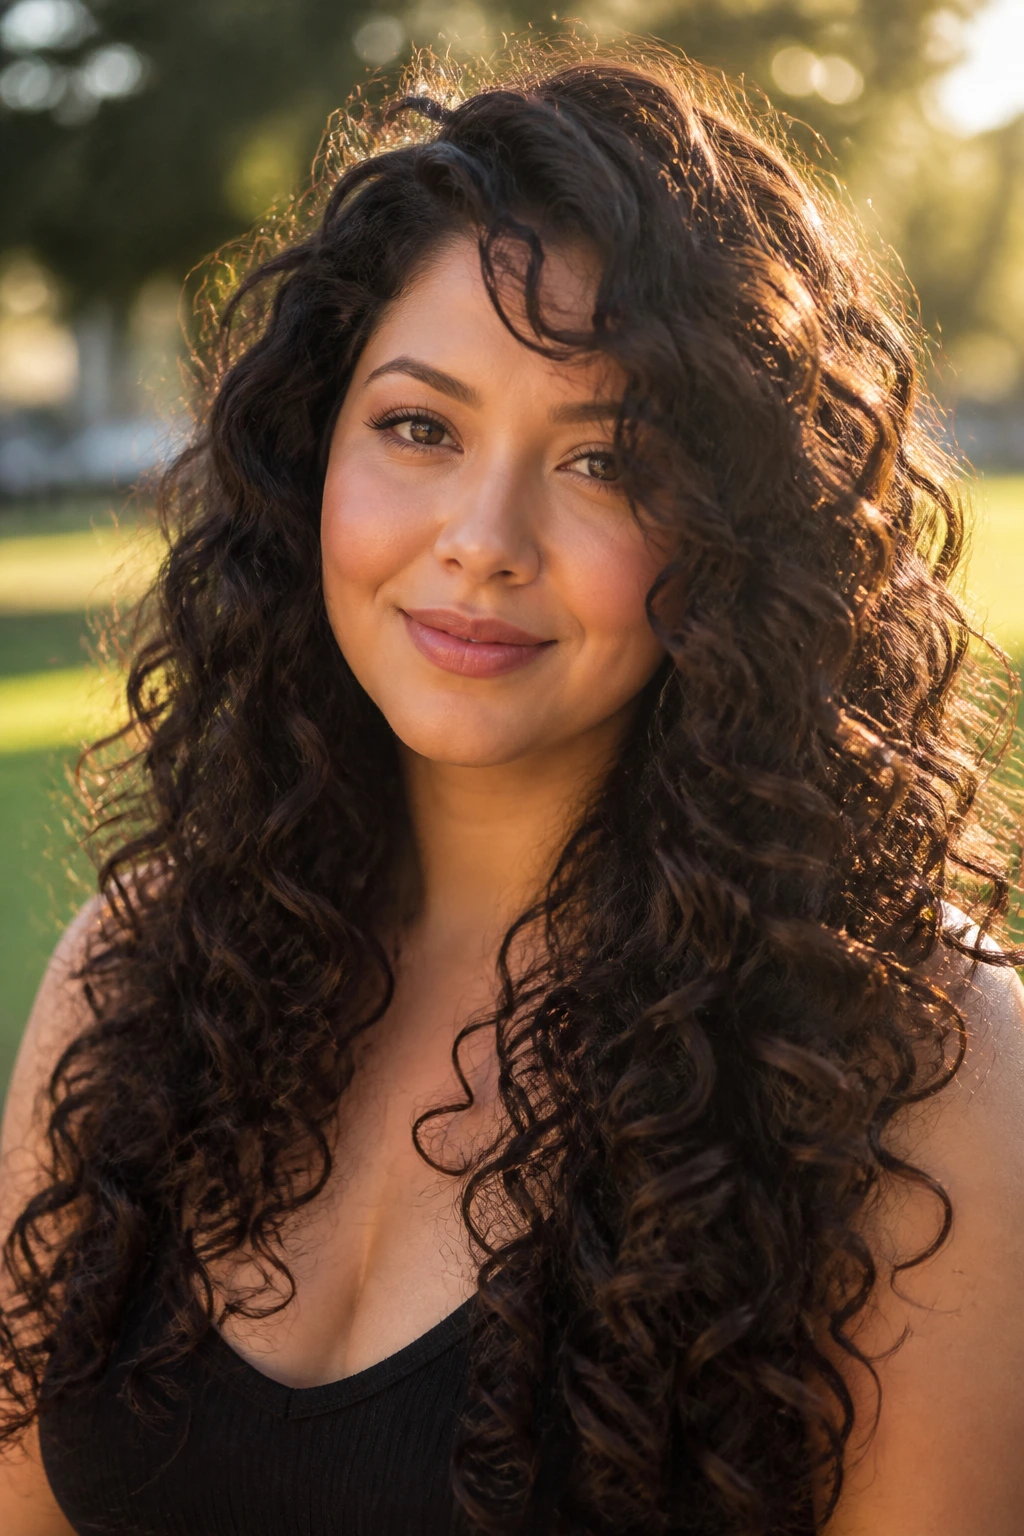
1. Long U-Shaped Layers That Fall Past the Chin
This is the safest place to start if you want movement without losing length. A long U-shape keeps the center a touch longer, which draws the eye straight down the face instead of across it. The shortest pieces should live below the cheekbone, not at it. That one detail keeps the sides from puffing out right where a round face is already widest.
It works especially well on medium to dense curls that need weight removed without a dramatic chop. The back still feels full. The front gets a gentle sweep. Nothing sits like a hard shelf, and that matters more than most people realize.
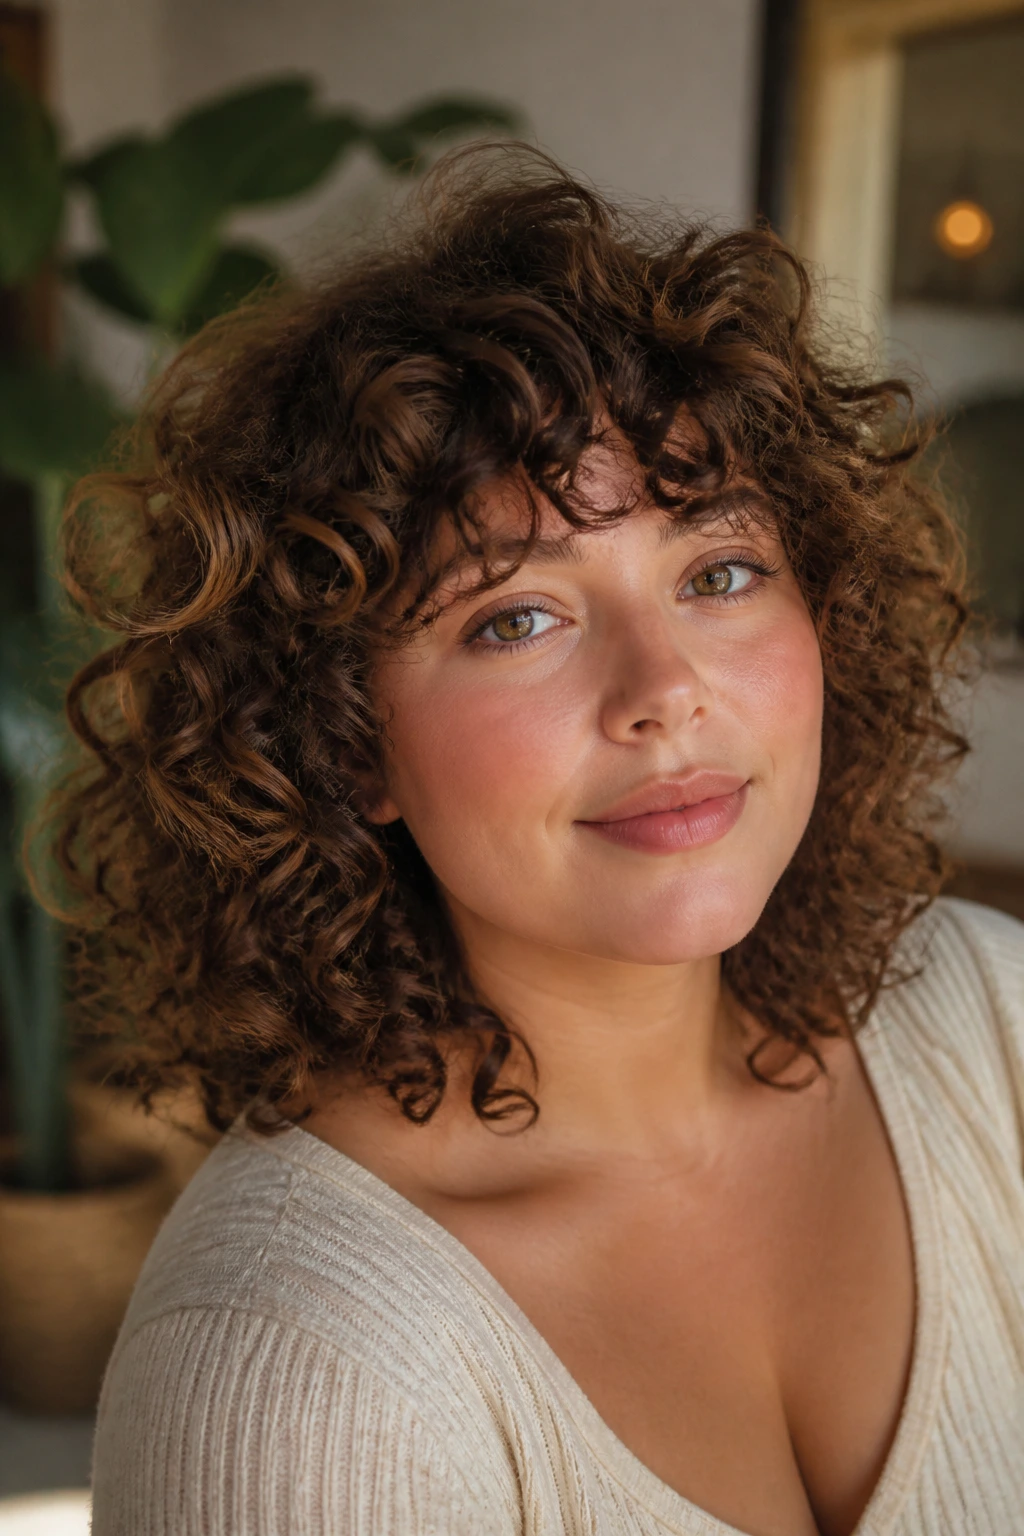
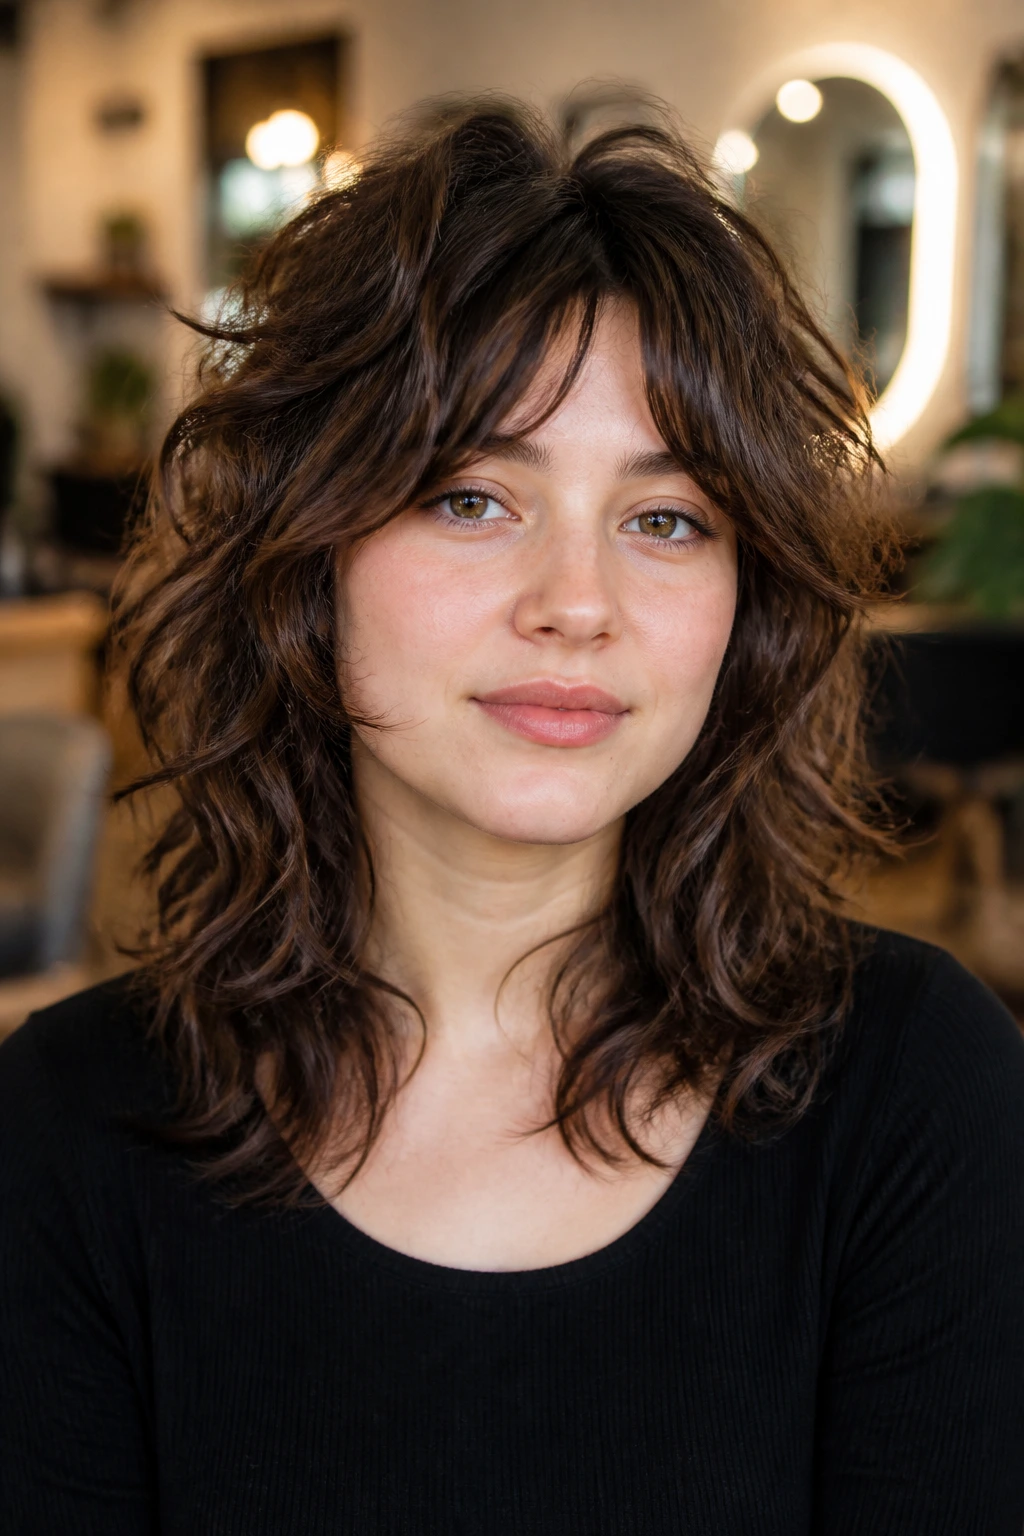
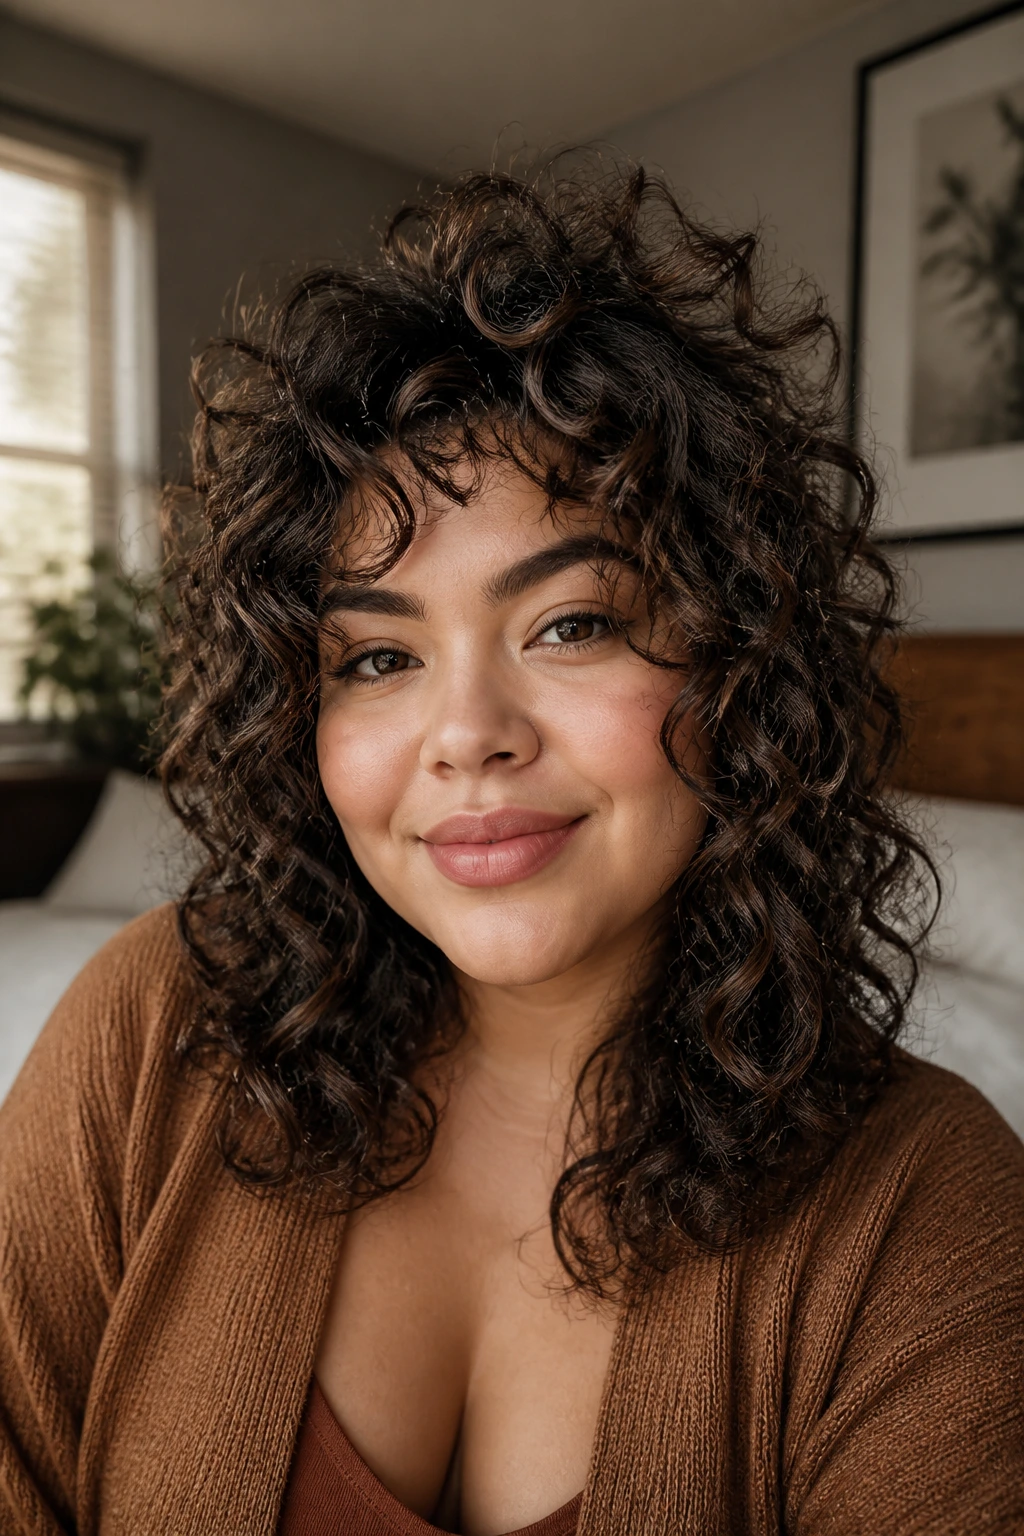
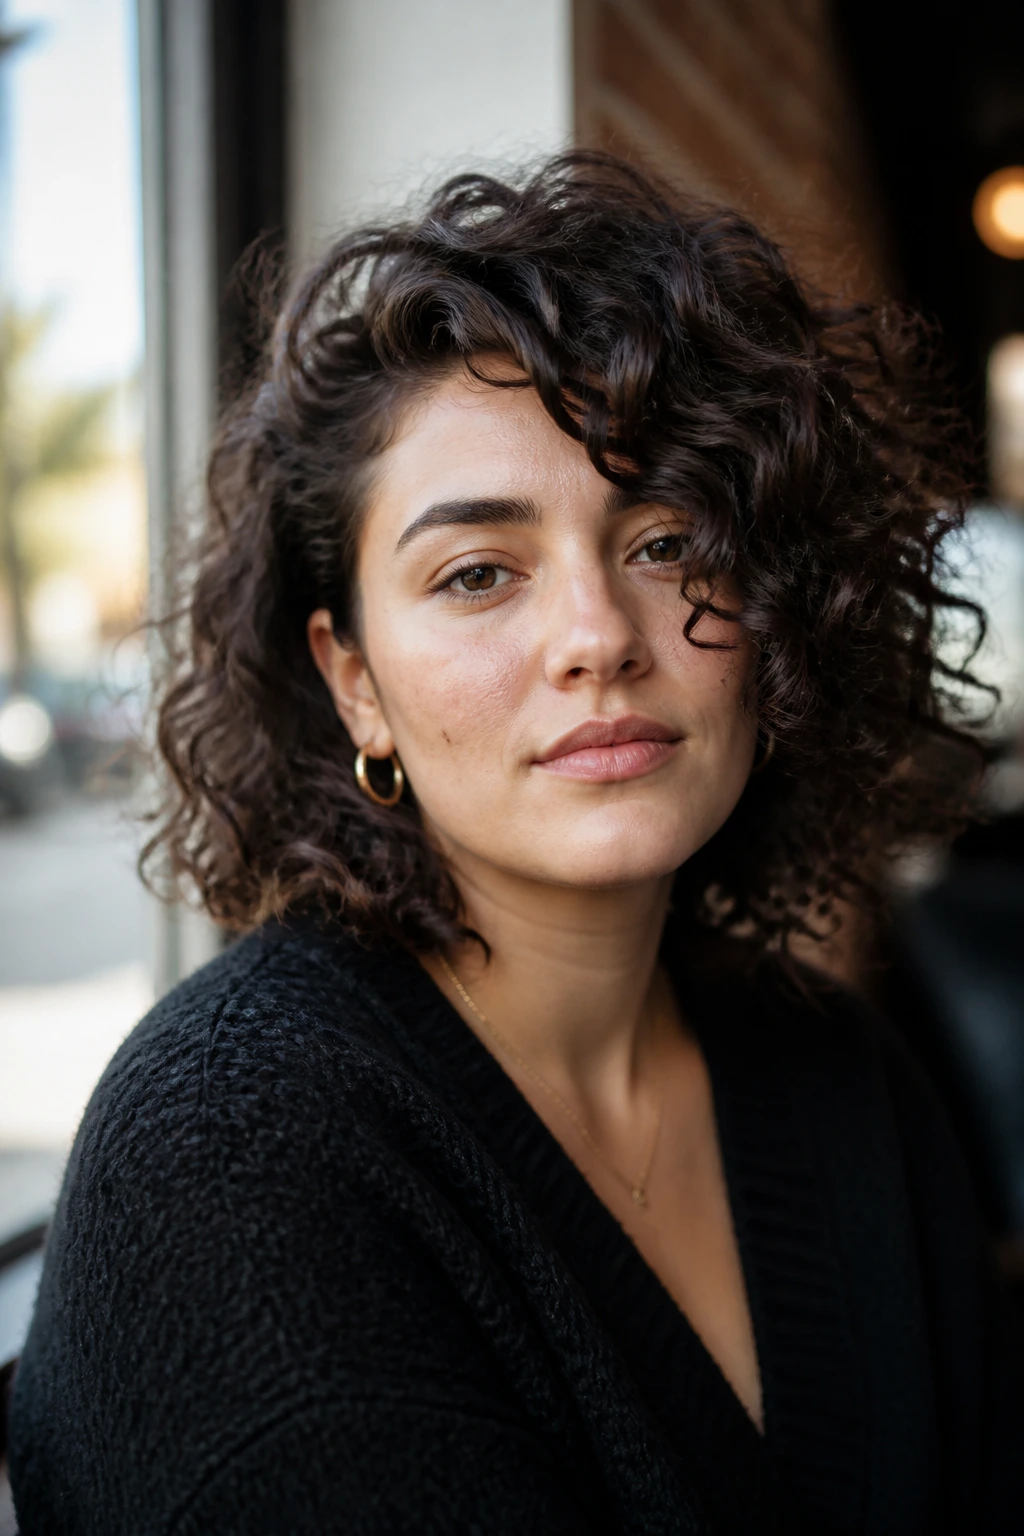
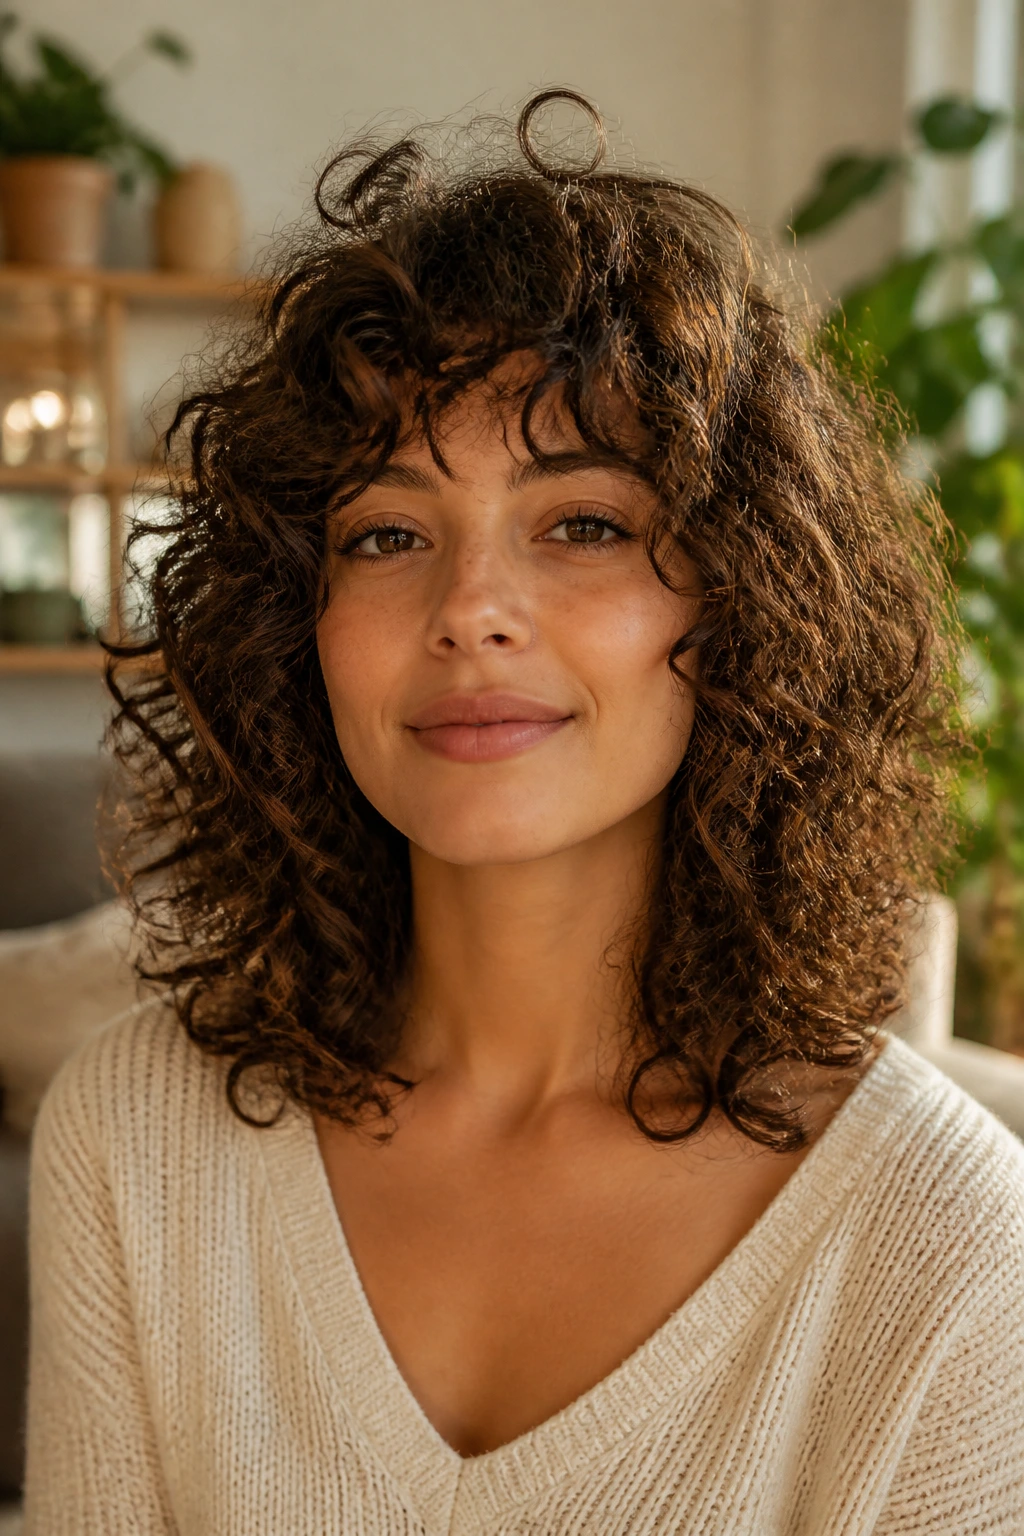
2. Curly Shag With Curtain Bangs
Can a shag work on a round face? Absolutely, if the fringe opens instead of chops. Curtain bangs split the front into two soft panels, which makes the face feel longer and less boxed in. The shag part gives the crown some lift and keeps the lower layers light enough to move.
Why it works
The shortest curl at the center can sit around the bridge of the nose or a little lower, while the sides drop away toward the cheekbones. That diagonal line is doing a lot of visual work. It breaks the circle of the face without needing heavy contouring from the haircut itself.
What to watch
If the bangs are cut too short, they spring up fast and can make the face look wider. Keep the first appointment a touch conservative. Curly bangs are easier to shorten later than they are to grow out cleanly.
3. Collarbone Butterfly Layers
The butterfly cut, translated for curls, is all about upper layers that seem to float while the length stays anchored below the shoulders. On a round face, that gives you movement around the cheek and jaw without filling that space with bulk. It’s a good choice if you like a bigger shape up top and softer ends below.
The best version keeps the face-framing pieces long enough to bypass the cheek fullest point. If the curl pattern is loose, the layers can flip and bend beautifully with a diffuser. If the curls are springier, the cut needs a bit more length in the front so the bounce doesn’t jump right back to the cheek line.
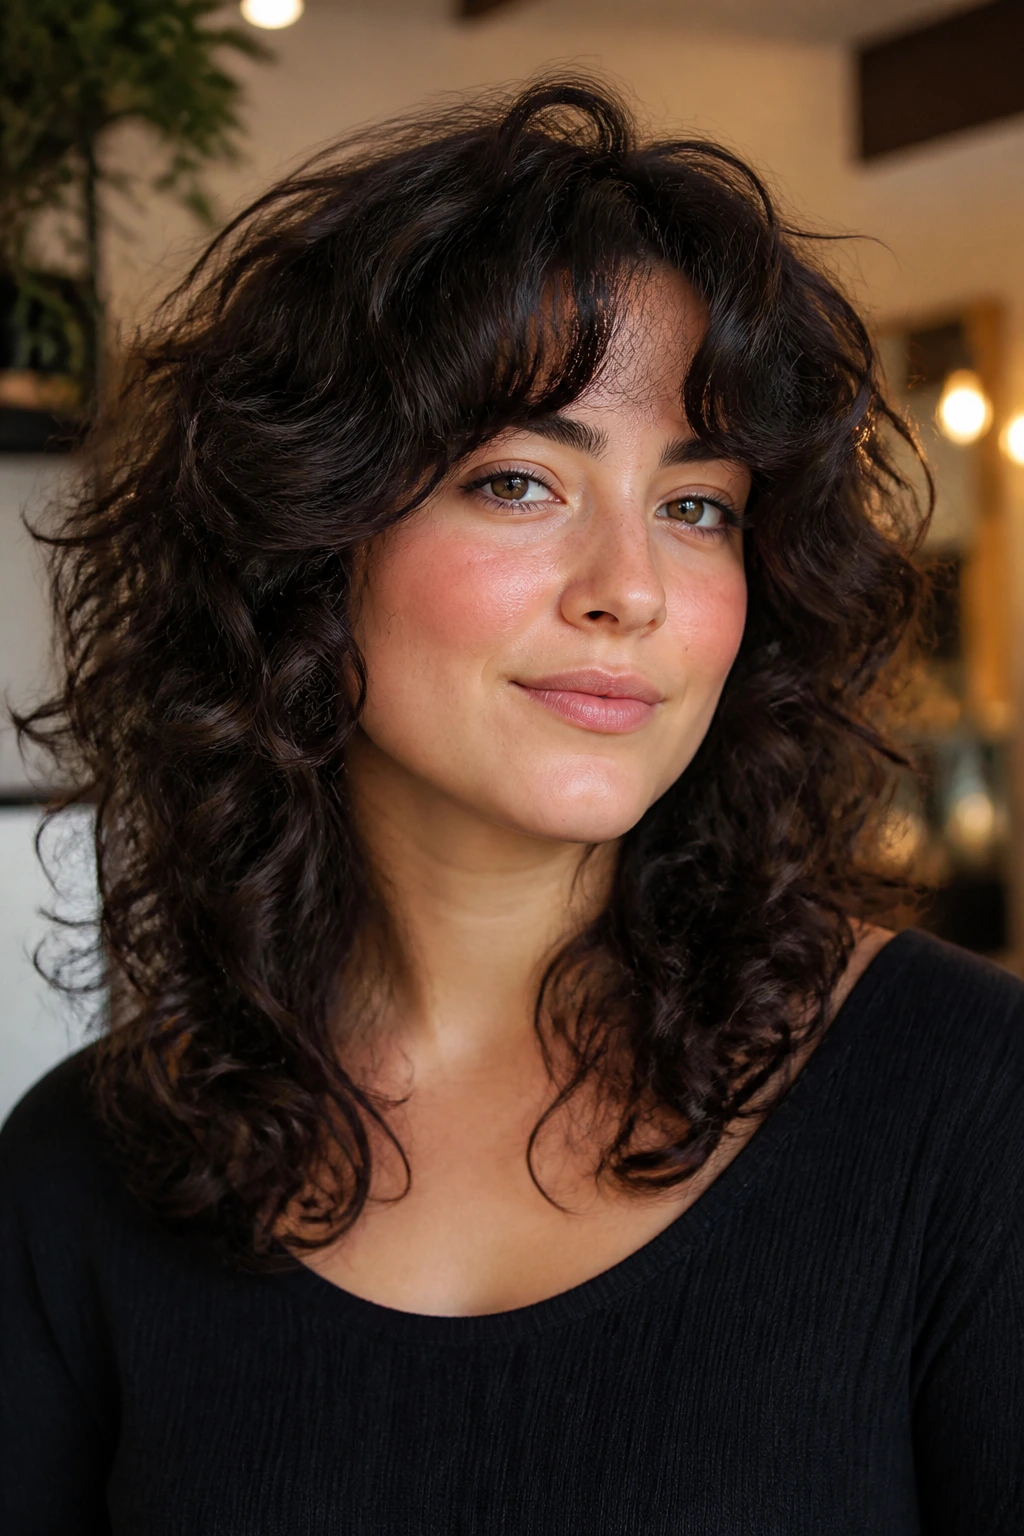
4. Cheekbone-Starting Face-Framing Pieces
This is the cut I’d call the diplomatic option. It gives shape without making a big statement. The front pieces begin near the cheekbone, then drift downward so the eyes follow the line toward the jaw and neck. On a round face, that downward drift is the whole point.
If you wear your curls half-up a lot, this is a smart choice because the face-framing layers still do some work even when the rest is pinned back. I’d avoid starting these pieces exactly at the cheeks. A little lower is better. A little lower almost always looks more relaxed too.
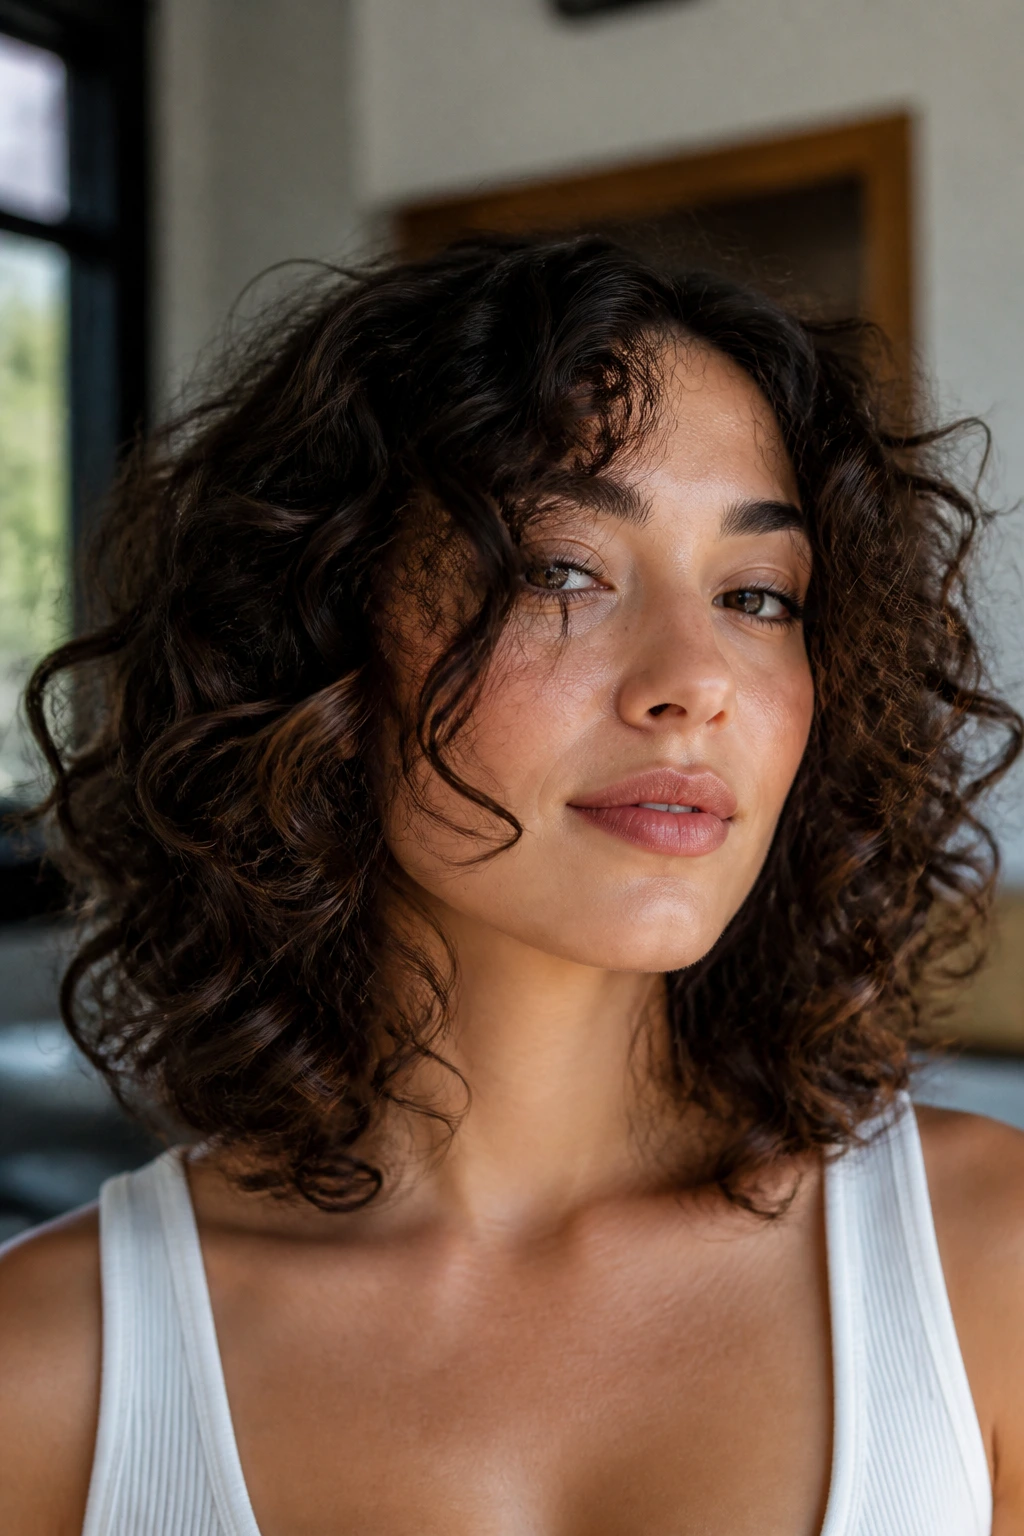
5. Shoulder-Length Lob With Hidden Internal Layers
A curly lob can turn boxy if it’s one length all the way around. Hidden internal layers fix that by removing weight inside the shape instead of carving obvious steps into the surface. The result feels lighter, but the outline stays clean.
This works well on hair that goes flat at the crown but puffs at the sides. The internal shaping lets the top sit better while the perimeter hangs with enough weight to keep the silhouette from expanding horizontally. It’s one of my favorites for people who want polish without the helmet effect.
6. Soft Wolf Cut With Crown Lift
A wolf cut on a round face needs restraint. Too much disconnect and the shape turns fuzzy fast. Keep the crown airy, keep the side pieces long enough to skim past the cheeks, and don’t over-chop the ends. When it’s handled carefully, the result has a little edge without swallowing the face.
The reason it works is simple: volume moves upward. The shortest layers live high enough to create lift, while the lower lengths stay there to hold the outline together. That high-low balance gives round faces a longer read from the front.
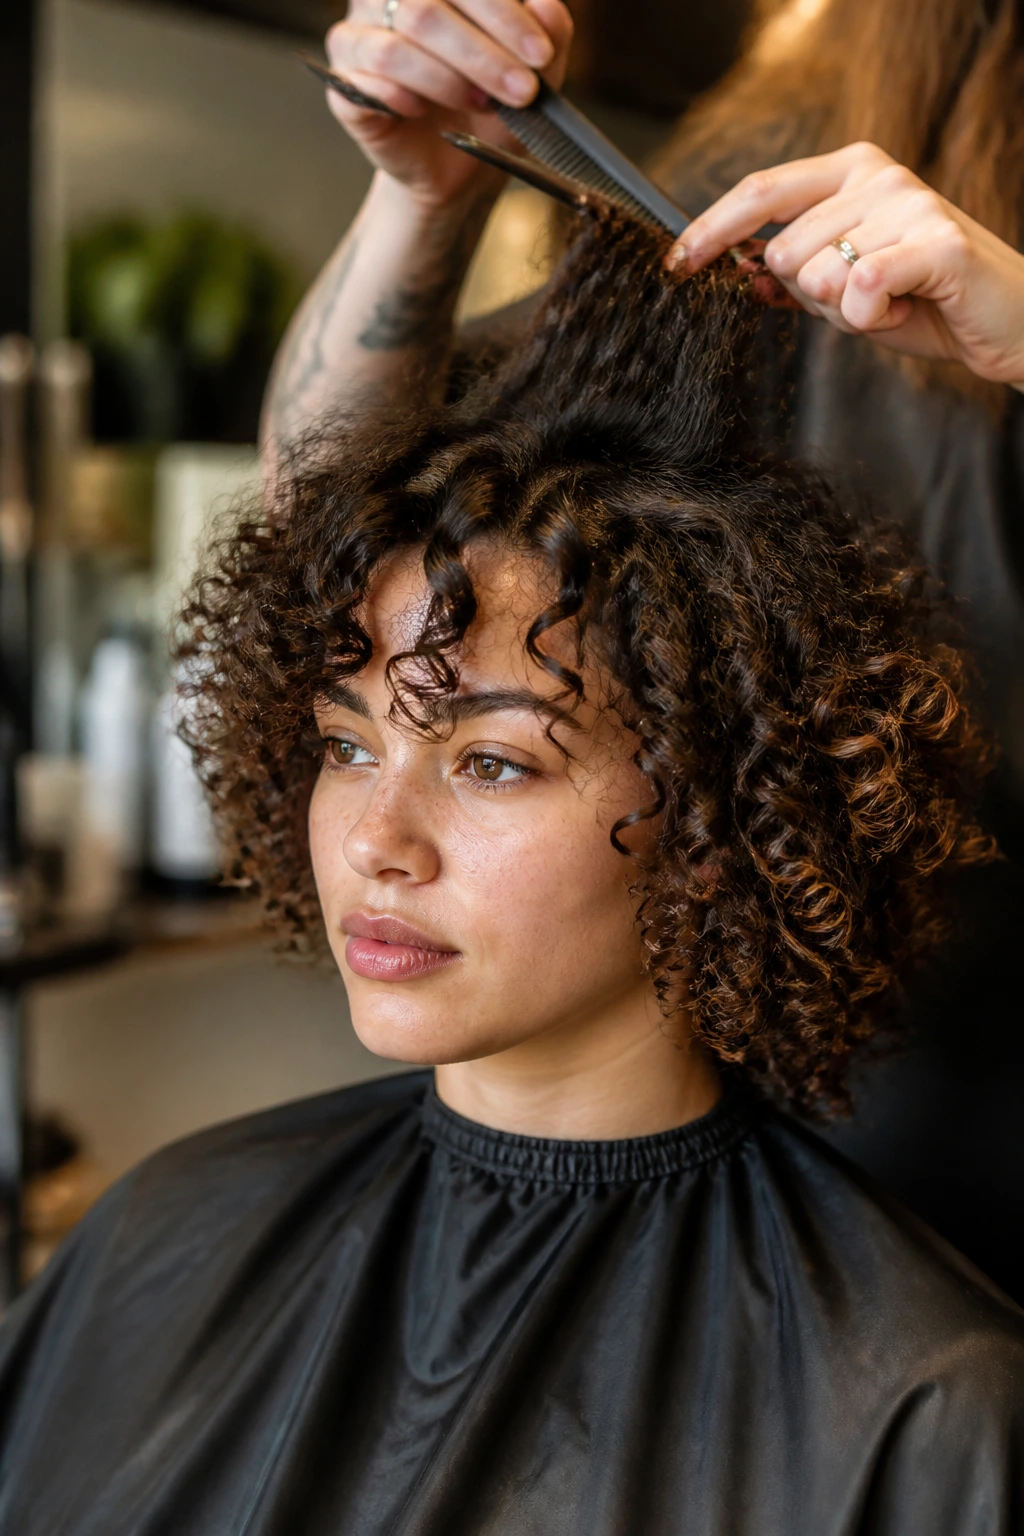
7. Dry-Cut Ringlet Shaping
Dry cutting is less about the label and more about honesty. Curl by curl, the stylist can see where each ringlet wants to fall instead of guessing from a wet strand that may spring up two inches. On a round face, that matters because the shortest piece can make or break the width at the cheeks.
What makes it different
The shape gets tailored to the curl’s real behavior. No hidden surprises. No “it looked longer when it was wet” drama. The result tends to feel more precise at the front and more balanced through the crown.
Best for
Tighter spirals, mixed curl patterns, and anyone whose hair behaves differently on one side of the head than the other. It’s the most useful method when symmetry has never been your hair’s favorite hobby.
8. Rounded Curly Pixie With Tapered Sides
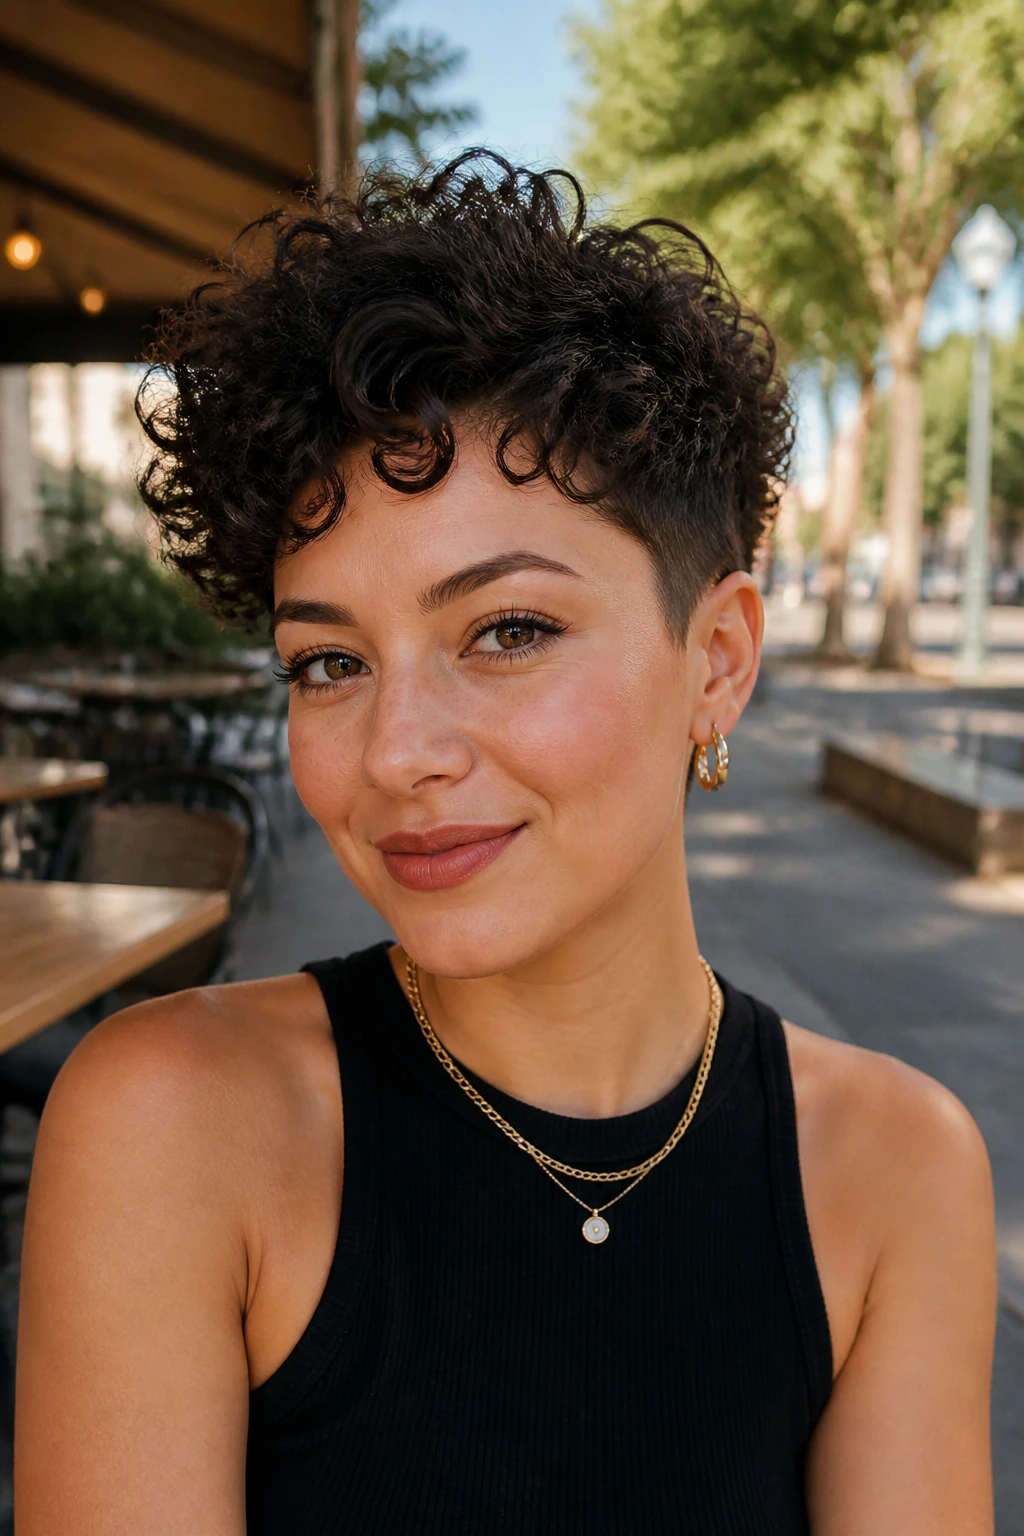
Short hair on a round face is not off-limits. It just needs intention. A rounded curly pixie with tapered sides keeps the bulk up top, where it can create height, while the sides stay lean enough not to widen the face. The nape should be neat, not puffy.
I like this cut on people who want their curls to feel playful instead of heavy. The top can still look lush. The taper keeps the outline from spreading sideways. If the crown is flat, though, you lose the point, so root lift becomes part of the haircut’s success.
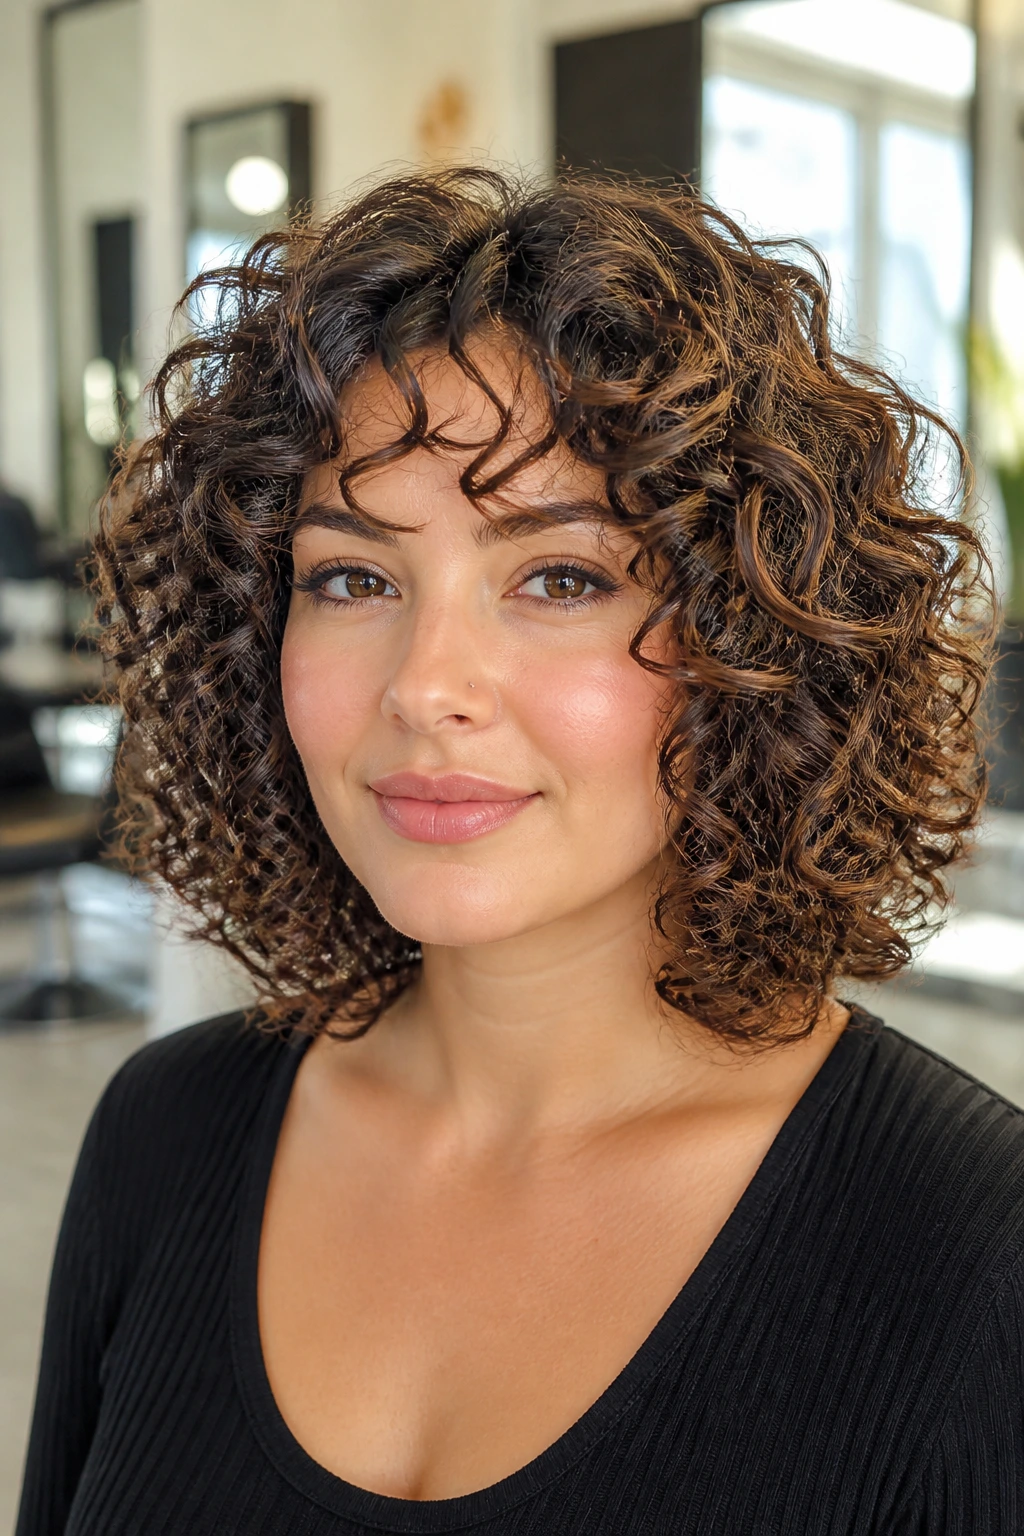
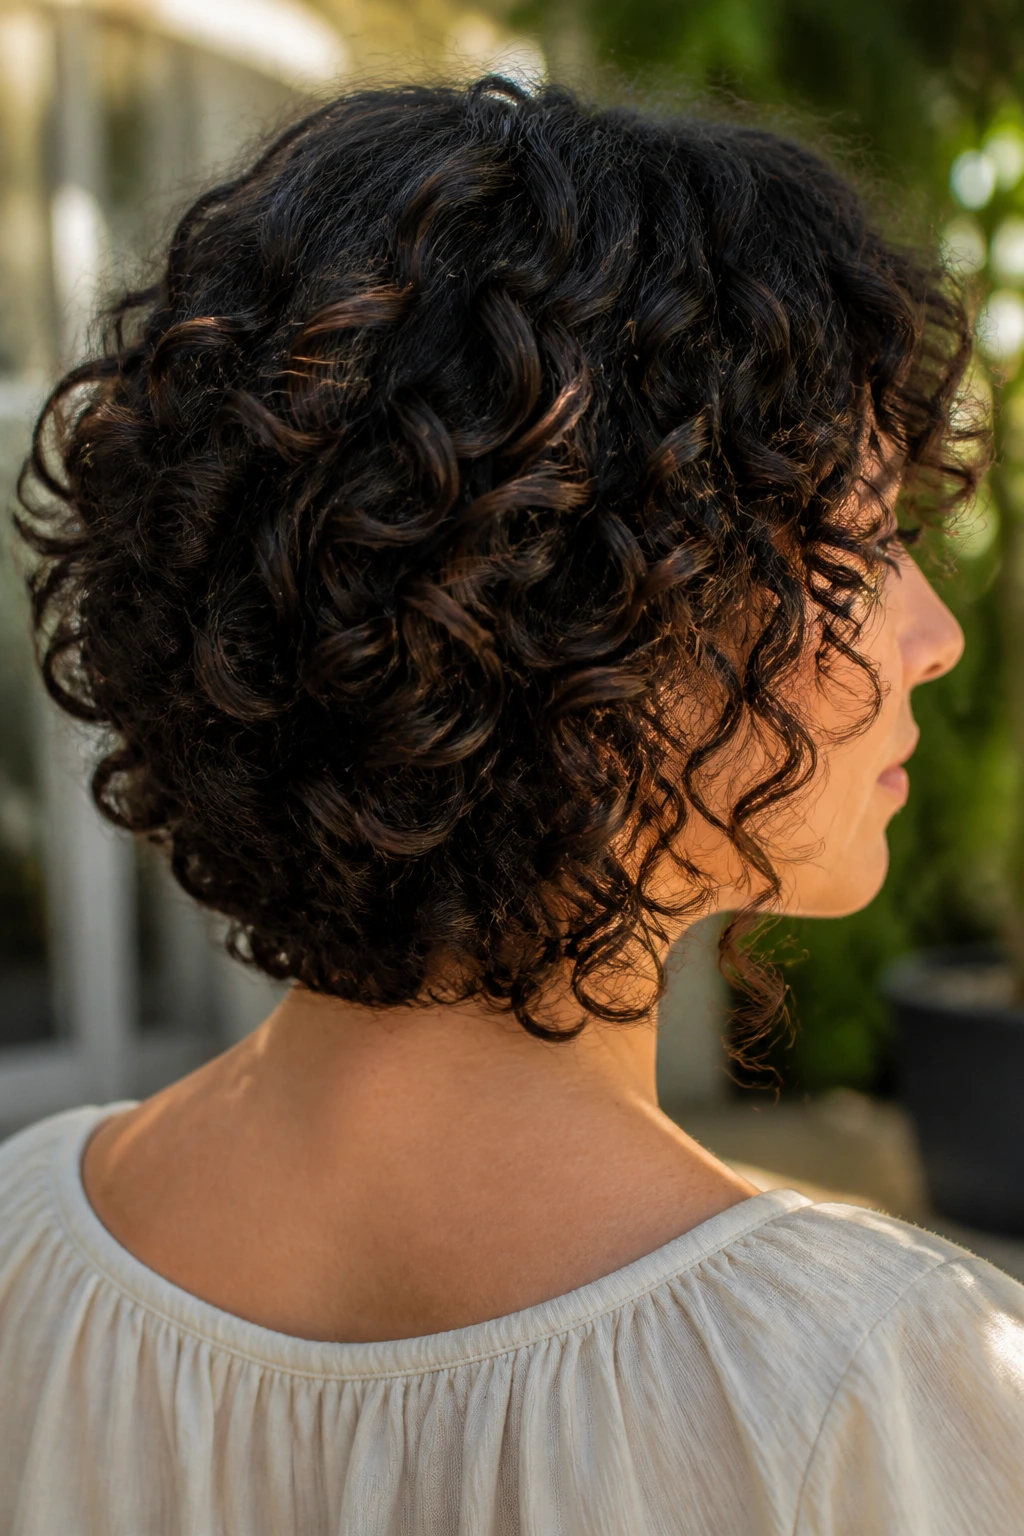
9. Graduated Curly Bob With a Deep Side Part
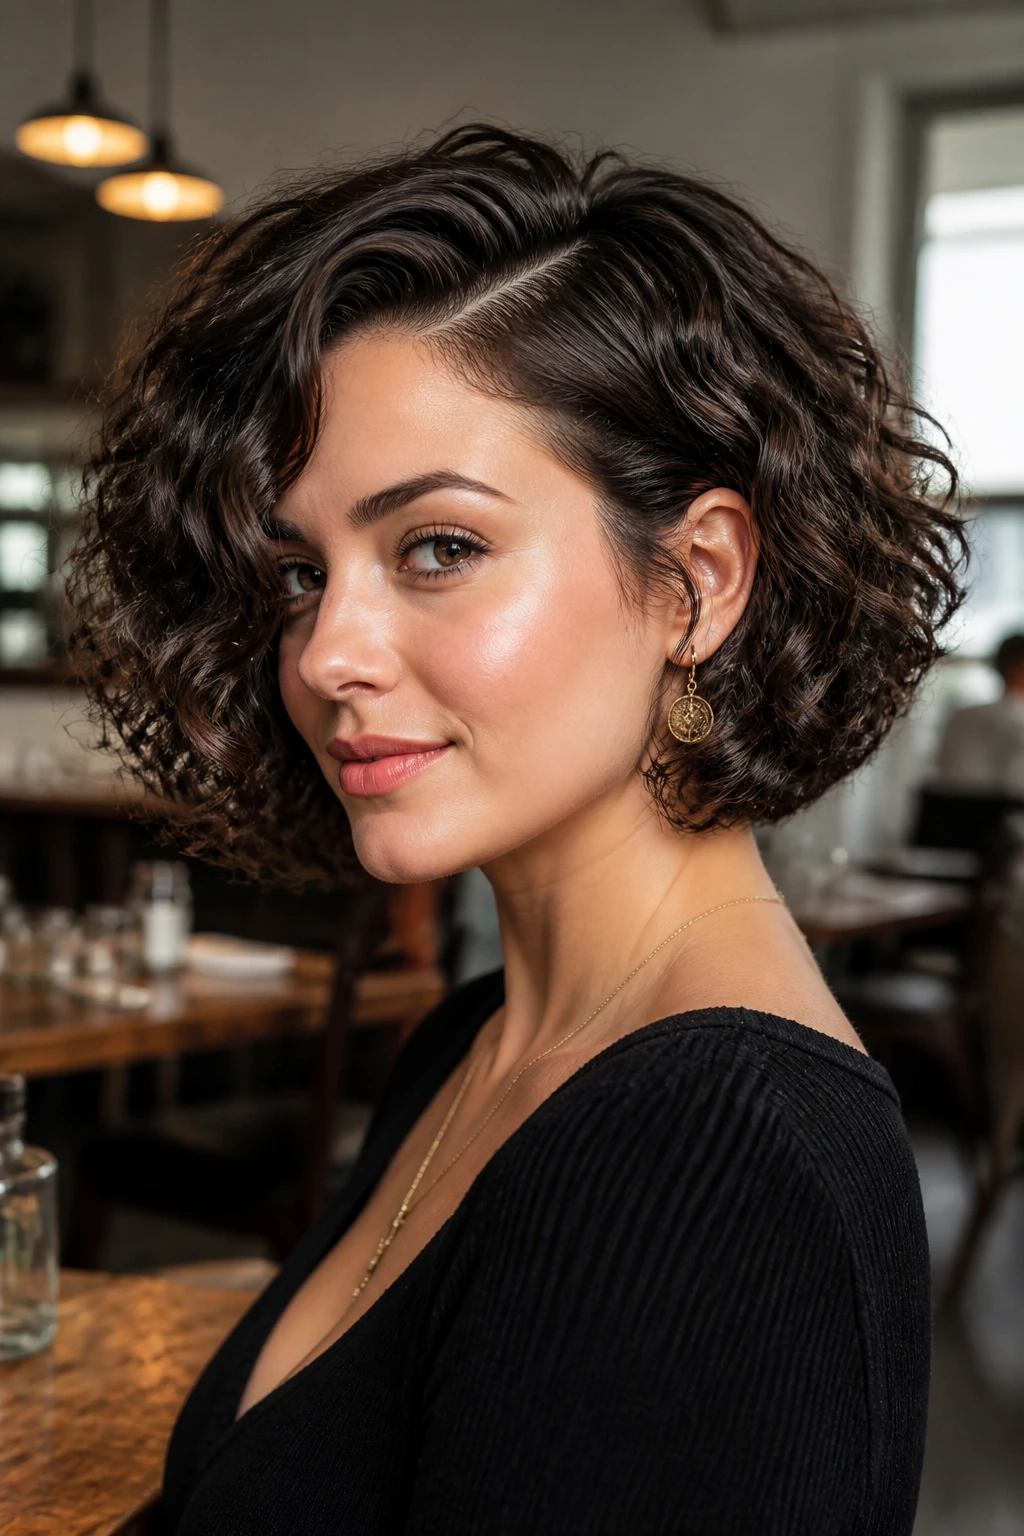
The deep side part is doing a lot here. It breaks symmetry, pulls the eye diagonally, and keeps the shape from sitting dead center on the face. The graduated back gives lift at the nape while the front remains a bit longer, which helps round faces by extending the line downward.
If your curls are dense, this bob can feel light without turning flimsy. If your curls are fine, ask for less stacking in the back so the shape doesn’t collapse into a puffball. It’s a cut that likes precision more than drama.
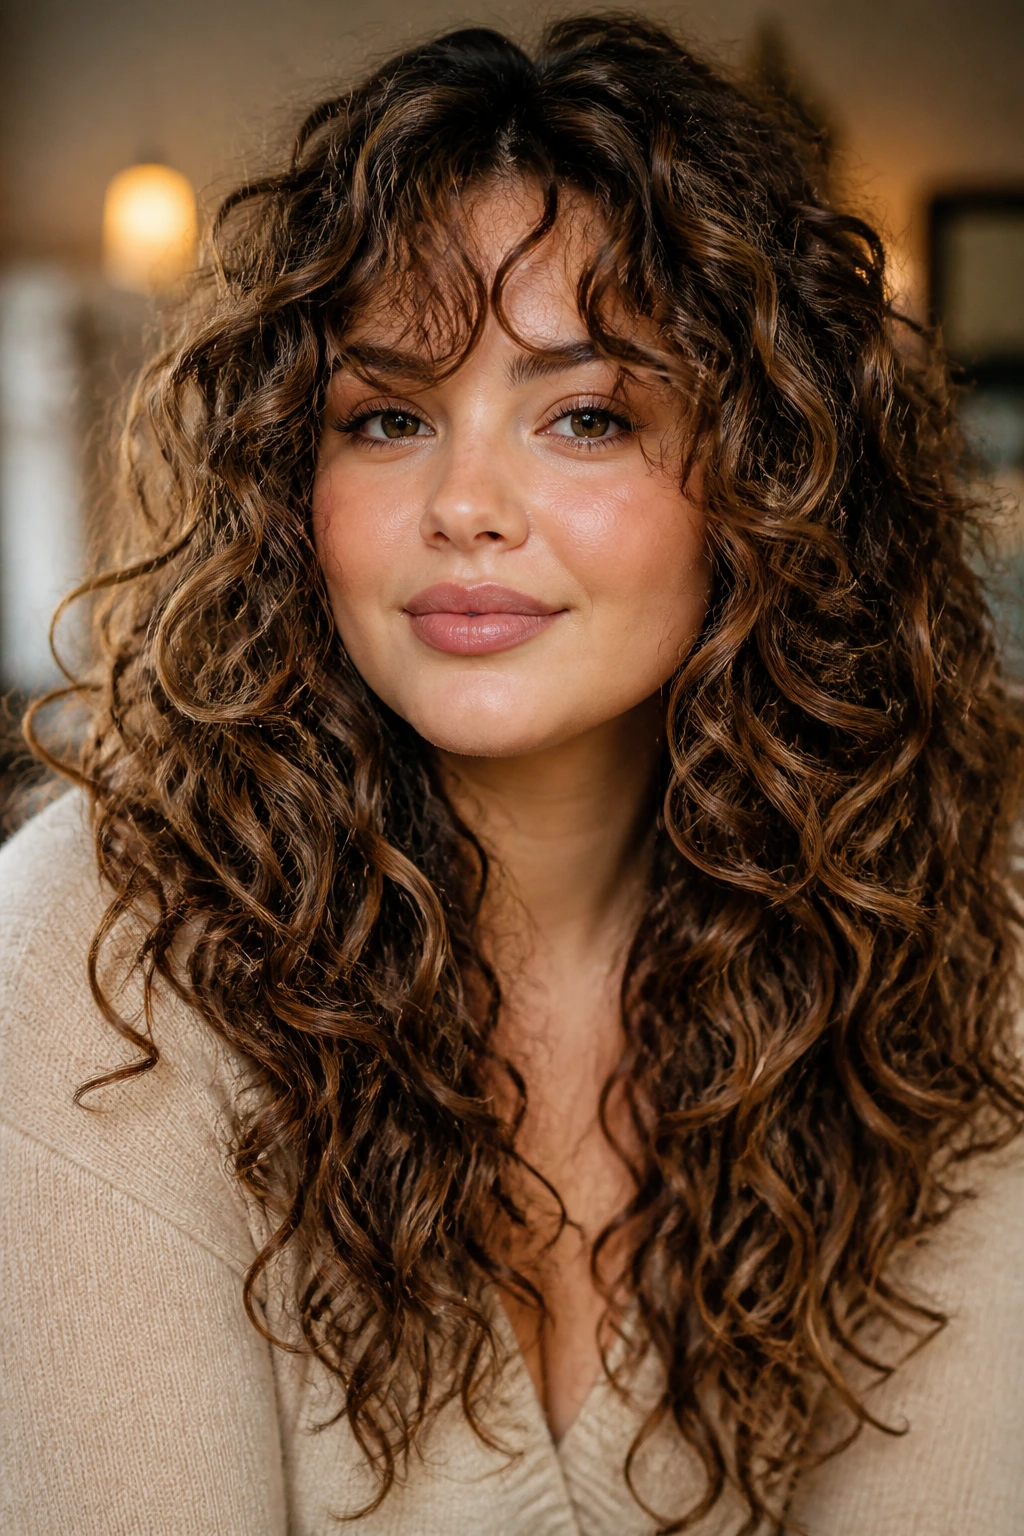
10. Mid-Length Cut With Light, Floating Ends

Some curls look best when the ends are not carrying all the weight. A mid-length cut with light ends lets the curl pattern swing a little, which keeps the silhouette from getting heavy at the bottom. The front pieces should still land below the widest point of the face, or the whole shape can read rounder than it is.
This one is good if you want movement but not a lot of layers flashing at you from every angle. The haircut feels easy, but it’s not lazy. The layers are simply quiet. Quiet cuts usually age better on curl.
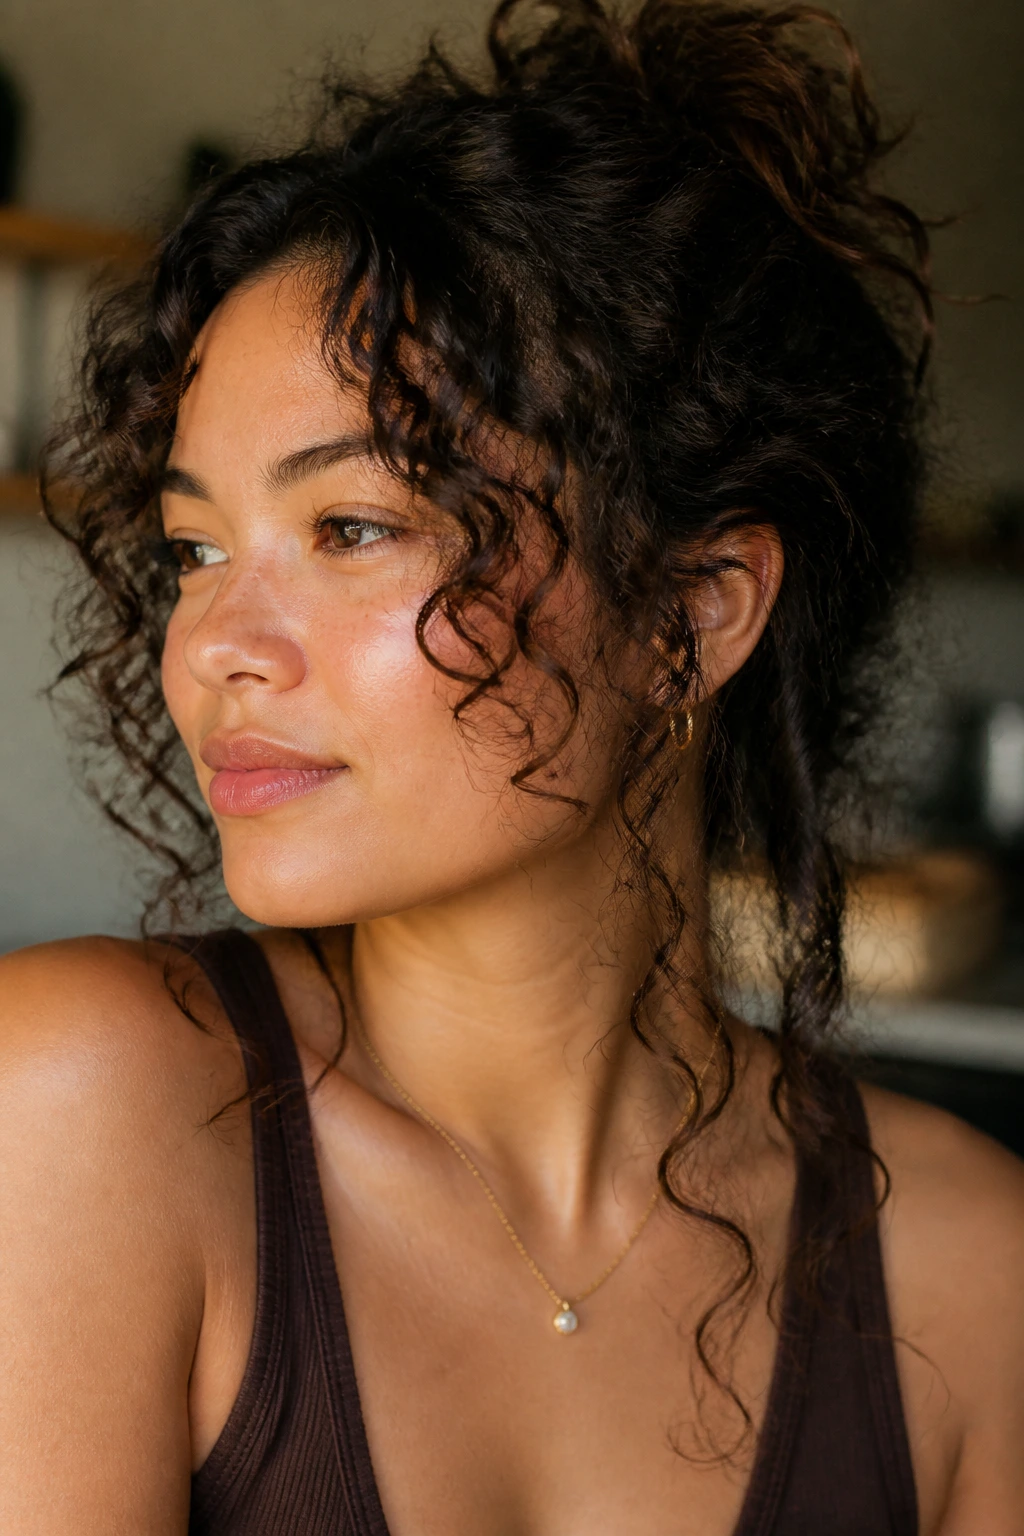
11. Halo Layers That Lift the Crown
Halo layers are all about height where the eye doesn’t expect it. The crown gets lifted, the top curls stack a little higher, and the face ends up looking longer because the silhouette rises upward before it falls. On a round face, that upward motion can be a quiet lifesaver.
The key is to keep the sides from getting too fluffy. A halo that’s all top and no control below just turns into width with enthusiasm. Keep the perimeter clean, and the crown can do the flattering work without making the style look puffy.
12. Chin-Bypass Layers With Side-Swept Fringe
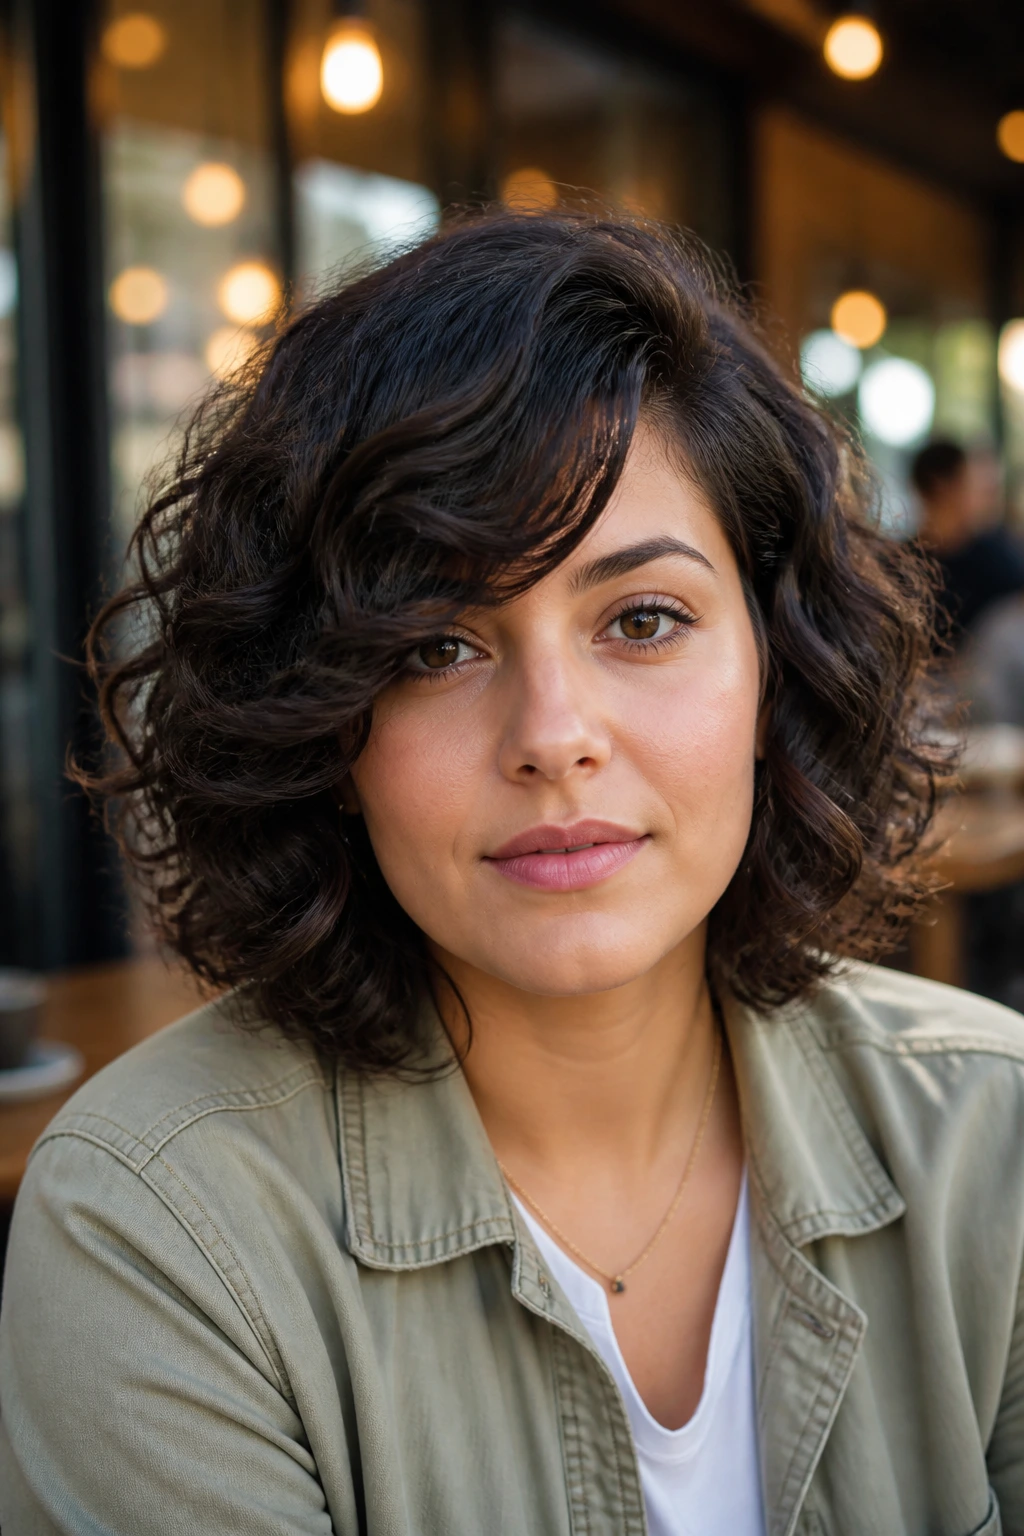
Think of this as the anti-chin cut. The shortest pieces don’t end at the jaw; they slide past it. That matters because the chin and jaw are where a round face often feels widest in profile. Letting the layers bypass that area gives the whole shape room to breathe.
A side-swept fringe helps too. It creates a diagonal line that’s easier on the eye than a straight horizontal bang. If your curls spring up fast, keep the fringe a little longer than you think you need. Long enough to sweep. Too short and it turns into a row of tiny surprises.
13. Triangle-Balancing De-Bulked Cut
Dense curls can widen at the bottom if the interior is too heavy. This cut removes bulk under the outer layer so the hair falls with more shape and less triangle. It’s especially useful if your curls are thick at the crown and even thicker at the ends, because round faces and bottom-heavy curls tend to argue with each other.
The trick is not to carve too much from the surface. Keep the outline soft. Let the body stay in the ends, but only after the inside has been opened up. That way the cut moves instead of sitting like a pyramid.
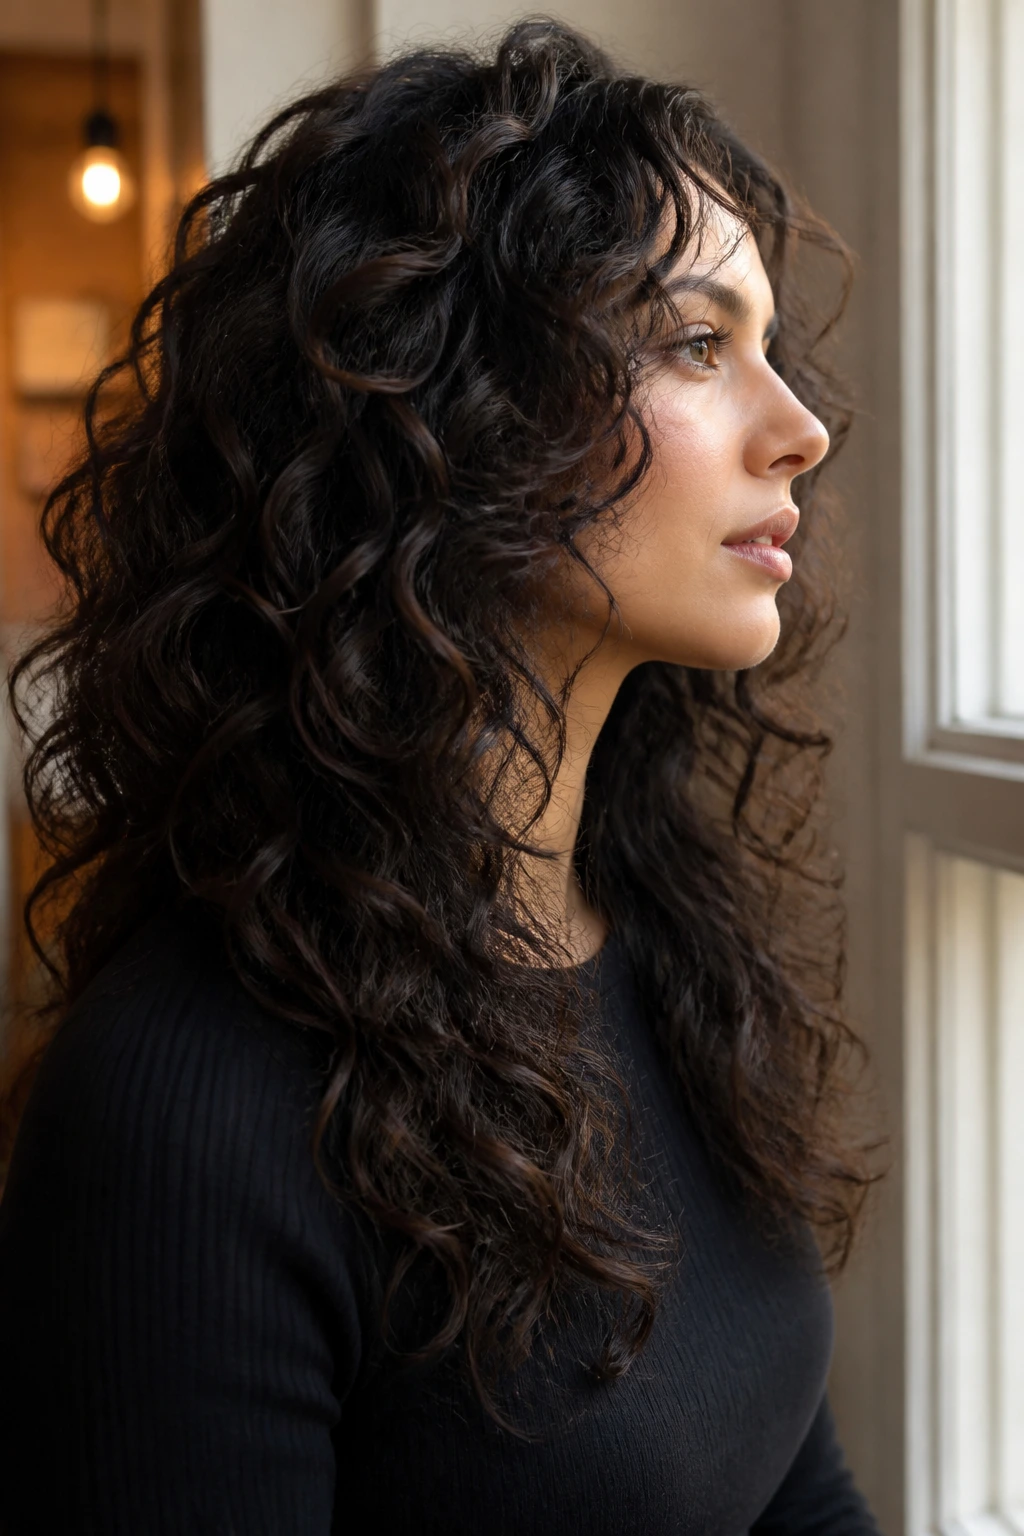
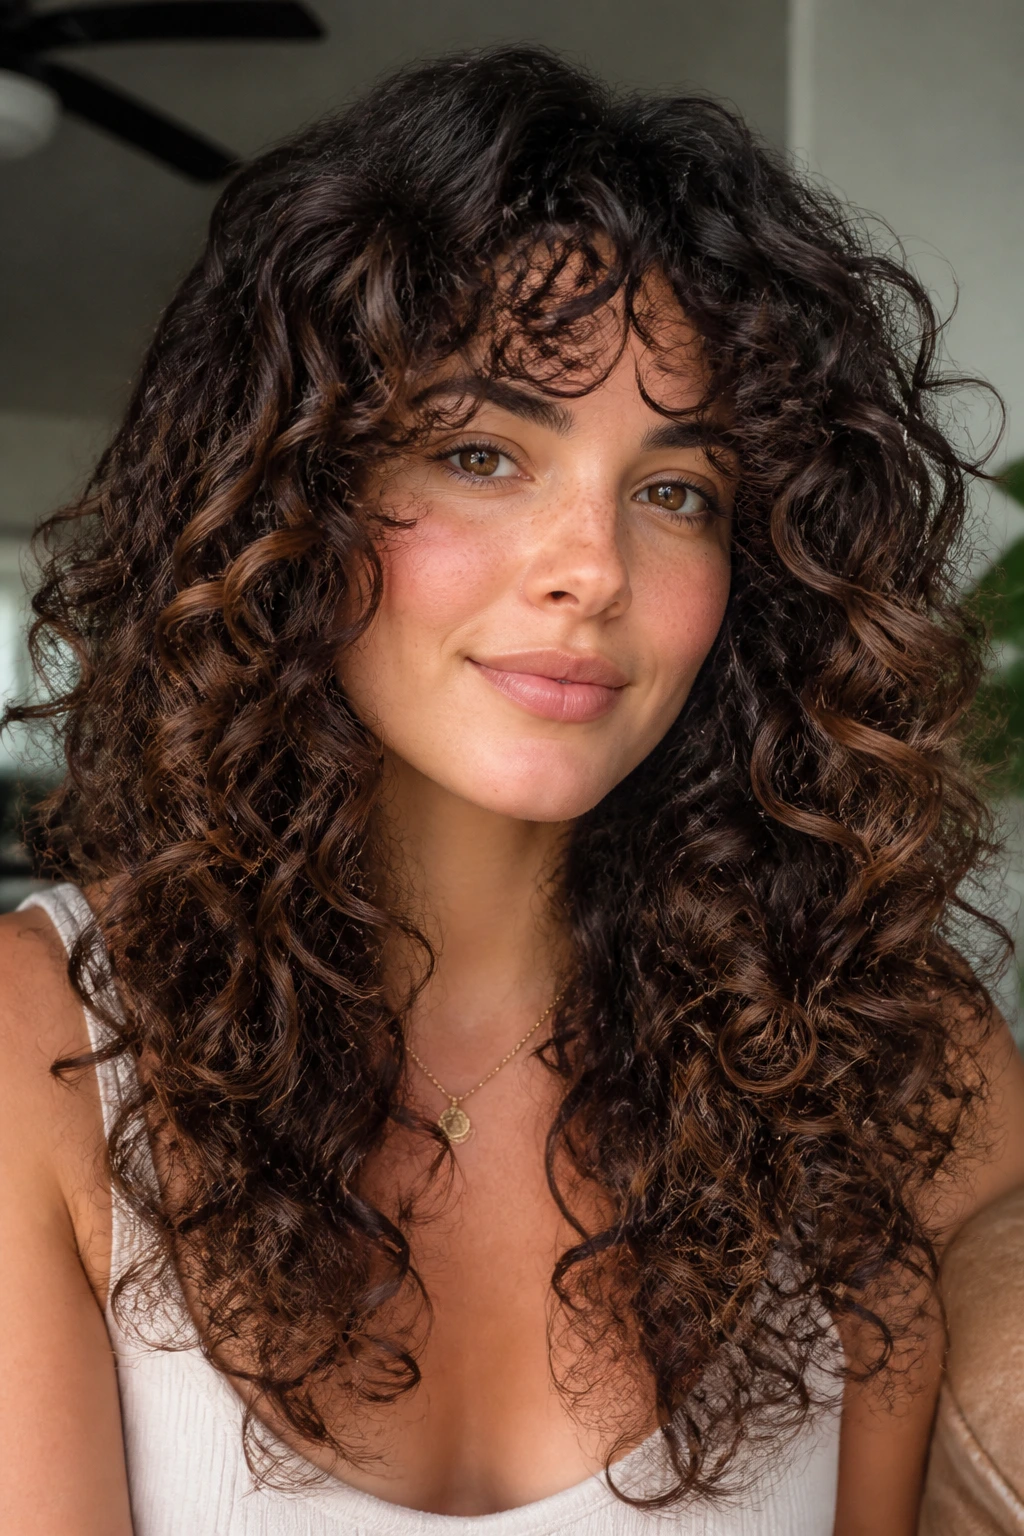
14. Long Spiral Layers Past the Shoulders
Long curls do not have to mean one heavy curtain. Spiral layers spaced past the shoulders can keep the length while stopping the sides from expanding at cheek level. The front should still sweep downward, preferably with the shortest pieces landing below the mouth or chin depending on curl spring.
This shape is good if you love long hair and don’t want to fight for every inch of it. It also grows out gracefully, which is more useful than it sounds. A cut that looks decent at eight weeks and decent again at fourteen is a better haircut than a dramatic one that quits early.
15. Asymmetrical Curl Cut
A little asymmetry can go a long way on a round face. One side sits slightly longer, or the part lands off-center, and the eye no longer reads the face as a perfect circle. The effect is subtle, not theatrical. That’s the sweet spot.
This cut works best when the asymmetry is built into the layers, not just the styling. If the curls are all one length, the shape may still puff evenly on both sides. A real asymmetrical cut gives the front a directional feel that round faces often welcome.
16. Tapered Curly Crop With a Longer Top
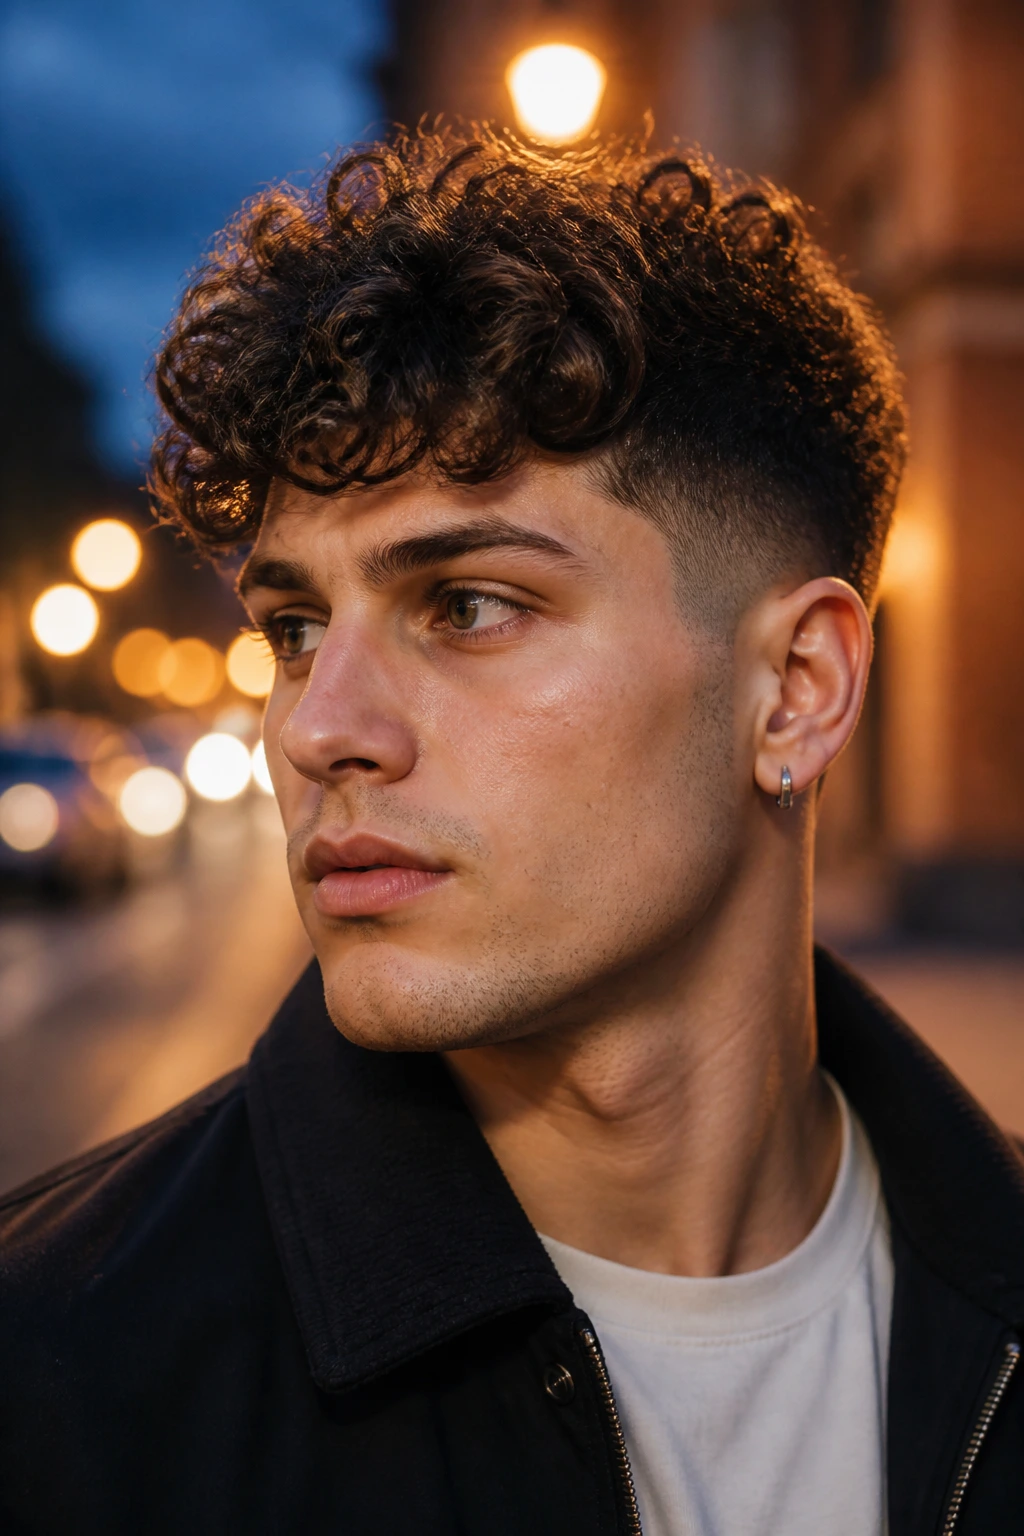
Short and round can work together when the top does the lifting and the sides stay tight. A tapered crop keeps the width under control while the curls on top create height and texture. The difference between this and a too-short cut is proportion. You want lift, not a puff ball.
This is especially good for people who like seeing their curl pattern rather than fighting it every morning. The crop lets the texture be visible. Just keep the side taper clean, because fuzzy sides can widen the face fast.
17. Shaped Afro Layers With a Soft Outline
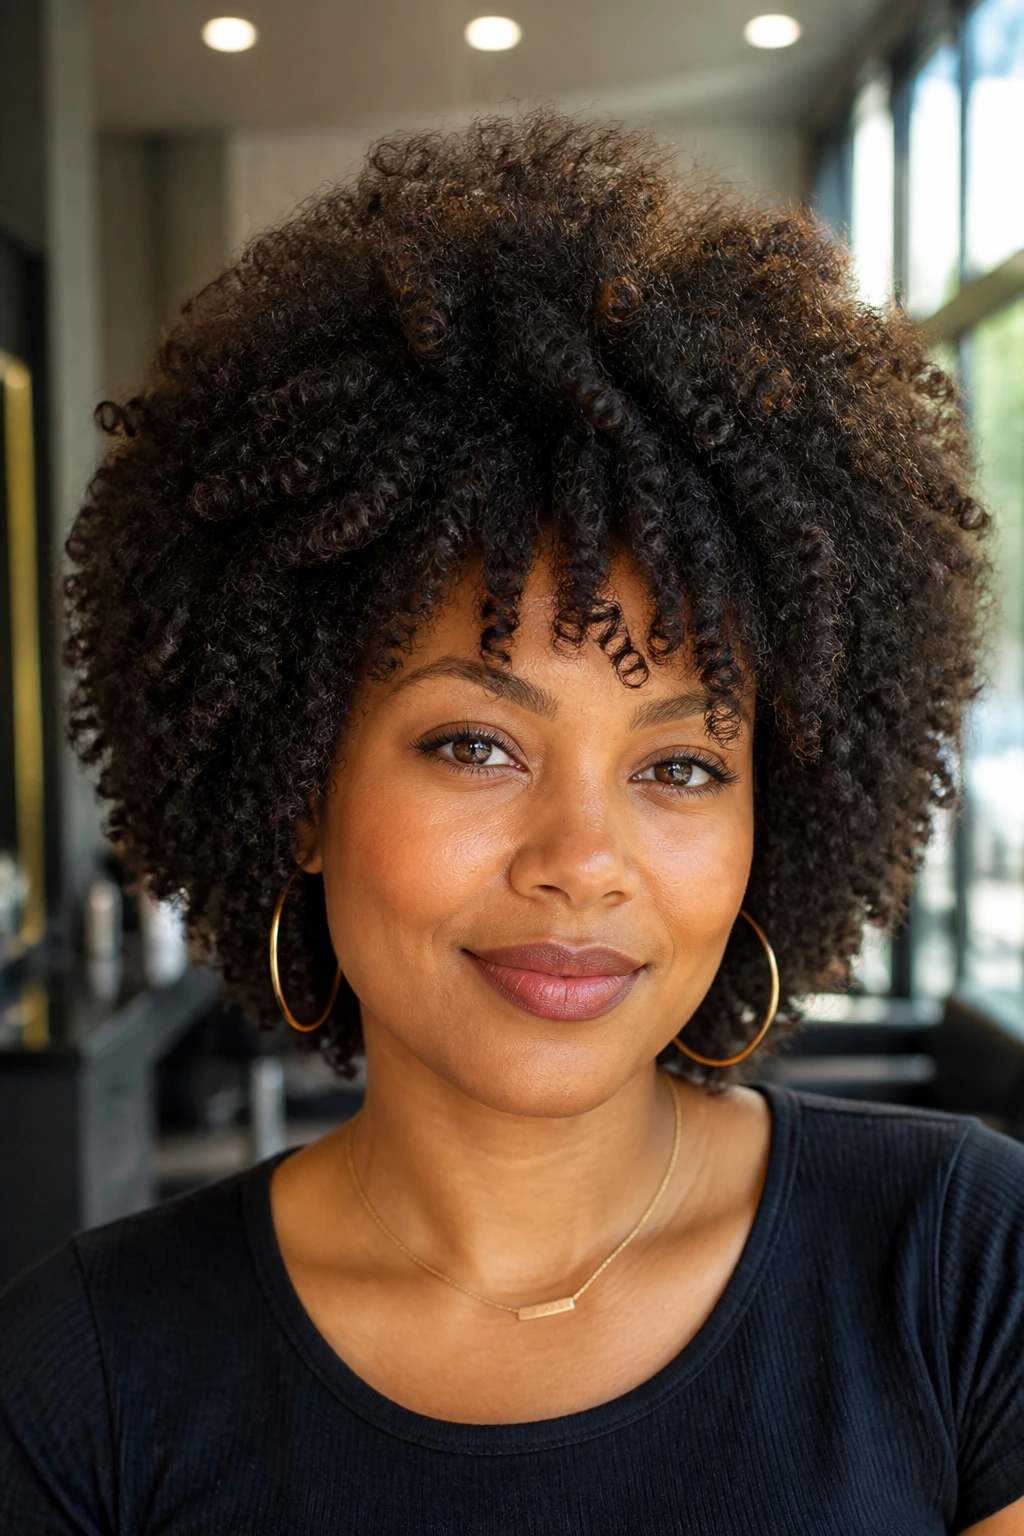
Coily hair has its own geometry, and round faces benefit from a shape that respects it. A shaped afro with soft layers keeps the outline rounded but not boxy, and the height up top stretches the silhouette in a flattering way. The perimeter should curve gently instead of sitting as a hard line at cheek level.
This cut is strongest when the stylist cuts with the natural shrinkage in mind. Coils pull up a lot. If the shortest layer lands too high, the face can feel wider. If the crown has lift and the sides are polished, the whole look feels intentional.
18. Mid-Length Corkscrew Layers
Corkscrew curls need room to spiral, and mid-length layers give them that room without letting the hair spread sideways. The layers should be spaced so the curls stack rather than clump. That creates movement from the cheek down to the shoulders, which is flattering on round faces because it keeps the front line active.
I like this shape when someone wants definition without a ton of visible separation between layers. The cut should read as fluid, not chopped. Too many short bits and the silhouette starts to frizz up around the cheeks.
19. Softly Stacked Layers in the Back
Stacking in the back can give curls a nice lift without crowding the face. The front stays longer, which is the part that helps a round face most, while the back gains enough roundness to keep the cut from dragging. It’s a smart move if your curls collapse at the nape and need structure.
The side view matters here. A good stacked back should rise neatly, not explode outward. If the back gets too short or too fluffy, the shape can feel top-heavy. A softer stack keeps the haircut wearable.
20. Center-Part Curtain Layers

A center part can work beautifully when the layers are built to open from the middle instead of fighting it. Curtain layers split away from the face, then soften as they fall. On a round face, that opening creates a vertical window that feels longer and cleaner than a blunt curtain.
What to ask for
Ask for the front pieces to begin low enough that they don’t sit right on the cheeks. The part itself should feel relaxed, not ruler-straight. If your curls are dense, the center section may need a little more length so the front doesn’t swell outward.
What it looks like in motion
The hair moves like fabric when it’s cut well. That’s the appeal. Not stiff. Not staged. Just a face-framing shape that opens and closes with the curl pattern.
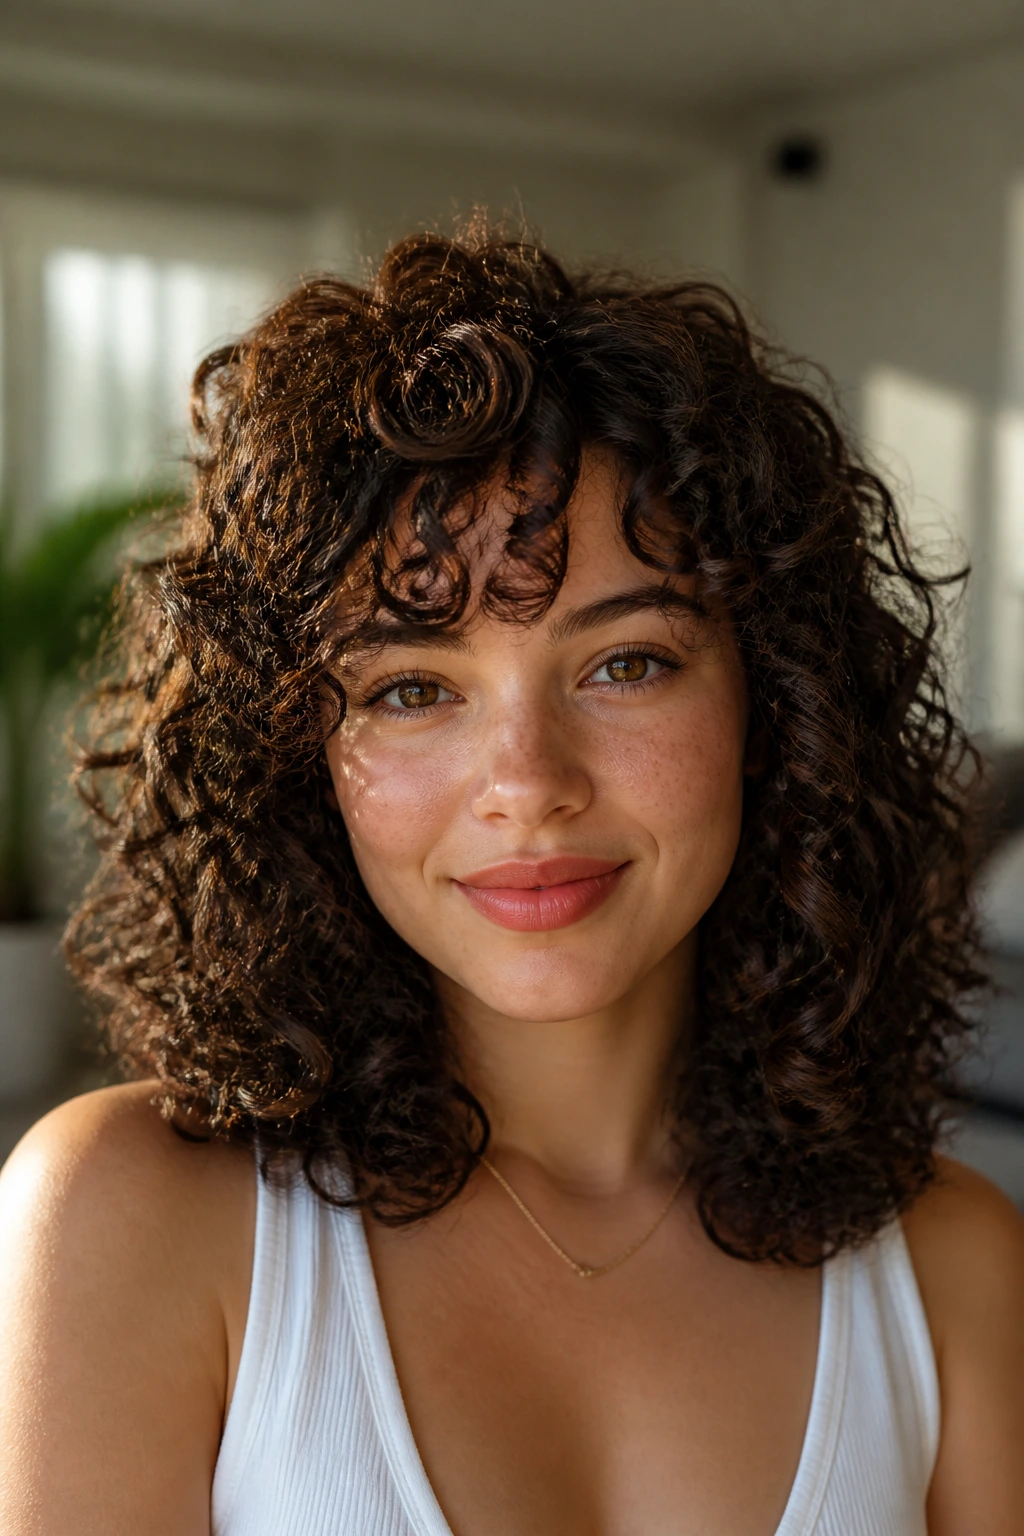
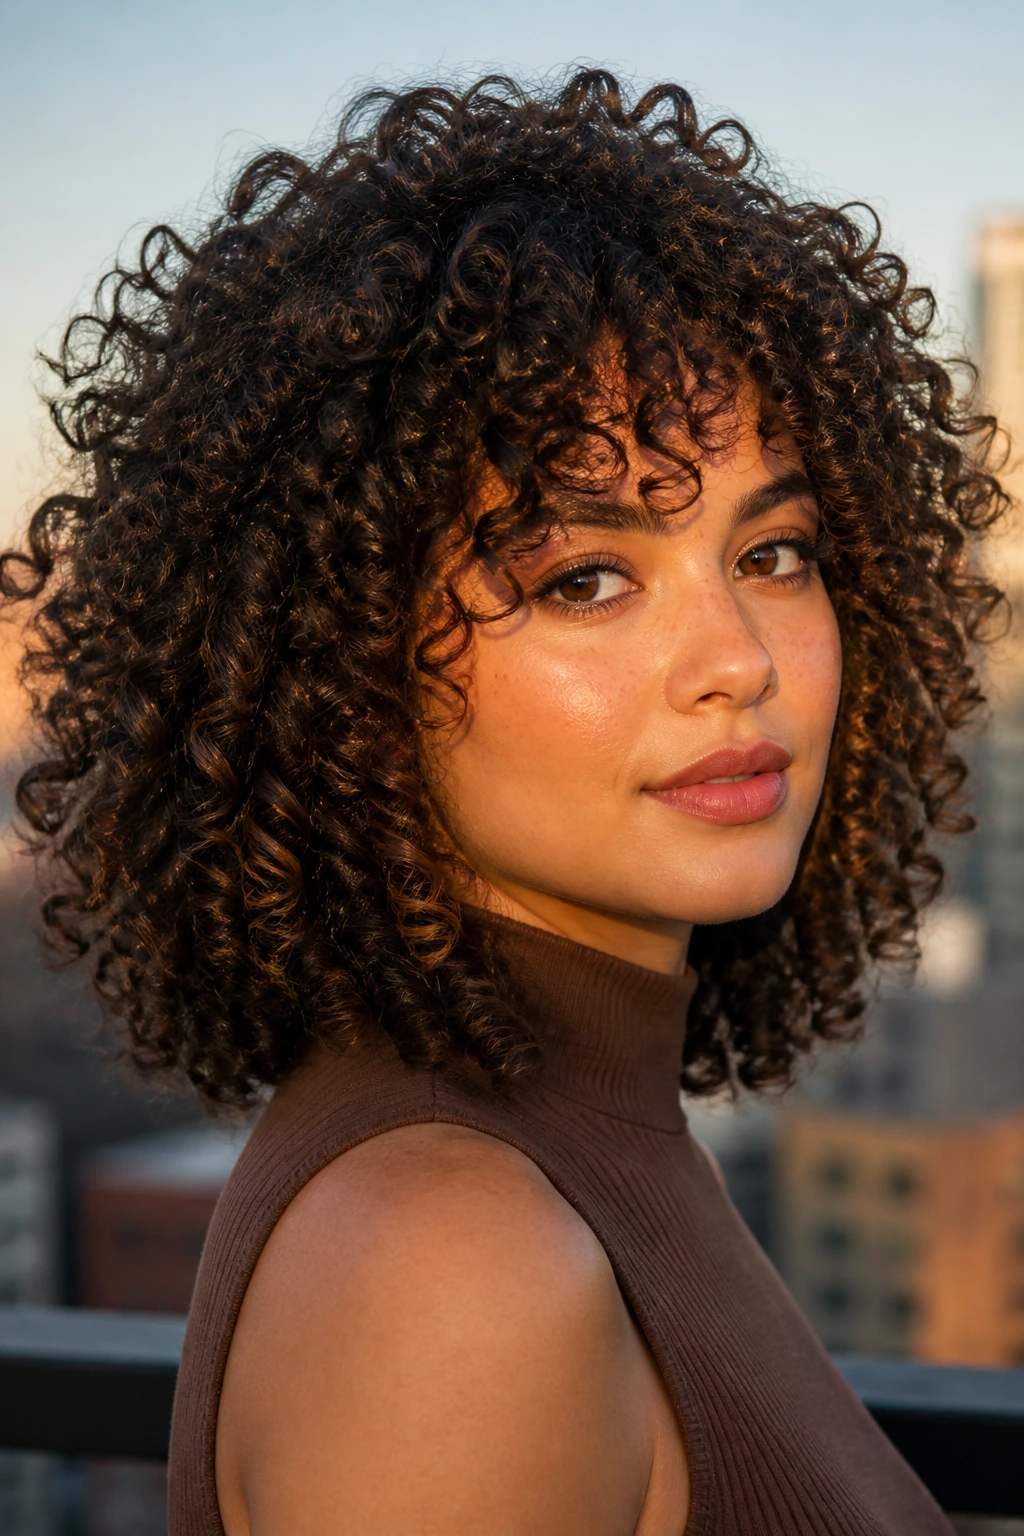
21. Ringlet Layers With Wispy Ends
Ringlets like air around them. Wispy ends can sound scary, but when they’re done with restraint, they make a cut feel lighter and more agile. On a round face, that lightness helps the hair move down and away instead of sitting in a solid mass at the cheeks.
The caution is obvious: too much wispy work and the ends get see-through. Keep the layering soft and the perimeter strong enough to hold shape. The best version still has substance at the bottom, just not a brick wall of it.
22. Dense-Curl Layers That Remove Bulk
This is the cut for hair that feels like it has a private agenda. Dense curls can take over a round face if the interior never gets opened. The solution is to remove bulk from underneath while keeping the outer shell smooth and readable.
The stylist should be thinking in sections, not random snips. If they cut too much from the surface, frizz shows up fast. If they remove too little, the sides balloon. Dense curls need weight control, not punishment.
23. Textured Mullet With Gentle Length
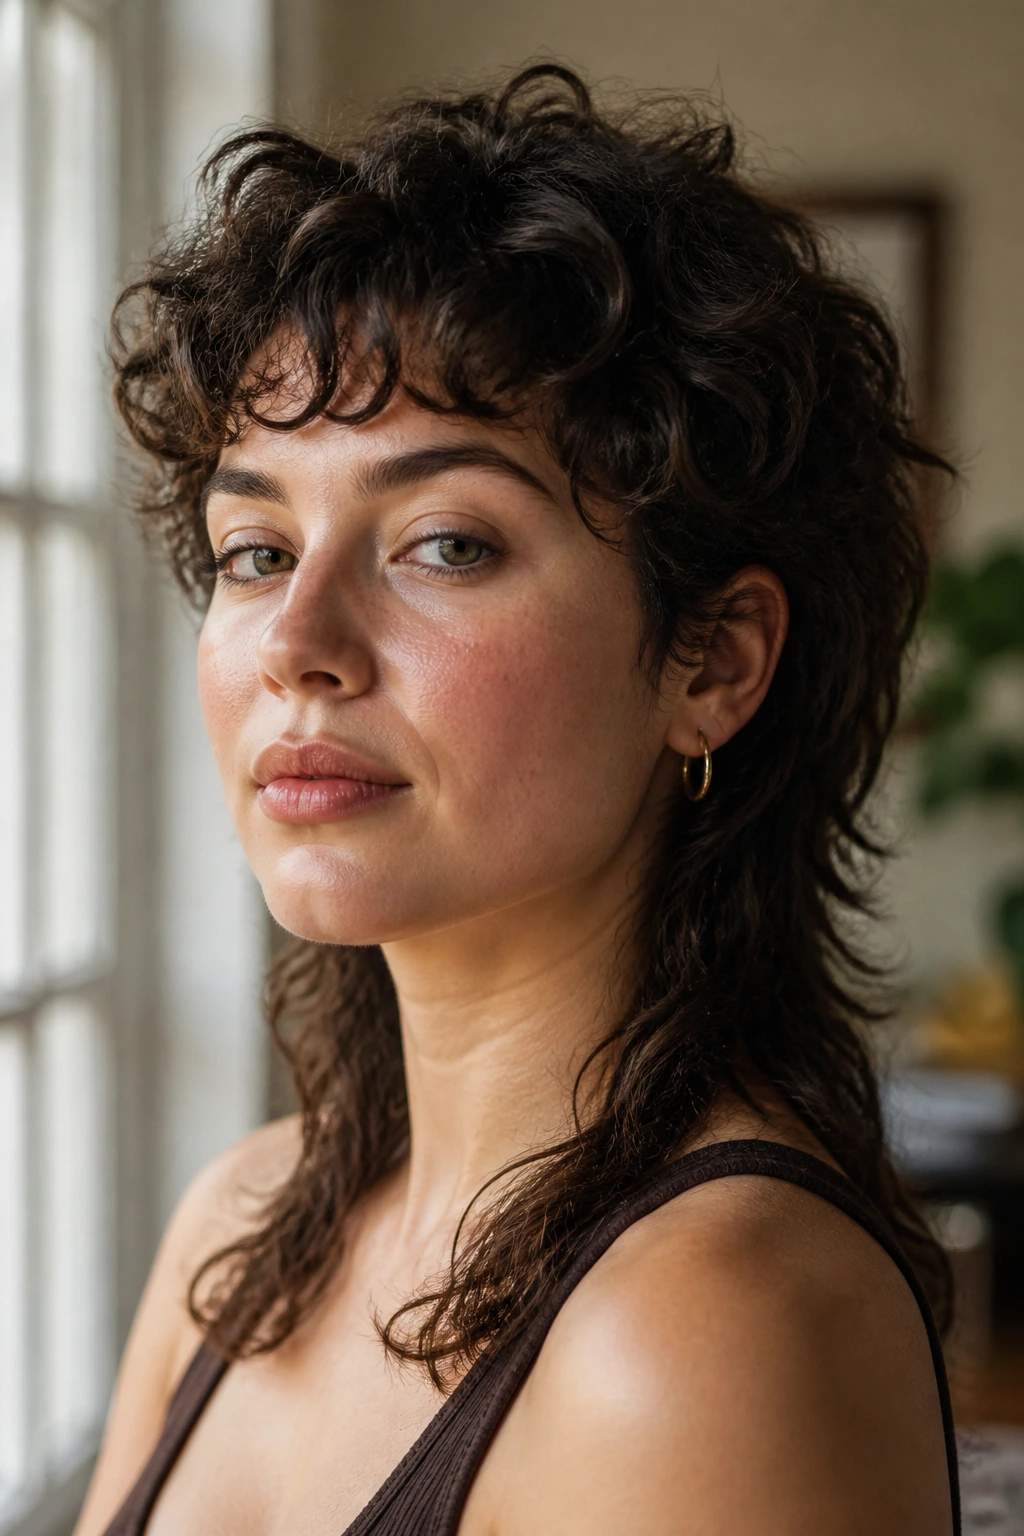
A modern curly mullet can work on a round face when the edges stay soft and the crown carries the shape. The front and top can be shorter, but the back should keep enough length to stretch the silhouette. Done well, it gives movement without losing polish.
This is not the cut for someone who wants their hair to disappear into the background. It has personality. Still, the face-framing pieces should not end at the cheeks. That’s the part people get wrong when they go too hard on the trend and forget the face shape.
24. Crown-Heavy Cut With Slimmer Sides
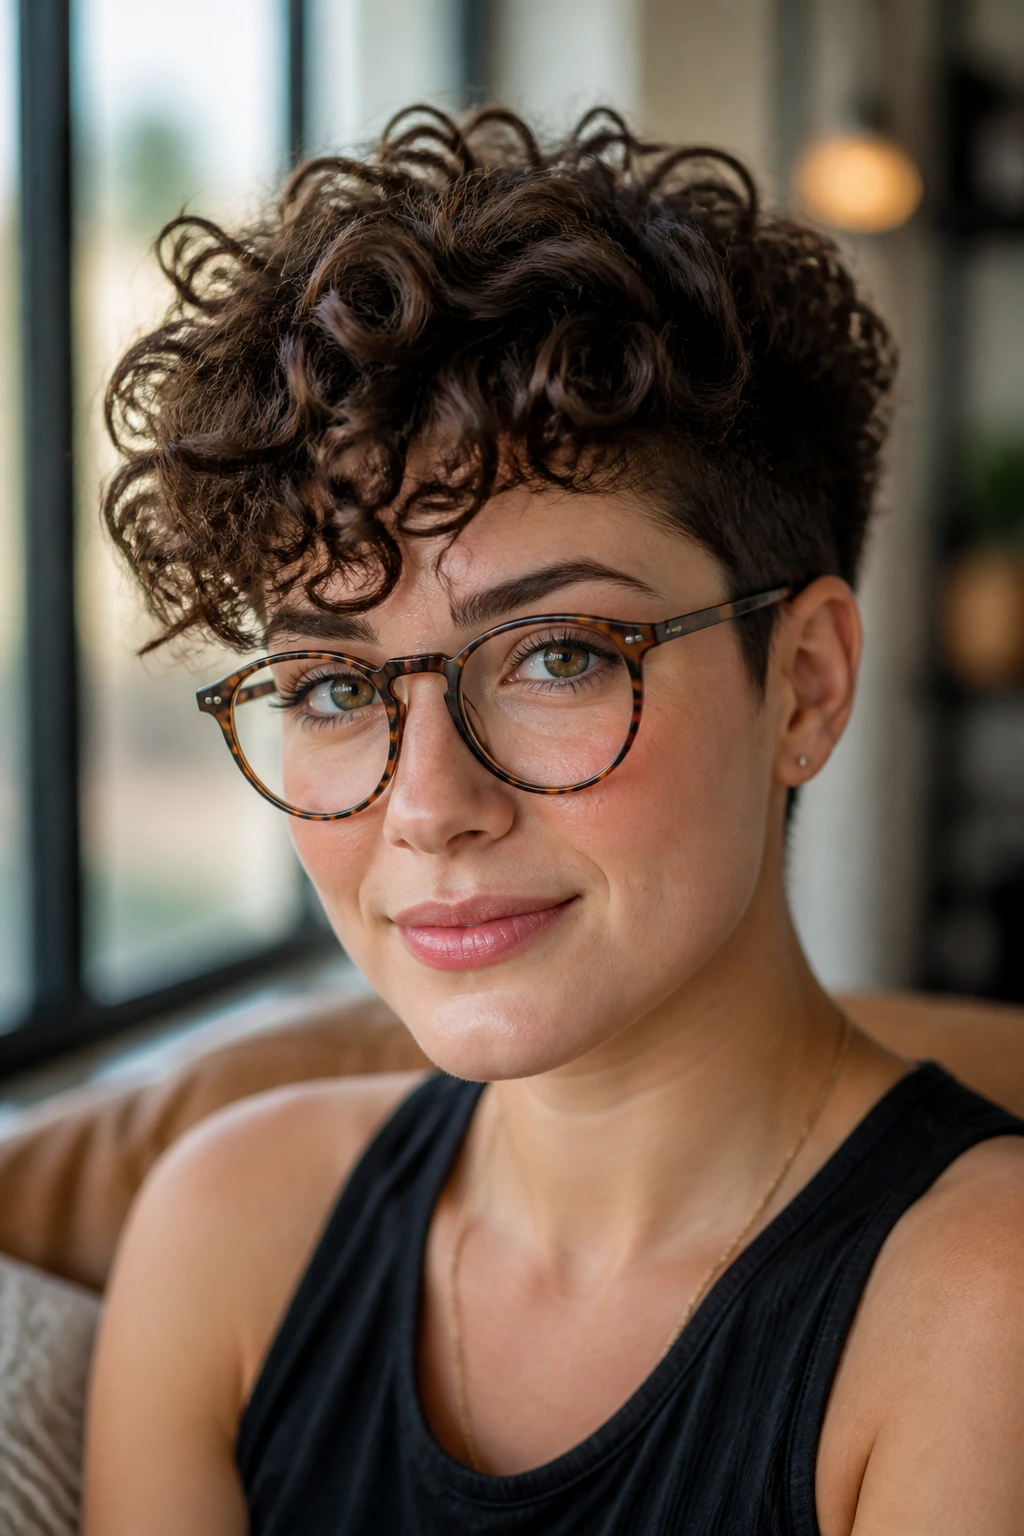
This one is blunt in the best way: put the volume where it helps. A crown-heavy cut gives lift at the top and trims the sides just enough so the face reads longer. Round faces often look best when the eye moves up before it moves out.
Why it works
The top becomes the focal point. The sides stay controlled. That keeps the whole silhouette from spreading in every direction at once, which is what makes a curly cut feel bulky.
When to choose it
If your hair goes flat on top and wide at the temples, this shape can reset the balance. It’s especially useful if you wear glasses, because the lifted crown keeps the frame of the face from feeling crowded.
25. Mixie Cut With Curly Fringe
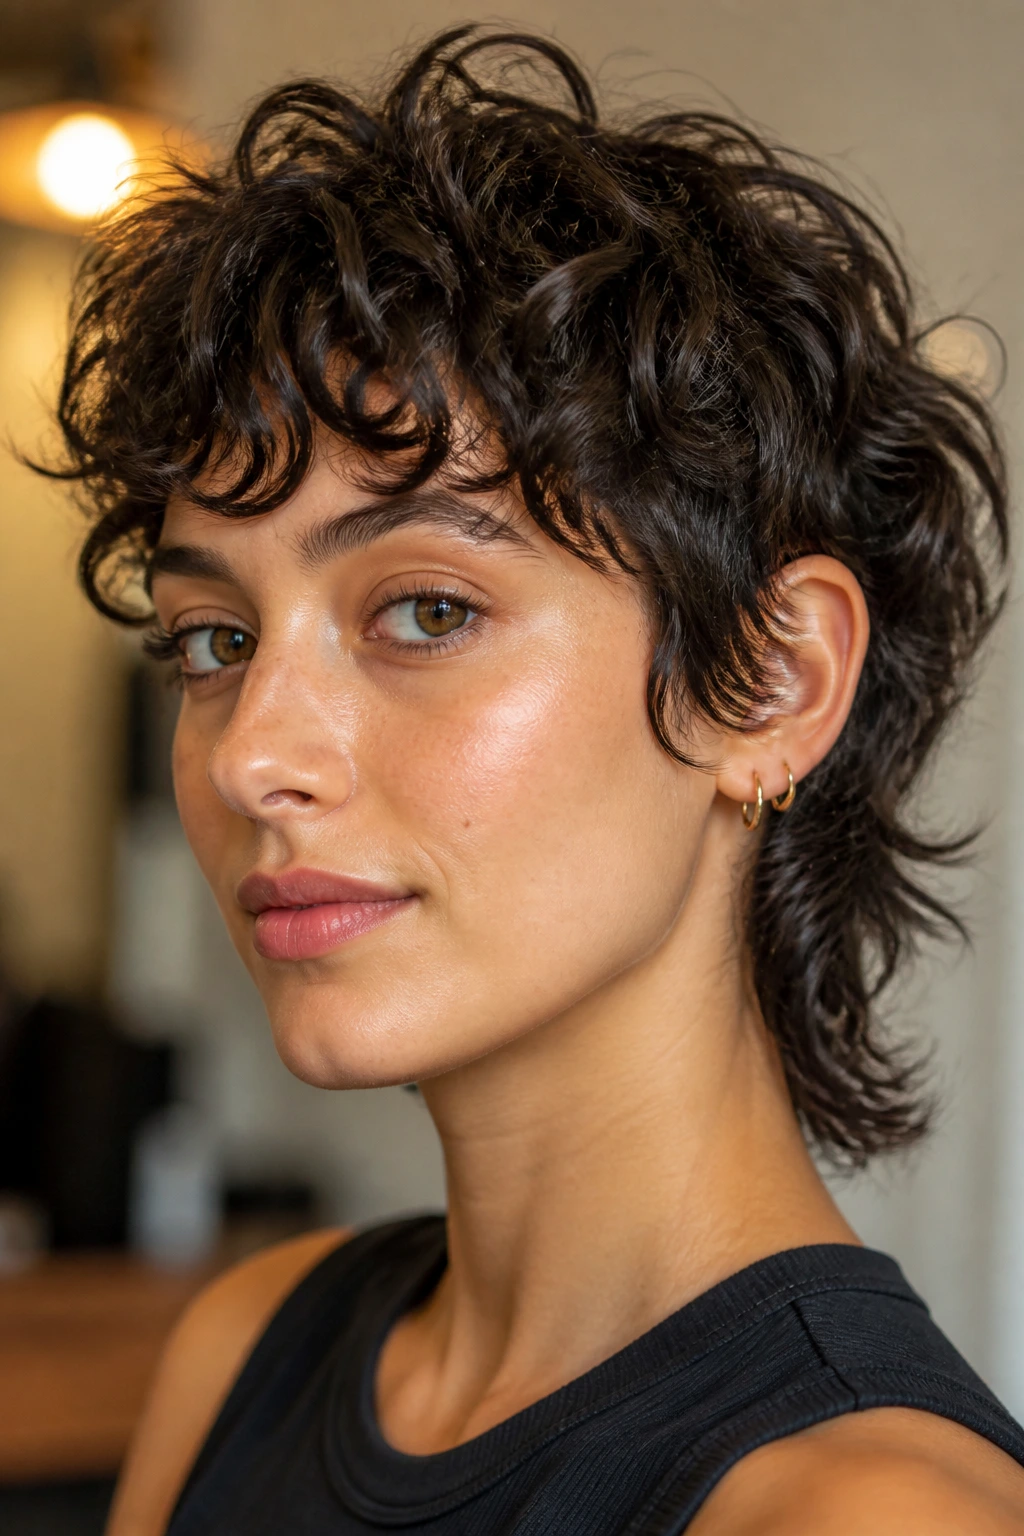
The mixie sits between a pixie and a mullet, which sounds odd until you see how well it can play with curls. A curly fringe softens the forehead, the crown stays textured, and the back keeps a little length so the shape doesn’t stop dead at the face. On a round face, that motion matters.
The best mixie is not choppy for the sake of being choppy. The fringe should curve, not cut across like a line on paper. Keep the ends soft, the nape neat, and the top lifted enough to keep the silhouette from getting squat.
How to Style Textured Layers for Curly Hair and Round Faces at Home
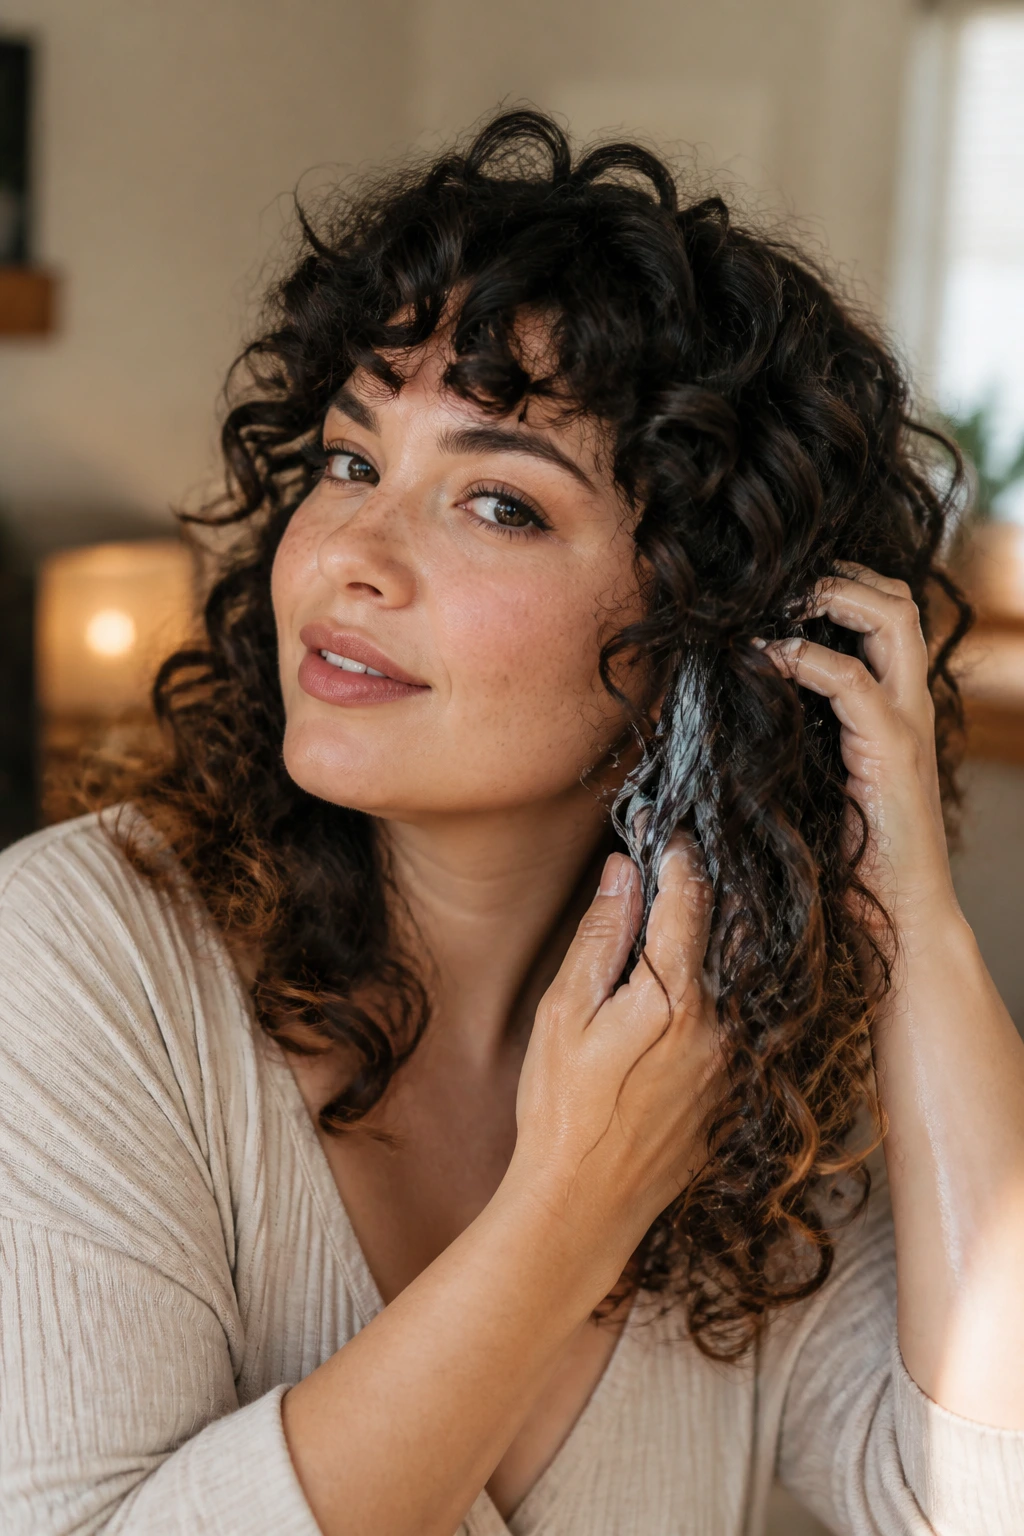
A good cut still needs a little help when it leaves the salon. The goal at home is not to re-create the haircut from scratch. It’s to keep the shape honest: lift where you need length, control where you don’t want width, and let the curl pattern stay defined instead of blown apart by rough handling.
Shape: Start with product at the roots if your crown tends to collapse, then scrunch a lighter product through the mids and ends. That keeps the upper half from lying flat while the lower half stays soft. If the sides feel too full, don’t pile on more cream there. Use less product, not more.
Part: A deep side part can narrow the look of a round face fast. A center part works best when the front layers are long enough to open away from the cheeks. Shift the part a quarter inch one way or the other if the face feels too symmetrical. Tiny changes matter more than people think.
Finish: Diffuse on low heat if you want lift, or air-dry with root clips if your curls lose their shape under a dryer. Keep your hands out of the hair once the cast starts forming. Raking through wet curls is how you turn a layered cut into a fuzzy cloud.
Best pairing: Satin at night. A satin pillowcase or bonnet keeps the curl pattern intact so the front pieces don’t explode in every direction by morning. That matters even more with round faces, because the first two inches around the hairline can change the whole silhouette.
The Tools That Make the Shape Behave

You do not need a drawer full of gadgets. You need a few things that help curls hold the shape your cut already gave them.
- Diffuser attachment — Lets you dry curls without blasting them apart; a bowl-shaped one is easier to control than a tiny nozzle.
- Spray bottle with water — Useful for reactivating day-two curls and coaxing the front layers back into place.
- Wide-tooth comb or fingers — Good for detangling without wrecking curl clumps, especially on wash day.
- Microfiber towel or cotton T-shirt — Absorbs water without roughing up the cuticle as much as a regular bath towel.
- Duckbill or root clips — Handy for setting lift at the crown while the hair dries.
- Lightweight mousse — Gives body near the roots without weighing down the shape.
- Curl cream or gel — Cream adds slip; gel gives hold. The better choice depends on how much frizz control you need.
- Hand mirror — Worth keeping around for checking the back shape, especially with stacked or tapered cuts.
- Satin pillowcase or bonnet — Keeps the face-framing layers from getting crushed flat overnight.
How to Ask for Textured Layers for Curly Hair and Round Faces
The salon conversation gets much easier when you talk about shape instead of trends. Tell the stylist where you want the fullness to live and where you do not. That matters more than asking for a named haircut, because curly hair changes the final result so much from one head to the next.
Bring up shrinking length early. If your curls jump up a lot, the stylist should know that the wet cut is not the final cut. Ask where the shortest layer will land once it dries, and ask again if you need to. A good stylist won’t mind repeating the answer.
If your face is round, say you want the front to elongate the silhouette. That usually means layers that start below the cheekbone, side pieces that fall past the widest point of the face, or a crown that gets more lift than the sides. If you have thick curls, ask for internal shaping. If you have fine curls, ask them to keep more of the perimeter intact so the ends don’t look sparse.
Bring the styling habits you actually live with, too. If you always wear a side part, say so. If you air-dry, say that. A haircut built for a diffuser can land very differently from one meant for air-drying, and the difference shows up right at the front of the face.
Refresh, Trim, and Grow-Out Timing
Curly layers hold their shape longer than blunt cuts, but they still need a schedule. A short curly shag or pixie may want a trim every 6 to 8 weeks if you want the silhouette to stay crisp. A lob, butterfly cut, or long layered shape usually behaves for 8 to 12 weeks before the face-framing pieces start wandering into the wrong place.
The front is the part to watch. That’s where shrinkage shows first, and that’s where a round face feels the difference most. If the shortest pieces start landing at cheek level again, the cut can look wider in a hurry. I’d rather trim a little early than spend a month styling around the wrong shape.
At home, refresh with a light mist of water and a dab of leave-in or gel on the top layer. Don’t soak the whole head. You’re not restarting wash day. You’re waking the curls back up. Sleeping on satin helps the crown and side pieces keep their line, and that’s half the battle with layered curls.
Common Mistakes That Make Round Faces Look Wider
The first mistake is cutting the shortest layer too high. It sounds minor, but if the face-framing pieces land right on the cheeks, the haircut can puff outward at the widest point. The fix is simple: move the shortest pieces lower, or keep them longer and let the curl spring bring them up naturally.
Another problem is over-thinning the ends. Curly hair can go fuzzy fast when the perimeter gets too light. You’ll see see-through ends, a rough outline, and a shape that frizzes the second the humidity shows up. Ask for point cutting or soft internal shaping instead.
Ignoring shrinkage is the classic curly-hair trap. Wet hair tells lies. Dry hair tells the truth. If the cut looks perfect in the chair but the front jumps up too far after diffusing, the shape may suddenly feel boxy. That’s why dry checking matters.
Heavy creams can cause trouble too. They flatten the crown, which leaves the sides doing all the visual work. Use lighter products at the roots and save the richer stuff for the mid-lengths if your hair needs moisture.
And no, a center part is not automatically forbidden. It just needs layers that open away from the face instead of hanging straight down like curtains on a stage.
Variations and Adaptations to Try
Loose-Wave Version: Keep the layers longer and softer, with the shortest front pieces landing around the mouth or lower. Waves don’t shrink as hard as tighter curls, so too much layering can make the shape drift flat.
Tight-Curl Version: Allow more length than you think you need and focus on crown lift plus perimeter control. Tighter curls often need a little more weight at the bottom so the shape doesn’t explode sideways.
Fine-Hair Version: Use fewer layers, not more. The goal is movement, not see-through ends, and too much internal cutting can leave the whole shape wispy and flat by lunchtime.
Low-Maintenance Grow-Out Version: Ask for longer face-framing pieces and a softer transition from crown to ends. This keeps the cut readable as it grows, which matters if you only trim a few times a year.
Curly Bang Version: Curtain bangs or a soft side fringe work better than a straight, heavy fringe for most round faces. Keep the shortest point conservative, then let the curls decide how much forehead they want to show.
Frequently Asked Questions
What layer length is most flattering on a round face?
Usually, layers that start below the cheekbone and travel past the jawline do the best job. They pull the eye downward and keep the width from sitting right at the cheeks. That said, the exact spot depends on your curl shrinkage.
Do curly bangs make a round face look wider?
They can, if they’re cut too short or too blunt. Curtain bangs, side-swept fringe, or curly bangs that open at the center usually work better because they break up the width instead of drawing a hard line across the forehead.
Is a dry cut better than a wet cut for curly hair?
For many curly heads, yes. A dry cut shows the true curl pattern, the real spring, and the actual balance around the face. Wet cutting can still work if the stylist keeps checking the hair dry as they shape it.
Will layers make thick curly hair frizzy?
Not if the layers are placed with care. Frizz usually shows up when the hair is over-thinned, rough-cut, or cut in a way that chops up the curl clumps. A good textured cut should reduce bulk, not destroy the curl pattern.
Can fine curly hair wear layers on a round face?
Yes, but keep them longer and lighter. Fine curls can look stringy fast if the layers are too short or too numerous. A few soft face-framing pieces and a little crown lift often work better than heavy shaping.
How often should I trim textured layers?
Short cuts usually need shape-up trims every 6 to 8 weeks. Medium and long layered cuts can go 8 to 12 weeks, sometimes a touch longer if the front is still sitting where you want it.
What if my curls shrink more than I expected after the cut?
That usually means the cut was planned too short for the dry result. Next time, ask for the front pieces to be left longer than the wet length suggests, and tell the stylist exactly how much bounce your curls have after drying.
Can I still wear a center part with a round face?
Yes, if the layers are built to open around it. Center parts look best when the front pieces fall away from the cheeks and the crown has enough lift to avoid a flat, wide shape.
The Shape That Keeps Working
The best textured layers for curly hair and round faces do one thing very well: they move the weight of the haircut to places that flatter the face instead of fighting it. That can mean a long U-shape, a shag with soft curtain bangs, a cropped cut with height on top, or a layered lob that looks easy but was actually planned with care. The haircut name matters less than the placement.
Bring the shortest pieces lower than your instinct first tells you. Ask for the crown to carry some of the lift. Keep the sides from landing squarely on the cheek line. Do those three things well, and the cut starts working with your face instead of simply sitting on it.
And once you find the shape that lets your curls stack upward instead of outward, you’ll spend less time correcting the silhouette in the mirror and more time letting the cut do what it was built to do.