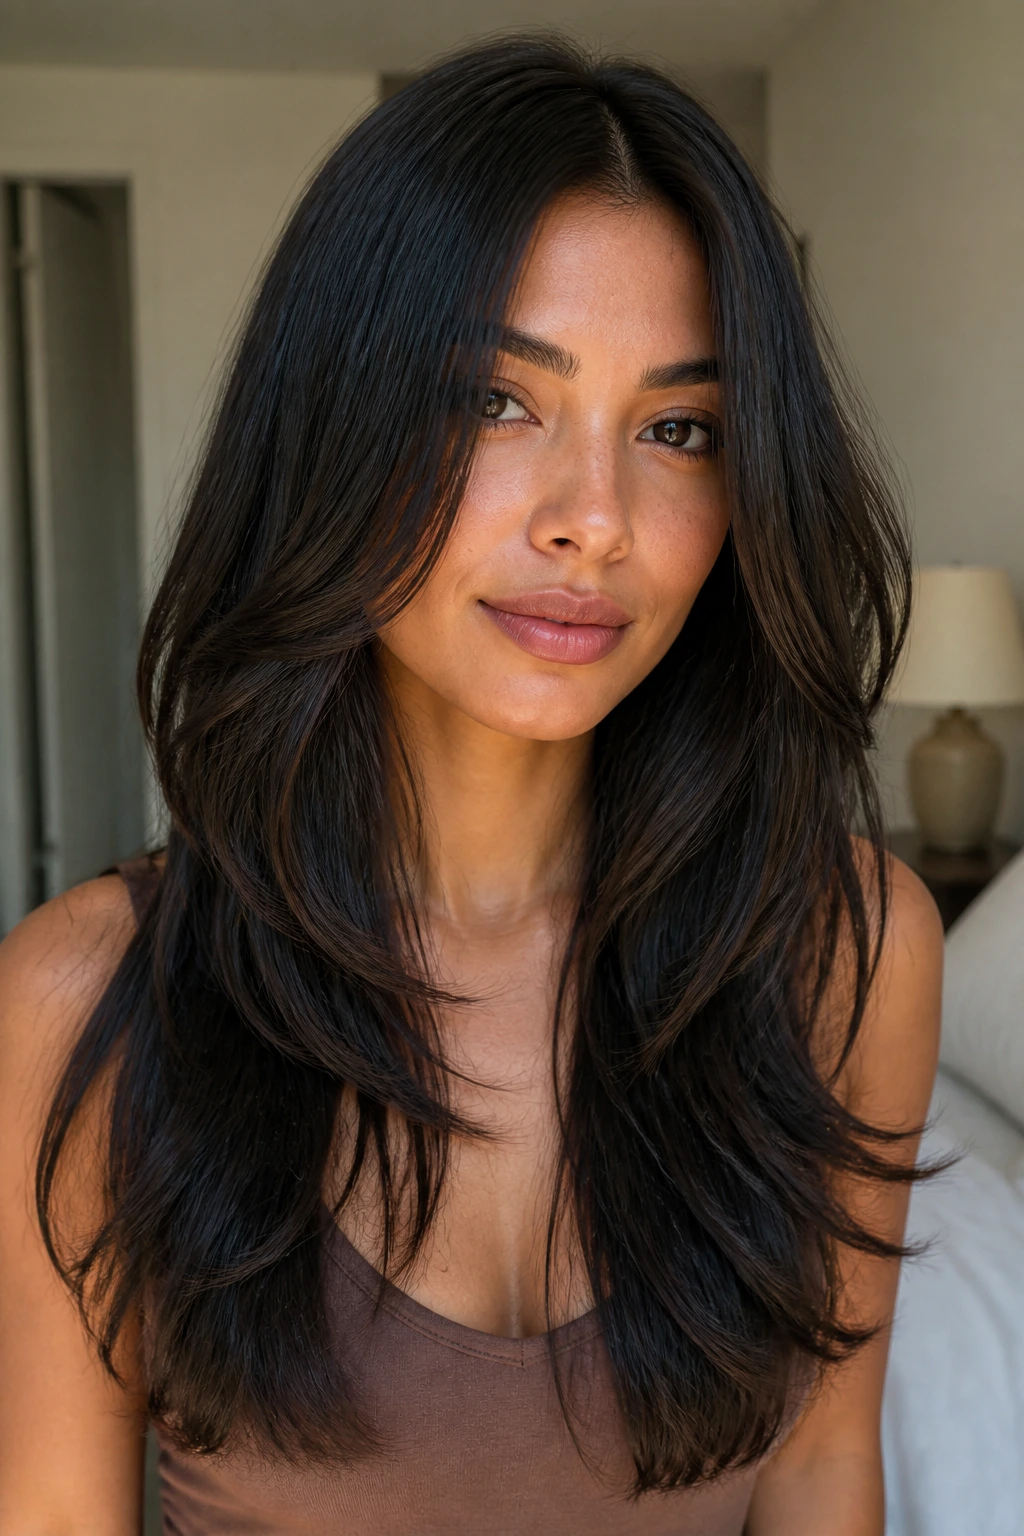
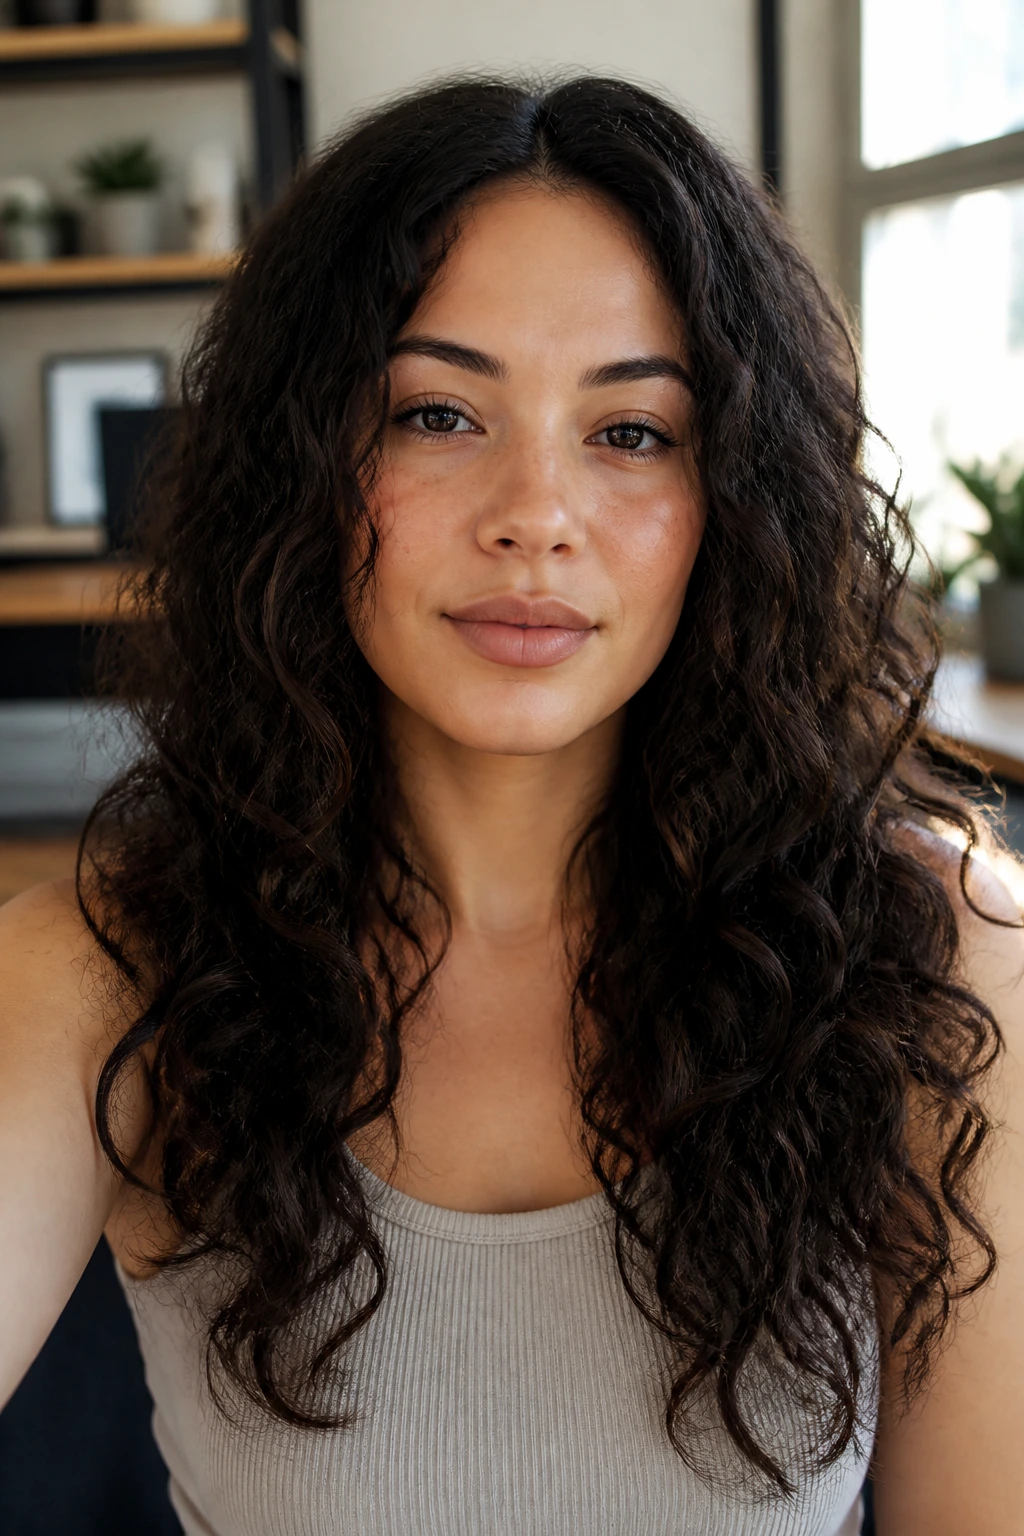
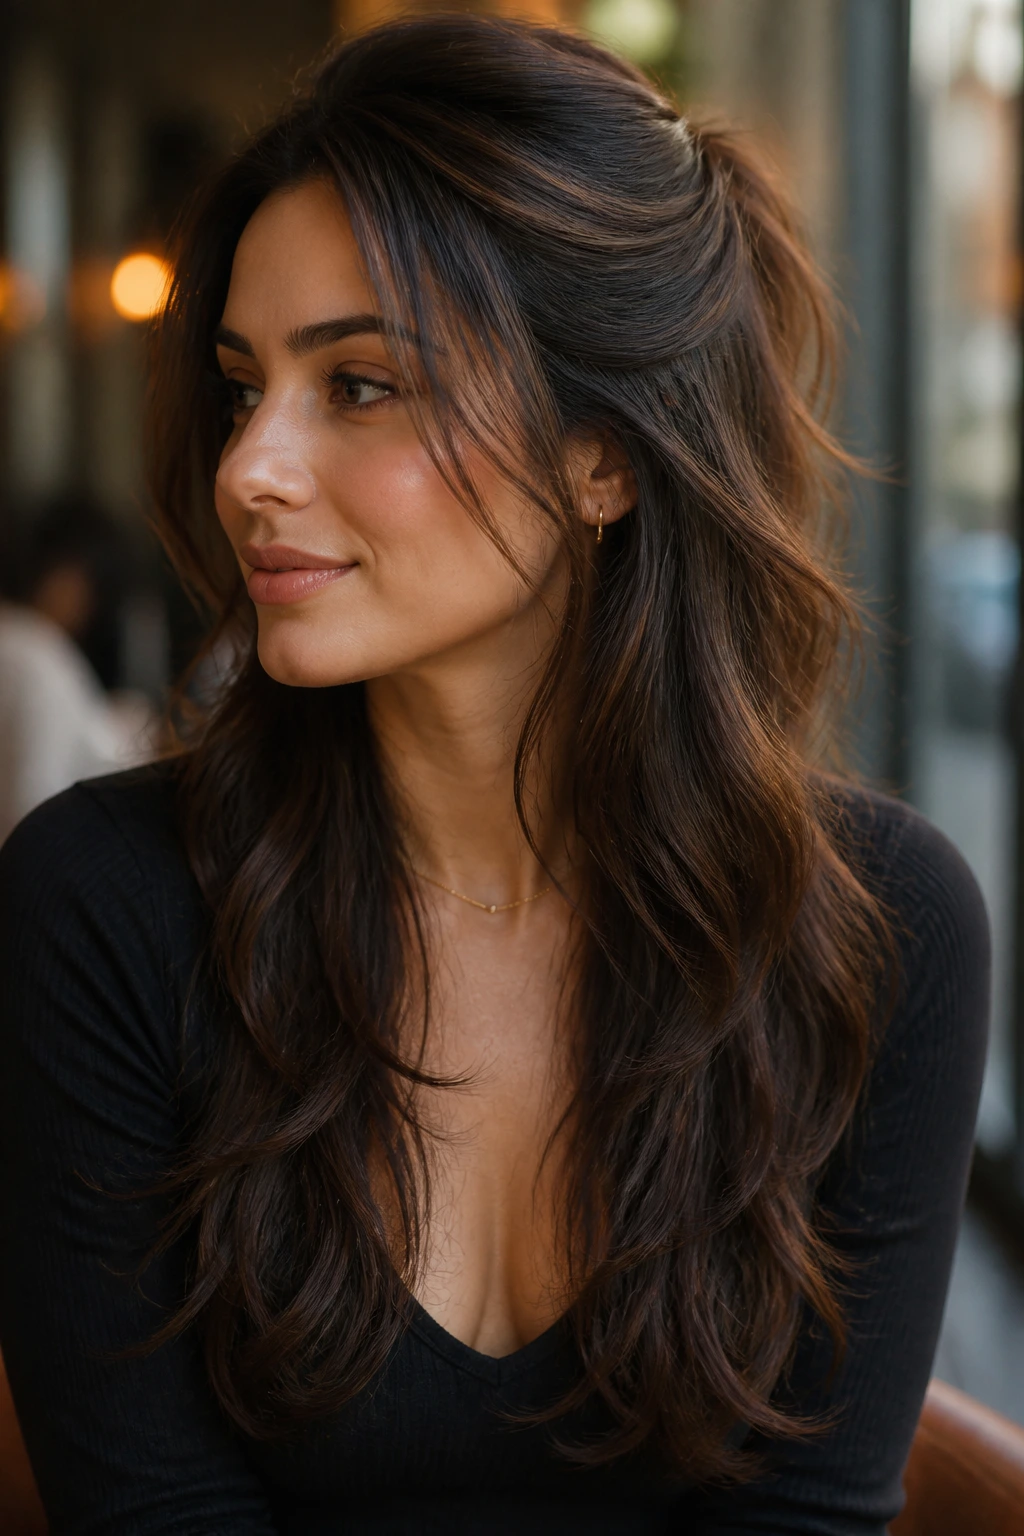
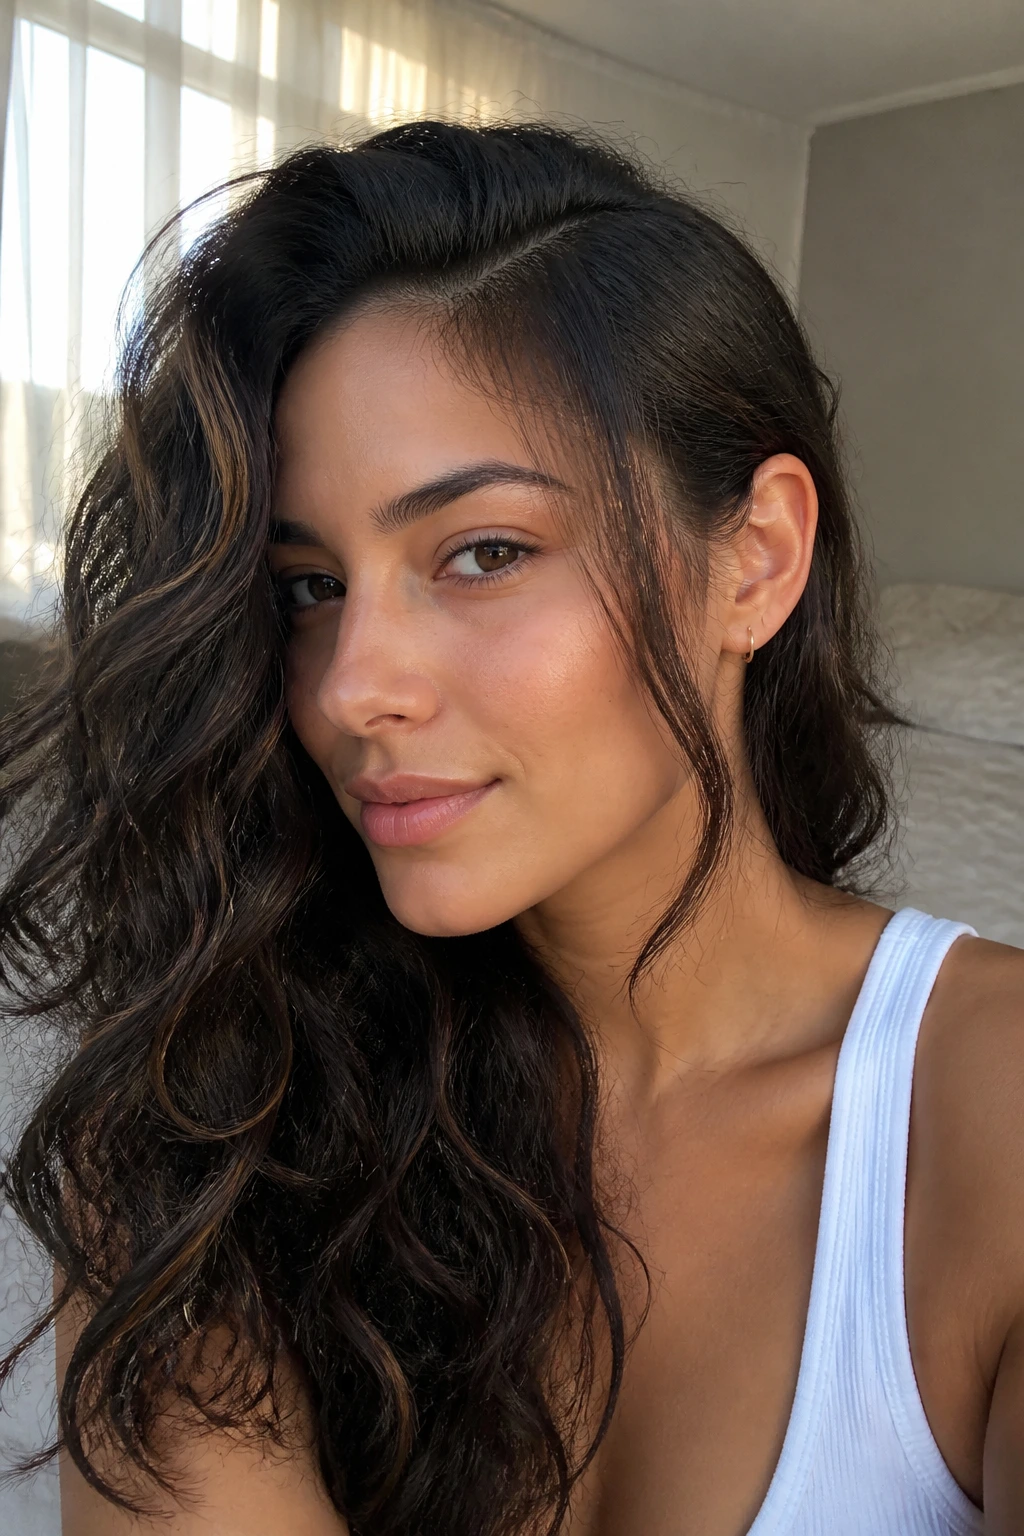
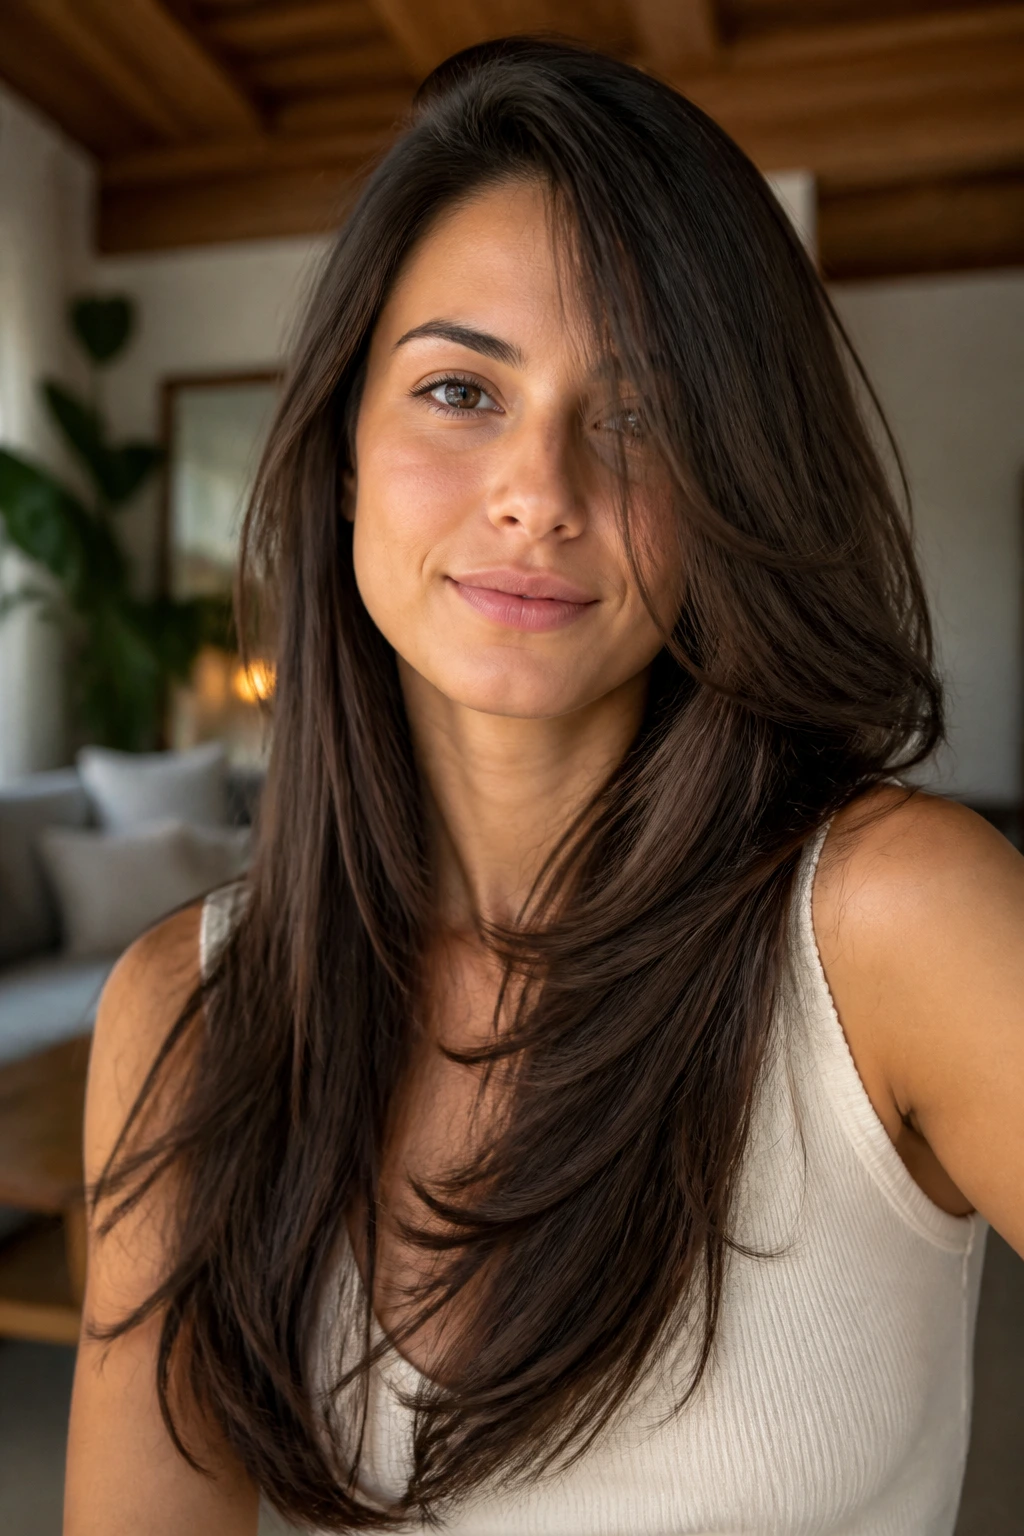
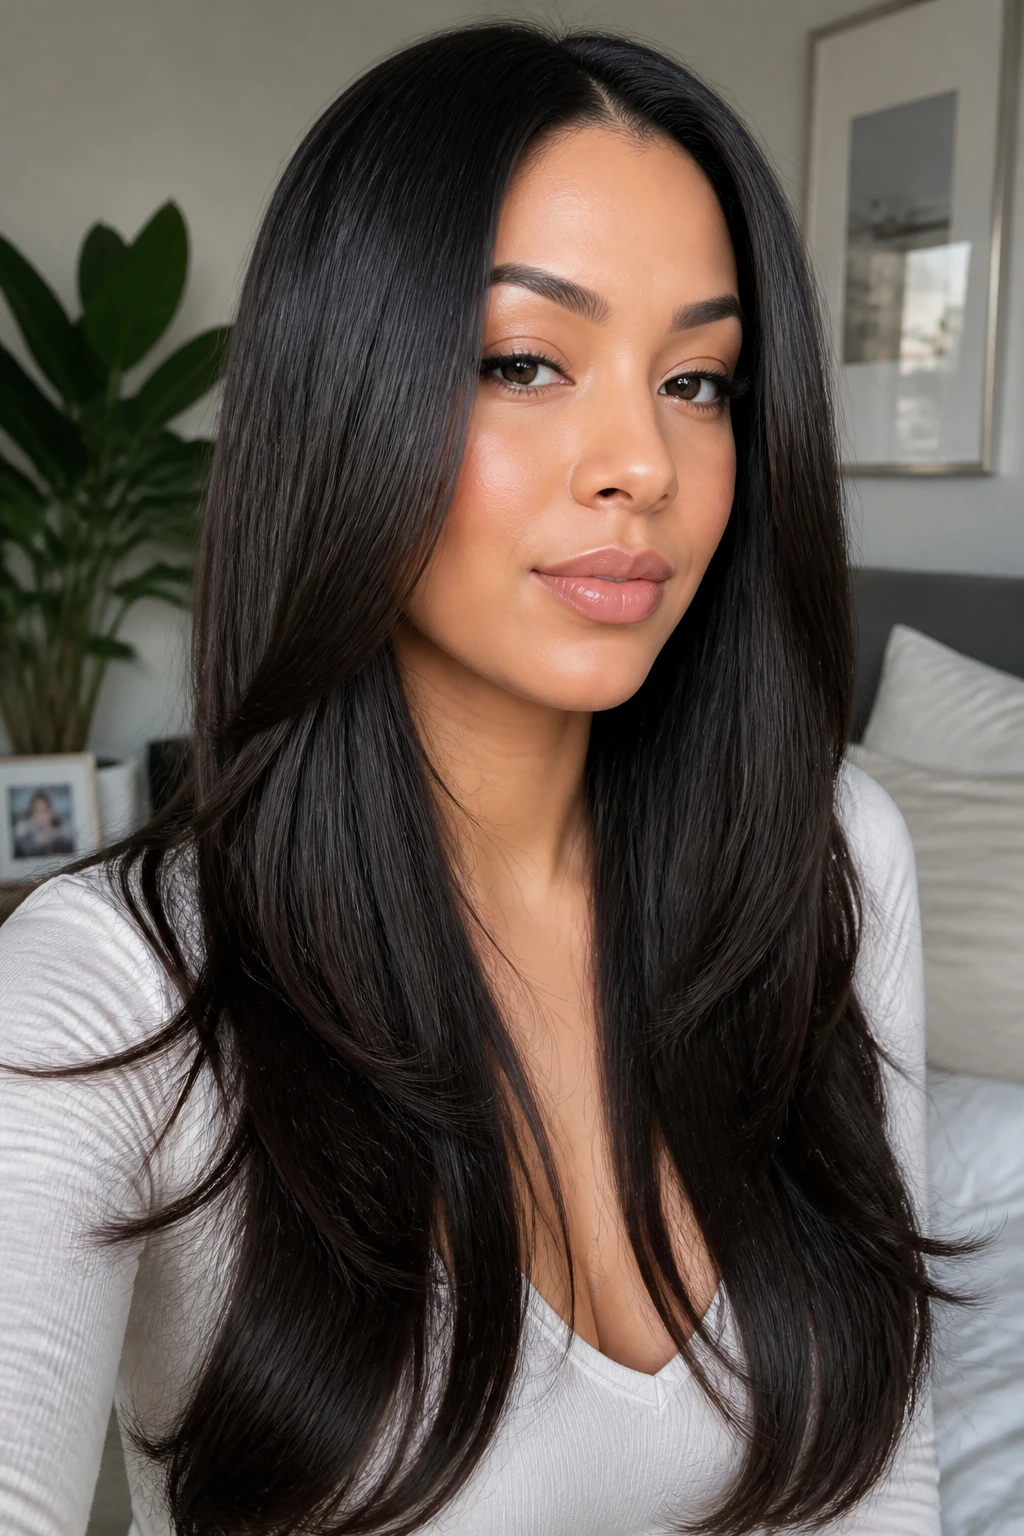
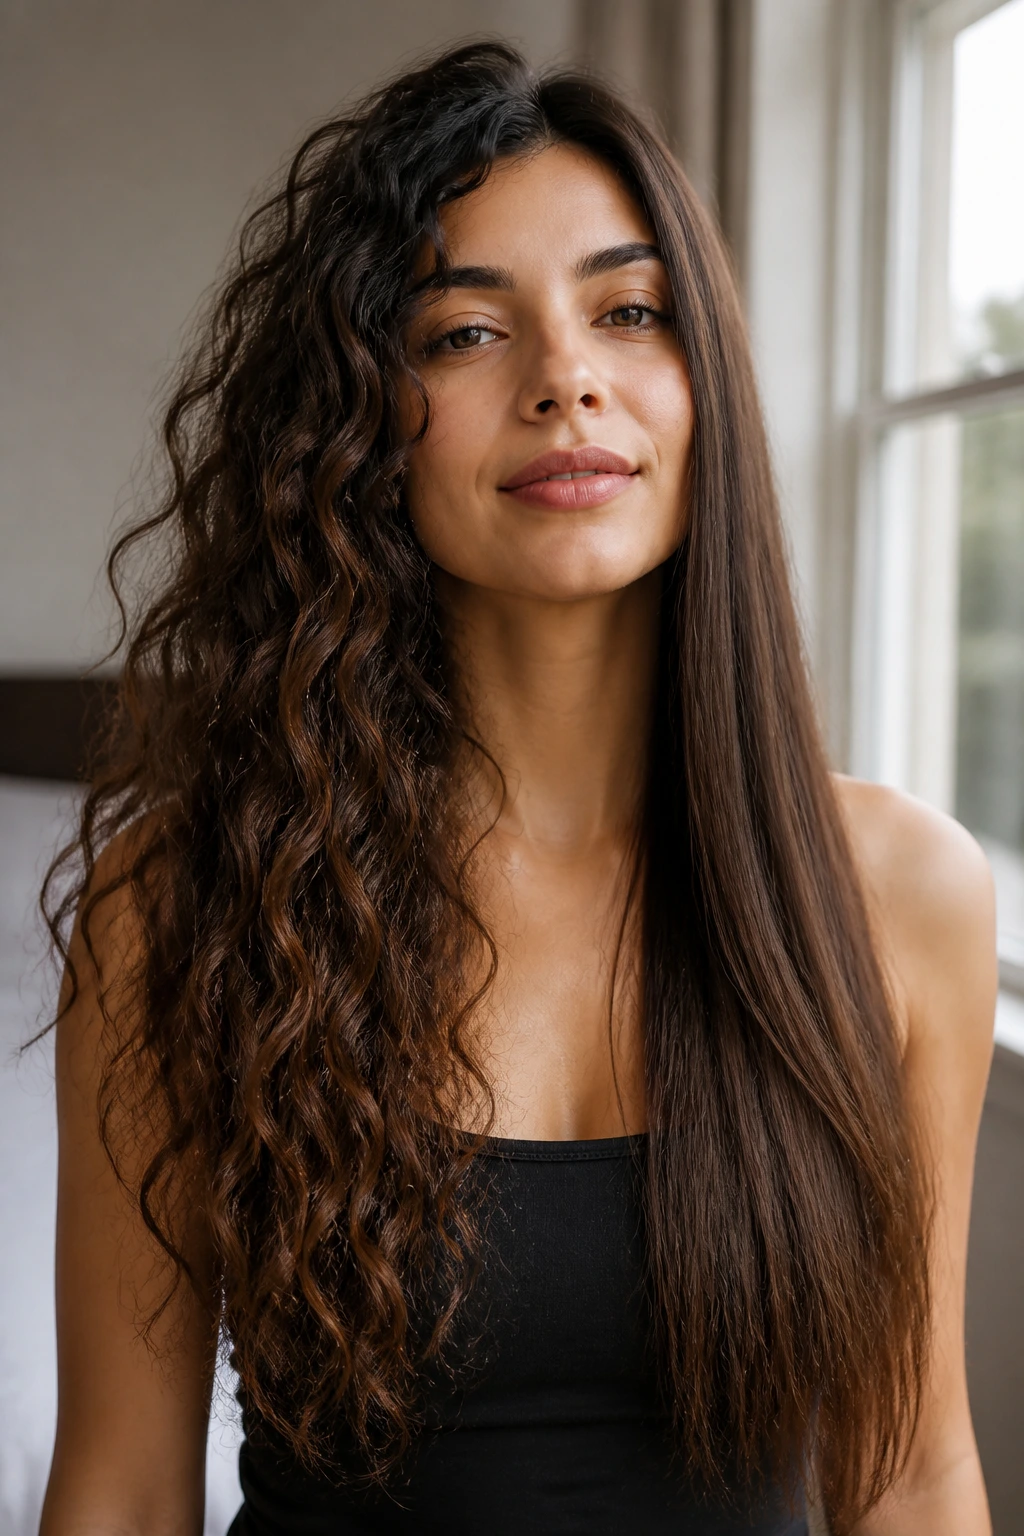
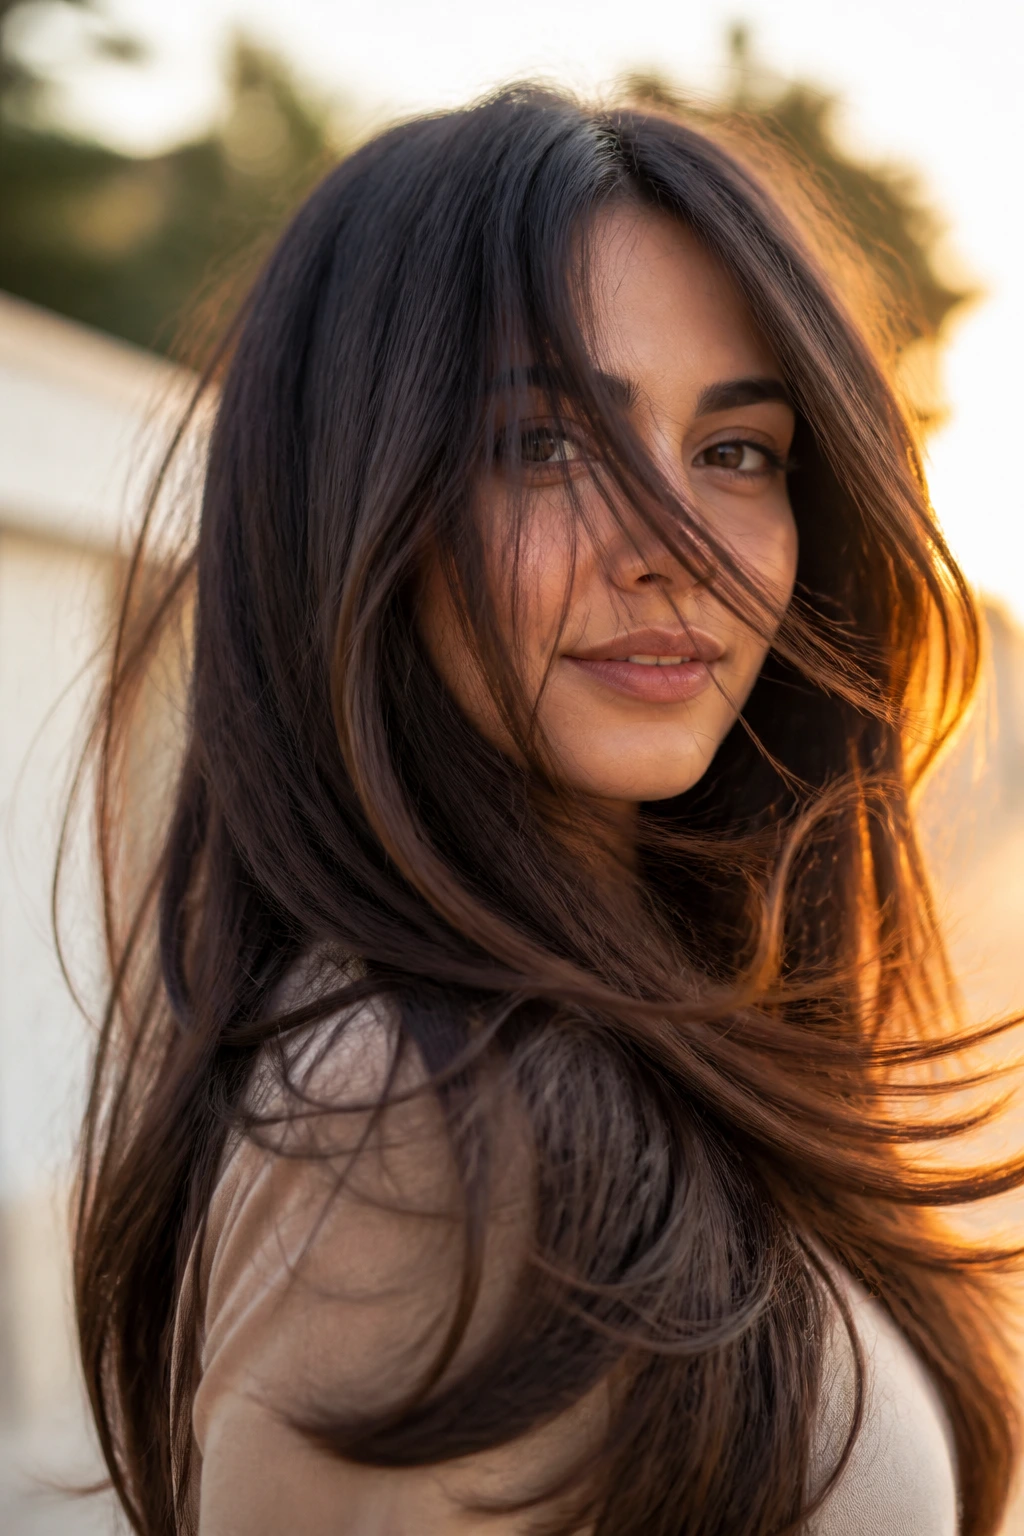
Long straight layered hairstyles for curly hair have a funny reputation: they look feather-light in the chair, then turn into a completely different animal if the cut and the heat setting don’t match the texture underneath. That’s the whole game here. Curly hair has memory, spring, and a habit of shrinking back when you least want it to, so a straight style has to be planned with more care than a blunt trim ever needs.
The part most people miss is weight. Curly hair can look full in a bun and suddenly thin at the ends once it’s blown out. Too many short layers, and the whole shape starts to flutter. Too few, and the length feels heavy and stiff, like a curtain that never quite opens. The sweet spot is somewhere in the middle: enough layering to keep the hair moving, enough length left behind so the style still feels polished when humidity enters the chat.
Why These Layered Looks Are Worth Your Time
-
They respect shrinkage: The best layered straight styles are cut with curly hair’s bounce in mind, so the shape still makes sense when the hair bends back up.
-
They keep long hair from feeling flat: Straightening curly hair can make it look gorgeous for about ten minutes and then limp for the rest of the week. Layers bring the lift back.
-
They frame the face without a dramatic chop: You get cheekbone movement, jawline softness, and a little swing through the front without losing the length you worked for.
-
They work with more than one finish: A lot of these styles look good as a silk press, a tension blowout, or a smooth flat-iron finish with soft bends at the ends.
-
They grow out cleanly: When the layers are mapped well, the cut still looks intentional after the first few inches of growth instead of turning into a blunt shelf.
-
They’re easy to personalize: Change the part, shift the face frame, or keep the ends straighter and the top softer. Same bones, different mood.
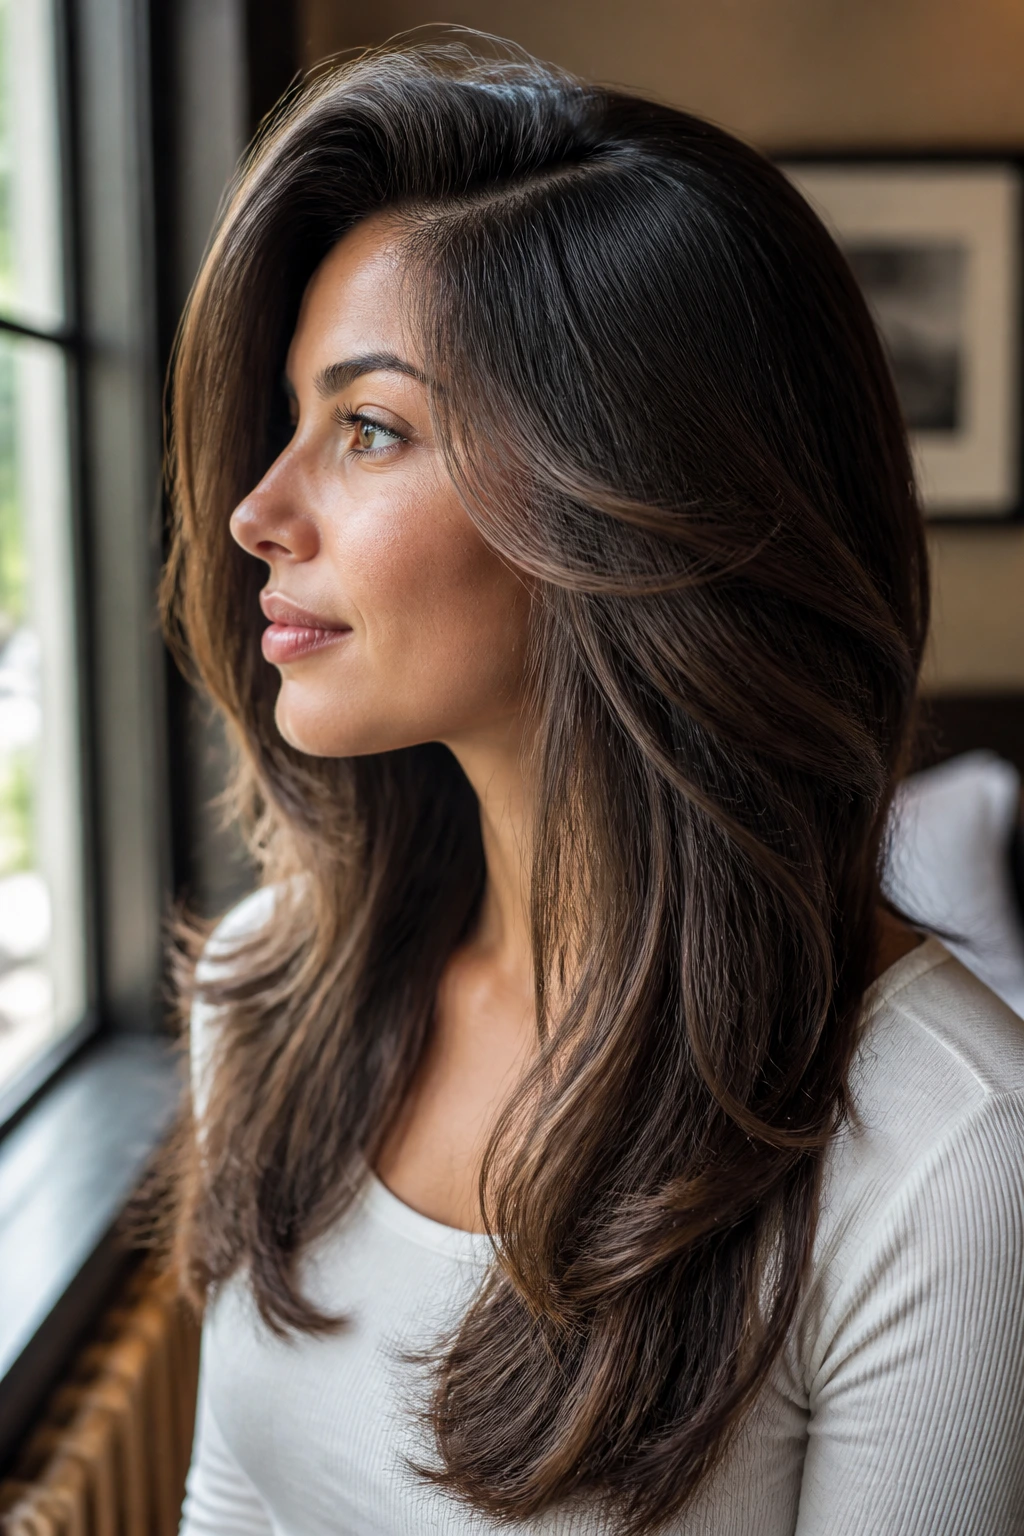
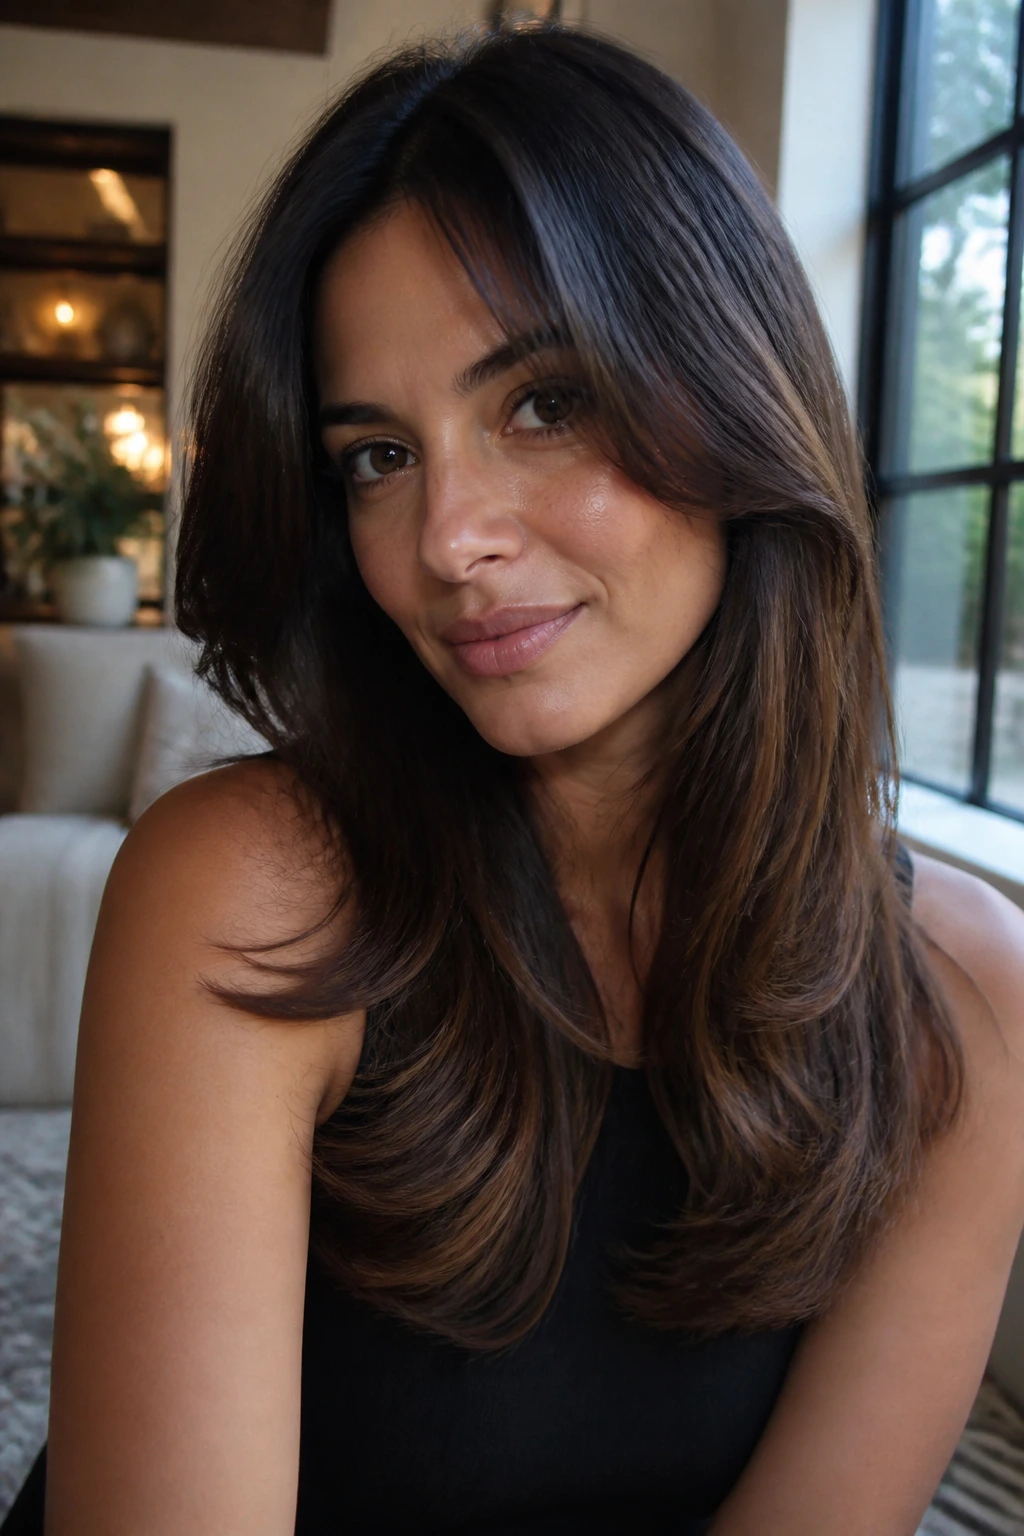
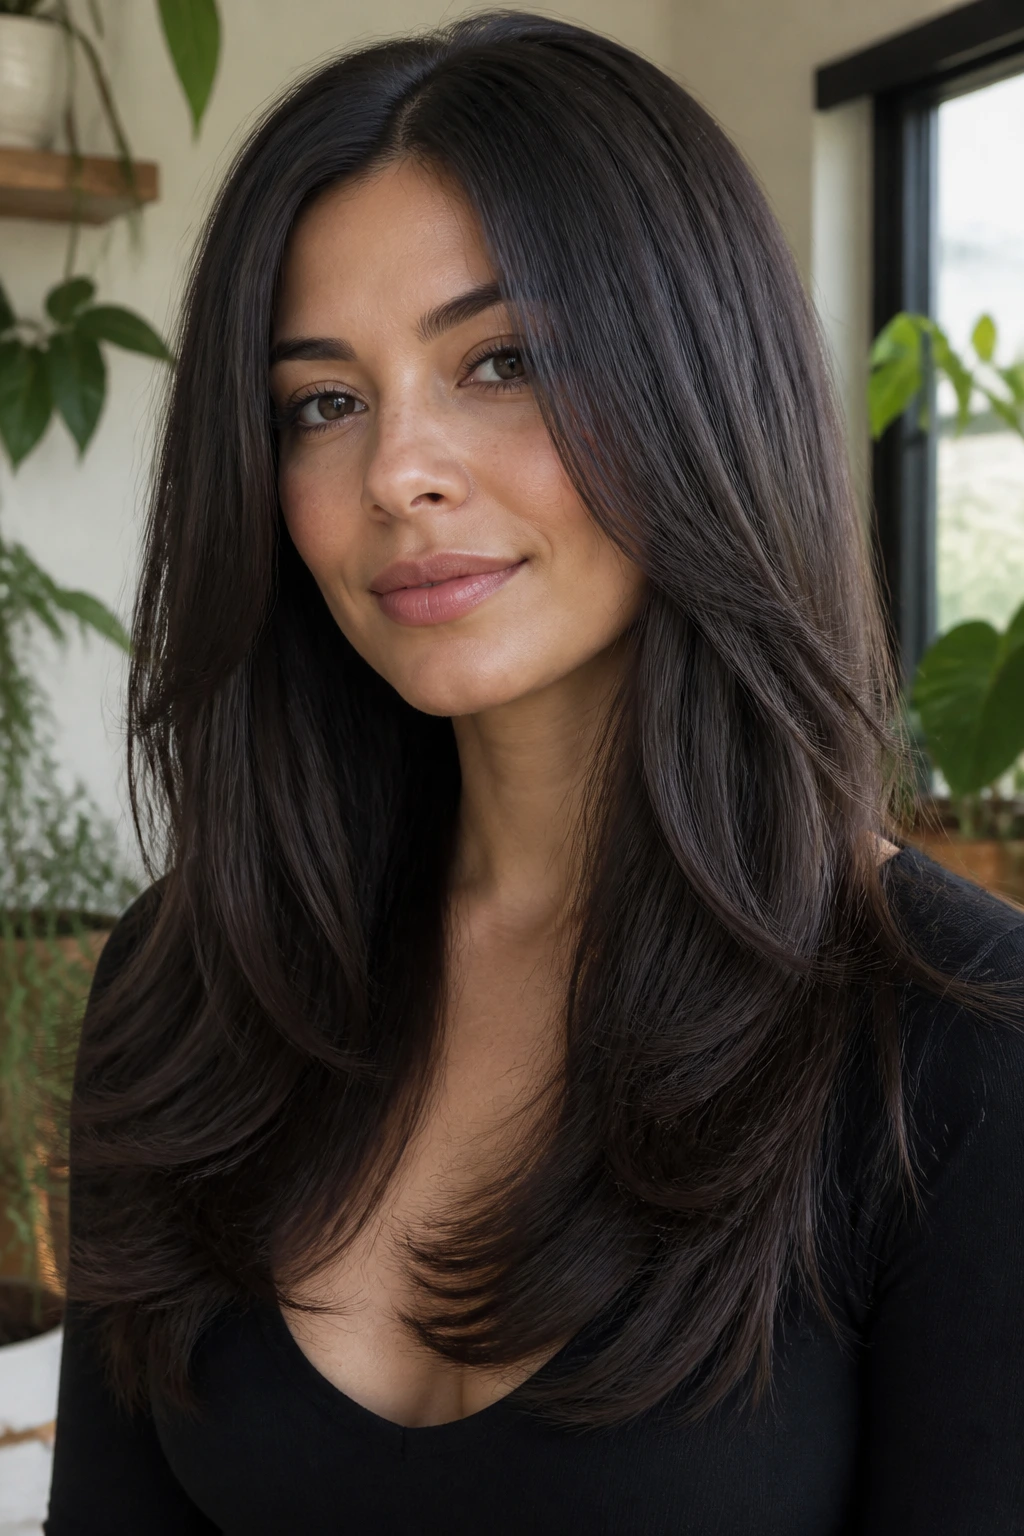
Why Long Straight Layers Behave Differently on Curly Hair
Curly hair does not lie. That’s the first rule. A layered cut that looks balanced when blown out can still feel too short once the curls spring back, which is why the straight version has to be planned with the natural pattern in mind, not against it.
The best straight layered styles for curly hair keep a little weight in the perimeter. That weight stops the ends from looking wispy after heat styling, especially on finer curl types or on hair that’s been highlighted and has a bit less density at the bottom. You want movement, not scraps.
There’s also a sneaky benefit to long layers on curly hair: once the hair is straight, the line between top and bottom becomes much easier to see. That means the cut can do more of the visual work for you. The face frame lands where it should. The crown lifts. The whole style looks deliberate instead of like you grabbed a flat iron and hoped for the best.
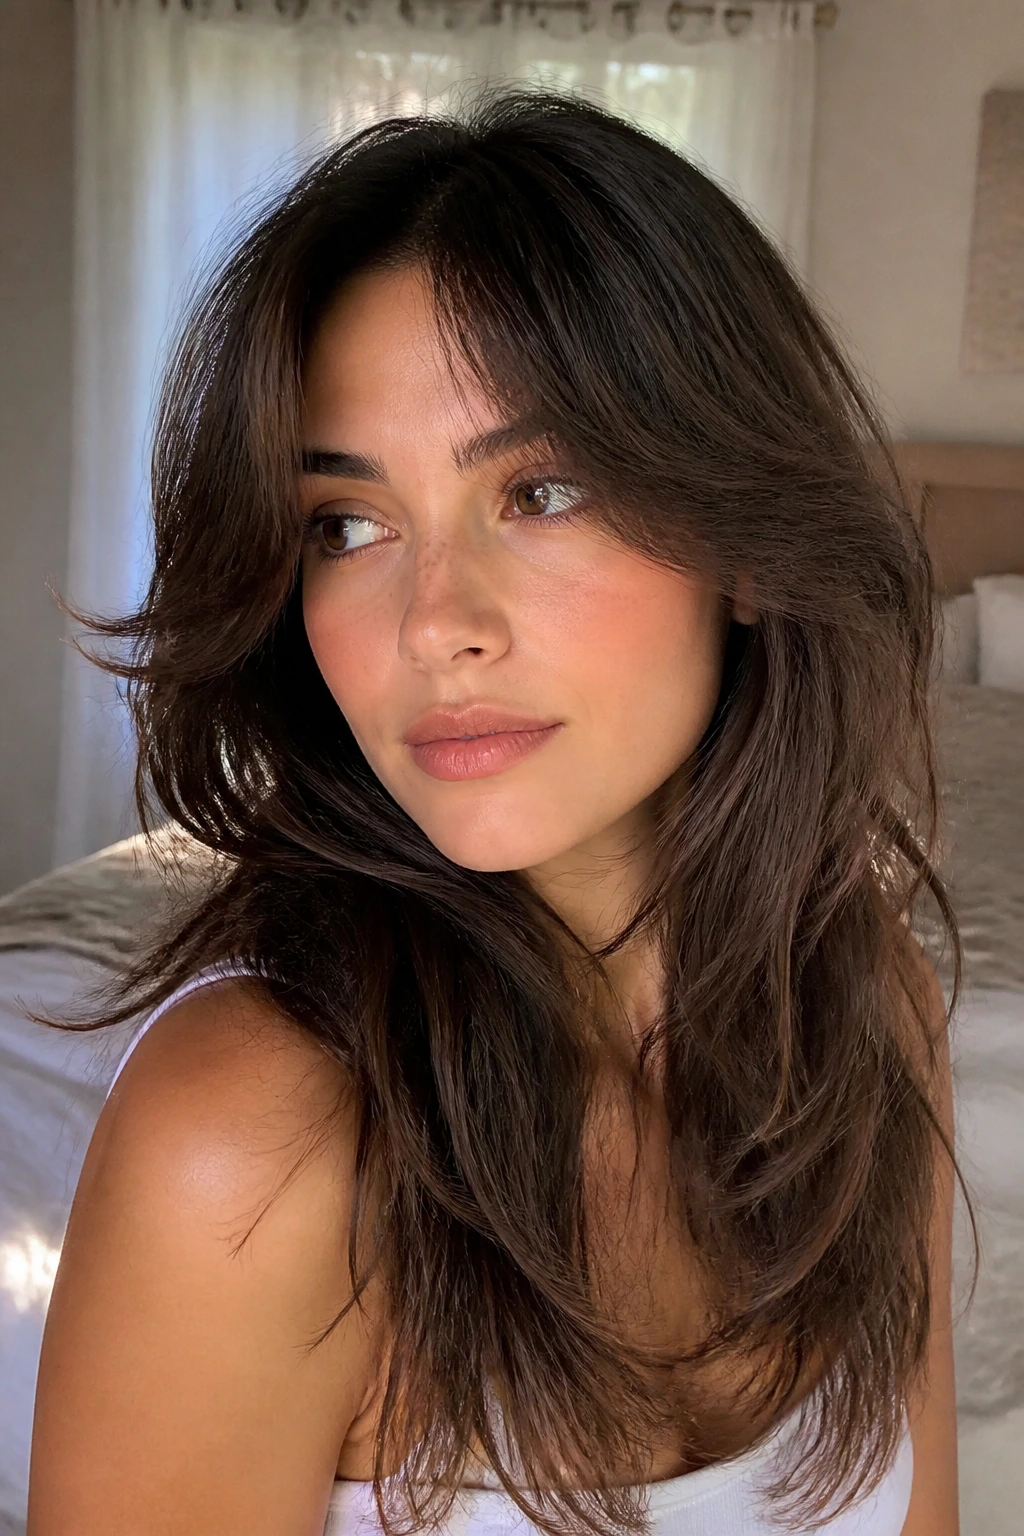
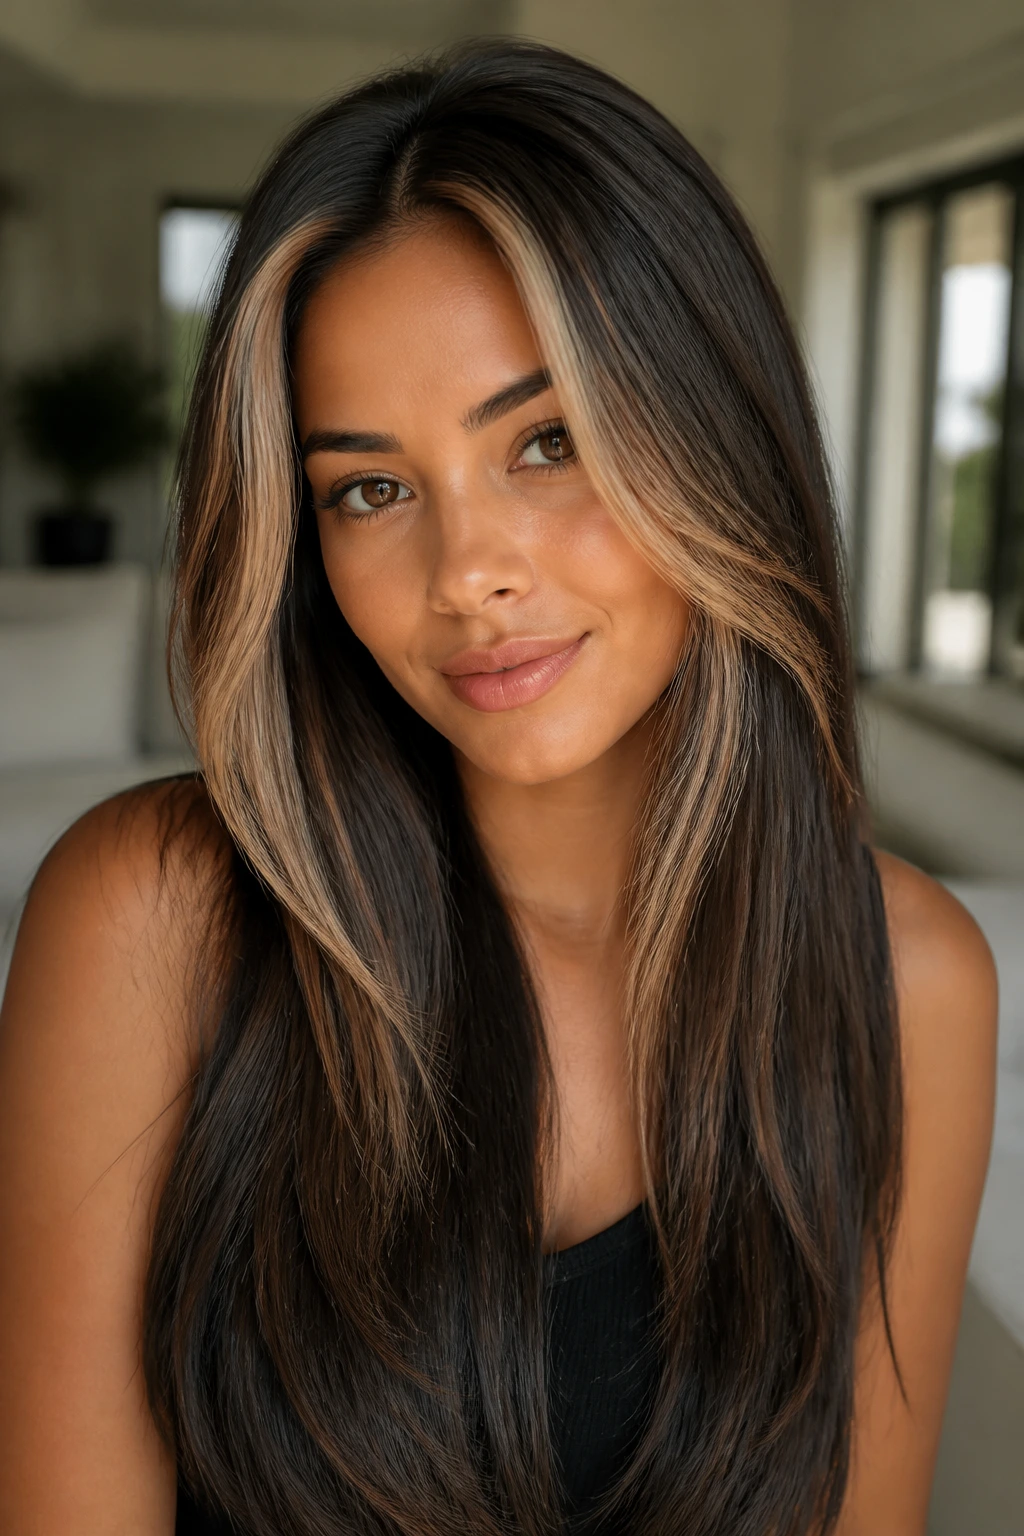
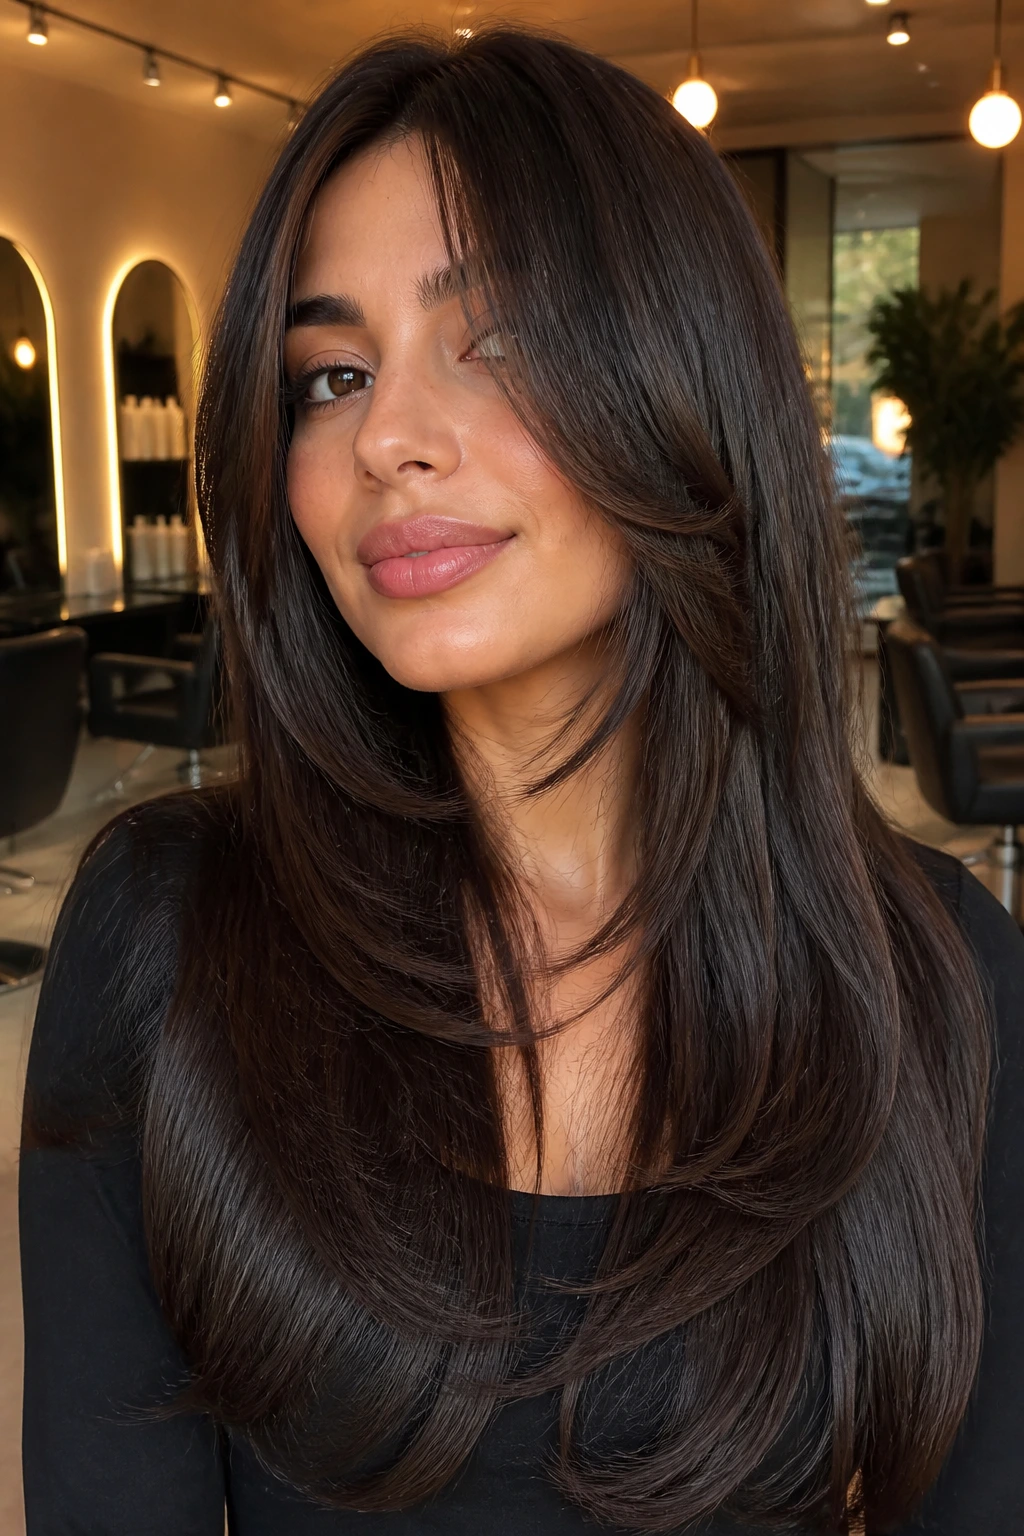
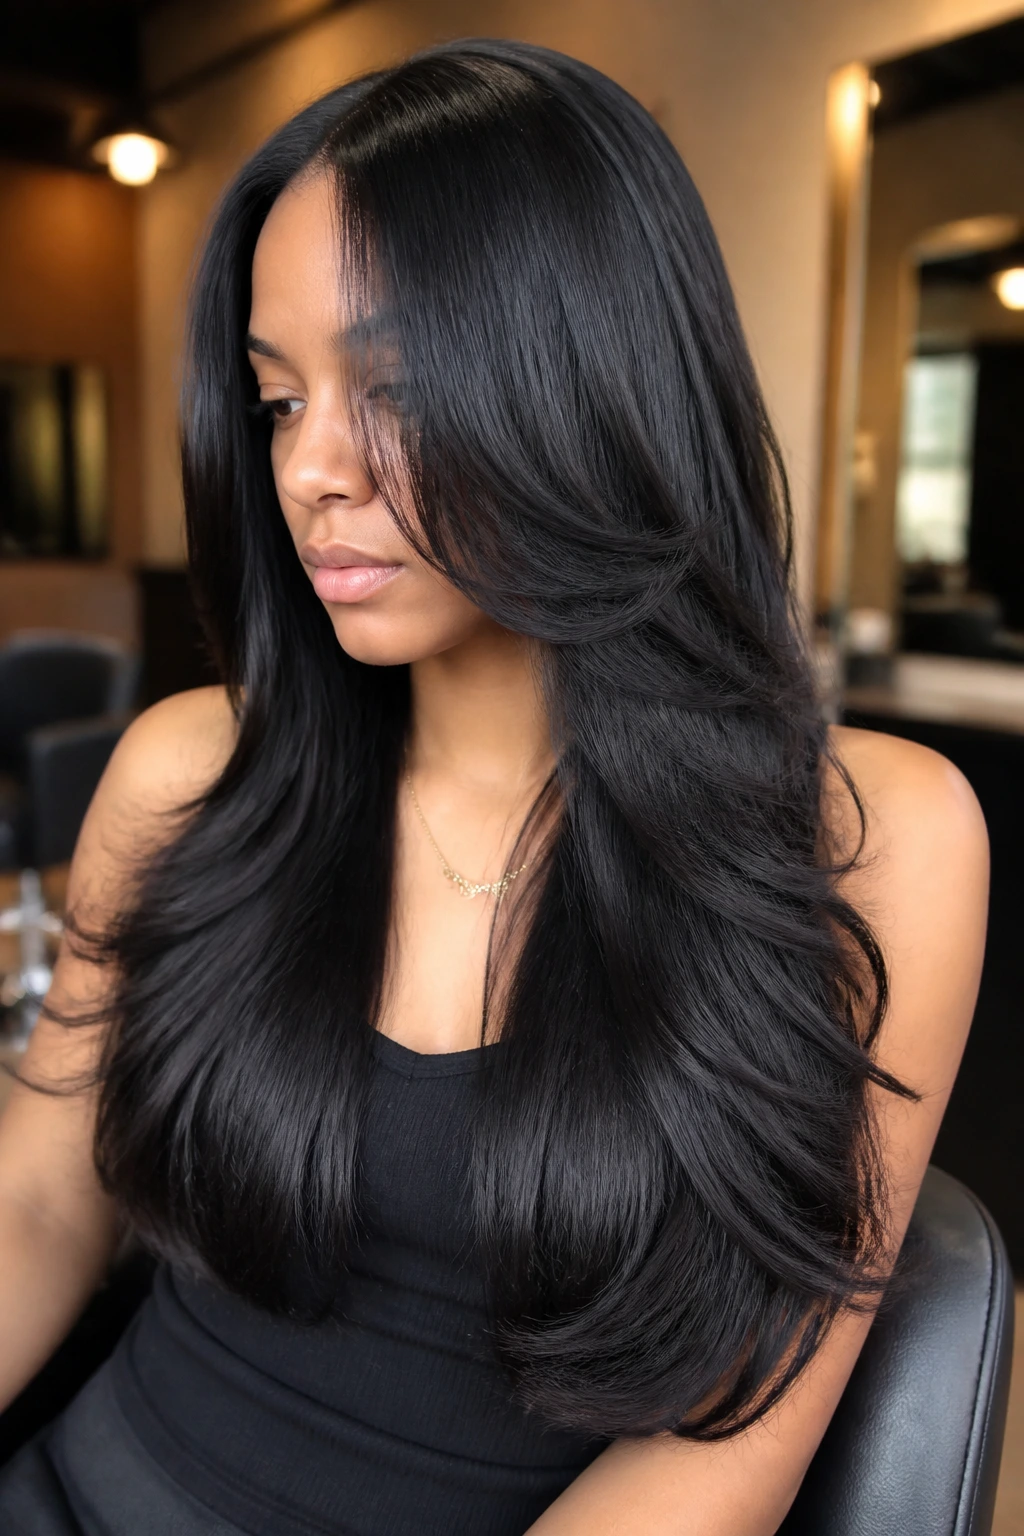
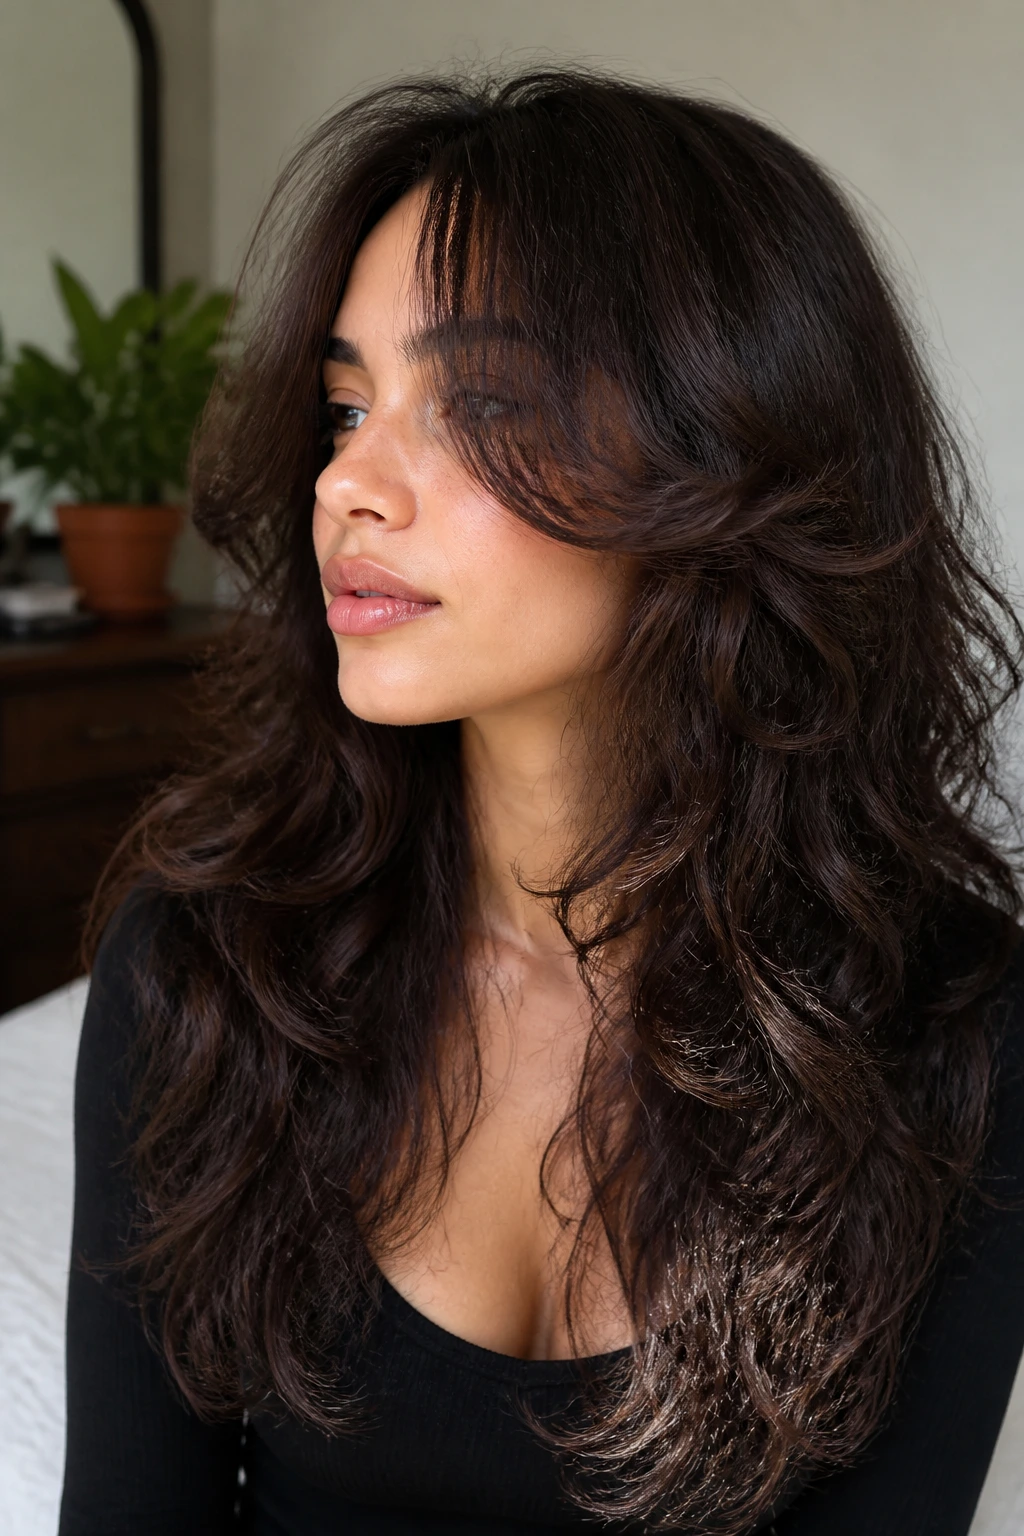
1. Waterfall Silk Press Layers
A waterfall silk press is the one I recommend when someone wants length to stay visible but still wants the front to soften. The layers start high enough to move, then taper down in a gentle cascade so the ends don’t look like they were hacked off with kitchen scissors. On curly hair, that matters. A lot.
Why It Flatters Curly Hair
This shape works because the layers are long enough to survive shrinkage and smooth enough to disappear into the rest of the hair once it’s straight. The crown gets lift, the ends keep their density, and the whole look has that swinging, glossy fall that reads clean from the side.
Ask for the shortest layer to hit somewhere between the chin and collarbone if your hair is dense. Go a touch lower if your ends are finer or your curls are tightly coiled. The difference between “layered” and “spiky” is often just one inch.
Best for:
- Medium to thick curly hair
- Silk presses that need movement
- People who wear the hair down more than up
The nice thing here is that it still looks good when the roots puff a little. The shape has enough drop to survive a long day, which is more than I can say for a lot of over-cut styles.
2. Butterfly Face-Framing Layers
Butterfly layers are a little dramatic in the best way. The shorter front pieces sweep away from the face, while the long back stays anchored. On straightened curly hair, that contrast gives you lift around the eyes and cheekbones without chopping the length into pieces.
Why They Work
The silhouette is built for motion. When you part the hair down the middle, those front wings open and fall back naturally. On curly hair, that means the cut does part of the styling for you once it’s blown out. You get shape even if the ends are only lightly bent under.
A lot of stylists make the mistake of cutting the front too short on curly hair. Don’t let them. You want the front to skim, not hover. If the shortest piece lands around the mouth or chin, you’ll get the frame without the old-school “I lost four inches in one appointment” regret.
Quick note
Butterfly layers look especially good with a round brush finish. The front pieces should curve away from the face, not kick out like a flipped notebook page.
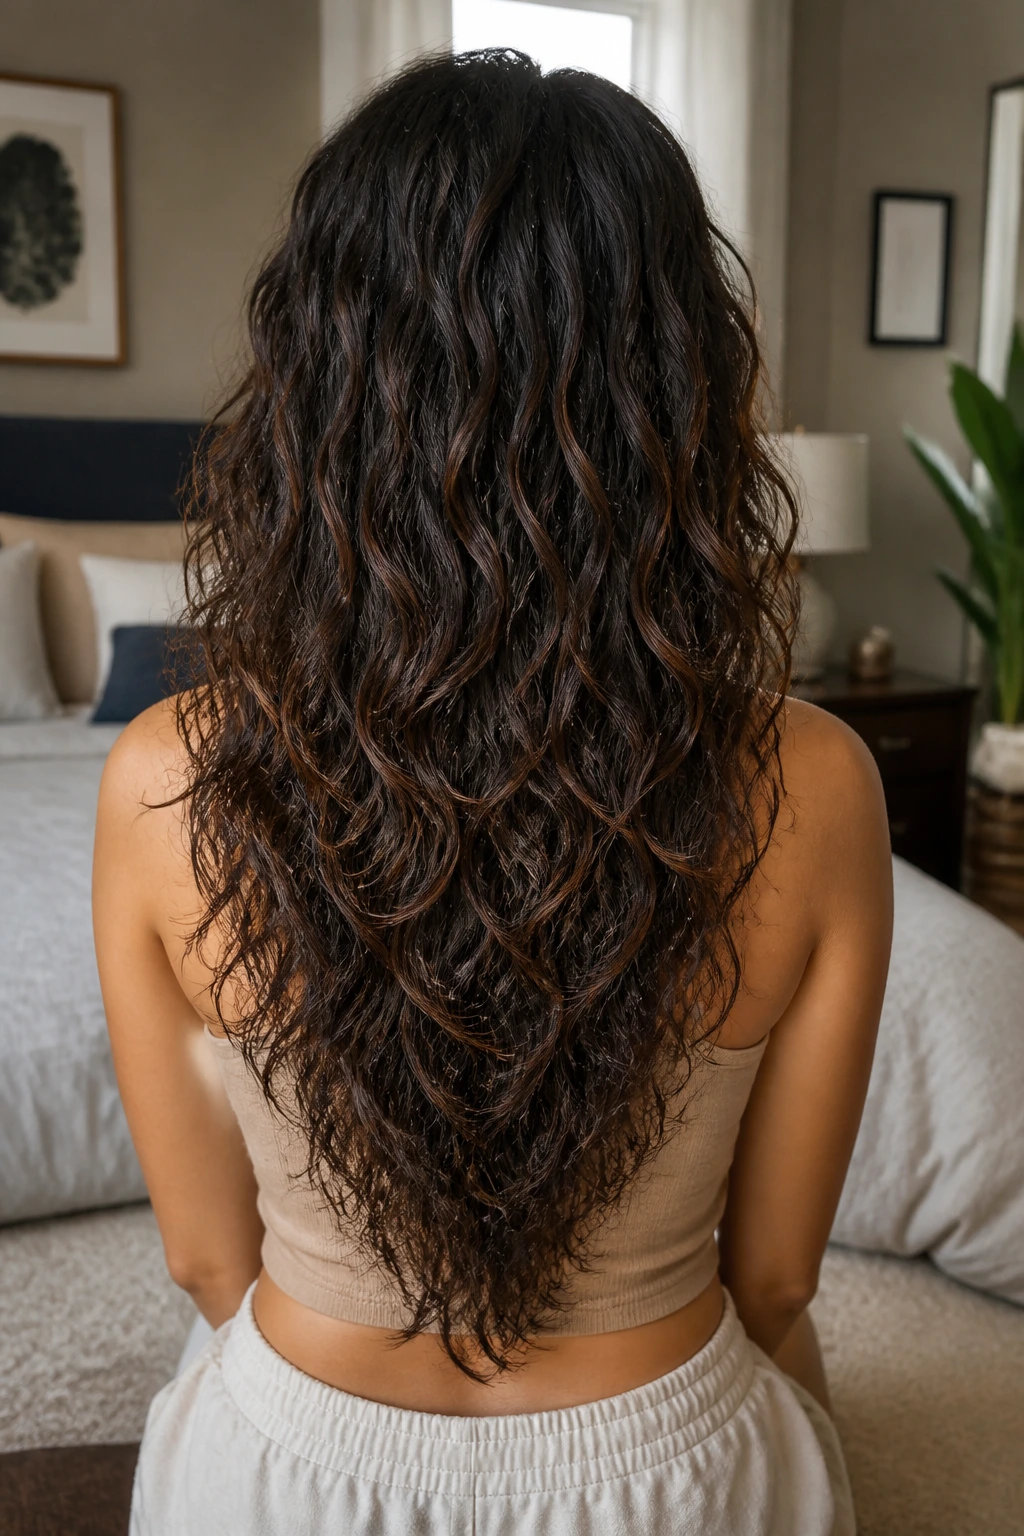
3. U-Shape Long Layers
The U-shape is the quiet one in the room. No theatrics. No choppy edges. Just a soft rounded outline that keeps long curly hair looking full when it’s straightened. If your natural texture is thick, this is one of the safest bets.
The U-shape keeps more length in the center back and gradually shortens toward the sides. That means the front won’t drag the whole style down, and the back won’t feel heavy like a wet towel. It’s a very civilized cut.
What makes it different
Unlike sharper shapes, the U doesn’t scream “layered” the second you walk in. It whispers. That’s useful if you want movement but still want the hair to read expensive and sleek rather than trendy and sliced up.
I like this cut for people who wear big earrings or open-neck tops. The rounded hem follows the line of the shoulders nicely, and the hair never feels boxy at the bottom. It’s the kind of style that looks calm, which is underrated.
4. V-Shape Cascading Layers
A V-shape gives you drama without needing extra length. The back tapers into a point, while the sides fall away in long descending layers. Straightened curly hair loves this shape when the goal is to keep the length looking lean and intentional.
Why It Works
The V-cut creates a clear line from the crown down to the bottom point, which is flattering if your hair is very dense. It removes bulk without making the ends look sparse. That balance is hard to get right, and when it works, it really works.
This shape is best when the hair is worn down often. If you live in ponytails, the point can feel hidden all week, which is a waste. But for loose hair and low bends at the ends, the cut has real movement.
Good to know
If your hair is fine at the bottom, keep the point modest. A deep V on delicate ends can look thin fast once the flat iron passes through. A soft V is usually smarter than a sharp one.
5. Deep Side-Part Sweep Layers
A deep side part changes everything. The layers on the heavy side fall like a curtain, while the lighter side opens the face and gives the whole style a little sweep. On curly hair, that asymmetry can be a lifesaver, because it adds shape without asking for a big chop.
When the hair is straightened, this cut gives you a built-in bend across the forehead and cheek. It’s flattering in a way that feels old-school and modern at the same time.
What makes it worth trying
The side part lets you hide or reveal weight where you want it. If one side of your hair is denser, this is a clever way to balance things out without forcing the cut to be perfectly symmetrical. Perfect symmetry is overrated anyway. Hair moves.
The best version has layers that start below the cheekbone on the heavier side and drift down toward the collarbone. That keeps the front from collapsing into your jawline.
6. Curtain Fringe Feather Layers
Curtain fringe with feathered layers can look soft or messy depending on the cut. On curly hair that gets straightened, soft is the goal. The fringe should split cleanly in the center and fall into the front layers like it belongs there, not like it was added as an afterthought.
How to get the shape right
The fringe should hit around the brow-to-cheekbone zone when straight. Any shorter and you’re playing with frequent trims and a lot of curl reversion. Long straight layers need some room to breathe.
Feathered sides keep the fringe from feeling too heavy. I like this look for people who want face framing but hate the feeling of hair hanging straight down both sides. It’s a little lighter, a little flirtier, and easier to tuck behind the ears.
7. Flipped-End Blowout Layers
This one has a bit of personality. The ends are straight enough to show the layer pattern, then softly flipped out with a brush or a hot tool. On curly hair, the result is a blowout that looks finished even when the weather isn’t cooperating.
The flip matters because it stops the style from reading stiff. Straight hair on curly textures can sometimes lie flat in a way that feels lifeless. A tiny bend at the bottom fixes that fast.
Best for:
- Oval and heart-shaped faces
- Hair that holds a bend well
- Anyone who likes a little retro movement
The layers should be long and smooth, not chopped. If the cut is too aggressive, the flipped ends start looking separated. Keep the transition gradual and the finish will look intentional.
8. Hidden Internal Layers
Hidden internal layers are the secret weapon for people who want the outside to stay sleek. The top surface looks long and polished, but the inside has weight removed so the style can move. On curly hair, that’s a smart trick.
Why it works so well
You get the visual payoff of long straight hair without the helmet effect. The outside stays clean. The inside takes the bulk off. It’s especially helpful for thick or coarse textures that puff up after a blowout.
I prefer this when someone says they want layers but gets nervous about seeing too much “step” in the cut. Fair enough. Internal layers are the compromise. You feel the difference, but you don’t see a lot of obvious slicing.
9. Bottleneck Bang Layers
Bottleneck bangs are softer than blunt bangs and more directional than curtain fringe. They narrow near the center, then widen as they blend into the front layers. Straightened curly hair gives them a nice, lived-in shape that doesn’t look flat or severe.
The best thing about this style is how it opens the face while keeping length in the back. You don’t lose the drama of long hair. You just get a little architecture around the eyes and temples.
What to watch for
The bangs need to be cut long enough to survive curl bounce. If they’re too short, the grow-out gets annoying fast. Aim for a length that can sit at the brows or just below them when straight, then blend down into the first face-framing layer.
This is one of those styles that looks expensive when it’s clean and a little fuzzy when it’s not. The line matters. Keep the edges trimmed.
10. Rounded Thick-Hair Layers
Thick curly hair loves a rounded layer map. The goal is to remove enough bulk that the style can move, but not so much that the ends go stringy after straightening. Rounded layers preserve that soft, full edge people want from long hair.
Why this cut earns its keep
A rounded silhouette keeps the sides from flaring out too much. That’s a common problem with thick curls once they’re blown straight. Without the right layering, the hair can spread outward at the bottom and make the head look wider than it is.
This version works best with a little extra length in the back and a gentle face frame. No jagged steps. No surprise gaps. Just a smooth arc that lets the hair fall where it wants to.
11. Airy Fine-Hair Layers
Fine curly hair needs a different kind of layer. Too much removal and the ends start looking thin, fast. Airy layers are subtle, spaced out, and placed to give motion without erasing the perimeter.
This is the style I’d pick for someone who wants straight hair that still has some swing. Not volume for volume’s sake. Just enough lift so the hair doesn’t hang like one long ribbon.
H3: Where the shape should sit
Keep the shortest layers low, usually below the cheekbones, and let the longest pieces keep the outline strong. The cut should feel light when you run your fingers through it, but the ends should still look full from across the room.
That last part matters. Fine hair needs the illusion of density more than it needs dramatic layer count.
12. Money-Piece Frame Layers
Money-piece layers bring brightness around the face, even when the color is untouched. The front pieces are lighter in shape, sometimes in tone too, and they frame the face in a way that reads polished on straightened curly hair.
What makes them pop
The trick is contrast. The front layers should be a little shorter and a little softer than the rest, which gives the hair a lift around the cheekbones. If there’s face-framing color involved, the effect gets stronger, but the cut alone already does plenty.
This style is a good one when the rest of the hair is kept long and clean. Too many short pieces elsewhere would muddy the line. Here, the front gets the spotlight and the back stays quiet.
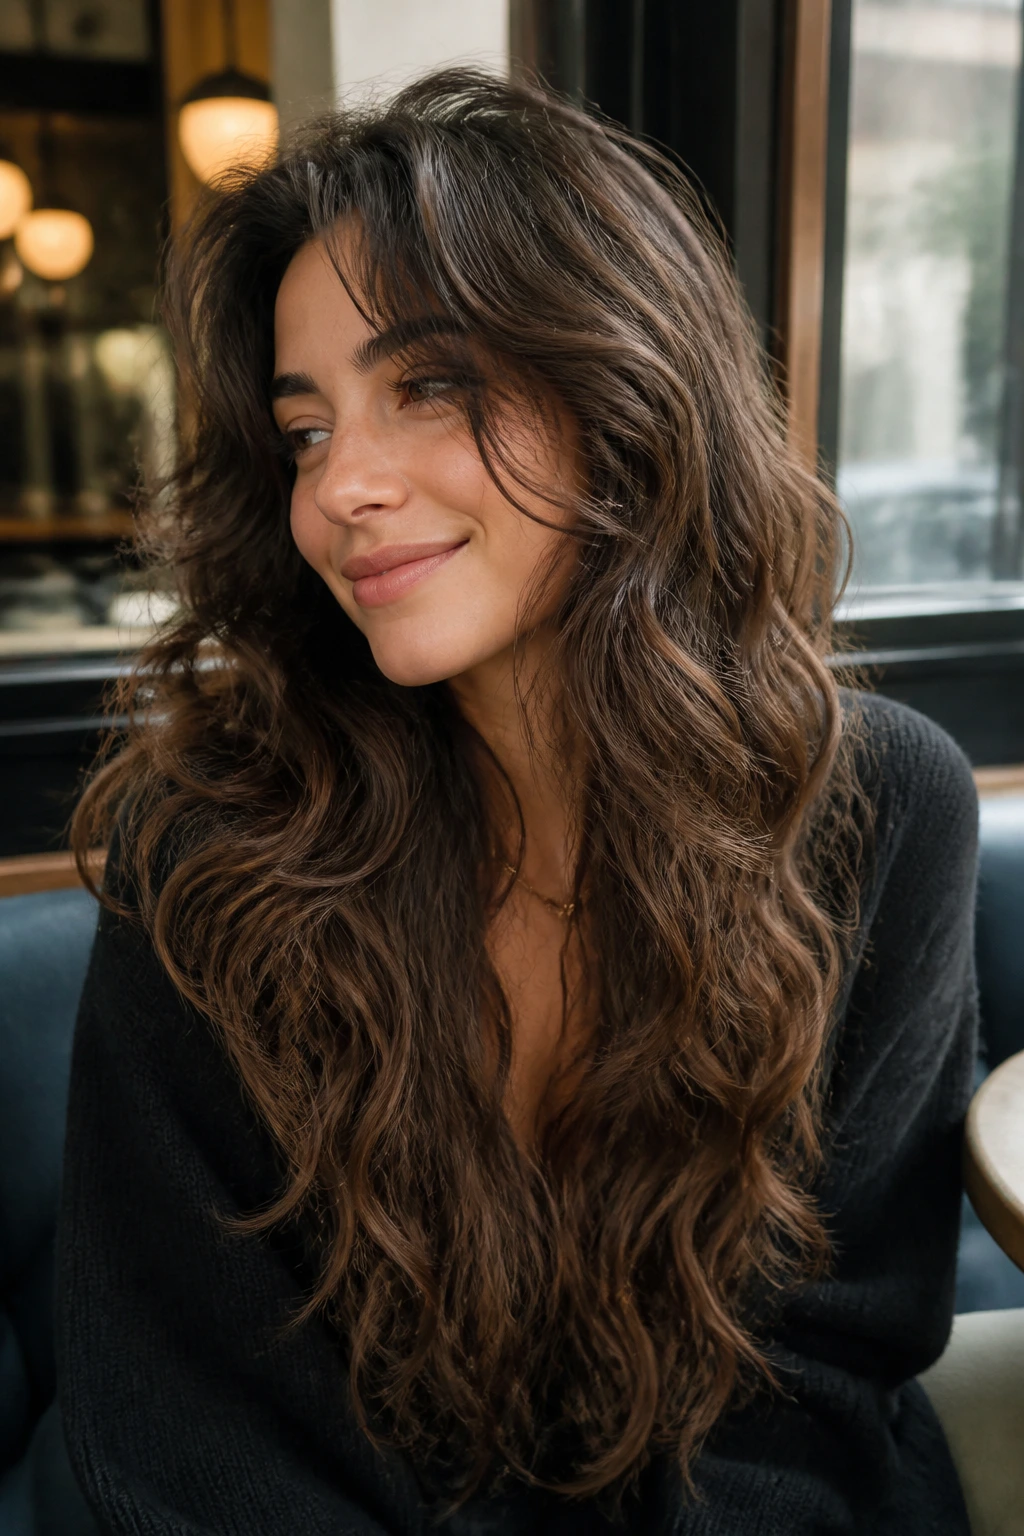
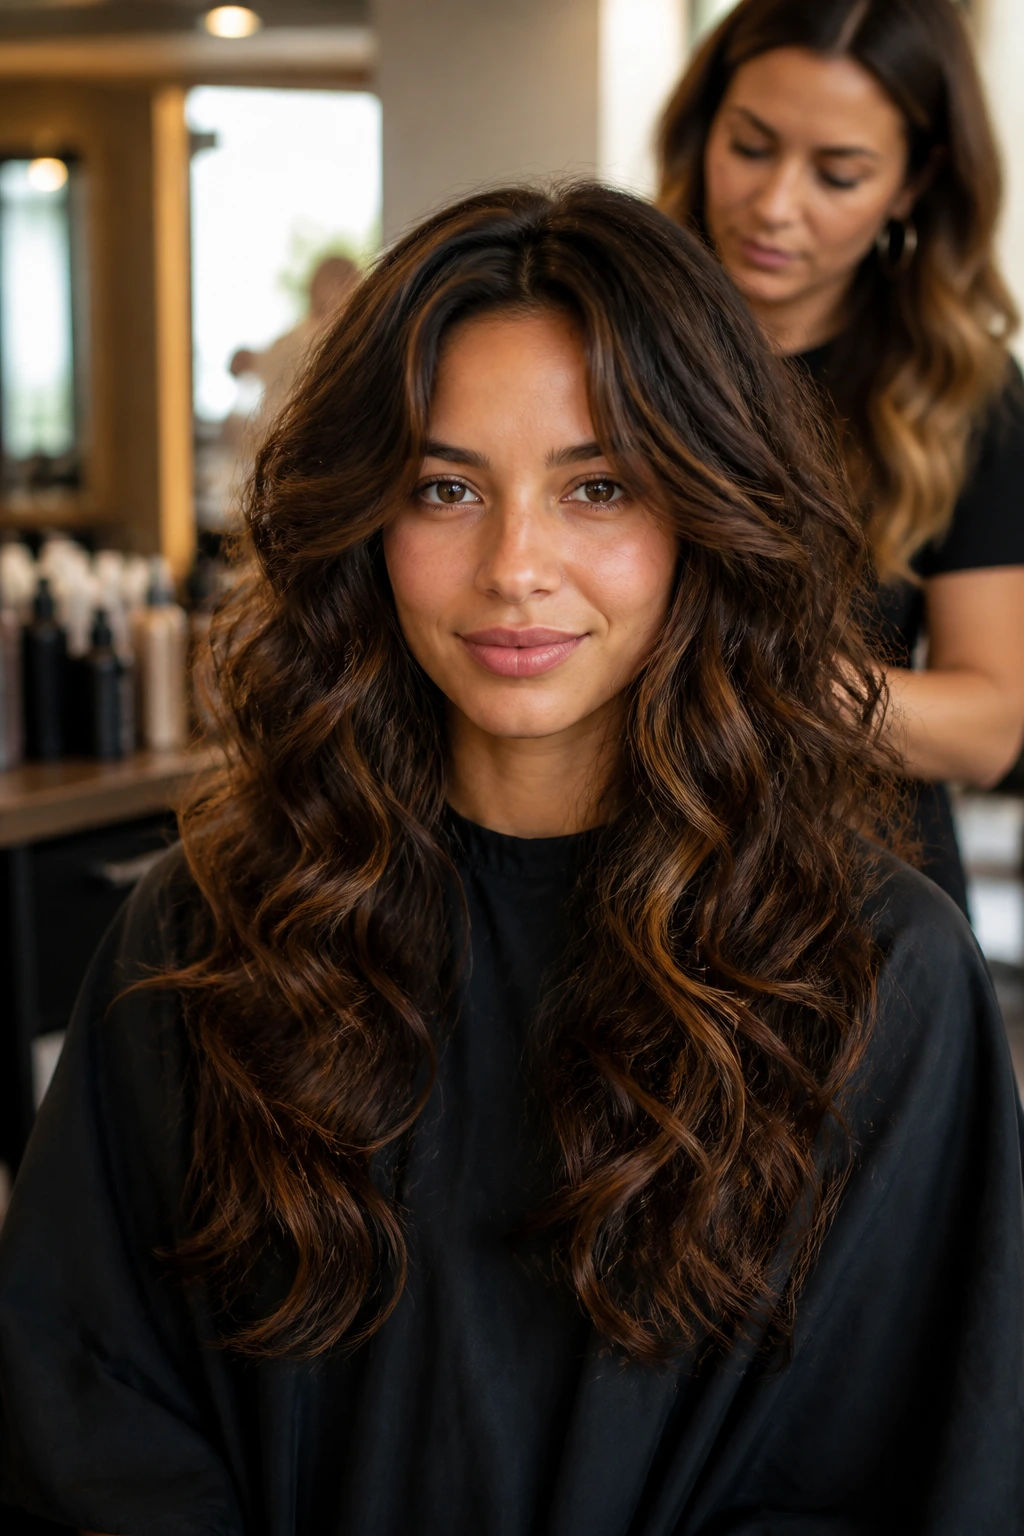
13. Polished Long Shag Layers
A long shag on curly hair doesn’t have to be wild. In a straight finish, it can look sleek, airy, and surprisingly grown-up. The key is to keep the edges polished and the crown soft, not ragged.
The shag shape is useful when you want movement on top and length below. It’s less formal than a U-shape, less severe than a V, and more forgiving than a blunt cut that fights the texture.
Best for
- Wavy to curly hair with moderate density
- People who like a slightly undone finish
- Hair that holds volume at the crown
If your hair has a lot of spring, ask for softer transition points between layers. That keeps the look from tipping into choppy territory.
14. Razor-Soft Straight Layers
Razor-soft layers can be beautiful on curly hair, but only in the right hands. The ends get a wispy edge that moves easily once the hair is straightened. Done badly, they fray. Done well, they float.
Why it stands out
This cut is all about lightness. The outline stays long, but the interior loses just enough bulk to keep the style from feeling heavy. That makes it a good fit for hair that tends to collect weight near the bottom.
I would not ask for this if the hair is already very dry or over-processed. Razor work can expose weakness fast. On healthy curls, though, the finish has a clean, modern glide.
15. Waist-Skimming Layered Length
There’s something satisfying about layers that still let the hair live at the waist. You get the drama of extreme length and the usefulness of a cut that moves. This is a good choice for curly hair that shrinks enough to keep the length believable when worn natural.
The layers here are long enough to avoid a choppy look, but distinct enough to keep the style from feeling like a single sheet.
It’s the hairstyle equivalent of wearing a long coat that still has shape at the shoulders. You notice the line first, then the length. That order matters.
16. Half-Up Cascade Layers
If you wear half-up styles a lot, the layers need to cooperate. Half-up cascade layers let the top section pull back without exposing a weird shelf or a blunt line underneath. The lower lengths keep falling smoothly, which is half the point.
H3: Why this shape is practical
Curly hair often bunches in the crown when it’s pulled back. Long layers reduce that bulky lump by giving the top section room to fold. The result is neater, and the half-up knot or clip sits flatter.
This style is especially good for people who like claw clips, satin bows, or low half-ups that leave a lot of length hanging. It gives you options without changing the cut every few weeks.
17. Collarbone-to-Waist Gradient Layers
This is a slow fade of length. The shortest pieces land around the collarbone, and everything below that stretches gradually longer toward the waist. On straightened curly hair, the gradient reads soft and expensive-looking rather than abrupt.
The main payoff is flow. Your eye moves from front to back without hitting a hard line. That’s useful if you want movement but don’t want the haircut to dominate the style.
A small but useful detail
The front should not be too short if your curls spring up a lot. Once the hair is straight, a collarbone piece can behave like a chin piece if shrinkage is ignored. That’s how styles end up shorter than expected.
18. Center-Part Glass Layers
Glass hair and layers don’t usually get mentioned in the same breath, but they should. A center part with long, smooth layers can create that glossy, straight line people love while still keeping enough shape near the face.
The key is restraint. The layers must be subtle enough that the shine line stays clean. Too much slicing and the glass effect disappears.
What to ask for
Ask for long face-framing pieces, then keep the rest mostly solid through the back and sides. You want the hair to move when you turn your head, not split into ribbons the second you walk outside.
This is one of the sleekest options on the list. Quiet, but not boring.
19. Asymmetric Sweep Layers
Asymmetry gives long straight hair a little attitude. One side can sit slightly longer or heavier, which creates visual interest without sacrificing length. Curly hair straightened into this shape gets a clean, modern edge.
Why it works
The cut disguises uneven density. If one side of your hair is fuller, the asymmetry can balance it out without looking obvious. That’s a very real advantage when your natural texture is not perfectly even from side to side.
The style looks best when the part is committed, not wishy-washy. Pick a side, let the layers follow it, and don’t keep fussing with the mirror.
20. Tucked-Behind-Ear Layers
This one sounds simple because it is. Long layers that stay neat when tucked behind the ear need a clean front contour and enough length in the face frame so the style doesn’t collapse when one side is exposed.
I like this for straightened curly hair because it gives you a polished option without a lot of work. Tuck one side. Leave the other loose. Done.
Small detail, big effect
The shortest face-framing piece should land below the jaw if you plan to tuck often. Anything shorter can pop out awkwardly and fight the line of the ear. That tiny difference changes the whole feel.
21. Soft-Bend Blowout Layers
A soft-bend blowout is what happens when the ends are not pin-straight and not curled, either. They bend. Slightly. Enough to show the layers and enough to keep the style from going rigid.
This is one of my favorite finishes for curly hair because it looks lived-in without looking sloppy. The bend makes the cut look expensive in a quiet way.
H3: When to use it
Use this finish if your hair gets limp when it’s too straight. A soft bend gives movement back. It also hides small differences in length between layers, which is helpful if your hair was cut dry and the sections aren’t identical.
22. Long Layers with a Blunt Hem
This shape gives you the best of both worlds: movement through the middle and a firm line at the bottom. The blunt hem keeps the ends looking thick, while the long layers remove enough bulk so the style doesn’t sit like a block.
That contrast matters on curly hair. The hair can be full without being bulky, and the line stays crisp after a flat iron pass.
Compare it to a full layered cut
Unlike a heavily layered style, this one keeps the lower edge strong. That makes it easier to maintain if you straighten often, because the shape doesn’t unravel as quickly.
It’s a smart choice for people who want a straight style but still like seeing some weight in the ends.
23. Grow-Out Friendly Layers
Some layered cuts look brilliant on day one and confusing by week six. This is not that. Grow-out friendly layers keep the spacing long and the shortest pieces modest, so the style keeps behaving as the hair grows.
The beauty here is practicality. You don’t need an emergency trim the minute the shape softens. It softens in a good way.
Why I’d choose it
If you switch between curly and straight often, this cut does not punish you for living your life. It bends back into the curl pattern without leaving hard shelves, and it still straightens into a clean shape when you want the blowout.
24. Side-Draped Ribbon Layers
Ribbon layers drape softly to one side and move like strips of satin once the hair is straight. They’re longer than curtain fringe, softer than a side bang, and easier to wear when you want face framing without a heavy front commitment.
Why they’re useful
The side drape breaks up a long curtain of hair, which is especially helpful on dense curly textures. It creates movement where the eye naturally lands.
This style also plays nicely with earrings. The side-draped front opens one side of the face and lets the rest of the cut keep its length.
25. Ponytail-Ready Layered Cut

Not every long layered look has to be about wearing the hair down. A ponytail-ready cut is shaped so the hair still looks good pulled back high or low. That means the front is layered enough to soften the face, but the back is long enough to keep the ponytail full.
If you live in buns, clips, and low ponytails, this is one of the smartest options on the list. It gives you versatility without the awkward stringy tail.
The layers should be long, not choppy. Short pieces around the crown can poke out once the ponytail is secured, and that gets old fast.
26. Wolf-Inspired Long Layers
The wolf-inspired version is the wilder cousin in the group. On curly hair that gets straightened, it can look edgy without getting unwearable, as long as the layers stay long enough to keep the silhouette smooth.
What makes it different
The crown gets more lift. The front gets more texture. The ends stay long enough to avoid a mullet effect, which is where this style can go sideways if the cut is too aggressive.
I’d pick this for someone who likes a little attitude in their hair. It’s not the safest shape. It is one of the more interesting ones.
27. Feathered Ends with Solid Perimeter
Feathered ends keep the hair from feeling heavy, but the solid perimeter stops the style from going see-through. That combination is especially useful on curly hair that straightens into a lot of volume near the bottom.
The finish feels soft at the ends and strong at the outline. That balance makes the cut easy to wear and easy to keep looking tidy between trims.
Quick practical note
Feathering should stay subtle. If the ends are over-thinned, the style starts to fray in humidity and the bottom line disappears. A light touch is enough.
28. Luxe Curl-Honoring Straight Layers
This is the one I’d save for hair that deserves to look expensive without looking overworked. The layers are long, the face frame is tailored, and the overall cut respects what curly hair wants to do when it isn’t being bossed around.
It’s a strong close to the list because it blends the best ideas from the other styles: enough movement, enough length, enough shape to survive a wash day and still look good after a straight finish.
Best for the reader who wants one dependable shape
If you want a style you can wear straight, wave it slightly, or curl the ends under with a round brush, this is the safest all-around cut. It’s not flashy. It does not need to be. The line is the point.
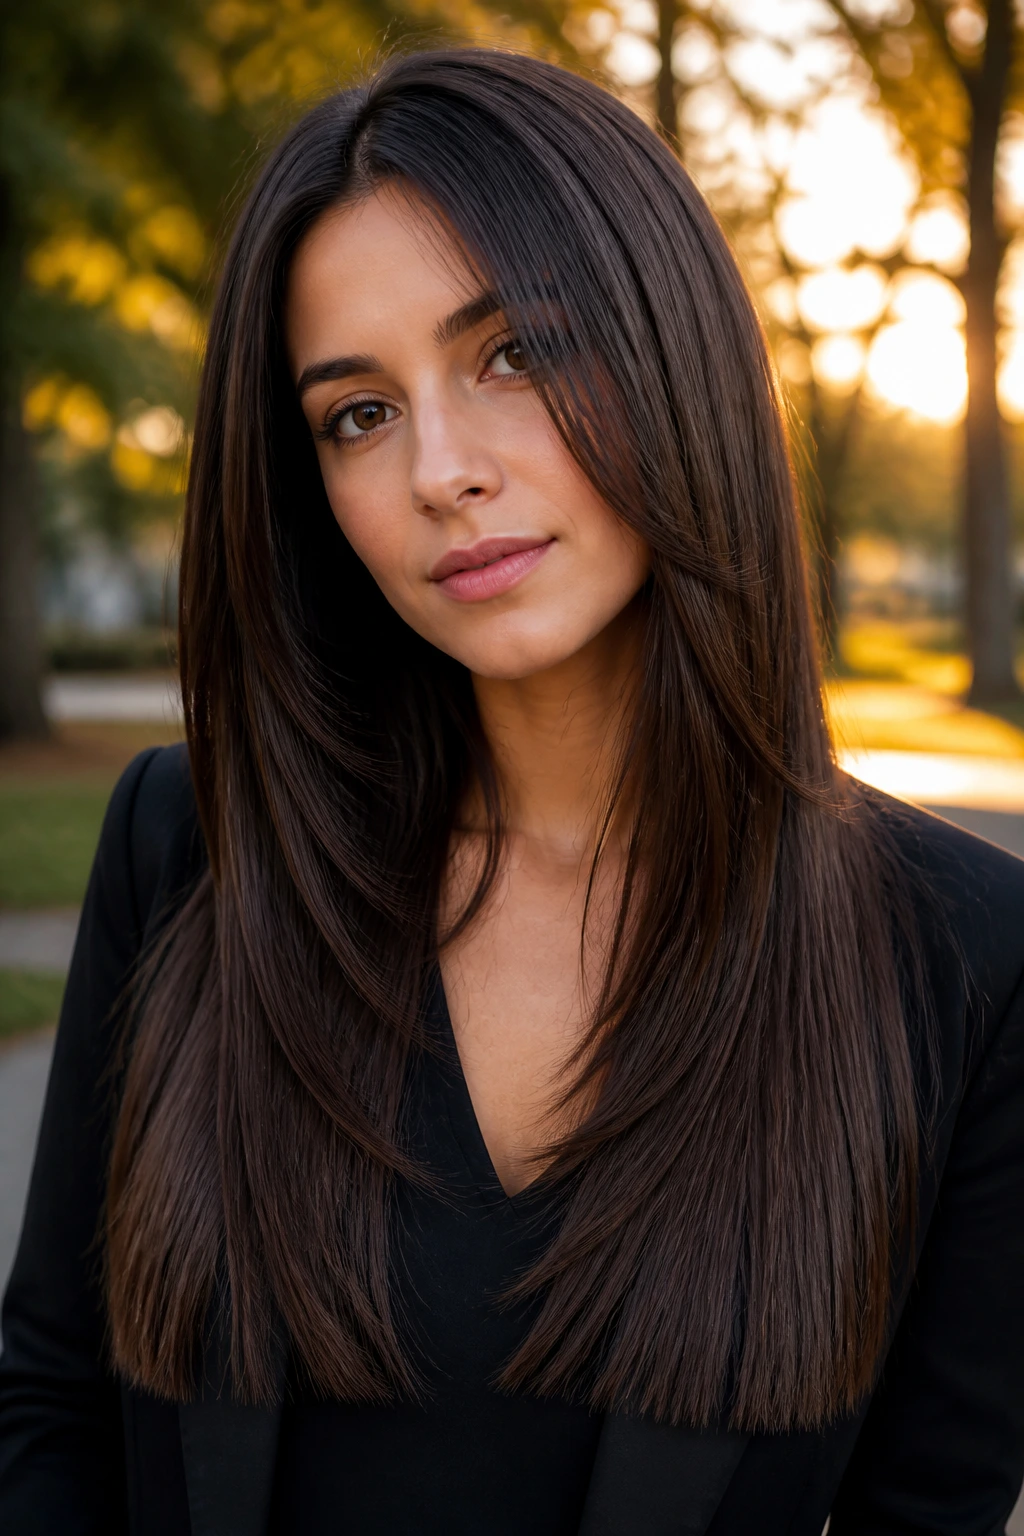
What Long Straight Layers Really Need to Look Good on Curly Hair
The cut itself matters, but the finish matters almost as much. Curly hair straightened without enough prep tends to puff at the root and dry at the ends, which makes even a good layer map look patchy. A clean blow-dry or silk press changes the whole reading of the haircut.
The best long layered styles don’t ask the hair to do too much. They let the hair be long, let the face frame do the talking, and keep the internal structure simple enough that the shape survives a few humid hours. That’s the sweet spot.
A blunt cut can look strong for a day. Layers, when they’re done with restraint, can look good for weeks. That’s why this category keeps working.
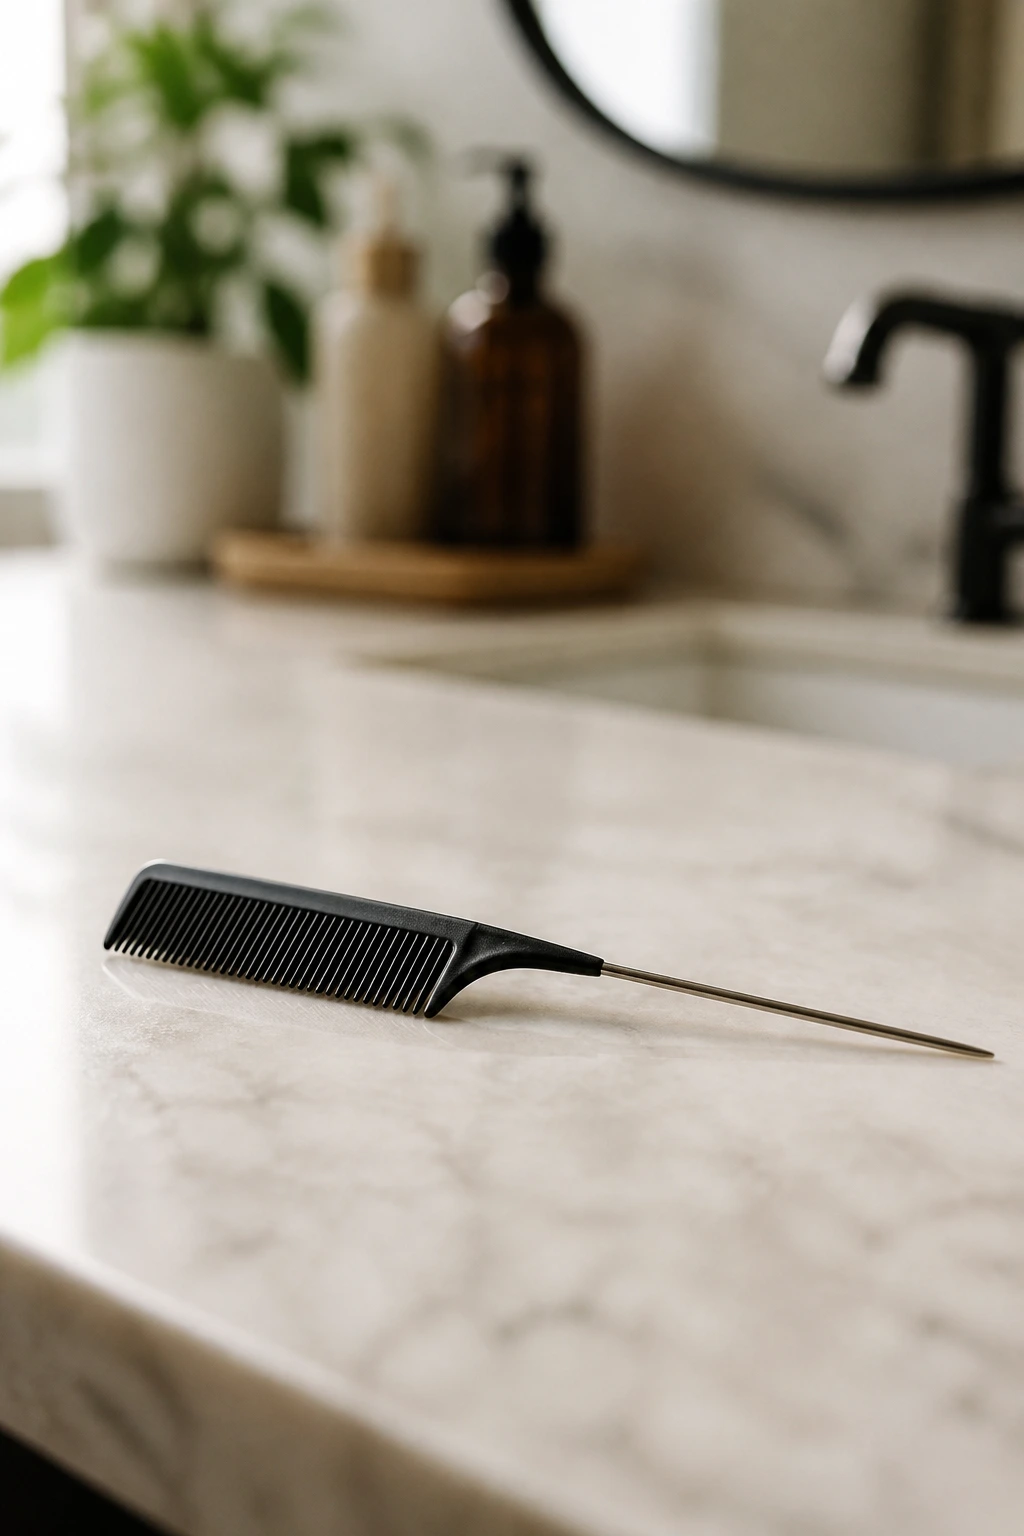
Essential Tools for a Smooth Finish
- Heat protectant spray or cream: Use this on damp hair before blow-drying and again lightly before flat ironing if the product is designed for it.
- Blow dryer with a concentrator nozzle: The nozzle matters more than people think; it keeps the airflow pointed and helps the cuticle lie flatter.
- Round brush and paddle brush: Round brush for face-framing bend, paddle brush for a smoother overall finish.
- Sectioning clips: Curly hair behaves better when you’re not trying to dry all of it at once.
- Ceramic or titanium flat iron: Ceramic is gentler for most routines; titanium heats faster and can be unforgiving if you’re not careful.
- Rat-tail comb: Useful for clean parts and neat sectioning, especially around the crown.
- Satin scarf or bonnet: Night protection keeps the ends from getting fuzzy and the roots from collapsing.
- Lightweight serum or oil: Use a small amount on the ends, not the whole head, or the style will go greasy fast.
What to Ask for at the Salon Before the First Snip
Bring photos, but not just pretty photos. Bring photos of the hair after it has been styled the way you plan to wear it. Straight layers on curly hair can look completely different before and after heat, and your stylist needs to know which version matters to you.
Say how often you straighten. Say whether you air-dry sometimes. Say whether your ends are thin, thick, or uneven from old color. That one conversation can save you from a cut that looks gorgeous blown out and terrible on wash day.
If your curl pattern is loose at the front and tighter at the back, mention it. If your crown gets flatter than your ends, mention that too. The best layer plan takes those little differences seriously. Hair does not grow in a spreadsheet.
How to Wear These Styles So the Layers Read Clearly

Presentation: Let the front pieces sit where the cut wants them to sit. If the face frame has shape at the cheekbone, don’t tuck it all behind your ears just because you can. The whole point is to let the line show.
Accessories: Thin hoop earrings, silk scarves, claw clips, and narrow headbands work best with long layers because they don’t fight the silhouette. Thick headbands can hide the front work you paid for. That’s not a crime. It’s just a waste.
Best Pairings: These styles love open necklines, square collars, and simple shoulder lines. Heavy turtlenecks can swallow the movement. A clean neckline gives the layers room to move.
Scale: If the hair is very thick, choose larger, smoother layers. If it’s fine, keep the front frame lighter and the back fuller. Matching the layer density to the hair density keeps the style from feeling lopsided.
Small Styling Moves That Make a Big Difference
Shine Boost: A pea-sized drop of serum on the last three inches of the hair makes the ends look finished without flattening the whole shape. Focus on the longest pieces. The crown does not need your oil.
Volume Control: Clip the roots at the crown while the hair cools after blow-drying. That tiny pause gives the top a little lift and keeps the layers from sitting too close to the scalp.
Part Change: Flip the part from one side to the other after the hair has cooled if you want the layers to look softer. It changes the fall instantly. Cheap trick. Works.
Heat-Safe Habit: Don’t pass the iron over the same section five times. Slow, controlled passes are better than frantic ones, and they leave the cut looking smoother instead of toasted.
Common Mistakes That Turn Layers Choppy
The biggest mistake is over-layering the front. You end up with wispy face pieces that break apart the minute humidity shows up. The fix is simple: keep the shortest layers longer than you think, especially if your curls are springy.
Another common problem is straightening hair before it’s fully dry. That steam you hear is not a good sound. It can swell the hair shaft and wreck the finish. Dry the hair all the way through, even if it takes longer than you wanted.
Too much flat iron heat is another one. You don’t need to blast curly hair at the highest setting just because it’s curly. Fine or color-treated hair usually does better in the lower range; thicker, healthier hair can take more, but there’s no medal for frying it.
And then there’s the blunt-hem mistake. If the bottom line is too thin, the whole style can look stringy once it’s straight. Keep the perimeter strong enough to carry the layers.
Variations for Different Curl Patterns and Routines
Soft Blowout Version: This version keeps the layer map but skips the pin-straight finish. The ends are left with a smooth bend and a little air. It works when you want the cut to look polished without a full silk press.
Humidity-Proof Press: Add an anti-humidity spray over the finished style and keep the layers a touch longer than usual. The extra length gives the hair room to puff without changing the shape too much. Good in damp weather, or in any room that feels like soup.
Fine-Hair Float: For finer curls, reduce the number of short interior layers and keep the face frame subtle. The cut should look light, not sparse. This version gives movement while protecting the outline.
Thick-Hair Velvet Layers: On dense hair, remove weight from inside the shape and keep the perimeter smooth. The result is plush rather than bulky. Velvet is the right word here.
Curly-Roundtrip Hybrid: This is for people who wear the hair straight some days and curly on others. The layers are long enough to disappear into the curl pattern but still show shape when blown out. It’s the most forgiving option if you hate being locked into one finish.
Maintenance, Heat Care, and Grow-Out Rhythm
Long straight layered hair on curly texture lives or dies by maintenance. If you heat-style often, a trim every 8 to 10 weeks keeps the ends clean and the layers from drifting into each other. If you straighten only once in a while, you can stretch that a bit longer, but split ends don’t disappear just because you ignore them.
Night care matters more than people admit. Wrap the hair with a silk scarf or sleep on a satin pillowcase, then refresh the roots with a low-heat pass only where needed. Don’t re-flat-iron the whole head every morning. That’s how you end up with dry, tired ends and a style that gives up halfway through the week.
A good straight layered cut usually improves after a wash or two, then needs some shape rescue around the time the face frame loses its crisp line. If the front starts hanging too flat or the ends get fuzzy, that’s your cue. Not later. Then.
Frequently Asked Questions
Do long straight layers work on tight curls?
Yes, but the layer map has to be longer and more restrained. Tighter curl patterns shrink more, so a face frame that looks safe when straight can jump up faster than you expect when it’s curly. Long layers with a strong perimeter usually behave better than short, choppy ones.
Should curly hair be cut wet or dry for this look?
A hybrid approach often works best. Dry cutting shows how the curls actually sit, while a careful wet finish can help with symmetry and long layers. If you want the straight version to look balanced, your stylist should understand both states, not just one.
How do I keep the layers from looking stringy after straightening?
Keep the lower edge full and avoid over-thinning the interior. Stringy ends usually mean too much weight was removed too high up, or the hair was ironed too hot and lost body. A lightweight serum on the ends helps, but the cut has to do most of the work.
Can I wear these styles curly sometimes?
Absolutely, if the layers are cut with shrinkage in mind. The best versions transition well because the shortest pieces are long enough to blend back into the curl pattern. If the layers are too short, the curly version can look disconnected.
What if my hair puffs up in humidity?
Use an anti-humidity product, keep the ends sealed with a small amount of oil or serum, and don’t go too short with the top layers. Humidity exposes weak cutting choices fast. A stronger perimeter and a smoother crown help more than another coat of heavy product.
Do I need a silk press to wear these looks?
No, but the smoother the finish, the more clearly the layer shape shows. A blowout with a brush can be enough for some styles, especially the softer ones. Silk press gives the sharpest line, but it also asks for the most care afterward.
How often should I trim long layers on curly hair?
If you heat-style regularly, every 8 to 10 weeks is a sensible rhythm. If you mostly wear the hair natural and only straighten here and there, you can stretch that farther. The real signal is the ends: when they start looking dry or see-through, the shape is due.
Which part works best with long straight layered hair?
Center parts show off symmetry and length, while deep side parts soften the face and hide density differences. The best part is the one that matches your face shape and the way your hair falls after blow-drying. Don’t force a middle part if your crown fights it every time.
The Shape That Still Moves
The reason long straight layered hairstyles for curly hair keep showing up is simple: they solve a real problem. They keep the hair long, but not heavy. Sleek, but not stiff. Face-framing, but not chopped to pieces. That balance is what makes the whole category worth paying attention to.
The smartest versions are the ones that respect the curl pattern underneath the straight finish. If the cut is too short or too aggressive, the shape can turn brittle fast. If it’s too timid, you get length with no life. The sweet spot sits between those two mistakes, and it’s a good place to live.
Pick the layer map that fits your density, your part, and how often you actually wear your hair straight. Then keep the ends trimmed, the heat controlled, and the silhouette clean. The style will do the rest.