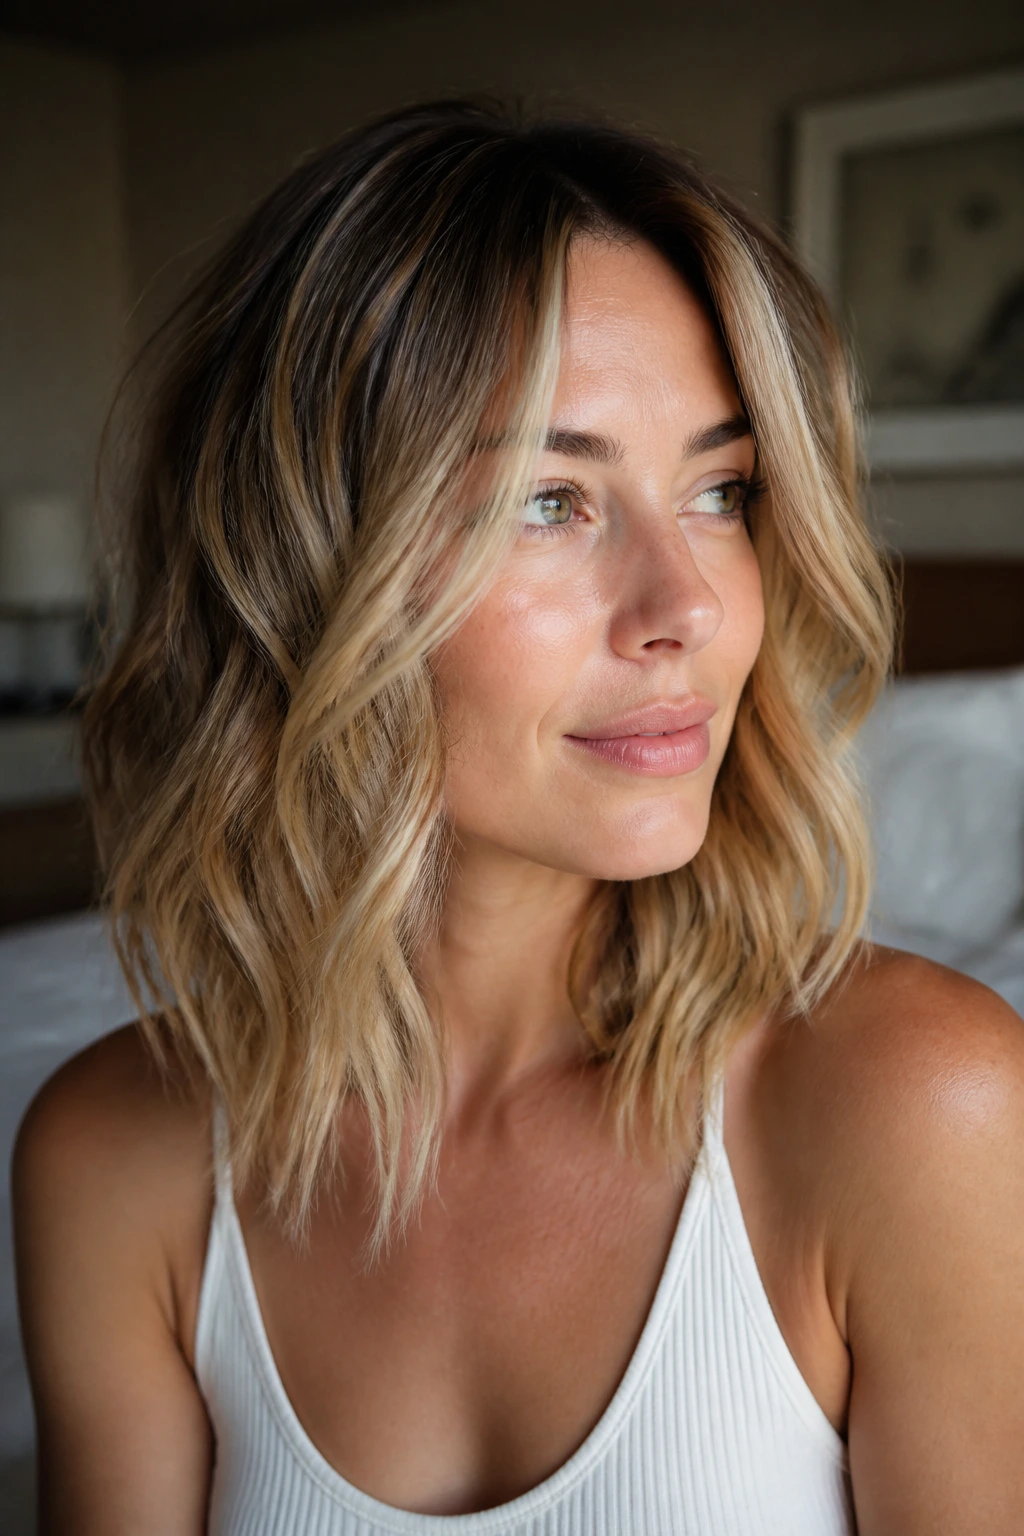
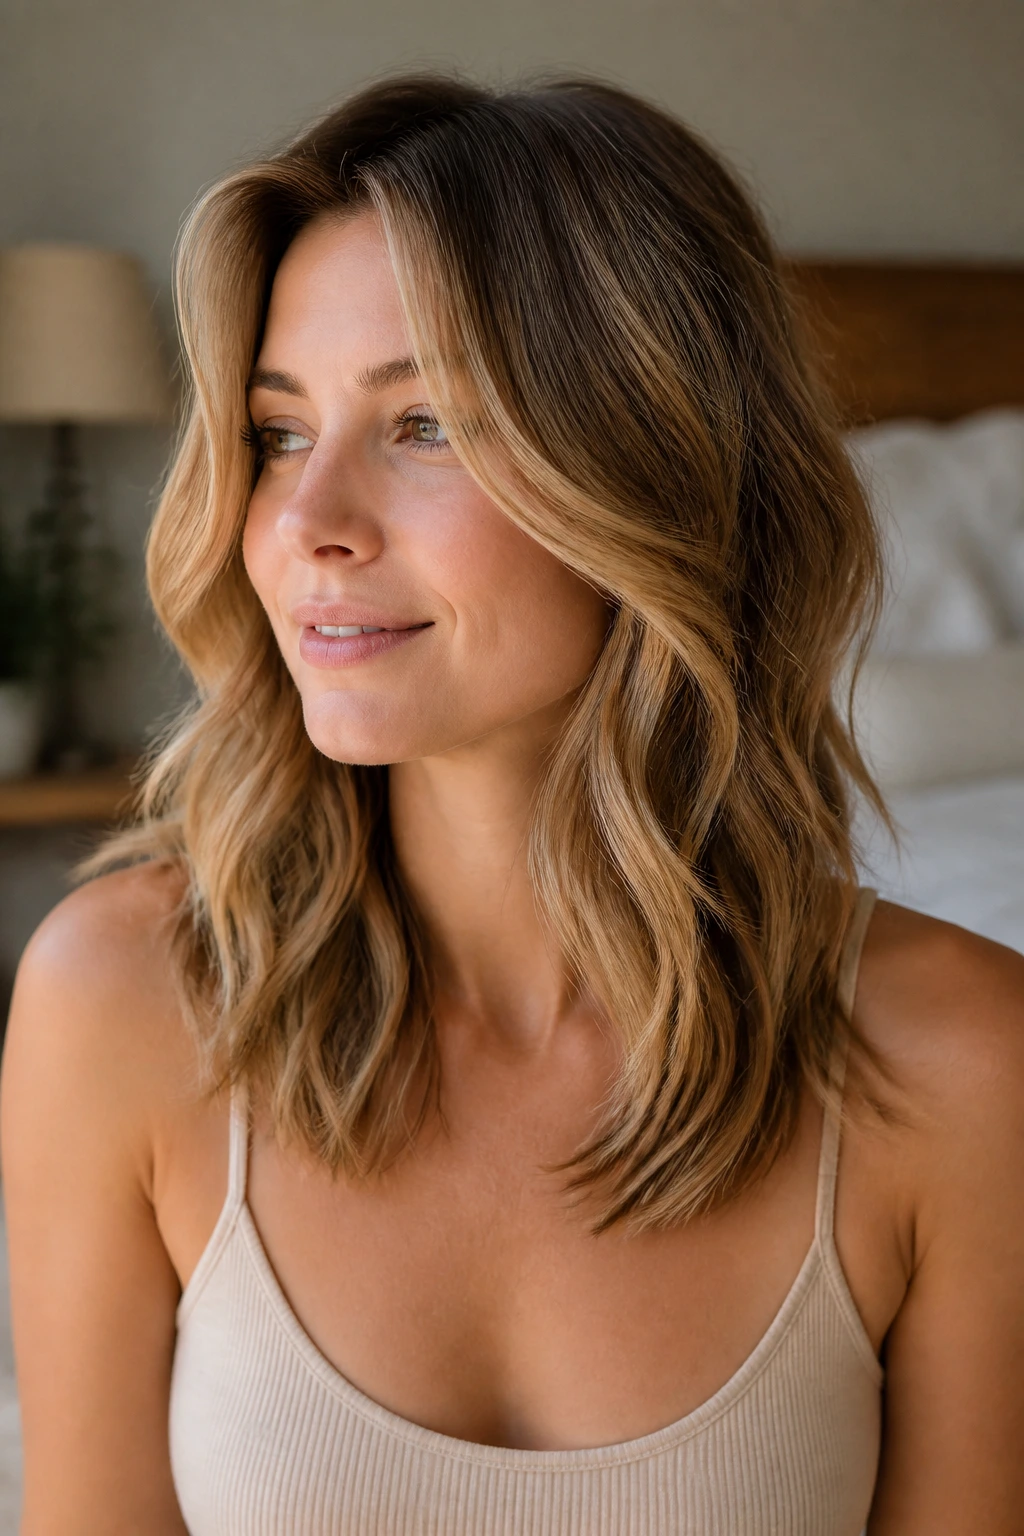
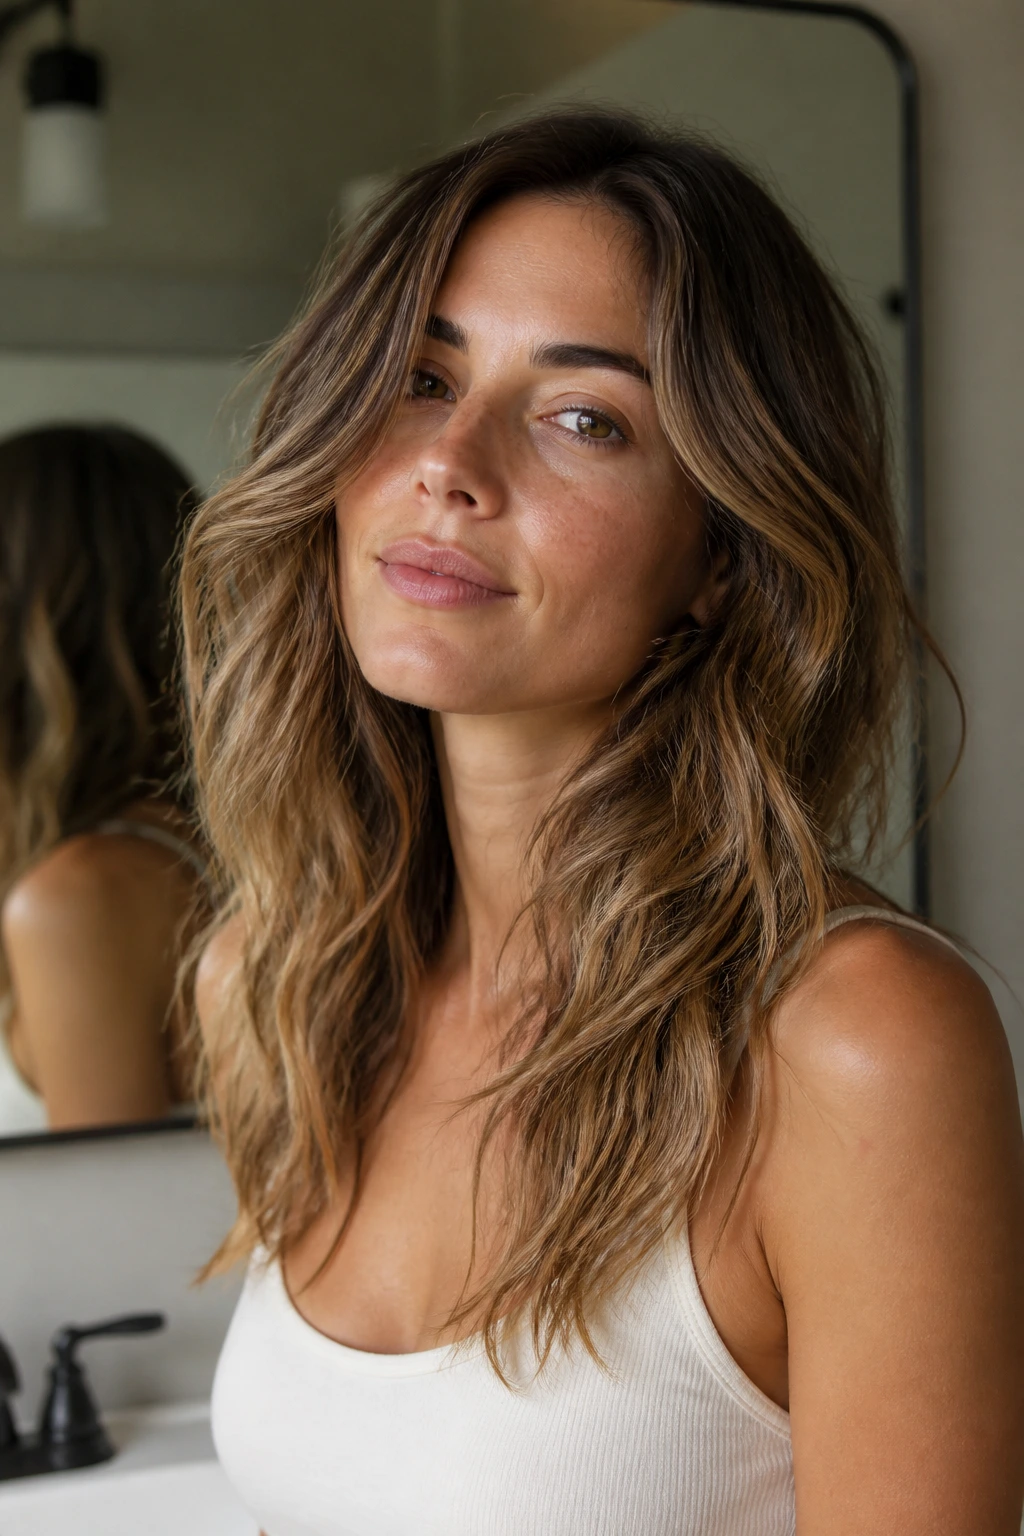
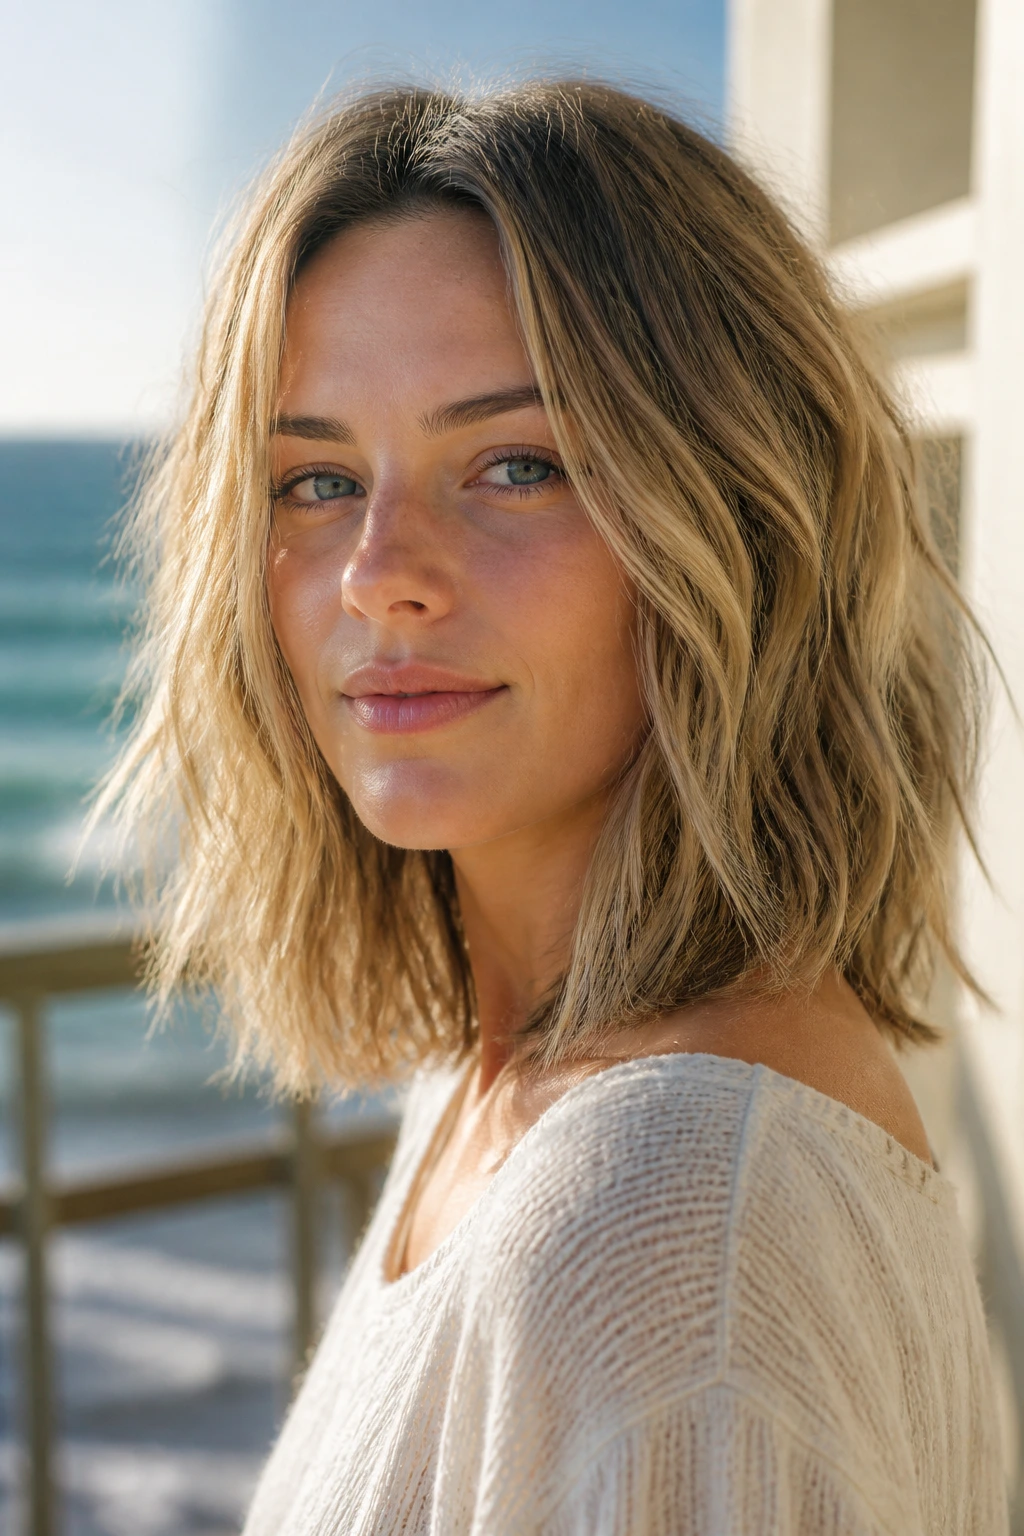
Thin hair has a way of telling on you by noon. The roots go soft, the ends look see-through, and anything that felt full in the bathroom mirror can turn flat once you walk out the door. That’s why medium length layers for thin hair with beachy waves make so much sense: they keep enough length to feel like hair, but they don’t drag the shape down into a long, limp curtain.
The sweet spot is usually somewhere between the chin and the collarbone. Shorter than that and you can lose the softness people want from medium hair; much longer and the weight starts winning. Layers help, but only when they’re placed with some discipline. A good cut gives thin hair a perimeter that still looks solid, plus just enough movement around the face so the waves can do their thing instead of disappearing into the background.
And beachy waves are the right partner here because they bend the hair without asking it to hold a tight curl all day. Loose S-shapes, brushed-out bends, and soft face-framing pieces create the illusion of more hair than you started with. The trick is choosing the right version for your density, face shape, and tolerance for styling. Some cuts need a curling iron. Some need only a blow-dry and a little grit. Some are for people who want volume at the crown; others are for the ones who want the ends to look thicker and the face to open up a bit more.
Why These Looks Work So Well on Thin Hair
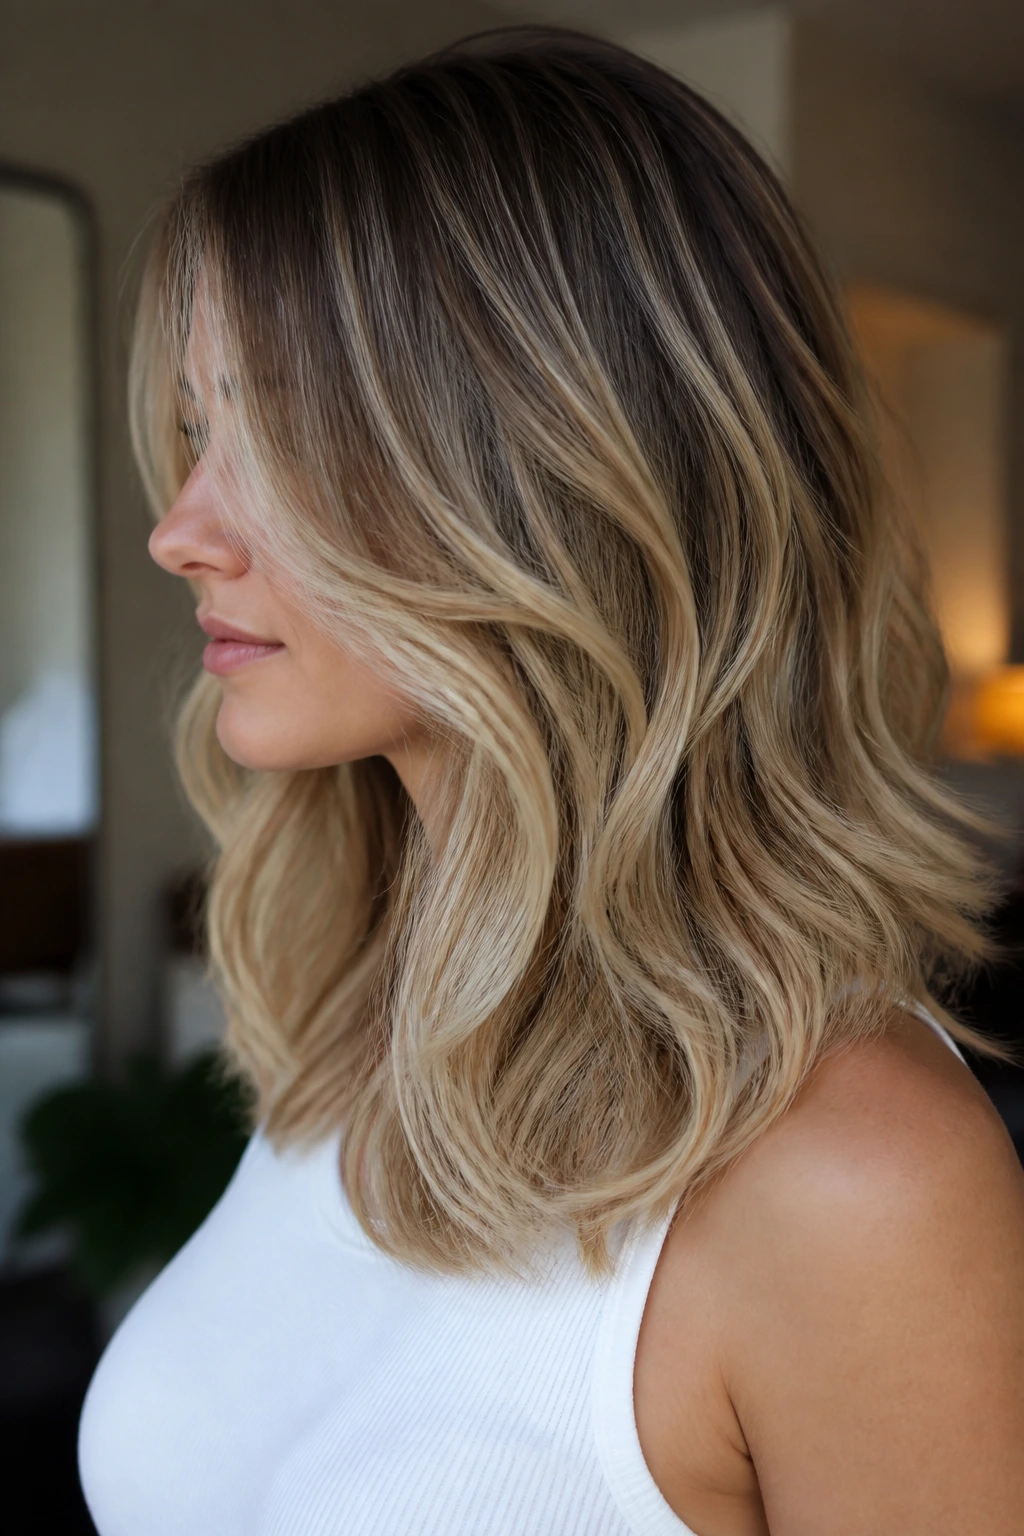
- Medium length keeps the ends from disappearing: Hair that hits the collarbone or upper chest still has enough weight to hang in a clean line, which matters when every strand counts.
- Beachy waves create width, not just curl: A loose wave adds side-to-side fullness, so the hair reads wider and thicker instead of long and narrow.
- Face-framing layers do the cosmetic work fast: A few well-placed pieces around the cheekbones or jaw pull attention upward and away from sparse ends.
- The right cut reduces styling pressure: You do not need a perfect blowout here. A soft bend, a little root lift, and a brushed-out wave usually do enough.
- There’s room for personality: Some versions lean polished, some lean undone, and some sit right in the middle where real life happens.
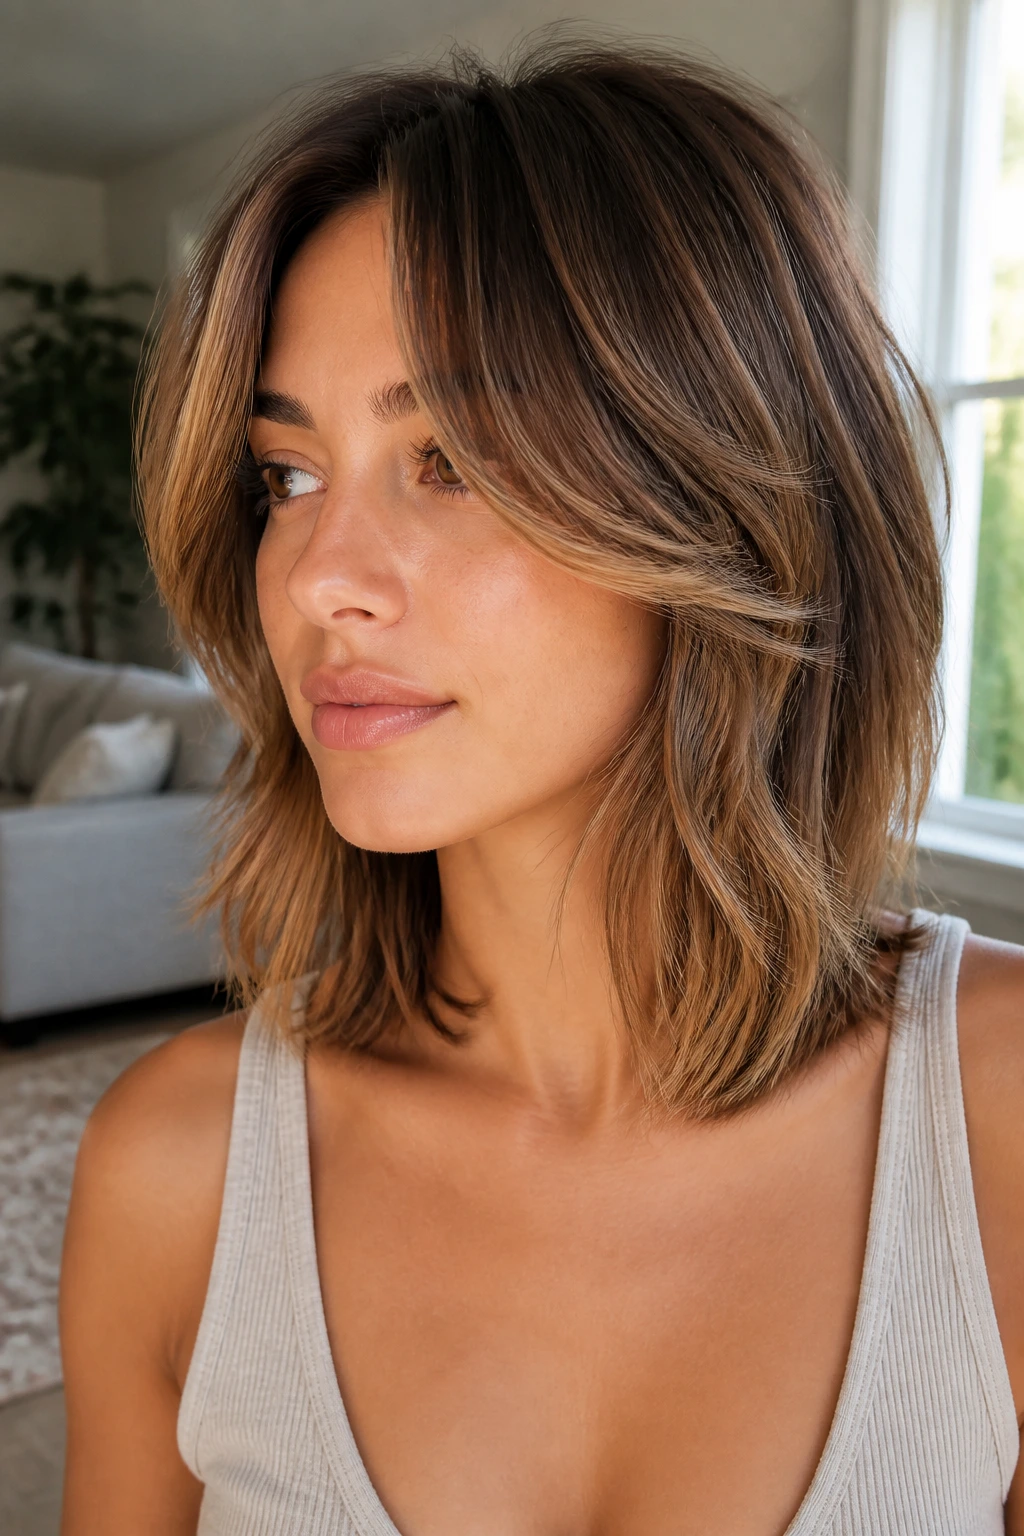
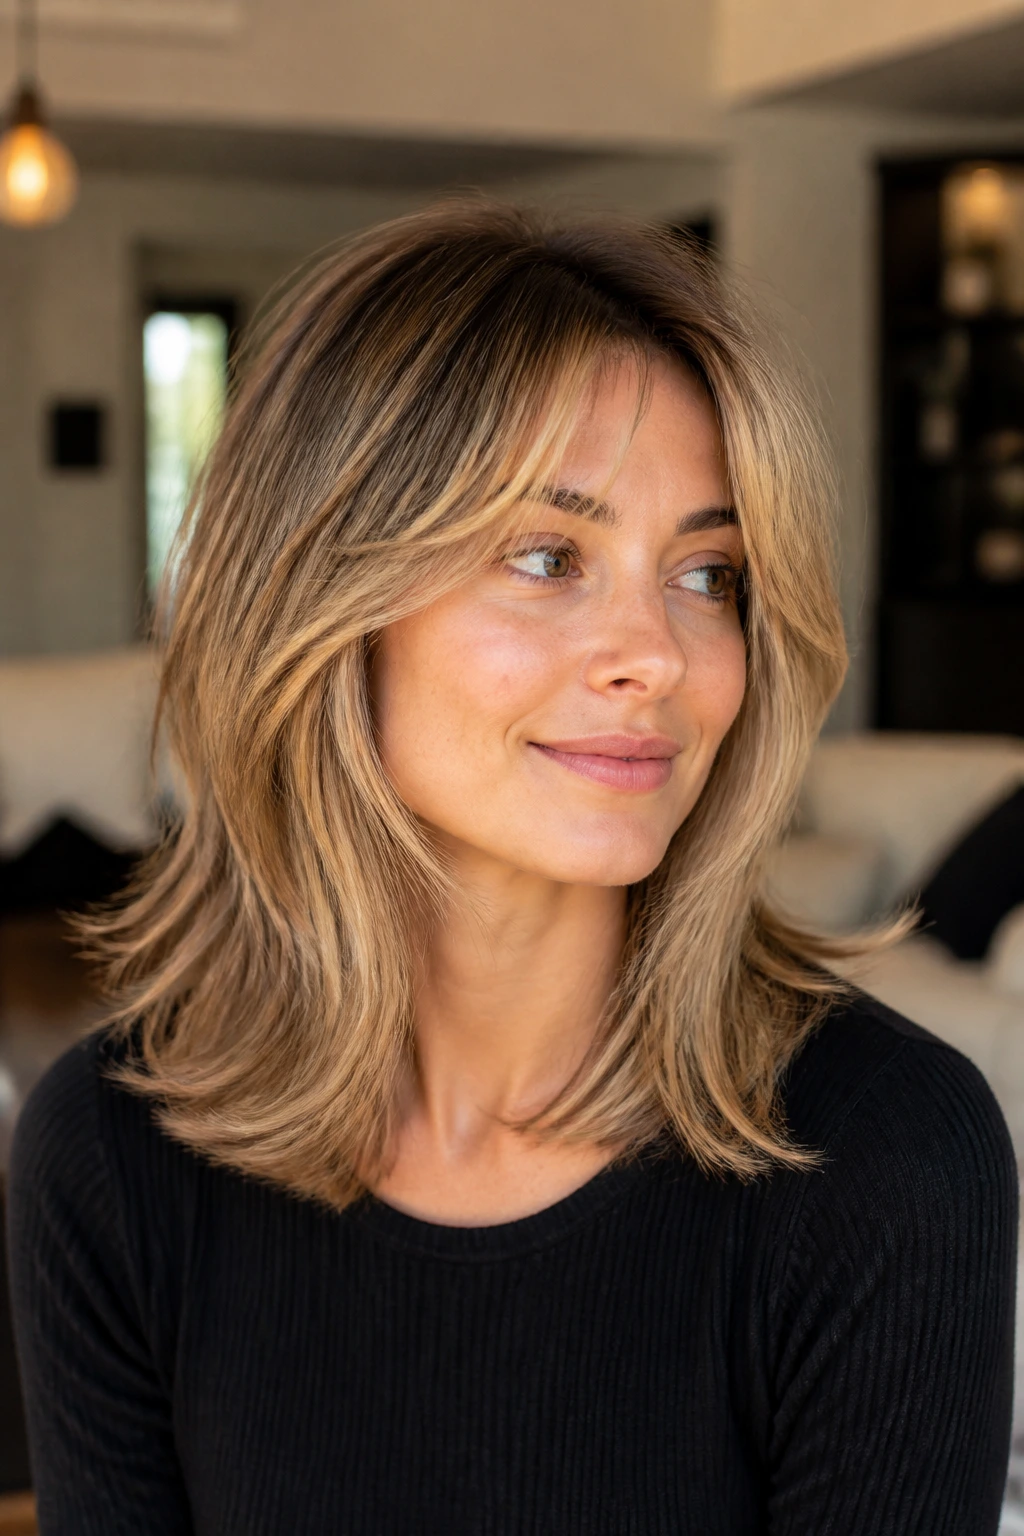
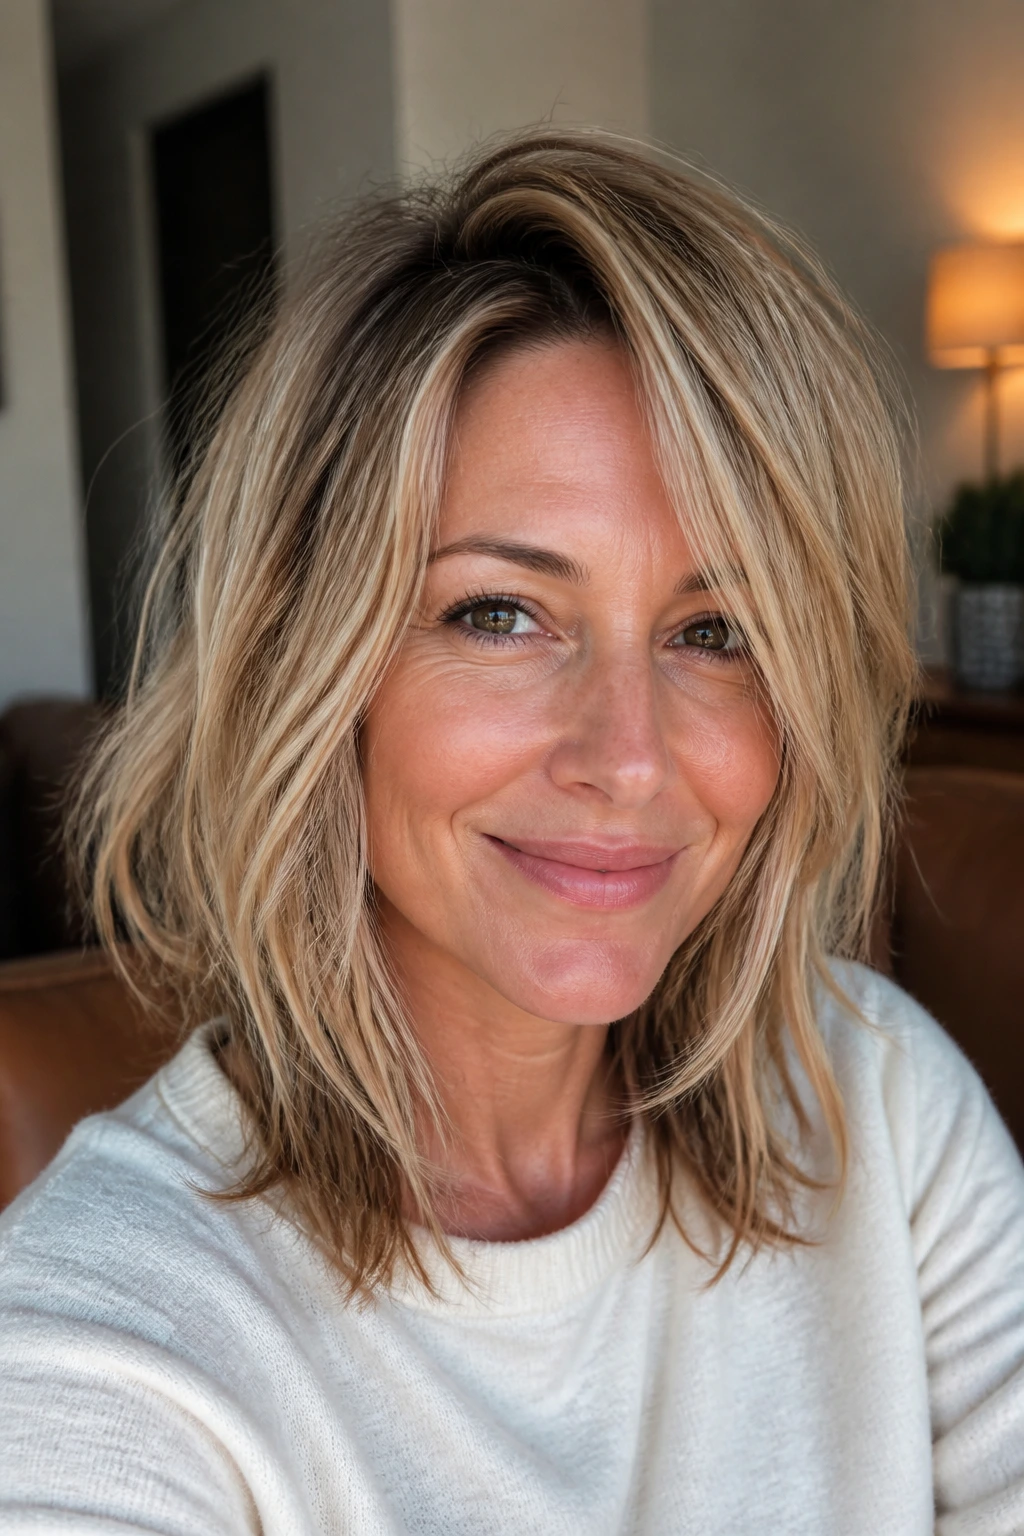
1. Collarbone Lob With Invisible Layers
The safest, most useful place to start is a collarbone lob with layers tucked so lightly into the interior that the outline still looks blunt. That blunt edge matters. Thin hair looks better when the bottom line feels solid, and the hidden layers keep the wave pattern from collapsing into a flat sheet.
Ask for length that grazes the collarbone, with the shortest interior pieces starting a few inches above the ends. When you style it, use a 1.25-inch curling iron and leave the last inch out. That little omission keeps the wave from looking too done.
This shape works when you want movement without giving up the look of density. It’s polished, but not stiff. And that’s the point.
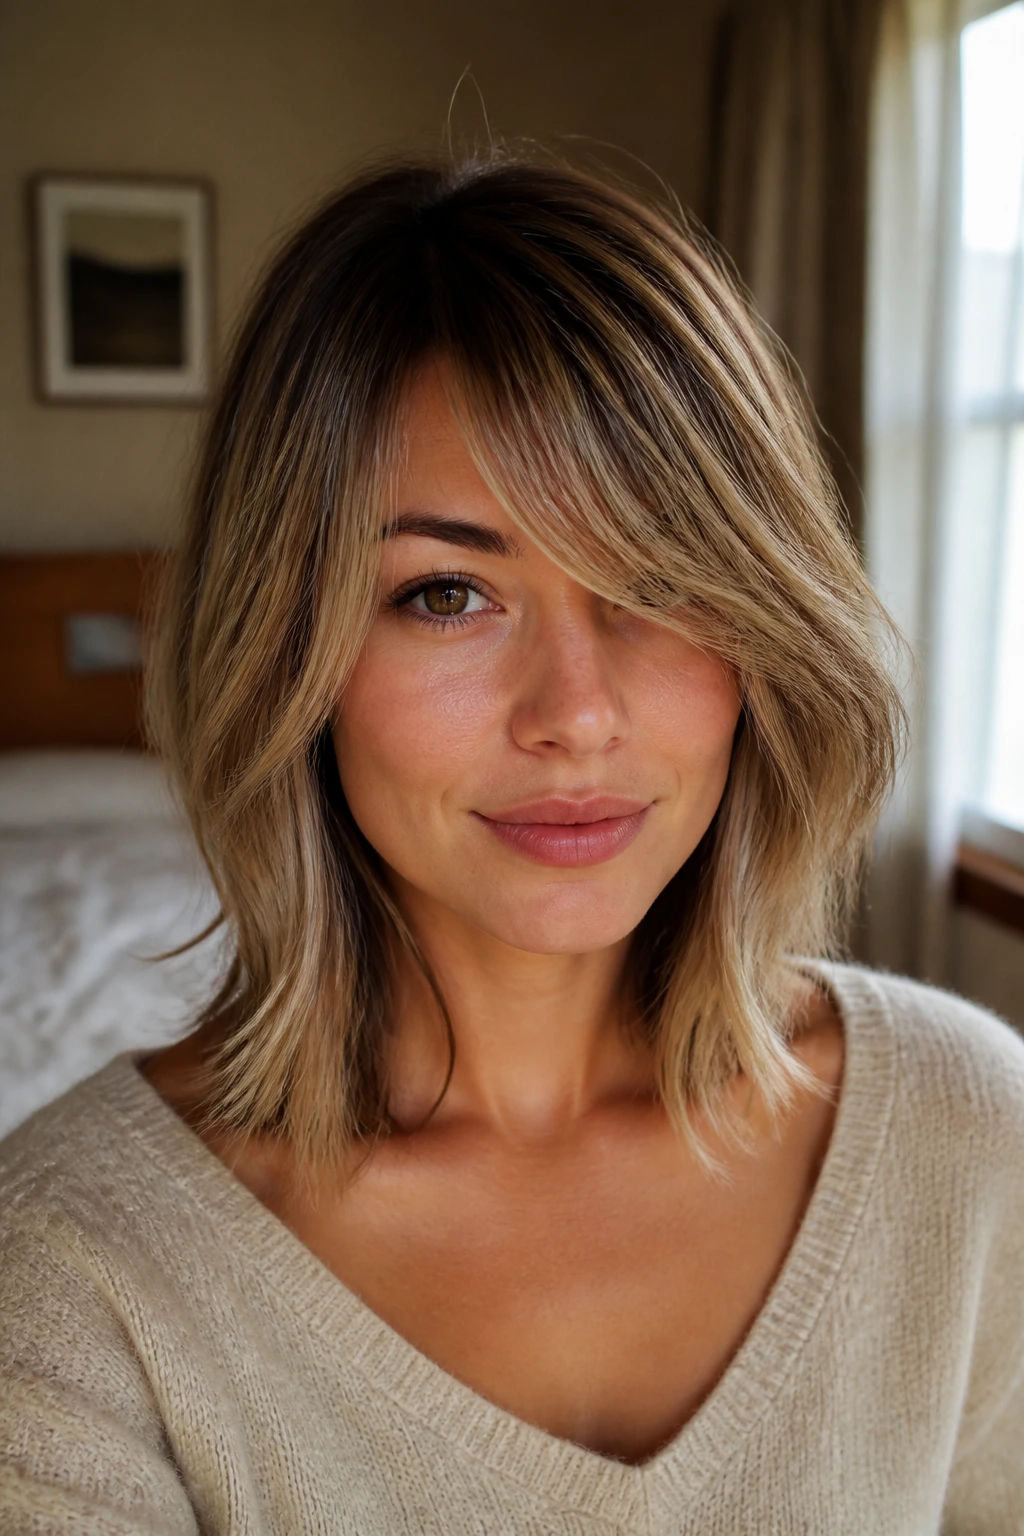
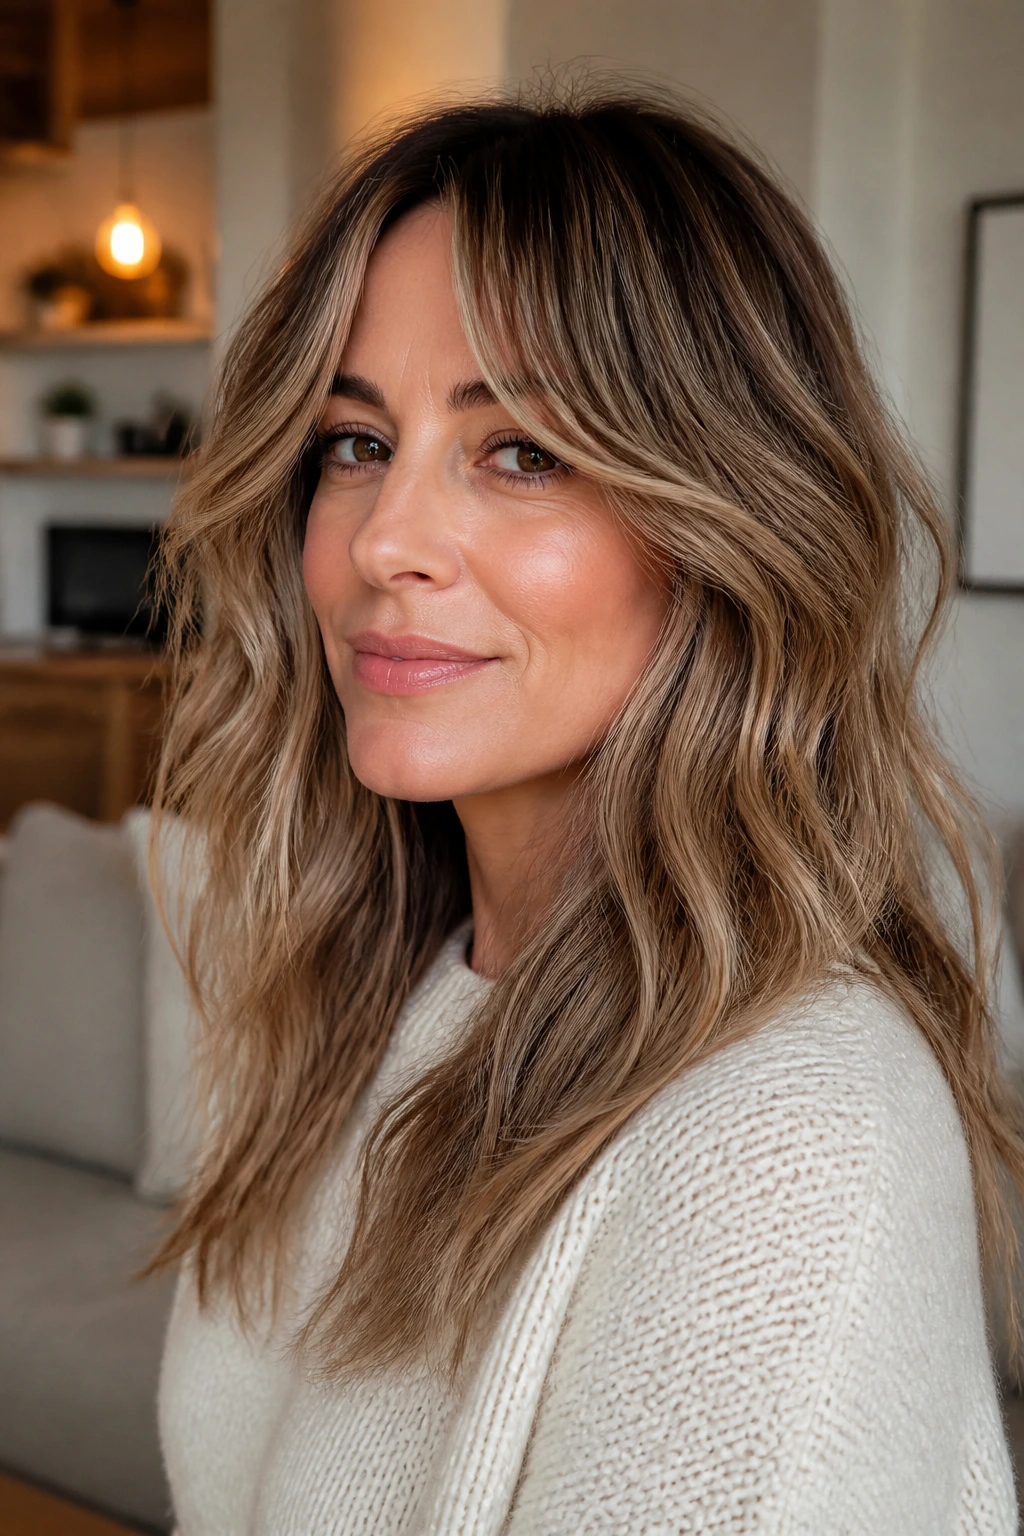
2. Curtain Fringe and Soft Shattered Ends
Want more shape around the face without committing to a full bang? Curtain fringe does a lot of work for thin hair because it gives the front of the haircut a clear focal point. Pair it with soft shattered ends, and the whole cut feels lighter without looking stringy.
The bangs should start around the bridge of the nose and open toward the cheekbones. The rest of the cut can stay medium length, but the ends need enough texture to keep the wave from sitting in one heavy chunk. Blow-dry the fringe with a round brush, then bend the lengths away from the face.
Styling note
- Use a light mousse at the roots.
- Keep the wave loose near the front.
- Brush the bangs out once they cool.
That last step matters. Curtain fringe looks better with a little air in it.
3. Deep Side Part With Face-Hugging Layers
A deep side part is one of the fastest volume tricks for thin hair, and it doesn’t ask for a different haircut every morning. Pair it with face-hugging layers that start around the cheekbone, and the whole shape looks fuller on top and softer around the jaw.
This version is especially good if your crown lies flat or one side of your hair always wins the battle and falls flatter than the other. A side part instantly changes the balance. Add loose beach waves, and the part line stops looking thin because the hair is no longer falling in the same direction every single day.
If you want more lift, clip the heavier side at the roots while your hair cools after styling. It’s a small, boring-looking step. It works.
4. Midi Shag With Airy Crown Lift
The shag can go wrong fast on thin hair if the layers are too short or too aggressive. But a midi shag with airy crown lift is a smart version of the idea. Keep the weight at the perimeter, build light texture through the top, and let the wave pattern do the rest.
This cut is for people who want that lived-in, slightly cool shape without looking like they lost half their hair to the scissors. The best version still has length around the shoulders, with soft pieces around the face and a little lift at the crown. Use a diffuser on low heat if your hair has any natural bend. If not, wrap sections loosely around a wand and leave the ends straight-ish.
A shag on thin hair should suggest movement, not shred it to pieces.
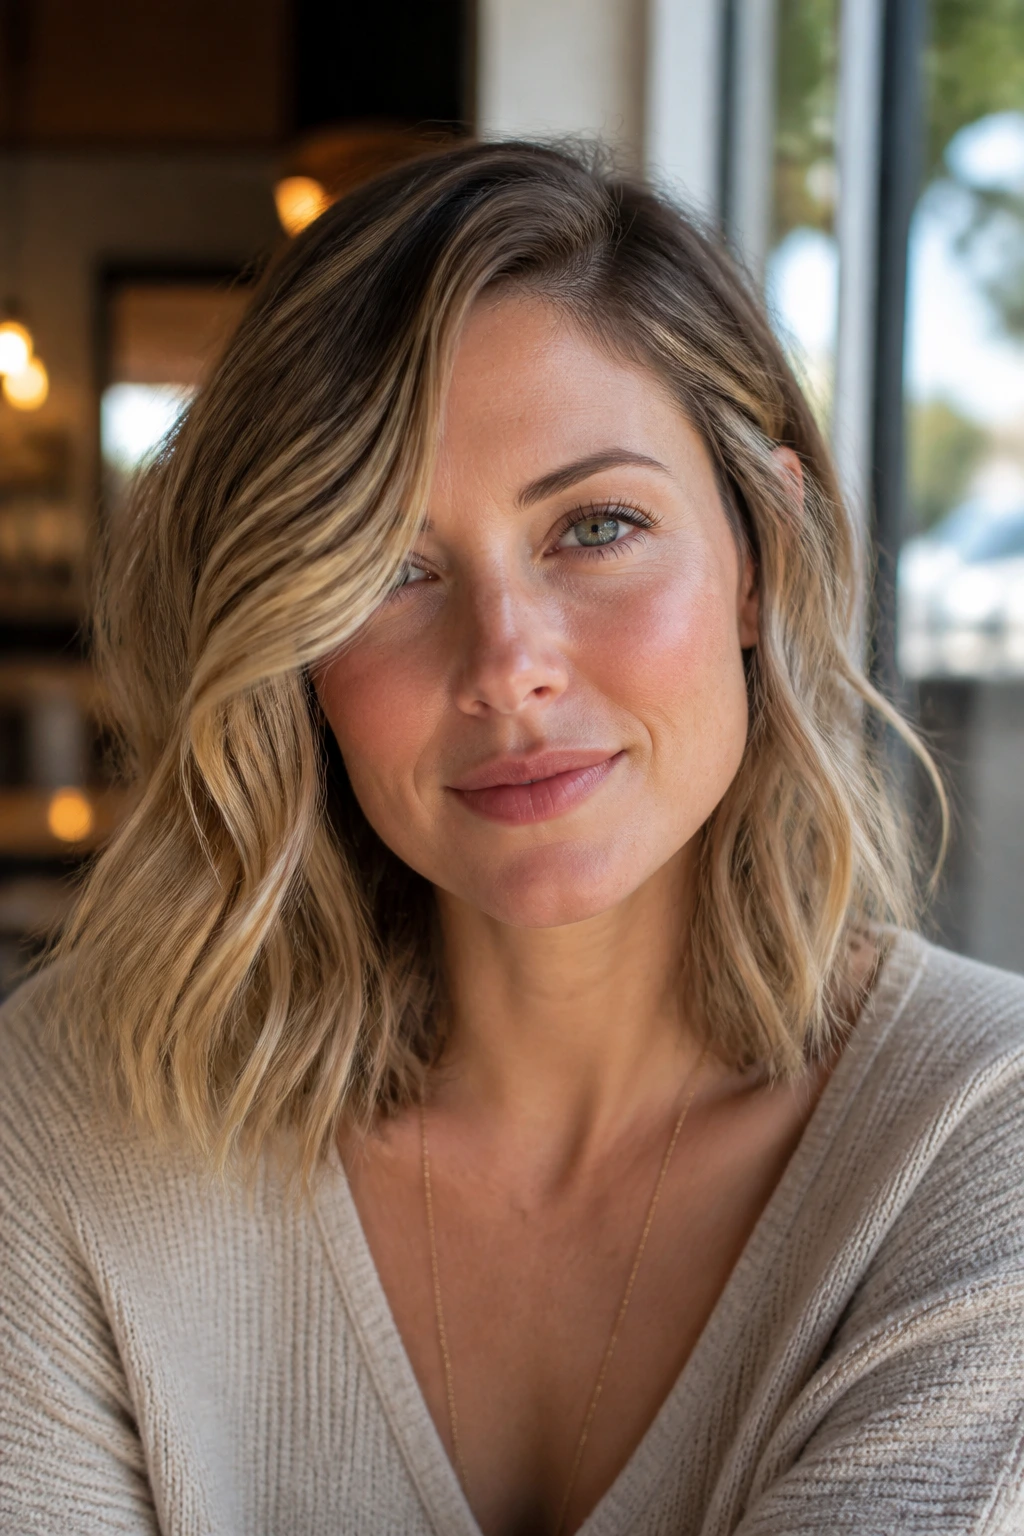
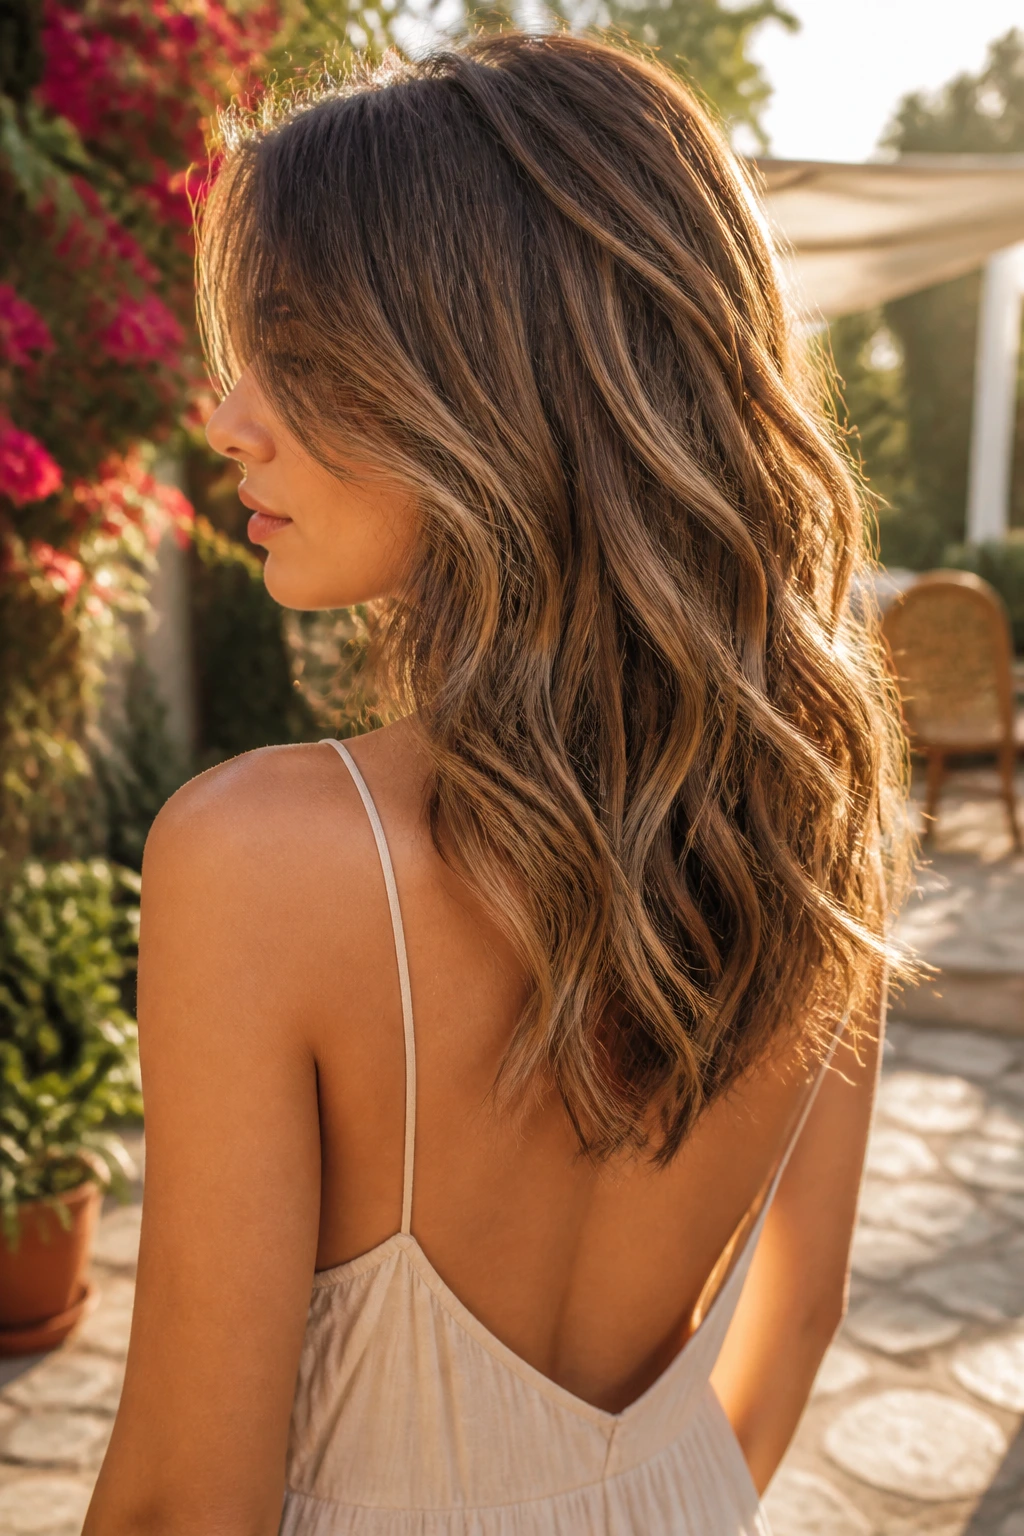
5. U-Shaped Cut With Brushed-Out Waves
A U-shape gives you a little more softness in the back than a straight line does, but it keeps enough weight to stop thin ends from looking wispy. The front pieces stay slightly shorter, so the face gets shape, while the center back falls a bit longer and rounder.
This is one of my favorite cuts for people who want medium hair to look a little expensive without a lot of styling drama. Curl the hair in large sections, let it cool completely, then brush it out with a soft paddle brush. The waves should look like they were left there by movement, not locked into place.
If your hair tends to look flat in photos, this shape helps. The curve in the silhouette gives the eye somewhere to go.
6. Feathered Clavicle Layers With Side-Swept Bangs
Feathered layers at the clavicle have an old-school charm when they’re done lightly, and thin hair benefits from that softness. Side-swept bangs add a diagonal line across the face, which is handy if you want the haircut to look less blunt and more dimensional.
The key is restraint. You want the bangs to skim the brow and sweep toward the cheek, not sit like a heavy curtain. The layers should move away from the face, then taper softly toward the shoulders. A medium round brush and a little blow-dry cream are enough to shape this without making it stiff.
This look works especially well when you want to soften sharper features or add motion around a narrow face. It’s gentle, but not boring.
7. Blunt Base, Hidden Movement
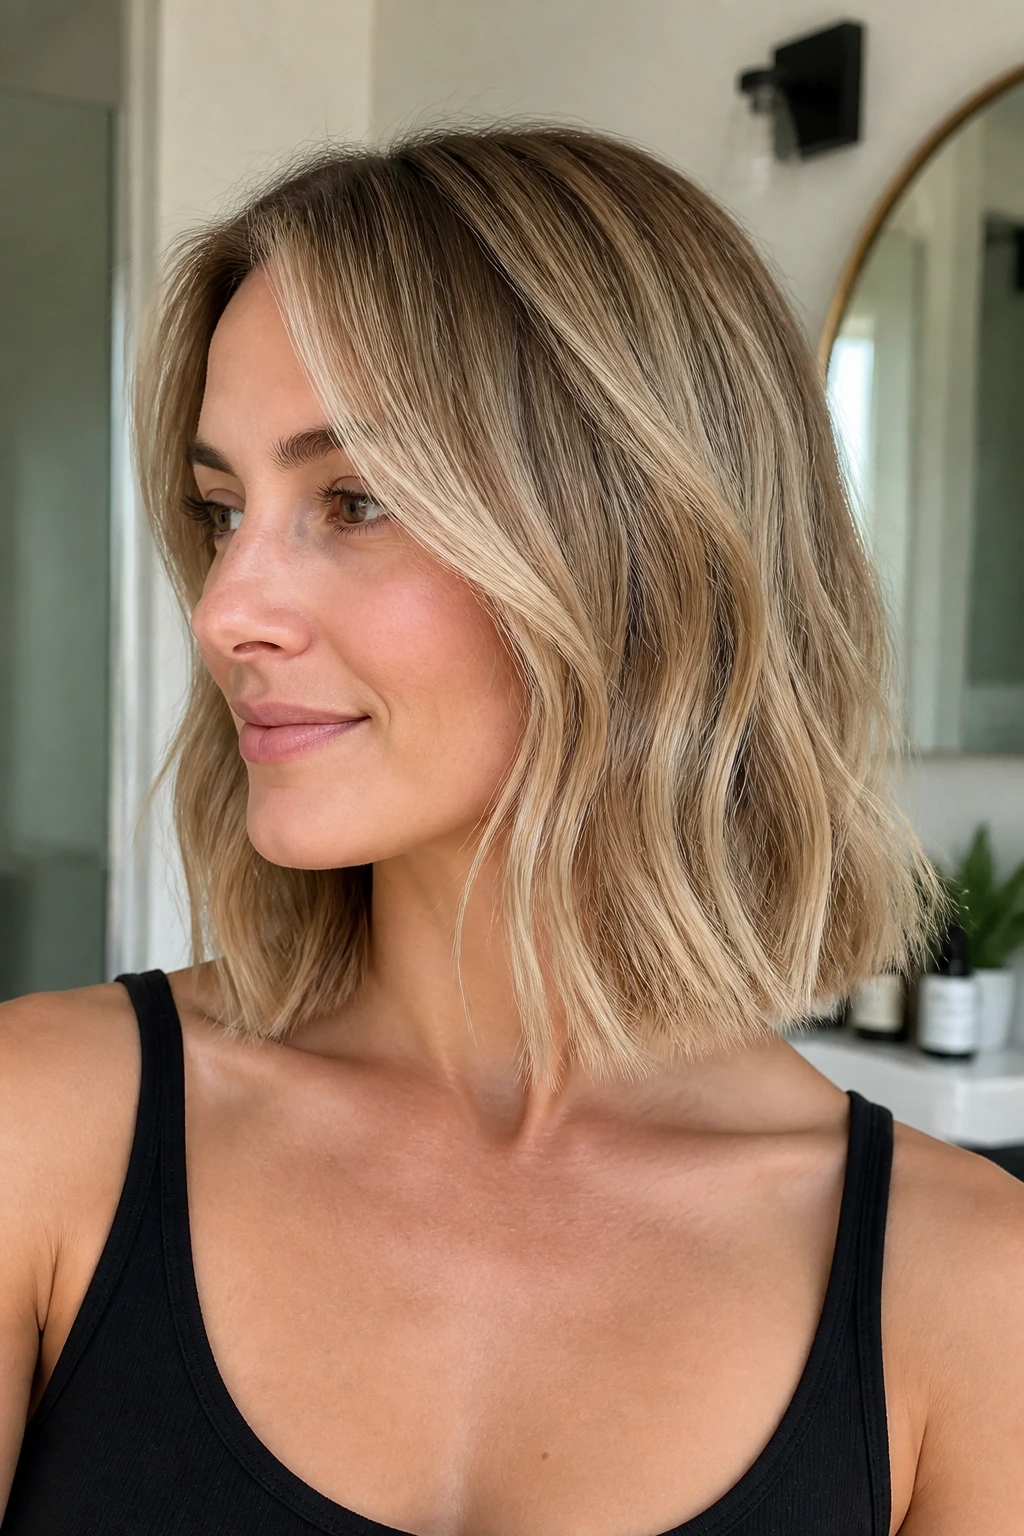
If your hair is truly fine, a blunt base can save you from that wispy, over-thinned look that some layered cuts create. The trick is to keep the outline clean and let the movement happen inside the haircut, where it does not erase the density at the ends.
Ask for a collarbone-to-shoulder line with very light internal layering and just a little face framing. Then style the waves loosely, almost like bends, rather than full curls. A flat iron can do this fast: clamp, twist half a turn, glide, and stop before the ends get too curled. The result reads as polished texture instead of obvious ringlets.
This is the haircut for people who like their hair to look thicker first and trendier second. Sensible. In a good way.
8. Butterfly Layers at Collarbone Length
Butterfly layers can be dramatic, but at medium length they become much more wearable. The shorter front layers sit around the cheekbones and jaw, while the longer back pieces keep the silhouette from breaking apart. For thin hair, that balance is the whole game.
The best part is the lift. The front layers create the look of more volume around the face, and the longer bottom section keeps the ends from looking sparse. Use root-lifting spray at the crown, blow-dry upside down for thirty seconds, then switch back upright and finish the mids and ends with a large barrel wand.
This shape is a strong pick if you want something that feels styled even on a low-effort day. It has movement from every angle.
9. Off-Center Lob With Cheekbone Pieces
A slight off-center part can do more for thin hair than a stack of products ever will. It gives the roots a little asymmetry, which helps the hair lift instead of flattening itself along the same line every day. Add cheekbone pieces, and the face gets a frame without sacrificing the medium-length shape.
This cut feels modern without being fussy. The beach waves should start below the cheeks, not at the root, or the whole style can turn fluffy in the wrong places. Curl away from the face on the heavier side and toward the face on the lighter side, then break the waves apart with your fingers once they cool.
If one side of your hair always falls flat, this is a smart fix. It changes the whole balance of the head.
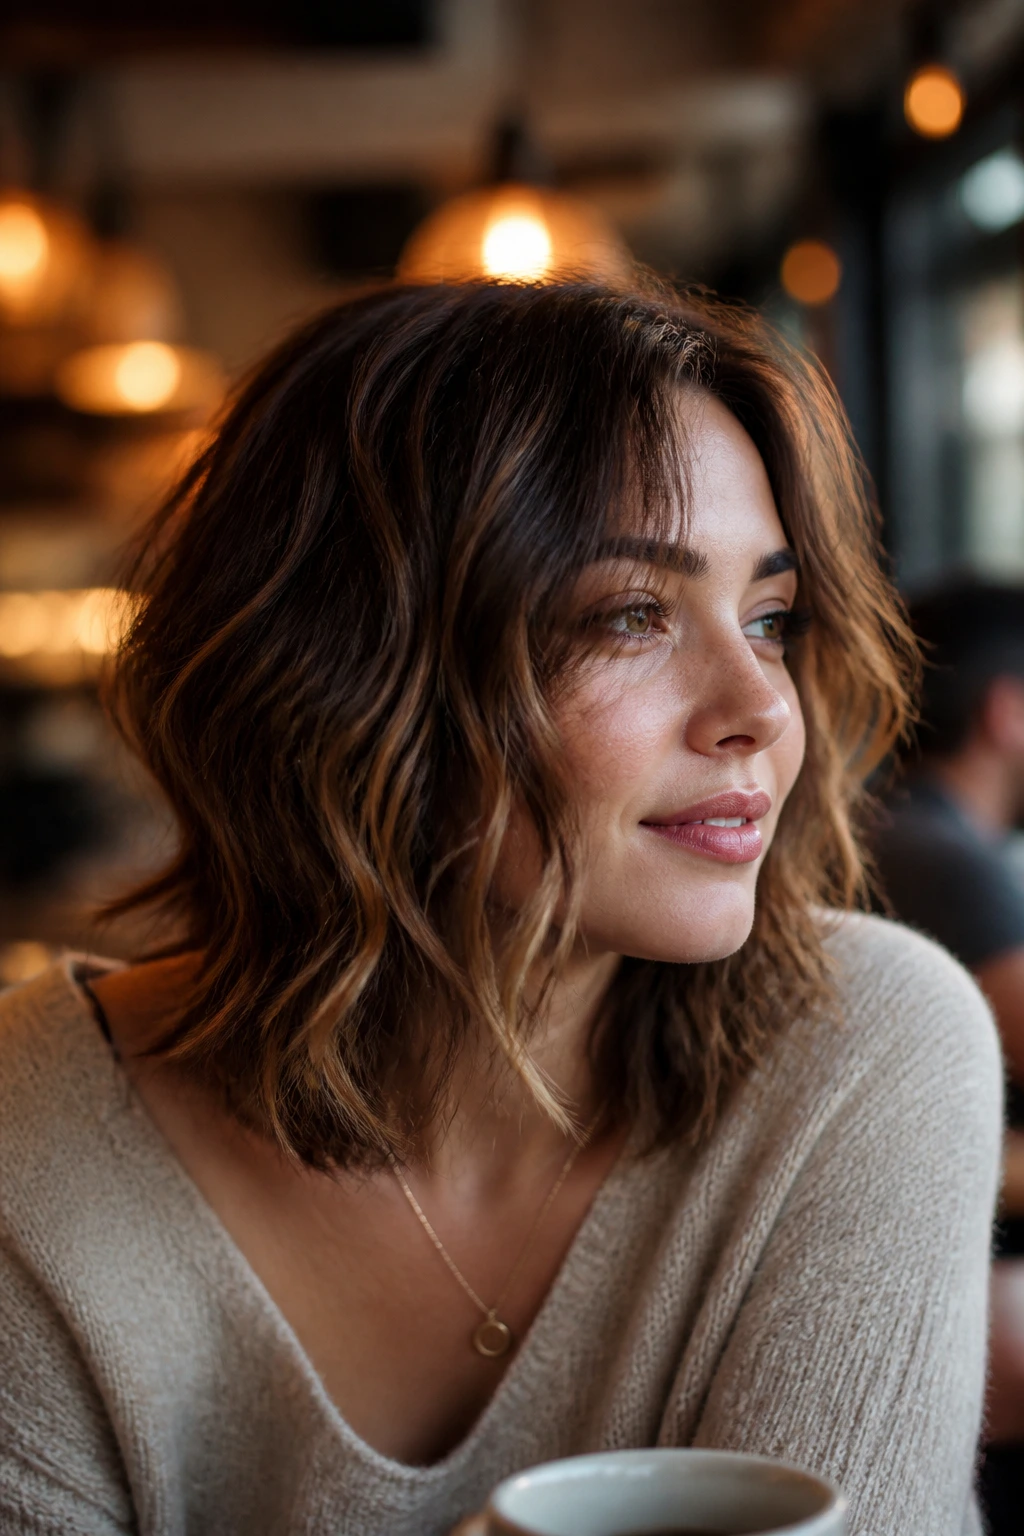
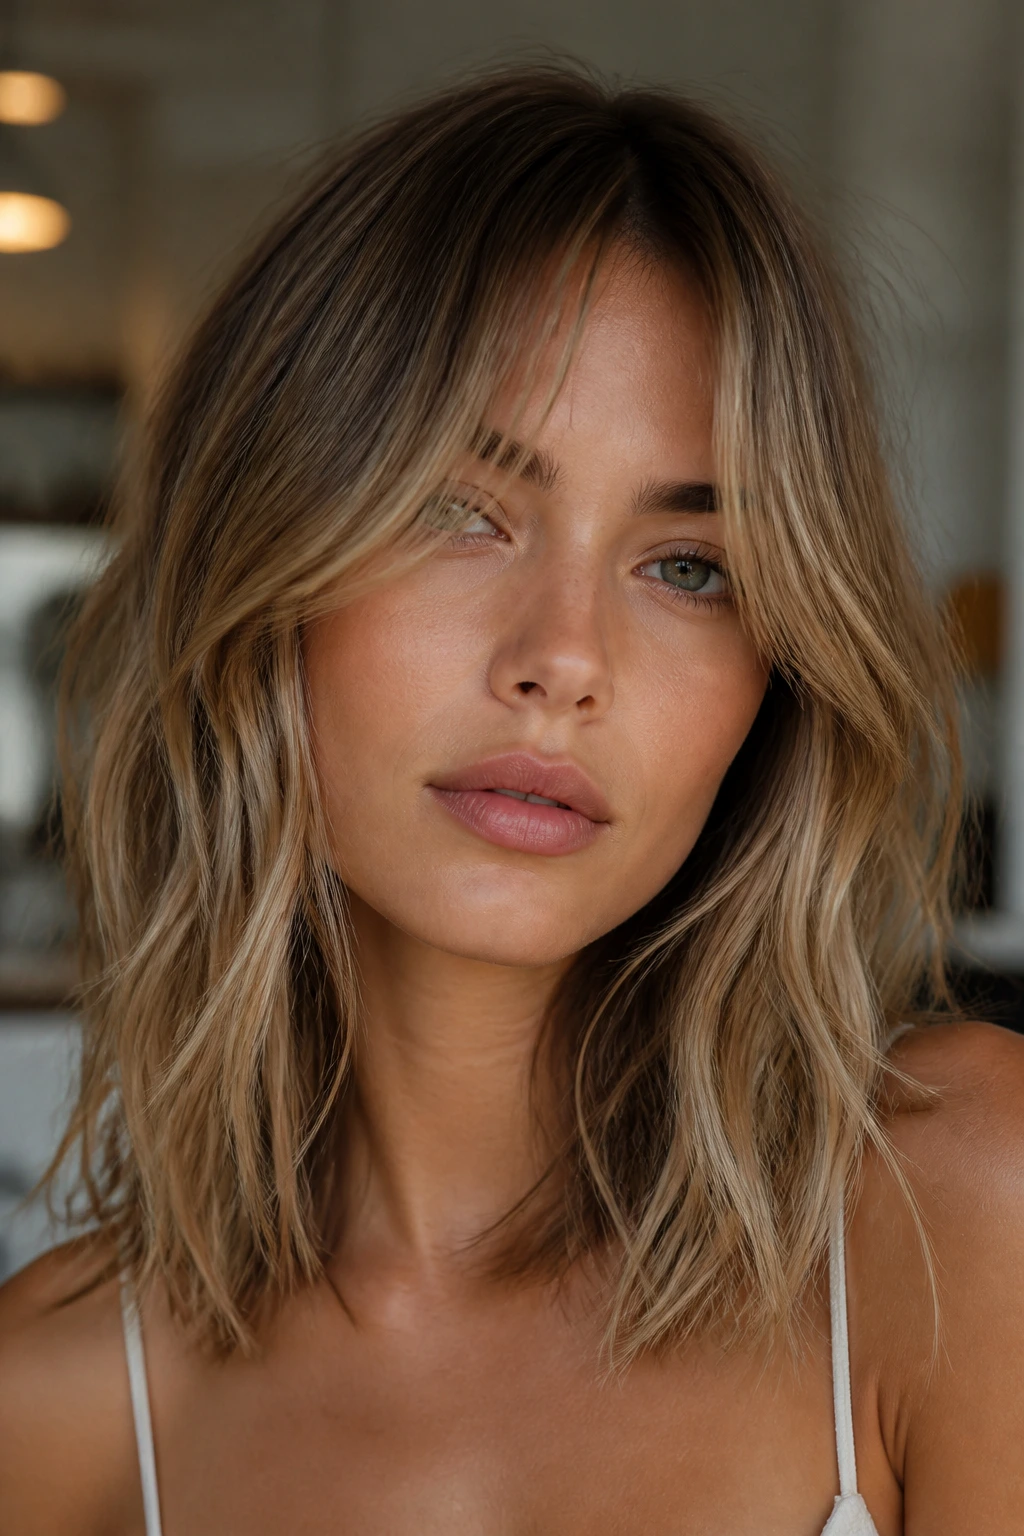
10. Textured Midi With Bottleneck Bangs
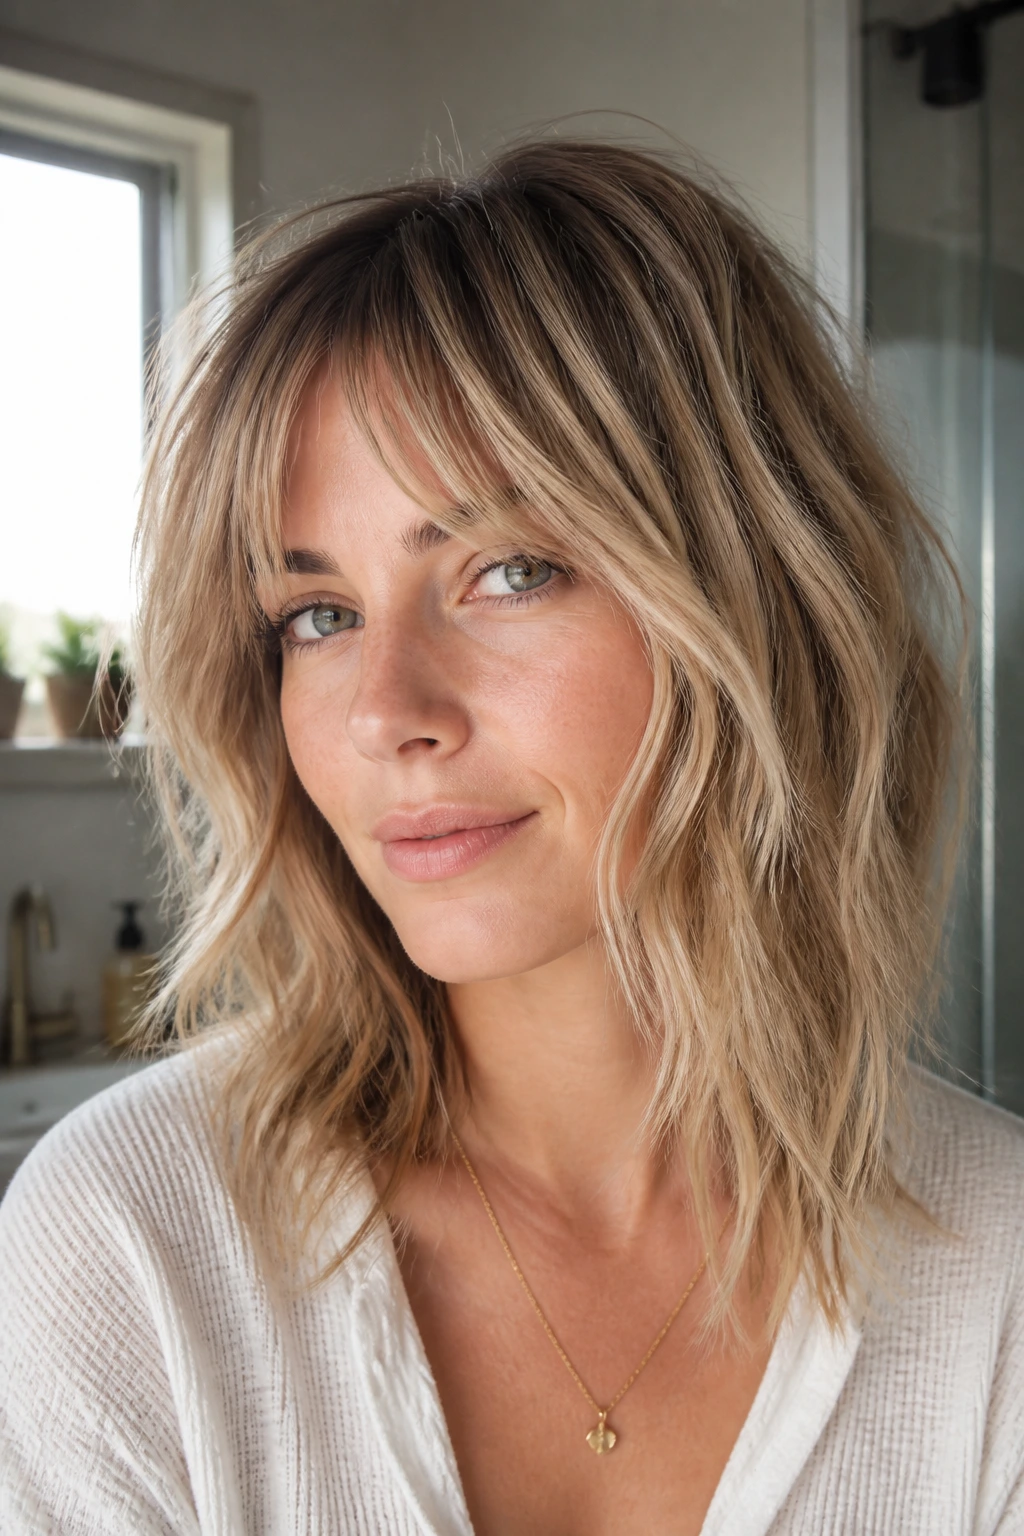
Bottleneck bangs are a nice compromise if you want fringe but don’t want a heavy wall across the forehead. They start narrow, then open a little near the eyes and cheekbones, which works well with thin hair because the front stays soft and airy.
Pair them with a textured midi cut that keeps the length around the collarbone and adds just enough separation through the ends. The wave pattern should stay loose and slightly irregular. A 1-inch iron or a wave iron can both work here, but don’t over-curl the bangs. They should bend, not spring.
This one reads best when the texture is a little imperfect. Clean around the face. Softer everywhere else.
11. Razored Ends and Loose S-Waves
Razoring can be risky on thin hair if it’s overused, but a light razored finish on the ends can help a medium cut move instead of hang. The point is not to remove bulk that you don’t have. It’s to soften the line so the waves sit in a more relaxed shape.
Loose S-waves are the right pairing because they create motion without turning the ends wispy. Ask your stylist to keep the blade work minimal and concentrated on the last inch or so, especially if your hair is already fragile. Then style with big, flat bends and stop before the wave gets too tight.
This cut is for people who want a little edge without the maintenance of a full shag. It has lift, but no drama tax.
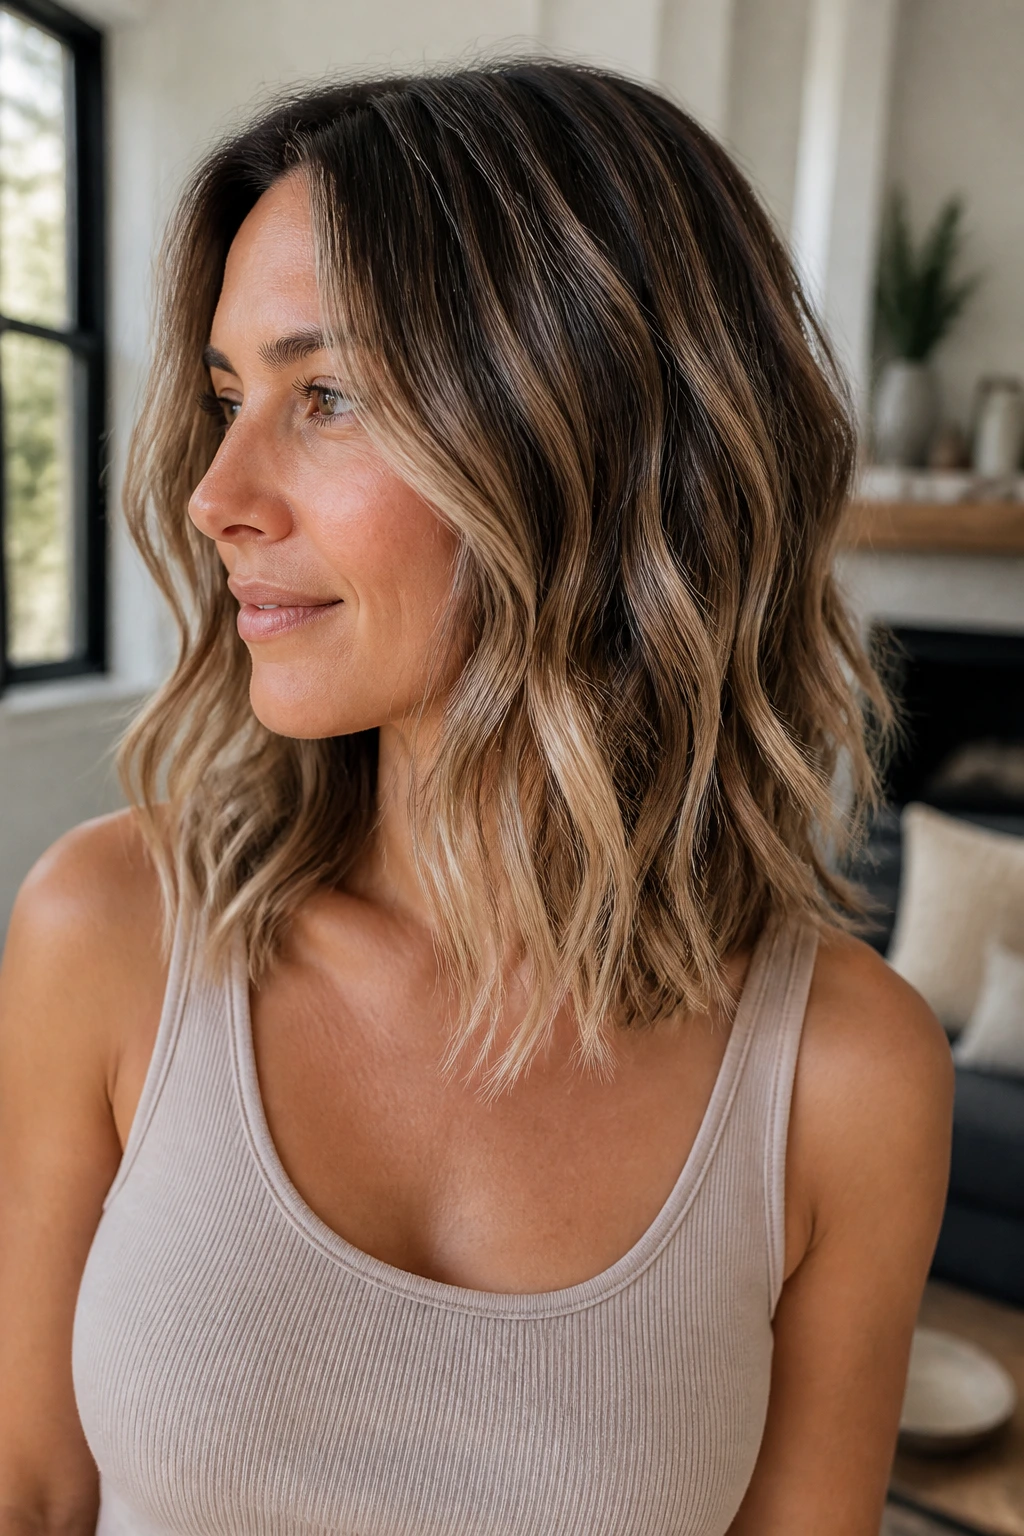
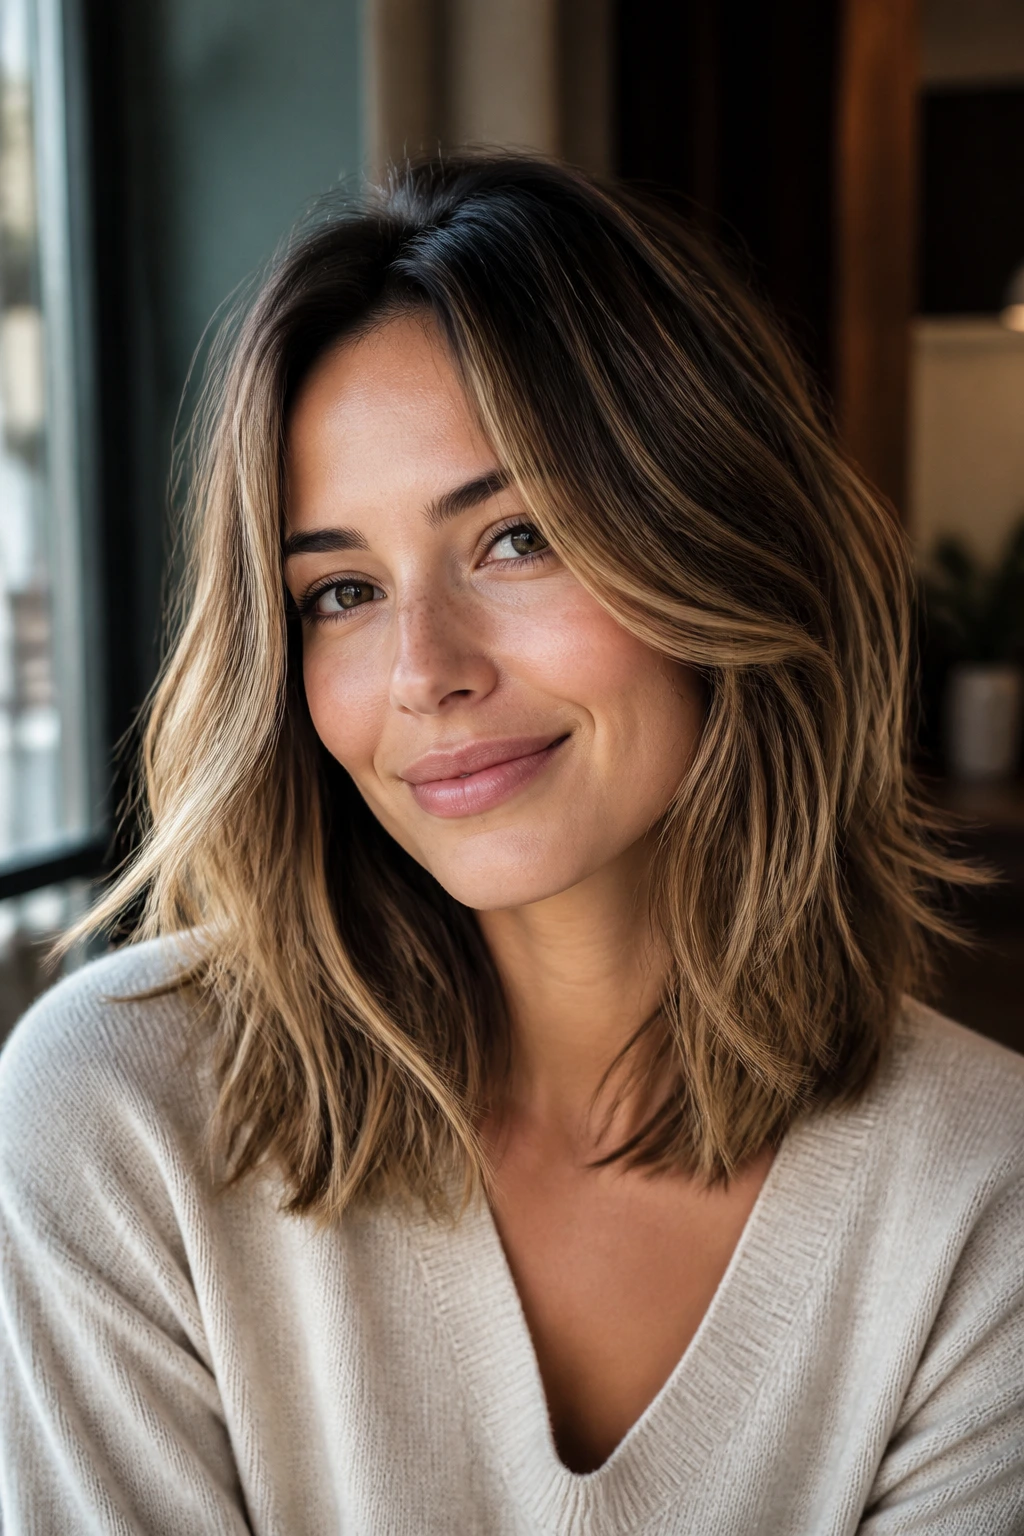
12. Rounded Layers With A Soft Taper
Rounded layers are underrated. On thin hair, a rounded silhouette can make the hair look fuller because the eye reads the curve as density. A soft taper around the face keeps the shape from feeling heavy, and the medium length gives the bottom enough weight to settle nicely.
This is one of the better choices if you like your hair brushed out, not piecey. Think smooth wave, soft ends, and a round profile from the side. A medium round brush and a blow dryer nozzle help here more than a curling iron does. You can add a few bendy pieces afterward, but the haircut should carry the shape even before you do that.
It’s a quiet haircut. That’s the charm.
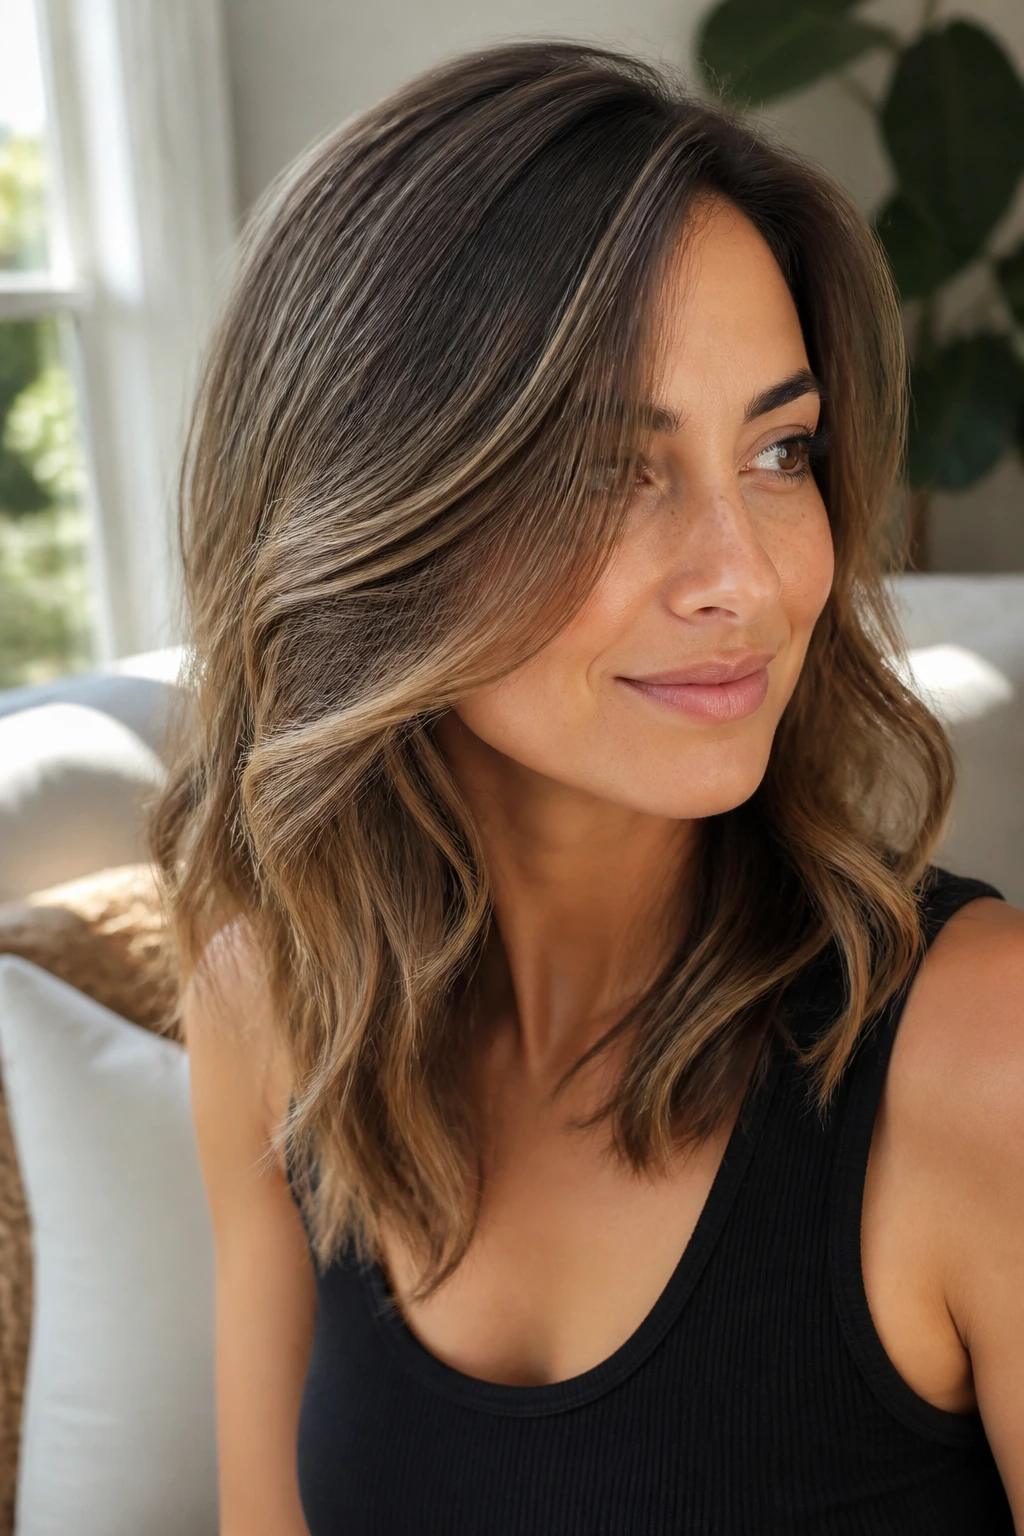
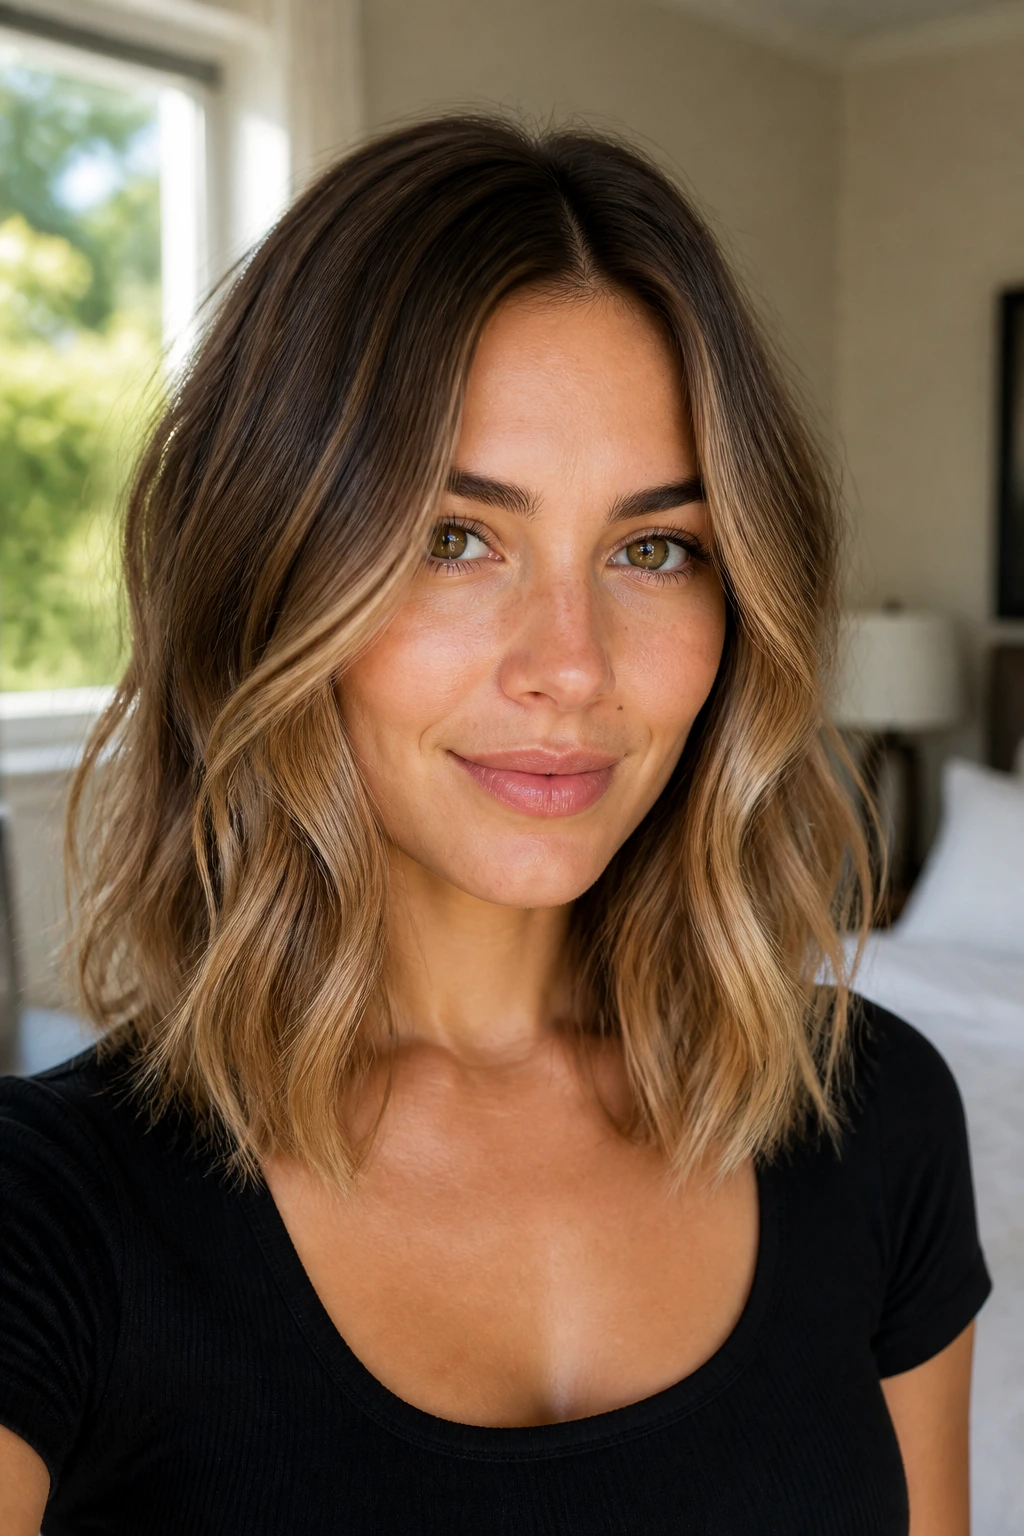
13. Wavy Lob With Money Pieces

Money pieces can be useful on thin hair when they’re placed with care. A lighter section around the face pulls focus forward, which makes the whole cut feel brighter and more dimensional. Combined with a wavy lob, the effect is simple: the front looks lively, and the rest of the hair gains contrast.
The danger is overdoing the color and making the front look striped. Keep the lightness soft and close to the hairline, not chunky. The cut itself should stay collarbone length with light layers that support the wave pattern. Style the front pieces away from the face, then let the back drift in loose bends.
If your hair tends to vanish against your skin, this is a useful trick. It gives the eye something to land on.
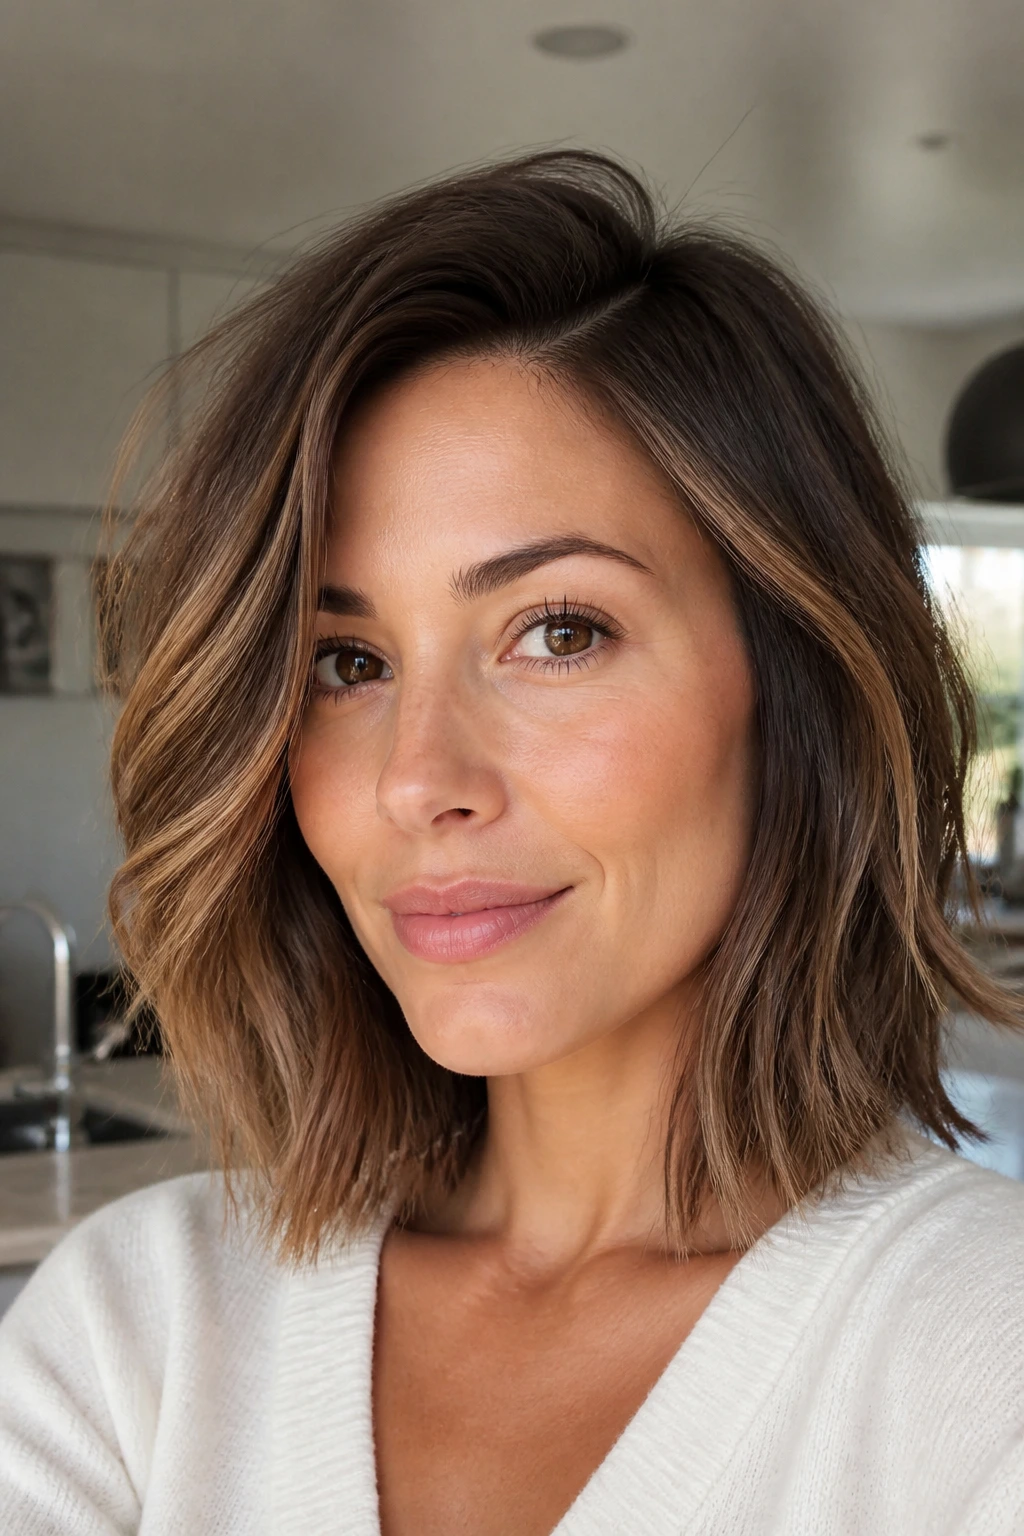
14. Choppy Shoulder Cut With Light Internal Layers
This is the haircut for people who like a little grit in their texture. A choppy shoulder cut with light internal layers gives thin hair a piecey finish without slicing the ends into nothing. Keep the shoulder line solid, then work the texture inside the shape.
Use a texture spray sparingly. Too much and the hair starts to look dry instead of airy. A few loose waves at the mids and ends are enough to show the layers. You want separation, not frizz. That distinction matters more than people think.
This version works best when you want something casual that still looks deliberate. It’s a little undone, but not sloppy.
15. Side-Parted Cut With Long Curtain Layers
Long curtain layers are one of the cleanest face-framing options for medium thin hair because they keep enough length to soften the cheek and jaw without carving too far into the body of the haircut. Add a side part, and you get a nice lift at the roots right where thin hair usually needs help.
This shape is particularly good if your face is round or square and you want the front to lean a little longer. The waves should be broad and low, not tiny and springy. A wide-barrel iron or even a flat iron bend gives you that relaxed curve.
It’s a flattering shape that doesn’t try too hard. Sometimes that’s the best move.
16. Midlength Wolf Cut Lite
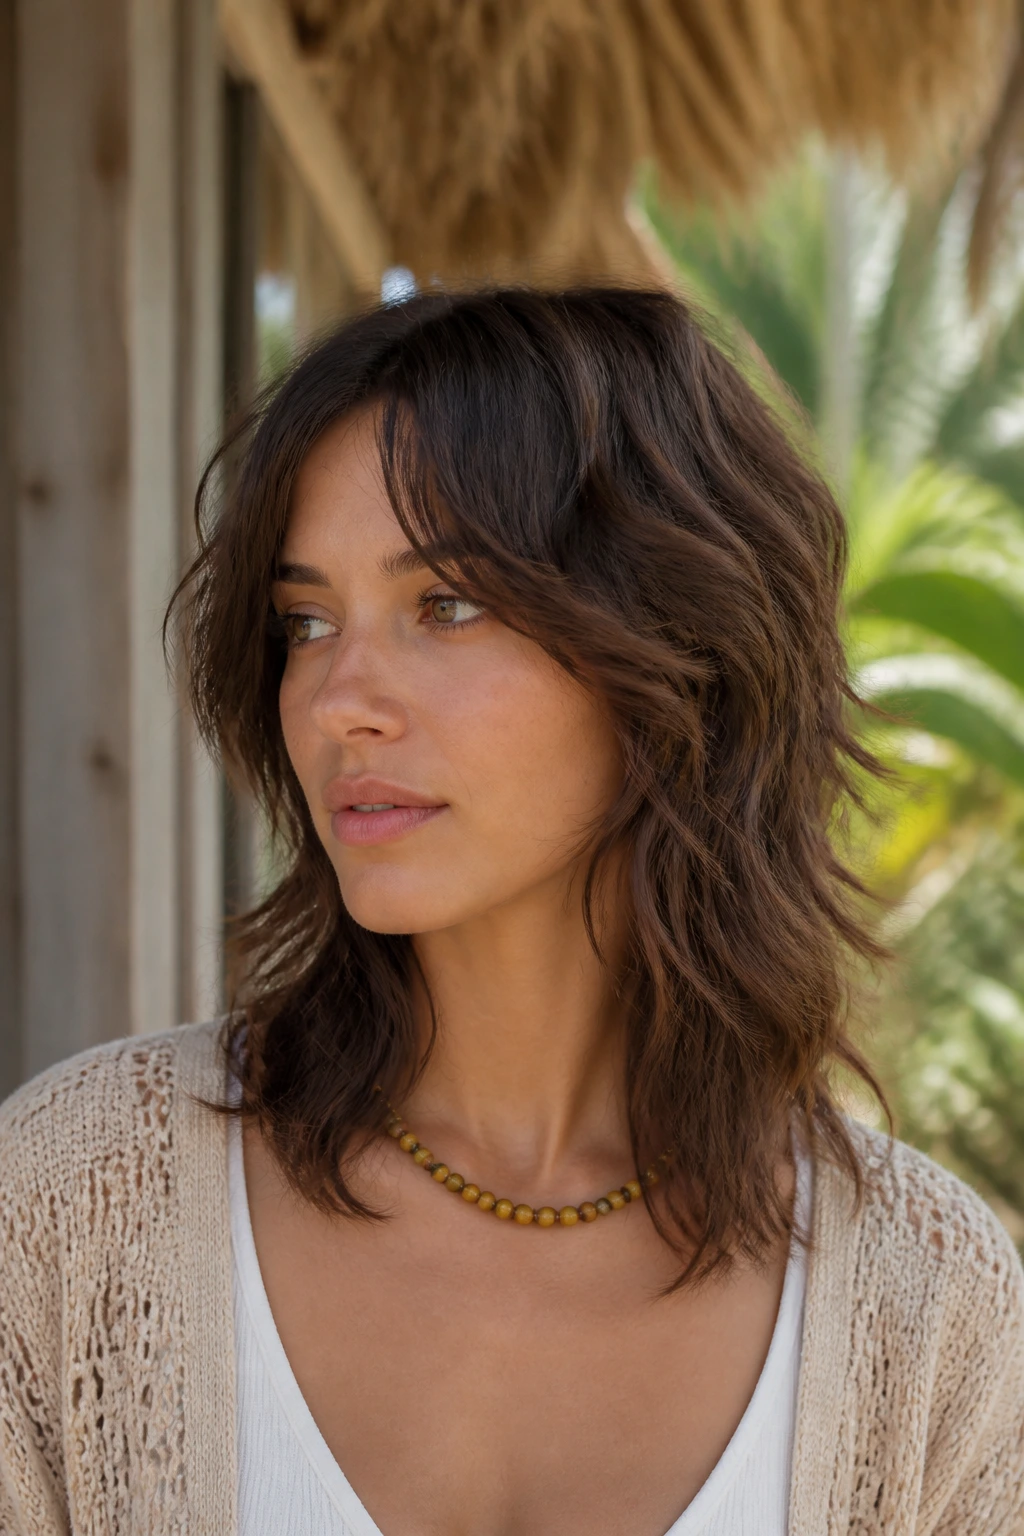
A full wolf cut can be a lot for thin hair. A wolf cut lite, though, can be excellent. Keep the layers softer, the crown less chopped up, and the ends a little fuller, and you get the attitude without the see-through problem.
This version leans into beachy texture on purpose. The top pieces lift, the front opens around the eyes, and the overall cut still sits at a medium length. The trick is to leave enough weight in the back so the haircut doesn’t break apart when the waves fall.
If you like a lived-in shape and don’t mind a bit of edge, this is the loudest cut in the group. Not wild. Just awake.
17. Air-Dried Layers With Soft Bend
Some thin hair looks better when you stop fighting it. An air-dried cut with soft bend is built for that. Ask for long, gentle layers and a face frame that starts low enough to keep the ends full. Then work with the hair’s natural bend instead of trying to force a curling-iron finish.
A leave-in mist, a small amount of mousse, and finger-coiling a few front pieces are usually enough. You can scrunch the lengths lightly while they’re damp, then leave them alone until they dry. Once the hair is dry, break the cast if you used a styler that sets.
This is a good fit for people who hate hot tools or need a cut that behaves on messy mornings. Honest hair. No fuss.
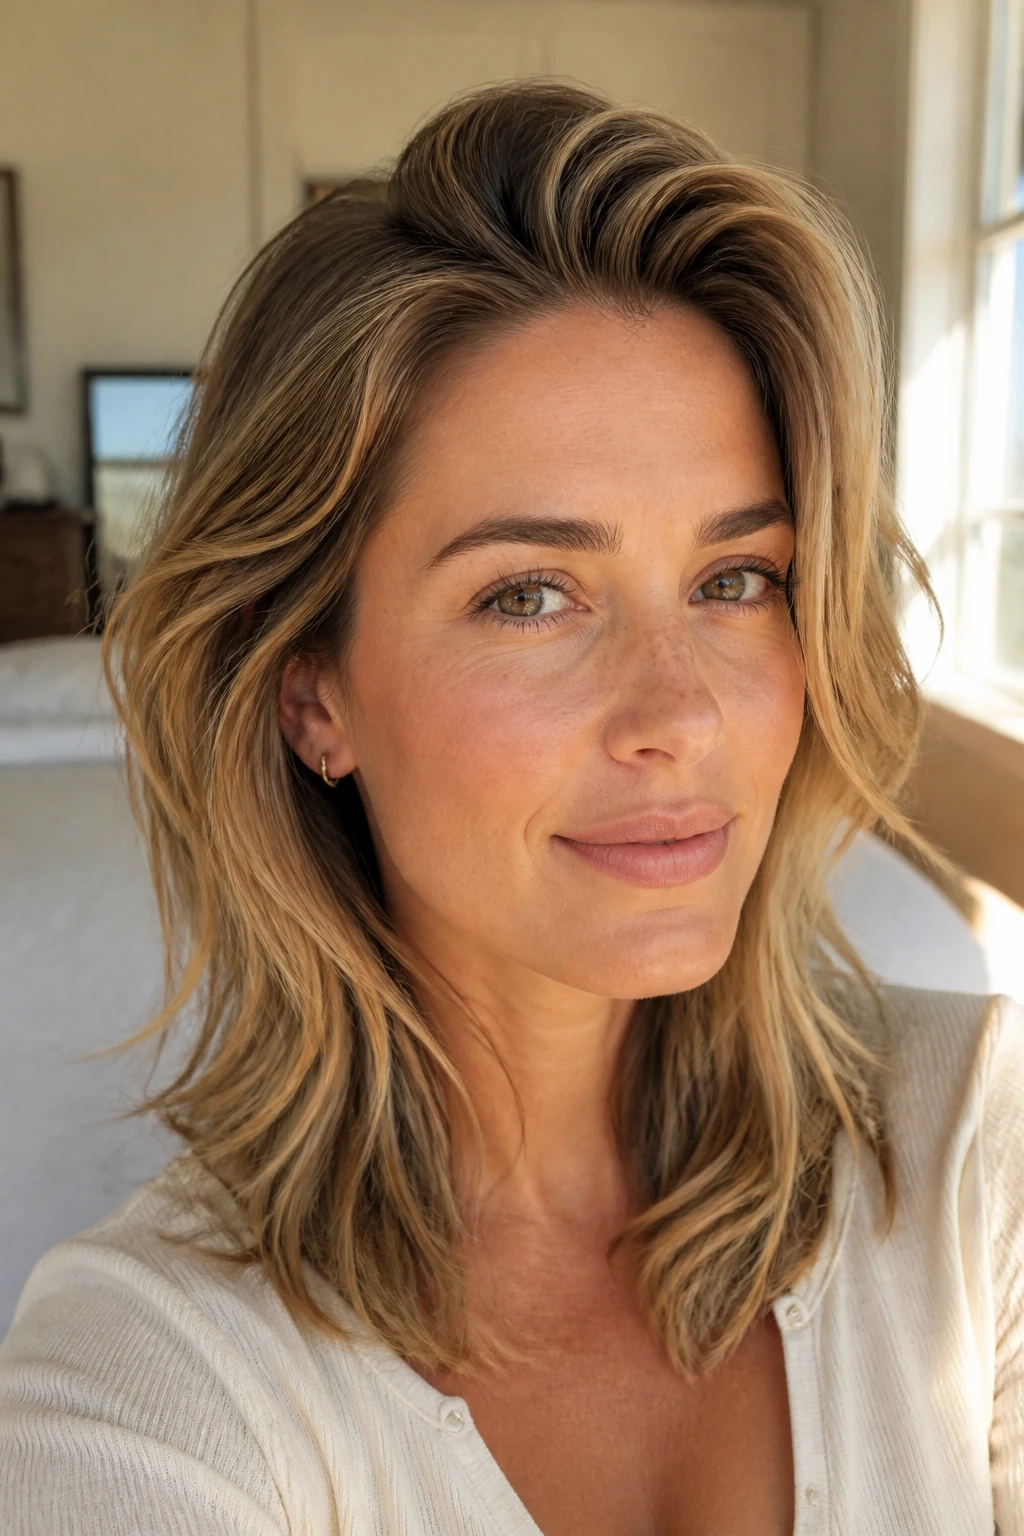
18. Smooth-at-the-Root, Wavy-at-the-Ends Lob
If your roots go limp but your ends can still hold shape, split the difference. Keep the crown smooth with a quick blow-dry and a root clip, then start the beachy wave only from the mid-lengths down. That contrast makes the hair look denser at the top and fuller at the bottom.
The haircut itself should stay medium and lightly layered, with just enough face framing to avoid a boxy shape. I like this version for people whose hair frizzes when they try to curl too close to the scalp. Don’t. Let the roots stay sleek. The movement belongs lower.
There’s a nice clean line to this one. It looks purposeful even when the styling takes ten minutes.
19. Tousled Midi With Peekaboo Layers
Peekaboo layers are the hidden kind. You don’t see them straight on, but once the hair moves, the shape opens up. That makes them especially useful for thin hair, because the haircut keeps a fuller perimeter while still giving you texture when the waves separate.
A tousled midi cut can sit right around the shoulders or just below them. The front pieces should graze the cheek and jaw, while the back keeps enough length to feel substantial. Use a wave spray or lightweight mousse, then rough-dry and add a few bends where the hair naturally wants to curve.
This is the kind of cut that looks a little different every day. That’s a plus.
20. Chin-to-Clavicle Face Frame With Length in Back
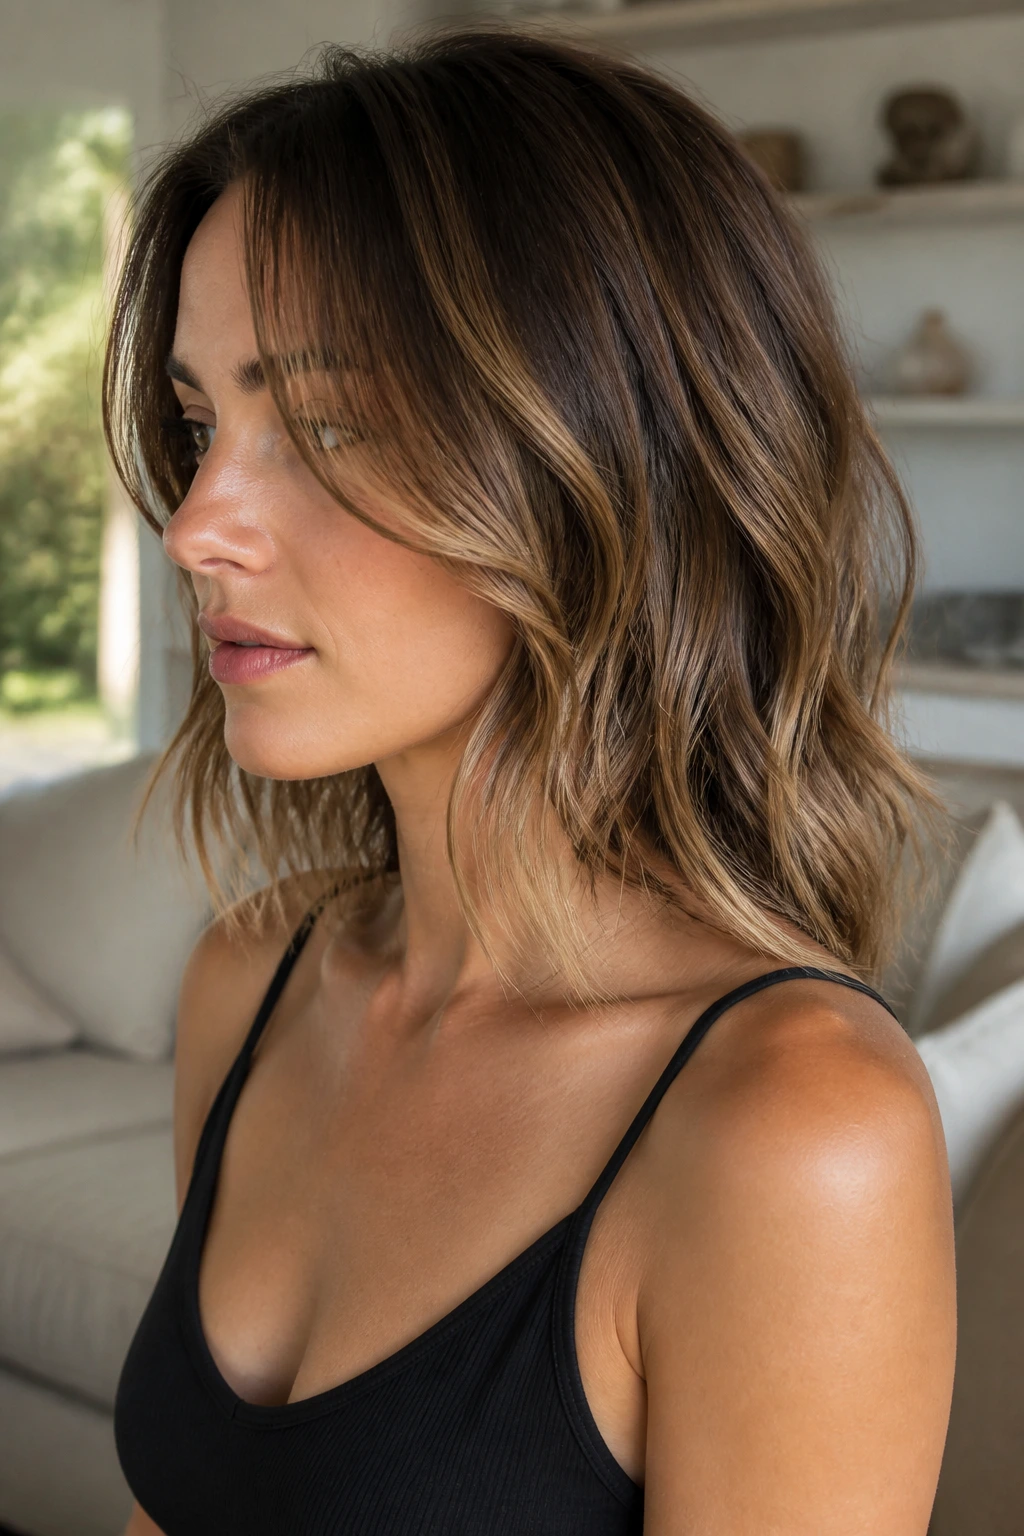
This shape is all about contour. The face frame starts around the chin, then softens down to the clavicle while the back keeps a touch more length. For thin hair, that structure is useful because it gives the front a stronger shape without stealing from the fullness at the back.
The beach waves should bend away from the face first, then turn softly back in the lower half. That keeps the framing pieces visible without making the haircut feel triangular. If you wear glasses or statement earrings, this is a particularly good cut because the front pieces work around them instead of fighting them.
It’s a flattering, face-first version of medium layers. Clean. Not too precious.
21. Flippy Ends and Light Layers
Flippy ends are back in the conversation for a reason: on thin hair, they make the hairline at the bottom look fuller. A light layered medium cut gives those ends room to flick out without looking blunt or stiff. The movement should feel playful, not retro-costumed.
Use a round brush or a 1.5-inch iron to bend the last inch outward. Keep the waves soft through the mid-lengths so the flip at the bottom stands out. Too many curls will swallow the effect, and too much product will weigh the ends down.
This style is especially good when you want the haircut to look done, but not overly styled. One little flip can change the whole read of the hair.
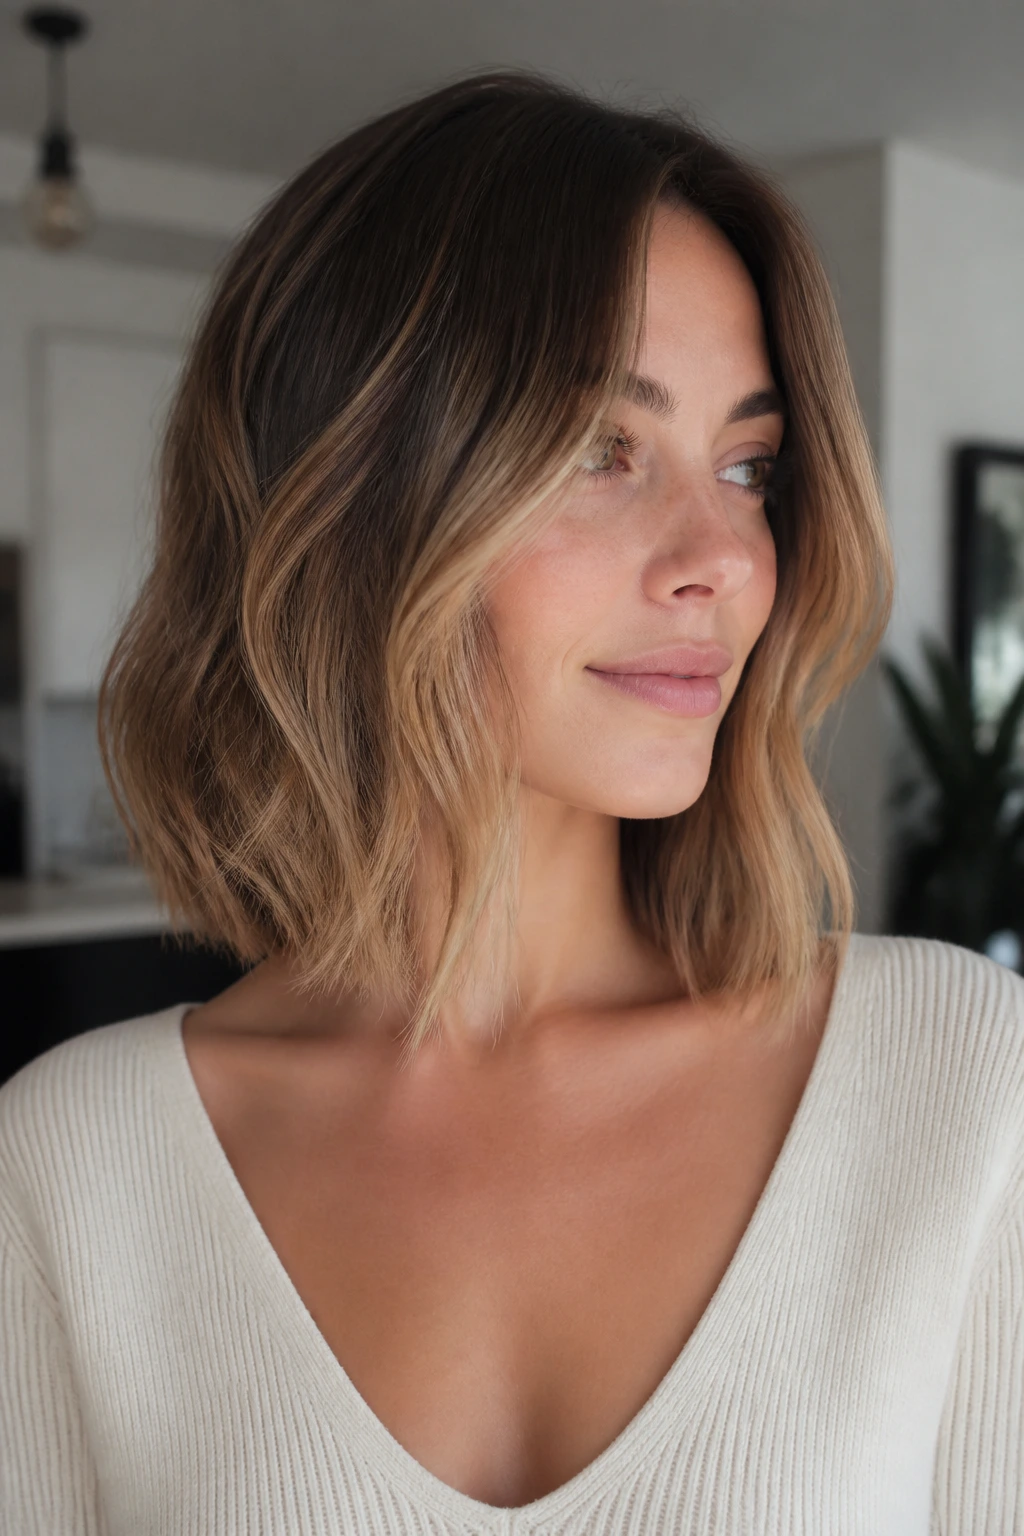
22. Soft V-Cut With Beachy Texture
A soft V-cut gives the back a little point of interest while the front layers stay long enough to frame the face. On thin hair, the word soft matters. You want shape, not a sharp wedge that exposes the ends.
The beachy waves help the V shape show up without screaming for attention. Curl the mid-lengths, keep the ends loose, and brush the texture apart once it cools. The point at the back looks cleaner when the wave pattern is wide and relaxed.
This cut is a good option if you still like length around the shoulders but want some movement in the back. It creates direction. Hair needs that sometimes.
23. Low-Maintenance Lob With Subtle Lift
Not every thin-hair cut needs to be busy. A low-maintenance lob with subtle lift keeps the layers minimal, the perimeter strong, and the styling window short. You’re mainly asking for a little root lift and a little bend around the face.
This is the cut I’d suggest to someone who knows they won’t curl their hair every morning. A side lift at the part, a few clipped pieces at the crown while drying, and some soft bends around the front are enough. The waves don’t need to be uniform. They just need to suggest movement.
If your hair gets overworked fast, this one gives you room to breathe. Easy can still look good.
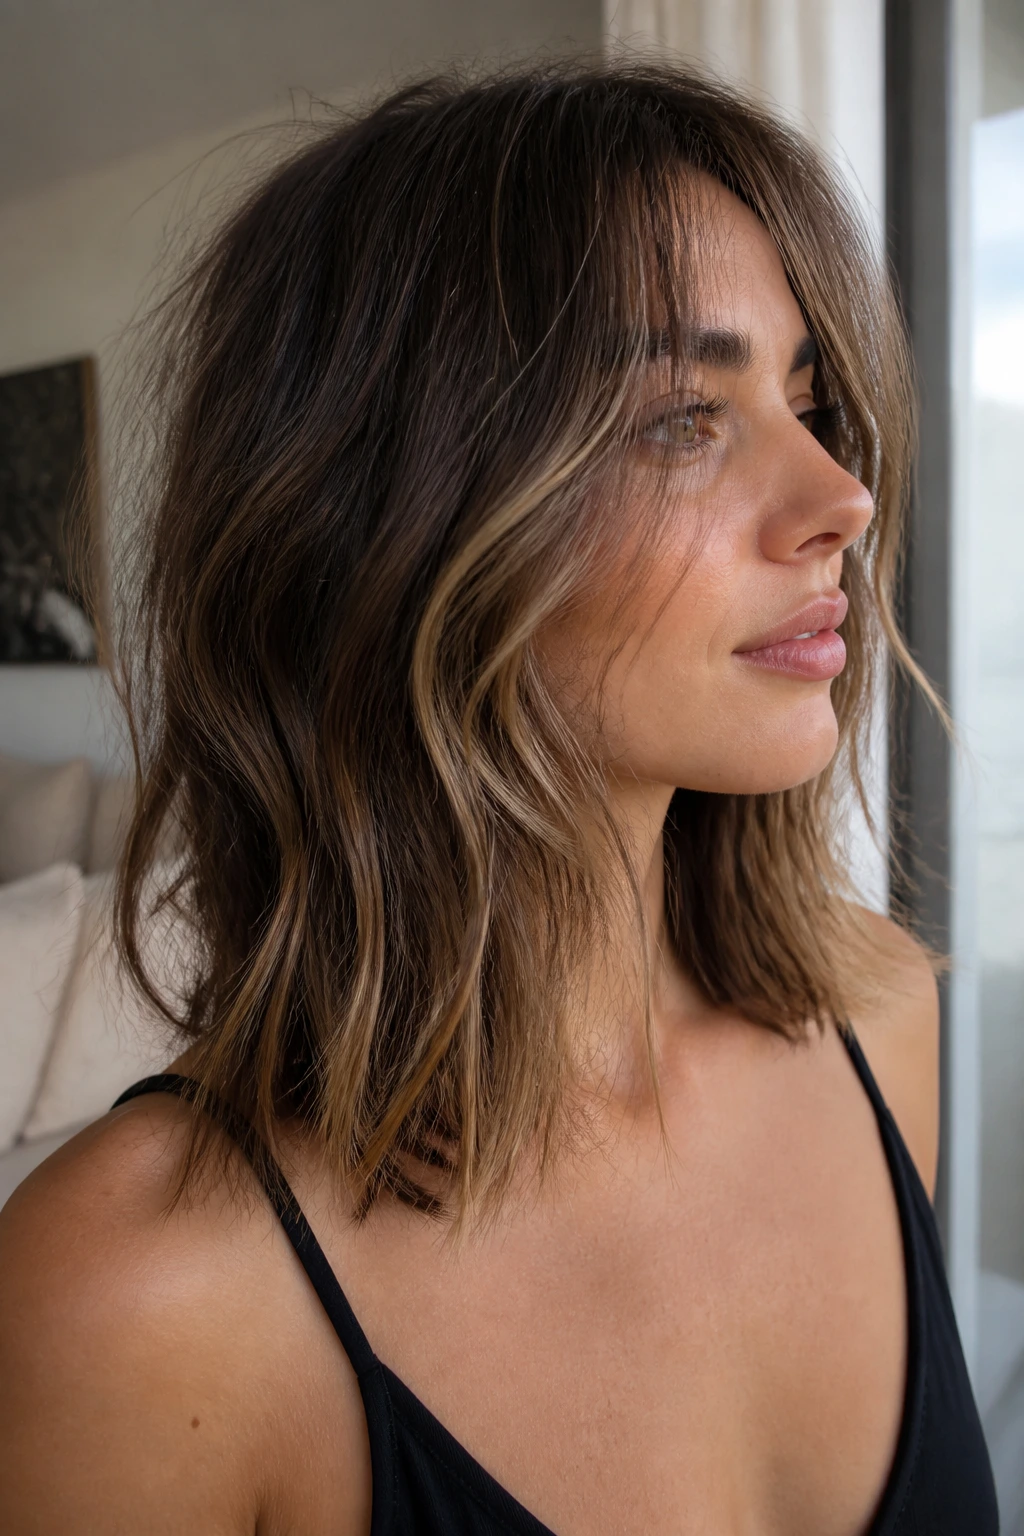
24. Layered Cut With Swept-Back Front Pieces
Sweeping the front pieces back, rather than into the face, changes the whole mood of a layered medium cut. It opens the features, keeps the cheekbones visible, and gives thin hair a little lift where the part meets the front hairline.
This version works best with soft beach waves and a side or off-center part. The front layers should be long enough to tuck behind the ears without vanishing. Use a light volumizing spray at the roots and keep the ends loose so the front doesn’t get too piecey.
It’s a clean, confident shape. No curtain, no heavy fringe, just a face that gets some air.
25. Minimal Layers With a Salt-Spray Finish
If you’re nervous about going too layered, this is the cautious but smart version. The haircut stays close to one length, with just enough layering to let the waves move. The styling does more of the work here, which is useful if your hair already feels fragile.
A light salt spray or texture mist on the mids, followed by scrunching and a few loose bends with a wand, gives the hair that beachy feel without carving away fullness. Keep the product off the roots or you’ll flatten the crown. Keep the waves wide and imperfect. That’s where the fullness comes from.
This is a good last stop for anyone who wants softness, movement, and a haircut that won’t punish them for skipping the curling iron.
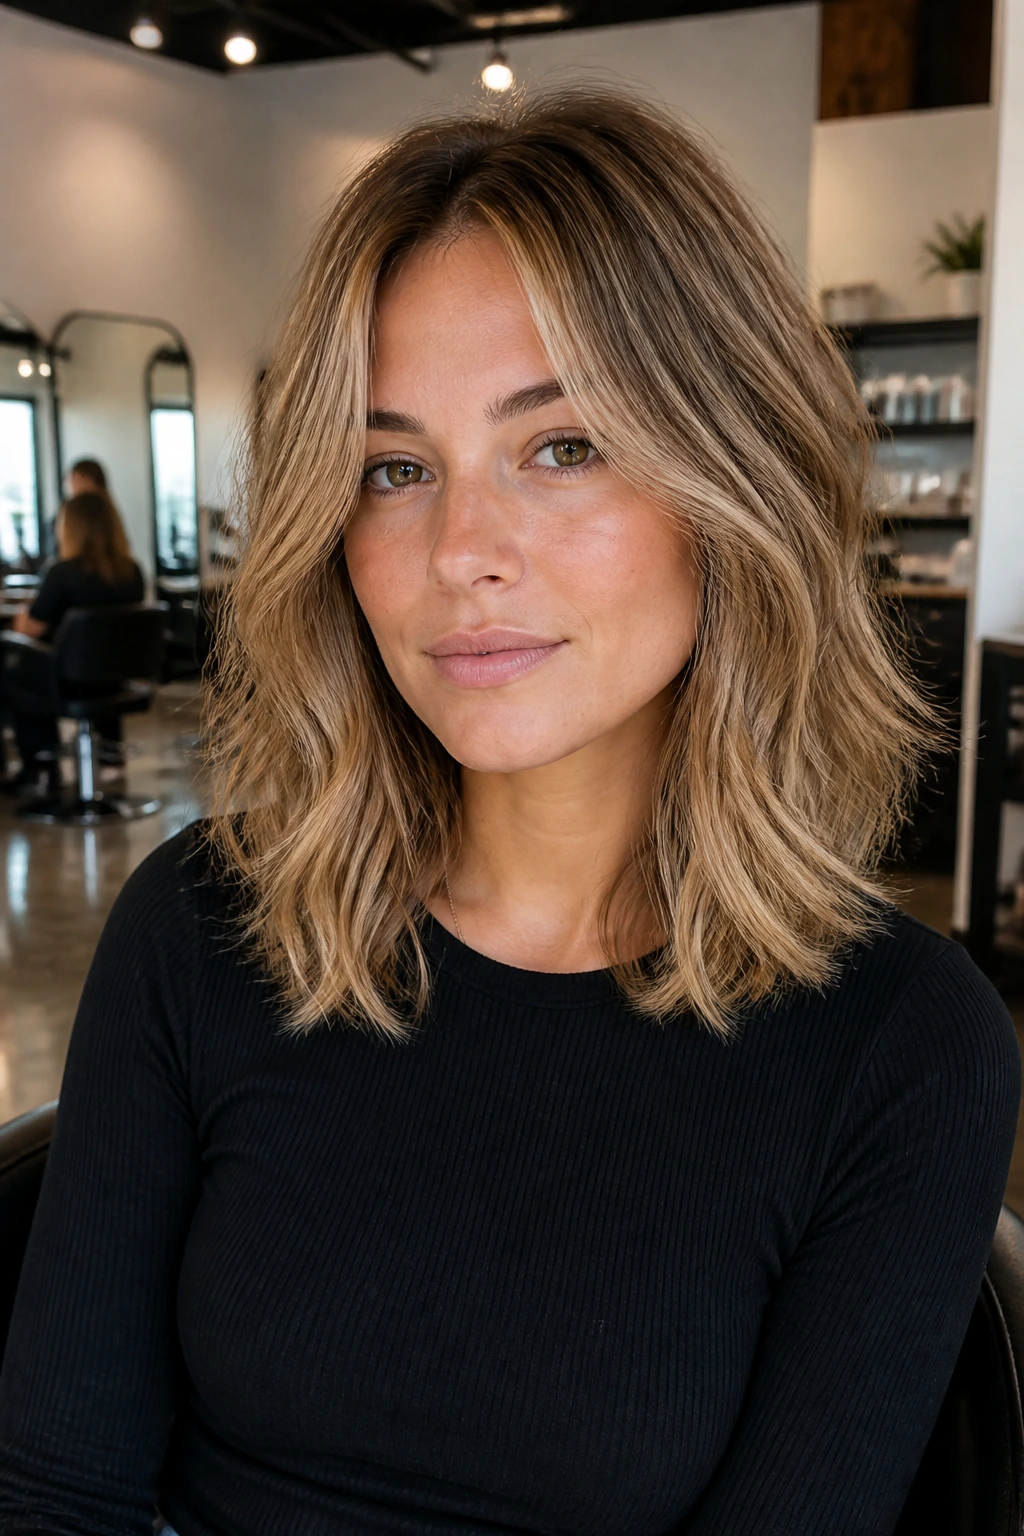
Why Medium Length Layers Beat the Wrong Kind of Thin-Hair Cut
Medium length is the sweet spot because it gives thin hair enough length to read as full, but not so much that gravity takes over. Once hair gets long enough, each strand has more distance to travel, and the ends tend to look thinner than they really are. Keep the cut around the collarbone, and the line stays cleaner. That clean line does a lot of visual lifting.
The layers matter just as much, but only when they’re placed with restraint. Thin hair usually looks worse when the layers start too high or when every section is thinned out equally. A good layered medium cut keeps some weight at the bottom, then uses face-framing pieces, internal movement, and wave-friendly shaping to add texture where the eye wants it.
Beachy waves are the final piece because they change the width of the haircut. A tight curl on thin hair can make the ends look frizzy and the root area look smaller. Loose bends, brushed-out waves, and soft S-shapes do the opposite. They spread the hair out a bit, catch light in more places, and make the whole style look fuller without pretending the hair is thicker than it is.
The Tools That Actually Matter
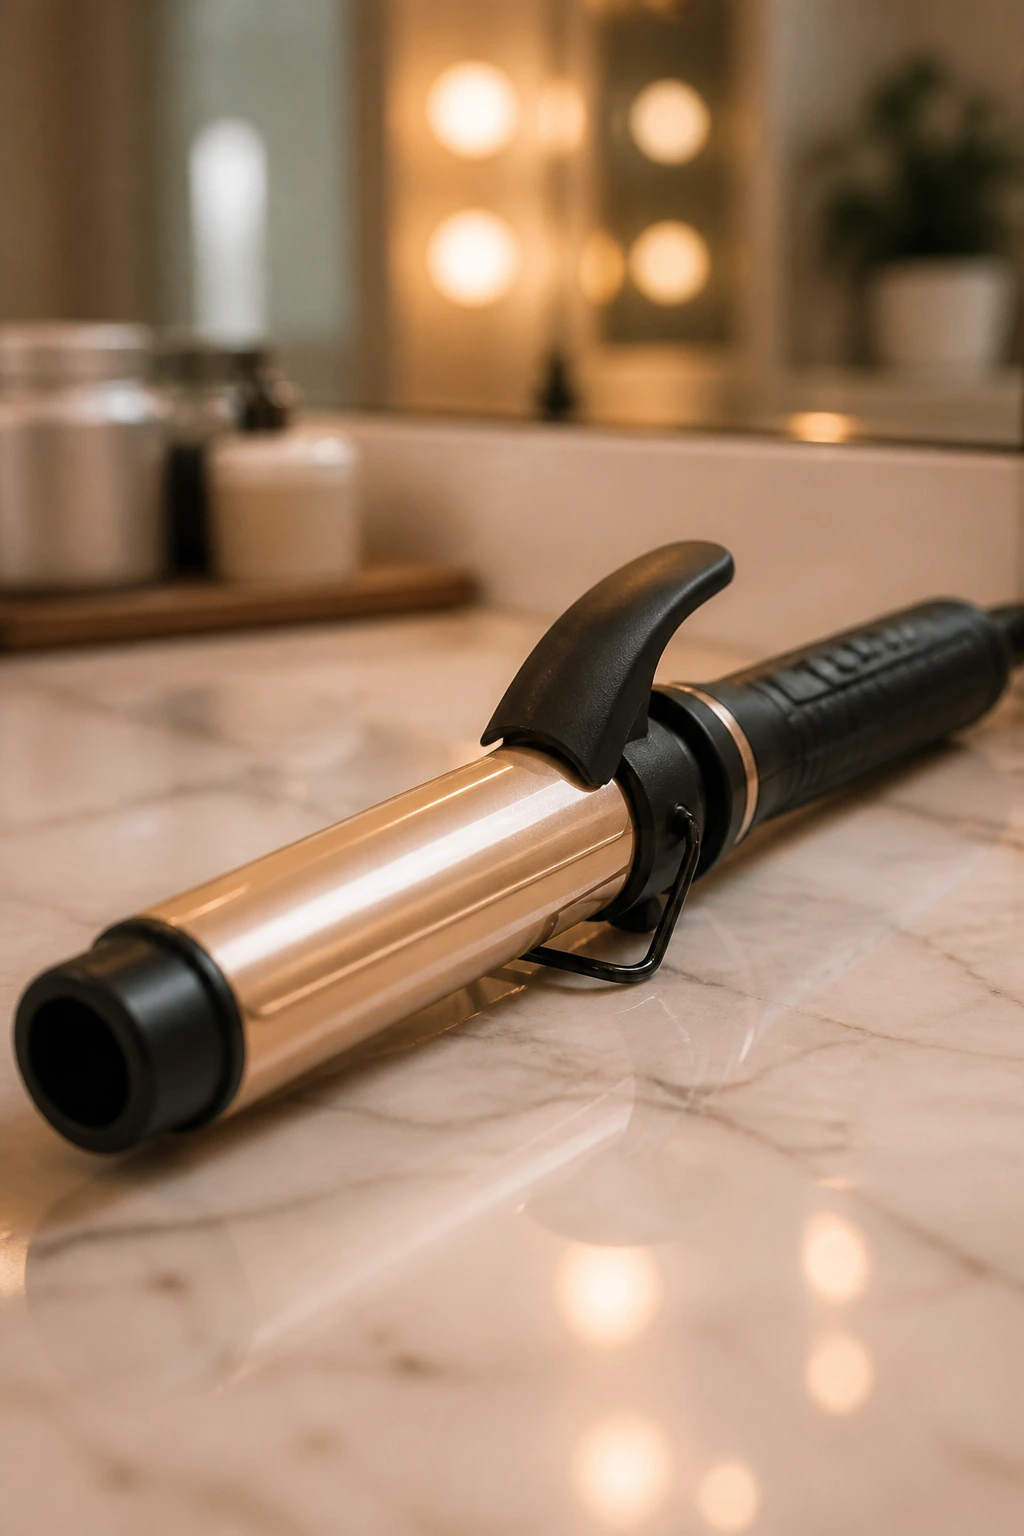
- 1-inch curling iron: Best for tighter, more defined waves that still brush out well on medium-length hair.
- 1.25-inch curling iron or wand: My usual pick for beachy waves, because it makes soft bends instead of sausage curls.
- Heat protectant spray: Thin hair burns fast; this is the non-negotiable layer between your hair and the iron.
- Light mousse or root foam: Helps the crown hold lift without turning the mids crunchy.
- Volumizing spray: Good at the roots before blow-drying, especially on hair that goes flat as soon as it dries.
- Dry texture spray: Adds grit after styling and helps waves separate without heaviness.
- Blow dryer with nozzle attachment: The nozzle keeps air focused, which matters when you want the cut to stay smooth at the root.
- Round brush, medium barrel: Useful for face-framing pieces and the bang area.
- Duckbill clips or sectioning clips: Handy for pinning waves as they cool. Cool hair holds shape better.
- Wide-tooth comb or soft brush: For breaking up waves without blasting them apart.
What to Ask for at the Salon and What to Buy for Styling
The haircut part is where most people go wrong. They ask for “layers” and end up with too much removal around the sides, which leaves thin hair looking feathered in the bad sense. Better language helps. Ask for a medium-length cut that keeps a solid perimeter, with face-framing layers that start around the cheekbone or chin and internal texture only where the hair needs movement. If your hair is extremely fine, ask for point cutting instead of heavy texturizing shears. That keeps the ends soft without slicing them apart.
If your hair has any natural bend, tell the stylist you want the layers to work with it, not against it. A dry cut can help on wavy hair because the shape is easier to see when it’s not stretched wet. On stick-straight hair, a careful wet cut with a precise finish is fine. The point is the same: keep enough weight for the line to stay visible.
Product choice matters more than people want to admit. Thin hair usually does better with mousse, root spray, and texture spray than with heavy creams and oils. Those rich products can flatten the crown within an hour. If you need softness at the ends, use a tiny amount of lightweight leave-in on the last third only. Tiny. Not generous. Generous is how thin hair gets sad.
How to Wear These Layers So They Don’t Fall Flat
Presentation: The best version of these cuts usually starts with a clear part and a clean crown. Keep the lift at the roots, let the face frame sit softly against the cheek or jaw, and make sure the ends don’t all bend in the same direction. That little bit of asymmetry keeps the style from looking helmet-like.
Accompaniments: These cuts play well with hoop earrings, square-neck tops, crewnecks, and open collars because they leave room around the face. If you wear glasses, a longer face frame or curtain fringe tends to sit better than short choppy bangs.
Proportion: If your face is narrow, keep more width in the wave and less height at the crown. If your face is round, create lift on top and let the front pieces fall longer. That balance changes how the whole haircut reads.
Finish: Some days call for glossy and brushed out. Other days need a little dry texture spray and finger separation. Don’t force one finish every time. Thin hair usually looks better when the finish matches the day instead of trying to fake a red-carpet blowout at 7 a.m.
Extra Tips That Make the Shape Look Fuller
Root Lift: Clip the crown while the hair is still warm from the dryer, then let it cool for 10 to 15 minutes. It’s a tiny move, but it helps the roots stay off the scalp longer.
Wave Pattern: Alternate curl directions in the back, but keep the pieces around the face mostly going away from the face. That stops the front from closing in and makes the layers show.
Texture Balance: Use mousse or root spray near the scalp, then keep oils and creams away from the top half. Thin hair gets flattened by over-conditioning fast.
Make-It-Yours: If you love polished hair, brush the waves out more and use a touch of shine spray on the ends. If you like a messier look, scrunch in texture spray and stop before the hair starts to feel gritty.
Common Mistakes That Make Thin Hair Look Thinner
The biggest mistake is cutting the layers too high. When the shortest pieces start around the ears or above, the ends lose weight and the whole haircut starts to look scattered. Keep the first face-framing pieces lower unless your stylist is balancing a very specific face shape or cowlick.
Another problem: curling everything into the same size, same direction, same tension. That gives the hair a stiff wave pattern that sits on top of the head instead of moving with it. Alternate directions, leave the ends a little straighter, and brush the style out once it cools.
Heavy product is a quiet killer. Thick creams, rich oils, and sticky gels near the roots flatten thin hair almost immediately. Use lighter formulas and keep the richest product for the last few inches only.
And then there’s over-texturizing. If the ends look frayed, see-through, or dry even when they’re clean, that’s usually not a styling issue. It’s a cutting issue. The fix is less thinning, more shape.
Variations and Adaptations to Try
The Blunt-Perimeter Version: Keep the bottom line clean and add only interior movement. This version is best if your hair is very fine and you need the ends to look thick from across the room.
The Curtain-Fringe Version: Add a soft fringe that opens at the cheekbones. It gives the cut a little extra shape around the eyes and works well if you like your hair to feel styled even when the rest is easy.
The No-Heat Air-Dry Version: Ask for long layers that support your natural wave pattern, then use a leave-in mist and mousse on damp hair. Scrunch, air-dry, and separate with your fingers.
The Polished Blowout Version: Keep the layers soft but style them with a round brush and a large barrel iron. This version is cleaner, shinier, and better if you like a more put-together finish.
The Ultra-Fine Hair Version: Minimize face-framing layers and keep the weight at the collarbone. This helps the haircut look denser and avoids the see-through ends that can happen with too much slicing.
The Bright-Front Version: Add soft money pieces or lighter pieces around the face. The color creates contrast, which makes the layers easier to see without changing the cut much.
Wash-Day, Refresh, and Trim Schedule
Thin hair likes a light hand between washes. If your scalp gets oily fast, wash every 1 to 2 days with a gentle shampoo and keep conditioner from the roots down. If your hair is drier, every 2 to 4 days usually works, but the key is not to pile on product in between. A little dry shampoo at the crown can buy you time. Too much dry shampoo turns the roots chalky and dull.
Beachy waves last longer when you let them cool before you touch them. If you style with heat, clip the curls or bends in place until they’re room temperature, then brush or finger-comb them apart. That cooling time is what helps the shape stick. Without it, the wave falls out fast and you end up redoing the whole head.
Trim the shape every 8 to 10 weeks if you want the ends to stay full. If you’re growing it out, stretch to 12 weeks, but keep dusting the perimeter so it doesn’t go stringy. A clarifying shampoo every couple of weeks can also help if you use mousse, texture spray, or dry shampoo a lot. Product buildup is sneaky. It makes thin hair feel even finer than it is.
Frequently Asked Questions
What layer length works best for thin hair?
Usually, layers that start around the cheekbone, chin, or just below the jaw are safer than short choppy layers near the crown. The goal is to keep enough weight in the haircut that the ends still look full.
Do beachy waves make thin hair look thicker?
Loose beach waves usually do, because they add width and separation without forcing the hair into tiny curls. The wrong kind of wave can look frizzy or narrow, so size matters. Bigger, softer bends are the move.
Should thin hair avoid texturizing shears?
Not always, but they should be used lightly. If too much bulk is removed, the ends can go see-through fast. Point cutting and careful internal shaping are often safer.
Can I get these cuts if my hair is naturally straight?
Yes. Straight hair often benefits from medium layers and face framing because the shape can look flat without them. You may need more styling support, though, since straight hair usually drops waves faster.
Which of these styles is easiest to maintain?
The blunt base, hidden movement cut and the low-maintenance lob with subtle lift usually need the least daily work. They still look styled with a few loose bends and some root lift, but they don’t demand a full curling session.
What if my waves fall out quickly?
Use smaller sections, cool the waves fully before brushing, and start with a volumizing mousse or root spray on damp hair. If the hair is very fine, a light setting spray before and after heat styling can help the shape hold longer.
Are curtain bangs a bad idea for thin hair?
Not if they’re kept soft and blended. Heavy bangs can swallow density, but a light curtain fringe can frame the face and make the haircut feel fuller in front.
Can I wear these cuts without heat?
Yes, especially if your hair has a little natural bend. Ask for layers that support your pattern, then scrunch in mousse or leave-in and let the hair dry on its own. The finish will be softer and less uniform, which can suit thin hair well.
Soft Shape That Still Feels Like Hair
The best medium length layers for thin hair with beachy waves do one thing well: they keep the hair looking like it has substance. That means a solid bottom line, thoughtful face framing, and a wave pattern that adds movement without chewing up the ends. Some versions are polished. Some are deliberately loose. A few lean a little shaggy. The right one depends on how much styling you want to do on a weekday morning.
The good cuts here don’t fight thin hair. They work with it. Bring one or two photos that show the exact length you want, say where you want the shortest layers to land, and be clear about whether you want the ends blunt, feathered, or softly textured. That one conversation usually does more than a vague request for “layers.”
Pick the shape that matches your habits, not just your mood, and it’ll keep paying you back every time you catch your reflection and the hair still has some lift left in it.