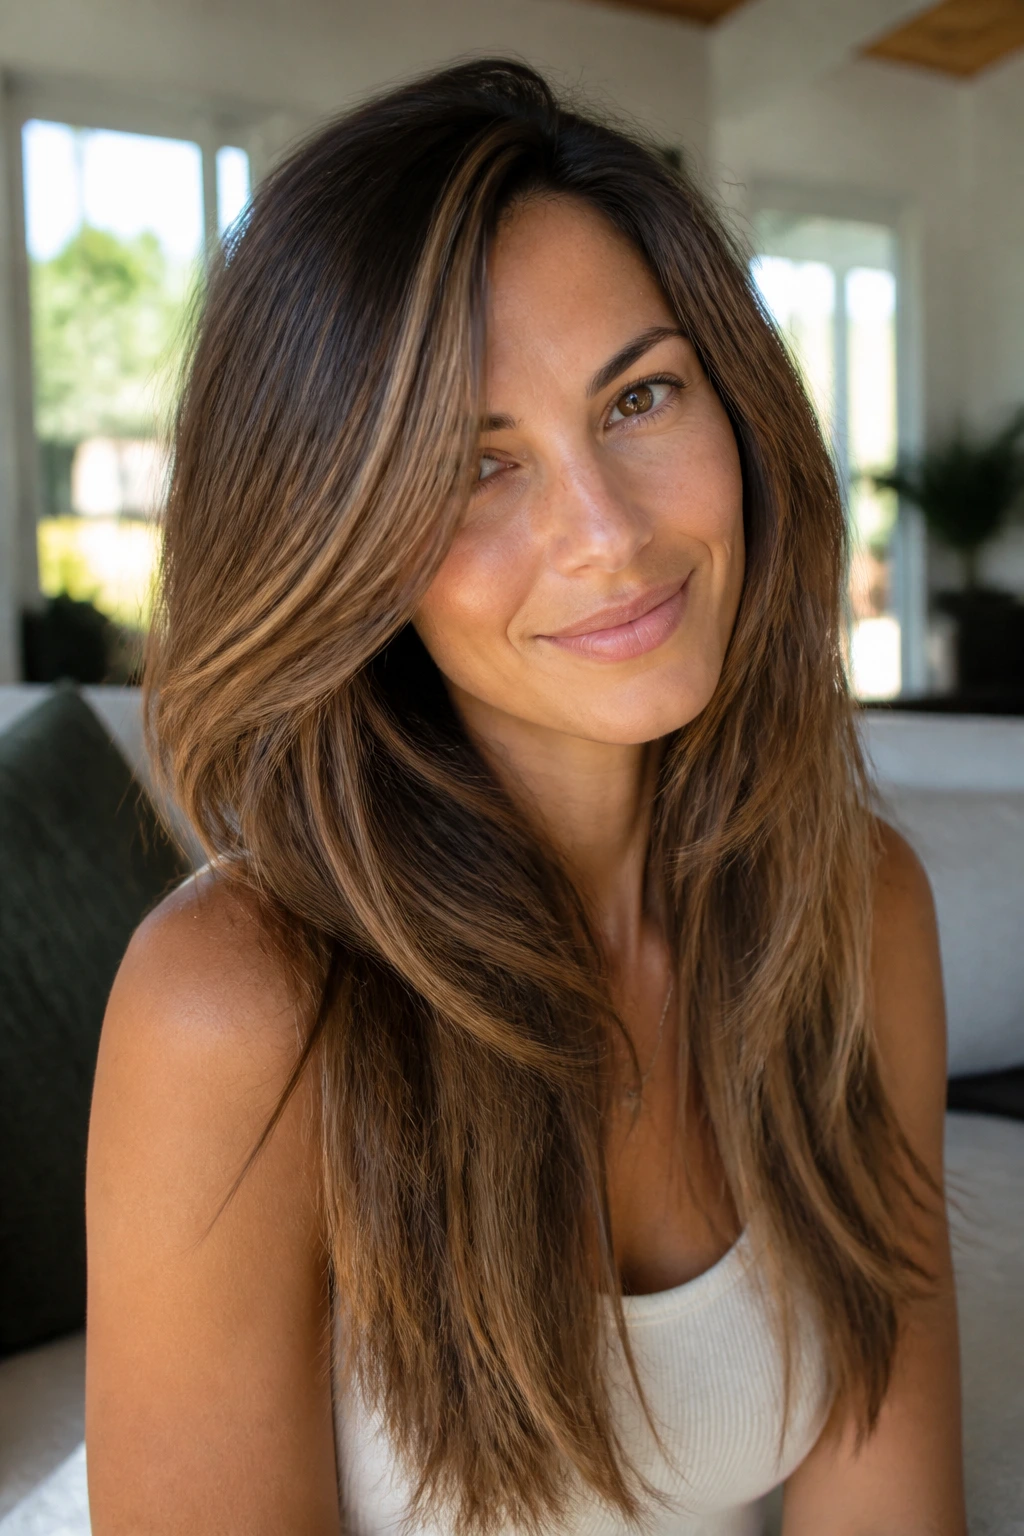
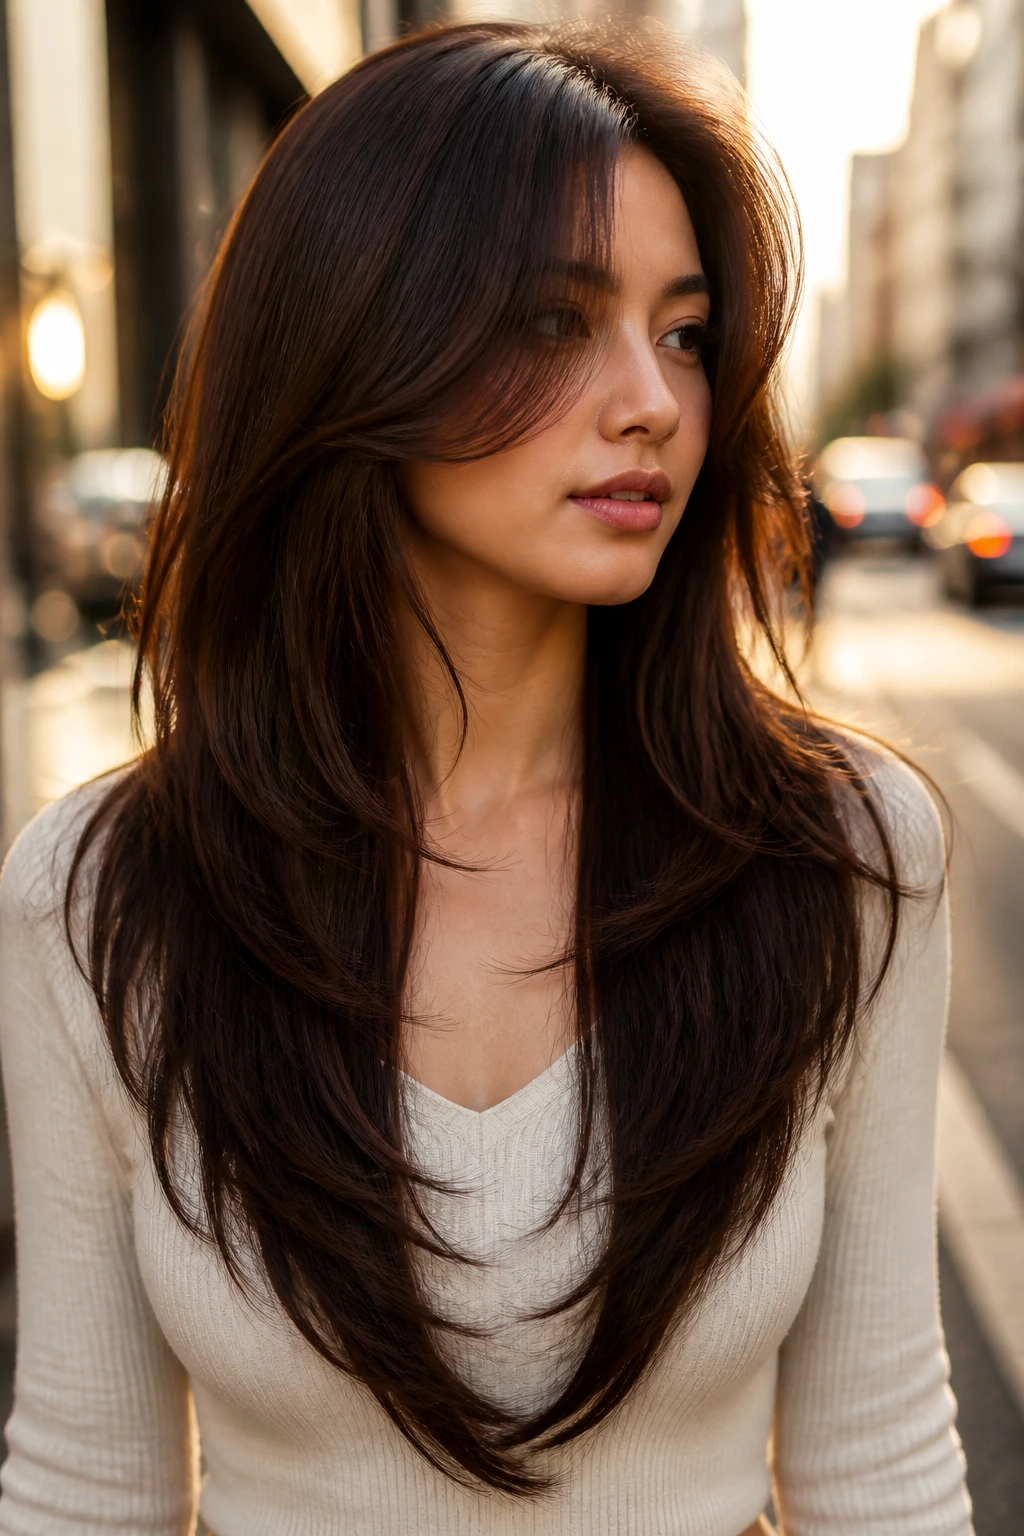
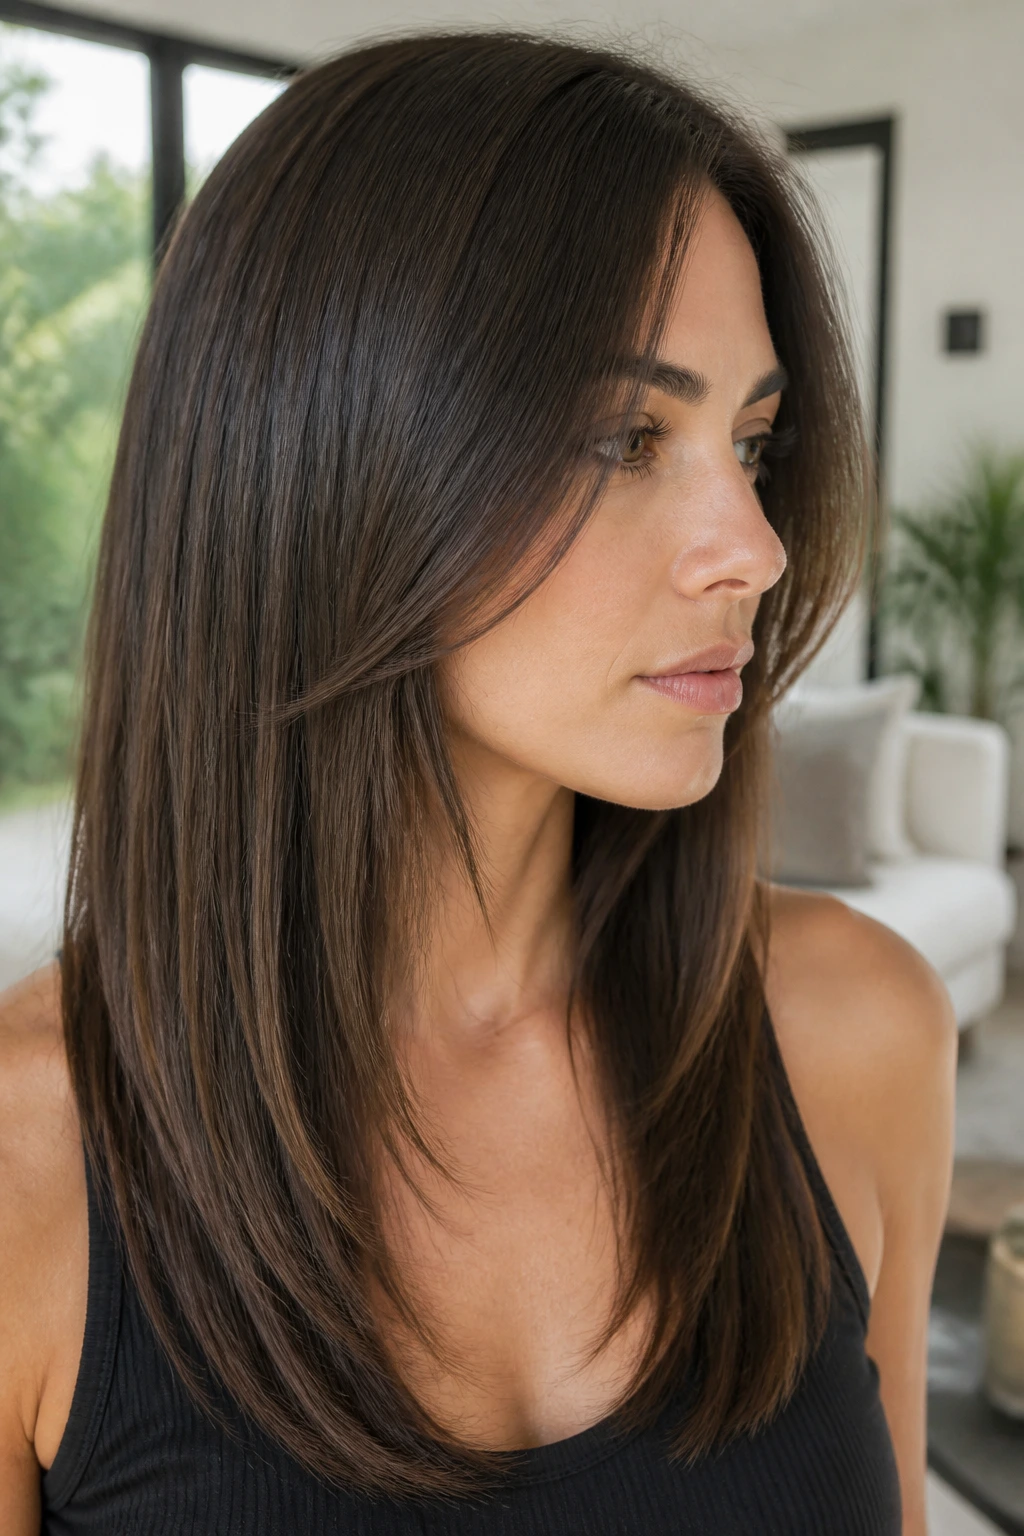
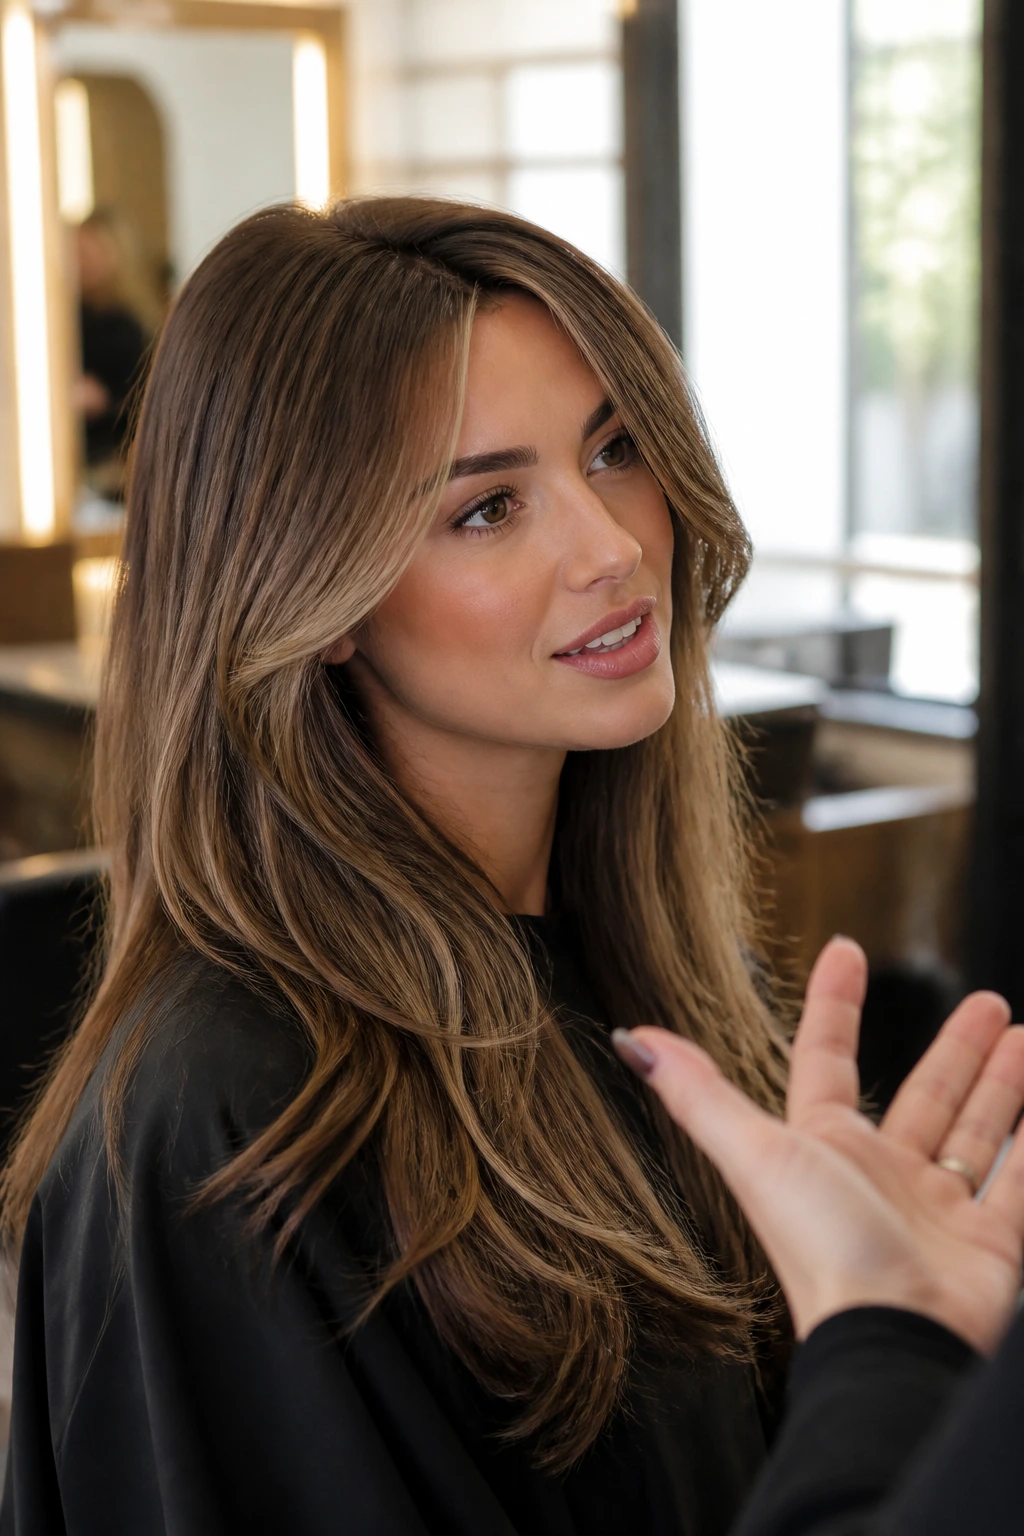
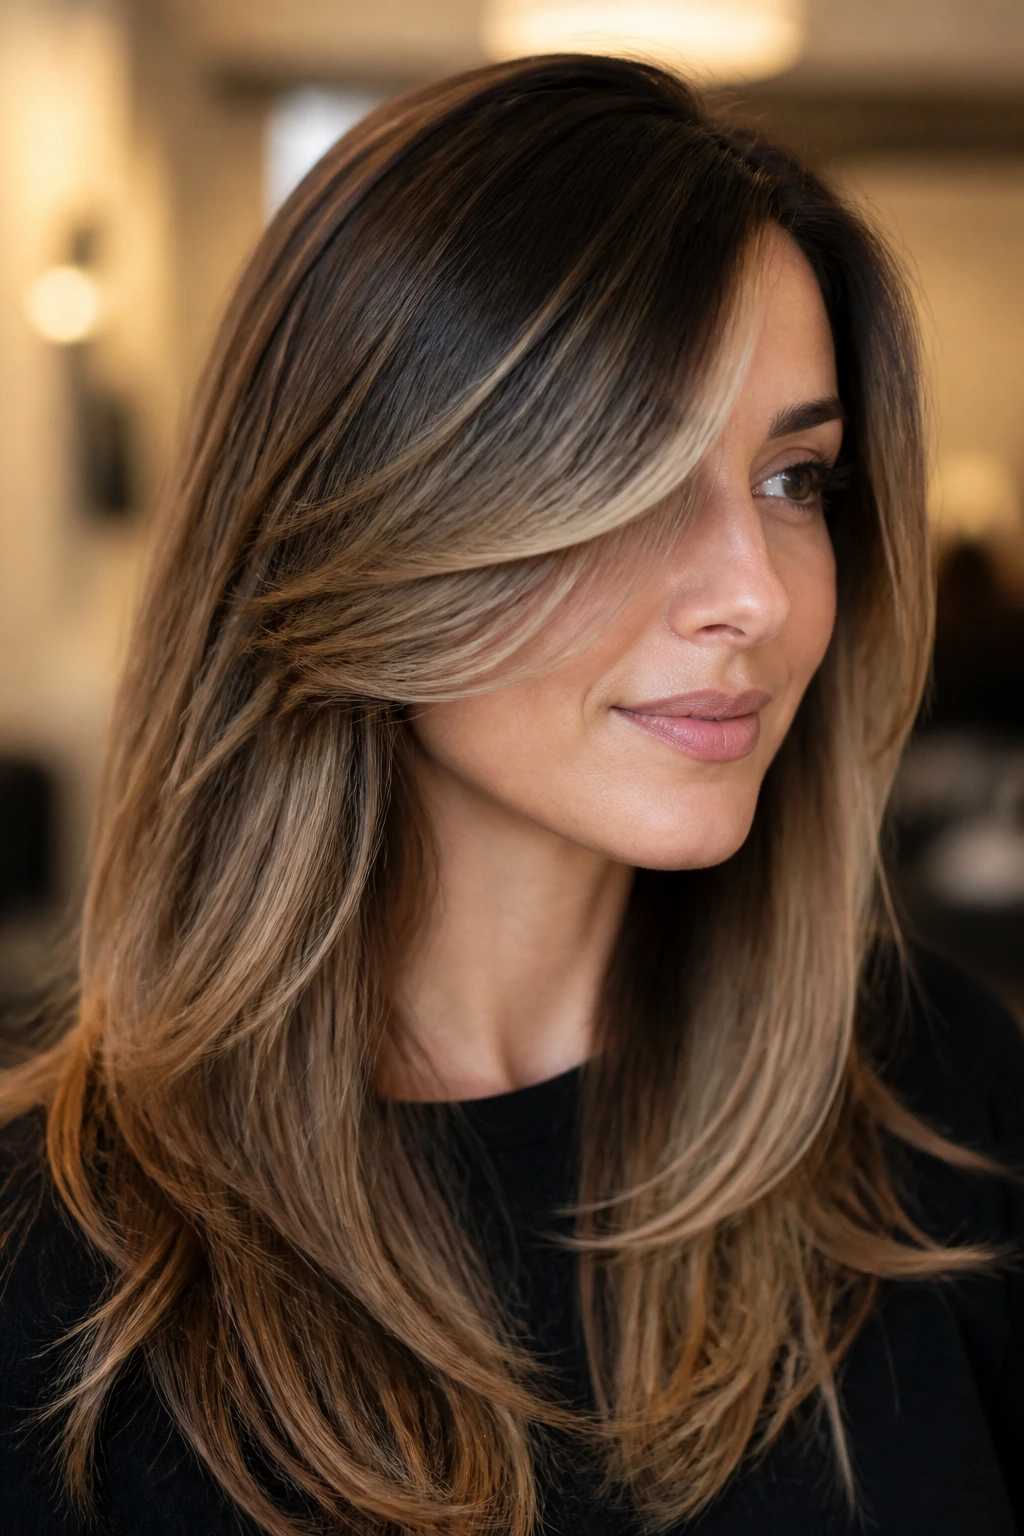
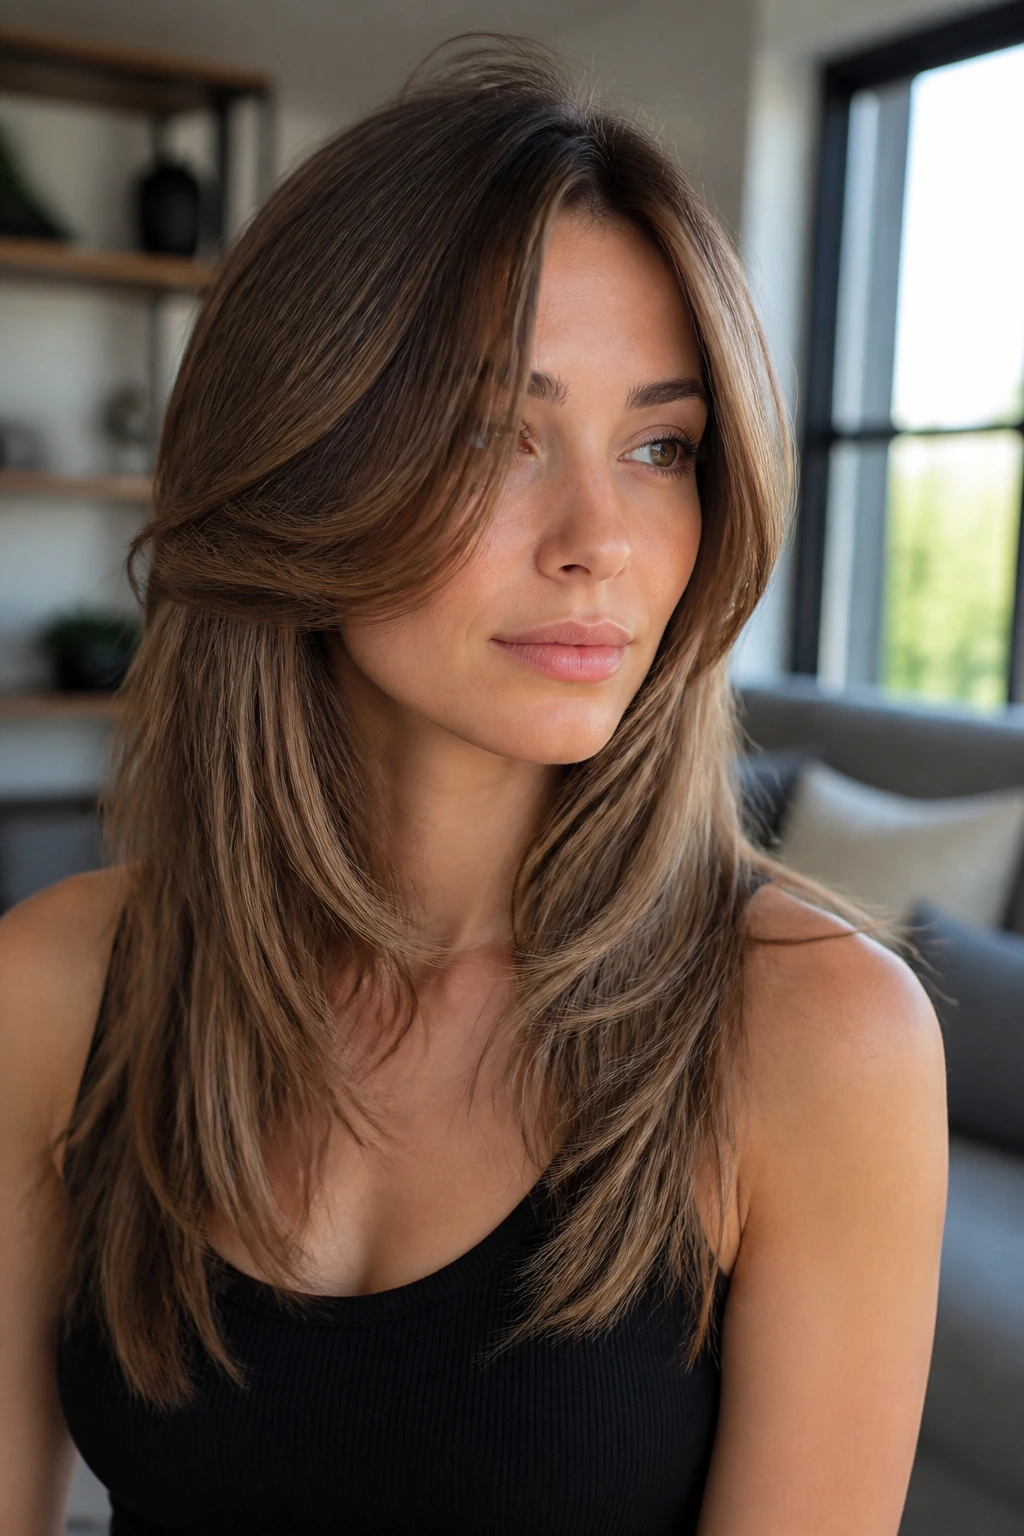
A good side part can change the whole read of a haircut before the ends even move. Shift the weight a little, add long layers, and tuck a few face-framing pieces around the cheekbone, and the hair stops behaving like one flat curtain. It starts making angles for you.
That is the real appeal of long layered side-swept part face-framing layers. The cut keeps length, but it does not leave length sitting there like dead weight. The front pieces pull the eye inward, the side part gives the roots a little lift, and the layers let the shape move when you walk, turn your head, or throw it behind one shoulder. No drama needed. Just smart placement.
The best part is how many different moods this shape can carry. It can look polished with a round brush, soft with loose bends, sharp with a razor finish, or almost invisible on straight hair until the light hits it. The same skeleton can lean glam, easy, edgy, or quietly expensive-looking—if the part, the front lengths, and the internal layers are chosen with a little care.
Why These Layers Stay in Rotation
- The front pieces do real work: When the shortest layer lands near the cheekbone or jaw, it shifts attention to the center of the face instead of letting the length hang straight down.
- The side part buys instant lift: Moving the part off-center gives the crown more height, which is a lifesaver when hair likes to lie flat by noon.
- Length stays on the table: You get movement and shape without giving up the long tail that makes ponytails, braids, and half-ups possible.
- Texture is not locked in: The same cut can look glossy and smooth, or loose and airy, depending on how you dry it.
- Grow-out is less annoying: Soft face-framing pieces soften the transition as the haircut grows, so it does not scream for a trim the second it loses its sharpest line.
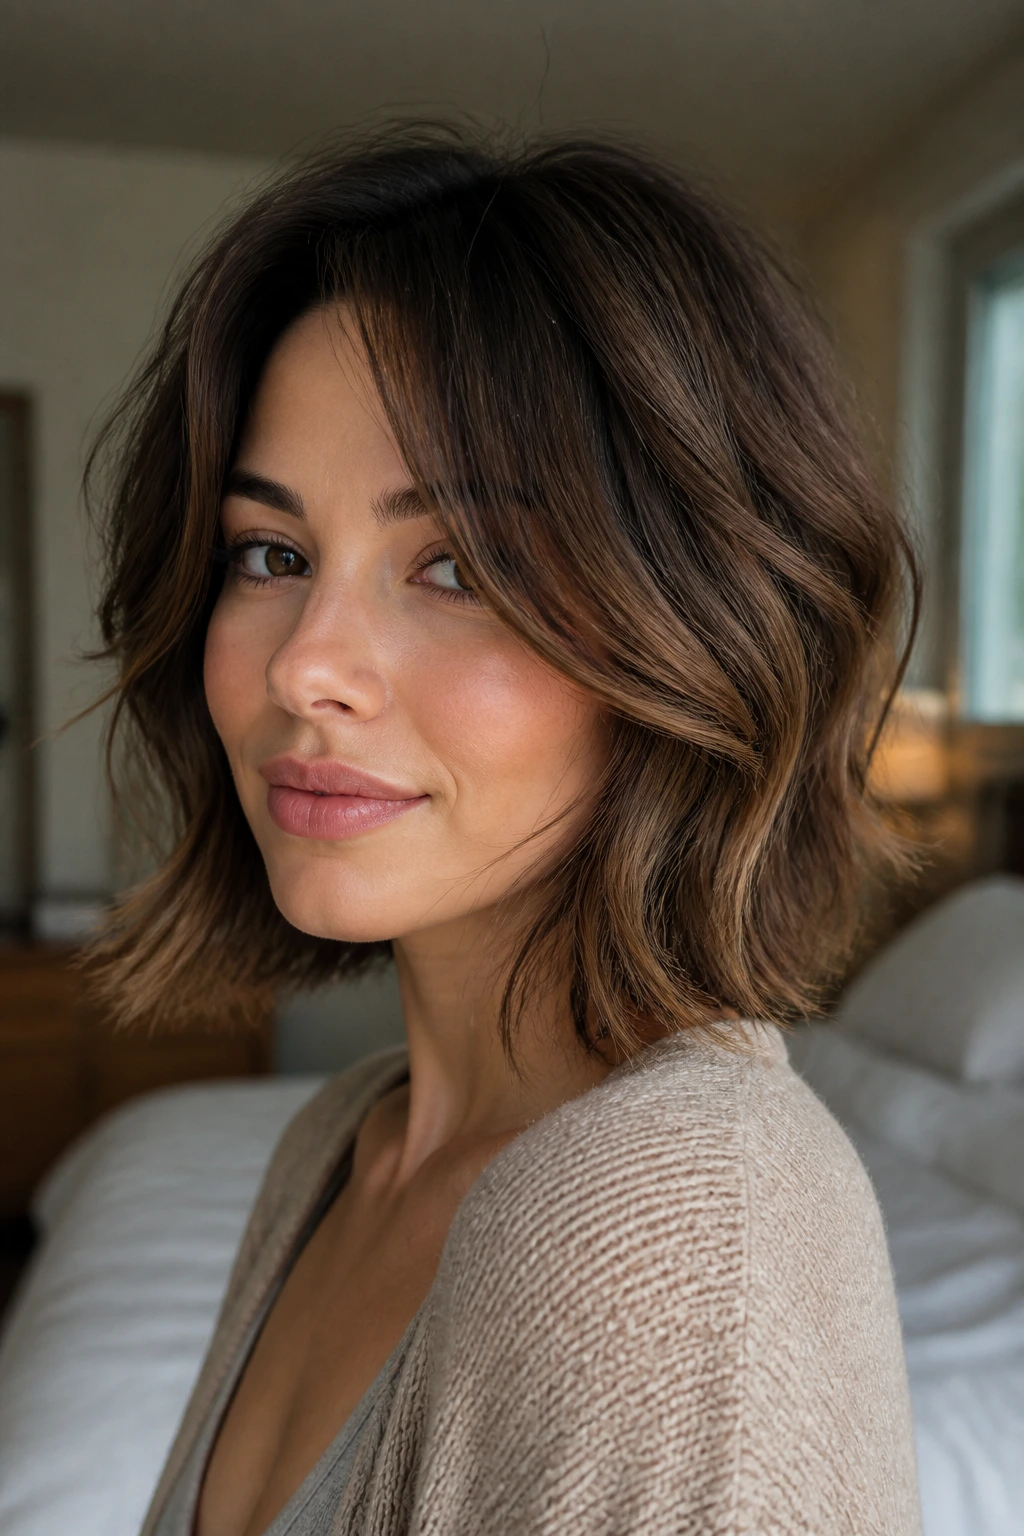
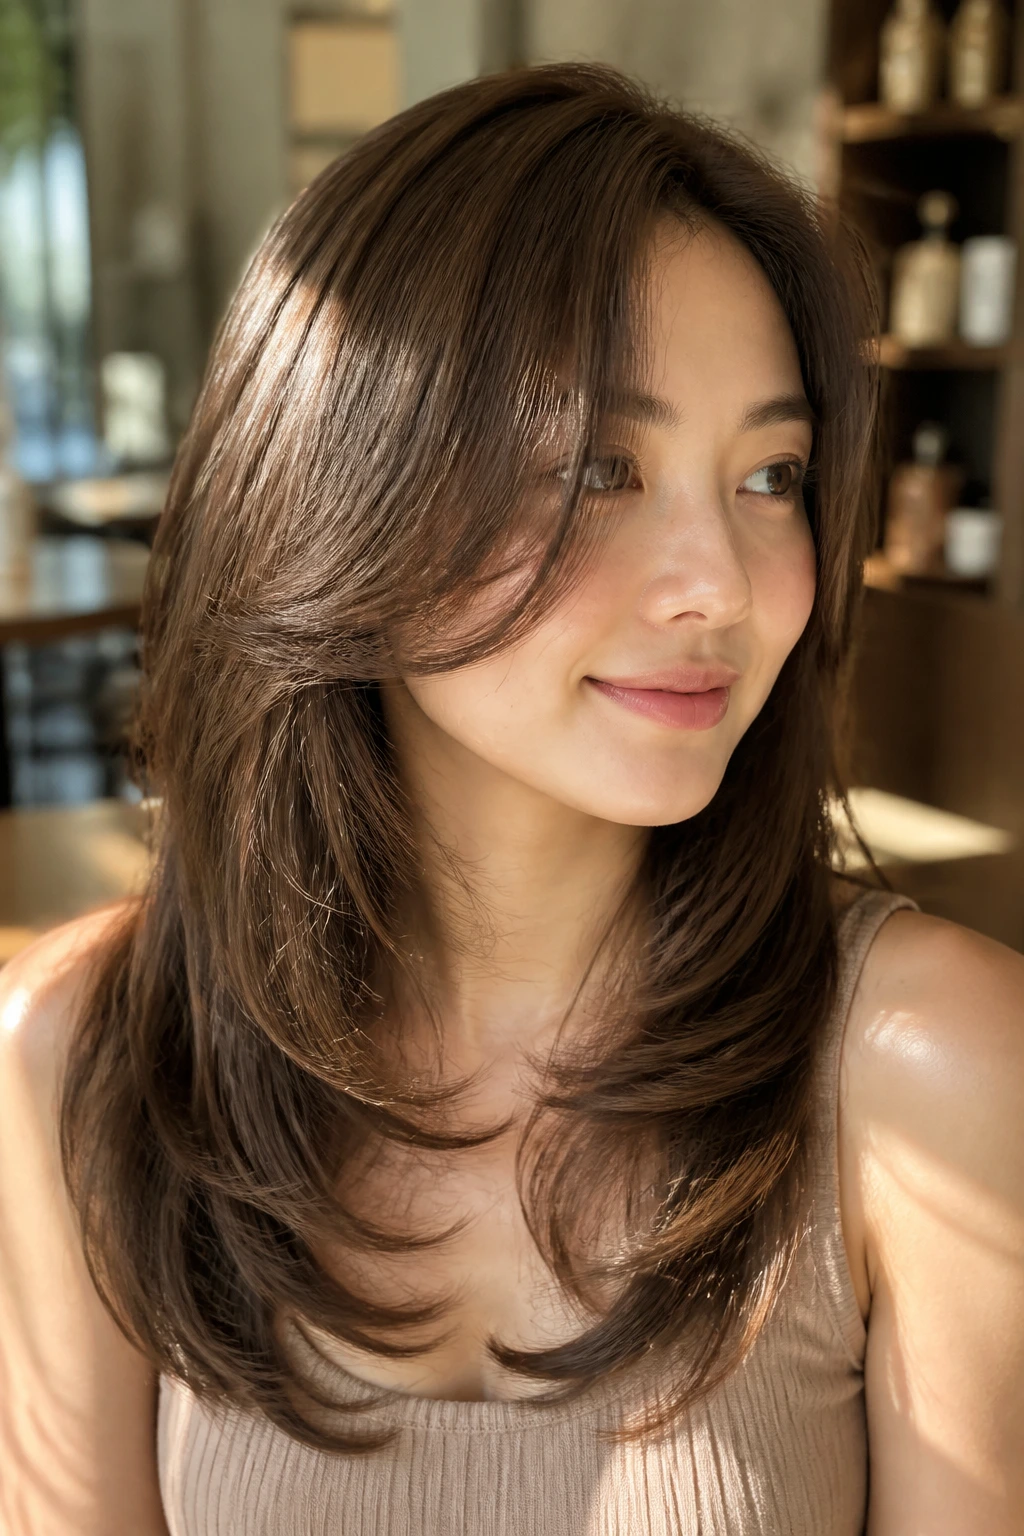
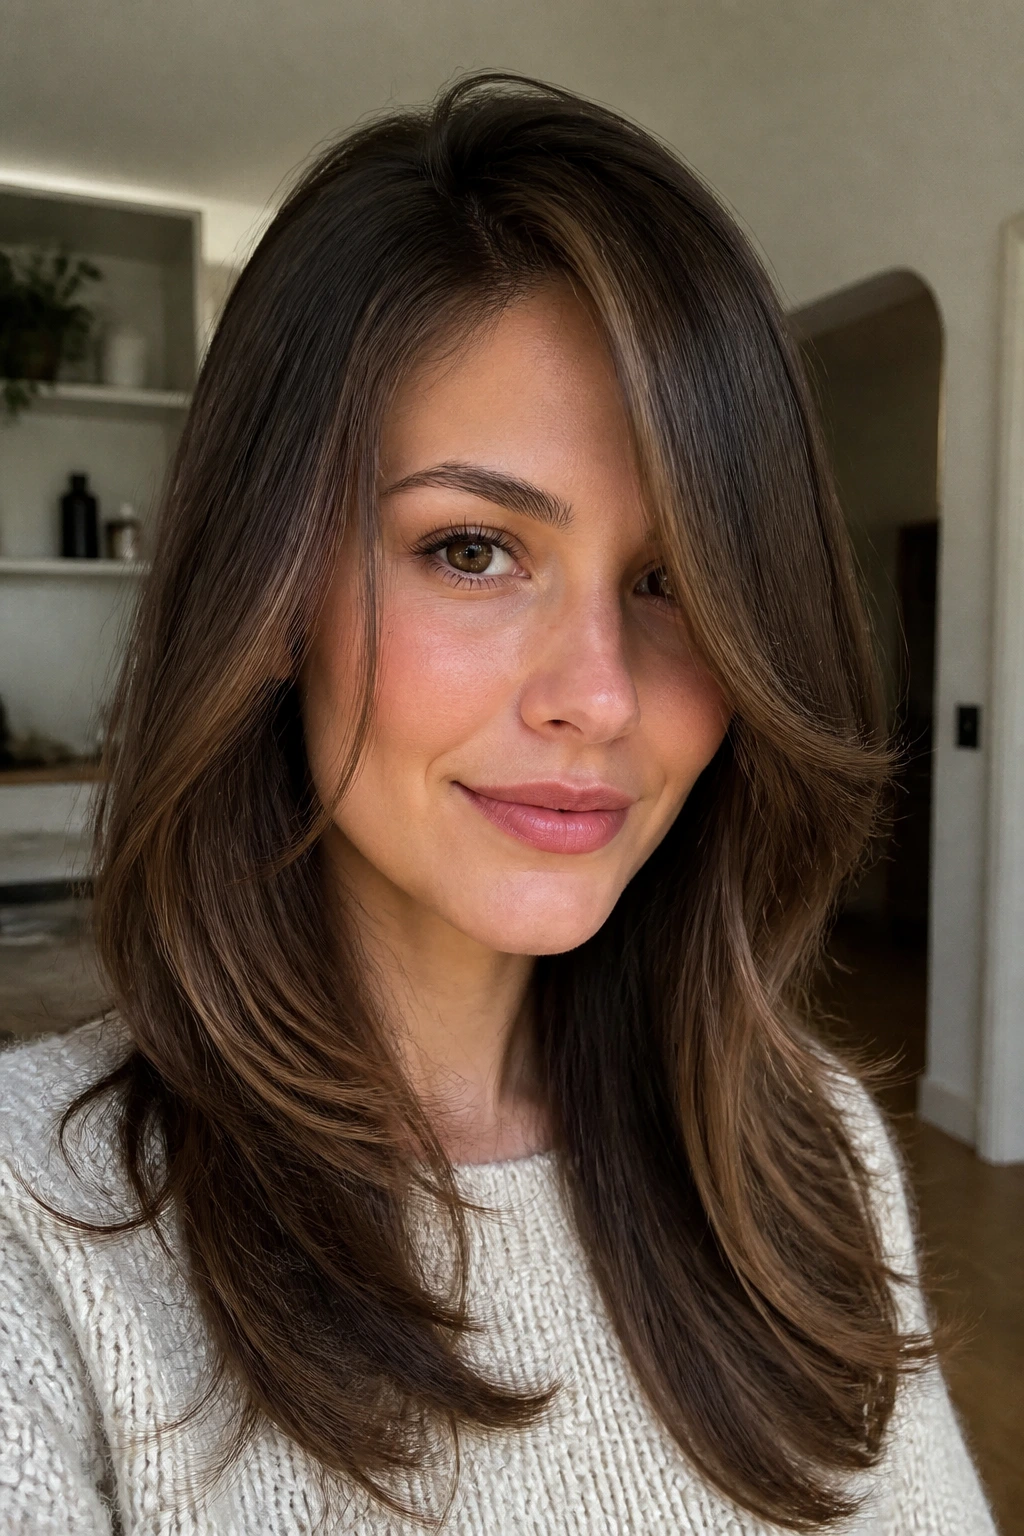
1. Cheekbone Sweep With Soft Front Pieces
The sweetest version of this haircut starts the front layer right around the cheekbone and lets it fall in a shallow curve. That small decision changes everything. The face looks a little more open, the jawline feels less boxy, and the hair still keeps its long line through the back.
Why the cheekbone landing point matters
When the shortest piece sits too high, the cut can look overworked. Too low, and the front loses its job. Cheekbone length is the middle path that gives shape without stealing length.
- Best on: straight, wavy, and lightly curly hair
- Part placement: a soft side part, not a deep theatrical one
- Styling cue: bend the front pieces away from the face first, then let them settle
- Watch for: a piece that stops exactly at the apple of the cheek can look stiff if it is cut blunt
My rule: if the front piece does not move when you turn your head, it is probably too heavy.
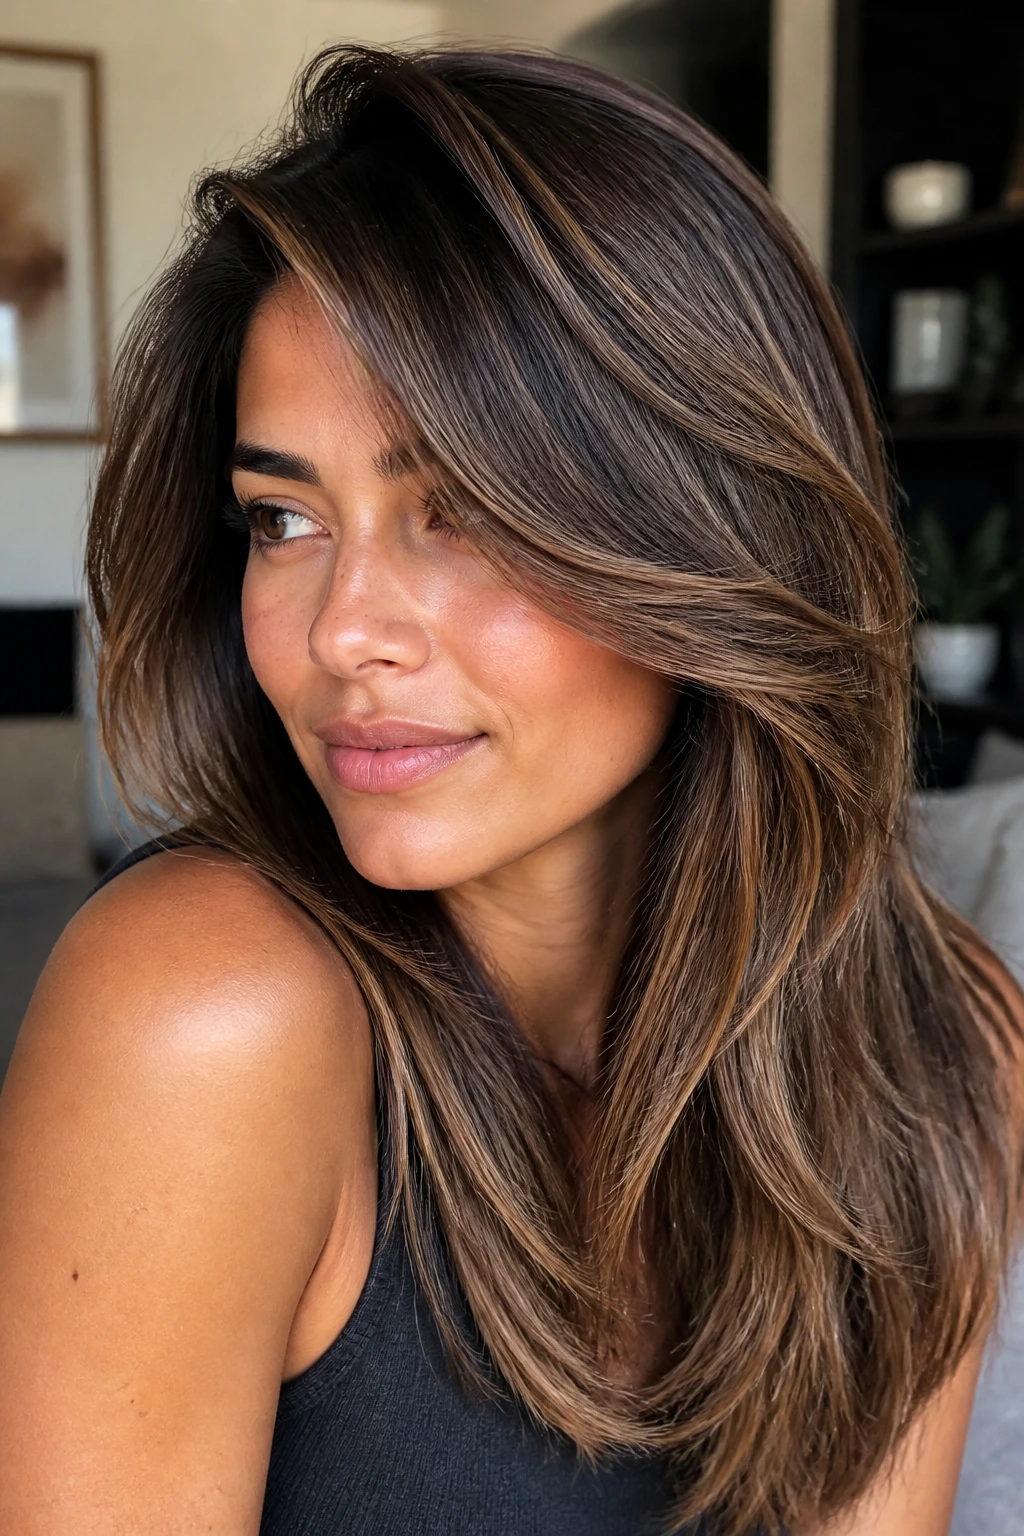
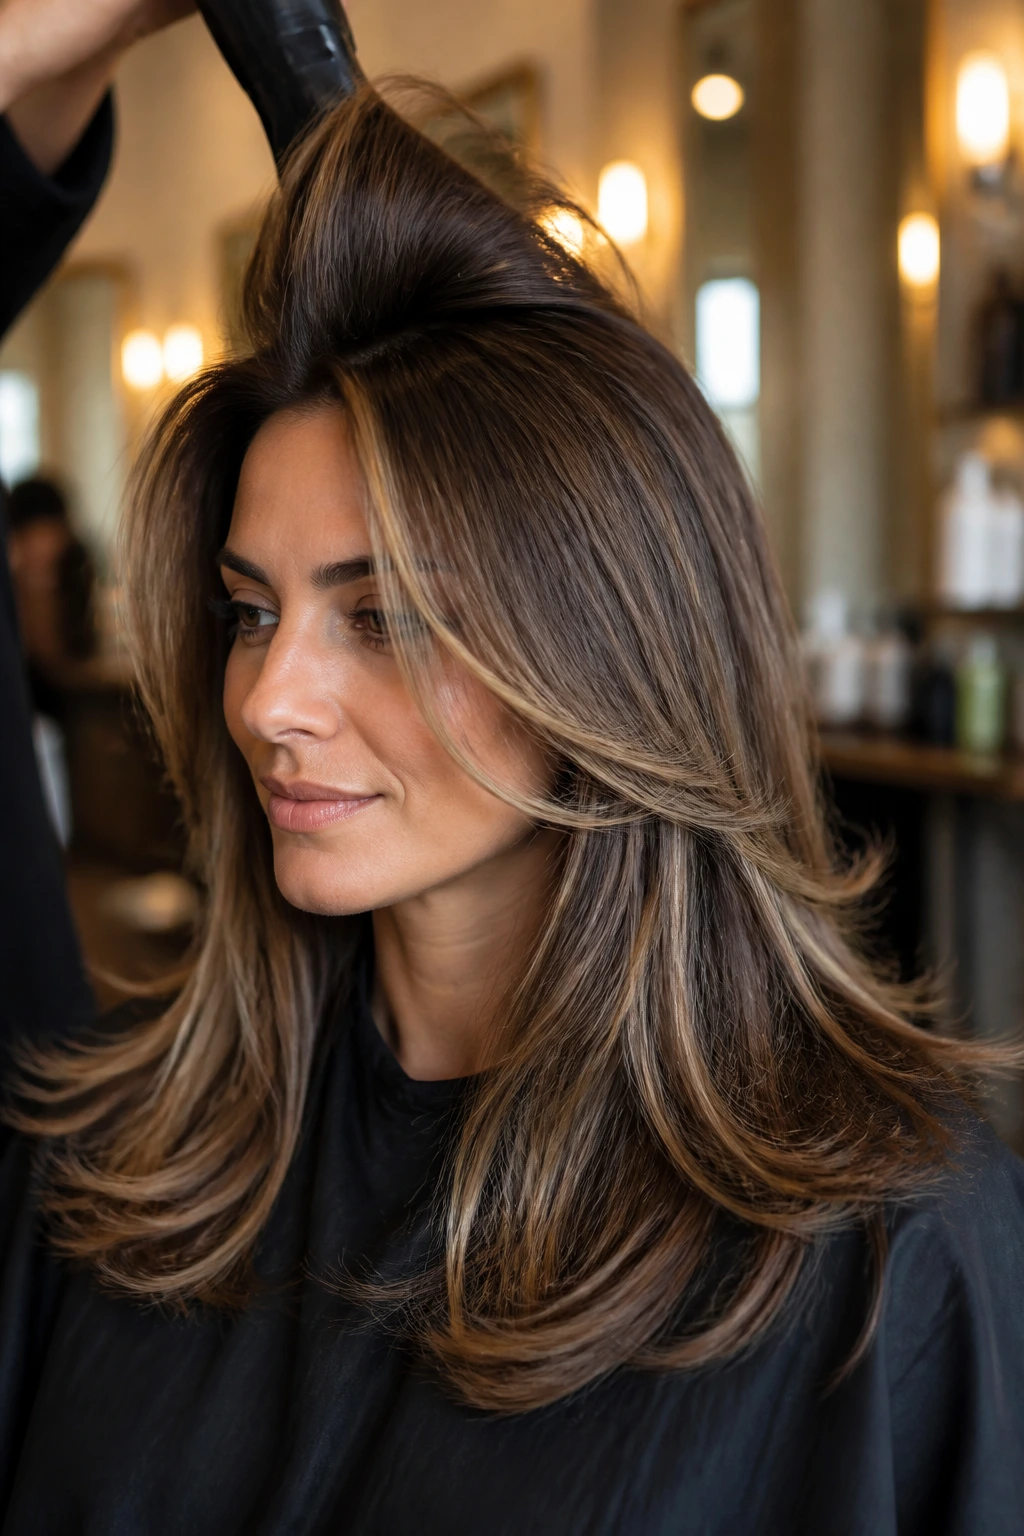
2. Deep Side-Part Blowout Layers
If you want the crown to look taller without piling on product, start with a deeper side part. The cut itself matters, but the part is doing a lot of the visual heavy lifting here. Hair that normally collapses around the roots gets a small lift just from being redirected.
A good blowout version of this look uses long layers that start low enough to keep density, then front pieces that sweep across the cheek and open out toward the ends. The result is smooth, shiny, and a little dramatic in the best way. It reads deliberate. Never stiff.
I like this version on medium to thick hair because the brush work has something to grab. A round brush around 2 inches wide, a nozzle on the dryer, and a quick cool shot at the root make a bigger difference than a mountain of spray ever will. The front should curve, not curl. That’s the whole trick.
3. Butterfly Layers That Flip Cleanly to One Side
Why do butterfly layers look so good with a side sweep? Because the shorter upper layer gets a chance to show off instead of sitting flat on top of the long lengths. The haircut keeps the lightness around the face, and the side part gives that top layer a direction.
The important part is balance. If the upper layer is too short, the cut turns fluffy. If it is too long, the butterfly effect disappears. I like the shortest lift to skim just below the cheekbone or land near the upper lip, with the longer layers staying well past the shoulders.
How to wear it
- Dry the roots in the opposite direction of your part first.
- Flip the top layer over with a round brush or large curling iron.
- Let the ends stay soft; hard curls fight the shape.
- Finish with a flexible spray, not a crunchy one.
This one is all about movement that still lands in a clean shape.
4. Razor-Textured Face Frame for Dense Hair
Thick hair can hold a beautiful side-swept shape, but it gets puffy fast if the cut is too blunt through the front. A razor-textured face frame softens that edge. You do not want the hair chewed up. You want the bulk eased out so the front actually bends.
A razor finish works best when the stylist respects the density and cuts with a light hand around the face. The front pieces should still have presence. They should not look shredded. On dense hair, that difference matters more than people think. A weak razor job makes the ends fray. A careful one makes the whole cut swing.
This version is strongest when the lengths are kept long enough to anchor the shape. Think cheekbone, jaw, and collarbone movement, not tiny broken pieces around the face. The cut breathes a little. That is the whole point.
5. Sleek Straight Layers With a Gloss Finish
Straight hair gives away sloppy layering fast. If the cut is too choppy, you see every line. If it is too heavy, you get a blunt sheet with no life in it. The sweet spot is long internal layers that keep the outside edge full while the front pieces break up the front line.
This is the version I reach for when someone wants shine more than texture. The side-swept part gives the root a bend, and the long face-framing pieces stop the style from looking severe. A pea-sized amount of serum on the midlengths and ends keeps the finish smooth. Keep it off the roots unless you want the crown to go limp by lunchtime.
The nice thing about this cut is that it looks expensive without trying to look fancy. It just sits well. The hair falls in long, clean lines, and the side sweep adds enough movement that it never looks like a helmet.
6. Loose Wave Layers That Skim the Jawline
A loose wave version of this cut is where the shape starts to feel a little softer and less polished. The layers should move, but not puff. The front pieces should skim the jaw and curve away just enough to make the face look lighter around the edges.
The barrel size matters here. A 1.25-inch iron gives a bend that holds without turning the front into a corkscrew. Smaller than that, and the ends can spring up too much. The trick is to curl the front sections away from the face, then alternate directions through the rest of the lengths so the wave pattern does not look too uniform.
This is the version that looks best when it is slightly imperfect. A few ends out of line are part of the charm. Too much polishing and it loses the easy movement that makes it work.
7. Curtain Pieces Blended Into a Side Sweep
Curtain layers are often talked about as if they belong only to a center part, but they can be bent sideways beautifully when the cut is long enough. The shortest front pieces should still split around the face, but the side part keeps one side carrying a little more weight. That stops the look from reading too symmetrical.
What to ask for
- Keep the shortest front piece below the brow if you want a softer grow-out.
- Blend the face frame into the first long layer, not into a blunt bang line.
- Ask for movement near the cheekbone and lip, not just at the ends.
- Leave enough length to tuck behind the ear without losing the shape.
I like this version for people who want fringe energy without a true fringe. It gives the face some architecture, then lets the rest of the hair stay long and calm.
8. Thick-Hair Debulking Layers That Drop the Bulk
If your hair takes forever to dry and feels like it has its own weather system, this version is worth a hard look. The goal is not to thin it into nothing. The goal is to remove bulk from the interior so the side-swept front pieces can actually move.
Thick hair tends to build a wall around the head when it is cut too conservatively. Long layers break that wall apart. A side part helps too, because it shifts some of the weight away from the center and makes the outline less boxy. The front still needs enough length to hang. A chopped-up face frame on dense hair can end up looking fuzzy by day two.
This is one of those cuts that looks better with a little discipline at the salon chair. Ask for weight removal through the middle, not a bunch of aggressive thinning at the ends. That keeps the hair from going poufy in humid weather.
9. Fine-Hair Lifted Layers With Root Lift
Fine hair is a trap for overly layered cuts. Too much carving, and the ends go transparent. Too little, and the whole thing lies flat like a ribbon. The best version keeps the layers sparse and lets the side part and root lift do some of the work.
Does that mean this haircut cannot be soft? Not at all. It means the softness has to come from placement, not from stripping out bulk. I like a longer face frame here, usually starting around the cheekbone or just below, because it preserves density at the front. A blunt-ish perimeter helps too. That little bit of weight at the bottom keeps the hair from looking stringy.
A root-lifting mist at the crown and a quick blow-dry in the opposite direction of the part are worth more than ten minutes of teasing. Seriously. Fine hair loves a small trick that changes direction.
10. V-Shaped Long Layers With a Strong Outline
A V shape is for someone who wants the back to feel long and pointed while the front still moves. The silhouette is sharper than a U, and that gives the haircut a little more edge. The side-swept front pieces soften the result so it does not feel severe.
This version works especially well when the hair is dense enough to support that point at the back. On thinner hair, the V can start to look underfed. On thicker hair, it gives the lengths a place to fall without building a square bottom.
I like this cut with a round-brush finish or a loose wave. Straight, it can feel a little too graphic. With bend, the line stays clean but the front pieces take the sharpness out of it. That contrast is what makes it interesting.
11. U-Shaped Layers With Soft Front Pieces
If the V shape feels too pointed, the U shape is the calmer cousin. The bottom line is rounded, the lengths feel fuller, and the side-swept front pieces give it enough motion that it never looks static. It is a more forgiving cut for people who wear their hair down a lot and do not want the ends to look thin.
This version is especially nice when the hair already has some natural body. The rounded perimeter keeps the silhouette lush, while the face frame stops it from turning into one big heavy blanket. The side part helps the front fall in a flattering angle instead of hanging straight off the cheek.
It is not flashy. That is part of its appeal. The shape has enough structure to hold up on a bad hair day and enough softness to look good with very little styling.
12. Old-Hollywood Waves With a Low Side Part
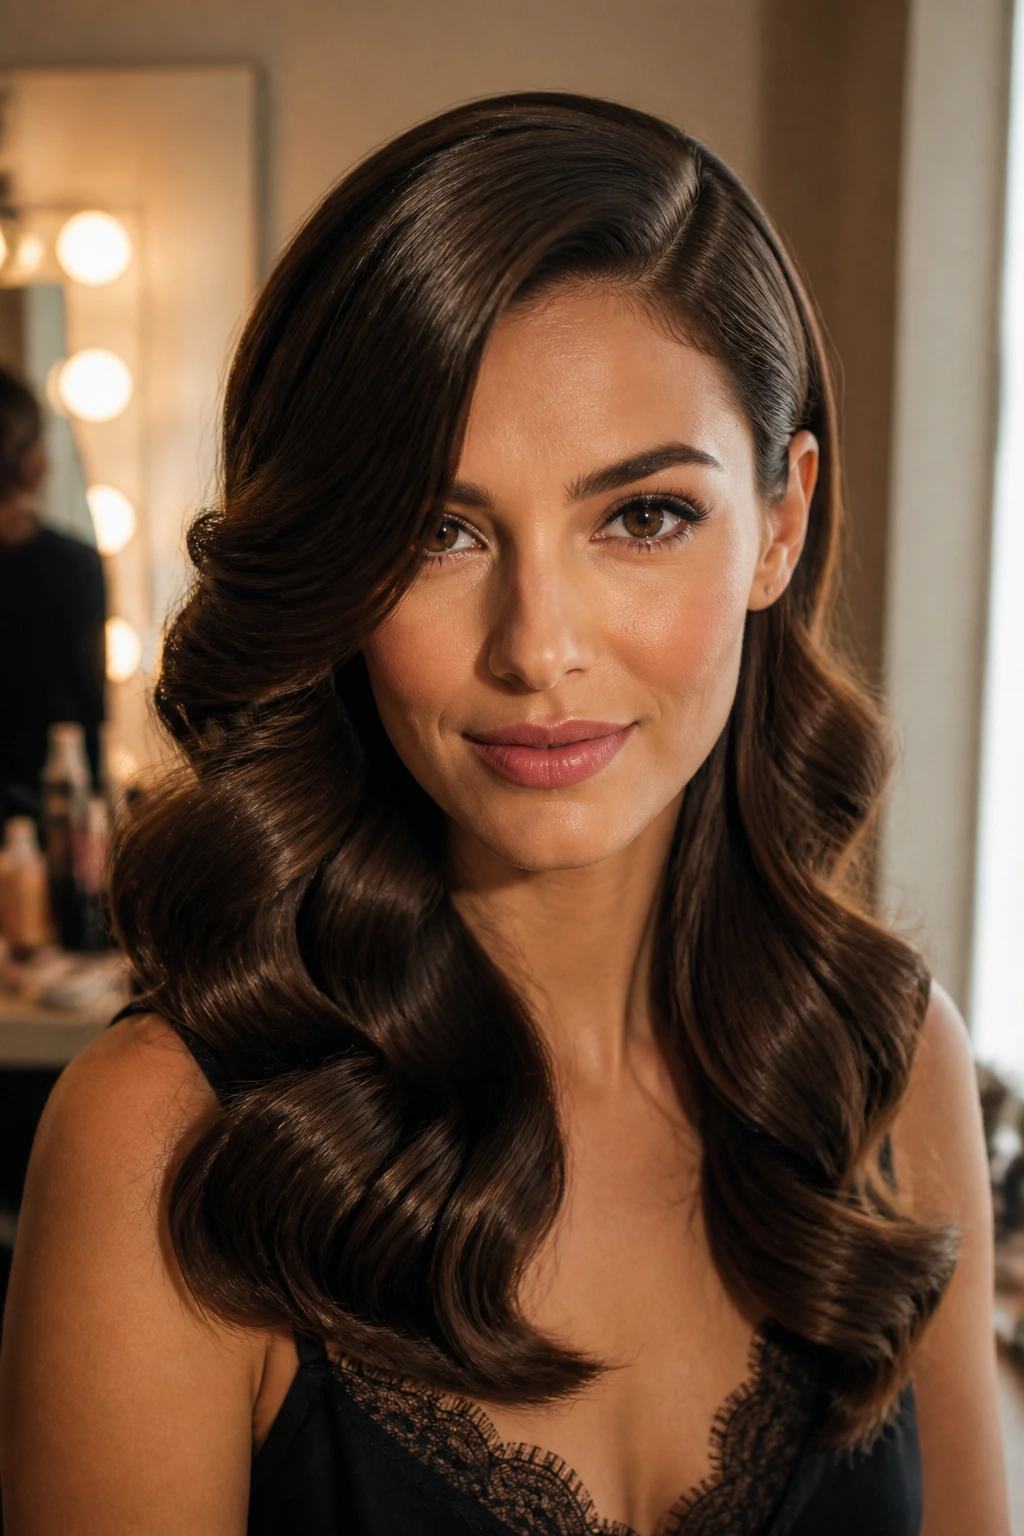
A low side part and big soft waves always feel a little cinematic, but the trick is keeping the front pieces long enough that the style does not turn costume-y. The wave pattern should be smooth, not spiky. The face frame should open the cheek and jaw, not sit like a frozen curl.
I like to set this look with clips while the waves cool. That sounds fussy, but it is one of those boring little steps that pays you back. The hair holds the curve better, and the part stays put instead of drifting back to the center.
This version reads best on medium to thick hair, especially if the front has enough weight to hold the shape. Use a brush to soften the wave before you leave the house. Otherwise the whole thing can feel too defined, and nobody needs that much drama at the grocery store.
13. Air-Dried Natural Texture Layers
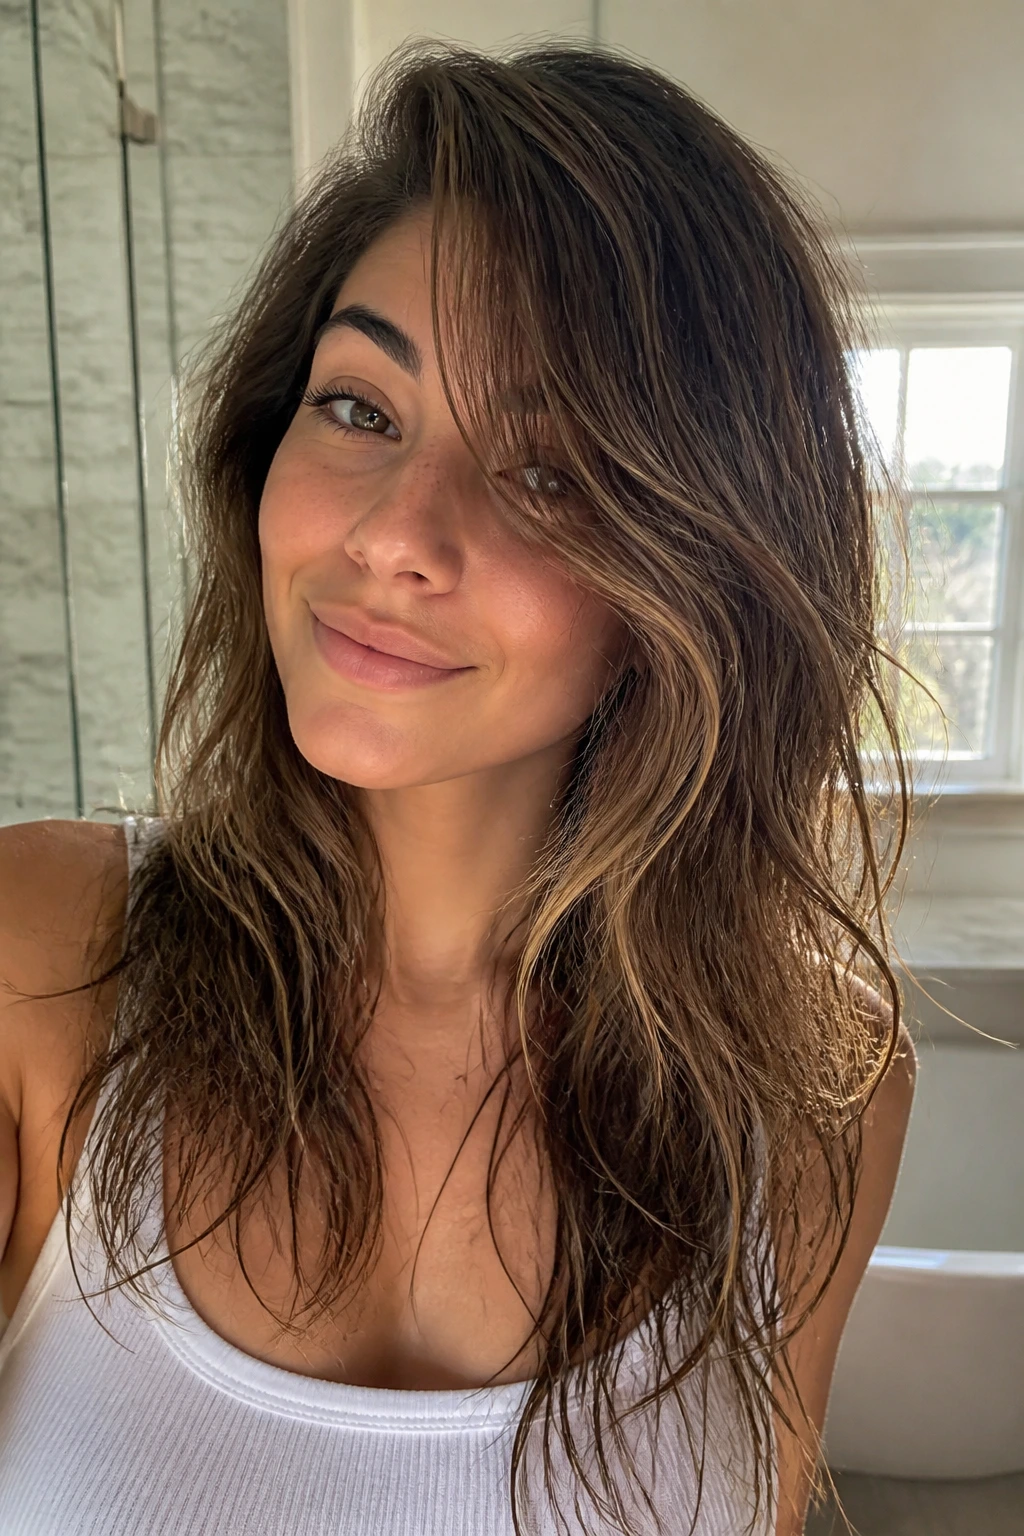
Not every good side-swept cut needs hot tools. If your hair already has a bend, the better move is to cut with that texture instead of fighting it. The front pieces should follow the natural pattern, not force a shape that only exists when you have a curling iron in your hand.
The air-dry test
- Let the front pieces fall where they want on damp hair.
- Use a light cream or mousse through the midlengths.
- Twist the front section away from the face once or twice.
- Leave the roots alone so they do not dry in a weird hump.
The result is softer and a little more lived-in, but not sloppy. This version is for people who want a haircut that behaves when they do less. A side part still gives it direction; the layers just make sure the texture has somewhere to go.
14. Grow-Out-Friendly Layers That Stay Neat
There is a kind of haircut that looks great on day one and then starts asking for attention too soon. This is not that haircut, if it is cut well. A grow-out-friendly version keeps the front pieces long enough to move past the cheekbone and keeps the perimeter full enough that the ends do not fray into nonsense.
The styling trick here is restraint. You do not need the face frame to be the loudest thing in the room. You want it to steer the eye, not shout. If the shortest layer sits around the lip or chin, the cut can stretch longer between trims and still feel intentional.
This is the version I recommend to people who hate the feeling of a haircut aging badly. It softens rather than collapses. That matters more than most salon conversations admit.
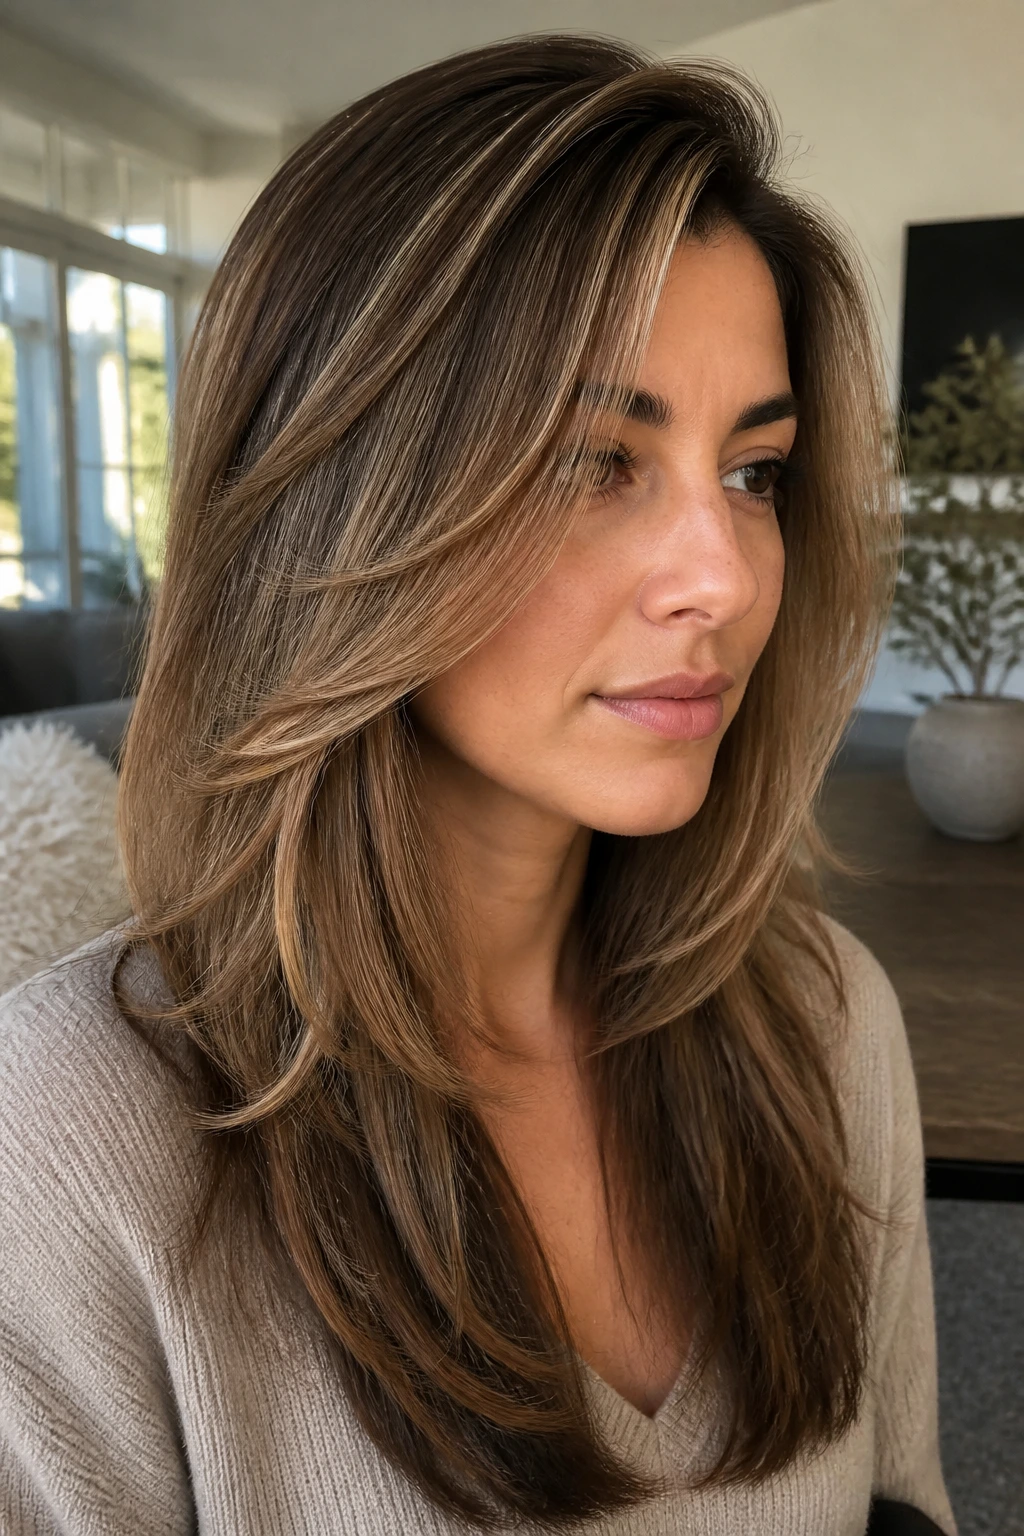
15. Balayage Money Pieces That Make the Front Pieces Pop
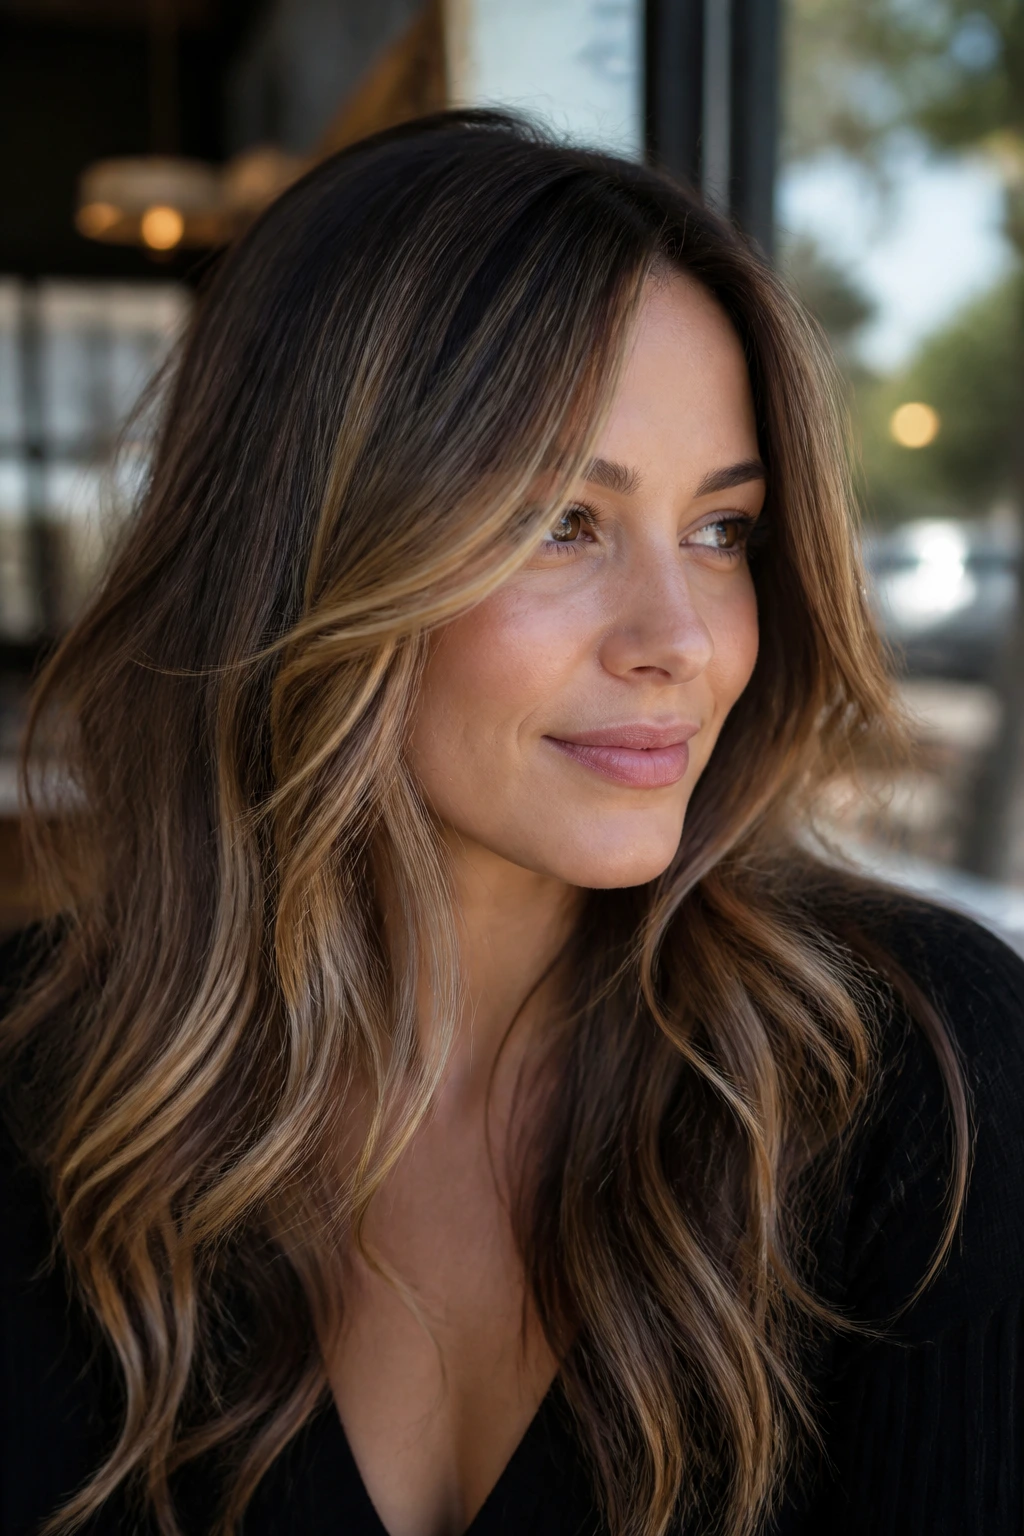
Color changes the whole read of face-framing layers. A soft money piece around the front—lighter than the base, but not screaming for attention—shows off the sweep and makes the part look more deliberate. The key is placement. The lighter bits should live where the hair bends, not in harsh vertical streaks.
A lot of people ask for bright front pieces and then wonder why the cut feels stripey. Because the color was too blunt. A better version keeps the lightness soft around the cheekbone and a little richer underneath, so the front still looks dimensional when it moves.
This works especially well on long layered side-swept part face-framing layers because the color follows the movement already built into the haircut. You do not need more shape. You need the existing shape to show up.
16. Round-Face Layers That Stretch the Outline

For a round face, the job of the haircut is not to hide the face. It is to add length where the eye travels. A side-swept part helps by shifting the visual balance upward and sideways, while the face-framing layers should start low enough to avoid widening the cheeks.
The shortest piece is usually better below the cheekbone than right on top of it. That small difference matters. A front piece that lands too high can make the face look broader; one that curves down past the cheek and toward the jaw gives more vertical pull.
I also like a little lift at the crown here. Not a tall pouf. Just enough root movement that the top of the style does not sit flat and short. The combination of height and downward front lines does more than a heavy contour ever could.
17. Square-Face Layers That Soften the Jaw
A square jaw likes softness around it, not a blunt line that lands right on top of the angle and stops. The best face-framing layers for this shape skim the jaw and curve away. They should feel like a veil over the edges, not a line drawn to underline them.
If the front pieces are too straight, the haircut can make the jaw feel even sharper. A loose bend fixes that fast. I prefer a side part here because it creates asymmetry, which takes some pressure off the lower face. The hair does not need to hide the structure. It just needs to soften the outline.
This version works beautifully with waves, but it also looks good straight if the ends are turned under just a touch. The move is small. The result is not.
18. Heart-Face Layers That Rebalance the Forehead

Heart-shaped faces often carry more width through the forehead and less through the jaw. That means the haircut has to add a little visual weight lower down. A side part helps by moving some of the attention away from the center, and long face-framing pieces create more presence around the cheek and jaw.
The strongest version of this cut keeps the front pieces long enough to split the eye line without crowding the upper face. I would rather see length than a short, feathery fringe here. You want the hair to drape downward and slightly outward, not fan out across the temples.
This is also a good place for soft color placement. A bit of brightness around the lower front sections can widen the lower half of the face just enough to feel balanced. Not loud. Just enough to do the job.
19. Petite-Frame Elongating Layers

Small frames can get swallowed by too much width at the sides of the hair. The fix is a side-swept line that stays narrow and vertical. You want the hair to fall down, not balloon out near the cheekbones.
What keeps the shape lean
- Keep the front pieces long.
- Avoid layers that start too high at the temples.
- Let the part sit slightly off-center, not aggressively deep.
- Keep volume at the crown, not at the sides.
This version is clean and understated, but not boring. The long lines help the person inside the haircut show up first, which is the point. A lot of haircuts fight that. This one helps.
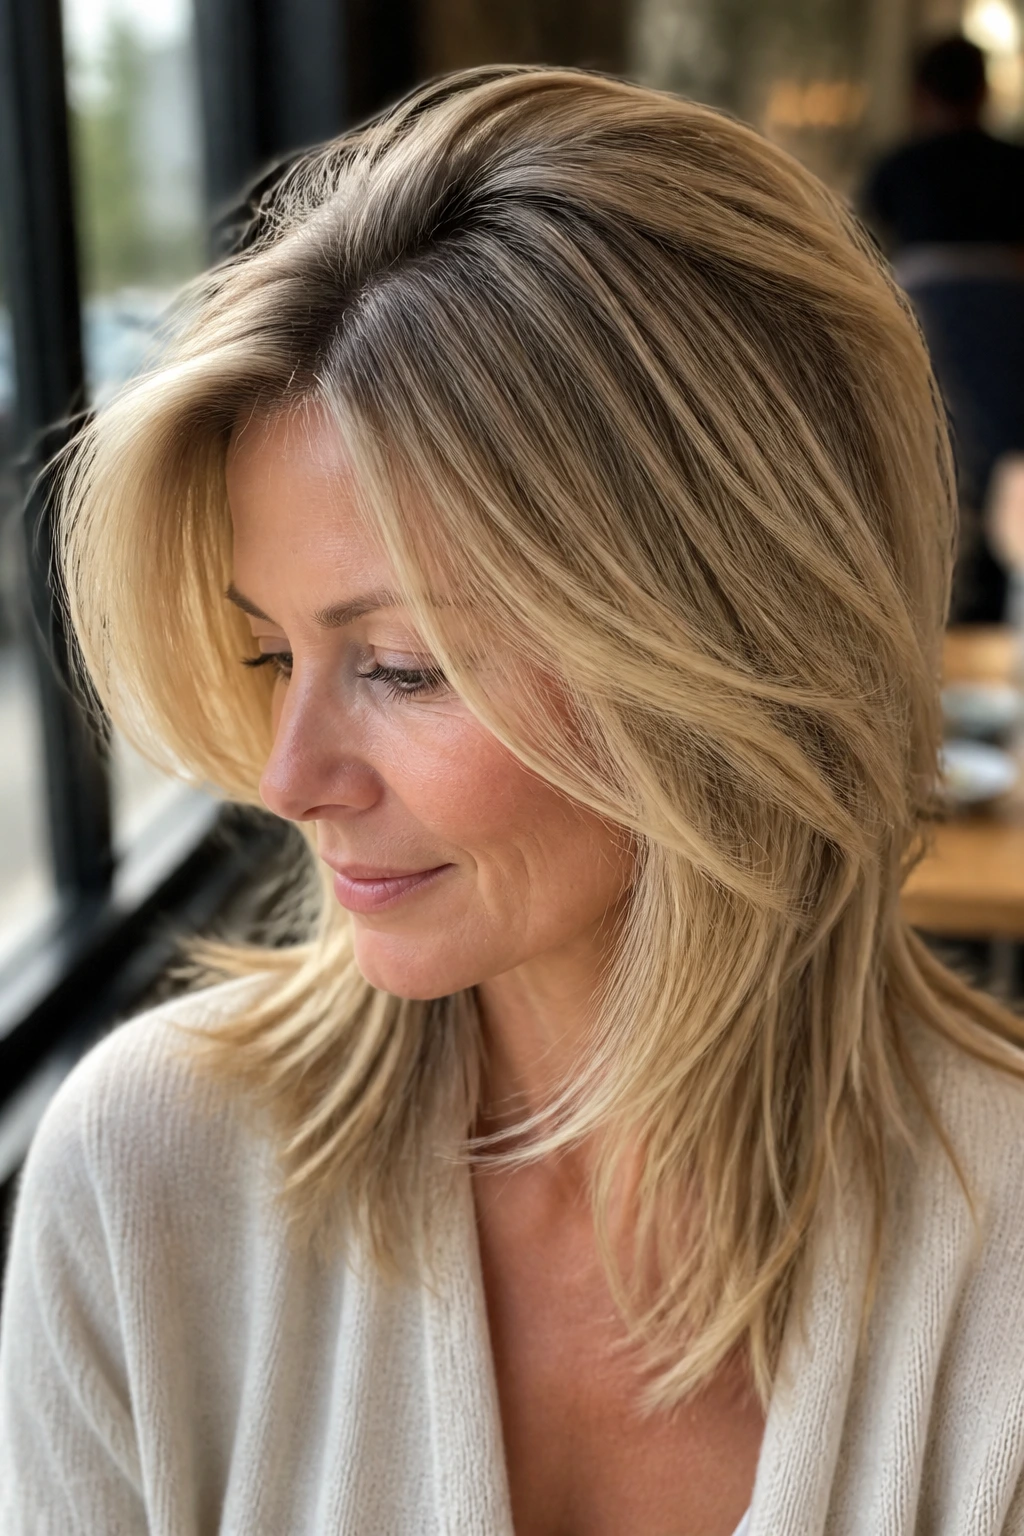
20. Blowout Layers That Lift the Crown
If the roots go flat before the rest of the style falls apart, this version is the answer. The crown gets the lift, the lengths stay soft, and the front pieces fall where they should instead of collapsing into the cheeks. It is a classic blowout shape with better bones.
A big round brush and a few clips are enough. Dry the roots in the opposite direction first, then set the side sweep back into place while the hair is still warm. That little reset gives the part a better ridge and keeps the top from splitting open later.
This is one of those styles that looks more polished when you do less with the ends. Let them move. The crown is the part that needs the work, not the whole head.
21. Defined S-Wave Layers
An S-wave gives the hair a smoother rhythm than a beach wave. It bends away from the face, comes back in, then drops again. On long layered side-swept part face-framing layers, that pattern keeps the front pieces soft while still showing off the haircut’s shape.
The best S-wave starts with a slight bend near the cheekbone and continues down through the midlengths. If the front piece is curled too tightly, it can lose the face-framing job and become a ringlet with no purpose. The S-wave is more controlled. Less cute, more smart.
This version feels especially nice on hair that needs a little order without looking stiff. It moves. It behaves. It still looks like hair, not a project.
22. Long Shag Layers With a Side Sweep
A long shag gives edge to the shape, but the side part keeps it from drifting into messy territory. The layers are more broken up, the ends more textured, and the front pieces a little more casual. Still long. Still wearable.
I like this version when the hair has natural wave or a little grit. The side sweep helps it sit in one direction instead of puffing equally on both sides. It can take a salt spray, a diffuser, or just a lazy air-dry and still look intentional.
The important part is keeping the longest sections long enough to avoid losing the silhouette. A shag that gets too aggressive can swallow the face. This one should just skim it.
23. Tucked-Behind-Ear Layers for a Clean Finish

Some people want hair off the face but do not want an updo. This version sits in that narrow lane. The front pieces are long enough to tuck behind the ear, but they still fall forward on their own when released, which keeps the shape alive.
That little tuck changes the whole mood. It shows the cheekbone, leaves room for earrings, and keeps the side part visible. The cut does not disappear. It just gets cleaned up for a minute.
This is a strong everyday version if you work in a place where hair has to behave. The silhouette stays soft, and the face-framing layers do enough work on their own that you do not need a complicated finish.
24. Half-Up Romantic Layers
A half-up style only works when the front pieces are doing something interesting. That is where the face-framing layers earn their keep. Leave the side sweep out, secure the top section loosely, and the haircut keeps its softness even when part of it is pulled back.
I like this version with a soft wave through the lengths and a few pieces pulled free around the temples. If everything goes back too tightly, the haircut loses its structure and starts to look like a basic half-up. Nobody asked for that.
This is a good option for longer lengths that need a little help showing shape. It keeps the face open, the crown lifted, and the rest of the hair free to move.
25. Salt-Spray Weekend Texture
Salt spray gives long layered side-swept part face-framing layers a rougher, matte finish. The layers read more visibly because the strands separate a little, and the front pieces get that piecey movement people chase on off-duty hair. Use it lightly. Too much and the hair starts to feel dry and sticky.
When matte texture helps
- Fine hair can look fuller because the strands stop clinging together.
- Wavy hair gets more visible shape around the face.
- Thick hair loses some of its bulk without needing a full blowout.
- Straight hair needs a little bend added afterward or it can look flat and chalky.
This version is casual, but not careless. It wants a little spray, a little scrunch, and a little patience. Not a lot.
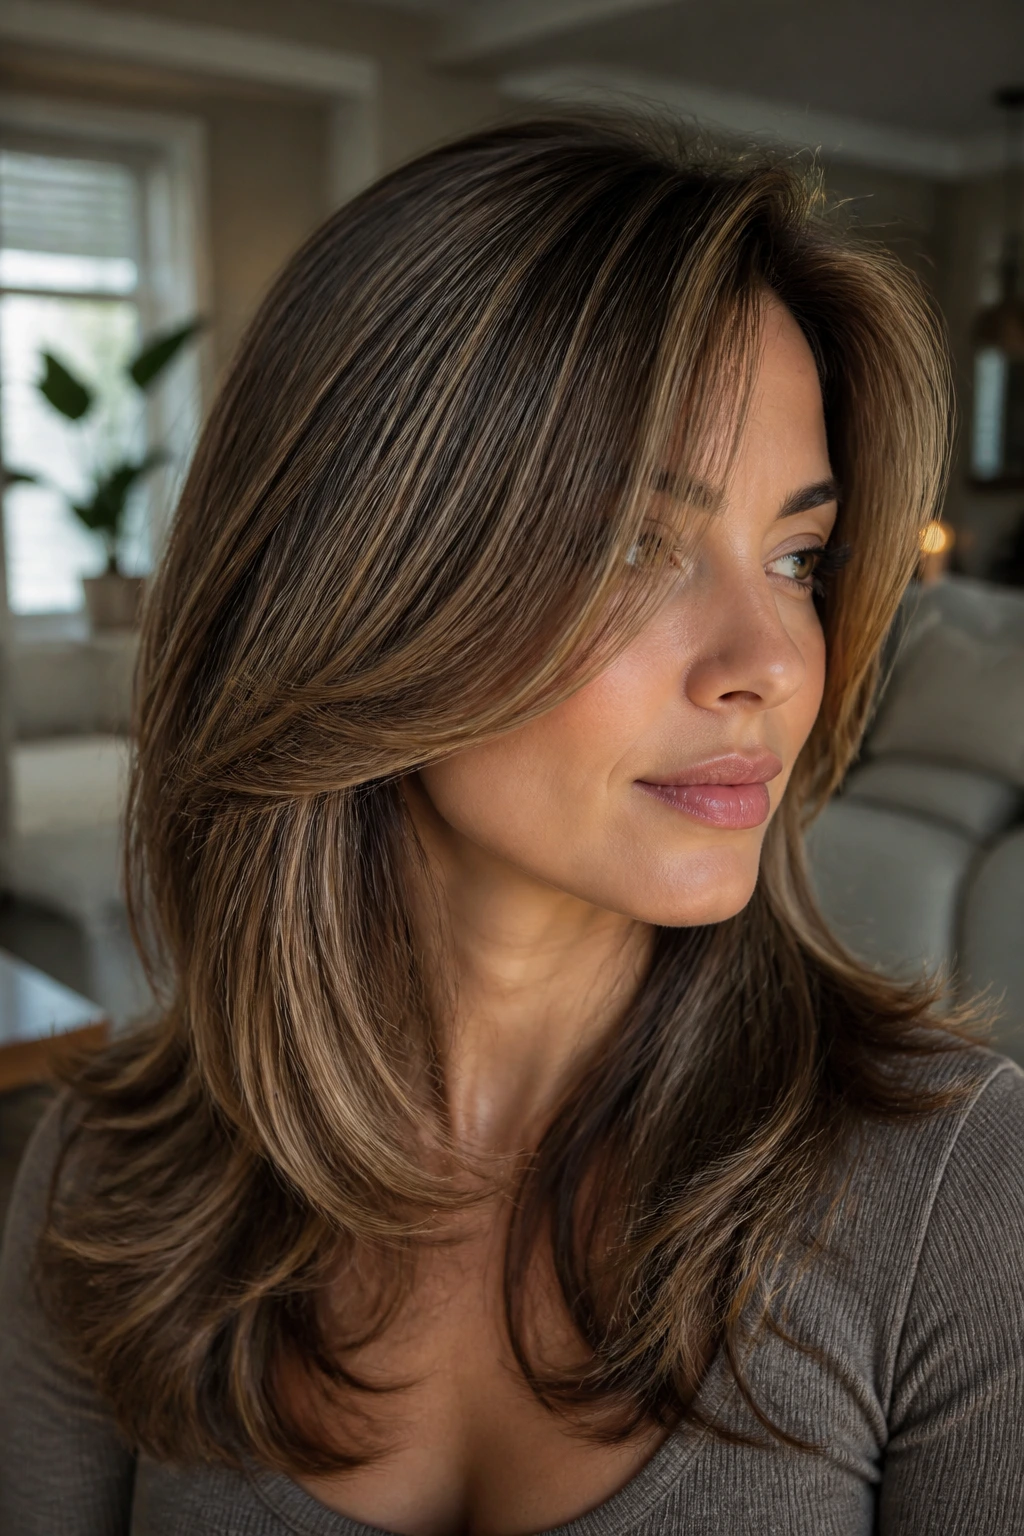
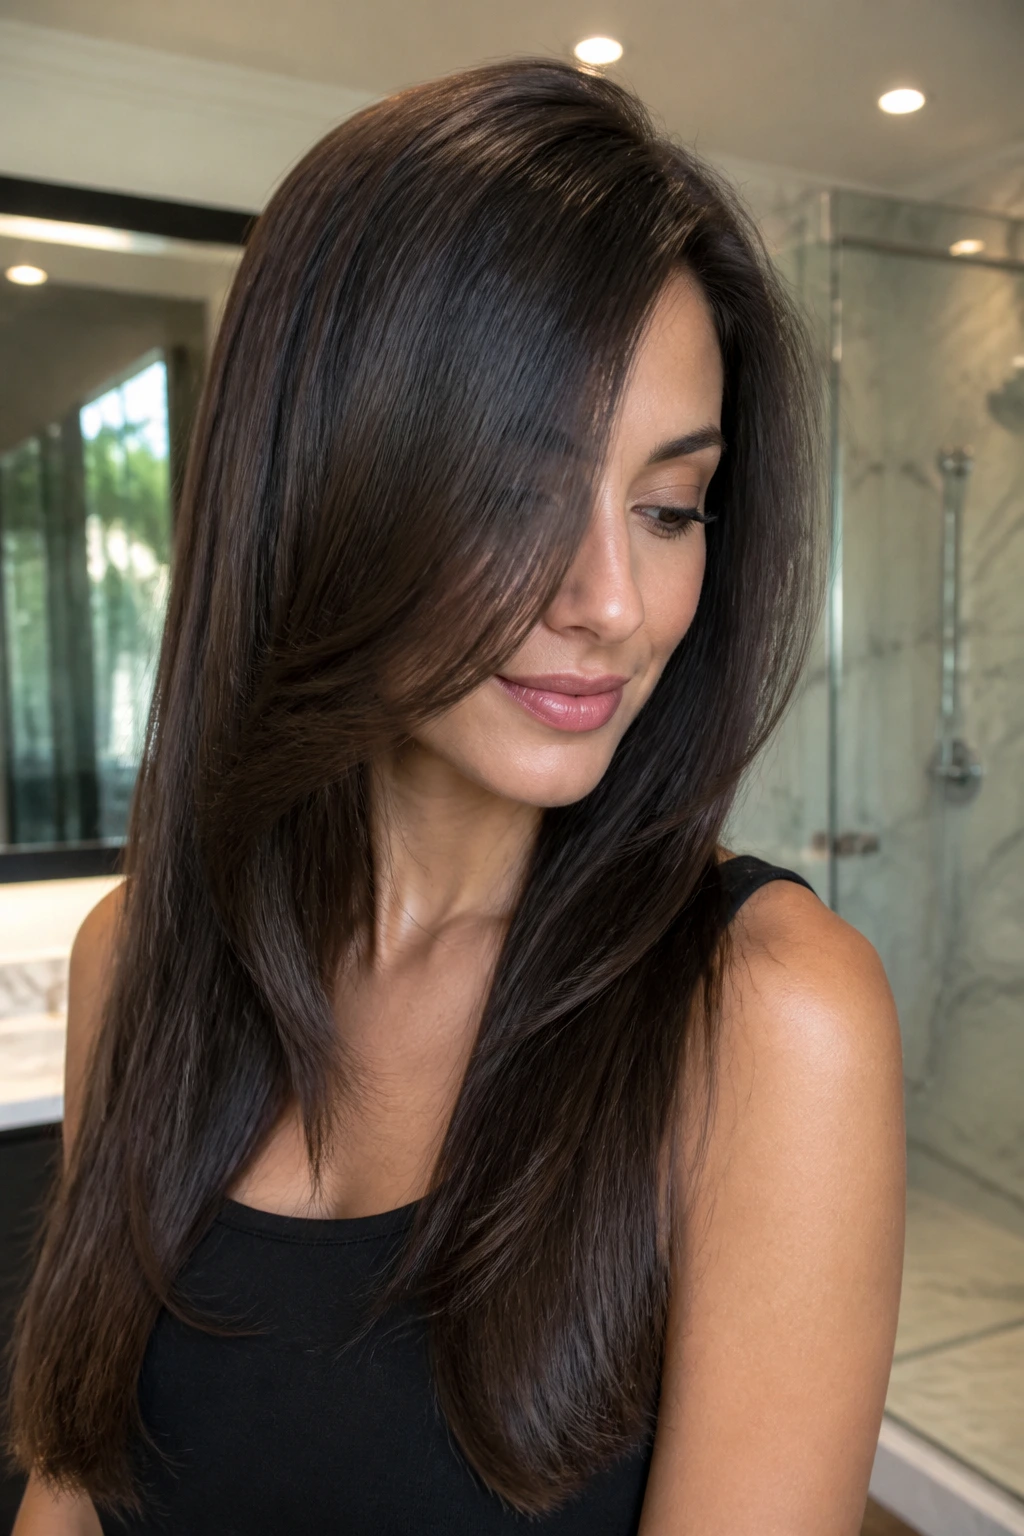
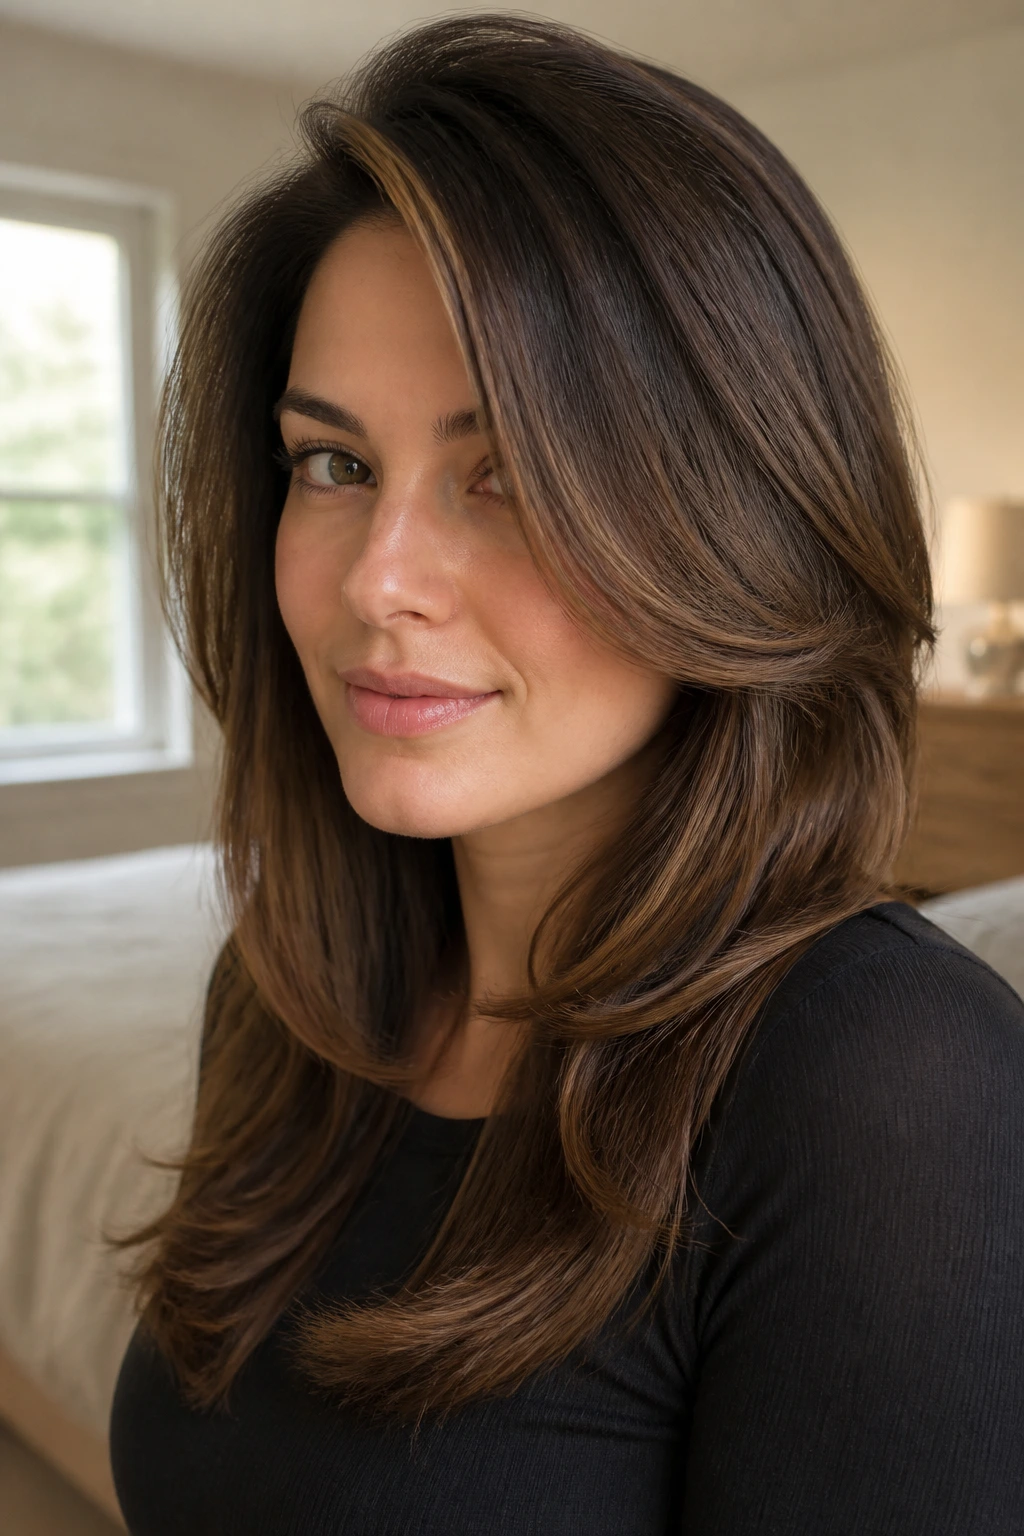
26. Invisible Internal Layers for Straight Hair
Straight hair is unforgiving in the best and worst ways. If the cut is off, you see it. If the cut is good, you may not notice it right away—but you will notice how the hair moves. That is the point of invisible internal layers.
The outside line stays clean. The inside gets enough shaping to stop the hair from lying like a single board. The side-swept front pieces keep the face from feeling boxed in, but the overall look stays sleek and calm. It is a good choice for anyone who wants movement without obvious choppiness.
This is one of my favorite versions for people who keep saying they do not want layers, then quietly ask why their hair falls flat. This is the answer, minus the drama.
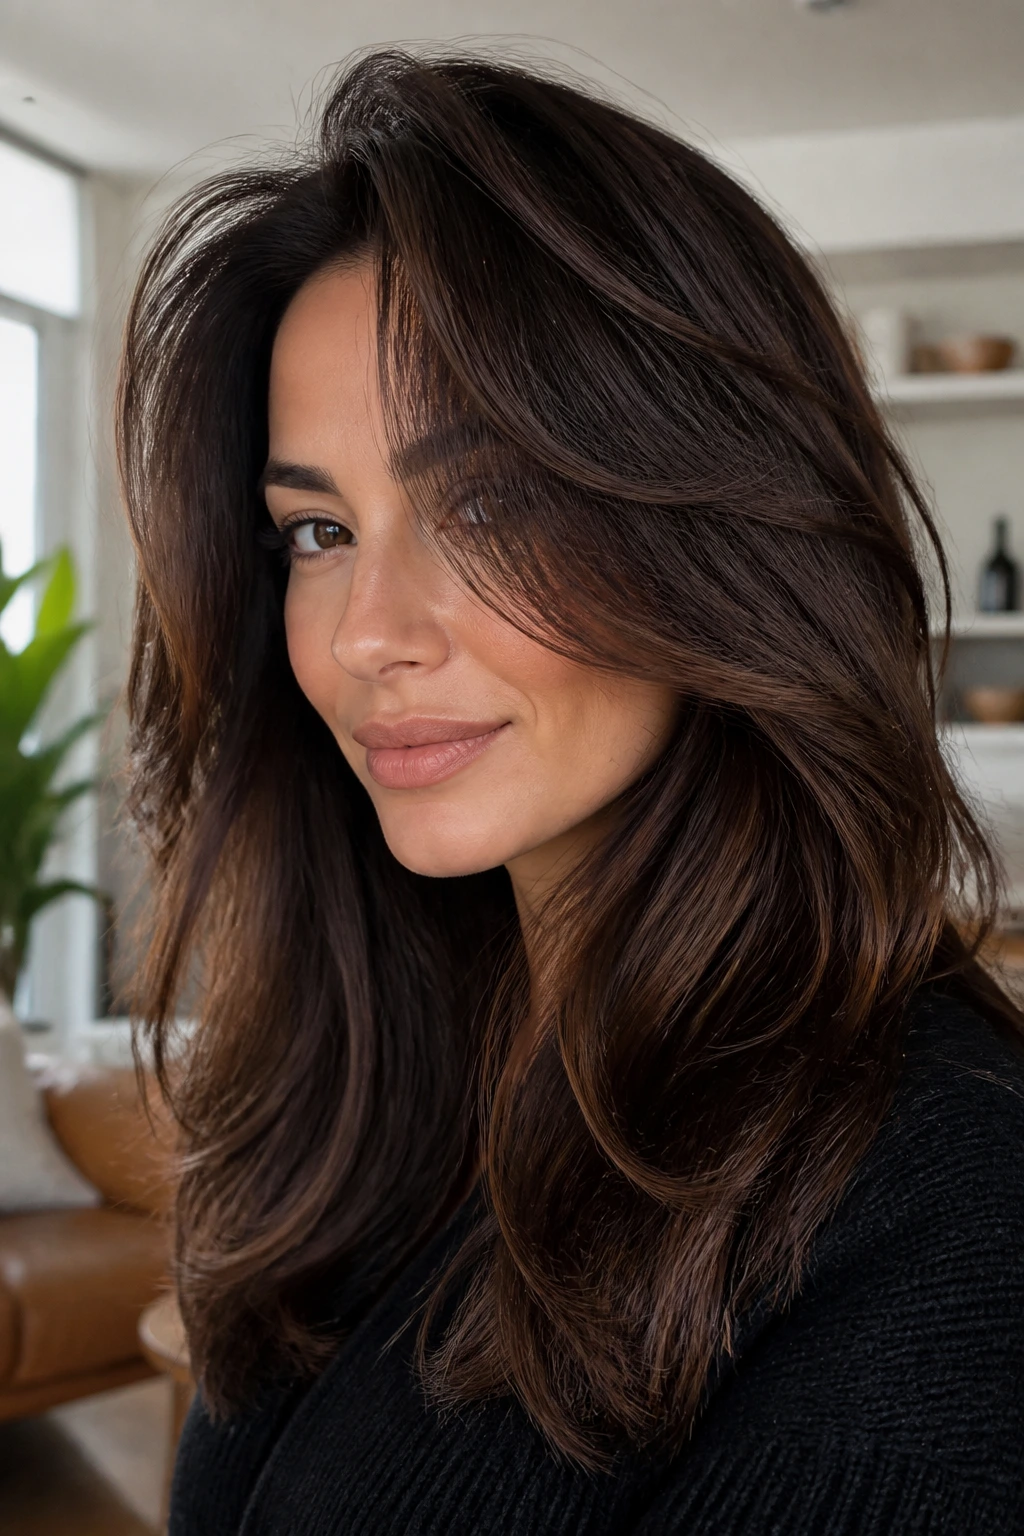
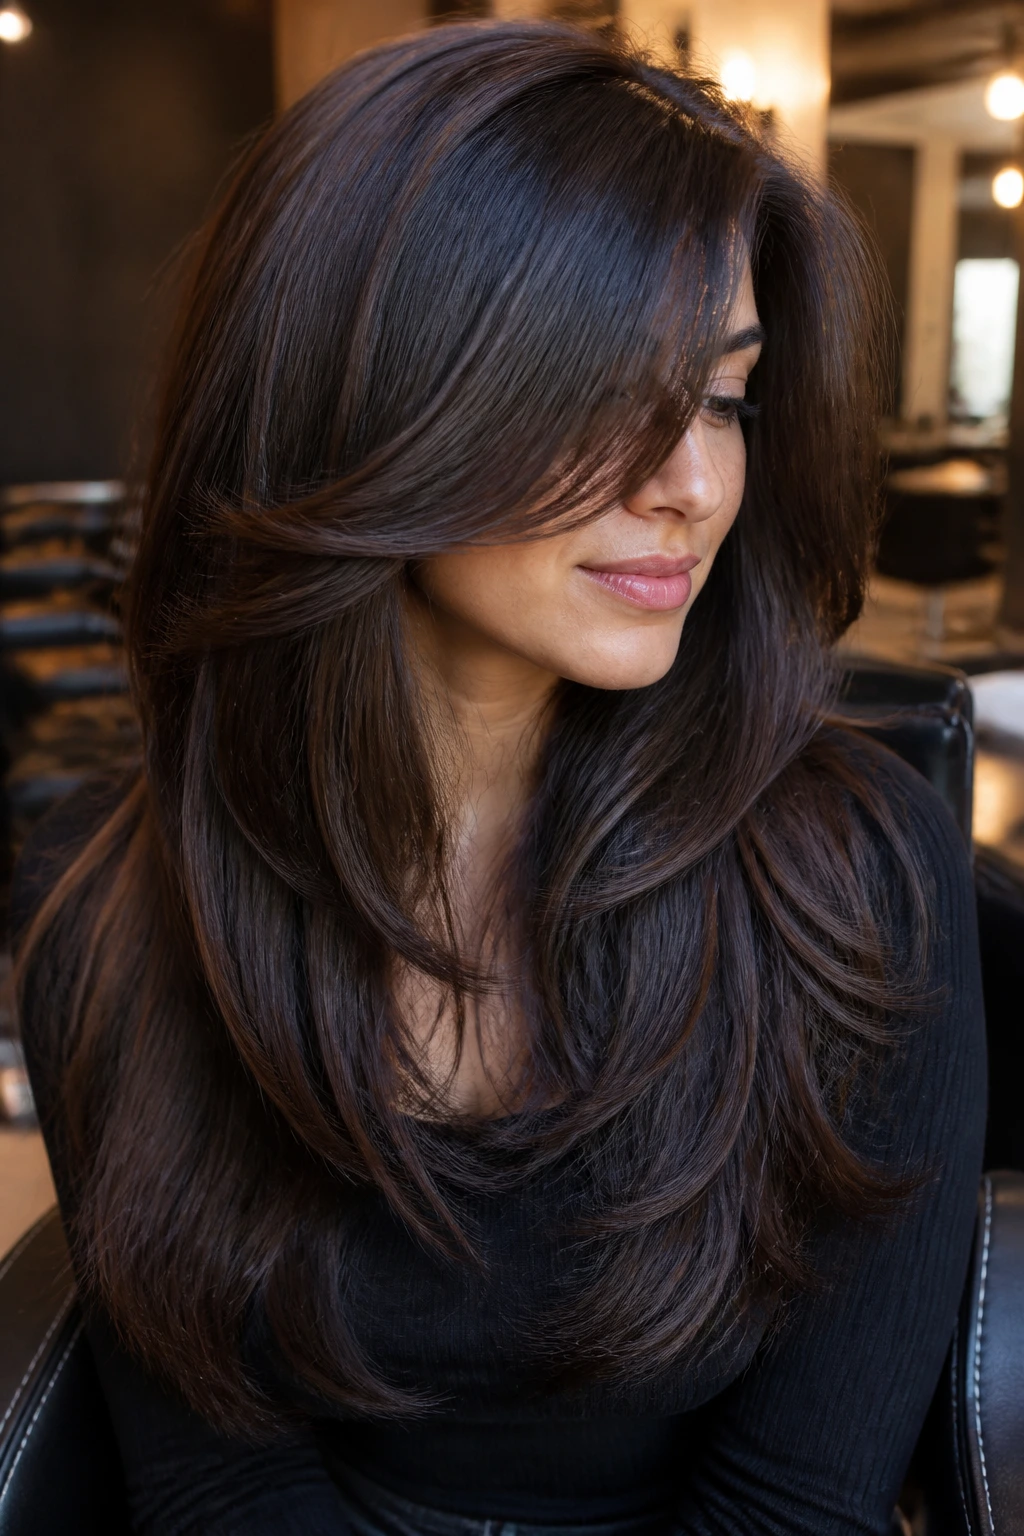
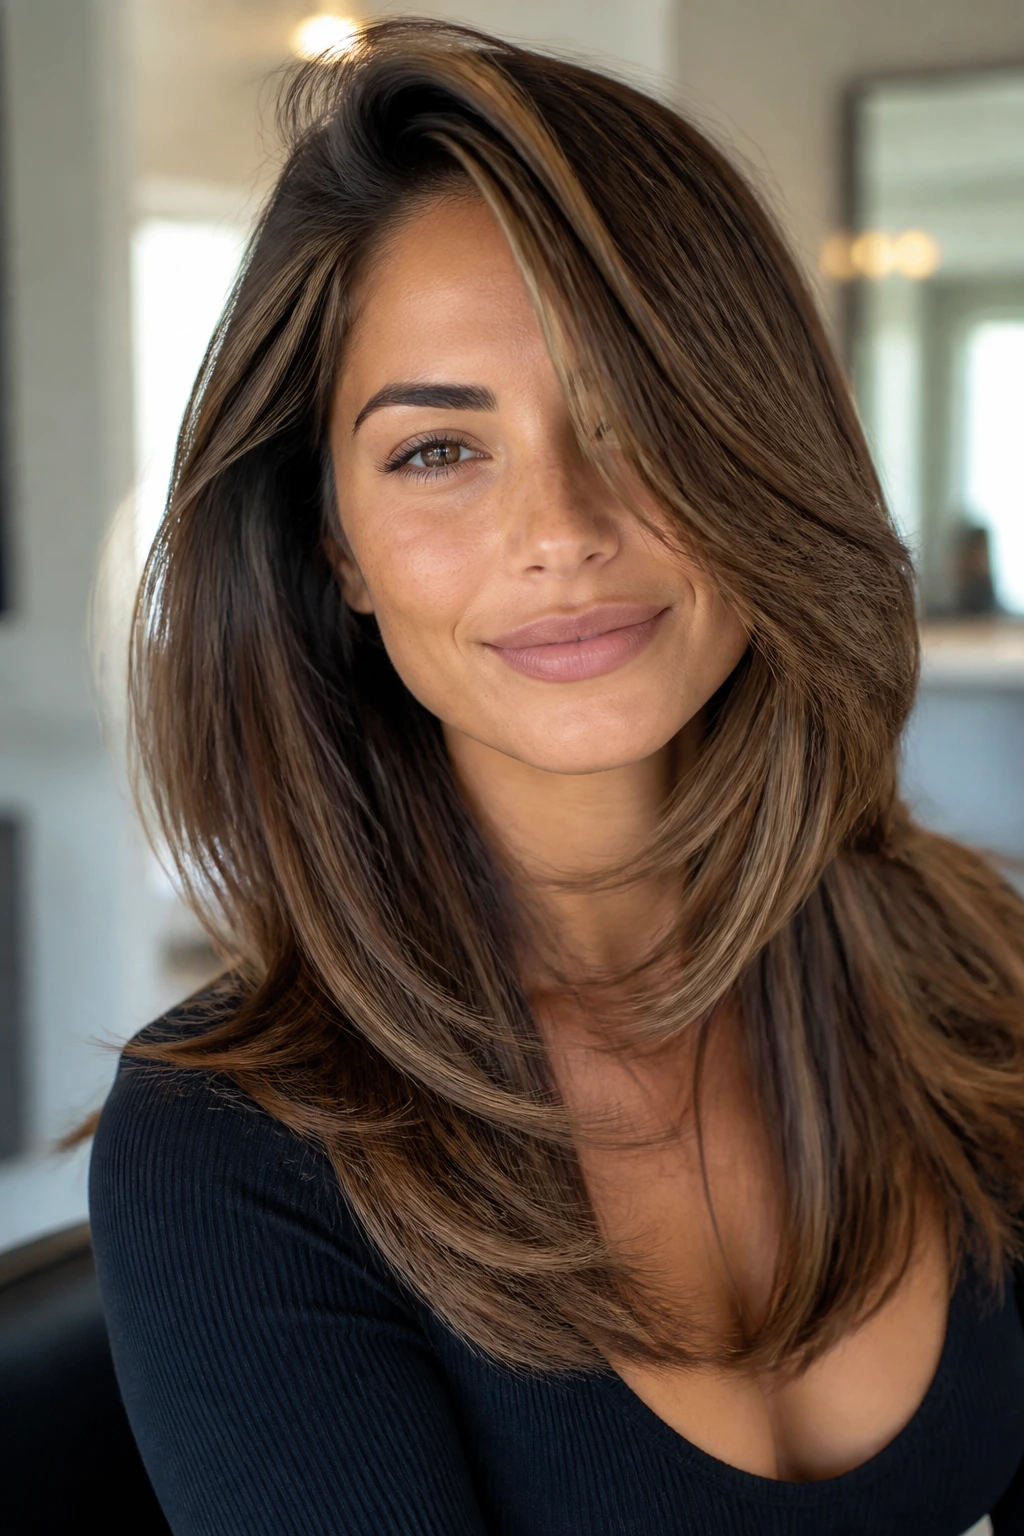
27. Dimensional Brunette Ribbon Layers
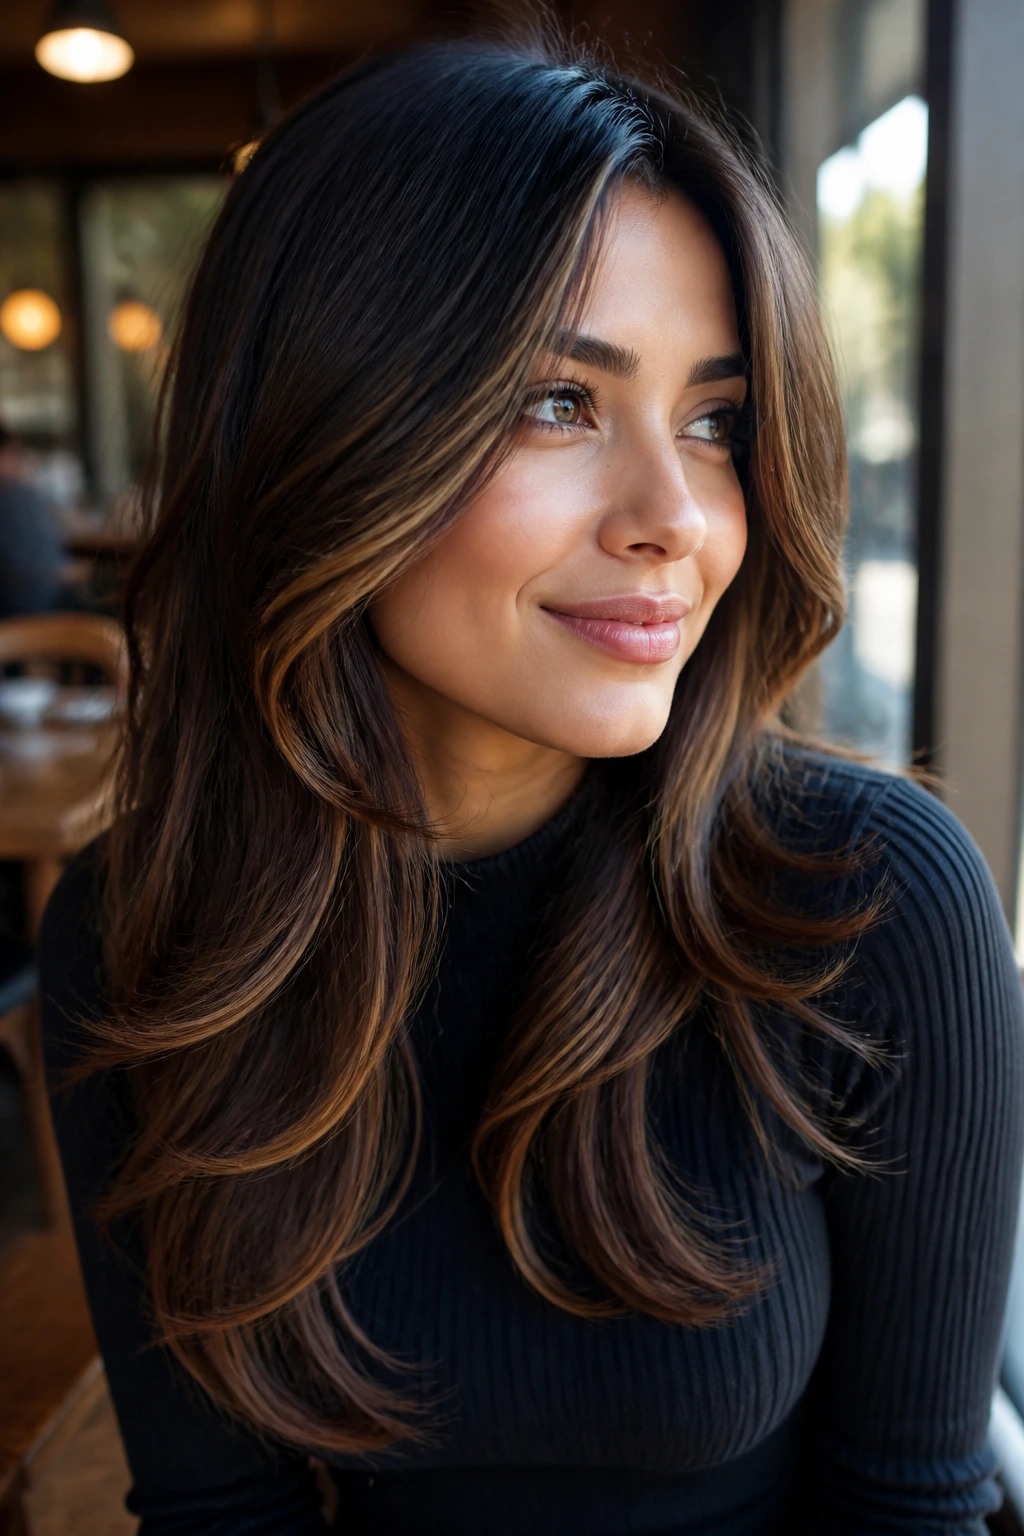
Color can make layers read sharper without changing the cut itself. On a brunette base, a few ribbon highlights placed through the face-framing sections and top layers can show the movement in a cleaner way than a full bright money piece. The side part helps too, because it shifts where the light lands.
The ribbons should be soft and blended, not chunky stripes. The point is to create movement when the hair swings, not to announce the highlight from the parking lot. Darker lowlights underneath keep the length looking rich and full.
This is a quiet version of the look, which is often the best version. The shape stays long. The front pieces stay soft. The dimension does the rest.
28. Blunt-Perimeter Long Layers for Fuller Ends
If you like long hair but hate seeing the ends go thin, keep the perimeter blunt and let the layers live mostly in the front and interior. That gives you movement without sacrificing the feeling of density. The side-swept part keeps the shape from going too straight down the middle.
This version is smart for hair that has been through a lot of heat or color. It protects the line at the bottom, which keeps the whole cut looking healthier. The front pieces still soften the face, but the ends stay honest. Full. Solid. Not wispy.
I think of this as the practical version of the trend. It gives you the shape people want, but it behaves like a haircut you can actually live in.
Why Long Layers and a Side Sweep Keep Working
The reason this shape sticks around is simple: it changes the front of the haircut without wrecking the length. That matters more than people admit. Most long cuts fail because the bottom gets too heavy and the top gets too flat. Long layers fix the balance, and a side part shifts the weight just enough to wake the roots up.
There is also the face-framing piece, which does a lot more than most people give it credit for. A front layer that lands at the cheekbone or jawline can make a face look a touch longer, softer, or more open, depending on where it ends. A difference of one or two inches can change the whole read.
The cut also travels well across textures. Straight hair gets a cleaner line. Wavy hair gets movement. Curly hair gets shape around the face instead of a round blob. That is not magic. It is just smart placement.
What to Tell Your Stylist Before the First Snip
A good cut starts with a clear sentence or two, not a vague gesture at the mirror. Tell your stylist where you part your hair most days, how much length you want to keep, and whether the face-framing pieces should hit the cheekbone, lip, or jaw. That one detail stops a lot of confusion.
Be specific about weight too. If your hair is thick, say you want bulk removed through the interior without losing fullness at the ends. If your hair is fine, say you want soft movement but no see-through layers. If your hair is curly, ask whether the cut should be shaped dry so the layers land where they actually live.
Bring photos with hair that looks like yours. Same density. Same texture. That matters more than a pretty picture of someone with a completely different head of hair and a wind machine.
Essential Tools for Styling and Maintenance
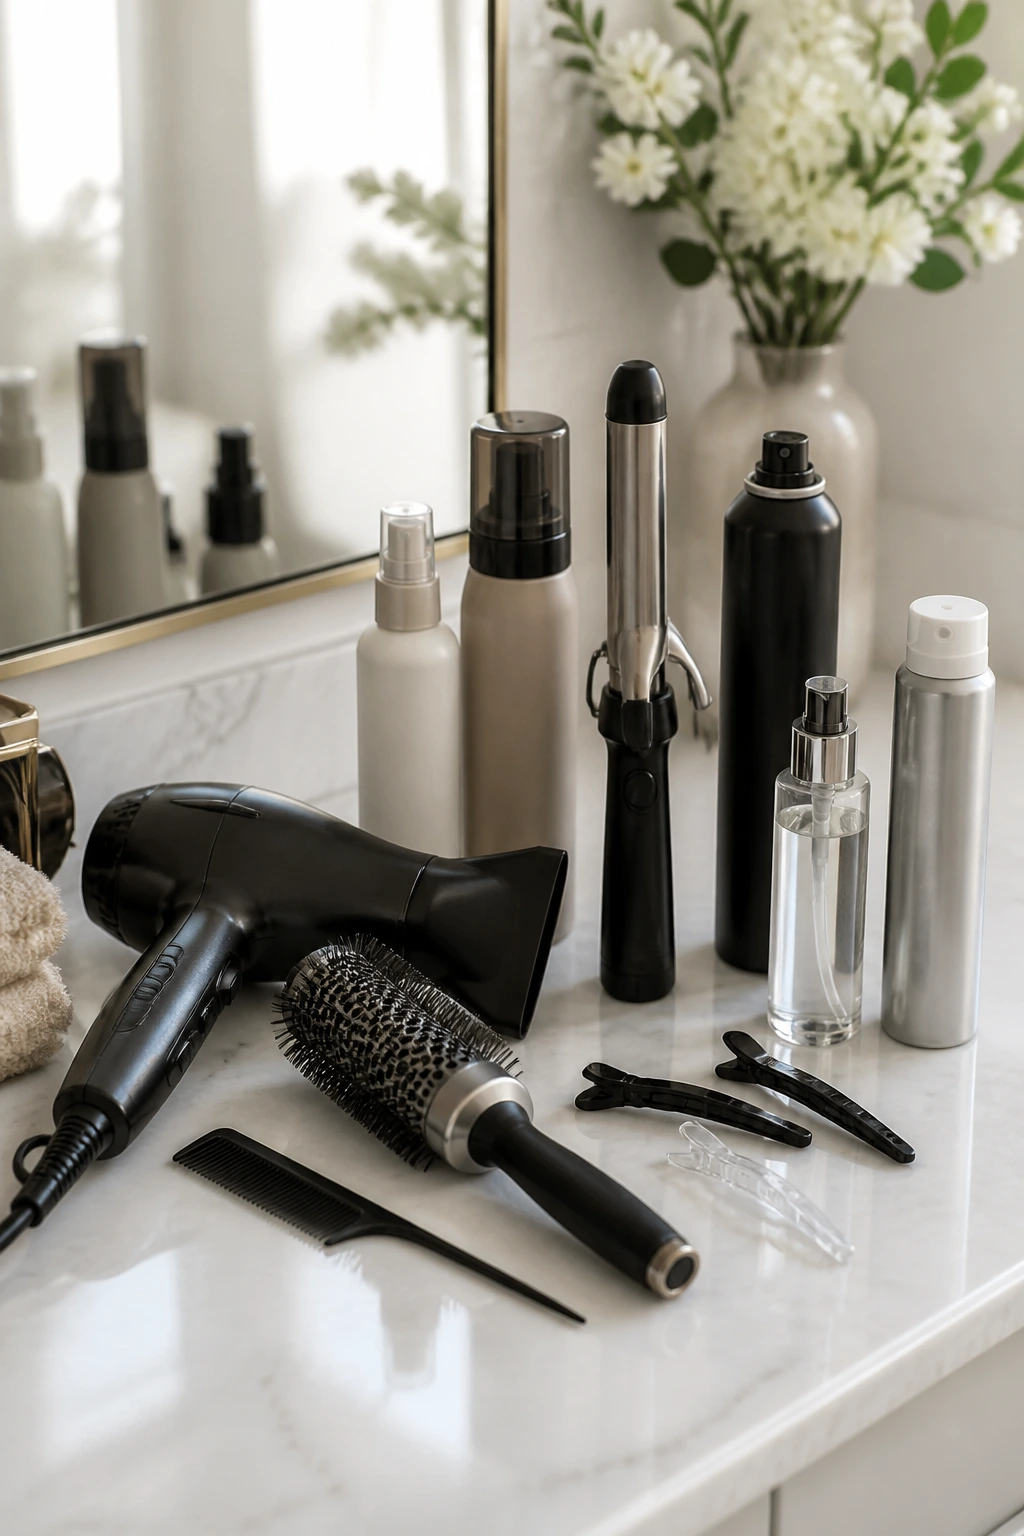
- Hair dryer with a concentrator nozzle: The nozzle helps direct the front pieces away from the face instead of scattering them.
- Round brush, 1.5 to 2.5 inches: Smaller for shorter front pieces, larger for long lengths and softer bends.
- Tail comb: Useful for setting a clean side part on damp hair.
- Heat protectant spray: Non-negotiable if you use a blow dryer, iron, or flat iron on a regular basis.
- Volumizing mousse or root spray: Best for fine hair or any crown that refuses to lift.
- 1.25-inch curling iron or flat iron: Enough to create a bend without turning the ends into ringlets.
- Clips: Helpful for cooling the front pieces in place after styling.
- Flexible-hold hairspray: Keeps the side sweep in place without making it stiff.
- Smoothing serum: A tiny amount tames frizz on the midlengths and ends.
- Dry shampoo: Good on day two or three, especially around the part and crown.
Product Choices That Make the Finish Better
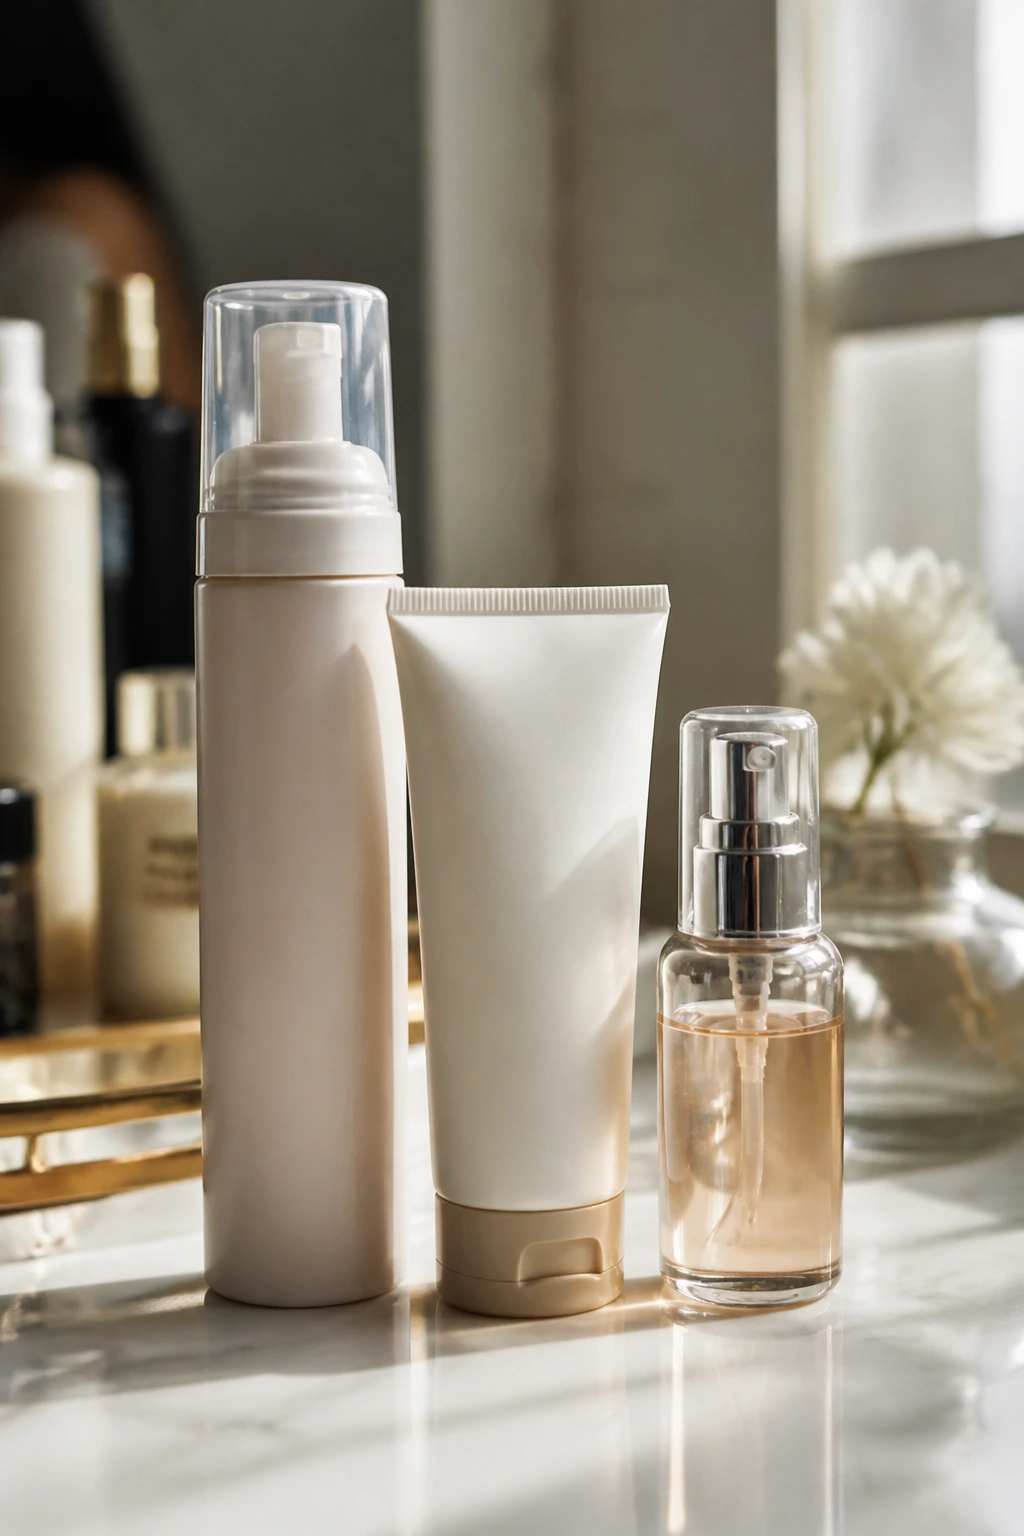
A side-swept layered cut does not need a cabinet full of products, but the right few make a visible difference. For fine hair, choose a lightweight mousse or root-lifting spray that dries clean. Heavy creams will flatten the crown before lunch. For thicker or frizz-prone hair, a smoothing cream through the mids and a tiny bit of oil on the ends keeps the front pieces from puffing.
If you wear the cut wavy, a light texturizing spray can help the layers separate without turning sticky. Use it after the hair is dry, not before. On straight hair, a shine spray or very small amount of serum gives the front pieces polish without making the part greasy. And if your hair color is doing half the visual work, choose products that keep the finish soft rather than crunchy. Hard texture can make color look stripy.
I’m not a fan of piling on product to force a shape. The cut should do most of the work. Product is there to help it hold the line.
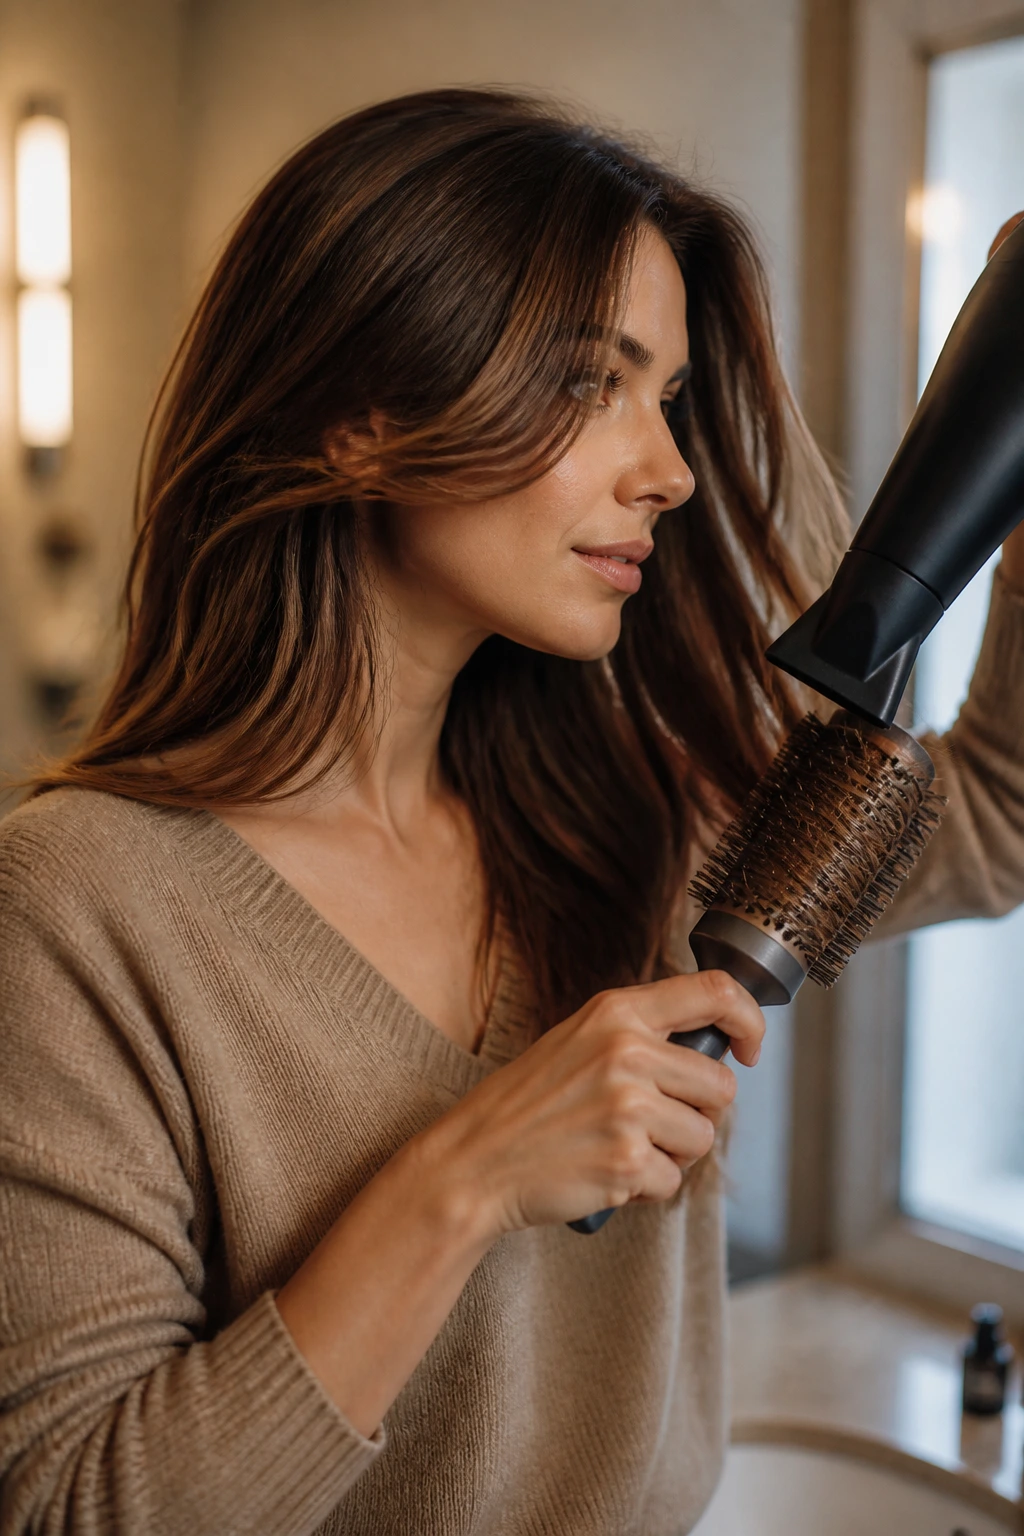
How to Style the Sweep at Home
A clean side sweep does not need a 45-minute ritual. It needs the right direction.
For a smooth blowout
- Set your side part while the hair is damp.
- Spray heat protectant through the midlengths and front sections.
- Blow-dry the roots in the opposite direction of the part for a few seconds.
- Use a round brush to bend the front pieces away from the face.
- Let the sections cool before touching them.
For loose waves
- Dry the hair about 80 percent first.
- Curl the front pieces away from the face.
- Alternate curl direction through the rest of the lengths.
- Brush the waves out with fingers or a wide brush.
- Finish with flexible spray.
For air-dry days
- Part the hair while damp.
- Apply a light mousse or cream.
- Twist the front pieces once or twice away from the face.
- Leave the crown alone so it does not dry flat.
- Scrunch the ends and let them set.
Practical Tips That Make the Shape Look Intentional
Part placement matters more than people think. A part that sits a finger-width off the arch of the eyebrow usually looks softer than one shoved all the way to the ear. If you need more lift, go deeper. If your hair fights a deep part, stay closer to where it naturally falls and clean the line with a comb.
The front piece is the star. If the face-framing layer lands too short, it can balloon out. If it lands too long, it loses the job. Cheekbone, lip, or jaw—pick one on purpose.
Don’t overload the crown. Too much product at the roots kills the side sweep before it starts. Use root spray or mousse sparingly, then put your energy into direction and cooling time.
Trim the front first. If the haircut starts to feel messy, the face frame usually needs a touch-up before the rest of the cut does. That is especially true when you are trying to keep the long lengths.
Common Mistakes That Flatten the Front Pieces
- Starting the layers too high: The hair can get wispy and over-light. Fix it by keeping the shortest face frame lower, usually around cheekbone or below.
- Cutting the front too blunt: A hard line around the face can make the whole style feel stiff. Ask for soft point cutting or gentle blending instead.
- Ignoring the natural part line: If the hair wants to split one way and you fight it every day, the crown will keep collapsing. Work with the part, then nudge it.
- Using too much oil near the roots: The crown goes limp fast. Put oil only on midlengths and ends.
- Thinning dense hair at the wrong place: Removing weight from the ends can make thick hair puff instead of fall. Interior debulking works better.
- Curling everything toward the face: The front pieces need space. Alternate direction so the cut opens up instead of closing in.
Variations and Adaptations Worth Trying

Soft-Contour Version: Keep the front pieces at cheekbone level and the layers long. This version is the least fussy and the easiest to grow out. It works when you want shape but do not want the haircut to announce itself.
Lifted Blowout Version: Use a deeper side part and more root volume at the crown. The lengths stay polished, and the front pieces arc away from the face. Good for hair that falls flat or for anyone who likes a cleaner finish.
Curl-Friendly Version: Ask for the cut dry, or at least shaped with your natural curl pattern in mind. The face frame should respect shrinkage so it does not jump up too short. This one is the safest bet for wavy and curly textures.
Fine-Hair Version: Keep the perimeter blunt and the layers sparse. You want movement, not holes. A little root lift and a side part will carry the shape farther than extra cutting will.
Thick-Hair Version: Focus on interior weight removal and a long face frame. This keeps the front from puffing and helps the whole cut lie down better. It is a sturdier, calmer silhouette.
Low-Heat Version: Let the hair air-dry with mousse or cream, then twist the front pieces away from the face while they set. It will not look as glossy as a blowout, but it can still look very intentional.
Trims, Grow-Out, and Long-Term Care
Face-framing layers are the first part of this cut to go out of shape, so they deserve a different trim schedule than the rest of the hair. If you like a crisp face frame, plan on a touch-up every 6 to 8 weeks. If you are happy with a softer, more grown-in shape, 8 to 12 weeks is usually fine.
At home, the nightly stuff matters more than people want to admit. A loose braid, a silk pillowcase, or even just clipping the front pieces back loosely can keep them from drying bent in strange directions. On wash days, focus shampoo on the scalp and let the lengths stay a little softer; over-scrubbing the ends makes long layers frizz faster.
If the front starts to flip in weird ways, that is usually a sign that the shortest pieces have grown past their sweet spot. A tiny trim there can revive the shape without taking much off the length. You do not need a full haircut every time the face frame looks tired.
Frequently Asked Questions
How short should face-framing layers be?
A lot depends on the effect you want, but cheekbone, lip, and jaw are the most useful landing points. Cheekbone gives softness, lip gives a little more drape, and jaw gives a longer, slimmer line.
Will a side part make fine hair look flatter?
Not if it is cut and styled correctly. A side part can actually help fine hair by shifting lift to one side of the crown, as long as you do not bury the roots under heavy product.
Can long layered side-swept part face-framing layers work on curly hair?
Yes, and they can look excellent. The cut should be shaped with curl shrinkage in mind so the front pieces do not spring up too short once they dry.
How often should I trim the front pieces?
Usually every 6 to 8 weeks if you want the shape to stay sharp. If you prefer a softer grow-out, you can stretch it longer and just ask for a light dusting around the face.
What if my part keeps flipping back to the middle?
Set it while the hair is damp, dry the roots in the direction you want, then clip the front while it cools. If your cowlick is strong, a flat brush and a few seconds of opposite-direction drying help more than more product.
Is this cut good for round faces?
Yes, as long as the front pieces do not stop too high at the cheek. A side sweep with longer front layers can stretch the outline and make the face feel less wide.
Can I still wear a ponytail with this haircut?
Absolutely. That is one of the reasons people keep choosing this shape. The front pieces can fall out on purpose and make the ponytail look softer instead of basic.
Do highlights help the layers show up more?
They do, especially if the lighter pieces sit around the face and top layer. You do not need bright stripes; even a soft ribbon of color can make the movement easier to see.
The Shape That Keeps Its Softness
There is a reason this haircut keeps turning up in different forms. It solves the boring problems first: flat roots, heavy sides, and that awkward stage where long hair starts to feel like one long sheet. Then it gives you a little face-framing shape on top of that, which is the part people notice in the mirror.
The nicest version is the one that fits how you actually wear your hair. If you blow it out, lean into the lift. If you air-dry, let the layers follow the bend. If you like color, use it to trace the movement instead of overwhelming it. The haircut does not need to be loud to work.
Bring a photo, know where you part your hair, and decide whether you want the shortest front piece at the cheek, lip, or jaw. That one choice changes the whole cut, and it is the kind of detail that keeps the shape looking deliberate long after the salon visit is over.