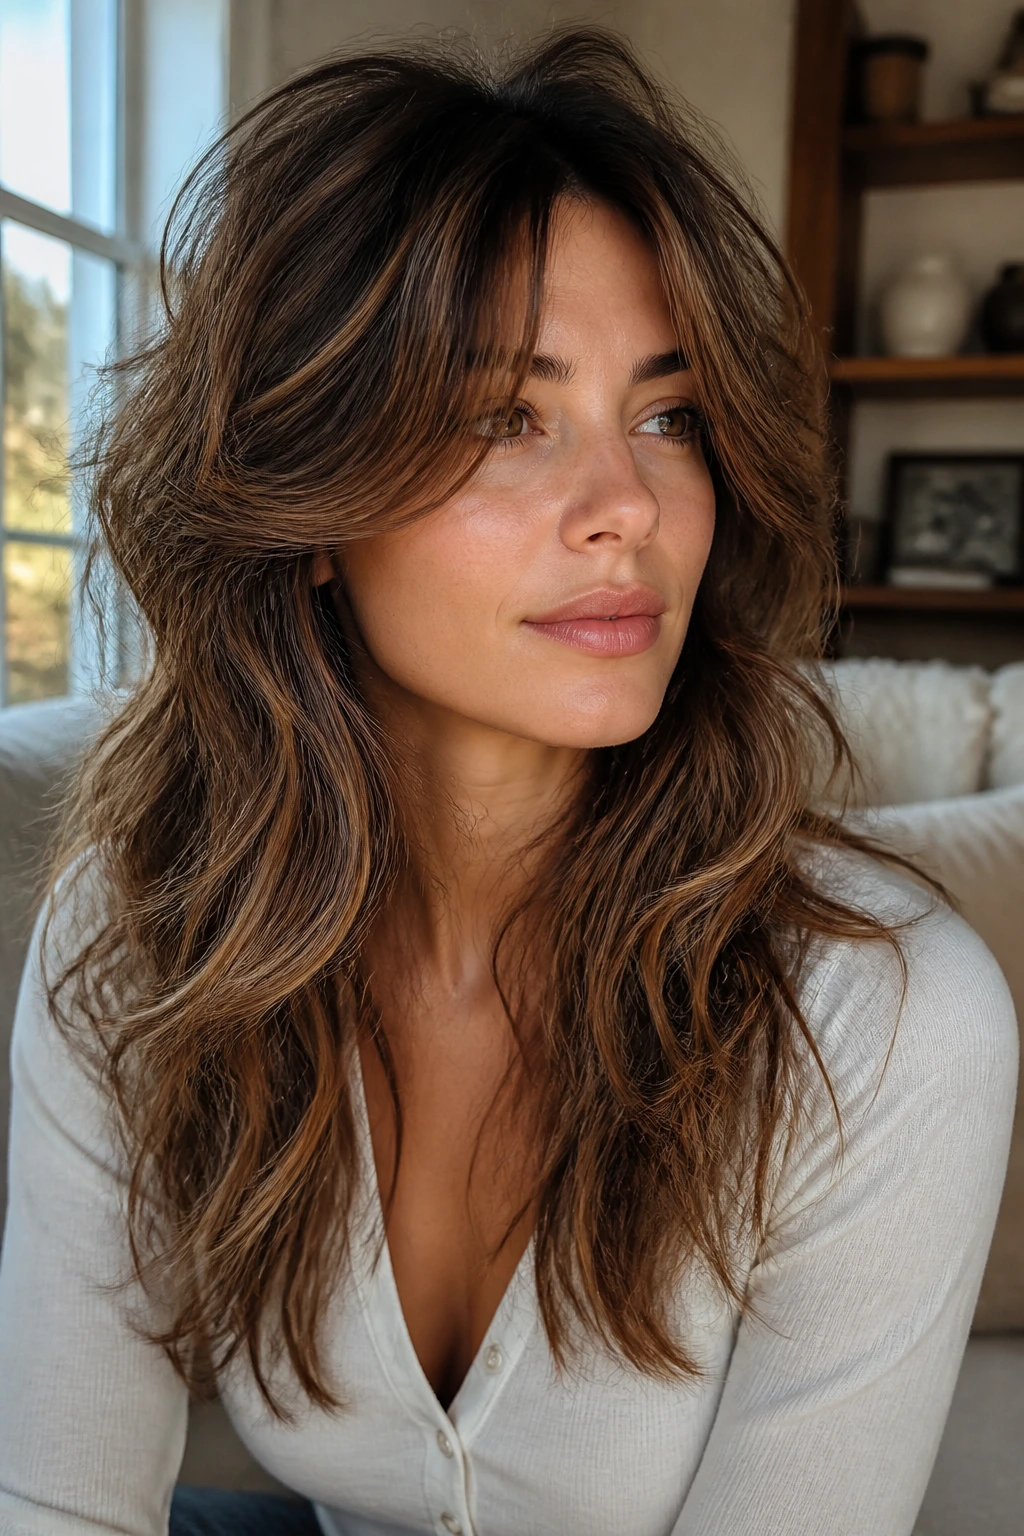
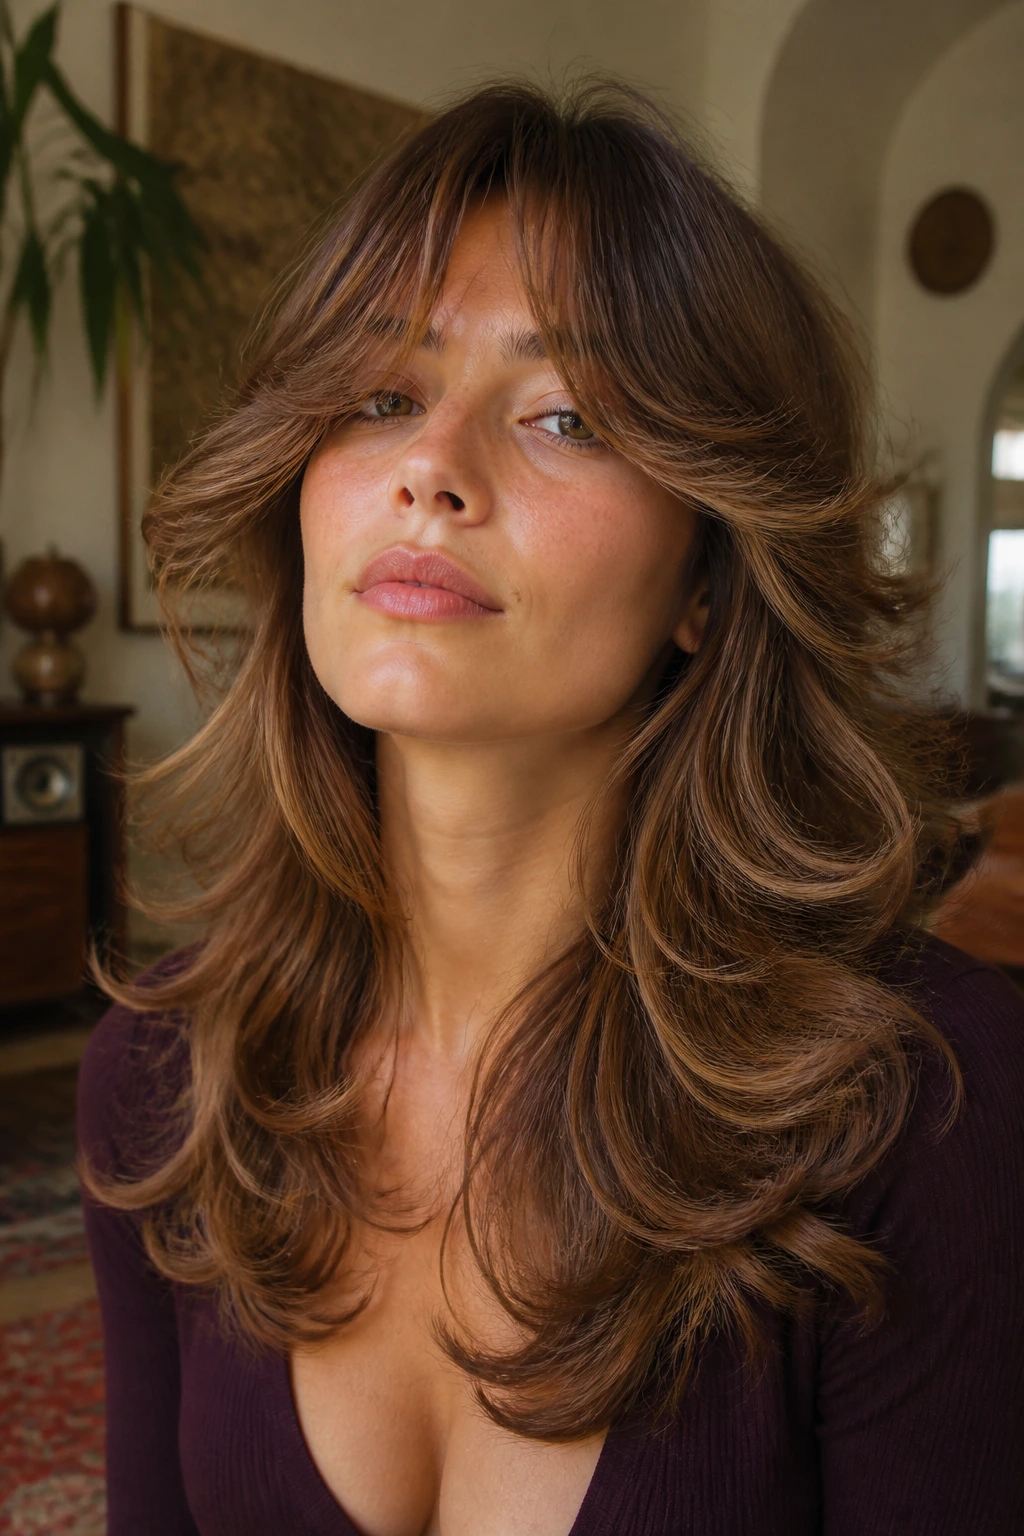
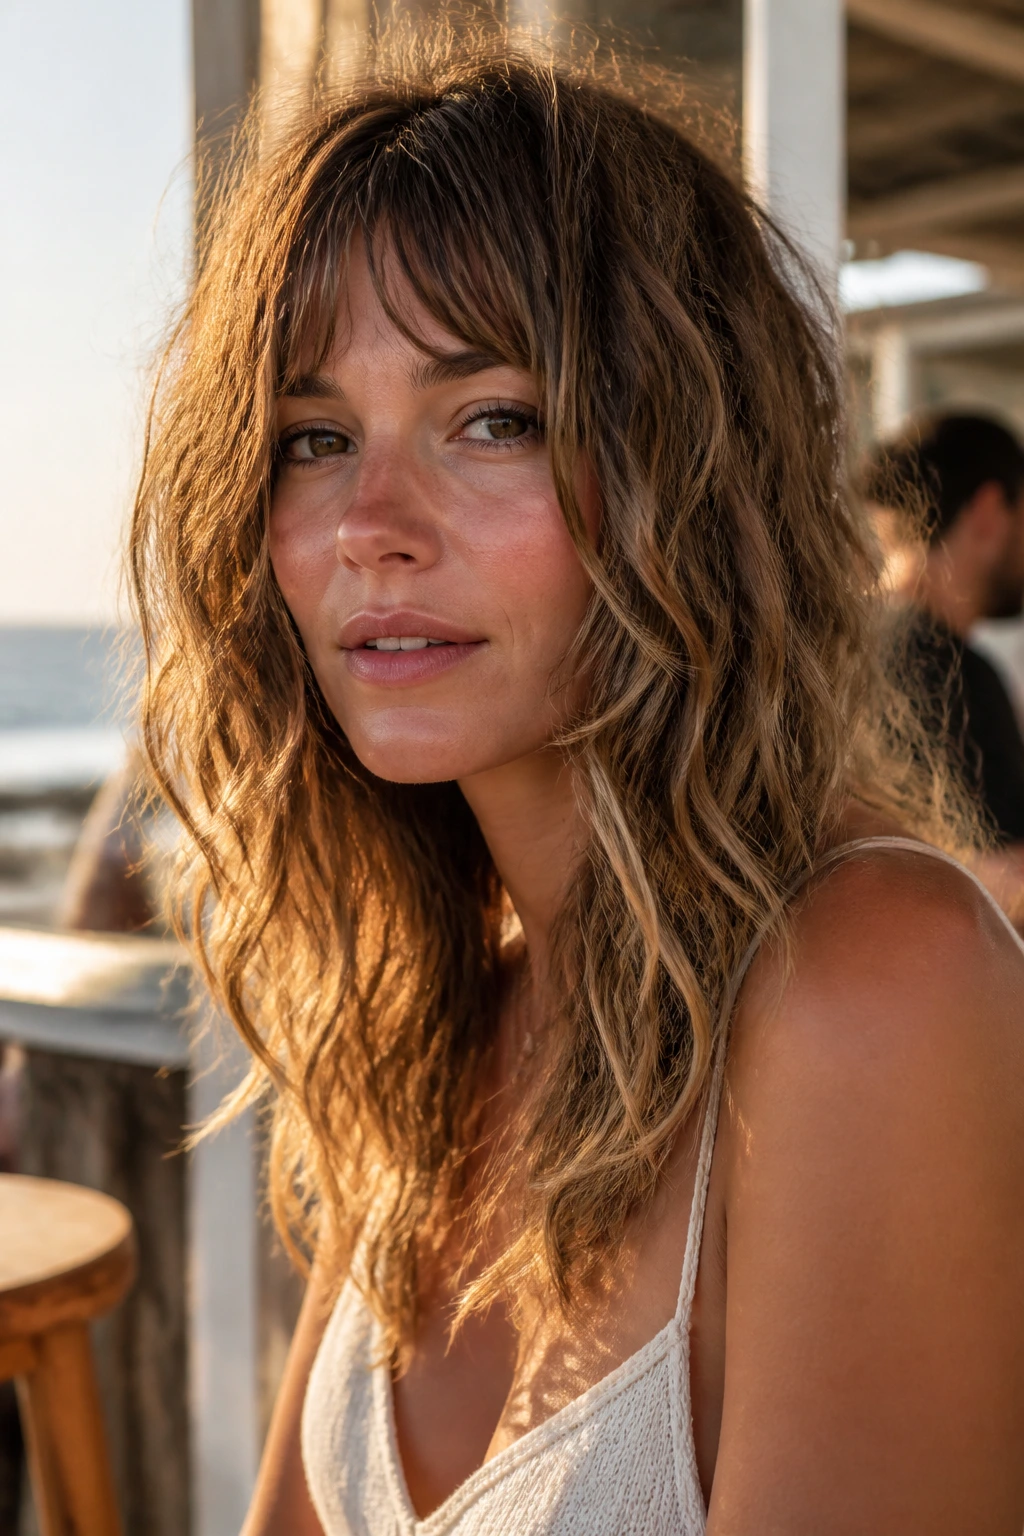
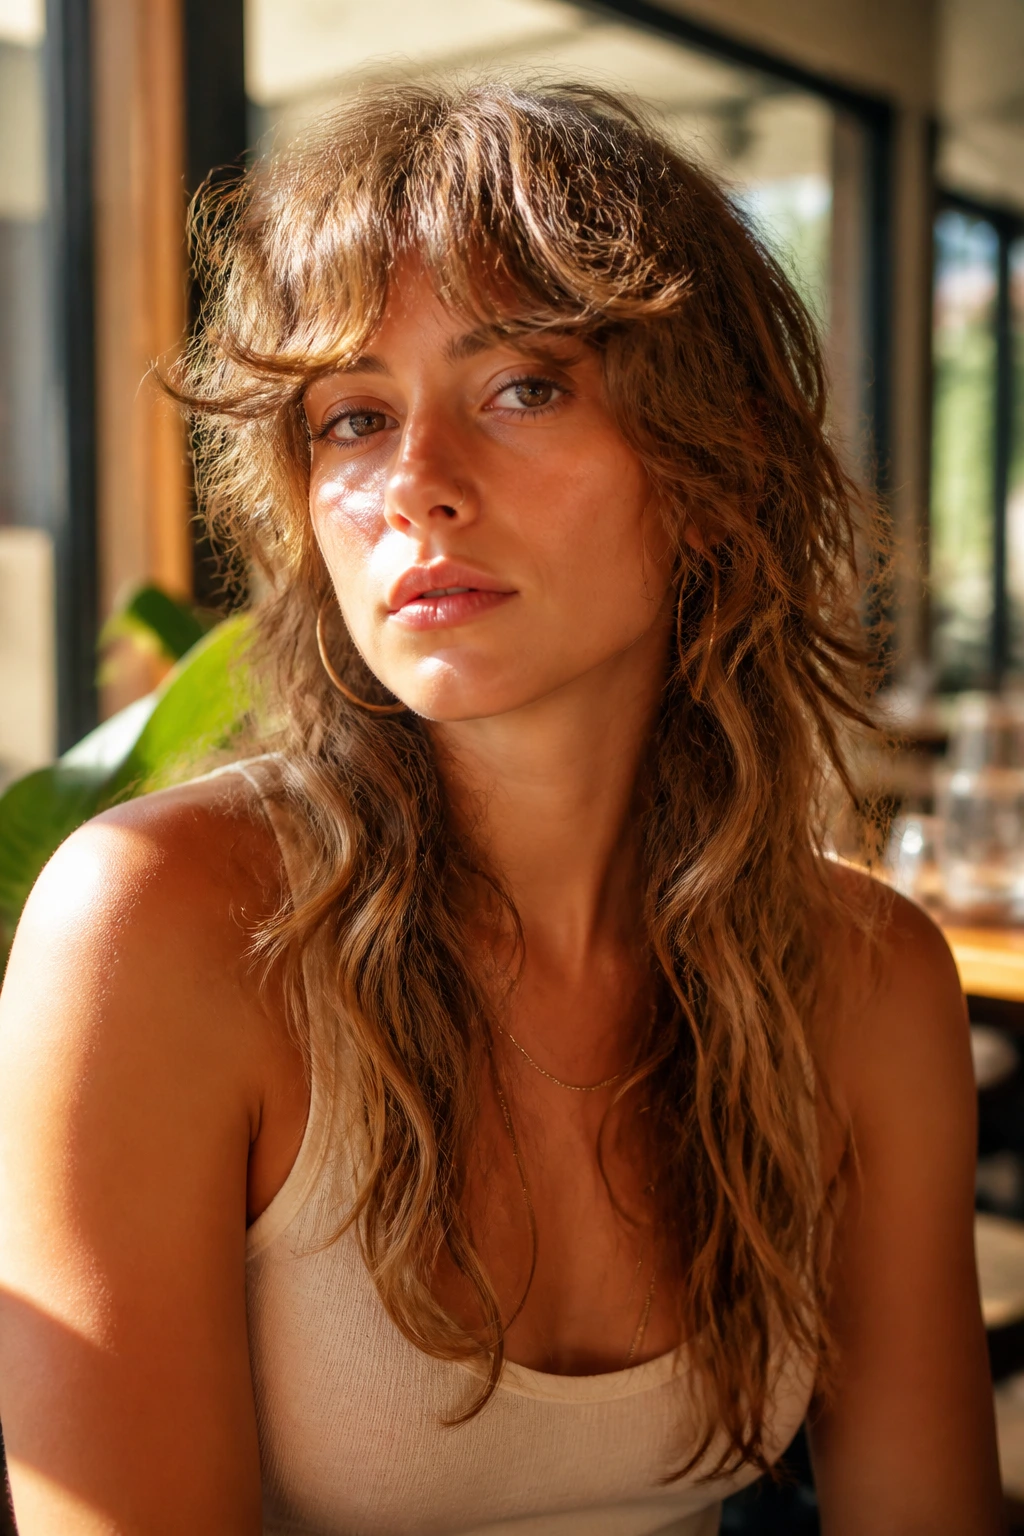
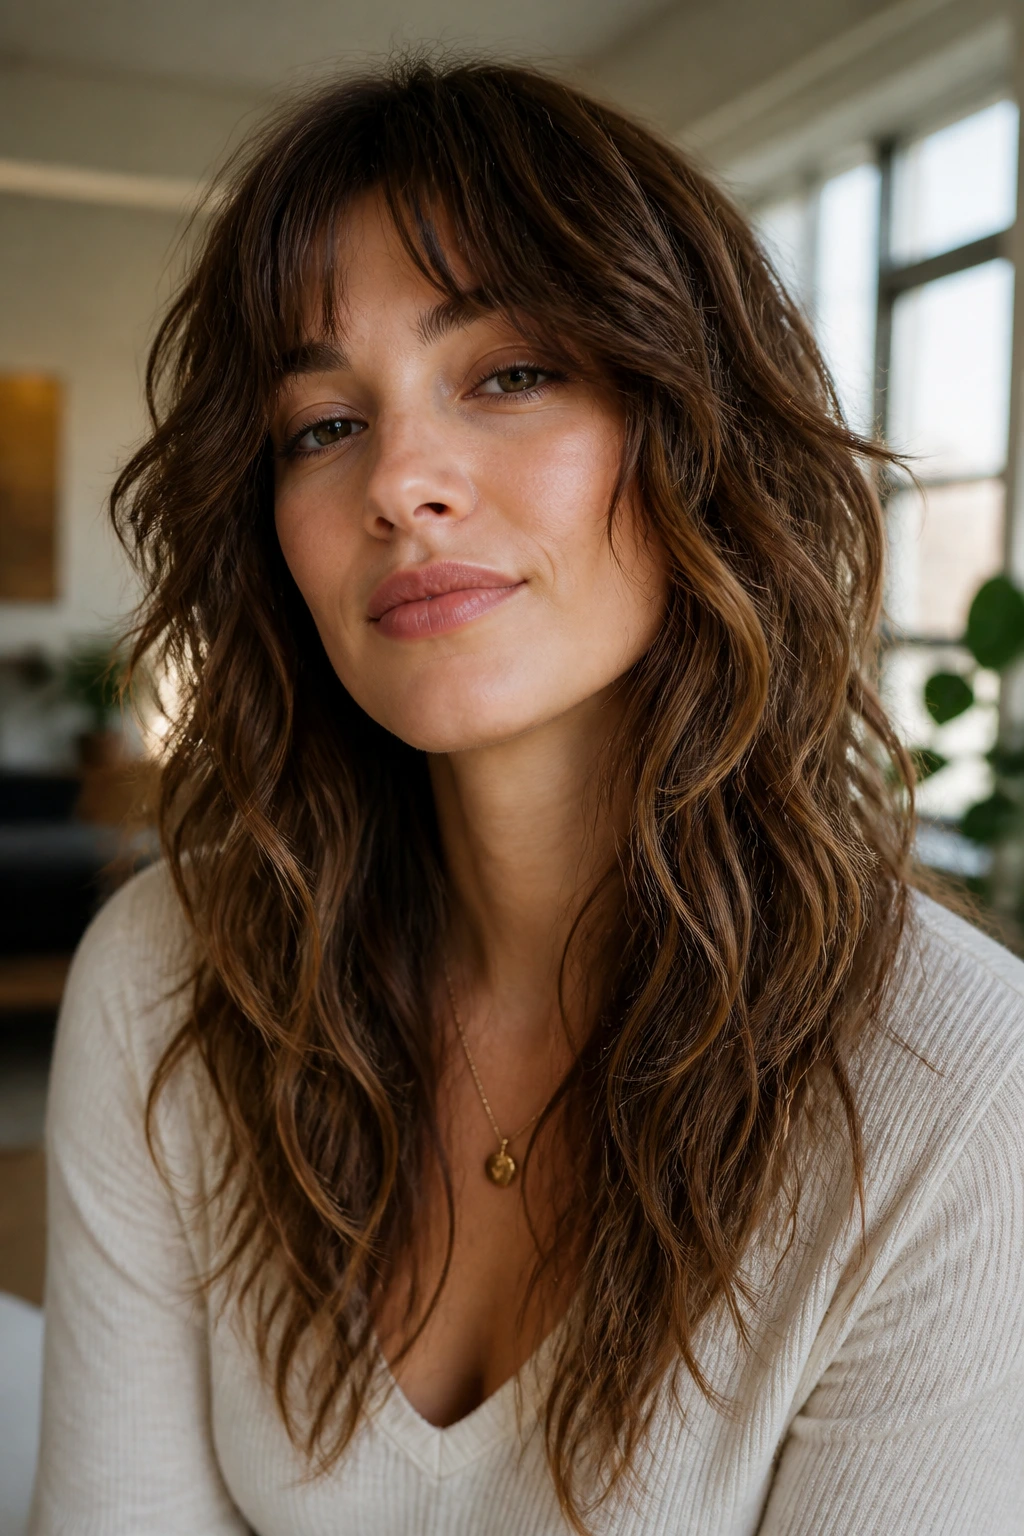
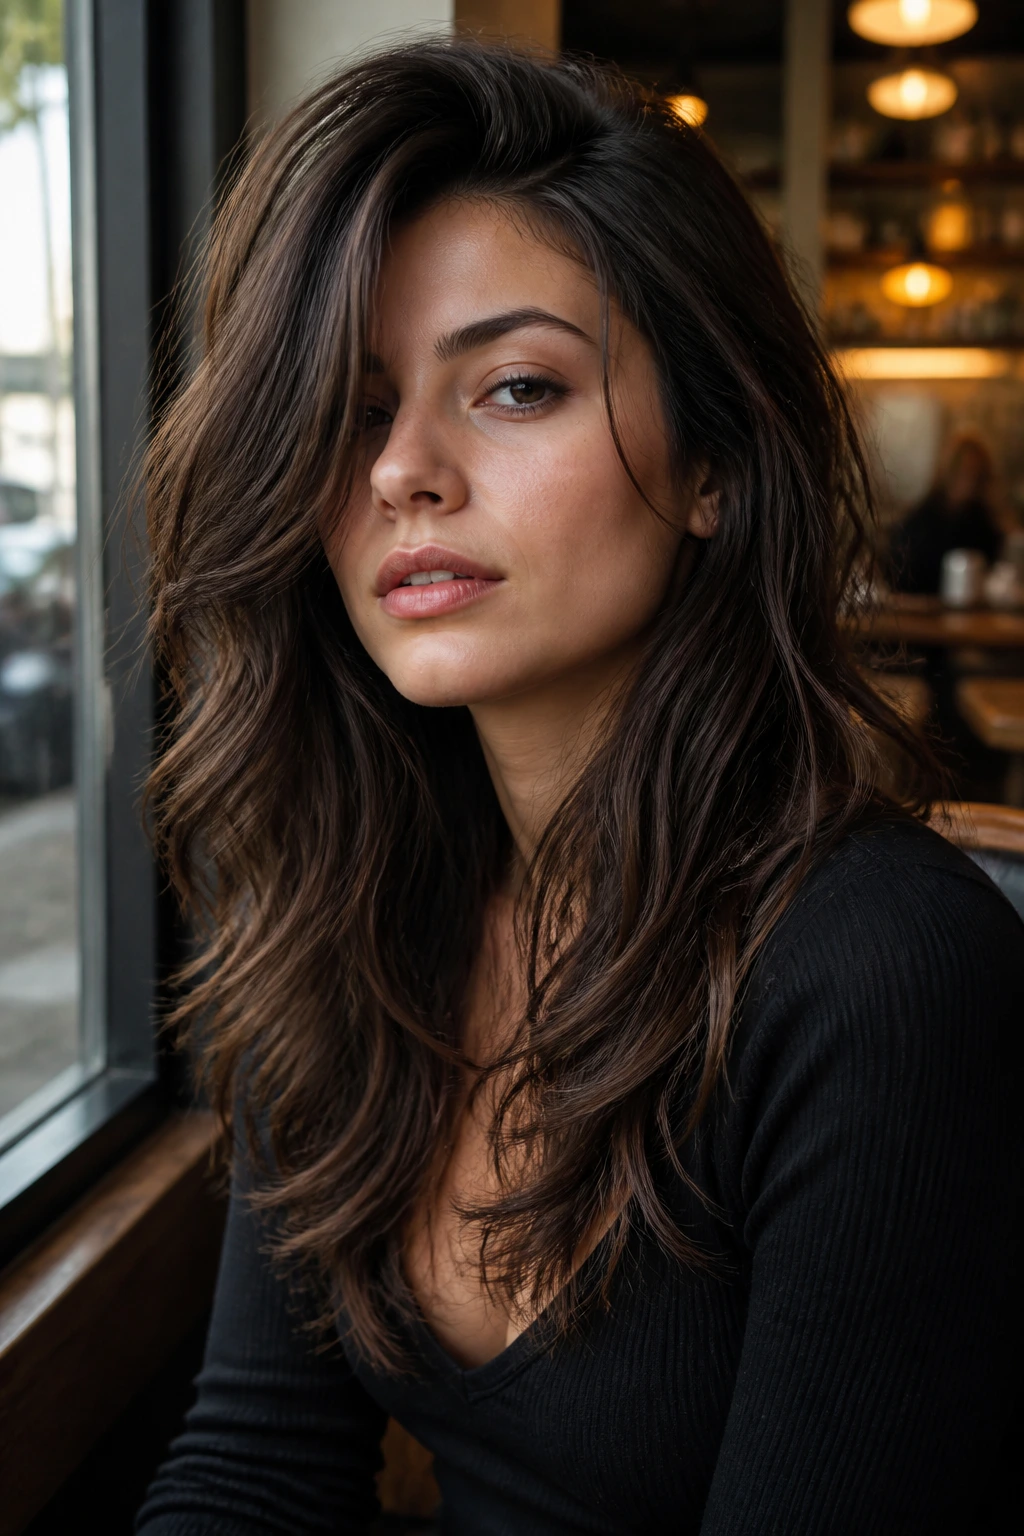
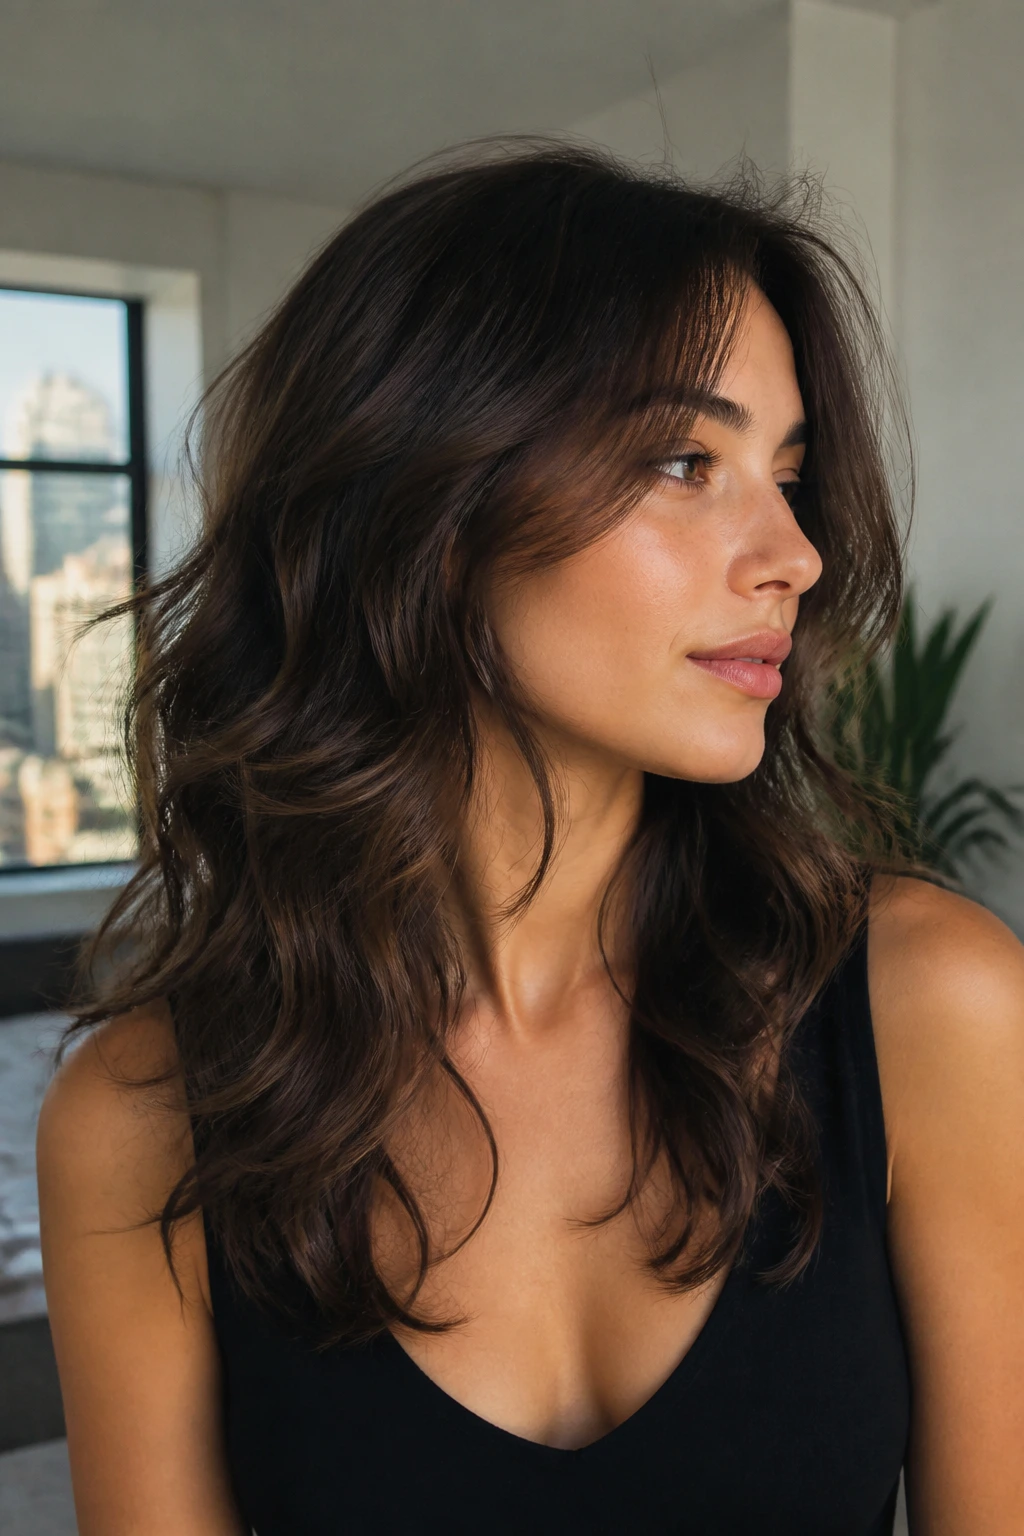
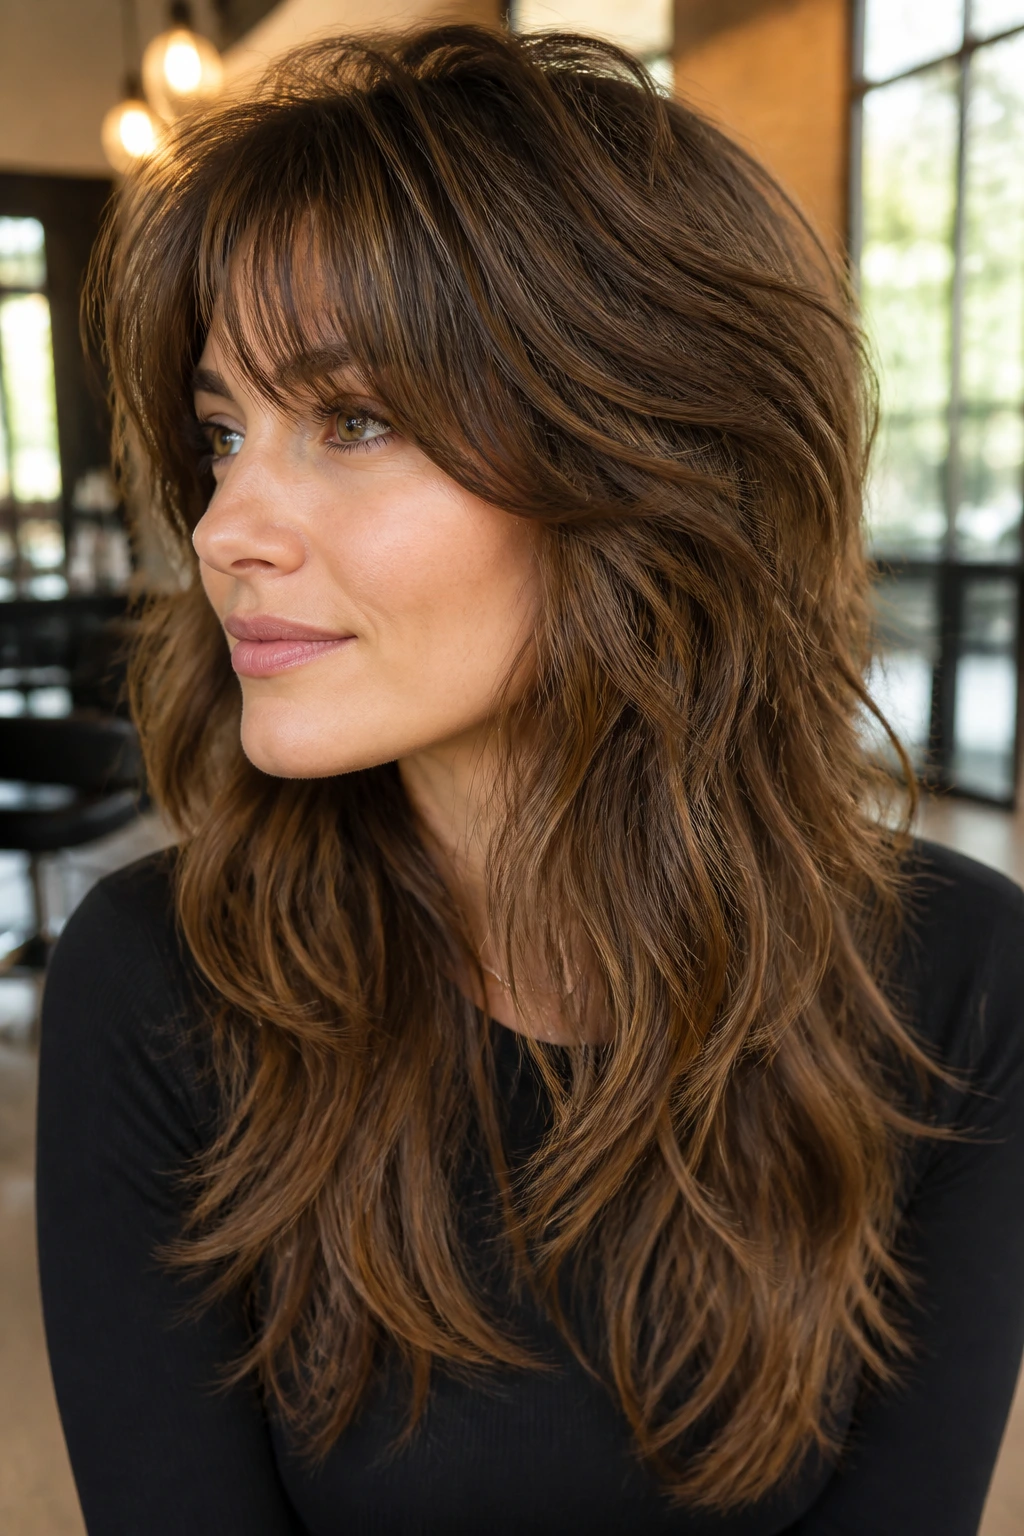
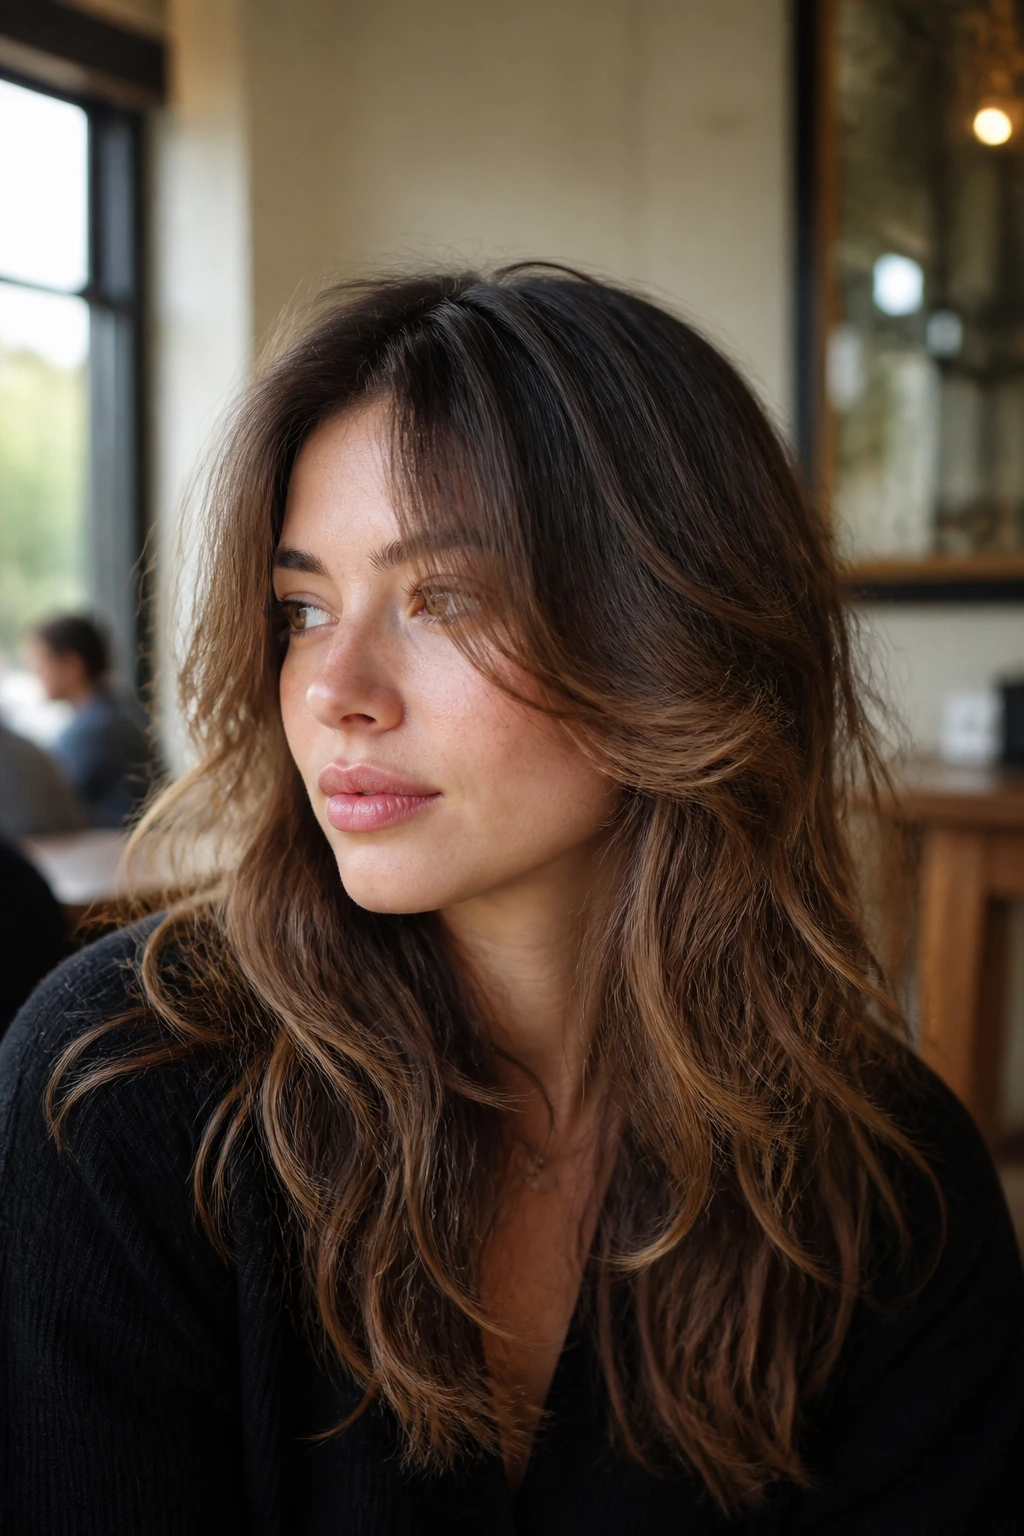
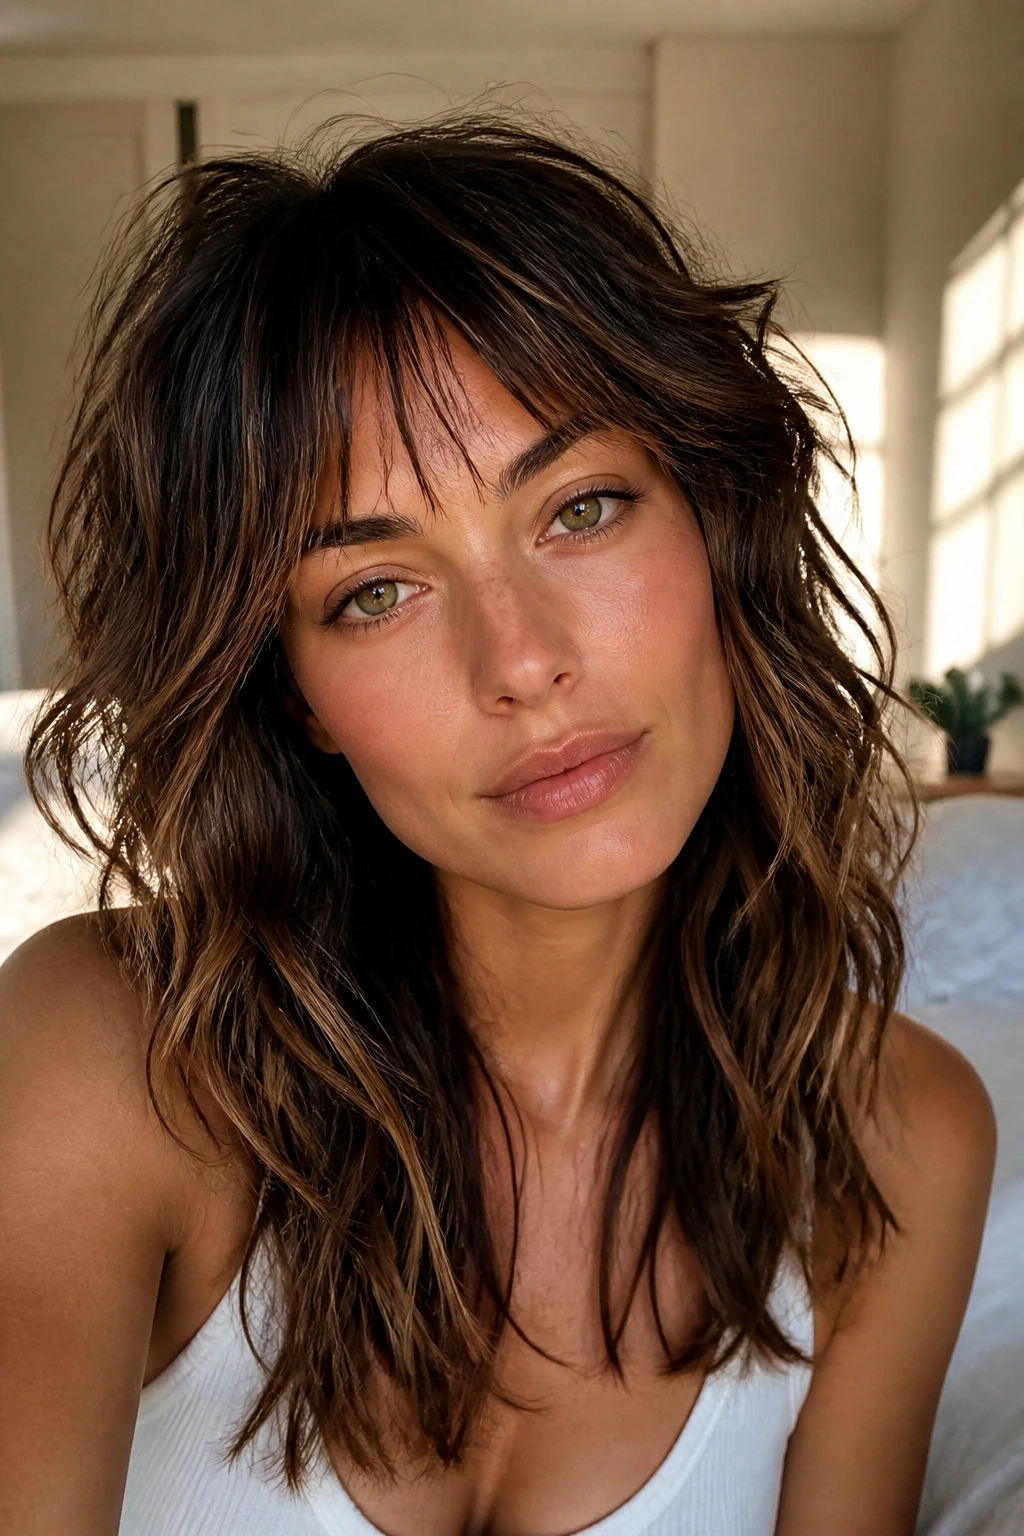
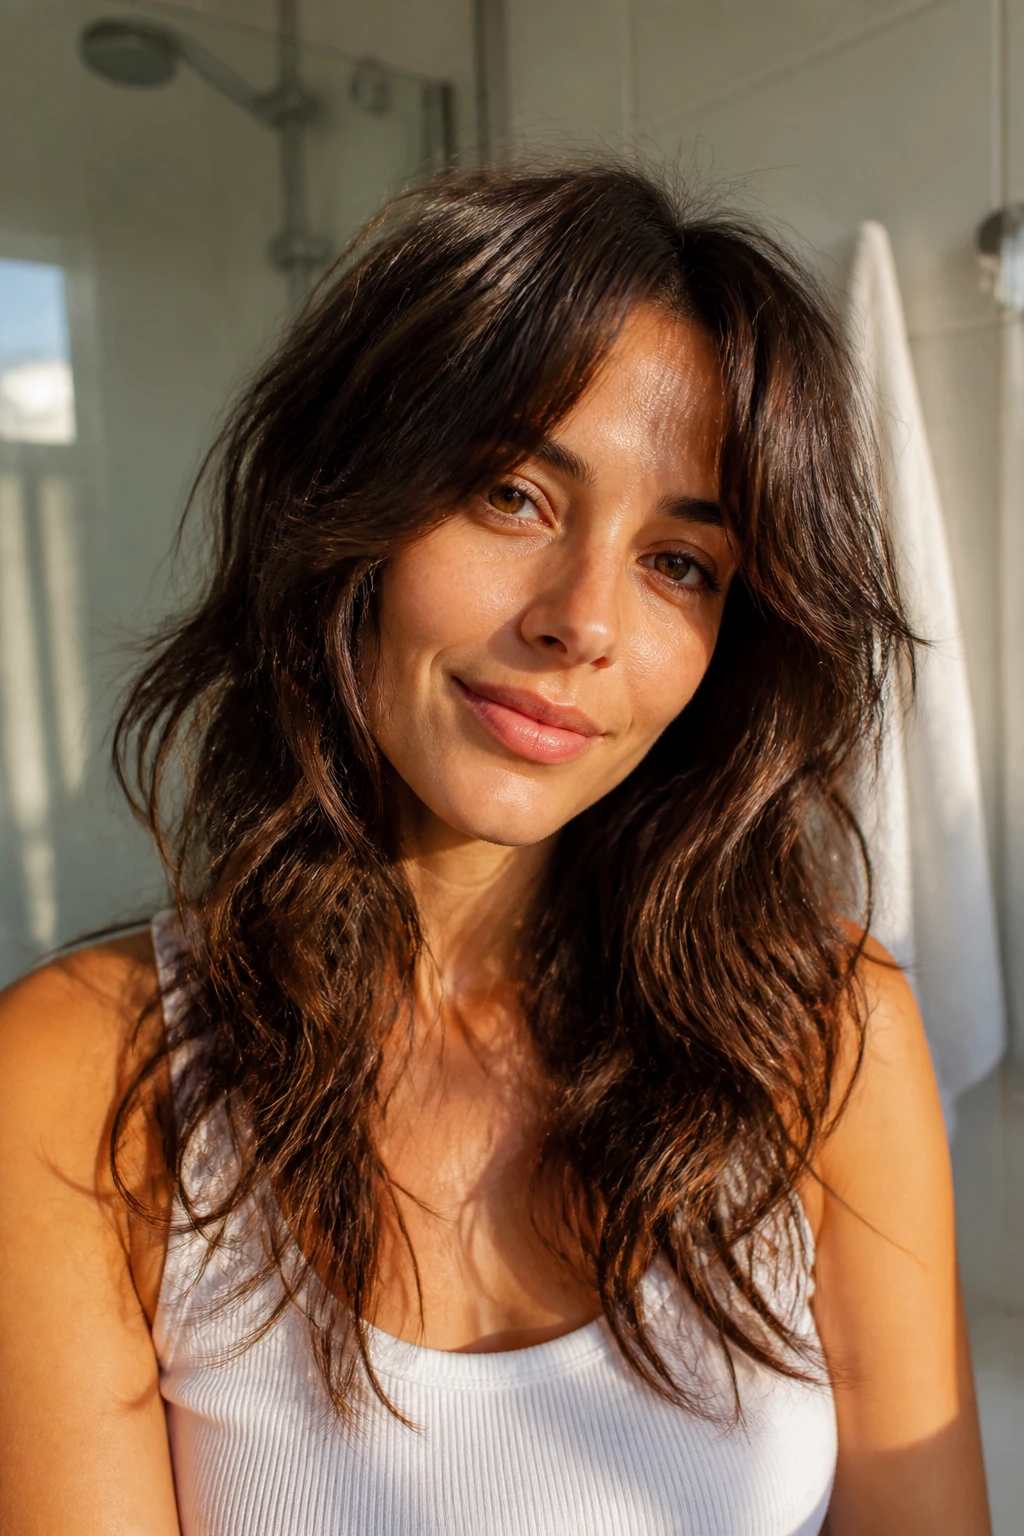
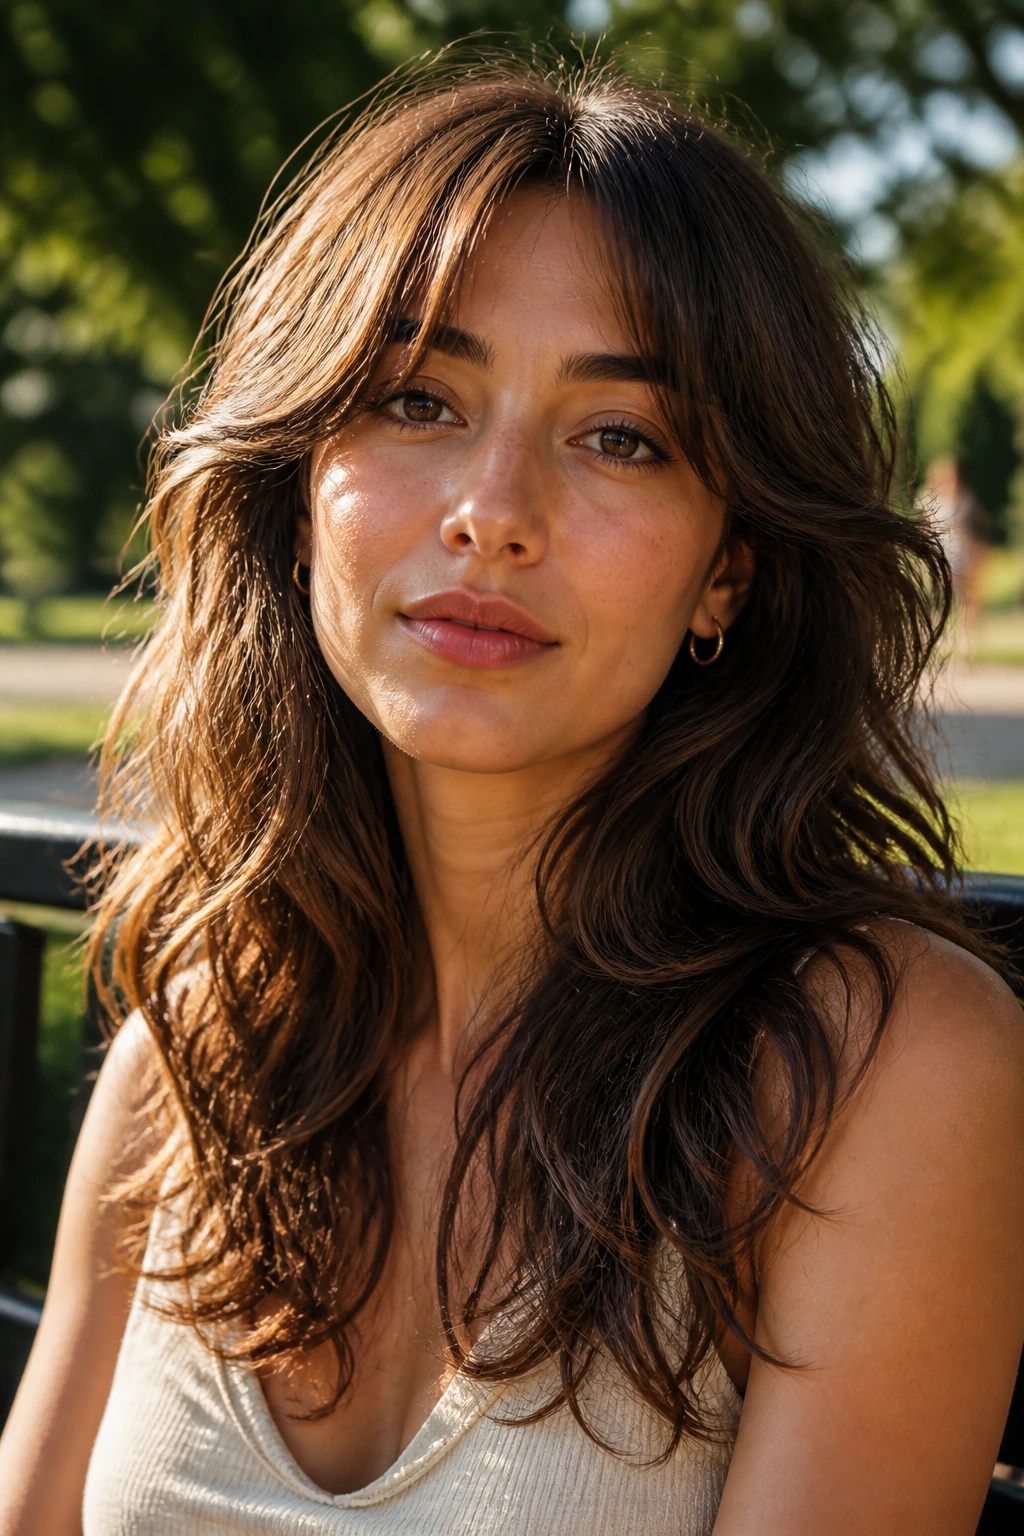
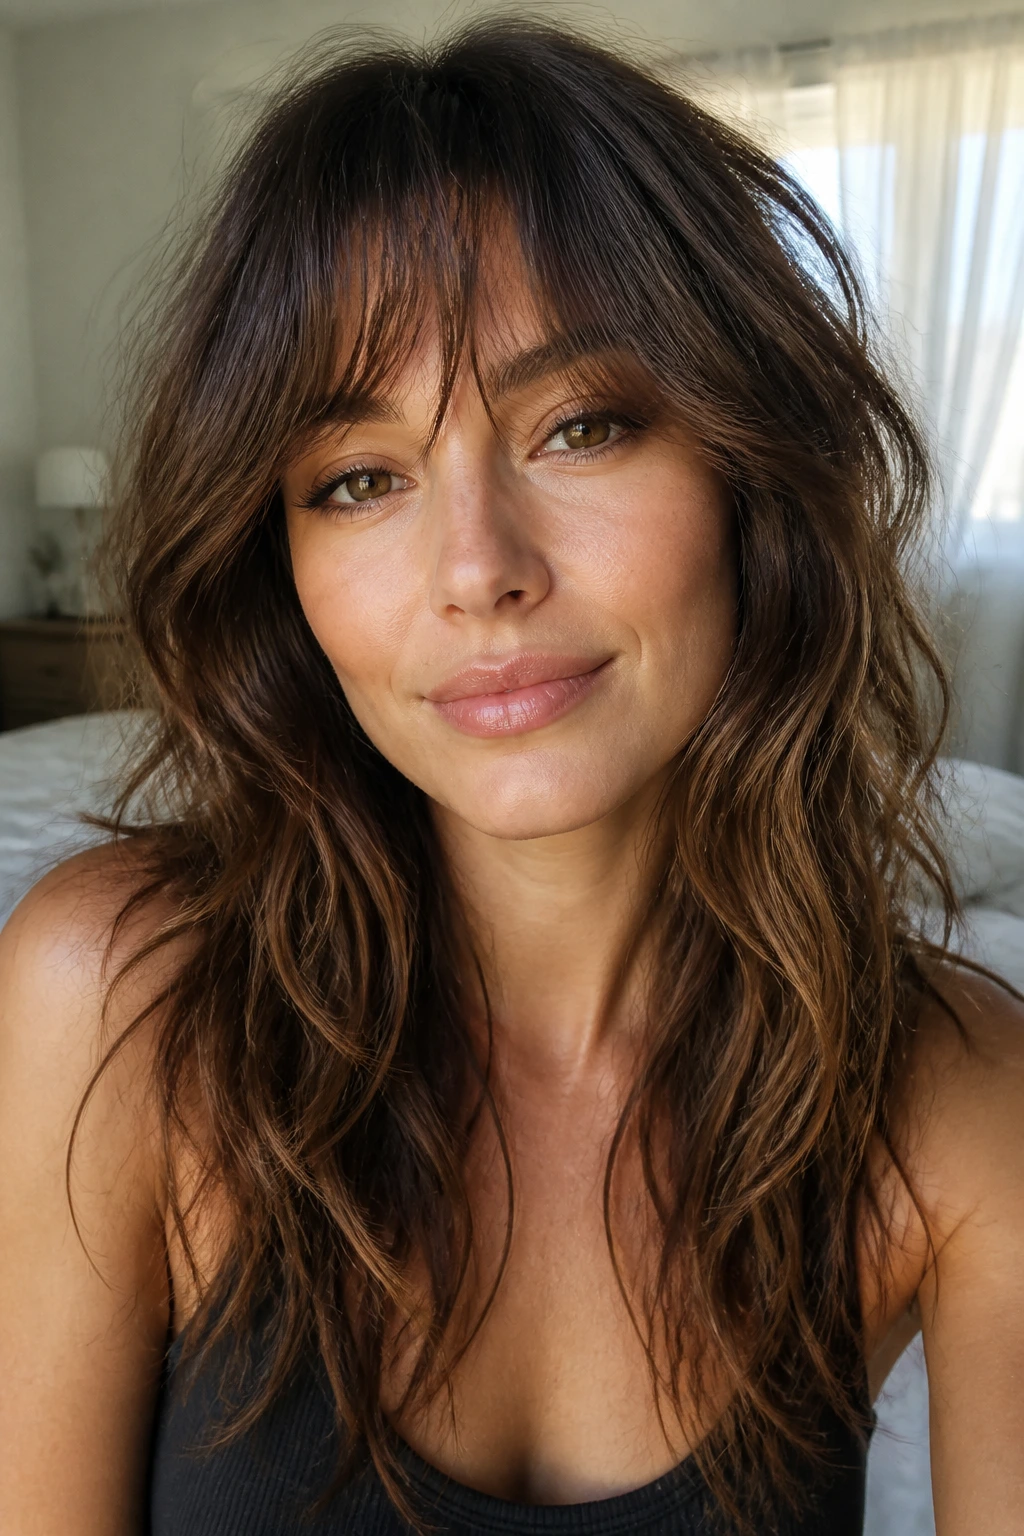
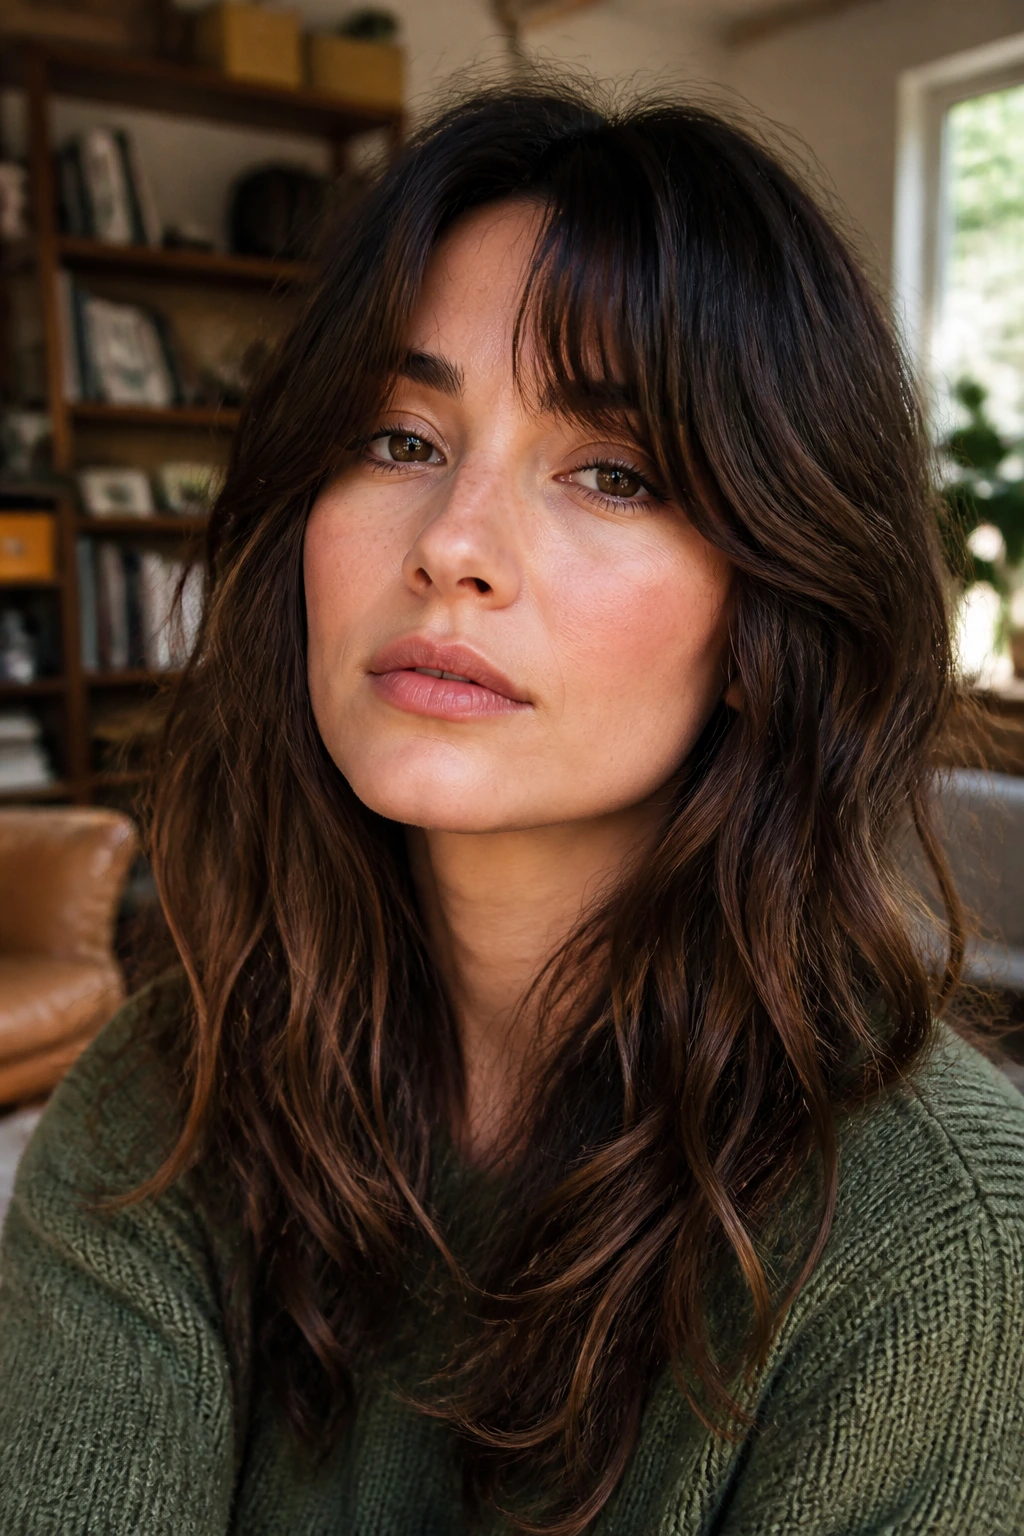
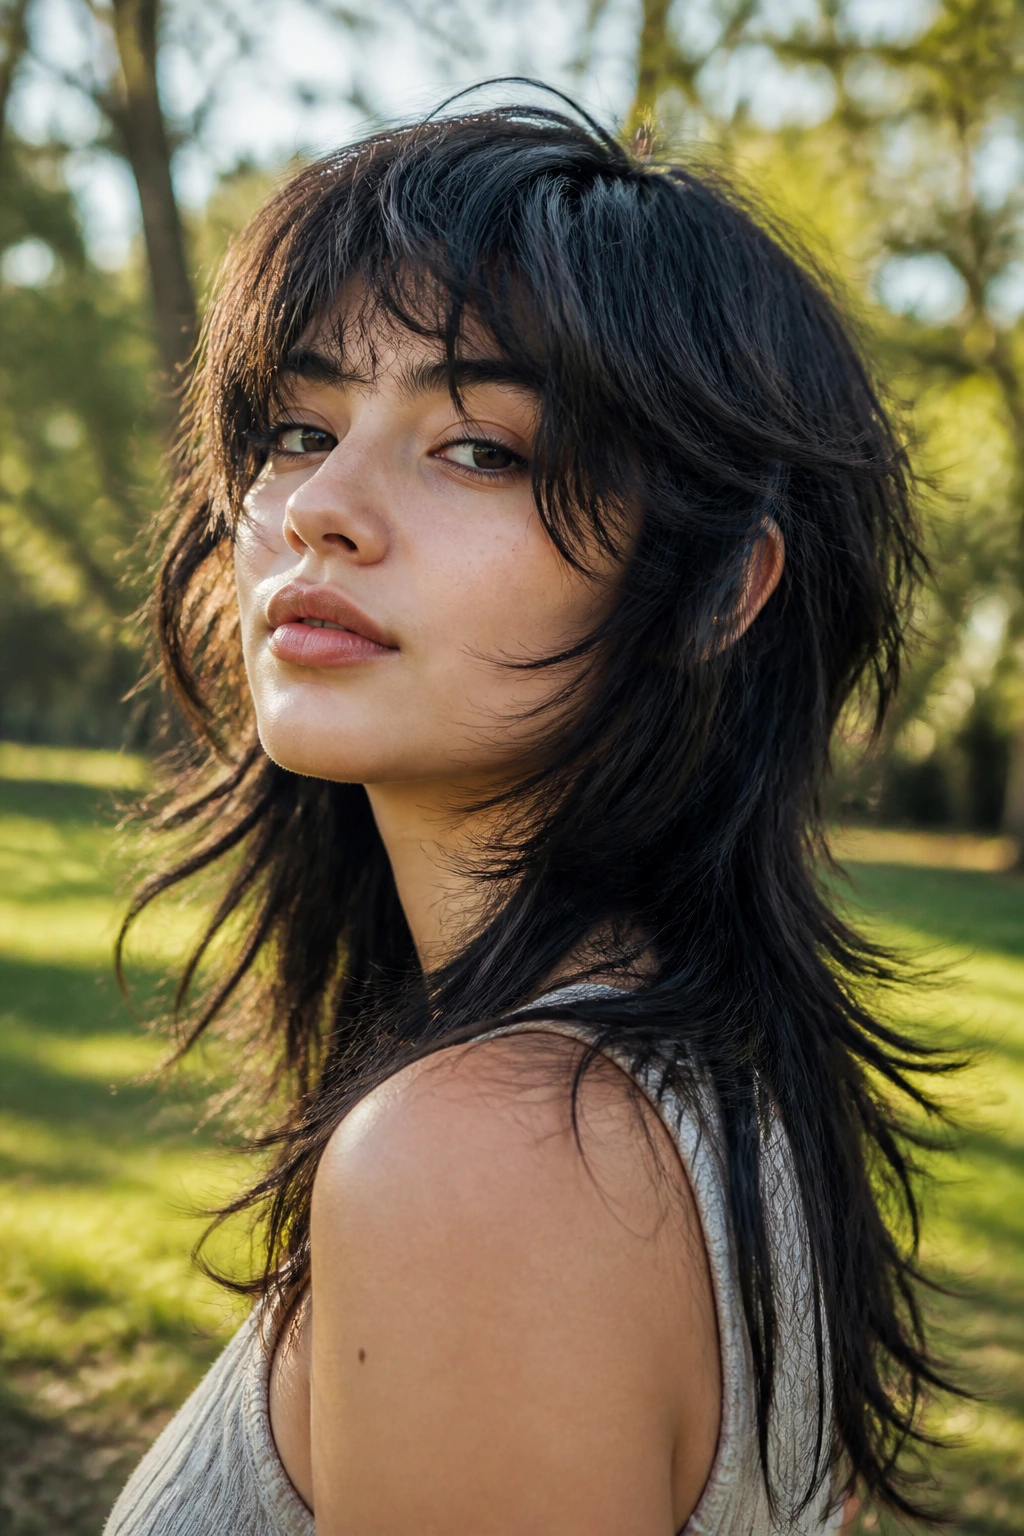
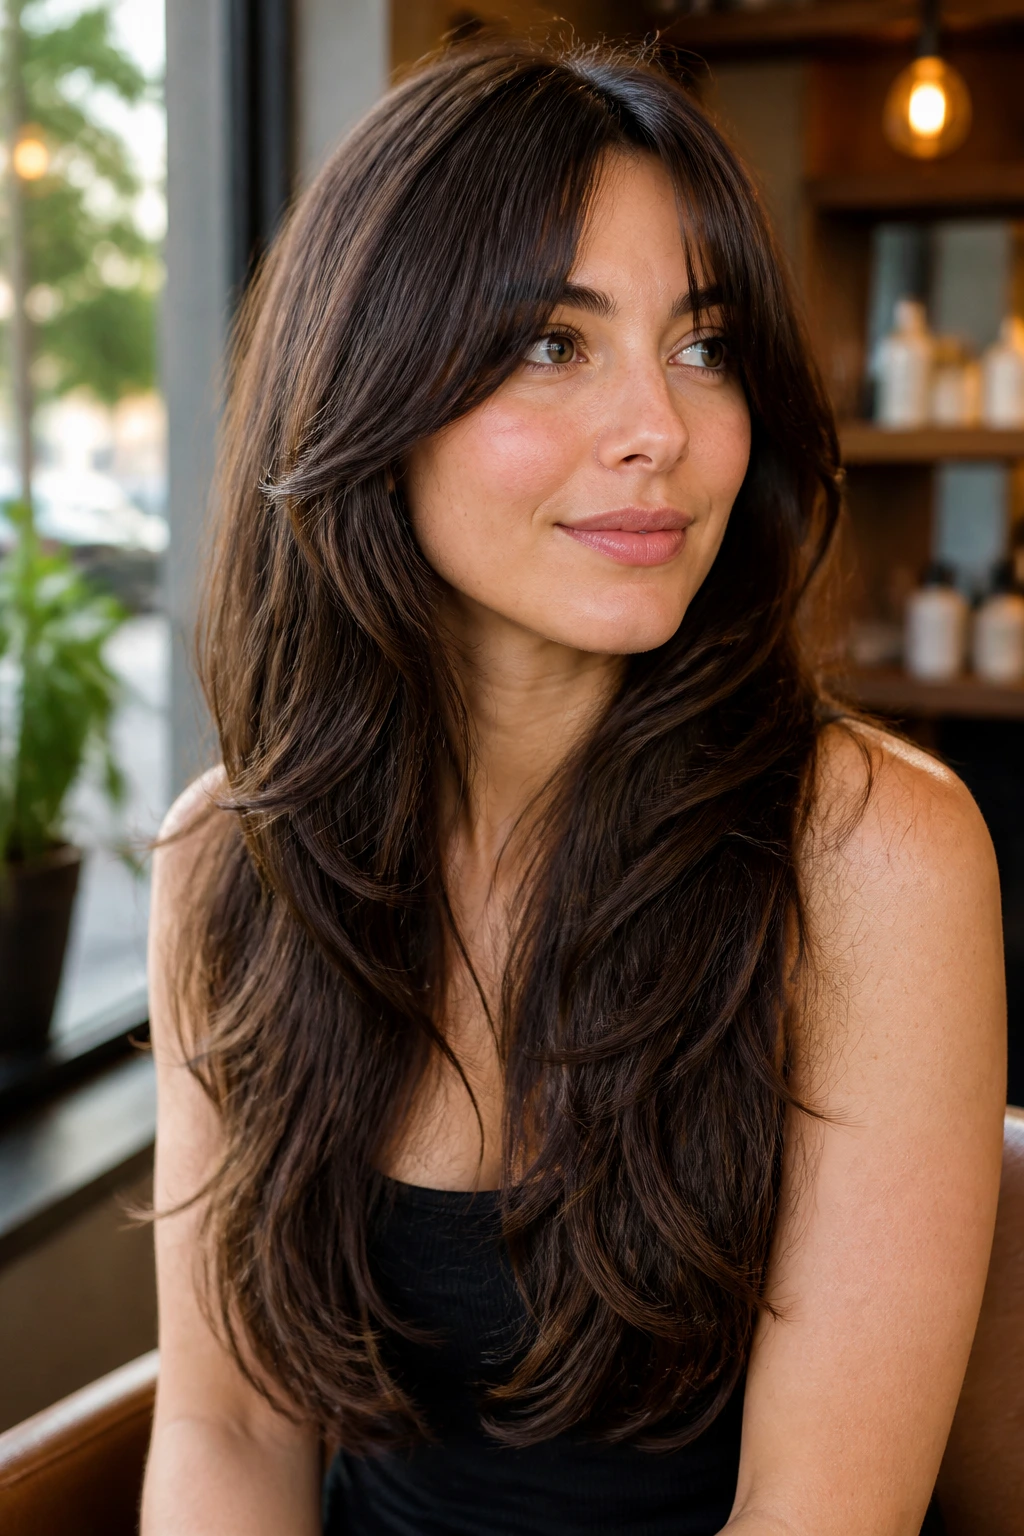
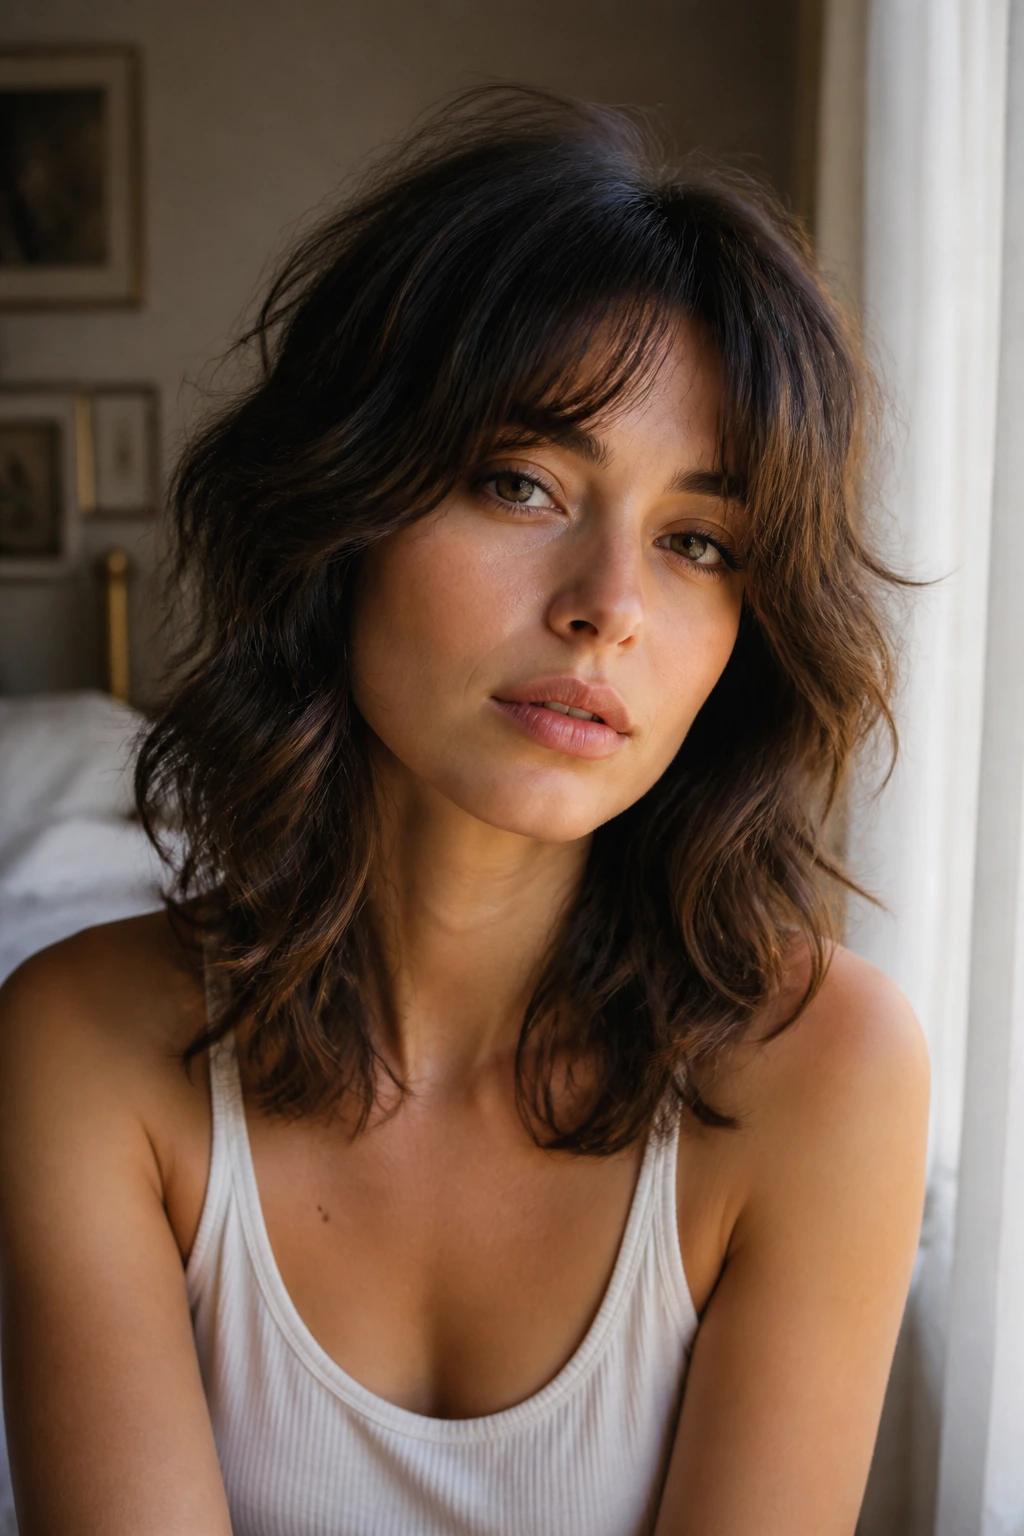
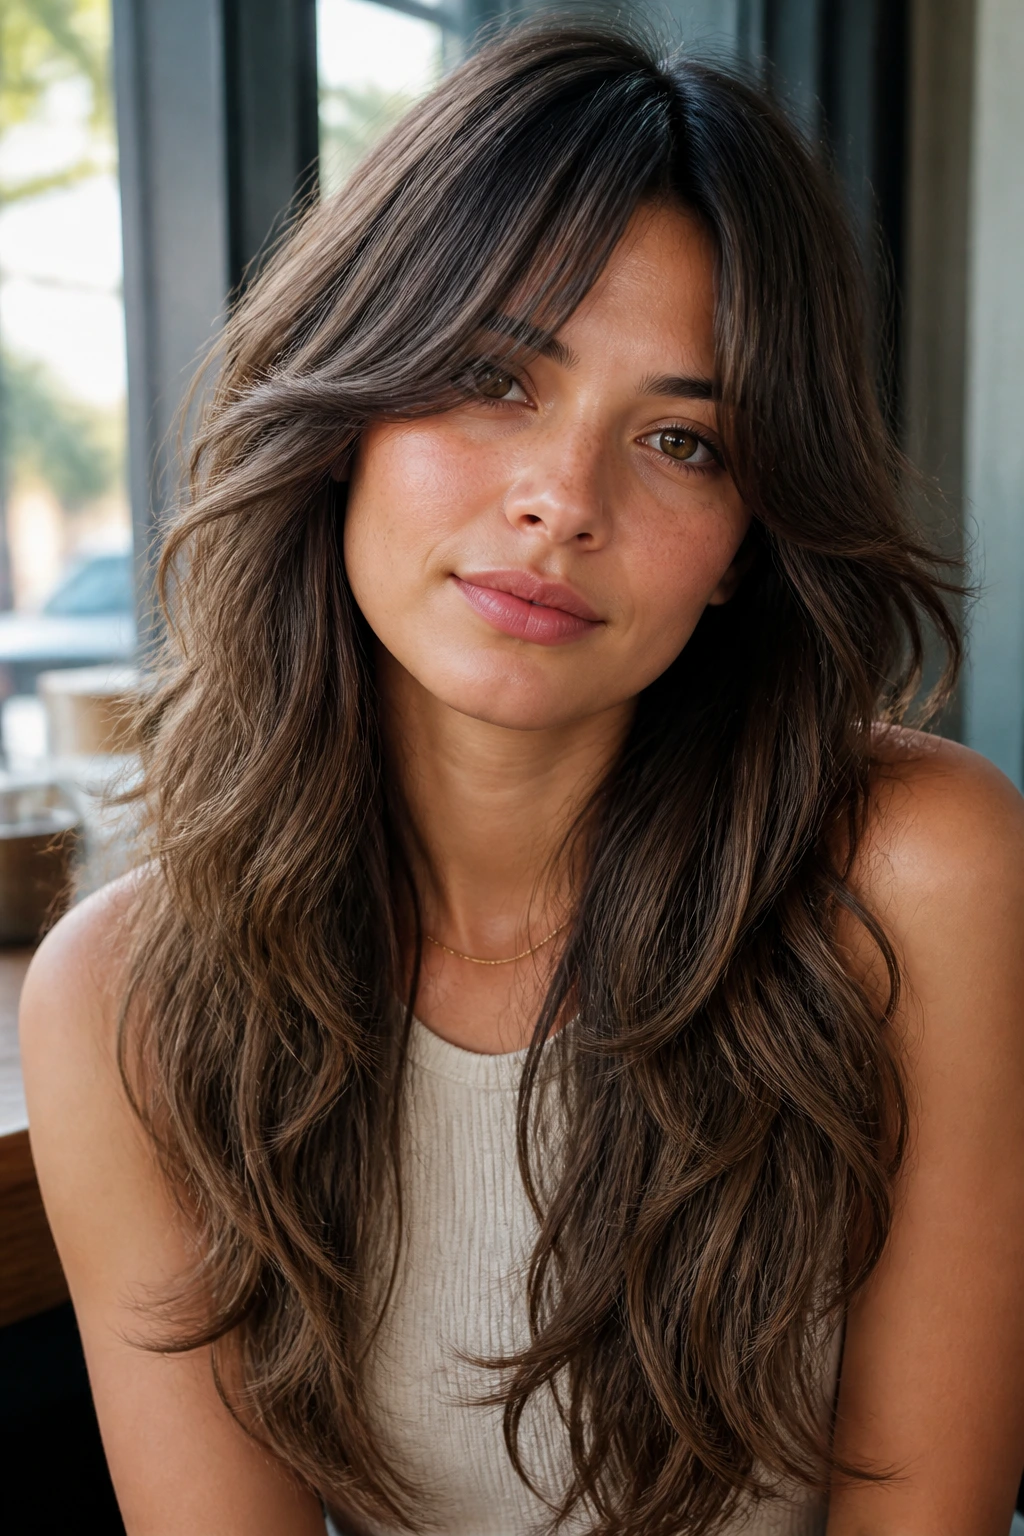
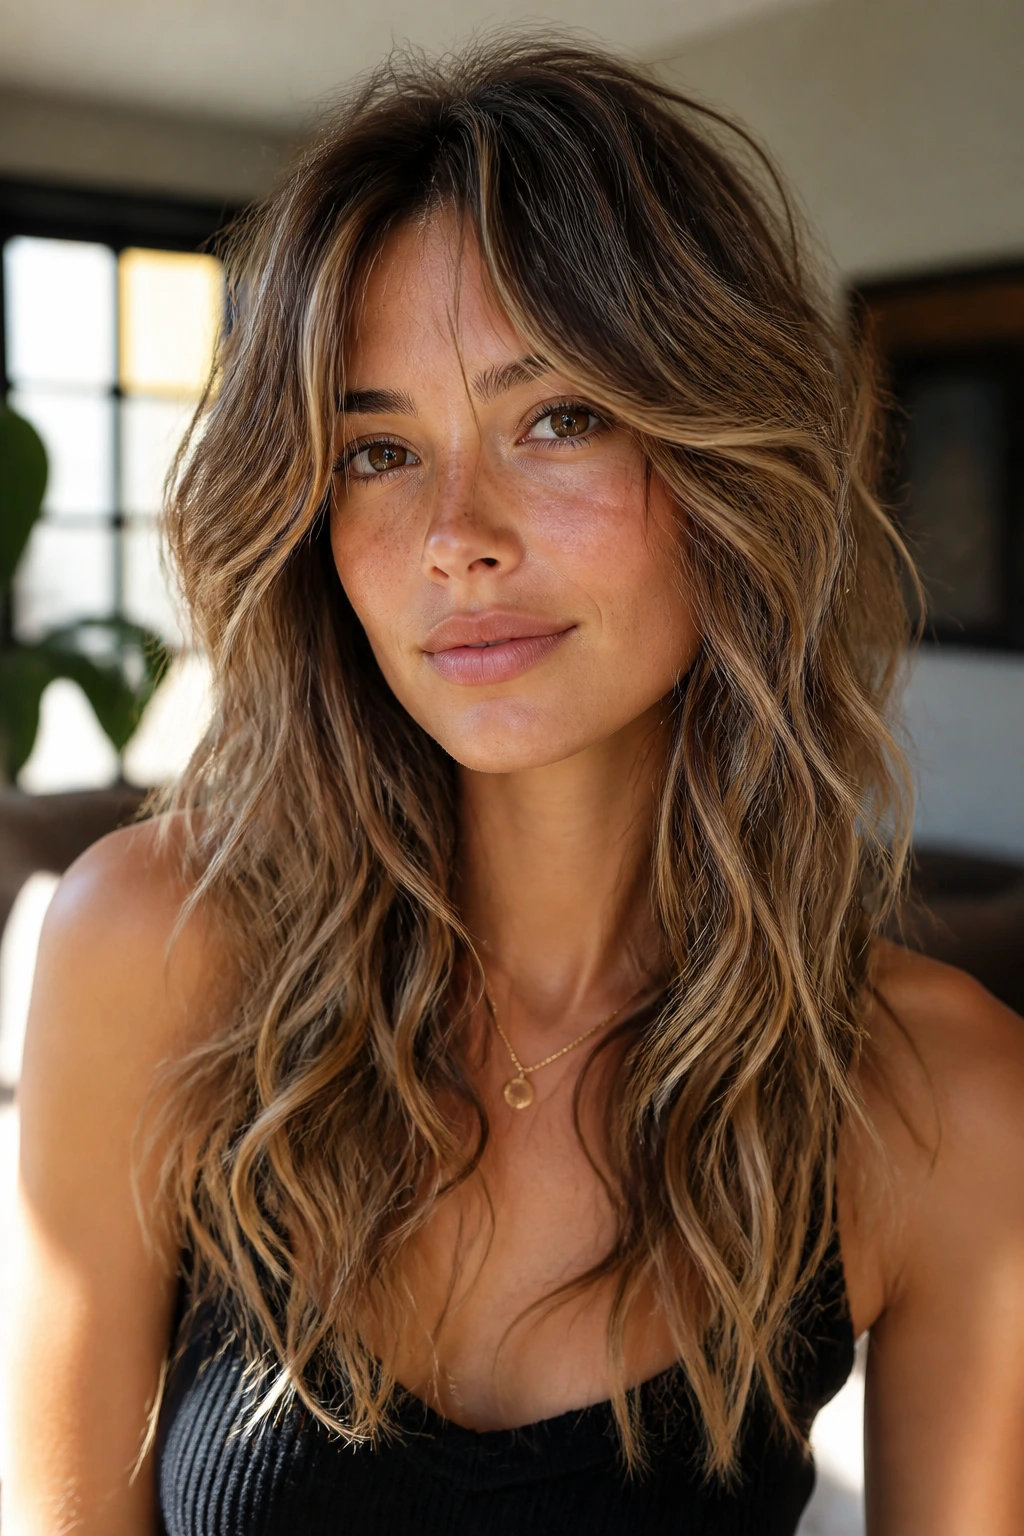
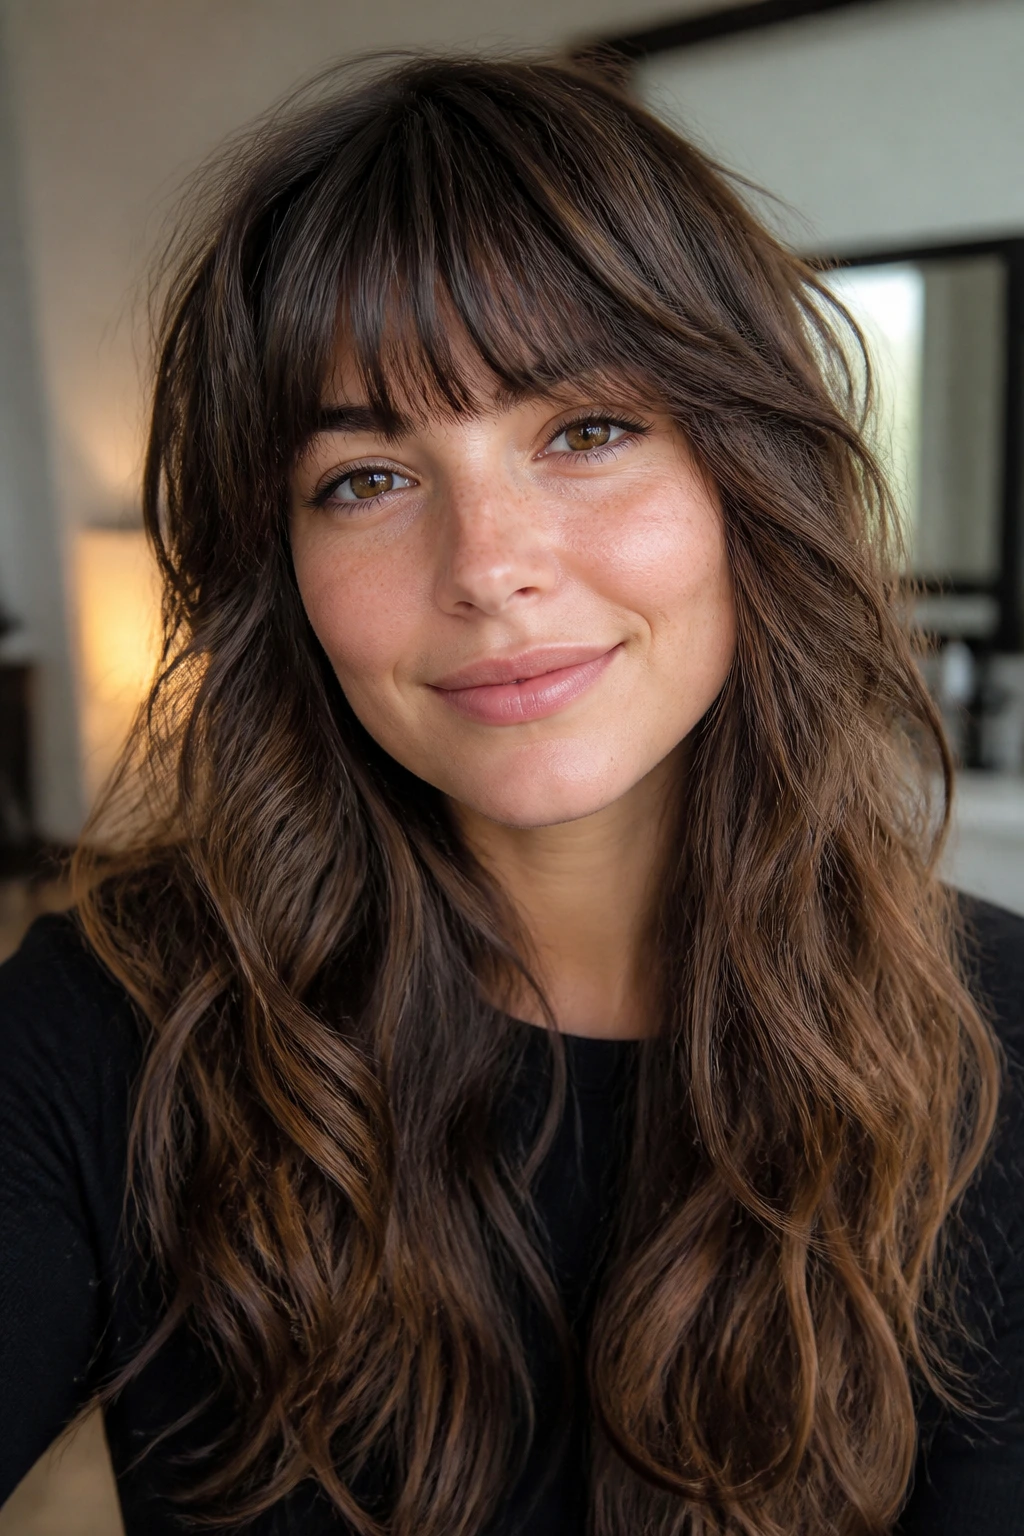
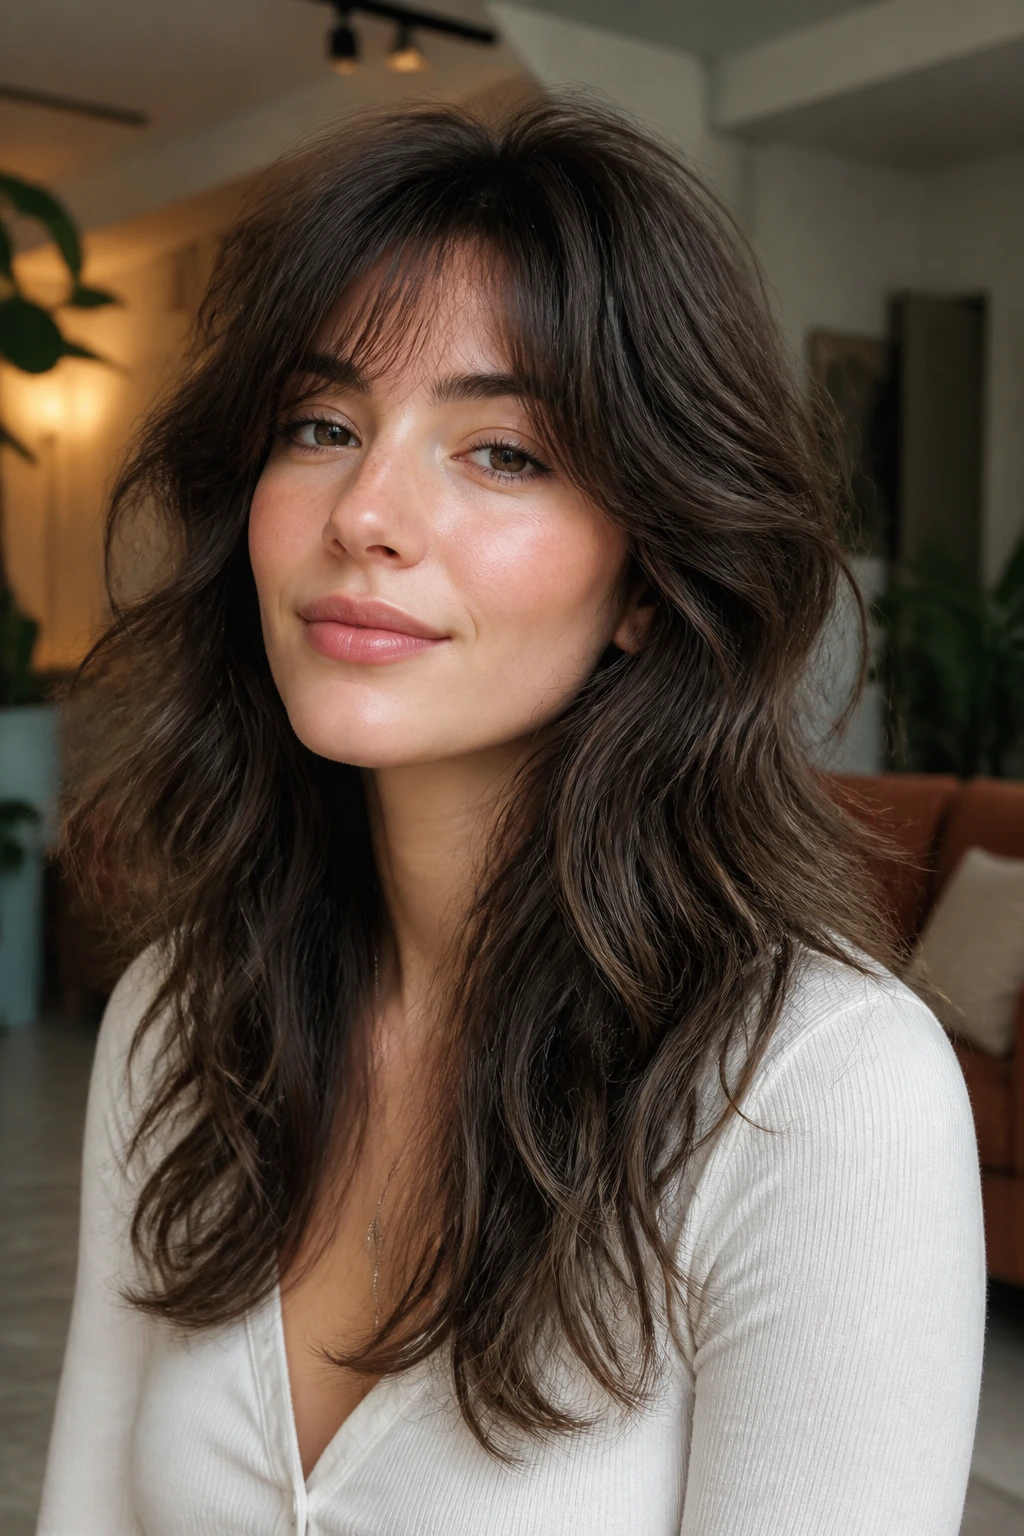
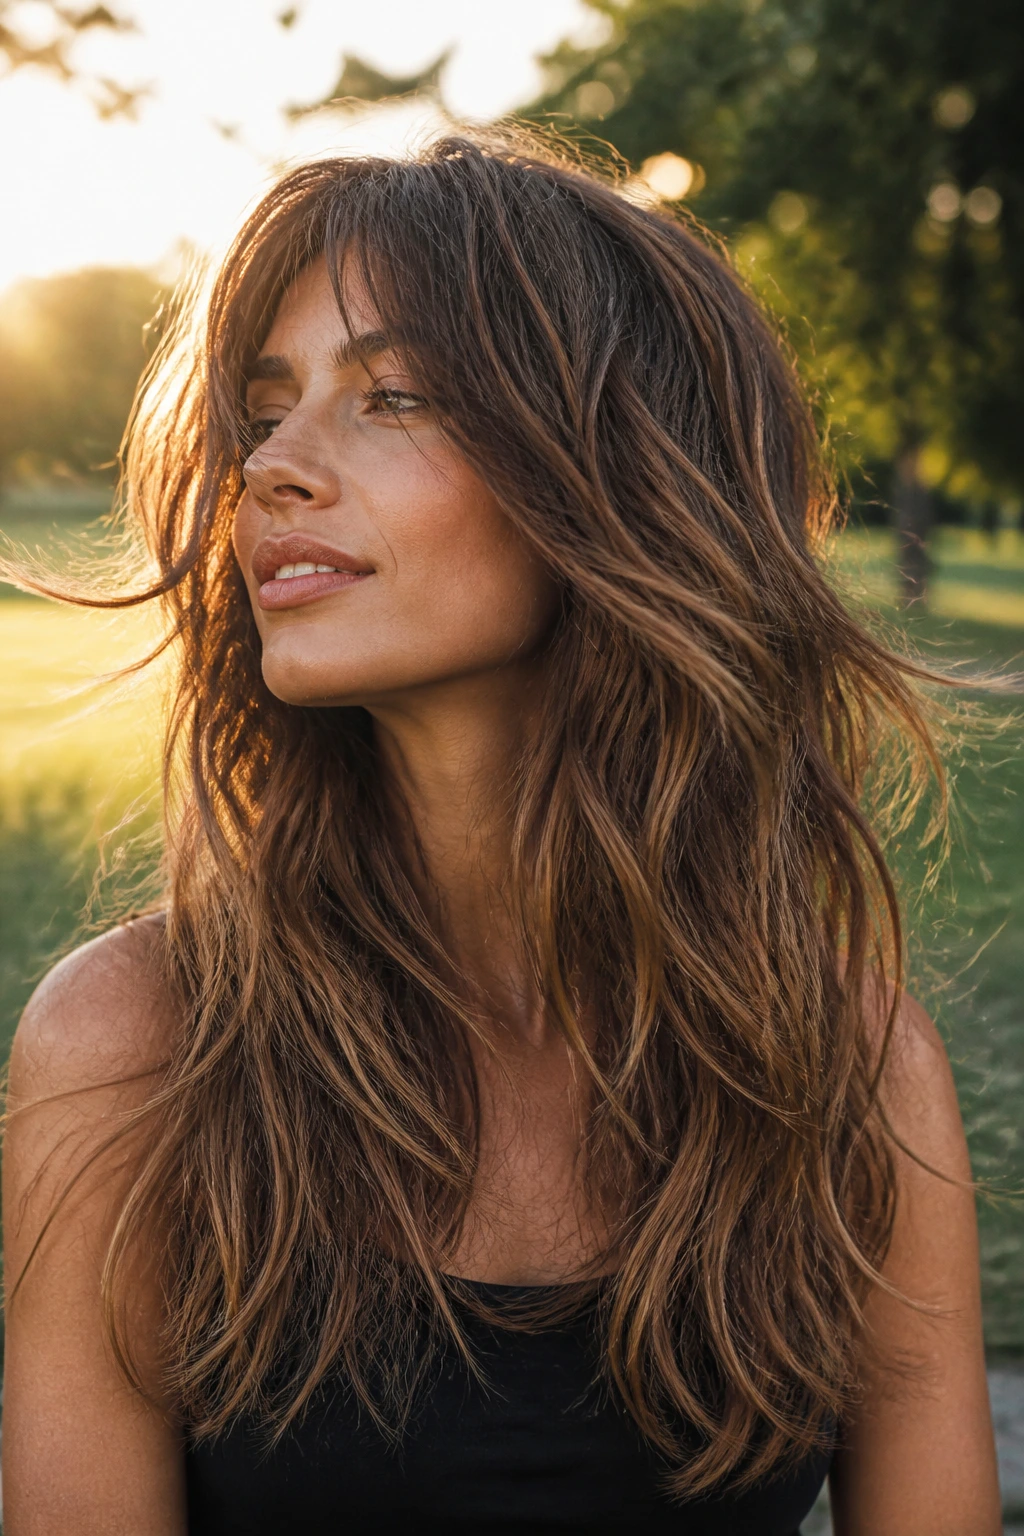
Wavy medium shag haircuts for long hair have a very specific kind of magic: they keep the length people love, but they stop it from hanging there like a wet towel. The right shag adds lift at the crown, bends the outline at the cheekbones, and lets the ends flick, ripple, and separate in a way that looks deliberate even when you’ve barely touched a hot tool. That’s the appeal. Not polish. Motion.
A long wavy shag can be soft and romantic, messy and piecey, or slightly wolfish with a little bite around the face. The trick is never “more layers” in the abstract. It’s where the layers start, how much weight stays at the bottom, and whether the fringe is doing real work or just sitting there looking cute while the rest of the cut drags. I’ve seen too many long shags ruined by overthinning the ends until the hair loses its shape by noon. That’s not shaggy. That’s underplanned.
The 25 cuts below lean into different moods, densities, and styling habits. Some are built for air-drying. Some want a diffuser. Some need a bang. Some look best with a deep side part and a little root grit. If your hair waves instead of curls, and you want movement without losing the whole length story, the details matter.
Why These Shags Keep Long Waves Moving
-
The length stays readable: Most of these cuts keep the perimeter below the shoulders or collarbone, so the hair still feels long even when the top is heavily layered.
-
The crown gets relief: Waves pile up at the root and puff at the sides; a good shag removes enough bulk up top to keep the silhouette from turning boxy.
-
The ends don’t sit in one line: A blunt hemline can make wavy hair look heavy fast. These cuts break that line so the wave pattern has somewhere to go.
-
Bangs do actual work here: Curtain bangs, bottleneck fringe, and wispy face-framing pieces keep the front from going flat while the rest of the hair moves.
-
Grow-out is part of the design: The best versions don’t fall apart after six weeks. They soften, which is the whole point when you want long hair to keep looking intentional.
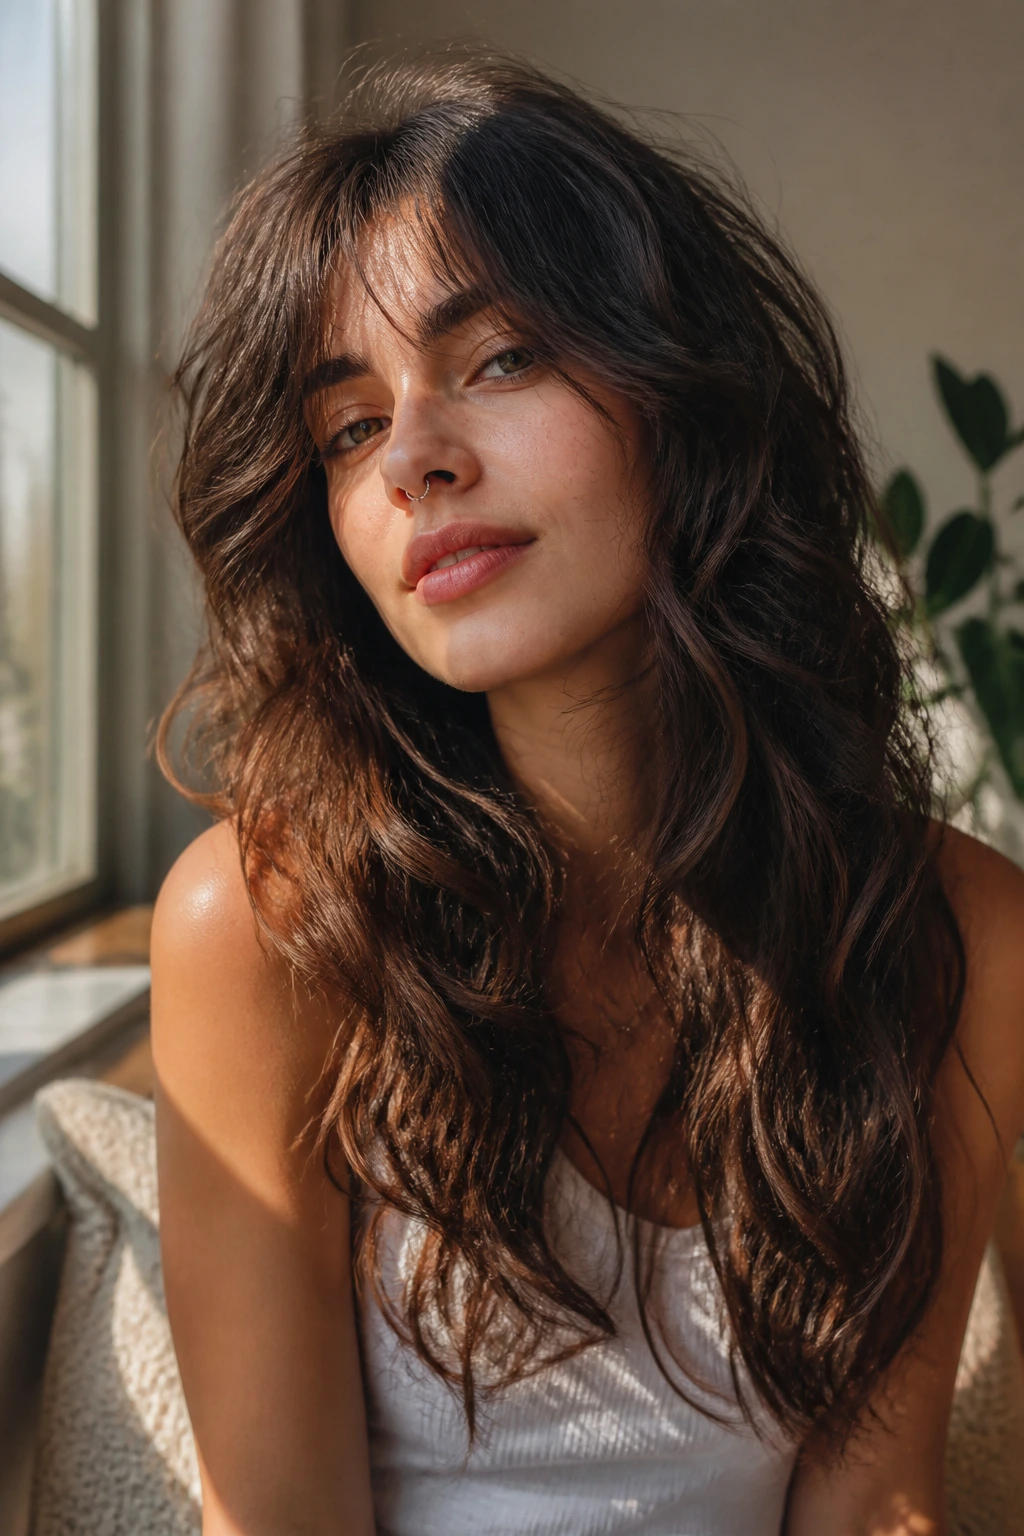
1. Collarbone Cloud Shag
This is the shag I’d hand someone who wants movement without looking like they walked out of a rock club at 2 a.m. The shortest layers sit around the cheekbone, the longest pieces brush the upper chest, and the whole shape feels soft, airy, and slightly lifted at the root. On wavy hair, that collarbone landing zone is money. It keeps the length visible while letting the wave pattern bounce instead of droop.
The best version has a rounded outline, not a choppy one. Ask for soft internal layers and a perimeter that isn’t razor-thin at the ends. If your stylist starts talking about removing “a lot of weight,” slow the conversation down. You want enough texture for movement, but you still need the ends to look like hair, not frayed ribbon.
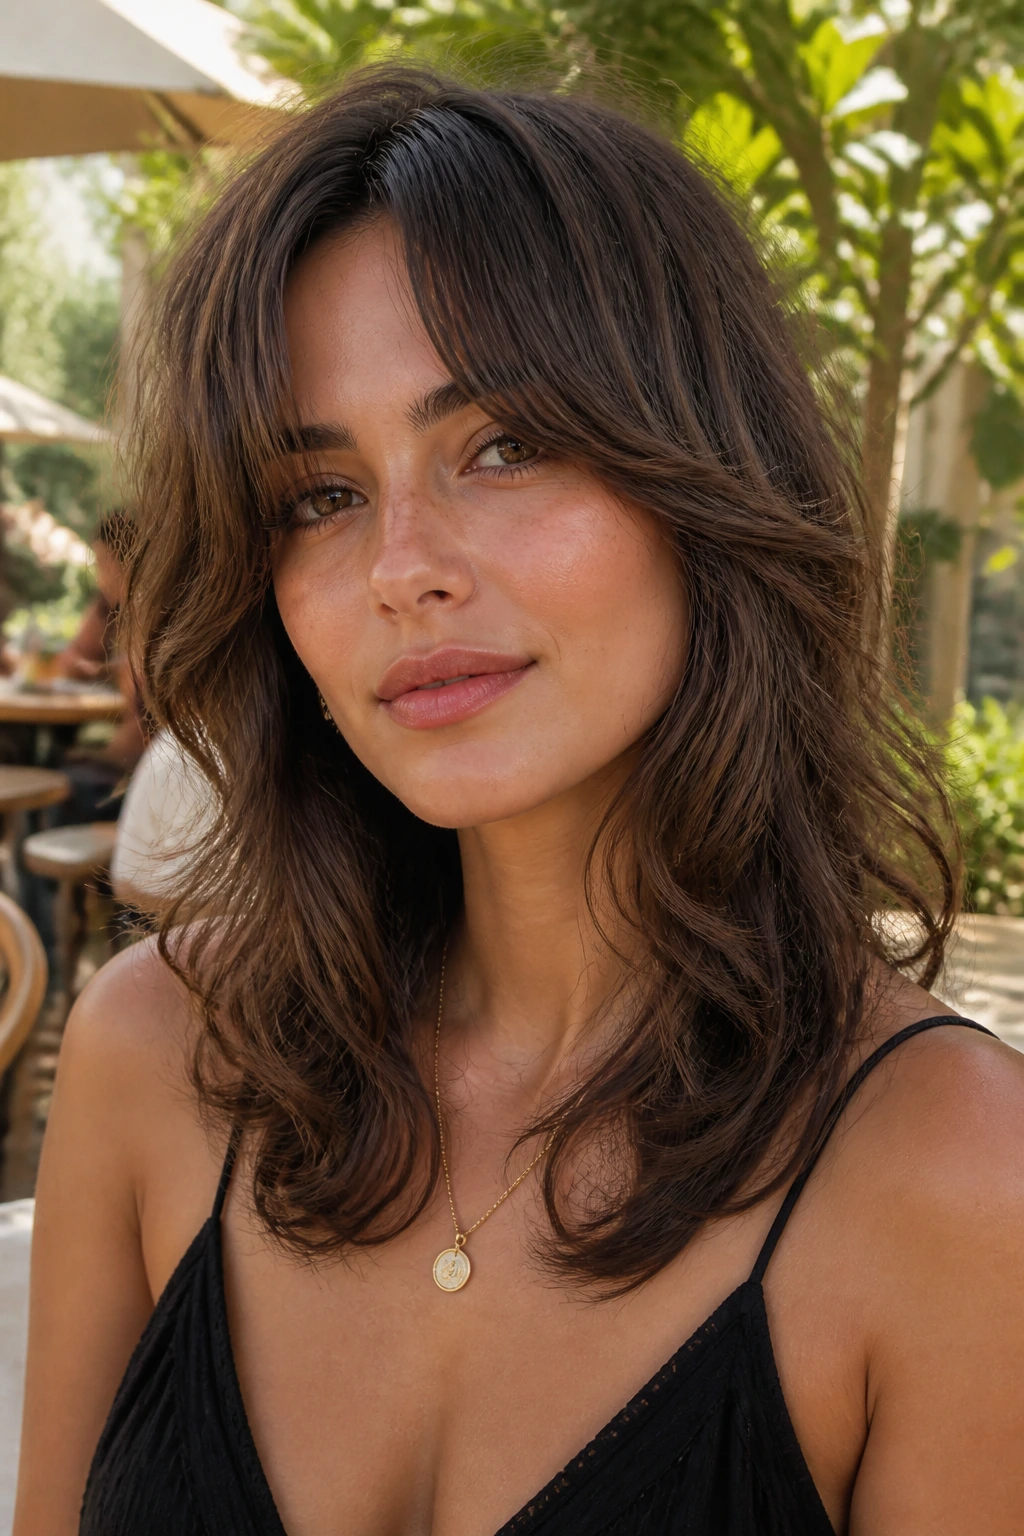
2. Curtain Bang Cascade
Want fringe without the full commitment of a heavy bang? This is the one. The center opens softly, the sides drift into the cheekbones, and the long layers keep traveling down the body of the hair so nothing feels chopped off. On wavy lengths, curtain bangs are a cheat code because they frame the face even on days when the rest of the style is barely touched.
I like this cut when the hair has a little bend but not a ton of curl. The fringe can be blown away from the face with a round brush, or left to split naturally for a messier finish. If you wear glasses, this shape is especially nice, because the longest part of the bang can sit above or beside the frame instead of crashing into it.
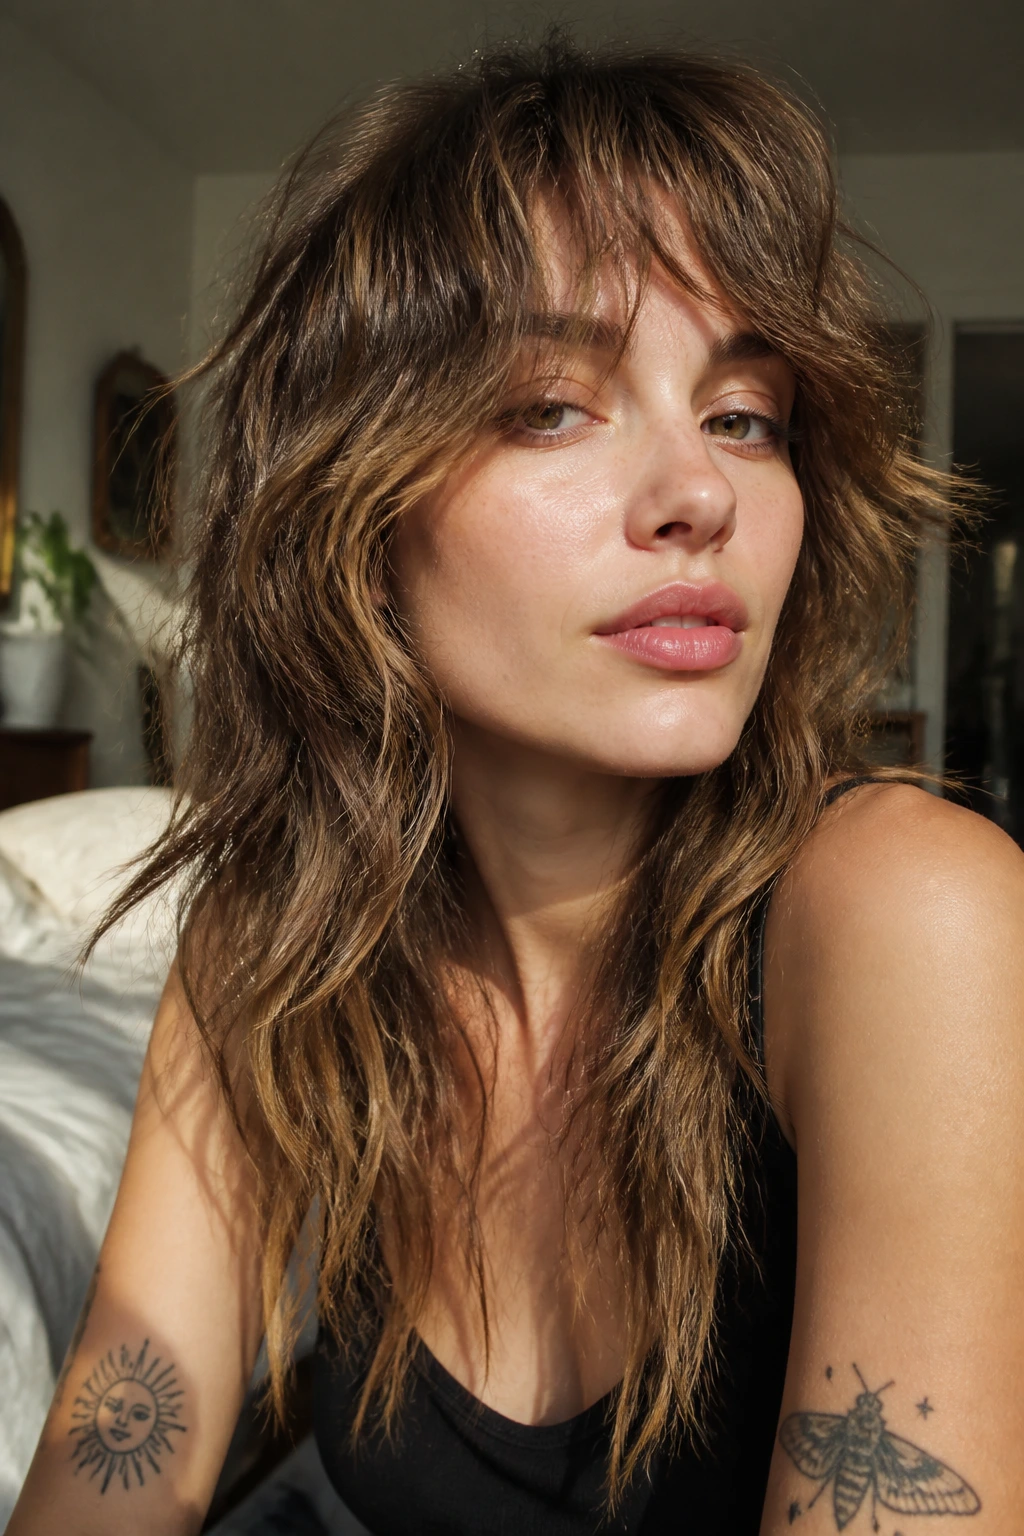
3. Soft Wolf Cut
A wolf cut does not have to shout. The softened version keeps the crown lighter and the lower length intact, which gives you that narrow-at-the-top, fuller-at-the-bottom silhouette without making the whole thing look punked out. On long wavy hair, the trick is restraint. Too much disconnection and the cut turns into a mullet with better lighting.
Why it works on waves
The shorter layers lift the crown just enough to stop the top from collapsing, while the longer pieces keep the back from going puffy. That contrast is what makes a wolf cut read as purposeful instead of accidental. If your hair is thick, this shape removes heat from the head—literally and visually. If it’s finer, keep the layers softer so you don’t strip the ends too far.
- Ask for shorter crown layers and a longer outer shell.
- Keep the front pieces below the cheekbone if you want it to stay soft.
- Avoid overly aggressive thinning at the very bottom.
- Works best when the wave pattern has some natural bend already.
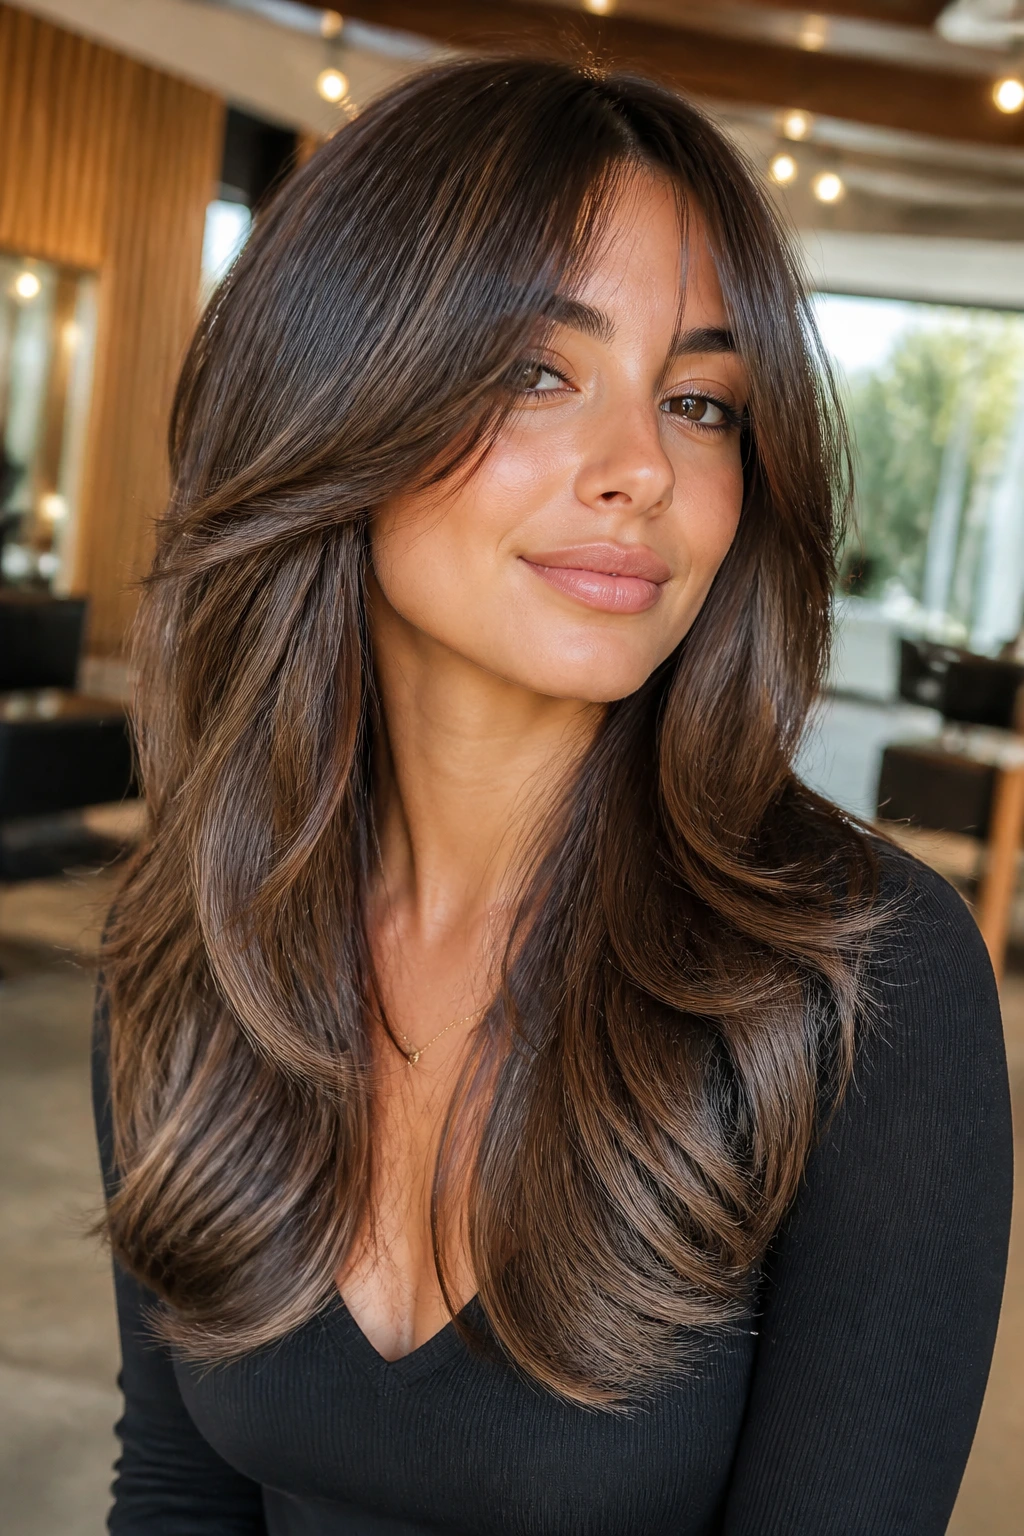
4. Feathered ’70s Shag
This is the cut for anyone who likes hair that looks like it’s moving even when you’re standing still. Feathering changes the entire mood of long waves; instead of one thick curtain, you get a sweep of separate layers that curl off the face and kick lightly at the ends. It has a blowout feel, but it doesn’t need perfect styling to get there.
The thing I like most about this version is how it flatters hair that sits somewhere between fine and medium. Feathering gives the illusion of width without making the perimeter bulky. If you want the look to hold, use a round brush at the front and a little mousse at the roots. Skip the heavy cream at the crown. That stuff can weigh the whole shape down before lunch.
5. Razor-Textured Beach Shag
If your waves are thick, the razor-textured version can be a lifesaver. It breaks up dense ends, lightens the inside of the cut, and gives the hair a lived-in edge that looks especially good when you let it dry with salt spray and minimal fuss. The finish is a little rougher than feathered layers, and that’s the point.
The catch: this cut needs a steady hand. Over-razoring can make wavy hair frizz at the tips, especially if your strands are dry or porous. I prefer this style when the stylist uses the razor to soften, not shred. You want bends, not saw marks. If your hair blooms in humidity, ask for more slide cutting and less aggressive slicing at the ends.
6. Bottleneck Fringe Shag

A bottleneck fringe starts narrower in the middle and opens out near the temples, which means it sits more naturally on long wavy hair than a blunt fringe does. The shape is clever. It gives the face a frame without boxing the forehead in, and it grows out with less drama than a straight-across bang.
This is one of my favorite choices for people who want a shag but don’t want to commit to a heavy front. The fringe can be worn split, swept, or let to fall into the layers around the eyes. The rest of the cut should keep the layers medium in length so the bangs don’t feel disconnected. If your hair is especially wavy, ask for the fringe to be cut dry or nearly dry. Wet fringe lies.
7. Long Mullet Shag
The long mullet shag has attitude, but it doesn’t have to be extreme. The front and crown stay lighter, the back keeps extra length, and the whole thing reads as a shape rather than a stunt. When the waves are soft, the mullet edge feels more modern than rebellious. Less costume. More texture.
I’d recommend this when you want the shag to feel a little bolder without losing the length that took forever to grow. Keep the front pieces long enough to skim the chin or collarbone; that keeps the transition from top to back from looking abrupt. If you go too short in the front, the cut can tip into retro-mullet territory fast. Some people want that. Most don’t.
8. Octopus-Lite Shag
The octopus cut earns its name from the round, tent-like shape: heavier length below, lifted layers above. The “lite” version is the one I like for long wavy hair, because it keeps the silhouette soft and wearable. The top moves, the sides don’t balloon, and the ends still look full.
This is especially good if your waves clump in a nice way. The layers encourage separation without stripping the body out of the perimeter. You get a floating effect when the hair dries, almost like the length is hovering under the crown layers. If your hair is extremely thick, ask the stylist to preserve more weight underneath, or the ends can look too wispy compared with the top.
9. Deep Side-Part Shag
A deep side part changes the whole haircut. Seriously. The same layers that look soft and symmetrical in the middle suddenly feel sultrier, more swept, and a little more dramatic when most of the volume is pushed to one side. On long wavy hair, this trick also helps flat roots come back to life without adding more layers than you need.
The best thing about a side-part shag is that it doesn’t require a different cut to feel new. If your front pieces are cheekbone length or longer, you can flip the part and get a completely different face frame. I like this on square or round faces because the diagonal line draws the eye upward and off to one side. It’s an easy way to avoid the helmet look.
10. Choppy Layered Wave Shag
This one is all about separation. The ends are broken into pieces, the layers are visible, and the wave pattern gets to do that thing where it bends one way, then another, then falls apart a little on purpose. It’s less soft than the feathered shag, more undone than the collarbone cloud, and it looks best when the hair has a bit of grit in it.
What to ask for
Tell your stylist you want piecey, movable layers rather than a heavily blended shape. That wording matters. A blend can sometimes smother wave pattern; a bit of visible layering lets the cut breathe.
- Shortest pieces at the cheekbone or just below
- Length kept at the upper chest or longer
- Minimal thinning at the very ends
- A finish that still looks full when the hair is tied back
11. Invisible Layer Shag
Not everyone wants the layers to announce themselves from across the room. Invisible layering is the answer for people who want a shag shape that moves when they walk but still looks polished in daylight. The layers sit inside the haircut, so the outside line stays cleaner and the overall effect feels quieter.
This is a smart choice if you work in a setting where super-choppy hair feels like a bit much, or if you just prefer your cut to whisper instead of shout. It also works well on medium-density wavy hair that can’t afford to lose too much perimeter weight. The cut looks simple from the front, then shifts shape when you turn your head. That little reveal is the fun part.
12. Heavy Crown Shag
Flat roots can make long wavy hair look tired fast. A heavy crown shag fixes that by stacking enough lift at the top to bring the shape off the scalp, then leaving the lower lengths long enough to keep the hair from puffing out like a triangle. It’s a good haircut for anyone whose hair goes limp at the scalp but bends well through the mid-lengths.
You need a stylist who understands balance. Too much crown removal and the hair turns wispy; too little and nothing changes. I like this cut best when the crown is shaped with short internal layers and the sides stay slightly longer. It gives you lift where people can see it and keeps the ends grounded.
13. Butterfly-Frame Shag
This is the softest, most face-framing take in the bunch. The front pieces open like butterfly wings around the cheekbones and jawline, while the back keeps long layers that don’t fight the wave pattern. If you love the idea of a shag but don’t want anything too punk or too chopped, this version threads the needle.
It’s especially nice for people who like wearing the hair half-up, because the front layers still fall loose and flattering when the back is clipped away. That matters more than people think. A lot of layered cuts look great only when fully down; this one still gives you shape when you’re in a claw clip and running out the door.
14. Piecey Fringe Shag
A piecey fringe changes the mood instantly. Instead of one solid bang, you get separated strands that show a little forehead, a little movement, and a lot of texture. On long waves, that makes the cut feel lighter at the top, which is useful if your hair tends to hang heavy around the temples.
The best thing about a piecey fringe is how forgiving it is on day two. A dab of dry shampoo, a quick finger comb, and you’re back in business. I would not pair this with a super-blunt perimeter; the contrast can feel too abrupt. Keep the bottom softened so the fringe doesn’t look detached from the rest of the hair.
15. Air-Dry Friendly Shag
Some cuts only behave after a blow-dry. This isn’t one of them. The air-dry shag is built so the wave pattern lands in the right place with minimal intervention: enough layering to lift the crown, enough weight left at the perimeter to stop the ends from fraying out, and face-framing pieces that fall into place as they dry.
If you rarely use hot tools, this is the cut to ask for. The stylist should shape it while considering how your hair dries naturally, not how it looks while wet in the chair. That’s a real difference. Wet hair lies flat and tells lies. Dry hair tells the truth. A good air-dry shag respects the truth.
16. Center-Part Soft Shag

A center part can make a shag look cleaner, calmer, and more balanced. The middle divide lets the layers fall symmetrically, which is nice if you want the cut to feel modern without leaning too hard into the messy-rock texture people sometimes expect from shag haircuts. Long waves love a center part when the face frame starts low enough to skim the cheekbones.
This version works best when the front pieces are not too short. If they’re cut above the cheekbone, the middle part can make the face look crowded; if they’re longer, the whole shape opens up. I also like this on hair with a subtle natural wave, because the center part lets each side mirror the other without overworking the pattern.
17. Curved-End Shag
Straight ends can fight wavy hair. Curved ends don’t. This shag keeps the line soft at the bottom, so the length bends inward or outward instead of hanging in a rigid sheet. It sounds small, but it changes the whole read of the haircut. The finish becomes more fluid, more expensive-looking, and less “I forgot to trim my hair.”
It’s a nice compromise for someone who wants texture but still likes the feeling of a finished hemline. The shape works especially well if the layers are long and the perimeter is just a touch rounded by the cut or by a quick brush set. I’d choose this over a choppier shag for anyone whose waves already have a strong pattern and don’t need much extra roughness.
18. Thick-Hair Tapered Shag
Thick wavy hair can go triangular in a hurry. The tapered shag fixes that by removing weight strategically through the mid-lengths and keeping the lower edge soft enough to move. The taper matters. You want the hair to narrow gently through the body, not explode into separate shelves of texture.
This cut is one of the best ways to keep long thick waves wearable. If the layers are too blunt, the hair sits heavy; if they’re too short, the crown lifts while the ends go limp. There’s a sweet spot in the middle. Ask for internal debulking and controlled face-framing, not a heavy feathering session with no plan.
19. Fine-Hair Lift Shag
Fine hair needs careful handling. Too much texturizing and it starts to look see-through; too little and it lies flat against the head. The fine-hair lift shag tries to solve that by creating height at the crown and keeping the layers soft, light, and deliberately spaced out. It gives the illusion of density where you want it most.
I like this cut when the hair has a loose wave but not a ton of natural body. A little root mousse, a rough blow-dry, and the shape wakes up fast. Avoid razoring the ends too hard. Fine wavy hair can lose its edges quickly, and once the perimeter looks stringy, the cut stops reading as shaggy and starts reading as sparse.
20. Square-Jaw Softening Shag
If your jawline is sharp or broad, you do not need hair that cuts straight across it. This shag uses longer face-framing layers to blur the lower face and let the waves land below the jaw instead of right on top of it. The result is gentler, less blocky, and a little more relaxed around the front.
The trick is placement. The shortest front layer should usually start at or just below the cheekbone, then slide down in a soft diagonal. That keeps the eye moving instead of stopping at the jaw. I’d pair this with a middle part if you want symmetry, or a soft off-center part if you want the face frame to sweep more dramatically.
21. Heart-Face Fringe Shag
Heart-shaped faces often benefit from a little balance near the chin and cheek area. This shag does that by keeping the fringe light and the lower layers full enough to add presence around the lower half of the face. It’s not about hiding the forehead. It’s about giving the lower face some company.
A wispy bang or bottleneck fringe works better here than a hard, heavy line. Too much bang can crowd the face, especially if the forehead is already narrower. The long layers beneath should stay soft and mobile, because the real goal is to create a shape that feels even from top to bottom. That balance is what makes the cut flattering instead of fussy.
22. Oval-Friendly Balanced Shag
Oval faces can wear a lot, which is both a blessing and a trap. A balanced shag keeps the proportions easy and doesn’t throw the face off with a fringe that’s too short or layers that start too high. The shape is measured, not timid. It gives you movement without turning the whole cut into a statement piece.
This is the one I’d recommend when someone wants a shag but doesn’t want the hair to dictate the entire look. Keep the layer points around the cheekbone, jaw, and collarbone, then let the waves fall where they want. A middle part feels classic here; a side part makes it moodier. Either works.
23. Grown-Out Shag
Not every haircut should look brand new on day one only. The grown-out shag is designed to stay attractive as the layers soften and the fringe relaxes. It’s a smart option if you hate strict maintenance or if your schedule makes regular trims annoying enough to avoid. This cut looks better with a little age on it.
The secret is not to overcut the face frame. Keep the shortest pieces long enough that, when they stretch out, they still blend into the rest of the hair. If you push the fringe too short, grow-out gets awkward fast. If you leave enough length, the shag just softens and gets a little easier to wear. That’s the version I prefer, honestly.
24. Glossy Salon-Finish Shag
Not every shag needs to look tousled. A glossy salon-finish version takes the same layered shape and smooths the surface so the wave pattern reads polished instead of beachy. The layers still move, but the ends are less rough, and the overall shape has a more finished, almost blown-out feel.
This works especially well on long hair with a healthy shine and medium density. A round brush at the front, a soft bend through the mids, and a shine spray at the very end can make the layers look expensive without making them stiff. I like this when a client wants the structure of a shag but the texture of a style that can walk into a dinner reservation without a wardrobe change.
25. Long Wolf Shag with Wispy Ends
If you want the most edge without giving up the length, this is the final stop. It keeps the wolf cut’s lifted crown and layered front, then stretches the back long enough that the whole shape still feels wearable on long wavy hair. The wispy ends stop it from becoming too heavy at the bottom, which is where a lot of long cuts lose their shape.
Best for and what to request
Ask for a soft disconnect between the crown and the perimeter, but keep the transition blurred enough that the cut doesn’t read harsh. That little distinction matters. You want movement, not a visible chopping line.
- Best for: waves with good natural bend and people who like some edge.
- Ask for: longer face-framing layers, lighter crown shaping, wispy ends.
- Skip if: you hate texture around the face or prefer a clean one-length finish.
Why a Shag Shape Works So Well on Long Wavy Hair
Long wavy hair can be gorgeous, but it has a stubborn habit of collapsing into one heavy curtain if the cut doesn’t interrupt it. A shag breaks that curtain into zones. There’s the crown, which needs lift. There’s the face frame, which needs direction. Then there’s the perimeter, which needs enough weight to keep the whole thing from fraying apart.
That’s why the cut matters more than the styling product. You can spritz all the salt spray you want; if the shape is wrong, the waves still sit there looking bored. A good shag creates movement by design. The layers let the wave pattern stack and release instead of stacking and suffocating. That’s the real trick.
On long hair, the best shags don’t ask you to surrender length. They ask you to negotiate with it. Keep the overall length, remove the wrong weight, and let the wave do the rest. If the cut is thoughtful, a rough dry and a little finger-tousling can look better than a careful blowout on a bad layered haircut. That’s not an exaggeration. It happens all the time.
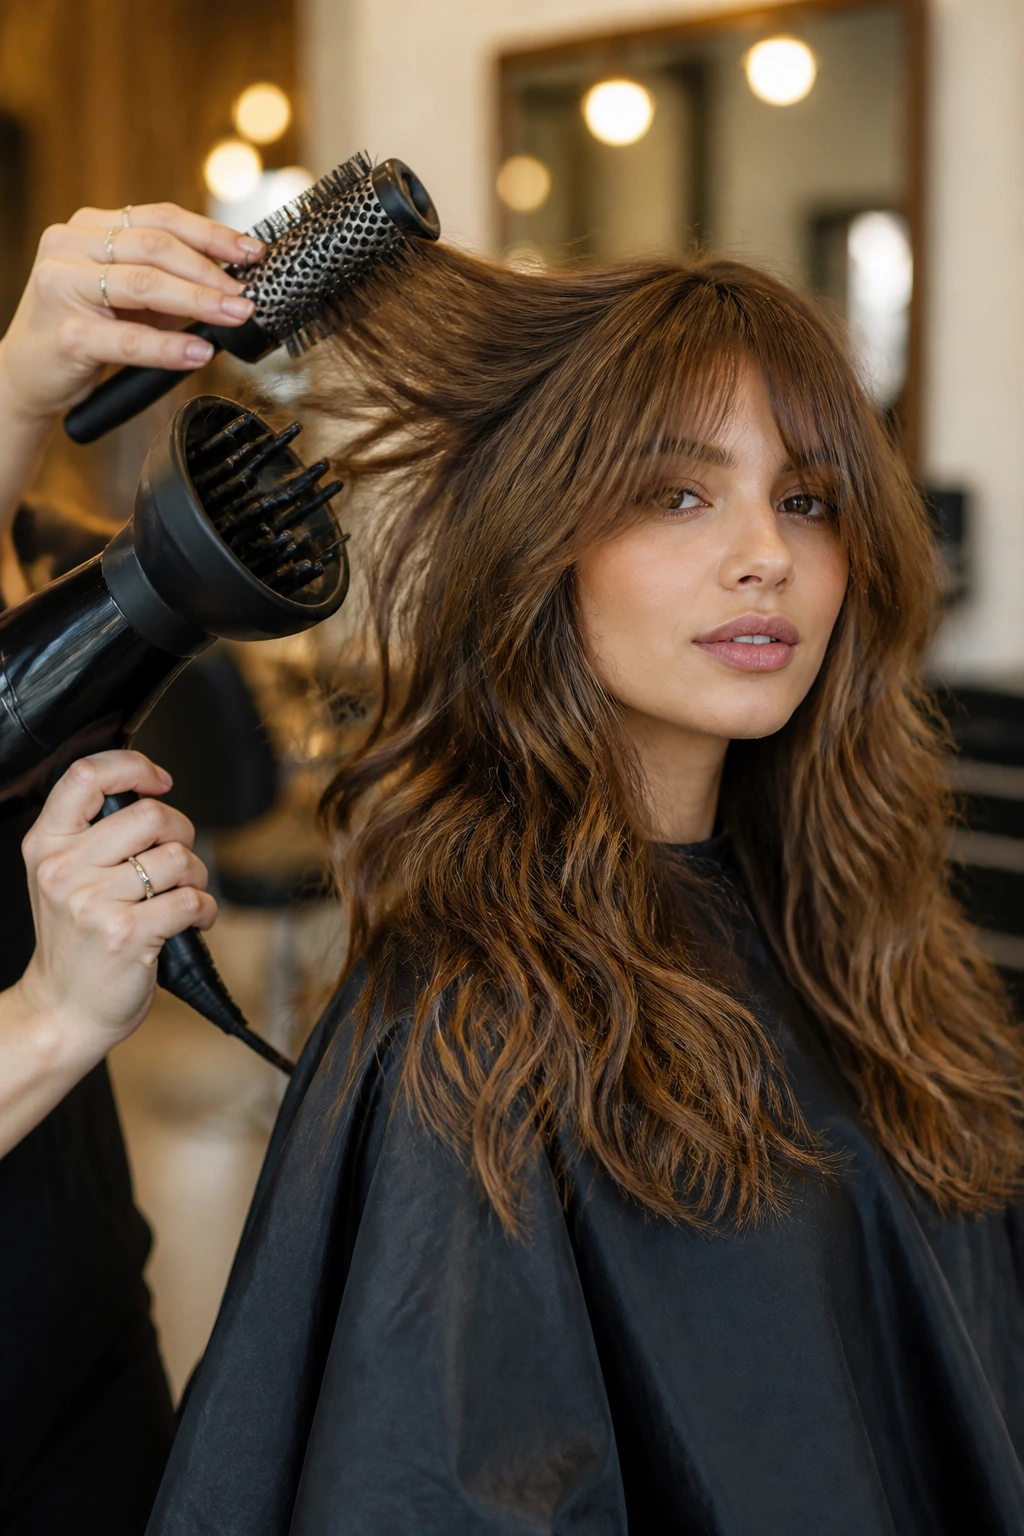
Essential Tools for Styling and Maintaining the Cut
-
Wide-tooth comb: Good for detangling wavy hair without pulling the layers into a frizz ball.
-
Diffuser attachment: Helps waves dry with more shape and less halo frizz, especially if the shag has short crown layers.
-
1-inch curling iron or wand: Useful for refreshing a few pieces around the face and ends, not for curling the whole head into submission.
-
Lightweight mousse: Adds root lift without making the mid-lengths stiff or sticky.
-
Texturizing spray: Best for piecey ends and second-day movement; use it sparingly or the hair goes chalky.
-
Heat protectant: Non-negotiable if you use a round brush, flat iron bend, or wand.
-
Round brush: Handy for curtain bangs, feathered fronts, and anything that needs a smooth flip away from the face.
-
Hair clips: Necessary when sectioning layers during blow-drying; they keep short pieces from disappearing into the rest of the hair.
-
Smoothing cream or serum: A pea-sized amount on the ends can stop a shag from puffing out in dry air.
-
Clarifying shampoo: Not for daily use, but useful when product buildup starts flattening the crown.
How to Ask for the Right Layers Without Losing Too Much Length
The salon conversation matters more than the photo on your phone. A good stylist can read a reference image, but they still need words that explain what you’re protecting: length, fullness, or movement. Say where you want the shortest layer to start. If you want to keep the cut long, ask for layers beginning at the cheekbone, jaw, or collarbone rather than up by the ear. That one detail changes the whole shape.
Bring two or three photos, not twenty. Pick one for the overall silhouette, one for the fringe, and one for the texture finish. Then say what you do not want. “I don’t want the ends thinned out too much” is a useful sentence. So is “I want the layers to move, but I still want the bottom line to look full.”
If your waves are loose and your hair is dense, ask whether the stylist plans to point cut, slide cut, or razor cut the ends. Those methods do different things. Point cutting softens; slide cutting removes bulk along the length; razoring can create a rougher edge. You do not need to know every technical detail, but you should know enough to steer the result. That’s how you keep a shag from turning into a haircut that looks shorter than you wanted.
How to Wear the Shape on Busy Mornings

The best part of these cuts is that they rarely need a full blowout to look intentional. A quick scrunch with mousse, a diffuse-dry to about 80 percent, and a little twist at the face frame often gets you there. If your hair waves naturally, let some pieces dry in their own direction. A shag looks fake when every strand obeys the same rule.
Presentation: Keep the top a little lifted at the roots and let the lengths fall in loose, broken curves. The eye should land on the movement first, not on a perfect curl pattern.
Styling: Use a diffuser for maximum wave definition, or rough-dry with your fingers if you want a looser finish. A flat iron can bend just the front pieces and ends if the cut needs a quick reset.
Accessories: Small clips, a thin headband, or a loose half-up shape work well because they let the layers still show. Heavy, wide accessories tend to bury the haircut.
Mood: These shags can move from casual to polished fast. Air-dried with a side part feels easy. Smoothed with a round brush, the same cut looks more put together.
Small Tweaks That Make the Cut Feel More Like You
Texture Boost: A pinch of sea salt spray at the mid-lengths gives wavy layers more grip, but use it on clean hair only if your ends are not dry. On already parched hair, texturizing spray is safer.
Volume Trick: Flip the part to the opposite side of your usual part for one day. The root lift alone can make a shag look twice as alive, and you do not need extra layers to get that.
Face-Frame Adjustment: If you love the cut but want a little more softness, ask the stylist to bevel the front pieces around the cheekbone instead of chopping them bluntly. That tiny shift changes the whole expression near the face.
Make-It-Yours: If you like a cleaner finish, smooth the front with a round brush and leave the back piecey. If you like edge, rough up the crown and keep the ends separated. Same haircut. Different attitude.
Common Mistakes That Flatten the Shape or Make It Too Choppy
Overtexturizing the ends: This is the fastest way to make wavy hair look thin and uneven. The symptom is a fluffy bottom edge that won’t sit down. The fix is simple: ask for softer point cutting and preserve more weight at the perimeter.
Starting the shortest layer too high: If the crown layers sit near the ears, the cut can become too short through the top and leave the ends looking heavy by comparison. The answer is to lower the layer start point and keep the shape more gradual.
Ignoring the wave pattern while cutting: Wet hair can hide a lot. If the stylist cuts only for straight texture, the result can bounce up too much when it dries. Dry-cutting around the fringe and face frame helps avoid surprises.
Trying to force every wave the same way: Shags are meant to move a little irregularly. If you over-iron every bend into place, the haircut loses the very thing that makes it interesting. Pick two or three front pieces to refine and let the rest do their own thing.
Using too much heavy cream: A rich styler can flatten the crown and make the ends look greasy. Keep cream off the roots and use a lighter mousse or spray there instead.
Ways to Bend the Cut Toward Your Texture, Face Shape, or Routine
The Low-Styling Version: Keep the layers longer, the fringe lighter, and the perimeter fuller. This is the one for people who want to wash, scrunch, and leave the house without a full styling session.
The High-Texture Version: Shorter crown layers, more separation in the front, and a little razor work through the mids create a rougher, more editorial finish. Best for hair that already has strong wave or thick density.
The Face-Frame Version: Push the emphasis to the front with curtain pieces, bottleneck fringe, or cheekbone layers. That approach gives the haircut a more flattering shape around the face while keeping the back long and soft.
The Polished Version: Keep the layers subtle, the ends rounded, and the surface smoother. This one reads cleaner and works if you want shag structure without a visibly chopped outline.
The Grow-Out Version: Leave the fringe a touch longer than you think you need. It looks less dramatic on day one, but it saves you from the awkward stage later when the layers start settling.
Keeping the Shape Between Salon Visits
A shag lives or dies by maintenance. Not daily maintenance. Smart maintenance. The fringe usually needs attention sooner than the rest of the cut; if you have bangs or curtain pieces, a trim every 3 to 5 weeks keeps them out of your eyes and out of the rest of the haircut. The longer layers can usually go 8 to 12 weeks before they start losing their shape, though dense hair sometimes needs a dusting sooner to keep the perimeter from puffing.
Wavy hair also gets weighed down by product faster than people expect. A clarifying wash every 2 to 4 weeks can reset the crown if dry shampoo and texture spray start building up. If the ends feel rough, a leave-in conditioner on the lower half of the hair usually helps more than another layer of heavy cream. And if you use heat, keep the root area lighter than the mids. That crown needs lift, not grease.
A shag also ages better when you style it in more than one direction. Switch parts. Tuck one side behind the ear. Wear it rough one day and smoothed the next. The cut starts to feel deliberate again instead of stale. That little rotation buys you time between appointments.
Questions People Ask Before Getting a Wavy Shag
Will a shag make long wavy hair look thinner?
Not if it’s cut well. A good shag removes bulk where the hair stacks up and keeps enough weight at the bottom to preserve fullness. The danger is overtexturizing the ends, not layering itself.
How short should the shortest layer be?
For long hair, cheekbone to collarbone is the safe zone if you want to keep the length reading long. Shorter than that and the cut starts moving toward wolf or mullet territory.
Can I get this cut if my waves are fine?
Yes, but the layers need to stay soft. Fine hair can look sparse if it’s thinned too much, so ask for internal movement instead of aggressive razor work.
What if my hair frizzes when it air-dries?
Use a light leave-in on damp mids and ends, then a diffuser or a gentle twist-dry at the front. The haircut still matters more than the product, but the wrong product can absolutely puff it out.
Do shags work with a side part?
They do, and some look better that way. A deep side part can give the crown more lift and make the layers fall with a softer diagonal line.
How do I grow it out without losing the shape?
Keep the fringe trimmed, let the layers soften, and avoid cutting the perimeter too bluntly. The cut should age into long layers rather than a broken shape.
Can I wear it straight sometimes?
Yes, but the cut will look different. Long shags usually look best with a soft bend at the ends, even when the hair is straightened. A dead-flat finish can make the layers look more obvious than intended.
The Shape That Keeps Moving
The best wavy shag on long hair does not fight the texture. It gives it a lane. That’s why these cuts can feel airy, flattering, and practical at the same time. You still get the length. You just stop carrying all of it in one heavy line.
The real decision is not whether to get a shag. It’s which version lets your wave pattern do its best work without demanding a daily wrestling match. Pick the one that matches your density, your styling patience, and how much edge you actually want on your face. Then let the layers earn their keep.