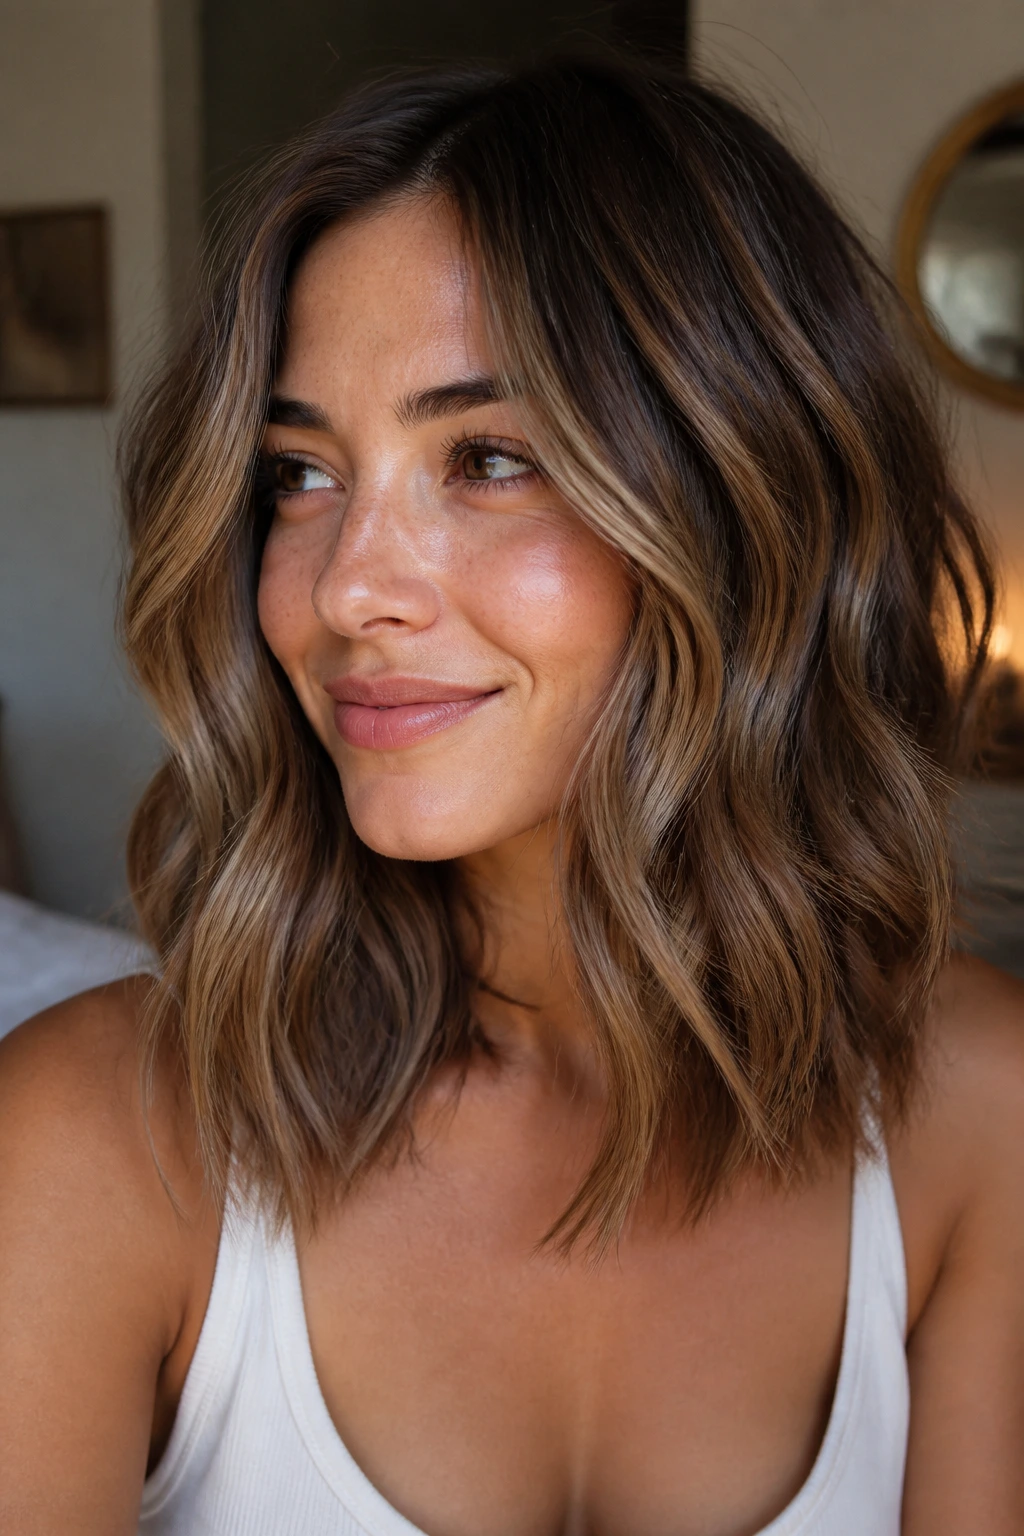
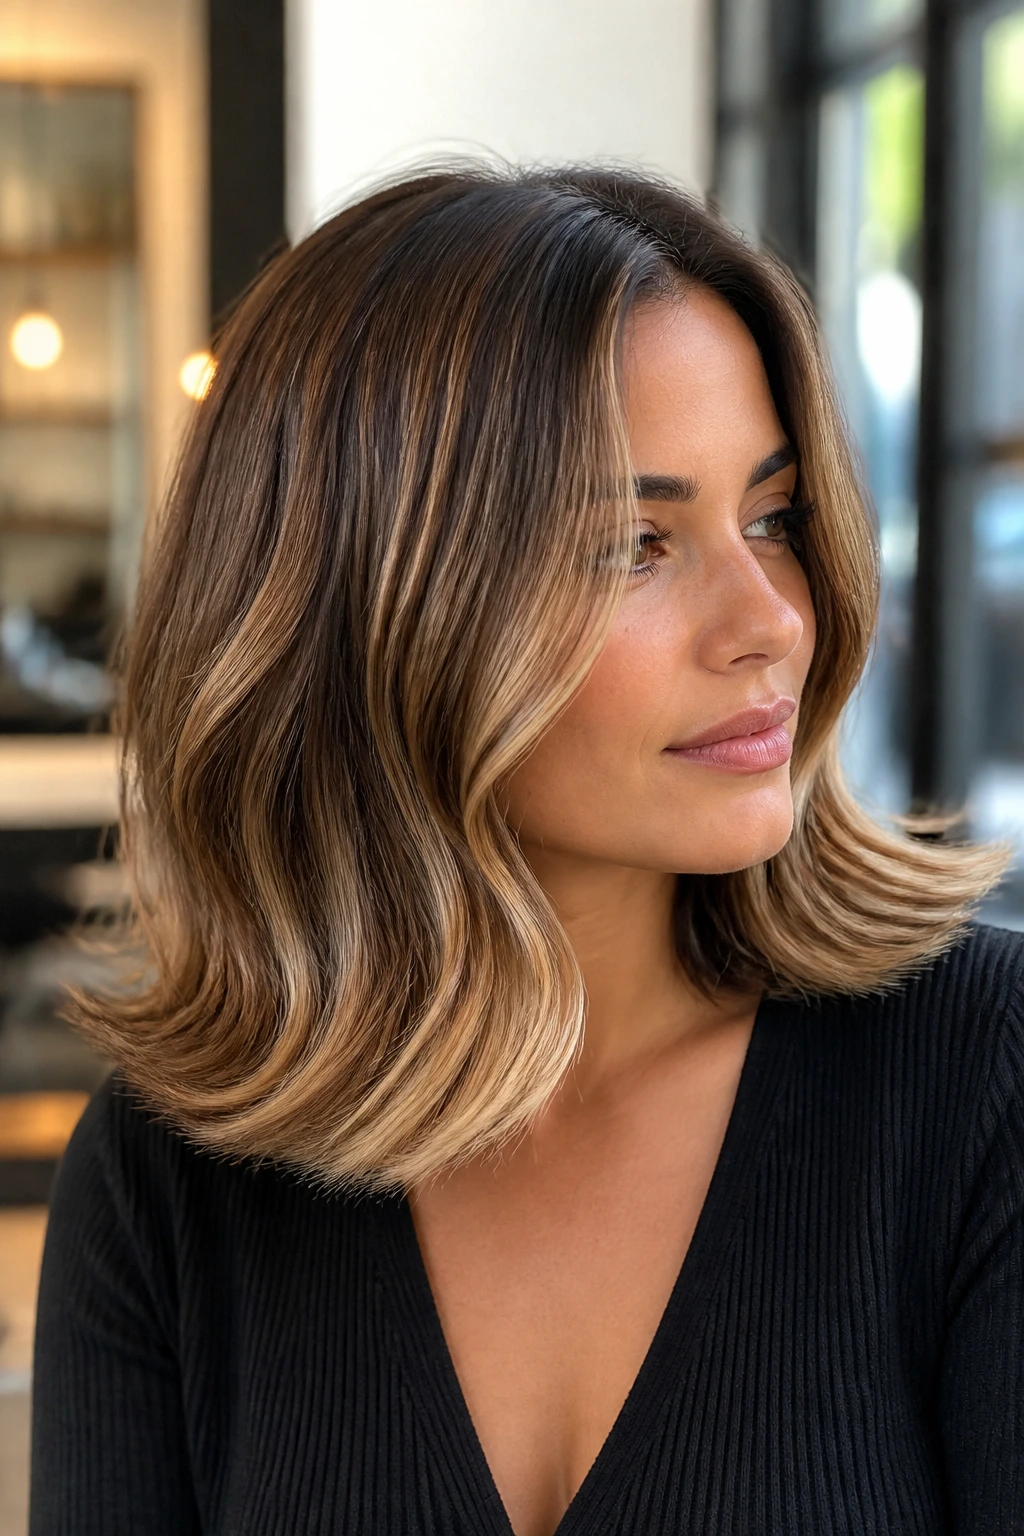
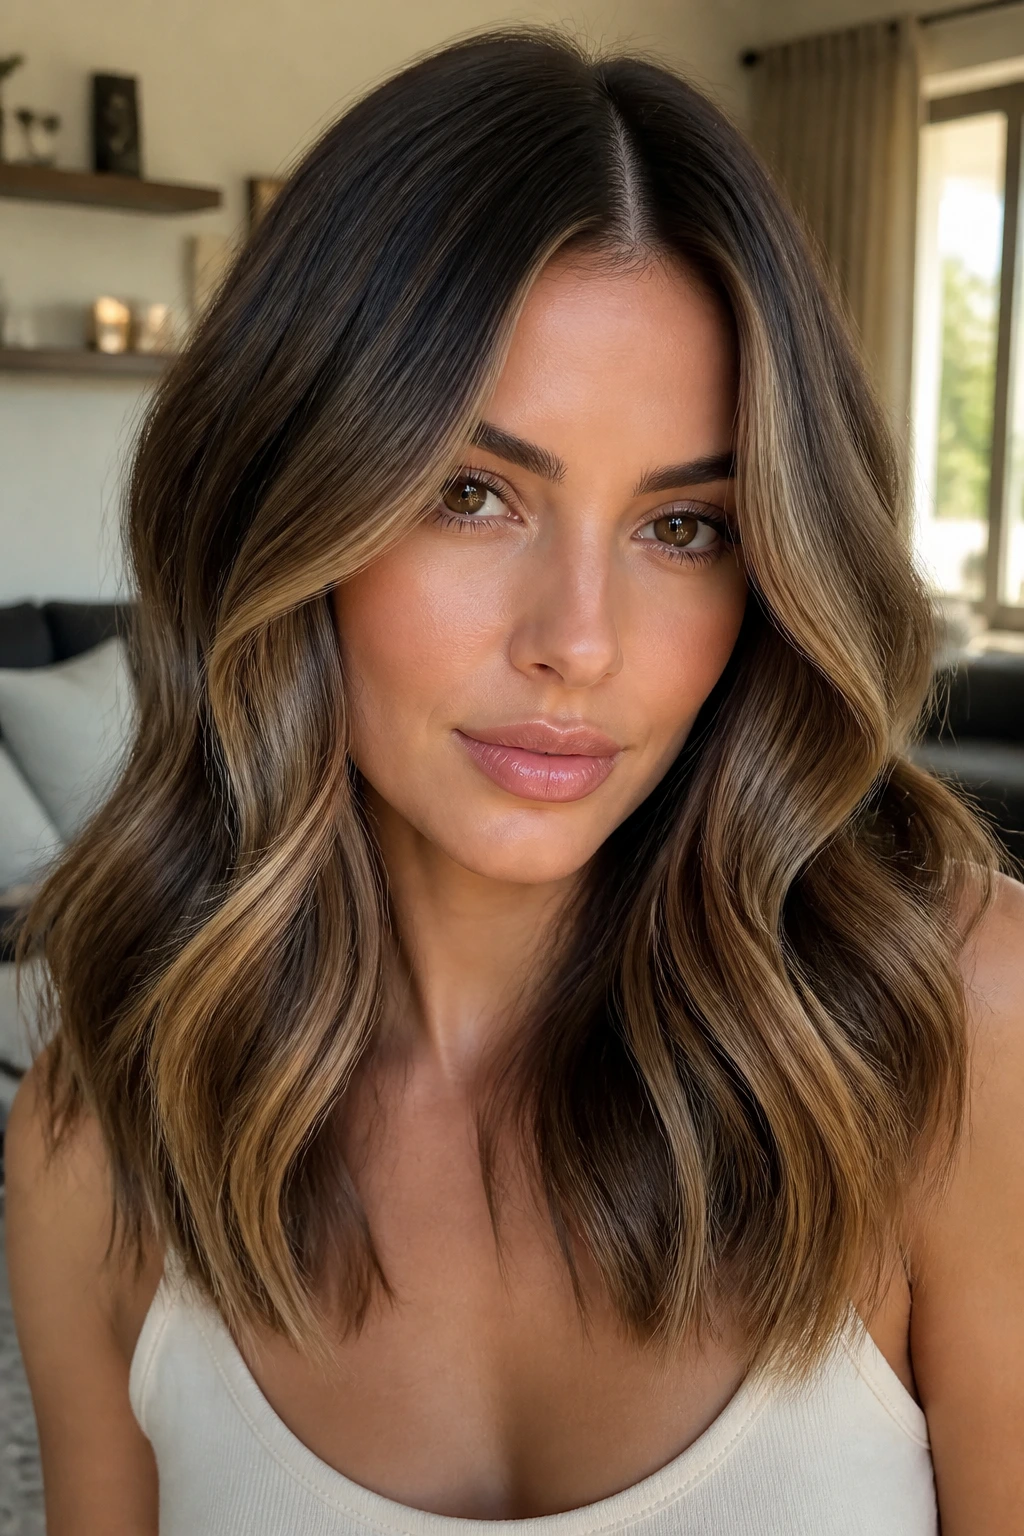
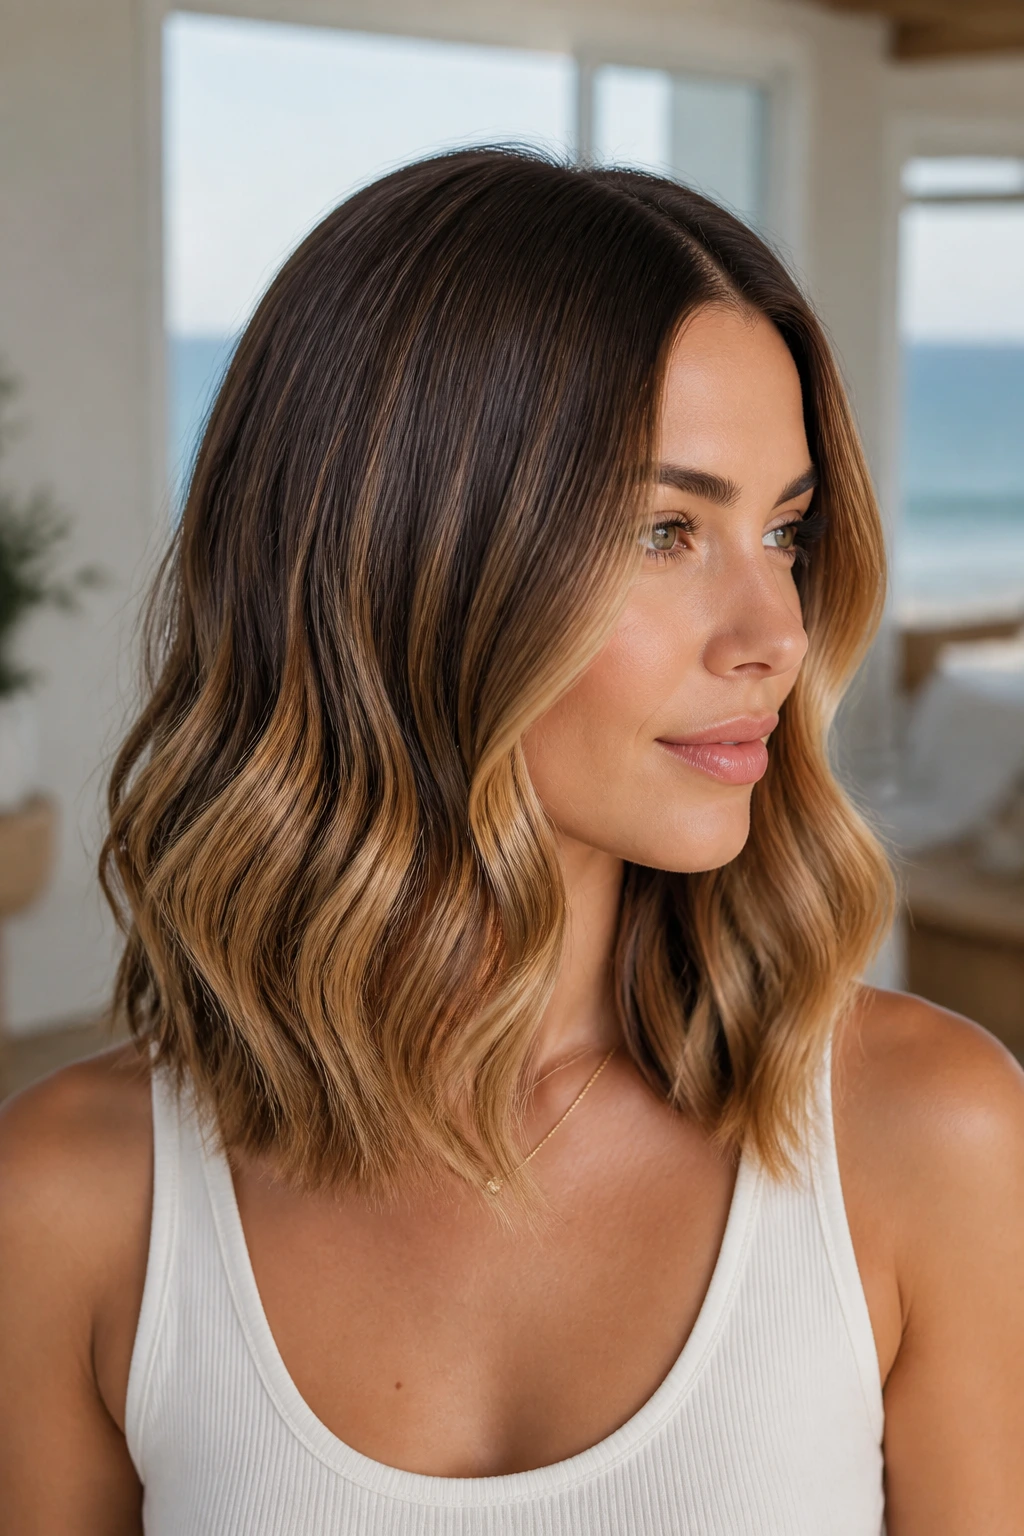
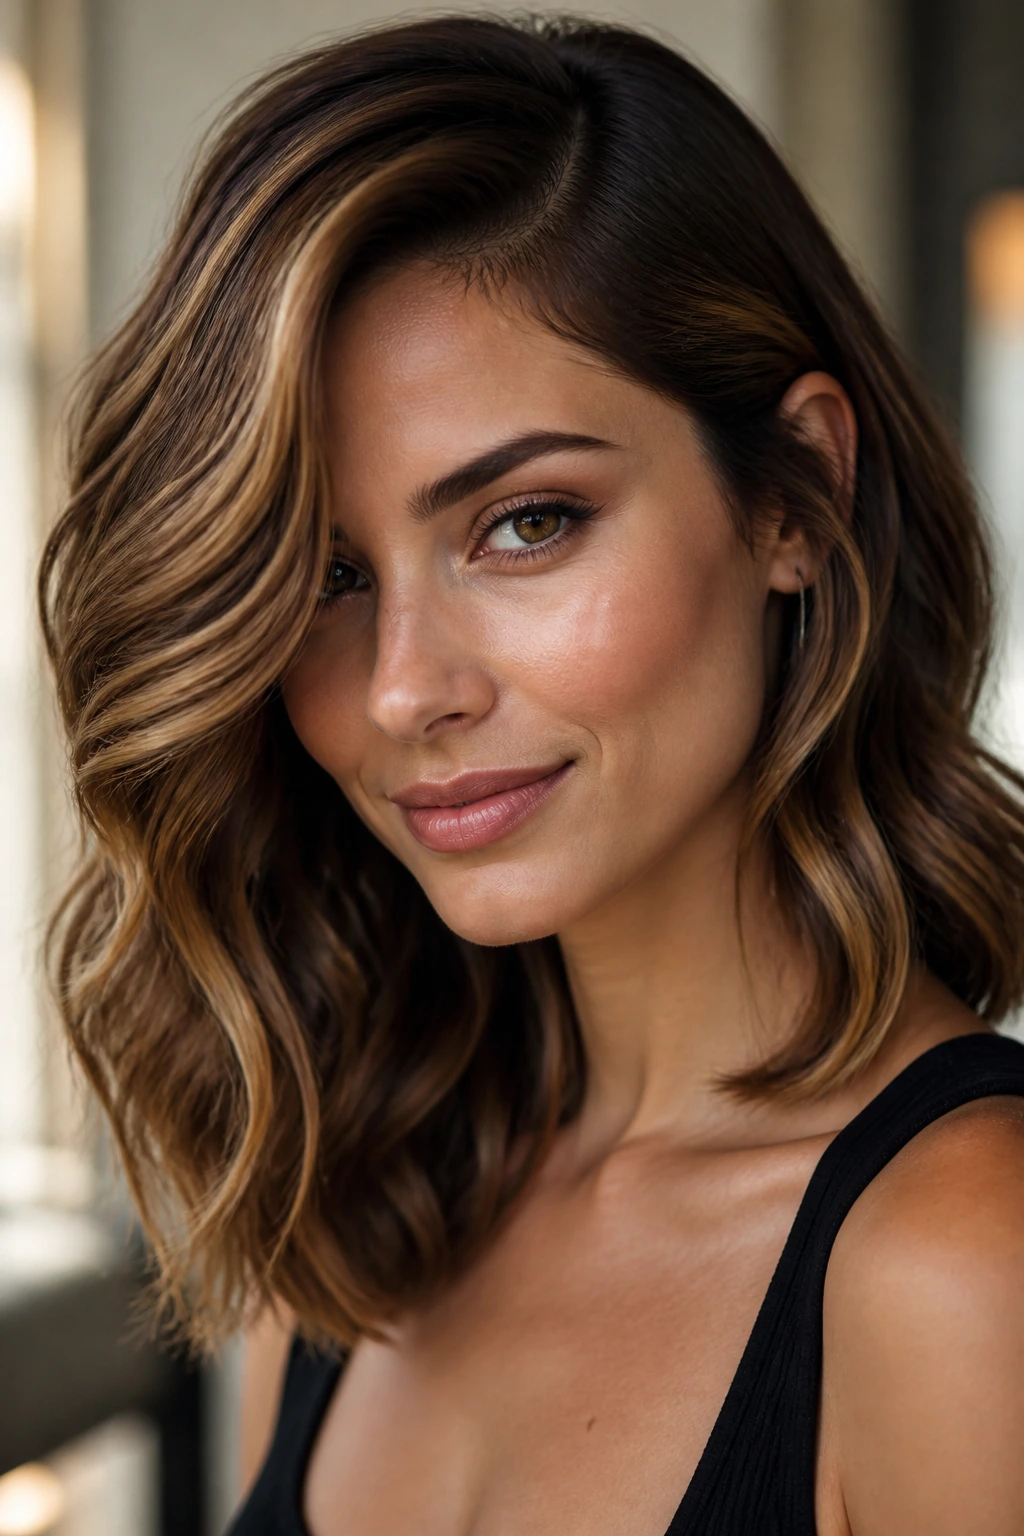
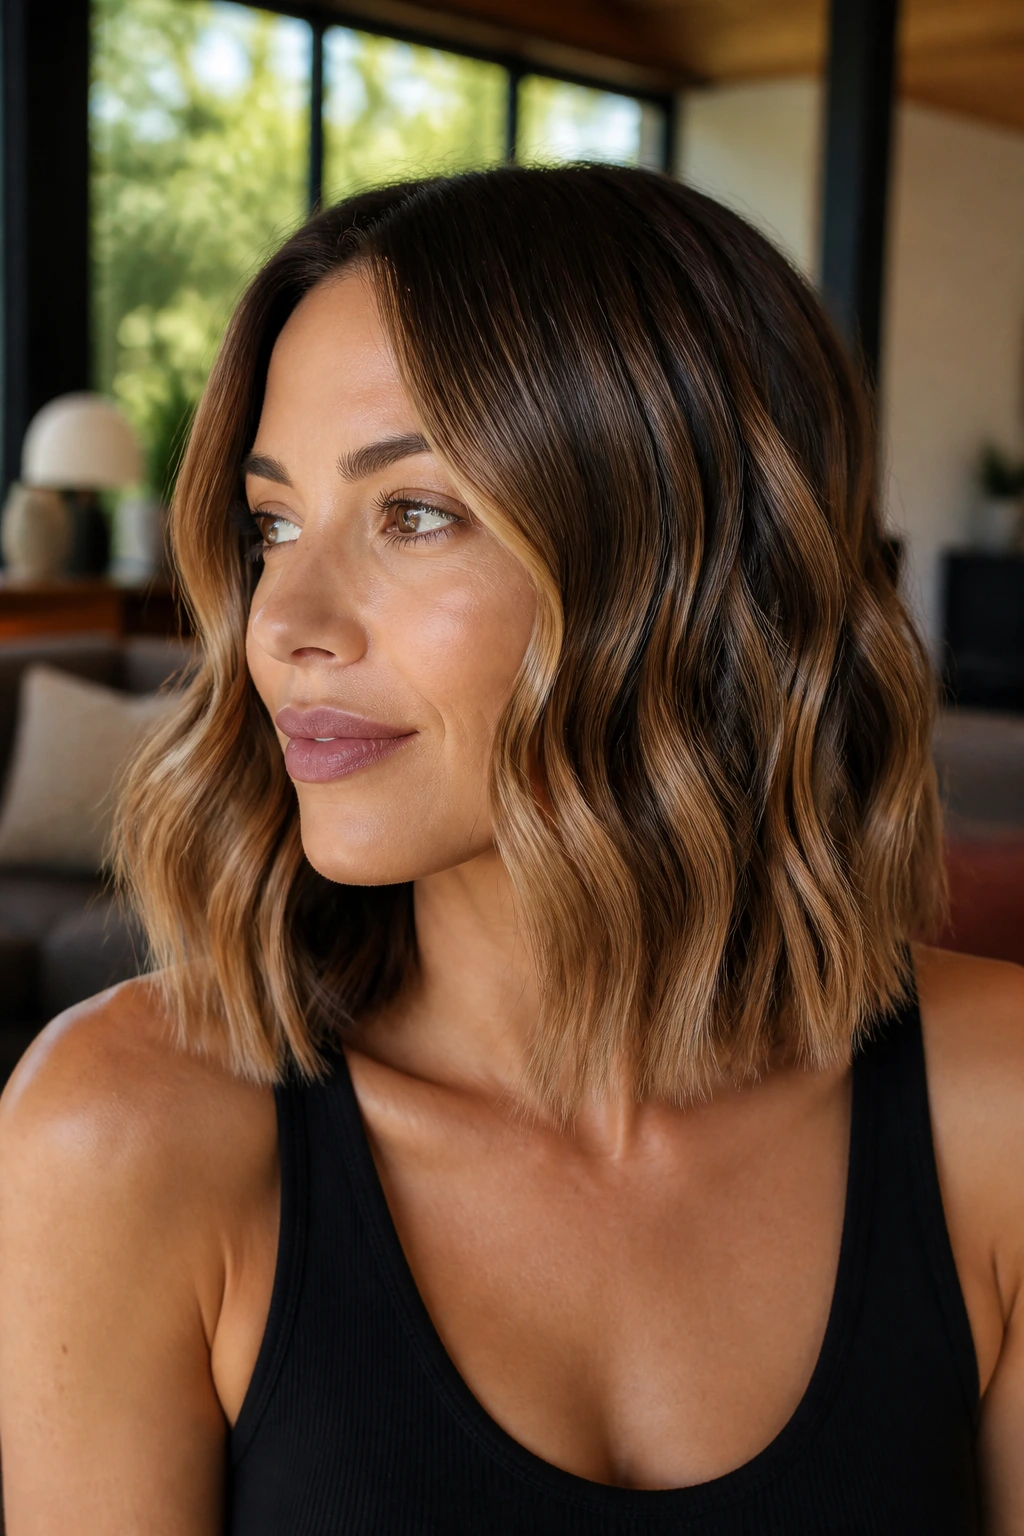
Medium hair can go limp fast when the color is too flat. Give it caramel highlights, and the whole shape wakes up: the bends look deeper, the ends look softer, and even a basic shoulder-grazing cut starts to feel intentional instead of accidental.
I keep coming back to this combo because it does so much with so little fuss. Caramel sits in that sweet spot between blonde and brunette, which means it can warm up medium-length waves without turning them streaky or loud. On a cut that lands around the collarbone or just below it, the color has enough room to move. That matters more than people think. Shorter hair can hide the ribboning. Longer hair can drag it down. Medium length is where the shine and the wave pattern actually get to talk to each other.
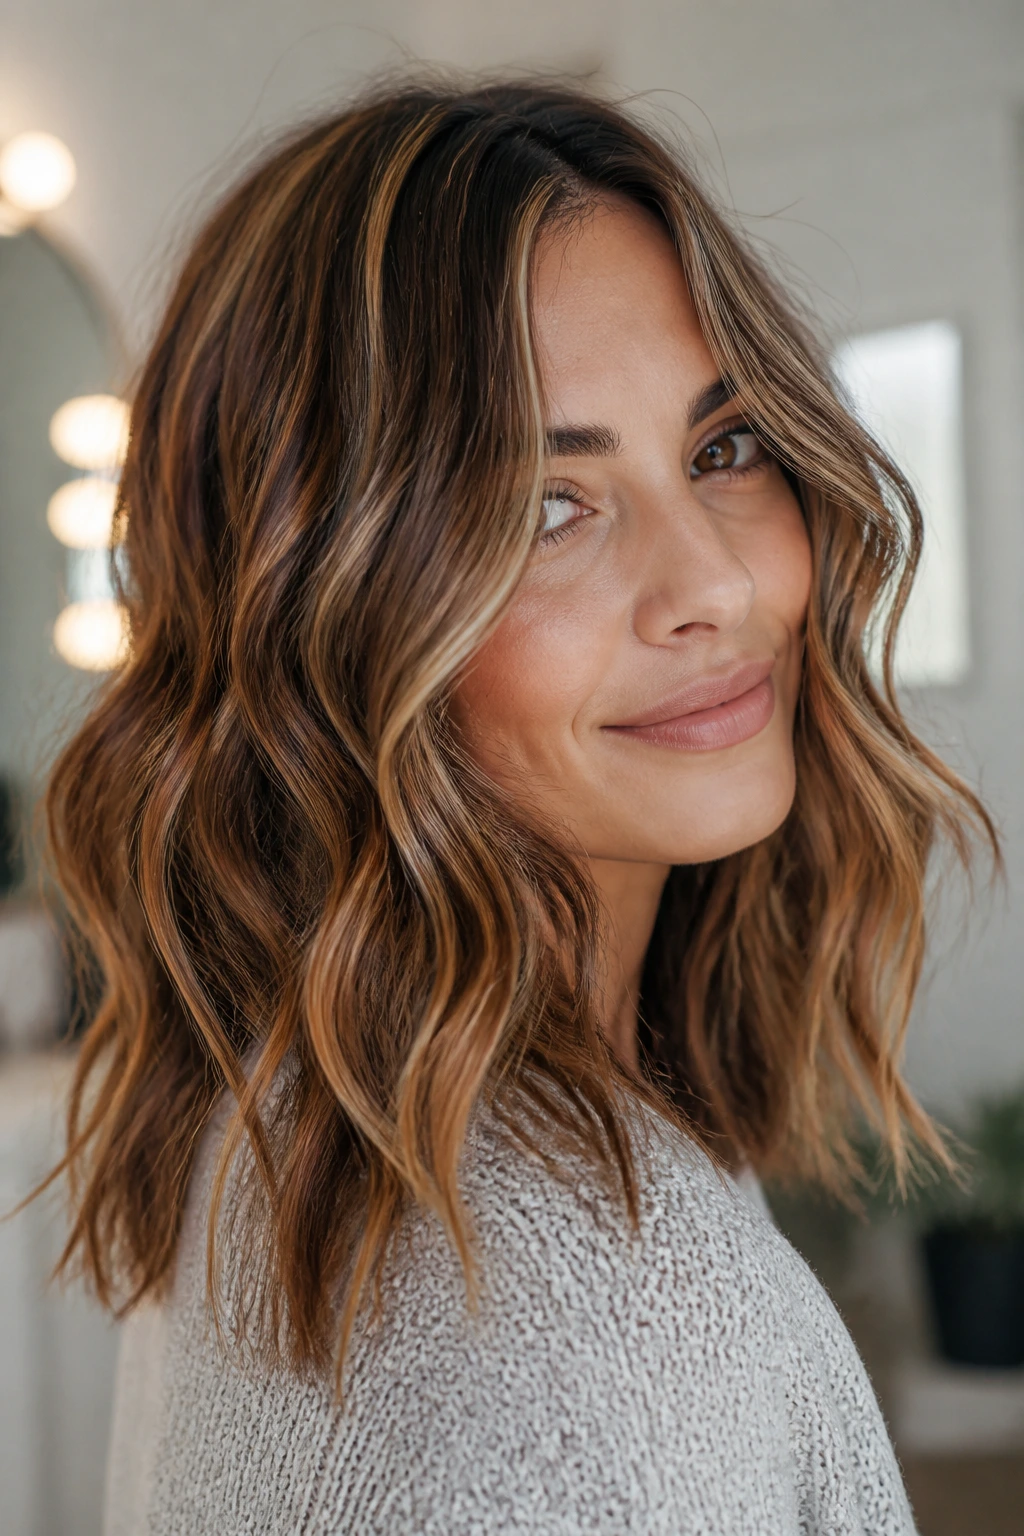
The styles below lean polished, undone, and everything between. Some depend on parting. Some depend on the way the waves are bent. A few look best when the caramel is concentrated around the face, while others need lowlights underneath so the lighter pieces don’t wash out. Start with the one that matches your hair density and your patience level, not the one that looks fanciest in a photo.
Why These 25 Looks Work So Well on Medium Hair
- Dimension Without Stripey Grow-Out: Caramel sits close enough to brunette to soften the transition line, so the roots can grow for weeks without looking harsh.
- Wave-Friendly Color Placement: The highlight ribbons show up best on bends, not just on straight strands, which is exactly why medium waves make them look richer.
- Flexible With Heat or No Heat: A 1-inch iron, a flat iron bend, or overnight braids can all land in the same family of texture here.
- Easy to Dress Up or Down: A center part and gloss spray can look dinner-ready, while the same cut with a claw clip reads casual and lived-in.
- Better Than One-Note Brown: Medium-length brunette hair can disappear in flat light; caramel breaks up the surface and keeps the cut from looking heavy.
- Not Fussy on Day Two: These styles usually loosen in a good way, so yesterday’s wave can look even better after sleeping on it.
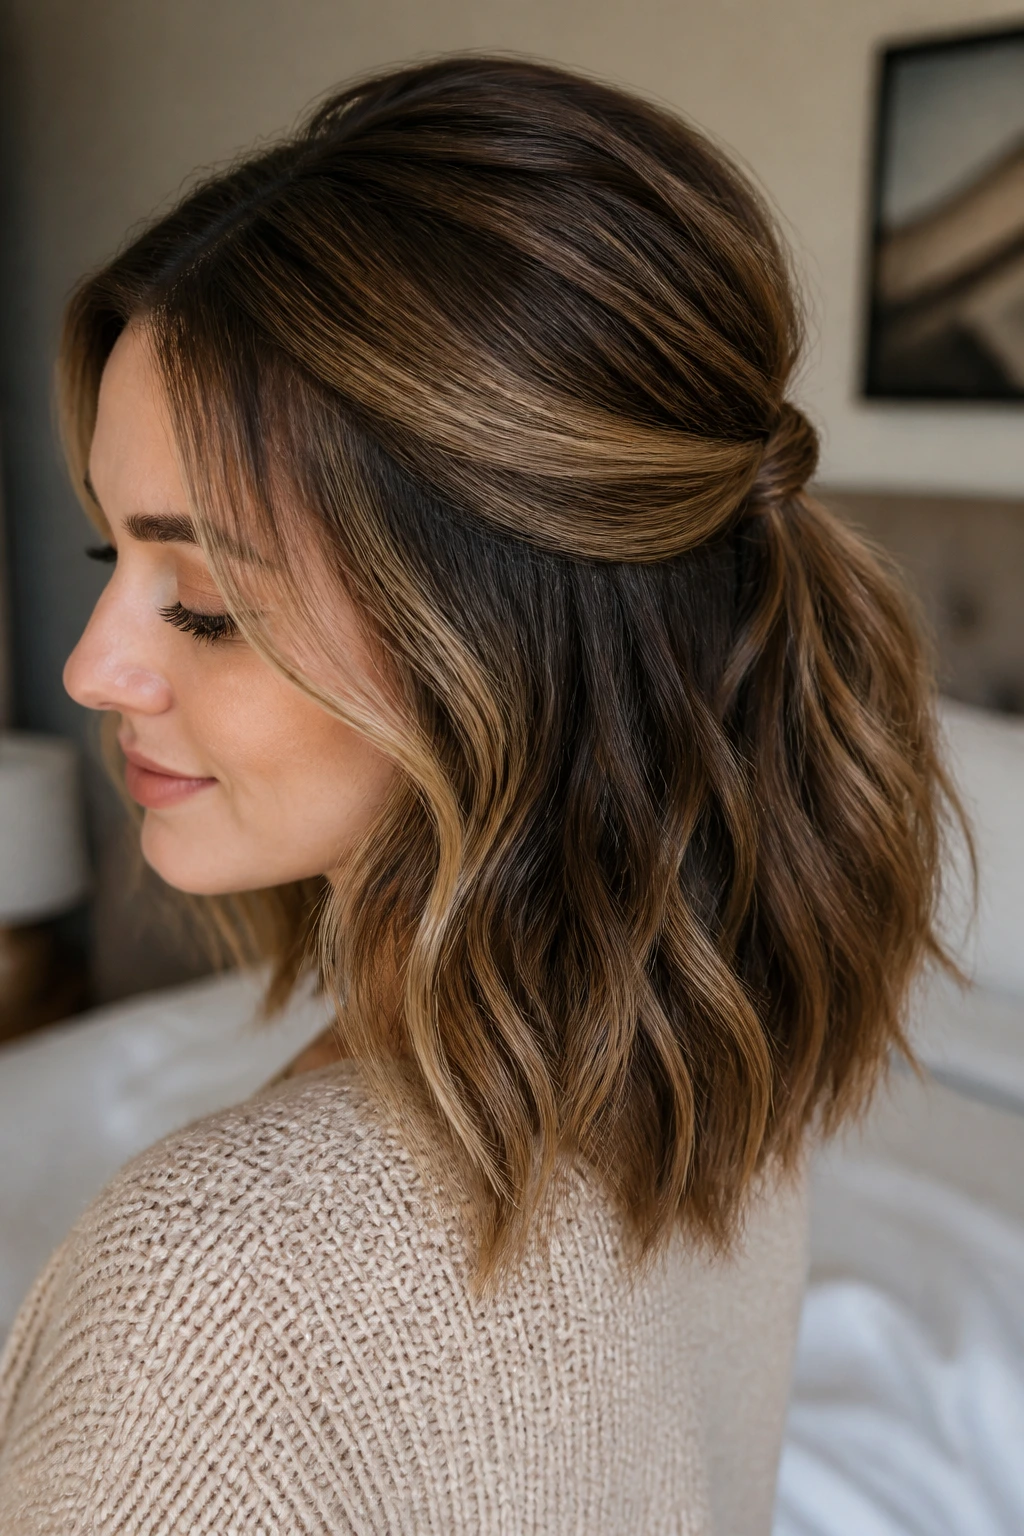
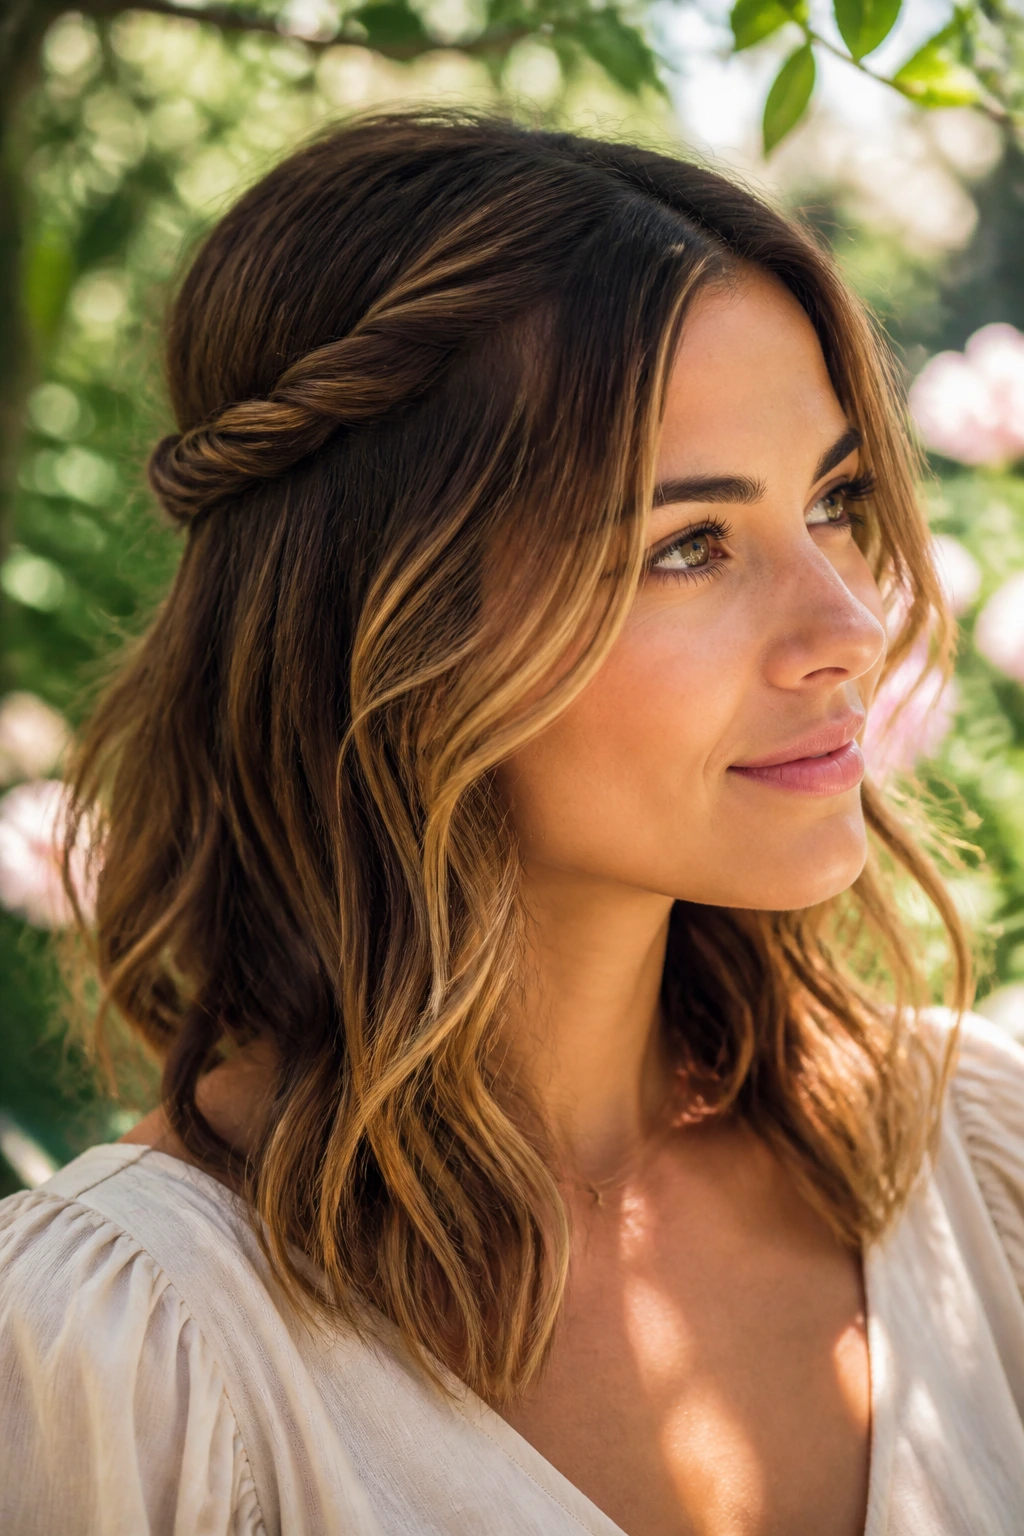
1. Center-Part Waves with Face-Framing Caramel Ribbons
A clean middle part gives medium hair a longer, leaner line, and caramel pieces near the cheeks keep it from looking severe. The best version of this style is soft, not curled to death. You want the wave to bend around the jaw and then relax into the ends, where the lighter color can catch a little shine.
Why it works
The center part creates symmetry, which makes the face-framing highlights look deliberate instead of scattered. On shoulder-length hair, that symmetry also stops the style from collapsing into the neck. If your colorist places the brightest caramel two inches away from the hairline and threads a few lighter ribbons through the mid-lengths, the result is much more dimensional than a solid all-over light brown.
Quick styling notes
- Use a 1-inch curling wand and wrap sections away from the face.
- Leave the last inch out on each piece so the ends stay soft.
- Finish with a light mist of shine spray, not a heavy oil.
- Tuck one side behind the ear if you want the highlight placement to show up faster.
My take: this is the most wearable version of the whole bunch. It’s tidy, but not stiff.
2. Deep Side-Part Glam Waves
A deep side part does half the work for you. It gives medium-length hair instant drama, then lets the caramel highlights sweep across the heavier side like they were painted there on purpose. The trick is keeping the wave pattern broad, not too tight.
That broader bend matters because caramel can look busy if you crowd it with small curls. I like a 1.25-inch barrel here, with every other section wrapped in the opposite direction. Let the curls cool completely before brushing them out. If you rush that part, the style drops in a dull, lumpy way instead of forming those soft, glossy waves.
A side part also makes this cut feel more balanced if your hair is on the finer side. The extra lift at the crown keeps the medium length from hugging your head too closely. Pin the front section for a few minutes while it cools, and the wave will hold its shape better near the part.
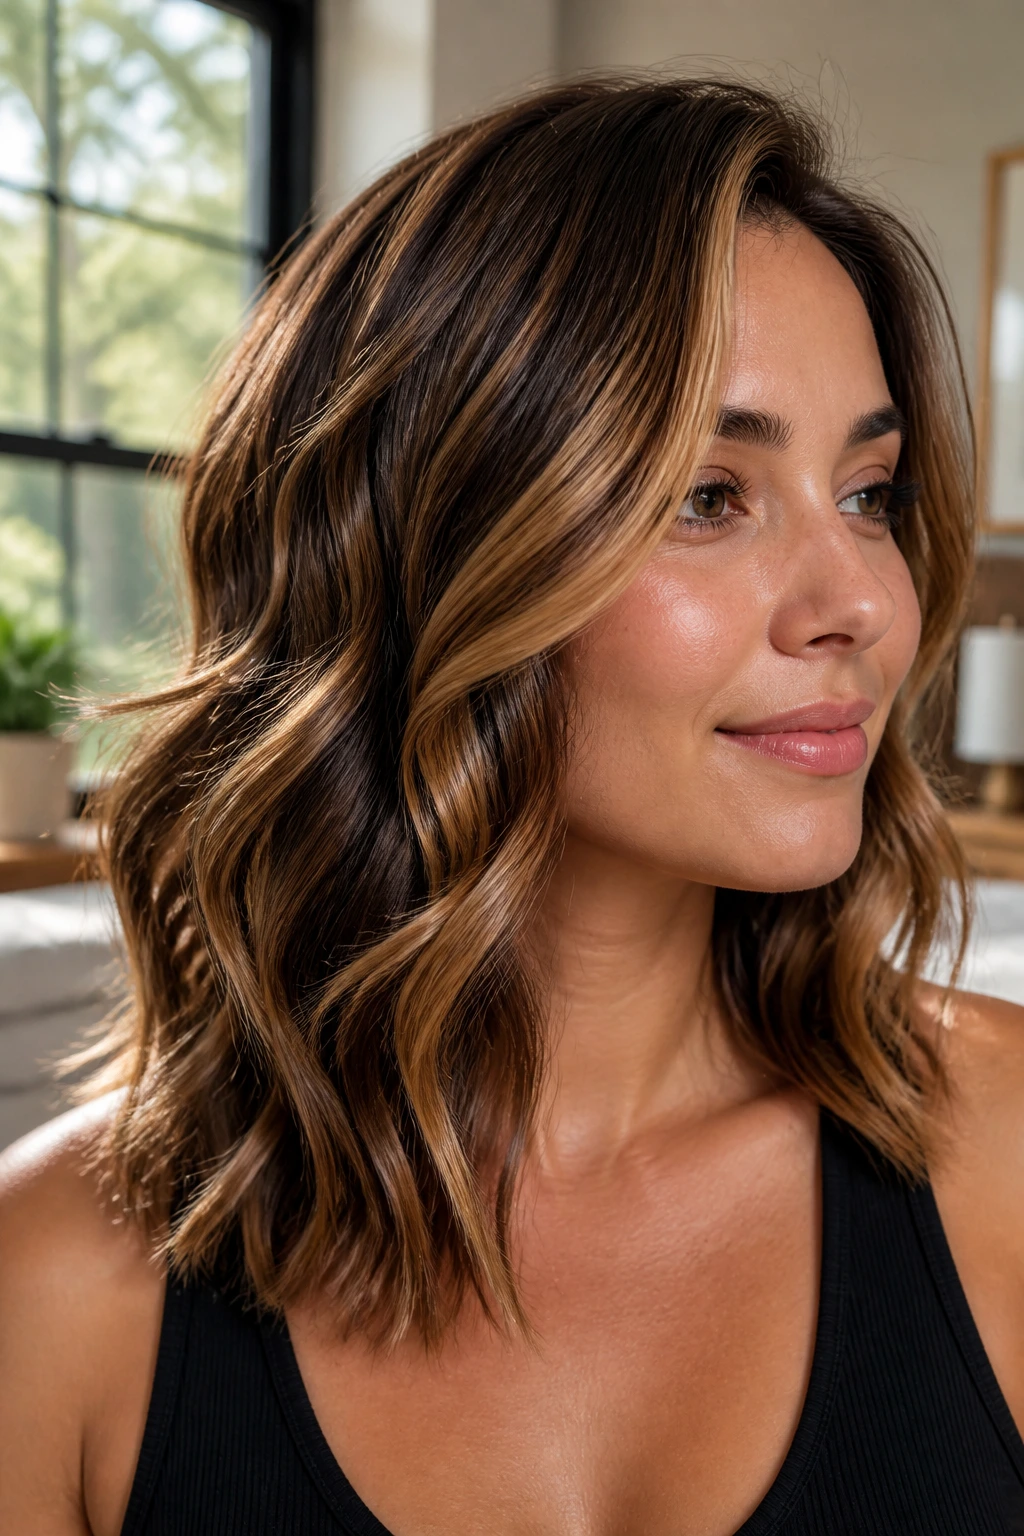
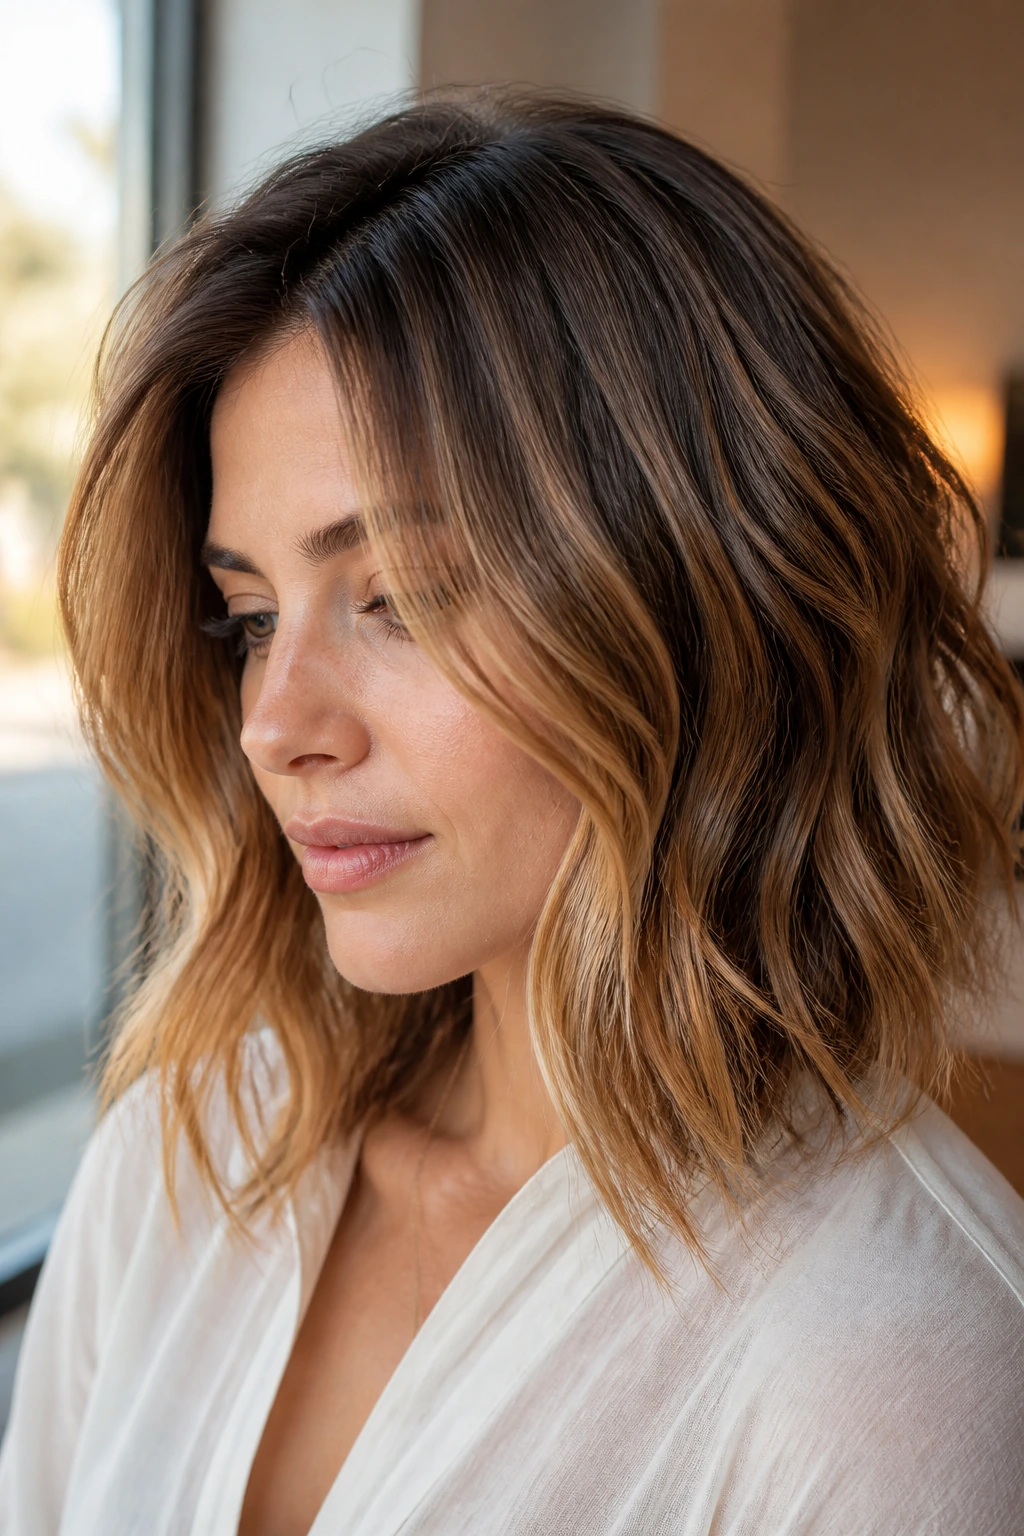
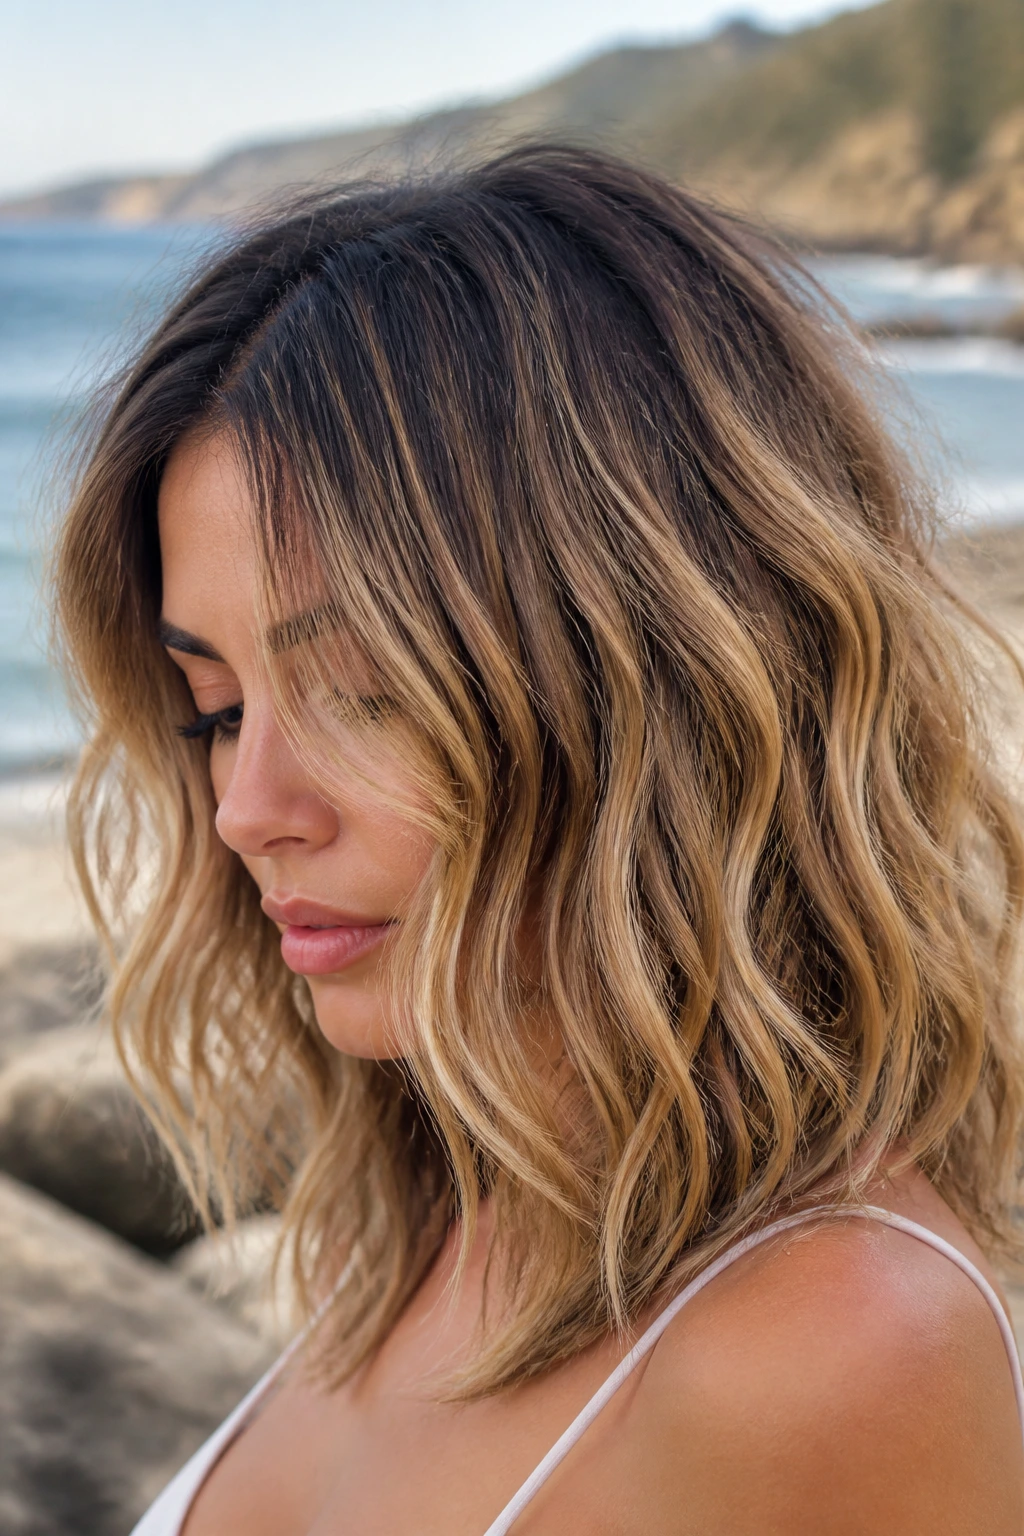
3. Tousled Beach Waves with Shadowed Roots
Why do beach waves and caramel highlights get along so well? Because neither one asks to be too perfect. The darker root gives the warmer pieces somewhere to land, and the loose texture keeps the whole color story from looking striped.
This style works best when the caramel is scattered through the mid-lengths and ends, not packed right at the root. Ask for a soft shadow root if you color your hair at the salon. That tiny bit of depth at the scalp makes the lighter ribbons look richer and helps the grow-out stay calmer. On medium hair, that’s a useful trick. You don’t need to keep chasing your next appointment.
How to wear it
- Mist damp hair with a salt spray and leave-in mix.
- Scrunch, then diffuse until about 80% dry.
- Twist a few random pieces around your fingers while the hair is still warm.
- Break the waves apart with dry hands, not a brush.
It should feel a little rough, but not crunchy. That line matters.
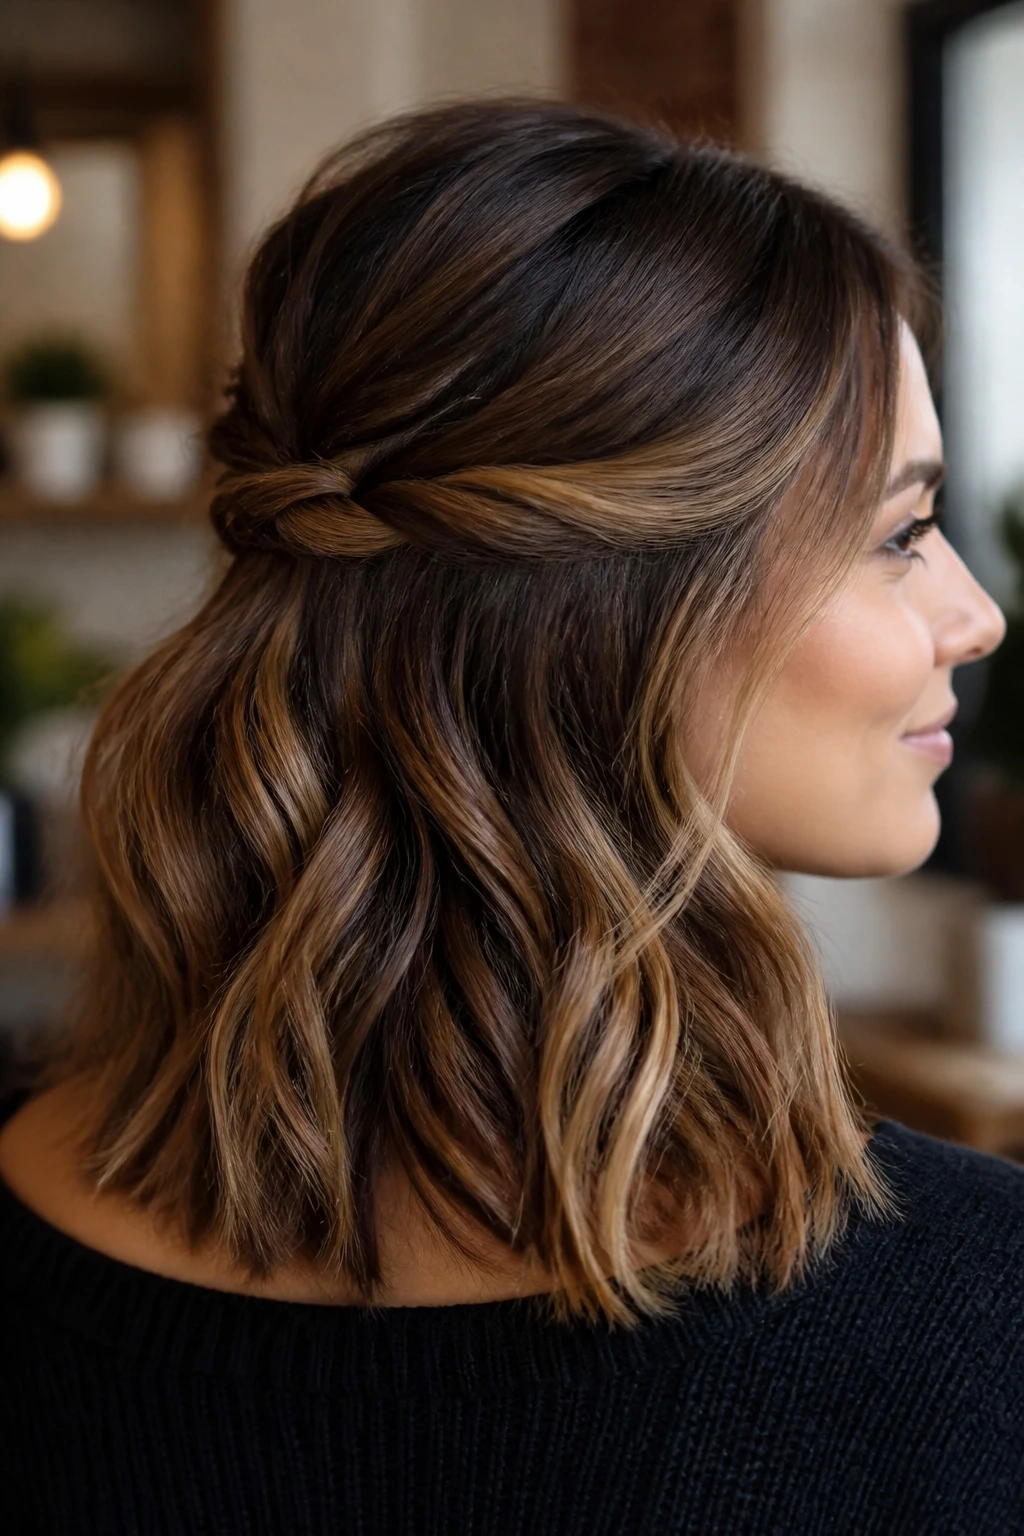
4. Half-Up Twist with Loose Waves
Medium hair is the length that makes a half-up twist behave. It’s long enough to stay put, short enough to keep the top from sagging by noon. Add caramel highlights and the twist becomes more interesting, because the lighter strands show up inside the knot and around the nape.
This one is useful on second-day hair, especially if the front pieces have started to lose shape. Pull back only the top third, twist each side inward, and secure them at the back with a small clip or clear elastic. Leave the bottom loose and wave the ends away from the face. The contrast between the controlled top and the soft lower section gives the caramel a chance to show in two different places.
If your ends are dry, this is also a kinder style than a full updo. It lets the healthier mid-lengths do the visual work while the rougher tips sit back a little.
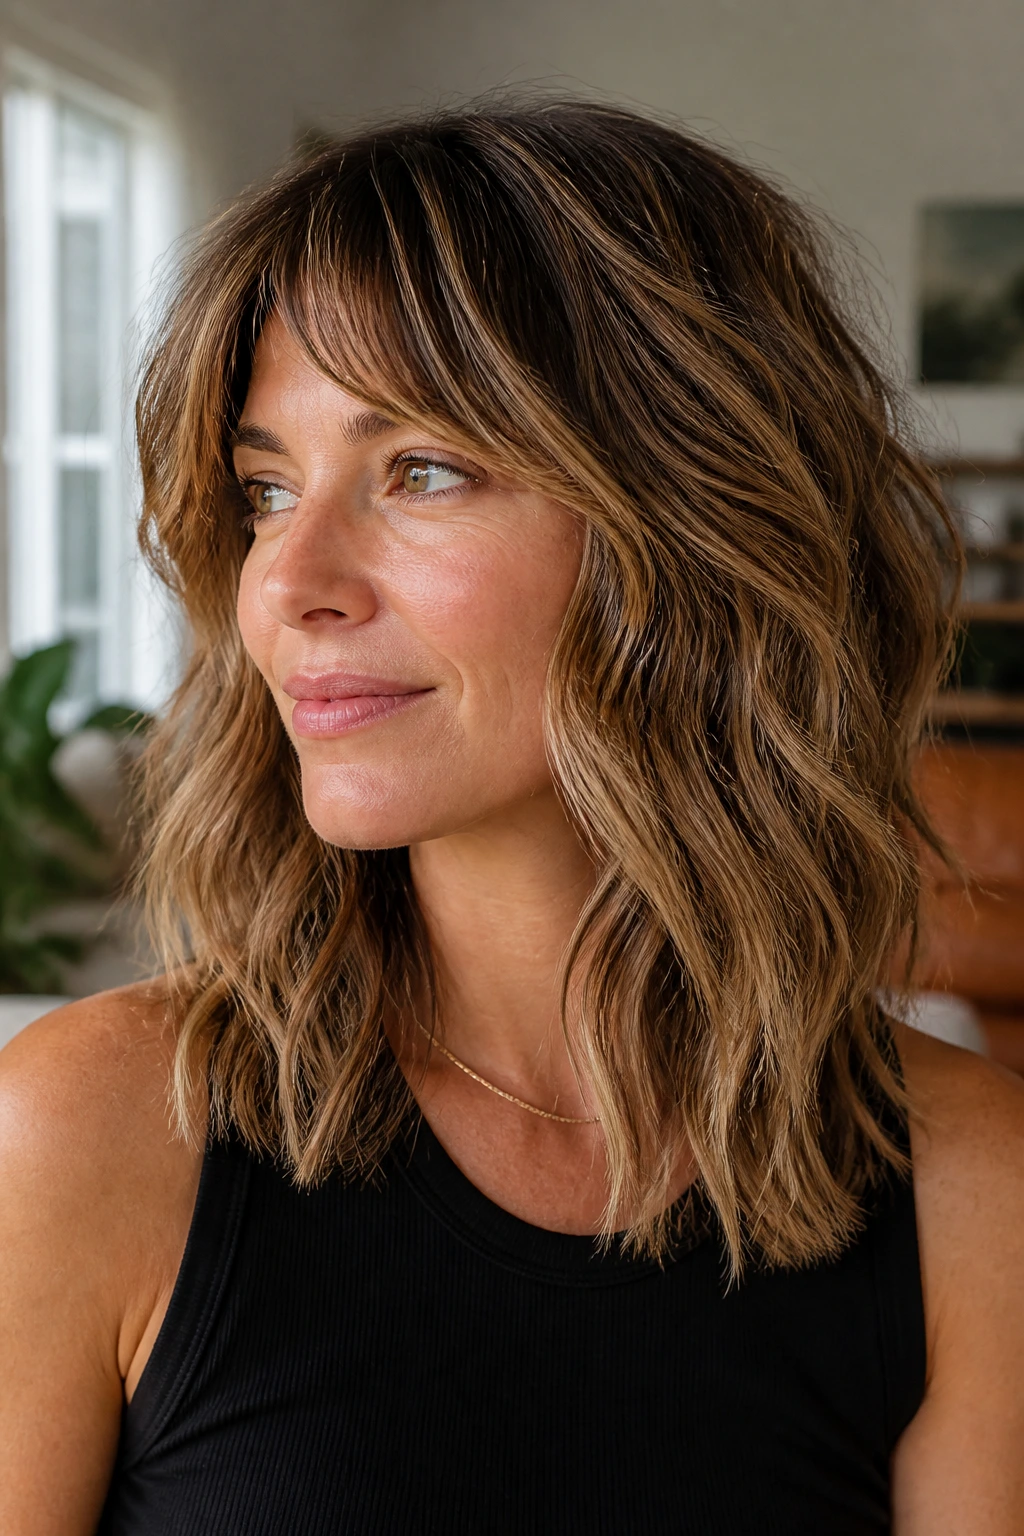
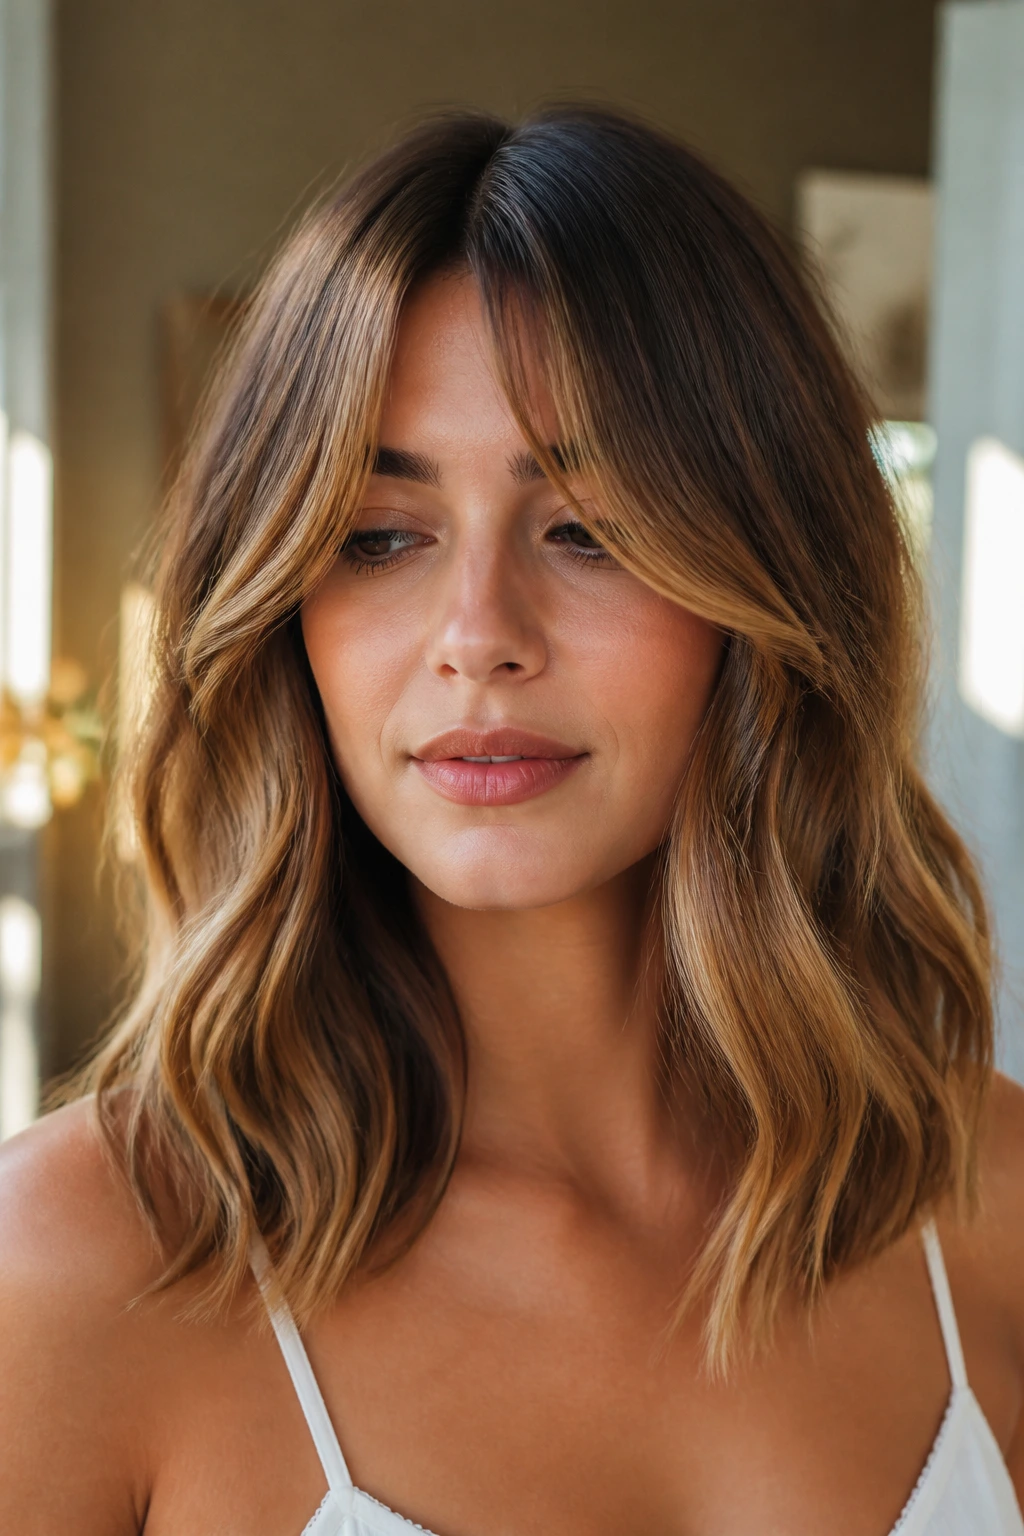
5. Curtain Bang Waves
Curtain bangs are a cheat code for caramel highlights. They push the lightest pieces straight into the area people notice first: cheekbones, eyes, and the outer edges of the face. On medium hair, that shape keeps the cut from feeling heavy across the forehead.
The bang itself should move, not sit like a curtain rod. Blow-dry the fringe with a round brush or bend it lightly with a flat iron so it splits down the middle and curves outward. Then let the rest of the hair fall into loose waves that start below the chin. If the waves begin too high, the bangs and the lengths fight for attention.
The best caramel placement here sits in two zones: brighter around the bangs and softer through the lower half. That contrast keeps the style from turning into one big warm blur. I like this look when the hair is cut with layers that start around the collarbone. Anything shorter tends to puff up around the face.
6. Blunt Lob with S-Bend Waves
A blunt lob gives medium hair a strong edge, and the S-bend wave softens it just enough. That combination is cleaner than loose curls. It lets the caramel highlights read in wide panels instead of tiny flickers, which is exactly why the style looks so sharp.
Use a flat iron if you want the cleanest bend. Clamp a section, twist your wrist slightly, and move down the strand in a gentle zigzag. Do not overthink the wave. The point is to create a long, smooth pattern that shows off the color placement. The blunt ends keep the shape grounded, so the light ribbons don’t disappear into layers.
This style is best when your hair is medium-thick. Fine hair can still wear it, but the bends should stay soft and fewer in number. Too many S-waves on fine hair and the whole thing turns frizzy at the bottom.
7. Messy Claw-Clip Waves
Not every clip-up style is lazy. This one has enough shape to look deliberate. Leave the lower half of the hair in loose waves, twist the top section, and pin it with a claw clip so the caramel strands spill around the temples and nape.
The beauty of this look is that the highlight placement does not have to be perfect. In fact, a little irregularity helps. The clip creates a fold in the hair, and the caramel pieces around that fold catch the light in a way that straight hair never will. If your medium cut is layered, even better. The shorter face-framing pieces slip loose on purpose and soften the whole thing.
I like this style when the waves are brushed out just once. Over-brushed hair loses the bend and starts looking limp. You want loose shape with a few imperfect ends. That’s where the charm lives.
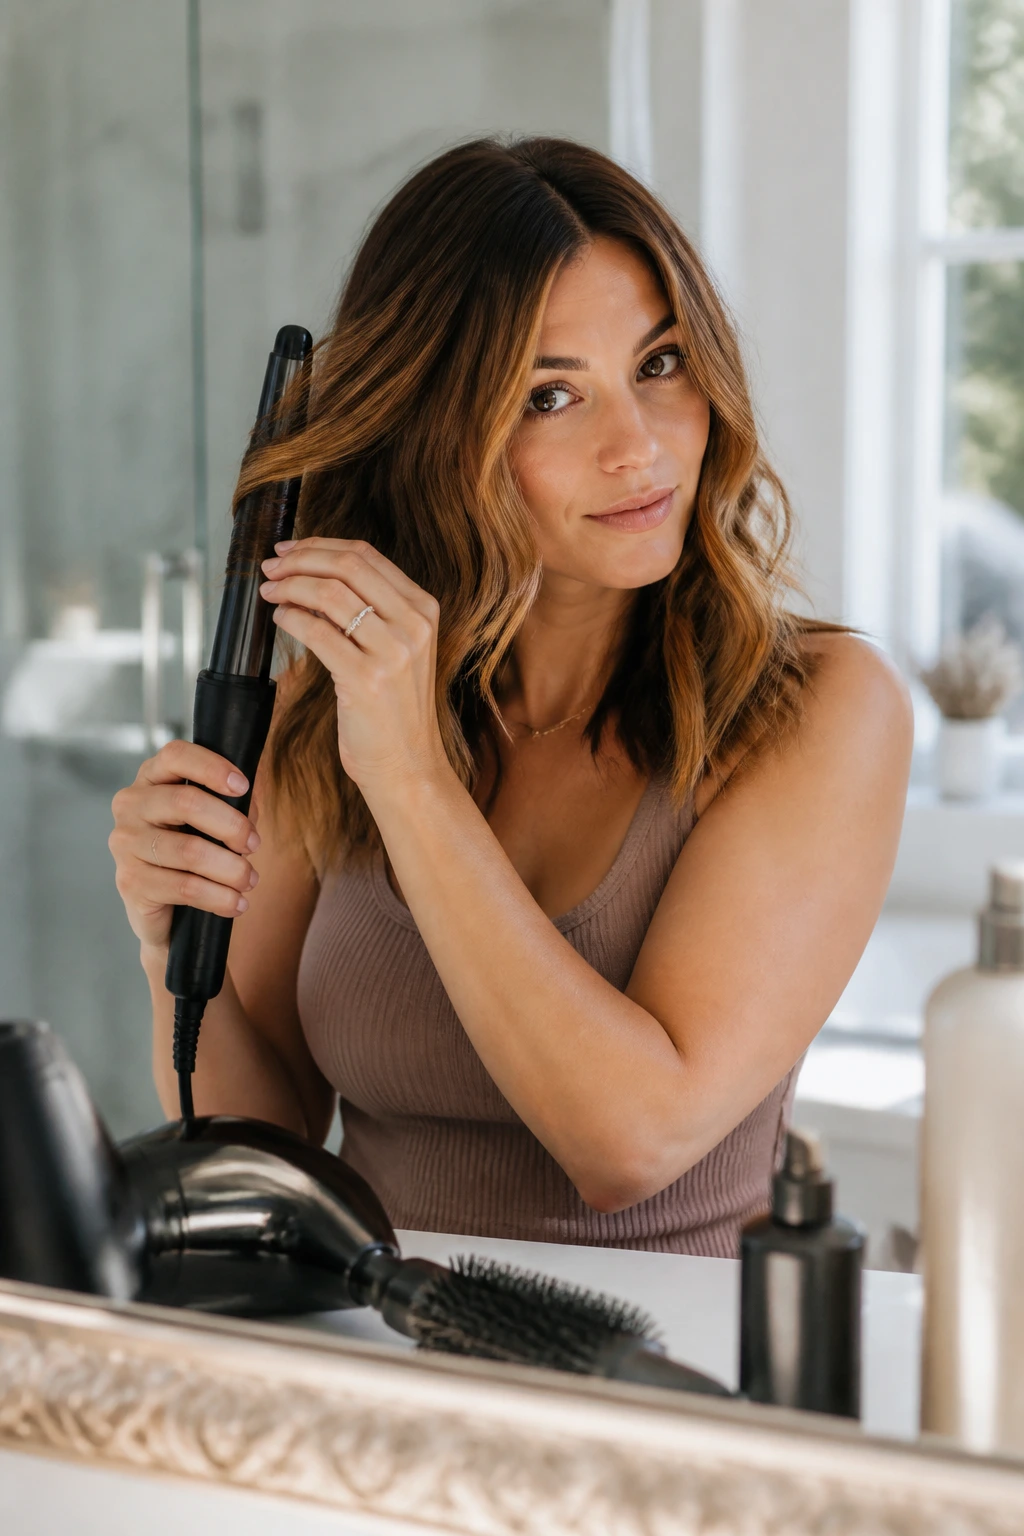
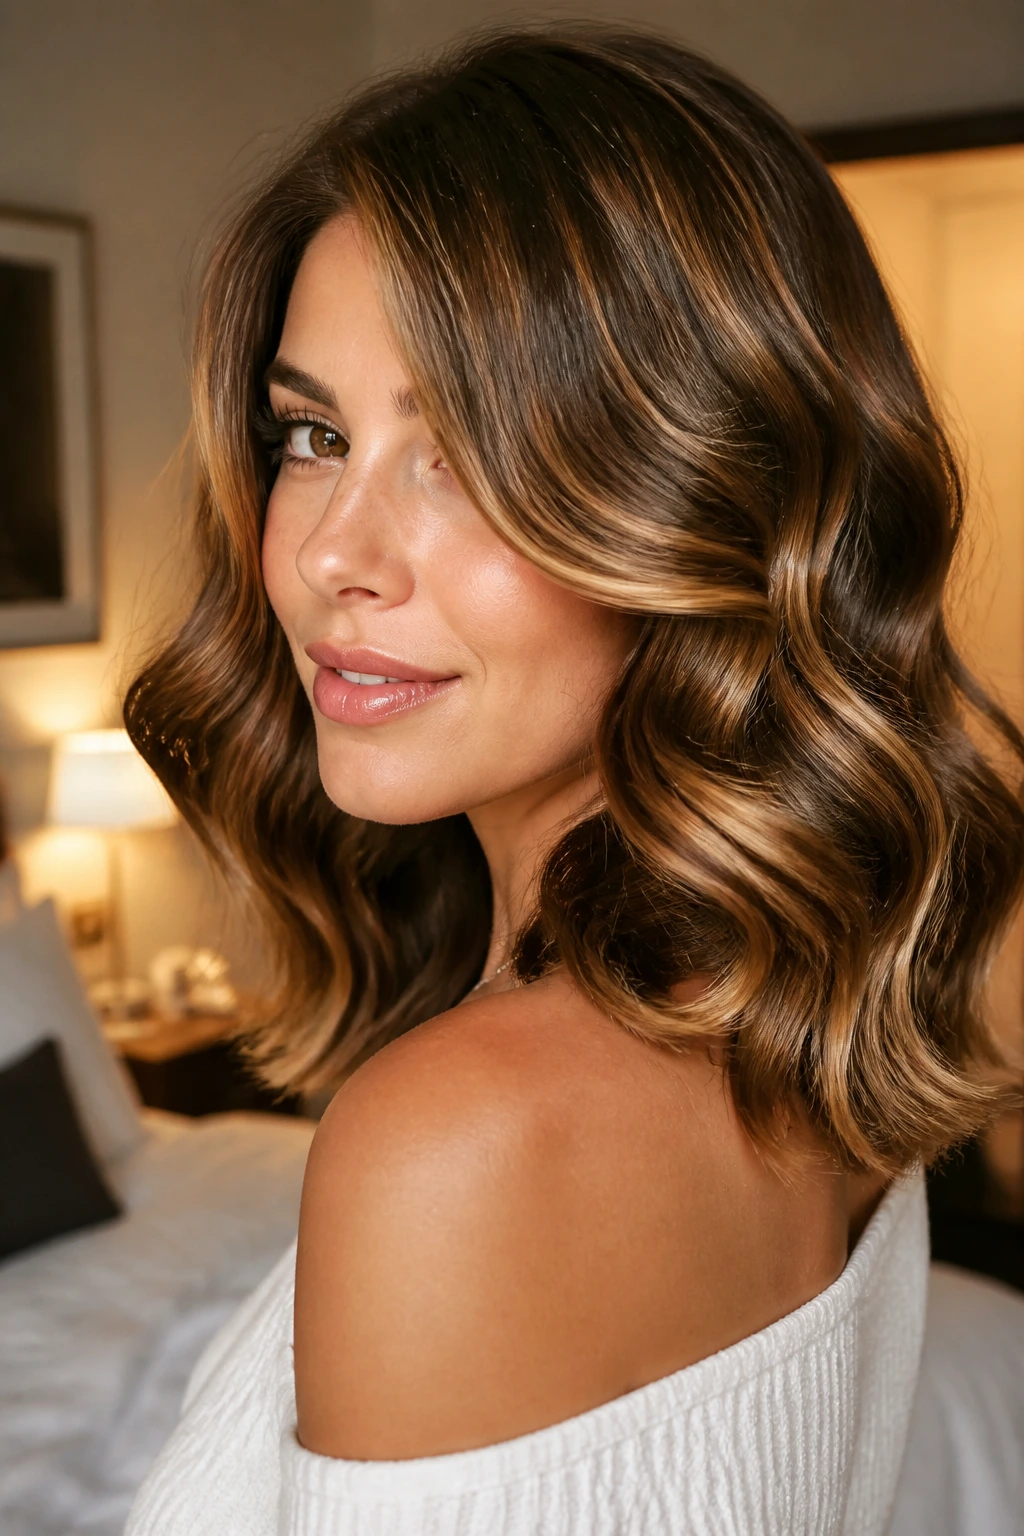
8. Barrel Waves with a Gloss Finish
Barrel waves are the polished cousin of beach texture. They’re rounder, smoother, and a little more dressed up, which makes caramel highlights look richer because the light travels across the curve instead of stopping at a kink.
A 1.25-inch curling iron is the sweet spot on medium hair. Wrap sections away from the face, hold for eight to ten seconds, and let them cool in your hand before dropping them. Then brush everything out with a boar-bristle brush or a wide paddle brush. The brush step is what turns curls into waves. Skip it and the style stays too formal.
Finish with a gloss spray or a single drop of serum on the ends. Not on the roots. The roots need lift, especially if your caramel pieces are concentrated around the face. This is one of those looks that can go shiny fast, so use less product than you think. The hair should move when you turn your head.
9. Braided Crown Waves
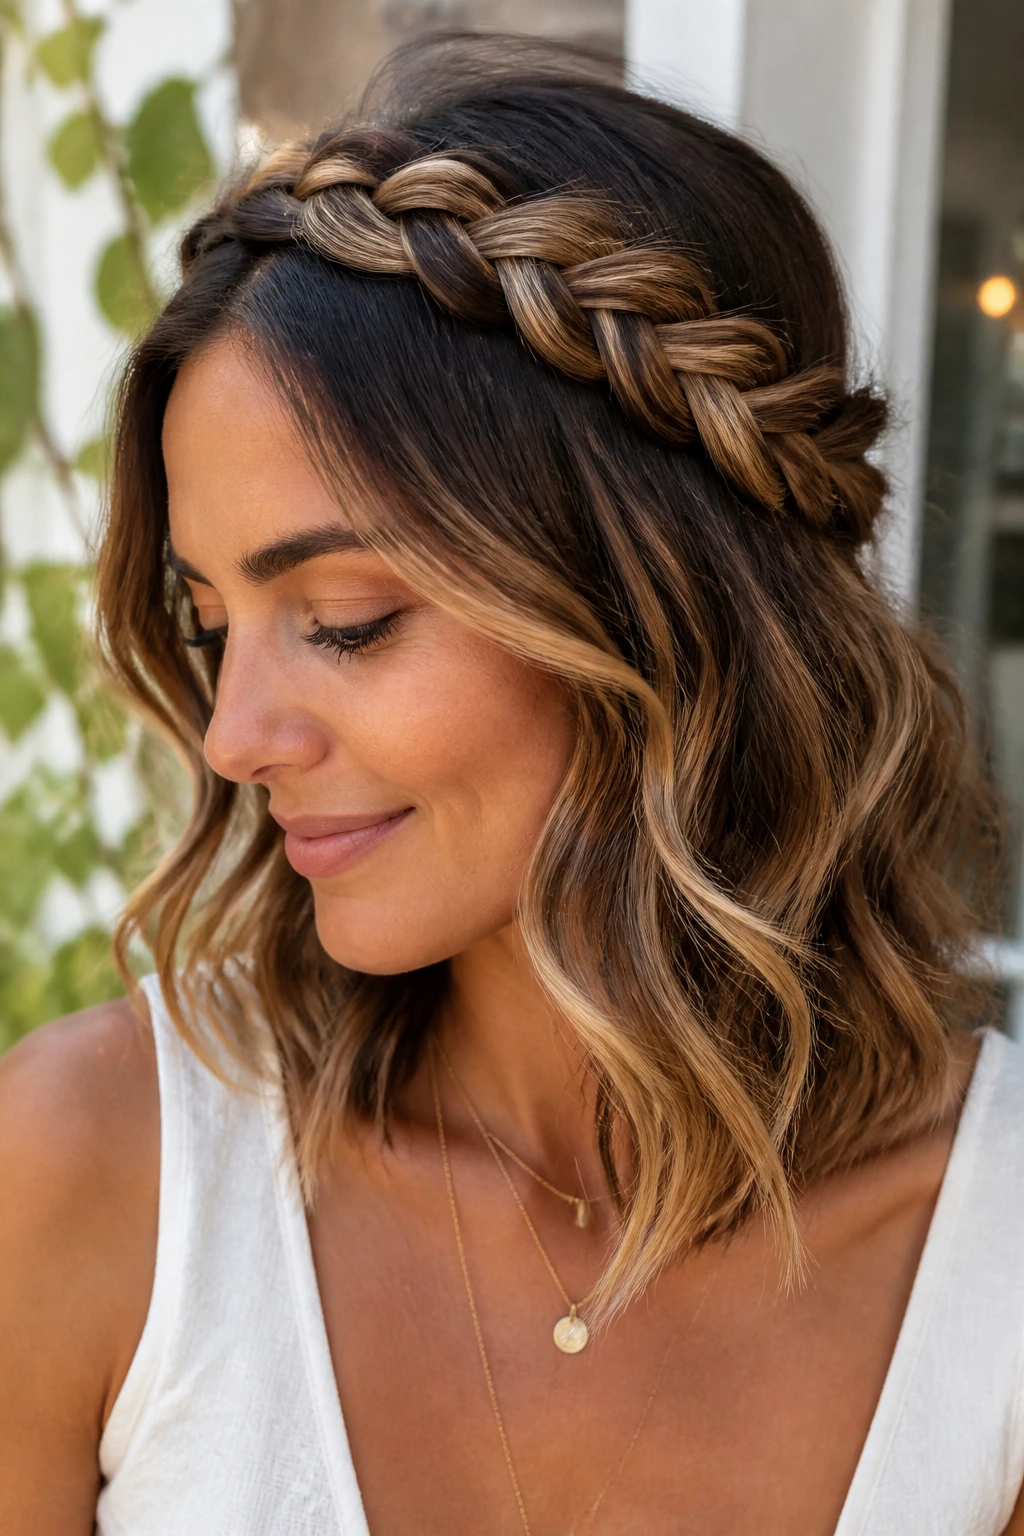
A braided crown can look fussy on very long hair. On medium hair, it stays lighter and more useful. The braid sits close to the head, and the loose waves underneath keep the caramel highlights visible instead of burying them under a heavy weave.
This style works best when the braid starts at one temple and crosses over just above the ear. Leave the bottom half soft and slightly messy. The crown braid gives the hair a built-in frame, while the waves below show off the lighter ribbons through the mid-lengths and ends. If your color is more on the honey-caramel side, this is a lovely way to make it feel less flat.
A tiny detail matters here: pull a few strands loose around the hairline. Too tight, and the look feels stern. Too loose, and the braid falls apart. You want the in-between version. That’s the one that actually holds.
10. Wavy Shag with Choppy Ends
A shag gives medium hair movement where it needs it most: around the cheeks, jaw, and shoulders. Add caramel highlights and the whole cut starts to feel airy instead of dense. The choppy ends keep the color from pooling into one heavy band at the bottom.
This is the style I’d point someone toward if they like texture more than polish. It doesn’t need a perfect curl pattern. A mousse at the roots, a rough-dry, and a few bendy pieces with a flat iron are enough. The highlight placement should be broken up, too. Ask for lighter ribbons around the face and through the upper layers, then keep the underside a touch deeper so the cut has shadow.
Best for: hair that tends to puff at the ends.
Best barrel size: 1 inch or smaller, but only on the pieces that need help.
Best finish: dry texture spray, not sticky hairspray.
There’s a reason shag cuts keep coming back. They give the light pieces somewhere to live.
11. Waterfall Waves
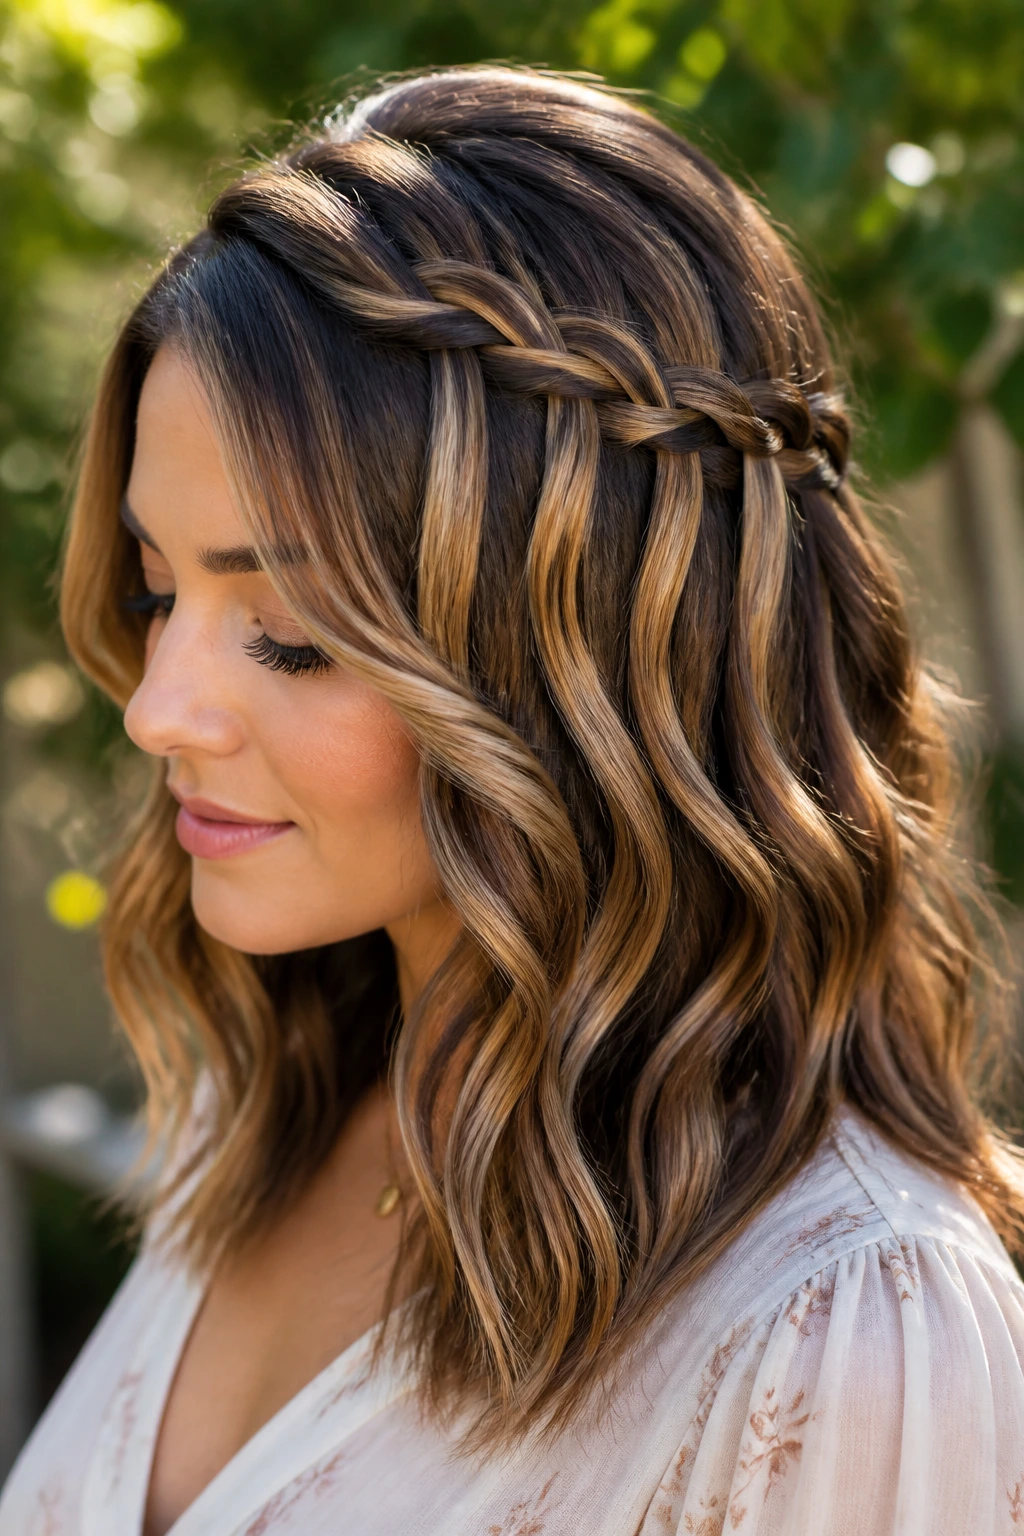
A waterfall braid over wavy medium hair is one of those styles that looks complicated from the back and surprisingly easy in practice. The braid creates little windows where the caramel highlights peek through, and the loose lengths keep the whole thing from feeling stiff.
The reason it works on medium hair is simple: there’s enough length for the braid to cross cleanly, but not so much that it becomes heavy or pulls down. Start the braid near the temple, drop one strand each time, and let the remaining hair fall in waves. If your highlights are placed in thin ribbons, the moving sections will catch them at every turn.
This is a good style for layered hair, especially if the front pieces are a little shorter. Those pieces soften the braid line and keep the face open. I’d wear it with a soft side part and just a touch of shine cream on the ends.
12. Low Half Pony Waves
A low half ponytail sounds plain until you put it on medium hair with caramel dimension. Then it gets interesting fast. The top section sits smooth, the lower section stays wavy, and the color shows up in two different textures.
Pull the top half back from just above the temples and secure it low at the back of the head. Wrap a small strand around the elastic if you want it to look cleaner. The caramel around the crown will sit under the smoother top layer, while the lighter ends stay loose below. That contrast is what gives the style depth.
This is one of the easiest ways to make day-two waves useful again. The roots can be a little messy. The lower half can be a little bent. The style still works because the shape reads on purpose. Medium hair helps here because the tail has enough length to swing, but not so much that it feels bulky.
13. Retro Flip-End Waves
A little flip at the ends changes the whole mood of medium hair. Instead of letting the waves fall straight down, the outward flick gives the cut a retro edge and shows off the caramel pieces near the tips.
I like this best on a lob that grazes the collarbone. The length is just enough to flip without looking like you’re trying too hard. Use a round brush for a blowout feel, or bend the ends outward with a flat iron if you want more control. The top stays smoother than the bottom, which helps the caramel catch the light at the ends instead of only around the face.
This style has a nice side effect: it keeps the hair from looking bottom-heavy. If your medium cut has a lot of density, that flip opens up the shape and stops it from hanging like a curtain. It’s a small move, but it changes the silhouette a lot.
14. Piecey Waves with Micro Highlight Ribbons
Thin highlight ribbons are underrated on medium hair. Chunky strips can take over the whole cut, especially when the waves are loose. Micro ribbons of caramel, though, look like the color is moving inside the hair rather than sitting on top of it.
This style works especially well for fine to medium-fine hair. The waves should stay soft and separated, with a little texture paste at the ends to keep the pieces visible. A curling wand in the 3/4-inch to 1-inch range helps if you need more bend, but don’t make every section identical. A few straighter strands in between actually make the highlight pattern look more real.
The face-framing pieces matter most. Keep them slightly brighter and let the rest of the hair stay a little deeper. That contrast stops the style from reading as one flat honey shade. It feels more expensive in the old-fashioned sense of the word: built, not sprayed on.
15. Dimensional Waves with Caramel Lowlights
If caramel highlights alone feel too sweet, lowlights are the fix. A few deeper pieces under the top layer give the lighter strands something to sit against, and medium hair really benefits from that depth. Without it, the surface can flatten out fast.
This is the style I’d choose for someone with naturally medium-brown hair who wants warmth but not brightness everywhere. The caramel should sit in ribbons, not blocks, and the lowlights should live underneath the most visible top layer. That hidden shadow is what keeps the hair from looking stringy when it’s waved.
The wave itself can stay simple: loose, brushed out, and slightly imperfect. The color does the heavy lifting. If you are sitting with a colorist, ask for placement that follows the haircut’s movement rather than a set pattern. That sounds picky, but it’s the difference between color that blends into the wave and color that fights it.
16. Old Hollywood Side-Swept Waves
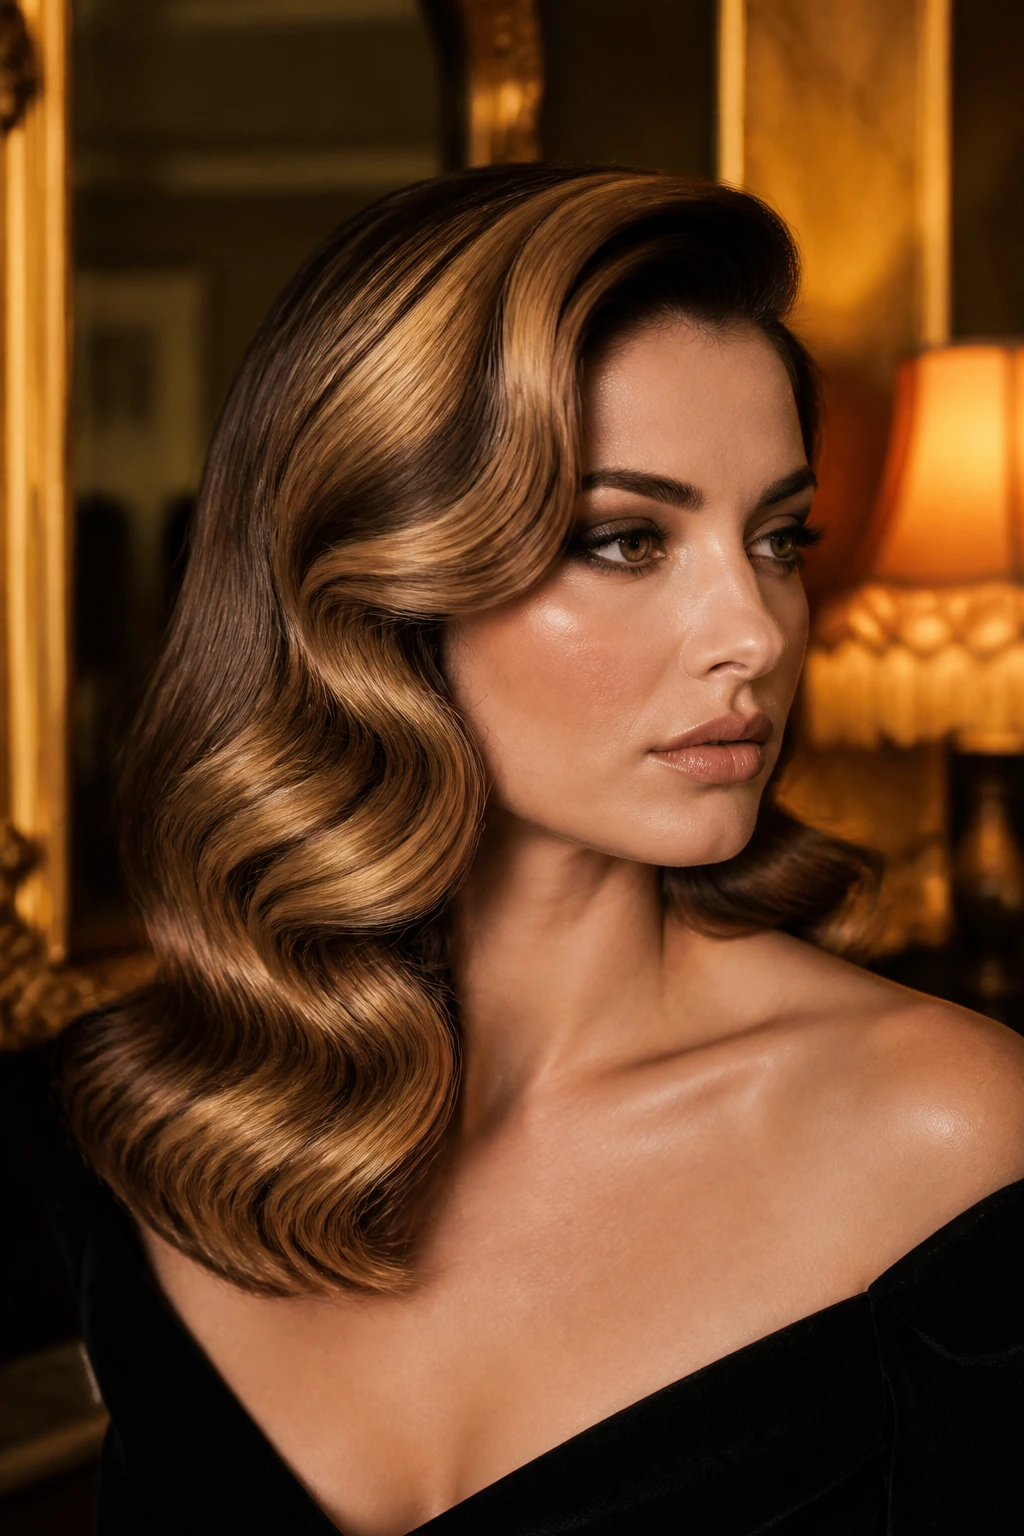
Old Hollywood waves are not subtle. They are smooth, deep, and brushed into a single direction, which makes caramel highlights look broad and expensive in a very straightforward way. Medium hair is the right length for this because it can hold the curve without dragging the style down your back.
Set the hair with a large barrel, clip the curls while they cool, then brush them into a wave that sweeps across one side. The highlight placement should follow the movement. Broad caramel ribbons work better here than tiny streaks. They create that luxe, continuous look people expect from this style.
A side-swept front section gives the face a bit of drama without making the whole cut stiff. If your hair is naturally layered, pin the shortest front pieces into the wave so they blend instead of springing out. A little shine cream on the surface goes a long way. Too much and the wave loses its body.
17. Textured Lob with a Root Smudge
A root smudge is boring in the best possible way. It makes the grow-out softer, deepens the base just enough to hold the caramel, and keeps a textured lob from looking too bright at the scalp.
This look is especially useful if your hair is one of those in-between textures that doesn’t want to be fully straight or fully curled. The root should stay a little matte, almost rough, while the lengths carry the wave. That contrast makes the highlights read more clearly. If everything is shiny, the caramel can disappear into the rest of the hair.
Use a texturizing spray at the roots and a small amount of serum on the ends. That’s the whole trick. A lot of people put shine everywhere, then wonder why the style feels flat. The root needs lift. The ends need softness. Medium hair gives you enough length to separate those jobs.
18. Air-Dried Salt-Spray Waves
Air-dried waves can look lazy or lovely. The difference is usually product amount. Too much and medium hair gets puffy. Too little and the caramel highlights don’t get the texture they need to show up. The middle ground is a light leave-in, a little salt spray, and patience.
Scrunch damp hair with a microfiber towel, then work a small amount of wave spray through the mids and ends. Leave the roots alone unless they are very flat. Once dry, separate a few pieces with your fingers and stop there. Do not keep touching it. That’s how the wave gets frayed.
This style makes the caramel look softer and more sun-touched, which is nice if your color leans golden. It also works when you want the medium-length cut to feel easy rather than polished. I like it best on hair that already has a little bend. If your hair is pin-straight, the result can fall a bit too limp.
19. Wavy Bob-Lob with a Tucked Side
A tucked side changes the whole shape of medium hair. It opens one side of the face, shows off earrings, and makes the caramel highlight placement read faster because the front pieces stop hiding in your collar.
This is a smart move for a bob-lob that hits somewhere between the jaw and the collarbone. The length is short enough to stay crisp, long enough to tuck without losing the wave. Keep the untucked side loose and let the highlights sweep around the cheekbone. If the hair is cut with a small amount of layering at the front, the tucked side stays neat instead of popping loose.
This style is a good one for color that was painted with slightly brighter face-framing pieces. The tuck gives those ribbons a place to show off. And if the back is a little shorter than the front, even better. The asymmetry keeps the whole thing from feeling too tidy.
20. Twisted Front Pieces with Open Lengths
If you want your hair off your face but you don’t want a full updo, twist the front pieces and leave the rest alone. That’s the whole move. On medium hair, it gives enough control to feel deliberate without killing the wave pattern.
Take a section from each temple, twist it back toward the ear, and secure it with a hidden pin or small clip. The caramel highlights at the front will frame the face, while the open lengths below keep their movement. This is one of those styles where placement matters more than anything. If the brightest pieces sit near the cheek and jaw, the twists look built into the color instead of added on top.
It’s a simple fix for hair that keeps falling into your eyes. Also useful when you want to show off makeup or earrings. Small reward, big payoff. That’s the kind of style I always keep around.
21. Glam Middle-Part Waves
A middle part does not have to mean soft and casual. With larger, cleaner waves and a glossy finish, it becomes one of the sharpest ways to wear caramel highlights on medium hair. The key is keeping the bend smooth all the way through the mid-lengths.
Use a bigger barrel, around 1.25 to 1.5 inches, and leave the ends a touch straighter than the rest. That keeps the shape modern instead of pageant-heavy. The caramel should be placed in wider ribbons, especially near the part and through the front sections, so the shine reads as a continuous band when the hair moves.
This is one of the better choices if your hair is dense. Medium hair with a lot of volume can carry this glam wave without collapsing. Add a small amount of serum only after the wave is brushed out. The surface should look polished, not slick.
22. Scarf-Accessorized Waves
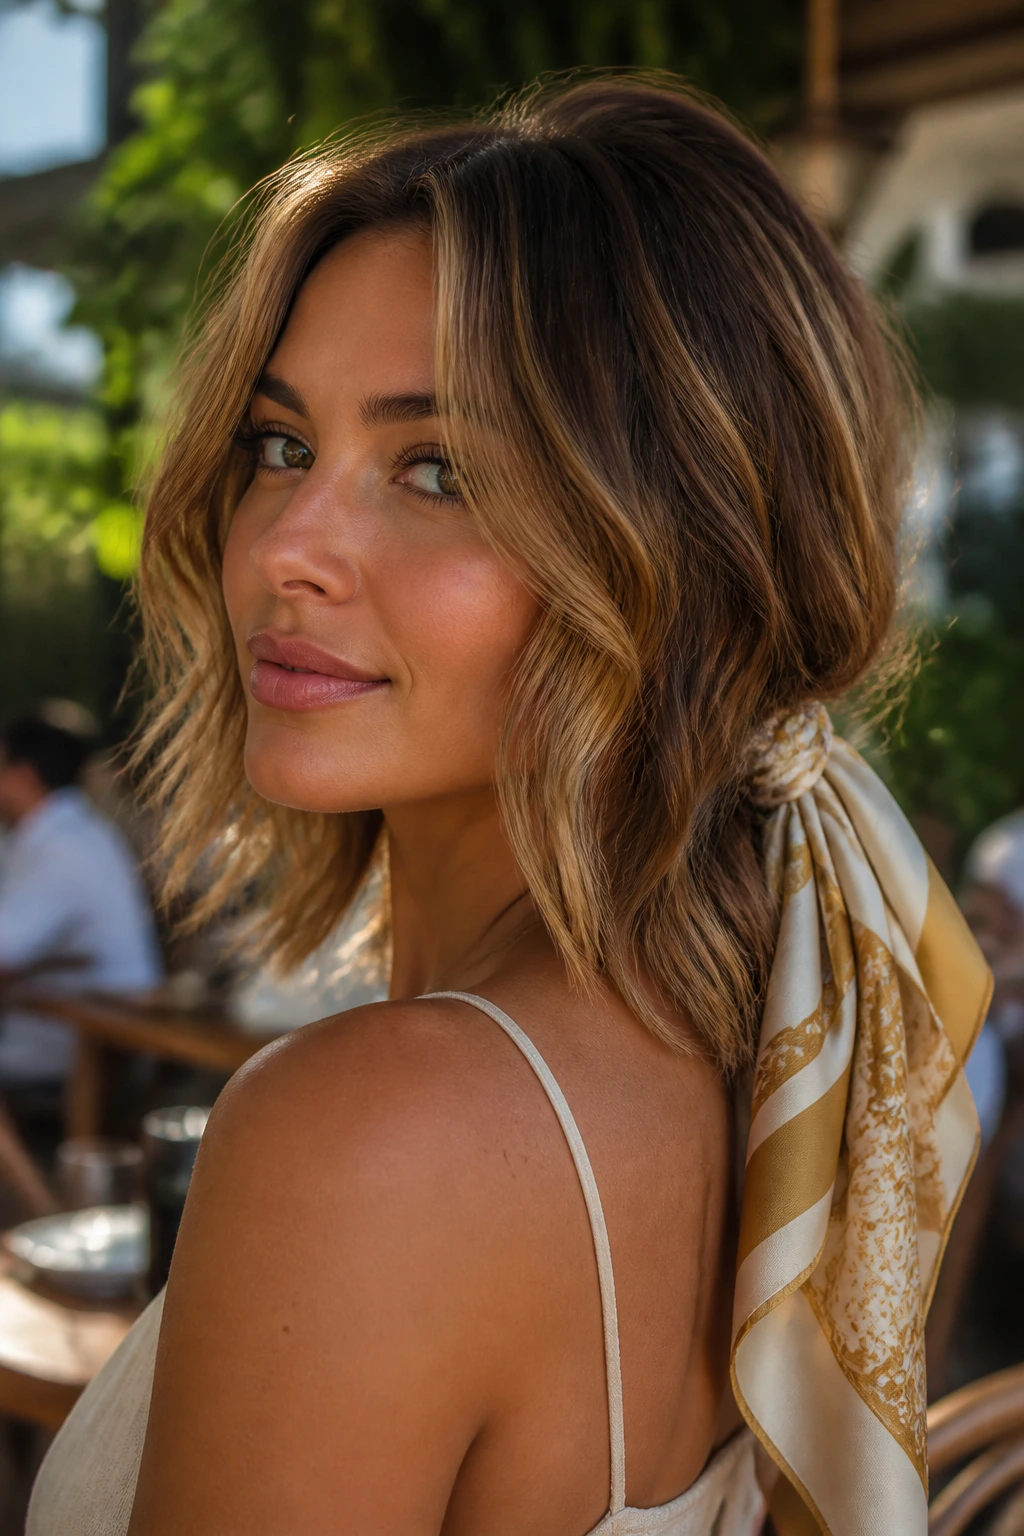
A silk scarf can rescue day-two waves in five seconds. It also gives caramel highlights a frame, which sounds small but matters a lot when the hair itself is medium length and the color is warm and dimensional.
You can tie the scarf low at the nape, fold it into a headband, or wrap it around a loose ponytail. Each version changes where the eye goes. A scarf in cream, rust, olive, or muted gold will usually sit nicely against caramel. Bright neon can work too, but it changes the mood fast, so be prepared for that.
This is the kind of style I’d wear when I want my hair to look styled without spending another ten minutes with hot tools. Leave the waves a little loose, maybe even a little imperfect. The accessory gives the shape enough purpose.
23. U-Layer Cascading Waves
U-shaped layers are useful because they remove weight without chopping the ends into little pieces. On medium hair, that means the waves can fall in a softer curve, and the caramel highlights follow the shape instead of getting broken apart too much.
This style works especially well if your hair is thick or tends to spread at the bottom. The U-shape keeps the outer pieces longer while the center sits a bit shorter, which gives the whole cut a gentle waterfall feel. Add caramel in long ribbons that start below the root and move toward the ends. The wave pattern will show more clearly because the shape itself is already guiding the eye.
A lot of people ask for layers and end up with volume in the wrong places. U-layers fix that. They let medium hair move without turning into a triangle. That alone is worth the haircut.
24. Romantic Crown-Volume Waves

A little lift at the crown can make medium hair look longer and more elegant. Without it, the waves can sit too flat at the top and the caramel highlights only show on the lower half. A small amount of crown volume changes that.
Tease the roots very lightly or set a velcro roller at the crown while you finish makeup. Then let the rest of the hair stay soft and waved. You want lift, not a bump. The caramel highlights should be brighter around the face and a touch deeper underneath so the volume doesn’t erase the color layers.
This is a good style for weddings, dinners, or any night when you want your hair to look a little more considered. The wave stays romantic, not stiff, if you keep the ends soft. A few loose strands around the temples keep it from looking overbuilt.
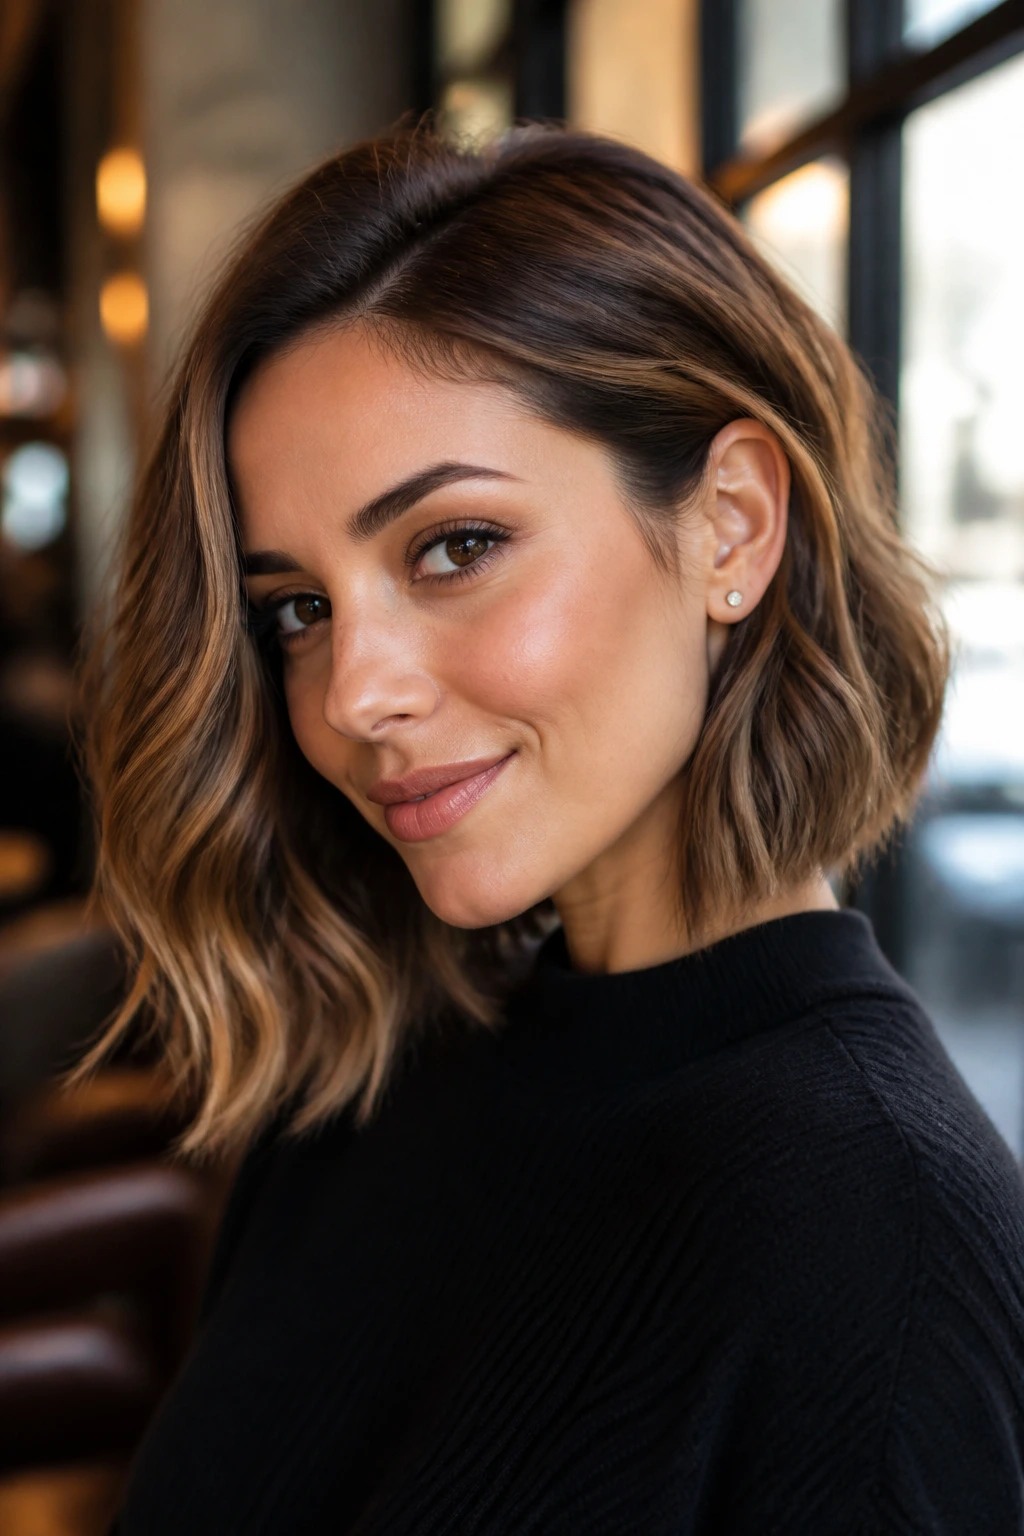
25. Sleek-Top Mermaid Lob
This is the neatest version of the whole group, and I think that’s why it works so well. Keep the top smooth, start the waves around the ears, and let the caramel highlights take over in the lower half. The contrast between the controlled roots and the loose lengths makes the color feel richer.
A mermaid lob can get noisy if every inch is waved. So don’t do that. Leave the crown sleek with a middle or soft off-center part, then build the bend below the cheekbone. Medium hair is the right length for this because the style still swings without dragging. If the caramel sits a shade brighter at the ends, the motion reads even better.
This one is a clean finish to the list because it shows how much shape matters. Same color family. Different silhouette. That’s the whole point.
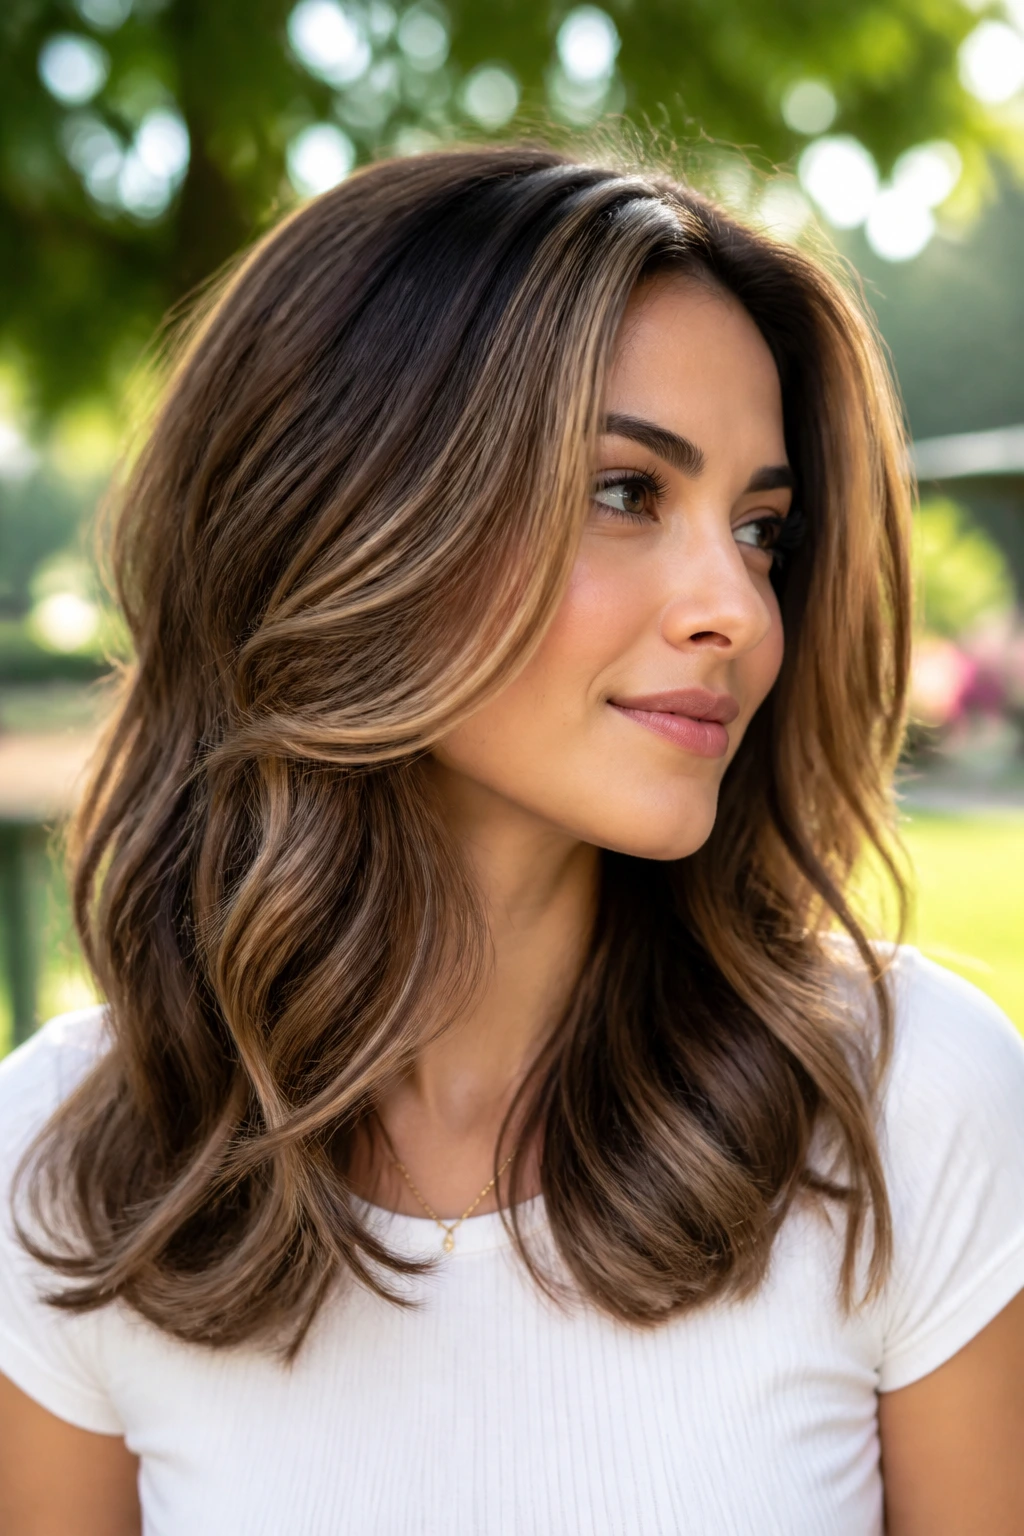
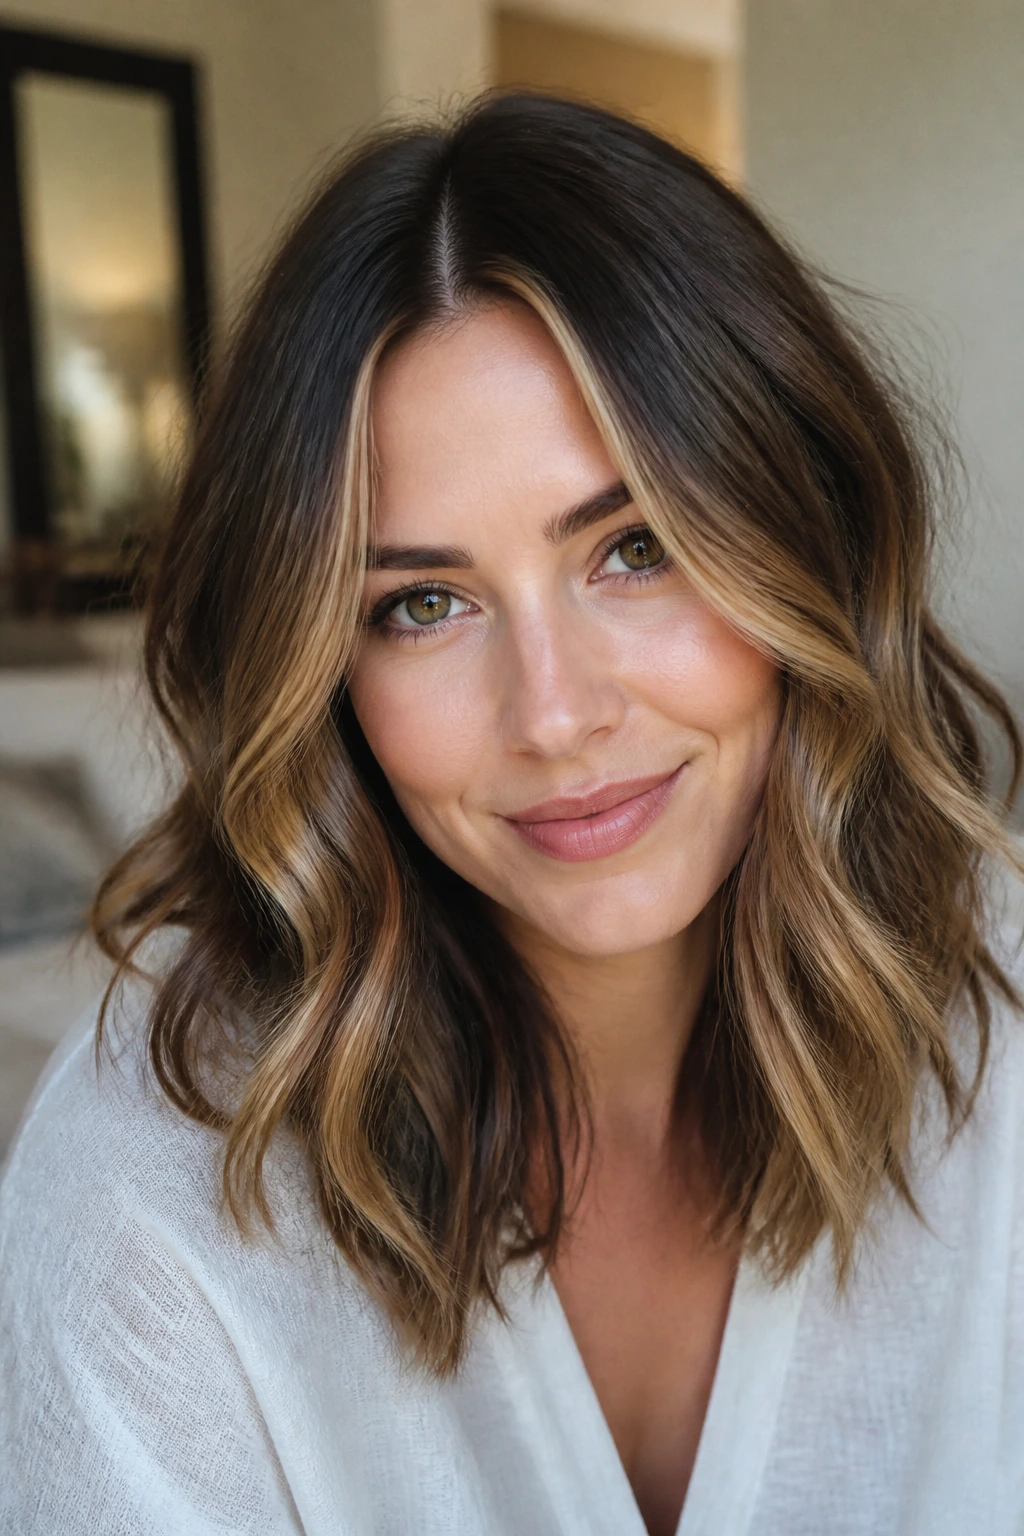
Why Caramel and Medium Waves Click So Easily
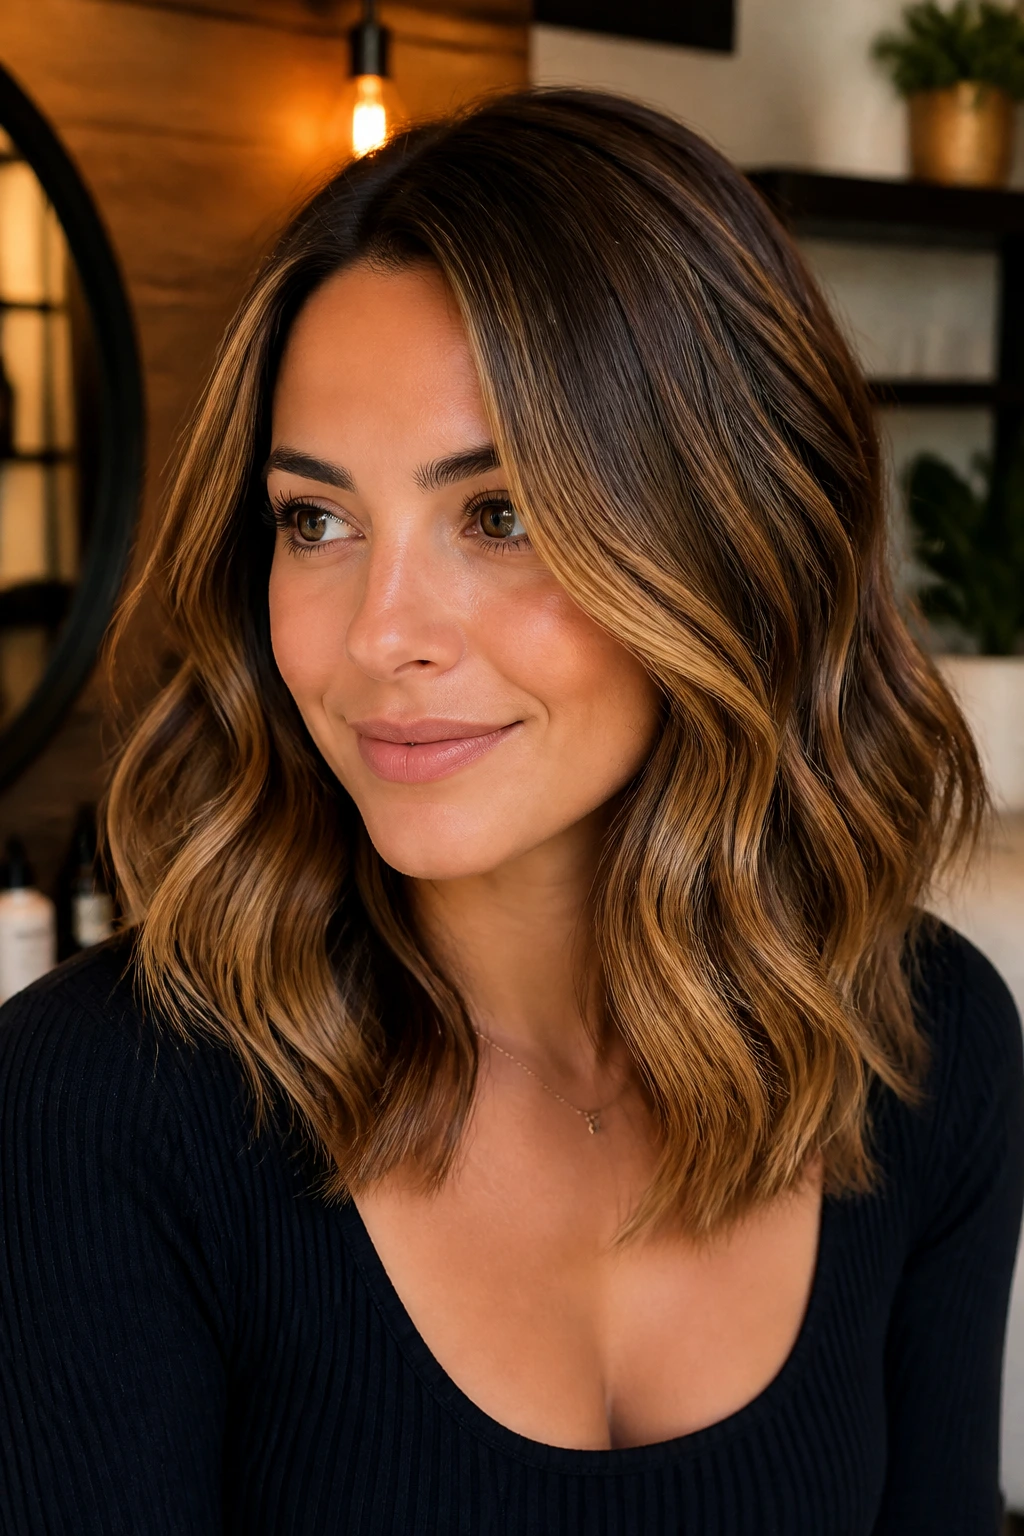
Medium-length hair gives caramel highlights a surface they can actually use. Too short, and the color gets chopped up by the haircut. Too long, and the lighter pieces can sink into the mass of hair and disappear unless the wave pattern is strong. Medium hair sits in the useful middle, which is why this combination works in salon chairs and at home with a curling wand.
Placement matters more than brightness here. A few face-framing ribbons near the cheekbone, some softer pieces through the mid-lengths, and a little depth underneath keep the whole look from reading flat. If the color is painted only on the outer layer, it can look obvious from the front and vanish from the side. The best caramel highlight placement is layered the same way the waves are layered.
Caramel is also forgiving in a way icy blonde isn’t. Warm tones fade into softer golds, which can still look good as the weeks pass. That makes medium hair easier to live with. You can wear it sleek, brushed out, clipped up, or air-dried, and the color still has enough warmth to hold its shape.
Tools That Make These Styles Easier
- 1-inch curling wand: Best for loose bends, beach waves, and anything that needs movement without tight curls.
- 1.25-inch curling iron: A safer pick for glam waves and brushed-out styles on medium hair.
- Flat iron with rounded edges: Useful for S-bends, flipped ends, and clean bends near the face.
- Heat protectant spray: Pick one that can handle high heat and does not leave a sticky film on caramel pieces.
- Sectioning clips: These keep the top layers out of the way while you style the lower half.
- Tail comb: Handy for clean parts, crown lift, and small sectioning jobs.
- Boar-bristle brush or paddle brush: Good for brushing curls into waves without puffing them apart.
- Light-hold hairspray: Enough to keep the bend, not enough to freeze the hair.
- Texturizing spray: Use it on the mids and ends when you want separation and a little grit.
- Silk scrunchies or clips: Better than tight elastics when you want half-up styles that do not dent the wave pattern.
- Silk pillowcase or bonnet: Helps the style last through sleep with less frizz.
Choosing the Right Caramel Tone and Product Mix
Caramel is not one single shade. A warm golden caramel looks different from a beige caramel, and both behave differently on medium hair. If your base color is a deep brunette, a neutral caramel with a few lowlights underneath usually looks cleaner than something too light or too yellow. That extra depth keeps the highlights from floating on top like stickers.
If you want low maintenance, ask for a soft balayage instead of a heavy foil pattern. Balayage gives you blurred grow-out and softer streaks through the mid-lengths. If you like a sharper face frame, you can still keep the rest painted softly. That mix tends to age better as the style grows out. I’m a big fan of that approach because it avoids the obvious stripe line around the root.
On the product side, don’t buy everything shiny. You need a heat protectant, a color-safe shampoo, a light conditioner, and one styling product that gives texture or hold. If your caramel runs a little too yellow, a gentle toning mask can help, but use it sparingly. Too much toning can dull the warmth that makes caramel look good in the first place.
How to Wear These Looks
Presentation: Keep the part clean when you want the caramel to look brighter, and keep the surface a little rough when you want the dimension to feel softer. A center part sharpens the line; a side part gives the waves more swing. If the ends are dry, curl only the lower half and let the top stay smoother.
Accessories: Small hoops, a narrow headband, a silk scarf, or a claw clip all work with this color family. Heavy accessories can steal the show, so I prefer pieces that sit close to the hair instead of sitting on top of it. A barrette placed just behind the ear is often enough.
Outfits: These waves look especially good with crewneck sweaters, simple blazers, slip dresses, and open collars. The neckline matters because medium hair sits right around it. If your waves hit the collarbone, the whole outfit starts to feel planned.
Makeup Pairing: Warm bronze shadow, peach blush, and a soft nude lip echo the caramel pieces without matching them too hard. Cool makeup can work too, but it changes the tone fast. Keep that in mind if you want the hair color to stay the main warm note.
Extra Shine, Texture, and Placement Tricks
Shine Boost: Put a pea-size amount of serum only on the last two inches of hair after styling. That keeps the caramel glossy without flattening the crown.
Texture Boost: Mist salt spray at the roots on damp hair, then add a lighter cream through the mids. The split product approach stops medium hair from getting puffy at the ends.
Customization: Move the part half an inch left or right and the whole style changes. A small shift can make the face-framing caramel sit more naturally around the cheekbones.
Color Placement Trick: Ask for a few lighter ribbons around the surface and a few deeper pieces underneath. That hidden contrast is what keeps the waves looking full, not washed out.
Make-It-Yours: Fine hair wants fewer, larger waves and thinner highlight ribbons. Thick hair usually looks better with broader bends and a touch more layering. Curly-wavy hair can skip the iron altogether and lean on cream plus diffuser.
Keeping the Color and Waves Looking Fresh
Medium hair with caramel highlights usually looks best when the waves are not overwashed. I’d stretch wash days to every 2 to 4 days if your scalp allows it, using dry shampoo only at the roots. That keeps the color from losing its gloss too fast. On day two, a few bends can be revived with a curling iron set around 300°F to 330°F, but only hit the pieces that have gone flat.
For color care, plan on a gloss or toner refresh every 4 to 6 weeks if the caramel starts to drift too yellow or too dull. A full highlight touch-up can often wait longer, especially if there’s a shadow root or balayage blur. Trim the ends every 8 to 12 weeks so the waves keep their bounce. Split ends make caramel pieces look frayed, and no product fixes that.
Night prep matters more than people think. A loose braid, a silk bonnet, or even two soft twists can preserve the bend without crushing it. If you wake up with one side flattened, mist it lightly with water, twist the section around your fingers, and let it dry for ten minutes before touching it again.
Variations and Adaptations to Try
Cooler Caramel Blend: If your skin leans cool or olive, ask for a caramel that sits closer to beige than gold. A few ash-brown lowlights can keep the warmth from tipping orange, especially on medium brunettes.
Golden Honey Version: This one is brighter around the face and warmer through the ends. It works well when you want the waves to feel sun-kissed and soft, not muted. Keep the root area deeper so the gold has something to sit against.
Fine-Hair Feathered Waves: Use fewer highlight ribbons and lighter layers, then style with a smaller wave only on the bottom half. Fine hair looks better when the movement is airy, not crowded.
Thick-Hair Broken Wave: Break the wave pattern into larger sections and use a smoothing cream before styling. The goal is to reduce bulk while still showing the caramel in broad strokes.
Heatless Rope Set: Twist damp hair into two or four rope sections before bed, secure them loosely, and release in the morning. The bend will be softer than a wand curl, which suits caramel highlights if you want the color to look natural and not overstyled.
Common Mistakes to Avoid
- Making every wave the same size: The hair starts to look like one repeated pattern. Mix a few larger bends with smaller ones so the caramel pieces land in different places.
- Putting the lightest color too high at the root: That can create a stripey effect as the hair grows. Keep the brightest ribbons around the face and mid-lengths unless you want a high-maintenance look.
- Using too much serum: The shine is gone in a bad way. The roots collapse and the caramel looks greasy instead of glossy. Put product on the ends only.
- Curling medium hair too tightly: Tight curls on this length can shrink the haircut and make the highlights look crowded. Relax the wrap and brush the set out once it cools.
- Skipping layers entirely: Waves need a little shape to move. Without layers, medium hair can fall into a heavy curtain and hide the highlight placement.
- Over-toning the caramel: If the warmth gets stripped out, the whole look turns beige and flat. Use toning masks only when the brassiness is real, not as a habit.
Frequently Asked Questions

Will caramel highlights work on dark brown medium hair?
Yes, and they often look better than lighter blonde pieces because the contrast stays softer. On dark brown hair, ask for caramel that is one to two levels lighter than your base, plus a few lowlights underneath so the color does not float on top.
Do I need heat to get these wavy looks?
No. Air-dried bends, braid sets, and rope twists all work on medium hair, especially if your texture already has a little wave. Heat just gives you more control over where the caramel ribbons bend.
How do I keep caramel highlights from turning brassy?
Use a color-safe shampoo, cut back on harsh clarifying washes, and add a toning mask only when the warmth starts drifting too yellow. Don’t overdo the toner, or the caramel can lose the warmth that makes it look soft.
Can fine hair wear medium-length wavy styles with caramel highlights?
Absolutely, but the cut should stay lighter around the ends. Fine hair usually looks best with fewer, broader waves and thin highlight ribbons rather than chunky sections that steal the shape.
What if my waves fall flat by lunch?
That usually means the section size was too big, the hair was not fully cooled, or there was too much product at the roots. Clip the curls until they cool, use less serum, and add texture spray only where the wave needs grip.
Is balayage better than foils for this look?
Balayage is easier to grow out and usually gives a softer caramel finish. Foils work if you want brighter face-framing pieces or more contrast. A mix of the two often looks the most natural on medium hair.
Can I wear these styles with bangs?
Yes, especially curtain bangs, soft side bangs, or a longer fringe that can bend into the wave. Short blunt bangs change the mood fast and need more upkeep, so they work best if you like a sharper finish.
How often should I trim medium hair with highlights?
Every 8 to 12 weeks is a good range if you want the waves to keep their shape. Once the ends split, the caramel pieces look thinner and the style starts to feel dusty instead of fresh.
The Softness That Still Has Shape
The best thing about medium waves with caramel highlights is that they do not rely on one big trick. A clean part, a loose bend, a better highlight placement, a slightly deeper root — each one pulls a little weight. Put them together and the hair starts moving in a way that looks easy without actually being random.
That’s the part I like most. Not the shine alone. Not the color alone. It’s the way the cut, the wave, and the warm ribbons all seem to agree on the same direction, which is rarer than it sounds. Pick the version that fits your hair density and your routine, then let the caramel do what it does best: keep the movement visible even when the style is simple.