Short curly hair can go flat in exactly the wrong places. One heavy cream, one sloppy part, one night on a rough pillowcase, and the whole shape slumps toward the ears. Voluminous hairstyles for short hair with curly hair are really about engineering: you’re building lift at the root, keeping the sides honest, and letting the curl pattern do the rest.
That’s the part people miss. Volume on short curls is not about piling on product until the hair feels stiff. It’s about choosing a silhouette that gives the curls room to spring, then guiding the hair so the bounce lands where you want it — at the crown, around the cheeks, or in a rounded halo that holds its shape even after the weather gets bossy.
I keep coming back to styles that look good from more than one angle. Front, side, back. If the shape only works in one mirror, it usually collapses in daylight. The styles below are the ones that make short curls look fuller without making them look overworked.
Why These Styles Earn Their Keep
-
Root Lift: Every look here gets its height from the roots, not from teasing, so the shape stays soft instead of turning fuzzy at the crown.
-
Curl-Friendly Silhouette: These styles work with shrinkage, bend, and coil pattern rather than trying to flatten everything into a straight-hair shape.
-
Short-Length Smart: None of these depend on long layers or heavy length; they’re built for bobs, crops, pixies, and tight rounded cuts.
-
Low-Tool Styling: A diffuser, a few clips, and a pick can do most of the work, which matters when you don’t want a 45-minute routine.
-
Second-Day Potential: Several of these styles get better after a night of protecting the curls, which is rare and useful.
-
Face-Framing Volume: The collection includes shapes that keep fullness near the cheekbones and crown instead of spreading it sideways into a triangle.
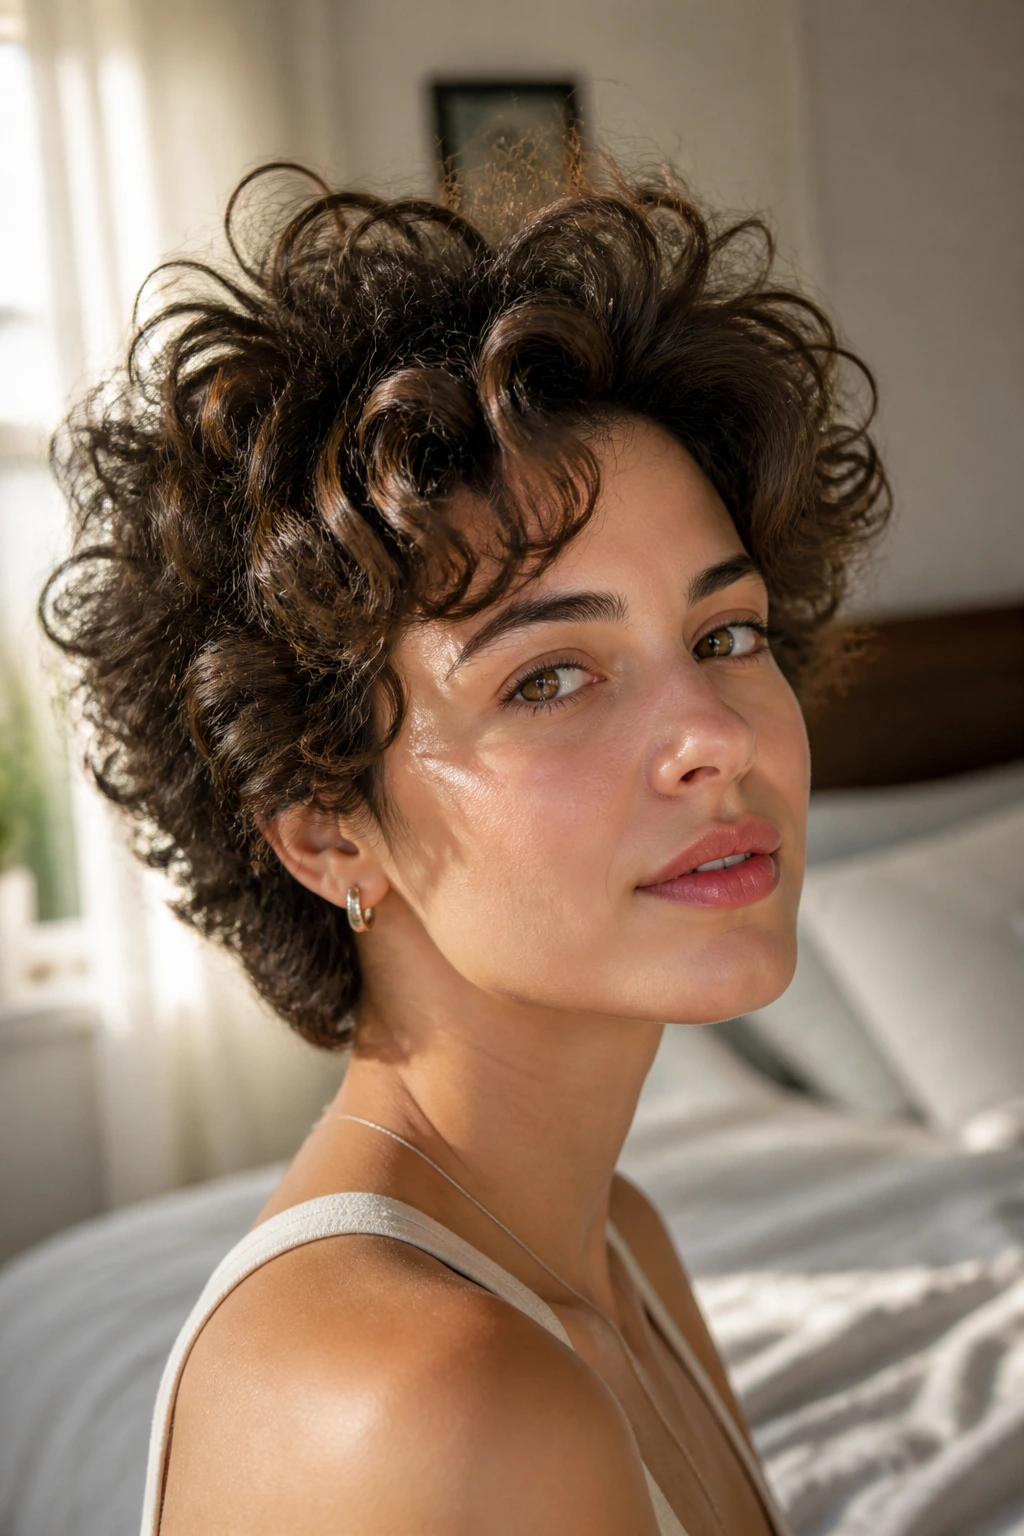
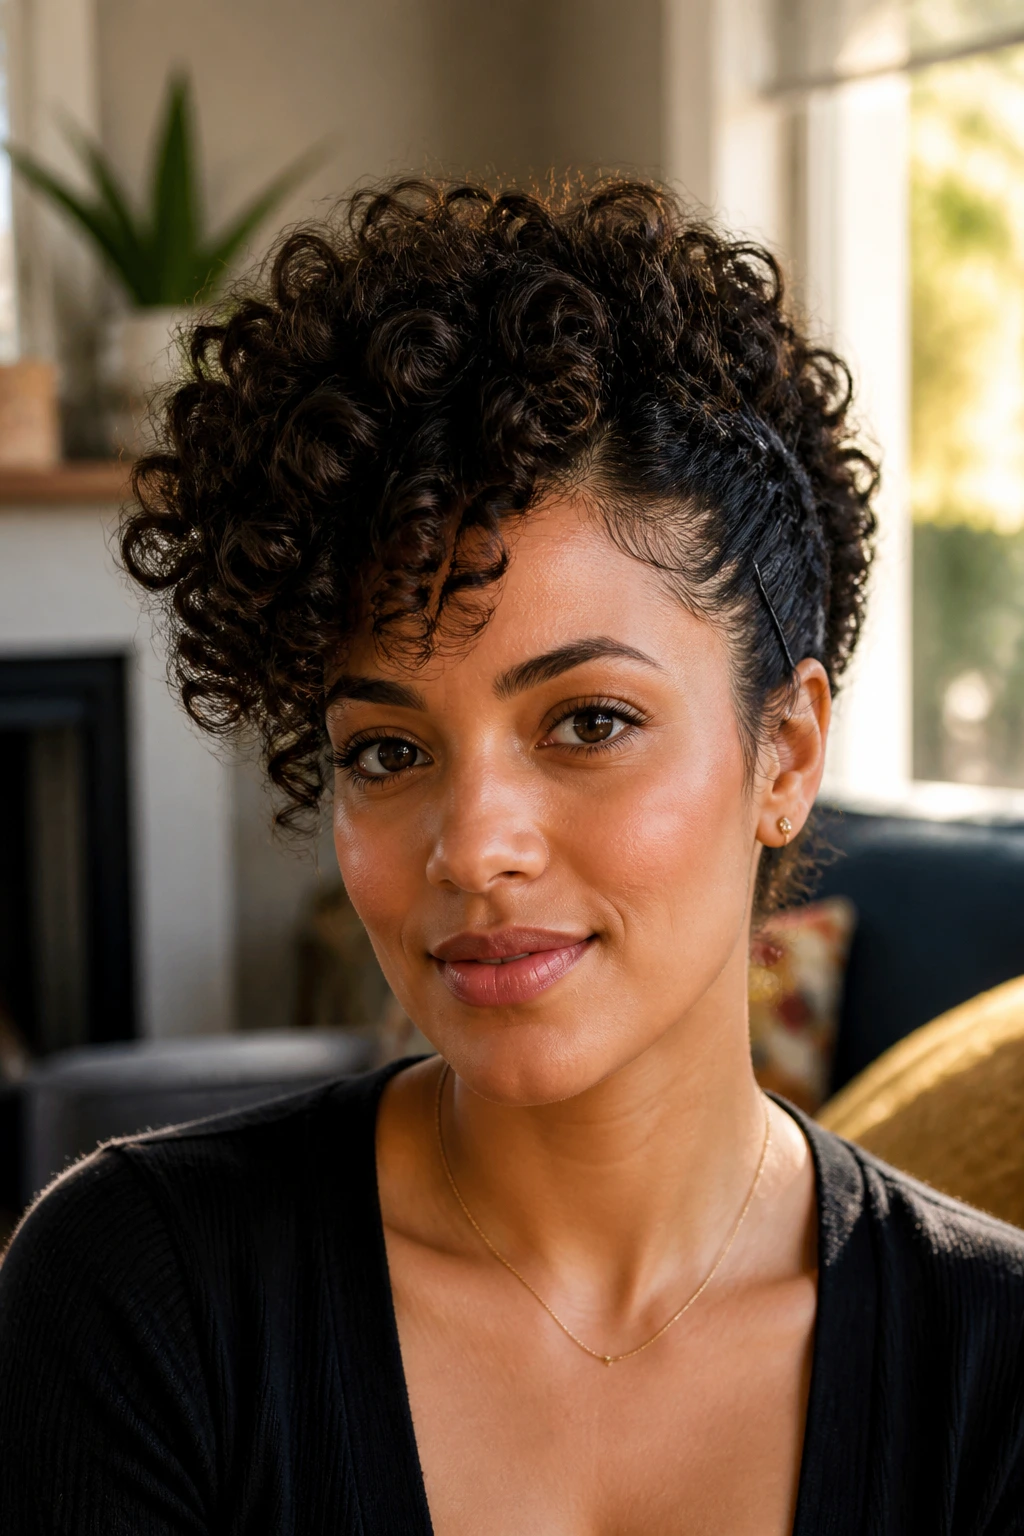
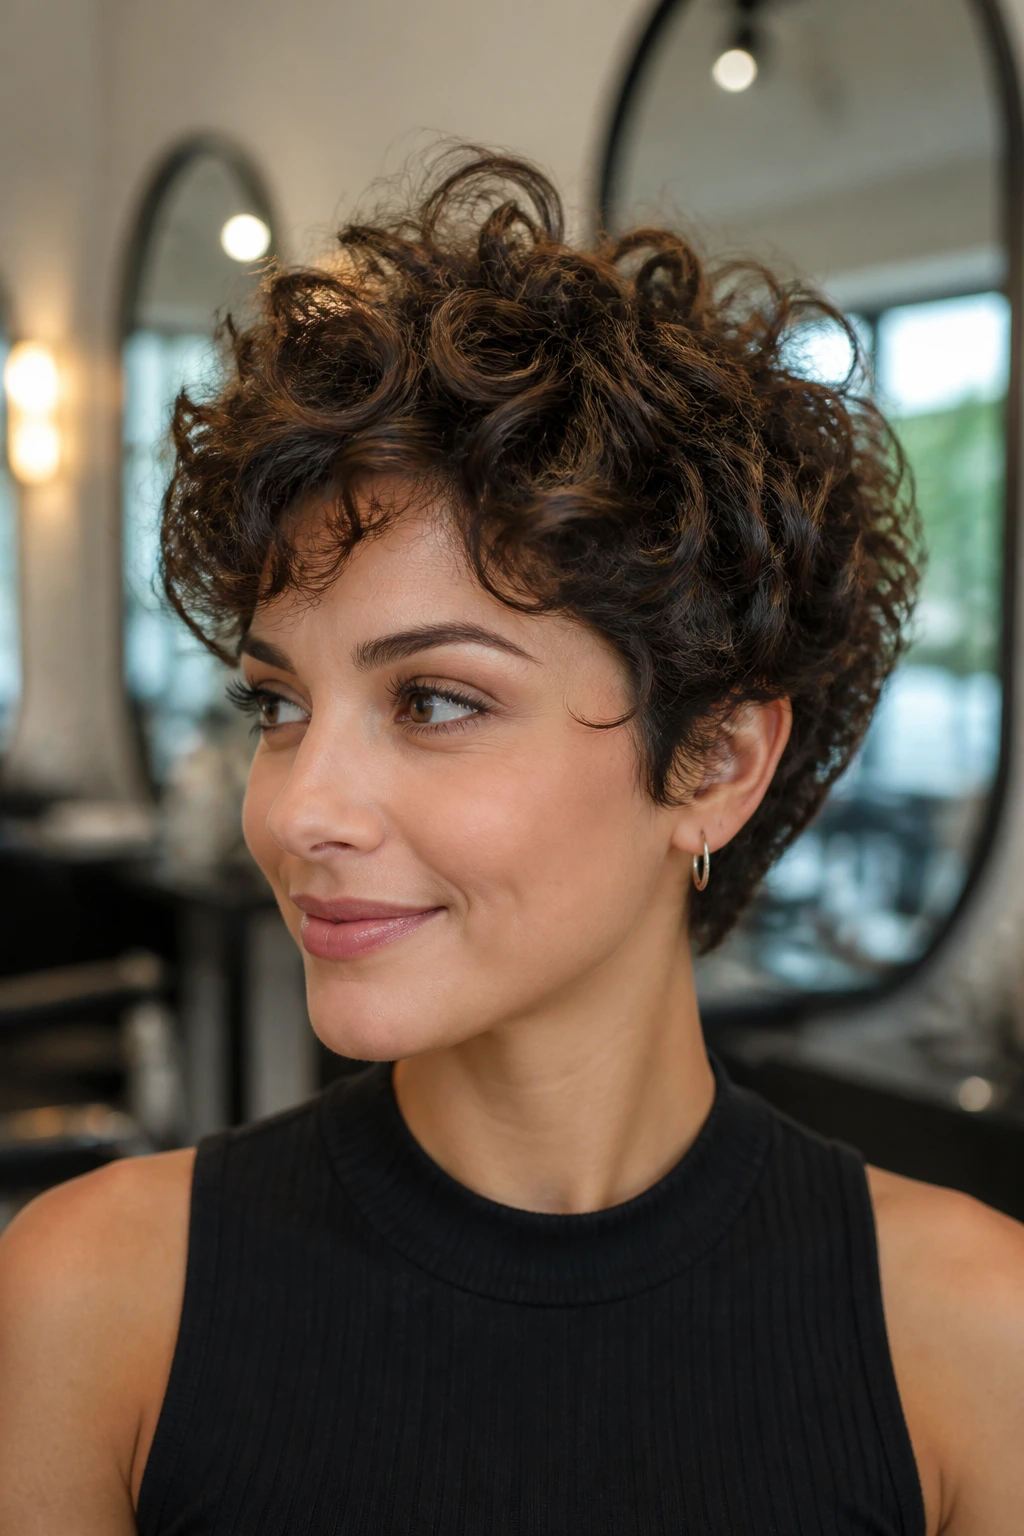
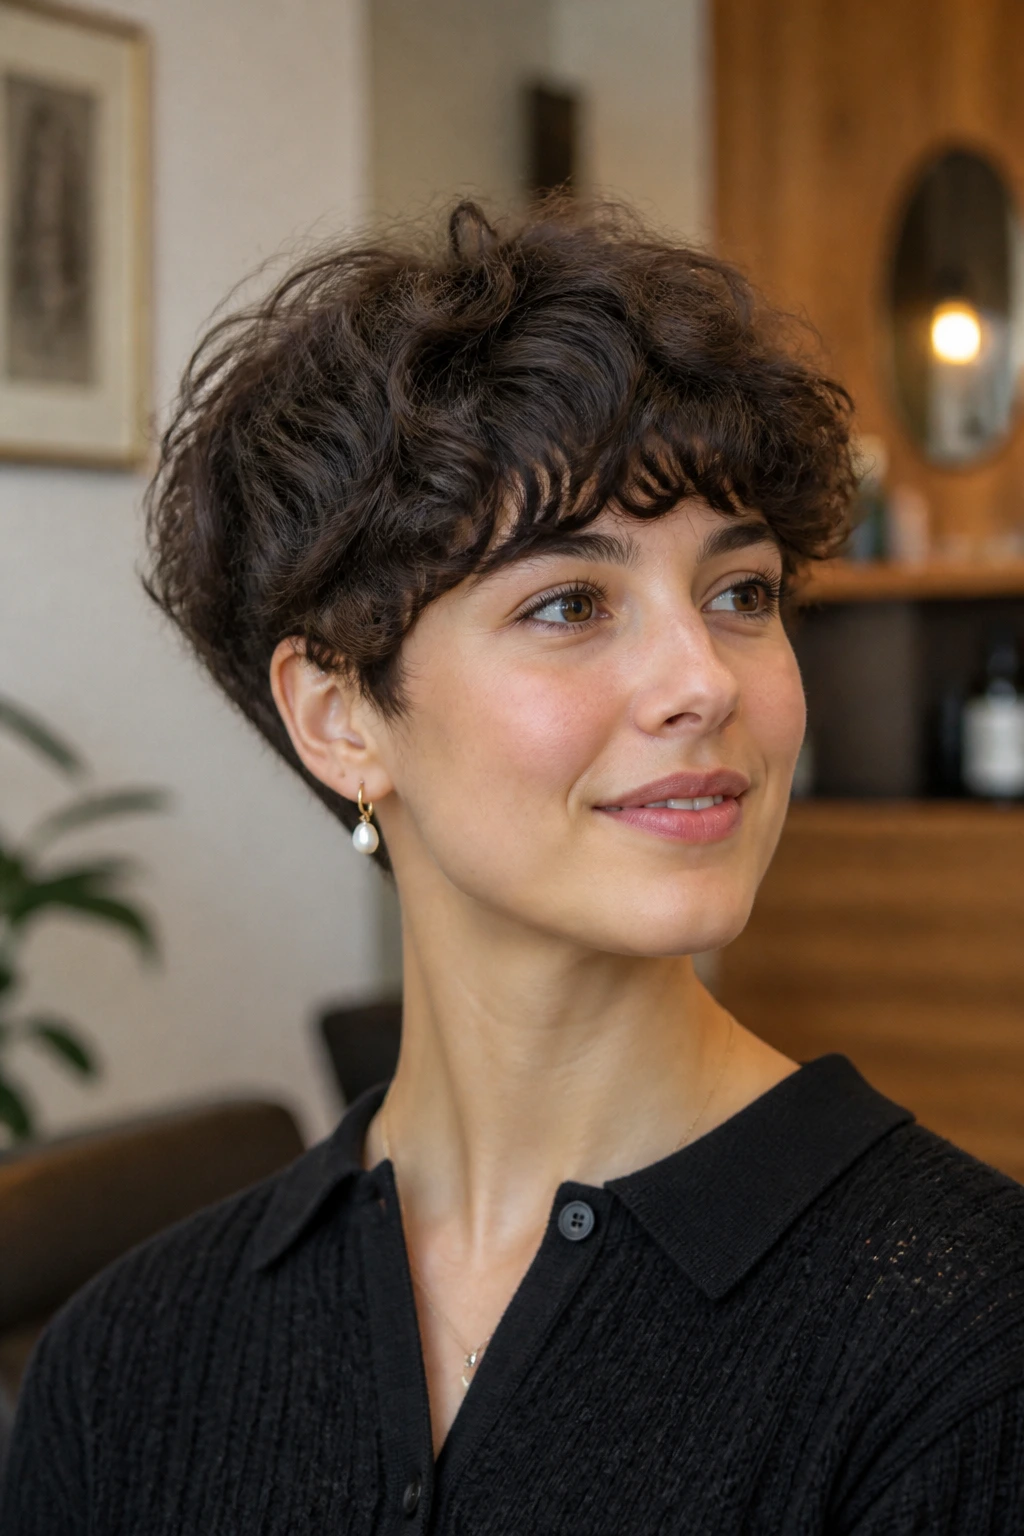
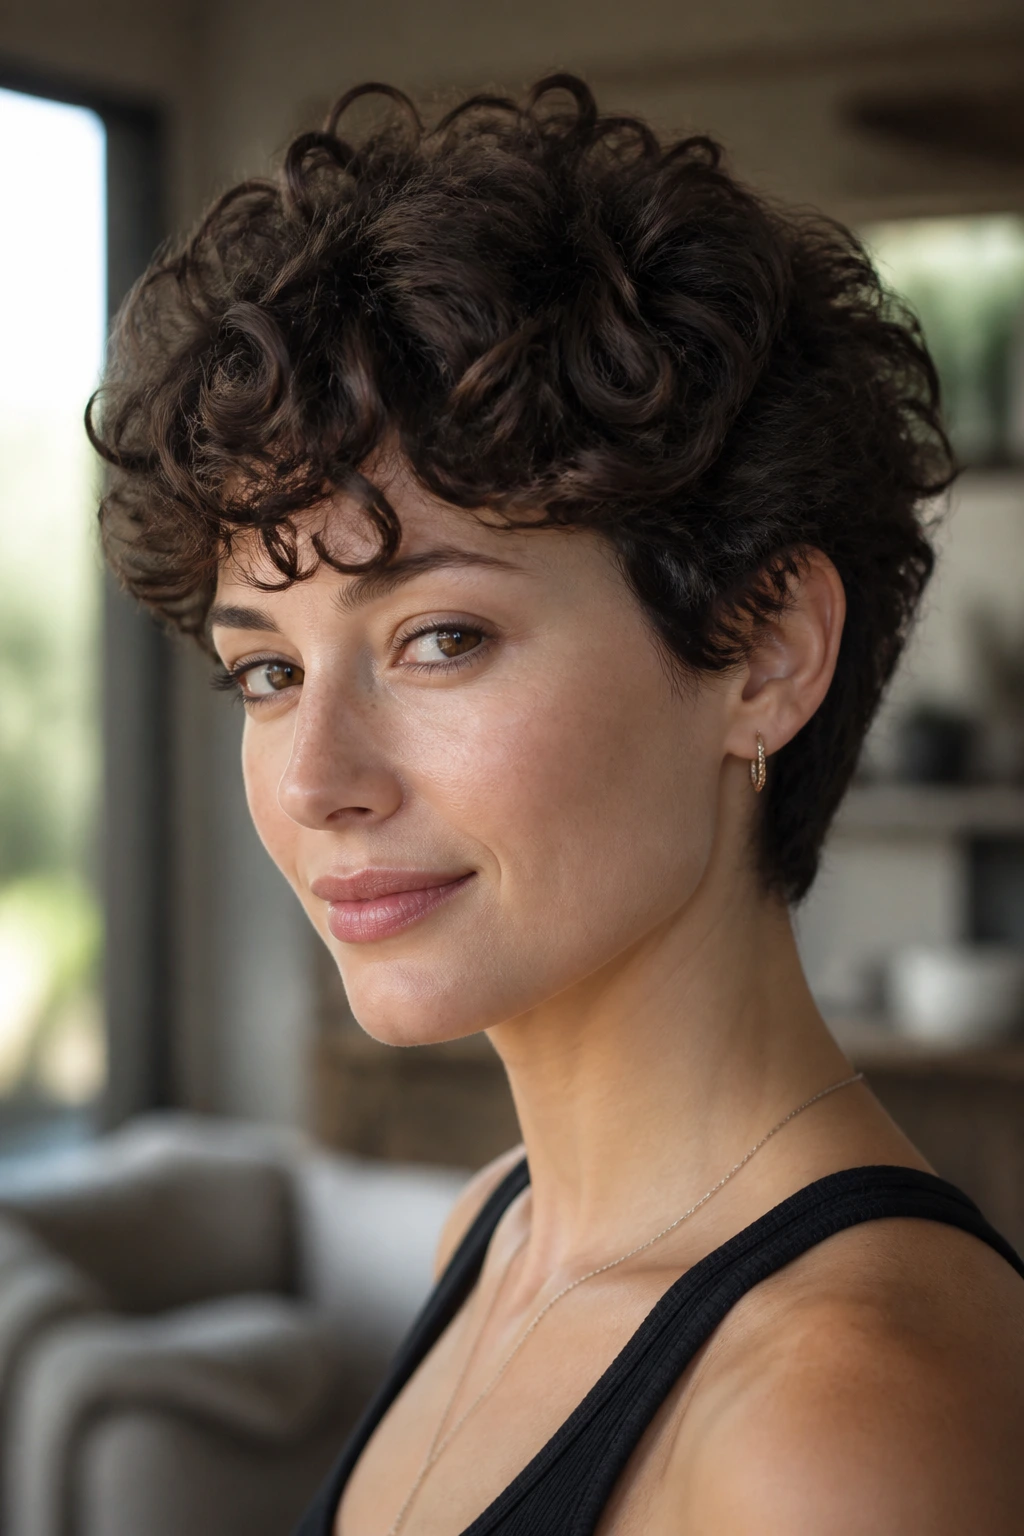
1. Crown-Lifted Curly Pixie
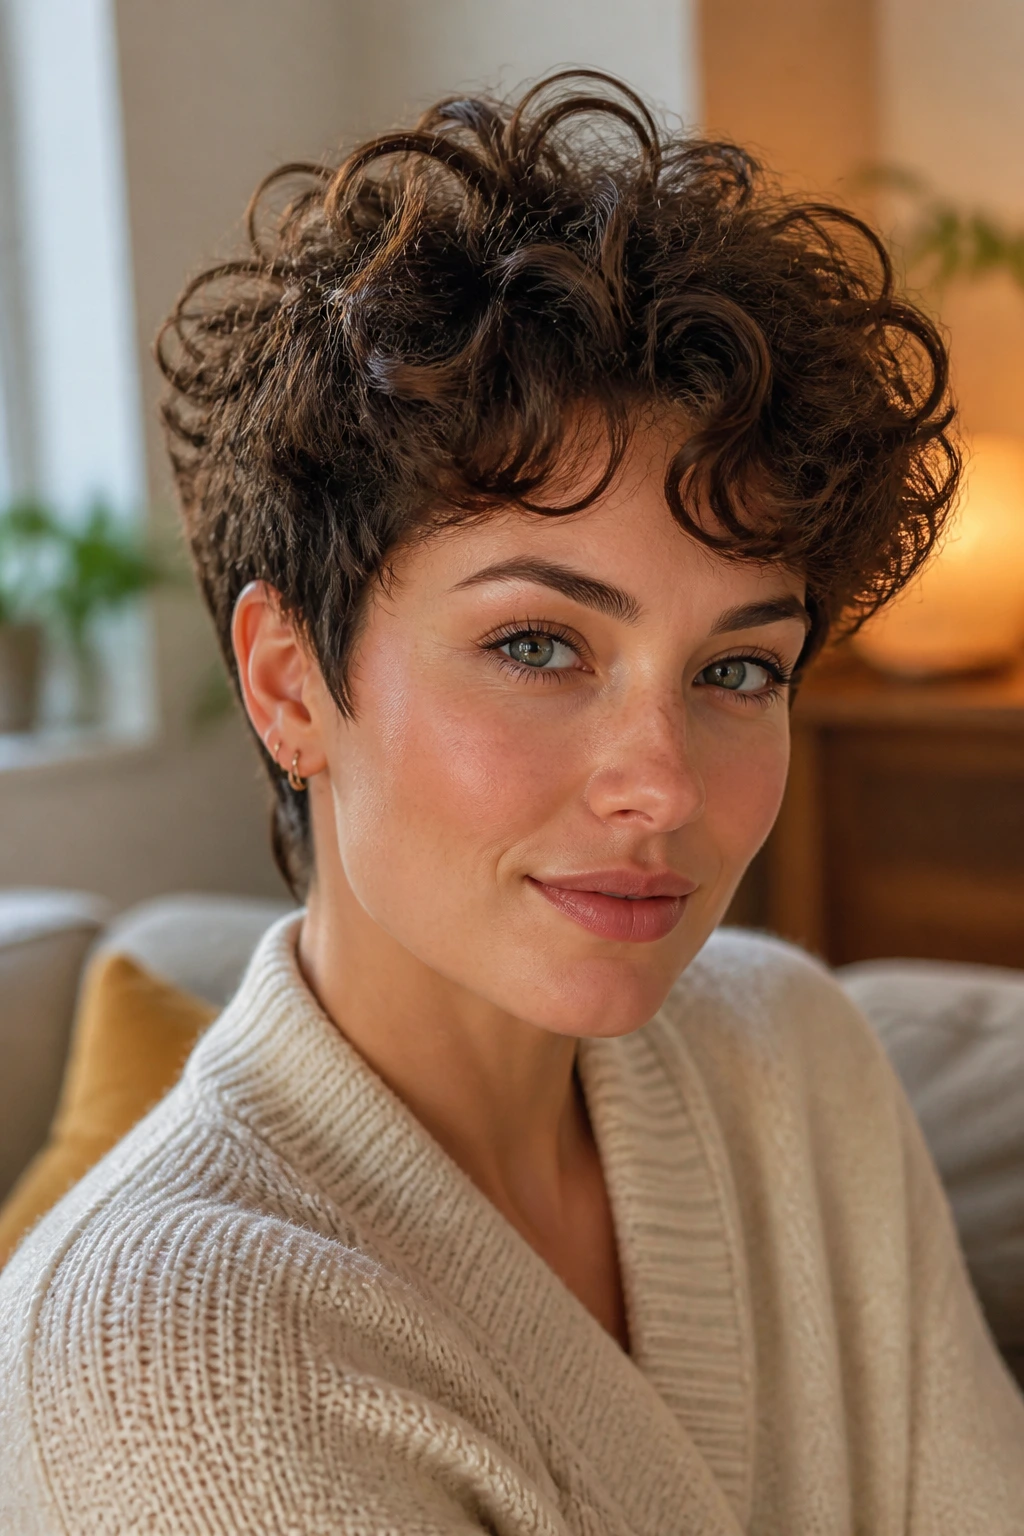
A curly pixie only looks airy when the top is allowed to rise. If the crown is weighed down, the cut turns boxy fast. I like this shape for loose curls and springy coils because it gives you instant height without asking for much length.
What Makes It Work
The whole trick is keeping the sides compact and the top slightly lifted. That means a light mousse or foam at the roots, a small clip at the crown while the hair sets, and a diffuser pointed upward, not pressed flat against the scalp. You want the roots to dry with memory.
A pixie like this also benefits from a little asymmetry. Push the front forward on one side, then let the opposite side sit tighter to the head. The contrast makes the top feel fuller. No need to overthink it.
Best when: your curls are 2C to 3B, or you have a tightly textured crop that shrinks up around the ears.
How to style it
- Apply mousse to soaking-wet hair.
- Clip the top sections upward at the crown.
- Diffuse in short bursts until 80% dry.
- Break the cast only after the hair is fully dry.
Tip: if the front looks too short, rake a fingertip through the top sections and push them diagonally forward. That one move keeps the pixie from looking too severe.
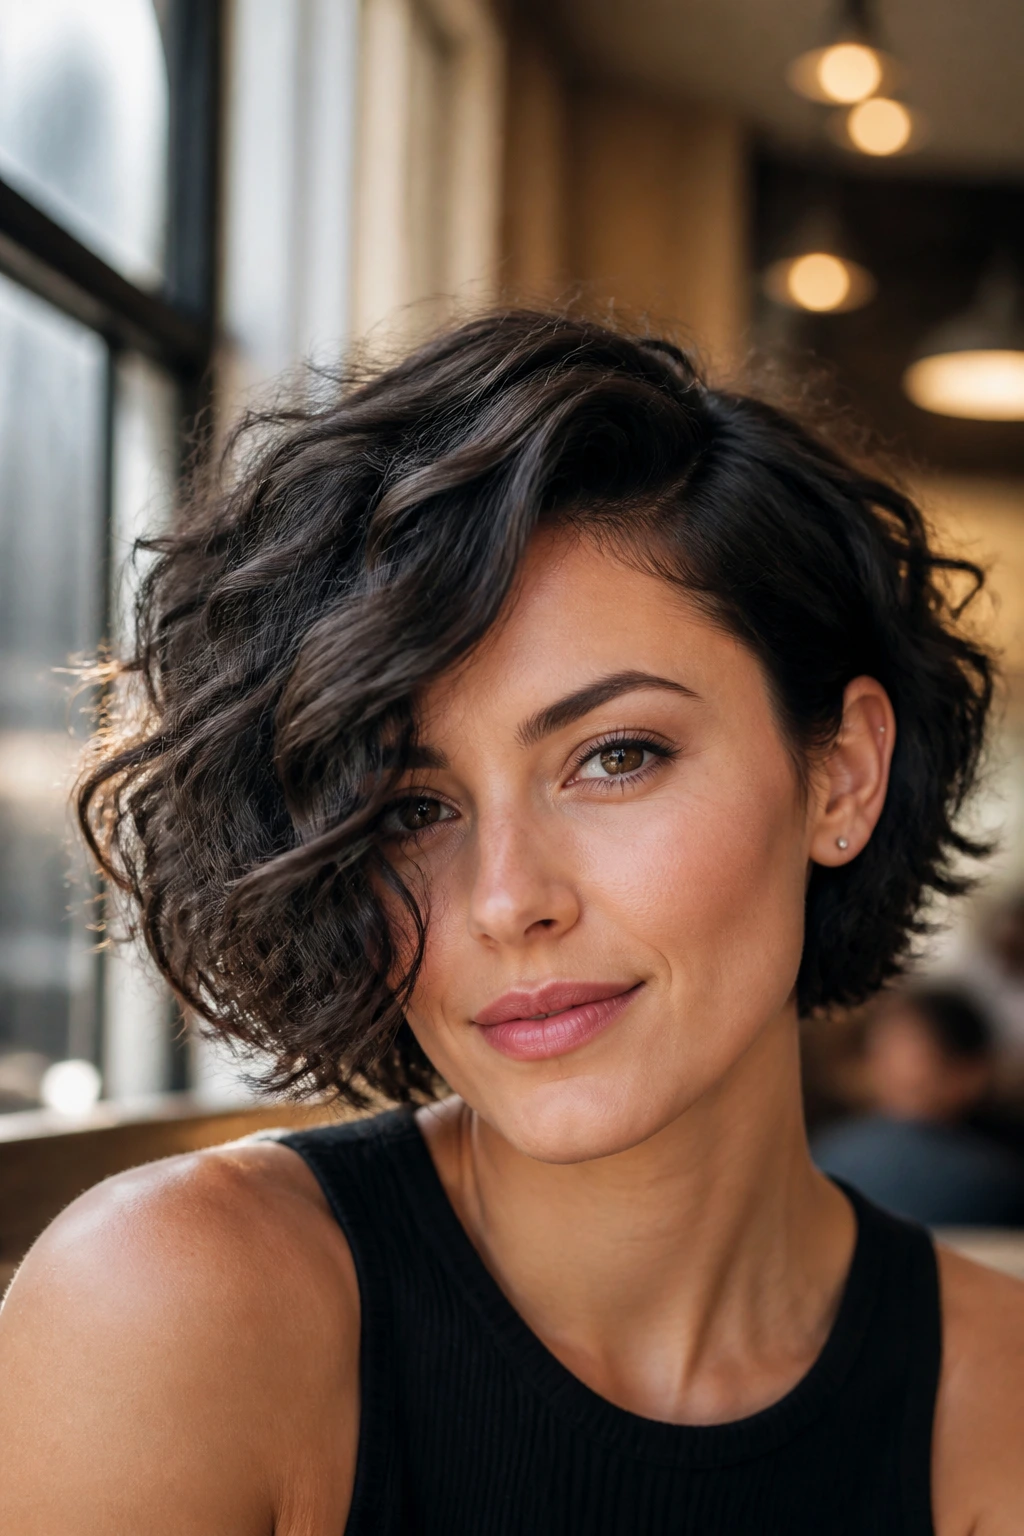
2. Deep Side-Part Curly Bob
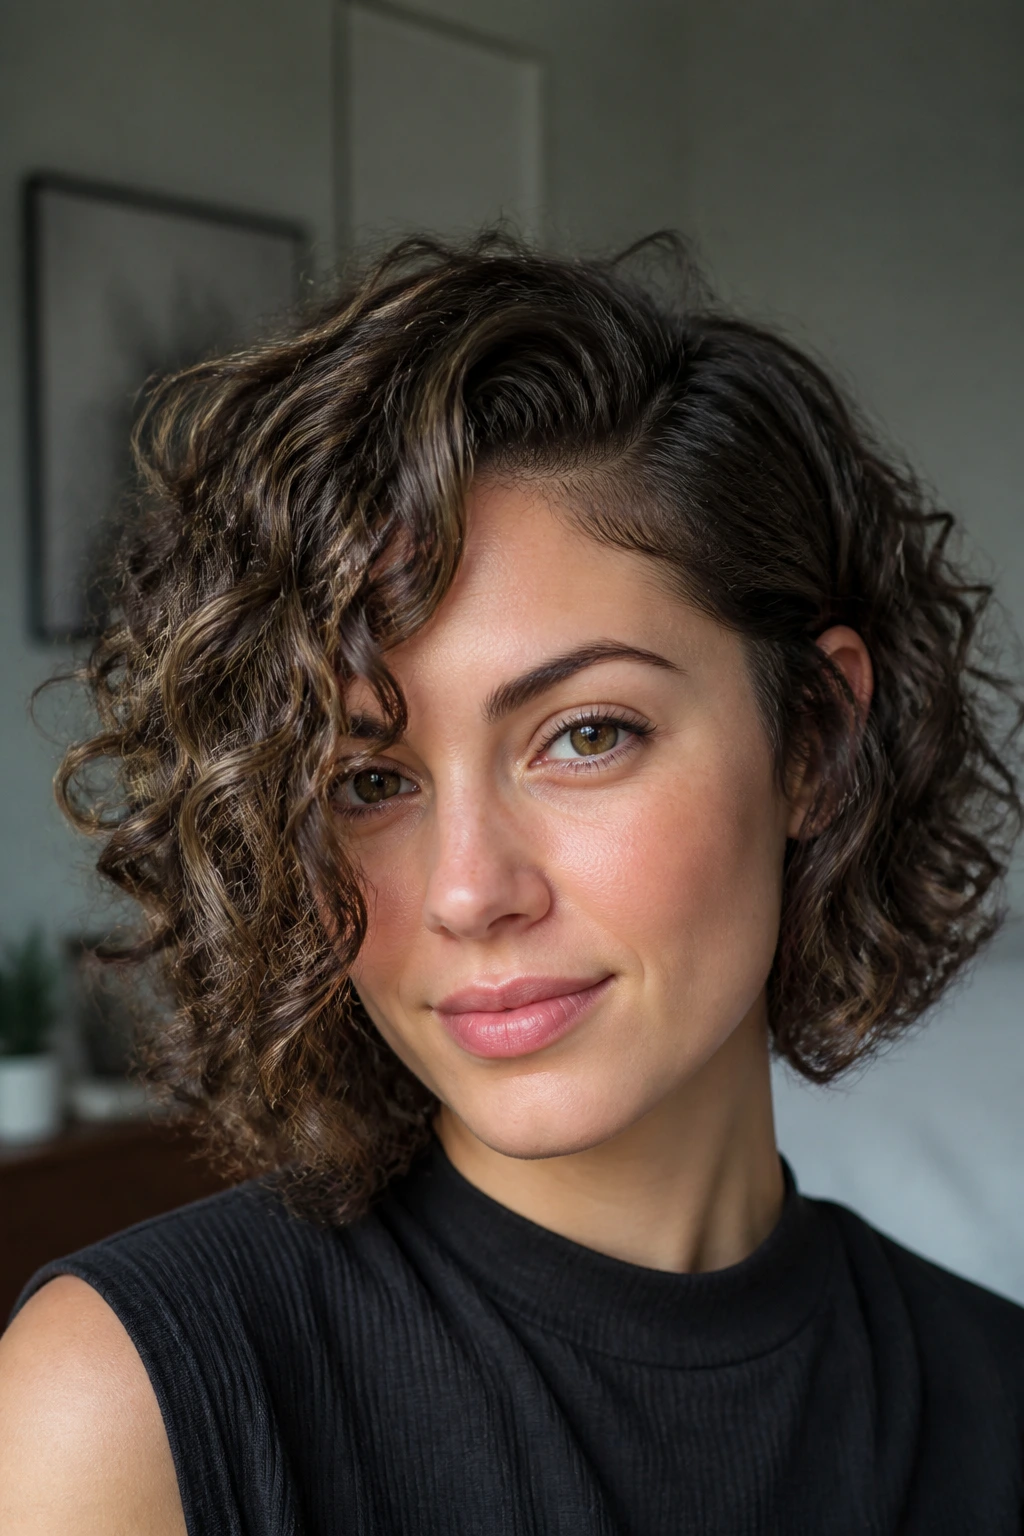
Does a side part really make short curls look fuller? Yes — when it gives one side weight and the other side height. A centered bob can be beautiful, but a deep side part creates a built-in slope that short curls love.
The heavier side should sit near the cheek, not flatten into the jawline. Use a duckbill clip at the base of the part while the hair dries. That tiny bit of support keeps the root from falling back into place before it has time to set.
For this shape, I’d avoid thick creams at the roots. Use a light leave-in on the mid-lengths, then mousse or gel foam near the scalp. The result is not crunchy. It’s buoyant. There’s a difference, and you can feel it when you shake your head.
How to keep the lift
- Create the part while the hair is still wet.
- Clip the heavier side back for the first 10 to 15 minutes of drying.
- Diffuse from underneath the curl line.
- Tuck one side behind the ear once the hair is dry to show the shape.
Most useful on: chin-length curls that need a little drama without a lot of styling time.
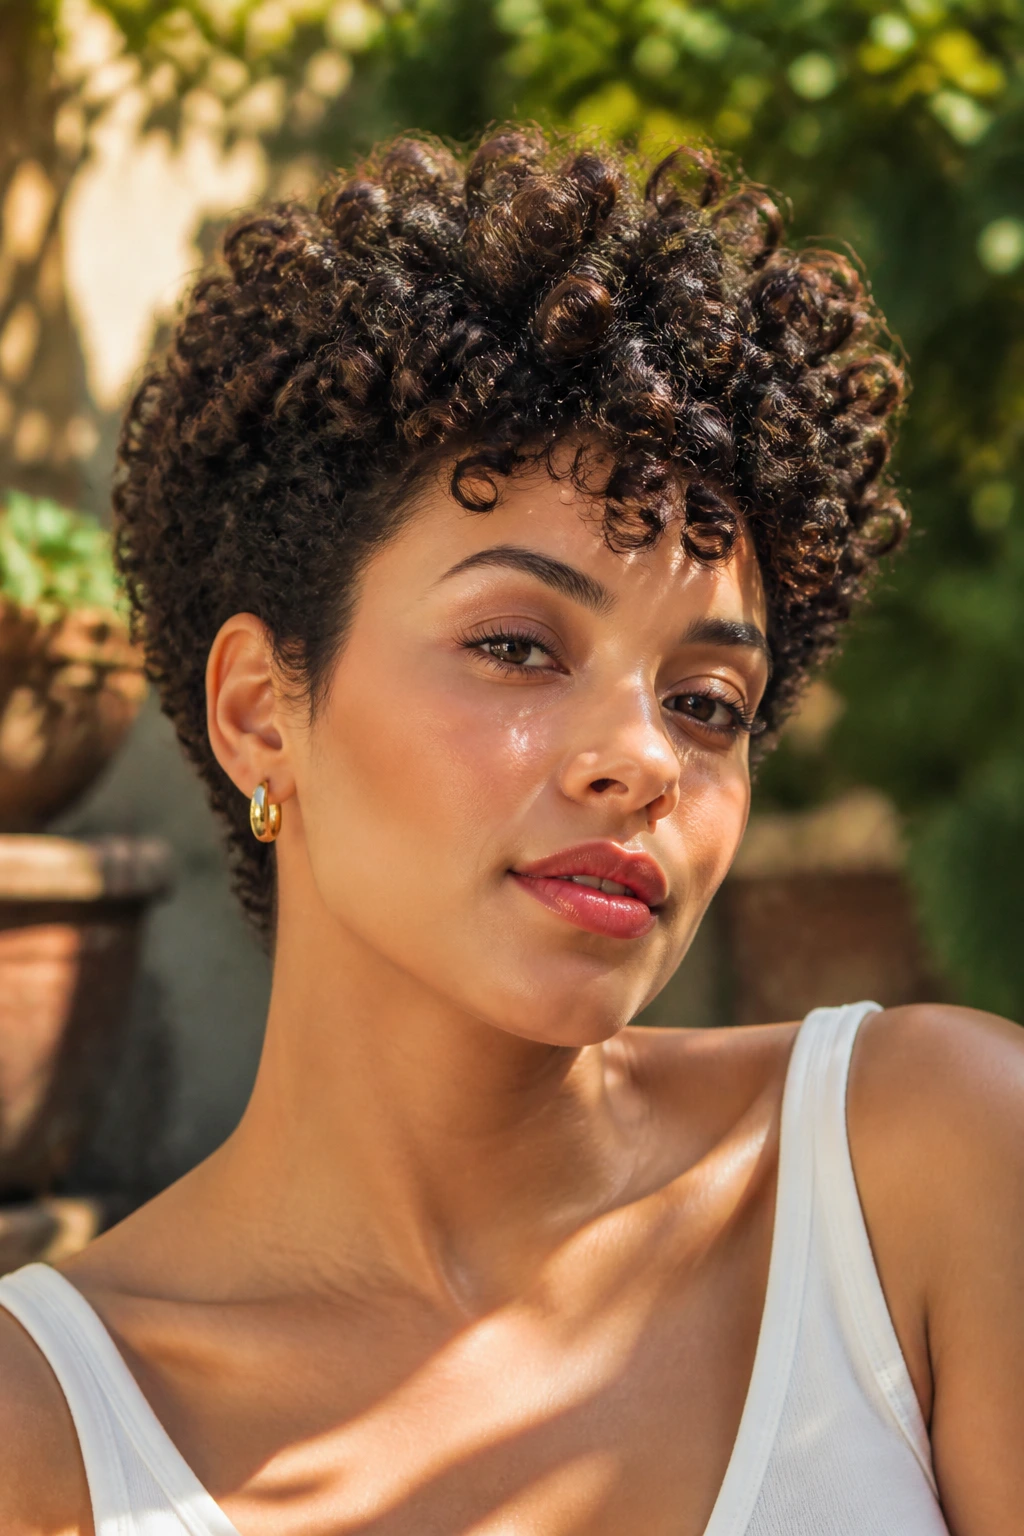
3. Rounded Mini Afro
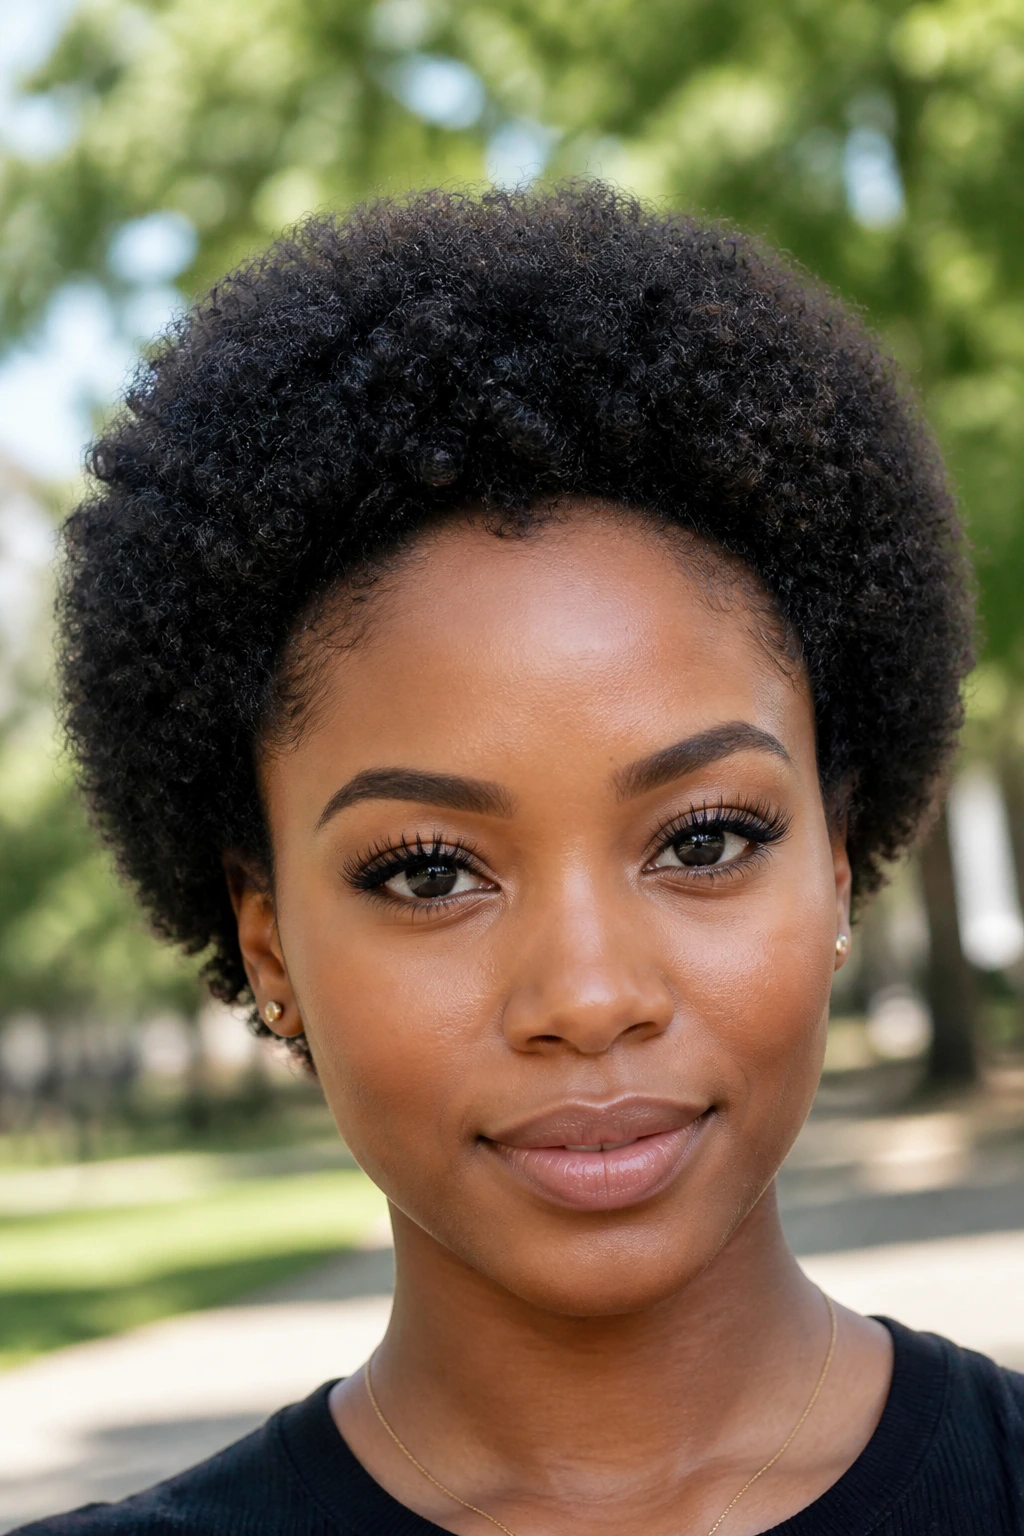
If you want volume, stop fighting the round shape. A mini afro gives short curls the most honest silhouette: all body, no apology. It works because the cut follows the head, not the floor.
The danger is letting the perimeter widen too much. You want a clean outline with enough length on top and around the temples to build that little halo effect. A good trim matters here. So does patience. Let the hair dry completely before you pick it out, or you’ll just chase fluff.
I love this look on tighter curl patterns because the shape looks full even when the hair is only a few inches long. It reads as intentional. Not accidental. That matters.
Use this approach
- Define with leave-in and a small amount of gel.
- Air-dry or diffuse until the scalp is fully dry.
- Pick only the roots in 3 or 4 zones.
- Round the outline with your hands, not a brush.
Watch for: too much product at the ends. It drags the shape down and makes the top look smaller than it is.
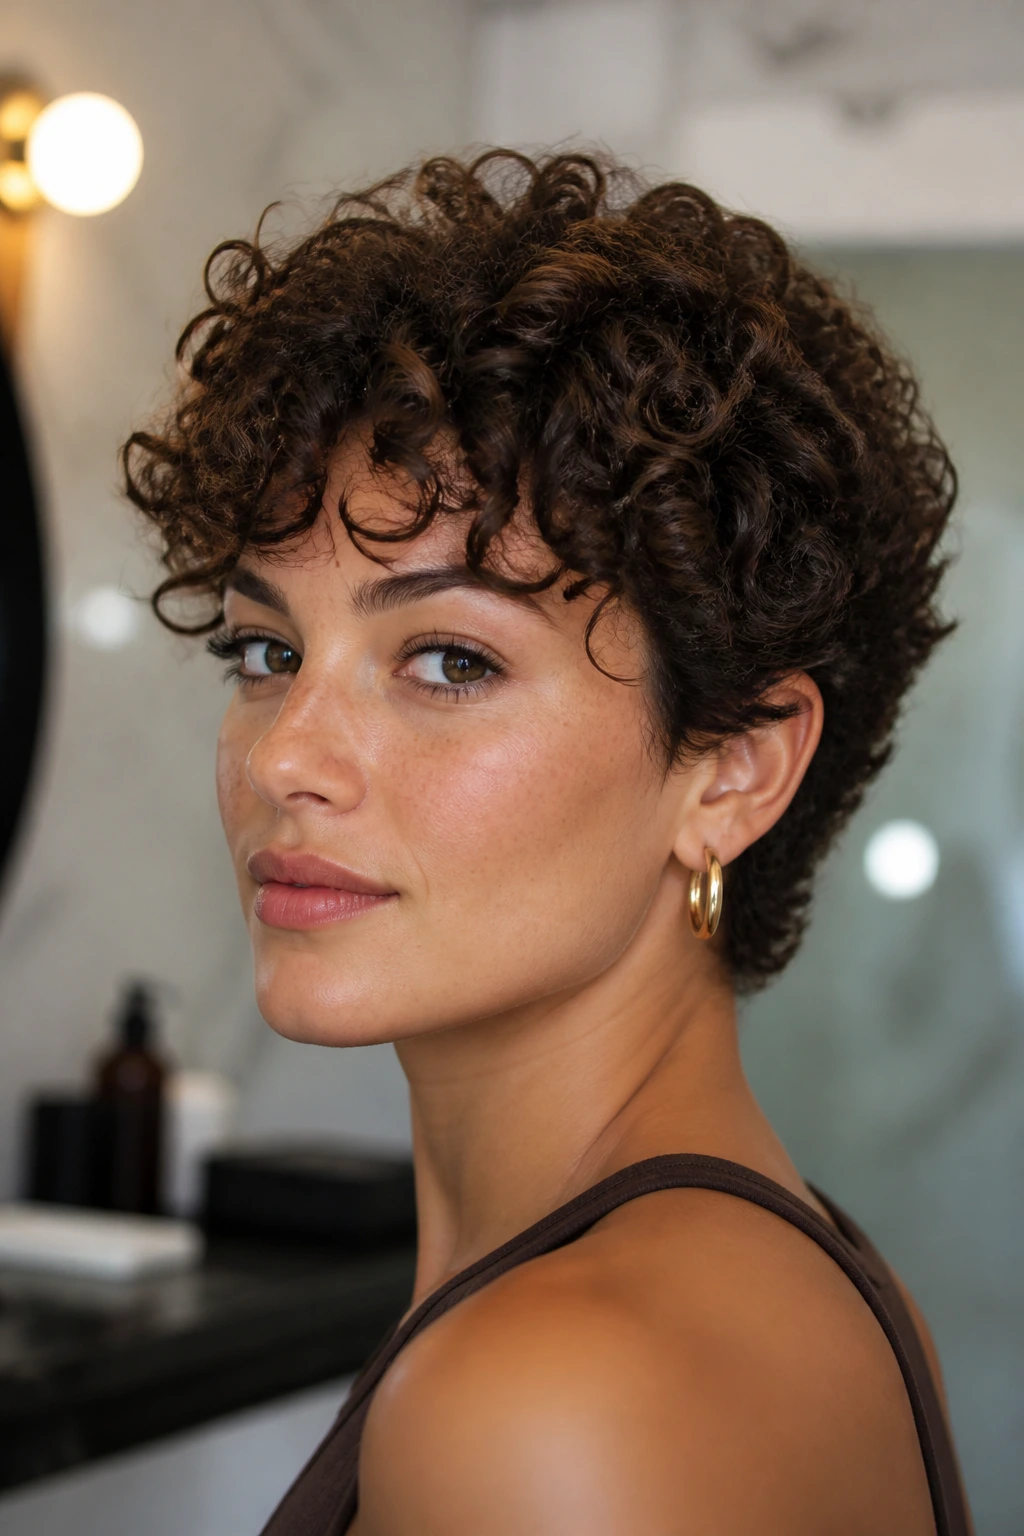
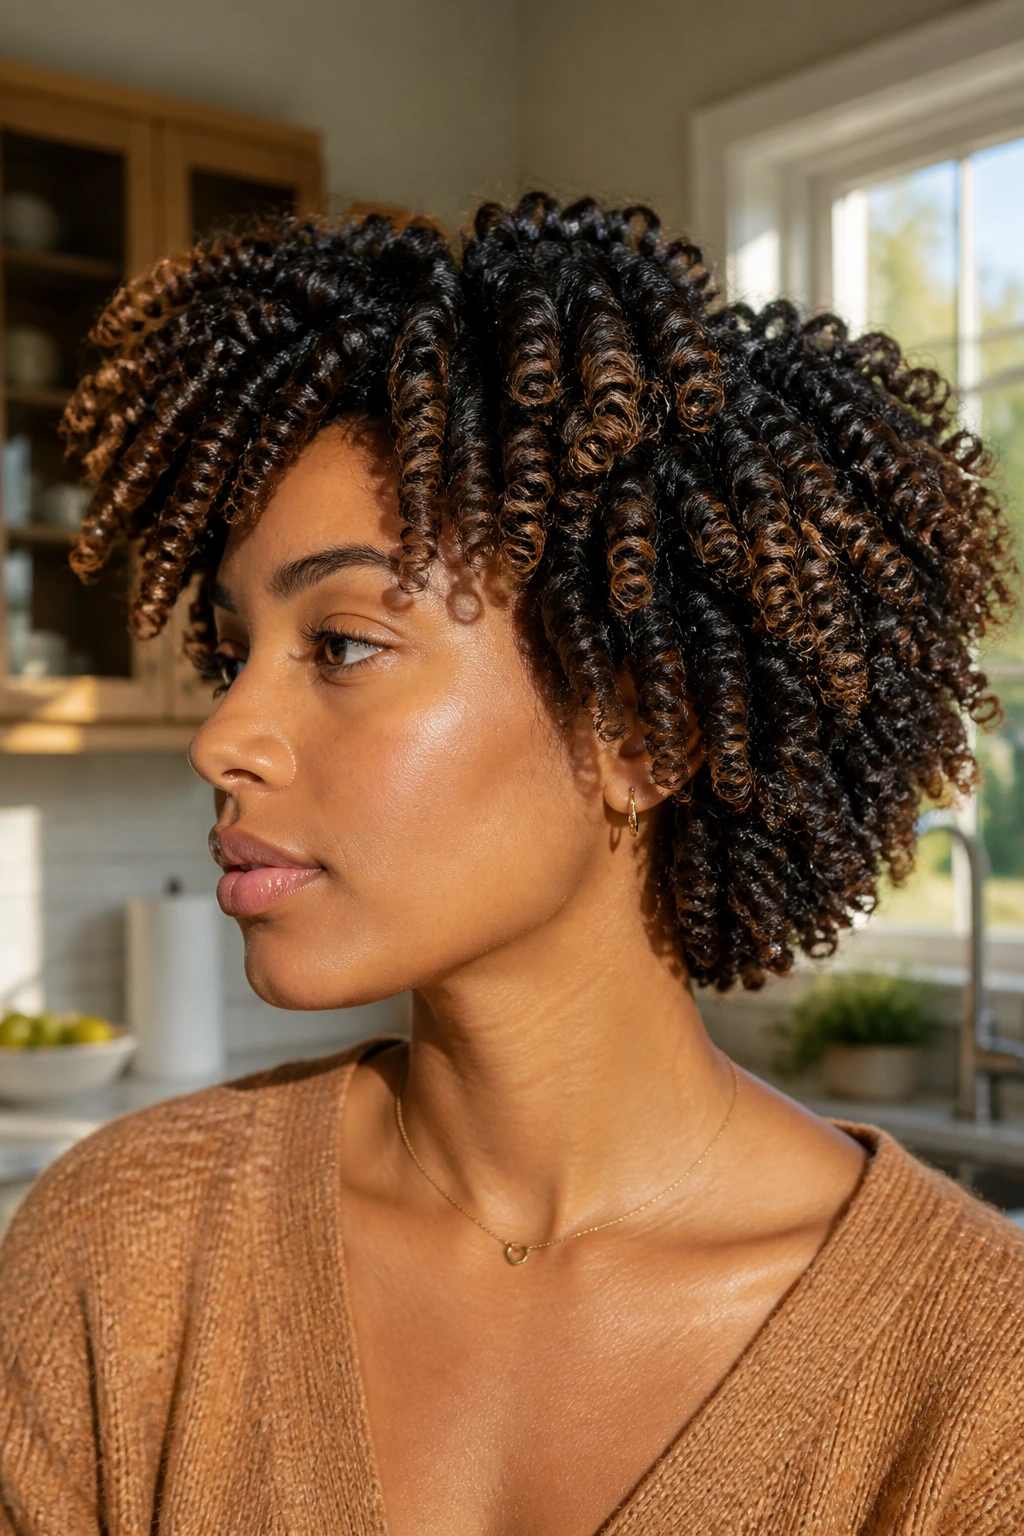
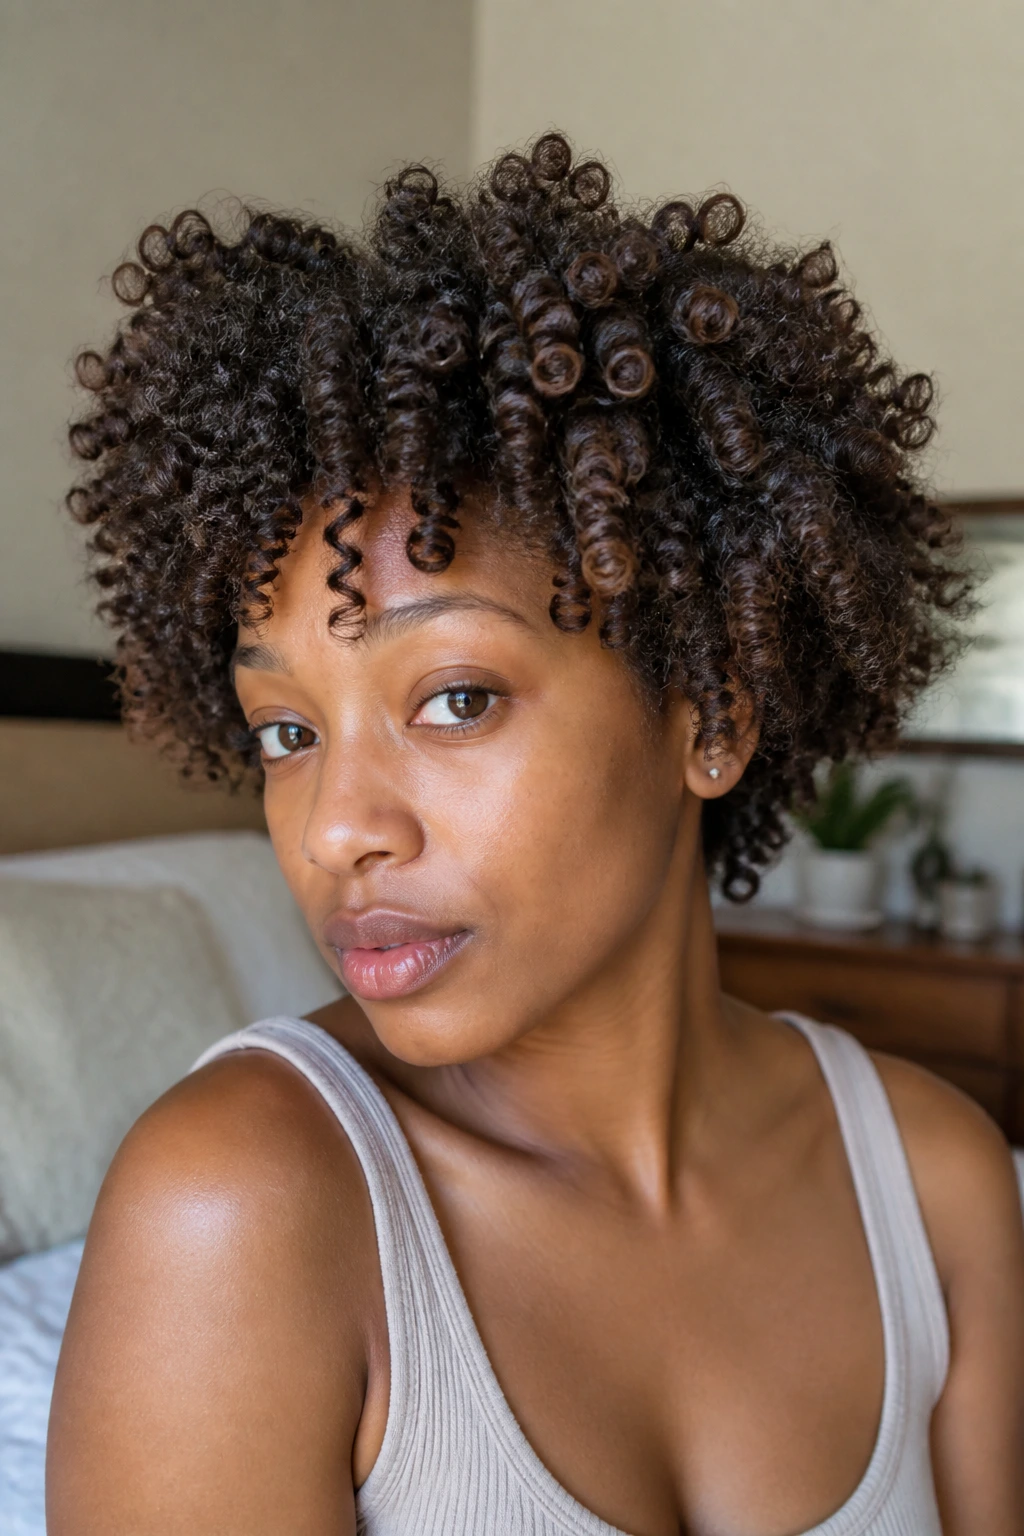
4. Finger-Coiled Crop
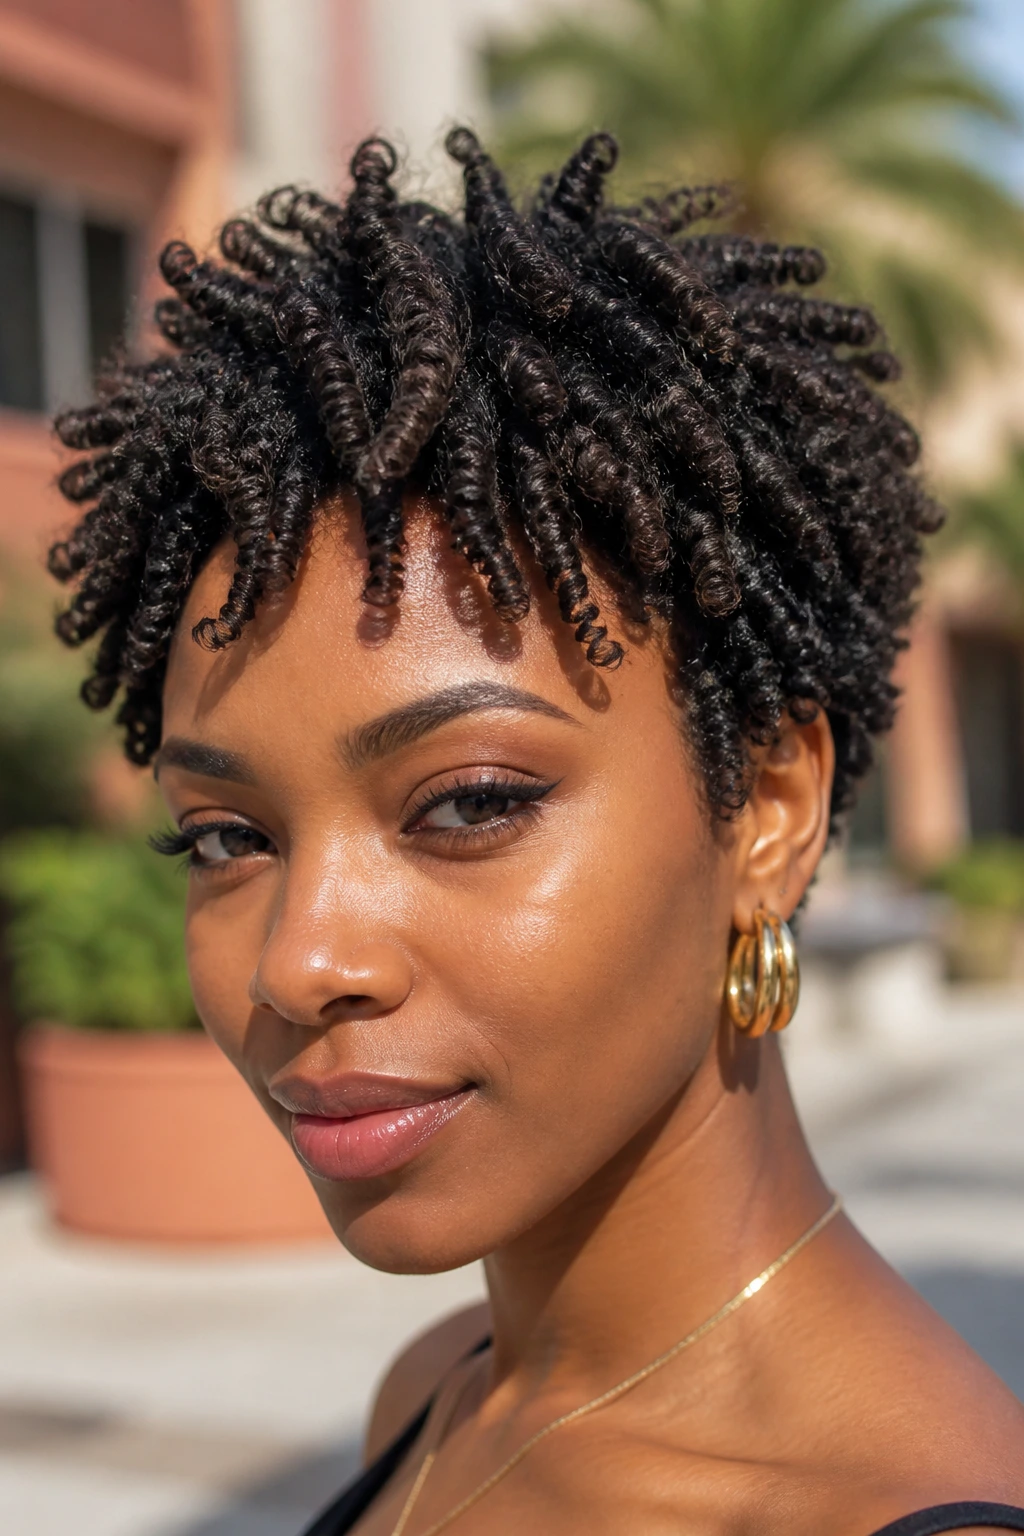
Finger coils are neat, but don’t mistake neat for flat. On short hair, a coil set can create a lot of visual volume because each piece stands on its own instead of clumping into one heavy mass.
The key is spacing. If you coil every section too tightly and too evenly, you get a tidy helmet. Leave a little irregularity at the crown and around the front. That unevenness gives the finished style some lift and movement.
I like this style when the hair needs a reset after a few rough wash days. It feels controlled, but it isn’t stiff if you use a light styling cream under a flexible gel. The coils dry with a clean, springy finish that looks even better after they’re separated.
A simple coil map
- Make smaller coils at the front for framing.
- Use slightly larger sections at the crown for fullness.
- Let everything dry fully before touching it.
- Separate each coil with a drop of oil on the fingertips.
Pro tip: if the crown starts to collapse, clip two or three coils upward while they dry. It makes a real difference.
5. Curly Shag with Micro Layers

A short curly shag wins on attitude and shape. The micro layers remove weight from the middle of the cut, which keeps the curls from swelling out at the bottom like a triangle someone forgot to finish.
This one works best when the fringe is soft and the crown has room to rise. You want the top sections short enough to lift, but not so short that the haircut loses its curl pattern. The style should feel breezy, not choppy for the sake of it.
I’ll say it plainly: this is one of the easiest ways to make short curls look expensive without making them look polished to death. The mess is part of the charm. Use your fingers, not a brush, and keep the product light.
Why the shag helps
- The layers break up bulk.
- The crown gets natural lift.
- The fringe softens the shape around the eyes.
- The back stays airy instead of heavy.
Best if: your curls puff wide when they dry and you want the cut itself to do some of the styling work.
6. Faux Hawk with Soft Sides
The faux hawk is for people who want height without a lot of length. On short curly hair, it can be surprisingly elegant if the sides stay soft and the center ridge is the only part that reaches upward.
Start by smoothing the sides back with a light gel or cream. Don’t flatten them into a hard shell; that just makes the top look smaller. The center section should dry upward and slightly forward, then be lifted with a pick once the cast is set.
The style has a sharper edge than most looks in this list, but it doesn’t need to feel edgy in the costume sense. It’s simply directional. The eye goes straight up.
Use these tools
- Rat-tail comb for sectioning.
- Duckbill clips for the sides.
- Diffuser for the center ridge.
- Fine mist hairspray if your hair falls fast.
Tip: if the top feels too narrow, widen the center section by half an inch on each side. That gives you a fuller ridge without changing the whole cut.
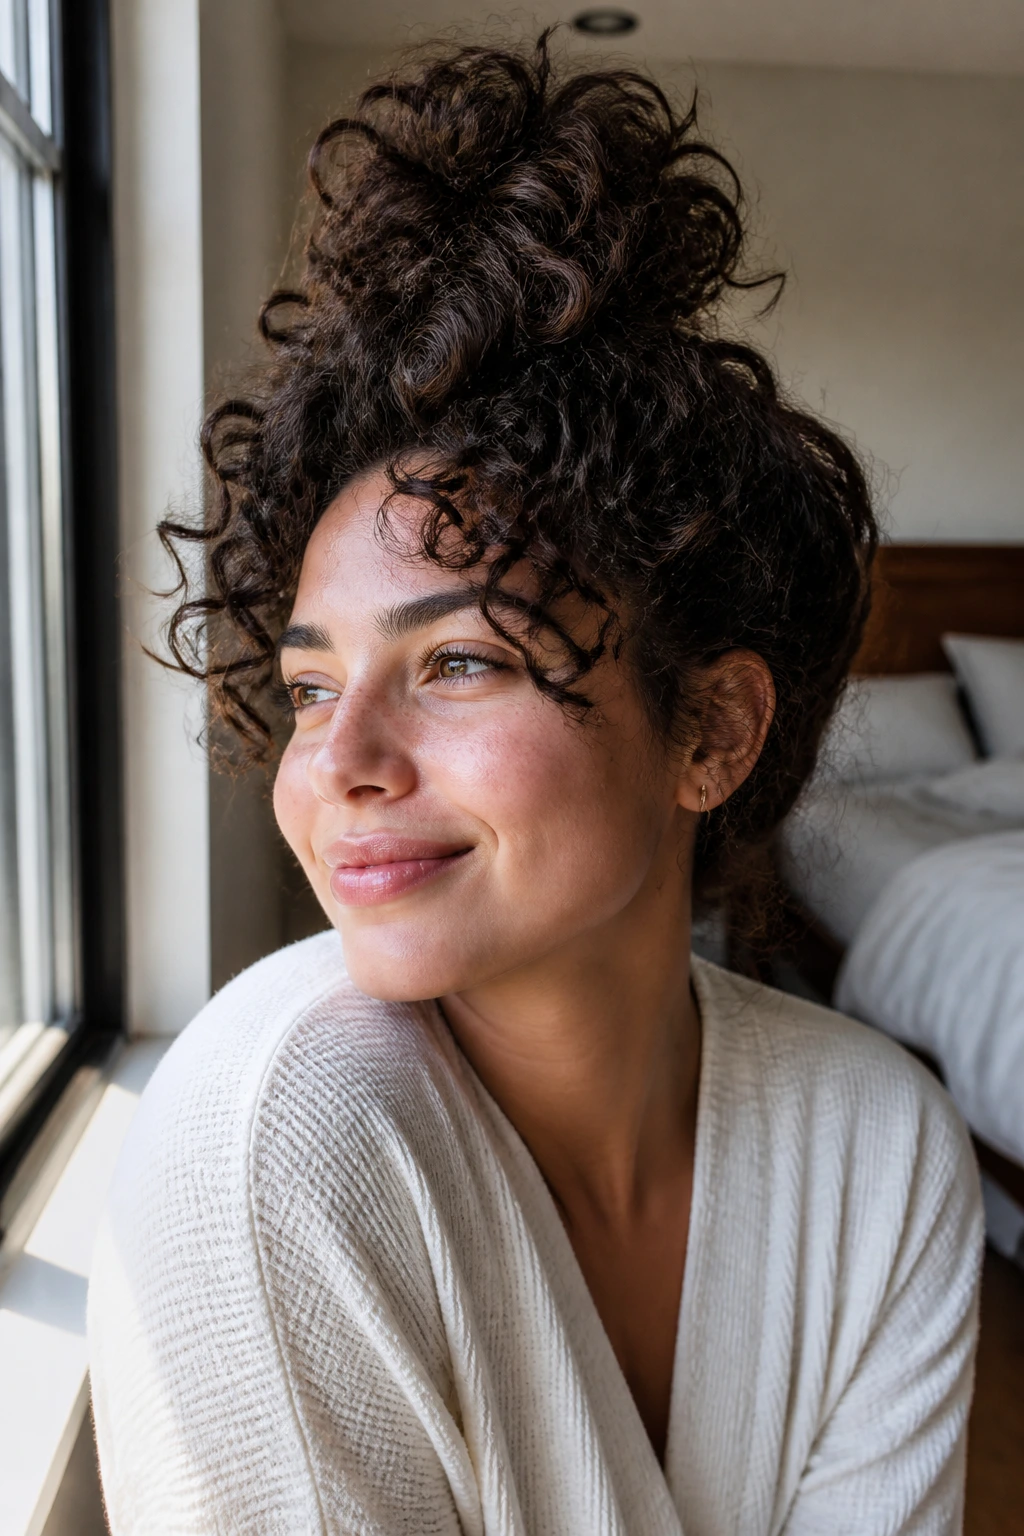
7. Pineapple Updo for Short Curls
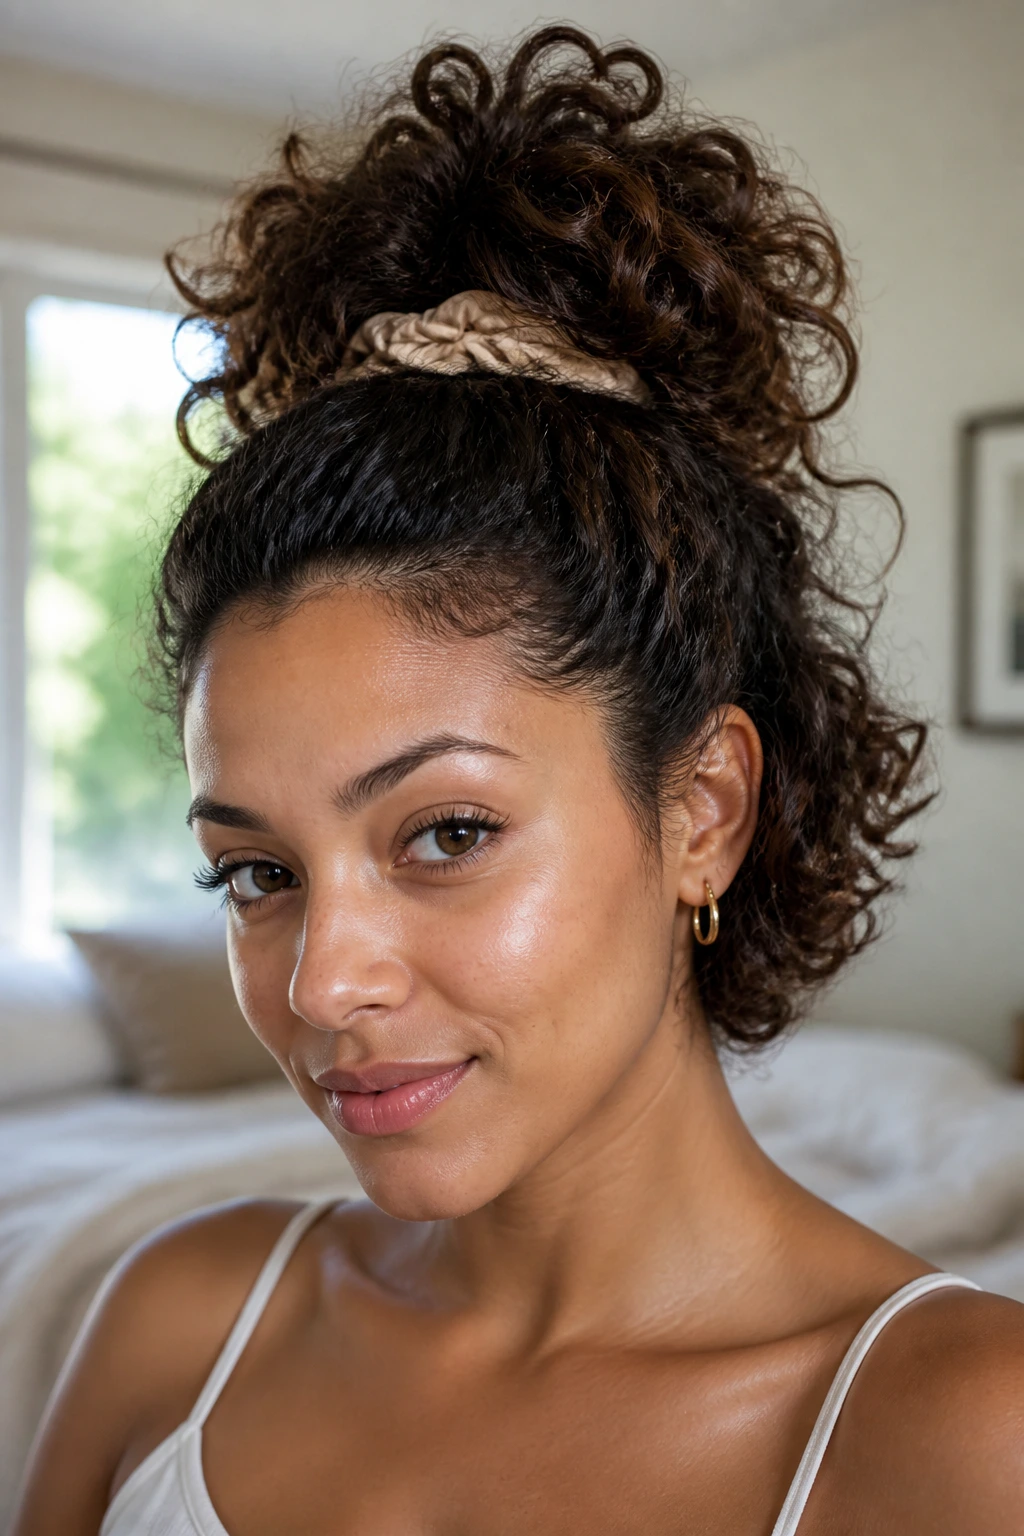
Can short curls go into a pineapple? Absolutely, if the length reaches the crown or the top back of the head. The shape is loose, a little playful, and far more useful than people give it credit for.
This is not the same pineapple you wear only to bed. For daytime, you want the top section gathered high and secured with a soft band or a loose scrunchie, while the lower curls stay free enough to frame the neck. The volume lands at the crown, which is exactly where short hair often needs it most.
It works beautifully on second-day curls because the top retains a little stretch while the lower curls keep their memory. I’d keep the front pieces soft. Too tight and the whole thing starts to look like a bundled knot.
How to wear it
- Gather only the upper half, not every curl on the head.
- Leave a few face-framing pieces loose.
- Puff the crown gently with your fingertips.
- Keep the band high enough to show lift, not so high that the shape looks stiff.
Best for: chin-length cuts and longer pixies that need an easy lift for the whole day.
8. Half-Up Twist Back
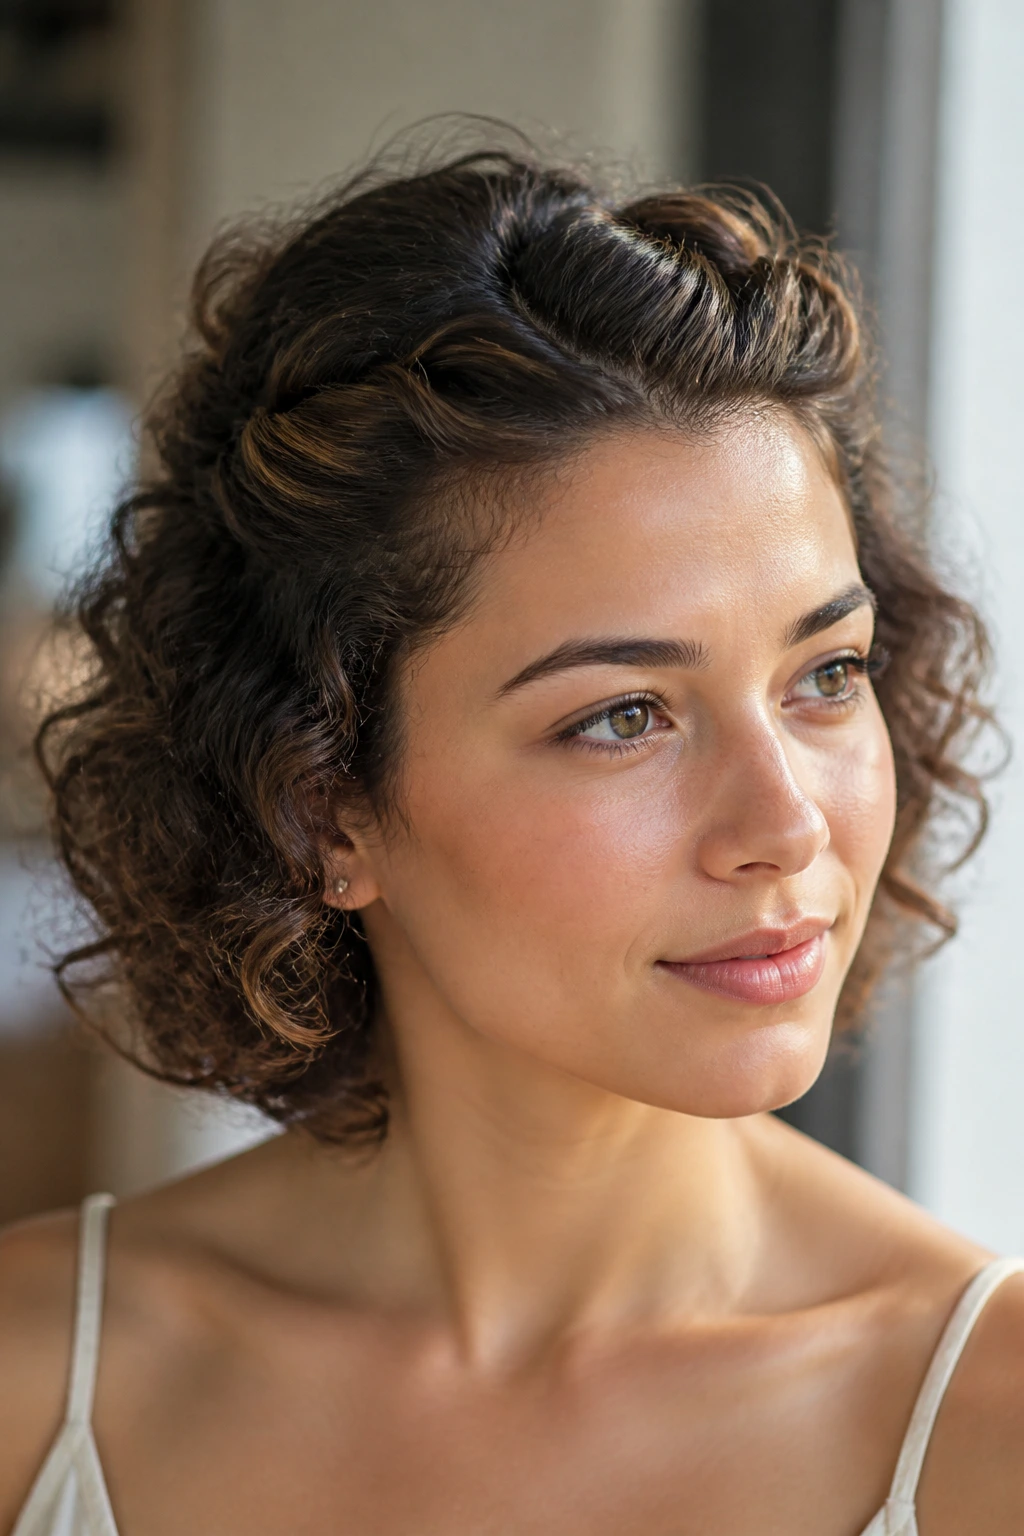
A half-up twist back gives short curls a little crown architecture. That sounds fancy, but the actual move is simple: twist the front or temple sections back and pin them near the crown, then let the rest of the hair stay full.
The reason this works is tension. The twisted top sections pull the eye upward, which makes the loose curls underneath look bigger. It’s one of the easiest ways to make a short style feel finished without pulling everything away from the face.
Use two bobby pins crossed in an X if your hair is slippery. One pin usually slips. Two usually hold. I also like this style when the front pieces are too short to tuck cleanly behind the ears. Twisting them back solves that problem and gives the style a bit of lift at the same time.
Good details to remember
- Twist while the hair is slightly damp for better hold.
- Pin into the denser part of the curl, not the soft ends.
- Keep the twist loose enough to look soft.
- Mist the top lightly before pinning if your hair frizzes fast.
9. Side-Swept Volume Bob
A side-swept bob is a smart way to cheat a little extra fullness into short curls. The sweep creates a soft diagonal line, and diagonals always feel more lifted than straight horizontal shapes.
I like this look because it lets one side stay full while the other side stays tucked and controlled. That contrast keeps the bob from puffing out evenly all around, which is often the thing that makes short curly hair feel bulky instead of voluminous.
The style needs a clean part, a little root support, and a hands-off finish. Once the hair is dry, don’t keep touching the swept side. Every time you rake through it, the shape gets wider and less refined.
Try this if
- Your curls are chin length.
- Your hair sits flat at the temples.
- You want movement without losing the bob shape.
- You wear glasses and need the front to stay out of the frames.
Tip: tuck the shorter side behind one ear and leave the other side free. It sharpens the line in a way a mirror selfie will absolutely show.
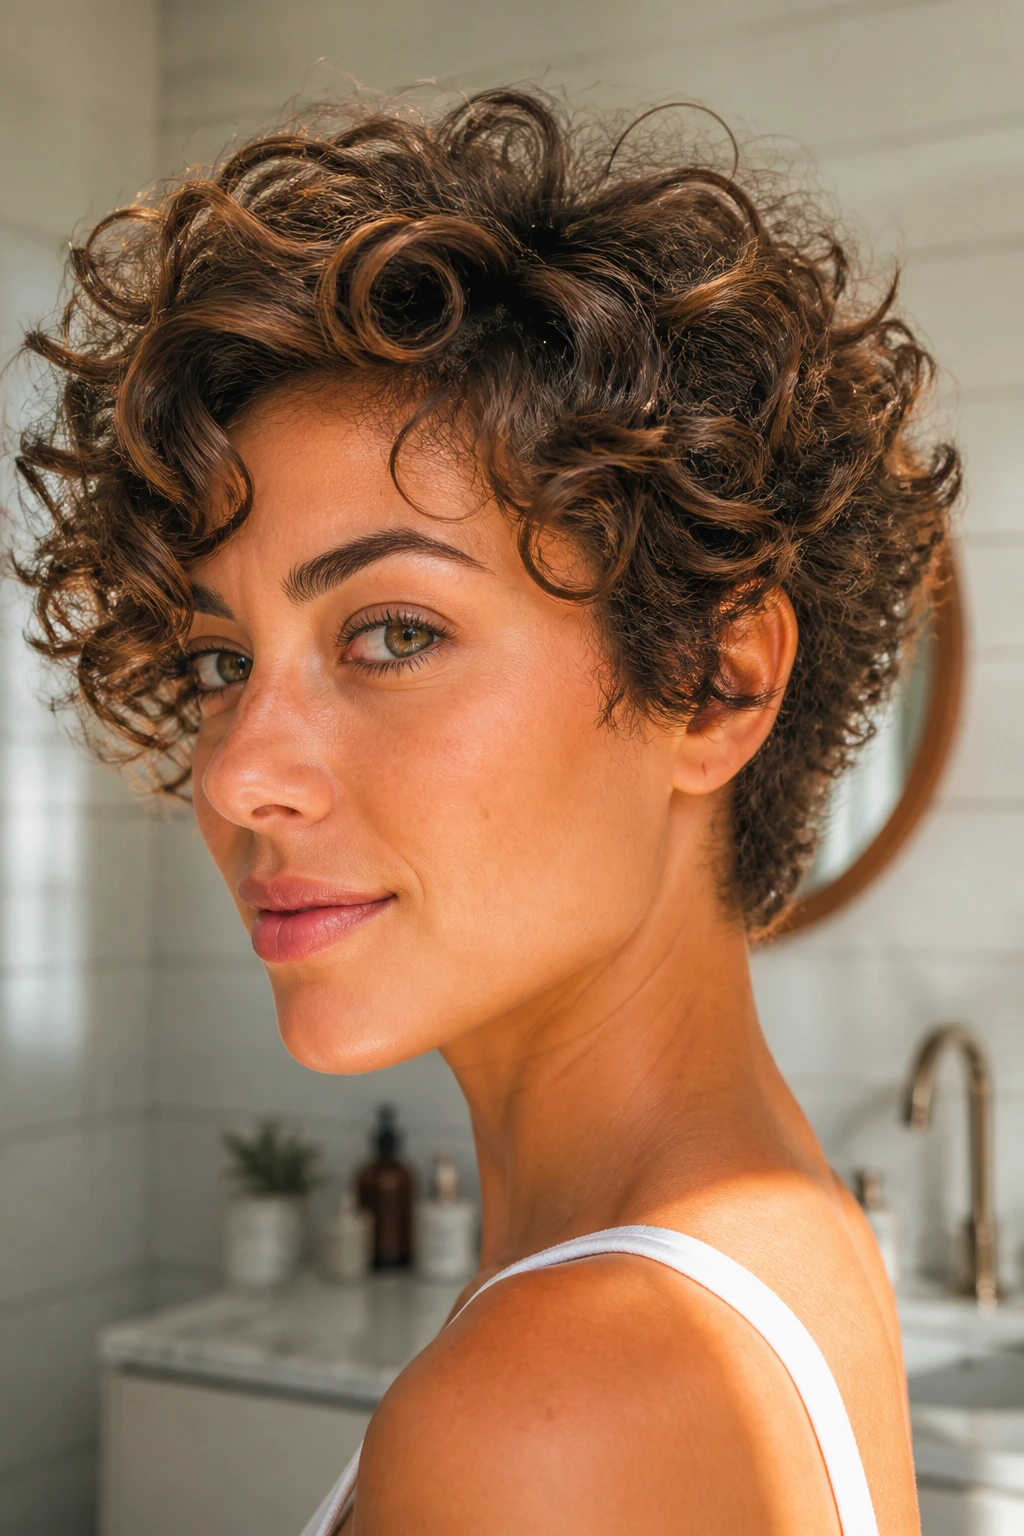
10. Diffused Curl Crop
A diffused curl crop is the workhorse of the whole group. It’s not flashy, but it gives you volume where you want it: around the crown, around the sides, and just enough lift at the back so the silhouette doesn’t collapse.
The trick is to diffuse in stages. Start upside down or bent to one side for the roots, then switch upright when the hair is about 70% dry. That shift helps the curls set with body instead of hanging straight off the scalp. If you stay upside down too long, the shape can turn too round and lose its line.
I’m fussy about this one because a lot of people stop diffusing too early. The hair may feel dry on the outside while the roots are still damp underneath. That dampness is exactly what flattens the top later.
Use this rhythm
- Apply your styler to soaking hair.
- Dry the roots first.
- Switch angles halfway through.
- Leave the curls alone until fully cool.
11. Cloud-Volume Bob with Flipped Ends
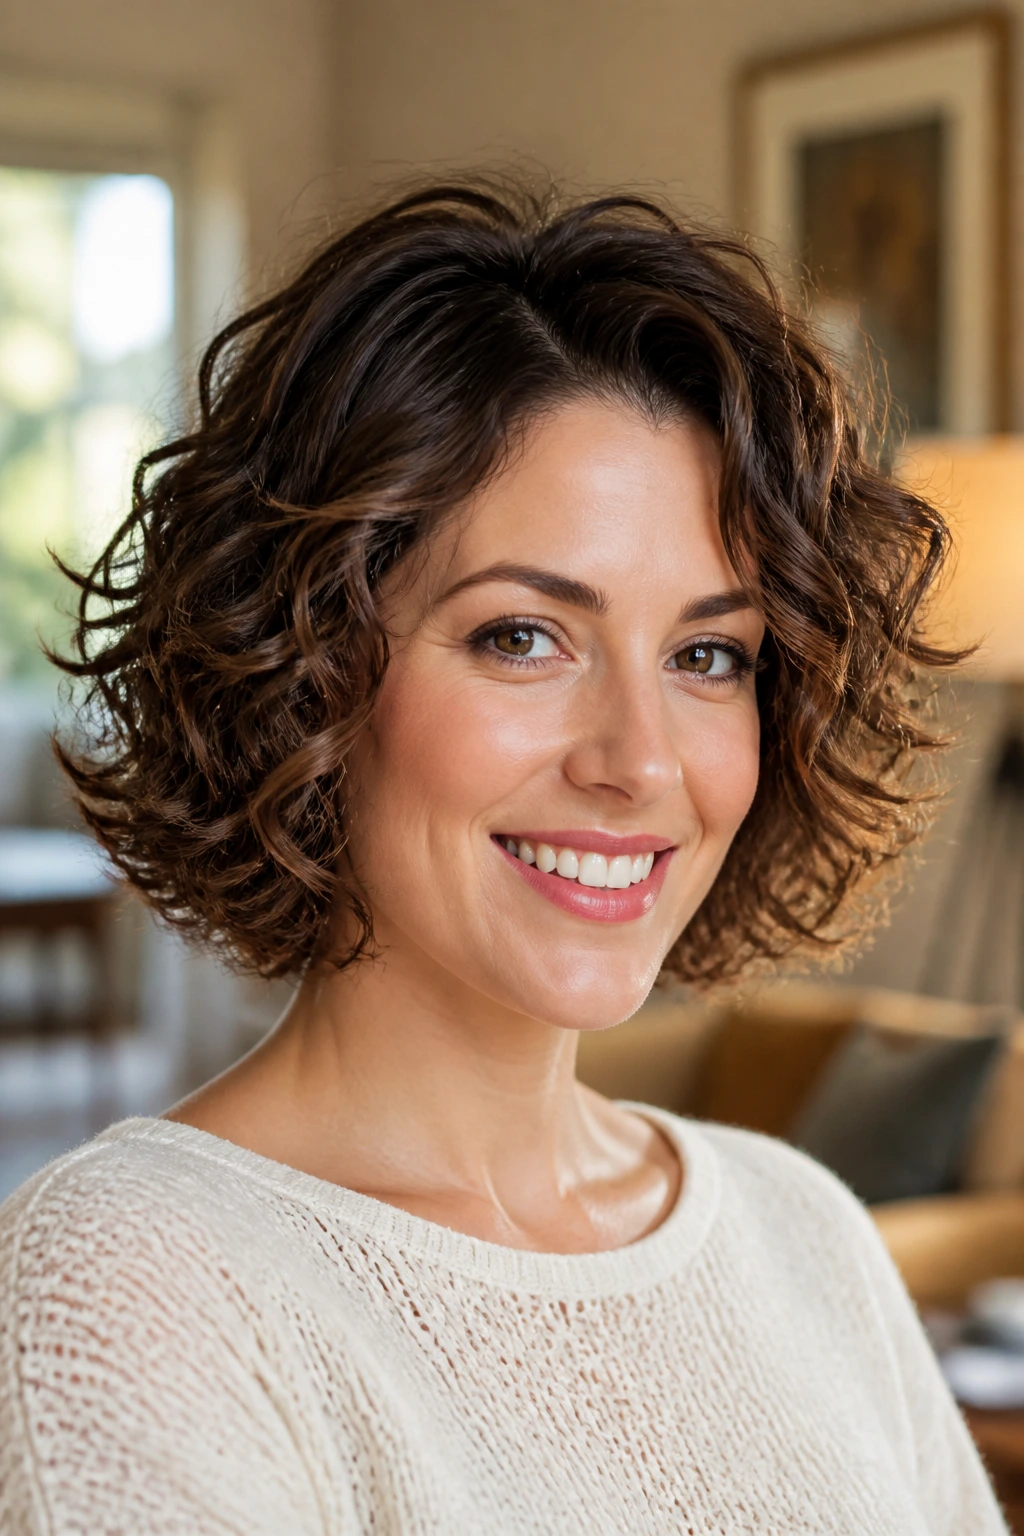
This is the bob that looks like it has air built into it. The ends flip outward just a touch, which keeps the shape lively instead of rounded in a heavy way.
The style works best when the curl is encouraged outward while drying. You can do that with your fingers, with a diffuser, or by gently scrunching the ends away from the face while the hair is still damp. The crown should stay lifted, but the lower half should not cling to the neck.
A cloud-volume bob is a little softer than a blunt bob and less fussy than a fully layered cut. It sits in a useful middle zone. Not sleek. Not wild. Just full.
How to get the shape
- Use a foam or mousse with flexible hold.
- Clip the top sections at the crown.
- Dry the ends last so they keep their outward bend.
- Shake the roots once the hair cools.
One small warning: too much oil on the ends will drag the flip down. Use the tiniest amount, or skip it.
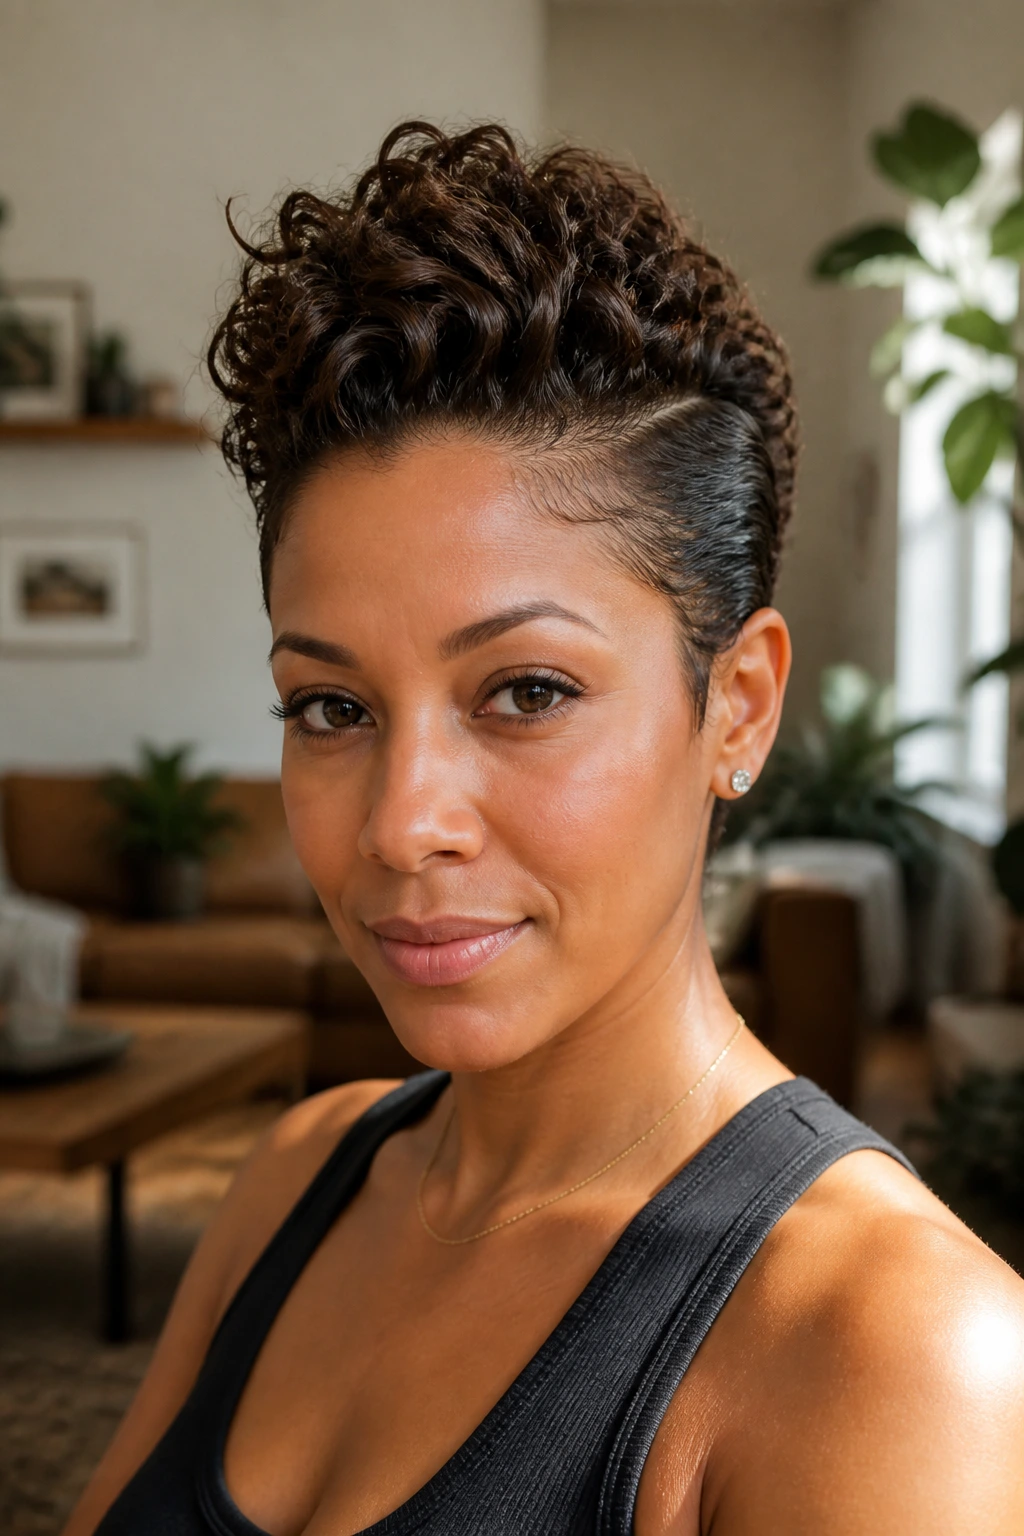
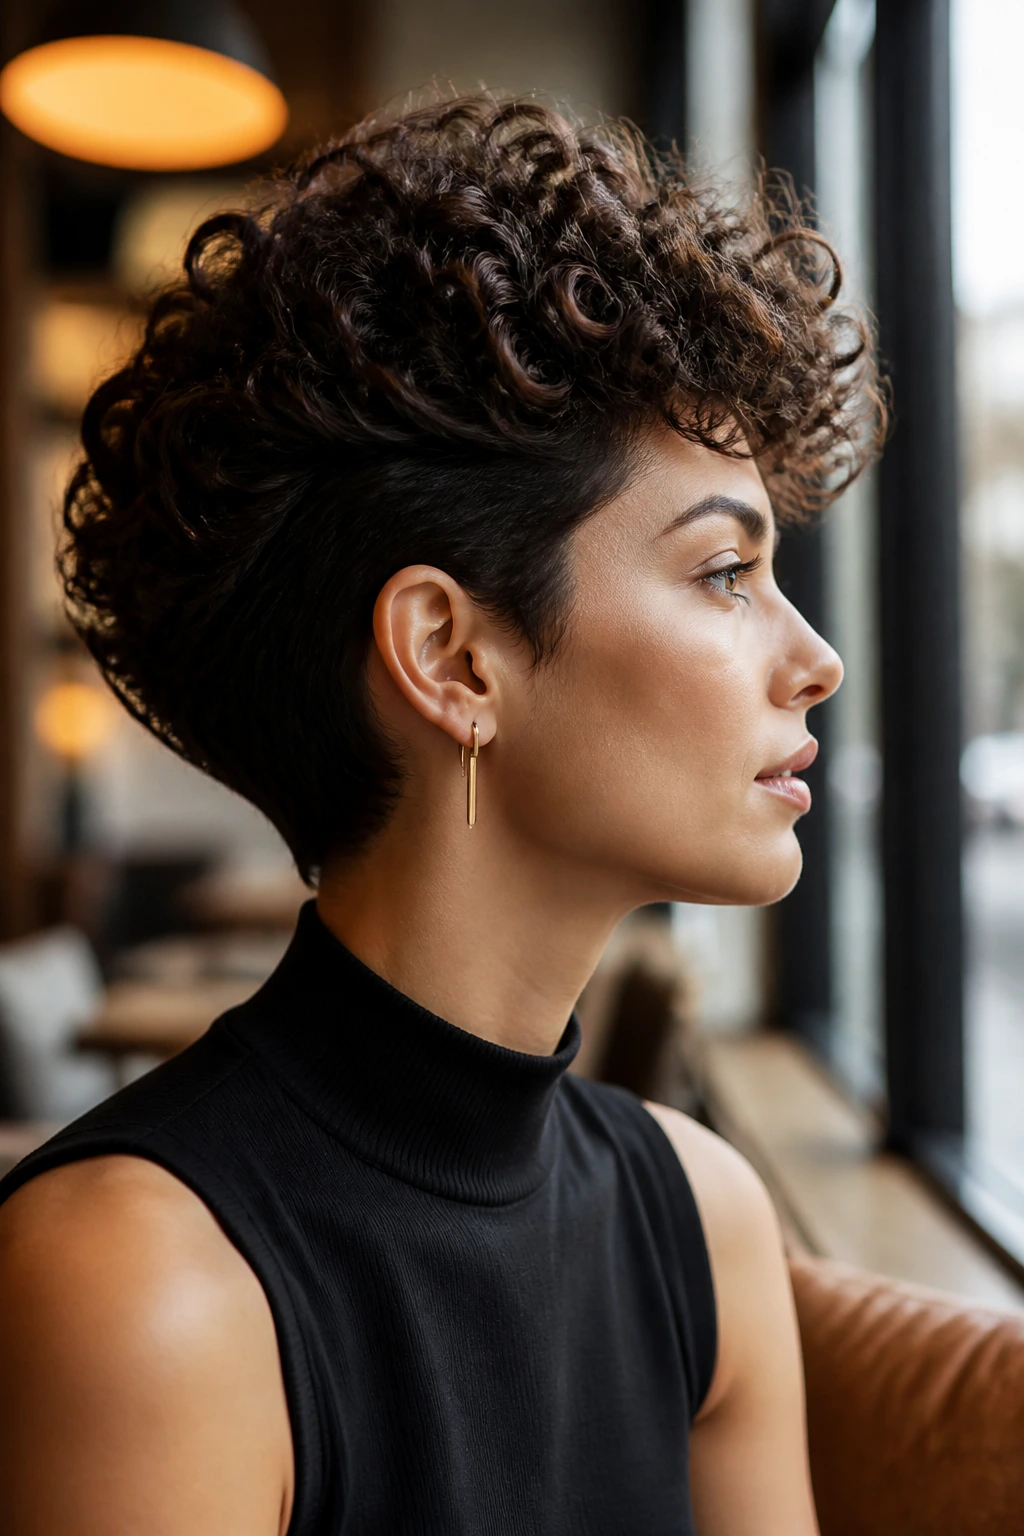
12. Sculpted Frohawk
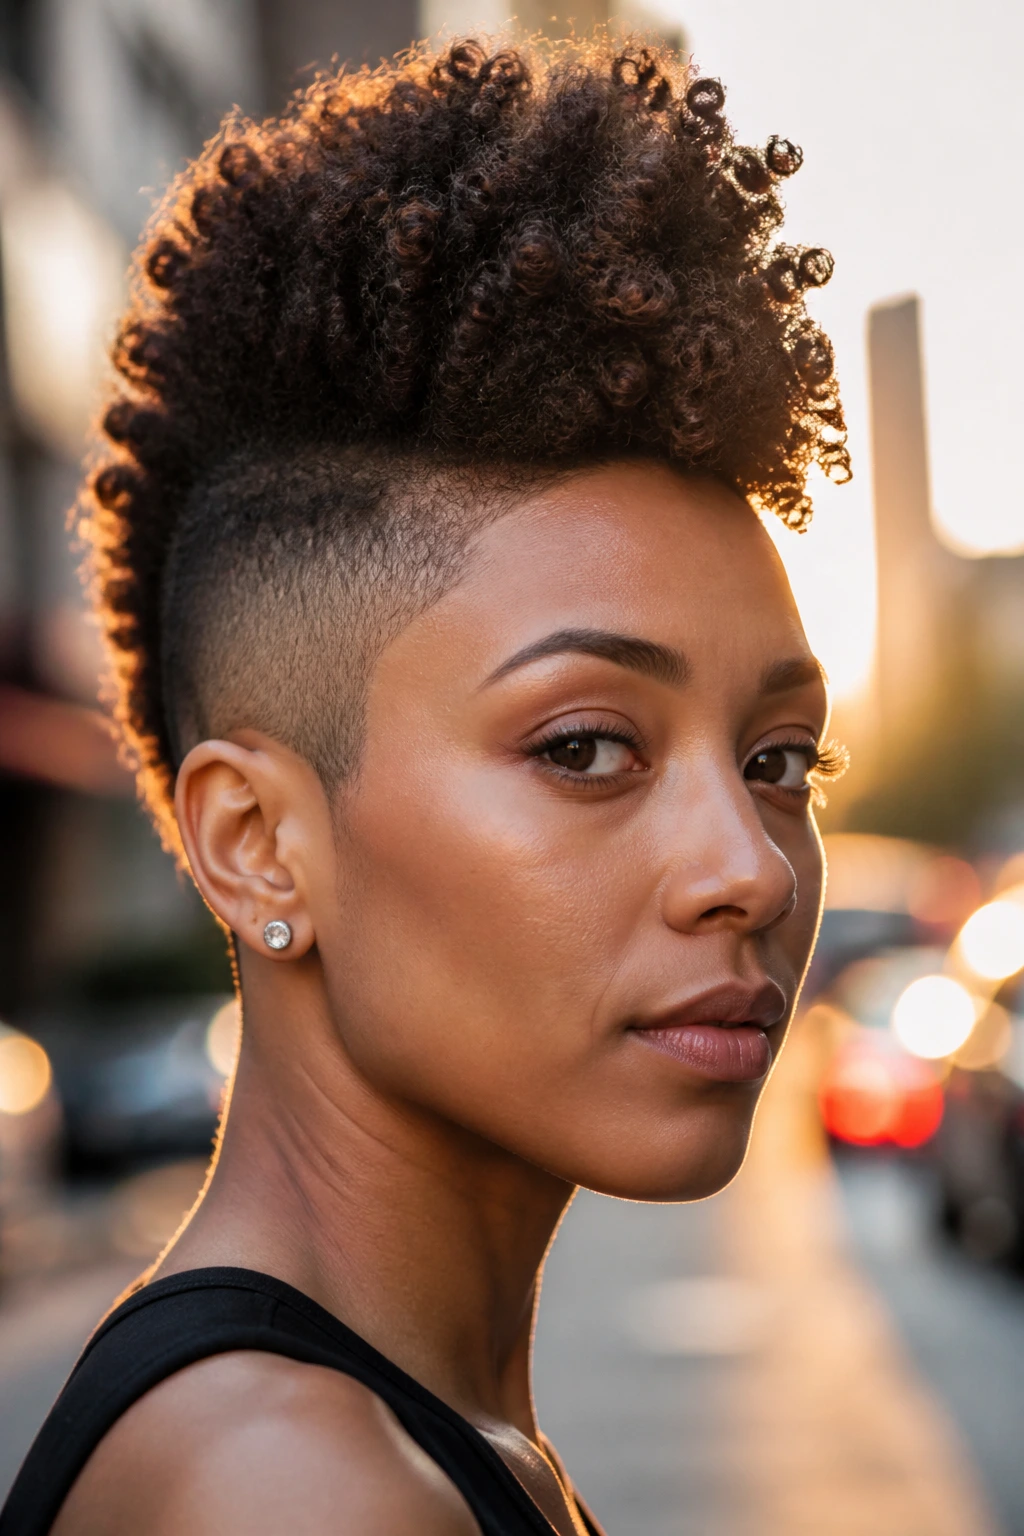
A sculpted frohawk gives you height without widening the face. The sides are controlled, the center is full, and the whole cut reads taller than it is.
This style is one of my favorites for tighter curls because it turns density into shape. The sides can be pinned, gelled, or tapered close to the scalp, while the center strip gets all the room in the world. The result is a clean line that still feels soft.
It’s a good style when you want short hair to look deliberate. A frohawk can get messy fast if you don’t decide where the volume should live. Choose the center ridge and commit to it.
Best for
- Tapered cuts.
- Hair that holds shape well.
- Days when you want height more than width.
Pro tip: fluff the center with a pick from underneath, not from the top. That keeps the outer curl pattern intact.
13. Modern Bowl-Cut Curl Shape
A bowl cut can look awkward if the line is too hard. It can also look incredibly fresh when the curve is softened and the curls are allowed to do their own thing.
The shape here is rounded around the head with enough height at the crown to stop it from feeling helmet-like. The fringe should sit a little longer than the old-fashioned version, and the sides should blend into the top instead of chopping off suddenly. That little softness matters.
I like this on dense curls, especially if the hair has enough spring to hold a circle without puffing sideways. It gives you a real silhouette. That’s rare with short curly hair, and I mean that in the best way.
Shape notes
- Keep the perimeter curved.
- Leave the crown slightly higher than the sides.
- Use a diffuser rather than a brush for drying.
- Separate the curls only after they’ve cooled.
Tip: if the shape looks too square, mist the outer layer and scrunch the sides lightly. It usually fixes the problem in under a minute.
14. Bantu Knot-Out Volume
Bantu knot-outs are one of the easiest ways to get stretched volume on short curls. The knots set the hair in sections, and when you unravel them, the curl pattern looks longer, fuller, and a little more sculpted.
This is a good style when your hair shrinks hard and you want some visible length without straightening anything. The knots should be small enough to create definition, but not so tiny that unraveling takes forever. I usually think in sections about the size of a walnut, sometimes smaller on the front.
The volume comes from separation. Once the knots are dry, gently lift each section from the root and let it fall. Don’t rush. A knot-out done in a hurry ends up looking frizzy instead of airy.
How to use it
- Set on damp, not dripping, hair.
- Let the knots dry fully overnight or under a hooded dryer.
- Unravel with oiled fingertips.
- Fluff only at the roots and crown.
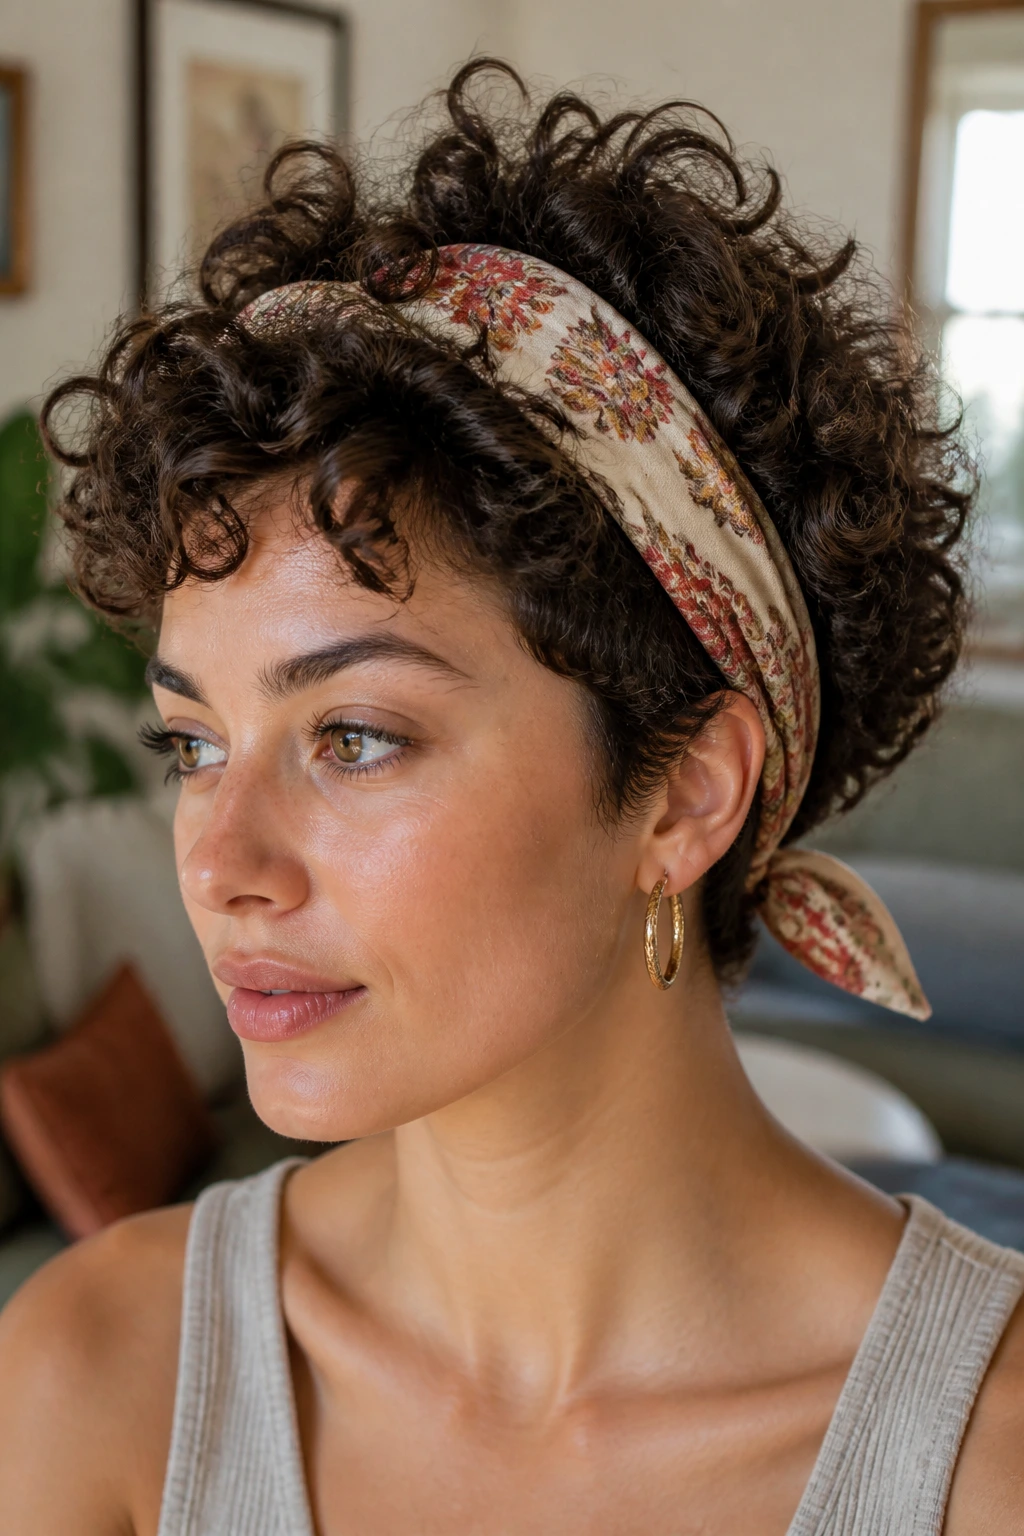
15. Headband Tuck with Pouf
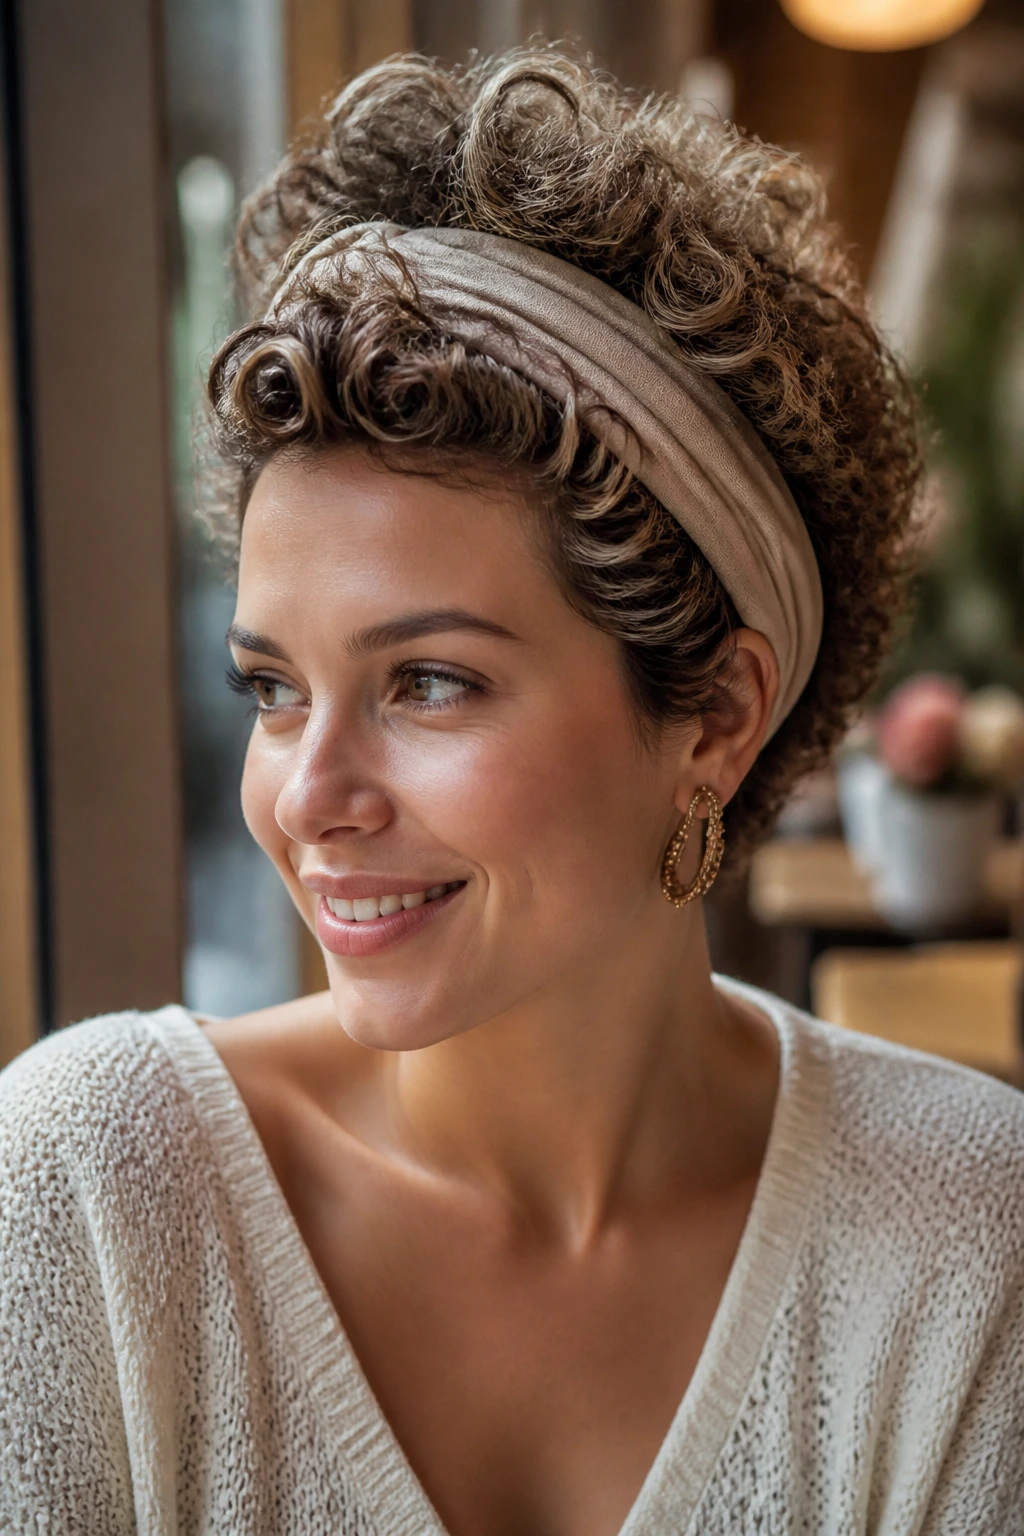
The headband tuck is one of those styles that looks almost too simple until you see the shape it creates. The hair is pushed back with a wide headband, and the top is left to puff and rise on its own.
For short curls, this works because the headband acts like a gentle fence. It holds the sides in place while the crown and top layers stay free. That gives you built-in volume without needing to re-curl anything.
I prefer a soft, stretchy headband rather than a tight hard one. The hard ones can flatten the roots near the temples and leave an awkward dent. A softer band lets the curls keep their bounce.
Wear it well
- Place the band just behind the hairline.
- Tuck only the sides and nape.
- Lift the crown with your fingertips after the band is in place.
- Leave a few curls loose around the face for softness.
Best on: second-day curls that need a fast fix before you run out the door.
16. Tousled Curly Mullet

The curly mullet has less drama than the name suggests. On short hair, it’s mostly about keeping the front and top lighter while letting the back have a little more length and movement.
That extra length in the back keeps the shape from ballooning out too wide. Meanwhile, the shorter front creates lift near the face. The whole cut feels a little rebellious, but not messy in a careless way. It’s all about proportion.
I’d choose this when the hair naturally grows triangular or when the back needs weight to balance a narrow top. The mullet shape can do both at once if the layers are cut cleanly. The styling is easy, too. Shake, diffuse, leave it alone.
Why it works
- Shorter top pieces lift fast.
- Longer back pieces prevent puffiness at the cheeks.
- The cut grows out gracefully.
- It adds shape without forcing the curl pattern.
Tip: keep the front piece definition lighter than the back. It helps the silhouette stay soft.
17. Soft Undercut with Long Top
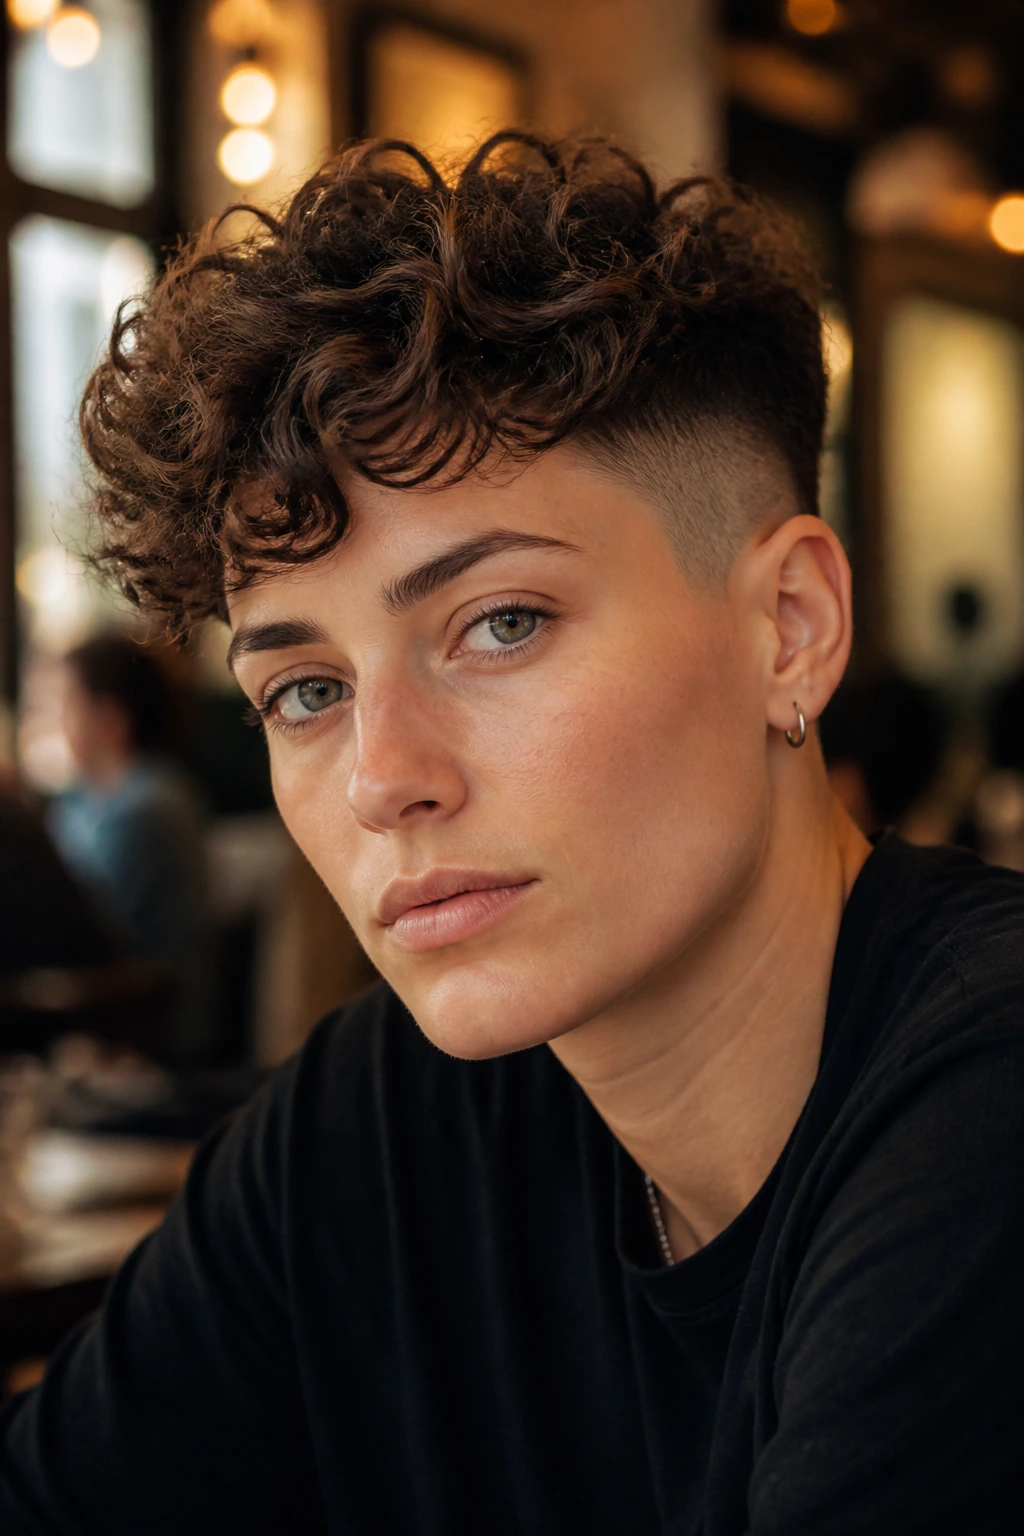
A soft undercut changes everything on dense short curls. By removing bulk underneath, the top curl mass looks bigger without needing more product or more length.
This is the style I recommend when the sides keep swelling outward no matter what you do. The undercut lowers the visual width, which makes the top read fuller by comparison. That contrast is doing a lot of work here. Quietly, but a lot.
The top should still be shaped, not left wild. A little layer at the crown and a little lift at the front keep the style from turning into a flat curtain. The undercut is the support beam. The top is the showpiece.
Good idea if: your curls are thick, your head shape is wide at the sides, or your hair gets hot fast.
One caution: the undercut needs regular cleanup. If the lower sections grow back too far, the shape loses the sharp contrast that makes it work.
18. Vintage Flip Bob

This bob gives short curls a little swing. The ends flip outward, the crown lifts, and the whole style feels lighter than a straight bob with the same length.
The vintage part comes from the bend. You want the hair to turn away from the face at the ends, almost like it’s remembering a round brush finish without actually needing one. A diffuser can do a lot of this if you tilt the ends outward as they dry.
I like this style because it frames the jaw in a soft way. It does not sit like a block. It moves.
Finish it this way
- Work mousse through damp hair.
- Twist the ends lightly with your fingers while drying.
- Diffuse with the hair tipped slightly forward.
- Shake out only after the hair cools.
Tip: if the front curls fall into the face too much, pin them back for the first half of drying, then release. That leaves a clean flip without a hard bend.
19. Defined Coil-Out with Lifted Shape
A coil-out gives you definition first, then volume second — and that order matters. Once the coils are dry and separated, the shape opens up into something much fuller than it looked while setting.
The crown should stay slightly stretched while the sides are kept compact. That keeps the silhouette from going wide at the cheeks. Use clips at the root if you need extra lift while the hair dries, especially around the top and front.
I’d use this on tighter curls or coils that shrink a lot. The coil-out stretches the length just enough to show the shape. It also gives a cleaner outline than a free-air dry on the same hair.
How to finish
- Separate the coils slowly with oiled fingertips.
- Lift at the roots with a pick only after the curl pattern is set.
- Don’t comb through the lengths.
- Stop fluffing once the shape looks round, not cloud-like.
20. Clip-Back Face-Frame Curls
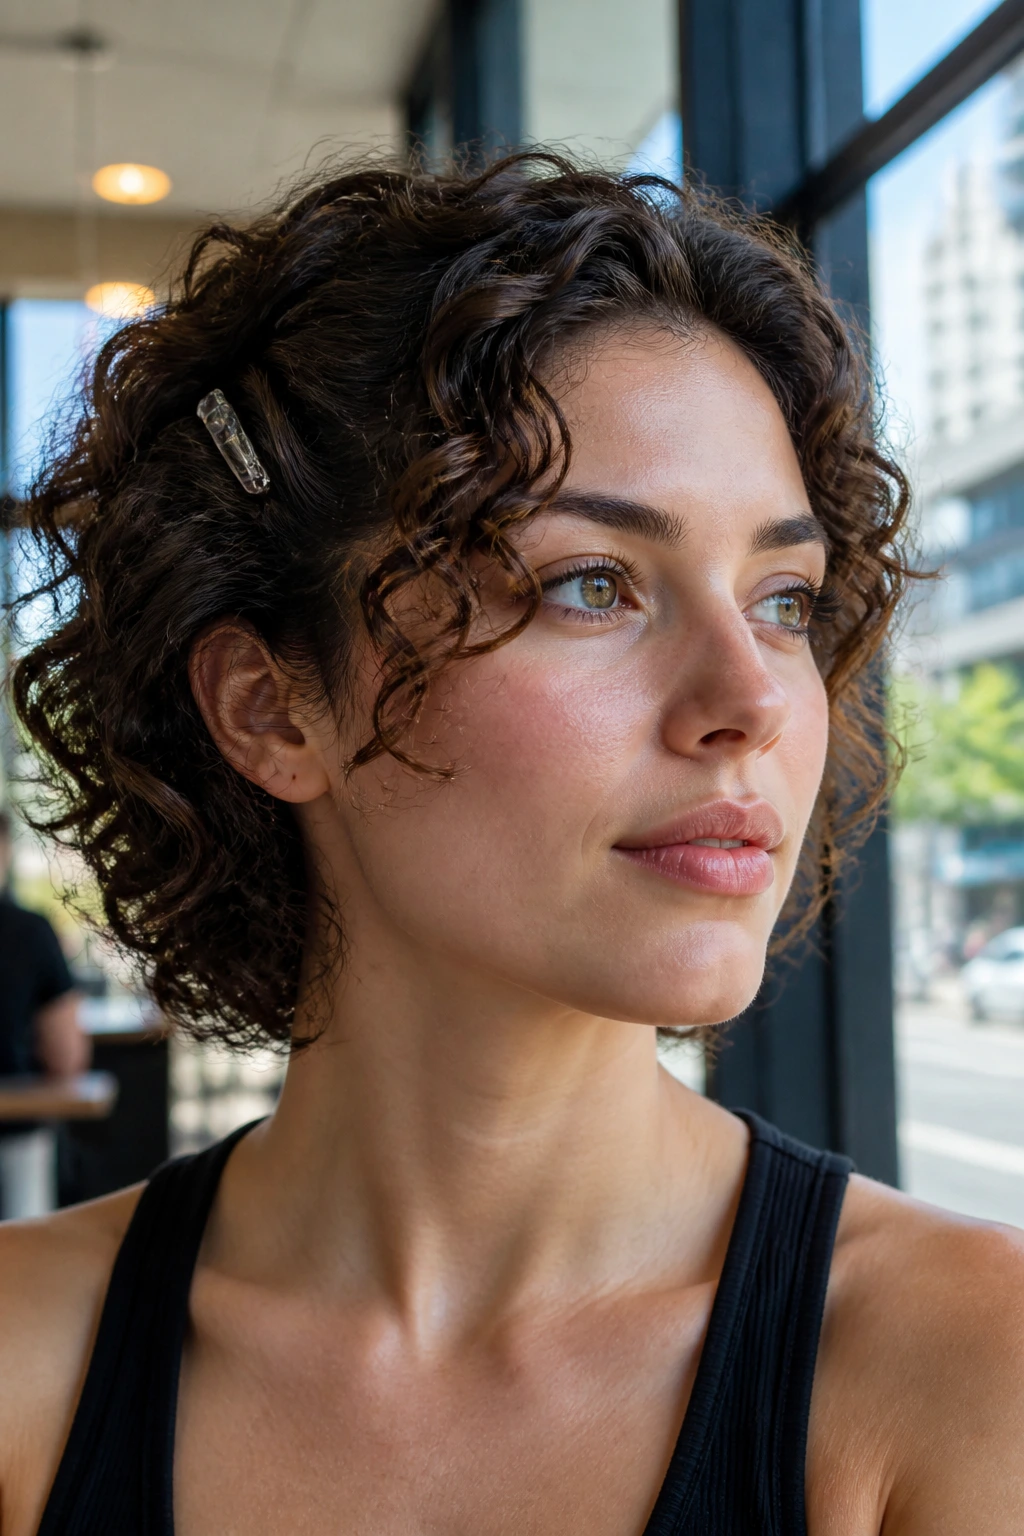
Sometimes the fastest way to create volume is to get the front curls out of the way. Clip-back face-frame curls open the face and lift the crown without forcing the whole head into a high style.
This works especially well on grown-out pixies and short bobs. The front pieces are pinned or clipped just behind the temples, leaving the top and sides to swell naturally. The result has a polished feel, but it’s not stiff.
I like this when I want the curls to look fuller without adding height all over. It’s a useful trick for glasses wearers, too, because it keeps the front from crowding the frames.
Small details that help
- Use matte clips, not slippery decorative ones.
- Pin slightly above the ear, not at the hairline.
- Leave the crown loose.
- Fluff the lifted section after the clips are in.
Best when: the front pieces are a little too long for a crop, but not long enough to tuck neatly.
21. Curly Bob with Curtain Bangs

A curly bob with curtain bangs is all about opening the center and framing the sides. The bangs create movement around the face, and the bob underneath keeps the bulk controlled.
The curtain shape matters. You don’t want the front to fall straight down. You want it to part and bend away from the face so the crown can look taller. That little split gives the whole style more air.
This is one of the most flattering shapes for short curls when the front grows a little faster than the rest. It turns that awkward in-between stage into something useful. The bangs can be pinned, diffused, or clipped as they dry, depending on how much lift you want.
I’d do this if
- You want softness around the eyes.
- Your bob feels too heavy at the front.
- You like a bit of 1970s shape without the fuss.
- You need a style that can be adjusted with one pin.
22. Side-Pinned Halo Puff
The halo puff on short curls is all about asymmetry. One side is pinned back or tucked, and the rest of the curls build a soft halo that rises from the opposite side.
This style is useful when the hair has a mind of its own around the temples. Pinning one side creates a clean line, and the fuller side gets to do the dramatic work. It looks graceful without needing length. Short hair can do that. People forget.
I’d keep the pinned side low and the puff slightly higher at the crown. That keeps the shape from drifting backward. The silhouette should feel lifted, not pulled flat.
Style notes
- Choose bobby pins that match your hair color.
- Pin into the denser curl section for hold.
- Fluff the puff with your fingertips before leaving the house.
- Leave one or two tendrils free near the jaw if you want softness.
23. Stretched Twist-Out Crop
A stretched twist-out crop gives short curls more visible length, which in turn makes the volume read louder. The twist pattern softens the shrinkage and leaves the hair with a fuller outline.
It works best when the twists are not too tiny. Tiny twists can create too much separation and leave the hair fuzzy. Slightly larger twists keep the pattern defined while still giving the style body after unraveling.
I like this for hair that gets too compact when it air-dries naturally. The twist-out creates room between the strands. That little bit of spacing changes the whole silhouette.
Try this approach
- Twist damp hair with a light cream and a small amount of gel.
- Let the twists dry completely, overnight if needed.
- Unravel slowly, section by section.
- Lift the roots with fingers before touching the ends.
Tip: a satin bonnet helps the twist pattern stay neat, which matters more than people think.
24. Scarf-Accent Volume Crop
A scarf can do more than decorate a style. On short curly hair, it can frame the hairline, hold back the sides, and leave the top free to puff.
This is a smart option for days when the curls need help staying off the face but you still want volume to show. A soft scarf tied at the nape or across the front can anchor the style without crushing the crown. That’s the trick. The scarf should support the shape, not erase it.
I like this with a crop that already has some height at the top. The scarf becomes a frame, not the main event. Keep the fabric smooth and not too tight. Tight ties flatten everything.
How to wear it
- Place the scarf behind the hairline.
- Tie it low if you want the crown high.
- Leave curls loose above the scarf.
- Loosen the front a touch with your fingertips.
25. Tiny Afro with Sharp Edges
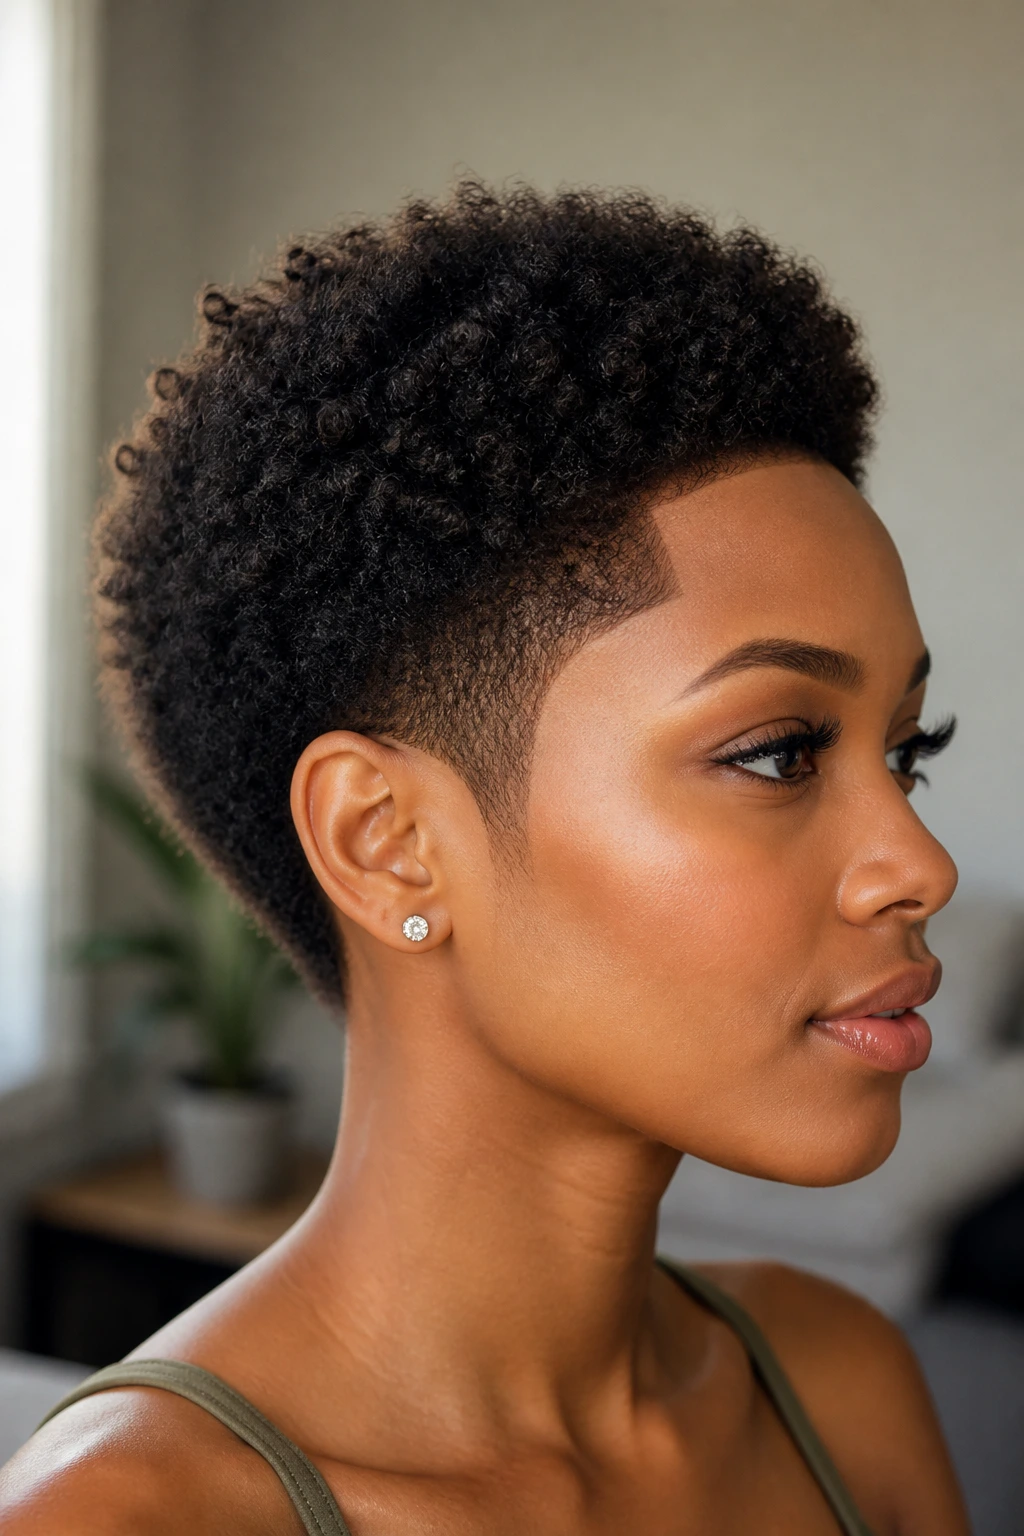
A tiny afro with sharp edges is one of the cleanest ways to show off short curly hair with volume. The shape is compact, but the outline is deliberate, which makes the density read stronger.
The edge line matters a lot here. A crisp temple and nape cleanup keeps the silhouette from wandering. The top can stay fluffy and rounded while the perimeter stays neat. That contrast is what makes the style look sharp instead of unfinished.
I like this for people who want volume without a lot of fuss at the sides. The hair stays close to the head, but the texture stays visible. It’s a strong shape. Quiet, but strong.
Best practice
- Dry the hair fully before shaping it.
- Use a pick lightly at the roots.
- Keep the outline trimmed every few weeks.
- Hold the edges with a soft brush only if needed; don’t over-slick them.
Why Short Curls Look Bigger When the Cut Gives Them Room
Short curly hair needs room in three places: the root, the crown, and the perimeter. If any one of those gets compressed, the whole shape shrinks into the wrong silhouette. That’s why a good curly cut matters more than a good product. Products can help, sure. But they cannot fix a cut that carries too much weight in the ends.
Layers are the quiet hero here. Not choppy, not over-thinned, just enough internal layering to take pressure off the bottom and let the curls lift upward. A blunt line can look strong on straight hair. On curls, especially short ones, it can turn into a shelf.
Root direction matters just as much. If the hair dries pressed straight down, it will behave that way all day. If you clip it at the crown, dry it on a slight angle, or encourage it to set upward, the whole style keeps a little memory. That’s why a diffuser isn’t just for drying. It’s for teaching the hair where the volume belongs.
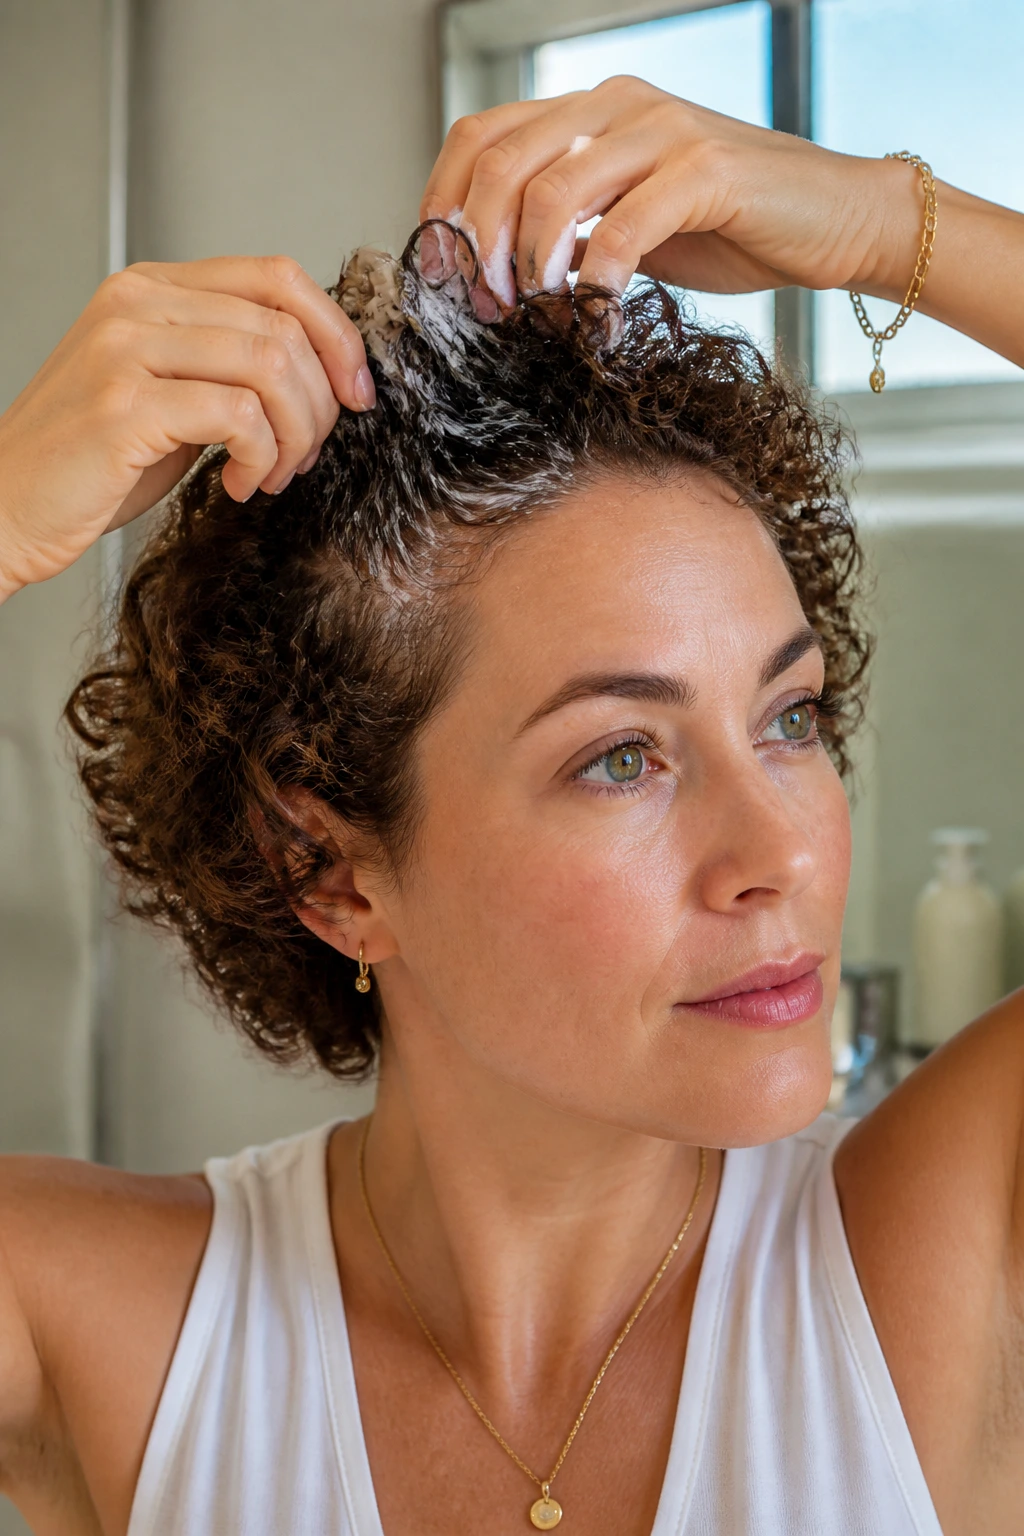
And yes, product choice matters too. Heavy creams can be lovely on longer curls, but on short styles they often sink the shape before it gets a chance. Foam, mousse, light gel, and a tiny finishing oil tend to behave better because they support the strand without flooding it. Short curls are tiny architecture. Treat them that way.
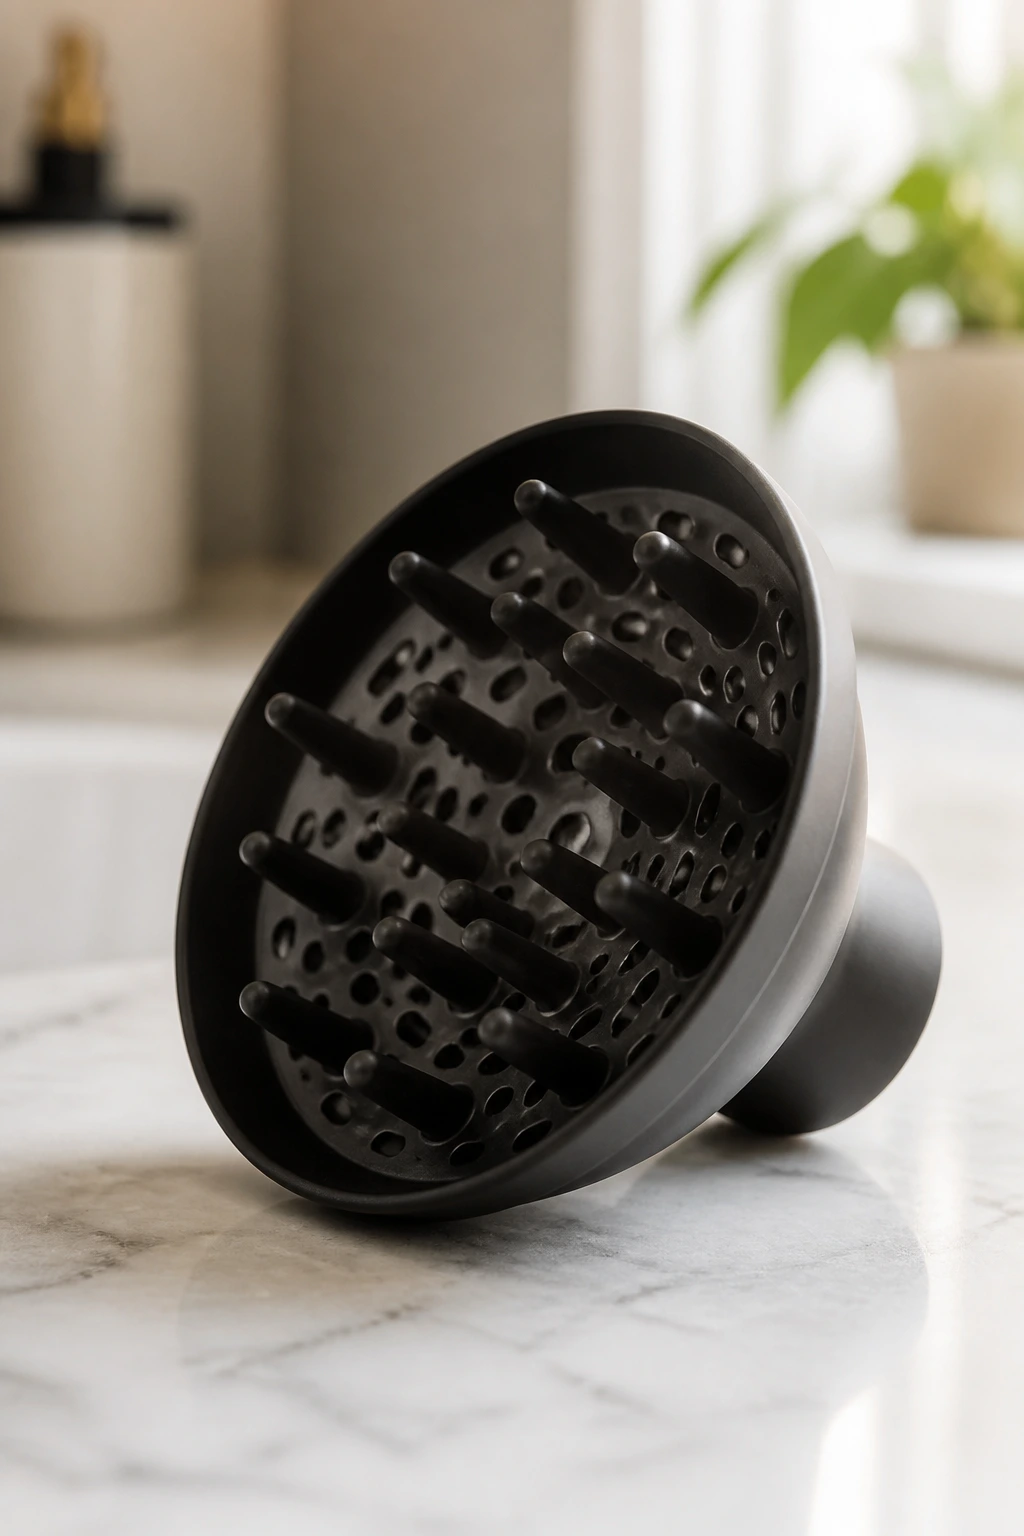
Essential Tools for These Styles
-
Diffuser attachment: The easiest way to dry short curls without blasting the cut flat.
-
Duckbill clips: Useful for lifting the crown, setting a side part, or holding the front while it cools.
-
Rat-tail comb: Great for clean parts and for lifting small root sections.
-
Wide-tooth comb: Handy for distributing conditioner in the shower, not for styling dry curls.
-
Pick or afro comb: The tool that builds root volume after the hair is fully dry.
-
Microfiber towel or cotton T-shirt: Reduces rough friction during drying and scrunching.
-
Bobby pins and U-pins: Necessary for half-up shapes, twists, halo styles, and face-framing lifts.
-
Soft scrunchies: Better than tight elastics for pineapple styles and sectioning.
-
Spray bottle: Good for refreshing damp sections before reshaping.
-
Satin bonnet or pillowcase: Keeps the shape from getting crushed overnight.
Smart Product and Cut Notes for Voluminous Hairstyles for Short Curly Hair
The best product pile for short curls is smaller than people think. You do not need a mountain of cream. You need the right balance. A light leave-in, a mousse or foam, and a flexible gel will do more for lift than a heavy butter that sits on the hair like a blanket.
If your hair is fine, start with mousse and skip the thick cream at the roots. Fine curls need structure, not weight. If your hair is dense or coarse, you can use a little more leave-in, but keep it off the scalp and focus it on the mid-lengths and ends. The crown should stay as light as you can manage.
For cuts, ask for internal layers rather than blunt bulk removal. Internal layering keeps the outside shape smooth while taking weight out of the middle. That’s what lets the curls stack upward instead of jutting outward. If your stylist knows curly cutting, show them the silhouette you want: rounded, lifted, side-swept, or tapered.
One more thing. If your hair tends to frizz in humidity, do not chase volume with too much oil. That makes the cut collapse faster. A soft hold gel with a cast is usually better, because it locks the shape before the air can lift it apart.
How to Wear the Volume Without Losing the Shape
Presentation: Keep the highest point of the style where the eye naturally lands — usually the crown or the upper side of the head. If the fullness sits only at the temples, short curls can look wide instead of lifted. A mirror check from the side is worth the extra ten seconds.
Pairings: Simple earrings, clean necklines, and glasses with slimmer frames usually let the hair do the talking. Heavy collars or thick scarf wraps can crowd a voluminous crop and flatten the visual line around the face. Save the chunky extras for styles that sit closer to the head.
Balance: If the hair is tall on top, keep the sides neater. If the style is wide at the cheeks, add lift at the crown or push one side up with a clip. The goal is a shape that feels intentional from every angle, not a puff that grows wherever it wants.
Best For: Workdays, dinners, casual outings, and events where you want the style to hold for several hours without constant fixing. Short curls can absolutely look polished. They just need the silhouette to do its job.
Lift Boosters and Personal Tweaks

Root Clips: Pop two or three clips under the crown while the hair dries, then remove them only after the hair feels cool. That tiny set can change the whole shape.
Drying Direction: Bent forward for a fluffier bob, side-tilted for asymmetry, upright for a more rounded afro. The way you dry the hair matters almost as much as the cut.
Finish With Less: If the hair is already full, do not add more cream just because it feels safer. A pea-size touch of serum on the ends is often enough. Too much product steals lift.
Make-It-Yours: Fine curls like mousse and root clips. Coarser curls usually like a light cream under gel. If your hair shrinks hard, try a stretch-set like twists, knots, or a diffused coil-out before you judge the style.
Face Framing: A single pinned curl, a deep part, or a soft bang can change the whole mood of a short curly style. Tiny edits count more here than they do on longer hair.
Common Mistakes That Flatten Short Curly Hair
-
Using heavy cream at the roots: The symptom is a flat crown by midday. Keep rich products off the scalp and use them only where the ends actually need help.
-
Breaking the curl cast too early: If you separate or fluff the hair while it is still warm, the shape can frizz out and lose its lift. Wait until the curls are fully cool and dry.
-
Cutting without a shape plan: Short curls need a silhouette. If the cut removes bulk everywhere at once, the result can look narrow on top and wide at the sides. Ask for layers or a rounded outline that matches your curl pattern.
-
Drying only one side well: Underdried roots collapse later, often right at the crown or behind the ears. Check underneath the top layer before you stop diffusing.
-
Picking too aggressively: A pick can build volume fast, but too much lifting turns defined curls into a fuzzy cloud. Lift in sections and stop once the shape looks round.
-
Sleeping on cotton: Cotton steals moisture and flattens the top. A satin bonnet or pillowcase keeps the volume from being rubbed down overnight.
Variations and Adaptations to Try
Fine-Curl Lift Version: Use mousse, not cream, and focus on root clips plus a short diffusing time. Fine curls get overwhelmed fast, so lighter hold usually wins.
Humidity-Shield Version: Choose a gel with stronger hold and keep the finish a little tighter at the crown. In damp air, a soft cast often holds shape better than a fluffy finish.
Coily Cloud Version: Go for twist-outs, coil-outs, or a rounded mini afro with a careful pick-out. Tighter textures often look fullest when the shape is round and the perimeter stays clean.
Low-Tension Version: If your scalp likes a break, use soft headbands, loose pins, and scarf tucks instead of tight ponytails or repeated tension at the edges. You still get volume. You just stop pulling on the hairline.
Office-Ready Version: Keep the sides tucked and the front smooth, then let the top stay full. It looks tidy without flattening the texture, which is a nicer compromise than forcing curls into submission.
High-Drama Version: Add a faux hawk ridge, a deeper side sweep, or a lifted undercut. This version is for days when you want the silhouette to be the whole point.
Keeping Voluminous Short Curly Hair Fresh Overnight
Short curly hair keeps its best volume when it sleeps with a little support. A satin bonnet works well for most styles, but a pineapple or a loose top section can help the crown stay lifted too. If the hair is too short for a full pineapple, clip the top lightly and cover it with a bonnet or scarf.
I like to refresh short curls in stages. First, shake the roots. Then mist only the flat spots — not the whole head — with a little water or a water-and-leave-in mix. After that, scrunch those sections back into place and diffuse for a few minutes if needed. The goal is not to restart the whole style. The goal is to wake it up.
Most of these shapes last 2 to 4 days with honest maintenance, sometimes longer if the cut is clean and the curls are strong. If your scalp gets oily fast, you may need to refresh sooner. If the style is built on a twist-out or coil-out, it often looks best on day two, not day one. That is one of the few times hair gets kinder with age.
Frequently Asked Questions About Voluminous Short Curly Hair
Can short curly hair really look full without teasing?
Yes. Root clips, a clean cut, and the right drying direction usually do more than teasing ever will. Teasing can make short curls rough and frizzy, while a set shape keeps the volume soft and controlled.
Should I use mousse, cream, or gel for volume?
For most short curly styles, mousse or foam gives the best lift at the root, gel helps the shape last, and cream should stay mostly on the ends. If your hair is fine, lean lighter. If it is coarse, a little more leave-in can help, but keep the crown light.
What if my curls shrink so much the style disappears?
Try a stretch-set like twist-outs, bantu knot-outs, or a diffused coil-out. You can also ask for a cut that leaves a little extra length on the top so the shape survives shrinkage instead of disappearing under it.
How do I keep the roots from going flat?
Set the roots while the hair is still wet, clip them in place, and finish the style only after the hair is fully cool. Sleeping on a satin pillowcase or bonnet also keeps the crown from getting pressed down.
Is a side part better than a middle part for volume?
Usually, yes, especially on short curly bobs and crops. A side part gives one side more height and helps the top feel lifted. A middle part can work, but it often needs more root support to avoid a flat center line.
How often should I trim short curly hair?
Every 6 to 10 weeks is a useful range for keeping the shape clean, especially if you want volume to sit where it belongs. If the outline starts to widen at the sides or the crown loses its lift, the cut is probably carrying too much weight.
Can I refresh these styles without wetting my whole head?
Absolutely. Mist only the flat areas, smooth them with your fingers, and diffuse for a few minutes if needed. Short curls usually respond better to targeted refreshes than to full rewets that erase the shape you already built.
What if one side dries flatter than the other?
That usually means the flatter side was under-clipped or got more product. Re-wet just that section, clip it upward for a few minutes, and diffuse again. You do not need to redo the whole style.
Which styles in this list are easiest for rushed mornings?
The deep side-part bob, the headband tuck with pouf, the clip-back face-frame curls, and the pineapple updo are the quickest. They all depend more on shape than on full restyling, which is what makes them useful.
The Shape That Holds
Short curls look best when the shape is doing more than the product. A lifted crown, a clean outline, and a cut that respects shrinkage can change the whole mood of the hair in a way a longer routine never quite manages.
Pick one style that matches your length, then test it on a wash day when you can see how the roots behave. After that, the rest gets easier. The right volume on short curly hair never feels forced — it just looks like the curl finally had enough room to stand up.