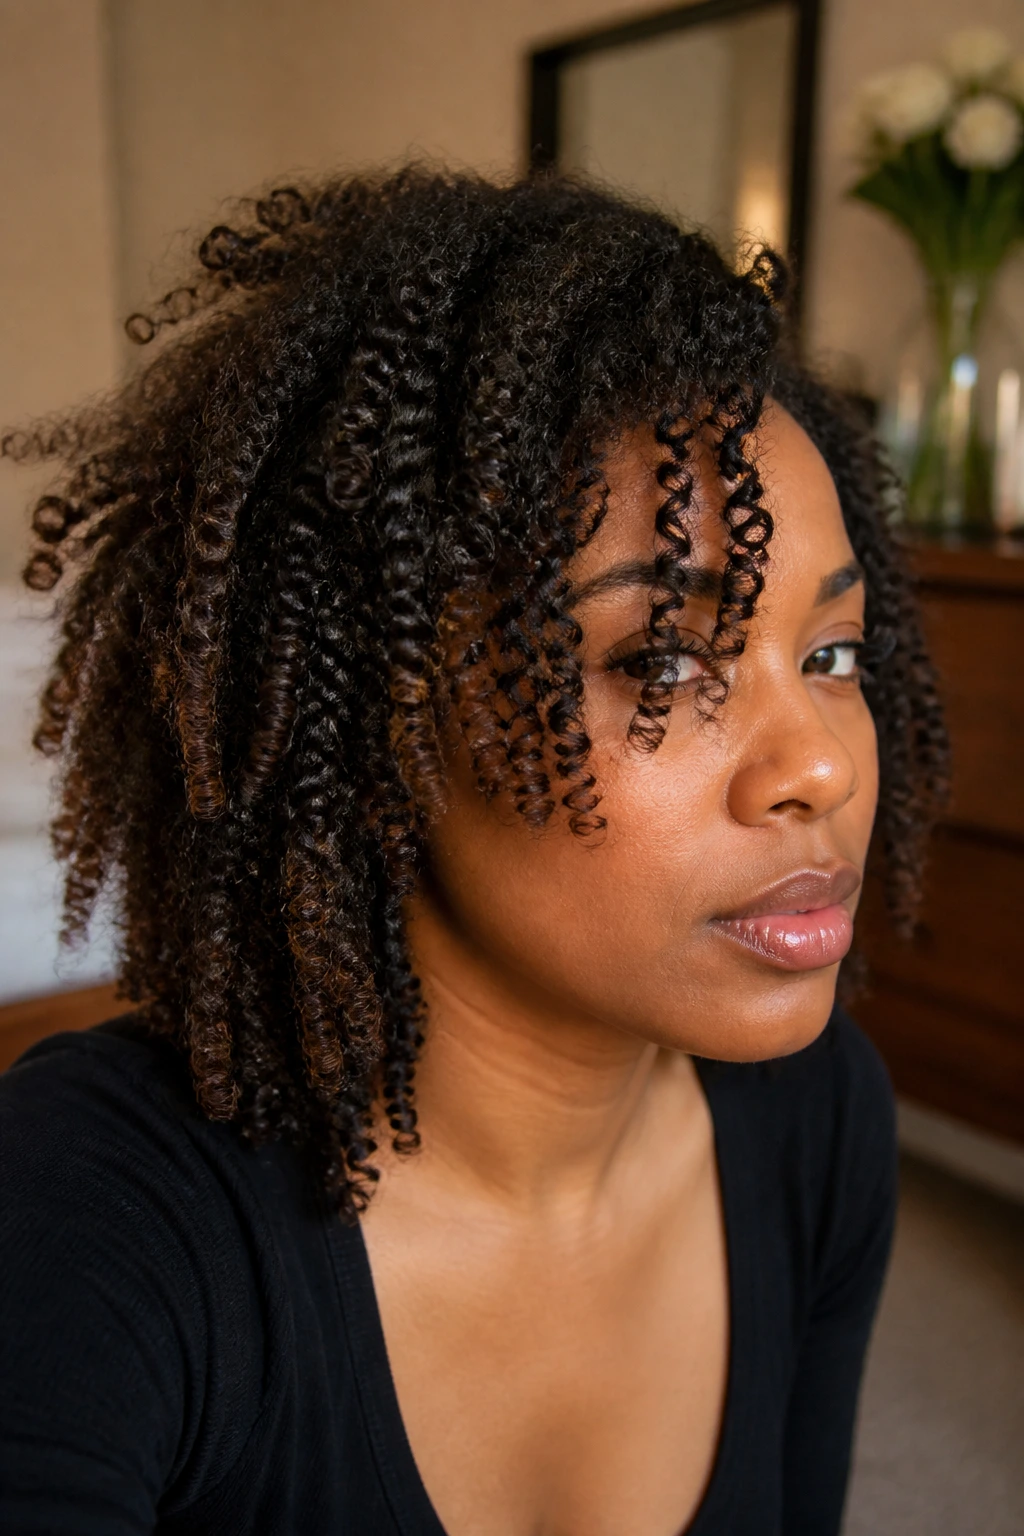
Wand curls on natural hair can look crisp, soft, or downright fussy depending on where the curl lands. On a heart-shaped face, that placement matters even more, because the forehead, cheekbones, and chin all fight for attention in a way a round face or oval face doesn’t. Get the width sitting in the wrong spot and the whole style can flare out at the temples. Get it right and the curl line starts to do the face-shaping for you.
Natural hair adds another layer. It wants stretch, not surrender. A clean blowout, a well-controlled heat pass, and a cool-down period make the difference between a curl that hangs in a ribbon and one that puffs into a halo by lunchtime. That’s not a knock on texture; it’s just how coils and bends behave when heat meets moisture and shrinkage.
The looks below lean into that reality instead of fighting it. Some are polished and neat, some are airy and brushed out, and some keep the root a little quieter so the curl can widen lower on the face, where a heart-shaped face usually needs the help. The sweet spot is rarely at the crown. It’s usually lower. That’s where the shape starts to make sense.
Why These 25 Wand Curl Looks Earn Their Place
Face balance: These styles keep most of the visual weight from cheekbone to collarbone, which softens a broader forehead and gives the chin more company.
Natural texture friendly: They’re built for stretched or blown-out natural hair, not for fighting shrinkage with too much product or heat.
Barrel logic: A 0.75-inch wand, a 1-inch wand, and a 1.25-inch wand each create a different silhouette; the barrel matters more than people think.
Low-stress styling: Most of these looks change by parting, sectioning, pinning, or brushing, not by inventing a brand-new routine.
Wearability: Some are clean enough for a meeting, some are loose enough for a weekend, and a few sit nicely in that middle zone where hair looks done without looking stiff.
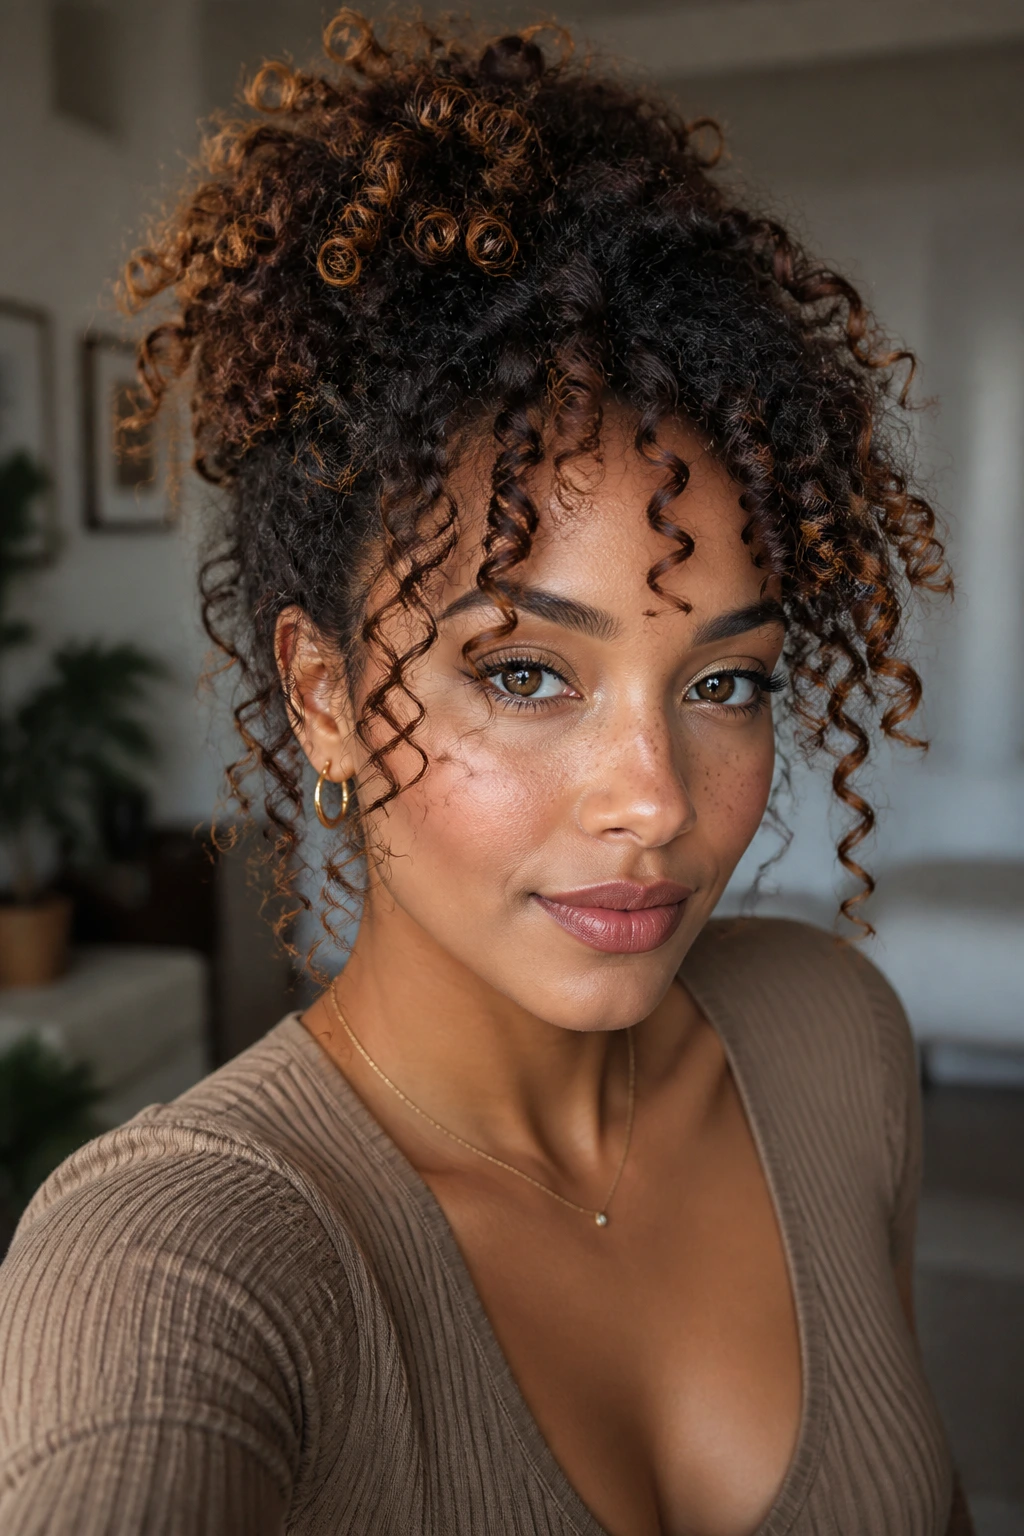
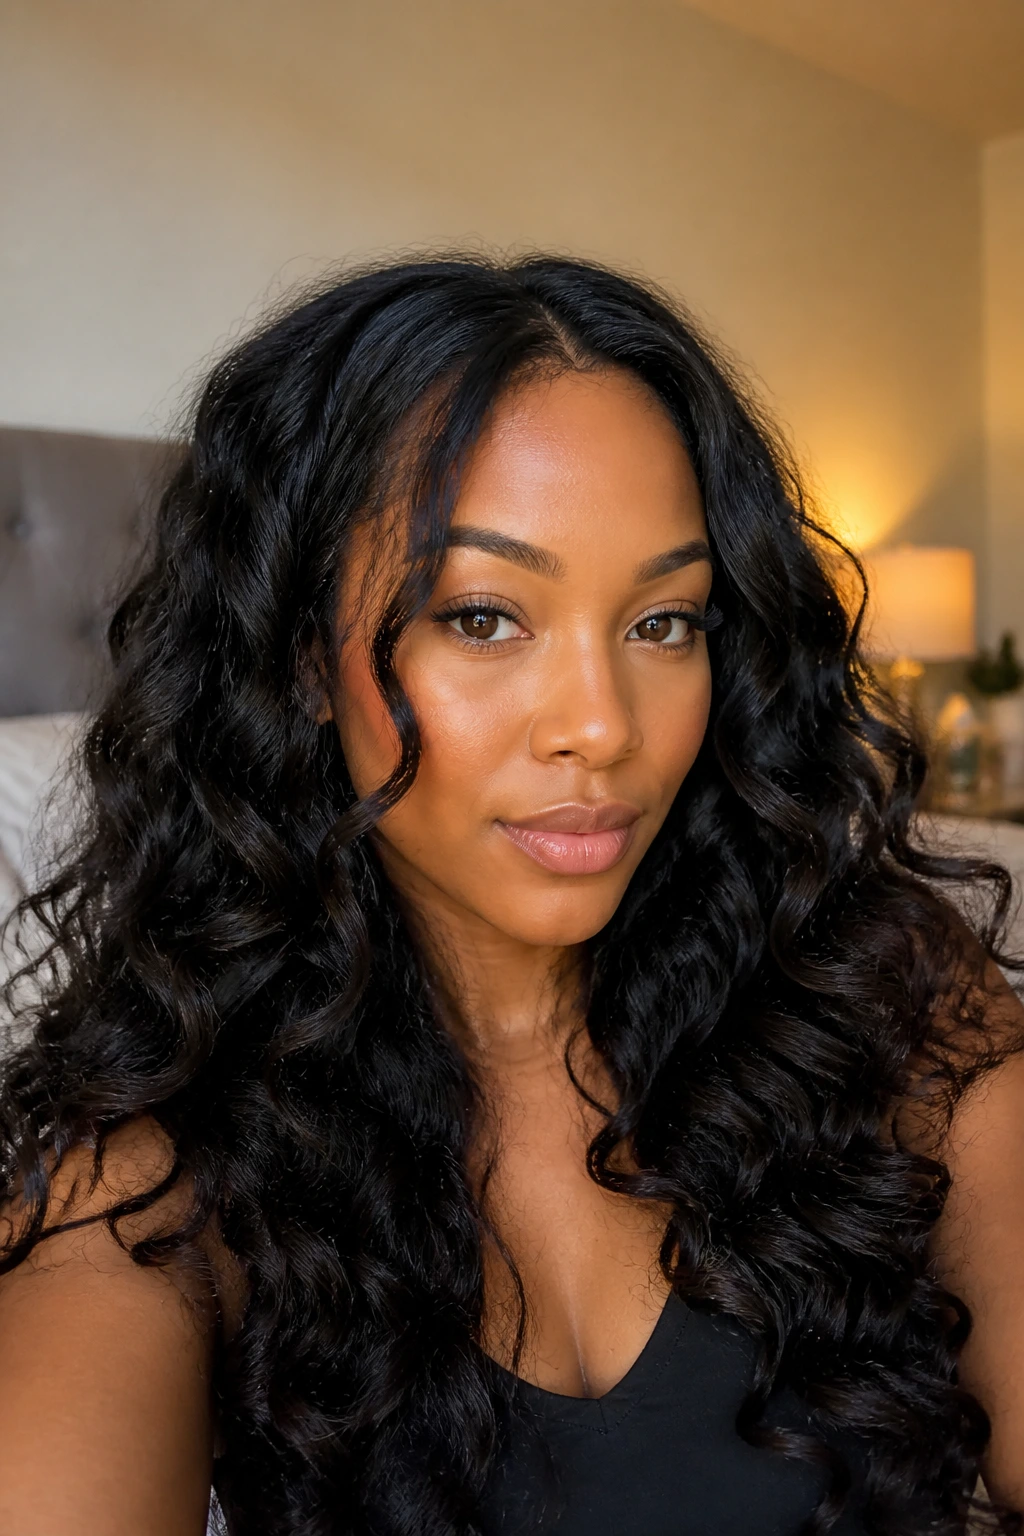
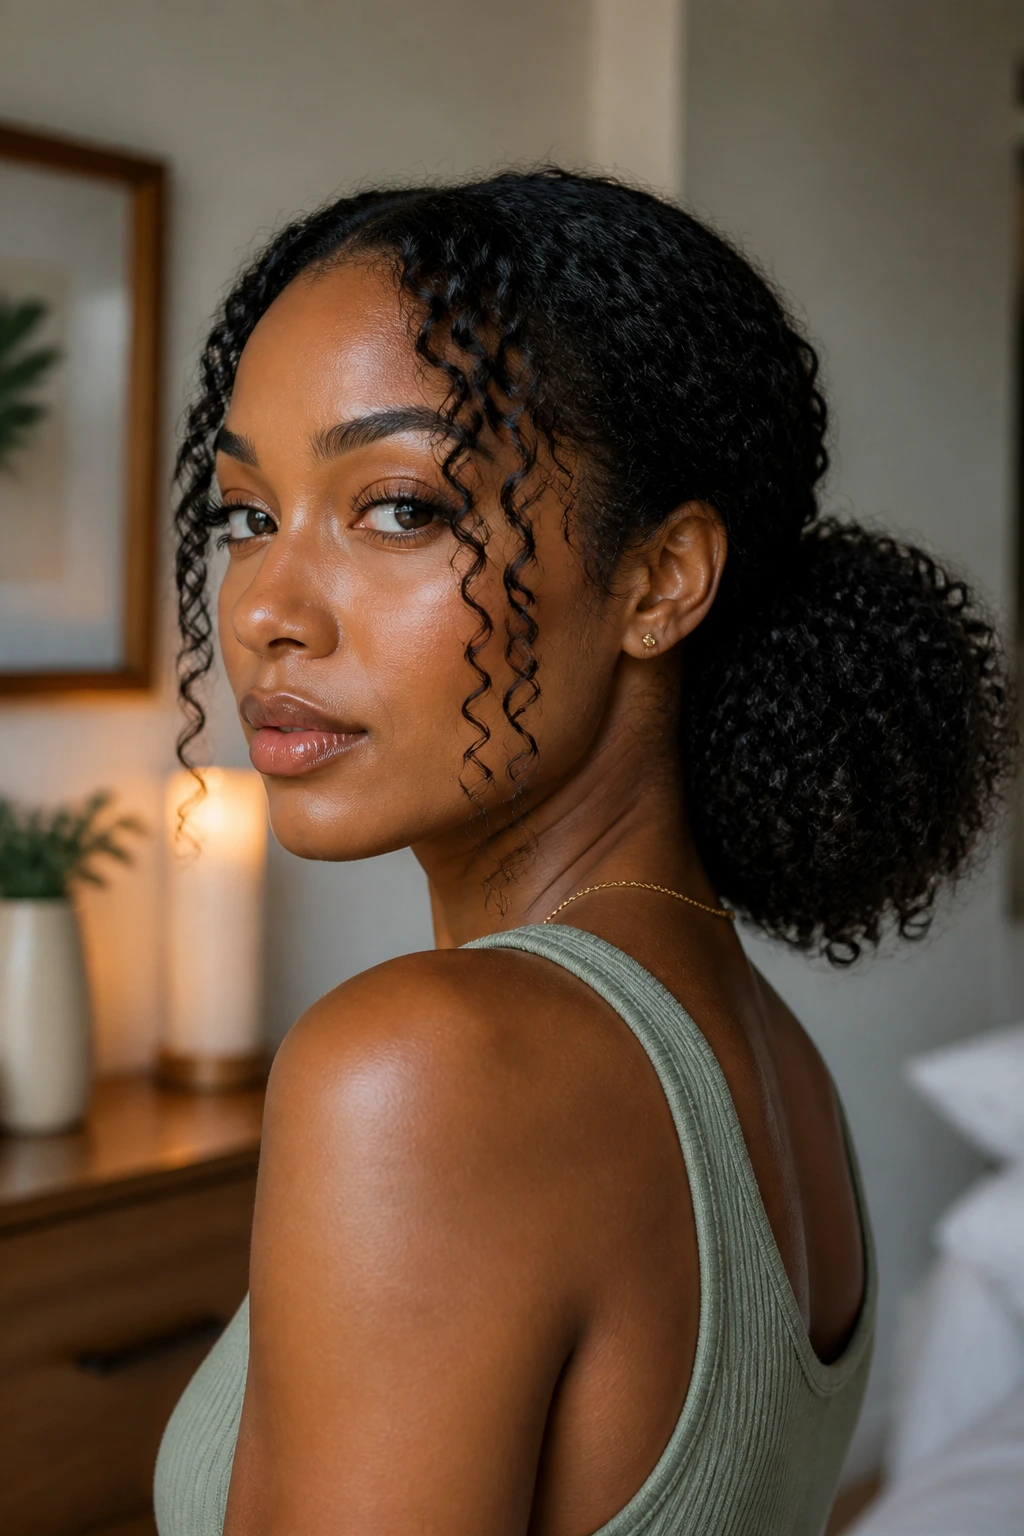
1. Collarbone Wand Curls with a Center Part
A center part can work on a heart-shaped face if the curl starts low enough. Let the bend hit around the collarbone instead of blooming right at the temple, and the whole style stops shouting from the top of the head.
On natural hair, I like this best after a solid blowout and a light mist of heat protectant on each section. A 1-inch wand gives you definition without making every curl look like a tiny spring. Keep the front pieces just a little longer than the rest, and the line of the face gets softer right away.
Leave the last half-inch out if your ends need breathing room. That tiny unfinished bit keeps the style from looking overworked.
2. Deep Side-Part Wand Curls for a Softer Forehead Line
What do you do when the forehead feels wider than you want the camera to show? Shift the part. A deep side part lets the curls sweep diagonally across the face instead of sitting straight on top of it.
A 1.25-inch wand works well here if your hair is medium to long and already stretched. Curl the front section away from the face, then let the longer side fall across one brow and cheekbone. The line is flattering because it breaks up the top-heavy look that can happen on heart-shaped faces when all the volume lives too high.
Keep the roots smooth on the heavier side. If the part puffs up, the whole shape starts looking bulky.
3. Jawline-Skimming Lob Curls
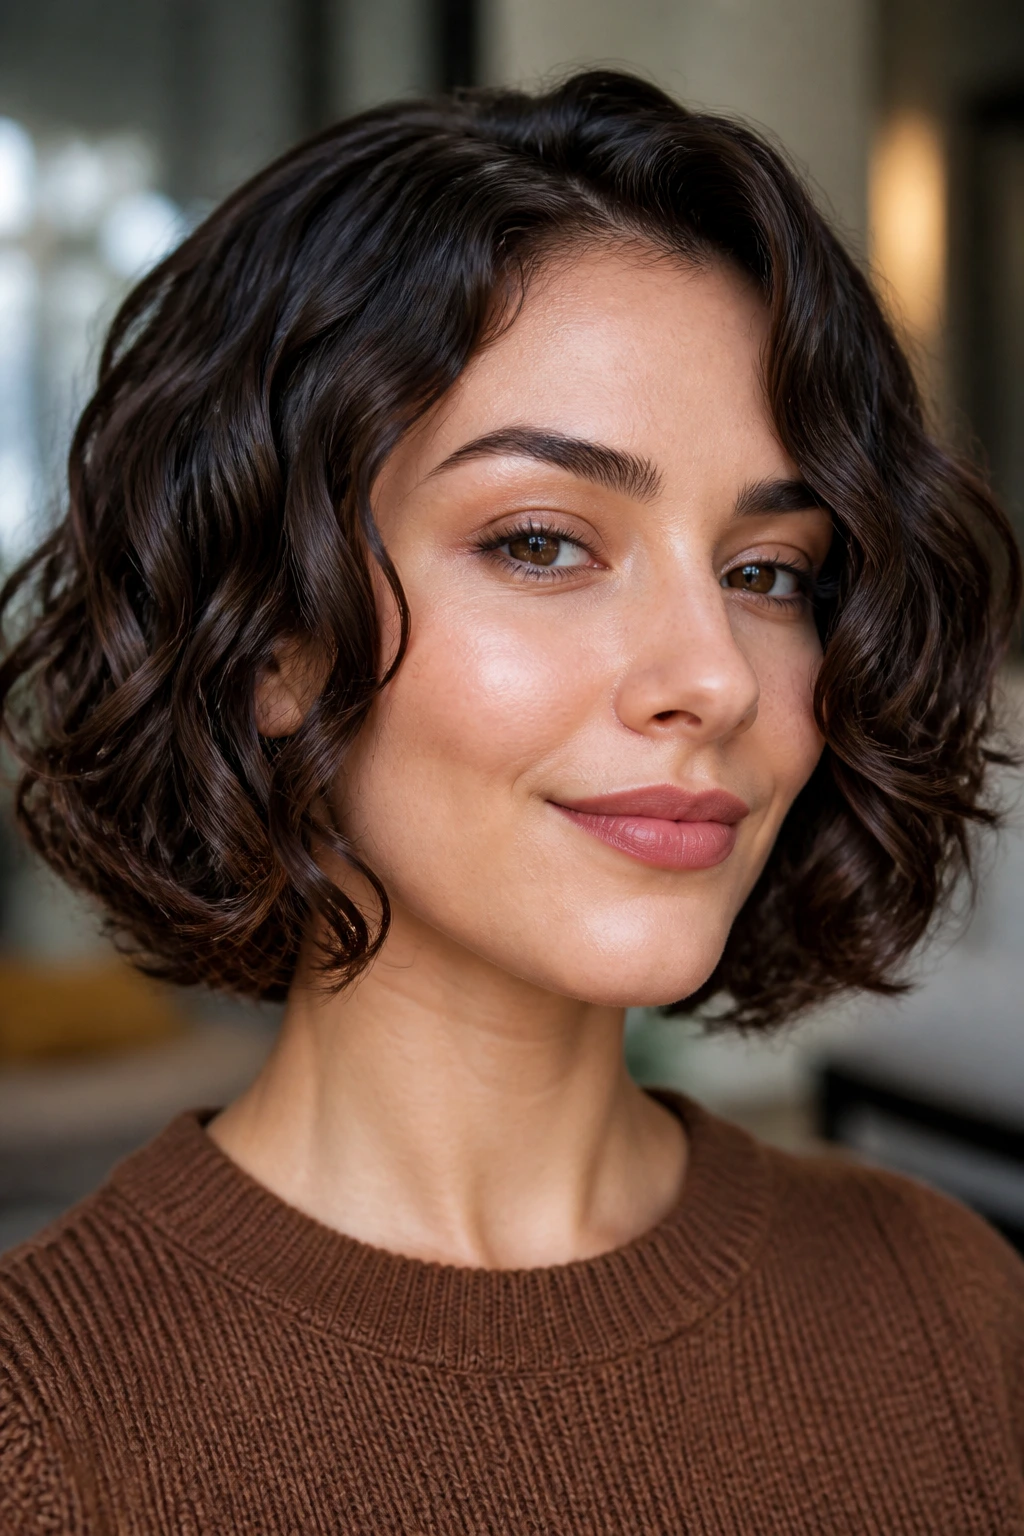
This one is for the person who wants curl, but not a cloud. A lob that lands near the jawline can be tricky on a heart-shaped face, because too much curl at the top makes the face look wider than it is. Keep the bend lower and let the ends do the work.
Use a 1-inch wand and wrap medium sections, then stop the curl just before the ends if you want a cleaner, modern shape. The result is a soft outline that flatters the narrower chin instead of hiding it. I like a slight side part with this cut; it pushes one side down and keeps the face from feeling boxed in.
If your hair is dense, resist the urge to brush it into a giant wave. The lob shape works because it stays controlled.
4. Curtain-Bang Wand Curls for Heart-Shaped Faces
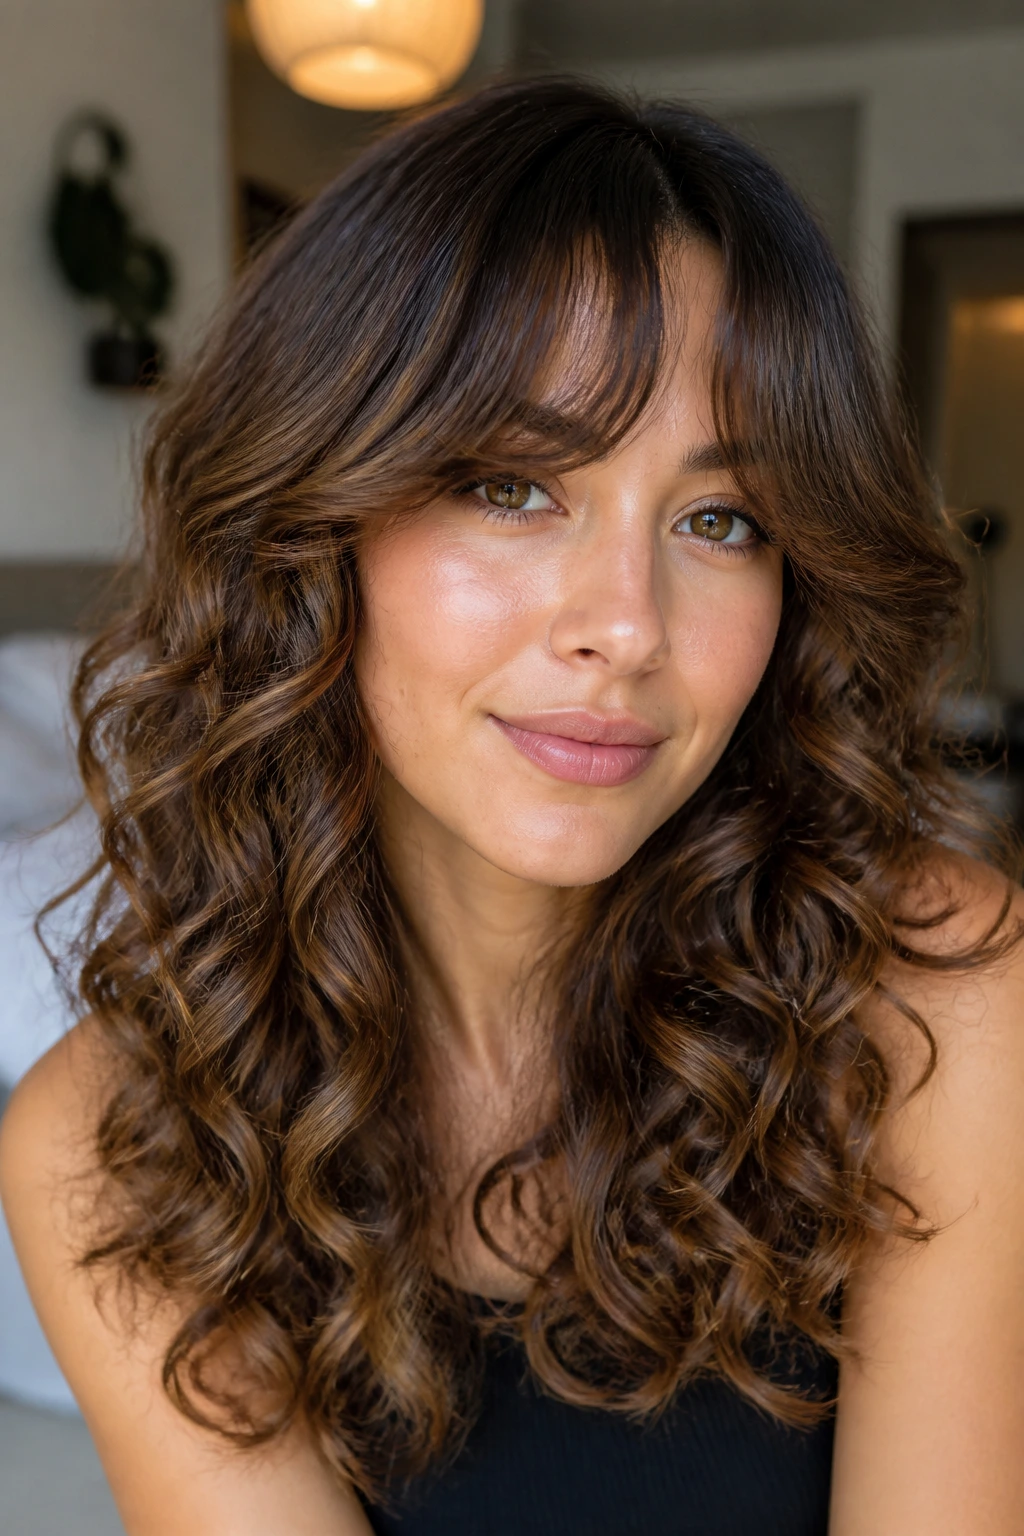
Curtain bangs can be a gift on a heart-shaped face, but only if they’re curled with a light hand. Too much curl at the root and the bangs balloon; too little and they hang there like a separate piece.
Wrap the bang pieces around a 0.75-inch or 1-inch wand, then pull the curl slightly downward before letting it cool. That gentle bend opens the forehead without crowding the temples. Keep the cheekbone pieces a touch longer so the bangs flow into the rest of the hair instead of sitting on top of it.
A lot of people overthink this look. They shouldn’t. The bang just needs to skim, not dominate.
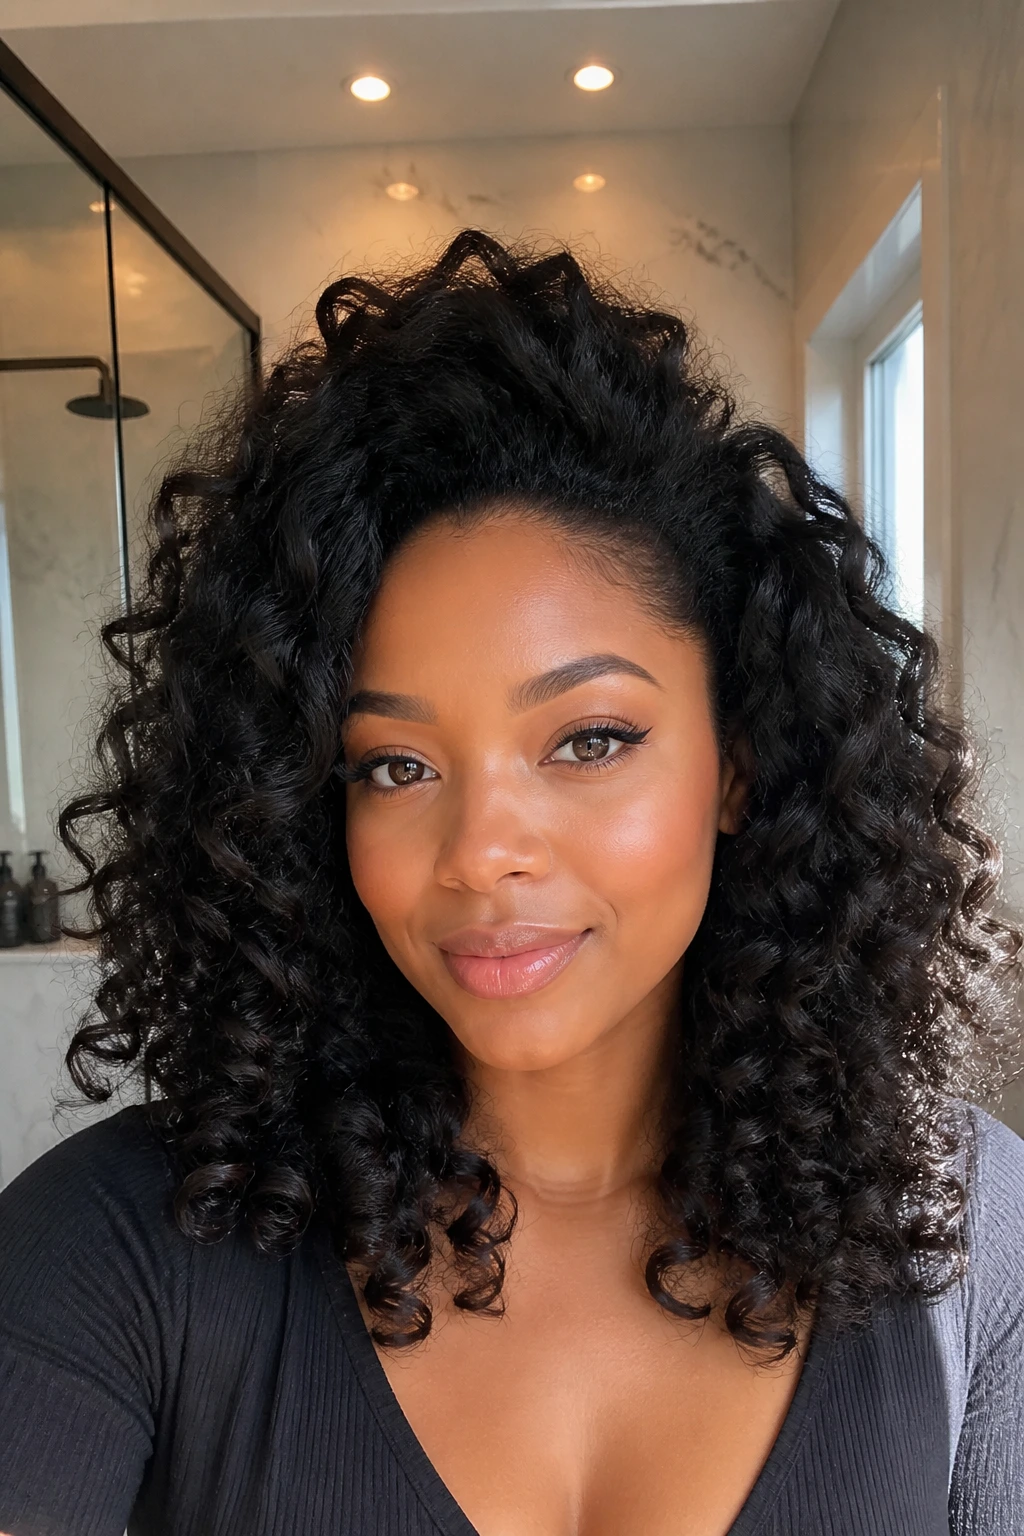
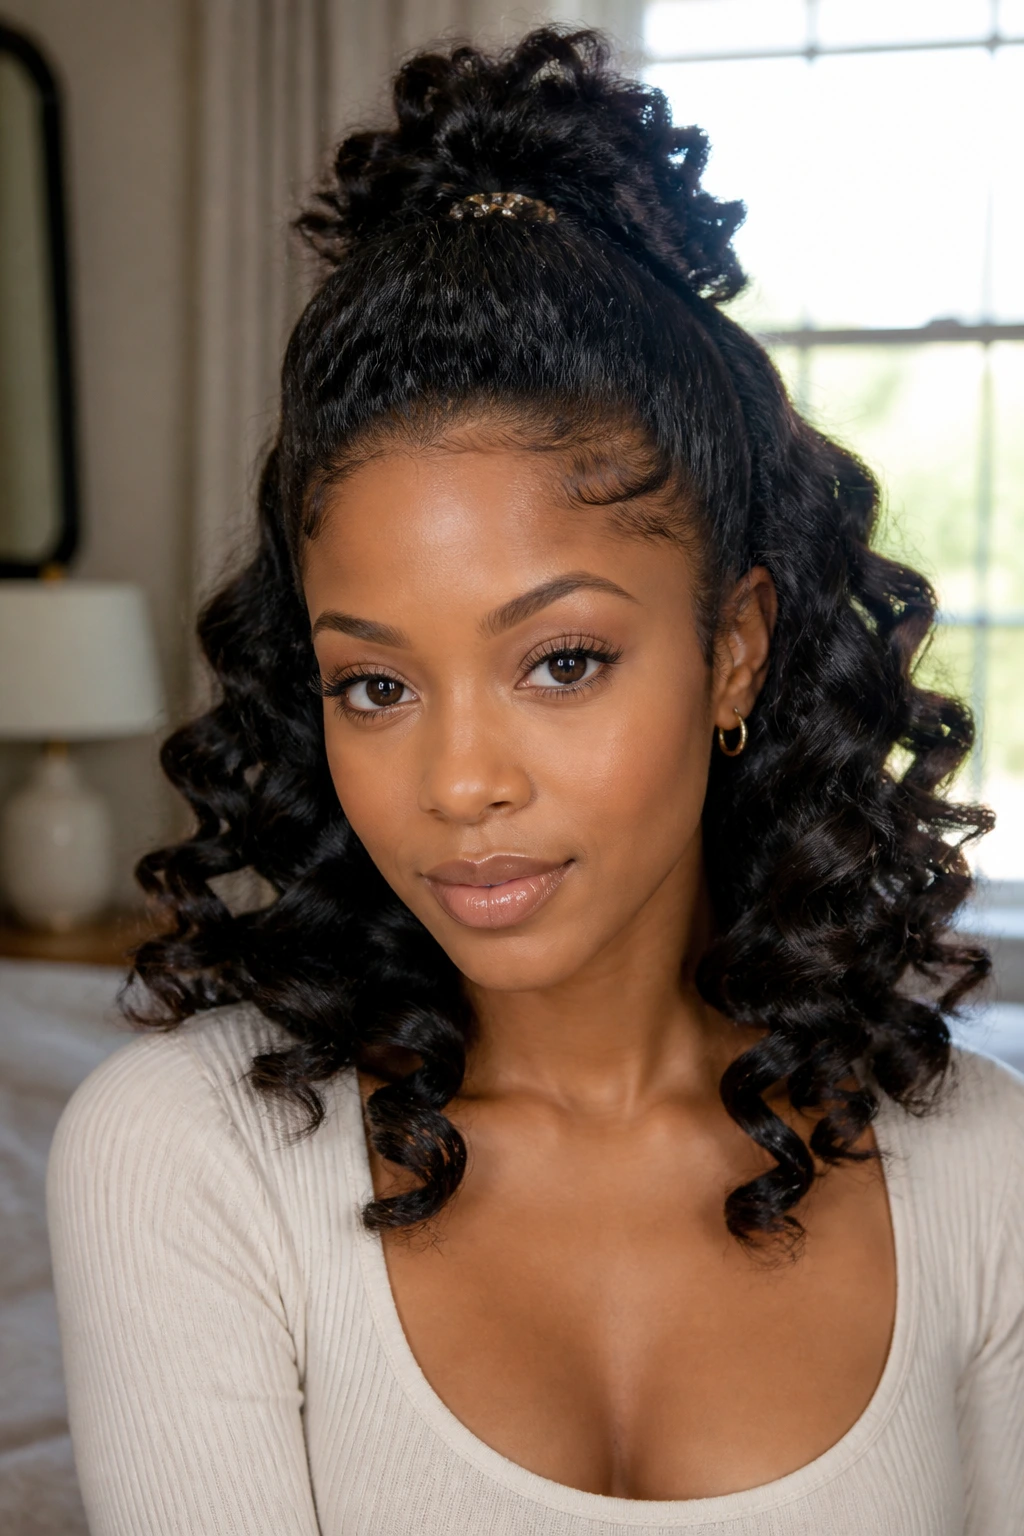
5. Half-Up Wand Curls with Crown Lift
Half-up styles can go wrong fast on heart-shaped faces if the crown gets too tall. You want lift, not a little mountain at the top of the head.
The trick is to keep the top section neat and let the lower curls carry the width. A 1-inch wand gives enough shape for the bottom half, while the upper section can stay smooth or be twisted back with a small clip. That keeps the eye moving downward, which is where the face usually wants the balance.
A soft half-up puff at the crown works too, but keep it compact. If the top gets too big, the forehead looks bigger with it.
6. Tucked-Behind-the-Ear Wand Curls
This style has a clean little cheat built into it. One side of the face gets opened up, the other side keeps the curl volume, and the heart shape feels less top-heavy.
Use a side part or a soft off-center part, then curl the front pieces away from the face. Tuck one side neatly behind the ear and let a statement earring do some of the visual work. The exposed cheekbone looks intentional, and the jaw gets a little more shape from the curls staying low on the other side.
It’s a simple move. It works because it breaks symmetry in a good way.
7. Blowout-Base Wand Curls on Natural Hair
Natural hair almost always takes wand curls better after the roots are stretched. A blowout gives the wand a smooth surface to grab, which means the curl holds its outline instead of puffing in the middle.
Use a heat protectant with real slip, not just a scented mist. Then take small sections, around 1 inch wide, and wrap them around a 1-inch wand from mid-length to end. The curl will look more polished because the base is already controlled. On a heart-shaped face, that smooth base keeps the temples from feeling too wide.
If the hair is still a little damp under the roots, stop. Wet hair and hot metal are not friends.
8. Stretch-First Wand Curls for Coily Hair

Why does this version matter so much? Because coily hair needs more structure before the wand ever touches it. Banding, twisting, or a careful blow-dry stretch helps the curl shape show up instead of disappearing into shrinkage.
A smaller wand, usually 0.75 inch to 1 inch, gives the texture enough bend without forcing giant sections to do all the work. Curl one section at a time and let each piece cool fully before you touch it. That cooling step matters more than people like to admit; it locks the shape in.
Best for this face shape
- Keep the first curl just below the cheekbone, not above it.
- Leave a little length at the ends so the jawline gets some visual weight.
- Use light oil only after the style cools.
9. Tapered-Cut Wand Curls
A tapered cut already has built-in shape, so the wand doesn’t need to do all the sculpting. The tighter upper layers and longer bottom layers create a natural lift that suits a heart-shaped face better than a blunt puff at the temples.
Use a 0.75-inch wand for the shorter top layers and a 1-inch wand for the longer pieces if you want a cleaner finish. Keep the curls directional around the face, with the front pieces bending away and down. That keeps the silhouette from feeling like a triangle in the wrong direction.
This is one of those cuts where less product wins. Heavy cream will bury the taper and flatten the point of the cut.
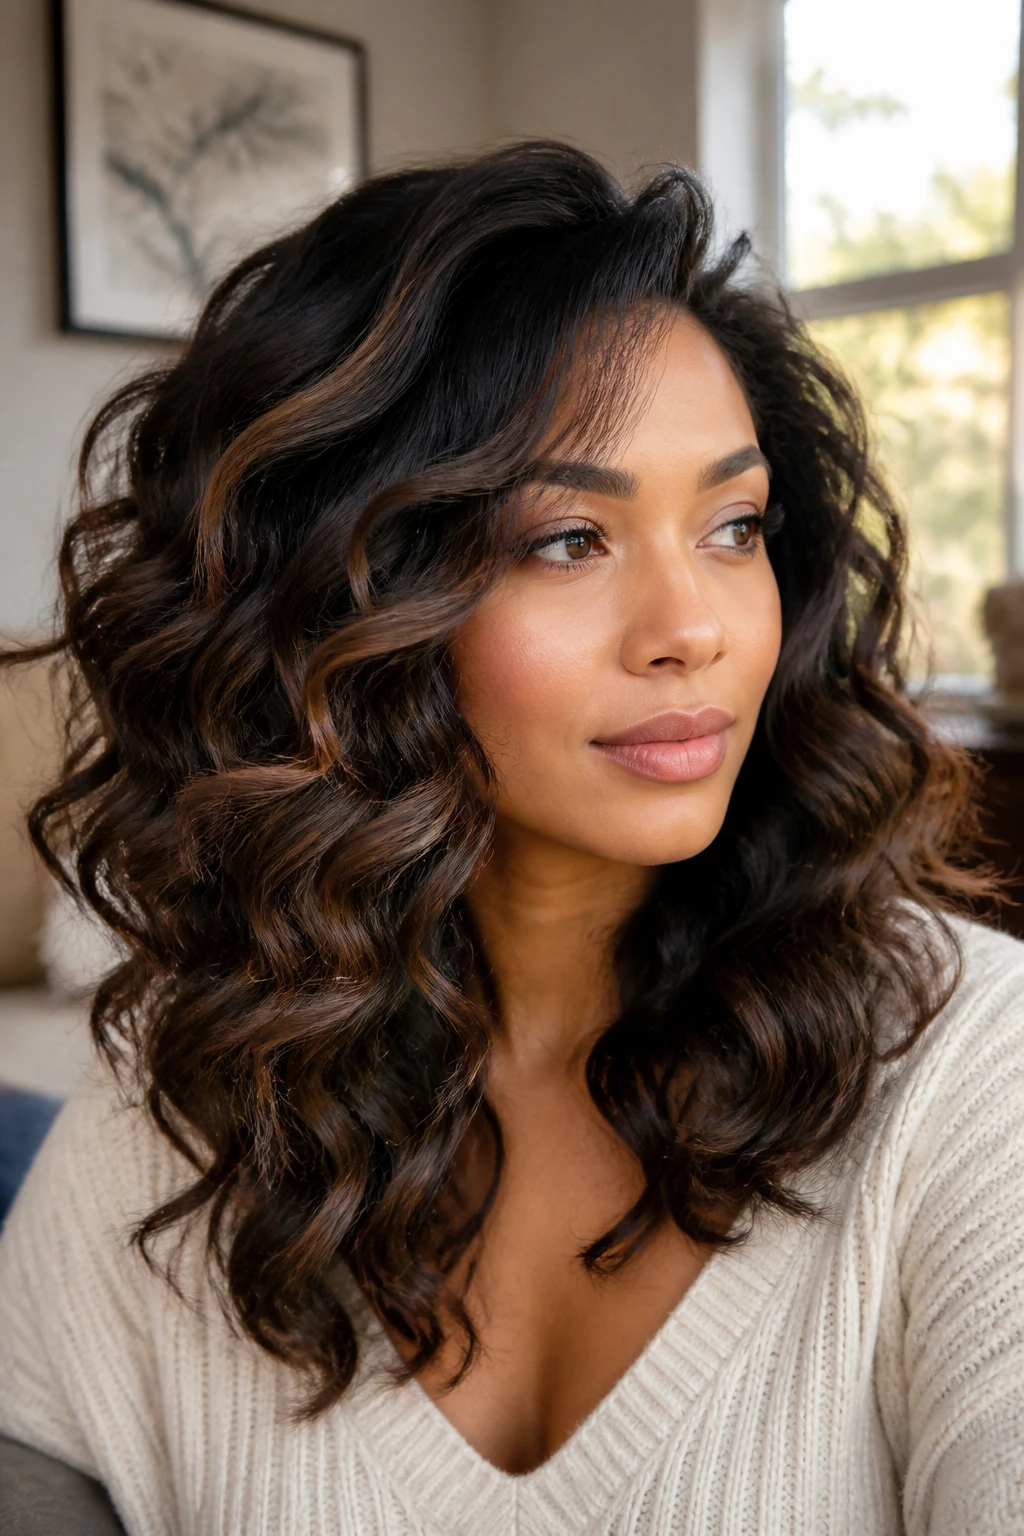
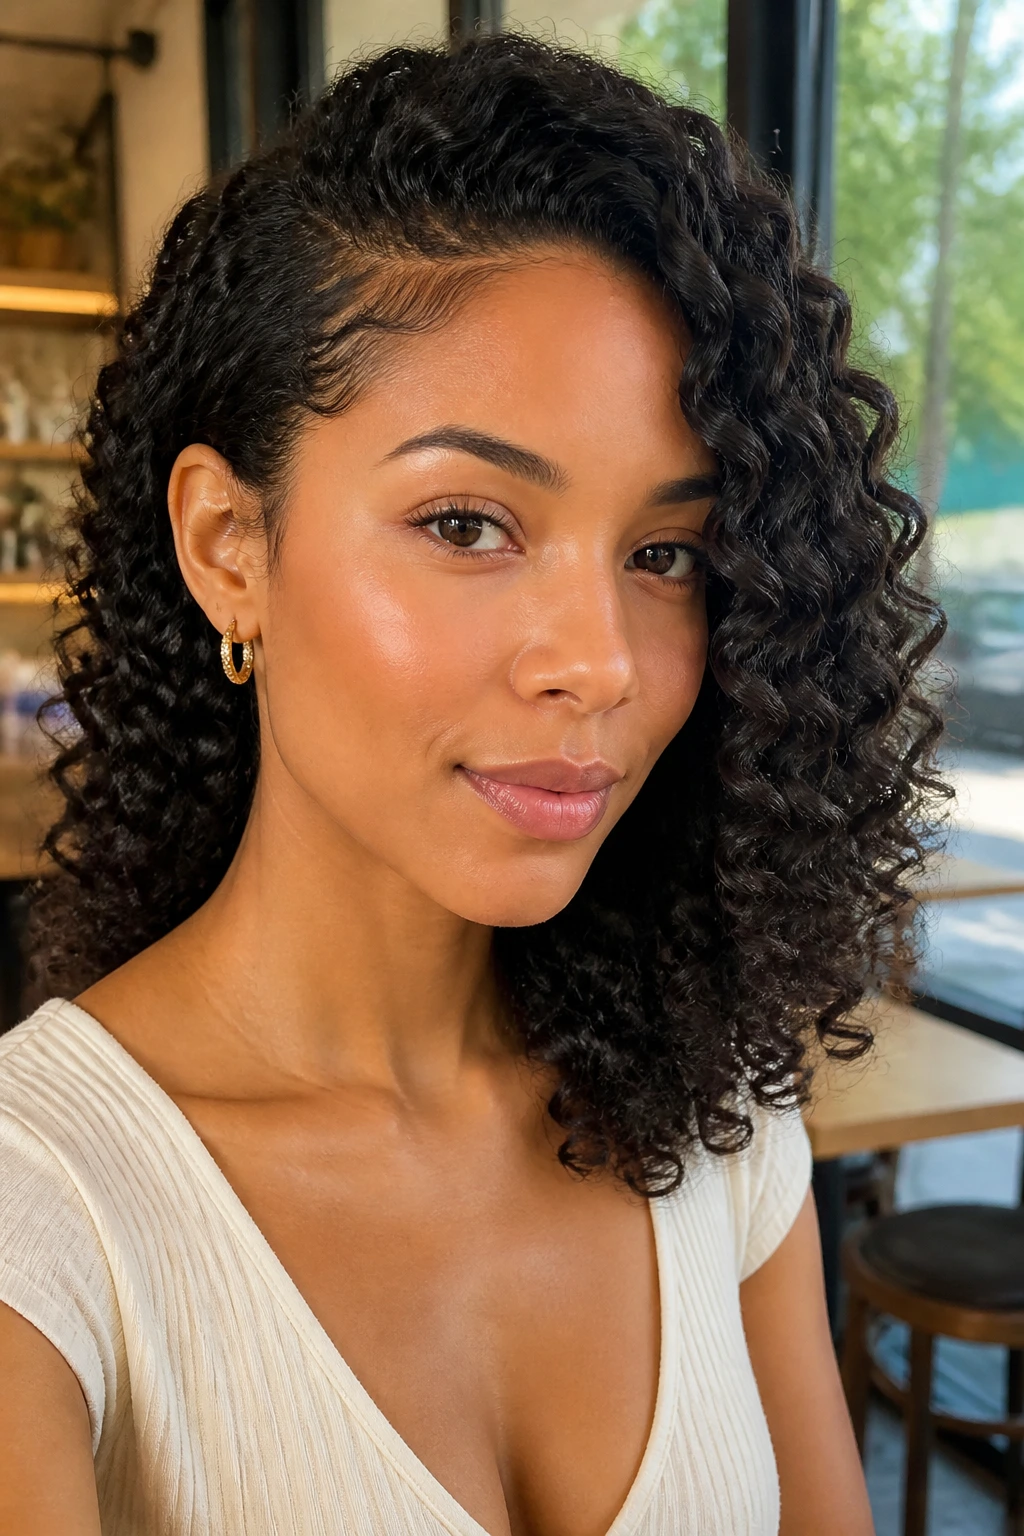
10. Glossy Side-Sweep Wand Curls
A side sweep gives a heart-shaped face a softer, longer line on top, which helps if the forehead feels like the widest point. The shine matters here too, because glossy curls reflect light in a way that makes the sweep read clean rather than puffy.
I’d reach for a 1.25-inch wand and a lightweight serum after the hair cools. The front section should be wrapped away from the face, then brushed just enough to lay into the side. Don’t brush the whole head into sameness. Keep the ends separated so the style still has movement.
This look is sharper than the others. That’s the point.
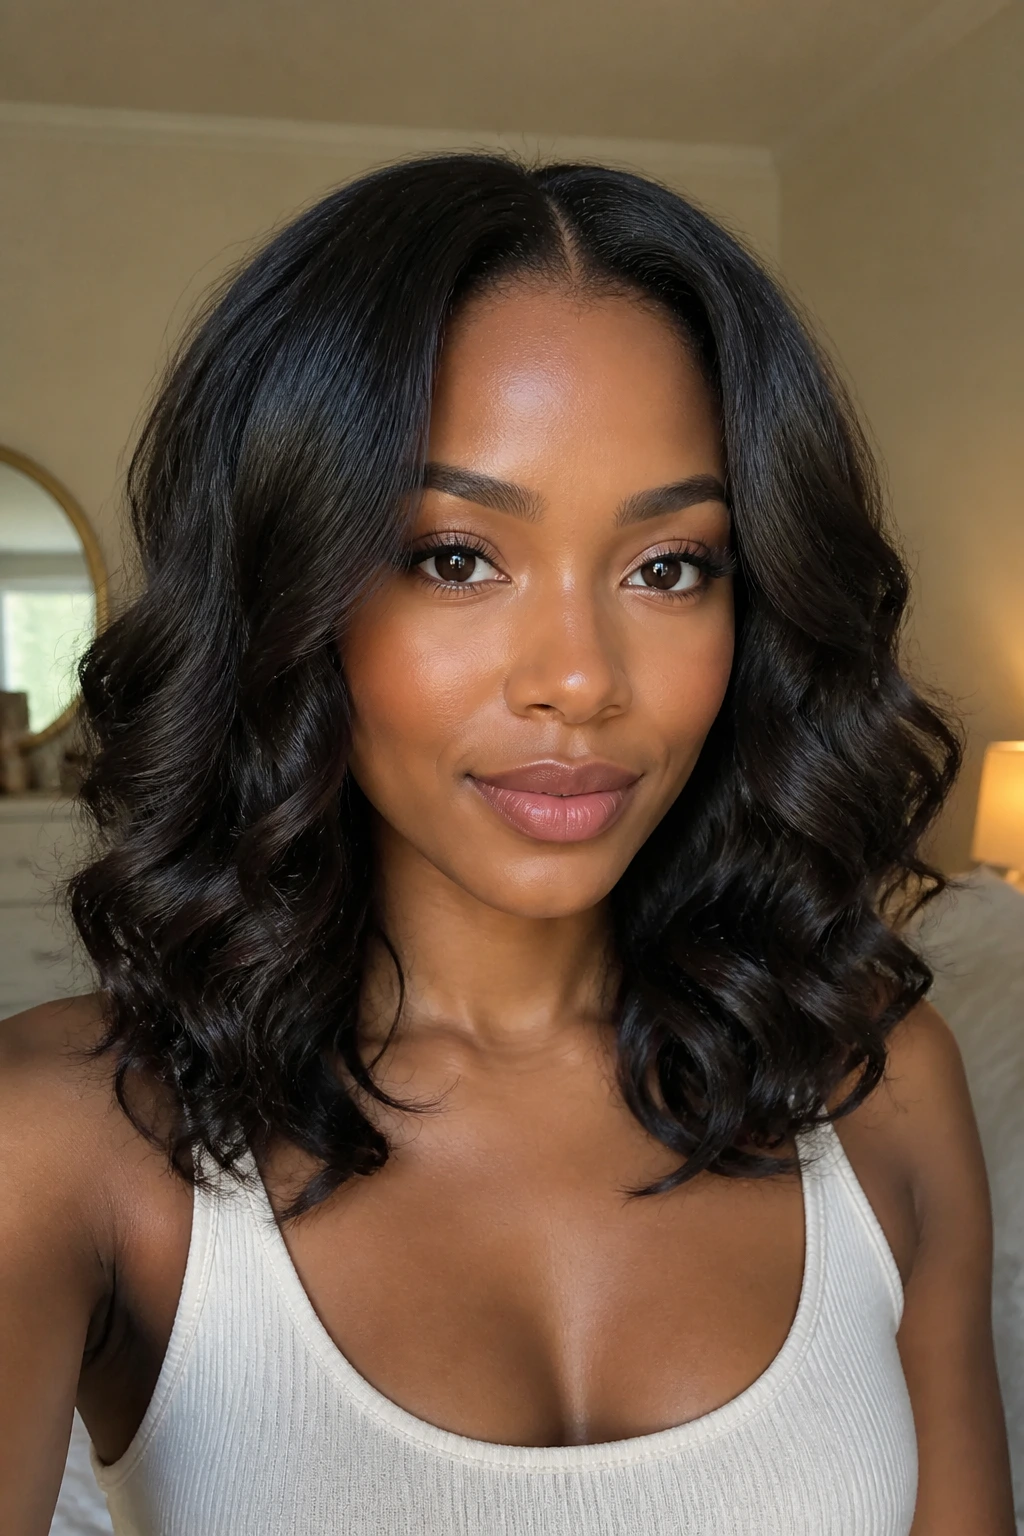
11. Shoulder-Length Wand Curls with Flipped Ends
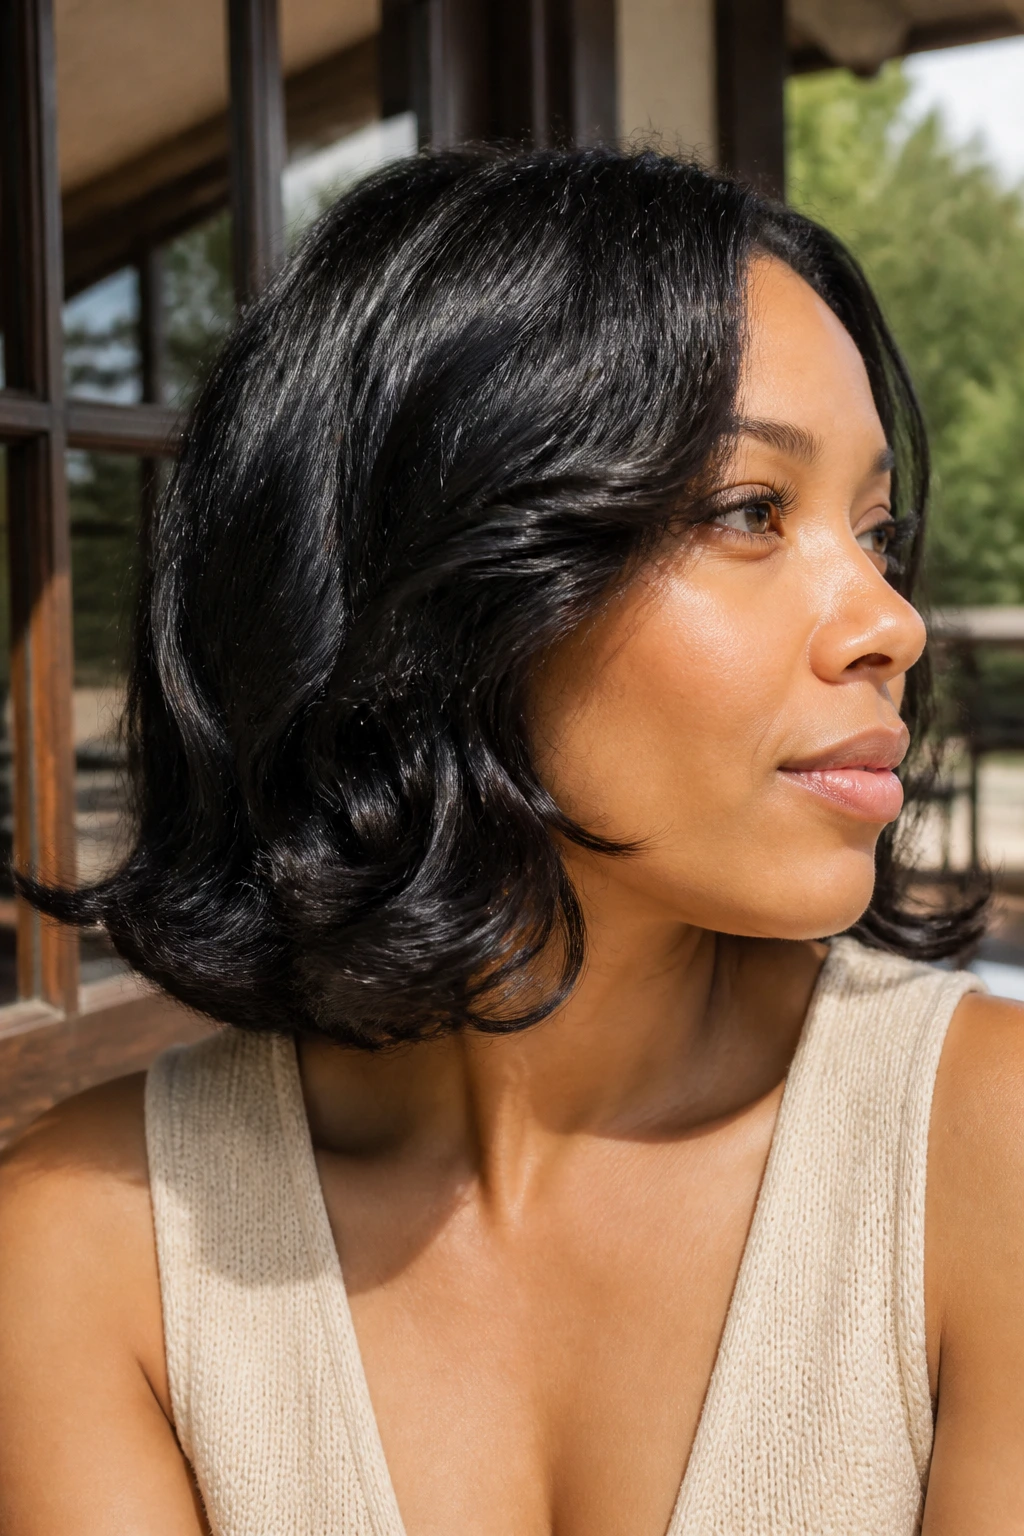
Shoulder-length hair sits in a tricky zone. It can balloon at the ends if the curl is too tight, or sag if the barrel is too large. Flipped ends fix that problem by giving the bottom a little lift without turning the style into a tight spiral.
Wrap the middle sections around a 1-inch wand, then leave the very tips out or flick them outward with your fingers after cooling. The end shape keeps the jawline from disappearing under the curl mass. On a heart-shaped face, that little outward flip gives the lower half of the face more presence.
It’s a small detail. It changes the whole silhouette.
12. Long Layered Wand Curls with Slim Front Pieces
Layers make long natural hair easier to wear because they stop the curl from hanging like one heavy curtain. On a heart-shaped face, the slimmer front pieces also help narrow the forehead visually and pull attention down toward the lips and chin.
Use a 1-inch wand for the front layers and a 1.25-inch wand for the back if the hair is long and thick. Curl the front sections away from the face, then pin them while they cool so they don’t collapse into your cheeks. A long layered cut needs a little discipline; otherwise, it becomes a wall of hair.
The good version looks expensive in the old-fashioned sense: controlled, not stiff.
13. Chunky Wand Curls for Dense Hair
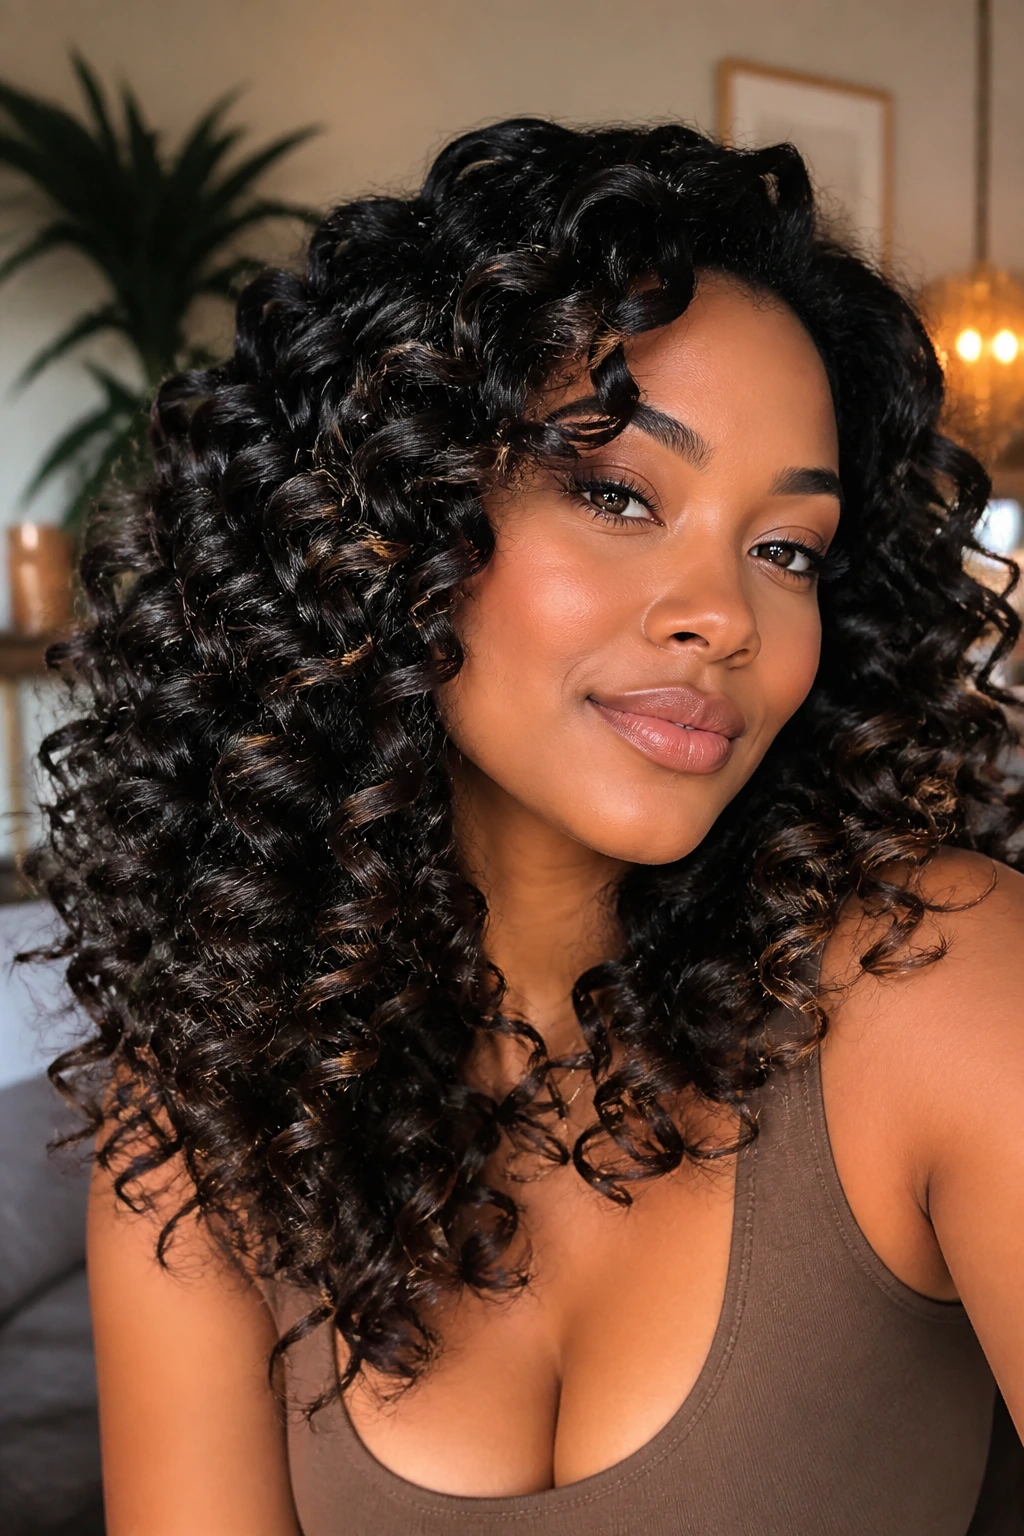
Dense hair can handle bigger, chunkier curls without losing shape. In fact, trying to make dense hair look too tiny and uniform usually ends in a puffy mess by noon.
Use larger sections and a 1.25-inch wand, then let the curls stay separated instead of brushing them into one mass. The face shape benefit comes from the lower pieces—keep them from sitting too high near the temples. That gives the chin and jaw a better balance point.
A lot of dense hair looks best when the ends are left slightly imperfect. Crisp at the root, looser at the tip. That split keeps the style from looking heavy.
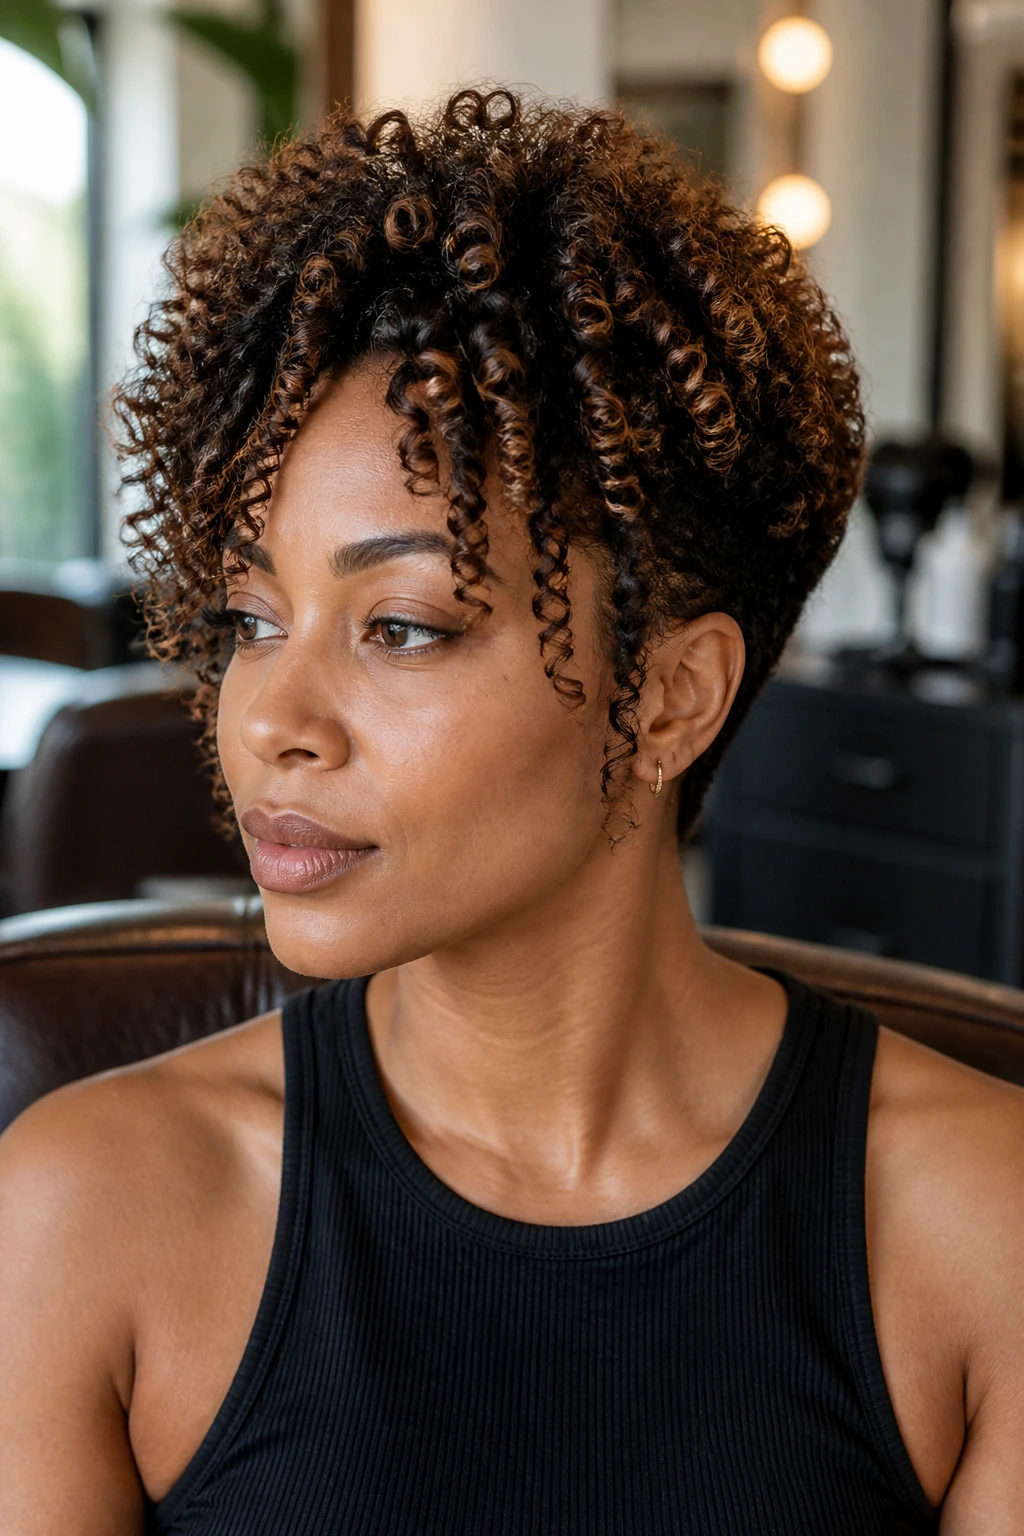
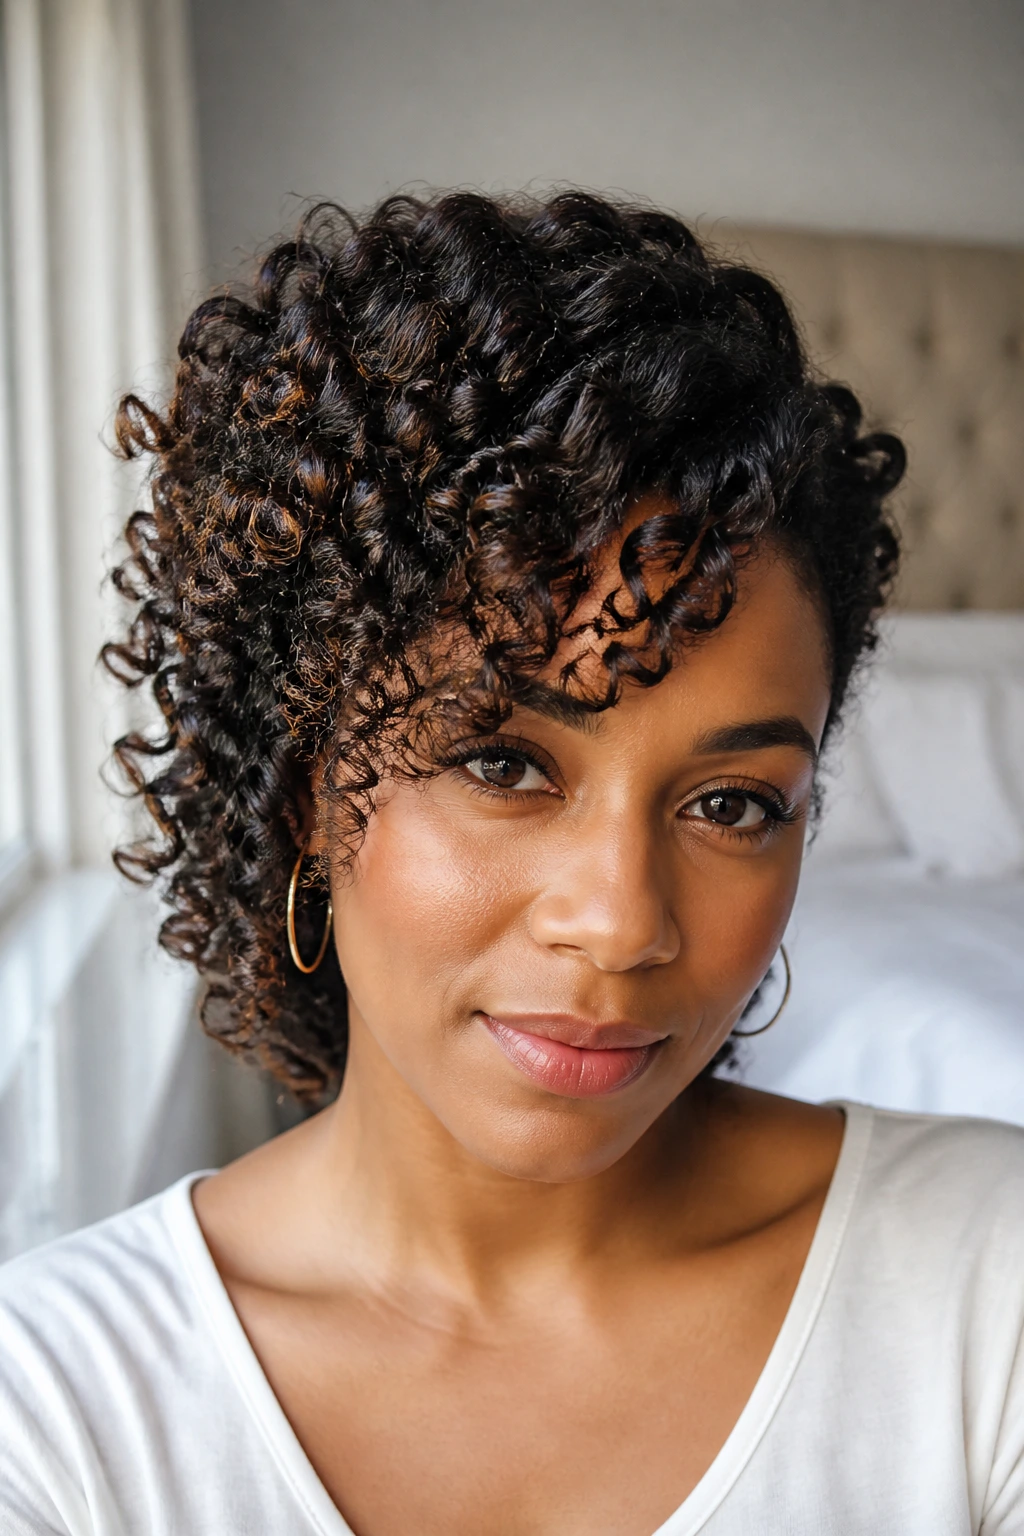
14. Micro-Wand Curls for Short Natural Hair
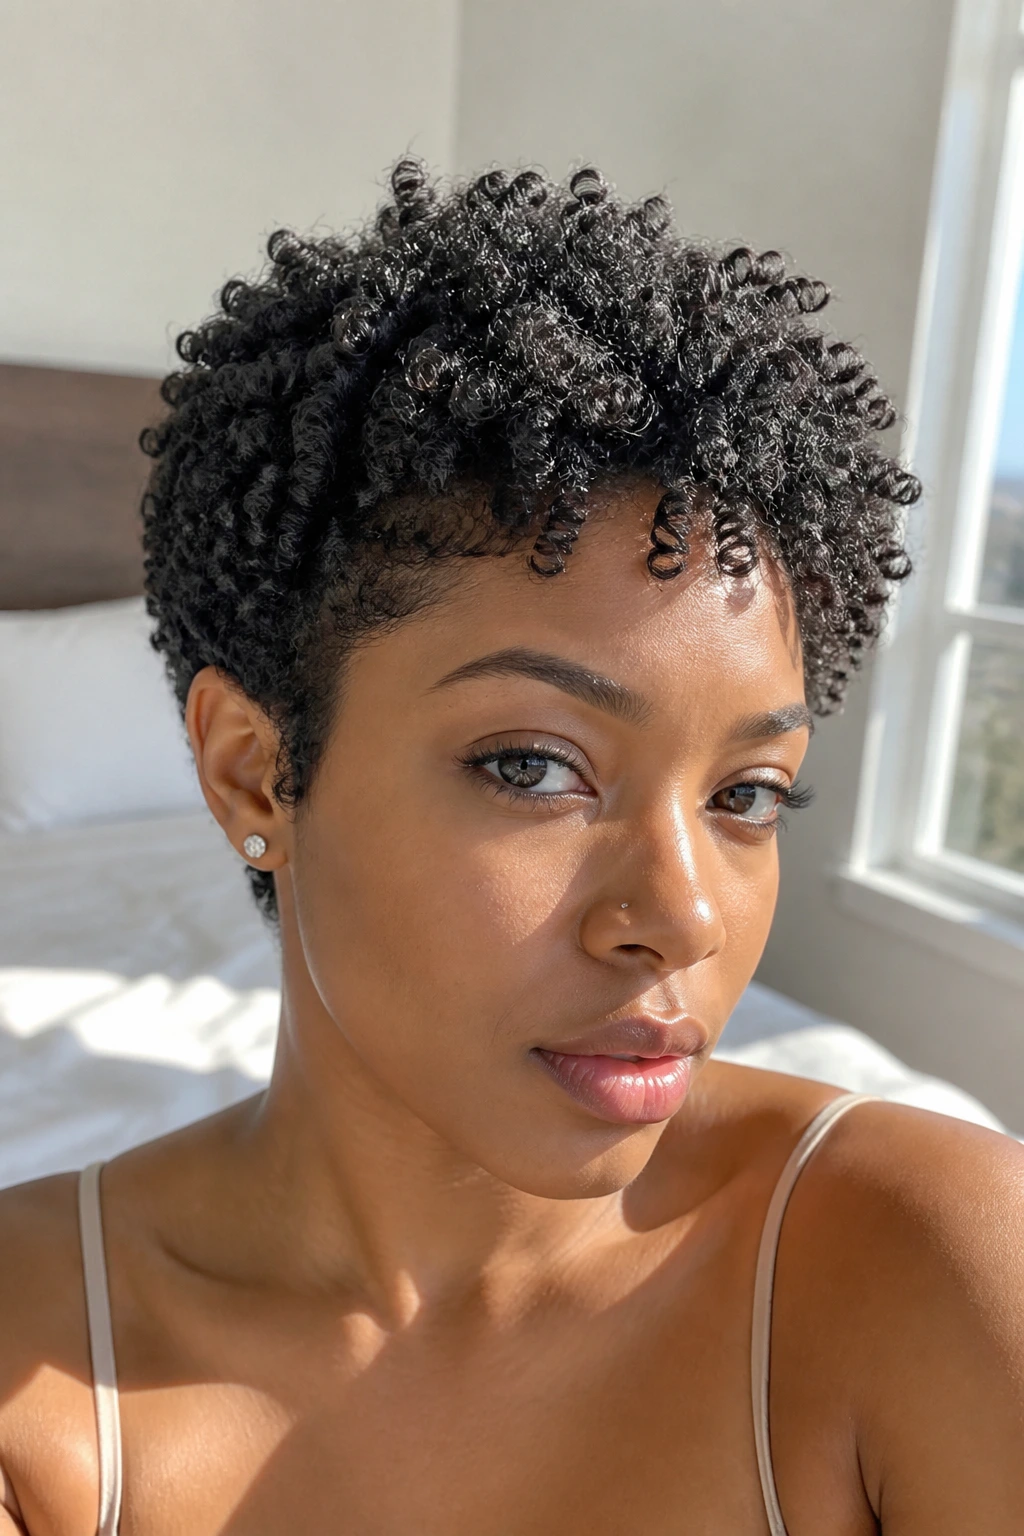
Short natural hair loves a smaller barrel. A 0.5-inch or 0.75-inch wand gives the hair enough bend to show shape without pretending the length is longer than it is.
The main thing here is section size. Keep each piece tight and clean, then wrap it with tension but not force. Micro-wand curls create lift, and lift on short hair can be a good thing—as long as it happens lower on the head, not all around the temples. On a heart-shaped face, that helps the crown stay tidy while the cheek area gets a little softness.
This look reads playful. It also hides a sloppy blowout faster than anything else on this list.
15. Hairline-Braid Wand Curls
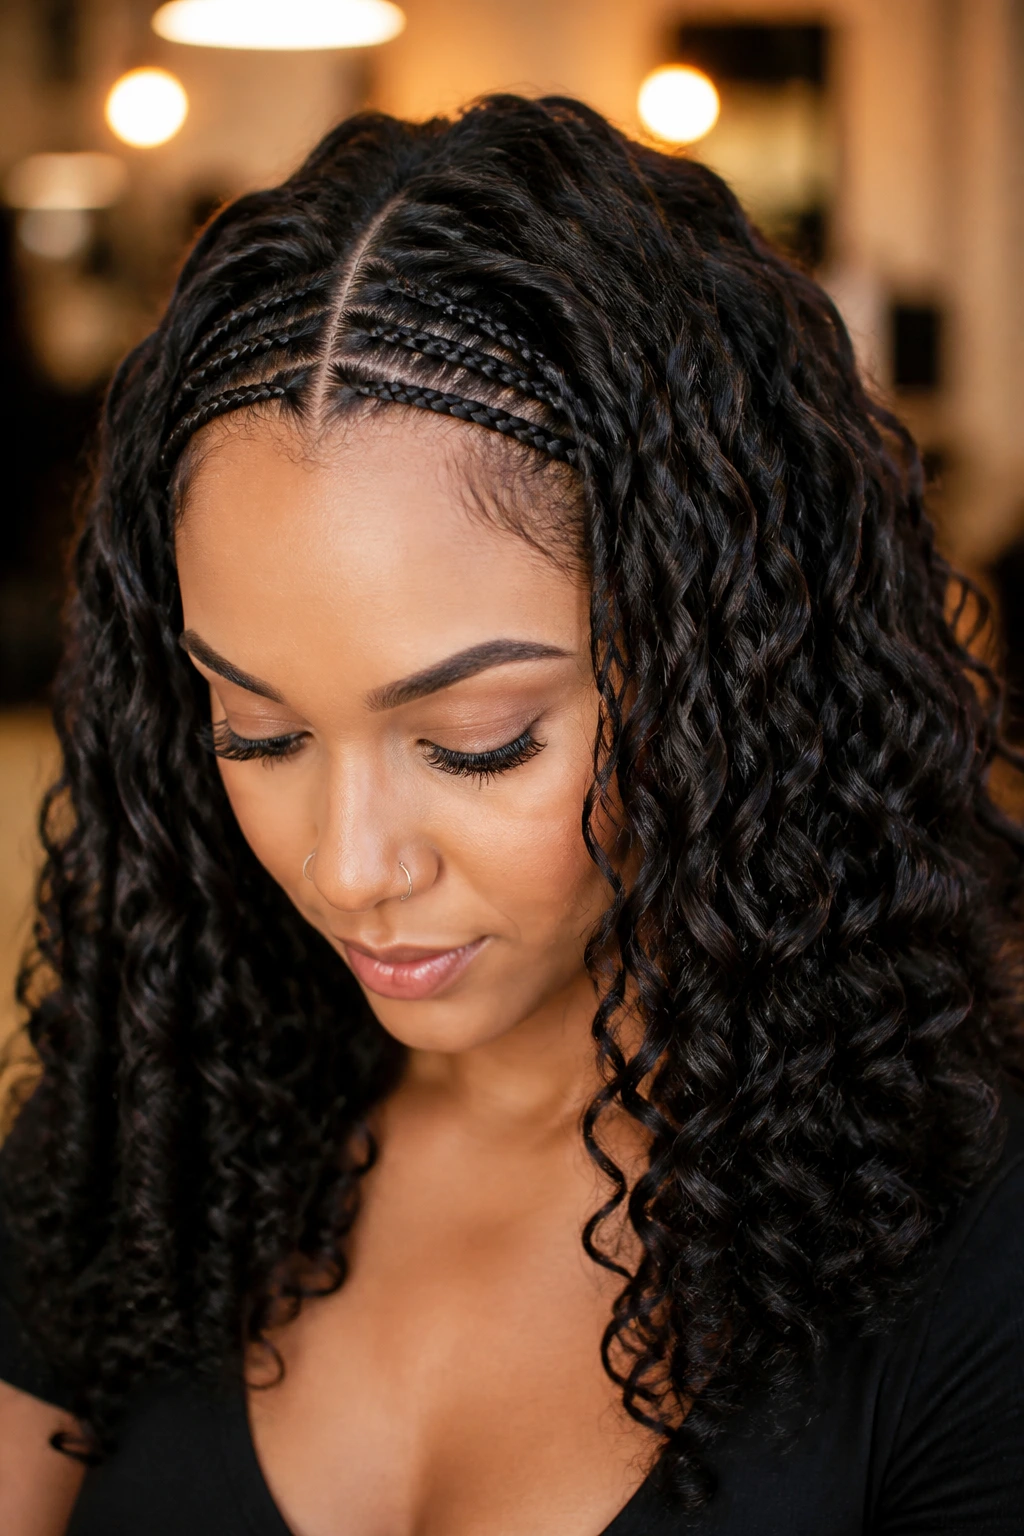
A few slim braids at the hairline can take pressure off a broad forehead and give the curls a place to start without crowding the face. That’s the whole trick.
Braid just the front edge, then let the rest of the hair fall into wand curls from a 1-inch barrel. The braids act like a border, which makes the curls look more intentional and less like they started too high on the head. On heart-shaped faces, that border is useful because it trims some of the visual width at the top.
Keep the braids narrow. Thick braids can pull the focus away from the curl pattern and make the style feel busier than it needs to be.
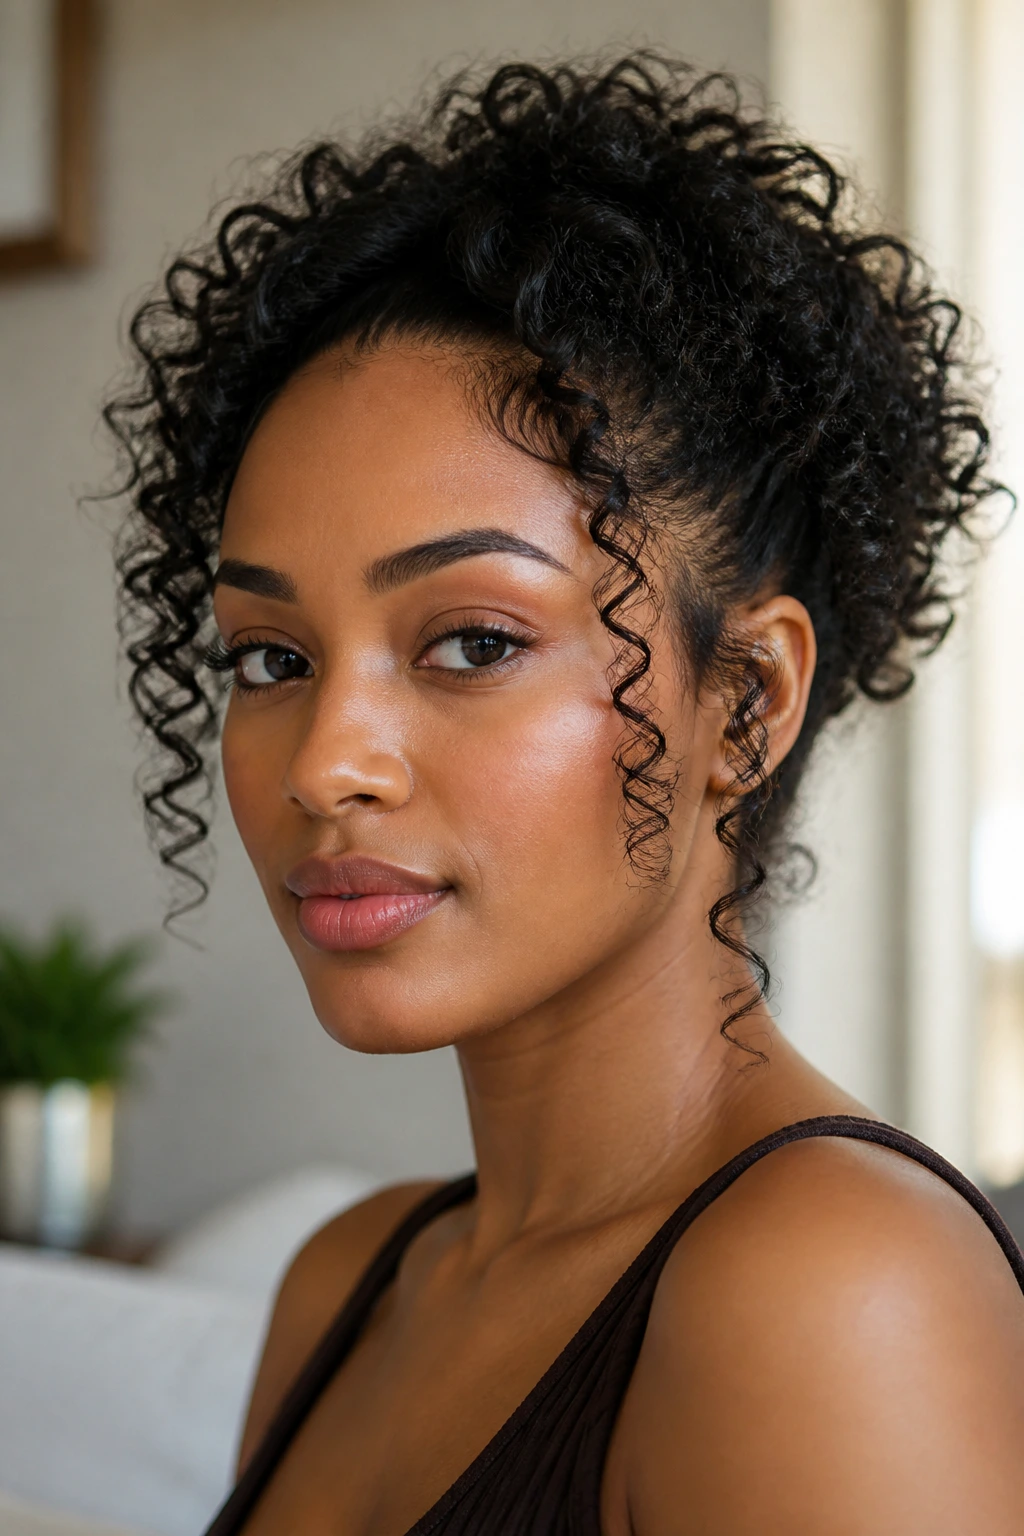
16. Low Puff Wand Curls
A low puff lets the curl mass sit closer to the nape, where it can widen the silhouette without widening the forehead. That’s a good bargain on a heart-shaped face.
Curl the loose lengths first, then gather them loosely at the back or lower crown. A few face-framing pieces should stay out so the front doesn’t feel too bare. The puff gives shape, but the curls around the face keep it soft.
I like this version when the weather is humid or when the hair just wants to expand. The low placement keeps the style from puffing in the exact spot you don’t want it to.
17. Faux Hawk Wand Curls

Faux hawk styles can be surprisingly flattering on heart-shaped faces when the height stays centered and the sides stay controlled. The danger is piling too much volume at the temples. Don’t do that.
Use pins or small clips to hold the sides close, then let the middle section carry the curl pattern from front to back. A 1-inch wand works well here because the curls need enough definition to read against the pinned sides. The visual line ends up long and narrow, which is exactly the kind of shape that softens a pointed chin.
This one has attitude. It still needs restraint.
18. Side-Fringe Wand Curls
A side fringe gives the face a diagonal line, and diagonal lines are your friend when the top of the face feels wider than the bottom. The fringe should skim the forehead, not sit as a thick curtain across it.
Use a 0.75-inch wand on the fringe and a 1-inch wand on the rest. That size split keeps the front light while the body of the hair stays fuller. On a heart-shaped face, the side fringe can make the chin look a touch stronger because the eye keeps moving down and across instead of stopping at the brow.
If your fringe keeps separating, clip it as it cools. Tiny curls need a little help.
19. Mixed-Texture Wand Curls with Coily Ends
Not every section has to look identical. In fact, on natural hair, a little texture difference can make the style feel richer and less staged.
Wrap the middle of the strand around the wand, then leave the ends slightly coily or less fully wrapped. That gives the style a lived-in finish while still keeping a defined curl pattern. On a heart-shaped face, the mixed texture helps because the eye doesn’t get stuck on one wide, uniform shape at the top.
This version works best when you want movement rather than perfect symmetry. It’s softer, and I mean that in a useful way.
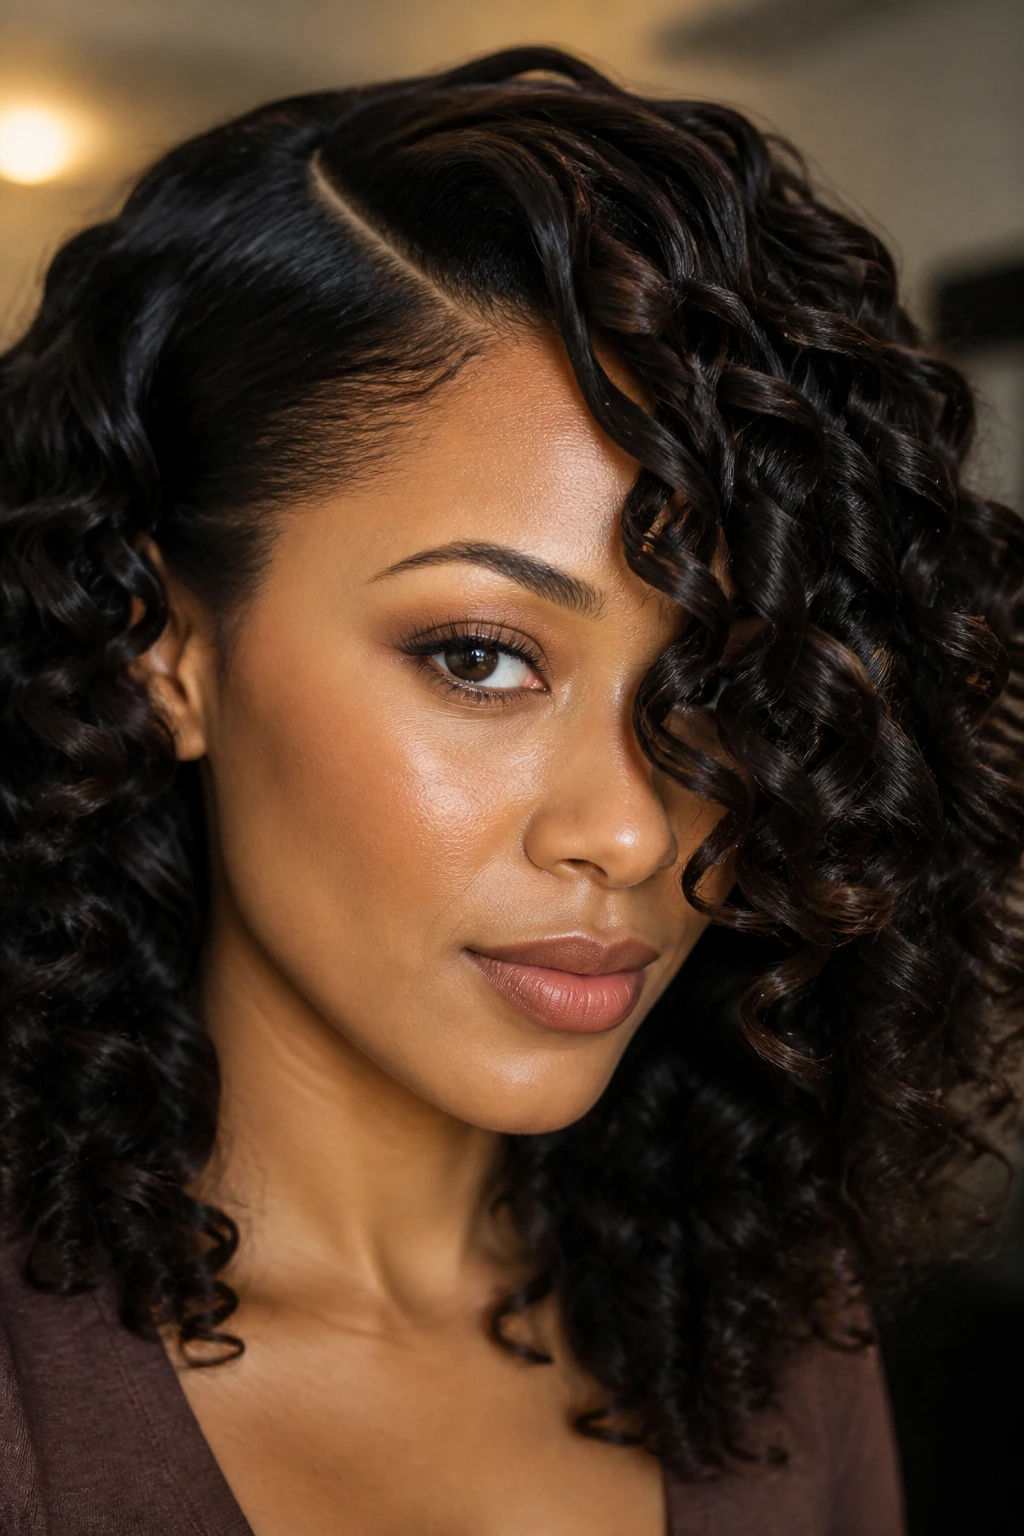
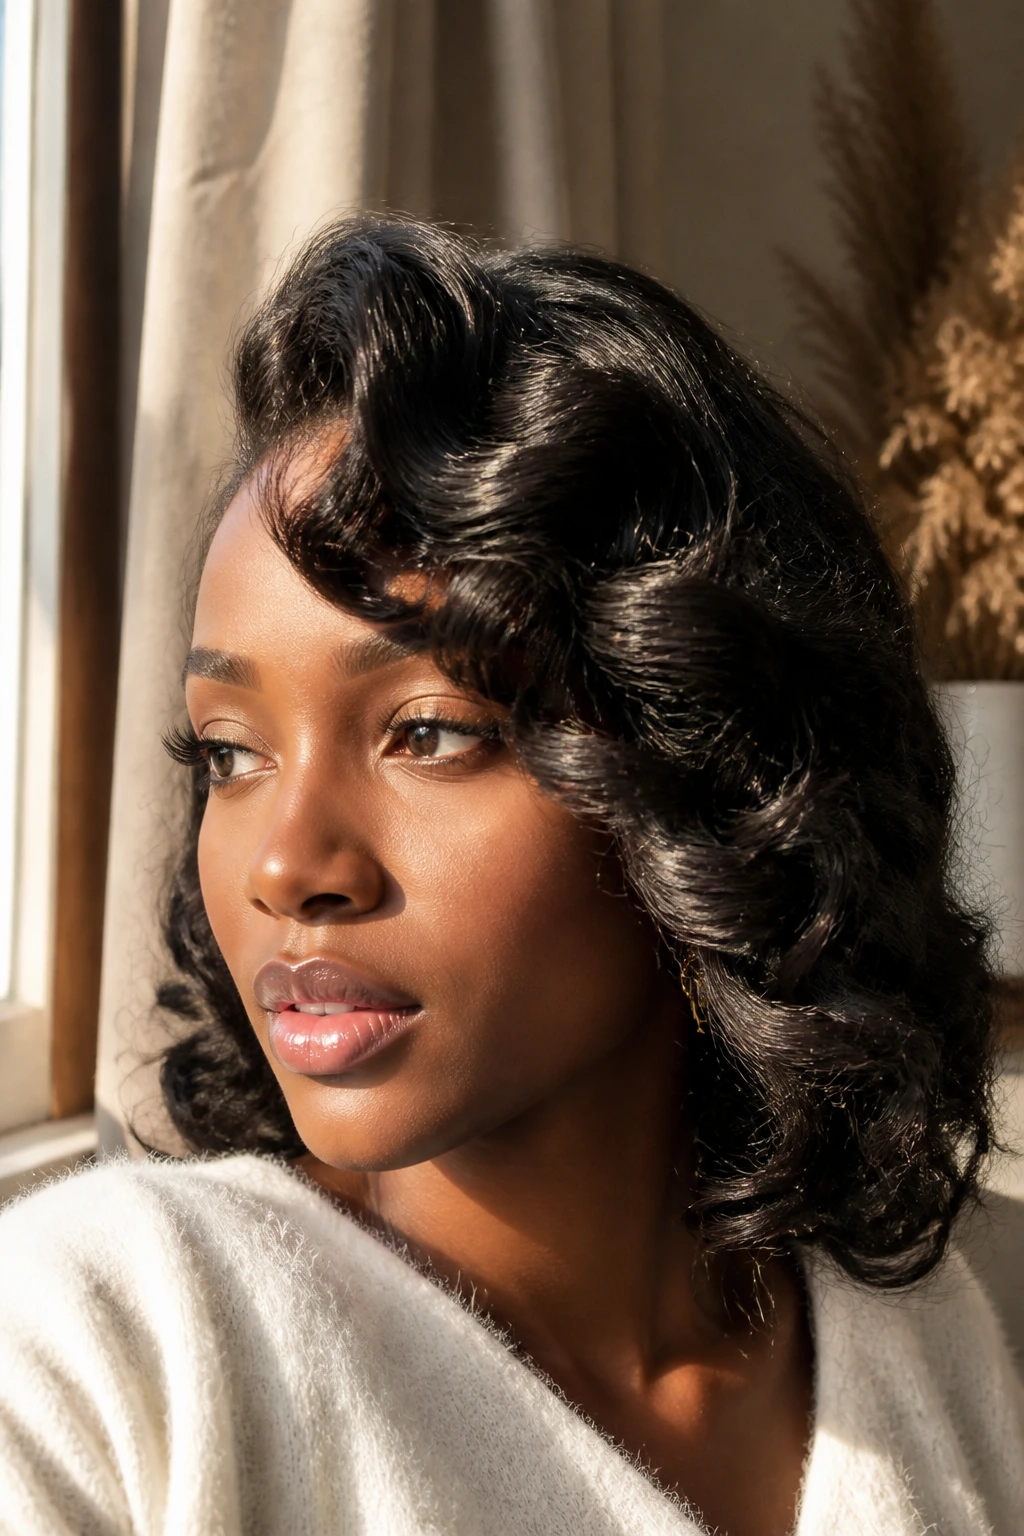
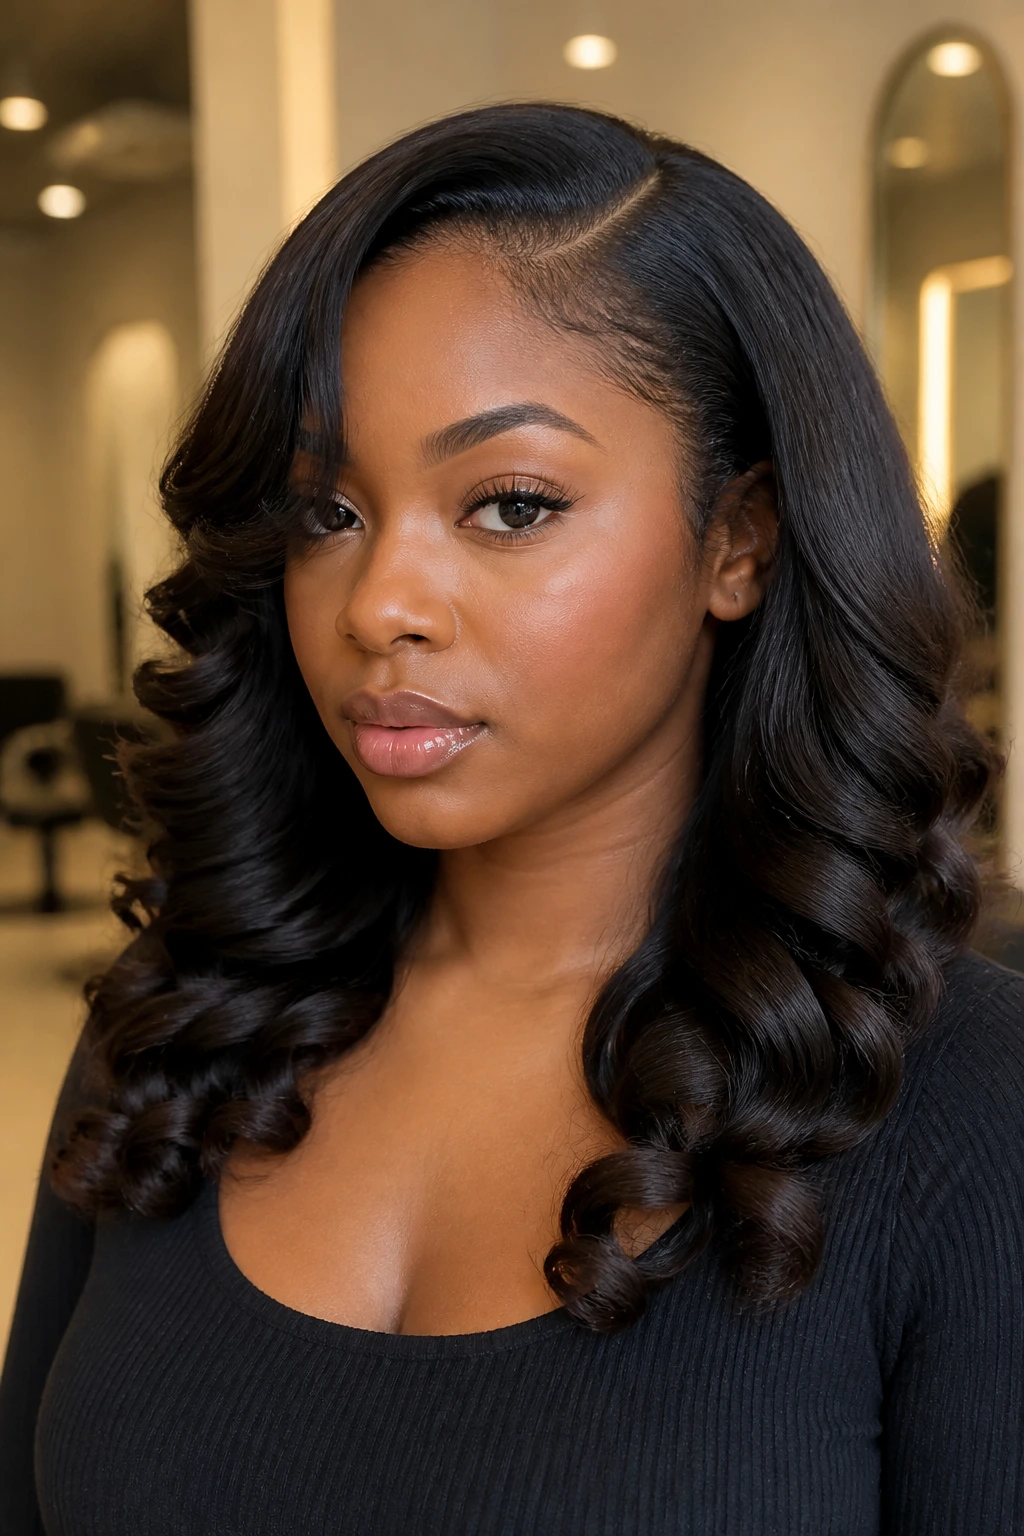
20. Silk-Press Wand Curls on Natural Hair
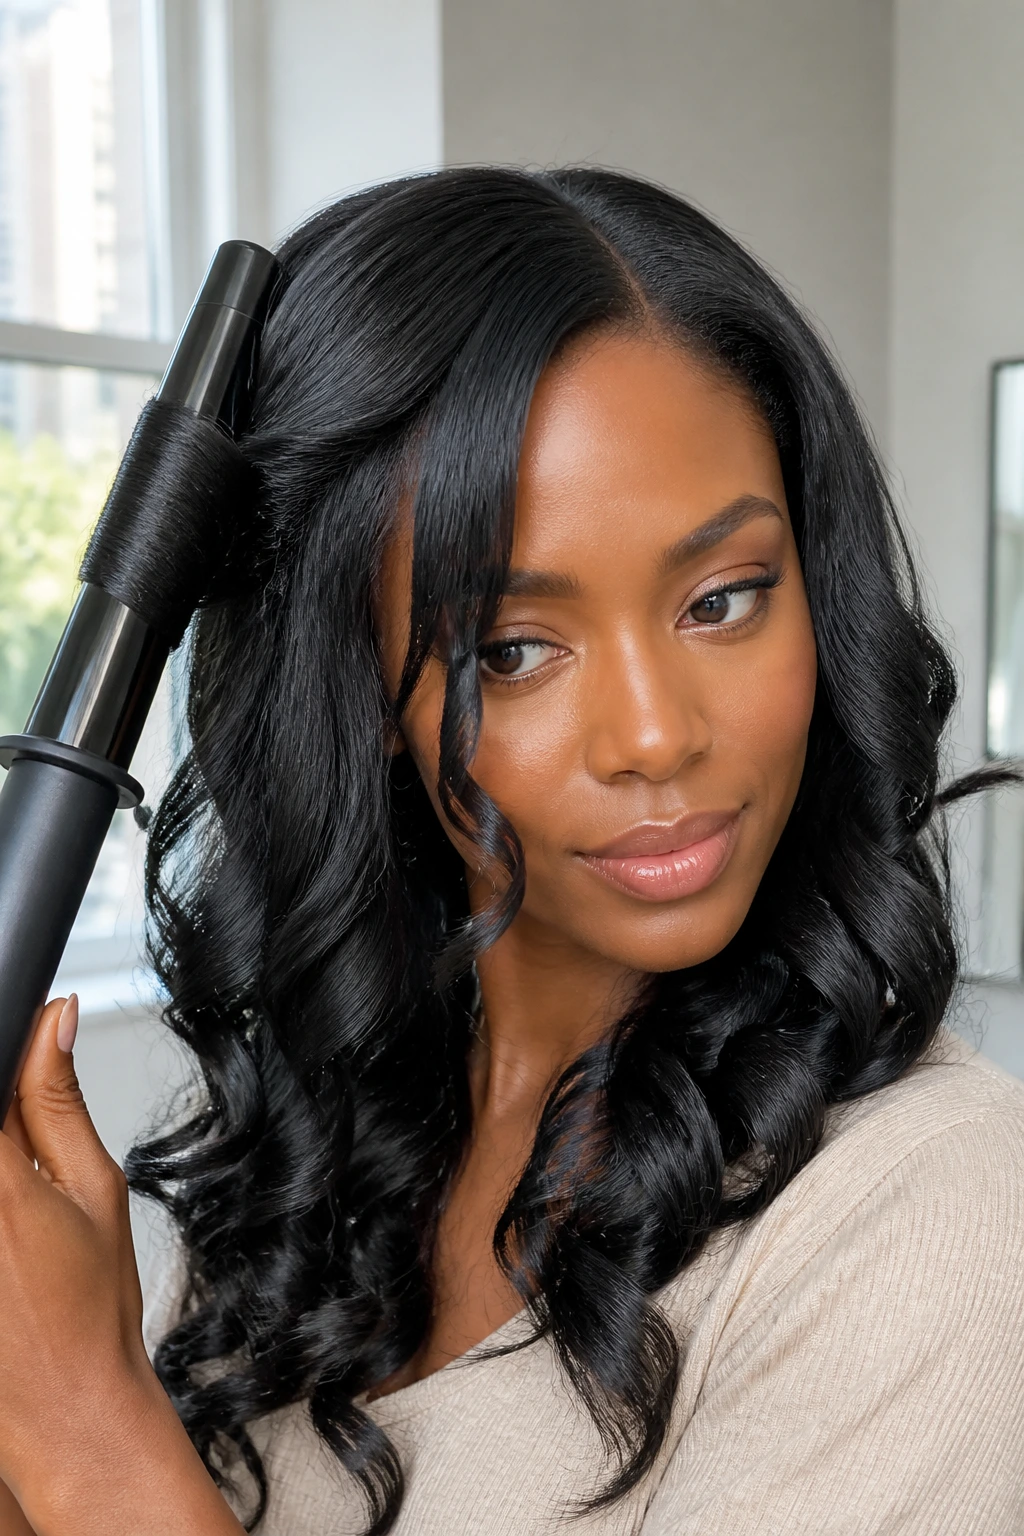
Silk-pressed natural hair and a curling wand make a very clean pair. The smooth base lets the curl show up as a clear spiral instead of a fuzzy bend, which is especially useful if you want the face-framing pieces to land exactly where you want them.
A 1.25-inch wand gives a soft, elegant bend; a 1-inch wand gives more shape. On a heart-shaped face, I’d keep the front pieces a little lower and curl them away from the face so the forehead doesn’t take over the frame. A tiny amount of serum at the ends is enough. Too much and the whole head goes limp.
This is the most polished look on the list. It also shows heat damage fastest if you get lazy, so don’t.
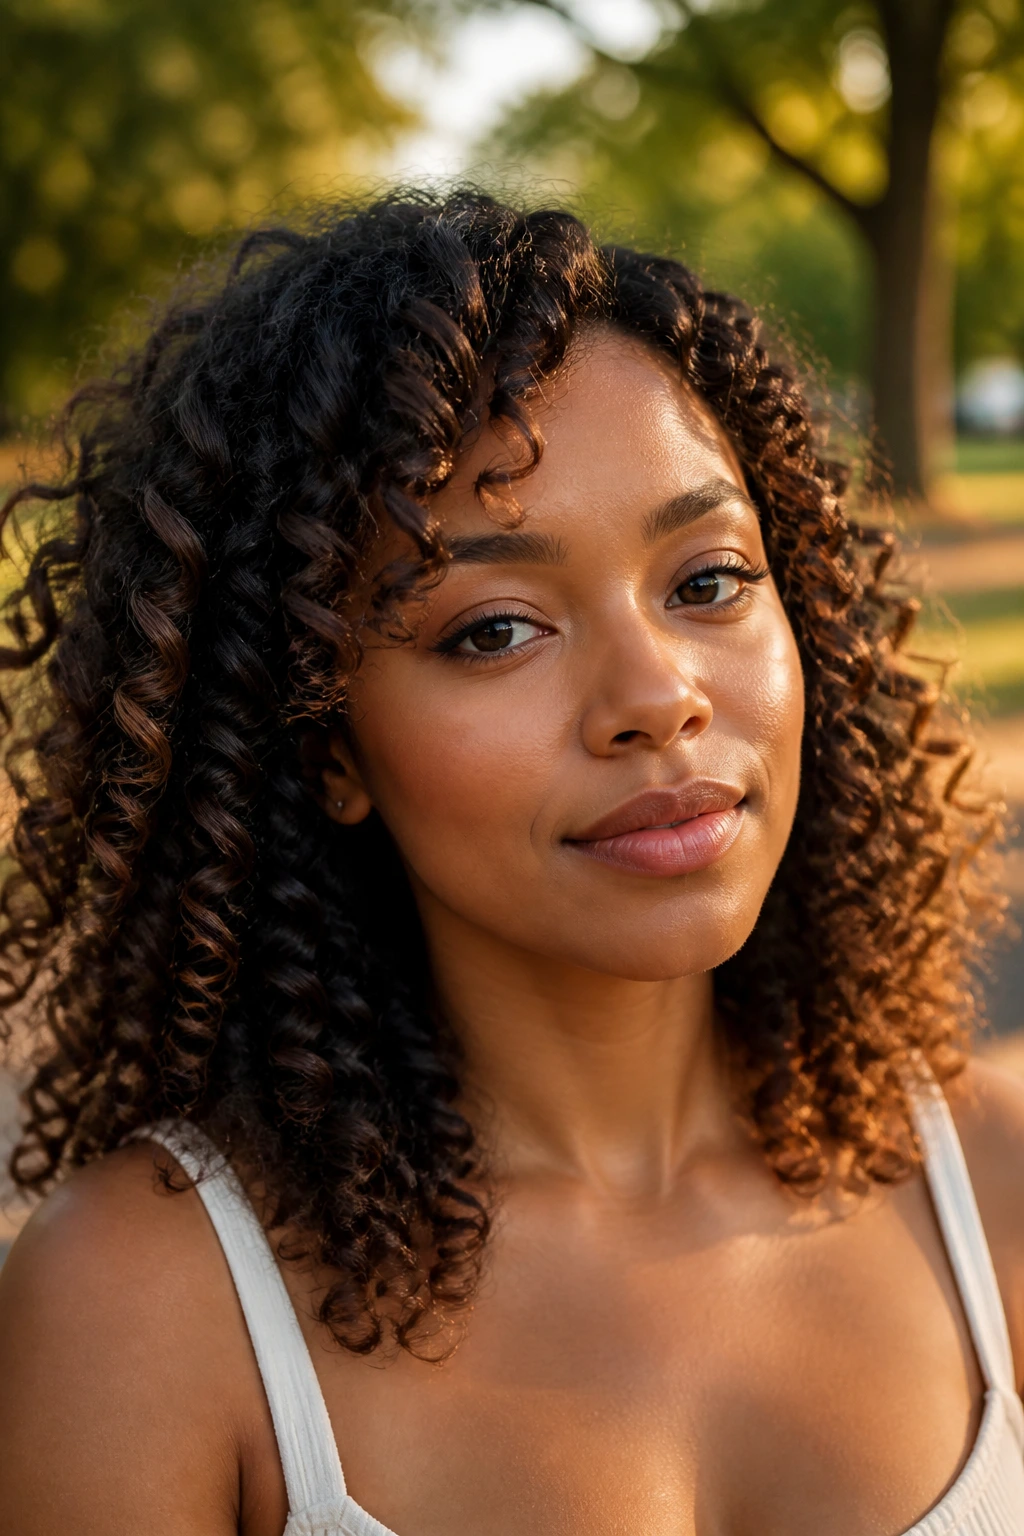
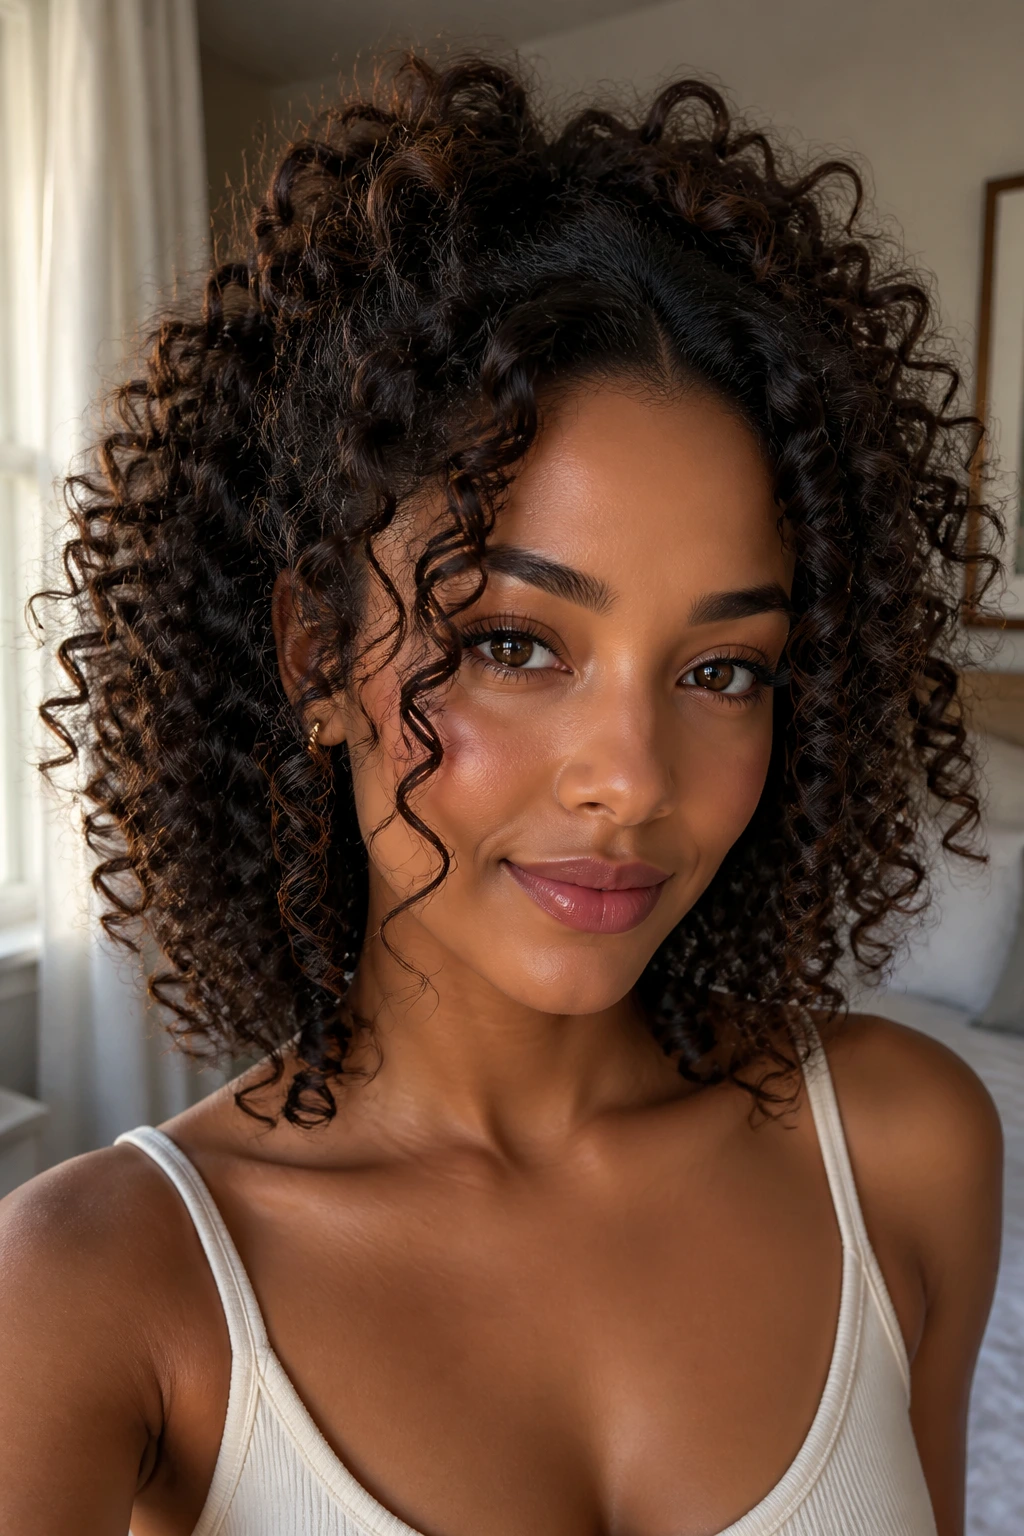
21. Highlighted Wand Curls with Bright Face-Framing Pieces
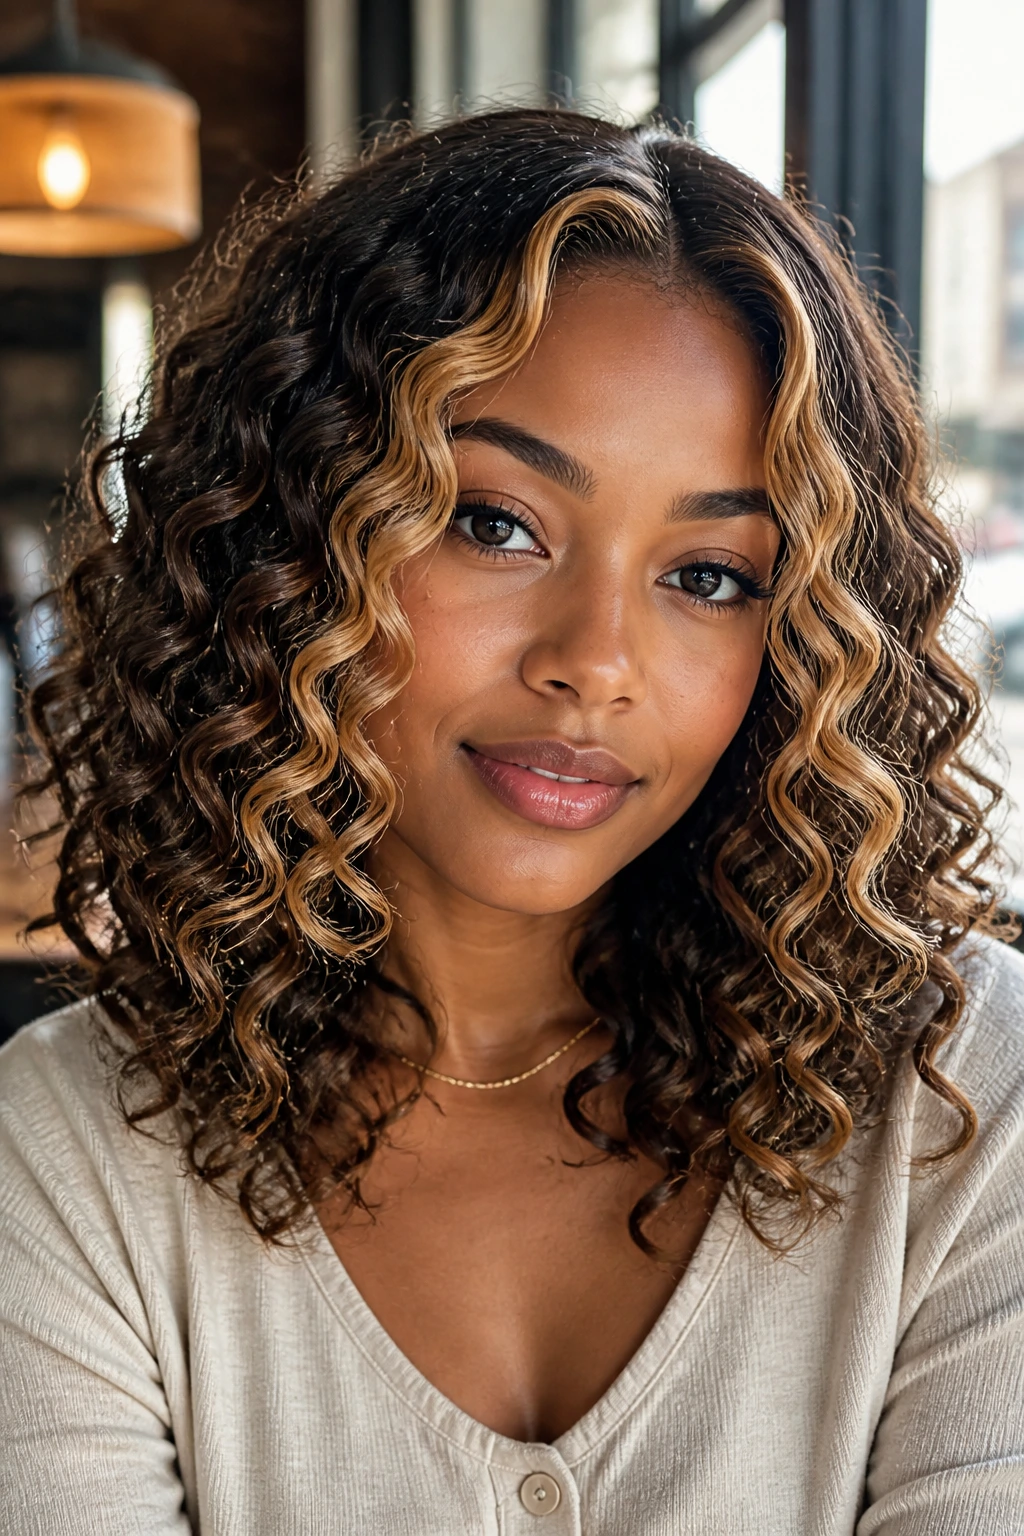
Color changes the way curls read. A few lighter face-framing pieces can pull attention toward the cheekbones and away from the widest part of the forehead, which is useful on heart-shaped faces.
The curl pattern itself can stay simple: 1-inch wand, medium sections, cool fully before separating. What changes is where the brighter pieces sit. Keep them near the front and around the jawline if you want the face to look a little longer and softer. If the color is all on top, the style can feel top-heavy fast.
This is one of my favorites when the cut has layers. The light catches the curl bends, and the shape does the rest.
22. Transitioning-Hair Wand Curls

Transitioning hair needs patience more than ambition. The line between new growth and relaxed or heat-styled ends can make wand curls look uneven if the sections are too large or the heat is too high.
Keep the sections small and use a moderate barrel, around 0.75 inch to 1 inch, so the curl can blend the textures instead of exposing the difference. A heart-shaped face usually benefits from the softer front pieces here, especially if the hairline feels wider during the transition period. Curling the front away from the face and keeping the root area smooth helps everything sit together.
This look rewards careful sectioning. Sloppy sectioning shows immediately.
23. Root-Lift Wand Curls with Crown Volume
A little root lift is fine. A lot of it at the temples is not.
This style keeps the height centered at the crown and away from the sides, which helps a heart-shaped face look more balanced. Tease lightly at the crown if needed, then smooth the surface and set the wand curls from mid-length down. A 1-inch barrel usually gives enough definition without turning the roots into a puff.
If the hair is thick, use clips to cool the top section after curling. That tiny pause helps the lift stay where you put it instead of drifting outward.
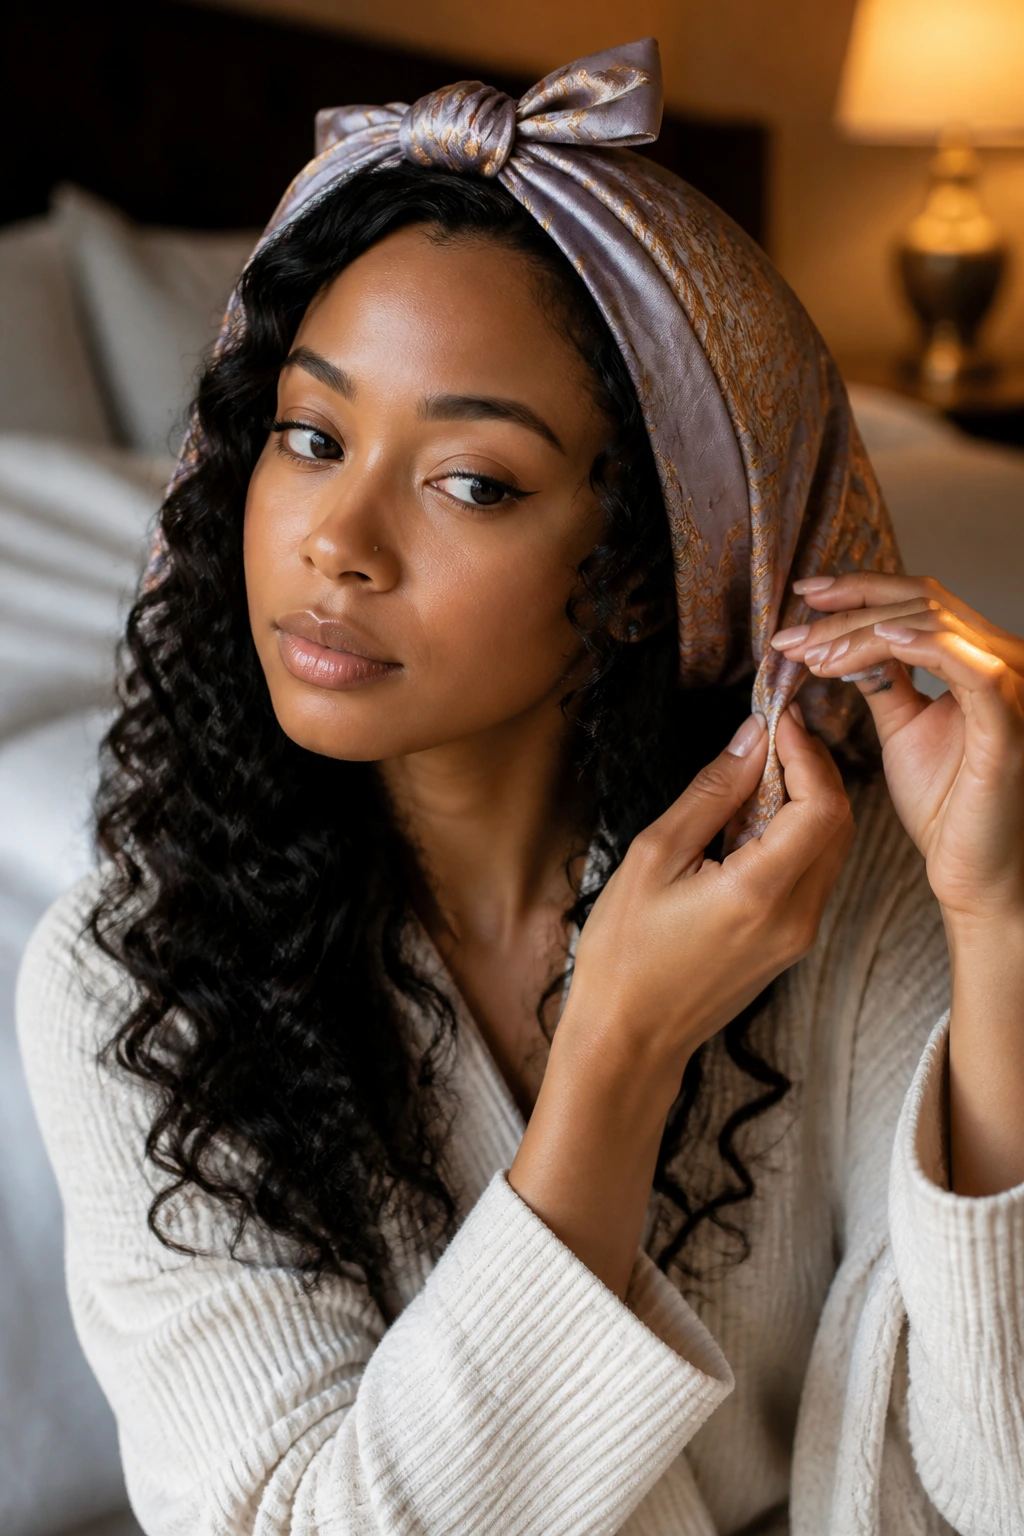
24. Accessory-Forward Wand Curls
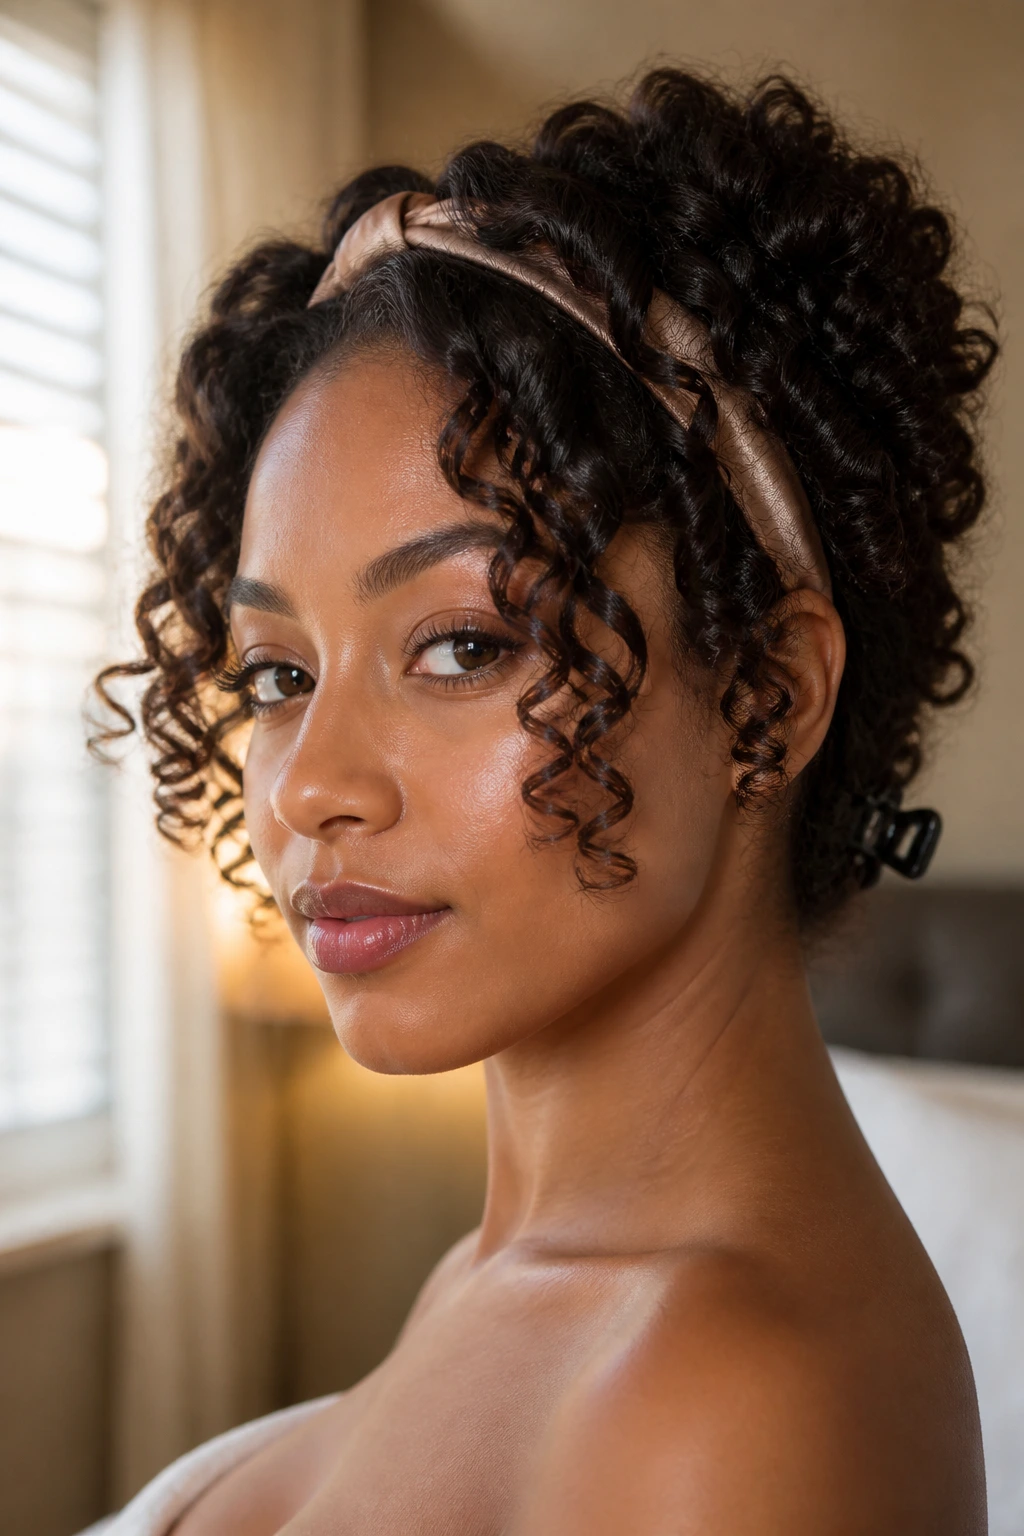
Accessories can do real shape work, not just decoration. A narrow headband, a pearl pin, or a satin scarf can steer the eye away from the forehead and toward the lower half of the face.
The curls themselves should stay soft and movable. A 1-inch wand is enough, and you can brush the ends lightly once they cool. On heart-shaped faces, I like a single clipped side or a scarf tied low at the nape. That keeps the top controlled and the jawline visible.
What to reach for
- Slim clips if you want one side pinned back.
- A narrow headband if you need to tame the front without flattening the curl pattern.
- A scarf if you want the look to feel softer and less rigid.
25. Brushed-Out Wand Curls into Soft Waves
Brushed-out curls are not a mistake when they’re planned. They turn a more obvious spiral into a softer wave, which can be kinder to a heart-shaped face because it lowers the visual bulk at the temple.
Start with a 1.25-inch wand, let the curls cool completely, then brush only once or twice with a boar-bristle brush or wide paddle brush. Stop before the hair becomes flat. The goal is a loose S-shape, not a smudged wave. This finish works best when the face needs softness more than drama.
It’s the most forgiving look here. It also hides a few uneven curls, which is always nice.
Why Wand Curls Change So Much on Natural Hair
Natural hair does not behave like straightened hair with a little bend at the ends. It has memory, shrinkage, and a strong opinion about moisture. That means the same wand size can look polished on one person and half-collapsed on another if the prep changes.
Stretching the roots first makes the curl pattern easier to control because the wand is working on a smoother canvas. Blow-dried hair, banded hair, and well-stretched twist-out hair all hold the shape more cleanly than hair that’s still densely coiled at the root. The curl lands where you place it instead of springing back in an unpredictable way.
A heart-shaped face changes the math too. The broadest point is usually around the forehead and cheekbone, so the style works best when the curl width moves lower, toward the jaw and collarbone. That is why a curl that starts high can feel harsh even if the barrel is perfect. Placement beats barrel size more often than people think.
Heat level matters. Too hot, and natural hair loses shine and flexibility. Too cool, and the curl drops before it cools into shape. A safe middle range usually lives around 280°F to 340°F depending on how stretched the hair is, how thick it is, and how fast the wand heats. Test one section first. Always.
The Tools That Keep the Curl Pattern Clean
You do not need a drawer full of gadgets. You need a small set of tools that help the hair stay stretched, protected, and easy to section.
- Clamp-free curling wand: A wand without a clamp reduces lines in the curl and makes the wrap smoother.
- 0.75-inch, 1-inch, or 1.25-inch barrel: Different diameters give different shapes; smaller barrels create more bend, larger barrels give looser waves.
- Heat protectant spray or cream: Use this on dry hair before each section so the cuticle gets a buffer from direct heat.
- Sectioning clips: Duckbill clips or metal clips keep the hair organized and stop hot sections from falling back into the way.
- Rat-tail comb: This helps you part clean sections, which matters more than people expect on natural hair.
- Blow dryer with concentrator nozzle or blowout brush: If you want the curls to sit neatly, the roots need to be stretched first.
- Light-hold mousse or setting foam: A thin layer gives the curls some memory without making them crunchy.
- Flexible-hold hairspray: This keeps the finished style from collapsing while still letting it move.
- Satin bonnet or scarf: Night care matters. Cotton steals smoothness.
A glove is optional, but I’ll say this: if you curl fast or use a titanium wand, one hand will appreciate the warning.
Choosing the Right Barrel, Heat, and Hold for Natural Hair
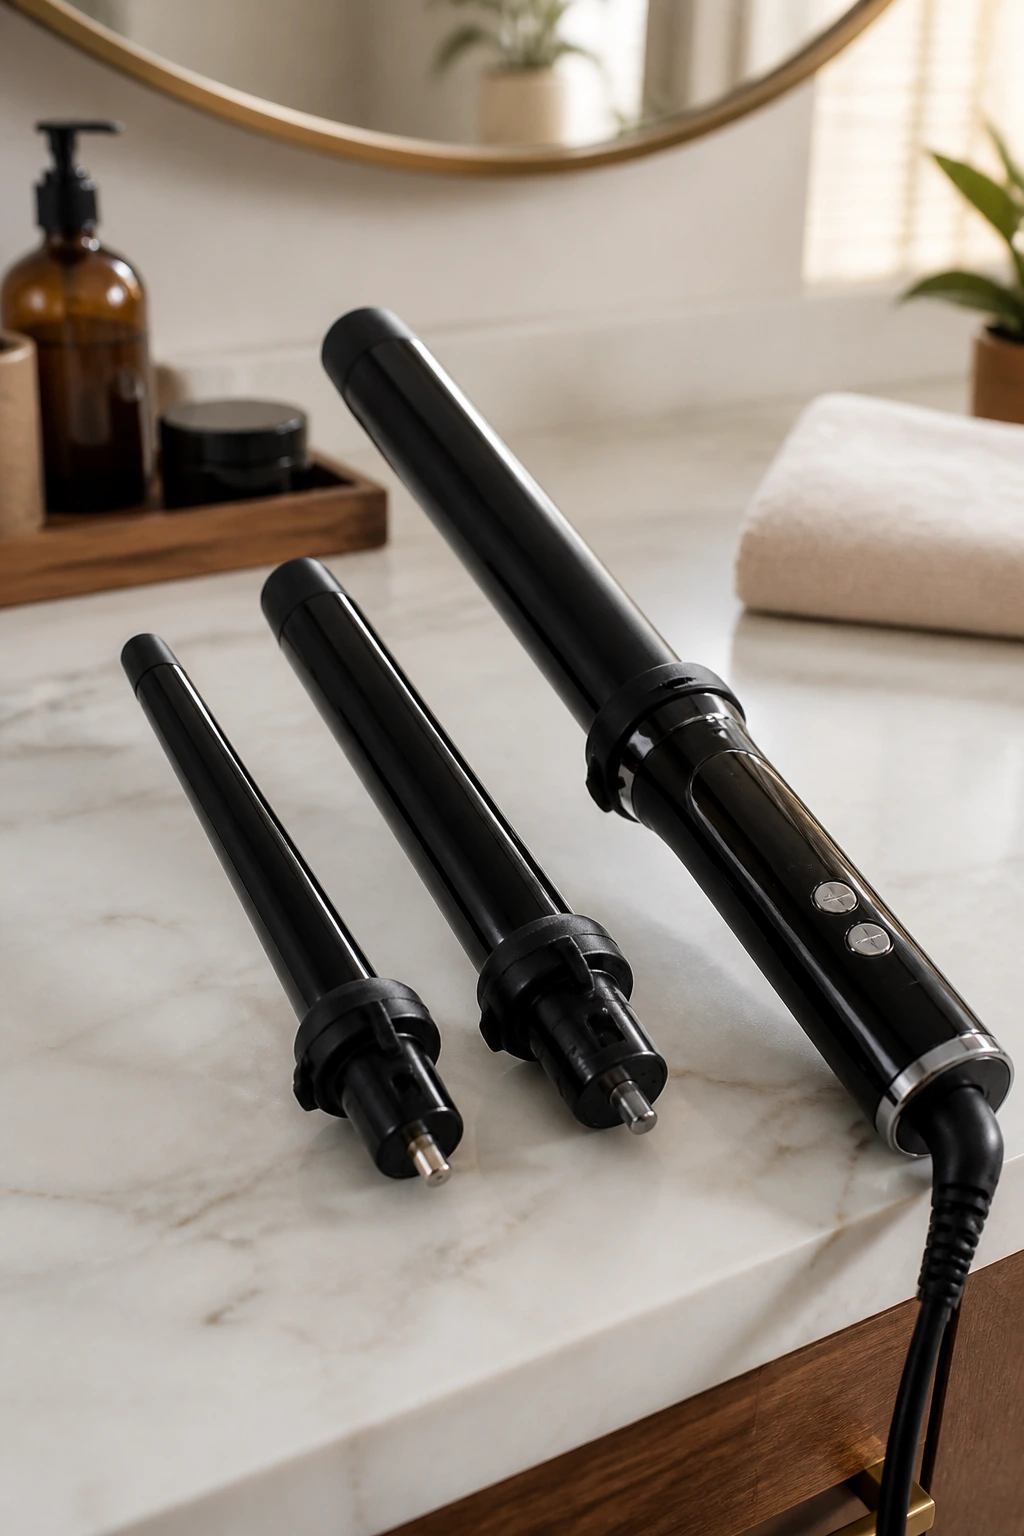
Barrel size changes the silhouette faster than almost anything else. A 0.75-inch barrel gives stronger shape on shorter natural hair or coily textures that need more bend. A 1-inch barrel is the middle ground, and I think it earns that reputation honestly; it works for most shoulder-length and layered looks without making the curls look too tight. A 1.25-inch barrel softens the finish and is better when you want brushed-out movement or longer hair that needs a bend instead of a spring.
Material matters too. Ceramic and tourmaline are friendly if your hair likes even heat and less hot-spot drama. Titanium heats fast and stays hot, which can be useful on thick, coarse hair if you work quickly and keep the temperature honest. I would not use high heat just because the wand can reach it. Use the lowest setting that actually shapes the strand.
Hold products should stay light. Mousse, setting foam, or a flexible spray usually beats thick cream for wand curls, especially on a heart-shaped face where you want the sides to stay soft rather than swollen. Save heavier butter or oil for the very ends after the style cools. Put too much on before curling and the hair slips off the barrel instead of setting.
How to Wear These Curls on a Heart-Shaped Face
Presentation: Keep the widest part of the curl from the cheekbone down to the collarbone. If the volume sits high at the temples, the forehead looks broader and the chin looks smaller.
Accessories: Small hoops, narrow clips, a low scarf tie, or one pin tucked behind the ear all help direct the eye downward. Wide headbands can work, but they flatten the crown and sometimes make the upper face feel wider.
Scale: Shorter hair usually looks best with tighter curls or more defined waves; longer hair can handle brushed-out volume. If the hair is thick, leave some separation in the curls. If it’s fine, keep the curls more structured so the style doesn’t disappear.
Outfit Pairing: Open necklines help. V-necks, scoops, and off-shoulder tops let the curls frame the face instead of competing with a high collar or tight neckline. That little opening below the chin makes the whole shape feel cleaner.
If you want the face to look a touch longer, let one side fall a little more forward than the other. That tiny asymmetry is doing more work than it gets credit for.
Extra Tips That Make the Curl Pattern Last Longer
Texture Boost: Start with hair that is fully dry and slightly stretched. Even a small amount of leftover moisture can make the curl sag before it cools.
Customization: Curl the front pieces away from the face for a smoother look, or alternate directions in the back if you want more movement. I like the front consistent and the back a little freer.
Finishing Touch: Wait until the curls are completely cool before separating them. Then use fingers first, brush second, and only brush if you want the shape softer.
Make-It-Yours: If you want more edge, leave the last inch of the ends straighter. If you want a cleaner spiral, wrap all the way to the tip and pin each curl for a minute after it comes off the wand.
One more thing. Do not drown the style in oil. A pea-sized amount at the ends is plenty. More than that and you start losing the crisp bend that makes wand curls look intentional.
The Mistakes That Flatten the Shape
The first mistake is curling hair that is not dry enough. It smells harmless for a minute, then the curl falls and the roots puff. Dry the hair first. All the way.
The second mistake is using one barrel size for every section, especially at the front. A big barrel near the temples often makes a heart-shaped face look wider at the top than it is. Use a smaller barrel or smaller section around the face, then soften the rest.
The third mistake is brushing too soon. Hot hair stretches. If you tug before the curl cools, it never sets cleanly. Pin the curl or leave it alone for 10 to 15 minutes, then separate it.
The fourth mistake is loading the roots with cream or oil. That pushes the curl outward instead of letting it fall. Keep the roots light and save the shine products for the ends.
The fifth mistake is letting the crown get too tall. A lot of volume at the top can make the forehead dominate the whole style. Shift the lift lower or move it to one side instead.
Ways to Change the Mood Without Losing the Silhouette
Soft Everyday Bend: Use a 1.25-inch wand, brush lightly after cooling, and keep the part slightly off-center. The result is relaxed and low-maintenance without turning flat.
Full Glam Side Sweep: Choose a deep side part, pin one side back, and use a shine spray sparingly at the ends. This version puts the drama along the cheekbone and jaw.
Short-Hair Coil Pop: Work with a smaller barrel and tight sections. The curls stay springy, the shape stays close to the head, and the face keeps room to breathe.
Humidity-Ready Soft Wave: Curl with flexible-hold foam, separate less, and stop before the hair becomes too fluffy. This is the version I’d choose when the air feels sticky.
Low-Heat Stretch Set: Use a lower temperature, bigger sections, and more prep time. The curls are looser, but the hair usually keeps its shine better.
Pinned-Front Variation: Pin the front pieces while the rest cools, then release them last. That tiny delay gives the front a more controlled bend and keeps the face frame tidy.
Keeping Wand Curls Fresh Overnight and Through the Week
Wand curls on natural hair can last several days if you treat the night routine like part of the style, not an afterthought. The goal is to keep the curl shape from being crushed or rubbed flat.
At night, gather the curls loosely in a pineapple if the length allows, or wrap them in a silk scarf and bonnet if the hair is shorter. A satin pillowcase helps too, but it does not replace the scarf if the curls are fragile. For shoulder-length or longer curls, I like clipping the front pieces away from the face before wrapping so they don’t flatten into a weird crease.
Day two is usually the easiest refresh. Shake the roots, mist the front lightly with water or a curl-refresh spray if needed, and retwist only the pieces that bent badly overnight. If a section around the crown lost shape, use a low heat touch-up for a few seconds, then let it cool before touching it again. Don’t re-curl the entire head every morning. That turns styling into damage.
By day three or four, the style usually shifts into softer waves. That’s not failure. It’s a different look.
Frequently Asked Questions
What wand size works best for natural hair and a heart-shaped face?
A 1-inch wand is the safest starting point because it gives enough bend without making the curls too tiny or too loose. If your hair is very short or tightly coiled, go smaller; if it’s long and already stretched, a 1.25-inch barrel can soften the finish.
Should I wand curl natural hair blown out or stretched another way?
Blown-out hair is the easiest because the surface is smooth and the curl sets cleanly. Banded, twisted, or lightly stretched hair can work too, especially if you want to limit heat, but the sectioning has to stay neat.
How do I stop wand curls from puffing at the temples?
Keep the front pieces a little longer, use smaller sections near the face, and avoid packing product at the roots. A deep side part or a lower face-framing bend also keeps the widest point away from the temples.
Can I do wand curls on 4c hair without a silk press?
Yes, but the hair needs to be stretched first or the curl pattern will look uneven. A strong blowout, banding, or a carefully prepped twist-out base usually gives a cleaner result than trying to curl straight from the shrinkage.
Why do my wand curls fall flat so fast?
Usually the hair was still damp, the barrel was too large, or the section was too wide. Heat protectant helps, but it cannot fix a section that never got hot enough in the middle.
How long should I wait before touching the curls?
Give them at least 10 to 15 minutes to cool, and longer if the sections were thick. If you pin each curl up while it cools, the shape usually lasts better than if you separate them right away.
What if my hair is transitioning and the ends are different from the roots?
Use smaller sections and keep the heat moderate. You’re trying to blend the textures, not force them to behave the same way, so a lighter hold product and careful cooling help a lot.
Can I brush wand curls out into waves later?
Yes, and that’s one of the nicest things about the style. Let the curls cool fully first, then brush gently with a soft bristle brush or wide paddle brush until the shape turns into loose movement instead of tight spirals.
The Soft Frame Wins
Heart-shaped faces do not need to hide behind hair. They need a curl pattern that knows where to sit. That usually means less drama at the temples, more shape near the jaw, and enough movement around the cheekbones to keep the face from looking top-heavy.
Natural hair makes the result better when it’s stretched, controlled, and cooled with patience. Not rushed. Not drowned in product. Just placed well and left alone long enough to hold its shape.
Start with one of the side-parted or collarbone-length versions, then adjust the barrel size and front pieces until the balance feels right. Once the curl starts in the right place, the rest stops feeling like a fight.