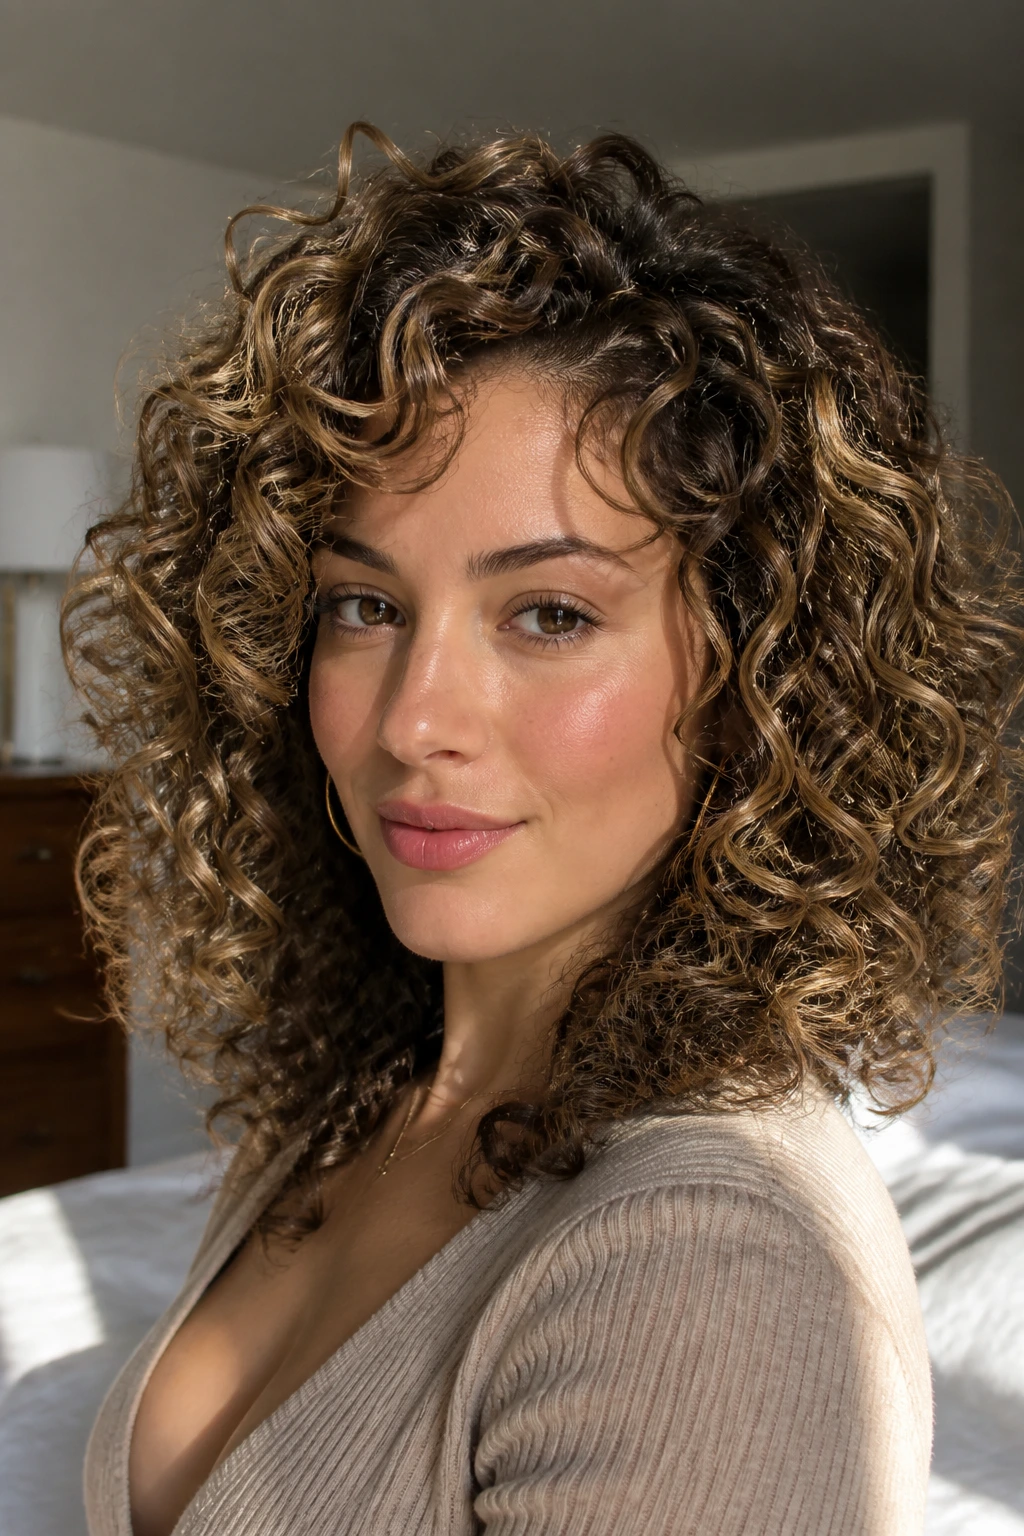
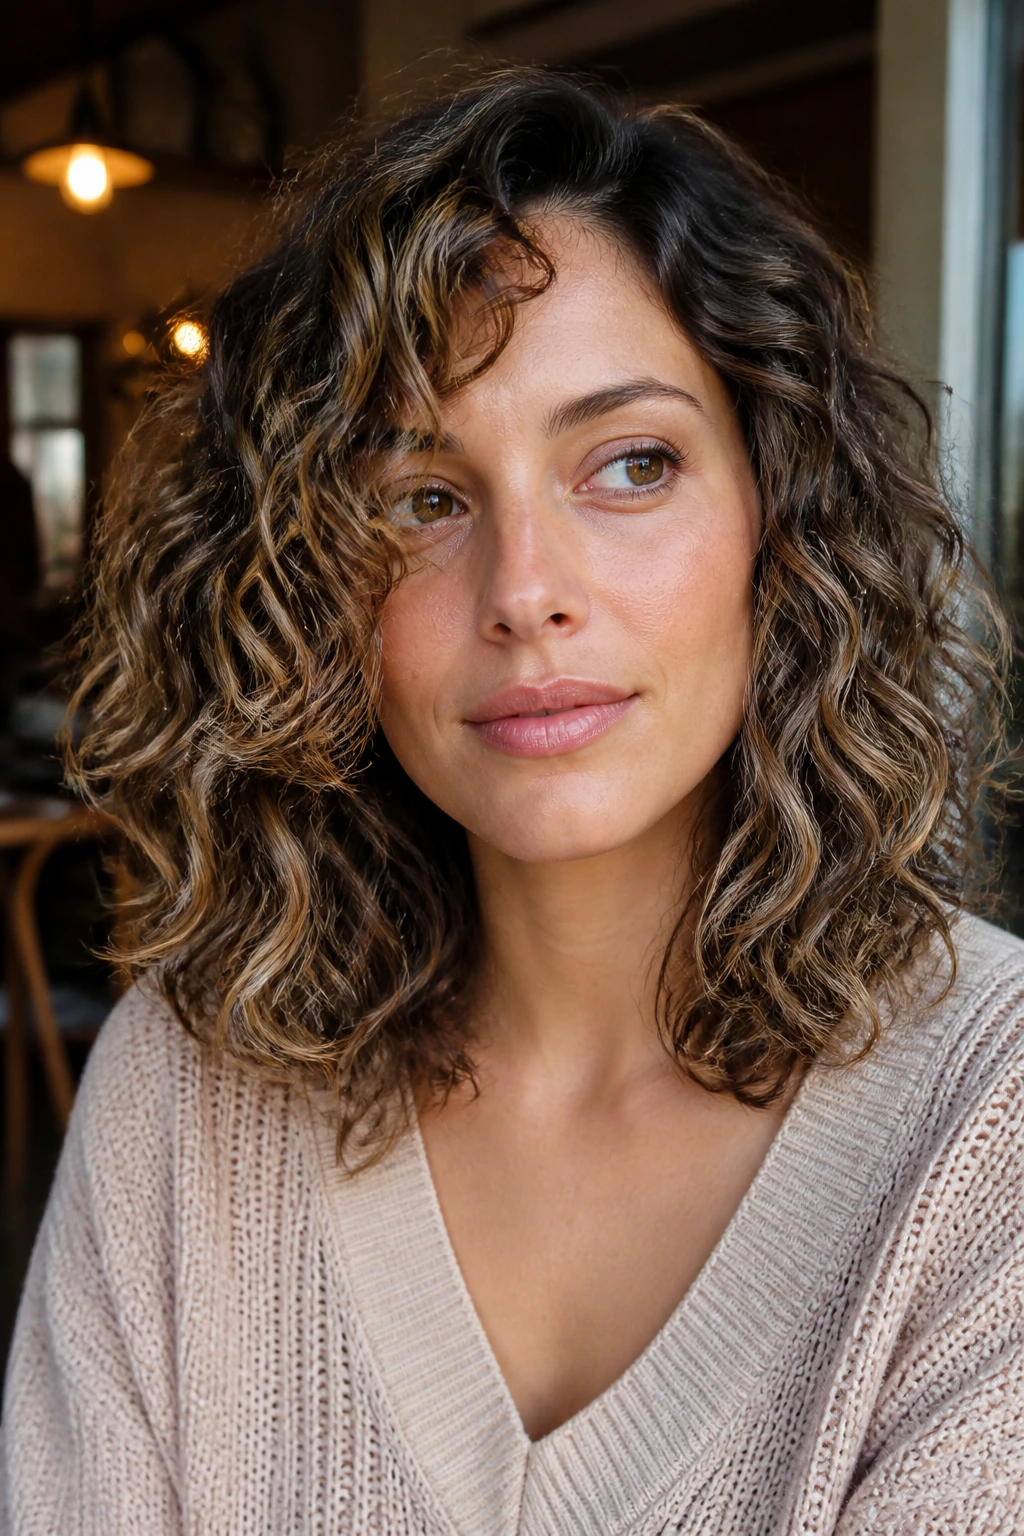
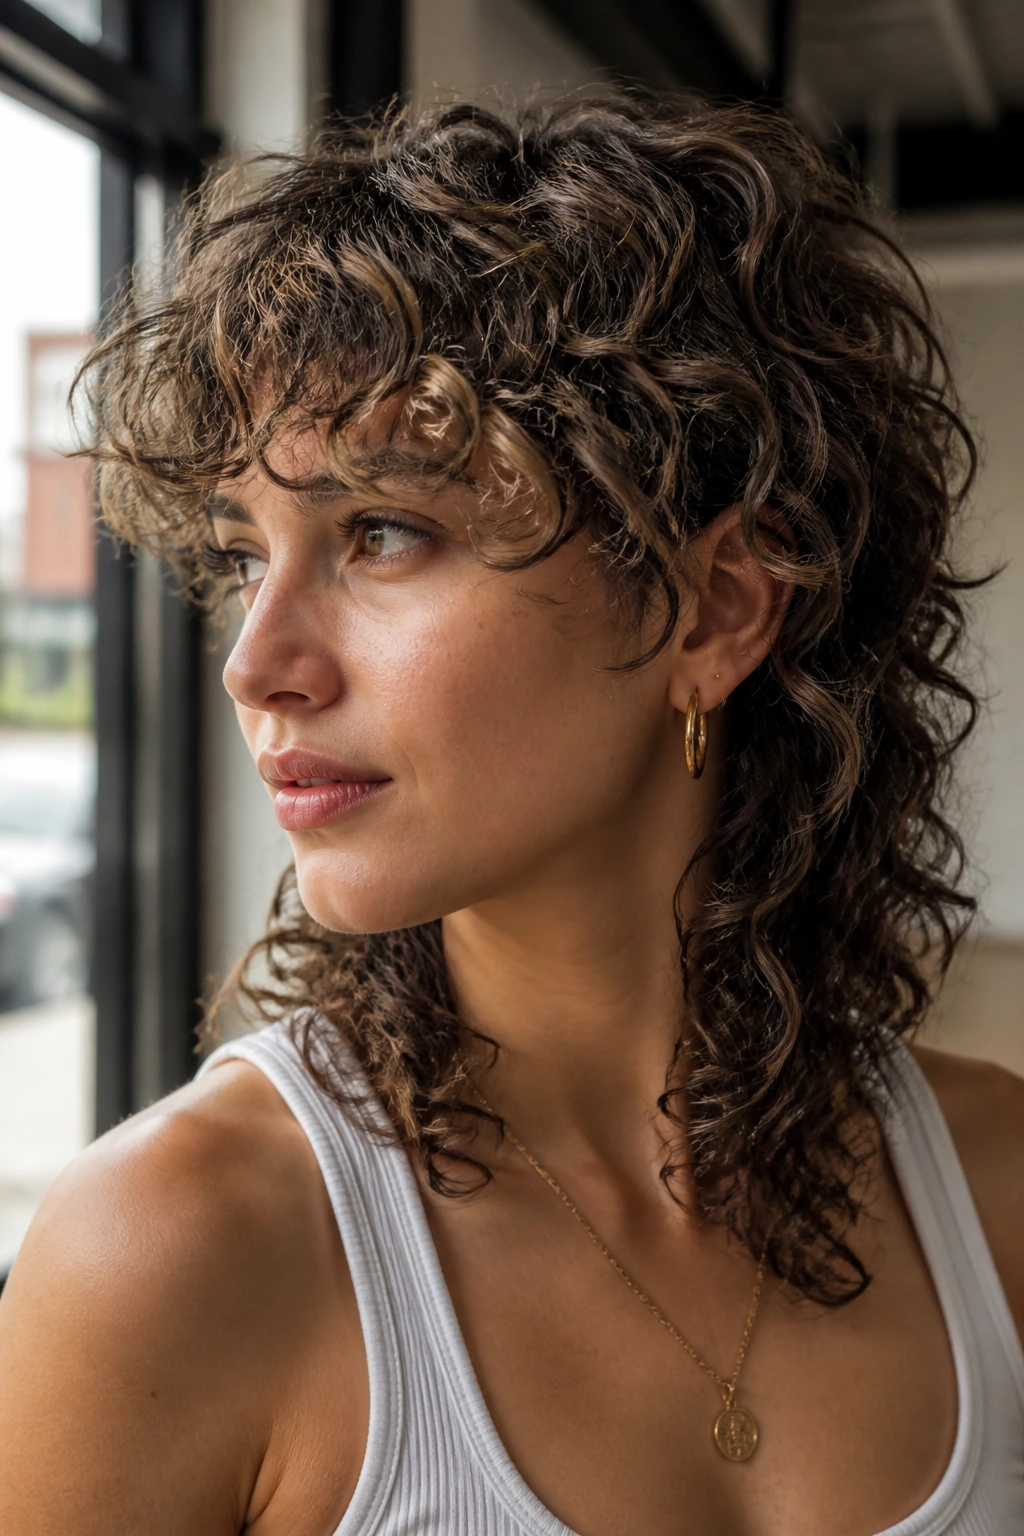
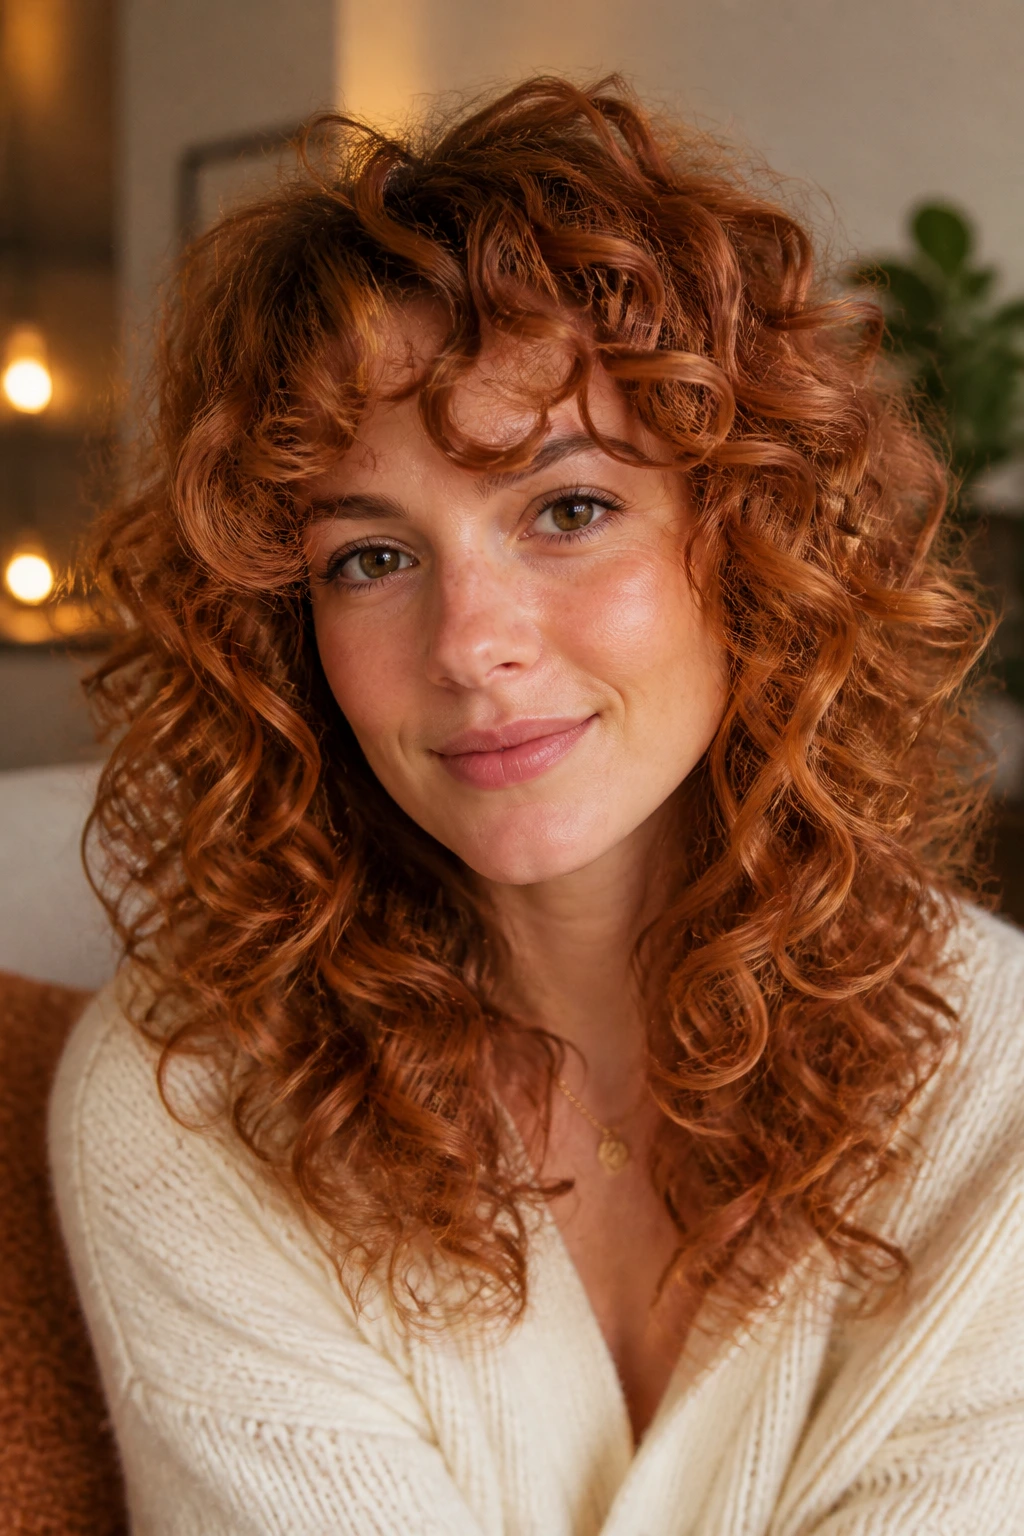
Babylights have a way of making curls look lit from the inside. Not streaky. Not striped. Just soft, tiny flashes that show up when the hair moves and the curl opens.
On curly hair, that matters more than most people realize. A curl already bends light, folds on itself, and shifts as it dries, so a thin highlight can do more than a thick ribbon ever could. Put the color in the right places and the whole head looks fuller, the shape looks cleaner, and the cut stops reading as a single dark mass.
The sweet spot is placement. Too many bright pieces and the curl pattern starts to look noisy. Too few and the color disappears the second shrinkage kicks in. The best styles work with that narrow middle ground: enough babylights to catch the eye, enough shadow to keep the curl shape grounded, and enough volume to let everything breathe.
A good stylist thinks in curls, not just strands. That’s where these looks start to get interesting.
Why This Collection Works on Curly Hair with Babylights
- Shrinkage becomes part of the design: Curly hair often springs up once it dries, so the light pieces need to sit where the curl opens, not where it hangs wet.
- Tiny highlights read as movement, not stripes: Babylights are narrow enough to break up the color without drawing hard lines through the curl pattern.
- Lowlights keep the color from washing out: A few deeper strands under the top layer give the brighter pieces a place to land.
- Volume and color help each other: Bigger shape shows off the lighter strands, and the lighter strands make the shape look bigger. Simple. Effective.
- The styles age better between salon visits: Soft babylight placement grows out more gently than chunky highlights, which matters when curls hide and reveal the roots as they move.
1. Layered Curly Lob With Face-Framing Babylights
A collarbone-length lob gives curls enough weight to hang in a clean shape, but not so much that they drag the whole look down. The babylights should sit around the temples, cheekbones, and top layers, where the hair naturally opens as you turn your head. That keeps the front bright and the back grounded.
Why It Works
The cut ends right where curls still have bounce. That’s the trick. A longer bob can collapse into a triangle if it gets too heavy, while this shape keeps the silhouette controlled and the light pieces visible.
- Best for: medium-density curls that need shape more than length.
- Color placement: micro-ribbons around the face, then a few softer pieces through the crown.
- Styling move: diffuse upside down for 2 to 3 minutes, then finish upright so the sides don’t flare out.
Small but useful detail: leave the very ends one shade deeper. It makes the lob look thicker from root to tip.
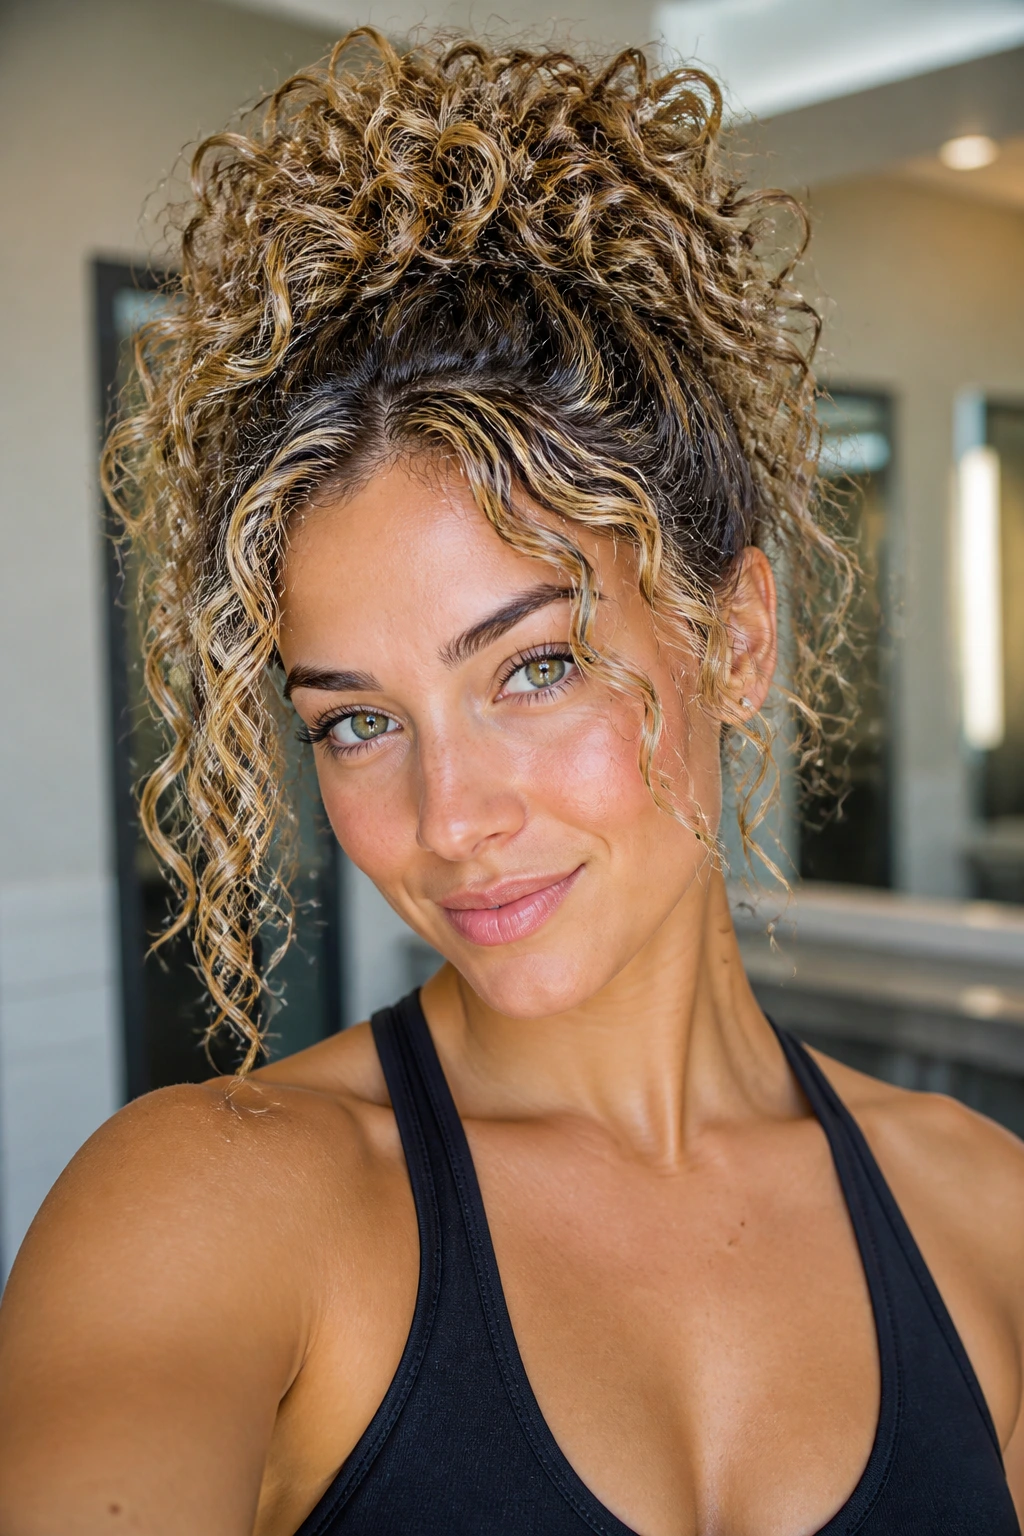
2. High Curly Puff With Bright Crown Babylights
This one has attitude. A high puff pulls the curls up and away from the face, and babylights placed through the crown stop the top from reading as one flat color block. The bright pieces around the hairline and upper curve give the puff a round, lifted look instead of a dense helmet shape.
The best version keeps the sides slightly darker than the top. That contrast matters. Without it, the whole style can lose definition once the curls are gathered. If your coils are tight, ask for ultra-fine light pieces in the top third only, not all the way through the back.
Use a satin scrunchie and a pick at the roots. That combo gives you height without snapping the curl pattern.
3. Soft Curly Shag With Ribbon Babylights

The shag and babylights get along because both rely on broken-up movement. A shag gives you layers that kick in different directions; thin, ribbon-like highlights follow those layers and keep the cut from turning into a single shape from every angle. It’s one of the few curly cuts that looks better when it’s a little messy.
How to Style It
Work with a curl cream that has light hold, then add gel only to the outer layer. You want the interior to stay soft so the babylights peek through the bends instead of getting buried under a stiff cast. A few deeper lowlights underneath the top layer can keep the whole thing from looking washed out.
Best on: loose curls and wavy-curly textures that like air-drying.
4. Deep Side-Part Curls With Tucked Temple Pieces

A deep side part gives you instant drama, and on curly hair it also creates a natural stage for babylights. Place the brightest pieces on the heavy side and around the tucked temple area, then keep the lower back a touch deeper. That imbalance is what makes the style feel intentional instead of accidental.
The side with more volume should be the side with more light. Always. If you do the opposite, the hair can look lopsided in a way that feels like a mistake instead of a choice.
Quick note: use a tail comb to draw the part while the hair is still damp. Once the curls start to set, the line gets fuzzy fast.
5. Curly Bob With Interior Babylights
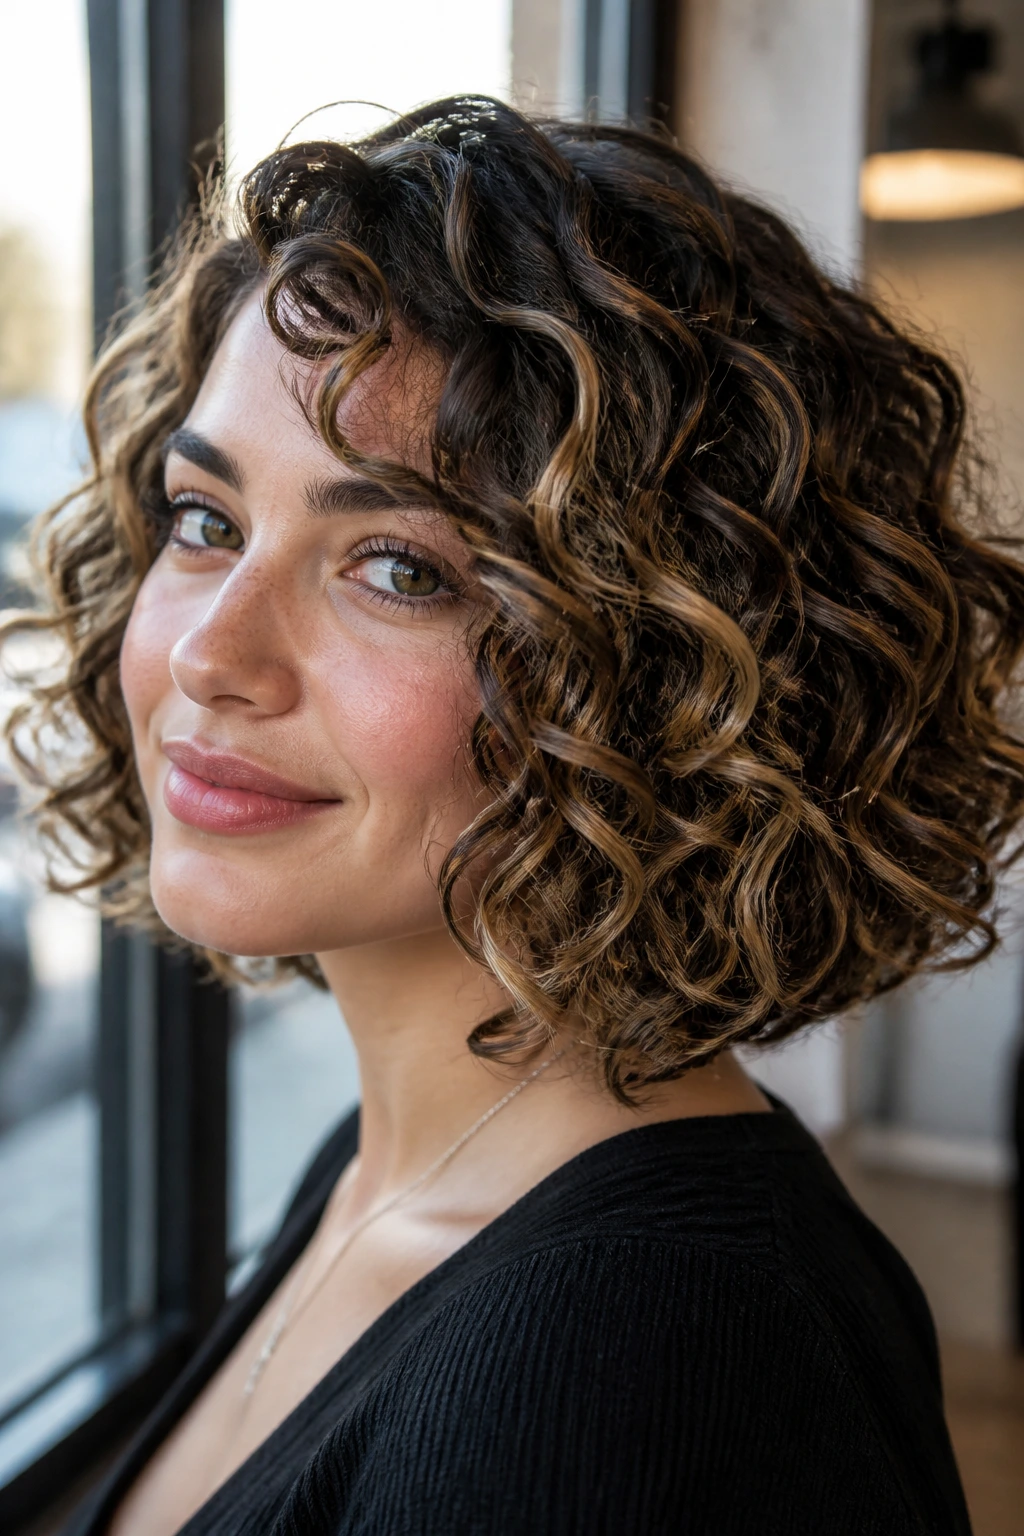
This is the quiet one in the group, and I mean that as a compliment. A curly bob with babylights hidden inside the shape gives you flashes of brightness every time the hair shifts, but the color doesn’t shout from across the room. It feels richer up close.
Interior lightening works especially well on thick bobs because the surface layer can stay darker while the underneath pieces do the visual work. The result is depth, not striping. If your curls are dense, this is one of the most forgiving ways to wear lighter pieces without losing structure.
A gloss every few weeks helps the ends stay shiny and keeps the highlight tone from turning dull and chalky.
6. Long U-Cut With Sunlit Ends
A U-shaped cut keeps the length soft at the back and slightly shorter around the sides, which makes the curls fall in a gentle curve instead of a blunt wall. Babylights placed from the midshaft down to the ends make that curve visible. You’re not just brightening the tips; you’re showing the shape of the whole haircut.
The roots should stay darker here. That shadow at the top gives the light pieces something to lean against. On long curly hair, too much brightness near the scalp can flatten the silhouette and make the top look thinner than it is.
Pro move: use a wide-tooth comb only in the shower. After that, fingers only. A long U-cut loses its shape fast if you keep pulling at it.
7. Half-Up Twist Crown With Free Ringlets
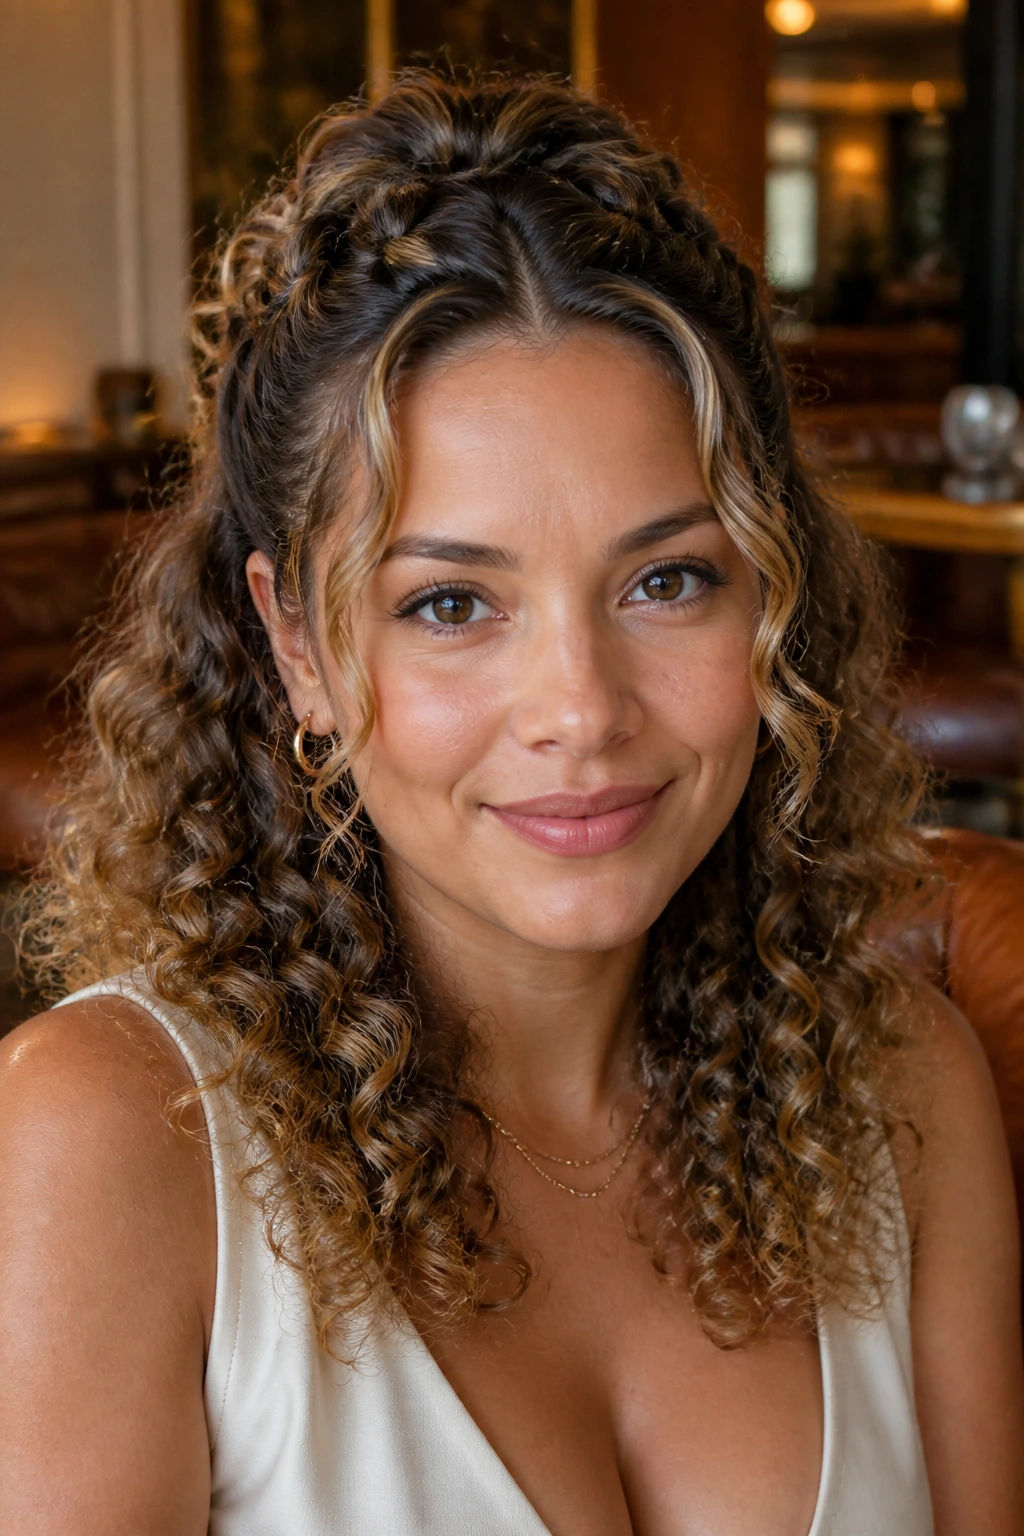
Half-up styles are where babylights start to look playful. Twist the top section into a crown, clip or pin it, and let the lower curls hang loose. The light pieces around the front and top layers catch the eye first, then the free ringlets below add movement. It’s a good solution when you want volume and control at the same time.
Best Styling Move
Pull the twist slightly higher on the crown than you think you need. Curly hair shrinks after it sets, and a twist that looks generous in the mirror can sit too low by the time you’re done. Leave two or three tendrils out near the temples so the face frame stays soft.
This one works nicely on second-day curls too. A little water, a little leave-in, and a few pins. Done.
8. Curly Wolf Cut With Lived-In Babylights
The wolf cut already gives you uneven layers, so the color should follow that same looseness. Babylights placed in irregular patches through the crown, sides, and a few ends make the haircut look lived-in instead of overworked. If everything is equally bright, the whole thing loses the rough edge that makes the wolf cut interesting.
I like this cut with a slightly darker underside. It keeps the outer layers from floating away visually. The best version feels a little wild around the face and a little heavier underneath, which is exactly what the shape needs.
A diffuser helps here, but don’t over-dry the curls. A touch of softness keeps the layers separated in a good way.
9. Pineapple Ponytail With Bright Front Pieces
A pineapple ponytail is one of the easiest ways to show off babylights on curly hair because it lifts the crown and lets the ends spill out in a loose, high shape. Bright pieces around the front hairline and upper ponytail make the whole style look brighter without needing full-head lightening.
This is a day-off style, a gym style, an errand style — but it doesn’t have to look thrown together. The key is the front. Smooth the hairline a little, then let the rest stay fluffy. If your curls are long, wrap the base with a satin scrunchie and leave the tail loose so the babylights can move.
One-sentence rule: don’t over-tighten the ponytail. It kills the volume you’re trying to show off.
10. Tapered Afro With Halo Babylights
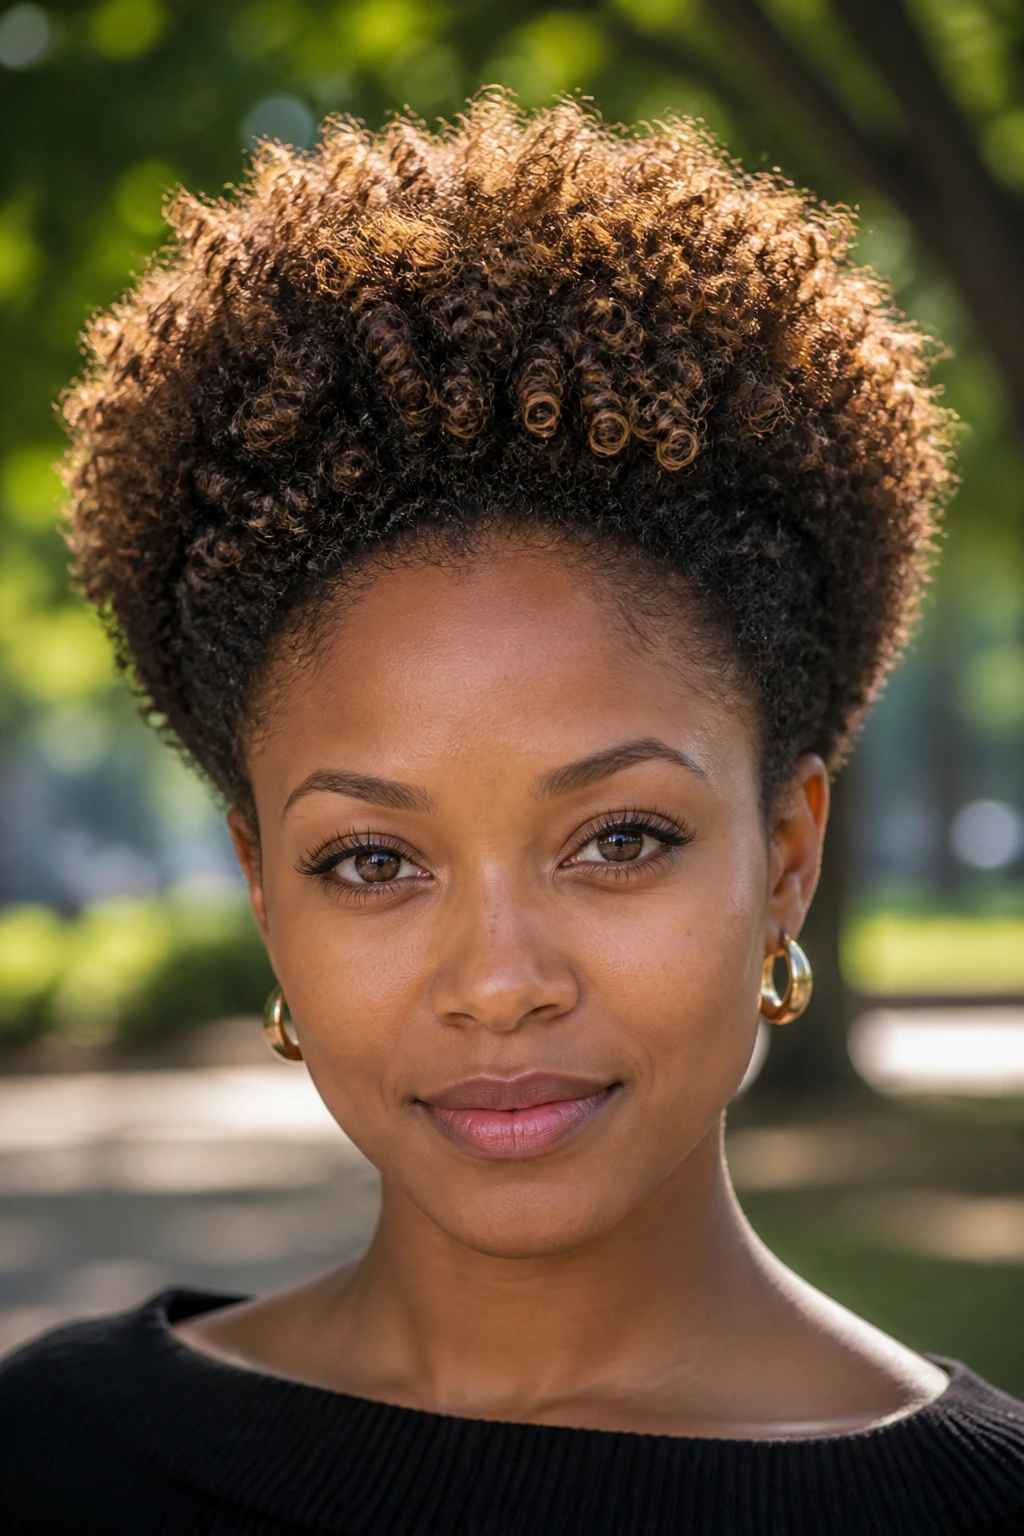
A tapered afro gives you a clean outline at the sides and back, then a bigger, rounder top where the light can live. Babylights around the halo — the upper curve, the temple line, and the top ridge — create a soft glow without messing with the strong shape underneath.
The sides should stay a shade deeper than the crown. That contrast is what keeps the outline crisp. On tight coils, a few bright threads near the outer edge go a long way; if you over-lighten the whole head, the definition starts to blur.
Use a pick at the roots and a cream with enough slip to separate the coils without making them greasy. Heavy butter here is a trap.
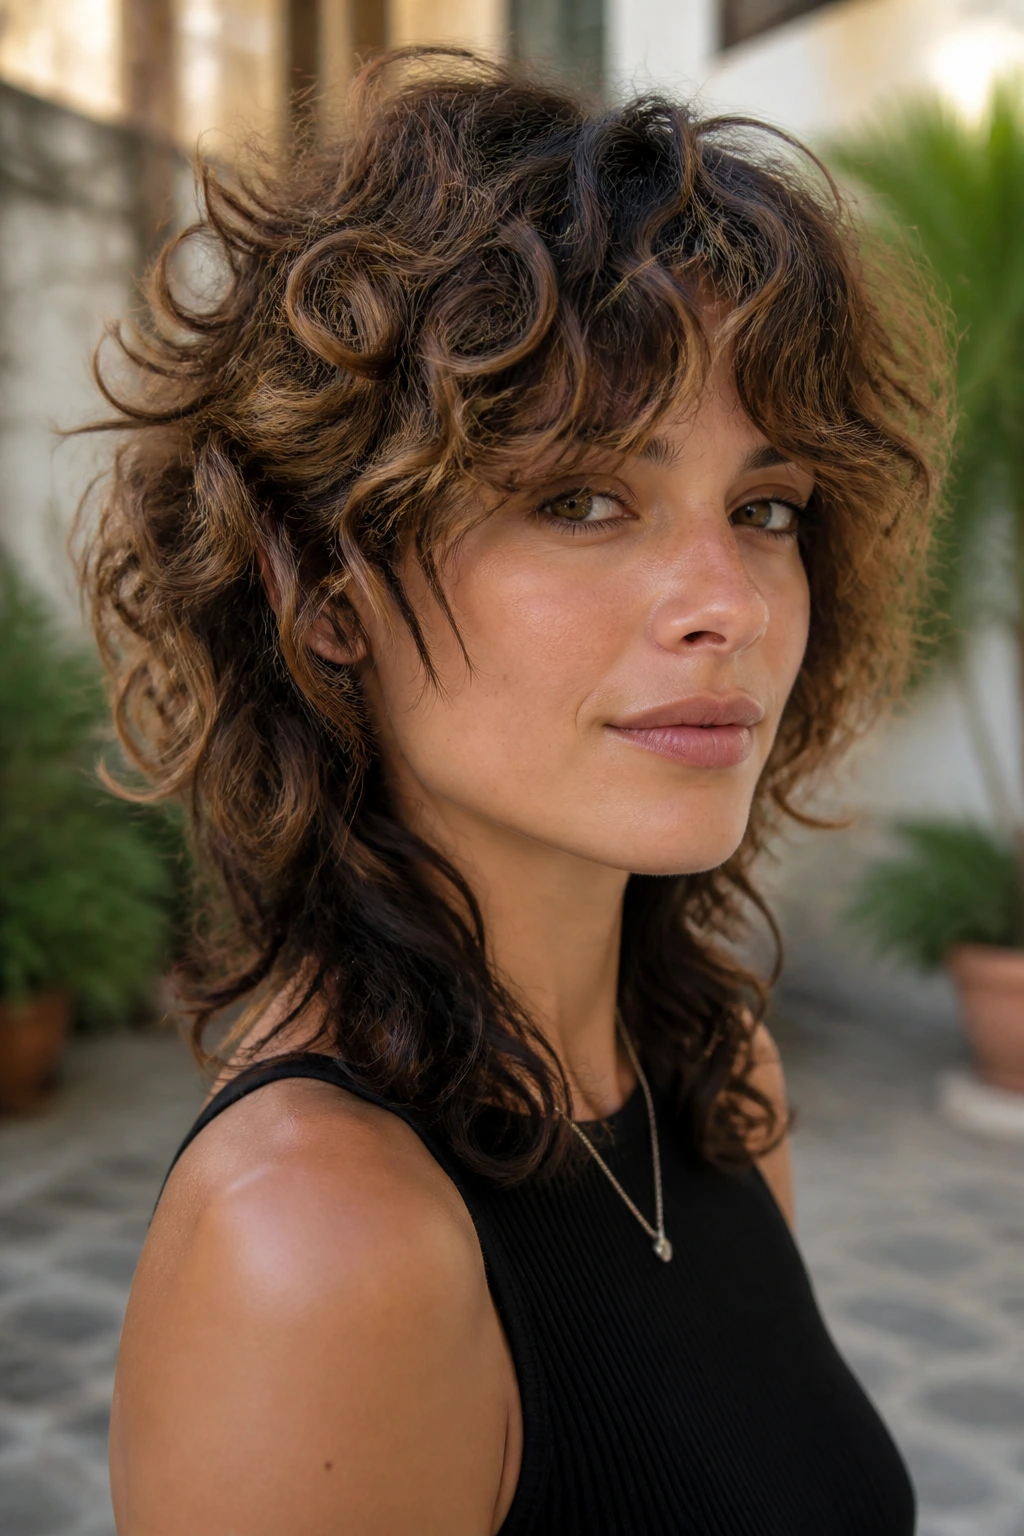
11. Curtain Bangs With Layered Babylights
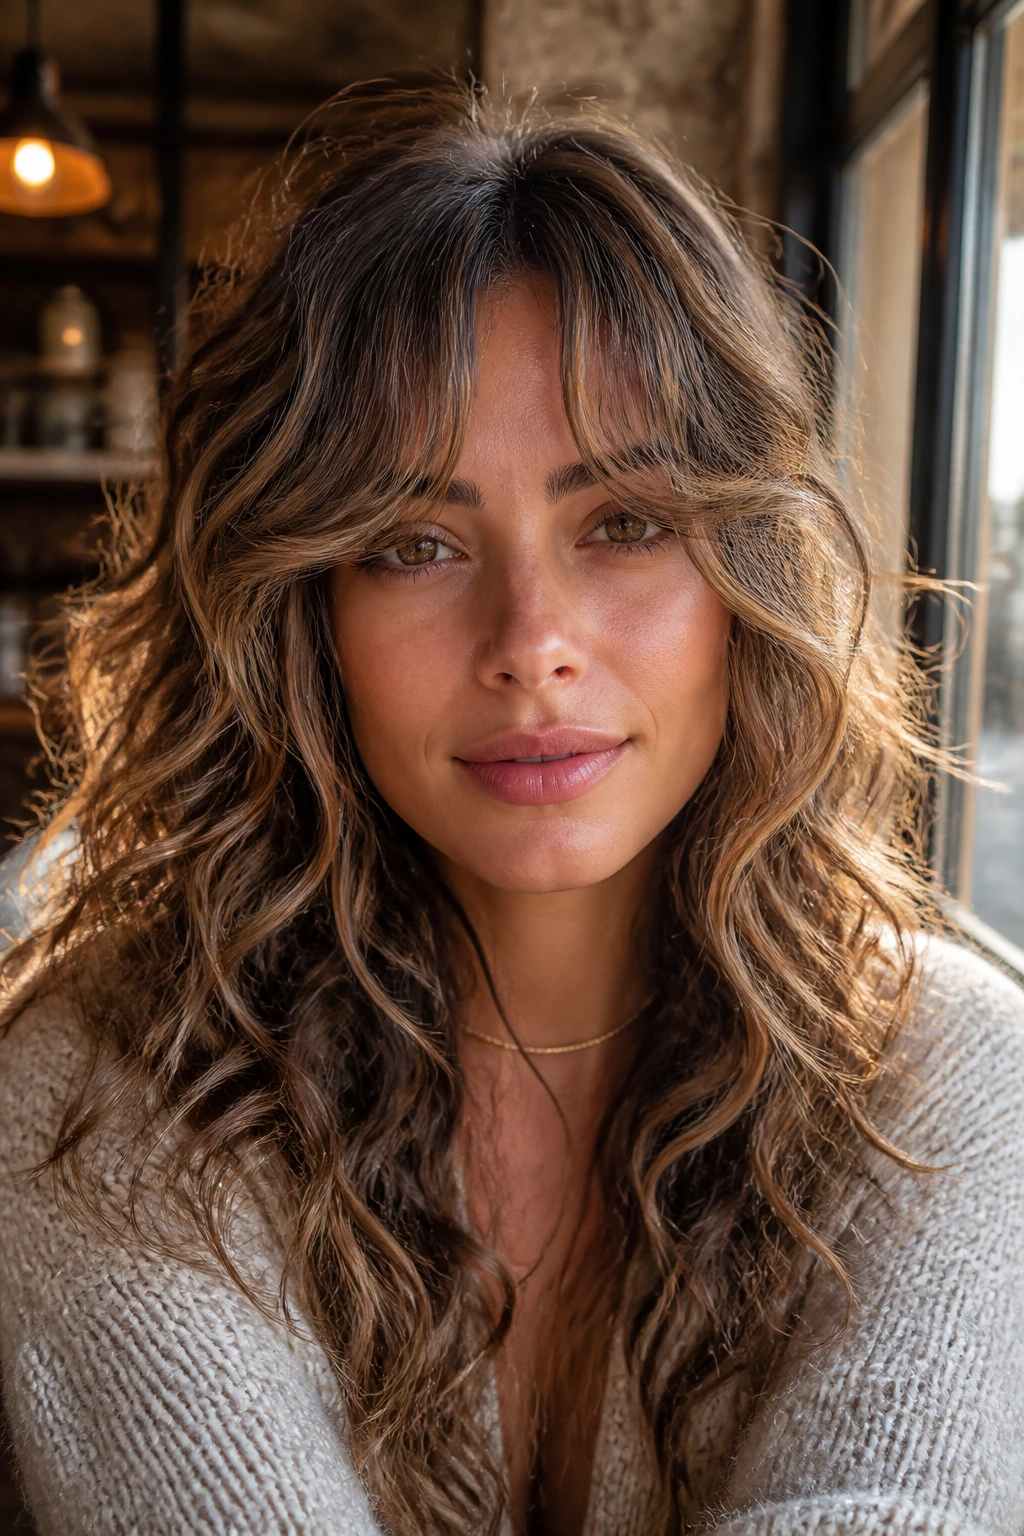
Curtain bangs on curly hair look best when the fringe is cut longer than you think. Shrinkage will take care of the rest. Babylights through the bangs and the top layer make the center part feel soft instead of heavy, and they keep the fringe from disappearing into the rest of the cut.
What Makes It Work
The light pieces should frame the eye line and blend into the upper layers. If the bangs are bright but the rest of the crown is dark, the front can look disconnected. Keep the whole top area lightly woven so the fringe and the body of the hair read as one shape.
This style asks for a little maintenance. Not much. Just enough. A quick refresh at the front with water and a tiny bit of gel keeps the bangs from puffing out by midday.
12. Claw-Clip French Twist On Curly Hair
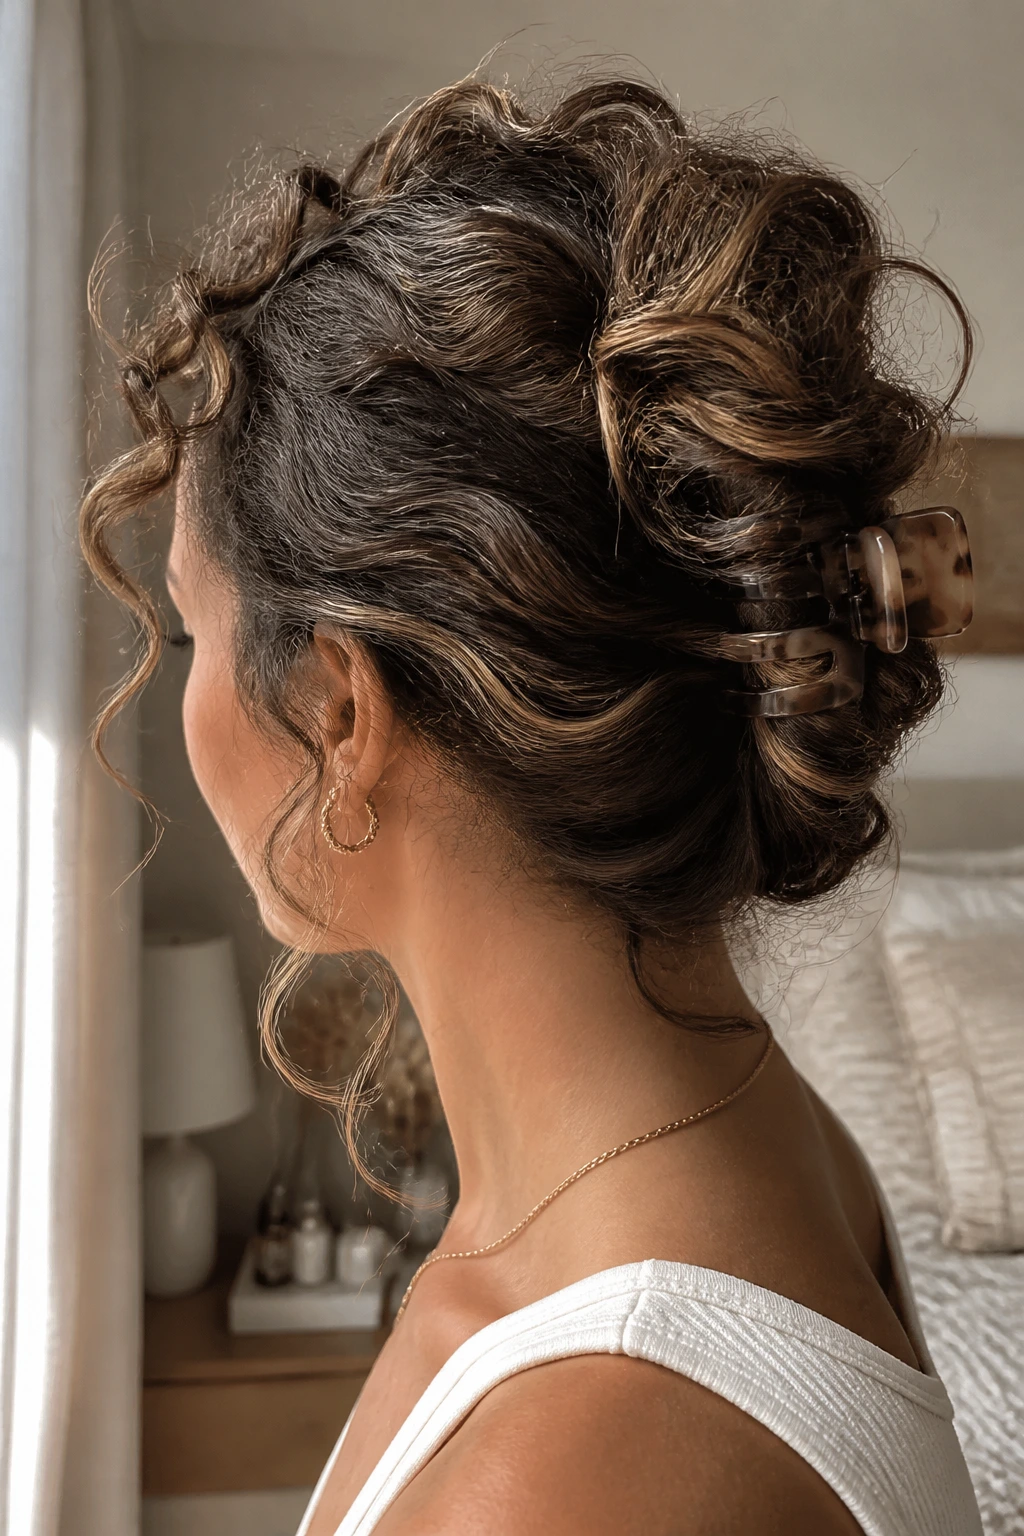
A claw-clip French twist can look surprisingly polished on curls when the babylights are placed where the twist folds over itself. The light pieces peek through the roll and around the nape, so the style feels dimensional instead of tucked away.
I prefer this on second- or third-day hair. Freshly washed curls can be too slippery, and the clip won’t hold the same way. Gather the hair loosely, twist upward, and leave a few bright tendrils around the ears. That little mess is what makes it work.
If the clip is too small, the shape collapses. Use a larger one than you think you need.
13. Side-Swept Glam Curls With A Gloss Finish
Side-swept curls are made for babylights because the whole style relies on one strong visual line. Sweep the front away from the face, let the curls pile over one shoulder, and place the lightest pieces along the outer curve of the sweep. That’s where the eye lands first.
A gloss finish helps here, but not a greasy one. You want shine on the surface, not weight. A lightweight serum on the ends and a bit of shine spray on the mid-lengths give the color enough reflection without collapsing the curl pattern.
This is the look I’d pick when you want volume that still feels controlled. Big, but not puffy. Bright, but not flat.
14. Braided Crown On Dense Curls

Braided crowns do a nice job of showing off babylights because the braid itself creates ridges and shadows. Light pieces catch in those folds, which makes the whole style look more detailed than a plain pulled-back shape. Dense curls benefit from that structure; they need somewhere to go.
Keep the braid loose. Tight braids on curly hair can flatten the babylights into one muddy band, and that defeats the point. Leave the length free or gathered low in the back so the volume stays on top.
A few brighter strands at the temples and near the braid’s start line are usually enough. You do not need to color every section.
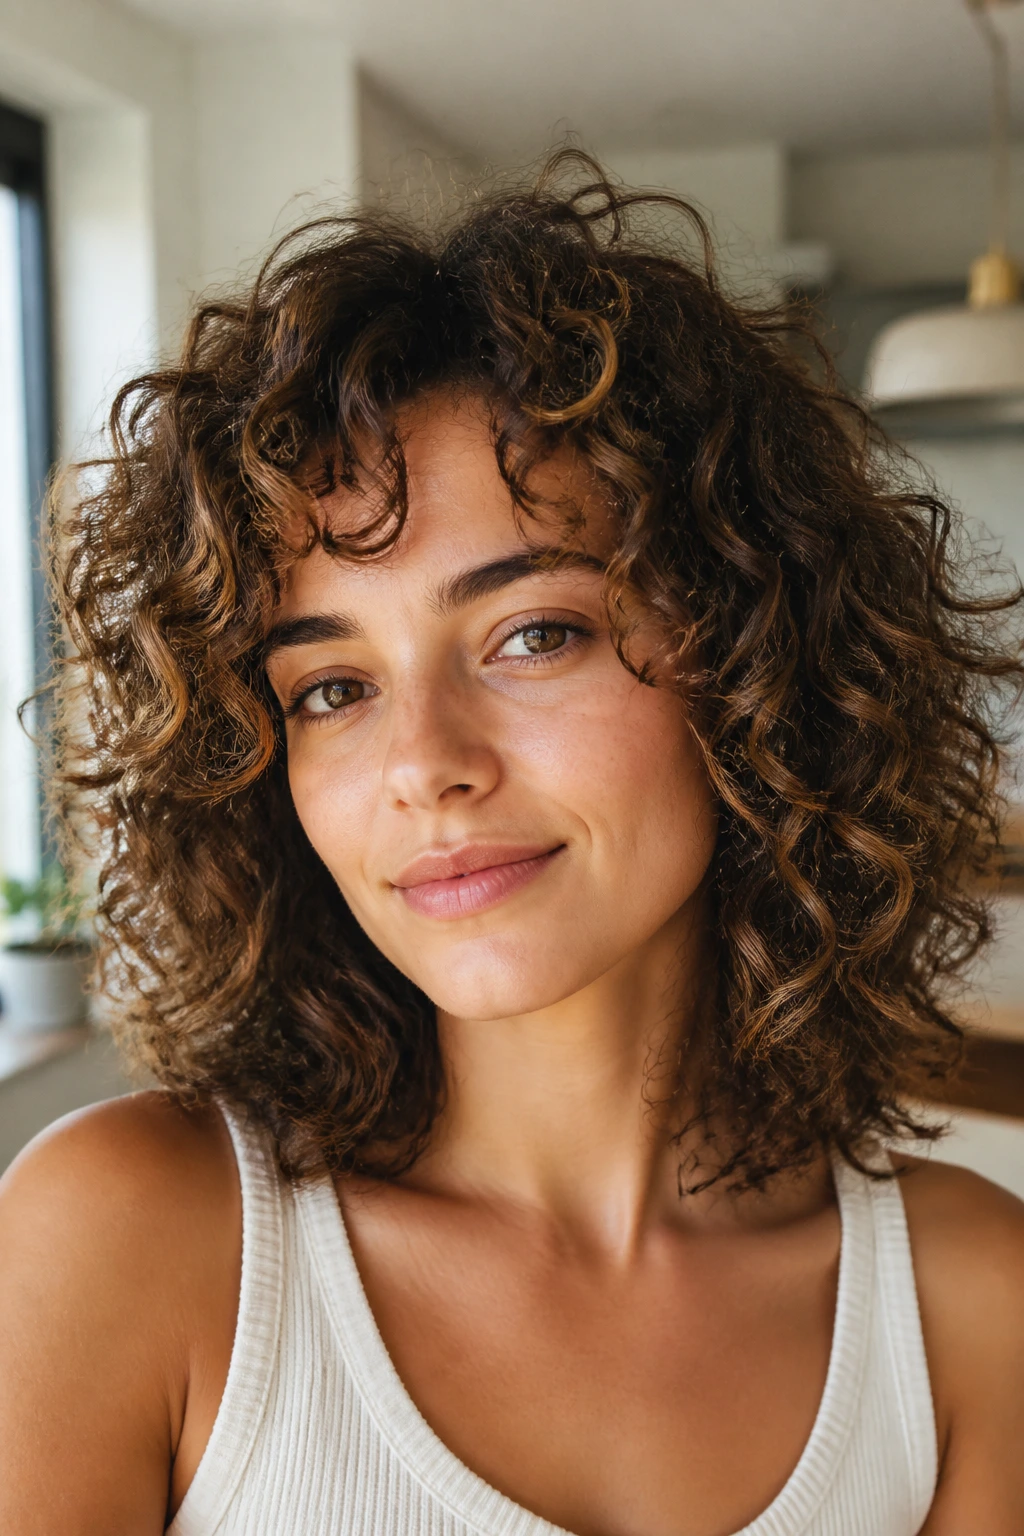
15. Collarbone-Length Curls With Peekaboo Lowlights
This is where lowlights earn their keep. If the babylights are doing too much all by themselves, the curl can start to look pale and one-note. Peekaboo lowlights under the top layer give the brighter pieces depth, especially on collarbone-length curls that sit close to the shoulders and reflect a lot of light.
The cut should be soft, not blunt. A few layers keep the bright strands from bunching together at the bottom. Ask for the darker pieces to live underneath the visible layer, not right across the surface. That keeps the finish dimensional instead of patchy.
Best for: lighter brunettes, dark blondes, and anyone whose curls lose contrast in strong light.
16. Shoulder-Length Cut With Diffused Volume
Shoulder-length curls sit in a useful middle ground. They’re short enough to keep shape, long enough to show movement, and broad enough to hold babylights without crowding the face. This cut works best when the volume is diffused outward instead of piled upward.
The babylights should follow the outer layer and the crown, then taper off toward the back. That way the top looks airy and the ends stay thick. If you let the color run evenly from root to tip, the shape can go soft in a bad way — not airy, just limp.
A root clip while diffusing can help. Lift the crown for the first few minutes, then take the clips out and let the curls settle.
17. Short Curly Pixie With Micro-Babylights
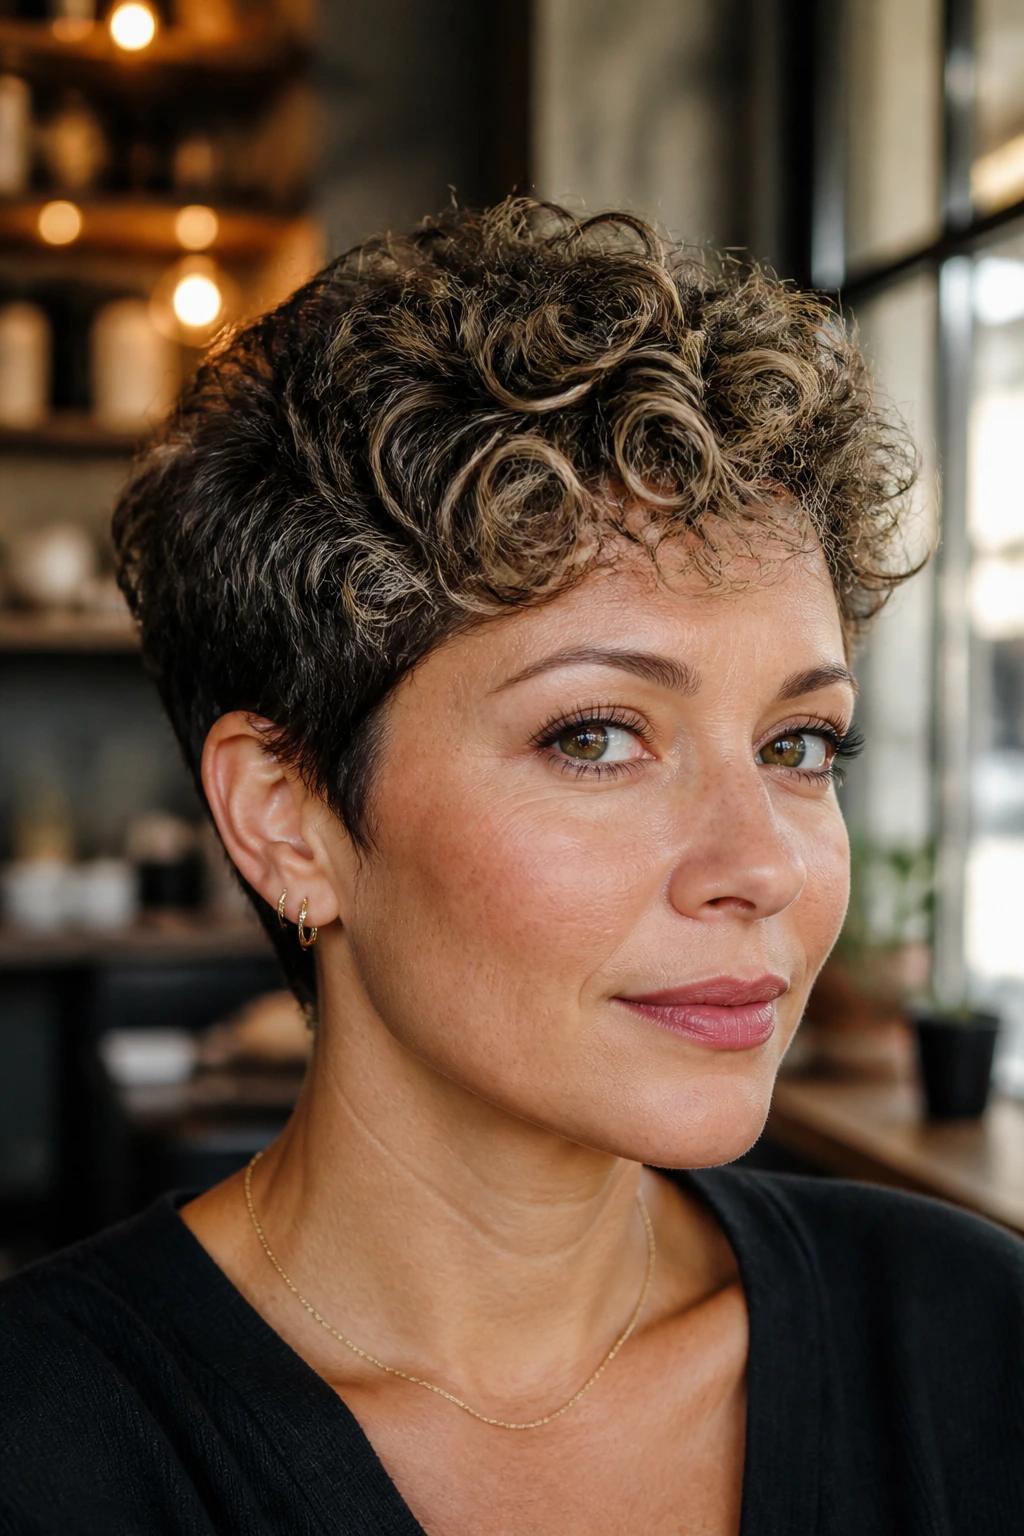
Short curly pixies are a tiny canvas, which is exactly why micro-babylights matter. You don’t need much color here. A few feather-fine light pieces on the top and fringe give the cut texture, and the short sides keep the whole shape sharp.
The trick is restraint. Too much light and the cut loses its edge. Too little and the texture reads as one flat tone. Keep the babylights concentrated where the curl bends over itself, especially around the top ridge and the front.
This style looks best with a little piece-y definition. Finger-twisted cream at the front and a light mousse through the crown is usually enough.
18. Twist-Out With Bright Ends
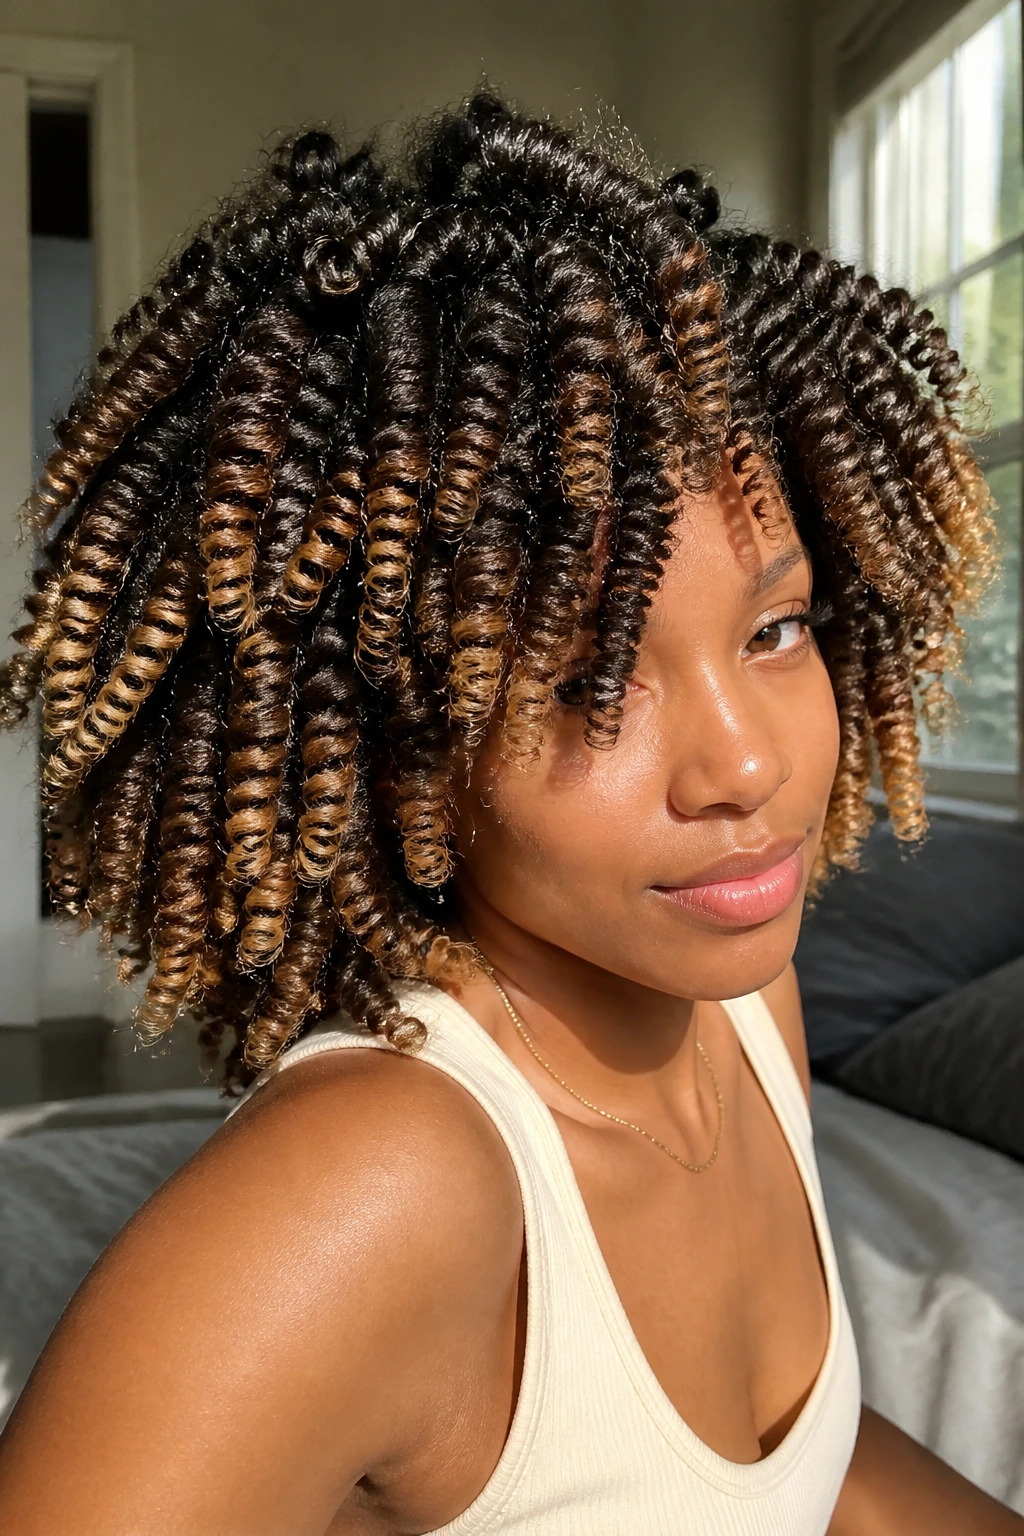
A twist-out is one of the clearest ways to show color movement because each twist opens into its own defined strand. Babylights on the ends and midshaft add contrast without breaking the clean texture. The look lands somewhere between casual and polished, which is why I keep coming back to it.
How to Get the Most From It
Set the twists on damp hair, not dripping hair. That extra water can make the ends frizz before they ever dry. When you untwist, separate only once or twice. If you keep fluffing, the babylights disappear into fuzz and the definition is gone.
This is a good style for anyone who wants their color to show even on day two. The curl pattern holds the light pieces in a neat little line.
19. Curly Mullet With Feathered Fringe
The curly mullet is not shy, and that’s half the fun. The top and fringe stay shorter, the back keeps some length, and babylights placed across the crown and front make the whole shape feel sharp instead of accidental. A feathered fringe helps the front blend into the rest of the cut.
This style works when you like edge and don’t mind a little disorder. That’s the honest version. It needs confidence, but not perfection. A few brighter strands around the face keep it from looking too heavy at the top.
If you’re worried about the back getting too flat, keep the underside darker. The contrast will make the top layers pop more.
20. Loose Low Bun With Face-Framing Spirals
A loose low bun is one of the easiest ways to make babylights look expensive without actually trying to make them look expensive. The bun sits at the nape, the face-framing spirals stay free, and the light pieces around the front and sides keep the shape soft.
I like this for events because it doesn’t fight curly hair. You gather, twist, pin, and let the texture do the rest. Leave a few babylit curls loose at the temples and behind the ears. That’s where the style gets its shape.
Use U-pins instead of trying to force everything into one elastic. The bun will sit better, and the curls will stay rounder.
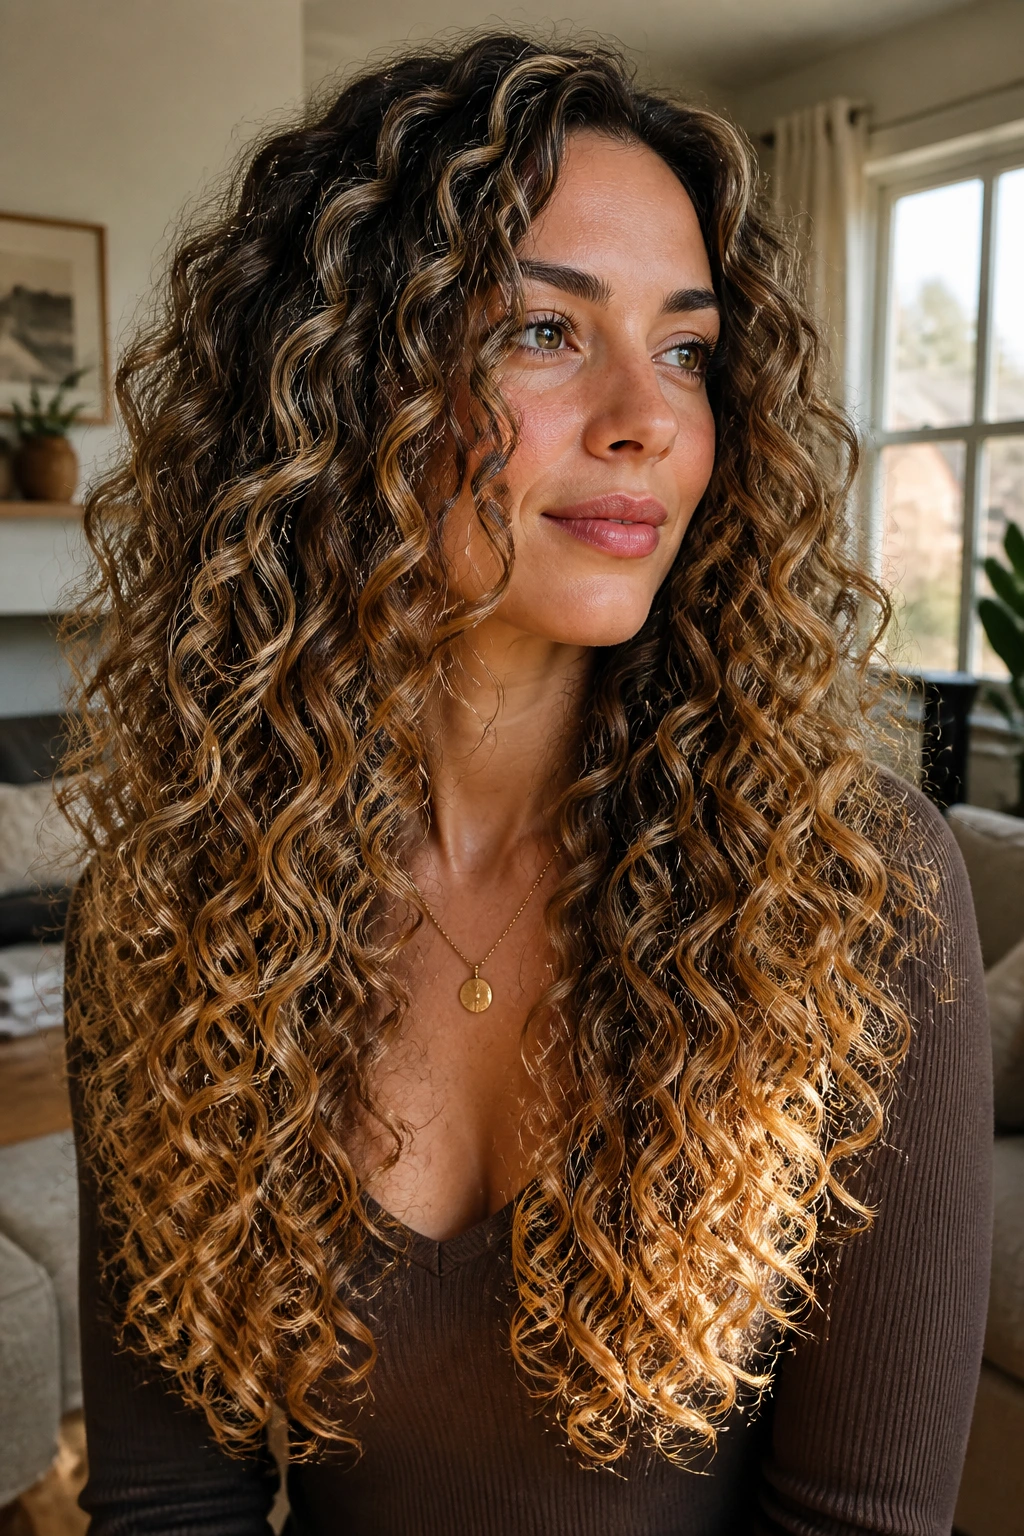
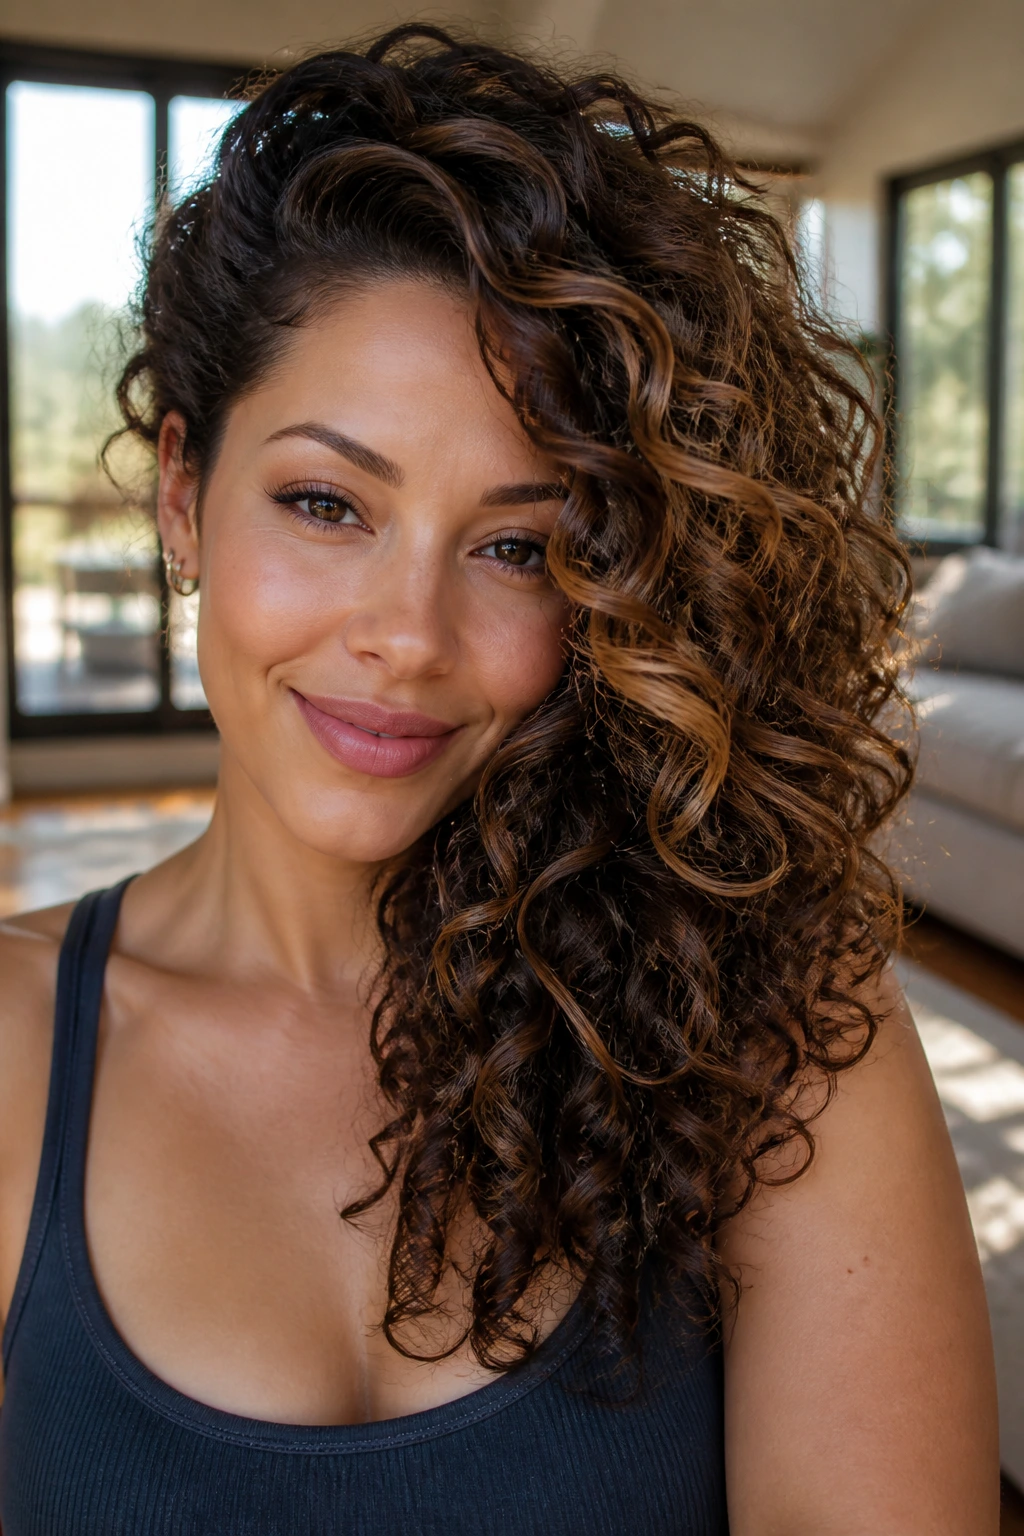
21. Voluminous Long Curls With Midshaft Brightening
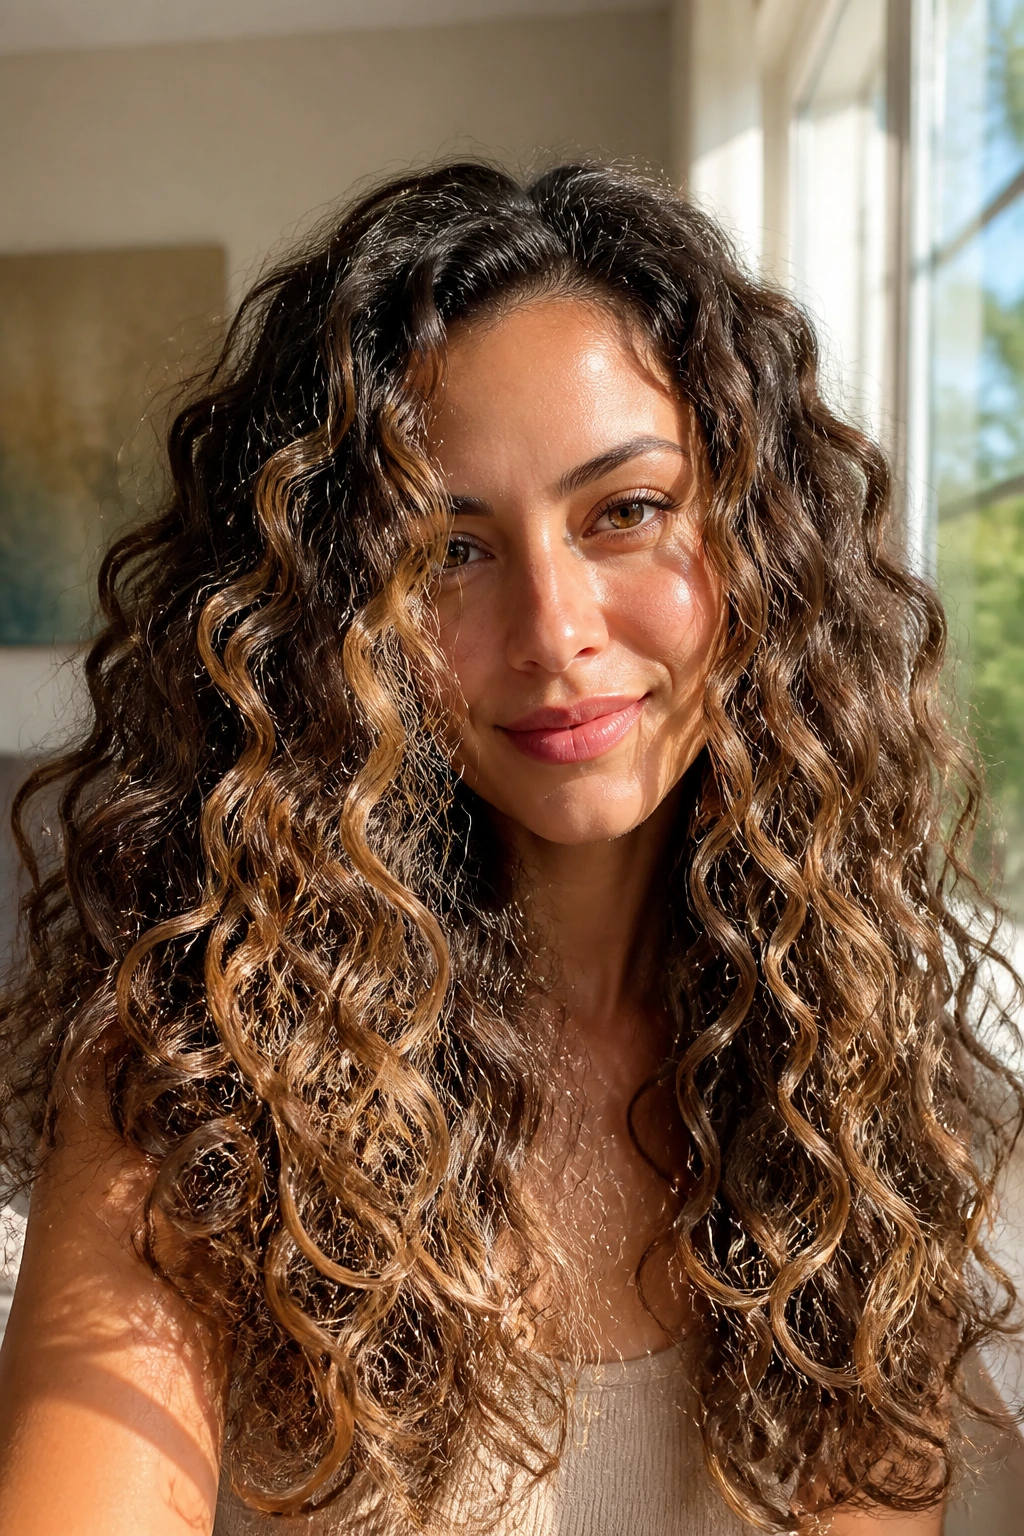
Long curls can get stringy if the light only lives at the ends. Midshaft brightening fixes that. Put babylights through the middle of the length, not just the tips, and the whole head reads fuller because the color shows up in the body of the curl, not only at the bottom.
Why This Placement Helps
The midshaft is where long curls often lose energy. Brightening that zone creates a lifted look without chopping off length. I’d keep a few lowlights underneath so the hair still has depth when it falls over the shoulders.
A diffuser with low heat helps preserve the curl shape here. Long hair weighs itself down, and too much heat can stretch the pattern in a way that makes the babylights look sleepy.
22. Rooty Brunette Curls With Caramel Babylights
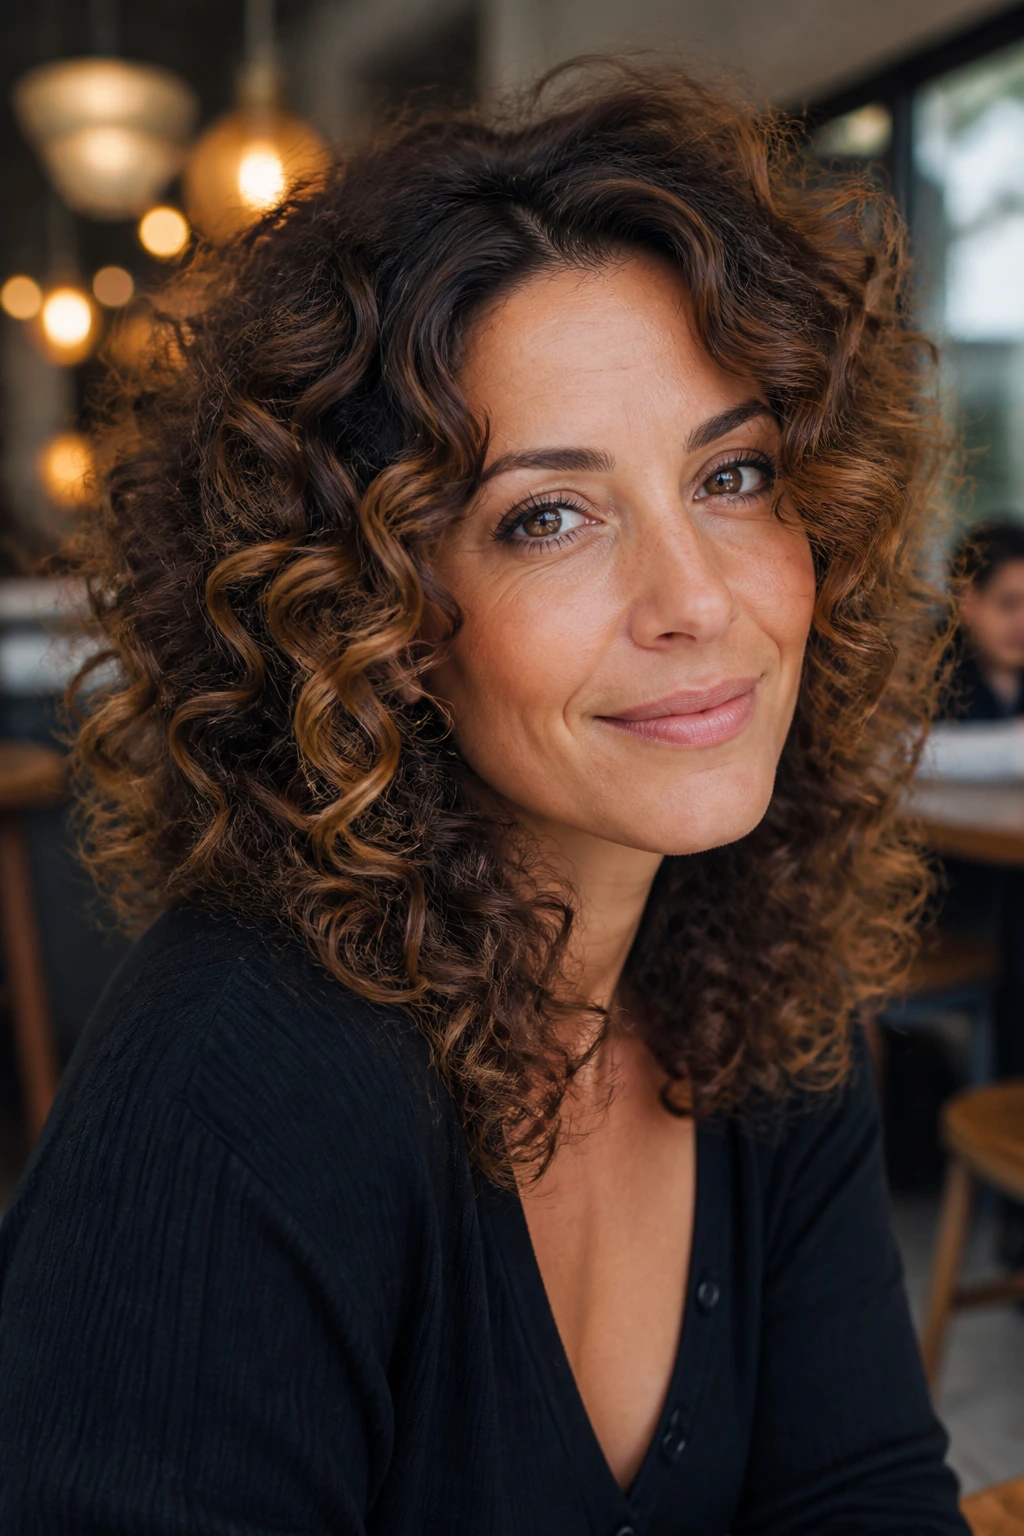
Rooty brunettes are easy to love because the grow-out stays soft for a long time. A darker root shadow with caramel babylights through the curls gives you warmth without pushing the whole head into high-contrast territory. On curly hair, that balance matters. Too much brightness near the scalp can look harsh when the curls separate.
This is one of the most wearable looks in the group. It works at the office, at brunch, at dinner, wherever. The caramel pieces should sit around the face, crown, and the outer curve of the curl so they move when the hair moves.
If your base is deep brown, stay closer to caramel than pale blonde. The result reads richer and holds its shape better.
23. Copper Curly Layers With A Soft Glow
Copper and curly hair have a natural chemistry. The warm tone catches on the bends of the curl and makes the layers feel almost carved. Babylights in a copper range — not neon, not too yellow — can give the curls a soft glow that still looks grounded.
This works especially well when the cut has layered ends and a bit of movement around the face. The light pieces should brighten the front and top, while the lower layers stay a touch deeper. That keeps the color from turning into one bright sheet.
A color-safe mask once a week helps copper stay rich. It fades faster than people expect, and dull copper is a sad thing to look at.
24. Vacation-Resistant Curly Updo With Loose Tendrils
Humidity, wind, and curls with babylights can all be friends if the updo is built loosely and pinned in the right places. A vacation-ready curly updo keeps the crown lifted and leaves a few tendrils free around the face and neck. That gives the style movement even after a long day.
The babylights should be concentrated where the tendrils fall and where the top section folds over itself. Those tiny flashes make the updo look intentionally soft instead of hurried. Use a light hold spray, not a stiff lacquer, or the curls will turn crunchy fast.
This one survives better than most styles because it doesn’t depend on every curl staying perfect. A little frizz can even help.
25. Red-Carpet Side Sweep With Bold Shape
A side sweep makes curly hair look cinematic fast. Pull the volume to one side, pin the opposite side low and close to the head, and let babylights trace the curve from the crown down through the outer curls. The bright pieces should follow the sweep, not fight it.
This is the style that benefits most from contrast. Darker roots, brighter mid-lengths, and a few lighter ends give the whole shape a strong line. If the highlight is too even, the drama disappears. If it’s too chunky, the wave pattern gets busy. Thin, placed carefully, is the move.
A finishing mist of shine spray on the exposed side keeps the curl definition from going dry under lights. And yes, this one does want a little extra pinning. Don’t trust gravity to do all the work.
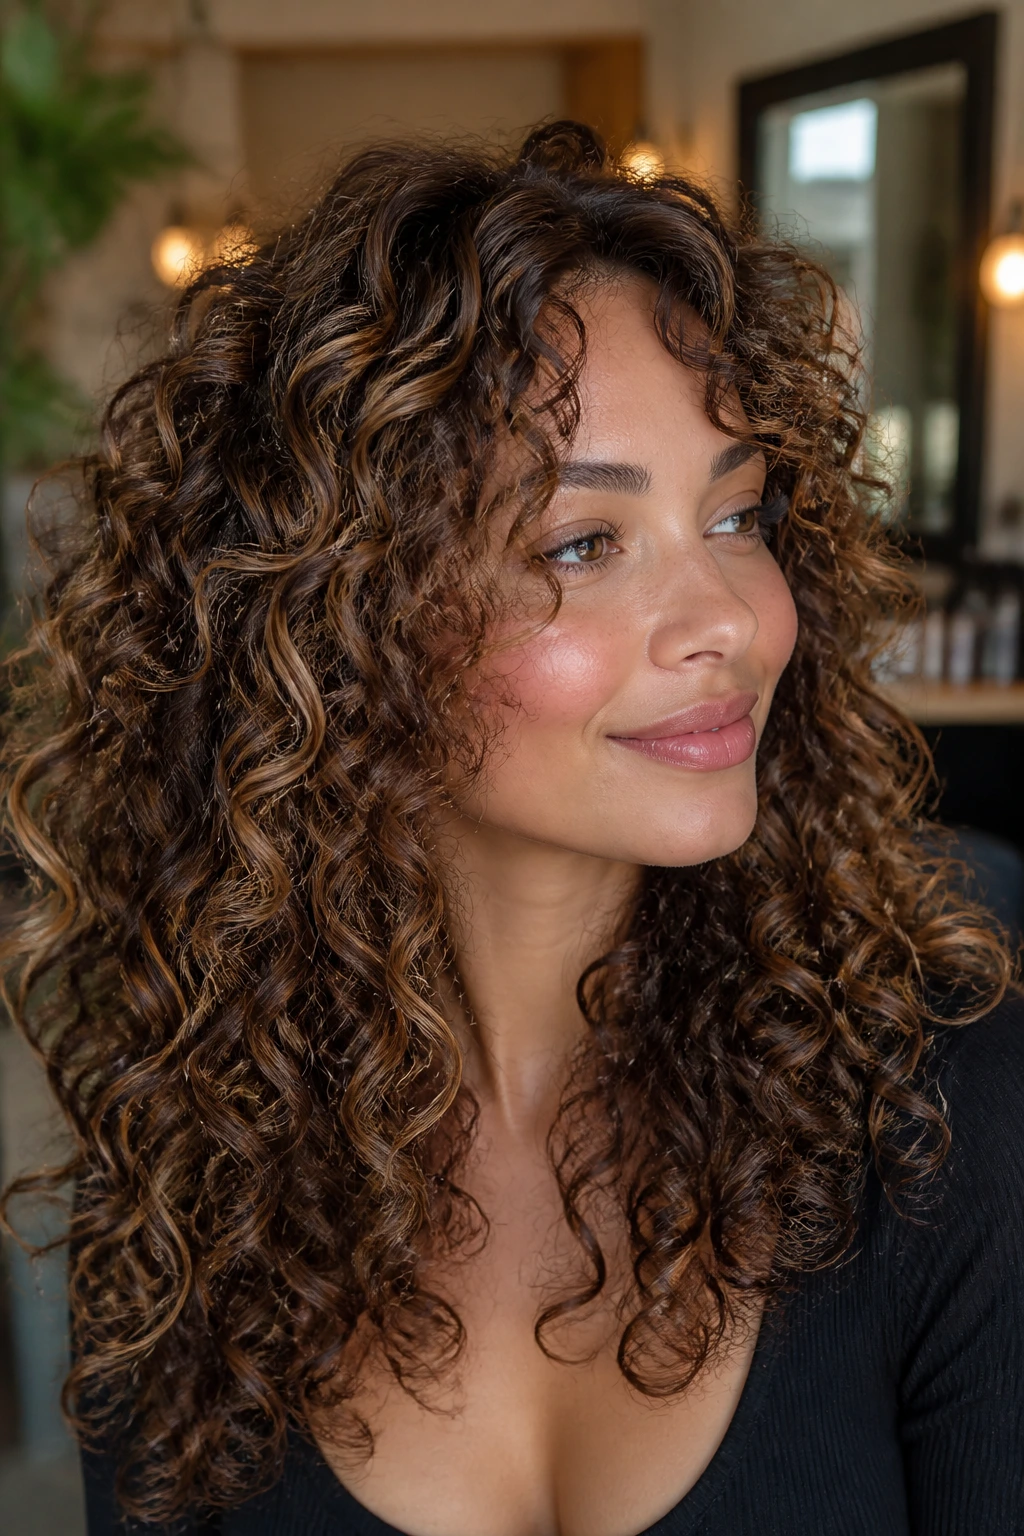
Why Babylights Make Curly Hair Look Fuller
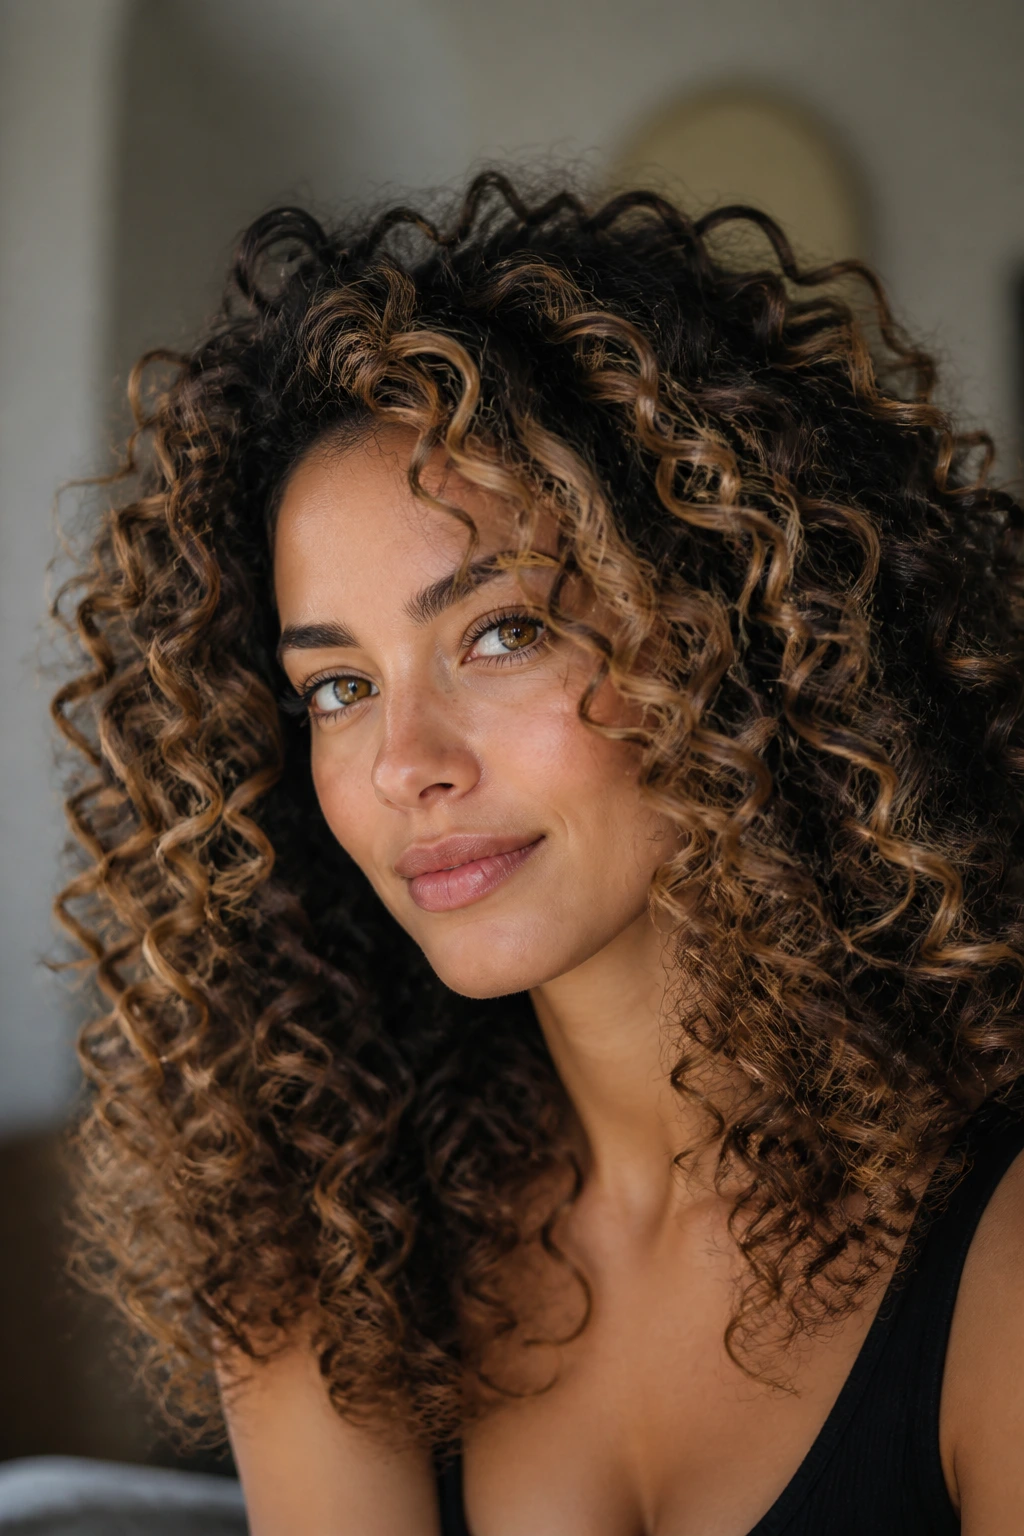
Curly hair already has built-in texture, but babylights sharpen that texture in a way a solid color can’t. Tiny highlight pieces break up the mass of the curls, so each clump reads as its own shape. That’s why a well-placed babylight can make a head of curls look thicker even when the actual density hasn’t changed.
The placement matters more than the tone. Put light pieces along the top layer, around the face, and in the spots where the hair naturally bends outward. Put deeper pieces underneath, especially if the hair is fine or the curl pattern is loose. That contrast gives the eye a place to rest, which is what creates the feeling of volume.
I’d rather see eight smart babylights than twenty random ones. Eight placed well can make a curl cut look expensive. Twenty scattered badly can make it look tired.
Essential Tools for Styling Curly Hair With Babylights
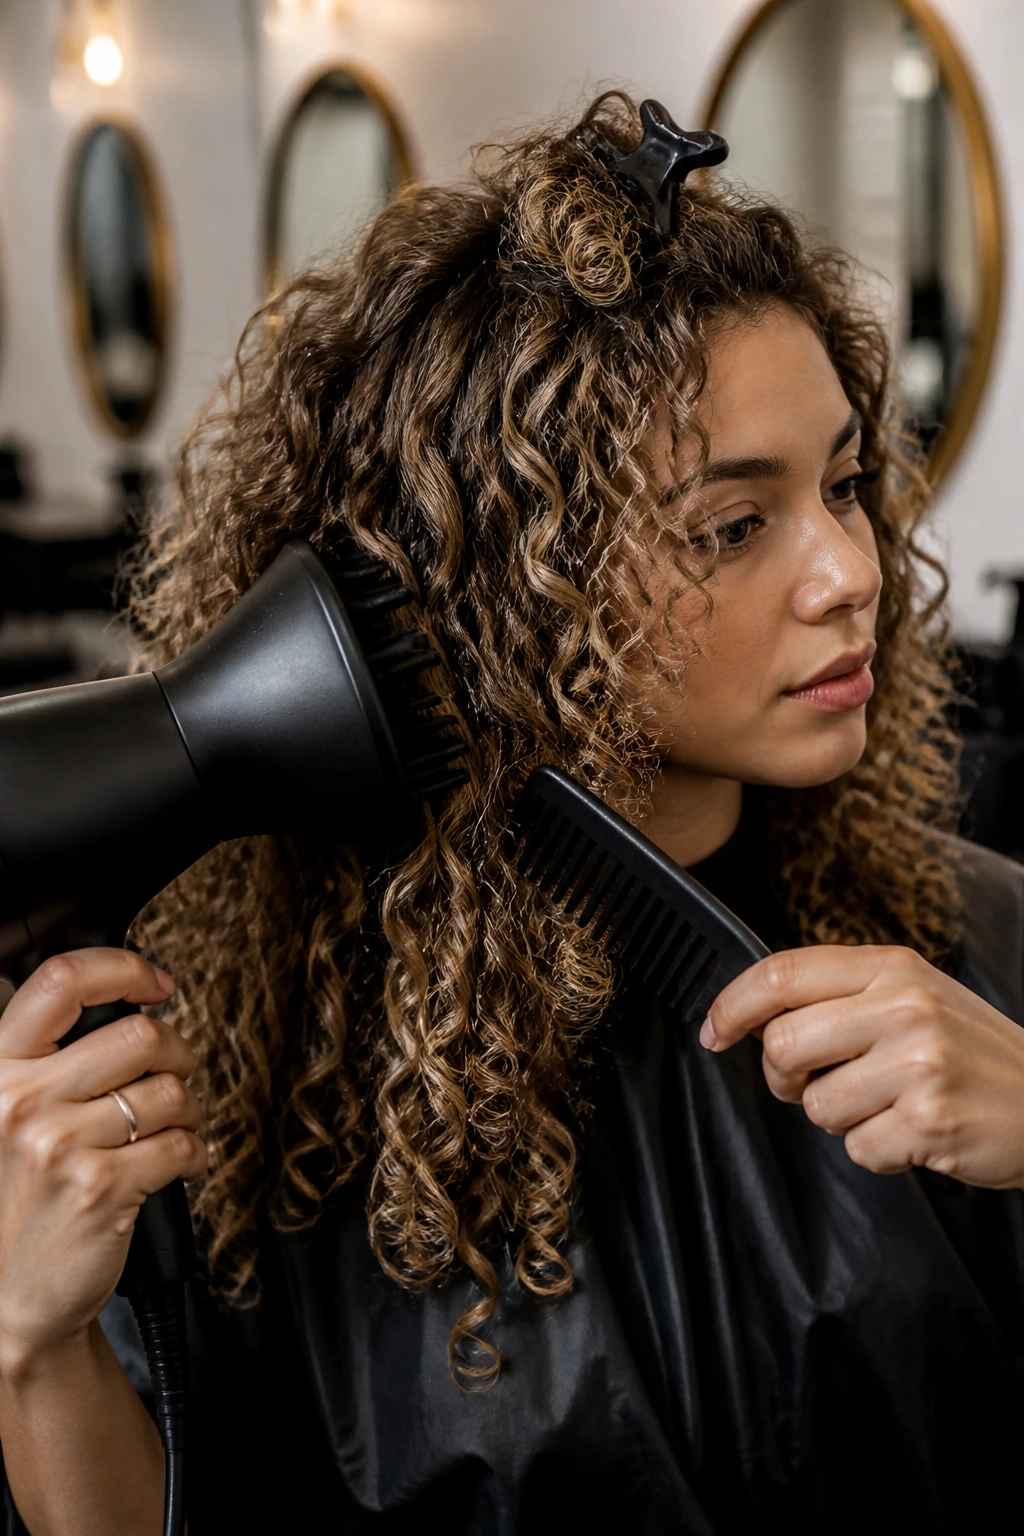
- Diffuser attachment: Keeps the curl pattern intact while drying and helps the babylights stay visible instead of frizzing out.
- Wide-tooth comb: Best for detangling in the shower without dragging out the curl clumps.
- Tail comb: Useful for clean parts, root lift, and neat sectioning around bangs or face-framing pieces.
- Sectioning clips: Hold curls out of the way while you work product through the hair in smaller areas.
- Microfiber towel or cotton T-shirt: Blots water without roughing up the cuticle the way a terry towel can.
- Satin scrunchies and silk bonnets: Keep the shape from getting crushed overnight.
- Lightweight curl cream and gel: Give the babylights a defined frame so the color shows through the curl instead of hiding inside fuzz.
- Heat protectant: Non-negotiable if you use a diffuser on high heat or touch up a few face-framing pieces with a tool.
Smart Color Choices and Product Picks for Curly Hair
Curly hair is not flat hair. That sounds obvious, but a lot of highlight disasters start with someone treating it that way. When you book babylights, ask for placement that respects shrinkage and density. Fine curls usually need fewer, softer light pieces. Dense curls can handle more contrast, but even then, the brightest strands should live near the outer layers and the front.
Tone matters too. On deep brown bases, caramel, chestnut, and soft honey often look richer than icy beige. On medium brunettes, a beige or neutral blonde babylight can work if the curls are well hydrated. If the hair is already porous or dry, stay away from harsh lightening repeated too close together; a gloss between color visits helps a lot more than people think.
Product choice matters just as much. A lightweight leave-in keeps the curl soft without coating the babylights in shine that flattens them. If your hair is coarse, look for creams with ceramides, fatty alcohols, or avocado oil. If it’s fine, use a mousse or foam at the roots and save the richer stuff for the ends. Heavy butters near the scalp can bury the color fast.
How to Wear These Looks Without Flattening the Curl Pattern
Shape: Keep the widest part of the style where your face can use it. If your jaw is narrow, let the volume sit at cheek level. If your forehead feels broad, push a little lift higher on the crown and keep the front pieces softer.
Color balance: Put the lightest babylights where the curls move most — front layers, top ridge, and outer bends. If every bright strand sits underneath, the color disappears the second the hair settles.
Finish: Decide whether you want a soft, touchable finish or a shinier, sleeker one. I’d choose softer for shag cuts, wolf cuts, and puffs. I’d choose smoother for side sweeps, buns, and more formal styles.
Accessories: Gold hoops, narrow clips, silk scarves, and clean pins all work. Big accessories can fight the color; smaller ones usually let the babylights stay in charge.
Additional Tips and Shine Boosters
Color Enhancement: A clear or tinted gloss between highlight visits keeps babylights from looking dull and gives the curls a smoother surface. On brunettes, a warm gloss can pull the whole style together without adding more lightness.
Definition: Apply curl cream on soaking-wet hair, then layer gel only on the outer clumps. That keeps the babylights from disappearing under a fluffy halo of frizz.
Root Lift: Clip the crown while diffusing for the first few minutes, then remove the clips and finish with a cool shot. The root stands up better, and the lighter pieces on top show more clearly.
Humidity Control: In damp air, use less oil and more hold. Heavy shine products can make babylights look muddy fast, while a firmer gel or foam keeps the curl clumps clean.
Make-It-Yours: If your hair is fine, keep the babylights sparse and use a lighter mousse. If it’s coarse or dense, you can go a little bolder with color placement and still keep the shape readable.
Common Mistakes That Hide the Color
- Going too chunky with the light pieces: If the highlights are wide, curly hair turns stripey fast. The fix is smaller sections and more subtle placement near the face and crown.
- Lightening every curl the same way: Uniform brightness kills depth. Leave some darker pieces underneath so the babylights have contrast.
- Using heavy oils right at the roots: The hair gets limp and the color looks dull. Put richer products on the ends only.
- Styling soaking-wet hair too aggressively: Over-raking wet curls breaks the clumps and hides the highlight pattern in frizz. Blot first, then style in sections.
- Cutting bangs too short on shrinkage-prone hair: The fringe jumps up and the babylights end up sitting higher than planned. Leave more length than you think you need.
- Ignoring lowlights on dense hair: If the head is all brightness, the shape loses depth. A few deeper strands underneath fix that fast.
Variations and Adaptations to Try
Fine-Curl Lift: Keep the babylights sparse and place them around the face, crown, and top layer only. A lightweight mousse and a soft diffuser finish keep the hair from collapsing under its own weight.
Coily Halo Brightness: Concentrate the lightest pieces around the halo — the crown, temple line, and upper outer edge. Coils carry contrast well, but they look best when the sides stay a shade deeper.
Brunette Depth Builder: Pair caramel babylights with a soft shadow root and a few espresso lowlights underneath. This is the easiest way to make dark curls look dimensional without turning them blond.
Glossy Event Finish: Smooth the roots a bit, keep the curl ends defined, and finish with shine spray on the exposed side or front. It works especially well for side sweeps and low buns.
Low-Maintenance Grow-Out: Ask for more light around the face and crown, less through the back. The regrowth stays softer, and the style still looks deliberate between appointments.
Humidity Shield: Choose a stronger gel, avoid over-touching while drying, and pin back the front sections if the weather is doing its usual nonsense. The babylights stay visible because the curl clumps stay intact.
Maintenance, Refreshing, and Overnight Care
Most curly styles with babylights look best on day one and day two. After that, the curl clumps start to separate, the roots lose lift, and the highlights don’t read as cleanly. That doesn’t mean the style is gone. It just means it wants a quick refresh.
At night, a loose pineapple or a satin bonnet usually does the job. If the curls are short, a silk pillowcase and a couple of soft clips at the front can be enough. In the morning, mist the hair lightly with water and a bit of leave-in, then scrunch the ends. Don’t soak it. You’re waking the curl up, not rewashing it.
Color care matters too. Use a gentle, color-safe cleanser, and if the babylights are blond or beige, a purple mask now and then can keep brass from creeping in. Wait several weeks between lightening appointments if the hair feels dry or stretchy. The cut and curl pattern matter more than squeezing every strand into another color session.
Frequently Asked Questions
Do babylights work on very curly or coily hair?
Yes, but the placement has to respect the curl pattern. Tight curls look best with babylights concentrated around the crown, perimeter, and face frame, where the color can show without getting lost in shrinkage.
Will babylights make my curls look thinner?
Not if they’re placed well. Fine or sparse highlights can actually make curls look fuller because they break up the shape and create more visible movement. The problem comes from over-lightening or using chunks that are too wide.
How often do babylights need touch-ups on curly hair?
A soft grow-out can hold for months, especially if the color starts away from the scalp. If you keep the color around the face and crown, you can stretch the appointments longer without the line looking harsh.
Are lowlights worth adding to babylights?
On dense curls, yes. A few deeper strands underneath stop the whole head from turning pale and one-note. The contrast makes the brighter pieces read richer, not flatter.
What’s the best way to keep the color visible on day two?
Use a light mist of water, a small amount of leave-in, and scrunch from the ends upward. Then separate only the curls that have clumped together too much. If you pick apart everything, the pattern gets fuzzy.
Can I wear these styles if my hair is fine and easily weighed down?
Absolutely. Just keep the babylights sparse and use lighter products — mousse, foam, and a small amount of cream only on the ends. Heavy oils and thick butters can make fine curls hide the color fast.
Is a diffuser better than air-drying for showing babylights?
For most curly heads, yes. A diffuser helps set the shape near the crown and keeps the babylights from sinking into the hair while it dries. Air-drying can work too, but it often leaves the roots flatter.
What should I tell my stylist before coloring curly hair?
Say how much your curls shrink, where you usually part your hair, and whether you want a soft grow-out or a brighter face frame. That gives them the map they need. Curls hide a bad placement faster than straight hair does.
The Shape That Lets Color Breathe
Babylights and curly hair are a better match than most people expect. The curls give the color movement, and the color gives the curls structure. When the cut is right, the result looks fuller without looking busy, which is a harder trick than it sounds.
If you’re picking one thing to remember, make it this: the best babylights on curls are not the brightest ones. They’re the ones placed where the hair bends, sways, and opens. That’s where the shape comes alive, and that’s where a good cut starts to feel worth keeping.