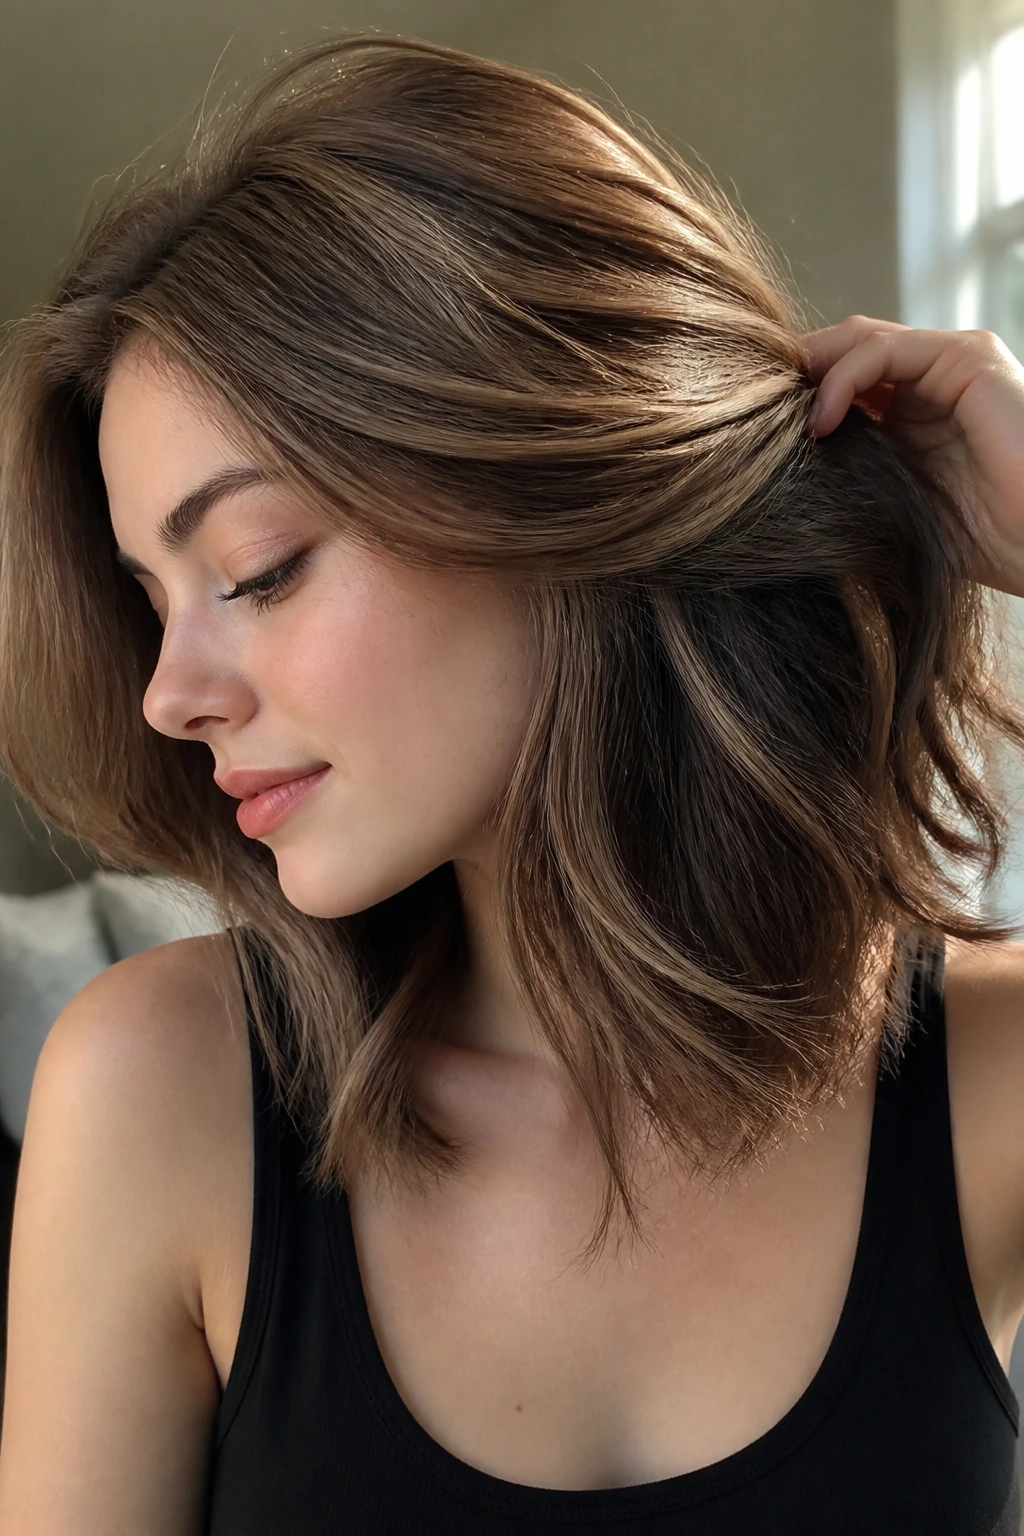
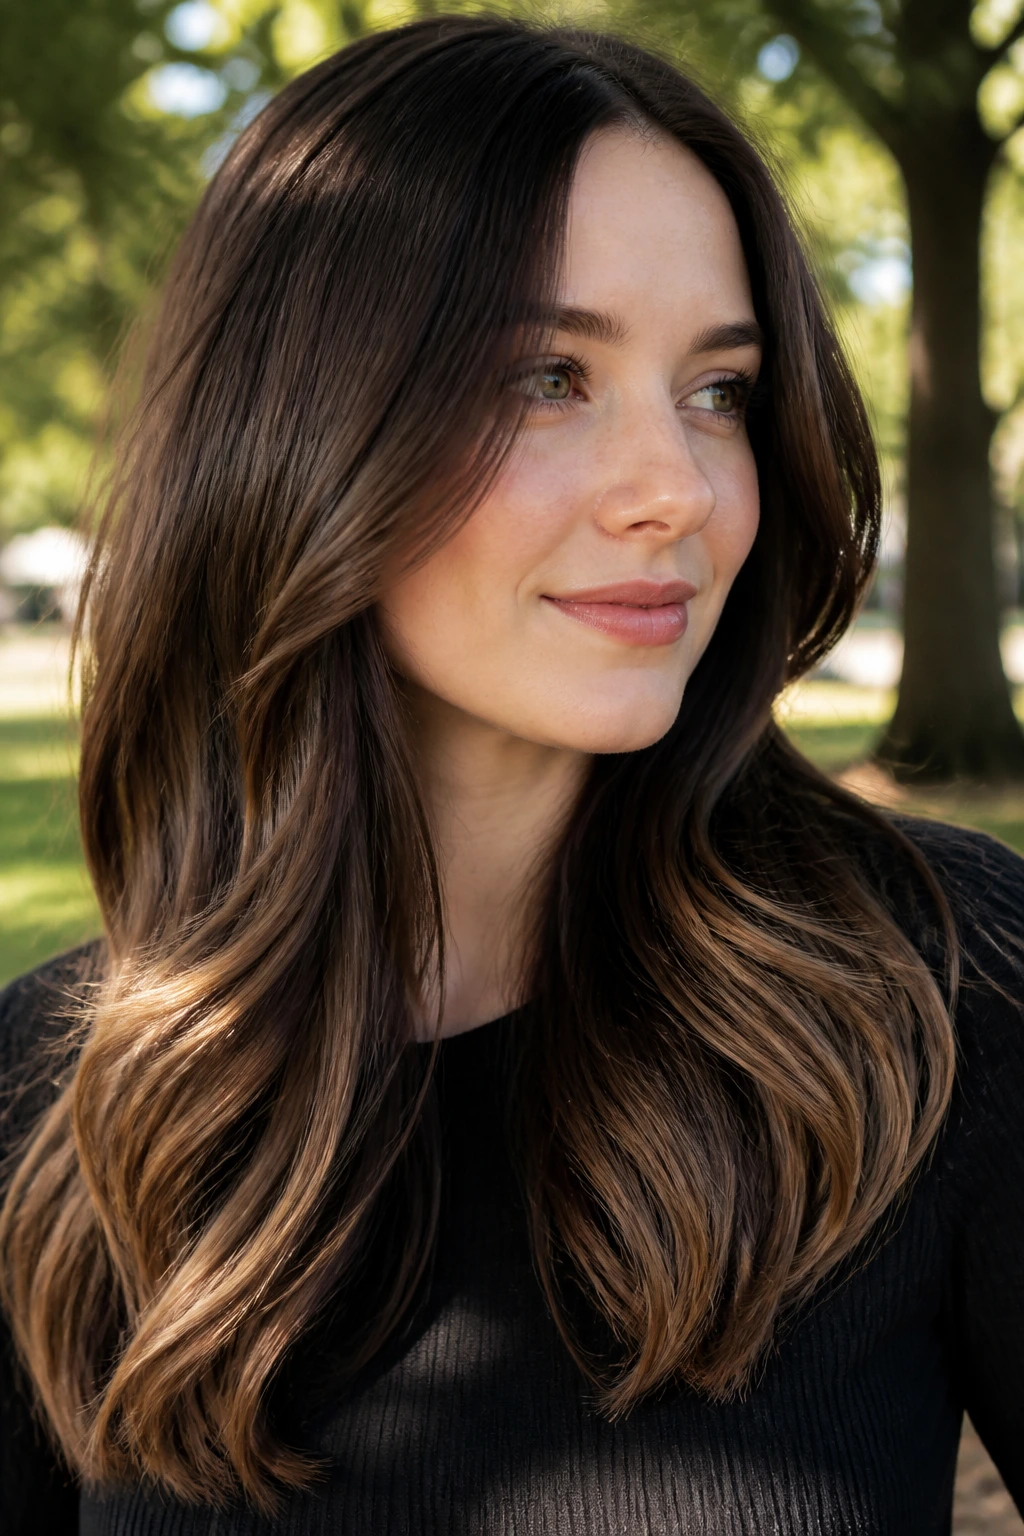
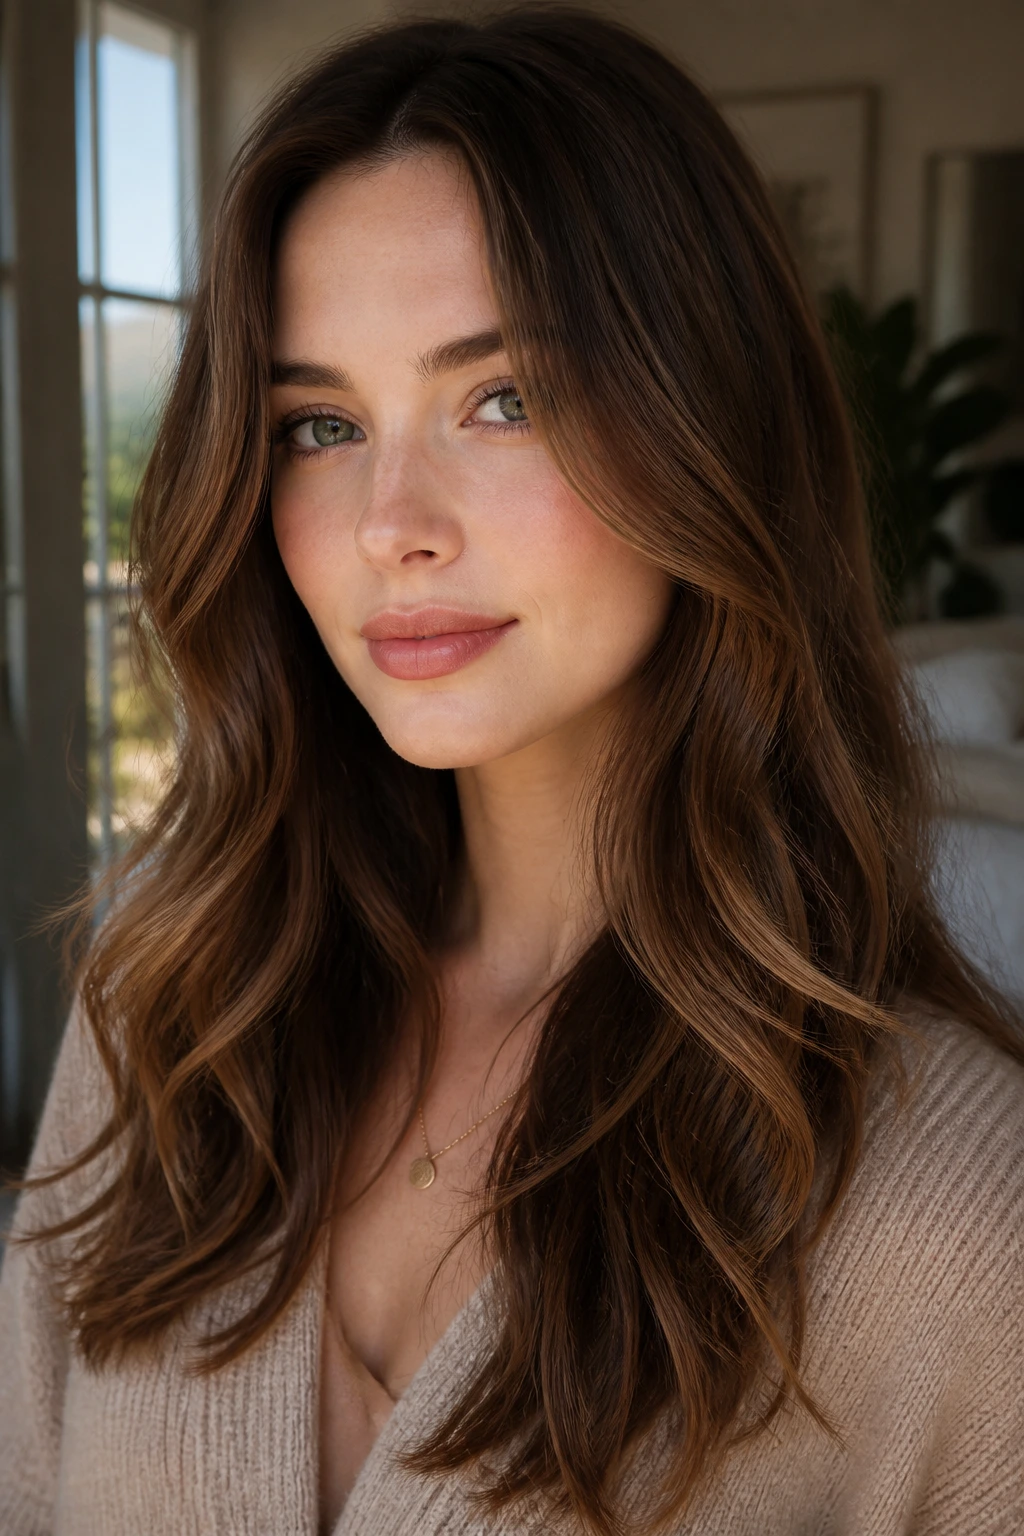
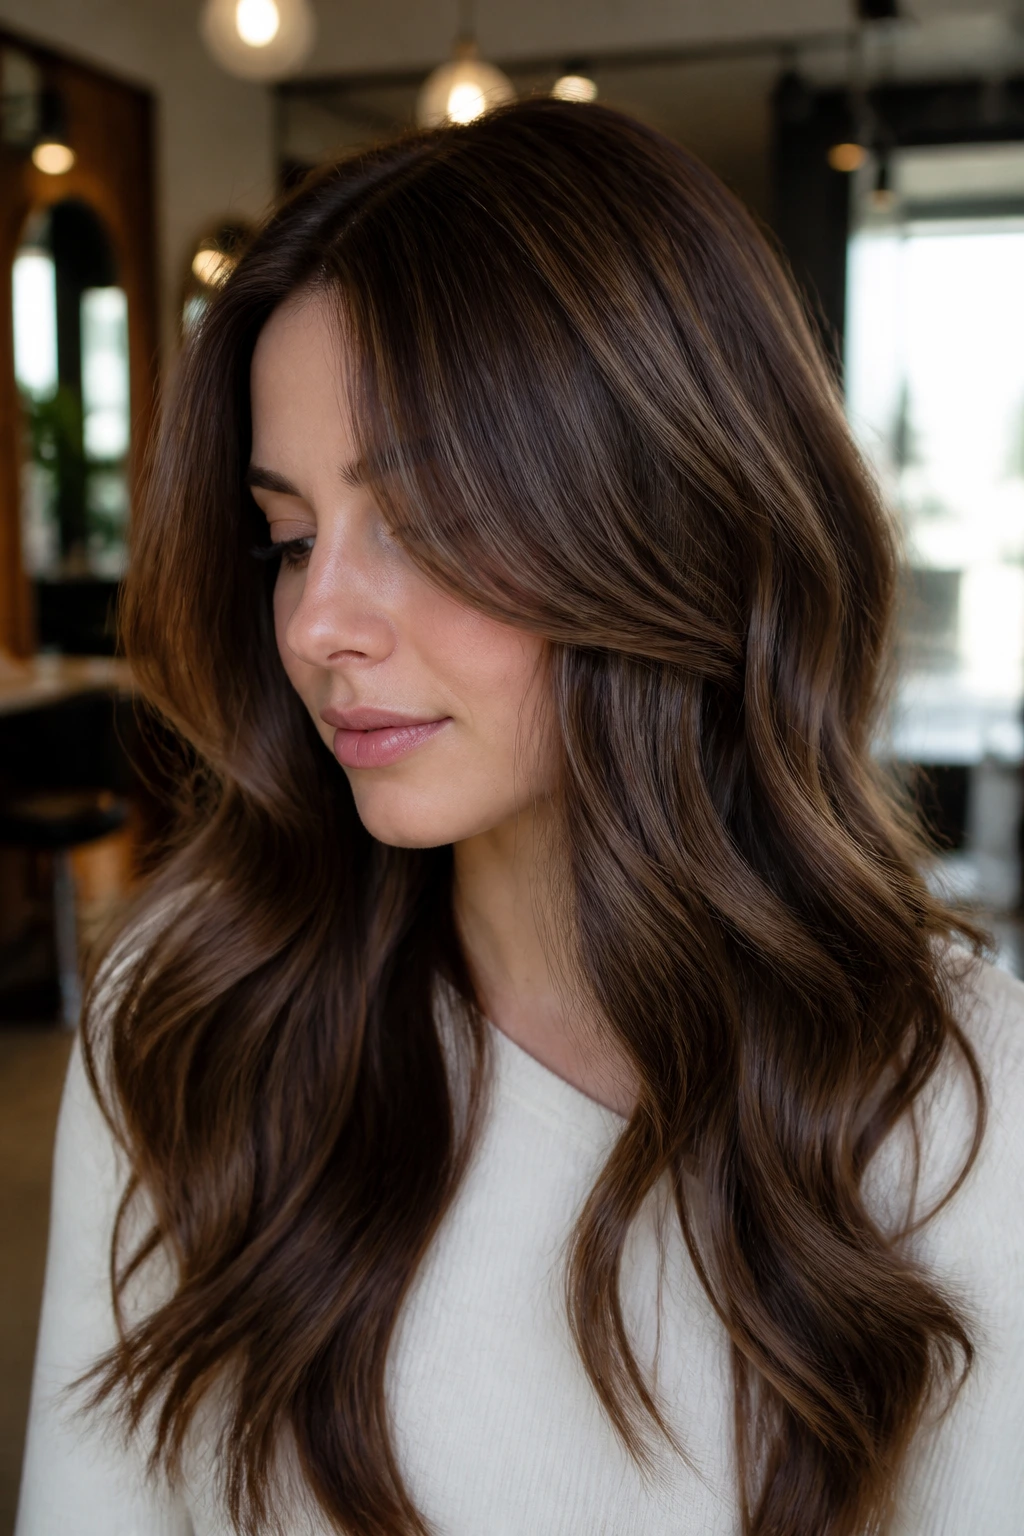
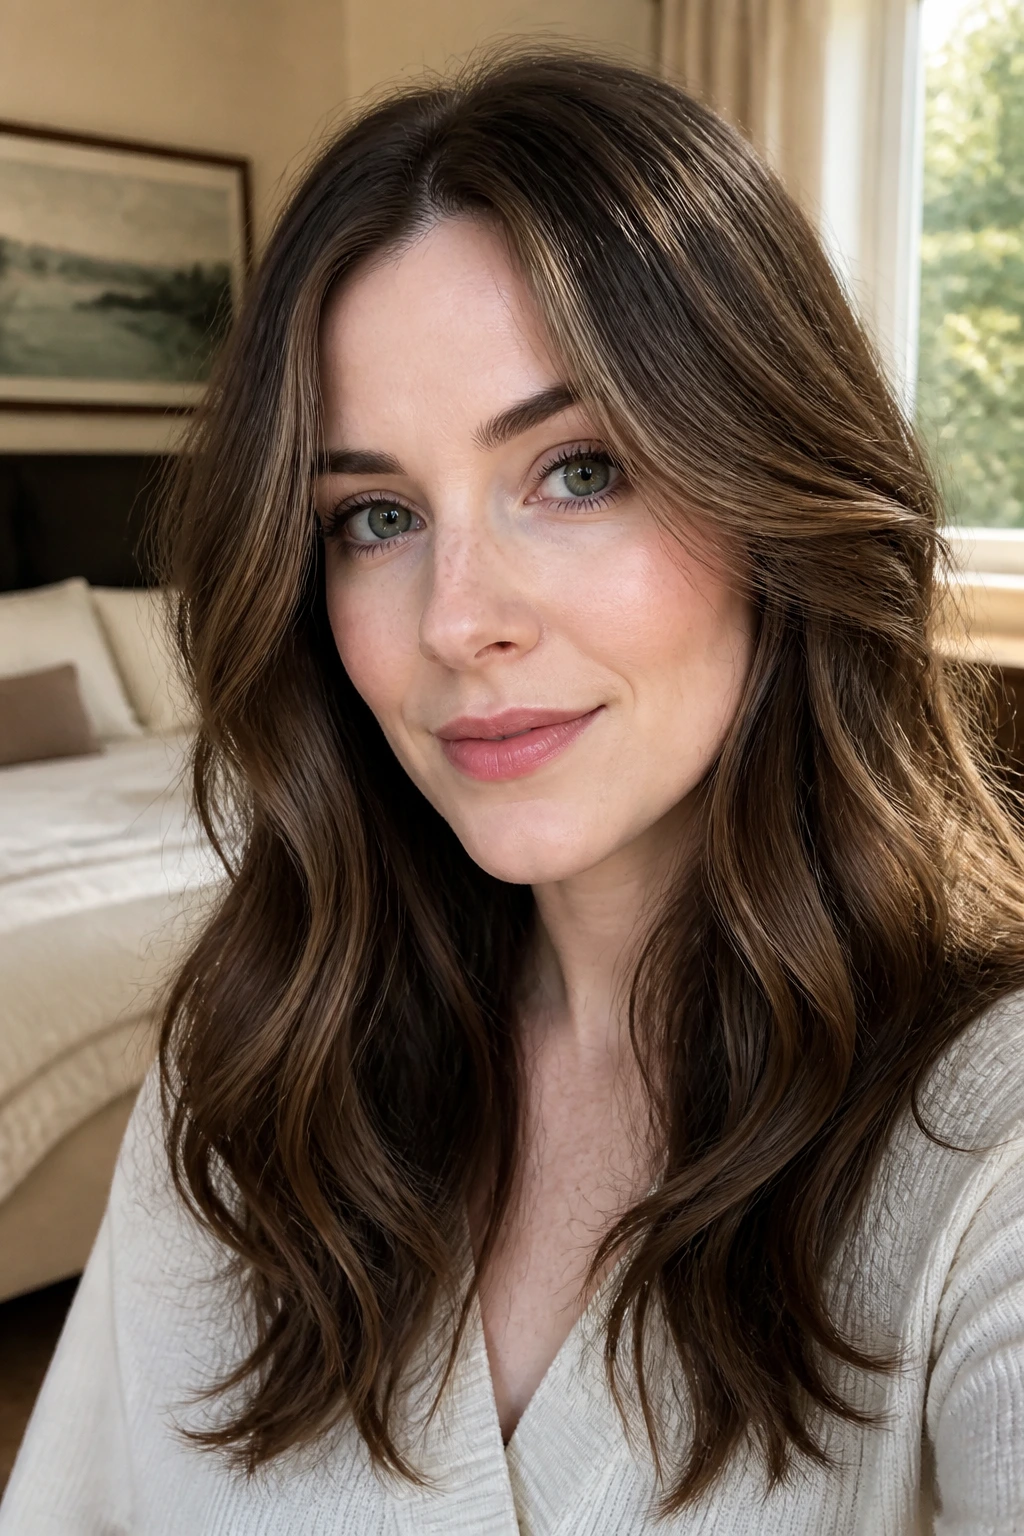
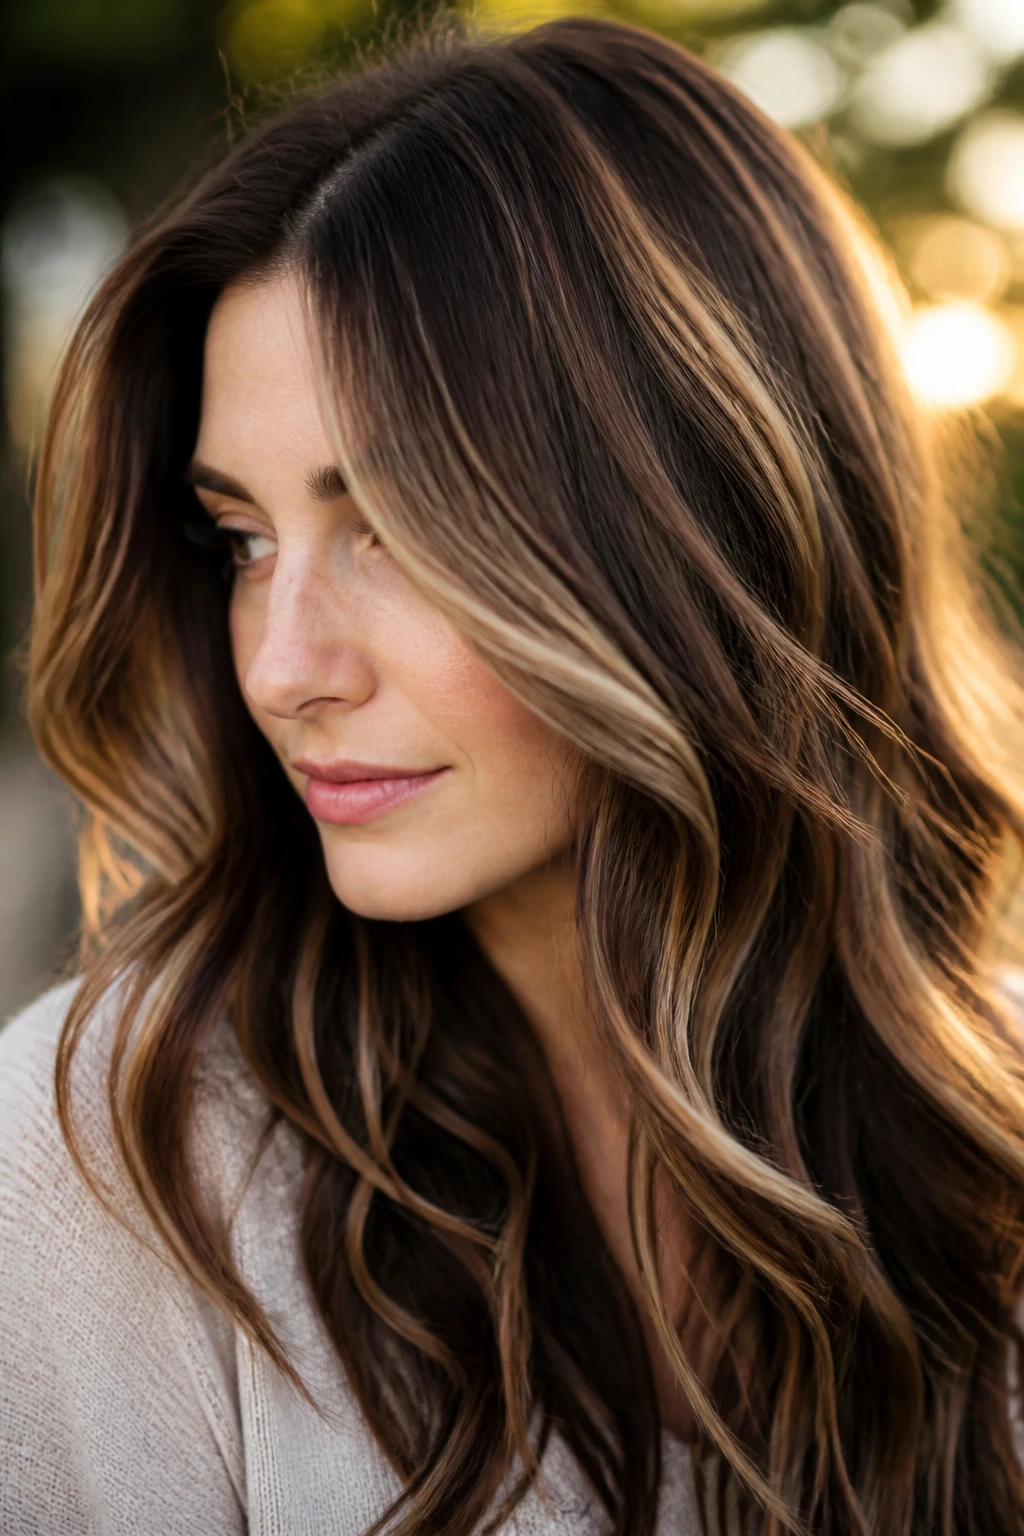
Fair skin can make brunette lowlights look either rich and polished or flat and heavy, and the difference usually comes down to two things: undertone and placement. If the brown leans too orange, it can pull the warmth forward in a way that sits hard against pale skin. If it’s too deep, the hair starts wearing the color instead of the other way around.
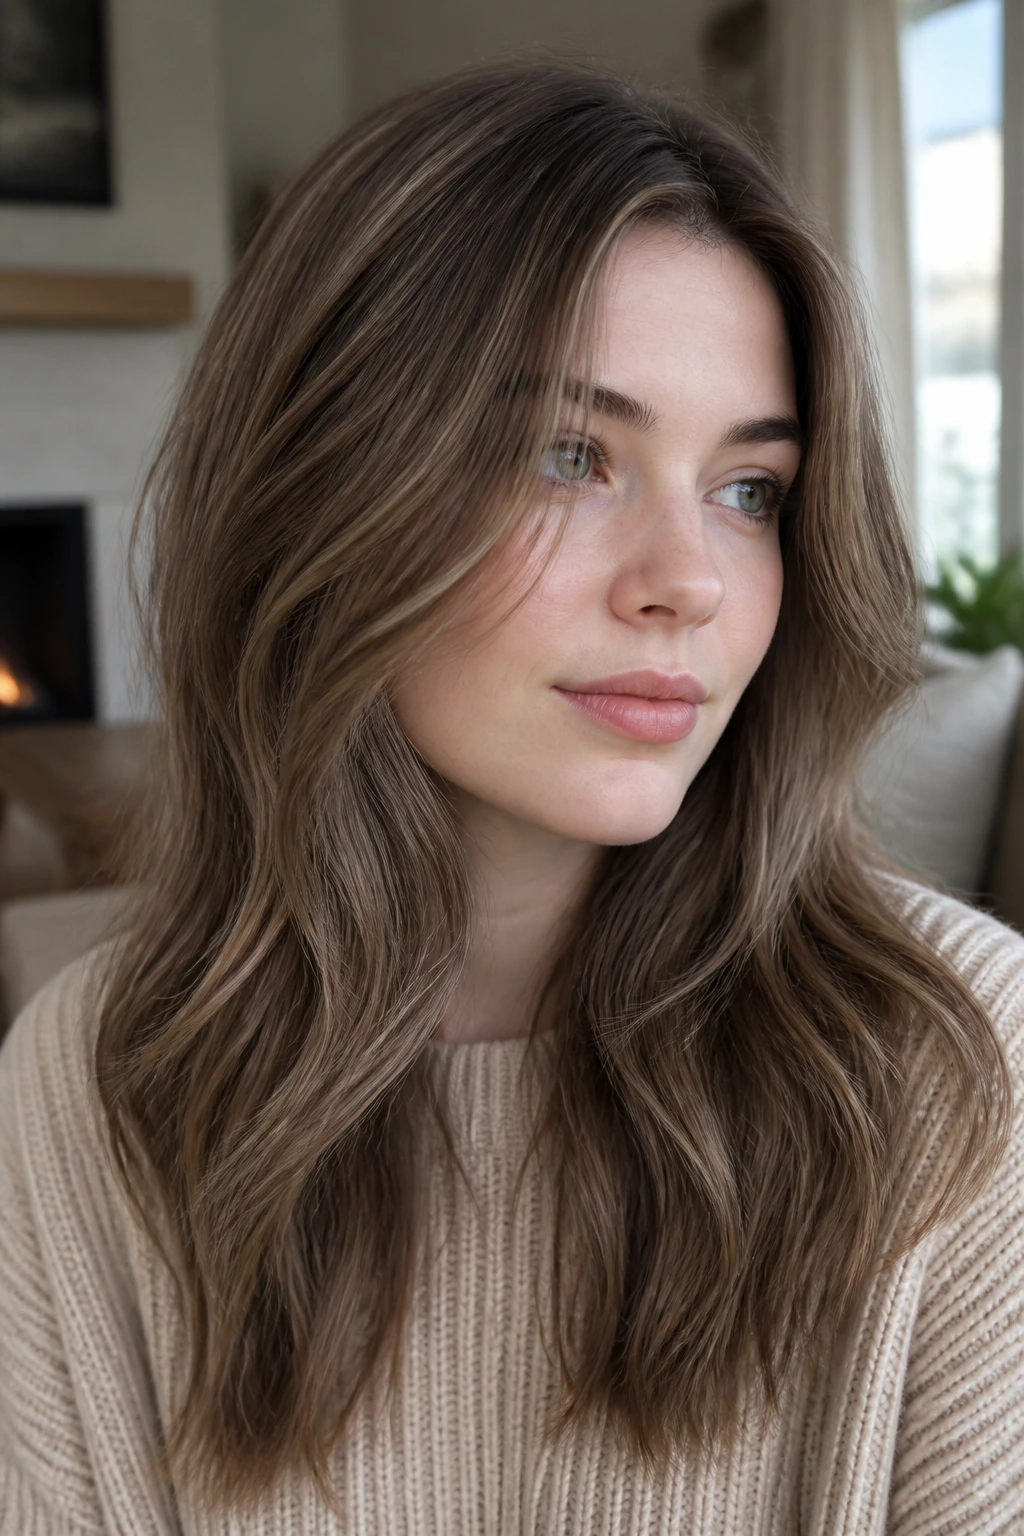
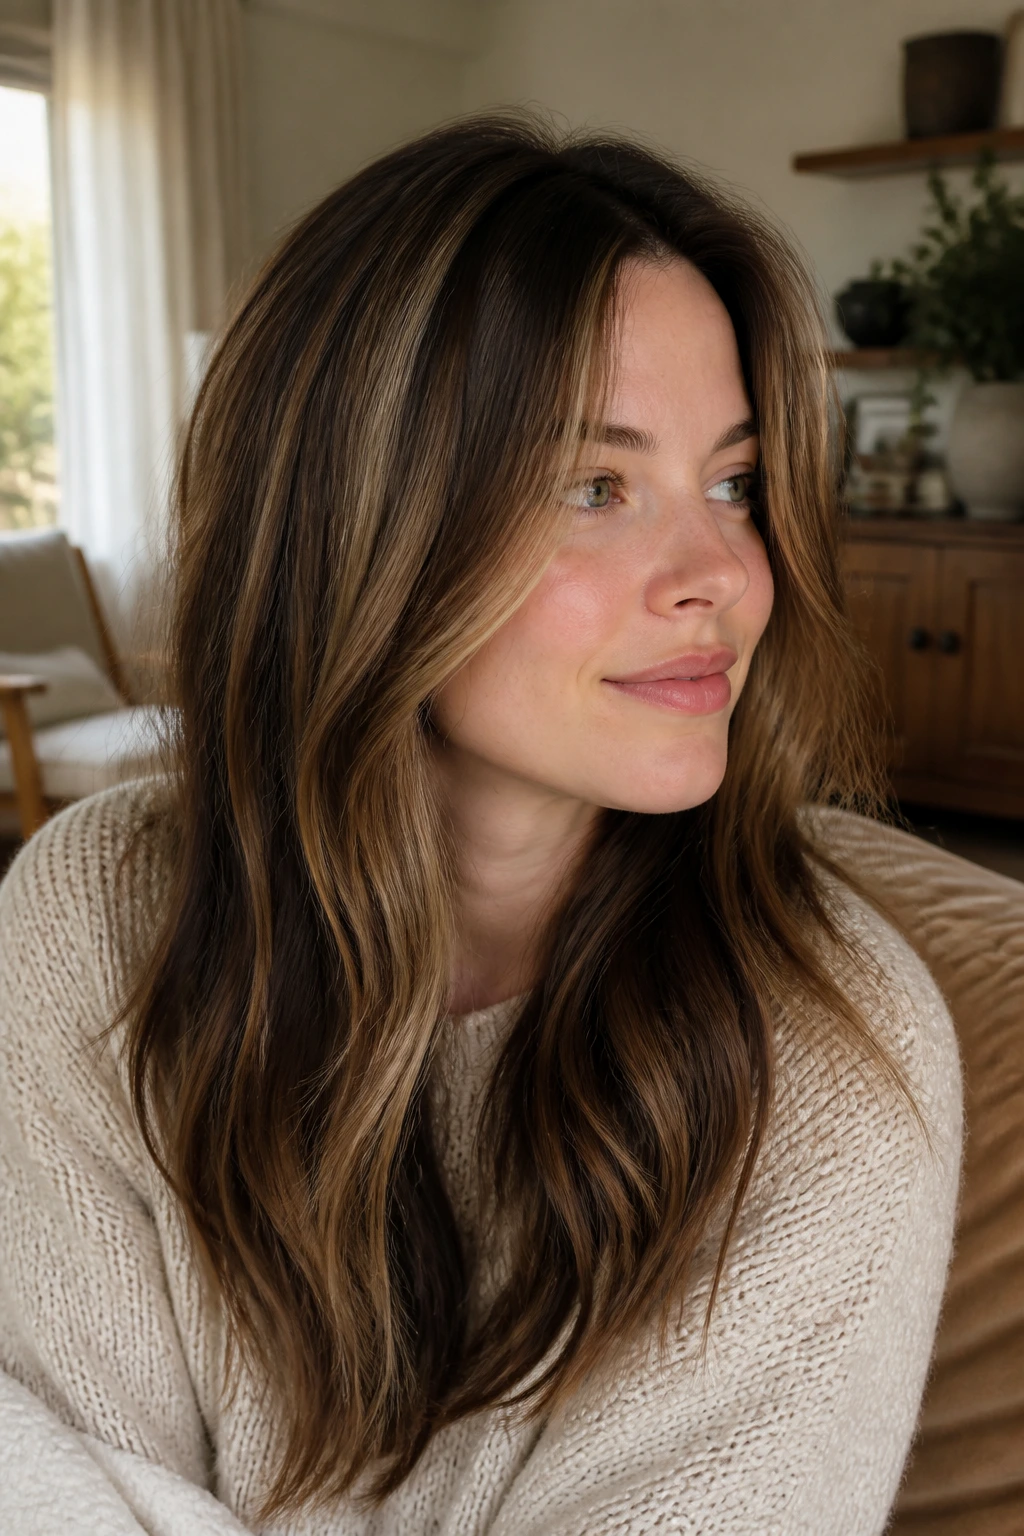
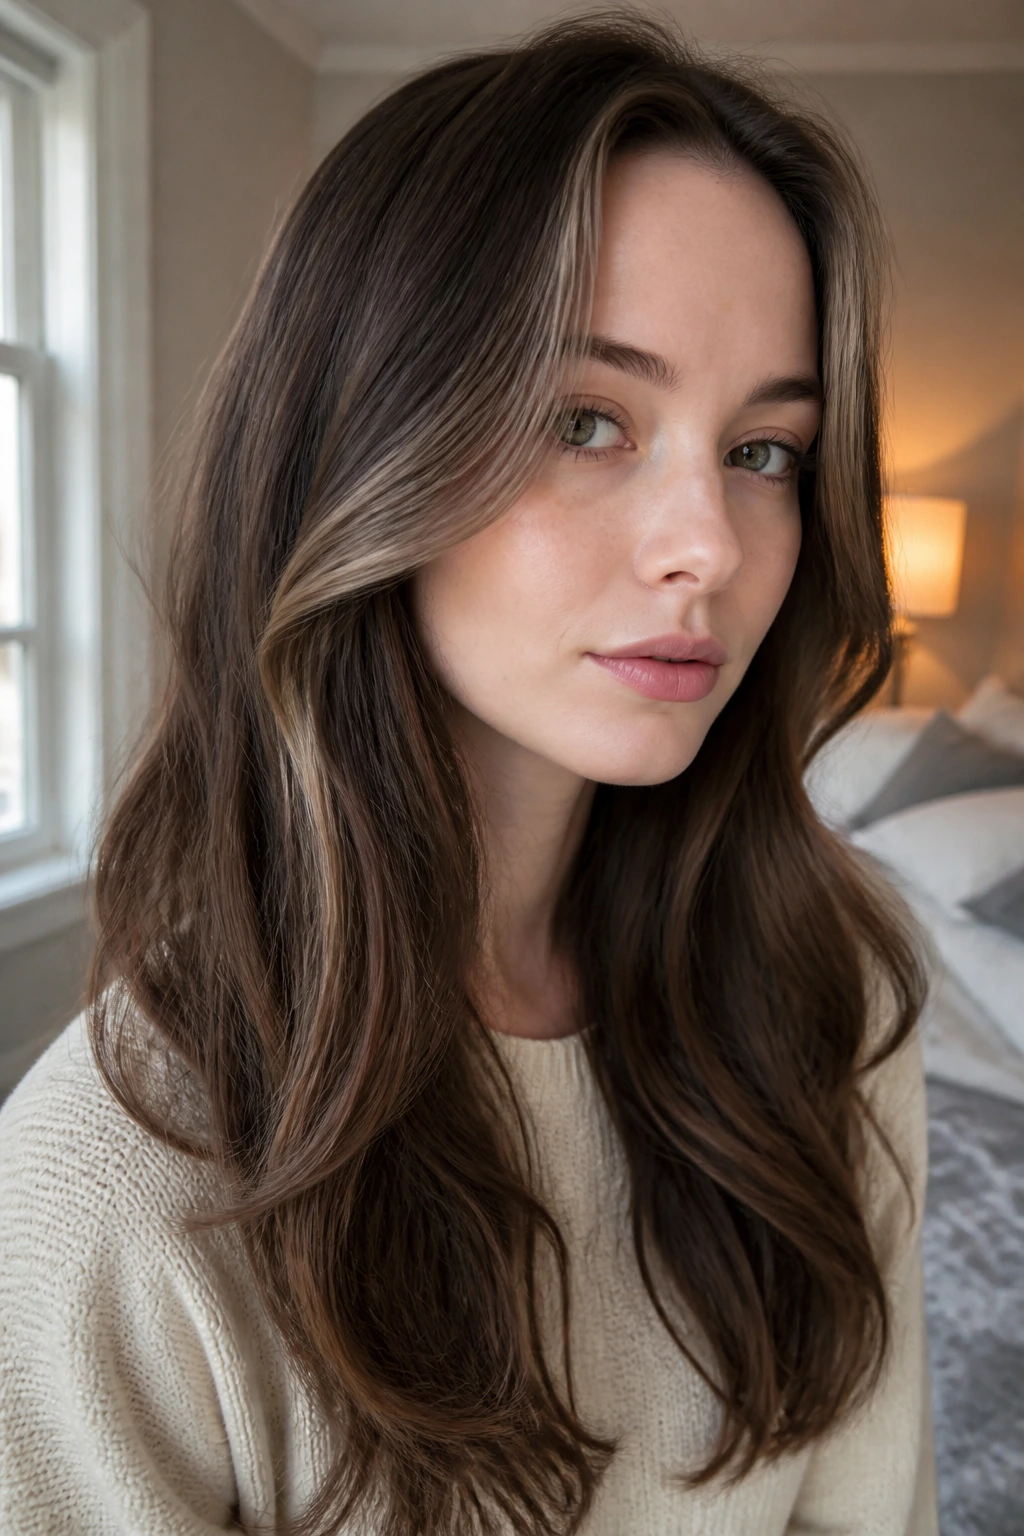
The sweet spot is a brunette shade that behaves like shadow, not ink. Mushroom brown, cool mocha, ash chestnut, walnut, and soft espresso all sit in that useful middle ground where the color adds depth without stealing the light from your face. On fair skin, that matters more than people think. A good lowlight should make the skin look clearer, the eyes look brighter, and the hair look like it has actual air moving through it.
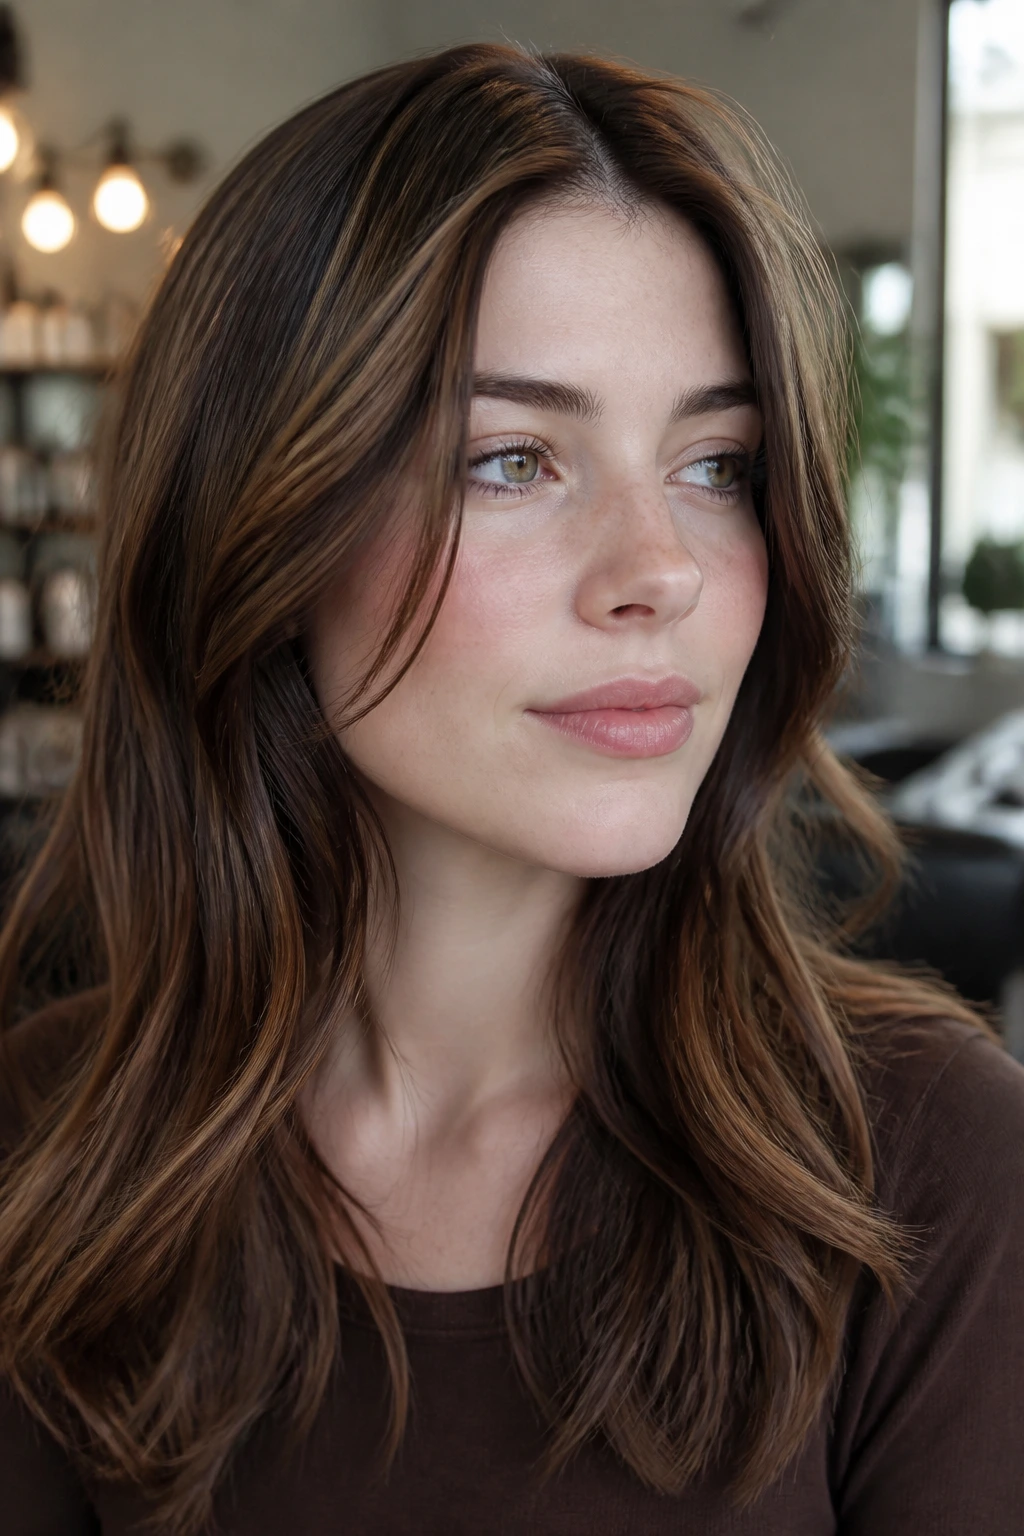
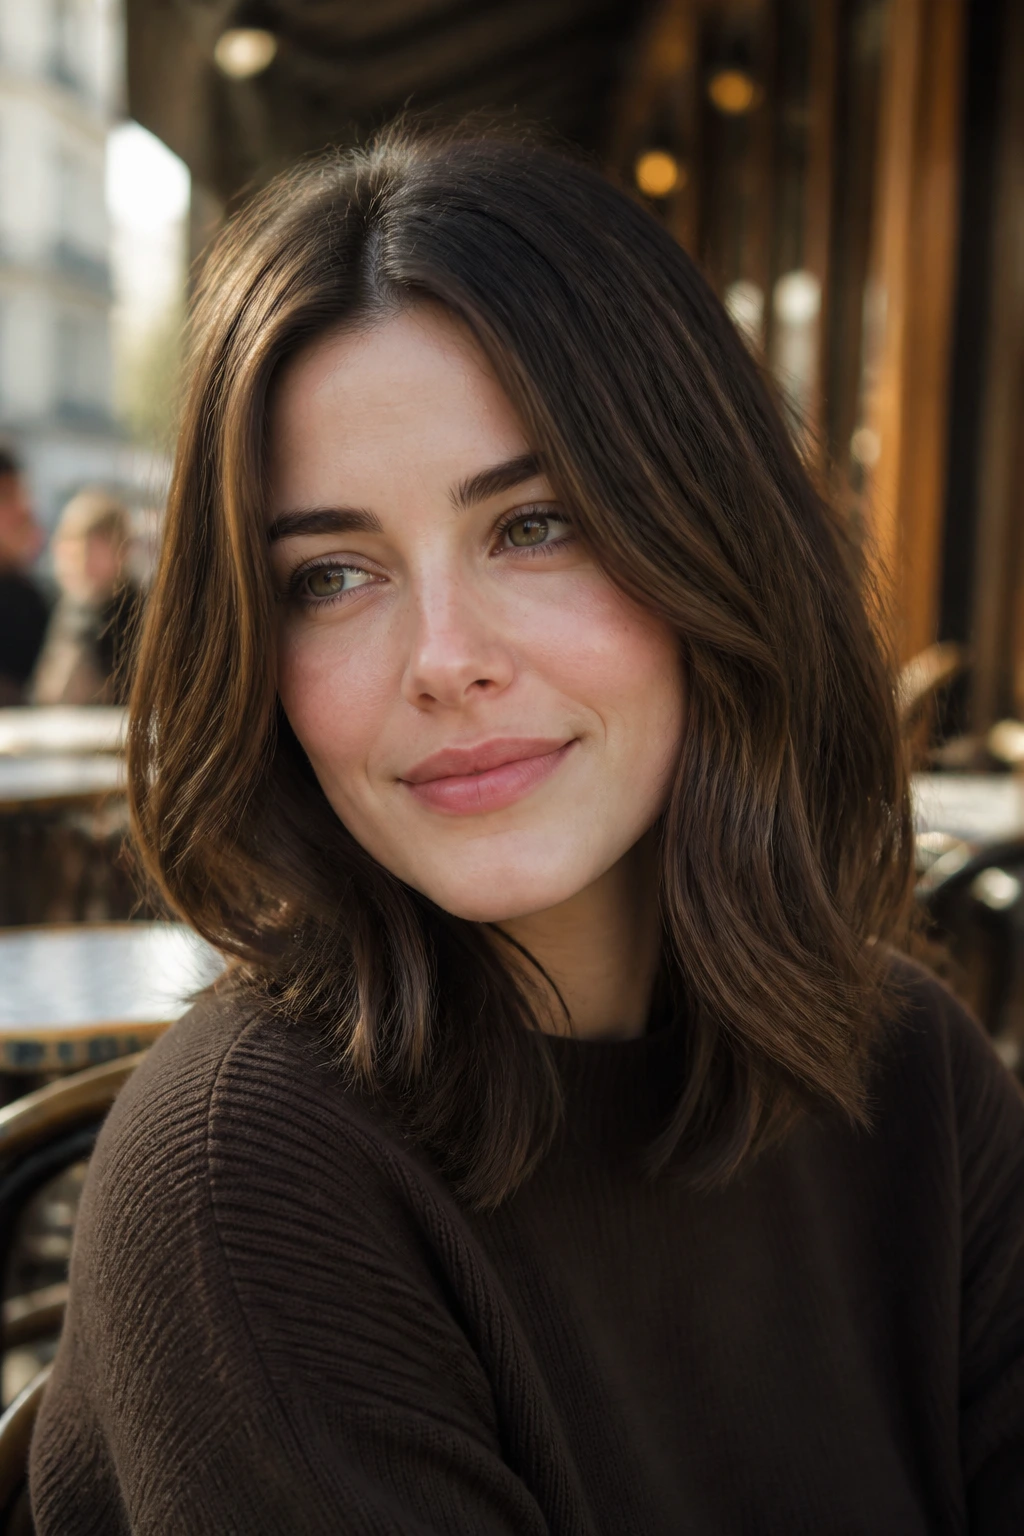
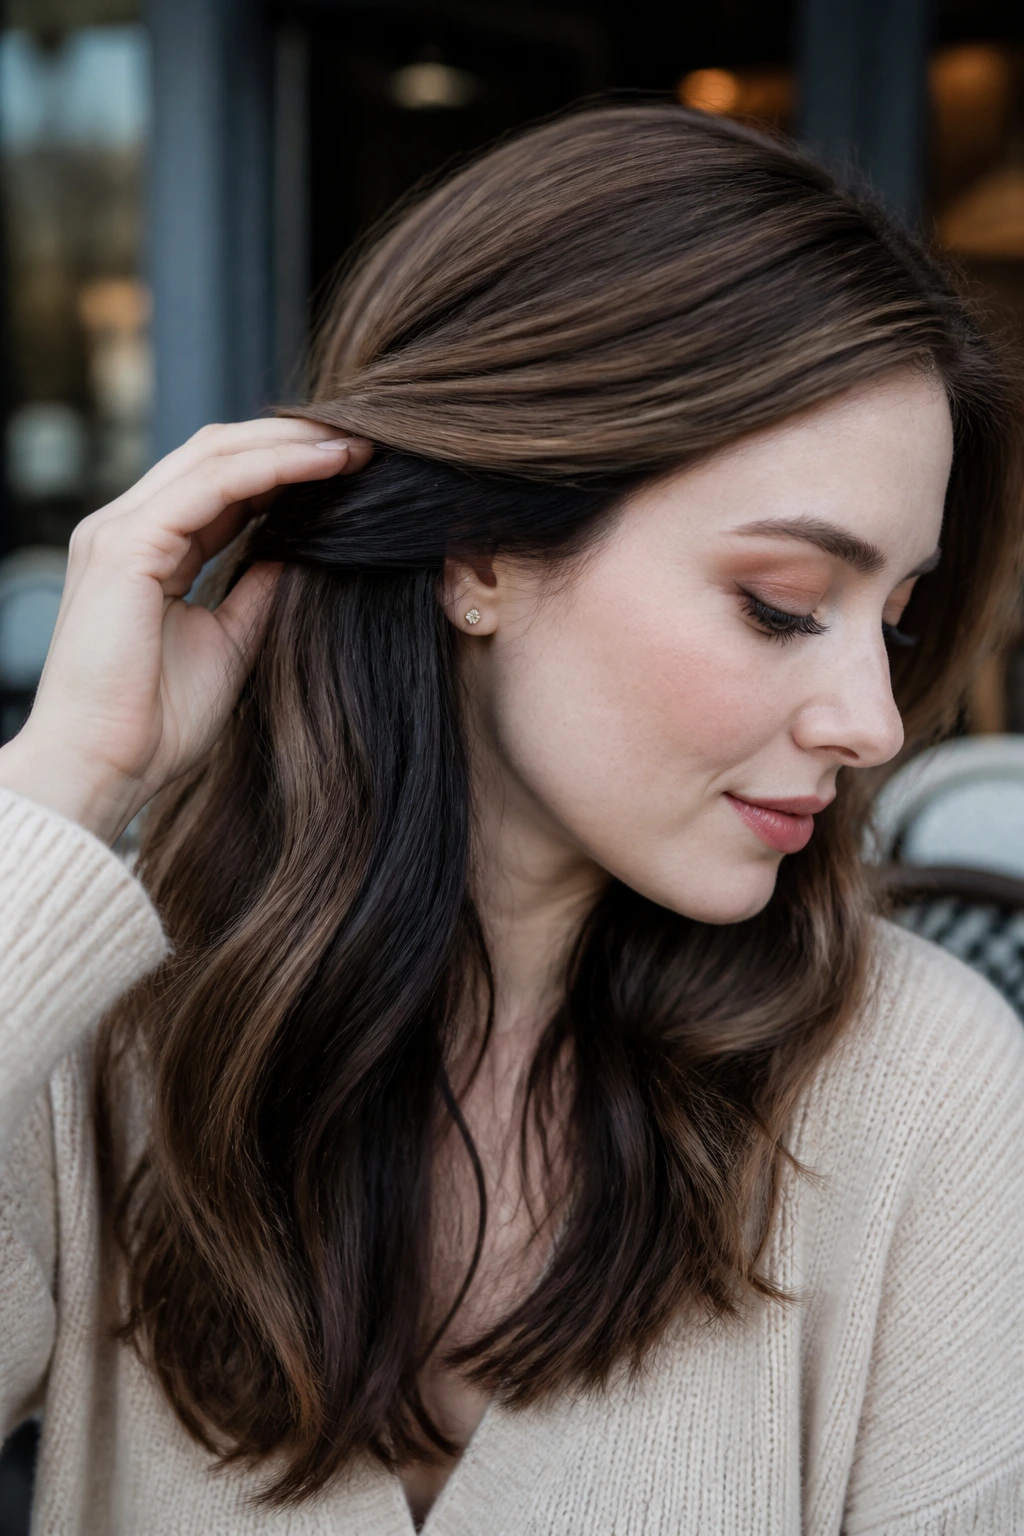
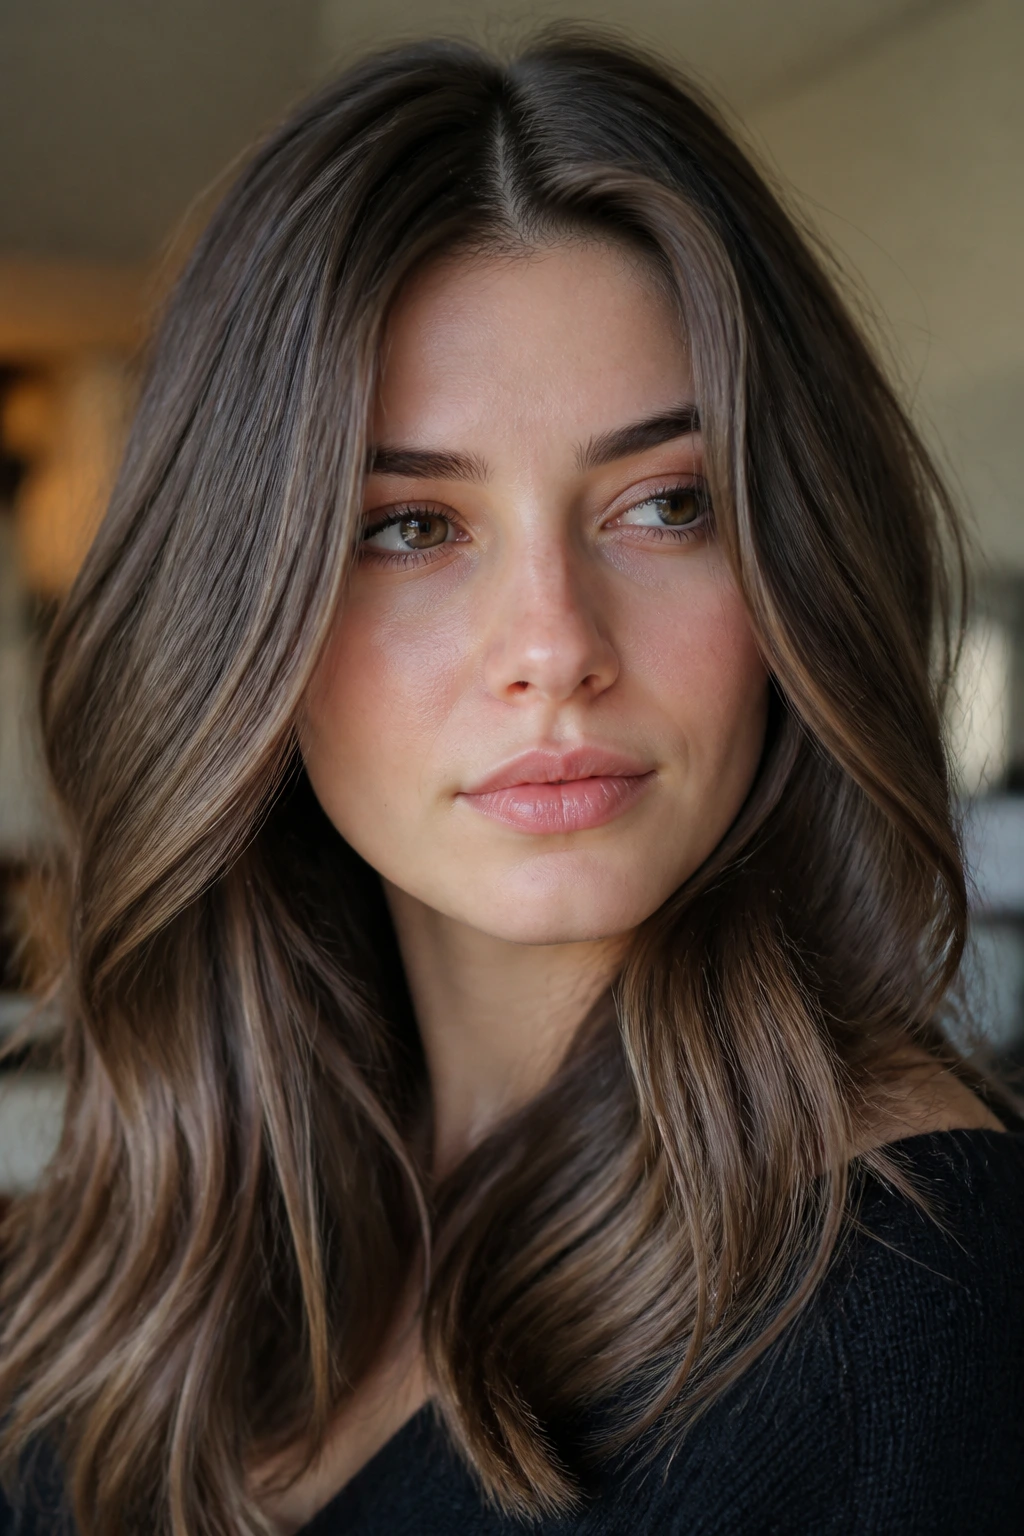
I’ve always preferred lowlights on fair skin when the goal is dimension with restraint. Highlights can be lovely, but lowlights do a different job. They build contrast from inside the hair, not on top of it, which is why a layered lob, a wavy bob, or even long, straight hair can suddenly look fuller with just a few well-placed strands. The trick is knowing which brown to pick, where to place it, and how deep to go before the whole thing starts feeling muddy.
Why These Brunette Lowlights Hit the Sweet Spot on Fair Skin
- They keep the face bright: The right brown sits in the hair, not across the complexion, so fair skin still looks open and clean instead of shadowed.
- They soften harsh contrast: Cool, neutral browns tame the jump between light skin and darker hair, which matters a lot when your base is blonde, light brown, or bronde.
- They grow out better than all-over color: A few deeper ribbons blend into regrowth instead of drawing a hard line every few weeks.
- They make hair look thicker: Darker strands placed under the top layer give the illusion of density, especially on fine hair that tends to go translucent at the ends.
- They can be tailored to undertone: Pink-toned skin usually loves ashier browns; peachy or golden fair skin can handle a little more chestnut or cocoa without turning brassy.
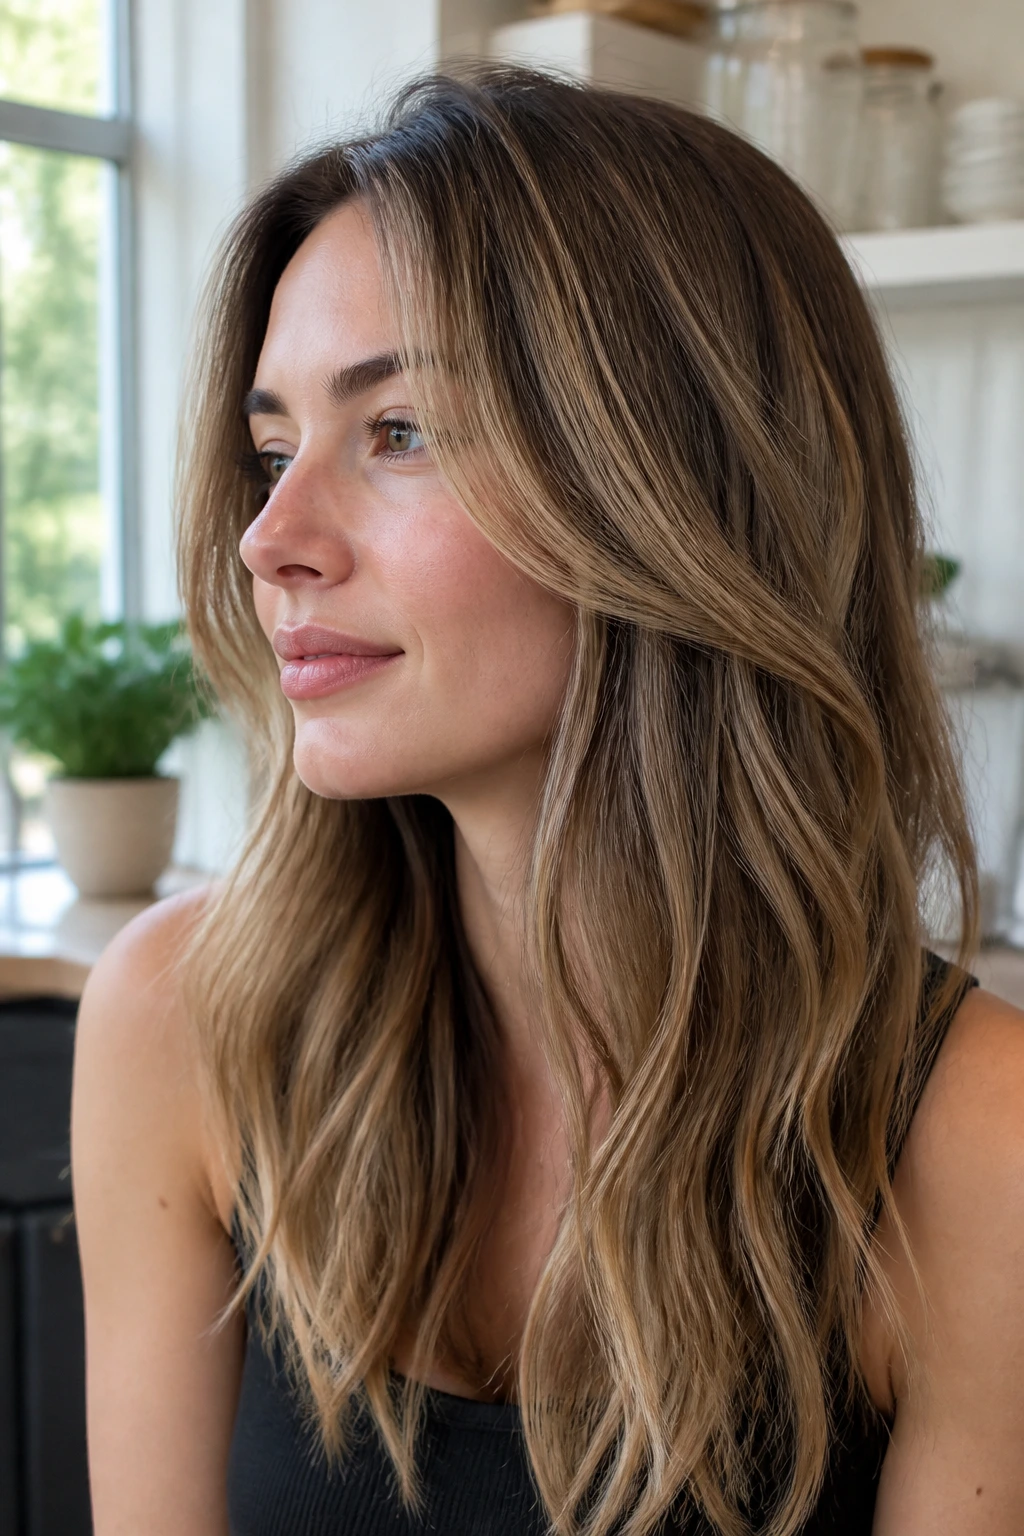
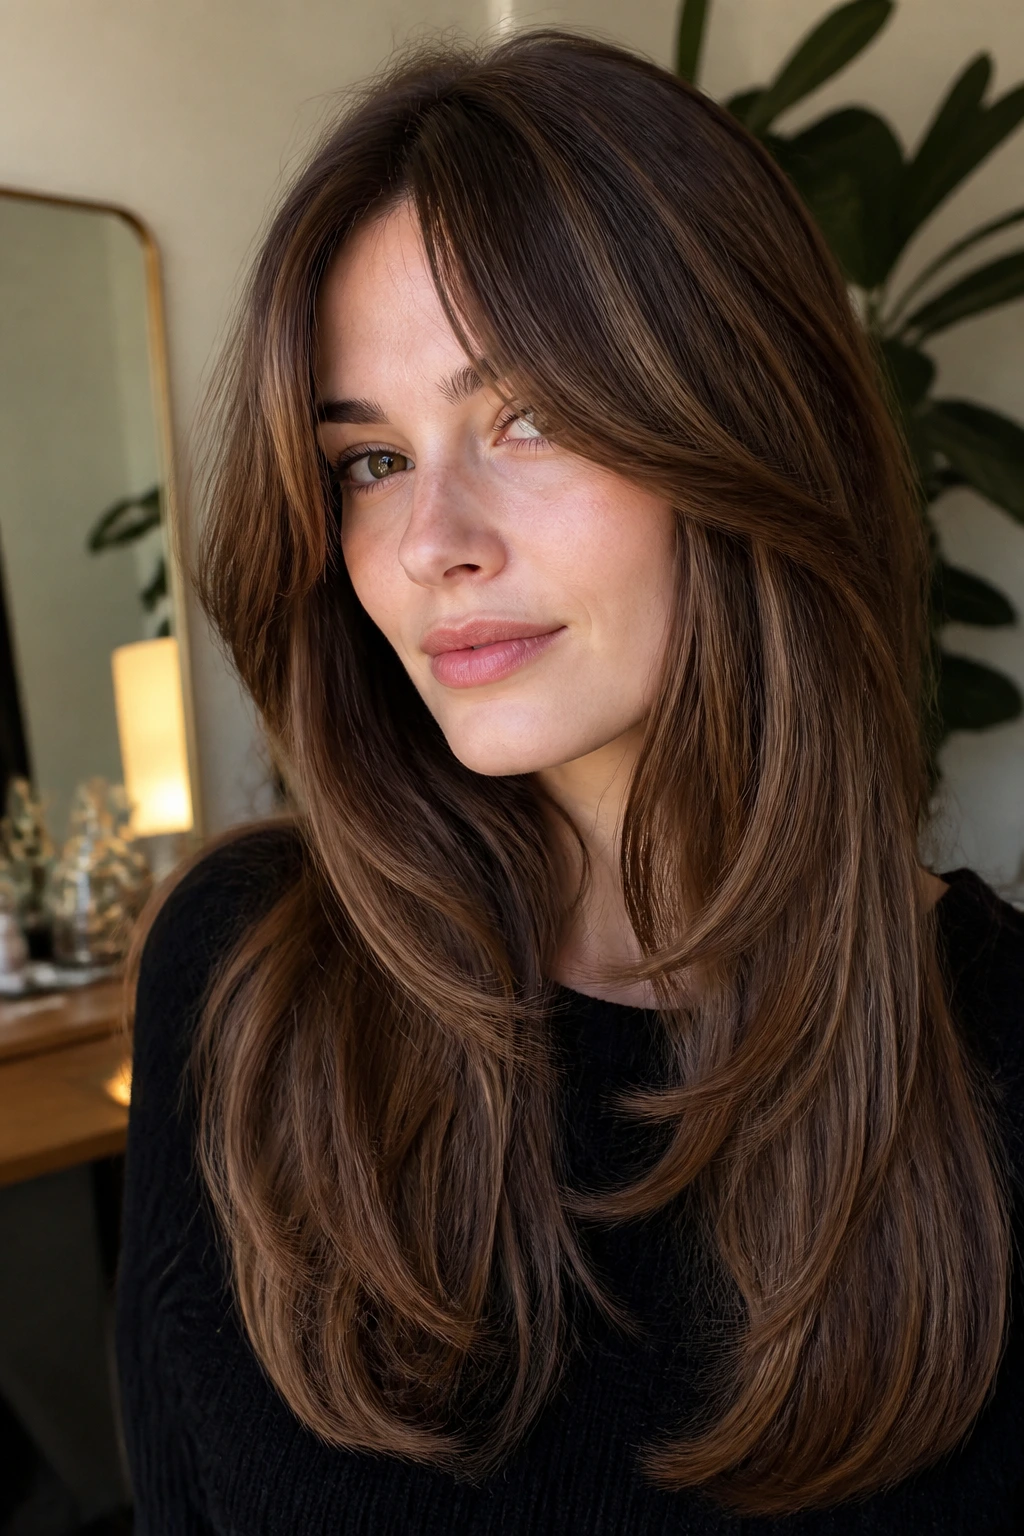
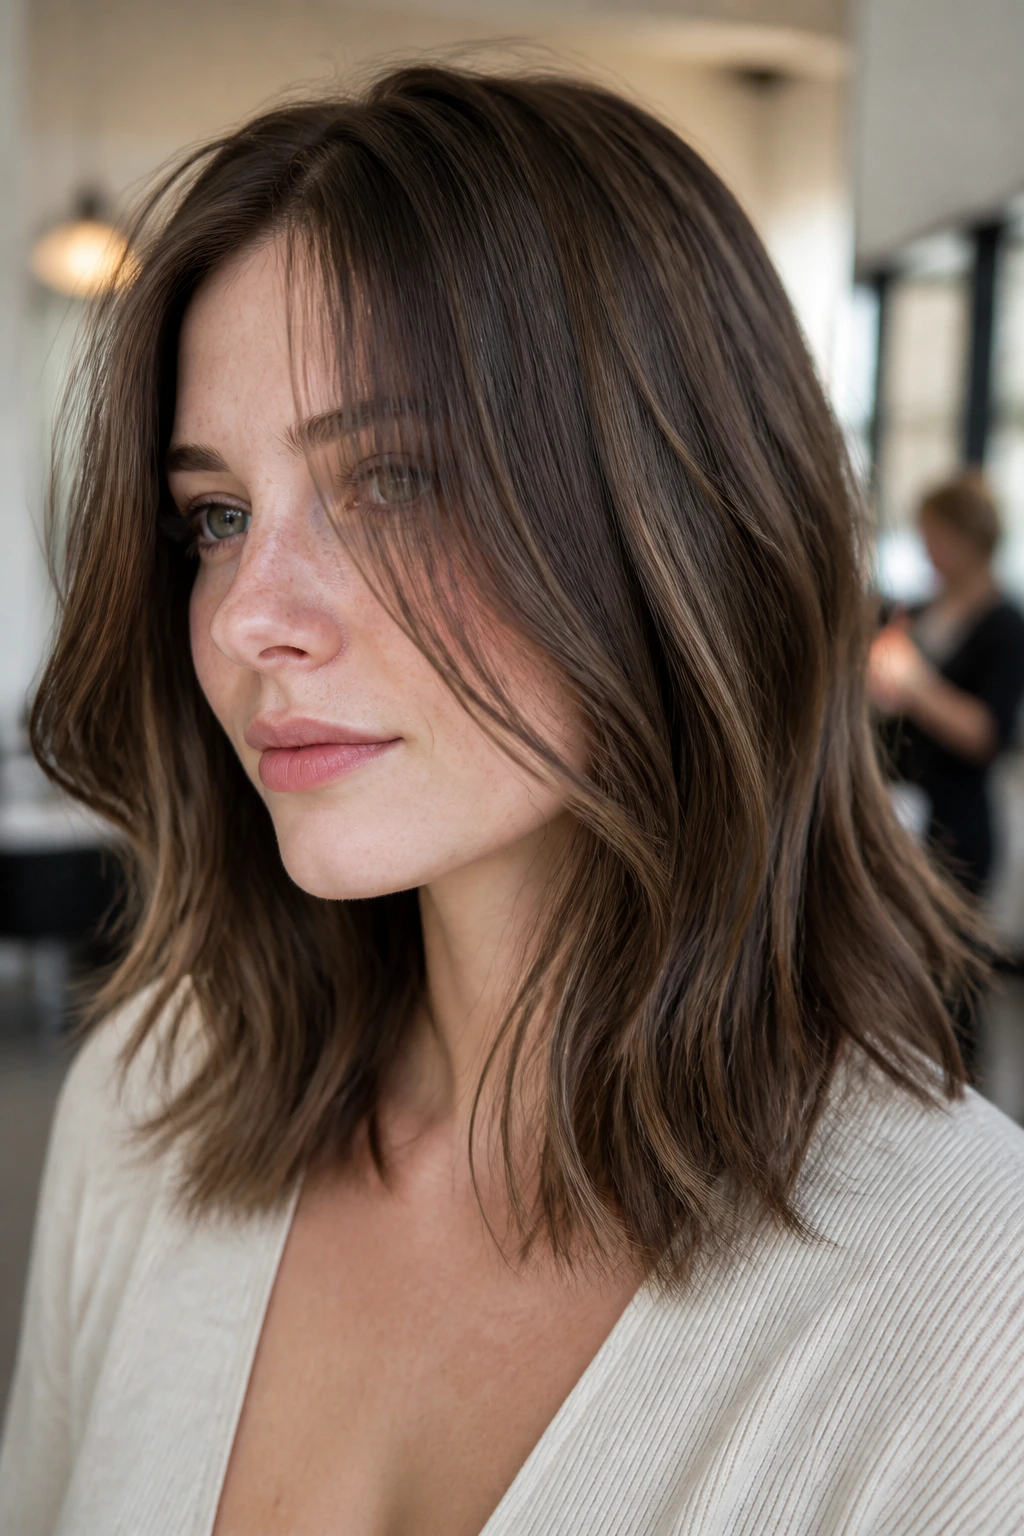
- They work with almost any haircut: Waves, curtain bangs, blunt bobs, shag layers, and long lengths all catch lowlights differently, which means the same brown can read soft, sleek, or bold.
1. Mushroom Brown Ribbons
Mushroom brown is one of those shades that looks expensive without trying to look expensive. The color sits in that cool taupe-brown zone where you still see depth, but you do not get the rusty warmth that can fight with fair skin. On a pale face, it reads like soft shadow in the hairline and not much else, which is exactly why it works.
What Makes It Work
Ask for fine, ribbon-like lowlights about 1 to 2 levels deeper than your base, especially if your hair is already light blonde or dark blonde. Mushroom brown keeps the contrast polite. It’s especially good on cool or pink undertones because it doesn’t drag the skin toward yellow.
This one shines on wavy hair. The bends catch the deeper pieces, and suddenly the whole style looks more layered, even if the cut itself hasn’t changed at all.
2. Cool Mocha Veil
A cool mocha veil is the lowlight I reach for when I want depth that disappears until the light hits it. The brown stays neutral, almost powdery, so fair skin doesn’t get swallowed by it. It feels softer than espresso and cleaner than warm chocolate.
If you want the color to read expensive rather than obvious, this is the lane. A veil of mocha lowlights through the mid-lengths keeps the top lighter and gives the ends enough shadow to stop them from looking see-through.
How to Ask for It
Request a demi-permanent mocha formula with ash balanced into it, then keep the sections thin. On fair skin, chunky pieces can turn the whole style heavy fast. Thin placement lets the brown break up the light without turning into a stripe.
3. Ash Chestnut Face-Framing Pieces
Can lowlights contour the face the way makeup does? Yes, and ash chestnut is one of the easiest ways to do it. Put the darker pieces around the temples, through the front bend of the hair, and a little lower at the cheekbone line. The result is a soft frame that makes pale skin look brighter by comparison.
I like this shade when someone has fair skin with a rosy flush. The ash keeps the red in the chestnut from taking over, so the front of the hair looks deliberate rather than warm for warmth’s sake.
Placement Sweet Spot
Keep the front pieces slightly thinner than a pencil if your hair is fine, or a little wider if your hair is thick and layered. That front zone gets the most visual attention, so one misplaced chunky section can change the whole haircut.
4. Espresso Peekaboo Lowlights
Peekaboo lowlights are for the person who likes a little edge but does not want the color shouting from across the room. Espresso works well here because it hides under the top layer and only shows when the hair moves, flips, or gets tucked behind one ear. On fair skin, that hidden depth keeps the overall look bright while still giving the hair some backbone.
This is a smart option if you wear your hair up a lot. The darker pieces flash through in a ponytail or messy bun and give the style that “there’s more going on here” feeling without a full commitment to dark brown.
Best When Hair Is Up
This placement is strongest on layered cuts. The upper layer stays light enough for the complexion, while the underneath pieces create contrast. If your hair is one length and very fine, ask for a lighter hand so the peekaboo effect doesn’t turn into a block.
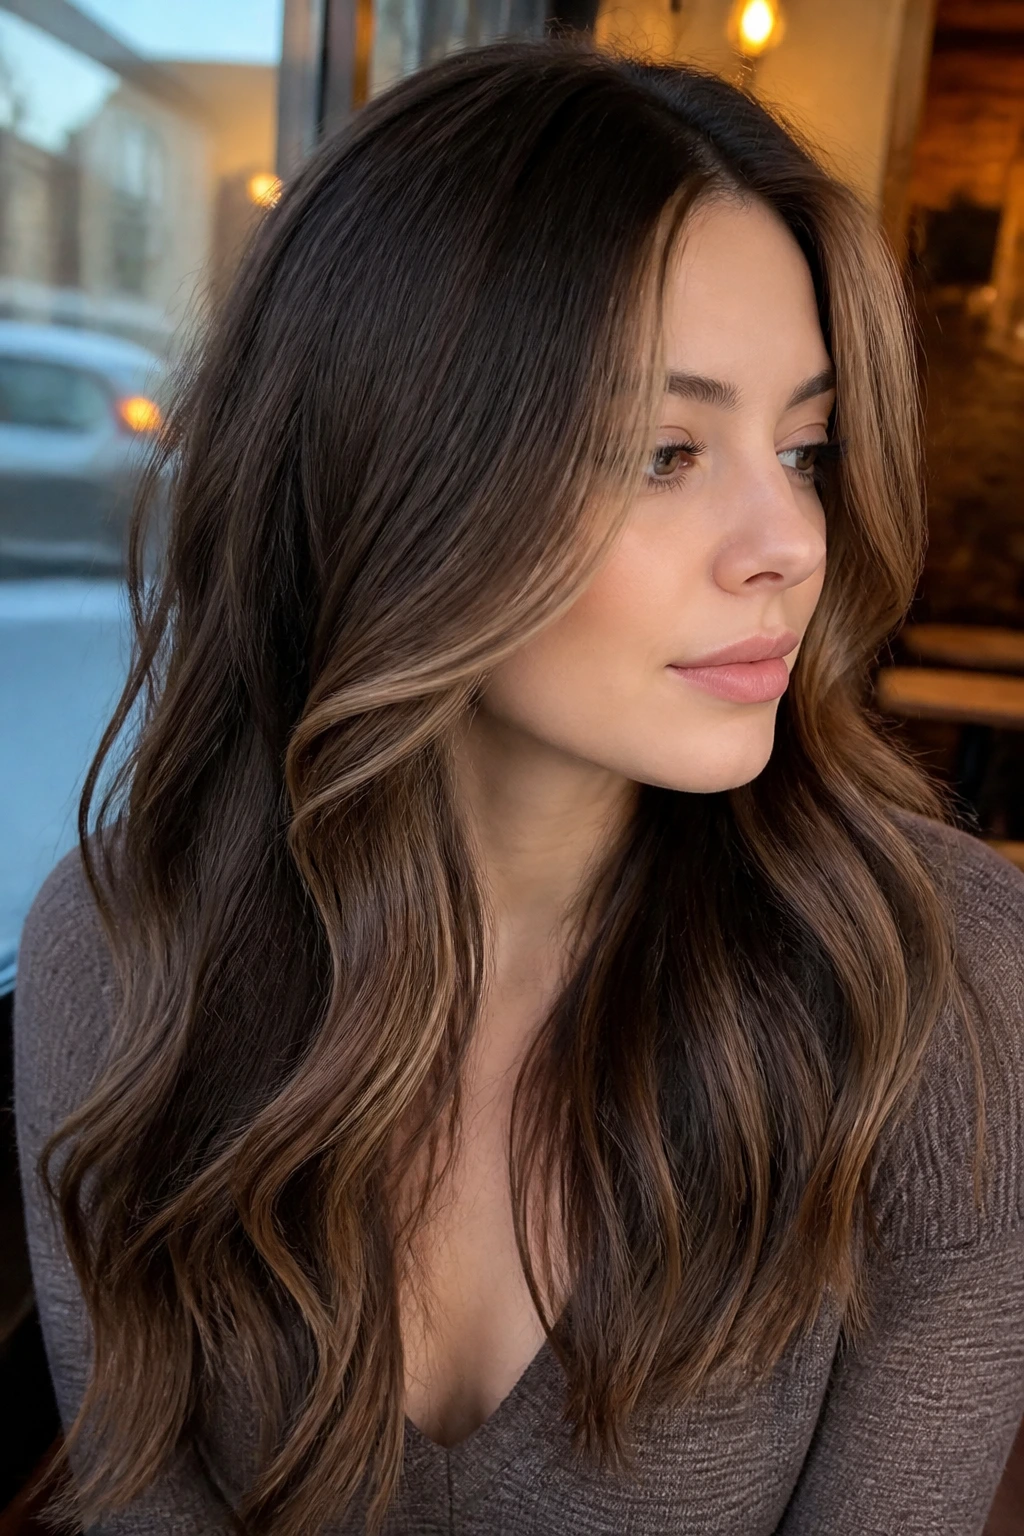
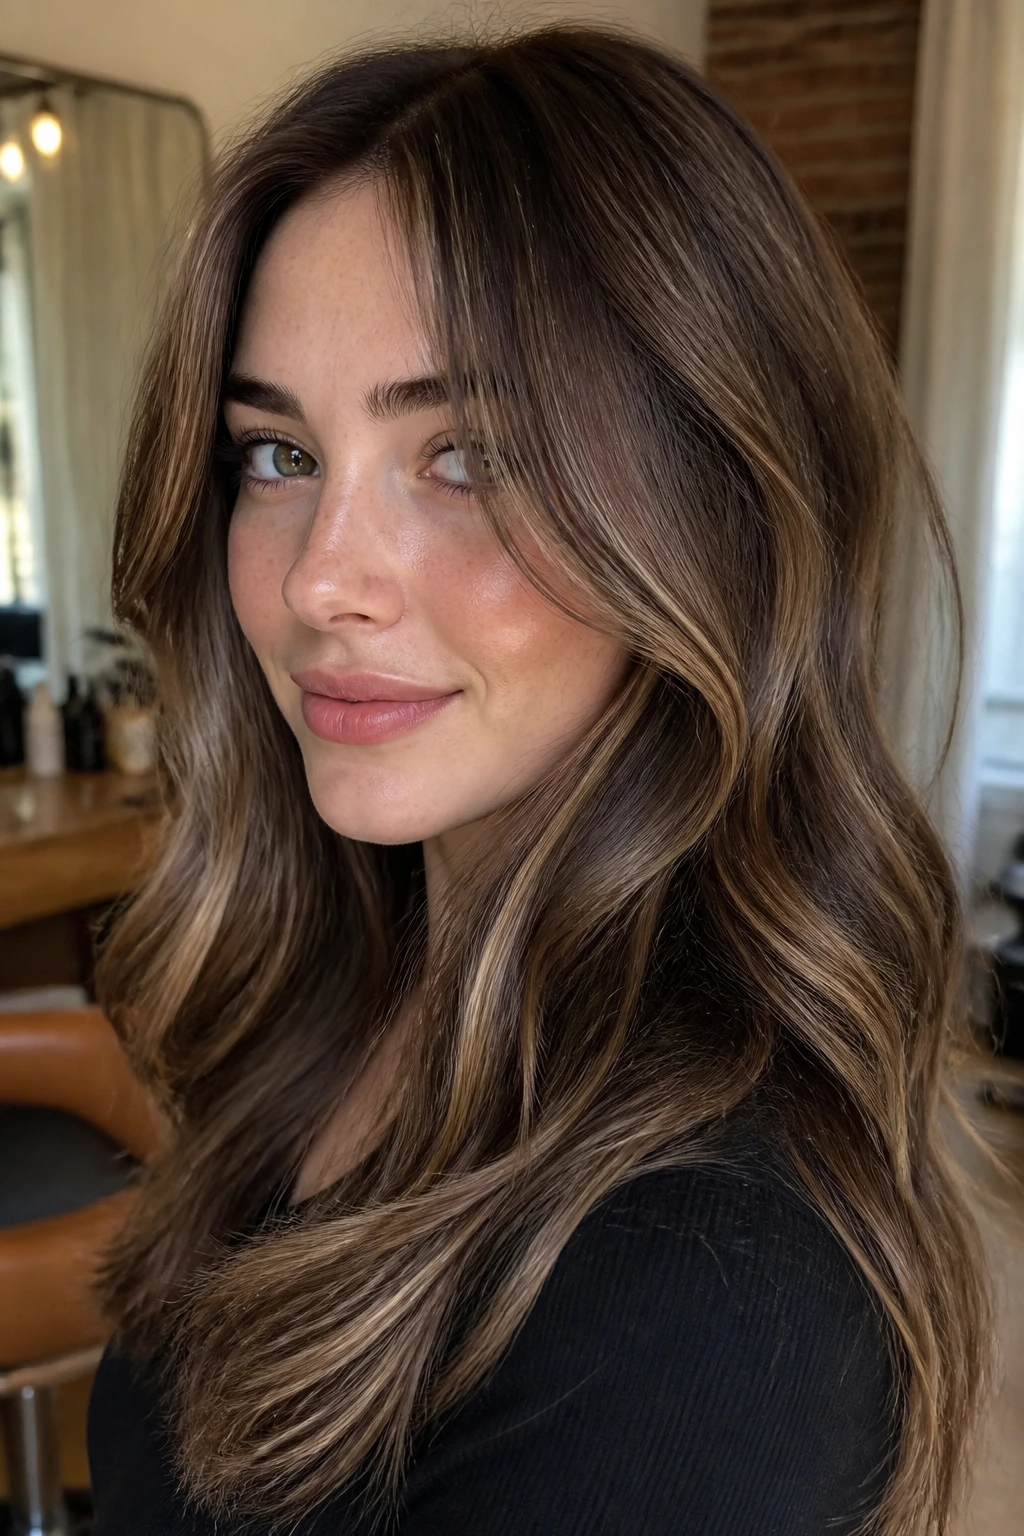
5. Walnut Ribbon Balayage
Walnut brown sits in a useful middle place: deeper than chestnut, softer than espresso, and not so ash-heavy that it looks gray. Ribbon balayage with walnut lowlights gives fair skin a calm frame and keeps the lengths from looking flat in daylight. On waves, it catches in long, fluid strokes that read more natural than striped foil work.
I like this better than all-over darkening because it still lets your lighter base do some talking. The brown becomes a support act, not the whole show.
A good colorist will place the ribbons where the hair bends most—around the crown, through the mid-lengths, and a touch at the ends if the hair is very pale. That keeps the depth from pooling in one spot.
6. Cocoa Underlayer Shadows
Cocoa underlayer shadows are one of my favorite tricks for fine hair. The top layer stays bright and airy, while the darker color lives beneath it, where it builds the illusion of thickness. Fair skin benefits because the face still gets light from the visible top layer, not a curtain of dark color.
This is a quieter technique, but it does more work than people expect. When the hair moves, that hidden brown flashes through and gives the style texture without making the whole head look dyed.
Why Fine Hair Likes This
Fine hair often looks best when the top half is not too dark. Cocoa underlayers solve that neatly. The color sits where it adds body, not heaviness.
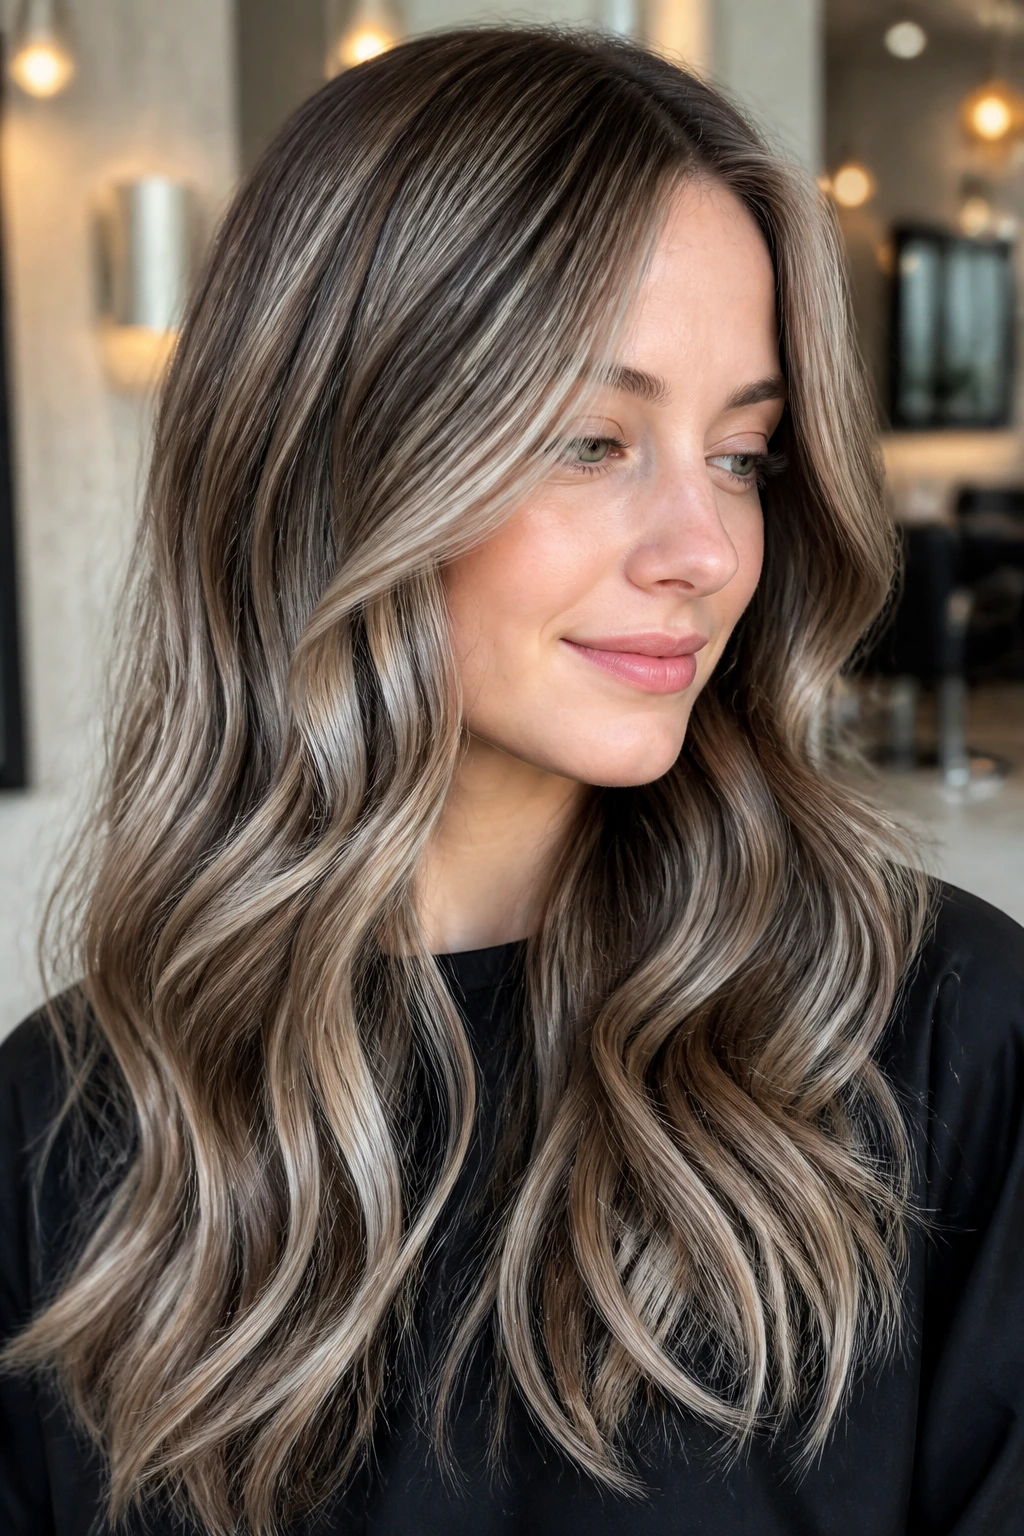
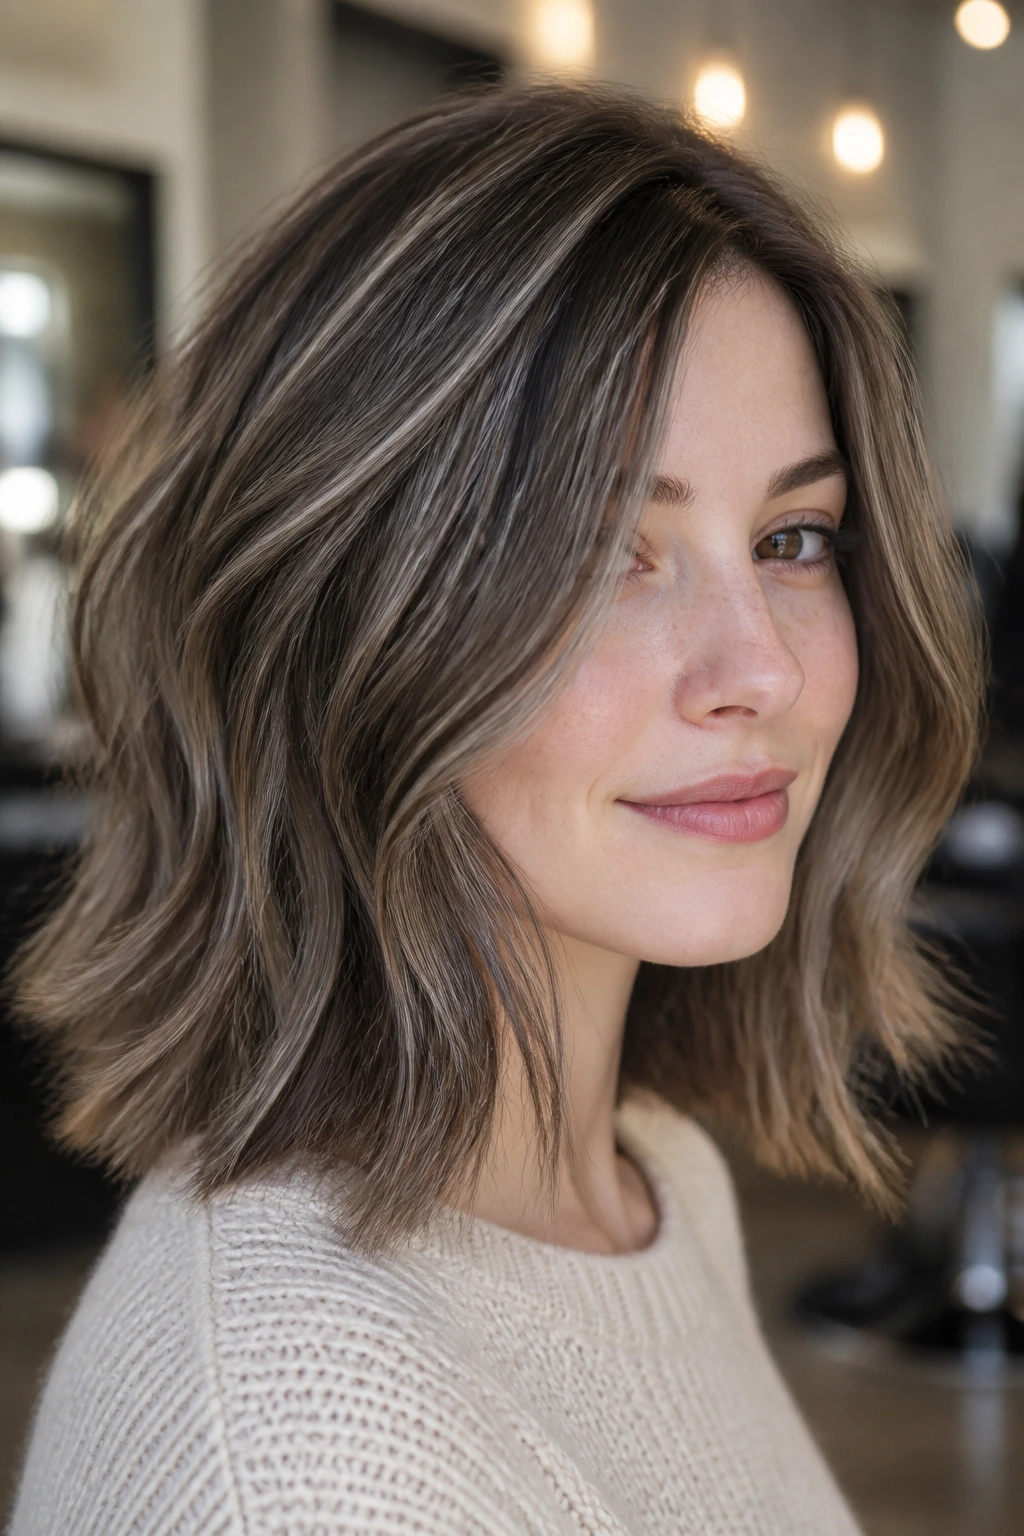
7. Taupe Brunette Micro-Lowlights
Micro-lowlights are the answer when you hate seeing individual stripes in the mirror. Think tiny weaves, thin slices, and a taupe-brown formula that barely steps away from the base. On fair skin, this reads as movement rather than color change, which is a useful distinction if you want subtlety.
The taupe tone matters. It cools the brown enough to keep pale skin from looking yellowed, and the micro placement means the finish looks soft even in harsh bathroom light.
The Reason Micro-Slices Matter
With this approach, the colorist is building shadow in tiny patches instead of laying down obvious panels. The result is less dramatic in the salon chair and better in real life. Wind, waves, ponytails—everything looks a little fuller.
8. Rooted Shadow Lowlights
If your roots are already a shade or two deeper than your lengths, rooted shadow lowlights can make the whole grow-out story look intentional. Instead of fighting the root line, this style borrows from it and drags that deeper shade a little farther down. On fair skin, that keeps the top area grounded without darkening the whole face.
I like this when someone is growing out highlights or baby-blonde color. It buys time. It also makes the hair look less fragile at the root, which matters on very pale blonde bases that can start to look thin when they’re over-lightened.
The nice part is how easy this is to maintain. You’re not chasing a perfect all-over match every few weeks. The shadow is supposed to be there.
9. Milk Chocolate Veining
Milk chocolate lowlights have enough warmth to feel soft, but not so much that they flash orange against fair skin. That makes them a strong choice for neutral or peachy undertones. The color gives the hair a creamier, rounder look than ash shades, which can sometimes feel a little stern on pale complexions.
I prefer this shade when the skin has freckles, warmth in the cheeks, or a little golden cast. It keeps the whole look gentle. Not muddy. Just warmer in a controlled way.
Best for a Softer Finish
Ask for thin veining through the mids and ends, not huge panels. That keeps the milk chocolate tone from taking over. Too much warmth and the hair starts looking brassy; just enough, and it looks plush.
10. Soft Sable Panels

Soft sable panels are for someone who wants the hair to look sleek and deliberate. Compared with ribbons, panels are broader and more visible, but sable keeps them from turning harsh. On fair skin, that contrast can be gorgeous if the skin has enough brightness to hold its own.
This style works best on straight hair, blunt cuts, and polished blowouts. The broader brown sections make the haircut look more tailored, almost architectural.
That said, the color has to stay soft. If the sable goes too black or too flat, the face can lose light fast. Ask for a deep brown with a cool-neutral finish, not jet black pretending to be brunette.
11. Smoked Praline Ends
Smoked praline is a nice choice when you want the ends to carry a little more weight. The darker finish at the bottom stops pale, lightened lengths from looking wispy. On fair skin, that can be a good thing, especially if your hair tends to go transparent at the ends.
I’d use this on long layers or mid-length hair that needs visual grounding. The praline tone should stay muted, not caramel-sweet. The “smoked” part matters because it keeps the warmth from turning sticky or orange in daylight.
The effect is subtle, but it changes how the haircut sits. The ends look thicker. The whole style looks a little more intentional.
12. Coffee Bean Contour Pieces
Coffee bean pieces are the dark version of contouring. You place them around the face, usually just behind the front hairline and into the first bend of the layers, and they create a narrower, cleaner frame. On fair skin, that contrast can sharpen features in a nice way without making the hair feel harsh.
I like this style when the face needs a little structure. Round faces, very soft jawlines, or one-length cuts all benefit from the extra edge. The dark brown should still read as brown, though. If it goes near-black, the effect gets too hard.
The Contour Effect
Think of this as the hair equivalent of a soft brown pencil line. It defines the shape without announcing itself. That’s the sweet spot.
13. Beige Brown Dimension
Beige brown sits in the rare middle where ash and warmth stop arguing with each other. On fair skin, that balance matters. Too much ash can look flat. Too much warmth can look brassy. Beige brown gives you a compromise that stays airy.
This is one of the easiest lowlight shades to wear if you are unsure about undertones. It’s especially kind to neutral fair skin, where the complexion doesn’t want the hair leaning too cool or too golden.
It also grows out gracefully. Beige brown tends to soften as it fades, which means the line between old color and new growth stays blurred instead of obvious.
14. Dark Chocolate Interior Layers
Dark chocolate interior layers are made for thick hair. The color hides inside the haircut, where it breaks up bulk and gives movement to heavy sections. On fair skin, that interior placement keeps the face from being boxed in by too much darkness at the surface.
I like this on long, layered hair that tends to swing as one solid block. The chocolate underneath changes that. It creates depth where the eye least expects it.
If the hair is very thick, a colorist can go a touch deeper here without overwhelming the complexion, because the top surface still stays lighter. That’s the whole point. Let the shadow work below the surface.
15. Chestnut Melt with Soft Contrast
Chestnut can go red fast, and that’s where fair skin gets tricky. A soft chestnut melt keeps the warmth, but it mutes the red so the result looks more like polished brown than copper. On peachy or golden fair skin, this is a lovely match because it gives the face a little warmth back.
The melt part matters. You want a gradual shift, not a hard line. Chestnut lowlights should blend through the lengths like they were brushed into the hair rather than stamped on top.
This style looks especially good on curls and loose waves, where the warmer brown catches the bends and adds depth without needing high contrast.
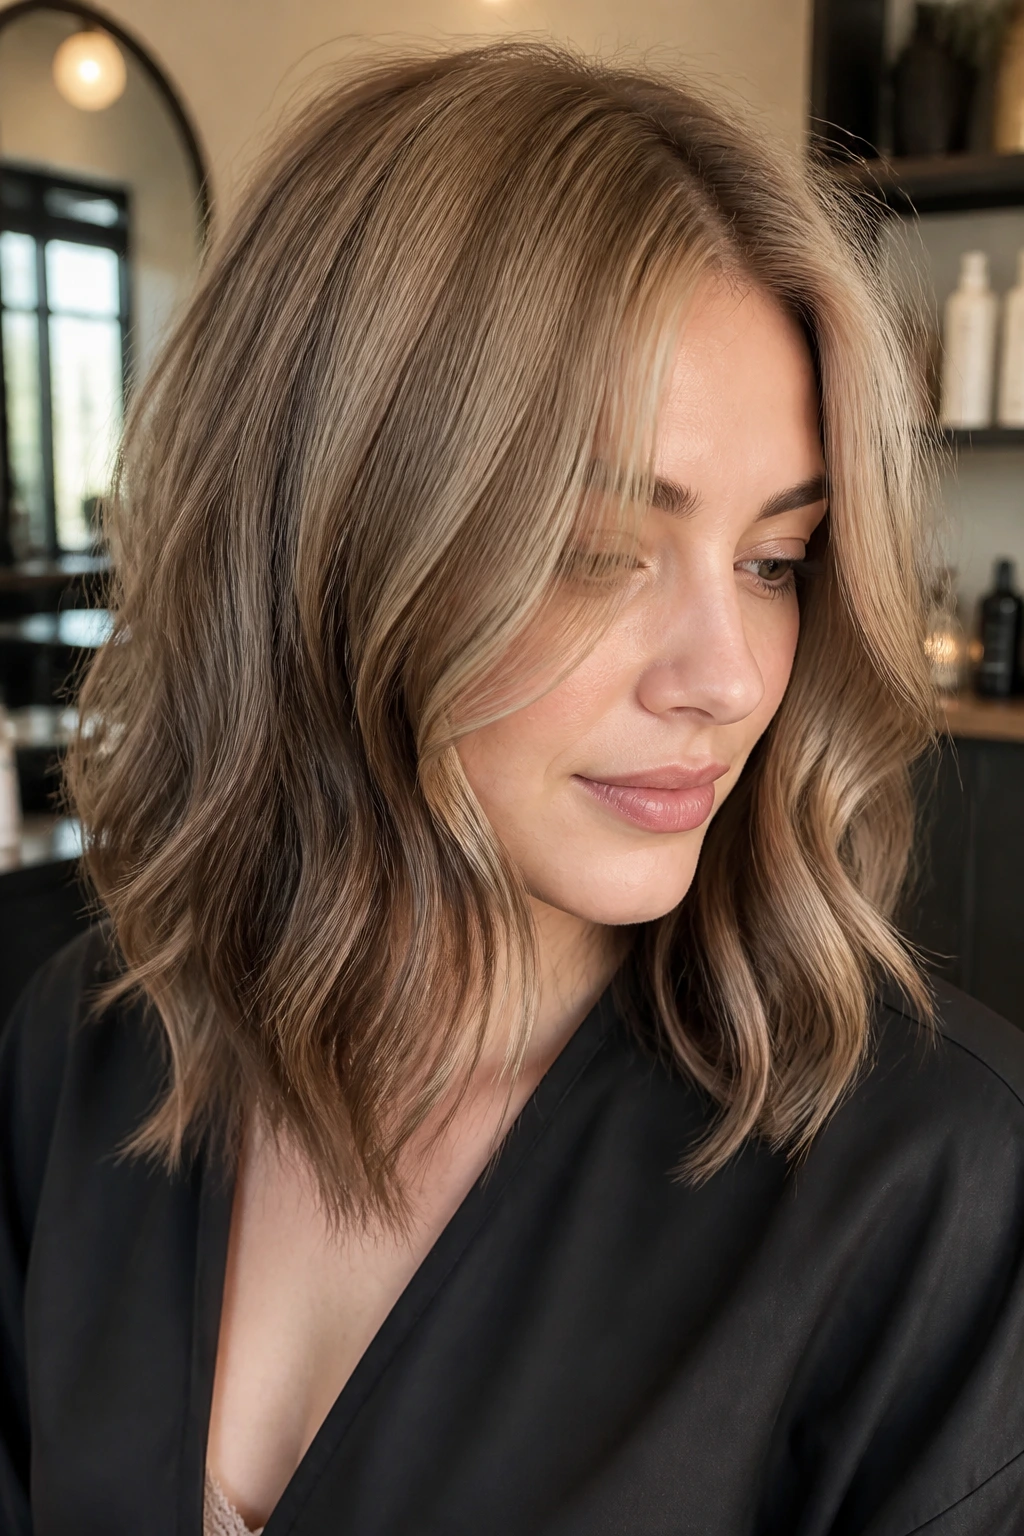
16. Cool Caramel Lowlights
Caramel does not have to be loud. When the formula leans beige and cool, caramel lowlights can be soft enough for fair skin without tipping orange. That’s the version I’d choose for someone who wants warmth but hates brass.
These lowlights work nicely on light brown or bronde hair, where the darker pieces only need to nudge the tone a little deeper. The result is sun-soft, not sticky-sweet. A subtle contrast that still reads brunette.
What to Watch For
Ask for a caramel tone that stays closer to sand than gold. If the brown goes too amber, the skin may start looking pinker by comparison.
17. Smoky Almond Brunette
Smoky almond is one of those shades that looks casual in the best way. It’s brown, but not dense. Warm, but not cinnamon. On fair skin, it reads as a soft deepening rather than a color statement, which is nice when you want dimension without drama.
I like this shade on shoulder-length cuts and shoulder-grazing layers. There’s enough surface area for the color to show, but not so much that the hair starts to feel heavy.
The smoky part keeps it from leaning too sweet. Without that, almond brown can look a little washed in bright light. With it, the shade holds its shape.
18. Chunky 90s Panels, Reined In
Chunky panels can work on fair skin. The trick is to keep the contrast within reason—usually only one or two levels deeper than the base. That keeps the reference to the 90s without making the hair look like a hard block of color.
I like this if you want something bolder than micro-lowlights but still wearable. Straight hair shows the panels most clearly, while waves soften them on the move.
Keeping It Soft
The reason this works is placement and depth control. Big panels need soft edges. If the lines are too clean or the brown too dark, the hair can look striped instead of dimensional.
19. Pecan Brown Curtain Lowlights
Curtain bangs and face-framing layers give pecan brown a nice stage. The color sits near the front edges, then melts back into the length, which makes fair skin look framed without feeling boxed in. Pecan has enough warmth to feel friendly, but it still stays in the brown family rather than drifting copper.
This is a good match if your haircut already has movement around the face. The lowlights act like punctuation. They draw the eye without yelling.
I’d use this on medium-length cuts with a center part or a soft off-center part. The shape of the hair does some of the work for you.
20. Mocha Money Piece Balance
A bright money piece can make fair skin look washed out if the rest of the hair stays too light. Mocha lowlights around that front zone solve the problem by giving the face something to lean against. The light piece still catches attention, but the surrounding brown keeps it from floating awkwardly.
This is one of my favorite hybrid looks because it’s not trying to be precious. It knows the front needs light, but it also knows the rest of the hair needs depth.
The balance matters more than the exact shade. Keep the mocha neutral and soft, and the whole frame looks more deliberate.
21. Walnut Lowlights on Wavy Bobs
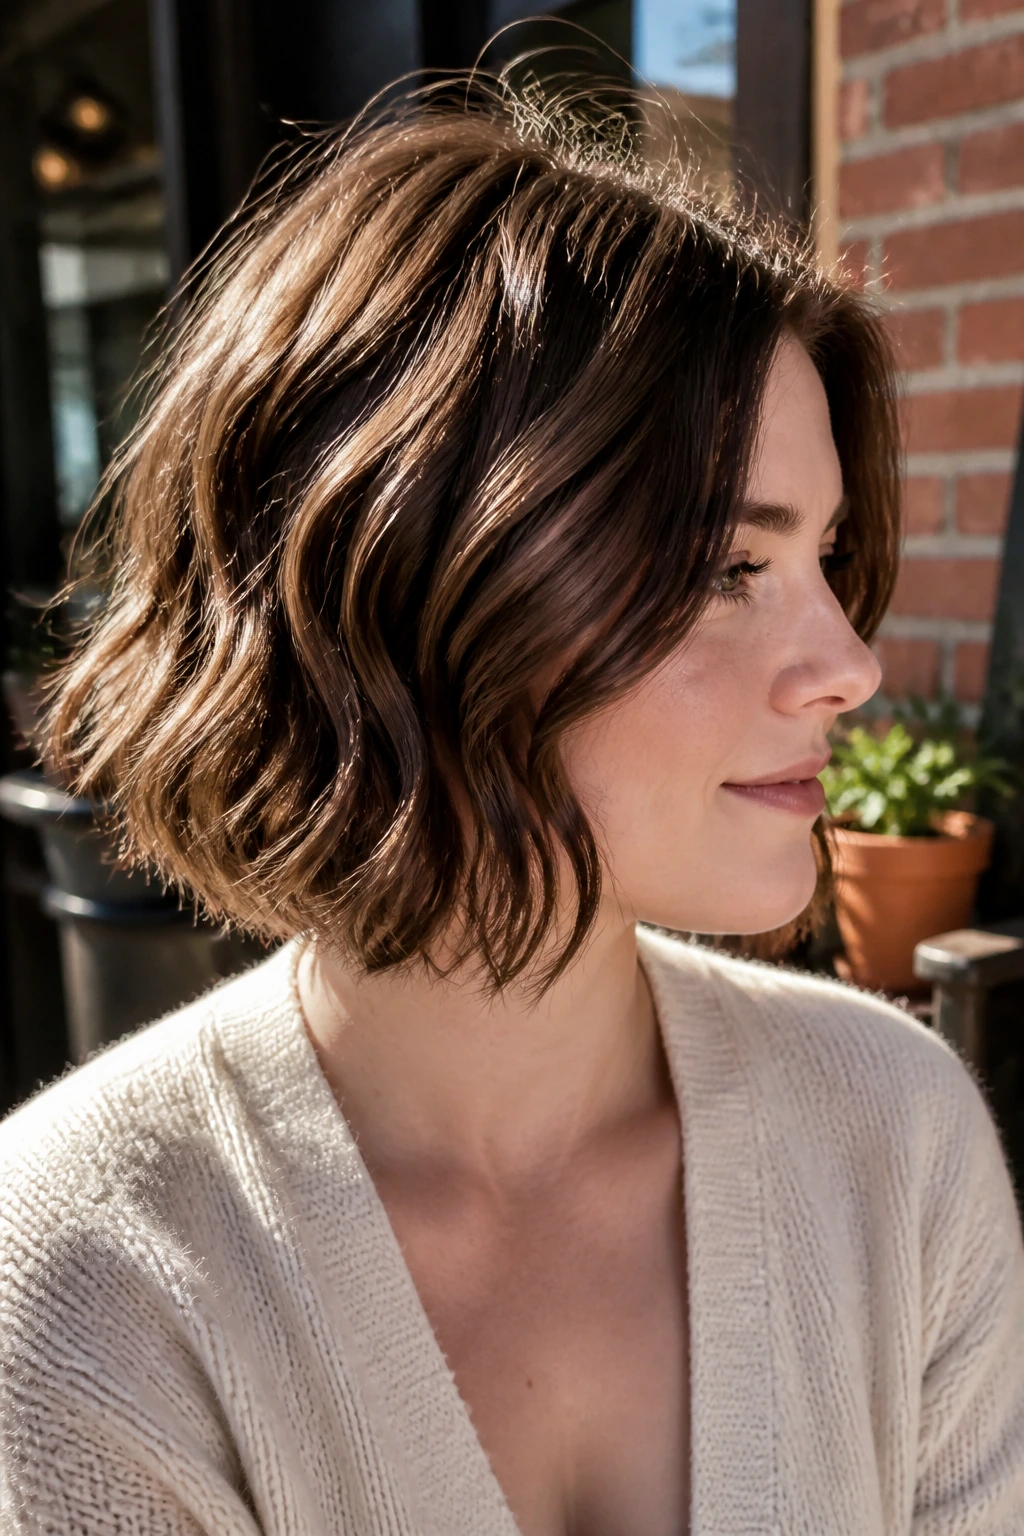
A bob can look blunt in a hurry, and walnut lowlights fix that fast. The deeper brown creates tiny shifts in the wave pattern, so the cut moves instead of sitting like one solid shape. On fair skin, that movement keeps the color from overpowering the face.
This works especially well on chin-length and collarbone bobs. Shorter lengths show every tone change, so walnut is dark enough to matter but not so dark that it closes the cut in.
If the bob is wavy, the lowlights can be a little more obvious. If it is straight, keep them finer and let the cut do the rest.
22. Velvet Espresso Underlights
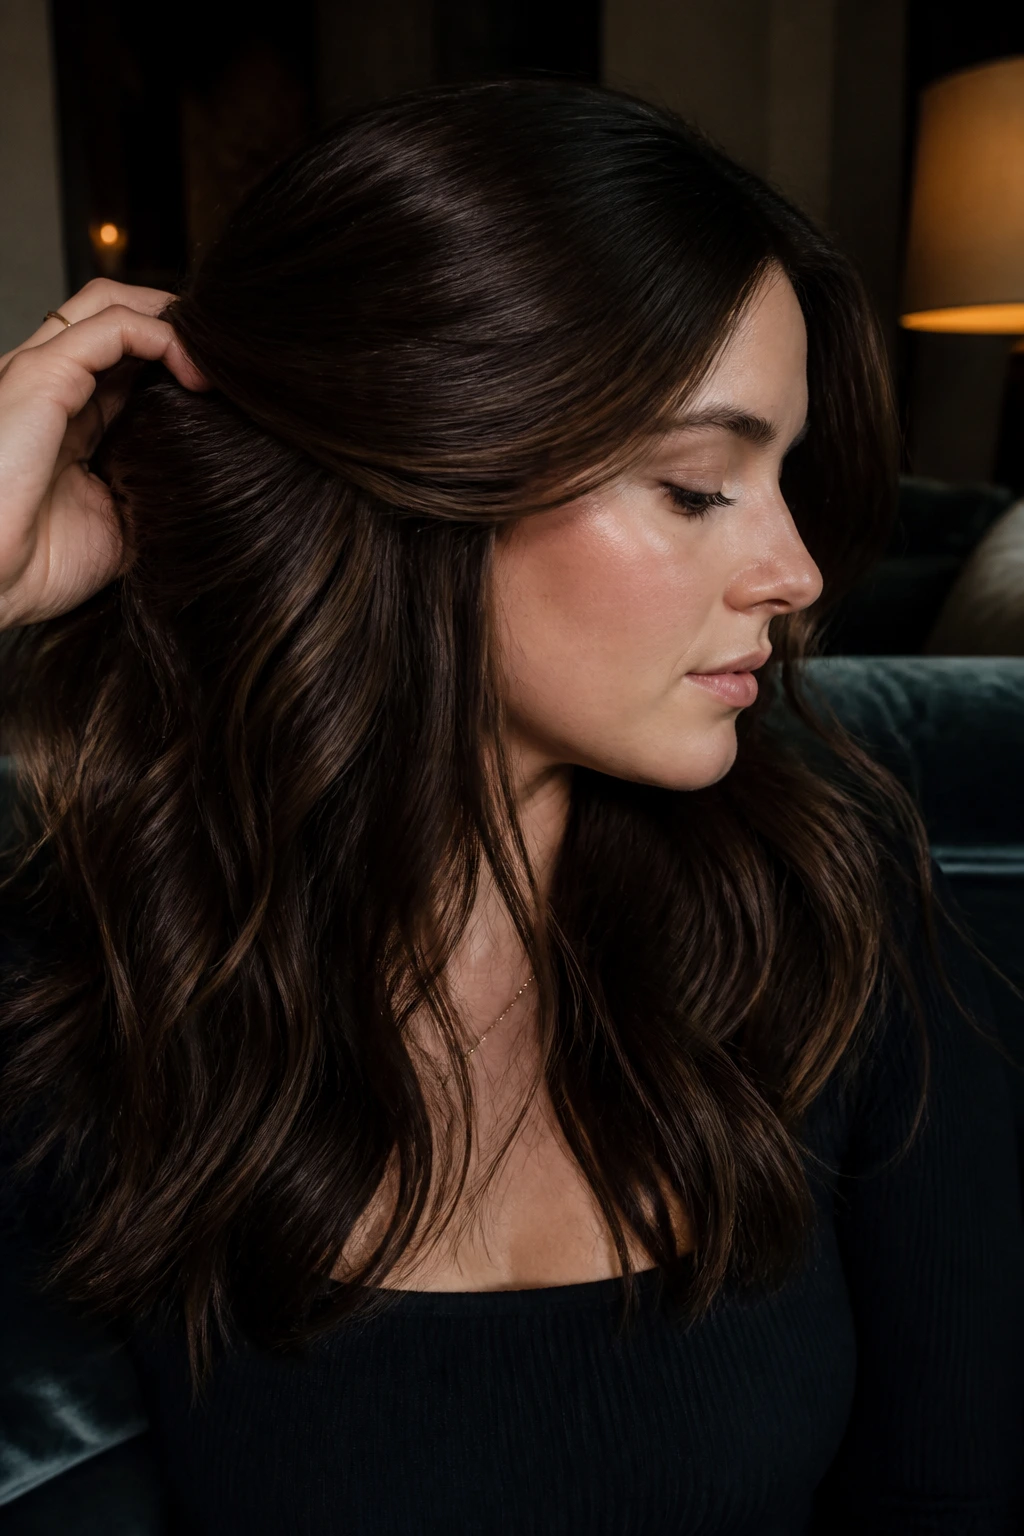
Velvet espresso is richer than ordinary espresso because it has a softer finish, almost like fabric under a lamp. Put it underneath the surface, and it turns the hair into something that feels plush rather than severe. On fair skin, that hidden depth can be more flattering than obvious streaks.
I like this when someone wants a darker brunette note but doesn’t want the front of the hair to go heavy. Underlights stay hidden until the hair shifts, which keeps the face bright and the style interesting.
Why Underlights Look Richer
The top layer acts like a veil. It softens the darkness below, so the espresso reads as depth rather than weight. That’s why this placement feels smoother than all-over darkening.
23. Cinnamon-Brown Softening Strands
Cinnamon-brown can be gorgeous on fair skin with warm undertones, freckles, or a little natural peach in the cheeks. The key is restraint. A few soft cinnamon strands warm up the hair and make the complexion look lively. Too many, and the hair starts flirting with red.
I like this when a person wants the brunette to feel a little cozy. Not orange. Just warm enough to soften the overall look.
Use this sparingly around the face and through the mid-lengths. That gives the color a soft glow without letting it dominate the whole head.
24. Sandy Brown Reverse Balayage
Reverse balayage is a smart fix when the hair has gone too light or too one-note. Instead of painting lighter pieces, you add darker sandy brown back into the lengths and ends so the blonde stops looking flat. On fair skin, sandy brown keeps the effect gentle; it gives depth without making the complexion look dull.
This is one of the easiest ways to stretch out highlights. The color sinks into the old lightness and breaks it up.
Why Reverse Balayage Works
It creates the feeling of regrowth in a controlled way. That sounds odd, but it’s useful. The hair looks lived-in rather than over-lightened.
25. Sable Lowlight Lattice
A lowlight lattice means crosshatched placement: thin dark strands laid in a pattern that builds density without obvious lines. Sable gives the structure a deep, polished feel. On fair skin, it can add a lot of dimension while staying sophisticated enough for straight, glossy styles.
This technique is especially good when the hair is very light and needs more visual weight. The lattice keeps the color from appearing random. It feels deliberate, almost woven.
If you want the effect to stay soft, keep the sections narrow and the depth moderate. The pattern should disappear at a glance, then show itself when the hair moves.
26. Smoky Toffee Glow
Smoky toffee is what I suggest when someone wants warmth but doesn’t want caramel to take over. The smoky part tones down the sweetness, and the toffee note gives the brunette a little glow. On fair skin, that glow can look especially nice if your undertones are neutral-warm.
This is a good color for soft curls and loose ponytails. It catches light nicely, but not in a shiny, yellow way.
The tone should sit low and smooth. If it starts going orange, it loses the whole point.
27. Deep Truffle Ends

Deep truffle ends are a nice fix for long hair that feels floaty at the bottom. Darkening the last few inches creates weight and makes the hair look more finished. On fair skin, that low contrast at the ends can actually be kinder than a strong all-over brunette shift.
I’d use this on long layers, especially if the ends have been lightened for a while. The truffle tone gives the cut a stronger line and makes the lengths look thicker in photos and real life.
This one is subtle, but the silhouette changes. The hair stops drifting.
28. Soft Brown Gloss-and-Lowlights Combo
Sometimes the best brunette lowlight look is not about the strands at all. It’s the finish. A soft brown gloss over lowlights smooths the tone, knocks out unwanted warmth, and gives fair skin a calmer frame. The result feels polished because the color sits together instead of fighting for attention.
I like this when someone wants the least obvious version of brunette depth. The lowlights create the movement. The gloss ties them together.
A Low-Maintenance Finish
Gloss plus lowlights is a practical move if you dislike sharp grow-out lines. The color fades in a soft way, and the hair keeps looking deliberate even when the appointment has started to age.
The Tone Rule That Keeps Fair Skin Bright
The fastest way to ruin brunette lowlights on fair skin is to think only in terms of “dark brown.” That’s too blunt. A better rule is to think in undertone, level, and placement. The level tells you how deep the brown goes; the undertone tells you whether it reads ash, neutral, warm, or red; the placement tells you whether the color frames the face or disappears under the top layer.
For cool or pink fair skin, ash chestnut, mushroom brown, taupe brown, and cool mocha usually behave well because they keep warmth from bouncing back into the complexion. For neutral fair skin, beige brown and soft sable are easier to wear because they sit between cool and warm. For peachy or golden fair skin, milk chocolate, chestnut, smoky toffee, and even a controlled cinnamon note can look soft instead of brassy.
Depth matters too. If the lowlights are more than a few levels darker than the base, they can start to look like separate pieces instead of part of the hair. That’s when fair skin can feel overwhelmed. Keep the contrast thoughtful, not dramatic, and the whole face stays brighter.
Essential Tools for a Lowlight Appointment
- Saved reference photos: Bring 2 to 3 photos in daylight and indoor light so your colorist can see whether you want soft, smoky, or more defined dimension.
- Tail comb: Thin sectioning gives cleaner placement, especially for micro-lowlights and face-framing pieces.
- Tint brush and bowl: Needed for precise application and to keep the formula even from root to mid-length.
- Foils or meche papers: Useful when you want the deeper pieces to stay controlled and not bleed into lighter strands.
- Hair clips: Sectioning clips keep the top layer out of the way while underlayers are processed.
- Color-safe shampoo and conditioner: Sulfate-free formulas help the brown stay softer for longer and keep the hair from feeling stripped.
- Gloves: A basic but non-negotiable salon tool; brown pigment stains hands fast.
- Heat protectant spray: If you blow-dry or curl your hair, this helps the color hold its shine and keeps the ends from looking rough.
- Gloss or toning mask: Handy for between appointments if your lowlights start leaning warm or flat.
What to Tell Your Colorist Before the Foils Go In
The cleaner the brief, the better the result. Say what you do and do not want. If you like soft contrast, say that. If you hate anything that reads red, say that too. A good colorist can work with “mushroom brown, not chocolate cherry” far faster than with “make it brunette.”
Bring up your skin tone in plain language. Pink, peach, neutral, golden—those words help. So does hair history. If your hair has been lightened, toned, boxed, or glossed recently, the formula and placement need to respect that. Porous ends grab color darker and faster than healthy mids, which is how people end up with lowlights that look like patches instead of ribbons.
Ask whether the formula should be demi-permanent or permanent. For many fair-skinned clients, demi-permanent brunette lowlights are easier to soften later and less risky if you want the brown to stay dimensional rather than opaque. If the salon uses foil placement, ask how fine the sections will be. Thin sections give a softer effect; bigger sections make the dimension more obvious. Neither is wrong. They just do different jobs.
How to Wear Brunette Lowlights with Fair Skin
Styling: Loose bends are the easiest way to show off brunette lowlights because the curves catch each tone at a slightly different angle. A flat iron wave, a round-brush blowout, or even a messy braid-out will make the shadow pieces more visible than pin-straight hair.
Makeup: If the brown is cool, a peach blush and a soft rose lip keep the face from looking flat. If the brown leans chestnut or toffee, taupe shadow and a neutral lip stop the whole look from getting too warm. A bright under-eye concealer can also help fair skin stay awake next to deeper hair.
Haircuts: Lowlights behave best on layered lobs, shags, curtain bangs, and long cuts with movement. A blunt one-length style can still wear them, but the placement needs to be more careful so the color doesn’t turn into a dark shelf.
Accessories: Gold hoops, tortoiseshell clips, and dark headbands often look good with brunette lowlights on fair skin because they echo the depth in the hair without competing with it. If you wear a lot of black clothing, a softer brown shade can keep the overall look from feeling too severe.
Easy Ways to Keep the Color Soft Between Visits
Tone Saver: Wash with lukewarm water and keep the shampoo focused on the scalp, not the mid-lengths. Brown pigment fades fastest when the hair gets stripped at the ends.
Shine Saver: Use a lightweight glossing cream or serum on the lower half of the hair only. A pea-sized amount is usually enough if your hair is fine; more than that and the pieces can clump together.
Time-Saver: If you like salon-fresh depth without frequent recoloring, ask for a demi-permanent formula and a soft root shadow. Both fade more gracefully than a harsh permanent brunette band.
Make-It-Yours: If you lean cool, choose mushroom, mocha, or taupe. If you lean warm, reach for chestnut, milk chocolate, or smoky toffee. If you are not sure, beige brown tends to be the safest middle road.
Common Mistakes That Make Brown Hair Look Heavy
- Going too dark too fast: If the lowlights jump several levels below the base, fair skin can look drained. Fix it by asking for a softer gap between base and lowlight, usually just 1 to 3 levels.
- Picking red-brown when you wanted neutral brown: Copper and auburn can look louder than expected under daylight and make pale skin read red. Ask for ash, beige, or mushroom notes if you want control.
- Using thick sections everywhere: Big panels can be chic, but too many of them turn into a block. Keep the placement thinner at the face and crown if you want softness.
- Ignoring your haircut: Lowlights on a blunt, heavy shape need a different map than lowlights on a layered shag. If the placement fights the cut, the hair can look flat at the bottom.
- Skipping a gloss: Brown can fade into a dull, muddy shade if it is not refreshed. A clear or tinted gloss brings the tone back without adding more depth.
Variations and Alternatives to Try Next Time

Gloss-Only Smoke: If you want the brown effect without obvious strands, ask for a smoky brunette gloss over your current color. It’s quieter than foil work and useful when you want depth but hate visible pieces.
Reverse Balayage Reset: This is the smartest move for over-lightened hair that needs darkness brought back in. The darker brown is painted into the lighter lengths so the blonde breaks up and feels less stark.
Face-Frame Balance: Keep the front pieces light, but add mocha or ash chestnut around them so the brightness has a frame. This works well if a money piece has started to look too loud on fair skin.
Warm Chestnut Shift: For peachy or freckled fair skin, a controlled chestnut lowlight can warm up the face without drifting into copper. It’s a better fit than ashy brown when the complexion needs a little life.
Maintenance, Refreshing, and Grow-Out
Brunette lowlights usually hold for 6 to 10 weeks before the tone starts to soften, though that window depends on how light your base is and how often you wash. If the color is demi-permanent, it may fade into a softer version of itself rather than disappearing entirely. That is often the best-case scenario for fair skin, because the grow-out stays gentle.
I’d refresh the tone with a gloss every 4 to 6 weeks if the brown starts turning flat or warm. A full lowlight retouch can wait longer, often 8 to 12 weeks, especially if the placement is underlayer-heavy or the root shadow is doing most of the visual work. If your hair is porous at the ends, a nourishing mask once a week can stop the lowlights from going dull.
Heat changes the finish faster than people expect. Blow-dry with a protectant, keep flat irons out of the highest heat setting unless your hair is coarse, and rinse with cool water at the end if the hair feels thirsty. A silk pillowcase helps too. Not glamorous. Effective.
Questions People Ask Before They Sit in the Chair
Will brunette lowlights make fair skin look washed out?
Not if the tone and placement are chosen well. Cool and neutral browns usually keep fair skin looking brighter because the contrast sits inside the hair instead of across the face. The problem usually comes from going too deep or too warm.
What brown shade works best for cool fair skin?
Mushroom brown, cool mocha, taupe brunette, and ash chestnut tend to behave the best. They keep the hair from pulling red or orange, which is what can make cool skin look ruddy.
Can I add lowlights to blonde hair without going too dark?
Yes. Ask for thin ribbons or micro-lowlights only 1 to 2 levels deeper than the base. That gives dimension without a sudden jump in darkness.
Are lowlights better than highlights for thin hair?
Often, yes. Lowlights can make fine hair look fuller because they create shadow under the top layer. Highlights can make very fine strands look even lighter and more see-through if they’re overdone.
How often do brunette lowlights need refreshing?
Most people need a tone refresh every 4 to 8 weeks and a placement refresh every 8 to 12 weeks. If your hair is low-porosity and holds pigment well, you may get longer wear.
Can I do brunette lowlights at home?
You can, but it’s easier to overdo it at home because the sections are hard to control. If your hair is very light or highly processed, a salon visit is safer. Home kits also tend to run warmer than people expect.
What if the lowlights turn orange?
That usually means the formula was too warm or the hair pulled pigment unevenly. A cool gloss or ash toner can help, but if the color is very orange, it’s better to let a pro correct it rather than stacking more dye on top.
Can lowlights work with balayage or a money piece?
Absolutely. In fact, that mix often looks more modern than doing one technique alone. The lowlights give the bright pieces a frame so the face doesn’t get washed out.
A Softer Kind of Brown
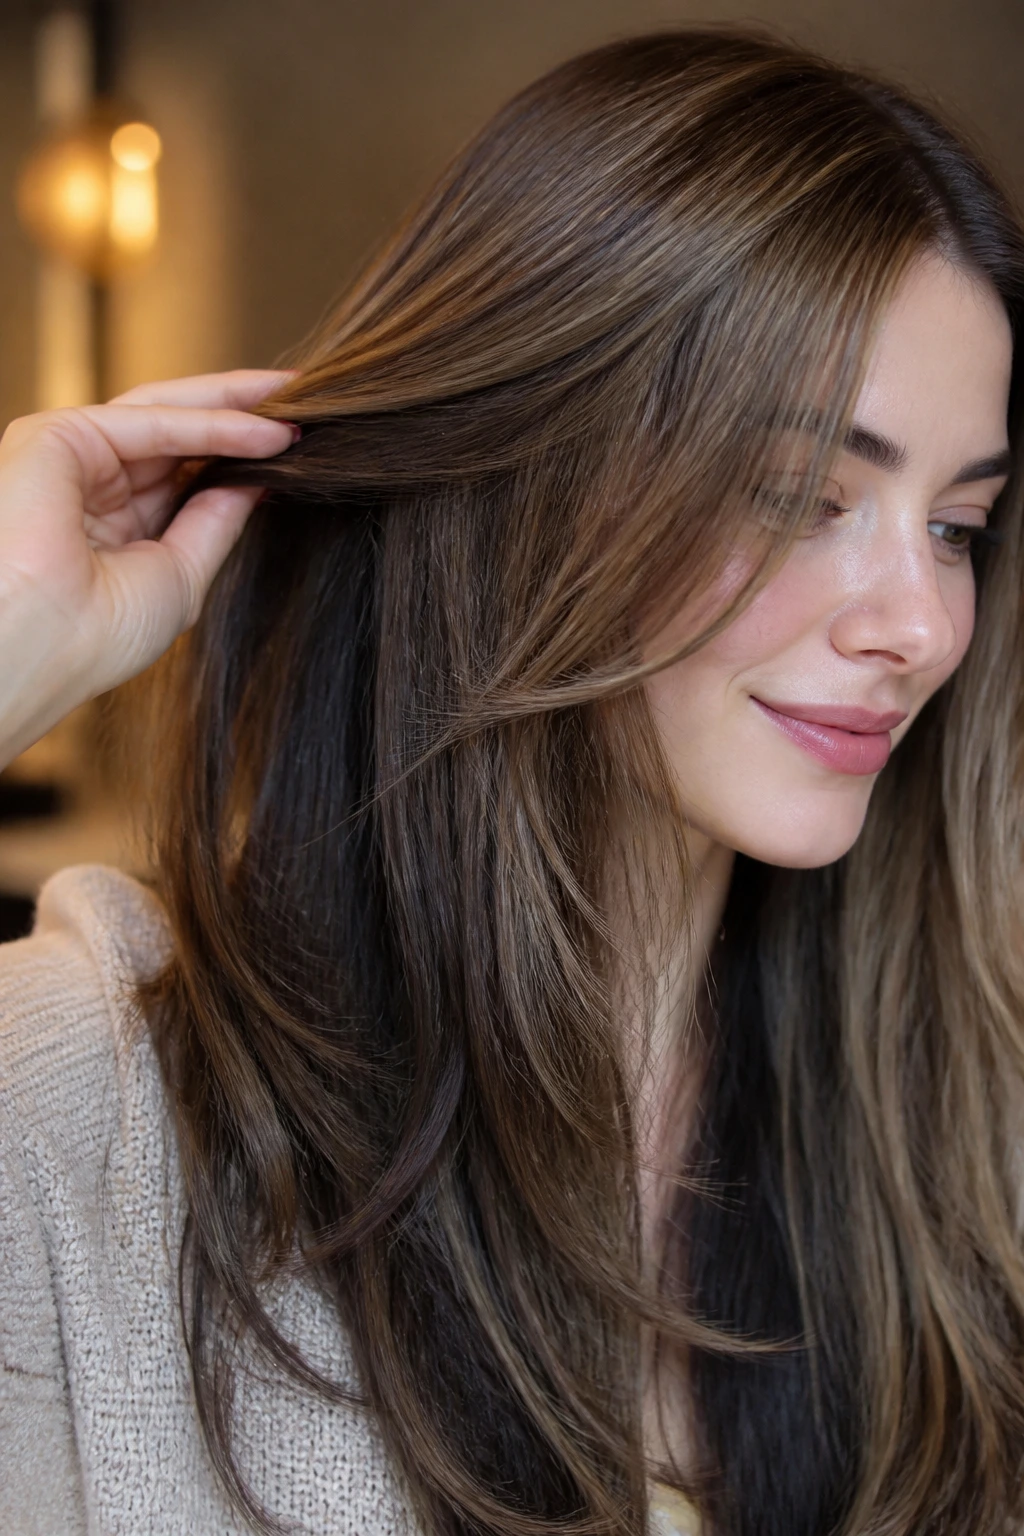
The nicest brunette lowlights on fair skin do not shout. They sit in the hair like soft shadow, and that shadow does the heavy lifting. Mushroom, mocha, walnut, chestnut, and espresso all have their place, but the best version is the one that respects your undertone and your haircut.
If you’re heading to a colorist, bring photos that show both the shade and the placement you want. One picture rarely tells the full story. The combination of tone, depth, and where the brown lands around your face is what turns a decent brunette into one that looks tailored.