Curls with lowlights have a sneaky kind of impact. A few darker ribbons tucked under the crown can make spirals look denser, sharper, and more defined without turning the whole head into one flat shade.
On curly hair, color never sits still. A bend catches light on one side and shadow on the other, so lowlights work a little like contouring for texture — not the fake kind, the useful kind that changes what the eye reads first. That’s why curly hair with lowlights can look rich and dimensional even when the haircut itself stays simple.
The wrong placement, though, can go chunky in a hurry. Thick dark streaks sitting on top of the curl pattern can make the roots feel heavy and the ends look muddy, while smarter placement follows the coils, the bend, and the haircut’s natural shape. The styles below lean into that logic instead of fighting it.
Why This Collection Feels Different
Depth Without Blur: Darker strands break up the solid mass of curls and keep ringlets readable, especially when your hair shrinks up after drying.
Better Shape, Not Just More Color: Lowlights can sharpen a bob, soften a triangle shape, or give long curls a cleaner outline at the shoulders.
Grow-Out That Doesn’t Scream: Because the darker pieces blend into the base, the color usually grows out softer than a blunt all-over dye job.
Works Across Curl Patterns: Loose waves, corkscrews, and tight coils all take lowlights differently, and each texture gives you a different kind of shadow.
Low-Maintenance in the Right Way: The styling can be as simple as cream, gel, and a diffuser, but the color still looks deliberate when the curls move.
Good for Flat Days: On second- or third-day curls, the darker pieces keep the style from turning into one puffy silhouette.
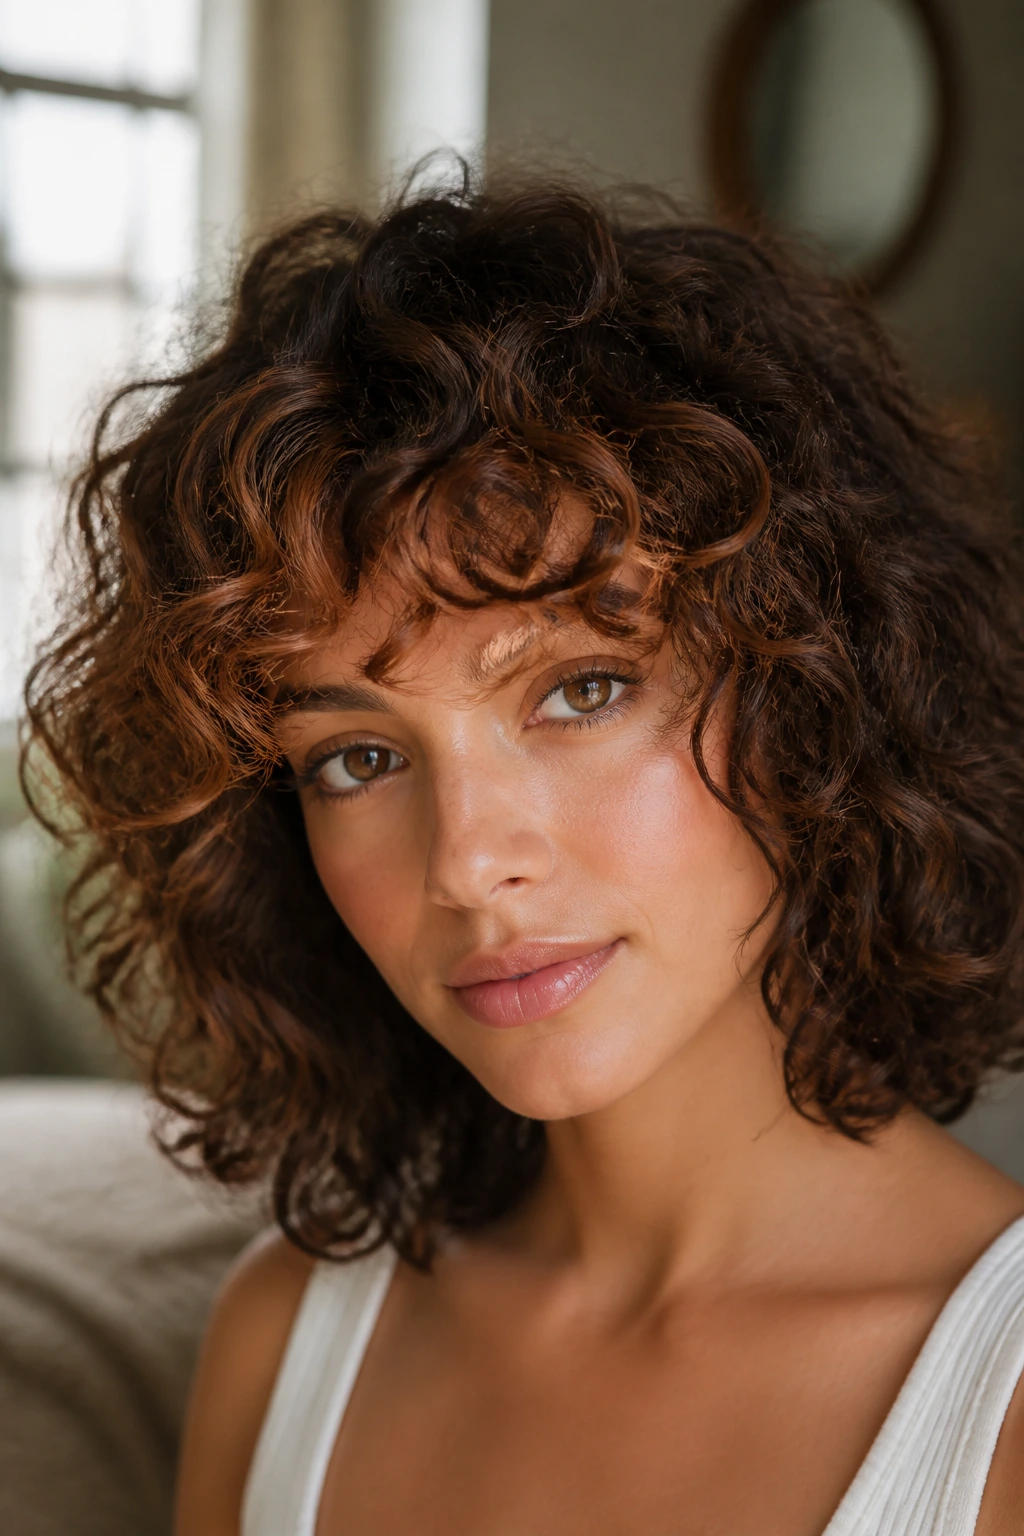
1. Long Layered Wash-and-Go with Mocha Lowlights
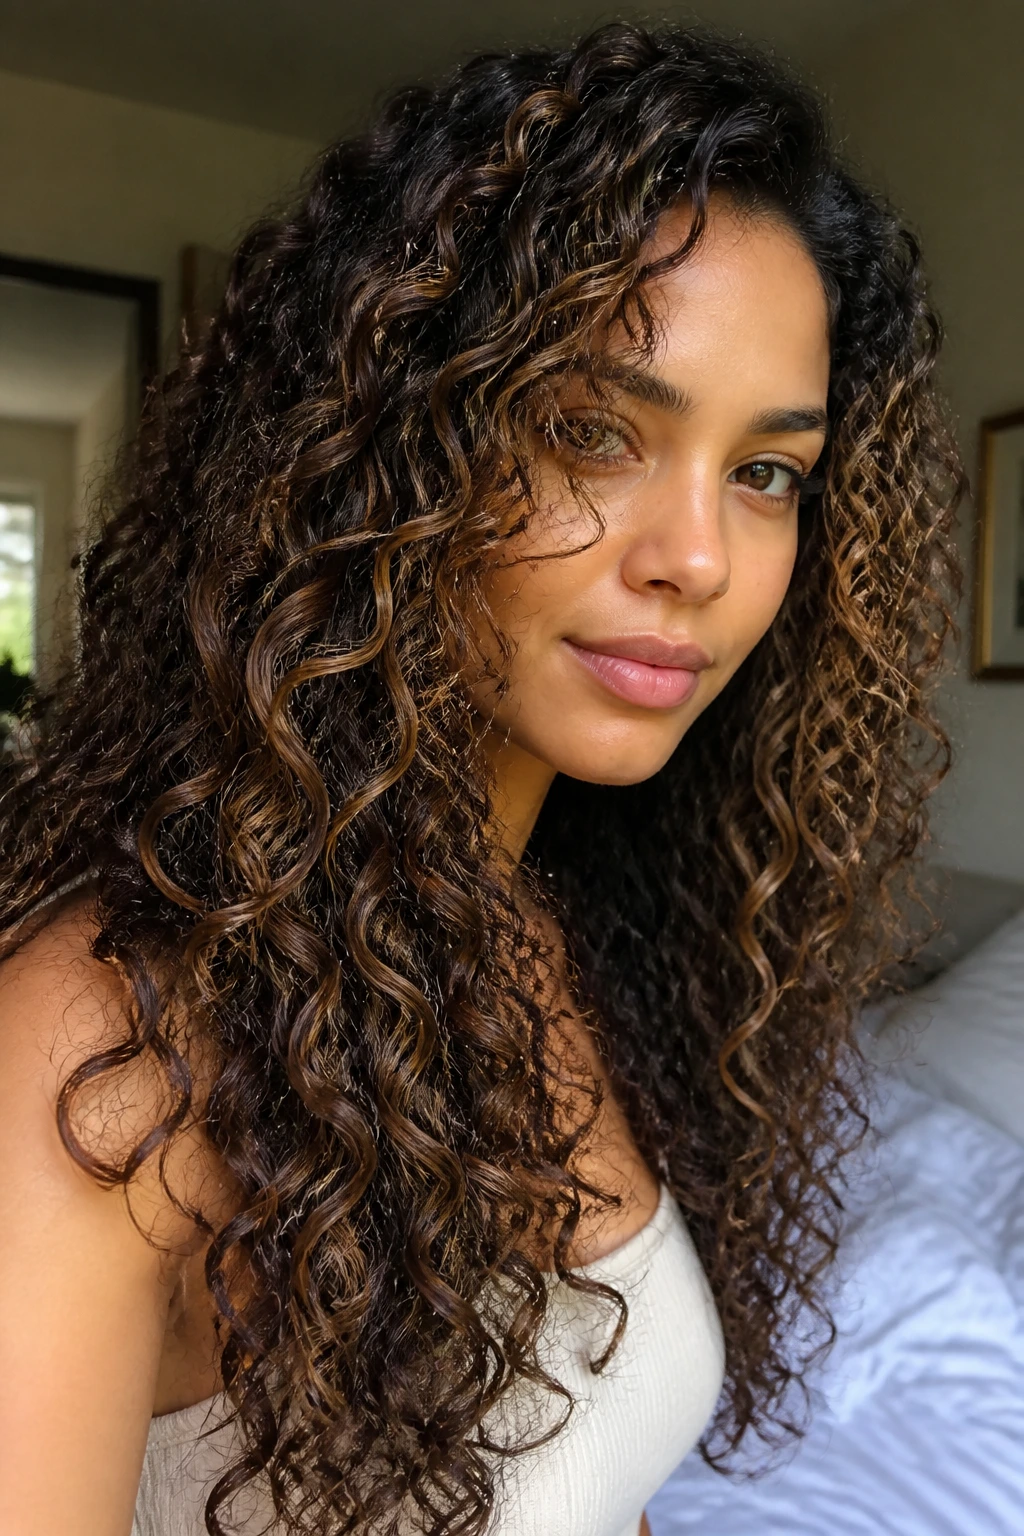
A long wash-and-go gets a lot more life when mocha lowlights sit under the top layer and between the bigger curl clumps. The hair still looks soft and touchable, but the darker strands keep the shape from melting into one big cloud.
Why It Works
The trick here is placement, not drama. If the lowlights sit mainly through the interior and nape, the top layer keeps its brightness while the lower curls pick up shadow and depth.
- Best for: 3A to 3C curls that already clump well.
- Placement: Under the crown, through the mid-lengths, and along the underside.
- Styling note: Use a curl cream plus gel so the curl groups stay separated.
- Color note: One to two shades deeper than your base usually reads richer than it looks harsh.
Tip: Ask for some face-framing pieces to stay softer, or the whole style can close in around the jaw.
2. Curly Shag with Cinnamon Ribbon Lowlights
A curly shag gets better when the lowlights follow the chop. Cinnamon ribbons tucked through the layers make every bend show up a little louder, and the haircut suddenly looks intentional instead of merely messy.
The reason is simple: the shag already creates short, long, and in-between lengths, so the eye has places to land. Lowlights woven through those shifts sharpen the movement and keep the crown from looking too puffy.
Keep the darker pieces thin. Chunky stripes fight the shape. A shag wants scattered shadow, not painted-on bands.
3. Rounded Curly Bob with Chestnut Underlayers
Why does a rounded bob look so plush with chestnut lowlights? Because the dark pieces tucked under the surface act like a frame for the outer curve, and that makes the cut read fuller without getting bulky.
What to Ask For
Ask your colorist to keep the chestnut pieces underneath the top shelf of curls, especially around the nape and just behind the ears. That way, the perimeter looks crisp while the interior still has movement.
A rounded bob is one of those cuts that can go helmet-shaped fast. The lowlights stop that, especially if you wear a side part or let a few curls fall forward. It’s neat, but not stiff. That balance matters.
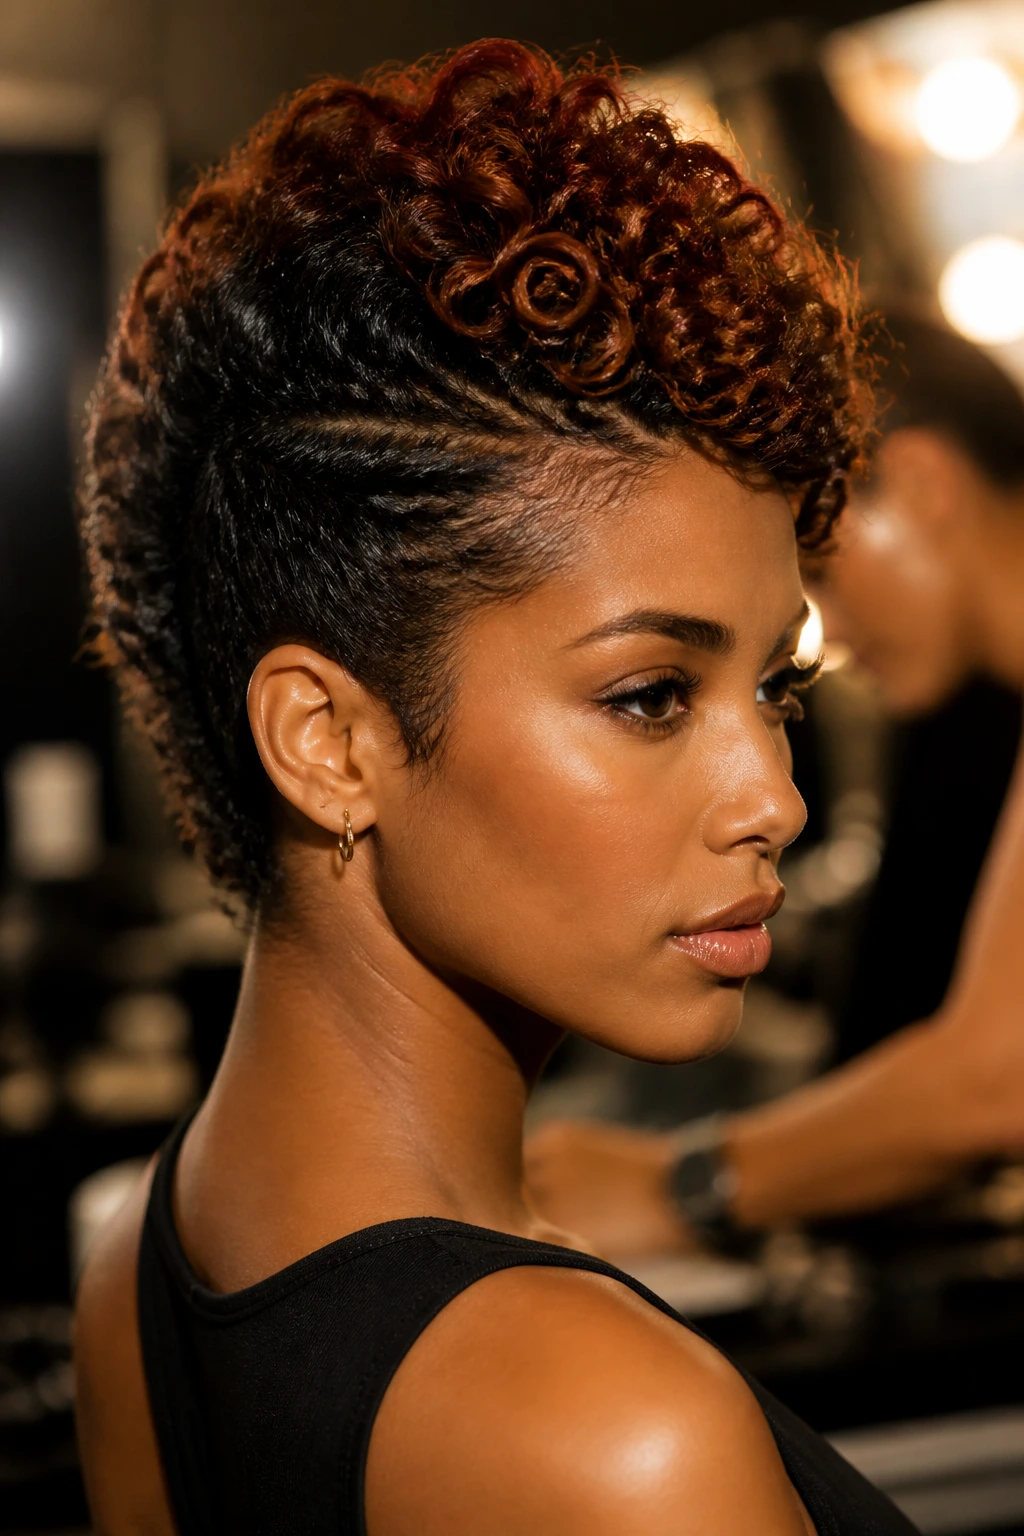
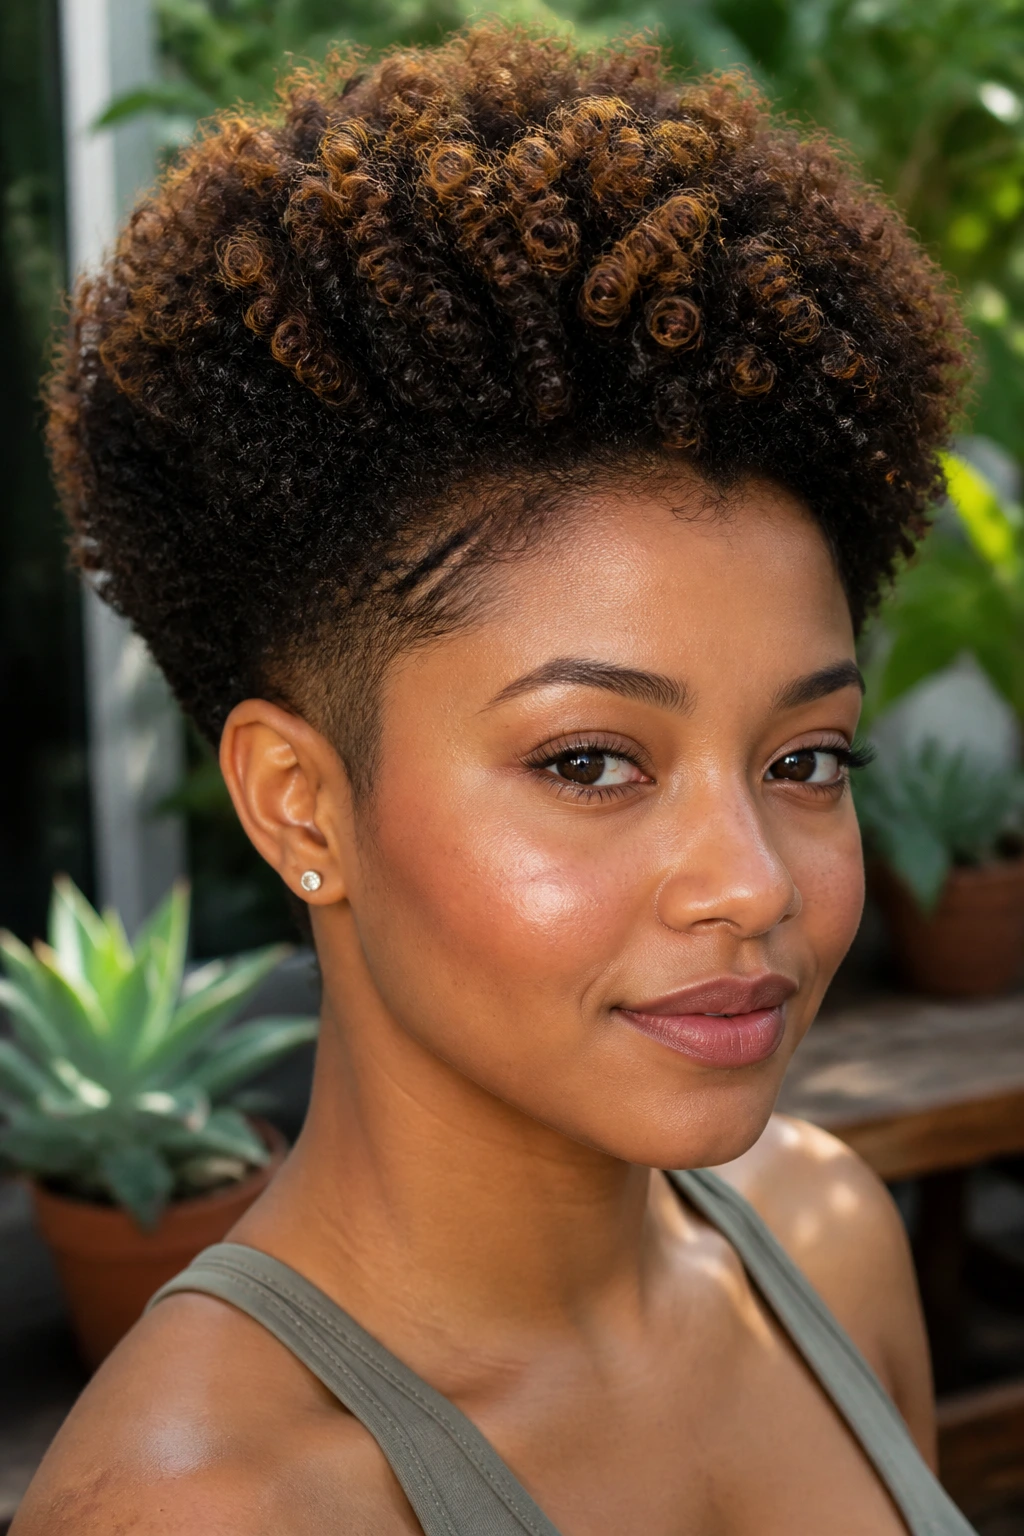
4. Tapered Afro with Espresso Shadow Roots
Picture a tapered afro where the crown stays lively and the sides stay clean. Espresso shadow roots make that shape look carved, not flat, and the deeper color at the base helps the top stand out without needing extra height.
This style works because the taper already gives you a built-in silhouette. The lowlights simply reinforce it, especially around the temples, nape, and the outer edge of the crown.
- Keep the darkest pieces near the roots, not the ends.
- Leave the very top slightly softer so the crown doesn’t feel heavy.
- Use a pick only at the root area if you want lift without breaking the curl pattern.
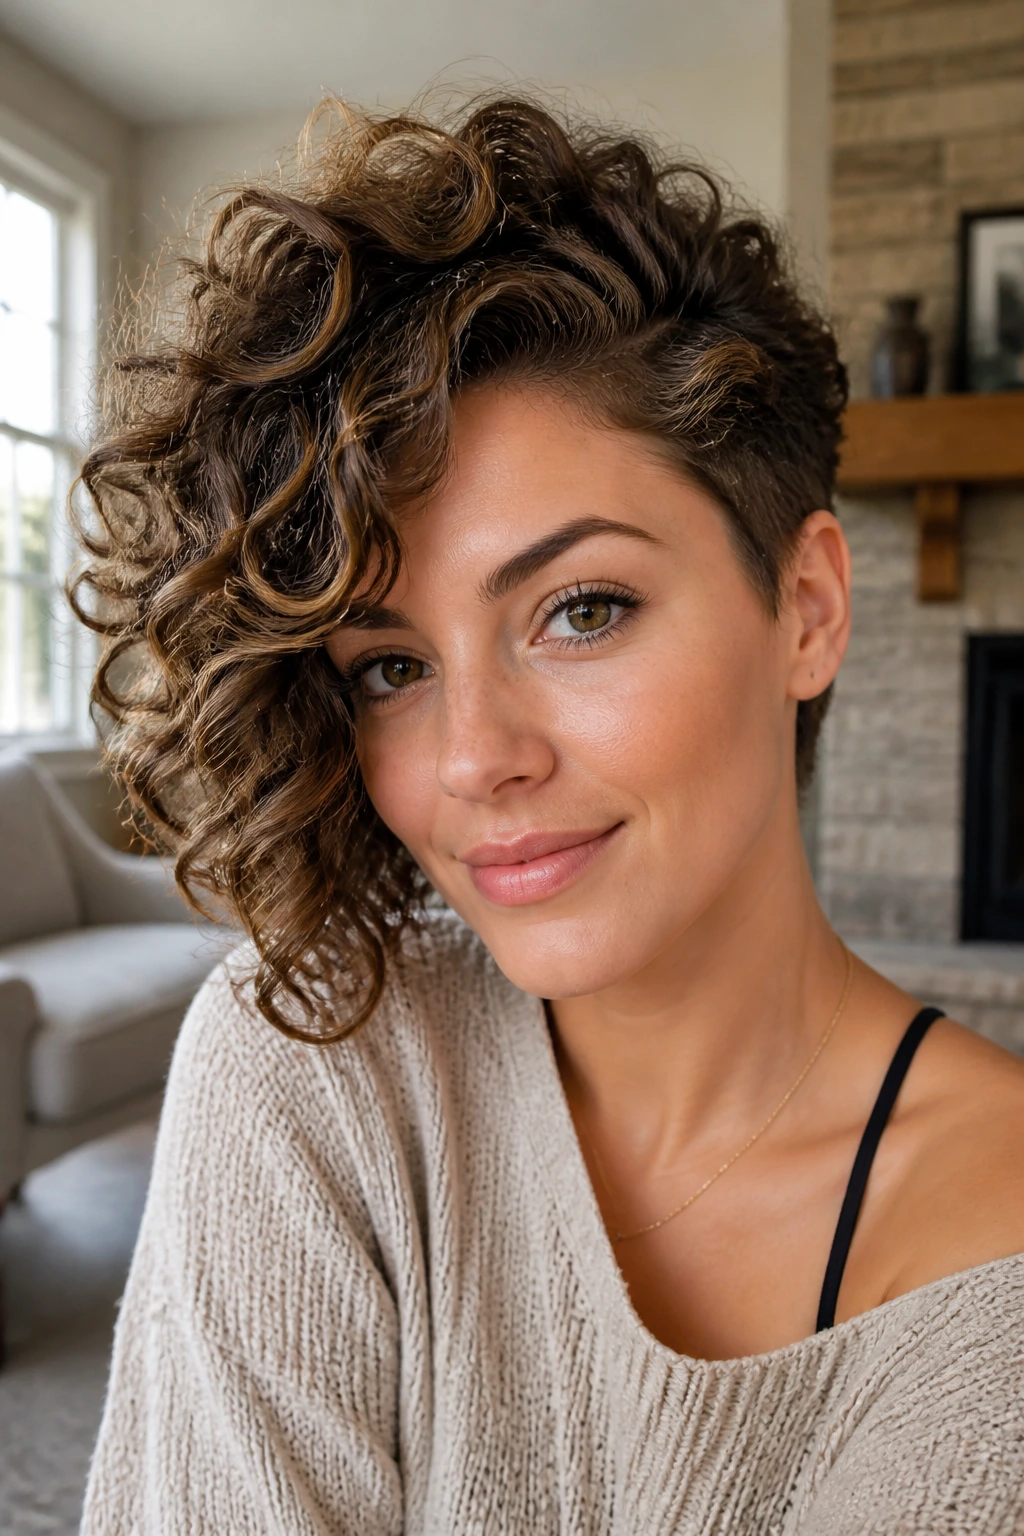
5. Curly Pixie with Peekaboo Walnut Lowlights
Short curly hair can handle more color contrast than people think. A curly pixie with peekaboo walnut lowlights gives the cut a little grit, especially when the darker pieces hide in the nape, sideburns, and inner layers.
The nice part is how little product it needs. A small amount of cream or foam, a finger-shaped side part, and the color does most of the work. You don’t need much length for this style to read.
If your curls are tight, keep the walnut pieces soft and narrow. On looser curls, you can go a shade deeper and still keep the cut airy.
6. Side-Part Lob with Caramel Veil Lowlights
Unlike an all-over dark dye job, a side-part lob can hold onto air and movement even with caramel lowlights running through the mids. The side part helps the darker pieces fall in one direction, which gives the whole shape a little swing.
This is one of the easiest styles for someone who wants color that looks polished but not loud. The cut stays shoulder-skimming, the lowlights keep the ends from looking stringy, and the part creates a natural sweep across the face.
Best on medium-density curls. Very fine hair can look weighed down if the lowlights get too dense through the lower half.
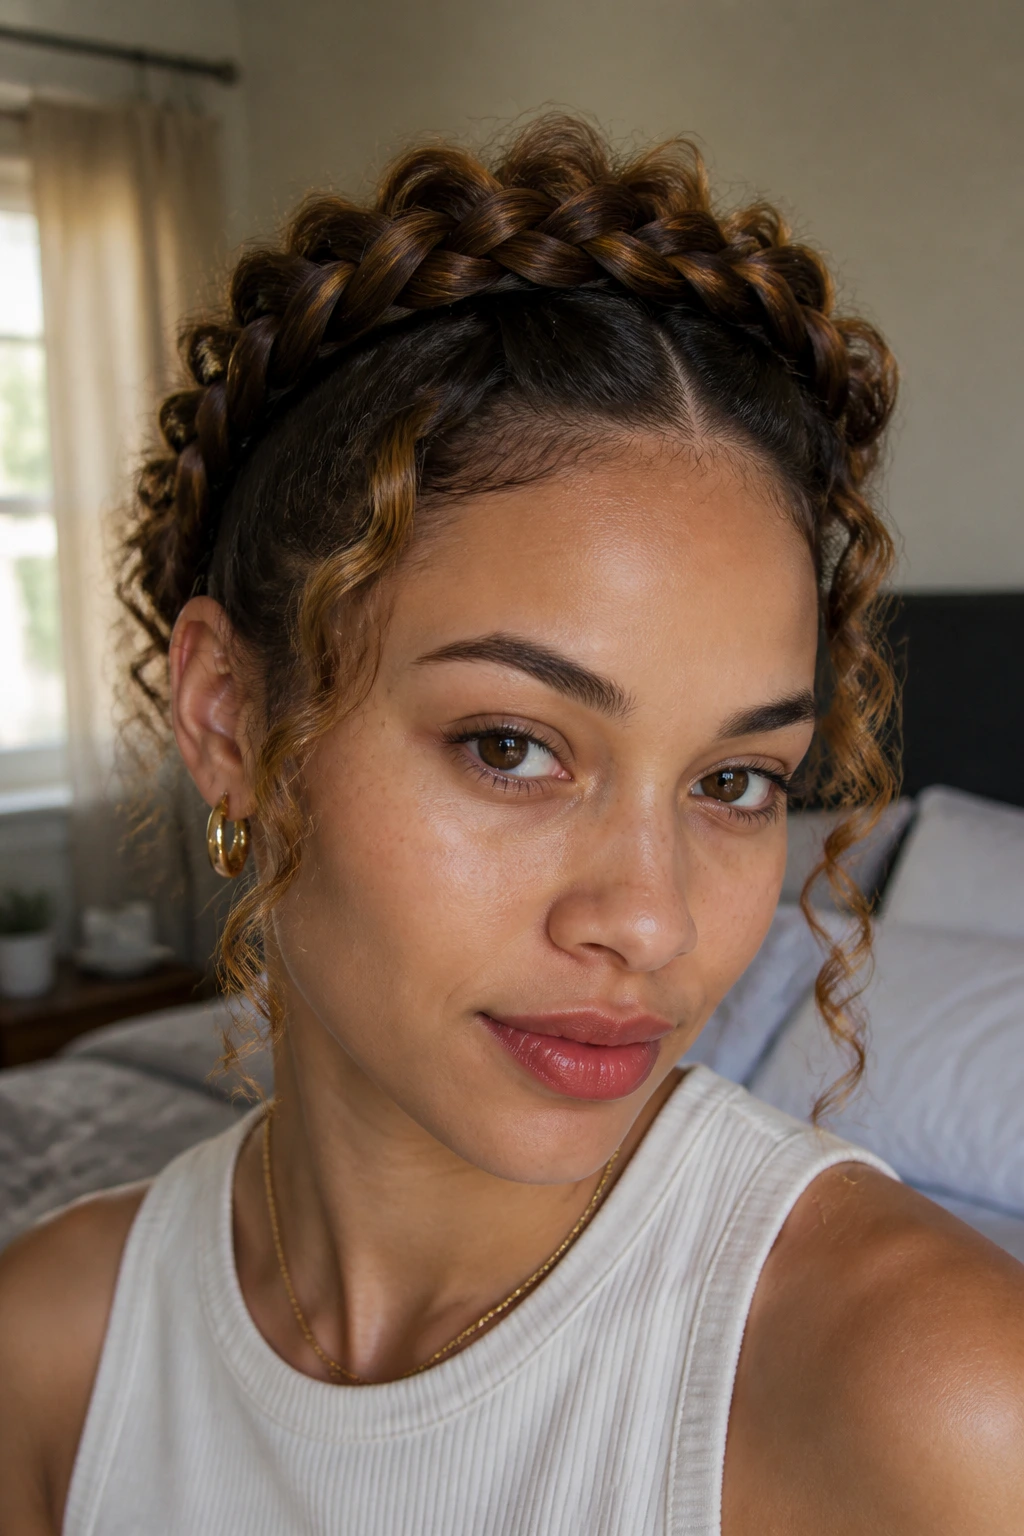
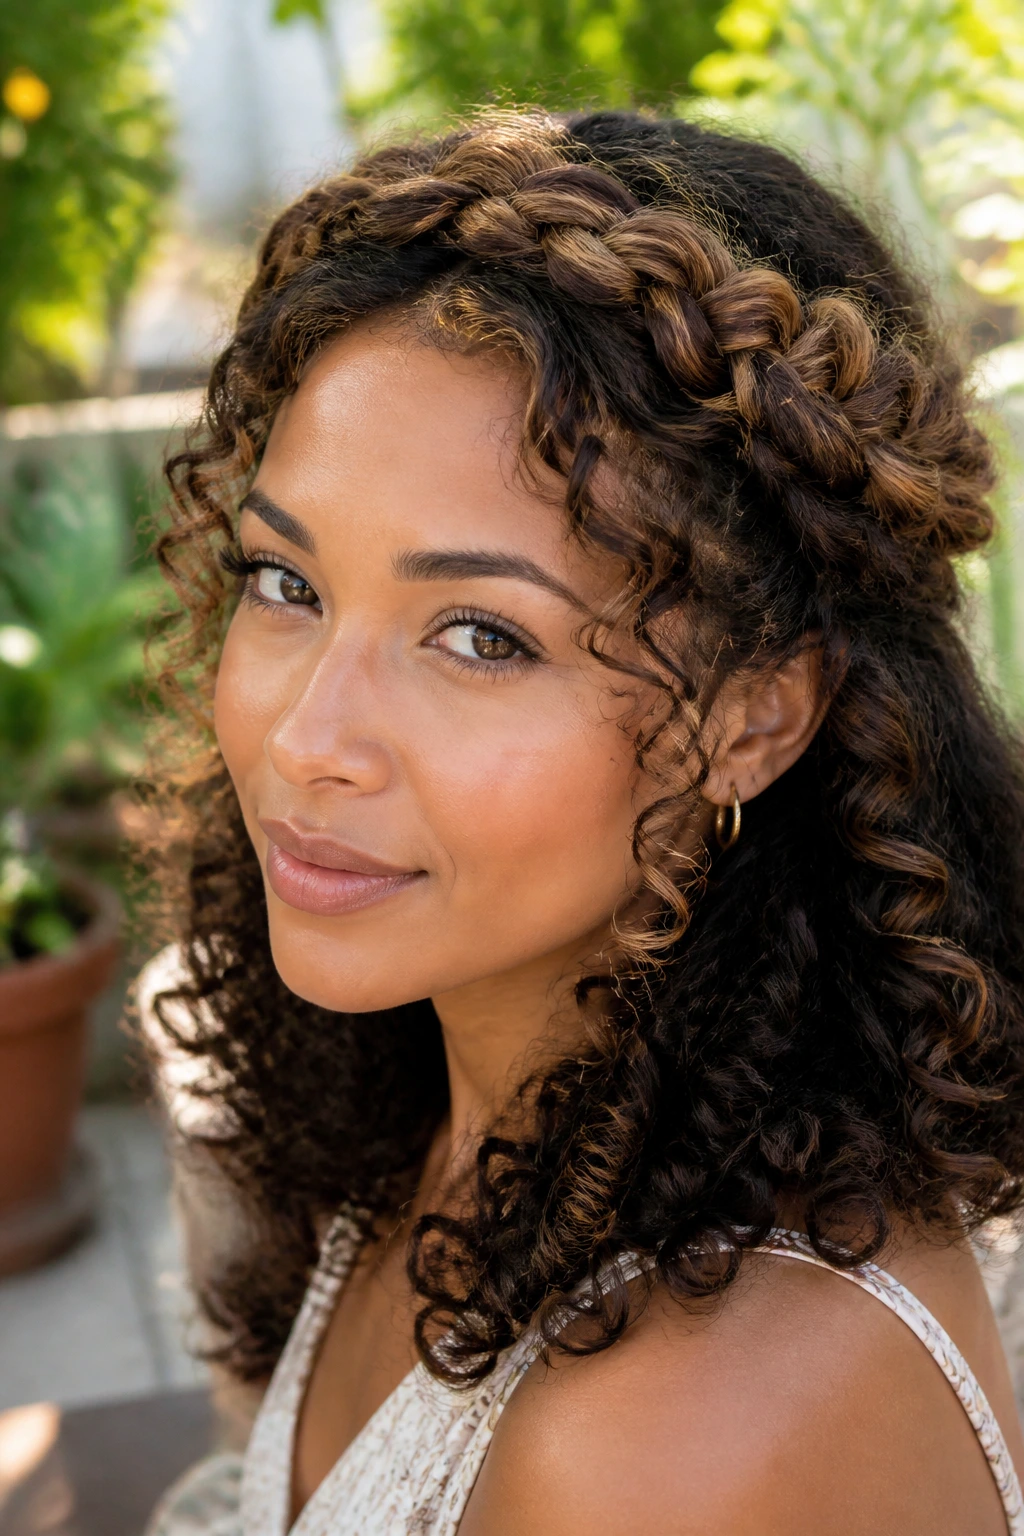
7. Halo Braid on Defined Curls with Deep Brown Ends
A halo braid turns lowlights into a moving pattern instead of a static color choice. When the braid sits above defined curls and the ends stay deeper brown, the whole style reads like woven fabric.
That’s why this one works so well for events. The braid gives you structure, and the loose curls around the face keep it from feeling too formal. The darker ends also help the braid hold a clean outline in photos and in person.
Tuck a few curl tendrils loose at the temples. Too neat, and it goes stiff. A little softness around the forehead keeps the style from looking overworked.
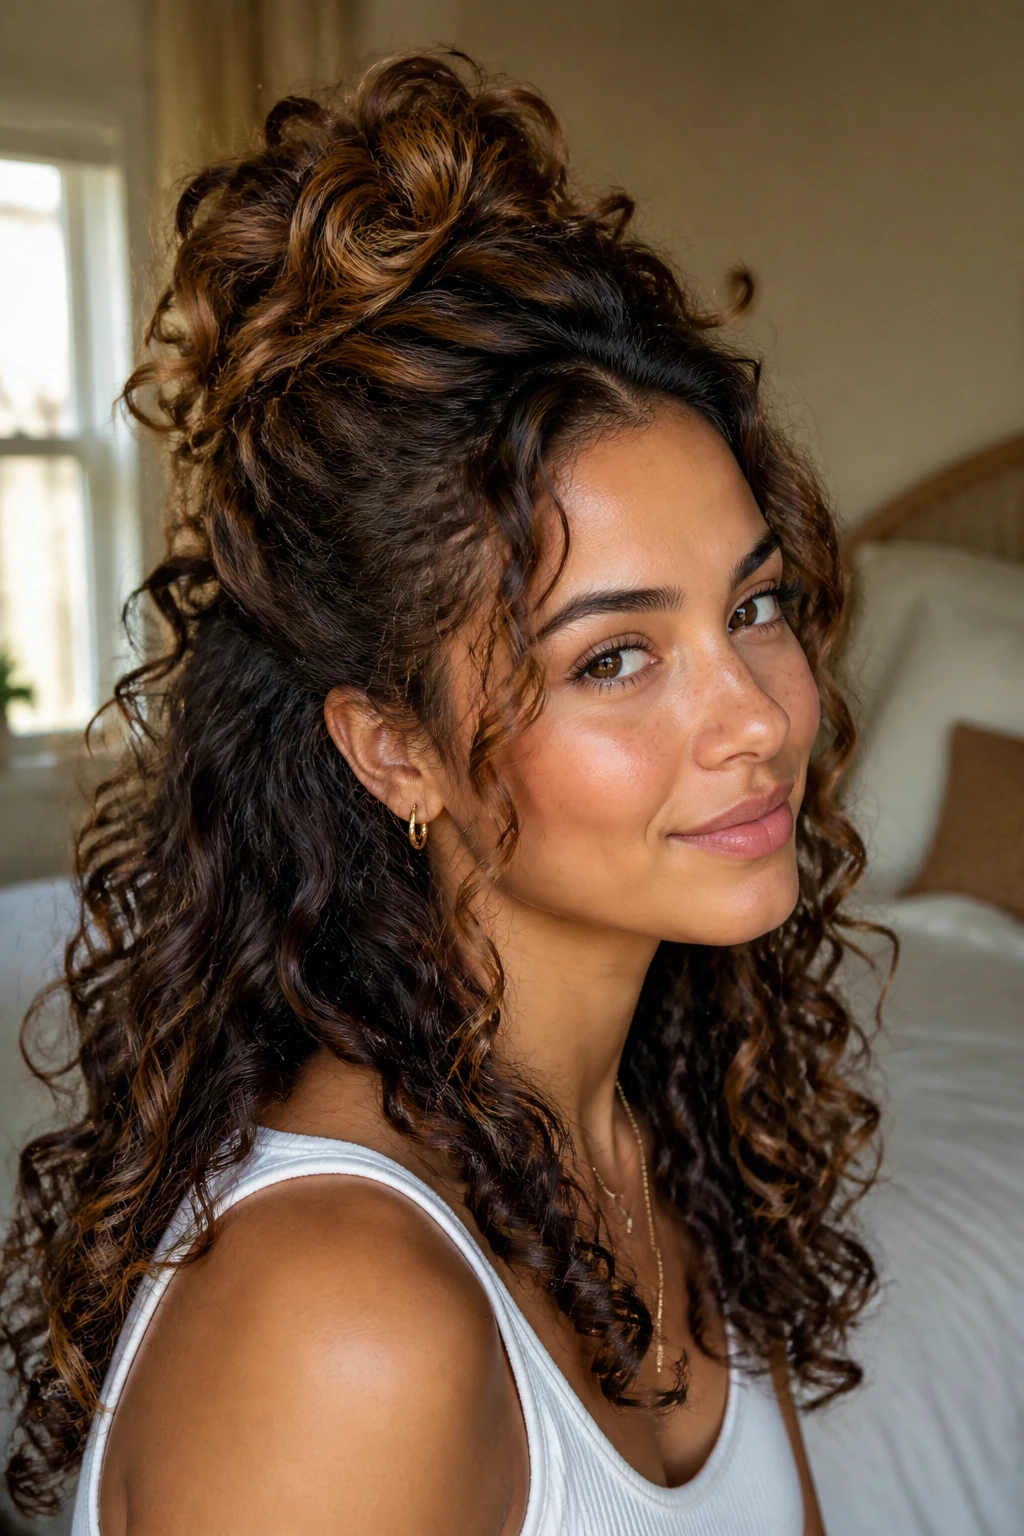
8. Half-Up Pineapple with Dark Chocolate Panels
The half-up pineapple is basically a lowlight showcase. Once the top section is gathered, the darker panels underneath get a chance to show up, and the curl pile on top looks fuller because of the contrast below.
This style is especially good for long curls that need a fast day-two fix. Pull the top loosely, not tight, and let the bottom section keep its shape. The lowlights do half the styling work.
If you want the look to feel cleaner, wrap the base with a small curl instead of a visible elastic. It keeps the finish softer and avoids that rushed gym-hair vibe.
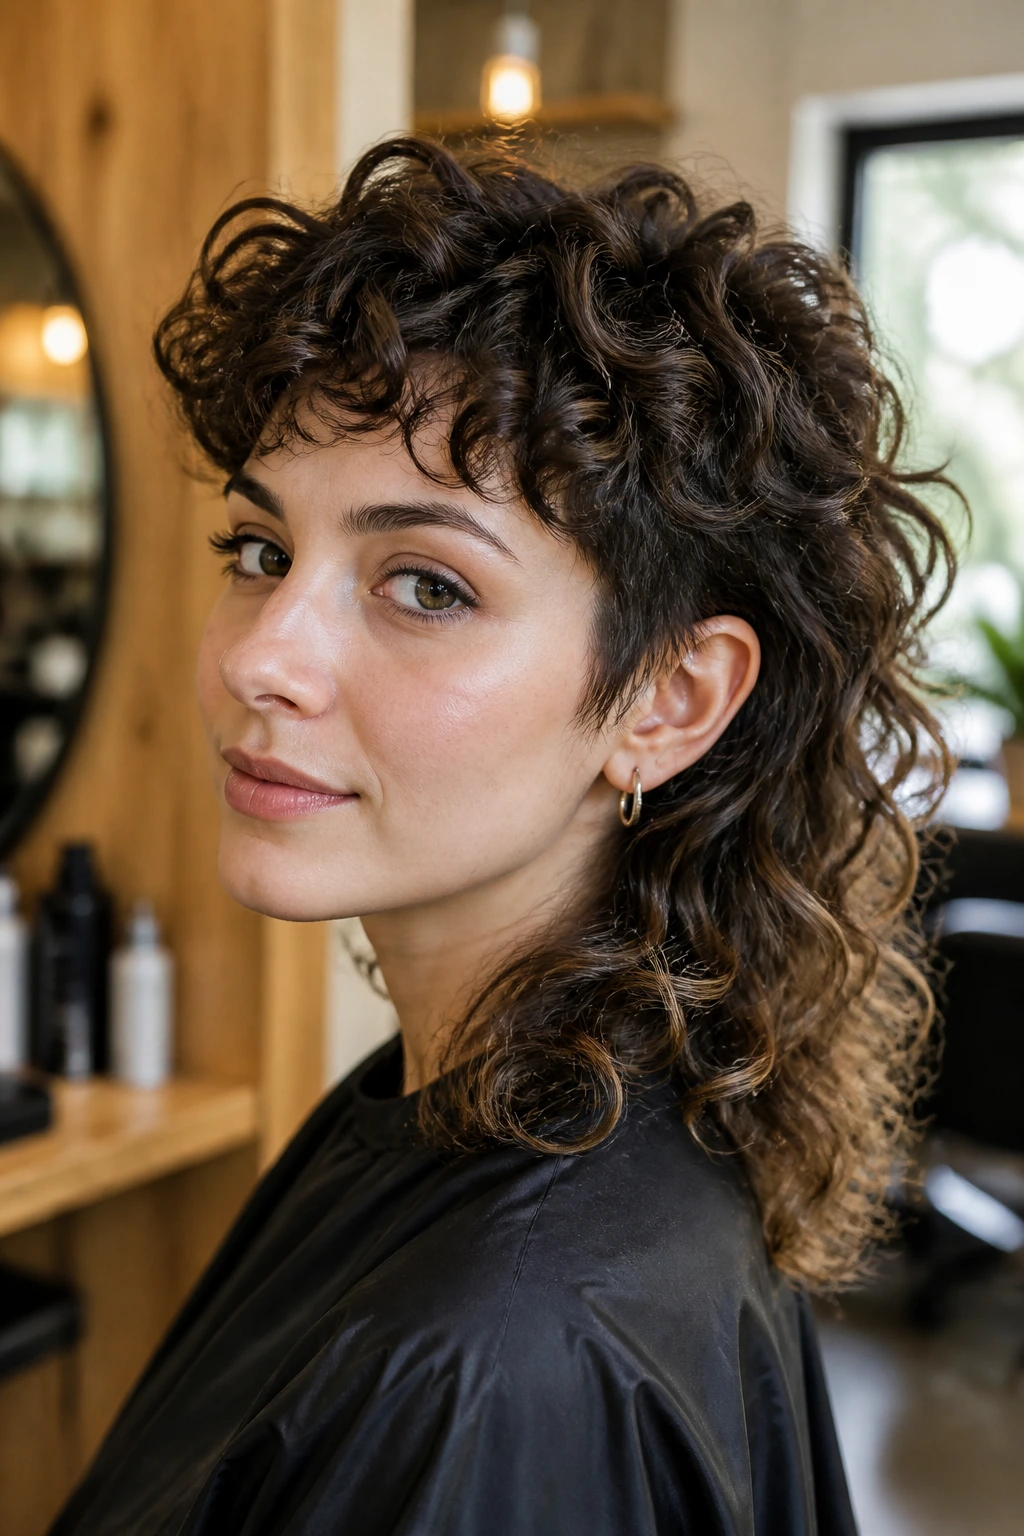
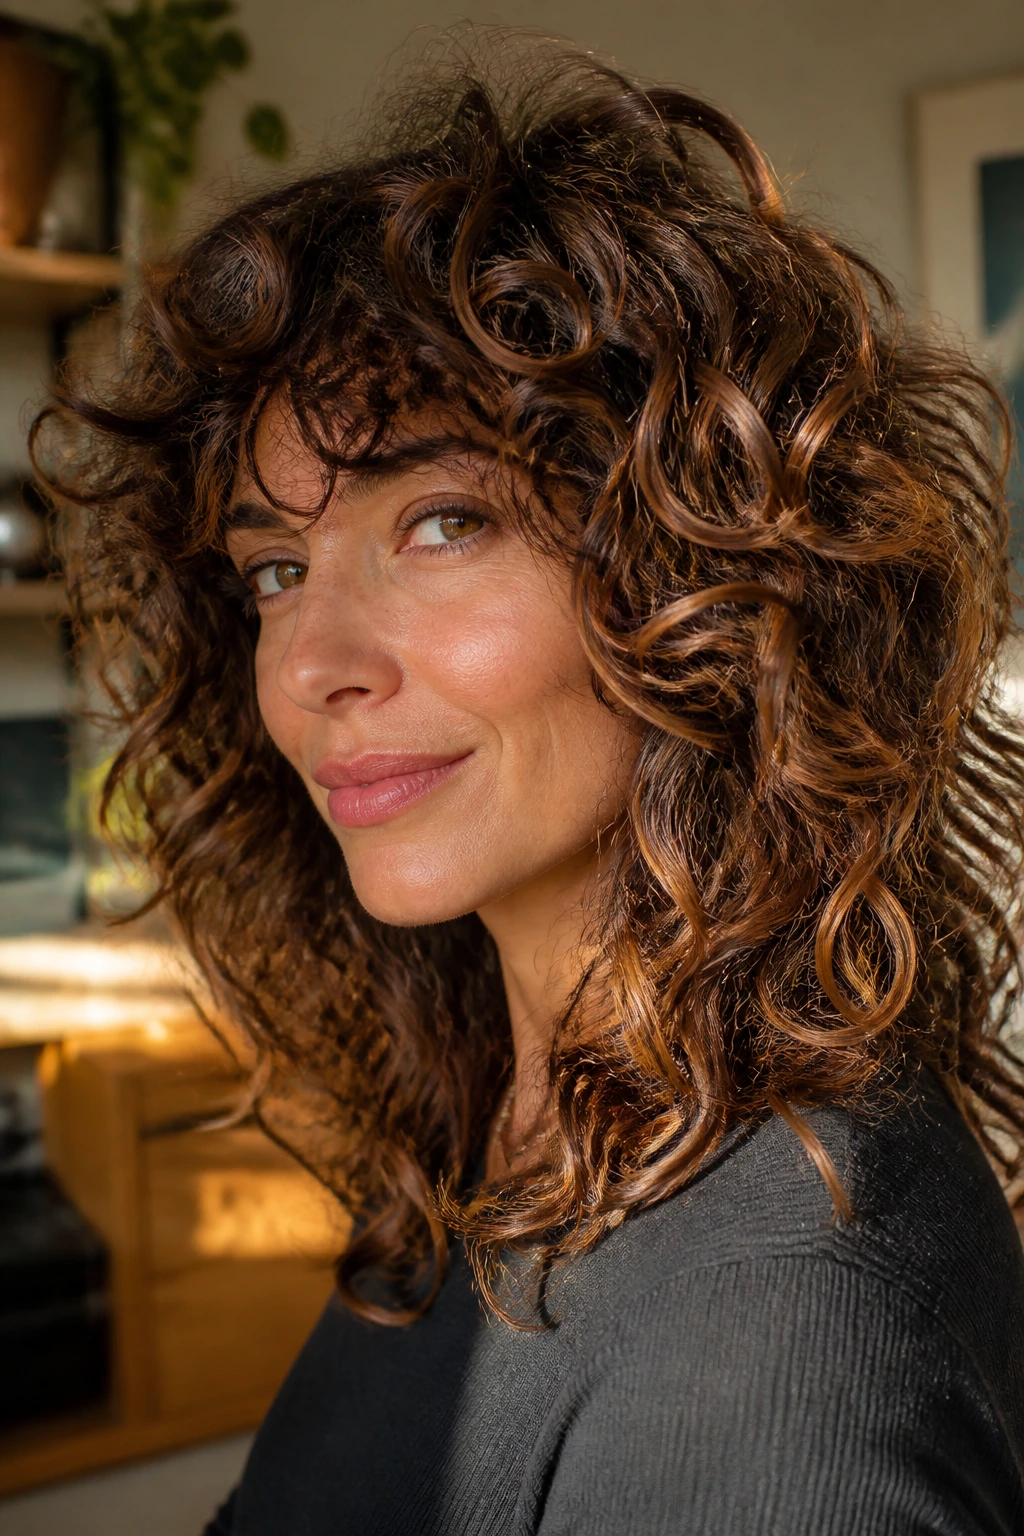
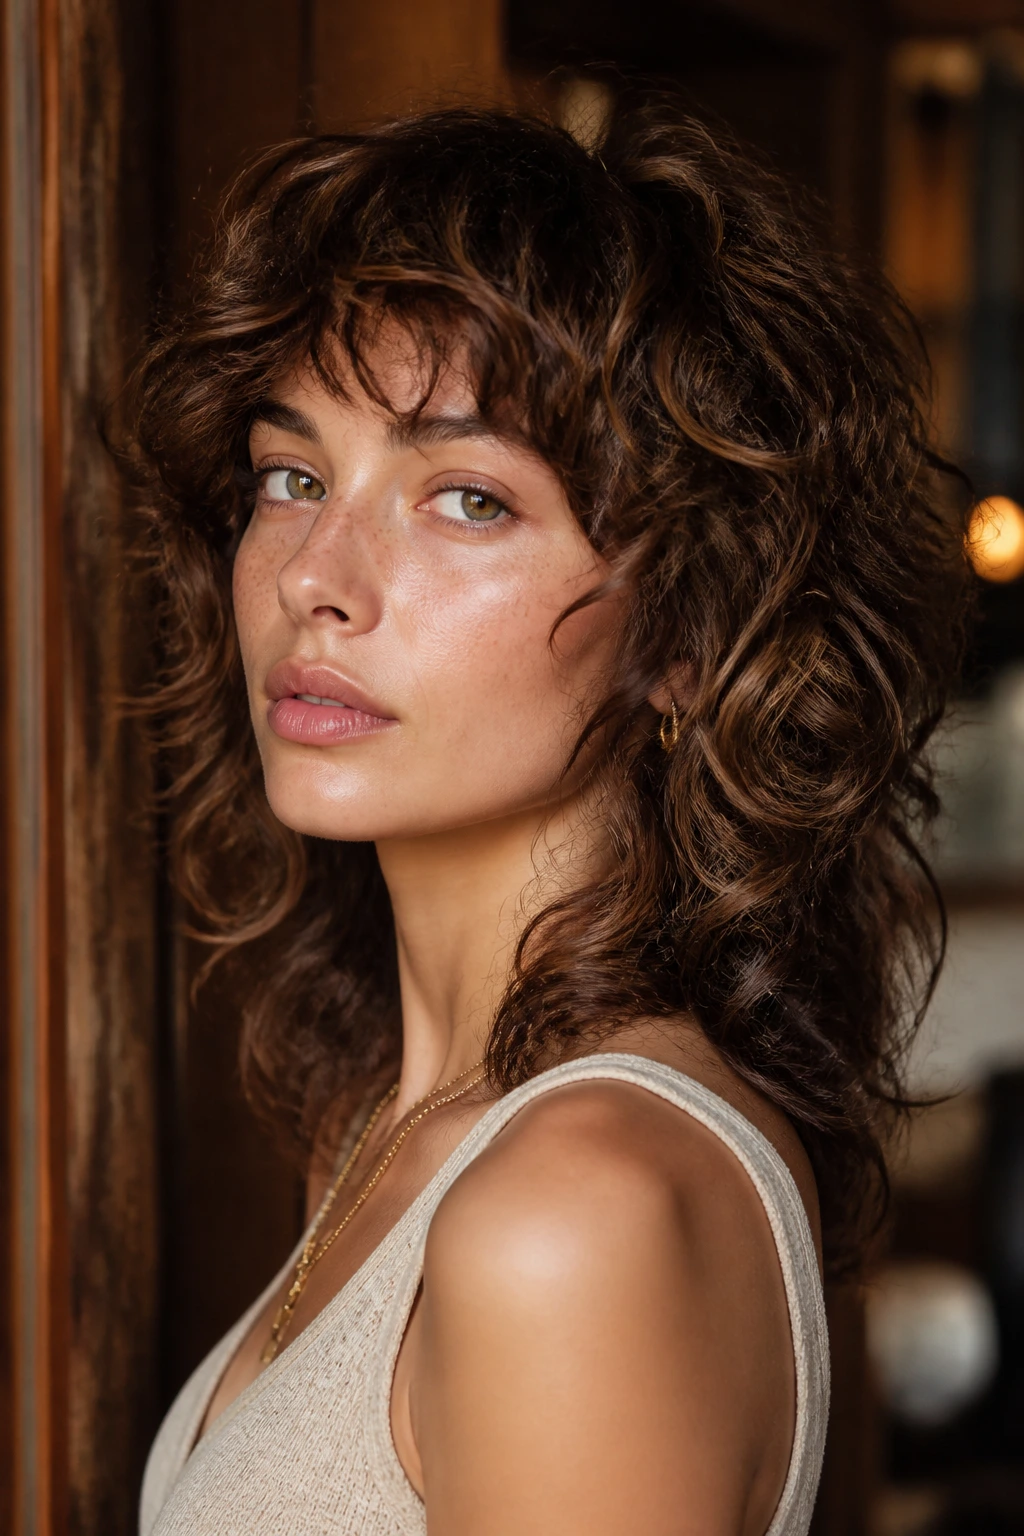
9. Curly Wolf Cut with Walnut Depth
Why does the curly wolf cut love lowlights? Because both the haircut and the color live in shadow and movement. The choppy layers already make space between curl groups, and walnut depth makes those spaces feel deliberate.
This cut is not shy. It wants texture, a little edge, and enough color variation to keep the mullet-like length from swallowing the shape. Put the darker pieces through the mid-lengths and lower crown, then leave the ends a touch lighter if you want the cut to move.
A wolf cut can turn triangular fast on thick hair. Lowlights help, but the layers still need to be cut with the curl pattern in mind. Otherwise the color can’t save the shape.
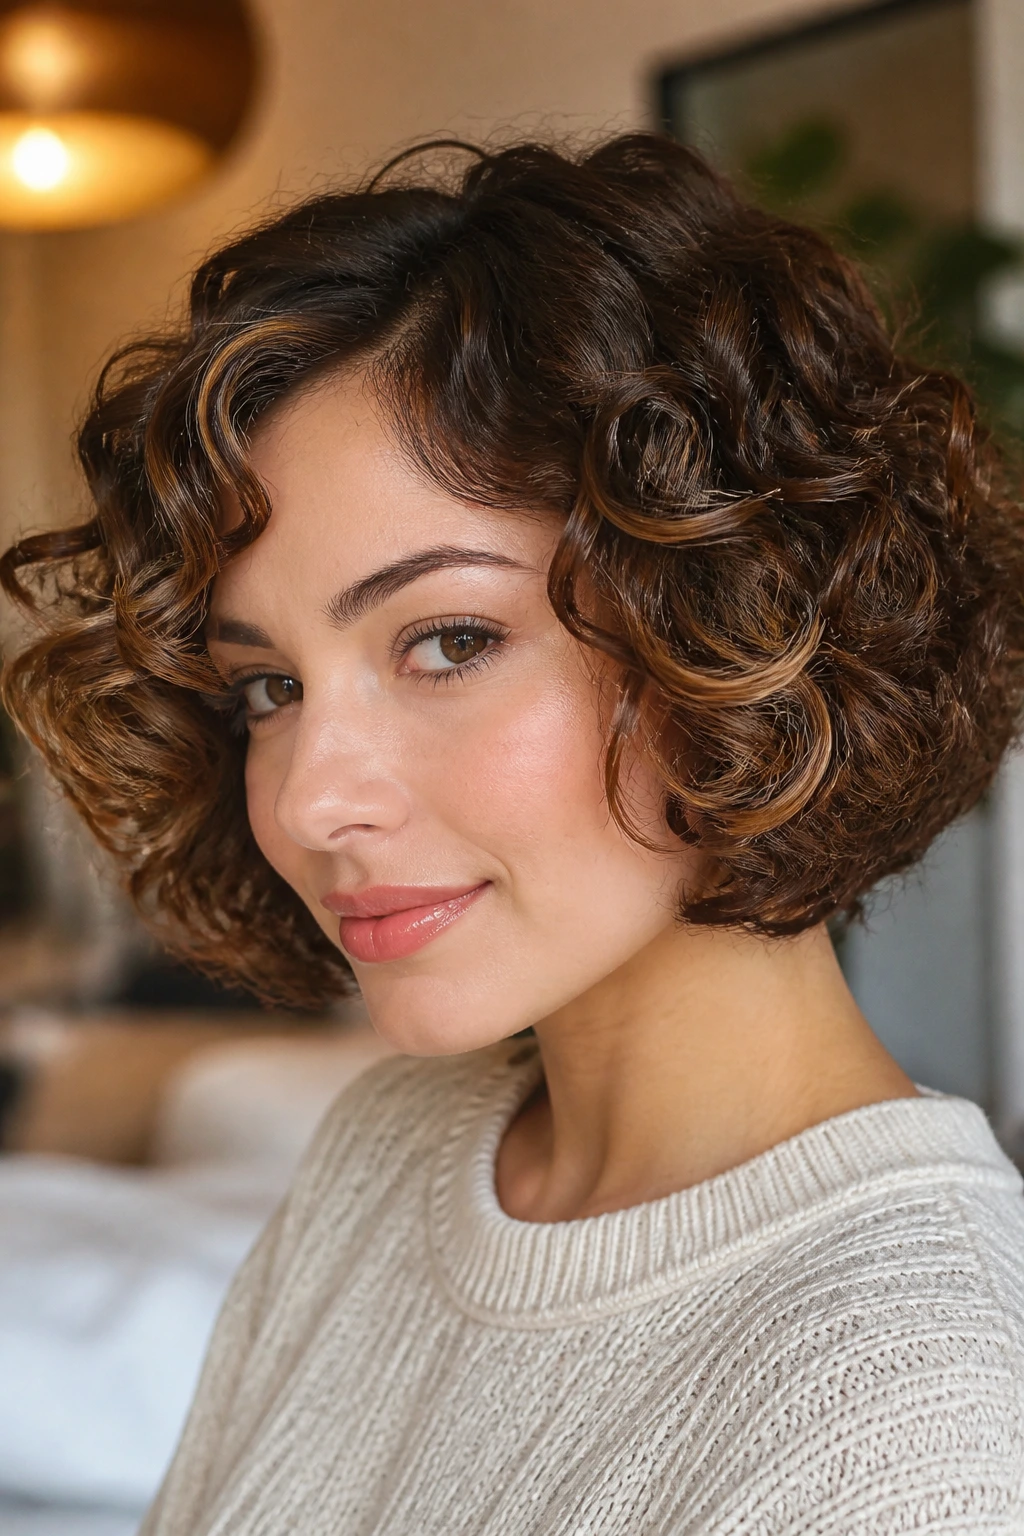
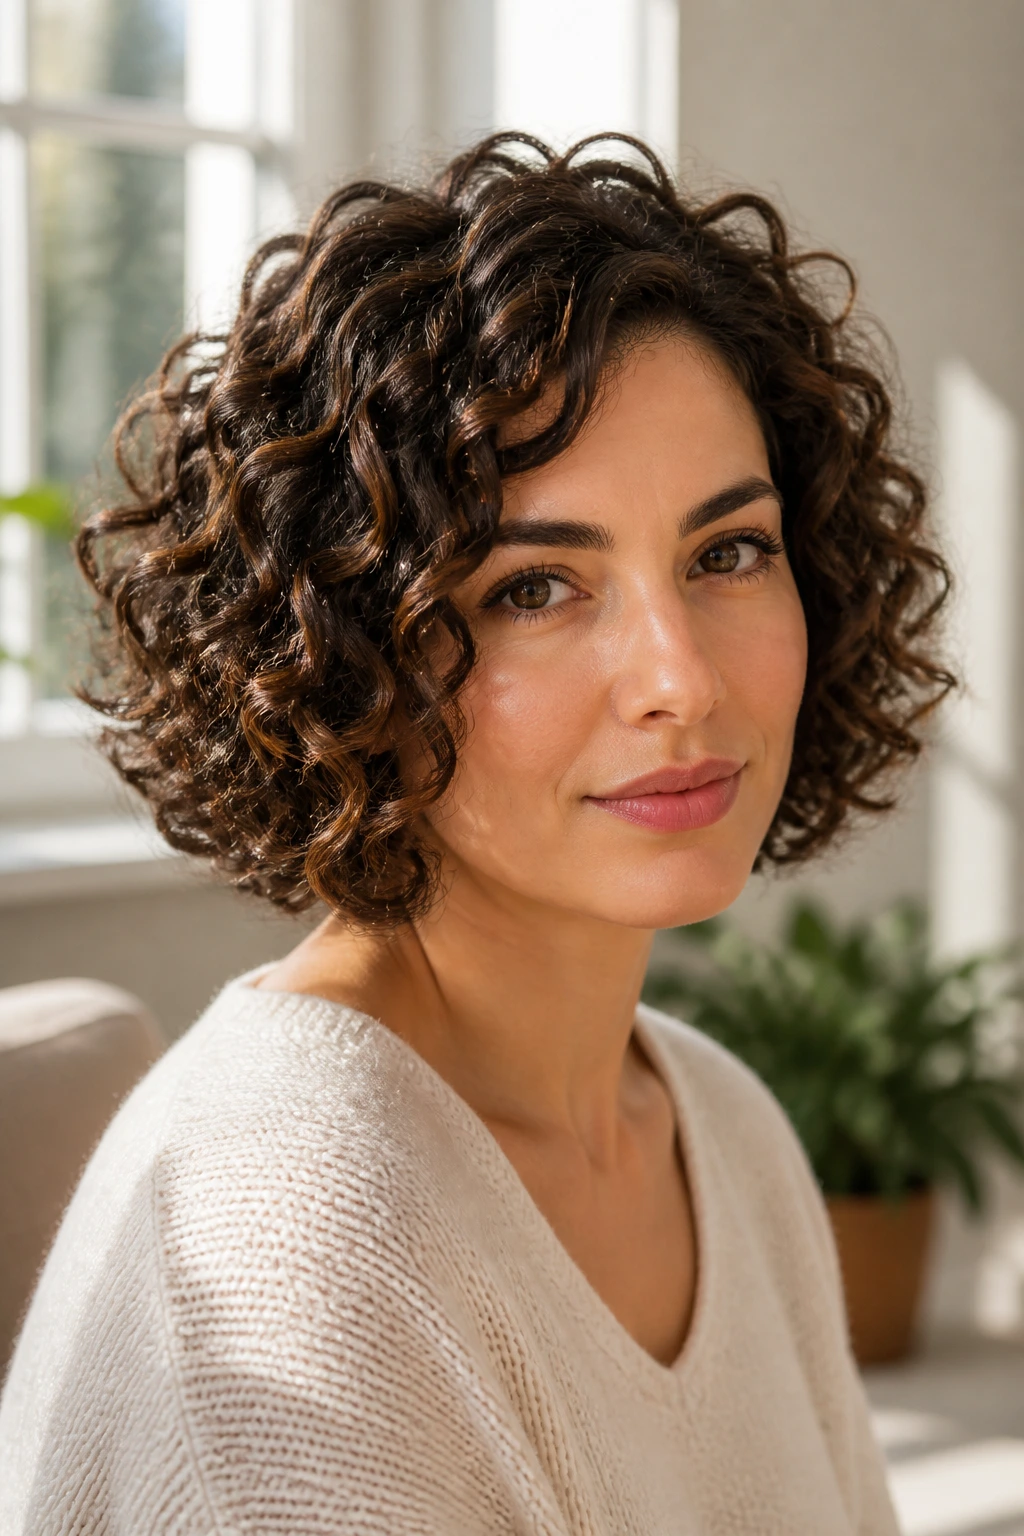
10. Defined Ringlet Bob with Cocoa Threads
A defined ringlet bob looks almost architectural when cocoa threads are woven through the curls. Each spiral gets a tiny shadow line, and the result is crisp instead of puffy.
How It Reads
The fine placement matters more here than the shade itself. Too much dark pigment and the curls go muddy; too little and you lose the punch that makes the bob feel finished.
A good rule: let the dark pieces sit where the curl bends back toward the head. That’s where the eye naturally expects shadow. It’s a tiny detail, but on a bob, tiny details are the whole game.
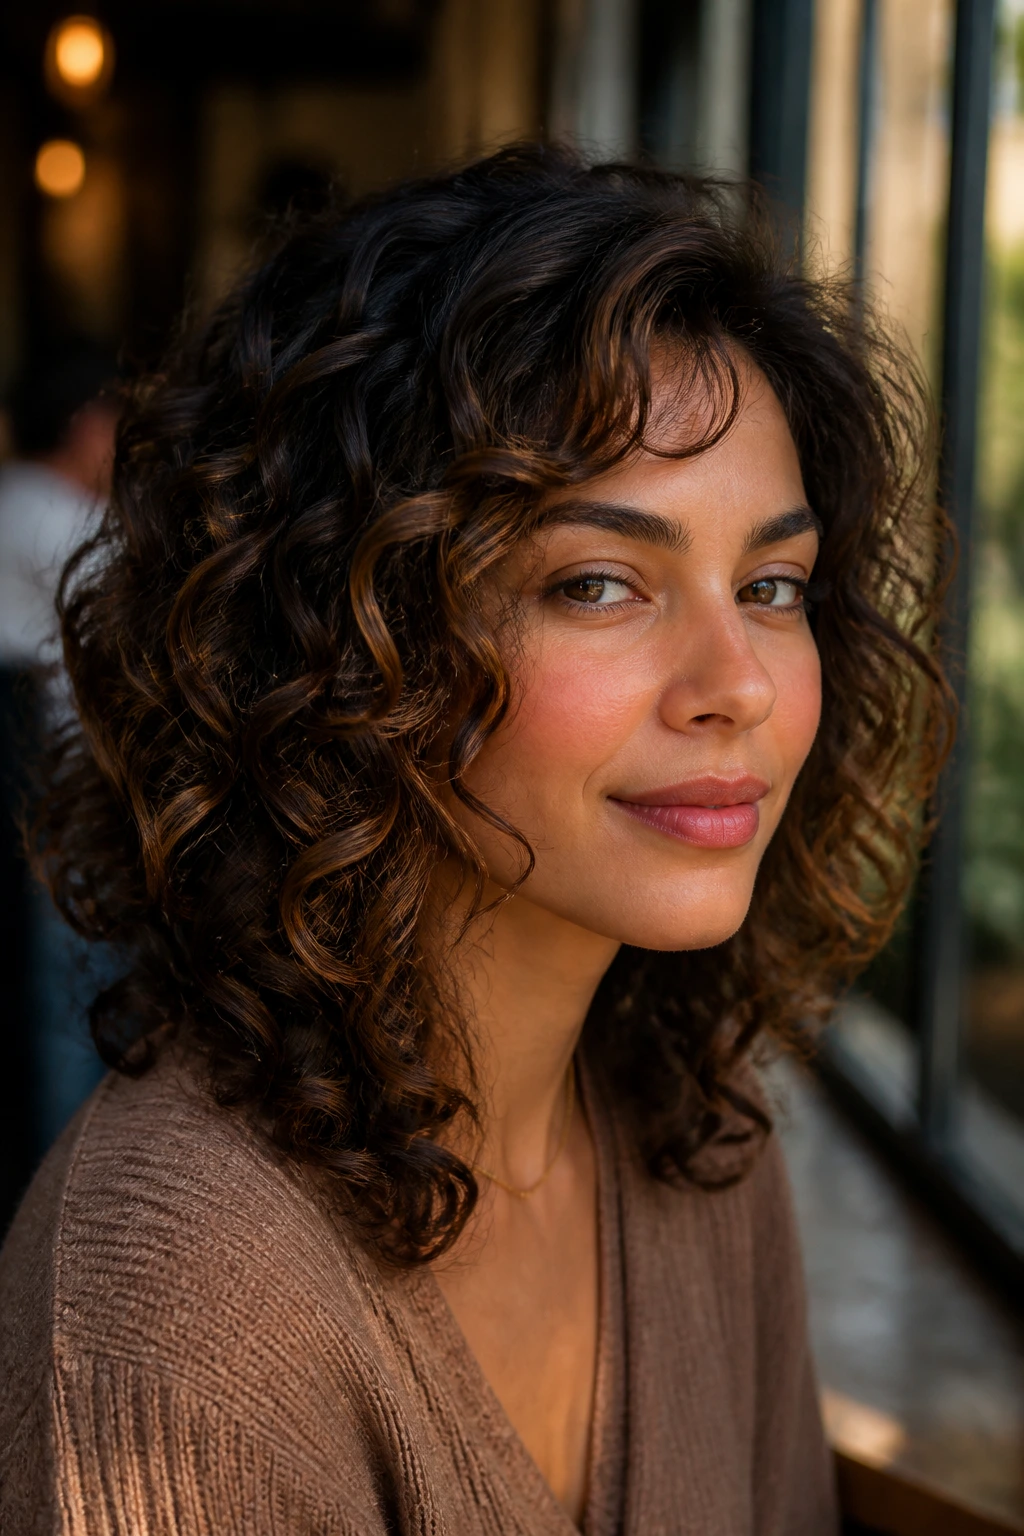
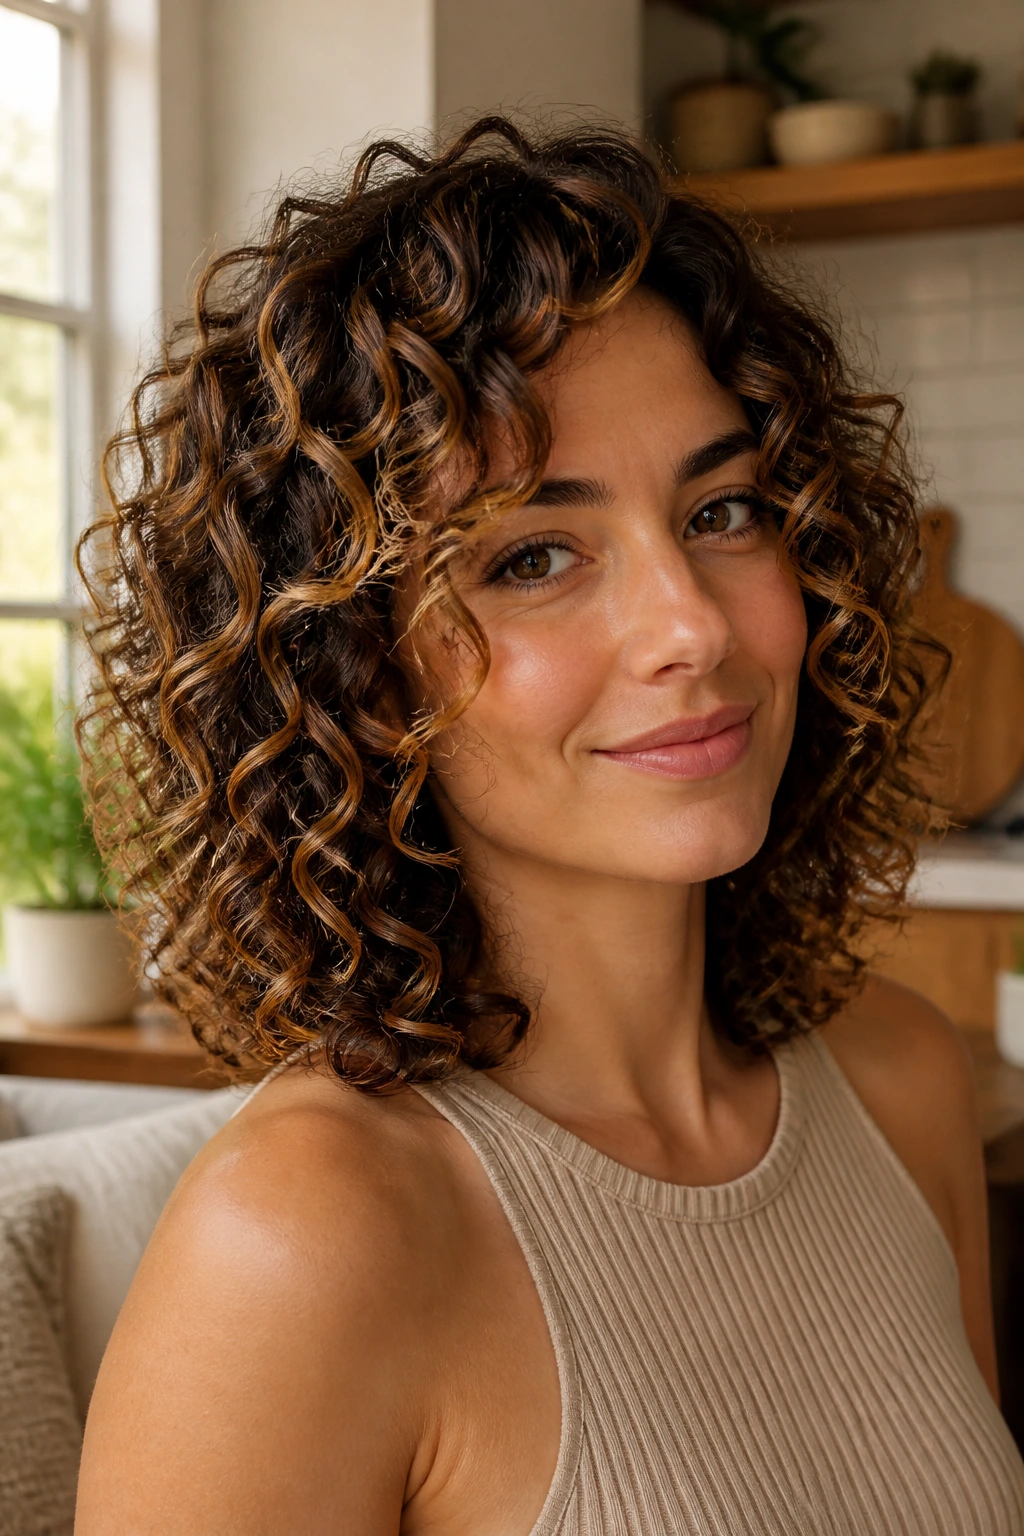
11. Shoulder-Length Deva Cut with Toffee Ribbons
The Deva cut is built to follow curl shape, so toffee ribbons fit right in. The darker pieces can be painted around each curl clump rather than across the whole section, which keeps the cut soft and very wearable.
I like this style for people who want movement without a ton of visual noise. The curl shape stays obvious, the color just makes the bends easier to read. That’s the whole point.
A shoulder-length Deva cut also gives you room to place lowlights where the hair tends to puff out — usually through the sides and slightly under the occipital area. A little shadow there keeps the silhouette neat.
12. Messy Curly Bun with Hidden Lowlight Base

A messy bun sounds casual until you see it with hidden lowlight at the base. Then it starts looking intentional, because the dark pieces under the knot keep the hair from turning into one pale puff at the crown.
This style works when you don’t want every curl out on display. The bun can stay loose, the front can be soft, and the lowlights still do the visual heavy lifting at the nape and underneath the twist.
Leave a few curls out around the ears or at the hairline. If you pull everything back too tightly, the lowlights disappear and the bun loses that layered look.
13. Curly Faux Hawk with Auburn Accents
A curly faux hawk wants a little attitude, and auburn accents give it exactly that. The sides stay tighter or pinned back, while the center ridge gets the darker warmth that makes the shape feel taller.
This is a smart option if you like event hair that still looks like hair, not a sculpted helmet. The auburn pieces catch light at the top and then darken through the sides, which makes the mohawk line read clearly.
Use a small amount of pomade or gel at the sides, then leave the center curls soft. If the top is too hard, the whole style loses its bounce.
14. Braided Crown with Dark Root Melt
A braided crown looks thicker when the root color melts into the braid. The dark base gives the braid a clean start at the scalp, and the curls or loose ends can keep a little contrast without looking streaky.
This style is useful when you want lowlights but not obvious panels. The braid creates the shape, and the root melt does the quiet color work.
The key is softness at the front. A hard braid line on curly hair can look severe if the rest of the style is too tight. Let a few short pieces stay loose near the ears.
15. Face-Framing Layers with Mulled Spice Lowlights
Can lowlights brighten a face without being lighter? Yes — and this is the cut that proves it. Mulled spice tones around the cheeks and jaw add movement where the eye lands first, which can make the curls around the face look more alive.
The best part is that face-framing layers already guide attention. When the lowlights sit in that zone, they sharpen the frame instead of fighting it.
Keep the color softer around the temples if your curl pattern is tight. On looser textures, the face frame can take a little more contrast and still read gentle.
16. Voluminous High Puff with Shadow-Lit Sides
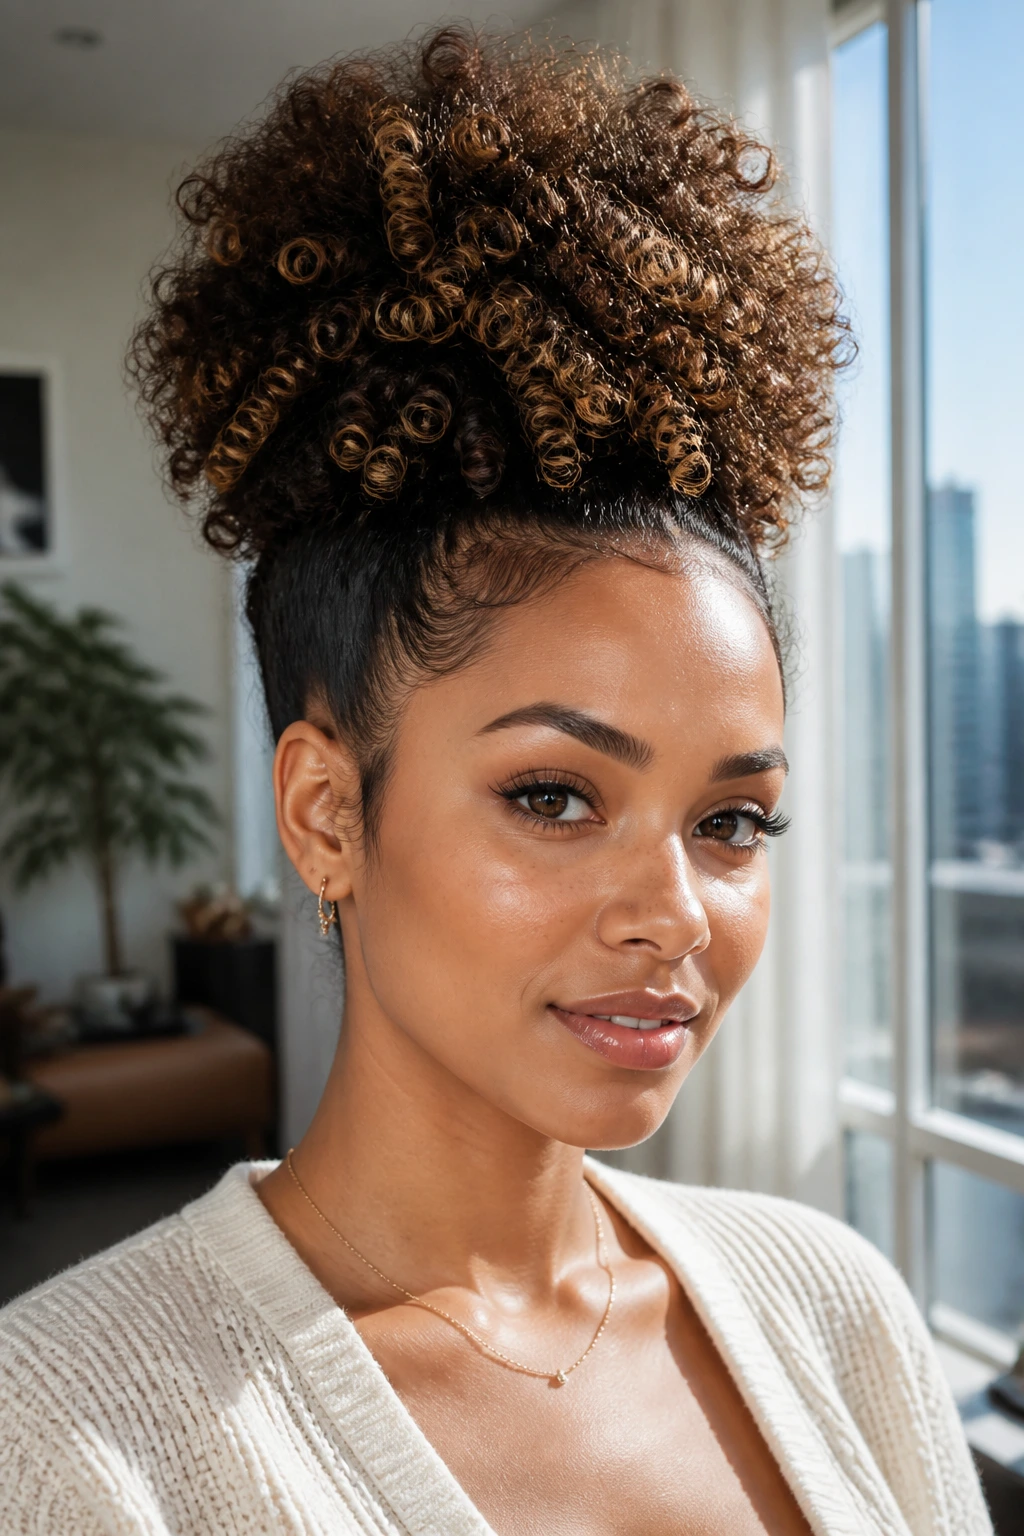
A high puff can look a little too spherical if every piece is the same shade. Shadow-lit sides fix that by giving the temples and lower section a darker base, so the puff rises off the head instead of blending into it.
This style is one of the easiest ways to make lowlights feel modern without doing much styling. Gather the curls loosely, let the volume live at the top, and let the darker side pieces create contrast.
A satin scrunchie helps here. It holds the puff without flattening the root, and that matters more than people think.
17. Finger Coils with Micro-Lowlights
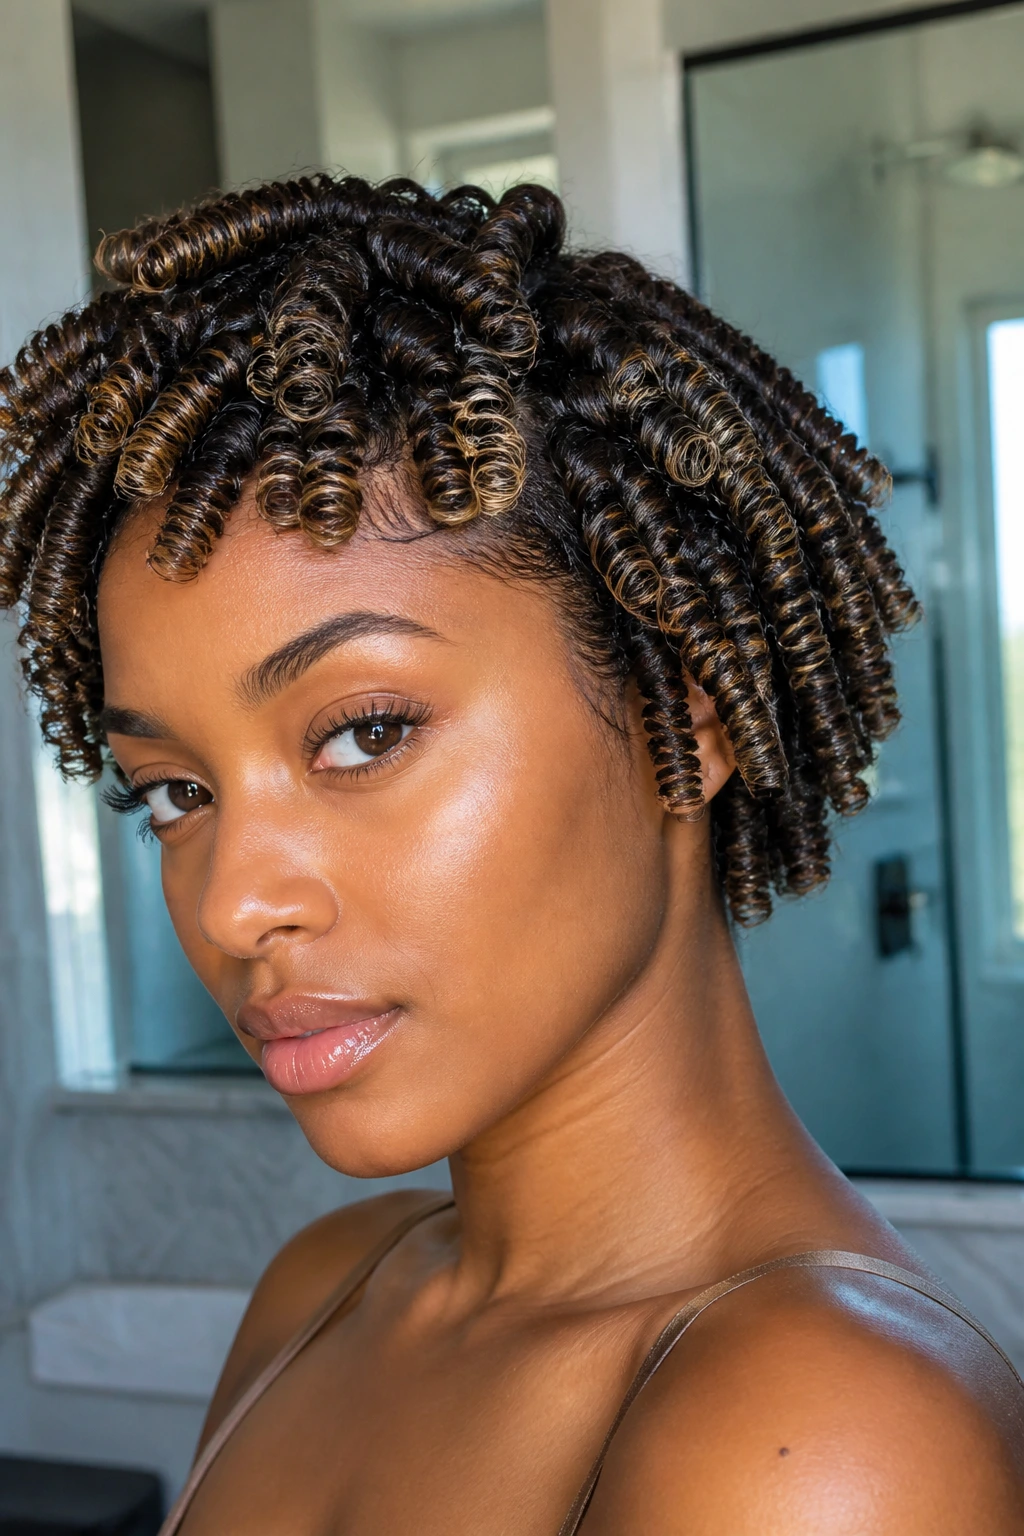
Finger coils are tiny enough to benefit from tiny color shifts. Micro-lowlights woven in thinly keep the style from looking painted on, and they make each coil read like its own separate line.
What Makes It Different
Big streaks would swallow this style. Micro-placement lets the coils stay delicate while the darker pieces sit where the hair naturally folds back on itself.
This one takes patience at the salon, but the payoff is clean and detailed. If you like precision, this is the sort of look that rewards it. If you don’t, skip it and choose something chunkier.
18. Curly Mullet with Smoky Brunette Depth
The curly mullet sounds cheeky until you see it with smoky brunette depth. Then it makes perfect sense. The shorter front and sides get a little shadow, the back keeps its length, and the cut stops feeling like two separate hairstyles.
That contrast is what keeps the mullet from looking accidental. Darker lowlights through the crown and upper back connect the short and long pieces so the shape feels designed.
I’d keep the ends a touch lighter if possible. It helps the back move instead of collapsing into one heavy block.
19. Long Spiral Curls with Mocha Lacing
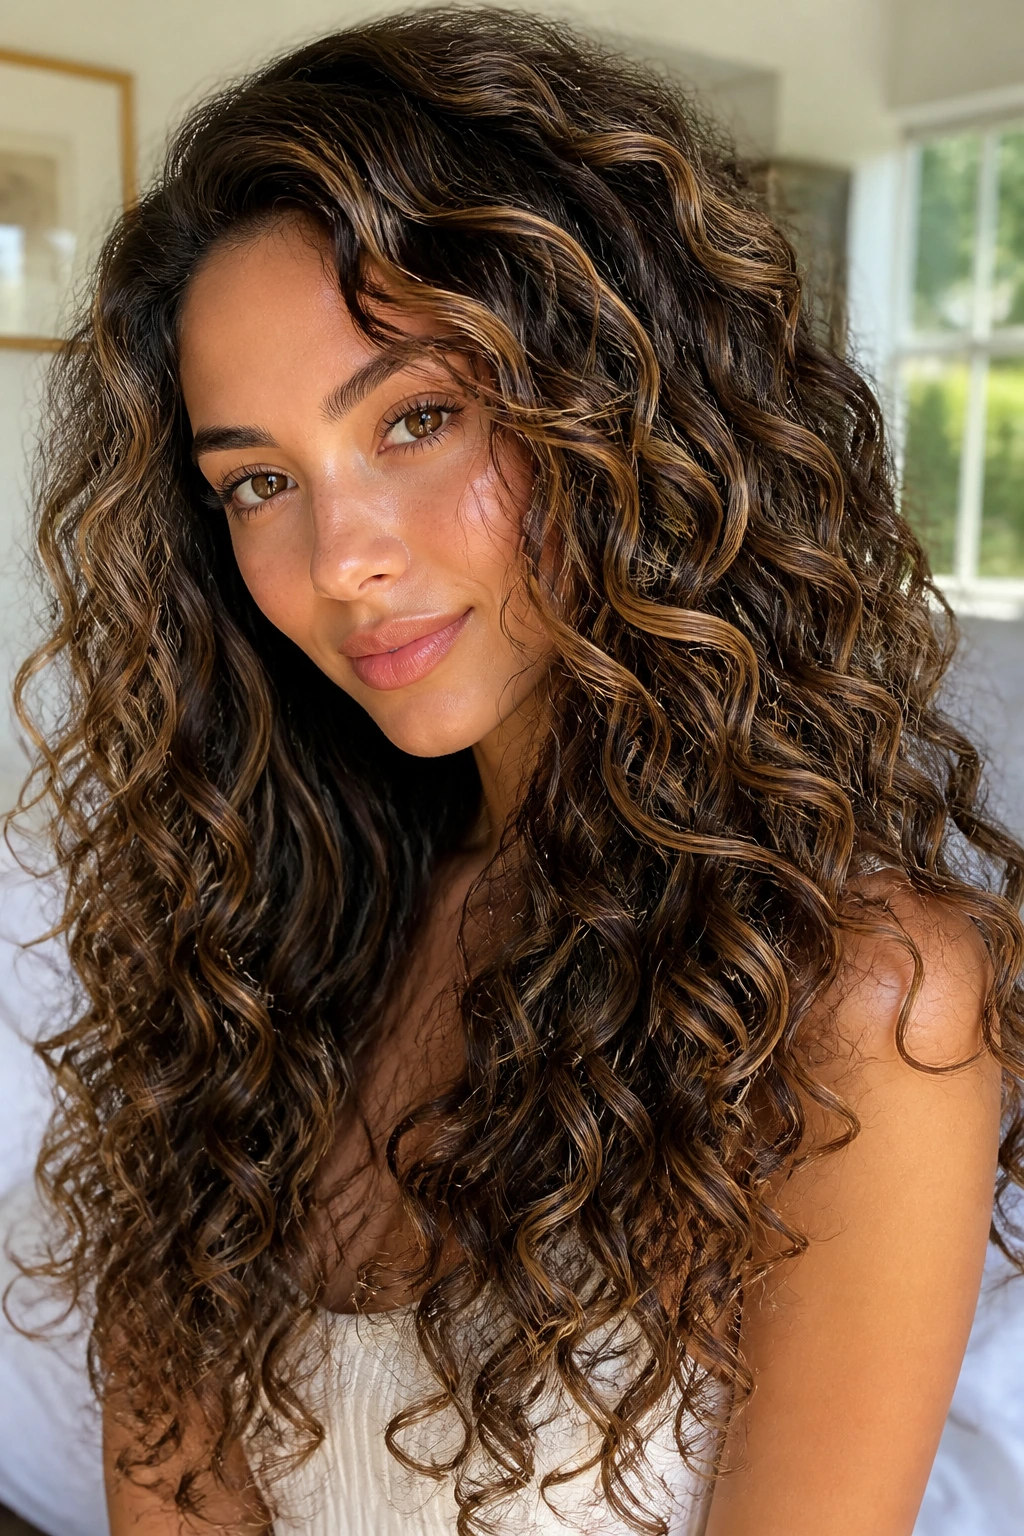
Long spirals can swallow color unless the lowlights are woven in like lace. Mocha strands placed in narrow ribbons between the curls give the length more texture and stop it from reading as one continuous sheet.
This is a good match for hair that’s thick, long, and prone to a little visual sameness at the ends. The lowlights don’t need to cover much ground. They just need to show up in the bends.
Moisture matters here. Long curls with color are unforgiving if the ends get dry, and dry ends make lowlights look harsher than they are.
20. Asymmetrical Curly Cut with Side Sweep
Why does a one-sided shape make lowlights look even richer? Because the asymmetry gives the eye a clear path, and the darker pieces can sit along that line without competing with the whole head.
This cut is for someone who likes a little drama but doesn’t want a full edgy makeover. The side sweep opens one cheekbone, the lowlights deepen the heavier side, and the curl pattern keeps the asymmetry from feeling stiff.
Keep the sweep soft, not glued. A light cream or mousse is enough. Heavy gel can flatten the movement that makes the cut work.
21. Low Curly Ponytail with Ribboned Ends
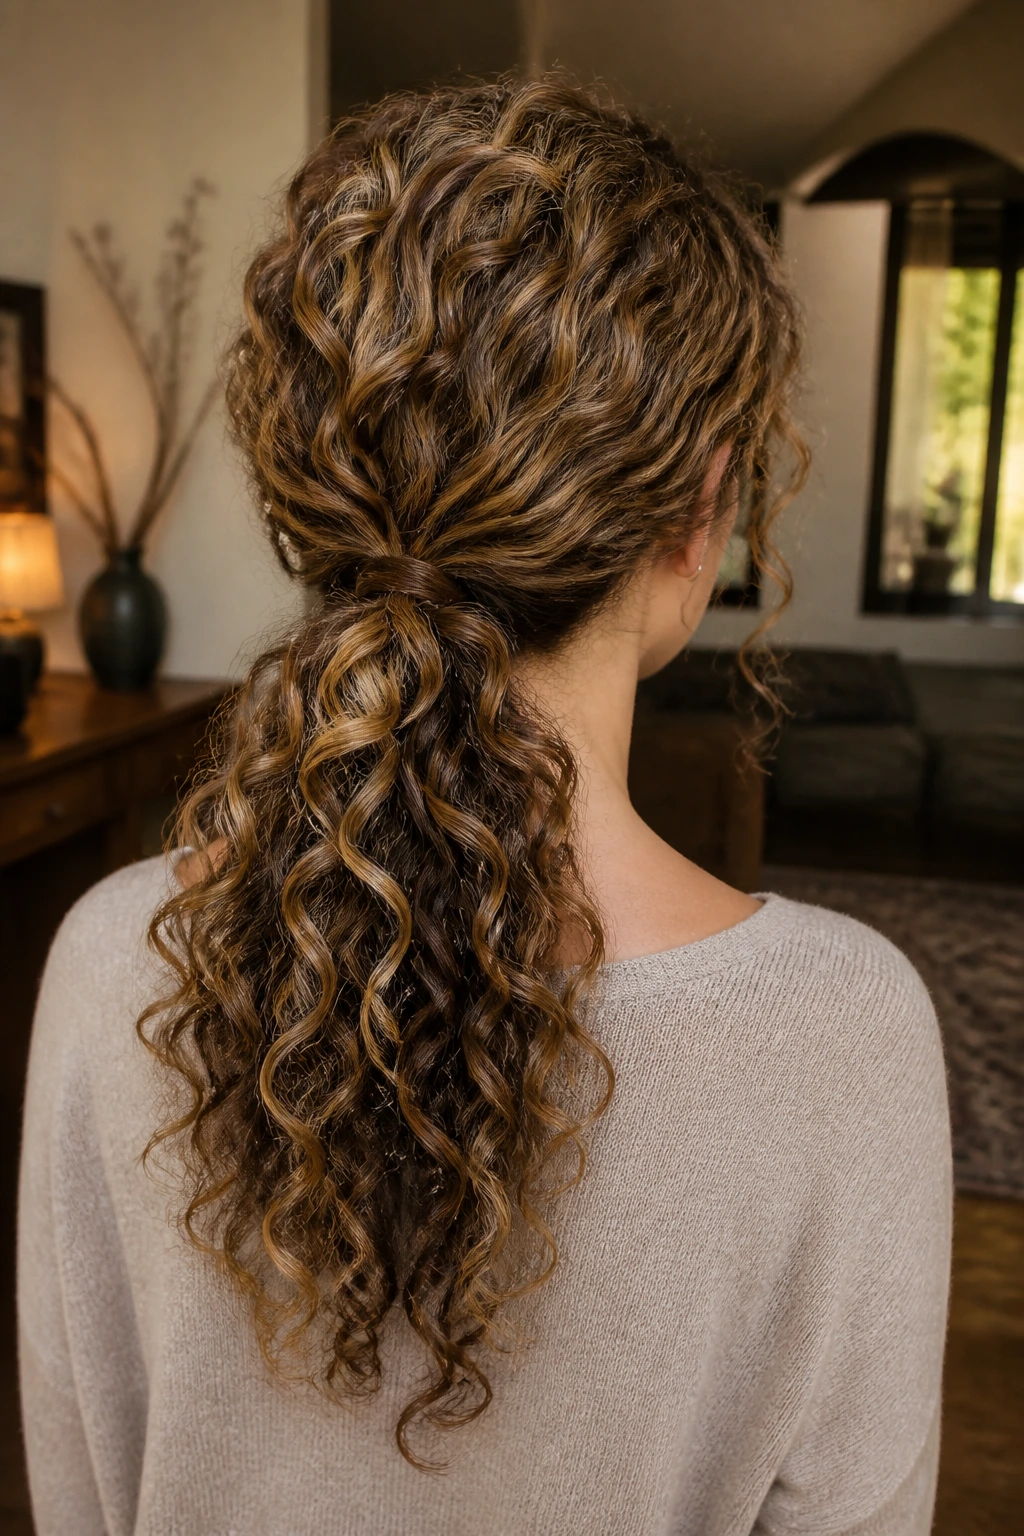
A low curly ponytail can be boring in plain color. Ribboned lowlights fix that by making the tail look thicker and more layered, especially when the darker pieces sit through the lower half and ends.
This style is excellent for day-two curls, office days, or any time you want the hair out of the face but not stripped of personality. The ponytail stays low, the curls stay visible, and the color keeps the shape from going limp.
Wrap a curl around the elastic if you want the finish to feel polished. It takes ten seconds and makes the whole thing look more intentional.
22. Wash-and-Go with Invisible Lowlights
The best color is sometimes the kind nobody can point to immediately. Invisible lowlights do that job well on a wash-and-go, especially when they’re only a shade or two deeper than the base and tucked into the interior.
This style is for people who want dimension without obvious stripes. When the curls separate, the dark pieces show up. When the curls clump, they almost disappear. That on-off effect is exactly what keeps the hair looking natural.
If your curls are fine, keep the placement sparse. Too many dark strands can make the whole head read darker than you meant.
23. Shoulder-Length Curly Lob with Soft Cocoa Contrast
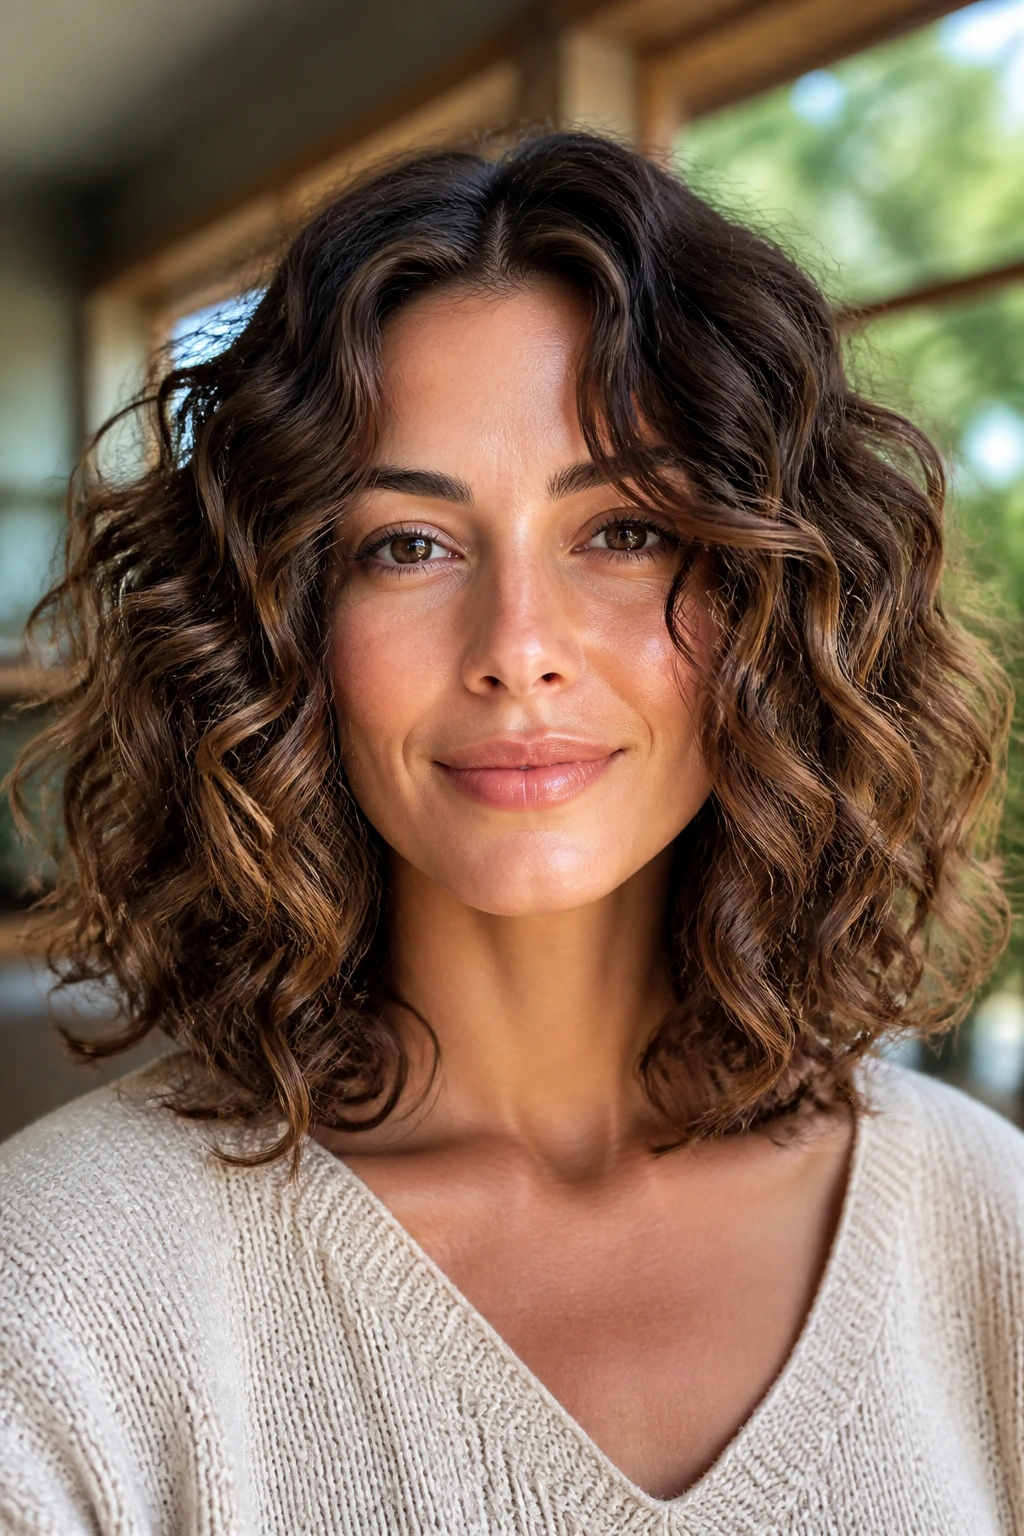
A shoulder-length lob gives lowlights room to breathe. Soft cocoa contrast through the mids keeps the edges interesting while the overall shape stays easy to wear and easy to grow out.
Unlike a blunt bob, this length doesn’t box you in. You can wear it center-parted, off-center, clipped back, or pushed behind one ear, and the darker strands still make sense.
I like this cut for people who want lowlights that work on ordinary days, not only on salon-day blowouts. It looks fine air-dried, and it looks even better once the curl pattern settles.
24. Curly Bangs with Cinnamon Framing
Curly bangs can go triangle fast. Cinnamon framing breaks up the fringe so the curls read as separate pieces instead of one heavy strip across the forehead.
The lowlights should stay fine and soft here. The point is to give the bangs dimension, not turn them into a dark curtain. Around the temples, a little extra depth helps the bangs connect to the rest of the cut.
Diffuse the bangs forward first if you want the curl pattern to set properly. Once they’re dry, you can fluff the rest of the hair around them.
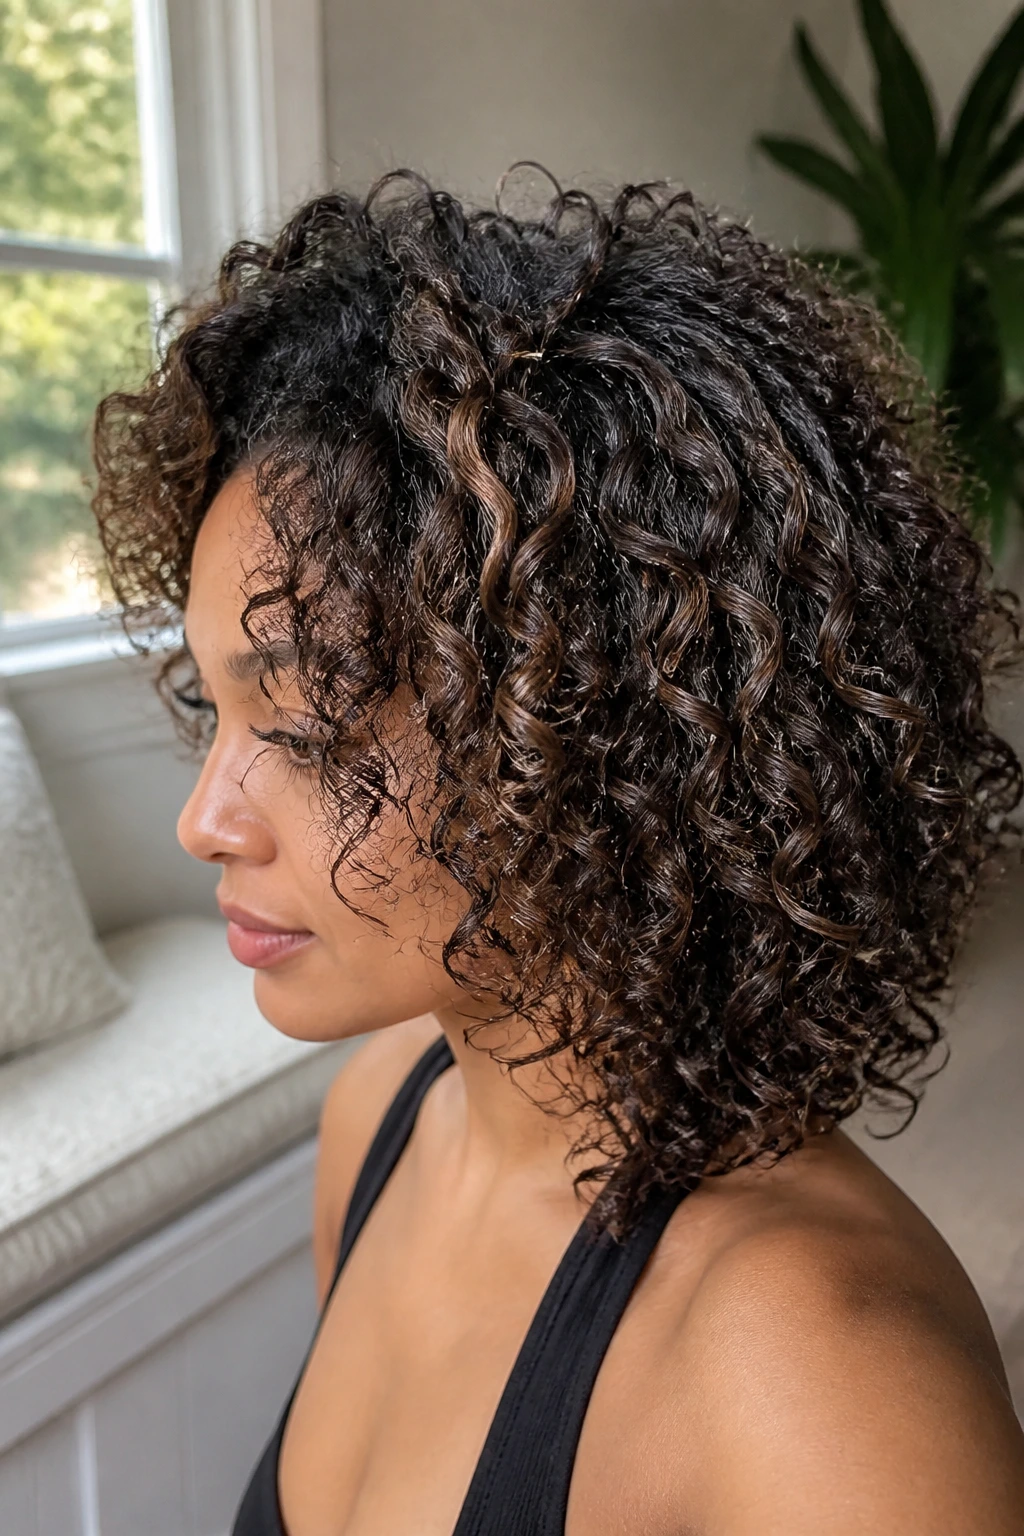
25. Glam Side-Swept Curls with Espresso Veil
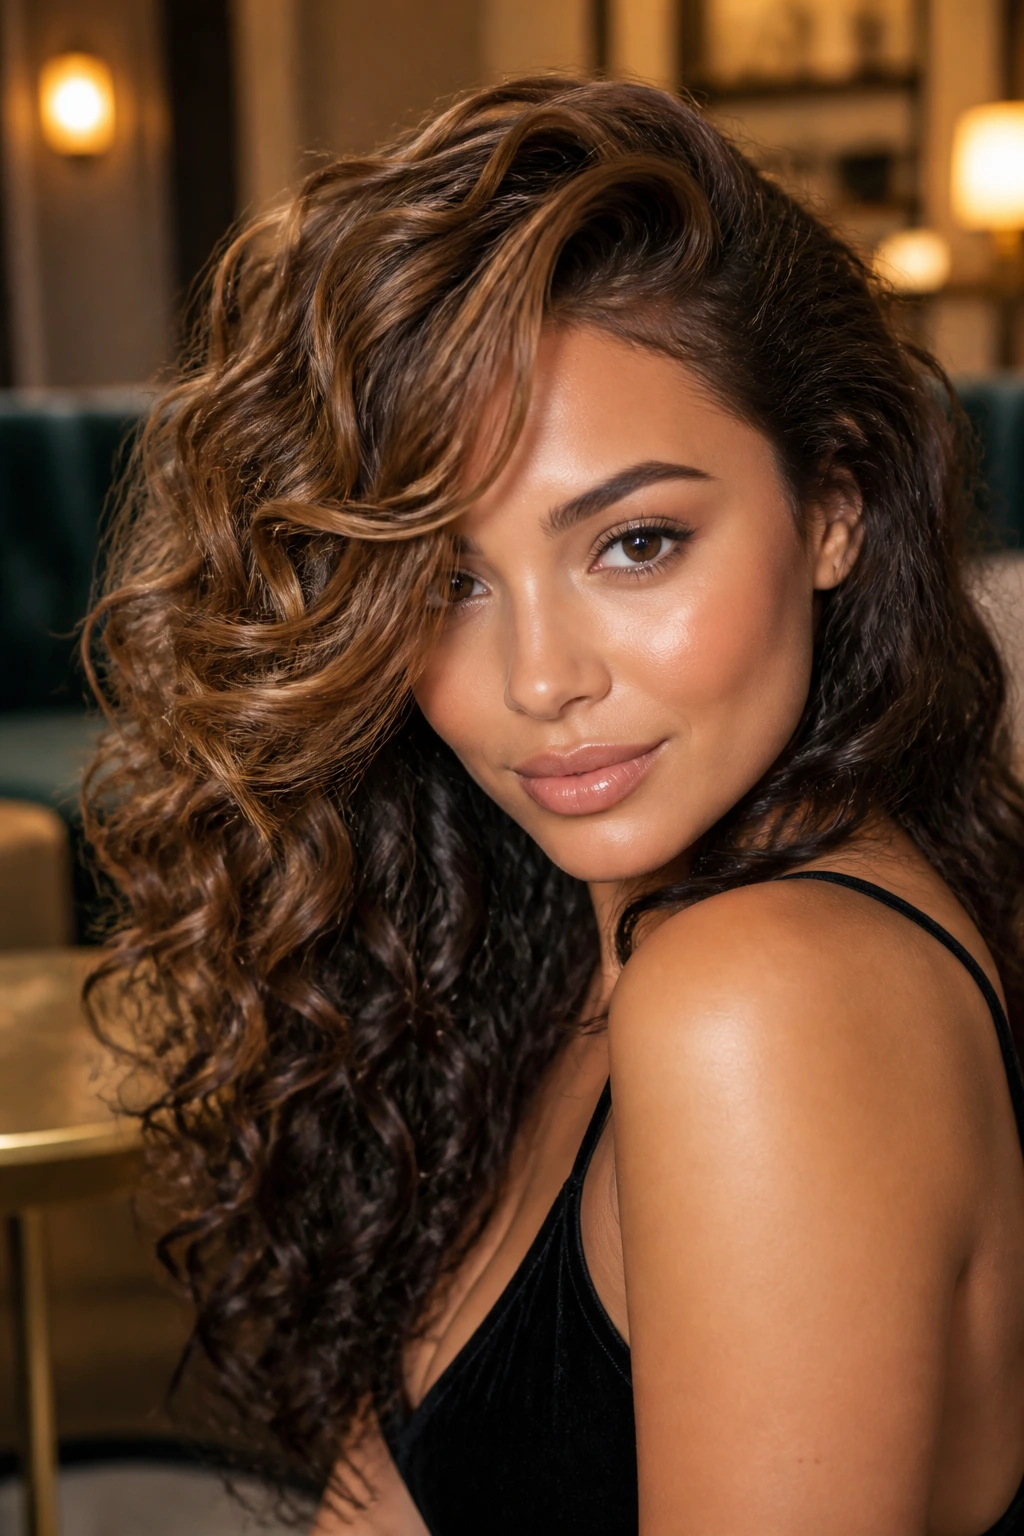
A side-swept style loves a veil of espresso lowlights because the whole look depends on one side carrying more visual weight. The darker pieces underneath keep the sweep from looking airy in a flimsy way, and the curl line across the face feels smoother.
This is a strong choice for formal wear, but it doesn’t have to feel fussy. Pin the heavier side low, let the curls fall across the forehead in a soft arc, and keep the underside a shade deeper so the style has a real base.
A little shine serum on the ends helps here. Not much. Just enough to make the sweep look finished.
Why Lowlights and Curly Texture Create Better Shape
Curly hair is already doing half the visual work for you. The bends and spirals create natural shadow, and lowlights ride that shadow instead of flattening it. That’s why curly hair with lowlights often looks richer than the same color on straight hair — the texture keeps breaking the light into pieces.
The other reason it works is shape control. Darker strands tucked under the crown or around the perimeter can make the hair look narrower at the roots, fuller through the mids, or tighter around the face, depending on where they land. One placement can change the whole read of a cut.
I also think lowlights are kinder to curls than all-over dark dye when the goal is dimension. A solid dark color can erase curl pattern if it’s too opaque. Lowlights, especially when painted in thin ribbons, leave the curl shape readable.
Essential Tools for Styling and Maintaining These Looks
-
Wide-tooth comb: Gentle detangling before styling keeps curl groups intact and prevents the lowlight pattern from getting buried in frizz.
-
Leave-in conditioner: A light, slip-heavy leave-in helps curls stay soft without collapsing the shape under heavy product.
-
Curl cream or mousse: Cream gives slip and softness; mousse gives lift and a lighter finish. Choose based on how fine or thick your curls are.
-
Strong-hold gel: Useful when you want the lowlights to show through defined curl clumps instead of a fluffy halo.
-
Microfiber towel or cotton T-shirt: Cuts down on rough drying, which matters because frizz can blur the lowlight placement.
-
Diffuser: Helps set shape without blasting the curl pattern flat. Low heat, low speed. Always.
-
Duckbill clips or root clips: Handy for lifting the crown while drying so the darker pieces don’t compress the whole style.
-
Satin bonnet or pillowcase: Keeps curls from snagging overnight and protects the lowlight dimension from friction frizz.
-
Color-safe shampoo: Especially useful if the lowlights are demi-permanent or glossed; harsh cleansers make the tone fade faster.
-
Deep conditioner or bond builder: Good insurance for chemically lightened curls that also need lowlight work.
Smart Shade and Placement Choices for Curly Hair with Lowlights
The smartest lowlight choice is usually one to two shades deeper than the natural base, unless you’re chasing a very bold look. Go darker than that and curly texture can start to look muddy, especially when the curls stack on top of each other after drying.
Warm brunettes usually look best with chestnut, cocoa, walnut, or soft espresso pieces. Cooler brunettes can handle mushroom, tobacco, or smoky brown without going flat. Redheads need more care; a muted auburn or cinnamon-brown lowlight often looks cleaner than a deep violet-brown that can go murky.
Placement matters even more than shade. Put the darker pieces where the head needs structure — nape, underlayers, crown recesses, and around the perimeter if the shape needs tightening. Thick stripes on the top layer are the easiest way to make the whole thing read stripy instead of dimensional.
Porosity changes the picture too. High-porosity curls grab pigment fast, which means lowlights can go darker than expected if they sit too long. Low-porosity hair may need more careful processing and a gentler formula so the color takes evenly. A strand test is boring. It’s also cheap insurance.
How to Wear and Finish These Curly Looks

Everyday Wear: The easiest finish is one that follows your curl type instead of forcing a blown-out shape. A cream-plus-gel combo keeps the lowlights visible because the curls clump, not fluff.
Accessory Pairing: Satin scrunchies, slim clips, headbands, and hoops all work with these looks. Big, shiny accessories can compete with dense curls, so I usually like something that sits closer to the head.
Volume Balance: If the top is too tall, keep the sides a little smoother and let the lowlights sit lower. If the style is narrow, lift the crown with clips while drying so the darker pieces don’t collapse the whole shape.
Occasion Finish: For events, choose a deeper side part, tuck one side behind the ear, and define the front pieces with a small amount of serum. That gives the lowlight pattern a clear frame without making the curls look shellacked.
Additional Tips and Curl Boosters

Definition Boost: Diffuse on low heat until the cast forms, then let the hair cool before scrunching it out. That keeps the lowlight ribbons visible between curl groups instead of hidden under fluff.
Color Boost: A gloss or demi-permanent refresh between appointments helps the lowlight tone stay clean. If the color starts turning flat or reddish in a way you do not like, a salon gloss is usually smarter than adding more dye at home.
Shape Boost: Clip the crown for 10 to 15 minutes while the hair dries, especially on bob and lob shapes. That small lift makes the lowlight placement under the top layer read as depth instead of heaviness.
Make-It-Yours: Want a softer look? Keep the lowlights one shade deeper and spread them thin. Want more drama? Ask for denser placement under the crown and at the nape, where the eye notices shadow first.
Serving Suggestions: A side part, a tucked-behind-one-ear finish, or a loose clip at the temple can show off the lowlight pattern without changing the haircut at all. Small moves. Big payoff.
Keeping Curl Pattern and Lowlights Fresh Between Wash Days
Curly hair with lowlights usually keeps its shape best for two to four days when you protect it at night. A satin bonnet or a loose pineapple on top of the head keeps the curls from rubbing flat, and a silk pillowcase helps if the bonnet never stays on your head for more than ten minutes.
The color itself usually benefits from a separate kind of routine. Many lowlight services hold their clean tone for several weeks before they start to soften, but curls that are washed often, exposed to hard water, or soaked in heavy sunscreen can lose clarity faster. A color-safe cleanser, used sparingly, goes a long way.
For day-two refreshes, mist the hair lightly with water, add a pea-sized amount of leave-in to the palms, and scrunch from the ends upward. If the curls need more shape, diffuse for 5 to 8 minutes on low heat rather than soaking the whole head again. That keeps the lowlight pieces from looking muddy.
If you wear styles like buns, ponytails, or half-up looks, reset them by changing the part or the tie position every couple of days. The hair won’t get a crease in the same spot, and the darker strands will keep looking intentional instead of smashed.
Variations and Adaptations to Try
Soft Espresso Blend: Keep the lowlights just a shade or two deeper than your base and place them under the top layer. This is the safest choice if you want dimension but don’t want people to notice the color first.
Chestnut Halo: Concentrate warm chestnut pieces around the outer curve of the hairline and just behind the ears. It softens the perimeter and works well on round bobs, lobs, and halo braids.
Copper-Depth Twist: Add muted auburn or cinnamon lowlights to brown curls that already lean warm. The finish feels richer than bright red, and it plays nicely with face-framing layers or curly bangs.
Salt-and-Pepper Softener: For gray or silver curls, use translucent lowlights instead of opaque dark streaks. The goal is to blur the line between silver and darker pieces, not erase the gray that makes the texture look alive.
High-Contrast Event Version: Go one shade deeper under the crown and through the lower half, then leave the top layer softer. It gives you a bolder finish for photos, but the curls still move naturally.
Common Mistakes to Avoid
The easiest mistake is putting the lowlights only on the top layer. That creates stripey color on top and flatness underneath, which is the opposite of what curly hair needs. Thin ribbons under the canopy usually work better than thick stripes on the surface.
Going too dark is another common problem. Curls shrink and stack, so a shade that looks “rich” in the bowl can look nearly black once the hair dries. If you’re unsure, stay one level lighter than your first instinct.
Skipping the haircut is a sneaky one. A bad shape with good color still looks bad. If the ends are uneven, too blunt, or cut against the curl pattern, the lowlights can’t fix that.
People also overdo product. Heavy butters and thick creams can mute the color contrast and leave the lowlight pieces buried in shine-less weight. Use enough to define the curl, not enough to plaster it down.
Finally, don’t ignore timing around touch-ups. When the tone starts to fade warm or the dark pieces lose their edge, a gloss or toner may be enough. Waiting until the color is tired enough to need a full redo usually means you’ve gone past the easy fix.
Frequently Asked Questions
Do lowlights make curly hair look thinner?
Not when they’re placed well. Thin, scattered lowlights usually make curls look fuller because they add shadow between clumps; chunky dark streaks are what can make the hair look heavy or flat.
How dark should the lowlights be on curly hair?
Most of the time, one to two shades deeper than your base is enough. If you go much darker, especially on tight curls, the dimension can disappear once the hair dries and shrinks.
Can curly hair with lowlights still look natural?
Yes, and that’s often the sweet spot. If the lowlights are painted inside the curl pattern instead of across the surface, the result looks like depth rather than obvious color blocks.
What’s the best lowlight placement for fine curly hair?
Fine curls usually do better with sparse placement under the crown and around the nape. Too much darkness on the surface can make the hair look smaller than it is.
Can I get lowlights if my curls are gray or silver?
You can, but the formula needs a lighter touch. Semi-transparent lowlights or soft smoky browns tend to blend better than opaque dark brown, which can look harsh against silver strands.
How often do curly lowlights need refreshing?
A gloss or toner refresh is often useful every 4 to 8 weeks, depending on how often you wash and how porous your hair is. The schedule is less about the calendar and more about whether the dark pieces still look clean.
Will lowlights damage my curls?
Any color service can stress hair if it’s overprocessed, but lowlights are usually less aggressive than full bleaching. The safer choice is a salon formula matched to your curl type, plus regular deep conditioning afterward.
Can I wear these looks if my curls are short?
Absolutely. Short curls often show lowlights more clearly because the shape is tighter and the color has less space to hide. Pixies, tapered cuts, and curly bobs all take lowlights well.
The Shape Stays Rich
Curly hair with lowlights works because it respects what curls already do well: bend, shadow, lift, and fold back on themselves. The color doesn’t need to shout. It just needs to sit in the right places and let the texture do the rest.
That’s why the strongest looks in this collection don’t chase a single formula. Some lean soft and almost invisible, some go deeper at the roots, and some use lowlights to sharpen a cut that would otherwise blur out by noon. Pick the version that matches your curl pattern, your length, and how much maintenance you’re actually willing to do.
Once you start thinking about placement instead of just shade, these styles get a lot more interesting. And a lot more wearable.