Long curly hair can lose its shape faster than people expect. Add too much weight at the bottom, and the whole silhouette starts to lean into a triangle. Leave the top too full, and the crown sits flat while the ends puff out like they’re trying to escape. That’s why disconnected layers matter so much: they let one part of the cut breathe without forcing every curl to blend into the next one.
The trick is that curls don’t sit still. They spring, stack, shrink, and separate in ways straight hair never will. A layer that looks modest when wet can jump up an inch or two once it dries, and a “small” face frame can land somewhere completely different after a diffuser pass. So the best disconnected layers for long hair with curly hair aren’t just pretty shapes. They’re cuts that respect shrinkage, density, and the weird little architecture curls build when they’re left alone.
Some of these styles are soft and expensive-looking in the best sense of that phrase: clean, airy, and easy to wear with a middle part. Others have more attitude. A few push into shag territory, and a few keep the perimeter heavy on purpose so the length still feels lush. That range is the point. Curly hair does not want one answer forever.
Why These Cuts Keep Curly Length from Going Heavy
- They lift the crown without sacrificing inches: A short interior section near the top can stop long curls from hanging like a curtain.
- They let the face frame work on its own: When front pieces are disconnected, they move first and make the cut read from across the room.
- They handle shrinkage instead of fighting it: These shapes look better when the curls spring up, because the layers were planned for that bounce.
- They spread bulk where you need it most: Dense curls can keep their length at the bottom while losing the helmet effect around the head.
- They give fine curls a smarter outline: A subtle disconnect can create the look of more movement without stripping out the ends.
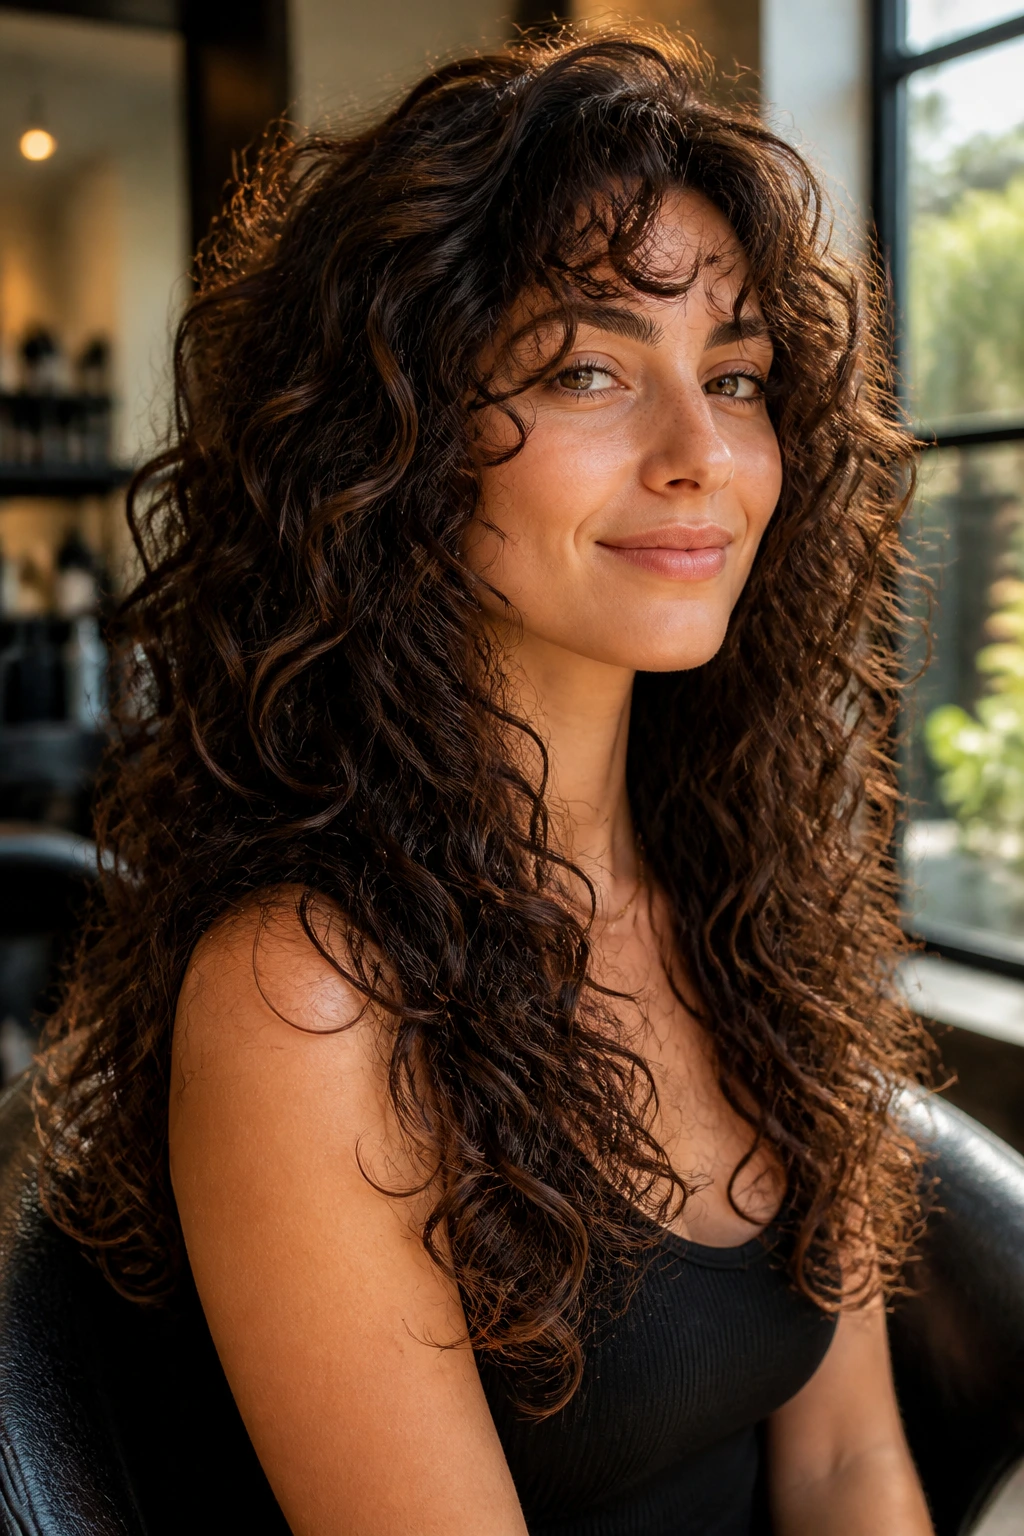
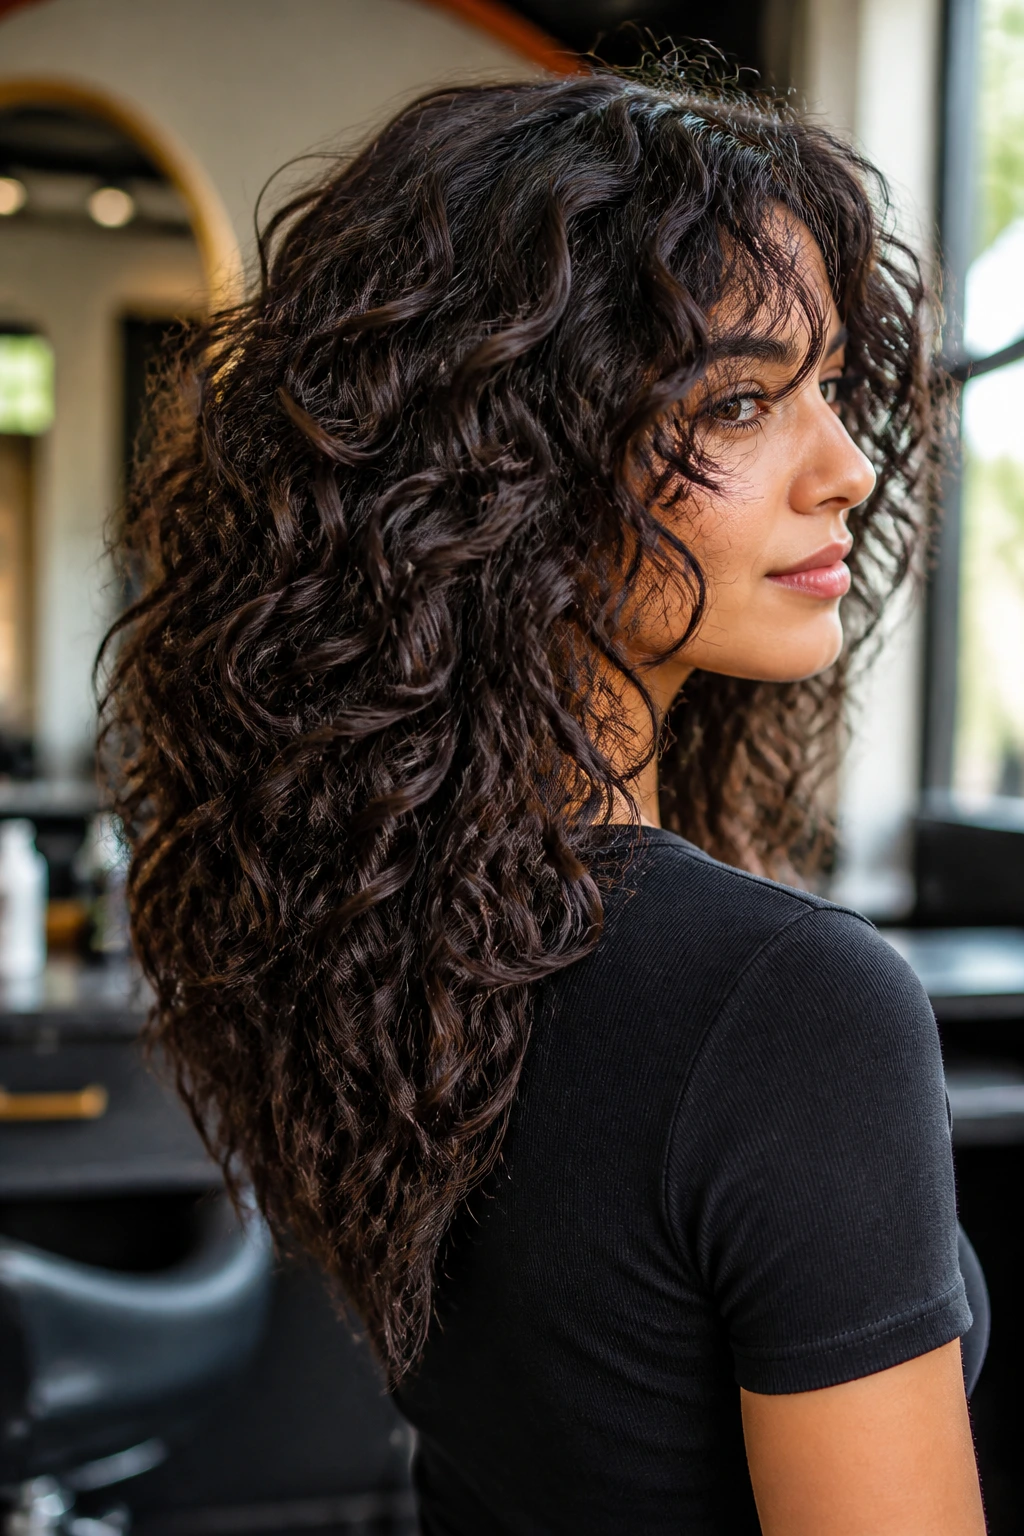
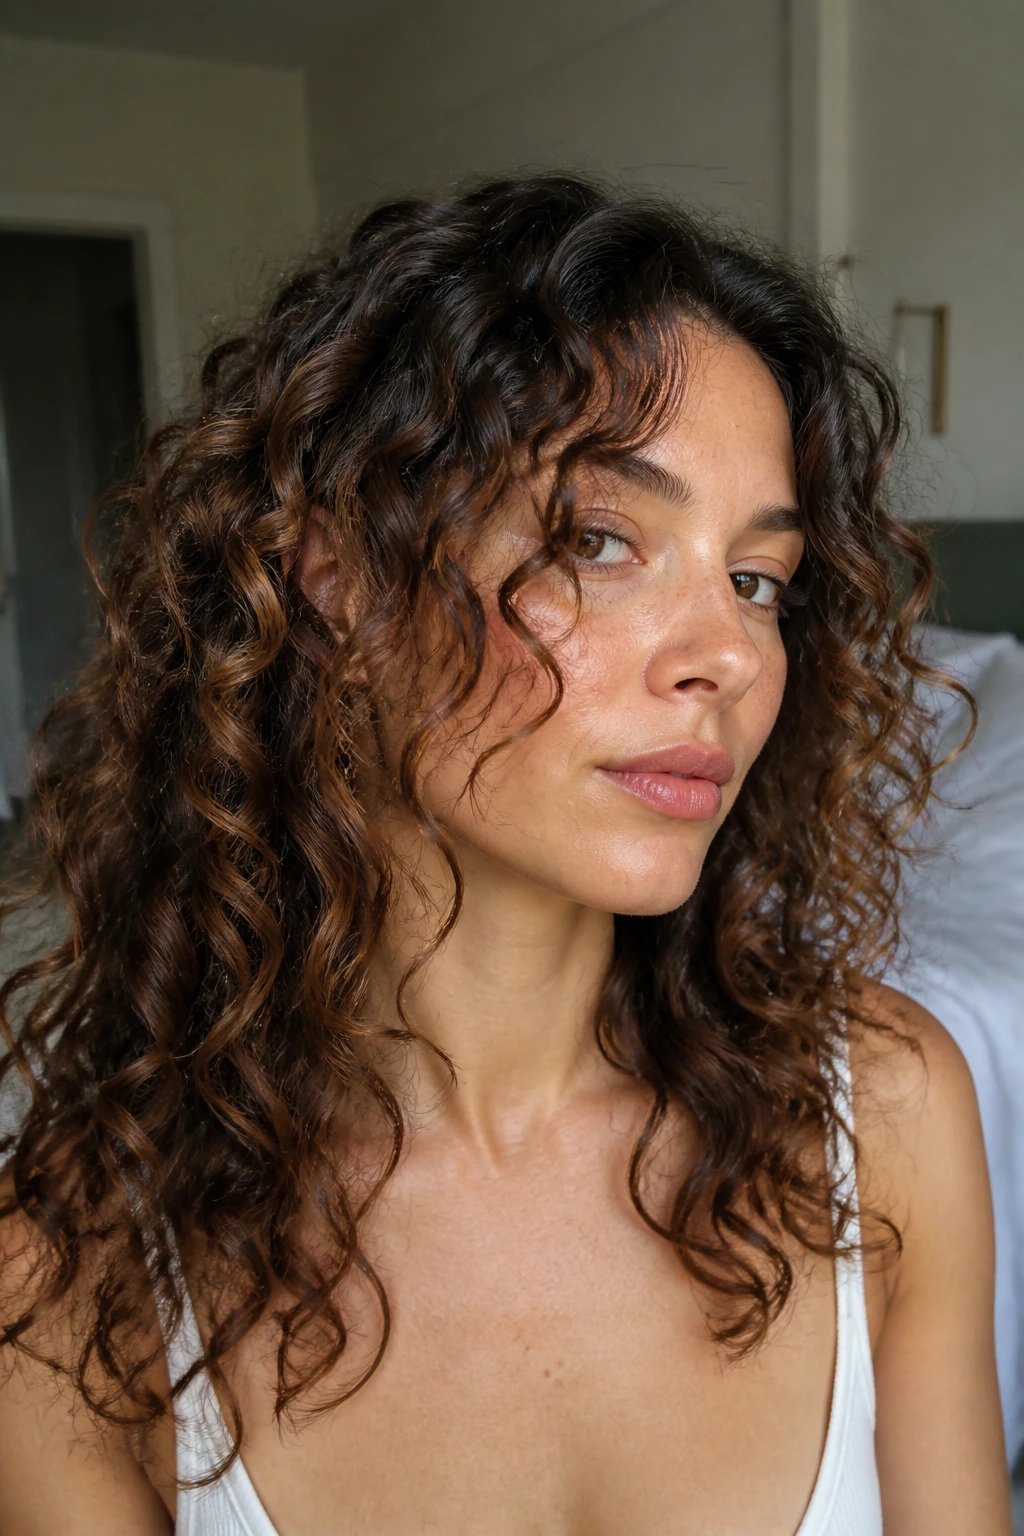
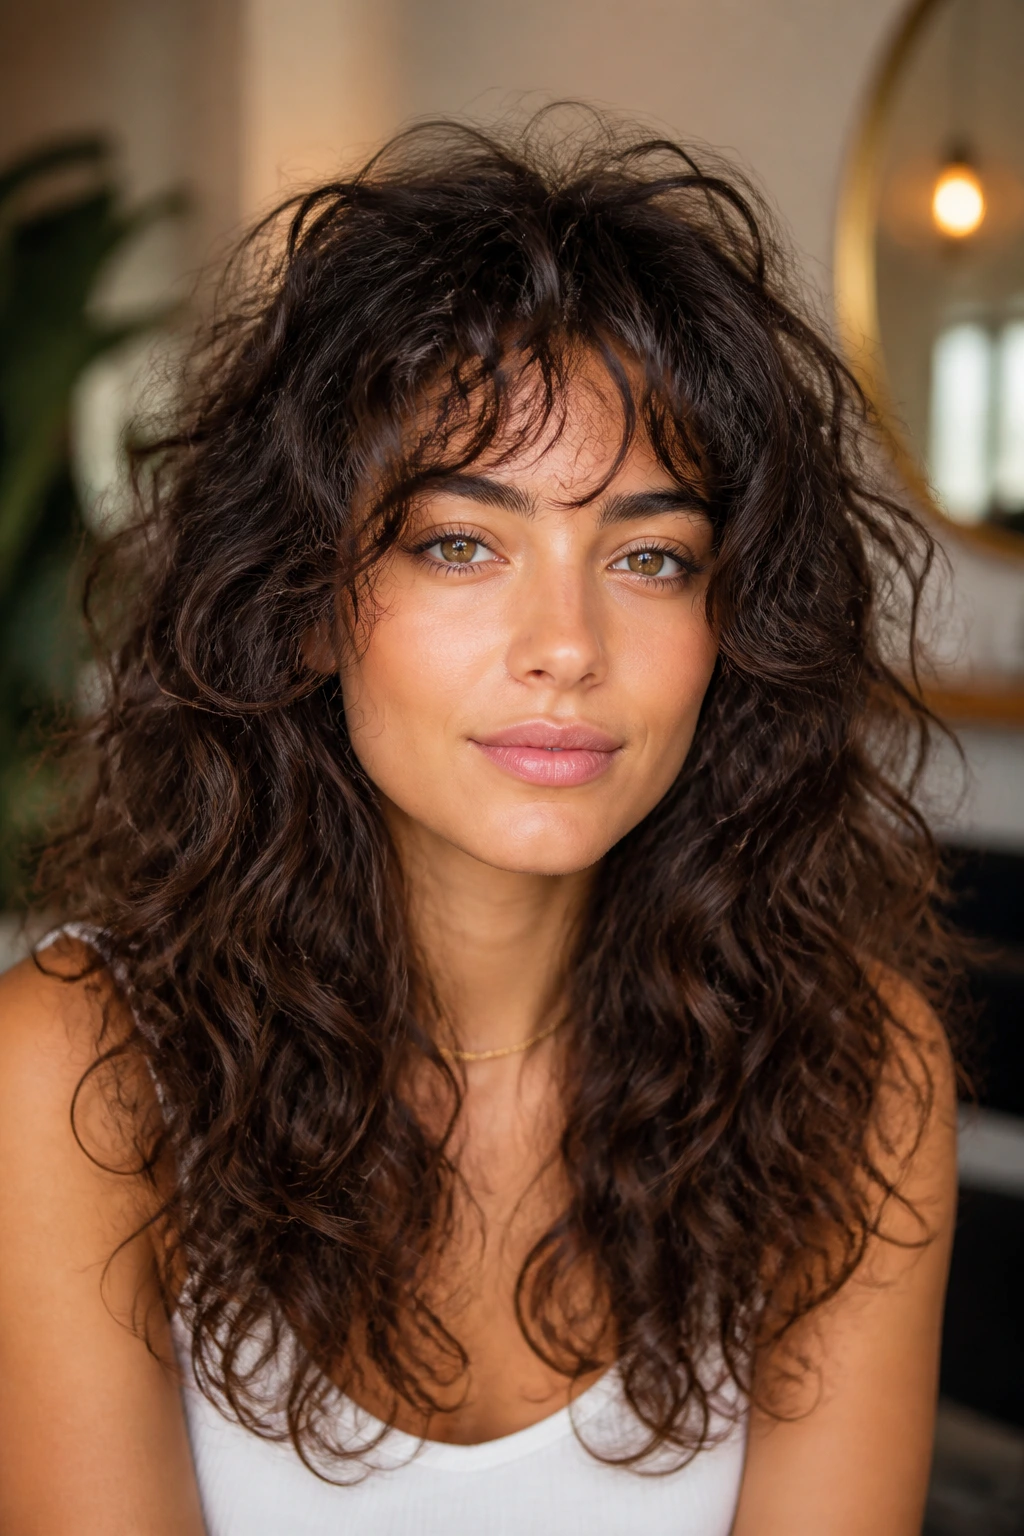
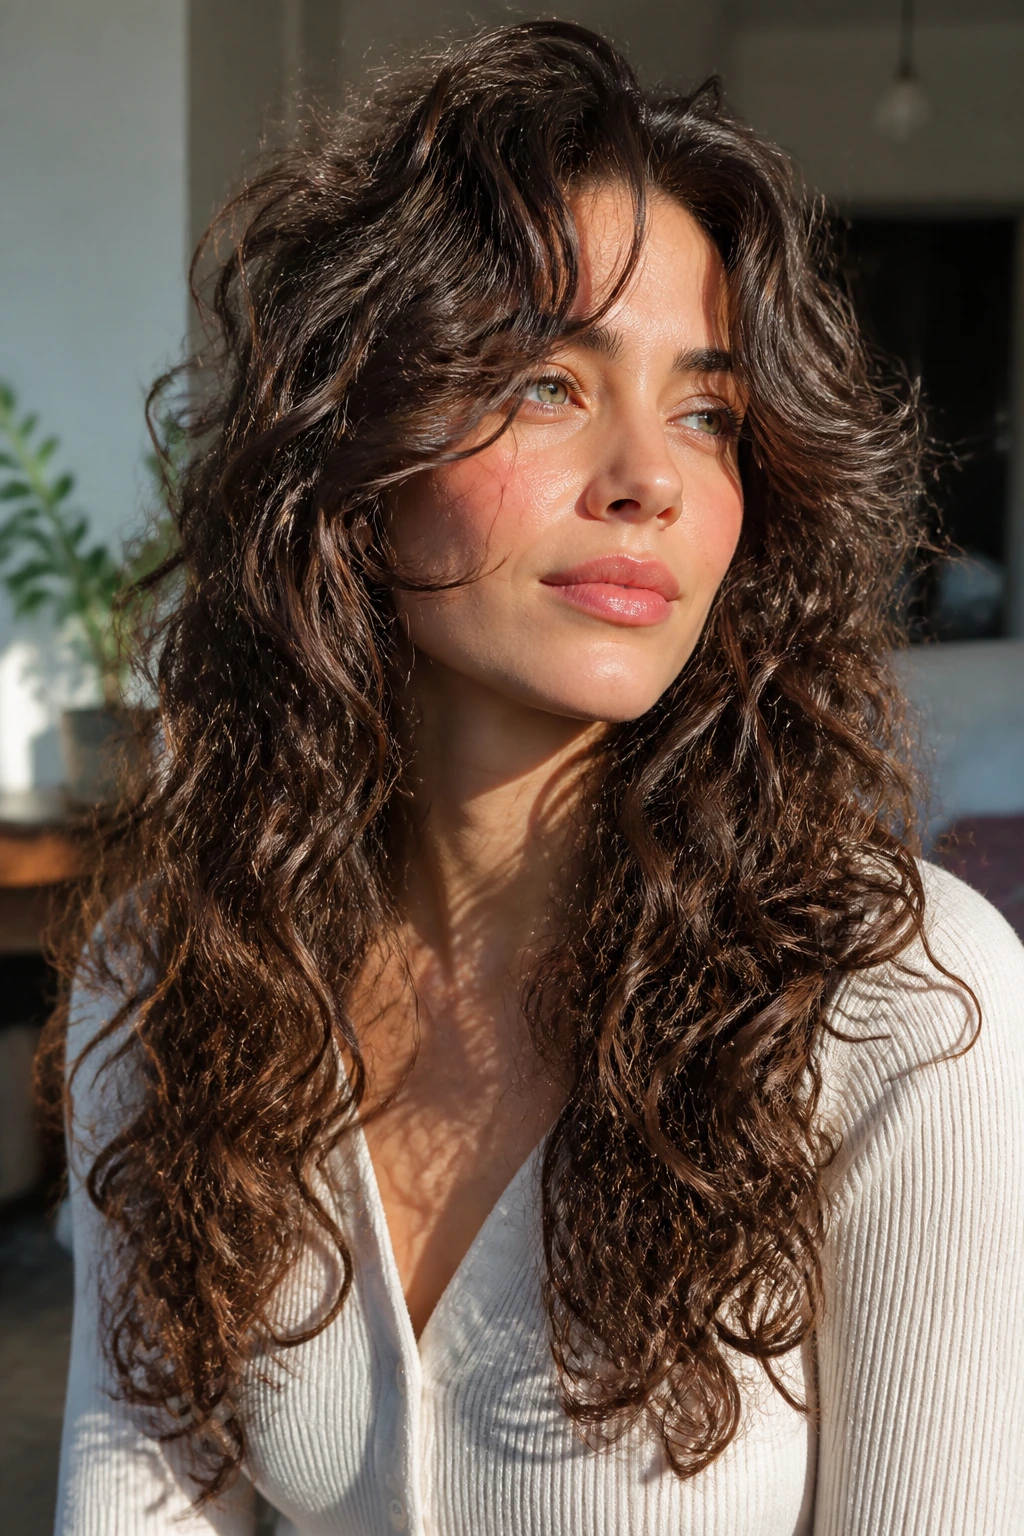
1. Crown Lift Disconnect
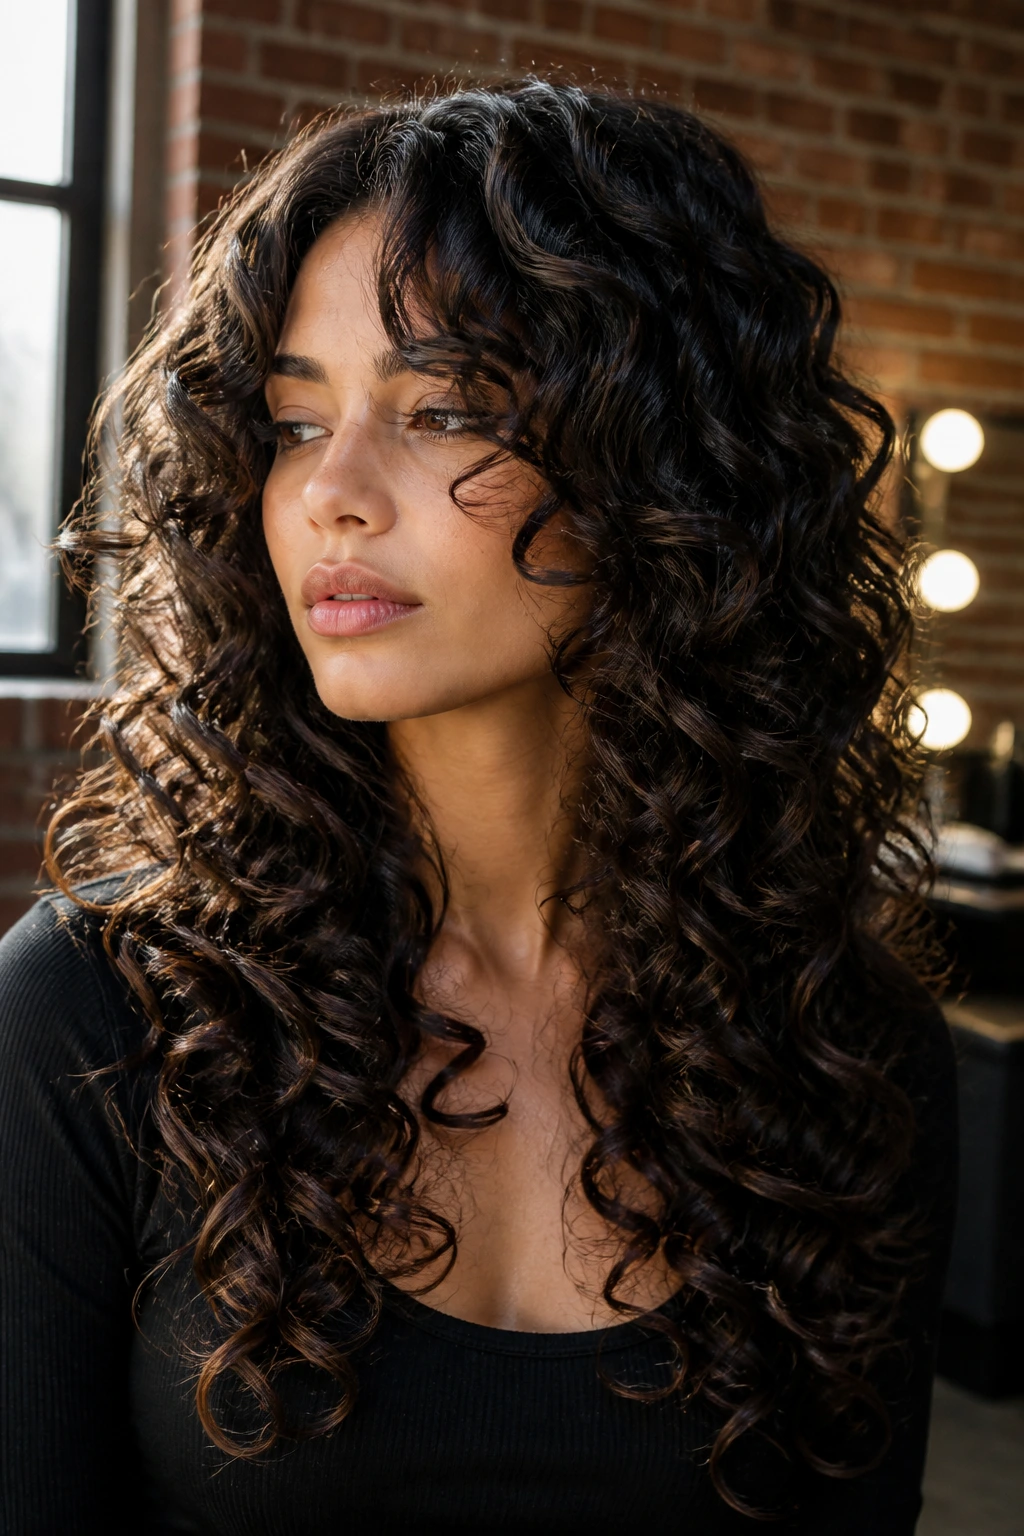
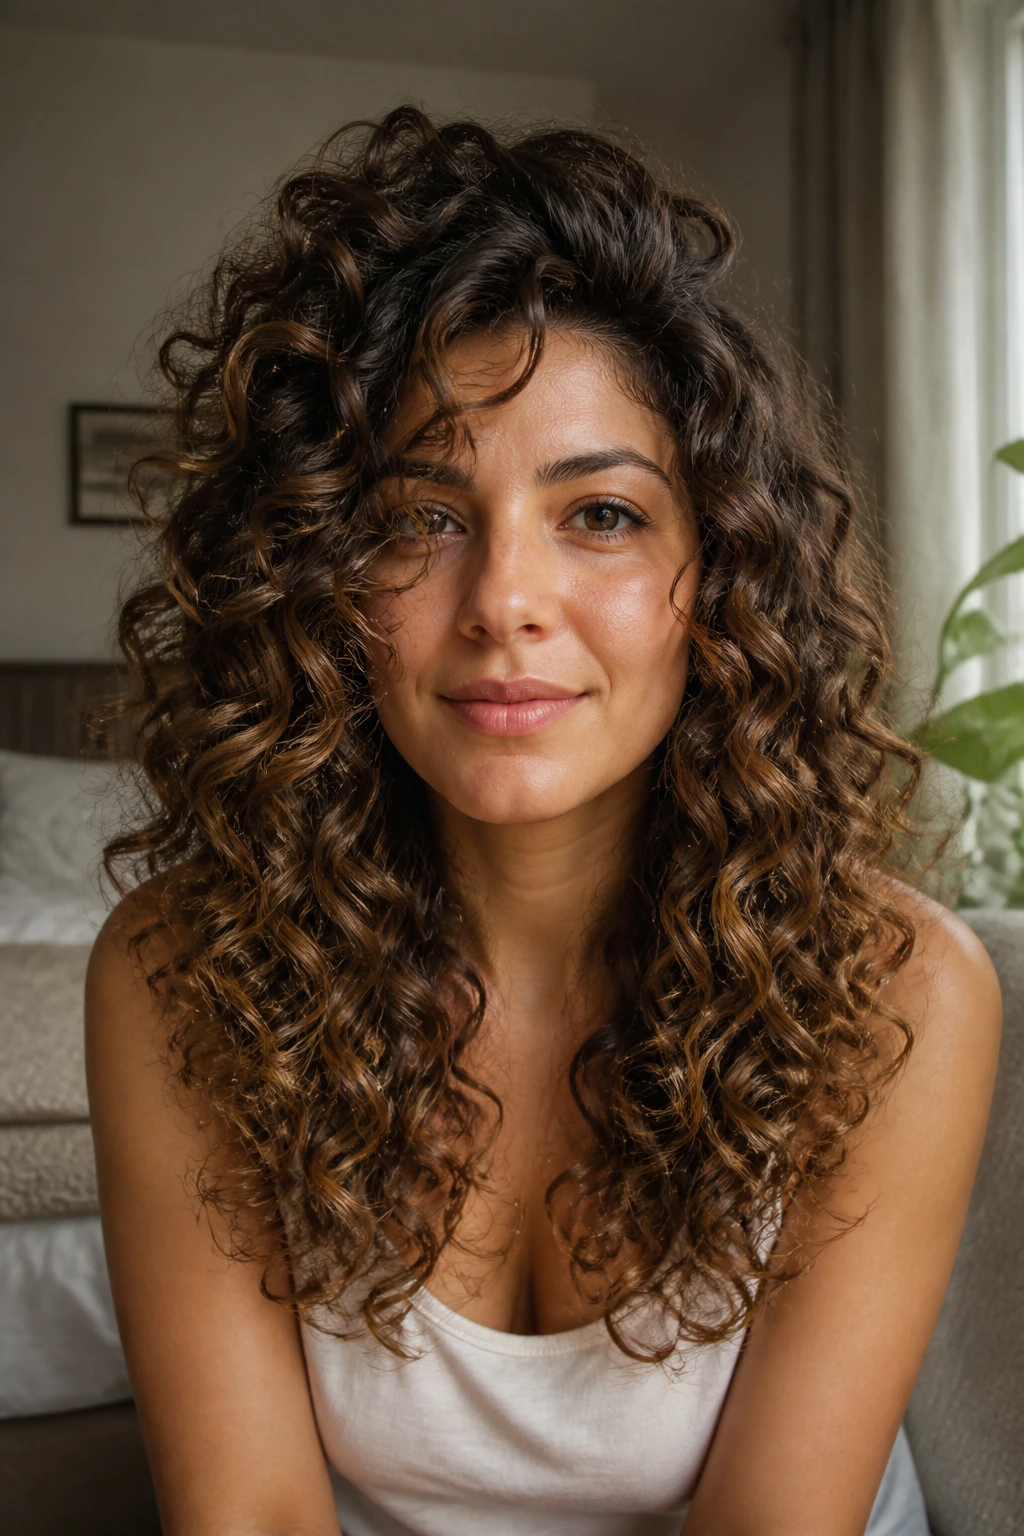
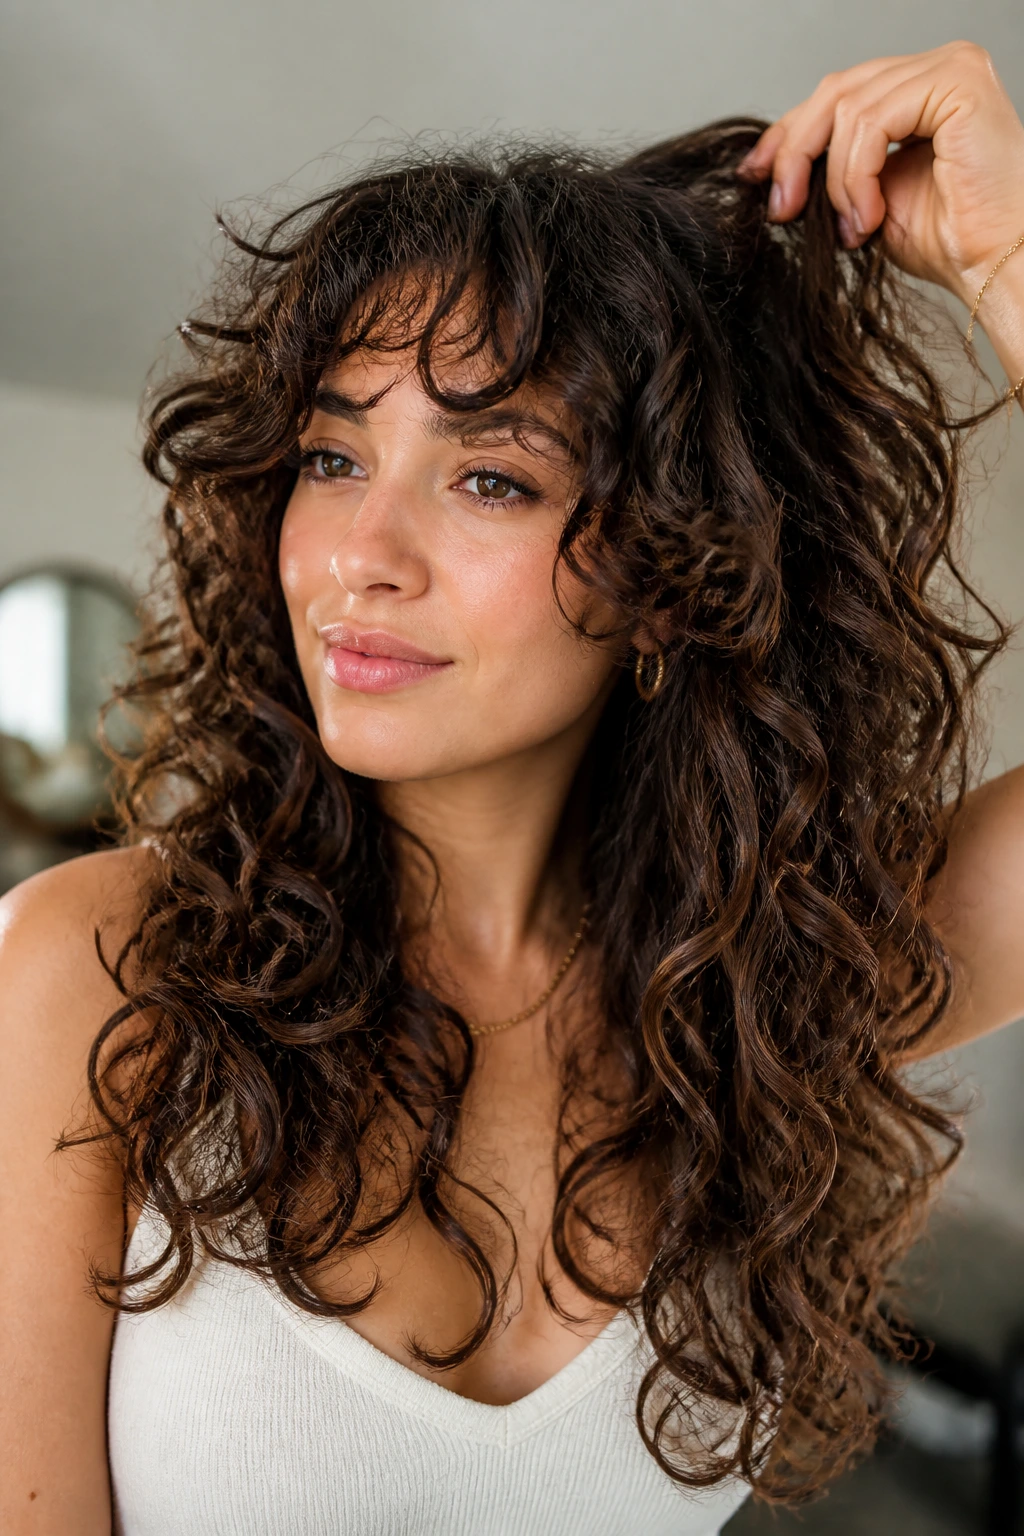
The crown lift disconnect is the haircut I reach for when long curls look heavy at the root and sleepy everywhere else. The shortest layer sits high, around the crown and upper occipital, while the length stays intact through the back. That creates a little air pocket on top, which matters more than people think. Flat crowns drag the whole cut down.
Why It Works
A dry curl-by-curl cut makes this shape much easier to control, because the stylist can see where the curl actually lands instead of guessing from wet length. It’s especially good for dense 3b and 3c hair that expands at the sides but collapses at the roots. The disconnect gives the top area room to lift without turning the bottom into a frayed mess.
If you like long hair but hate the “all one weight” feeling, this is a clean fix. Ask for the shortest layer to stay above the cheekbone line when dry, not when stretched. That tiny detail changes everything.
What to Ask For
- Keep the perimeter long and full.
- Place the shortest internal layer high on the crown.
- Avoid over-thinning the ends.
- Let the stylist check the shape dry before they remove more weight.
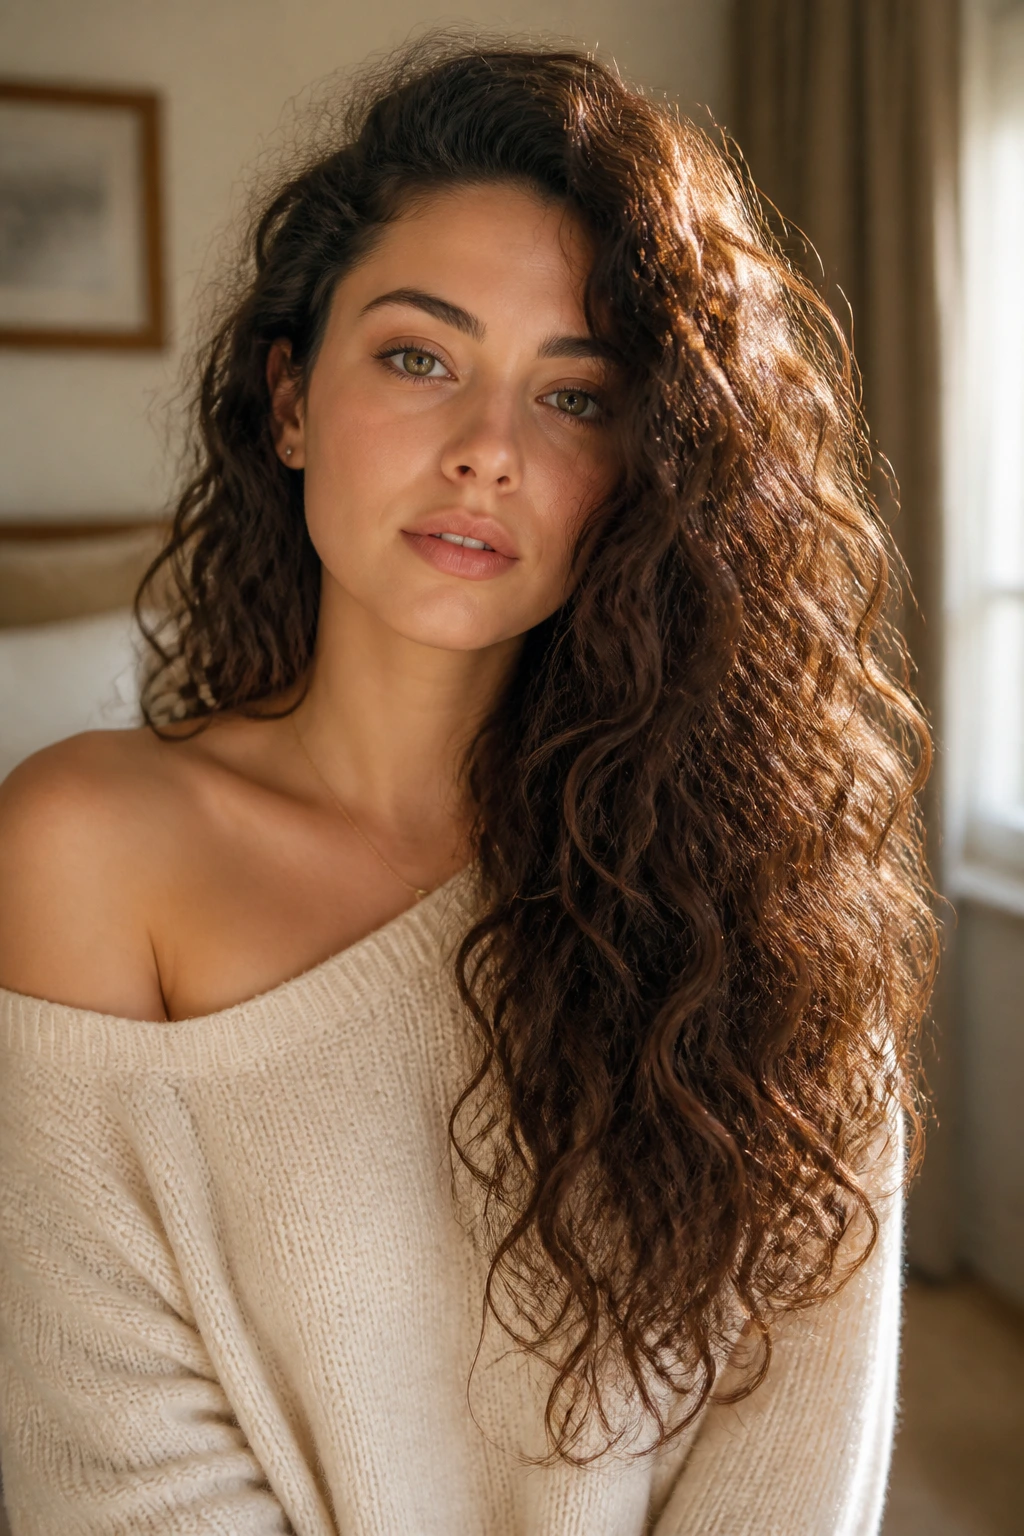
2. Curtain Fringe Cascade
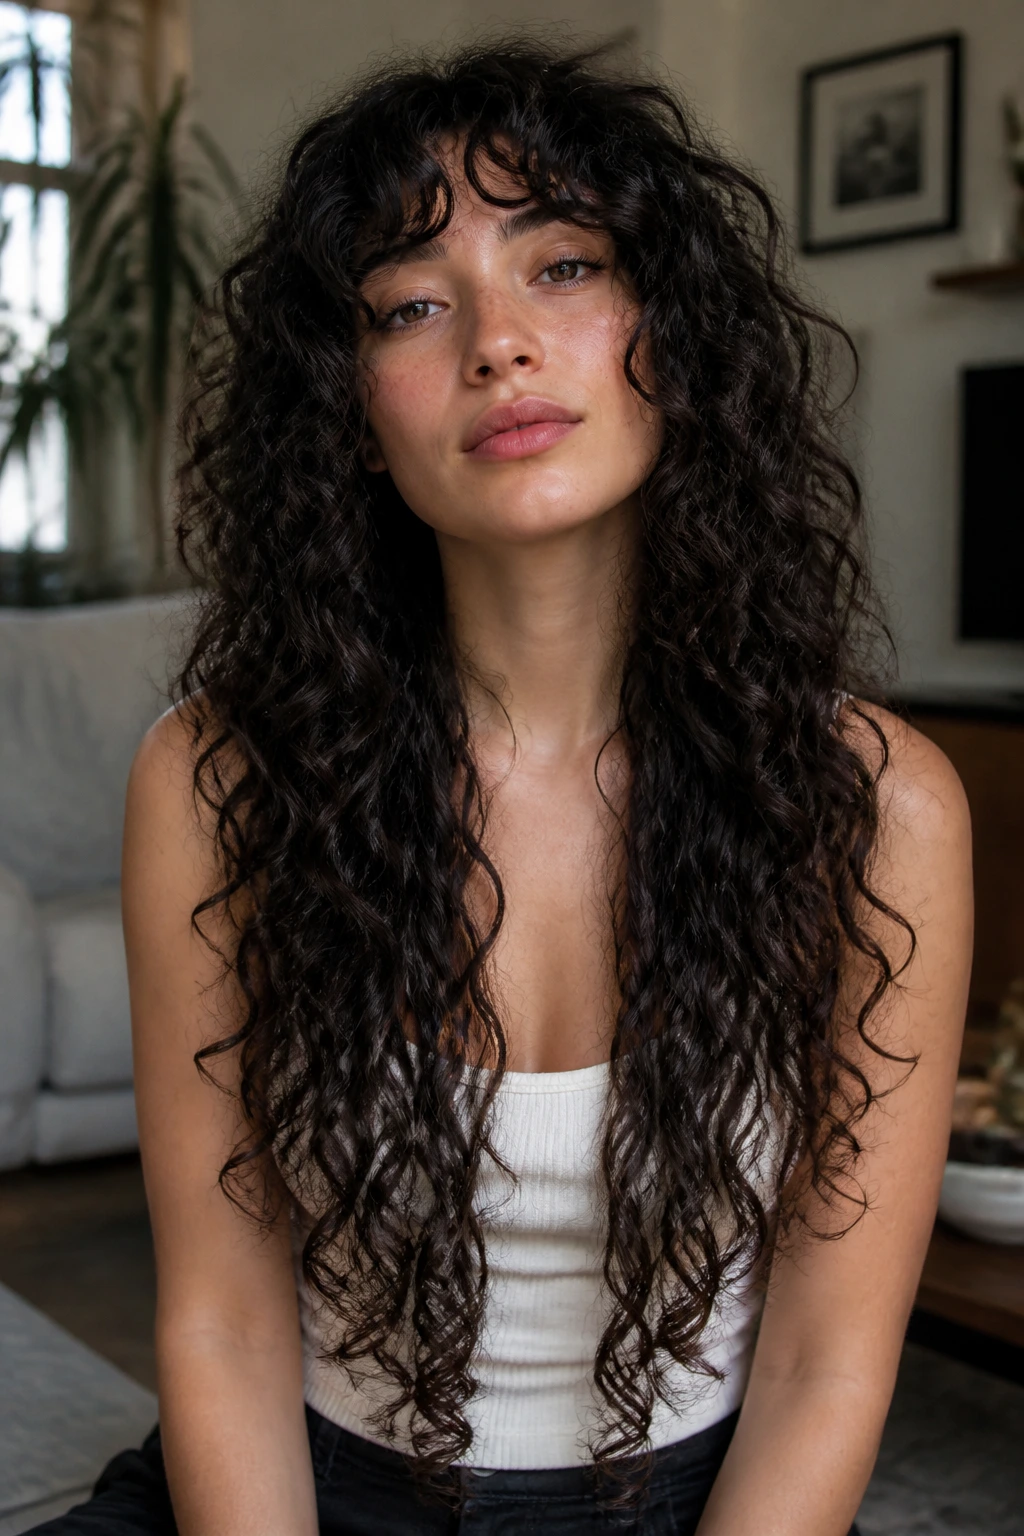
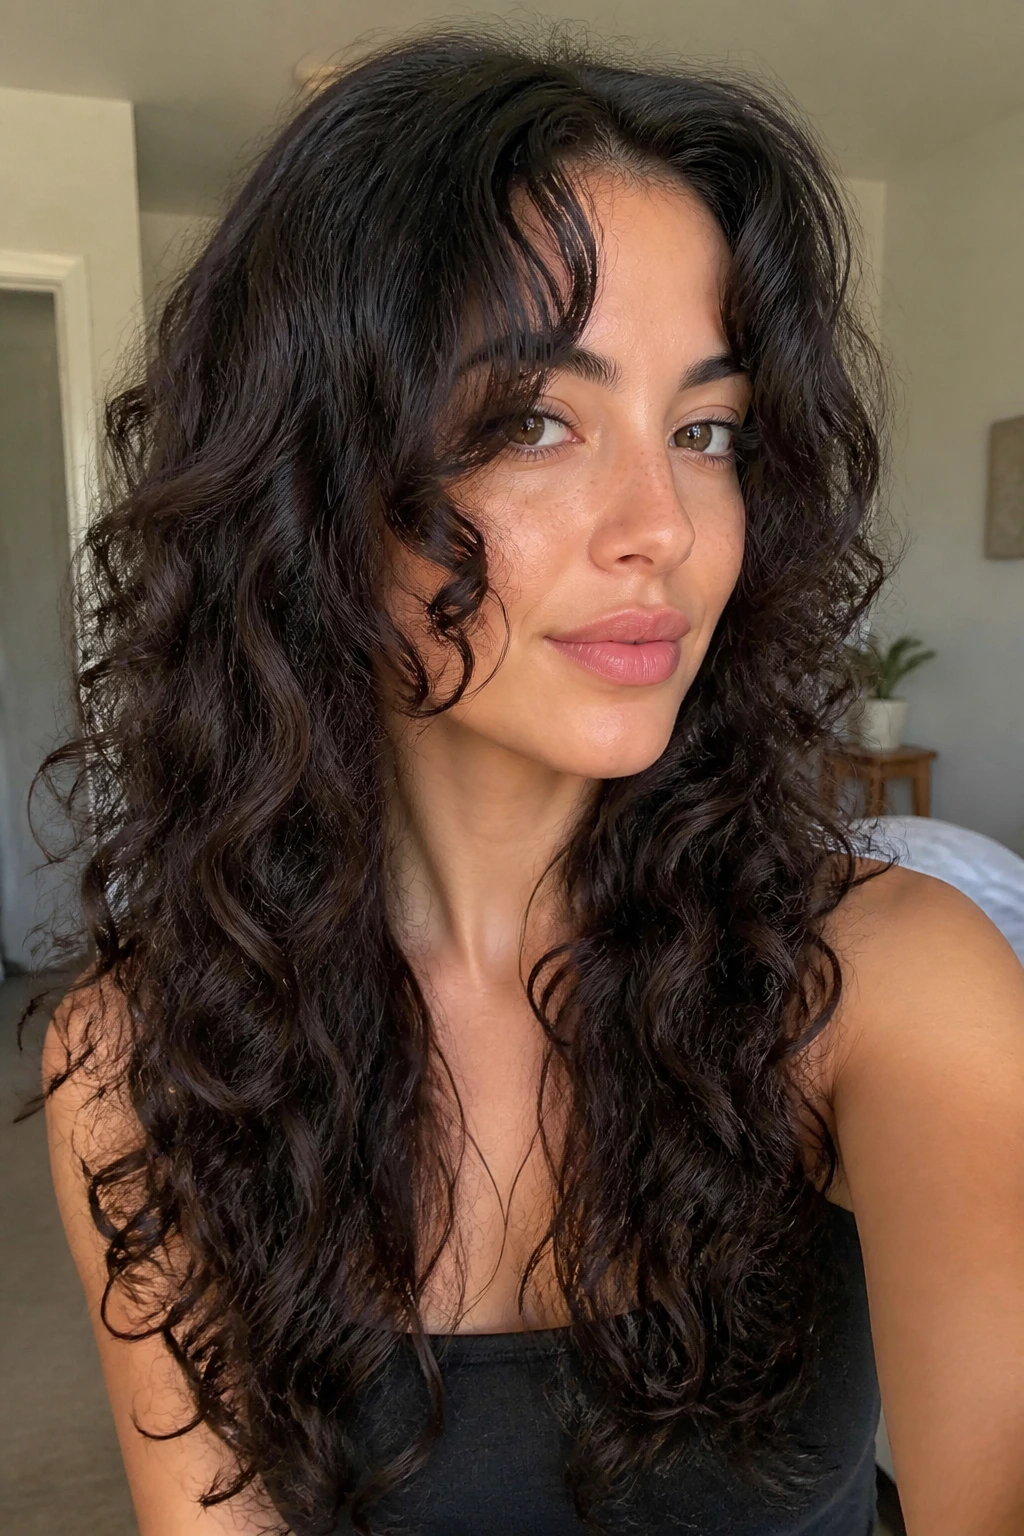
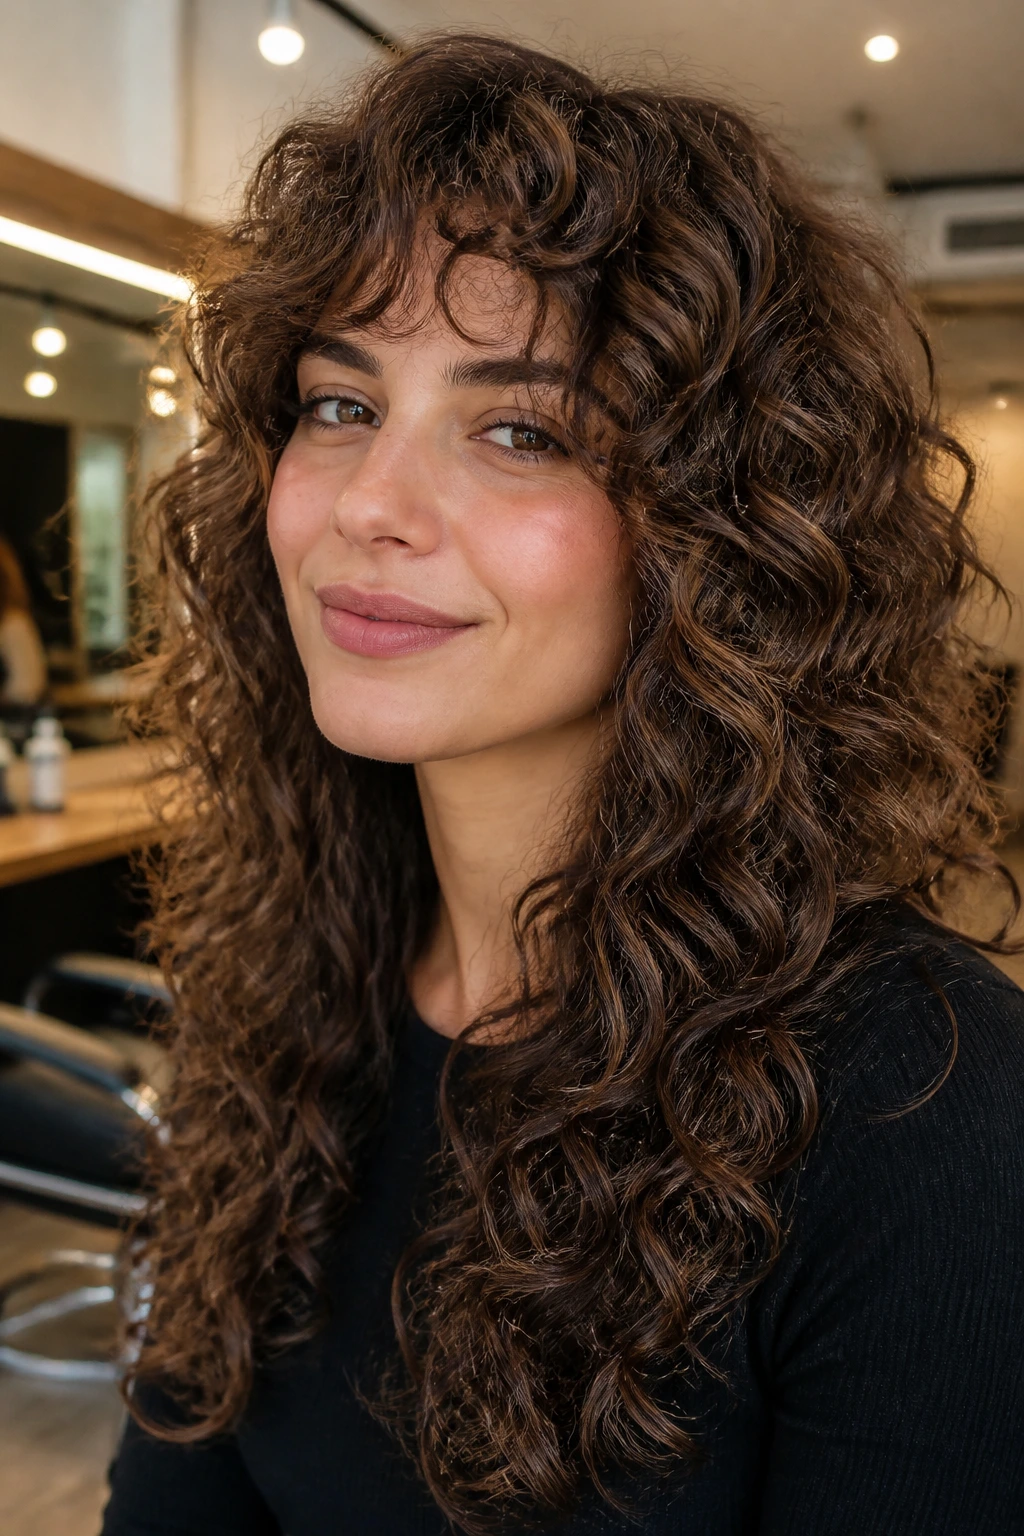
This cut puts the face in charge. Curtain fringe cascade layers start near the nose or cheekbone, then drop softly into longer side pieces that disappear into the rest of the hair. On long curls, that front framing pulls the eye upward before the length has a chance to dominate the whole look.
It’s a smart choice if your face feels swallowed by long curls or if you’ve got a higher forehead you want to soften. The fringe shouldn’t be chopped blunt. It needs enough length to curl back away from the face, or you’ll spend every morning pushing it around with your fingers. That gets old fast.
I like this shape on loose ringlets and elongated spirals, especially when the front pieces are left a touch longer than the stylist first wants. Curly fringe almost always springs shorter than expected. Almost always.
3. Curly Wolf Cut with a Long Tail
If you want movement before anything else, this is the one. The curly wolf cut keeps the crown short, stacks the internal layers high, and lets the back hang on to a longer tail. It has attitude, but not the messy kind that looks accidental. Done right, it reads like controlled chaos.
What Makes It Different
Unlike a traditional long-layered cut, the wolf shape doesn’t try to smooth every jump between sections. It likes a visible break. That’s why it works so well for dense curls that need relief at the top and around the ears. The length stays dramatic, but the top stops dragging the whole shape down.
I’d choose this cut for someone who likes air-dried hair, diffused texture, and a little edge around the face. If you wear your curls in a ponytail half the week, the shorter crown pieces still make the style look intentional when the hair is up.
4. Butterfly Layers That Float at the Cheekbones
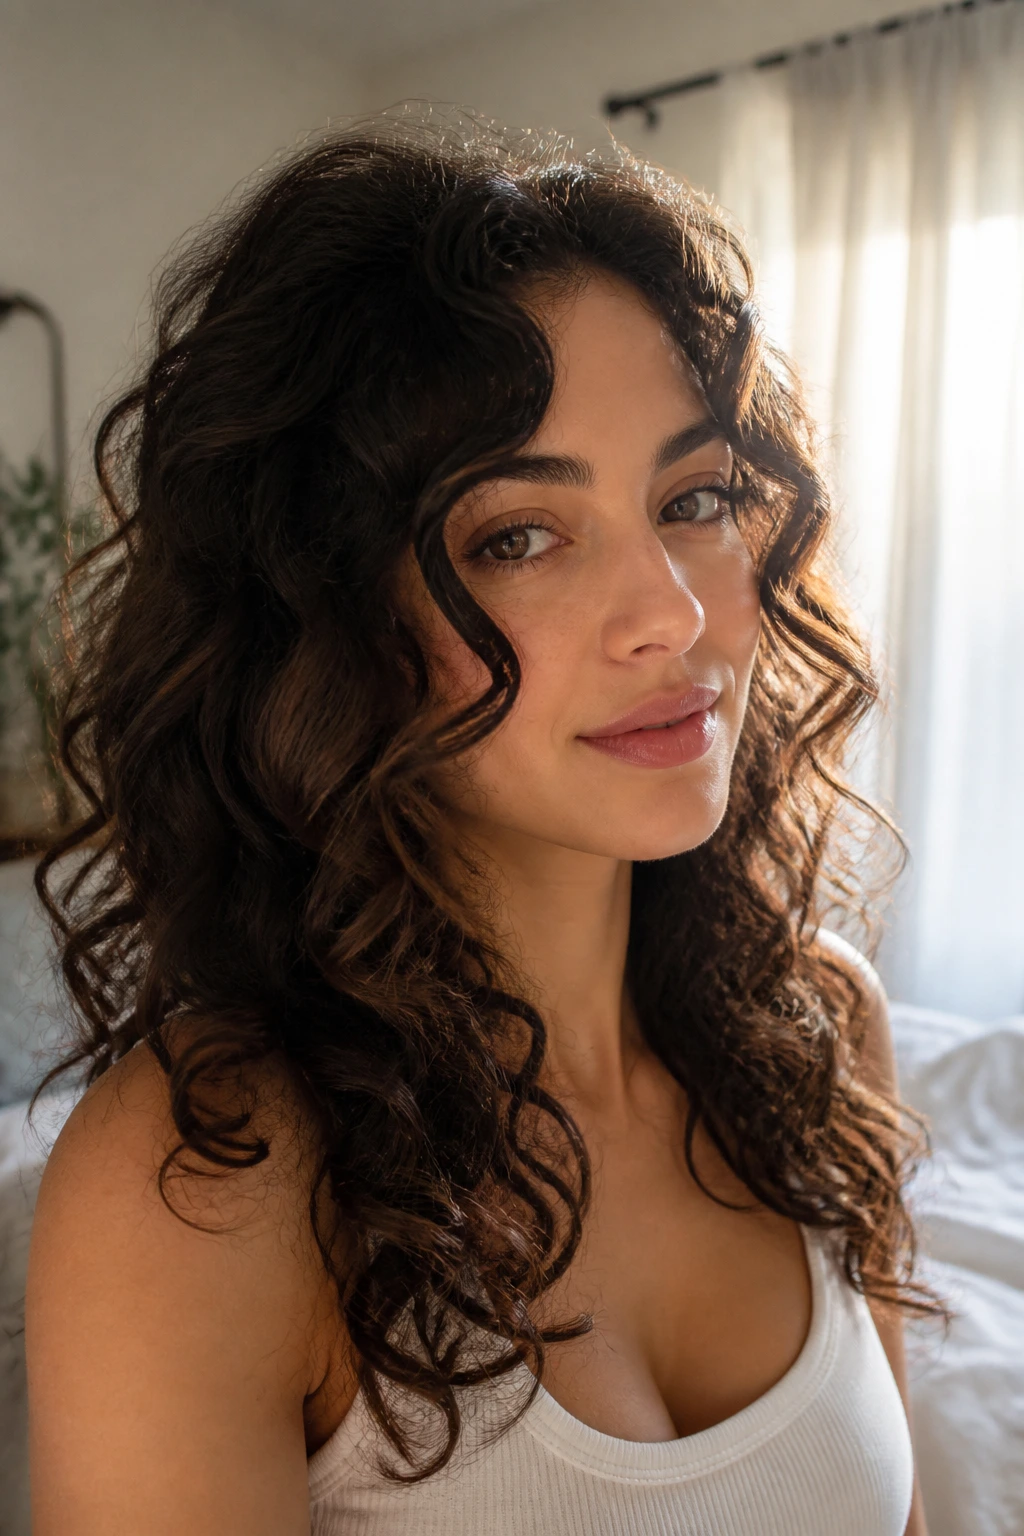
Picture long curls that move in two different zones: lighter pieces up top, fuller length underneath. That’s the butterfly idea, and on curly hair it’s a little more dimensional than it sounds. The top layers skim the cheekbones and jaw, then fall away from the rest of the hair like open wings.
This shape is useful when you want the front to do the talking while keeping the overall length. It also works on medium-density curls that feel flat when they’re all one length. The face frame gets the lift; the bottom keeps the lushness. Nobody has to compromise.
A lot of stylists overdo butterfly cuts on curls and chop the upper layer too short. Bad move. The shortest pieces should still curl back into the shape, not perch on top of it like a helmet.
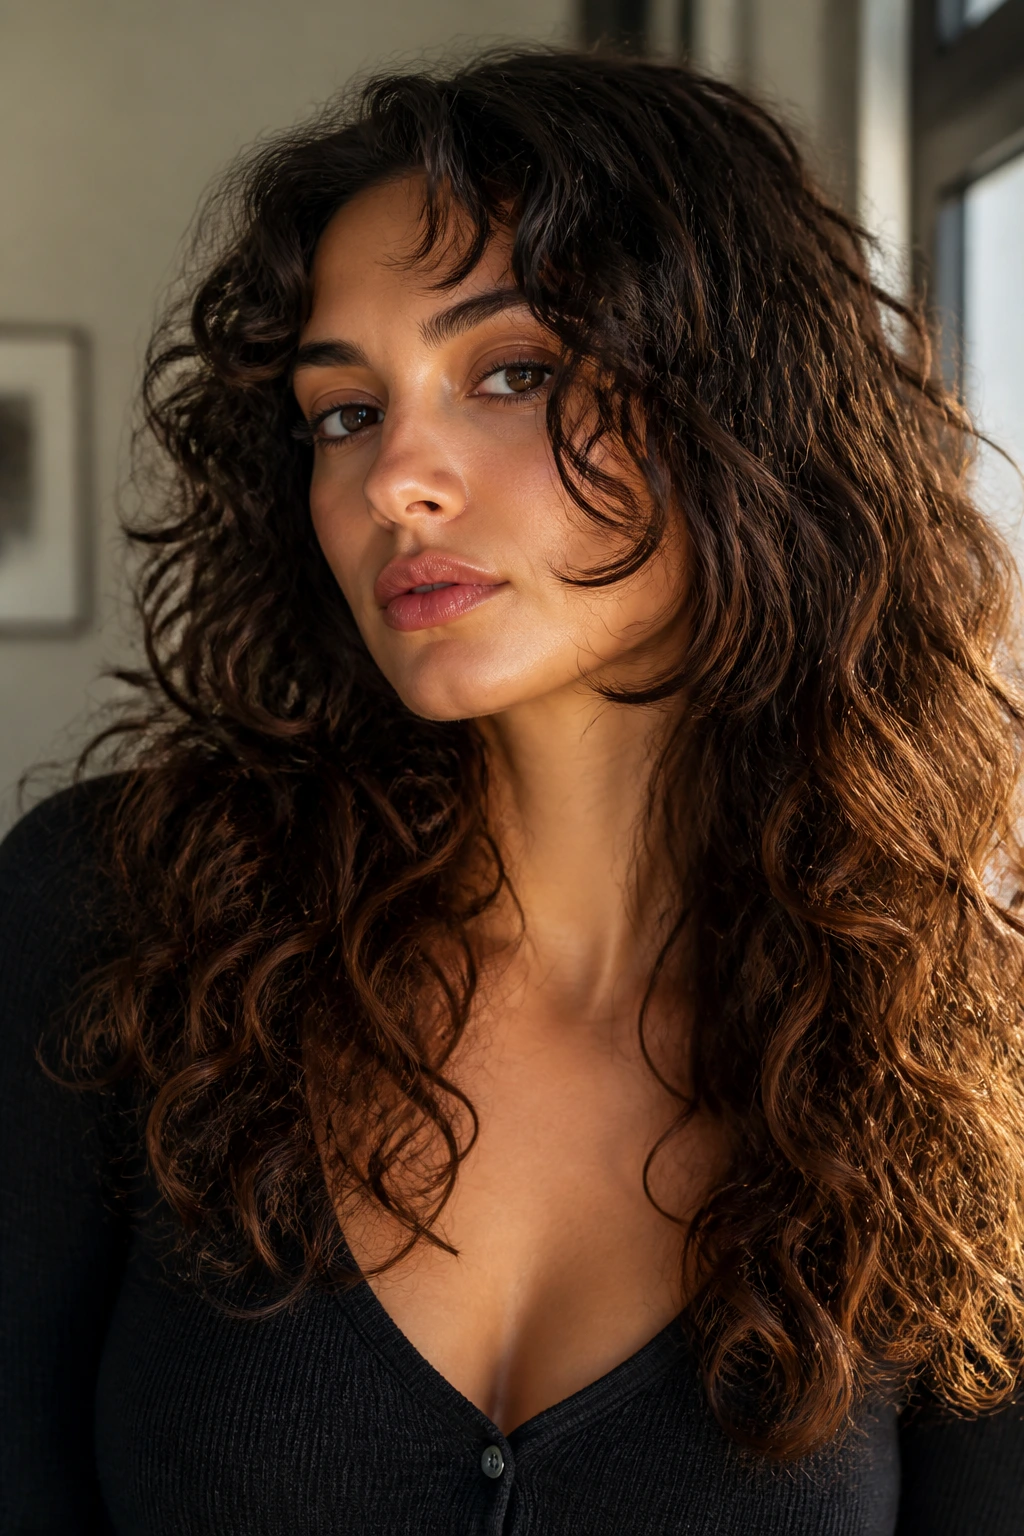
5. U-Shape with Hidden Interior Separation
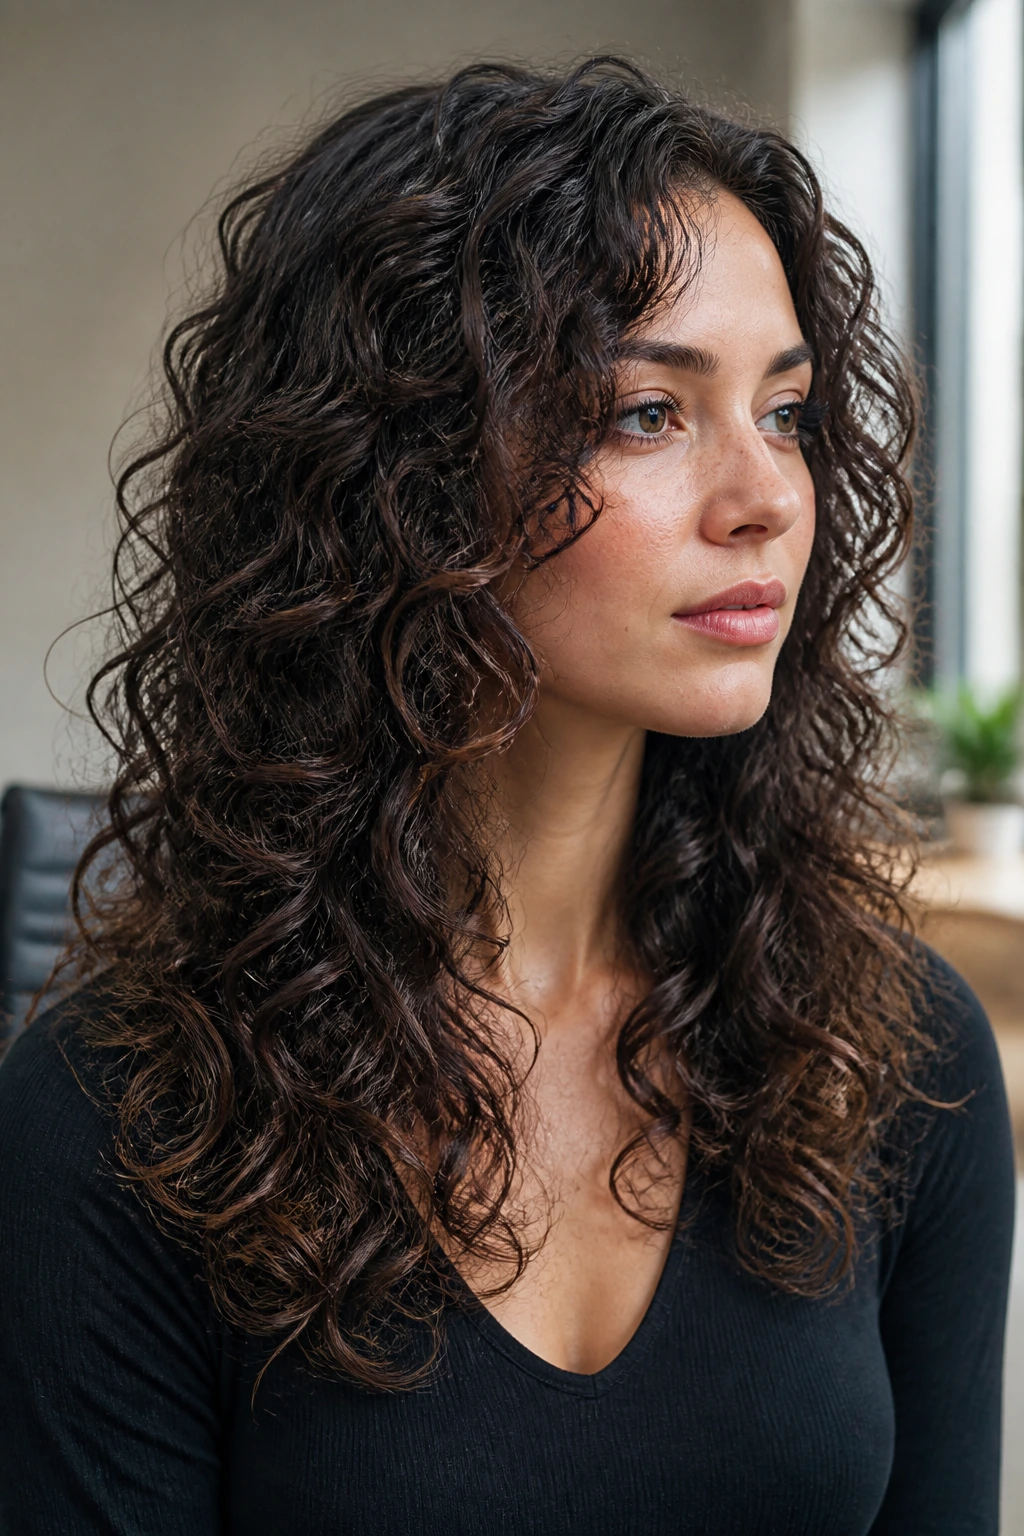
The U-shape is for people who love long hair and do not want the ends to look thin. The perimeter curves gently instead of cutting straight across, and the disconnected layers stay tucked inside the shape instead of announcing themselves from the outside. It’s a quiet haircut. That’s its charm.
For fine curly hair, this is gold. A heavy layer line can make the ends look wispy, but a hidden interior disconnect gives lift without losing the visual mass at the bottom. You still see a full tail of curls swinging at the back, only now the crown isn’t dragging.
This is one of the better options if you want a shape that works on day one and day three. It grows out softly, and that matters when you don’t want to live in the salon chair.
6. V-Cut with Dropped Side Slices
The V-cut has a sharper silhouette than a U-shape, and that’s exactly why it stands apart. The back length narrows to a point, while the side slices drop away in a way that makes the long curls feel lighter in motion. If your hair is dense enough to look bulky at the nape, the V shape gives you some room to move.
This cut is about direction. The eye follows the line down the center and then catches those side pieces as they fall. It gives long curly hair a little drama without needing bangs or a big shaggy layer everywhere.
Best part? It can make thick curls look longer because the shape leads the eye downward. That’s a small visual trick, but it works.
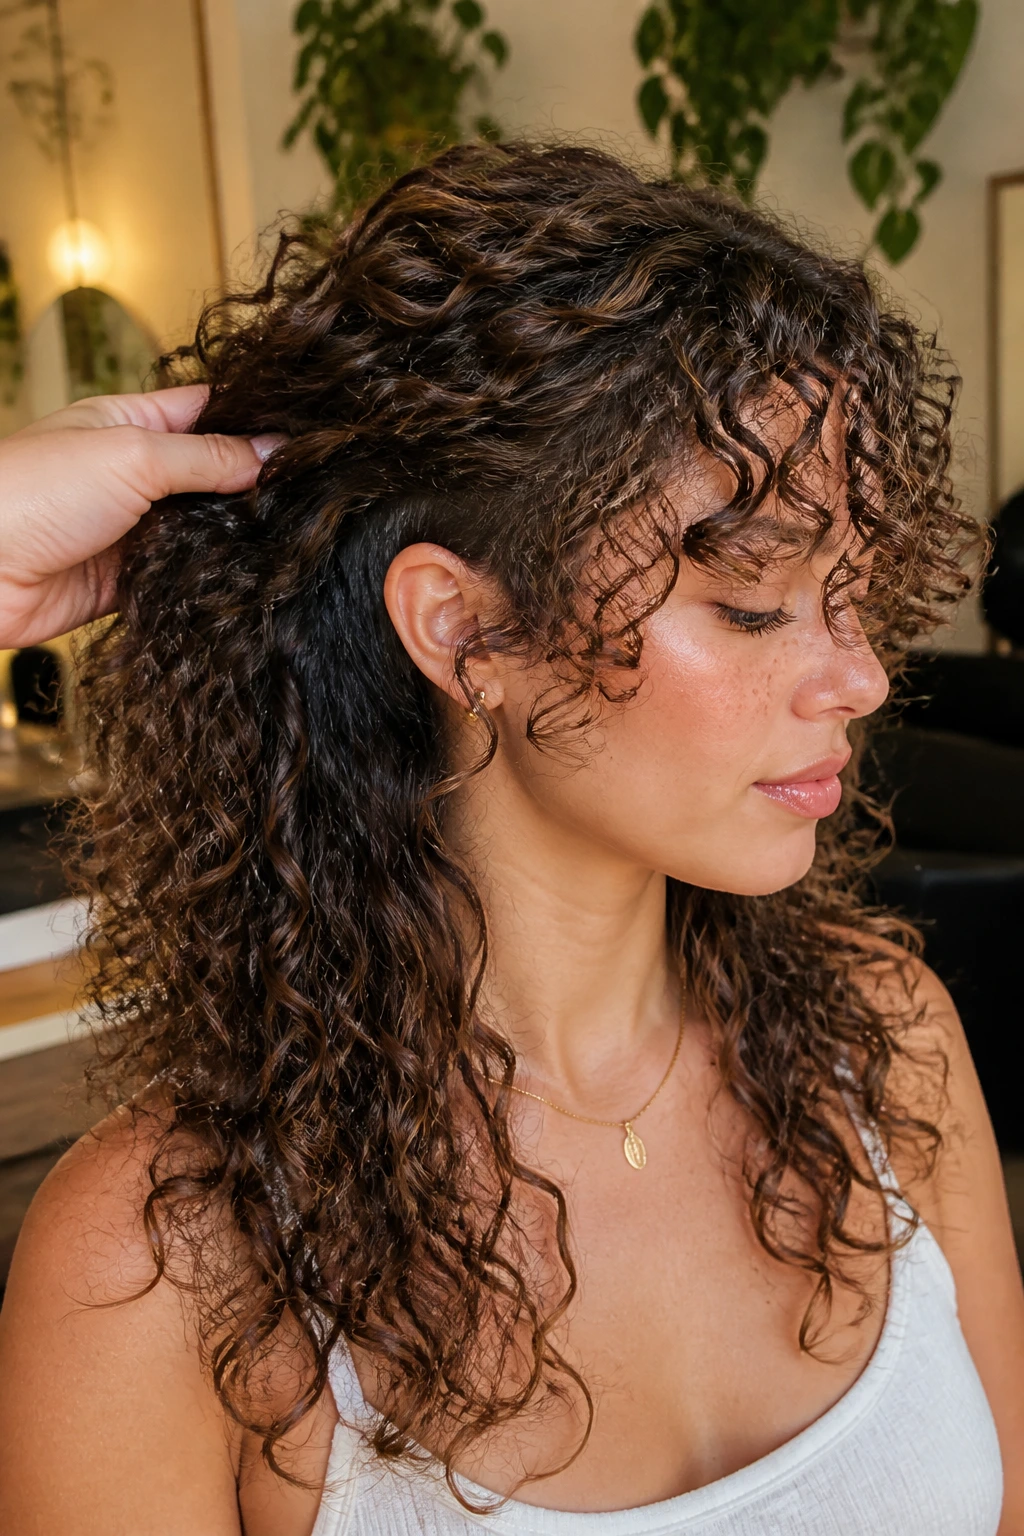
7. Rounded Halo Layers for Dense Curls

Rounded halo layers spread the weight around the head instead of stacking it in one obvious place. The cut curves gently across the top and sides, making the whole silhouette feel more even. On very dense curls, that can save you from the mushroom effect.
This is the cut I’d point to if someone says, “My hair is big, but it’s big in the wrong places.” The halo shape reins in the width while keeping the length intact. You get volume, but it sits in a controlled frame rather than jutting out at the sides.
Good For
- Tight or springy curls that balloon near the temples
- Long hair that feels wide instead of tall
- People who want shape without a shaggy finish
8. Deep Side-Part Disconnect
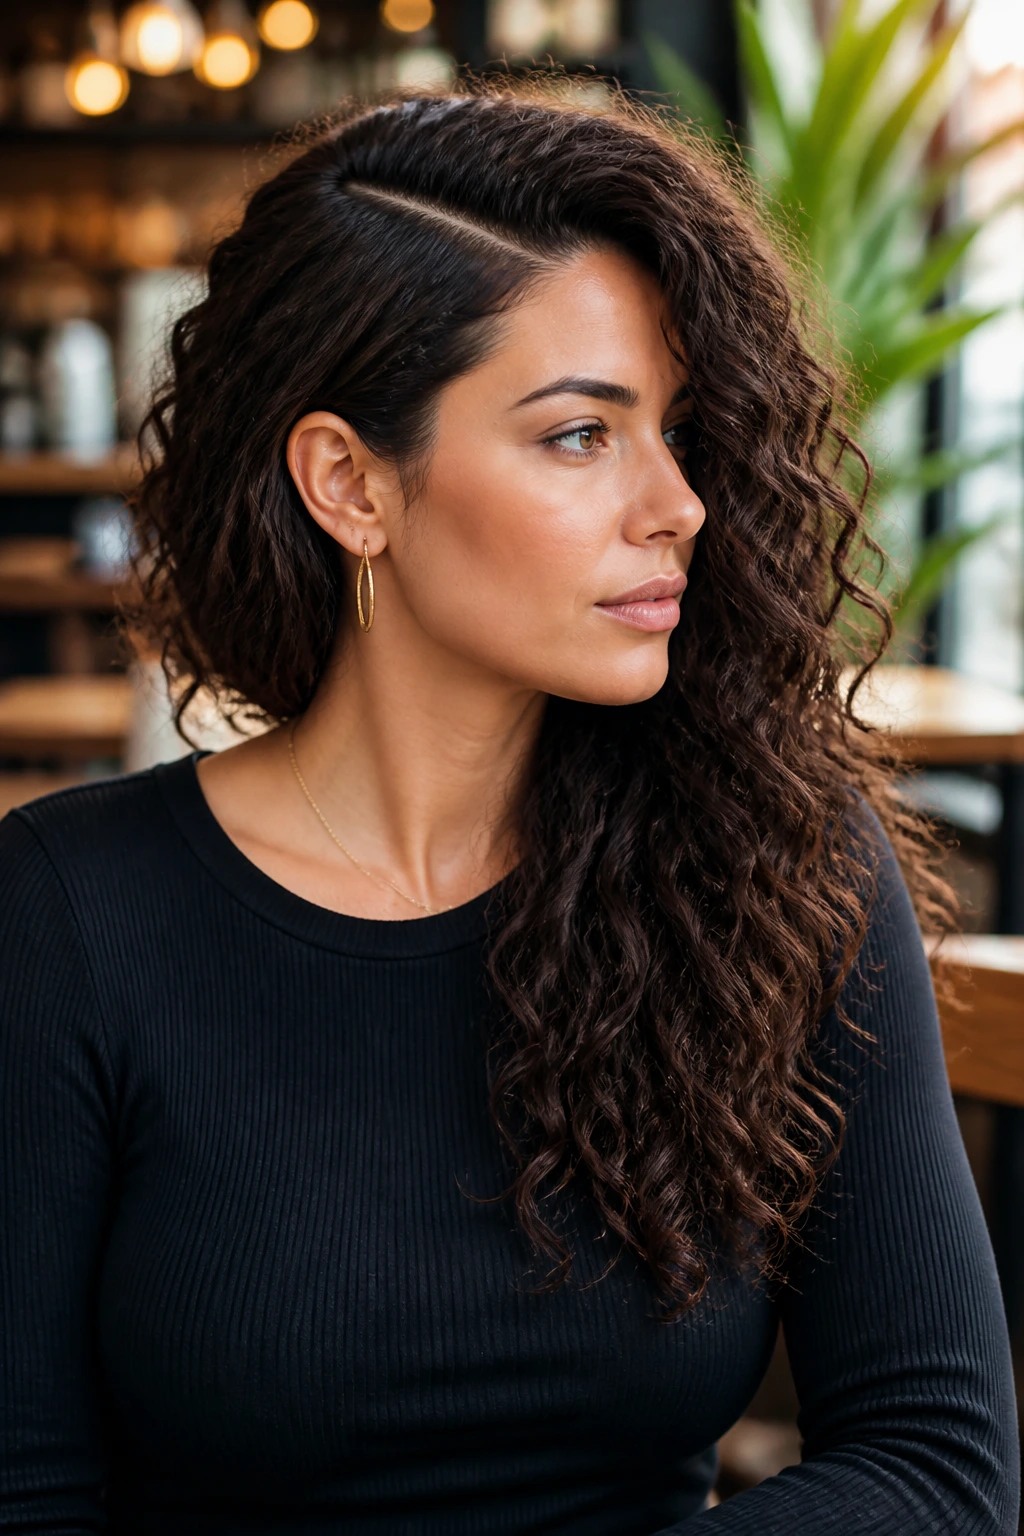
A deep side part changes the whole haircut before the scissors even come out. With a disconnect built into the front, one side gets a stronger face frame while the other side stays longer and softer. The result feels a little dramatic, a little old-school, and not at all boring.
It’s especially useful if your curls naturally fall more heavily on one side. Instead of fighting the bend, the cut leans into it. That side gets shorter pieces near the cheek, which opens up the face, while the opposite side keeps length for balance.
If you like hair that looks different without requiring much styling, this is one of the easier wins. A side part already changes the mood. The disconnect just makes it read more clearly.
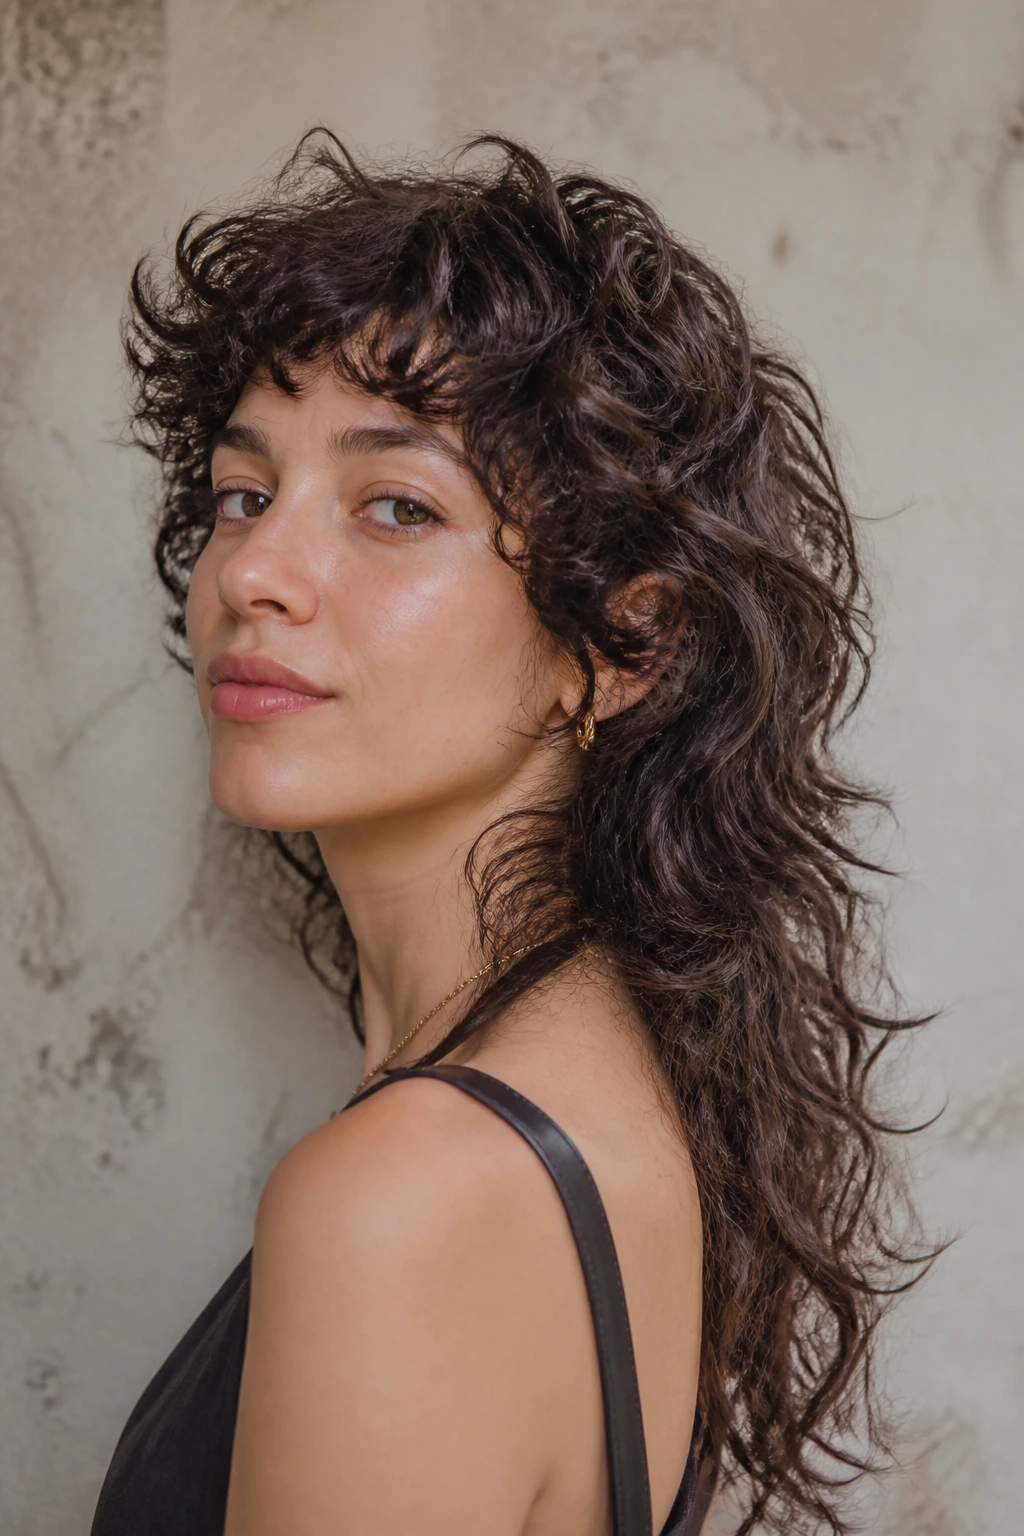
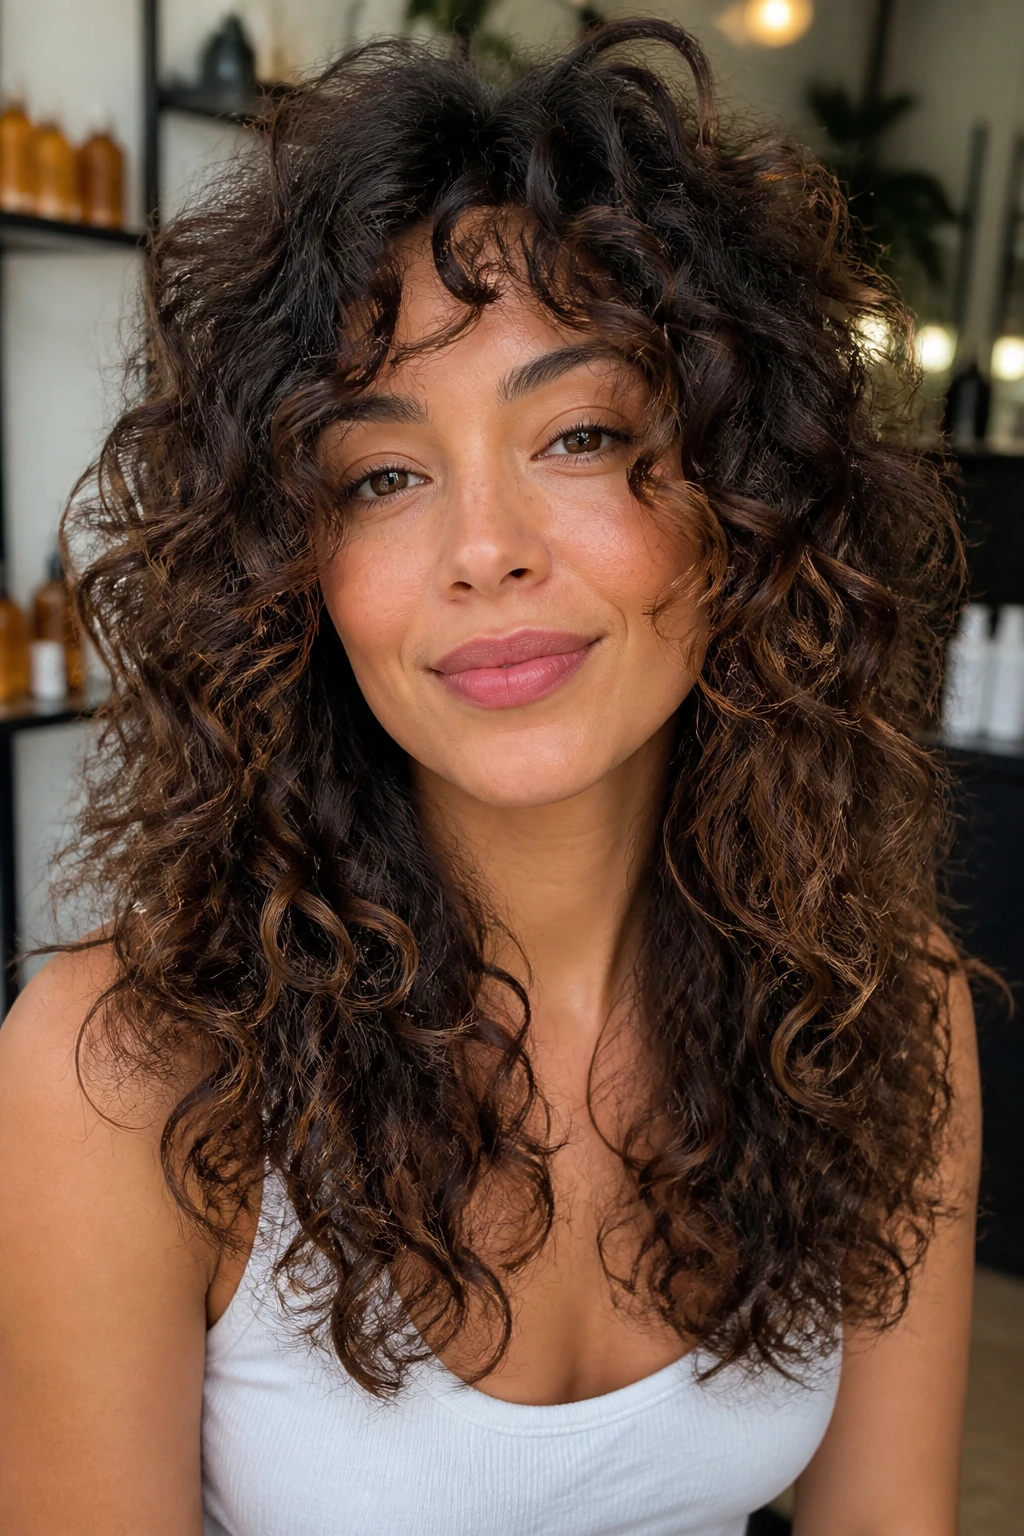
9. Long Shag with a Jagged Crown
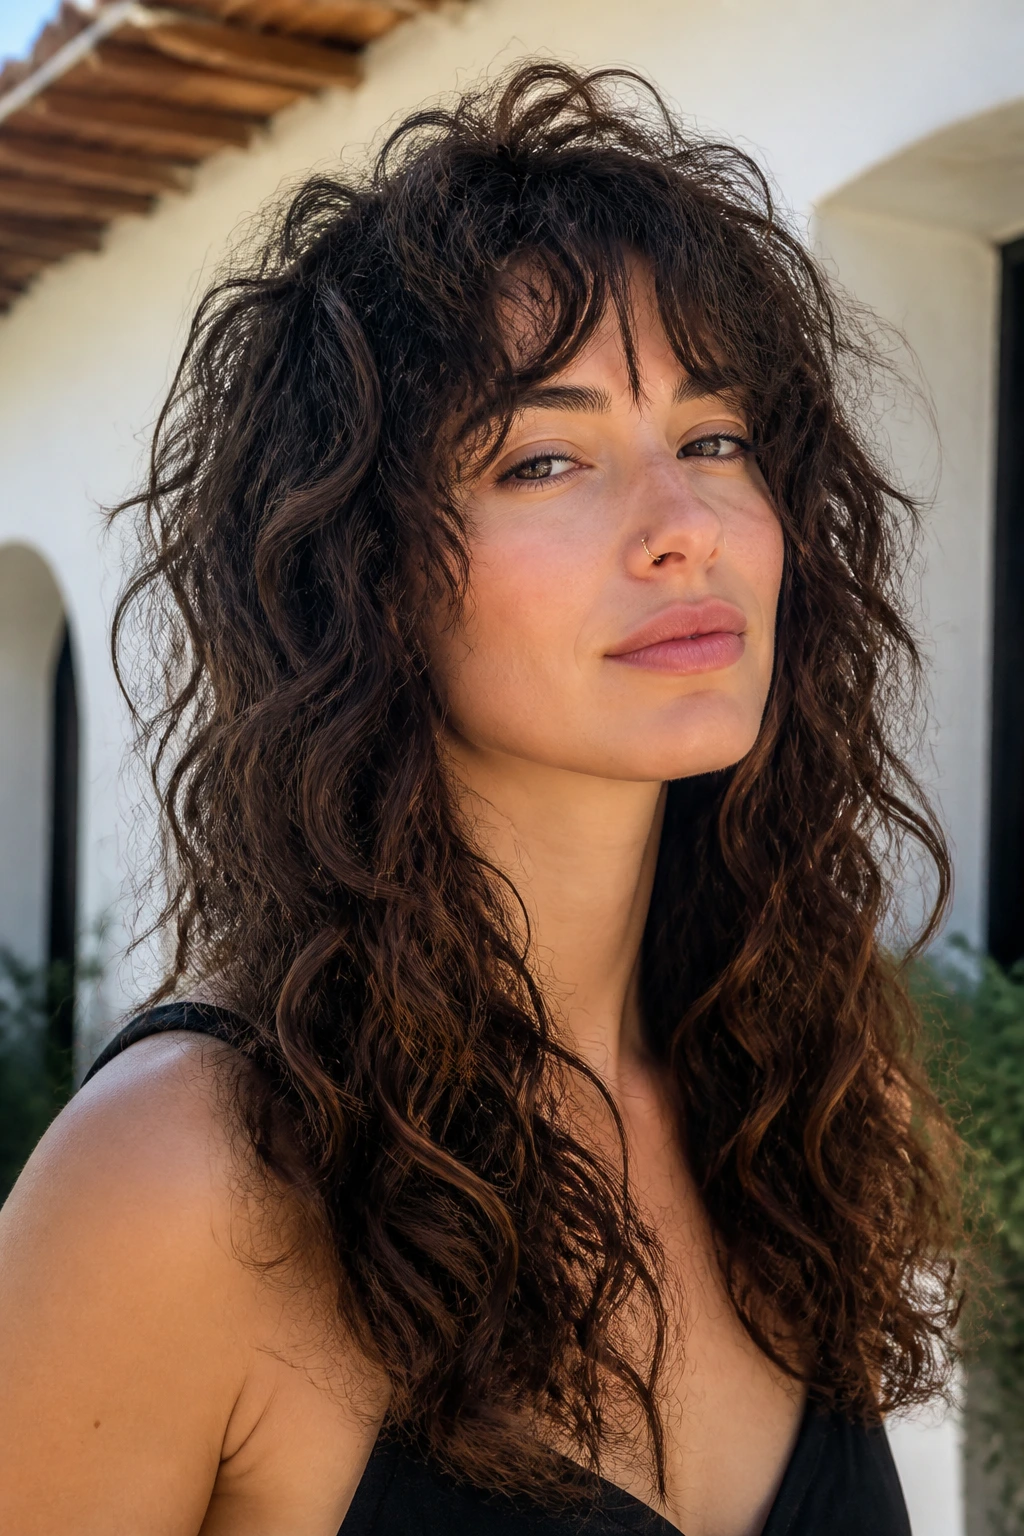
The long shag is the scrappier cousin in this group, and I mean that in a good way. It keeps the crown lighter, throws in uneven layers, and leaves the ends with texture instead of polish. Long curly hair turns into something fuller and more alive when the layers aren’t trying to line up too neatly.
This shape suits people who don’t want their curls to behave like a uniform sheet. If your hair gets puffy by midday, the shag usually handles it better than a more structured cut because the movement is already built in. It does ask for product, though. Leave-in and a gel cast matter here.
Skip this one if you want a clean, glossy line from top to bottom. The shag is a little rougher by design.
10. Heavy Perimeter with Airy Top Layers
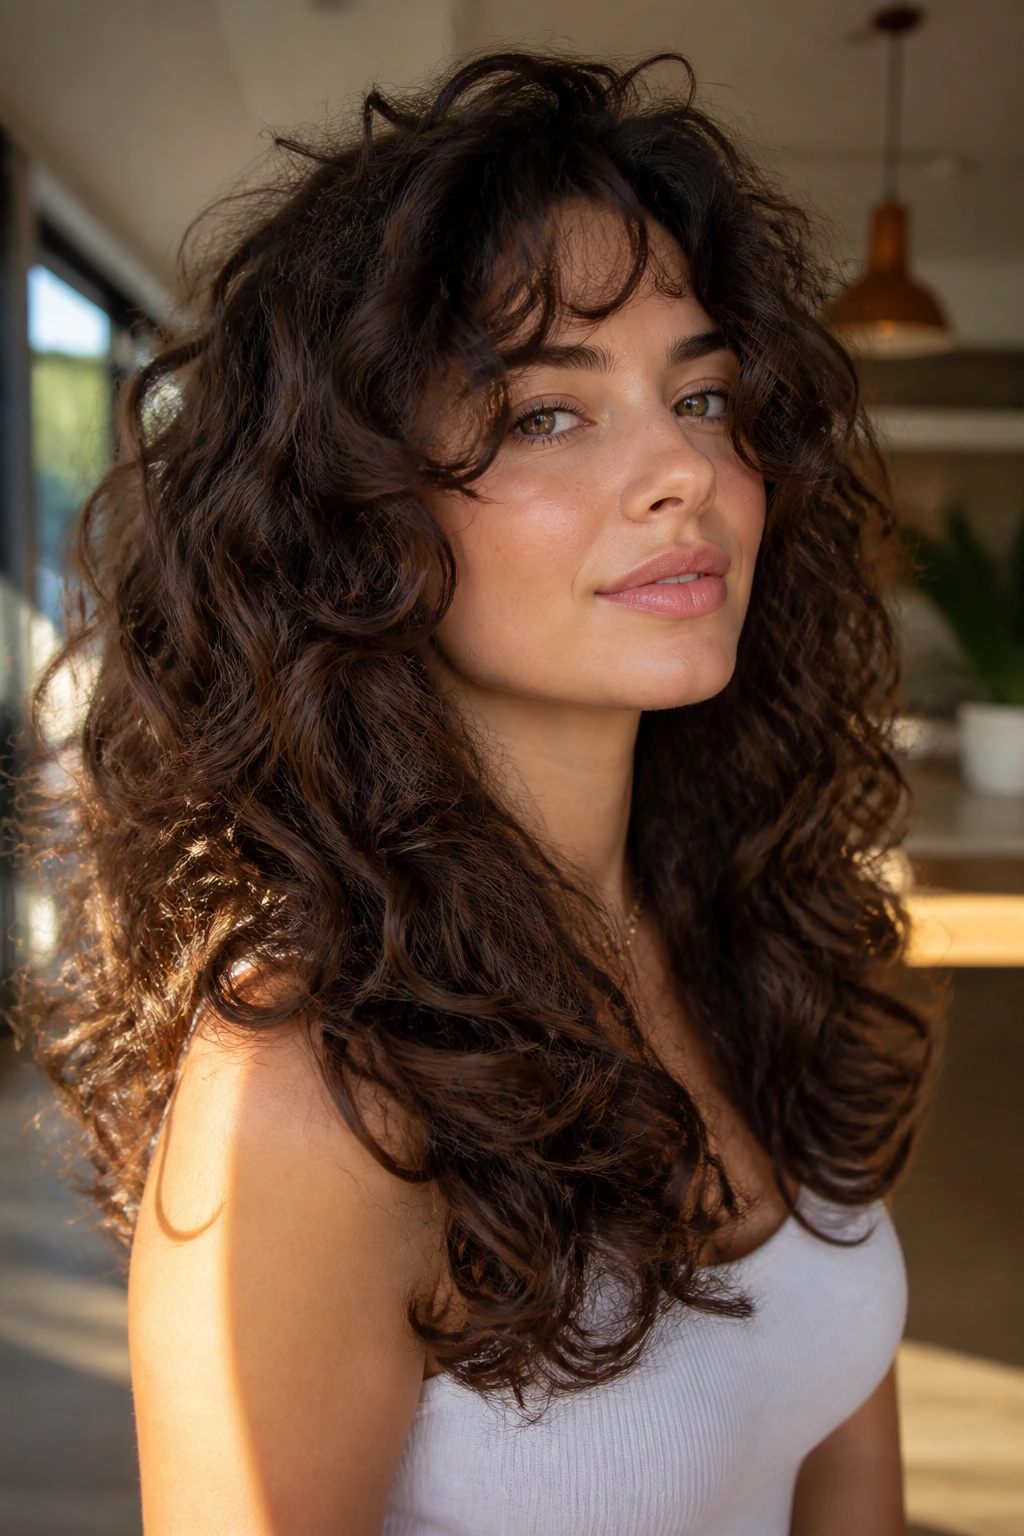
Some cuts remove too much from the bottom and leave the ends looking see-through. This one does the opposite. It keeps a dense, heavy perimeter while lifting the top with lighter internal layers. The long ends stay chunky and solid, which is useful if your curls get thinner halfway down.
That makes a big difference on long hair. A weighty bottom edge gives the whole style a grounded look, while the airy top prevents the crown from collapsing into one flat block. It’s a neat balance, and honestly, one of the more wearable options on this list.
I like this for people who want length to feel expensive rather than wispy. The silhouette is strong. The curls still move.
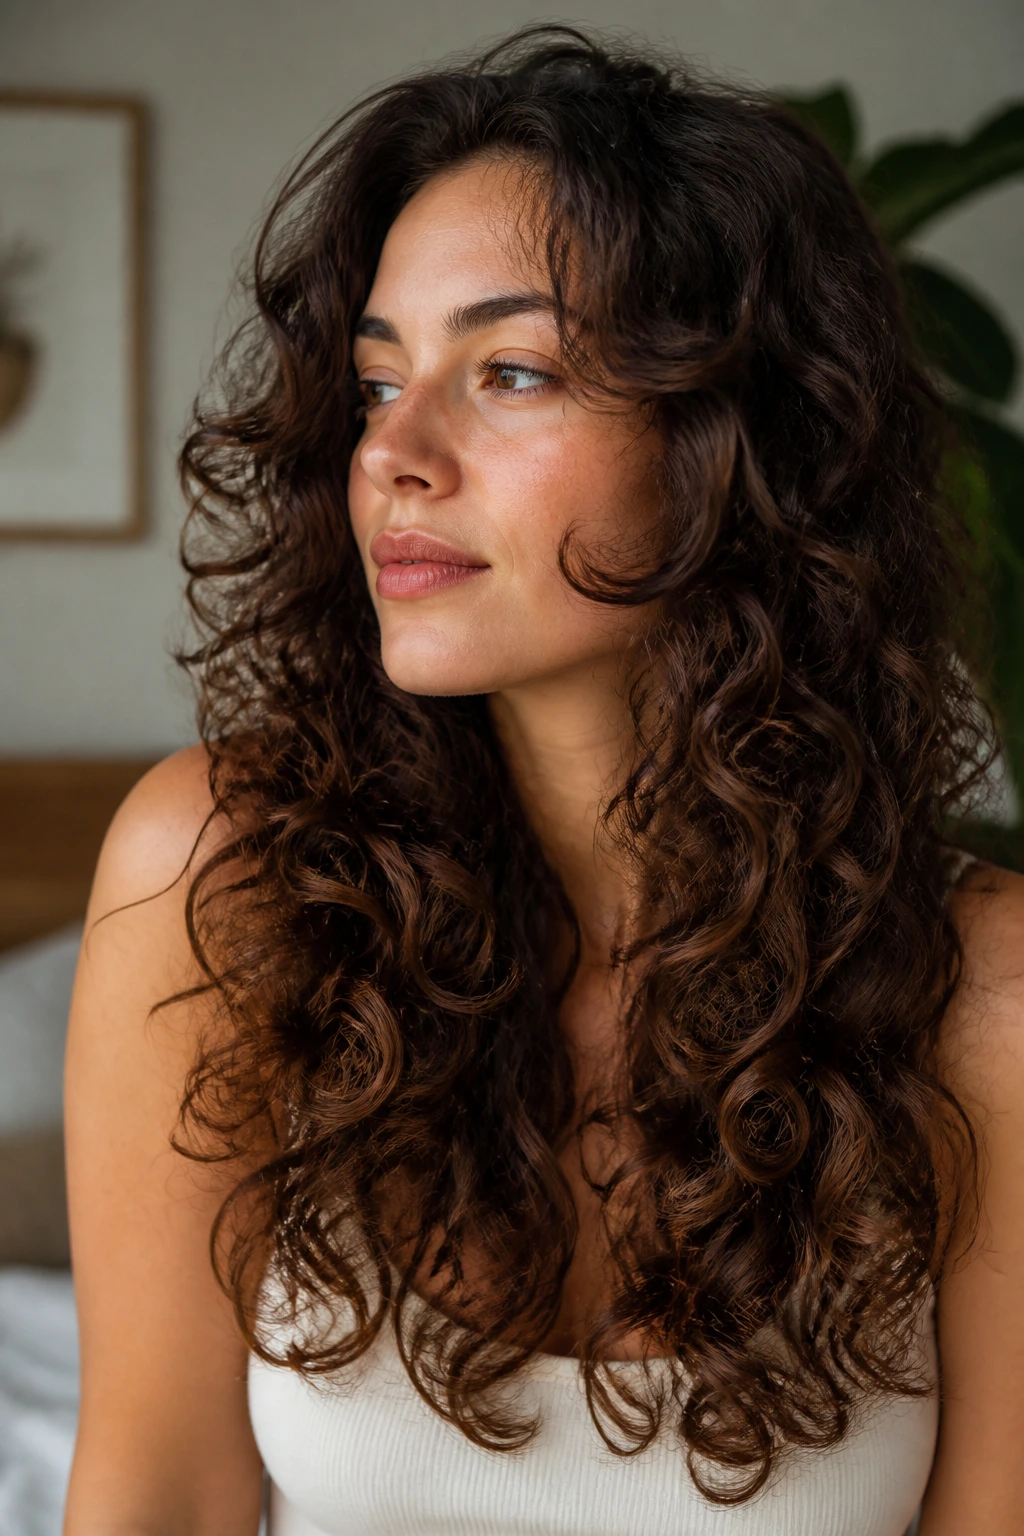
11. Cheekbone Slice Frame
What if the front pieces started higher than you expect? That’s the whole point of the cheekbone slice frame. The shortest pieces hit around the cheekbones, then slide into the rest of the curl pattern instead of hanging straight down beside the face.
That placement is flattering for rounder faces because it creates a vertical line without hiding the cheeks completely. It also keeps the front from feeling heavy or overgrown, which is a common problem with long curly hair. Too many front pieces at jaw level can make the face look boxed in.
This is one of those cuts that looks small on paper and dramatic in motion. The curls swing when you turn your head. That’s where it earns its keep.
12. Asymmetric Length Shift
Asymmetry is useful when symmetry feels too safe. One side stays longer, the other gets a stronger disconnect, and the shape ends up looking modern without needing obvious layers everywhere. It’s a good choice for anyone whose hair parts harder on one side or whose face reads a little uneven in the mirror.
This style does not ask for perfection. In fact, perfection would ruin it. The slight mismatch is what gives the cut personality.
I’d recommend this more for someone who likes visible style choices and does not mind answering questions about their hair. People will ask. They’ll probably call it “cool,” which is lazy but not wrong.
13. Underlayer Chop with a Long Veil
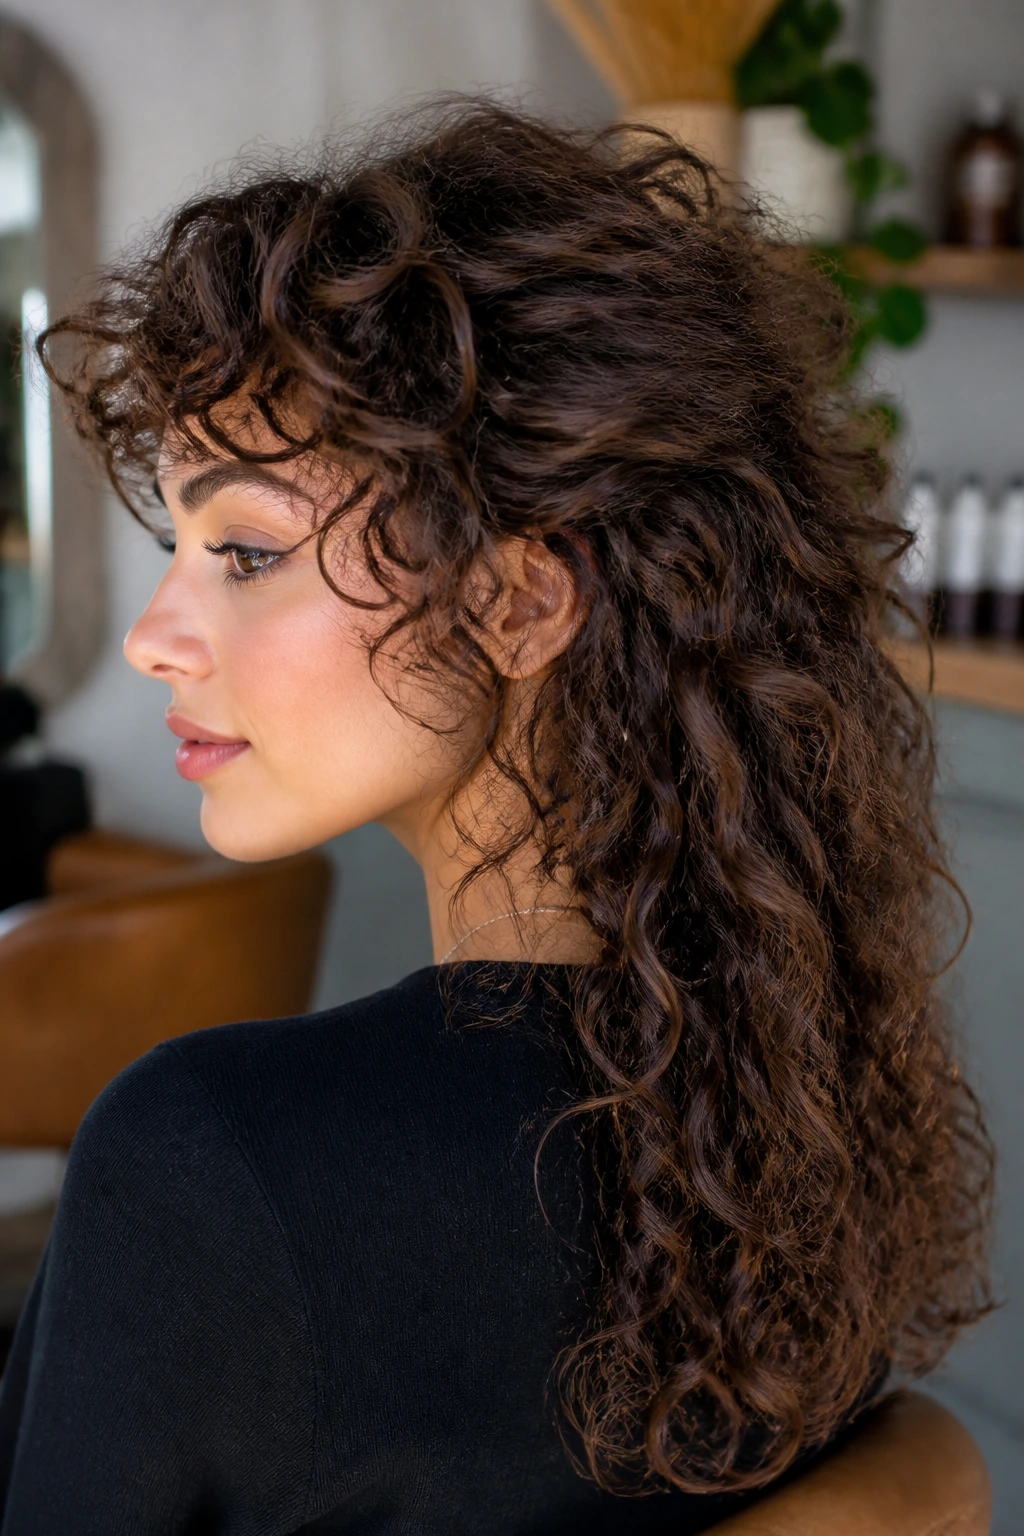
This is one of the smartest ways to reduce bulk without broadcasting the fact that you did it. The underlayer gets chopped shorter underneath, especially near the nape and below the ear line, while the top keeps a longer veil over it. From the outside, the hair still looks lush and long. Underneath, it’s lighter and easier to live with.
That hidden weight removal helps curls sit better on the shoulders. It also stops that odd shelf that some long curly cuts develop when the top is too heavy and the bottom gets flattened. If you’ve ever had your hair look full only at the very bottom, this is the fix.
It’s a good salon request for people who want movement but don’t want the haircut to shout about itself.
14. Broken Mermaid Ends
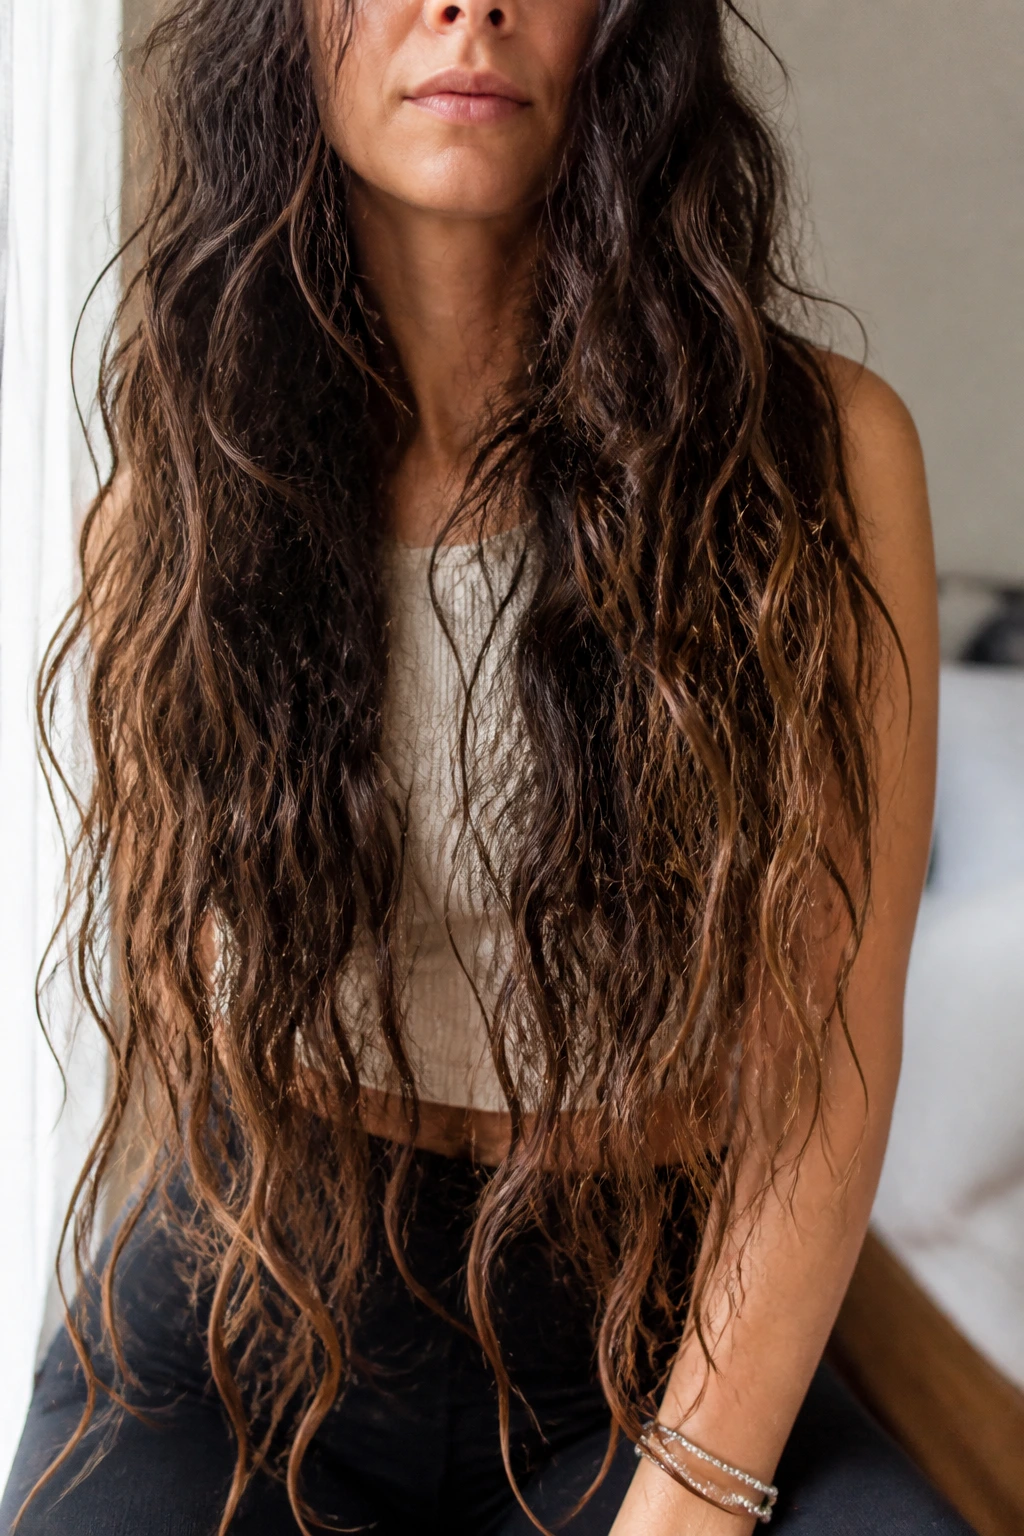
Mermaid-length curls can look lush or flat depending on how they’re cut. Broken mermaid ends avoid the flat part. Instead of one smooth curtain of length, the ends are separated into loose, uneven pieces so the bottom doesn’t turn into a single heavy mass.
This works especially well when the hair is past the ribcage and the curl pattern is strong enough to show movement. If the ends are too blunt, the whole thing can drag. If they’re too thin, you lose the feeling of long hair altogether. The broken finish lands in the middle.
You do need trims here. Long, separated ends show damage quickly, and that split texture starts to read ragged if it’s left alone too long.
15. Micro-Layer Crown Lift
Not every disconnected layer has to announce itself. Micro-layers around the crown create lift with a very light hand, which is useful if you want length to remain the headline. The disconnect is there, but you feel it more than you see it.
This is one of the safest choices for fine curly hair. Too much layering can make the ends vanish and the scalp show through at the top. Tiny internal lifts avoid that mess. The shape gets taller, not thinner.
A lot of people think curly hair has to choose between long and full. It doesn’t. It just needs the right amount of removal in the right place.
16. Jaw-Grazing Front Panels
Jaw-grazing panels have a clean, deliberate effect. The front pieces land right around the jawline, which sharpens the face without swallowing it in hair. The back stays long and curly, so the whole thing has a strong front-and-back contrast.
This cut can be a lifesaver for square faces or strong jaws because it softens the lower half without hiding it. On the wrong face shape, though, those pieces can bounce too short and sit like little hooks. That’s why the dry length matters. A jaw-length piece when wet can spring to cheek level when dry.
It’s a simple shape, but not a timid one. The front says a lot.
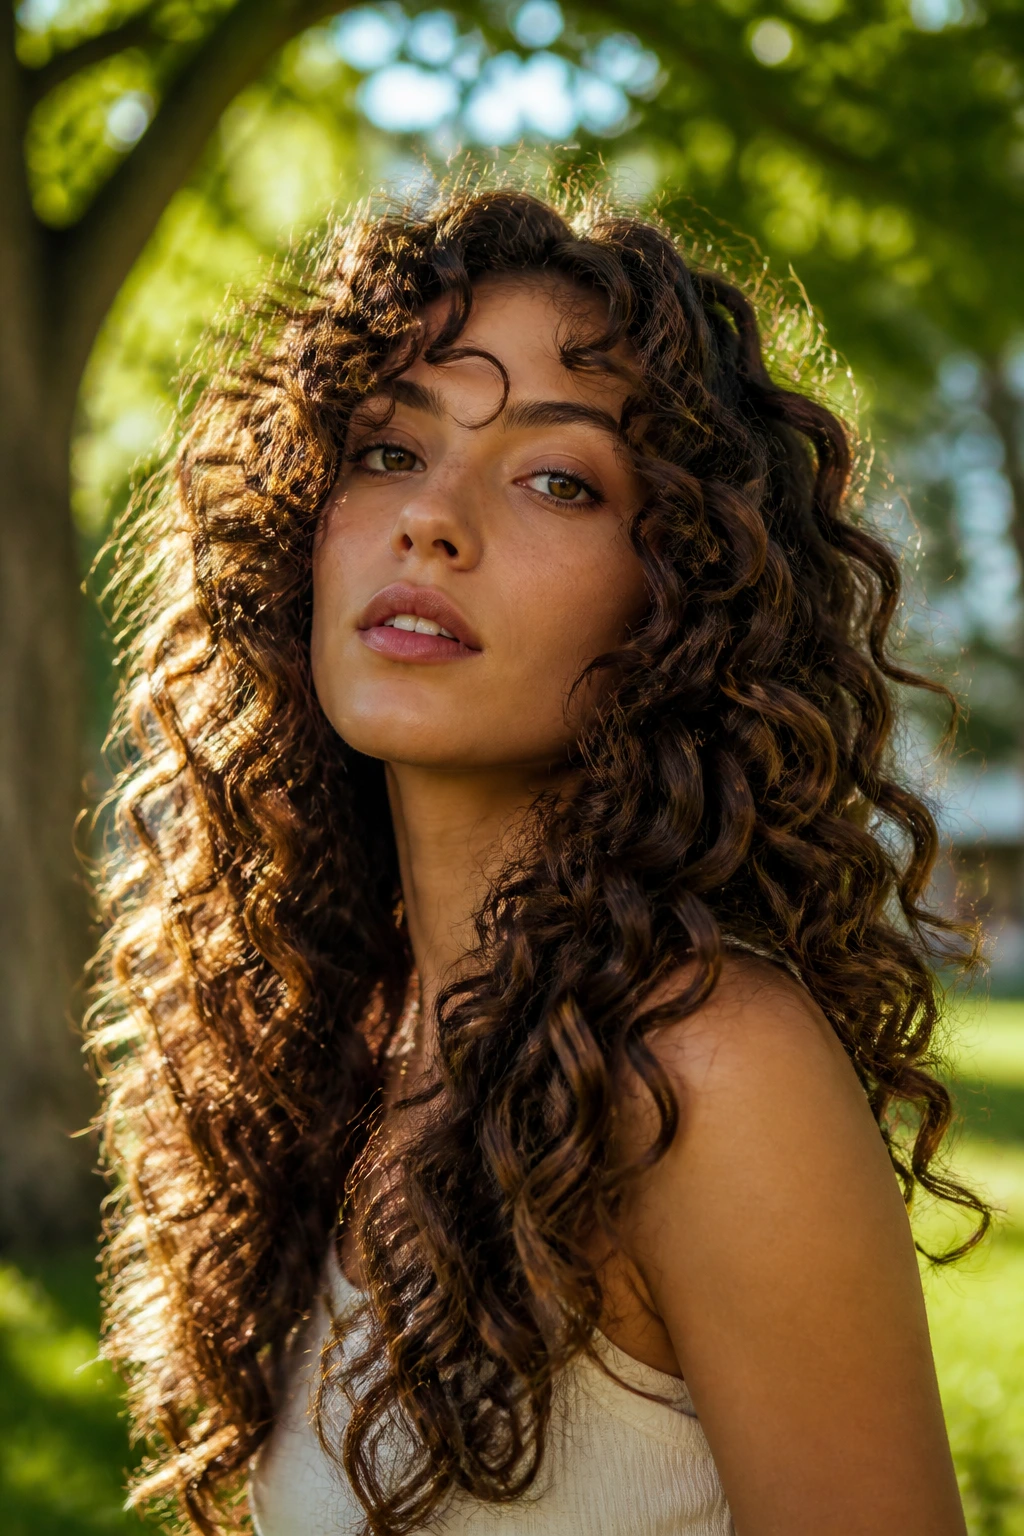
17. Ribbon Layers for Loose Spirals
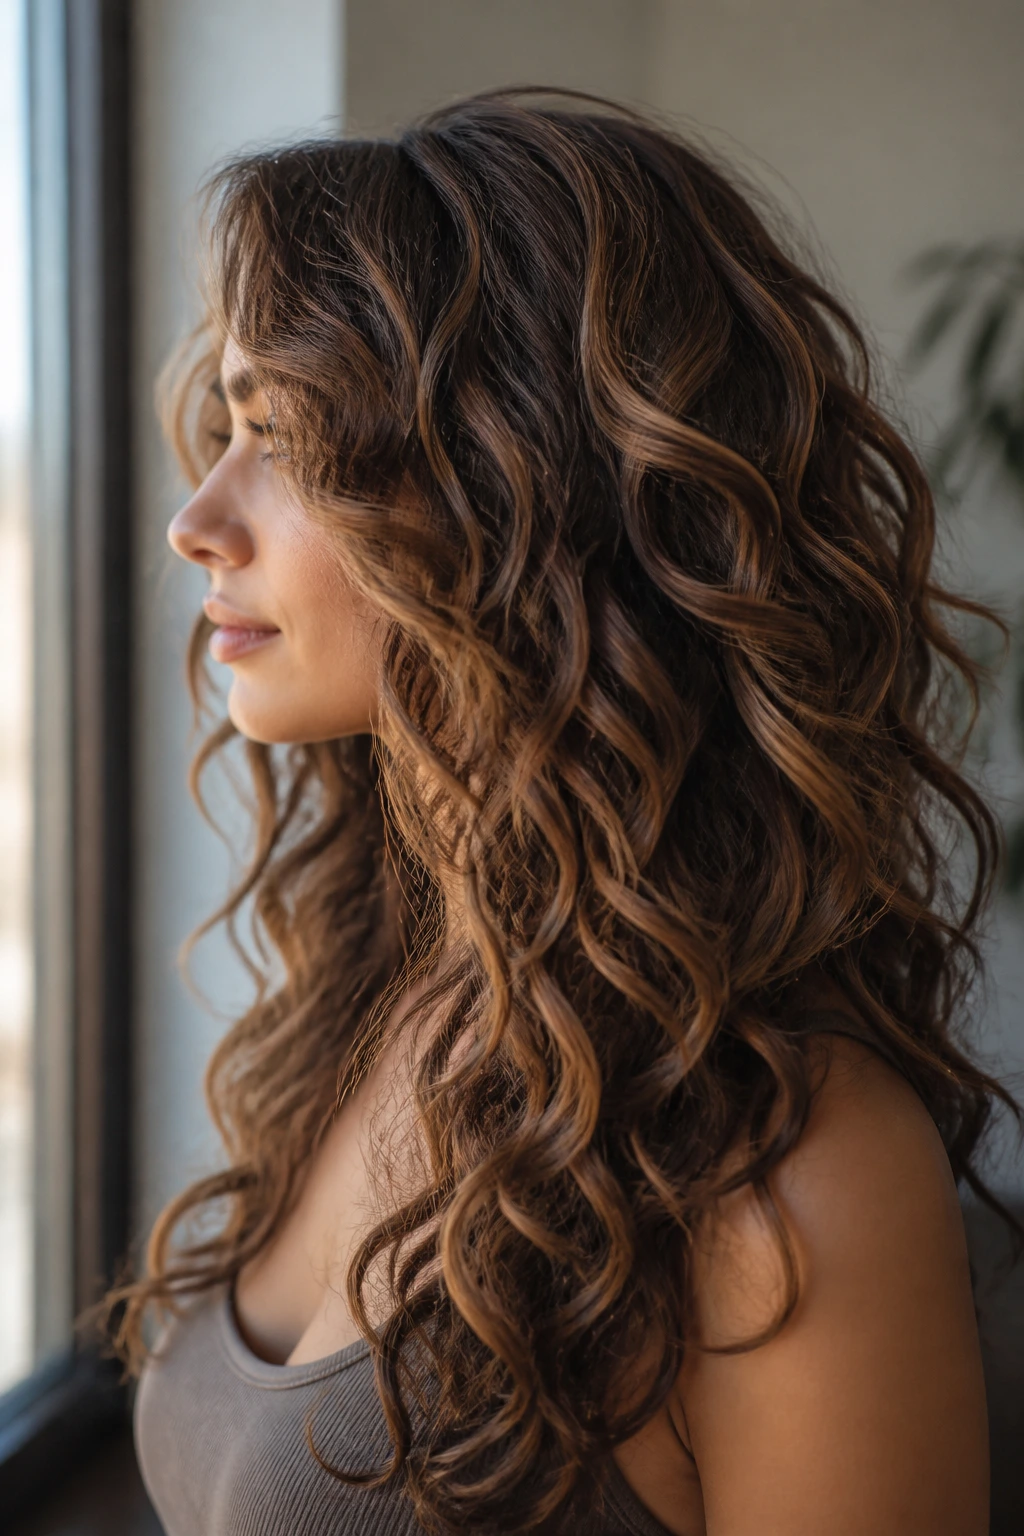
Loose spirals like room to move, and ribbon layers give them exactly that. The layers are sliced broad rather than chopped choppy, so the curls fall in long strips that twist and separate like ribbons. The effect is softer than a shag and more obvious than a subtle U-shape.
This style suits 2c to 3a hair especially well. The curl pattern is visible enough to show the layers, but not so tight that the shape collapses into one mound. It’s one of the easier disconnected looks to style with a diffuser because the clumps read clearly.
If you want your curls to look intentional even when they’re air-drying a little messy, this is a strong option.
18. Curly Mullet with Soft Back Length
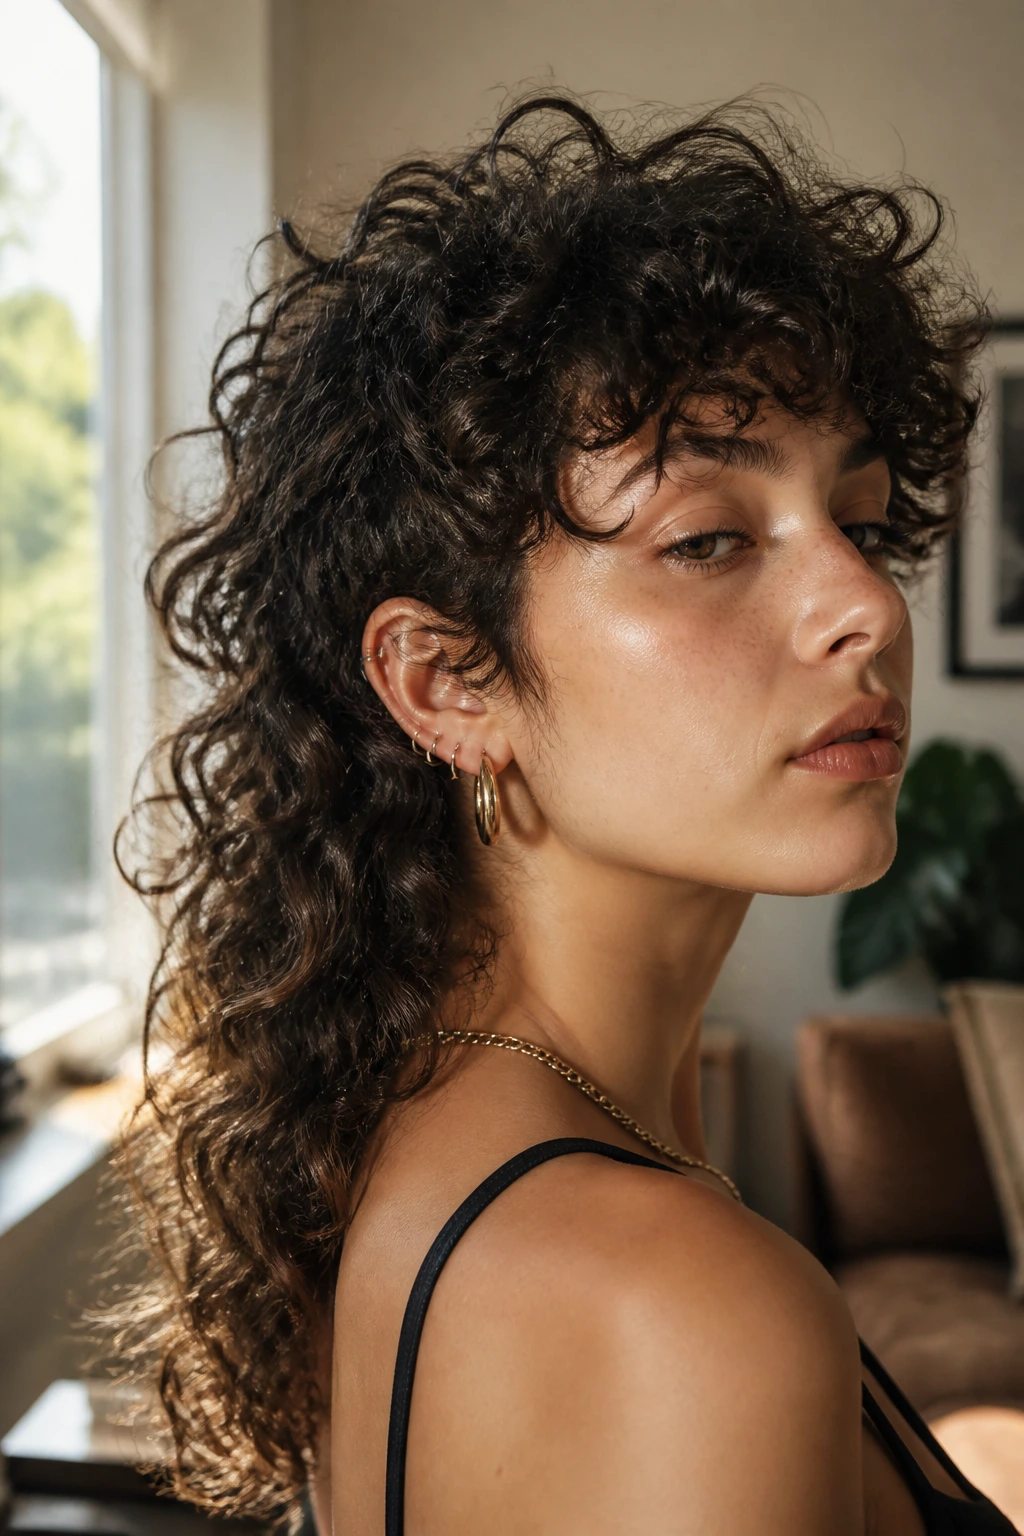
The curly mullet has more range than people give it credit for. A soft version keeps length in the back while shortening the top and front enough to make the curls spring up. It’s a shape with personality, and it knows it.
This is a good cut for dense hair that wants to eat its own neckline. The shorter front and crown stop the top from going wide, while the longer back keeps the overall feel feminine, masculine, or somewhere in between depending on how you style it. That flexibility is the draw.
Not a quiet haircut. Fine. Some cuts shouldn’t be quiet.
19. Wide Arc Layering

Wide arc layering follows the shape of the head in a broad curve, so the disconnect feels smoother than a jagged shag but more active than one-length hair. It gives the eye a gentle line to follow from front to back. That makes the curls look rounded without going puffy.
This works on a lot of curl types because it doesn’t depend on one dramatic feature. No fringe. No harsh step. Just a broad, balanced shape that keeps the volume where it belongs. If you’re nervous about going too short anywhere, this is a calmer path.
I especially like it on people who wear their hair down most days and want the cut to behave without a lot of hand styling.
20. Step-Layer Cascade
The step-layer cascade is not shy. You can see the levels. You’re supposed to see them. That visible separation is what gives the cut its personality, especially on hair with strong curl memory or serious density.
The best version of this cut uses sharp but controlled steps instead of random chops. Each layer should land where the curl can sit on its own, not collapse into the one below it. That keeps the shape clean and prevents the layers from turning into a fuzzy blur.
If you like fashion-forward hair that looks like it has been thought about, this is the one. If you want invisible layers, look elsewhere.
21. Hidden Interior Disconnect
Here’s the quiet sibling of the step cut. From the outside, the hair looks almost controlled, maybe even conservative. Then the curls shift, and the shorter interior levels show up under the surface. It’s a nice trick, and one that works beautifully for people who need a more polished outline.
This is one of my favorites for office settings or stricter dress codes. It gives movement without making the haircut loud. The curls still have lift, but the outside line stays smooth enough to tuck behind an ear or pull into a half-up style without looking choppy.
If you want the haircut to feel personal rather than obvious, this is the lane.
22. S-Curve Face Frame
The S-curve face frame bends away from the face, then back toward it, which sounds fussy until you see it on curly hair. Then it makes perfect sense. The movement softens the face while giving the curls a more sculpted front edge.
This shape is especially useful on longer faces because it breaks up vertical length without crowding the cheeks. It also works when you want a frame that feels fuller than curtain bangs but less blunt than a jaw panel. The curve matters. That little bend keeps the front from looking stiff.
Dry cutting helps a lot here. The curve needs to land where the curl actually sits, not where the wet hair pretends it will sit.
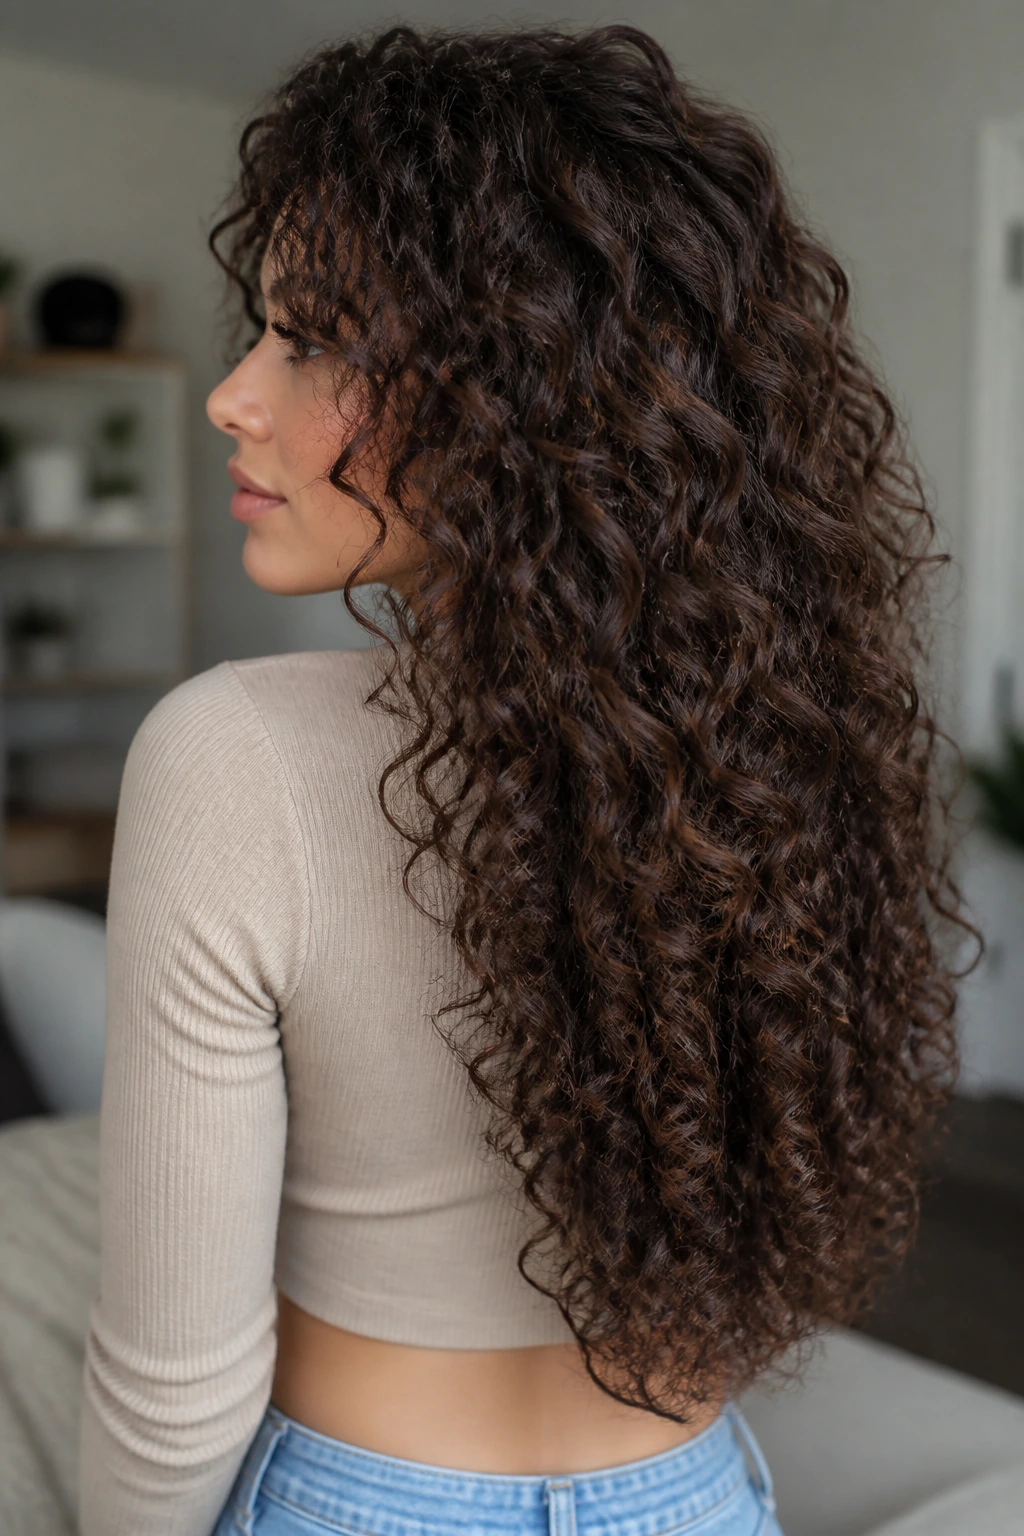
23. Long Octopus Cut for Curly Hair
The long octopus cut has a rounded top and longer bottom pieces that hang like separated tentacles. On curly hair, it gets even more interesting because the top can puff up into a soft cap while the ends stay long and pointy. That contrast is the whole appeal.
This cut works best when the hair has real density and enough spring to hold the shape. Loose curls can wear it too, but the effect is less dramatic. The long ends give the eye a place to rest, while the shorter upper layers keep the crown from going flat.
If you like a cut that looks a little weird in the best way, this one is worth the chair time.
24. Soft Wedge Shape
The soft wedge narrows a bit near the top and opens wider through the lower half, which sounds like it might go pyramid on you. It won’t, if the layers are placed carefully. The disconnect keeps the shape from becoming boxy.
I like this for narrower faces or for hair that needs more width lower down. It gives the curls a fuller base, almost like the style is blooming outward at the shoulders. That can be a smart move when the crown is already doing enough.
The key is restraint. Too much internal shortening and the wedge turns stiff. Too little and the shape disappears.
25. Balanced Length with Framed Front Panels
This one is for the people who love long hair and are not ready to let the length story change. The back stays mostly long and even, while the front panels get framed with a cleaner disconnect around the cheek and jaw. It’s the least dramatic of the bunch, which is exactly why it has such a wide audience.
The front pieces do the work here. They open the face, give the curls somewhere to fall, and stop the overall look from turning into one heavy sheet. Because the rest of the hair stays long, this cut grows out gracefully and doesn’t demand a lot of styling theater.
If you want a haircut that says something without taking over your whole head, start here.
Why Disconnected Layers Read So Well on Curly Hair
Curly hair has its own physics. It shrinks upward, expands outward, and stacks itself in ways that can make a cut look bigger or smaller than intended. Disconnected layers work because they give the curls separate landing points instead of forcing every bend into one smooth plane. That separation helps the eye read the shape faster.
Dry cutting is a big part of why this approach works. When the hair is wet, long curls can lie and tell a very polite lie at that. Then they dry, spring up, and suddenly the shortest layer is three inches shorter than the stylist expected. Cutting in the hair’s natural state makes the silhouette more honest.
A lot of these styles also solve the same problem in different ways: too much bulk at the sides, too much weight at the bottom, or too little lift around the crown. That’s why the collection covers so many shapes. Long curly hair does not need the same answer every time. It needs the right answer for the curl pattern, the density, and the amount of styling the person is willing to do on a Tuesday morning.
What to Bring to the Salon Chair
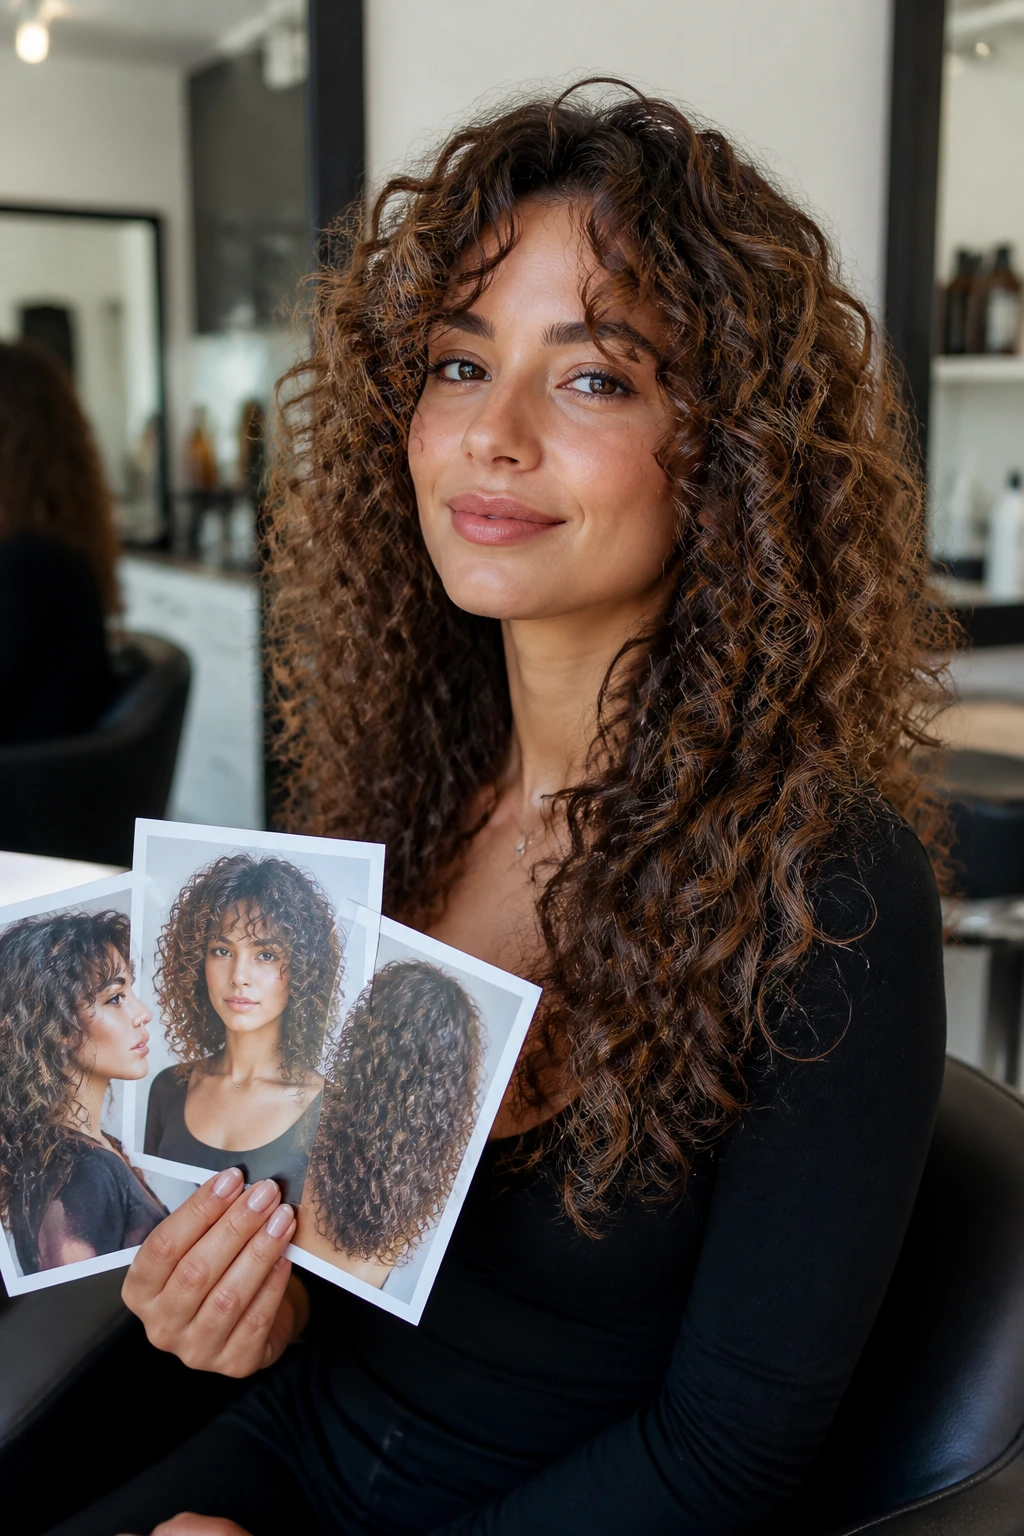
- A front, side, and back photo of your current hair: Stylists can read your shape better when they see how the curls fall from more than one angle.
- Two reference photos of the cut you want: One should show the overall silhouette, and one should show the front pieces close up.
- A note on shrinkage: If your hair jumps 2 inches or 4 inches when dry, say it plainly. That number changes where layers should sit.
- A picture of day-two or day-three curls: This tells the stylist what your hair does after the first wash-day shine wears off.
- Your usual styling tools: A diffuser, microfiber towel, curl cream, gel, and clips help the stylist understand how you actually wear the cut.
- A clear length limit: If you will not lose length past the shoulders, say that before the scissors open.
Styling Moves That Make the Shape Read Clearly
Disconnected layers can disappear if you crush them with the wrong styling. Heavy brushing, too much oil, or diffusing the hair face-down for too long can flatten the separation and turn the cut into a blurry mass. Keep the curl clumps intact. That matters more than trying to make every strand behave.
Root Lift: Clip the crown at the roots while the hair dries, especially if the cut has short top layers. Two or three small clips make a bigger difference than another pump of mousse.
Definition First: Use enough leave-in or gel to hold the layer breaks. If the curls are too soft, the shape gets swallowed.
Front Pieces Last: Refresh the face-framing sections with wet fingers at the end. Those pieces are the first thing people see, and they should not be the frizziest part of the head.
Heat Control: Diffuse on low or medium heat. Hot air can blast the curl clumps apart and make a carefully placed disconnect look accidental.
Keeping the Shape Between Washes and Trims
Long curly hair with disconnected layers usually needs a trim every 8 to 12 weeks if the separation is obvious, and a little longer if the disconnect is subtle. Once the front pieces start hanging past the cheek or the crown loses lift, the whole cut feels heavier. That’s your cue.
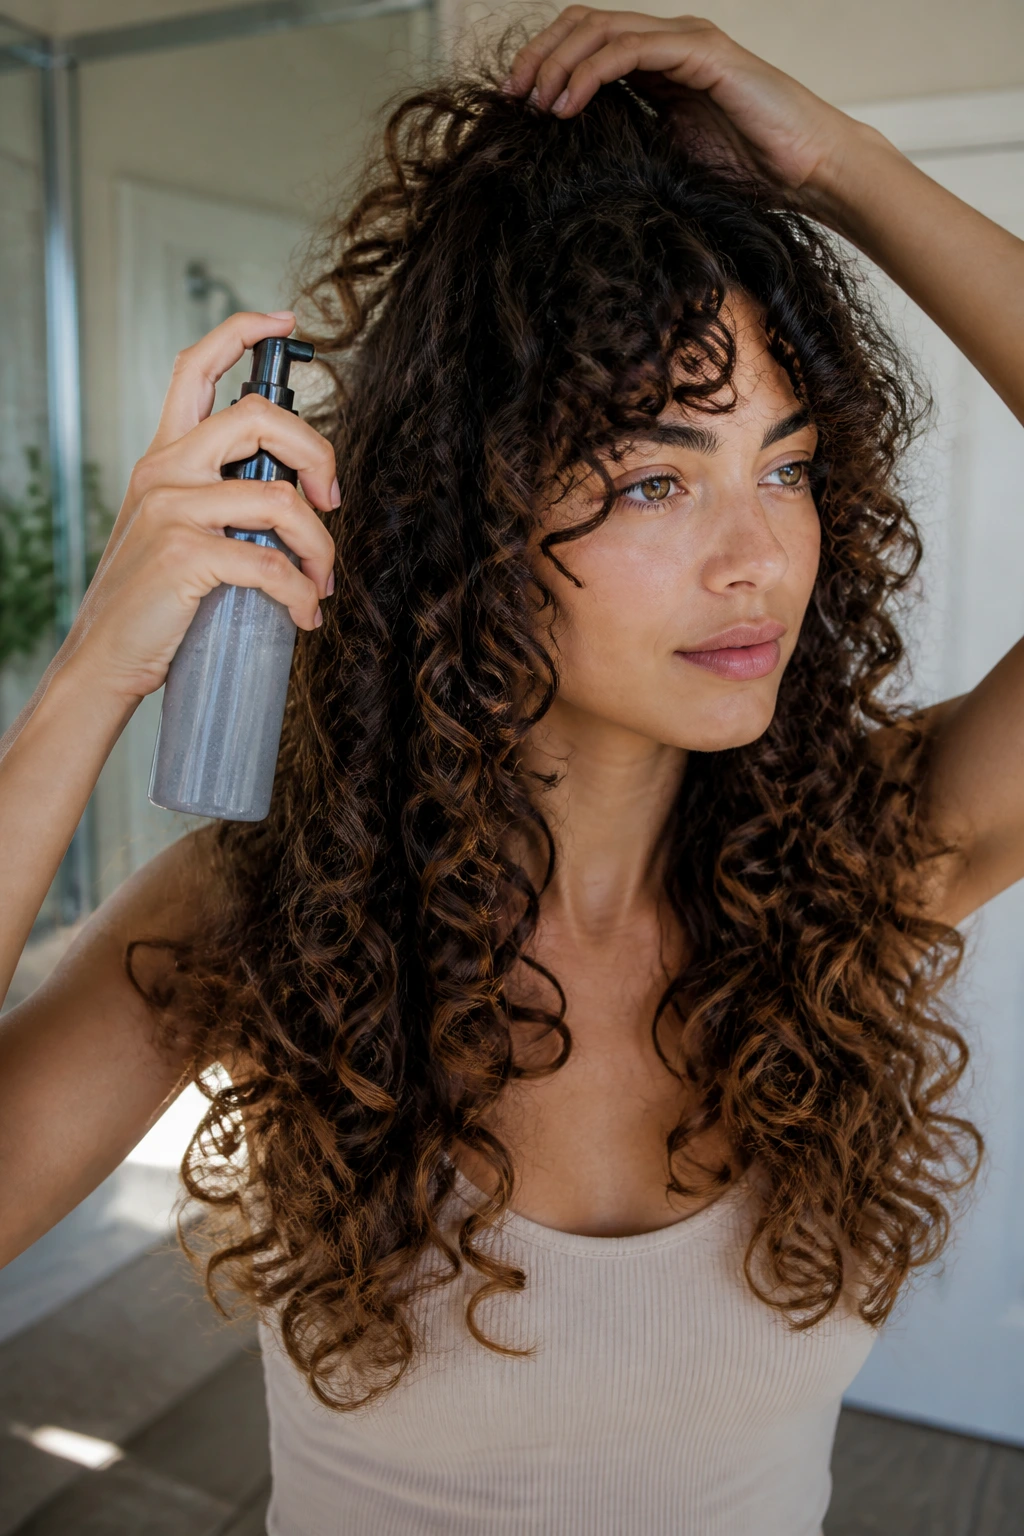
Between washes, the shape holds best when you refresh only the areas that need it. A spray bottle with water and a pea-size amount of curl cream works well on the front panels and top layers. Don’t soak the whole head unless you want to start over.
Sleep makes a difference too. A loose pineapple, a silk bonnet, or a satin pillowcase keeps the disconnected pieces from knotting together overnight. If your hair is dense, use a larger scrunchie so the crown layers don’t get a hard bend. That kink shows up fast on curly hair, and it takes longer to smooth out than people expect.
A small dusting trim is usually enough to keep these cuts in shape. You do not need a full reshaping every time. Sometimes all a disconnected cut needs is a clean edge and a touch of crown cleanup.
Common Mistakes That Flatten the Shape
The first mistake is asking for the cut while thinking in straight-hair terms. Curly hair shrinks. A front piece that sounds “long enough” in the chair may sit too high once it dries. The fix is simple: talk in dry length, not just wet length.
The second mistake is removing too much weight from the ends. A razor or aggressive thinning shear can leave the bottom stringy, and stringy ends make long curls look tired. Point cutting or curl-by-curl shaping usually gives a cleaner result.
The third one is trying to make every layer blend. That sounds tidy, but it often kills the whole point of a disconnected cut. The separation is the feature. If the stylist blends everything into one soft blur, the haircut loses the lift and the front frame disappears.
And then there’s overstyling. Too much brush tension, too much heat, too much product. The cut starts to look stiff instead of curly. Leave some movement in it.
Variations and Alternatives to Try
The Fine-Curl Edit: Keep the disconnect subtle, with tiny internal lifts and a longer perimeter. This keeps the ends from going see-through while still giving the crown a little more life.
The Thick-Curl Release: Go bolder with crown removal and underlayer shortening. Dense hair can take more separation without looking sparse, and the extra breathing room helps the curls sit instead of stacking.
The Low-Maintenance Version: Keep the front frame soft and the back mostly one length, then use only one obvious disconnect near the crown. It grows out quietly and needs less shaping between salon visits.
The Fringe-First Version: Add curtain bangs or a bottleneck fringe and let the layers support them. This is a good fit if the face frame matters more than the back silhouette.
The Conservative Office Version: Hide the disconnect inside the hair and keep the outer line smooth. You still get movement, but the haircut stays calm enough for settings where a shag would feel too loud.
Frequently Asked Questions
Do disconnected layers make curly hair frizzy?
Not by themselves. Frizz usually comes from rough cutting, over-thinning, or styling that breaks up curl clumps. A clean dry cut and enough hold product usually keep the shape crisp.
Should a curly disconnected cut be done wet or dry?
Dry is usually safer for long curly hair because shrinkage is easier to read. Some stylists do a mix of both, but if your curls spring a lot, dry cutting gives better control over where the layers land.
Can fine curly hair wear disconnected layers?
Yes, but the disconnect should stay subtle. Fine curls lose density quickly when too much is removed, so the best version keeps the perimeter full and adds only a little lift around the crown or face.
How often should I trim this kind of cut?
Most long curly disconnected cuts need shaping every 8 to 12 weeks. If you’re growing the hair out and the style is more subtle, you can stretch that a bit longer, but the front pieces usually tell on themselves first.
Will this work if my curls shrink a lot?
It can work well, but the stylist has to plan for shrinkage from the start. Tell them how much length your hair loses when it dries, and ask them to check the front pieces in their natural shape before they stop cutting.
Can I add bangs to disconnected layers?
Yes, and curtain bangs are the easiest place to start. Short blunt bangs on curly hair need more upkeep and usually more patience, so they’re a bolder choice than most people think.
What if my curls are loose, not tight?
Loose curls and waves can still wear disconnected layers, but the separation should be softer. Ribbon layers, butterfly shapes, and gentle U-cuts tend to show up best because they do not rely on a lot of shrinkage.
How do I keep the front pieces from puffing out?
Use a little less product near the roots and more hold through the ends of the face frame. Then diffuse with the front pieces angled forward and off the face, not blasted straight out to the side.
The Shape That Keeps Its Bounce
Long curly hair gets interesting when the cut gives it a reason to move. That’s the real gift of disconnected layers: they let the top, the face frame, and the perimeter each do something different instead of asking every curl to behave the same way. The result is usually less bulk where you don’t want it and more shape where people actually look.
I’d still lean dry cutting for most of these. Curly hair has too much spring to trust a wet illusion. Once the curl pattern settles, the layer map should still make sense. If it doesn’t, the cut was drawn for the mirror, not for your hair.
Bring a good reference photo, be honest about shrinkage, and say where you want the length to stay. Then let the shape do the talking.