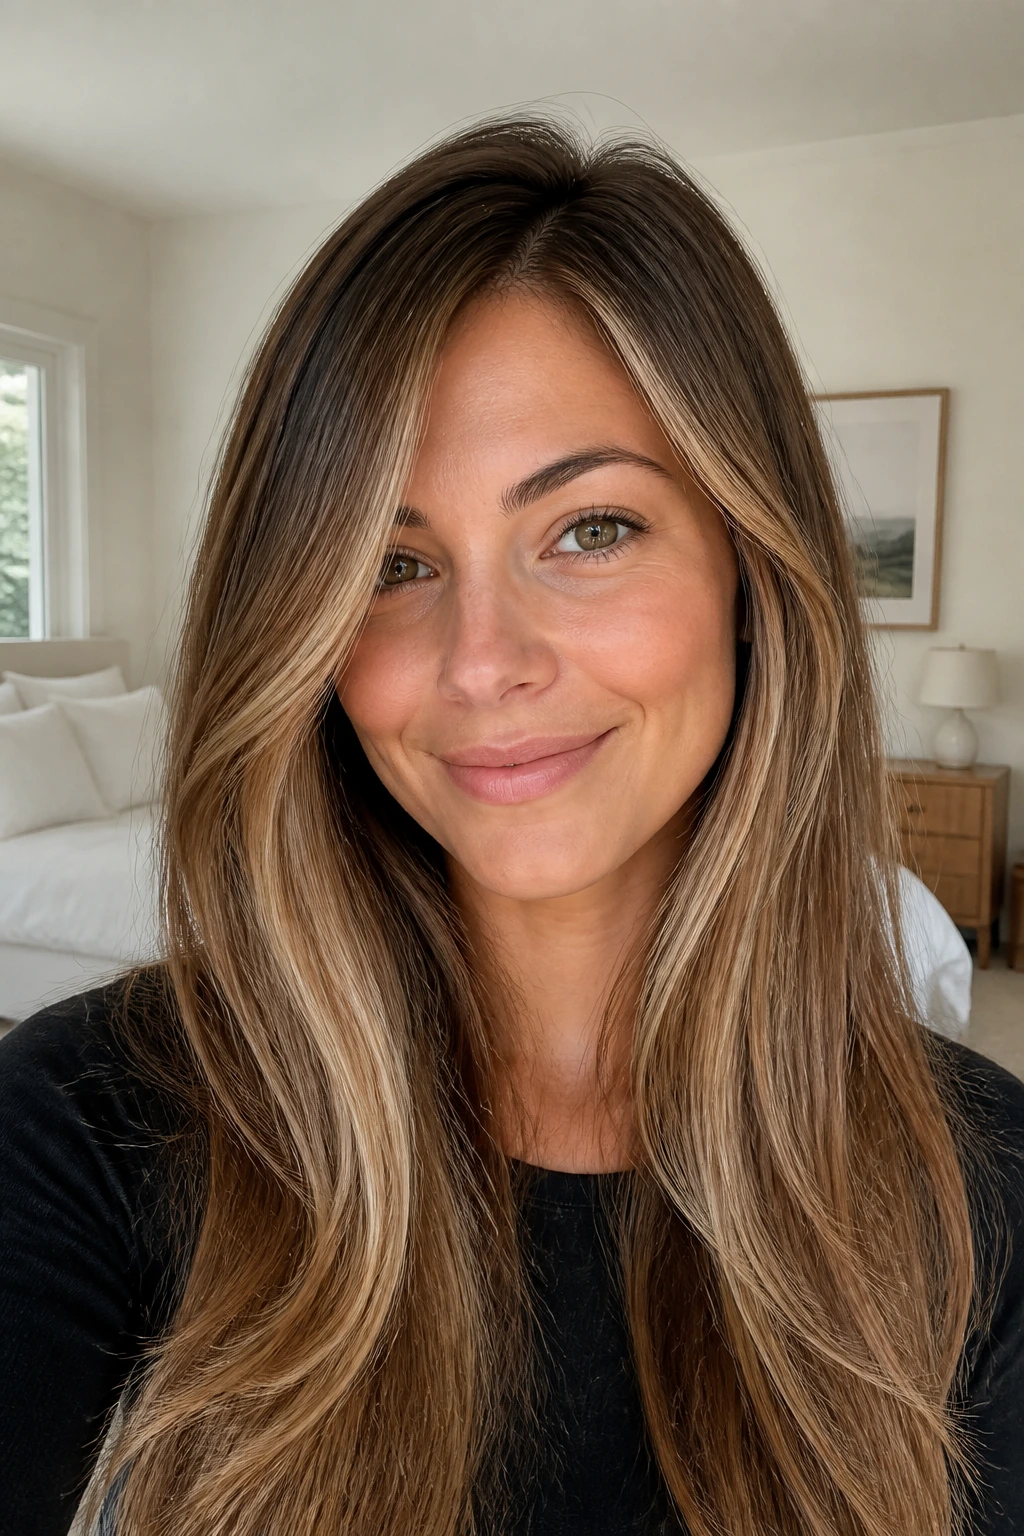
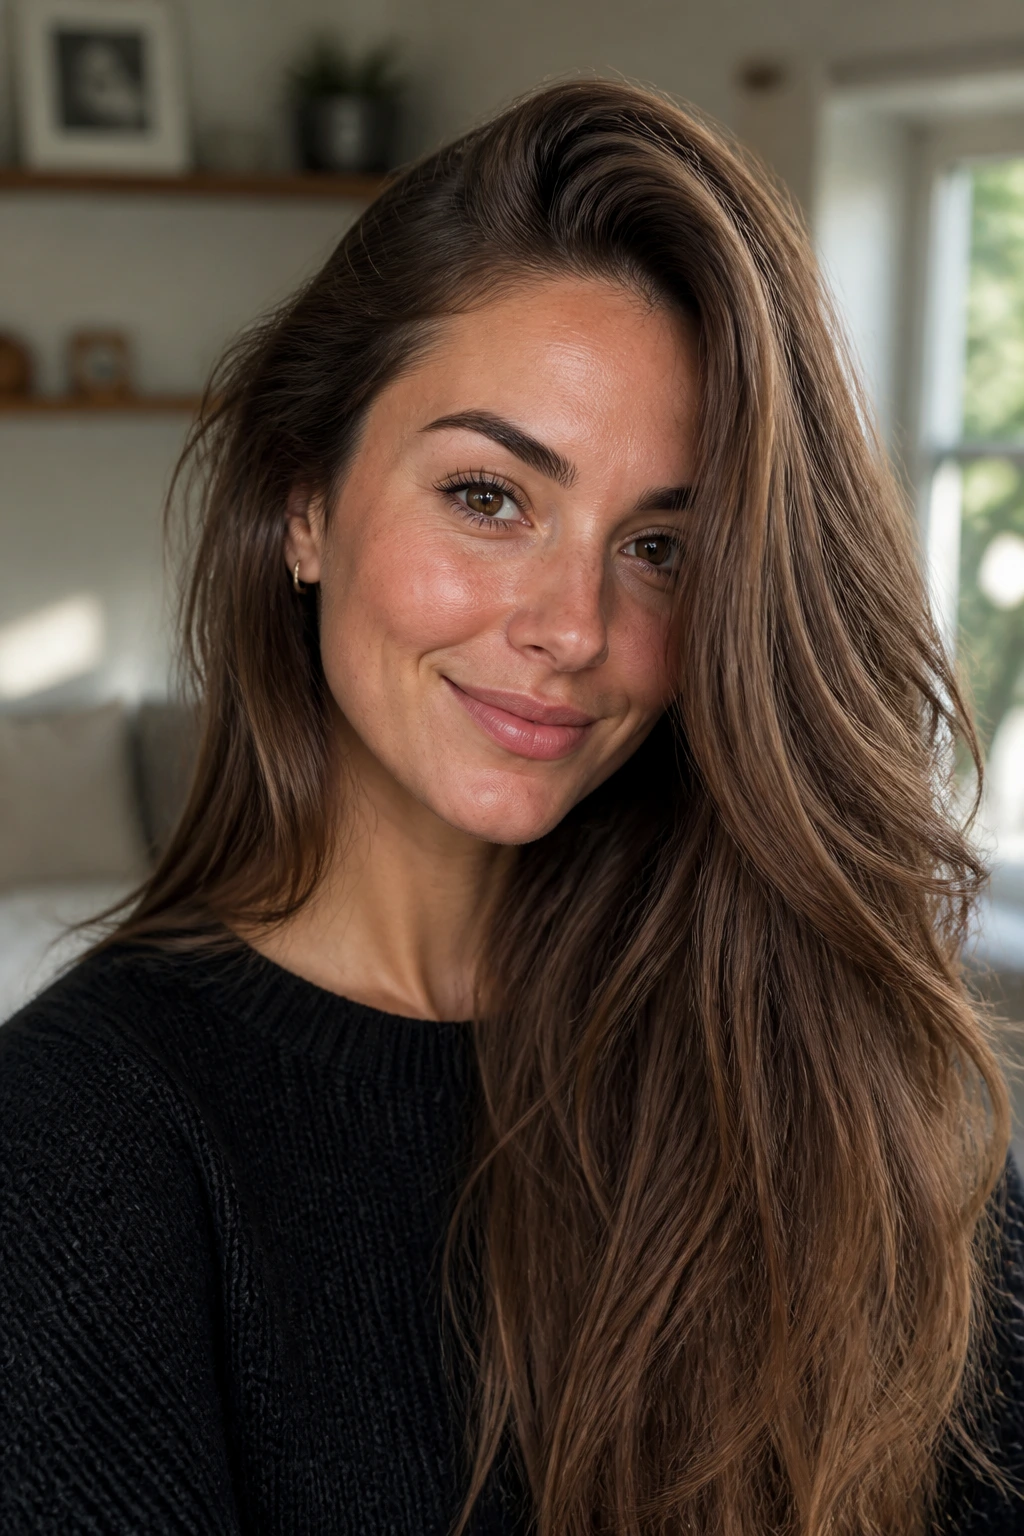
Long side-swept part face-framing layers do one job better than almost any other long-hair move: they break up the heavy, straight-down curtain that long hair can turn into, and they do it without stealing the length you actually wanted to keep. The side part changes the math right away. It tilts the eye, lifts the crown a little, and lets the front pieces skim the cheek, jaw, or collarbone instead of hanging in one flat sheet.
If you’ve ever had long hair that looked great from the back and a little blank from the front, you already know why this shape matters. A blunt perimeter can be gorgeous, but it can also go heavy fast—especially if your hair is dense, pin-straight, or only mildly wavy. The right front layer gives that long shape some bend and direction. It stops the cut from feeling like it was pulled straight from the scalp and left there.
These ideas cover polished blowouts, air-dried texture, soft glam, weightless layers for thick hair, and low-commitment versions for anyone who wants movement without a dramatic chop. Some land at the cheekbone. Others drift all the way to the collarbone before they turn in. That range is the whole point.
Why This Collection Feels Different
-
Length stays the star: These cuts keep the long silhouette intact, so you get shape at the front without losing the length in the back.
-
The side part does real work: Moving the part off center shifts volume toward the crown and makes the face frame read more like a design choice than an afterthought.
-
Texture changes the result: Straight, wavy, curly, and thick hair all need the front layers placed in different spots, and the difference shows up fast.
-
The grow-out is kinder: A side-swept front piece softens as it grows, which means you don’t get that hard “bang line” some shorter fronts leave behind.
-
Small changes matter here: Half an inch at the cheekbone or collarbone can completely change how the cut sits around your face.
Why Long Side-Swept Part Face-Framing Layers Work on Long Hair
The trick is the diagonal. A center part tends to drop hair evenly on both sides, which can be sleek but also a little static. A side part throws the weight to one side, and that tilt gives the front pieces a place to move. The eye follows the line from the part down through the layer, and suddenly the haircut has direction.
The diagonal line changes the whole shape
A side-swept front piece pulls attention upward and outward instead of straight down. That’s useful if your hair tends to read as one long column, because the diagonal breaks the column into shapes the eye can actually notice. It also gives the crown a bit more lift, especially if you blow-dry the roots in the opposite direction first.
Front layers do more than frame the face
Where the shortest piece lands matters more than most people think. Cheekbone length gives lift and open space around the eyes. Jawline length softens the lower half of the face. Collarbone length keeps things subtle and gives you movement without a big visual cut. Same haircut family. Very different result.
The shape still needs to match your texture
Hair that bends easily doesn’t need the same layer placement as hair that sits straight and heavy. Fine hair usually looks best with cleaner, longer front layers. Thick hair can take more internal removal. Curly hair needs the front pieces planned around shrinkage, or the “face frame” will jump up higher than you expected once it dries.
How to Choose the Right Version for Your Face and Hair
Fine hair: Keep the shortest front piece below the cheekbone if you want the ends to look full. Too much slicing can make the front go wispy at the temples, and that’s the first place fine hair looks tired.
Thick hair: Ask for weight removal inside the shape, not just at the perimeter. If the front is bulky, the layer should move, not puff outward like a triangle.
Wavy hair: Let the stylist see your natural bend when possible. A wet cut can land too high once the wave springs up, and the front piece can end up brushing your cheek instead of falling past it.
Curly hair: Decide where you want the curl to sit when dry, then cut for that spot. Cheekbone-length on wet curls can turn into something much shorter once the pattern tightens.
Round faces: Cheekbone or jawline layers usually work better than a heavy, chin-hugging front. You want lift and a vertical pull, not a curtain that stops at the widest point.
Long faces: A slightly shallower side part and a fuller front layer around the cheek can stop the face from looking stretched. Side-swept does not have to mean skinny and severe. It can be soft and broad.
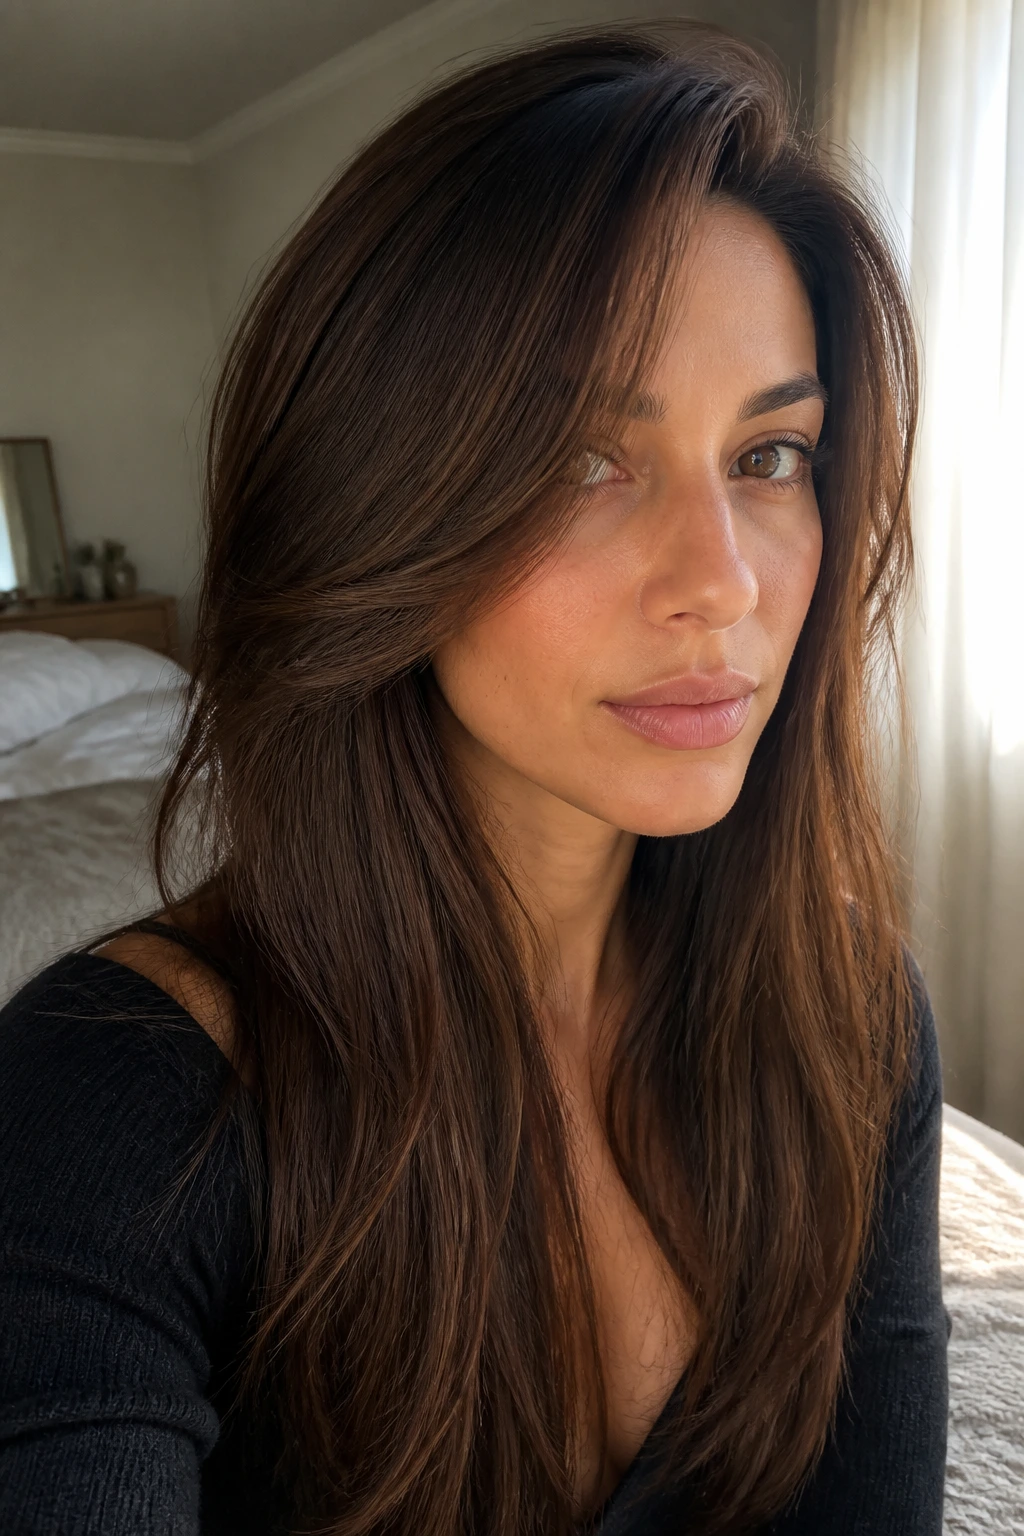
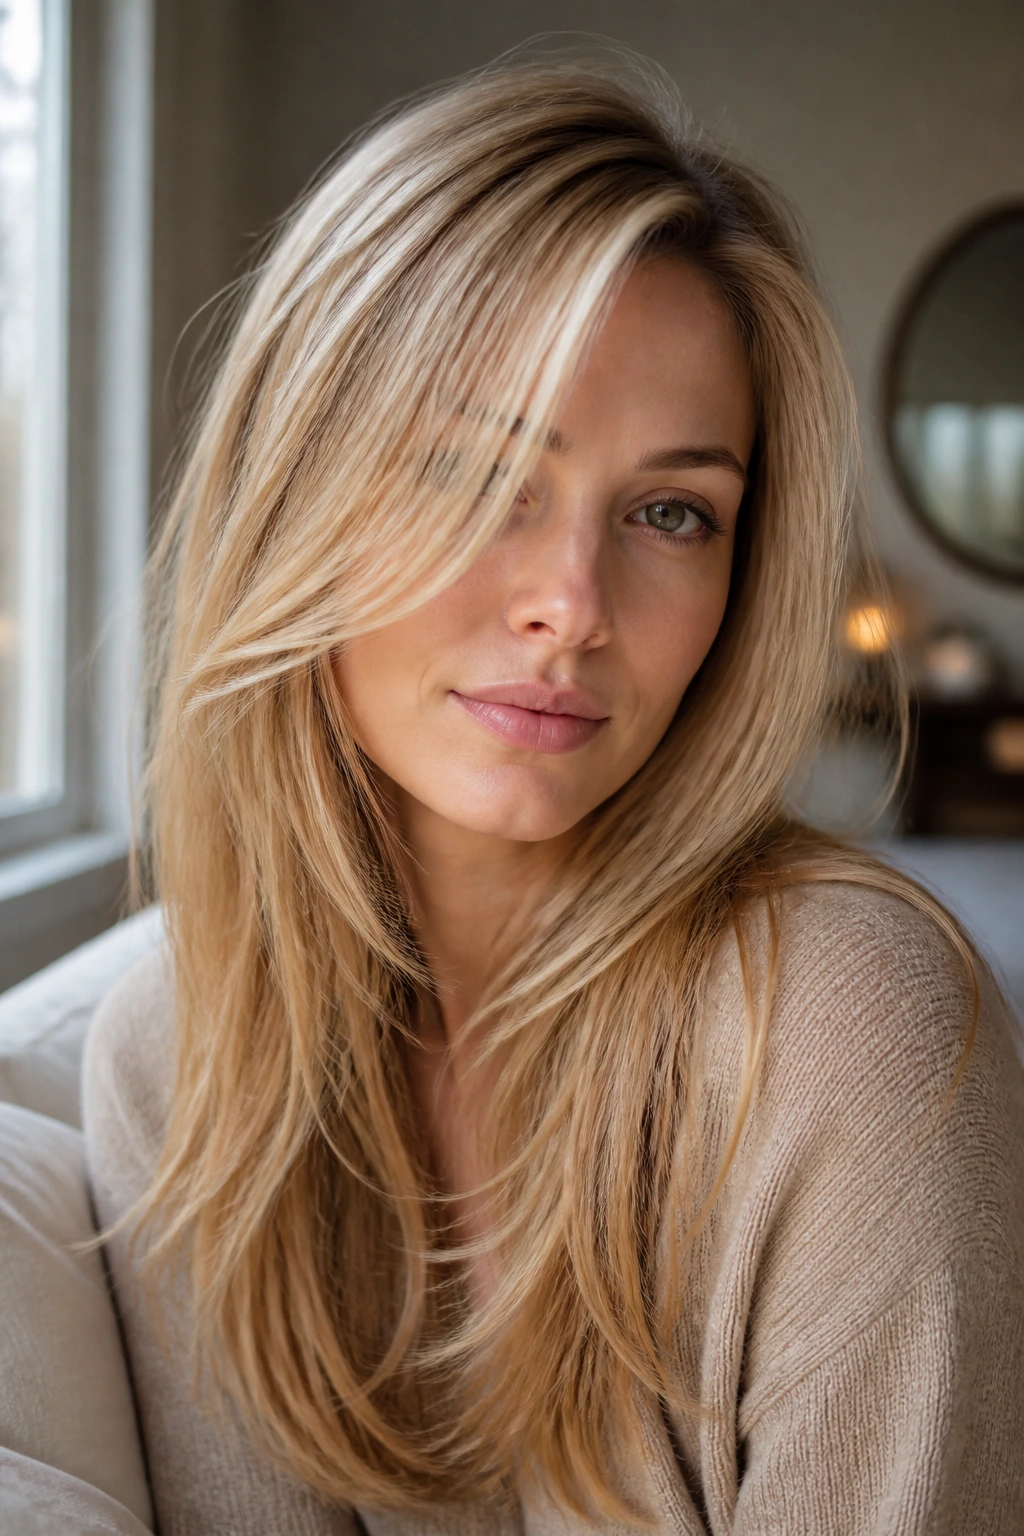
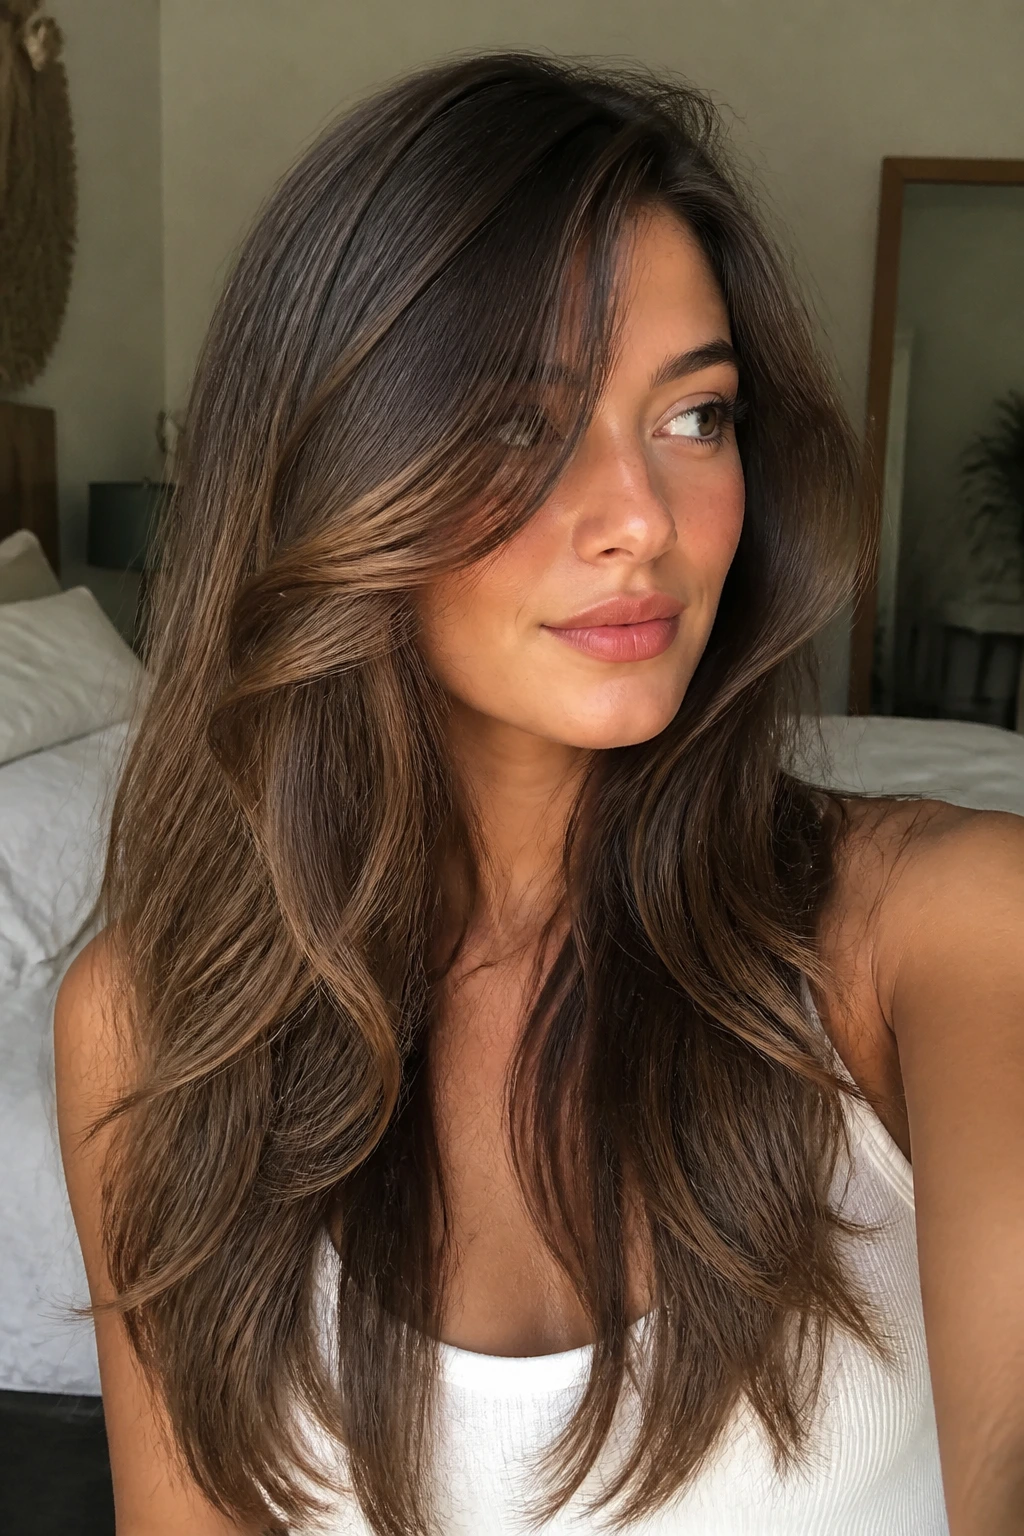
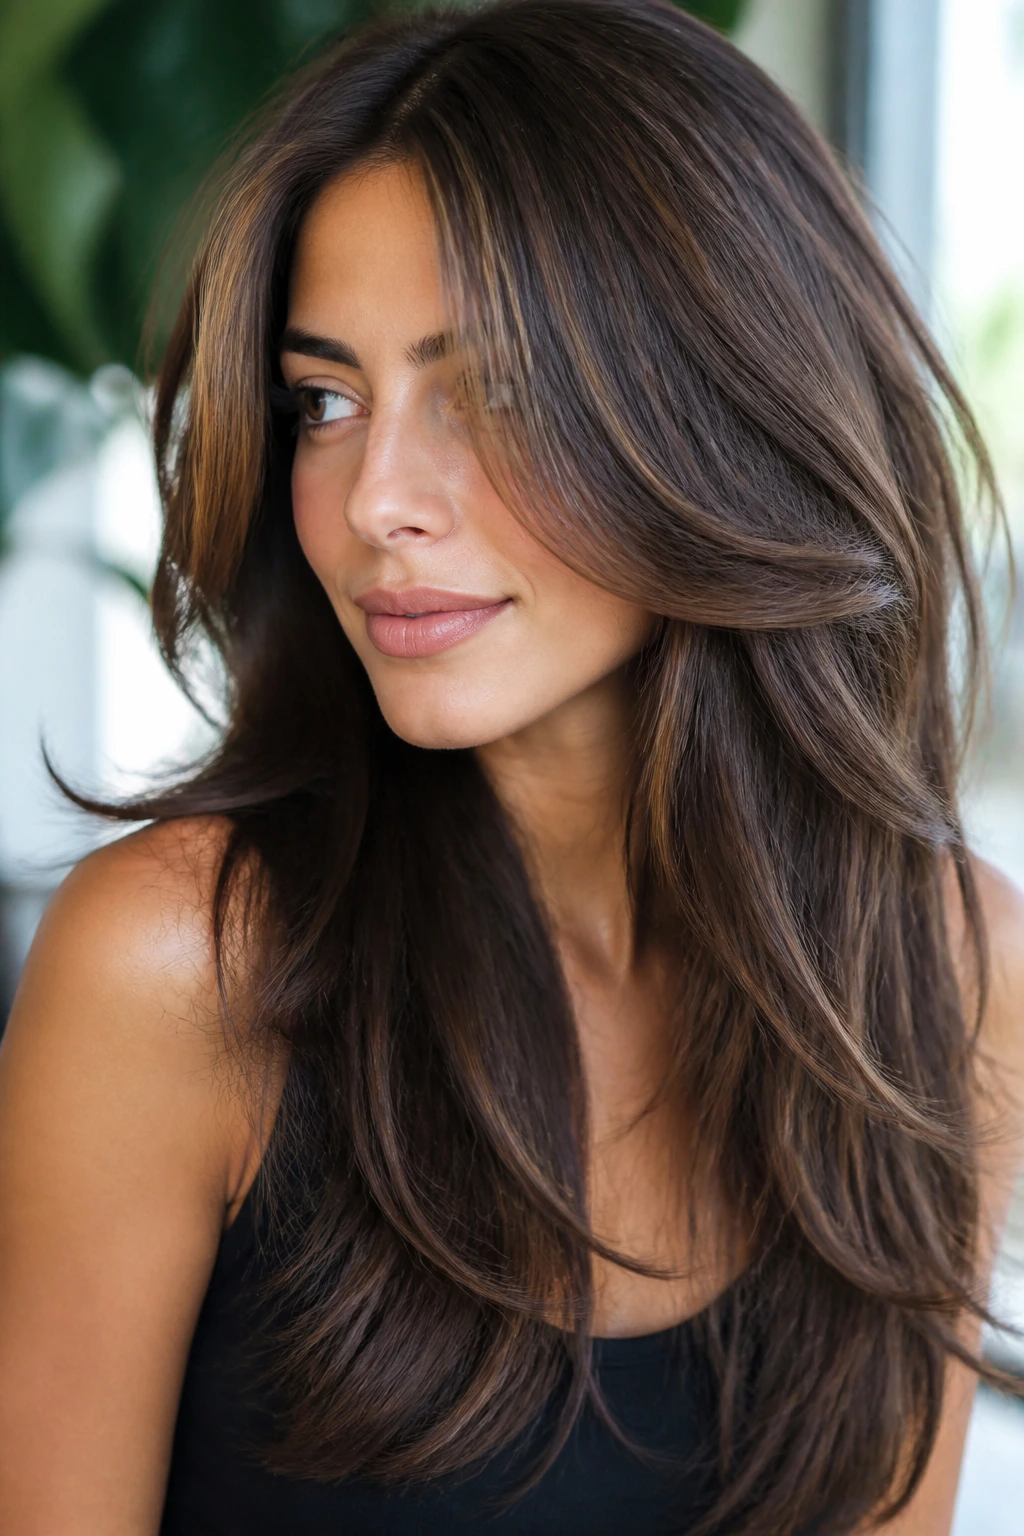
1. The Cheekbone Sweep
This is the cleanest place to start if you want an immediate lift without a dramatic change. The shortest front piece lands near the top of the cheekbone, then tapers down toward the jaw. It gives the face a little angle and keeps long hair from going limp around the temples.
Where the shortest piece should land
Ask for the front layer to meet the cheekbone, not the lip. That small difference matters. Cheekbone placement opens the eyes and gives the side part a real job to do, while lip length can start reading more like a grown-out fringe than a face frame.
- Part the hair about 2 to 3 inches off center.
- Angle the shortest piece to the top of the cheekbone.
- Keep the ends softly beveled, not blunt.
- Blow-dry away from the face for the first pass, then let the front settle back.
Best for: Oval, heart, and soft square faces that want a little lift without losing length.
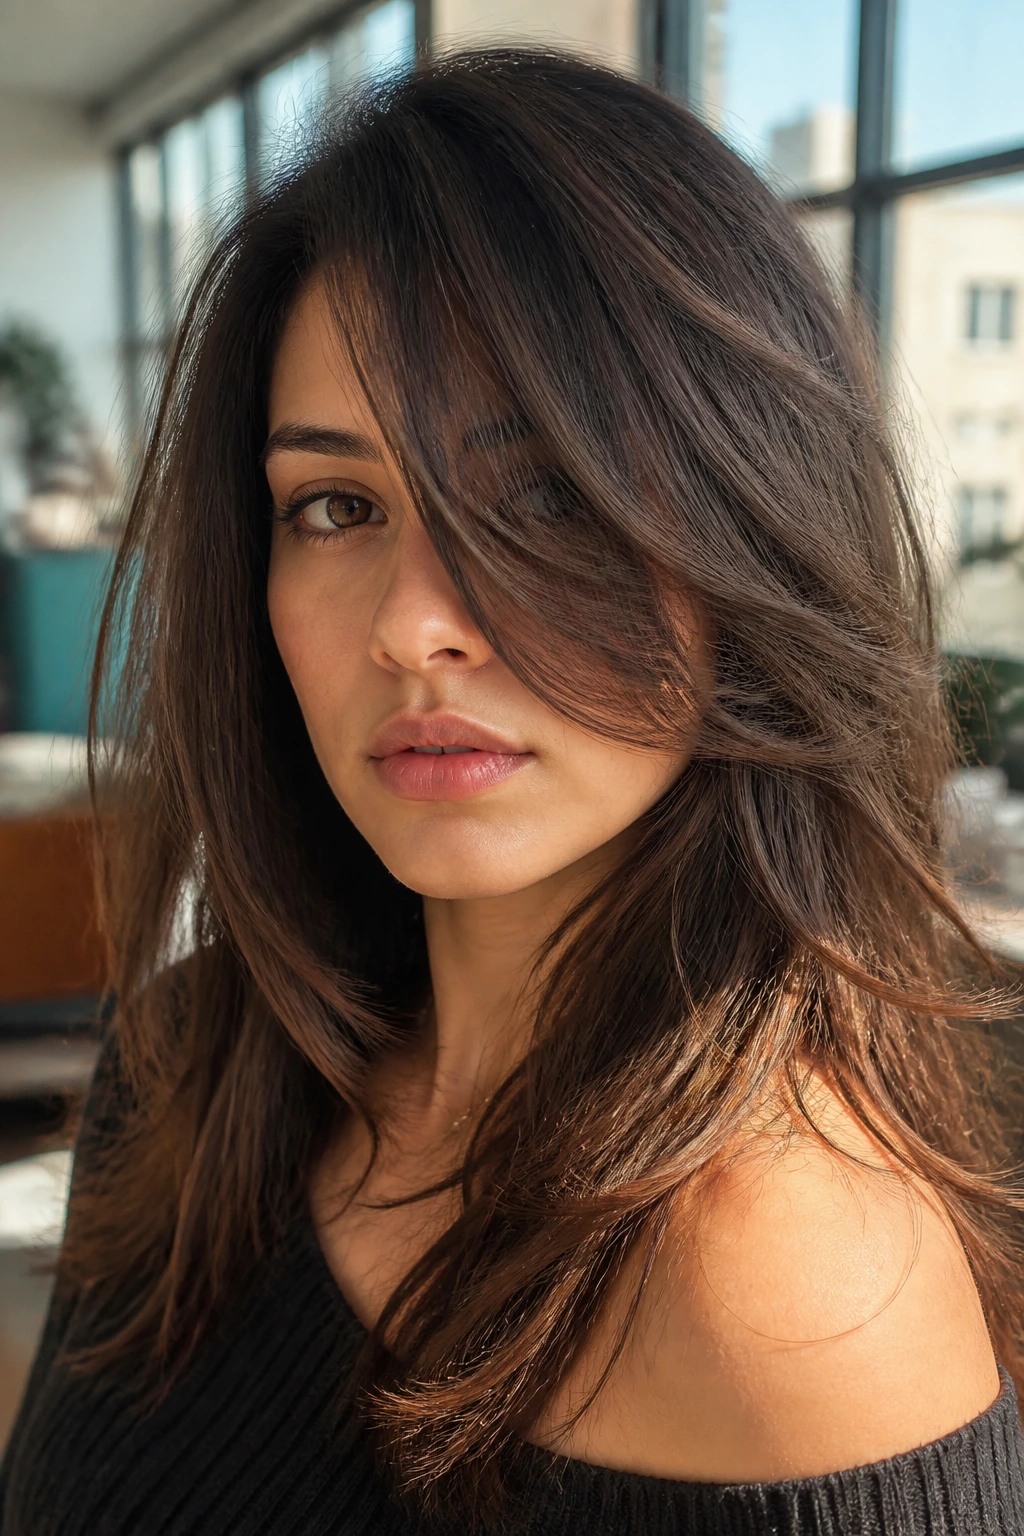
2. The Jawline Feather
What if you want the front to soften the jaw without hiding it? This is the answer. The layer starts around the jawline and falls into the chest length, which makes it feel a little more relaxed than a cheekbone sweep.
The shape is useful on square or rectangular faces because it blurs the edge at the jaw instead of stacking right on top of it. On straighter hair, the front piece should bend inward just enough to hug the face. On wavy hair, it can be left a little looser so the bend looks natural instead of forced.
If you like hair that moves when you turn your head, this one has a nice swing. It’s subtle. Not boring. Just quiet in a good way.
3. The Collarbone Drift
This cut is for the person who wants front framing but doesn’t want anyone to clock the haircut from across the room. The front pieces start low enough to graze the collarbone, so the shape lives in the movement rather than the obvious shorten-everything effect.
It works especially well if you tuck hair behind one ear, because the remaining front piece still falls forward and keeps the face from looking bare. On round faces, that lower landing point helps lengthen the outline. On long faces, it gives a bit of horizontal balance without chopping the front too high.
- Ask the stylist to start the front layer at collarbone level.
- Keep the part shallow rather than deep.
- Style with a medium round brush or a loose bend from a 1.25-inch iron.
- Let the ends turn under just enough to avoid a flat stick-straight line.
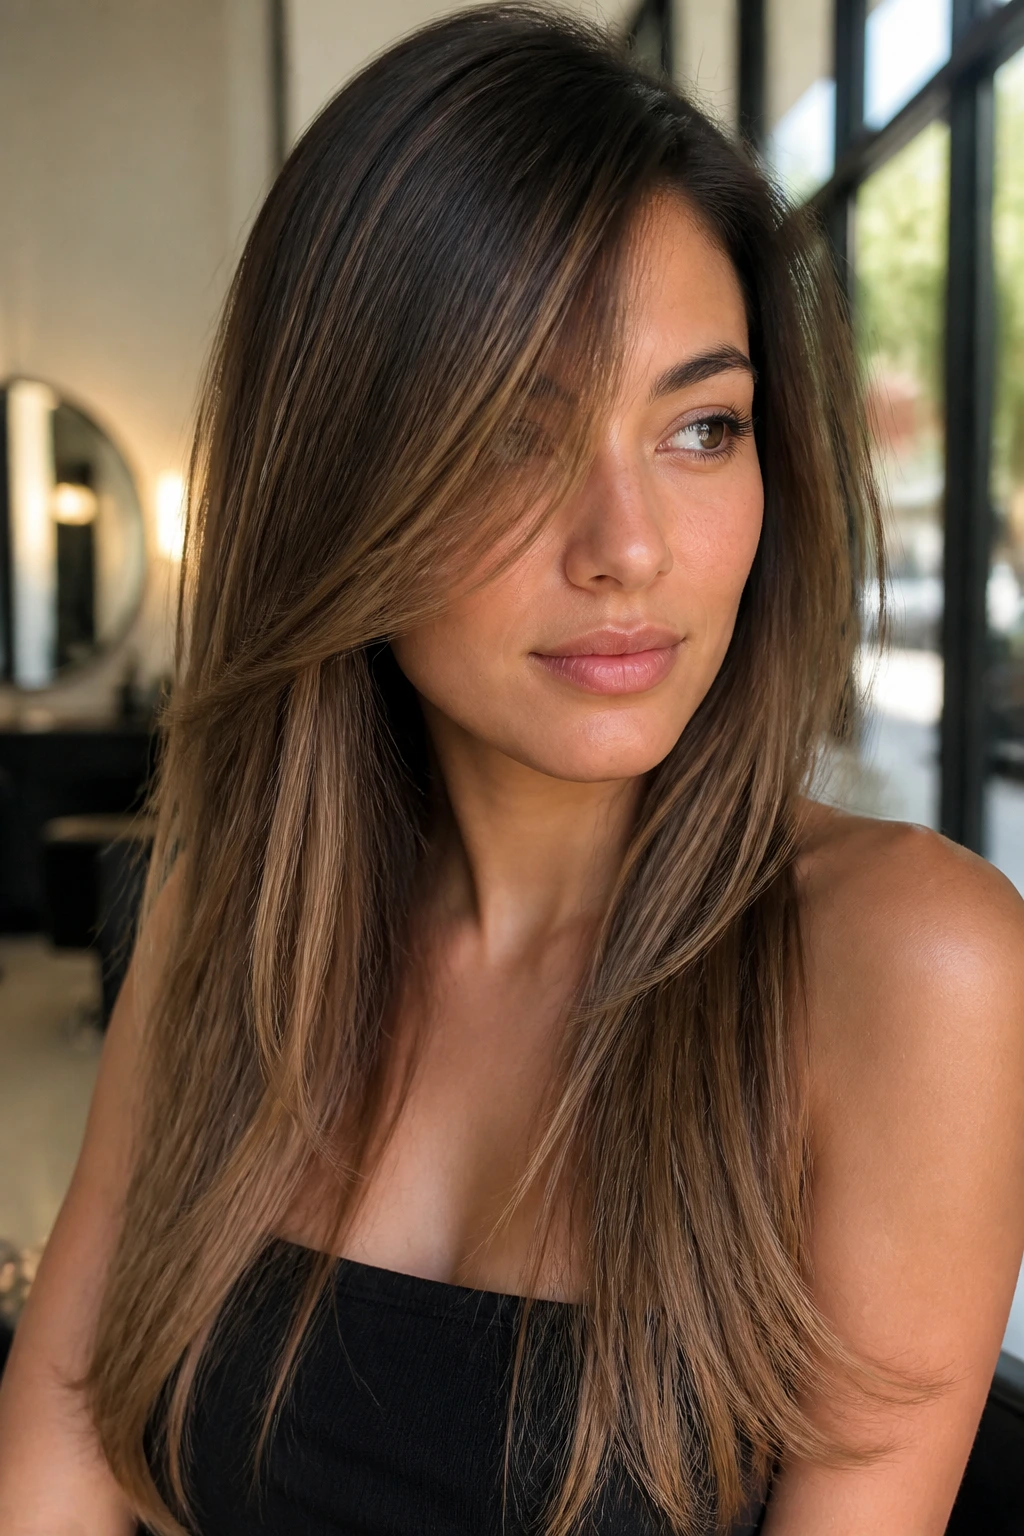
4. The Deep Side-Part Lift
The part can matter more than the layers. That’s the part people miss. A deep side part changes how the whole haircut sits, because it shifts weight toward one side and gives the crown a little more room to rise.
This shape is good when your roots sit flat or when the hairline around the temples needs some help. It can also rescue a long cut that feels too symmetrical. The side sweep makes the face frame look intentional, even if the layer itself is only medium length.
Do not overdo the depth unless you like a dramatic shape. A part that goes too far over can flatten the smaller side and leave the front hanging there like it’s waiting for a wind machine. A modest deep part—just enough to move the balance—usually does the job better.
5. The Butterfly Sweep
The butterfly version uses a shorter front layer and a much longer back length, so the front feels airy without making the whole haircut look thin. It’s the closest thing this collection has to instant movement, and it’s especially nice if your long hair needs more shape around the shoulders.
How the shape falls
The front pieces should skim the cheekbone or just below it, then blend into much longer layers that stay low around the ribcage or chest. That contrast is what creates the airy swing. If you curl the front away from the face, the whole thing reads wider and softer. If you keep it straighter, the cut feels cleaner and more polished.
This is a good choice if you wear big earrings, because the front doesn’t hide the side of the face. It frames it, then gets out of the way.
6. The Razor-Soft Frame
Compared with a blunt face frame, a razor-cut version looks lighter and more pieced out. The ends are softer, and the transition from the shortest point into the longer lengths is less obvious. That can be a win if your hair is thick and tends to make front layers feel chunky.
The tradeoff is that razor cutting can be too aggressive on fine or fragile ends. If your hair already frays at the bottom, point cutting or slide cutting is usually safer. The goal is movement, not shredded ends.
My bias: this one works best when you want a little edge in the front and you don’t mind seeing the texture of the cut. It has a lived-in look, not a glossy salon finish.
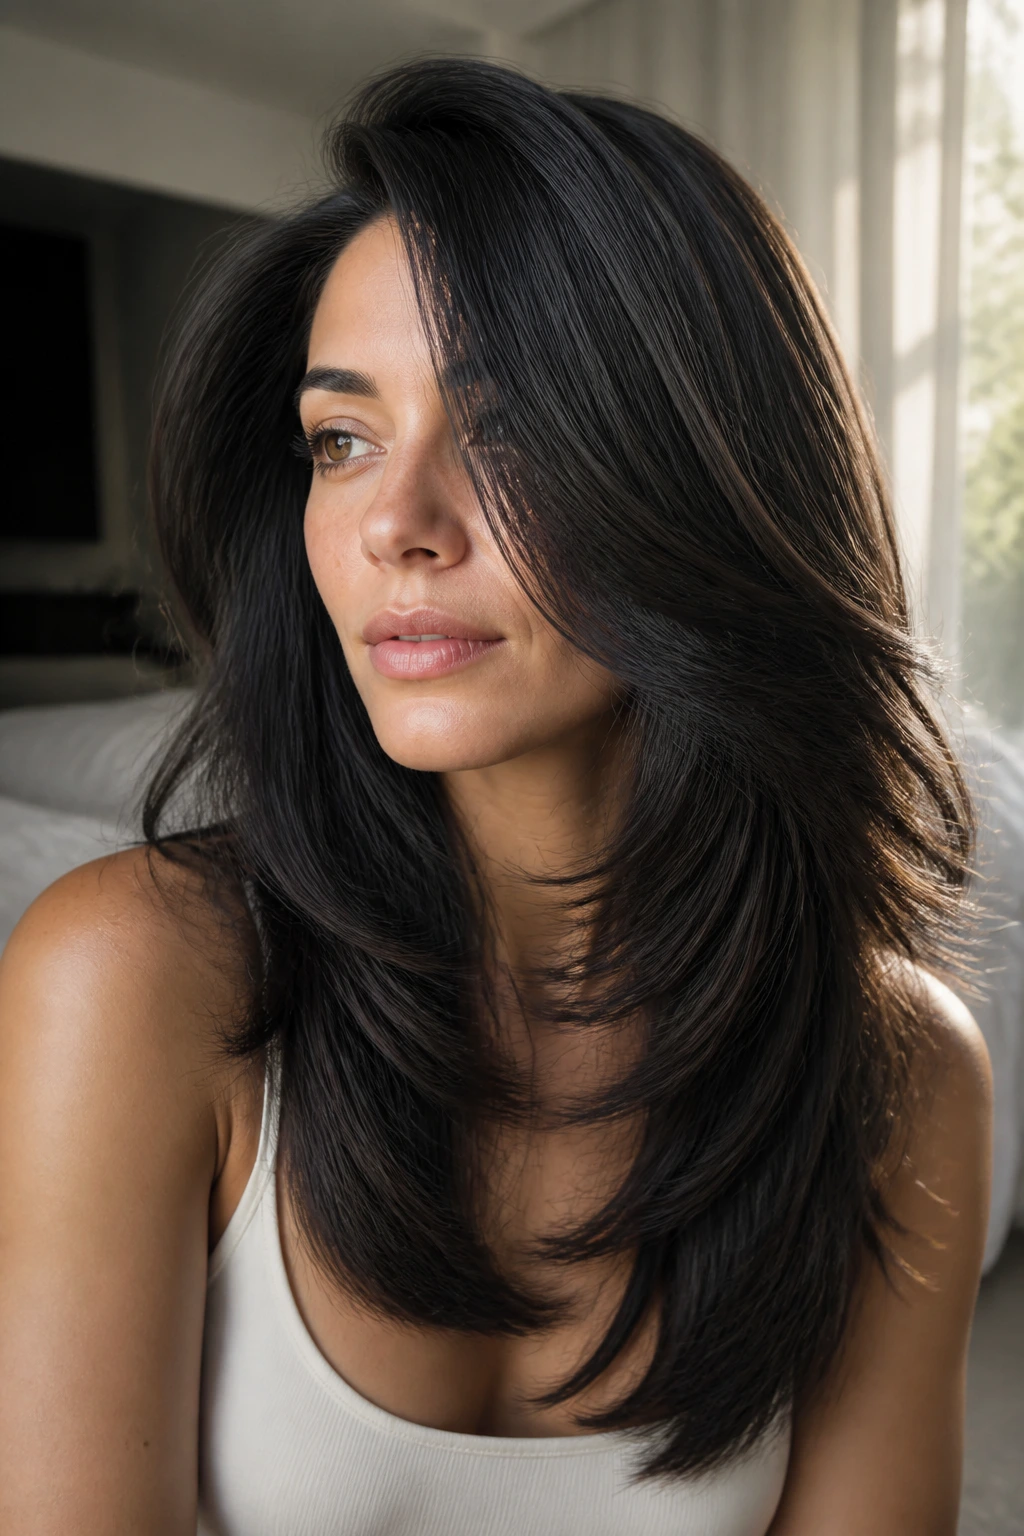
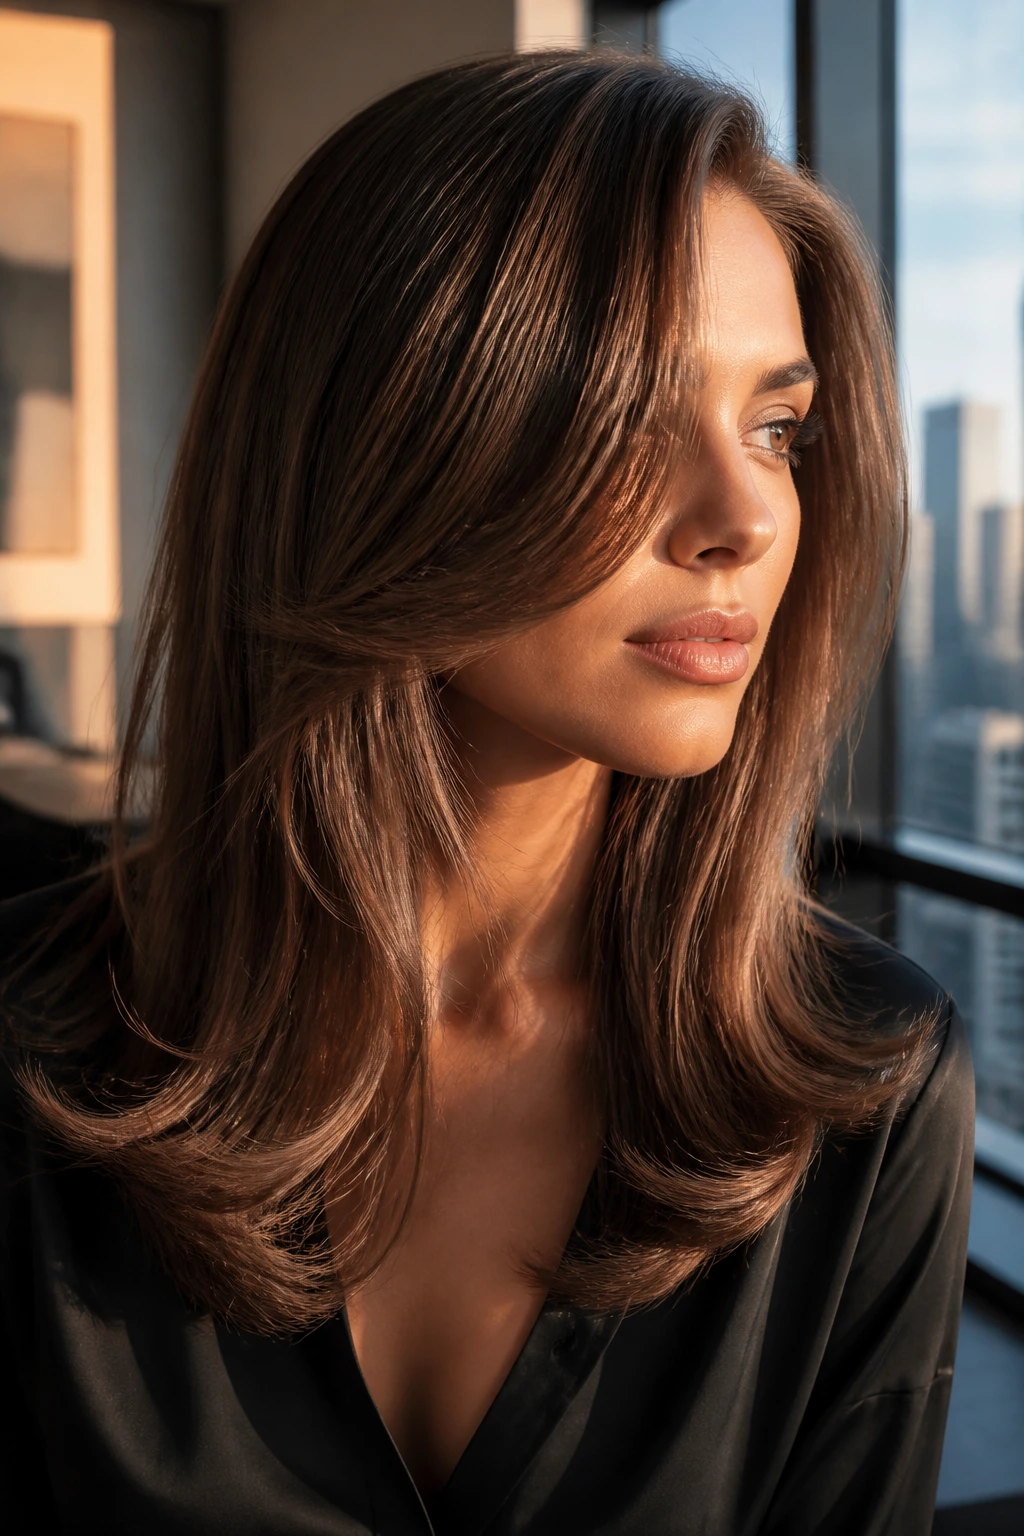
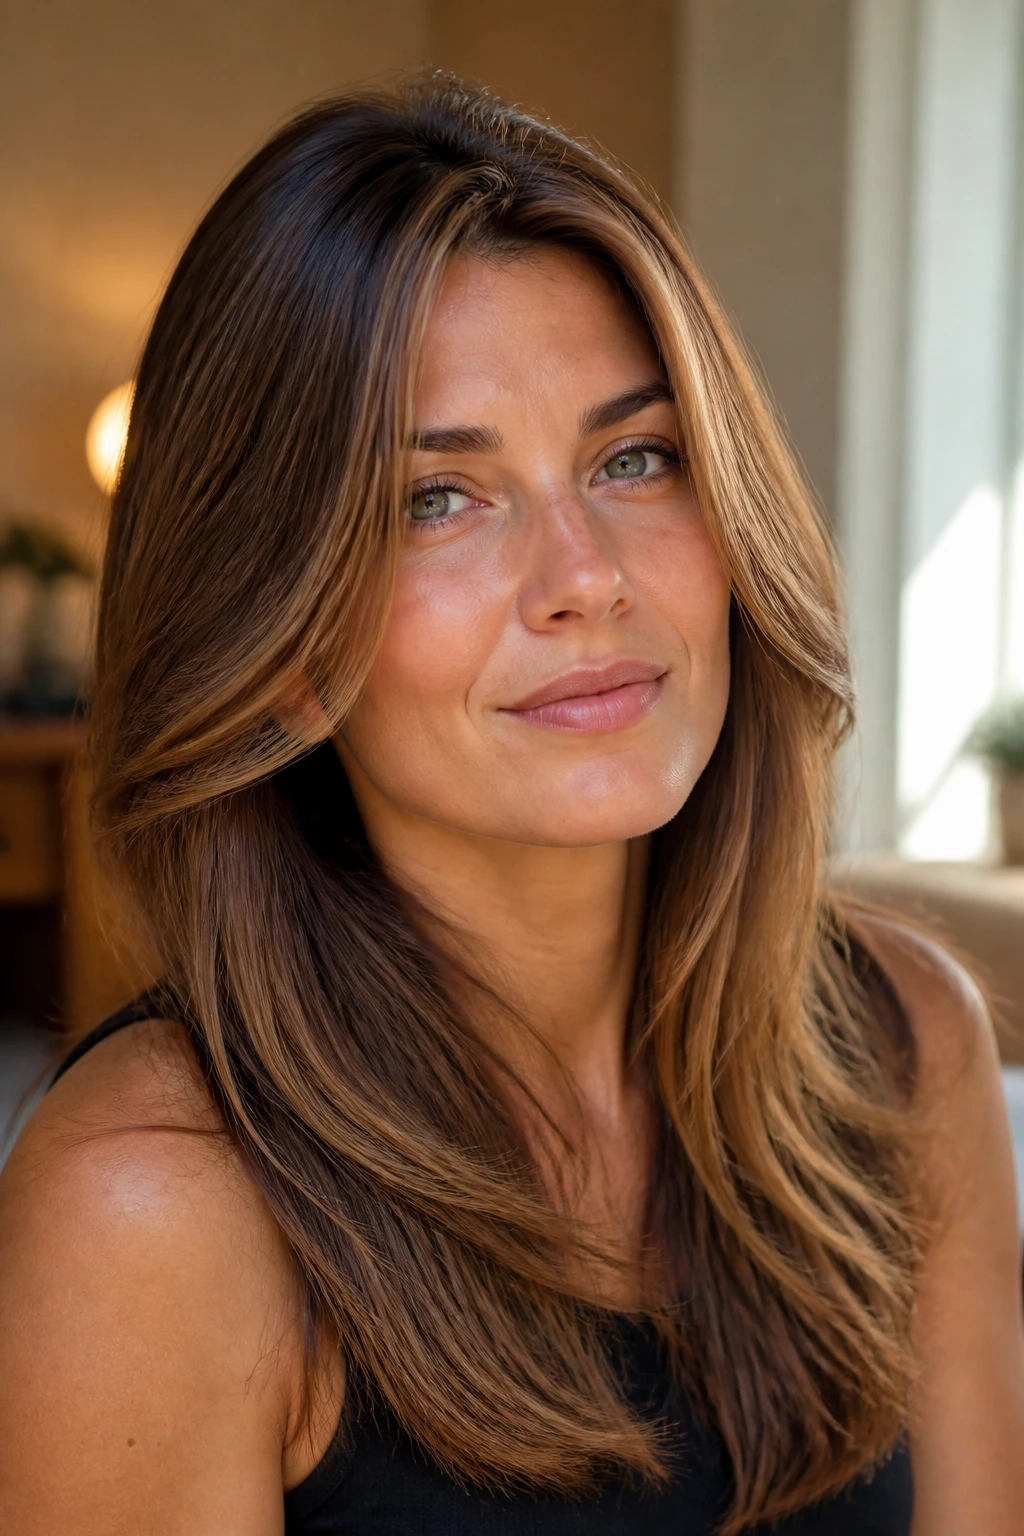
7. The Glass-Hair Sweep
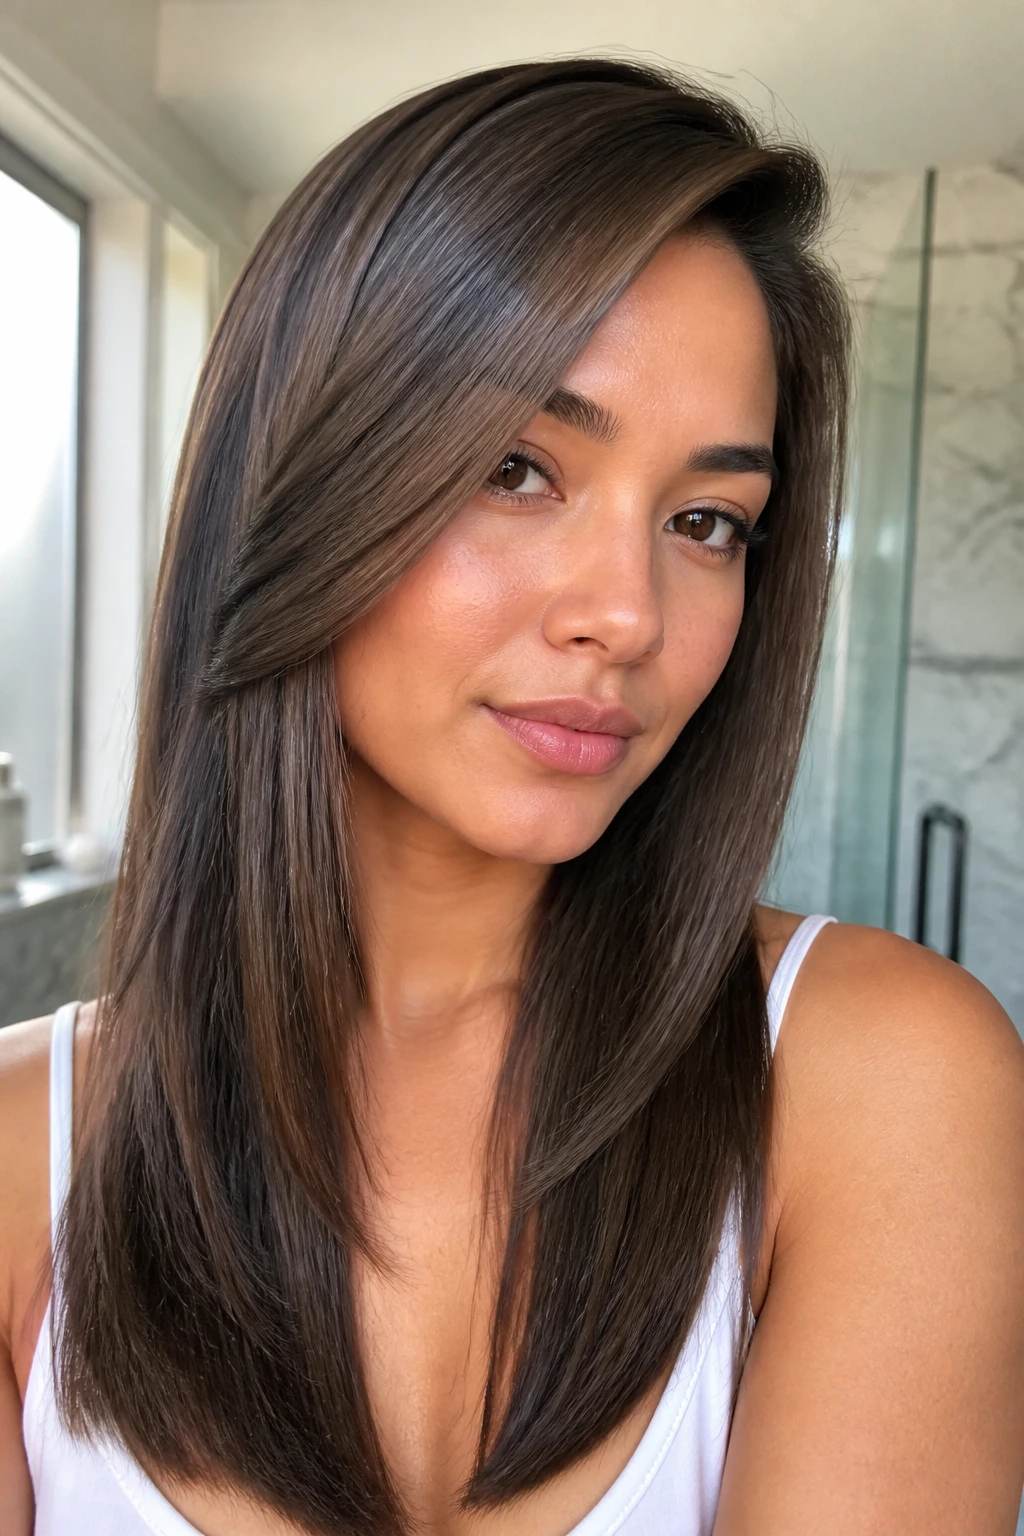
If your hair is straight, this is the cleanest way to wear side-swept front layers. The shape stays minimal, the edges stay crisp, and the side part gives the whole cut enough direction that it doesn’t fall flat.
- Keep the layers long and smooth.
- Ask for a soft bevel at the ends instead of a lot of texture.
- Use a round brush to bend the front pieces away from the face.
- Finish with a small amount of smoothing serum on the mid-lengths only.
The key here is restraint. Too many short bits can make sleek hair look broken up. One good front sweep is enough.
8. The Beach-Wave Cascade
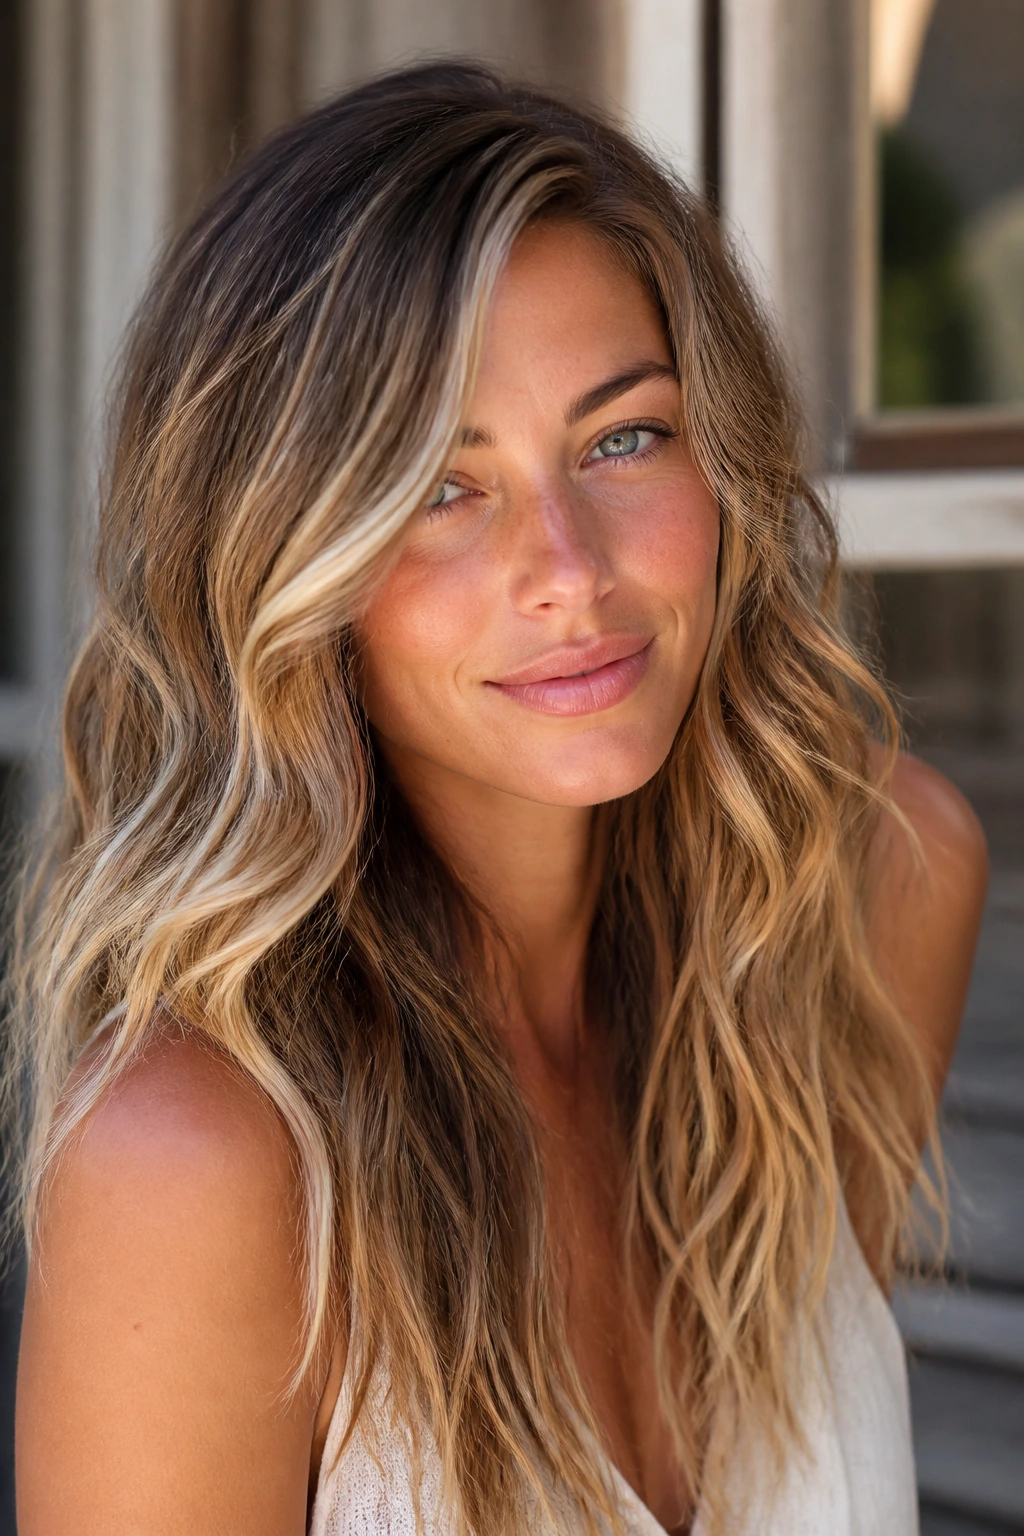
Why do some layered cuts look effortless on waves and others look chopped? Usually because the front pieces were cut for the wrong bend. A wave-friendly side sweep should be planned around how the hair actually sits when it dries, not just where it hangs wet.
This version works when the front layer falls into the natural wave pattern and turns softly at the cheek or jaw. It’s a good match for hair that already wants to curve, because the wave gives the face frame a little body without needing a full blowout. If you want a lived-in shape that can survive humidity better than a sleek cut, this is a strong pick.
Use a light mousse at the roots and a small amount of cream on the ends. Heavy products will drag the front down and kill the movement you’re trying to keep.
9. The Fine-Hair Whisper Layers
Fine hair needs discipline. That’s the whole secret. If the front is layered too high or thinned too much, the ends start to look see-through and the face frame loses its job.
A whisper layer keeps the line long and clean, with just enough separation near the cheek to show shape. It should look like hair that was nudged, not carved up. The side part helps because it creates volume at the root without forcing you to over-layer the front.
- Keep the shortest piece below the cheekbone or at the lower cheek.
- Ask for point cutting, not heavy texturizing.
- Avoid chunking out too much weight at the temples.
- Use a root spray or light mousse at the crown so the part doesn’t collapse.
This is one of those cases where less haircut gives you more hair.
10. The Thick-Hair Weightless Cut
Thick hair can handle a lot, but the front frame needs room to move or it turns into a bulky wall. The fix is not to slash away a ton of length. It’s to remove weight from the middle of the shape so the front can fall.
A good weightless version uses internal layers and a side part to create lift, then leaves enough perimeter length to keep the ends full. The shortest face-framing pieces should swing, not curl into a heavy fold. If your hair tends to flip outward at the jaw, that’s often a sign the front was cut too bluntly for the density.
This one looks best when the blow-dry is done with tension and direction. The brush should pull the front down and then curve it in the last inch. That last inch is where the cut starts to make sense.
11. The Curly Side-Fall

Curly hair does not need to be chopped short at the front to show shape. That’s the mistake people make. A side-swept frame on curls works best when the stylist respects shrinkage and cuts for the dry length the curl will actually show.
Dry cutting matters here
If the front is cut wet and the curl contracts more than expected, the shortest piece can land way too high. Dry cutting, or at least cutting with the curls almost dry and fully defined, gives a better read on where the face frame will sit. Ask for the shortest curl to land around the cheek or chin when dry, depending on how much lift you want.
The best curly side-fall has one side leading and the other side dropping back into the length. It feels asymmetric in a good way. Not uneven. Just alive.
12. The U-Shape with Front Bend
A U-shape keeps the back dense and rounded, which is a nice counterpoint to a side-swept front. The result is softer than a V-cut and less pointy at the ends. If you like long hair that still feels full at the bottom, this is the shape to look at.
The front pieces should bend in toward the face rather than flick sharply forward. That keeps the whole cut from looking too layered or too busy. A U-shape also plays well with side-swept parts because the back stays quiet while the front gets the attention.
If you wear your hair half-up a lot, this shape makes sense. The front can escape the tie and still frame the face, while the rest of the length keeps its rounded finish.
13. The V-Shape with Cheekbone Pieces
A V-shape is sharper and more dramatic. The back narrows toward the center, while the front pieces stay soft and cheekbone-led. It can be a good fix for very long hair that feels heavy and straight because the V adds direction without removing the overall length.
The side-swept front makes the shape feel less severe. That matters. Without the face frame, a V-cut can read as a little too hard on some hair types. With the frame, it feels more balanced and easier to wear.
This version works nicely if you curl the ends or wear a big blowout, because the angled back and the side front play off each other instead of fighting for attention.
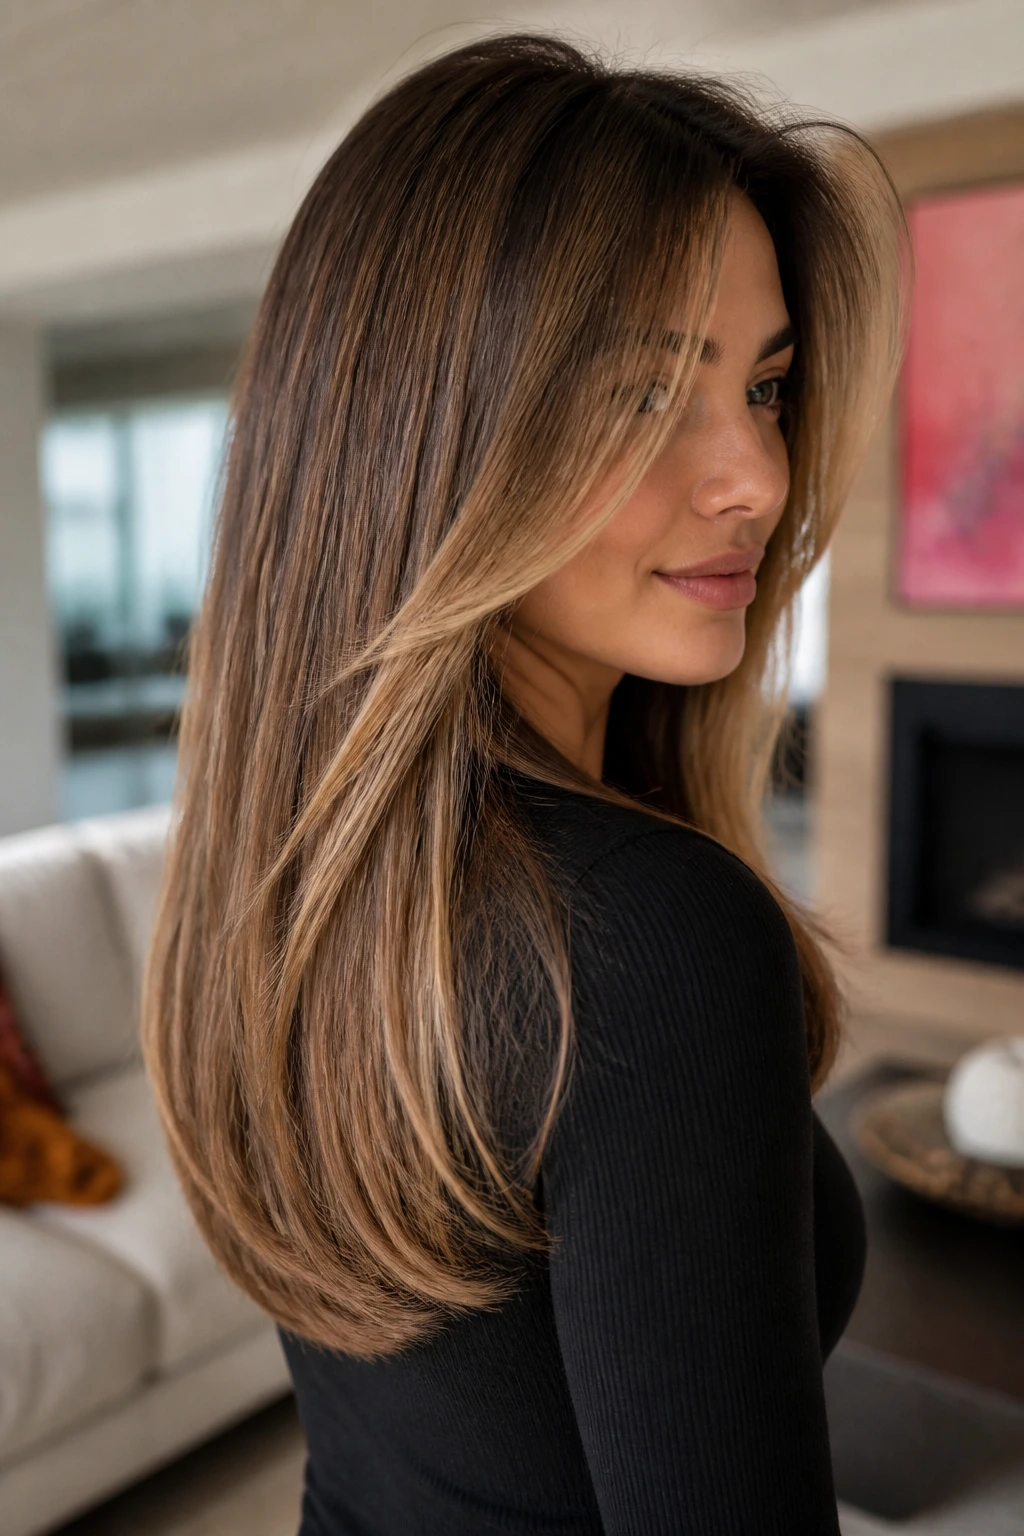
14. The Bright Front Frame
A little color around the face can make long side-swept layers read from farther away. You do not need a dramatic money piece to get the effect. Even a subtle shift in brightness through the first inch or two near the part can make the layer show up more clearly.
- Keep the highlight placement where the front piece actually falls, not just at the hairline.
- Use soft ribbons of color instead of thick blocks.
- Ask for brightness that starts around the cheekbone if you wear the front pieces forward.
- Keep the base close to your natural shade so the frame doesn’t look detached.
This version is especially useful if the cut is subtle and you want the front to register without teasing or heavy styling.
15. The Flipped-End Blowout
Why does one side-swept cut look polished and another just look brushed? Usually because the ends were not trained. A flipped-end blowout gives the front layers a clean turn at the bottom, which makes the cut feel deliberate.
The style works best when the front is cut to land near the jaw or collarbone, then styled with a round brush so the last inch flips under or outward with a little bend. That tiny movement keeps the layer from hanging dead straight. It also makes the side part look more finished.
If your hair is medium-thick and holds shape well, this one wears beautifully for day-to-night looks. If your hair is very fine, keep the bend soft or the ends can look too skinny.
16. The Grown-Out Fringe Blend

This is the one for anyone growing out bangs and trying not to look stuck in that awkward middle zone. The front pieces are long enough to blend into the side-swept layer, so the whole cut looks intentional instead of like a haircut in progress.
Where the transition should happen
The shortest piece should be long enough to tuck behind the ear if needed. That gives you options. If the fringe is too short, it keeps interrupting the face frame. If it’s long enough to move with the rest of the cut, the blend is smoother and the grow-out is less annoying.
A side part helps here because it lets one side take more of the fringe weight while the other side fades back. The result is softer, and you can still wear the hair up without the front pieces sticking out in random directions.
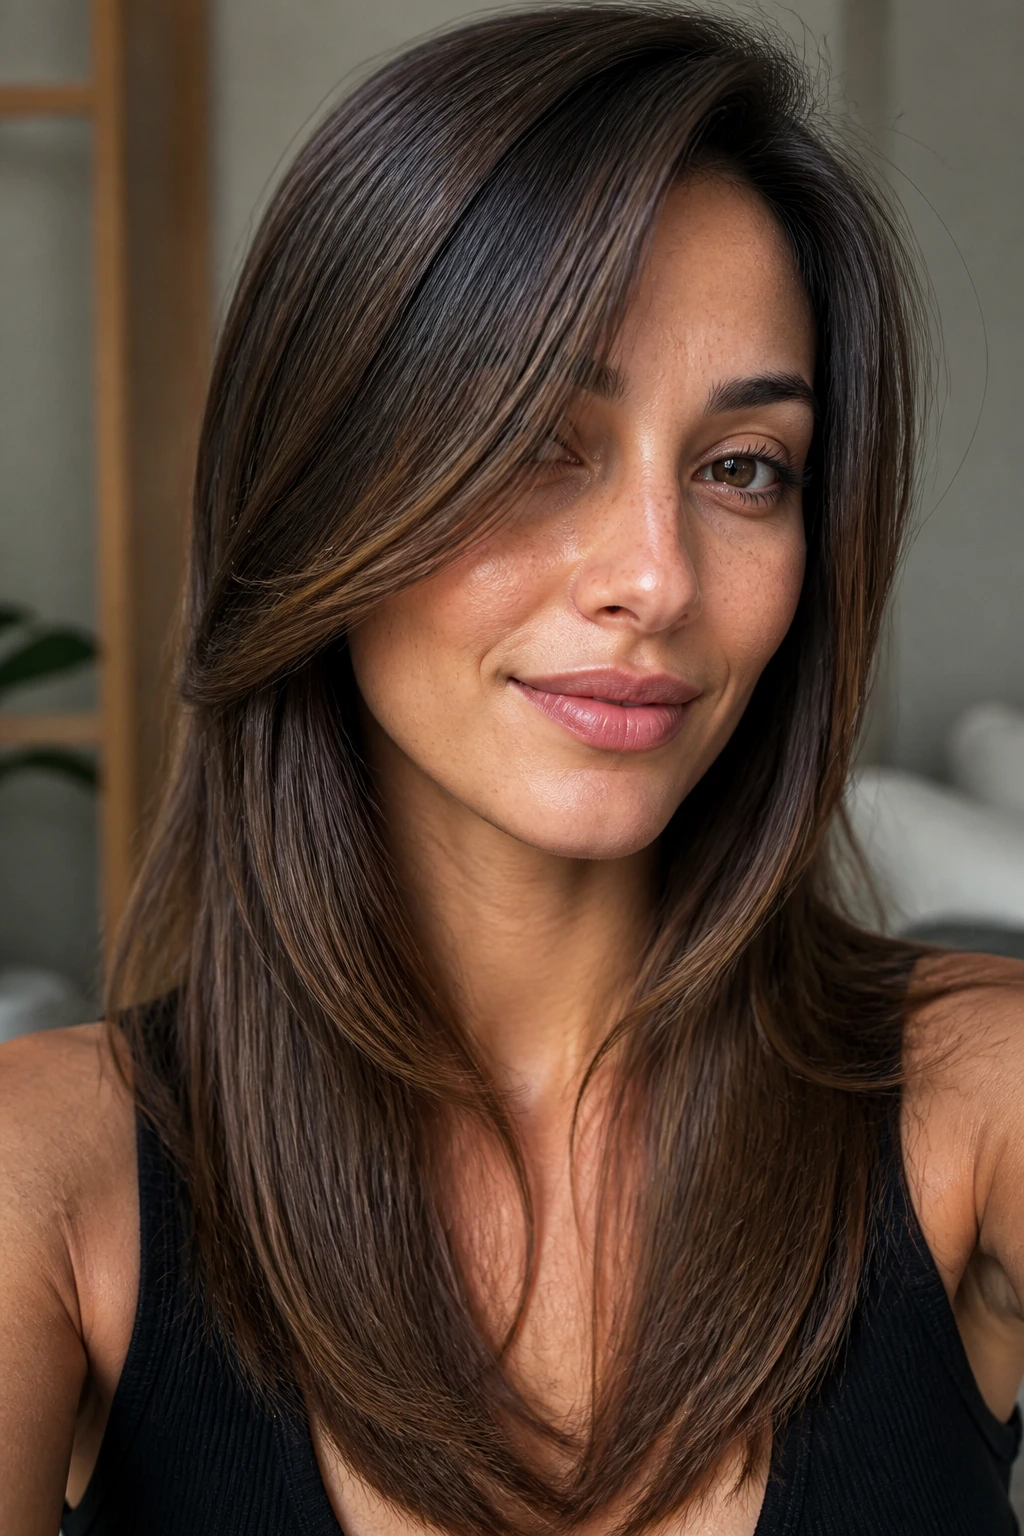
17. The Hidden-Interior Movement

Some people want movement without seeing obvious layers. This is that cut. The exterior can stay long and neat, while the inside of the shape gets enough removal to let the front fall with a little bend.
Unlike a heavily layered haircut, this version keeps the length line strong. The face frame is more about motion than visible steps. That makes it useful if you like long hair to look expensive and tidy, not choppy.
- Ask for internal layering instead of a lot of surface cutting.
- Keep the perimeter full.
- Use the side part to show the motion at the front rather than the ends.
- Style with a loose bend, not tight curls.
This is a smart pick if you want the shape to survive ponytails, buns, and lazy hair days.
18. The Tucked-Behind-Ear Sweep
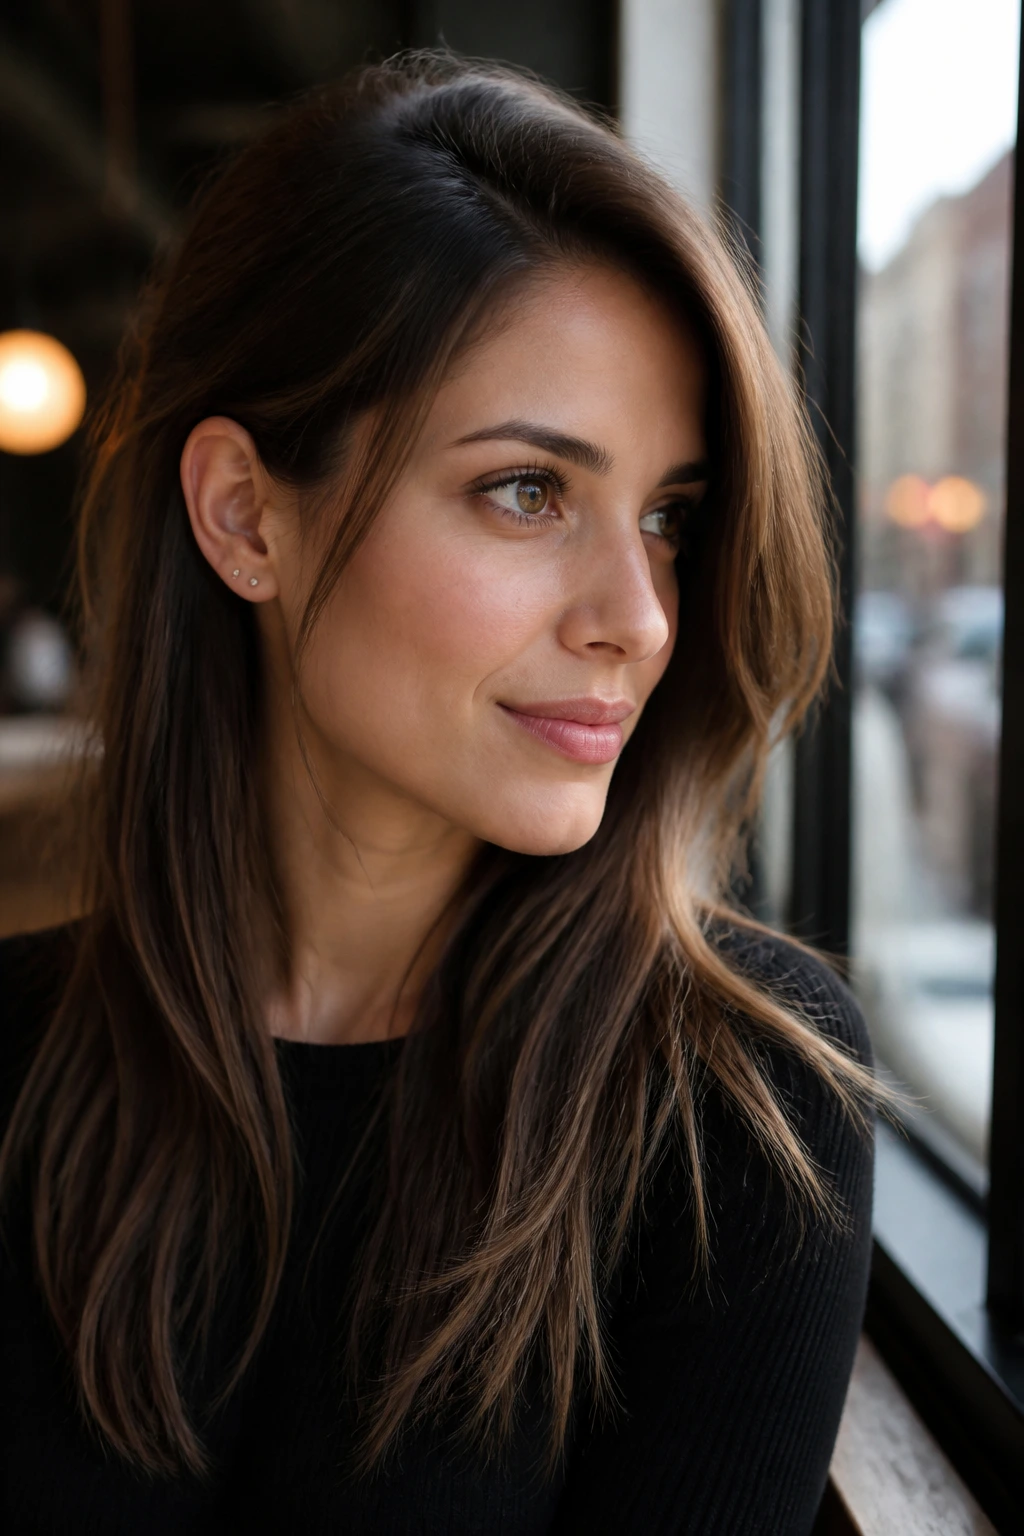
There’s a certain clean, unfussy feel to hair that can tuck behind one ear and still keep a front piece in play on the other side. That’s what this cut is for. The face frame should be long enough to clear the ear without disappearing completely.
It works well with side parts because the deeper side can carry the frame while the tucked side shows off the jaw and cheek. Earrings look better here. So do glasses, honestly. The cut gives the face a little room while still keeping some softness near the temple.
If you do this often, ask the stylist to leave enough weight in the front so the tucked side doesn’t look over-thinned. One side can be neat. The other can do the framing.
19. The Ponytail-Friendly Frame

If your front pieces do not fall out of a ponytail, they’re probably too short for this category. The ponytail-friendly version is cut to escape the tie and soften the face even when the rest of the hair is pulled back.
That means the shortest pieces usually sit below the cheekbone, often closer to the jaw or collarbone. It’s a practical shape. You get movement when the hair is down, but the real payoff shows when the hair is tied up and those front pieces still drape around the face.
- Great if you wear claw clips, low ponytails, and half-up styles.
- Keep the front long enough to survive active days.
- Ask for soft tapering so the layer doesn’t stick out from the tie.
- A little wave at the ends helps the pieces stay visible.
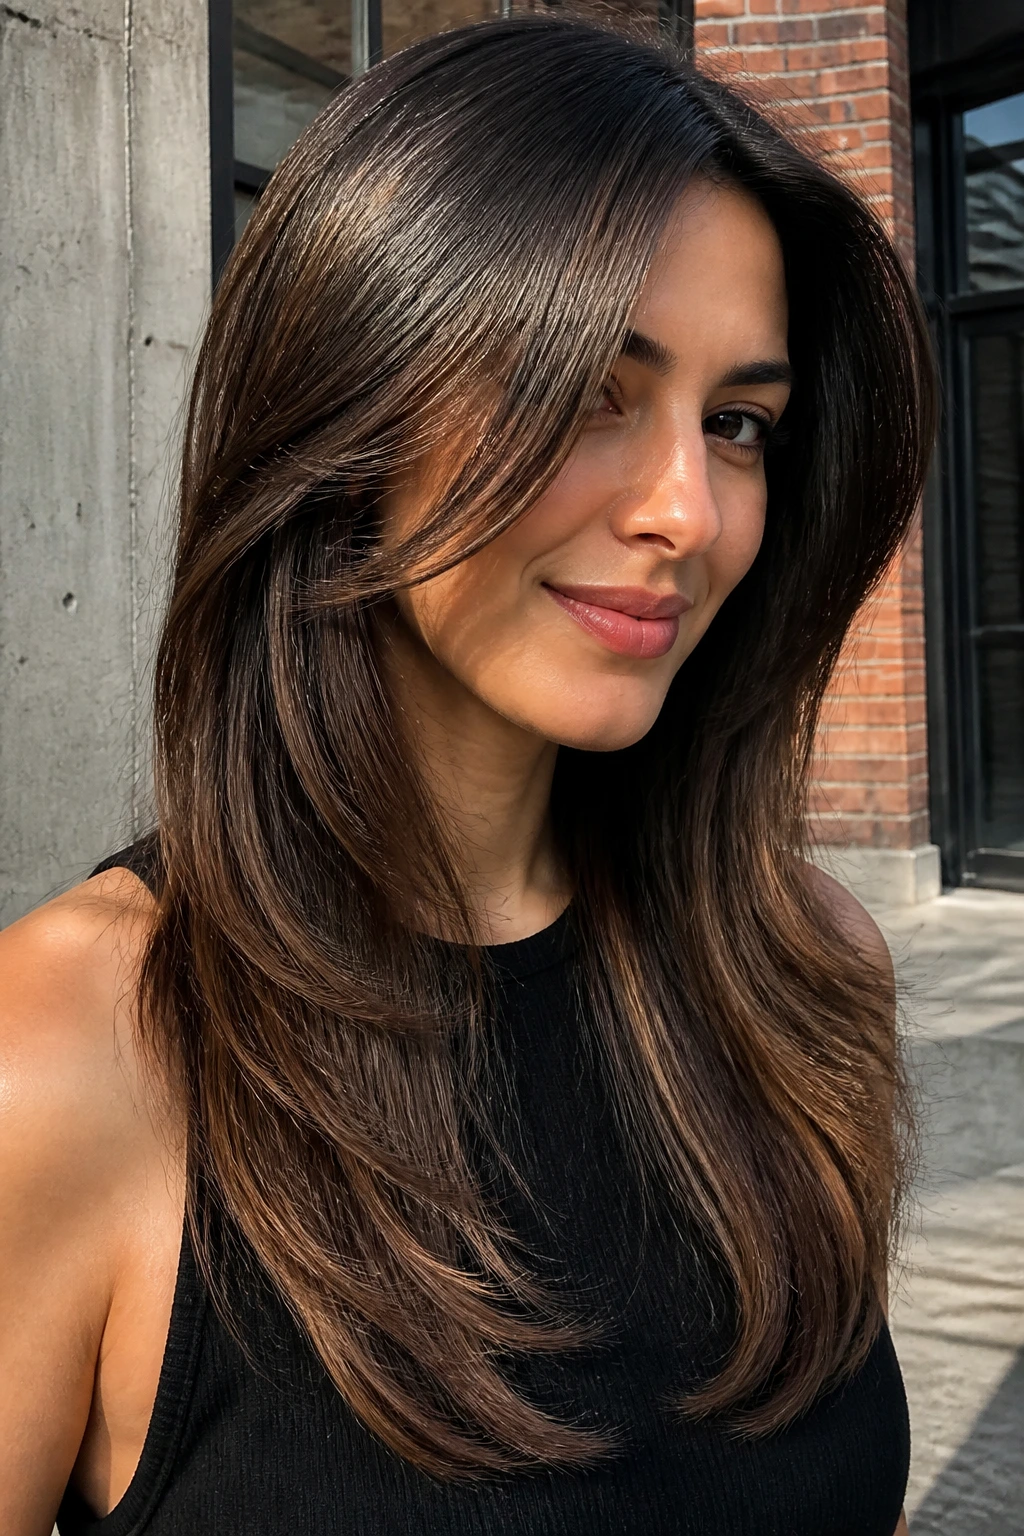
20. The Long Shag-Lite
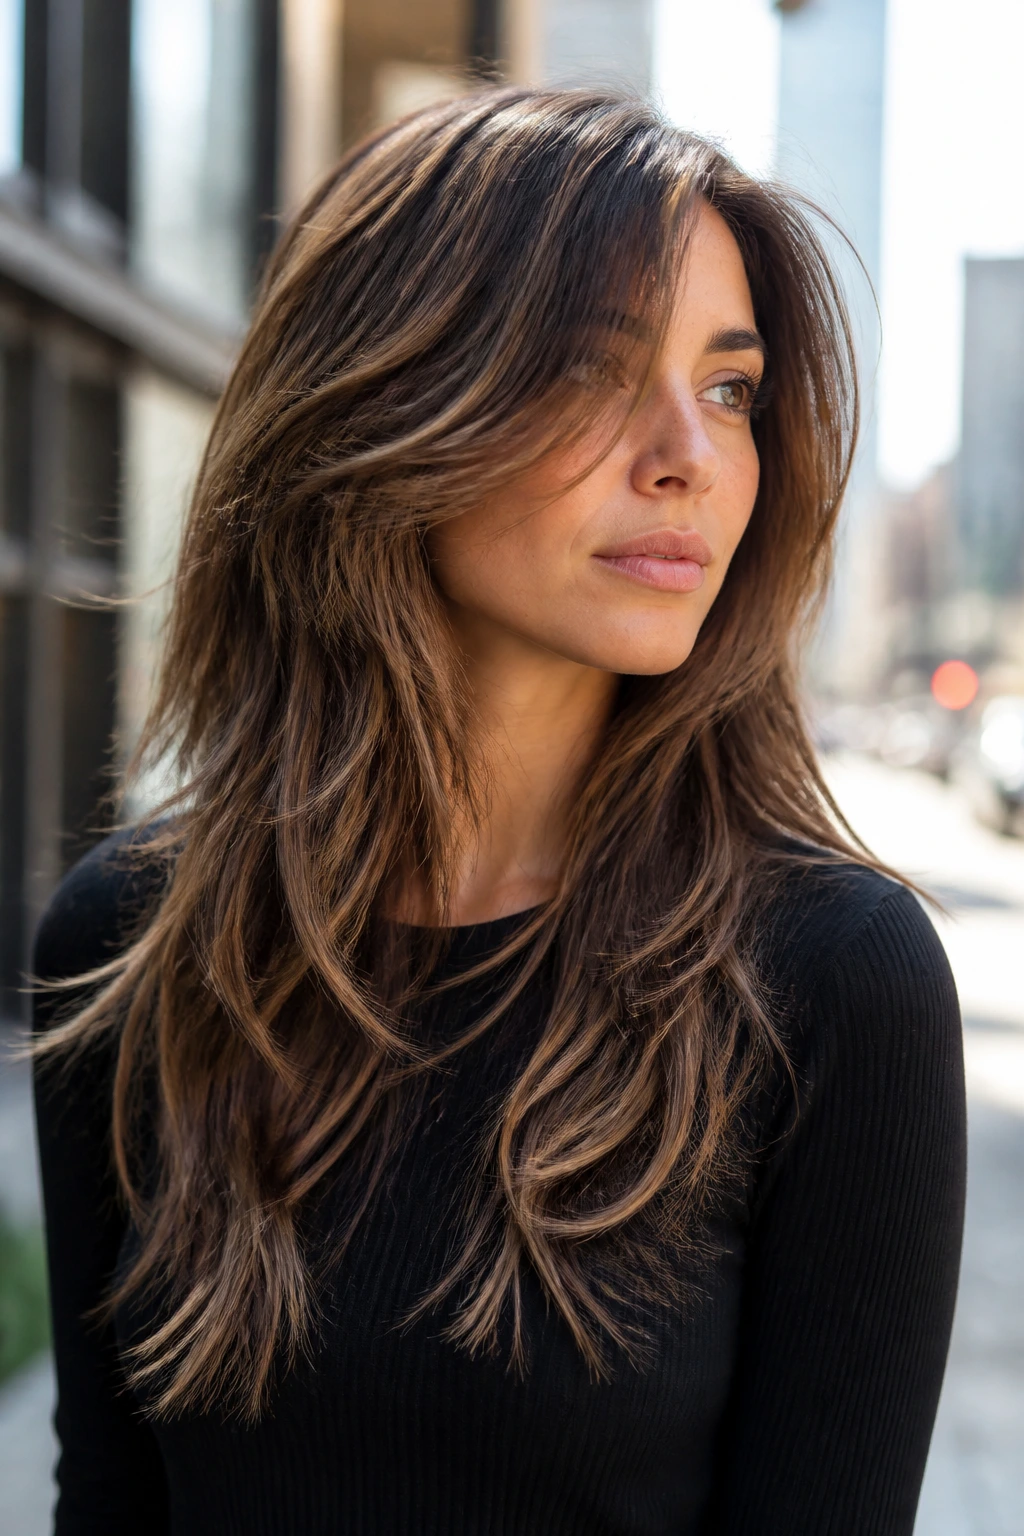
This is shag energy without the full shag attitude. You get movement, some texture, and a slightly piecey front, but the overall length stays calmer and less chopped. That balance is why it works on long hair better than a full-on shag for some people.
The side-swept part keeps the top from looking too messy. The face frame can be cheekbone or jawline length, while the rest of the layers stay longer and less aggressive. It’s a good answer if you want the relaxed look of a shag but don’t want the crown to get too short or too wild.
On wavy and thick hair, this cut gives the best payoff because the texture supports the shape. On fine hair, go lighter. Too much layer and the ends get nervous fast.
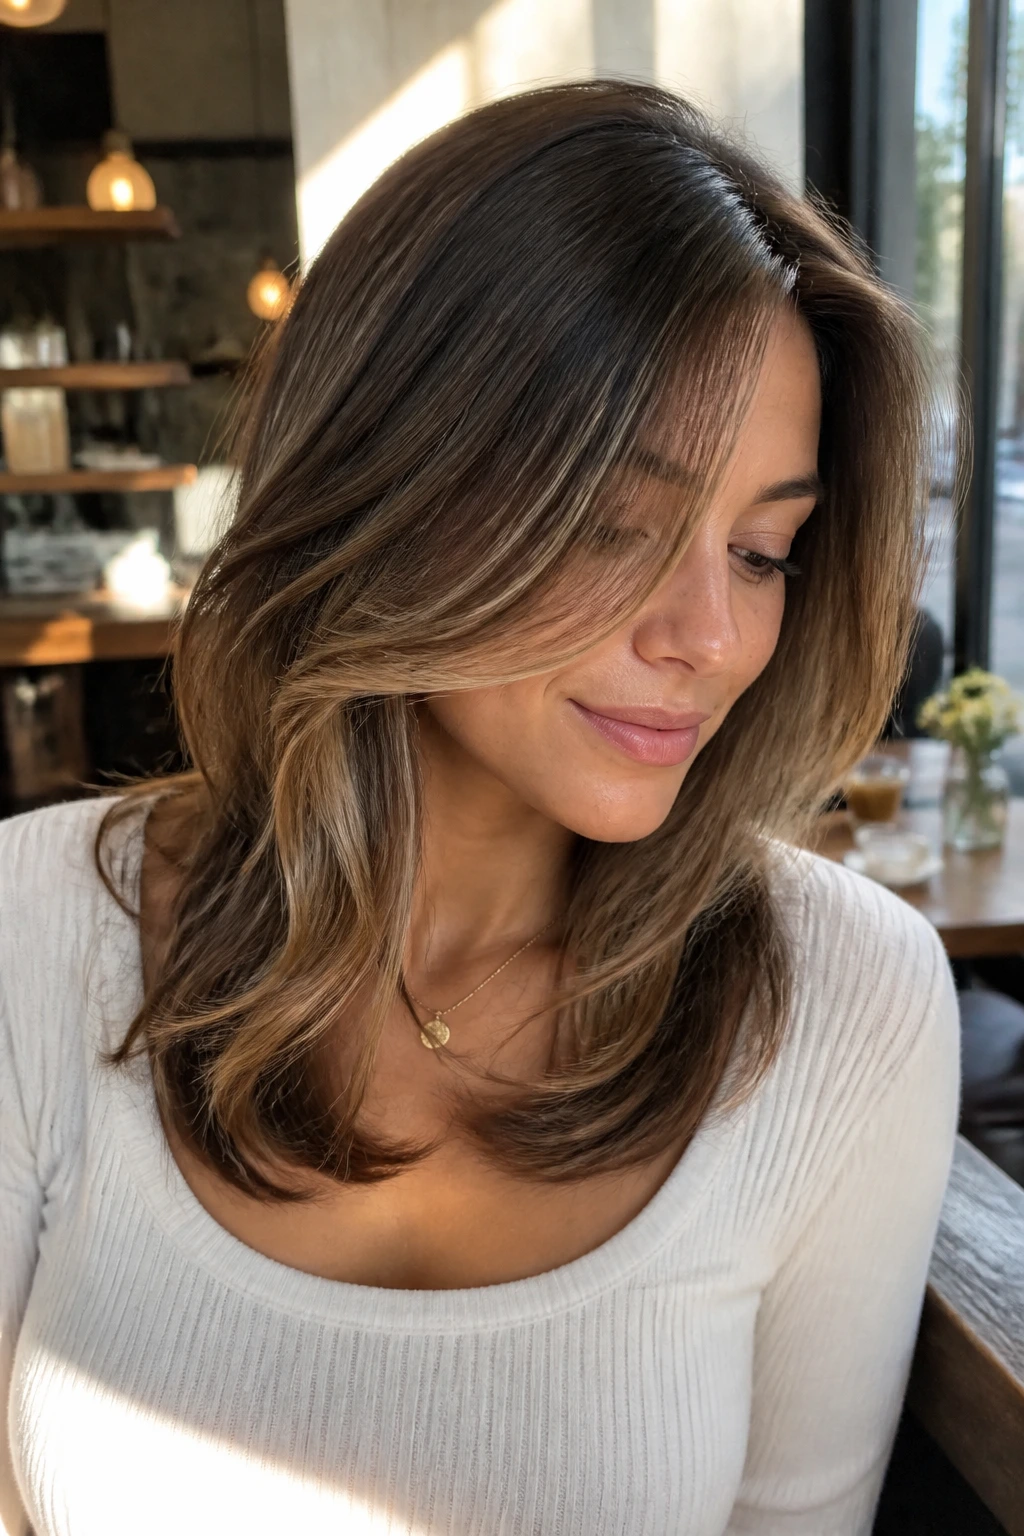
21. The Soft Romantic Cascade
Does every side-swept front have to look sharp? Not even close. A romantic version leans into softness, big bends, and layers that drape instead of flick.
This is the one that looks best with large waves, hot rollers, or a wide-barrel iron. The front pieces should curve around the cheek and then melt into the longer lengths. If the line is too crisp, the style loses the softness that makes it work.
I like this version for dressier days or for anyone who likes hair that moves a little when they walk. It is less about precision and more about a graceful fall.
22. The Off-Center Volume Boost
A tiny shift can change the whole mood. You do not need a dramatic deep part to get lift. An off-center part—just enough to move the balance—can give the roots a push and make the front layer look fuller.
This is a good option when you want the side-swept effect but you still like your hair to look soft and easy. It’s also one of the better choices if your hair has a cowlick. A super deep part can fight the growth pattern. A small off-center part usually works with it instead of against it.
- Move the part about an inch or two from center.
- Keep the front layers medium-long so they still sit under the eye.
- Blow-dry the roots opposite the part first.
- Switch back once the roots cool to lock in the lift.
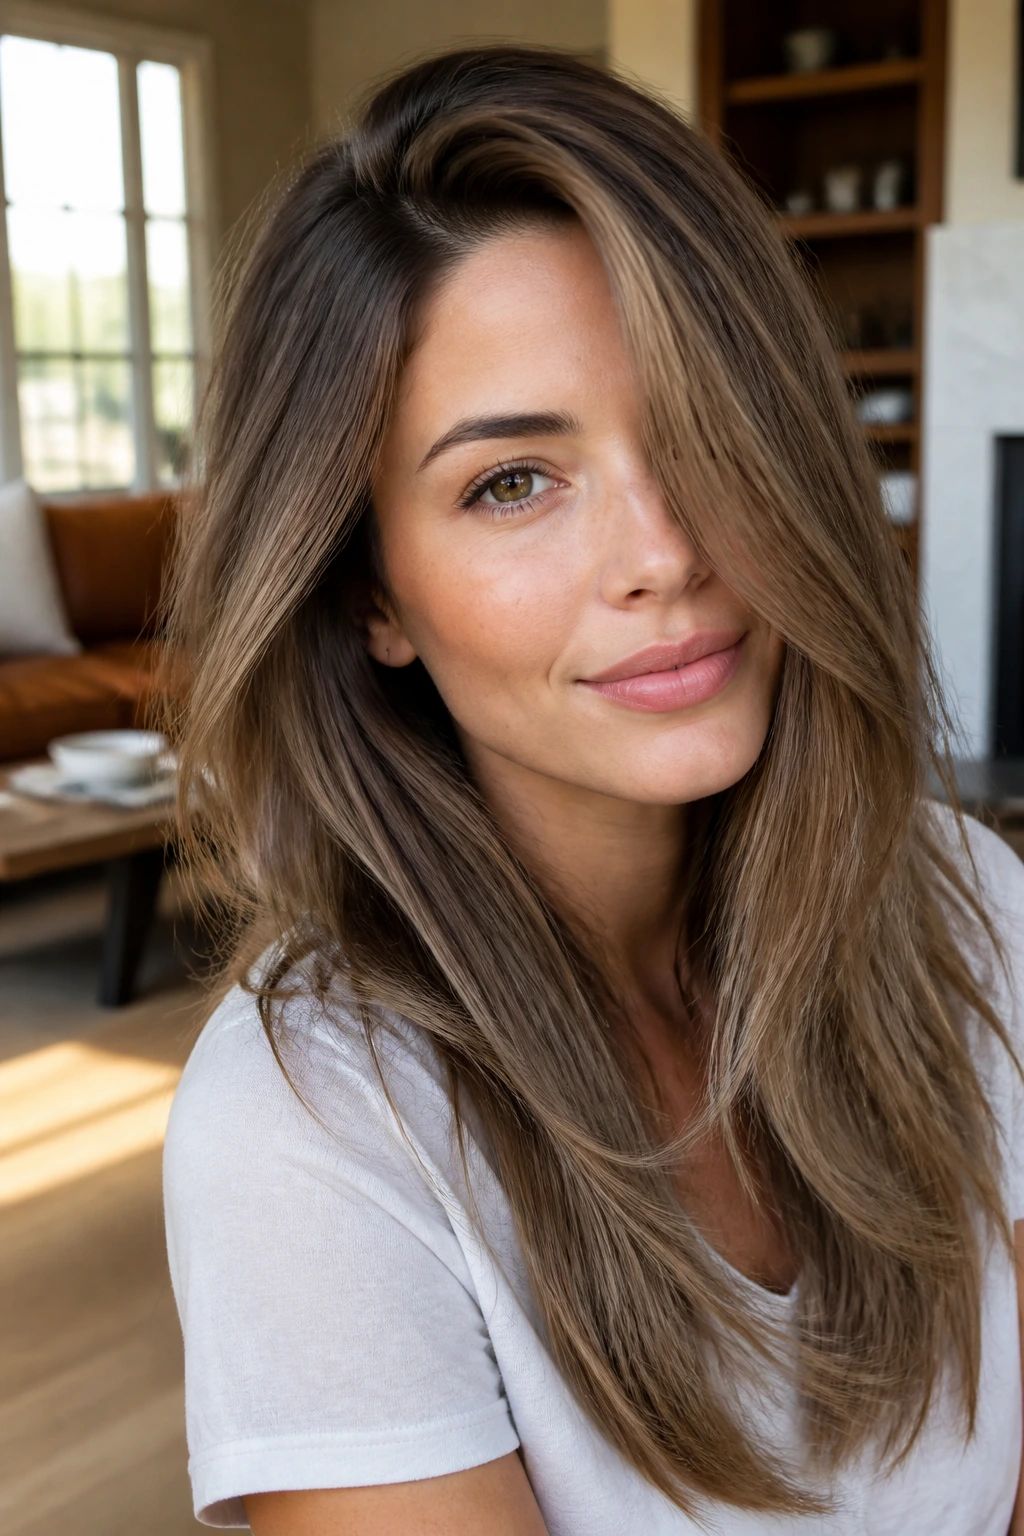
23. The Low-Maintenance Air-Dry Cut
This version is cut for the days you are not doing a blowout. That matters more than most salon talk admits. A lot of pretty cuts collapse if they are left to air-dry, and nobody wants a face frame that only behaves after 20 minutes with a round brush.
The air-dry version keeps the front pieces long enough to settle naturally, usually with a gentle taper that follows the wave or curl pattern. It works especially well on hair that has a little bend on its own. If your hair dries pin-straight, you will still need some styling help. If it bends, though, this cut can land in place with much less effort.
Ask for the front to be cut while the hair is almost dry if your texture is inconsistent. That gives the stylist a better read on where the pieces will really sit.
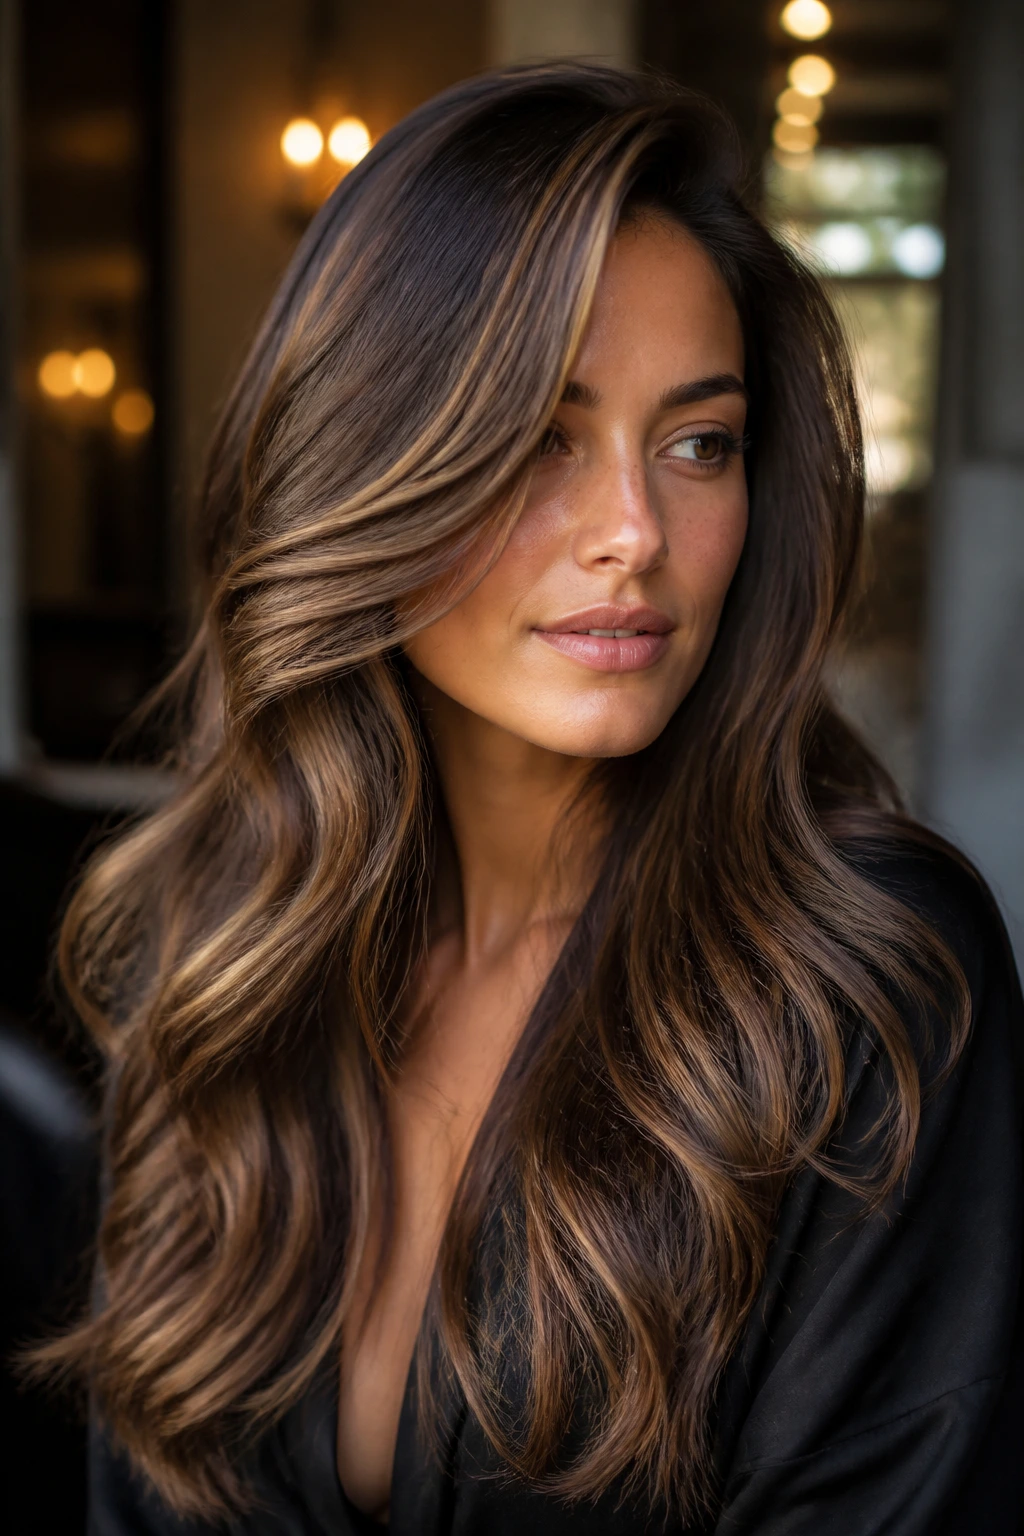
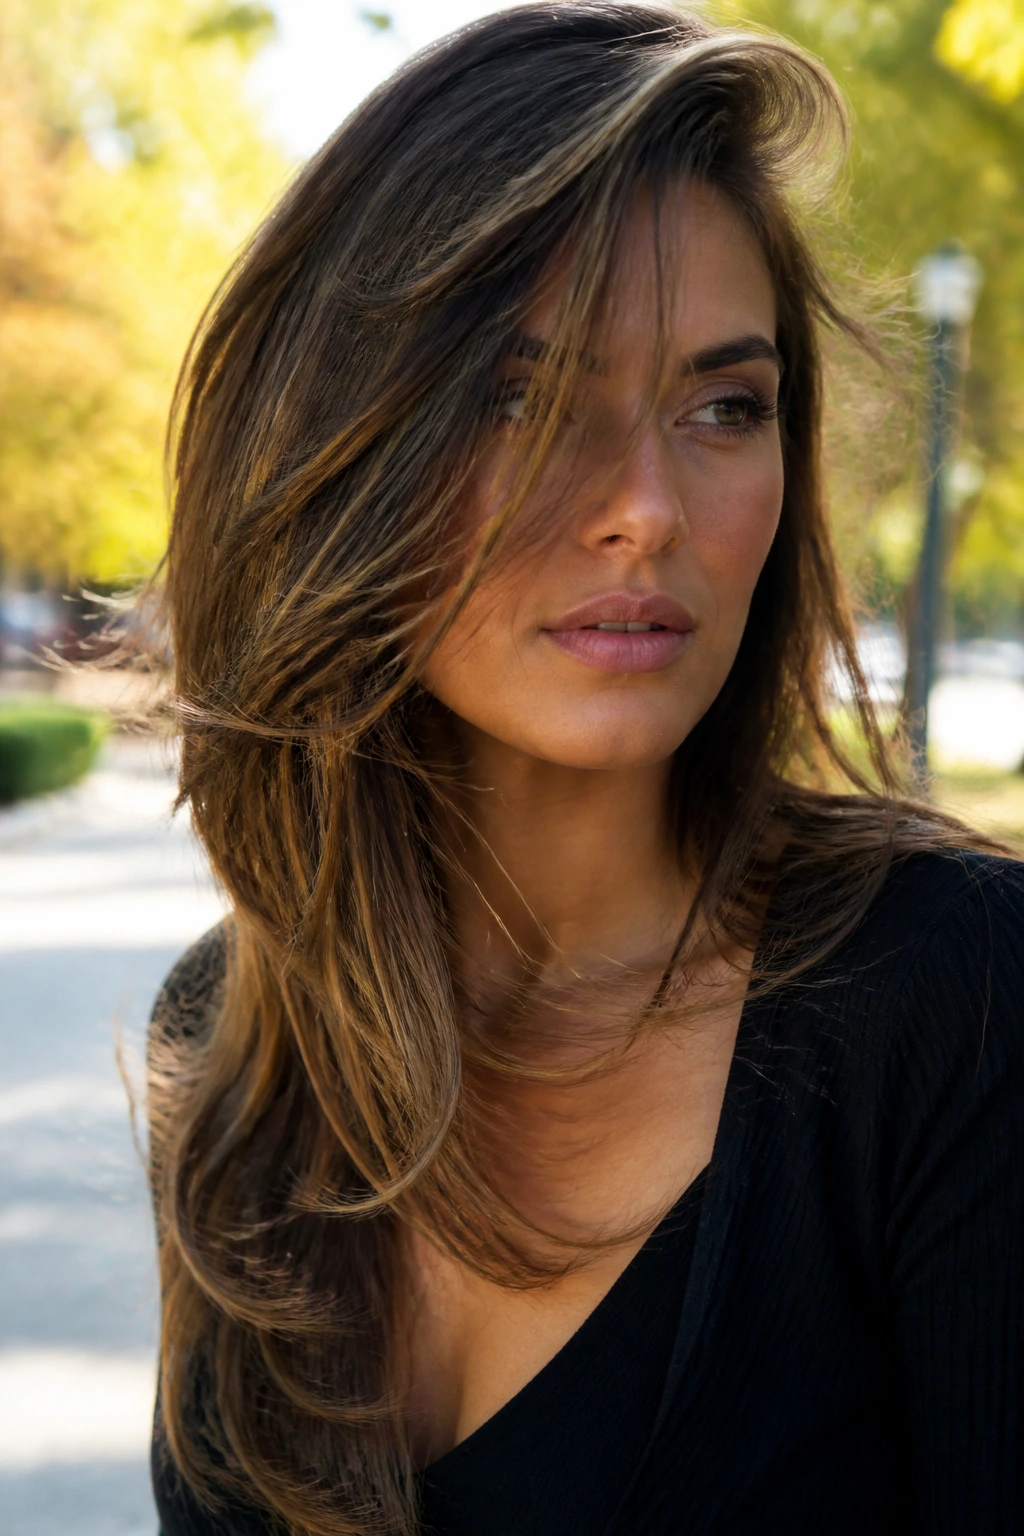
24. The Red-Carpet Side Swoop
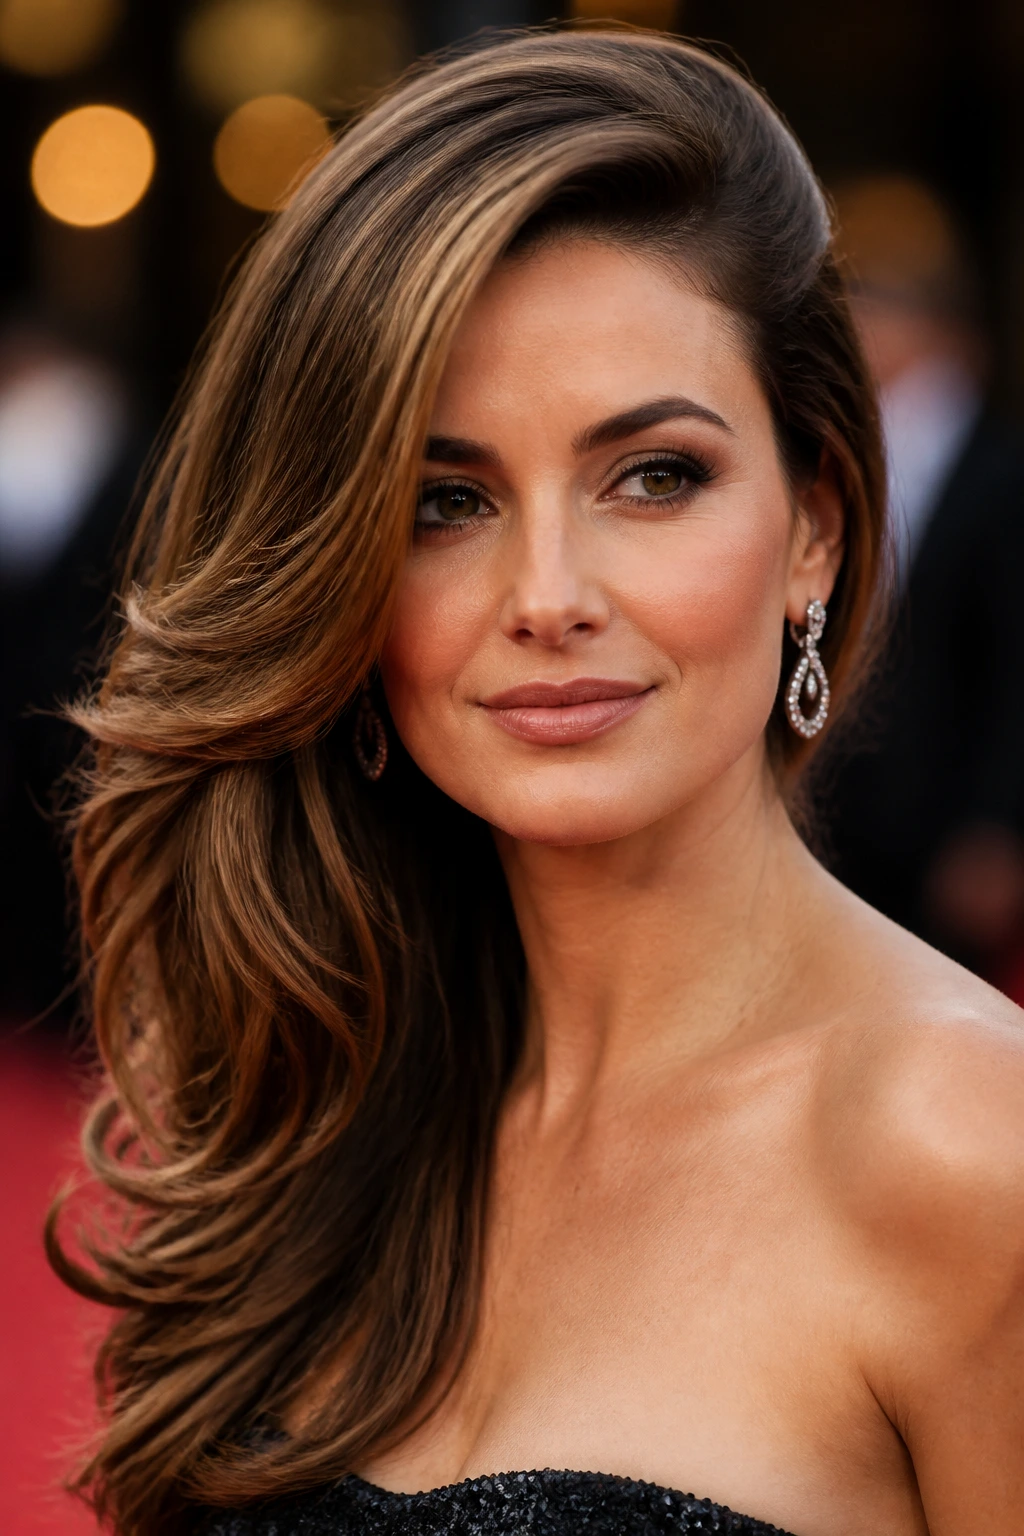
This is the dramatic one. Big crown lift, polished front pieces, and a sweep that looks like it was set on purpose because it was. The side part is deeper here, the front is smoother, and the ends usually turn under with a clean curve.
What gives it that polished look
The root lift has to happen before the front is styled. A large round brush, a nozzle on the dryer, and a few setting clips at the crown do a lot of the work. Once the front cools in place, it keeps that swooped line instead of collapsing by lunch.
This version is best on medium to thick hair because the shape needs enough body to hold the sweep. Fine hair can wear it too, but the styling needs to be a little lighter or it starts to look sparse at the sides.
25. The Soft Curtain Side Blend
This is the most forgiving option in the whole group. It borrows the openness of curtain layers but keeps the sweep to one side, which makes it easier to live with if you don’t want bangs in your face every day.
The front pieces should start around the cheekbone and melt into longer layers, so they can be worn across the face, tucked back, or pushed aside depending on the day. If you’ve ever wanted a cut that can drift toward bangs later without committing to them right now, this is the one to ask about.
It’s also a good final stop if you want the front to feel soft and modern without making the cut look trendy in a way that dates fast.
How to Ask for the Cut at the Salon

Bring a photo, but do not hand it over and hope for the best. Mark the parts that matter. Point to the exact place where you want the shortest front layer to land—cheekbone, jawline, or collarbone—and say how much parting change you actually wear at home.
Tell the stylist two habits: how you usually dry your hair and whether you tuck it, tie it back, or wear it down most days. Those details change the cut more than people think. A front piece that looks great in a blowout can be useless in a ponytail if it’s too short to escape the tie.
If your hair is wavy or curly, ask whether the front should be cut dry or nearly dry. That one question saves a lot of “why is this side shorter?” drama later.
Essential Tools for Styling Long Side-Swept Layers
-
Tail comb: Useful for setting a clean side part and moving the roots into place while the hair is still damp.
-
Blow dryer with a nozzle: The nozzle keeps the air directed at the roots and helps the front layer dry in the right direction.
-
Medium round brush: Best for bending the front pieces under or away from the face without creating a hard curl.
-
1.25-inch curling iron or wand: Handy for adding a single soft bend to the face frame on straighter hair.
-
Heat protectant spray: Keeps the front pieces from getting dry and brittle, especially if you re-style them often.
-
Lightweight mousse or root lift spray: Good for the crown and part area when the hair wants to collapse flat.
-
Velcro rollers or setting clips: Optional, but they make a big difference if you want the side sweep to hold its shape while it cools.
-
Microfiber towel or T-shirt: Better than rough toweling for reducing frizz around the front layer.
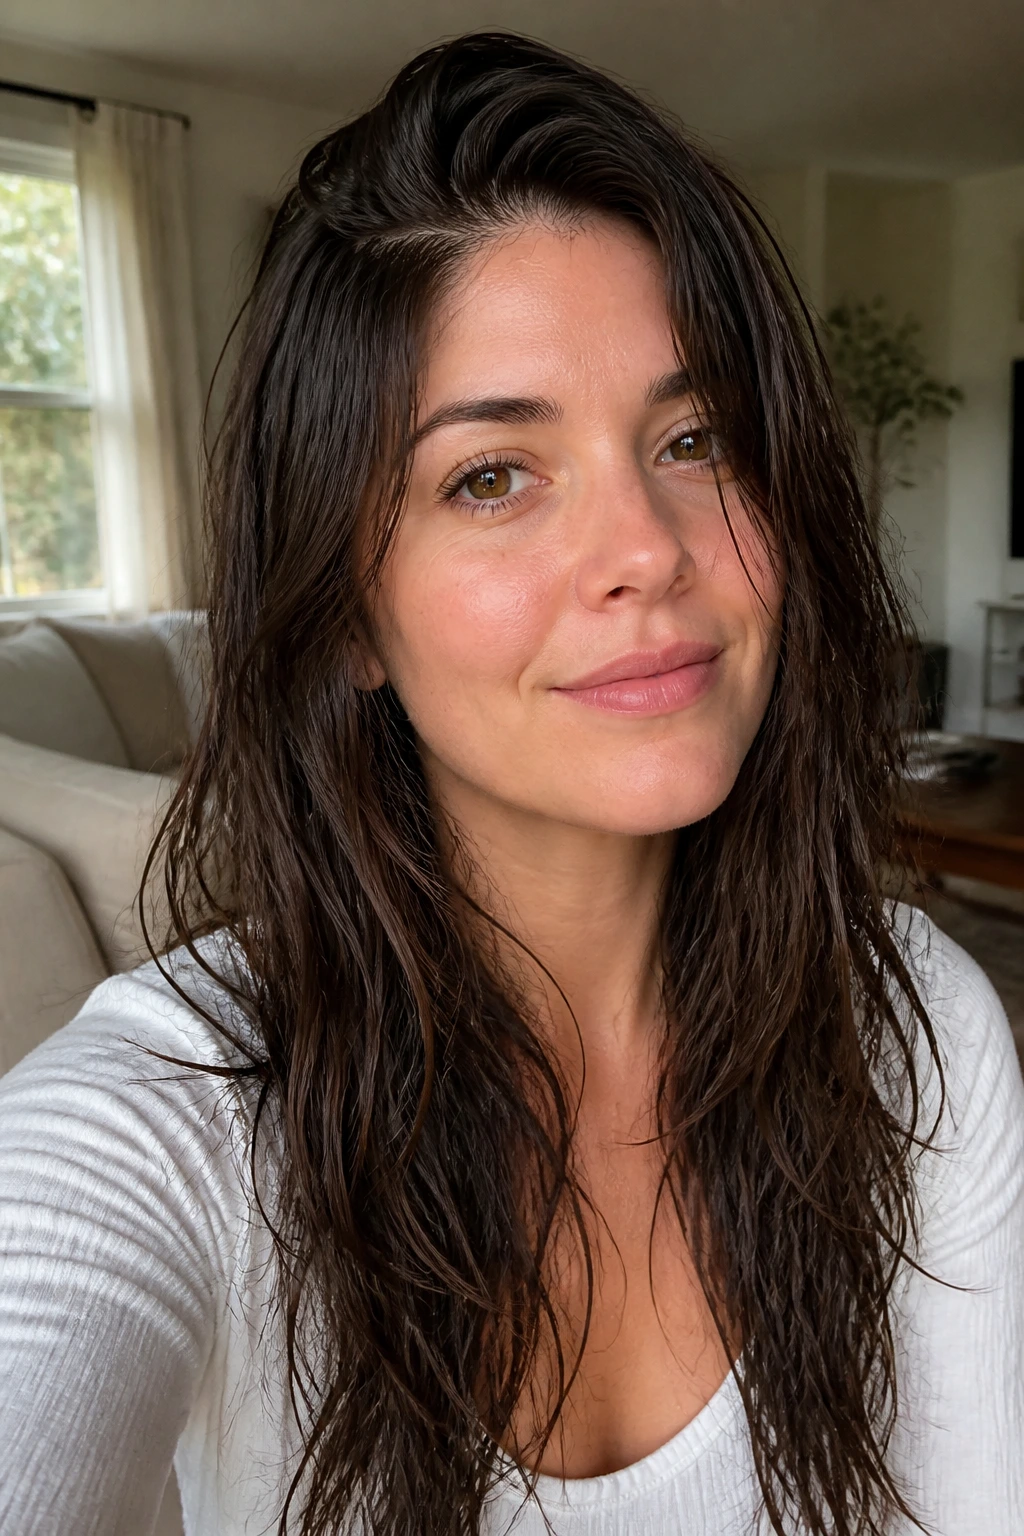
How to Style the Shape on Straight, Wavy, and Curly Days
Straight hair usually needs the most direction, because it loves to fall exactly where gravity puts it. Start by flipping the roots opposite the side part while you dry, then switch the part back and brush the front pieces into the curve you want. A quick pass with a round brush at the last inch is often enough.
Wavy hair needs less force and more patience. Scrunch a little mousse into the roots, let the part set, and then shape only the front pieces with a brush or iron if they stick out too far. The goal is bend, not curl.
Curly hair does best when the part is chosen while the hair is damp and the curls are still clumped. Clip the root on the fuller side if you want more lift. If the front curls are too springy, stretch just the first inch or two with a diffuser so the face frame sits where you want it.
For second-day hair, a tiny mist of water at the roots and a quick re-bend of the front piece can rescue the whole shape in under two minutes.
Common Mistakes That Make the Layers Fall Flat
The first mistake is cutting the front too short because the stylist wants “face framing” to show up right away. The symptom is obvious: the pieces sit in the cheek or flip awkwardly at the jaw. The fix is to err on the longer side and adjust after the first blow-dry.
Another one is over-thinning fine hair. It looks airy in the chair and stringy a week later. If your ends are already soft, ask for cleaner lines and less texture removal.
People also ignore their part pattern. A side part that fights your cowlick will slide back all day, and the whole shape shifts with it. If your hair wants to split somewhere specific, start there and move the part in small steps instead of forcing a dramatic line.
Heavy oils near the roots are a trap too. They drag the crown down and kill the lift that makes side-swept layers work. Keep richer products on the ends only, and use them sparingly.
Variations and Alternatives to Try
Convertible Center-Part Frame: If you like wearing a center part some days and a side part on others, keep the shortest layer long enough to travel both ways. The front will be less dramatic, but the cut becomes more flexible.
Curly Dry-Cut Version: This version is cut with shrinkage in mind and usually leaves the front longer than a straight-haired version would. It’s the safer choice if you wear your curls natural most of the time.
Minimal Movement Version: Want barely any obvious layering? Ask for the front to be softened with only a light taper. The haircut keeps its length and only shows the face frame when it moves.
Glam Blowout Version: This one leans into round-brush styling, larger bends, and more polished crown lift. It’s the best fit if you like hair that looks set, not casual.
Ponytail Softener Version: Front pieces are kept long enough to live outside a tie or clip. That makes the haircut work harder for everyday wear, especially if you put your hair up often.
Keeping the Layers Fresh Between Trims
Front layers show wear first. They brush into the mouth, catch on collars, and start to separate at the ends faster than the length in the back. If the front is landing where you want it, keep the trim schedule tighter than you would for the rest of the hair. About 8 to 10 weeks is a useful range for the face-framing pieces, while the full shape can usually go a little longer.
At home, use a light hand with product. Too much cream or oil makes the front collapse by noon. A pea-sized amount on the ends is enough for most hair. If the part starts to flatten, train it while the hair is damp: set it where you want it, clip the root for a few minutes, then let it cool.
Sleeping on a silk pillowcase or tying hair loosely at night keeps the front from getting bent into weird angles. A soft twist, not a tight elastic, is the move.
Frequently Asked Questions
How short should the front layers be on long hair?
It depends on the effect you want. Cheekbone length gives the most lift, jawline length softens the edges, and collarbone length keeps the cut subtle. If you are unsure, start longer; it is much easier to shorten a face frame than to wait for a too-short one to grow out.
Do long side-swept part face-framing layers work on fine hair?
Yes, if the layers stay long and clean. Fine hair usually looks better with a lighter face frame and a fuller perimeter, because too much texture makes the ends look see-through.
Can curly hair wear a side-swept face frame?
Absolutely, but the cut needs to account for shrinkage. The stylist should plan the landing point on dry or nearly dry curls, or the shortest piece will spring up higher than expected.
What if my hair keeps going flat at the crown?
The part is probably too fixed or the roots are too heavy with product. Try drying the roots in the opposite direction first, then switching the part back once the hair cools. A light root spray helps, but not if it’s piled on.
Do I need a deep side part for this look?
No. A small off-center part can give enough lift without making the cut look dramatic. Deep parts are useful if you want extra height, but they are not mandatory.
Can I wear this cut in a ponytail or clip?
That’s one of the better tests for the shape. If the front layers are long enough to fall out of the tie and soften the face, the cut will look better on busy days. If they are too short, they usually stick out and feel fussy.
How do I grow out bangs into this shape?
Ask for the fringe to blend into the side layer instead of ending in a blunt line. A longer side-swept transition is easier to tuck, clip, or part differently as it grows.
Why does one side of my face frame flip out?
Usually the front piece was cut without matching your natural bend, or the brush direction during styling was inconsistent. Try setting that section with a round brush or roller so it cools in the shape you want.
The Shape That Keeps Moving
Long side-swept part face-framing layers work because they solve a real problem: long hair can get heavy, flat, and strangely anonymous from the front. A good front sweep gives the cut a face, not just a length. The difference is small in the mirror and obvious in motion.
The best version is the one that respects your texture, your part, and the way you actually wear your hair. If you keep those three things in view, the haircut does its job on busy mornings, polished days, and all the messy in-between ones. And that’s the version worth asking for.