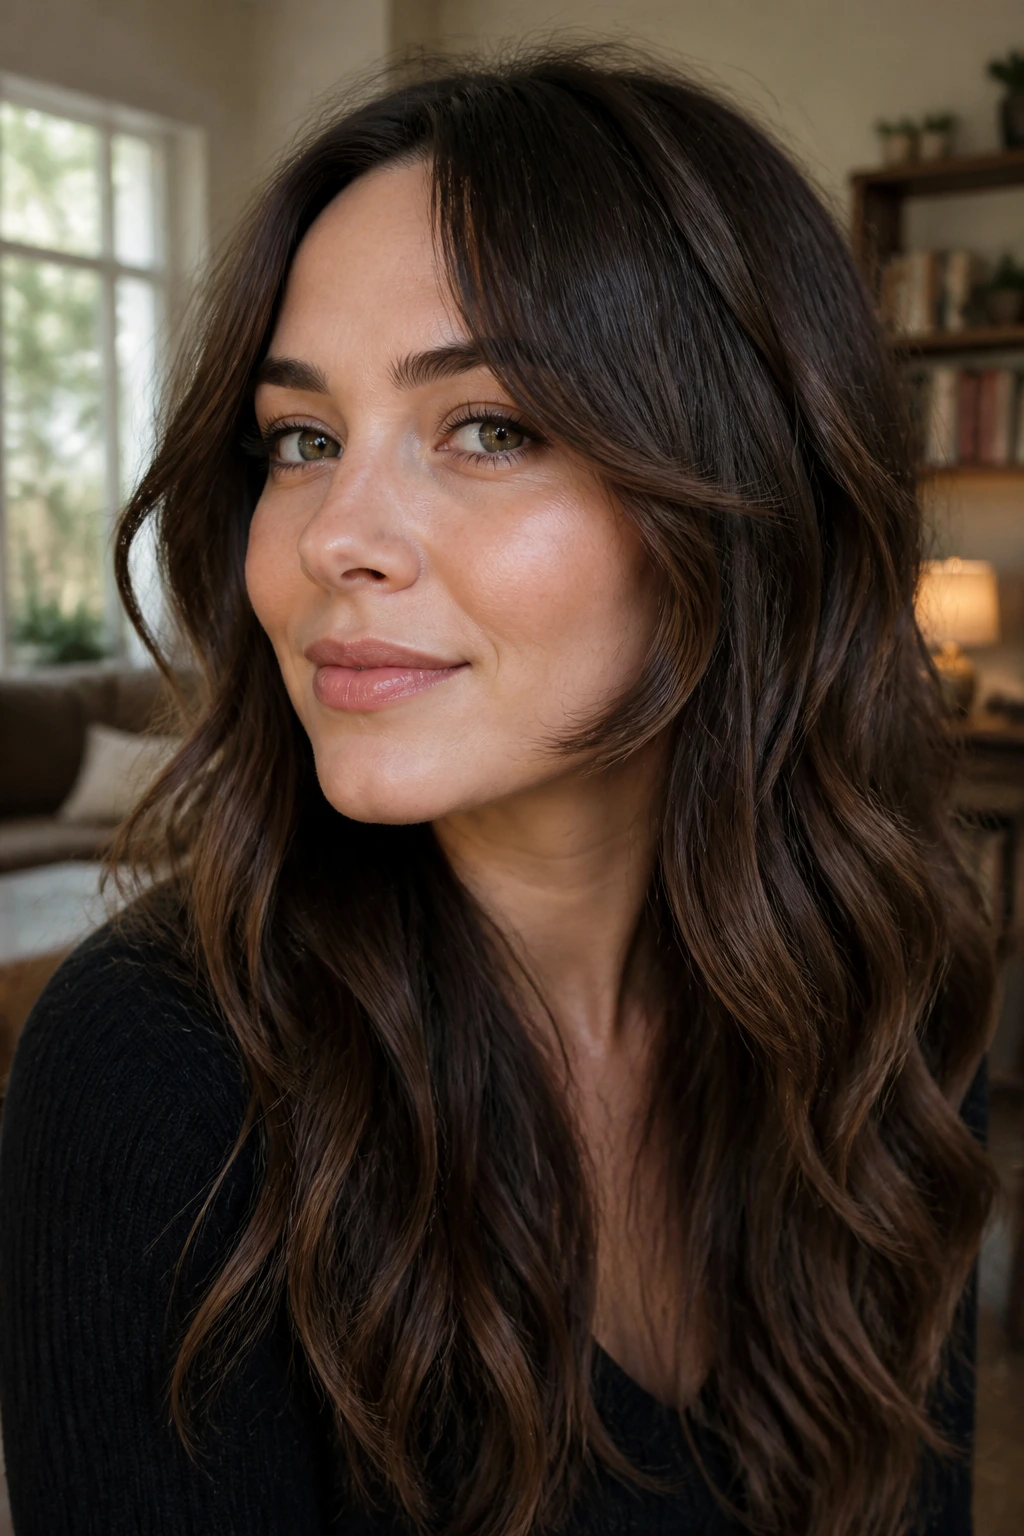
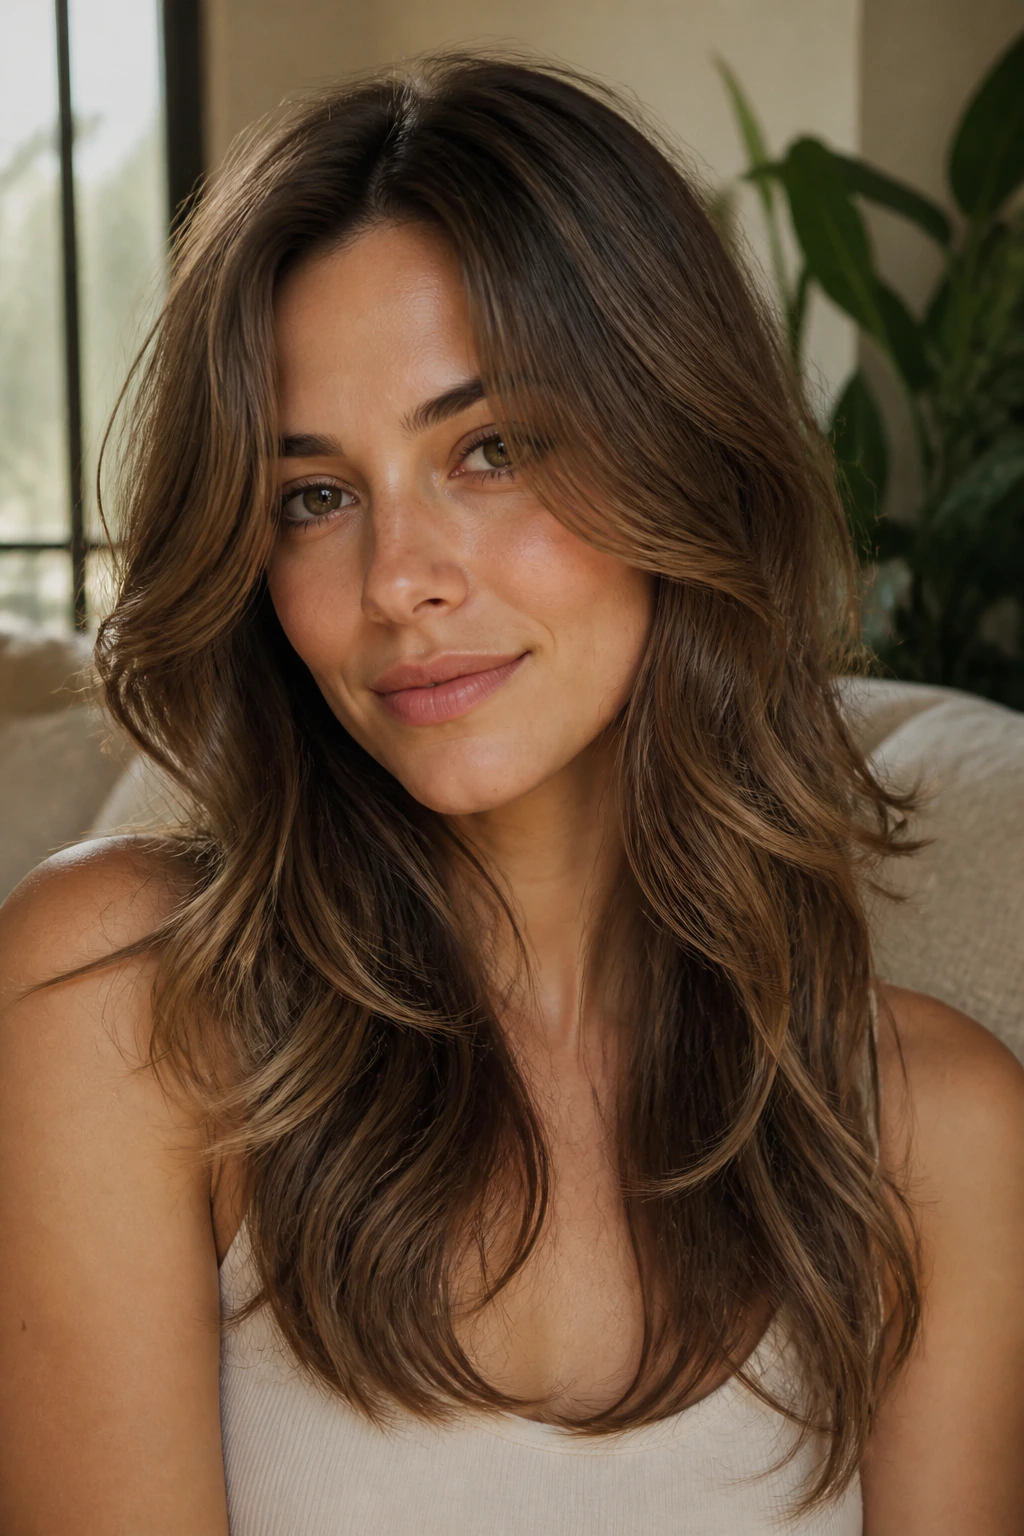
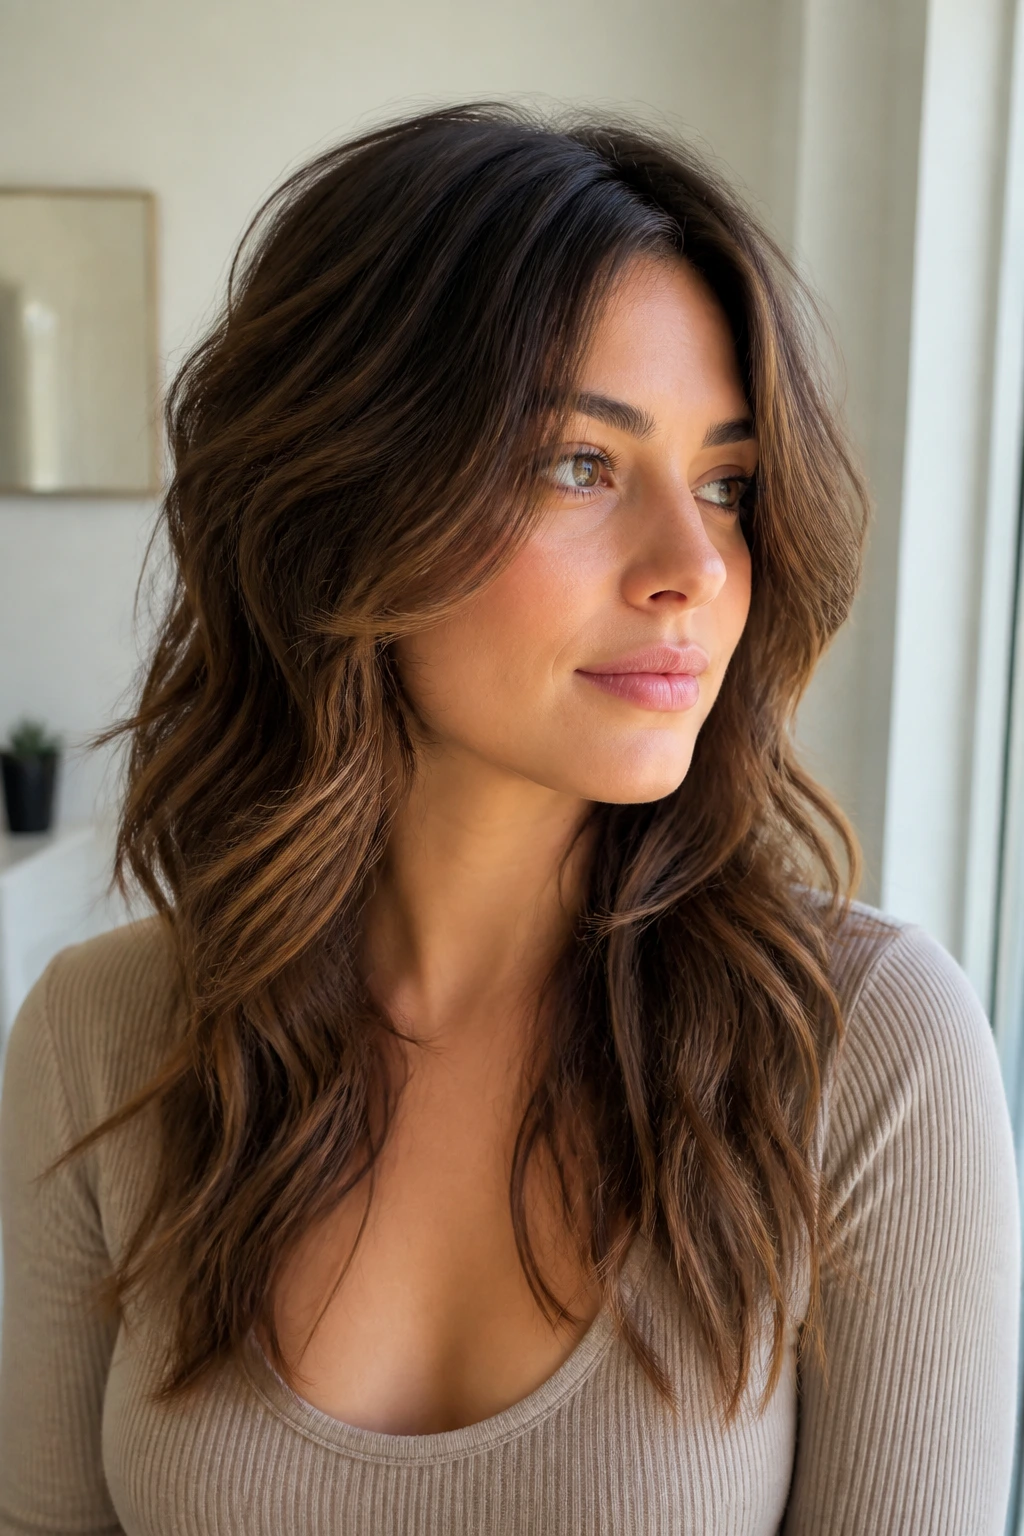
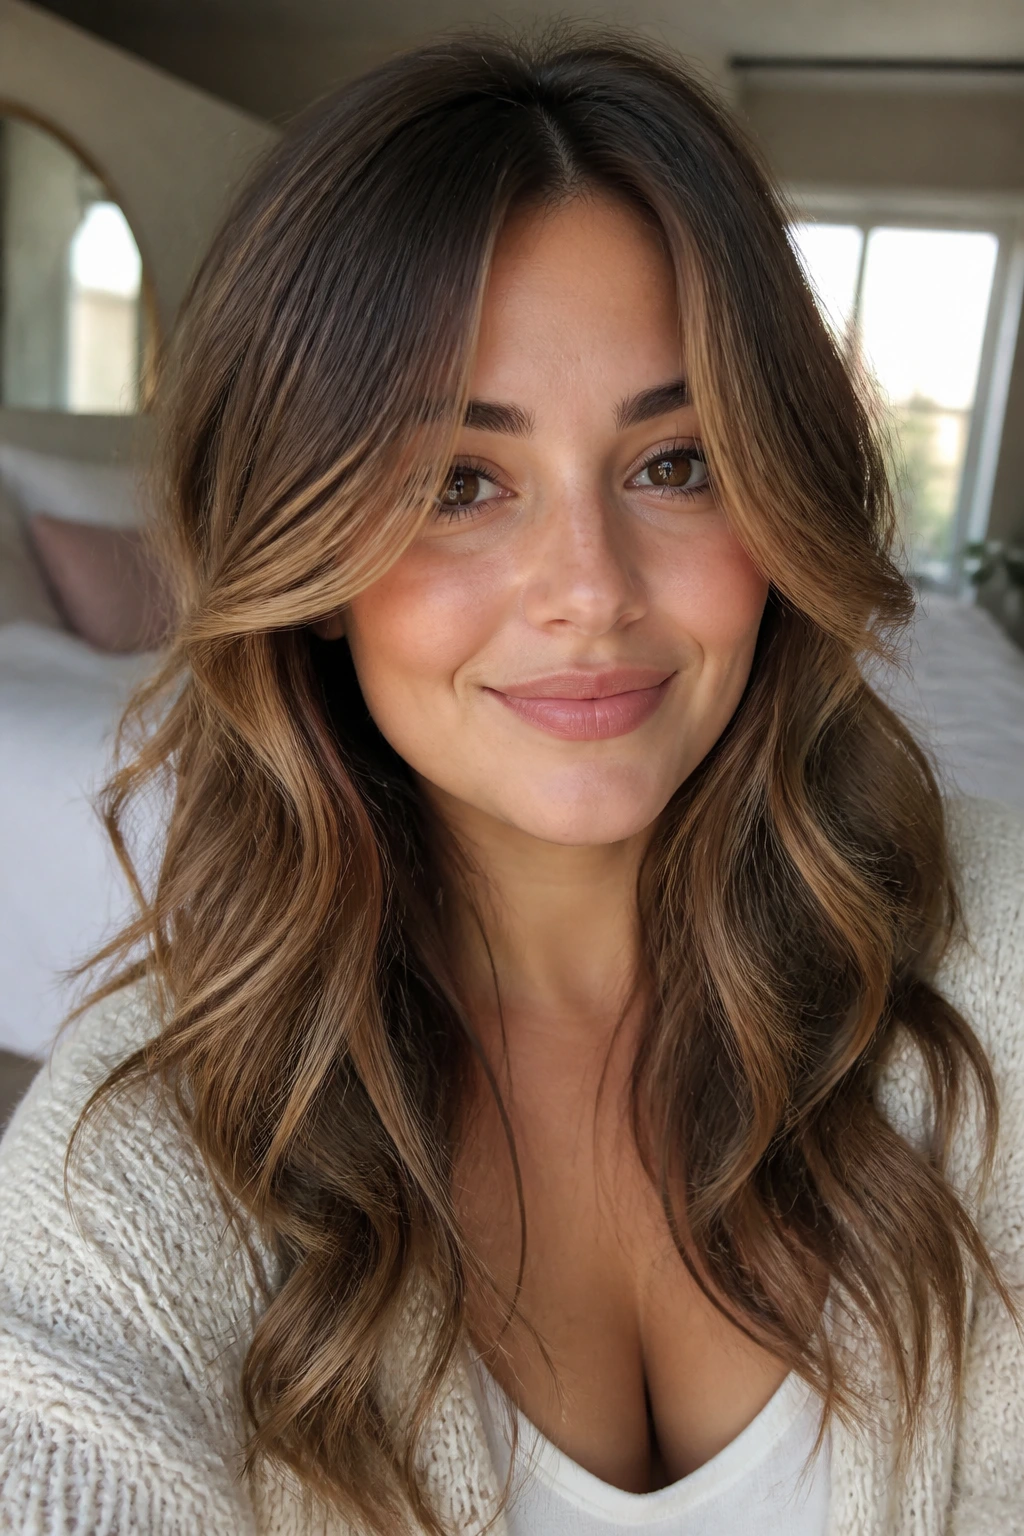
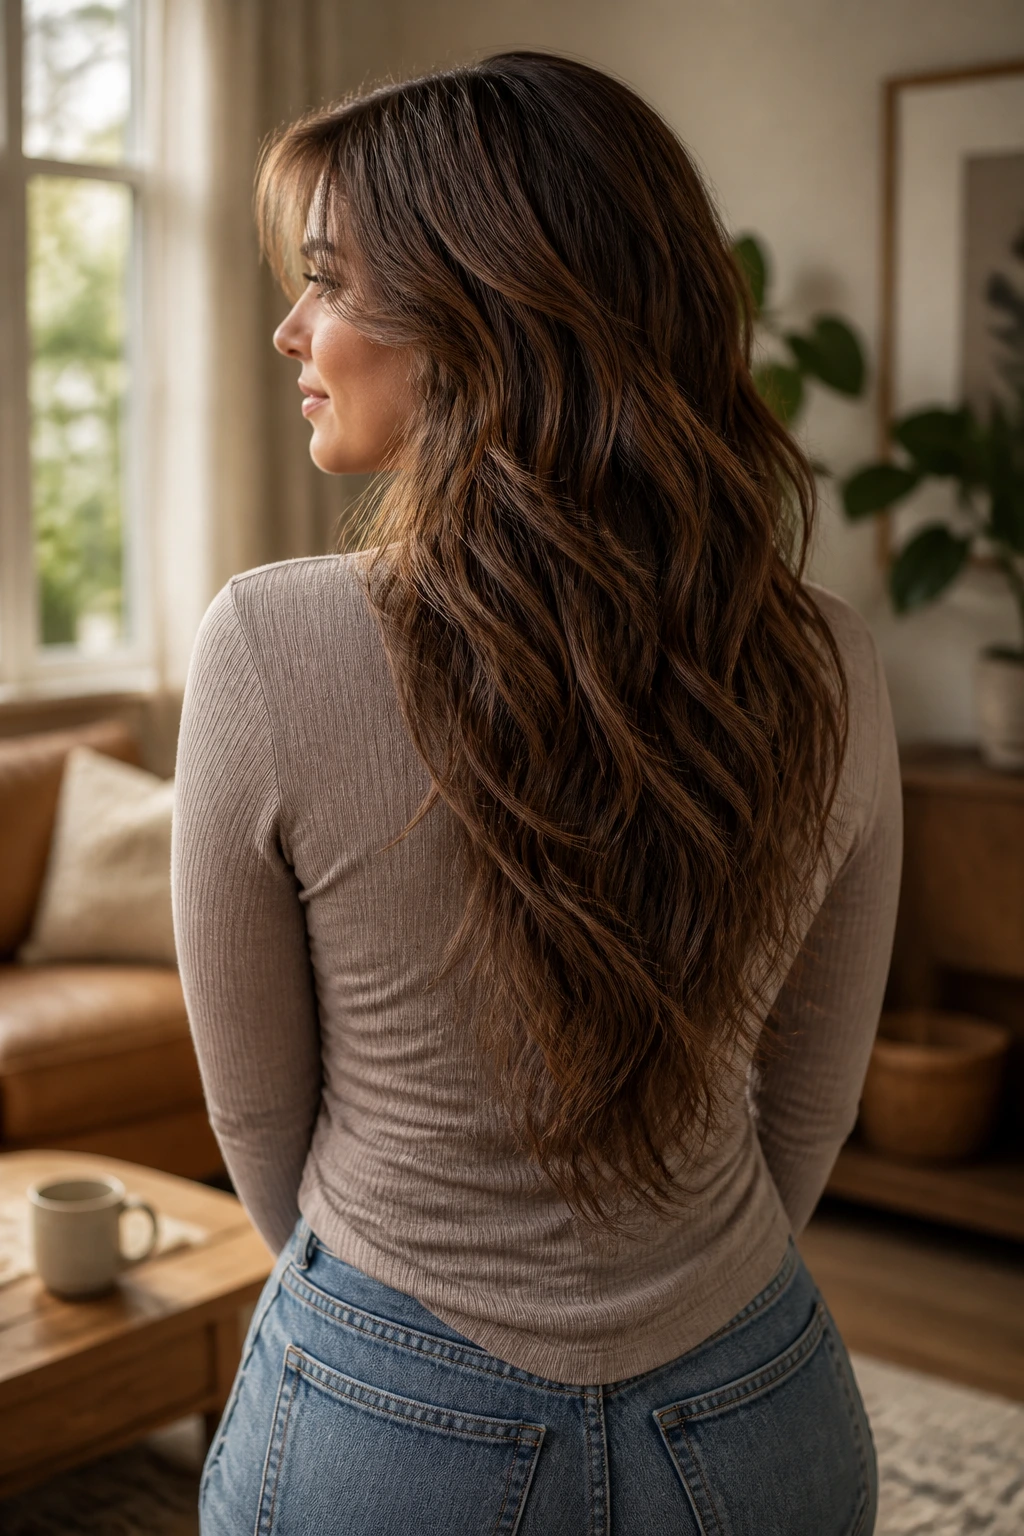
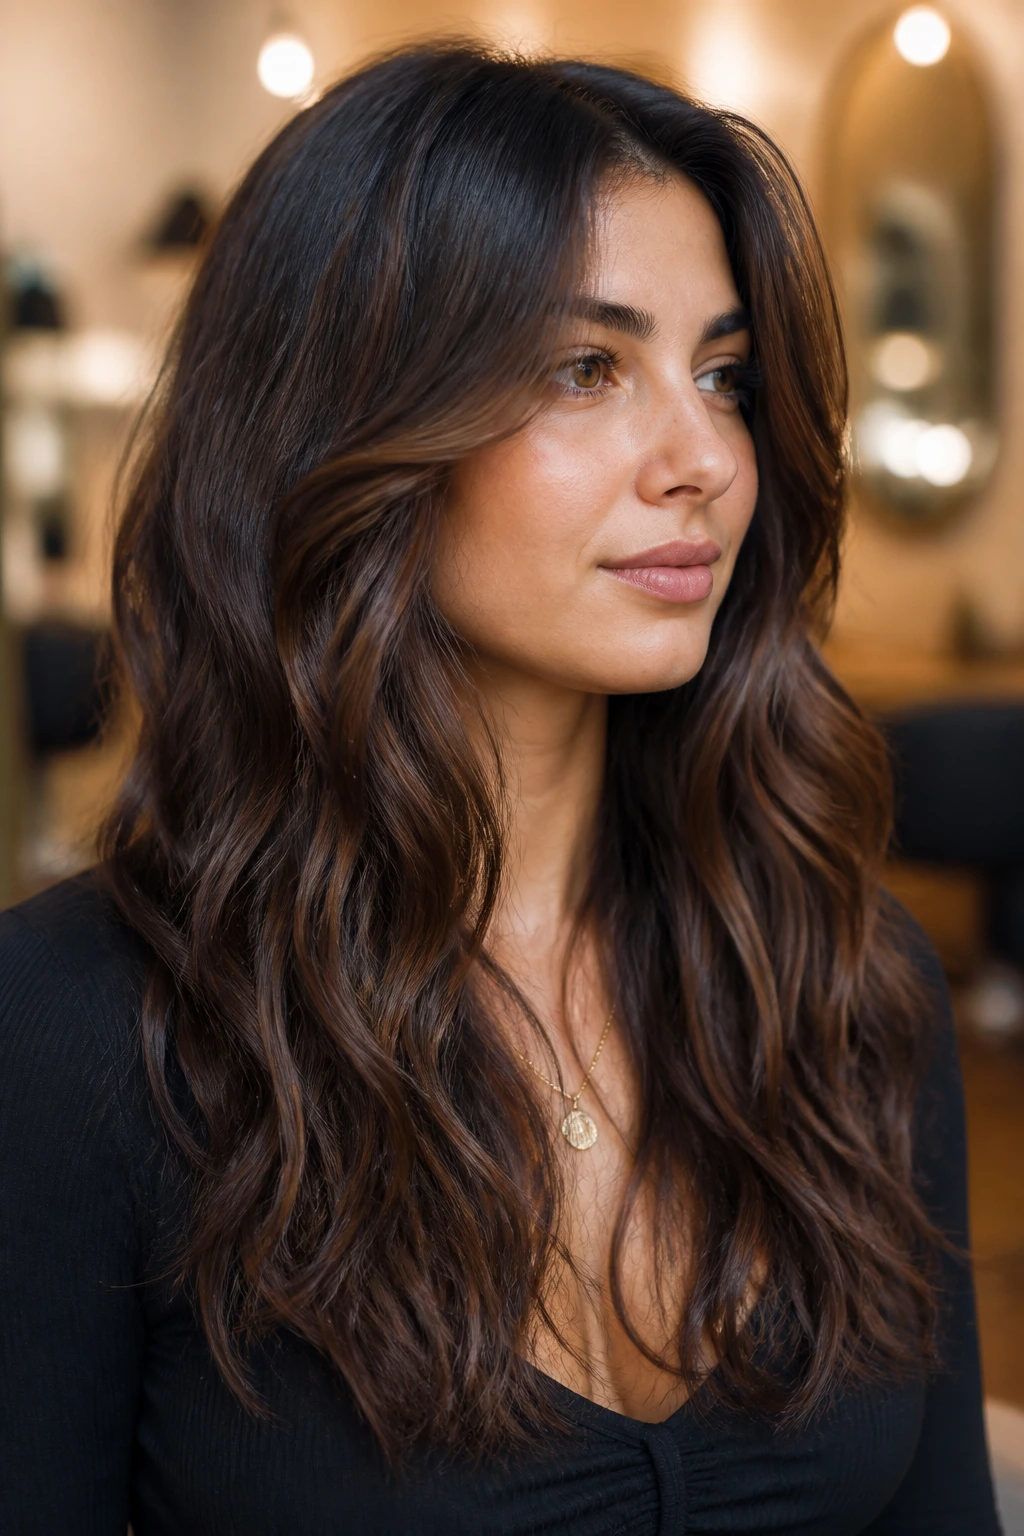
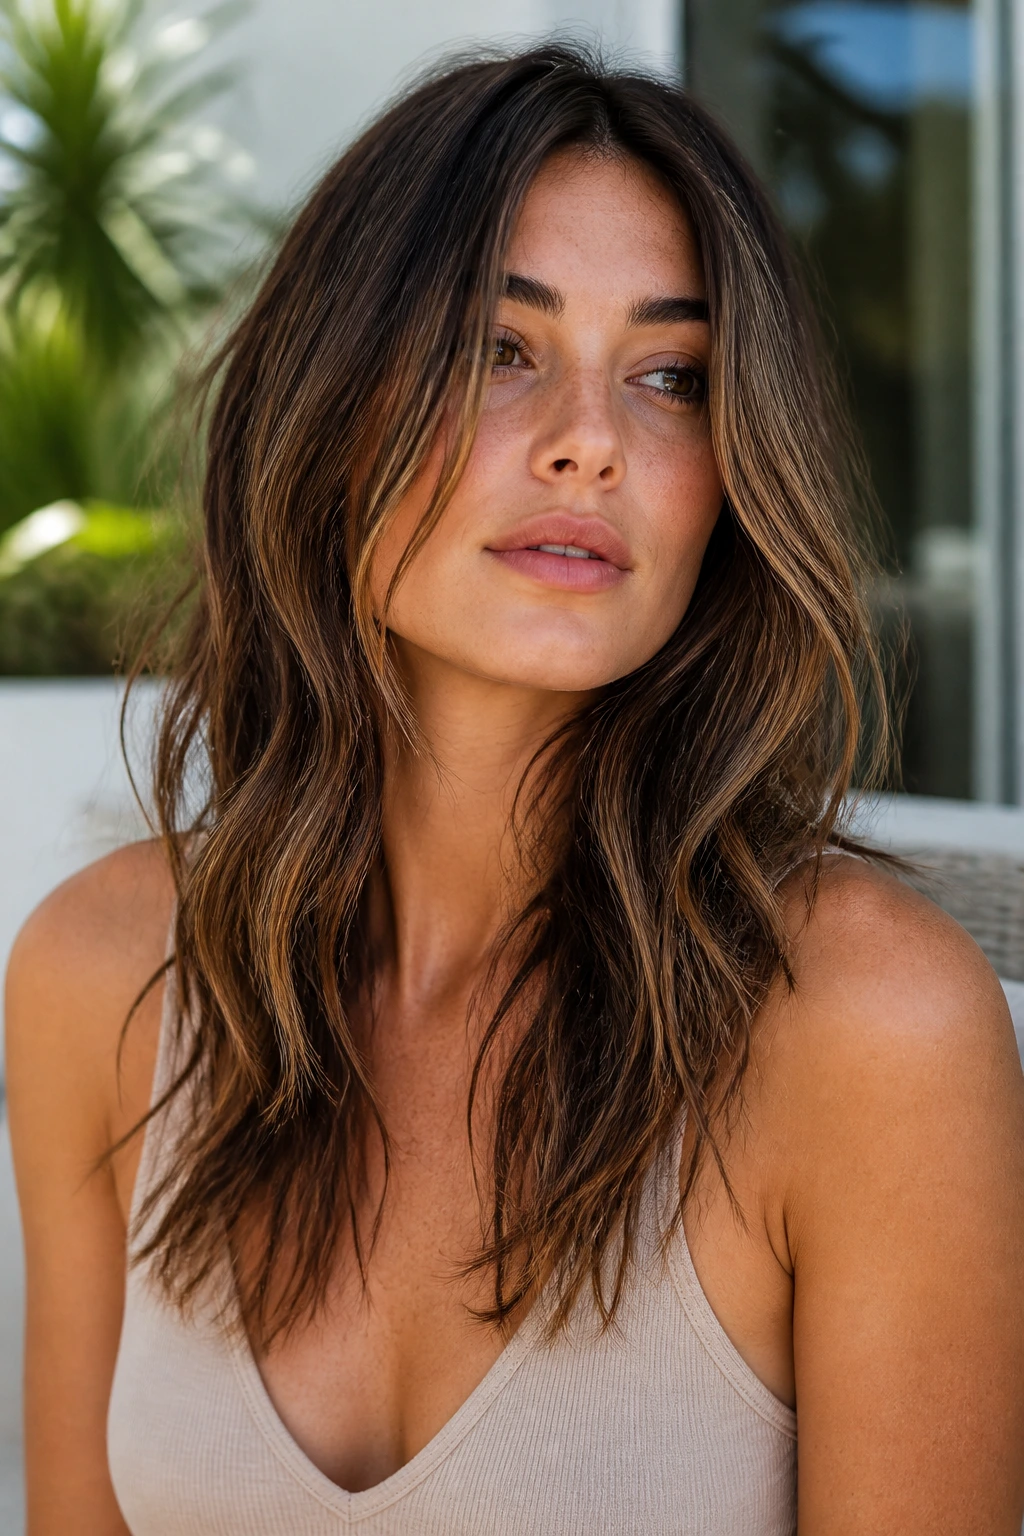
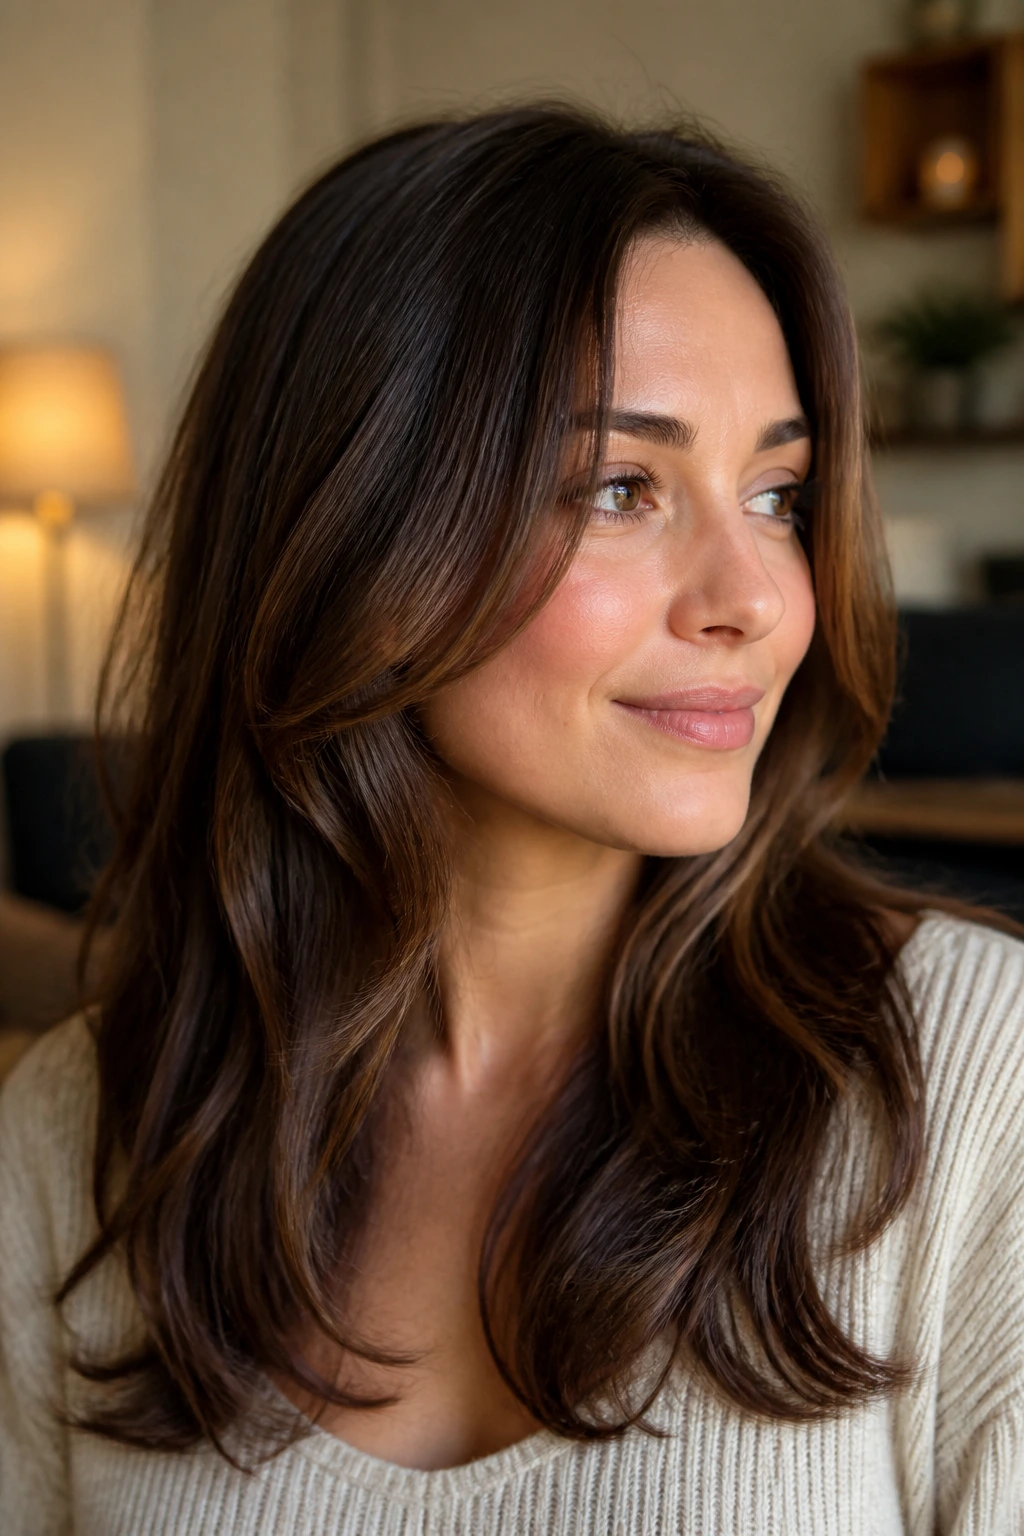
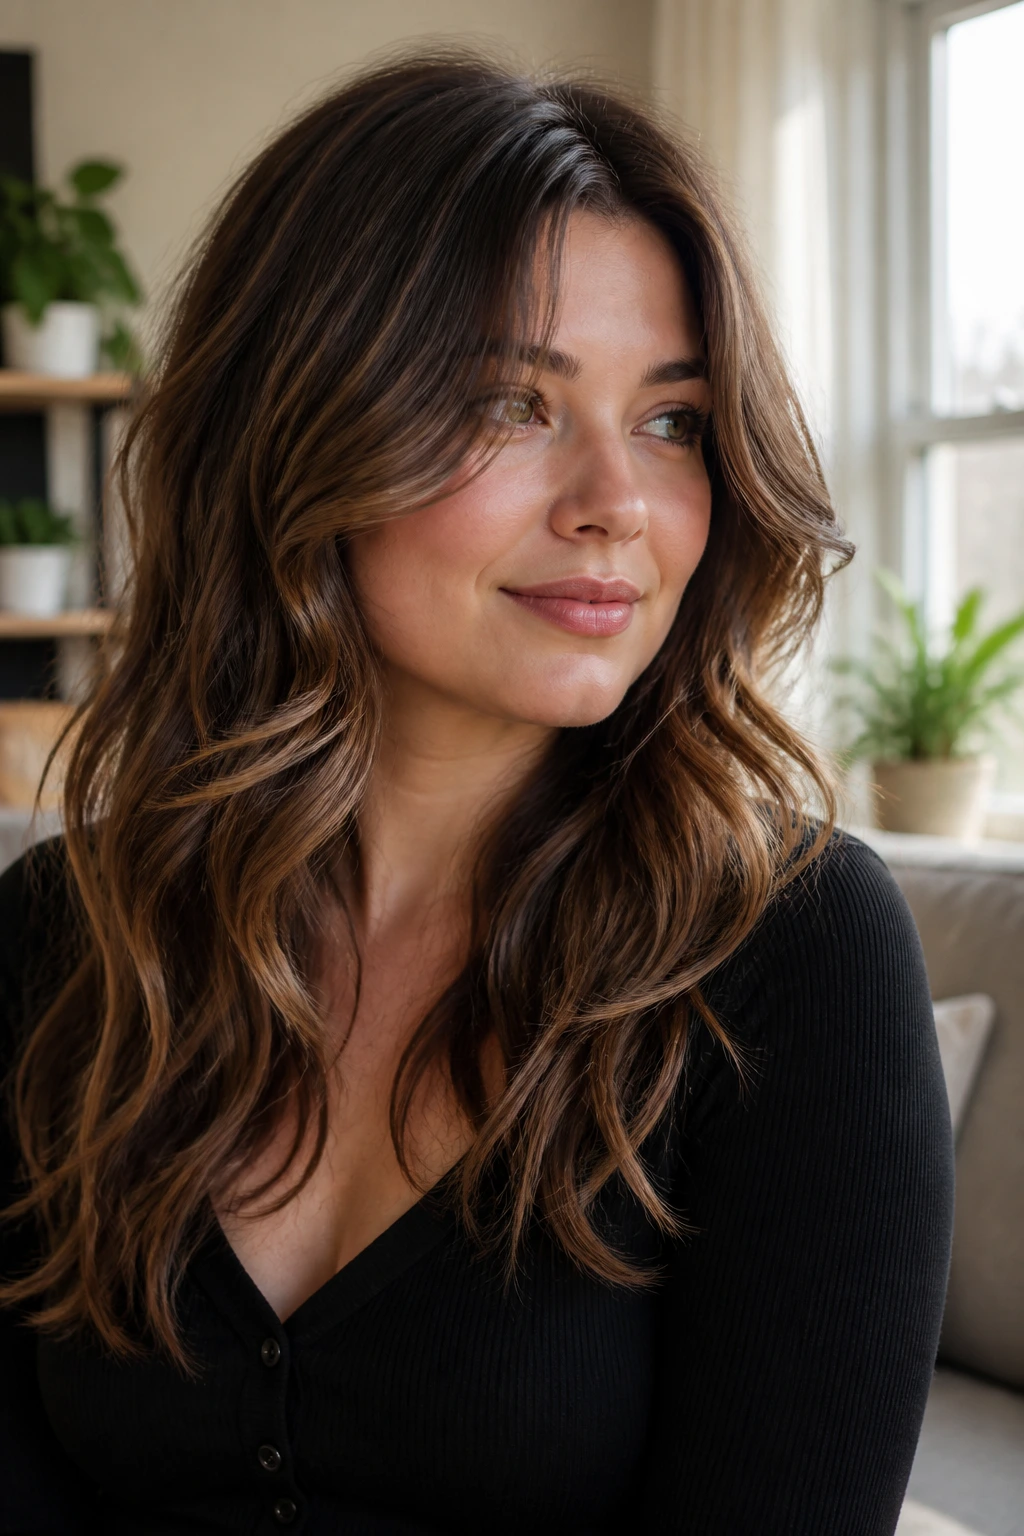
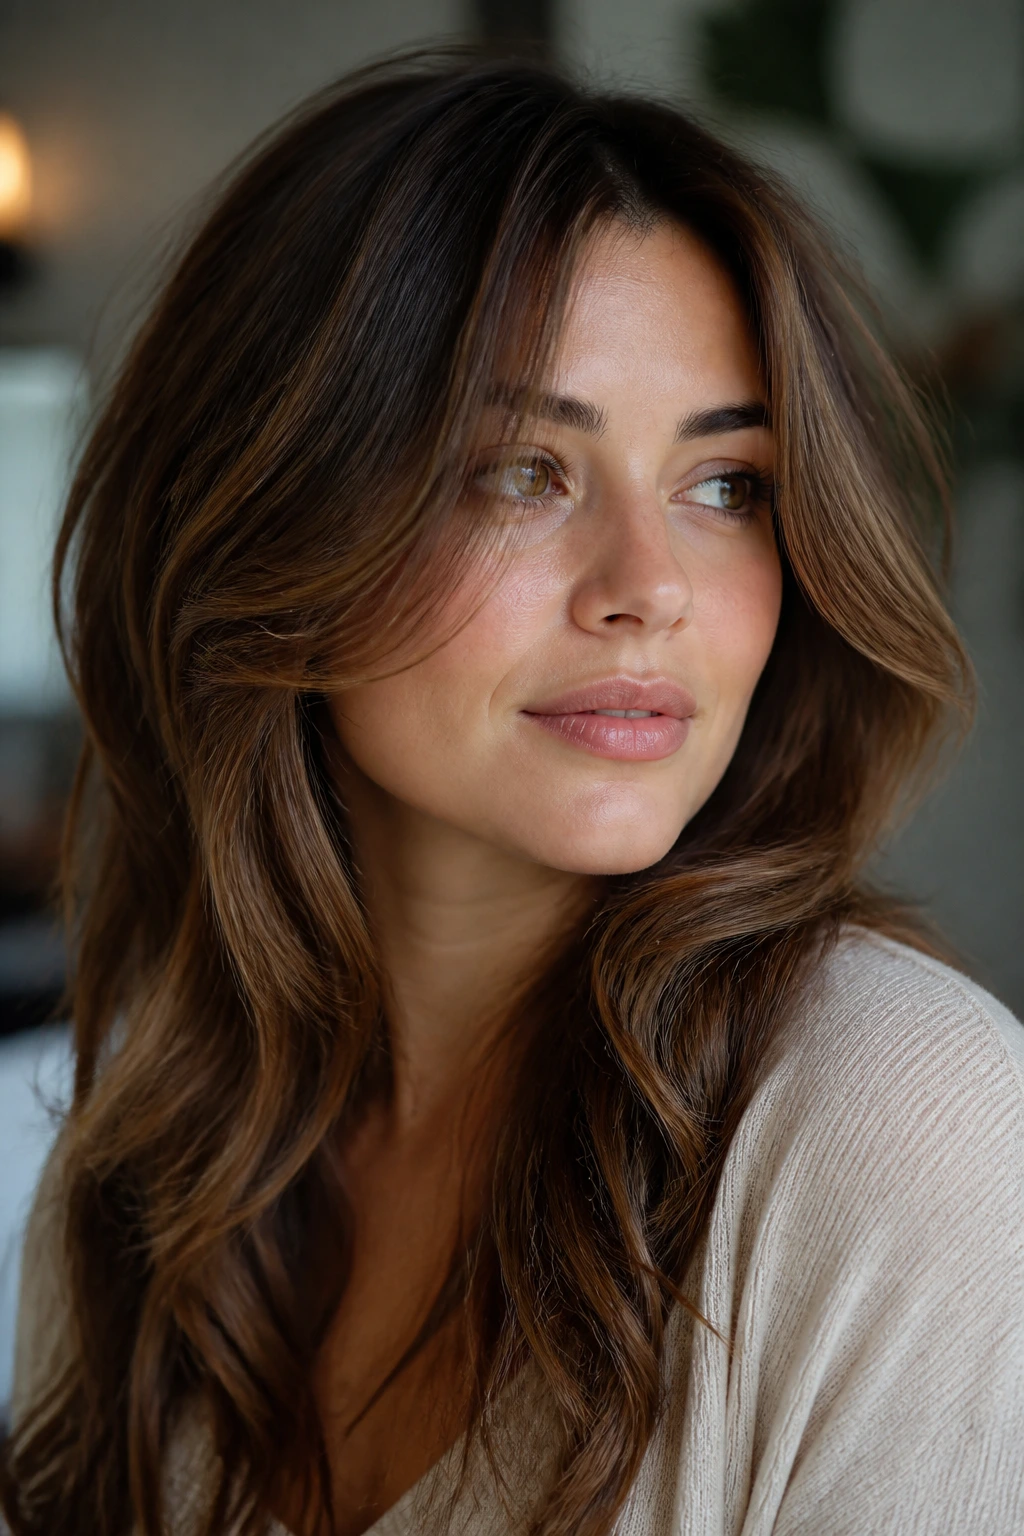
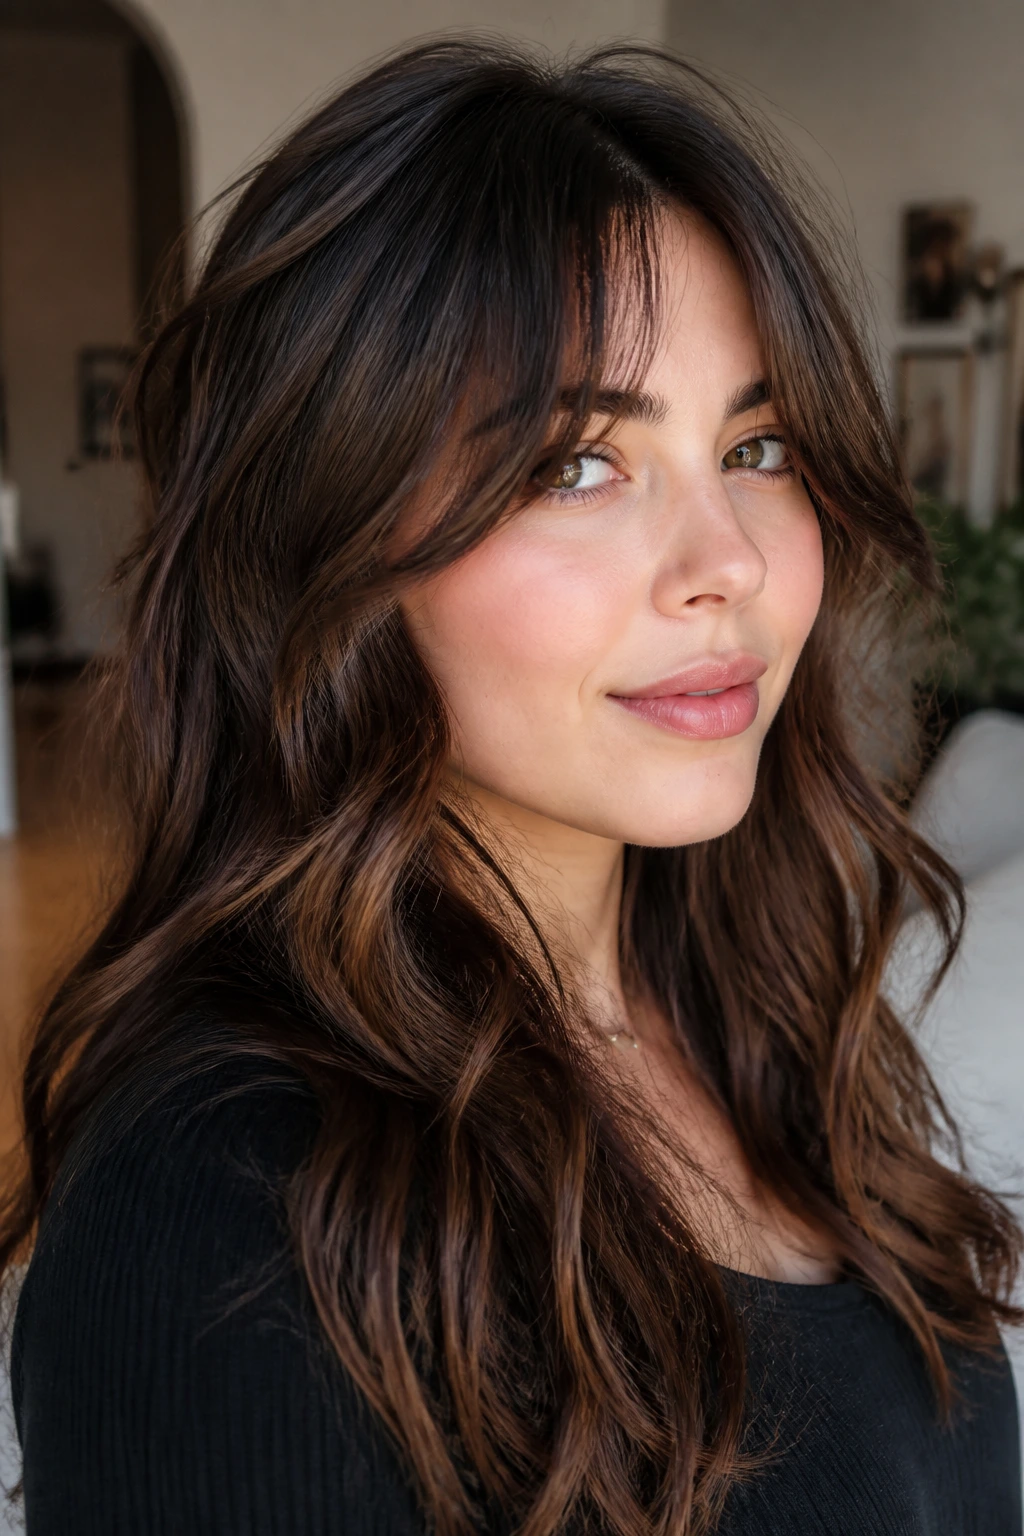
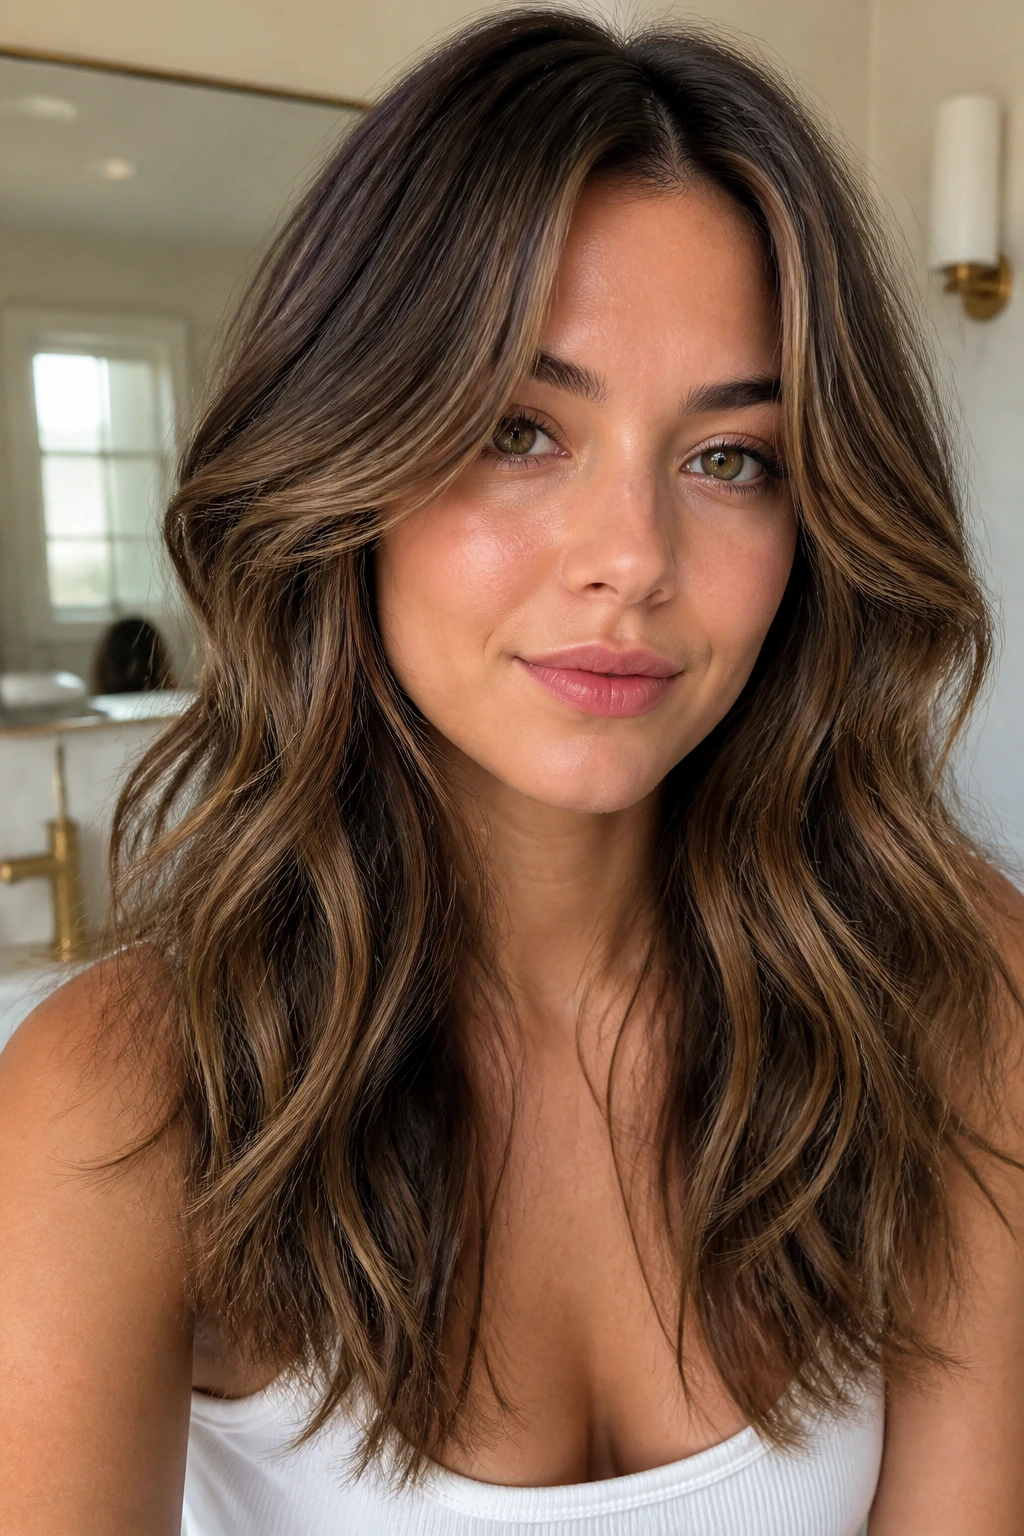
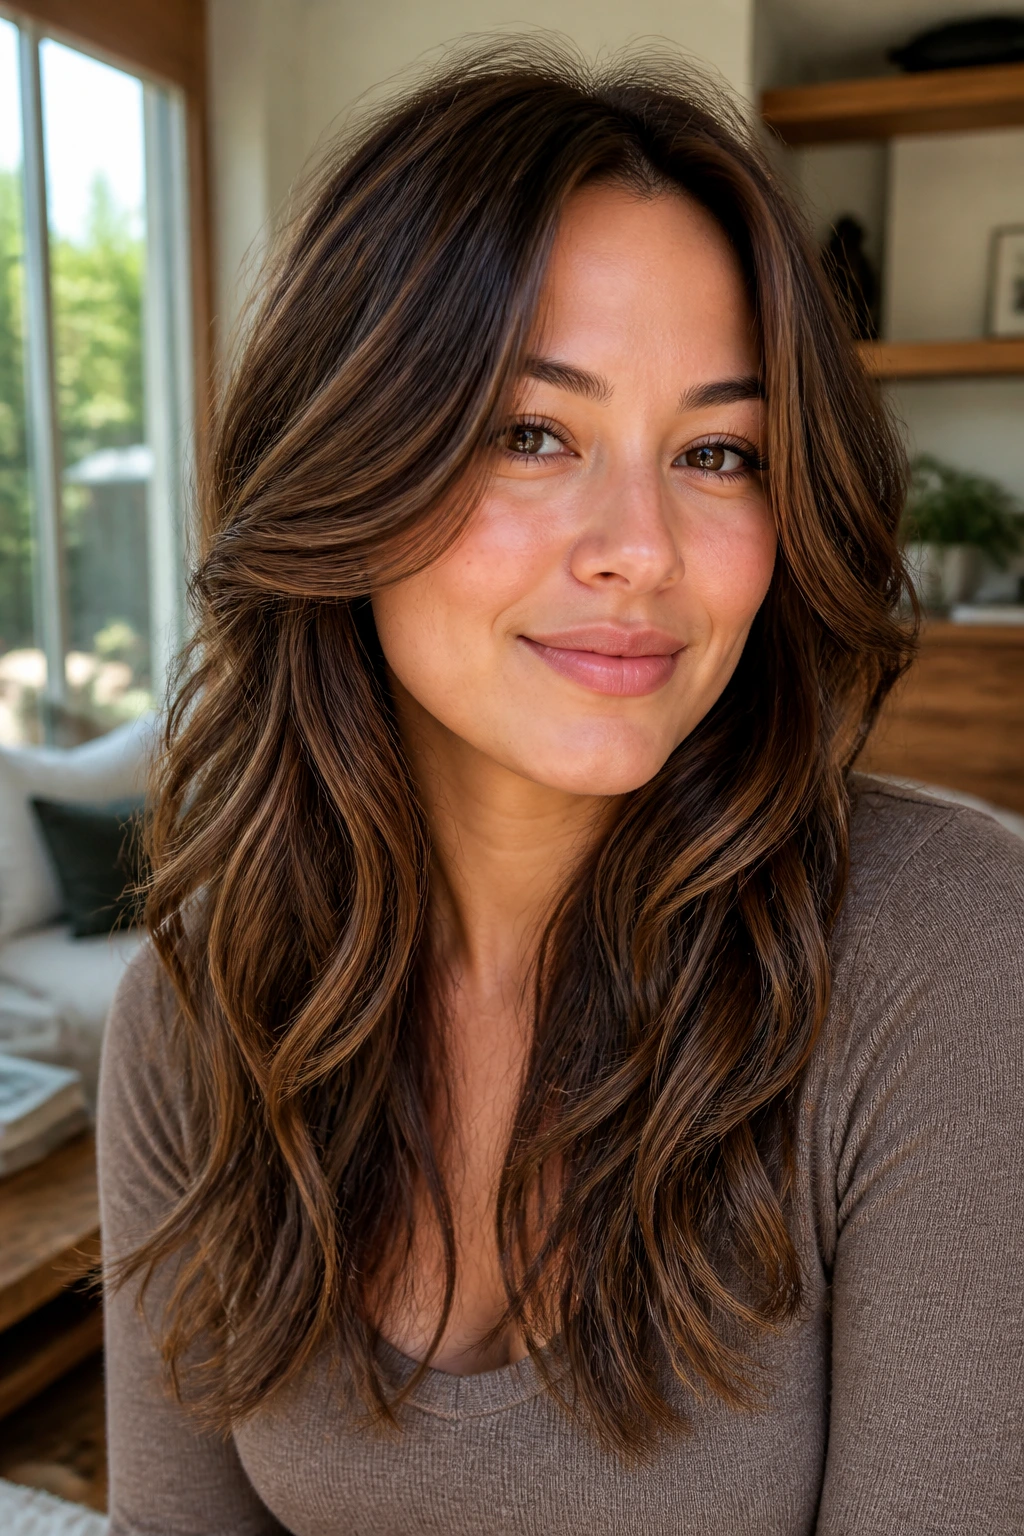
Round faces do not need to be hidden behind hair. They need shape. With wavy texture, the wrong cut can make the sides flare right where the cheeks are widest, and that’s how you end up with a silhouette that feels puffier than it should. The right long layers for wavy hair and round faces do the opposite: they keep length in the bottom half, let the wave bend instead of balloon, and draw the eye downward in a way that feels clean, not severe.
The trick is placement. Too many layered cuts start too high, somewhere around the cheekbone, and that’s where round faces usually read widest. Too much of a good thing becomes a helmet. Too little layering, though, and wavy hair can sit there in one heavy triangle, which is its own kind of frustration. The sweet spot is usually lower than people expect — somewhere around the mouth, jaw, or collarbone — with enough internal movement to keep the shape from going flat.
And yes, the wave pattern matters just as much as the face shape. A loose bend behaves differently from a tighter S-wave. Fine hair needs a different touch than dense hair. So the strongest versions of this cut aren’t one-size-fits-all at all; they’re a set of smart options, each with its own balance of softness, lift, and face-framing.
Why This Collection Earns Its Spot
-
The placement does the slimming work: The shortest pieces stay below the cheekbone in most of these cuts, which keeps the face from reading wider where it already has width.
-
Wavy hair gets to keep its bend: These layers are built to follow movement, not fight it, so the wave pattern looks deliberate instead of puffy.
-
You can go subtle or stronger: Some versions barely show the layering until the hair moves, while others lean into shape and texture more boldly.
-
Most of these cuts grow out well: Long layers don’t turn into a harsh line as fast as shorter, choppier shapes do, which matters if you don’t live at the salon.
-
They work with bangs or without them: Curtain bangs, bottleneck bangs, side-swept fringe, or no fringe at all — the face-framing can shift without changing the whole cut.
-
They suit different hair densities: Fine waves, thick waves, and everything between can all borrow the same basic idea and still end up with a very different result.
1. Cheekbone-Dropping Face Frames
The safest, smartest starting point is a long face frame that begins below the cheekbone and eases down toward the jaw. That single placement choice does a lot of heavy lifting. It keeps the eye moving vertically, which is exactly what you want when the face already has soft width through the middle.
Why it flatters a round face
A front layer that lands at the lip or just under it breaks the widest part of the face without pinning the attention there. The hair bends inward instead of puffing out. On wavy hair, that matters even more, because the curl pattern adds its own width if the shortest piece is too high.
My rule: if you can trace the shortest front strand and it lands right across the apples of the cheeks, I’d push it lower.
This cut is also easy to style. A small bend away from the face around the front pieces is enough. You do not need a full blowout. A diffuser and a quick finger-twist at the front usually give the shape enough polish to look intentional.
2. Curtain Bangs That Split at the Brows
Curtain bangs sound risky on a round face until you see how they’re actually cut. The center stays light, the sides stay longer, and the fringe opens up instead of building a hard horizontal line across the forehead. That makes the upper face look a little taller, which the lower face appreciates.
The version that works best here usually starts around the brows in the middle and then drifts longer toward the cheekbones. I’m not a fan of blunt, short curtain bangs on round faces; they can feel boxy fast. The longer temple pieces are the whole point. They fall like soft brackets, not a shelf.
If your waves have a bit of spring, ask for the fringe to be cut with that bounce in mind. Wavy bangs shrink. Sometimes a lot. Cutting them while the stylist remembers that shrinkage is the difference between “easy face frame” and “why are these hanging in my eyes.”
3. Butterfly Layers With a Soft Crown Lift
Butterfly layers work because they separate the volume zones. You get lift up top, long length at the bottom, and a floating frame through the middle. On a round face, that middle section matters. It gives shape without building extra bulk at the cheeks.
The crown pieces are shorter, but the perimeter stays long, so the eye still reads length. That’s the part I like. The cut can feel glam without getting heavy. If your wavy hair tends to collapse at the roots, the crown lift helps the top half breathe while the bottom half stays sleek enough to stretch the silhouette.
This version is best when you want movement you can actually see from across the room. It is not subtle. It’s also not the right call if you hate any sort of volume at the top of your head. Some people want that soft lift; others prefer a flatter crown and a smoother outline. Fair enough.
4. Invisible Layers That Keep the Length
Invisible layers are the quiet option. The outside line stays long and clean, while the work happens underneath, where the stylist removes bulk without leaving a dramatic step. For wavy hair, that can be a gift. The curls clump better when the surface still has weight.
This cut is excellent if you like your hair long and you do not want the ends to look thin. Round faces often look best when the lower half of the hair has enough substance to pull the shape down. Invisible layers help with that. They give movement without creating a visible stair-step effect around the cheeks.
They’re especially nice for people who air-dry. When the hair dries in its own wave pattern, those hidden layers keep the body from becoming a block. You still get swing. You just don’t get that obvious “layered haircut” look that can sometimes feel too busy.
5. U-Shaped Ends That Stay Full
A soft U-shaped perimeter is one of my favorite shapes for this face-and-texture combo. The longest point sits in the center back, with the sides curving up gently toward the front. That curve gives the haircut a built-in vertical line, which helps keep roundness from taking over.
On wavy hair, the U shape also stops the ends from flaring into a triangle. You want the bottom to look full, not wide. There’s a difference. A blunt line can feel too boxy on some waves, while a very tapered line can go wispy and thin. The U lands in the middle, and that middle tends to behave.
This is a solid choice if you want long layers without too much obvious face framing. The shape shows itself when the hair moves. At rest, it looks smooth. That’s the appeal.
6. Deep Side-Part Layers With a Sweeping Front
A deep side part changes the geometry fast. One side of the forehead opens up, the other side drops into a long, sweeping curtain, and suddenly the face reads less circular because the part line is doing some of the shaping for you. It’s a simple move with a big payoff.
The best version of this cut keeps the front layers long enough to tuck behind one ear if needed. That sweep matters. Short pieces that stop at the cheek can make the face look broader. Longer side pieces that land around the jaw or collarbone create a diagonal line, and diagonals are your friend here.
I like this shape for people who wear one side of their hair behind the ear a lot. It looks casual in real life and deliberate in photos. Also, it’s a good fix for waves that have a stubborn side part habit anyway. Sometimes the hair chooses the part for you. Might as well work with it.
7. Razor-Soft Layers for Loose Waves
Razor cutting has a particular feel: airy, soft, a little feathery at the ends. On loose wavy hair, that can be lovely. The movement looks less blunt, and the layers melt into each other instead of sitting as separate steps. For a round face, the softness helps the front pieces curve around the jaw instead of stopping at a hard line.
I would not send everyone toward a razor, though. Coarse waves, frizz-prone textures, and hair with damaged ends can look rougher if the blade is used too aggressively. You want a stylist who knows where the weight needs to stay. The cut should feel light, not scraped.
If your hair is fine to medium and your wave is loose, razor-soft layers can make the whole shape feel more modern. If your hair already poofs up when it dries, ask for the same shape with scissors instead. Same idea. Less risk.
8. Shag-Lite Layers With a Clean Outline
This is the cut for someone who likes a bit of edge but not a full shag with all the choppiness turned up. The crown gets movement, the face gets softness, and the outline stays clean enough that it still reads polished. On a round face, that balance matters. Too much shag can widen the sides if the layers are too short around the cheeks.
The better version keeps the perimeter long and lets the textured bits live higher up. You get that slightly undone wave around the head without losing the vertical line through the ends. It looks best when the hair is bent, not brushed into a puff.
A shag-lite cut is especially good if you like a little lift at the crown and you wear your waves with a bit of grit. Sea salt spray, light mousse, a diffuser on low heat — that kind of routine. Not a hard blowout. Not a helmet. Somewhere in the middle.
9. Mouth-Line Framing Pieces
Here’s a shape that people underestimate: front pieces that start around the mouth line. Not the cheekbone. Not the temples. The mouth. That placement drops the visual weight lower and makes the face look longer in a way that feels natural.
The shape works because the wave bends forward first and then away from the face. That little curve helps carve out the cheeks without hacking at the sides. If you’ve ever had a cut that made your face look wider because the shortest piece sat too high, this is the correction.
What to ask for
Ask for the front layers to begin around the lips and keep descending toward the collarbone. If your hair is thick, you can keep the front slightly piecey. If it’s fine, a cleaner line at the ends helps the hair hold enough visual weight. Either way, the mouth-line placement is the whole game.
10. V-Cut Layers in the Back
A V-cut is all about vertical pull. The back length narrows into a soft point, which gives the eye somewhere to travel besides outward. On wavy hair, especially hair that has decent density, the V shape can make the whole head look lighter without sacrificing length.
The reason it helps a round face is simple: it creates a narrower base. The sides don’t billow out as much, and the center back gives the cut a longer silhouette. I especially like this on hair that feels heavy after a few weeks because the shape stays interesting even as it grows.
There is one catch. If you wear your hair in a ponytail a lot, the V will disappear most of the time. If you like half-up styles, the point may get lost there too. In that case, the cut still works, but you’re not seeing its full shape every day. Fair trade, really.
11. Bottleneck Bangs and Long Side Pieces
Bottleneck bangs are a neat compromise between no bangs and full curtain fringe. They stay narrower at the center, open wider toward the temples, and keep the sides long enough to blend into the rest of the haircut. That widening-out effect is what makes them friendlier to round faces than a blunt little fringe.
The center is short enough to show the eyes, but the sides do the elongating work. They fall into the cheek area without stopping dead at the widest point. On wavy hair, the shape gets even softer because the fringe does not lie flat like a sheet. It bends. It breathes a little.
I like this option when you want some forehead coverage but don’t want bangs that feel heavy or fussy. If your hairline is cowlick-prone, the longer side pieces help the fringe sit more naturally. Short, dense bangs can fight back. These usually don’t.
12. Side-Swept Fringe With Long Ends
Side-swept fringe is one of the easiest ways to shift a round face without making the cut feel “done.” The fringe lifts the eye to one side, and the longer ends keep the other side from looking boxed in. It’s softer than a blunt bang and easier to grow out than most fringe shapes.
This cut is good when you want face framing but you still like to tuck hair back. That little sweep across the forehead can cover part of the temple, which gives the face a longer read. The rest of the layers can stay long and loose, so the silhouette doesn’t get crowded around the cheeks.
I’d choose this over curtain bangs if you want less daily styling. One diagonal sweep usually does the job. On second-day hair, a quick mist of water and a round brush at the root are usually enough to bring it back.
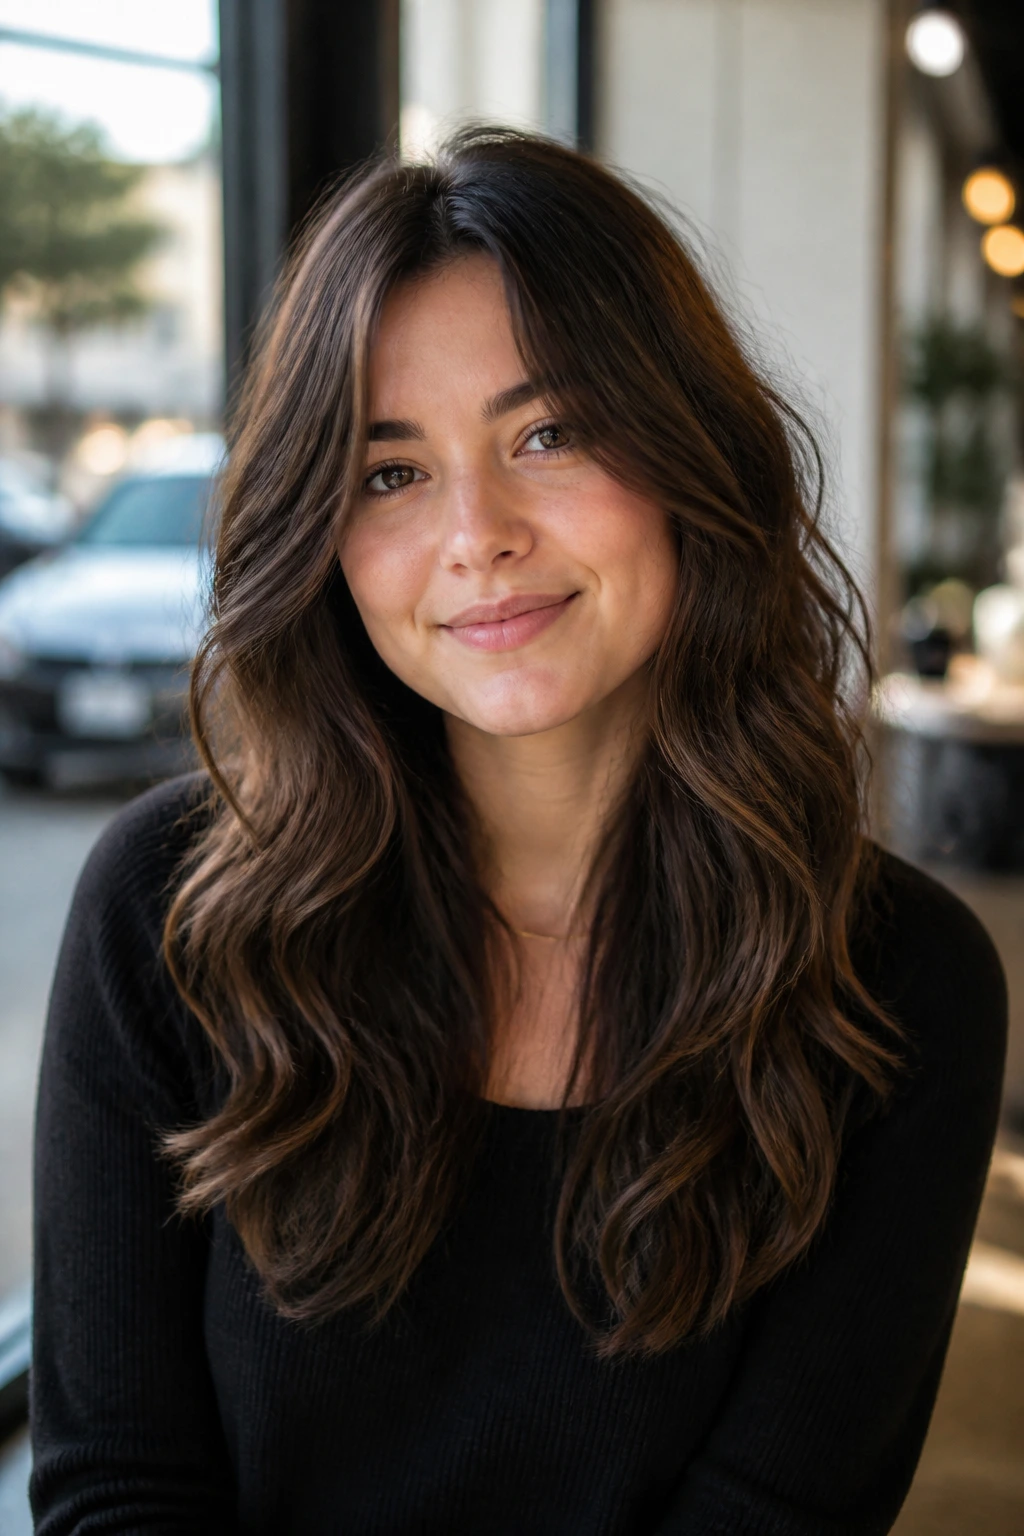
13. Blunt Bottom, Layered Top
A blunt perimeter with internal layers sounds almost too simple, and that’s why it works. The bottom edge gives the hair a solid line, while the upper layers create movement without shaving off too much length. For round faces, that blunt base can be a nice anchor because it keeps the outline from spreading outward.
This is a strong pick for people with wavy hair that tends to frizz when too many layers are cut into the ends. The dense bottom line keeps the ends looking healthier and fuller. The internal layering stops the crown from collapsing. It’s a two-part fix.
The cut also photographs well in real life, not in the fake “smooth on a mannequin” way. It has enough movement to look alive, but not enough choppiness to overwhelm the face. That balance is harder to get than it sounds.
14. Internal Debulking for Thick Wavy Hair
Thick wavy hair often needs weight removed from the inside, not the surface. If you attack the outside with too many short layers, you can end up with a wide halo and a fuzzy outline. Internal debulking solves the boring but important part: it takes pressure off the shape without making the haircut look sliced up.
This cut is especially useful on round faces because thick hair tends to widen at the sides when it expands. Removing bulk underneath lets the front pieces lie closer to the face. The wave still has body. It just stops trying to become a triangle by lunch.
Ask for the thinning to happen with a purpose. I would avoid a stylist who reaches for the texturizing shears too fast and too high. The goal is to reduce mass, not drain the haircut of its shape. There’s a difference, and you can see it the minute the hair dries.
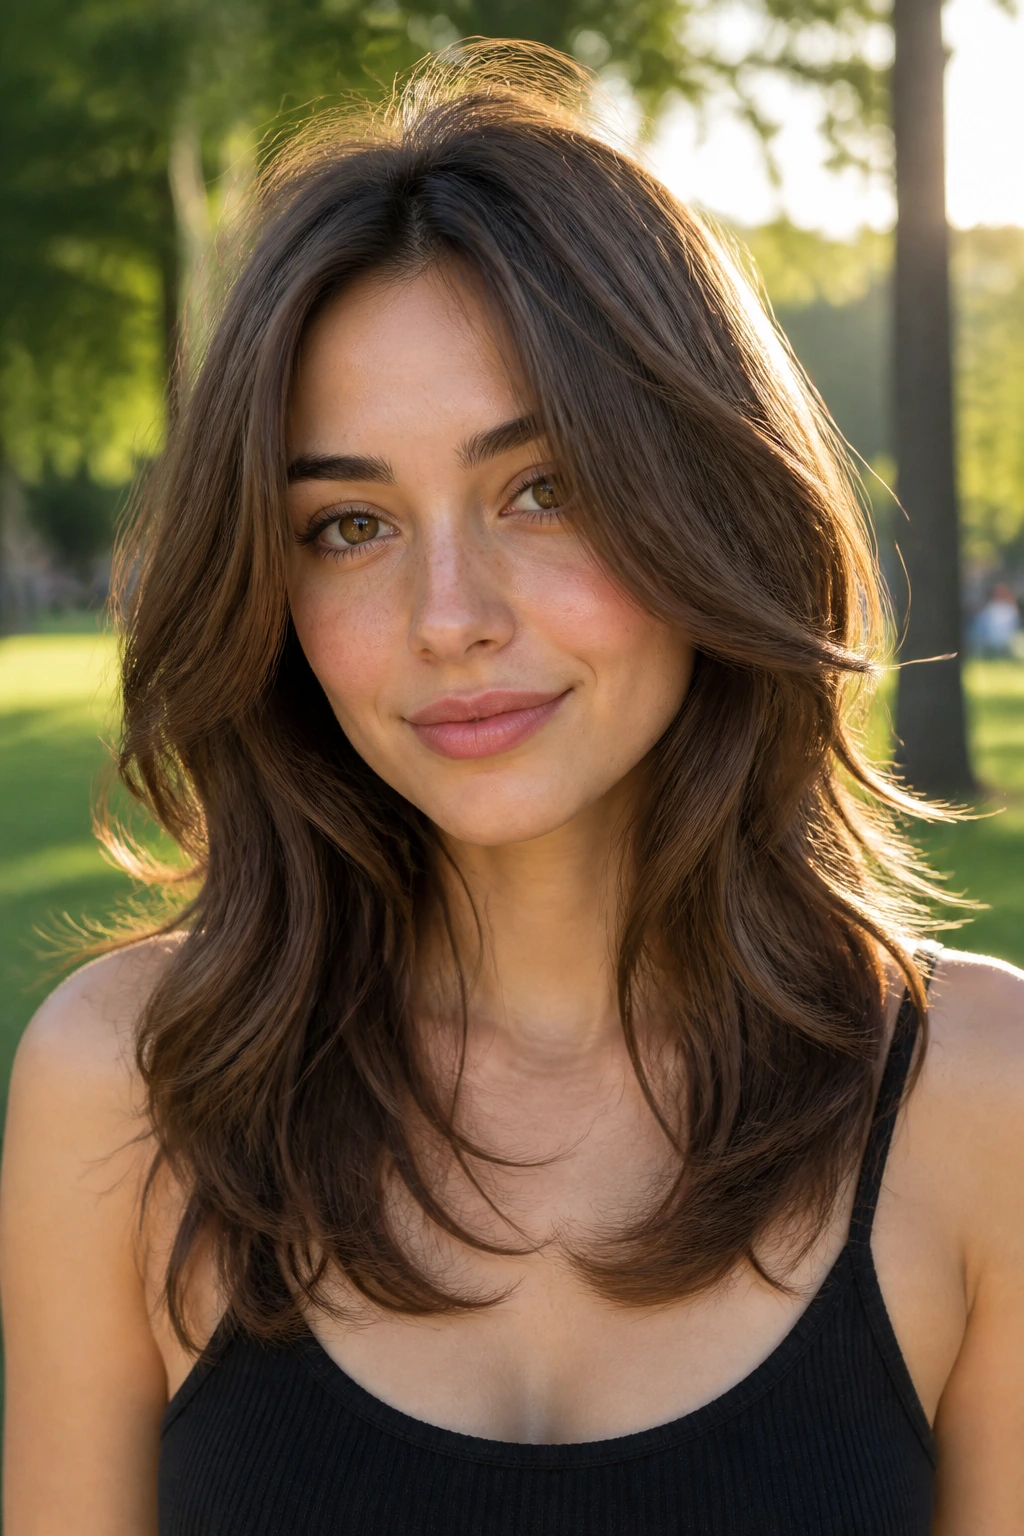
15. Feathered Layers for Fine Waves

Fine wavy hair needs a lighter touch. Too much layering and the ends start looking sparse, which is the last thing you want near a round face. Feathered layers keep the movement soft while preserving enough density for the hair to hold a line.
The trick is to keep the steps long and gentle. You want separation, not choppiness. A feathered shape lets fine waves swing a little around the jaw and collarbone without making the sides balloon out. That matters. Thin ends sitting wide on a round face can be unforgiving.
This is a good cut if your hair falls flat at the roots but still has some wave through the lengths. A little root lift from mousse or spray at the crown helps the feathered layers show up. Without that lift, the cut can read too flat. With it, the softness looks intentional.
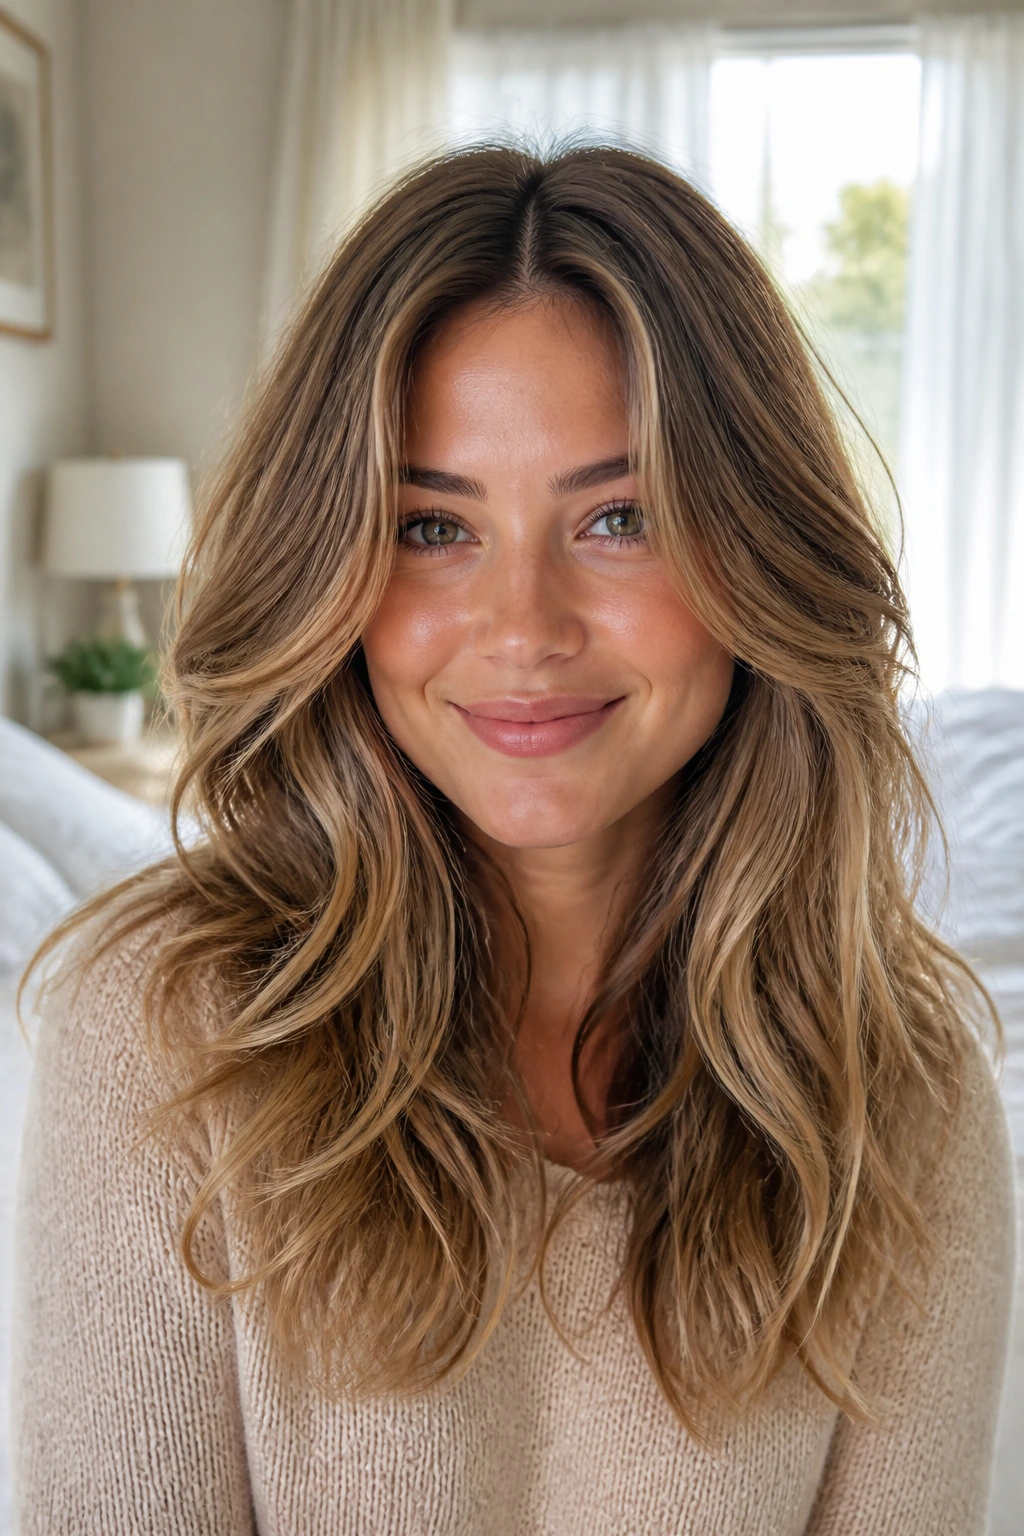
16. Collarbone Sweep Layers
The collarbone is one of the best landing zones for long layers on a round face. It sits low enough to stretch the face shape and high enough that the haircut still feels fresh around the front. A sweep that begins there gives the hair a long diagonal line, which is exactly what you want.
This shape tends to work well on medium-density waves that need movement but not a lot of structural drama. The front pieces can brush the collarbone and then angle back into the rest of the length. It’s subtle. It’s also versatile. You can wear it tucked, loose, half-up, clipped, or with a bend from a wand.
If you’re growing out a shorter cut, this is a smart midway point. It doesn’t look like you’re waiting for a haircut. It looks like the haircut has a plan.
17. Center-Part Halo Layers
A center part is not forbidden on a round face. People say that like it’s a law. It isn’t. What matters is what the hair does once it parts. If the front pieces fall too short, the center part can widen the face. If the layers drop lower and frame the jaw, it can look clean and balanced.
The halo version keeps lift around the crown and length around the cheeks. The front pieces stay long enough to create a soft curtain, and the part line itself gives the face a vertical axis. That axis is useful. It stops the eye from hovering only at the widest part of the face.
This is a good choice if you like symmetry and you don’t want a lot of movement around one side only. It feels calm. Not bland — calm. There’s a difference there too.
18. Long Swoops That Narrow the Cheeks

This cut is all about the sweep. The front layers start high enough to move, but long enough to curve under the cheekbone instead of cutting across it. The result is a soft narrowing effect through the middle of the face, which can be very flattering on round shapes.
I like this option when the waves are loose enough to cooperate with a bend, because the swoop itself becomes part of the styling. You’re not fighting for a sharp line. You’re asking the hair to lean in a direction and stay there. A round brush can help on wash day, but even a finger-dried version can work if the front pieces are long enough.
The danger with swoops is going too short. Too short and you’re back at cheekbone width again. Keep the motion long. Let the hair curve, not sit.
19. Grow-Out-Friendly Midback Layers
Some cuts look fine on day one and awkward by week six. This is not one of them. Midback layers keep enough length in the front and enough softness in the interior that the shape survives grow-out without looking ragged. That matters if you hate constant trims.
For a round face, the grow-out-friendly approach is often the best one because it avoids sudden shifts in width. The face framing stays low, the perimeter stays long, and the internal layering does its quiet job in the background. Even when the cut softens, it usually softens in a useful way.
This is also a good choice if you wear your waves in natural texture most days. The cut does not depend on perfect styling to make sense. It behaves.
20. Piecey Ends for Airy Movement
Piecey ends can be great on wavy hair, but the trick is restraint. You want the ends to separate a little, not fray into little wisps everywhere. When done well, the haircut looks light and airy at the bottom, which can stop roundness from feeling boxed in by heavy ends.
This shape works best when the rest of the cut stays long and clean. The piecey finish is the punctuation, not the whole sentence. On thicker waves, it can remove visual weight where the hair tends to spread. On finer waves, it can be enough texture without over-layering the whole head.
I prefer this look when the hair has a little bend and shine. On very dry hair, too much pieceiness can look tired. Keep the ends hydrated, or the whole thing starts reading as damage instead of style.
21. Long Layers With a Narrowed Chin Line
A chin line that narrows instead of flaring is one of the smartest shape tricks for a round face. The front layers slide past the chin and tuck back toward the neck, which builds a slim outline through the lower face. That is where a lot of cuts go wrong; they stop too soon and leave the chin area wide open.
This version is especially helpful if your cheeks are full and your jaw is soft. The hair gives the lower half a more oval read without going severe. It’s a quiet form of contouring. No drama. Just better lines.
I’d choose this over stronger face framing if you like to wear your hair mostly down and you don’t want the front pieces to steal attention. The shape whispers instead of shouts.
22. The Everyday Wave Cut With Barely-There Steps

Not every haircut needs to announce itself from across the room. Sometimes the best long-layer shape is the one you barely notice until the hair moves and the pieces separate just enough to show depth. For wavy hair and round faces, that calm approach can be the most wearable of all.
The layers are long. The transitions are soft. The ends stay full. The face frame exists, but it doesn’t cut a loud line through the cheeks. That makes the cut easy to live with on casual days, work days, and the strange in-between days when your hair needs to look fine without a full styling session.
This is the shape I’d recommend if you want the safest all-around option. It won’t fight your texture. It won’t trap your face in a hard outline. It just gives the wave a cleaner path to follow.
Why Long Layers Change the Shape of Wavy Hair on Round Faces
The whole reason this haircut family works is geometry, not magic. Round faces usually read widest through the cheeks, with soft angles and a shorter visual distance from forehead to chin. Wavy hair, meanwhile, adds its own width because every bend pushes a little outward before it falls back in. If the layers start too high, the eye lands right on the broadest part of the face and the whole shape feels wider.
Long layers shift that weight lower. That is the useful part. A layer that begins around the mouth, jaw, or collarbone gives the face a vertical line to follow, and the wave can curl around the lower half instead of exploding around the sides. It’s the same hair, but the shape changes because the eye gets led somewhere else.
Density matters here too. Thick wavy hair can get heavy through the ends, while fine wavy hair can get wispy if you cut too much off the bottom. Long layers let you keep the perimeter strong enough to anchor the haircut while still taking out some bulk where the wave bunches up. That’s why the cut can look soft without going flat.
And here’s the part people skip: wave pattern changes how the layer lands once the hair dries. A stylist who ignores shrinkage is guessing. A stylist who watches the hair dry, or cuts with wave movement in mind, is shaping the final result. That’s the difference between a cut that sits on the face and a cut that seems to belong there.
What to Tell Your Stylist Before the First Snip
Start with the part that matters most: where you do not want the shortest layer to land. Say it plainly. If you want the face to look longer, ask them to keep the shortest face-framing pieces below the cheekbone, usually around the mouth, jaw, or collarbone. That one sentence does more for the haircut than a pile of vague words ever will.
Bring photos, but bring the right ones. A picture of a person with straight hair tells very little about what the cut will do on waves. Show examples with the same density and bend pattern if you can. Side views matter too. The profile tells you whether the front layers actually drop low enough to slim the face instead of stopping mid-cheek and poofing out.
Say these things out loud
- “I want long layers that keep the length in the bottom half.”
- “Please keep the front pieces below the widest part of my cheeks.”
- “My hair shrinks when it dries, so I need the cut planned around that.”
- “I usually wear my waves natural / diffused / blown out.”
- “I want movement, but I do not want the ends to look thin.”
That last line is worth saying. Many stylists can build movement. Fewer will protect the ends when the client asks for “more texture.” Texture is fine. Sparse ends are not.
If you usually air-dry, say so. If you heat-style once a week and leave the rest alone, say that too. The best version of this cut is the one that fits your routine, not a fantasy routine with a 45-minute styling session every morning.
Tools That Make Styling Easier
-
Wide-tooth comb: Best for detangling wet waves without breaking up the clumps too early.
-
Microfiber towel or cotton T-shirt: Cuts down on rough frizz while you scrunch out excess water.
-
Duckbill clips: Useful for pinning the crown while you diffuse or air-dry if you want a little lift at the roots.
-
Diffuser attachment: Helps waves dry with more shape and less puff, especially around the face frame.
-
Heat protectant spray: Non-negotiable if you use a blow-dryer, iron, or round brush on hot hair.
-
Light mousse: Good for root lift and hold when you want the layers to show instead of collapse.
-
Curl cream or lightweight gel: Helps define waves without turning the front pieces crunchy.
-
1.25-inch curling iron or wand: Handy for touching up the front layers or re-bending one side that fell flat.
-
Round brush: Best for smoothing the face frame away from the cheeks during a blow-dry.
-
Hand mirror: Worth keeping around if you want to check how the back layers sit once the hair is dry.
How to Style the Cut Without Fighting Your Waves

Air-Dried Shape:
Start on damp hair, not soaking wet hair. Work in a small amount of mousse or curl cream through the mids and ends, then scrunch once or twice and stop touching it. Let the front pieces fall where they want, but if they sit too flat around the cheeks, twist them away from the face for 10 to 15 seconds and leave them alone. The goal is bend, not a hard curl.
Diffused Volume:
Flip the head side to side and keep the diffuser on low heat and low speed. Cup the roots for 5 to 10 seconds at a time, then move away. I like to stop when the hair is about 80 percent dry and let the rest finish on its own; that keeps the layers from getting too puffy. A cool shot at the end helps set the shape.
Soft Brush-Style Finish:
If you want the cut to look smoother, blow-dry the front layers with a round brush and bend them away from the face. You do not need to smooth every strand. Just polish the face frame and crown a little, then let the rest of the waves stay soft. That contrast keeps the haircut from going flat.
Day-2 Reset:
Mist the front and top lightly with water, then rub a pea-sized amount of leave-in or curl cream between your palms and press it into the ends. Flip the part if one side looks wider than the other. That tiny reset often brings the shape back faster than a full restyle.
Small Tweaks That Shift the Shape
Lower the frame: If your face still feels wide after the cut, the fix is usually a lower starting point for the front layers. Ask for the shortest piece to move down an inch or two, not for more volume elsewhere.
Keep the ends dense: Round faces often look best when the haircut has some weight at the bottom. If the ends get too thin, the sides can spread out. A bluntish perimeter can save the whole shape.
Move the part: A center part is clean, but a soft side part can break up width fast. Even a slight shift off center can change how the hair falls around the cheeks.
Use less texturizing on fine hair: Fine waves need movement, but they do not need a blade taken to every section. If the hair starts looking see-through, the cut is overworked. Bring back weight, not more layers.
Mistakes That Make the Face Read Wider
-
Starting the shortest layer at the cheekbone: That’s the fastest way to widen the exact zone you were hoping to slim. Move the face frame lower.
-
Over-thinning the bottom: When the ends go wispy, the haircut spreads outward and loses its anchor. Keep more density in the perimeter.
-
Cutting bangs too blunt and too short: A hard fringe across the forehead can make the face feel shorter and rounder. If you want bangs, keep them soft or split.
-
Ignoring wave shrinkage: Wavy hair usually dries shorter and fuller than it looks wet. If the stylist cuts it like straight hair, the shape can jump up too high.
-
Using too much product at the crown: Heavy cream or oil near the roots can flatten the top and make the cheeks look more dominant. Keep richness away from the scalp unless your hair is very dry.
-
Treating thick and fine wavy hair the same way: Thick hair often needs internal removal; fine hair often needs preservation. The wrong approach can make one look bulky and the other look tired.
Other Ways to Wear the Same Shape
The Barely-Layered Version: Keep only a few long layers and let the wave do most of the work. This is the safest route if you want length first and movement second.
The Fringe-Forward Version: Add curtain or bottleneck bangs, but keep the sides long enough to blend into the cheeks and jaw. Good if you want the haircut to feel more styled.
The Textured Evening Version: Ask for a little more internal movement and piecey ends so the cut looks more undone when diffused. Best for hair that holds a bend easily.
The Smooth, Polished Version: Keep the perimeter a little blunter and the face frame softer. This is the one I’d pick for people who blow-dry more than they air-dry.
The Thick-Hair Version: Remove weight underneath and keep the top layers longer. That stops the sides from turning into a helmet shape.
Keeping the Layers in Shape Between Trims
Long layers are forgiving, but they still need a little upkeep. If you wear bangs or curtain pieces, plan on a trim every 6 to 8 weeks so the front does not drop into your eyes and start splitting in odd places. For the rest of the cut, 10 to 12 weeks is a good trim rhythm if you like the shape to stay crisp. If you’re happy with a softer grow-out, you can stretch it a little longer.
Wash day habits matter more than people think. Product buildup can make waves sag and puff at the same time, which is a strange and annoying combination. A clarifying wash every 3 to 4 weeks usually keeps the layers bouncy without stripping the hair dry. If your ends feel rough, focus conditioner from the ears down and leave the crown lighter.
Sleep helps too. A loose pineapple, satin scrunchie, or a silk pillowcase can keep the front pieces from crimping flat overnight. In the morning, a fine mist of water and a tiny bit of leave-in are often enough to wake the layers back up. If you’re using heat, lower temperature and fewer passes matter more than fancy tools. Repeated hot styling is what makes the face frame go fuzzy first.
Questions People Ask Before Getting the Cut

How short can the front layers be on a round face?
Usually longer than people expect. Lip length, jaw length, or collarbone length tends to work better than cheekbone length because it keeps the eye moving downward instead of stopping at the widest part of the face.
Will long layers make wavy hair frizzier?
They can, if too much bulk is removed or the ends are thinned to nothing. Long layers that preserve weight tend to help waves clump better, which often looks smoother, not frizzier.
Do curtain bangs work on round faces?
Yes, if they’re kept longer at the sides and not cut into a blunt shelf across the forehead. The longer temple pieces are what keep the cut from widening the face.
Can fine wavy hair pull this off?
Absolutely, but the layering should stay gentle. Fine waves need movement with a strong enough bottom line to avoid see-through ends.
Is a center part a bad idea?
No. A center part can work well if the face-framing pieces are long enough to create vertical length. The problem usually isn’t the part; it’s the front layer placement.
What if my hair is very thick?
Then the cut usually needs more internal weight removal and a perimeter that stays full. Thick waves can swallow shape fast, so the haircut needs enough structure to stay from puffing outward.
How often should I trim long layers?
For a crisp shape, about every 10 to 12 weeks. If bangs are part of the cut, plan on more frequent cleanup, because fringe never waits politely.
What if my stylist cuts my waves while they’re blown straight?
Ask them how they’ll account for shrinkage before they cut. Wavy hair often needs a longer finished length than straight hair, and the front pieces especially can bounce up more than expected once they dry.
The Shape That Sticks
The best long-layer haircut for wavy hair and round faces is not the one with the most pieces or the most texture. It’s the one that understands where the width lives and refuses to stop there. When the shortest layers sit low enough, the wave pattern gets room to move, and the face opens up without looking overworked.
That’s the part I keep coming back to: placement. Not drama. Not bulk. Placement. If you get that right, the rest of the cut has a much easier job, whether you lean soft and subtle or go for curtain bangs, a side sweep, or a more sculpted butterfly shape.
Bring a photo, mention your wave pattern honestly, and ask for the face frame to stay below the cheekbone. That one conversation can save you from a lot of awkward grow-out, and it makes the whole haircut feel like it was planned for your face instead of borrowed from someone else’s.