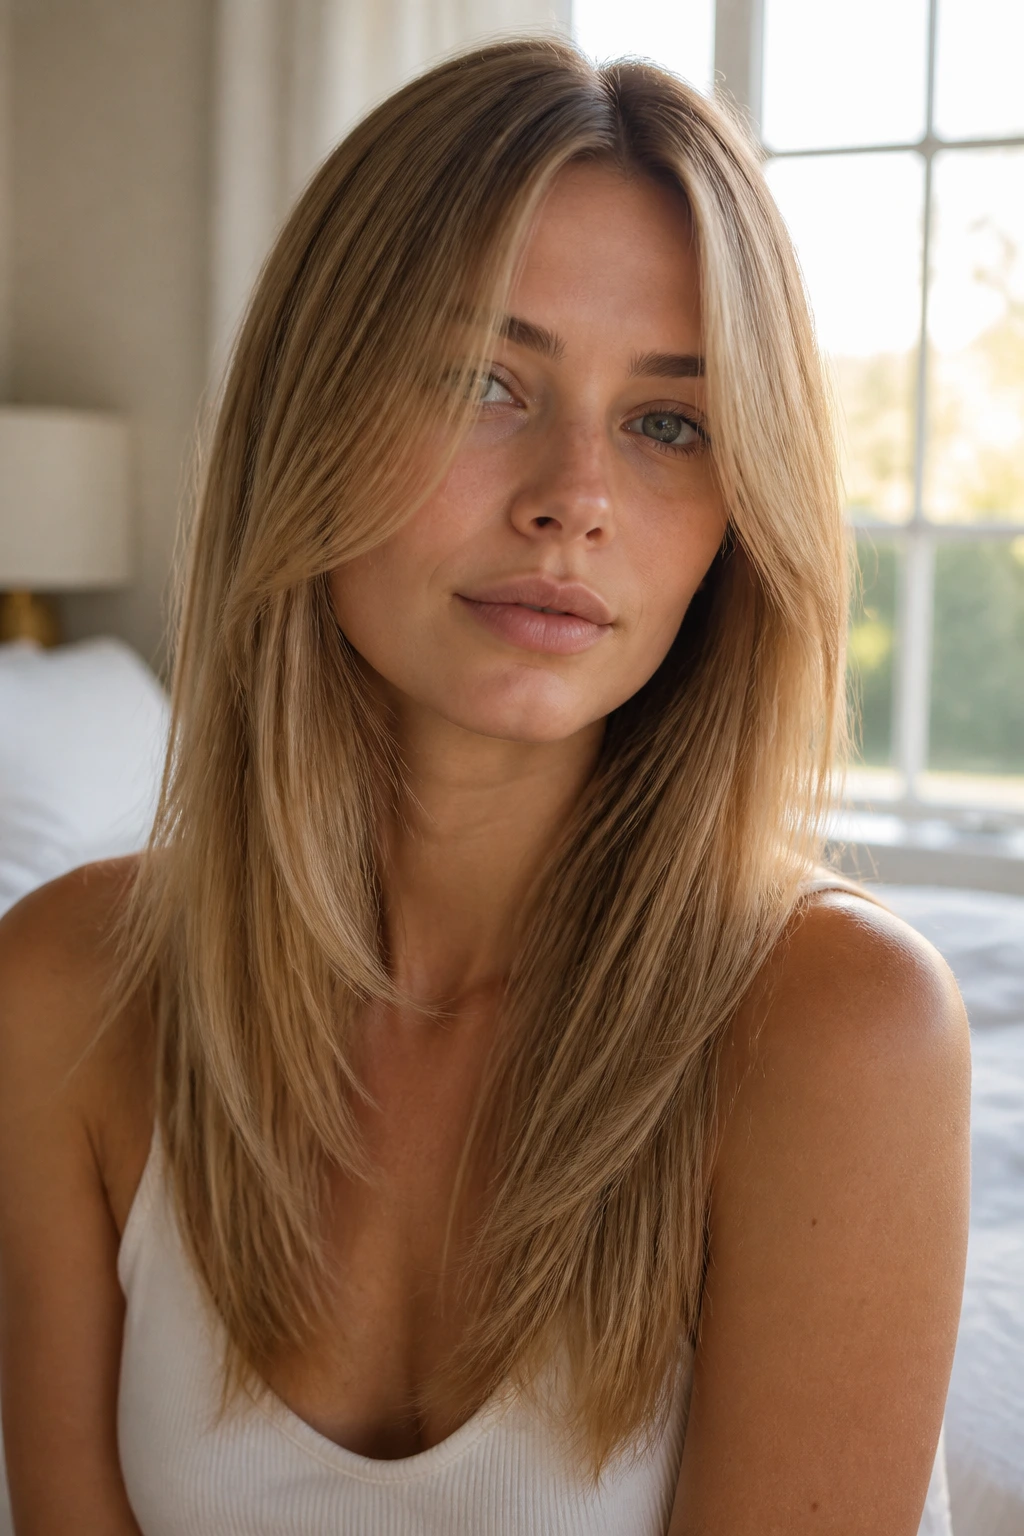
Long hair can be merciless on thin strands. Let it grow without shape, and the ends start looking like they were borrowed from a different head — wispy, see-through, a little tired at the hemline. Soft layers fix that problem only if they’re cut with restraint. Too much slicing, too much texturizing, too many short pieces near the crown, and the whole thing collapses into a flatter version of what you started with.
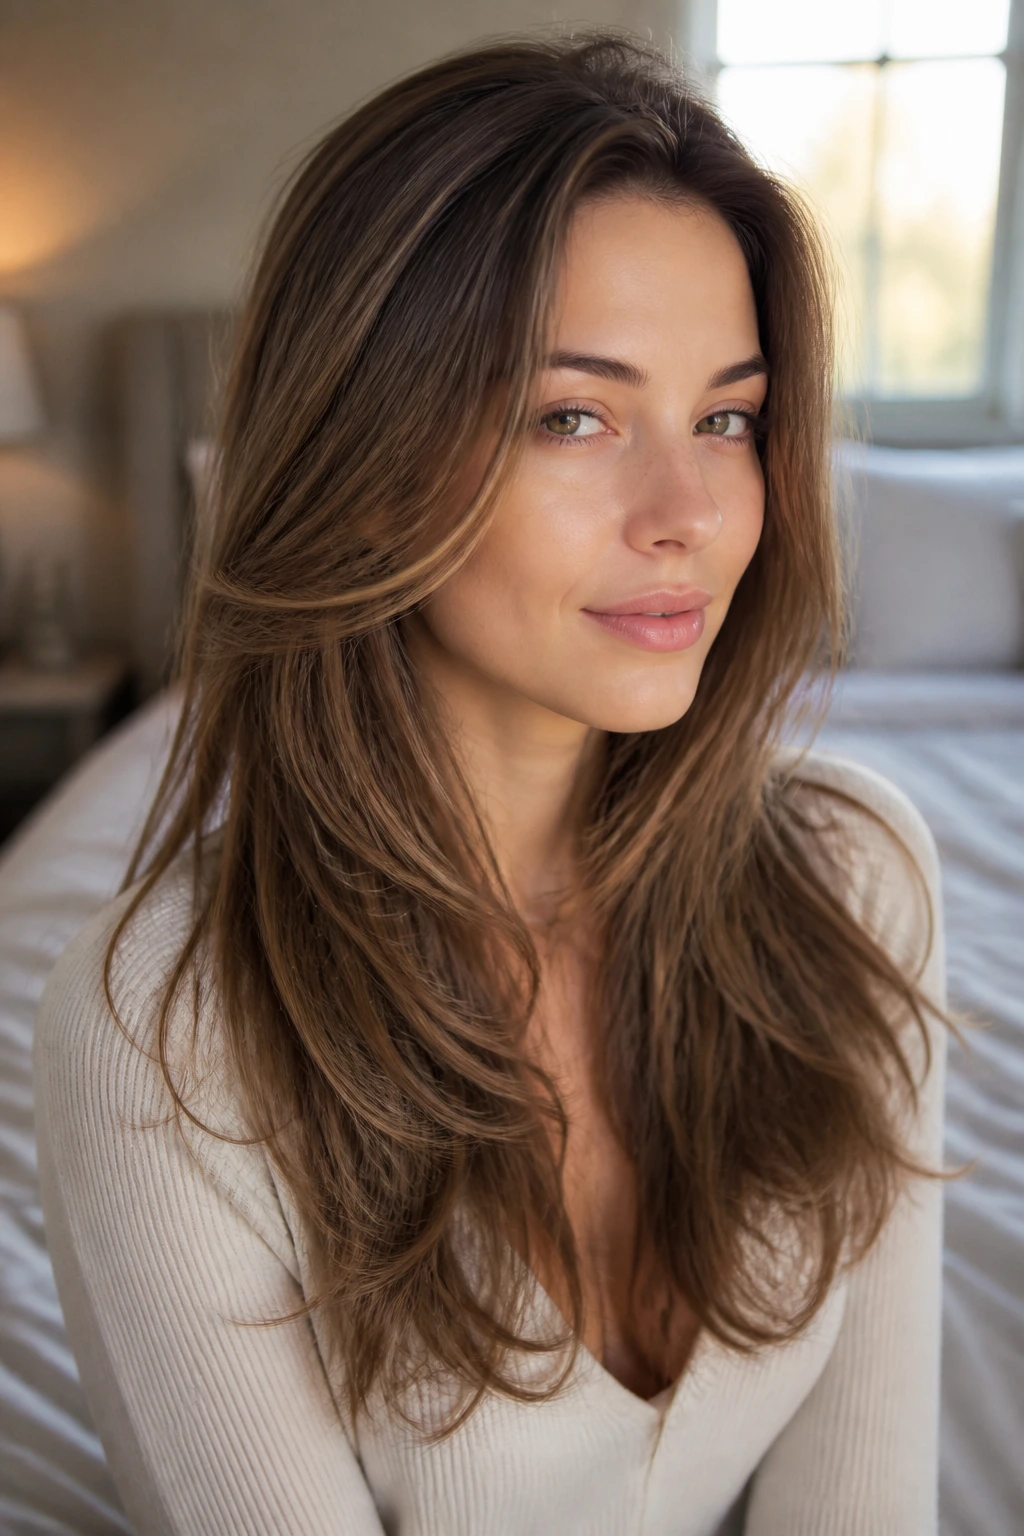
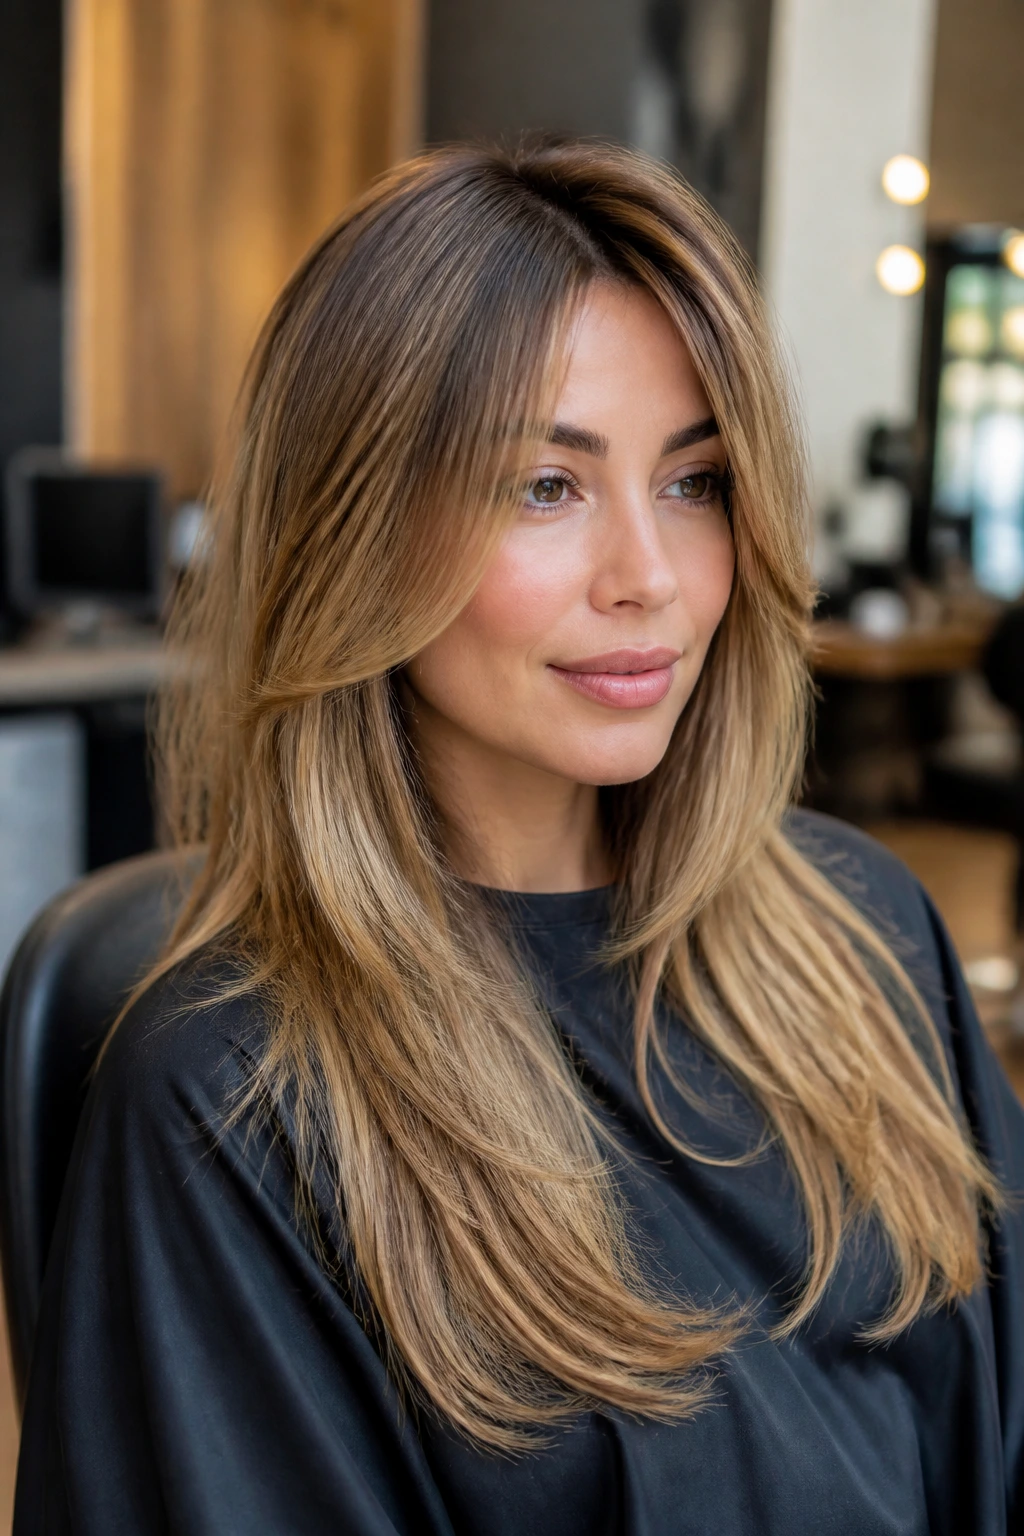
The sweet spot is a haircut that keeps the perimeter strong while sneaking in movement where the eye wants it most: around the cheekbones, jawline, collarbone, and crown. That’s why long length hairstyles for thin hair with soft layers are such a useful middle ground. They don’t rely on dramatic chopping. They use shape, weight, and a little face framing to make hair read fuller than it is.
That distinction matters. Thin hair and fine hair are not the same thing, and stylists who treat them as one and the same usually overcut the density. Fine hair means the strand itself is narrow; thin hair means there are fewer strands on the head. You can have both, one, or neither. The right soft layer pattern respects that difference, and once you see the cut on a real head of hair — especially under indoor light, where sparse ends love to betray themselves — the logic gets obvious fast.
Why These Soft Layers Stay Full Where It Counts
-
The ends keep their weight: A strong hemline makes long hair look intentional instead of stringy, which is half the battle with low-density hair.
-
The face gets the lift first: Cheekbone, jawline, and collarbone pieces create shape where people actually notice it, not buried inside the back of the head.
-
The cut still works on lazy days: Several of these styles look better with a little bend, but they do not fall apart if you air-dry and go.
-
Volume stays close to the roots: Soft layers can open up the crown without turning the mids and ends into frayed ribbons.
-
They grow out without panic: That matters more than people admit. Harsh layers can look chic for two weeks and awkward for the next eight.
-
You can make them sleek or soft: Thin hair often looks best when it’s not overloaded with product, and these shapes give you room to choose.
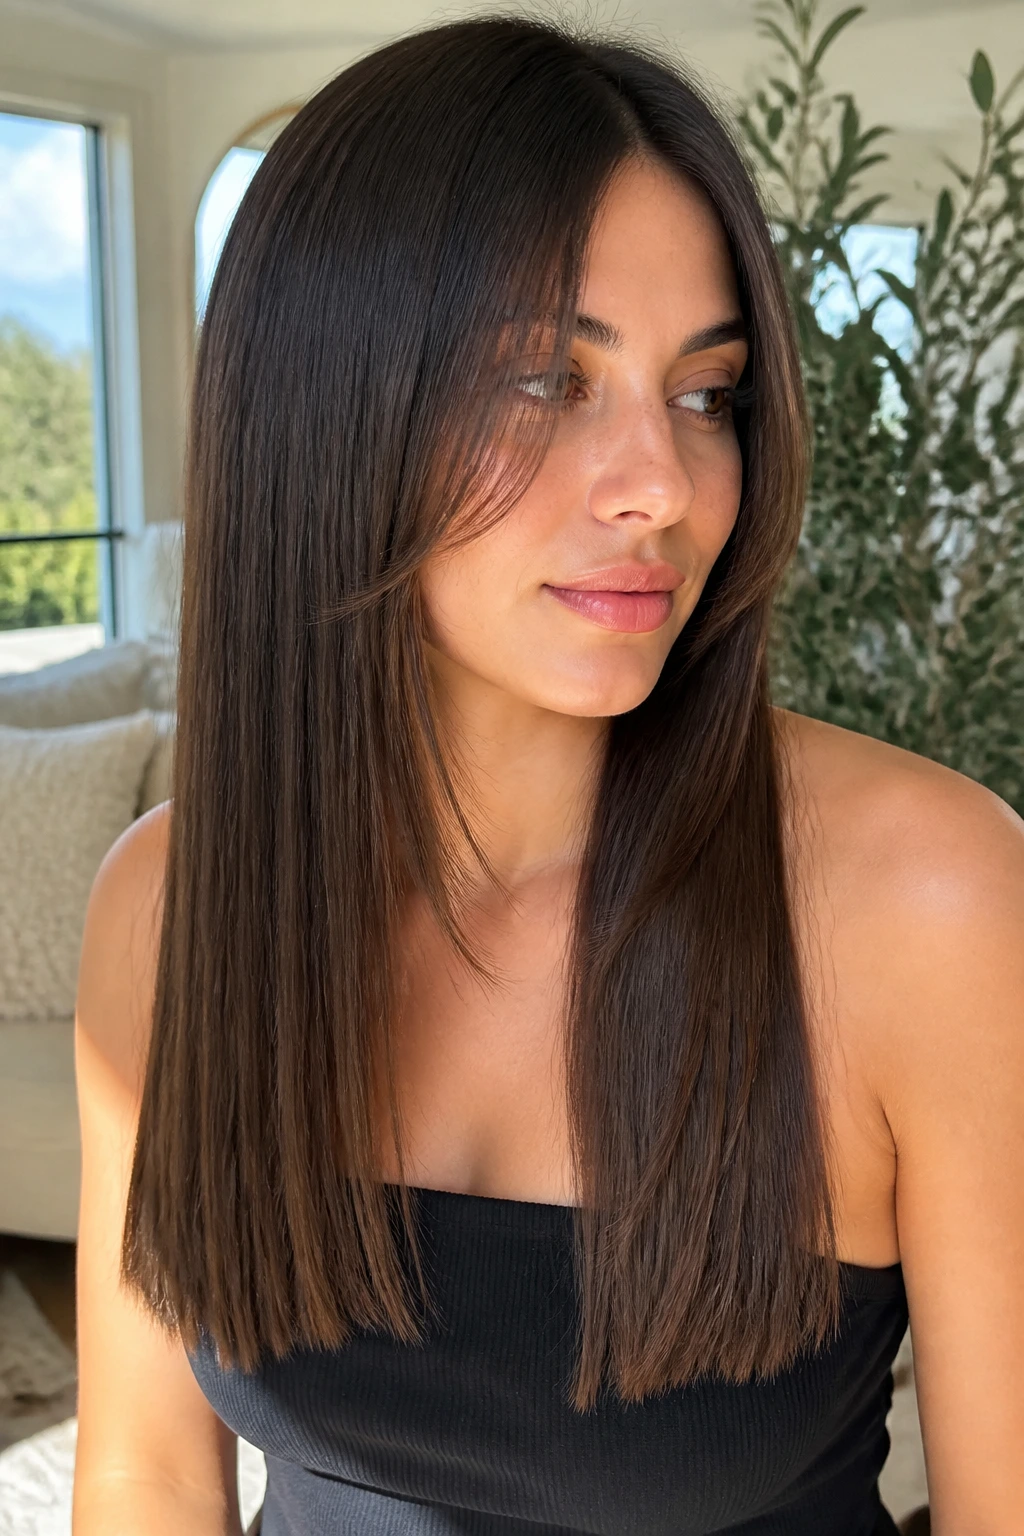
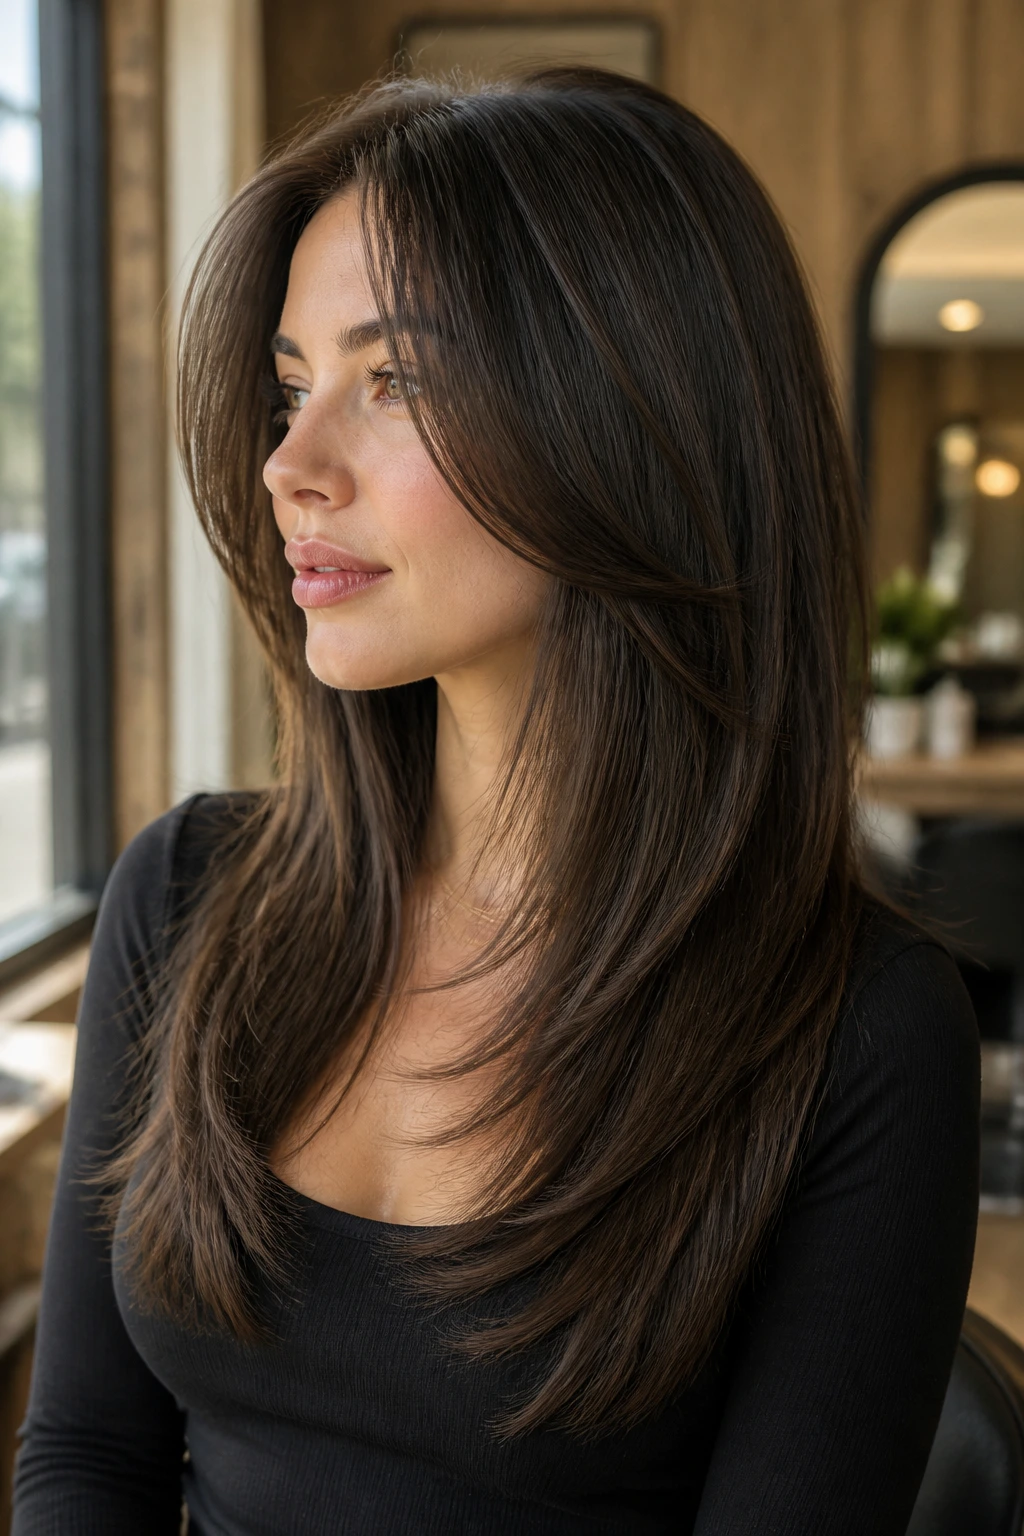
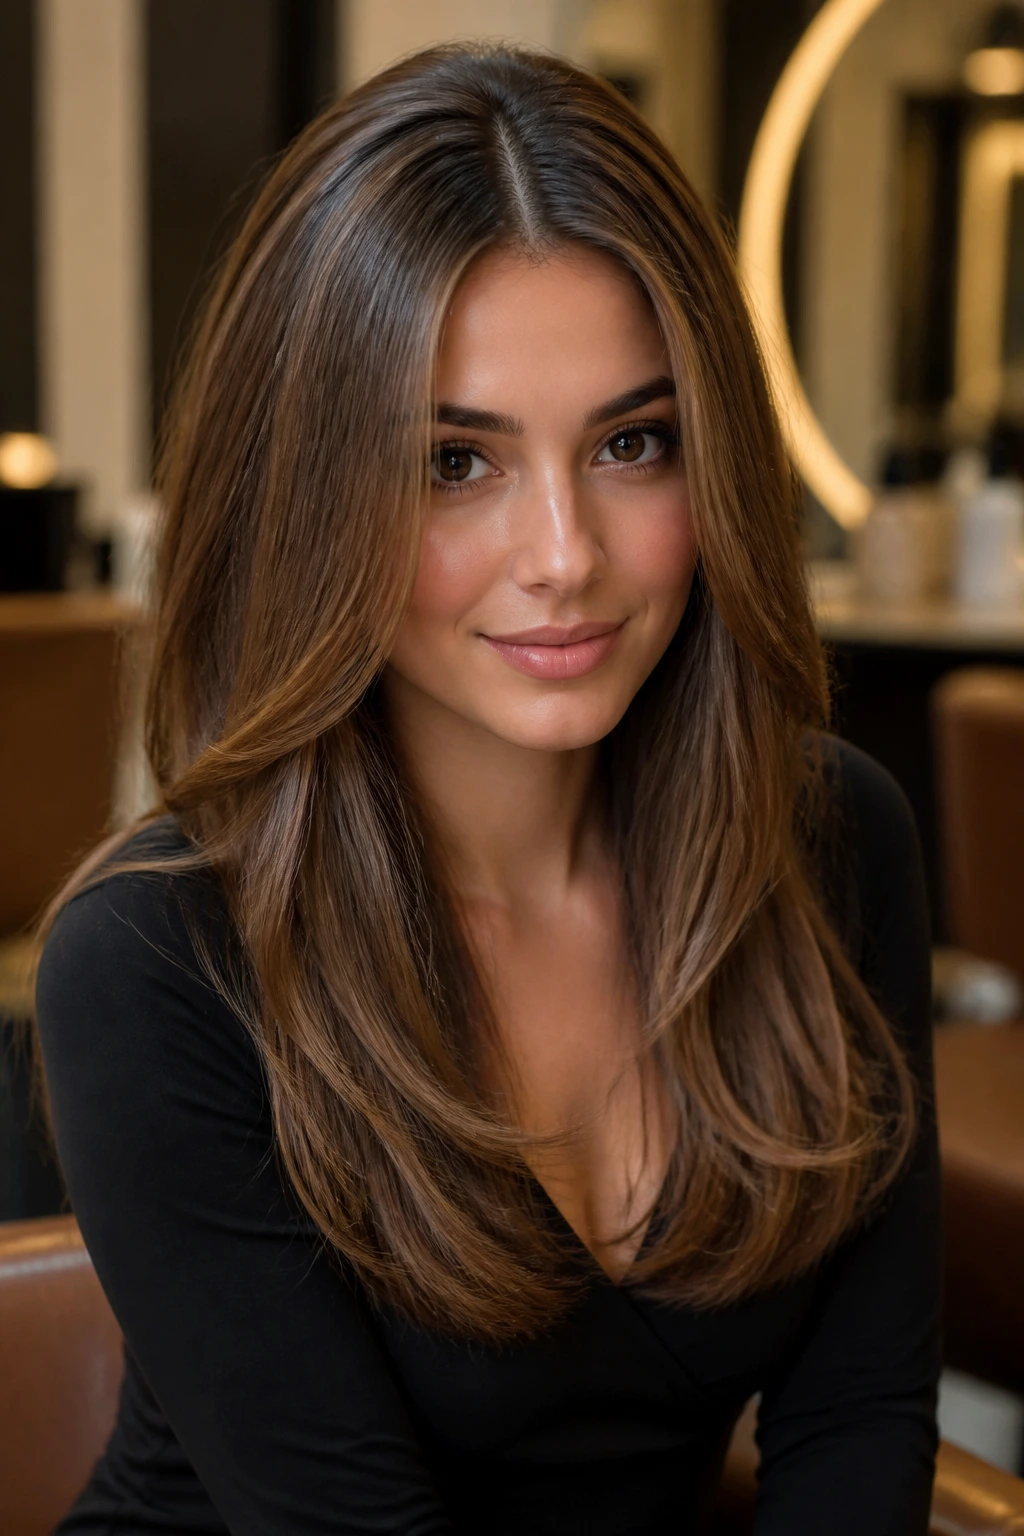
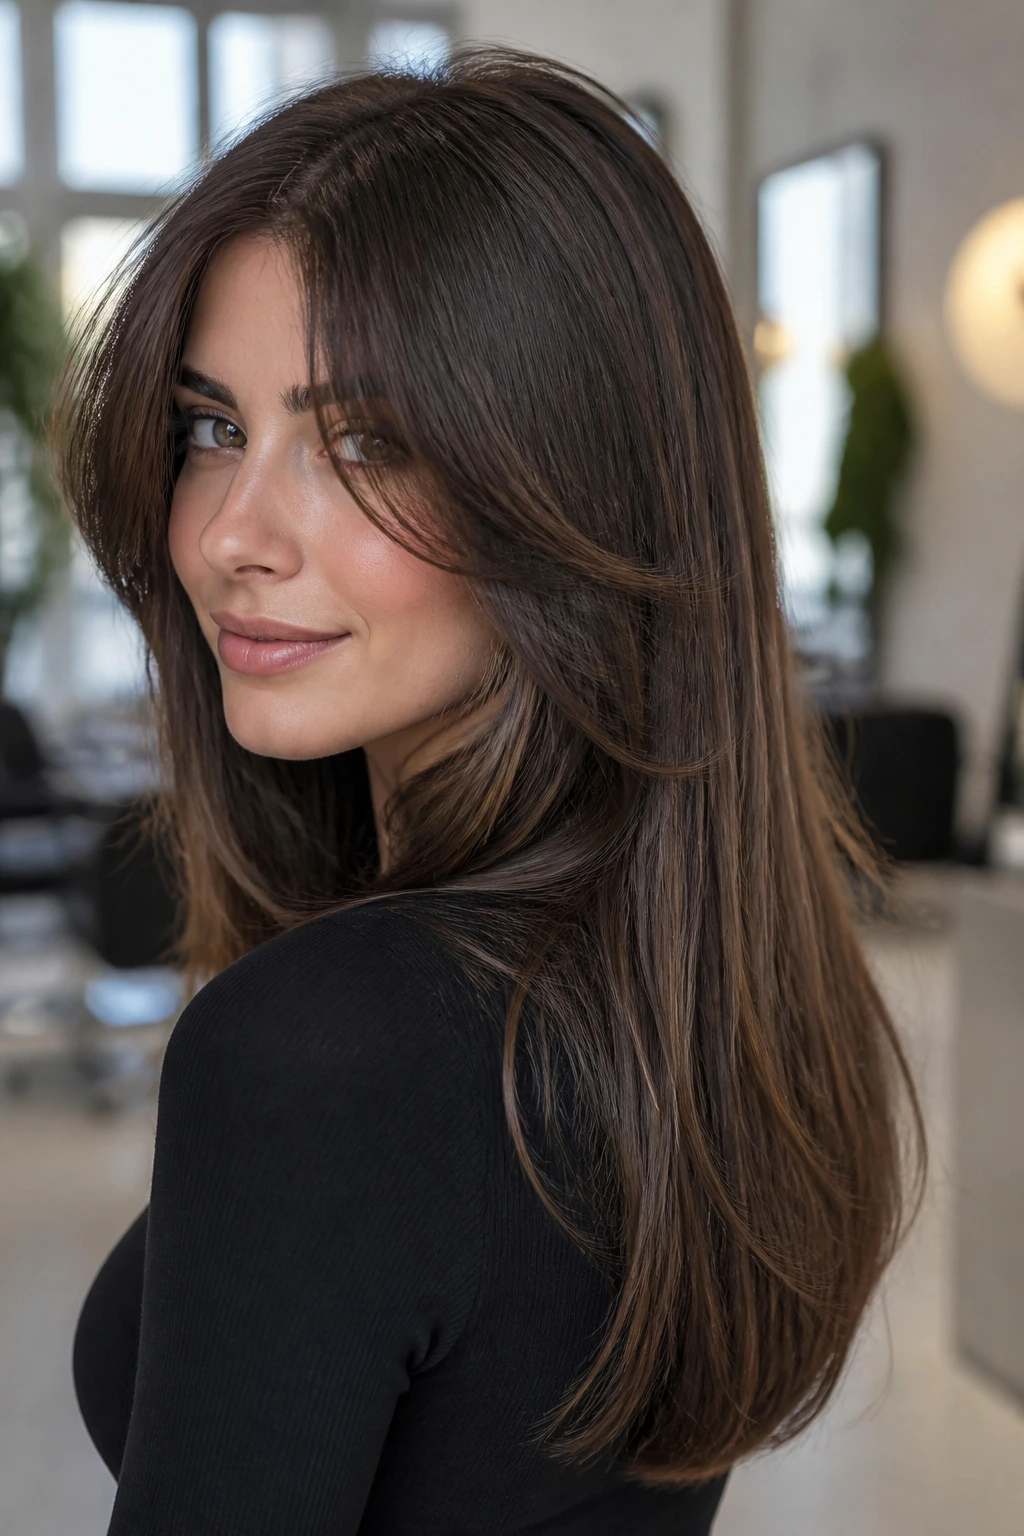
1. Long C-Cut With a Feathered Face Frame
A long C-cut is one of those shapes that looks almost too simple until you see it on thin hair and realize how much better the hair behaves. The front curves gently toward the face, usually starting around the cheekbone or jaw, while the back keeps a fuller, longer line. That curve softens the profile without shredding the perimeter.
Why It Flatters Thin Hair
The trick here is restraint. A C-cut keeps the eye moving in a soft arc, which creates the impression of density even when the actual strand count is modest. The hair doesn’t hang in a dead straight curtain, and it doesn’t get chopped into obvious layers either.
Quick details:
- Ask for the shortest face-framing pieces to land near the cheekbone or jaw, not up by the eyes.
- Keep the back line longer and slightly rounded, not razor-straight.
- Blow-dry with a 1.25-inch round brush and bend the ends under just a touch.
- If your hair is very fine, skip aggressive texturizing at the ends. You want thickness there.
Best tip: A little curve at the front does more than five short layers ever will.
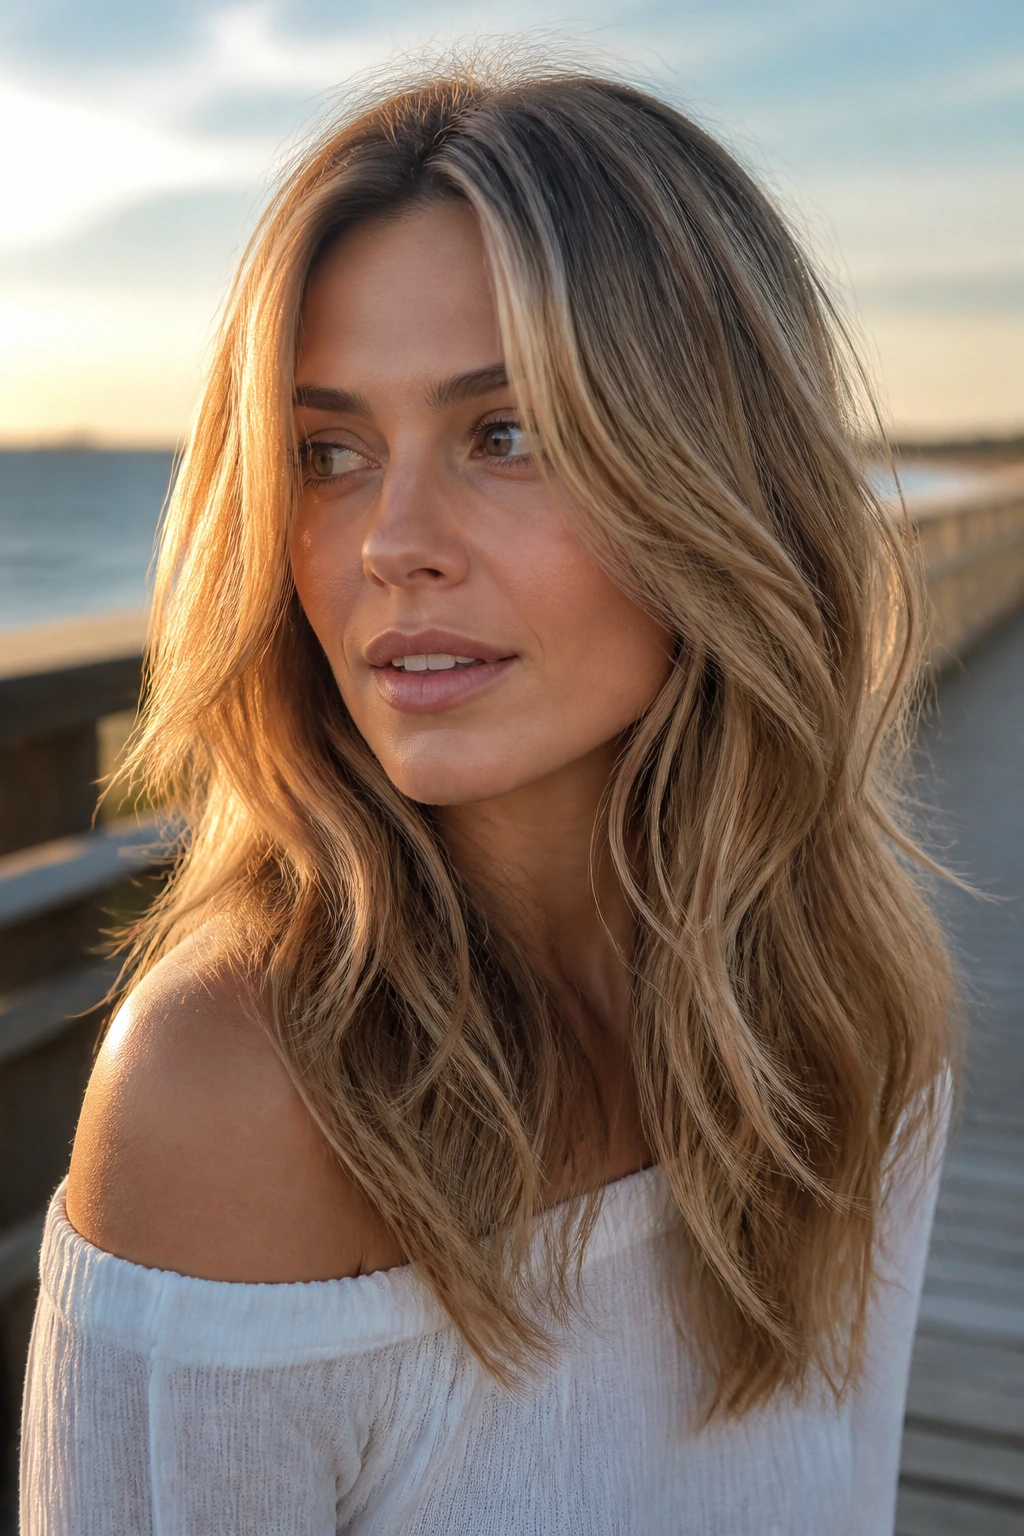
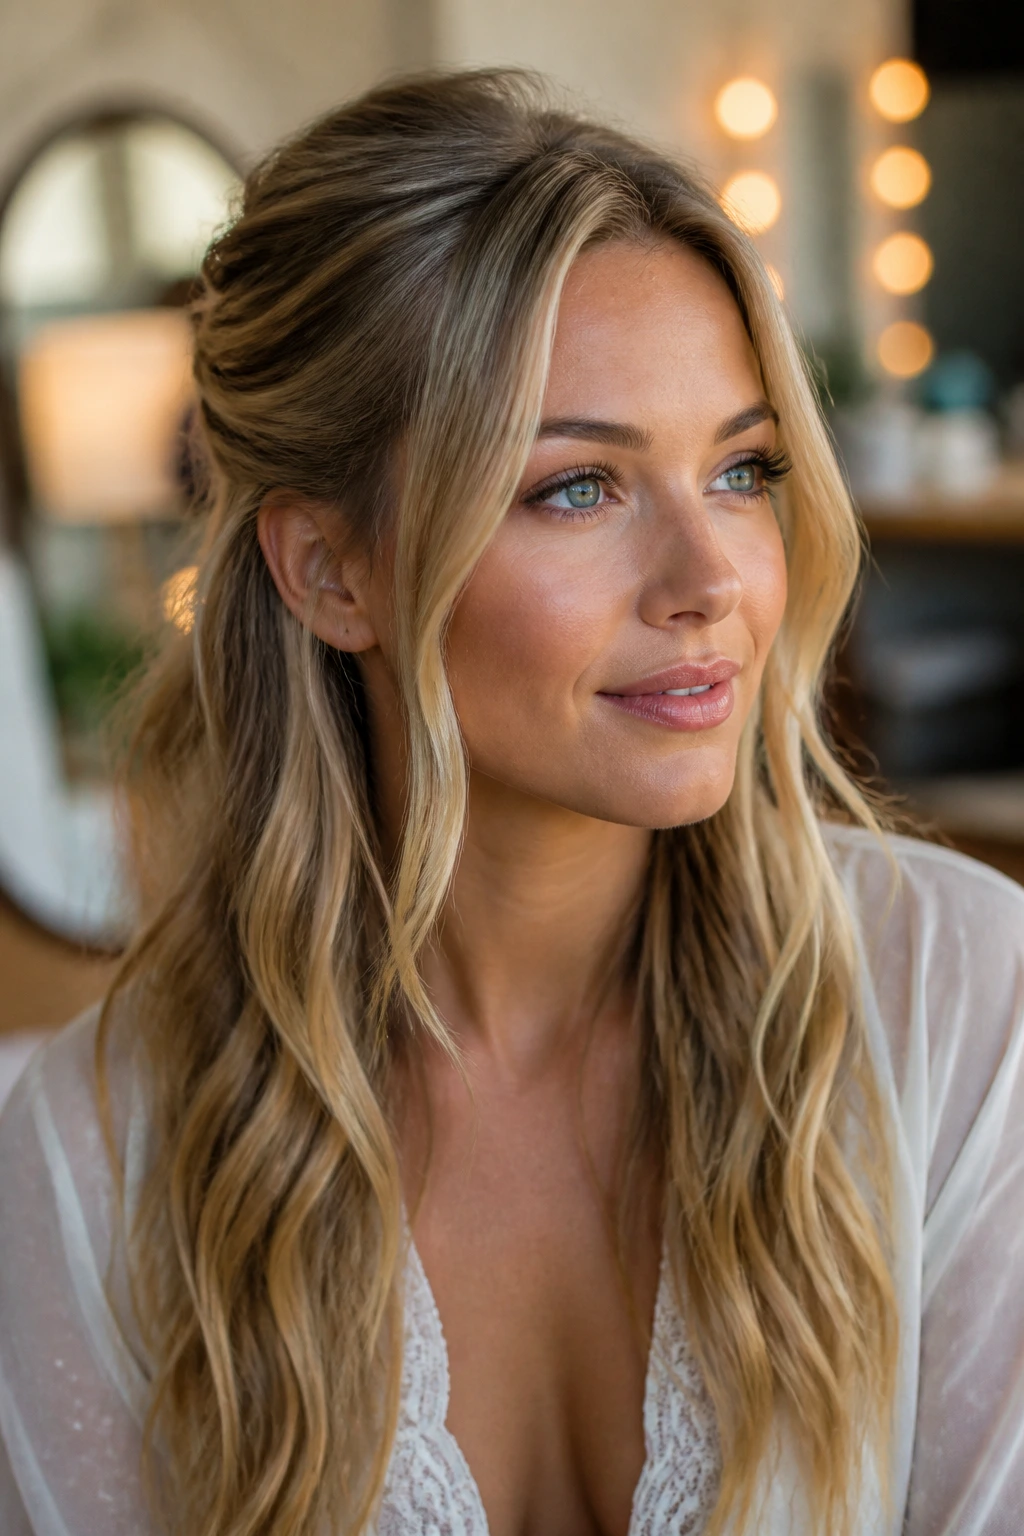
2. Curtain Bangs That Melt Into Long Layers
Curtain bangs can do a lot of heavy lifting for thin hair, and I mean that in the nicest possible way. They break up the top line, open the face, and pull attention toward the eyes and cheekbones before anyone notices the softness at the ends. When they’re blended into long layers, the whole cut starts to feel airier without looking pieced out.
The best version isn’t short and choppy. It starts with enough length to split cleanly at the center and sweep toward the outer corners of the face. If the bangs hit around the nose to lip area when they’re dry, they usually fold back beautifully into the rest of the cut.
Wear them with a slight bend. Flat curtain bangs can cling to the forehead and make the hair look thinner than it is, especially if the root area is sparse. A round brush, a quick bend away from the face, and a light mist of flexible spray is usually enough.
And yes, cowlicks matter here. If your fringe splits hard at the center, the stylist may need to leave the front a little longer so the shape lies where it should.
3. Soft U-Cut With a Full Bottom Edge
Why does a U-shape work so well when the hair is long and fine? Because it protects the bottom edge. A U-cut has a subtle curve in the back rather than a straight line, so the hair still reads as dense, but the shape isn’t stiff or blocky.
The whole point is to keep the weight concentrated where thin hair tends to look most fragile: the last few inches. That full edge catches light in a better way than a heavily layered tail, especially if your hair is straight or only lightly wavy.
How to Wear It
The easiest styling route is a smooth blowout with a slight bend at the ends. If you wear your hair straight, the curved perimeter prevents it from looking severe. If you wear it wavy, the U-shape keeps the length from spreading too wide at the shoulders.
I like this cut for people who want softness without obvious layering. It’s understated, but not boring. That’s a nice line to walk.
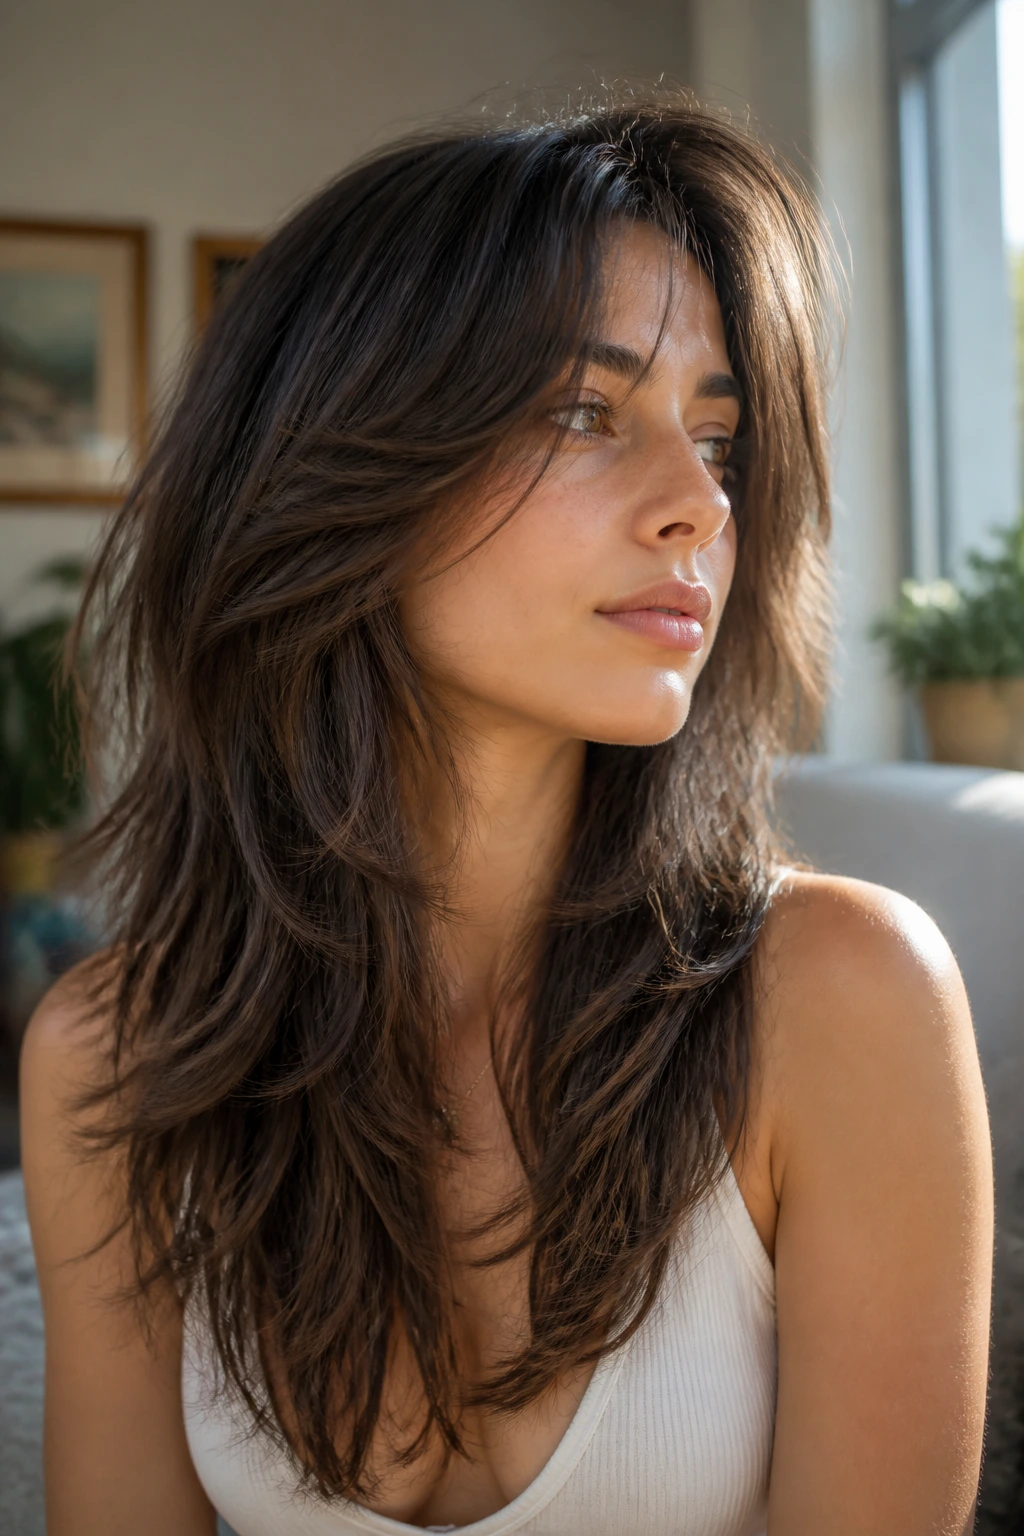
4. Invisible Layers With a Glossy Blowout
Invisible layers are the quiet answer for anyone who likes movement but hates the look of obvious steps. The layers live inside the shape instead of on the surface, so the hair can swing and fold without broadcasting exactly where every section was cut.
That makes them especially useful for thin hair that starts to look choppy the second a stylist gets enthusiastic with the thinning shears. The outside perimeter stays clean. The inside gets the support.
A glossy blowout shows this cut off better than any curling iron ever could. Use a round brush, lift the roots near the crown, then turn the ends in just enough to see the shape. The hair should move when you turn your head, not separate into strips.
Quick Notes
- Best for straight to softly wavy hair.
- Keep product light; invisible layers and heavy cream do not get along.
- Ask for movement, not texture. Those are different things.
Best tip: If the ends look wispy in the chair, they’ll look worse at home. Stop the cut before that happens.
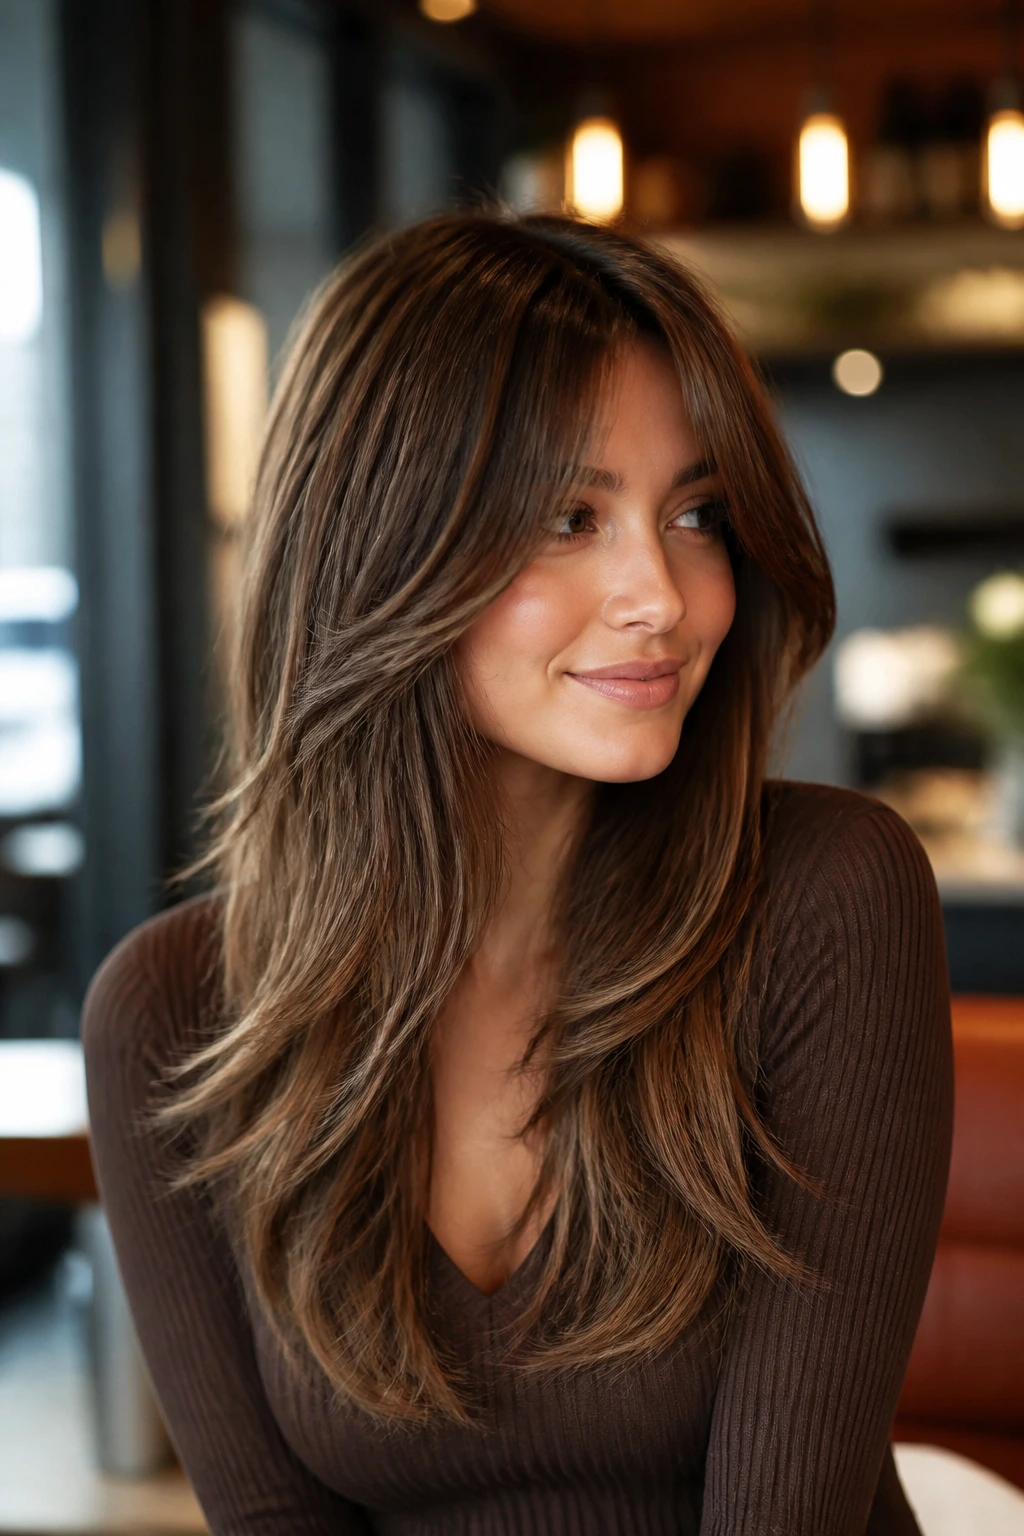
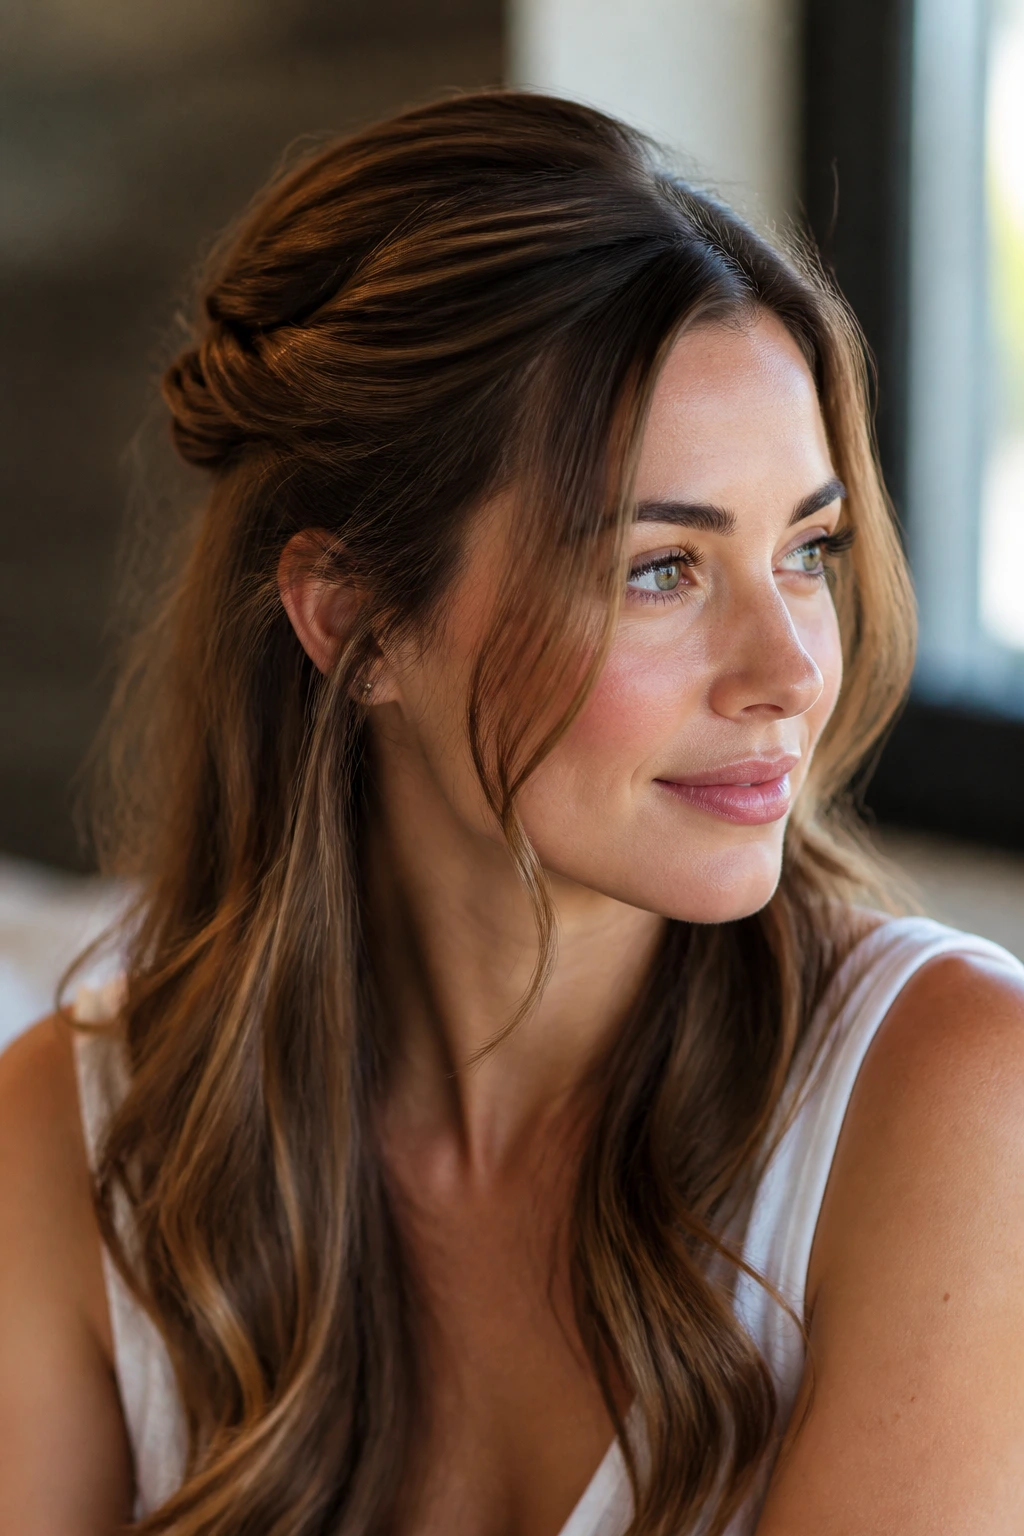
5. Butterfly Layers With Crown Lift
Butterfly layers have a reputation for drama, but the good version is all about architecture. The shortest pieces stay high enough to give lift around the crown and cheekbones, while the longer lengths hang beneath them and keep the shape feeling full. On thin hair, that balance matters more than the viral name attached to it.
The top sections create a sort of floating frame around the face. The lower length keeps the whole thing from looking overbuilt. If you’ve ever wished your long hair had the “look” of volume without losing the actual length, this is the cut to study.
The styling part is not complicated, though it does reward a little effort. A large round brush or Velcro rollers at the crown will make the shorter top pieces behave. If the front gets a soft bend away from the face, the whole cut looks more deliberate.
Butterfly layers also grow out fairly gracefully. That’s not a small thing. A lot of heavily layered cuts turn awkward when the schedule slips. This one usually just gets softer.
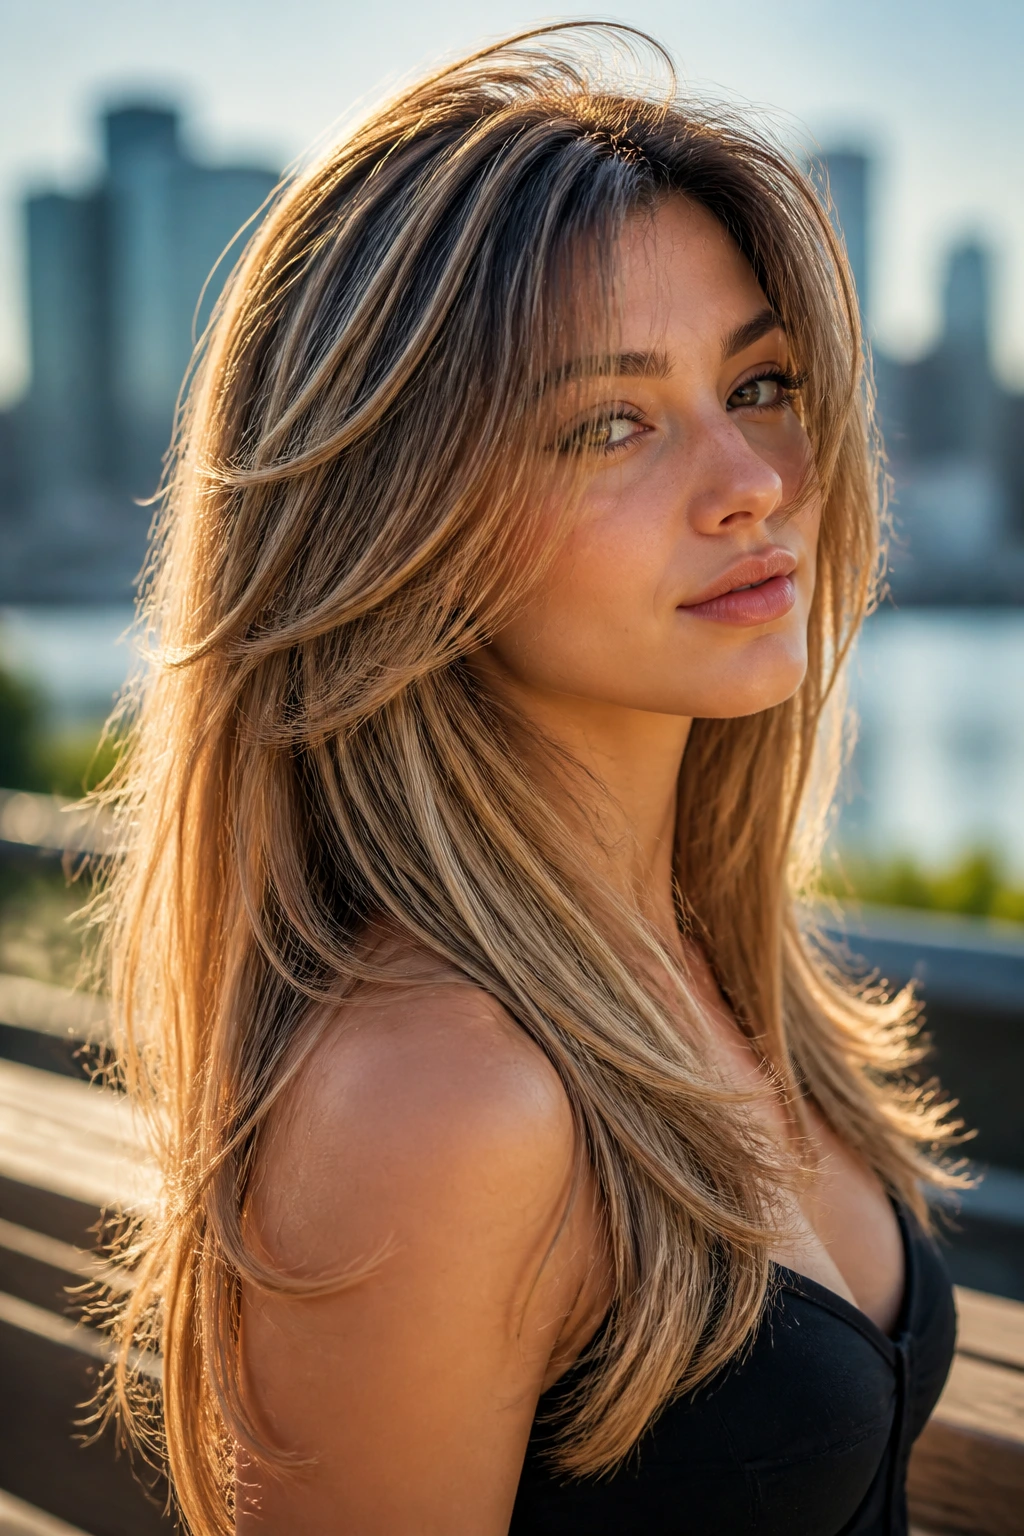
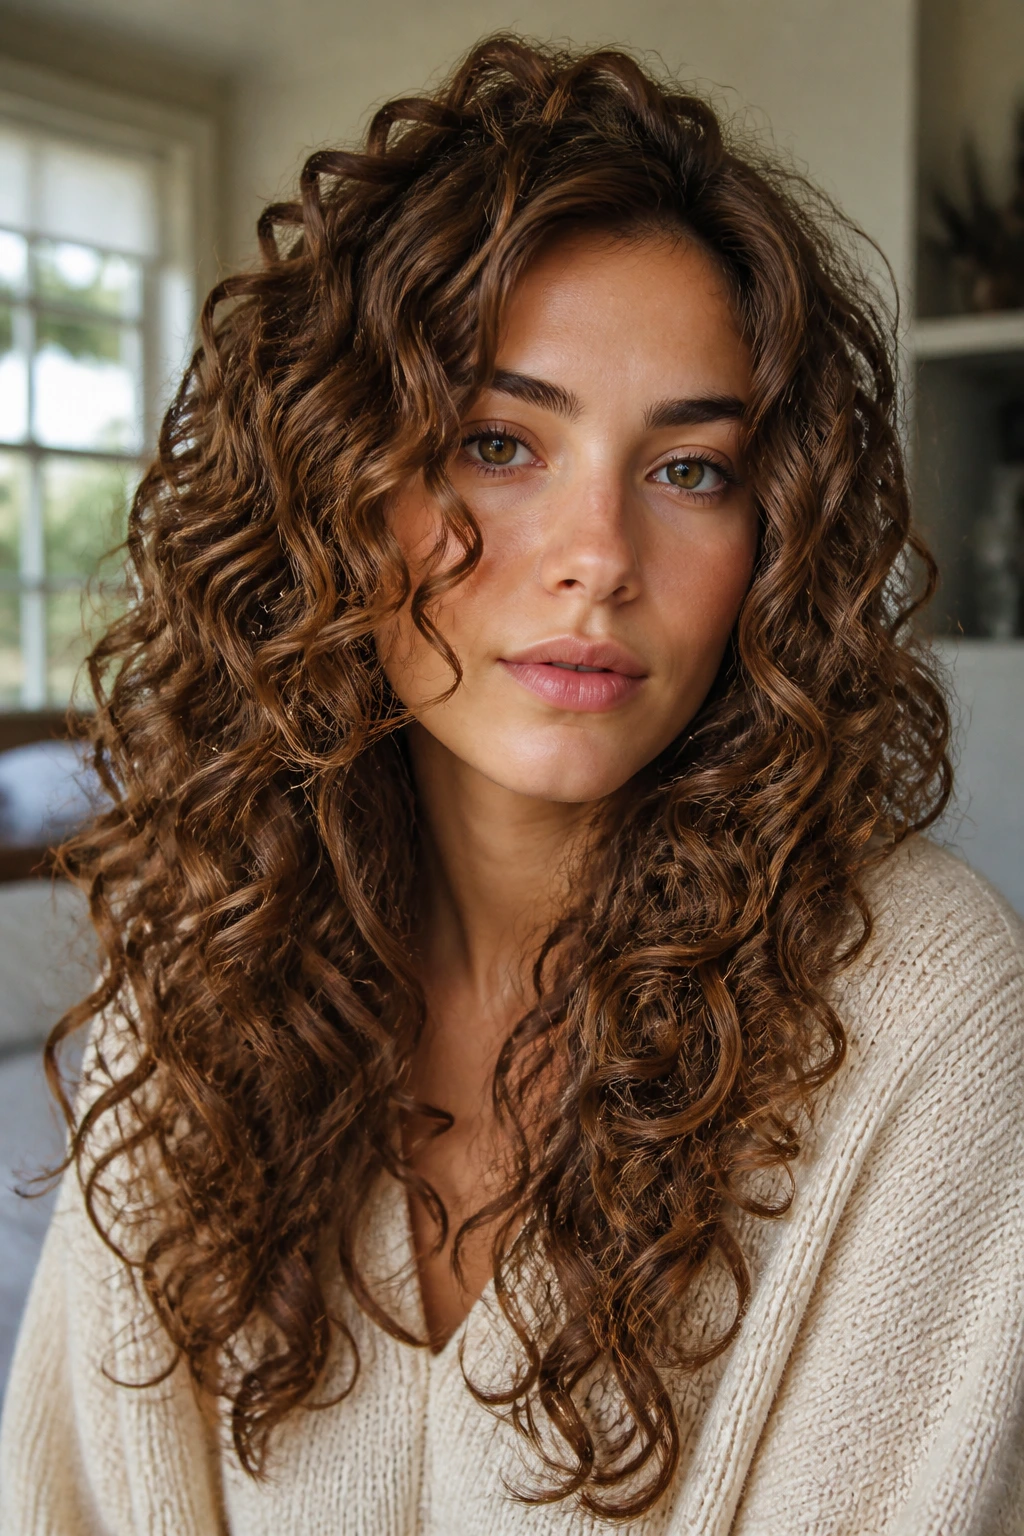
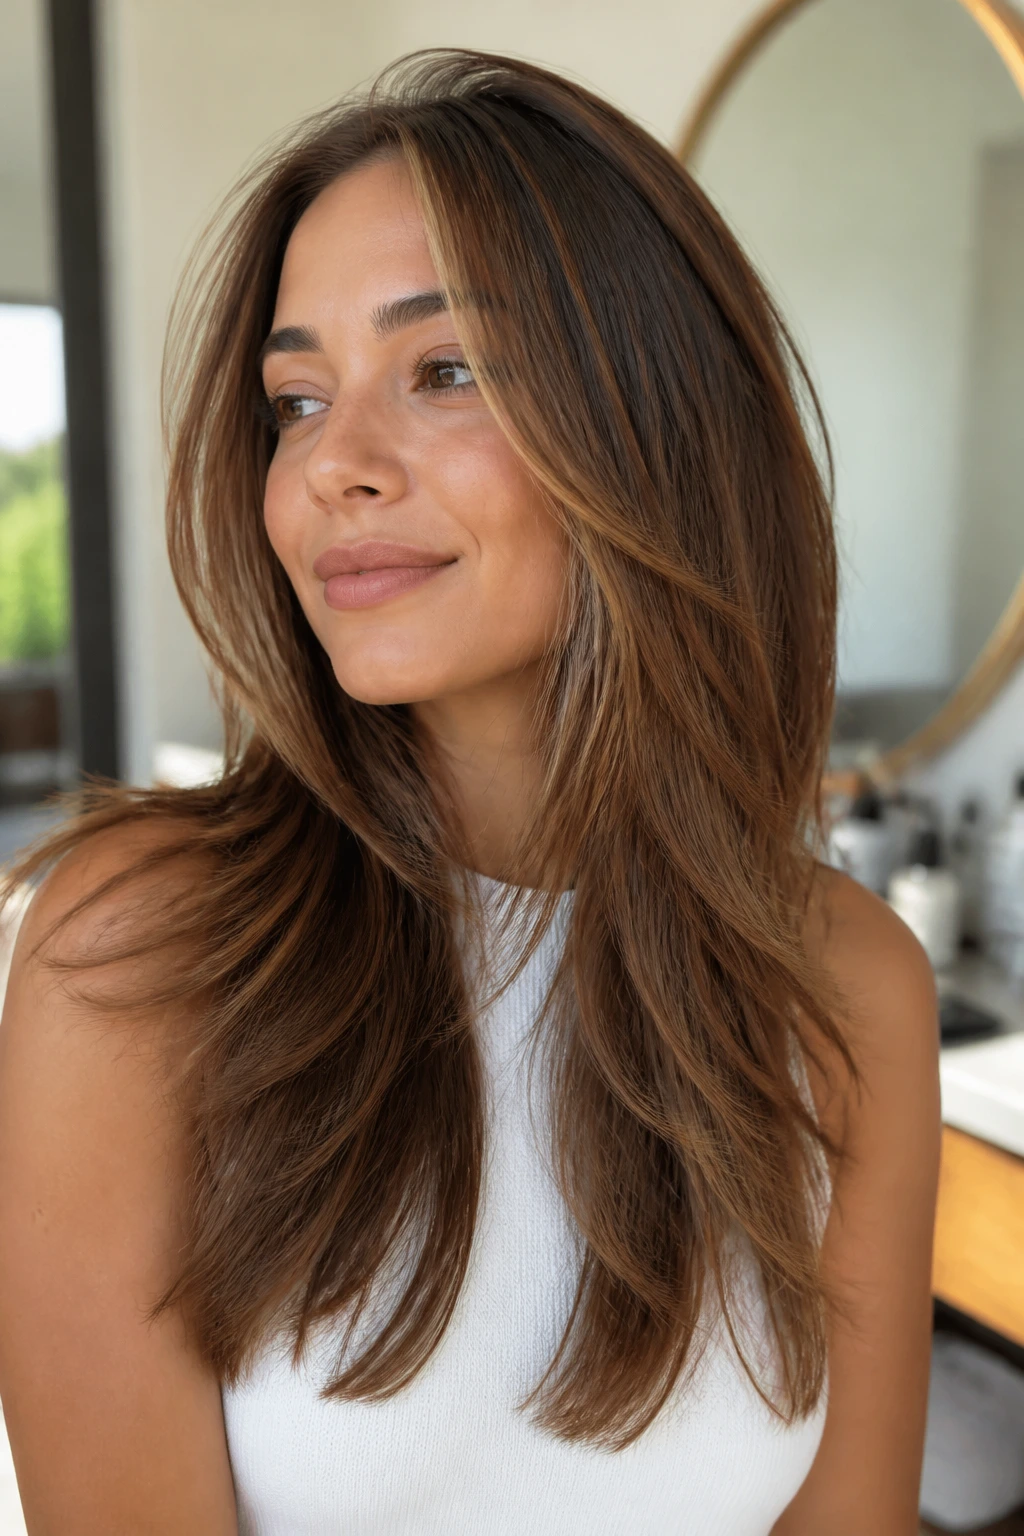
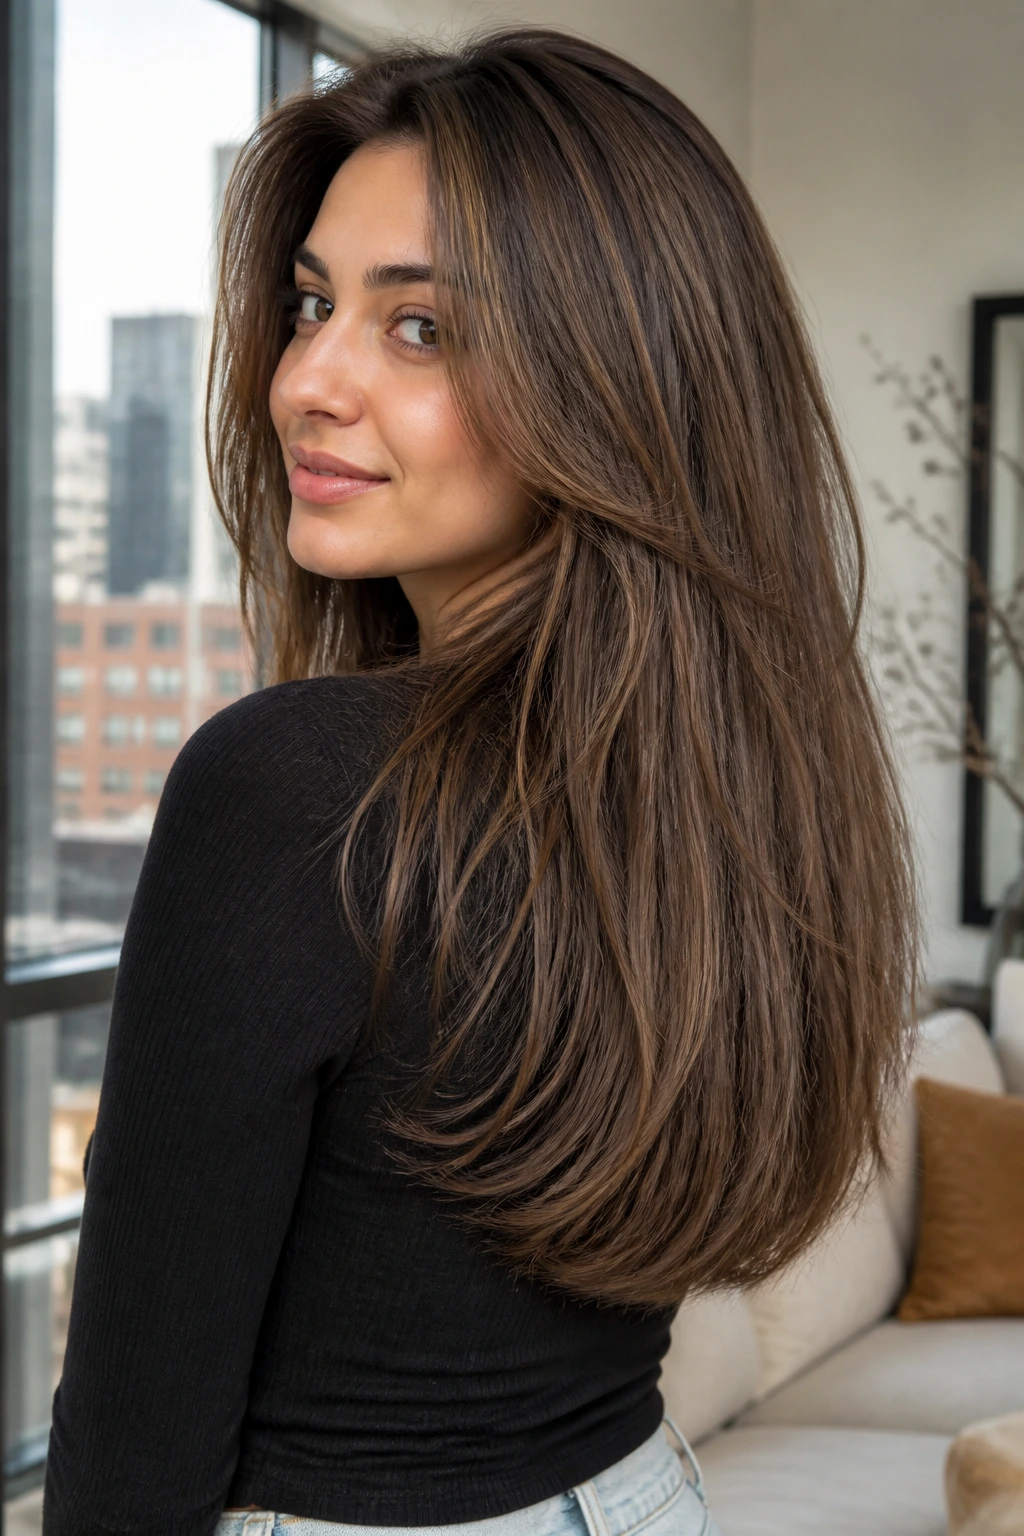
6. Long Shag With Wispy Movement
A long shag is not the same animal as a chopped-up shag with half the length missing. The long version keeps the shoulders, collarbone, and back length intact while using softer internal layering and face-framing pieces to create movement. On thin hair, that difference is everything.
The best long shag has a little attitude but no fraying at the ends. If the layers start too high or the razor goes too wild, the hair starts looking feathery in the wrong way. The goal is motion, not absence.
This cut works best on naturally wavy hair or hair that holds a bend well with heat. A few twists from a curling iron, brushed out gently, give it that lived-in shape without making the hair feel overdone. Straight hair can wear it too, but it usually needs more root lift and a little texturizing spray at the crown.
Best for
- People who want movement around the face
- Hair that already has some bend
- A slightly undone finish
It’s a cool cut. Not precious. Not fussy. That alone is a relief.
7. Deep Side Part With a Sweeping Face Frame
Sometimes the most useful change is not the cut but the part. A deep side part immediately shifts volume to one side, which makes thin hair look denser at the root before you even pick up a brush. Add a long sweeping face frame, and the whole head gains shape in about ten seconds.
What I like here is the asymmetry. Center parts can be lovely on long hair, but if the front is sparse, a side part often creates better lift and keeps the scalp from showing too much at the crown. The longer side can skim the cheekbone, while the other side tucks behind the ear and gives a little contrast.
This style loves a round brush at the root and a light mist of dry texture spray after the hair cools. Don’t overload it with oil or heavy serum. That kills the lift you just worked to create.
It’s a good answer when you want a hairstyle that looks intentional even on the days when the blow-dry was rushed.
8. Blunt Length With Whisper-Soft Front Pieces
Here’s the contrarian pick: sometimes thin hair does better with less layering, not more. A blunt long cut keeps the ends looking thicker because all the strands land in one dense line. Then you add only a whisper of softness at the front — maybe around the chin or collarbone — so the hair doesn’t feel boxy.
This is the style I reach for when someone’s hair is very fine and tends to fray at the ends. Heavy layers can make the tail look like a broom. A blunt perimeter fixes that instantly.
The front pieces should be subtle. Not chunky. Not chopped. Just enough to break up the line and keep the hair from dragging the face down. A slight bend inward at the ends gives the whole look polish without stealing density.
It’s also one of the easiest styles to maintain between trims, because there’s less internal shape to collapse. If your hair lies flat quickly and you hate spending time with a brush, start here.
9. S-Bend Waves With Layered Mid-Lengths
Why do S-bend waves work so well on thin hair? Because they break up straight light reflection. Flat, straight strands can reveal every gap in density. A soft wave changes the way the hair catches light, and suddenly the whole length reads fuller.
This style is especially useful when the layers sit in the mid-lengths rather than the ends. That gives the hair movement without making the bottom look threadbare. Think long, loose bends that start around the ears and continue down to the last few inches.
How to Wear It
Use a 1-inch or 1.25-inch curling iron, wrap the hair in alternating directions, then brush it out once it cools. You want soft bends, not rigid curls. If the wave is too tight, the look shrinks and the density issue gets louder.
A light mist of texture spray at the mid-lengths helps the wave hold its shape. Keep it away from the roots if your hair collapses fast. That’s the part that needs air, not grit.
10. Waist-Grazing Straight Hair With Beveled Ends
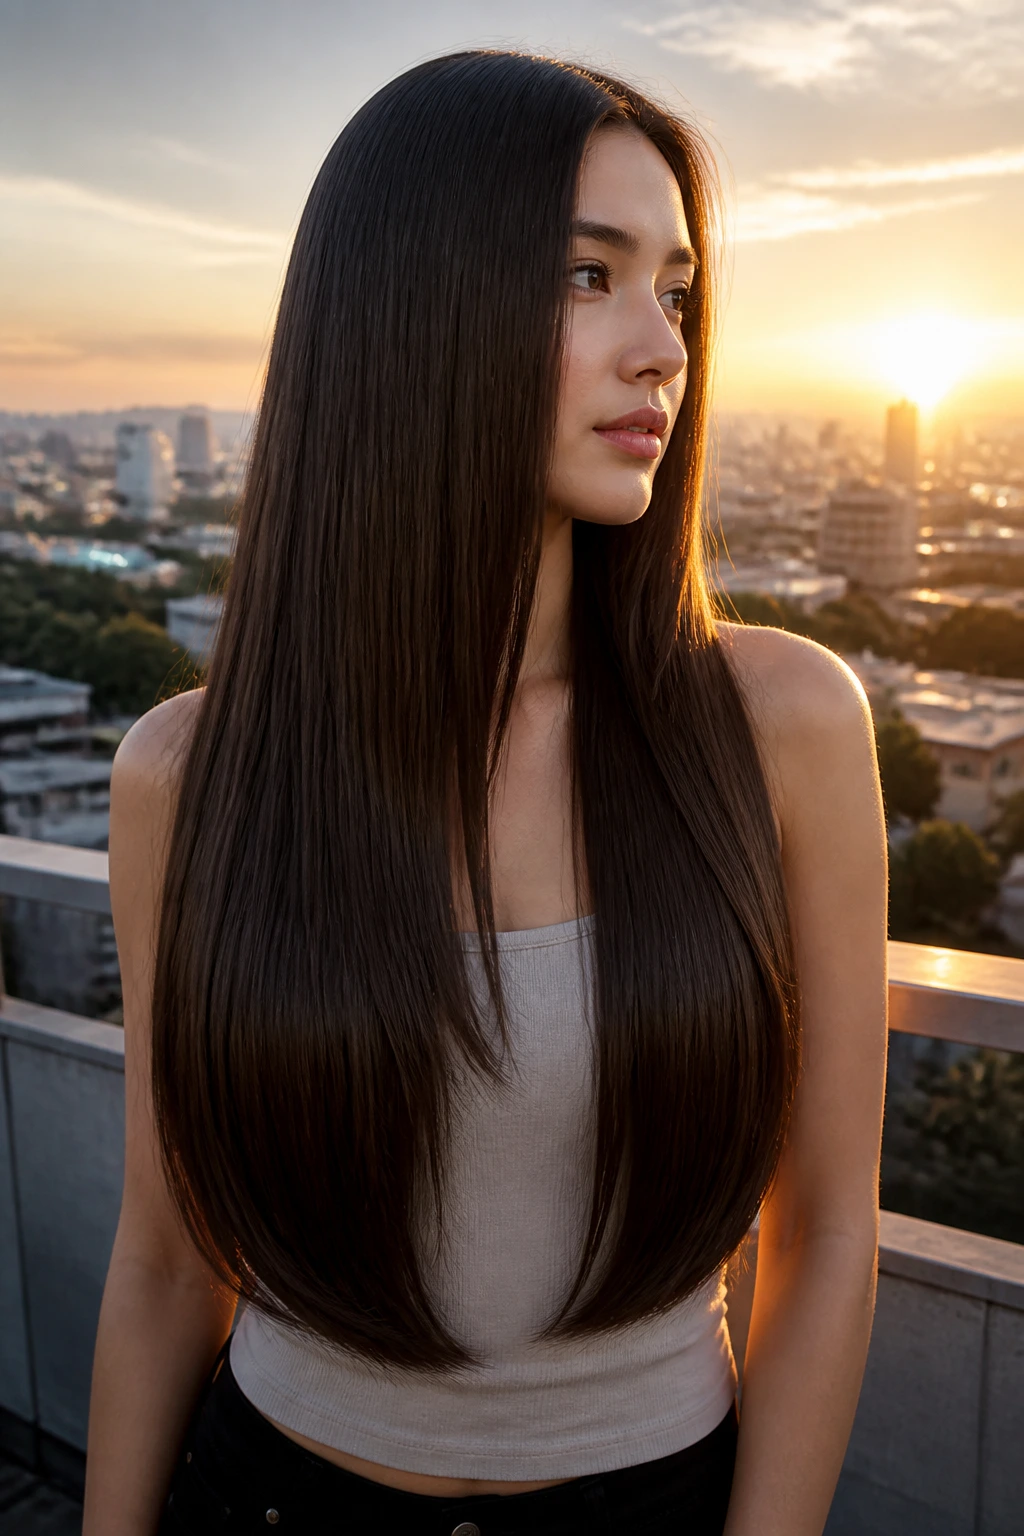
There’s something almost audacious about ultra-long hair that still looks full at the ends. The only way that works on thin hair is if the perimeter stays careful. A bevel at the bottom — just enough inward curve to keep the edge from hanging limp — gives the hair shape without losing length.
This style is best for people who love straight hair and want the effect to feel crisp rather than airy. You need a strong hemline, clean center or side parting, and a finish that looks smooth but not pressed flat to the skull.
The beveled ends matter more than people think. Without them, long straight thin hair can look like it disappears in the last six inches. With them, the cut holds its own.
A flat iron can make the bevel neat, but a round brush and blow-dryer usually look less severe. The point is not to make the hair stiff. It’s to keep the line visible.
11. Bottleneck Bangs and Cascading Layers
Bottleneck bangs are one of those fringe shapes that sound fussy and end up being quietly useful. They’re narrow in the center, then open out around the eyes and cheekbones. On thin hair, that shape can soften the forehead without swallowing the face or requiring a ton of density.
The layers beneath them should cascade rather than scatter. You want soft movement that follows the front of the face and slips back into the length. If the layers are too short, the cut starts to look pieced together. That’s not the effect here.
This look works especially well when you wear your hair in loose waves or a soft blowout. The bangs tuck into the style instead of competing with it. And if you want something that feels a little more styled than curtain bangs but less blunt than full fringe, bottleneck bangs hit that narrow middle lane.
The best version is always a little longer than you think. Short bangs and thin hair can be a rough pairing unless the rest of the shape is doing serious work.
12. Face-Framing V-Cut With a Clean Perimeter
A V-cut gives the back of the hair a pointed center line, which can sound more dramatic than it actually is. The useful part is how it allows the length to fall with shape, not just drop straight down. On thin hair, that can make the hair feel more alive as long as the ends are not overthinned.
The face frame should stay soft. No jagged steps. No overly short pieces. The idea is to guide the eye inward and then down, toward the longer point in back. That creates a sense of length and movement without sacrificing the look of fullness at the outer edge.
What Makes It Different
Unlike a heavy layered cut, the V-shape keeps most of the density near the perimeter. That means the bottom still looks like hair, not vapor. It’s especially flattering on longer torsos and on people who want their hair to look a little more dramatic when it’s worn loose.
If you like one strong shape instead of lots of little bits, this is the cut to ask about.
13. Half-Up Twist With Loose Front Ribbons
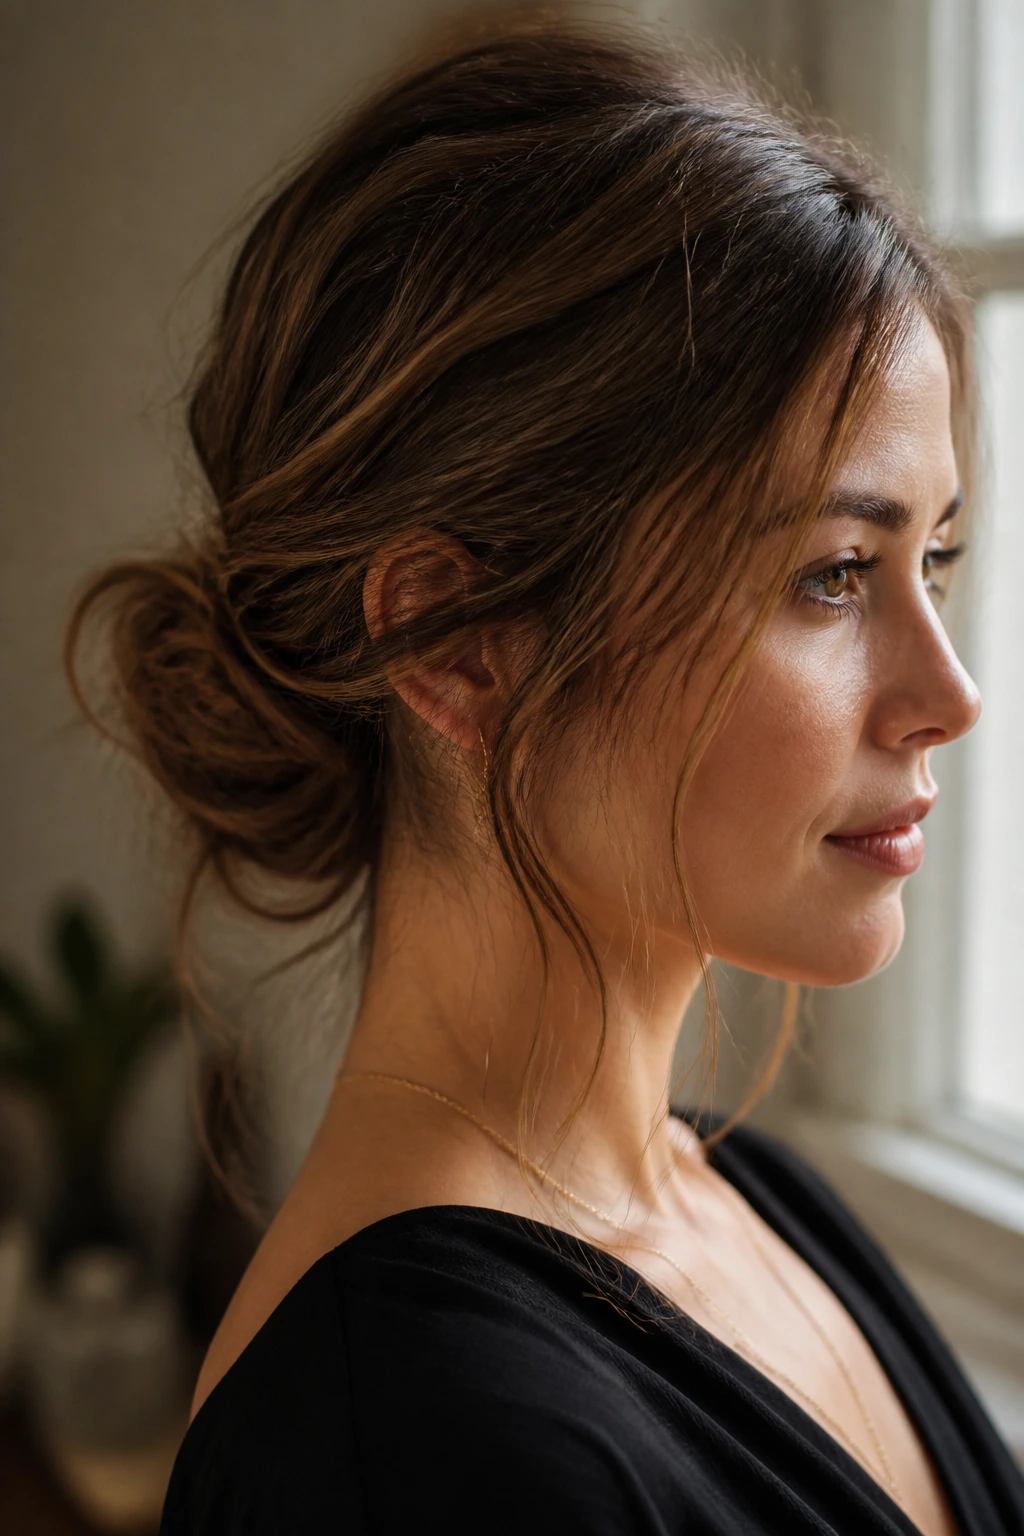
Not every hairstyle for thin hair needs to depend on the cut alone. A half-up twist can lift the crown, disguise flat roots, and leave enough length around the face to make the hair feel soft instead of severe. It’s one of the easiest ways to make long thin hair look intentionally styled.
The front ribbons — those loose pieces left out near the temples — matter a lot. If they’re too thin, the style can look stringy. If they’re too thick, the twist loses its softness. Somewhere between the two, the face looks framed and the top of the head gets a bit of believable volume.
This is the kind of look that works on day-two hair when the roots have a little grip. A tiny amount of dry shampoo at the crown helps the twist stay put. If you want more lift, backcomb just the top inch before pinning it.
It’s practical. It’s pretty. And it doesn’t demand a lot from the rest of the hair.
14. Textured Low Ponytail With Crown Lift
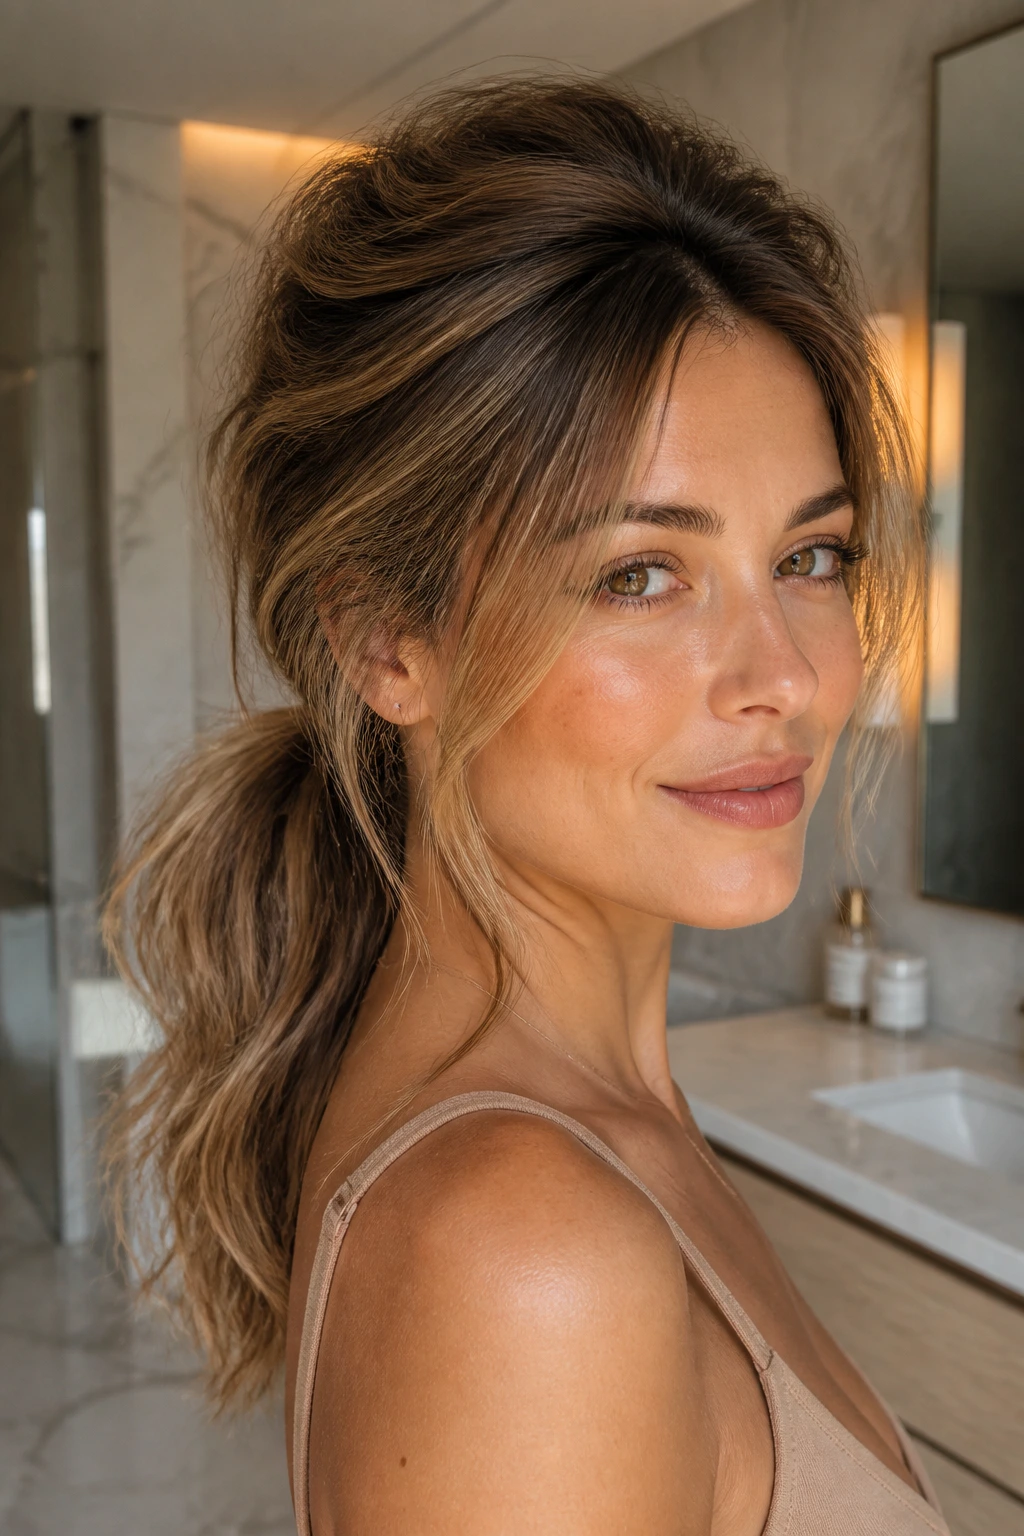
A low ponytail sounds basic until you do it properly on thin hair. Then it becomes one of the smartest shapes in the book. The trick is lifting the crown a bit, letting a few soft layers fall around the face, and using texture through the tail so it doesn’t look like a single flat rope.
The tail should not sit slick and severe unless that’s the point. A little bend through the lengths adds visual size. If the hair is very fine, a light wave through the mids before gathering it back can make the ponytail look twice as thick.
I also like a wrapped base here. A small section of hair wrapped around the elastic hides the hardware and gives the whole thing a cleaner finish. It’s a tiny detail, but these little details matter more on thin hair because there’s less bulk to hide mistakes.
This ponytail is good for long days, humid weather, and moments when you need the hair off your neck without losing shape.
15. Soft Braid With Pancaked Layers
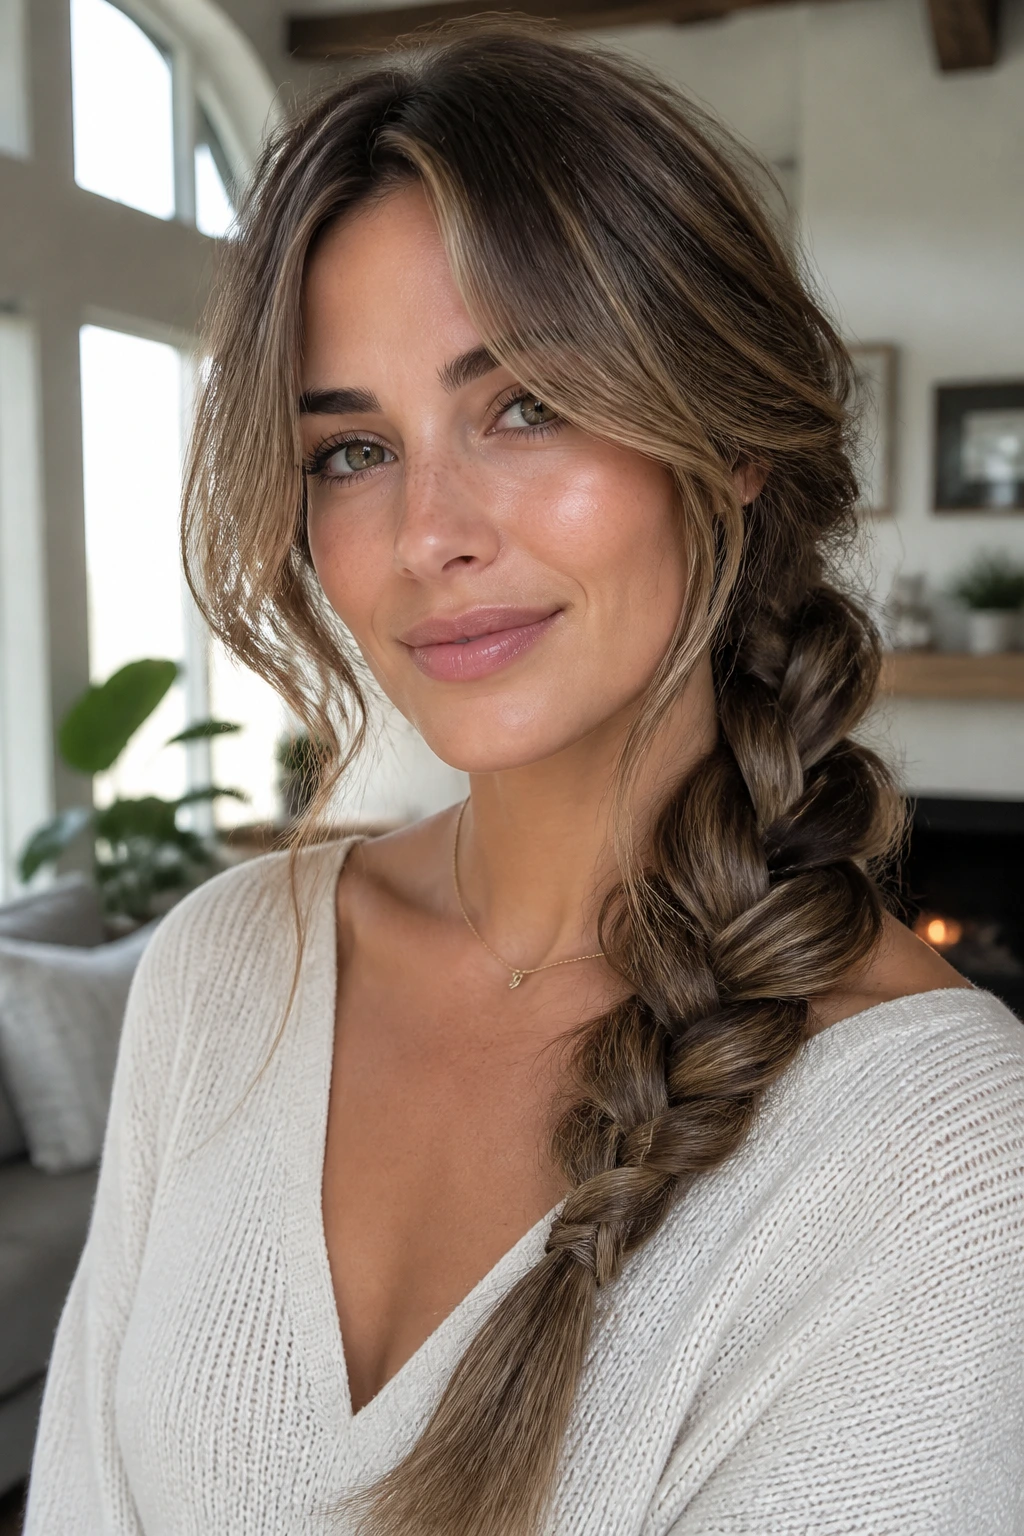
Braids can be brutal on thin hair if they’re pulled too tight or if the hair has been layered too heavily. The braid turns narrow, the ends poke out, and the whole thing looks smaller than the original ponytail. A soft braid with layered pieces works better because the shape stays loose and the texture gets room to breathe.
The secret is to braid a little lower and then gently pancake the sides — tug the edges outward with your fingers so the braid widens. That creates a fuller silhouette. Face-framing layers can fall loose in front, which makes the braid feel softer and less severe.
This looks especially nice as a side braid or a low braided tail. It gives thin hair a larger footprint without requiring a ton of product. A small grip of texture spray before braiding helps the sections hold together.
It’s one of those styles that looks casual in the best way, like you meant to be a little undone.
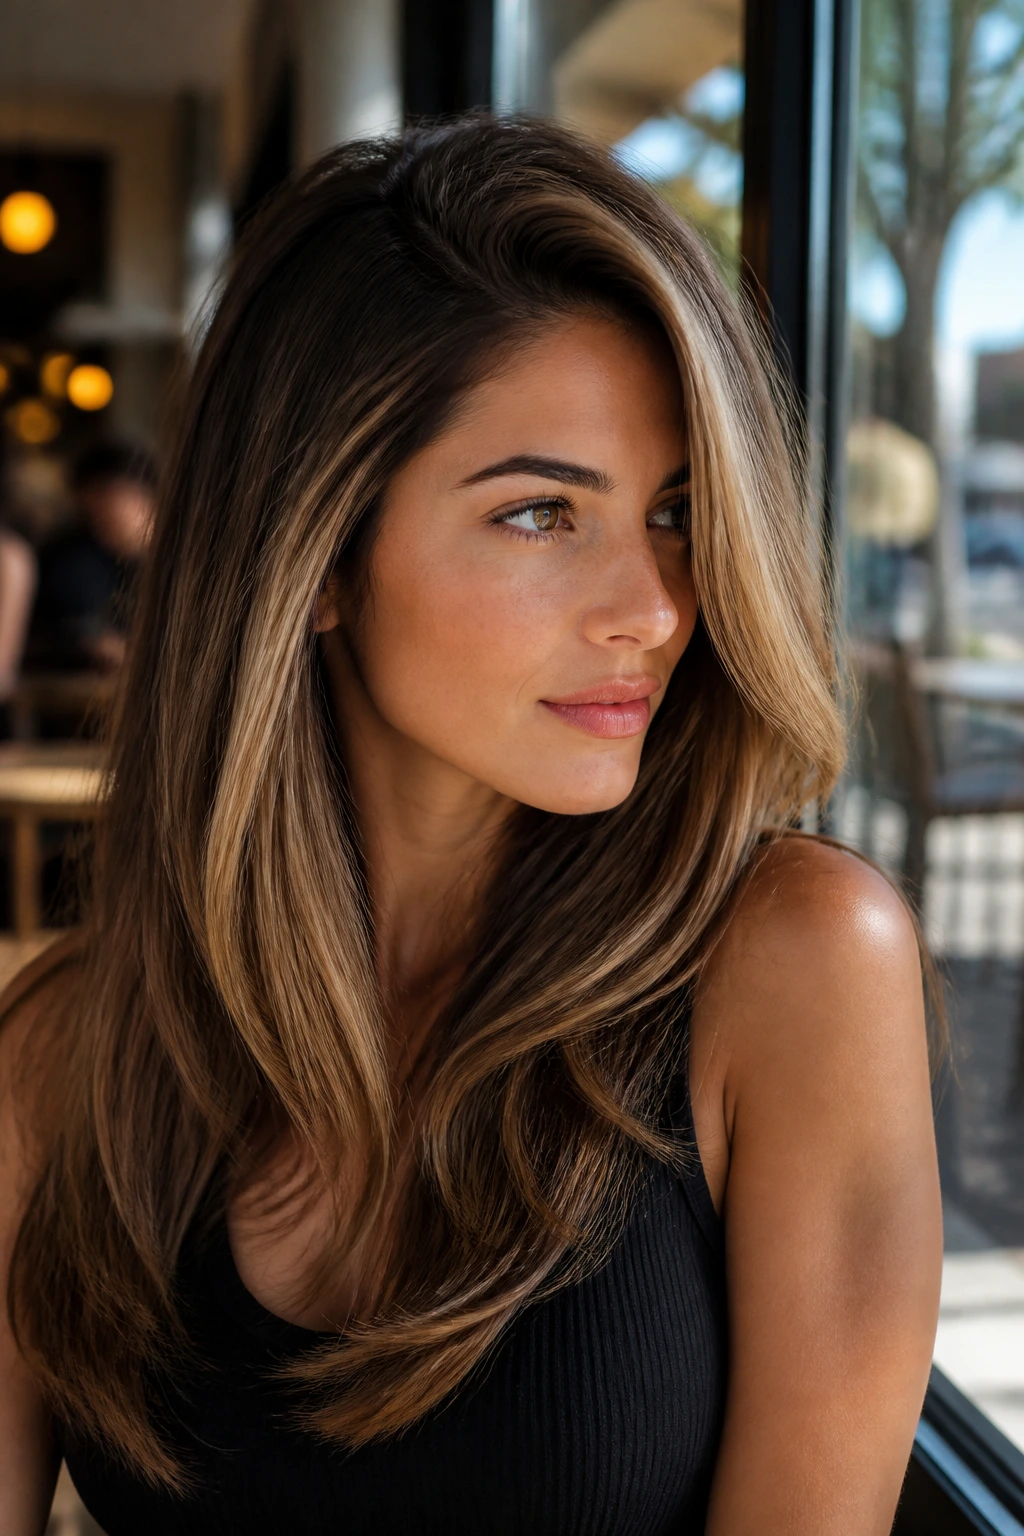
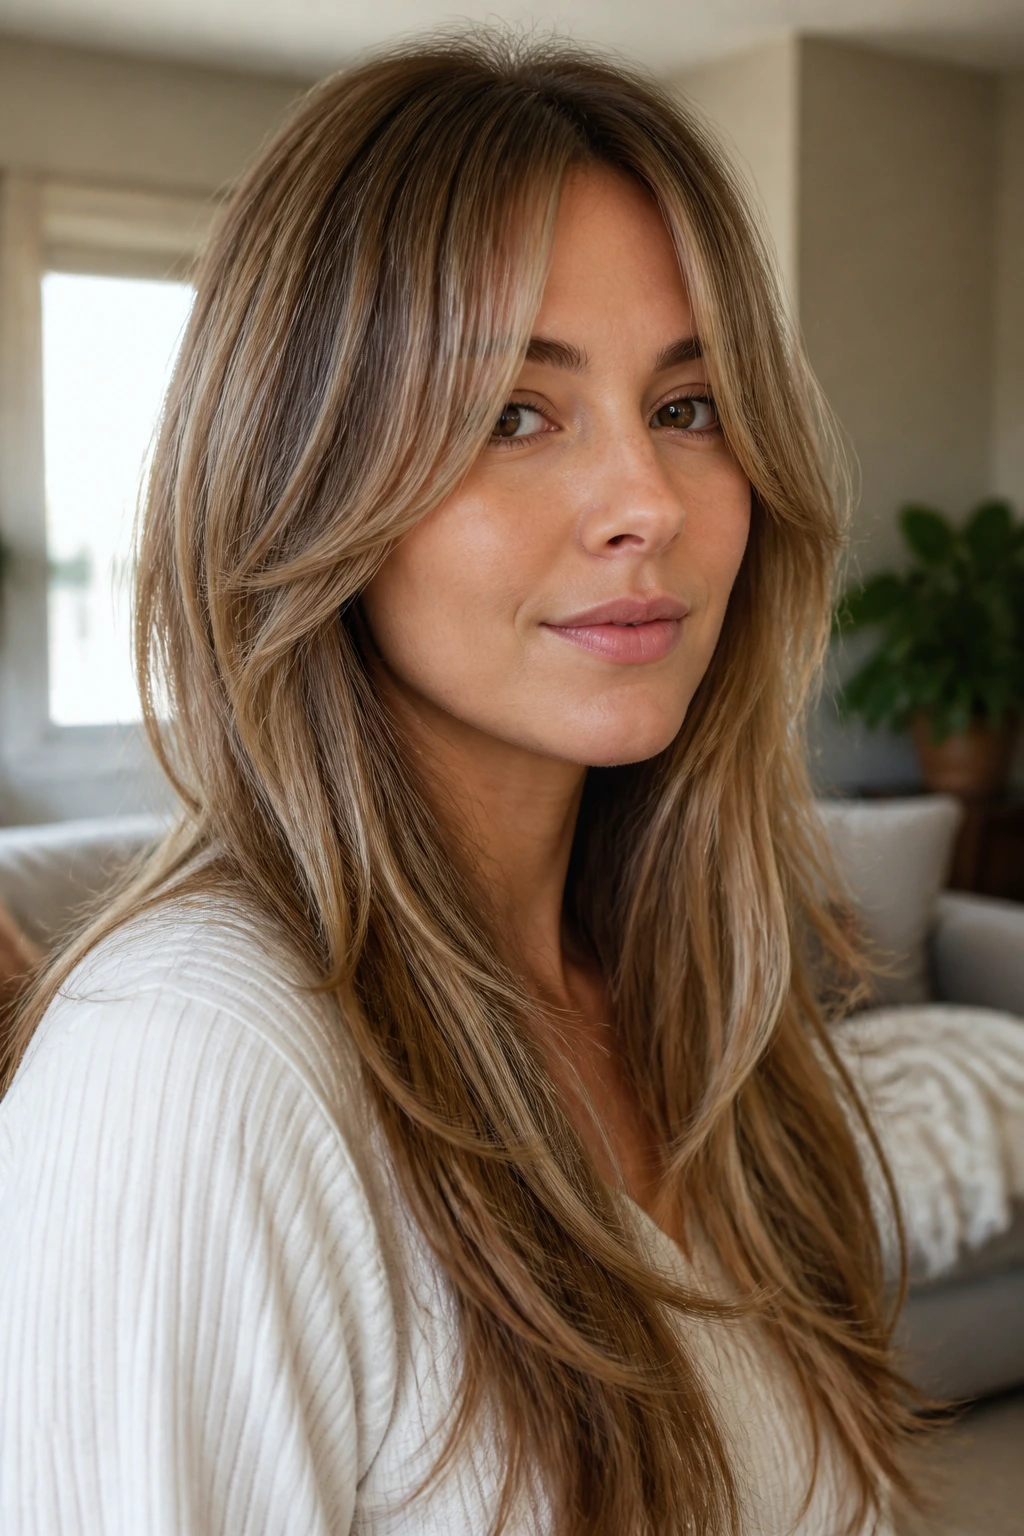
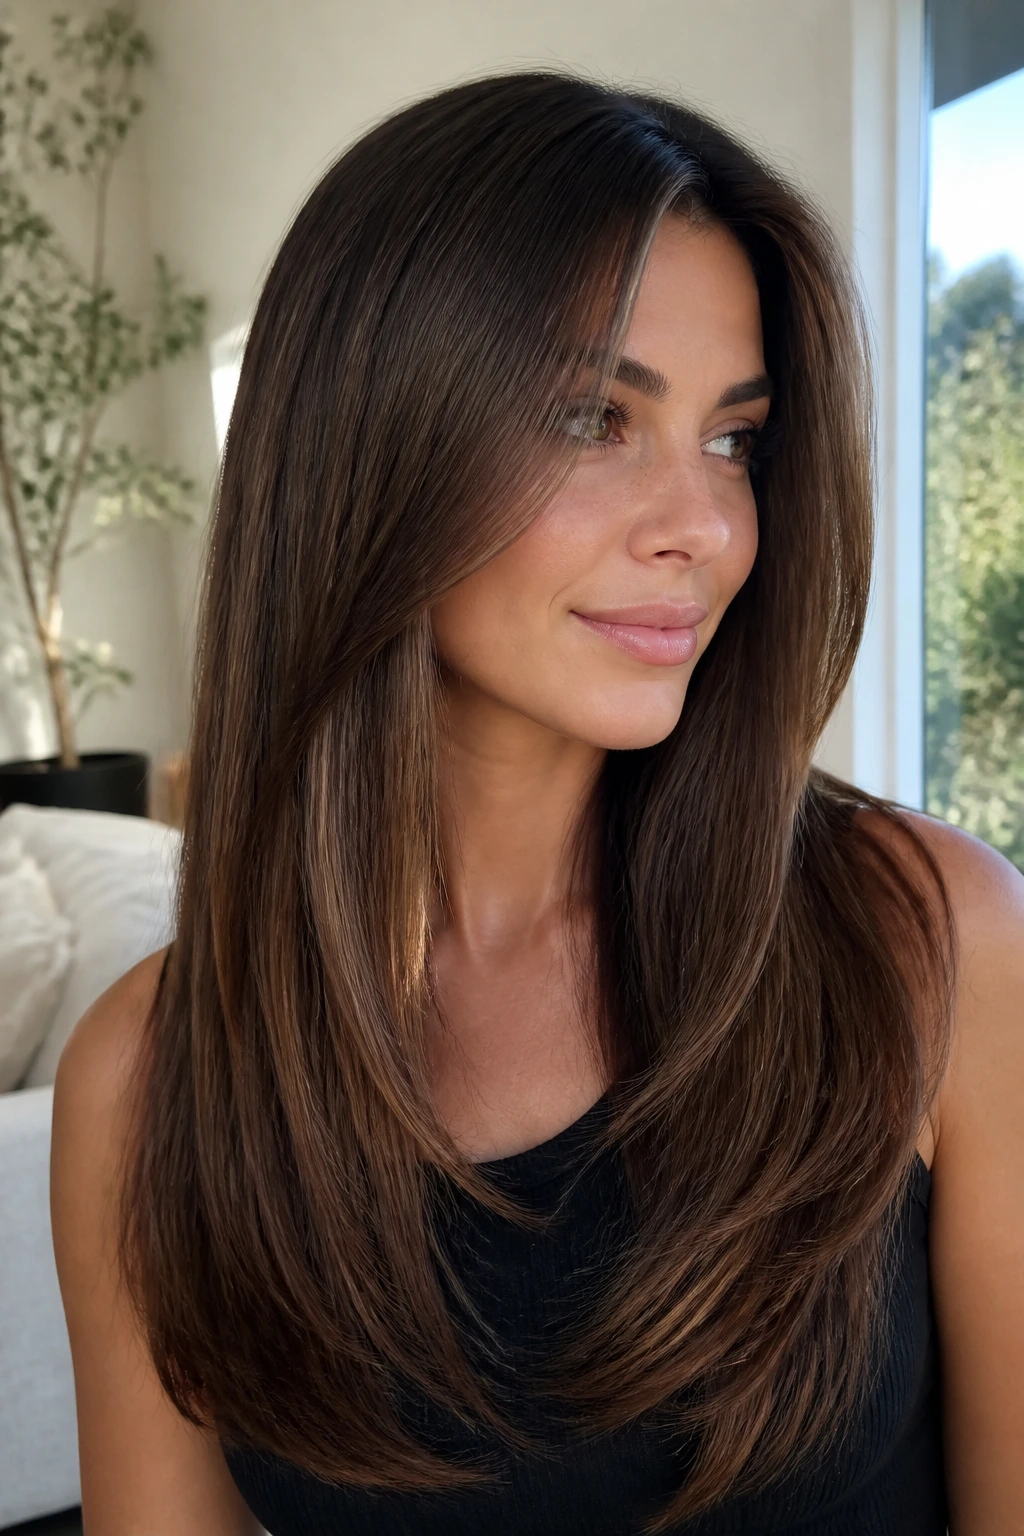
16. Glossy Middle-Part Blowout With Root Lift
A middle part can be unforgiving on thin hair if the crown lies flat. But when you combine it with root lift and a glossy blowout, the effect is sleek instead of sparse. The part creates symmetry, and the smooth bend through the ends keeps the length from disappearing into the shoulders.
What makes this look work is the root work. Lift the hair section by section at the scalp with a round brush or a large barrel brush, then clip the top while it cools. That cooling time helps the lift set. Skip it, and the style falls sooner than you’d like.
The middle part is also a nice backdrop for soft layers because it shows the face frame clearly. If the front pieces skim the cheekbones and then blend into the rest of the length, the whole style feels balanced.
This one is polished without being severe. That’s the exact lane.
17. Sculpted Curl Set With Long Layers
Long layers and curls can be a strange pair if the cut is too choppy. But when the layers are soft and the curls are set with a bit of discipline, the hair gets a fuller outline and a nice, structured shape. The key is keeping the curls loose enough to brush out later.
Start with medium sections, not tiny ones. Set each curl away from the face, pin it while it cools, then rake through once everything is room temperature. That breaks up the shape just enough to stop the hair from looking ringleted and small.
This style is particularly useful if your hair looks limp when it’s air-dried. The curl set gives the hair a kind of memory. It holds the illusion of thickness even after the bounce starts relaxing.
Use a flexible hairspray, not a stiff one. Thin hair needs movement after the set, or it starts looking like a helmet. Nobody wants that.
18. Crown-Clip Volume Style for Second-Day Hair
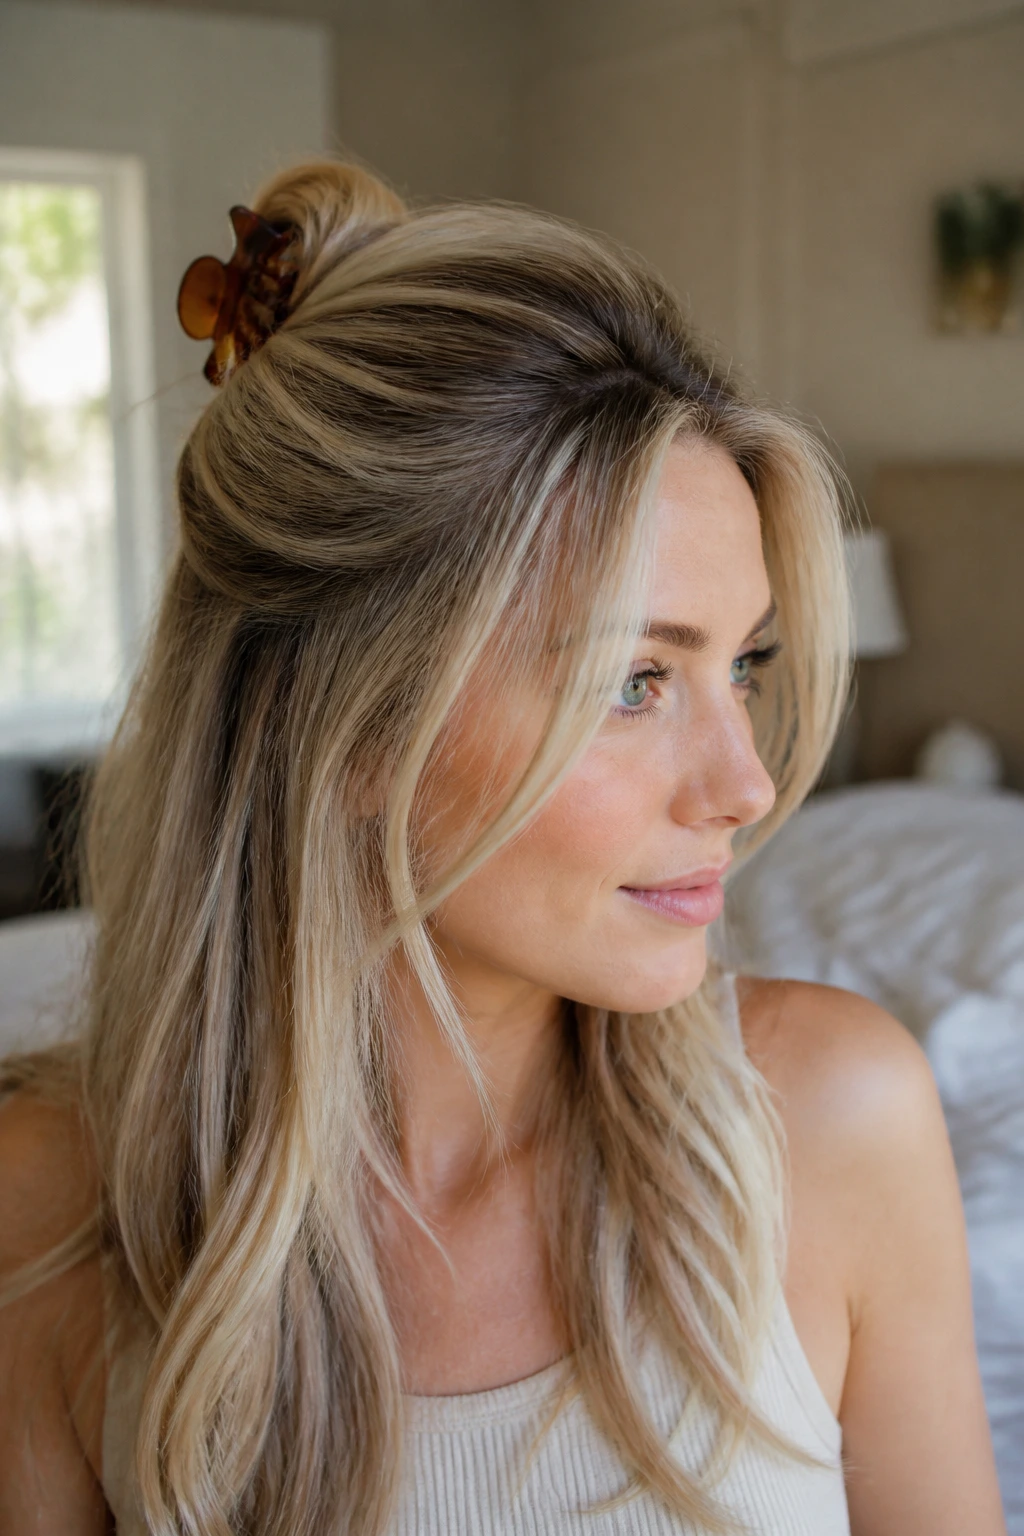
A claw clip at the crown can be a miracle on long thin hair if you use it as a lift tool, not just a lazy catch-all. Pull the top section up, twist it once, clip it high enough that the roots stay buoyant, and let the lengths fall down the back. The result is a little height up top and enough loose hair to keep the style soft.
This is especially good on second-day hair, when there’s a touch of texture and the clip has something to hold. Freshly washed hair can be too slippery. Day-two hair usually behaves better.
Leave a few face-framing layers out. That keeps the style from looking like a random twist stuck to the head. The whole point is to show off the length while using the clip to cheat some lift into the crown.
It’s fast. It’s practical. And on thin hair, it often looks more polished than a rushed ponytail.
19. Beach Wave Cascade With Long Face Framing
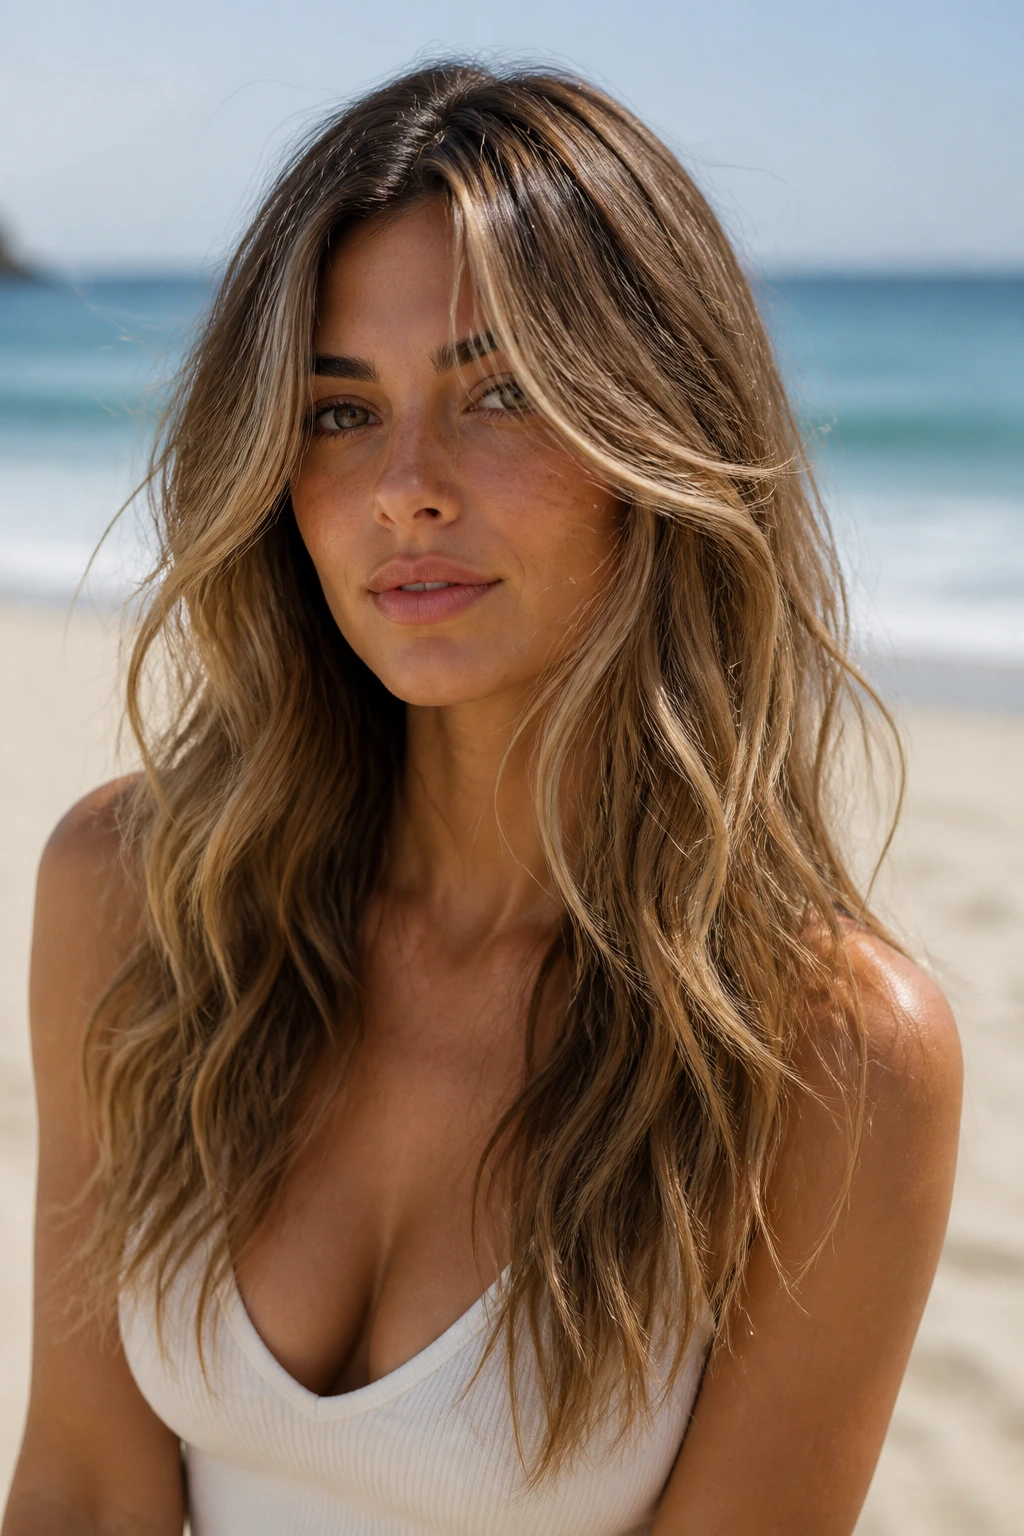
Beach waves are everywhere, but on thin hair they only work when the waves stay loose and the face frame stays long enough to keep the shape from looking chopped. A cascade of waves starting around the mid-lengths gives the impression of more body, while the longer front pieces keep the face from getting swallowed by texture.
I prefer alternating the wave direction here. That stops the hair from collapsing into one predictable curve and gives the lengths a fuller, more random look. Once the waves cool, separate them with fingertips only. A brush can flatten the whole thing faster than you’d expect.
Good things to ask for
- Face-framing pieces that start around the chin or collarbone
- Soft movement through the mids, not tight curling
- A perimeter that still reads thick at the bottom
This style is great when you want movement but not too much polish. It looks better slightly messy than overly neat.
20. Low Chignon With Wispy Tendrils
A low chignon can sound too formal for thin hair, but the soft version is forgiving if you build in a little looseness. The bun itself stays low and compact, which keeps the weight close to the nape. Then the wispy tendrils and soft face-framing pieces stop it from looking severe.
This is one of the rare updos that can actually flatter thinner strands because it doesn’t ask the hair to pretend it has more volume than it does. It works with what’s there. A little teasing at the crown gives the top some life, and the bun doesn’t need to be huge to look finished.
If your hair is layered, let some of those shorter pieces fall out naturally near the temples. That softens the whole shape. It’s prettier than trying to pin every strand into place, which usually ends in frustration anyway.
For events, dinners, or any day when you want your long hair off your shoulders, this is a good one to keep in your back pocket.
21. Side-Swept Layers and an Ear Tuck

There’s something flattering about a side sweep that never seems to go out of favor. On thin hair, it creates instant imbalance in a good way: one side gets volume and movement, the other side gets a clean ear tuck that makes the face frame visible. The contrast makes the hair feel fuller than a straight middle part often does.
The layers should be soft enough to drape, not spike outward. You want the front pieces to slide over the cheek and then disappear into the length. If the ends are too thin, the style starts looking hesitant. A medium round brush and a light spray at the roots usually solve that.
This look also plays nicely with earrings or glasses because the tucked side opens up the face. That little openness changes the whole mood.
It’s one of the simplest ways to make long thin hair feel styled without committing to a full blowout.
22. Sleek Tuck-Behind-Ear Look With Jawline Pieces
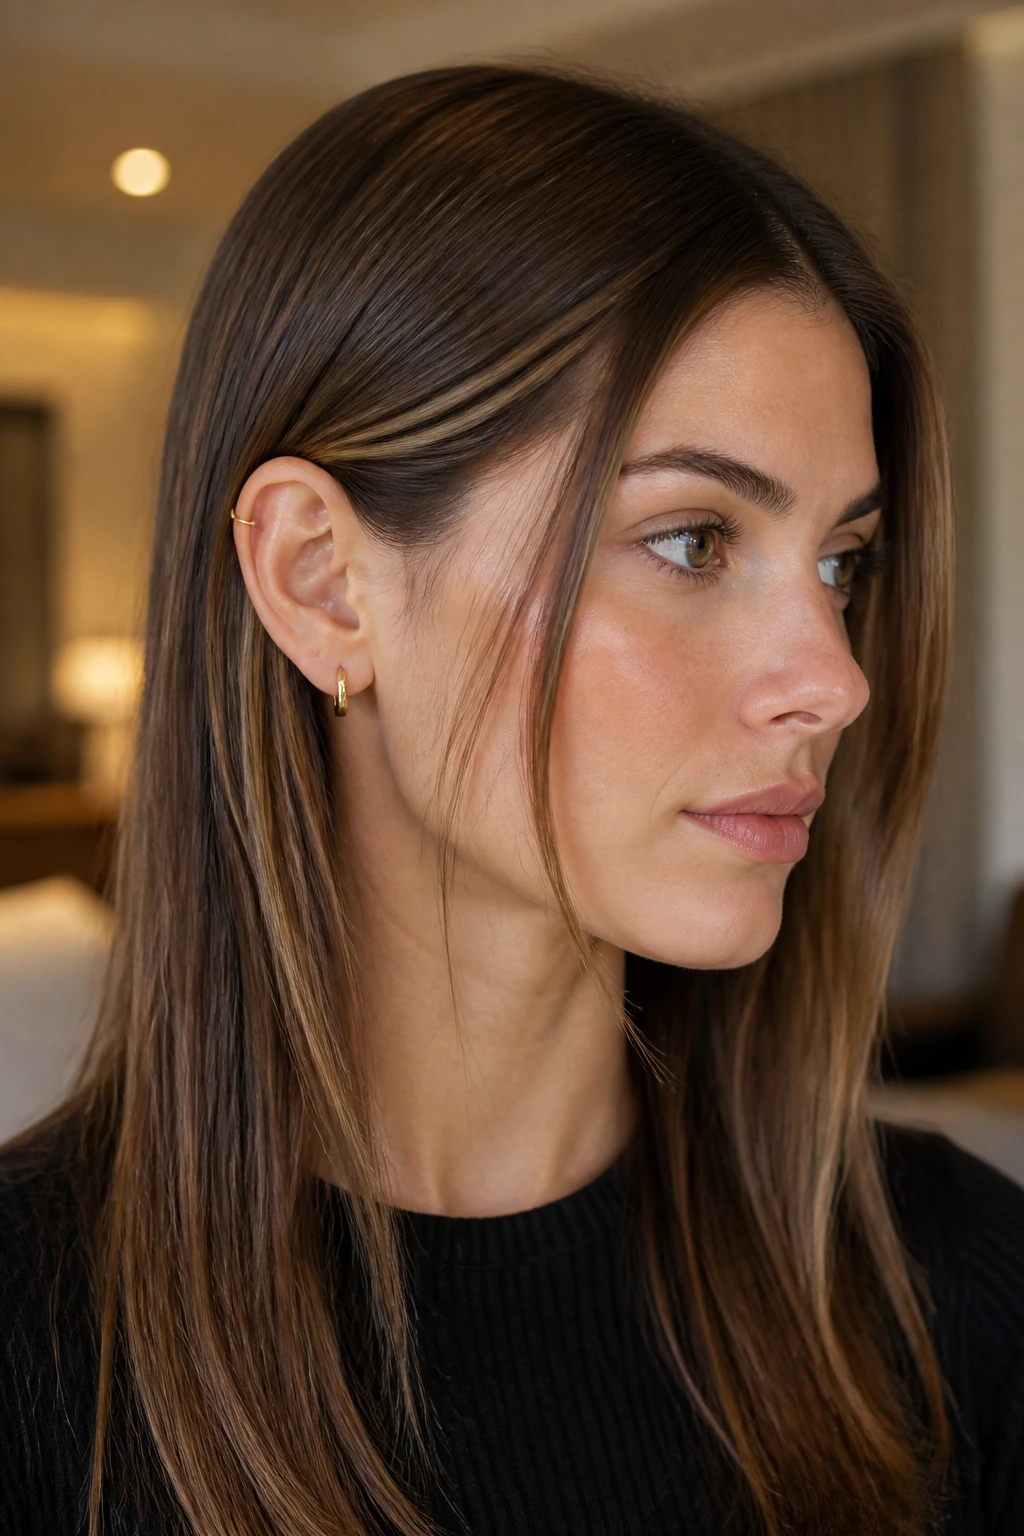
A sleek tuck-behind-ear style sounds minimal, and it is. But minimal does not mean boring. On thin hair, a clean tuck with a few jawline pieces left free can make the hair look polished while still keeping some softness around the face.
The key is the placement of those front pieces. If they hit at the jaw or just below, they help the profile look fuller where it matters. If they’re too short, the style can feel exposed. The tuck itself creates a tidy line, which makes the remaining loose sections look deliberate instead of accidental.
This works well with straight hair or a subtle bend through the ends. Don’t drown it in oil. A tiny bit of shine serum on the lower half is enough. Heavy product at the roots will flatten the whole idea.
It’s a clean look. Crisp. Not fussy. And when the cut is right, it reads stronger than a lot of more complicated styles.
23. Soft Layered Blow-Dry With Velcro Rollers
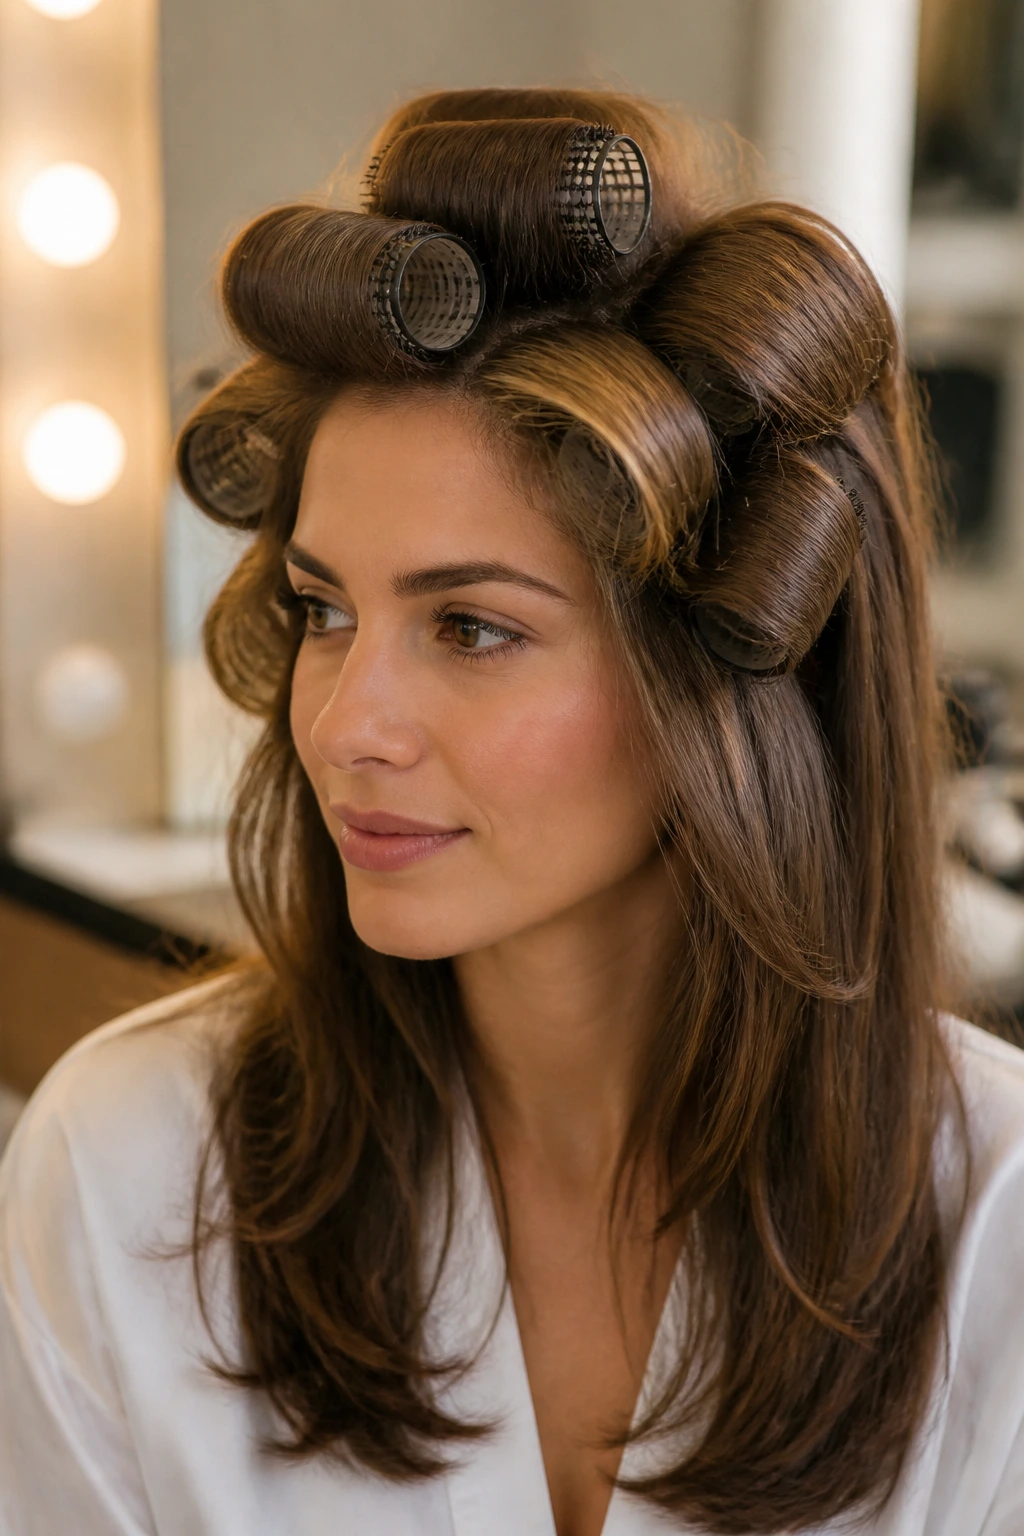
Velcro rollers are old-school for a reason. They work. On thin hair, they’re one of the easiest ways to create the illusion of body without using a ton of heat or product. A soft layered blow-dry plus a few rollers at the crown and around the face can change the shape of the whole head.
The beauty of this approach is that it keeps the layers soft. You’re not forcing tight curls or sharp bends. You’re coaxing lift into the roots and a little curve into the front. That is enough.
I’d use larger rollers at the crown and slightly smaller ones near the face if the front needs more bend. Let the hair cool fully before removing them. Warm hair gives up shape too fast.
This is a smart option for people who want their long hair to feel airy but still substantial. It’s a little more effort than air-drying. The payoff is worth it.
24. Romantic Half-Up Twist With Soft Temple Pieces
The romantic half-up twist is useful because it takes pressure off the sides of the head, where thin hair often looks flattest, and shifts volume upward. The twist itself doesn’t have to be fancy. A simple twist from each temple, pinned at the back, is enough to make the style feel finished.
The temple pieces matter. Leave them soft and lightly curved instead of yanking everything back. That little softness keeps the face frame in play and prevents the style from turning harsh.
This is a nice choice for weddings, dinners, and days when you want your hair to look a little dressed up without losing all of it to an updo. The layers help, because the shorter pieces naturally blur the join between the twist and the loose lengths.
It looks delicate. Not fragile. There’s a difference.
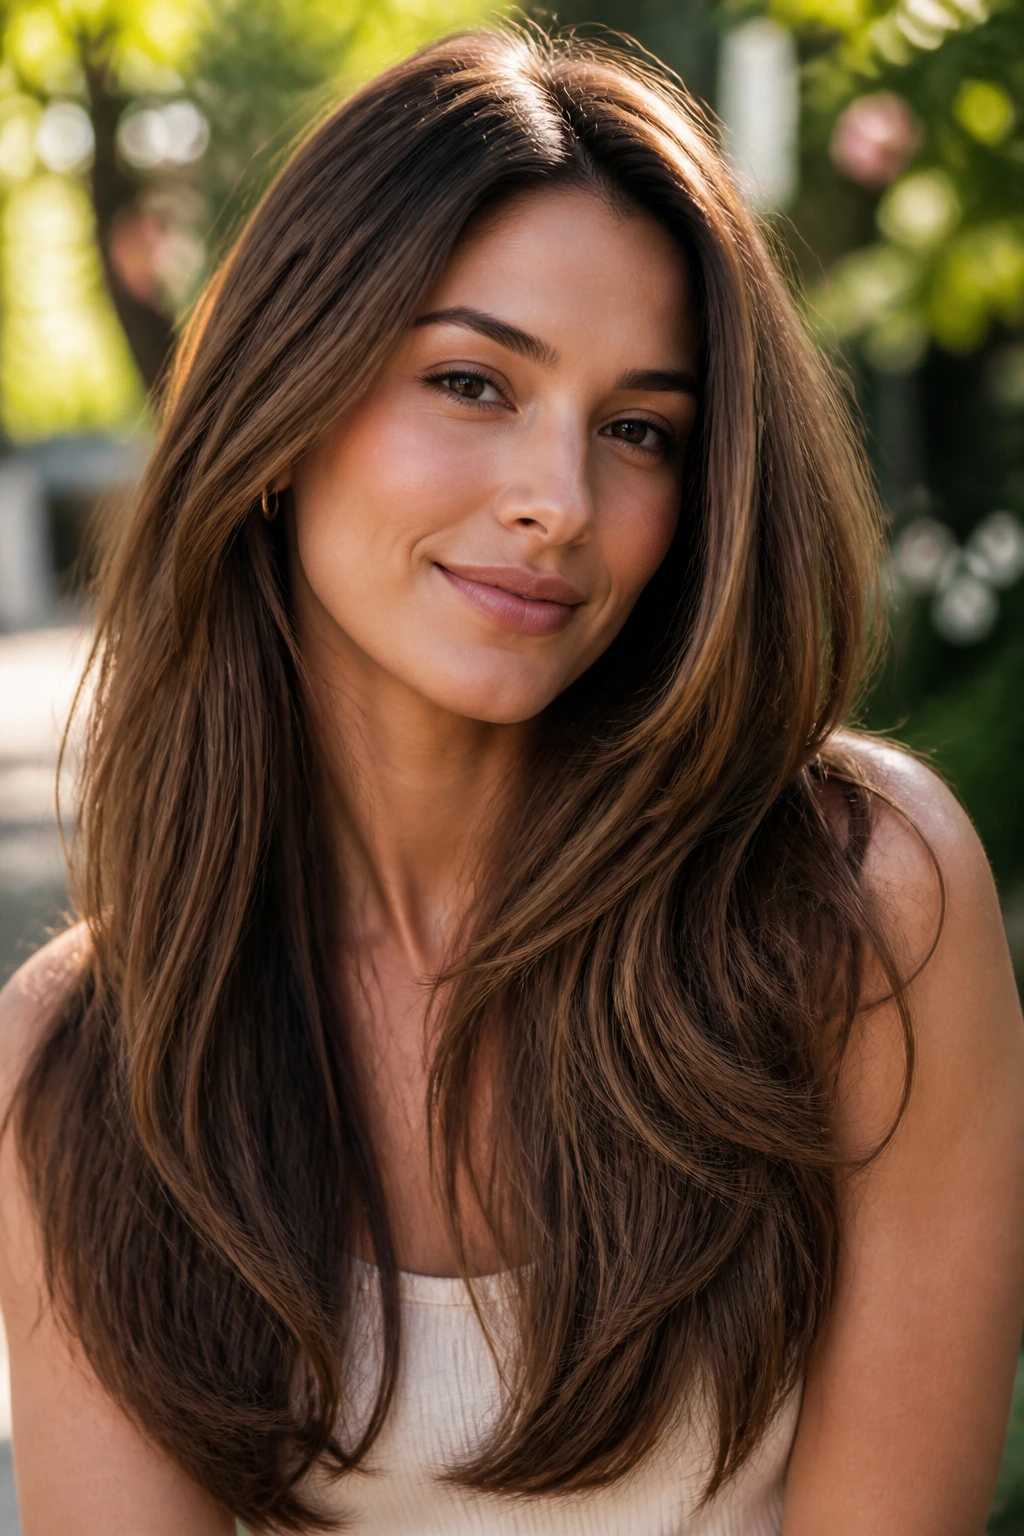
25. Airy Mermaid Waves With Understated Layers

Mermaid waves can go wrong fast on thin hair if the layers are too broken up. The good version keeps the length long, the waves soft, and the layer pattern understated enough that the ends still look thick when the hair settles. Think flowing, not frayed.
The styling should be loose and wide. Use a large-barrel iron or a wide wave tool, and start the bend around the mid-lengths rather than at the roots. You want the crown to stay relatively smooth so the hair doesn’t lose its vertical lift. Then let the front pieces sit a little closer to the face for softness.
This style benefits from a very light finish spray and a touch of shine on the lower third of the hair. Too much product kills the airy part and turns the ends gummy. That’s the quickest way to ruin it.
If you want a long, flowing look that still leaves room for density, this is the one that earns its place at the end of the list.
How to Ask for Soft Layers That Don’t Swallow Thin Hair
The salon chair can be where good intentions go to die, mostly because “layers” means different things to different people. On thin hair, you want to talk in terms of weight, perimeter, and face frame. Say you want the length preserved, the ends kept full, and the shortest layers placed low enough that they create movement without exposing the scalp.
Bring photos, but bring the right kind. One photo should show the overall shape you like. The other should show the face frame or the way the hair falls around the shoulders. Stylists work faster when they can separate those two things. It also keeps you from accidentally asking for a haircut that only looks good on someone with twice the density.
Be specific about your part. If you always wear a side part, say that. If you blow-dry your hair straight and never wear waves, say that too. Thin hair responds differently when the part shifts even half an inch, and the cut should know that from the start.
And please, if your hair is fragile, ask the stylist to avoid heavy texturizing at the ends. That one request prevents a lot of heartbreak.
Tools and Products That Pull Their Weight
-
A blow dryer with a concentrator nozzle: The nozzle matters more than people think; it helps direct air at the roots instead of blasting the whole head flat.
-
A 1.25-inch round brush: Big enough to bend the ends, small enough to create lift near the crown without making tiny curls.
-
Velcro rollers: The easiest way to make soft layers sit up at the top of the head for 10 minutes of work.
-
Root-lifting mousse or spray: Use it at the roots only. Thin hair does not need a lot of product to lose its shape.
-
Heat protectant: Non-negotiable if you’re blowing out or curling regularly. Fine strands show damage fast.
-
Light-hold hairspray: Flexible, not sticky. You want the hair to move after it sets.
-
Tail comb and sectioning clips: Useful for clean parts and for clipping the crown while it cools.
-
1-inch or 1.25-inch curling iron: Best for loose bends that don’t collapse into tight ringlets.
-
Dry shampoo: Not just for grease. It gives the roots some grip on day two and three.
How to Style Thin Hair Without Flattening the Ends
The biggest mistake with long thin hair is treating every inch the same. The roots need lift, the mids need some movement, and the ends need to stay visually heavy. That means your styling products and tools should act differently in each zone.
Root Lift: Start with mousse or spray at the scalp, then blow-dry the roots in the opposite direction of your part for the first pass. That tiny rebellion creates more volume than people expect. Clip the crown while it cools if you want extra height.
Mid-Length Movement: Use a round brush, iron, or rollers to give the middle of the hair a bend. The goal is not curls. The goal is shape. When the mids move, the cut looks fuller.
Ends First, Product Last: Put oil or serum only on the final two to three inches, and use less than you think. One drop can be enough. If the ends shine like wet glass, you’ve gone too far and the hair will look thinner, not healthier.
Hands Off: Once the style is set, stop touching it. Thin hair can lose its shape just from constant finger raking. If you want separation, do it once, gently, and leave it alone.
Common Mistakes That Make Long Thin Hair Look Worse
The first mistake is layering too high. When short layers start above the cheekbones on sparse hair, the top can go see-through and the lower lengths lose their support. The fix is simple: keep the shortest pieces lower and let the shape build gradually.
The second mistake is texturizing the ends into pieces. A few snips of texture can be fine. Too much and the bottom edge turns wispy in daylight. If the ends look transparent in the mirror, they’ll look even thinner outside.
Heavy products are another trap. Thick creams, oils near the scalp, and sticky sprays all drag thin hair down. They can make the hair look shiny for five minutes and flat for the rest of the day. Use lighter formulas and keep them away from the root zone.
Then there’s one-direction curling. If every wave bends the same way, the style can look narrow and helmet-like. Alternate directions, then brush or finger-comb the waves out. It gives the style a wider footprint.
Finally, don’t ignore trims. Long thin hair doesn’t have the luxury of ragged ends. Once the perimeter frays, the whole illusion of fullness starts to slip.
Variations and Alternatives to Try
The Soft Frame for Fine Straight Hair: Keep the layering long and subtle, then focus on a strong blowout with a slight bevel. This version works when your hair is sleek by nature and you want movement without sacrificing the blunt edge that gives the ends weight.
The Air-Dry Wave for Loose Texture: If your hair already bends on its own, ask for soft internal layers and face-framing pieces that start lower on the cheek. Scrunch in a light cream and let the hair dry with a middle part or off-center part, depending on where the volume lives.
The Fuller Front for Round Faces: A longer curtain fringe or bottleneck bang can lengthen the face while the layers sweep past the cheeks. Keep the body below the chin soft, not fluffy, so the face frame does the work without crowding the jaw.
The Jawline Softener for Square Faces: Longer front layers that graze the jaw can soften strong corners. A side part or a loose wave around the face helps break up the straight lines without making the cut feel vague.
The Minimal Layer Version for Low Density: If your hair is very sparse, skip heavy layering and use one of the blunt or U-shaped styles instead. You can still get softness from the front pieces and styling, but the bottom edge stays fuller for longer.
Keeping the Shape Fresh Between Salon Visits
Long thin hair grows out in a way that can be flattering for a while, then suddenly not. The ends start to look a little tired, the face frame drops too far, and the whole cut loses its shape. For most people, a trim every 8 to 10 weeks keeps the perimeter honest. If you wear bangs or a heavy curtain fringe, they may need a tidy-up every 3 to 5 weeks.
Dry shampoo helps more than people give it credit for. On day two or three, it adds grip at the roots and keeps the hair from clinging to the scalp. Use it in short bursts, then brush through once or twice. Too much brushing just spreads the product around and kills the lift.
If your hair gets coated easily, a clarifying shampoo every couple of weeks can reset the roots and mids. Product buildup is sneaky on fine strands. It weighs the hair down before you realize what’s happening.
For the ends, a tiny amount of serum or cream is enough. Mid-lengths and ends only. Not the scalp. That rule saves a lot of volume.
Questions People Ask Before They Commit to Soft Layers
Are soft layers good for thin hair, or do they make it look thinner?
Soft layers can be excellent for thin hair if they’re placed low and kept long. The problem isn’t layers themselves — it’s over-layering, especially near the crown and ends. A careful shape gives movement without stripping away density.
Should thin hair have curtain bangs?
Yes, if the front has enough density to support them and the bangs are cut long enough to blend. Curtain bangs can add softness and a bit of lift around the face, but short fringe on sparse hair can split in awkward places. Length matters here.
Is a blunt cut better than layers for long thin hair?
Sometimes, yes. A blunt perimeter is often the fastest way to make the ends look fuller. If your hair is very sparse, keep the cut mostly blunt and use just a few soft face-framing pieces.
How often should long thin hair be trimmed?
About every 8 to 10 weeks is a safe rhythm for most people. If your ends fray quickly or you wear a lot of heat styles, closer to 6 to 8 weeks may keep the shape cleaner. Fringe and curtain bangs need more frequent touch-ups.
What if my layers look stringy after a blow-dry?
That usually means the layers are either too short or too heavily thinned. Try using less product, blow-drying with more root lift, and styling the ends into one soft shape instead of separating every piece. If the cut itself is too aggressive, a stylist may need to soften the perimeter and let it grow a little.
Can I wear these styles if my hair is naturally straight?
Absolutely. Straight hair often shows the cut most clearly, which is why a good perimeter and face frame matter so much. You may need a round brush or a subtle bevel at the ends, but the shape can look very clean.
Do these hairstyles work with air-drying?
Several of them do, especially the U-cut, the blunt-with-soft-front-pieces look, and the long shag on wavy hair. Air-drying just means the cut has to do more of the work. If your hair collapses dry, build in a bit more structure at the crown or mid-lengths.
What’s the safest way to ask for face-framing layers?
Ask for layers that start low enough to keep the hemline full, then show where you want the shortest front pieces to fall — cheekbone, jawline, or collarbone. That gives the stylist a map. Vague requests like “a little layer” usually lead to more cutting than you wanted.
The Shape That Keeps the Hair Looking Full
Soft layers are at their best when they behave like architecture, not decoration. They guide the eye, keep the ends dense, and let long hair move without falling apart. That’s the difference between a shape that looks carefully worn and one that looks like it needs rescuing.
If thin hair has been giving you that flat-at-the-root, wispy-at-the-end problem, the answer is rarely more chopping. It’s usually better placement, better balance, and a little more respect for the perimeter. That’s where these long length hairstyles for thin hair with soft layers earn their keep.
Bring the right shape to the chair, keep the styling light, and let the hair keep some of its own weight. That’s the part people forget — and it’s the part that makes the whole thing work.