Fine hair has a habit of telling on a bad haircut. Give it a blunt, extra-long shape with too much weight at the bottom, and it lies there like wet ribbon. Go the other way with too many short layers, and the ends start looking see-through by the shoulders. That’s the tightrope with extra long layered haircuts for fine hair: you want movement, not a haircut that eats its own density.
The sweet spot is narrower than most people think. Fine hair is about the thickness of each strand, not how much hair you have on your head, so a person can have plenty of hair and still need a cut that protects the perimeter. That’s why face-framing matters so much here. Done well, it shifts attention upward, gives the front a little lift, and keeps the length from behaving like a heavy curtain.
I’m not a fan of random layers on fine hair. Random layers are how you end up with a fluffy top and stringy ends, which is a terrible trade. The good cuts have a plan: where the layers start, how fast they fall away, and whether the hemline stays blunt enough to look full when you wear it straight or half-waved.
Why Extra Long Layered Haircuts Work on Fine Hair
A long cut can do two opposite things to fine hair. It can either make it look sleek and expensive, or it can drag every strand down and expose the ends. The difference usually comes down to where the layers begin and how much density stays at the hemline.
-
They keep length without the dead weight: Fine hair often looks flat when every strand is forced to sit at the same length, so a few well-placed layers let the hair move without turning wispy at the bottom.
-
They create lift where fine hair collapses first: Layers around the crown, cheekbones, and collarbone can stop the top from clinging to the scalp and make the shape look intentional instead of limp.
-
They frame the face without sacrificing the back: A good face frame gives you shape up front while the long back still reads as full, which matters a lot when you’re trying to keep waist-length hair from looking thin.
-
They style faster than one heavy length: A layered shape gives a round brush, a curling wand, or even an air-dry routine something to work with. Hair that already has movement takes less coaxing.
-
They grow out more gracefully: Extra-long layers that start low and blend softly usually hold their shape longer between trims, especially if you like wearing hair tucked behind the ears or pulled into low knots.
-
They let you cheat fullness with placement: A blunt base, a soft U-shape, or hidden internal layers can make the ends read thicker than they really are. That’s not magic. It’s just smart geometry.
How to Talk Through the Cut Before the Cape Comes Off
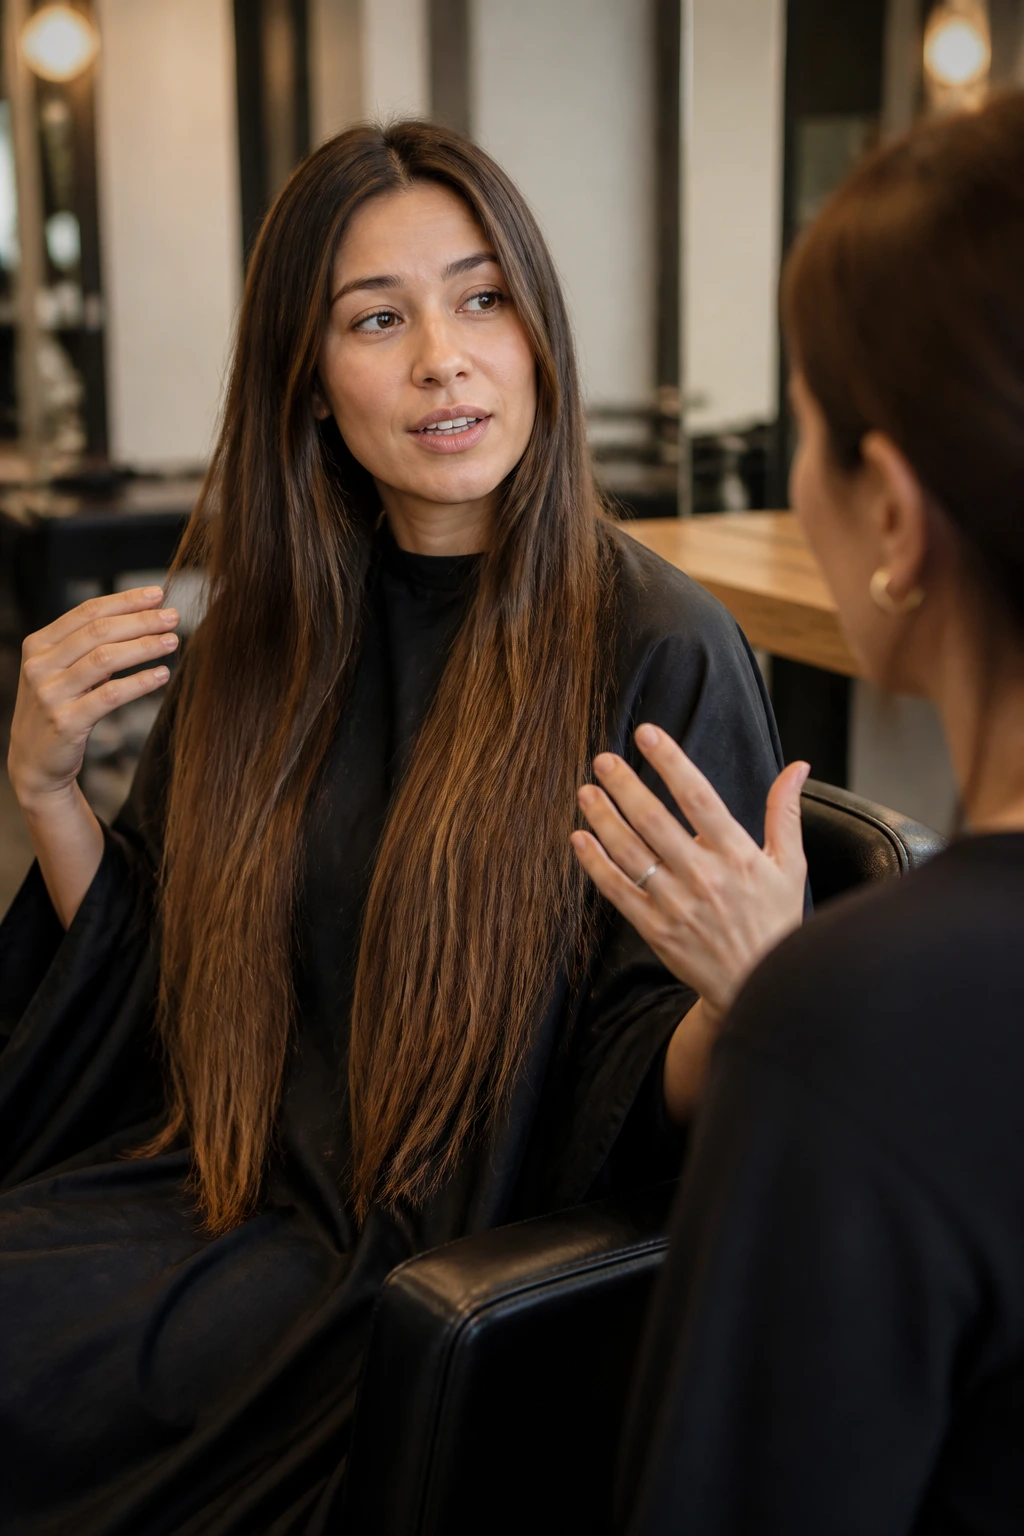
Bring pictures, yes, but bring the right ones. Fine hair is unforgiving when the reference photo is a thick-maned influencer with three rows of extensions hidden in the back. Ask your stylist to look at the photos for the layer pattern, not the texture. That part matters more than the shine.
Tell them where your hair goes flat first. Crown? Sides? Around the chin? At the ends? That answer decides whether you need invisible internal layers, a blunt base with a face frame, or something more sculpted like a butterfly shape. If you leave that conversation vague, the cut usually lands vague.
One practical rule helps: the shorter the front layer, the more carefully it needs to be placed. On fine hair, a piece that starts too high around the jaw can look choppy fast. A lower starting point—often cheekbone or collarbone—keeps the front soft while the ends stay believable.
1. Feathered Face-Frame Layers
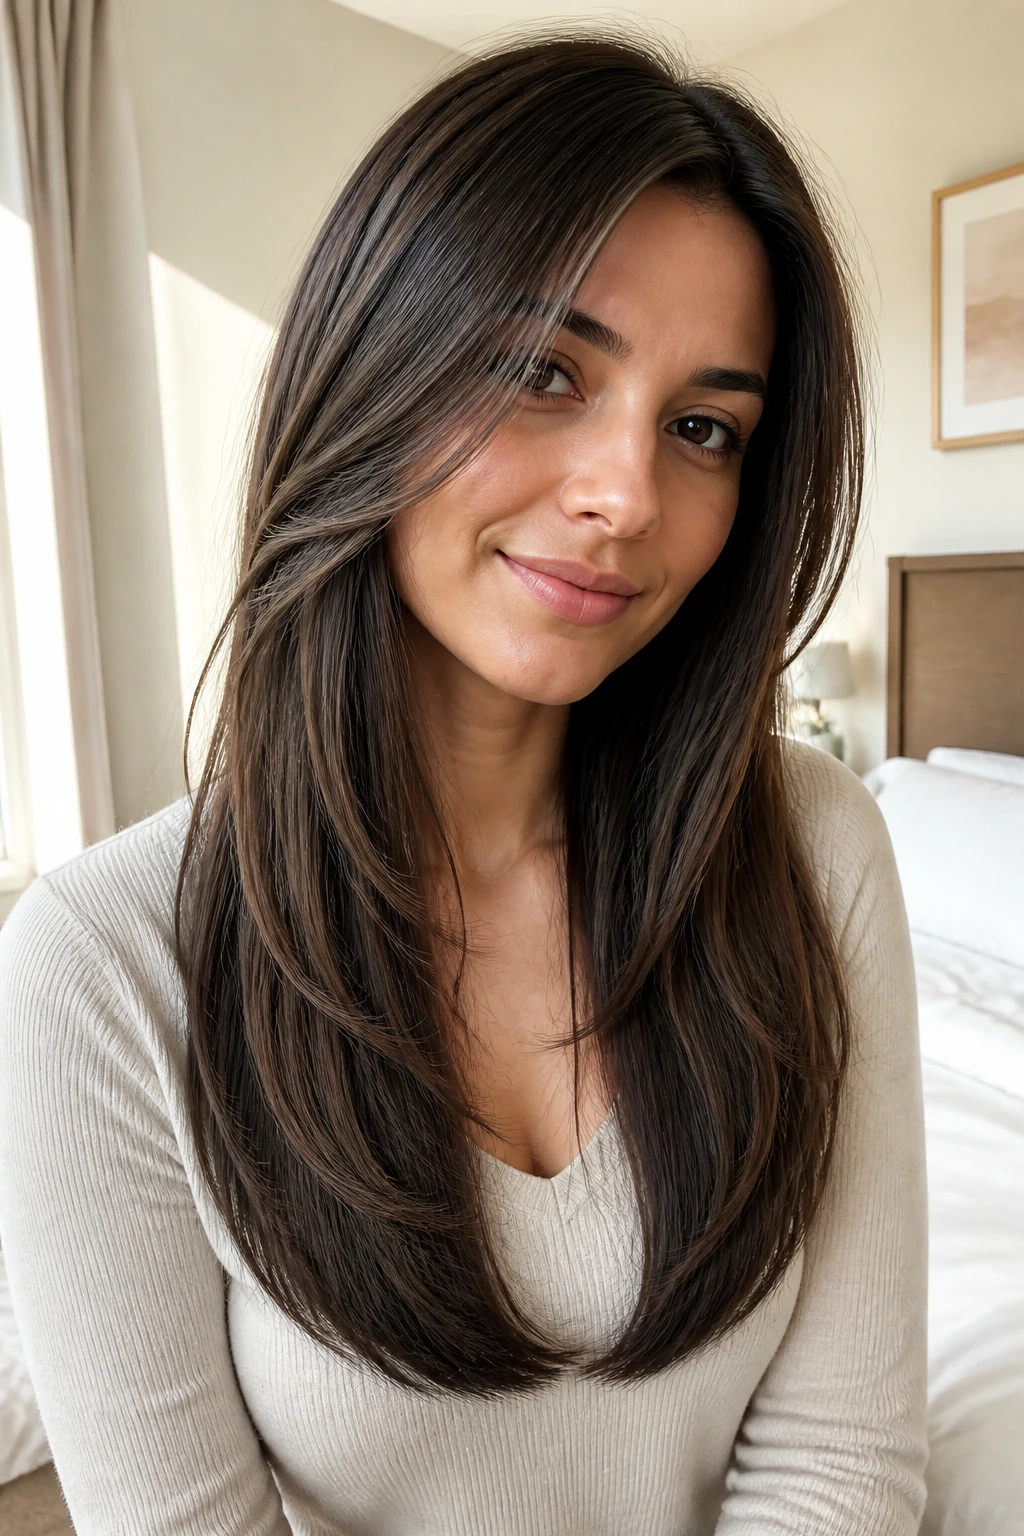
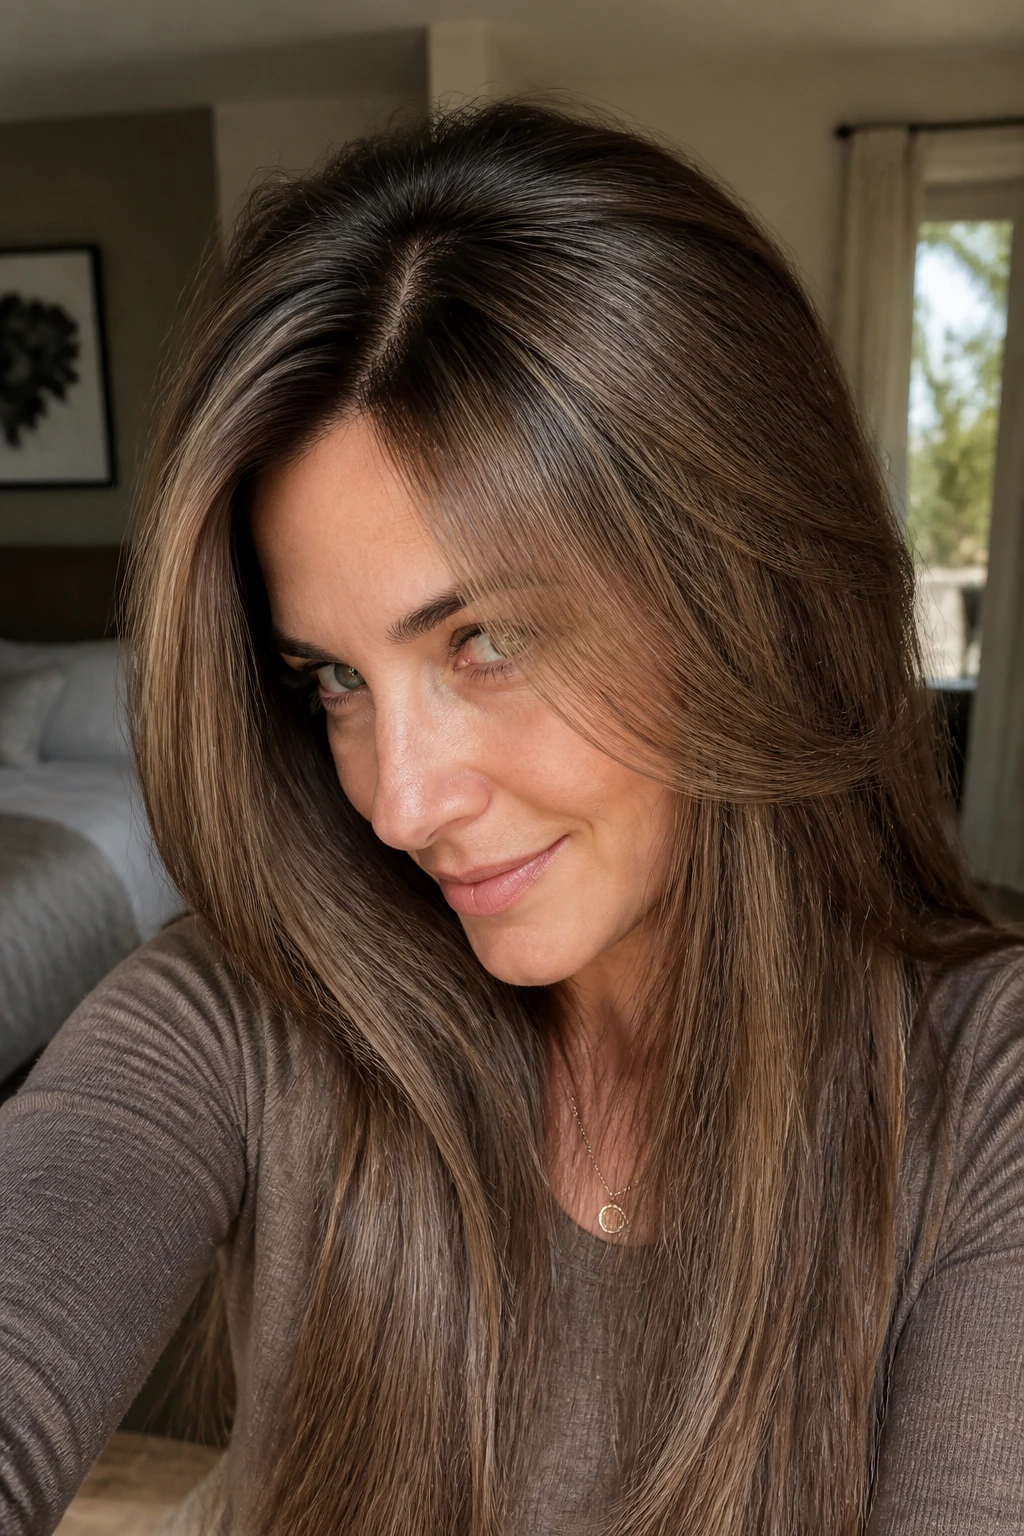
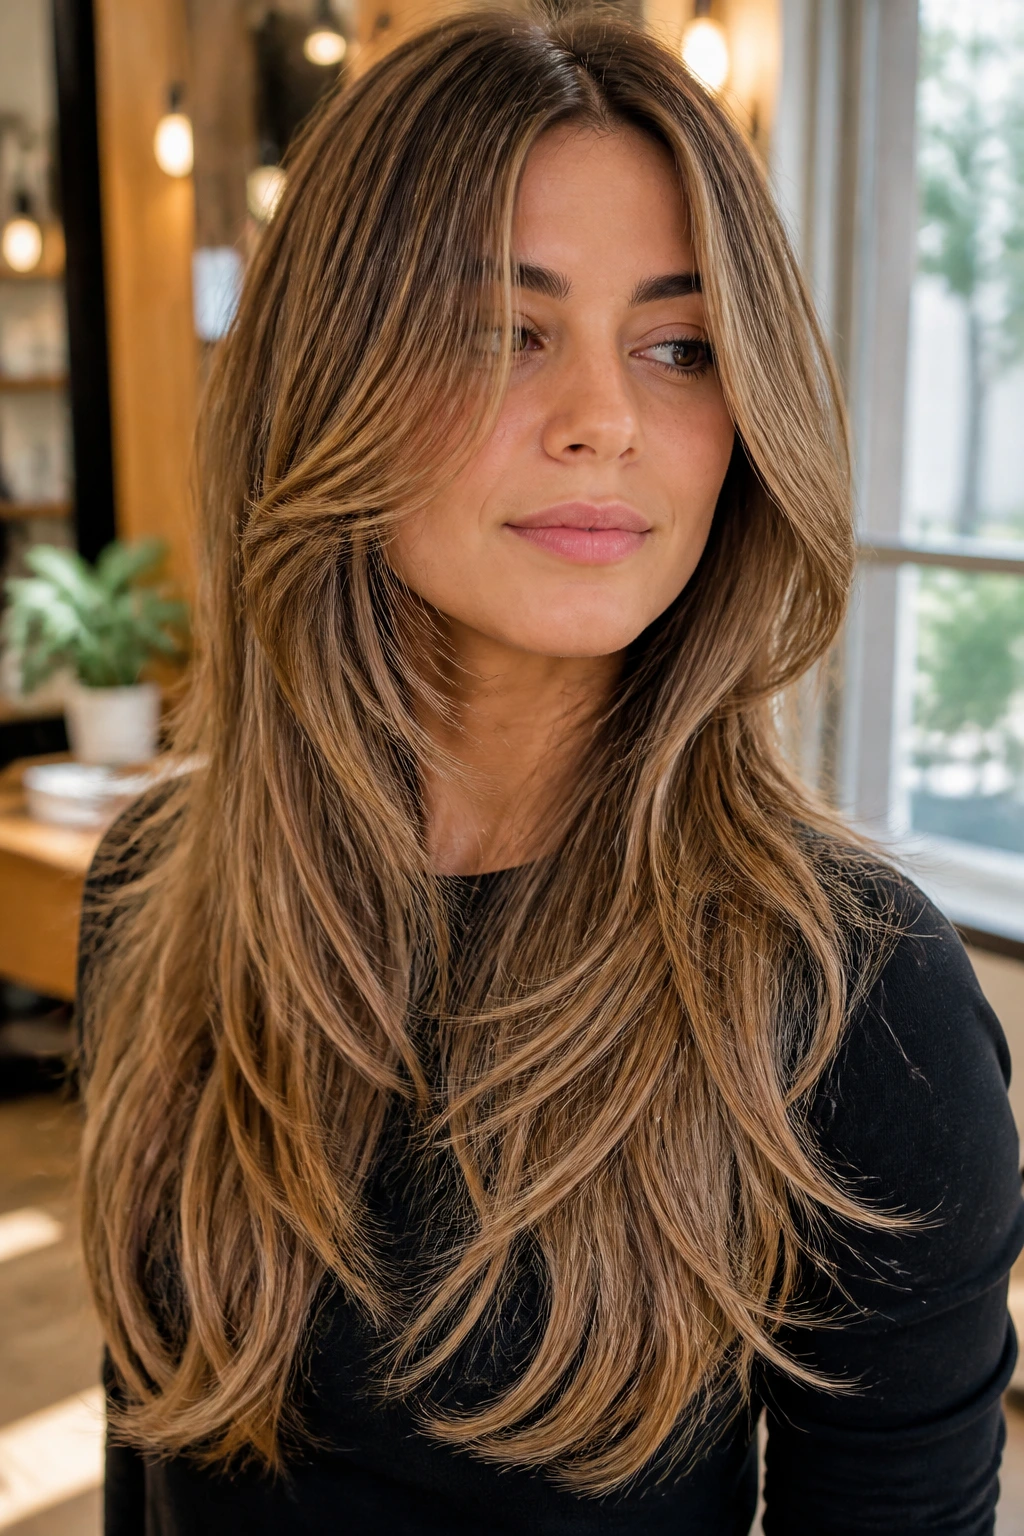
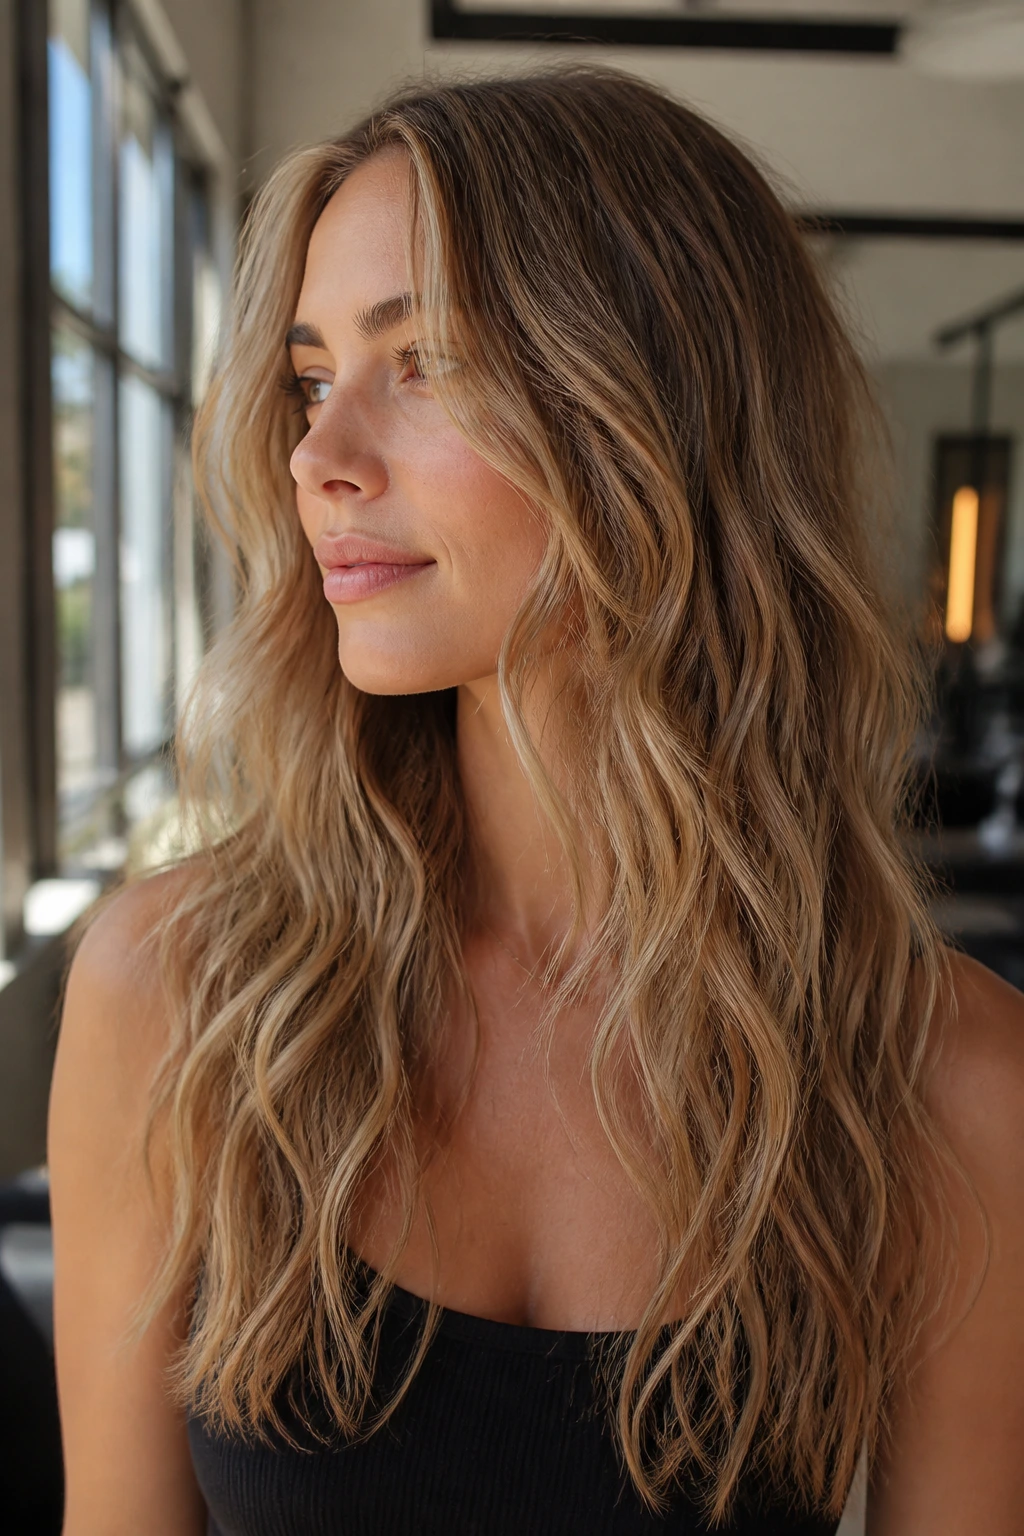
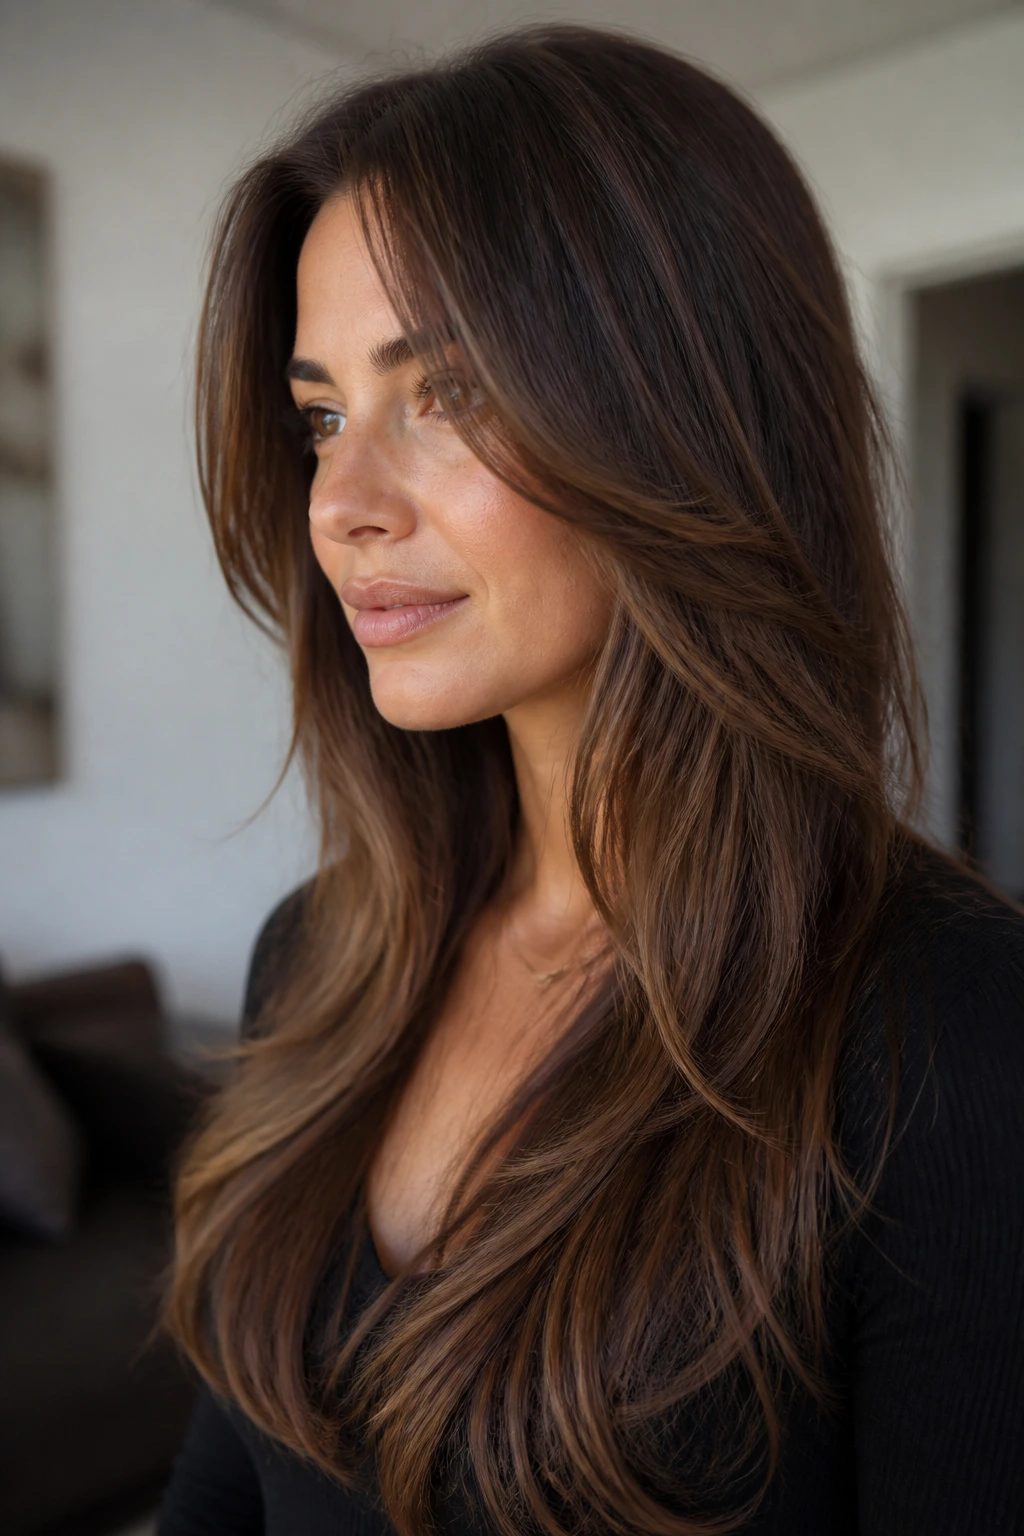
Feathered face-framing is one of the safest ways to give extra-long fine hair shape without stripping away the good part: the length. The front pieces start around the cheekbone or just below it, then melt into longer lengths instead of dropping in a hard step. That little bit of swing around the face keeps the cut from looking static.
What I like about this shape is that it behaves nicely on straight hair and soft waves. The feathers move when you turn your head, but they do not chew up the perimeter the way choppy layers can. If your ends are already fragile, this is a calmer choice than anything razor-heavy.
Ask for:
- Layers that begin around the cheekbone, not the mouth
- Soft blending through the front instead of sharp disconnects
- A blunt or gently rounded base so the bottom still reads full
This cut is especially good if you wear your hair down most of the time and want the front to do some of the work. The back stays long. The face gets shape. Simple, and honestly, that’s the appeal.
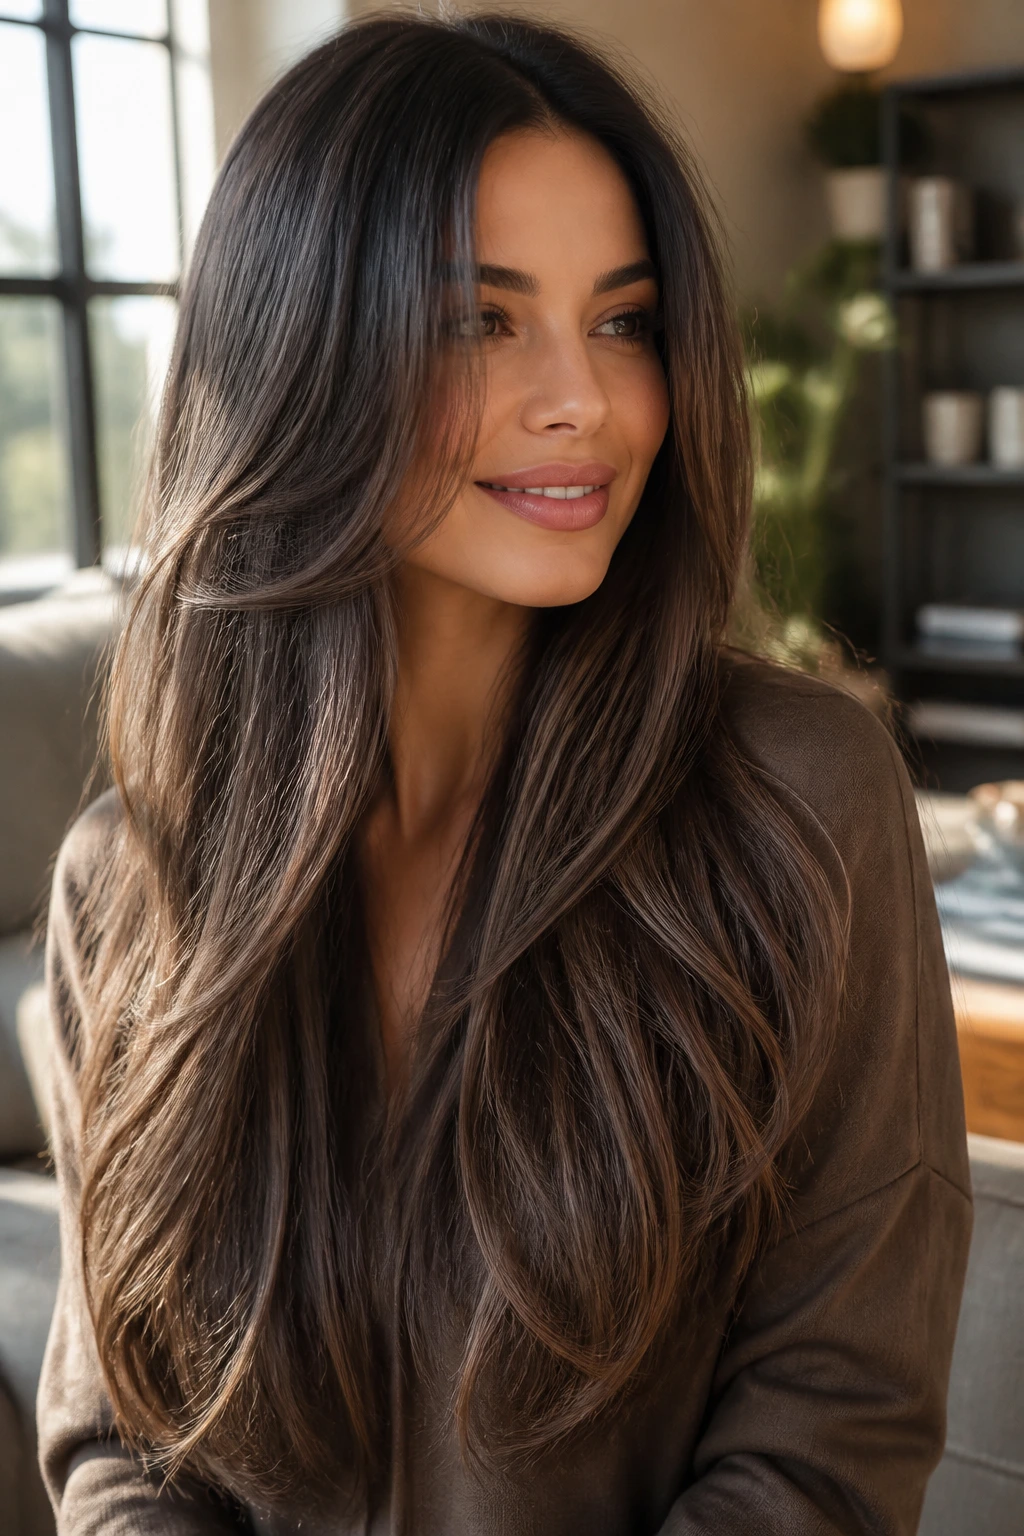
2. Butterfly Layers with a Long Tail
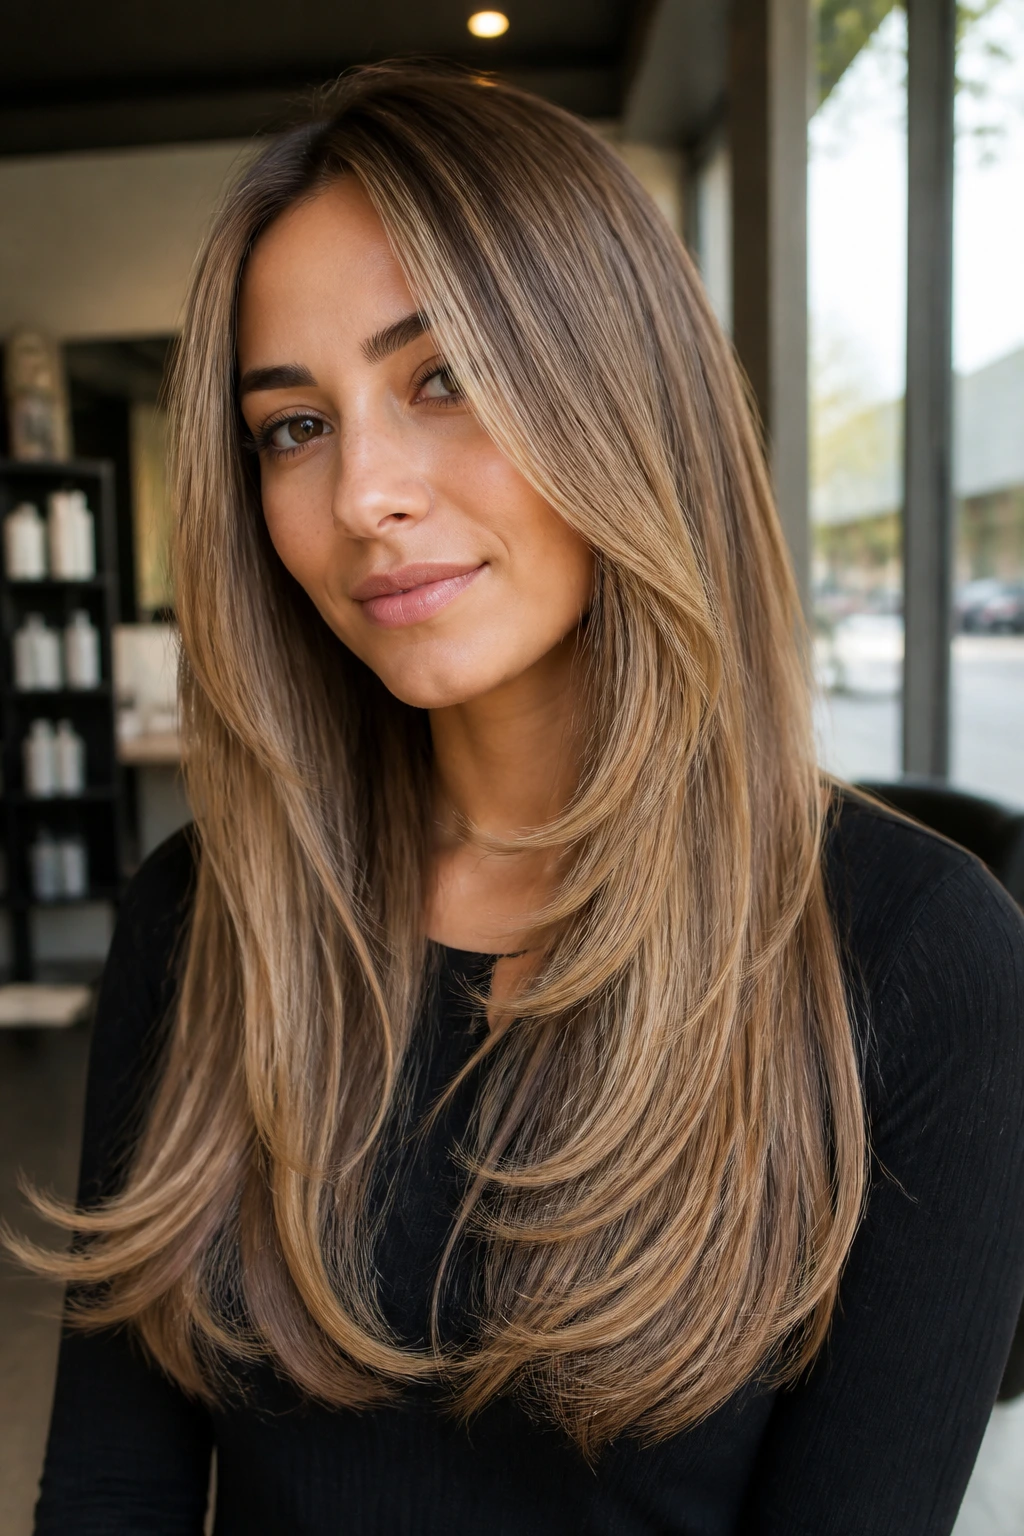
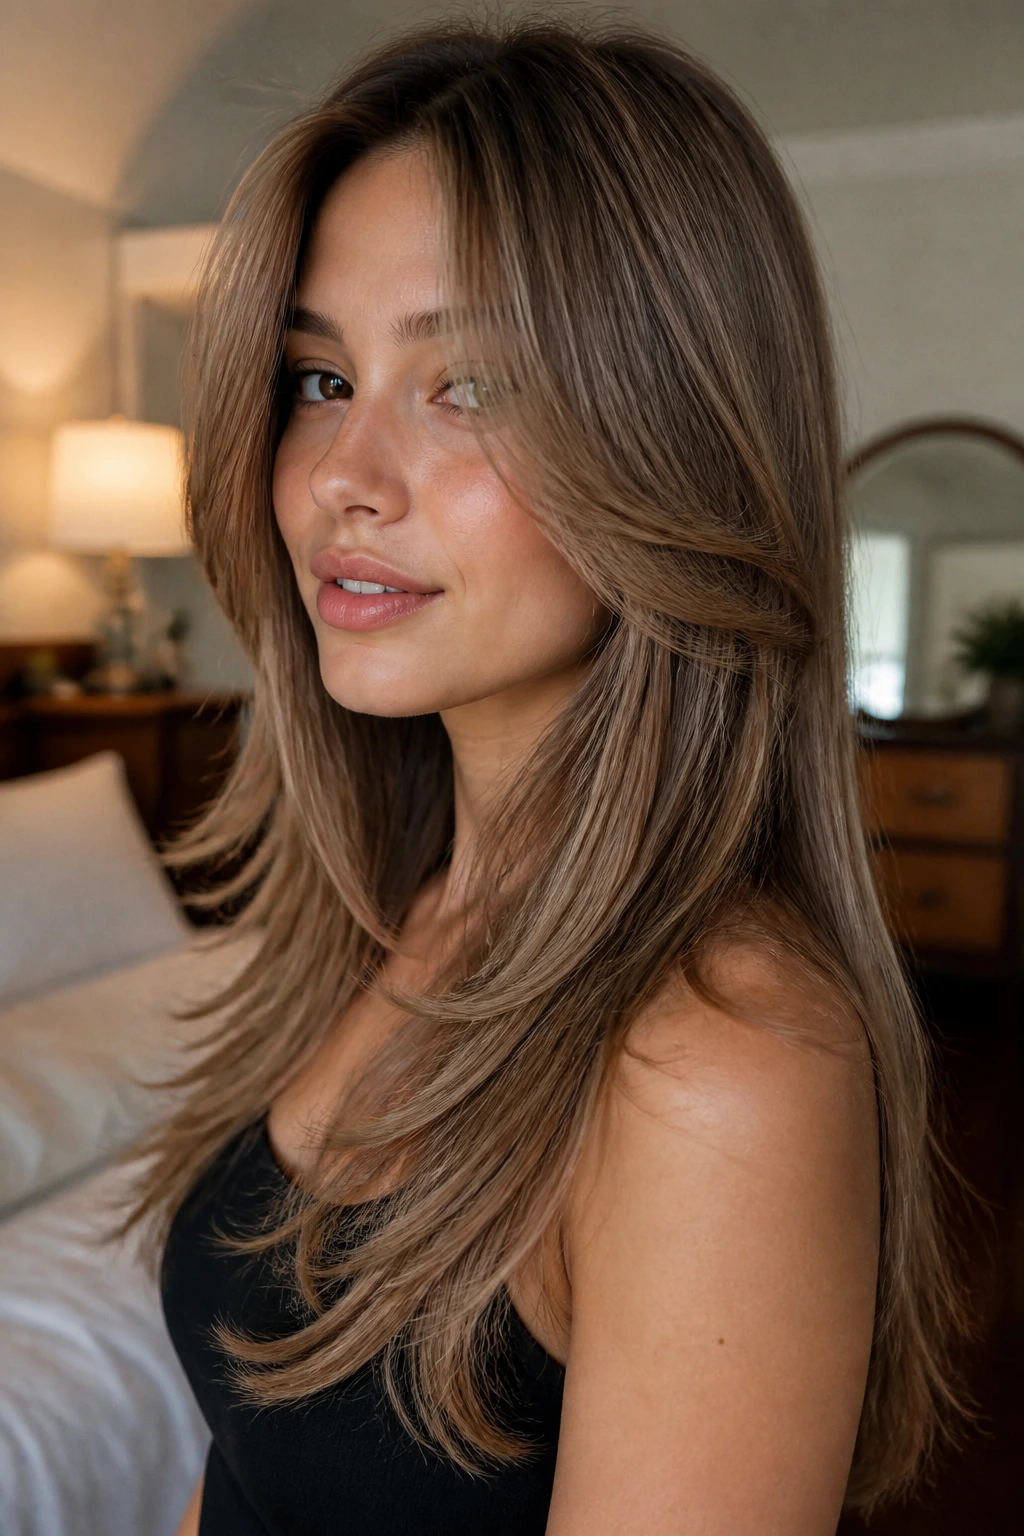
Butterfly layers are popular for a reason: they give the illusion of volume near the top while keeping the longest pieces intact. On fine hair, that balance matters. You get a fuller-looking crown and mid-length movement, but the ends still hang in one long, dramatic line.
The trick is restraint. Too many short layers turn butterfly cuts into a puffed-up mess on fine hair, especially if the hair is straight and slippery. Kept low and blended, though, the shape creates that nice contrast between lifted top sections and a long tail underneath.
This is the cut I’d point to if someone wants their hair to feel styled even when they’ve done almost nothing. A rough blow-dry bends the layers upward. A curling wand gives them that soft, floating shape. And if you pin the top half back, the shorter pieces actually have enough life to show up.
3. Soft U-Shaped Cut
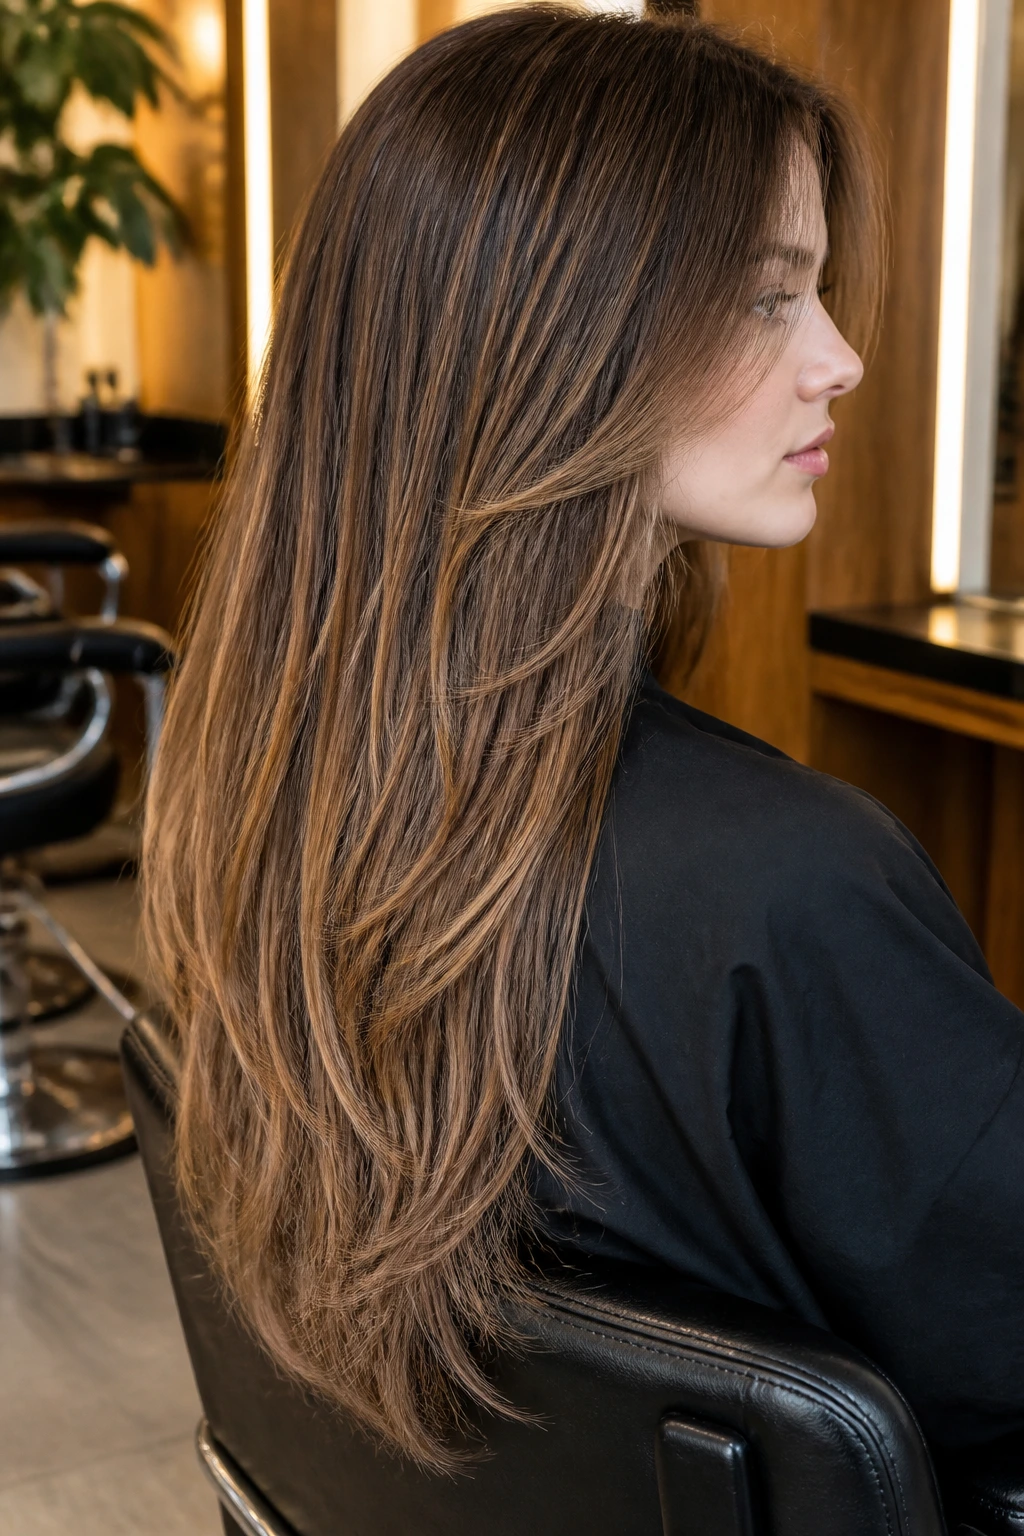
A soft U-shape is the quiet achiever in this whole group. The hair is longest in the center back and slightly shorter toward the sides, but the curve is gentle, not dramatic. For fine hair, that subtle shape can be better than a V-cut because it keeps the hemline looking thick and soft around the shoulders.
The reason it works is visual weight. A U-shaped base makes the bottom edge look fuller, especially when the hair is straight or only lightly waved. Then you can add a few long layers through the interior without wrecking that thick-looking outline.
If your hair is fine and also prone to frizz, this is one of the better long cuts to live with. It does not depend on perfect styling. Even when you air-dry and the front pieces bend a little oddly, the shape still reads as polished enough.
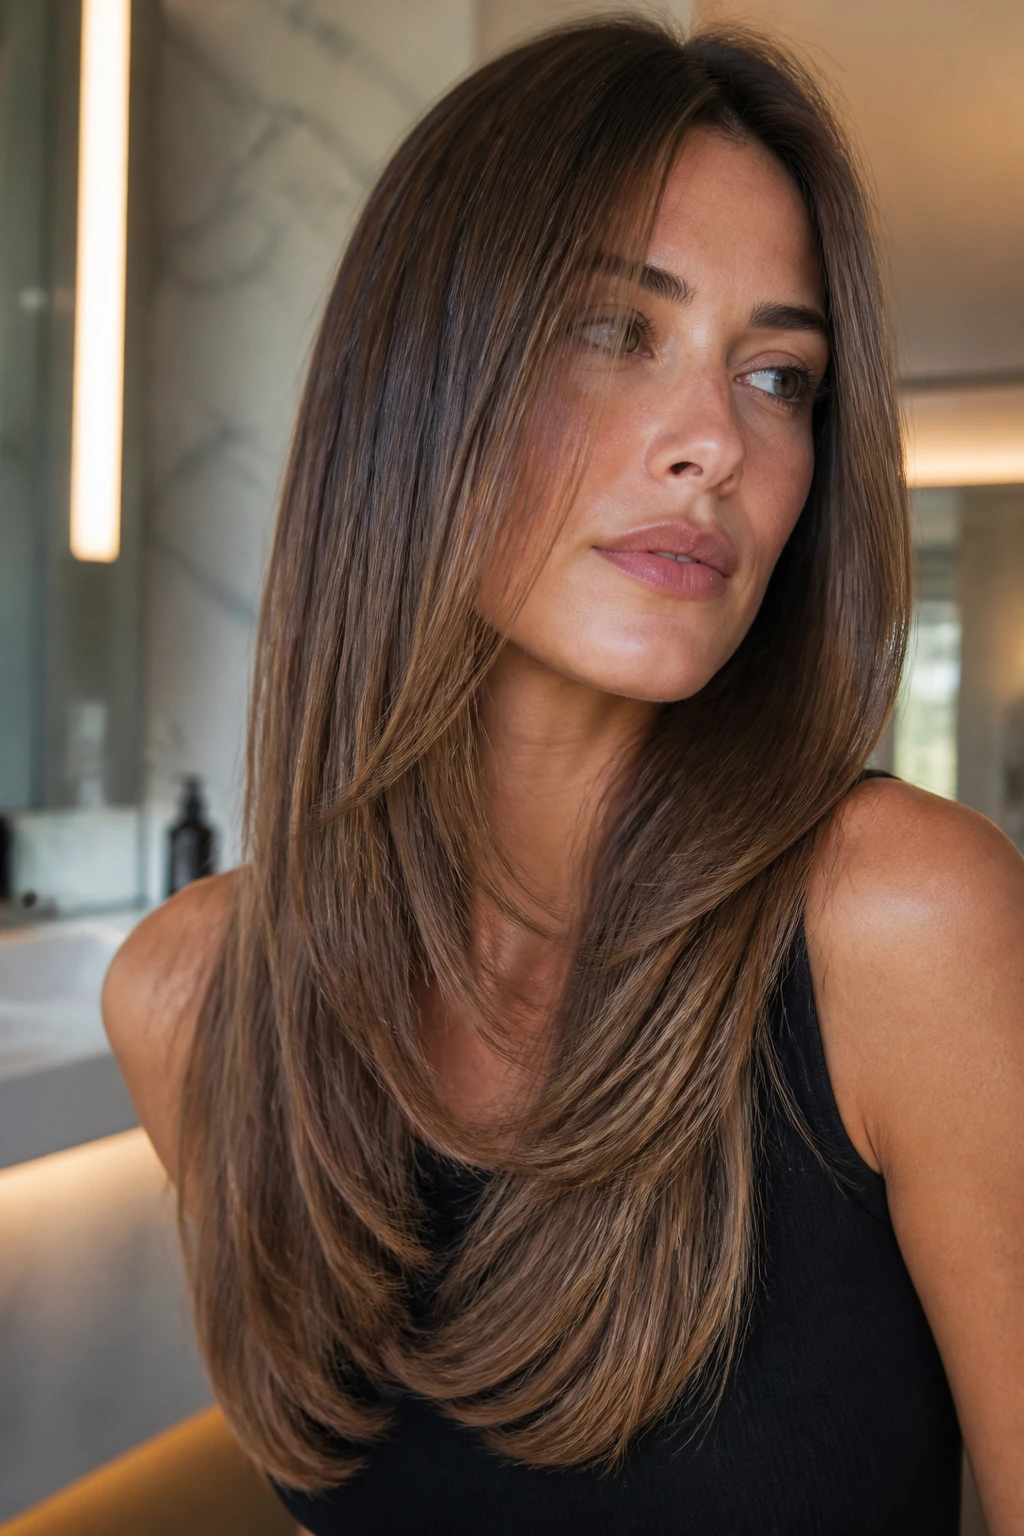
4. Invisible Layers for Glassy Straight Hair
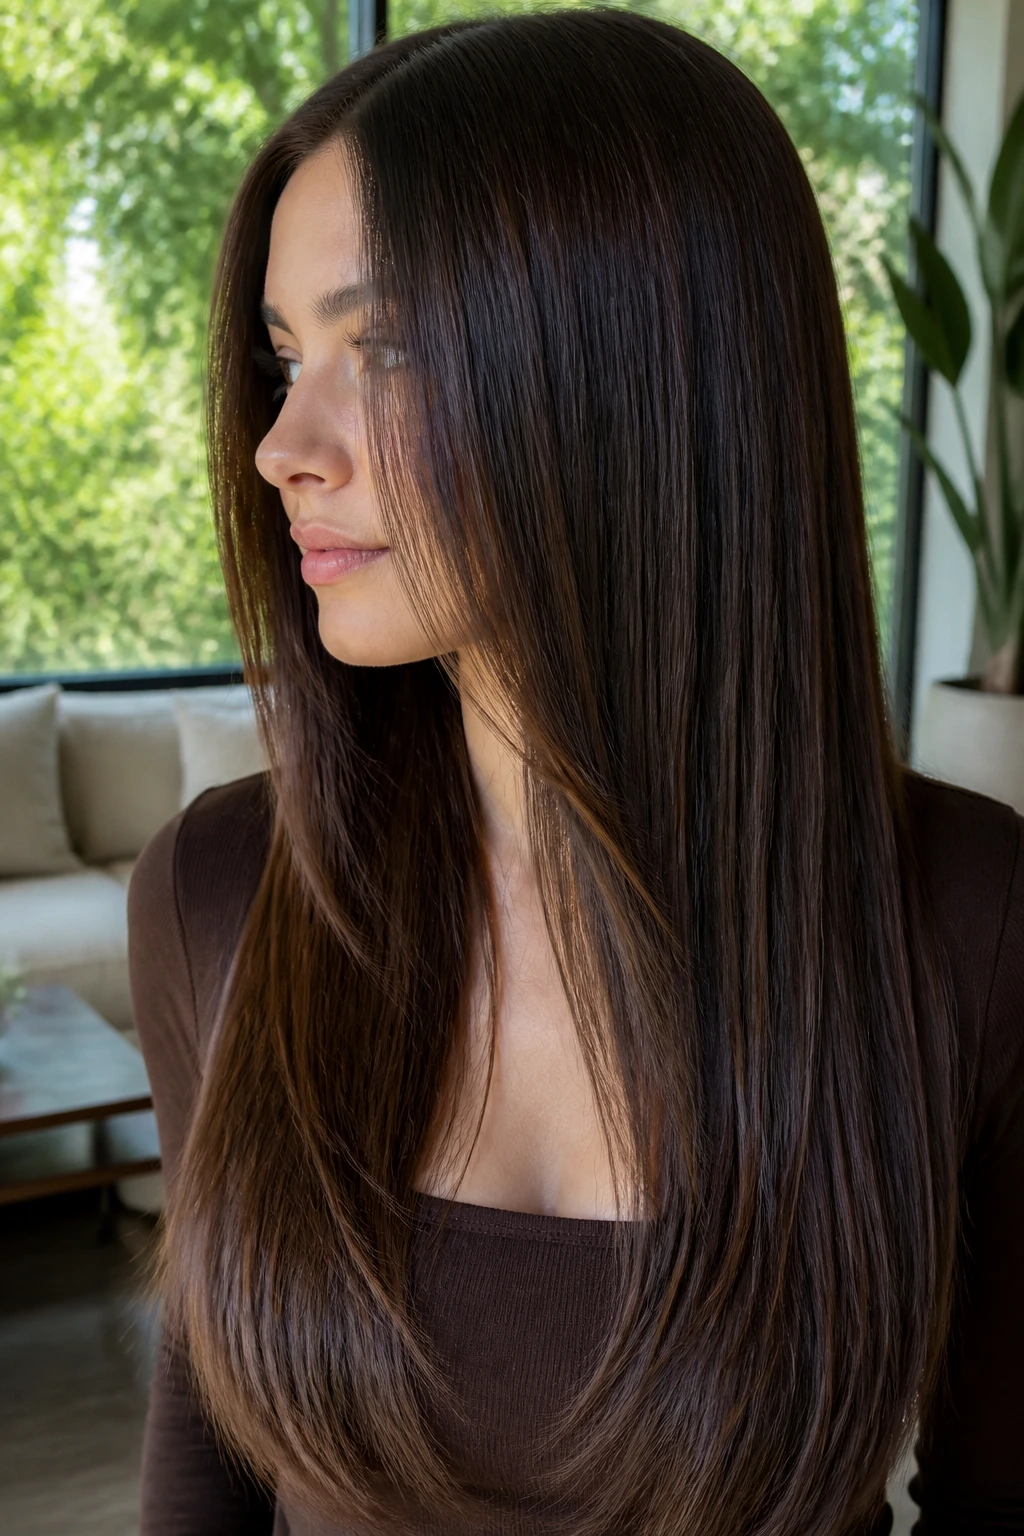
Invisible layers are the haircut equivalent of a whisper. You don’t see them first; you feel them when the hair moves. On very straight, very fine hair, that can be a smart move because the top layer keeps the sleek sheet-like look while the hidden layers remove just enough weight to stop the whole head from falling flat.
This is not the cut for someone who wants obvious texture. It’s for someone who likes clean lines but hates the heavy, dragged-down feeling that long fine hair gets by midday. The layers sit underneath the surface, which means the perimeter still looks full.
I’d call this one a specialist’s cut. It needs a stylist who understands density and placement, not just “a few long layers.” But when it’s right, the result is polished in a very low-key way. Hair moves when you walk. It does not split into obvious steps.
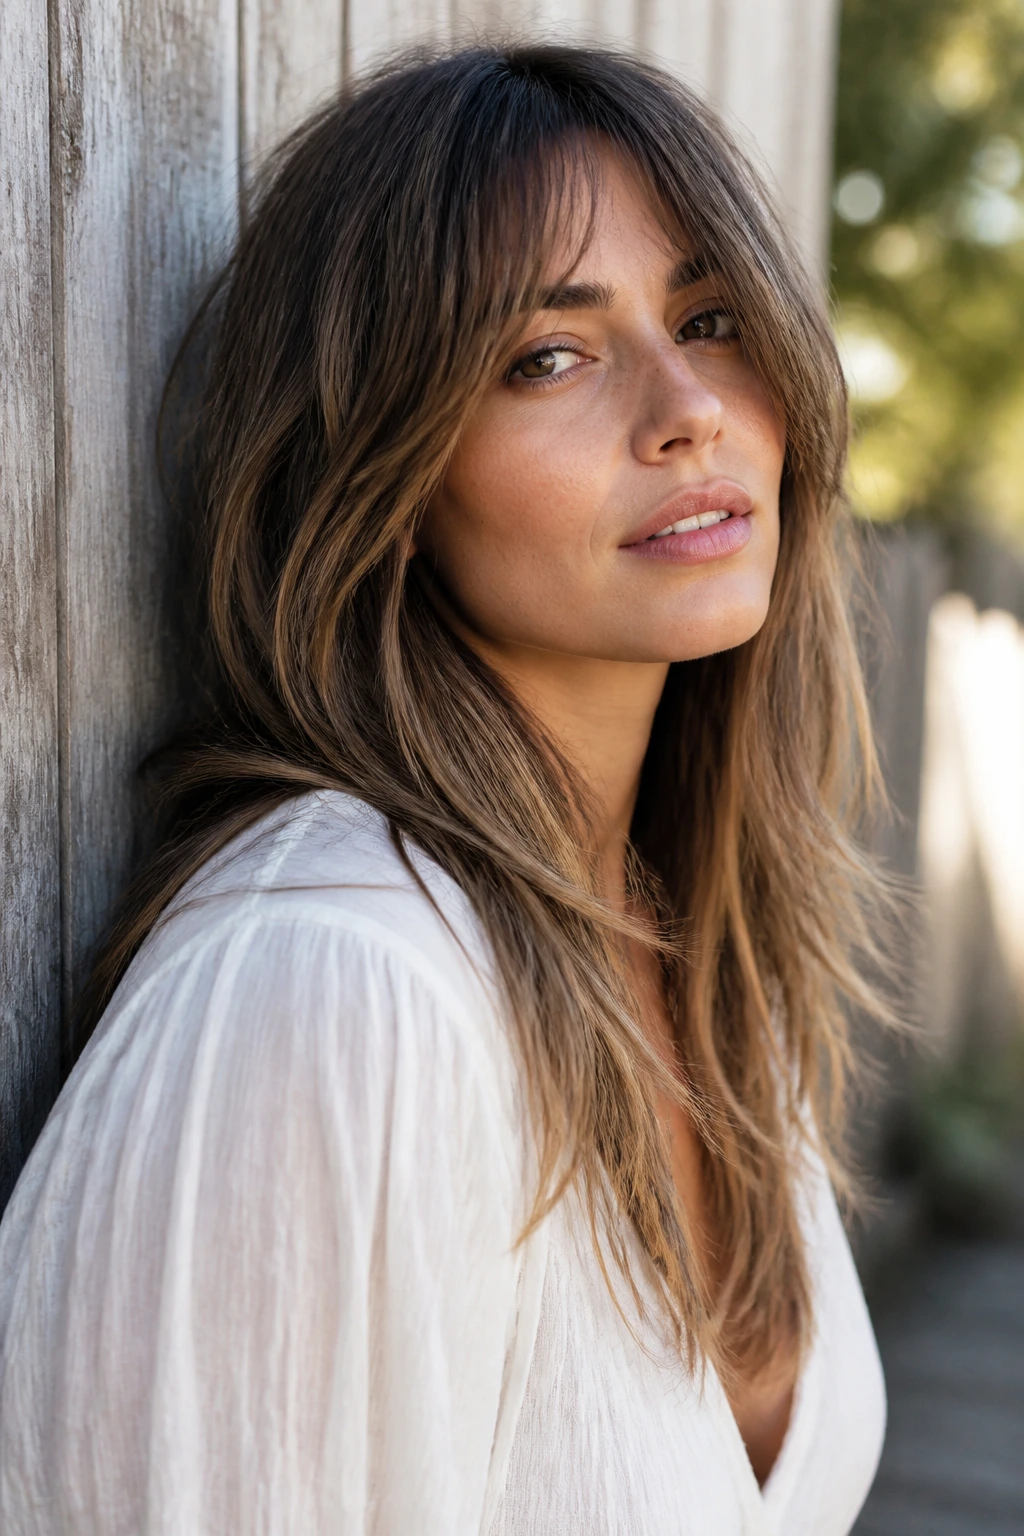
5. Curtain Bangs with Extra-Long Layers
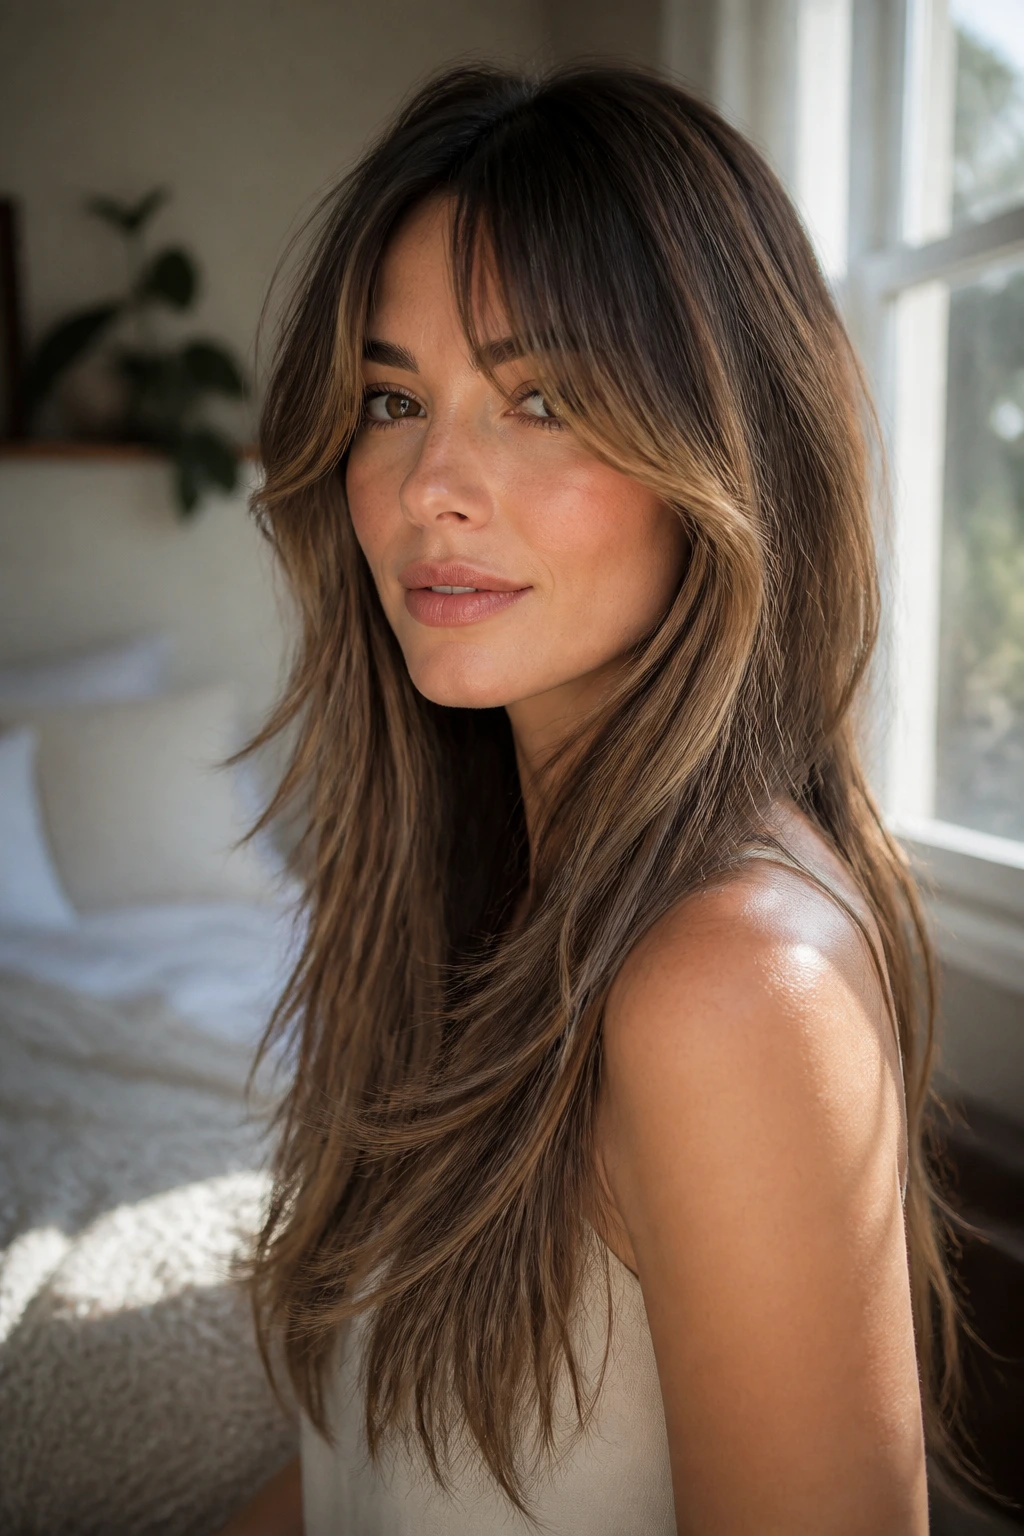
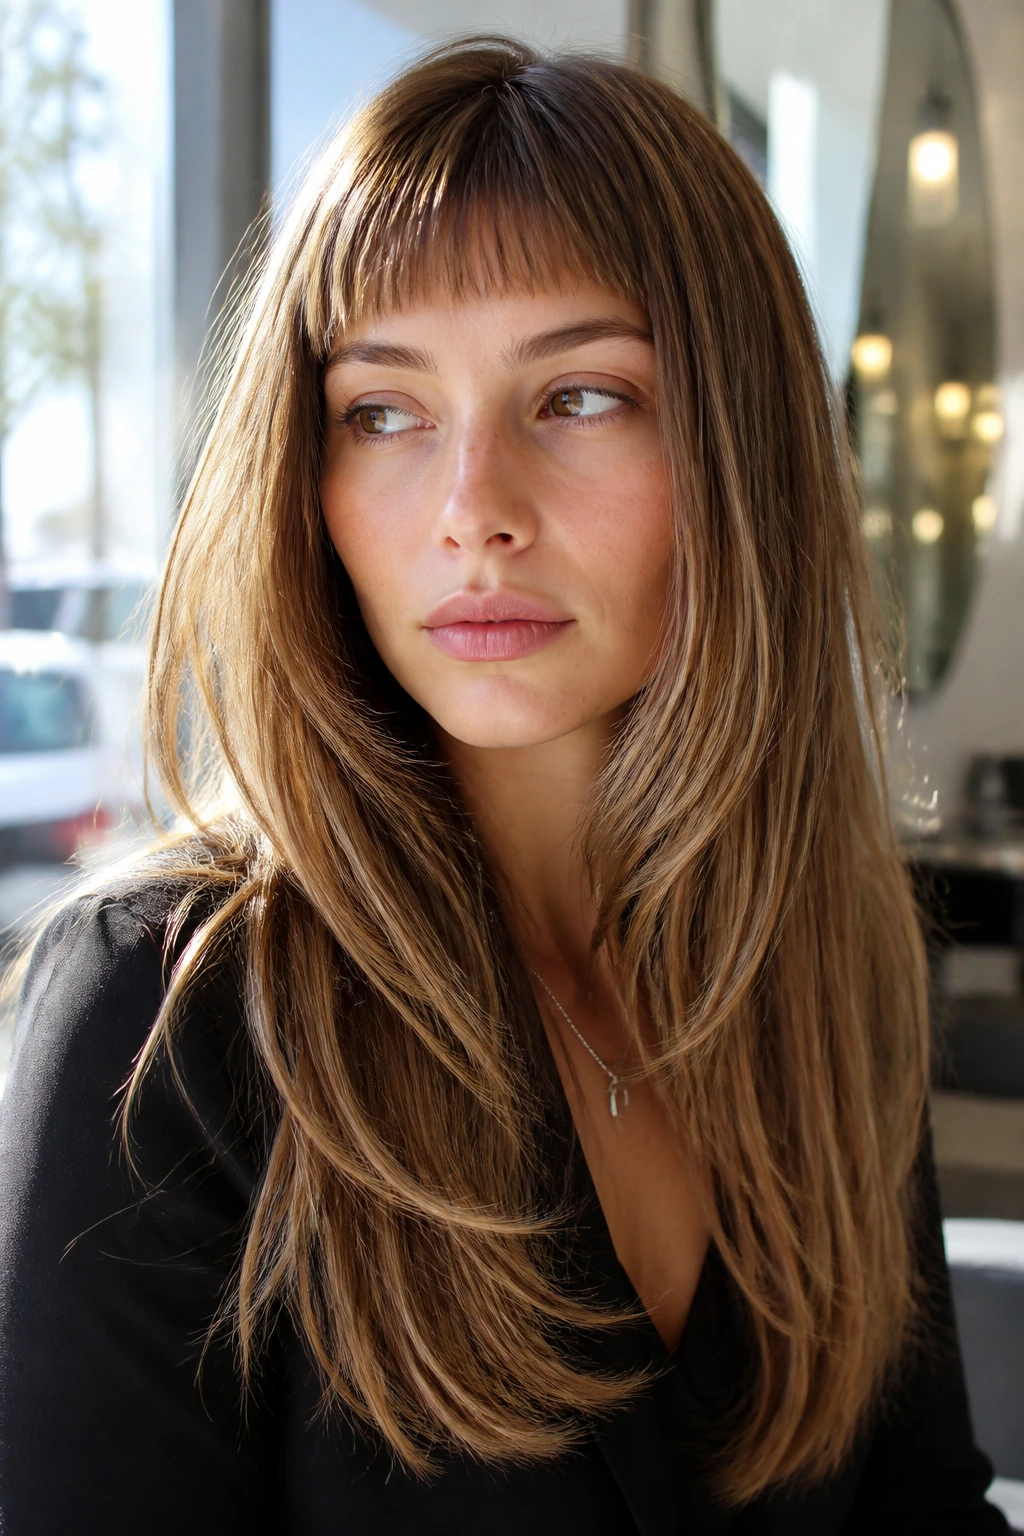
Curtain bangs can be brilliant on fine hair, but only when they’re cut with enough length to blend into the sides. Short, blunt bangs can steal density from the front and make the rest of the hair work too hard. Curtain bangs, by contrast, split the difference: they soften the forehead, bring attention to the eyes, and fall into long face-framing layers that keep the haircut connected.
The best version here starts with a longer center opening and side pieces that graze the cheekbones or jaw. That gives you movement around the face without chopping the silhouette in half. On fine hair, that connection is what keeps the whole cut from feeling flimsy.
This shape also buys you flexibility. Wear the bangs parted. Sweep them off to the side. Blow them back with a round brush and let the rest of the length do the talking. It’s one of the few fringe choices that can make extra-long hair feel lighter without making it look sparse.
6. V-Cut Cascade
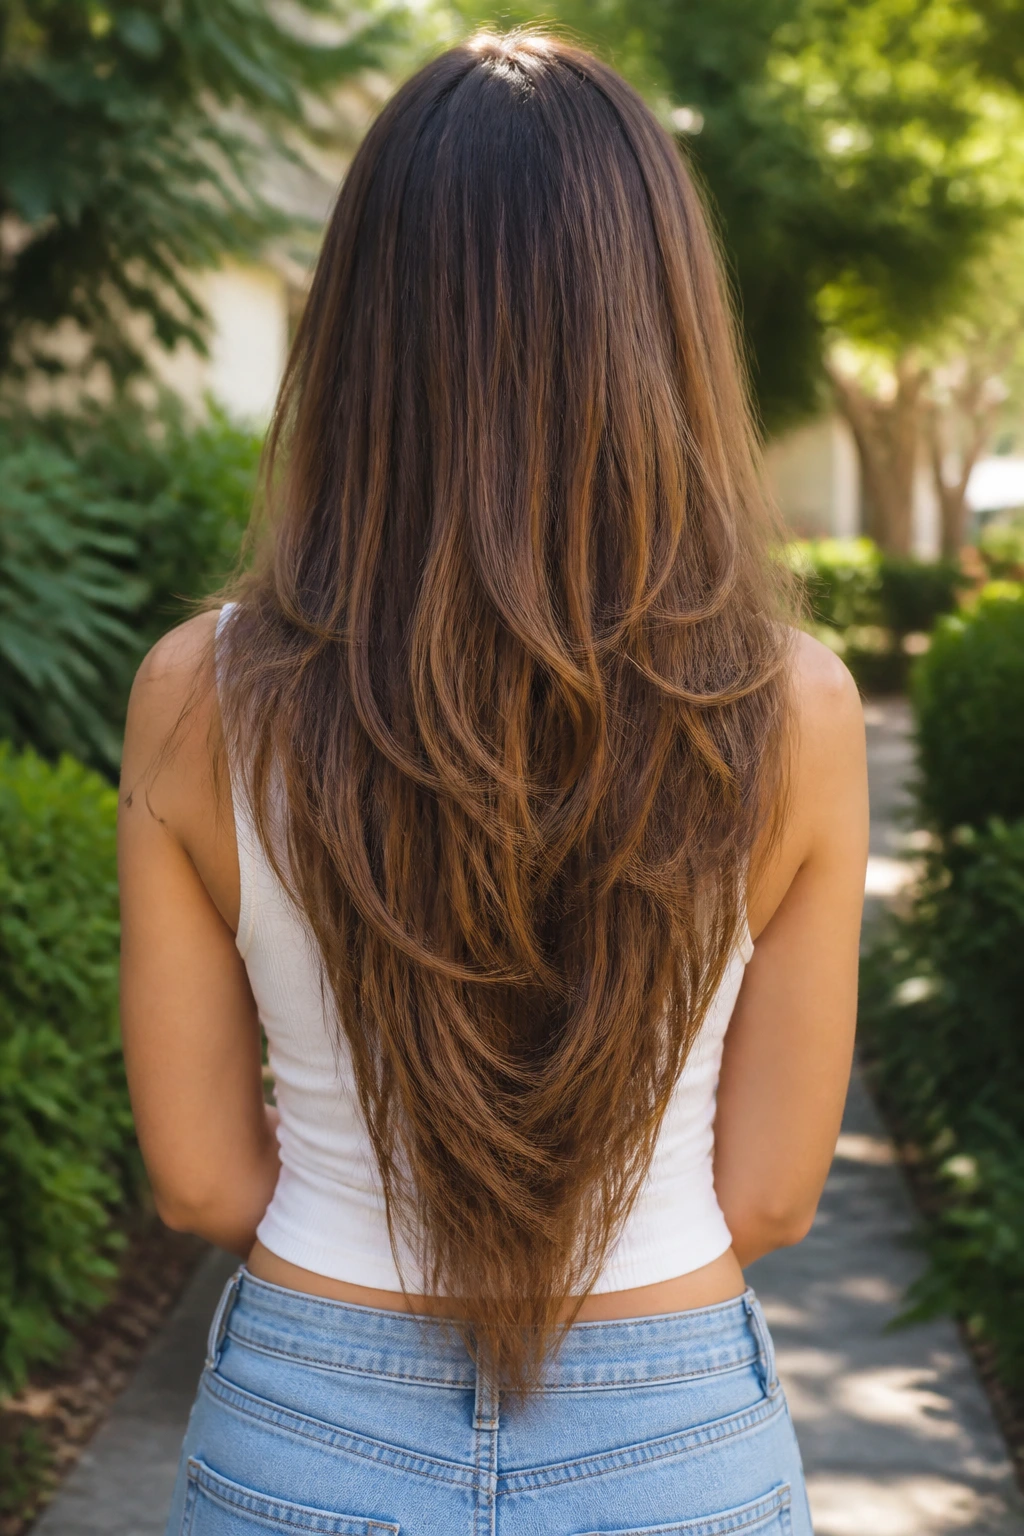
A V-cut makes sense when the hair is very long and you want the back to have a little drama. The center point dips lower than the sides, so the length narrows into a soft V shape instead of forming one blunt line across the back. On fine hair, that can create movement that a straight cut sometimes misses.
But there’s a catch. If the V is too sharp, the sides can look thin fast. I prefer this cut when the layering is gentle and the point is not too deep. Think of it as a suggestion of a V, not a hard arrow.
This style works best if you wear your hair in waves, braids, or loose curls. The shape shows up beautifully when the hair bends. Straight and pinned flat, it can look a little severe, so I’d only choose it if you already like a more sculpted finish.
7. Collarbone-to-Waist Face Frame
This is the version for people who want serious length but also want their hair to do something around the face. The front pieces start around the collarbone and travel all the way down to the waist or lower, creating a long diagonal line that softens the profile. It’s a strong look, but not an aggressive one.
What makes it work on fine hair is that the face frame carries the visual shape while the rest of the hair stays largely protected. You are not cutting the ends up into little bits. You’re making the front earn its keep.
If you wear center parts, this cut is especially flattering because the long front pieces fall like curtains on either side without swallowing your features. It also behaves well with low ponytails. Those pieces fall out in a nice way instead of poking out like broken tendrils.
8. Sliced Ends with Soft Razor Movement
Sliced ends can be risky on fine hair, and I’m going to say that plainly. Done badly, they turn the bottom 2 inches into frayed, transparent bits. Done carefully on healthy hair, though, they can make extra-long lengths look airy and less blocky.
This is a good option for someone whose hair is fine but fairly dense. The goal is not to thin the ends to death. The goal is to remove a little bulk so the long layers fall with more flow. A light razor pass or slicing technique at the ends can soften a blunt edge that feels too heavy.
The cut reads best when the hair has some bend in it. On sleek, straight hair, you’ll notice the movement more if you tuck the sides back or add a bend with a flat iron. On wavy hair, the sliced finish can look almost feather-light in a good way.
9. Long Shag Lite
A full shag can be too much for fine hair that is already fragile at the ends. The lighter version, though, keeps the crown layers, face-framing movement, and slightly piecey texture while preserving more length than a classic shag would. That’s the difference between edgy and overdone.
What I like here is the looseness. The layers do not need to be perfectly smoothed into place. A little air-drying, a diffuse blow-dry, or even sleeping in a loose braid can bring the shape back to life. The cut has enough built-in texture to forgive laziness.
If your fine hair tends to look flat at the roots but puffs at the bottom, this is not the cut to skip. It redistributes some of that weight upward. Still, keep the longest pieces long. The minute the perimeter gets too shredded, the whole thing starts looking exhausted.
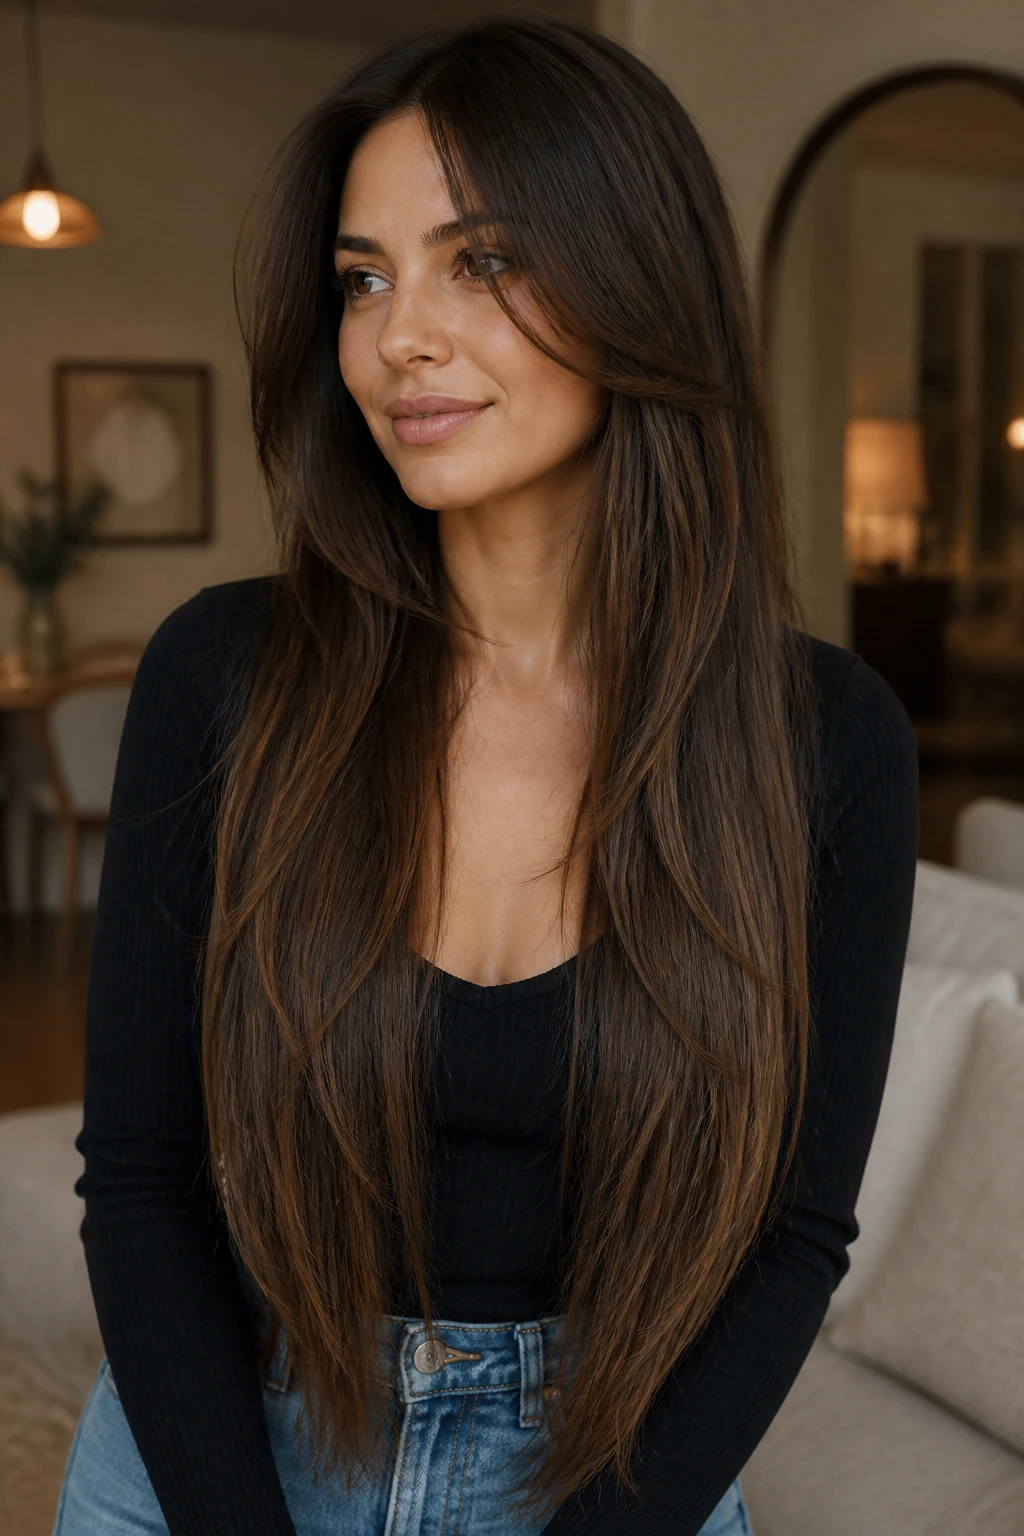
10. Deep Side-Part Layers
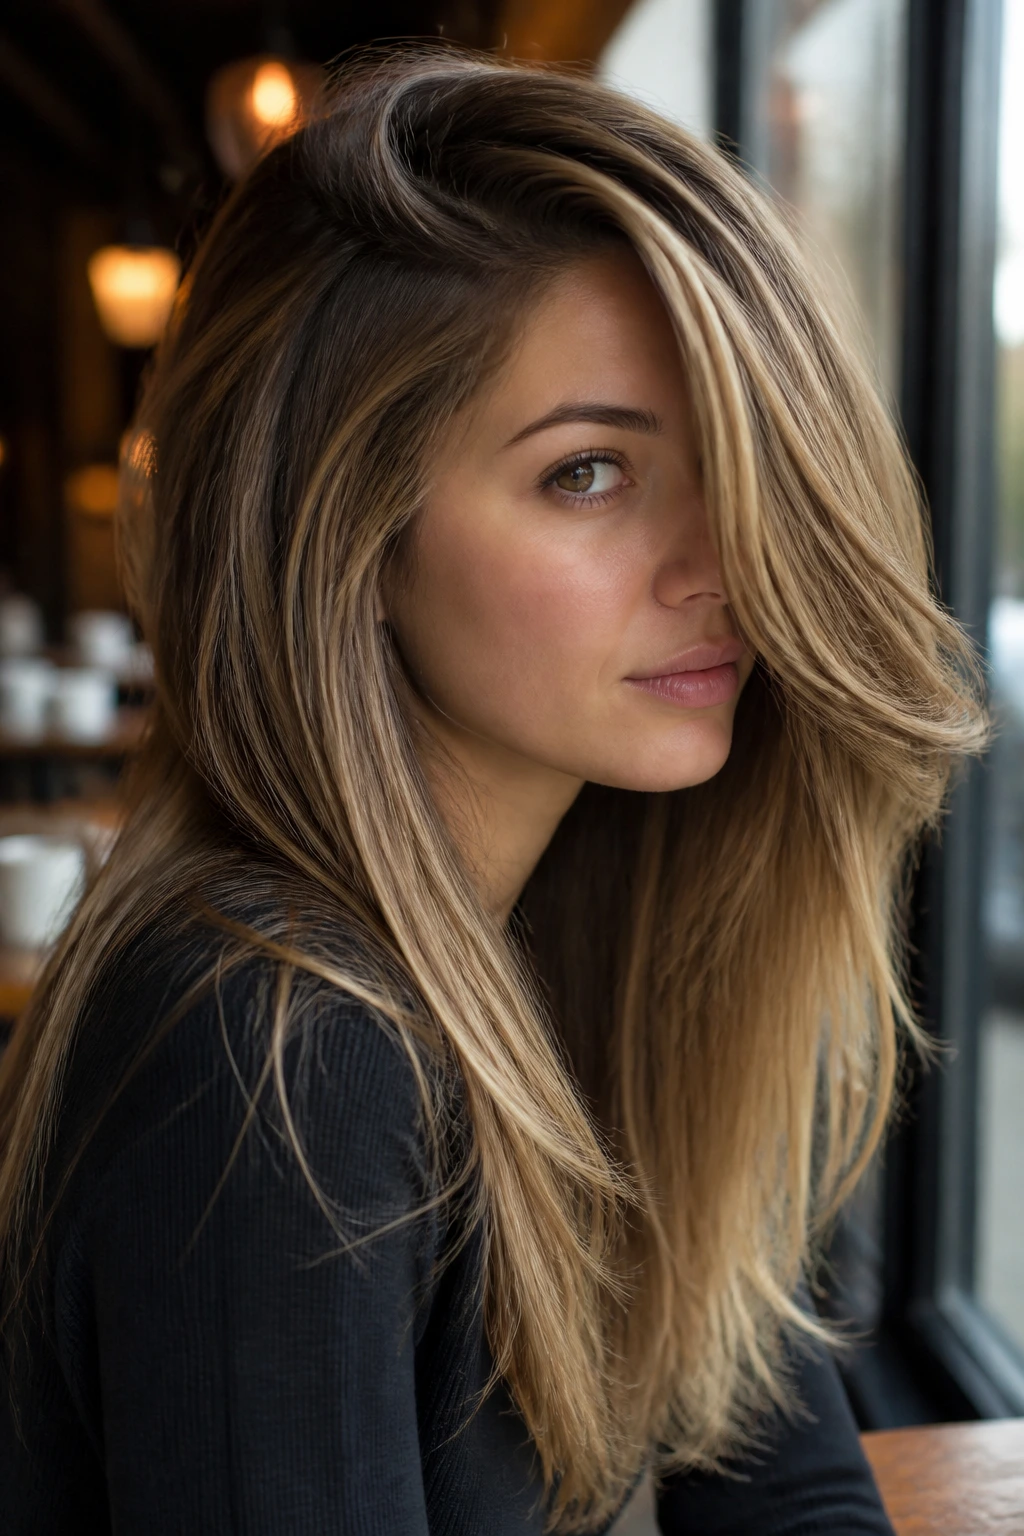
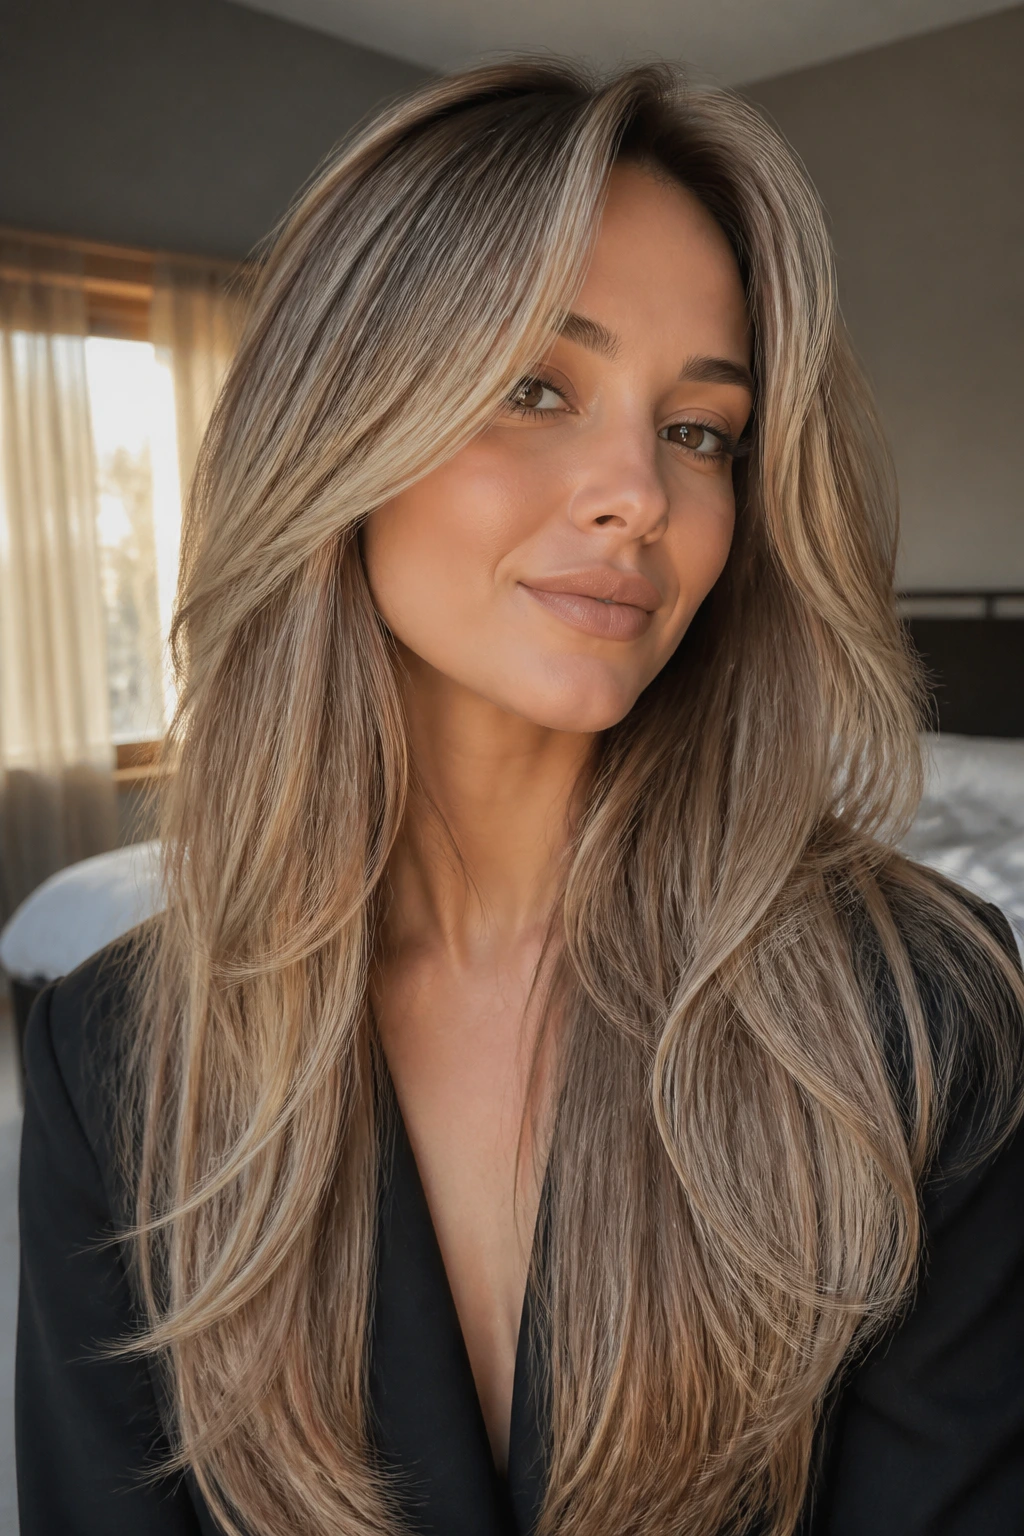
A deep side part can change the whole mood of fine hair in about ten seconds. The asymmetry gives the roots a little lift, and the longer side of the part creates a heavier sweep that looks fuller than a center part often does. Add long layers, and the effect gets even better.
This cut is less about the scissors and more about where the hair falls. A deep part creates volume at the crown simply because the hair is being encouraged to go somewhere different. That matters when the roots lie flat and stubborn.
I like this one for people who want a change without cutting much length at all. The part itself can do a lot of the work. If the roots are trained too hard to stay center-parted, a side part gives them a break and makes the face frame feel more dramatic.
11. Rounded Blowout Layers
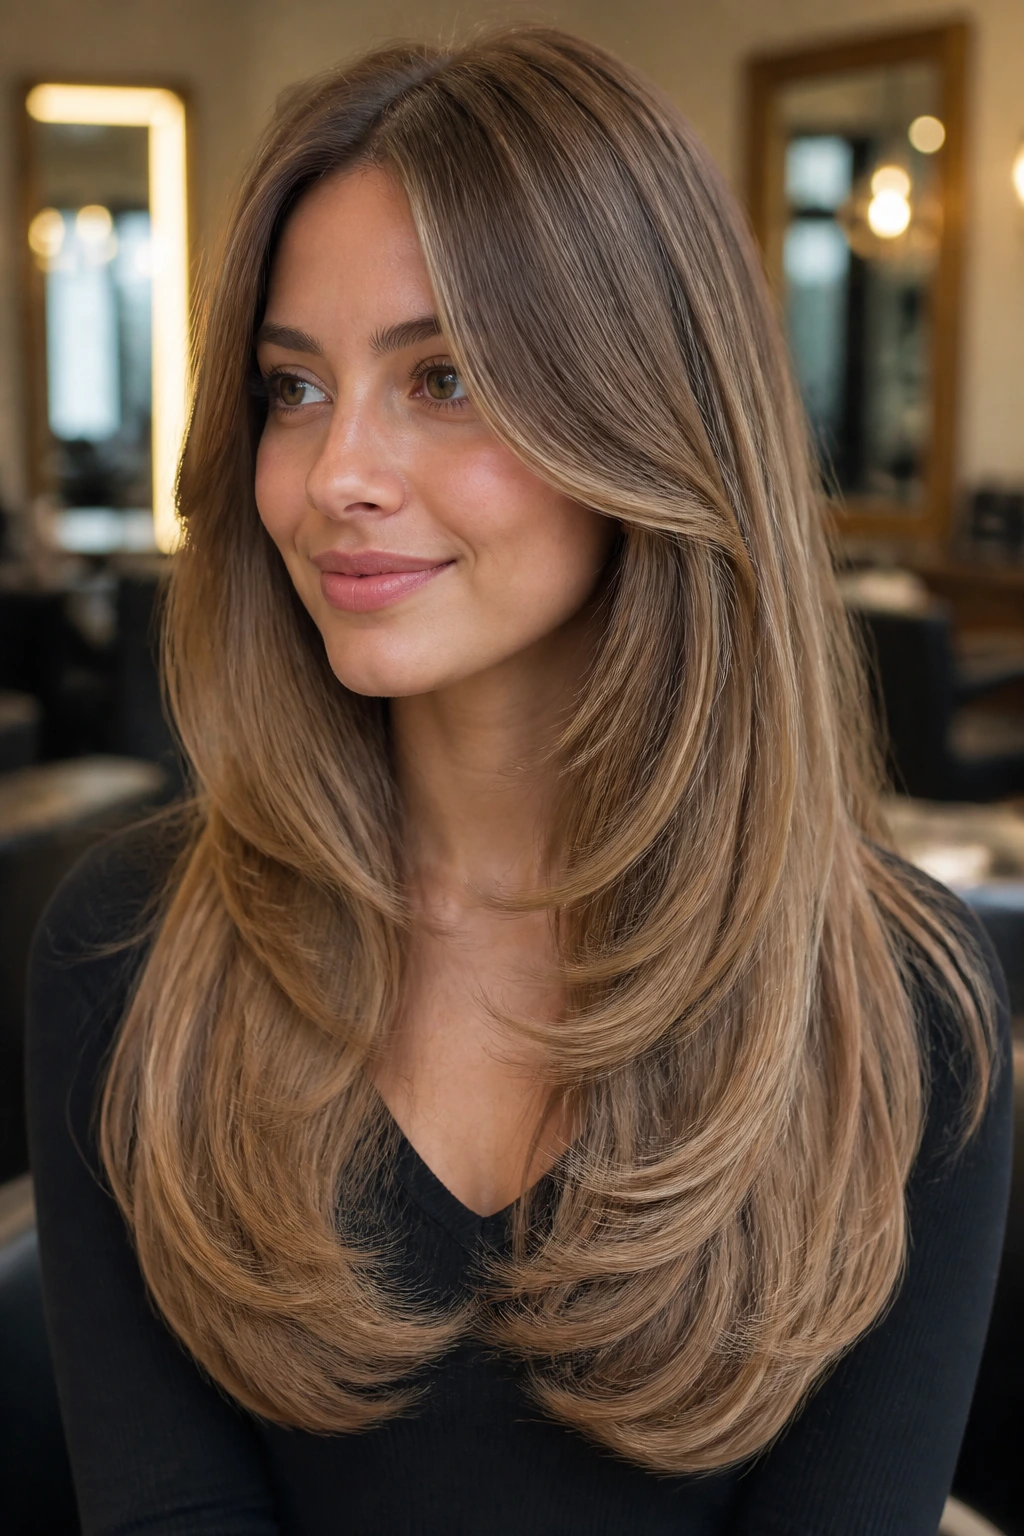
Rounded layers are built for the round brush. If you like that smooth, bouncy finish where the ends curve inward and the mid-lengths have a soft bend, this cut is worth a look. The layers are shaped to support that polished silhouette instead of fighting it.
Fine hair often looks best when the ends do not hang straight like string. A rounded profile gives the illusion of body because the curve catches the eye. It also keeps the back from looking too flat when the hair is worn down for long stretches.
This is one of the more office-friendly options in the bunch. It behaves beautifully with a blow-dry and still looks decent if you just twist the top sections into clips while you get dressed. The shape is doing most of the work.
12. Bottleneck Bangs and Flowing Length
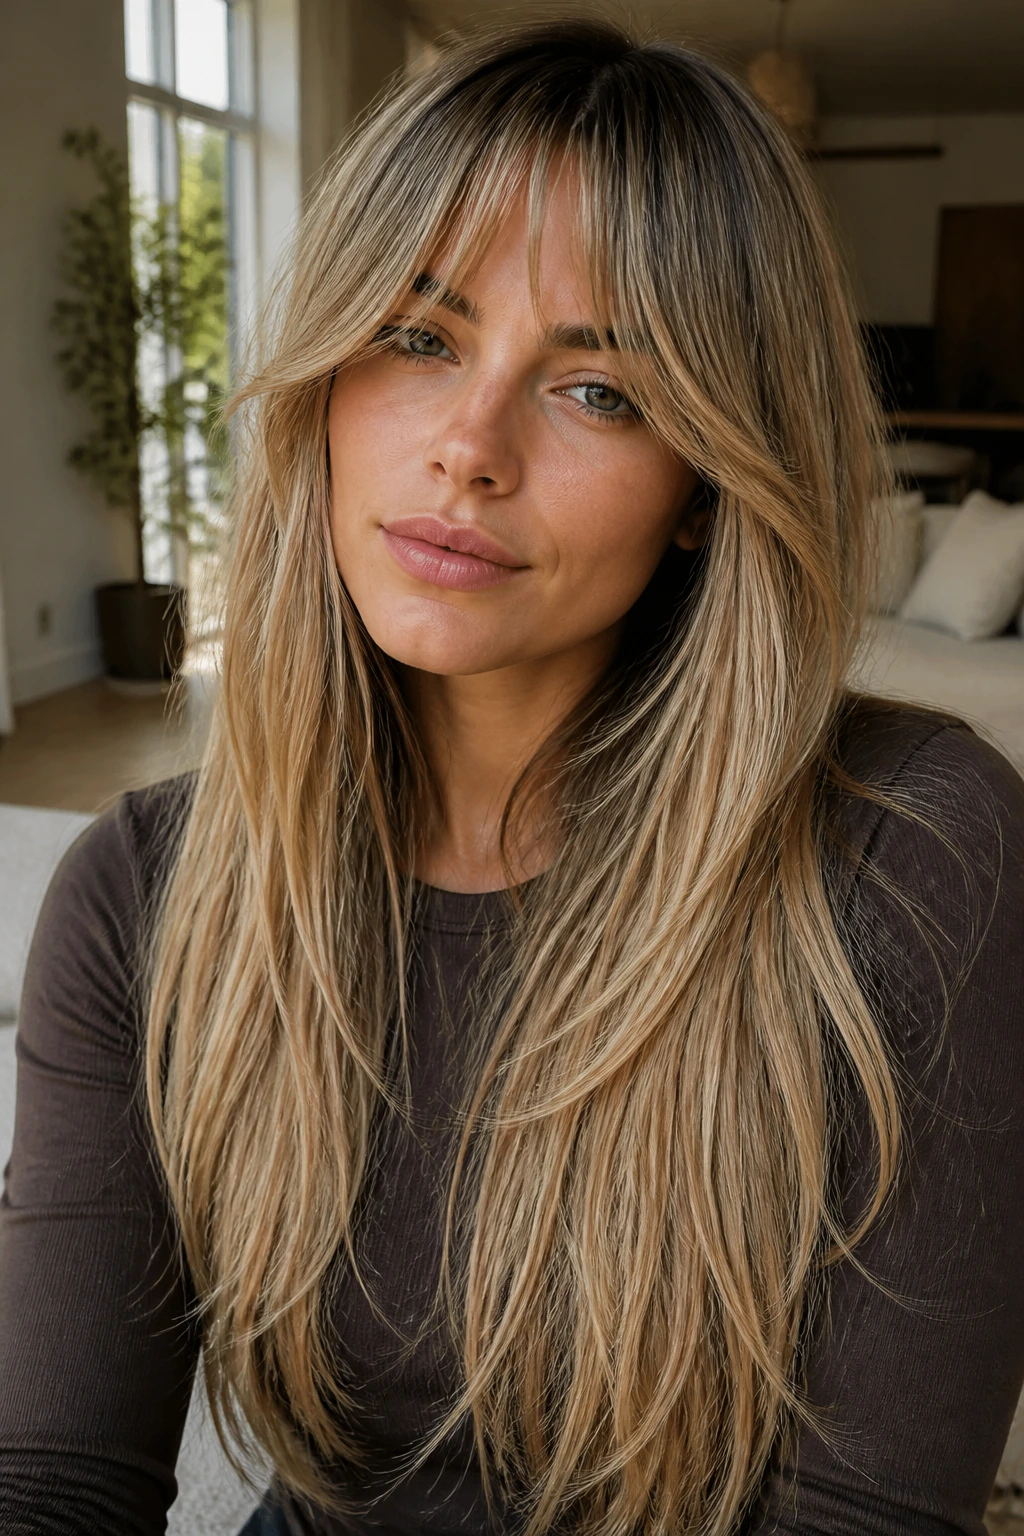
Bottleneck bangs sit somewhere between curtain bangs and a full fringe. They’re shorter in the center, then widen and soften as they move toward the temples, which gives the forehead shape without boxing it in. On fine hair, that’s useful because the fringe looks deliberate rather than heavy.
Paired with extra-long layers, bottleneck bangs create a nice balance: interest up front, length everywhere else. The face frame can stay soft and long while the fringe brings the eyes upward. If your hairline is uneven or your forehead is a little taller, this is one of the cleanest ways to soften the whole front section.
The real advantage here is how modern it looks without being fussy. It works with straight hair, loose waves, and blowouts. It also grows out better than a blunt fringe, which is a small mercy when you’d rather not visit the salon every six weeks.
13. Internal Crown Layers
Here’s the move that many people overlook: keep the outer layer long and clean, then remove weight from the crown inside the haircut. That hidden structure gives the top a little lift without broadcasting a choppy layer pattern all over the head.
For fine hair, this is a smart compromise. You get shape and air under the top sections, but the perimeter still looks dense. If your hair collapses at the crown but looks okay at the ends, internal layering is usually a better answer than cutting the whole front shorter.
This cut works especially well if you wear your hair straight and prefer a smoother outline. The volume sits under the surface. That’s the part most people miss when they ask for “layers” and end up with far too much action around the sides.
14. Razor-Swept Perimeter
A razor-swept perimeter sounds sharper than it needs to be. In practice, it’s a softly pared edge that lets long fine hair move instead of sitting like a heavy sheet. The trick is keeping the ends healthy enough to handle that touch.
This cut is a favorite for straight or slightly wavy hair that tends to look blocky at the bottom. A little softness at the edge prevents the haircut from feeling too rigid. You still keep a recognizable outline, but it has a bit of air around it.
Do not go too far with this if your hair is fragile or broken at the ends. The whole point is to create flow, not shred the perimeter. I’d choose it when the hair is in decent condition and the goal is movement, not a major shape change.
15. Cheekbone-First Layers
If you want your face frame to do the lifting, start at the cheekbones. That placement draws the eye upward and keeps the lower half of the length from getting all the attention. It’s a clean, flattering choice for fine hair because the shortest visible pieces aren’t so short that they break the line.
The cut is especially useful for people who feel their hair “hangs” around the jaw. When the first layer lands near the cheekbone, the face gets structure without the haircut becoming busy. The long back still looks like a waterfall, not a staircase.
This shape also photographs well in motion because the front pieces swing naturally when you turn. But that’s not the real reason to like it. The real reason is simpler: it keeps the front from disappearing while the rest of the length stays serious.
16. Blunt Base with Whisper Layers
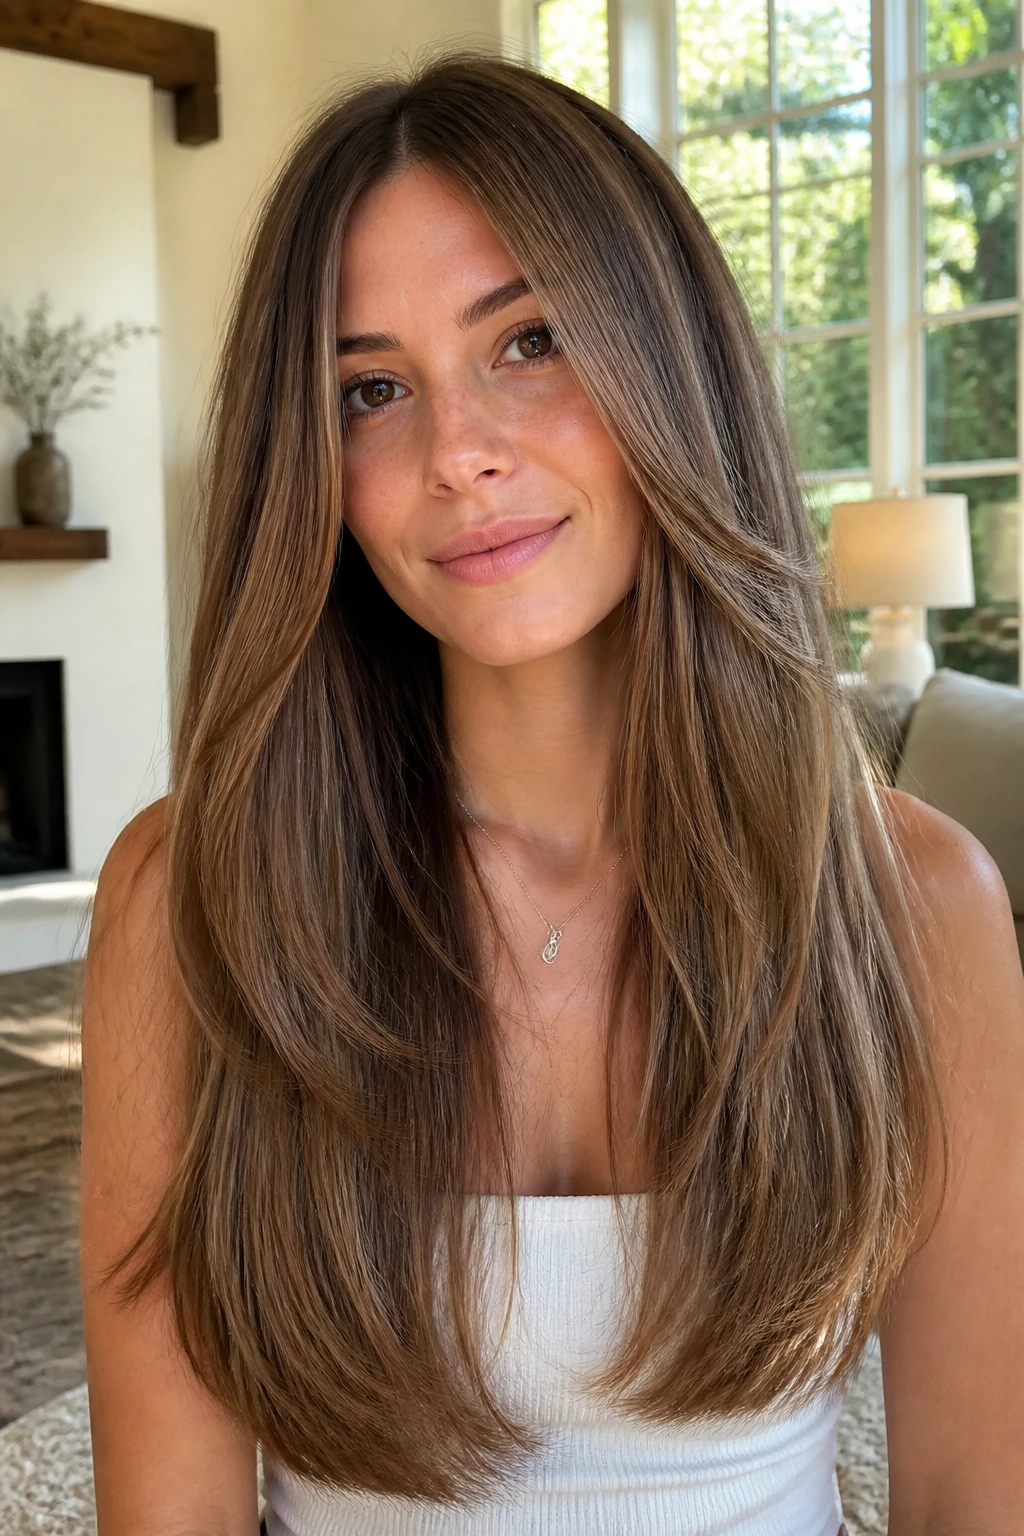
A blunt base gives fine hair a stronger finish, period. Then you add whisper-light layers so the shape can move without losing that thick-looking edge. That combination is especially good if your ends tend to fray and you hate the look of sparse points.
This is probably the best compromise on the list for people who want maximum visual density. The layers are there, but they do not announce themselves. You get a little lift through the mid-lengths and a perimeter that still feels substantial.
It’s also a sensible choice for low-maintenance styling. Straight hair looks clean. Soft waves look plush. Even a messy braid has a nicer base because the ends don’t feel overworked.
17. Waterfall Layers
Waterfall layers are all about a gentle cascade. Each layer falls into the next with enough softness that the hair reads as flowing rather than chopped. On fine hair, that kind of blending can keep the length romantic instead of stringy.
The key is keeping the steps gradual. If the jumps are too visible, the haircut starts looking thin. But when the layers drift down in small, soft intervals, the whole head looks like it has more movement than it really does.
This shape is especially good for wavy hair that wants to clump into loose sections. The layers help each bend show up, which means you get texture without needing a lot of product. A light mousse or leave-in cream is usually enough. Heavy oils will flatten it fast.
18. Subtle Bevel Layers
A bevel at the ends is one of those small things that changes the whole finish. Instead of hanging dead straight, the hair curves inward just a little, which makes the hemline feel fuller and the layers feel softer. On fine hair, that can be the difference between “long” and “long but sparse.”
The best version is subtle. You do not want a hard curl-under shape from the 2000s. You want a gentle bevel that gives the ends body when the hair is blown out or lightly styled with a round brush.
This cut works because the eye reads softness as density. A slightly beveled edge hides the fact that the strands are fine. It is one of the easiest shapes to maintain if you like a smooth finish and do not want the haircut shouting for attention.
19. Mid-Back Step Layers
A stepped layer pattern can work on fine hair if the steps are low and spaced out. Think of it as breaking the length into long intervals rather than stacking obvious shorter pieces on top of each other. That keeps the shape from turning choppy.
This is a useful option if your hair is extremely long and all one length has started to feel heavy. A few well-placed steps around mid-back can stop the lower half from looking flat without reducing the visual length much at all.
I’d choose this over a higher, chunkier layer pattern any day. The cut keeps the hair’s long line intact, which matters when the goal is to make the ends look full rather than “styled.” It’s not flashy. That’s the point.
20. Long Layers with Micro Fringe
A micro fringe with long layers is a bolder move, but it can work on fine hair if the fringe is light and the rest of the cut is controlled. The tiny fringe draws the eye up, while the long layers keep the overall silhouette from feeling too short or heavy.
This is not the easiest style to live in if you hate styling your bangs. Micro fringe asks for a little upkeep. Still, on the right face, it can give the haircut a sharp edge that stops extra-long hair from looking too soft or predictable.
The length behind it matters. Keep the layers long and blended so the fringe feels like a deliberate detail, not a separate haircut stuck on top. Done well, the contrast is the entire point.
21. S-Curve Layers for Wavy Fine Hair
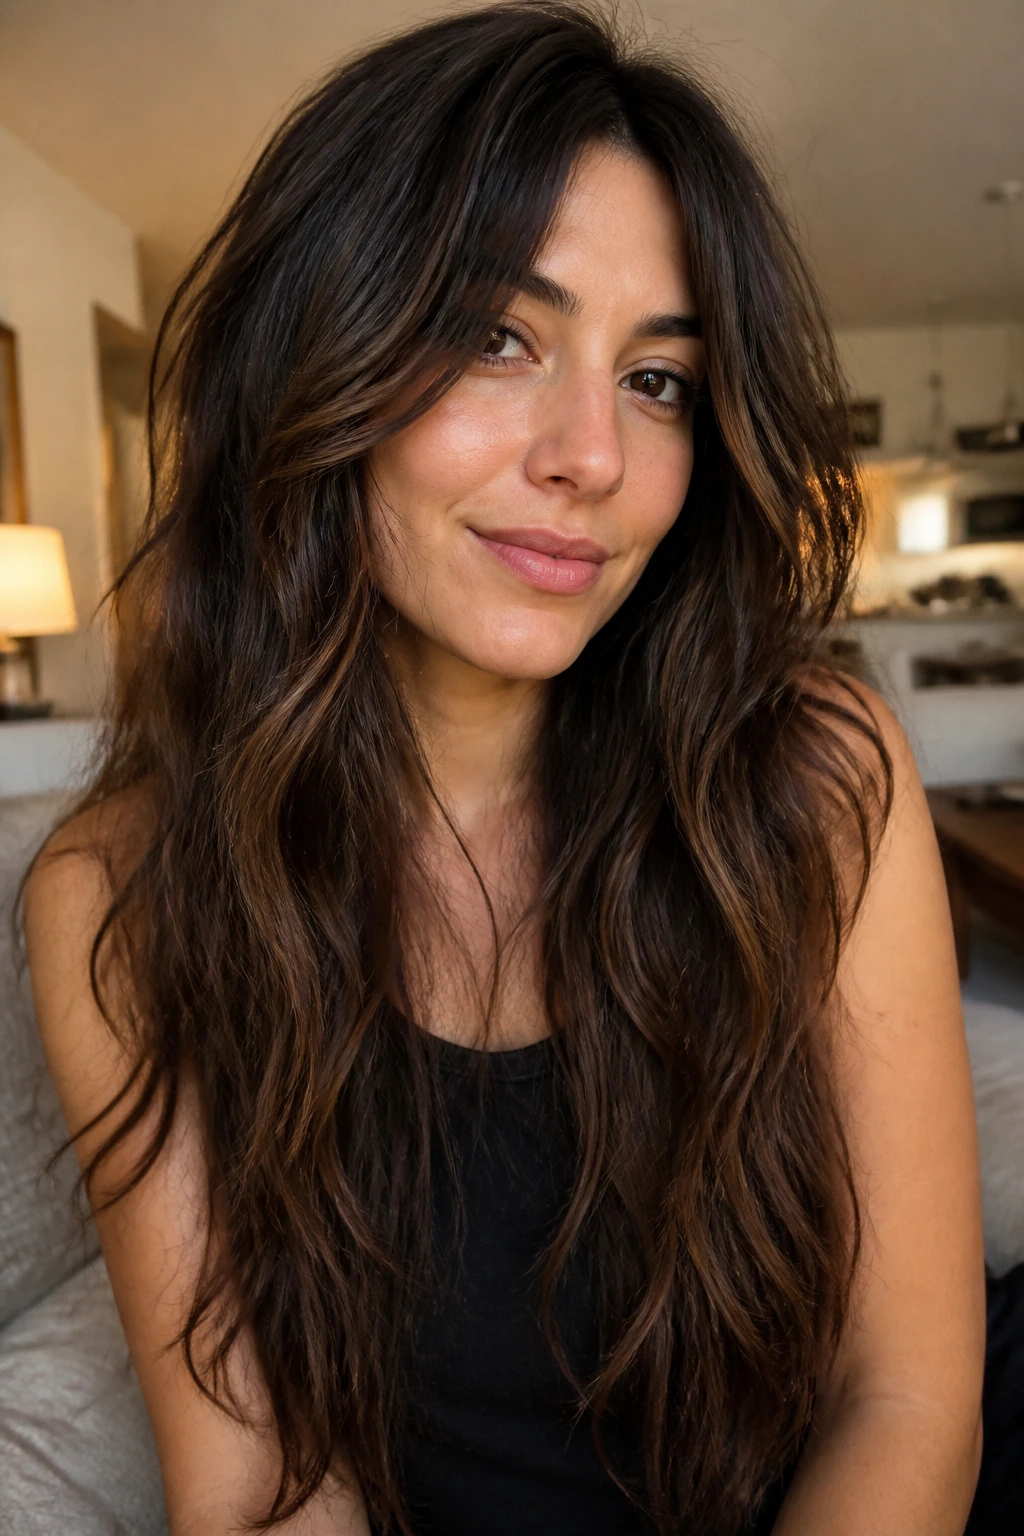
Fine hair with a wave pattern needs a different kind of layer than pin-straight hair. S-curve layering follows the bends in the hair instead of fighting them, which helps the wave pattern stack neatly from root to end. That keeps the shape airy rather than puffed out.
This is a strong option if your hair dries into loose bends but loses them by midday. The longer layers help the wave pattern travel, while the face frame gives enough shape to keep the cut from collapsing. It’s a subtle version of “more movement,” and that subtlety is doing a lot of work.
Use a light cream or foam here, not a heavy butter or oil. Fine wavy hair can go flat in a hurry, and the layers only help if the product doesn’t weigh them down. The haircut gives you the movement; the product should get out of the way.
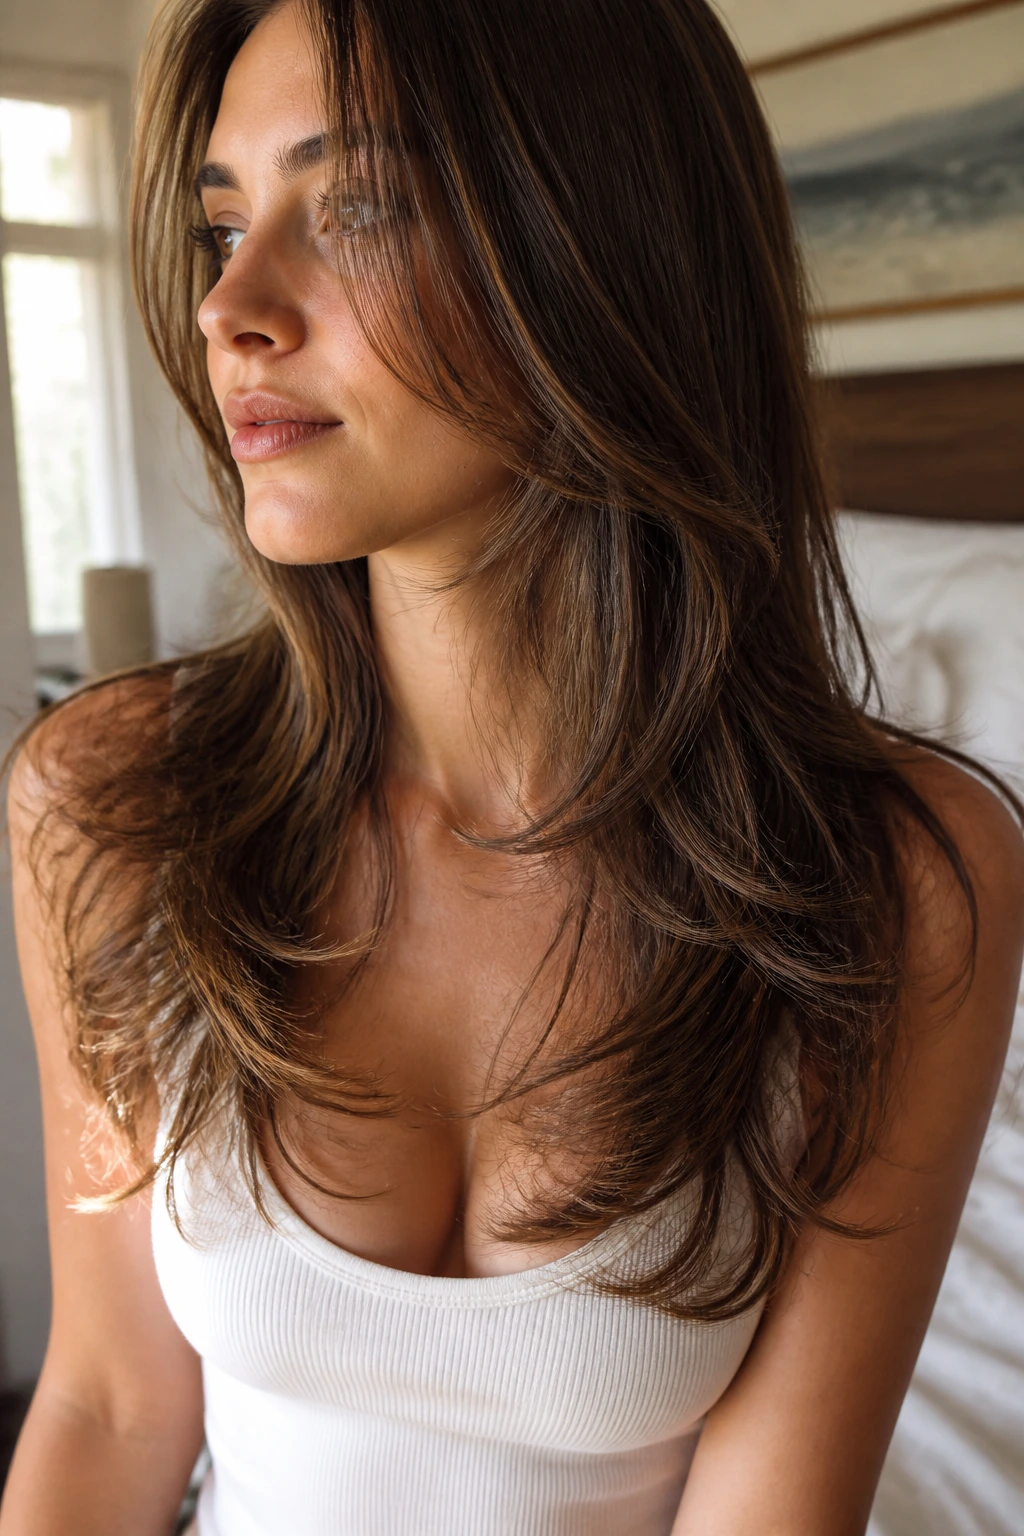
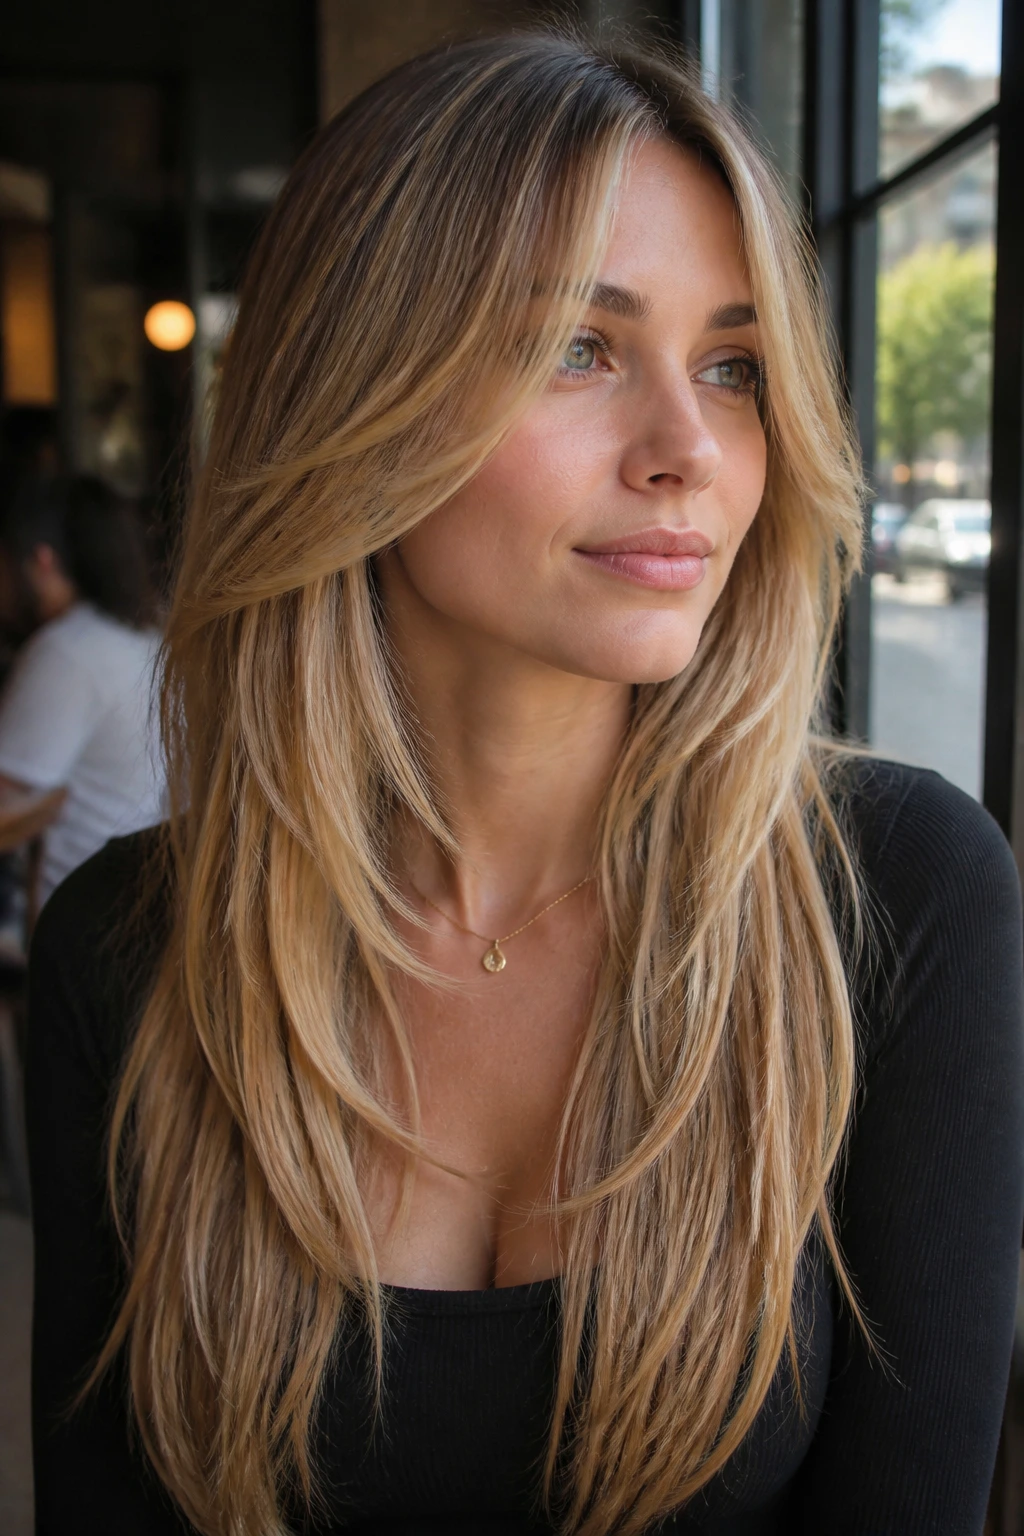
22. Old-Hollywood Long Layers
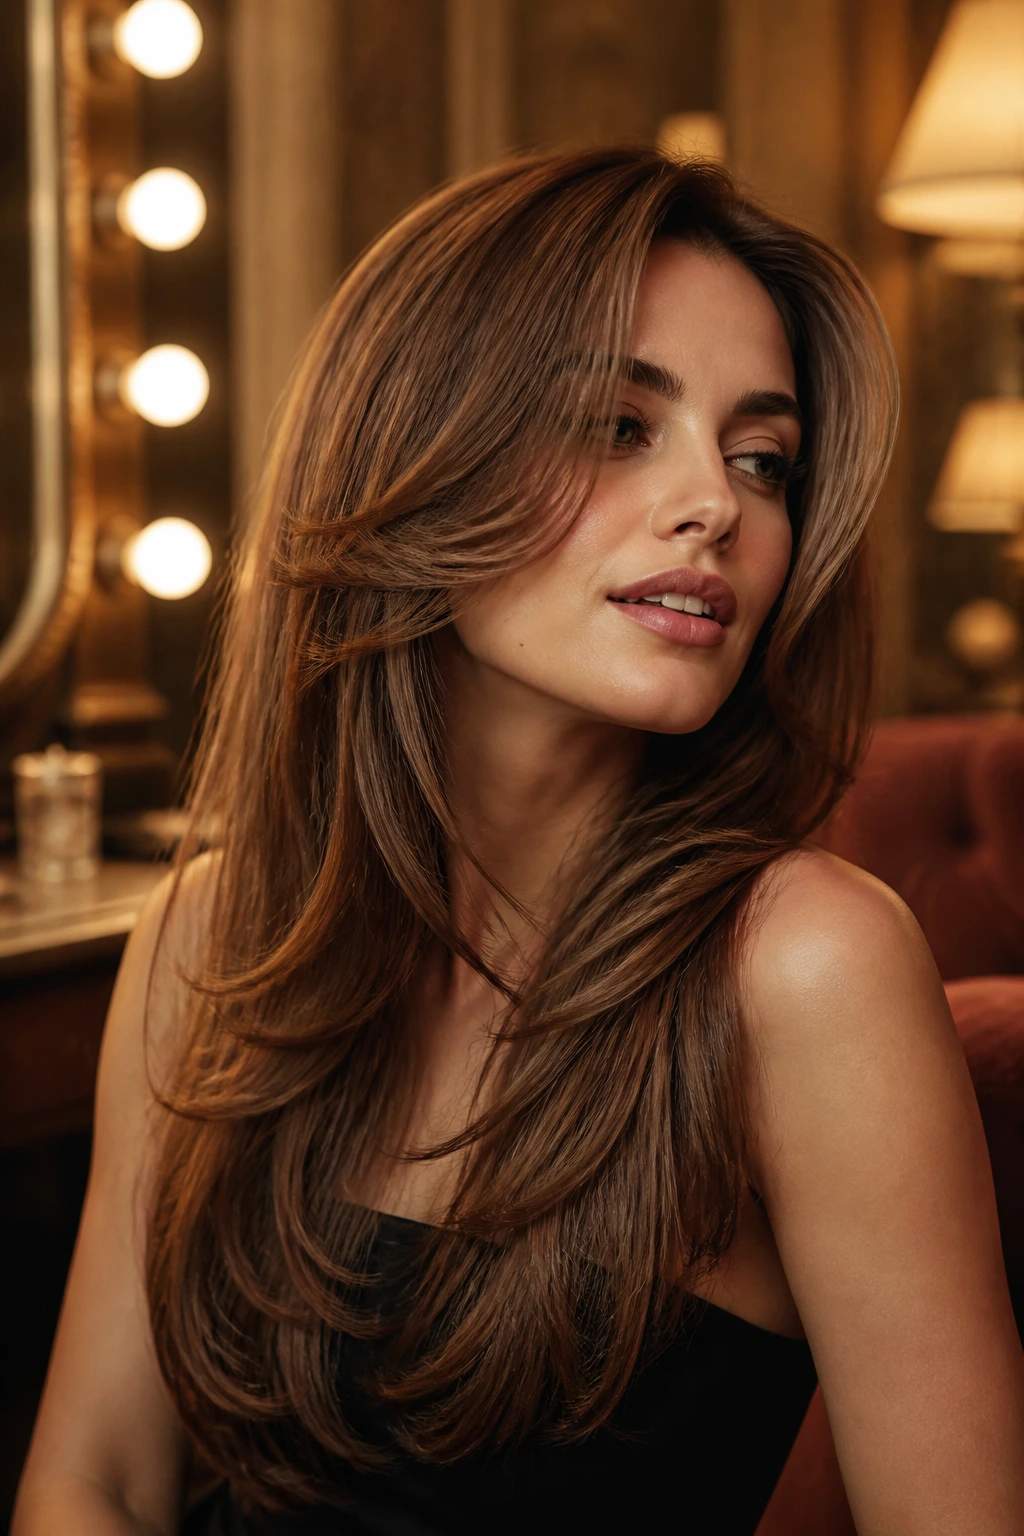
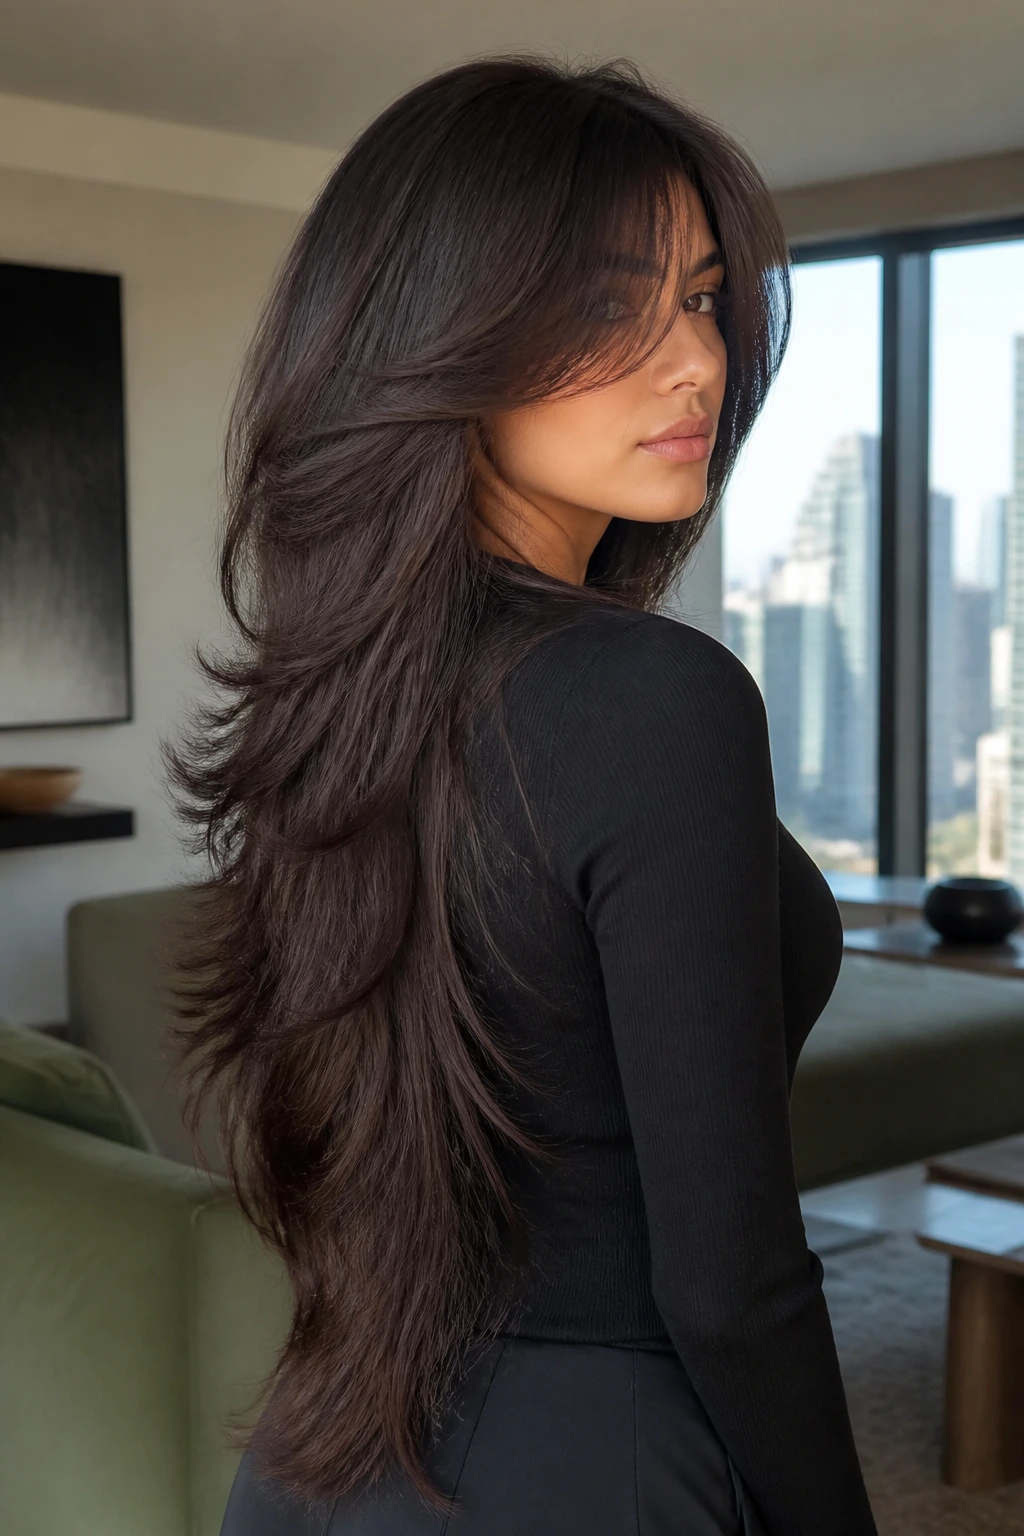
This one is for anyone who wants long hair to look polished, not “I grew it and forgot it.” Old-Hollywood layers are soft, rounded, and face-focused, with enough structure to support a big blowout or a loose curl pattern. On fine hair, the shape can look expensive because it gives the impression of fullness without obvious bulk.
The face frame usually starts low and blends into the length in a graceful sweep. That means the haircut still reads as long and feminine, but the sides do some visual work. If the ends are in good shape, the whole style looks lush. If they’re damaged, the illusion falls apart fast.
I’d choose this cut for a person who actually styles their hair. It rewards a round brush, velcro rollers, or a large-barrel iron. If you want hair that moves like a soft curtain and still keeps its line, this is the one that earns its keep.
How to Style Extra Long Layers So Fine Hair Keeps Its Lift
The haircut is half the battle. The rest is how you dry it.
Root Lift: Start with a lightweight volumizing mousse or spray at the crown and under the top layers, then rough-dry the roots first. Fine hair usually falls flat because the scalp area dries without shape, not because the ends are weak. Flip the part from side to side while drying if you want a bit more lift.
Brush Work: If you blow-dry, use a 1.5- to 2-inch round brush on the face frame and the top sections only. You do not need to roll every inch of hair under. Just give the front a bend and the crown a little direction, then leave the lower lengths softer.
Air-Dry Smart: For wavy fine hair, scrunch in a small amount of foam or leave-in cream and stop touching it while it dries. Fine hair hates heavy handling. The more you disturb it, the more it frizzes at the ends and loses the pattern you were trying to keep.
Finish Light: A mist of texture spray at the mid-lengths or a tiny bit of shine spray on the ends is enough. Heavy oils, thick creams, and too much serum are the fastest way to flatten extra-long layers into a tired sheet.
Tools and Products That Earn Their Spot on the Counter
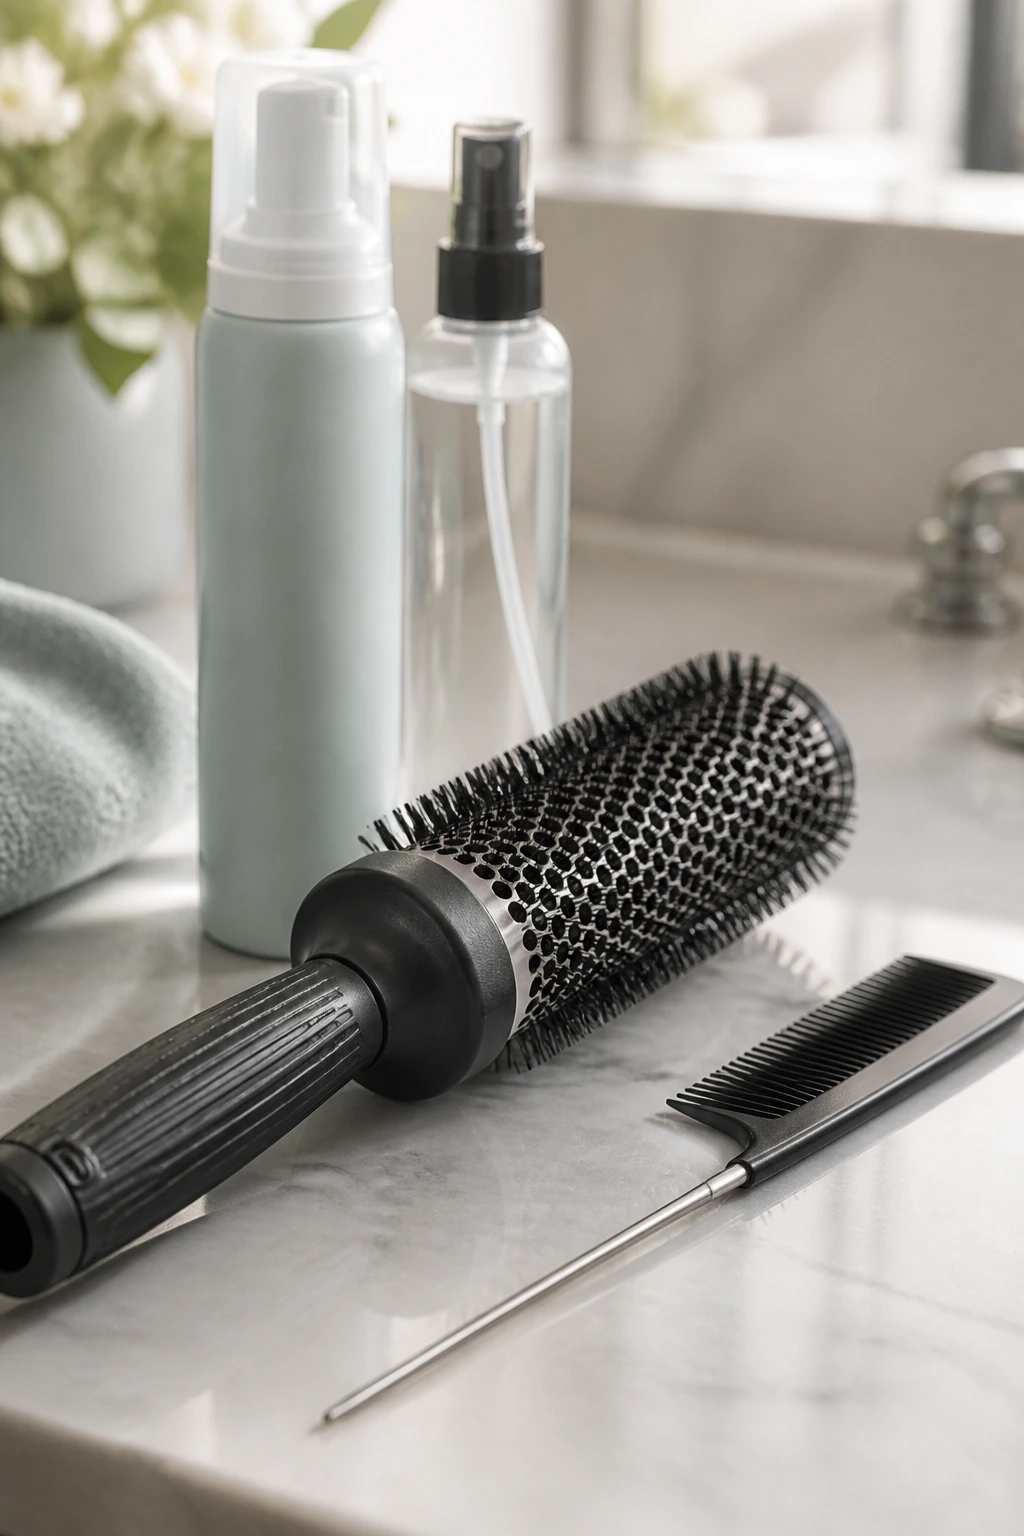
You do not need a bathroom full of gadgets, but a few tools make long layered hair much easier to live with.
-
1.5- to 2-inch round brush: Good for bending the face frame and lifting the crown without over-curling fine strands.
-
Tail comb: Useful for clean parts and for placing mousse or root lift exactly where it belongs.
-
Blow dryer with a concentrator nozzle: Direct airflow matters more than brute heat when you want smooth layers.
-
Lightweight volumizing mousse: Gives root memory without the sticky feel that can drag fine hair down.
-
Heat protectant spray: Fine hair shows heat damage fast, especially around the face where layers are shortest.
-
Microfiber towel or soft T-shirt: Better than rough terry cloth for blotting water out of the mids and ends.
-
1-inch to 1.25-inch curling iron or wand: Handy if you want a soft bend through the layers rather than tight curls.
-
Clarifying shampoo: Use it every 2 to 4 weeks if products are building up and making the roots collapse.
Keeping the Shape Between Salon Visits
Extra-long layers hold up better than shorter, choppier cuts, but they still need a little maintenance. For fine hair, the sweet spot is usually a trim every 8 to 12 weeks, with the face frame sometimes needing attention sooner if those front pieces start hanging in your mouth or turning into uneven wisps.
If you like a blunt base with hidden layers, ask for a dusting rather than a major reshape. That keeps the thickness at the bottom intact. If you have curtain bangs or a micro fringe, plan on more frequent cleanups. Those shorter pieces grow out faster and can change the whole balance of the cut when they get too long.
At home, keep your washing rhythm honest. Fine hair often looks best when it is not overloaded with conditioner near the roots. Apply conditioner from the ears down, let it sit for a minute or two, then rinse well. If the scalp feels coated, the layers lose lift before you even start styling.
Common Mistakes That Make Fine Hair Look Thinner
The biggest mistake is starting layers too high. If the shortest pieces are cut near the cheekbones or shorter without enough density underneath, the ends can turn see-through fast. The fix is simple: keep the shortest visible layers lower, or pair them with a stronger base line.
Another problem is over-texturizing. Razor work, thinning shears, and aggressive point cutting can all be useful in the right hands, but on fine hair they can also destroy the perimeter. If your ends already look thin when you ponytail the hair, you do not need more removing. You need better placement.
Heavy product is another common trap. A thick serum or rich cream can make the roots collapse and split the layers into sad little sections. Fine hair usually wants lighter mousse, spray, or a small amount of cream only on the ends.
And then there’s the “all length, no shape” problem. Hair that falls to the waist can still look flat if there’s no face frame or no internal lift. A long one-length shape can work, but only if the ends are full enough to carry it.
Variations and Adaptations to Try
The Air-Dry Soft Shape: Keep the layers long and the face frame low, then ask for a cut that follows your natural wave or bend. This version is ideal if you rarely blow-dry and want the haircut to settle on its own with a little cream and a scrunch.
The Polished Blowout Version: Pair rounded layers with a strong face frame and a blunt base. This one is built for round-brush styling, velcro rollers, and that smooth bend that makes fine hair look fuller at the ends.
The Density-Saving Version: Choose invisible layers or a blunt base with whisper layers if your hair is very fine but not sparse. The goal here is to keep the silhouette thick while removing just enough weight from the interior to stop the crown from falling flat.
The Face-Frame-Heavy Version: If your hair is long enough to carry it, ask for cheekbone-first layers with curtain bangs or bottleneck bangs. This works well when you want the front to be the star and the back to stay long and soft.
Frequently Asked Questions
Do extra long layered haircuts work on very fine hair, or do they make it look thinner?
They work when the layers are placed low and the perimeter stays strong. Too many short layers can make fine hair look thinner, but a controlled shape with a blunt base or soft U-shape usually helps the hair look fuller, not less.
What’s the difference between fine hair and thin hair?
Fine hair refers to the width of each strand. Thin hair refers to how much hair you actually have. You can have a lot of fine hair, and you can have sparse thick strands. The haircut choice changes depending on which one you’re dealing with.
Should I ask for layers or a blunt cut if my hair is long and fine?
A blunt cut is safer if your ends are weak and you want the densest possible finish. Layers are better if your hair collapses at the crown or looks heavy and flat at the sides. A blunt base with soft layers is often the middle ground that works best.
Can I get curtain bangs with extra-long layers?
Yes, but they should be long enough to blend into the sides. Short curtain bangs on fine hair can feel disconnected and eat into the front density. A longer, softer version usually behaves better and grows out more easily.
Are razor cuts bad for fine hair?
Not automatically, but they need a careful hand. On healthy, dense fine hair, a light razor touch can soften the ends and help movement. On fragile or sparse ends, it can make the perimeter look frayed fast.
How often do I need to trim a long layered cut?
Most fine-haired people do well with a trim every 8 to 12 weeks. If you have face-framing pieces, fringe, or a very blunt base that you want to keep sharp, you may want a cleanup closer to the 6- to 8-week mark for the front only.
What if my hair is wavy and fine—should I avoid layers?
No. Wavy fine hair often benefits from layers because they help the wave pattern stack instead of puffing out. The trick is keeping the layers long and gentle so you preserve the wave while protecting the ends.
Can I wear these cuts mostly in ponytails or buns?
Yes, but some shapes are better for that than others. Long face-framing layers, collarbone pieces, and soft curtain bangs tend to fall out in a flattering way, while heavy internal layers can leave little short pieces sticking out if the style is pulled up often.
The Shape That Keeps Long Hair Looking Alive
Long fine hair does not need to be cut into submission, and it does not need to be left alone to drift into a flat sheet. The right layered shape gives it movement where it tends to collapse, while the right perimeter keeps the ends looking like hair, not threads.
That’s the real lesson here. The best extra-long layered haircut for fine hair is not the one with the most layers. It’s the one that knows where to stop.
If you bring that logic to the salon, the cut keeps paying you back every time you brush it, twist it, or catch it in a mirror from the side.