A blunt fringe can look sharp for about five minutes, then it starts asking for more work than most people want to give it. Long layered bangs with lowlights dodge that problem in a smart way. They keep the front soft, let the hair move, and make the whole cut read fuller even when the actual density has changed a little.
That matters more than salon photos usually admit. Around the face, tiny changes do a lot of heavy lifting: a layer that lands at the cheekbone can soften a jawline, a darker ribbon tucked under the top layer can stop the color from looking flat, and a longer bang means you can tuck, sweep, or pin it without losing the shape.
For women over 40, I usually think the goal is not more drama. It’s better structure, gentler edges, and color that gives the eye somewhere to rest. The 25 looks below move in that direction from different angles — some airy, some polished, some a little edgy — but all of them keep the fringe long enough to live with.
Why This Collection Feels Different
-
The bangs stay flexible: Long layered bangs can be worn centered, side-swept, or tucked back, which matters when you don’t want your hair trapped in one position.
-
Lowlights do more than darken: A few deeper strands under the top layer create shadow, which makes the cut look denser and gives the front some visual weight.
-
The grow-out is kinder: A longer fringe and layered sides don’t hit that harsh “I need a trim right now” wall as fast as a blunt bang does.
-
Gray blending gets easier: Lowlights can soften the contrast between silver regrowth and colored hair without painting everything the same flat shade.
-
The shape works with real mornings: These cuts still hold together after a bad sleep, a rushed blow-dry, or a quick pass with a round brush.
-
You can steer the mood: The same basic cut can lean soft, sleek, shaggy, or polished depending on where the lowlights sit and how the ends are textured.
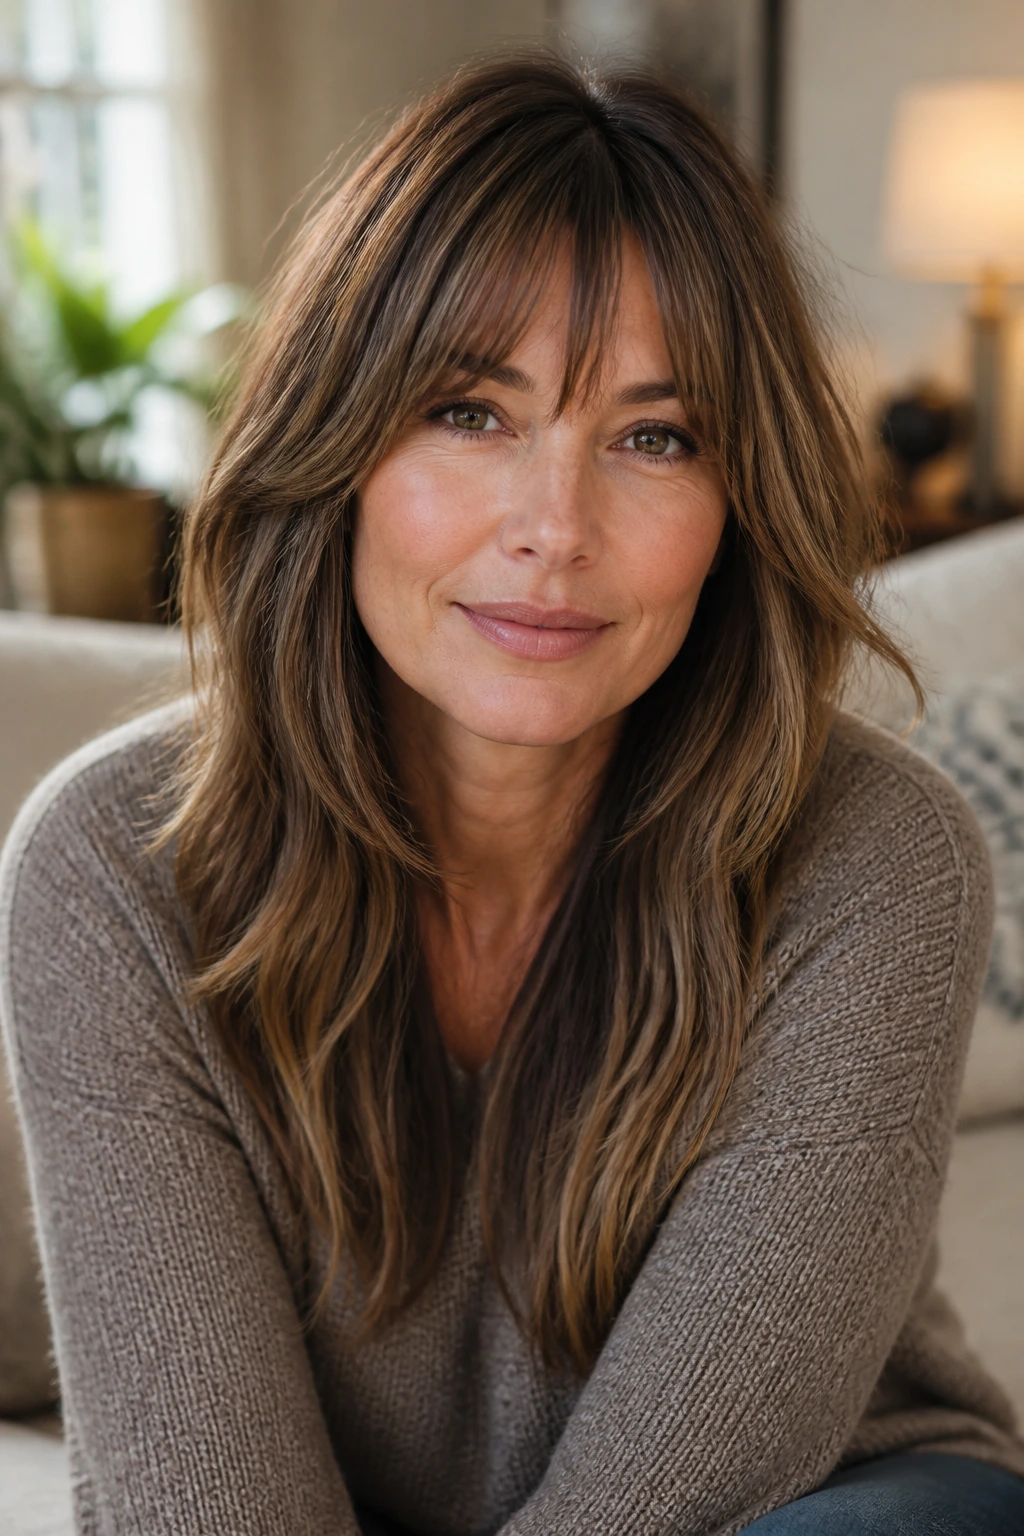
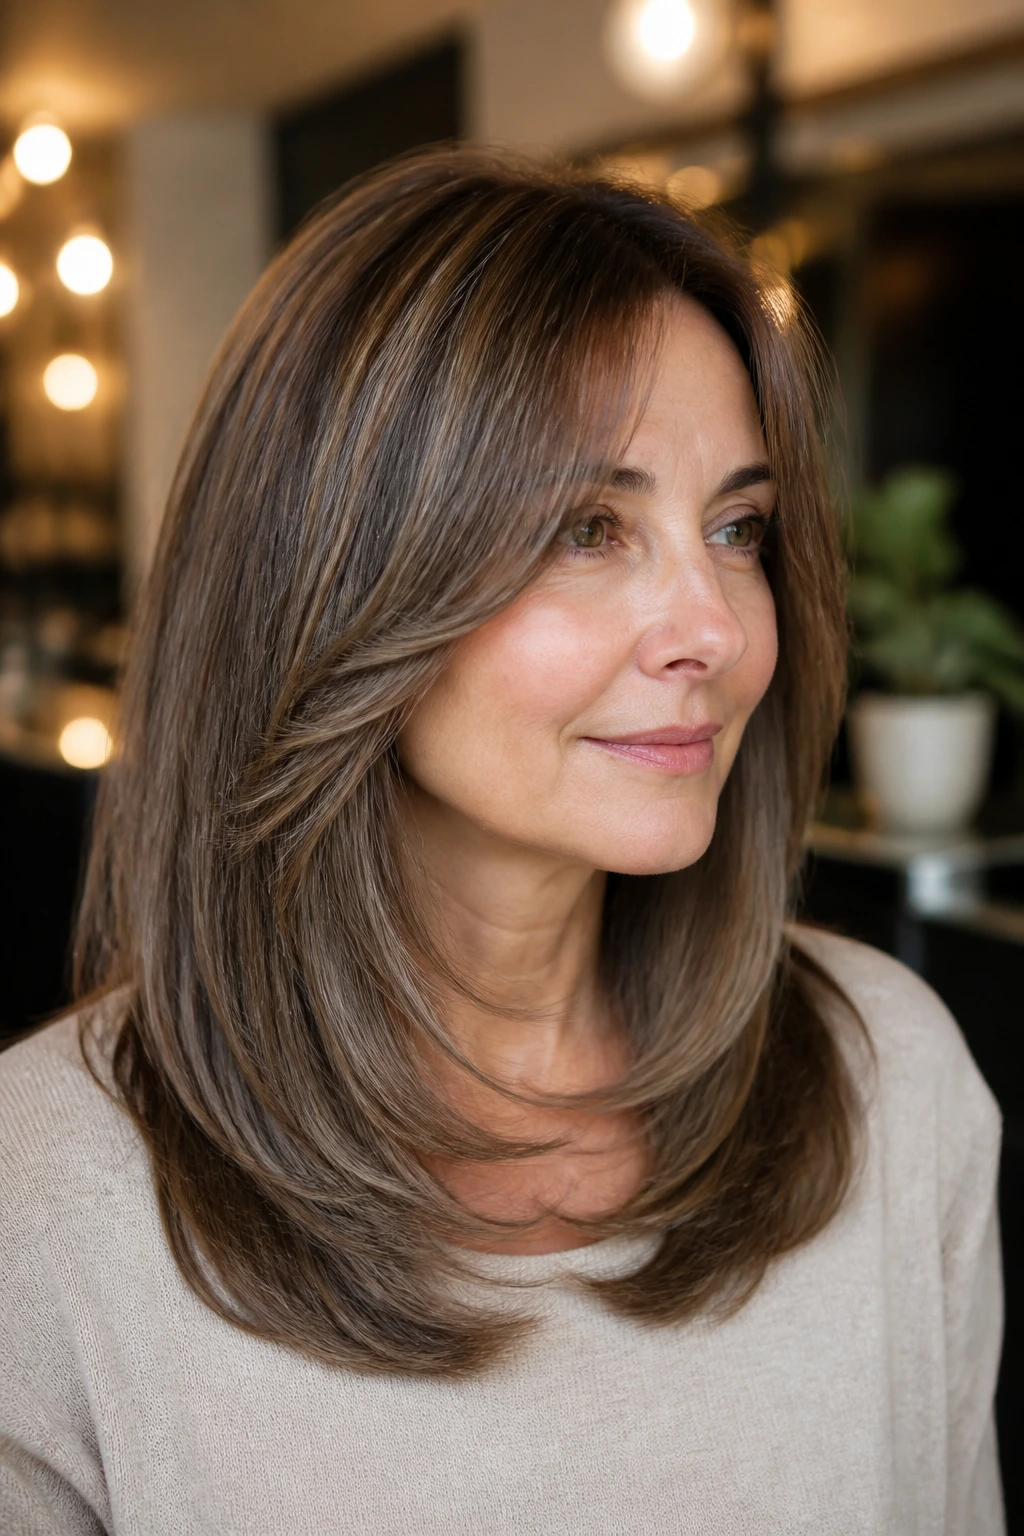
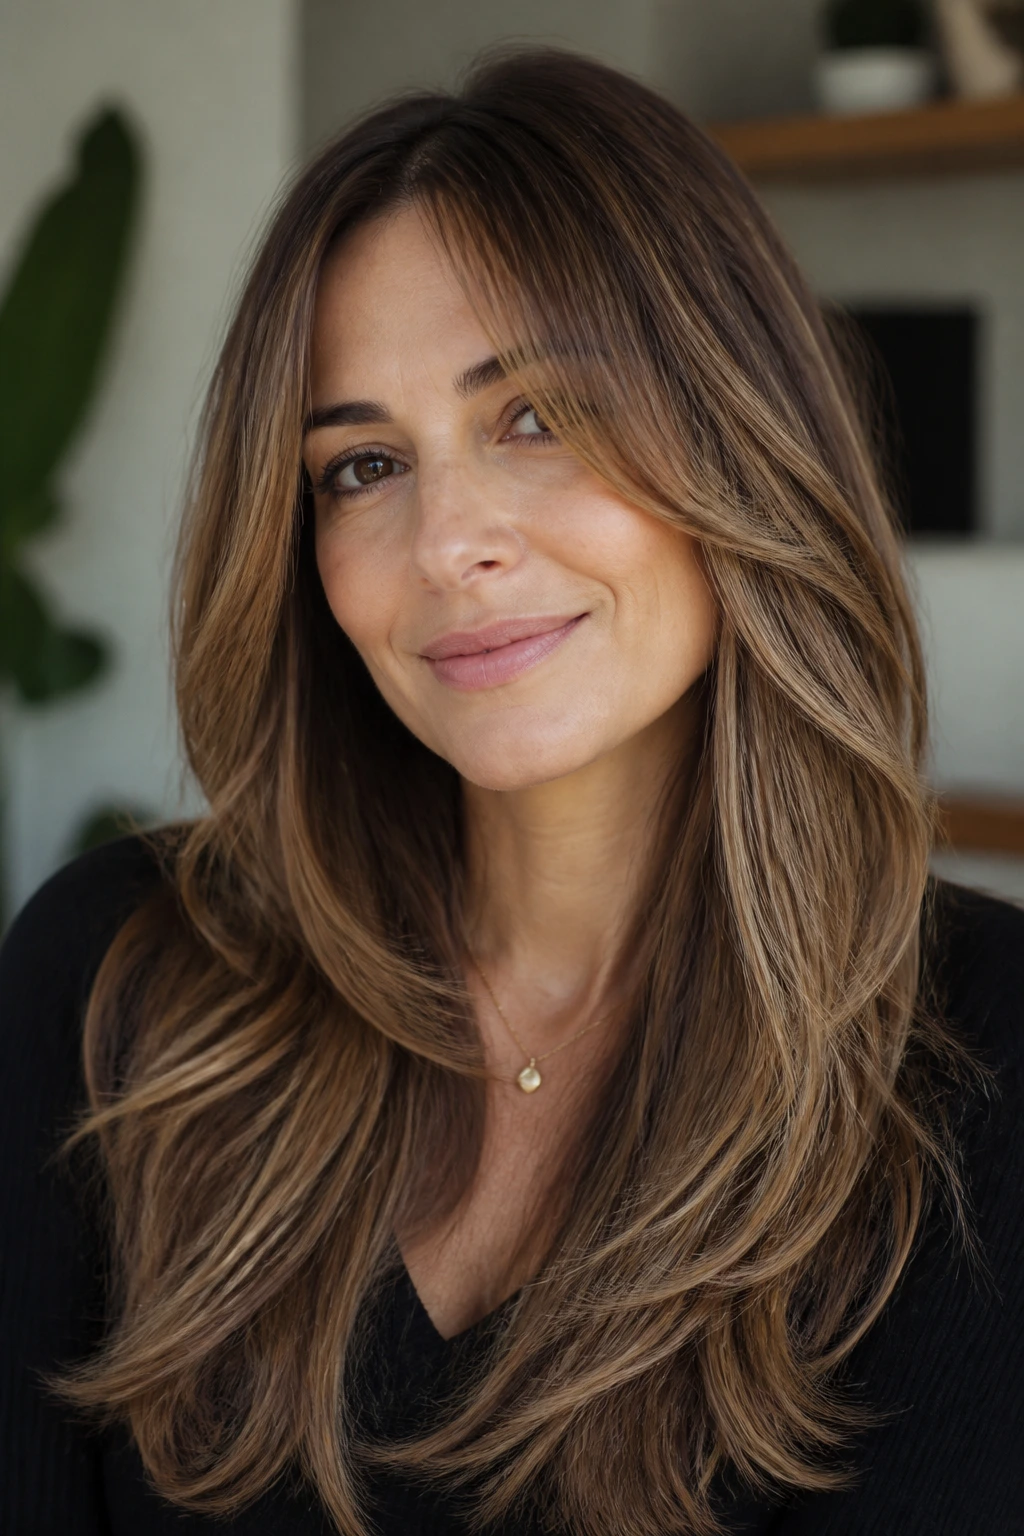
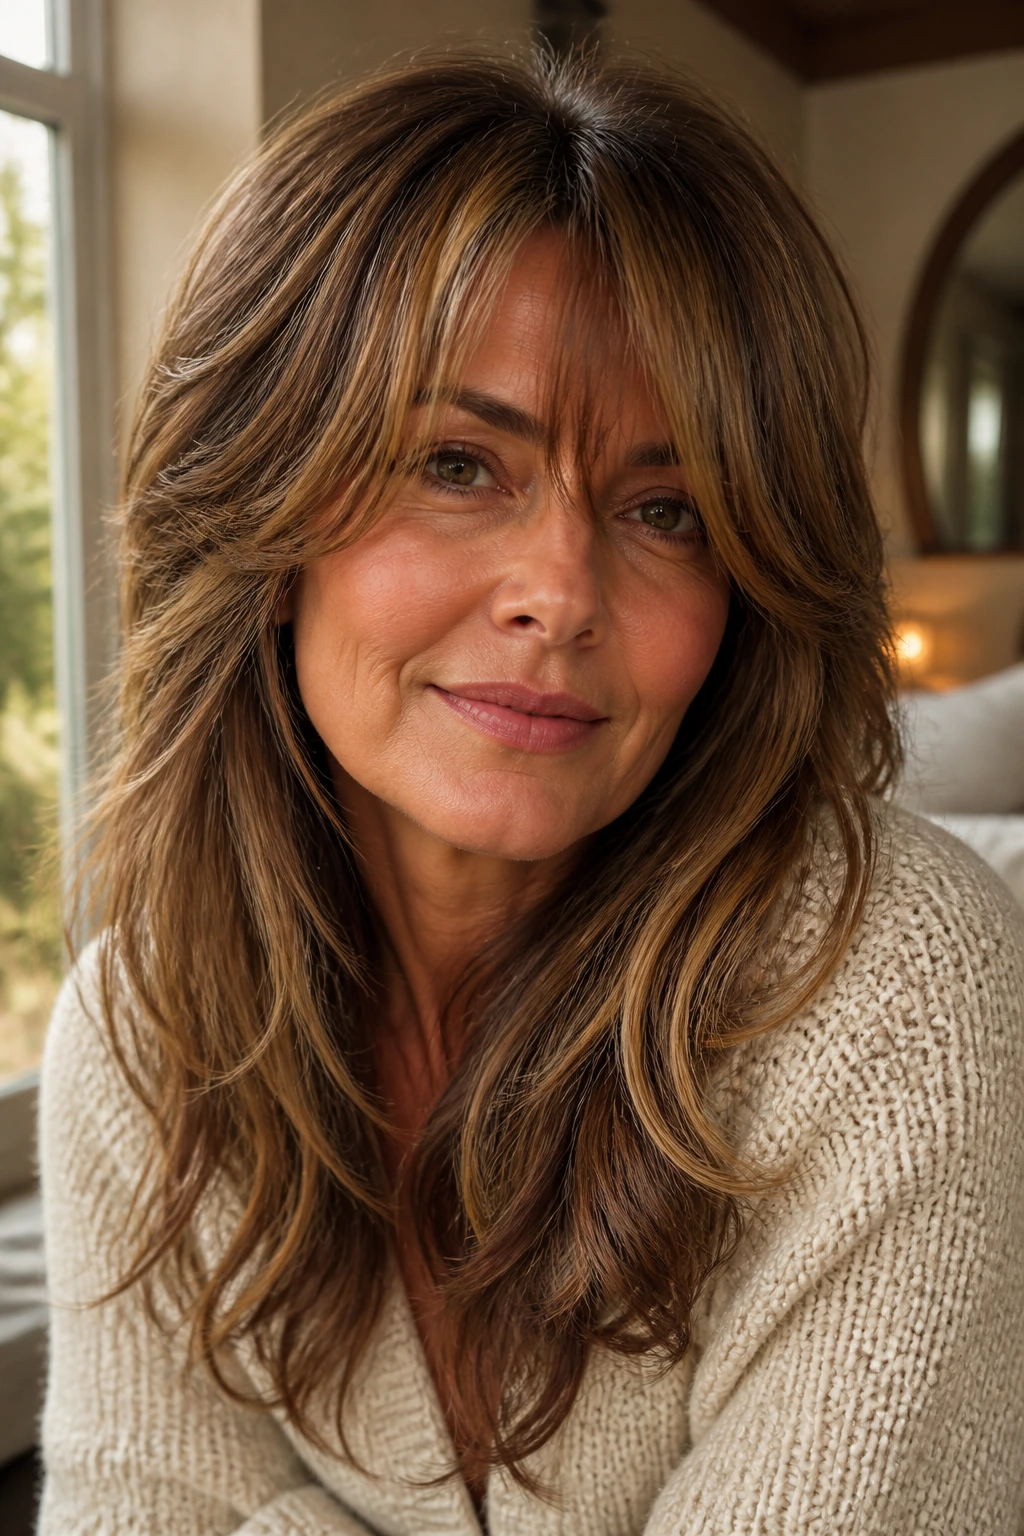
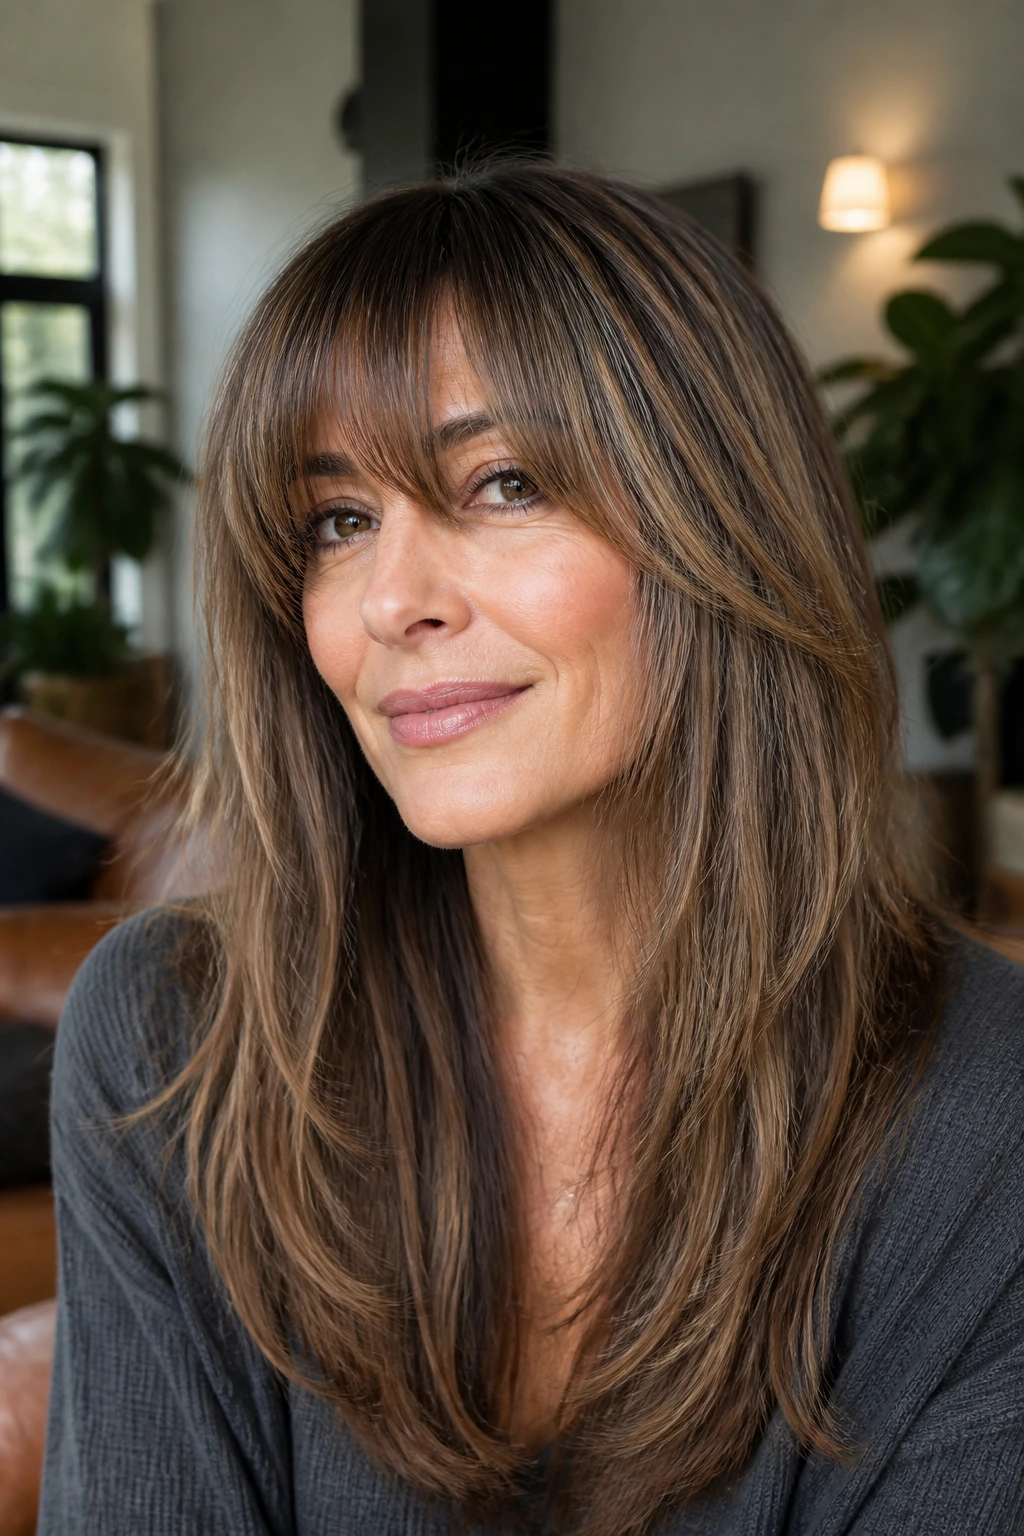
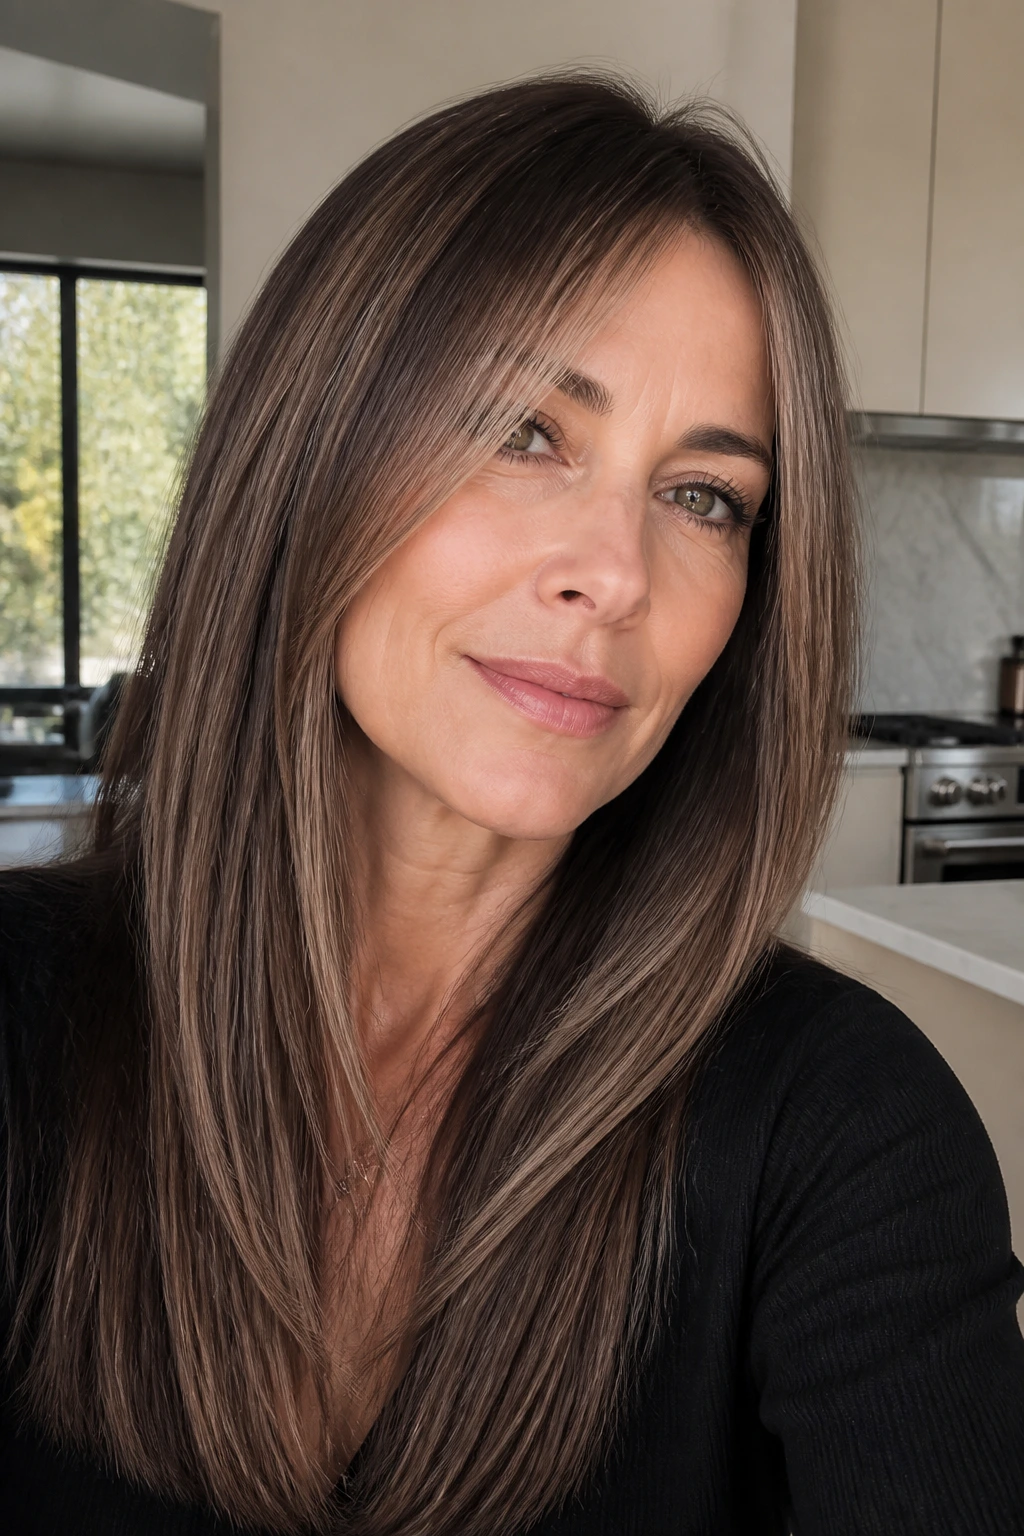
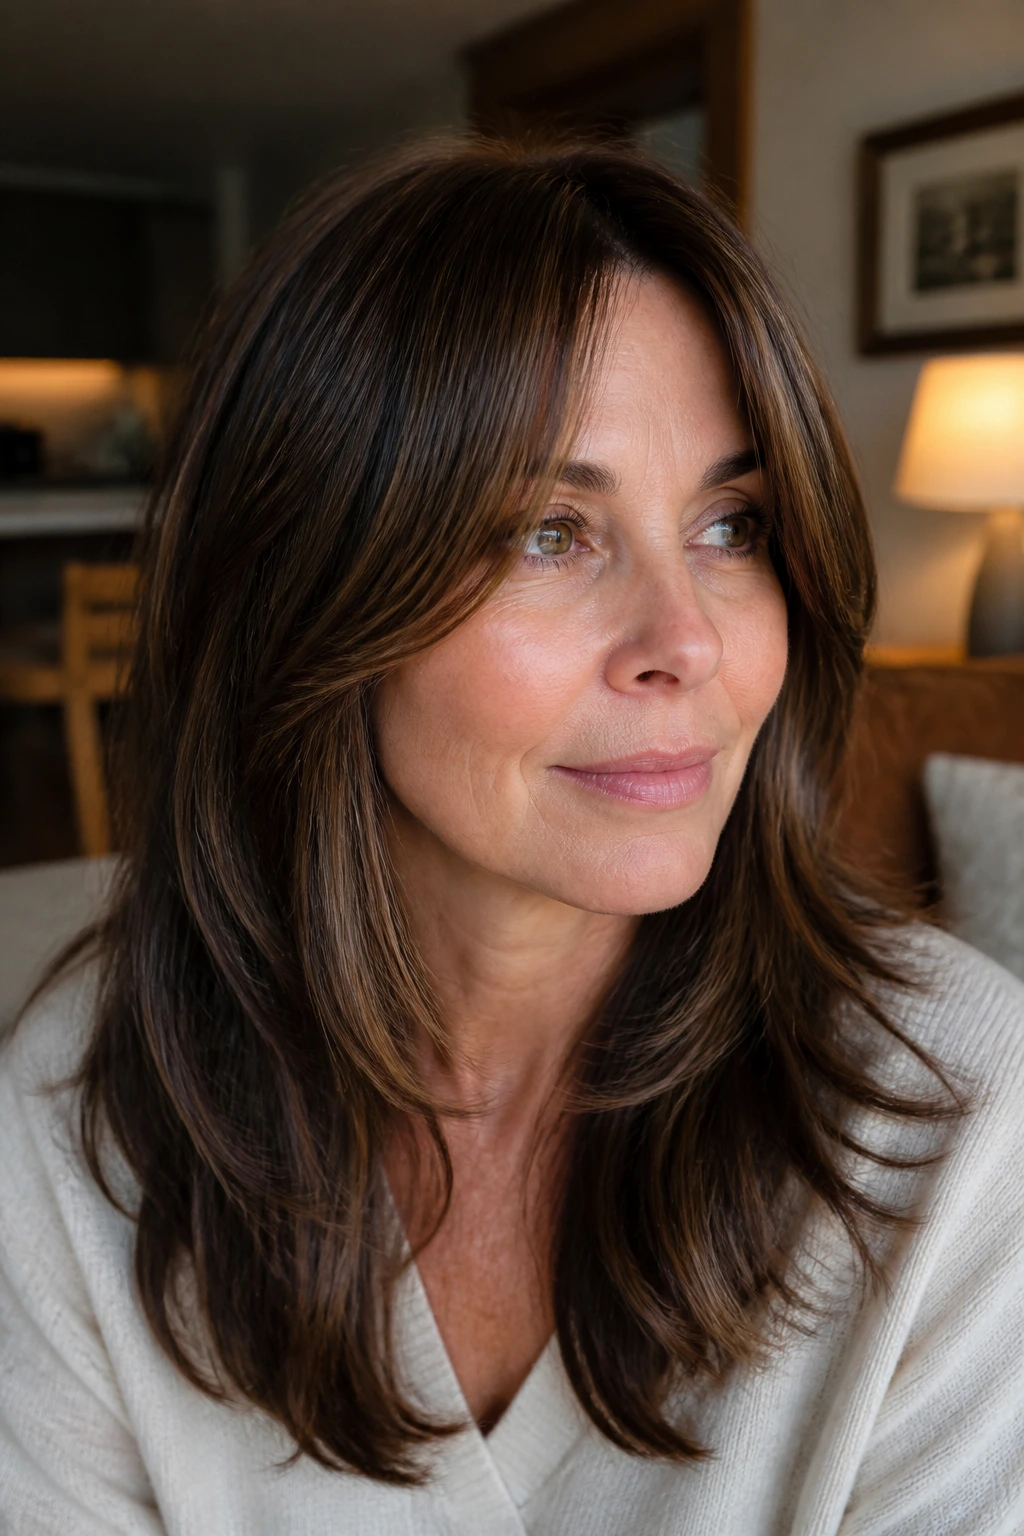
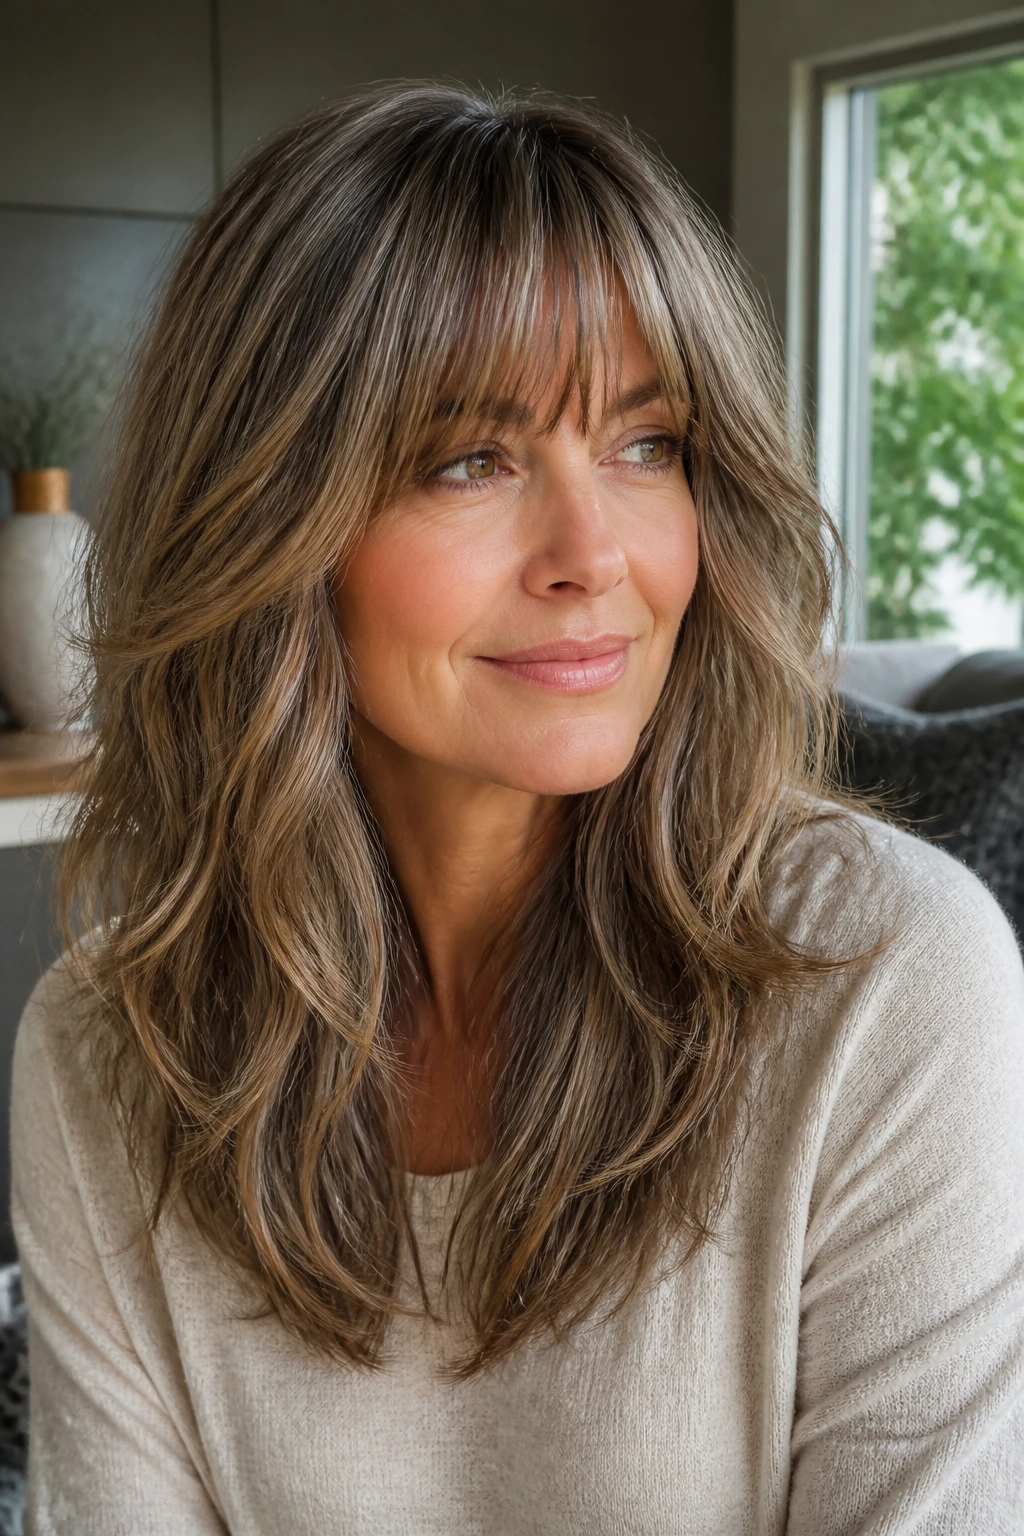
1. Curtain Layers with Espresso Lowlights
The center split gives the face room to breathe, and the longer outer pieces land near the cheekbones instead of chopping the face in half. Espresso lowlights tucked under the top layer keep the whole shape from going pale or washed out.
This is the cut I’d hand to someone who wants movement without fuss. A round brush or a quick bend from a flat iron is enough to make the front fall cleanly. Keep the shortest point around brow level and let the outer pieces slide longer; that little difference is what keeps it soft.
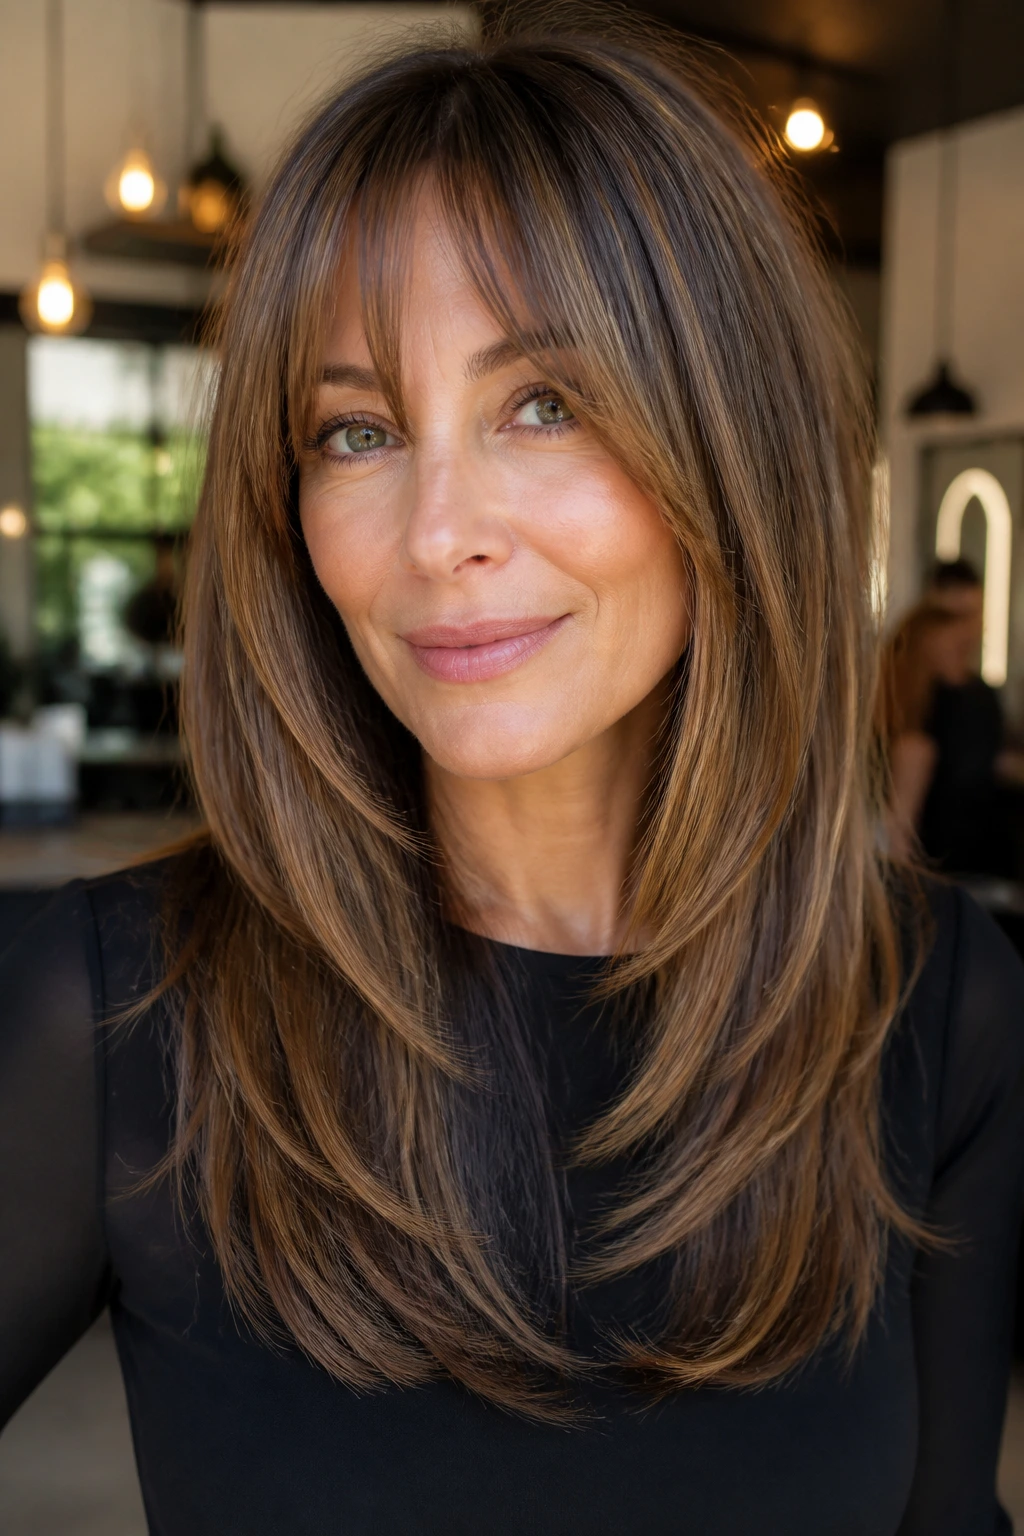
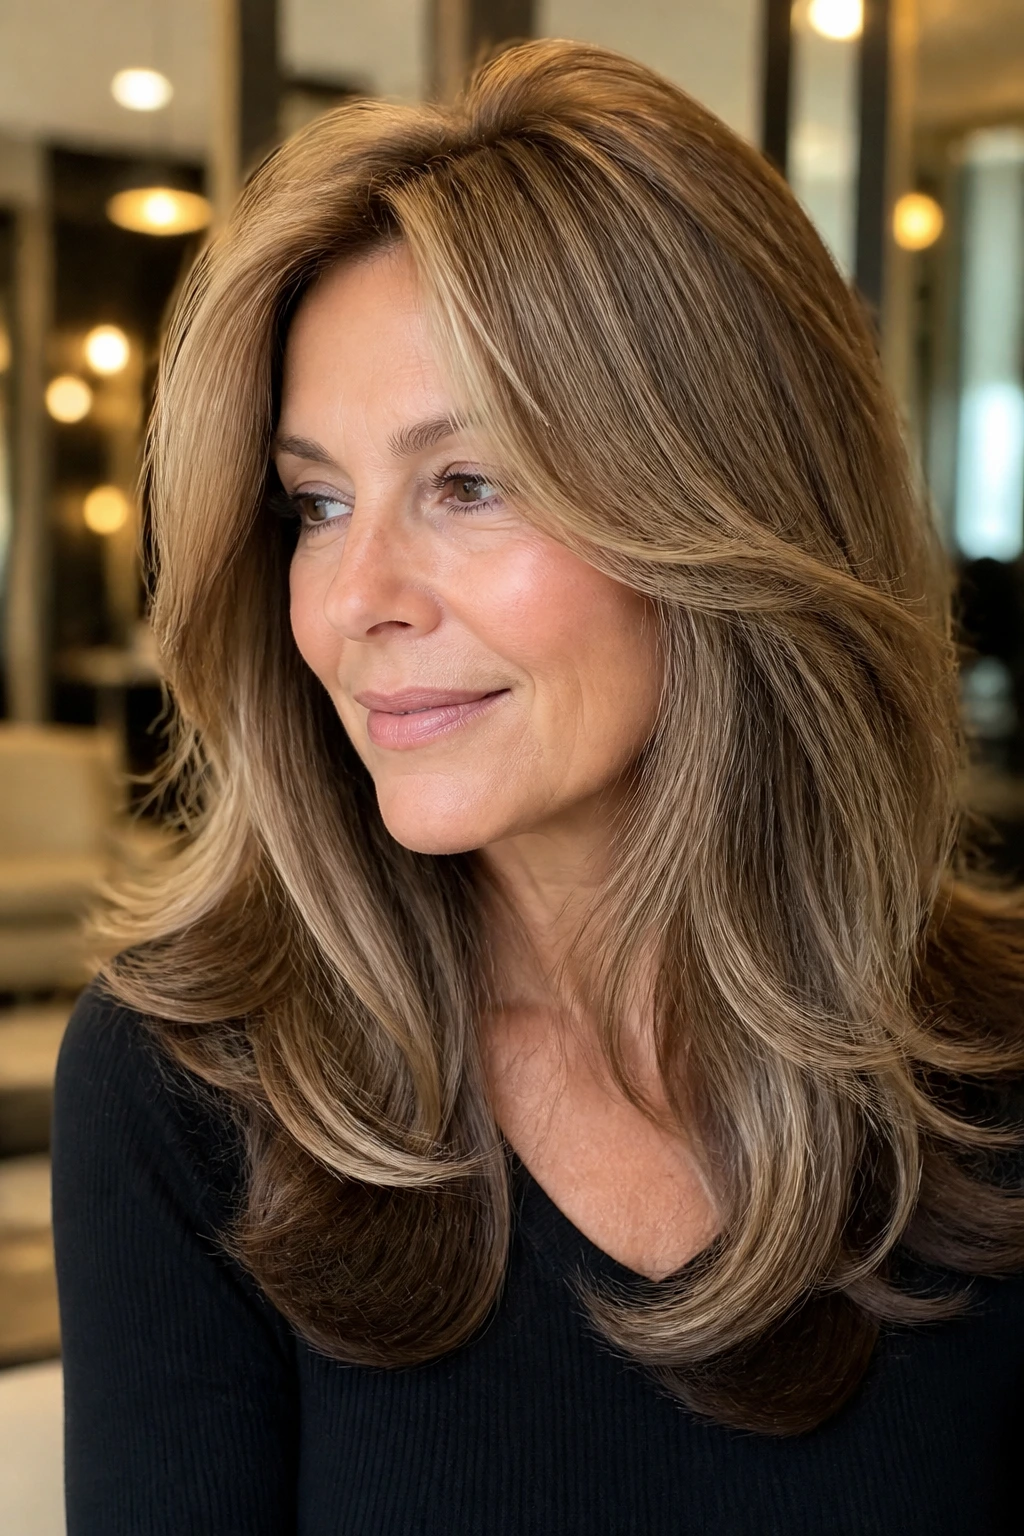
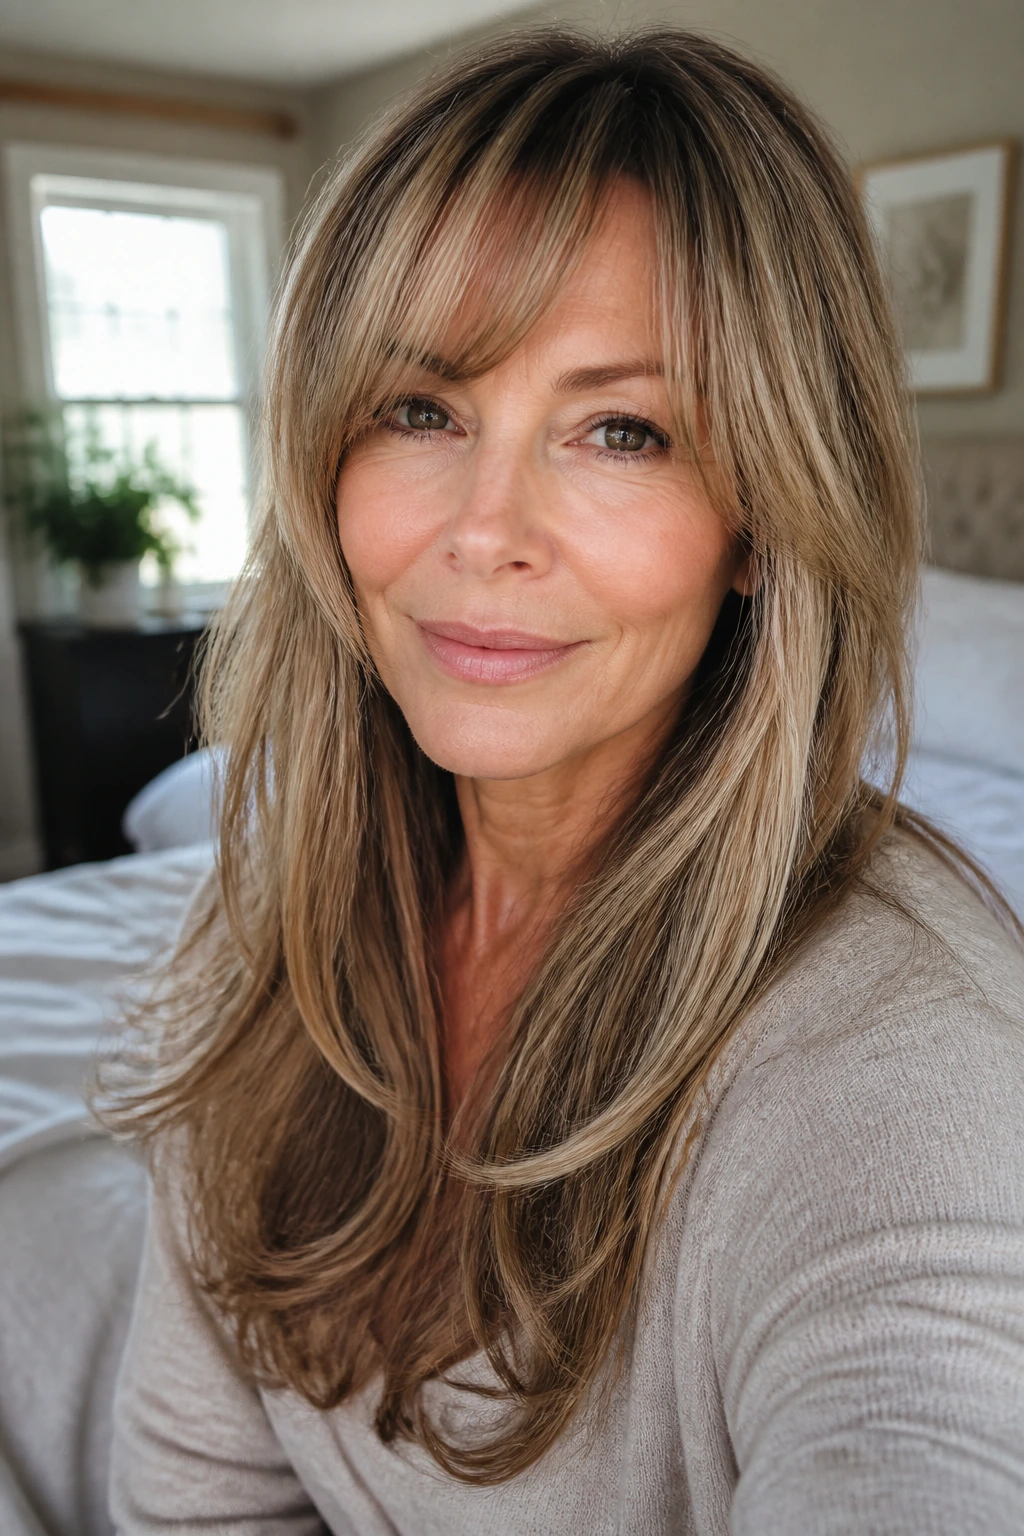
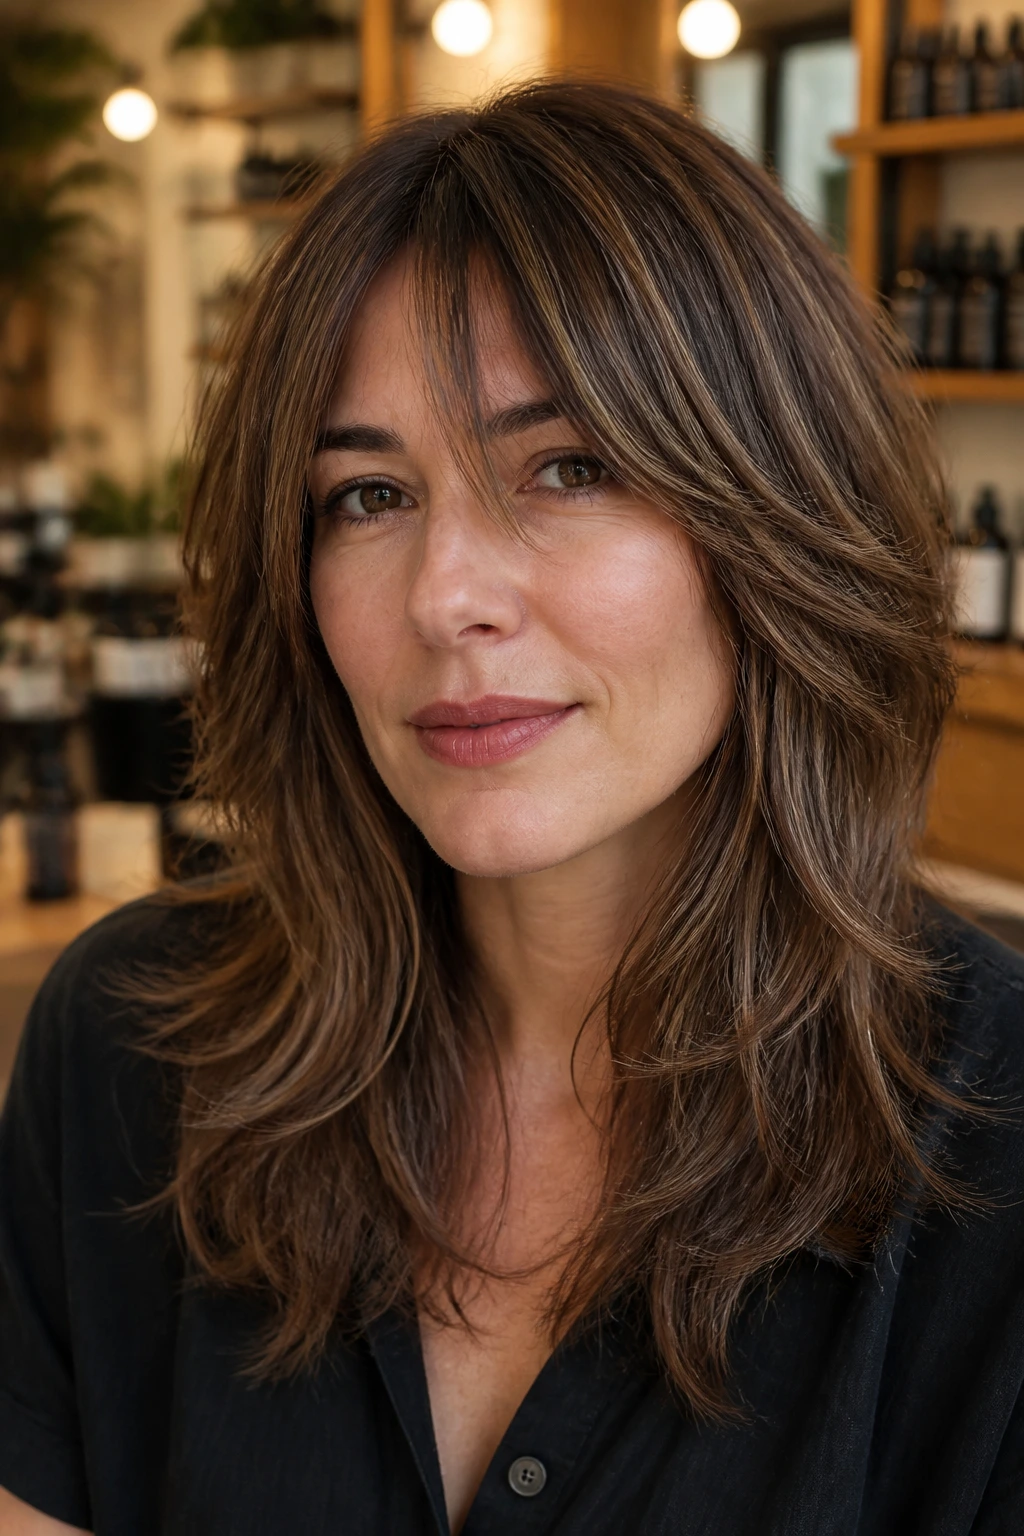
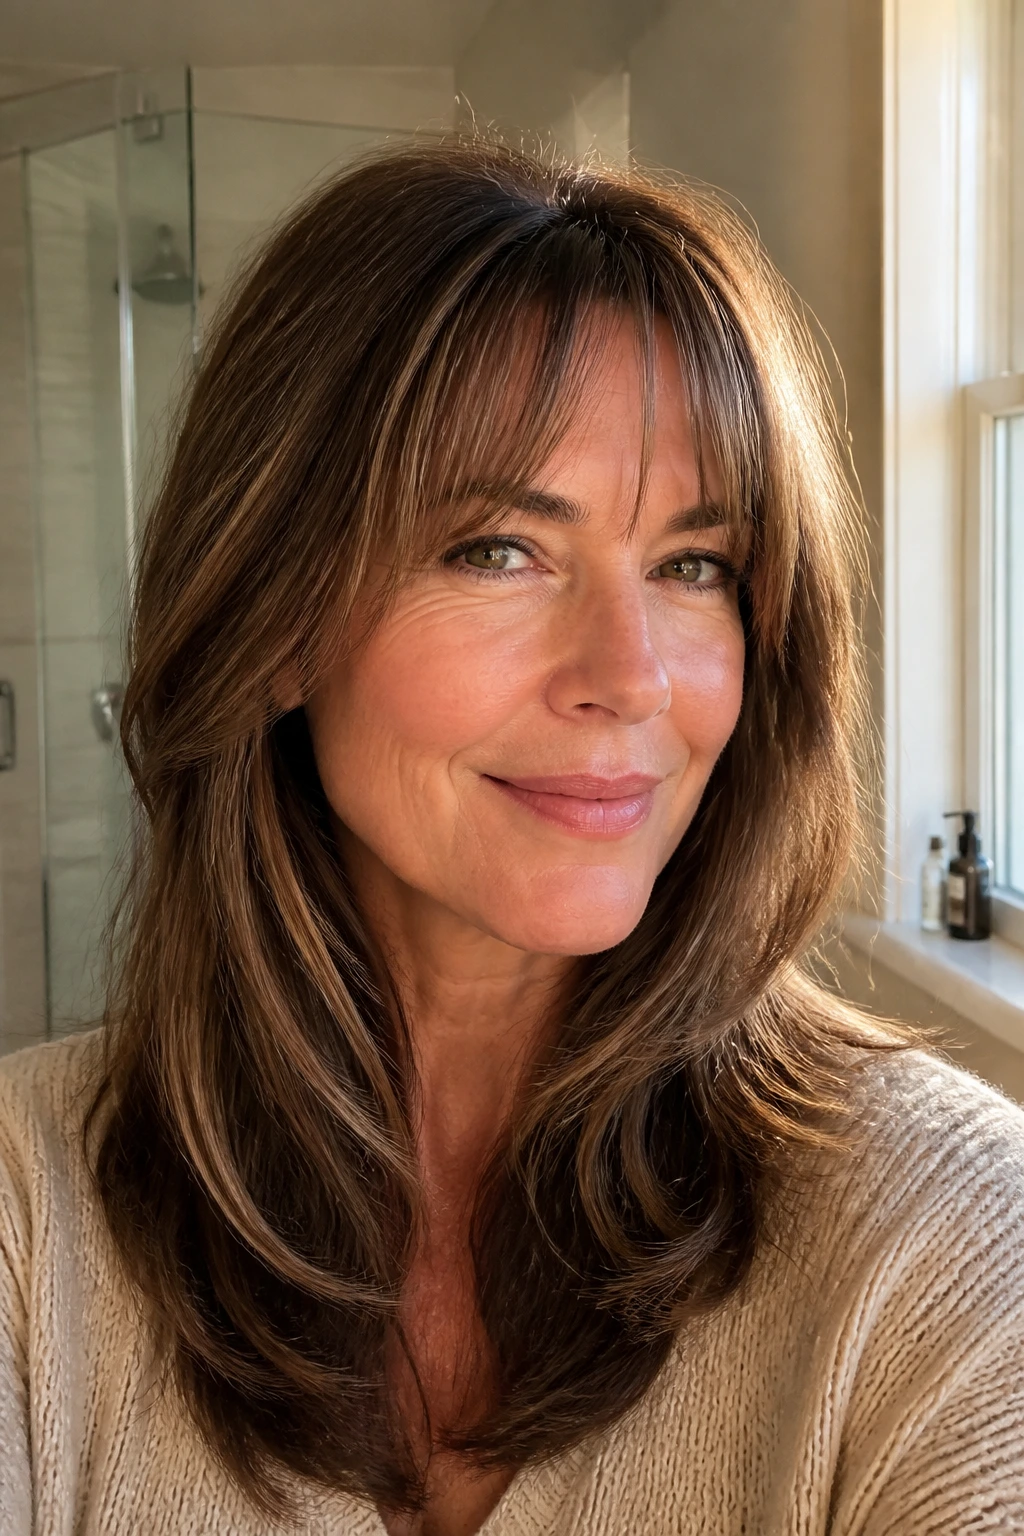
2. Feathered Collarbone Layers with Caramel Ribbons
Feathered ends have a lighter feel than blunt layers, and that matters when you want the front to move instead of sit there like a wall. Caramel lowlights threaded through the mid-lengths keep the color warm without going brassy.
This shape works well on fine or medium hair because the layers don’t all end at the same spot. They break up the outline. Ask for the fringe to skim the lashes at the center and taper down toward the cheekbones on the sides, then keep the lowlights thin enough that they read as depth, not stripes.
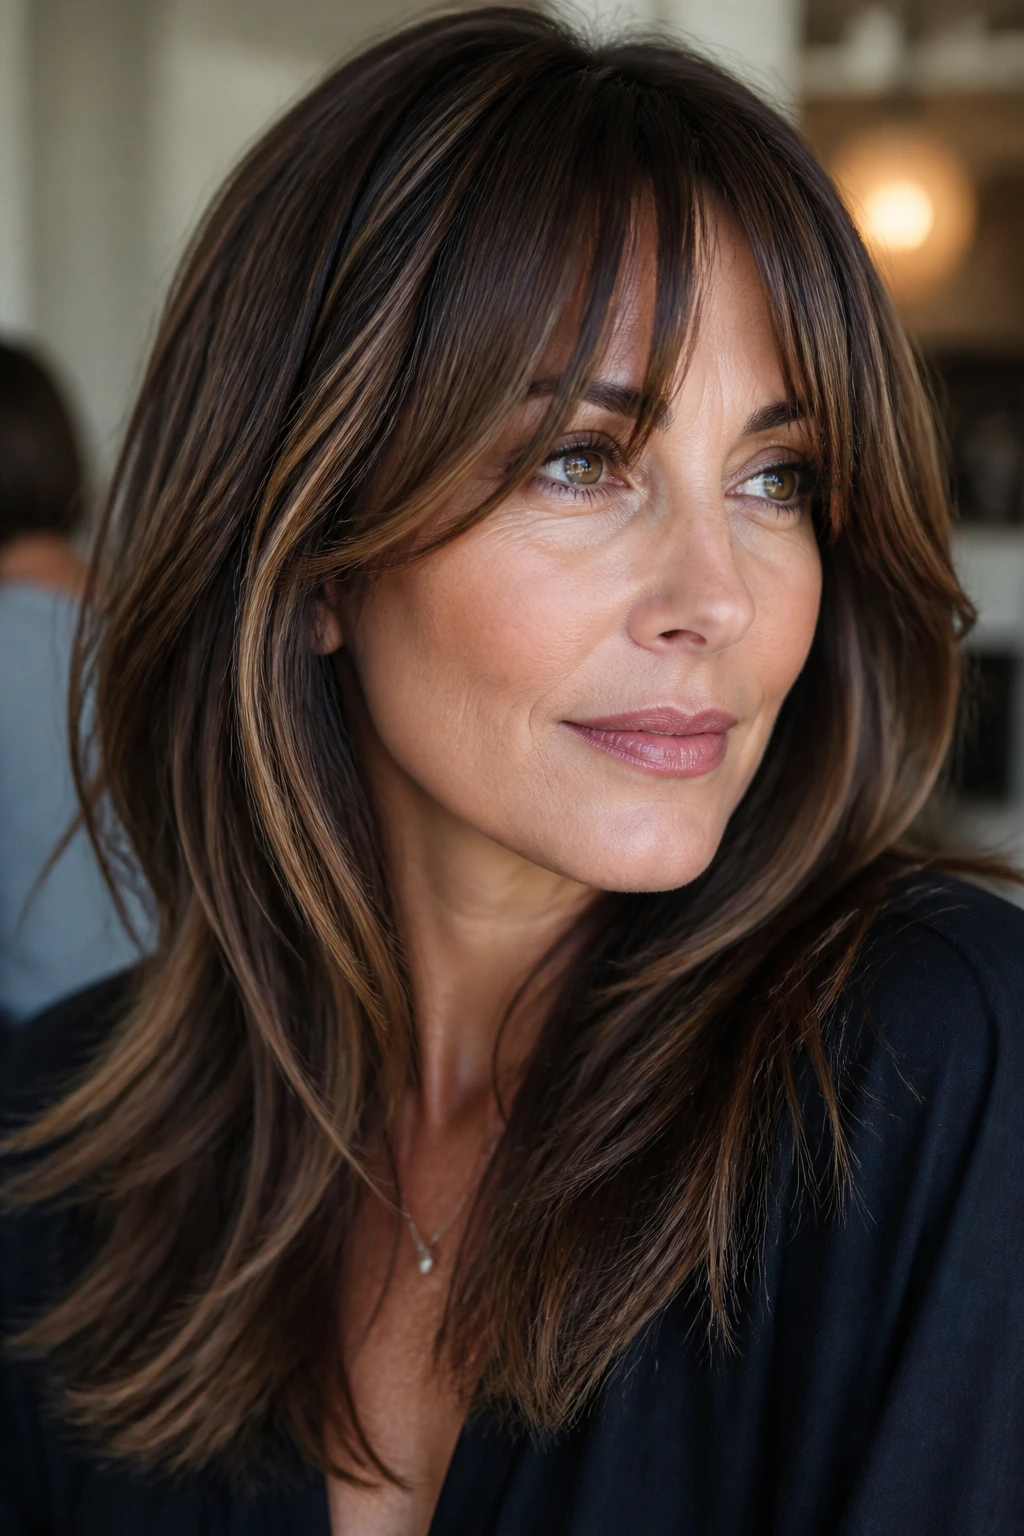
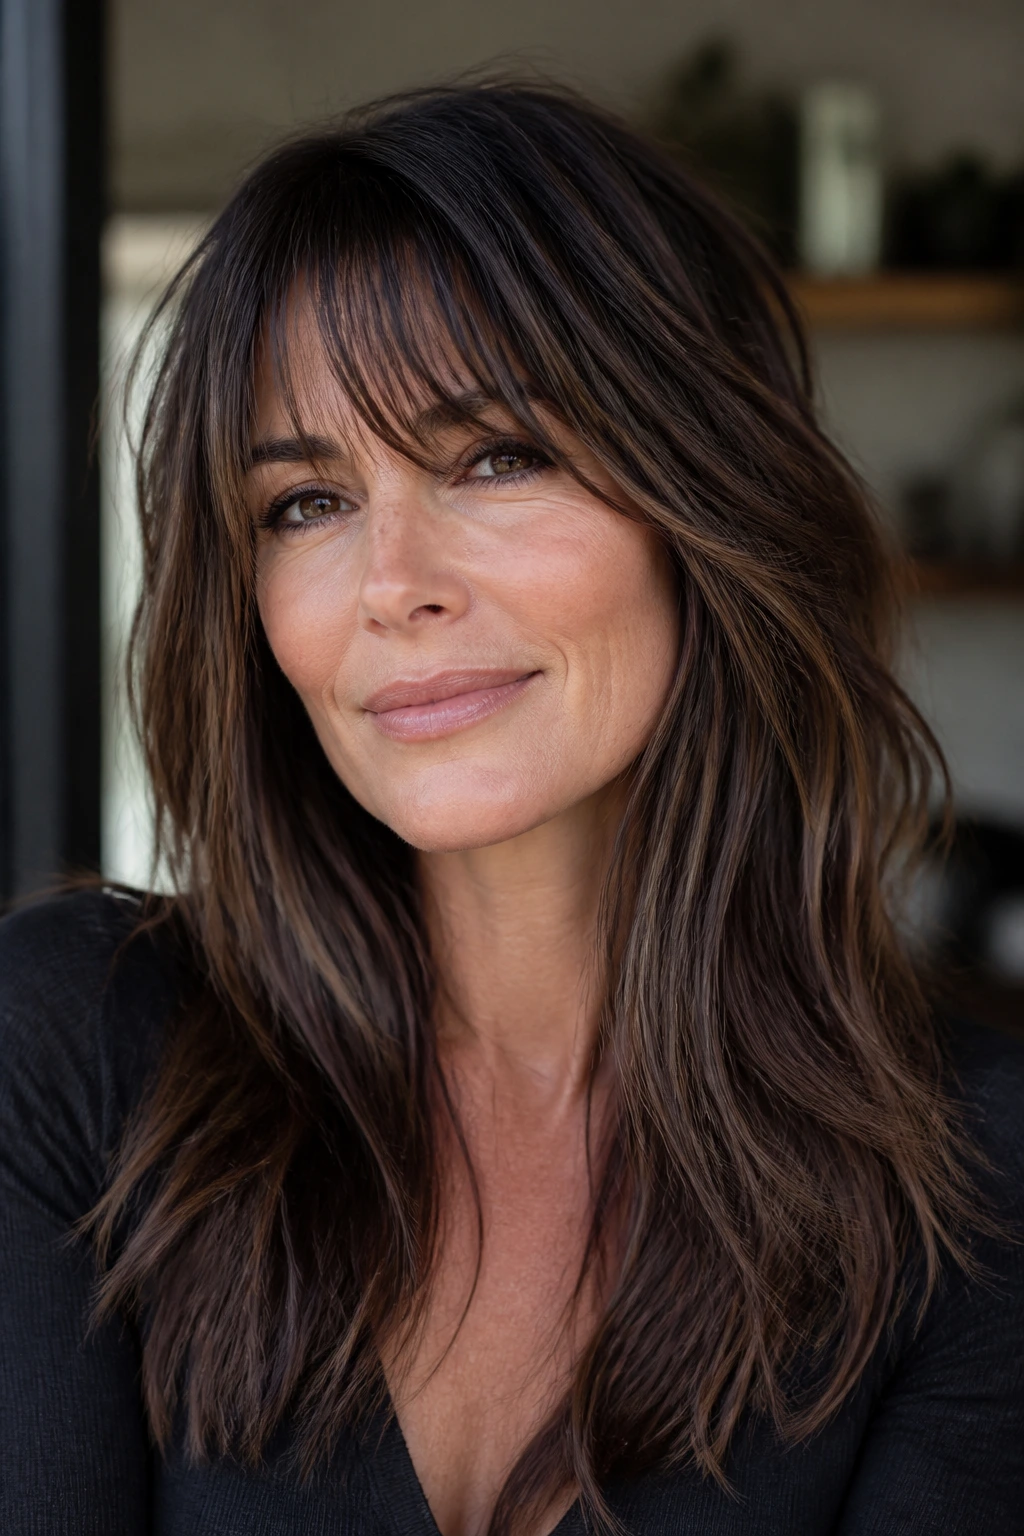
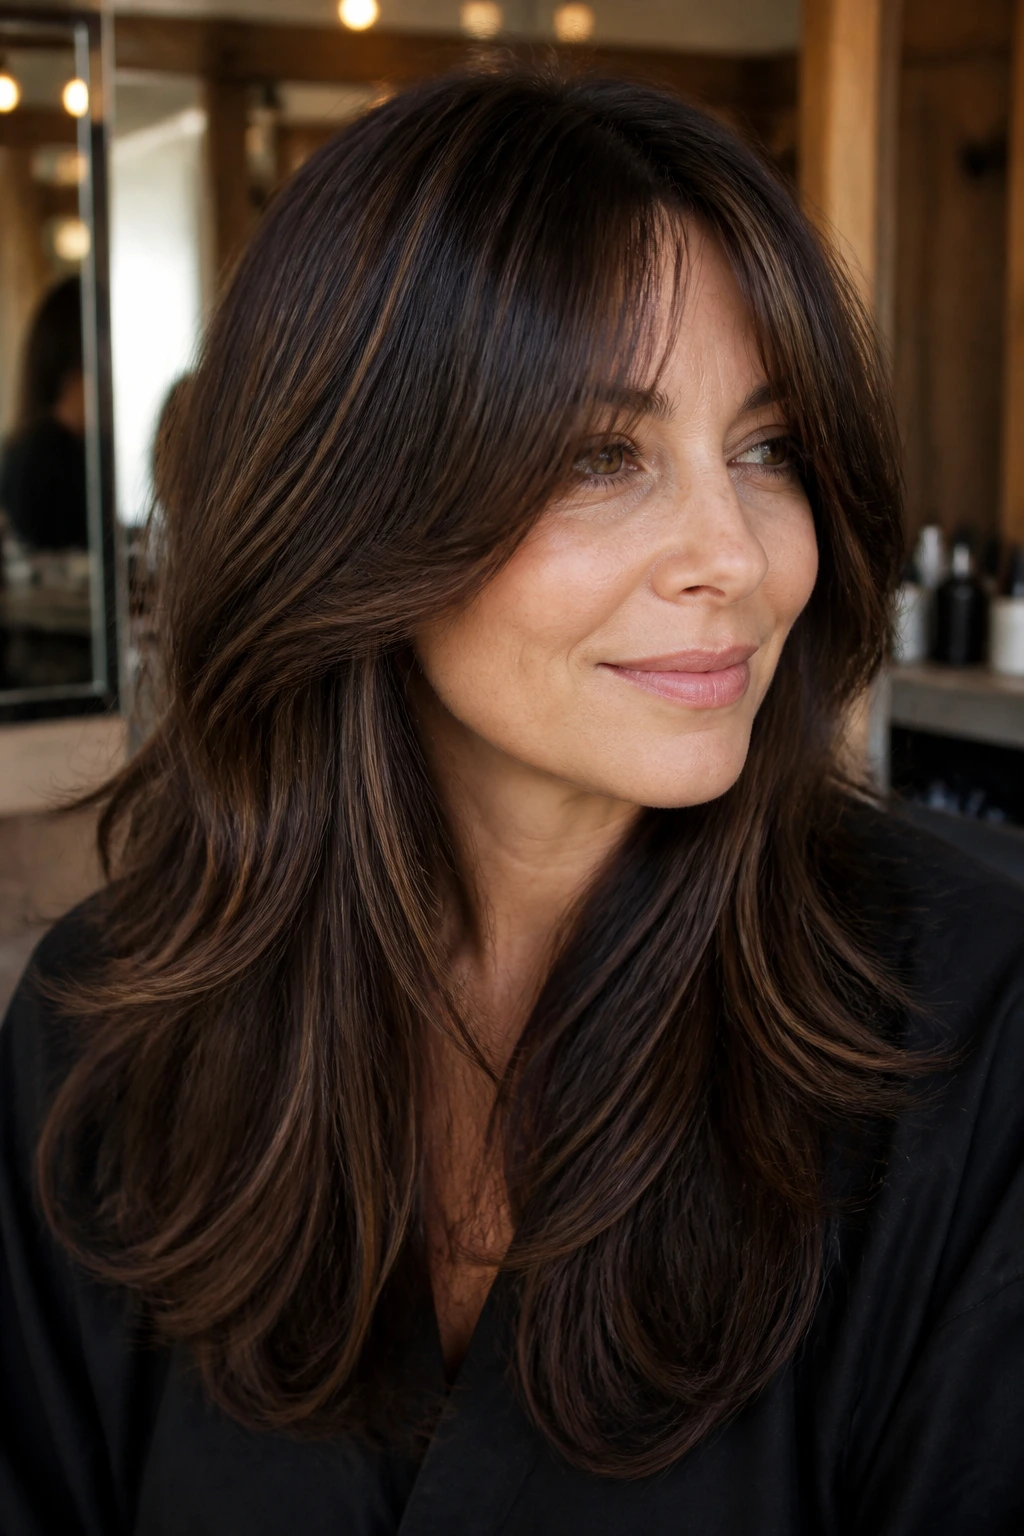
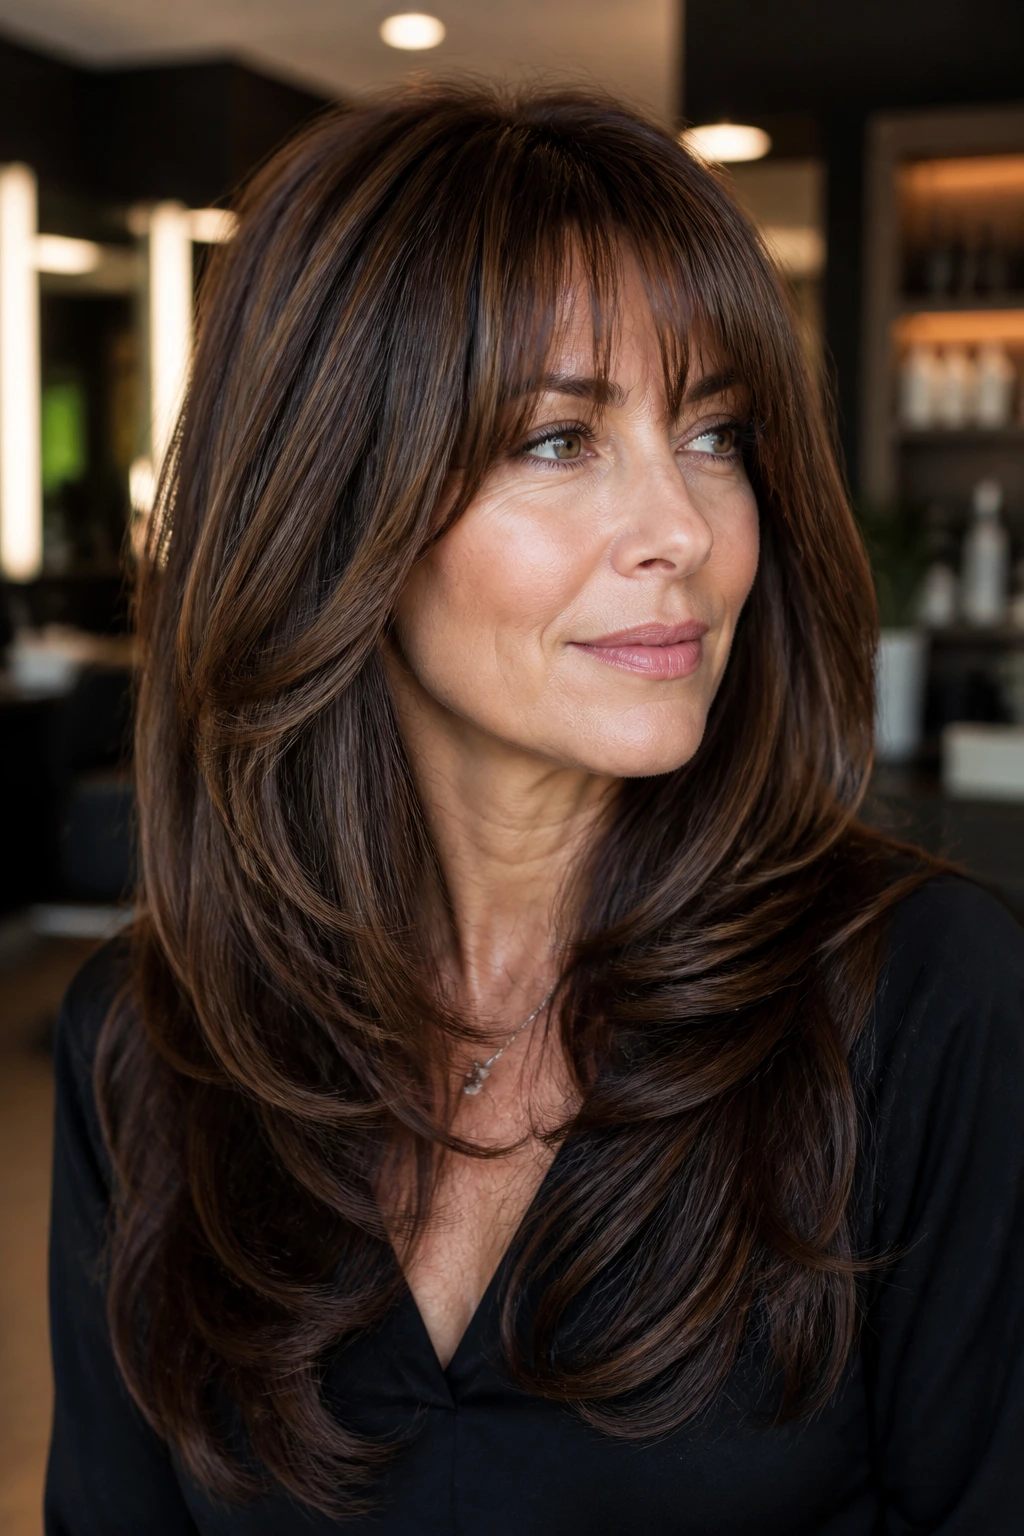
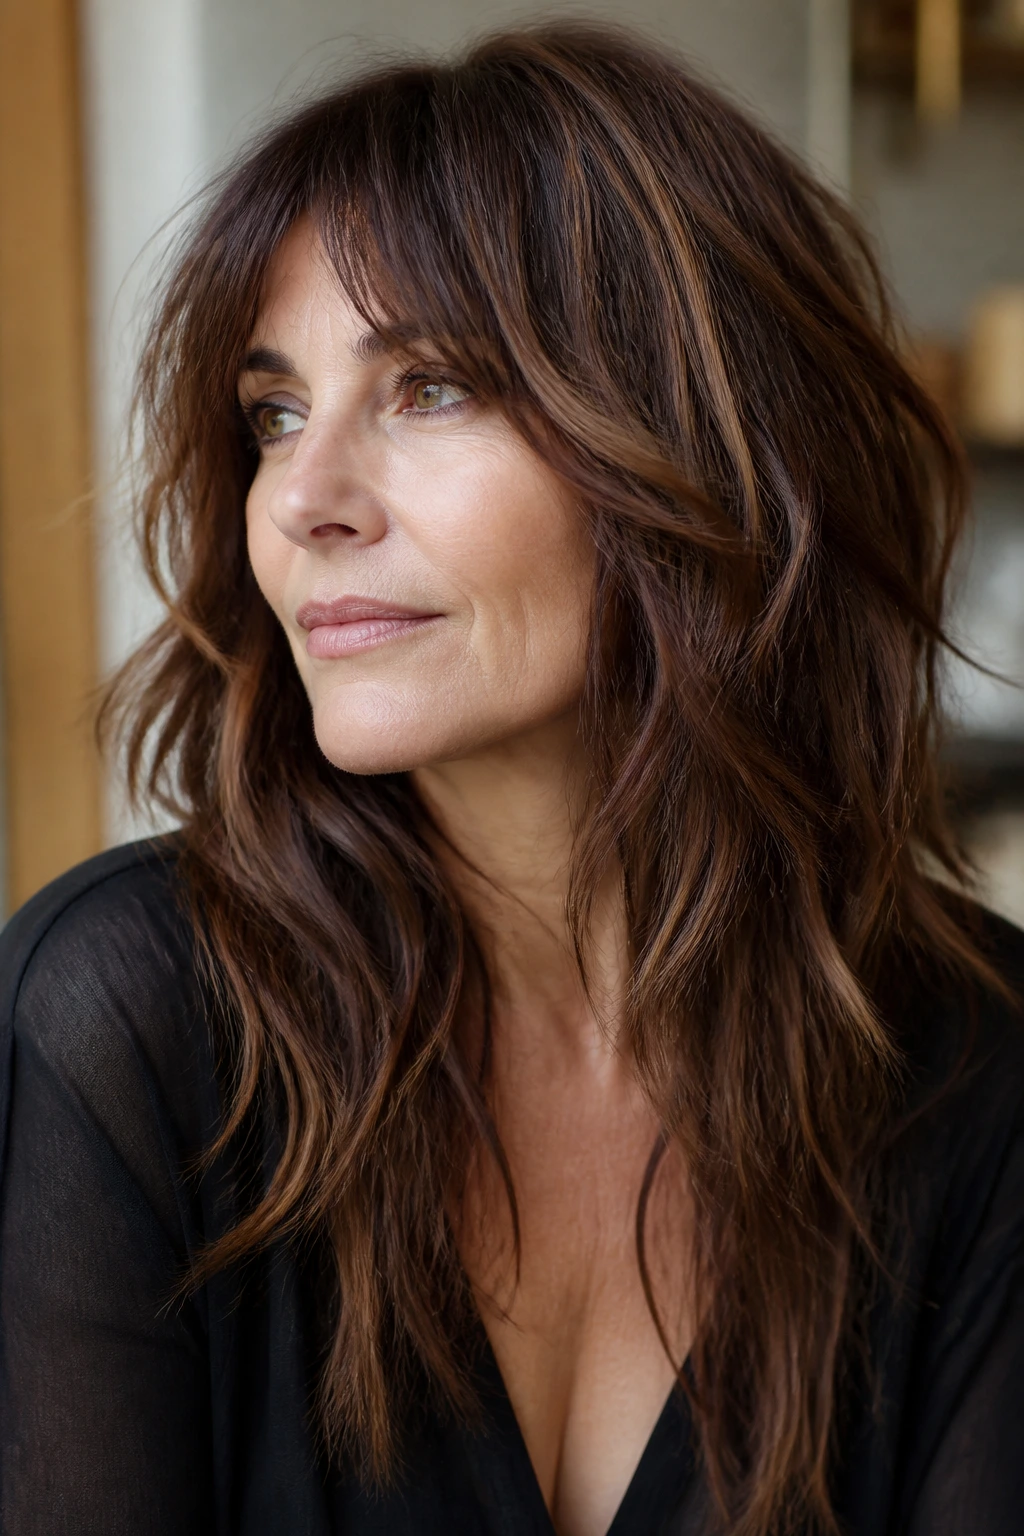
3. Long Shag with Chestnut Lowlights
A long shag has a little attitude in it, but not the kind that feels young or try-hard. The top stays loose, the layers move, and chestnut lowlights give the shape some grit so it doesn’t turn wispy.
What makes it work
The shag cut lives or dies by texture. Chestnut pieces underneath the crown and through the sides stop the finish from looking dusty, especially if your hair has natural wave. The bang section should stay long enough to split and sweep, not lock into one blunt shape.
If your hair goes flat by noon, this is a strong pick. A mist of texture spray at the roots and a bend through the front pieces is often enough. Don’t over-smooth it. The slight mess is part of the charm.
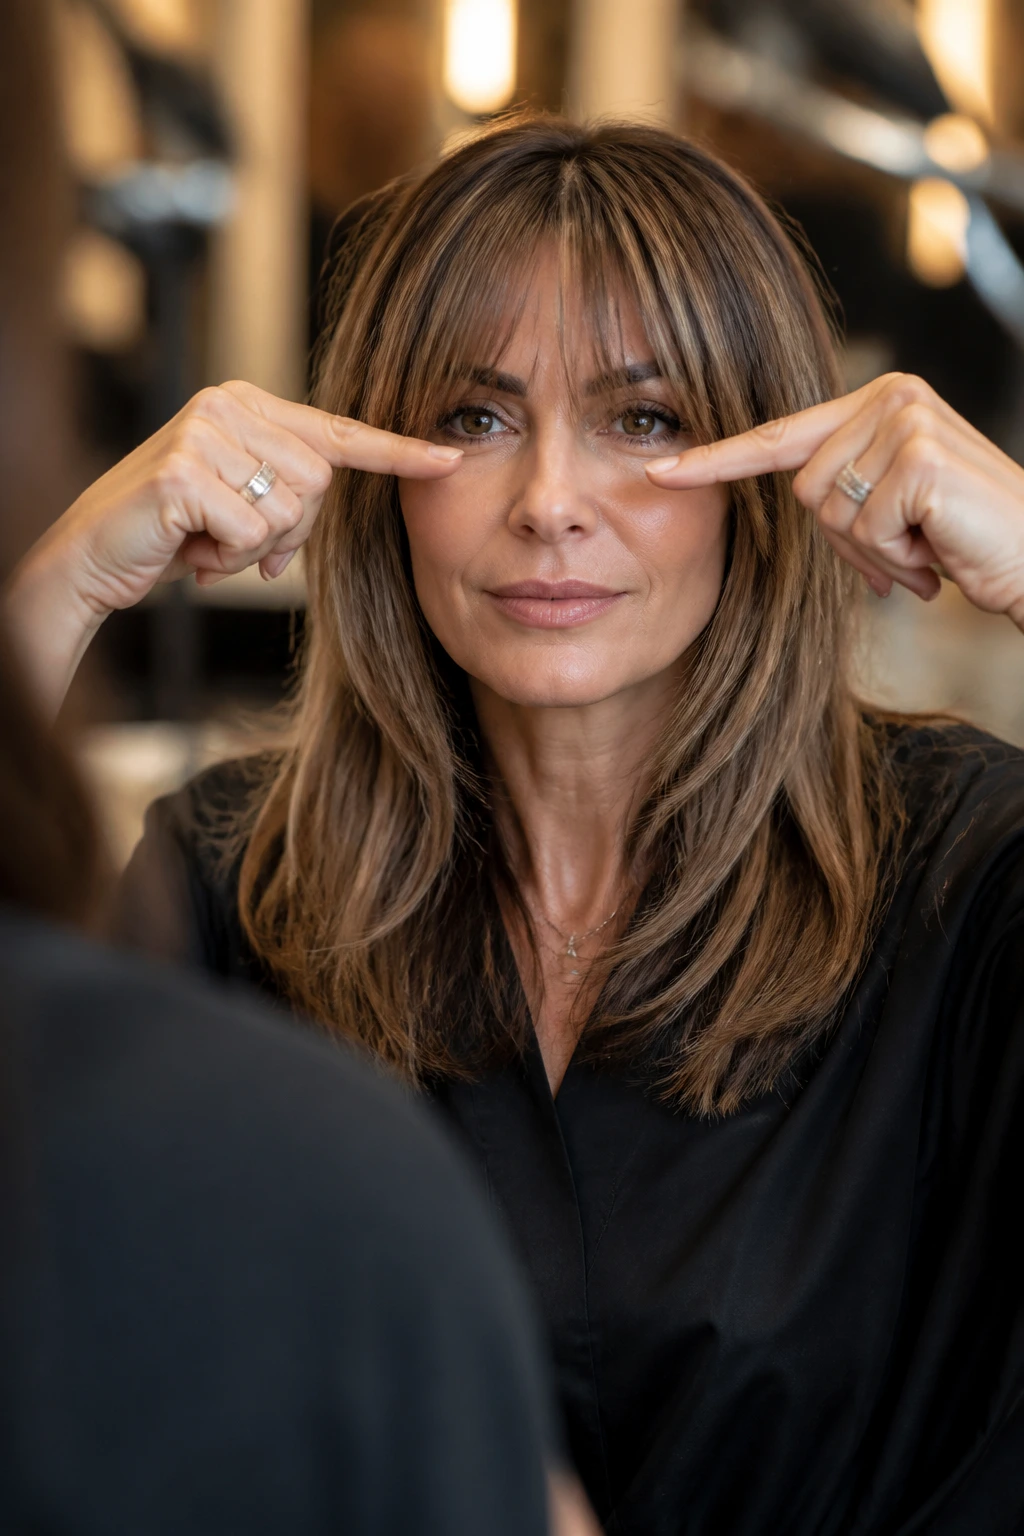
4. Bottleneck Bangs with Mocha Ribbons
Why do bottleneck bangs flatter so many faces? Because they start narrow at the center, then open up around the temples, which gives the forehead shape instead of just covering it. Mocha lowlights make that frame look richer and less streaky.
I like this one for anyone who wants bangs but doesn’t want to feel locked into them. The center can sit around the brow line, while the sides skim cheekbone level. The mocha pieces should stay subtle, woven mostly under the top layer so the front still looks light when you move.
5. Butterfly Layers with Walnut Depth
Butterfly layers are all about lift around the face and longer movement through the back, and that contrast is what makes them useful. Walnut lowlights keep the front from looking too bright at the crown and add a deeper base underneath the lift.
Ask for this shape like this
Tell the stylist you want the shortest front pieces to hit around the cheekbone, then flow into longer side layers that merge into the rest of the cut. That keeps the “butterfly” feel without turning the fringe into a hard curtain.
The walnut tones matter here because they anchor the lighter top layer. On hair that has a few lighter ends from sun or previous highlights, this is one of the easiest ways to make the whole cut look more expensive without adding more blonde.
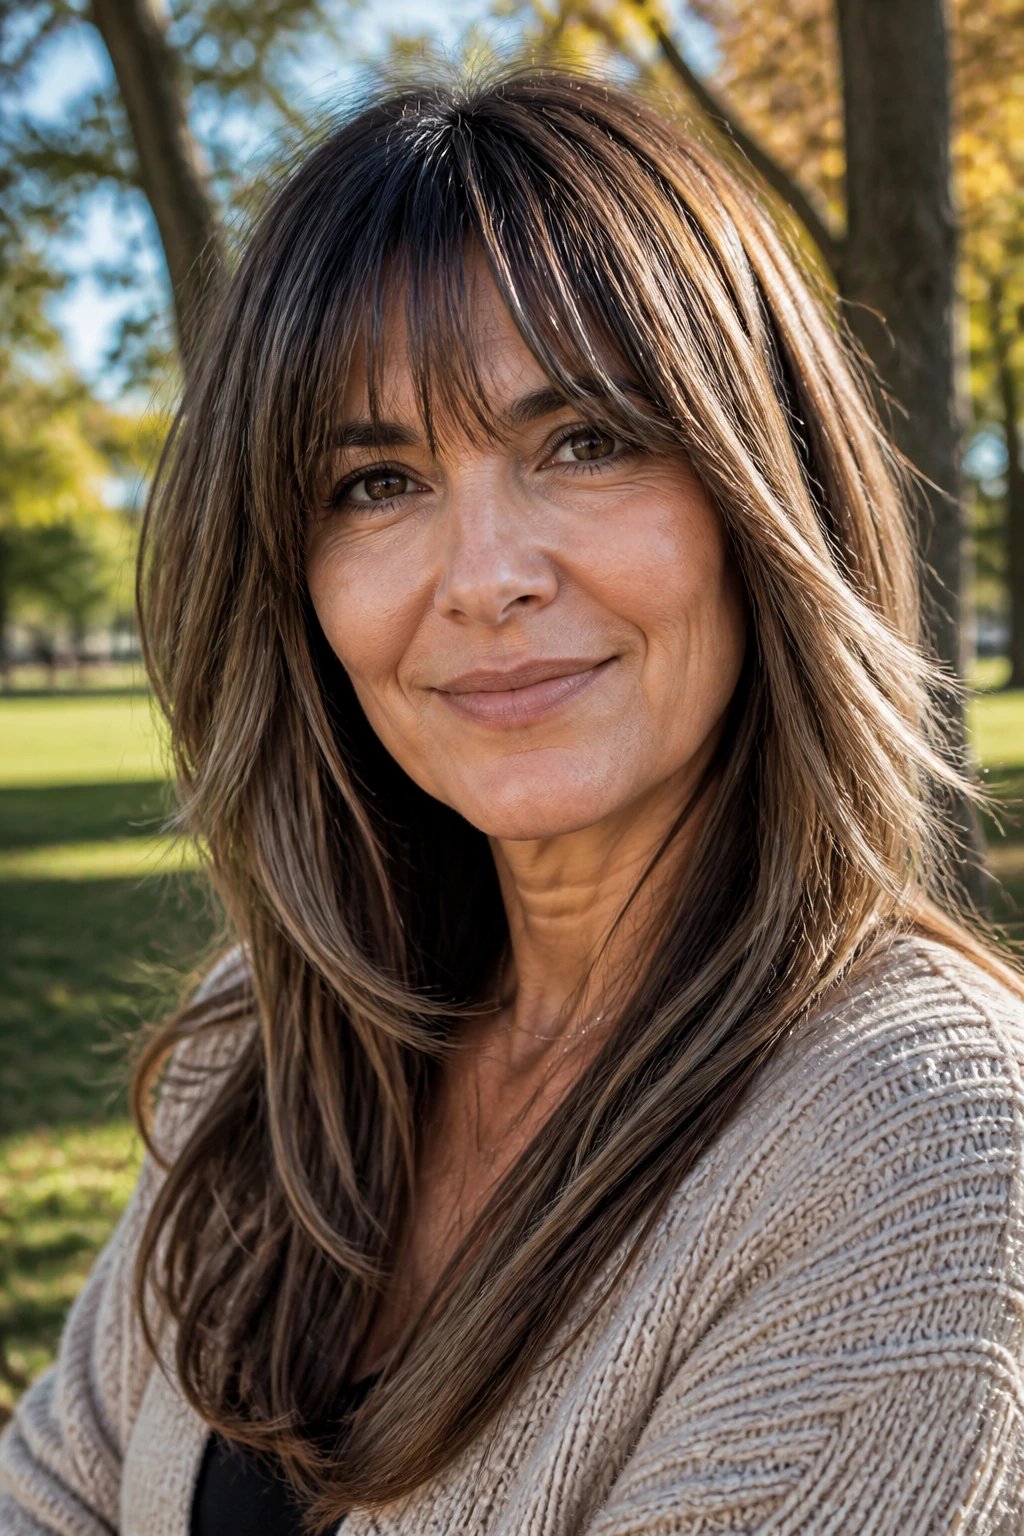
6. Side-Swept Bangs with Cinnamon Lowlights
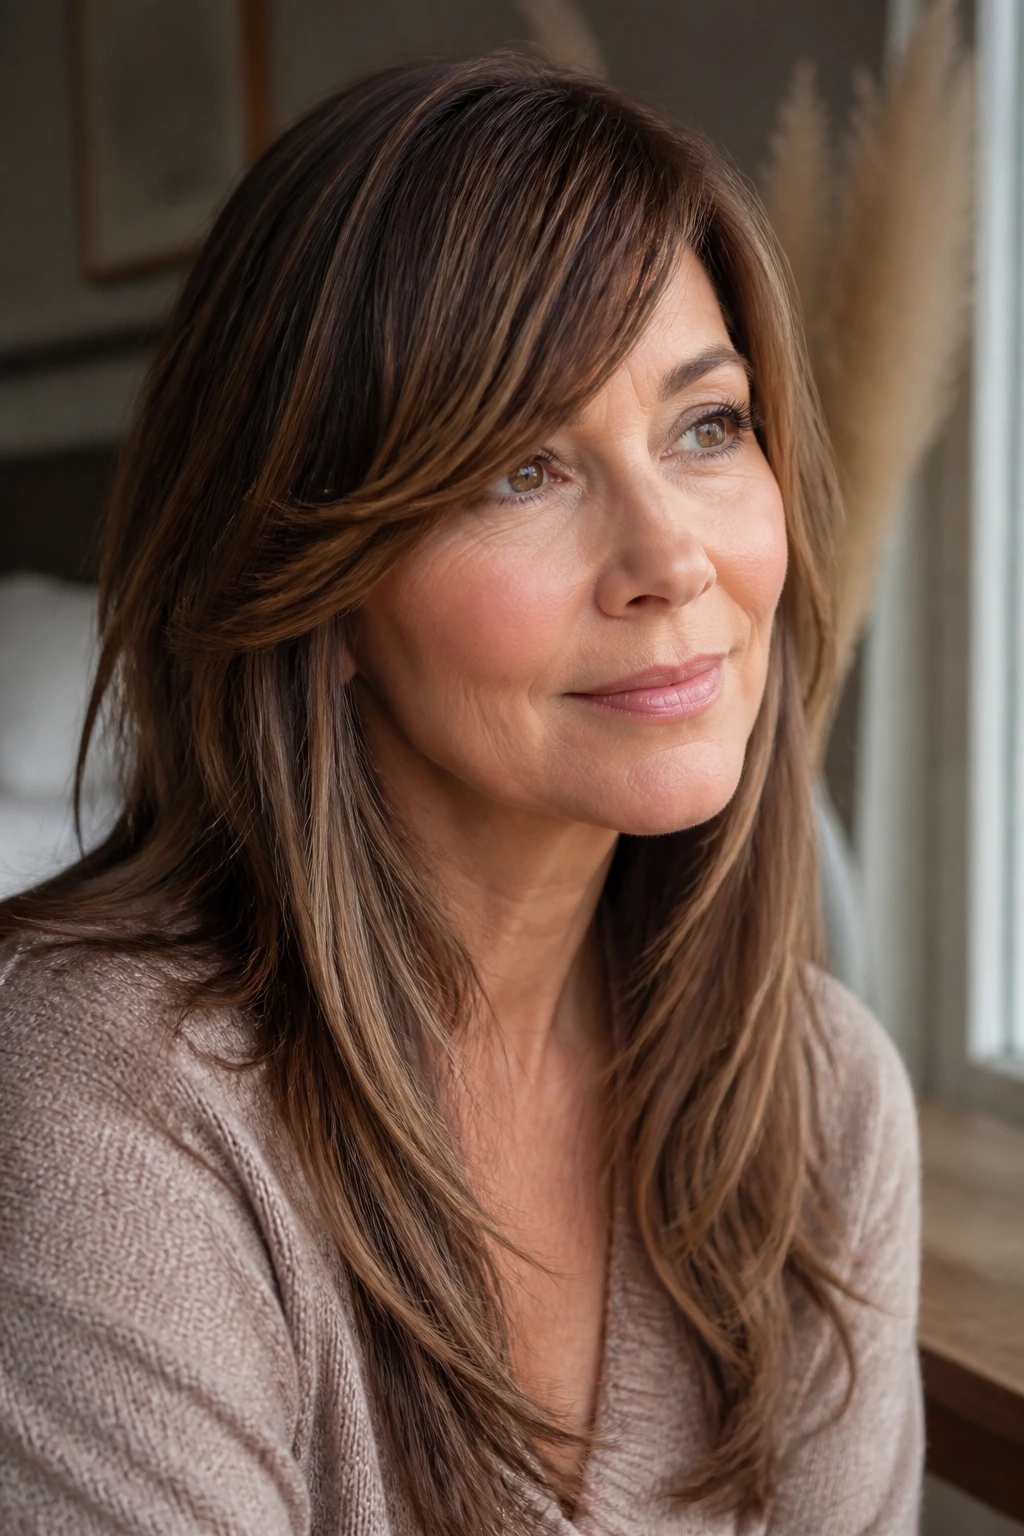
Side-swept bangs are still around for a reason. They’re forgiving. They can be pushed over, clipped back, or tucked behind the ear, and cinnamon lowlights give the front enough warmth to keep it from looking flat under indoor light.
This one is a good fit if you wear glasses or if your hairline prefers a little give instead of a hard middle part. Keep the sweep long enough to move across the forehead in one clean curve. Too short, and it turns fussy. Too dark, and the cinnamon notes disappear.
7. U-Shaped Cut with Ash Brown Panels
A U-shape keeps length in the back while softening the perimeter, which is handy if you want your hair to feel long but not heavy. Ash brown lowlights keep the surface cool and stop the shape from going too red or too warm.
The front should fall in long layers that open away from the face instead of hanging straight down. That’s the part that makes the U-shape useful. If your hair tends to puff at the ends, ask for internal layering rather than chunky removal around the edges.
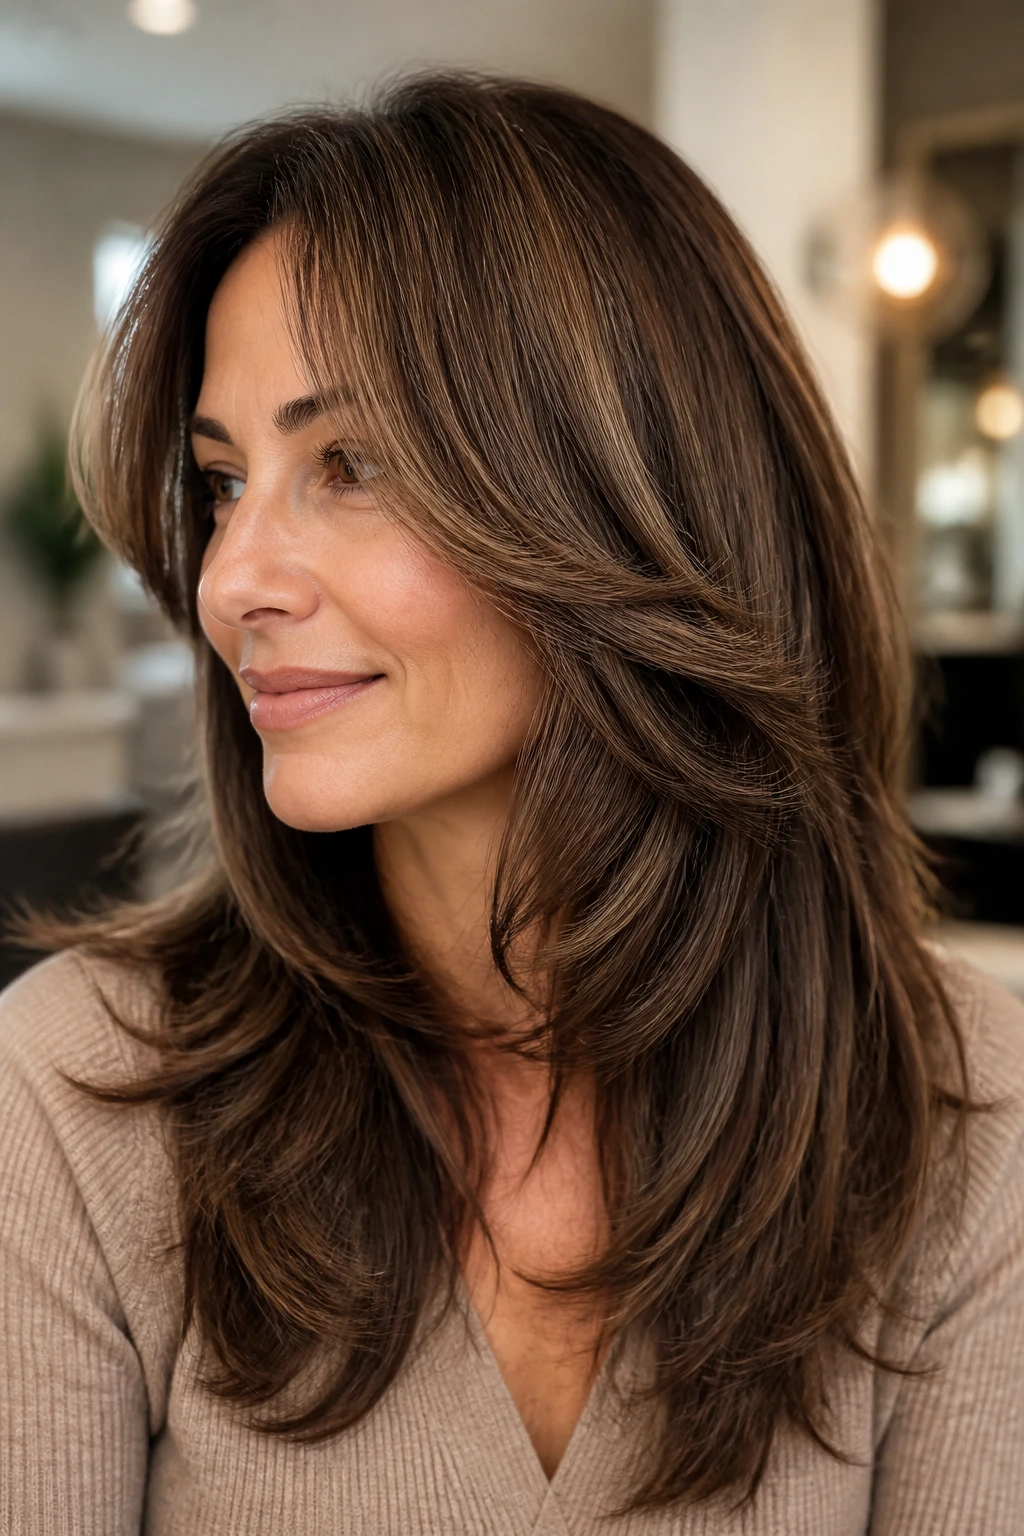
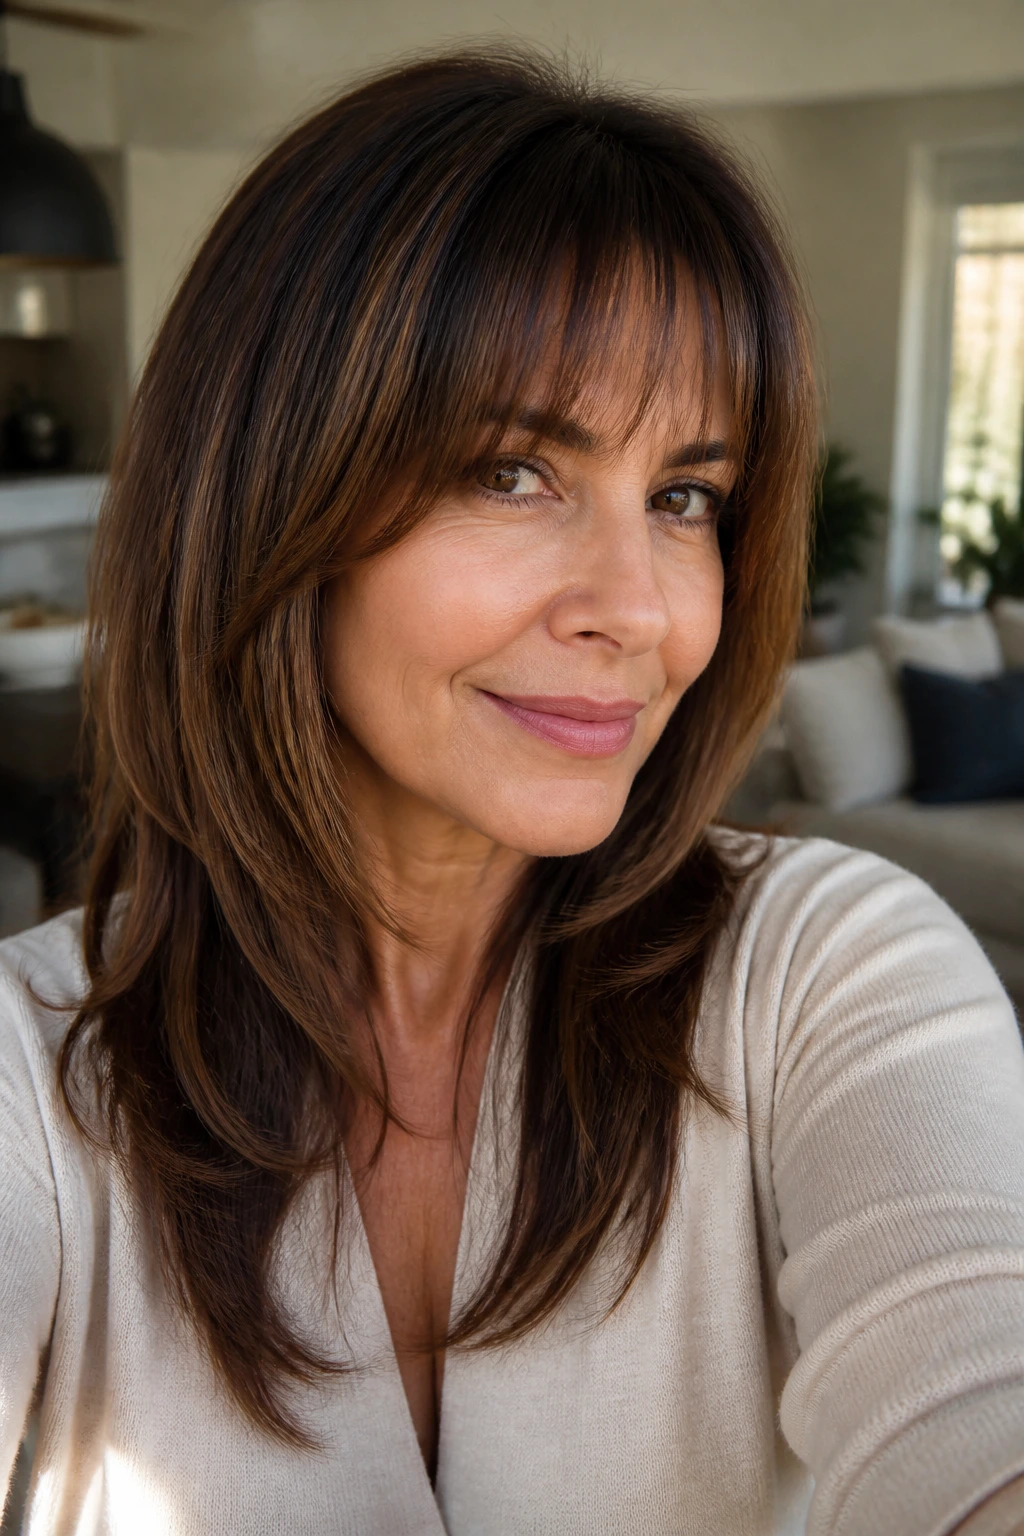
8. Sleek Layers with Toffee Lowlights
Some people want softness. Some want shine. This is the second group.
Sleek long layers with toffee lowlights give you a neat outline and just enough depth to keep the length from looking like one flat sheet. The bangs should stay long and polished, with the ends bevelled under a little so they sit near the cheek without flipping out.
This is one of the best options if you like a finished look with minimal texture spray. A blow-dry nozzle, a paddle brush, and a light serum on the very ends are enough. Keep the lowlights fine and controlled; wide ribbons will fight the clean line.
9. Wavy Long Layers with Bronde Ribbons
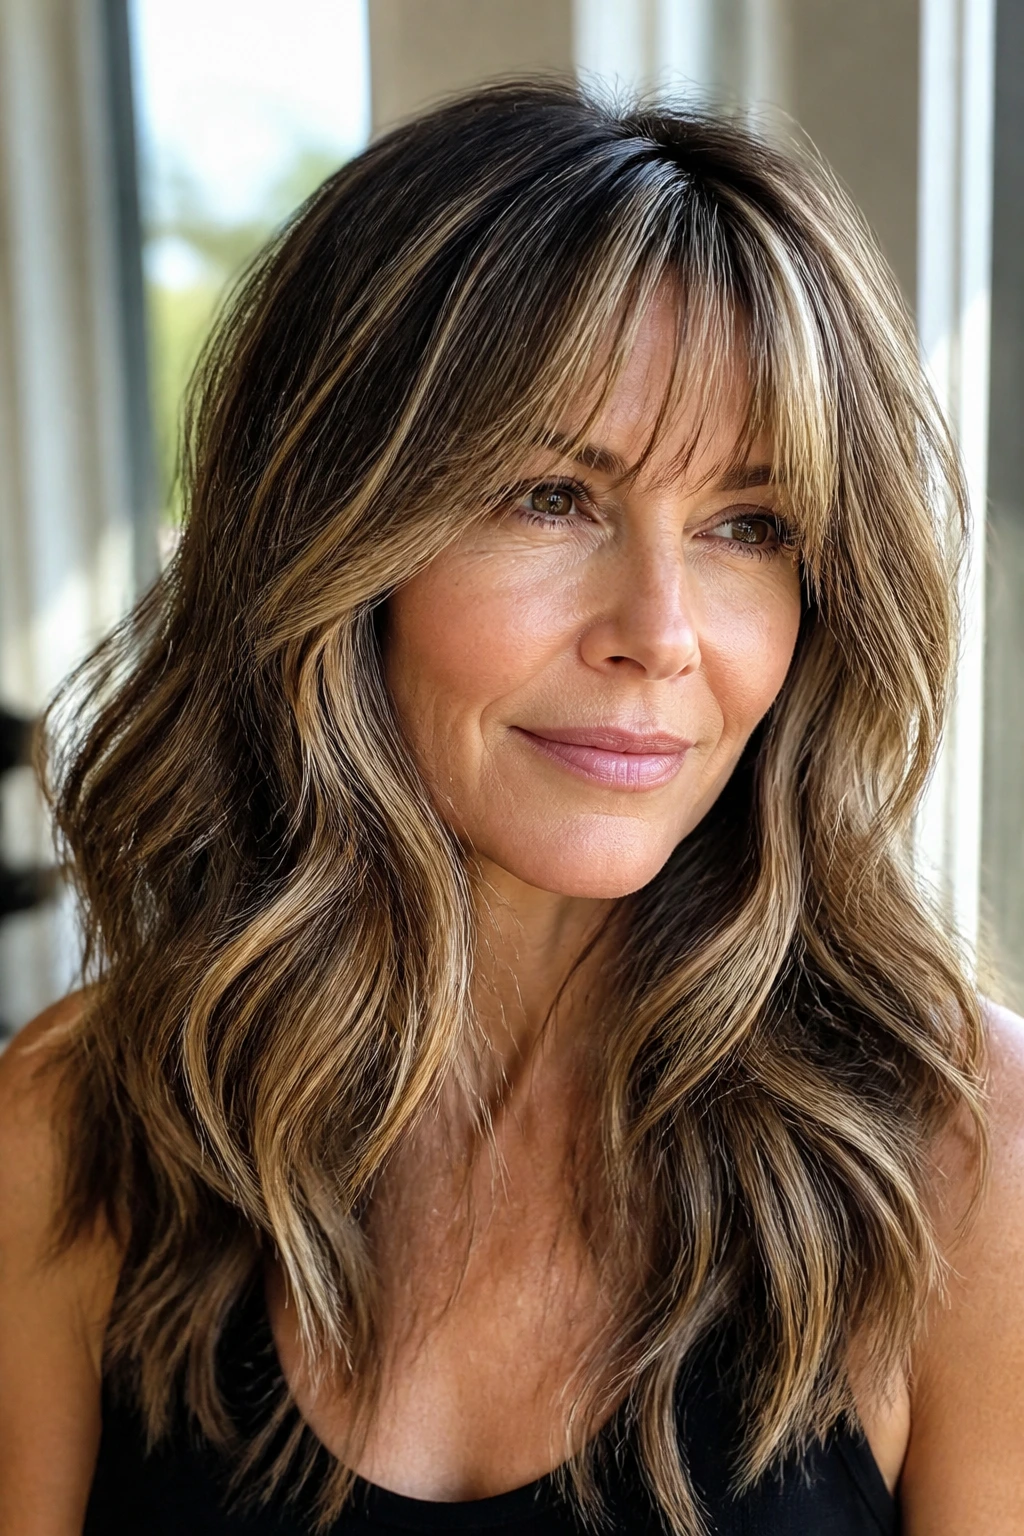
Bronde sits in that middle zone between brown and blonde where hair can still look sunlit without turning streaky. In long layered bangs, it keeps the face frame soft and gives the bends in the hair something to catch against.
The trick with this style is restraint. Let the waves do the talking. If the lowlights are too dark, the hair can start to look sliced up. Keep them soft and blended through the lower sections so the front still feels airy when the hair moves.
10. Razored Ends with Smoky Brunette Lowlights
Razored ends give a little edge, but the look only works when the texture stays controlled. Smoky brunette lowlights help because they break up the ends and keep the haircut from looking too feather-light or frayed.
Where to be careful
If your hair is already fine or dry, ask for a light razor touch rather than a heavy one. Too much slicing will make the layers collapse. The bang area should stay long and movable, with the shortest point no shorter than brow level and the outer pieces dropping lower.
This cut suits people who like a bit of coolness around the face. The smoky lowlights are less warm than caramel, which makes the whole thing feel more tailored and a little sharper.
11. Rounded Long Layers with Beige Brunette Depth
Rounded layers curve around the face instead of dropping in straight lines, and that curve is what keeps the cut soft near the jaw. Beige brunette lowlights add depth without pulling the color too warm or too dark.
This is a very easy shape to wear if you hate anything too “done.” The bangs can live just below the brow and then melt into the front layers. Ask for the lowlights mostly through the interior so the outer surface still catches light and the cut doesn’t look heavy.
12. Glam Blowout Layers with Cocoa Lowlights
A round-brush blowout loves this haircut. The layers lift, the ends swing, and cocoa lowlights deepen the underside so the top doesn’t lose its shape after an hour.
The front pieces should be cut long enough to curve away from the face, not hang straight like a veil. That little bend matters. It’s what gives the blowout its bounce. If you’ve got natural volume, keep the lowlights concentrated under the crown and through the back so the front stays bright.
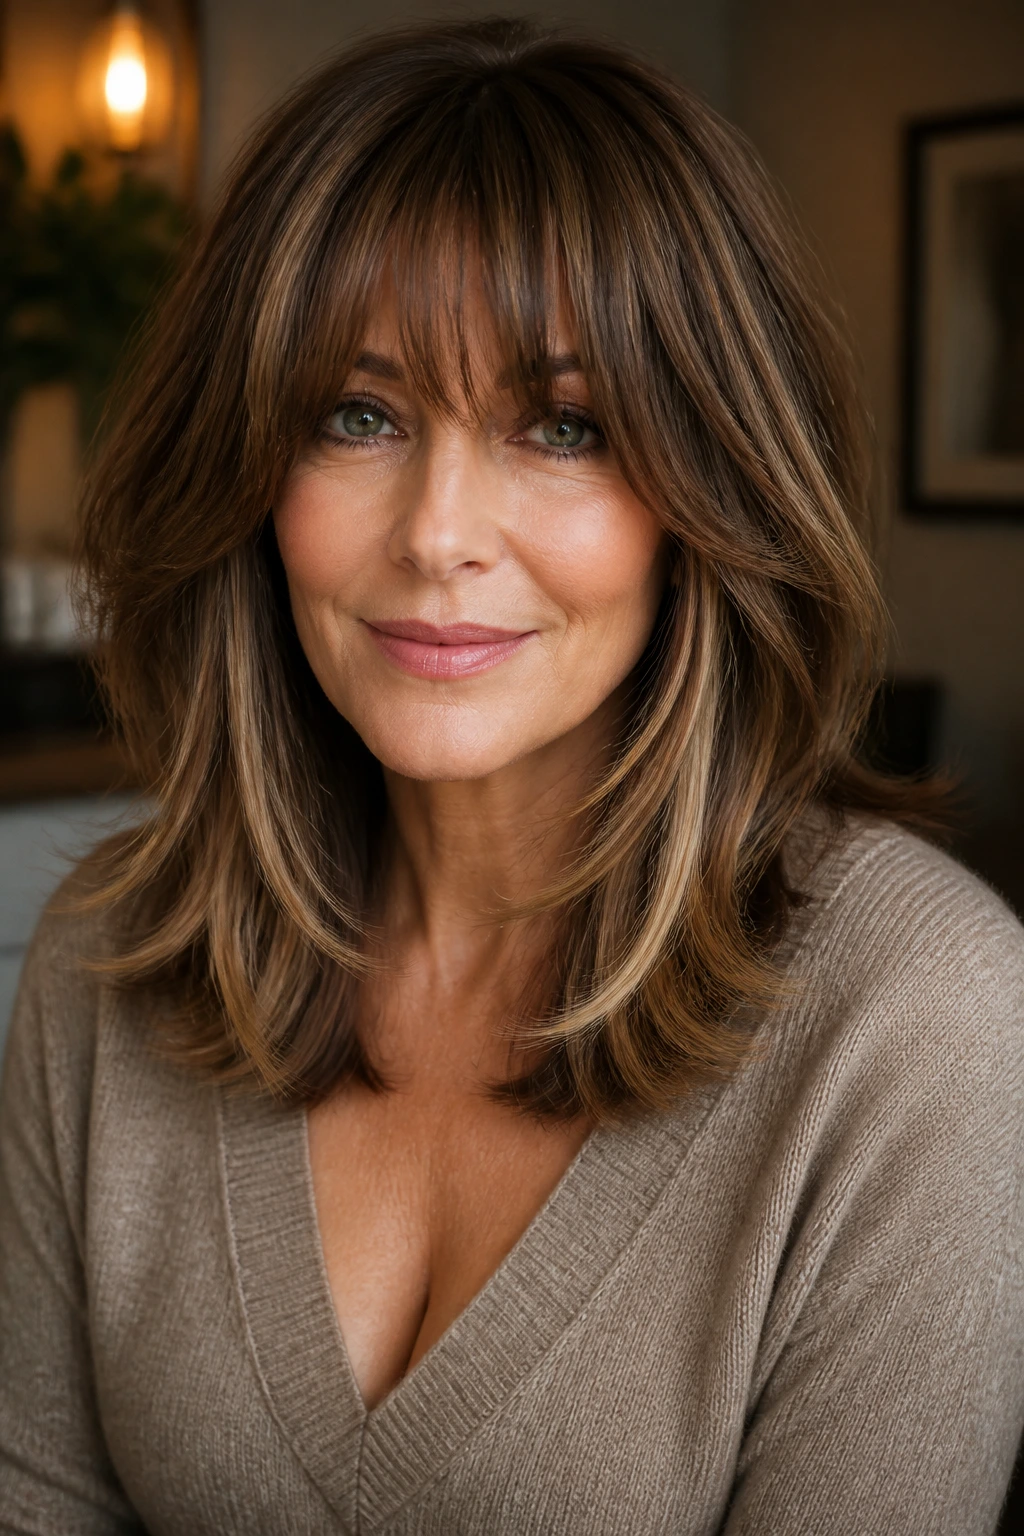
13. Piecey Fringe with Auburn Lowlights
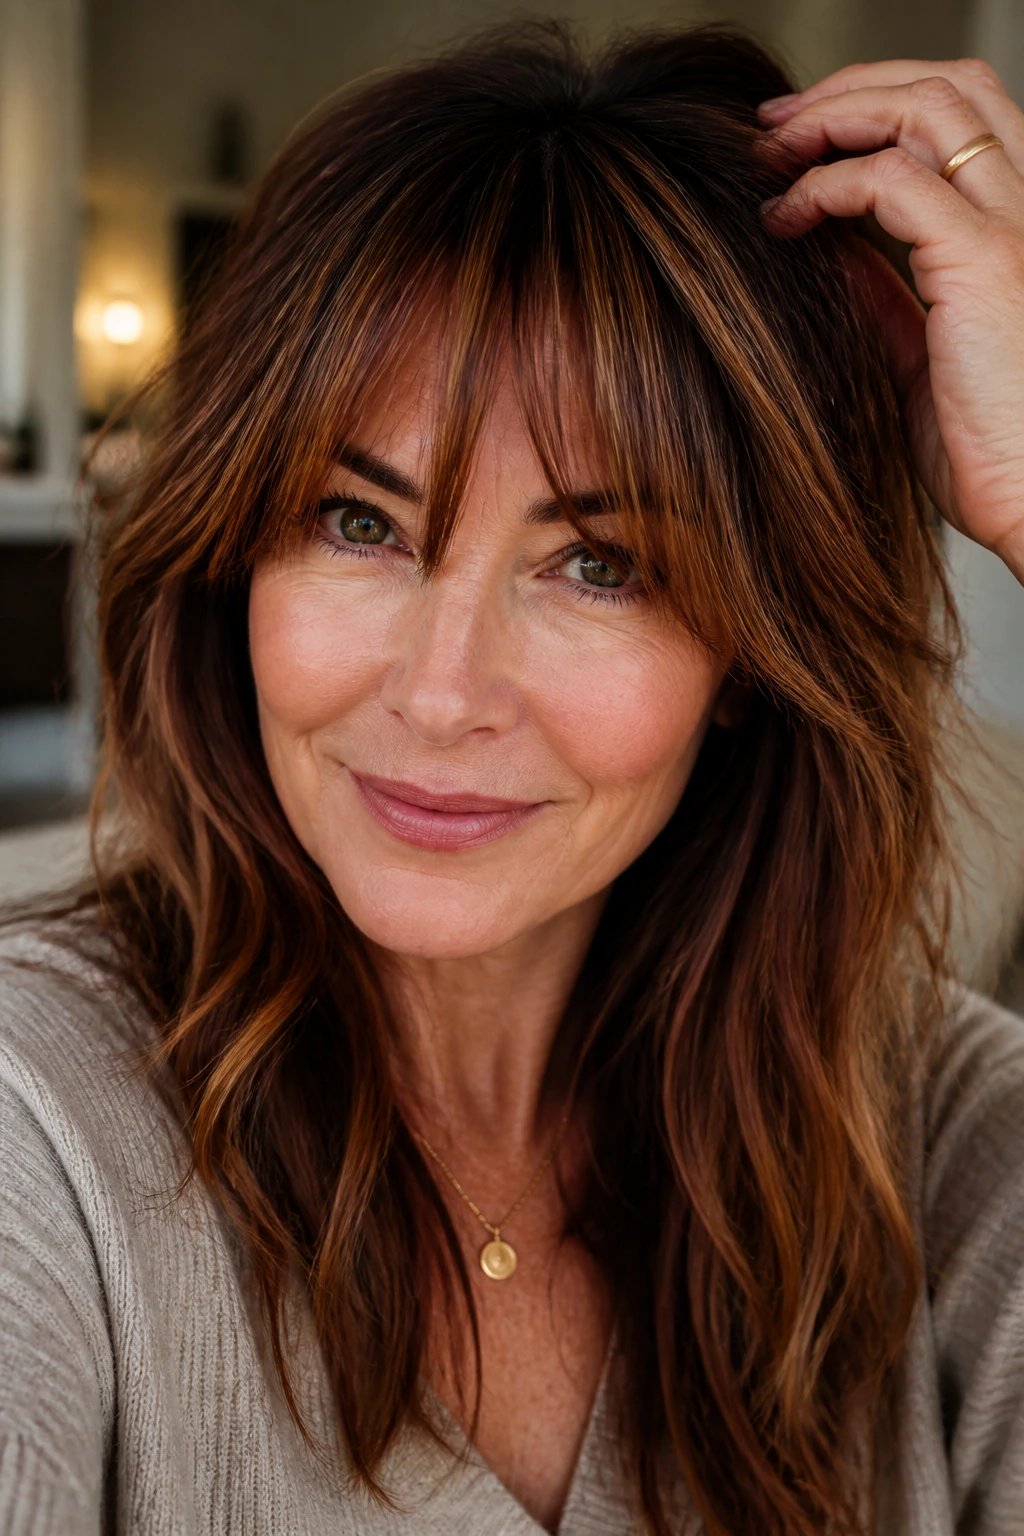
Piecey fringe is for someone who wants texture with a little warmth around the face. Auburn lowlights bring out red-brown notes in the hair, which can be lovely on warm skin tones and on brunette hair that needs more life.
This one works best when the bang section is separated with fingers instead of smoothed into one flat sheet. A light cream or paste, rubbed between your hands and tapped through the ends, is enough. The goal is separation, not stiffness.
14. Mid-Back Layers with Mushroom Brown Dimension
Mushroom brown is cool, neutral, and a little moody in a good way. It keeps long layers from drifting too golden or too red, and it’s one of the better choices when the hair already has silver coming through.
The layers should fall in long, soft levels that don’t scream “haircut” from across the room. That’s the appeal. The bangs are long enough to sit on either side of the forehead, while the lowlights sit under the top surface and give the whole head a denser look.
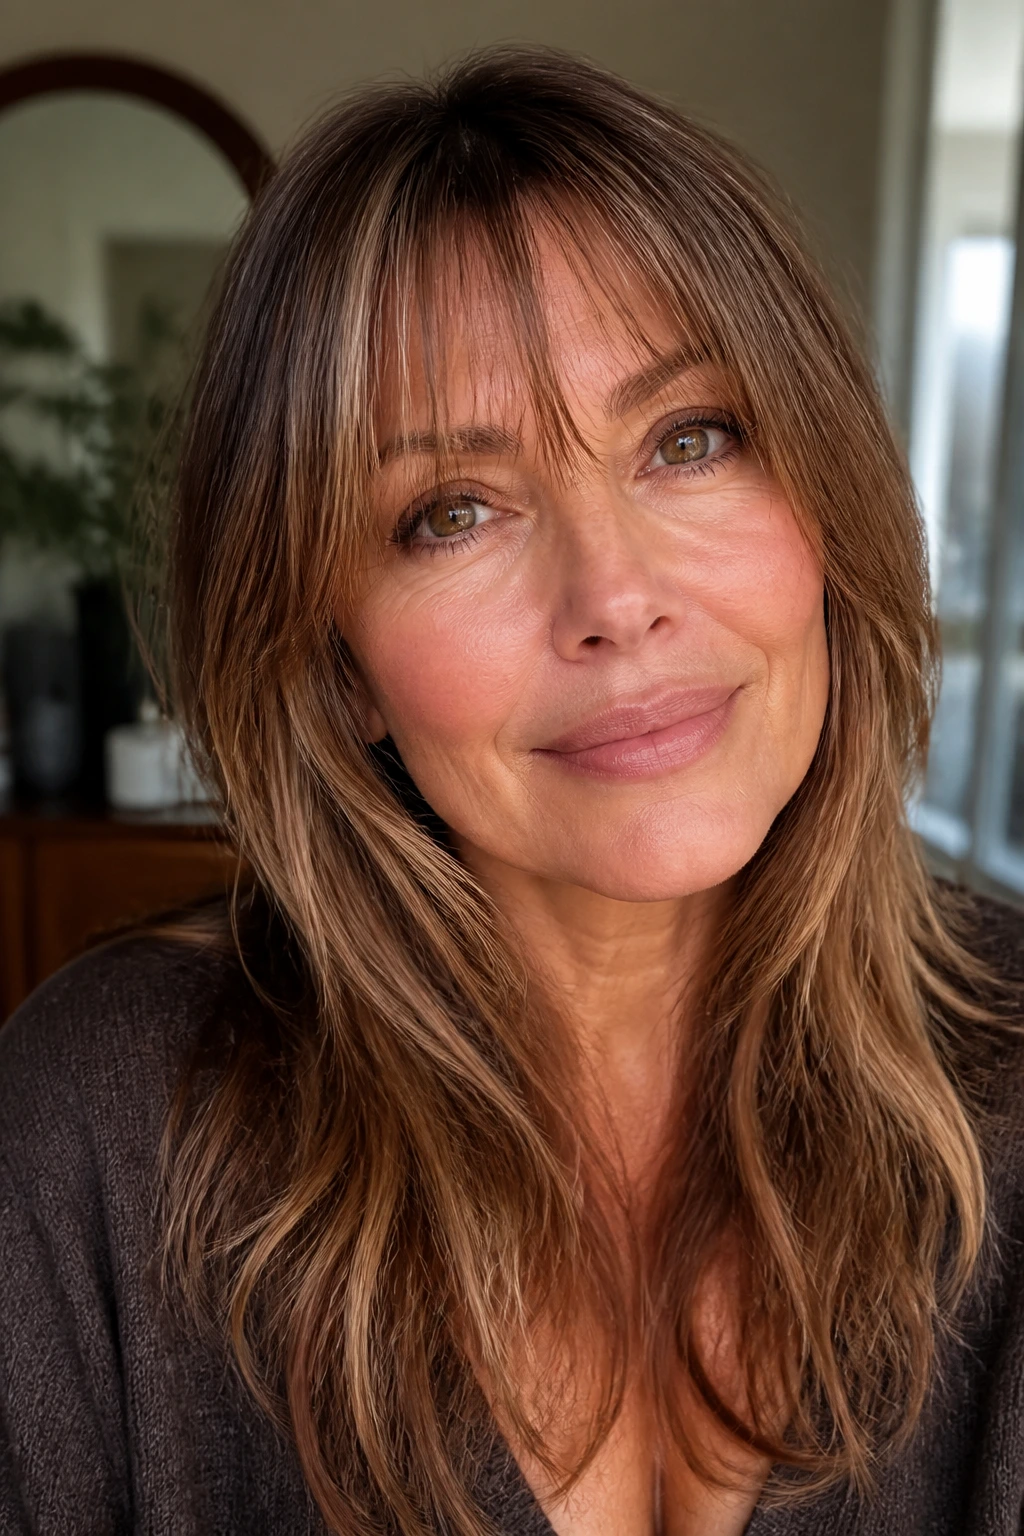
15. Tousled Layers with Golden Brown Glow
If you like a softer, warmer finish, this is the move. Golden brown lowlights give the cut a sunlit feel, but because they’re woven into long layered bangs instead of sprayed across the top, the effect stays grounded.
A small detail that matters
Keep the bangs long enough to hit around the cheekbone when they’re dry. That way they still move when you rough-dry the rest of the hair. If the layers are chopped too short, the tousled look turns into puff.
This style is forgiving on days when you don’t have time for a brush. Twist a few sections while they’re damp, let them dry, then separate them with a drop of serum. Done.
16. Long Bob Grow-Out Layers with Dimensional Lowlights
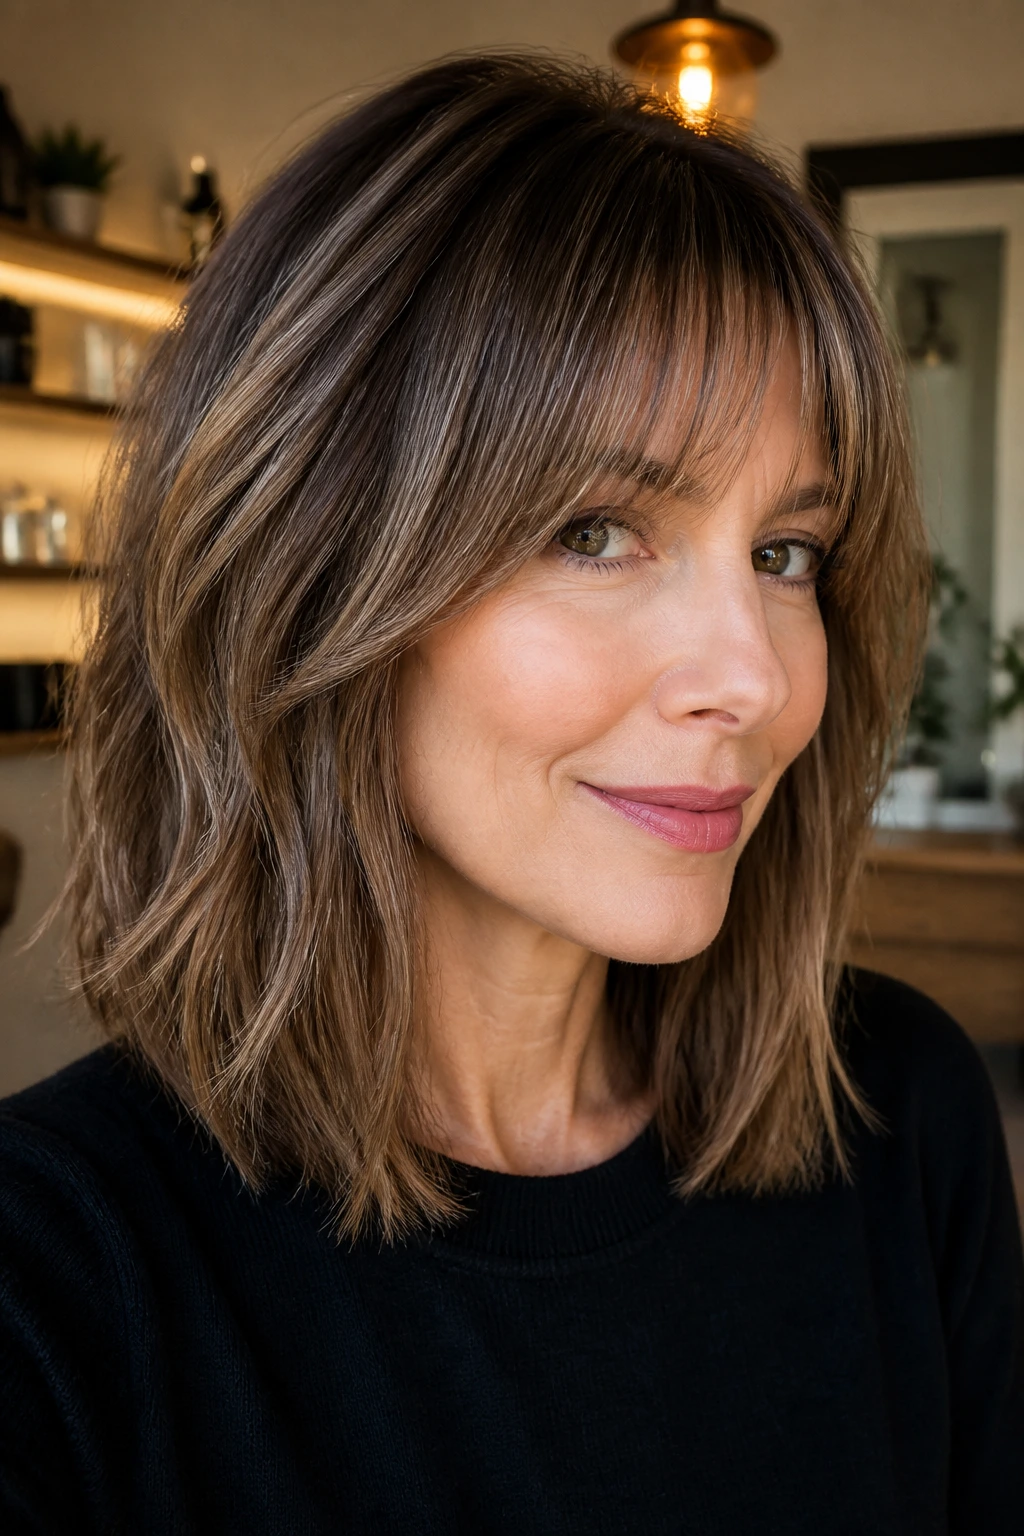
Growing out a bob can feel awkward for a while. Long layered bangs make that transition less annoying because they give the front a shape before the rest of the length catches up.
Dimensional lowlights help here because they stop the in-between stage from looking accidental. If the cut has longer front pieces and shorter internal layers, the darker ribbons keep the shape readable. That matters when the hair is sitting on the shoulders and everything tends to flip around.
17. Wispy Bangs with Maple Lowlights
Wispy bangs can go wrong fast if they’re too sparse, but when they’re long and layered, they stay soft instead of stringy. Maple lowlights add a little warmth and help the fringe show up against the skin without looking heavy.
This is a good choice if your forehead feels crowded by thick bangs. Keep the center pieces airy, then let the side layers take over. The maple tones work best when they’re subtle; too much warmth and the fringe starts to dominate the whole haircut.
18. Voluminous C-Cut with Mahogany Ribbons
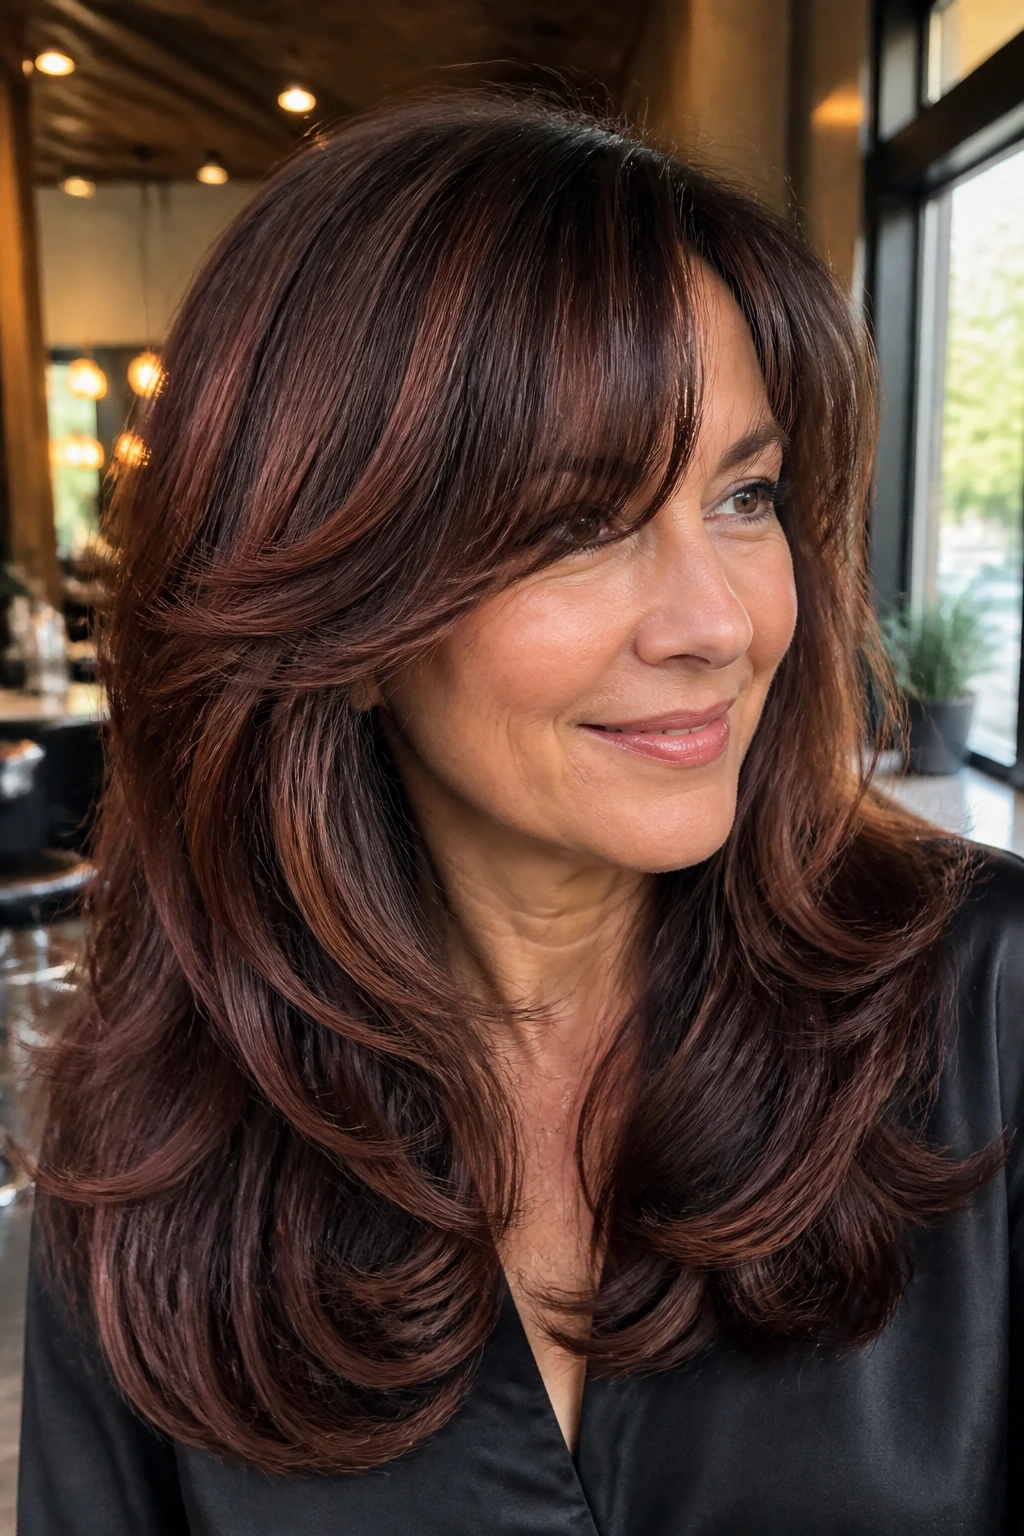
A C-cut curves around the face and then swings back out near the ends, which gives the style a nice sweep. Mahogany lowlights deepen that curve and make the finish look richer, especially if the base color is medium to dark brown.
I like this one for hair that needs shape more than it needs length. The bangs should blend into the sides in one long arc, not stop abruptly. If your hair is thick, ask for internal removal so the front doesn’t puff outward.
19. Airy Layers with Sable Lowlights
Sable lowlights are understated, almost quiet, and that’s the point. They keep airy layers from floating away from the head and help the cut sit with a little more control.
This is a strong choice for straight hair or for anyone who wants a polished look without obvious contrast. The long fringe should graze the brow and then taper down the sides. Keep product light. Heavy cream will erase the airiness that makes the cut work.
20. Long Layers for Fine Hair with Soft Shadow Lowlights
Fine hair often needs the illusion of density more than it needs more length. Soft shadow lowlights do that job well because they add darker points underneath the surface and make the front of the haircut look fuller.
What to ask the stylist
Ask for lowlights that are only one to two levels deeper than your base, and ask for them in narrow slices rather than chunky panels. That keeps the dimension believable. The bang area should stay long and slightly off the forehead so the hair can move instead of lying flat.
This style likes a light root-lift spray and a small round brush. Big tools usually overwhelm fine hair. Keep the layers long enough to keep weight at the bottom; too much removal will make the ends look thin.
21. Long Layers for Thick Hair with Deep Brunette Lowlights
Thick hair has a different problem: too much bulk can swallow the face. Deep brunette lowlights create pockets of depth that break up the thickness and keep the front from feeling like a curtain.
The cut should remove weight from the inside, not just the ends. That’s the part many people miss. Long layered bangs on thick hair work best when the fringe is allowed to split and sweep instead of sitting as one large, solid section. A little air between the pieces is your friend.
22. Salt-and-Pepper Friendly Layers with Smoke Lowlights
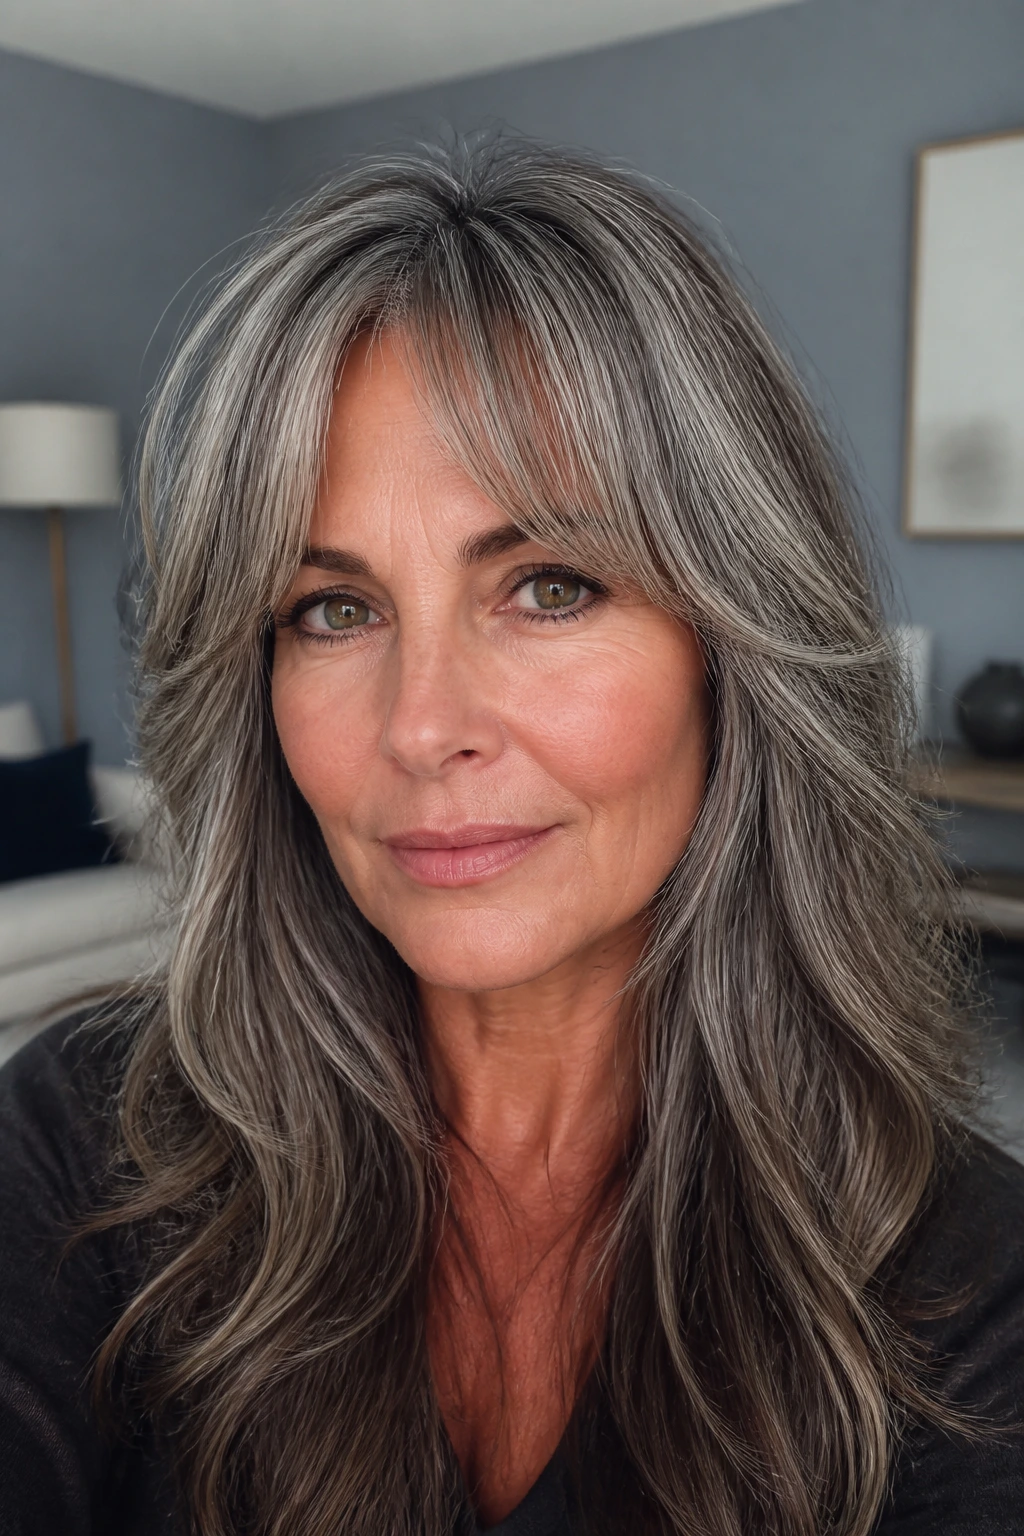
If your natural color is shifting toward gray, smoke lowlights can make the transition look deliberate instead of abrupt. They don’t try to erase the silver; they sit beside it and soften the contrast.
This is one of the few color approaches that can make hair look more textured without adding brightness. Long layers keep the front from feeling severe, and the bangs can blend the regrowth line better than a blunt fringe ever could. The result is calm, not flashy. That’s the point.
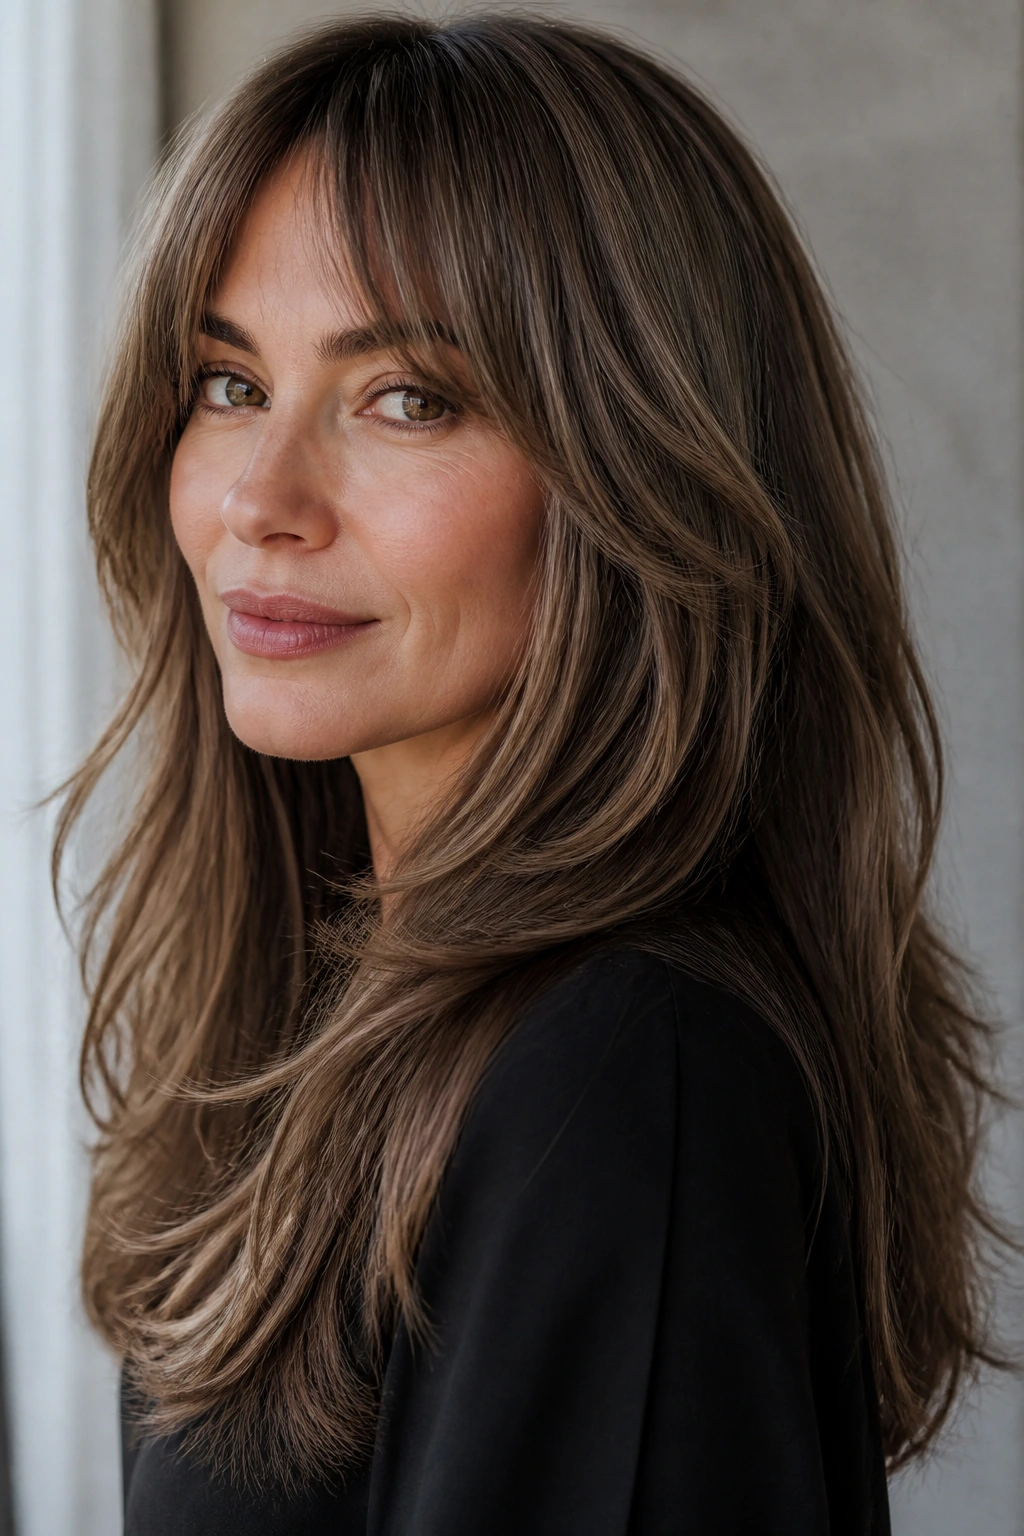
23. Straight Long Layers with Cool Mocha Panels
Straight hair can go flat fast, which is why cool mocha panels are useful. They create a quiet shadow through the lengths and keep the front from looking like one shiny sheet.
You do not need a lot of contrast here. A few carefully placed panels under the top layer are enough. The bangs should be long enough to sit between brow and cheekbone, and the ends should be clean, not over-thinned. Straight hair shows every bad cut, so precision matters.
24. Soft Wolf Cut with Neutral Chestnut Lowlights
The wolf cut has a more relaxed, slightly rebellious shape, but it doesn’t need to look rough. Long layered bangs and neutral chestnut lowlights keep the style wearable instead of costume-like.
Why this version feels calmer
The chestnut tone tones down the shaggy top layers and gives the haircut a grounded base. That helps a lot if you want movement but not chaos. Keep the fringe long enough to sweep into the front layers; short wolf bangs can get harsh fast.
This works especially well if you like hair that looks a little better after you’ve touched it. Fingers, not a brush, are usually enough. A tiny bit of texture cream in the ends is the finishing move.
25. Polished Layers with Glossy Espresso Veil
This is the one for people who want depth first and drama second. A glossy espresso veil deepens the hair around the lower layers and under the fringe, which makes the whole cut look rich and deliberate.
The long bangs should skim the face, not crowd it. The layers need enough length to swing, but not so much that they collapse. If your hair is on the finer side, keep the espresso lowlights soft and translucent; if it’s thick, you can go a touch deeper without losing movement.
Why Long Layers and Lowlights Work So Well Together

Long layered bangs and lowlights solve the same problem from two directions. The cut gives the front shape, and the color gives that shape shadow. That combination is why the hair looks fuller without needing a blunt line or heavy teasing.
The other reason it works is flexibility. A long bang can be worn centered, swept sideways, tucked behind the ear, or blended into a side part. Lowlights keep the hair from going flat when you change that part, which is a small thing until you’re trying to leave the house in ten minutes.
For women over 40, that flexibility is worth a lot. Hair often changes in texture, in density, and in how much time you want to spend on it. A cut that can shift with the day is easier to keep liking six weeks later.
How to Ask for the Right Bang Length and Lowlight Placement
The easiest way to avoid a haircut you regret is to speak in landmarks, not vague wishes. Say where you want the shortest point to land — brow, lash, or cheekbone — and where you want the sides to disappear. That gives the stylist a real map.
For lowlights, I’d usually ask for shades one to two levels deeper than the base, then let the stylist place them under the top layer and through the interior. You want shadow, not stripes. If the pieces are too wide or too dark, the cut loses the softness that makes it work in the first place.
If your hair is gray, bring that up early. A good lowlight plan will blend regrowth and brighten the surface at the same time, but the placement has to respect where the silver sits. On fine hair, go lighter with the lowlight density. On thick hair, the darker ribbons can be a touch more present because there’s more hair to hold them.
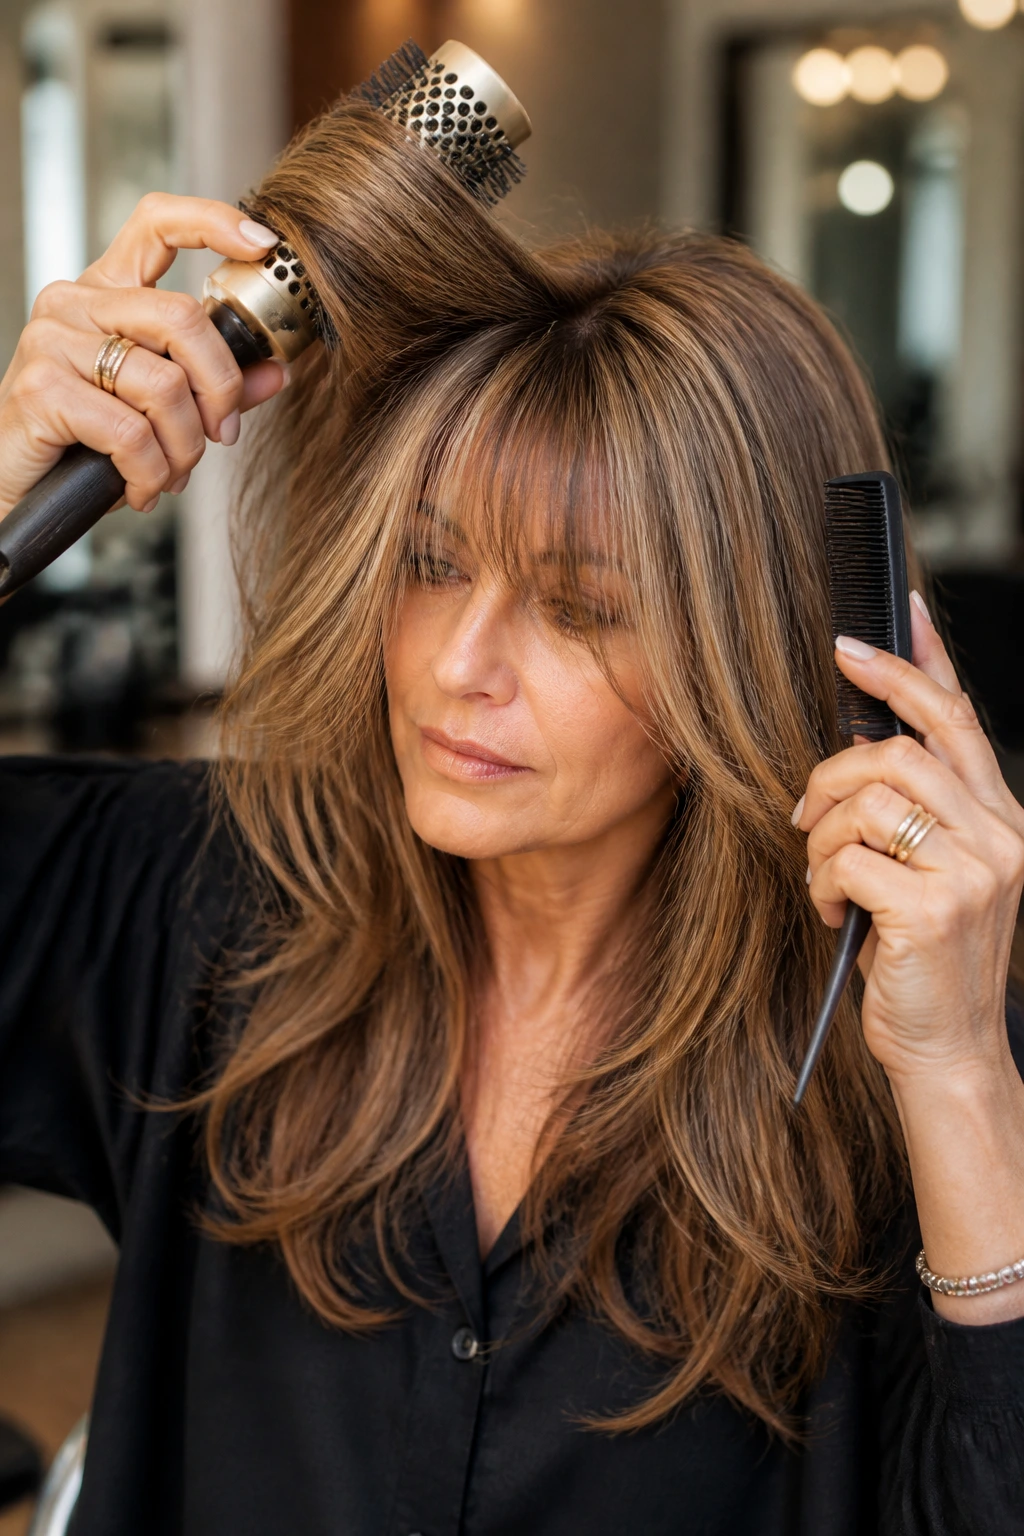
Essential Styling Tools for This Cut
-
A medium round brush, 1½ to 2 inches: This is the sweet spot for bending long bangs without making them too curly.
-
A blow dryer with a concentrator nozzle: The nozzle keeps the air focused so the fringe dries in the direction you want.
-
Sectioning clips: They keep the front pieces separate while you dry the back, which saves the bang shape from collapsing.
-
A tail comb: Useful for clean parts and for lifting small sections when you place lowlights or touch up roots.
-
Heat protectant spray: Long layers show heat damage fast because the ends are so visible.
-
A light texture spray or mousse: Choose one if you want movement; use it sparingly so the front stays soft.
-
A flat iron with adjustable heat: Handy for a slight bend or a quick polish, but low to moderate heat is enough for most long fringe shapes.
-
Color-safe shampoo and conditioner: Lowlights fade unevenly when the wash routine is too harsh.
-
Dry shampoo: Best for keeping the bang area from getting oily and stringy between washes.
How to Wear the Look on Busy Mornings
Presentation: Start by drying the bangs first. If the front dries wrong, the rest of the style has to work around the mistake. A round brush or even a large Velcro roller can give the fringe a bend while the rest of the hair gets rough-dried.
Quick Routine: For a five-minute version, mist the roots with a little lift spray, dry the bang area forward, and then sweep the layers back with your fingers. That gives the front enough shape to frame the face without turning the morning into a project.
Polished Version: If you want more finish, wrap the front pieces around a round brush and direct them away from the face for a few seconds at the ends. Don’t overdo the curl. A soft curve looks better here than a tight bend.
If you wear glasses: Keep the longest bits long enough to sit above or beside the frame, not jam into it. That tiny adjustment keeps the fringe from splitting into awkward little pieces by noon.
Additional Tips for Lift, Shine, and Softness
Root Lift: Put mousse or root spray only at the crown and base of the fringe, not through the lengths. Too much product in the bangs makes them separate and look greasy faster.
Shine: A pea-sized amount of serum on the ends is enough. Warm it in your palms first, then touch the last inch of hair. If it gets near the roots, the front loses its bounce.
Texture: On wavy hair, twist the front sections while they’re damp, then release them when they’re almost dry. That gives a bend that looks less “styled” and more natural.
Make It Softer: If the cut feels too crisp, ask for a gloss instead of more highlights. A gloss can calm the color and make the lowlights blend into the layers more cleanly.
Common Mistakes That Make the Cut Look Heavy
-
Cutting the bangs too short: The front can start to feel boxed in. Keep the shortest point at or just below the brow so the fringe can still move.
-
Using lowlights that are too dark: If the contrast is too strong, the hair starts looking sliced up instead of dimensional. Ask for shadow, not black streaks.
-
Thinning the ends too aggressively: On fine hair, over-thinning makes the layers look scraggly. The cut needs some weight to hang right.
-
Putting heavy cream near the roots: This flattens the bang area fast and makes lowlights look muddy.
-
Ignoring the part: A center part, off-center part, and deep side part all change the way long layered bangs sit. If the part is wrong, the rest of the cut can’t save it.
Variations and Adaptations to Try
Soft Gray Blend: Keep the lowlights close to your natural depth and let silver pieces stay visible. This makes the transition look intentional instead of covered.
Warm Honey Lift: Shift the lowlights toward caramel and honey if your skin leans warm or if the base color looks too cool in indoor light. It wakes up the face fast.
Cool Mushroom Veil: Choose ash-brown and mushroom tones when you want a quieter finish with less red or gold. This works especially well on straight hair and soft waves.
Curly-Textured Version: Leave the bangs longer than you think, because curls spring up after drying. Cut the fringe dry or nearly dry so the shape lands where it should.
Low-Maintenance Grow-Out: Ask for the longest face-framing pieces to hit the cheekbone and the shortest point to stay conservative. The cut will still look shaped even when you miss a trim.
How to Maintain the Shape Between Salon Visits
Long layered bangs need a little upkeep, but not the kind that eats your calendar. Bang trims every 4 to 6 weeks are usually enough if you want the fringe to stay in that sweet spot around the brow and cheekbone. If you let them grow past that, the front can start to split and fall into your eyes.
Color refresh is a different clock. Lowlights can often hold for 8 to 12 weeks, especially if the shade is close to your base, but a gloss or toner every 4 to 6 weeks can keep the tone from drifting warm or dull. That matters most if you chose ash, mushroom, or mocha shades.
At home, wash with a color-safe shampoo and keep hot tools on the lower side of the dial. If the ends start to feel rough, a small amount of mask on the mid-lengths for 10 minutes can help. Sleep matters too; a loose topknot or a silk pillowcase can keep the fringe from waking up bent in strange directions.
Frequently Asked Questions
Will long layered bangs work if I wear glasses?
Yes, if the shortest pieces are left a little longer than you might think. Ask for fringe that clears the top of the frame and side layers that can sweep around it instead of into it.
Do lowlights make hair look thicker or thinner?
Placed well, they usually make hair look thicker. The darker strands create shadow and break up the flat look that fine or long hair can get under bright light.
What lowlight shade is safest if I’m covering gray?
Shades close to your natural base — espresso, mocha, soft ash brown, or mushroom brown — tend to blend better than anything very dark. The goal is to soften the transition, not paint over it.
Can this style work on curly hair?
Yes, but the bang length needs to be left longer because curls spring up after the cut dries. A stylist who cuts curl by curl, or at least works with the hair dry or nearly dry, will usually do a better job here.
How often should I trim the bangs?
Most people land somewhere around 4 to 6 weeks. If your hair grows fast or your fringe sits directly in your eyes, you may want it sooner.
What if my bangs split in the middle by noon?
That usually means the front is too short, too heavy with product, or drying in the wrong direction. Dry the bangs first, use less cream at the root, and keep a tiny bit of lift at the scalp.
Can I ask for long layered bangs if I’m growing out a bob?
Absolutely. That’s one of the best times to use them because they give the front shape while the rest of the length catches up. The lowlights also help the grow-out stage look deliberate instead of awkward.
Do I need highlights too, or are lowlights enough?
You don’t need both. In fact, if your hair is already lightened or fragile, lowlights alone can give more depth with less maintenance and less risk of the color turning brassy.
The Shape That Keeps Paying Off
A haircut should earn its keep after the salon chair is long behind you. Long layered bangs with lowlights do that by softening the face, giving the color a little shadow, and keeping the front flexible enough to survive real life.
If you want something that still looks considered when it’s been slept on, tucked behind glasses, or air-dried on a rushed morning, this is one of the few styles that actually holds up. Bring a few reference photos to your next appointment, ask for the longest pieces to graze the cheekbone, and let the rest of the shape fall into place from there.