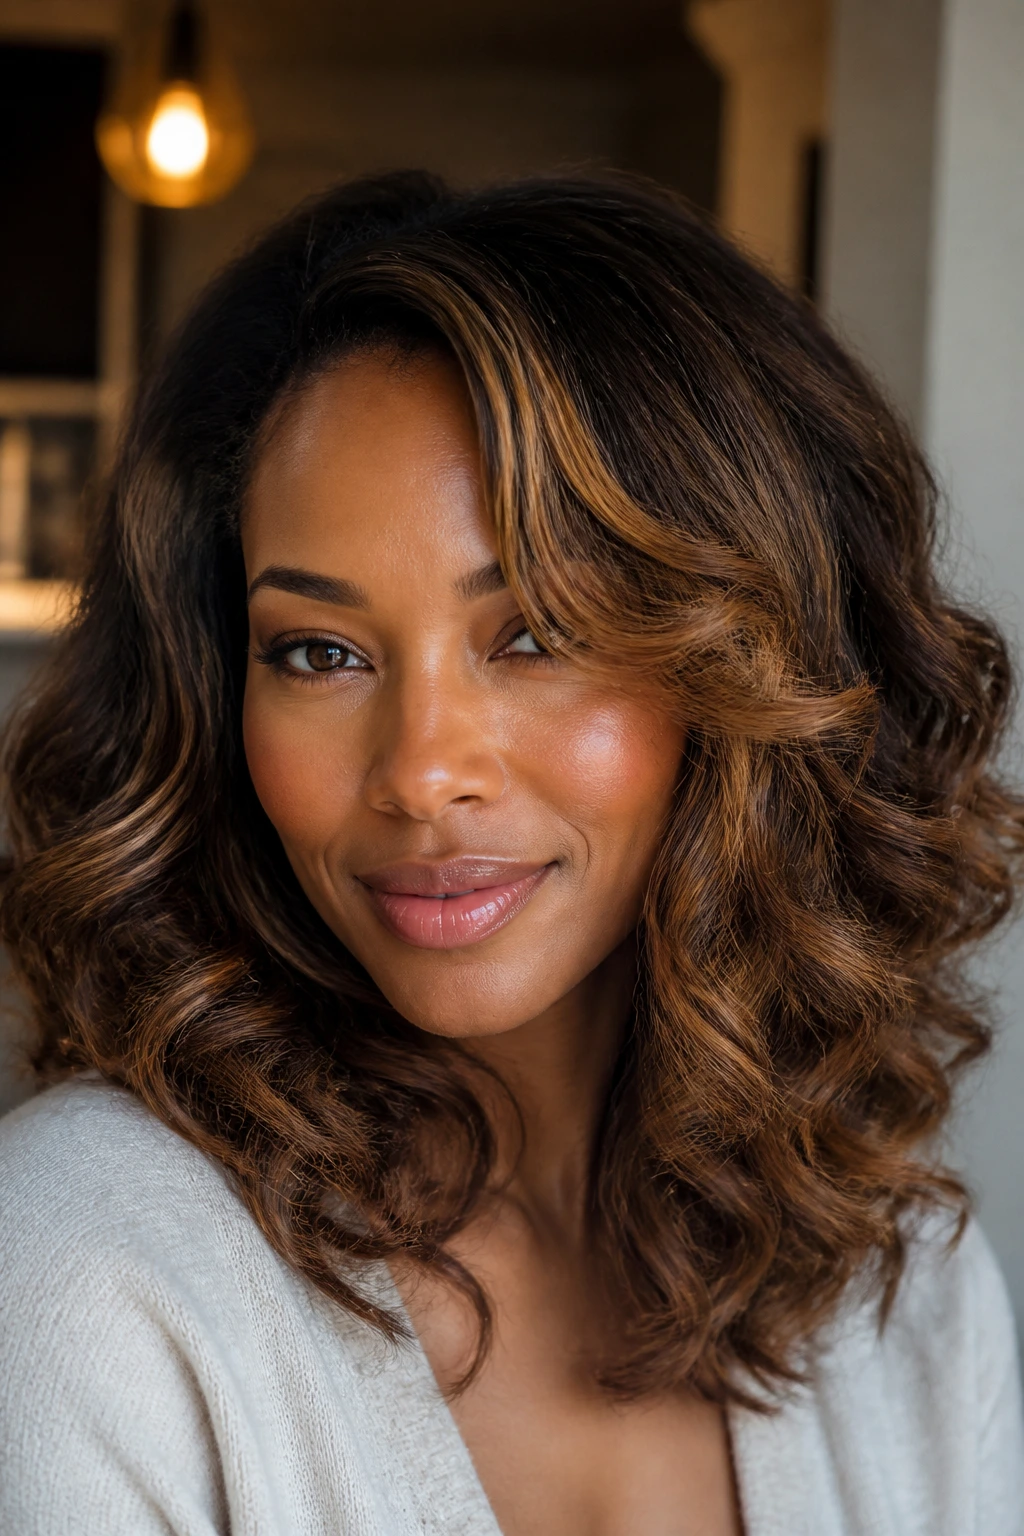
Texturizer hairstyles for natural hair with babylights can look refined in the best way when the color respects the curl pattern instead of fighting it. That’s the whole trick. Babylights are so fine that they can sit inside a twist, a coil, or a soft wave without shouting for attention, and a texturizer—when it’s been handled carefully—loosens the shape just enough to let those ribbons of color show up.
The part most people miss is this: once the curl pattern is softened, every color choice gets louder. A chunky highlight that might feel playful on tightly coiled hair can look blunt on texturized hair. Tiny, airy babylights do the opposite. They move with the bend of the hair, and when a few lowlights are tucked underneath, the whole style gets depth instead of glare.
I like this category because it gives you room to work with contrast without turning the head into a stripey map. You can keep the root area darker, brighten the face frame, or thread caramel through the top layer and let espresso lowlights live underneath. The best looks here don’t rely on one dramatic trick. They work because cut, color, and finish are all doing a small part of the job.
Why These 22 Looks Work So Well Together
-
Babylights stay soft on texturized hair: The fine placement keeps the color looking woven into the curls, not painted across them in thick bands.
-
The loosened curl pattern shows the light more clearly: A texturizer reduces shrinkage, so honey, beige, copper, and caramel pieces are easier to see from the first bend.
-
Lowlights keep the style from washing out: A shade or two deeper underneath adds shadow, which matters a lot when the top layer is bright.
-
Cut and color have to agree: Bobs, lobs, tapered cuts, and layered shapes all give babylights a better surface to sit on than one blunt block of hair.
-
These looks work at different lengths: Short crops, shoulder-grazing curls, and updos can all carry babylights if the placement is kept fine and deliberate.
-
They age well between salon visits: Soft grow-out looks better on textured hair than hard highlight lines, especially when the parting and edges are kept neat.
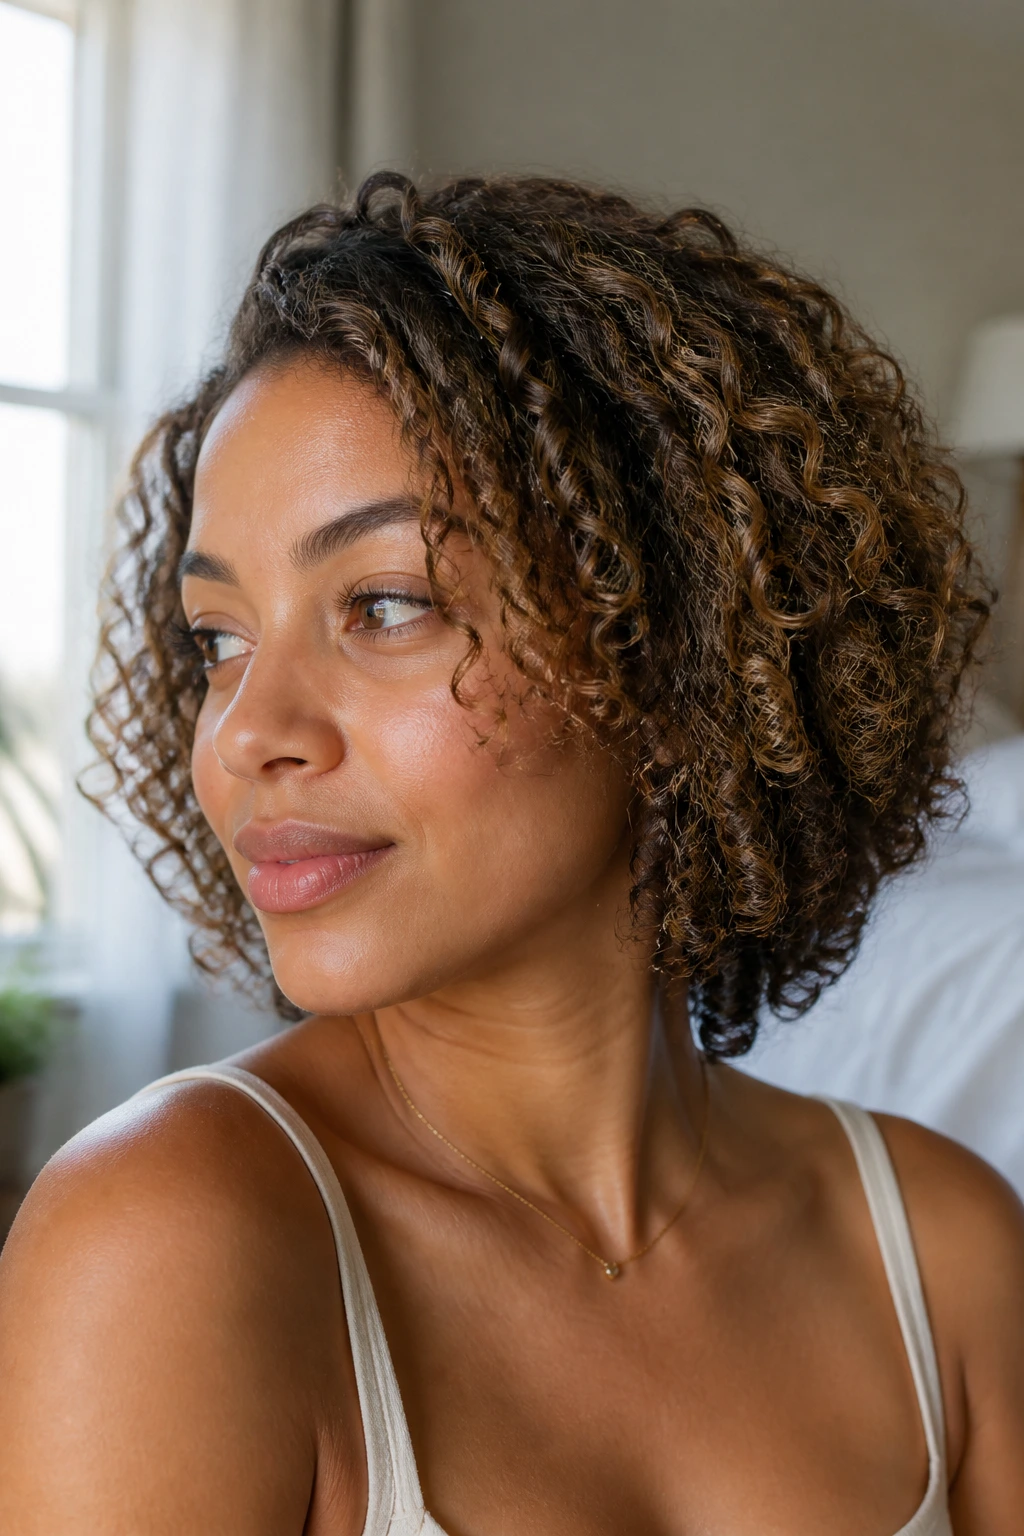
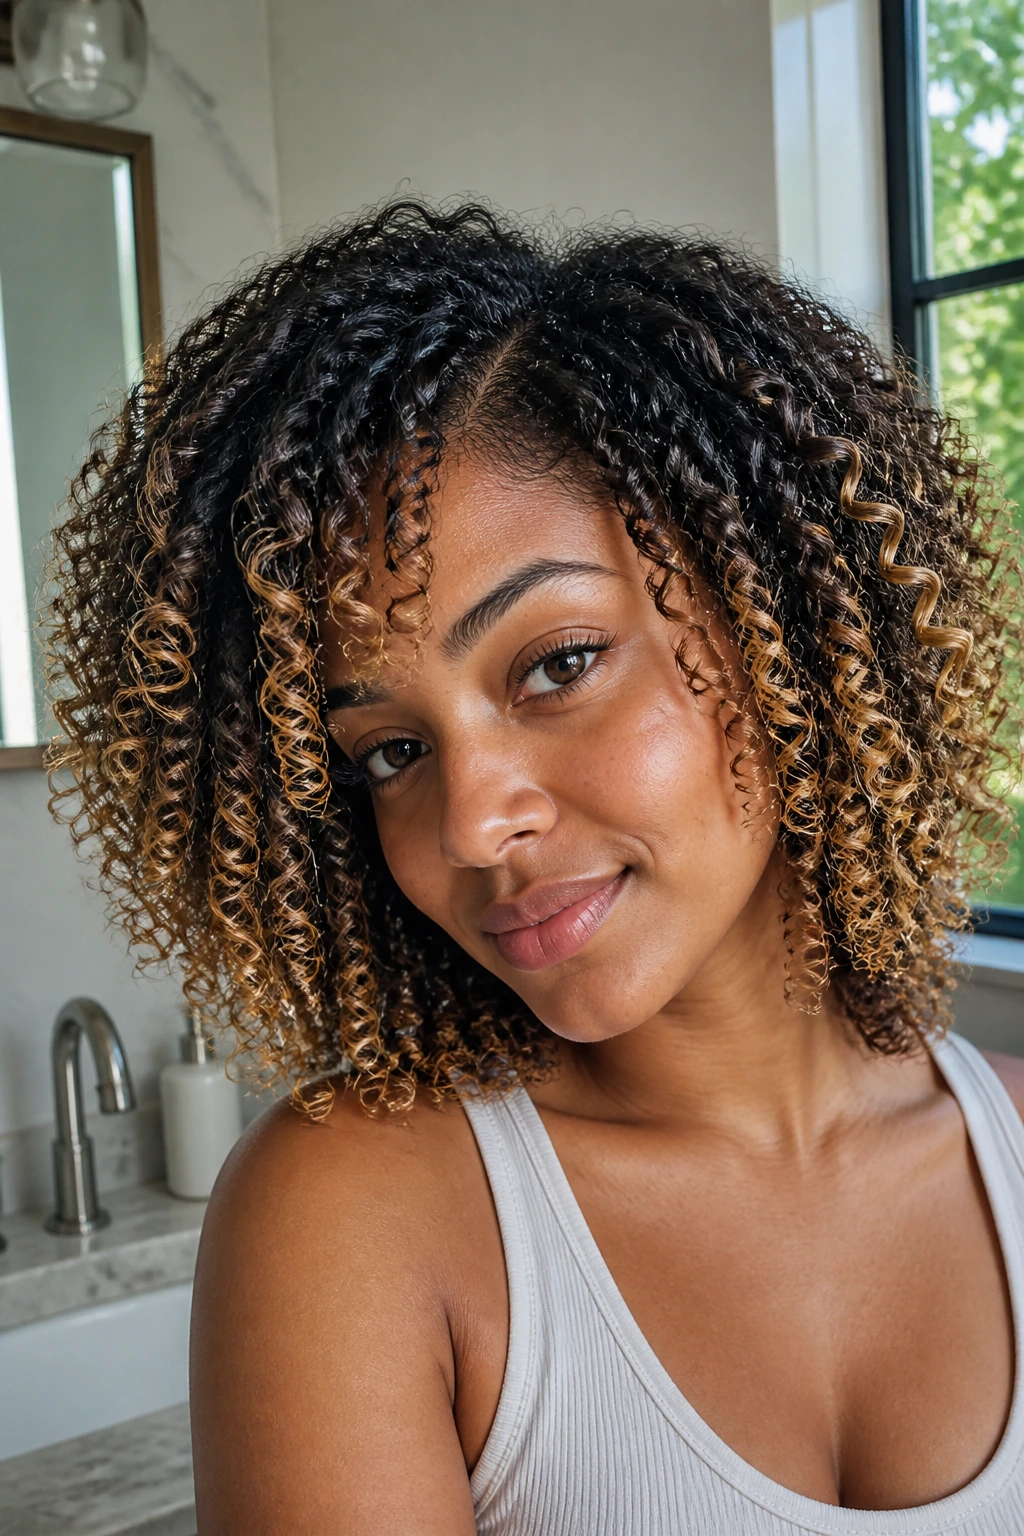
1. Honey-Ribbon Twist-Out Bob
A twist-out bob is one of the cleanest ways to show babylights on texturized natural hair. The style breaks the hair into visible ridges, and that’s where honey and caramel pieces shine through. The shape doesn’t need much extra help; the twist pattern already does the heavy lifting.
Why it works
The bob length keeps the ends from getting too bulky, which matters once the hair has been texturized and the curl pattern has loosened a bit. Tiny twists, about 1/2 inch wide, make the babylights read as ribbons instead of blotches. If you want a little lowlight depth, keep the darker pieces near the nape and underlayers.
Best for: Round faces, oval faces, and anyone who wants color without extra styling time.
Color note: Honey, light caramel, and warm beige are the safest shades here. They reflect light without looking harsh on textured hair.
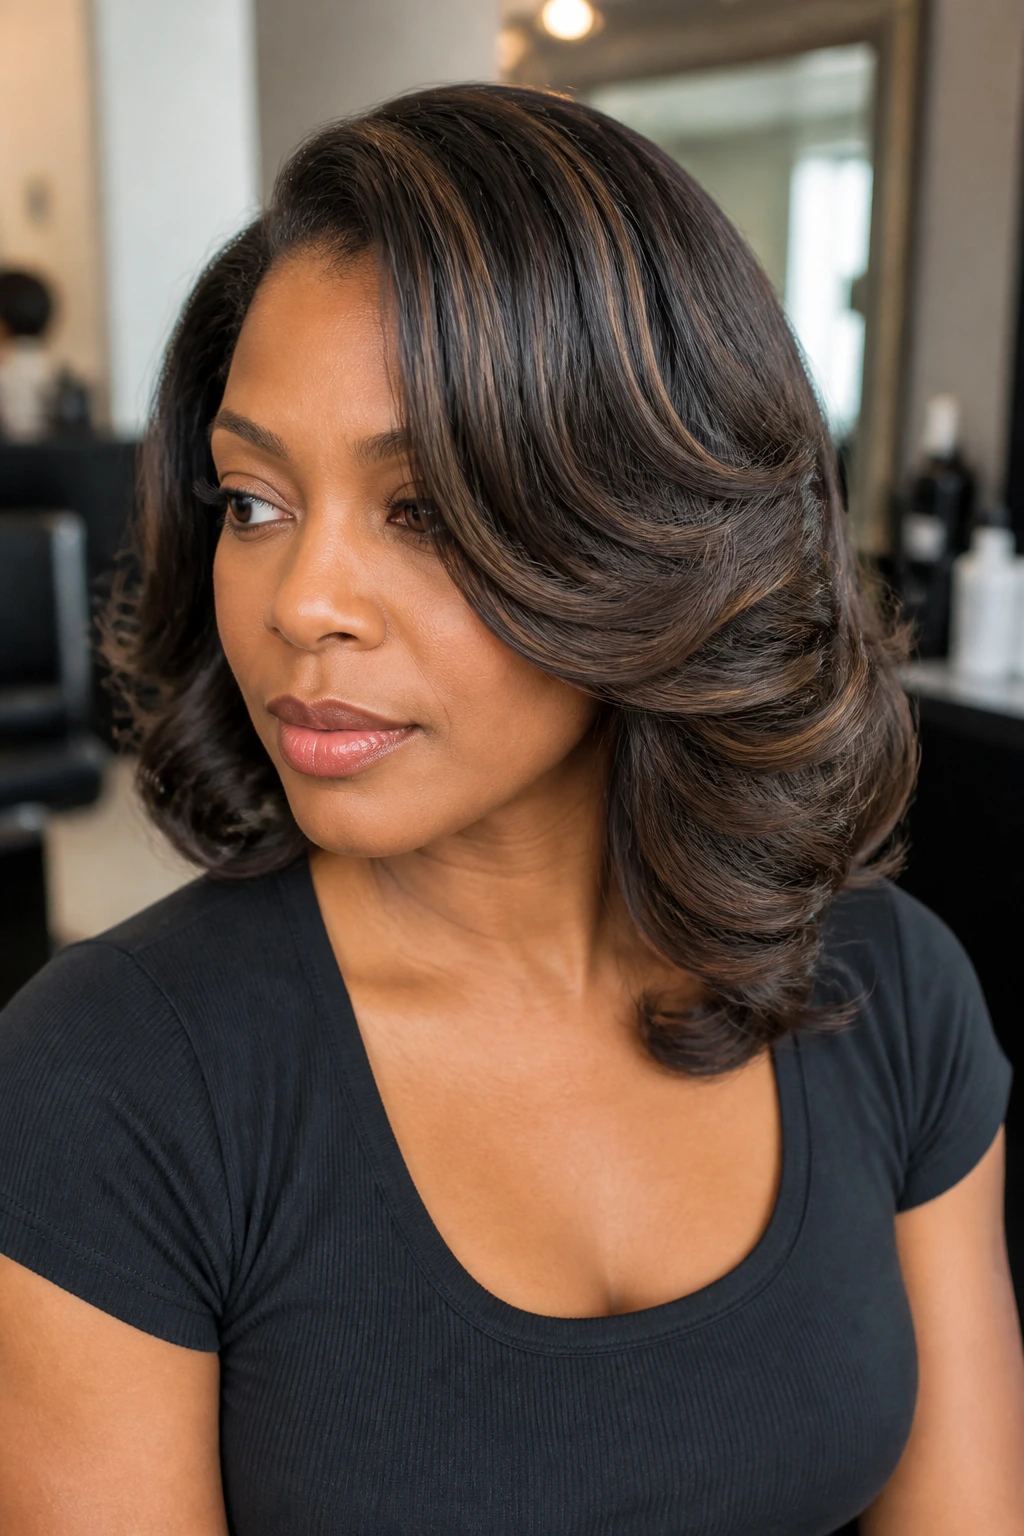
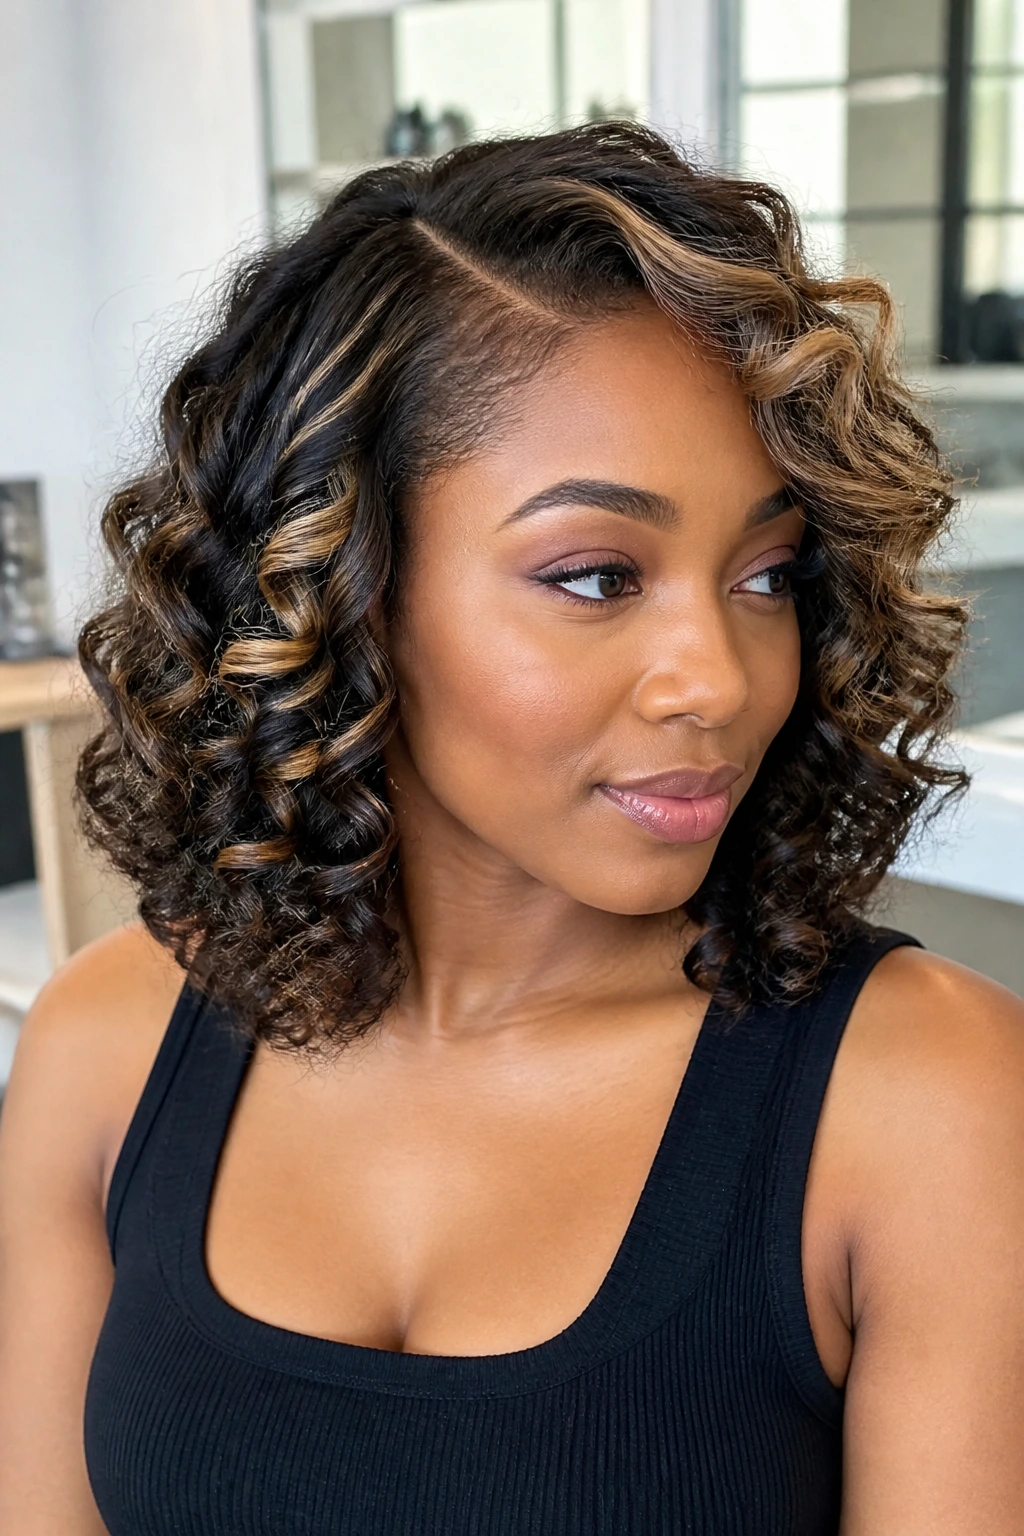
2. Side-Part Flexi-Rod Lob
If you like defined curls but don’t want a stiff finish, a side-part flexi-rod lob gives you a smooth, polished bend that makes babylights easy to see. The side part creates a long diagonal line, and that line gives the lighter pieces somewhere to travel.
A 3/4-inch rod usually lands in the sweet spot for medium-length hair. Smaller rods can make the color look busier than you want; larger rods can blur the detail. I’d keep the brightest babylights around the part and the front temple, then tuck a few lowlights underneath so the curl pattern doesn’t go flat on the underside.
What to ask for: Fine foil slices, not chunky panels, and a few darker ribbons under the crown.
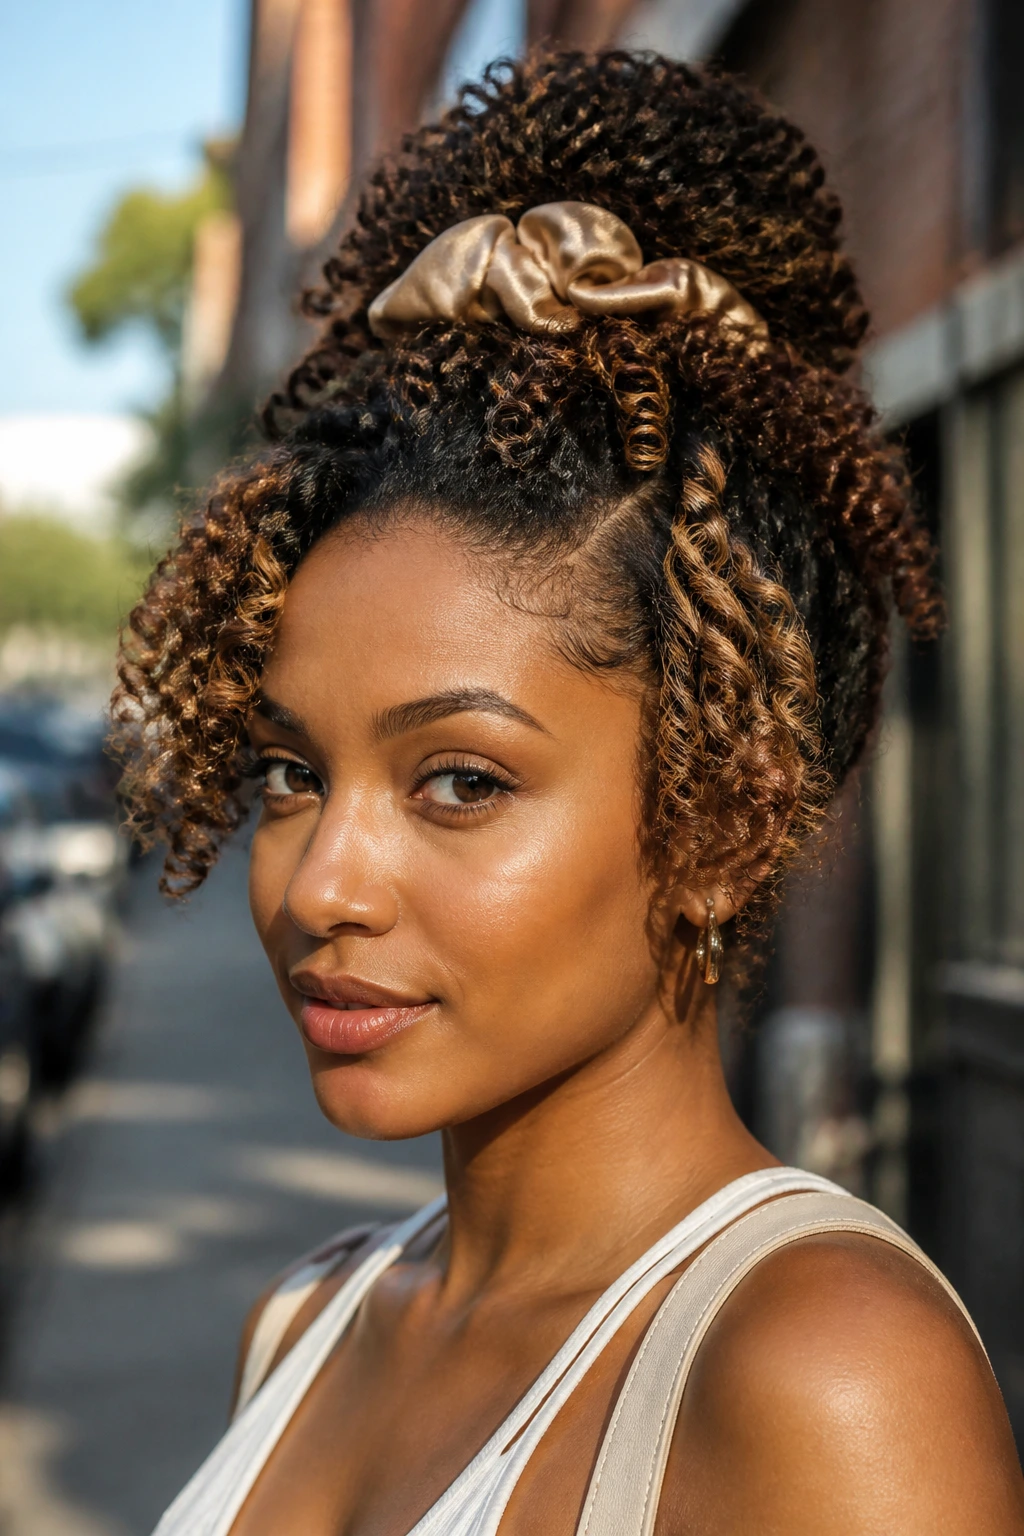
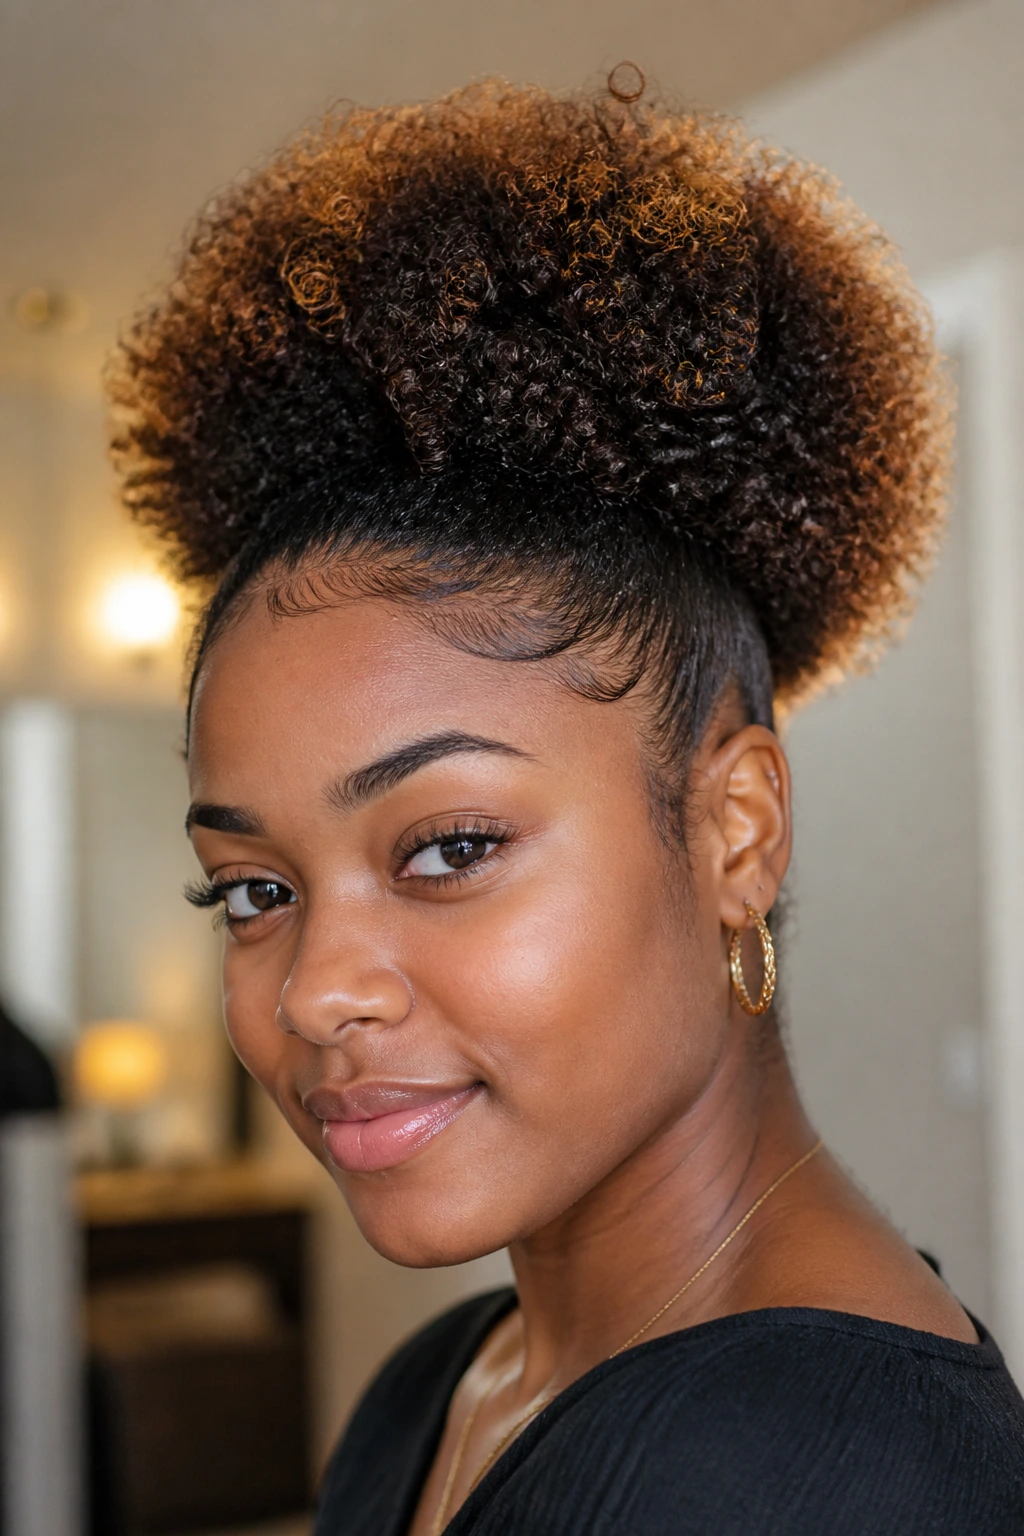
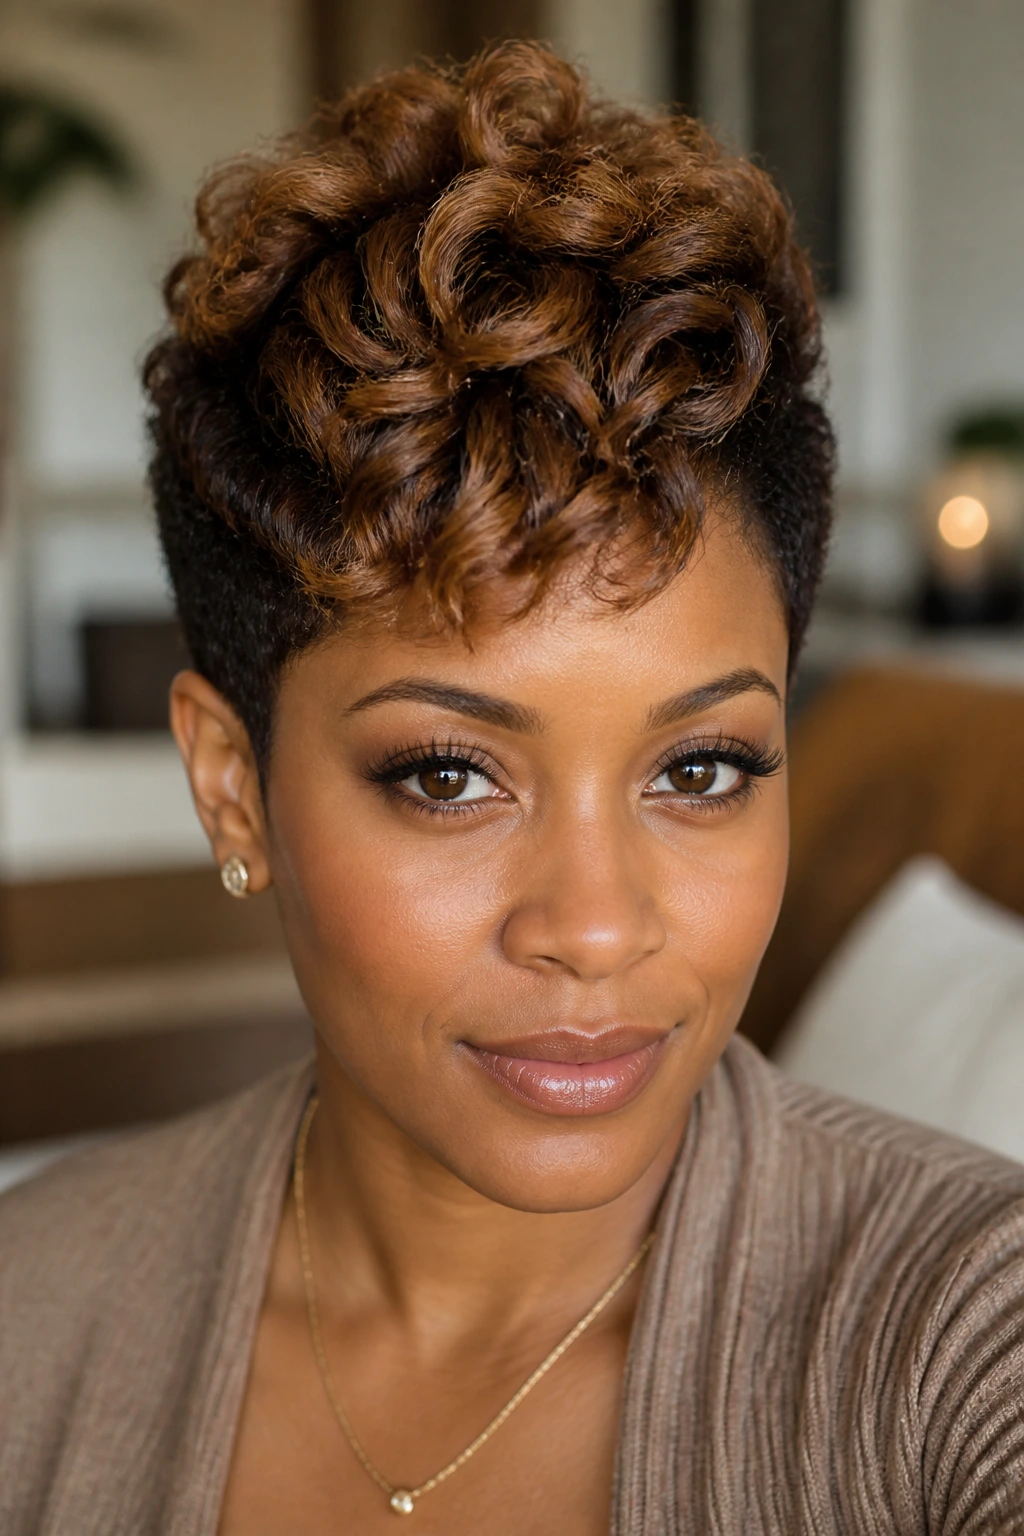
3. High Puff with Cinnamon Halo
Why does a high puff work so well with babylights? Because the style lifts the hair away from the face and lets the lighter pieces sit around the edge like a soft halo. On texturized hair, that extra lift matters. The curl pattern is already looser, so the puff feels full without looking puffy.
Keep the base smooth, but don’t slick it into a helmet. That’s where this style goes wrong. A little texture at the crown lets the cinnamon and honey pieces catch the light instead of disappearing into a shiny, flat mound. This is also a smart place to use lowlights under the puff, where they deepen the shape without being visible from the front.
Best for: Thick hair, medium density, and days when you want the color to frame the face more than cover the whole head.
4. Tapered Crop with Caramel Veils
On a tapered cut, the babylights don’t have to work hard. The shape is already doing the talking. A few caramel veils on top, some darker shadow at the sides, and the cut suddenly looks sharper and more intentional.
That’s the appeal here: a texturizer usually softens the curl enough that the crown can sit neatly without a lot of product. If your hair is tightly cropped at the nape and fuller on top, keep the lightest pieces where the curl sits tallest. Too much brightness on the sides can widen the head shape in a way that feels off.
- Top placement: Focus the babylights on the crown and fringe.
- Side balance: Leave the sides a touch deeper for contrast.
- Finish: A little foam or cream is enough; heavy gel makes the color look dull.
5. Half-Up Coil Crown
A half-up coil crown gives you two things at once: lift at the top and visible color at the temples. The style works especially well on texturized hair because the curl pattern has enough looseness to drape, but not so much that it loses its shape when pinned.
I like this one when the babylights are concentrated around the front and outer layer. The half-up section pulls the eye upward, and the loose bottom section lets the darker base and lighter ribbons sit together without competing. If your hair is shoulder length or a little shorter, this is a smart way to make the most of a fresh color job.
A satin scrunchie keeps the hold soft. Hard elastics tend to leave a dent, and dents are not cute when the whole point is movement.
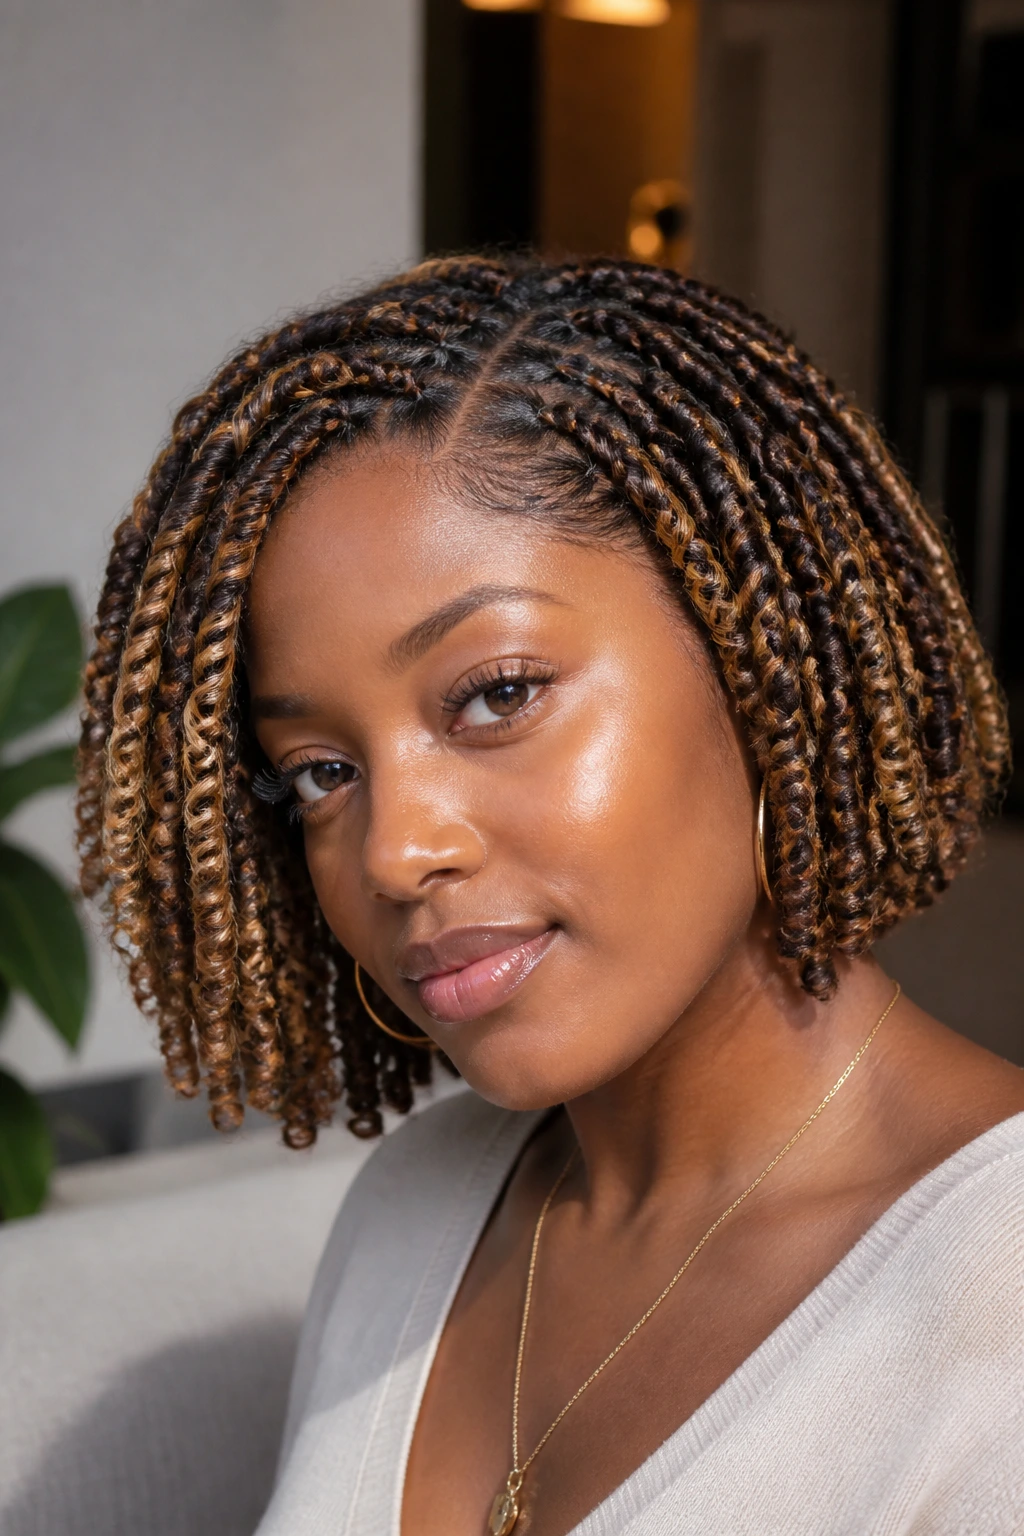
6. Shoulder-Grazing Braid-Out with Toffee Threads
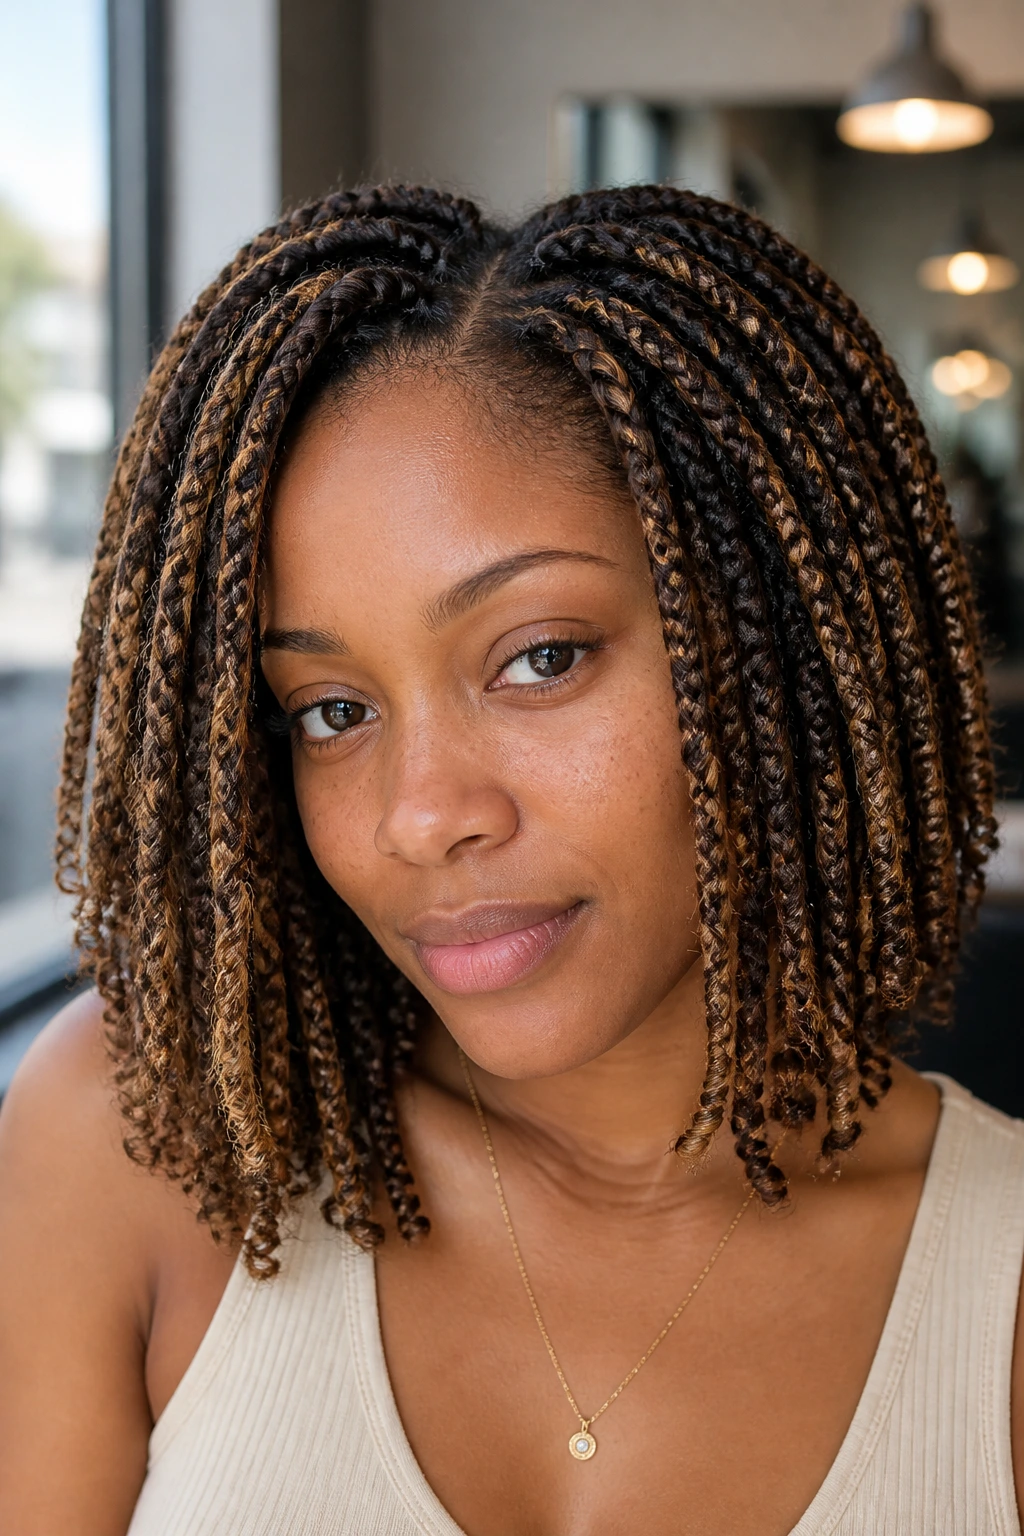
A braid-out shows babylights in straighter, narrower lines than a twist-out does. That makes it useful when you want the color to feel visible but not loud. On texturized natural hair, the braid pattern gives the strands enough tension that the toffee and beige pieces sit on top in clean bands.
Unlike a twist-out, which can look fluffy at the edges, a braid-out has a little more structure. That structure helps if the color is mixed with lowlights, because the darker strands keep the whole style from looking washed out. Braid on damp hair, not soaking hair. If the hair is too wet, the ends stay swollen and the definition gets cloudy.
Best for: Dense hair, medium porosity, and anyone who wants a softer wave with a little more line to it.
7. Soft Faux Hawk with Chestnut Sides
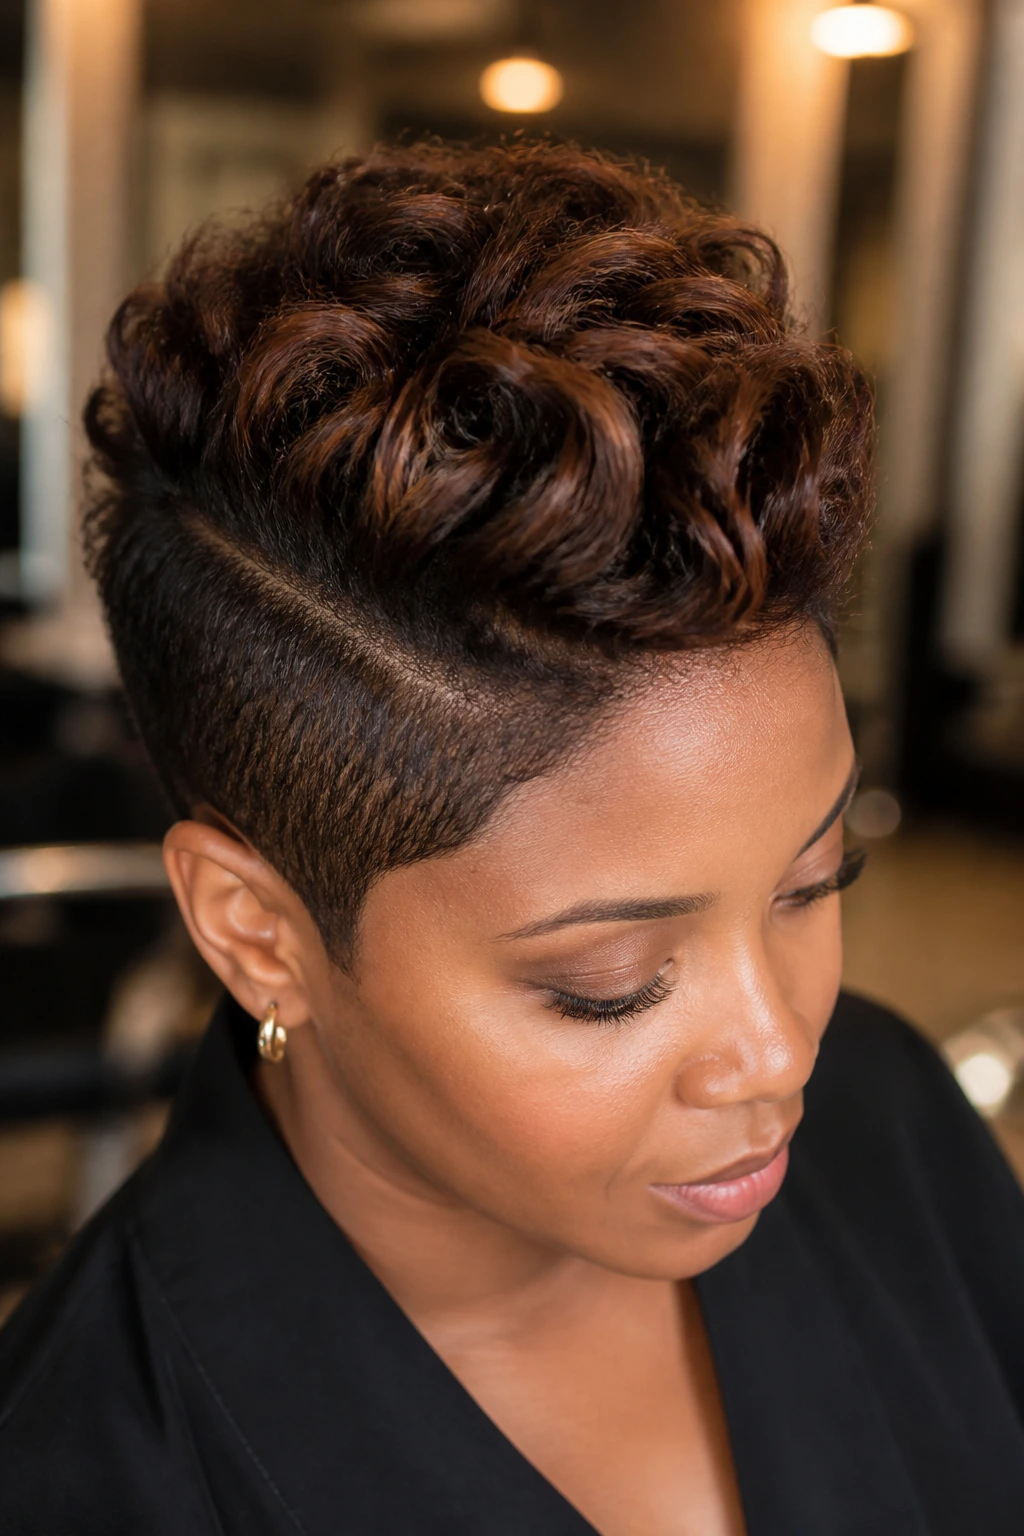
The soft faux hawk has edge, but not the stiff kind. The center ridge rises enough to show off chestnut babylights, while the sides stay smooth and dark so the shape doesn’t lose its line. On texturized hair, that contrast reads cleanly because the curl pattern is already loosened and easier to direct.
What makes this style work is restraint. Don’t over-slick the sides, or the whole head starts looking flat and hard. Leave a little bend in the hair near the temples. That keeps the color from feeling pinned down. If you want to push the contrast a bit, ask for darker lowlights under the center ridge and lighter pieces on the topmost layer only.
- Center ridge: Keep the brightest pieces where the hawk rises.
- Side control: Smooth the sides with a light cream, not a thick wax.
- Finish: A few pins and a mist of flexible spray hold the shape without freezing it.
8. Low Twisted Bun with Peekaboo Babylights
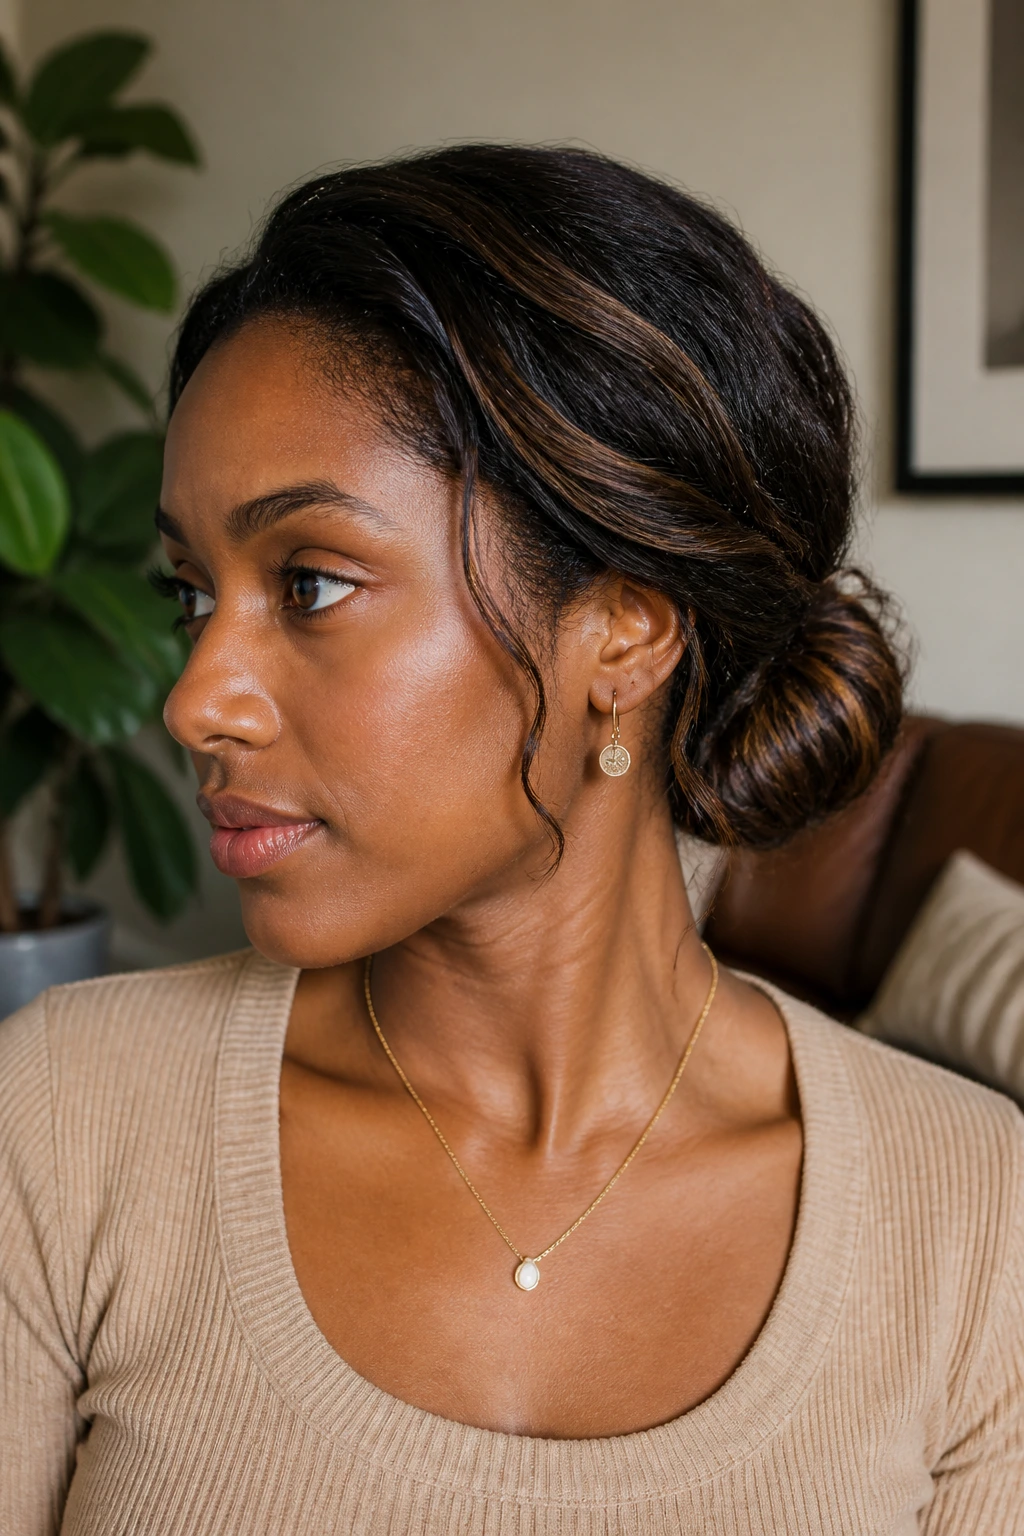
This is the style for people who want color without showing every inch of it. A low twisted bun hides a lot of the base, which means the babylights get to peek out in little flashes at the nape, around the bun surface, and sometimes near the part.
On texturized hair, the bun sits lower and cleaner because the curls don’t balloon quite as much. That makes the style feel neat, but not severe. I especially like it with face-framing lighter pieces. They soften the front while the bun keeps the back controlled. If your hair has a few darker lowlights inside the twist, the bun gets a richer look from the side.
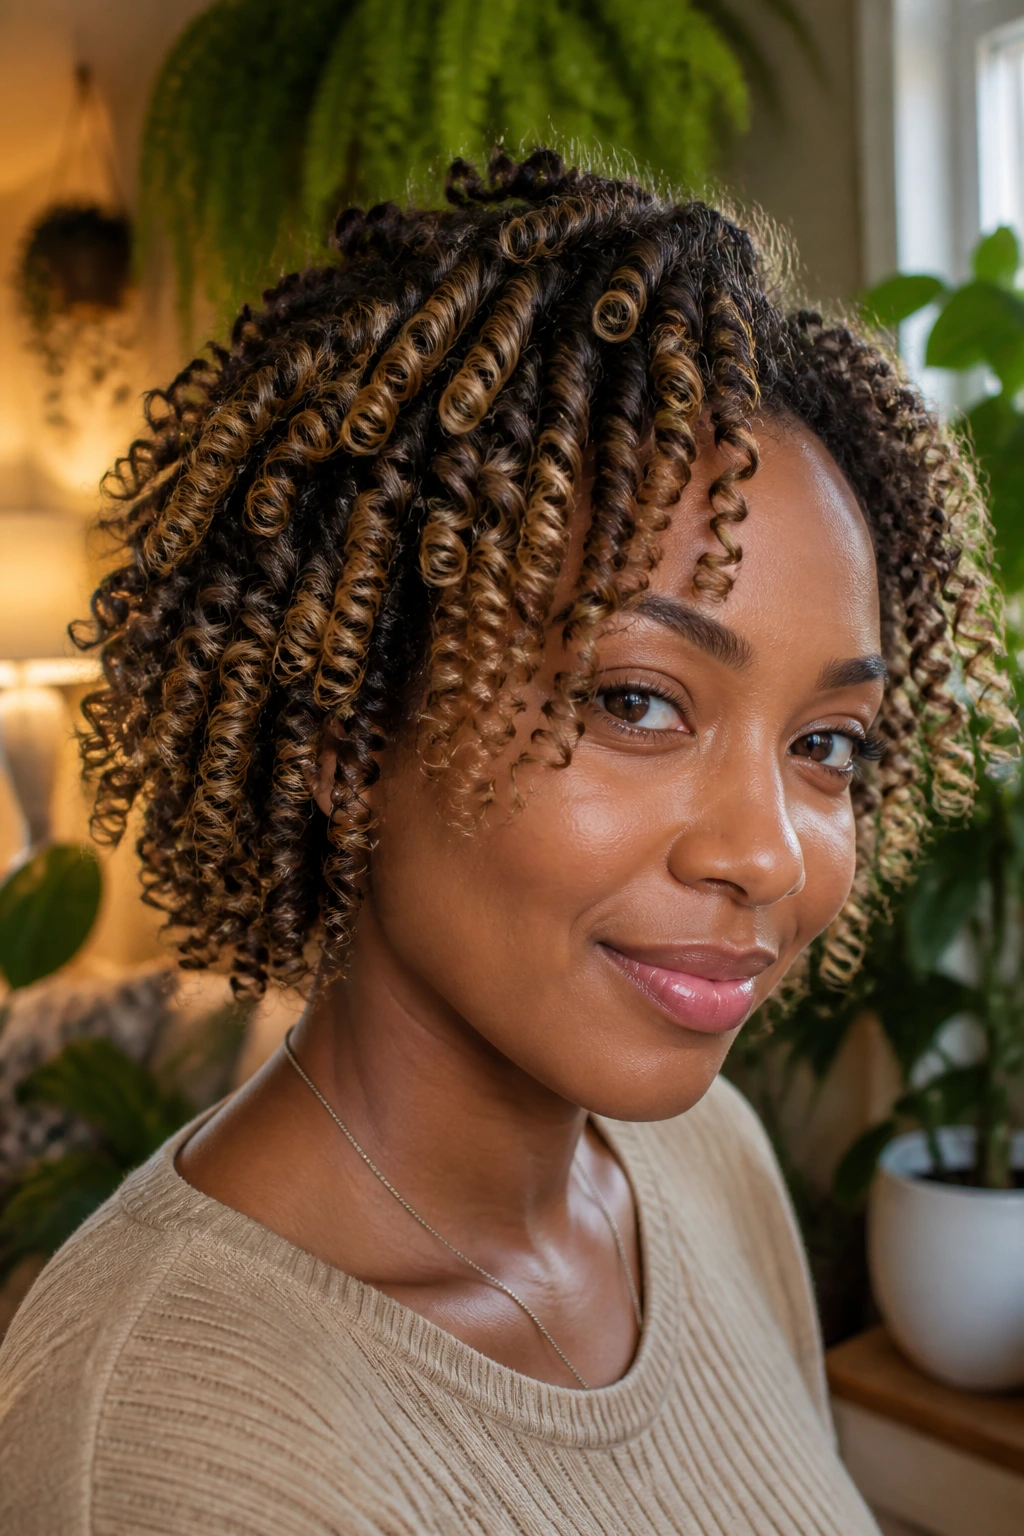
9. Finger-Coil Shag with Bronze Ribbons
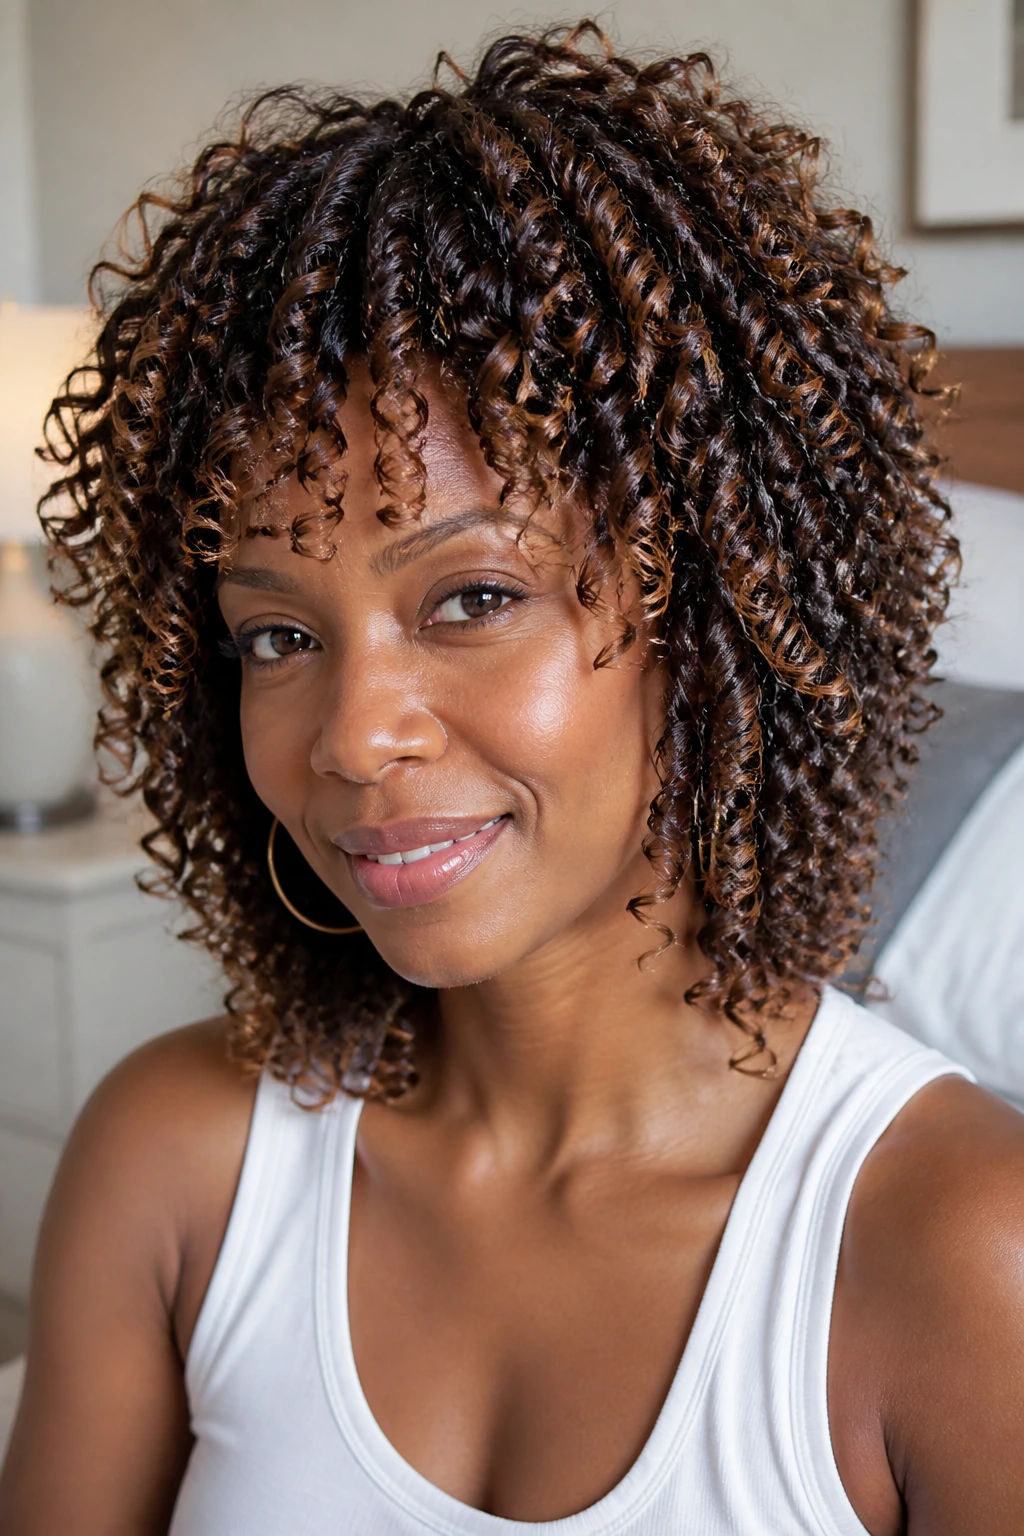
A finger-coil shag has one job: keep the shape lively. The layers stop the cut from sitting in a round blob, and the coils make the babylights show up as tiny flashes instead of one broad streak. Bronze ribbons work well here because they sit between brown and blonde, which feels right for textured hair that already has dimension.
The shag’s layers need room to dry fully. If you separate too early, the color reads frizzy instead of defined. I’d set the coils with a light gel, let them dry all the way through, and then lift them at the roots with your fingers. The result is airy, not stiff. A dark lowlight under the crown makes the bronze pieces look brighter without needing more lightening.
Best for: Medium density hair and anyone who likes shape around the face.
10. Curly Pixie with Micro-Babylight Fringe
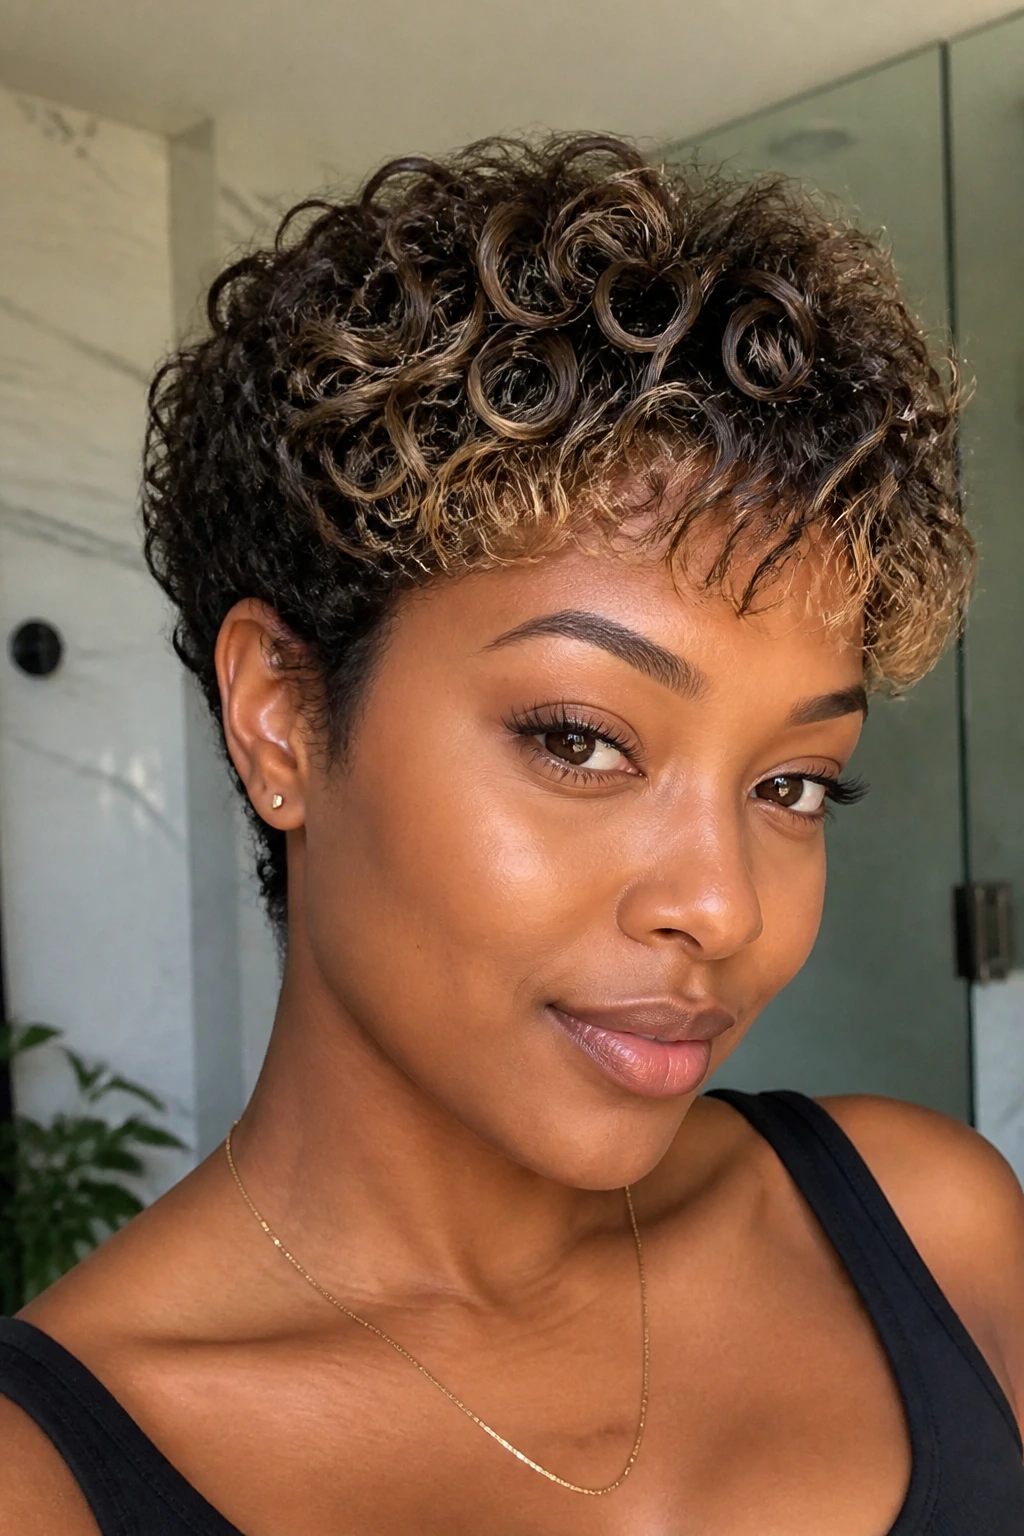
A curly pixie can look oddly harsh if the color is too blocky. Micro-babylights fix that fast. Keep the lightest pieces at the fringe, crown, and just around the hairline, where they soften the cut and stop it from looking helmet-like.
Because texturizer loosens the curl pattern, you don’t need much product to bring the shape back. A small diffuser, a dab of cream, and maybe a touch of pomade at the edges can be enough. The trick is not to overdo the light. With a pixie, too much brightness spreads fast. A few tiny ribbons are more useful than a full head of contrast.
11. Flat-Twist Crown with Money Pieces
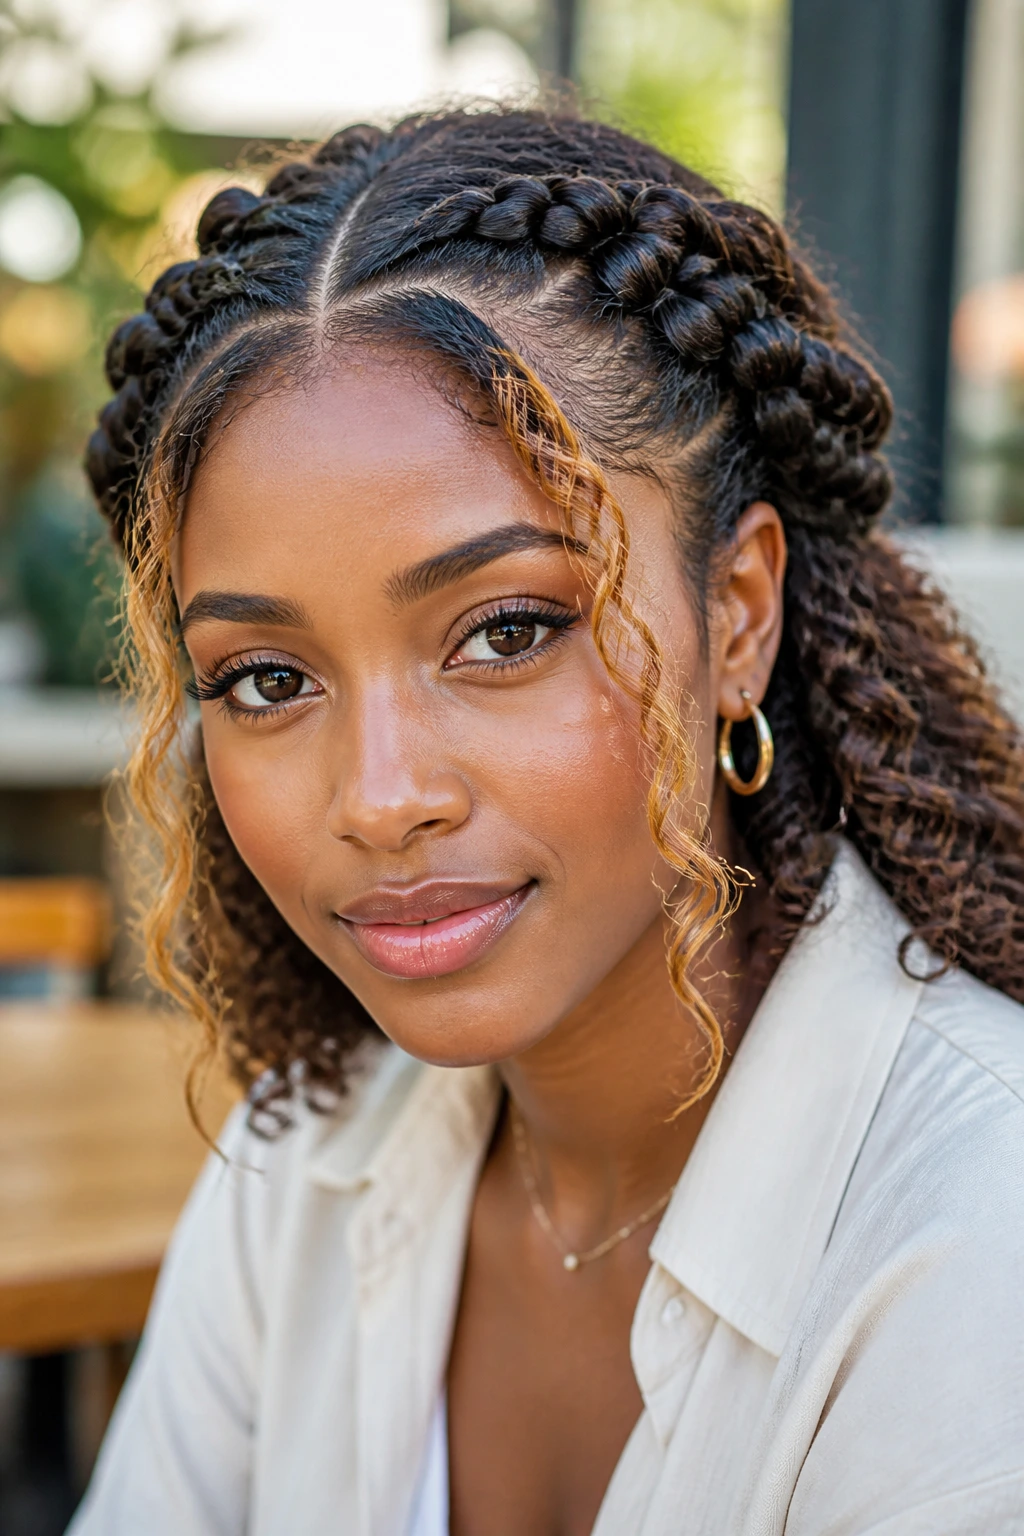
A flat-twist crown is a smart move when you want the front to do the talking. The twists guide the eye around the head, and the money pieces at the temples stop the style from getting lost in the darker base color. On texturized natural hair, the crown stays smooth enough to show the parting, but still soft enough to feel like hair, not a sculpture.
This style is best if you don’t want color everywhere. Just don’t place the bright pieces too far back. When they sit around the front hairline, they frame the face and make the rest of the twists look fuller. Add a couple of lowlights through the back section so the crown doesn’t look one-note.
Who it suits: People with medium to thick hair who wear protective styles but still want a little color movement.
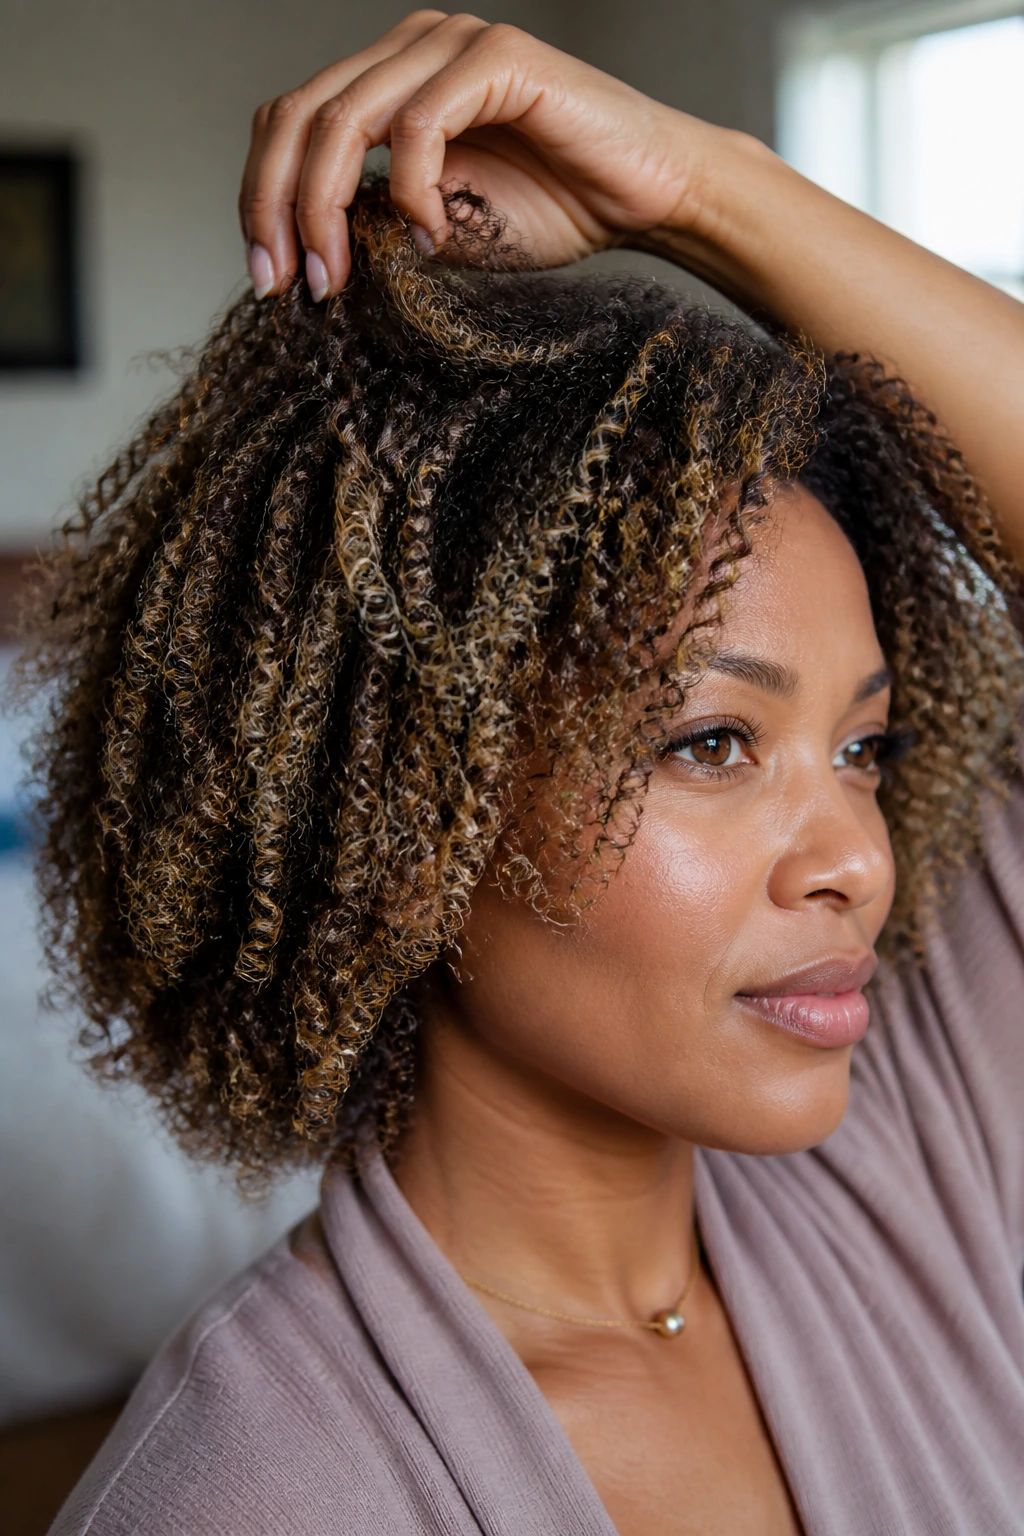
12. Wash-and-Go with Golden Ends
Can a wash-and-go look polished with babylights? Yes, if the placement is fine and the finish is controlled. On texturized hair, the curl pattern often reads in broad curves, so the best place for golden light is usually the outer bend and the ends.
That keeps the shape crisp without making the roots look striped. A gel with good slip helps the curls clump, and a diffuser on low heat preserves the pattern. If your hair is porous, skip heavy oils before styling; they can make the light pieces look dull and can weigh the ends down. A few darker ribbons near the crown keep the whole shape grounded.
13. Pineapple Updo with Auburn Glow
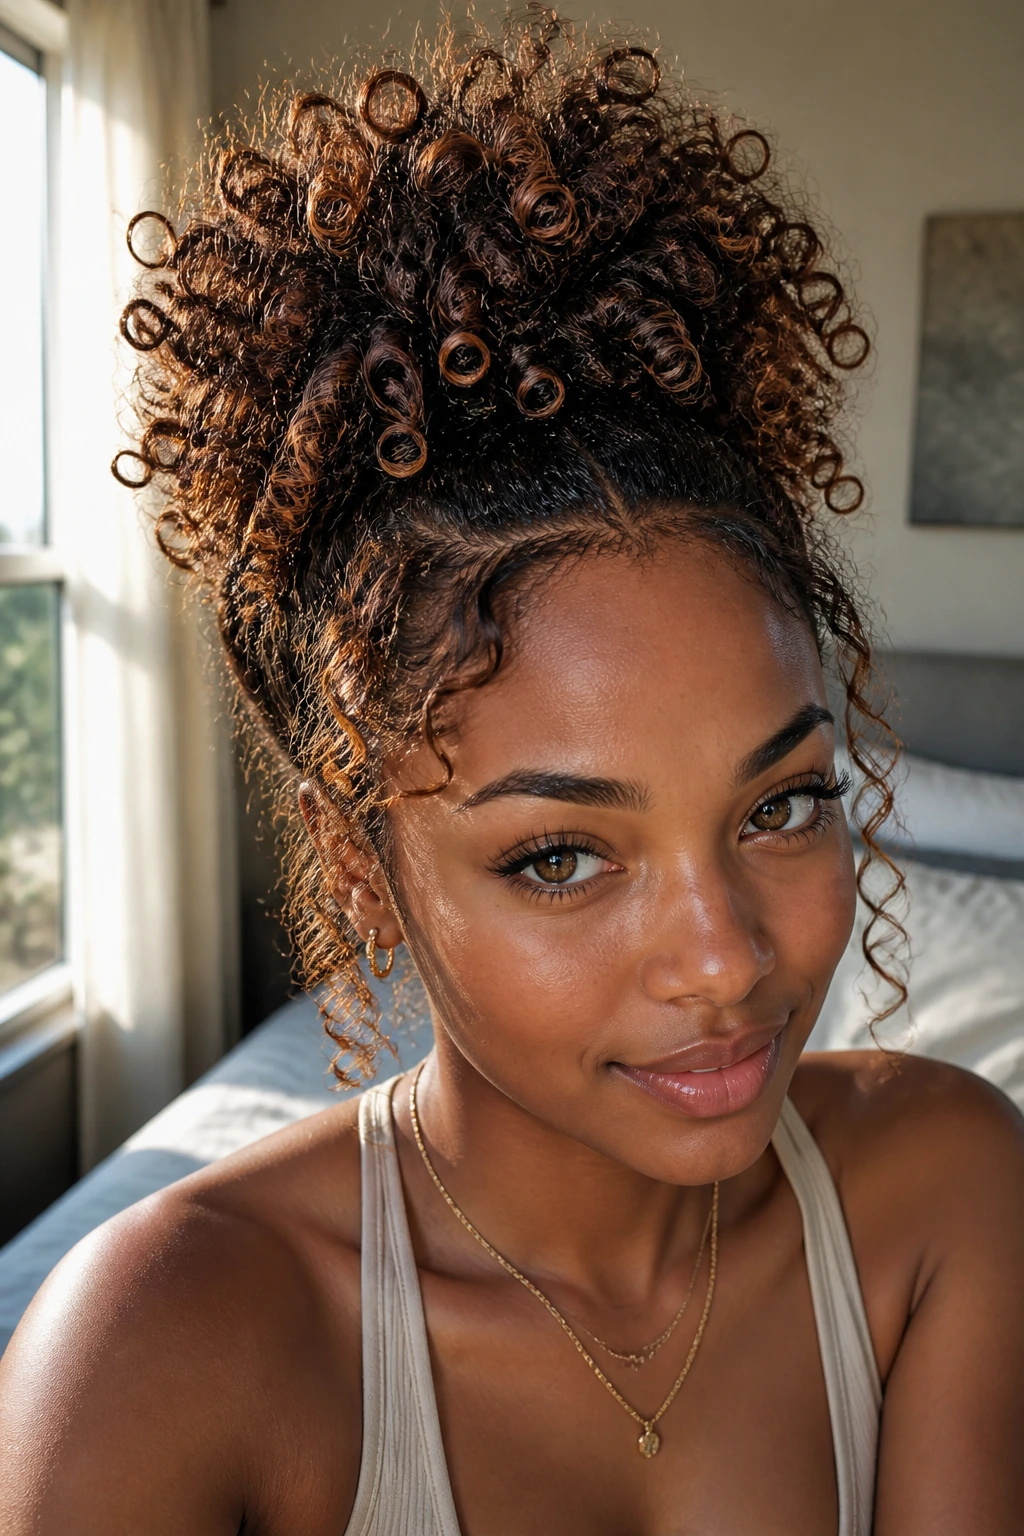
A pineapple updo gives you height without forcing every curl into place. The babylights sit around the perimeter, which is exactly where the eye lands first. Auburn pieces are especially nice here because they warm the edges without turning the whole style copper.
This works best on second- or third-day hair, when the curls have settled a little and don’t need to be coaxed into perfection. Pull the hair up loosely, let a few face-framing pieces fall, and keep the base soft. If the roots are too tight, the style loses that easy, airy feel. A satin band helps the shape hold overnight without leaving a crease.
14. Asymmetrical Bob with Mocha Lowlights
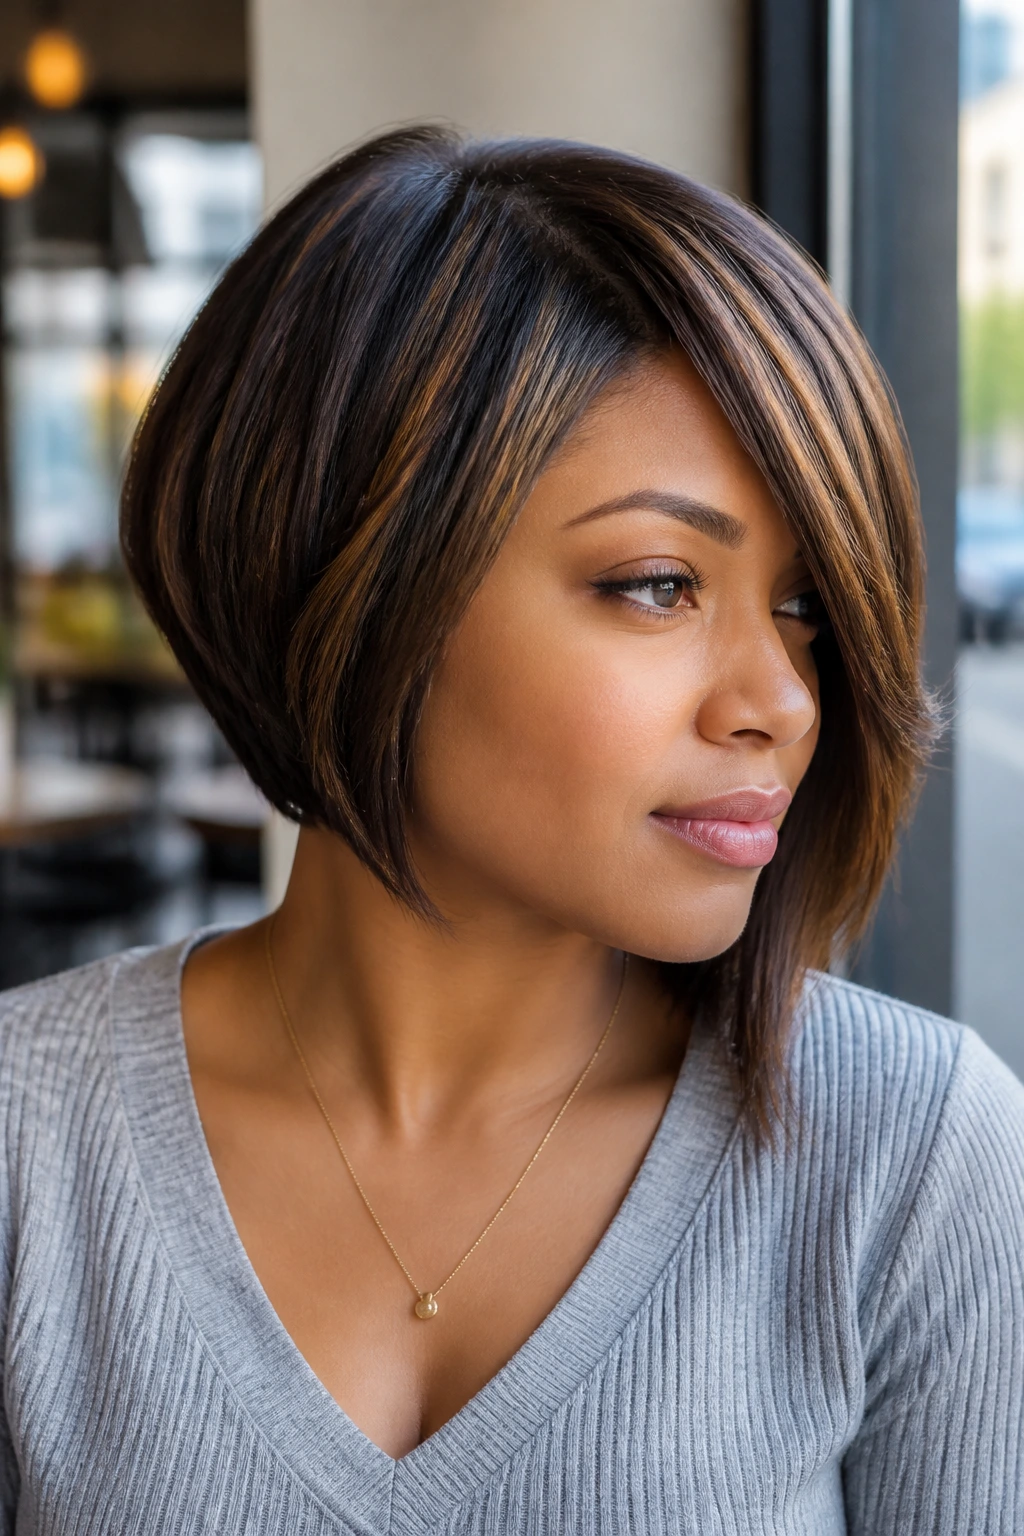
An asymmetrical bob loves lowlights. That may sound backwards, but it isn’t. The darker mocha ribbons under the lighter top layer sharpen the slant and keep the cut from puffing out in the wrong places. On texturized hair, the angled line shows up fast because the curl pattern isn’t fighting the shape.
I’d keep the brighter babylights closer to the top and front, then drop the lowlights underneath the longer side. That little shift gives the bob more depth without needing a heavier color job. Side part. Clean finish. Let the longer side swing a little. That movement is the point.
15. Bantu Knot-Out with Sandy Dimension
A Bantu knot-out turns babylights into tiny spirals of light. Sandy beige pieces work especially well because they’re soft enough to blend into the curl, but light enough to catch movement. On texturized natural hair, the knot-out can look extra neat because the loosened curl pattern helps the spirals stretch instead of collapsing.
What to watch for
Drying time matters here. If the knots are even a little damp when you unravel them, the light pieces frizz at the edges and the whole style goes fuzzy. Let them dry completely. All the way. Then separate gently with oiled fingertips, not a heavy serum that can darken the color. A few darker lowlights in the back keep the front from looking too bright.
16. Stretch Blowout with Beige Highlights

A stretched blowout is where babylights show their length. Instead of short flashes inside a tight coil, you get long beige lines that run through the wave. On texturized hair, that can look especially elegant because the curl is already loosened enough to take the stretch without losing all shape.
Use heat protectant. Every time. A blowout with color needs more care than a quick twist-out, and the ends are the first place to get rough. Stop the drying once the hair is about 80 percent dry, then finish with cool air to calm the cuticle. That tiny habit keeps the lighter pieces from looking dry and straw-like.
Best for: People who like a fuller, longer shape and don’t mind occasional heat styling.
17. Side-Swept Roll and Tuck
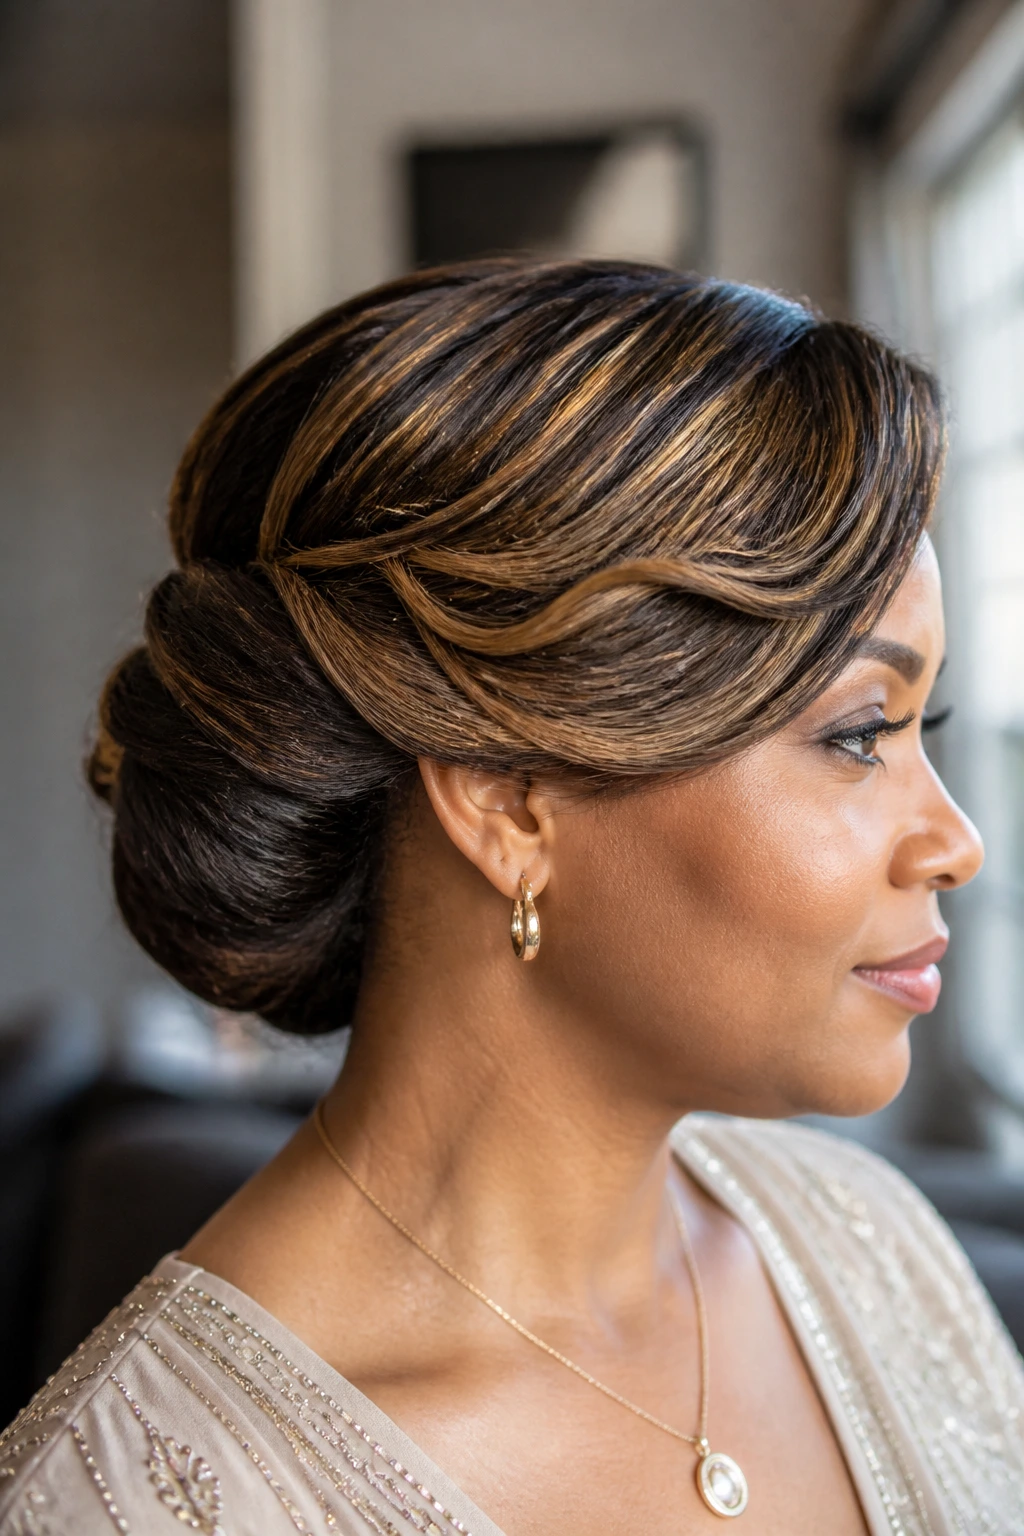
A side-swept roll and tuck has old-school polish, but it doesn’t feel stiff if the hair is texturized first. The curve of the head gives the babylights a place to bend, and the side sweep lets the brighter pieces sit where the light naturally lands.
This is a good style for formal events, but I’d wear it on a plain workday too. It’s one of those looks that reads neat even when the grow-out is a little visible. Tuck the nape securely, then leave enough softness at the front so the color doesn’t disappear under pins. If you want a more dimensional finish, keep the underlayers darker than the front sweep.
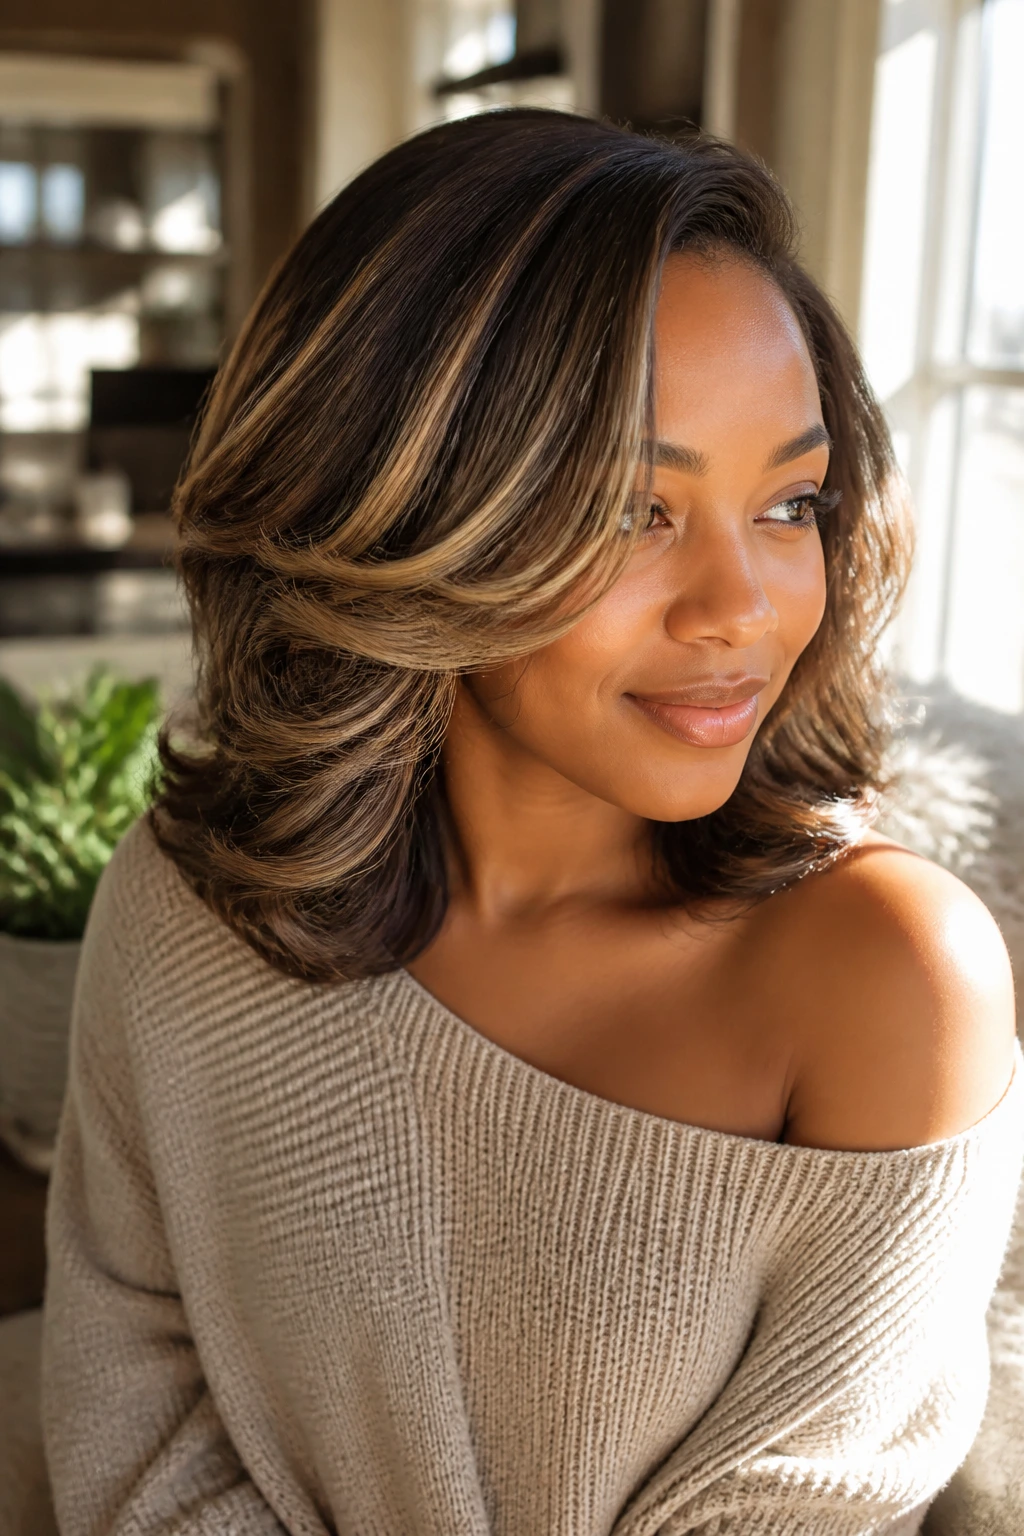
18. Layered Lob with Honey and Espresso Mix
A layered lob makes babylights and lowlights look like they belong together. Honey on top, espresso underneath, and layers that hit near the shoulders create a clean swing every time you turn your head. On texturized hair, the cut feels lighter because the curl pattern isn’t fighting the layers.
This is one of the easiest styles to live with day to day. You can wear it stretched, scrunched, or in a soft bend from a roller set. The important part is the cut line. If it’s too blunt, the color sits on top and starts looking separate. Layers keep the light pieces moving. They also make it easier to let the roots grow out between color visits without a harsh line.
19. Chunky Twist Updo with Face-Framing Brights
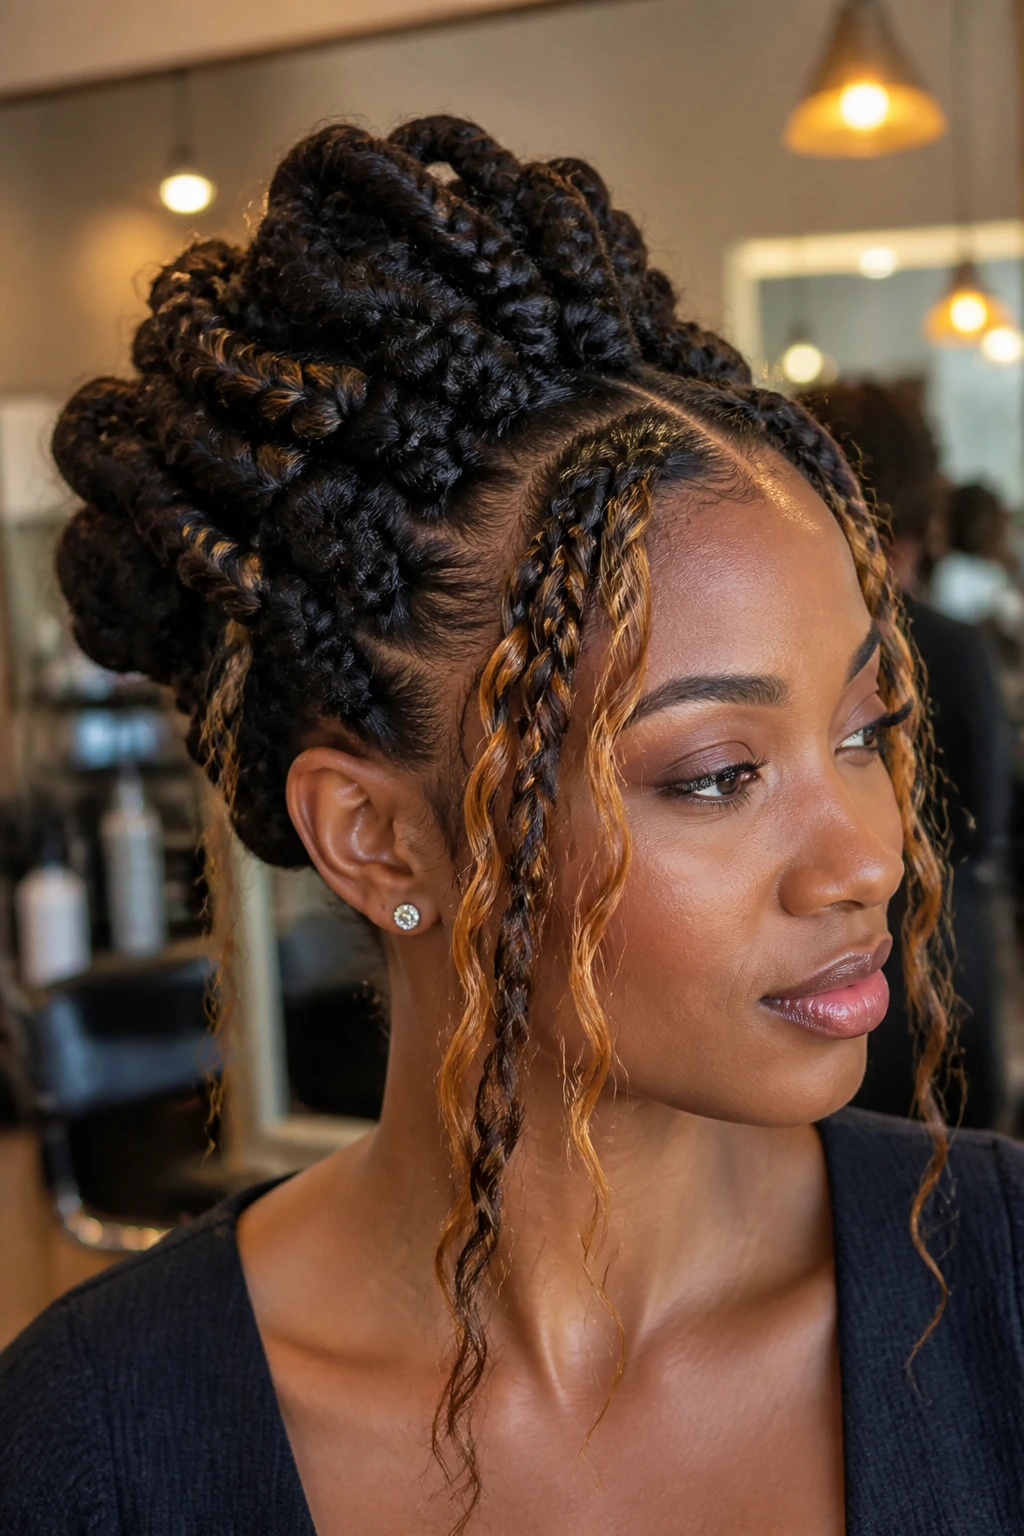
Chunky twists are useful when you want structure and still want the color to show. The twists themselves act like rails for the babylights, and the brighter pieces around the face keep the updo from looking heavy. On texturized natural hair, the twists hold a bit more compactly, which makes the style last longer and stay neat.
I’d keep the twists medium-sized, not tiny. Tiny twists can make the babylights look scattered. Medium twists give the color enough surface to show. A few lowlights through the back help the updo feel grounded, and they stop the brighter front from stealing everything.
20. Defined Coils with Copper Threading
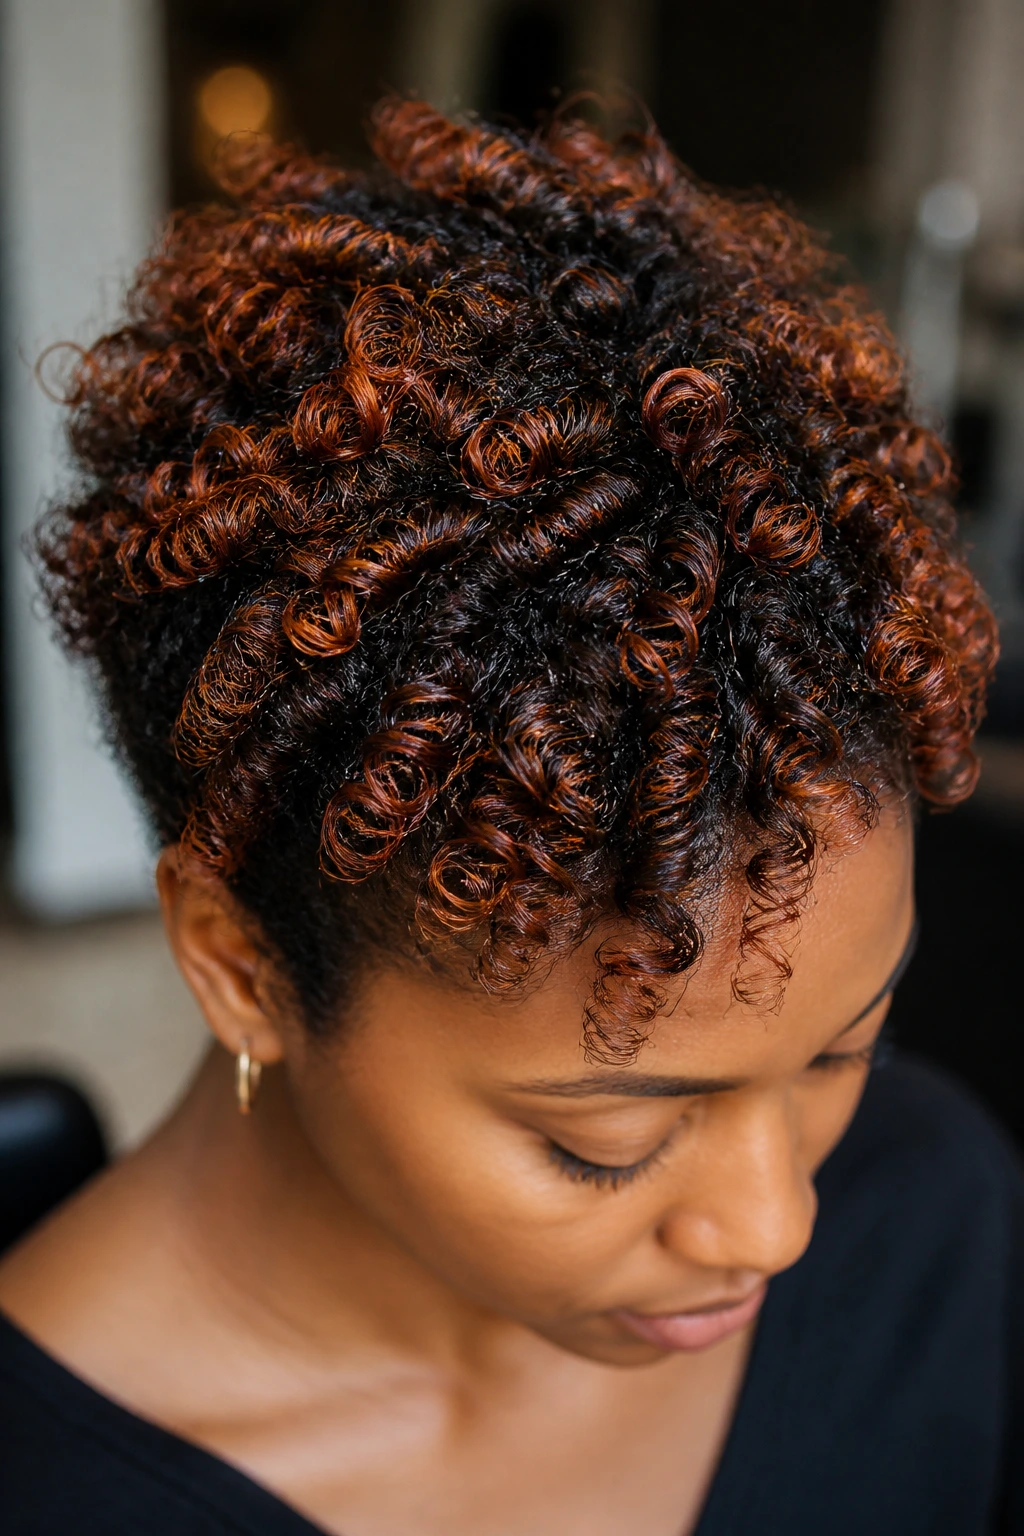
Copper threading on dark natural hair has a nice sharpness to it, but only if the coils are defined. Small, even coils let the copper sit on the top layer where the eye can catch it. If the coils are too loose or uneven, the color can get lost.
A custard or gel with enough hold will keep the coils glossy, which matters because copper can turn brassy fast if the finish is dry. Let the hair dry completely before you separate it. Then shake at the roots instead of raking through the ends. That keeps the threading visible and the coil pattern intact. A deeper lowlight under the crown gives the copper a richer frame.
21. Side-Part Roller Set with Smoky Lowlights
Why do roller sets show babylights so well? Because each roller creates a clean lane of bend and shine. On texturized hair, that bend holds especially well, so smoky lowlights underneath can give the style depth without making it feel dark.
Use rollers that match the length of your hair. For shoulder-length hair, 1- to 1.5-inch rollers usually give a soft bend without turning the ends into tight corkscrews. Drying time is where people get impatient and ruin the finish. Don’t. If the roots are even a little damp, the set collapses in the first hour, and the babylights lose that clean, curved line.
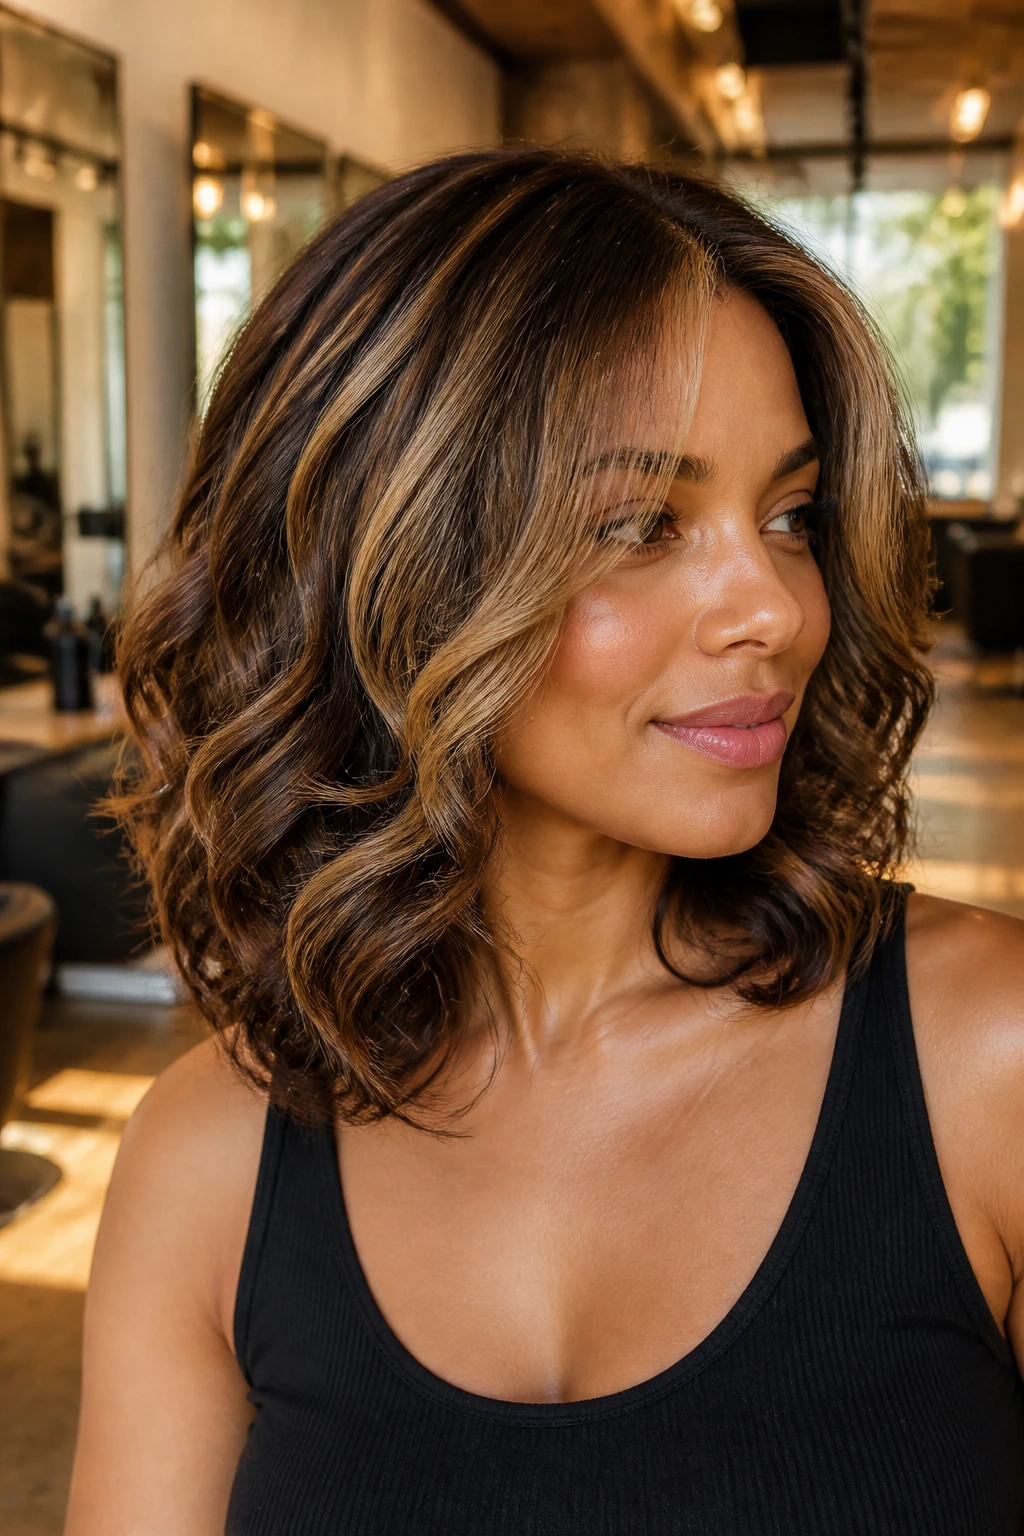
22. Soft Shoulder Layers with Champagne Babylights
Shoulder-length layers are one of the easiest shapes to wear with babylights because they sit right between movement and control. The layers keep the ends from stacking up, and champagne pieces along the top layer give the hair a soft brightness that doesn’t look harsh on texturized curls.
I like this one for people who want a style that can be worn loose, pinned back, or refreshed with a quick bend from a diffuser. The darker underlayers matter here. They keep the whole head from floating too light. When the color is placed with that much restraint, the cut does the rest. It’s simple. That’s the point.
Practical Styling Moves That Keep Babylights Visible
Color Placement: Ask for micro-weaves around the hairline, crown, and top layer, then keep the underlayers a shade or two darker. That tiny contrast stops the style from reading flat when the hair moves.
Moisture Balance: Texturized hair that’s been lightened needs more than a quick leave-in. A weekly mask keeps the ends from getting rough, and a light protein treatment every few weeks helps if the hair starts feeling stretchy or gummy. Don’t pile on protein if the hair feels stiff. That’s how breakage sneaks in.
Parting Strategy: A clean side part usually shows babylights better than a center part on textured hair, especially if the face is round or square. A center part can work, but it asks for more balance in the cut.
Finish: Put shine serum on the ends only. If you smooth it through the roots, the color looks dimmer and the whole head loses that airy detail.
The Mistakes That Flatten Color on Texturized Curls
Too-thick highlight sections: Big highlight chunks are the fastest way to make babylights look harsh. The fix is simple: ask for finer placement, especially near the hairline and crown, where the eye lands first.
Lifting the ends too far: Texturized hair often has more porous ends, so they can grab color fast and go dry fast. If the lightest pieces are sitting at the ends, they can look fuzzy within a few washes. Keep those ends protected, and don’t ask for maximum lift on already fragile sections.
Using heavy stylers over the color: Thick oils and waxy creams can blur the dimension and make babylights disappear. A light mousse, foam, or soft cream usually does a better job of keeping the pattern visible.
Skipping lowlights: All-light pieces can wash out textured hair fast. A few darker ribbons give the shape a spine. Without them, the style can look vague and puffy.
Letting the cut get blunt: A one-length shape makes color sit on top of the hair instead of moving through it. Layers, tapering, or a soft bob keep the light and dark pieces from bunching together.
Five Ways to Shift the Mood Without Recoloring Everything
Warm Caramel Lift: If you want the safest, most forgiving look, stay in the caramel-to-honey lane. It keeps the finish soft on deep brown hair and usually grows out without a hard line.
Cool Mocha Shadow: Add mocha and ash-brown lowlights under the top layer when you want the style to feel quieter. This works well if the babylights are already fairly light and you need depth back.
Copper Accent Frame: Place a little copper around the fringe and temples for a warmer, brighter face frame. Keep the rest of the head deeper so the copper doesn’t take over.
Protective-Style Rotation: Use twists, buns, and pinned shapes when you need to keep hands out of the hair for a few days. Those styles help the color hold because they reduce daily friction.
Soft Office Version: If you work somewhere conservative, keep the brightest pieces to the front layer only and leave the crown and nape darker. The look still has movement, but it reads understated from a distance.
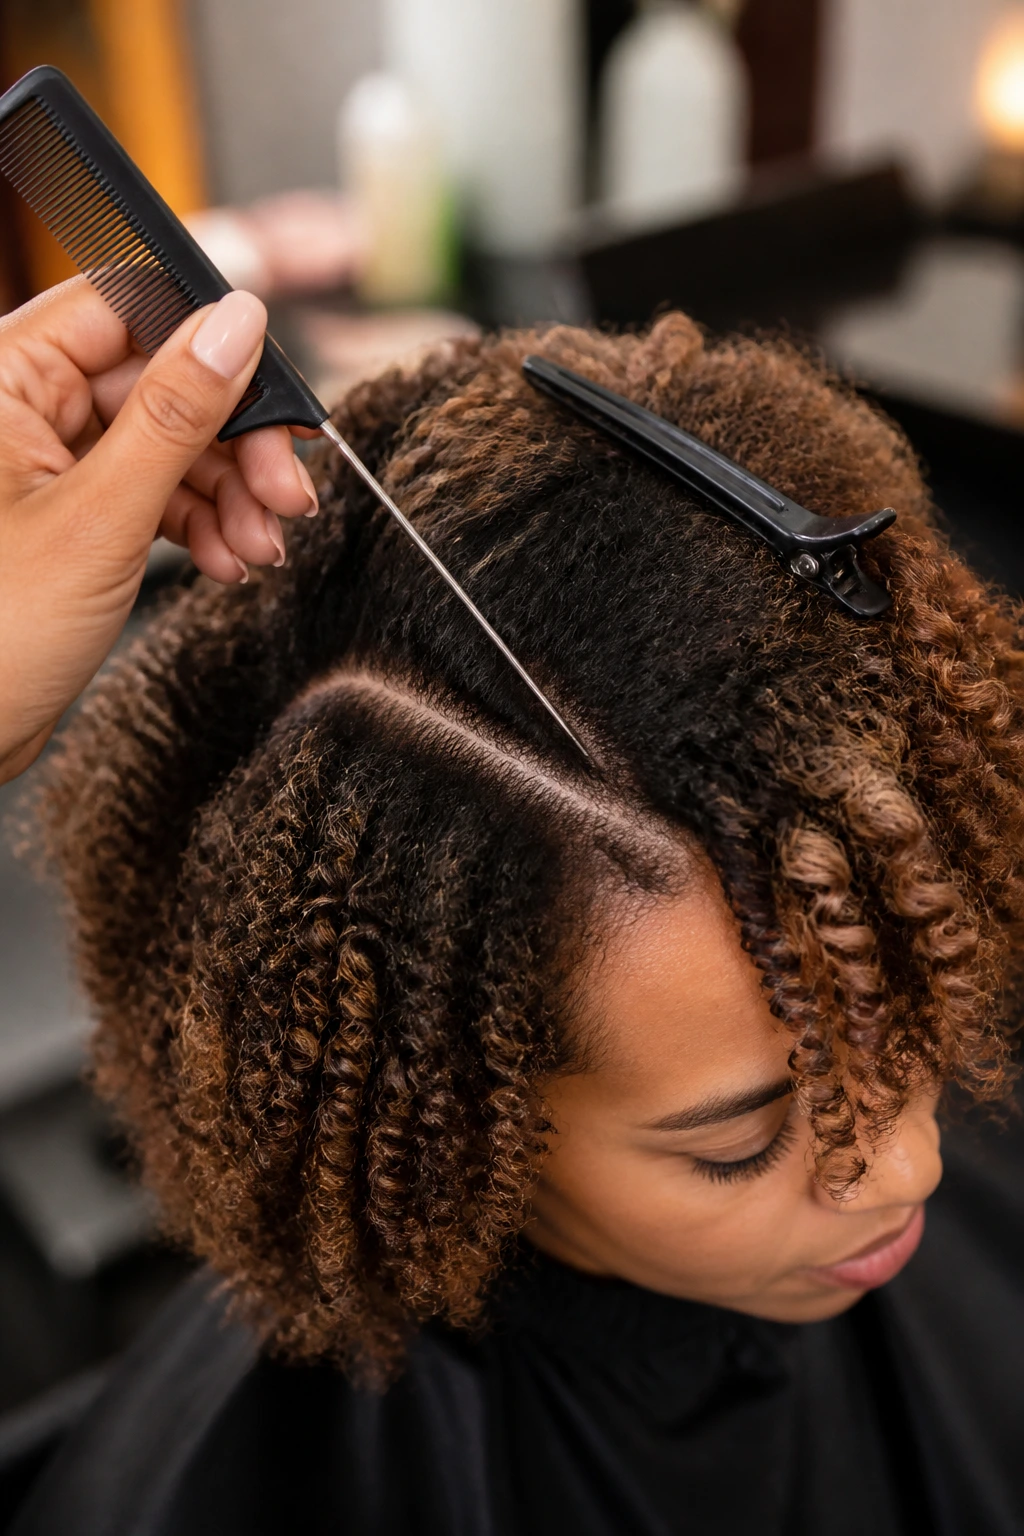
Tools and Products That Make the Styles Easier
-
Rat-tail comb: Helps you make clean parts and small sections for twists, rods, or roller sets.
-
Duckbill or sectioning clips: Keep the rest of the hair out of the way while you work on one layer at a time.
-
Wide-tooth comb: Good for detangling texturized curls without ripping through the babylights.
-
Diffuser attachment: Useful for wash-and-gos, twist-outs, and finger-coil styles when you want definition without heat damage.
-
Satin bonnet or scarf: Protects the shape and keeps the color from rubbing dry overnight.
-
Microfiber towel or cotton T-shirt: Cuts down on frizz when you blot water from the hair.
-
Color-safe shampoo: Keeps babylights from fading too fast and helps the tone stay clean.
-
Deep conditioner: Needed if the hair has both chemical texture and lightened strands.
-
Light heat protectant: Non-negotiable for blowouts, roller sets, and any style that sees a dryer.
-
Flexible hold mousse or foam: Helpful for twist-outs, braid-outs, and roller sets when you want shape without stiffness.
-
Light serum: Best used on the ends, not the roots, to keep the color looking glossy.
Keeping Color and Curl Pattern Happy Between Wash Days
Texturized hair with babylights usually behaves best with a simple rhythm: protect at night, refresh lightly, and don’t pile product on every day. A loose pineapple, a few flat twists, or a satin bonnet keeps the curls from rubbing raw against cotton pillowcases. That matters more once the hair has been lightened, because fragile ends fray faster than untouched hair.
Most styles here hold up well for a week or a little longer if the weather is kind and the hair isn’t constantly being touched. Wash-and-go curls may need a midweek refresh at the crown. Twist-outs and braid-outs can usually be stretched with a tiny mist of water and a dab of foam on the frizzy sections. Avoid soaking the whole head just to fix one puffed-up spot. That’s how the shape falls apart.
If the color starts to pull brassy, a toner or gloss can bring it back without a full recolor. If the ends start feeling rough, trim them before the breakage climbs up the shaft. I’d rather lose half an inch than spend months babying split ends.
Frequently Asked Questions About Texturizer Hairstyles for Natural Hair with Babylights
Can babylights look natural on texturized hair?
Yes, if the pieces are fine and the placement follows the cut. Babylights work best when they sit inside the bend of the curl, not in thick, obvious stripes. The softer the sectioning, the more natural the result.
Should babylights go on before or after a texturizer?
Usually, the hair does better when the chemical services are not stacked too close together. Give the hair some recovery time so the strands can settle before you add lightener. A stylist who works with textured hair can help space the services out safely.
What babylight shades suit dark brown natural hair?
Honey, caramel, beige, copper, and soft auburn all work well. The right one depends on how warm or cool you want the finish to feel. I’d avoid an icy blonde unless the hair is in excellent condition and the rest of the color story is planned around it.
Do babylights make texturized hair look thinner?
Not when they’re placed with restraint. Fine highlights add movement, but chunky or over-lightened pieces can make the hair look sparse. Lowlights and a good cut keep the shape full.
How do I keep the hair from looking dry after coloring?
Use a color-safe shampoo, a rich conditioner, and a light leave-in. Then keep heavy oils off the roots and put them only on the driest ends. That keeps the light pieces from going dull.
What if my curls are frizzy after the color service?
That usually means the strands need moisture and a softer styling hand, not more gel. Use a deep conditioner, let the hair air dry or diffuse on low, and avoid rough towel drying. If the frizz is centered on the ends, those ends may need a trim.
Can short texturized hair wear babylights, too?
Absolutely. Pixies, tapered crops, and short bobs often show babylights better than longer hair because the shape is easier to read. The key is to keep the light pieces tiny and close to the top or front.
How often should I refresh the color?
That depends on how bright the babylights are and how often you heat-style. A gloss or toner can usually refresh the tone after a few weeks, while a full highlight refresh can wait longer if the grow-out stays soft. If the ends feel rough, treat the hair first and color second.
A Softer Kind of Dimension
The best texturizer hairstyles for natural hair with babylights don’t try to erase the curl pattern. They work with it. A twist-out, a bob, a puff, or a roller set becomes a better canvas when the color is fine enough to move with the hair instead of sitting on top of it like a stripe.
That’s the part I keep coming back to: the prettiest versions here are rarely the loudest. They’re the ones with a little shadow under the crown, a few bright pieces around the face, and a cut that gives the color somewhere to breathe. Pick one shape, choose one color family, and keep the placement clean. The result has enough motion to stay interesting long after the salon chair.