Long face-framing layers can do what a blunt, one-length cut often cannot: they bring the eyes up, soften the edges around the mouth and jaw, and keep the hair from hanging there like a heavy sheet. For older women, that matters more than people admit. Hair changes texture, density shifts, silver strands reflect light differently, and the same cut that once looked easy can start feeling flat or too severe.
The good versions are all about placement. A front layer that starts at the cheekbone feels airy and open; one that starts too high can look choppy and old-fashioned fast. Too much thinning at the ends, and you get wisps instead of shape. Too little layering, and the haircut keeps its length but loses the lift that makes the face look awake. The sweet spot is usually somewhere between the jawline and the collarbone, with the front pieces doing the talking.
That’s why long face-framing layers for older women are so worth studying one by one. The same basic idea can look feathered, sleek, soft, shaggy, polished, gray-friendly, glasses-friendly, or built for fine hair that needs every bit of lift it can get. Some cuts are about movement. Some are about camouflage. Some are about keeping thickness where it counts. The details matter, and the front of the haircut is where those details show first.
Why You’ll Love These Long Layers
-
They keep the length you like: The back can stay long while the front pieces take the haircut out of that heavy, curtain-like shape.
-
They soften the face without a blunt fringe: A few well-placed layers around the cheekbone or jaw can do a lot of work without committing you to bangs.
-
They play well with changing texture: Silver hair, fine hair, thick hair, and waves all need slightly different layering, and these looks cover that range.
-
They make styling easier, not harder: A round brush, a hot brush, or even a quick bend with a flat iron is usually enough to bring the shape back.
-
They work with glasses and jewelry: The right front pieces leave room at the temples and jawline instead of crowding frames or hiding earrings.
-
They age the haircut, not the woman: That sounds blunt, but it matters. A good layered cut brings softness and lift; it doesn’t shout for attention.
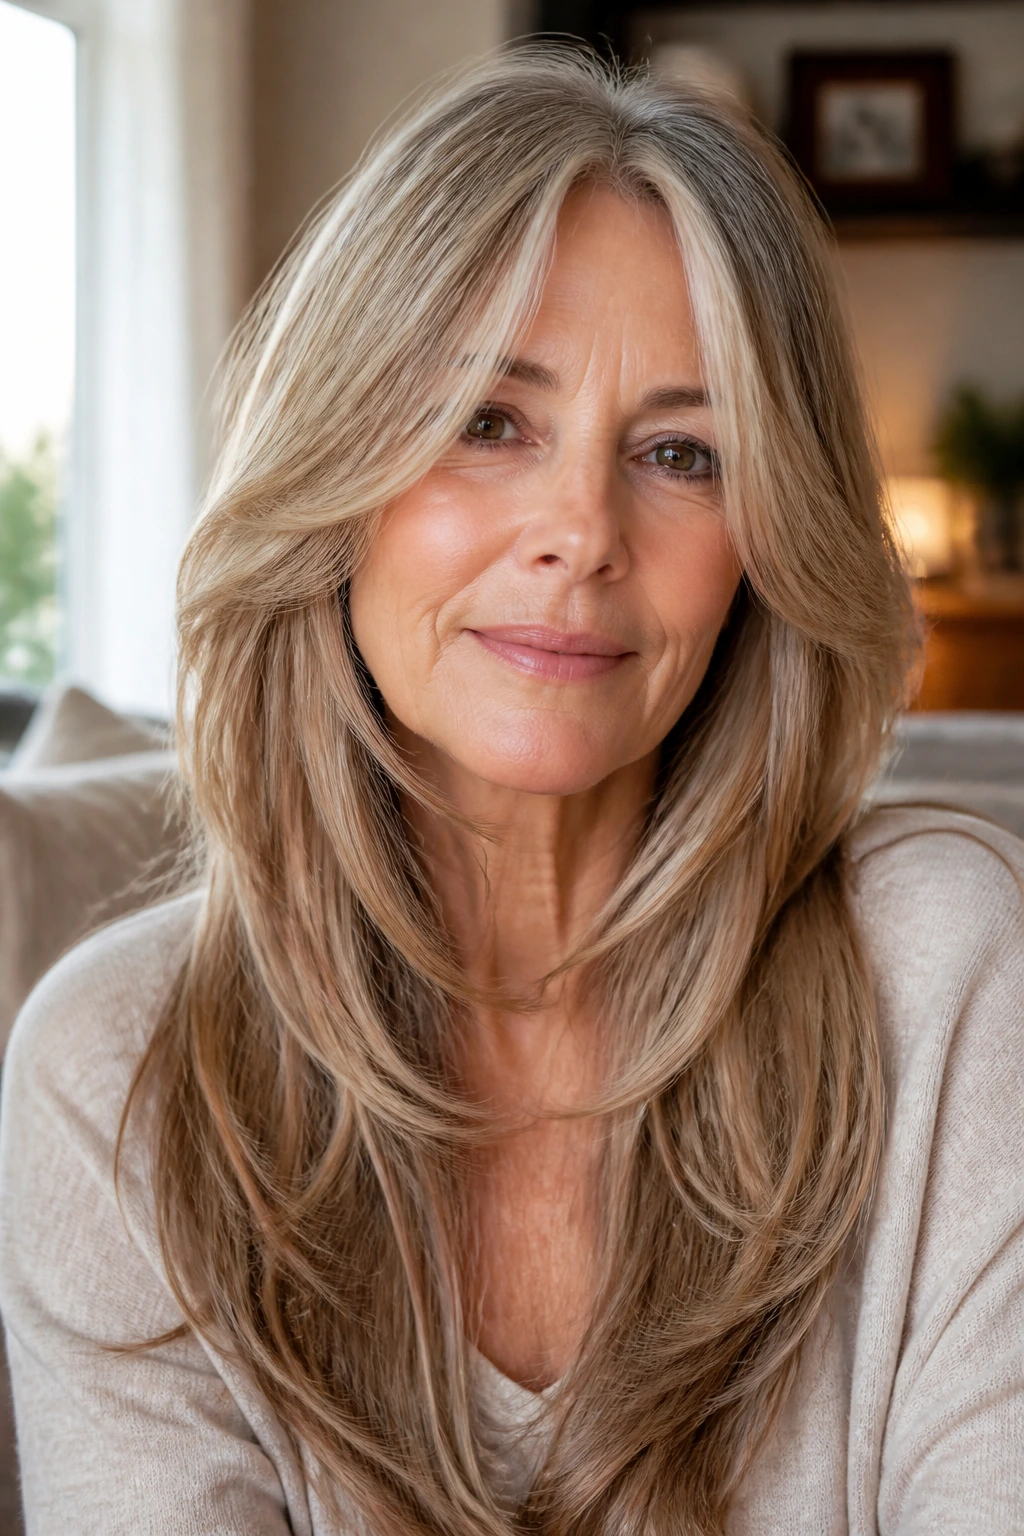
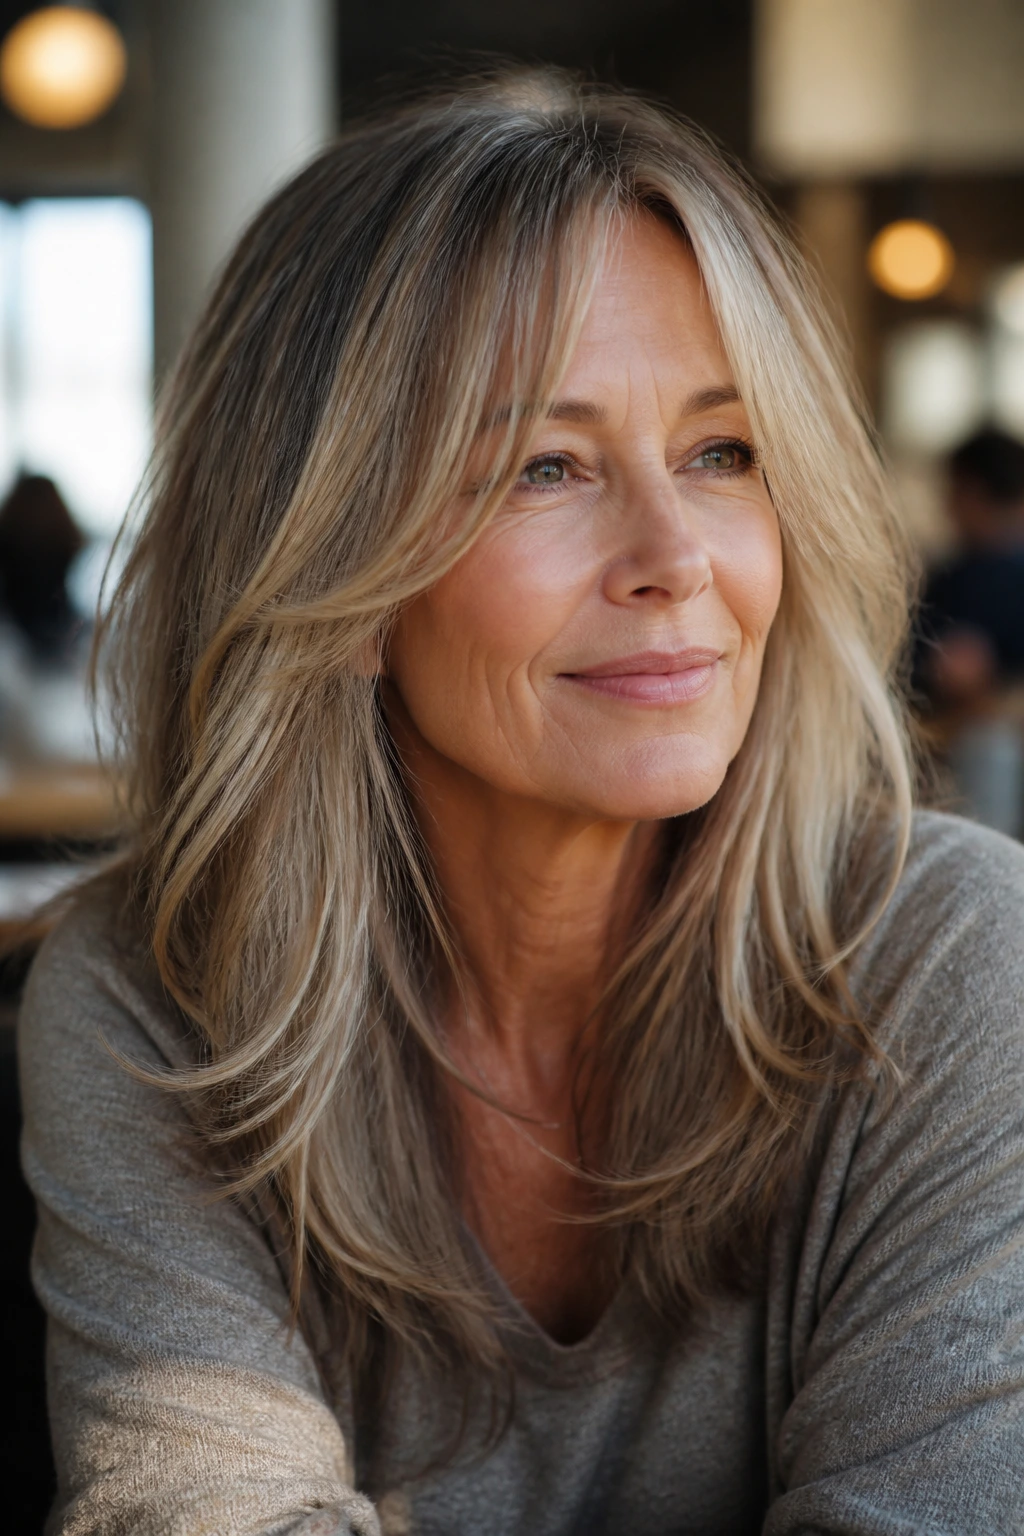
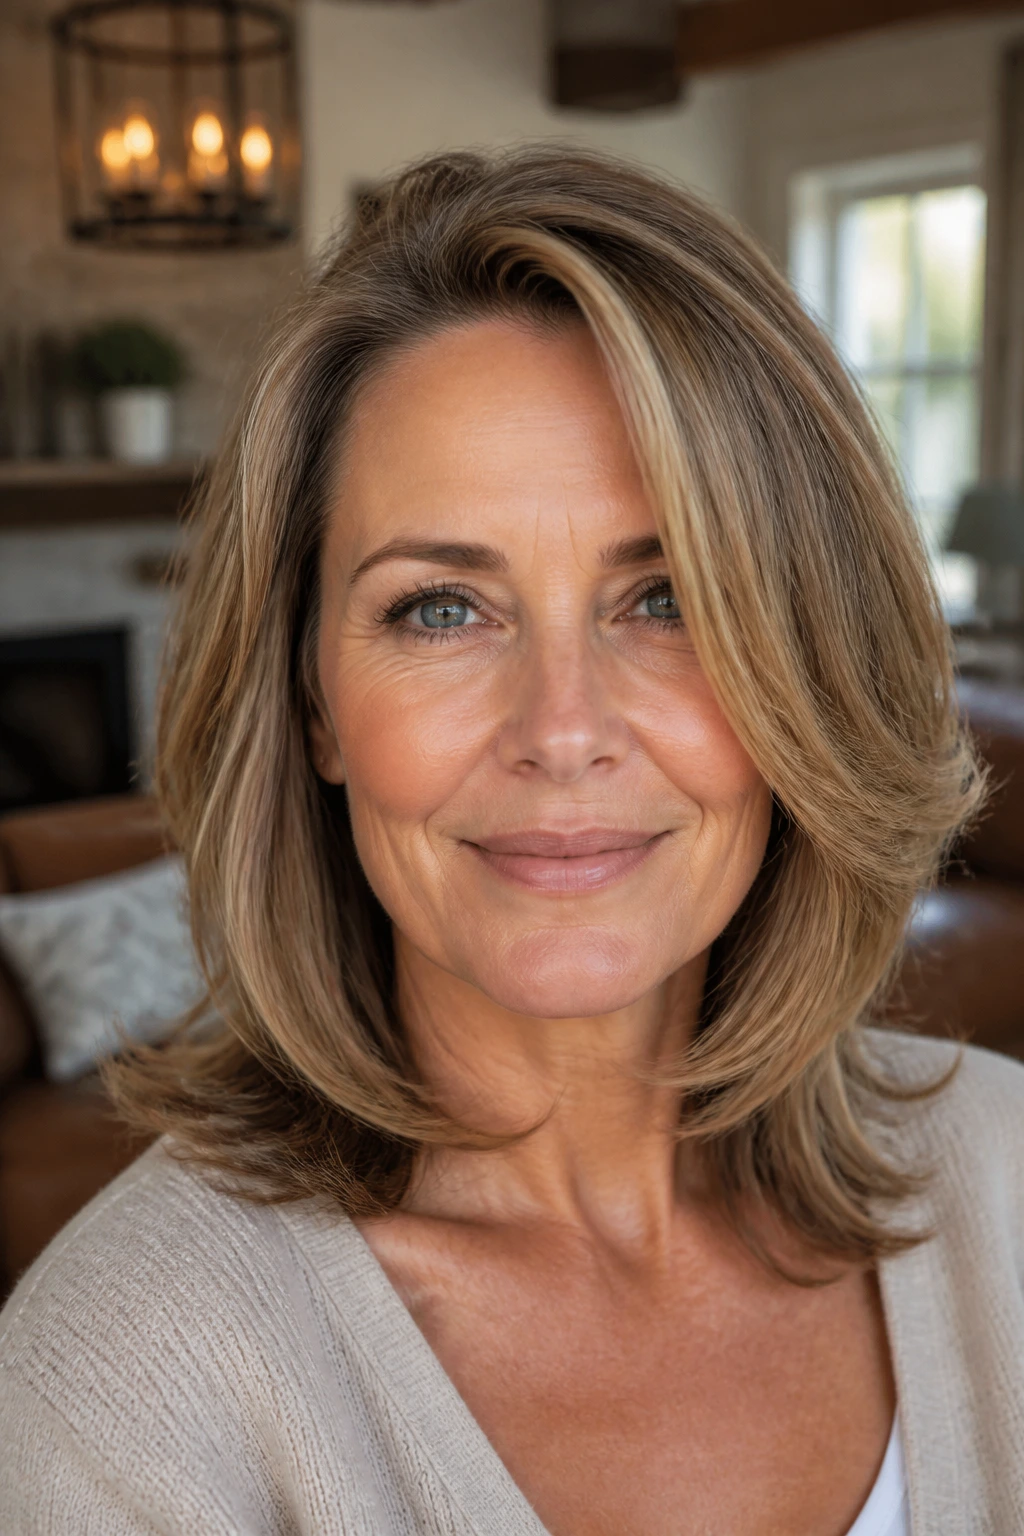
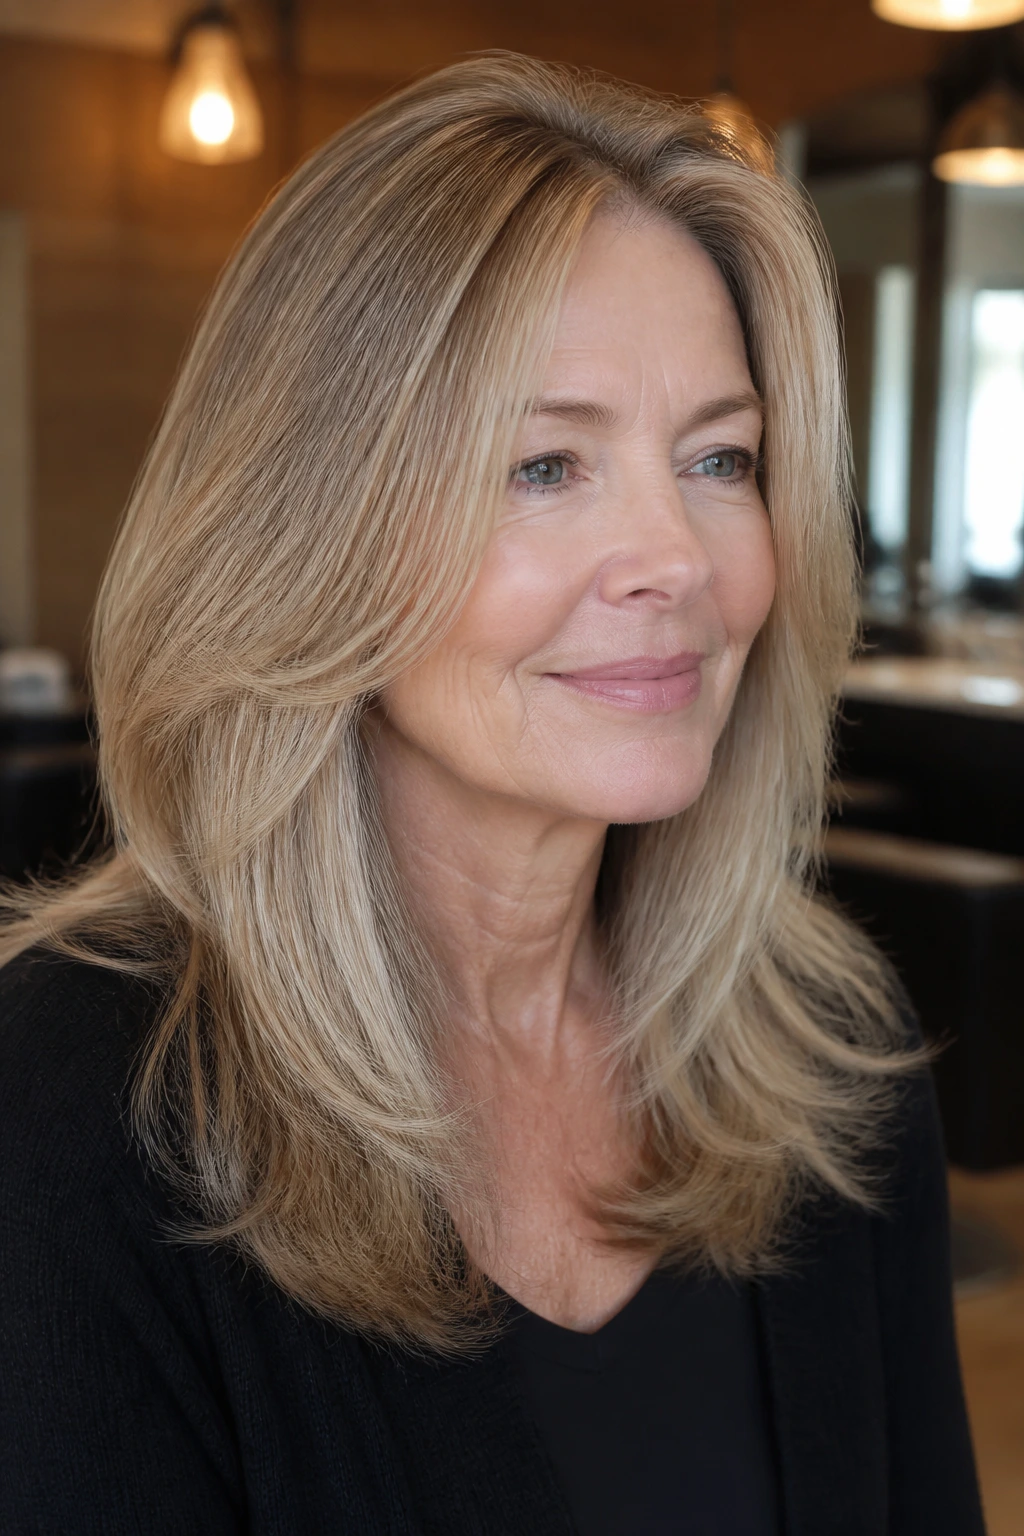
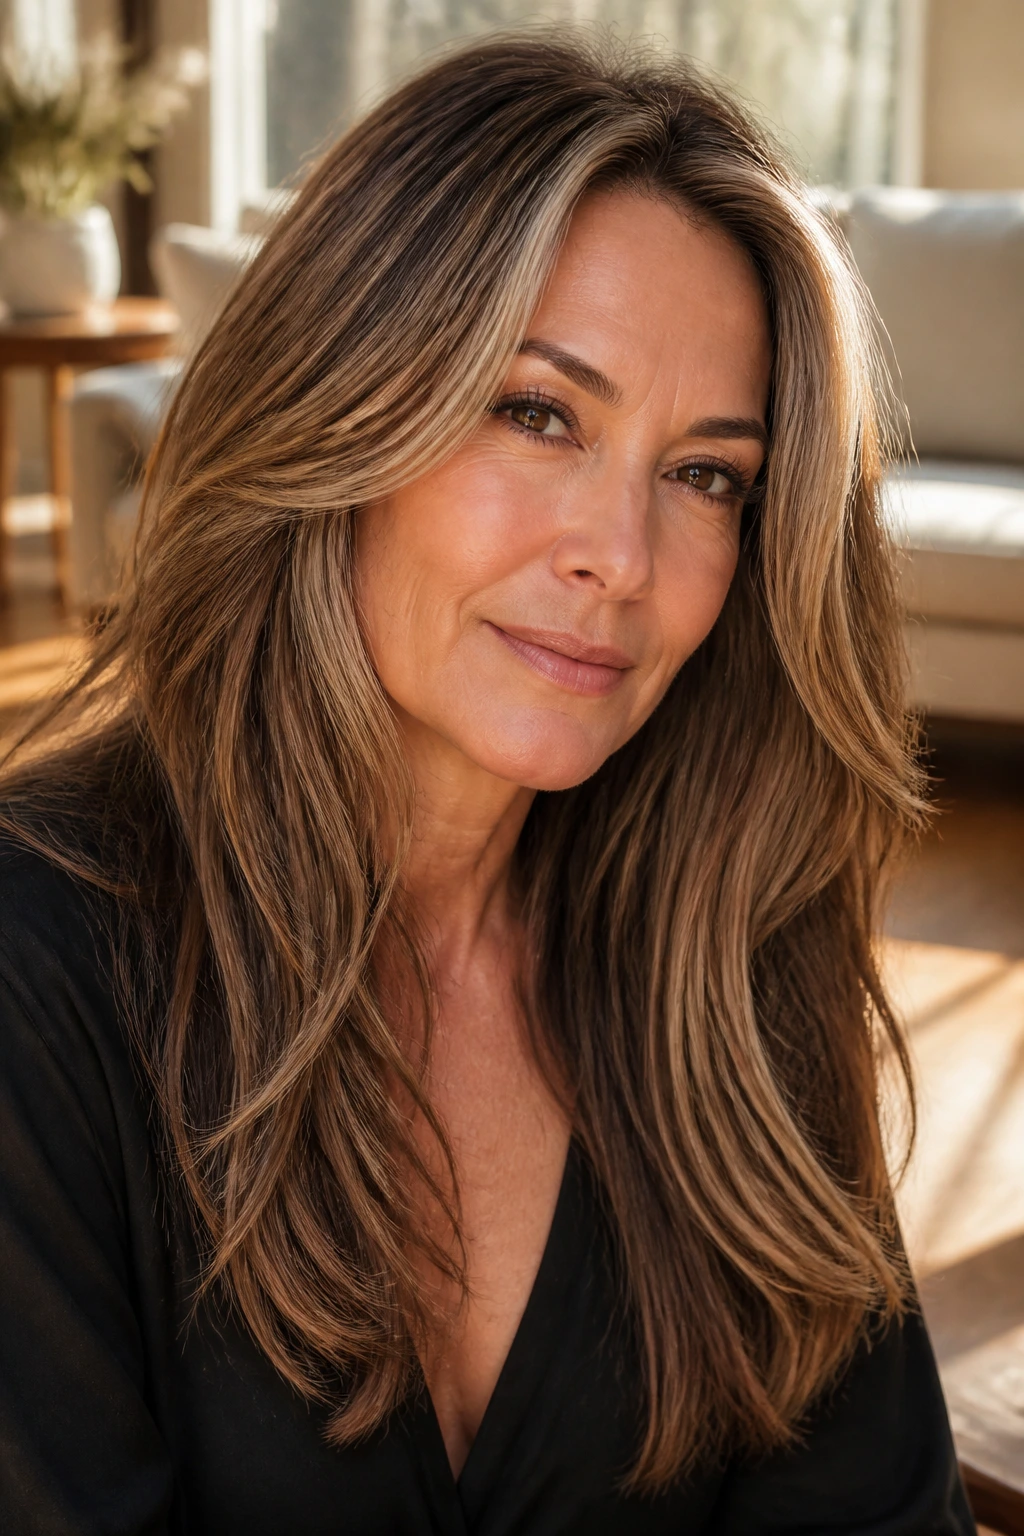
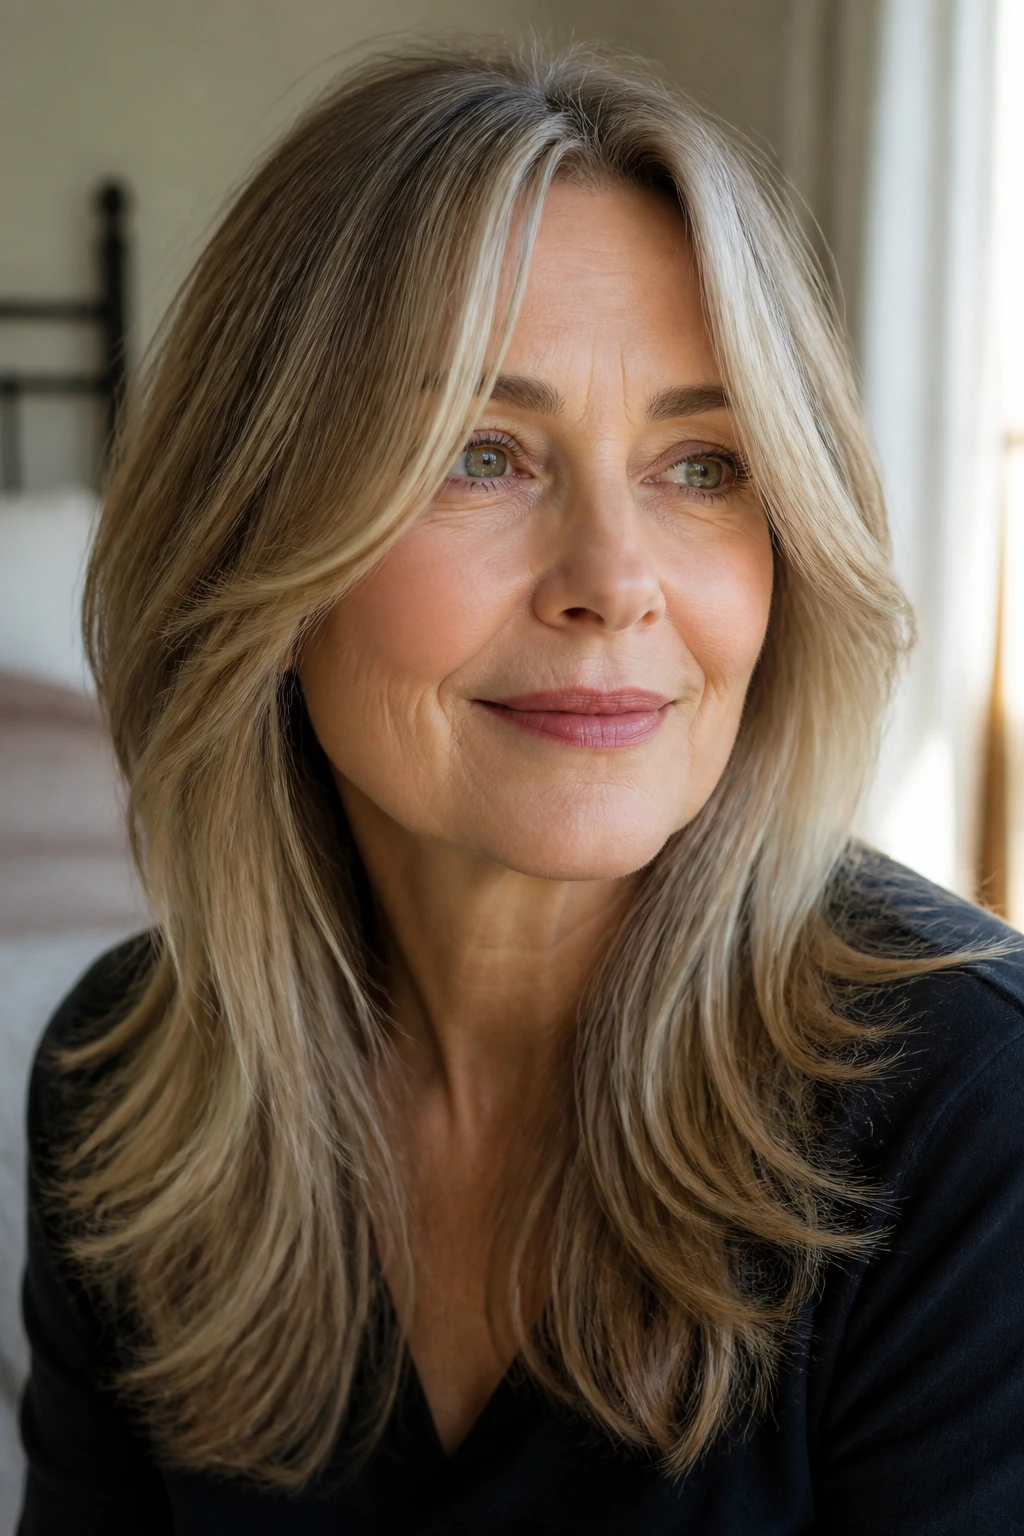
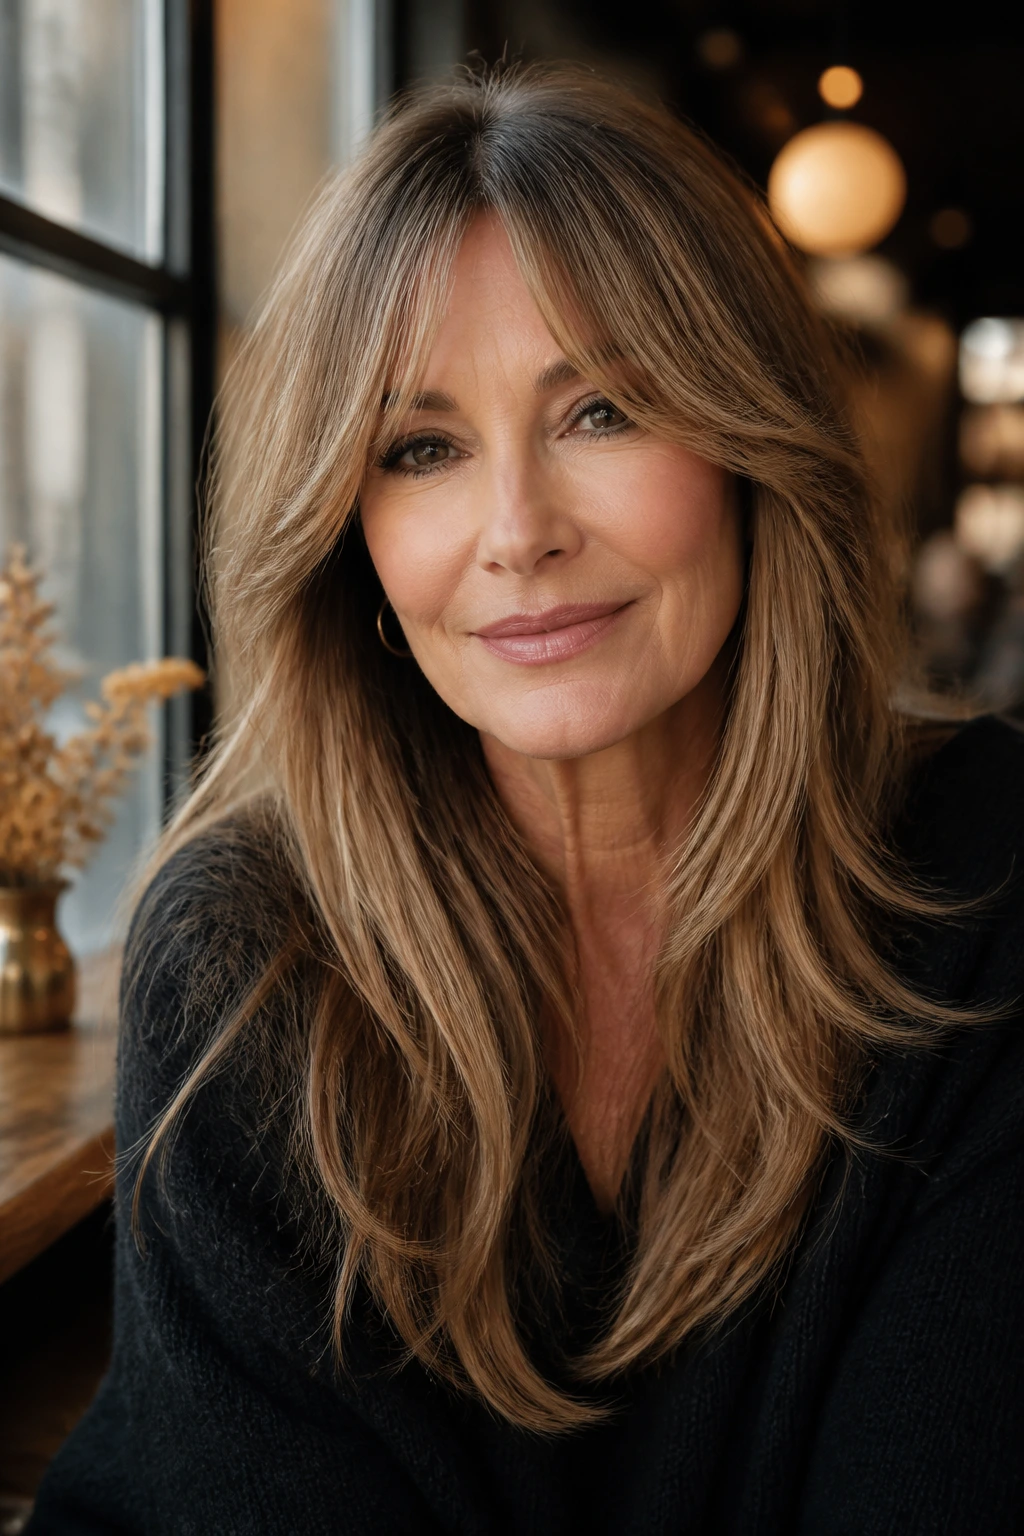
1. Curtain Pieces That Start at the Cheekbone
Cheekbone-starting curtain pieces are the safest place to begin if you want movement without drama. The shortest layer brushes the outer edge of the face, then lengthens into the chest area, so the eye sees a soft diagonal instead of a hard line. That diagonal does a lot of lifting.
Why it works
The shape is forgiving. It gives you that open, face-brightening effect even when the rest of the hair is straight and calm. If you wear a middle part, the pieces fall like a soft frame; if you shift the part a little off-center, they sweep with more polish.
Ask for the front to start around the cheekbone, not above it. That tiny difference changes everything. Too high reads more like bangs. Too low disappears into the rest of the cut.
For styling, wrap the front away from the face with a 1.5-inch round brush and set the bend for 10 seconds before letting it cool. That little cooling step helps the curve hold through the day.
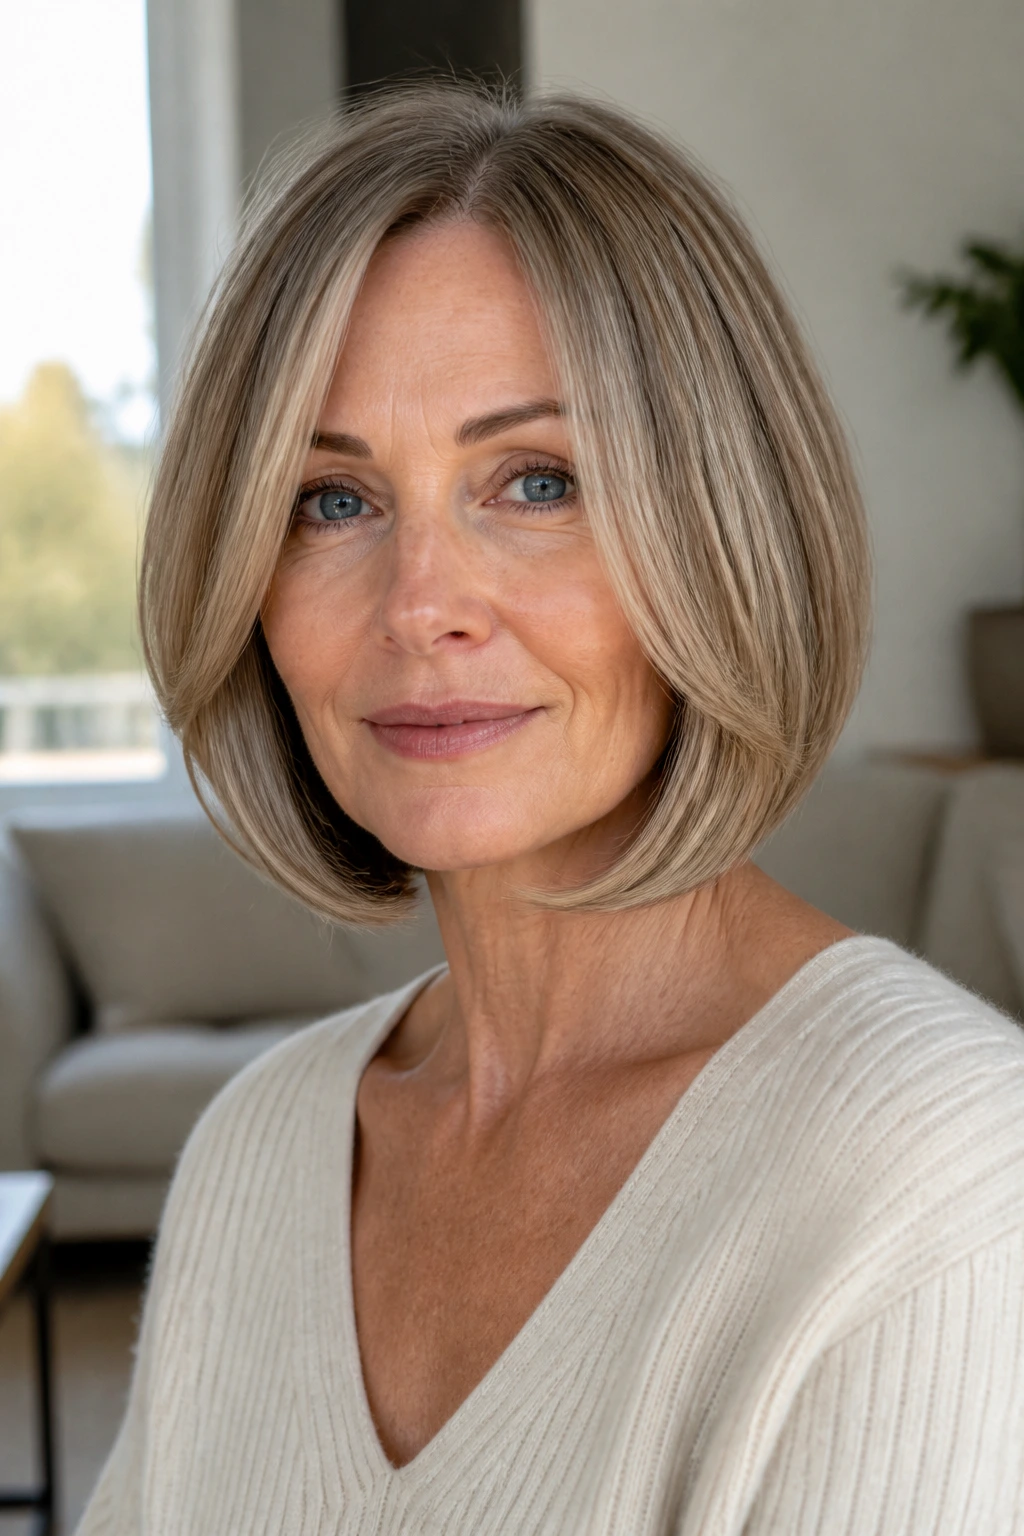
2. Chin-Skimming Front Corners
What happens when the front of the haircut lands right at the chin? The whole face reads a touch softer, especially if your jawline feels sharper than you’d like. Chin-skimming layers work because they create a little motion right where the face turns.
They’re especially useful if your hair is straight or only slightly wavy. The cut keeps the front from looking blocky, and the longer back still gives the style weight. I like this shape more than a lot of overly feathered versions because it stays calm. No fuss. No frayed ends.
How to ask for it
- The shortest front layer should land at the chin or just below it.
- The layer should blend into the rest of the length, not stop like a shelf.
- Ask for point cutting at the ends if your hair is dense; it softens the edge without removing too much bulk.
If your face is round, let the chin pieces sit a bit lower. If your hair is fine, keep the layer subtle. A heavy hand here can turn a smart cut into a wispy one in a hurry.
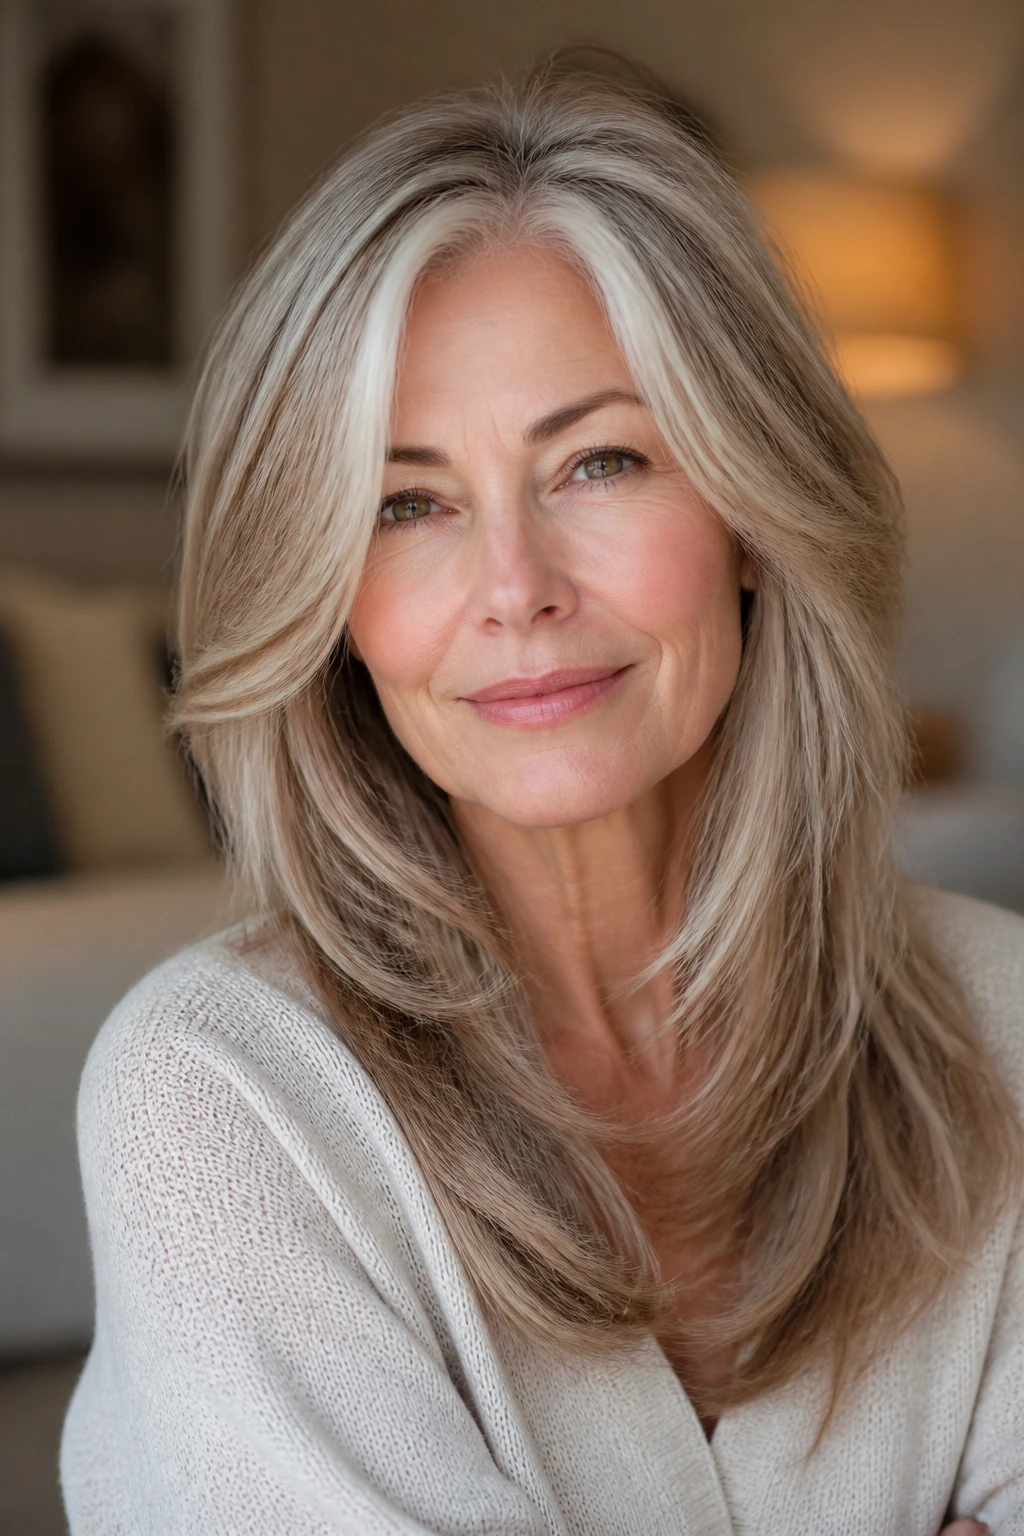
3. Feathered Layers With a Breezy Sweep
Feathering is back in the right hands, and by “right hands,” I mean a stylist who knows the difference between soft movement and shredded ends. Feathered layers give long hair air, especially when the hair has gone a little coarse or dry with age.
The look is easy to spot. The front pieces flip away from the face, the midlengths move, and the ends don’t sit as one block. It’s the haircut equivalent of letting the shoulders drop. Less stiffness. More life.
Use a lightweight mousse at the roots, then blow-dry with the nozzle pointed downward through the mids and ends. If you blast the hair every which way, the feathering can go fuzzy. That’s not the goal.
4. Bottleneck Bangs With Long Length
Bottleneck bangs are a smart choice if you want forehead coverage without a full fringe commitment. The center is shorter, then the bangs widen into the cheek area before blending into the layers. On older women, that shape can feel fresher than a blunt bang because it doesn’t box the face in.
The best part is how it meets long length. The bang section gives you a focal point at the top, and the long front layers carry that softness downward. The eye moves. The haircut moves. Hair should do that.
Keep the center a little longer if your forehead is short or your hairline is uneven. A shape that looks balanced on one person can feel cramped on another. And if you wear glasses, make sure the widest part lands above the frame line so the hair doesn’t keep bumping into the lenses.
5. Rounded U-Shape Layers
A rounded U-shape keeps the perimeter soft and full, which is useful when long hair starts feeling stringy at the bottom. The back curves gently instead of dropping straight across, and the face-framing pieces echo that curve. It’s one of the calmest long layered cuts you can wear.
This is the cut for someone who wants length but not a blunt curtain. It keeps the ends visually thicker, which matters if your hair has thinned a little over time. The front pieces can start near the jaw and drift into the lower ribs or bust line. No sharp corners. No harsh angles.
Style it with a medium round brush and turn the sides under just a touch. The curve matters more than a perfect curl. Think bend, not barrel.
6. V-Shape Layers for Dense Hair
Thick hair needs structure or it turns into a blanket. A V-shape solves that by keeping the center back longer while the sides taper in gradually. The haircut keeps its drama, but the weight gets distributed in a more useful way.
This shape is especially good if you wear your hair down a lot. The V creates a line that looks deliberate from the back and soft around the face. It also behaves well in a half-up style because the front pieces fall naturally instead of exploding out to the sides.
Best for
- Hair that feels heavy at the nape
- Women who like length past the shoulders
- Wavy or straight textures that need structure
Avoid a V-shape if your hair is already thin at the ends. You’ll lose too much visual fullness. In that case, keep the back softer and let the face frame do the shaping instead.
7. Deep Side-Part Layers
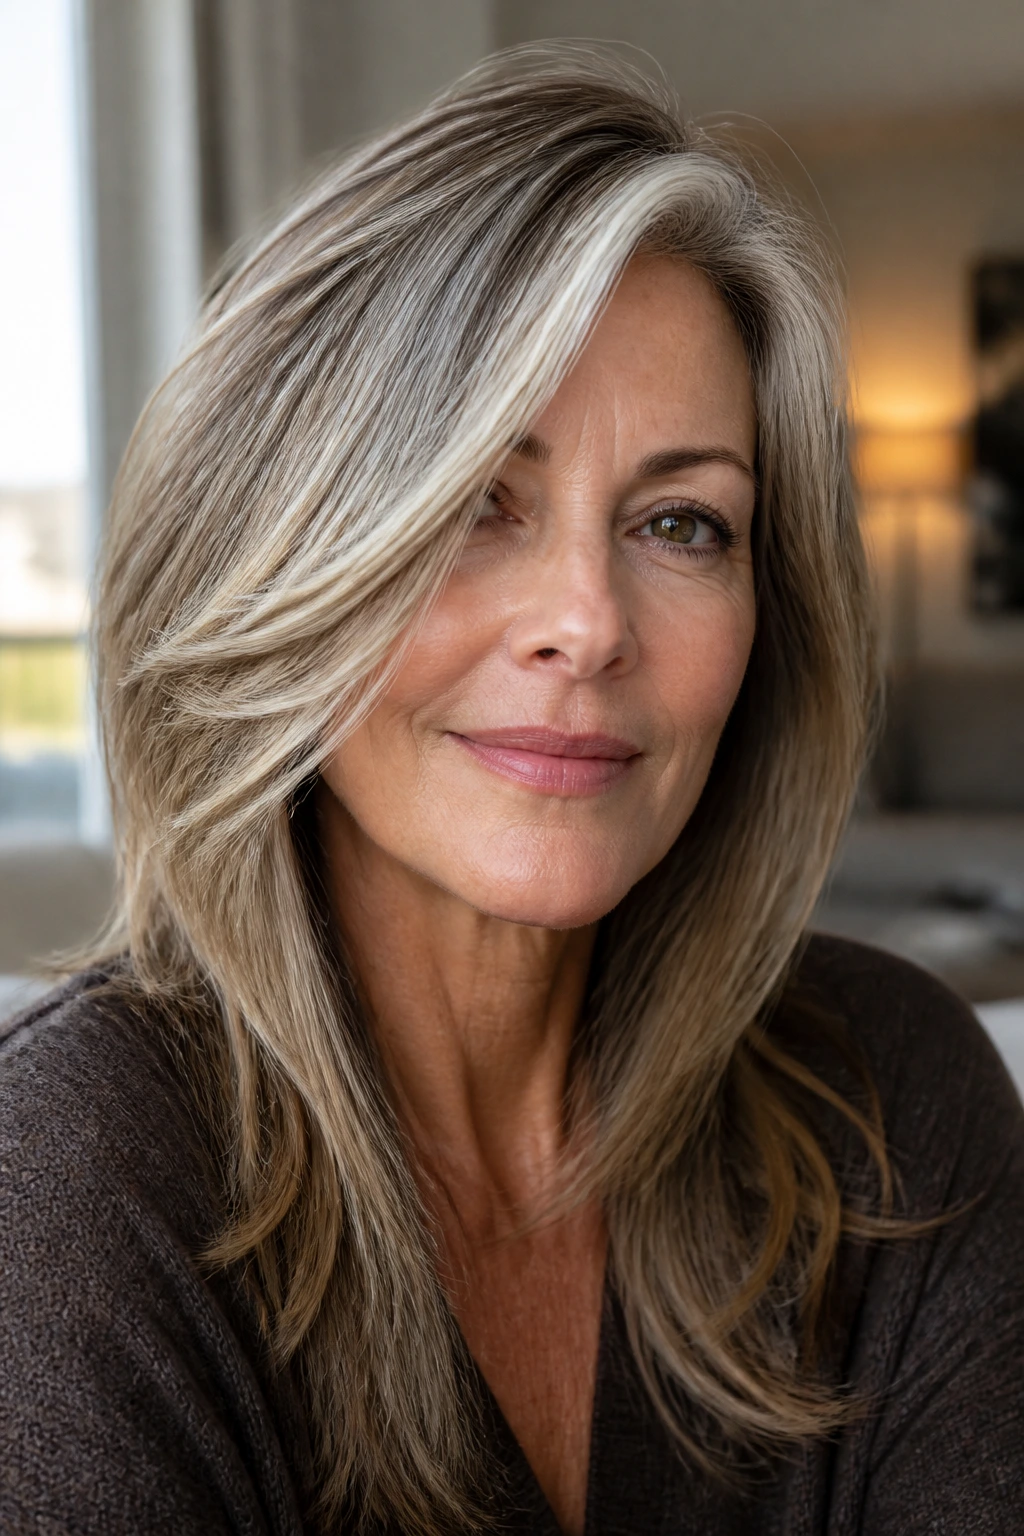
A deep side part can wake up a haircut faster than cutting three extra inches off the length. It lifts the roots, gives the front a diagonal sweep, and lets the face-framing pieces fall in a way that feels natural, not forced.
This is a good move when your hair has gotten flatter at the crown. The side part adds height on the larger side and a little drape on the smaller side, which is especially useful if one side of your face feels fuller than the other. Almost everyone has a side that photographs better with a shift in part. Hair is not being rude here; it’s just honest.
Pair this with a bend at the ends and a light root spray at the crown. If you skip the crown, the part can collapse by lunchtime. Nobody wants that.
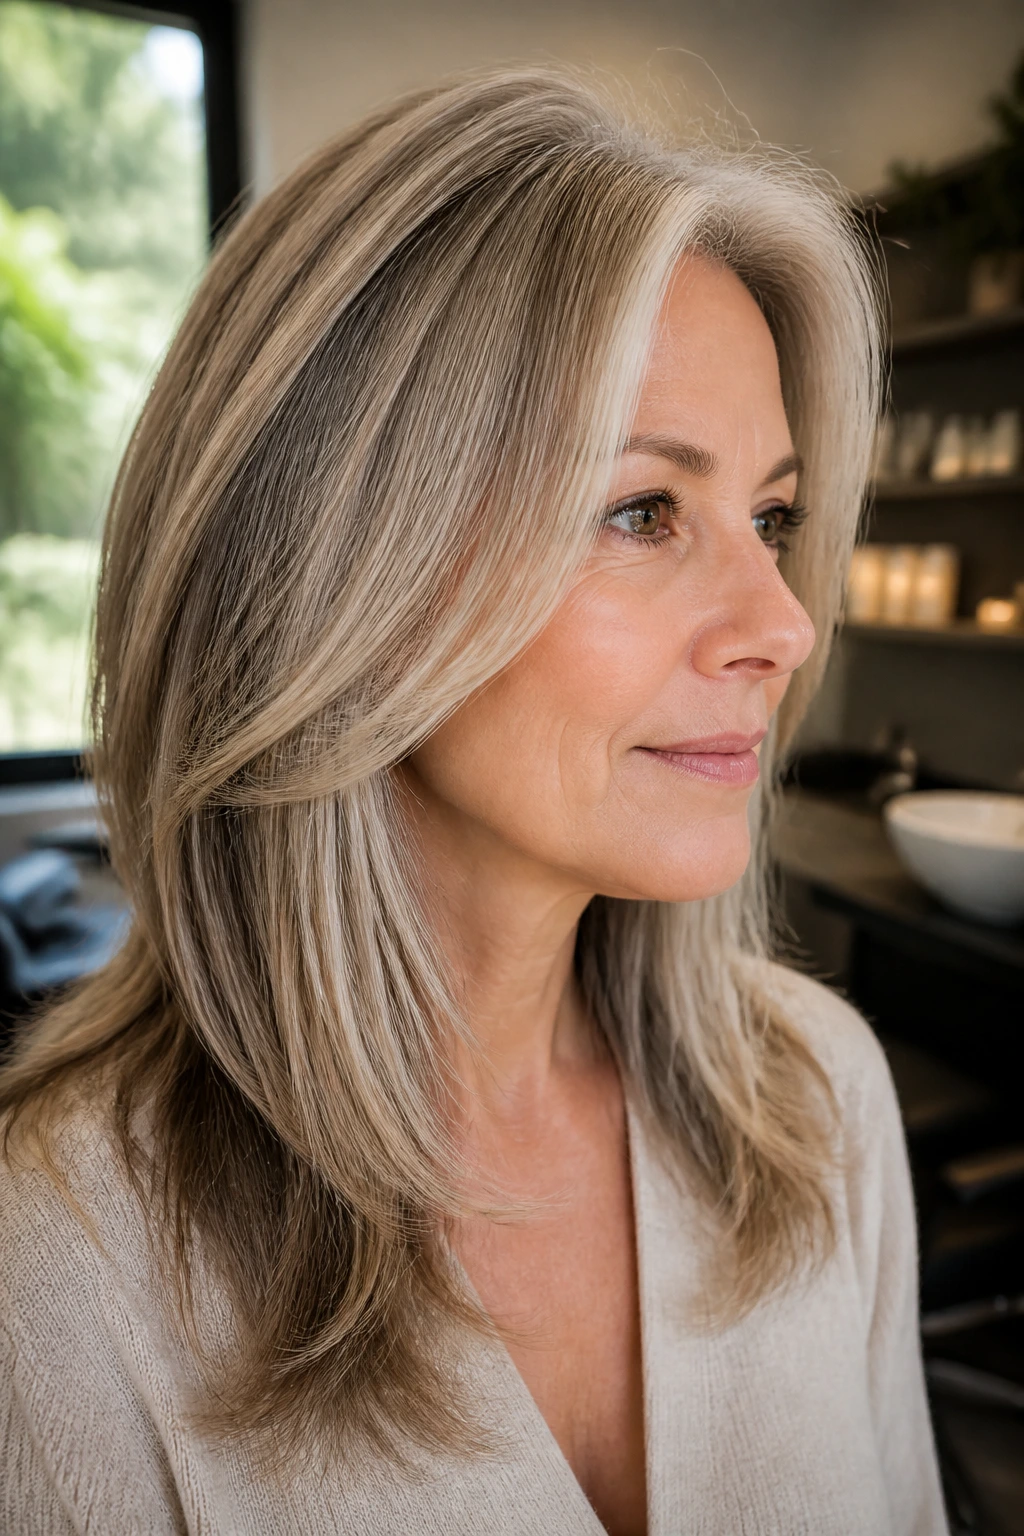
8. Invisible Face-Framing Layers for Fine Hair

Fine hair needs restraint. Not more chopping, not more razoring, and definitely not those airy ends that vanish after one blow-dry. Invisible face-framing layers are the opposite approach: just enough contour around the front to move, but not enough to strip away the body.
The shortest piece should stay low enough to blend with the rest of the length. You want the haircut to look fuller when it’s down, not sliced to pieces. A slight bend around the cheekbone is enough.
What to tell your stylist
- Keep the layering soft and low
- Preserve weight at the ends
- Avoid heavy texturizing shears near the perimeter
This cut shines when you use a small amount of mousse at the roots and a pea-size smoothing cream only on the last few inches. Heavy oil at the ends is a trap. It makes fine hair look oily fast.
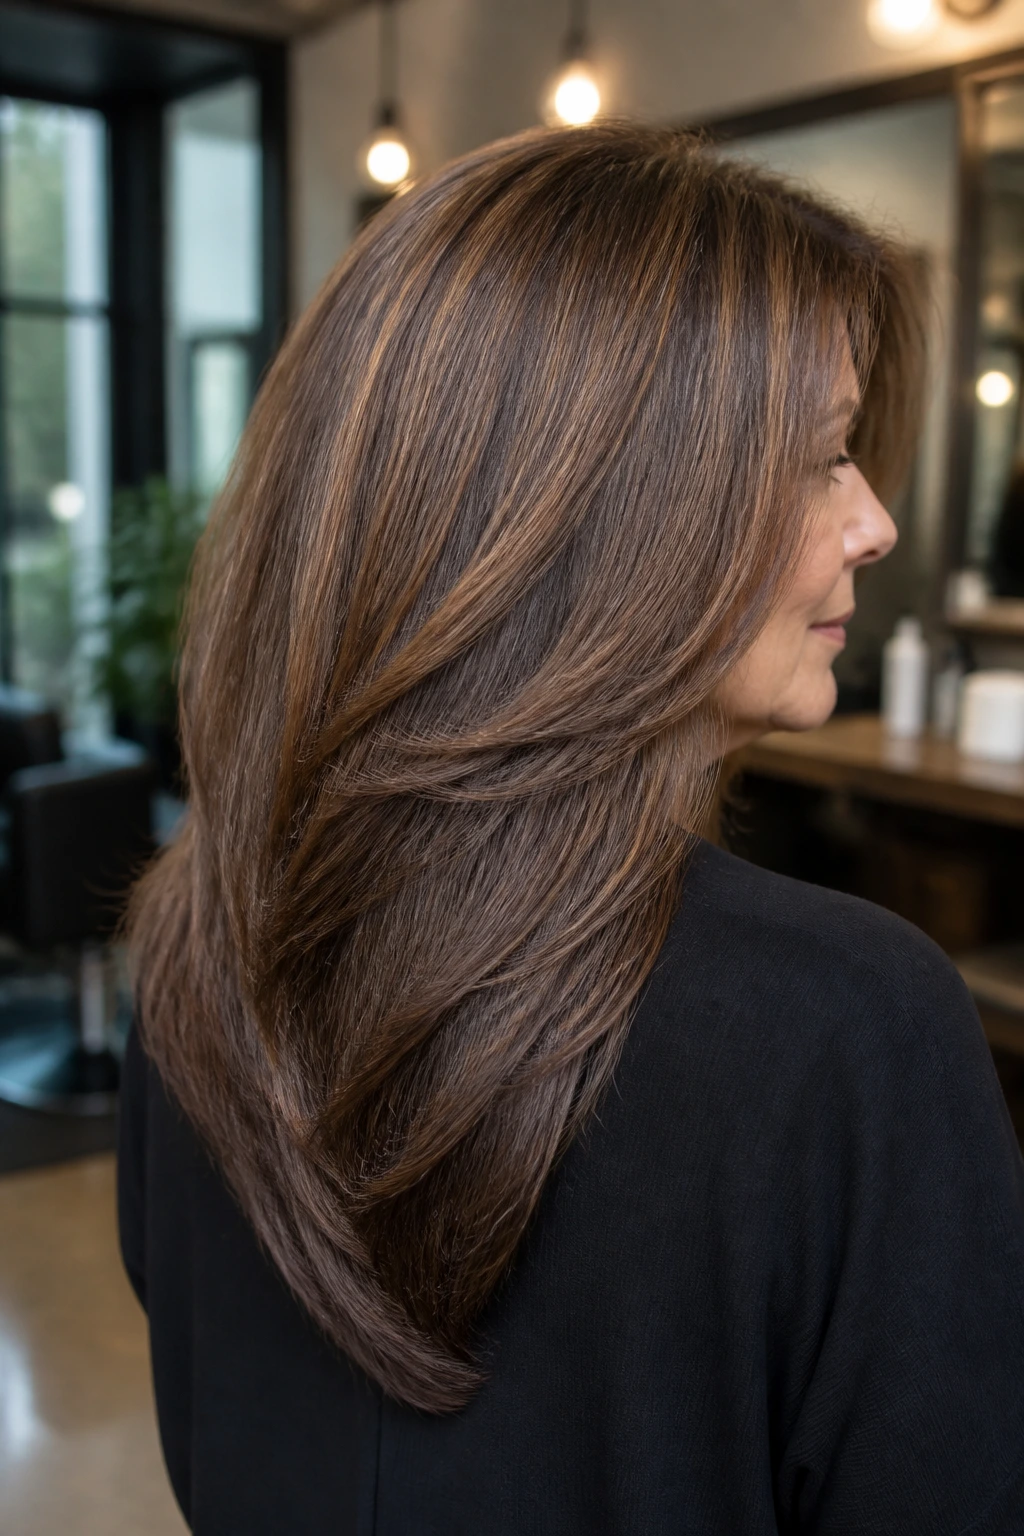
9. Collarbone-Bend Layers
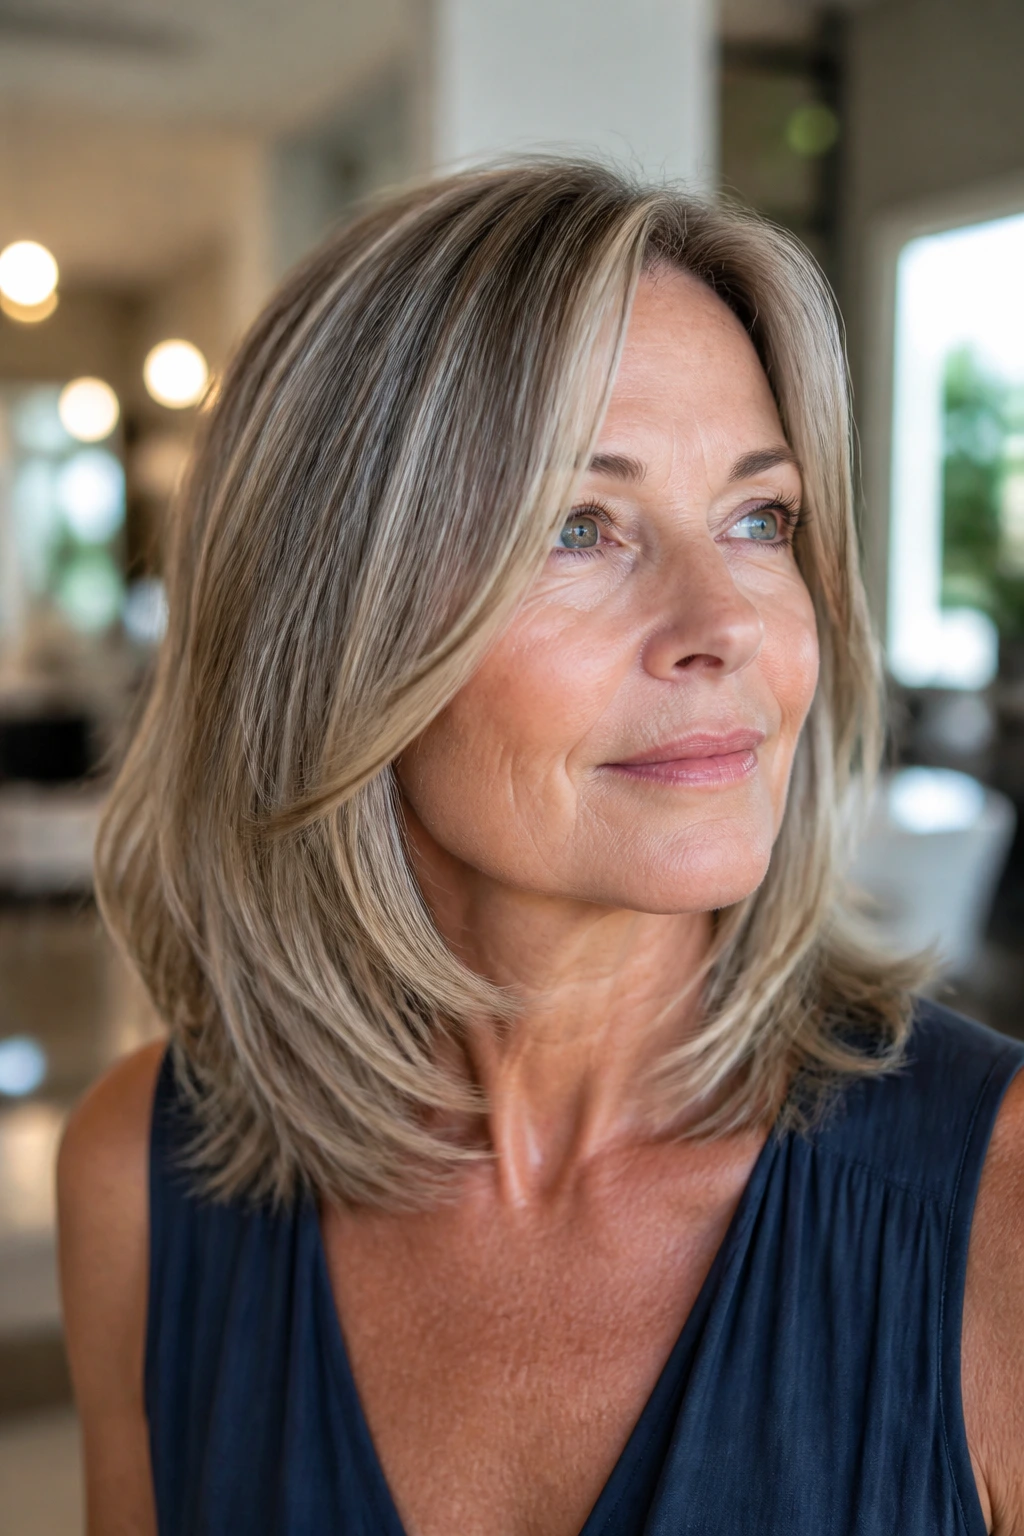
There’s a reason collarbone-length framing keeps showing up in good haircuts. The collarbone is a natural stopping point for the eye. Put the front pieces there, and the whole haircut feels longer, leaner, and more deliberate.
This look works when you want softness but still like to tuck hair behind the ears or pin one side back. The front pieces catch the light as they move across the collarbone, which is a nice little detail on hair that’s gone silver or salt-and-pepper.
A quick flat-iron bend at the front can help, but don’t overdo the curl. You want a curve that looks like it came from a brush, not a ribbon.
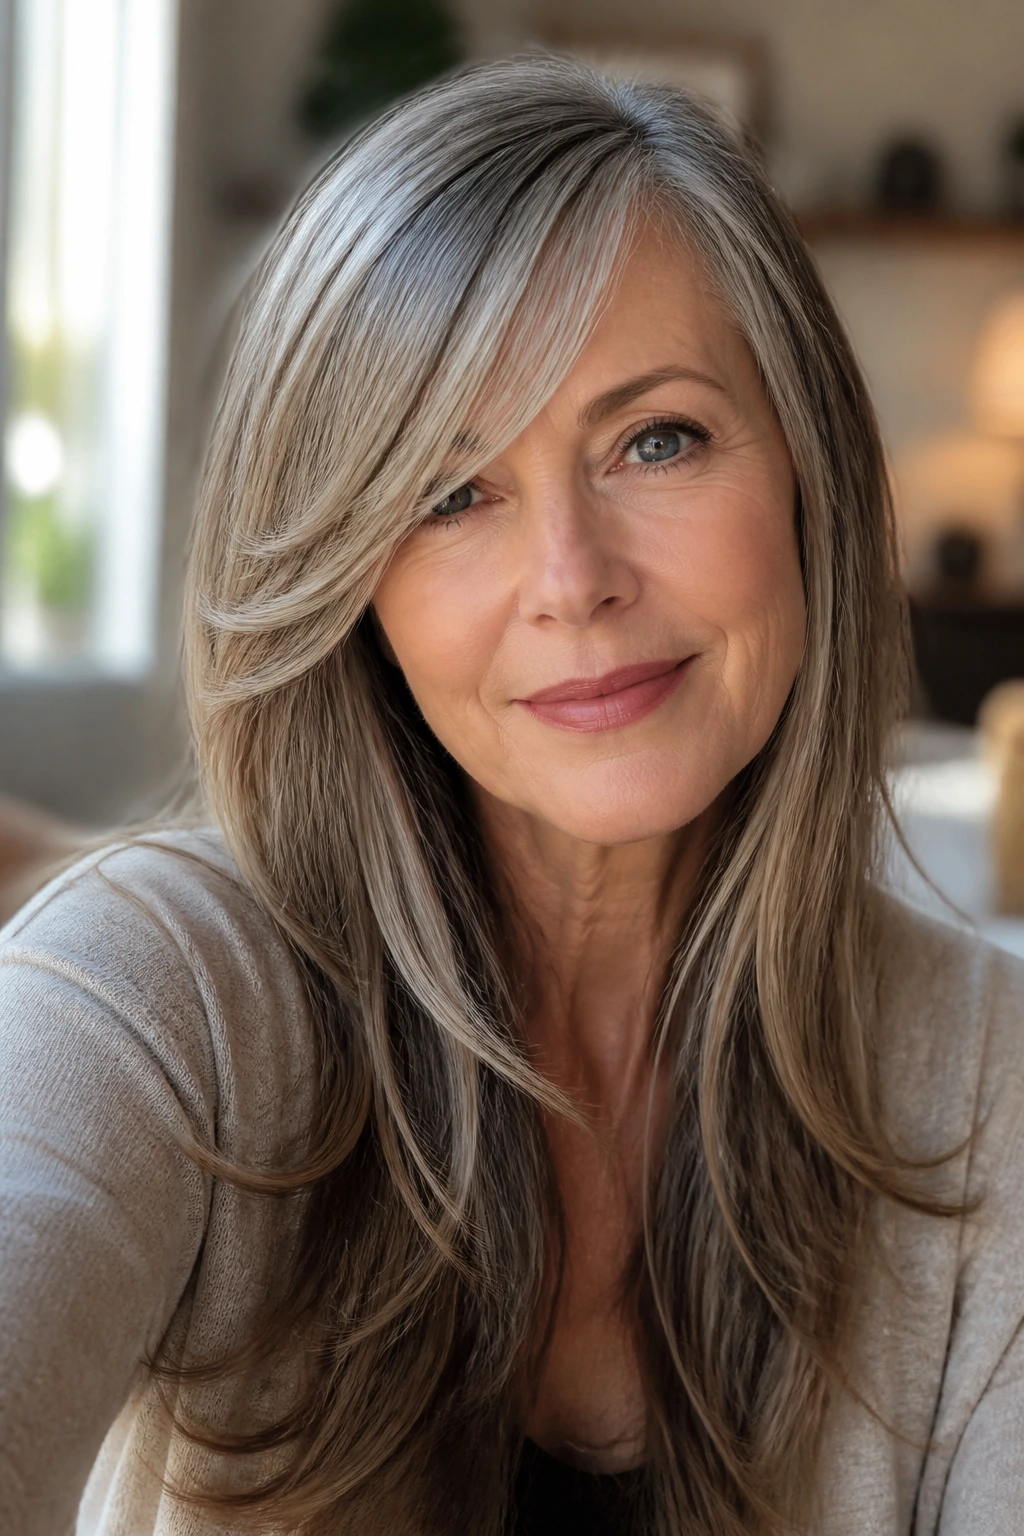
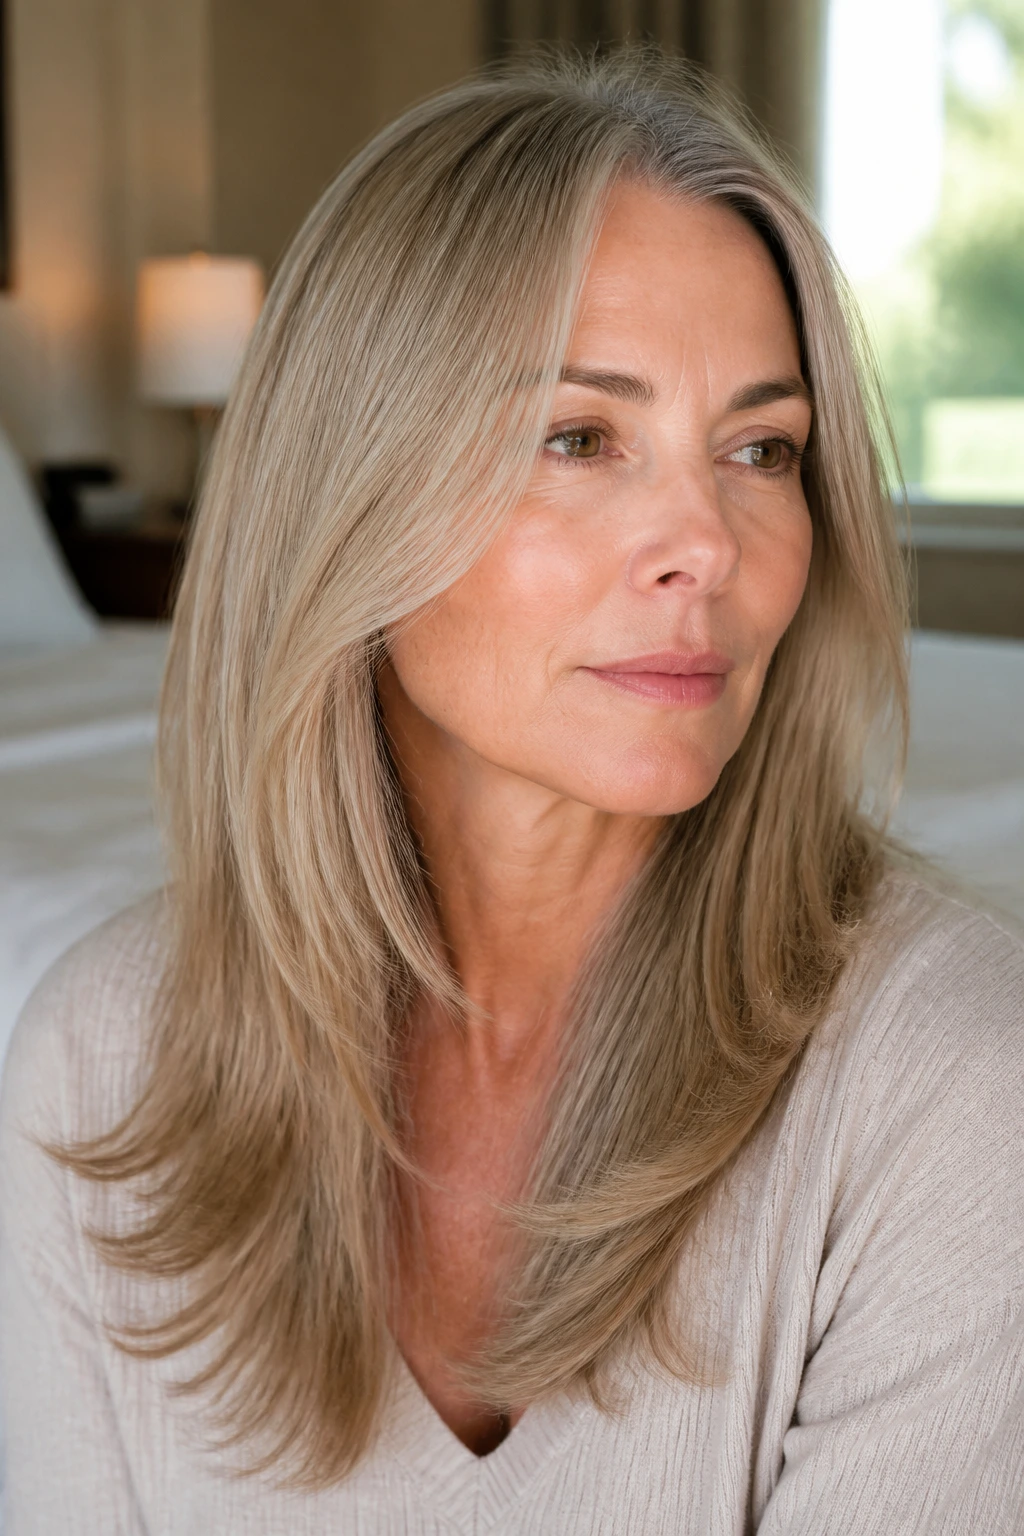
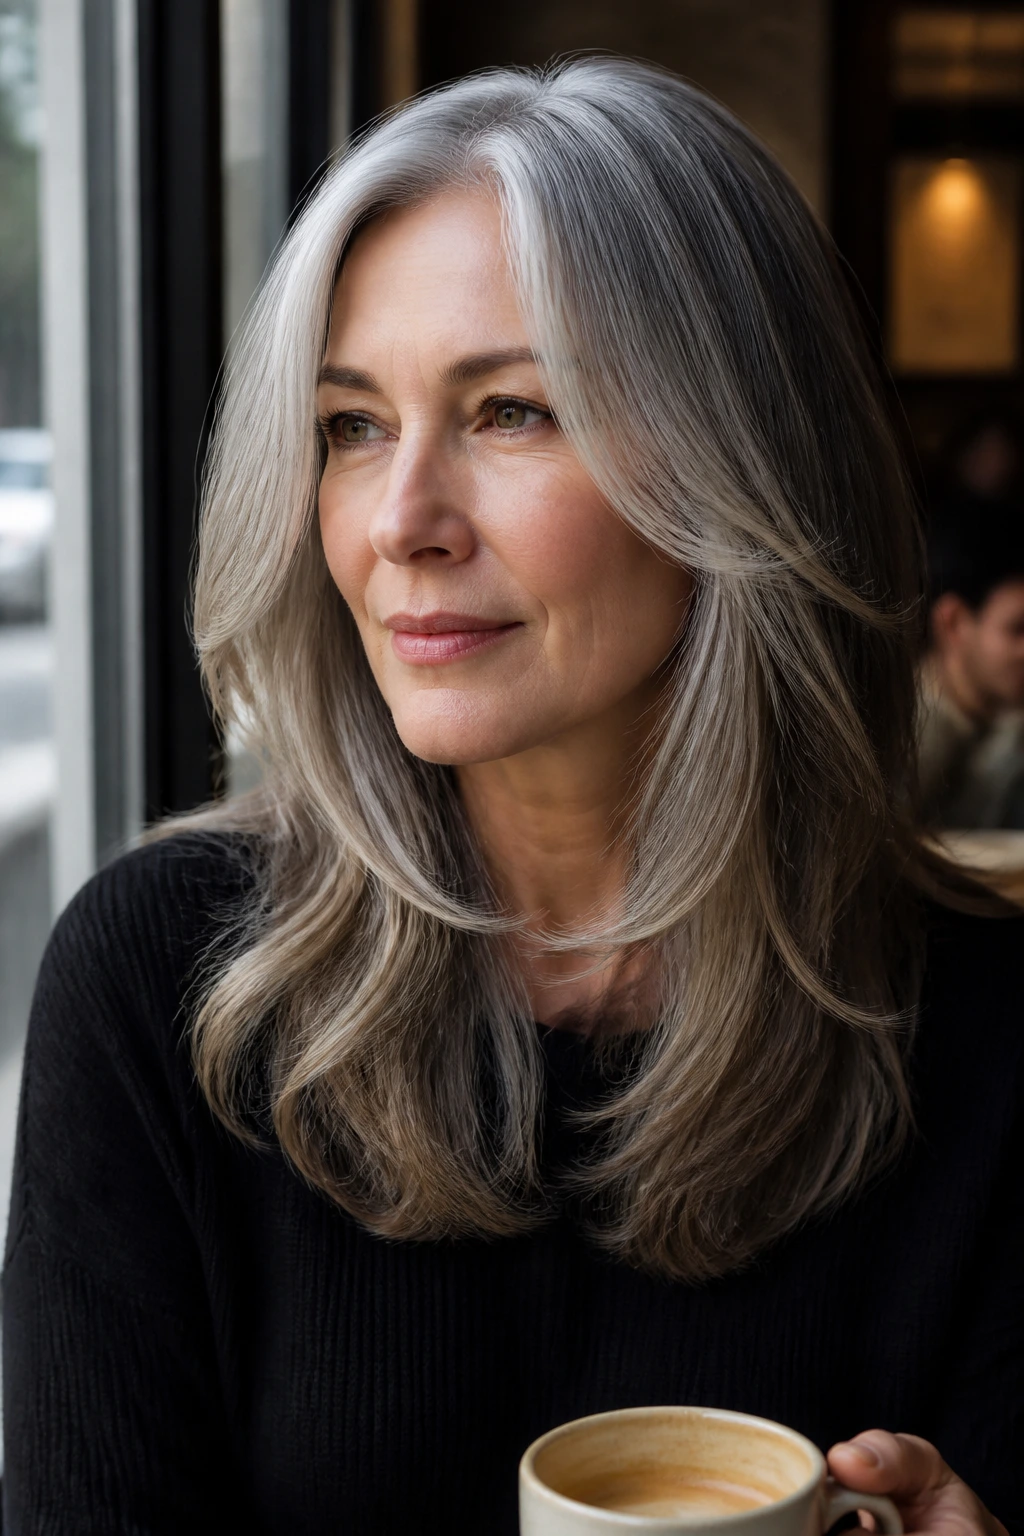
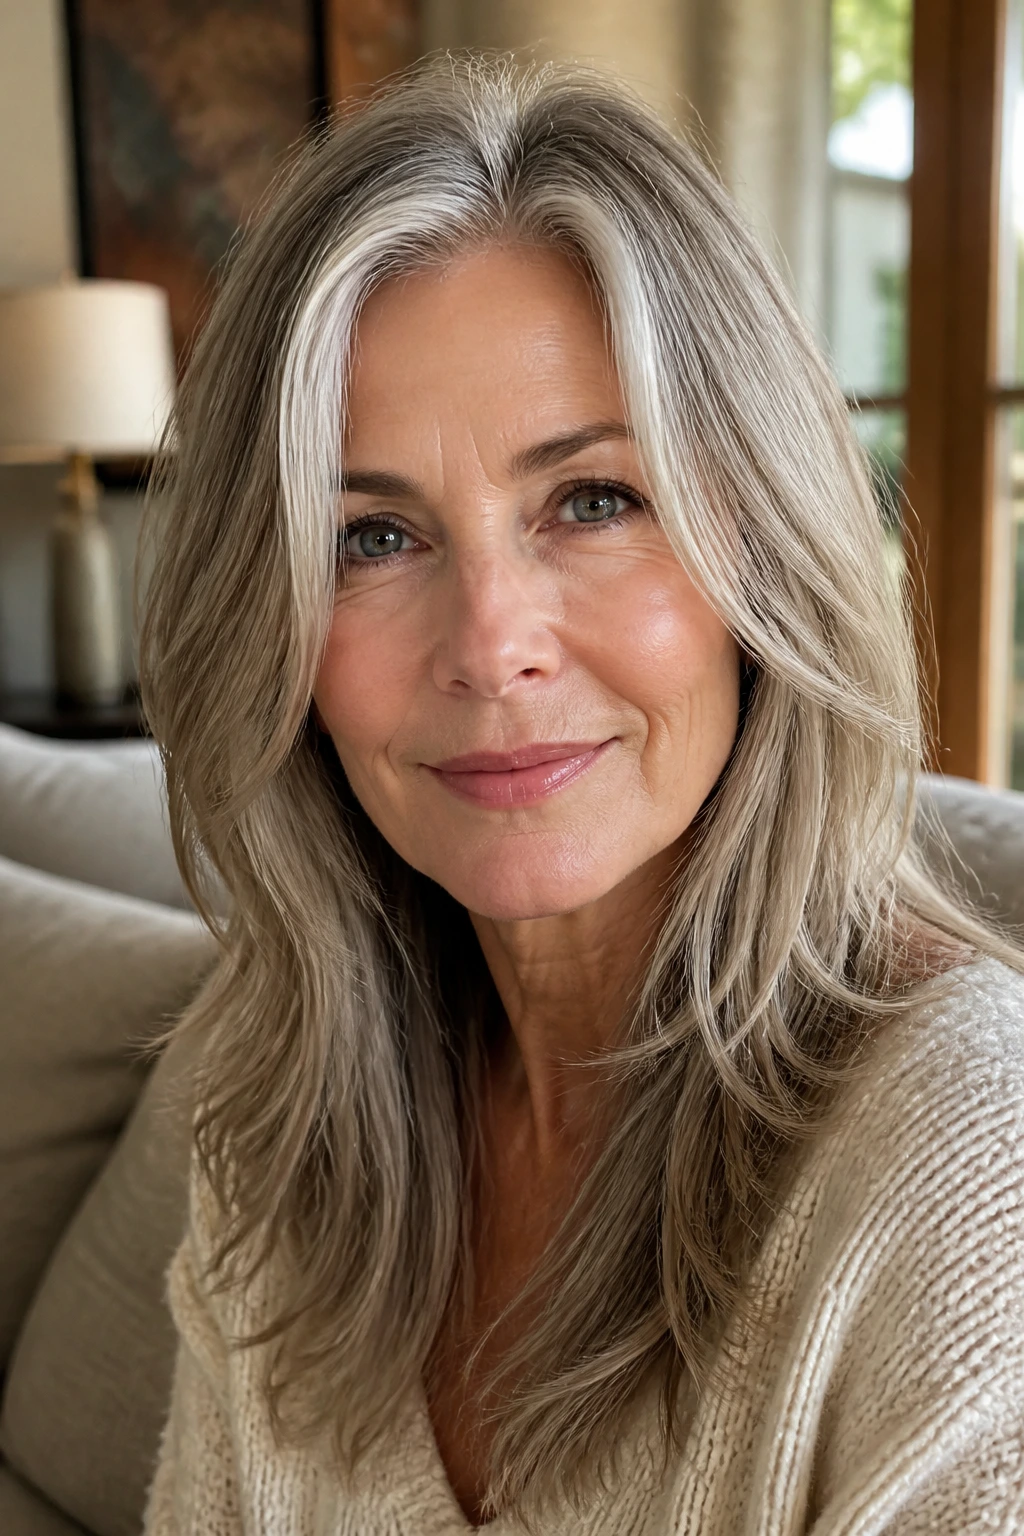
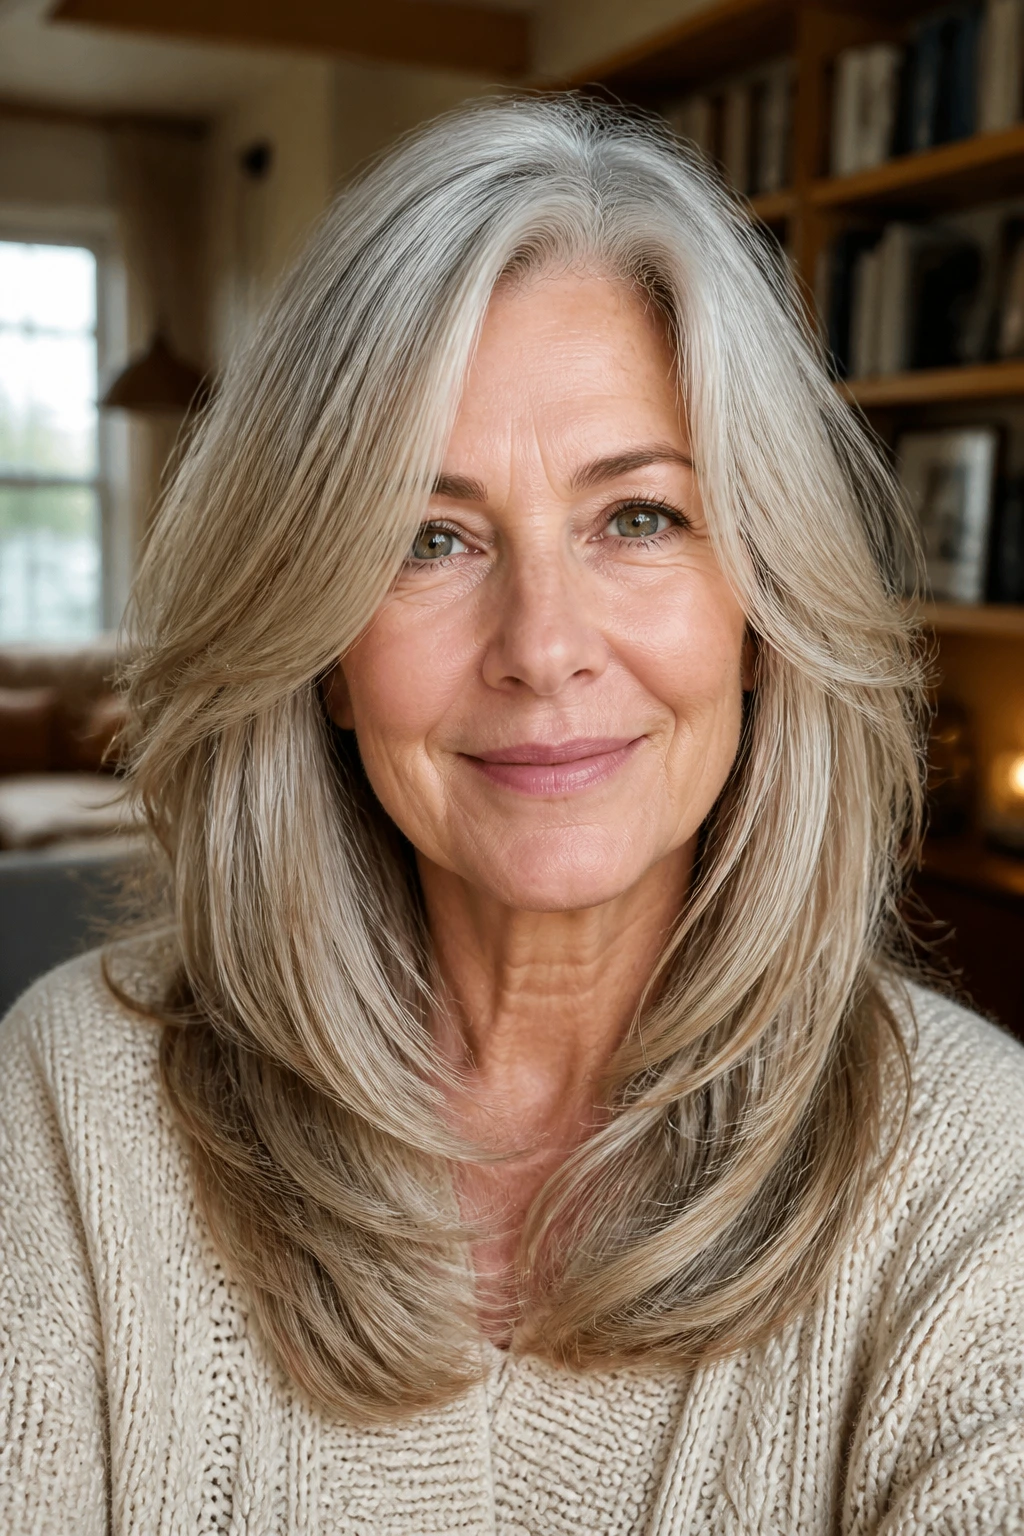
10. Airy Layers for Silver Hair
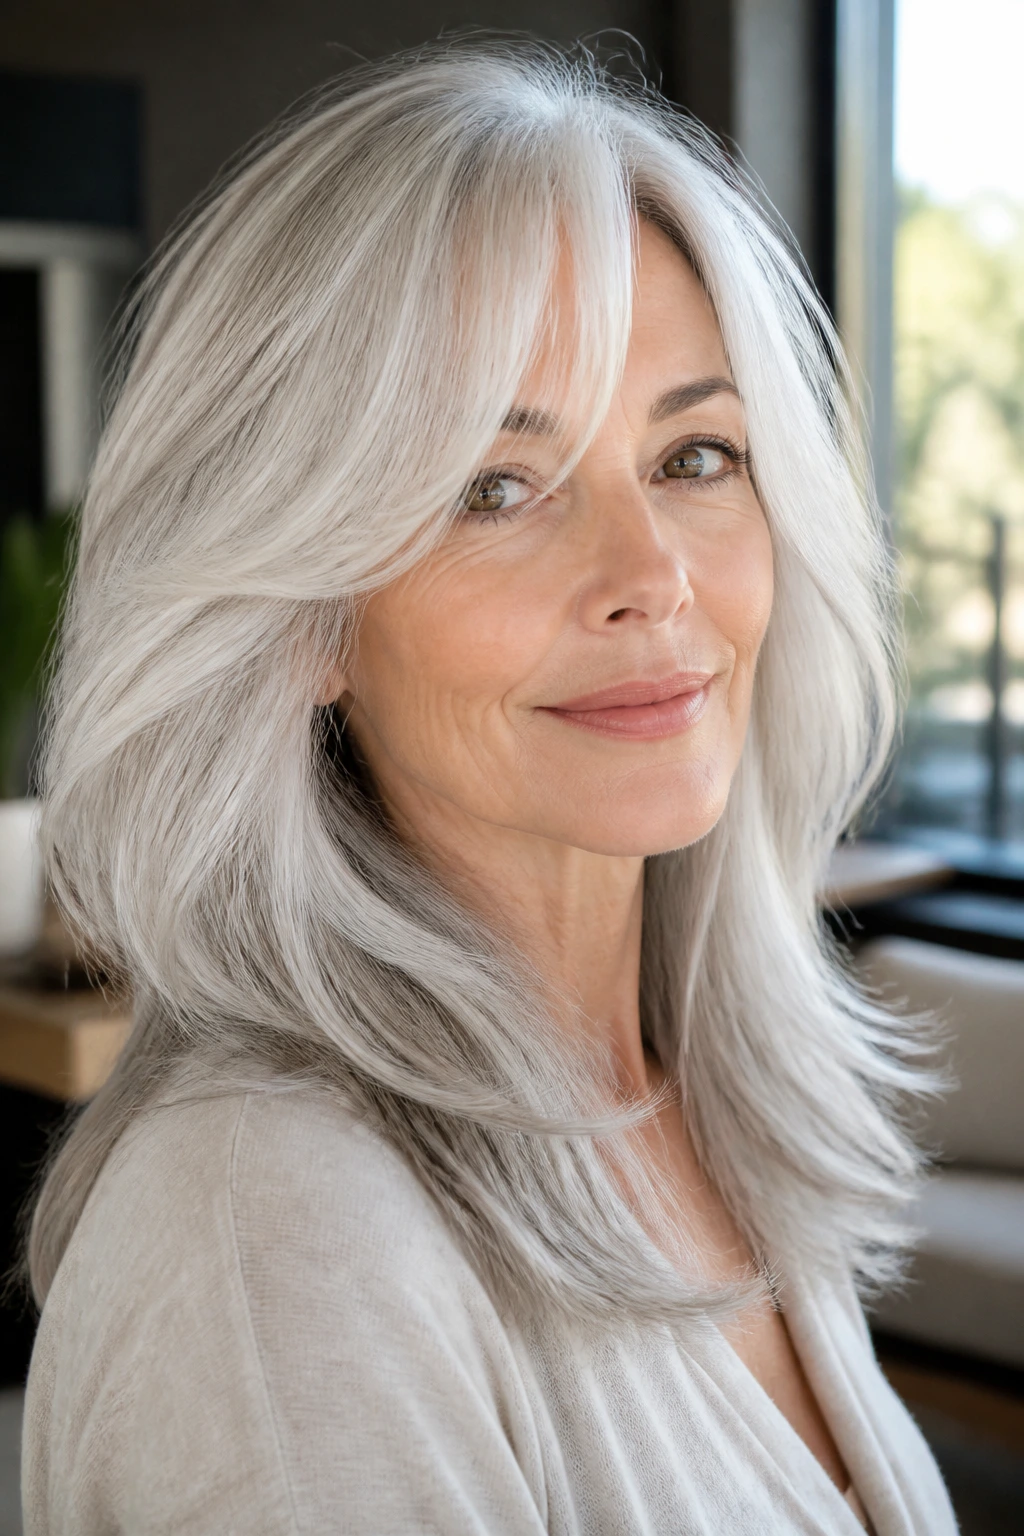
Silver hair has its own personality. It reflects light more sharply, and it can show blunt ends faster than pigmented hair does. Airy layers help by breaking up the line and giving the silver room to move instead of sitting like a single sheet.
The best silver cuts are not wildly feathered. They’re clean, soft, and shaped. A little movement around the face keeps the color looking intentional, especially if your natural silver has brighter streaks near the front. Those streaks can become the best part of the haircut.
Use a purple shampoo only when the tone starts going yellow, not as a daily habit. Over-toning can make silver hair look dull. A clear gloss or shine spray often does more good than another wash.
11. Shag-Inspired Layers Without the Choppiness
A soft shag isn’t the same thing as a choppy, over-textured cut from the wrong decade. The good version keeps the long length, then adds movement through the crown and around the cheeks. It has a little air, a little swing, and none of the jagged mess.
This is one of my favorite shapes for women who want a lived-in look without losing elegance. The front layers can begin around the mouth or cheek, then fold into the rest of the hair. If the cut is done well, you get that lifted, relaxed shape without sacrificing the clean line at the bottom.
Let it air-dry halfway, then finish with a round brush or a large brush dryer. A tiny bit of bend at the front is enough. Too much polish kills the point.
12. Side-Swept Fringe and Long Length
A side-swept fringe gives you face-softening without committing to a full bang. It works because the fringe enters the face at an angle, then disappears into the long layers. The line is gentle, not severe.
This shape is useful if you have a forehead you’d like to soften or if you simply don’t want hair sitting straight down the middle. The sweep can be tucked behind one ear for a cleaner look, or left loose when you want a little more coverage. It’s flexible that way.
Style note
A side-swept fringe looks best when the shortest point doesn’t end too far back on the head. If it starts near the crown, you’ll lose the face-framing effect. Keep the start point forward, then let the fringe drift.
13. Glasses-Friendly Layers
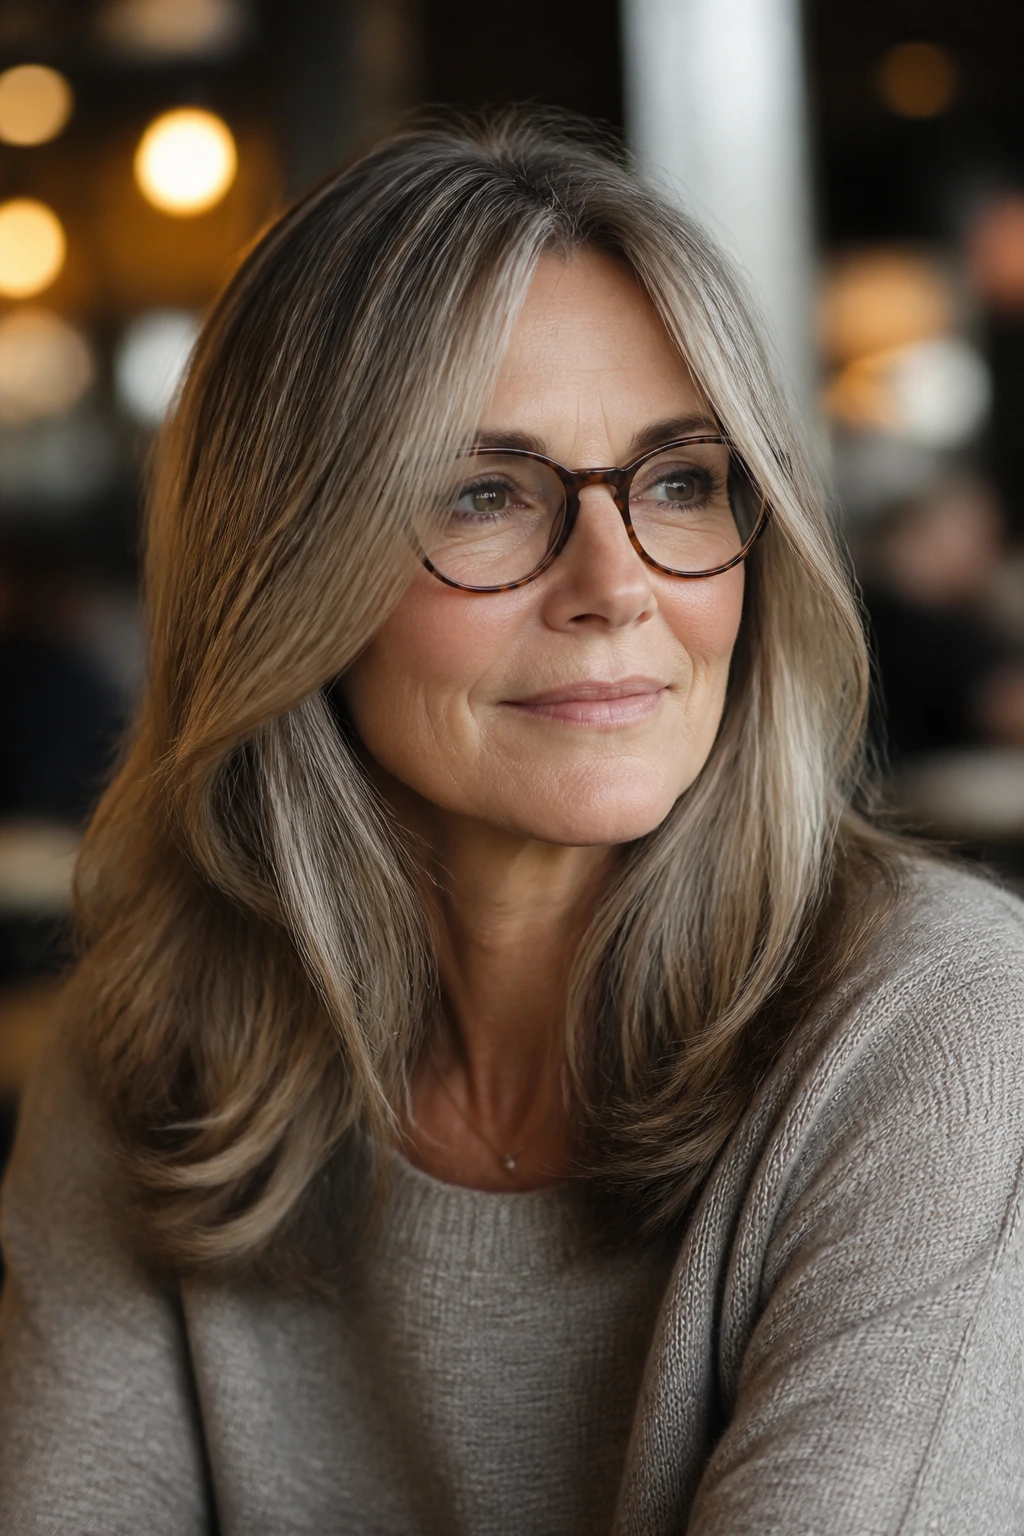
Glasses can make a great haircut better. They can also turn a bad one into a constant annoyance. The trick is making the front pieces clear the frames without sitting on top of them like a scarf.
Ask for layers that fall just below the frame line or sweep around the temples, depending on the shape of your glasses. If the ends hit the top edge of the frame every time you move, the cut will feel busy. That tiny irritant matters.
I like this cut with a side part or a soft middle part, especially if the frames are thick. It keeps the front open and lets your eyes stay the focus instead of the hair and the glasses competing for space.
14. Round-Face Balance Layers
Round faces need vertical movement more than width. That means the shortest face-framing pieces should sit below the fullest part of the cheeks, usually closer to the jaw or even the top of the neck. Short pieces at cheek level can make the face look wider than it is.
The smartest version keeps the line long and slightly off-center. A soft wave away from the face adds length without making the haircut stiff. You’re not trying to hide the face. You’re giving it a little stretch.
If you wear your hair straight, keep the ends beveled inward just enough to avoid a boxy shape. If you wear waves, let the front pieces curve away from the cheeks. That small detail changes the whole read.
15. Square-Face Softeners
Square jawlines look best with curves, not corners. That’s why the front layers in this cut should begin around the mouth or just below it and then arc around the jaw instead of cutting across it. The aim is to blur the angle, not fight it.
A center part can work here if the layers are soft enough, but a slightly off-center part often gives more movement. The key is keeping the front pieces from sitting too straight. Even a tiny bend helps.
What to avoid
- Chin-level blunt ends
- Heavy straight lines across the jaw
- Short pieces that stop right at the cheekbone
If your hair is naturally straight, use a round brush or a hot brush to put in a soft curve. Don’t flatten it with a flat iron unless you want the haircut to look severe.
16. Straight-Hair Movement Layers
Straight hair can be a gift and a curse. It looks neat, but it can also lie there like a board if the cut is too blunt. Long face-framing layers fix that by building movement into the front and softening the perimeter.
The cut should be subtle. Straight hair shows every line, so the layers need to be blended cleanly and the ends should be beveled, not hacked. A tiny outward flip at the front can make the whole thing feel more alive.
A smoothing cream the size of a blueberry is enough for the mids and ends. More than that, and straight hair gets greasy fast. People often reach for more product when the cut looks flat. Usually the real fix is better shape, not more serum.
17. Wavy Hair With a Bend
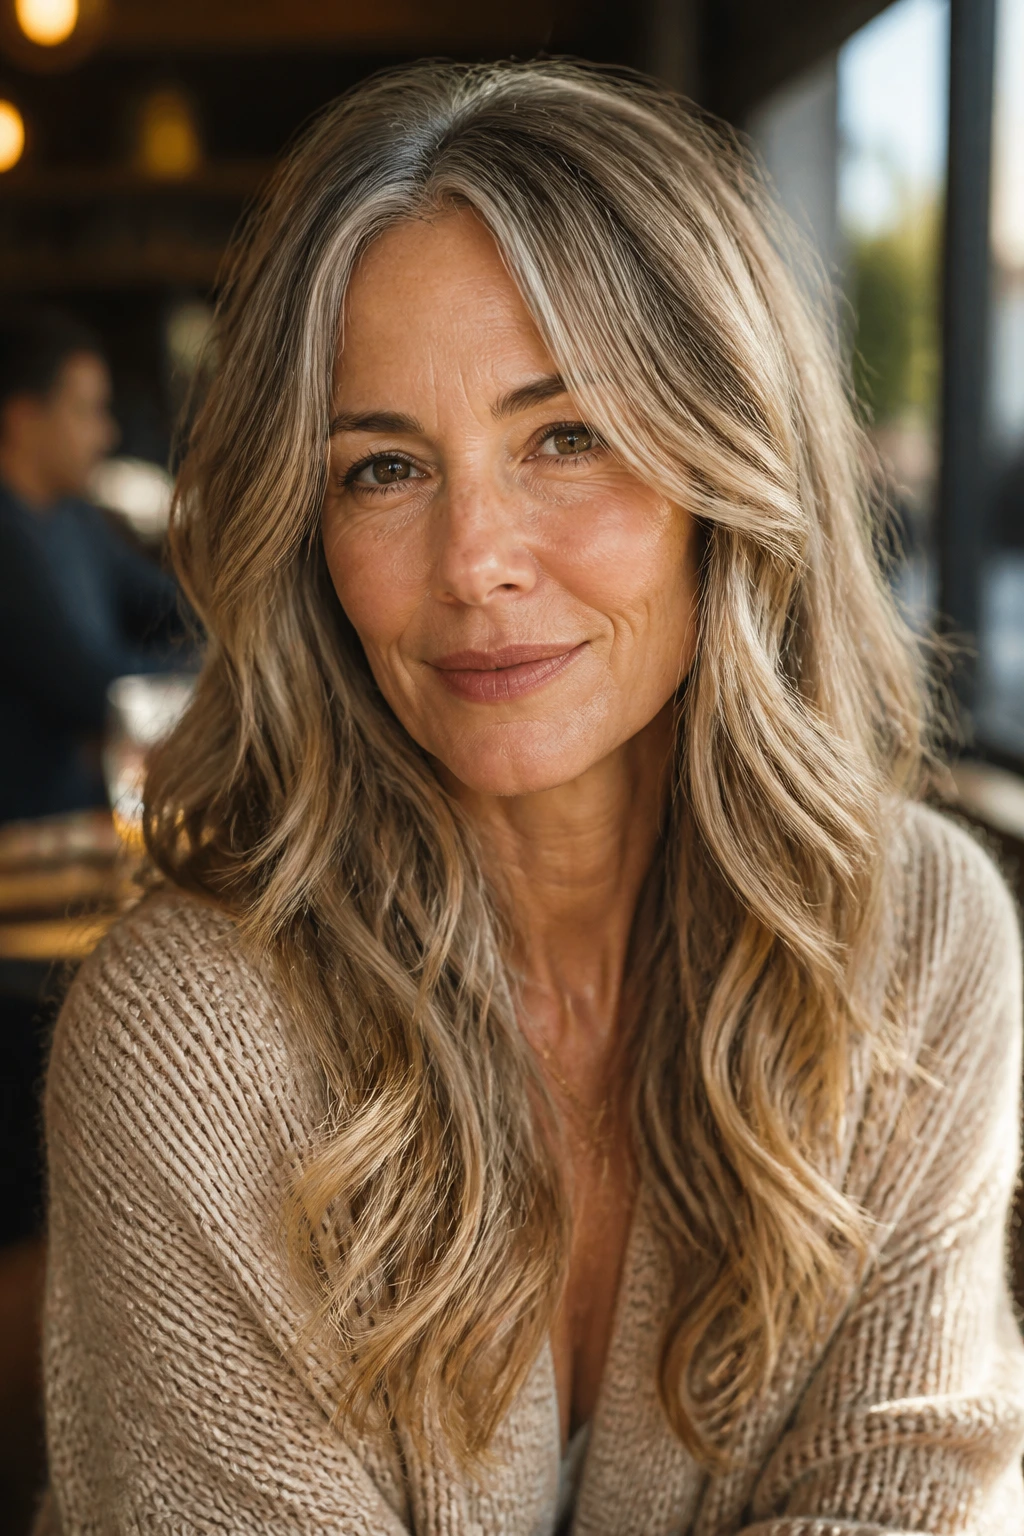
Wavy hair has its own agenda. Cut it too blunt, and it puffs. Cut it too high, and you get triangle shape. Long face-framing layers work well here because they respect the wave while giving it a place to fall.
For this shape, I’d keep the front a touch longer than you think you need, since waves spring up once they dry. A layer that looks perfect wet can sit too high in real life. That’s the annoying part. Also the useful part, once you plan for it.
How to style it
Use a curl cream or light wave foam on damp hair, then scrunch the front pieces forward and away from the face. If you want more polish, bend the front section with a medium brush and stop before it turns into a curl.
18. Curly Hair With Curl-by-Curl Framing
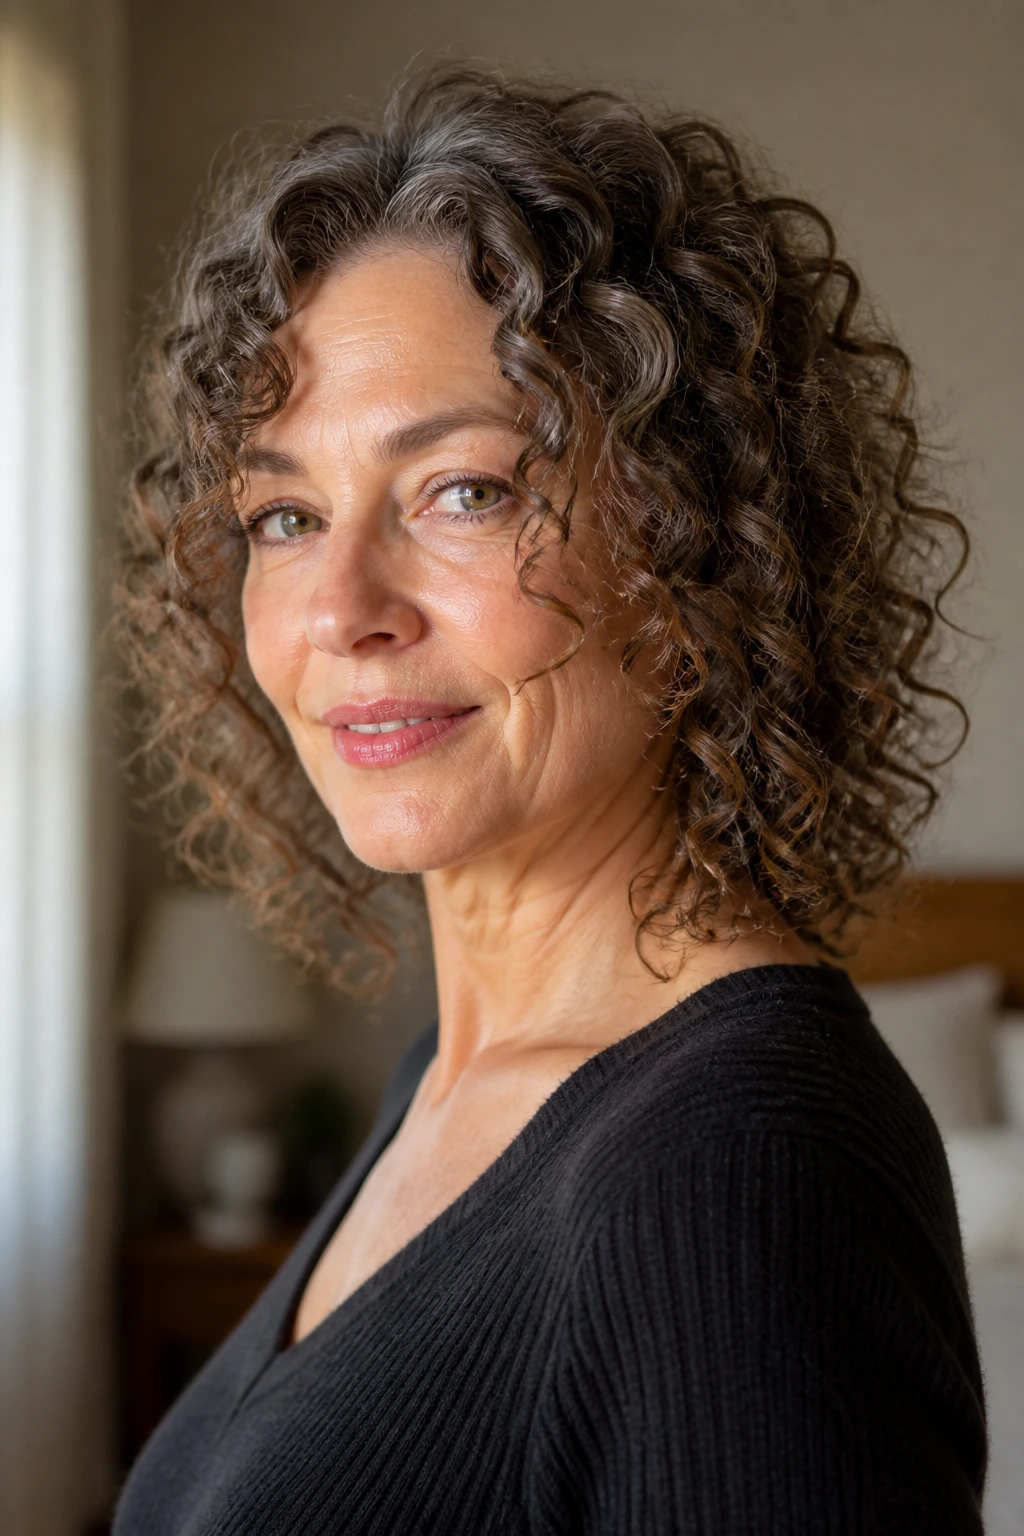
Curly hair should not be forced into a one-size-fits-all layer map. The curl pattern decides where the front frame lands, because shrinkage can take 1 to 3 inches off the visible length depending on texture and humidity. That is not a small thing.
A dry cut or curl-by-curl shaping lets the stylist see how the face frame sits where it actually lives. Long layers around the face should usually start lower than they would on straight hair. If you cut them too short, the curls bounce up and camp above the cheekbones in the wrong way.
Keep the perimeter full enough to hold shape. The best curly versions look soft, not shredded. One good curl cream and a diffuser on low heat will do more than ten passes with a brush.
19. Thick-Hair Bulk Removal
Thick hair can wear a lot of length, but it needs the weight taken out in the right places. The front frame should help the cut move around the face, not create little sticks of hair that stick out at odd angles.
The smartest move is to remove bulk underneath and keep the outer perimeter clean. If the stylist texturizes the top layer too much, the haircut can puff up near the cheekbones and lose shape by the second day. That’s a common mess, and it’s fixable only if you start with the right cut.
Half-up styles look especially good here because the front pieces fall naturally while the rest of the hair stays controlled. A large round brush and a little tension at the roots keep the shape from ballooning out.
20. Thinning-Hair Lift Without Loss
Thinning hair needs a steady hand. The cut should create lift at the front and crown without stripping away the density that makes the hair look healthy. Too many short layers can expose the scalp line and make the ends look thin fast.
Ask for face-framing pieces that start lower and blend gradually. The goal is a soft contour, not lots of disconnected texture. A bit of root volume at the crown can help the whole shape feel fuller, but the perimeter still needs to look solid.
Best tools for this shape
- Light mousse at the roots
- Root-lift spray at the crown
- Small Velcro rollers at the front
- A cool shot at the end of blow-drying
If the hair is fine and thinning, avoid heavy oils and thick creams. They collapse the lift almost immediately.
21. Crown-Lift Layers
Some cuts need more help at the top than around the cheeks. Crown-lift layers build that height first, then let the front pieces frame the face. The result is a haircut that feels lighter from the root down, not just prettier around the edges.
This is a good option if your profile looks flat from the side or if your hair has started sitting closer to the head than it used to. A slight lift at the crown can change the whole silhouette. Not a teasing wall. Just a little structure.
The front pieces should still remain long enough to skim the face. If the top is lifted but the front is chopped short, the haircut can feel disconnected. The best versions stay soft all the way through.
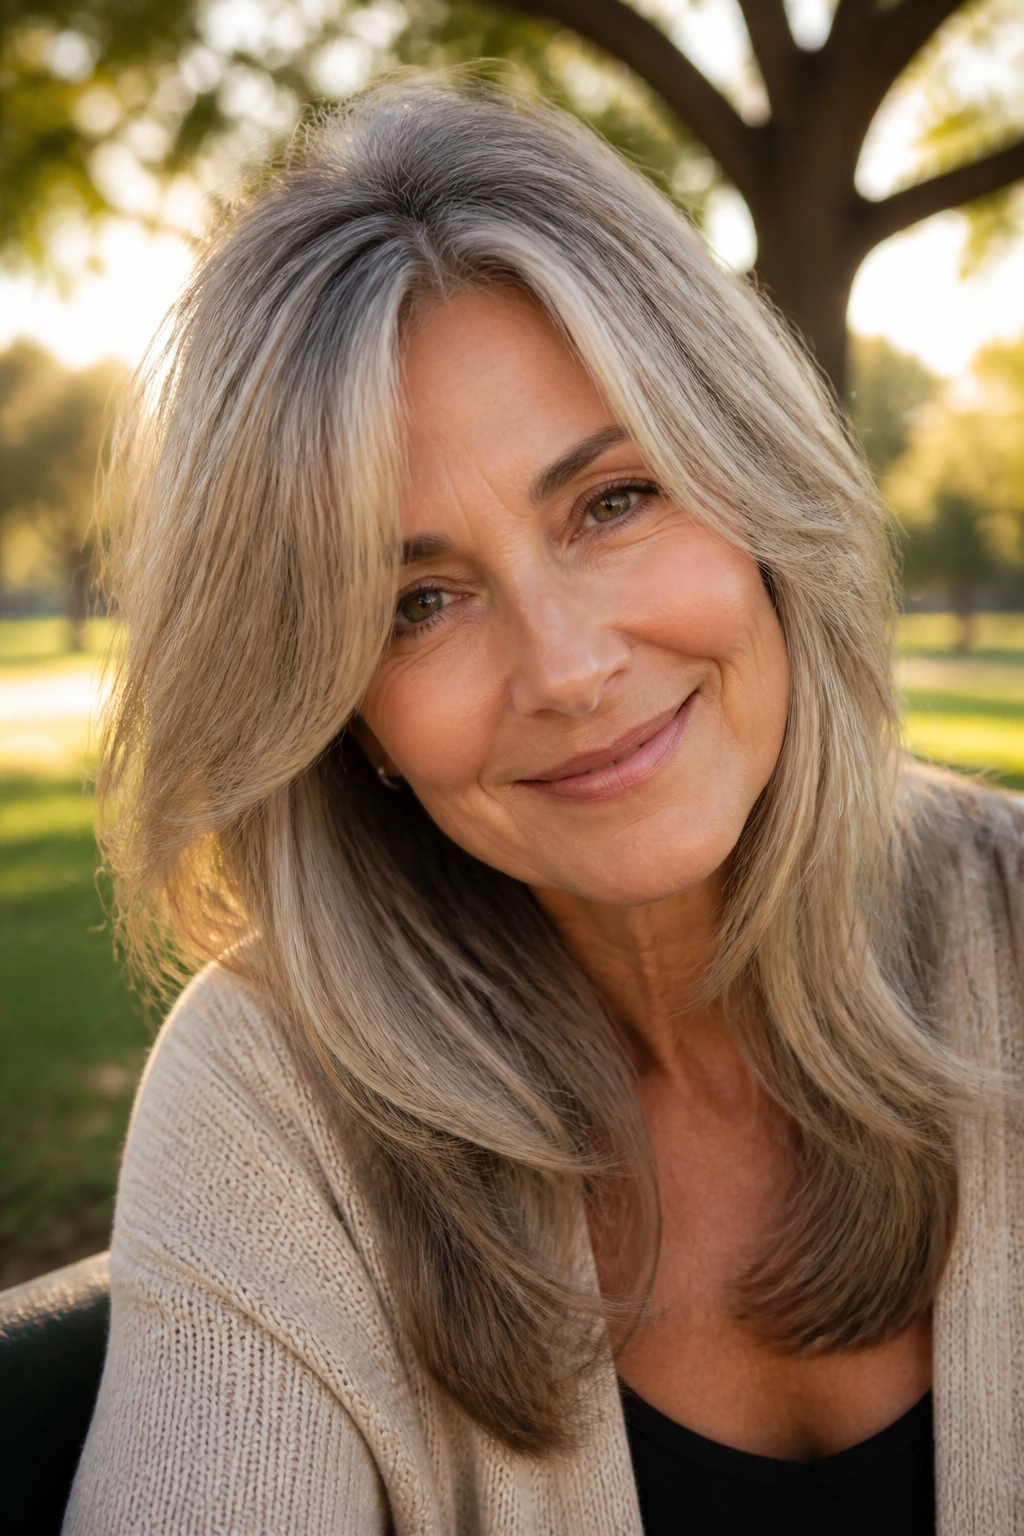
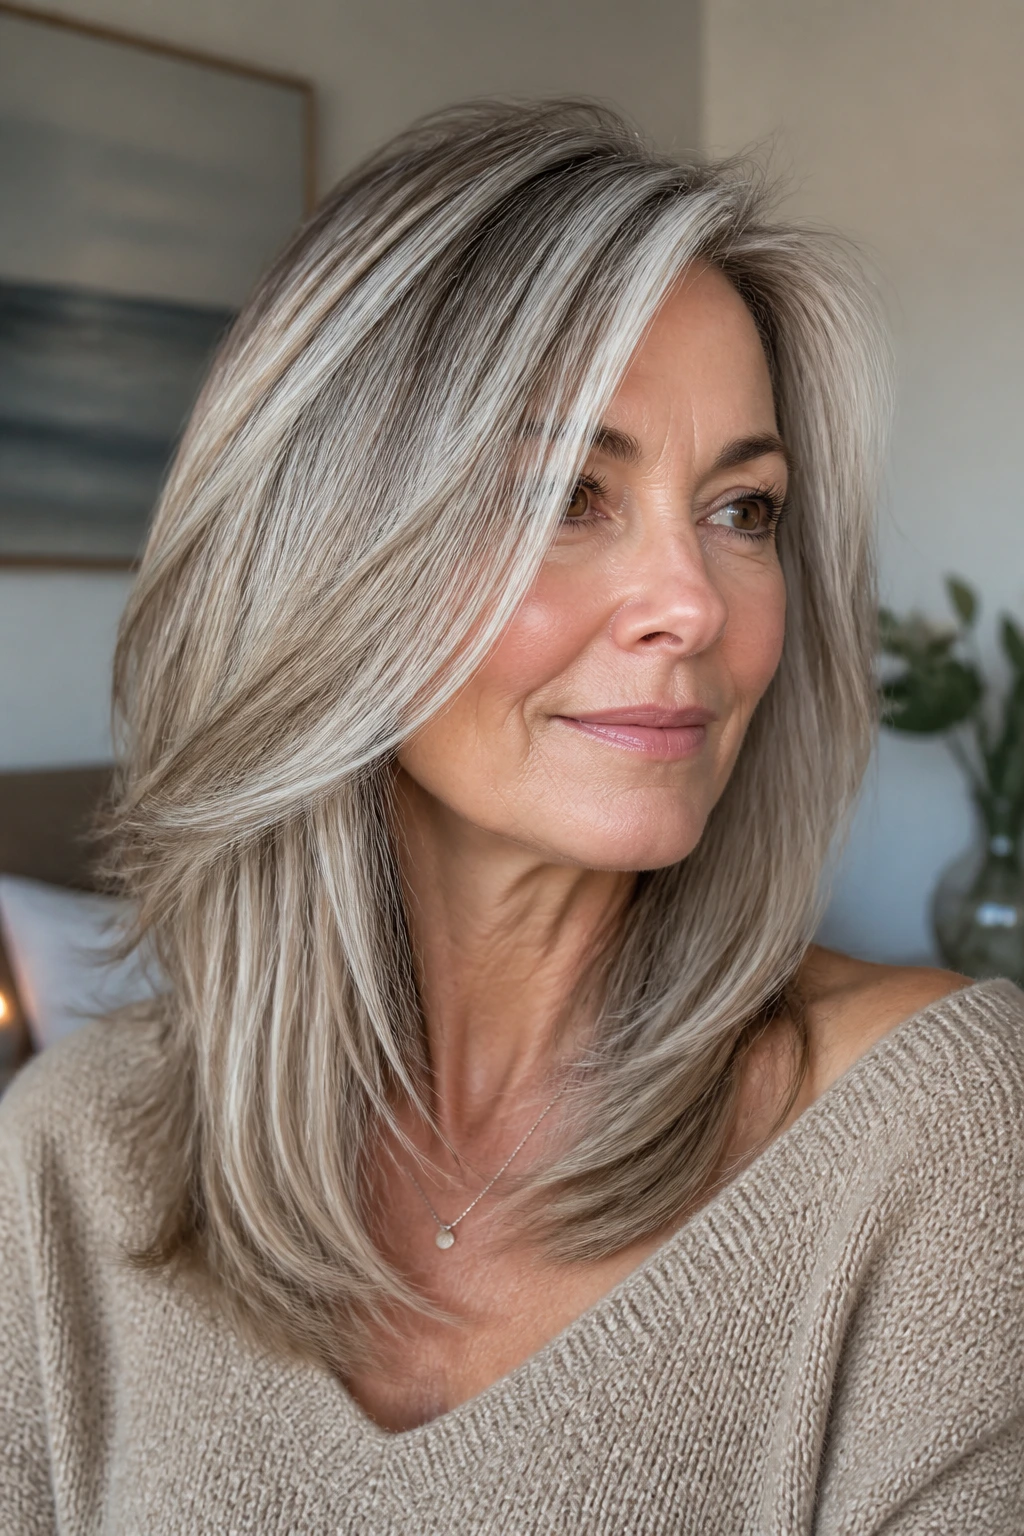
22. Gray-Transition Blending Layers
Gray transition hair often has a visible line where dyed lengths meet natural roots or silver regrowth. Long face-framing layers help distract the eye from that line by putting softer movement around the face and through the front edges.
A gentle layer around the cheek and jaw keeps the transition from looking harsh. It also gives the silver pieces a more deliberate shape, which matters when the color has different tones in the same head of hair. Some pieces will be bright, some duller, some almost white. The cut should make that mix look chic instead of accidental.
A clear gloss every few weeks can help the gray reflect light cleanly. If the ends are dry, use a light leave-in conditioner only on the lower half. Gray hair can be thirsty, but too much product turns it limp fast.
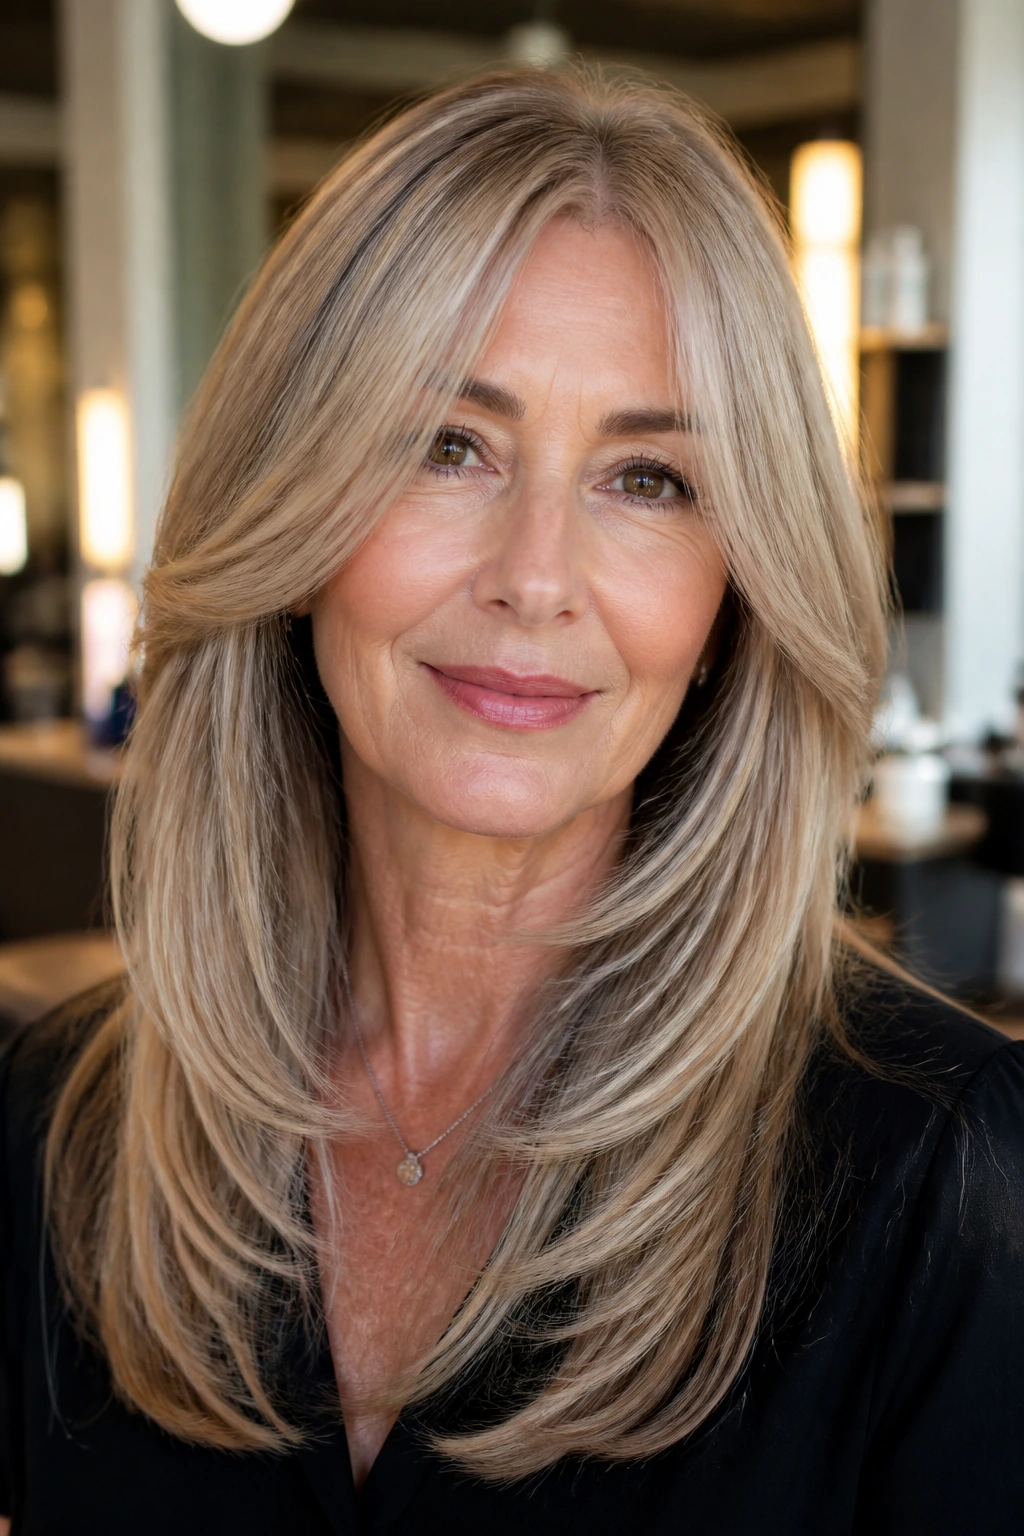
23. Balayage-Enhanced Face Frame
Face-framing layers and balayage are a strong pair because the color can trace the shape of the cut. Lighter ribbons around the face pull attention upward, and the layers make those ribbons more visible as the hair moves.
The first few inches around the face are the most important. A good color placement there can brighten the cheek area without turning the whole head blonde. That subtlety matters on mature hair, which often looks better with a mix of light and depth rather than one flat shade.
Ask for this
- Lighter placement around the front hairline
- Softer color toward the midlengths
- Enough depth underneath to keep the cut from looking washed out
If your base color is dark, keep the face frame a touch softer so the contrast doesn’t feel harsh. If your hair is already light, the job is about shine and placement, not brightness.
24. Low-Maintenance Grow-Out Layers
A good haircut should survive the first 8 weeks, not fall apart after the first shampoo. Low-maintenance grow-out layers are cut with that reality in mind. The front still frames the face, but the lines stay soft enough to keep working as the hair grows.
This is the cut I recommend to women who do not want a salon schedule running their life. The shortest pieces sit low, the perimeter stays solid, and the shape remains readable even when the ends have grown an inch. That’s a real advantage.
Skip aggressive razoring here. It looks lively on day one and tired by day twenty-one. A quiet grow-out is worth more than a dramatic first impression.
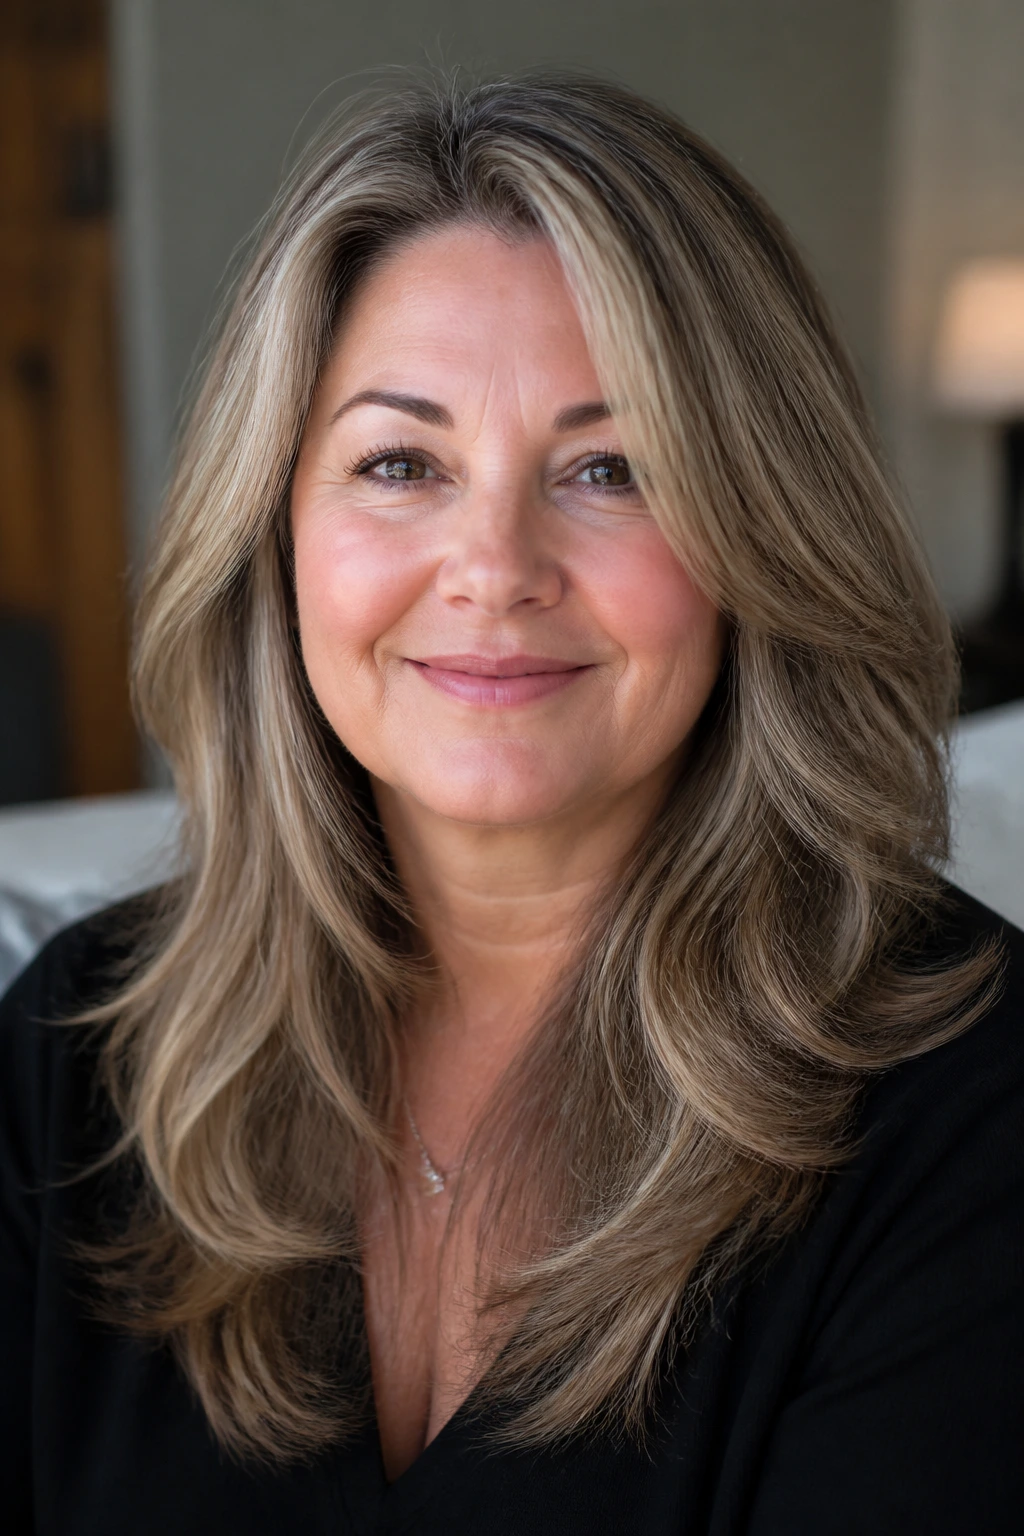
25. Blowout-Friendly Salon Shape
Some haircuts are built to air-dry. Others are built to behave under a brush, and this is one of them. A blowout-friendly shape gives the front layers enough curve to swing away from the face and enough structure to keep their line once the hair cools.
The best thing about this cut is how finished it looks with very little effort. A round brush, a nozzle, and a few clips at the front while you do makeup are enough to set the bend. If you like that polished, lifted look around the cheekbones, this is the one to ask about.
The front layers should not be too short, or they’ll flip awkwardly. They need enough length to drape, then curve. That’s the part a lot of home stylists miss when they try to recreate a salon blowout at home.
Why Long Face-Framing Layers Work So Well on Mature Hair
Hair after a certain point in life usually isn’t just “the same hair, but older.” The texture shifts. The density changes. The front can get finer while the back stays fuller, or the opposite happens. That’s why a long layered cut with face-framing pieces works so much better than a single blunt line on many women.
The real magic is in the diagonal. A layer that angles from the cheekbone to the collarbone creates motion without giving up length. That shape keeps the eye moving, which makes the face read softer and the hair feel less heavy. It also lets the stylist place volume where it matters most: around the eyes, around the temples, and just below the jaw.
The cut has to respect what the hair actually does. Thick hair needs weight removed underneath. Fine hair needs a gentler hand. Wavy hair needs enough length to spring. Curly hair needs room for shrinkage. Silver hair often wants softness and shine more than sharp texture. So yes, the phrase “face-framing layers” sounds simple. The execution is the whole game.
Tools That Make the Shape Easy to Style
-
1.5-inch round brush: Big enough to create bend, small enough to turn the front away from the face without making tight curls.
-
Blow-dryer with a nozzle: Direct airflow keeps the cut smooth and helps the layers lie where they were shaped.
-
Heat protectant spray: Use it on damp hair before any round-brush work or flat-iron touch-up.
-
Light mousse or volumizing foam: Good for fine or thinning hair that needs lift at the roots without stiffness.
-
Velcro rollers: Clip them into the front while you do makeup; they cool the bend faster than a brush alone.
-
Wide-tooth comb: Better than a brush for detangling wet hair, especially if the ends are fragile.
-
Smoothing cream: A small amount on the mids and ends can tame frizz in straight, wavy, or gray hair.
-
Silk or satin pillowcase: It reduces friction overnight, which keeps the front pieces from snagging and bending in weird spots.
What to Tell Your Stylist Before the Cape Comes Off
Bring photos. Two or three, not twenty. One should show the front, one the side, and one the length from the back. Then point to the exact part of the haircut you like: the cheekbone hit, the jawline angle, the collarbone bend, or the amount of fullness left at the ends. That matters more than saying you want “layers.”
Tell the stylist how you wear your hair most days. Straight? Wavy? Air-dried? Curled under with a brush? If you wear glasses, say it out loud. If you tuck one side behind your ear, mention that too. Those small habits change where the front layer should land.
For fine hair, ask for soft internal layers and keep the perimeter fuller. For thick hair, ask where the weight should come out. For curly hair, ask whether the cut should happen dry or in its natural pattern. And if you want the front to grow out cleanly, ask for a shape that still makes sense at 6 to 10 weeks, not only on day one.
How to Wear These Layers
Presentation:
Let the front pieces move. A quick bend away from the face, a clean center or side part, and a smooth finish around the cheekbones make the cut read as intentional instead of accidental.
Accompaniments:
These layers like glasses that sit well at the temples, earrings that show under the hair, and necklines that leave a little room around the collarbone. A tucked side can help the shape show up.
Portions:
If you want more lift, keep the shortest layer around the cheekbone or mouth. If you want more softness, let it fall closer to the chin or collarbone. That distance changes the whole balance of the haircut.
Beverage Pairing:
A mug of coffee and a 2-minute front section with Velcro rollers will get you farther than most complicated routines. The point is cool, lifted roots and a soft bend, not perfect curls.
Small Upgrades That Make the Layers Look Intentional
Lift:
A root-lift spray at the crown and along the front hairline does more than people think. Use it on damp hair, not dry hair, so it has something to hold.
Customization:
Face-framing highlights, a soft gloss, or a subtle lowlight under the layers can make the shape stand out without changing the cut itself. If your silver is growing in, a clean gloss on the lengths helps the front pieces catch light.
Finishing Touch:
Use the smallest bit of smoothing cream on the last 2 inches only. That keeps the face frame from puffing while leaving the body intact.
Make-It-Yours:
If you like movement, ask for slightly shorter front pieces and more bend. If you want calm and polish, keep the layers lower and the ends blunt-ish. A little adjustment goes a long way.
Common Mistakes That Flatten the Front
The first mistake is cutting the shortest layer too high. It can look lively in the chair and then sit like a helmet once you wash and dry it at home. If you want softness, keep the start point lower and let the front open gradually.
The second mistake is over-thinning thick hair at the ends. It removes the weight that keeps the haircut controlled, so the bottom starts to fray and the front loses its shape. Bulk should come out underneath, not all around the perimeter.
The third mistake is ignoring glasses and parting habits. A cut that fights your frames or assumes you’ll change your part every morning is a bad plan. Tell the stylist how you actually live. Haircuts should fit your habits, not the other way around.
The fourth mistake is using too much oil or heavy cream on fine or thinning hair. The front pieces collapse, the roots go flat, and the face frame disappears. Start light. You can always add a drop more.
Questions People Ask Before the Appointment
Will long face-framing layers make thin hair look even thinner?
Not if they’re cut with restraint. The mistake is too many short pieces and too much texturizing; a low, soft face frame can add movement without removing the fullness you need at the ends.
How short should the front pieces be?
For many women, the sweet spot is somewhere between the cheekbone and the collarbone. Round faces usually do better with longer front pieces, while square jaws often look softer when the front starts around the mouth or chin.
Do these layers work with glasses?
Yes, but the placement matters. Ask the stylist to keep the front pieces clear of the frame top and to leave enough room at the temples so the hair doesn’t crowd your lenses every time you move.
Can curly hair wear this cut?
Absolutely, though the cut should respect shrinkage. A curl-by-curl or dry-cut approach usually gives better results than cutting curly hair as if it were straight.
How often do I need a trim?
Most long layered cuts need a dusting every 8 to 12 weeks. If the face frame is short or you wear it styled every day, you may want a light trim closer to 6 to 8 weeks.
What if my hair flips out in weird places?
That usually means the shortest layer was cut too blunt or too high for your texture. A round brush, a low-pass flat iron bend, or a small adjustment at the next trim can usually calm it down.
Can I grow out a shorter cut into these layers?
Yes, and this is one of the better transition cuts. Long face-framing layers can connect a shorter shape to longer lengths without making the grow-out look awkward in the middle.
The Shape That Keeps Giving
The best thing about long face-framing layers is that they do not ask your hair to become something else. They work with the length you already like, then give the front a better job to do. That can mean more lift, more softness, more balance around glasses, or just a cleaner line when you glance in the mirror.
A good cut should make your hair feel lighter when you move and calmer when you don’t. These layers can do both. They’re small changes on paper and big changes in a room with bad bathroom lighting, which is where most haircuts eventually have to prove themselves.
If you’re ready to talk to a stylist, bring a photo, point to the cheekbone or collarbone, and be specific about how much hair you want to keep. That’s where the good version starts.