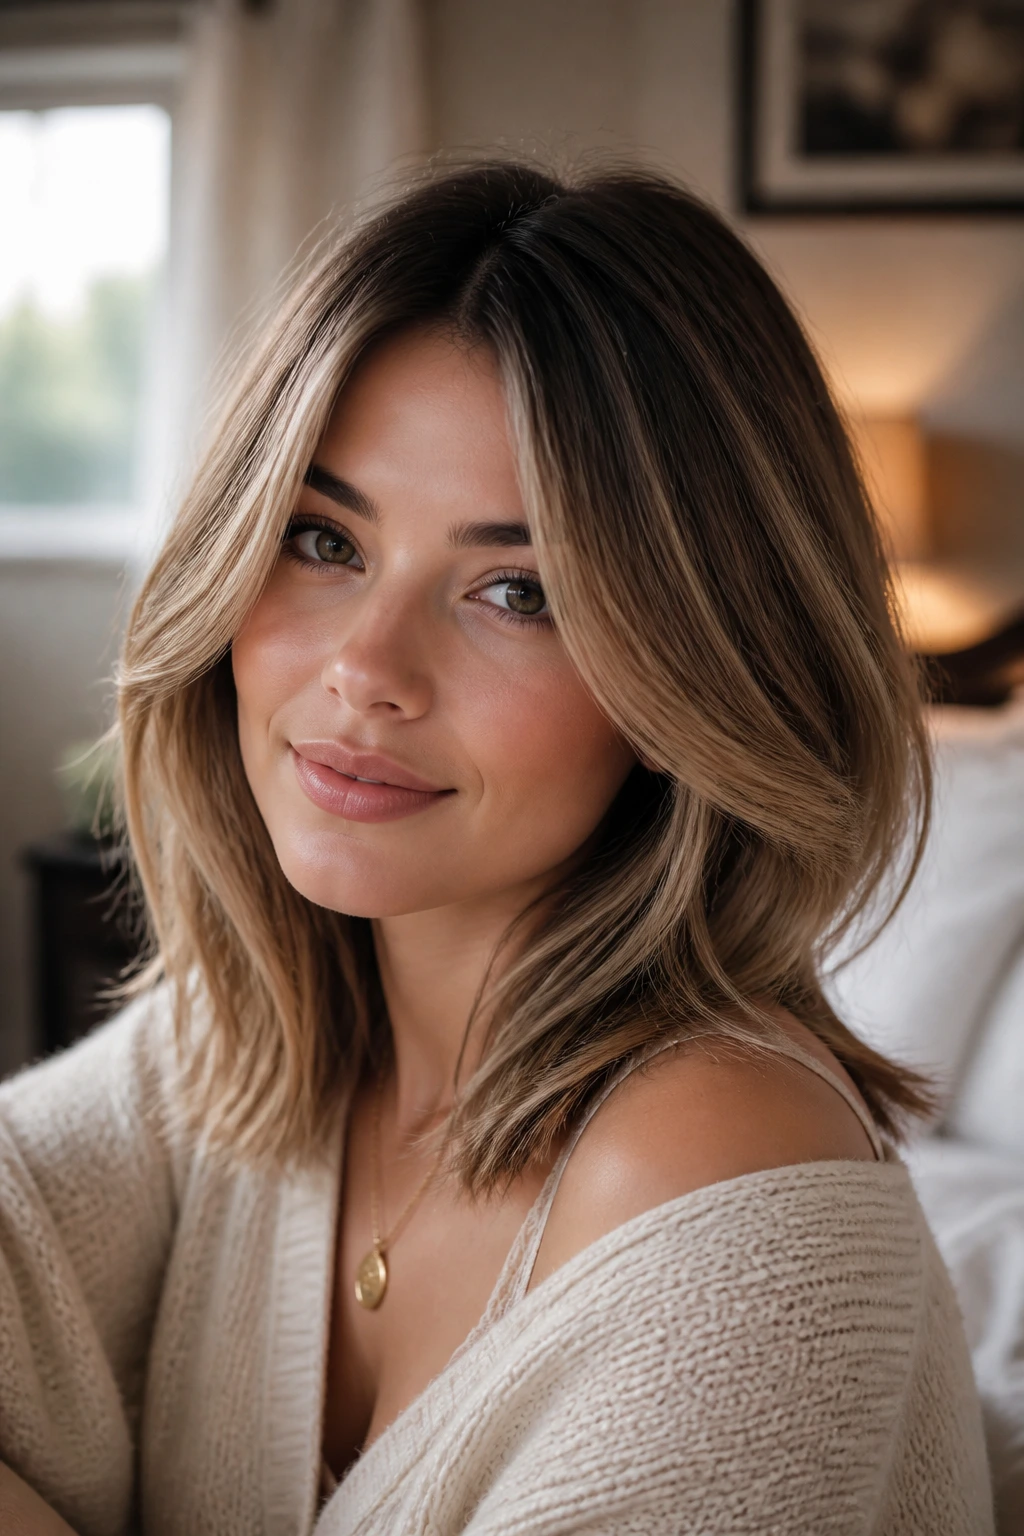
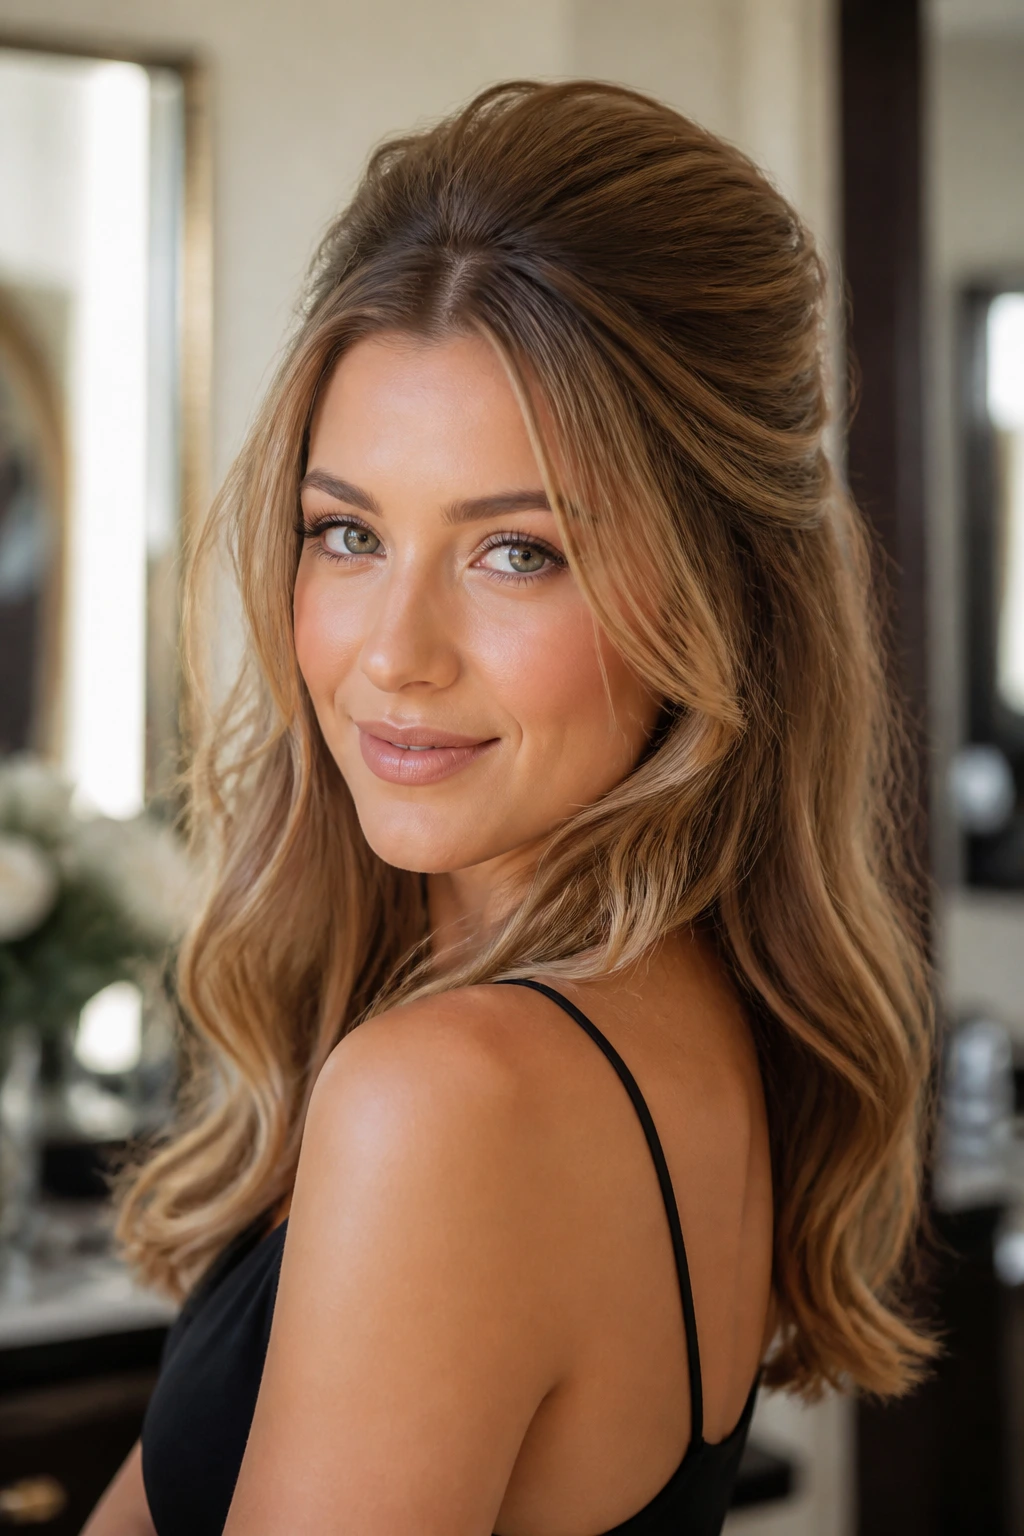
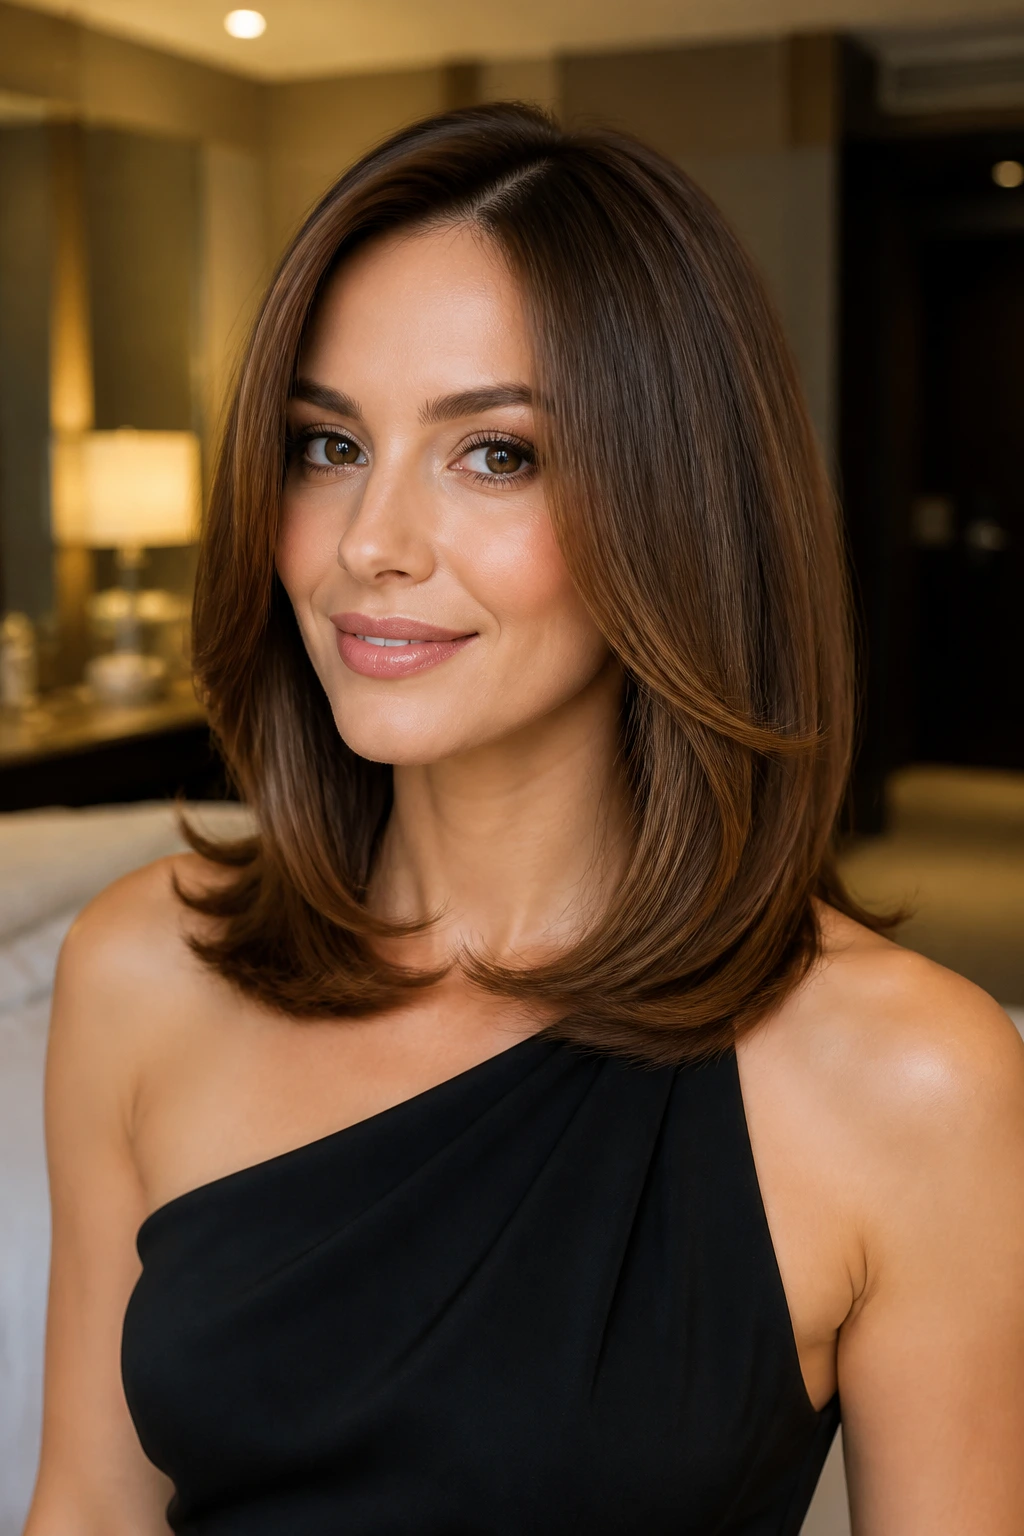
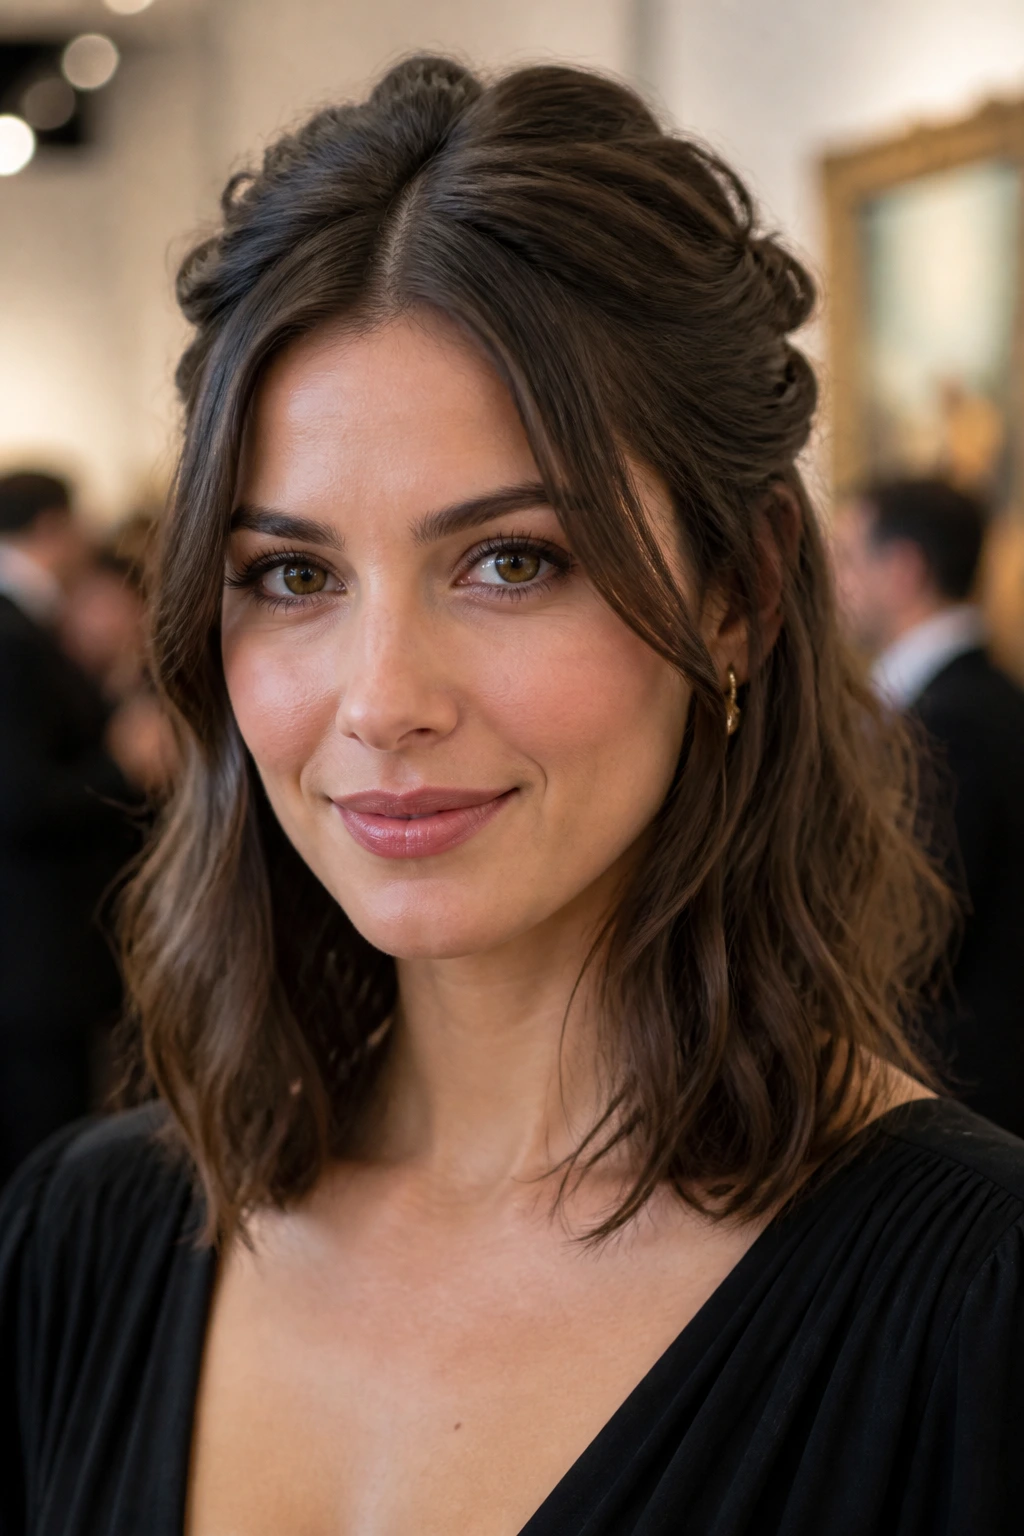
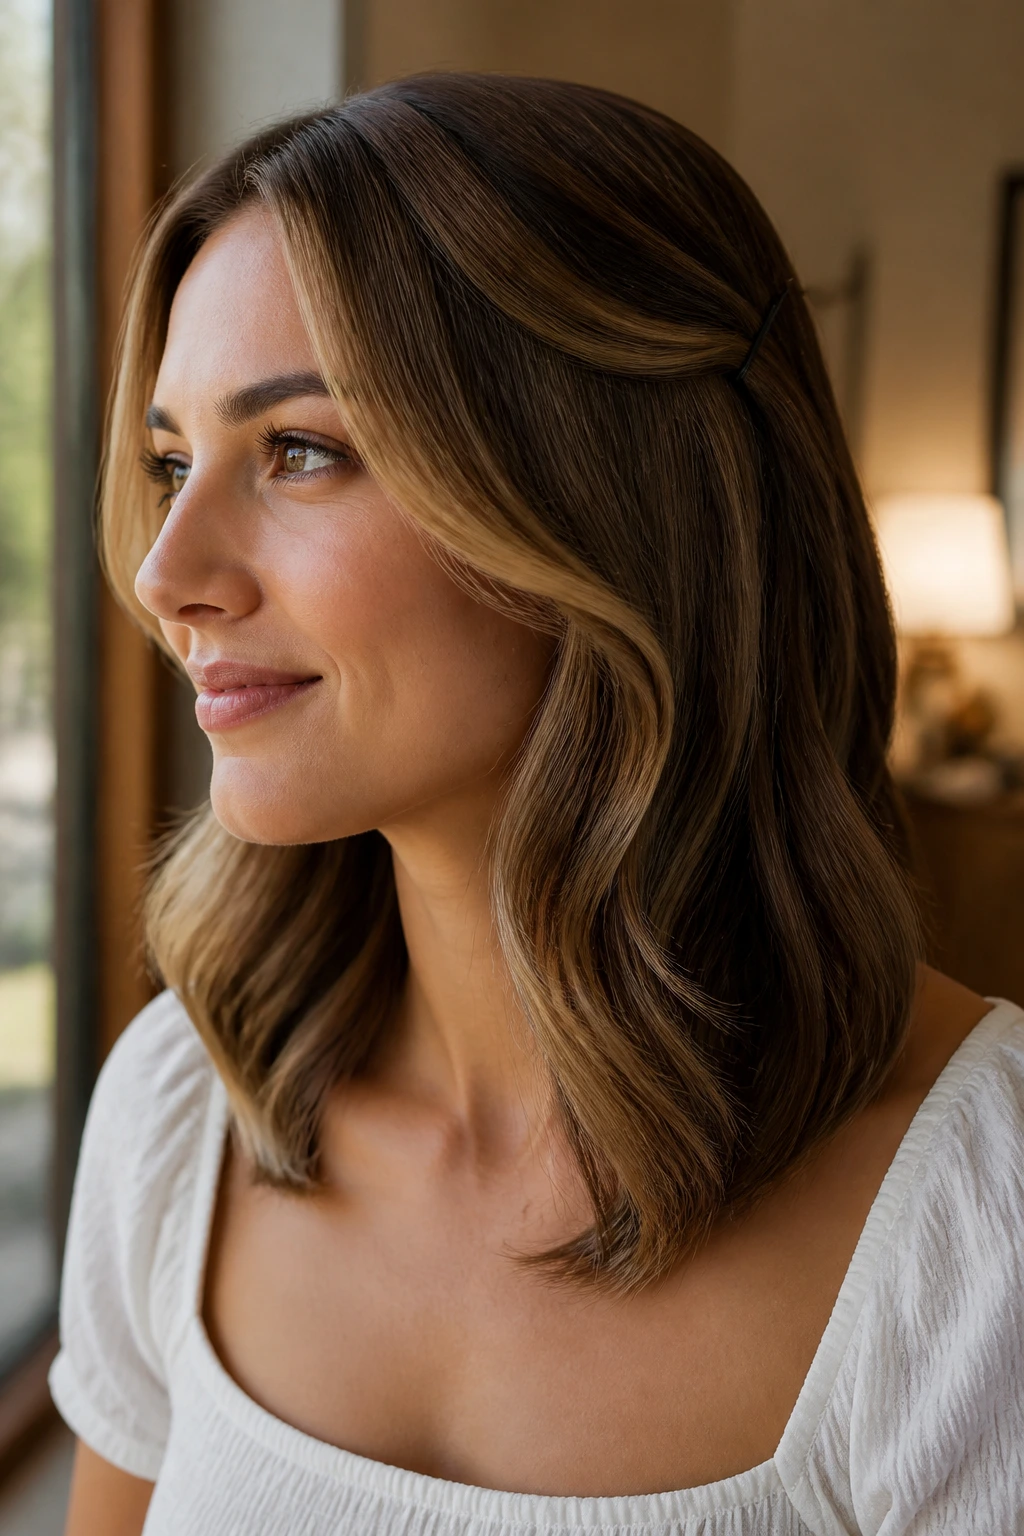
Medium hair with soft layers has a useful little trick: it can look styled without looking stiff. The layers keep it from sitting like one heavy sheet, which matters the second you start pinning, curling, or twisting it for an event. A shoulder-grazing cut with face-framing pieces will bend faster around a brush, hold wave shape with less effort, and still leave enough length for an updo that doesn’t fall apart before the appetizer course.
If you’ve ever watched layered hair escape from a bun one tiny piece at a time, you already know the challenge. Medium length is a sweet spot, but it’s not a lazy one. The front pieces need direction, the crown needs a little lift, and the ends need to be told what to do, or they’ll choose chaos. That’s also why these styles matter: they’re built around how layered hair actually behaves, not how a stock photo says it should behave.
The best event hair on this length isn’t trying to fake waist-length glamour. It’s using the movement that soft layers already give you. That’s the whole advantage here. Clean lines, loose texture, polished pieces around the face, and just enough hold to survive a long night.
Why These 25 Styles Work on Medium Hair with Soft Layers
- Built-In Movement: Soft layers stop medium hair from collapsing into one flat shape, so curls and twists still show dimension after they’re brushed or pinned.
- Less Weight, Better Hold: A collarbone-length cut doesn’t drag the style down the way longer hair can, which means buns and ponytails stay lifted longer.
- Face-Framing Control: Those shorter pieces around the cheeks and jaw can be left out on purpose, giving the style shape instead of making it look unfinished.
- Easy Volume at the Crown: A small amount of root lift goes a long way on medium hair, especially when the cut already has some internal movement.
- Accessory Friendly: Pins, clips, ribbons, and combs sit neatly on layered medium hair because the texture gives them something to grip.
The real advantage is balance. You get enough length to twist, braid, and wrap, but not so much that every style turns into a 20-minute battle with gravity. Medium hair with soft layers behaves best when you let the cut do some of the work.
1. Glossy Blowout with Curved Ends
A clean blowout is the style I reach for when the dress is doing most of the talking. On medium hair, the curved ends sit right around the collarbone or just below it, which gives the look movement without the weight of long hair. The soft layers at the front bend away from the face in a way that feels polished, not frozen.
Why the Curve Matters
The little bend at the ends is doing more than looking pretty. It keeps layered hair from splaying out in a blunt line, and it gives the face-framing pieces a softer finish. Use a 1.25-inch round brush or blow-dry brush, aim the ends inward, then flip the last inch slightly under with the brush.
- Best for: cocktail dresses, rehearsal dinners, and events where you want shine more than drama.
- Use: heat protectant, root-lift spray, and a light serum on the ends only.
- Avoid: drowning the roots in oil. The style goes limp fast.
Tip: If your hair slips flat by the time you’re dressed, clip the crown up while it cools. That one move matters.
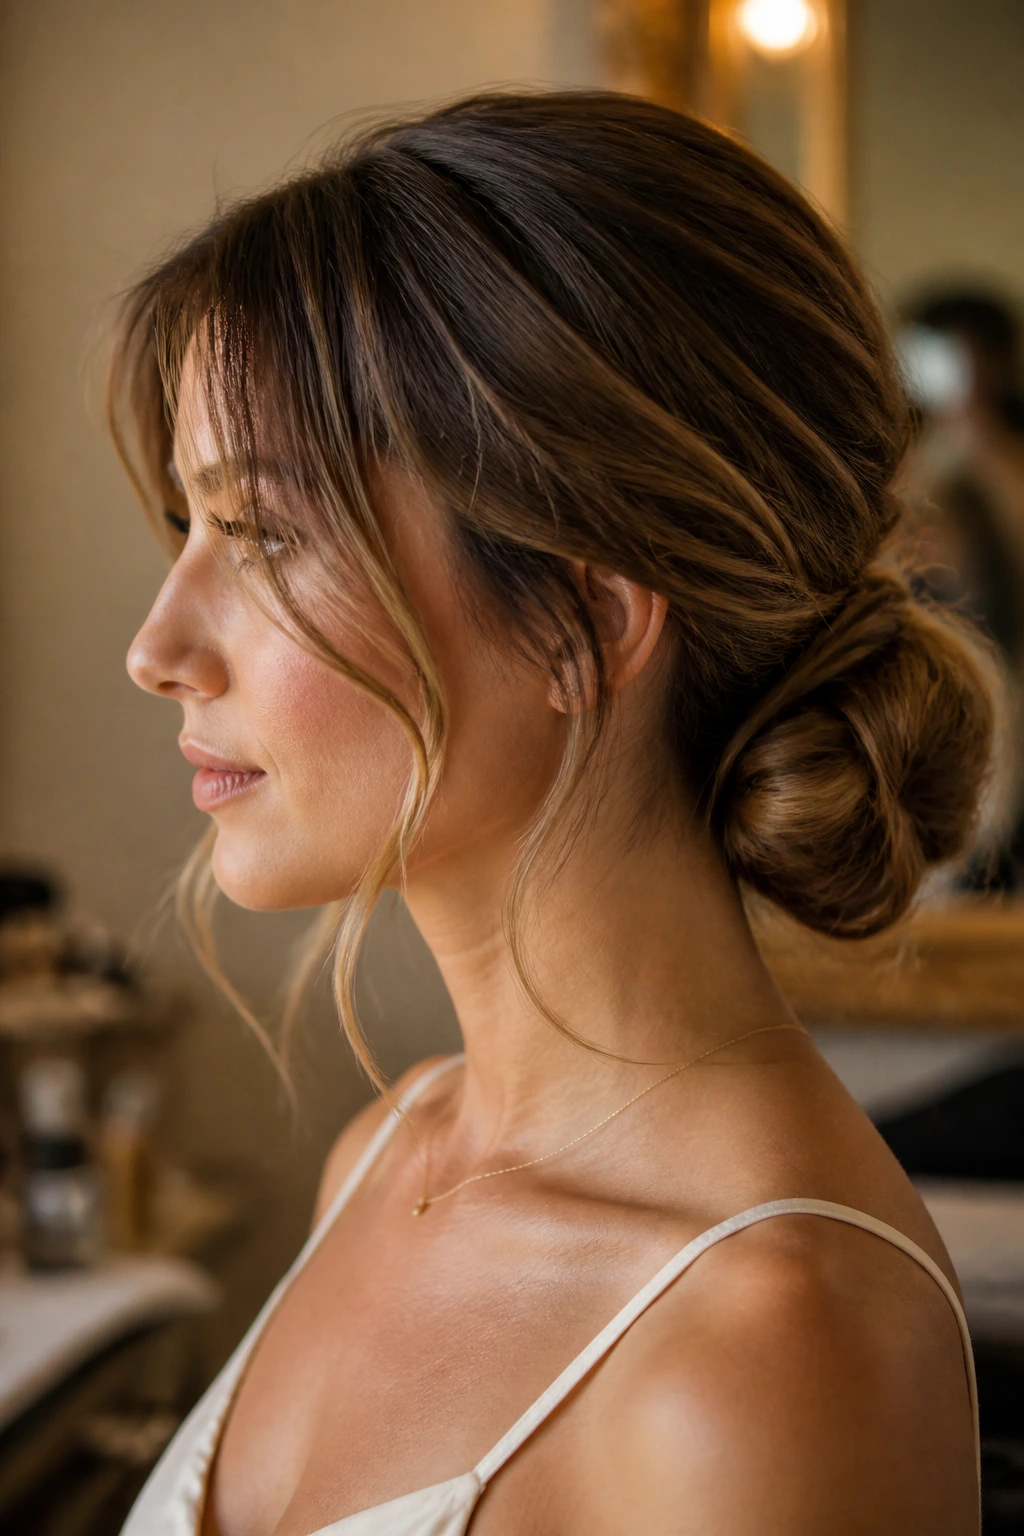
2. Low Chignon with Face-Framing Pieces
This is the hairstyle I trust when the neckline is high and the earrings are doing the work. A low chignon at the nape gives medium hair a formal shape without asking the length to do too much, and the soft layers around the face keep it from looking severe.
The trick is to leave out two thin front pieces before you twist the back section. Once the bun is pinned, curl those pieces away from the face with a 1-inch iron and let them sit against the jaw. That little bit of movement keeps the whole thing from reading like a ballerina bun from a dance recital.
For a firmer hold, use U-pins instead of loading the bun with eight straight bobby pins. The chignon stays cleaner, and it won’t poke you in the neck halfway through the night.
3. Half-Up Twist Crown
Why does a half-up twist look so good on layered medium hair? Because the shorter face-framing pieces help the top section stay soft instead of stringy. The twist gives you structure at the crown, while the length below stays loose and touchable.
If your hair has a gentle wave, this style barely needs help. If it’s straight, add a bend with a 1-inch curling wand, then twist each side from the temple back to the center and pin them together. Keep the twists loose enough that you can see the texture. Tight twists on medium hair tend to look overworked.
How to Wear It
This one is useful for bridesmaid dresses, gallery openings, or any event where you want your hair back but not fully up. Finish with a flexible-hold hairspray so the top doesn’t go crunchy.
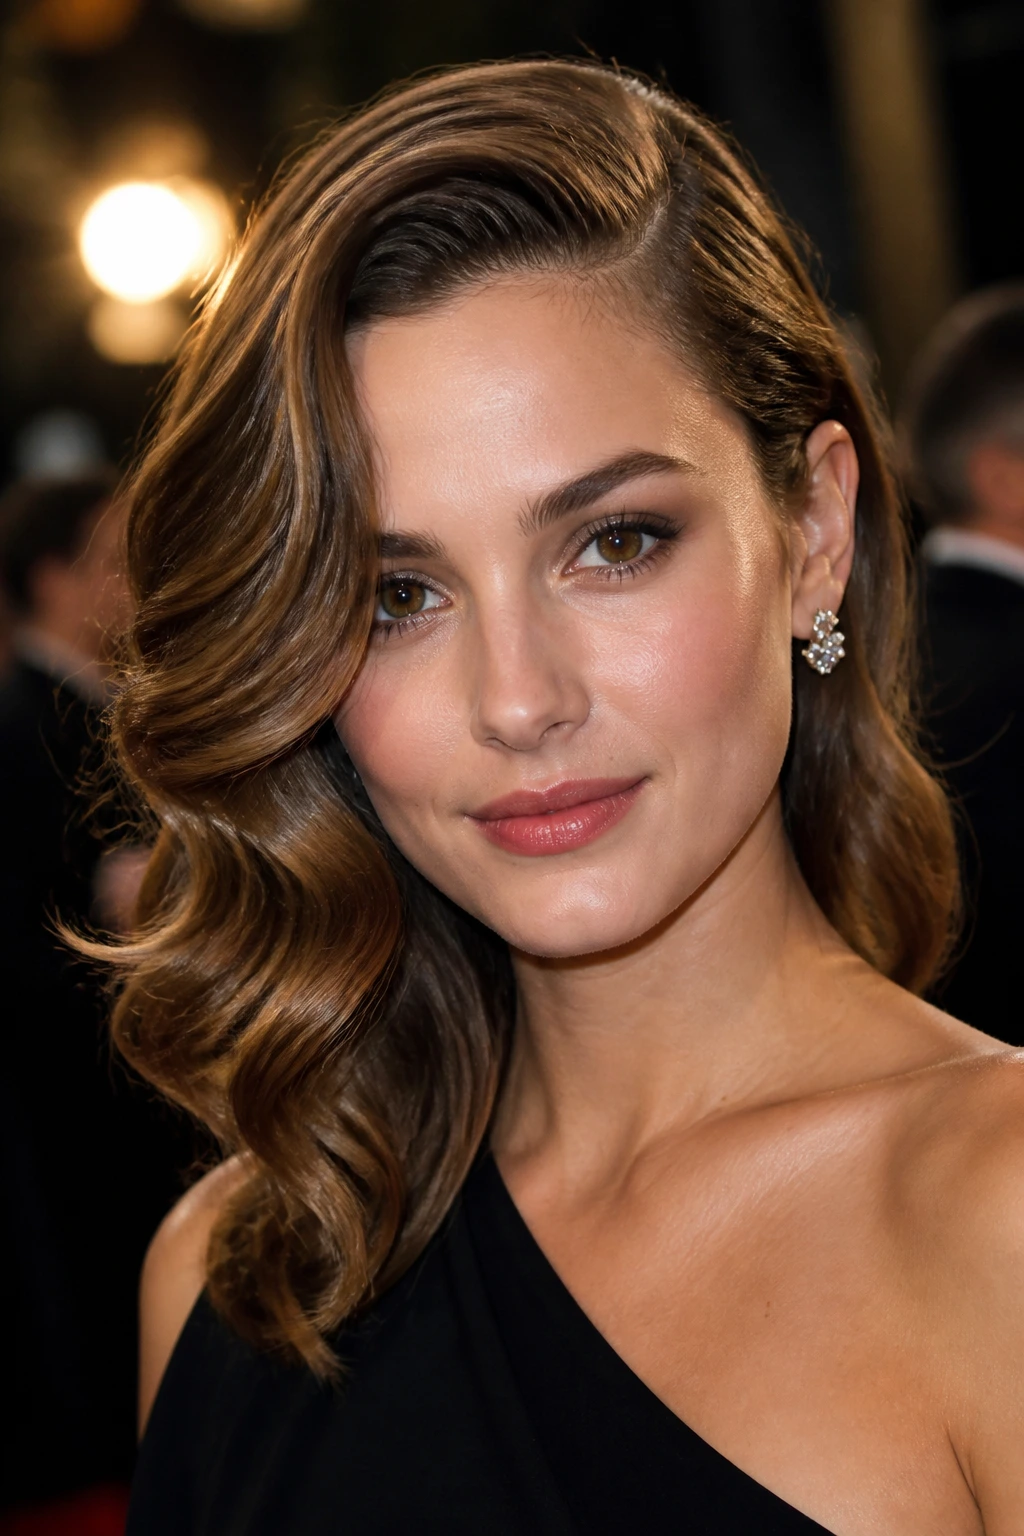
4. Side-Swept Hollywood Waves
Picture a deep side part, one side tucked behind the ear, and soft, brushed-out waves that fall in one direction. That’s the whole mood here. Medium hair is long enough to create a proper wave pattern, but it’s short enough that the style doesn’t drag down by the end of the night.
The layer work matters. Curl everything away from the face first, pin the sections while they cool, then brush them into one continuous shape. If you skip the cooling step, the wave loses its curve and turns into fluff. Not the same thing at all.
- Best for: black-tie dinners, weddings, and old-school evening looks.
- Use: a 1.25-inch curling iron, clips, and a shine spray with a fine mist.
- Watch for: too much brushing. You want movement, not frizz.
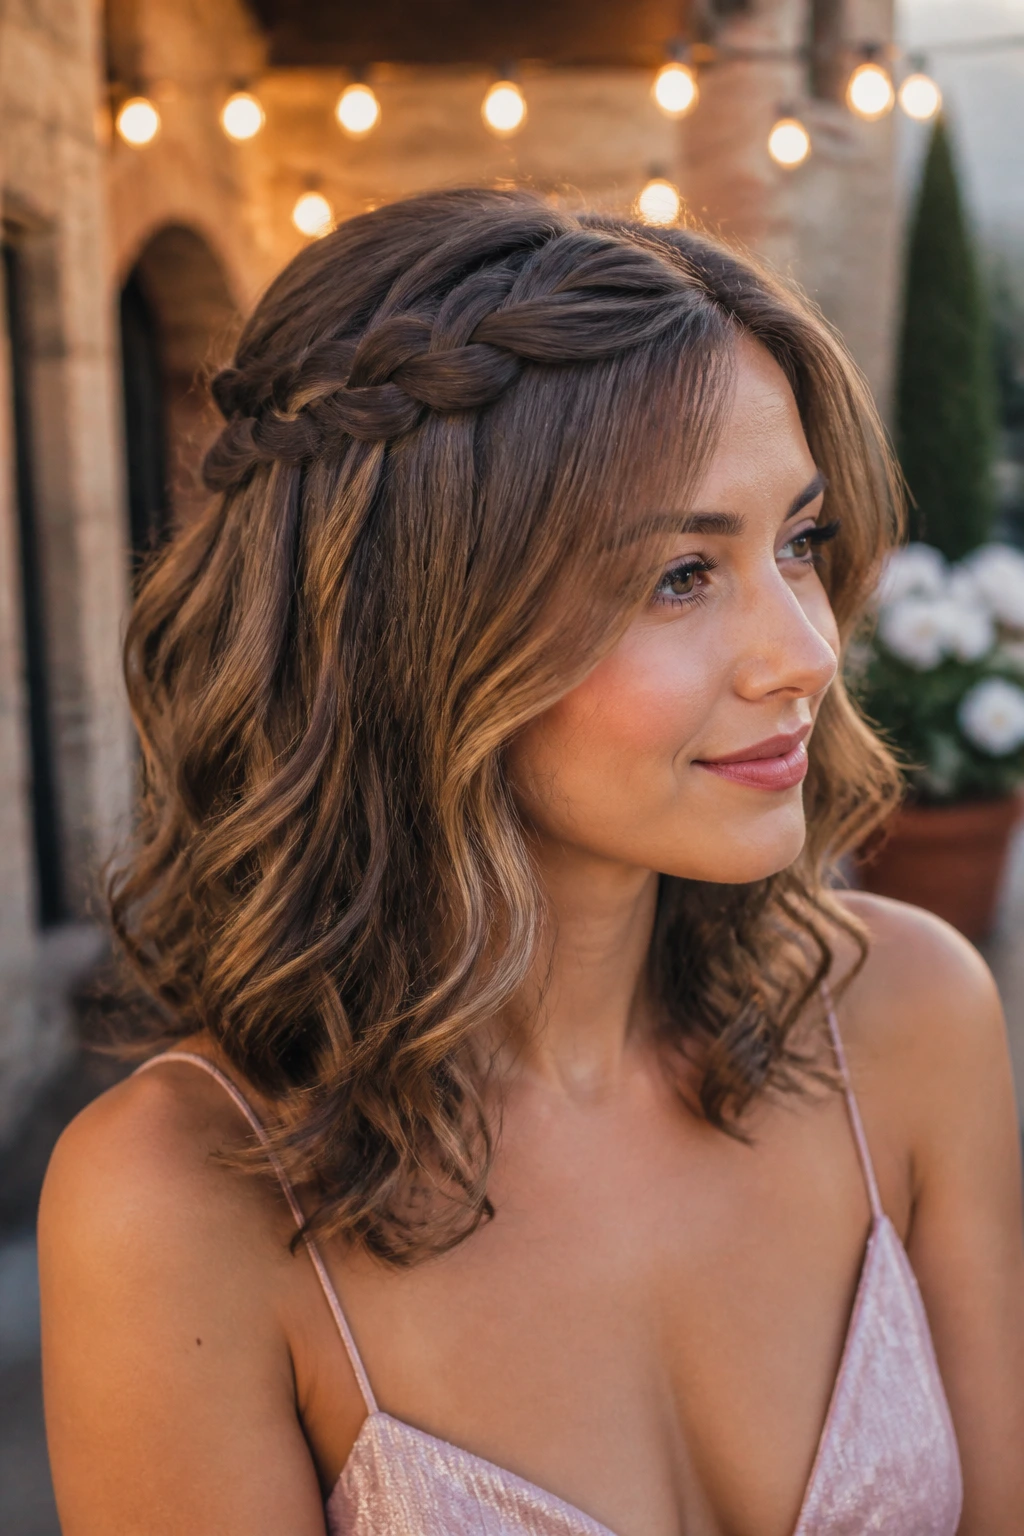
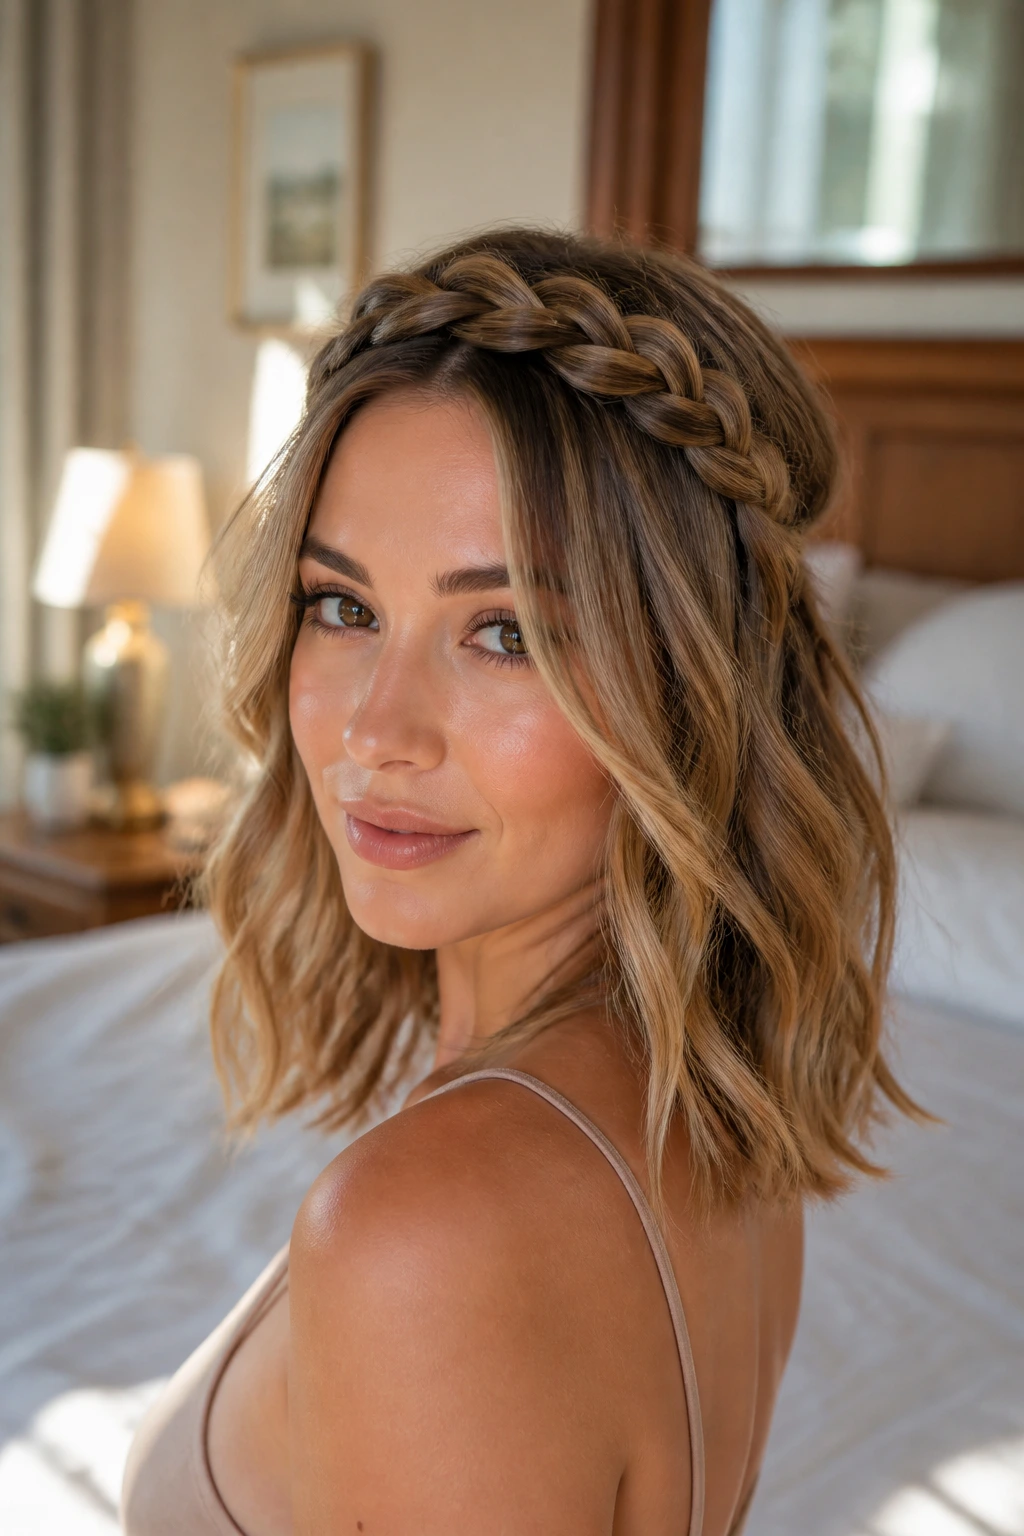
5. Braided Crown Halo
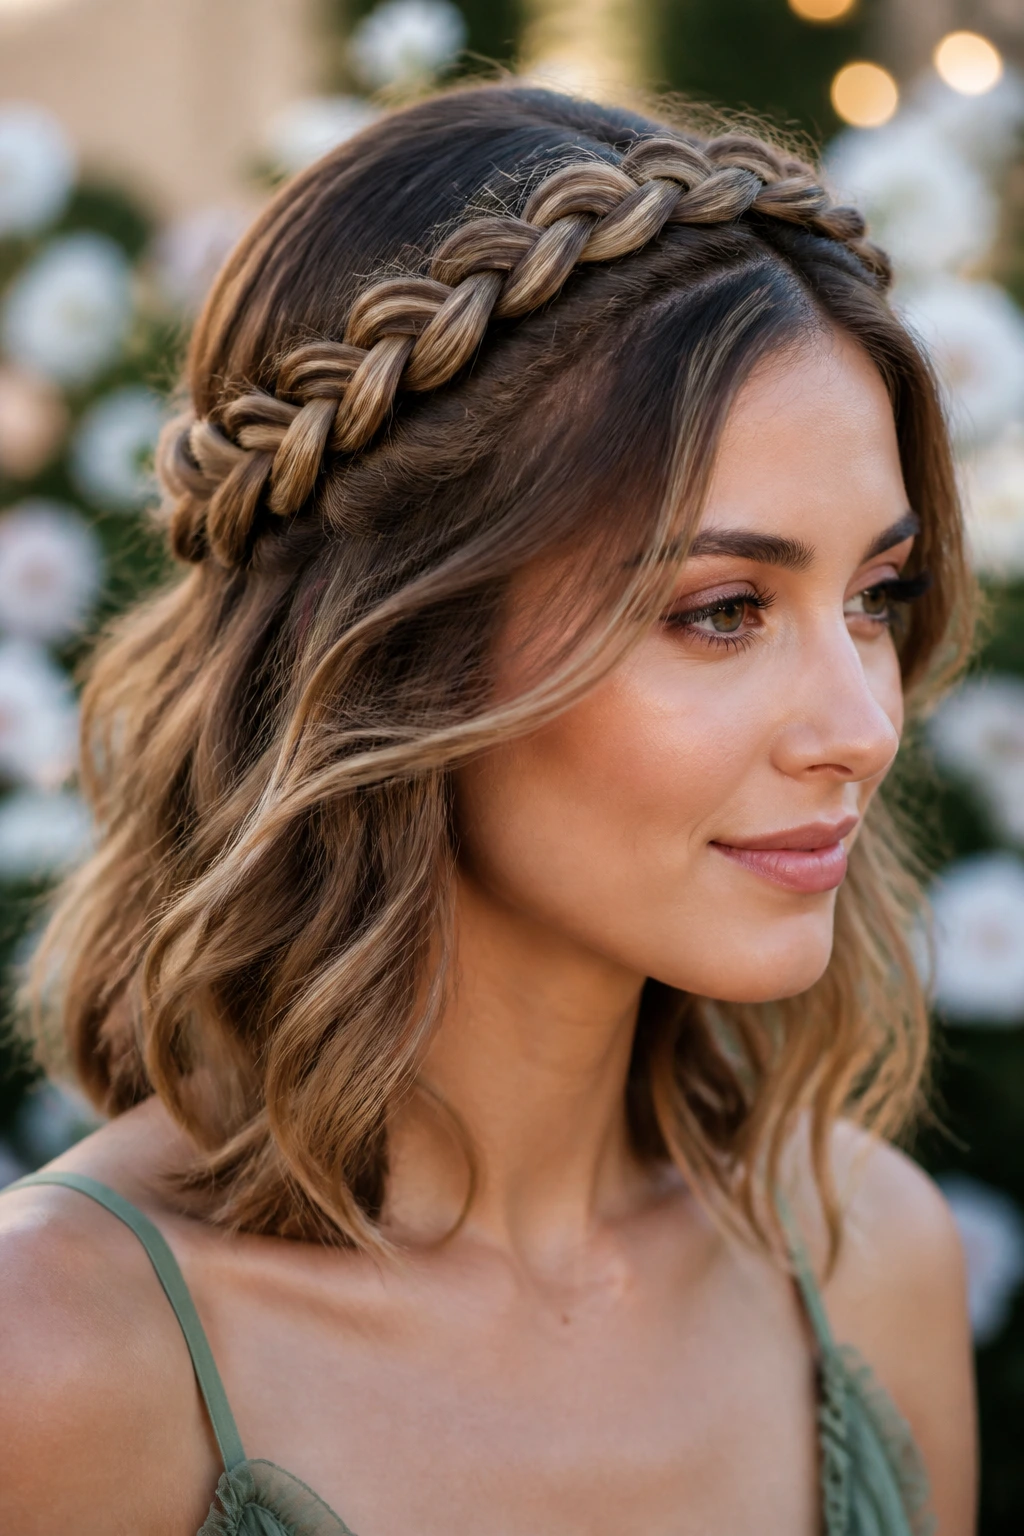
A braided halo can look rustic fast if it’s pulled too tight, which is why medium hair with soft layers actually gives you an advantage. The layers soften the braid line and make the crown sit closer to the head without looking flat. That matters if you want the style to feel event-ready rather than festival-only.
Braid from one temple around the hairline, keep the plait loose, then pancake the edges with your fingers once it’s pinned. The face-framing pieces should stay a little loose at the temples. If your hair is too slippery, mist the lengths with texture spray before braiding.
This is one of the few styles that gets better when it’s not perfect. Tiny irregularities make it look expensive. Too neat, and it turns school-pageant in a hurry.
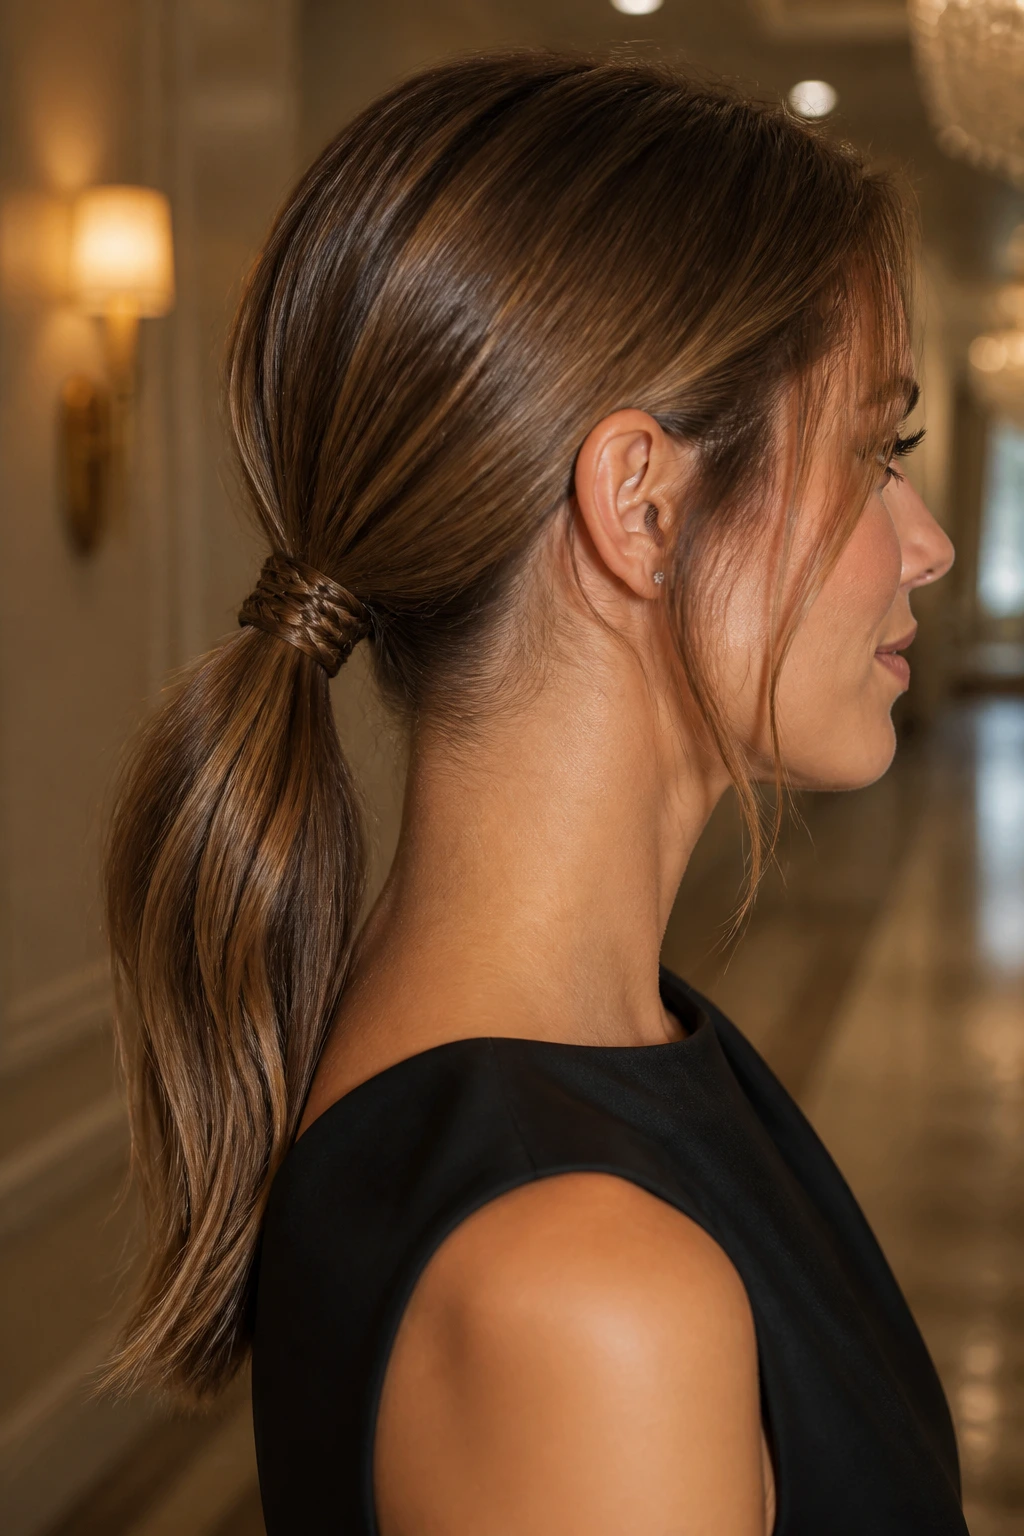
6. Textured Low Ponytail Wrapped at the Base

A low ponytail can look plain if you don’t give it shape, but on medium hair with layers, that shape is easy to build. A little lift at the crown, a wrapped base, and bent ends turn it into a polished event style instead of a grocery-run pony.
I like this version because it lets the layers fall in soft pieces through the tail. Those pieces stop the pony from looking like a single rope. Wrap a small strand around the elastic, pin it underneath, and leave the ends slightly curved with a curling wand or flat iron bend.
Use this when you want something restrained but not stiff. It works especially well with sharp tailoring, satin dresses, or one-shoulder necklines.
7. Modern French Twist with Texture
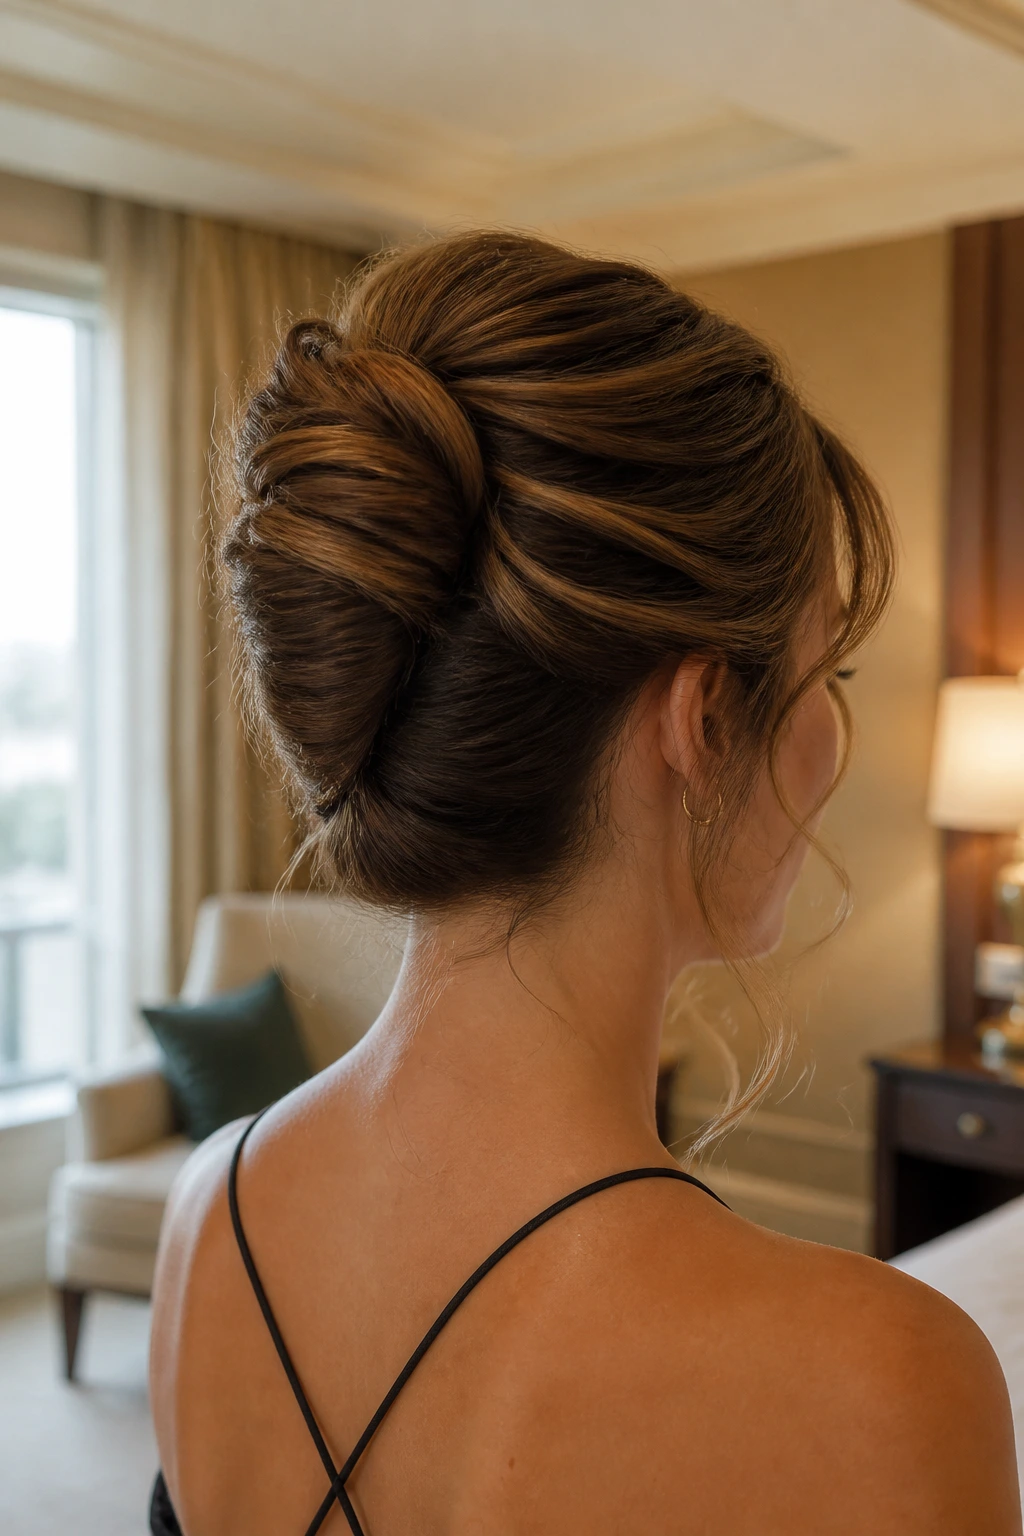
The French twist gets a bad reputation because people think of it as too formal or too shellacked. The modern version is better. It’s softer at the crown, a little piecey near the roll, and far less precious. Medium hair with soft layers gives it enough texture to keep the twist from looking like a sealed tube.
The best part is the back of the style. Layered ends tuck in more easily, so the roll can look smooth without needing a ton of product. Pin upward through the seam with long bobby pins, then let a few shorter pieces stay loose around the hairline.
If you like clean lines and want your face open, this is a strong choice. It has presence without trying too hard.
8. Sleek Center-Part Tuck Behind the Ears

Sleek hair is unforgiving, which is exactly why it looks so good when it’s done right. A center part with tucked sides gives medium hair a sharp, modern shape, and soft layers near the front keep it from feeling harsh.
Flat iron the lengths in small sections, run a tiny amount of smoothing cream from mid-length to ends, and tuck the front pieces behind the ears. A pair of statement earrings finishes the job. That’s the whole formula. Don’t pile on extra volume at the crown or it starts fighting the clean line.
This is the one I’d pick for a dress with a lot going on in the neckline or bodice. The hair should step back and let the outfit lead.
9. Rope-Braid Half-Up with Soft Ends
Why does a rope braid work so well here? Because it’s fast, tidy, and much more forgiving than a full braid when your layers are medium length. The rope twist holds the top away from your face, and the loose ends below keep the style light.
Twist two front sections from the temples back, secure them with a clear elastic, then pin the join so it stays hidden. Let the lower half fall in loose curls or a soft bend. If your layers are shorter around the face, this is one of the easiest ways to keep them from wandering off by the end of the evening.
How to Use It
Use this for cocktail parties, bridal showers, or anything that needs a little detail without a huge time commitment. It reads polished in photos and still feels relaxed in person.
10. Bubble Ponytail with Ribbon or Wrap
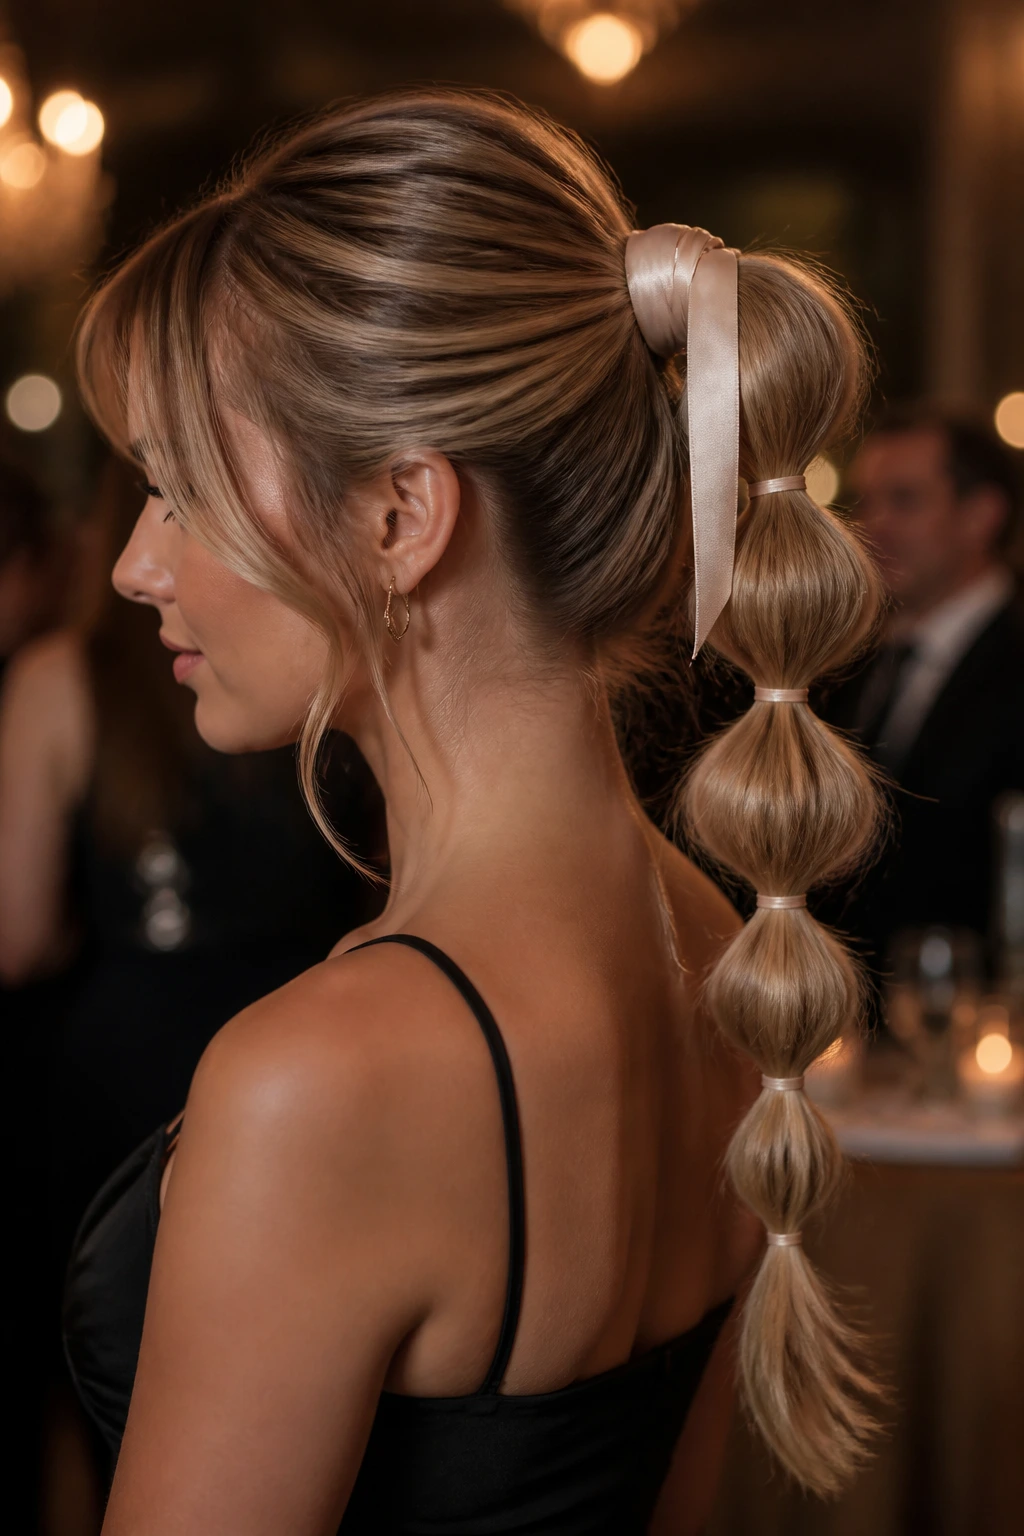
You can’t fake length with a bubble ponytail, and that’s the point. On medium hair, the bubbles stay full and visible instead of stretching into long, skinny sections. Soft layers add a little fluff to each segment, which makes the whole shape feel playful but still controlled.
Tie the ponytail low or mid-height, then add small elastics every 2 to 3 inches. Gently tug each section outward until it rounds into a bubble. A satin ribbon or a wrapped strand at the base makes it feel more event-worthy and less gym-class.
- Best for: fashion-forward parties, younger guests, and dresses that need a little edge.
- Use: clear elastics, light hairspray, and a brush with soft bristles.
- Avoid: over-tightening the bubbles. They should look full, not strangled.
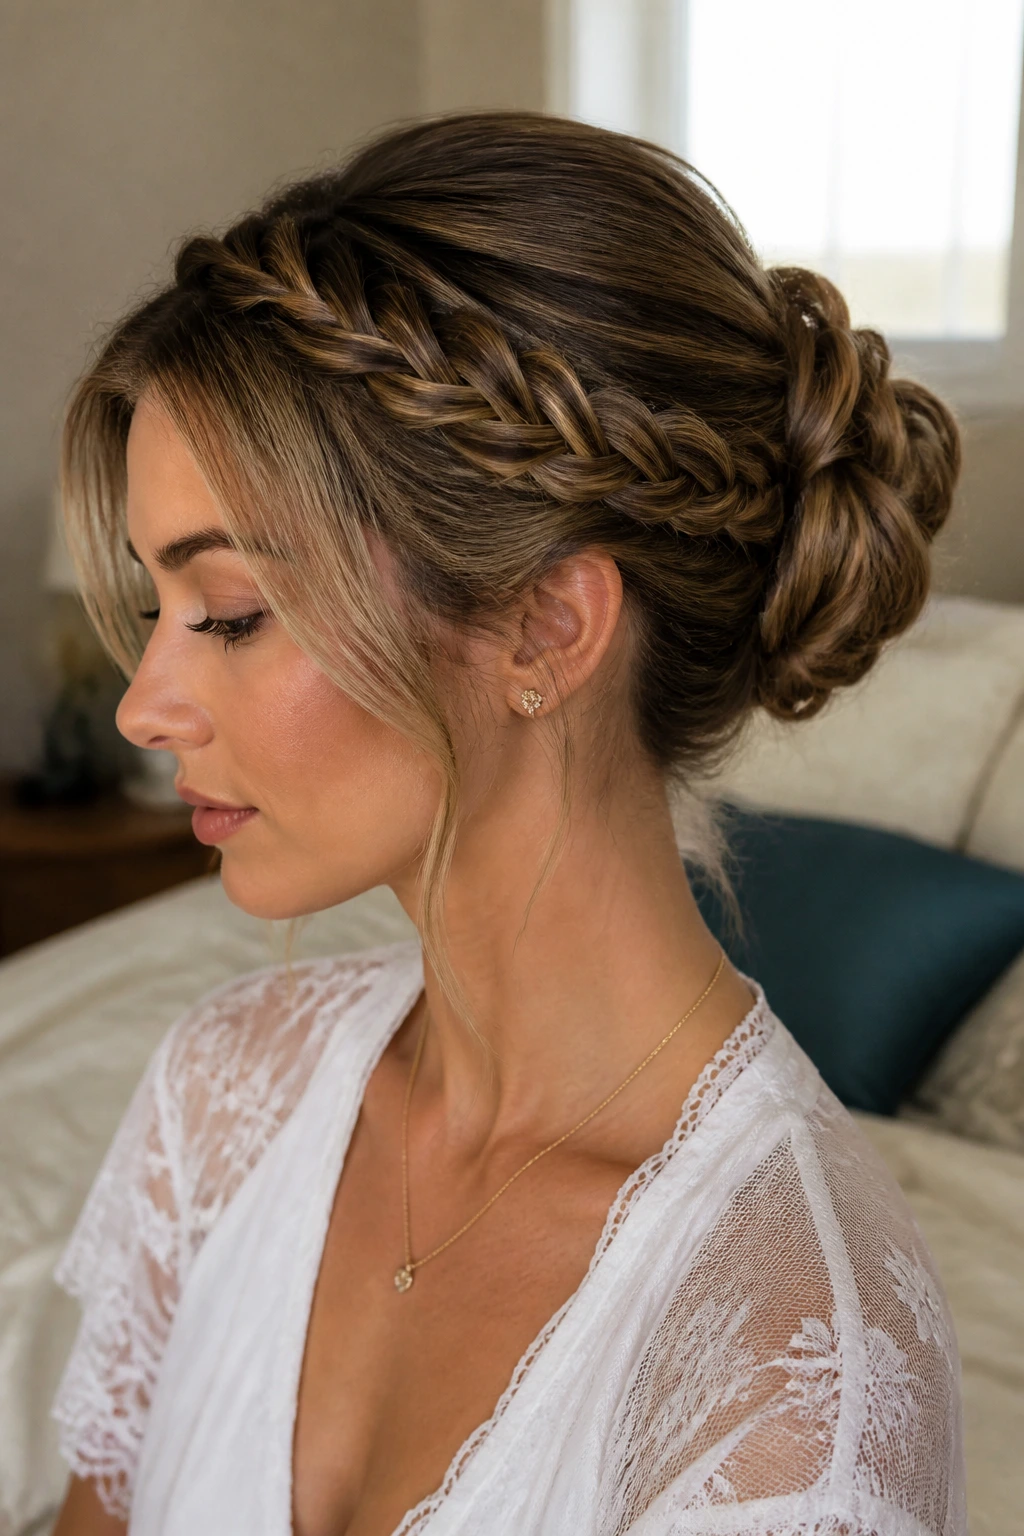
11. Fishtail Halo into a Low Bun
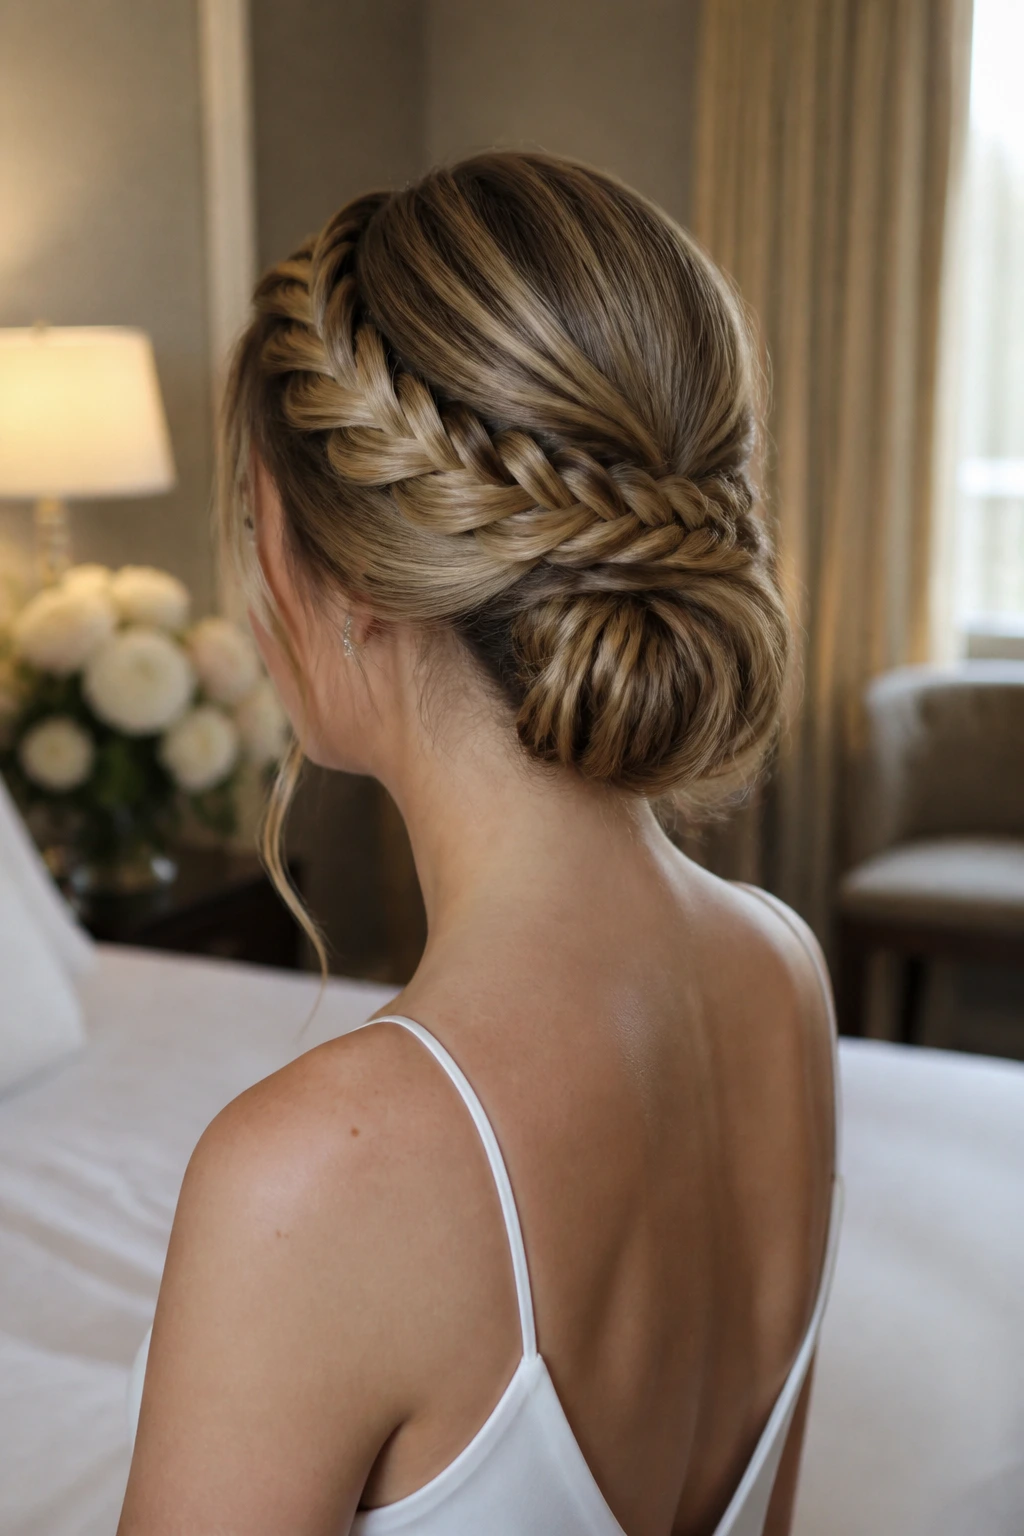
A fishtail halo has a little more detail than a standard braid, and medium hair is the right length for it because the braid stays visible. The soft layers around the crown keep it from sitting too flat against the head, which is what gives the style its romantic shape.
Braid across the hairline with a loose fishtail, then coil the remaining length into a low bun. Leave one or two face pieces out if the style needs softness. The look is fussy if every strand is locked down, so loosen the braid edges with your fingers before you pin everything in place.
This one takes a bit more time, but it photographs well from every angle. That’s the real benefit.
12. Tousled Shoulder-Length Bun
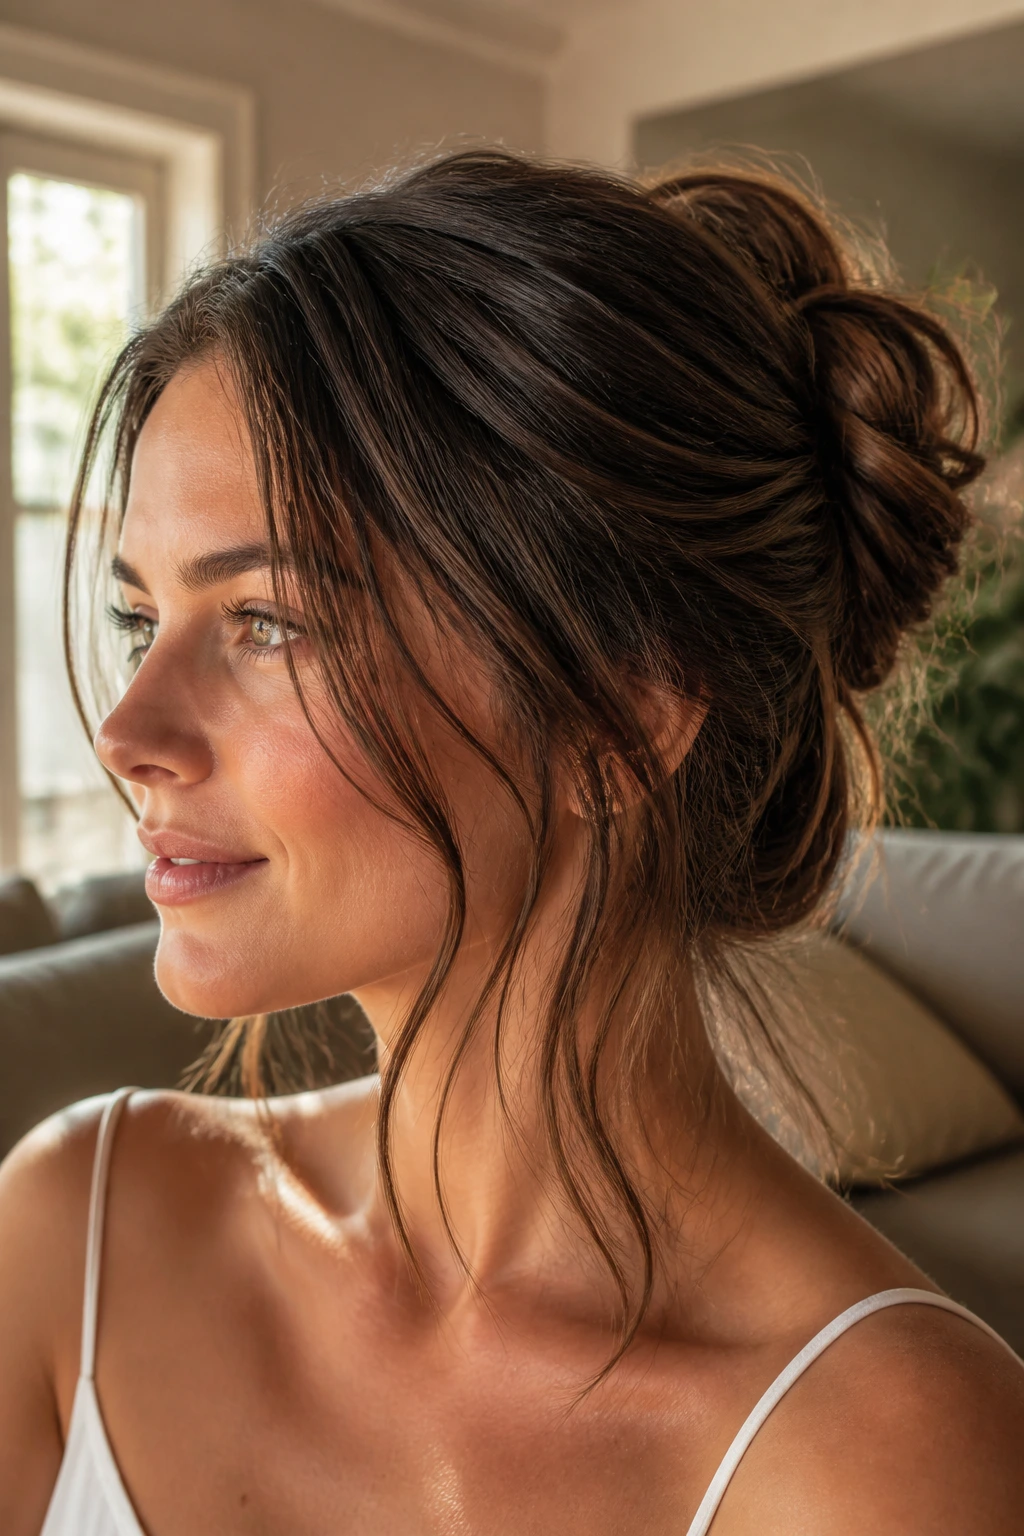
A shoulder-length bun is not a tiny ballet bun. It should look like you gathered the hair, twisted it once or twice, and pinned it where it wanted to land. Medium hair with layers naturally creates a softer silhouette here, because the shorter ends escape in a controlled way instead of sticking out like wires.
I like this style when the event leans relaxed-formal. It has enough polish for a dinner or ceremony, but it still looks human. Use texturizing powder at the crown if the roots are too clean, then pull two front pieces free and bend them with a curling iron.
The bun should sit low enough to feel elegant and loose enough to move when you turn your head.
13. Deep Side-Part Waves
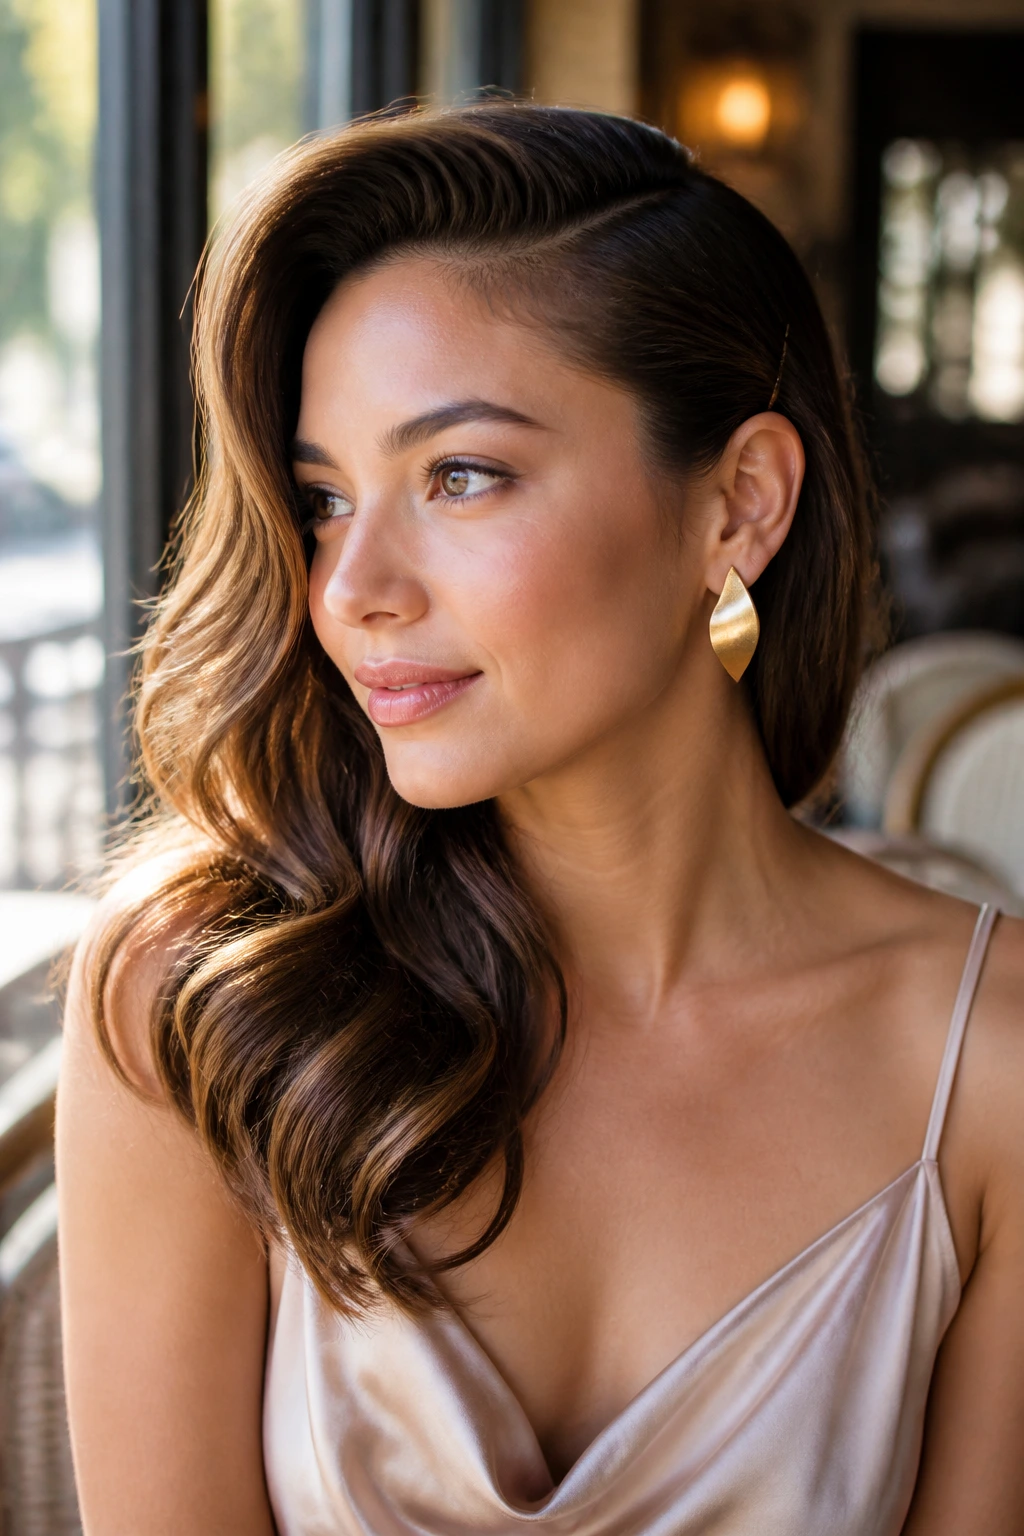
A deep side part changes everything. The whole style gets more drama without adding a single extra pin. On medium hair, those soft layers around the face fall into the wave pattern more easily, so the look gets a built-in sweep instead of a stiff wall of curls.
Curl the hair in alternating sections if you want a softer finish, then brush just enough to connect the waves. Tuck the smaller side behind the ear and secure it with a hidden pin if it won’t stay put. The bigger side should drape across the cheekbone and collarbone.
This is the safest choice if you want glamour without going full old-Hollywood. It’s a little easier to wear, which matters when you’re going to be in the style for hours.
14. Elevated Claw-Clip Sweep
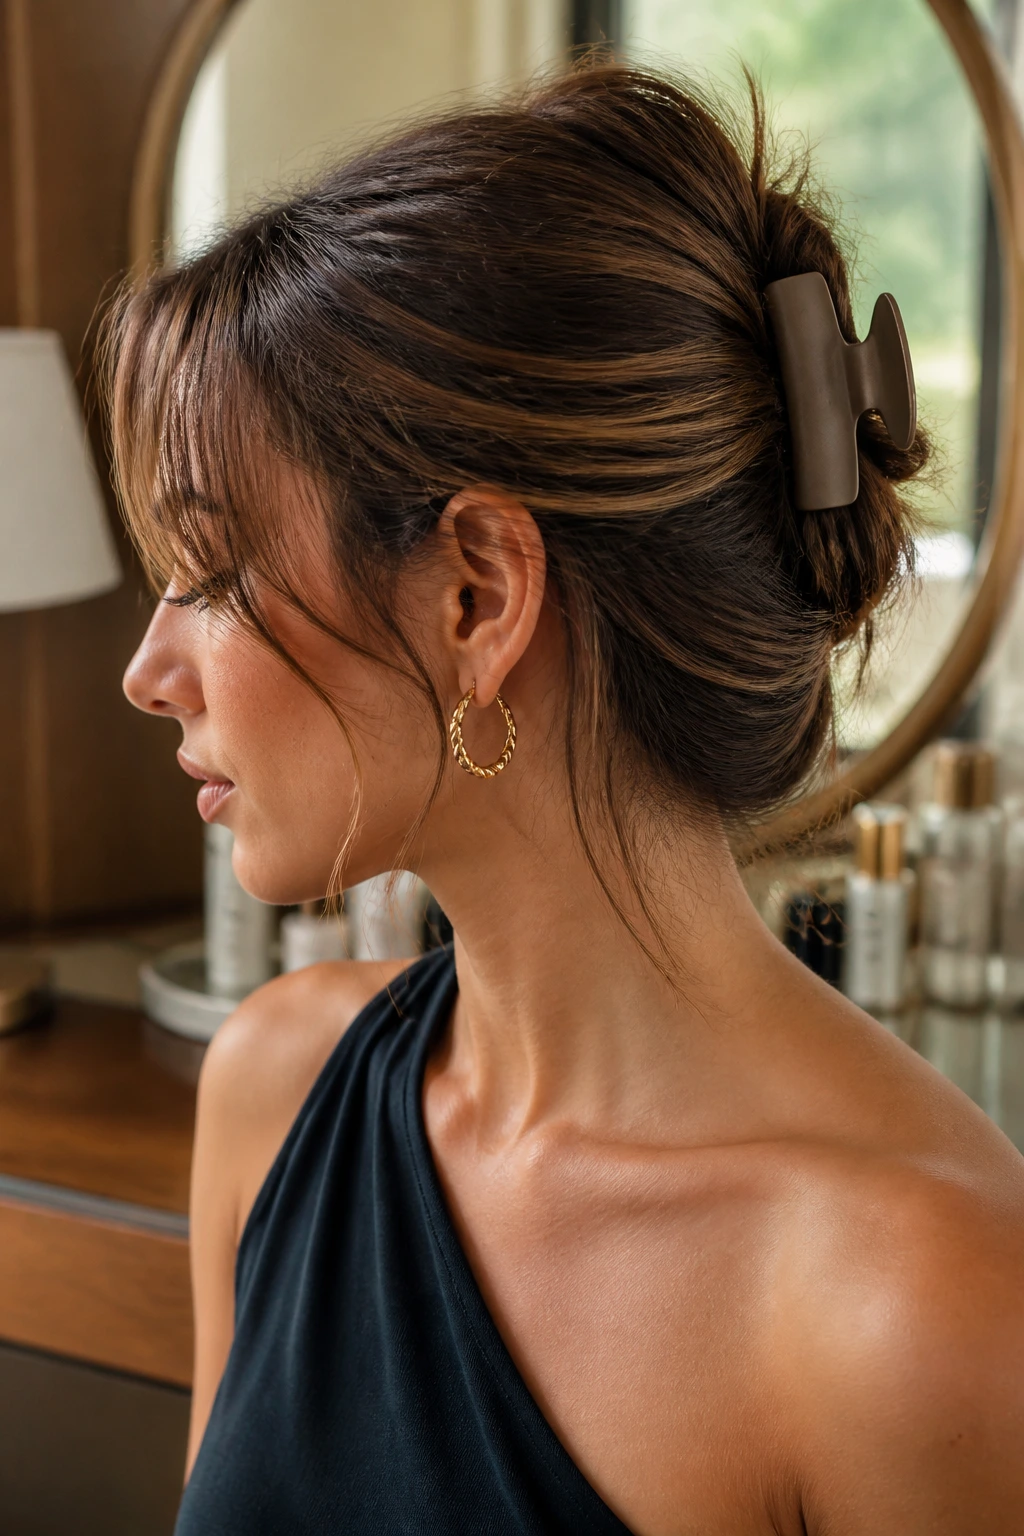
A claw clip can look lazy or elegant, and the difference is in the prep. On medium hair with soft layers, a smooth twist and a polished clip can read like a deliberate evening style, especially if the front stays clean and the ends are tucked neatly.
Choose a clip with enough grip to hold the thickness of your hair, not a flimsy one that slides out after ten minutes. Twist the hair upward, fold the length back on itself, and secure it so a few layered ends spill out in a controlled way. A matte acetate or metallic clip usually looks better than something overly shiny.
This is the style for the person who wants to look put together fast. No shame in that.
15. Twisted Low Bun with Side Volume
What makes this version better than a plain low bun is the side shape. A bit of lift on one side of the crown gives medium hair a more sculpted profile, and the soft layers near the temples keep the look from becoming boxy.
Twist one side back toward the nape, then gather the rest into a low bun slightly off-center. Let the top stay smooth but not tight. The bun should have enough texture that the pins disappear into it. If you have a side-parted dress or asymmetric neckline, this is the move.
Styling Note
Use a tail comb to separate the lift at the crown before you pin anything. Once the bun is in place, you won’t want to tear it apart to add volume later.
16. Sleek High Ponytail with Curved Ends
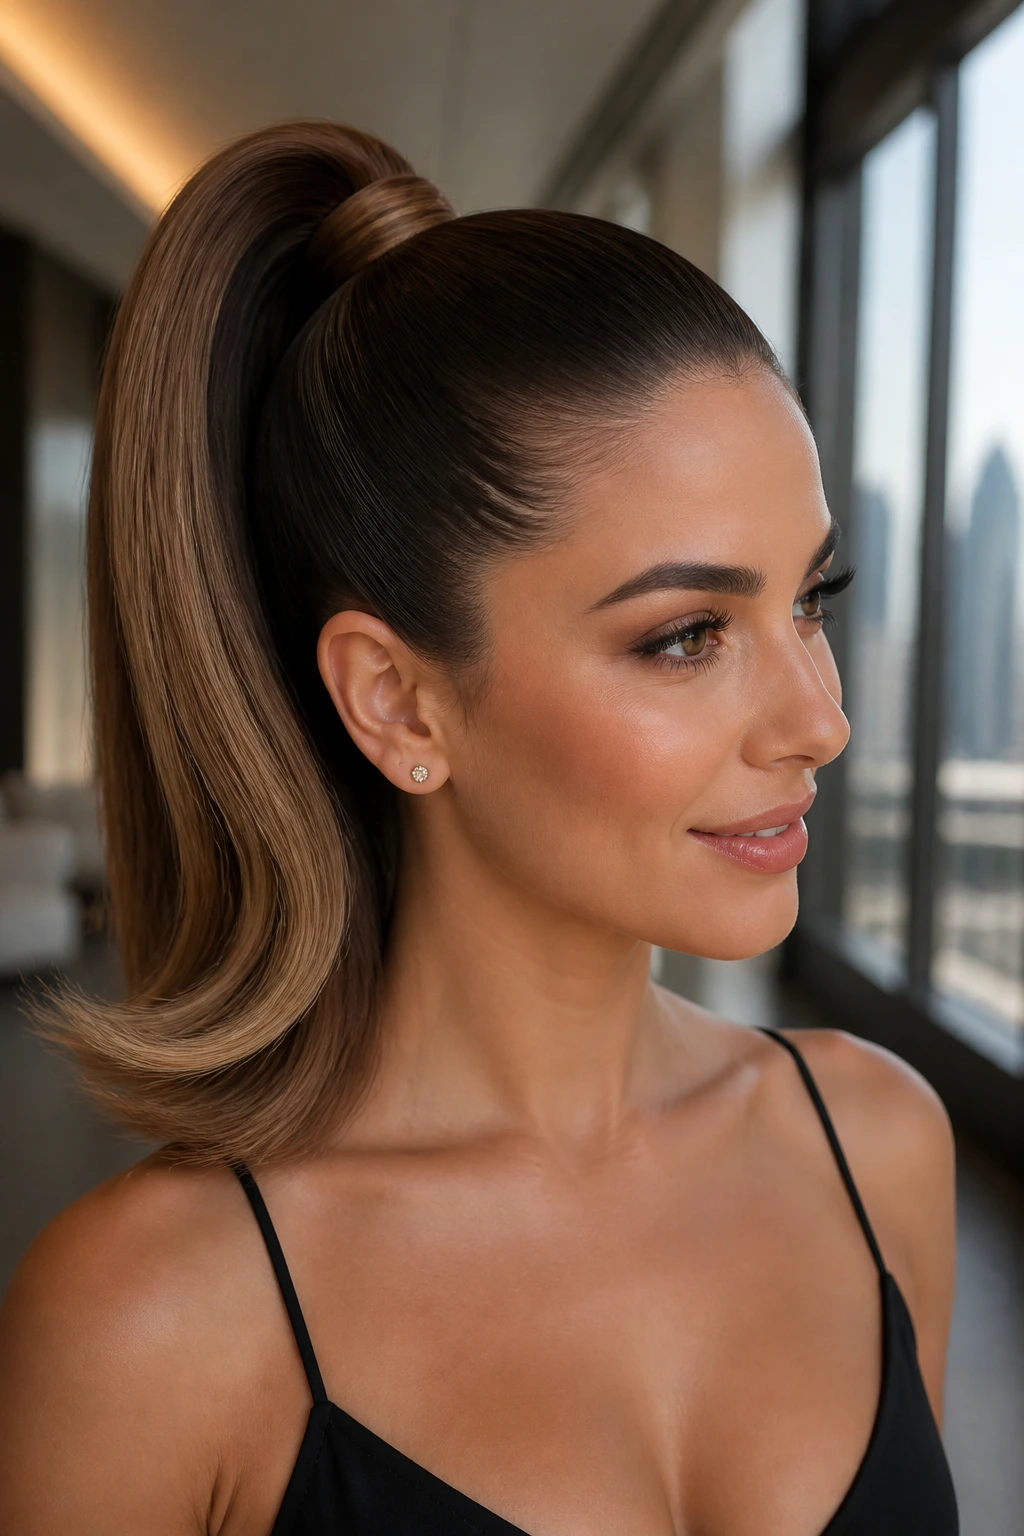
A high ponytail is usually thought of as sporty, but on medium hair it becomes much more polished if you keep the base smooth and the ends curved outward. The layers give the tail movement, which saves it from hanging like a heavy cord.
Brush the hair high and tight, secure it with a strong elastic, then wrap a section around the base. Curl the ends away from the face with a 1-inch iron so the pony feels intentional. Keep the top sleek with a small amount of gel or smoothing cream, but do not overload it or the style collapses.
This one is good when you want a lifted face and a neck that stays uncovered for earrings or a statement collar.
17. Waterfall Braid into Loose Curls
A waterfall braid is one of those styles that sounds more complicated than it is. On medium hair, the dropping strands create a soft line across the head, and the layers underneath keep the curls from looking too uniform. It has that romantic, slightly floating feeling that works well for evening events.
Braid across one side of the crown and let each dropped section blend into loose curls below. The braid should stay soft, not tight against the scalp. If your layers are shorter, leave the very front pieces free so they frame the cheekbones instead of slipping out of the braid on their own.
This is a good pick when you want something pretty but not overbuilt. It holds shape without feeling heavy.
18. Minimalist Straight Look with Sparkly Pins
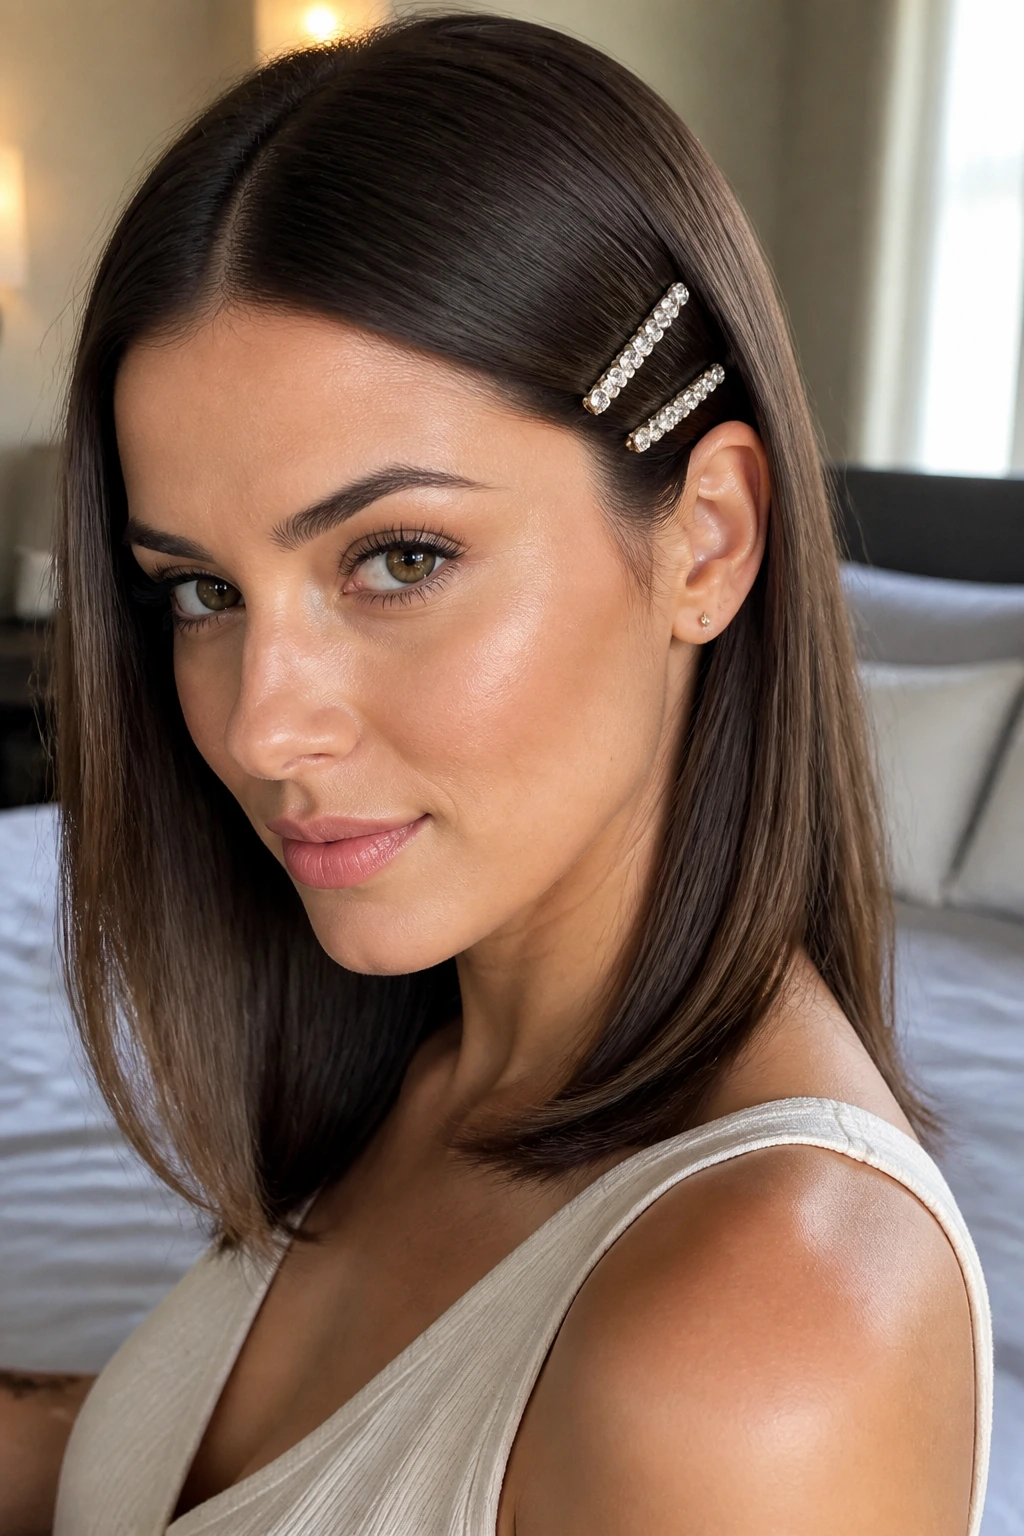
Straight hair is not boring when the details are sharp. A smooth, center- or side-parted finish with two or three sparkly pins can look more modern than an elaborate updo, especially on medium hair where the cut’s natural layers still show at the ends.
Flat iron in small sections, smooth the front with a tiny bit of cream, and tuck one side behind the ear. Stack pins at the temple or place them along the part for a clean accent. The trick is restraint. Too many accessories and the look starts to wander into costume territory.
This is the style I’d choose when the dress already has texture, shimmer, or strong lines. Let the clothes and the hair share the job, not fight for it.
19. Side-Flipped Pin Curls
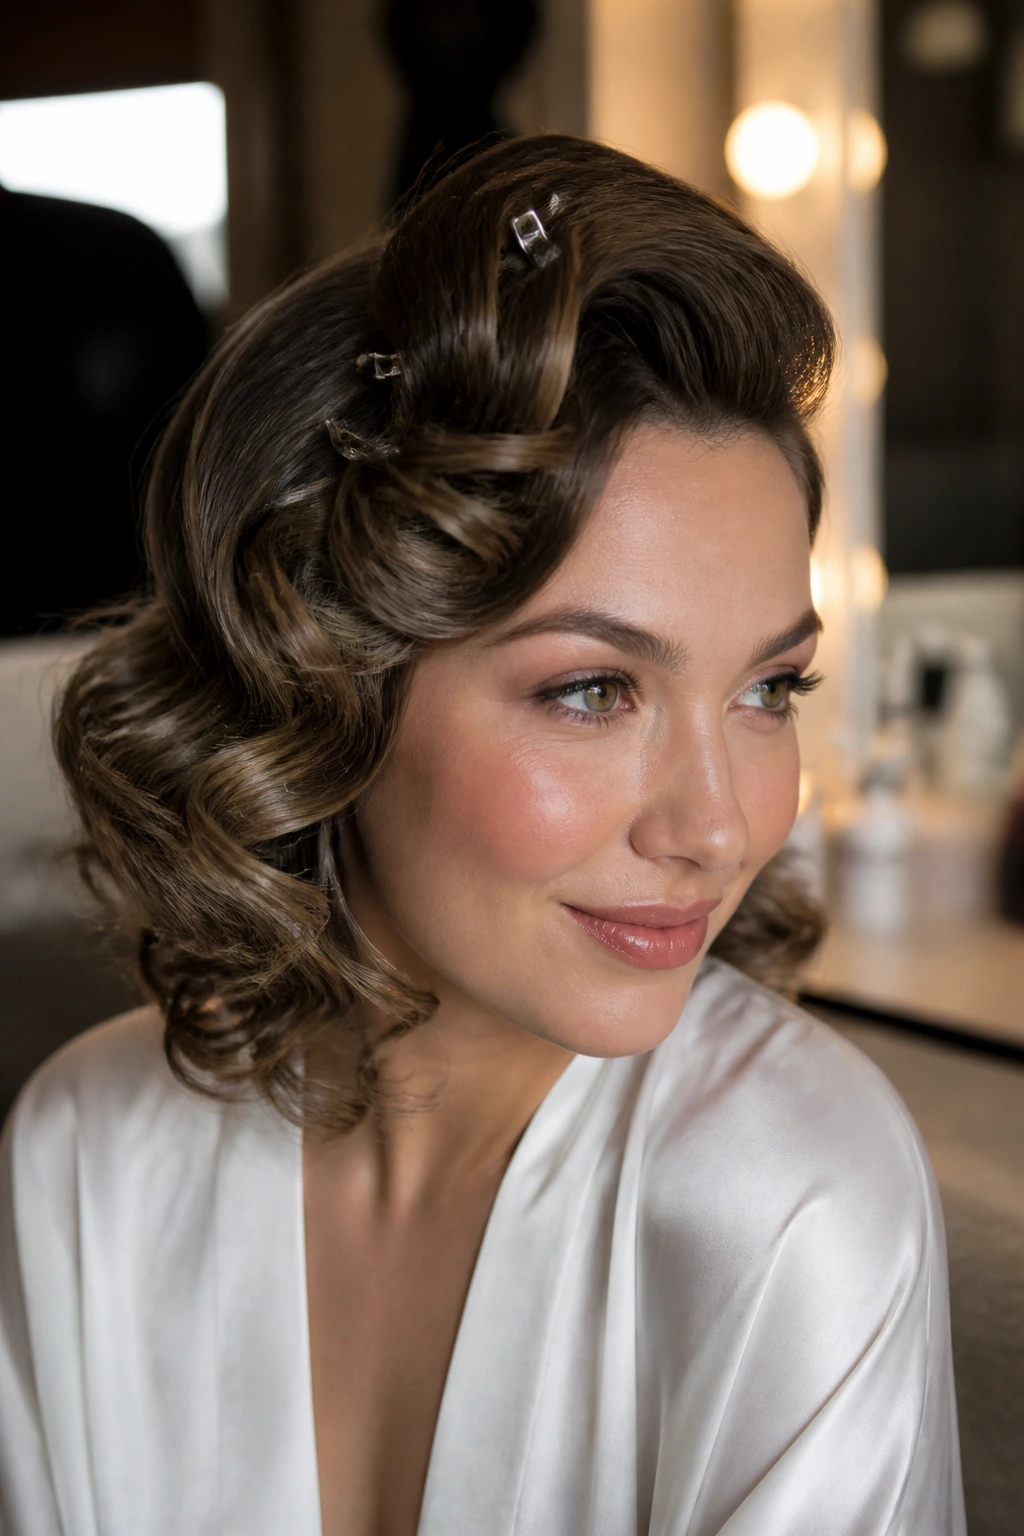
Pin curls are the old-school answer when you want hold. Medium hair takes to them well because there’s enough length to set the shape, but not so much that the curls stretch out of place before the night ends. The soft layers create a little movement around the jaw once the curls are brushed.
Set the sections with clips while they cool, then brush them into one side-swept shape. The result should feel sculpted at the front and softer at the ends. This is not a style for rushing. If you take the pins out too soon, the shape slumps before you’ve even left the house.
It’s the formal version of a wave set, and it has real staying power.
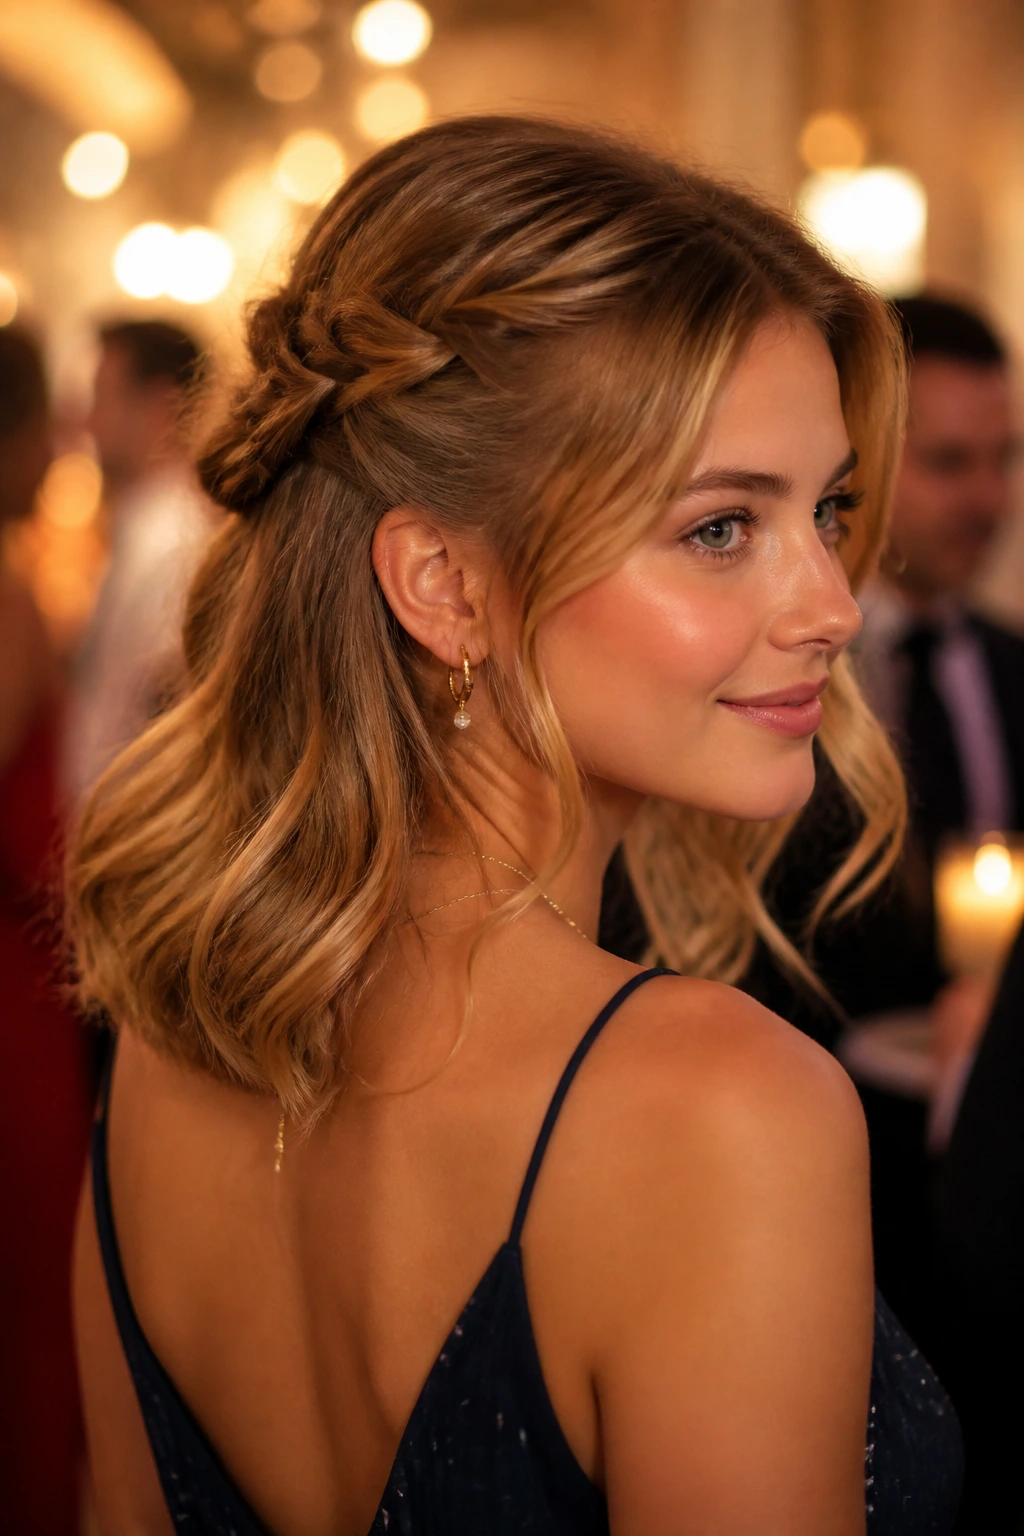
20. Crown Knot Half-Up
A crown knot is the kind of style that looks more complicated than it is. Pull the top section back, knot or loop it neatly, and leave the rest to fall loose in waves or bends. On layered medium hair, the shorter pieces around the face keep the knot from looking too rigid.
The best part is the balance: a little lift on top, a soft frame around the cheeks, and enough length left down to keep the whole thing feminine without turning sugary. Use a couple of hidden pins under the knot so it doesn’t slide when you turn your head.
If your bangs or curtain pieces are already behaving, this style takes advantage of that instead of fighting it. That’s a smart move.
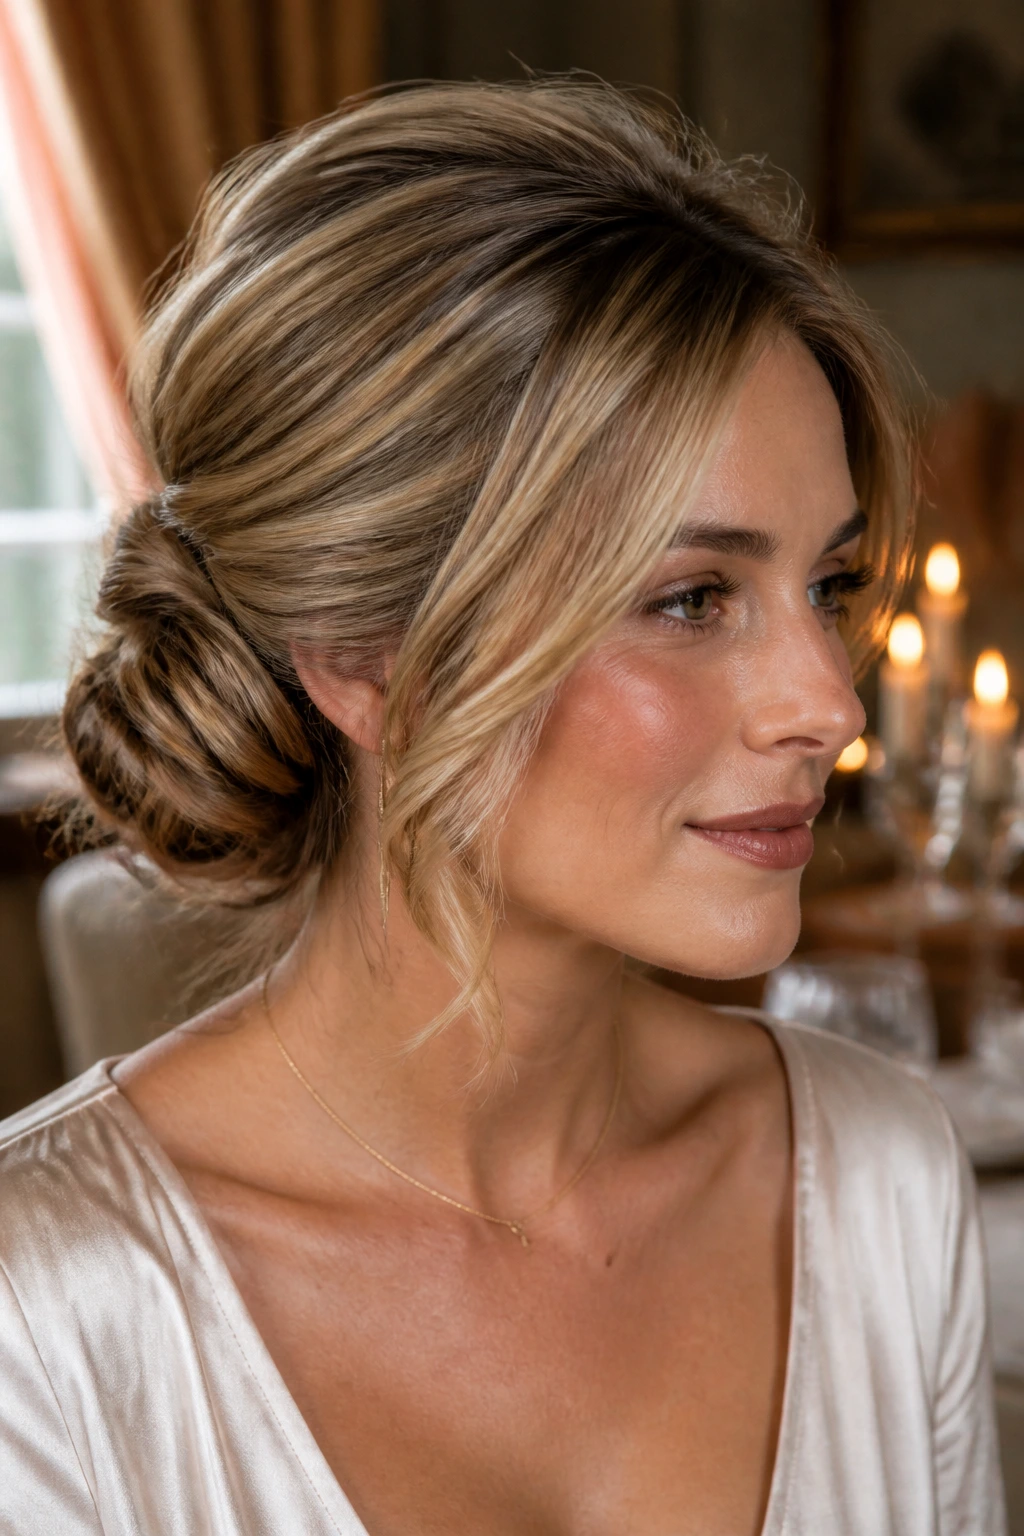
21. Side Braid into Low Roll
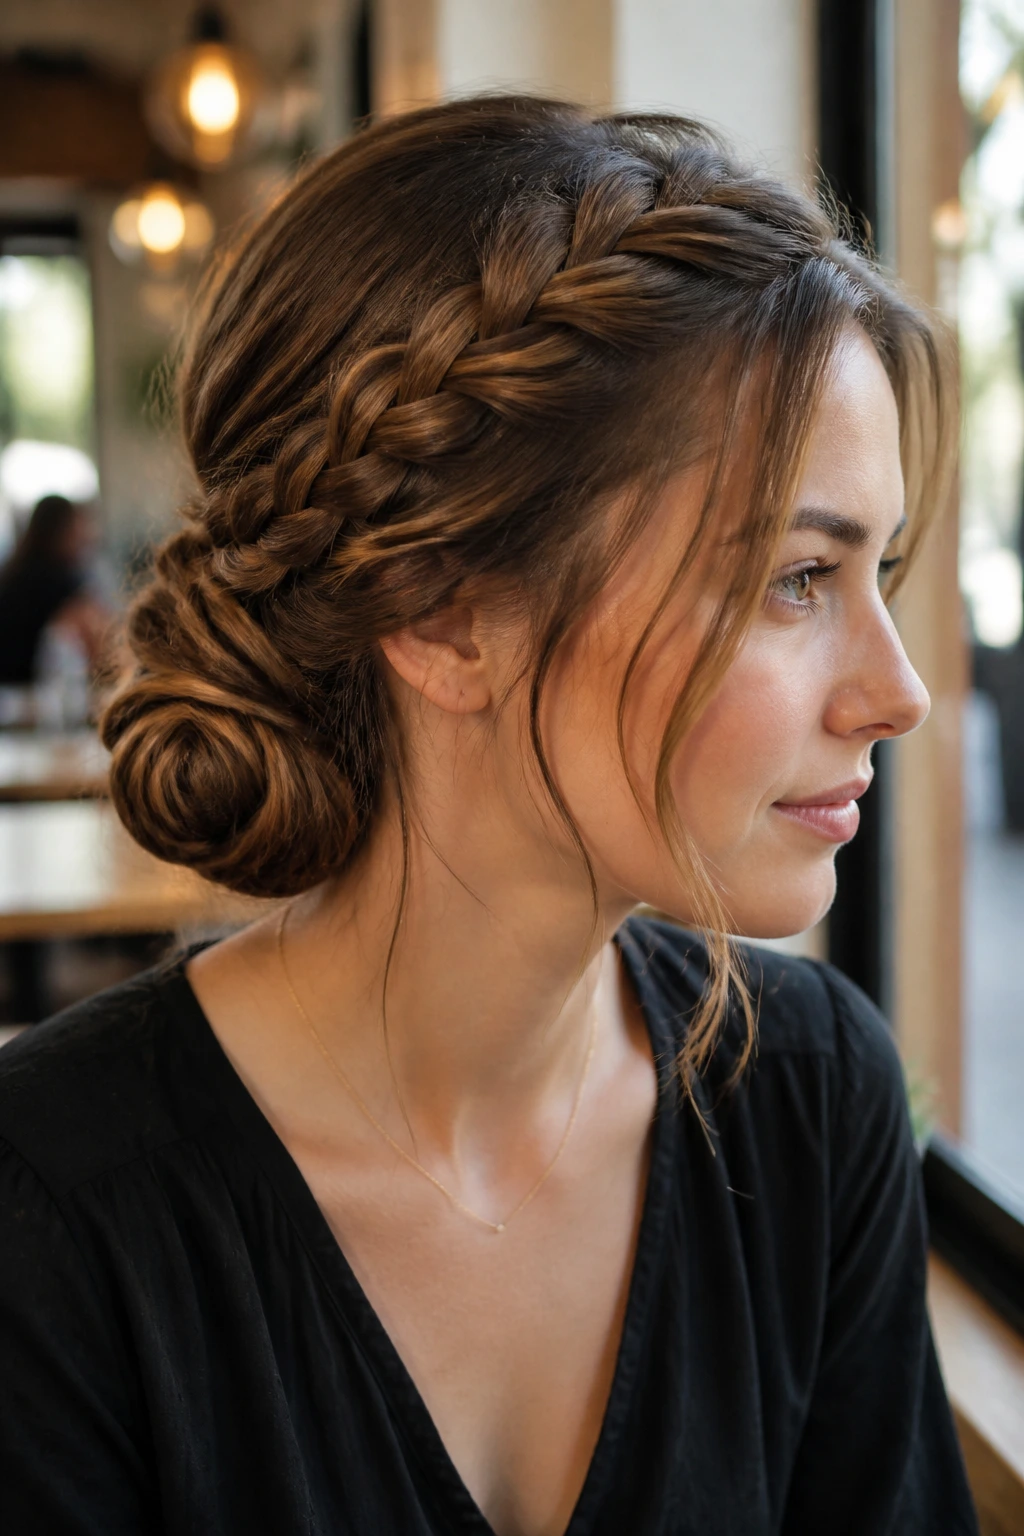
What I like here is the shape shift. A side braid starts the look with texture, and the low roll at the nape gives it an evening finish. Medium hair is long enough for the braid to matter but short enough that the roll still feels compact and tidy.
Braid one side from temple to ear, then gather everything into a low roll or tucked twist. The layers around the face can be left loose or tucked behind the ear depending on how soft you want the result. If the braid feels too tight, pull the outer edges a little with your fingers before you pin the roll.
This one works best when you want detail without a lot of bulk.
22. Softly Teased Bouffant with Loose Length
A bouffant can go wrong fast if you over-tease it. Keep the lift small and controlled, and medium hair suddenly has a very grown-up shape. The soft layers help the lower section fall gently, which keeps the style from looking like a costume version of the 1960s.
Backcomb only the crown, smooth the top layer over it, and leave the rest loose in brushed waves. A strong side part or a tucked side can help anchor the volume. You want height, not a helmet.
This is a good option for strapless dresses or outfits that need a little more presence around the face. It has enough drama to read special without becoming fussy.
23. Low Ponytail with Braided Detail
A small braid can fix a plain ponytail in about five minutes. On medium hair with layers, it gives the base more interest and helps hold the shorter pieces in place. The rest of the tail can stay smooth or softly waved, depending on how formal you want it.
Try braiding a thin section from one side before gathering the pony, then wrap it around the elastic so it disappears into the base. That one detail makes the whole style look intentional. If the layers at the front are stubborn, tuck them with a small pin before they start escaping.
This is the kind of style that looks simple in the mirror and better in photos. I trust that.
24. Braided Bun with Hidden Layers
A braided bun is one of the best ways to make medium hair feel secure through a long event. Braid the ponytail first, then coil it into a bun and pin the braid edges so the layered ends stay hidden underneath. The shape stays cleaner than a plain bun, and it doesn’t loosen as fast.
This is especially useful if your soft layers are long enough to slide out of a regular twist. Here, they have somewhere to go. The braid gives the bun structure, and the bun gives the braid a polished finish.
Use U-pins if the bun is dense. They hold the coil without making the style feel over-pinned.
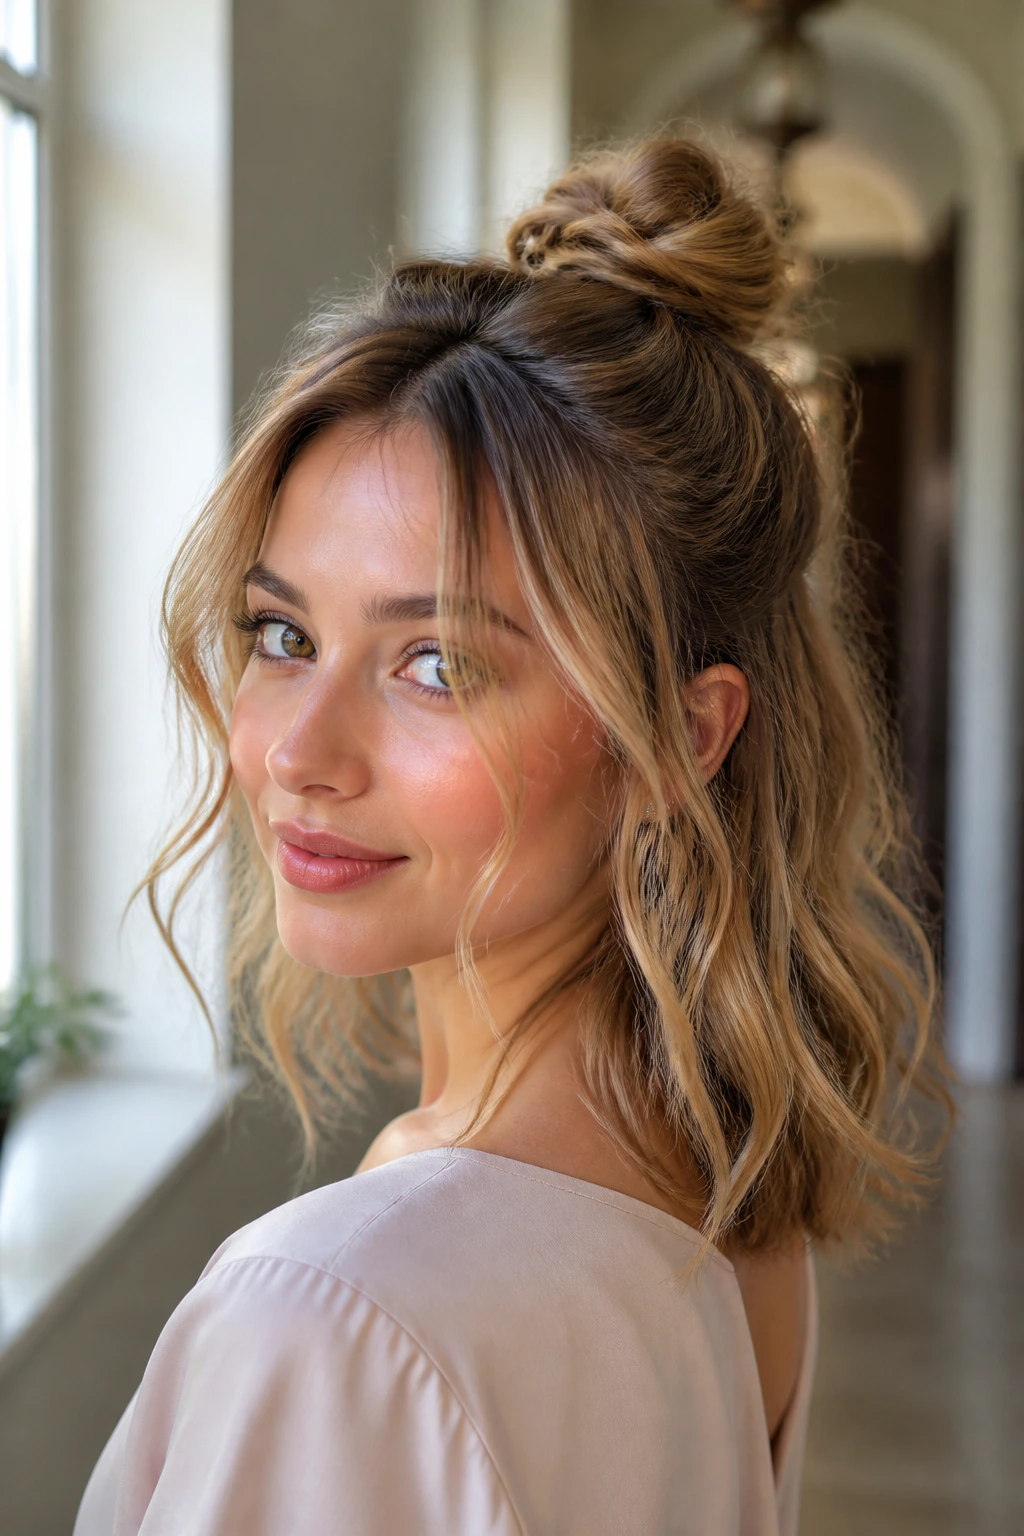
25. Airy Half-Up Knot with Curtain Bangs
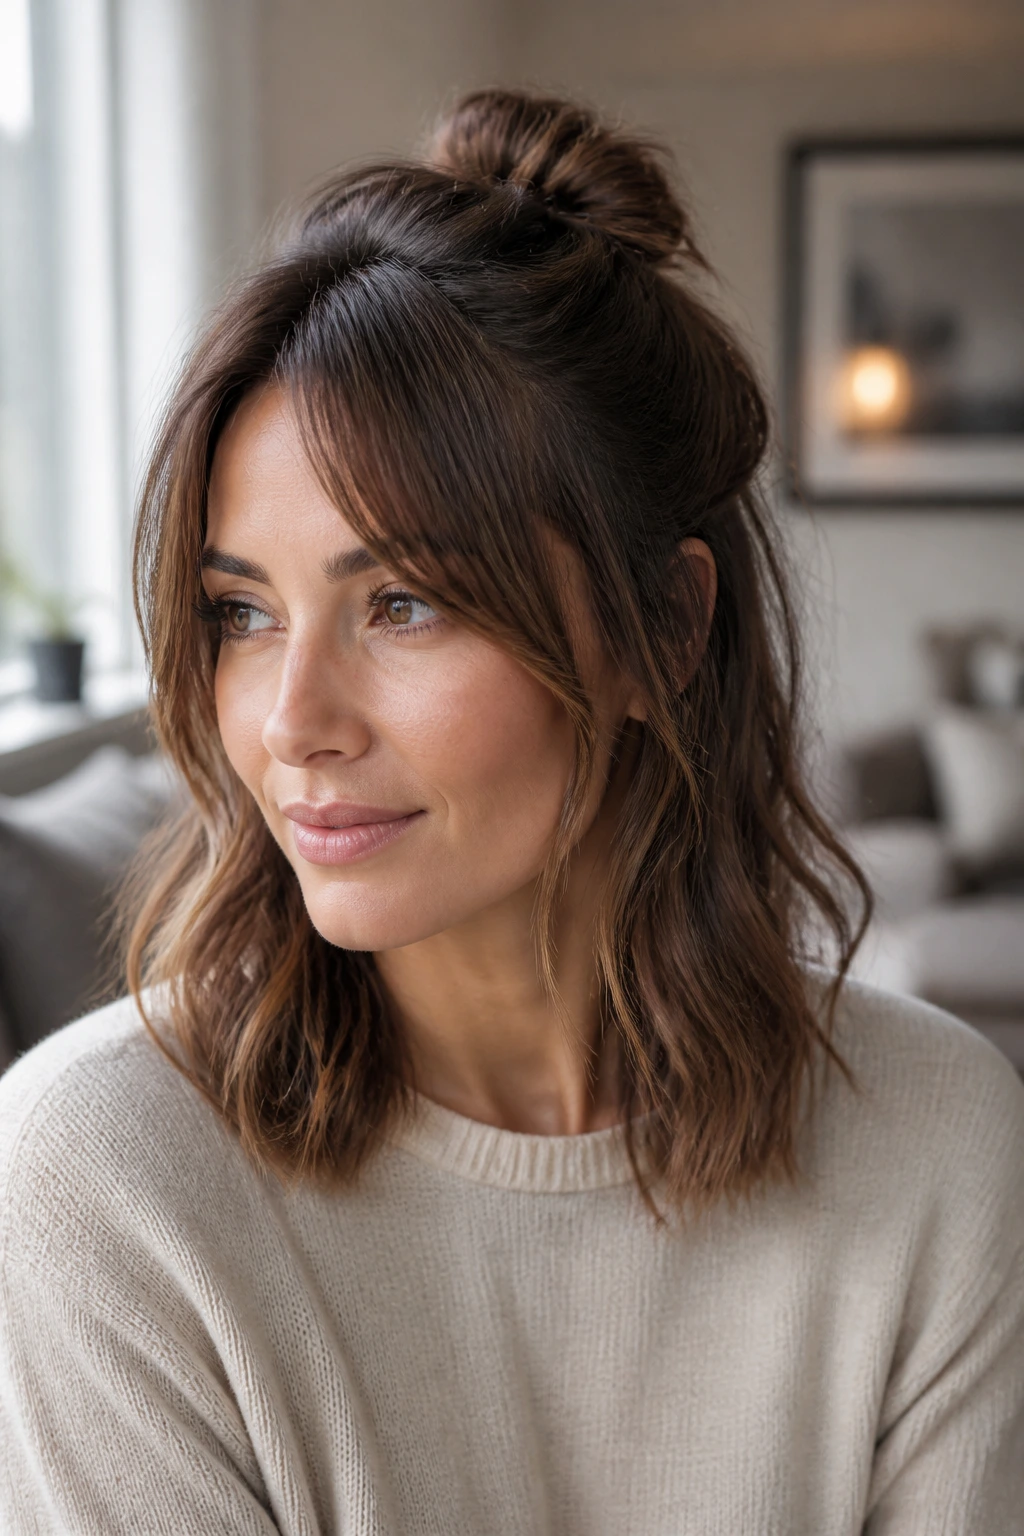
The airy half-up knot is what I’d call a low-effort style that still has a point of view. Pull the top section back into a loose knot or loop, leave the rest down, and let the curtain pieces fall where they want. On medium hair with soft layers, the face-framing strands do half the styling for you.
Keep the knot small and a little imperfect. The length below should stay wavy or bent so the contrast feels relaxed. If your bangs are long enough to blend into the sides, this style becomes even easier because the cut already does the framing.
It’s the one to pick when you want to look dressed for the event without looking overworked. Honest hair. Good hair.
How to Prep Layered Medium Hair So It Holds

The styles above all get easier when the hair has a little grip before styling starts. Freshly washed hair can be too silky, especially if your strands are fine. Day-two hair often behaves better, and a light mist of dry shampoo at the roots gives pins and twists something to hold onto.
Root prep matters first. Blow-dry the crown with a round brush or brush dryer so the top has lift before you start shaping. If the roots lie flat, every bun and ponytail looks tired by the time you finish.
The ends need restraint, not heaviness. A small amount of smoothing cream or serum on the last inch or two keeps layered pieces from frizzing out, but don’t coat the whole head. That’s how styles slip. For waves and curls, let each section cool completely before brushing it out. Warm hair changes shape fast. Cold hair remembers.
Carry a tiny rescue kit. Two bobby pins, a mini hairspray, and one clear elastic are enough for most event styles. More than that and the bag starts feeling silly.
Practical Tips for Getting the Most Out of These Looks
Prep on the right day: If your hair tends to slip clean, wash it the day before and let the natural oil at the roots do some of the work. That gives pins more grip and keeps the style from collapsing by the end of dinner.
Set the shape before you set the finish: Curl, twist, or pin the hair first, then decide how sleek or soft you want it. Trying to force shine spray and hairspray at the same time usually leaves the style sticky in the wrong places.
Use your layers on purpose: Leave out one slim face-framing piece, or tuck a shorter section into the twist so it becomes part of the shape. Do not fight every loose strand. Some of them are the reason the style looks good at all.
Match the style to the neckline: High necks like a clean chignon or tucked ponytail. Strapless and off-shoulder dresses can handle bigger waves, a bouffant, or a side-swept finish. If the outfit is busy, keep the hair calmer. If the dress is plain, let the hair carry more texture.
Save the hardest details for the front: People notice the hairline, the temples, and the part first. If those areas are neat, the back can be a little looser and still read polished.
Common Mistakes That Make Layered Medium Hair Fall Apart
Using too much oil near the roots: The hair looks shiny for ten minutes, then the clips slide and the style sags. Keep serum off the crown and reserve it for the ends.
Curling every section in random directions: The result is puffy, uneven, and hard to brush into shape. Pick a direction for most of the curls, especially around the face, then change only where the style needs softness.
Skipping cooling time: Warm curls flatten fast. Pin them, clip them, or let them sit for a few minutes before brushing them out.
Leaving the crown flat: Medium hair needs a little lift on top, even in sleek styles. If the roots are pinned down too hard, the whole look goes limp from the start.
Choosing a style that fights your cut: Very short layers around the jaw can slip out of a tight twist, and heavy waves can overwhelm a fine, collarbone-length cut. Match the hairstyle to the actual layer pattern, not the inspiration photo.
Over-brushing the finish: A little brushing softens waves; too much turns them into static. Use your fingers or a soft bristle brush and stop before the shape disappears.
Variations and Alternatives to Try
Sleeker Than Sleek: If your event leans formal, remove most of the texture and go for glossy roots, tight part lines, and controlled ends. This version works especially well with modern dresses and structured fabric.
Soft and Romantic: Keep the same hairstyles but loosen everything by half an inch. Pull a little more hair around the face, soften the braid edges, and brush waves until they look airy instead of set.
Braids First: If your hair slips easily, lean on braids, rope twists, and braided bases instead of plain buns. Braided structure helps medium layers stay put longer than smooth twists alone.
Fast Five-Minute Version: Choose a claw-clip sweep, a low ponytail with one wrapped strand, or a crown knot half-up. These give you a finished look without the full round-iron-and-pin routine.
Humidity-Resistant Texture: In humid air, avoid over-smoothing the hair. A little texture spray, a few more hidden pins, and softer bends will last longer than a glassy finish that frizzes the minute you step outside.
Essential Tools for These Hairstyles
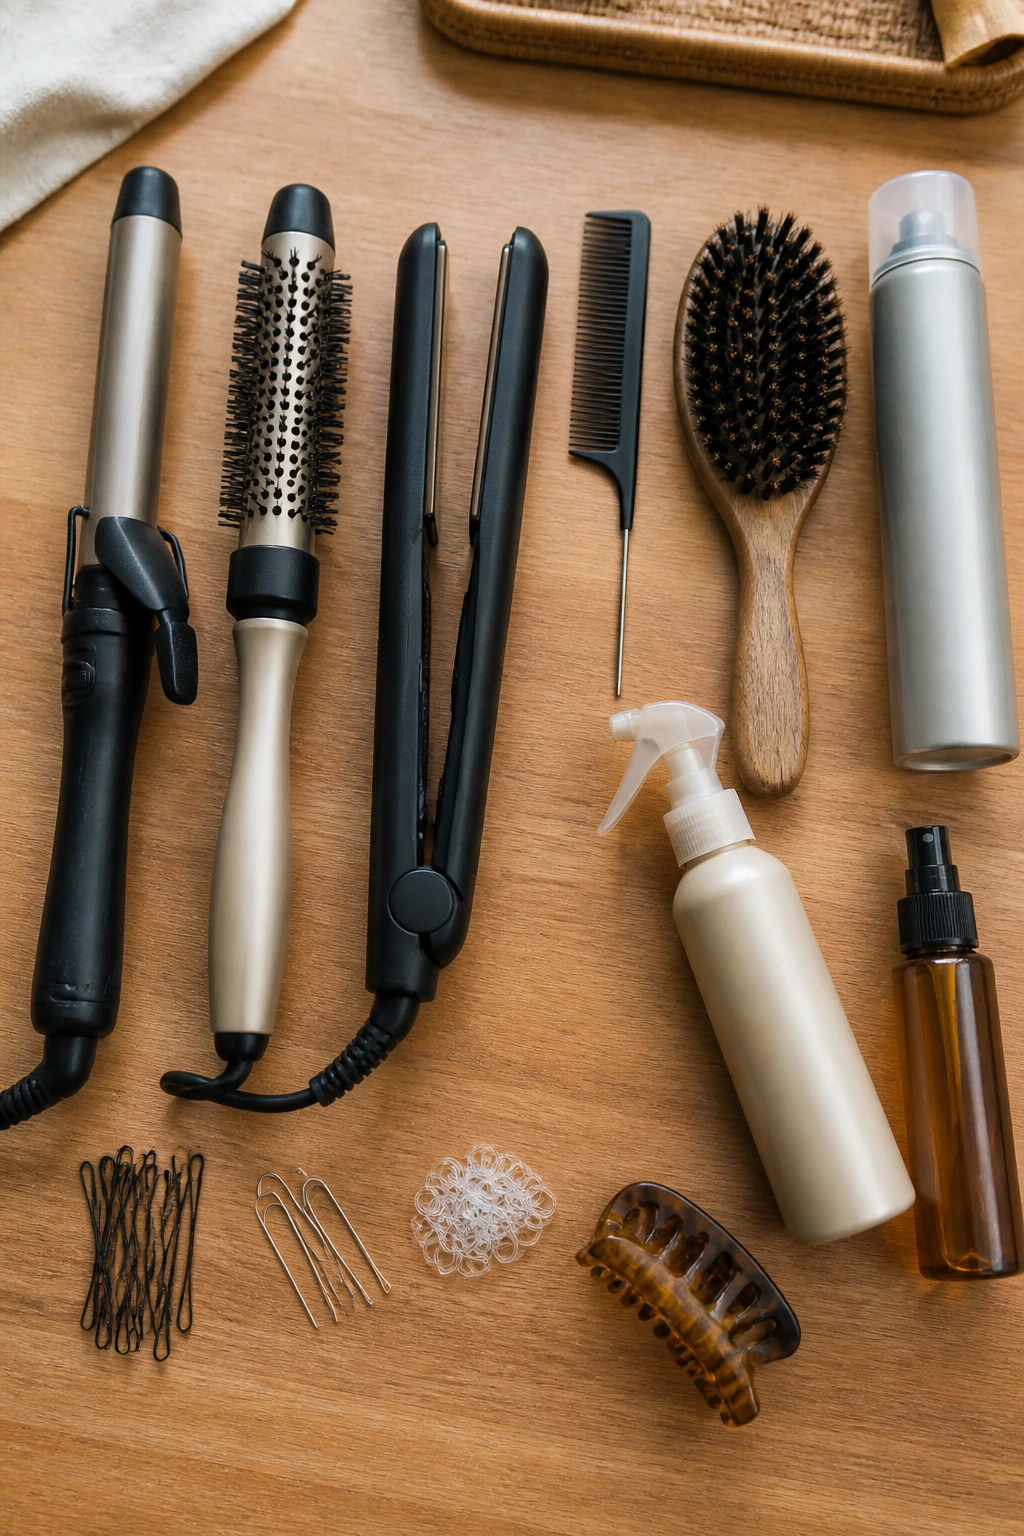
- 1-inch curling iron or wand: Best for face-framing pieces, loose waves, and the soft bends that make layered hair look finished.
- 1.25-inch curling iron or round brush: Useful for blowouts and broader event waves that need movement, not tiny curls.
- Flat iron: Handy for sleek center parts, bent ends, and smoothing the top layer before pinning.
- Tail comb: Essential for clean parts, crown lift, and separating sections without making the hair fluffy too early.
- Boar-bristle brush or soft paddle brush: Good for brushing waves into one shape without making them frizzy.
- Texturizing spray: Gives grip to clean hair and keeps braids, twists, and clip styles from slipping.
- Flexible-hold hairspray: Holds the shape without turning the finish hard and crunchy.
- Strong bobby pins: Choose pins that match your hair color and have enough tension to hold layered sections.
- U-pins: Better than regular pins for chignons, rolls, and denser buns.
- Small clear elastics: Best for half-up twists, rope braids, and detail work where you don’t want the tie to show.
- Claw clip or decorative barrette: Useful for elevated casual styles and quick resets during the evening.
- Heat protectant: Non-negotiable if you’re using hot tools anywhere near the ends.
How to Keep the Style Fresh Before, During, and After the Event
Build the style with a little more hold than you think you need. A loose braid or a soft wave can look lovely at home and fall flat in one hour if the weather is warm or the venue is humid. Give curls time to cool for 10 to 15 minutes before brushing them out, and let pins set the hairline before you touch it again.
During the event, keep your hands out of it. Fingers are fine for a tiny adjustment. A brush is not. If one face-framing piece drops, tuck it back into the style with a bobby pin instead of trying to rebuild the whole thing in a bathroom mirror.
If you need the look to last overnight, braid-heavy and pinned styles do best. A braided bun or low chignon can usually survive a night if you sleep on a silk pillowcase and gather the hair loosely with a soft scrunchie. Brushed-out blowouts and Hollywood waves need more morning help: a quick pass of dry shampoo at the roots, then a few seconds with the curling iron on the front pieces usually brings them back.
One more thing. If the style starts to go soft, that’s not always a failure. Sometimes the second-hour version is better than the first. The trick is to keep the shape, not the stiffness.
Frequently Asked Questions
Which of these styles holds best on fine medium hair?
Braided crowns, low ponytails with wrapped bases, and braided buns usually grip the best because the braid pattern helps the hair stay together. Fine hair often needs dry shampoo or texture spray at the roots first, or the style slides much faster.
Do soft layers make updos harder to do?
They can, but only if you try to force every piece into a tight, smooth shape. Soft layers are easier to manage when the style leaves room for a few pieces to stay loose around the face or tucked into the twist.
Can I do these with second-day hair?
Yes, and in many cases that is better. Second-day hair has more grip, so curls hold longer and pins stay put; you may only need a tiny touch of water or heat on the front pieces.
What if my crown always goes flat?
Lift starts before styling. Blow-dry the crown upward with a brush, then let it cool in a clipped-up section for a few minutes before you build the style. If you skip that, the top will collapse no matter how pretty the rest looks.
How do I stop the short front layers from slipping out?
Pin them where they want to fall instead of fighting them straight back. A small curl, a side tuck, or a half-up twist usually keeps them in place better than trying to force them into a smooth bun.
Can I wear a claw clip to a formal event?
Yes, if the clip is polished and the rest of the hair is clean. A matte acetate, pearl, or metallic clip looks far more intentional than a plastic one with a tired grip.
Should I curl the hair toward or away from the face?
Around the front, away from the face usually gives the cleanest opening and the nicest frame. In the back, alternating directions can soften the shape if you plan to brush the waves out afterward.
What should I do if the style starts falling apart mid-event?
Reset the front first, then secure the base. A slipping ponytail or bun is usually fixed with one hidden pin and a small hit of spray, not a full rebuild in the mirror.
A Few Styles You’ll Reach For Again
Medium hair with soft layers gives you room to move between polished and relaxed without changing the cut itself. That’s the useful part. One night it’s a wrapped low ponytail with a clean part; another night it’s a brushed wave with pins at the temple, and both can look right because the layers already provide shape.
The styles that last are the ones that respect the haircut. They don’t bully it into pretending to be longer or heavier than it is. They work with the bend at the ends, the movement around the face, and the way medium length keeps a twist from sagging under its own weight.
Pick the finish that matches the dress, the weather, and your patience level, then let the layers do their job.