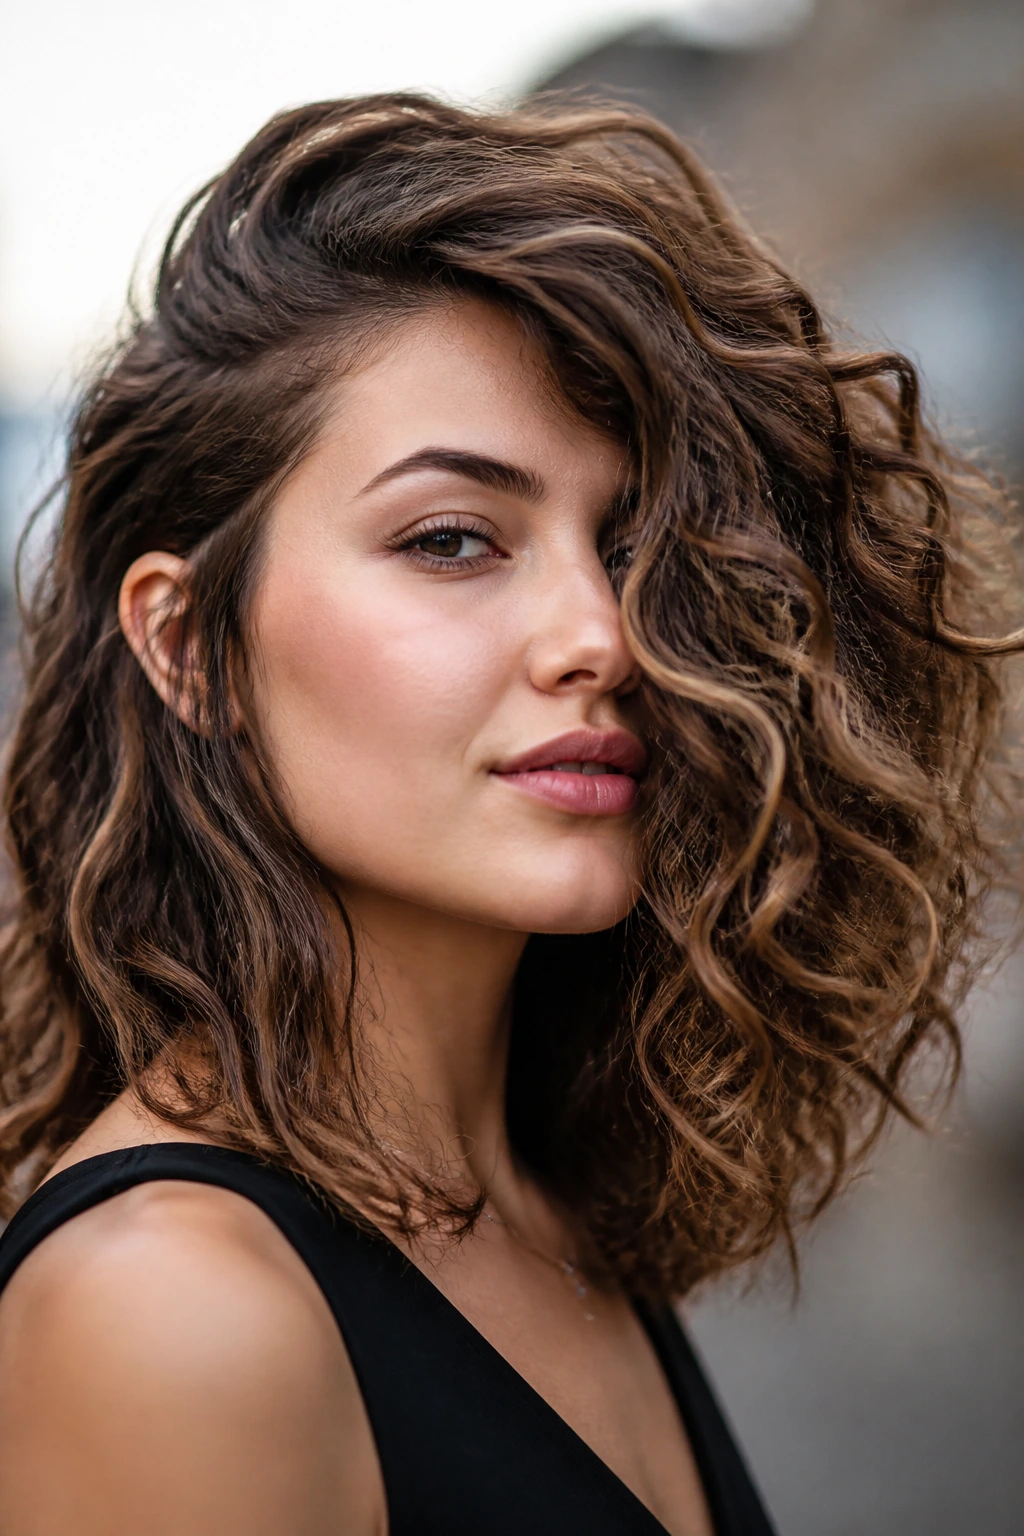
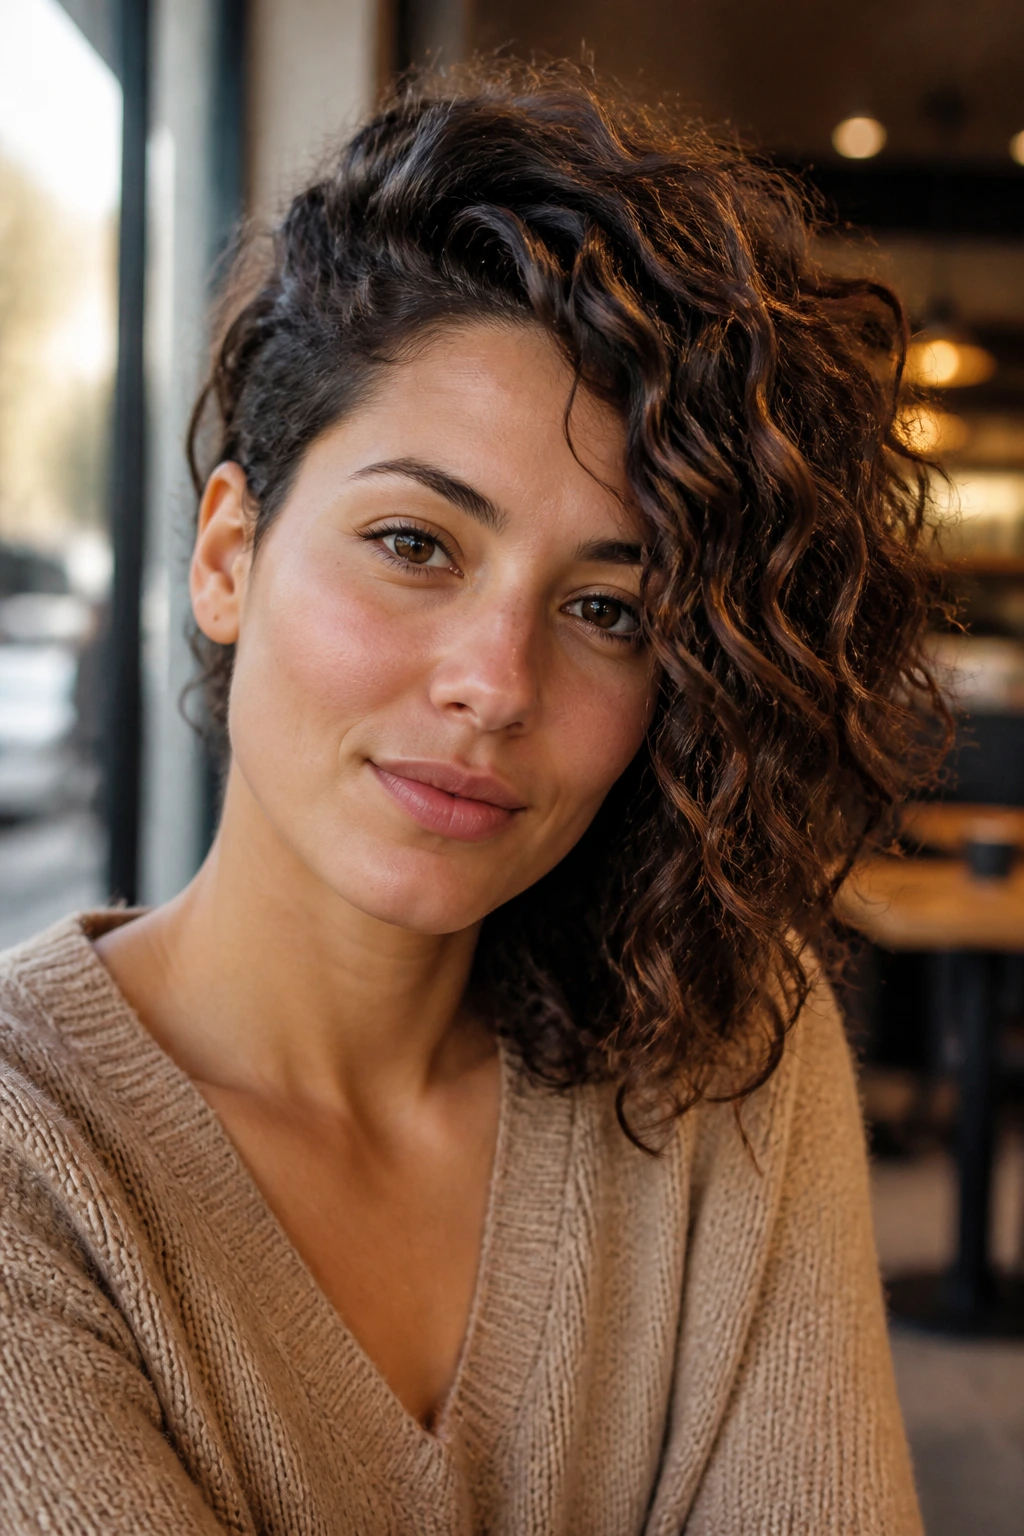
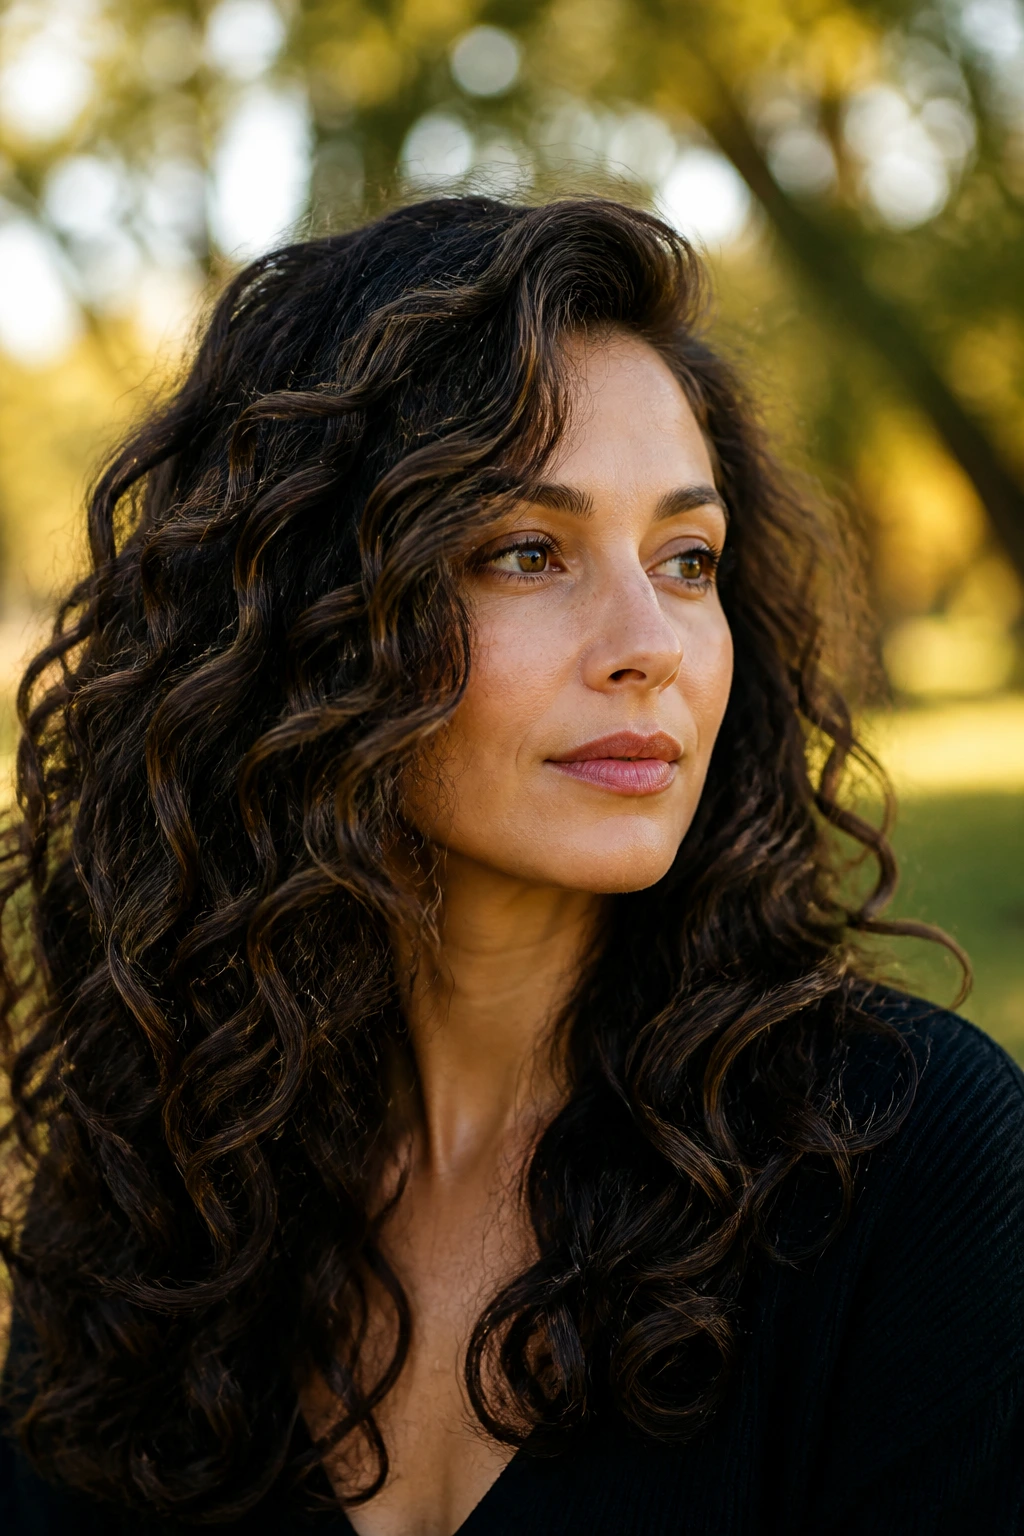
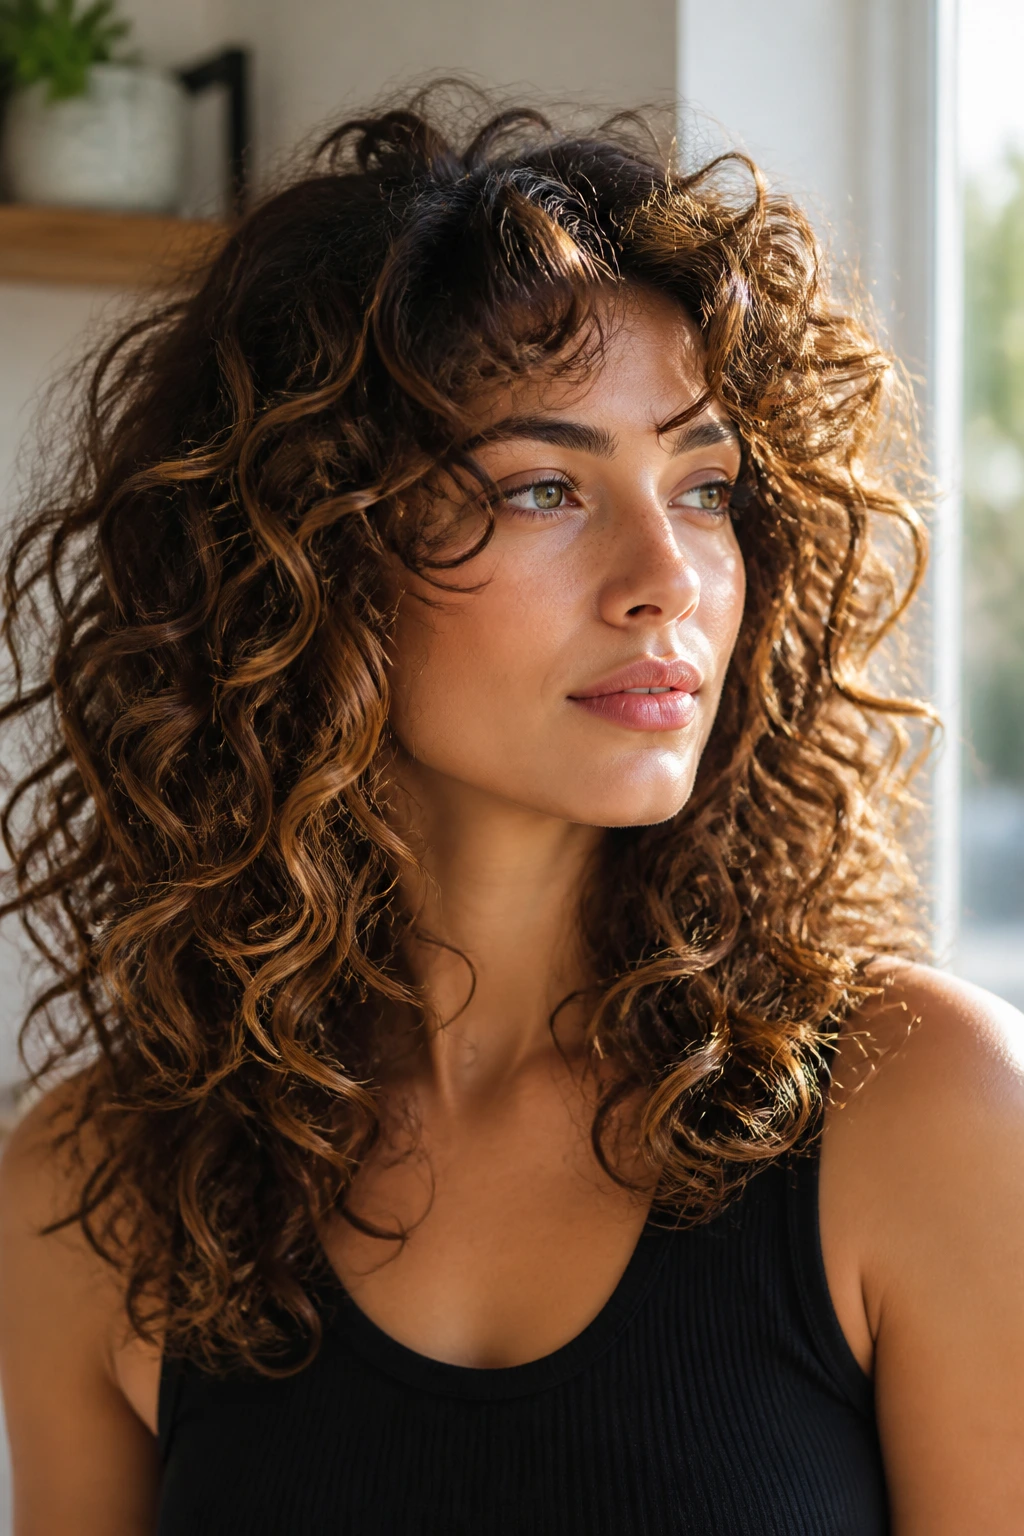
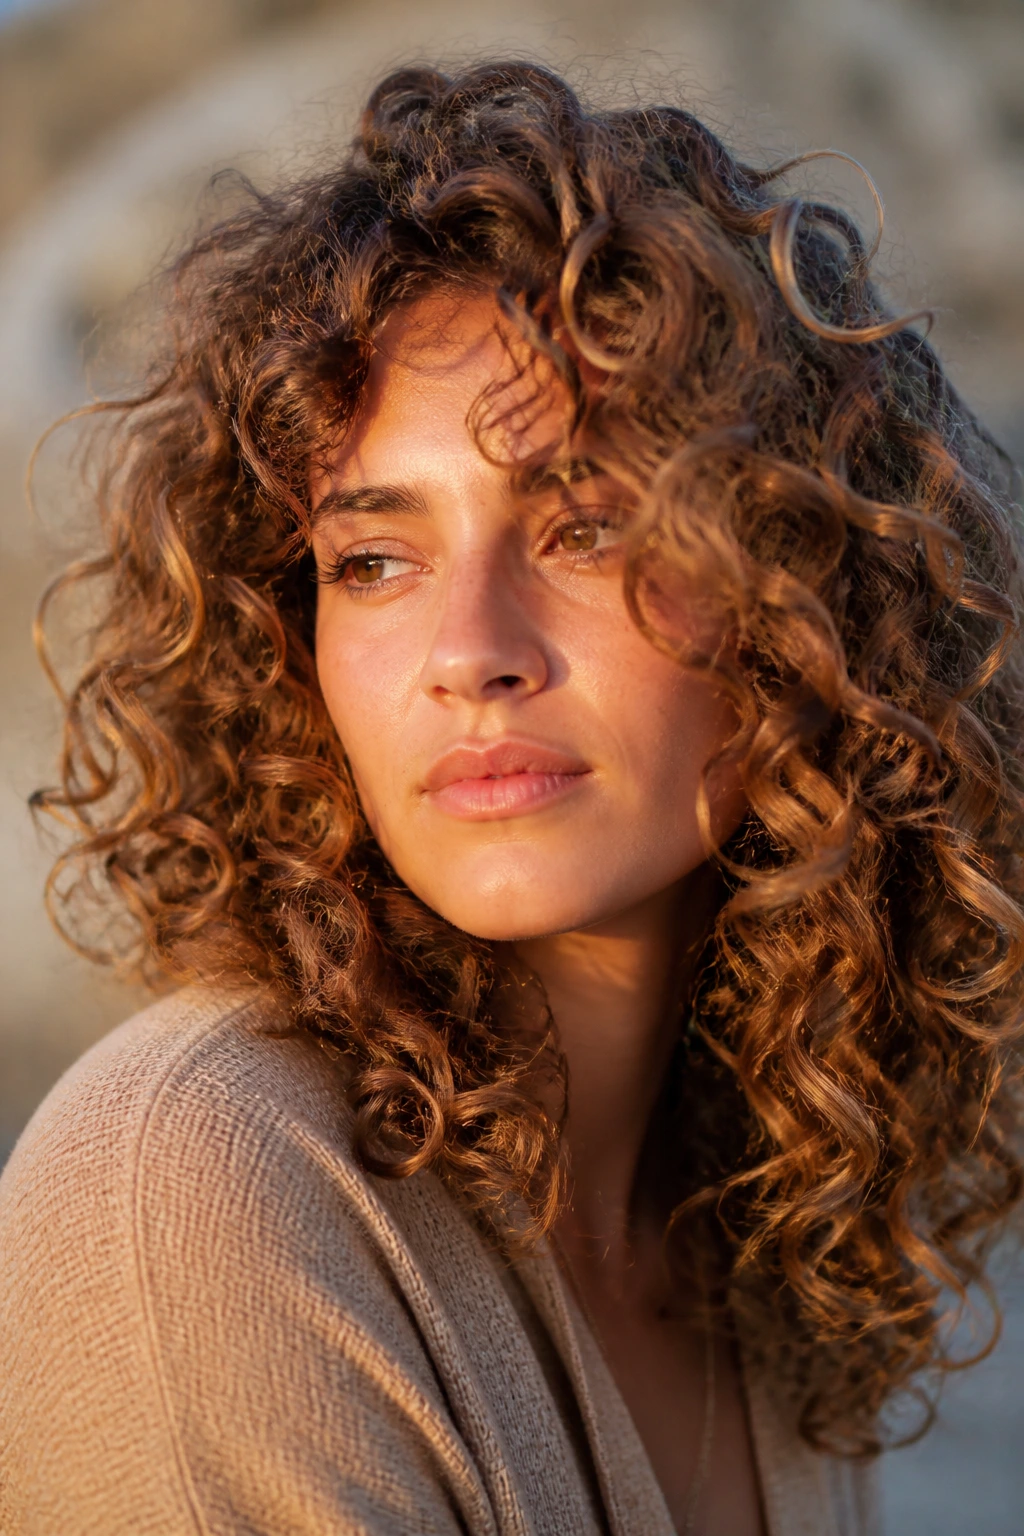
Curly hair does not need more bulk. It needs a shape that knows where to stop.
That’s the part people miss when they ask for volume. They think the answer is more layers, more product, more lift at the root, more everything. Then the curls dry into a wide triangle, the ends fray, and the whole thing feels bigger in the wrong places. Layered volume haircuts for curly hair with lowlights work because the cut builds air into the form while the darker pieces create shadow where the curl pattern naturally separates. The result reads fuller, not puffier. That’s a useful difference.
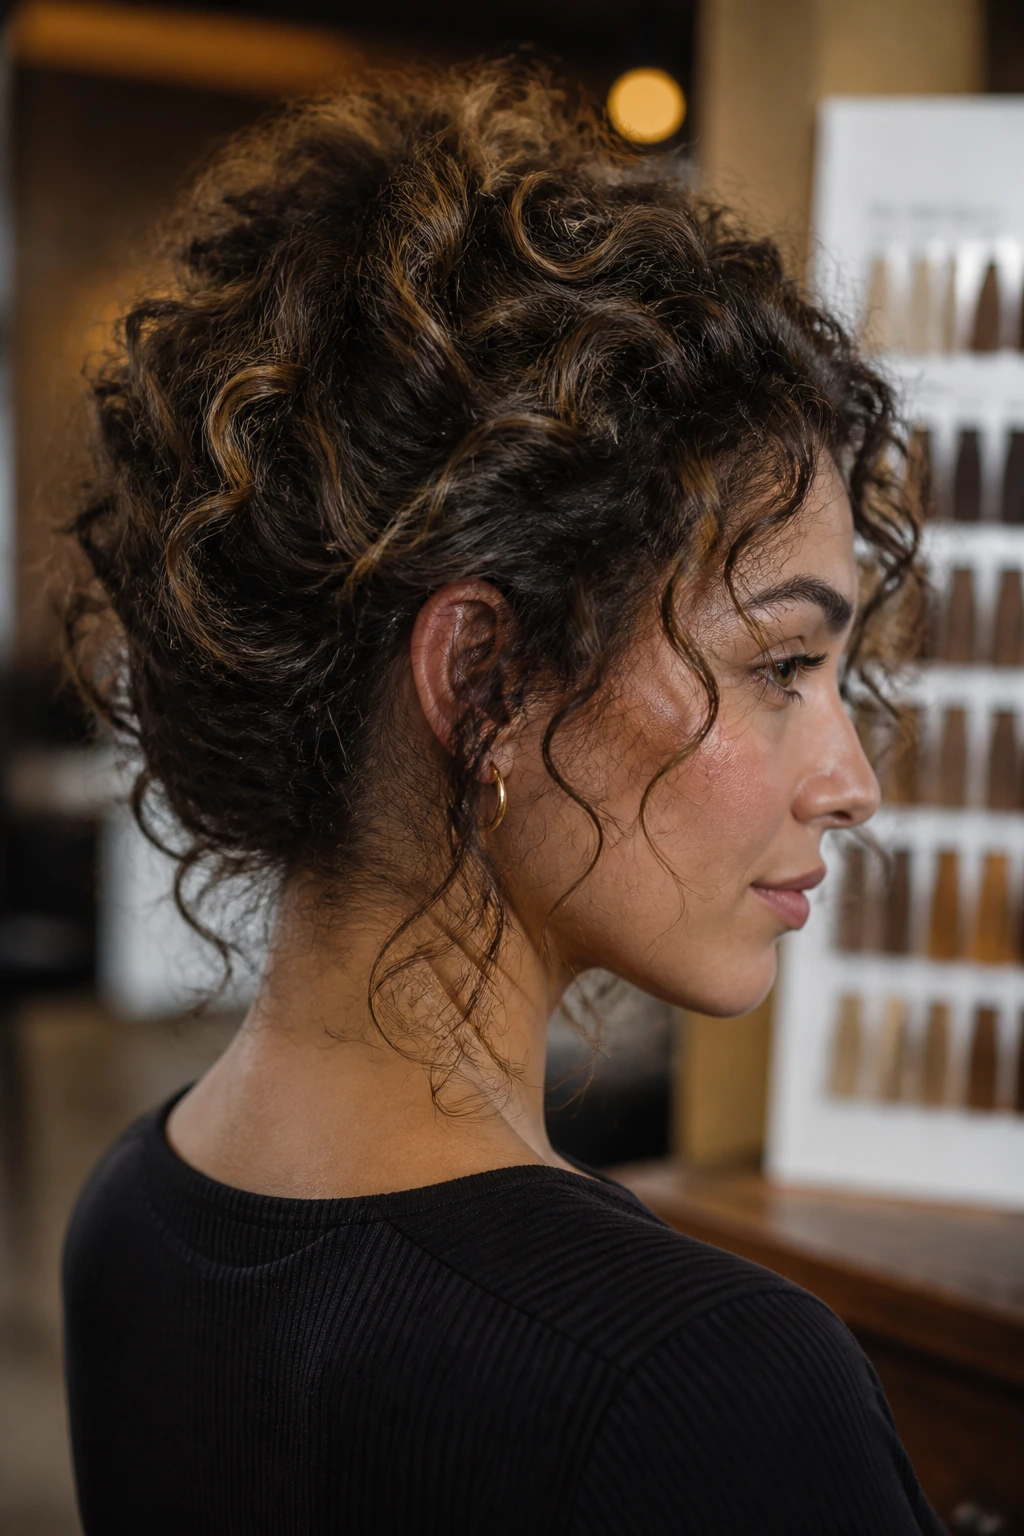
And lowlights are doing more work than they get credit for. A few darker ribbons tucked under the crown, through the nape, or behind the cheekbones can make a curl cluster look denser and more defined without turning the color heavy or striped. The trick is placement. Not saturation. Not sameness. Placement.
Why These Cuts Look Fuller, Not Wider
- Built for shrinkage: Curly hair springs up after it dries, so these cuts leave enough length for the silhouette to land where you actually want it.
- Shadow creates depth: Lowlights placed inside the curl mass make the eye read separation, which helps the style look thicker.
- The outline stays readable: Rounded bobs, shags, and layered lobs keep the edges from ballooning into a square or triangle.
- They work with different curl patterns: Loose 2C waves need gentler layering than springy 3B or 3C curls, and these cuts leave room for both.
- Day-two hair looks better: When the outer layer gets a little frizz, the darker pieces underneath keep the shape from going flat and pale.
- You can tune the drama: A soft chestnut lowlight gives subtle depth; espresso or smoky brunette gives a stronger frame.
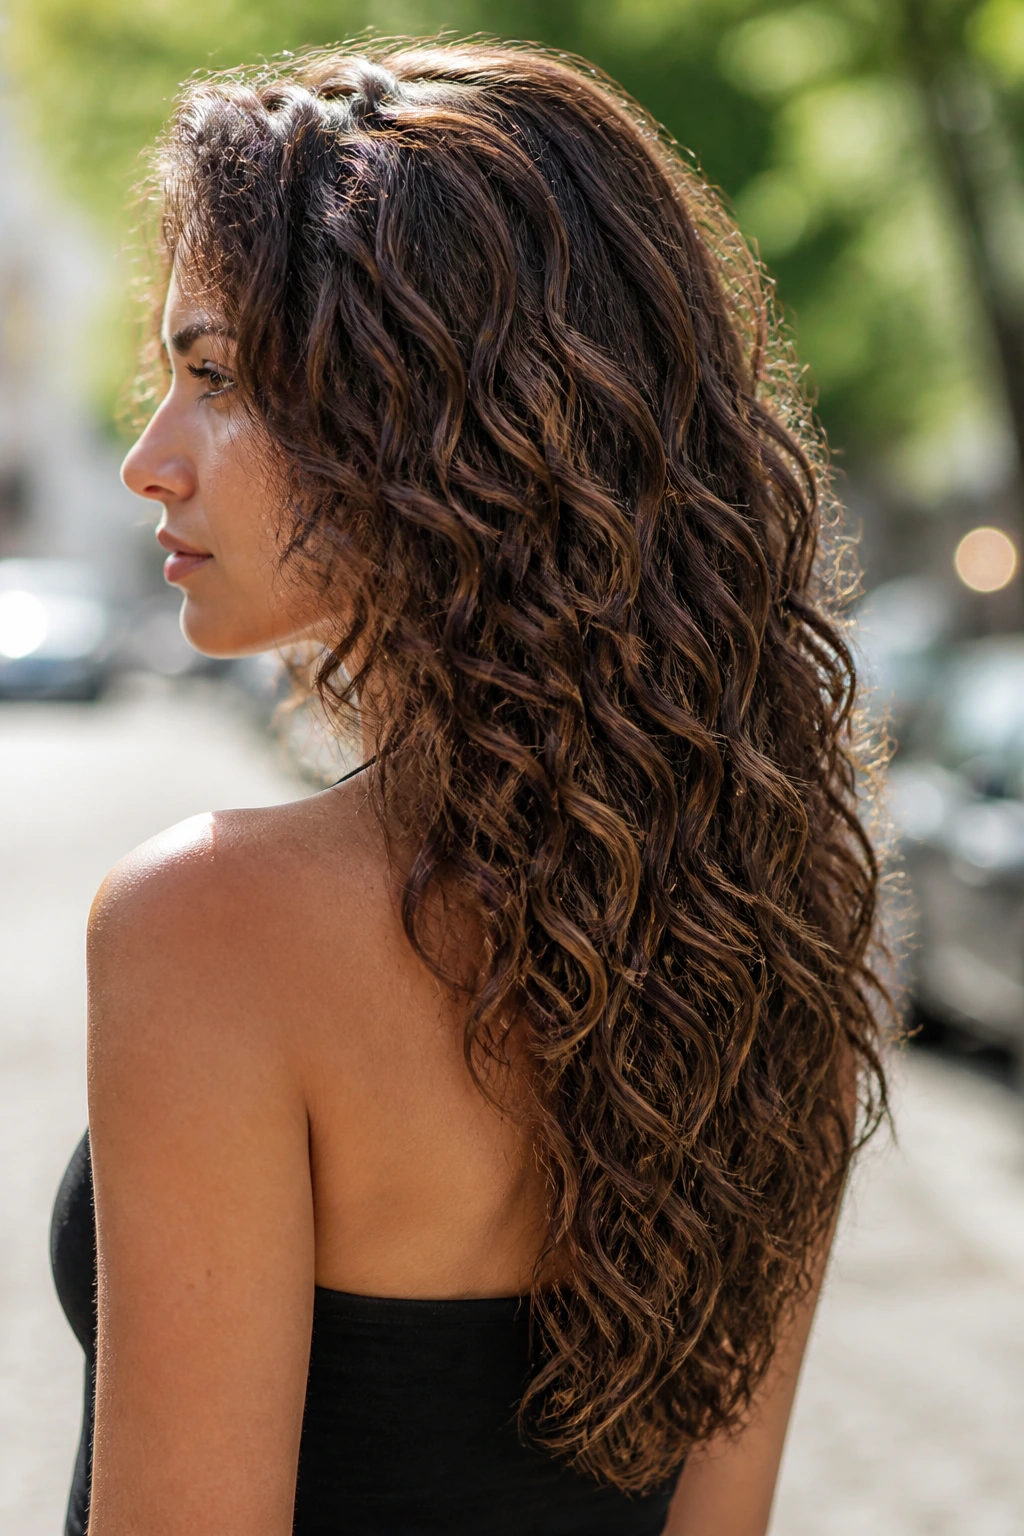
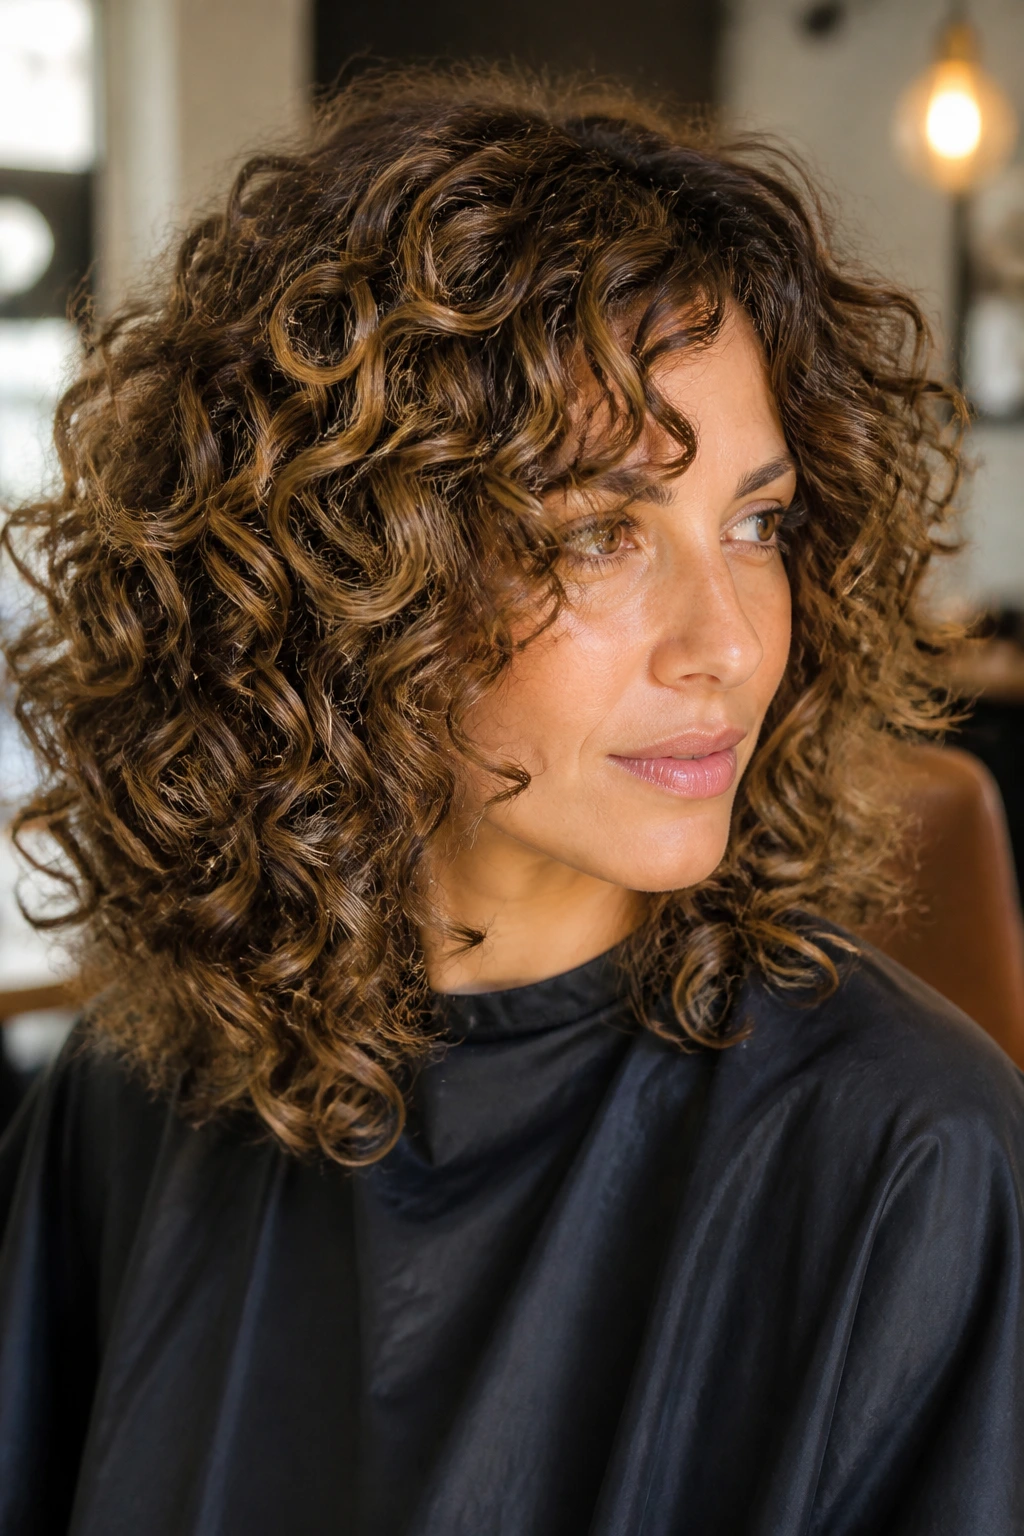
1. Collarbone Lob with Chestnut Lowlights
A collarbone lob is one of the cleanest ways to add volume without making curly hair feel overbuilt. The length sits right where the hair can swing, and that swing matters. If the cut ends too high, you get lift with no weight. If it drops too low, the curls can drag the whole shape down. Chestnut lowlights tucked under the top layer keep the front bright while giving the underside a little darkness to work against.
Where the shadow should sit
The best version of this cut keeps the interior slightly shorter than the perimeter, with the longest curls grazing the collarbone and the shorter layers living inside the shape. That lets the top ring breathe while the body of the cut stays full. I like chestnut lowlights most here because they read warm and soft next to brown curls, yet they still carve out enough contrast to show the spiral pattern.
If your curls are loose and wavy, keep the layers mild. If they’re springy, the haircut can take a little more internal lift. Either way, this is the kind of cut that looks expensive when the nape is cleaned up and the lowlights are painted in thin panels instead of chunky blocks.
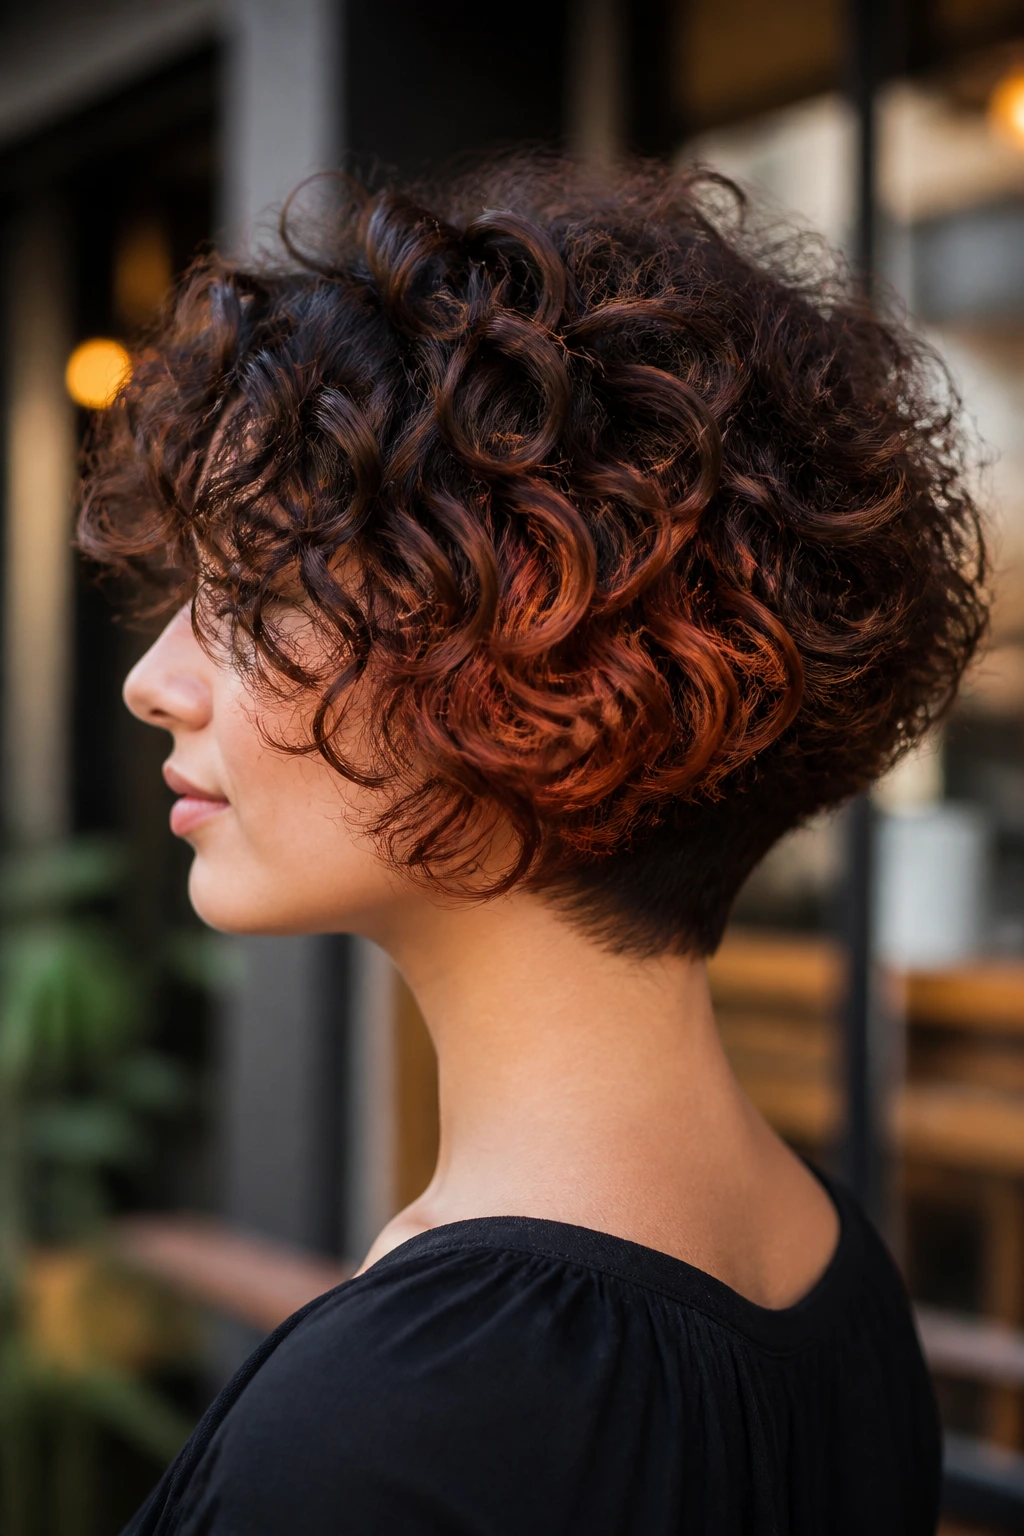
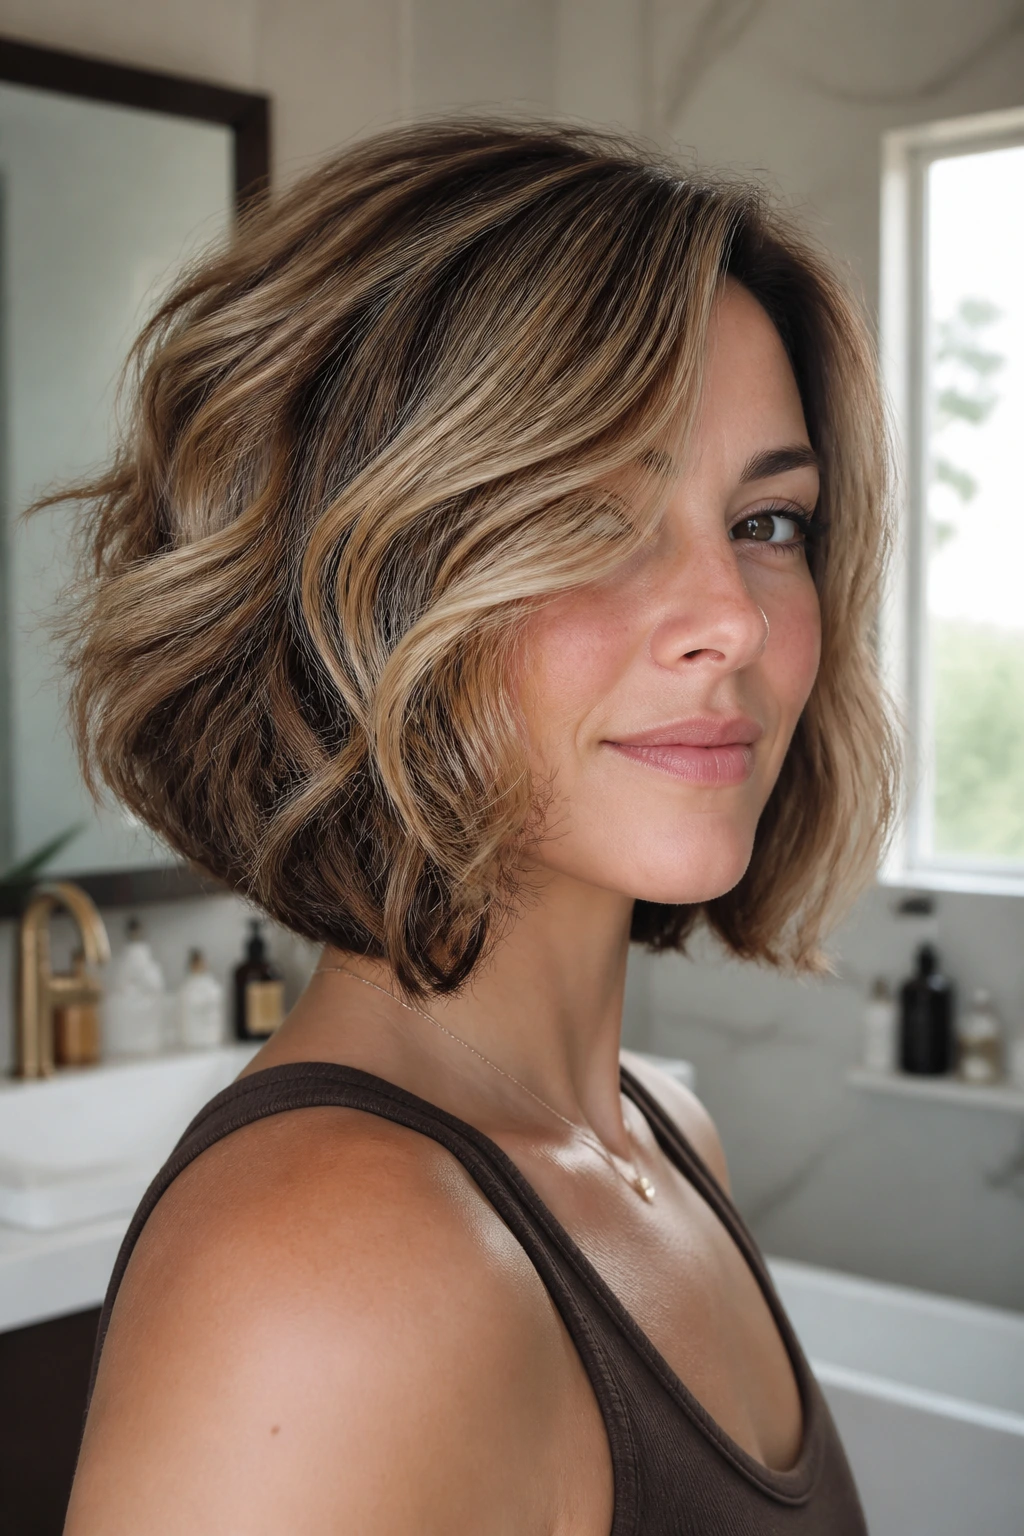
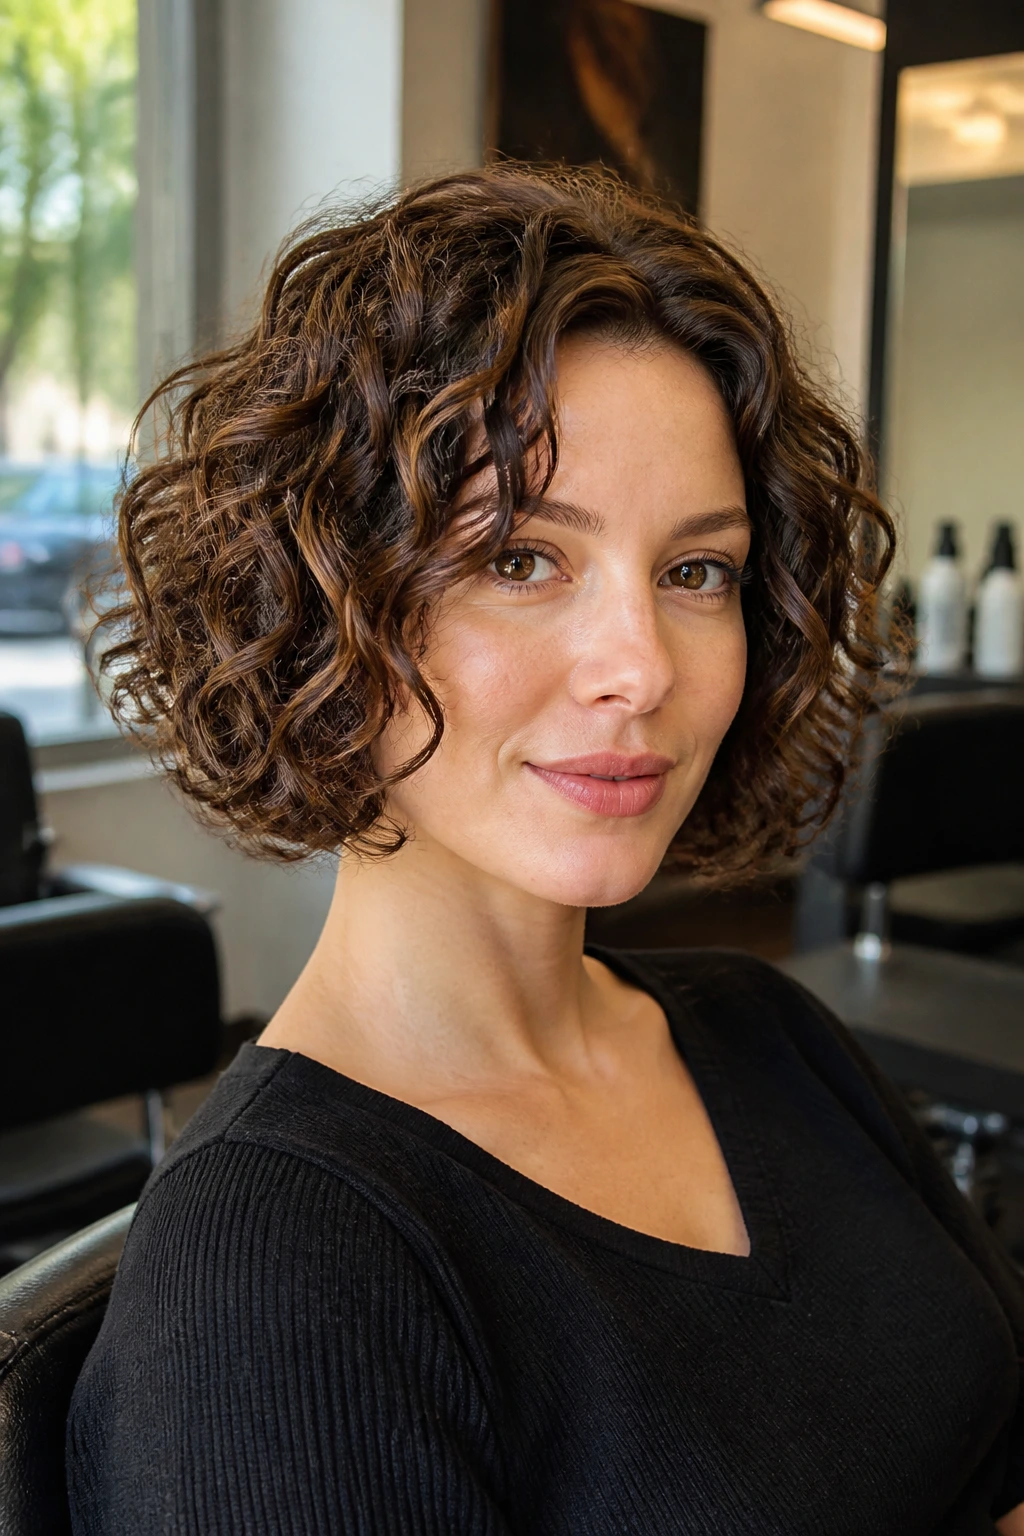
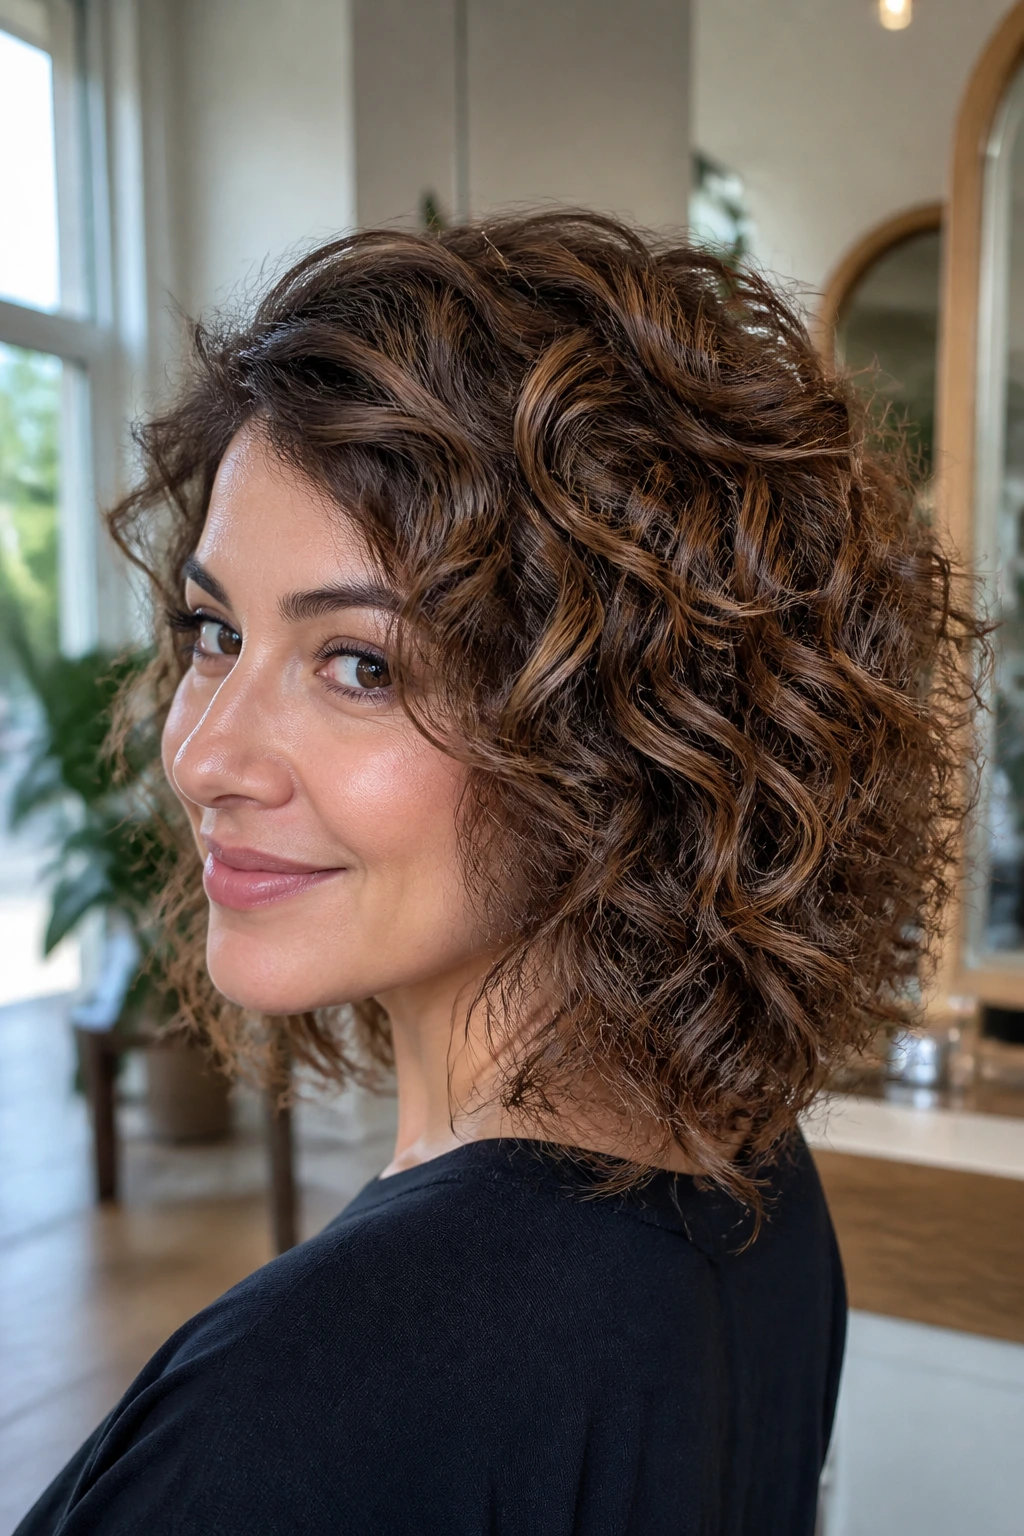
2. Rounded Bob with Cocoa Underlayers
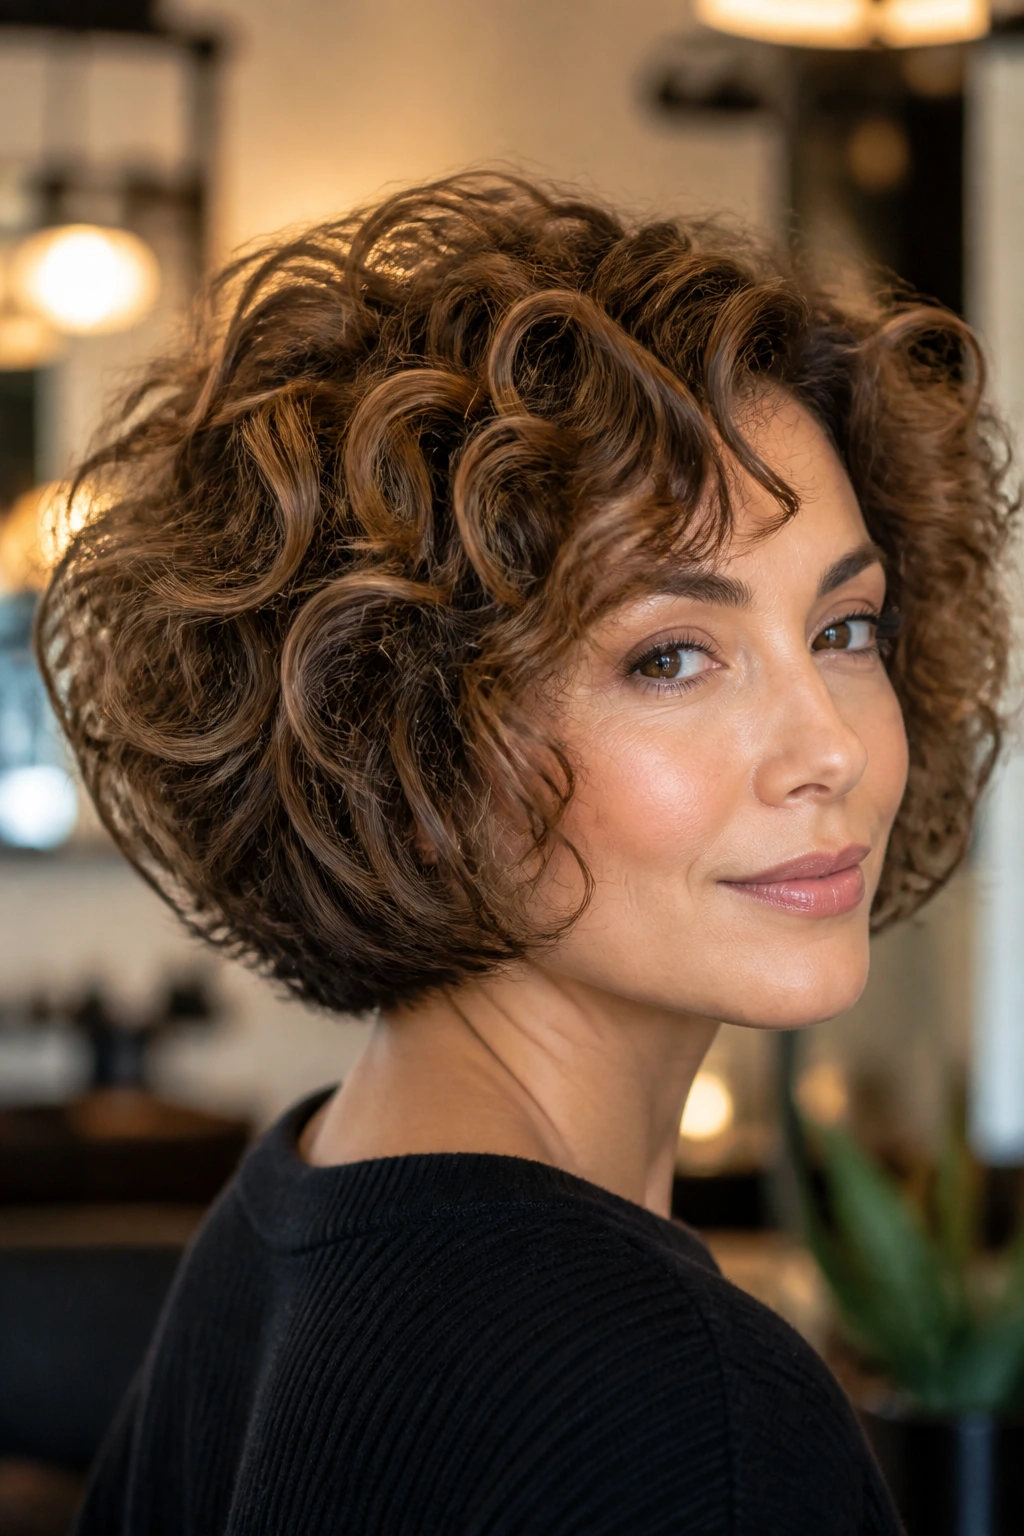
A rounded curly bob sounds simple until you see one done well. Then it’s obvious why it keeps showing up in salons: the shape gives the curls somewhere to land instead of letting them drift outward. Cocoa lowlights underneath stop the bottom half from looking hollow, which is the thing that ruins a lot of short curly bobs.
This cut works especially well when the perimeter is kept smooth and the interior gets the real work. The top should feel buoyant, not chopped. The lowlights belong under the crown and around the nape, where curls often show the most scalp and the least color depth. That dark base turns the bob into a rounded cloud instead of a puffball.
Best on tighter 3A to 3C patterns, though looser curls can wear it too if the stylist respects shrinkage. Keep the bob jaw-to-neck length, not chin-short, unless your curls are very springy. Shorter than that and the shape can kick outward fast.
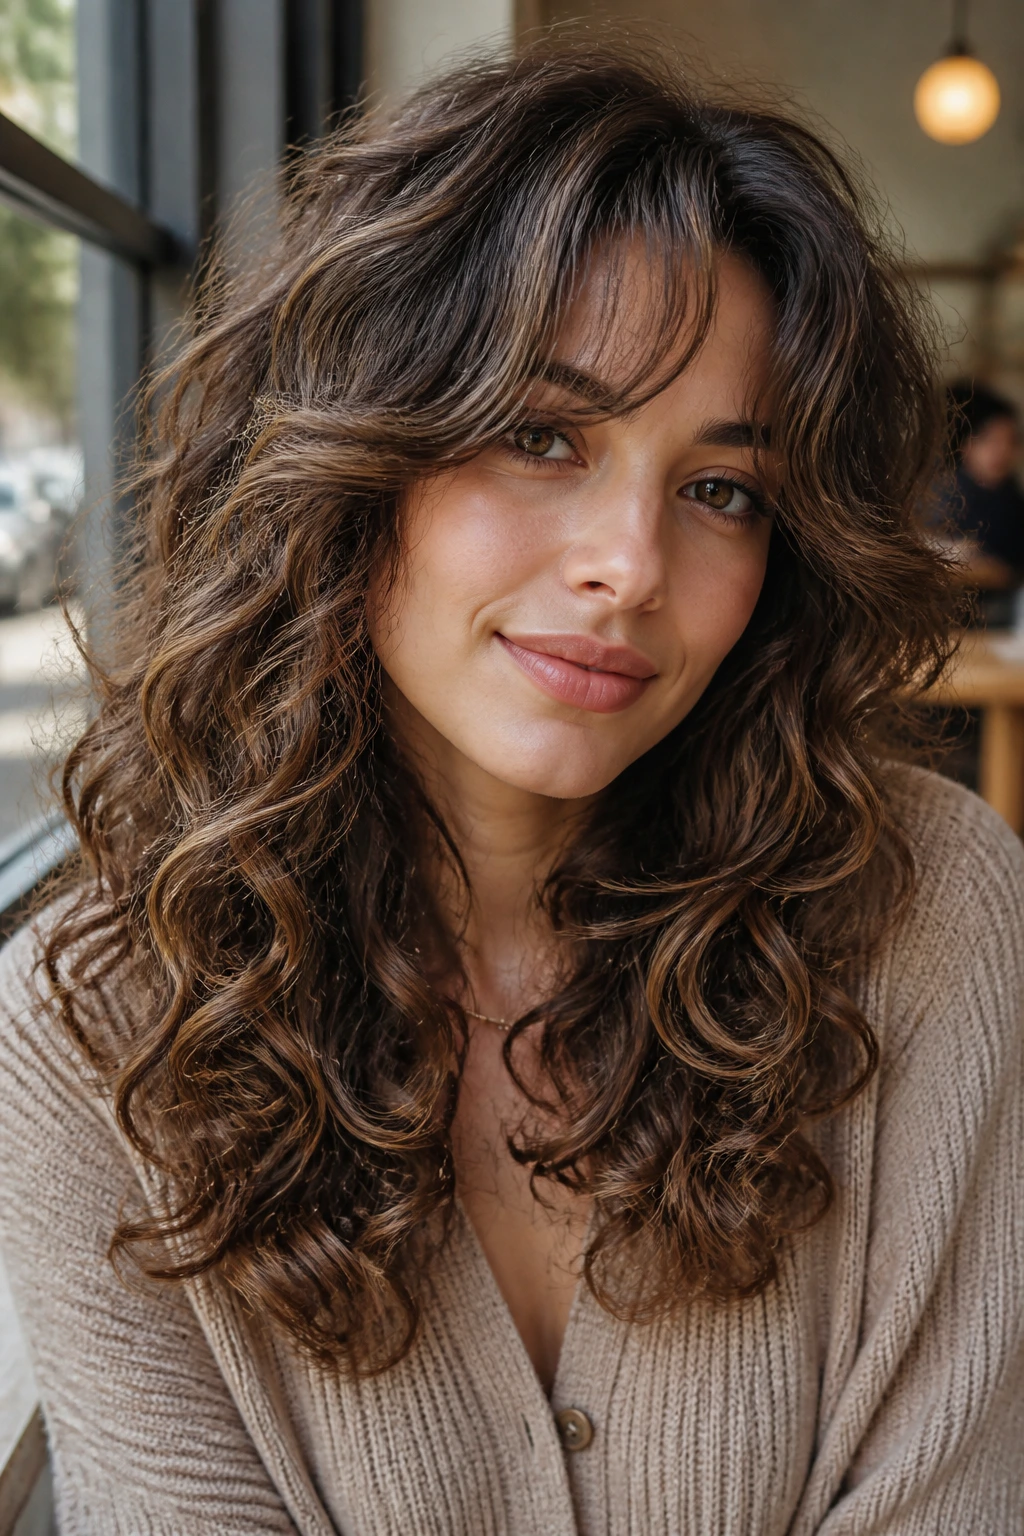
3. Mid-Length Shag with Walnut Ribbons
What makes a curly shag work is not chaos. It’s control disguised as looseness. The layers should move, but they should move in the right places: around the crown, through the cheekbones, and down into the lower half where the hair needs a break from bulk. Walnut lowlights woven through the interior give the shag a darker undercurrent that keeps all that movement from reading fuzzy.
Why it stays lifted
The shag is a strong choice if your curls flatten at the top and explode at the sides. Shorter crown layers create lift right where you need it, while the longer perimeter keeps the shape from flying apart. Walnut lowlights help because they break up the solid wall of curl, especially if your natural color sits in the medium brown range.
This one likes a good diffuser and a light mousse at the root. Heavy creams can weigh the crown down, and then the whole point of the haircut slips away. If you want a shag with personality but not too much edge, this is the safer version.
4. Butterfly Layers with Espresso Panels
Butterfly layers on curly hair are all about contrast. You get a shorter top tier that lifts around the face and crown, then a longer bottom tier that keeps the length. Add espresso lowlights through the shorter interior pieces and the whole shape starts to look architectural. It’s less “big hair” and more “intentional volume.”
The cut is useful when your curls are dense and you don’t want to lose length just to get movement. The upper layers can be rounded and feathered, while the lower layer stays heavier. That separation is what makes butterfly layers stand out. The espresso pieces deepen the inside of the haircut, which keeps the eye from reading one giant mass.
This style is especially good if your curls sit somewhere between shoulder and mid-back length and you want the hair to feel lighter without giving up drama. Ask the stylist to keep the top tier visible when the curls are dry. If the top disappears into the bottom, the butterfly effect vanishes.
5. Long V-Cut with Mocha Depth
The long V-cut is the bluntest answer to the “I want volume but I refuse to lose length” request. The back narrows into a soft point, the sides stay long enough to frame the face, and the whole shape keeps a little internal movement. Mocha lowlights run best through the lower half of the lengths, where they deepen the curl pattern and stop the ends from looking thin.
Unlike a U-cut, which rounds everything off, the V shape gives the back a cleaner taper. That taper can be a blessing on thick curls because it takes the heaviness out of the bottom without making the cut feel sparse. The mocha lowlights keep the eye moving through the length instead of stopping at one flat surface.
This is a good choice if you wear your hair down often and want the ends to look intentional even on a lazy day. It also behaves well in ponytails, which matters more than people admit.
6. Face-Framing Layers with Dark Roast Pieces
A face-framing cut can change curly hair fast. The rest of the length can stay fairly calm, but the pieces around the cheeks, jaw, and chin wake up the entire head. Dark roast lowlights placed near the temples and beneath the front layers sharpen that effect and make the face stand out without creating a heavy stripe.
What I like here is the way the lowlights act like contouring, but for hair. The curls around the face don’t need to be the lightest part of the head. Sometimes they just need enough contrast to sit forward. If the lower layers are too bright, the style can flare outward and make the face look wider. Darker pieces calm that down.
This cut flatters round and heart-shaped faces especially well. Keep the shortest pieces at the cheekbone or just below, then let the rest of the layers slide down into the collarbone zone. Too short and it starts to feel like bangs that forgot their job.
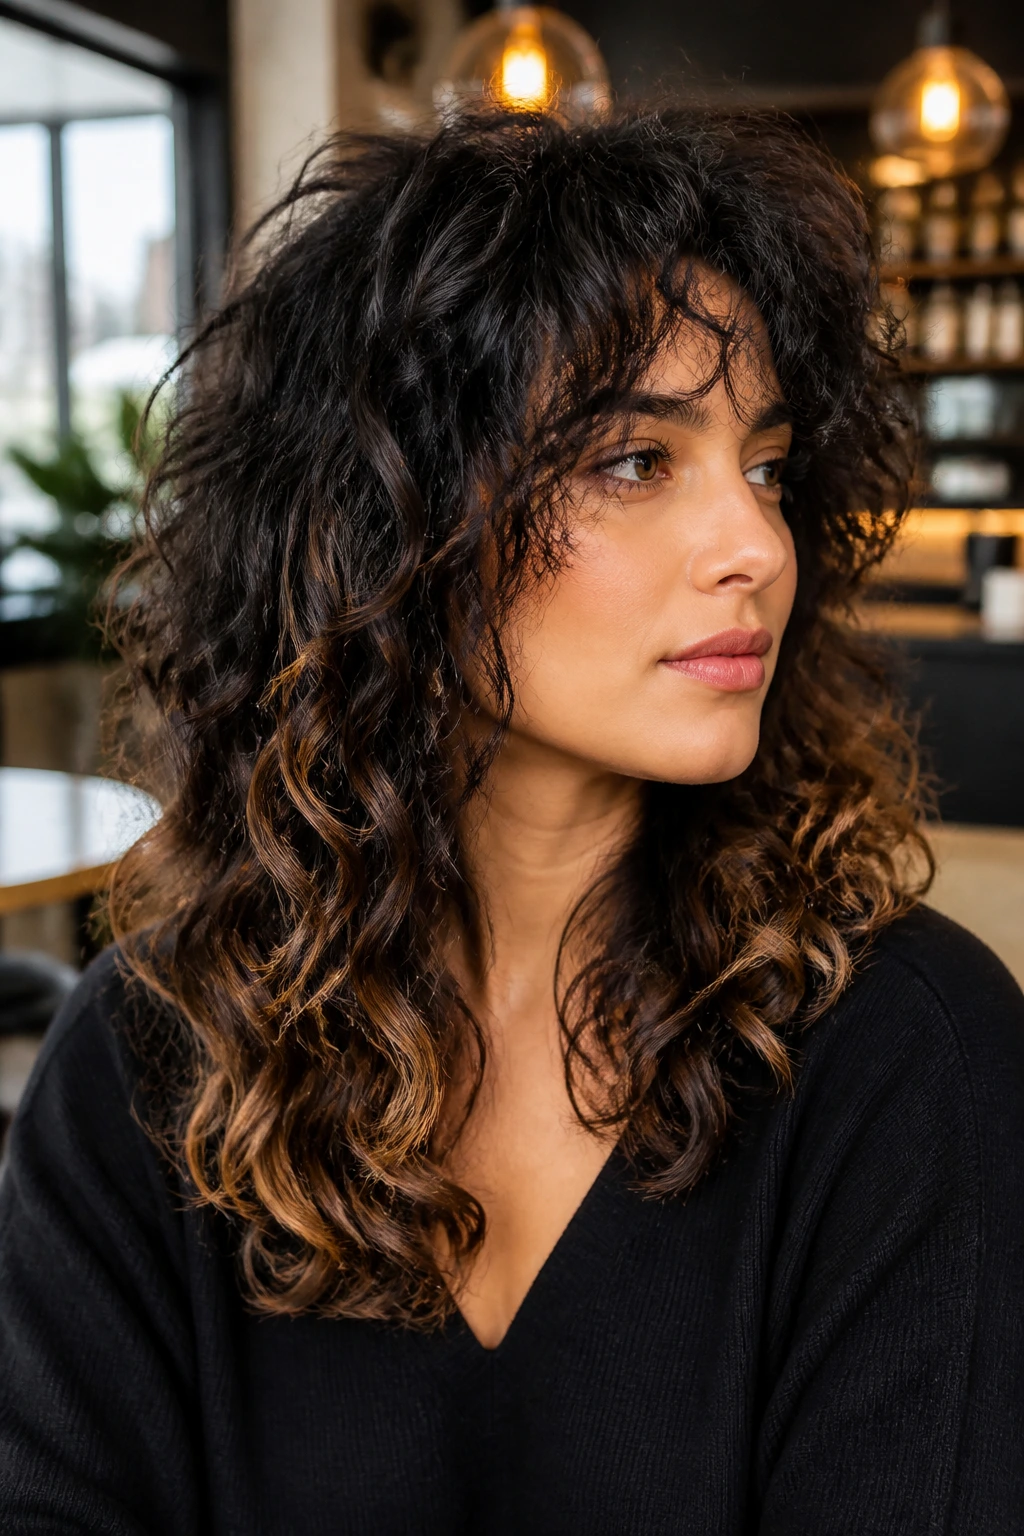
7. Wolf Cut with Smoky Brunette Shadows
A curly wolf cut is not for someone who wants neatness. It’s for someone who likes movement with a little bite. The top layers are shorter, the outline is broken up, and the whole shape has that lived-in, slightly wild look that curls wear naturally anyway. Smoky brunette shadows placed through the nape and beneath the crown keep the cut from reading flat on the sides.
The lowlights matter here because the wolf cut can get visually loud fast. Darker interior pieces create a path for the eye, which gives all that uneven texture some order. If the curls are fine, keep the lowlights sparse and the layers softer. If the curls are dense, the haircut can handle more chop and more contrast.
This cut suits people who are fine with a little mess. Actually, a lot of mess. But the good kind. The kind that still looks deliberate when you tuck one side behind the ear.
8. Tapered Cut with Cinnamon Underlights
A tapered curly cut gets narrower as it moves toward the nape, and that taper is gold for curls that puff at the bottom. The crown stays fuller, the neckline gets cleaner, and the whole silhouette feels lifted. Cinnamon underlights placed beneath the outer layer bring warmth and depth to the back, which is often the most neglected part of the head.
If your curls are tighter, this shape keeps them from mushrooming. If they’re looser, it stops the lower half from kicking out in every direction. The taper needs to be cut with the curl pattern in mind, though. Cut it too aggressively and you lose the rounded lift that makes the shape work.
This is one of those cuts that looks especially sharp with a clean neckline and a little diffused height at the crown. It’s not fussy. It just knows where to stop.
9. Deep Side-Part Cut with Sable Panels
What a deep side part does to curly hair is almost rude. It gives lift, asymmetry, and a bit of attitude all at once. The heavy side falls into a fuller curtain, while the lighter side opens the face and shows off cheekbones. Sable lowlight panels tucked into the heavier side keep that side from overwhelming the head.
This cut is one of the easiest ways to rescue curls that always split in the same boring center part. Shift the part three or four inches, and suddenly the root lift appears where the hair had been sleeping. The sable pieces deepen the underside of the heavier side, so the contrast reads intentional rather than accidental.
It’s a good option if one side of your hair is naturally flatter or if your cowlick forces the part to live somewhere awkward. Work with it. The haircut should meet the hair where it already behaves.
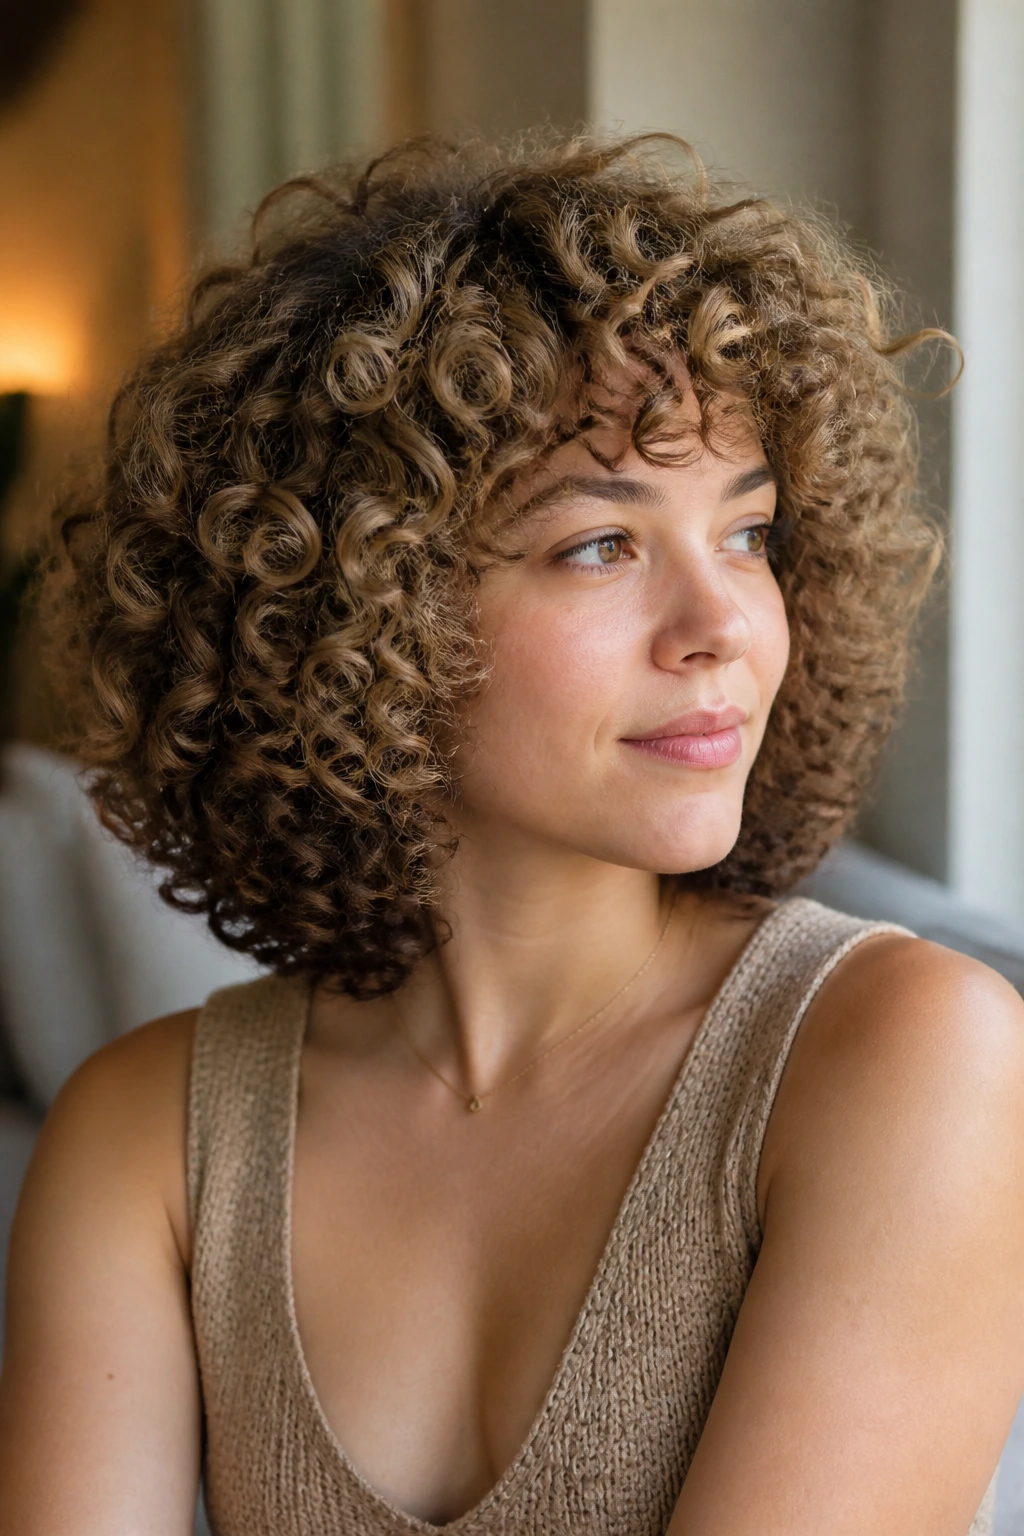
10. Curly Pixie with Coffee Lowlights

A curly pixie sounds tiny until you see how much dimension it can carry. On the right curl pattern, a short cut with longer top pieces can look airy and strong at the same time. Coffee lowlights under the top layer keep the crown from turning into one bright blob, and they give the shorter sides a little structure.
This cut lives or dies by the balance between length on top and neatness around the ears and nape. Too much thinning and it turns wispy. Too much bluntness and it feels helmet-like. Coffee lowlights help because they put darkness where the eye needs to see shape, not bulk.
Best for people who like low-maintenance mornings and don’t mind a little styling at the crown. If you want a wash-and-go pixie, this is a better bet than a highly razored version. The curls do most of the work once the shape is right.
11. Halo Layers with Mushroom Brown Depth
A halo-layer cut wraps around the head like a soft ring, with the shortest pieces living near the crown and the rest falling outward in a rounded frame. On curly hair, that shape can create a lot of lift without making the head feel top-heavy. Mushroom brown lowlights around the inner ring make the halo feel deeper and less floaty.
What makes it different
The halo shape is sneaky. From the front, it looks softly full. From the back, it keeps the silhouette controlled. The lowlights sit in the ring that curls under the top layer, which means they’re visible when the hair moves but not so obvious that they look painted on. That’s the sweet spot.
This version works well on medium-density curls that need more roundness at the crown. It also behaves nicely with curly bangs or a short fringe. The one thing to avoid is overcutting the top, because then the halo can turn into a cap. Keep some length up there so the curl spring has room.
12. Dry-Cut Shag with Tonal Chestnut
A dry-cut shag is one of my favorite approaches for curly hair because it respects shrinkage. The stylist sees the curl where it lives, not where it pretends to live while wet. That matters a lot when the haircut needs to carry volume in all the right spots. Tonal chestnut lowlights help the cut blend without killing the motion.
The beauty of this approach is that it lets the stylist place layers based on the natural bend of each curl family. Some pieces can be lifted higher; others stay longer. The lowlights should follow the same logic, slipping into the interior where the shag needs extra depth. If they’re painted too evenly, the haircut loses the irregular texture that makes it feel alive.
This is a smart choice for people whose curls do different things in different zones. Top tighter, sides looser, nape flat? Dry cutting makes room for that mess, and the tonal chestnut keeps it looking pulled together.
13. Curly Mullet with Auburn-Brown Flickers
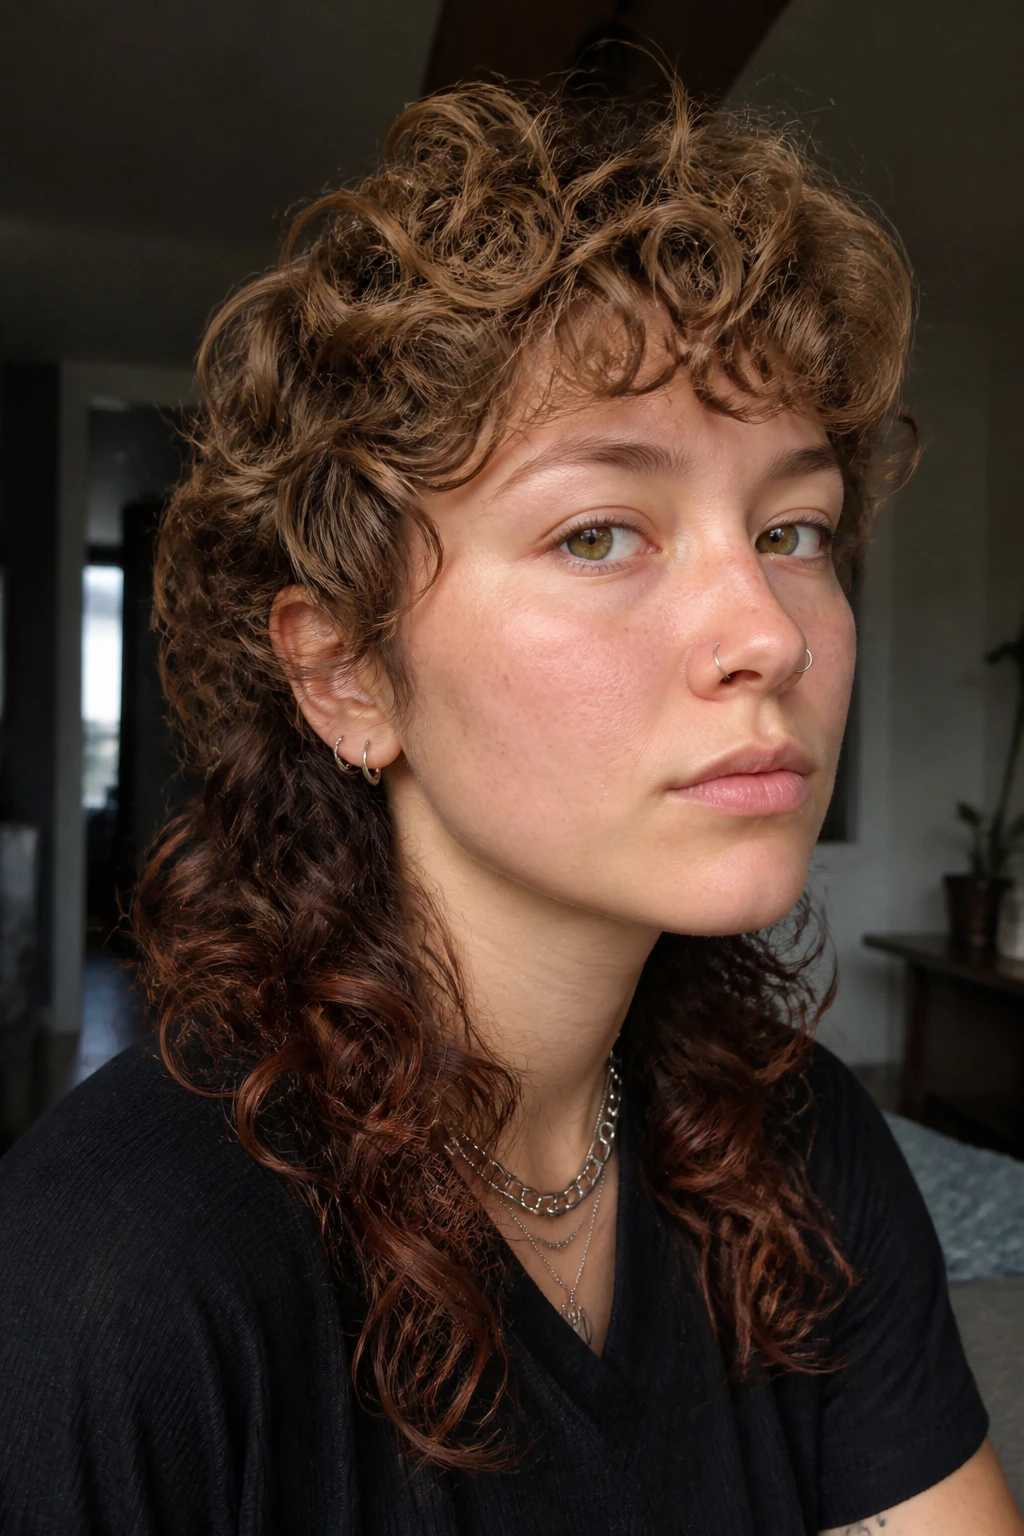
The modern curly mullet is not a joke haircut anymore. Done well, it gives you shortness where you want movement and length where you want drama. The front and crown stay lighter, while the back holds onto a longer tail that looks great with auburn-brown flickers threaded through the lower sections.
This shape works because curly hair naturally likes unevenness. The mullet just makes that unevenness intentional. The lowlights in the back keep the longer pieces from looking thin or tacked on, which is the main risk with this cut. Add a little face framing and the result feels surprisingly balanced.
If you want something with personality but not a full shag, this is the bolder cousin. It suits tighter, springier curls especially well, though looser curls can pull it off if the stylist keeps the transitions soft. Hard lines are the enemy here.
14. Deva-Inspired Shape with Interior Lowlights
A curl-by-curl dry cut, often associated with the Deva approach, is built for people whose curl pattern changes from strand to strand. One curl bends sharply, the next one stretches out, and the haircut has to account for that. Interior lowlights make the shape feel deeper because they live inside the curl pattern instead of sitting on the surface.
This is a quieter cut than the wolf or shag, but it can still have plenty of volume. The trick is to keep the external outline soft and let the internal layering do the real work. Lowlights painted into the underside and middle sections create pockets of shadow that make the curls read thicker when they separate.
The best part is how wearable it is. It can look salon-fresh with little more than water, leave-in, and a diffuser. That is worth something. A lot, actually.
15. Square Layered Lob with Hidden Brunette Bands
A square layered lob is for curly hair that wants body without too much taper. The outline stays a bit straighter at the bottom, which gives the cut a fuller, more solid feel. Hidden brunette bands underneath keep the shape from becoming a block of color. The visual weight stays at the edge, where it belongs.
Why it works on dense curls
Dense curls can swallow a softer shape. A square lob holds its own. The layers inside the cut remove enough bulk to let the curls stack, but the perimeter stays readable. That means the hair feels substantial without ballooning out at the sides. The hidden bands of brunette lowlights deepen the underside, which makes the edge look richer and the body look less puffy.
This cut is especially useful if you wear your hair loose more than pinned back. It photographs well from the side because the line stays clean even when the curls do their own thing. Clean line, messy texture. Good combination.
16. Long Mermaid Layers with Walnut Veils
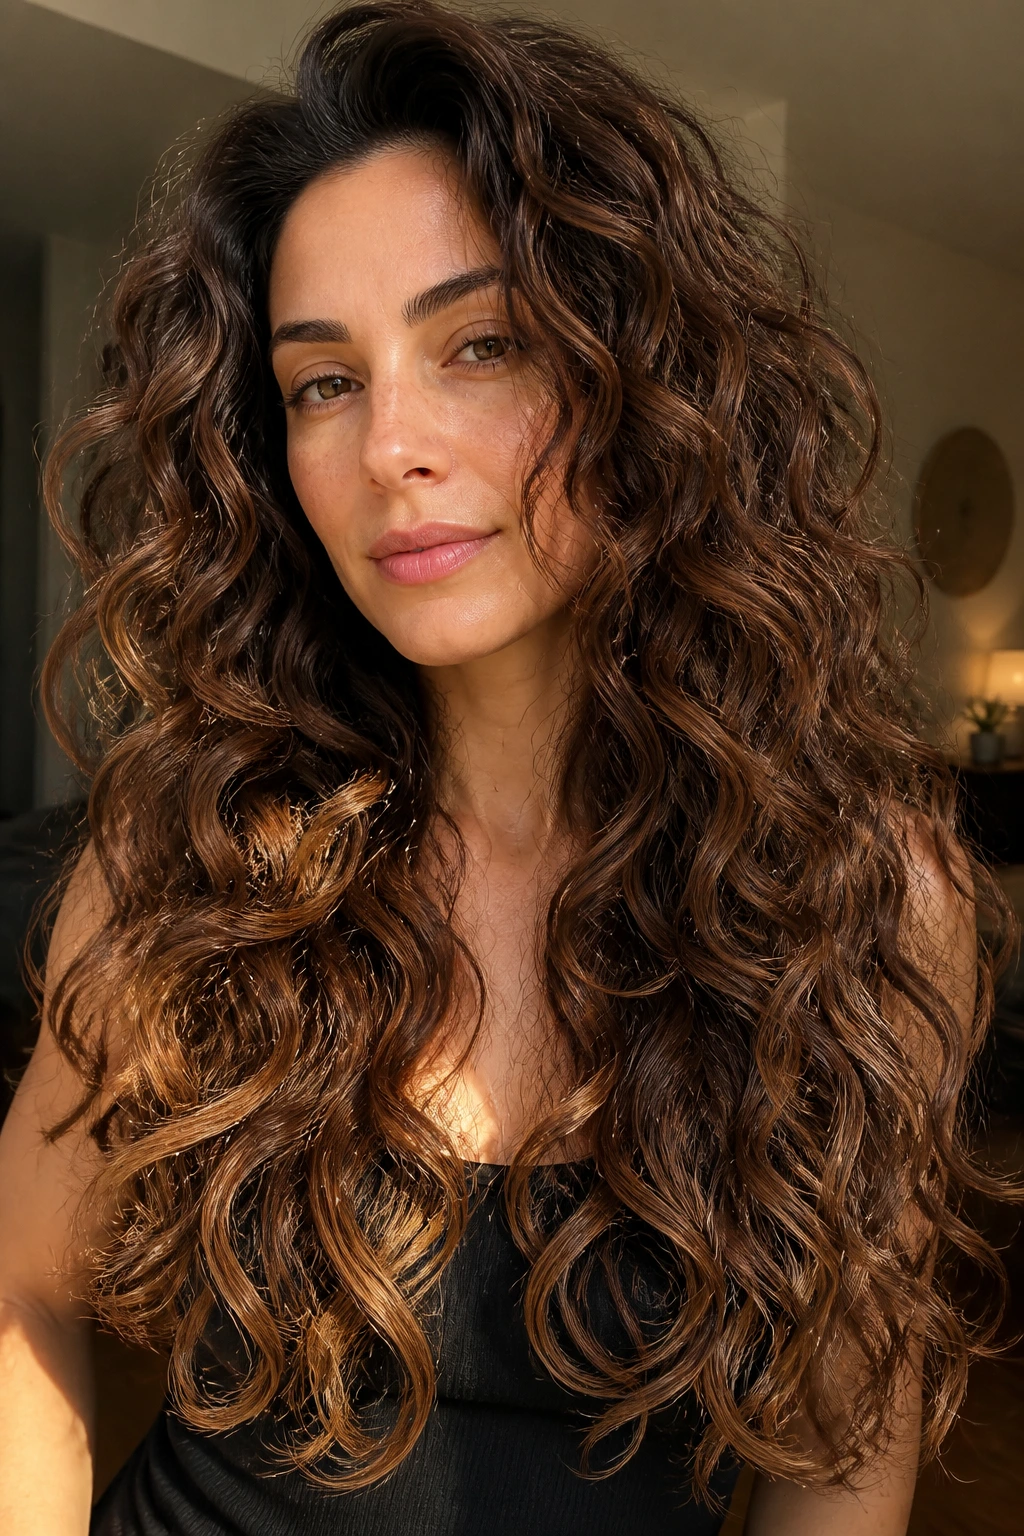
Long curly hair can get heavy in a hurry. Mermaid layers keep the length, but they break the weight just enough so the curls can move. Walnut veils tucked through the mid-lengths and ends give the hair dimension without making the lower half look see-through.
The biggest mistake with very long curls is leaving too much one-length weight in the bottom. It sounds like a safe choice. It usually isn’t. The shape ends up dragging down the crown and making the hair look narrower at the roots than it really is. Mermaid layers solve that by spacing the volume through the length, while the walnut lowlights keep the ends from looking washed out.
This is a good cut for people who love the feeling of long hair and don’t want to give it up for shape. You shouldn’t have to choose. Not if the cut is built with some sense.
17. Curtain Bang Layers with Mocha Framing
Curtain bangs on curly hair can be excellent or exhausting. There’s not much middle ground. When they work, they open the face and pull the eye upward through the crown. Mocha lowlights around the bangs and temple area help the fringe separate into soft pieces instead of one thick curtain.
The layers behind the bangs matter as much as the bangs themselves. If the rest of the front stays too heavy, the bangs get swallowed. The cut should taper gently from the cheekbones down, then blend into the rest of the volume. Mocha pieces are useful because they create a darker edge near the face, which makes the curl pattern easier to read.
This style suits people who don’t mind trimming a fringe every so often. If you hate maintenance, skip it. Bangs are cute, but they do not stay cute on their own.
18. Asymmetrical Curly Cut with Smoked Cocoa
An asymmetrical curly cut does one simple thing very well: it makes the shape feel alive. One side sits a little longer, the other side lifts a little higher, and the imbalance gives the curls room to look sculpted instead of standard. Smoked cocoa lowlights on the longer side keep the asymmetry visible without making it look lopsided.
This cut is a strong pick if your curl pattern naturally favors one side. Instead of fighting the bend, the shape can echo it. The lowlights help by creating depth in the longer side, so the eye sees the line rather than just the length. That’s what gives the cut its edge.
It’s also a nice option for people who wear one side tucked behind the ear a lot. The haircut still works when you change the part or pin it back. That flexibility matters more than people admit.
19. Chin-Length Bob with Dimensional Brown Depth
A chin-length bob on curly hair is a bold move because the curls have no place to hide. If the cut is too blunt, the whole thing can balloon outward. If it’s too layered, the bob loses its shape. Dimensional brown lowlights underneath keep the line from turning flat and give the bob some shadow near the jaw.
The cut works best when the curls are shaped around the face and slightly longer in the front. That keeps the silhouette soft and stops the chin line from looking boxy. The lowlights belong in the underside and along the back curvature, where they can create depth without drawing attention to every curl on the surface.
This is one of those cuts that rewards good styling and regular trims. It can look crisp, but it can also go sideways fast if you let the line grow out too far. Short bobs like a little upkeep. No drama. Just facts.
20. Crown-Boost Cut with Dark Interior Lowlights
If your curls go flat at the top, build the cut around the crown. That sounds obvious, but a lot of curly haircuts ignore the area that matters most. A crown-boost shape uses shorter internal layers near the top of the head to create lift, while dark interior lowlights make the crown area feel fuller and less scalp-forward.
What to ask for
- Keep the surface layers longer than the crown layers.
- Place the darkest pieces under the top sheet, not across the whole head.
- Leave enough length at the sides so the haircut doesn’t turn into a mushroom.
- Diffuse with your head tipped slightly forward for extra root lift.
This works especially well for fine curls that need visual density. The darker interior pieces create a shadow line that makes the top appear thicker from every angle, not just when the light hits it right. That little bit of shadow changes the whole read of the cut.
21. Razor-Textured Layers with Sable Ends
Razor-textured layers can be gorgeous on curly hair, but only when the hair can handle a softer edge. Thick, resilient curls tend to do well. Fragile or very porous curls can fray if the razor work gets too aggressive. Sable lowlights at the ends and lower half of the layers keep the texture from looking too airy.
The point of this cut is movement. The ends should feel feathered, not shredded. If the hair already frizzes easily, a safer slicing technique may be better than a heavy razor pass. The sable lowlights help by darkening the lower perimeter, which gives the eye a finish line and keeps the style from drifting into fuzz.
This is a good option for people who like a lived-in, slightly undone look and are willing to keep the ends healthy. Dry ends and razor cuts do not play nicely together.
22. Soft S-Curve Cut with Rooted Espresso
A soft S-curve cut follows the body of the curls instead of forcing them into a strict round or square shape. The line bends gently at the front, drifts through the sides, and settles back at the ends. Rooted espresso lowlights make that curve easier to see because they deepen the mid-shaft and root area without interrupting the movement.
This shape is useful if you want something softer than a wolf cut but less formal than a rounded lob. It can handle medium to long lengths and works across a lot of curl patterns because it doesn’t overthink itself. The rooted lowlights also grow out well, which is nice if salon time is not your favorite thing.
Ask for the darkest pieces to stay close to the interior and root zone. If they sit only on the surface, the curve loses its quiet definition. The shape needs that hidden shadow.
23. Graduated Shoulder Cut with Cinnamon Depth
A graduated shoulder cut is one of the more practical volume haircuts for curls. The back is slightly shorter and stacked enough to give lift, while the front hangs longer around the shoulders. Cinnamon depth through the graduation makes the transition feel smooth and keeps the nape from looking too light or sparse.
This cut helps if your curls tend to flatten against the neck. The graduation pushes them upward a little, which gives the whole shape breathing room. Cinnamon lowlights are useful because they emphasize the layered structure and keep the back from turning into a flat wall of color.
It’s a smart middle-ground haircut. Not too long, not too short, not too sharp. Some days that’s exactly what you need.
24. Rounded Cloud Cut with Underlayer Lowlights
A rounded cloud cut is all about softness. The silhouette stays airy and circular, but the shape still has enough internal structure to avoid the dreaded helmet effect. Underlayer lowlights are what make this cut work. They darken the space beneath the surface curls, so the volume reads plush rather than puffy.
How the shape stays soft
The top layer should stay light and touchable, while the underlayer carries the shadow. That contrast is what keeps the cloud shape from going flat. If the lowlights move too high up the head, the cut loses its softness. Too low, and you miss the depth entirely.
This is a great choice for people who want their curls to feel full in motion, not stiff in a photo. Airy but not flimsy. That’s the target.
25. Airy Grown-Out Shag with Low-Maintenance Brunette Veils
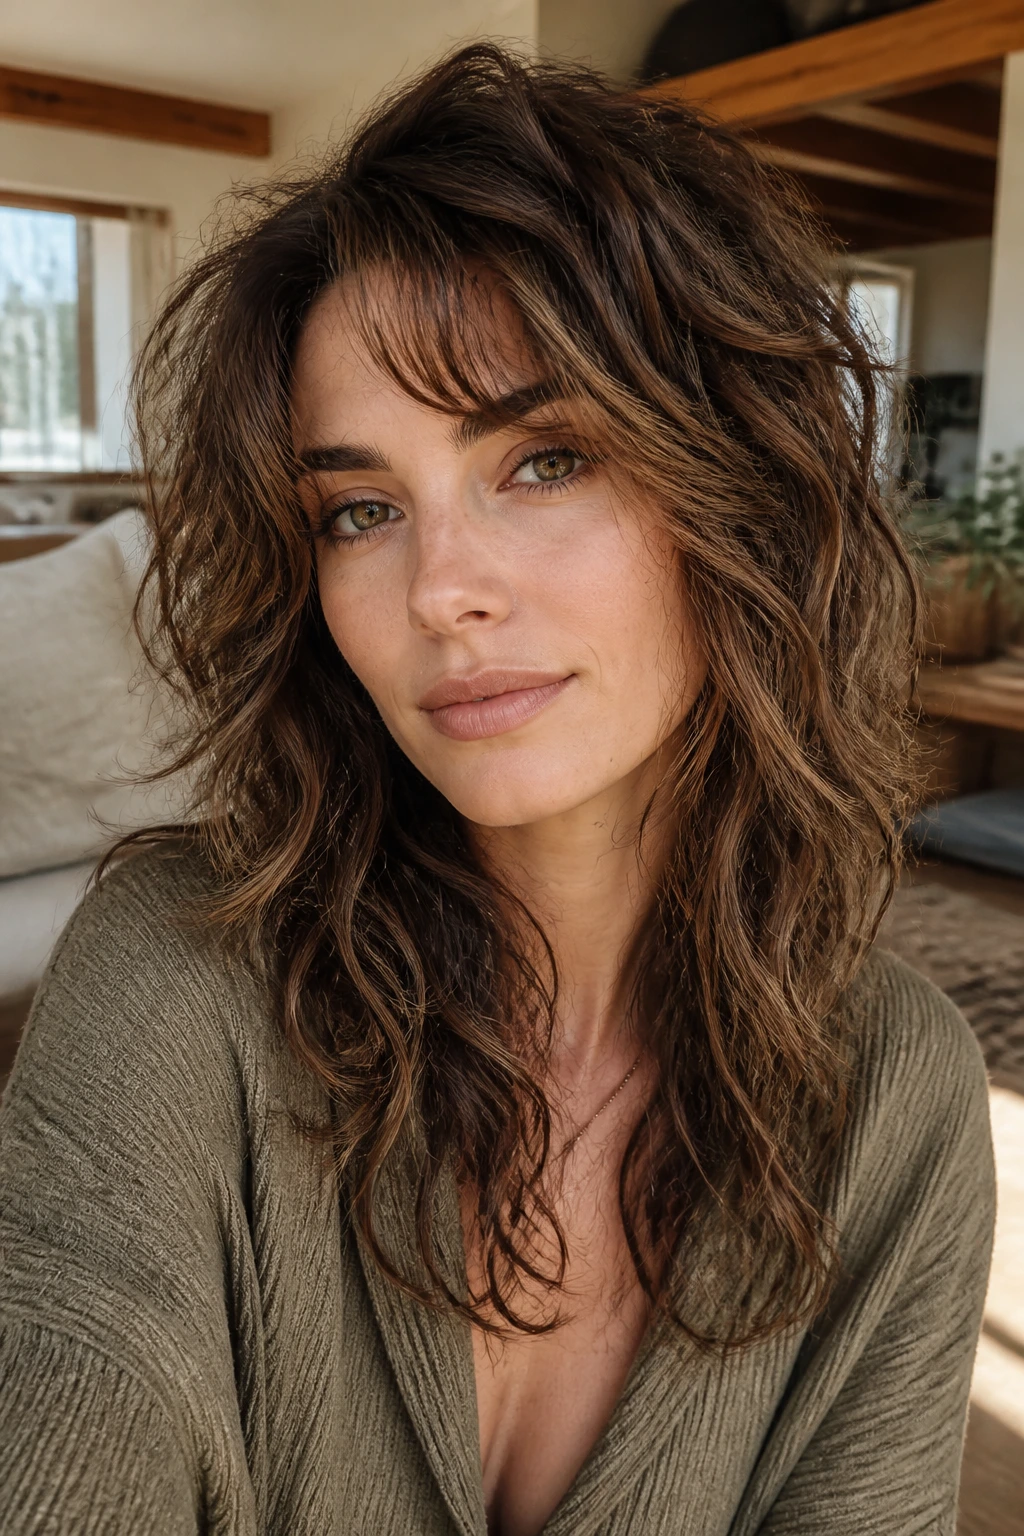
The best grown-out shag looks like it still knows where it’s going. Layers sit a little longer, fringe pieces soften, and the whole cut keeps its shape without begging for a trim every three weeks. Brunette veils placed lightly through the interior make the style feel lived-in on purpose, not forgotten.
This one is for people who want volume but don’t want to babysit the haircut. The layers should be soft enough that the shape grows gracefully, and the lowlights should be blended enough that they don’t need constant rescue. If you’re trying to buy yourself time between appointments, this is a smart place to land.
The trick is to keep the crown lifted and the perimeter loose. Too much chopping and the cut stops growing out nicely. Too little and it collapses. That middle ground is where curly hair tends to look best anyway.
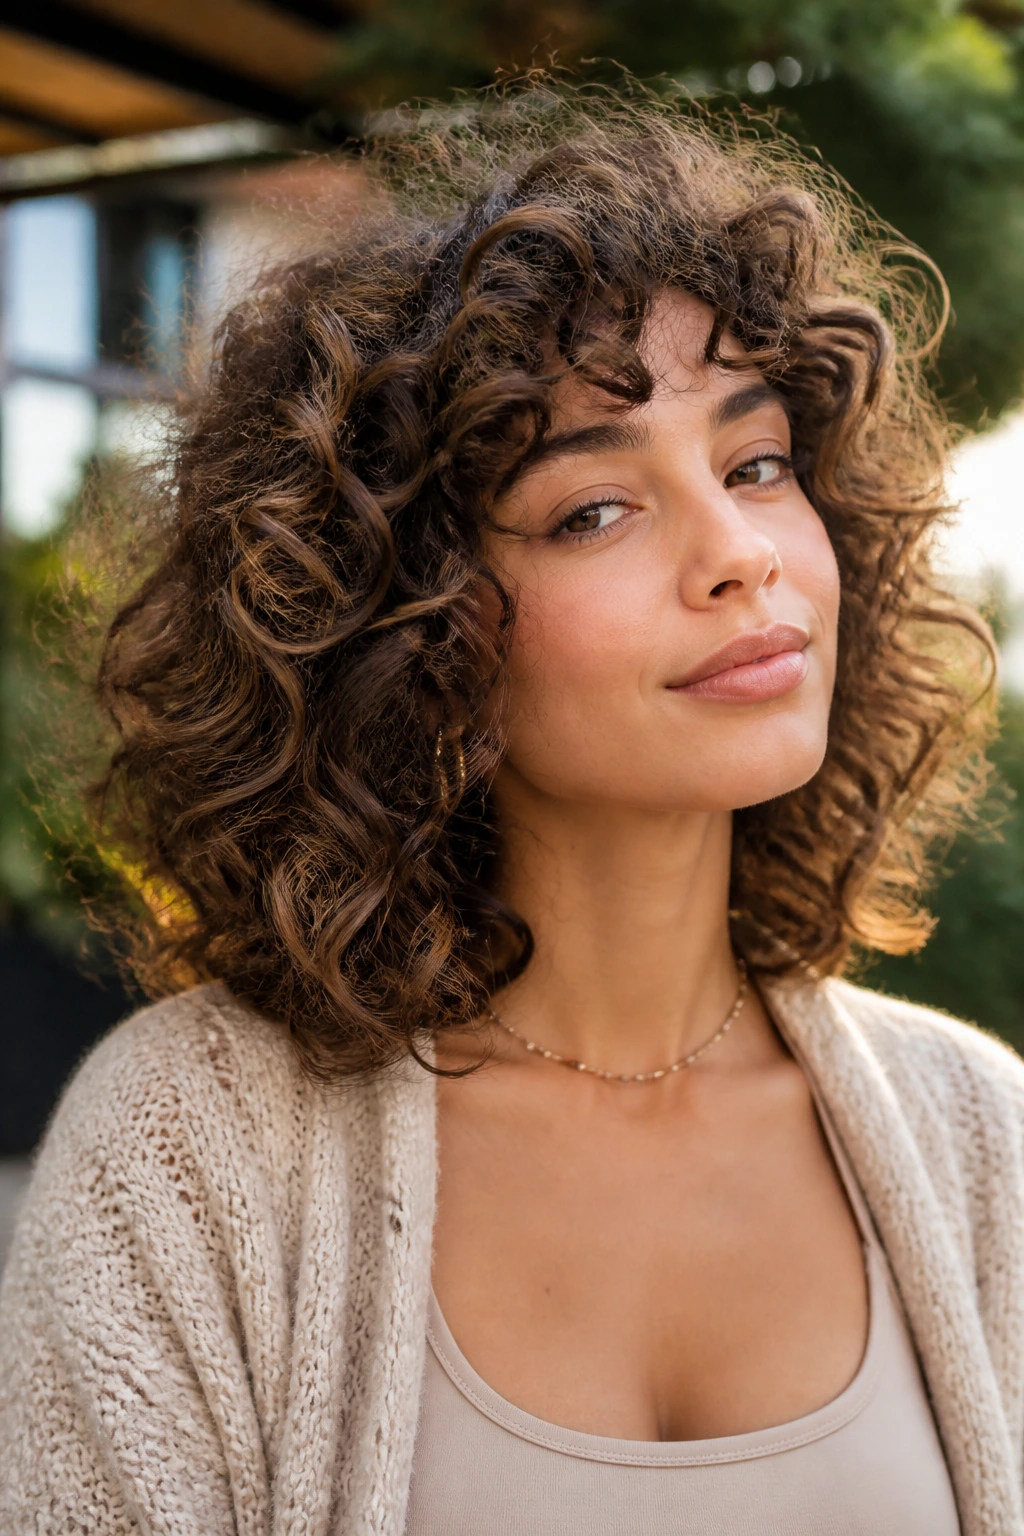
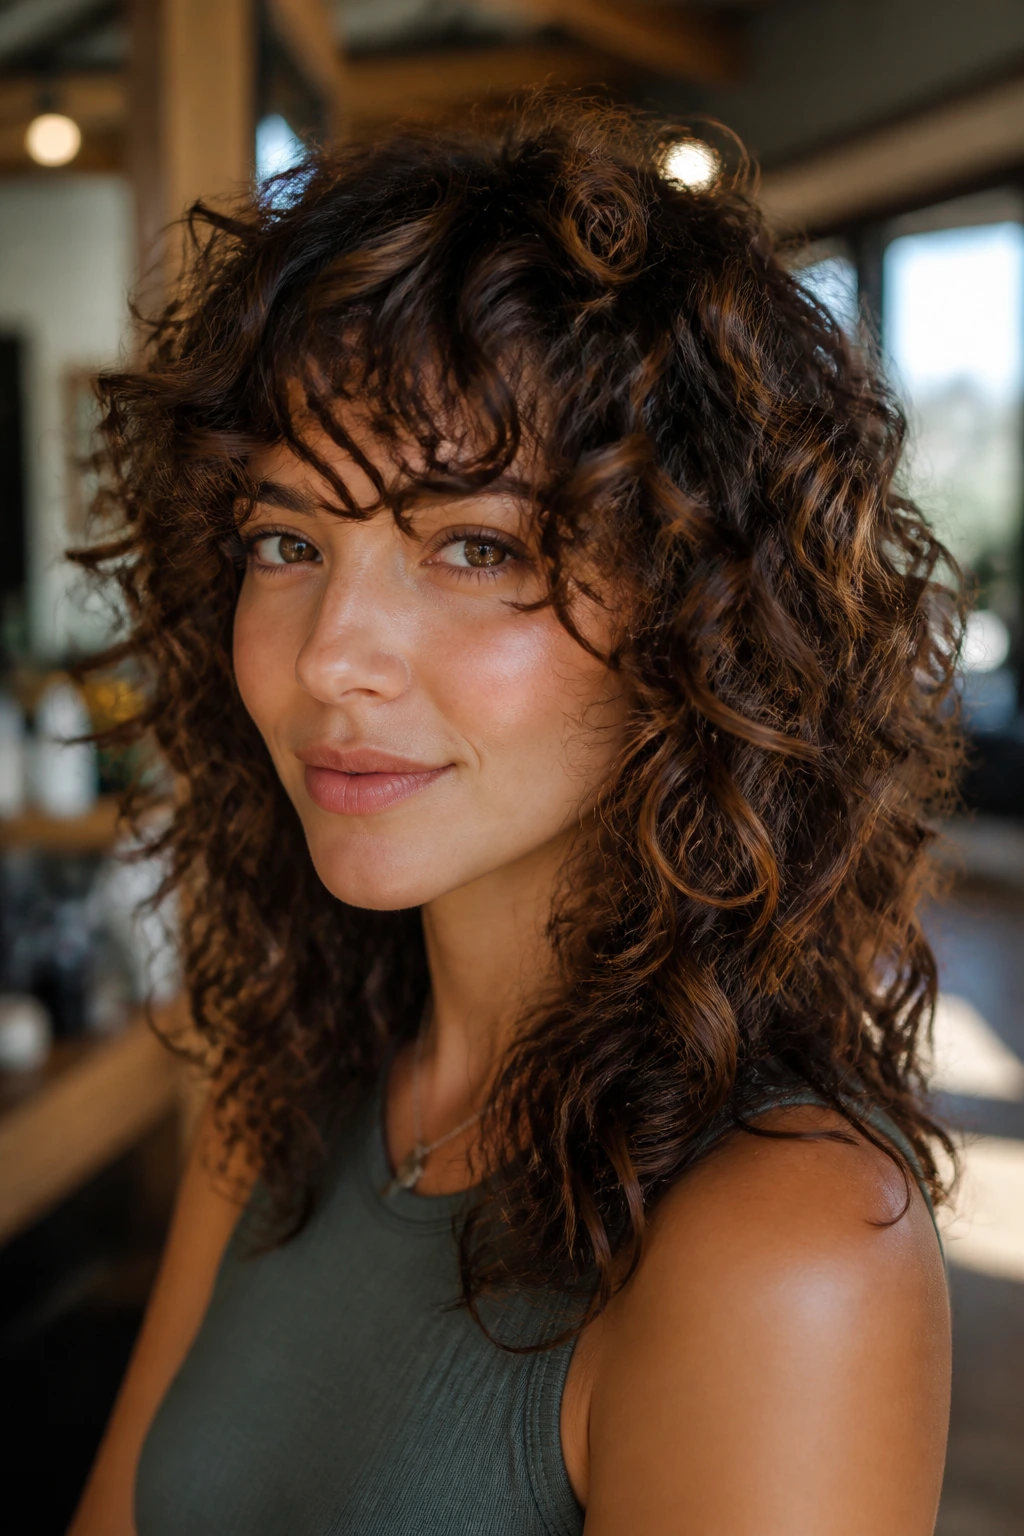
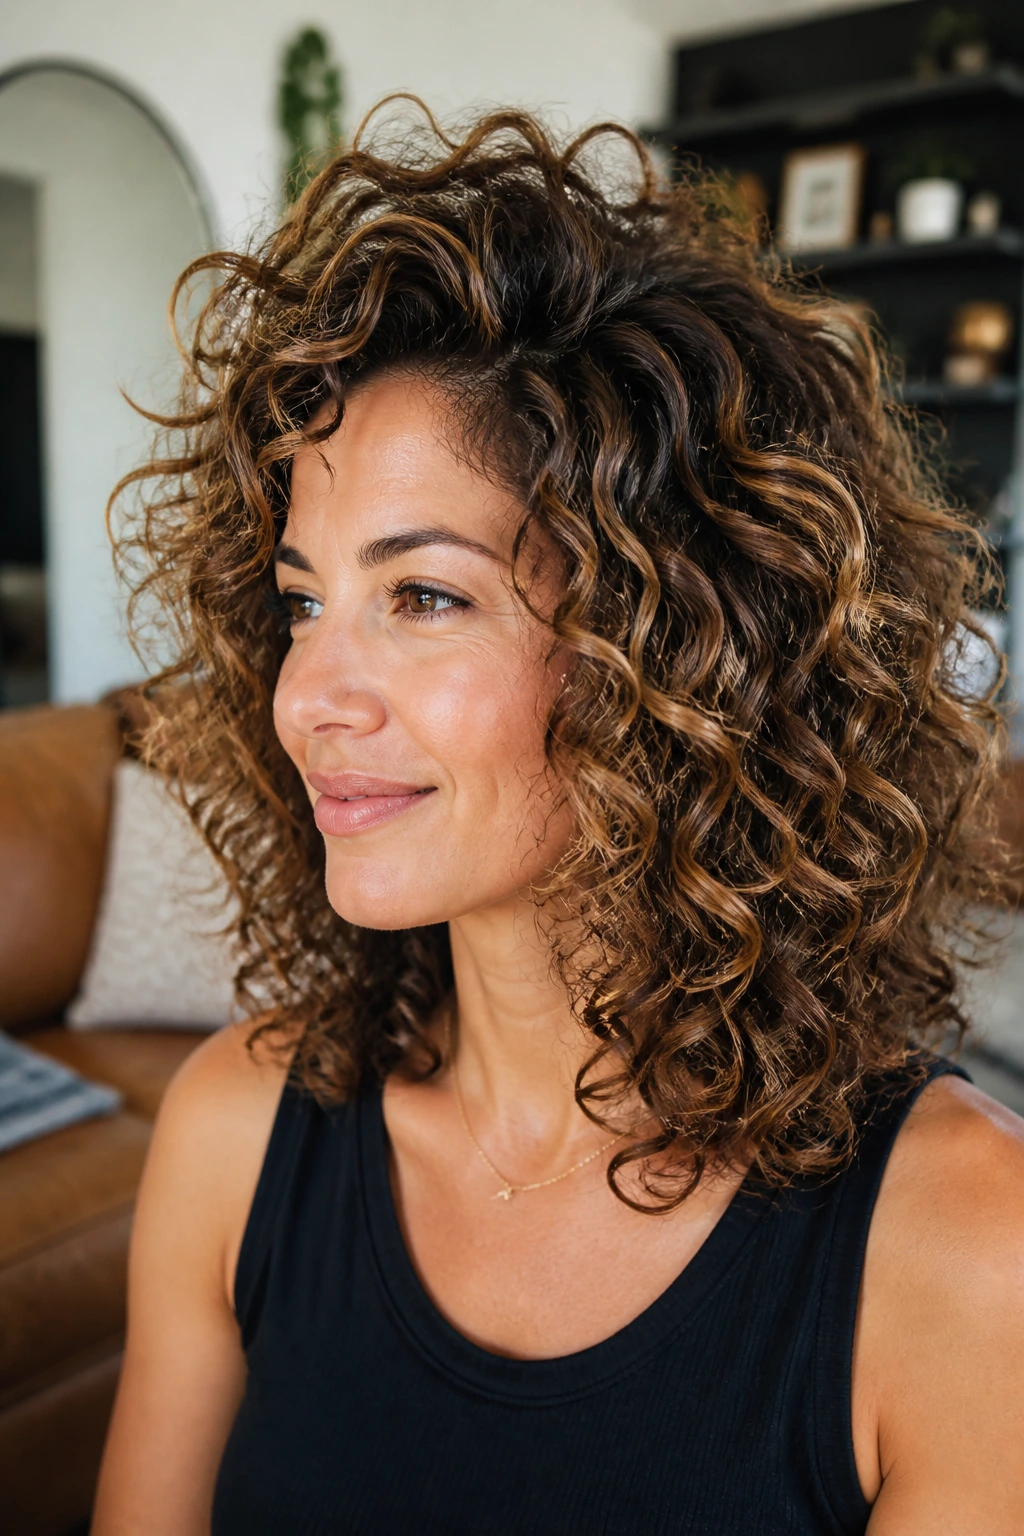
Why Layering and Lowlights Work So Well on Curly Hair
Curly hair already has built-in texture. The shape is there, even when the cut is wrong. What layering does is give that texture a route to travel. It keeps the curl from stacking into one giant mass at the bottom and lets the crown breathe a little. The result is not just more volume. It’s better volume.
Lowlights help because curls need shadow to show movement. A single bright surface can make curly hair look wide and one-note. Put darker pieces under the crown, through the nape, or inside the face frame, and the curls start to read as separate ribbons instead of one solid block. That’s why lowlights often look richer on curls than they do on straight hair.
Placement matters more than color drama. A shade that’s one to two levels deeper than the base usually gives enough contrast without turning harsh. If the hair is very light or porous, a softer glossed brunette tone tends to blend better than a dark stripe. And if the hair is already deep brown, the lowlights may only need to be a touch cooler or warmer to change the read of the shape.
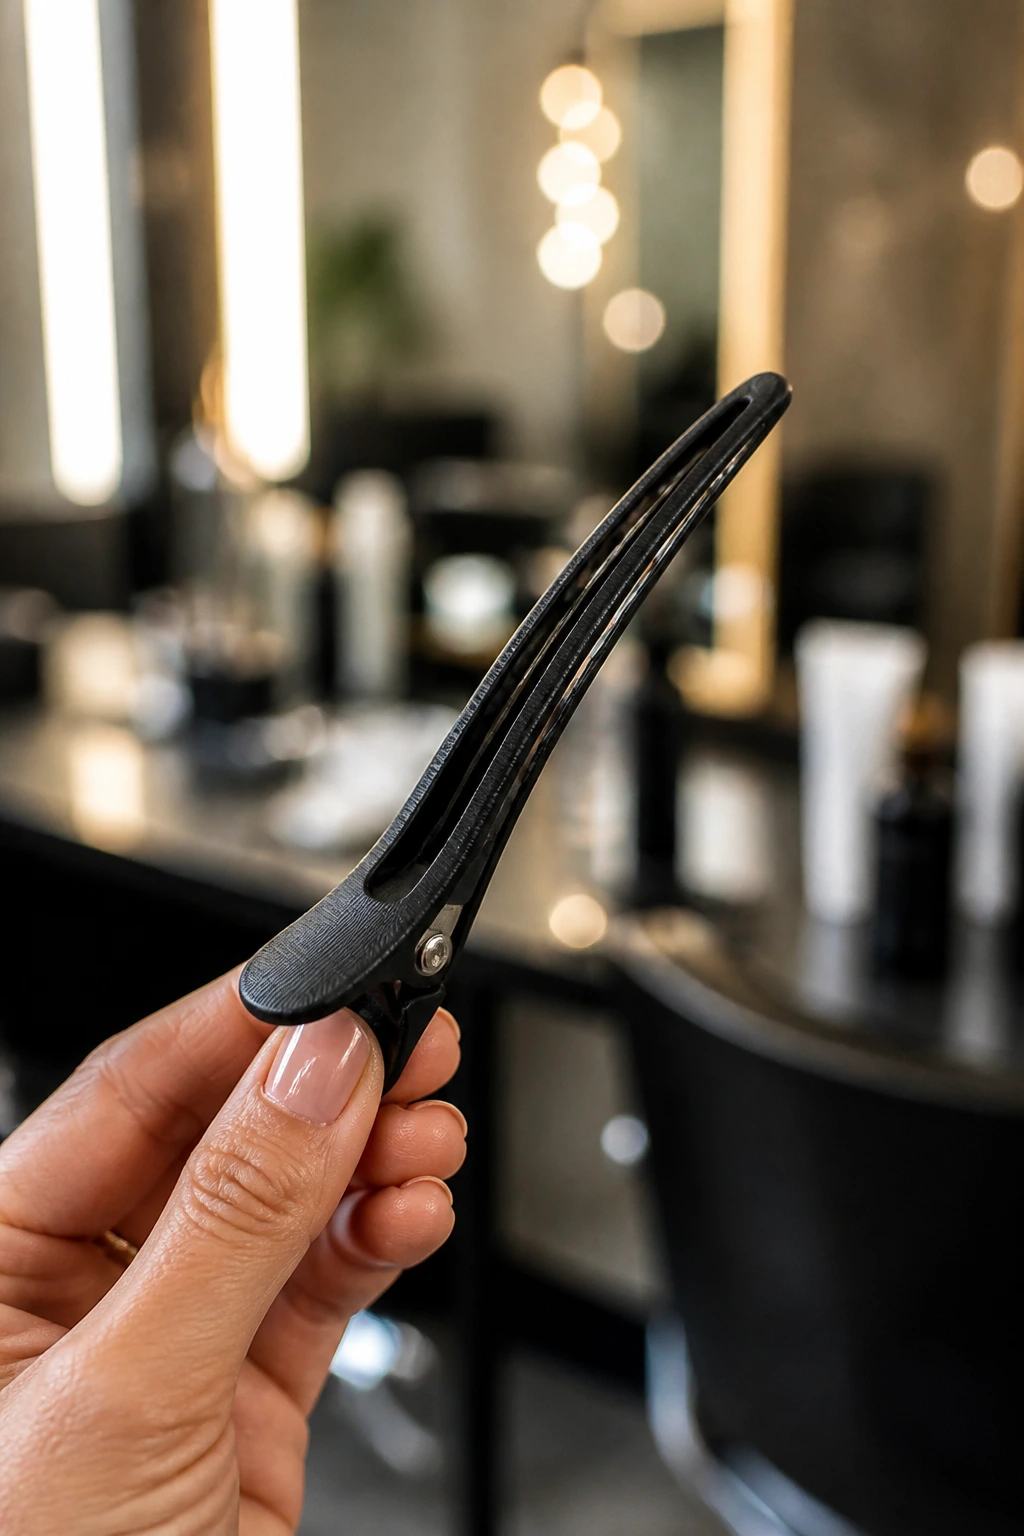
Essential Tools and Resources for the Salon Visit
- A curly specialist or a stylist who cuts dry: Curl-by-curl or mostly dry cutting helps the shape land where the hair actually lives.
- Reference photos from the front, side, and back: One angle is never enough when you care about silhouette and lowlight placement.
- Handheld mirror: Useful for checking the nape, crown, and underlayers once the hair is dry.
- Wide-tooth comb or your fingers: Keeps curl clumps from breaking apart before styling.
- Sectioning clips: Helpful for both the consultation and the styling process.
- Microfiber towel or cotton T-shirt: Blots water without roughing up the cuticle.
- Diffuser attachment: Gives root lift and keeps the shape from collapsing while drying.
- Tail comb: Handy for defining the part and showing where you want darker pieces to sit.
- Color-safe shampoo and conditioner: Keeps lowlights from fading into a dull brown haze.
- Satin bonnet or pillowcase: Reduces frizz and keeps the shape intact overnight.
Smart Shade Selection and Consultation Notes
The easiest way to get lowlights right is to stop thinking in terms of “darker” and start thinking in terms of “where should the eye go?” On curly hair, the answer is usually the underside, the nape, the root area around the crown, and the spaces that open when the curls separate. That’s where the darker pieces belong. Not on top of everything. Not in thick stripes. Inside the shape.
Ask for lowlights that sit one to two levels deeper than your base if you want a soft result. If you want stronger contrast, two to three levels deeper can work, but I’d still keep the darkest pieces limited to the interior. On high-porosity ends, darker color can grab harder than expected, so it helps to keep the lowlights off the last inch or gloss the ends separately.
Bring a photo of your hair when it’s dry and in its usual curl pattern, not a blowout. A lot of haircut mistakes happen because the salon picture shows a curl pattern that isn’t yours. If your roots are flat and your ends are loud, say that out loud. If one side clumps better than the other, say that too. The consultation should account for the real hair, not the hair you wish you had on a good day.
How to Style These Cuts at Home
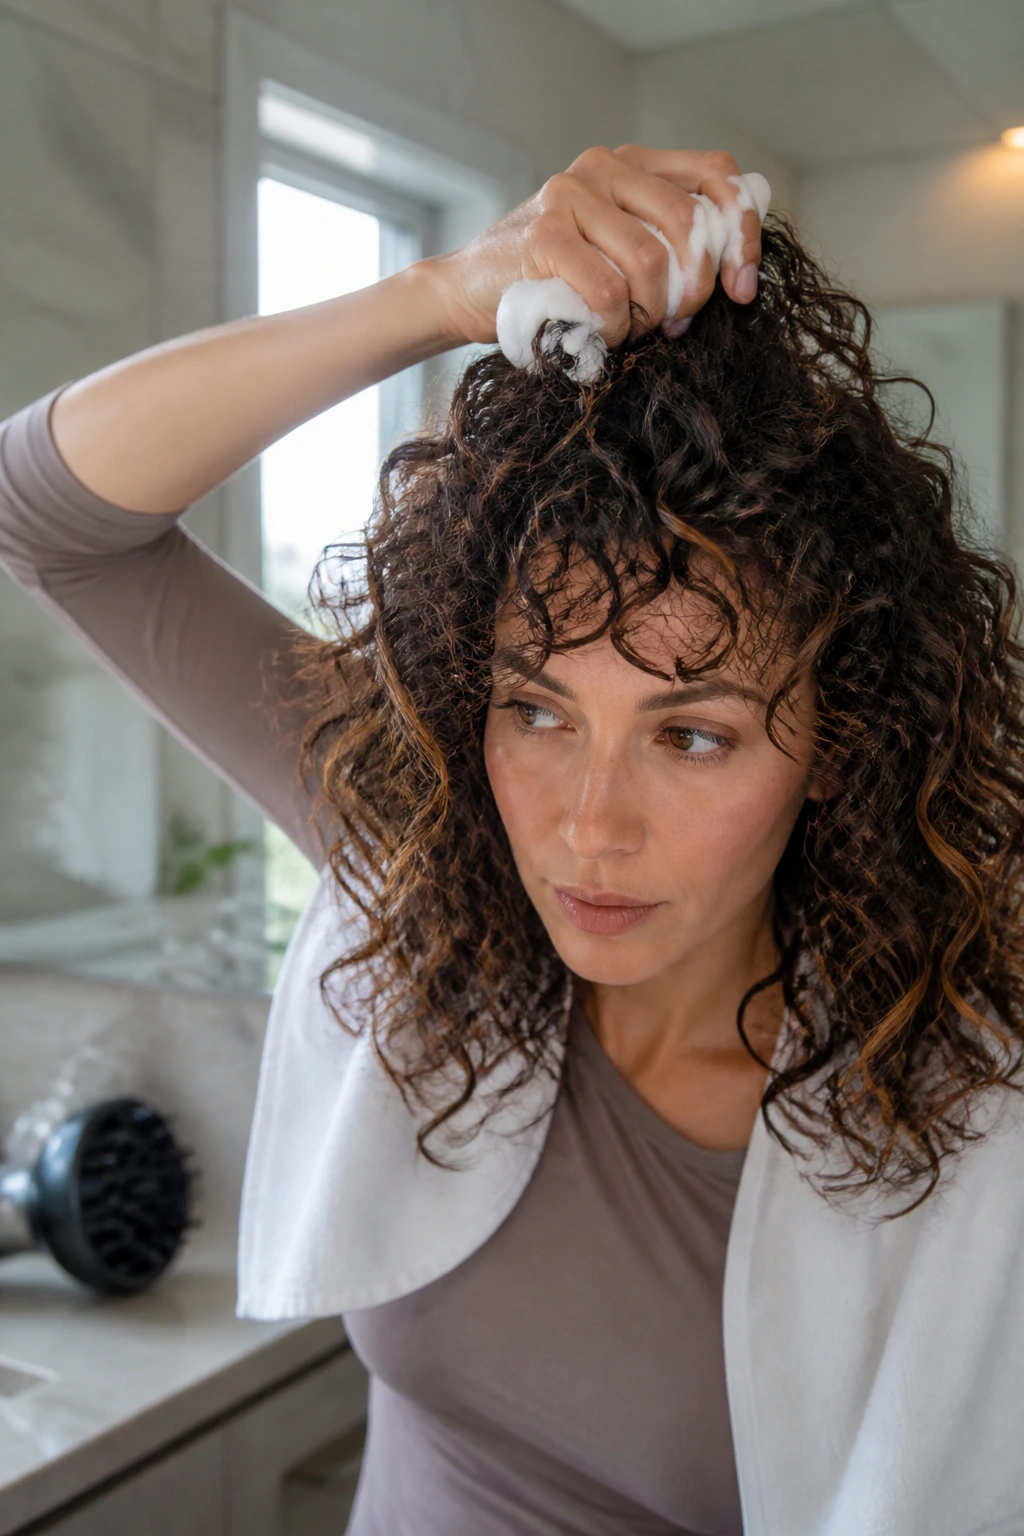
Root Lift: Put mousse or a light foam at the crown first, then work cream or gel through the mids and ends. Clipping the top two sections up while you diffuse gives the roots a better chance to stay lifted.
Definition: Apply product to soaking-wet hair, not damp hair that’s already started drying. Curl clumps form cleaner when there’s enough water to help the product slide through the strand.
Drying: Diffuse on low heat and low speed until the hair is about 80 to 90 percent dry. If you over-dry the curls early, the shape can get stiff and the lowlights lose that soft shadow effect.
Finish: Scrunch out the cast only after the curls are fully dry. Use one drop of lightweight oil on the ends if they feel crunchy, but keep it off the crown or the lift disappears fast.
Additional Tips for More Lift and Dimension
Color Enhancement: Ask your stylist to place the darkest pieces behind the hairline and through the underside of the crown. That keeps the front bright and lets the darker tones act like a frame instead of a stripe.
Customization: Fine curls usually look better with fewer short layers and softer lowlights. Dense curls can take stronger internal layering and a deeper brunette panel under the crown without losing shape.
Serving Suggestions: A deep side part, a half tuck behind one ear, or a clipped fringe can show off the lowlight placement in a way a center part never will. Little changes matter.
Make-It-Yours: If you air-dry most days, ask for softer layers and blended lowlights. If you diffuse often, you can get away with a stronger crown shape and more contrast under the surface.
Maintenance, Refreshing, and Grow-Out Care
Curly cuts with lowlights need a little rhythm. Not fuss, rhythm. A trim every 8 to 12 weeks keeps the layers from drifting into the triangle zone, though tighter bangs or a sharper shag may need a cleanup closer to 6 to 8 weeks. If you like a softer grow-out, stay on the longer end of that range and ask for dry dusting instead of losing a big chunk of length.
Color maintenance depends on how bold the lowlights are. A soft brunette veil can stay nice for 6 to 10 weeks before it starts losing its depth. Stronger espresso or smoky panels may need a gloss refresh around the 6 to 8 week mark if you want the contrast to stay clean. Porous curls fade faster around the ends, so keep conditioner on the mid-lengths and lower sections, not just the roots.
At home, wash as often as your scalp asks for it, not according to some made-up rule. Many curly heads do fine with one to three washes a week. Between washes, mist the hair with water, add a pea-size amount of leave-in to the dampest sections, and scrunch once or twice to wake the curl clumps back up. Sleep on satin if you can. It cuts frizz at the crown and keeps the lowlights from getting fuzzy at the edges.
Variations and Adaptations to Try
Soft Fine-Curl Version: Keep the layers longer and the lowlights thinner. This helps fine curls keep their density without looking stringy at the ends.
Bold Shag Version: Add shorter crown pieces, a stronger fringe, and deeper lowlights through the nape. It gives the haircut more edge and more movement, especially on dense curls.
Gray-Blending Brunette Veil: Use translucent brunette lowlights mixed with a soft gloss so gray strands blend rather than disappear. The grow-out line stays gentler, and the color looks less heavy.
Low-Maintenance Air-Dry Version: Ask for soft internal layers and lowlights concentrated underneath the top sheet. That way, the shape still looks dimensional when you skip the diffuser.
Round-Face Reframe: Shift the part, keep the face-framing pieces below the cheekbone, and place the darkest panels beside the jaw. It stretches the silhouette without making the hair look flat.
Edgier Editorial Version: Try an asymmetrical or wolf-leaning shape with stronger contrast in the lowlights. This works best if you don’t mind a haircut that gets attention before it settles down.
Common Mistakes to Avoid
- Over-layering fine curls: Too many short layers make the crown look see-through and the ends look scraggly. Keep the surface longer and let the interior do the lifting.
- Putting lowlights only on top: Surface-only color can look stripey when the hair moves. Ask for interior placement under the crown, around the nape, and through the mid-lengths.
- Choosing a shade that’s too dark: Nearly black lowlights on medium curls can turn muddy fast. One to two levels deeper usually reads richer and softer.
- Cutting curly bangs too short: Shrinkage is not a rumor. Dry-cut the fringe or leave extra length if you want room for bounce.
- Using heavy oils at the root: They flatten the crown and hide the layered shape. Keep richer products on the ends, where they can actually help.
- Ignoring how your curls behave on day two: A cut that looks good only right after wash day is missing the point. Ask how the shape will sit once the curls loosen.
Frequently Asked Questions
Do lowlights make curly hair look thicker?
Yes, when they’re placed inside the curl mass instead of across the top. The darker pieces create shadow between curl clusters, which makes the hair read denser and more layered.
Should curly hair be cut wet or dry?
Dry or mostly dry cutting usually gives a more honest result because you can see the curl’s real length and spring. Wet cutting can work for some shapes, but it’s easier to overcut if the shrinkage is strong.
How dark should lowlights be on curly hair?
Most of the time, one to two levels deeper than your base is enough. If you go much darker, the color can look stripey or muddy, especially on porous curls.
Can fine curly hair handle a layered cut with lowlights?
Absolutely, but the layers need to be soft and the lowlights kept thin. Fine curls lose density fast if the haircut gets too choppy or the color gets too heavy.
Will layers make my curls frizzier?
Not if the cut is shaped well and the ends stay healthy. Frizz usually shows up when the layers are too short, the hair is dry, or the cut was made without respecting the curl pattern.
How often should I trim a layered curly haircut with lowlights?
Most people land between 8 and 12 weeks. If you wear bangs or a sharper shag, you may want a cleanup sooner so the shape doesn’t drift.
Can I get lowlights if my hair is already dark brown or black?
Yes, though the contrast will be subtler. Ask for softer espresso, cool brown, or smoked brunette pieces rather than expecting a dramatic shift.
What if my curls are different on each side?
That’s normal. A good stylist can build a slightly asymmetric shape so the stronger side does not overpower the weaker one, and the lowlights can help balance the visual weight.
The Shape That Keeps Curls Moving
The best curly haircut is the one that still makes sense after a nap, a wind gust, and two days of dry shampoo. That’s the real test. Layering gives the curls lift; lowlights give them depth; together they keep the shape readable when the hair moves, expands, and settles in its own way.
Bring photos, but bring the ones that show the back and the side too. Talk about where your curls get heavy, where they collapse, and where the color tends to fade first. A stylist can do a lot with that kind of detail. And if the cut is right, you’ll notice something satisfying the first time you shake your hair out in the mirror: it looks fuller, but not louder.