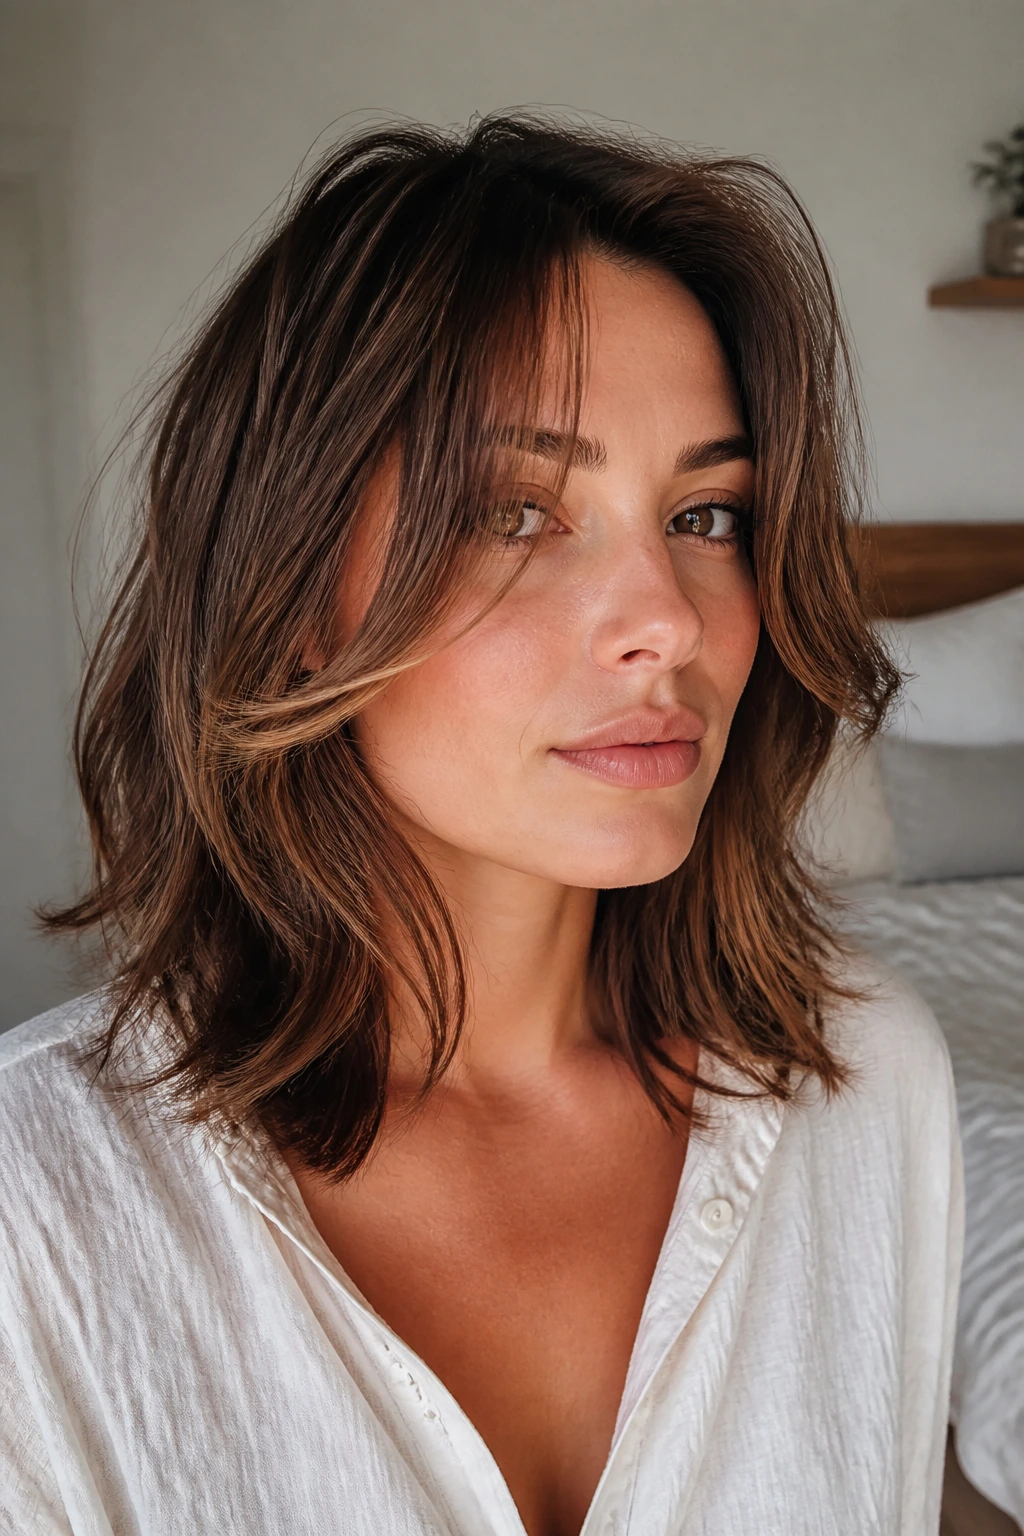
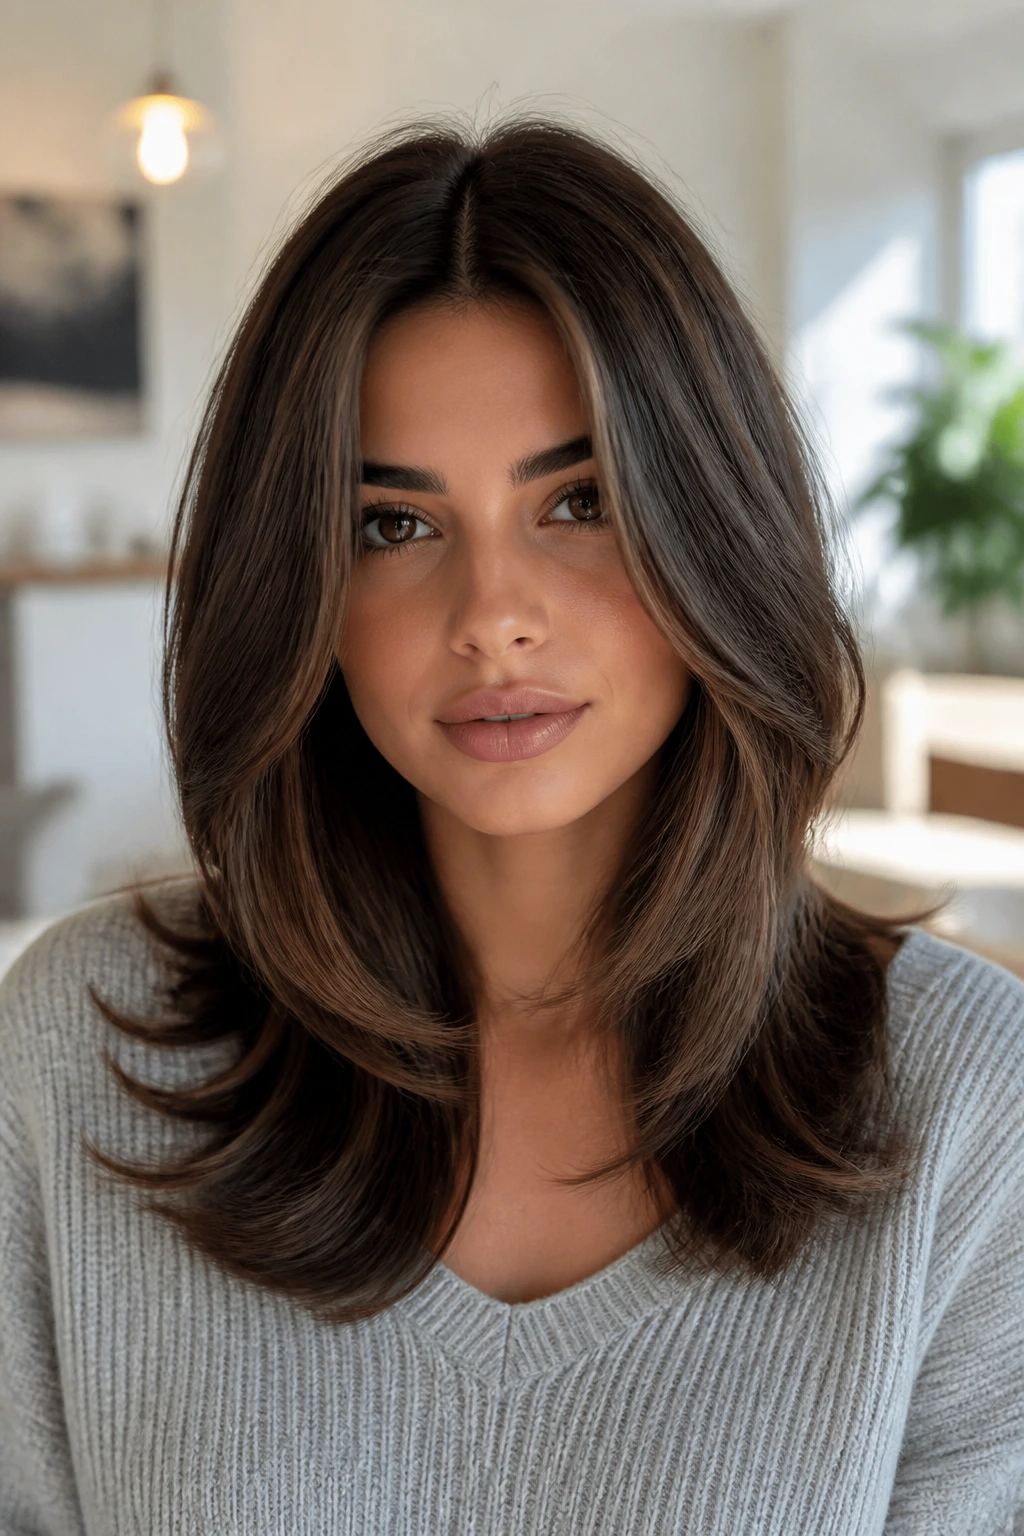
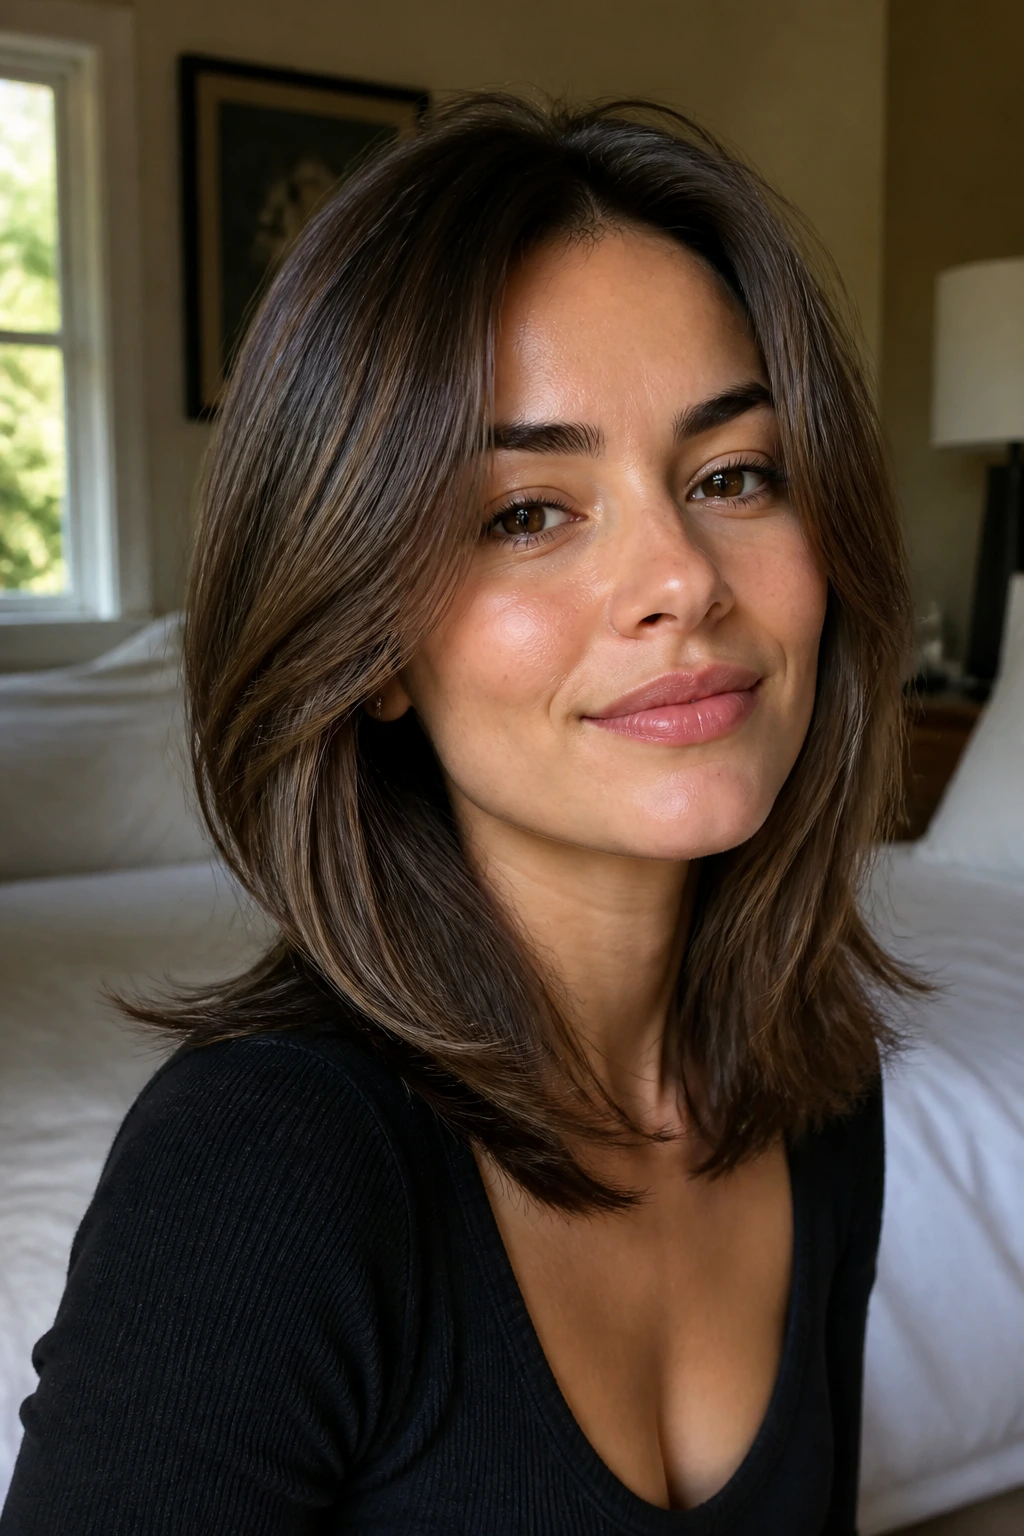
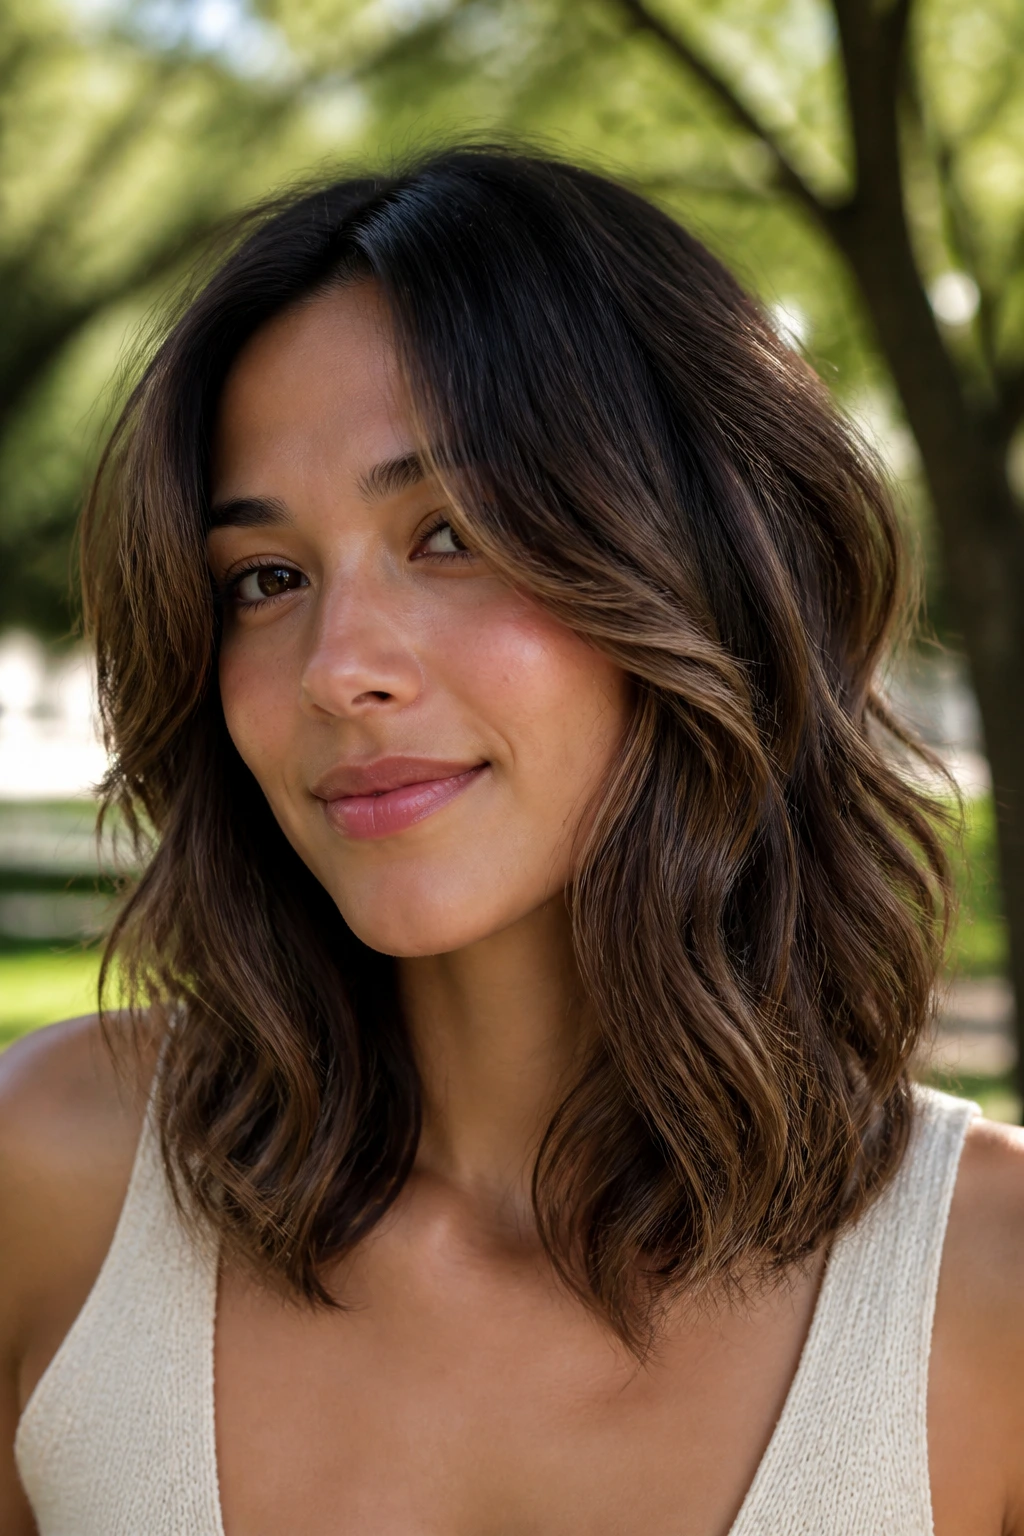
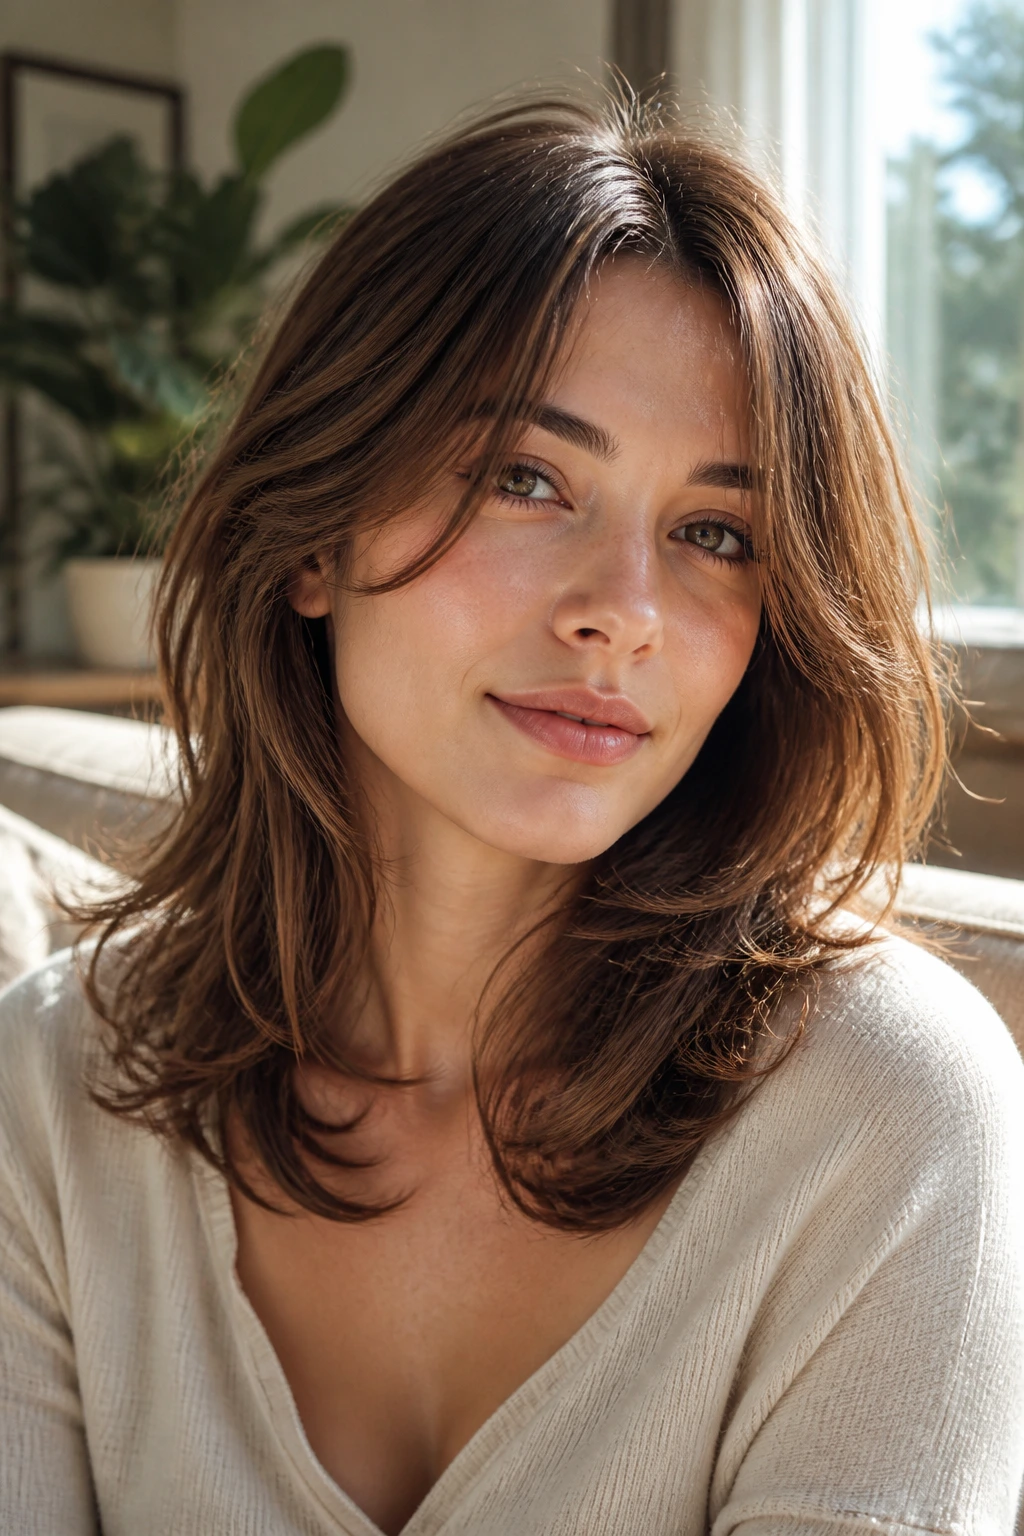
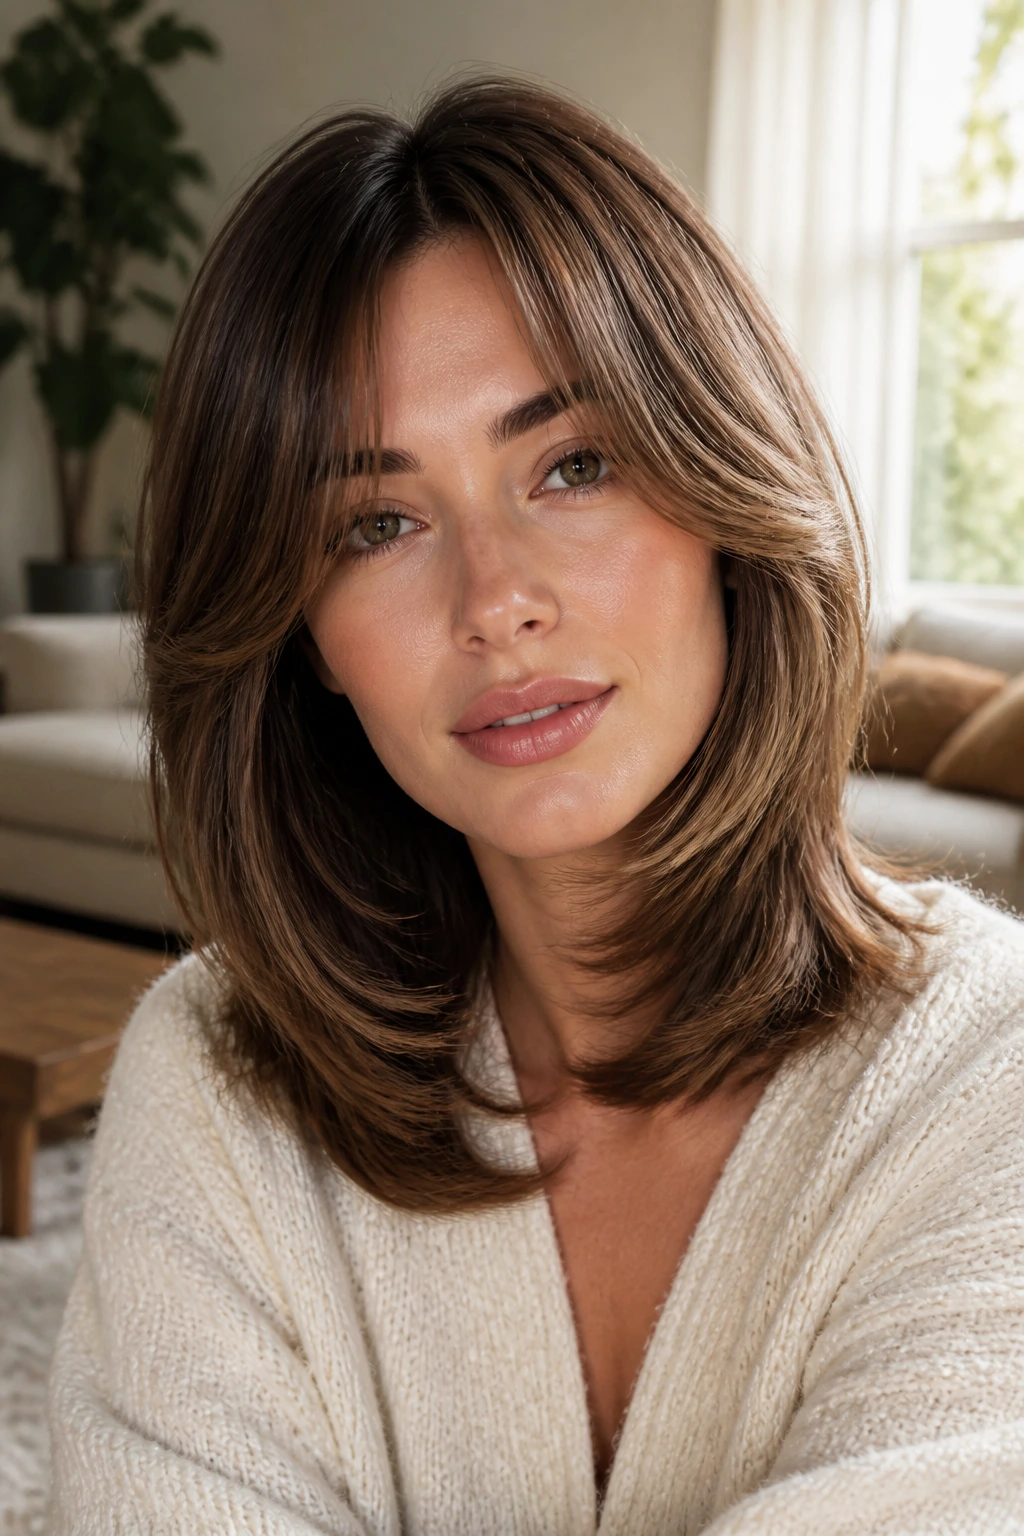
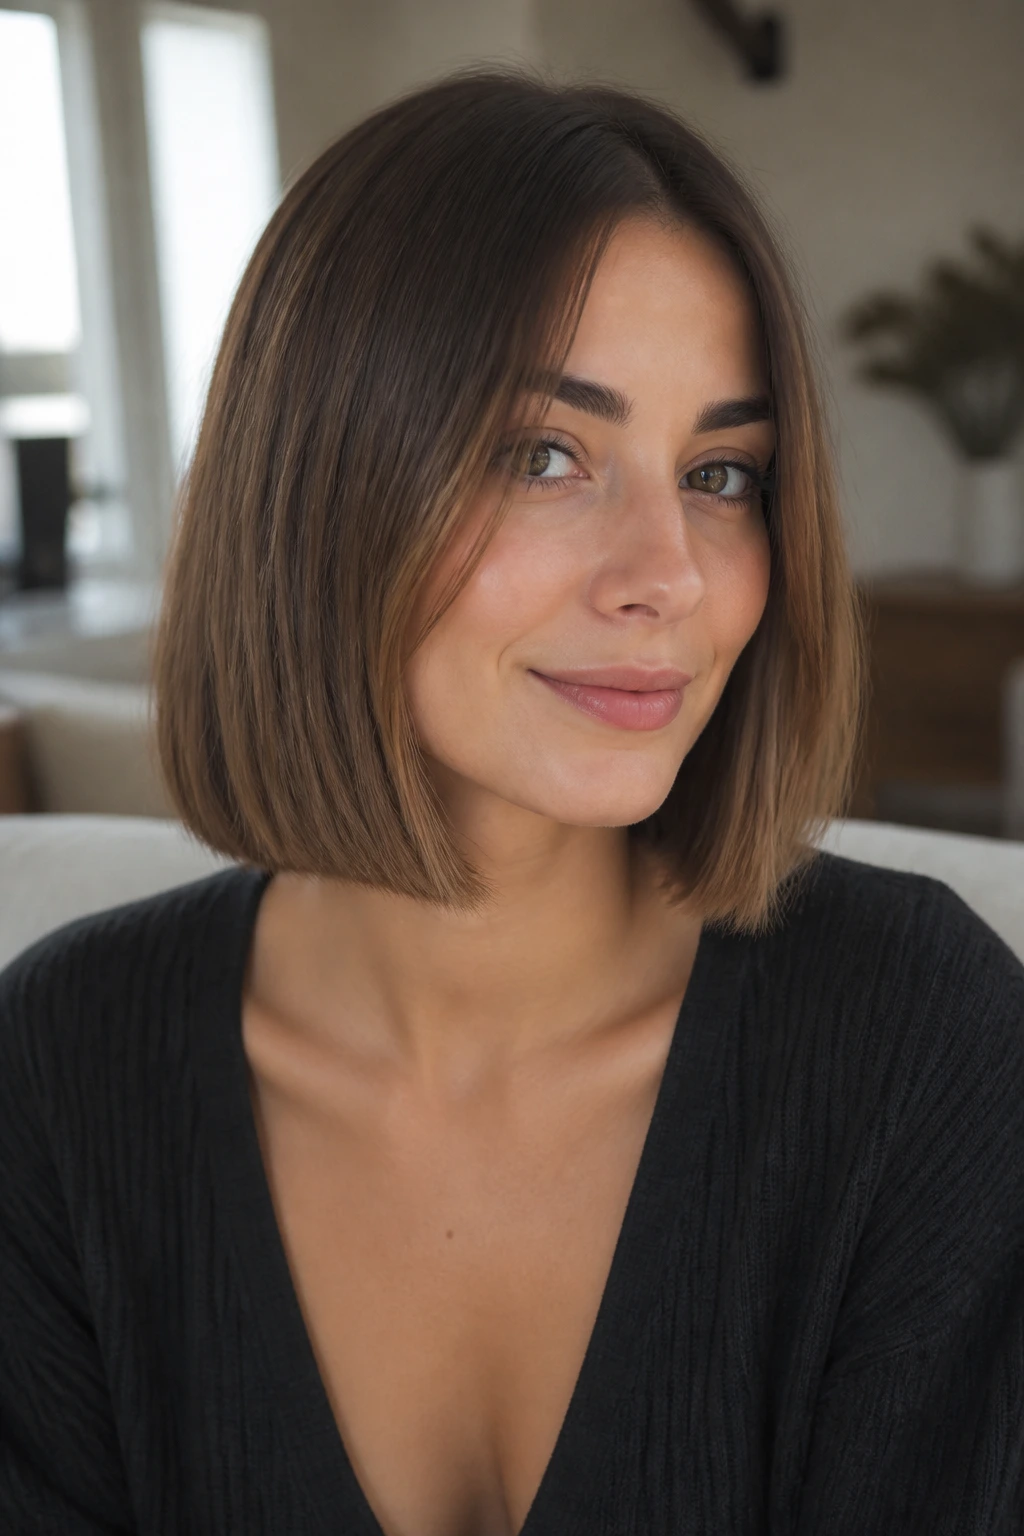
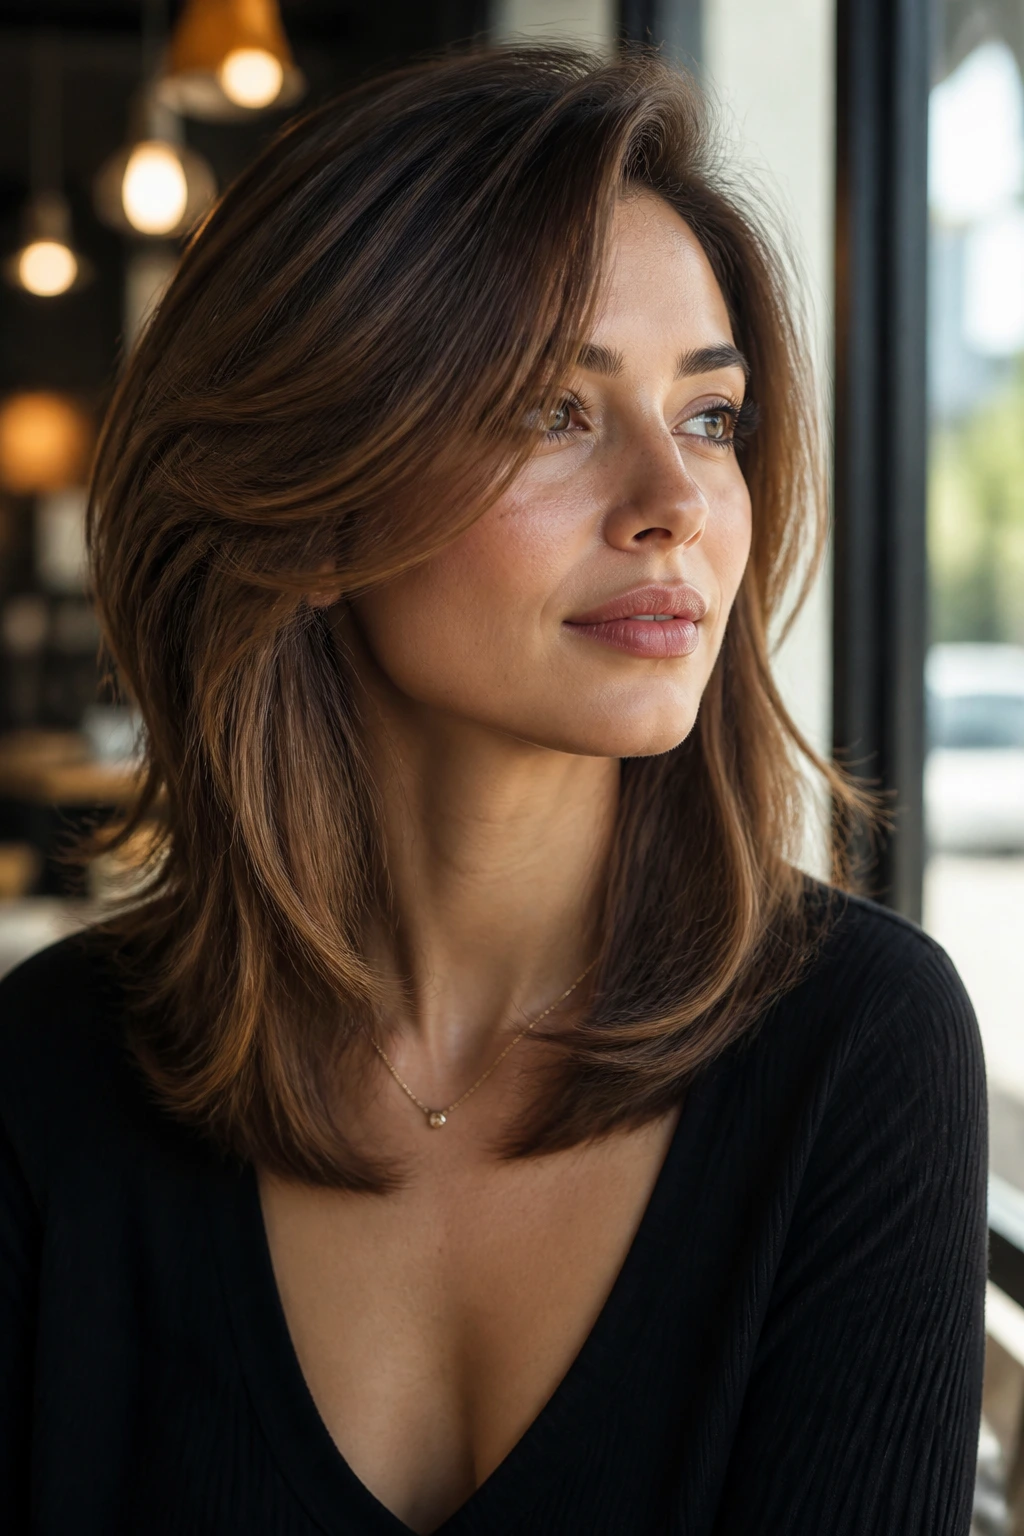
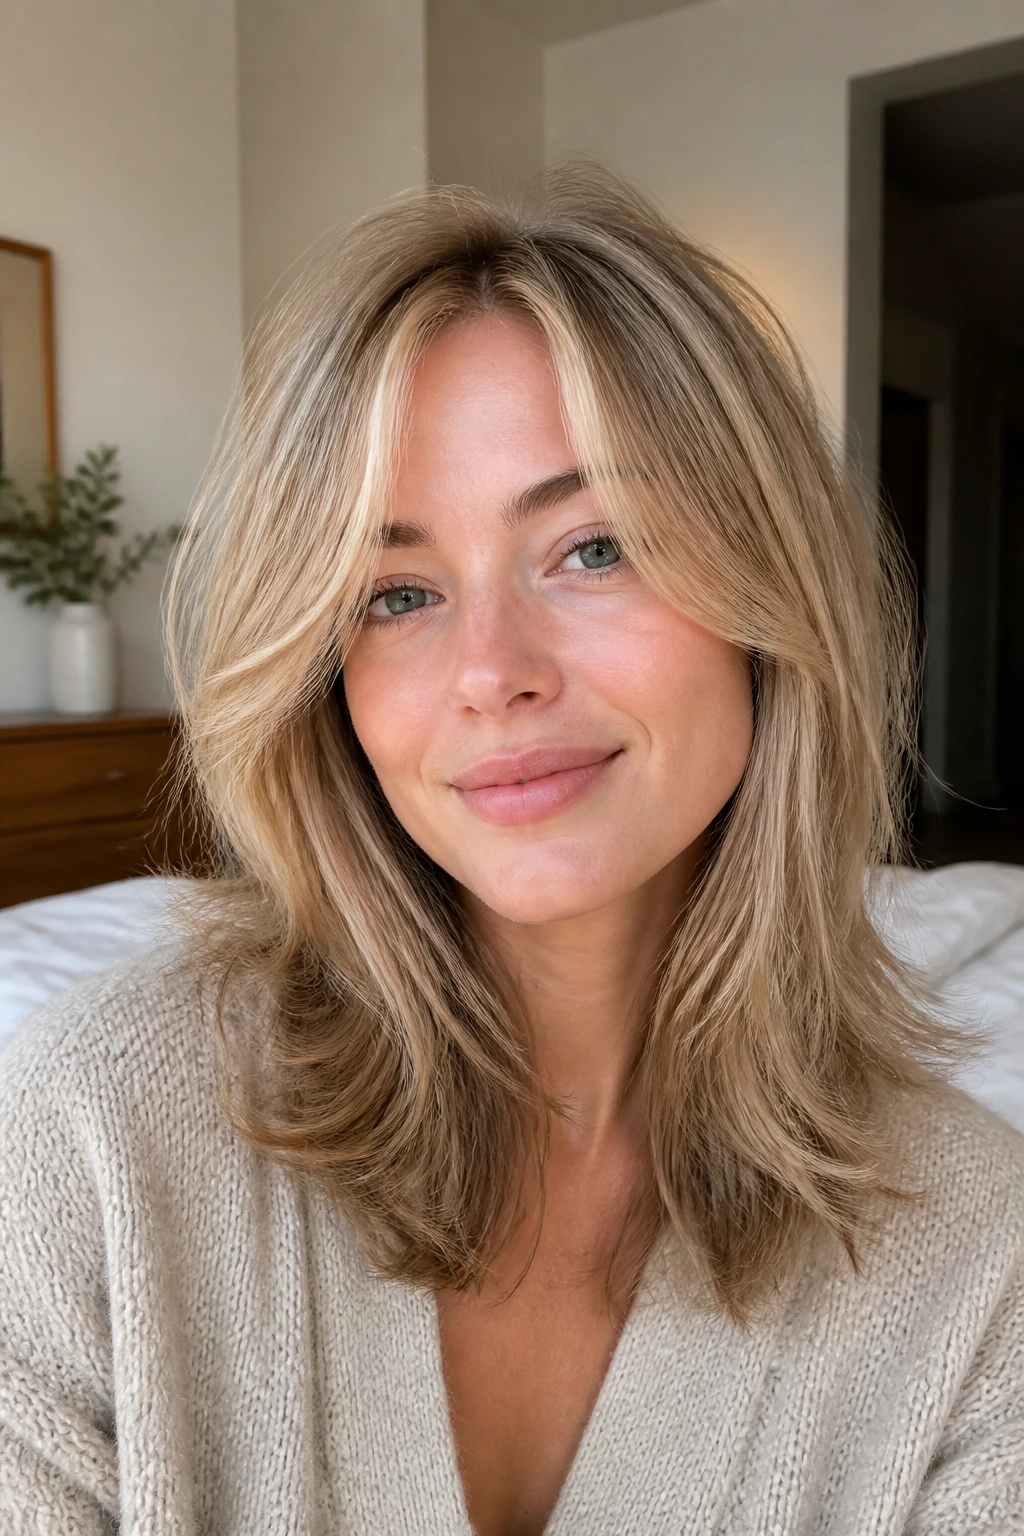
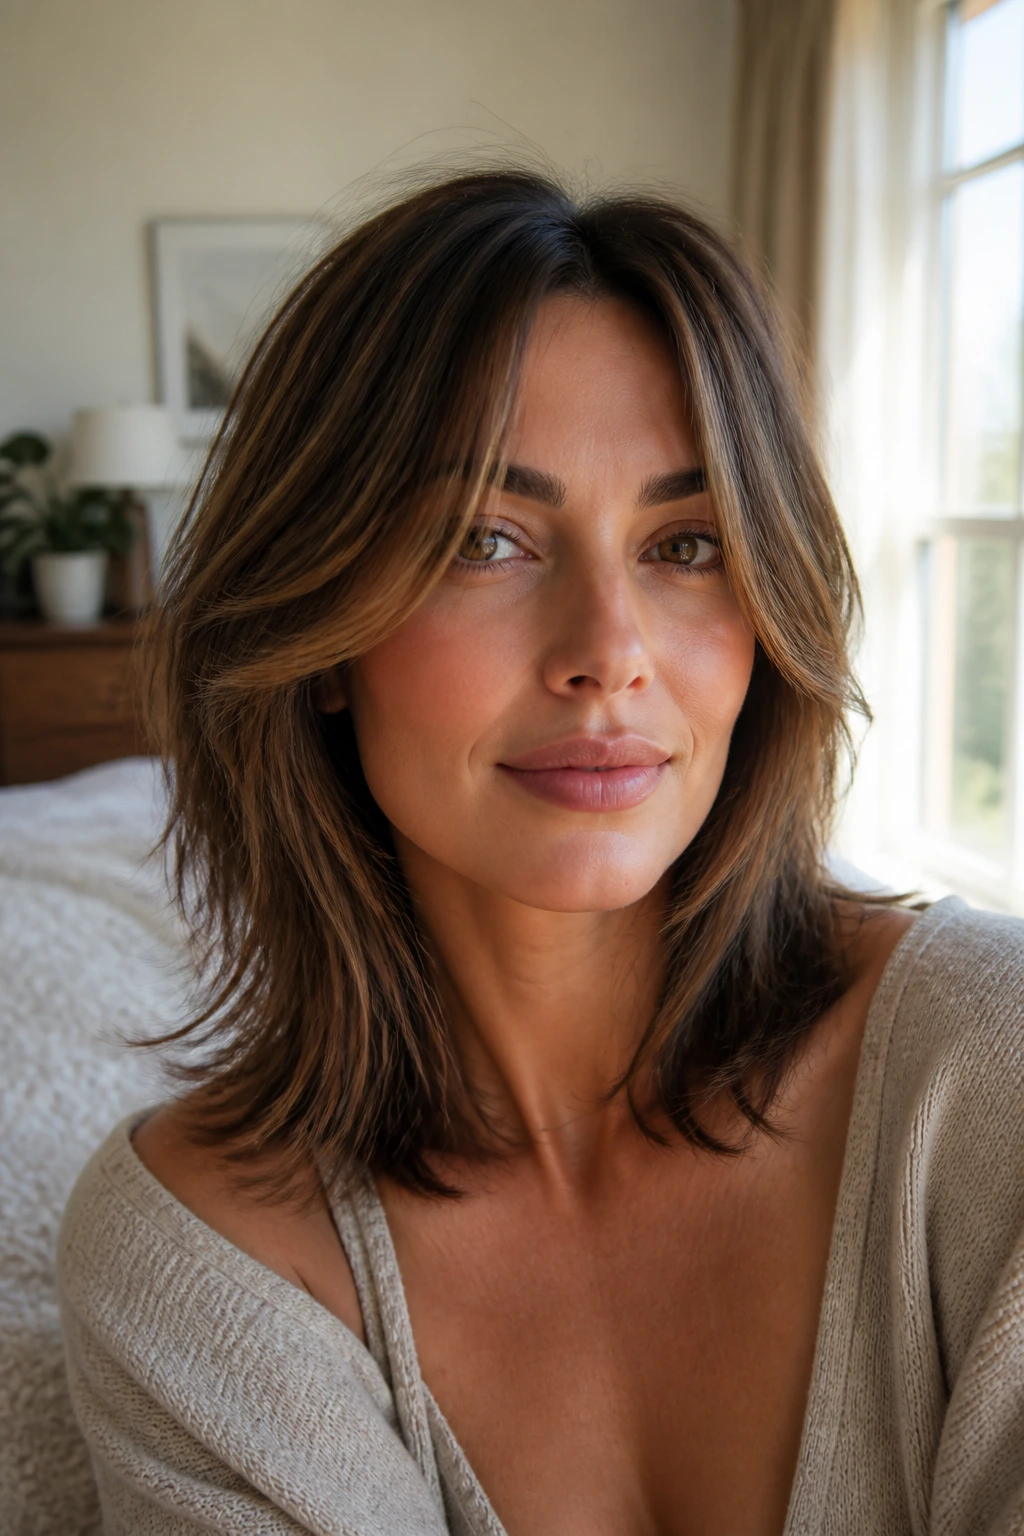
Medium hair is tricky in the best possible way. It has enough length to move, enough weight to fall, and enough room for one bad layer to make the whole shape look heavy. Add face-framing layers in the right place, though, and the cut wakes up fast. The shortest pieces can skim the cheekbones, the longer pieces can soften the jaw, and suddenly the length feels intentional instead of just… present.
That tiny shift matters more than people think. On medium hair, a layer that starts at the lip line reads very differently from one that starts at the collarbone. One gives lift around the mouth and eyes. The other keeps the outline clean while still breaking up the bulk. Same haircut family. Completely different mood.
The best versions of layered toward-face haircuts for medium hair do not shout. They tilt the balance a little, move the eye where you want it, and make the shape work with your face instead of against it. Some are airy and cheekbone-driven. Some are blunt with a few smart slices at the front. A few are soft enough to grow out gracefully, which is usually where the real value is hiding.
Why These Cuts Keep Medium Hair From Going Flat
Cheekbone lift: The right front layer can pull attention upward without stealing a lot of length, which is why medium hair responds so well to face framing.
Less triangle, more shape: Medium lengths love to balloon at the ends if they’re cut too bluntly; a few angled layers stop that boxy look before it starts.
Easier styling: These cuts work with a round brush, a flat iron bend, or an air-dry routine, so you’re not locked into one finish.
Better grow-out: Face-framing layers usually age better than a hard, short chop around the face, because the pieces can slide into the rest of the cut as they grow.
Texture-friendly: Straight, wavy, and curly hair each take these cuts differently, which is the fun part. The placement changes, but the idea stays the same.
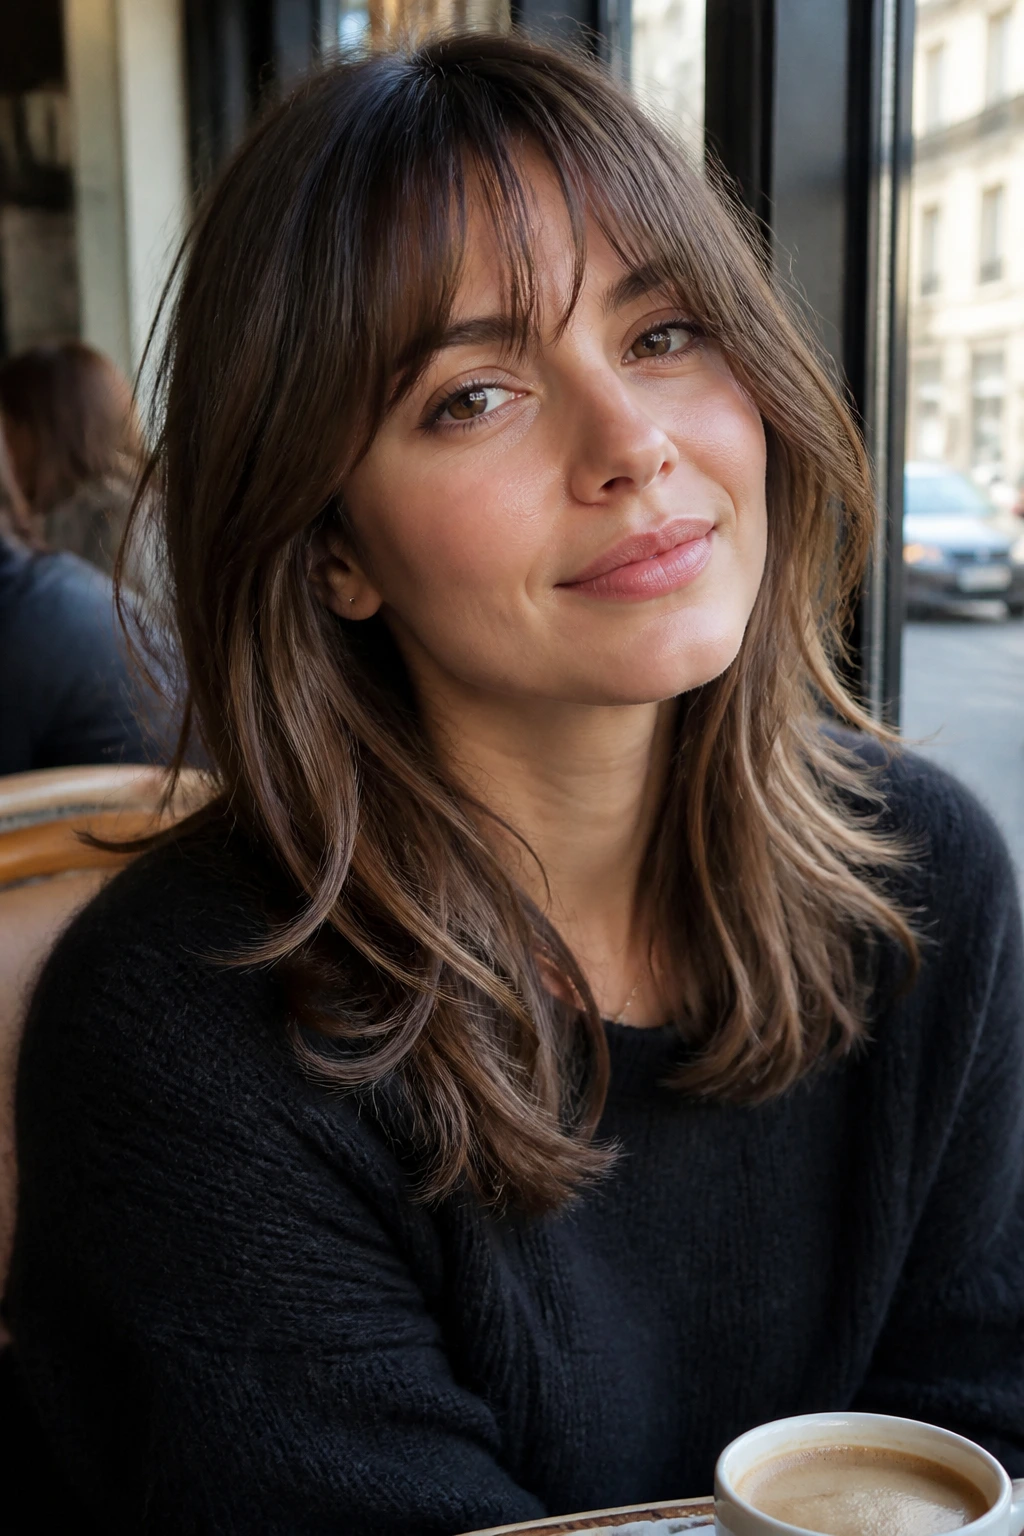
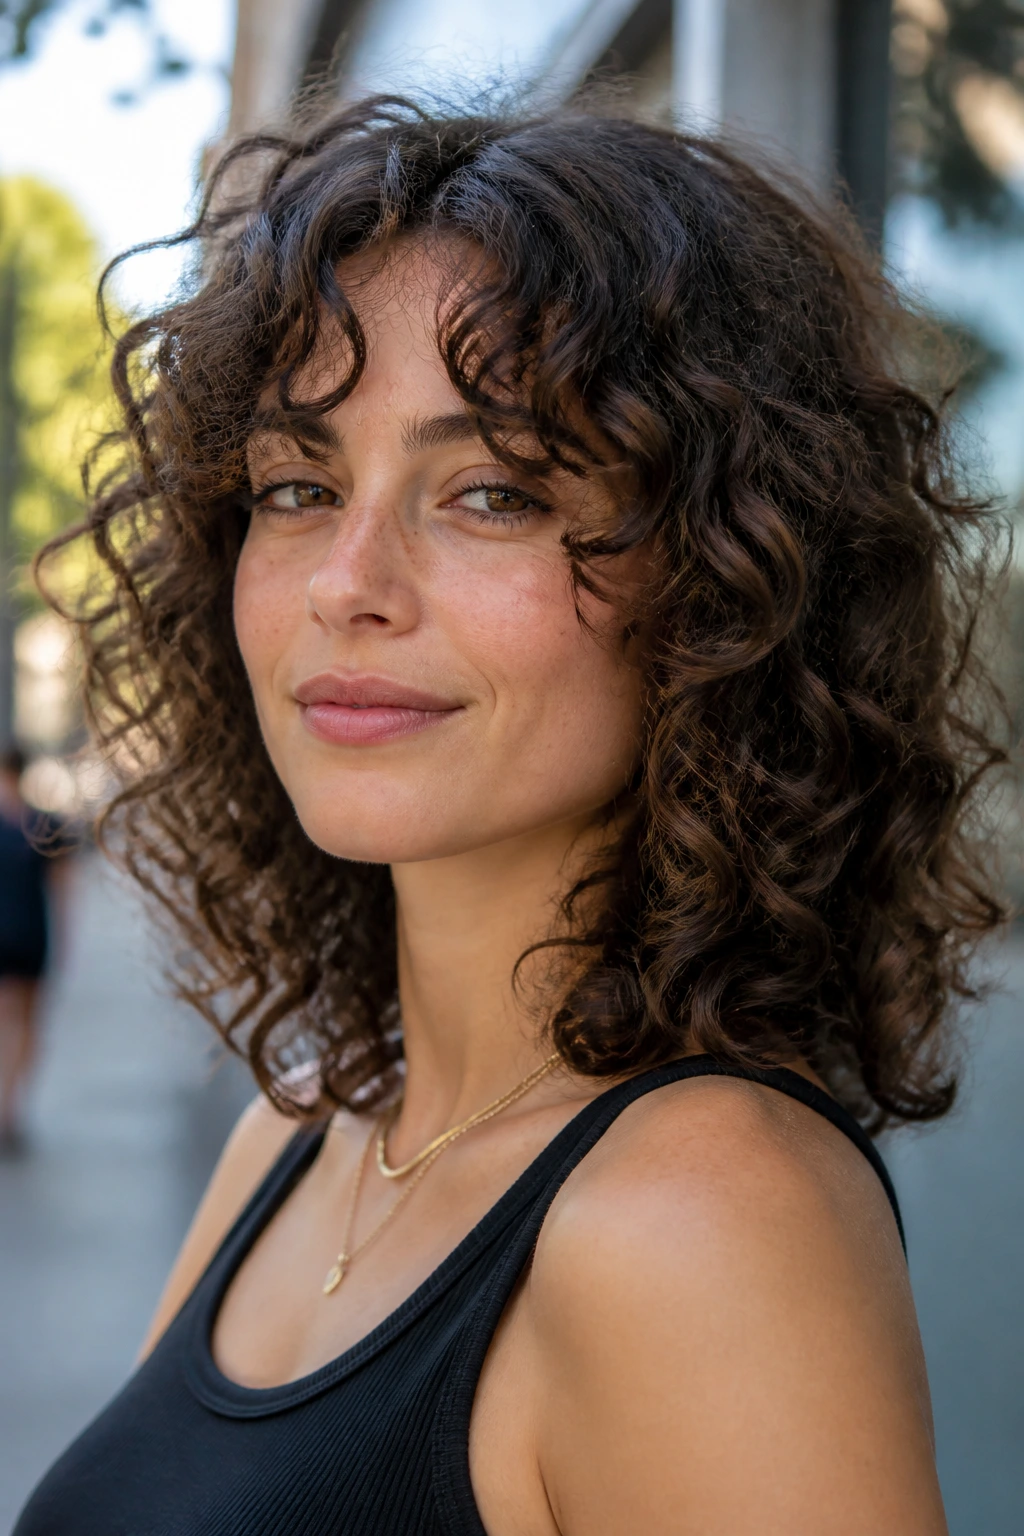
1. Curtain Layers That Split at the Cheekbones
A good curtain-layer medium cut should feel like someone opened a window around your face. The shortest pieces land near the cheekbones, then fall away toward the collarbone so the center part doesn’t look stern. I like this version on hair that gets a little flat at the sides but still has enough density to hold a bend.
The trick is in the angle. If the layers start too high, they can look choppy. Too low, and you lose the lift that makes curtain layers worth the trouble. Ask for the front pieces to be soft enough to tuck behind the ear without leaving a weird shelf at the cheek. That little detail matters more than the salon pitch.
Best for
- Oval and heart-shaped faces
- Medium hair with a slight wave
- Anyone who wants movement without obvious chunkiness
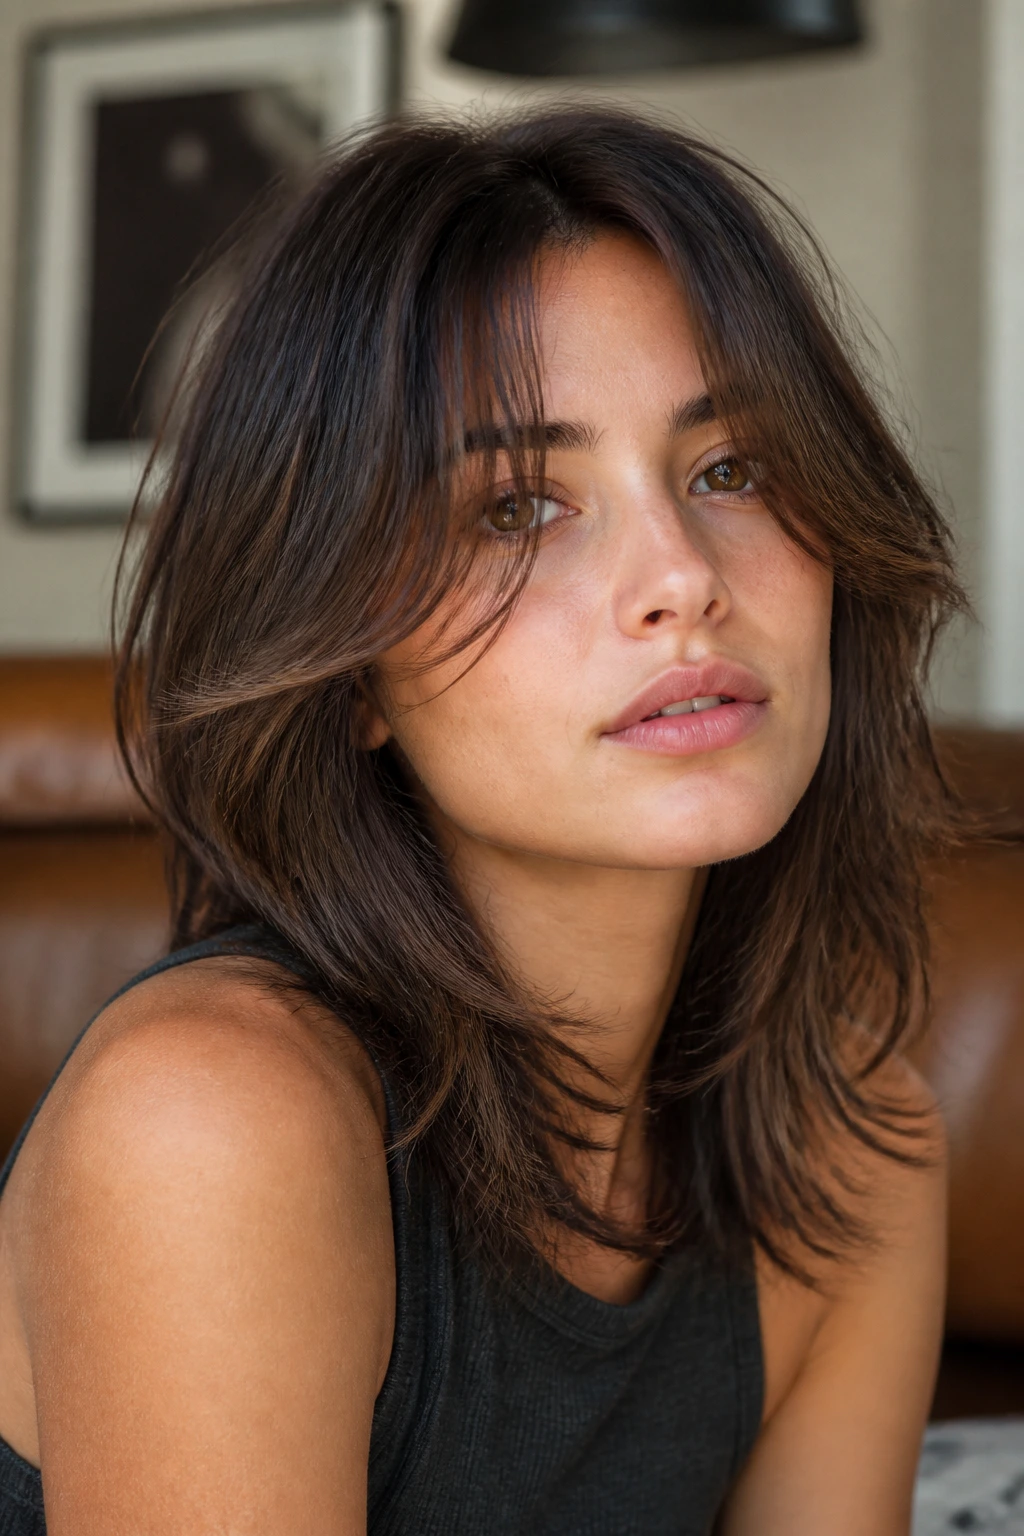
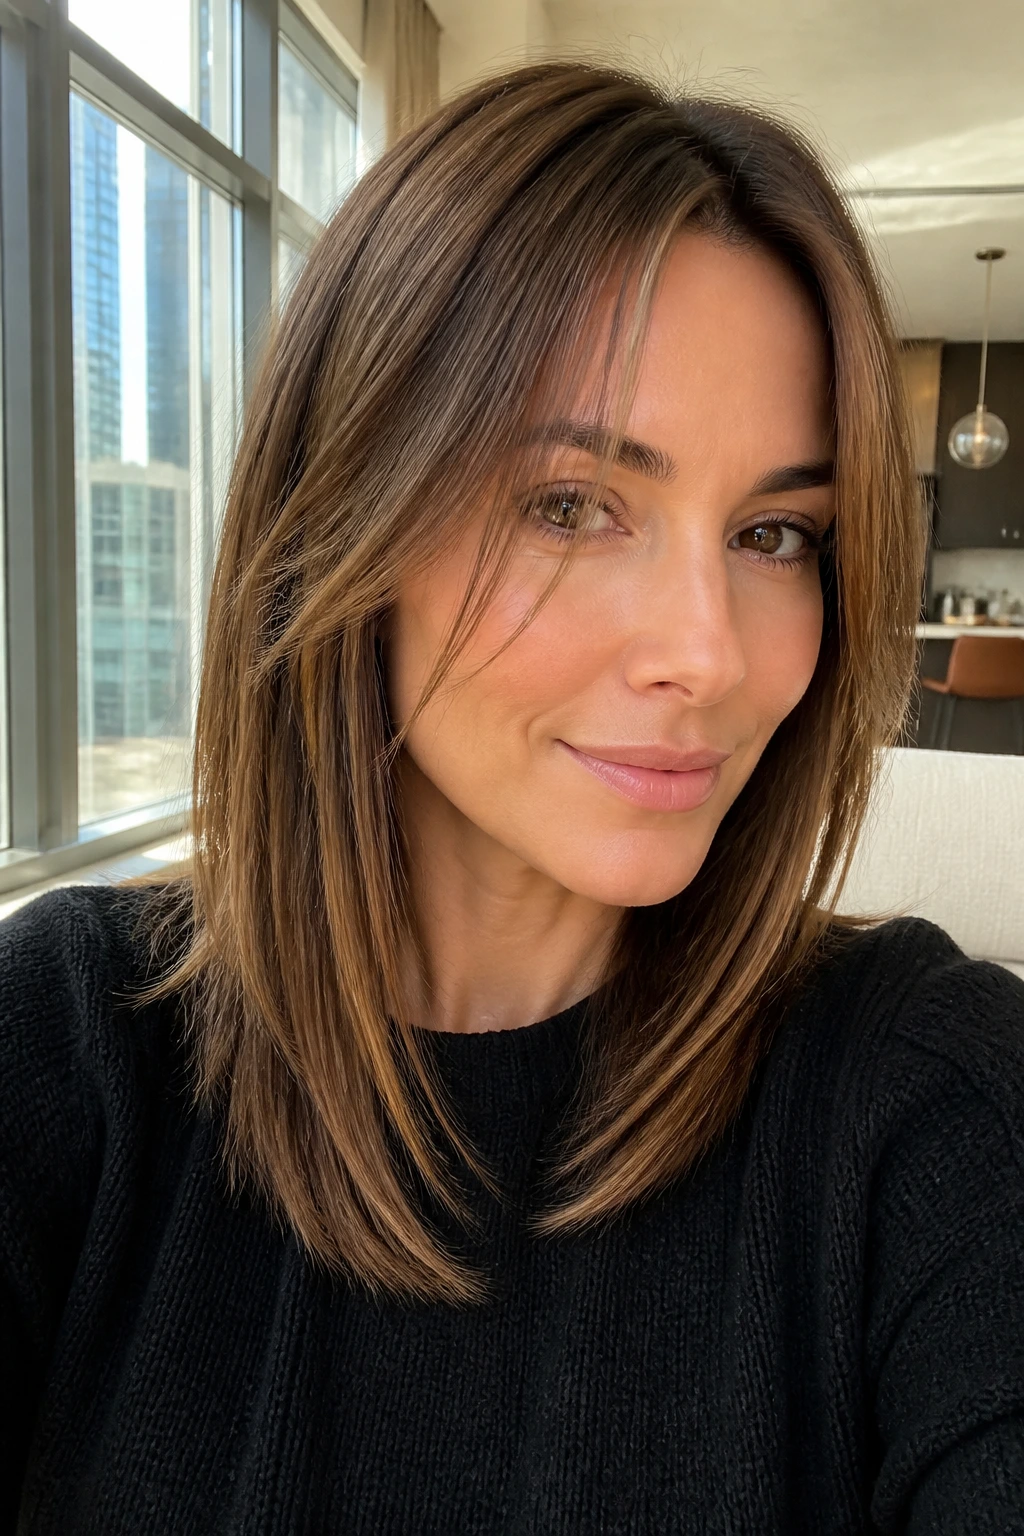
2. Collarbone Shag With a Soft Face Frame
Why does this one keep showing up? Because it has that easy, borrowed-from-the-right-people feel without needing a full shag commitment. The collarbone length gives the cut weight, and the shorter front layers keep it from settling into a triangle.
This is the cut I point to when someone wants texture but not chaos. The face-framing pieces should graze the jawline, then break just enough to create movement when the hair swings forward. On medium hair, the collarbone is a sweet spot; the cut can move, but it still keeps its shape after a long day.
It’s especially useful if your hair has a little bend and you hate spending half your morning forcing it to behave.
3. Rounded Layers That Curl Back From the Jaw

Roundness gets ignored too often, and that’s a shame. A rounded layered cut on medium hair can make thick or stubborn hair look polished instead of puffy. The front pieces curve back from the jaw, which softens strong angles without hiding them.
This works best when the layers are cut with the natural fall of the hair in mind. If your ends kick out, the round shape can either help or fight that flip depending on where the layering begins. I usually prefer a rounded front on hair that already wants to bend under. It looks expensive in the best old-school sense: controlled, but not stiff.
A little blow-dry under the brush, and the whole outline snaps into place.
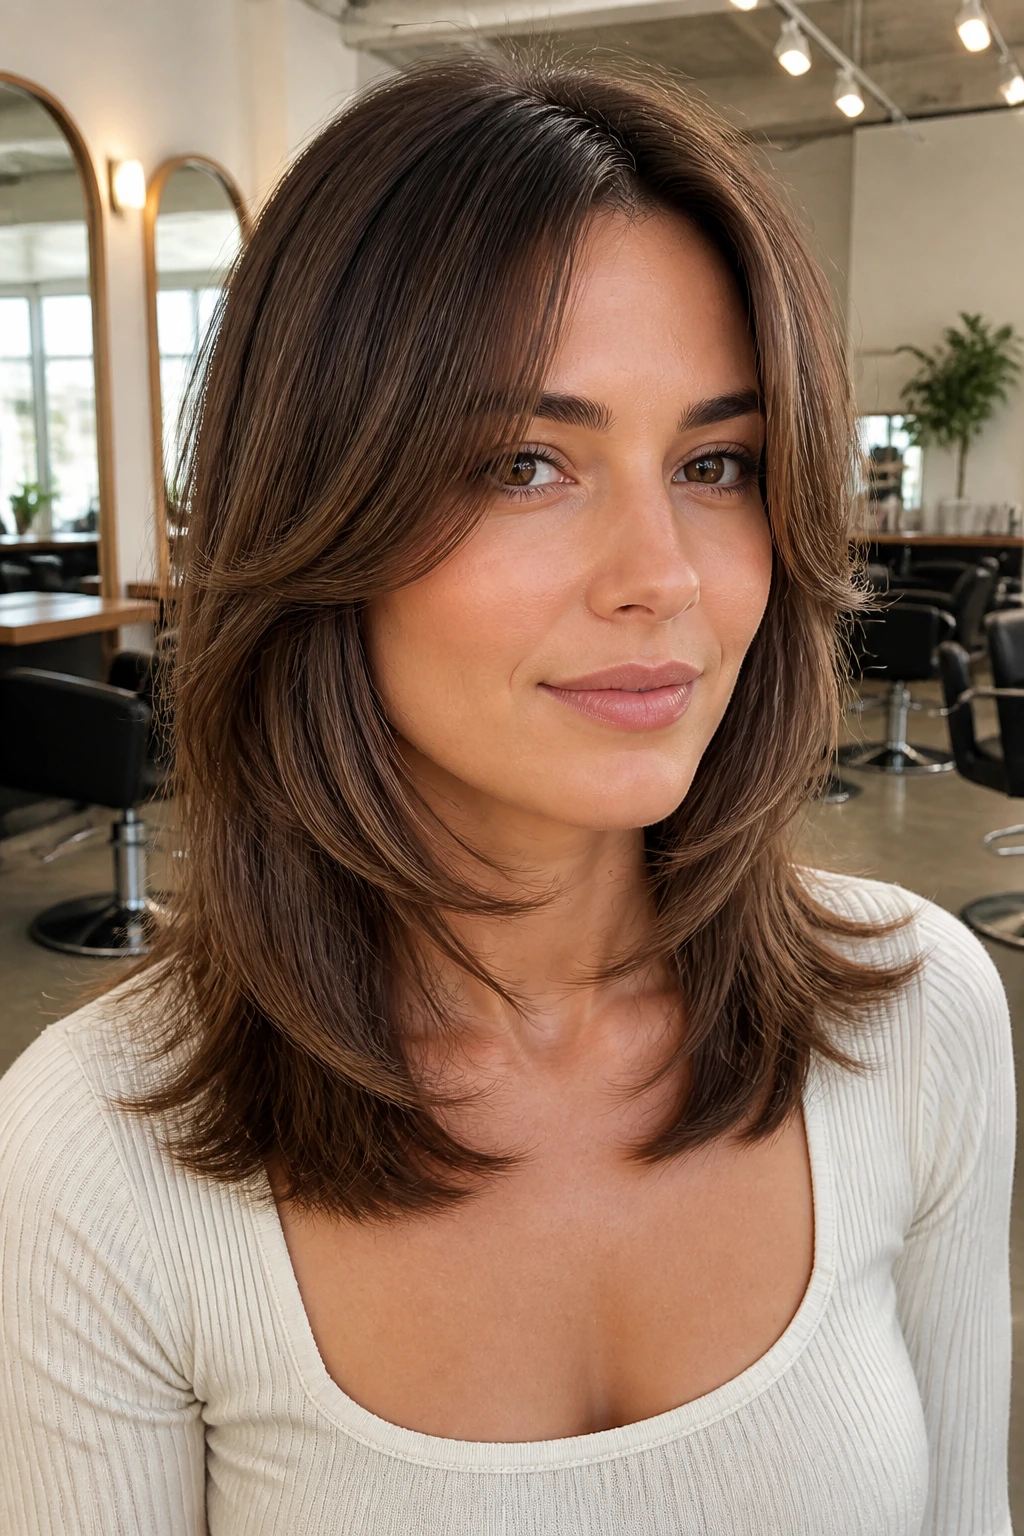
4. Feathered Ends for a Lighter Finish
Feathering is one of those techniques that gets abused when stylists get lazy. Done right, it gives medium hair a soft edge and a little air around the face. Done badly, it turns the ends wispy and tired. The difference is all in how much weight stays in the cut.
For face-framing layers, feathering works best when the front pieces stay long enough to move as a unit. You want the edges to blur, not disappear. A smooth blowout or a low-bend finish helps a lot here; razor-straight hair can make feathering look thinner than it really is.
This is a smart choice if you hate bluntness and want the cut to feel light the second you step out of the chair.
5. Bottleneck Bangs Into Layered Sides
Bottleneck bangs are a sneaky good companion to medium layered hair. They start narrower near the center, then open out near the temples, which gives the face a soft frame without the heavy wall effect of full bangs.
The reason this works so well on medium length is balance. The front doesn’t have to carry the whole shape; the side layers help the bangs blend, so the haircut feels like one idea instead of two separate ones. If your forehead feels visually long or you want a little more focus around the eyes, this version does the job without stealing your length.
Ask for the side pieces to connect gently into the rest of the cut. If the transition is too abrupt, the bangs will sit there like a separate hat. Nobody wants that.
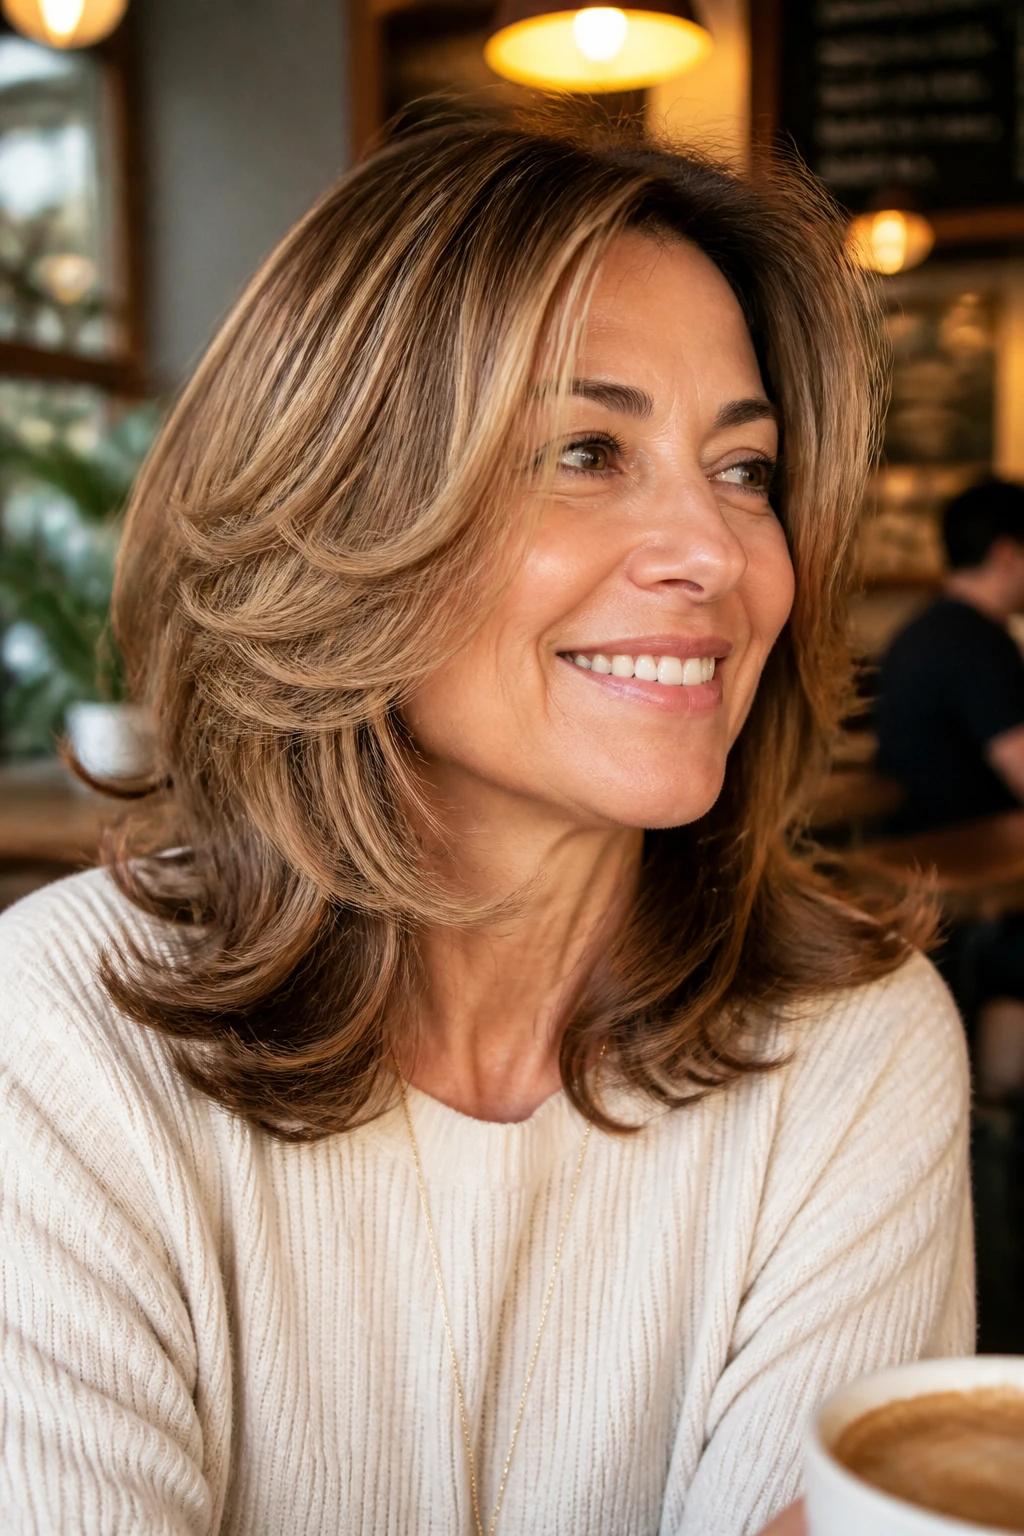
6. Butterfly Layers That Float Around the Face
Butterfly cuts can go a little dramatic if the top layers are hacked too short. On medium hair, though, they can be gorgeous when the shortest pieces start around the chin and the longer layers stay near the collarbone. You get lift at the top and movement through the front without losing the body in the back.
The reason this cut earns its keep is simple: it creates the illusion of extra volume where the eye lands first. Around the face, those floating layers make medium hair look lighter and fuller at the same time. That sounds impossible until you see it in motion.
What to ask for
- Shortest front layer: around chin to lip level
- Longer layers: blend into the collarbone
- Ends: keep enough thickness so the hair doesn’t fray out
7. Choppy Layers That Taper Near the Mouth

This is the cut for people who want a bit of edge without going full rocker-shag. The layers around the face are sliced with a bit more bite, then tapered as they fall toward the neck. On straight or slightly wavy medium hair, that gives the front a piecey, modern shape.
I like this style when the hair tends to lie too neatly. A blunt medium cut can look safe; a choppy face frame gives it some attitude. The danger is over-texturizing, especially on finer strands. You want movement, not gaps. That distinction is easy to lose in a hurry.
Use a light styling cream and a small flat-iron bend, and this cut suddenly looks deliberate instead of accidental.
8. Thick-Hair Center-Part Layers That Remove Bulk
Can thick medium hair have face-framing layers without turning fuzzy? Absolutely. It just needs discipline. A center part with longer front layers can pull bulk away from the cheeks while keeping the perimeter clean, which is usually what thick-hair clients actually want.
The cut should feel controlled at the ends and airy near the front. If the layers are too short, thick hair can puff out around the face and create a triangle effect that nobody asks for. Long enough to move, short enough to matter. That’s the line.
This version is best when you want the hair to lie close to the head on top but still swing at the jaw and collarbone. It looks expensive when it’s blown smooth, and it still holds up if you let it dry with a slight bend.
9. Side-Swept Layers With a Soft Lob Shape

A side part changes the whole personality of a medium haircut. Add face-framing layers and the result feels softer, a little more sweepy, less exact. The longer front side can skim the cheek while the shorter side lifts the eye diagonally, which is useful if you want to soften a square or long face.
This cut is a quiet fixer. It doesn’t rely on bangs, and it doesn’t need dramatic texturizing. It just uses the side part to make the layers land in a flattering way. The best versions have enough movement to tuck one side behind the ear without collapsing the shape.
If your hair falls flat at the roots, this is one of the easier cuts to wake up with a quick root spray and a round brush.
10. Invisible Layers That Keep the Outline Clean
Invisible layers are the answer for people who like structure but hate obvious slicing. The front still frames the face, but the layering happens inside the shape rather than along the outside perimeter. On medium hair, that can be the difference between “cut” and “overcut.”
The look is smooth from the outside and lighter from the inside. That’s the appeal. You get swing when you move, but the ends still look full. This is a smart pick if your hair is fine to medium and you’re nervous about losing density at the front.
Why I like it
- The line stays clean
- The movement is there, but subtle
- Grow-out is less annoying than with short, obvious layers
11. Air-Dried S-Curve Layers for Wavy Hair
Wavy hair loves a cut that respects the wave instead of bullying it. S-curve layers work because the face-framing pieces are shaped to fall into a bend rather than fight for a straight line. On medium hair, that means the cut can look polished even when you skip the blow dryer.
The key is to leave enough length in the front so the waves have something to form around. If the layers are cut too short, the wave pattern can kick the pieces outward and make the face frame look uneven. I’d rather keep the shortest front piece a touch longer and let the wave do the work.
A little mousse at the roots and a light cream through the mids usually beats a heavy styling paste here.
12. Razor-Cut Layers With a Softer Edge
Razor-cut layers can look sharp in the wrong hands, but the right version gives medium hair a soft, almost slippery edge. The front pieces taper neatly, which helps around the face if you want the cut to feel light and current without looking chopped.
This is not the best move for every hair type. Very fine hair can go see-through if the razor work is too aggressive. But on medium-density straight or slightly wavy hair, it can create a nice broken line that falls around the cheek and jaw in a flattering way.
If you’ve ever hated how blunt ends sit against your face, this is the alternative worth asking about.
13. Crown-Heavy Volume With Slimmer Ends

Here’s the blunt truth: not every medium haircut needs equal weight everywhere. Sometimes the best shape is fuller at the crown and cleaner through the lower lengths. That distribution lifts the face while stopping the bottom from bulking out.
This style works when you want the front to open up without losing polish. The layers around the face should be soft enough to move, but the real action happens in the upper section. That lift at the crown gives the haircut a little space around the head, which can be especially flattering if your hair tends to sit flat on top.
A root-lifting mousse and a quick blow-dry at the scalp make a bigger difference here than fancy styling ever will.
14. French-Girl Layers With a Broken-Down Fringe
What people usually mean by this look is hair that feels a little undone in a good way. The fringe is not heavy, and the layers around the face are chipped just enough to avoid looking too precise. Medium length gives this cut the right amount of swing.
I like this version when the goal is softness around the eyes and mouth, but not a lot of obvious structure. The face-framing pieces should blend into the rest of the cut so the whole thing feels a bit lived-in. If you like air-drying and don’t want to fight your hair too hard, that matters.
It’s one of those cuts that looks even better on day two, once the front has settled a little.
15. U-Shaped Medium Cut That Lifts the Cheekbones
A U-shaped outline is one of the easiest ways to keep medium hair from looking boxy. The back falls in a gentle curve, and the front layers open the face just enough to keep the silhouette soft. It’s a cleaner answer than a shag, and less severe than a straight line.
This cut flatters because it follows the head’s natural roundness. The shorter front pieces can land near the cheekbone, while the longer sides keep the length feeling plush. That means you get face framing without sacrificing that nice, swishy length through the ends.
Ask for this if:
- You want softness without obvious choppiness
- You like medium hair that still feels full
- You want the back to stay neat while the front lifts
16. Soft Wolfy Layers Without the Full Commitment
The wolf cut has a lot of personality, which is exactly why plenty of people want only half of it. A softer wolf-inspired medium cut keeps the shaggy top layers and face framing, then reins in the mullet energy so it stays wearable.
The front pieces should be disconnected just enough to feel textured, not shredded. On medium hair, that little bit of controlled mess can make the face look slimmer and the style look easier than it really is. I prefer this version on hair with natural wave or some bend from a blow-dry.
If you like movement but don’t want a haircut that takes over your wardrobe, this is the calmer version.
17. Graduated Layers for Heavy Hair
Heavy hair needs structure, not just thinning. Graduated layers help medium-length hair sit closer to the head near the top while keeping enough length through the face to create movement. That’s a very different job from just hacking weight out of the ends.
The front should be shaped so it guides the eye downward gently, not in a sudden staircase. If the graduation is too steep, the haircut can look stacked in a way that feels dated fast. Soft graduation, careful point cutting, and a clean perimeter are the winning combination.
This is one of my favorite choices for dense hair that swallows smaller layers whole.
18. Blunt Lob With Just-There Face Framing
Sometimes the smartest layered cut is the one that barely looks layered at all. A blunt lob with tiny face-framing pieces gives medium hair a crisp base and just enough softness around the face to avoid that helmet effect.
This is a good option if you like order. The perimeter stays strong, which keeps the cut modern, and the front layers act like punctuation rather than a whole sentence. If your hair is straight and you don’t love a lot of texture, this version gives you the benefit of face framing without making the shape messy.
It also grows out nicely, which is a practical perk people tend to appreciate after the first good blowout wears off.
19. Piecey Layers for Straight Hair That Falls Flat
Straight medium hair can be slippery in a way that looks clean for five minutes and flat for the rest of the week. Piecey layers help break that monotony. The front sections are cut to separate a little, so the shape holds some movement even when the rest of the hair is lying down.
The best versions use point cutting instead of a blunt slice, because straight hair shows every line. The goal is not chaos. It’s separation. Enough to see the layers, not enough to make the haircut look chopped up.
Best styling move
A small amount of texture spray at the mids, then a quick bend around the face with a flat iron, usually does the trick.
20. Deep Side-Part Layers for Long Face Shapes
A deep side part can change proportions faster than almost anything else. On medium hair, it lets the layers sweep diagonally across the face, which shortens the appearance of length and adds a little drama without much effort.
This cut works because the eye follows the front piece across the forehead instead of down the center line. That breaks up a long face shape in a clean, flattering way. I like the longest front layer to hit near the collarbone here; it keeps the sweep elegant instead of too short and busy.
If you’ve been wearing a center part forever and want a change that doesn’t require losing length, this is a very good first move.
21. Retro Flip Layers That Turn Out at the Ends
There’s a reason flipped ends keep coming back. They add motion that feels cheerful rather than fussy. On medium hair, the face-framing pieces can either flick under or swing out depending on the brush work, and both directions can look good if the cut is shaped with it in mind.
The trick is not to overfight the natural bend. If your ends already want to turn, work with that. A little bevel at the front and a round brush through the last two inches can create a shape that feels playful, not costume-y.
This is one of the few cuts that looks better when the styling is slightly imperfect. Too perfect, and it loses the charm.
22. Curly Layers That Open the Face
Curly medium hair needs face-framing pieces that respect shrinkage. That’s the whole ballgame. A curl that lands at the jaw when wet might bounce to the cheekbone dry, so the shortest layer has to be placed with the final shape in mind.
The payoff is worth the caution. When the layers are cut well, curly hair can frame the face in a halo instead of sitting in a heavy pyramid. I like longer face pieces with gentle internal shaping here; they keep the curl family intact and stop the front from ballooning.
Dry-cutting or cutting curl by curl can make a big difference. No shortcuts here. Curly hair remembers everything.
23. Airy Layers for Fine Hair That Needs Body
Fine hair does not need to be shredded to look light. In fact, that usually backfires. A better fine-hair approach is airy layers that keep the ends thick while adding movement around the face and through the mids.
The shortest front pieces should stay long enough to hold their own weight. If they’re cut too high, they can flick away and leave the front looking thin. A soft bend, a little root lift, and a clean outline will do more than over-layering ever could.
This cut is especially good when you want body without giving up the illusion of fullness at the ends. That illusion matters. More than people admit.
24. Curtain Bangs With Long Ends

Curtain bangs plus medium-length layers is a pairing that earns its reputation. The bangs set the frame, and the longer face pieces extend the shape into the rest of the cut. On medium hair, that balance is especially nice because the length is long enough to keep the whole thing from feeling too frontal.
The danger is overcommitting to fringe that sits too heavy. You want the center shorter, the sides longer, and the blend soft enough that the bangs don’t feel like a separate haircut. If the long ends are too sparse, the look can tilt toward costume quickly.
A round brush, a little bend away from the face, and a light cool-down set make this one behave.
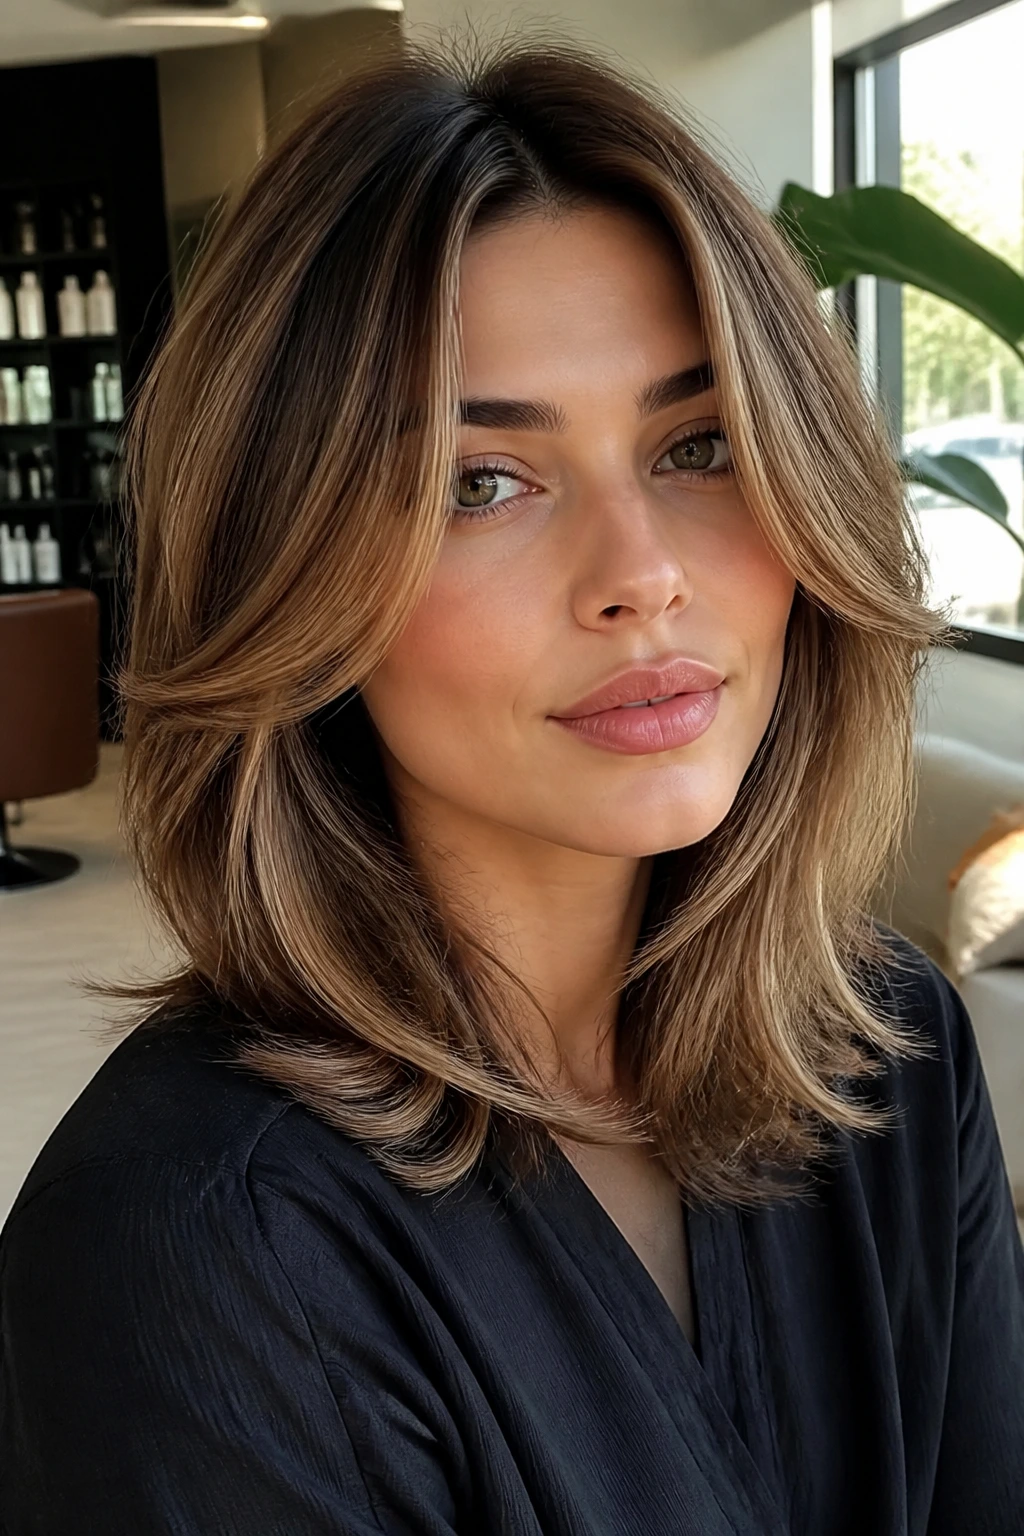
25. Polished Medium Layers With a Salon-Fresh Finish
This is the cleanest version in the group. The layers are there, but they behave. The face-framing pieces follow the line of the cheek and jaw, and the overall finish stays smooth enough to look intentional from every angle.
I like this cut on people who want movement but not mess. It works with a straight blowout, a soft curl, or a tucked-behind-the-ear finish, which is useful because not everybody wants to spend twenty minutes convincing their hair to have a personality. The layers should show up when you move, not only when you pose.
If you want medium hair that feels controlled, glossy, and still alive at the front, this is the version to keep in your pocket.
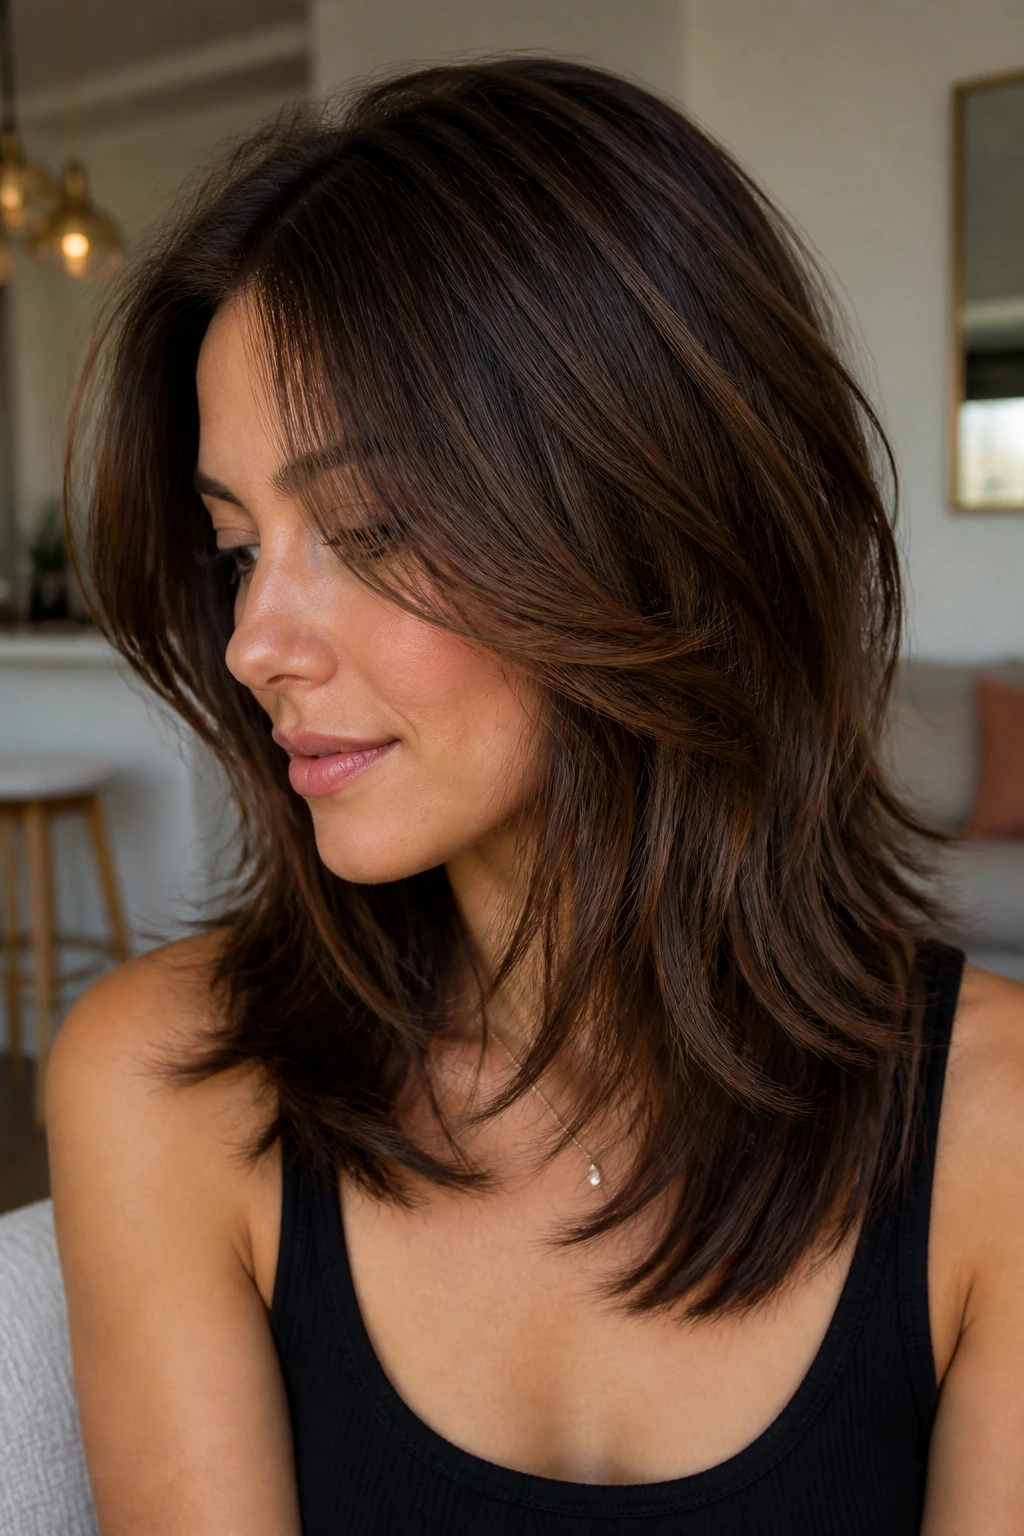
What Makes Medium Hair the Best Canvas for Face Framing
Medium hair sits in a useful middle zone. It has enough length for weight, so the front pieces hang instead of popping off in every direction. But it’s still short enough that face-framing layers stay visible. On very long hair, a short front piece can disappear into the rest of the length. On short hair, the same layer can get too busy. Medium length avoids both problems.
That’s why the placement matters so much. A cheekbone layer can brighten the face. A jawline layer can soften a strong chin. A collarbone layer can stretch the neck a little and keep the overall silhouette smooth. One inch one way or the other changes the whole read of the haircut.
I also like medium hair because it shows the cut without forcing you to live inside the styling chair. That’s the real charm. You can wear it sleek, wavy, tucked, flipped, or air-dried, and the shape still makes sense.
What to Tell Your Stylist Before the First Snip
Bring a photo, yes. Bring two if you can. But also bring language. The best haircut consults are usually the ones where someone says where they want the front pieces to land when dry, not just “layer it up a bit.”
Say things like: “I want the shortest face-framing piece around cheekbone level” or “Keep the perimeter full, but remove bulk near the front.” That gives a stylist something useful to work with. If your hair is wavy or curly, mention how much it shrinks. If it flips out at the shoulders, say that too. Those details are the difference between a flattering cut and a shape that argues with your mirror.
A few things are worth pointing out before the scissors come out:
- Whether you part your hair in the middle or on the side
- Whether you air-dry more than you blow-dry
- Whether you want the front pieces soft or piecey
- Whether you like to tuck hair behind one ear
- Whether your hair is heavy at the ends or flat at the crown
That conversation is boring for about three minutes. Then it saves you six weeks of annoyance.
How to Wear the Cut So the Front Pieces Actually Show Up
Presentation: Keep the front pieces visible on purpose. If the shortest layers sit at the cheekbones, tuck one side behind the ear or bend the front away from the face with a round brush so the shape doesn’t hide itself.
Accompaniments: A light mousse at the roots, a heat protectant, and either a texture spray or a smoothing cream are the usual partners here. You don’t need a shelf full of products; you need the right two or three.
Portions: If you’re deciding how short to go, think in inches. A subtle frame usually means the shortest piece lands 1 to 3 inches above the chin, depending on face shape and texture. Anything higher should be a deliberate choice, not an accident.
Beverage Pairing: Pair the morning routine with something you can sip while clipping sections and cooling the front pieces. Coffee, tea, even sparkling water. The drink is optional; the sectioning is not.
The Little Styling Moves That Make the Layers Read Cleanly
Flavor Enhancement: A pea-sized drop of hair oil on the ends can stop the front layers from looking dry and separated, especially if you’ve got medium hair with some bleach damage or rough texture at the ends.
Customization: Change the part. Seriously. A center part gives curtain layers a cleaner fall, while a deep side part can turn the same cut into something softer and more asymmetrical. Same haircut. Different face.
Serving Suggestions: Tuck one side behind the ear, add a bend only from mid-length down, or set the face-framing pieces on a medium Velcro roller while you do makeup. That last trick looks a little old-school, and it works because the hair cools in the right shape.
Make-It-Yours: Fine hair usually likes longer, softer front pieces and lighter product. Thick hair can handle more shape and a little stronger hold. Curly hair needs the layers placed dry or with shrinkage in mind. Straight hair often benefits from point-cut ends so the frame doesn’t look like a hard shelf.
Mistakes That Make Medium Layers Look Heavy or Choppy
The first mistake is cutting the front pieces too short because the reference photo looked cute from one angle. On medium hair, that can leave you with a hard line that sits right at the jaw and won’t blend. The fix is simple: ask where the layers will land when dry, not just when wet.
Another common problem is over-thinning the ends. Fine hair especially can go limp fast if too much weight is removed from the lower half. The symptom is a front that looks airy in the chair and stringy by afternoon. Better to keep the ends thicker and use shape, not shredding, to create movement.
The third one is ignoring the natural flip or wave pattern. If your hair kicks out at the shoulder, a layer that lands right on that point will fight you every day. Move it slightly above or below the flip zone, and the cut behaves much better.
A fourth mistake: treating every face-framing layer like curtain bangs. They are not the same thing. Bangs need a different balance, and when the two get muddled, you end up with a front that looks busy but not flattering.
Variations and Alternate Versions to Ask For

Soft Glass Layers: Keep the outline sleek, add only a few face pieces, and finish with a smooth blowout. This version works when you want shine and movement without a lot of texture.
Air-Dry Wave Cut: Ask for longer layers that follow your natural wave pattern and keep the front soft. It’s a low-effort option if you hate round brushes and prefer a little bend from salt spray or mousse.
Curly Halo Shape: For curls, ask for rounded layers that open the face without creating a wide pyramid. The layers should respect shrinkage and keep the front from collapsing inward.
Thick-Hair Weight Lift: Keep the perimeter full, remove bulk in the upper and mid sections, and leave the front long enough to fall in clean panels. This helps heavy hair move without getting fluffy.
Low-Maintenance Grow-Out: Ask for face-framing pieces that are long enough to blend into the rest of the cut in 8 to 12 weeks. This version is smart if you don’t want a sharp line that demands constant trims.
Tools That Make Medium Layers Easier at Home
- Blow dryer with a nozzle: Directs the airflow so the front pieces don’t frizz out while you’re trying to shape them.
- Round brush, 1 to 1.5 inches: Small enough for cheekbone bends, large enough not to create a curl that feels too tight.
- Sectioning clips: They keep the top layers out of the way while you work the front in small, manageable parts.
- Heat protectant spray: Use it every time you put a dryer or iron near the hair. No drama.
- Light mousse or root lift spray: Helps the crown hold volume so the face frame doesn’t have to do all the work.
- Texture spray: Good for piecey cuts and fine hair that needs separation without stiffness.
- Smoothing cream or serum: Use a tiny amount on the ends if the layers get fuzzy.
- Wide-tooth comb: Useful for wavy or curly hair when you want to keep the shape intact.
How to Keep the Shape Between Salon Visits
Face-framing layers need a little upkeep, but not the kind that owns your calendar. The front pieces usually need a trim every 6 to 8 weeks if they sit near the cheekbone or jaw. If the layers are longer and softer, you can often stretch that to 8 to 12 weeks before the shape starts to lose its edge.
At home, a light refresh is usually enough. Mist the front with water, add a bit of leave-in conditioner or cream, and either blow-dry with a round brush or twist the pieces around your fingers while they dry. If you sleep on a silk or satin pillowcase, the front tends to stay smoother and less kinked at the ends.
Avoid piling on dry shampoo three days in a row and hoping the layers will magically revive themselves. They won’t. Use it when the roots need help, then wash or rinse the front before the product build-up makes the pieces look dusty.
Common Questions About Face-Framing Medium Haircuts
Will face-framing layers make medium hair look thinner?
Not if they’re placed well. The trick is to keep enough weight in the perimeter so the haircut stays full at the ends while the front pieces add movement.
What face shapes work best with these cuts?
Almost all of them can. The length of the shortest front piece changes the effect: cheekbone layers lift, jaw-skimming layers soften, and collarbone layers lengthen the look.
Can I wear these cuts straight and wavy?
Yes. In fact, many medium layered cuts look better when they’re allowed to shift texture. Straight hair shows the shape; waves show the movement.
How do I keep the front from flipping out?
Move the shortest layer slightly away from the shoulder flip point, then set it with a round brush or a quick bend from a flat iron. Hair hates being cut exactly where it wants to kick outward.
Are these cuts good for fine hair?
They can be excellent if the layers stay long and the ends stay full. Fine hair usually looks better with shape and restraint than with aggressive texturizing.
What should I ask for if I want low maintenance?
Ask for longer face-framing pieces that blend into the rest of the cut, plus a soft perimeter that won’t look obvious when it grows out. That keeps the shape from looking stale too fast.
Can curly hair do face-framing layers without getting poufy?
Yes, if the cut respects shrinkage and the layers are balanced. Curly hair does best when the front is shaped dry or cut with the final curl pattern in mind.
What if my hair is thick and triangle-shaped?
You want internal weight removal and a cleaner face frame, not a pile of short layers around the crown. Thick hair usually needs direction more than it needs thinning.
A Medium-Length Cut That Keeps Its Shape
The best layered face-framing haircut for medium hair is the one that changes the shape without turning the whole head into a project. That’s the quiet magic here. A few inches shifted at the front can sharpen the cheekbones, soften the jaw, or make the whole cut feel lighter the second you run your fingers through it.
I keep coming back to medium length for a reason. It gives the layers enough weight to hang correctly, and enough movement to look alive. Shorter cuts can be too reactive. Longer ones can swallow the frame. Medium hair sits in that useful middle ground where the cut can actually do its job.
If you pick one version from this list, make it the one that matches your texture first and your face shape second. That order matters. A haircut that moves well will always look better than one that only looks good in a still photo.