A lake day does strange things to curly hair. The wind lifts it. The humidity puffs it. Water hits it, and suddenly the curls you spent half an hour defining are doing their own improvised performance on the dock.
That’s why lake day hairstyles for summer with curly hair need a different brain than your usual weekend style. The cute look that survives brunch can fall apart the second you lean back on a towel, slip on a life jacket, or dunk your head for three seconds and come up looking like a damp dandelion. Curly hair can absolutely handle all of that, but it likes structure. It likes a little planning. And it almost always looks better when the style respects the curl pattern instead of fighting it.
A good lake hairstyle does three jobs at once: it keeps your curls off your neck, it doesn’t collapse when the breeze picks up, and it still looks intentional once the sun starts doing its bright, unforgiving thing. Some styles here lean protective. Some lean playful. A few are the kind of quick fixes you reach for when you’re already halfway out the door with a cooler in one hand and a towel under your arm. All of them are built for real life near water, not a fantasy photo shoot that lasts five minutes and frizzes apart by noon.
Why These Styles Hold Up Beside the Water

- They keep the crown under control: Curly hair frizzes first at the top, where wind and sun hit hardest, so styles that anchor the crown buy you extra wear time.
- They work with damp or second-day curls: Lake mornings are rarely a perfect wash day, and these looks don’t punish you for starting with hair that’s a little tired.
- They leave room for hats and sunglasses: If you’re going to wear a brim or a visor, the hair needs to sit low enough that you’re not constantly readjusting it.
- They survive motion: Paddle boards, boat rides, jumping off a dock, hauling a cooler—styles with braids, twists, or a secure base handle all of it better than loose hair.
- They’re curl-safe: The better options here use soft ties, pins, and tension that holds shape without snapping ends or flattening the curl pattern into a weird bend.
- They still look good when imperfect: That matters. A lake style should get better as it loosens a little, not fall apart the moment one curl escapes.
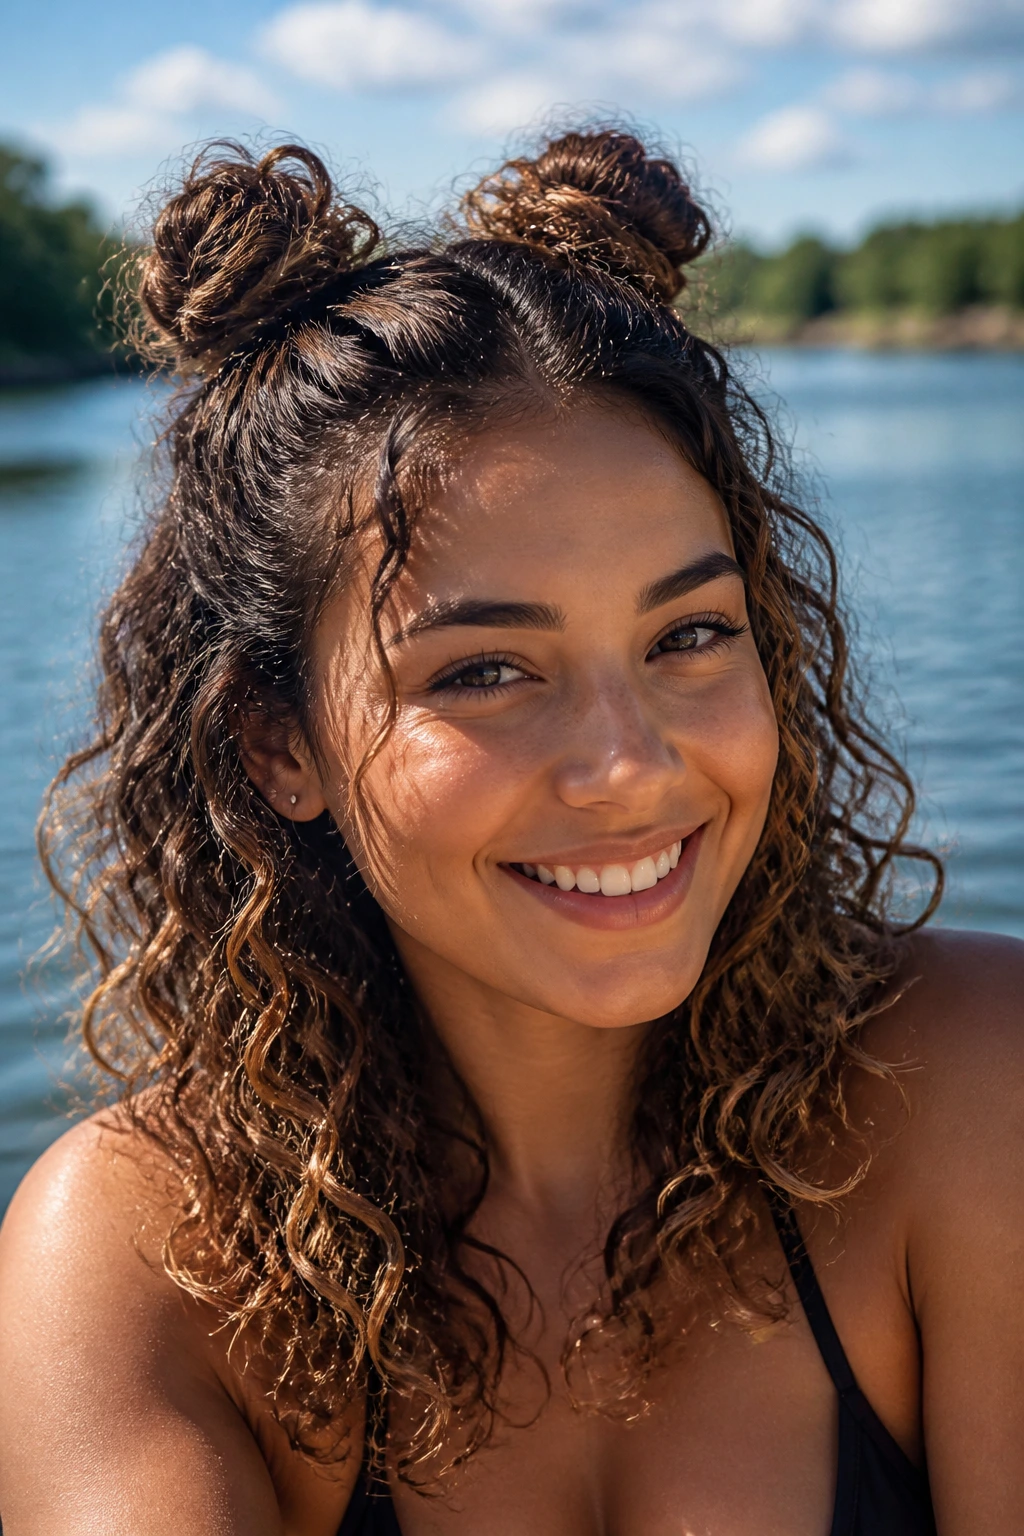
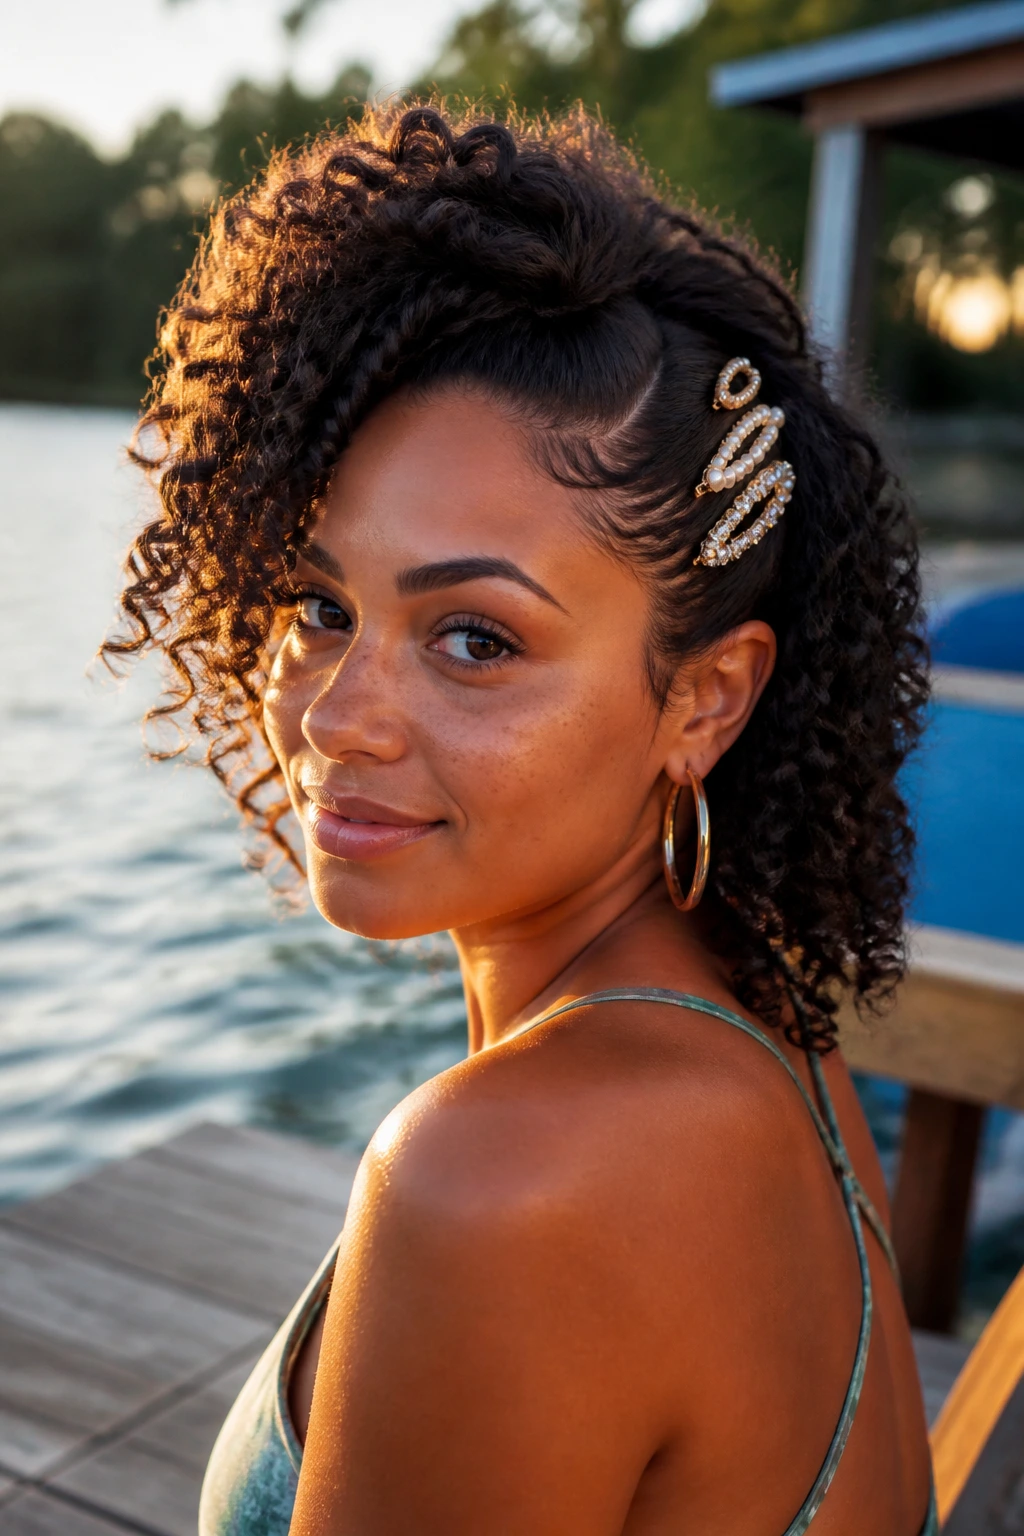
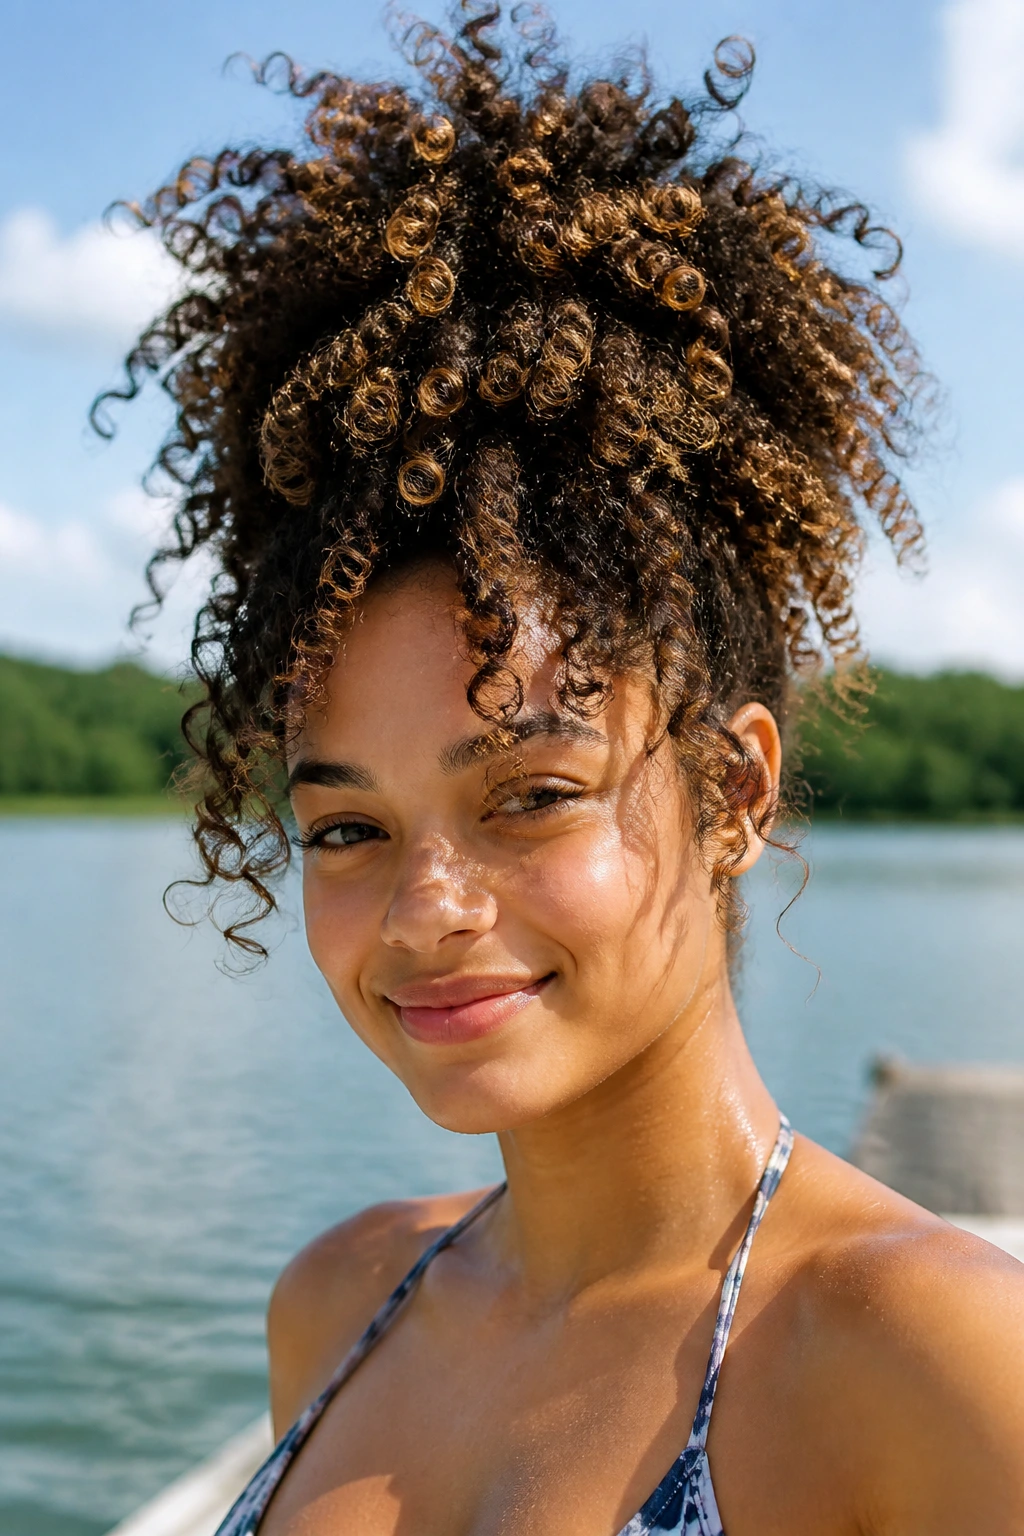
1. The High Pineapple Puff
A high pineapple puff is the style I reach for when the curls are already a little wild and I want to make that work for me instead of against me. It pushes everything up and away from the neck, which is a gift on hot afternoons when the hair at the nape starts sticking to sunscreen and damp skin.
The trick is placement. You want the base of the puff high enough that the curls fall forward and outward, not straight down the back. Use a soft satin scrunchie or a coil tie, and leave the front and sides loose enough that the shape still looks like curls, not a stretched-out ponytail. If your hair is long, let the ends fan out. If it’s mid-length, you’ll get a rounder silhouette that looks especially good with sunglasses.
Best of all, this style gets better when a few curls escape. That’s not a failure. That’s the point.
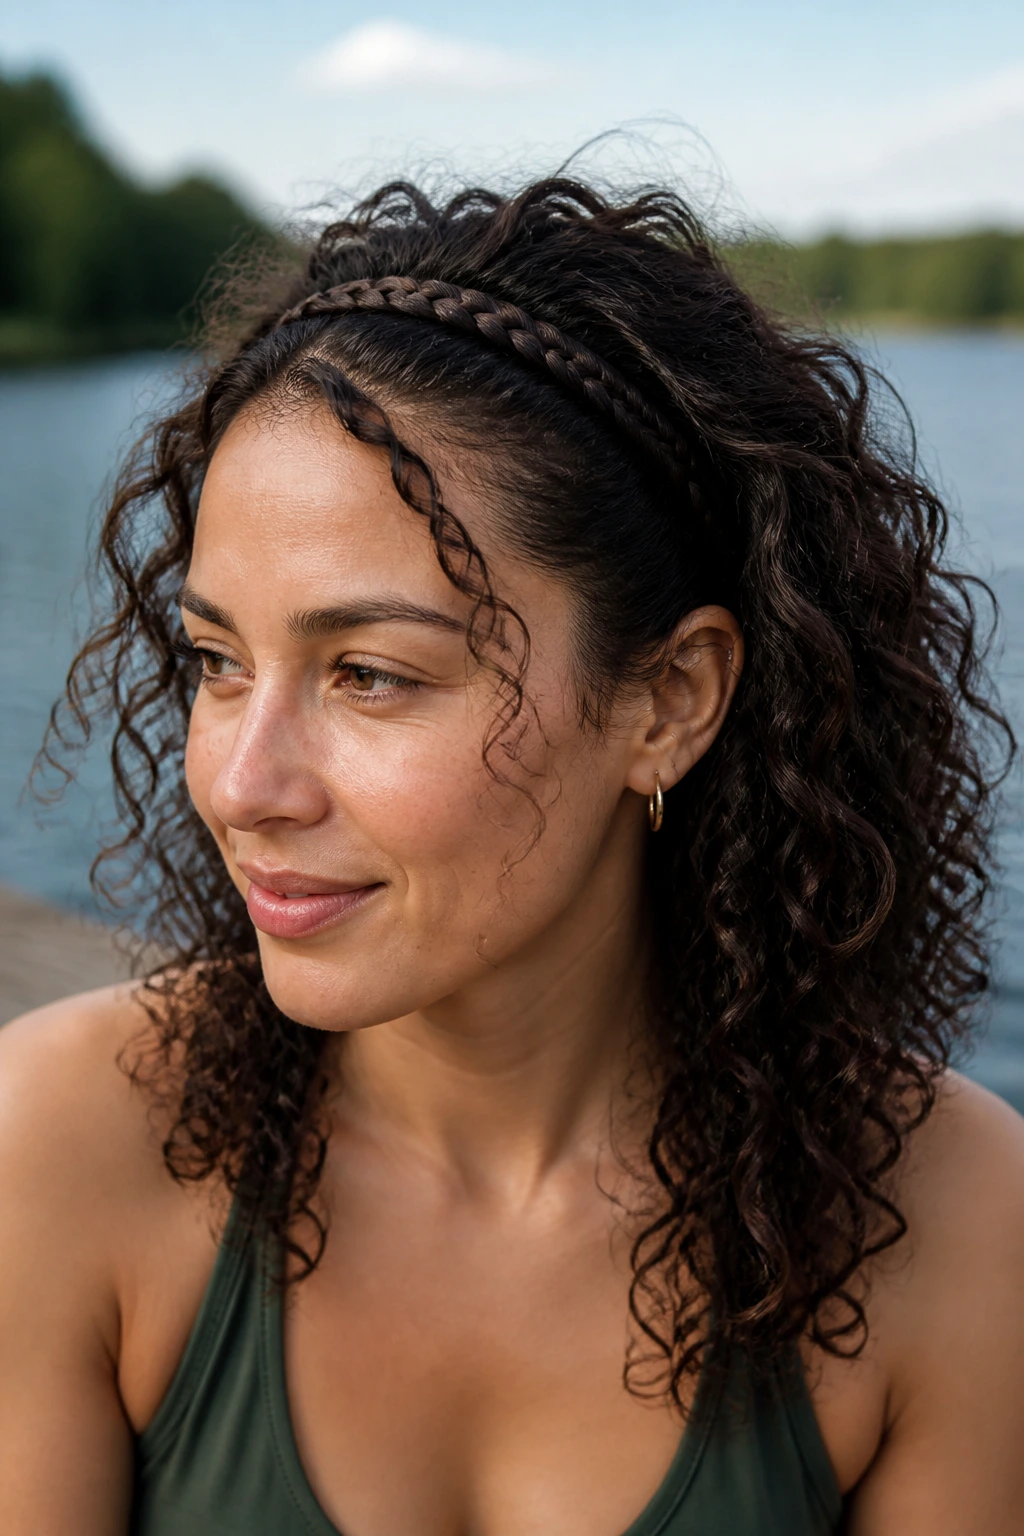
2. A Crown Braid That Ends in a Low Bun
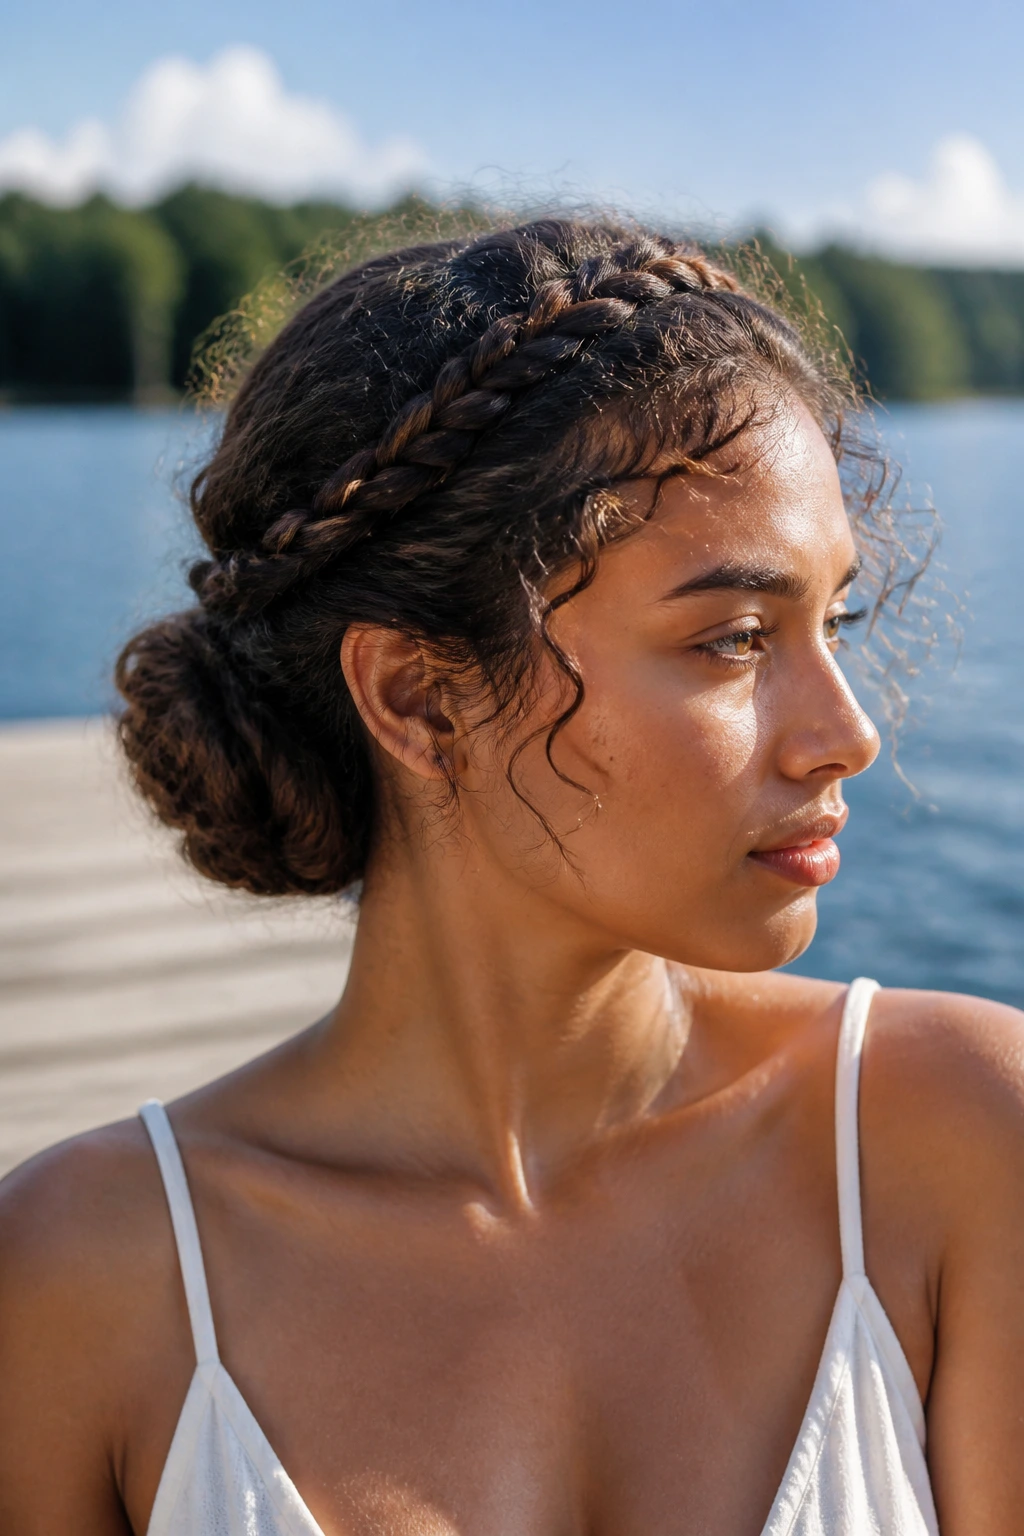
Want something that feels more polished without becoming fussy? A crown braid feeding into a low bun does that job well. It keeps the front of the hair tight enough to survive wind across the water, while the bun gives the length a place to live without dragging on your shoulders.
Start the braid at one temple and carry it across the hairline, keeping the sections even but not painfully tight. Once you reach the back, gather the rest into a low bun and pin it flat against the head. I like this one for thick curls because it distributes the weight better than a single high bun, which can feel top-heavy after an hour.
The best version has a little softness around the face. Pull one or two tiny curls loose near the temples. They stop the style from looking severe and help it read as a curly style, not a braid wearing a disguise.
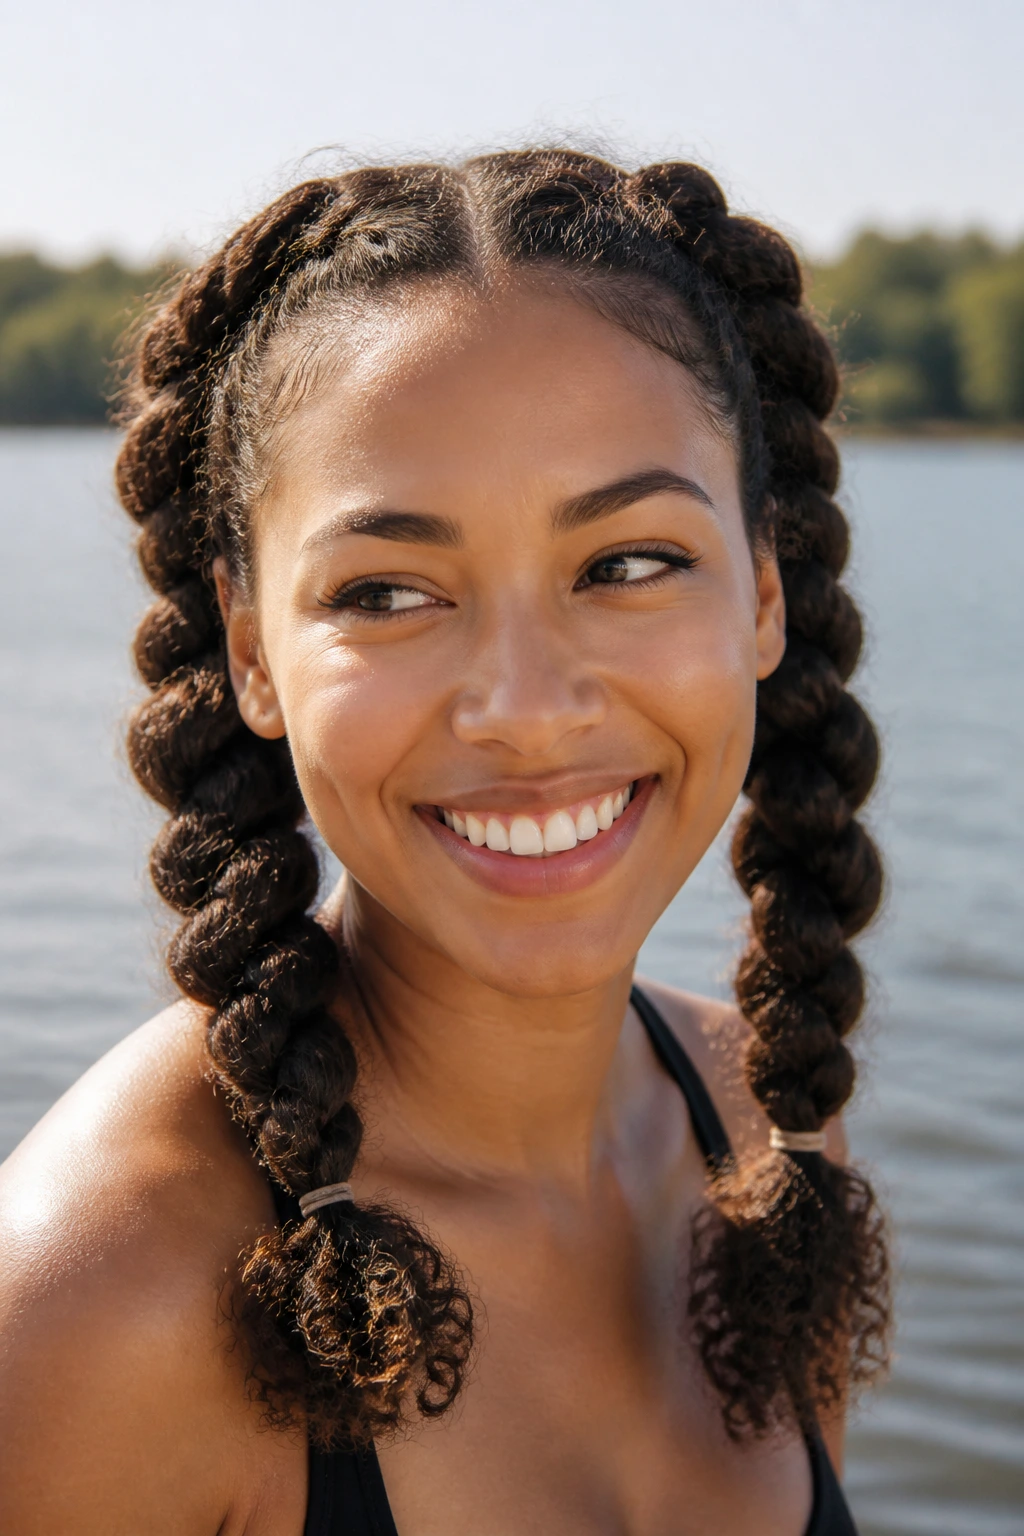
3. Twin Dutch Braids That Stay Put at the Shore
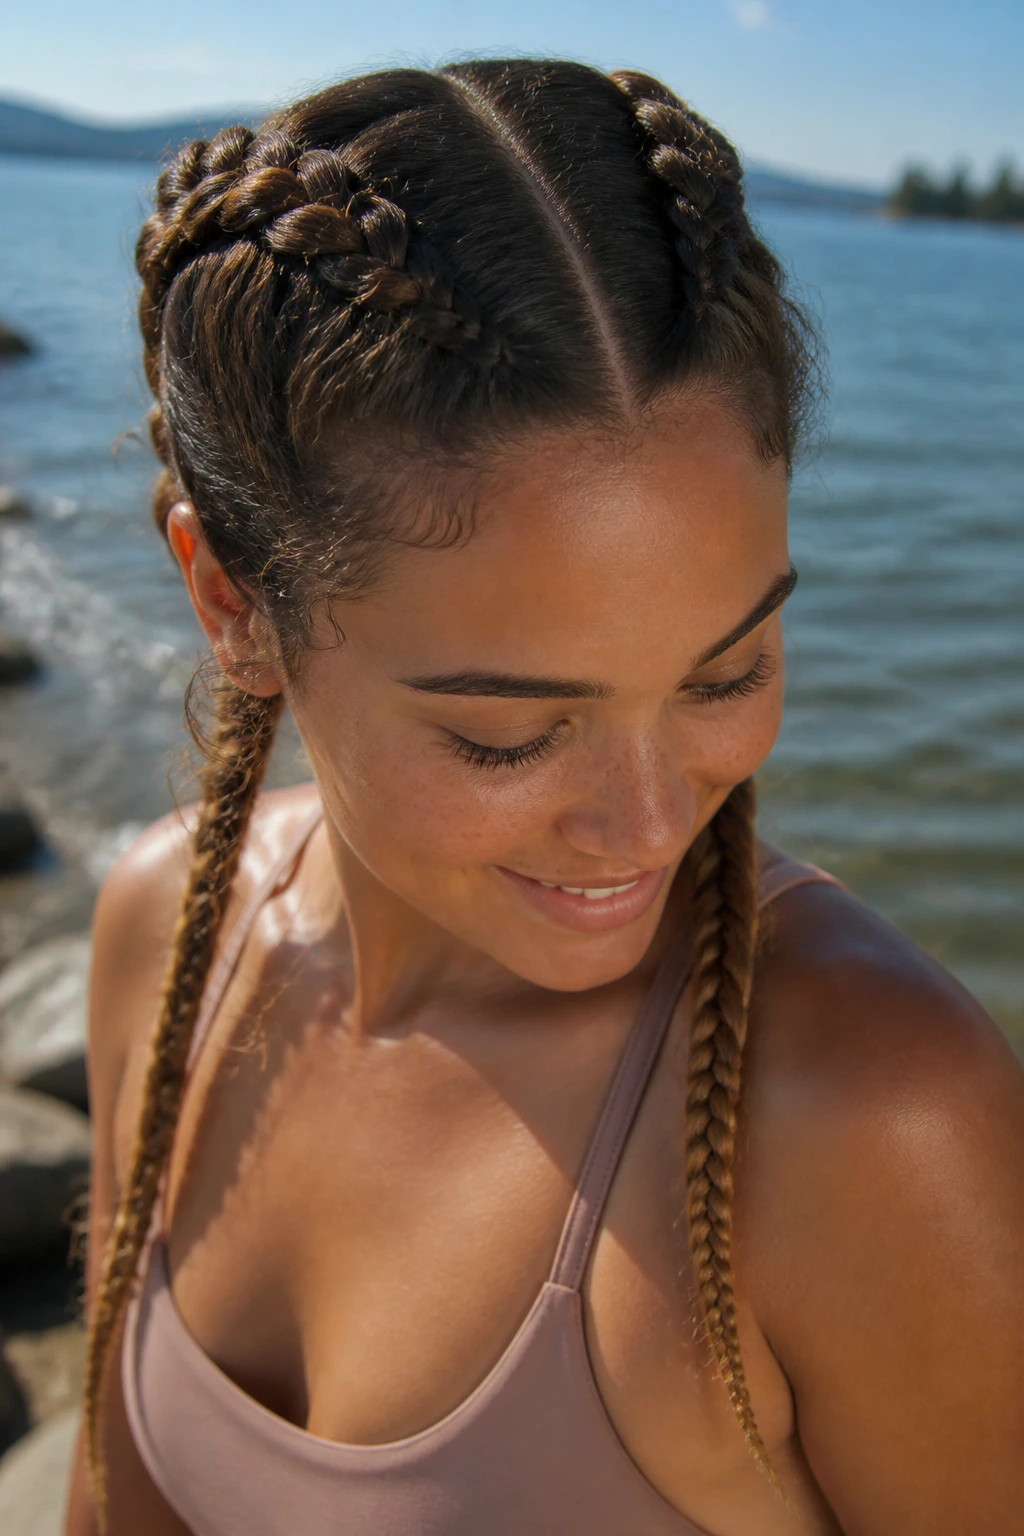
Dutch braids are the style I trust when I know I’ll be moving around a lot. They sit close to the scalp, which means less wind tangling through the lengths, and they’re one of the few curly styles that can take a decent amount of abuse before giving up.
How to keep them neat
Part the hair down the middle, then braid each side with steady tension and small sections. If your curls are dense, clip one side out of the way while you work the other. Use a little leave-in or a light gel on the first two inches near the scalp so the braid starts smooth instead of fuzzy. The ends can stay loose, or you can tuck them into tiny puffs with elastics.
This is the style I recommend for swimming, honestly. It’s not the most delicate look on the list, but it holds. And at a lake, holding beats preciousness every time.
4. The Claw-Clip Twist for Second-Day Curls
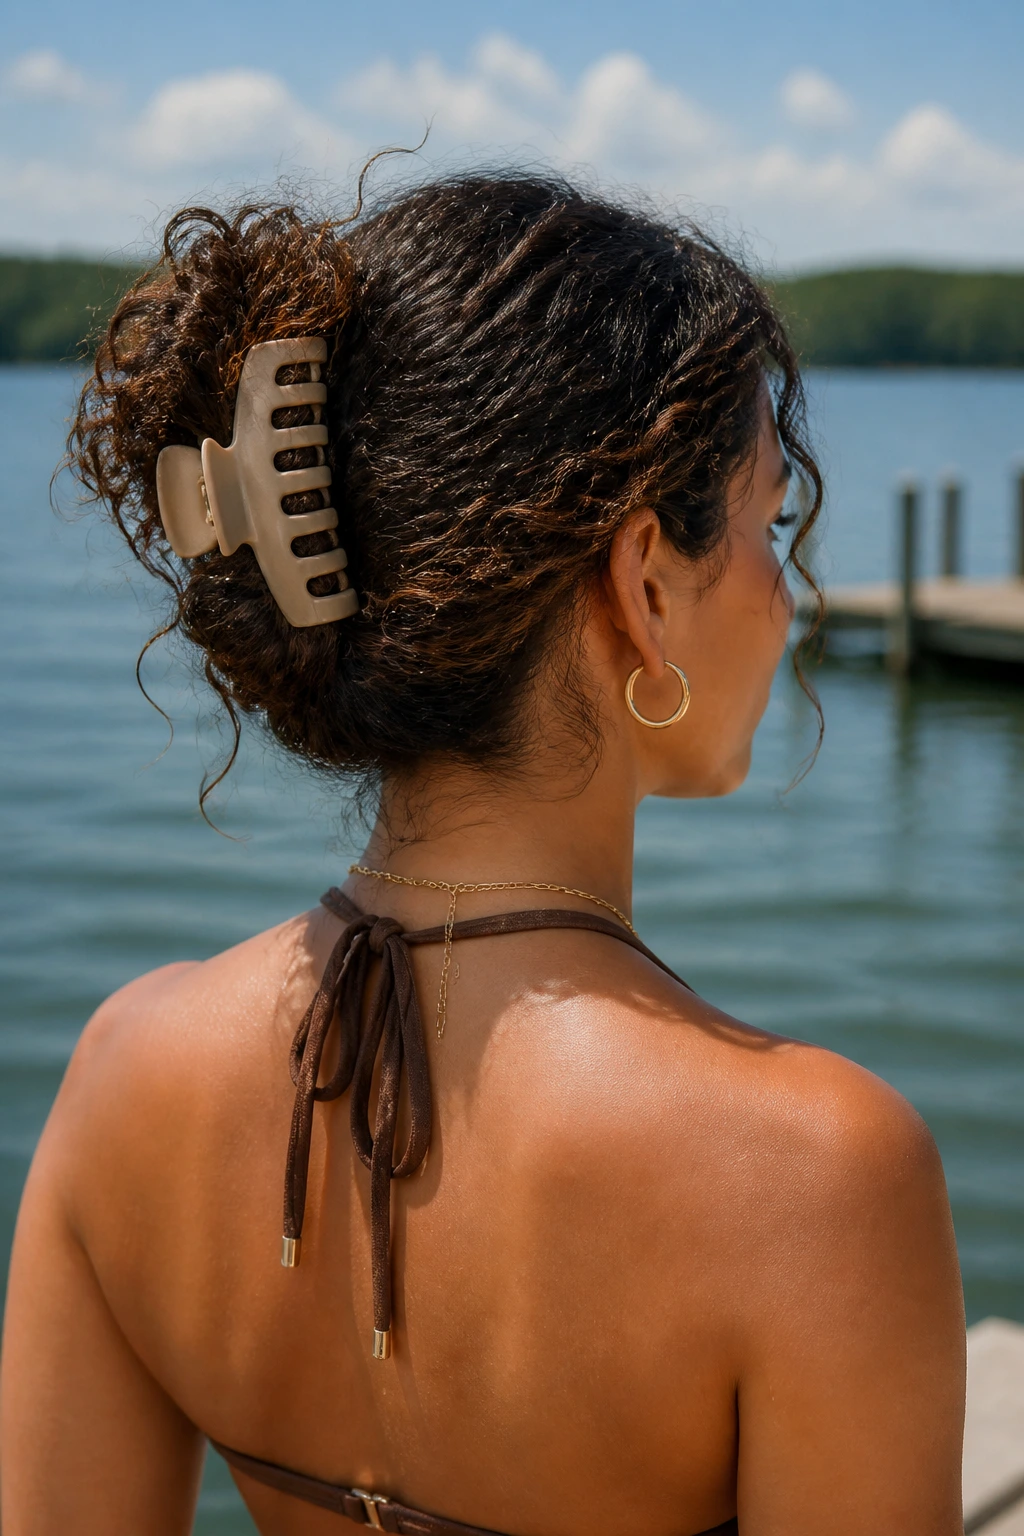
A big claw clip can rescue a curly head faster than almost anything else, provided you use the right size. The point isn’t to crush the curls into a knot. It’s to gather the bulk up and let the shape stay loose and airy, with a few spirals hanging out the back.
Twist the hair upward once, fold it, then clip it high enough that the weight sits centered on the back of the head. If the clip is too small, the whole thing slides down and starts poking your scalp after twenty minutes. If it’s too loose, the curls pull free and you spend the afternoon redoing it behind sunglasses.
This one shines on second-day curls that still have some shape but don’t need full definition. It’s fast. It’s easy to refresh. And when the wind changes direction, you can reset it in about ten seconds.
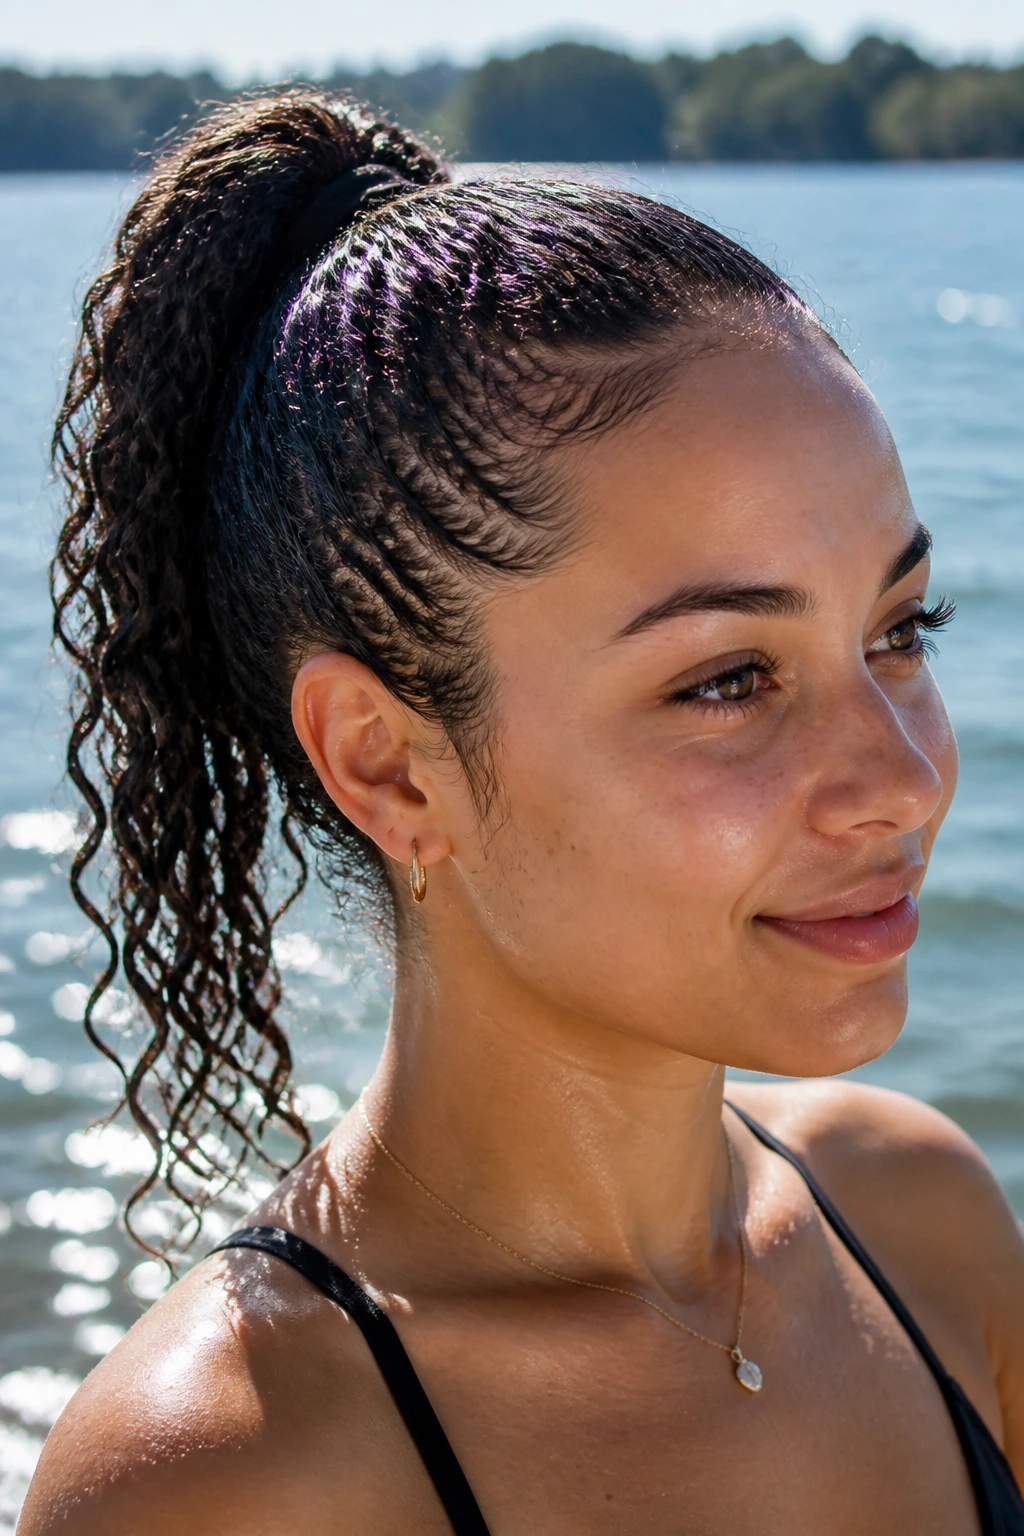
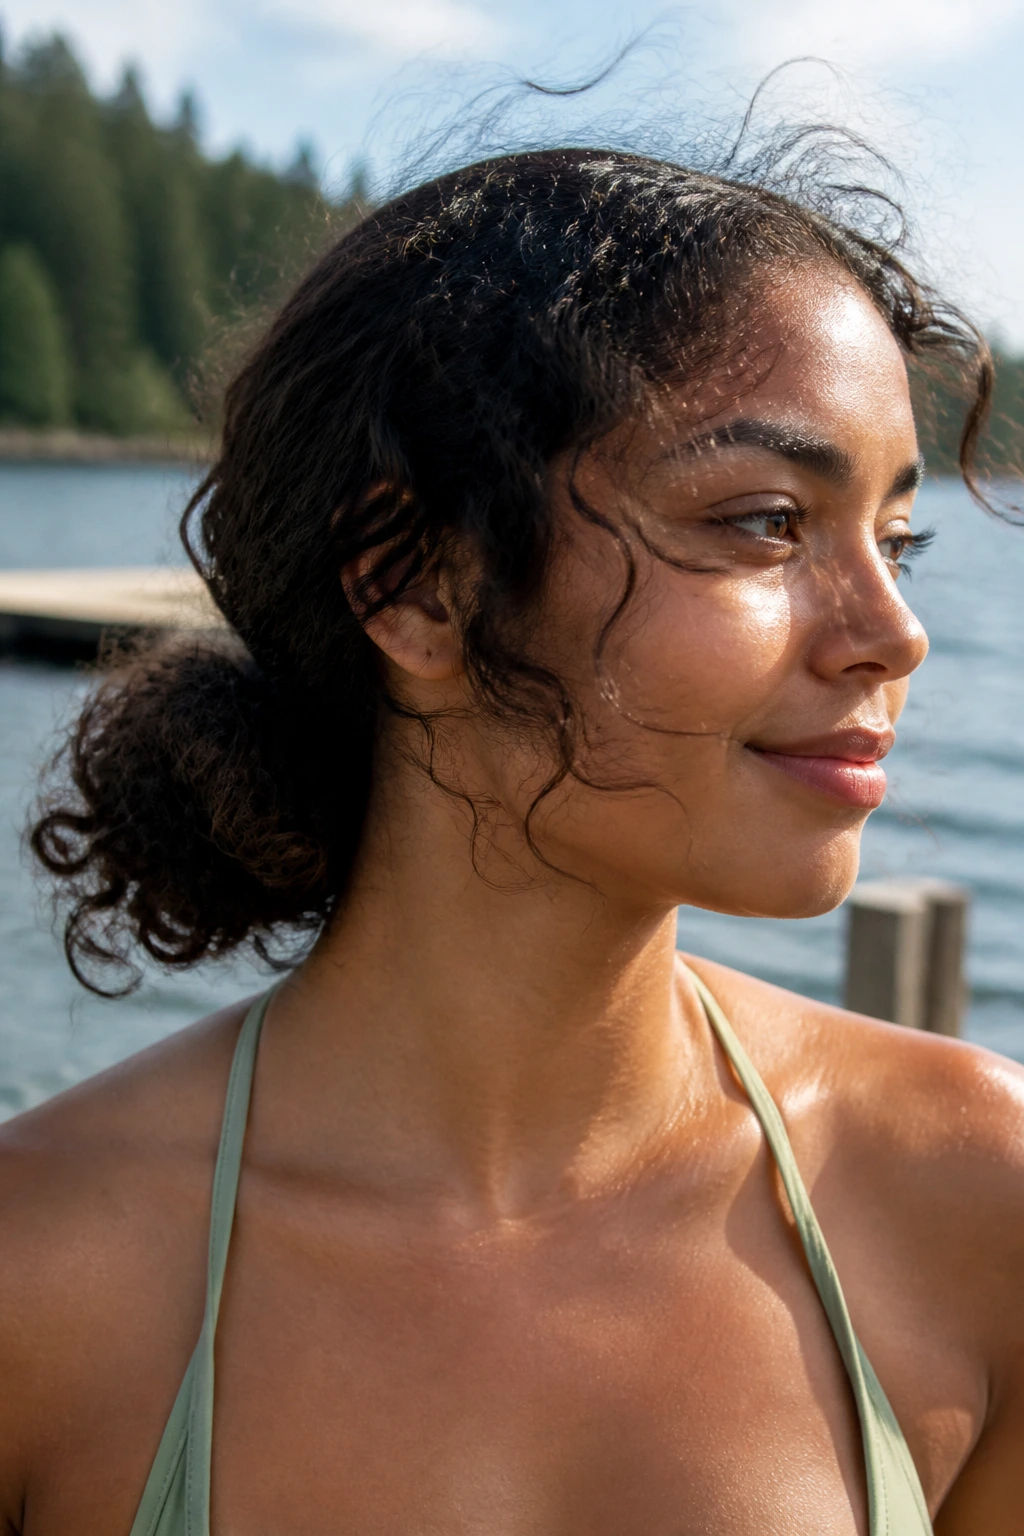
5. A Low Braided Ponytail That Doesn’t Sag
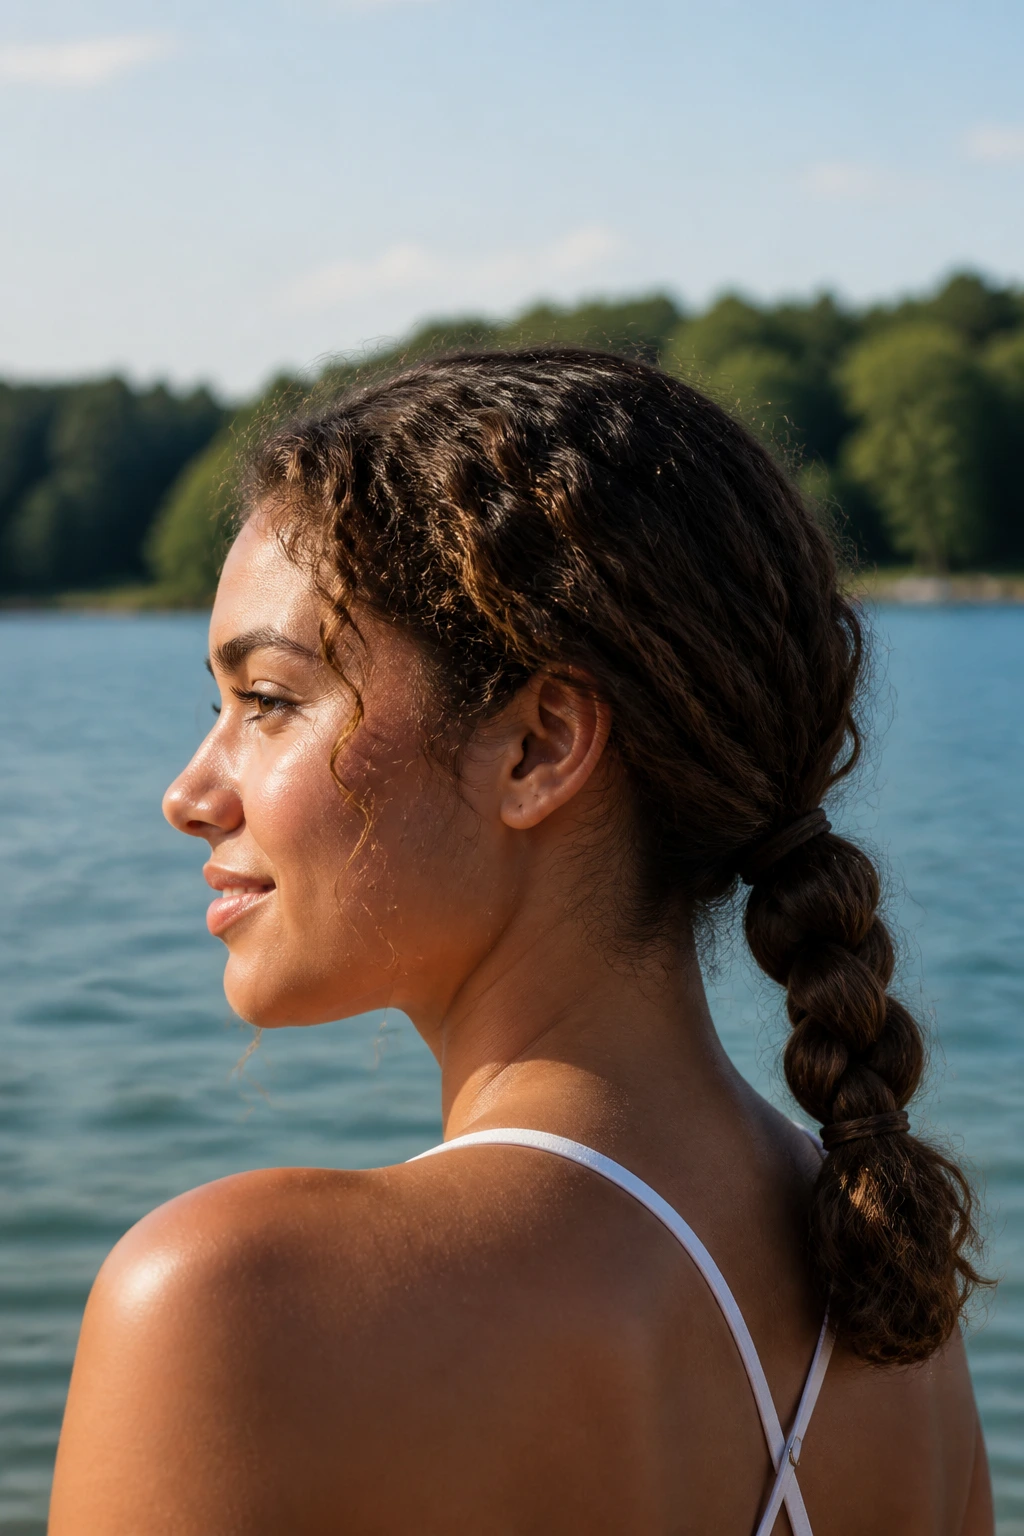
A low braided ponytail sounds plain until you try it on curls that usually puff out at the slightest sign of moisture. The braid gives the ponytail a spine, which matters more than people think when you’re near water and your hair keeps changing texture by the minute.
Gather the hair low at the nape, secure it with a soft elastic, then braid the tail loosely so the curl pattern can still show through. Don’t yank the sections tight. That only makes the braid look skinny and stiff. A little fullness is better, especially with curly ends peeking through.
This style is one of my favorites for life jackets. The low placement keeps the hair from bunching at the collar, and the braid keeps the tail from turning into one giant knot if you’re in and out of the water all afternoon.
6. Bandana-Backed Wash-and-Go
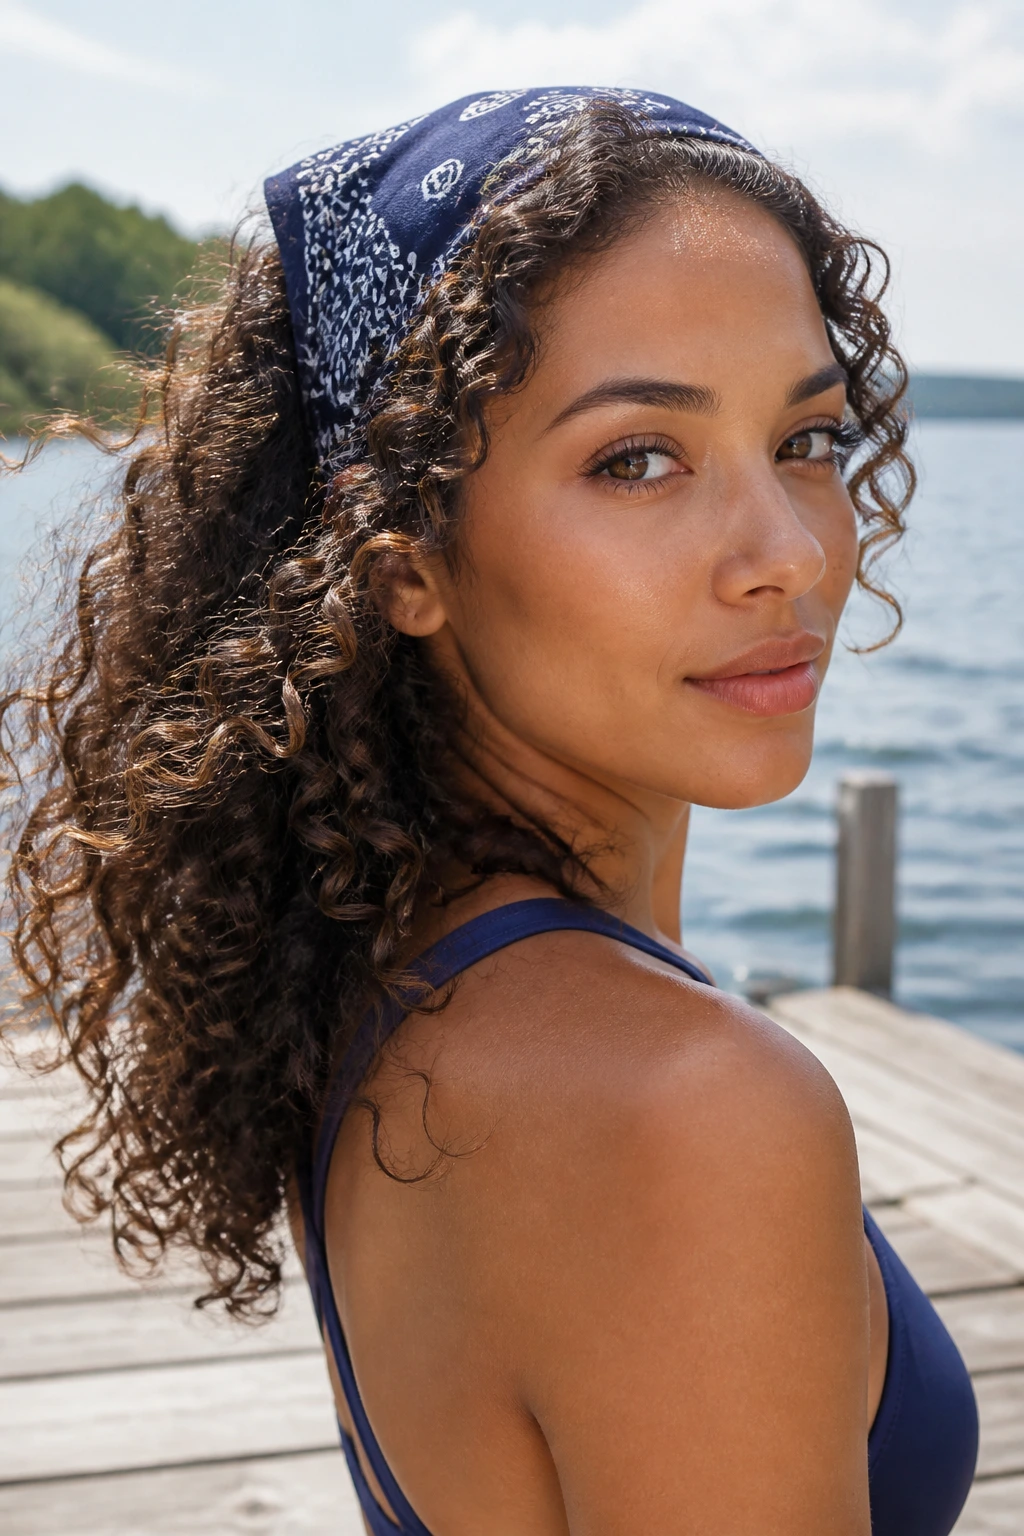
A wash-and-go at the lake can be gorgeous. It can also turn into a halo of frizz if the wind has a personal grudge. The bandana gives the style a frame, keeping the front controlled while the curls do their own thing around it.
Fold the bandana into a long strip and tie it across the hairline, just behind the baby hairs. Let the curls sit loose underneath, or pin back one side if you want more shape around the face. This is one of the better choices for shorter curly hair, because you don’t need a ton of length to make it work.
What I like most here is the contrast. The bandana looks deliberate. The curls look free. That’s a nice balance when the rest of your day already involves sunscreen, wet towels, and probably at least one snack you meant to share.
7. Rope-Braid Pigtails for Windy Water Days
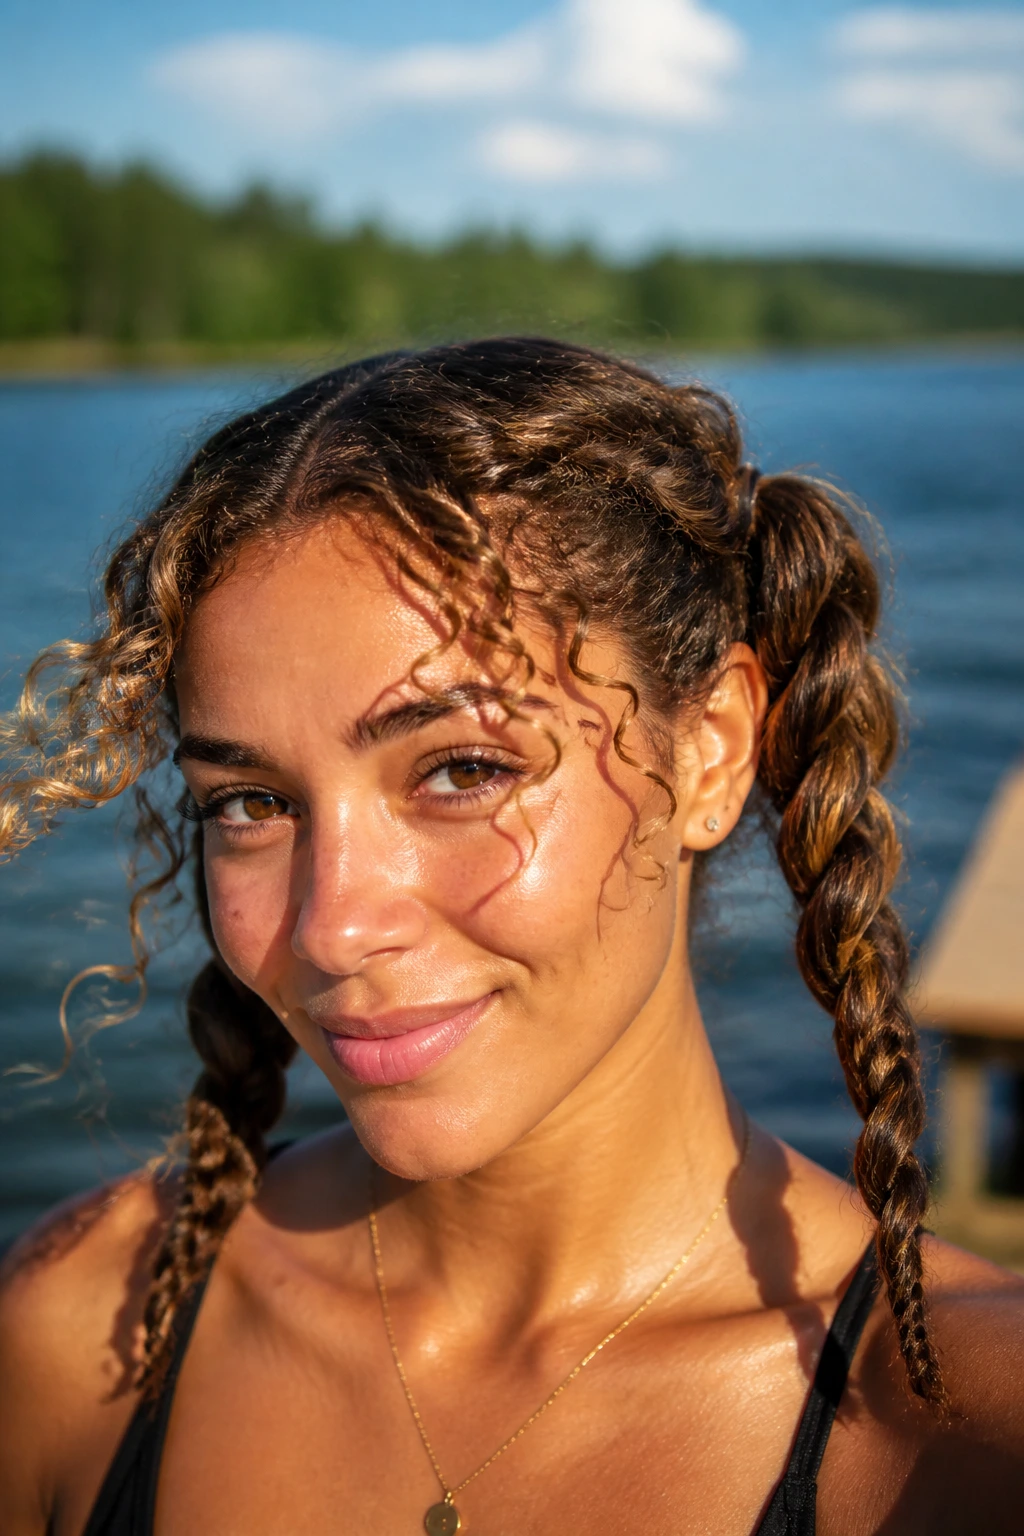
Rope braids are underrated because they’re simpler than they look. Two strands, twisted in opposite directions, then wrapped around each other. On curly hair, that means less unraveling and less puffing at the edges than a loose three-strand braid.
Pigtails make the style even sturdier. Split the hair down the middle, add a dab of gel or cream at the roots, and twist each side from the temple down to the ends. Tie them off with small elastics. If your hair is very curly or coily, the rope braid holds the texture in place while still showing off the shape underneath.
This style is especially useful on windy water days because it moves with you instead of swinging around your face. It also gives you that slightly sporty look that feels right with a swimsuit, a hoodie, or a wet beach towel slung over one shoulder.
8. Space Buns With Loose Curly Ends
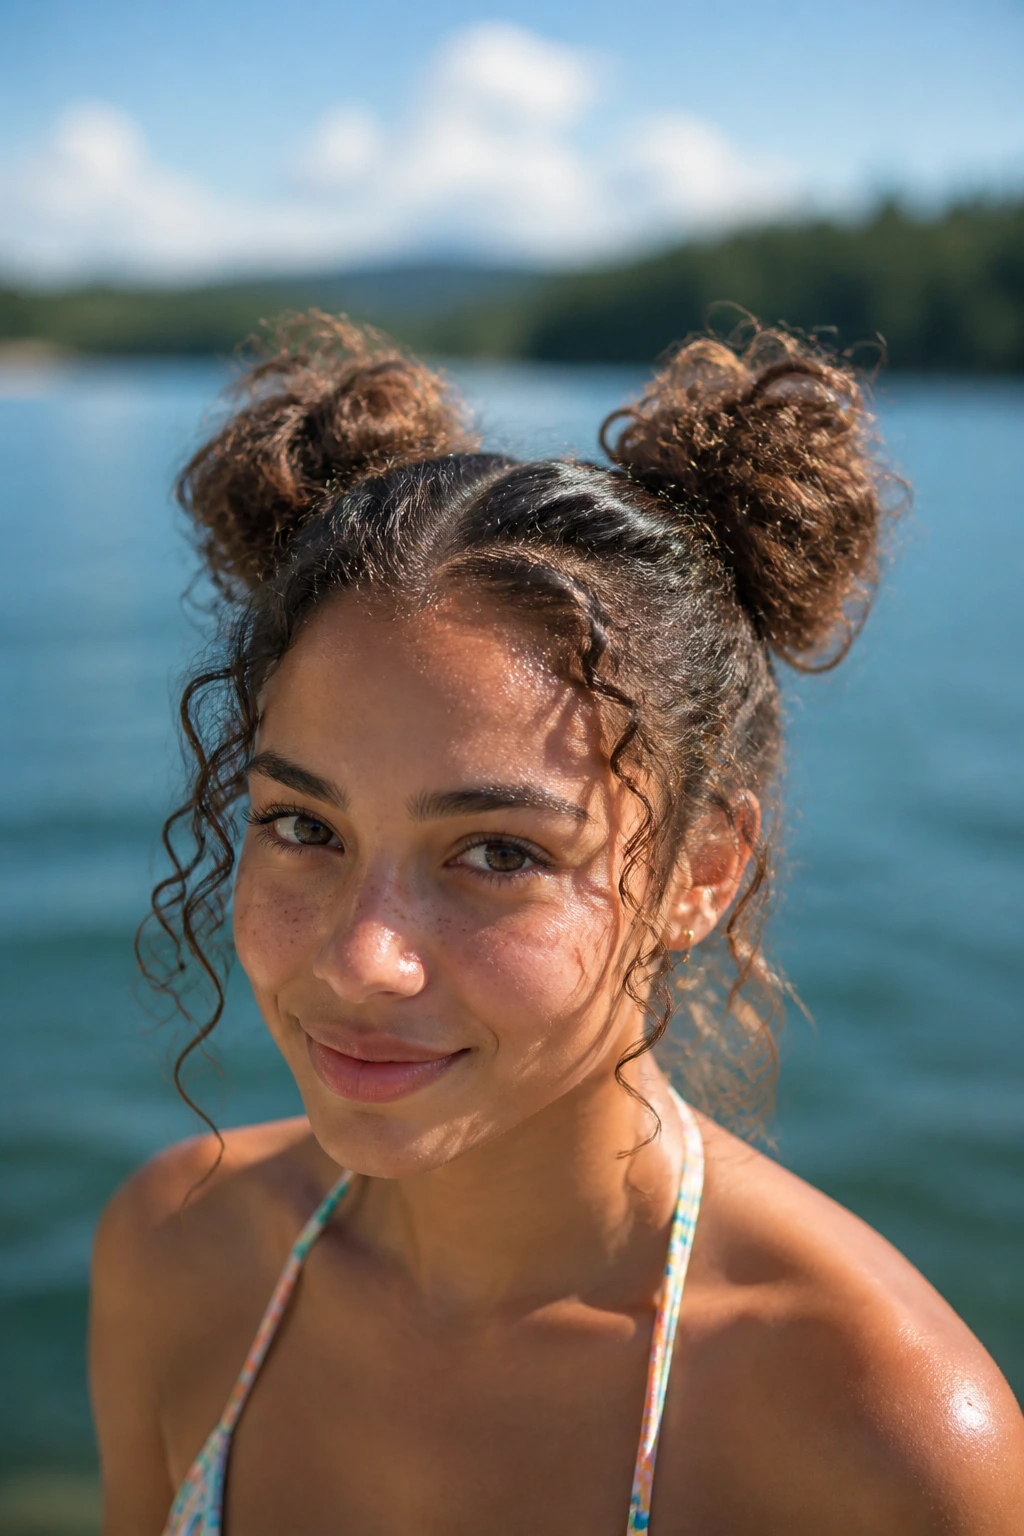
Space buns are playful, sure, but they’re also practical when the goal is to get as much hair off your shoulders as possible without flattening every curl into submission. The buns sit high, the ends stay tucked, and the style gives you room to breathe at the neck.
Leave the ends loose if your hair is long enough. That little bit of curl hanging out of each bun keeps the style from looking too rigid. If you have tighter coils, the buns will read more like rounded puffs, which is fine. Better than fine, actually. It gives the shape some personality.
This one works best when you don’t overthink it. Uneven buns can look better than perfectly matched ones. I know that sounds like lazy advice, but it’s true here. Curly hair forgives a slightly lopsided line. Straight hair does not.
9. A Halo Braid With Free Curls Down the Back
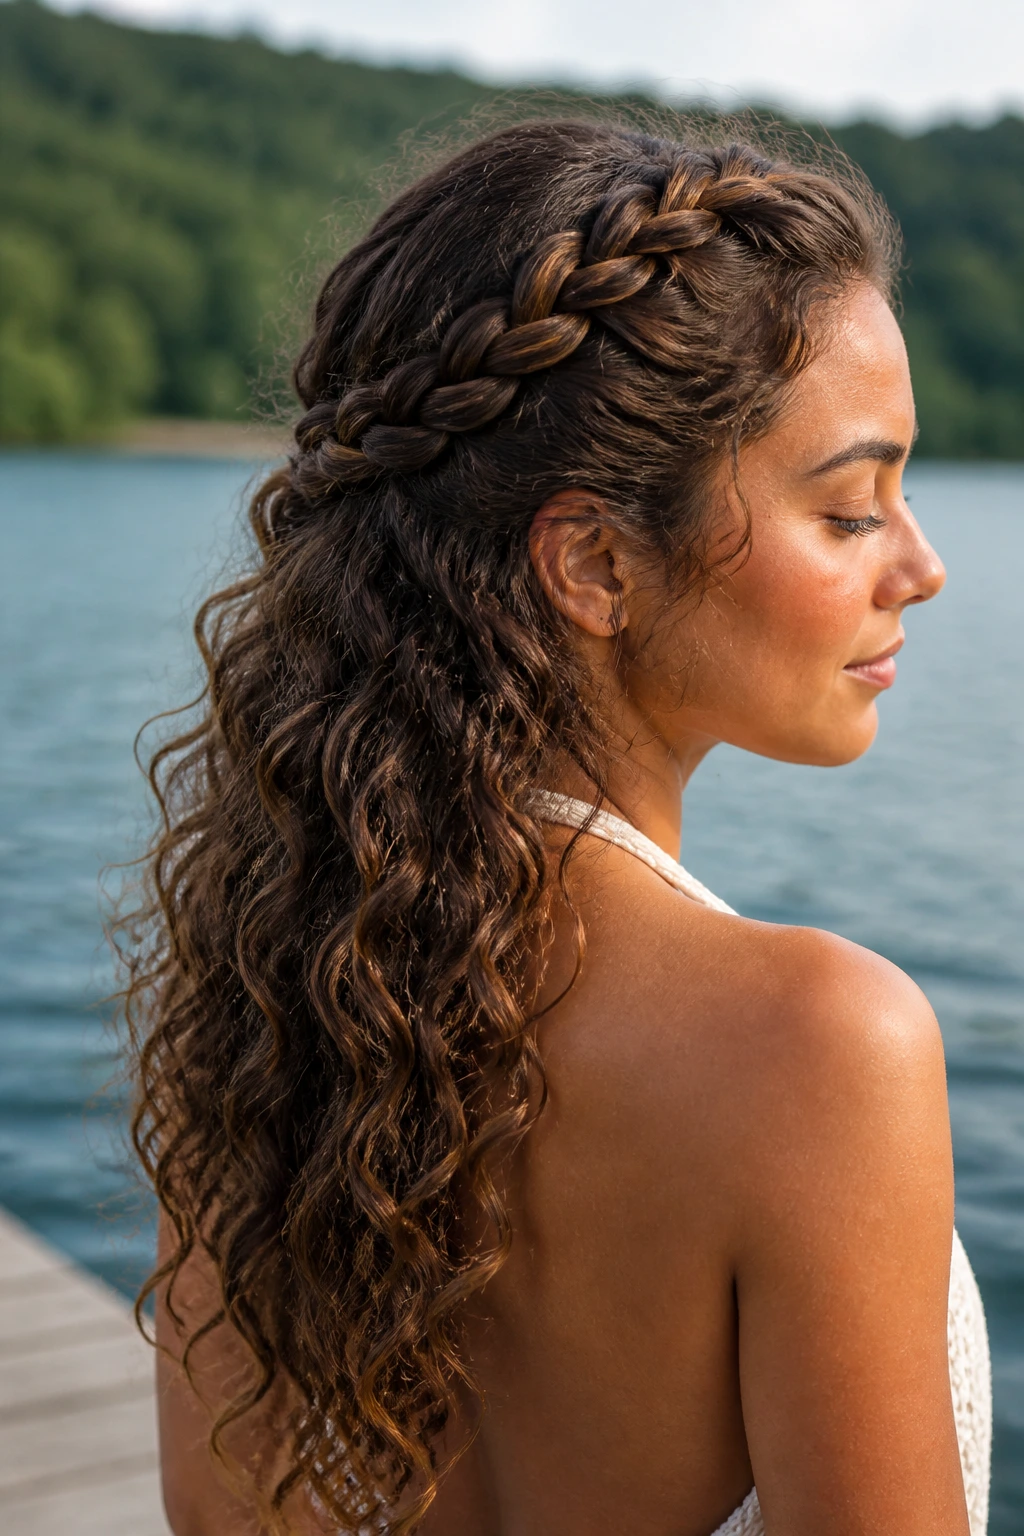
A halo braid gives the whole hairline a job to do. That matters when humidity and wind are picking at the front pieces every few minutes. The braid creates a neat frame, while the lengths stay loose and curly down the back.
The style is a good choice when you want your hair to look put together without giving up volume. Start the braid at one side and wrap it around the head, pinning it as you go. Leave the rest of the curls free, but use a little curl cream on the ends so they don’t look dry compared with the more polished crown.
It’s not the most secure choice if you’re planning to jump in the water repeatedly. But for a lunch break, a pontoon ride, or a long afternoon under a hat, it has that nice mix of order and softness that curly hair does so well when it’s left partly alone.
10. Bubble Ponytail on Dense Curls
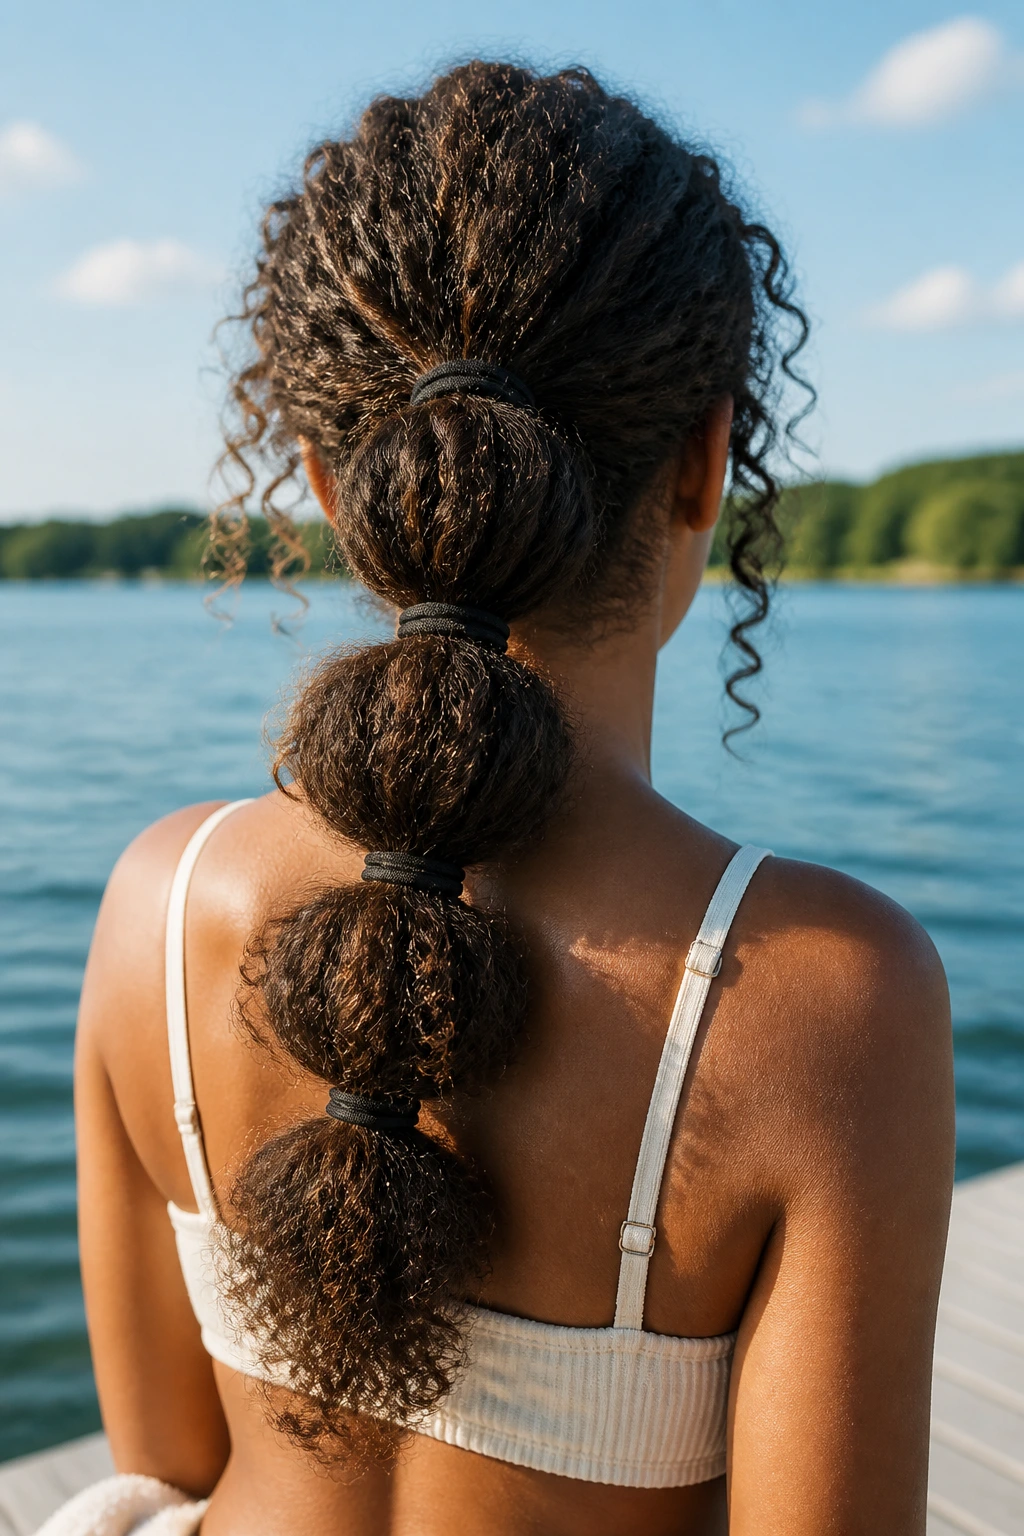
If your curls are thick, a bubble ponytail can save you from the awkward problem of a ponytail that turns into one giant knot at the base. The elastics along the length break up the weight and keep the shape more controlled.
Start with a mid or low ponytail, then add small elastics every 2 to 3 inches down the tail. Gently tug each section to round it out into bubbles. The curls between the elastics get to stay full, which is half the charm. On dense hair, this style reads bold instead of messy.
This is one of those lake hairstyles that looks more complicated than it is. And that’s useful, because once it’s in place, you don’t have to keep checking it in the reflection of every car window on the way to the dock.
11. Side French Braid That Starts at the Temple
A side French braid gives curly hair a clean line without forcing the whole head into a tight, overworked style. Starting at the temple makes the braid feel intentional from the first inch, not like an afterthought tucked behind one ear.
I like this one because it solves a very specific problem: hair that insists on falling into your face the second you turn your head. The braid keeps that front section pinned back while the rest of the curls stay loose and touchable. If you’re wearing earrings, even better. The asymmetry shows them off.
Keep the braid loose enough that the texture stays visible. A tiny amount of puff at the edges is fine. Too tight and you’ll get that stretched, brittle look that never really suits curly hair unless you’re going for something sleek on purpose.
12. The Slick Curly Top Knot
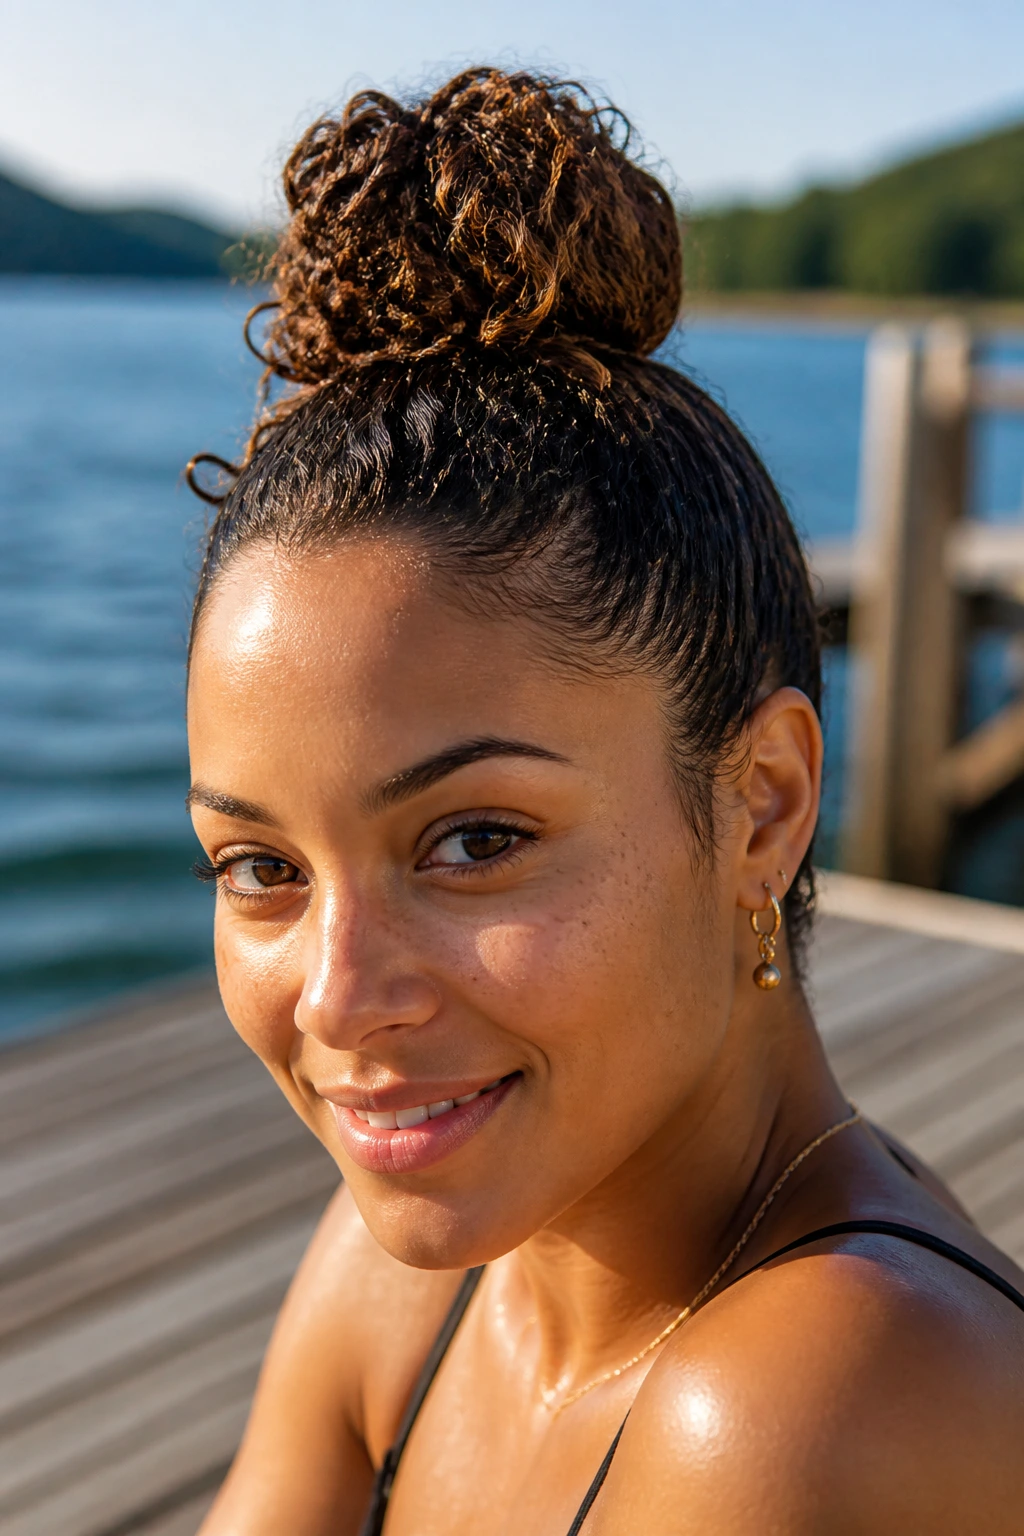
Sometimes the cleanest answer is the best one. A slick curly top knot takes the front and sides and gets them out of the way, which makes sunscreen application easier and keeps stray curls from sticking to your cheeks when the air gets humid.
Use a little water-based gel on the roots and smooth the hair upward with your hands or a brush. Gather it high, twist it into a knot, and pin it down if the hair is heavy. The ends should sit tucked enough that they’re not dragging, but not so tightly that the knot turns into a hard little ball.
This style is not trying to be soft. That’s what makes it useful. It’s clean, high, and sturdy, and it pairs well with a big pair of sunglasses and the kind of attitude that says you’re here to swim, not fuss.
13. Double Twists Into a Low Puff

Double twists are a nice middle ground between braids and loose curls. They control the front and crown without swallowing the texture whole. Two flat twists on either side of the part, both leading into a low puff, give the style structure with a little air left in it.
This is one of the better choices for natural curls that shrink up a lot when they’re dry. The twists help lengthen the visual line, while the puff keeps the back full and rounded. You can also tuck the puff lower if you’re planning to wear a hat, which makes the whole thing easier to live with.
The style feels relaxed, but it’s not flimsy. That distinction matters. A lot of so-called easy lake hairstyles fall apart once the neck gets warm. This one tends to stay in the game.
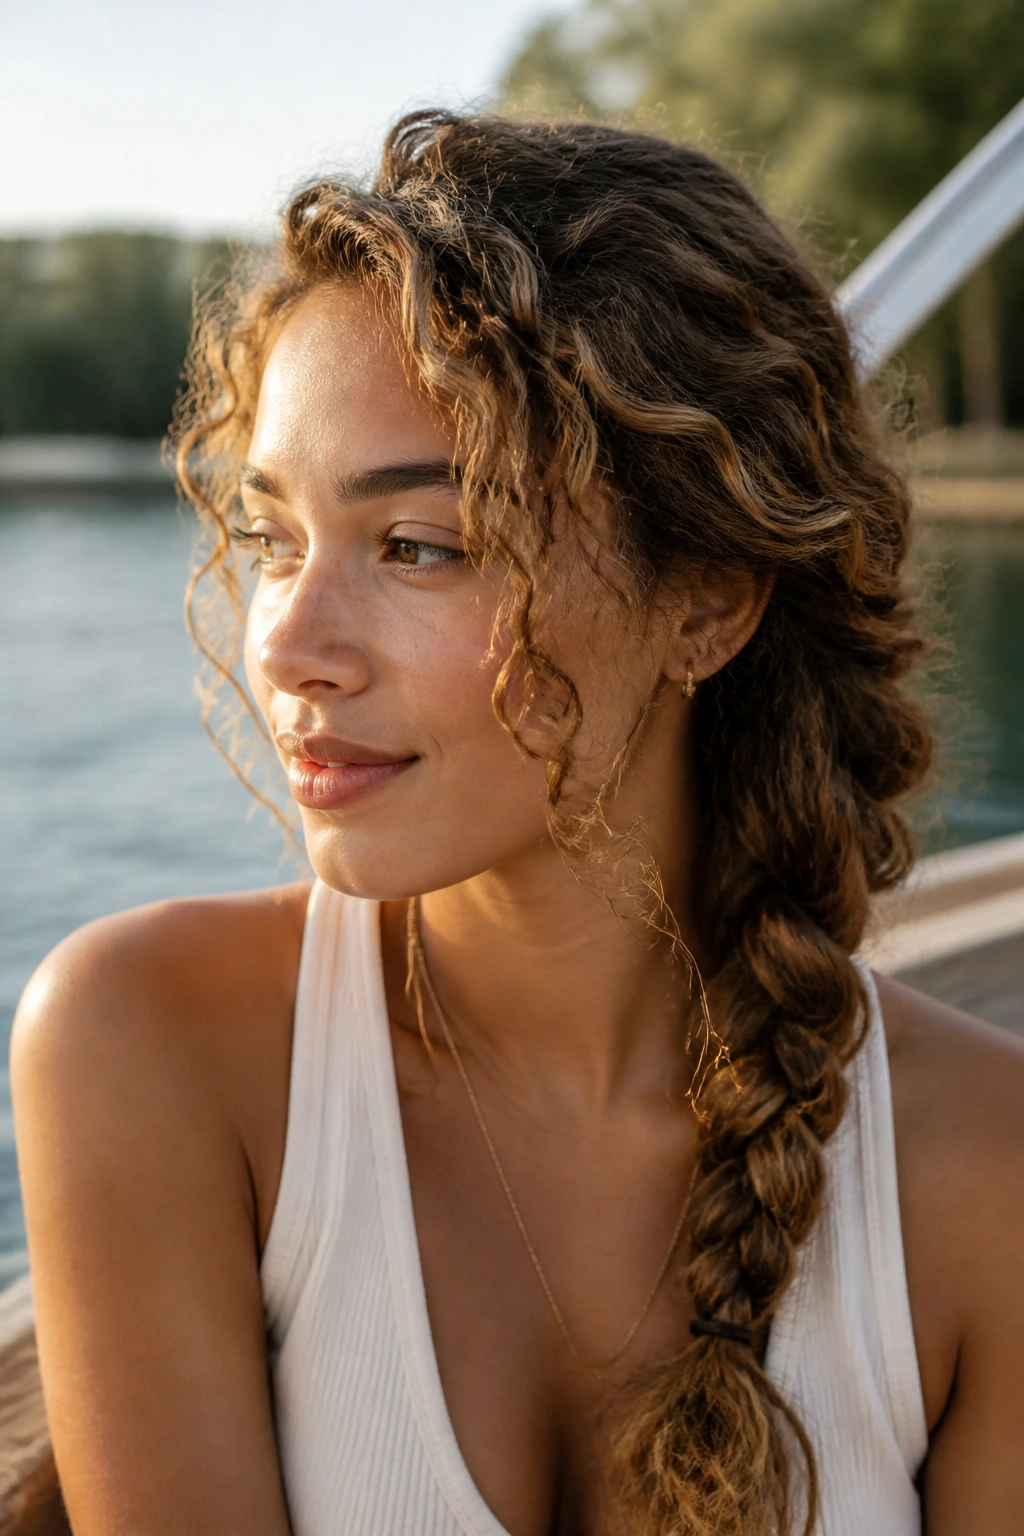
14. A Fishtail Side Braid for Longer Curls
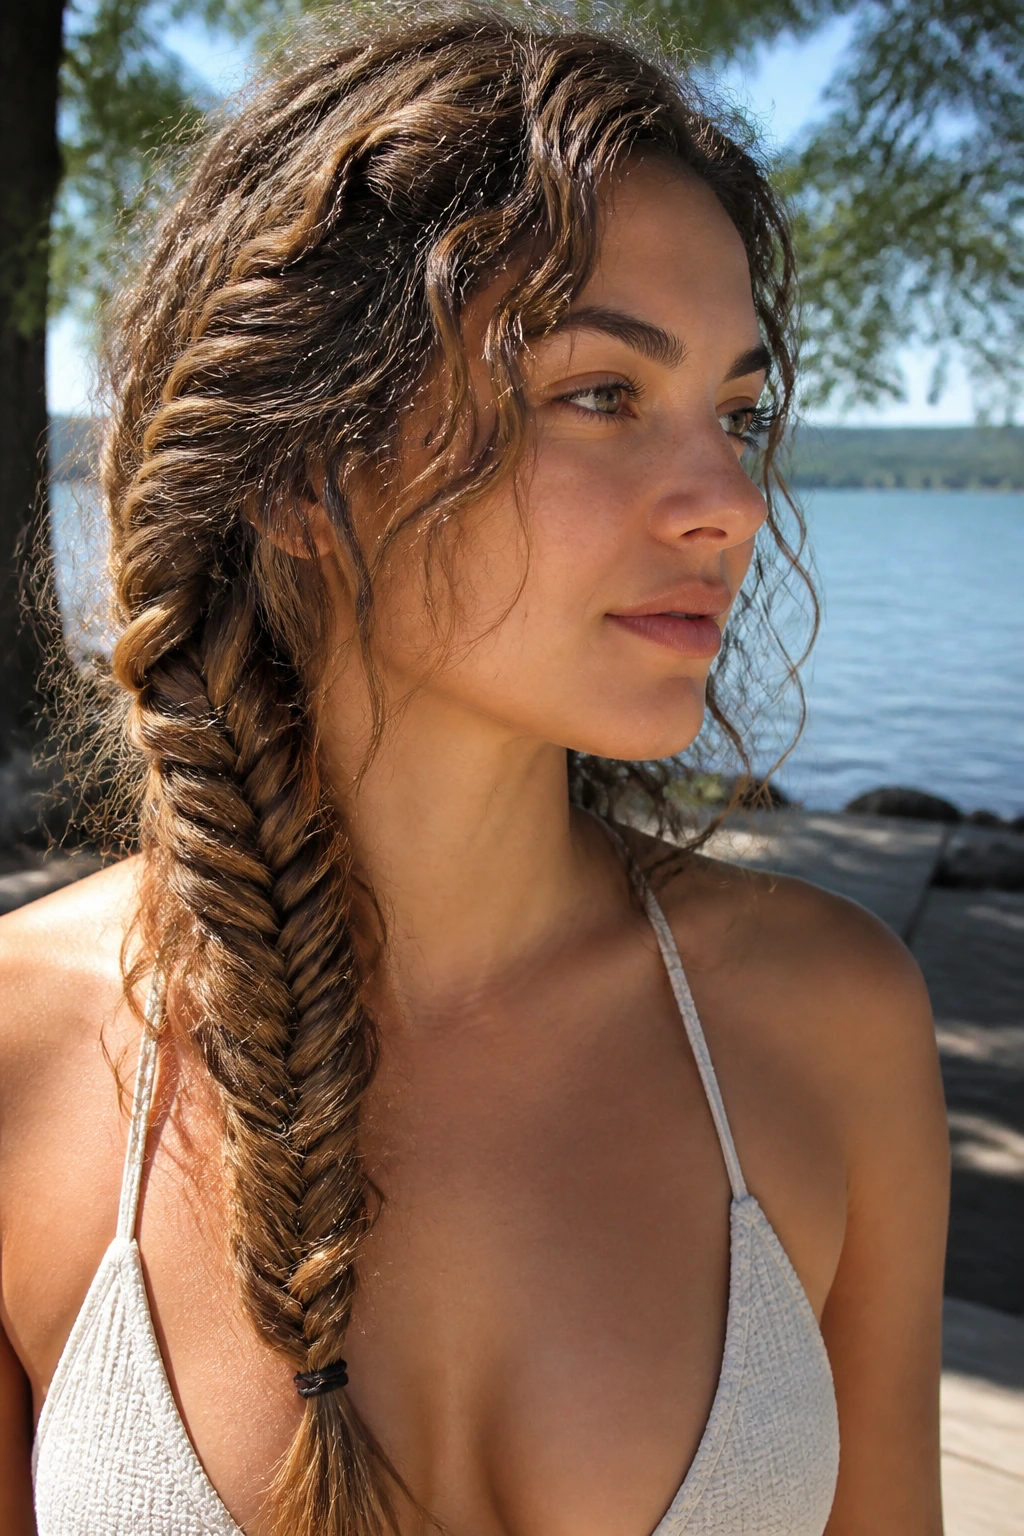
A fishtail braid gives long curly hair a more woven, textured look than a basic braid. It takes a little more patience, sure, but the payoff is a tail that looks full even when the wind has been at it all day.
Pull the hair to one side, divide it into two sections, then take tiny outer pieces from each side and cross them over. The smaller the sections, the tighter and more detailed the braid looks. Keep the tension even, but don’t pull it tight enough to erase the curls completely.
This style is best when you want length to stay visible. It’s not the best answer if you’re planning to swim hard or spend the afternoon tossing a paddle ball around. But for walking the dock, eating lunch in the shade, and pretending you don’t care how good the braid looks, it’s a strong pick.
15. Half-Up Mini Buns With Loose Ringlets
Half-up mini buns are a little silly in the best possible way. They keep the top half of the hair off the face and shoulders, while the bottom curls stay free enough to move and bounce.
Section the top half into two small puffs or buns near the crown, then leave the rest down. The style works because it separates the job: the top gets control, the bottom gets volume. If your curls are ringlets, this lets the pattern show without turning the whole head into one giant cloud.
I’d choose this for a day when you want something light and slightly playful. It’s not the most protective style here, but it’s one of the most forgiving. A few loose curls only make it better.
16. Curly Ponytail Wrapped in a Scarf
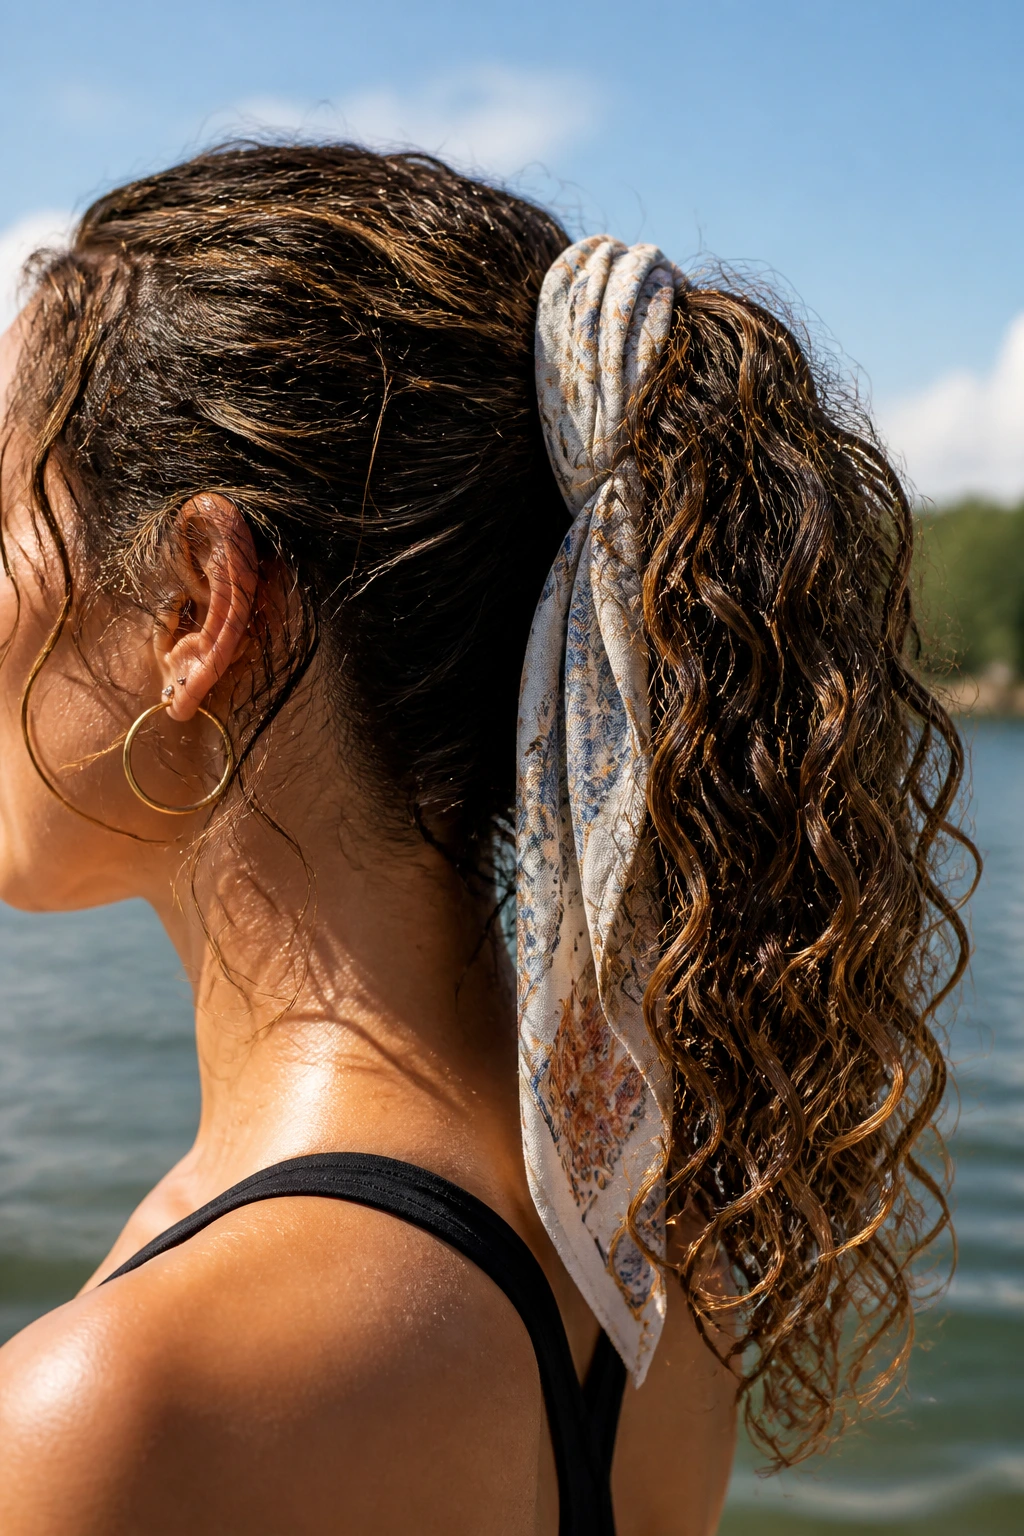
A scarf wrapped around the base of a curly ponytail does more than decorate it. It hides the elastic, cuts down on friction at the nape, and keeps the look from feeling too plain when the rest of your outfit is a swimsuit and flip-flops.
Tie the ponytail low or mid-height, then wrap a lightweight scarf around the base once or twice before knotting it off. Let the curls fall behind it. If your hair is dense, use the scarf as a visual finish, not a support system. The support still needs to come from a good elastic underneath.
This one reads a little old-school in the best way. Not fussy. Not overworked. Just enough detail to make a simple ponytail feel like a real style instead of a last-minute rescue.
17. Flat Twists Across the Crown
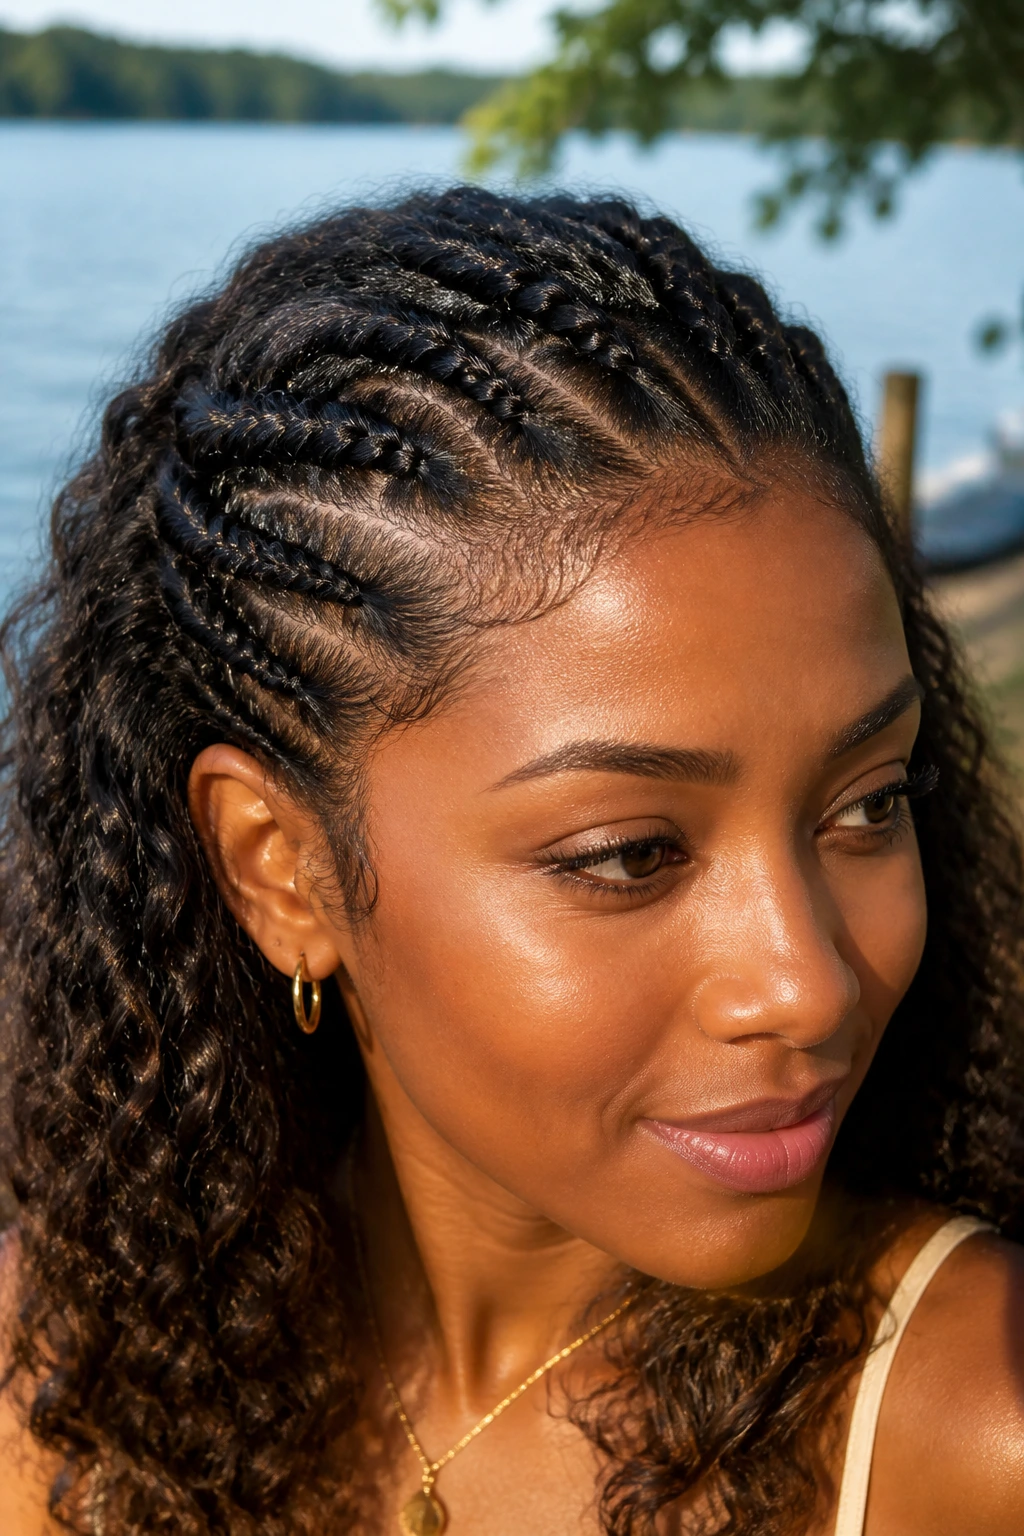
Flat twists across the crown are one of the smartest choices on this list if you want low tension and a style that lasts past the first splash. They sit close to the scalp, which protects the front sections, and they can feed into a puff, bun, or loose ends depending on the length.
The beauty here is in the control. You can direct the hair away from the face and keep the rest of the curls from being overhandled. For tightly coiled hair, flat twists also help reduce shrinkage at the crown, which can make the overall shape easier to manage in humidity.
This is not the flashiest style on the list. It’s the steady one. The kind that still looks decent after a towel dries on your shoulder and the lake wind refuses to calm down.
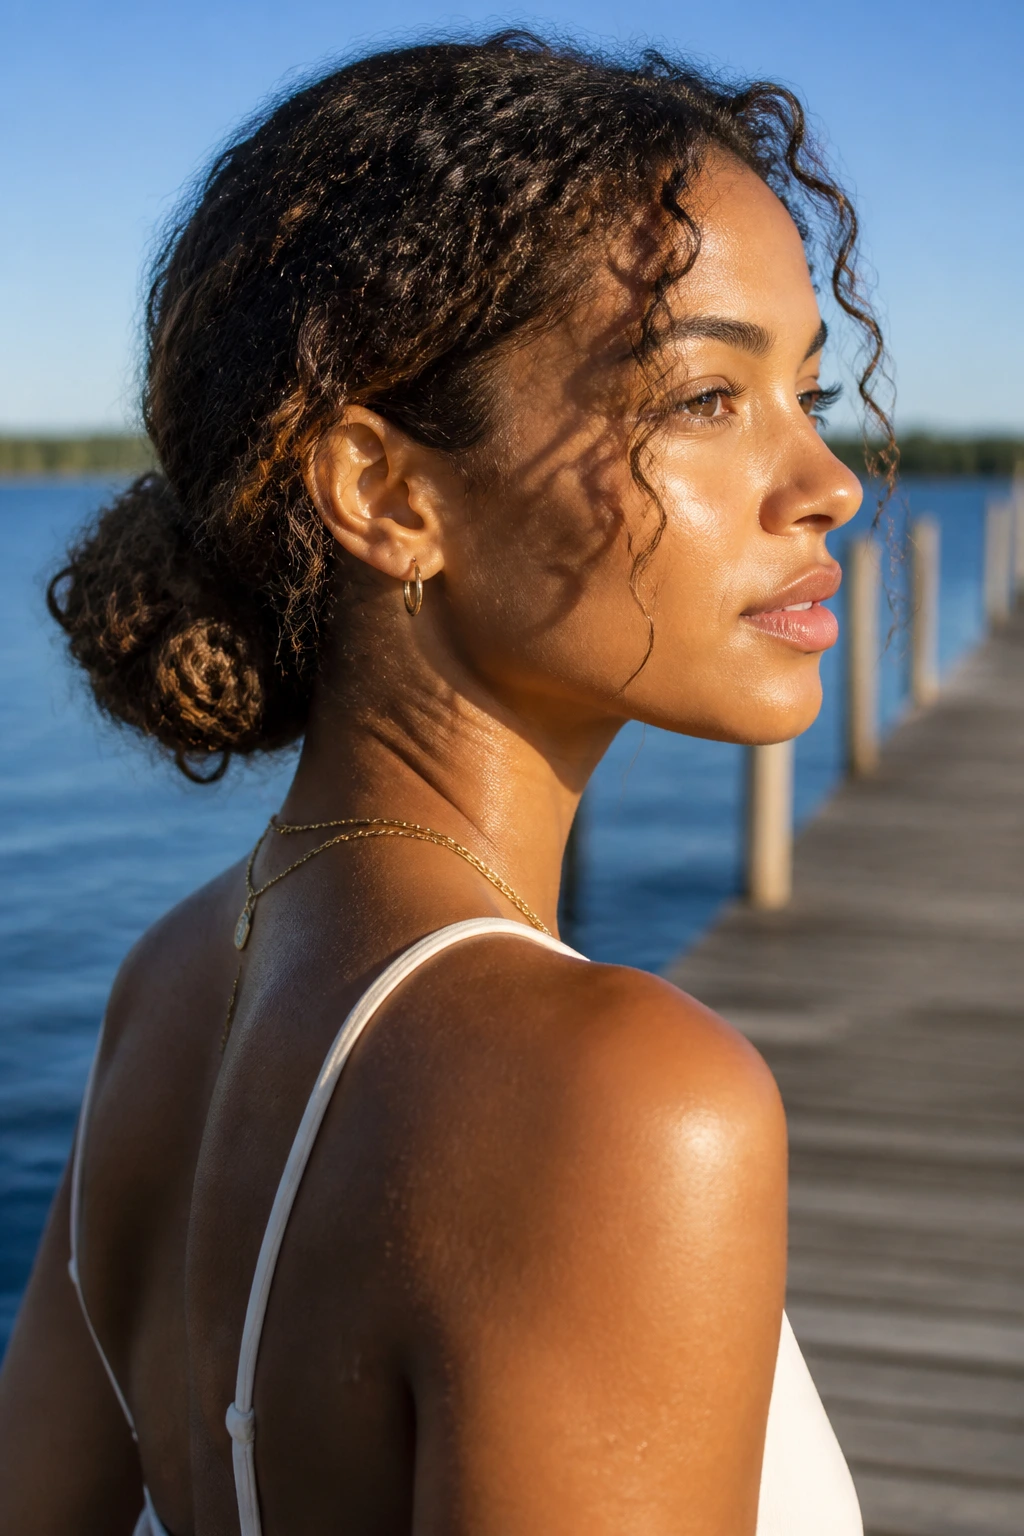
18. A Low Chignon With Face-Framing Spirals
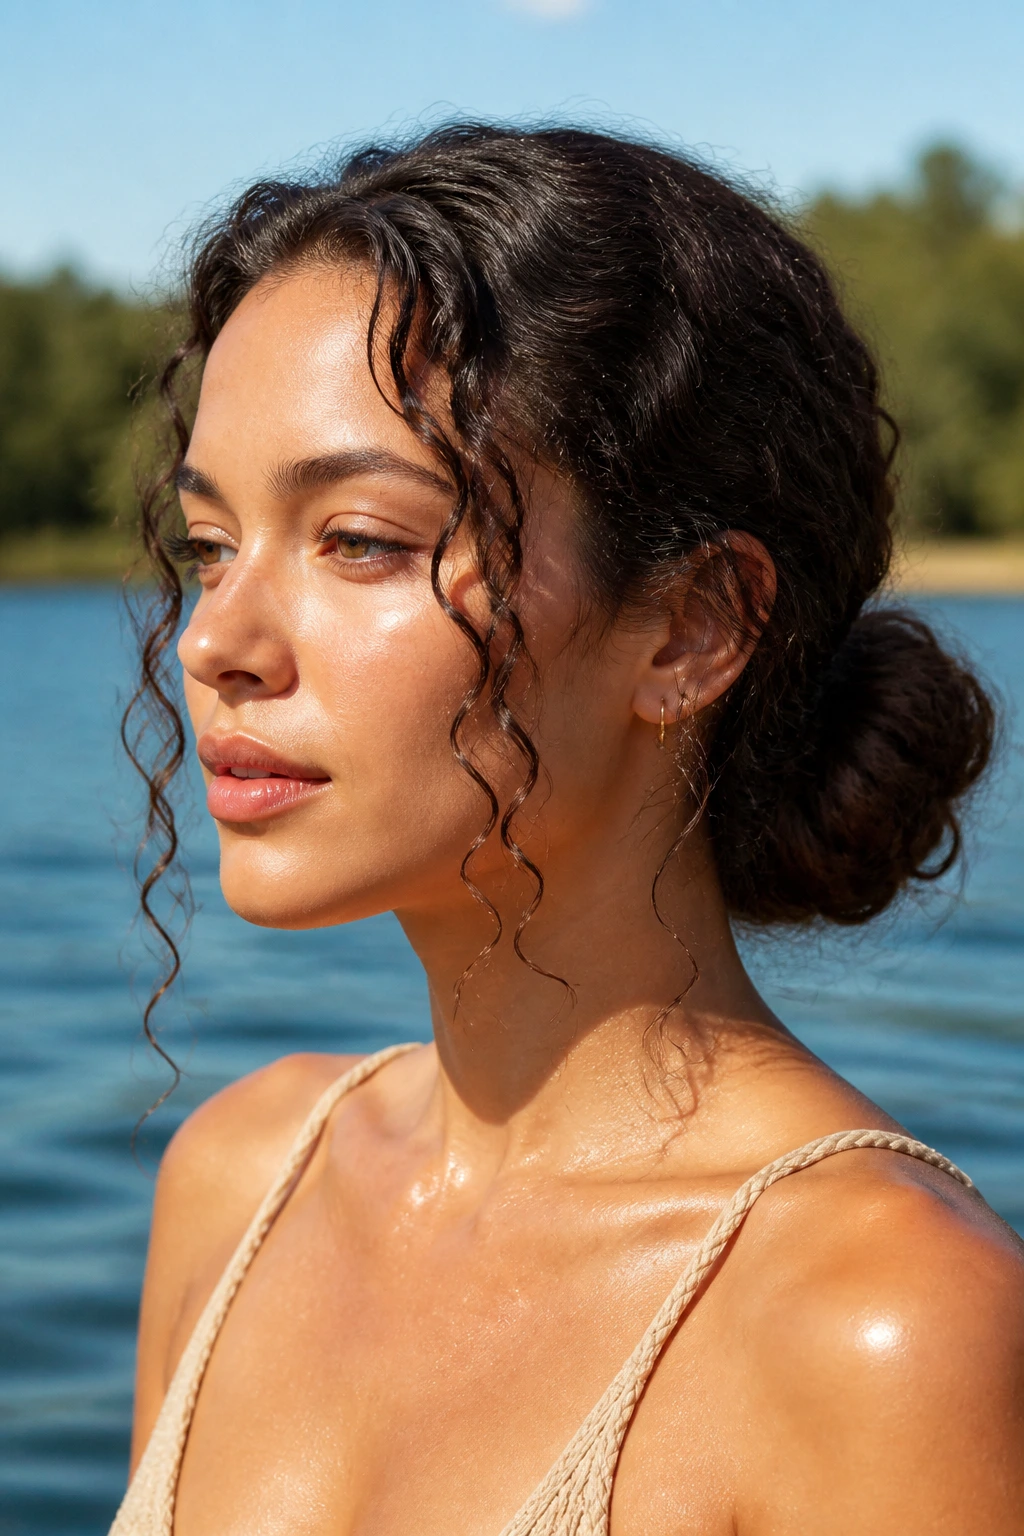
A low chignon gives curly hair a polished shape, but it works best when you leave a few spirals loose at the front. Without them, the style can look too severe, especially in full sunlight where every line shows.
Gather the hair low, twist or wrap it into a soft knot, and pin it flat against the neck. Then pull out two small curls near the cheekbones. Those pieces soften the whole style and make it easier to wear with earrings or a wide-neck cover-up. If your hair is extra thick, don’t try to compress it into a tiny knot. Bigger is better here.
I like this for the part of the day that isn’t the actual swimming part. Think post-lake lunch, a drive home with wet sandals on the floor mat, or any moment when you want to look like you made a decision.
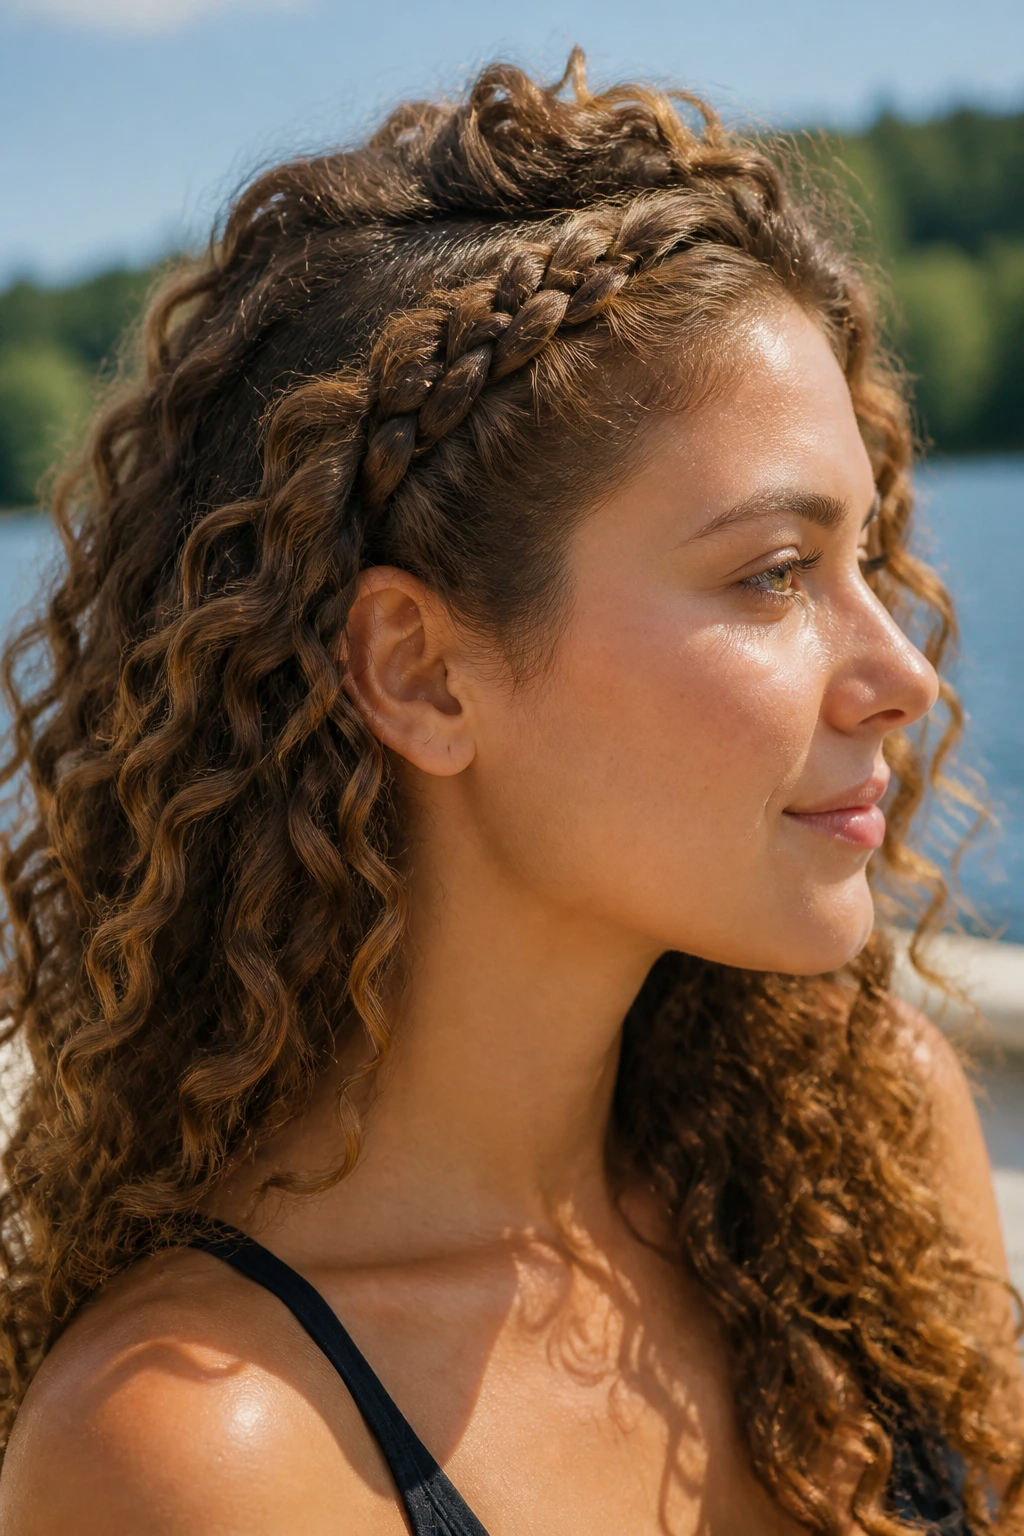
19. Braided Headband Over Defined Curls
This is a good answer for anyone who wants the front of the hair out of their face without giving up the bulk and shape of the rest. A braided headband runs across the hairline like an accessory made from your own hair, which is a nice trick when you don’t want to reach for more clips.
Take a small section from one side near the temple, braid it, and pin it across the crown toward the other side. Leave the rest of the curls defined and free. The braid keeps the front neat, but the loose curls keep the style from looking too strict.
The style works especially well if your curls are already well-defined from the day before. You get to keep the shape you’ve got while still creating a clean line across the front. That’s a win on a lake day, where too much touch-up work gets annoying fast.
20. Two-Strand Twist Pigtails
Two-strand twists are one of the best low-friction styles for curly hair because they don’t rough up the curl pattern the way some looser styles can. In pigtail form, they’re easy to manage, easy to redo, and a lot less likely to snag on a hoodie or towel.
Split the hair in the middle, twist each side from root to end, and secure with soft elastics. If you want them to look fuller, gently separate the twists once they’re set. On hair with a lot of shrinkage, the twists may sit shorter than you expect. That’s fine. Let them.
These are especially good if you’re going from water to car to dinner and need a style that can keep moving with you. They’re not precious. That’s the whole point.
21. Pull-Through Braid for Thick, Long Curls

A pull-through braid looks like a big, juicy braid, but it’s built with elastics rather than a traditional weave. That makes it a smart option for thick curly hair that resists neat braiding or comes apart the second you blink at it.
Start with a ponytail, split off two side sections, then keep feeding new sections into the middle with small elastics. The result is a long, segmented braid that holds a lot of volume. It’s one of the strongest options here if you want the hair to look substantial without flattening it down.
The style does take a little more time, so it’s not the one I’d choose when I’m already late for the lake. But if you want a head-turning braid that can handle dense curls and still read clearly from a distance, this is a good one.
22. Pin-Up Curl Clusters Held With Clips
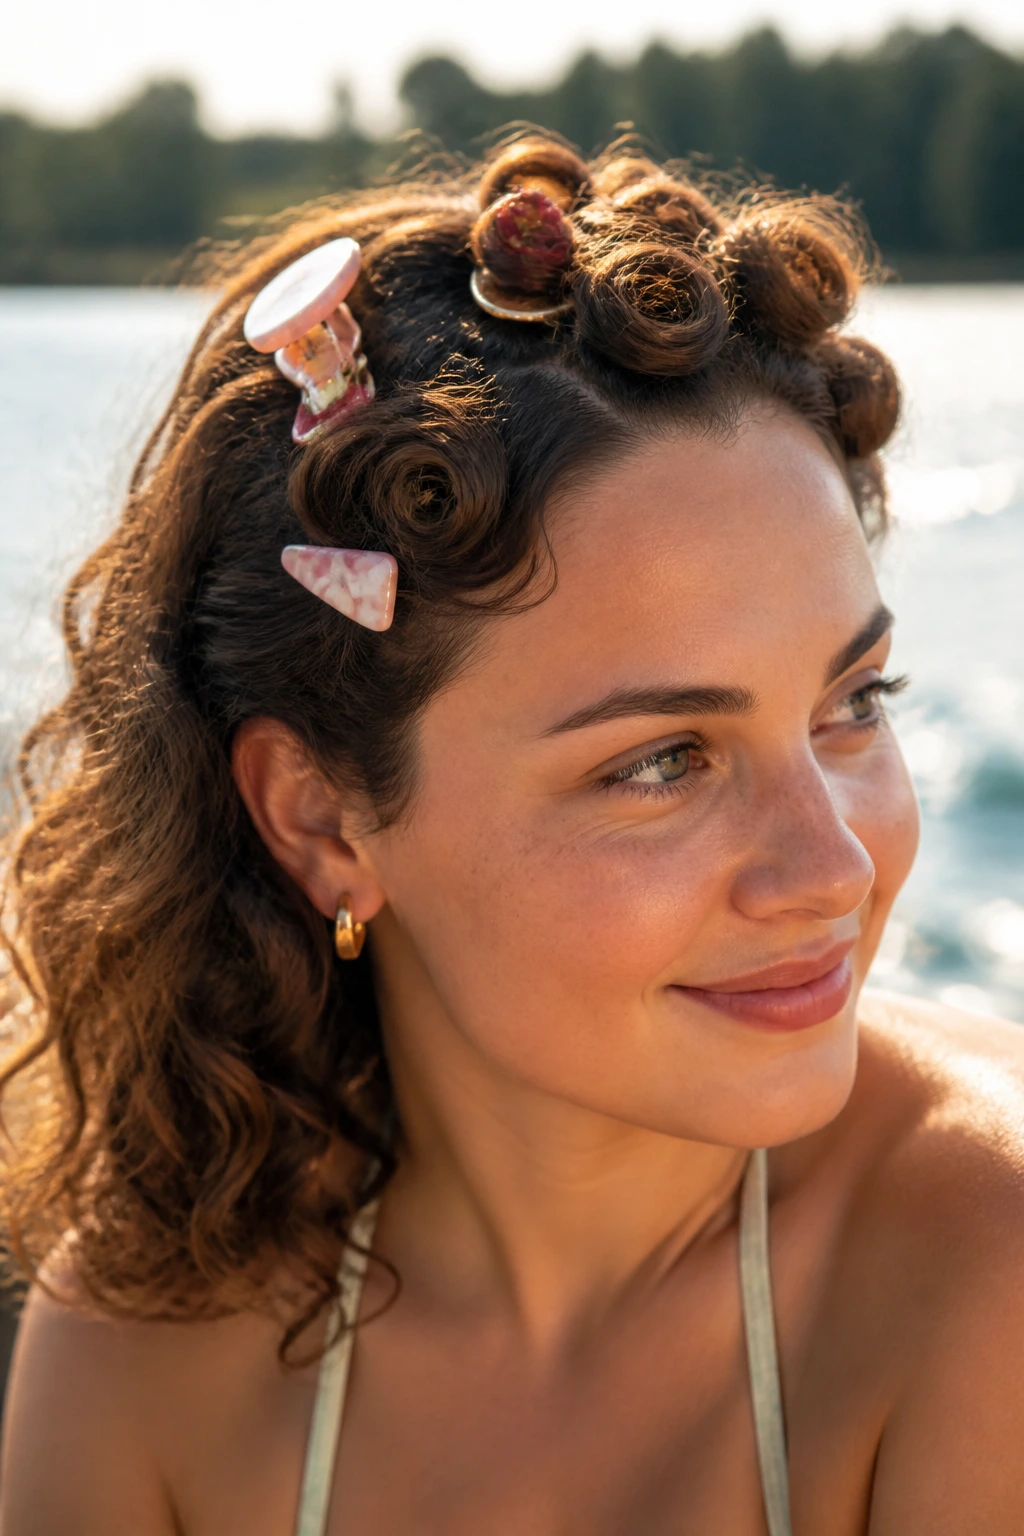
This one has a little retro energy, and I mean that in the best way. Instead of forcing every curl into one big shape, you section the hair into a few small clusters and pin each one with a decorative clip.
It works especially well on shoulder-length curls, where a ponytail can feel too heavy and a full updo can feel like overkill. The curls stay visible, but they’re controlled. You can place the clips asymmetrically for a softer look or stack them in a neat row if you like a sharper line.
This style is also friendly to day-two curls that have lost a touch of definition. The clips give the hair structure without requiring perfection. That makes it one of the calmer options in the bunch.
23. Wet Hair Gel Cast Ponytail
If you’ve just washed your hair before heading out, a gel cast ponytail can be your friend. The gel gives the curls a firmer shell while the ponytail keeps the whole thing off your shoulders and out of the way.
Smooth the gel through damp hair, gather it into a ponytail, and leave the lengths loose or lightly scrunched depending on how defined you want the ends. The cast will feel stiff at first. That’s normal. Once it dries, you can scrunch out the crunch a bit and get a smoother finish.
This is the style for people who don’t mind a little structure and want the curls to stay as defined as possible. It does ask for a stronger hold product, but it pays you back in shape.
24. Side-Parted Puff With Statement Clips
A side part changes the whole mood of curly hair. Add a puff, then clip one side back with a couple of sturdy pins or decorative barrettes, and you get a style that feels easy but still thought through.
The side part helps the curls fall in a more flattering line if one side of your hair is fuller than the other. The puff gives height, while the clips keep the front from living in your eyes. If you like jewelry, this is the style that gives your ears a chance to show up.
There’s a small luxury in this one. It doesn’t look like you spent forever on it. It just looks like you knew where to put the details.
25. A Braided Bun With a Sun Hat
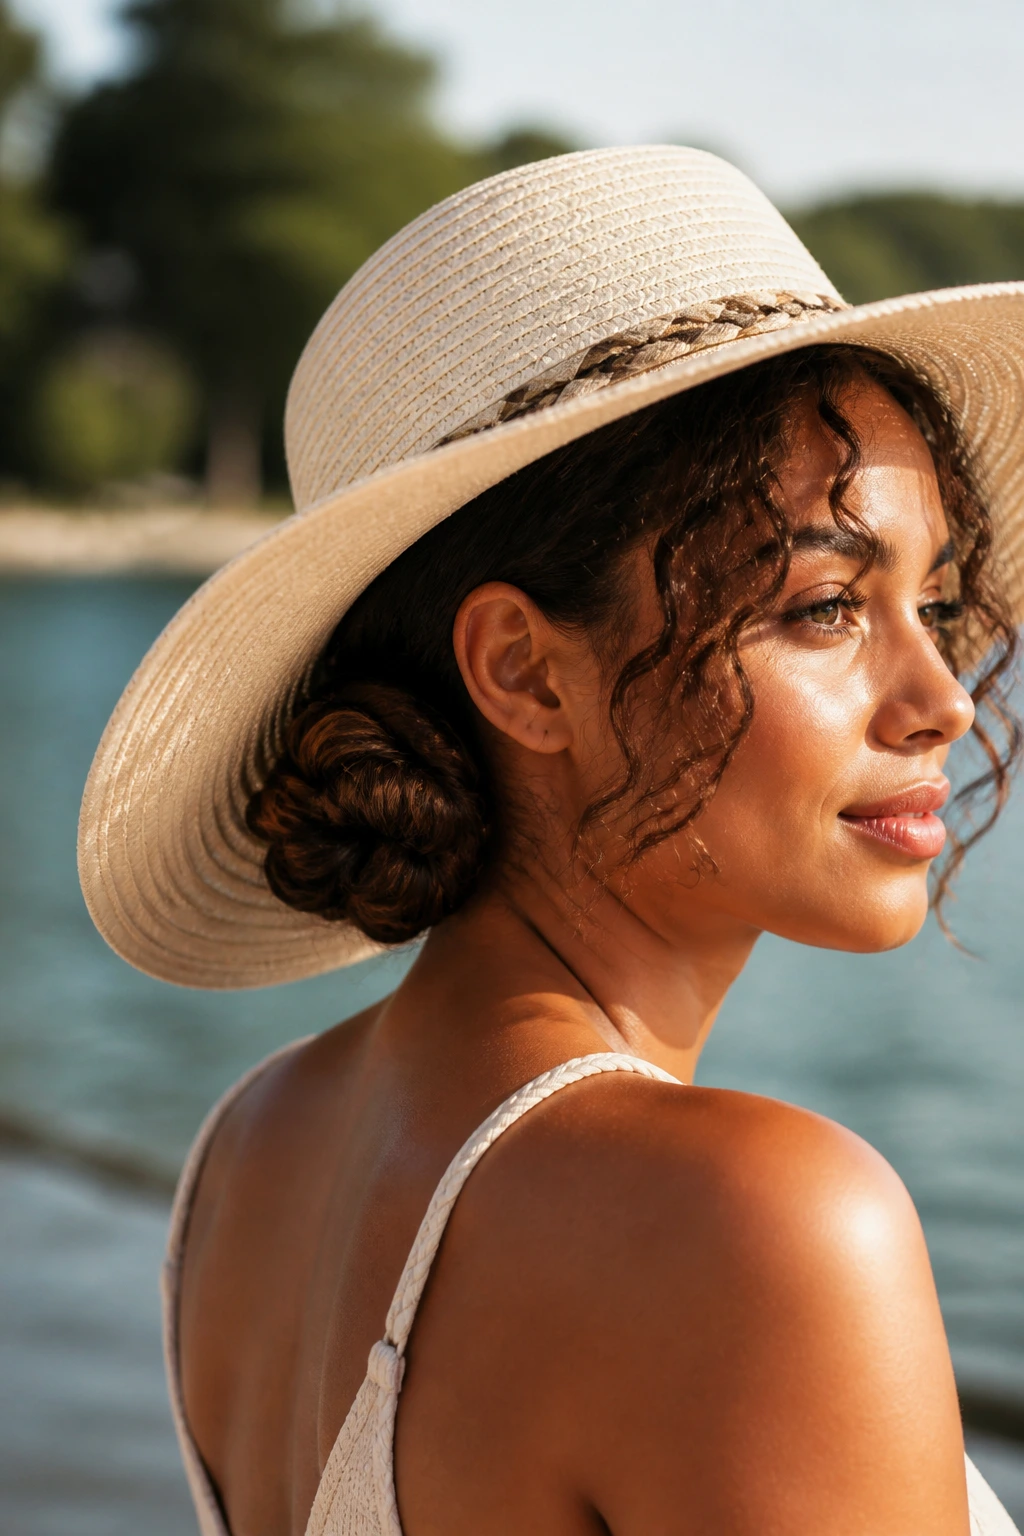
End the day with the style that knows where it belongs: under a hat. A braided bun tucks the ends away, keeps the nape clear, and plays nicely with a wide-brim sun hat without creating a bulky bump at the crown.
Braid the length, coil it into a bun, and pin it flat. Then put the hat on and check the line at the back of the neck. If the bun sits too high, the hat will ride up. If it sits too low, it can press awkwardly against your collar. The sweet spot is centered low enough to disappear under the brim.
This is the most practical option on the list for long hours outdoors. It won’t fight the sun, it won’t snag as much, and it keeps the curls tucked in a way that still feels like curly hair rather than a compromise.
Why Curly Hair Needs a Lake-Day Plan
Curly hair does not like being treated like straight hair with a twist. That sounds obvious, but people still make that mistake all the time, especially when water and heat are involved. Curly strands have bends and twists all along the shaft, which means they lose moisture faster and frizz faster when the outer layer gets roughed up.
Lake days pile on the stress. Wind rattles the ends. Damp towels rub the cuticle. Sunscreen near the hairline makes roots feel greasy, then dry, then sticky all at once. If you swim, the hair stretches when wet and needs a gentler hand than most people give it. That’s why styles with a secure base tend to win. They keep you from touching the hair every five minutes, and touching is where a lot of the damage starts.
There’s also the practical side nobody wants to talk about until it happens: life jackets, chair backs, picnic blankets, and car seats all create friction. The back of the style takes a beating. So does the part line. A lake hairstyle that stays comfortable after a half-day of moving around is worth more than one that only looks nice when you first pin it up.
The Tools That Make These Styles Easier
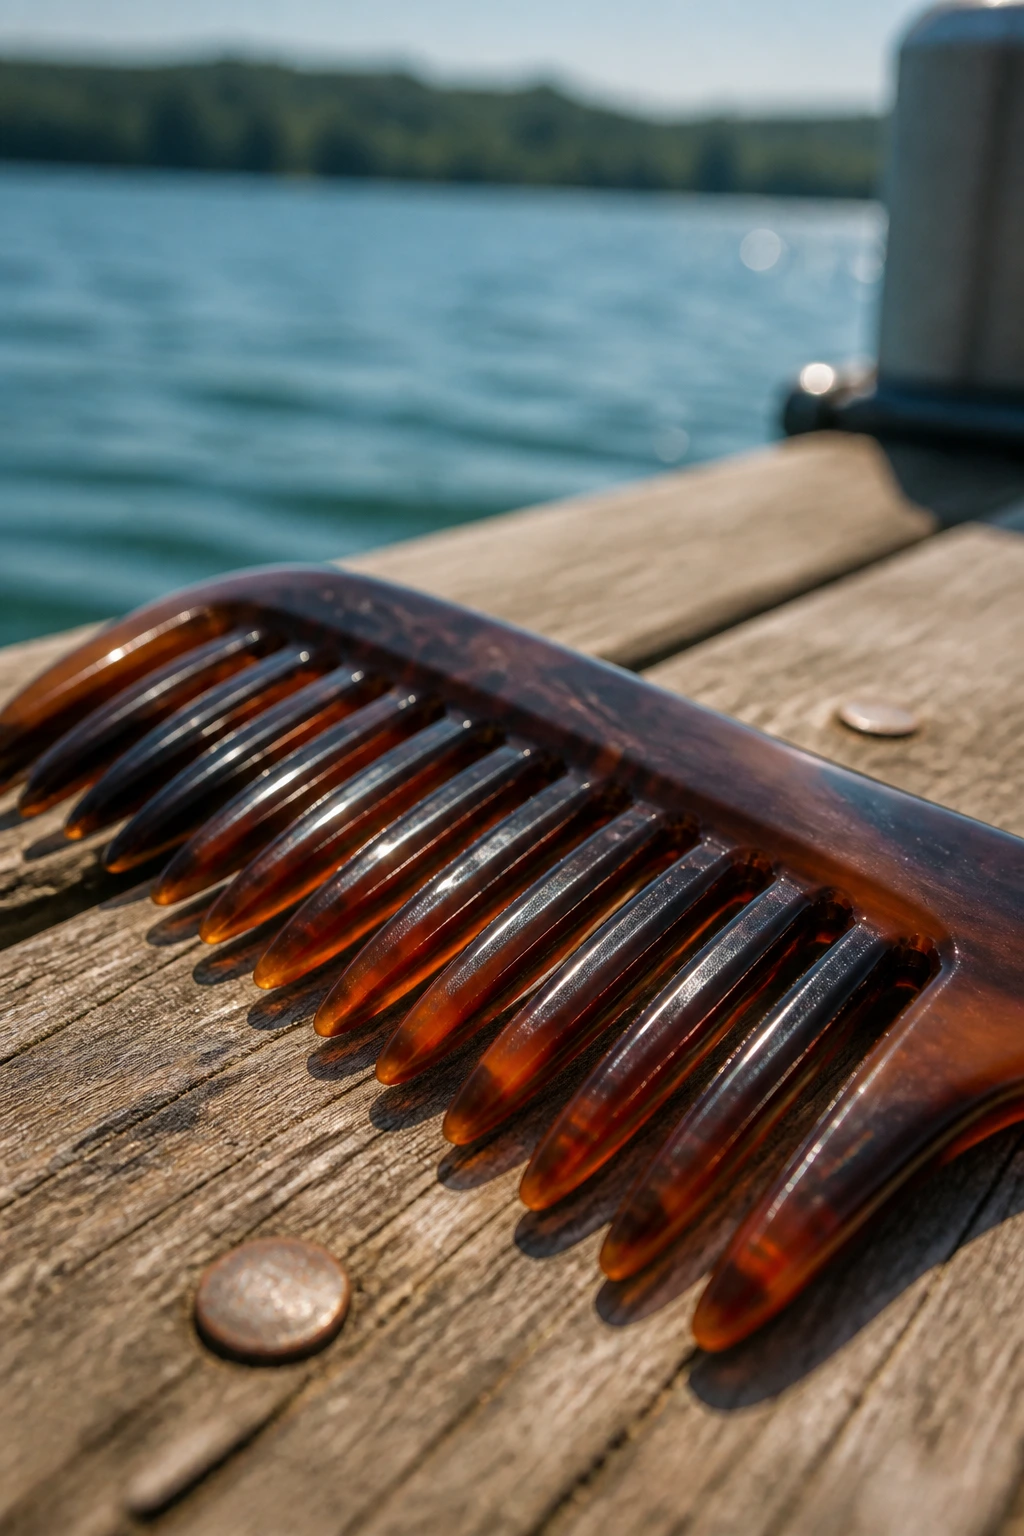
- Wide-tooth comb: Best for detangling damp curls without tearing through knots.
- Detangling brush: Useful for thick hair that needs more tension than fingers can give.
- Spray bottle with water: A small mist wakes up dry curls and helps product spread evenly.
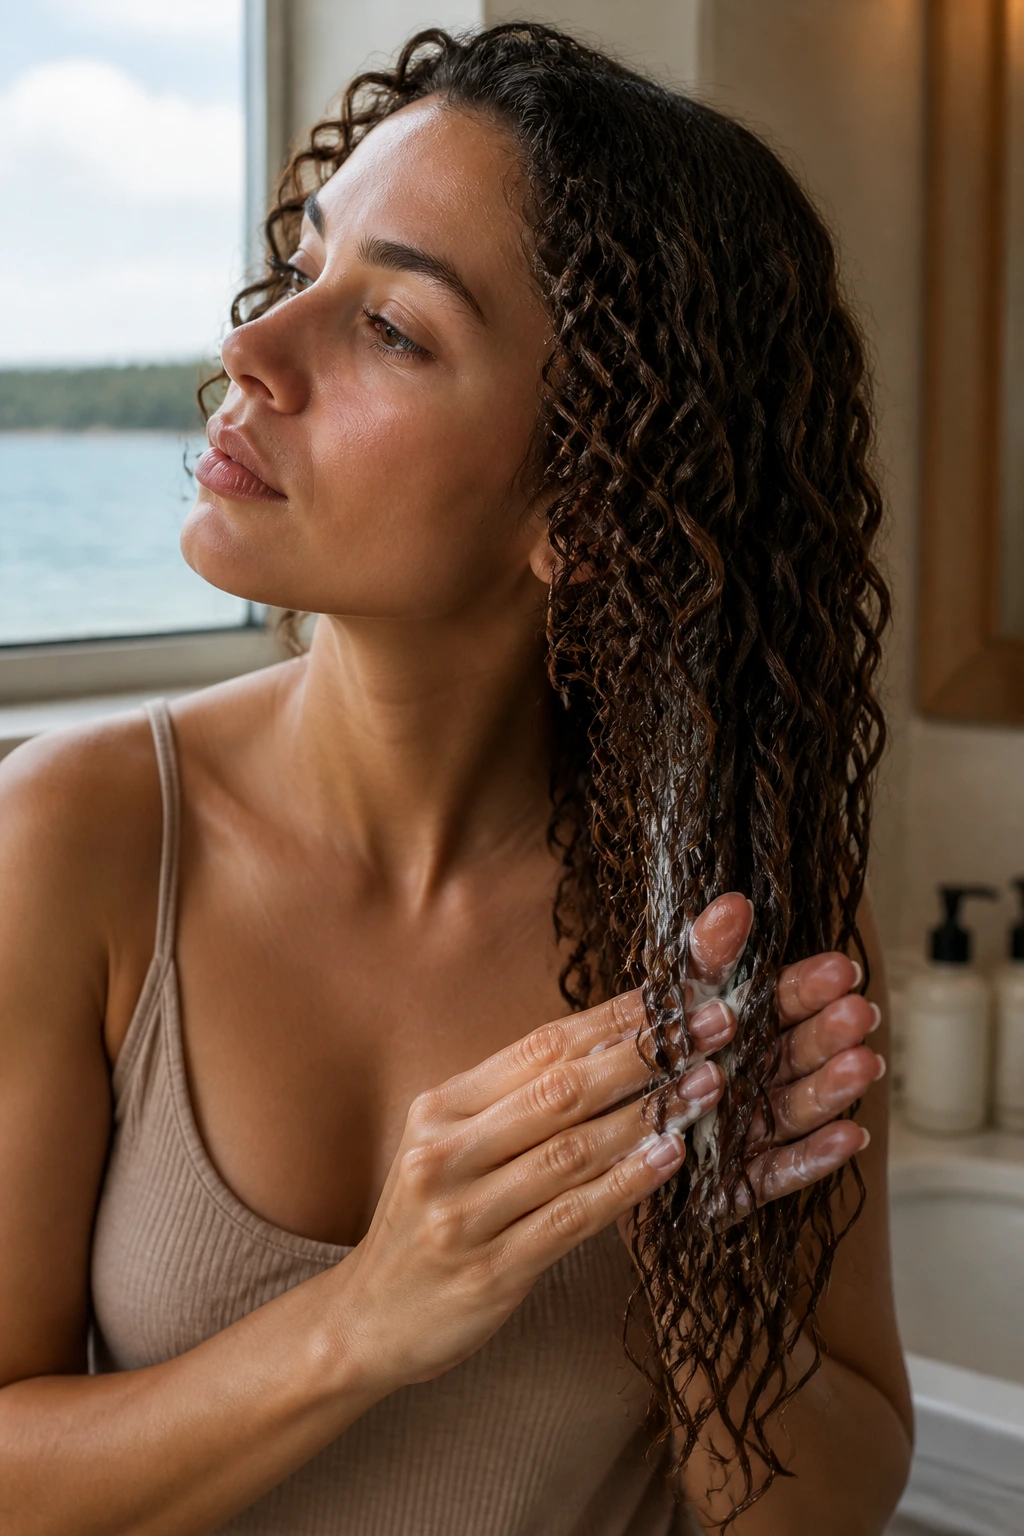
- Leave-in conditioner: Softens the hair before braids, twists, or a puff.
- Curl cream: Good for adding slip and keeping ends from looking dry.
- Strong-hold gel: Helps the front sections and part line stay smooth in humidity.
- Satin scrunchies: They hold without leaving hard dents or snapping fragile ends.
- Small elastics: Needed for braids, bubble ponytails, and twist styles.
- Large claw clips: Look for teeth that can grip dense hair without sliding.
- Bobby pins: Keep the crown braid, bun, or chignon anchored.
- Silk or satin scarf: Handy for wrapping the base of a ponytail or protecting hair in transit.
- Microfiber towel or cotton T-shirt: Better than rough terry cloth for squeezing out water.
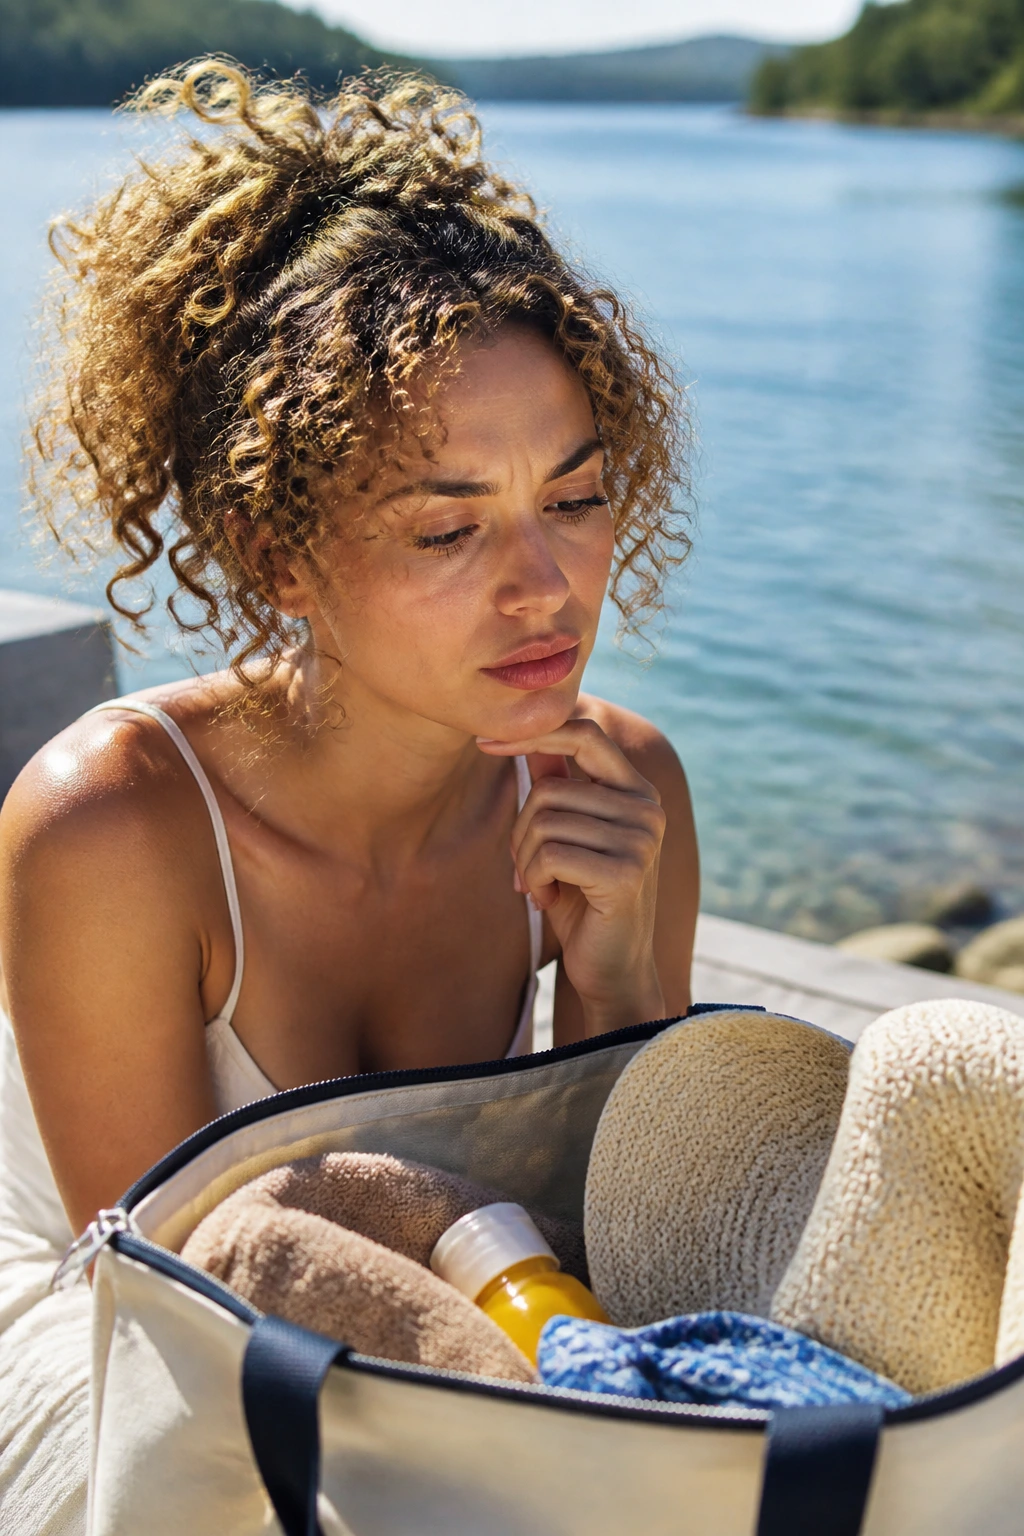
What to Buy Before You Head to the Water
Choose products that help the style hold, not just products that smell nice in the bottle. For curly hair at the lake, a light leave-in plus a firmer gel usually beats a heavy cream on its own. Cream can soften the hair, but gel is what keeps the shape from puffing out the second the breeze hits. If your curls are fine, go lighter on the cream and heavier on the gel. If they’re thick or coily, you can afford a little more richness at the ends.
Accessories matter more than people think. A soft satin scrunchie won’t dig into the hair the way a thin elastic does, and a claw clip with deep teeth can hold a lot more curl than it looks like it should. For braids, buy elastics in a shade close to your hair color so they disappear instead of interrupting the style. Cheap metal hardware on clips and pins tends to snag or slip when the hair gets damp, and that gets annoying fast.
If you plan to wear a hat, check the size of the bun or puff before you leave the house. Some styles look fine in the mirror and then create a weird bump under the brim. That’s not a product problem. It’s a shape problem. Solve it before you’re standing on a dock trying to fix it with one hand.
How to Wear These Styles From Dock to Dinner

Presentation: Keep the silhouette clear and purposeful. Lake hair looks best when the crown, sides, or nape have one obvious job, whether that’s a braid, puff, twist, or clip. Let a few face-framing curls fall free if the style starts to look too tight.
Accompaniments: Pair these styles with a bucket hat, a wide-brim sun hat, oversized sunglasses, or a light scarf tied around the base. A simple swimsuit cover-up or open button-down gives the hair room to stand out without competing for attention.
Portions: Think in terms of hair density and length. Short, dense curls usually need tighter control at the root, while long curls need extra anchoring through the ends. If your hair is very thick, use one more pin or elastic than you think you need; if it’s fine, back off on the accessories or the style can look overbuilt.
Beverage Pairing: A cold sparkling water with lime, iced mint tea, or lemonade in a tall insulated bottle matches the mood neatly. Anything cold and easy to sip while sitting in the shade feels right next to a hair tie and a towel.
Small Moves That Make the Style Last Longer
Definition Boost: Work a little leave-in through damp ends before you start braiding or twisting. The ends are usually the first part to dry out and frizz, and a small amount of product there helps the style look finished longer.
Time-Saver: Section the hair before you leave the house. Even a loose center part and two clipped sides can cut your styling time by half once you’re near the water and not in the mood for precision.
Frizz Shield: Smooth the hairline with damp hands and a dab of gel before pinning anything back. That tiny step keeps the front from blooming outward like a cloud the moment humidity rises.
Make-It-Yours: If you like a softer look, loosen the braid edges with your fingers after the style is secured. If you want a cleaner finish, press the outer layer down with a scarf for five minutes before taking it off.
Finishing Touch: One pretty clip, one scarf, or one strong part line is enough. Put the accent in one place and leave the rest alone. Curly hair rarely needs more decoration than that.
How to Prep the Night Before and Refresh After Swimming
Some of these styles are better with a little advance work. Braids, twists, and low buns can be mapped out the night before, then finished in the morning with a quick mist of water or leave-in. If you’re planning a long lake day, that kind of prep saves you from fighting with your hair when the sun is already up and the trunk is already packed.
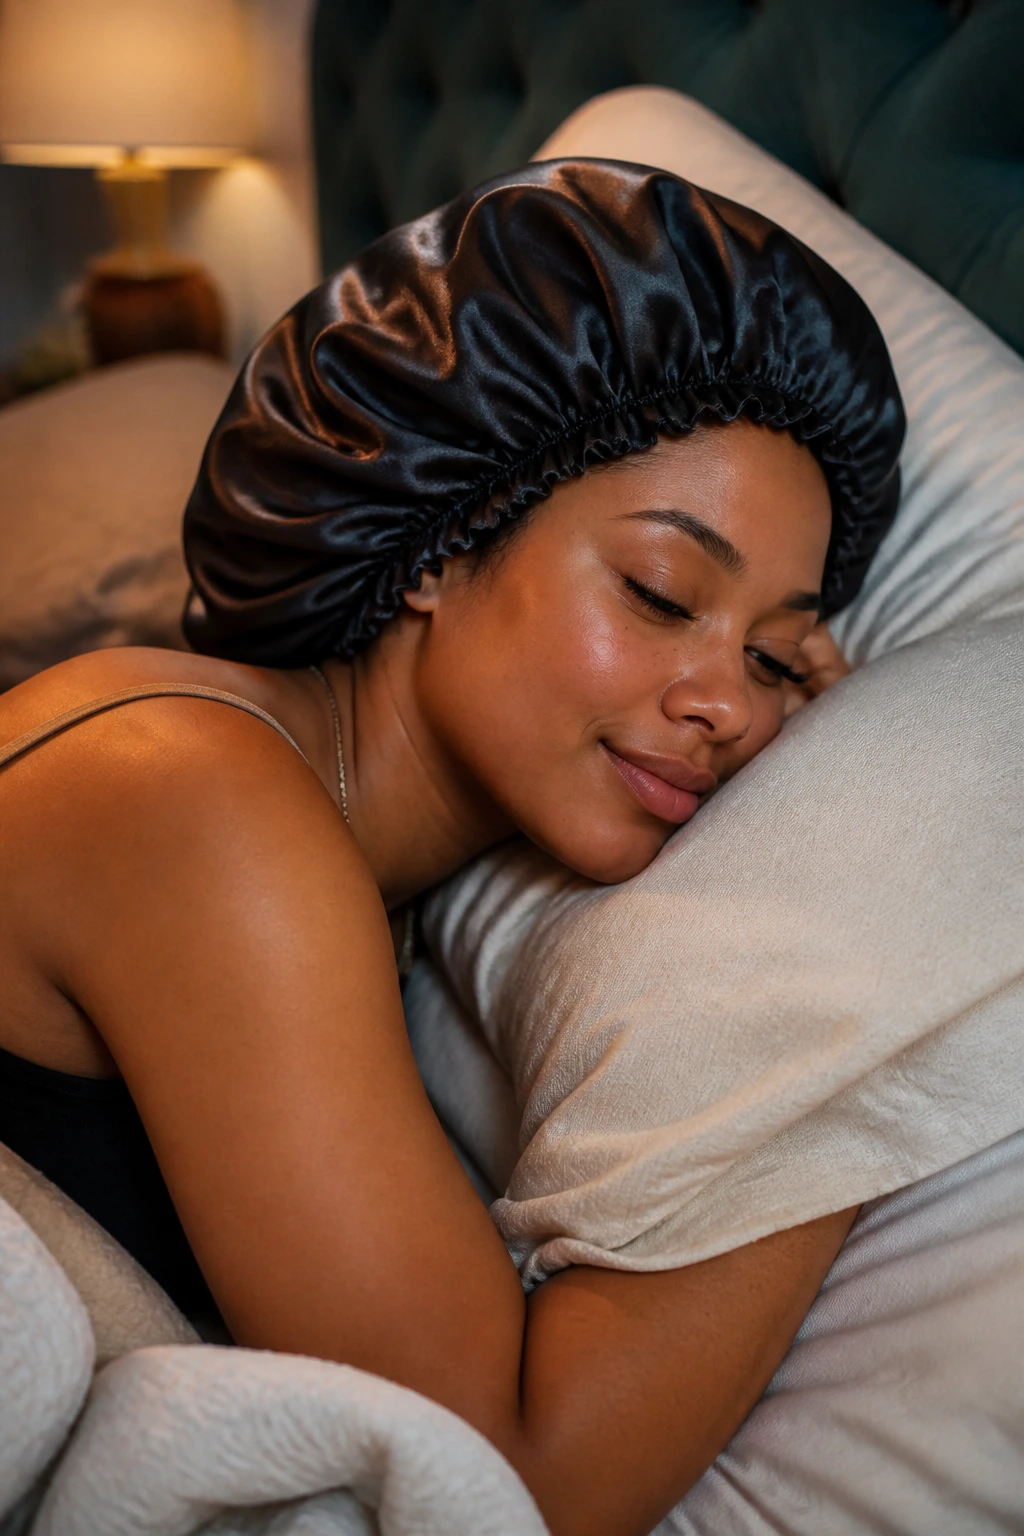
Protect the shape overnight with a loose pineapple, a satin bonnet, or a satin pillowcase if you’re setting curls you want to reuse. That matters most for wash-and-go styles, bubble ponytails, and half-up looks. A cotton pillowcase can rough up the cuticle in one night. A satin surface gives the hair a much easier landing.
After swimming, rinse the hair with clean water if you can. Lake water, sunscreen, and sweat all leave a film that makes curls feel sticky. If there isn’t a shower nearby, mist the hair, smooth in a tiny bit of leave-in, and re-twist or re-pineapple the sections that matter most. Braids and twists can often be worn again for one more day if you let them dry fully and sleep on them gently. Loose curly styles usually need a faster refresh. They show the wear sooner.
Variations and Adaptations to Try
Fine-Curl Version: Use lighter products and fewer accessories, then lean on styles like the claw-clip twist, side braid, or braided headband. Fine curls can collapse under heavy creams and oversized clips, so keep the base airy.
Thick-Curl Version: Choose styles that split the load, like Dutch braids, pull-through braids, bubble ponytails, and double twists. Thick hair usually needs more anchors, not more product.
Short-Curl Version: Go for bandanas, mini buns, pin-up clusters, and side-parted puffs. Short curls need shape at the top and room at the sides, not a lot of length-based styling.
Swim-First Version: Prioritize secure braids, low buns, and flat twists. If you know you’re going underwater, skip anything that relies on loose ends staying neat.
Hat-Friendly Version: Keep the crown flat and the bun low. Braided buns, low chignons, and side braids all sit more comfortably under a brim than high styles that fight the shape of the hat.
Low-Tension Version: Use satin scrunchies, loose twists, and softer parts. If your scalp gets tender fast, avoid anything that pulls hard at the hairline for hours.
Common Mistakes That Make Lake Hair Fall Apart
The first mistake is starting with hair that’s either soaking wet or bone dry without planning for it. Soaking hair takes forever to shape and can slip out of clips. Bone-dry hair can frizz when you try to pull it into braids or puffs. Damp, not dripping, is usually the sweet spot for most of these styles.
Another problem is using tiny elastics on thick curls. They cut in, break the shape, and leave dents that take hours to smooth out. If the elastic feels like it’s biting into the hair as you wrap it, it’s too small.
People also go too tight at the front. That gives you a sleek crown for about ten minutes, then a headache, then little bumps and flyaways where the hair starts resisting. A lake style should stay comfortable while you’re sitting in the sun or bouncing around on a boat, not punish you for moving.
And then there’s the classic error of leaving the ends completely unplanned. Braids with loose ends work. Puffs work. Twists work. But a half-finished style with no anchor at the bottom tends to unravel fast, especially when water gets into it. Decide what the ends are doing before you step outside.
Finally, a lot of people forget that curly hair needs a reset after it gets wet. If you swim and then let it air-dry in salt, lake residue, or sunscreen, it often dries rough and dull. A quick rinse or a touch of leave-in later makes a bigger difference than a new accessory ever will.
Questions People Ask Before Packing for the Lake
Which style holds up best if I’m actually swimming?
Twin Dutch braids, flat twists, and low braided buns usually survive the most water and movement. They keep the roots controlled and reduce tangling through the lengths.
Can I do these on dry hair, or do I need to start damp?
Both can work, but damp hair usually makes braids and twists smoother. Dry hair is better if you’re doing a puff, claw-clip style, or a quick hat-friendly look.
What if my curls frizz the second humidity rises?
Use a firmer gel at the roots and perimeter, then pick styles that keep the front anchored. If the hairline stays controlled, the rest of the frizz looks more intentional.
Are these styles good for short curly hair?
Yes. Bandanas, headband braids, mini buns, side clips, and puffs all work well on shorter lengths. You do not need long hair to get a solid lake look.
How do I keep a claw clip from sliding out?
Twist the hair upward once, then clip closer to the scalp where the weight is centered. If the clip is too smooth or too small, it won’t grip thick curls for long.
Can I wear a hat with these styles?
Absolutely. Just keep the bun low, the crown flat, and the accessories minimal at the top. Braids and low puffs usually sit best under a brim.
What’s the fastest style on this list?
The claw-clip twist, side-parted puff, and pineapple puff are the quickest. They can all be done in a few minutes once you know where your clips and scrunchies are.
How do I refresh curls after lake water dries in them?
Rinse with clean water if possible, mist the hair, add a small amount of leave-in, then scrunch or retwist the sections that need help. A full shampoo isn’t always necessary if the hair just needs a reset.
Dock-Ready Hair
The best lake hair is never the one that behaves like a mannequin head. It’s the one that can handle sun, wind, water, and a little chaos without losing its shape completely. Curly hair does especially well when you give it a style with a job to do.
Pick the look that fits the day you actually have. If you’re swimming, choose the braids and low buns. If you’re hanging out in a hat, keep the crown flat and the nape secure. If you want something playful and fast, let the curls stay part of the show.
Keep one satin scrunchie in the bag, one claw clip in the car, and one style you can do without staring into a mirror for ten minutes. That covers most of the lake anyway.