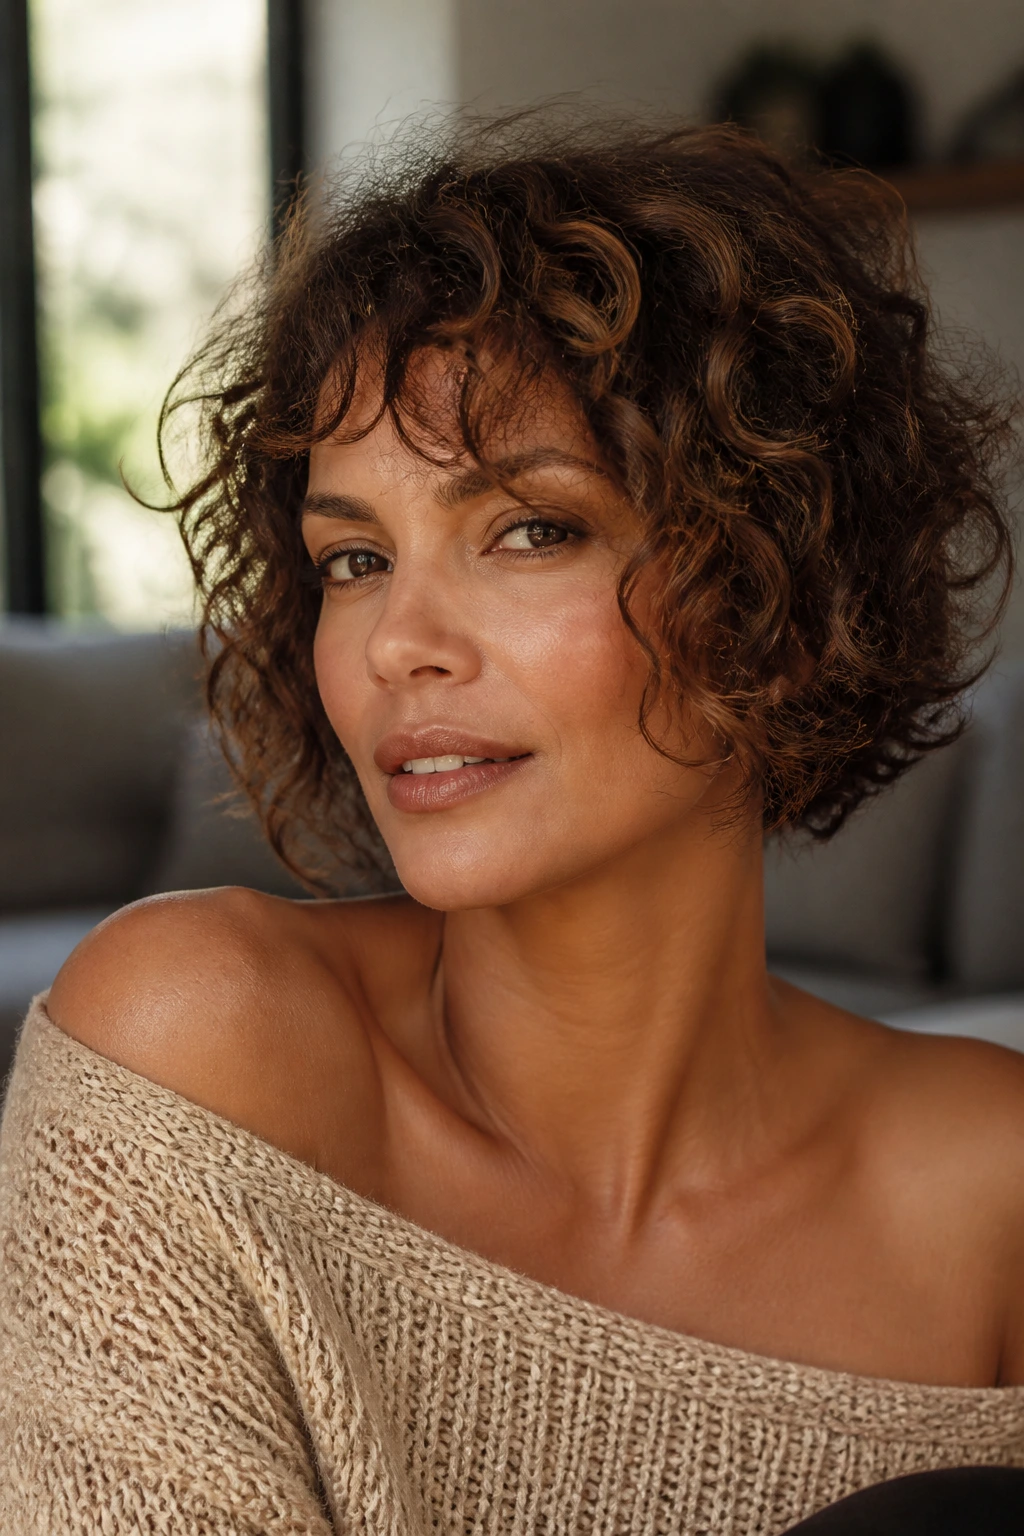
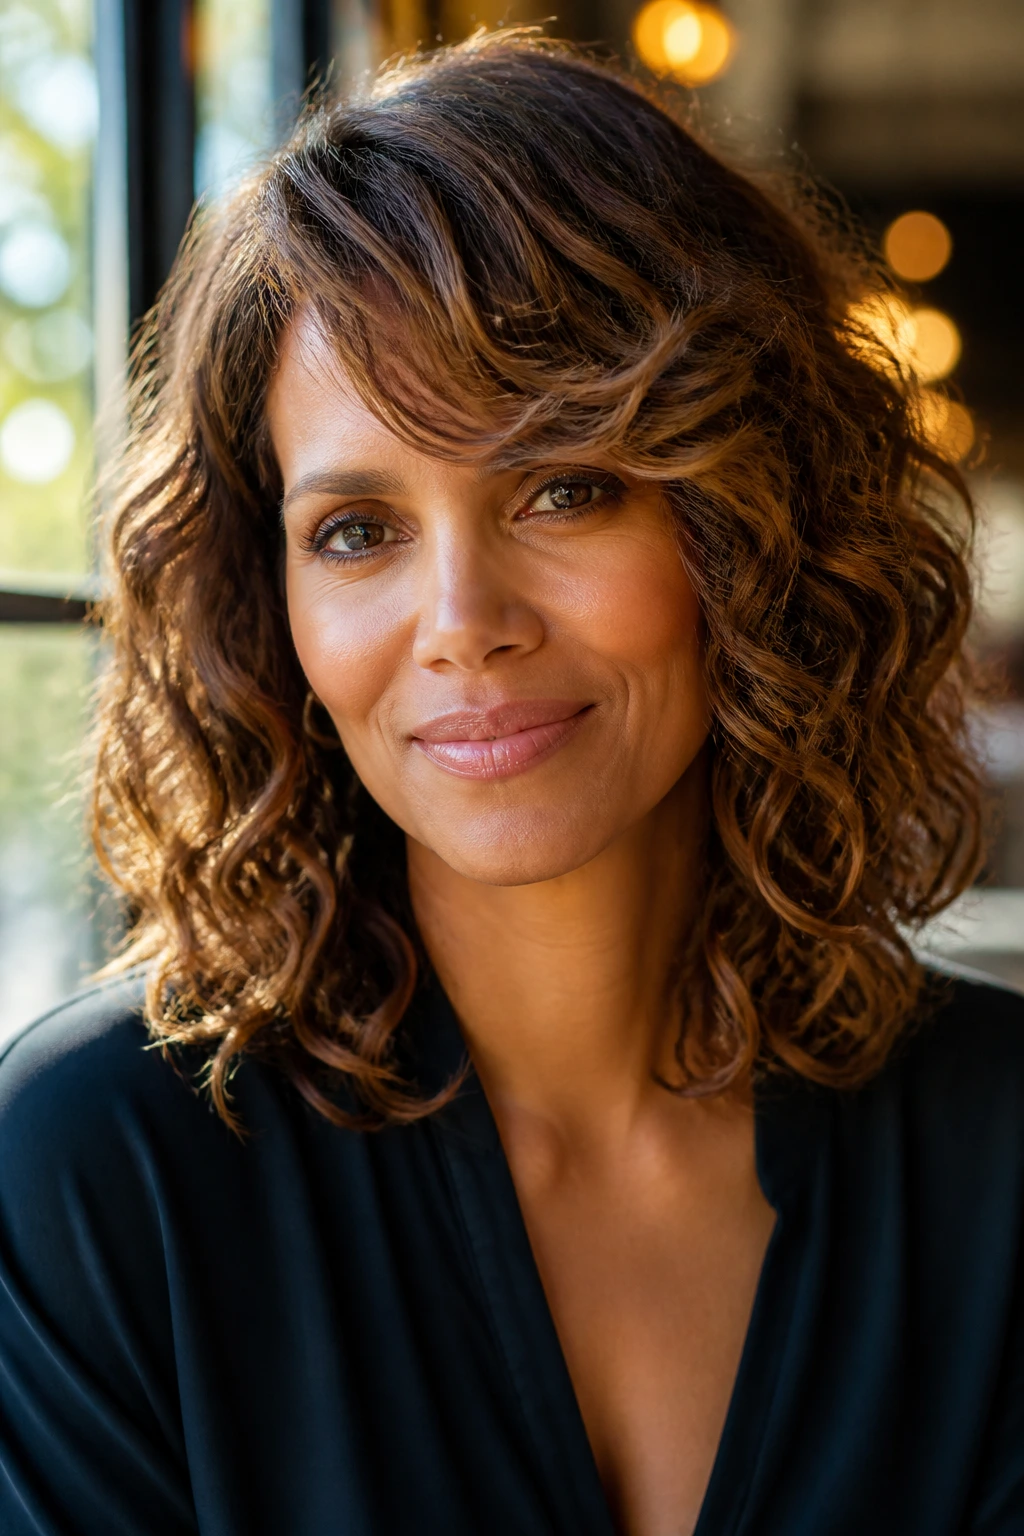
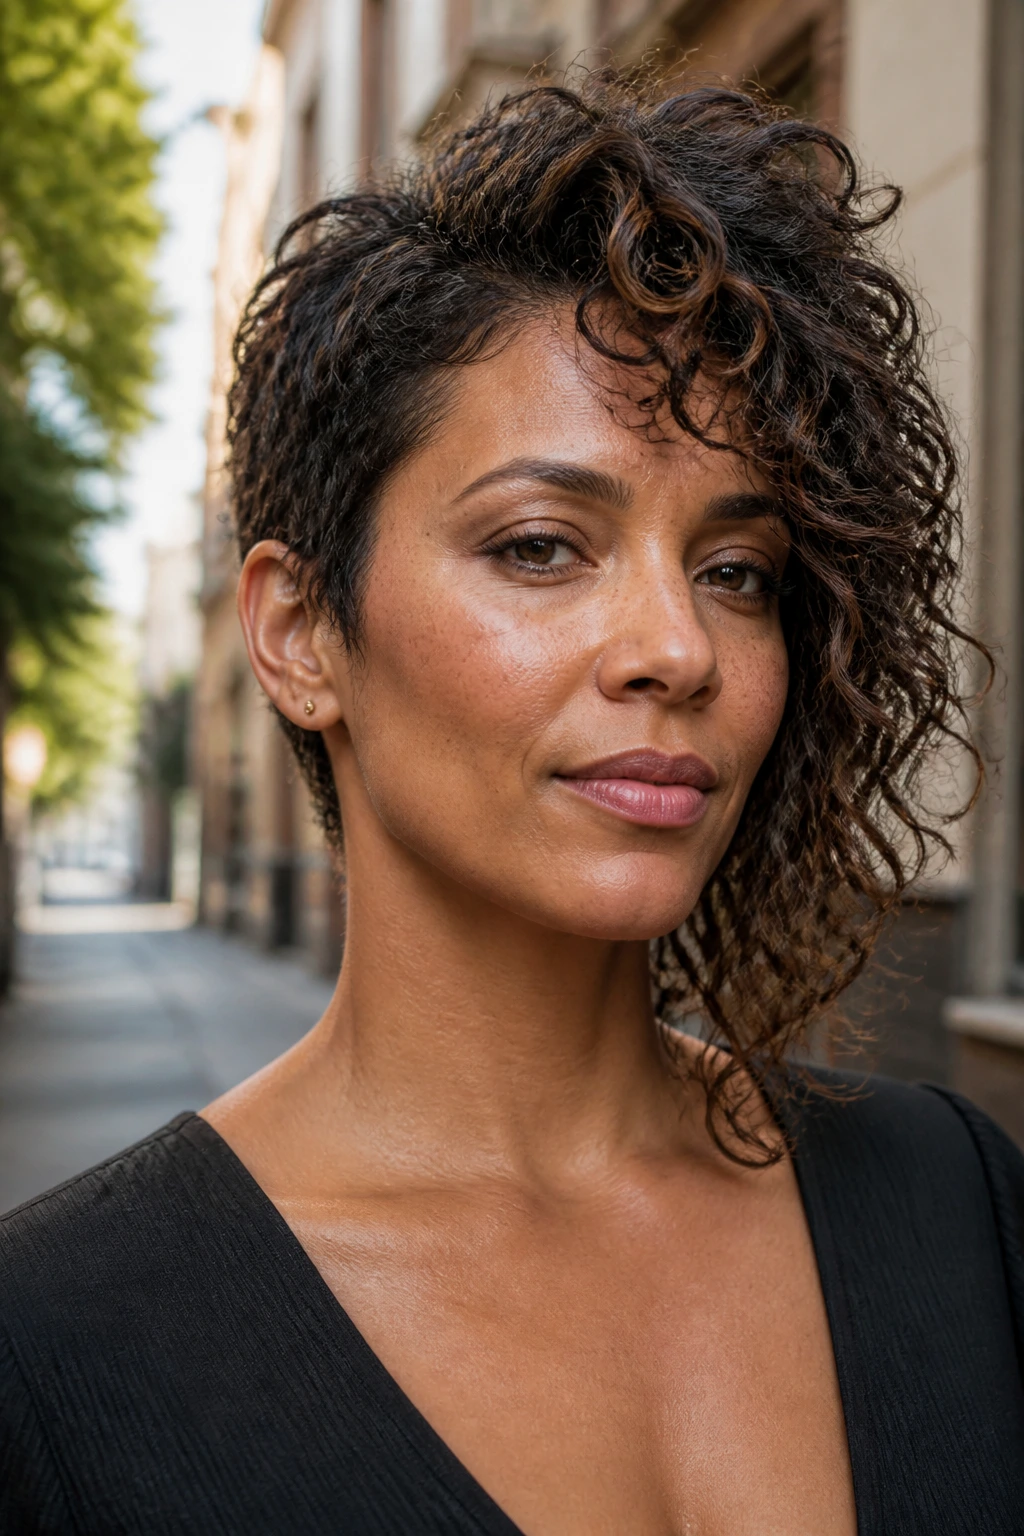
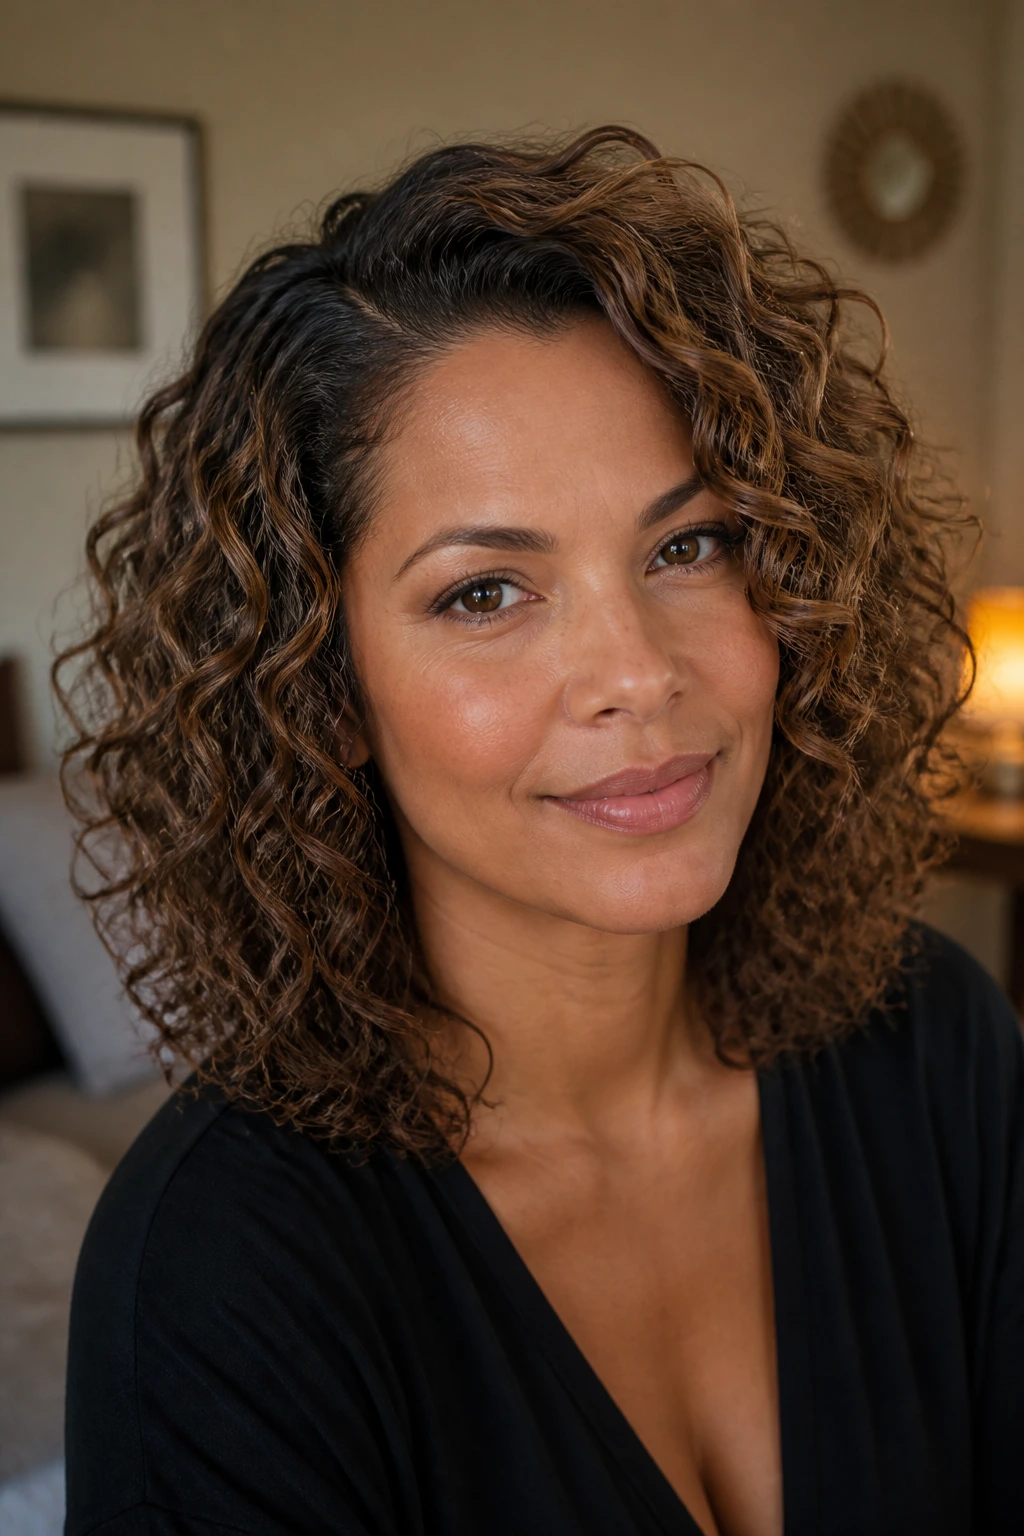
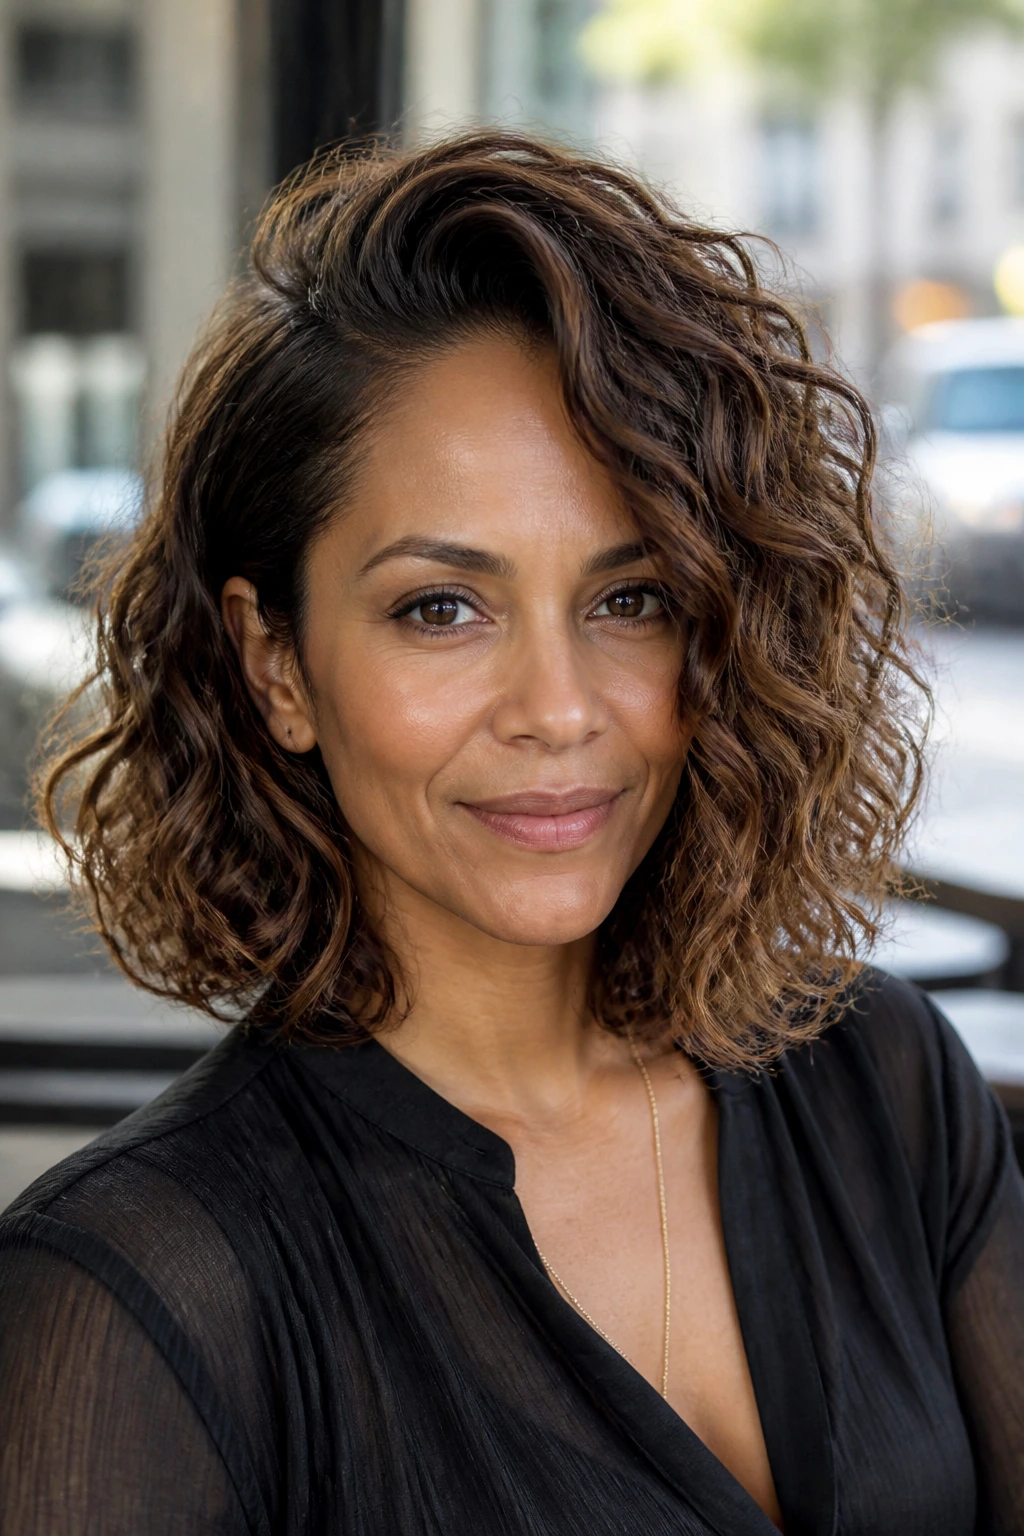
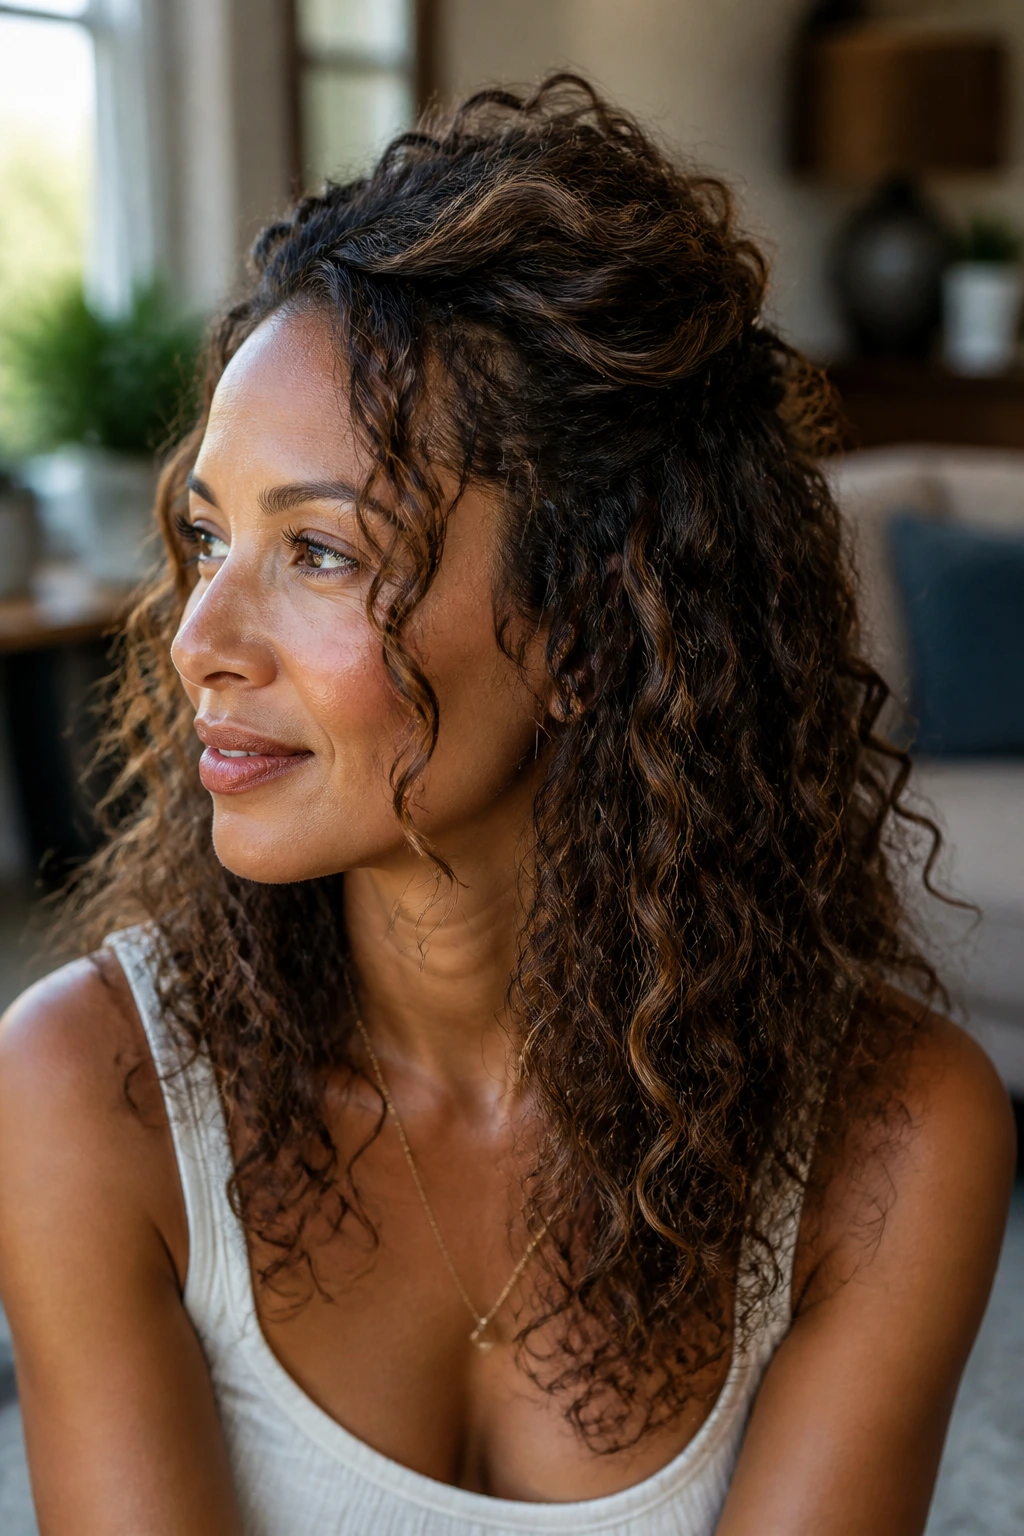
Medium curls have a way of telling the truth. If the cut is blunt in the wrong spot, they puff. If the layers are too timid, they collapse. If the crown is left flat, the whole shape can look heavier than it feels. That’s why Halle Berry hairstyles for medium hair with curly hair keep showing up in mood boards and salon chairs: they usually get the balance right, with enough lift to keep the profile alive and enough softness to keep the face from looking boxed in.
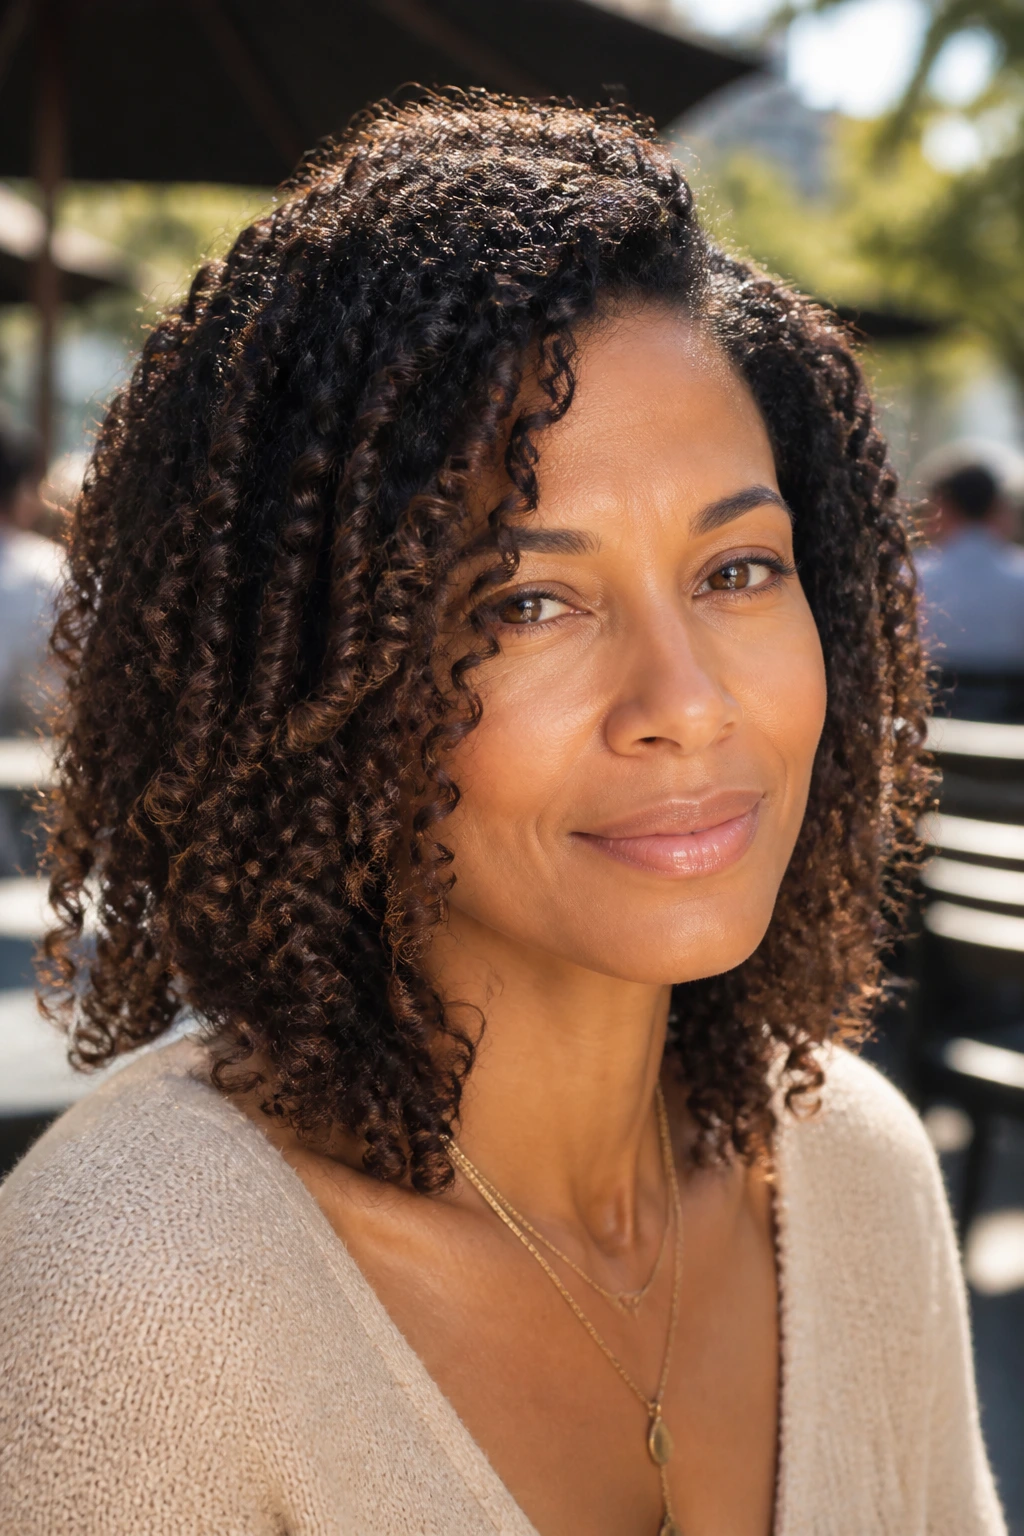
What I like most about this territory is that it does not ask curls to become something else. It works with the bend, the spring, the little bit of frizz that arrives before lunch if the weather has opinions. Medium length is a sweet spot here. The hair has enough weight to sit down into shape, but it’s still light enough to swing when you turn your head. That movement matters. A lot.
And there’s a very Halle Berry thing happening in the best versions of these styles: they look deliberate without feeling stiff. A side part that drops just low enough to sharpen the cheekbones. A half-up twist that leaves the ends loose and textured. Layers that remove bulk at the sides but keep the crown from going limp. Those small choices do more work than a lot of people realize, especially on medium curls that need direction more than decoration.
Why These Curls Keep the Halle Berry Energy
-
Face-framing shape: Medium curls look cleaner when the shortest pieces are placed near the cheekbone or jaw, because that keeps the silhouette from ballooning at the widest part of the head.
-
Lift without stiffness: The styles here rely on root clips, diffusing, or a smart part rather than shellacking the hair into place, so the finish stays soft and movable.
-
Low-drama styling: Most of these looks can be done with curl cream, gel, a diffuser, and a few pins. No heroic blowout required.
-
Room for texture: A little frizz at the crown or a few uneven clumps do not ruin the look. They give it that lived-in, camera-friendly edge Halle Berry hair has always worn well.
-
Easy to adapt: If your curls are looser, tighter, thicker, or finer than the next person’s, these shapes still translate because they depend on silhouette first and product second.
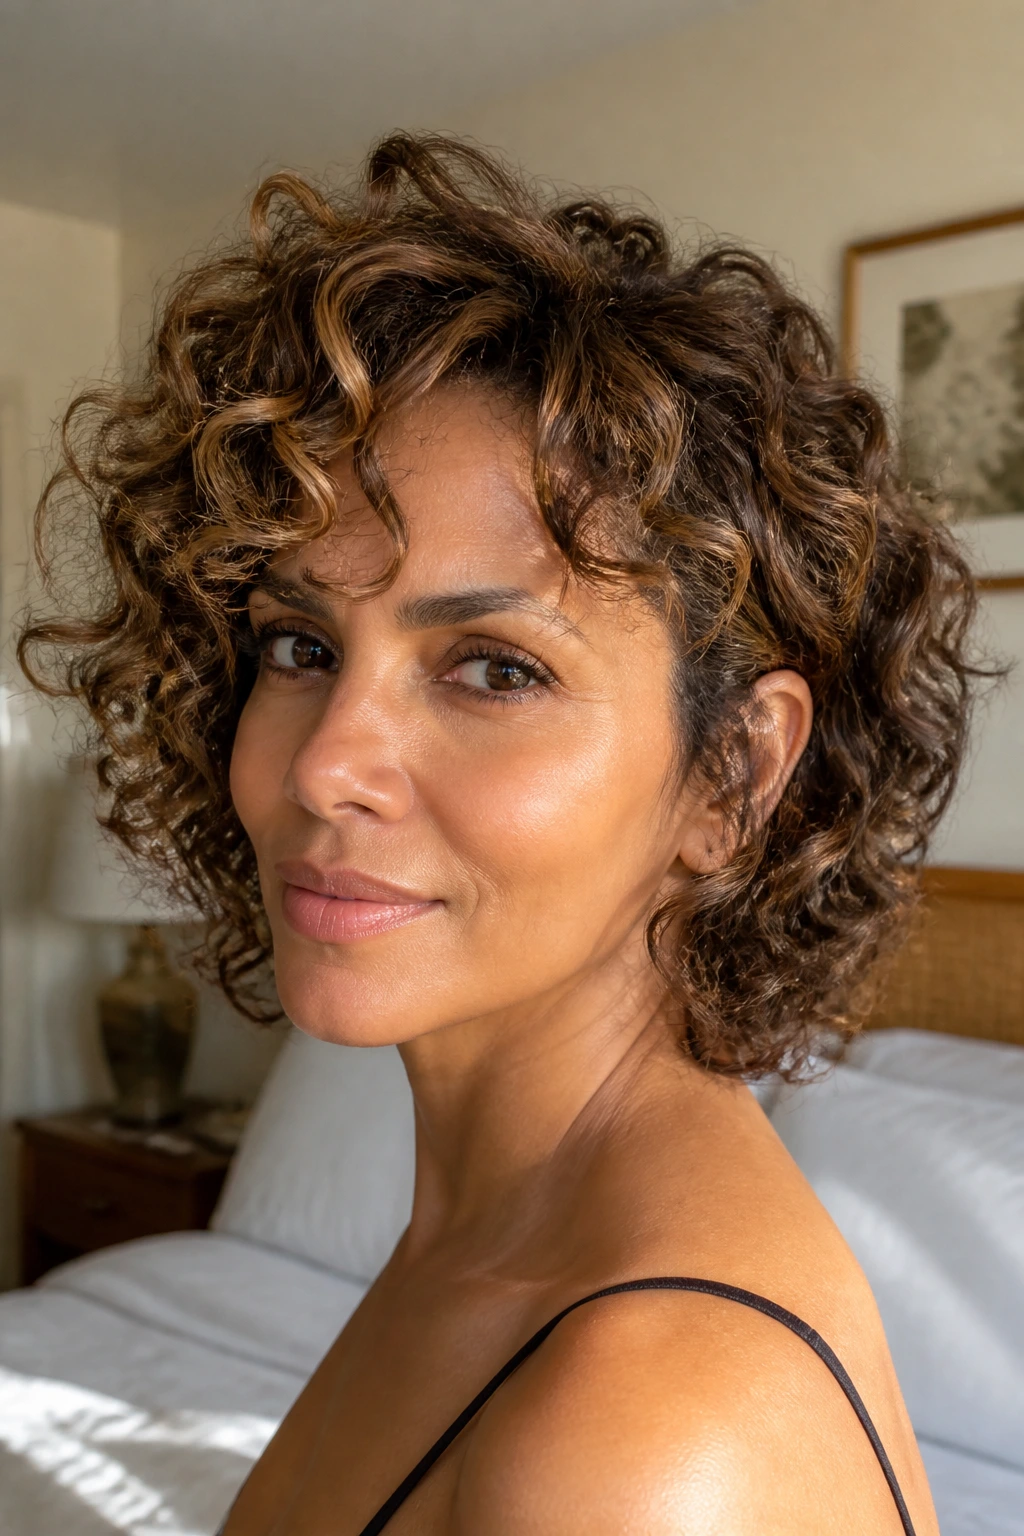
1. Side-Parted Curly Lob with Lifted Roots
A side part can do more than most people give it credit for. On medium curls, it shifts the weight of the hair off the center line and makes the whole shape feel sharper around the eyes and cheekbones. This version works especially well when the lob lands somewhere between the collarbone and the top of the shoulders, because the ends have enough length to swing instead of sticking out.
The trick is root lift. Clip the heavier side up while the hair dries, then let the part settle where it wants to land. If you start with the part before the curls are fully set, the bend stays cleaner and the outline looks intentional instead of accidental. A little mousse at the roots helps, but don’t drown the crown in cream or you’ll lose the whole point.
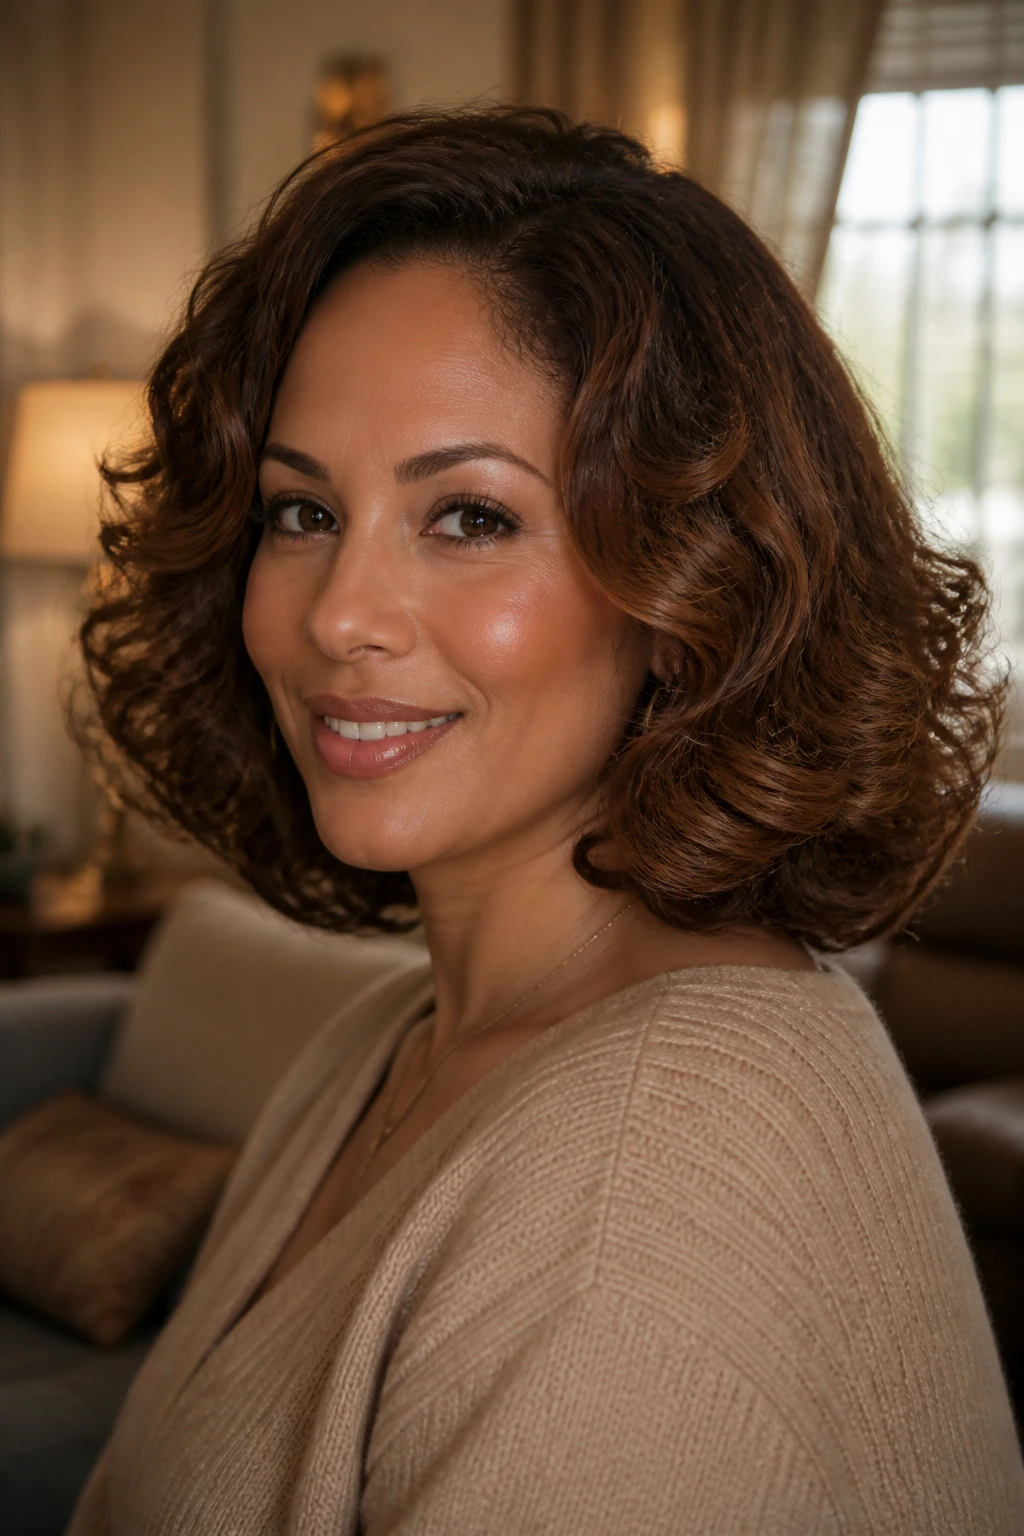
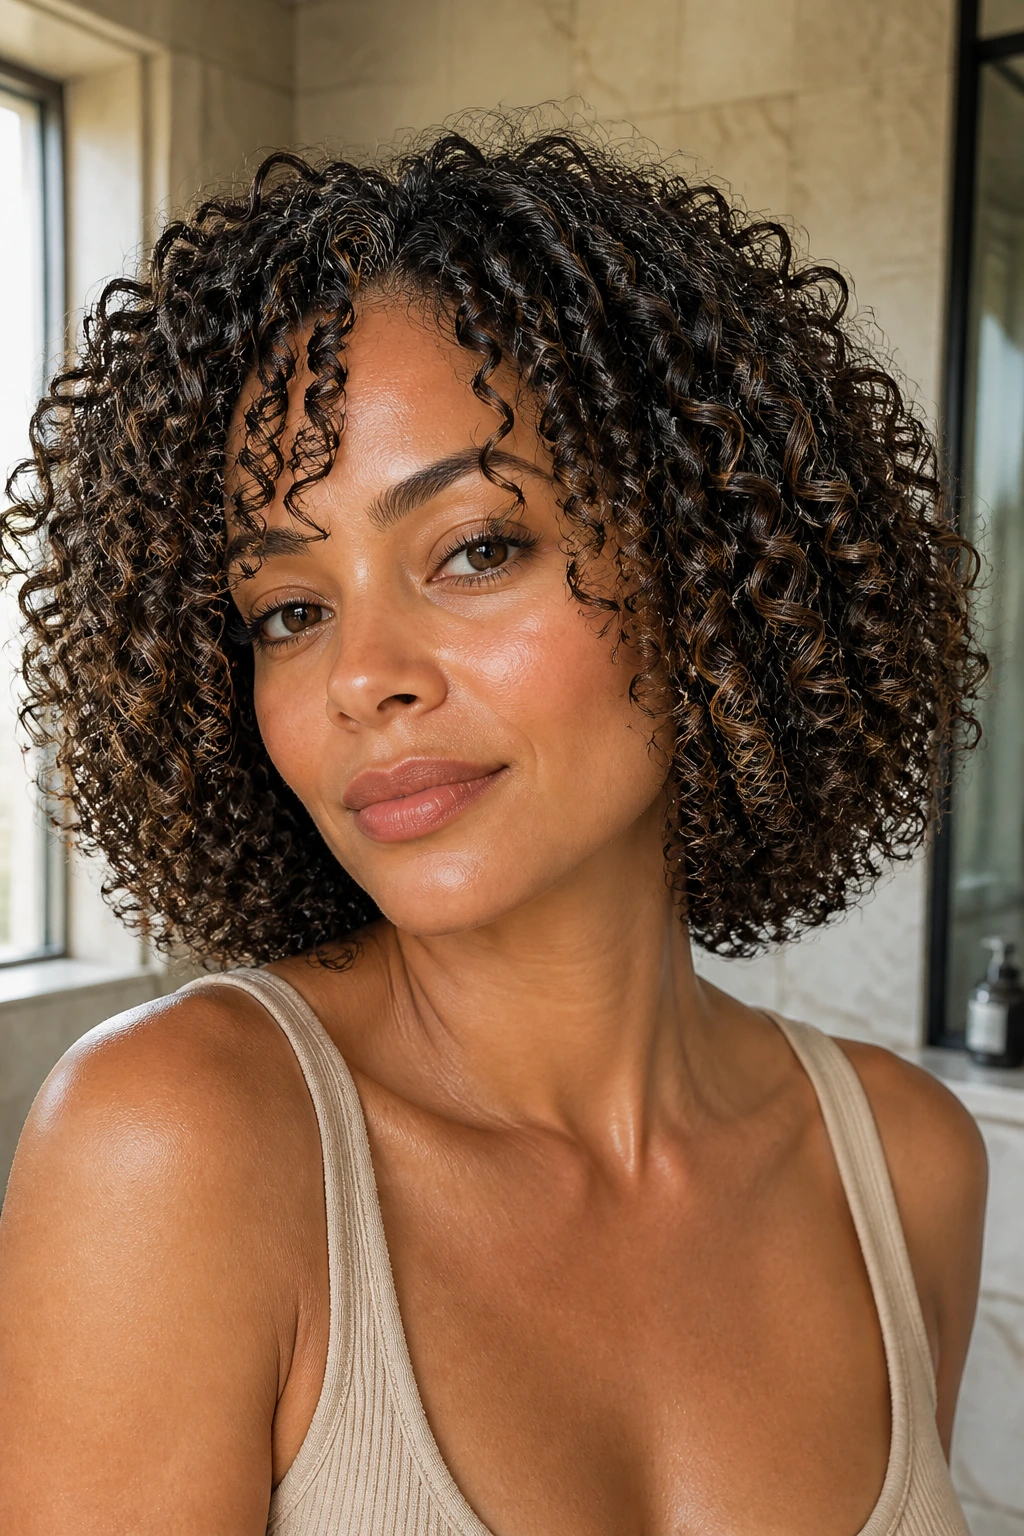
2. Soft Layered Halo with Tucked Ends
If your curls tend to widen at the sides, this one is a relief. The layers build a rounder halo shape, but the ends are kept soft enough to tuck behind one ear or skim the neck without sticking out like little shelves. It reads polished because the silhouette is controlled. It reads curly because the texture stays visible.
What makes it work is the internal shaping. Ask for layers that remove bulk in the mid-lengths, not just the bottom edge. That little distinction matters. Too many layered cuts only thin the last two inches, and then the bulk sits right where you don’t want it. This style gives the curl room to stack lightly instead of forming a triangle.
3. Deep Side Sweep with Defined Ringlets
Why does a deep sweep look so expensive on medium curls? Because it creates a diagonal line across the face, and diagonals are kinder than straight lines. They soften the forehead, add movement near the eyes, and give the whole cut that old-school movie-star feel Halle Berry has made look easy for years.
Use a light leave-in, then define the front section with your fingers so the ringlets fall in a cleaner arc. The back can stay a little looser. That contrast is what keeps the style from looking too formal. If your curls are stubborn at the front, pin the top section across for ten minutes while the hair is still damp, then release it. The bend lasts longer than most people expect.
4. Curly Shag with Face-Framing Pieces
The shag is the one cut here that happily keeps a little attitude. It does not care if every curl is identical, and that is part of its charm. On medium hair, the shag creates movement from the crown down, which keeps thick curls from forming one heavy curtain around the shoulders.
Face-framing pieces should start around the cheekbone or just below it, then taper into longer layers. That keeps the front from disappearing into the rest of the cut. I like this shape on people who hate spending ten minutes perfecting every section, because the shag looks better when it is slightly undone. A diffuser helps, but air-drying works too if your curl pattern holds its shape without much help.
5. Half-Up Crown Twist with Loose Ends
Sometimes the smartest move is only pinning half the hair. A crown twist pulls the eye upward, keeps the front clean, and leaves the lower curls free to move. It also solves the “my roots look sleepy but my ends still look great” problem, which is a familiar medium-curly-hair complaint.
Twist each temple section back toward the crown, cross them once, and secure with two bobby pins in an X. That X matters. It holds better than one lonely pin that slides out after an hour. The rest of the hair stays down and soft. This style looks especially good when the curls around the face are allowed to stay a little piecey instead of brushed smooth.
6. Sculpted Wash-and-Go with Gel Cast
A gel cast sounds technical, but the finish is straightforward: clean curl groups, controlled frizz, and a shape that holds through the day. On medium hair, it gives the curl a crisp outline without turning the style into helmet hair. The cast is the shell. The soft finish comes later when you scrunch it out.
Load the hair with gel while it’s wet, then leave it alone until it’s fully dry. That part matters. If you touch it too early, you break the shape and invite puffiness right where you wanted definition. Once the curls are dry, scrunch gently with dry hands or a tiny drop of serum. The result is neat, but not stiff.
7. Curly Bob Flipped Under at the Ends
A bob that flips under at the ends has a softer edge than a blunt cut. It gives medium curls a rounded bottom line, which keeps the whole head from reading too wide. This works especially well when the layers are subtle and the ends brush the tops of the shoulders instead of stopping hard above them.
Diffuse with the head tipped slightly forward, then tuck the ends under with your fingers while they are still warm and damp. You are not trying to straighten anything. You are steering the curl pattern. That small bend inward makes the style look finished even when the rest of the hair stays loose and airy.
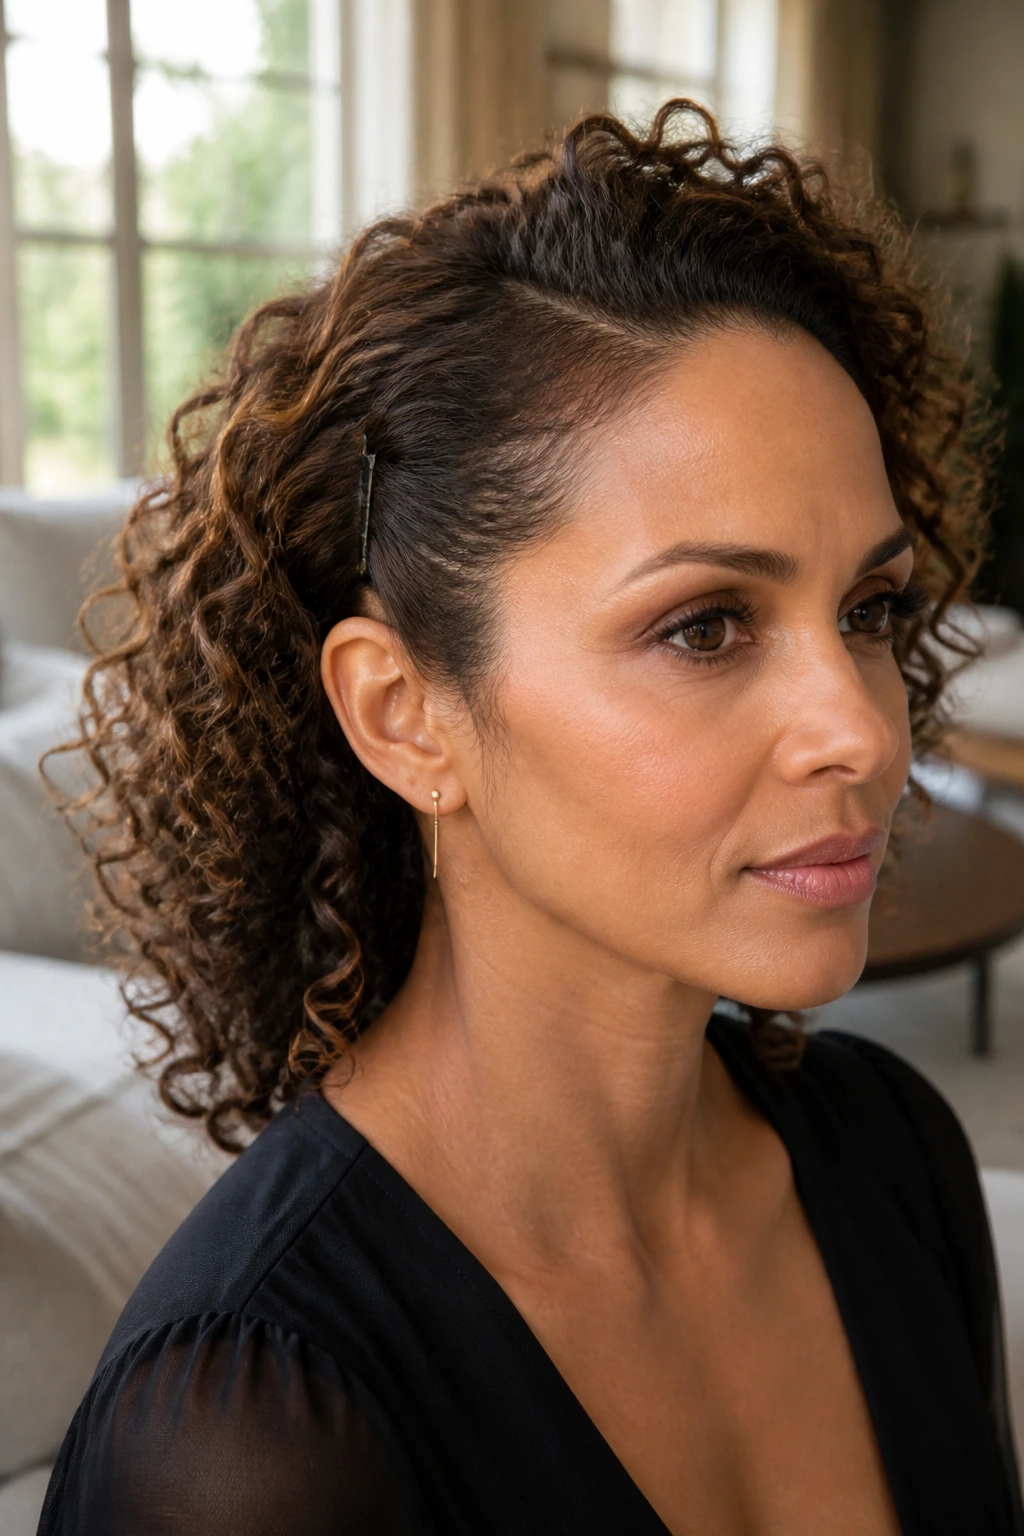
8. Pinned-Back Temple Sides for a Clean Frame
Pinned sides can change the whole mood of a curly style. If your curls get big around the temples, or if you want your earrings to show, this is one of the simplest fixes. The style keeps the top and back loose while clearing away just enough hair from the face to sharpen the outline.
Use two flat pins or a small decorative clip on each side, and place them slightly behind the hairline so they disappear into the curl pattern. Don’t pull the pinned section too tight. A little looseness keeps it from looking severe. This one is especially good on days when you want the curls to look deliberate without reworking the whole head.
9. Diffused Volume with a Center Part
Center parts are tricky on curly hair, but they can be strong when the volume is built correctly. The line down the middle only works if the crown has enough lift to keep the hair from hanging flat against the scalp. On medium hair, that usually means root clipping, a little mousse, and a diffuser used in short, patient rounds.
The result is symmetrical, clean, and a bit more modern than a deep part. I’d use it when the curls are naturally even from side to side and the face can handle the straight line at the top. If the part goes flat by noon, skip the fight and switch to a softer off-center line. Hair should not feel like paperwork.
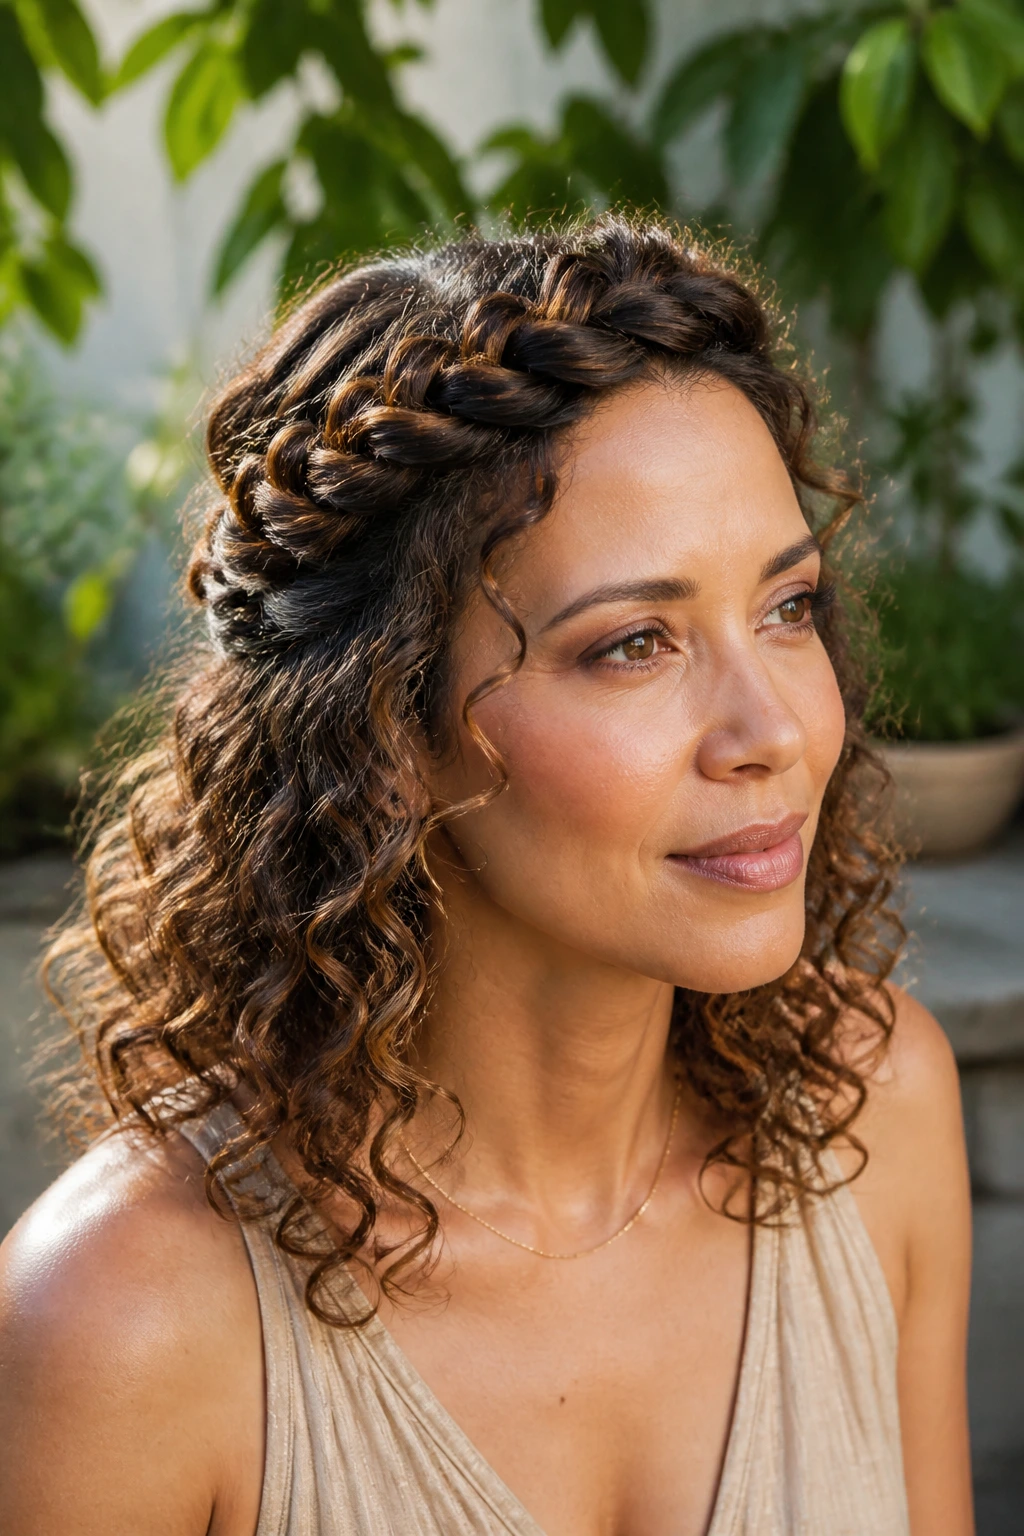
10. Twisted Crown Braid into Curls
A twisted crown braid does two jobs at once. It controls the front sections, and it gives the top of the head a decorative lift that looks more complicated than it is. The loose curls beneath keep it from feeling too neat, which is exactly why it suits medium curly hair so well.
Take two front sections, twist them backward, and pin them together at the crown. Then fluff the roots above the twist with your fingertips. That small lift keeps the style from sitting too low. The rest of the hair can stay textured and loose, with the ends softened by a curl cream or a tiny dab of oil on the outer layer only.
11. Wet-Look Curly Lob
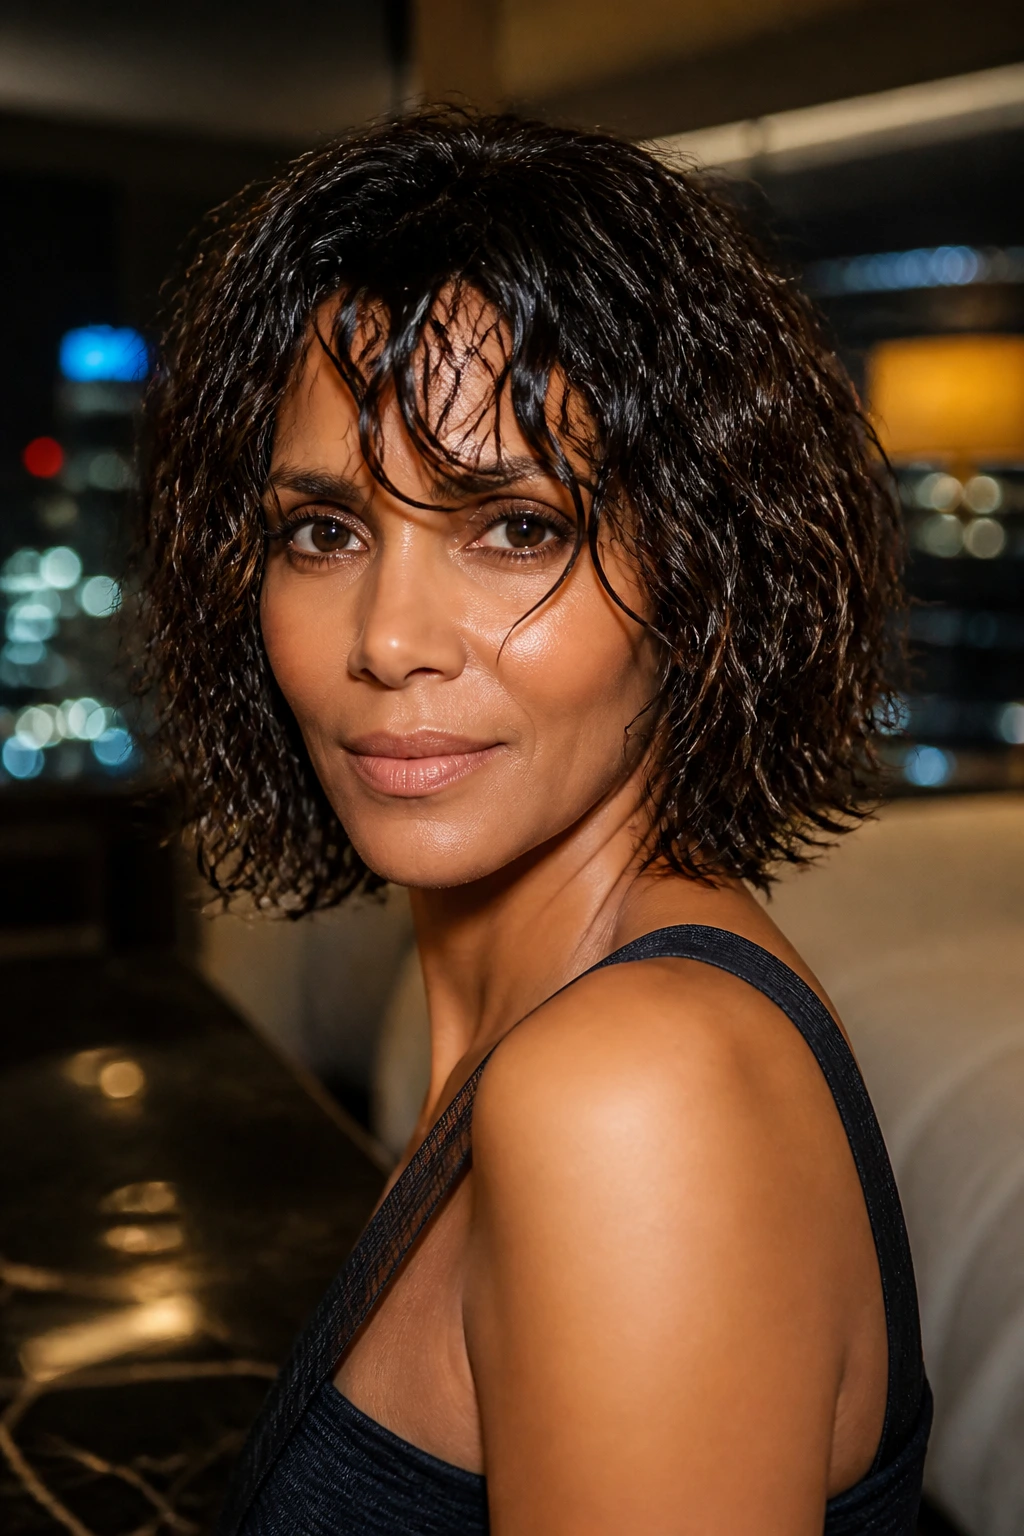
Wet-look curls are not for everyone. They’re bold, sleek at the root, and a little glossy in a way that makes the texture look intentional instead of airy. On medium hair, a wet look can be stunning because it shortens the visual height of the curl and makes the lob feel sharper around the jaw.
Start with damp hair, smooth in a leave-in, then add a gel with real hold. Comb the top section flat, but leave the ends with enough structure to curl naturally instead of hanging straight. The finish should look reflective, not greasy. This is the style I’d pick for evening, photos, or any day when you want the curls to look controlled without losing their shape.
12. Tousled Flip-Out Layers
Flip-out ends are a nice antidote to heavy, inward-leaning curls. They bring the shape outward just enough to keep medium hair from collapsing toward the shoulders. The style has movement, and movement is half the battle with curly hair that wants to settle into one blunt line.
The best version starts with layered hair and a medium-hold mousse. Dry with a diffuser, then rake the ends outward with your fingers while they are still warm. Don’t overthink the flip. A few pieces kicking out at the bottom is enough. If every end bends the same way, the style can start to look overworked. A little mismatch feels more alive.
13. Side-Swept Bangs with Shoulder-Length Curls
Side-swept bangs make medium curls feel more deliberate. They give you a point of focus up front, which helps balance a fuller body through the sides and back. They also sit nicely with shoulder-length cuts because the fringe can blend into the first layer instead of hanging like a separate object.
Why the Bangs Work
The sweep keeps the forehead open on one side and soft on the other, which makes the style easier to wear than blunt curly bangs. If your curls shrink a lot, cut the bangs a touch longer than you think you need. That buys you room when they dry.
Styling Note
Use a smaller amount of product on the fringe than on the rest of the head. Bangs that are overloaded turn stringy fast.
14. Mini Puff at the Crown
A tiny puff at the crown is a small move with a big payoff. It lifts the face, clears the forehead, and gives medium curls a little height without turning the whole style into an updo. The rest of the hair stays down, so you keep the texture and length you actually want.
Grab the top third of the hair, smooth it just enough to tame flyaways, and secure it loosely with a small clip or elastic. Then pull a few curls forward near the temples. That little softness matters. If the puff is too tight, it starts to look like a school uniform. Leave it airy and the whole thing feels more grown-up.
15. Sleek Roots, Puffy Ends
Sleek roots and fluffy ends sound like a contradiction, but they work because the contrast gives the curls shape. The scalp area looks tidy, while the lower half keeps its spring and width. On medium hair, that balance helps the style feel controlled without going flat.
Use a brush or your palms with gel at the roots only, then stop. Don’t drag that product all the way down the strands unless you want a heavier finish. Let the ends keep their body. The result is a sharper top line and a softer lower line, which is one of those combinations that looks polished without becoming stiff.
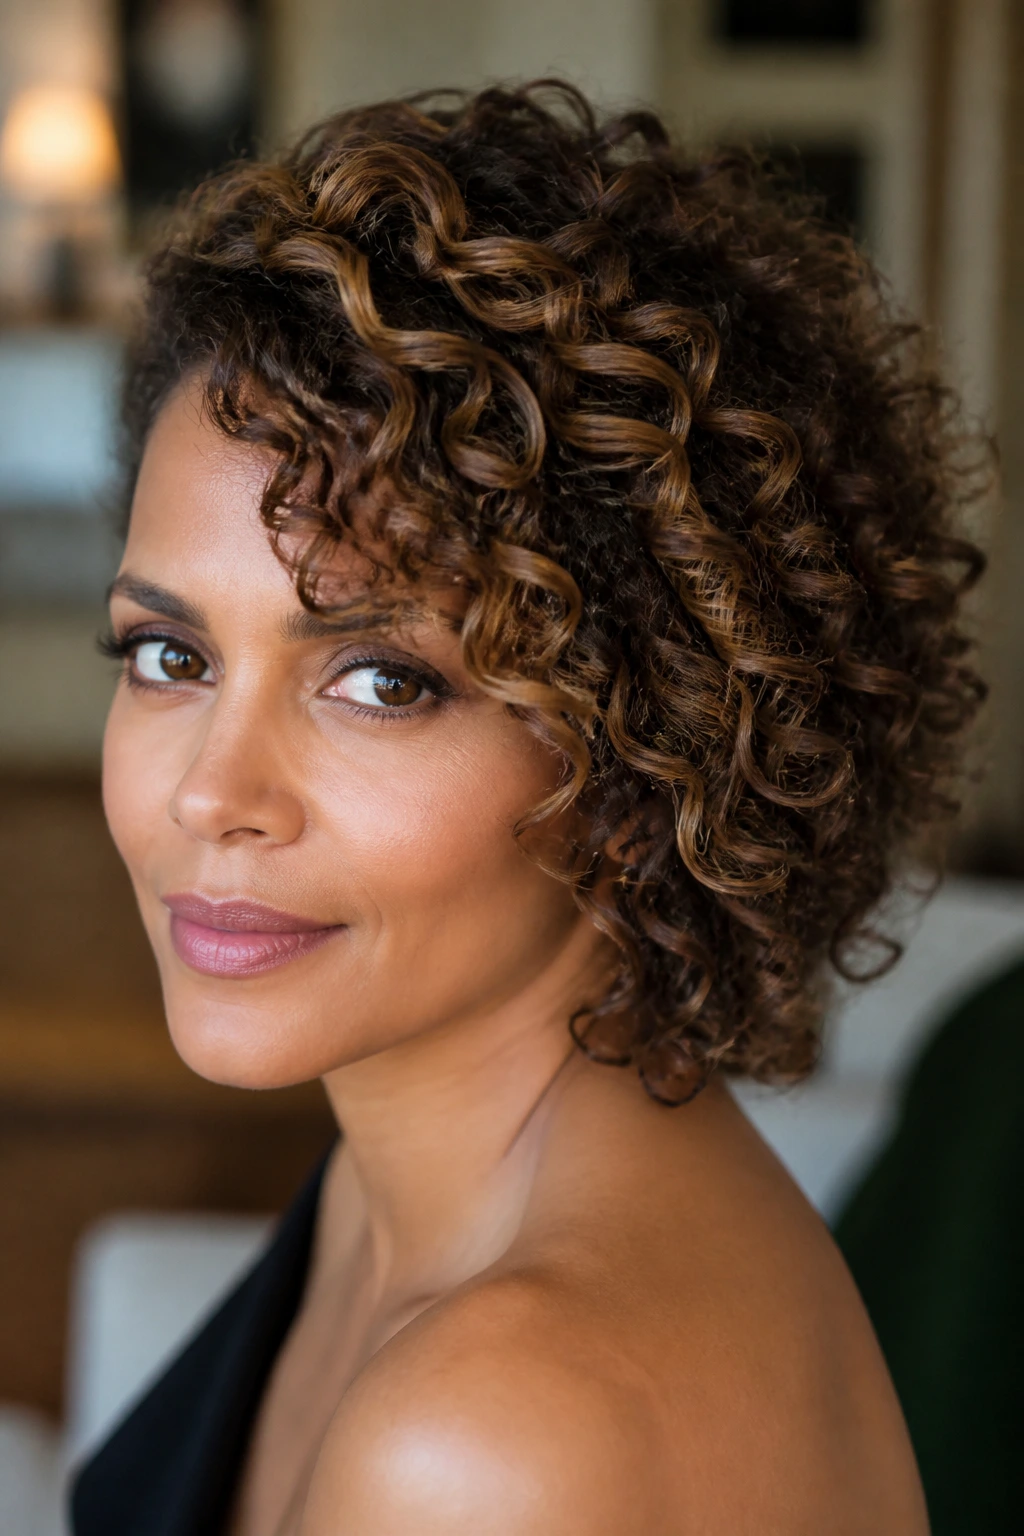
16. Defined Spiral Set with Shine Spray
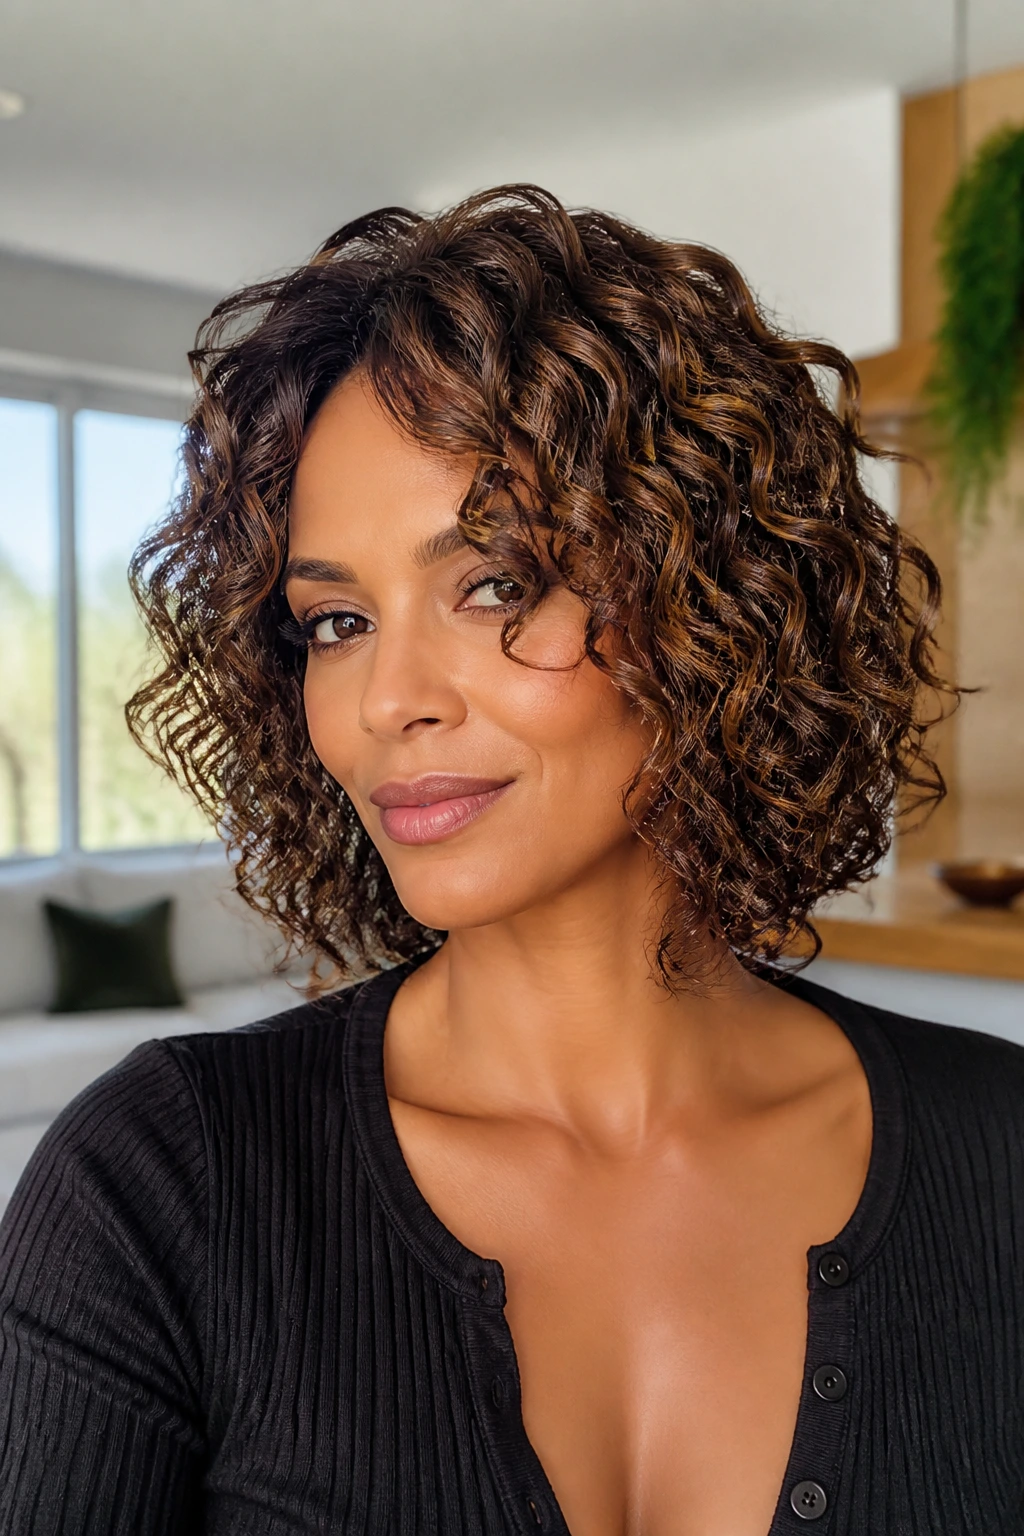
Defined spirals like a little structure. If your curl pattern is loose to medium-tight, this style gives the hair enough organization to read cleanly at collarbone length. Each section gets its own clump, and the overall shape looks neat because the spirals have the same kind of tension through the set.
The key is even sectioning. Keep the pieces similar in size, smooth each one with your fingers, and let the hair dry all the way before breaking up the clumps. A light shine spray at the end gives the curls a finished surface without flattening them. I’d use this for days when you want the texture to look precise instead of airy.
17. Asymmetrical Curly Cut
An asymmetrical cut changes the whole line of the face. One side sits a little longer, or the part falls a little heavier to one direction, and suddenly the curls feel sharper, more styled, less symmetrical in that predictable salon-bob way. It’s a good fit if your medium curls have a strong pattern and enough density to hold a shape.
The uneven line makes the eye travel. That’s the point. If you’ve got a rounder face or curls that tend to puff outward equally on both sides, the asymmetry breaks that width in a clean way. Keep the length difference subtle. You want a noticeable shift, not a dramatic lopsided cut that fights the curl pattern every morning.
18. Retro Curly Flip with Rounded Shape
Retro flip-outs bring a little swing to medium curls. The style has that rounded, brushed-out energy at the ends, but the curl texture still shows up through the body of the hair. It’s nostalgic without turning costume-y, which is where a lot of retro hair goes wrong.
Use a diffuser and direct the hair away from the face while drying. Then shape the ends with your fingers so they bend outward with a soft curve. If your curls are tight, stretch them a bit while damp before they set. That keeps the flip visible. A little shine serum on the outer layer gives the whole shape a smoother finish.
19. Braided Front Accent with Open Curls

A braid at the front keeps the hairline from stealing the show. That sounds blunt, but it’s true. On medium curly hair, the front section can either frame the face or crowd it. A slim braid along one side turns that section into a feature and leaves the rest of the curls free.
Keep the braid small and close to the scalp, then stop before it gets too heavy. Pin the tail under a curl so it disappears. The open lengths underneath stay loose, textured, and easy to fluff. This is one of those styles that looks more complicated than it is, which is probably why it works so well on busy mornings.
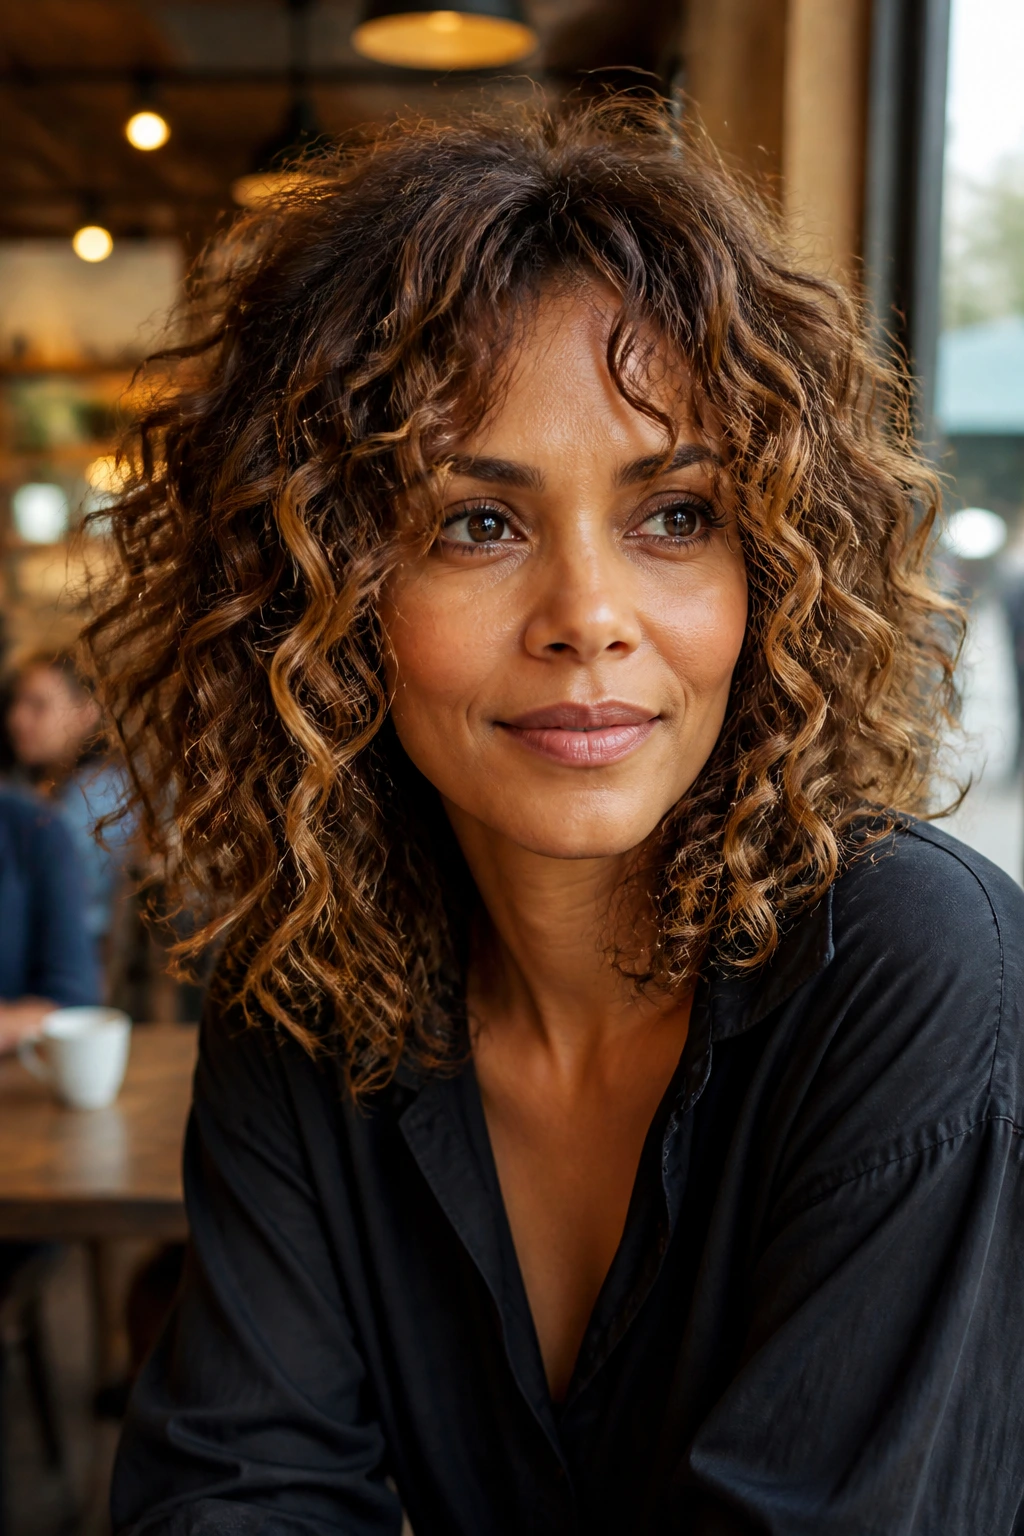
20. Air-Dried Lob with Soft Frizz
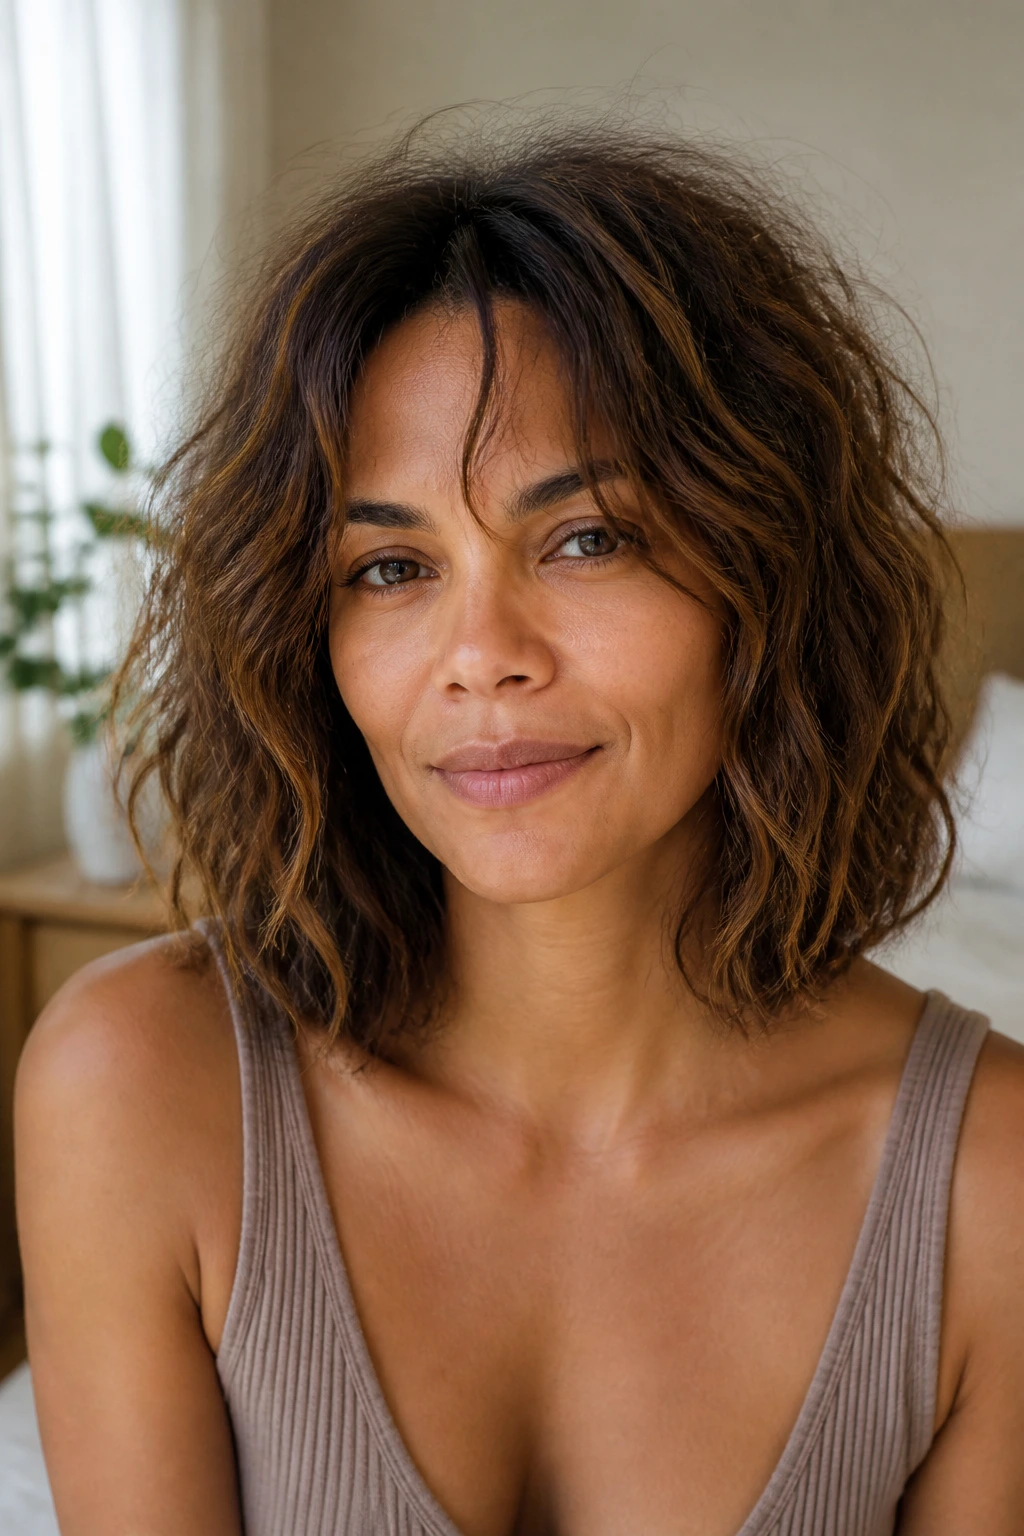
Air-dried hair looks best when you do less, not more. The trick is giving the curls enough support at the beginning so they can settle into a soft, natural outline later. On a medium lob, that means a light leave-in, a touch of mousse, and hands off once the hair starts to form.
The soft frizz around the crown is not a problem here. It’s part of the finish. A style like this feels relaxed because it doesn’t force each curl into a perfect group. If your curl pattern is uneven, this is one of the kindest shapes to wear. Let the ends curl, let the roots breathe, and keep the product light enough that the hair still moves.
21. Clipped-Back Glam Waves on Curly Hair
Clipped-back glam waves are old-school in the best way. They borrow a little from evening styling, a little from red-carpet hair, and a little from the practical need to keep curls off the face when they’re fully built out. On medium hair, a few good clips can do a lot.
Work with loose bends rather than tight spirals. Smooth the front sections back, pinch them into soft wave shapes, and pin them near the temples or just above the ears. Then let the rest fall. The style should feel controlled at the front and free everywhere else. If the clips are decorative, keep the rest of the hair quiet so the whole look doesn’t fight itself.
22. Layered Curly Cut with a Deep Off-Center Part
A deep off-center part lands between casual and polished. It has enough asymmetry to soften the face, but it doesn’t carry the strong drama of a true side part. On layered medium curls, that little shift can be the difference between “nice hair” and “that looks styled.”
The layers help the top section fall without creating a heavy wall on one side. If you’ve got a lot of density, this is one of the easiest ways to avoid the pyramid shape. Place the part a little off the highest point of the arch in your eyebrow, then let the curls dry in place. The style grows better as the day goes on.
23. Twist-Out with Soft Separation
Twist-outs are a cheat code for stretched curls. They give medium hair a more elongated shape, which can be useful when the curls are shrinking too high or when you want the silhouette to sit closer to the shoulders. The finish is softer than a rod set, and a bit more relaxed than a full blow-dry.
How to Use It
Set the hair in medium twists overnight or for several hours, then unravel with oiled fingertips. Don’t separate too much. One pass is usually enough, because over-fluffing can turn the shape fuzzy fast.
Why It Belongs Here
The twist-out keeps the texture visible while giving you more control over the outline. That’s the sweet spot for medium-length curls.
24. Tapered Volume at the Crown
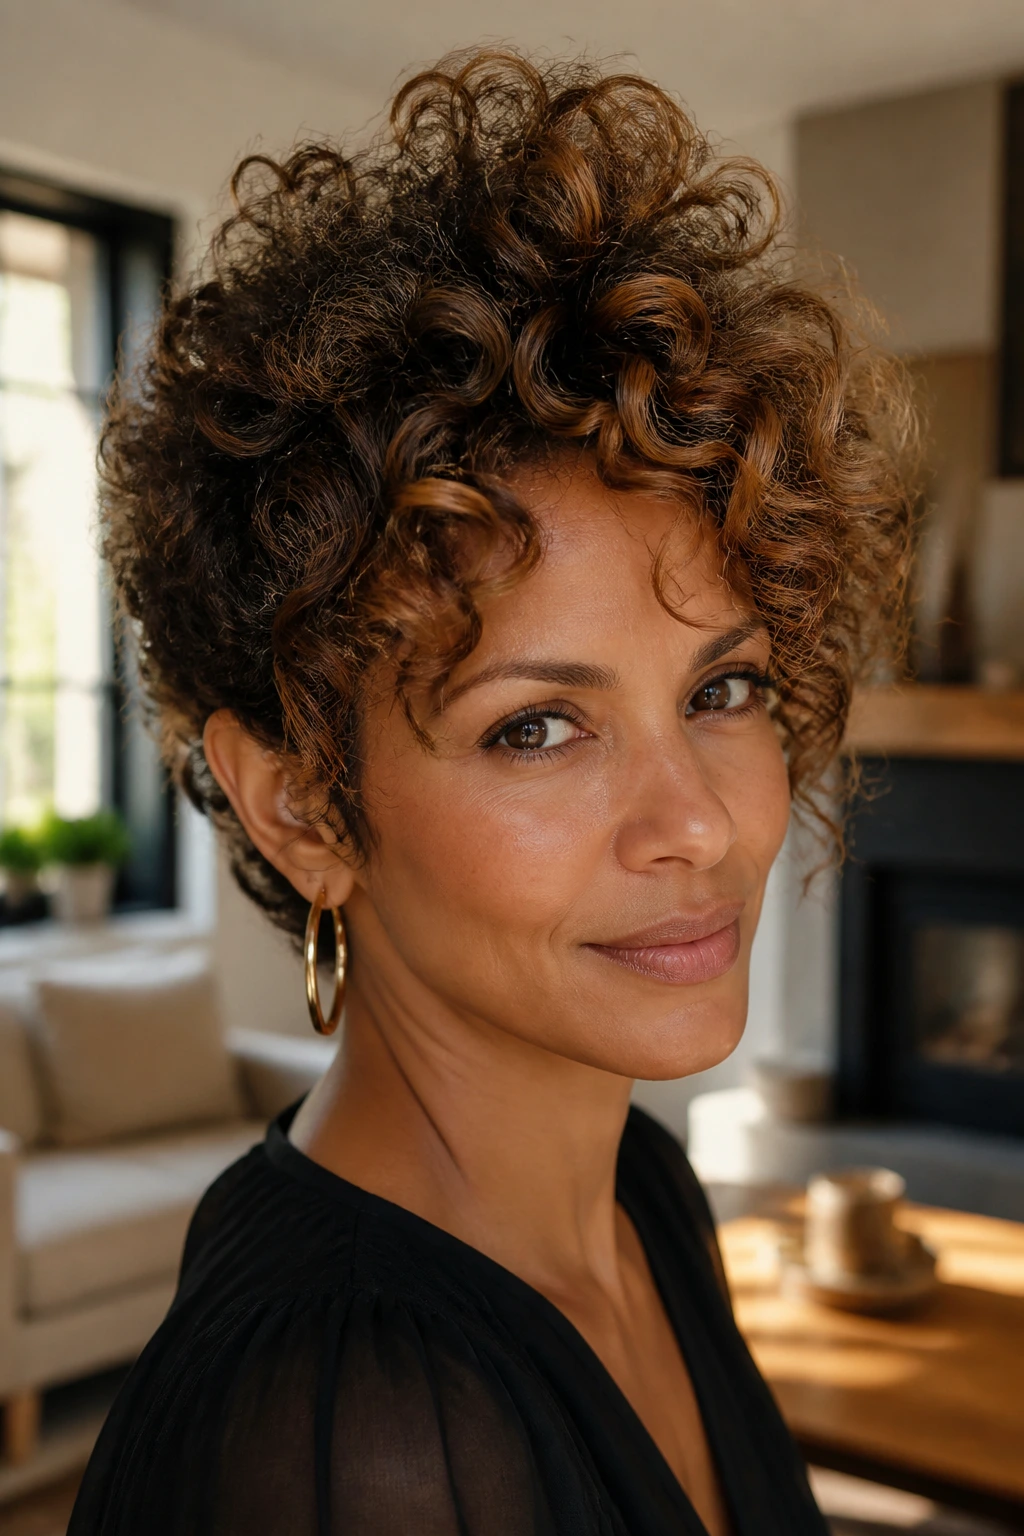
Crown volume is the move when the face needs height. It makes the head read taller, not wider, which is a useful trick on medium curly hair that tends to spread out horizontally. The taper through the sides and nape keeps the shape clean while the top gets a little drama.
Ask for more length left through the crown and less bulk at the outer edges. Then clip the roots upward while the hair dries. That root direction matters more than people think. If the crown dries flat, the whole shape loses energy. With the lift in place, though, the curls sit like they were meant to be there all along.
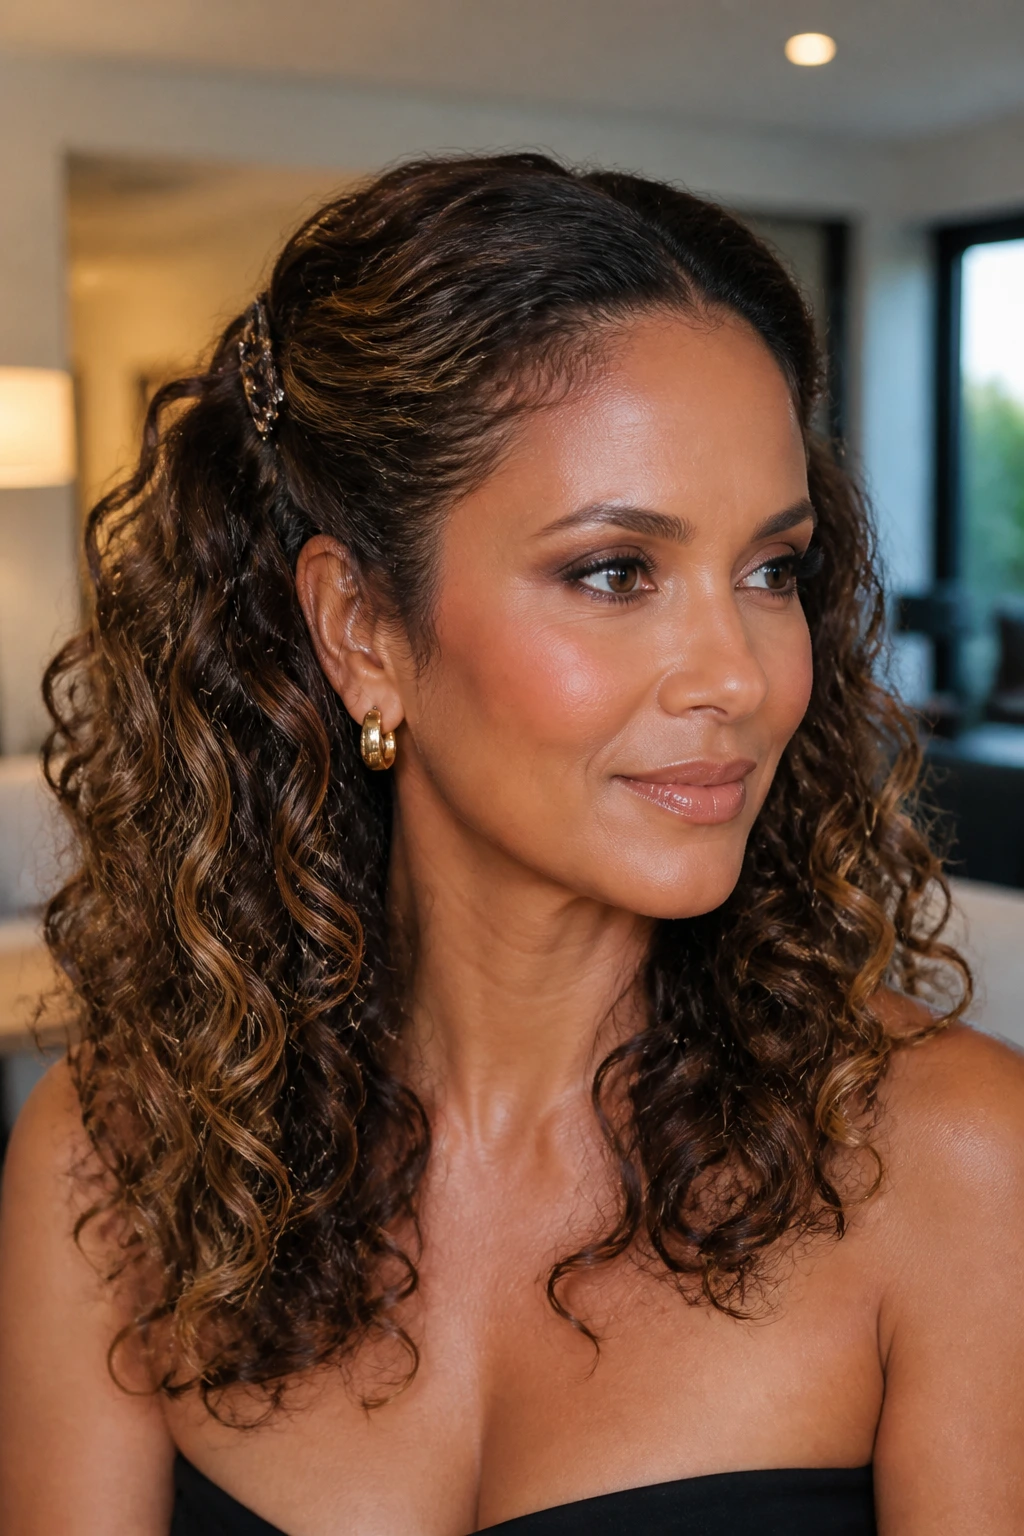
25. Glossy Side-Pinned Curls for Evening
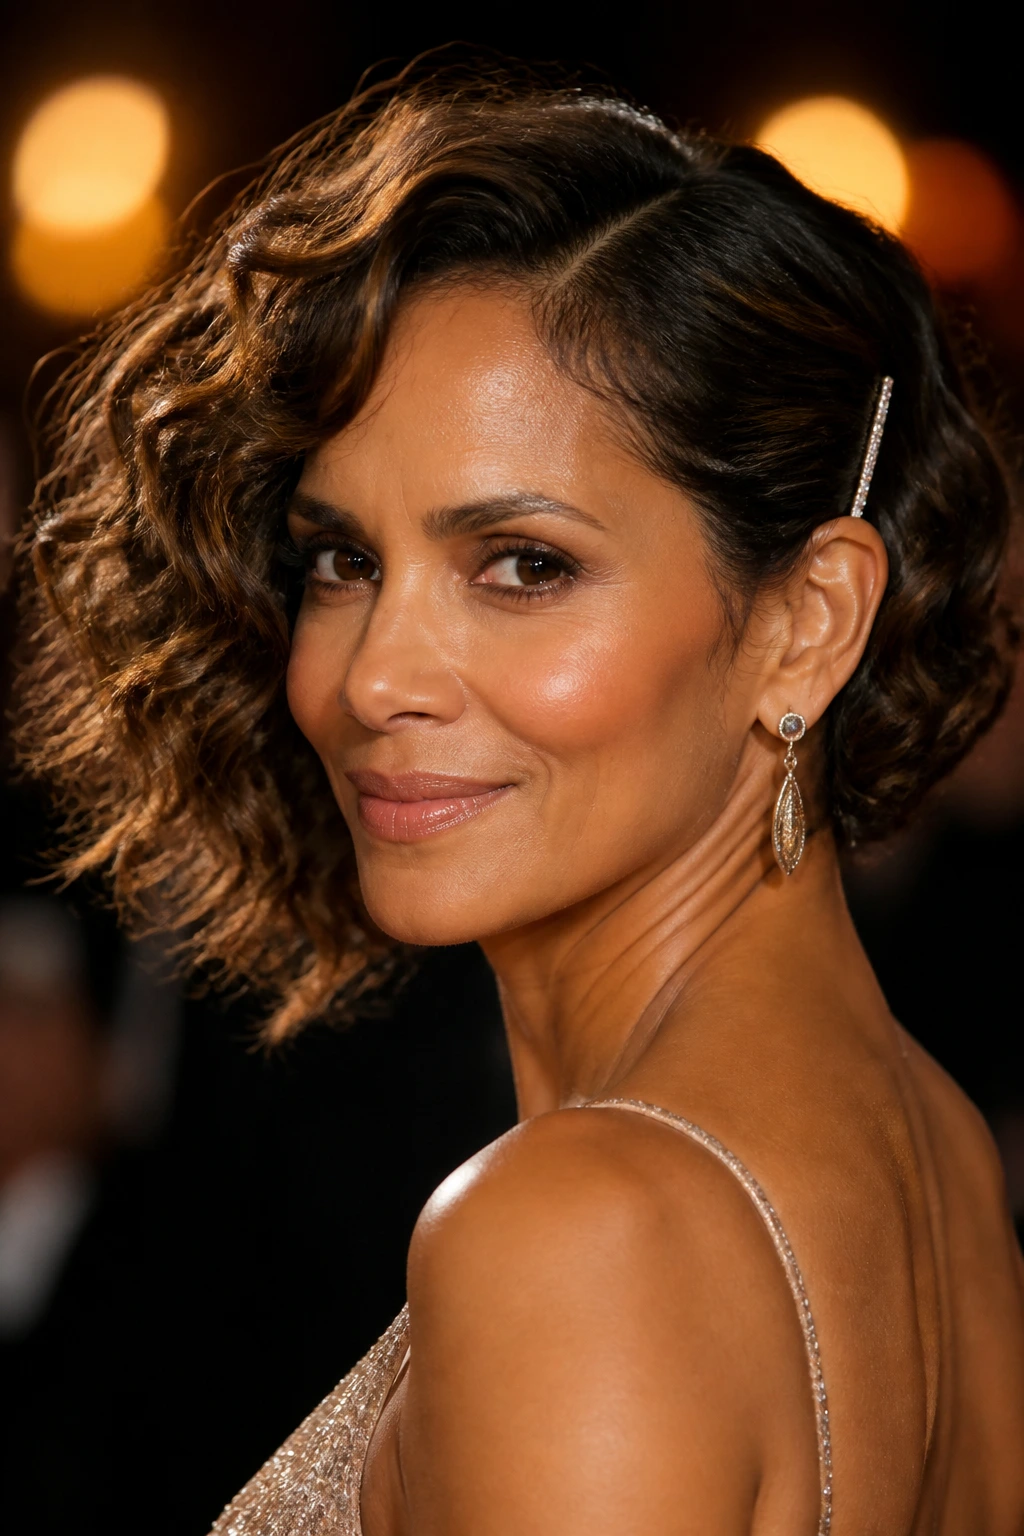
A side pin can be enough to make curls feel finished. This last look is simple, but not plain: one side is tucked back with a clean clip, the curls are glossy, and the overall shape leans softly away from the face. It works because the hair is allowed to stay curly. It’s just guided a little.
Use a small amount of serum or shine cream on the outer layer only, then place the pin where the part begins to open. Avoid anything too bulky. The finish should look deliberate, not overstyled. If you want one curly hairstyle here that can move from dinner to a late event without changing much, this is the one.
Why Medium Curly Hair Loves a Little Structure
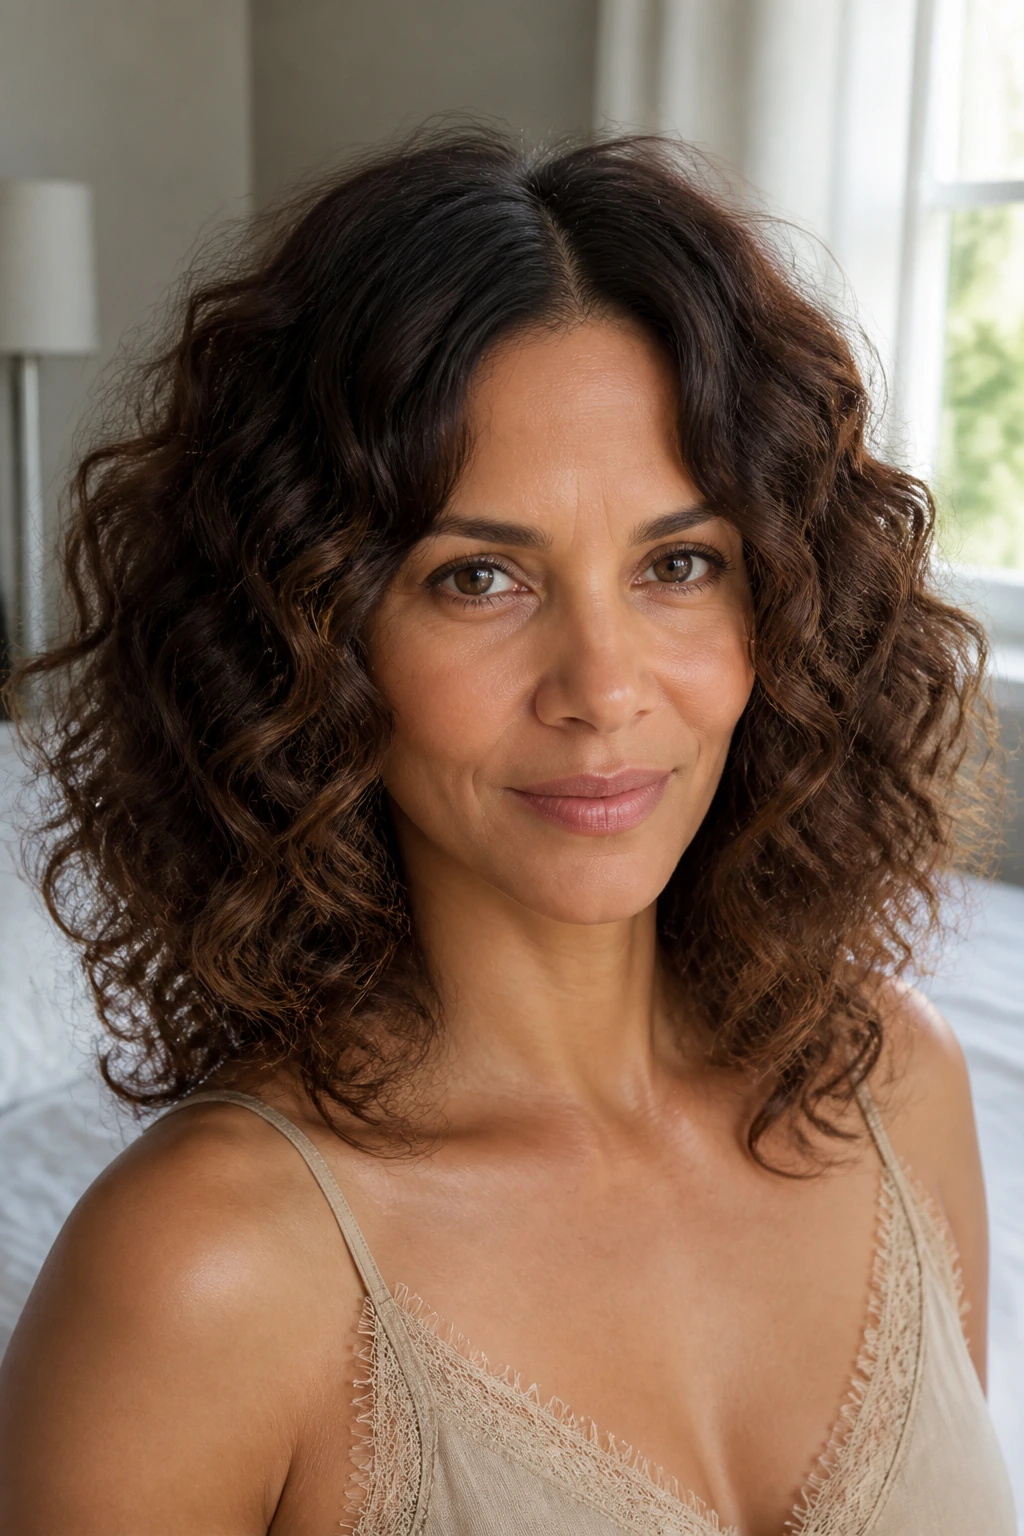
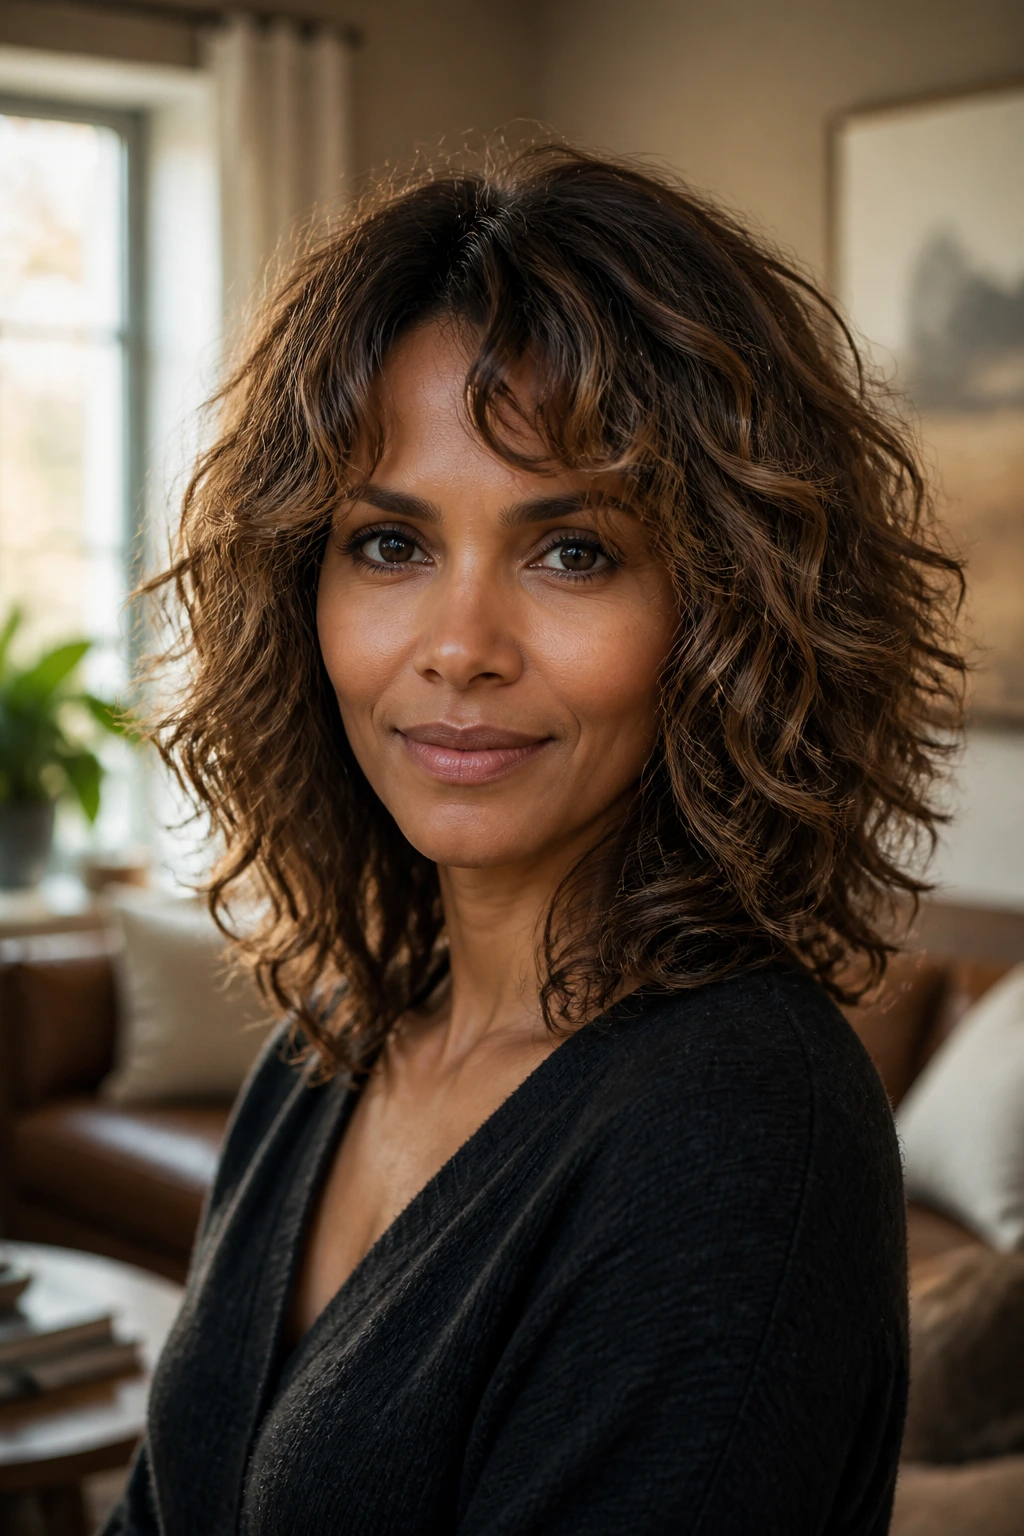
Medium curls behave best when they know where to go. That’s the whole game. A blunt, one-length cut can work, but it often needs more effort to stop the sides from puffing wide or the ends from looking heavy. Add a side part, a few internal layers, or a slight asymmetry, and the same curls suddenly read cleaner. The shape starts doing the work.
The other reason Halle Berry-inspired styles suit medium hair is that they leave enough length for movement without dragging the curl pattern down. Hair that sits right at the shoulders can get caught in a weird middle zone where it flips outward, catches on collars, or loses spring from day to day. Medium length avoids that problem when the cut is shaped properly. It still sways. It still lifts. It just behaves with a little more manners.
I also like how forgiving this length can be with curls that are not identical from side to side. A looser front section, a tighter patch near the nape, a crown that dries slower than the ends — none of that ruins the style. It just means the cut needs enough structure to absorb the difference. That is where side parts, face-framing layers, and lifted roots earn their keep.
Tools That Keep These Styles From Falling Flat
The right tools do not need to be fancy. They just need to stop you from fighting your own texture.
- Diffuser attachment: Use it on low heat and low speed to dry curls with more shape and less frizz.
- Microfiber towel or cotton T-shirt: This cuts down on roughness after washing; terry-cloth towels can snag the cuticle and make the hair puff.
- Wide-tooth comb: Best for detangling in the shower while conditioner is still in the hair.
- Duckbill clips or small claw clips: These lift the roots while the hair dries, which is half the magic in medium curly styles.
- Tail comb: Useful for clean parts, especially side parts and off-center lines.
- Bobby pins and decorative clips: Needed for half-up twists, side pins, and temple accents.
- Spray bottle: Helps refresh second-day hair without soaking it to the scalp.
- Satin bonnet or pillowcase: Not glamorous, but absolutely worth it if you want the shape to survive the night.
- Denman-style brush or curl brush: Good for defining clumps when you want more uniform curl shape.
- Lightweight serum: A few drops can soften the outer layer of a finished style without flattening it.
Smart Product Picks for Curl Definition and Hold
Product shopping gets easier when you stop looking for one miracle formula and start matching products to the shape you want. A curl cream gives slip and softness, but it can also weigh down medium curls if the hair is fine or easily stretched. Mousse is lighter and better for root lift and airy volume. Gel gives hold, which matters if you want the style to last past lunch without turning fuzzy.
My bias is simple: if your curls already hold a decent shape, lead with mousse at the roots and a lighter cream through the mids and ends. If your pattern is looser and needs help clumping, start with a cream, then seal with gel on the outer layer. If your hair is dense and prone to puffing, use a stronger gel on wash day and keep oils to the final finish only.
Also, read the texture of the product, not the marketing language on the bottle. Thick butters usually suit drier, tighter curls better than medium hair that needs movement. A watery leave-in can disappear too fast. A medium-hold gel with a soft cast often lands in the sweet spot because it gives the curl a shape without turning it crunchy for half the week.
How to Wear These Looks With Earrings, Necklines, and Makeup
Presentation: Keep the part and the crown in conversation. A lifted side part suits hoop earrings and sharp cheekbone makeup, while a center part usually looks better with a cleaner neckline and a little more volume at the sides.
Accompaniments: Medium curly styles love collars that leave room around the neck. Scoop necks, V-necks, off-the-shoulder tops, and blazers with a simple lapel work better than bulky turtlenecks when the curls are already full. Small hoops, sculptural studs, and hair clips with a matte finish all sit nicely with this texture.
Portions: If your hair is dense, keep the shape more compact at the crown and let the length do the talking. If it’s finer, use a smaller amount of product and build lift with clips rather than layers of cream. The goal is not max volume. The goal is the right amount of volume in the right place.
Best Pairings: The sleek-root styles suit polished makeup and statement earrings. The shag, twist-out, and air-dried looks wear well with a softer face and less structure everywhere else. That contrast helps the hair stay the star instead of competing with the rest of the outfit.
Additional Tips and Shape Tweaks
Flavor Enhancement: A pea-sized drop of shine serum rubbed between the palms can make the outer layer look more finished, especially on side-pinned curls or a wet-look lob. Don’t coat the whole head. Just glaze the top.
Customization: If your curls are looser, use mousse and a diffuser to keep the shape buoyant. If they’re tighter, stretch the set slightly while drying so the length doesn’t shrink too high and crowd the face.
Serving Suggestions: Small clips at the temple, a side pin with a little sparkle, or a single braid along the front can change the whole mood without requiring a full restyle. I like that kind of tweak because it feels like clothing for the hair, not a rescue mission.
Make-It-Yours: If you prefer low-maintenance styling, choose shapes that improve as they relax — the shag, the air-dried lob, the twist-out. If you want a cleaner finish, lean toward the sculpted wash-and-go, the deep side sweep, or the glossy side-pinned look. No need to force one personality onto every curl pattern in the room.
Night Wraps, Morning Refreshes, and Trim Timing

Medium curly styles last longer when you protect the shape at night instead of trying to fix everything in the morning. A satin bonnet or pillowcase helps reduce friction, and a loose pineapple at the crown keeps the curls from flattening against the pillow. For styles with a side part or pinned front, I’d clip the part back into place before bed so the line does not wander overnight.
Most of these looks can survive 2 to 4 days if you refresh them properly. On day two, mist the hair lightly with water and a little leave-in on the mids and ends, then scrunch or finger-shape the curls back into place. On day three, use a bit more targeted steam or a diffuser on low heat to wake up the roots. If the shape has gone limp by day four, that is usually a sign the style needs more hold next time, not that you failed.
Trims matter too. Medium curly hair that is trying to do sides, crown lift, and face-framing pieces usually benefits from a shape refresh every 8 to 12 weeks. If the ends start sticking out instead of curling under, or the sides become boxy, the cut has probably outgrown its shape.
Common Mistakes That Make Medium Curls Look Wider or Weaker
The first mistake is overloading the hair with heavy cream or oil. The curls may feel soft at first, but the crown goes flat and the sides puff out by midday. Fix it by using less product at the roots and reserving heavier formulas for the last few inches.
Another one: brushing dry curls to “fix” them. That nearly always turns one neat shape into a frizzed-out cloud. Use fingers, a wide-tooth comb in the shower, or a mist bottle if you need to rework the pattern. Dry brushing is how medium curls lose their line.
People also place the part too late, after the hair has already set. Then the roots fight the change and the style looks split in the wrong spot. Pick the part when the hair is wet or damp, and clip the roots where you want them to stay.
The last big one is ignoring the crown. Medium curls need lift there, or the whole shape reads wide and tired. A couple of root clips for twenty minutes can change more than an extra tablespoon of product ever will.
Variations and Adaptations to Try

The Looser Wave Version: If your curl pattern sits closer to a wave, swap gel-heavy styling for mousse and a lighter cream. You’ll get more movement and less crunch, which keeps the style from going too stiff.
The Tighter Coil Version: For tighter curls, stretch the crown a little while drying and keep the front pieces longer. That prevents the silhouette from climbing upward and losing the medium-length feel.
The Office-Polished Version: Choose side pins, a deep off-center part, or a sleeker root with softer ends. It keeps the style neat enough for work without flattening the texture.
The Weekend-Undone Version: Go with an air-dried lob, a shag, or a twist-out and leave a little frizz around the hairline. This is the easiest version to live in, and honestly, it often looks the most natural.
The Evening-Shine Version: Reach for glossy finish products, a clipped-back front section, and one strong accessory. The hair should reflect light without feeling coated.
The Low-Manipulation Version: Pick a wash-and-go, a mini puff, or pinned temple sides. These styles need fewer touch points, which is helpful if your curls dislike too much handling.
Frequently Asked Questions About Halle Berry Hairstyles for Medium Hair with Curly Hair
Will these styles work on loose curls as well as tighter curls?
Yes, but the finish changes. Loose curls usually need more help from mousse or root clips to keep the shape from drooping, while tighter curls often need a little stretching so the length stays visible.
What face shapes do these medium curly styles suit best?
Side parts and asymmetrical shapes help soften rounder faces, while center parts and crown lift can balance longer faces. The nice part is that small changes — where the part sits, where the shortest layer falls — can shift the whole result.
Can I do these looks without heat?
Most of them, yes. Diffusing is helpful, but not mandatory. The shag, twist-out, mini puff, side pin, and air-dried lob all work well with air-drying if your curl pattern is responsive.
How do I stop my curls from getting too wide at the sides?
Use internal layers, keep product light at the roots, and direct some of the curl movement upward or downward instead of straight out from the head. A side part also helps break that width line.
Do I need a haircut for these, or can I style my current medium hair?
You can style a lot of them with what you already have, but the layered versions do look better on a cut that has been shaped for curls. If your hair is one blunt line from root to end, some of these styles will fight the haircut.
What should I do if my roots go flat by noon?
Start with less cream and more mousse at the root area, then clip the crown while drying. If that still fails, your hair may need a stronger hold product or a shorter dry time before you start touching it.
Which of these styles is easiest for second-day hair?
The side-pinned looks, the half-up crown twist, and the mini puff are the easiest to revive. They don’t need every curl to behave, which is helpful when the day-old pattern has gone a little uneven.
How often should I trim medium curly hair to keep these shapes?
A trim every 8 to 12 weeks usually keeps the layers from losing their shape. If the ends start flipping in odd directions or the curls sit too heavy at the bottom, the cut has probably gone past its sweet spot.
A Little Lift Goes a Long Way
The best Halle Berry-inspired styles for medium curly hair do not rely on one magic trick. They rely on shape. A part that moves the eye. A crown that keeps a little height. Layers that let the curls sit where they want to sit instead of fighting the head shape all day.
That is the part worth remembering. Medium curls look their best when they are guided, not bullied. Keep the root lift honest, keep the ends soft, and choose a silhouette that works with your density instead of against it. The rest is just finishing work.