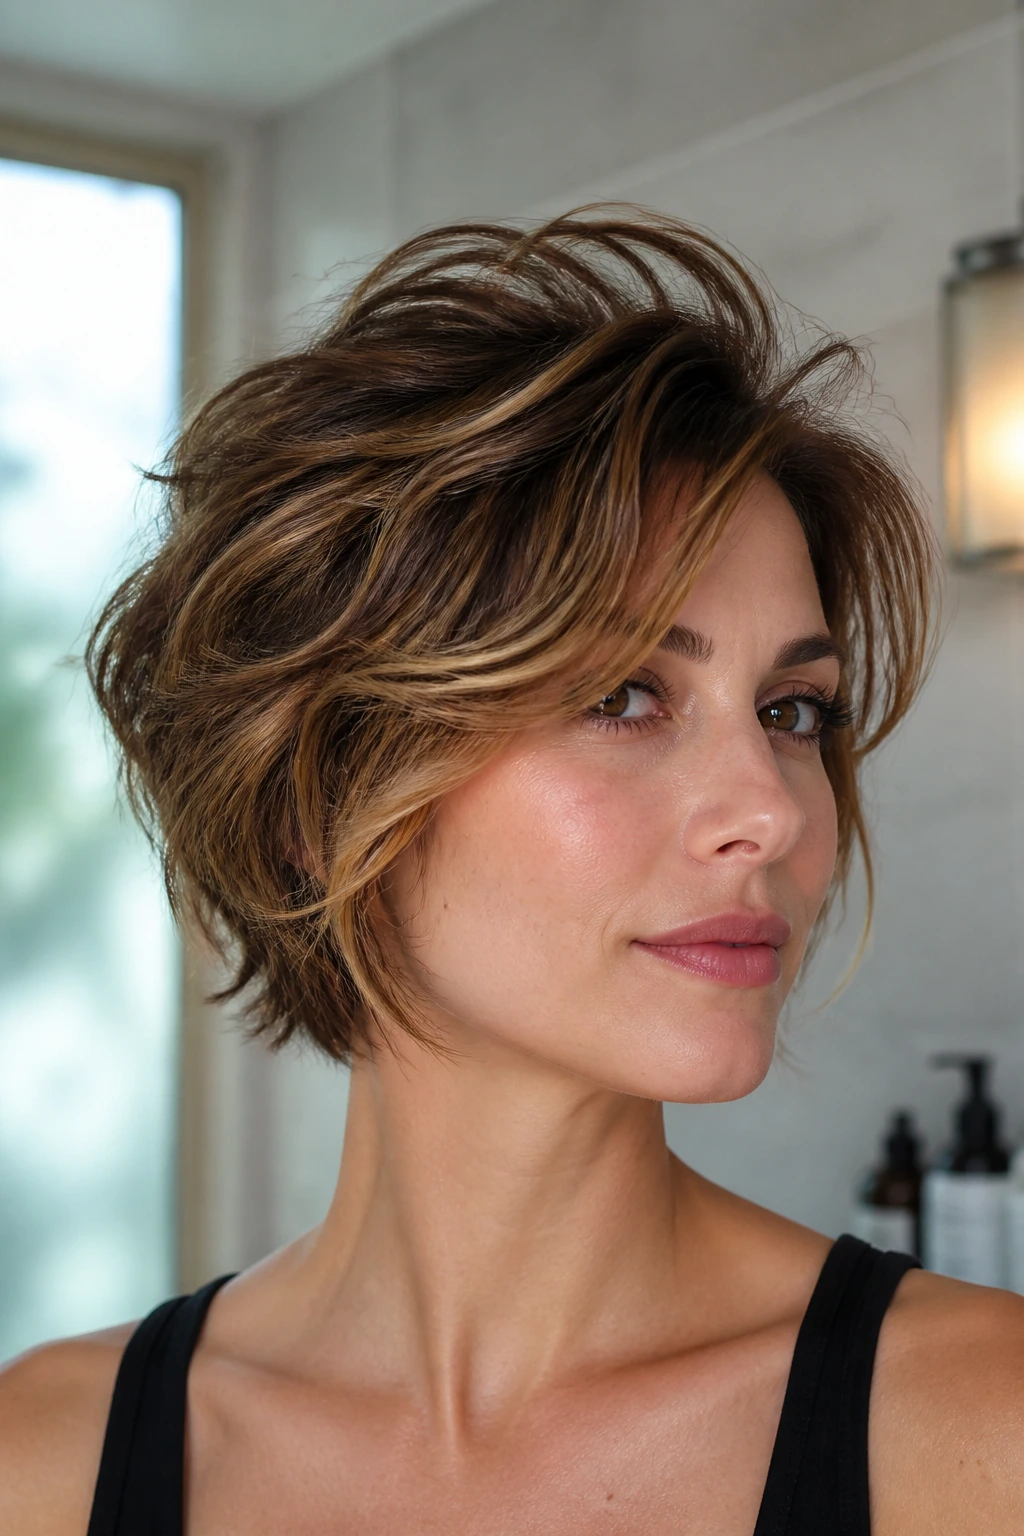
Short hair can go flat in a hurry. That’s exactly why messy hairstyles for short hair with beachy waves work so well: the bend shows up fast, the shape stays visible, and a little roughness reads as style instead of neglect.
The trick is not to curl everything. It’s to give the cut a few smart bends, leave the ends a touch stubborn, and let the texture sit where the eye actually lands — around the jaw, the cheekbones, and the front pieces.
I like this family of looks because they don’t ask for perfect symmetry. A little asymmetry, a tucked side, a clip, a braid, a mist of salt spray — that’s usually enough. If your short cut has been feeling too tidy, these 25 shapes pull it back toward something softer and more alive.
Why These Messy Waves Work So Well on Short Hair
Less length means less drag. On short hair, the wave doesn’t have to fight gravity the way it does on long hair, so a bend near the cheekbone or the jaw can carry the whole style.
Texture shows faster. A blunt bob or cropped pixie can look flat if it’s too smooth, but one roughened section changes the whole silhouette. That’s why a single tucked side or a loose front wave can matter so much.
The ends stay visible. With shorter hair, the tips are right there in your face, which is why leaving the last half-inch straighter often looks better than curling everything into a tiny spring.
Accessories finally make sense. Clips, scarves, and slim headbands don’t disappear into the length; they become part of the haircut instead of a side note.
Second-day hair can be better than day one. Short waves often get a little pieceier after sleeping, and that extra separation is exactly what gives them that lived-in feel.
- Length-Smart Shape: Short hair needs fewer curls, not more.
- Easy to Reset: A quick mist, a finger rake, and one or two re-bent front pieces usually brings the shape back.
- Built for Imperfection: A slight bend that breaks apart at the ends looks better here than a perfect spiral.
- Works With Real Life: You can tuck, clip, pin, or scarf these styles without fighting the cut.
What a Short Beach Wave Needs to Hold Its Shape
Short hair is picky. Not difficult, exactly — just honest. If the product is too heavy, the style collapses. If the barrel is too large, the bend disappears before lunch. If the cut has no layers at all, the wave can sit on top like decoration instead of blending into the shape.
The cut matters first
A blunt bob and a shaggy crop do not want the same finish. A blunt line usually needs more bend at the ends and a little root lift so it doesn’t look like a helmet. A layered cut can handle softer, messier separation because the hair already has movement built in.
Product has to match density
Fine hair likes mousse, dry shampoo, and airy texture spray. Thick hair usually needs a light smoothing cream under the wave, then a flexible finish on top. Heavy oils and rich masks are the wrong move right before styling. They make short hair slide out of shape.
Heat is a tool, not the whole job
A 3/4-inch wand can do wonders on a pixie. A 1-inch iron works better on bobs and longer crops. Flat irons are underrated here, especially for bends, flips, and those face-framing pieces that look better waved than curled. The point is not ringlets. The point is control.
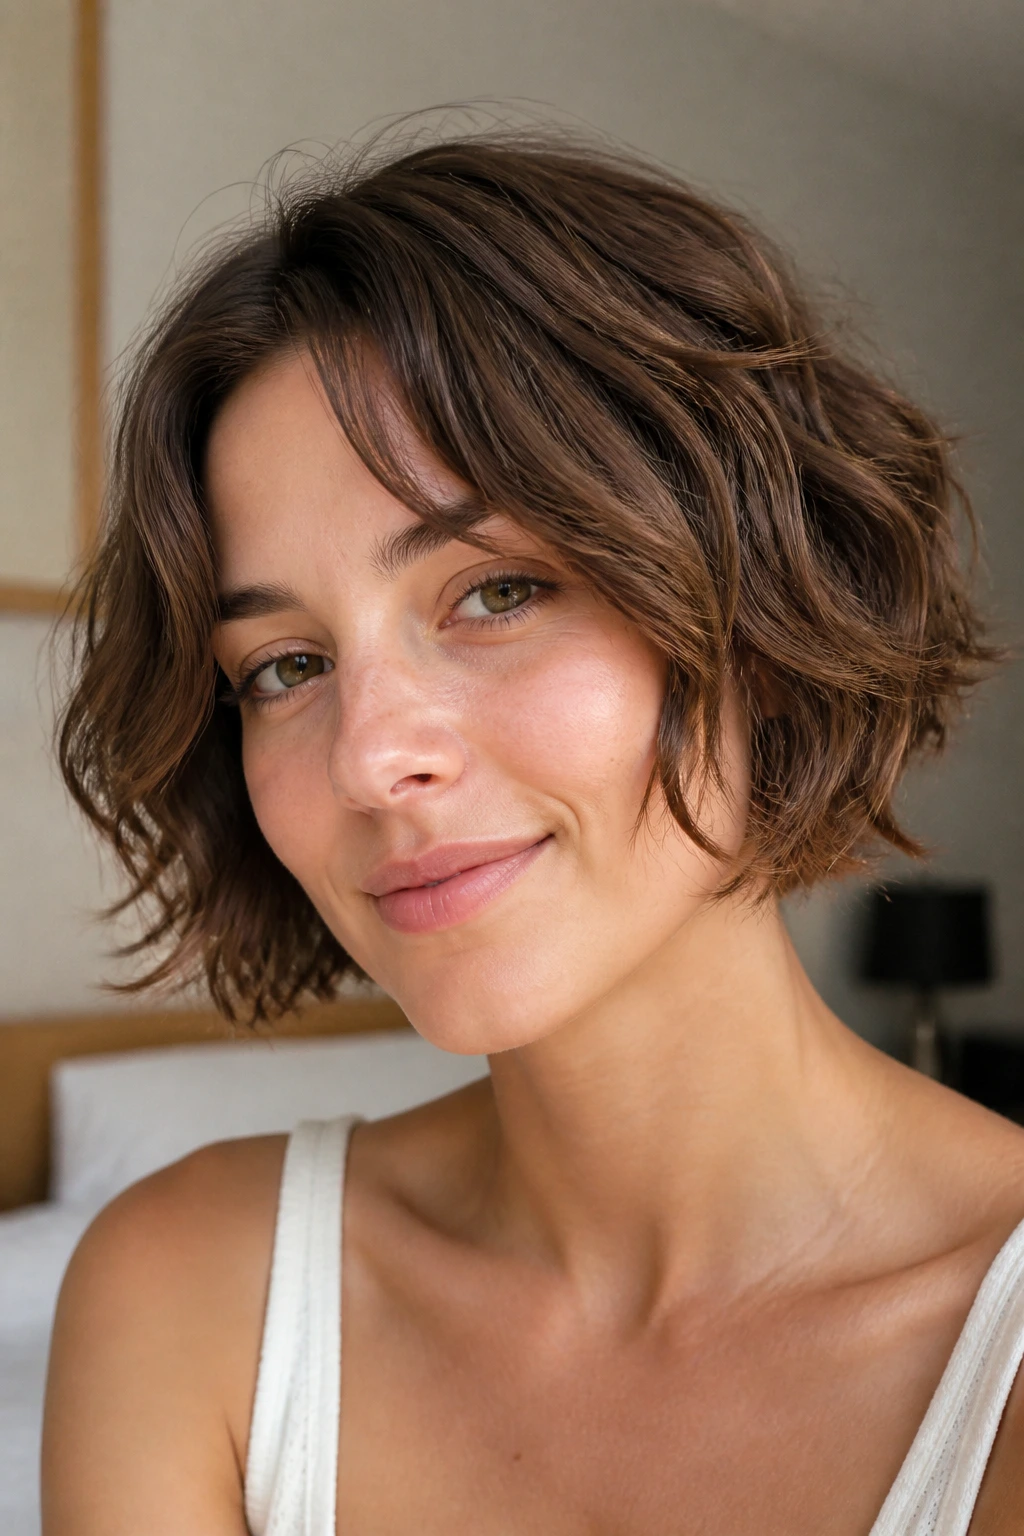
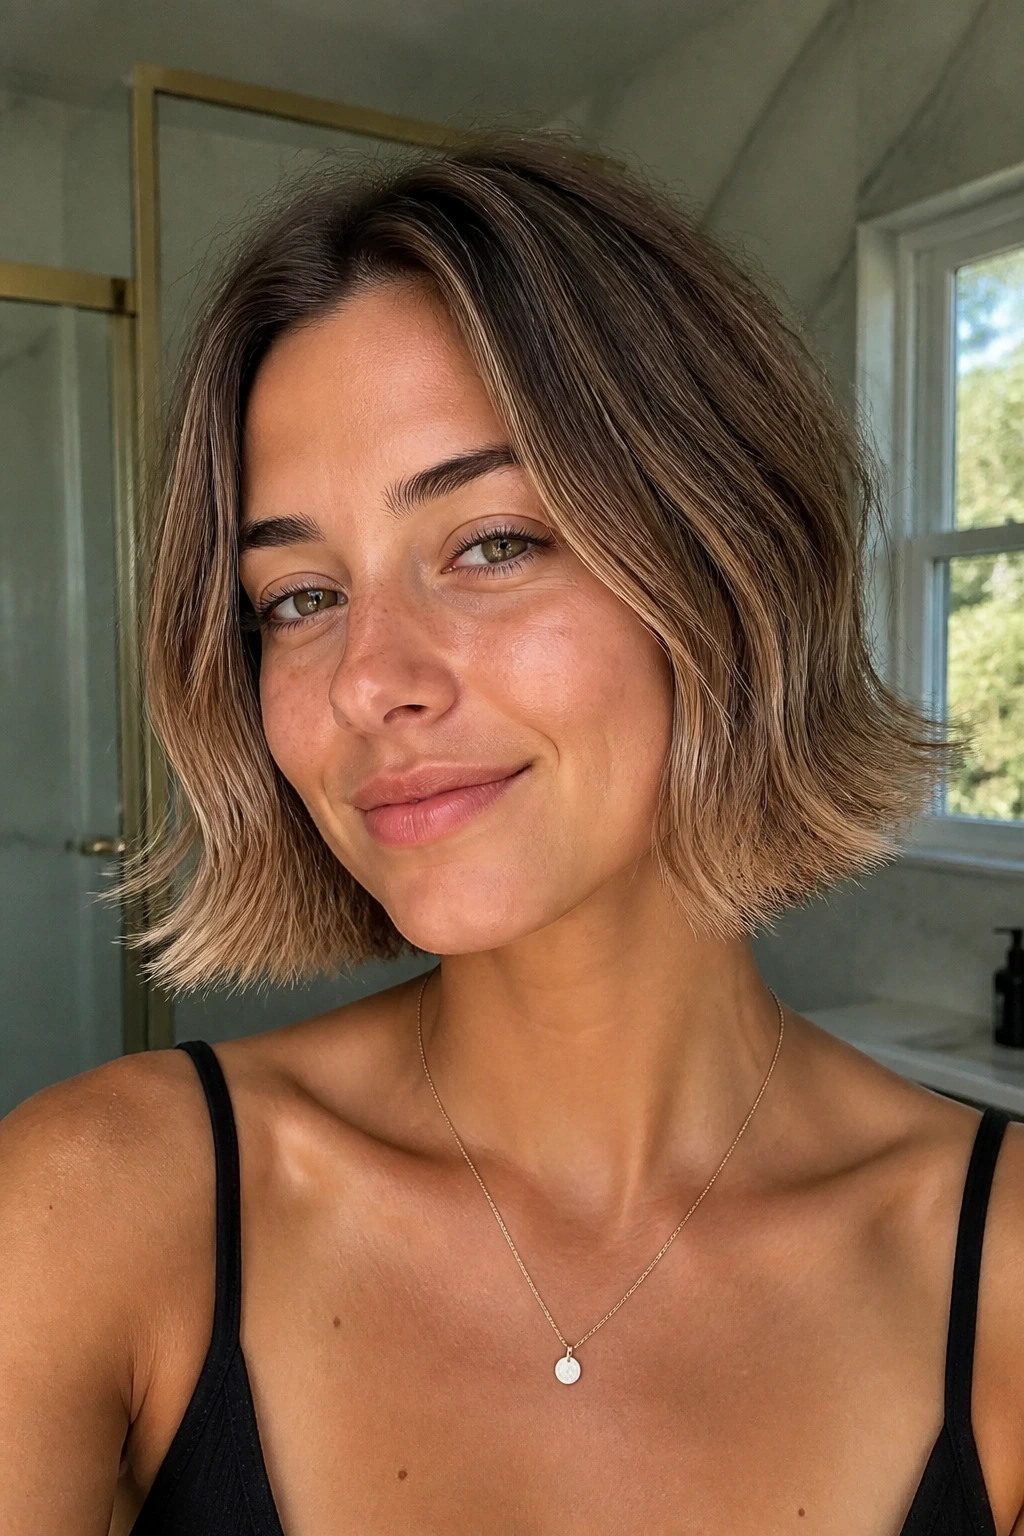
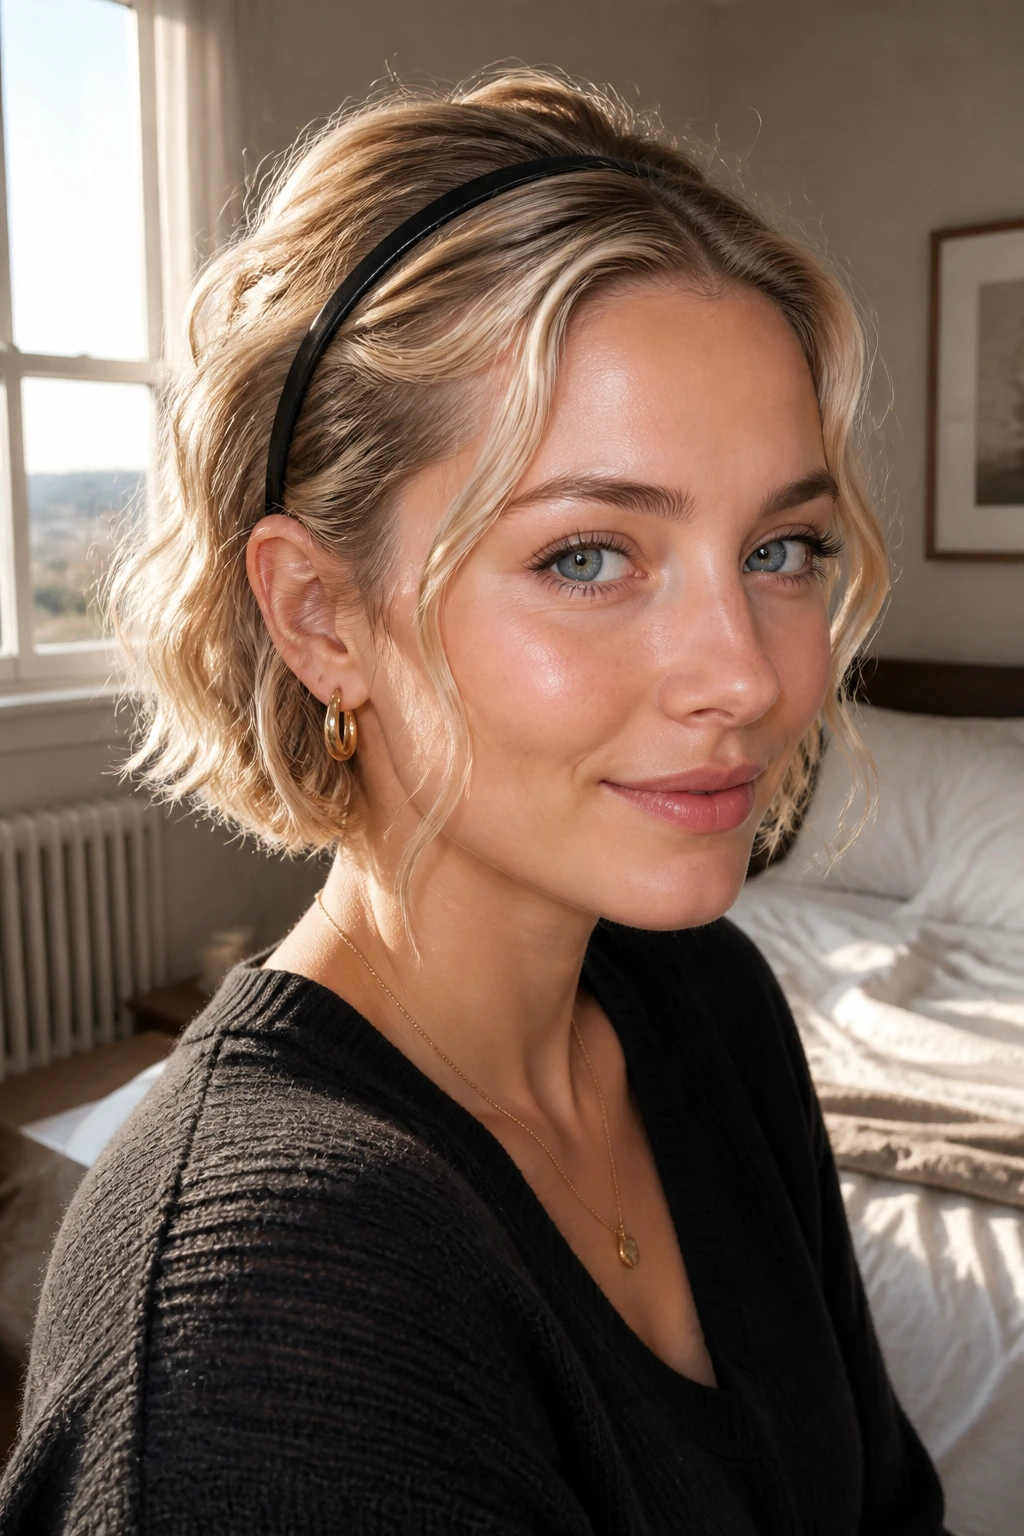
1. The Salt-Sprayed French Bob
This is the shape I reach for when I want short hair to look cool without looking rehearsed. The cut sits around the chin, the part stays soft, and the wave bends just enough to blur the edge of the bob.
A 1-inch wand works best here. Wrap 1-inch sections away from the face around the middle of the strand, leave the last half-inch out, then rake everything loose once it cools. A mist of sea-salt spray underneath the top layer gives it that dry, airy grip without turning the surface crunchy.
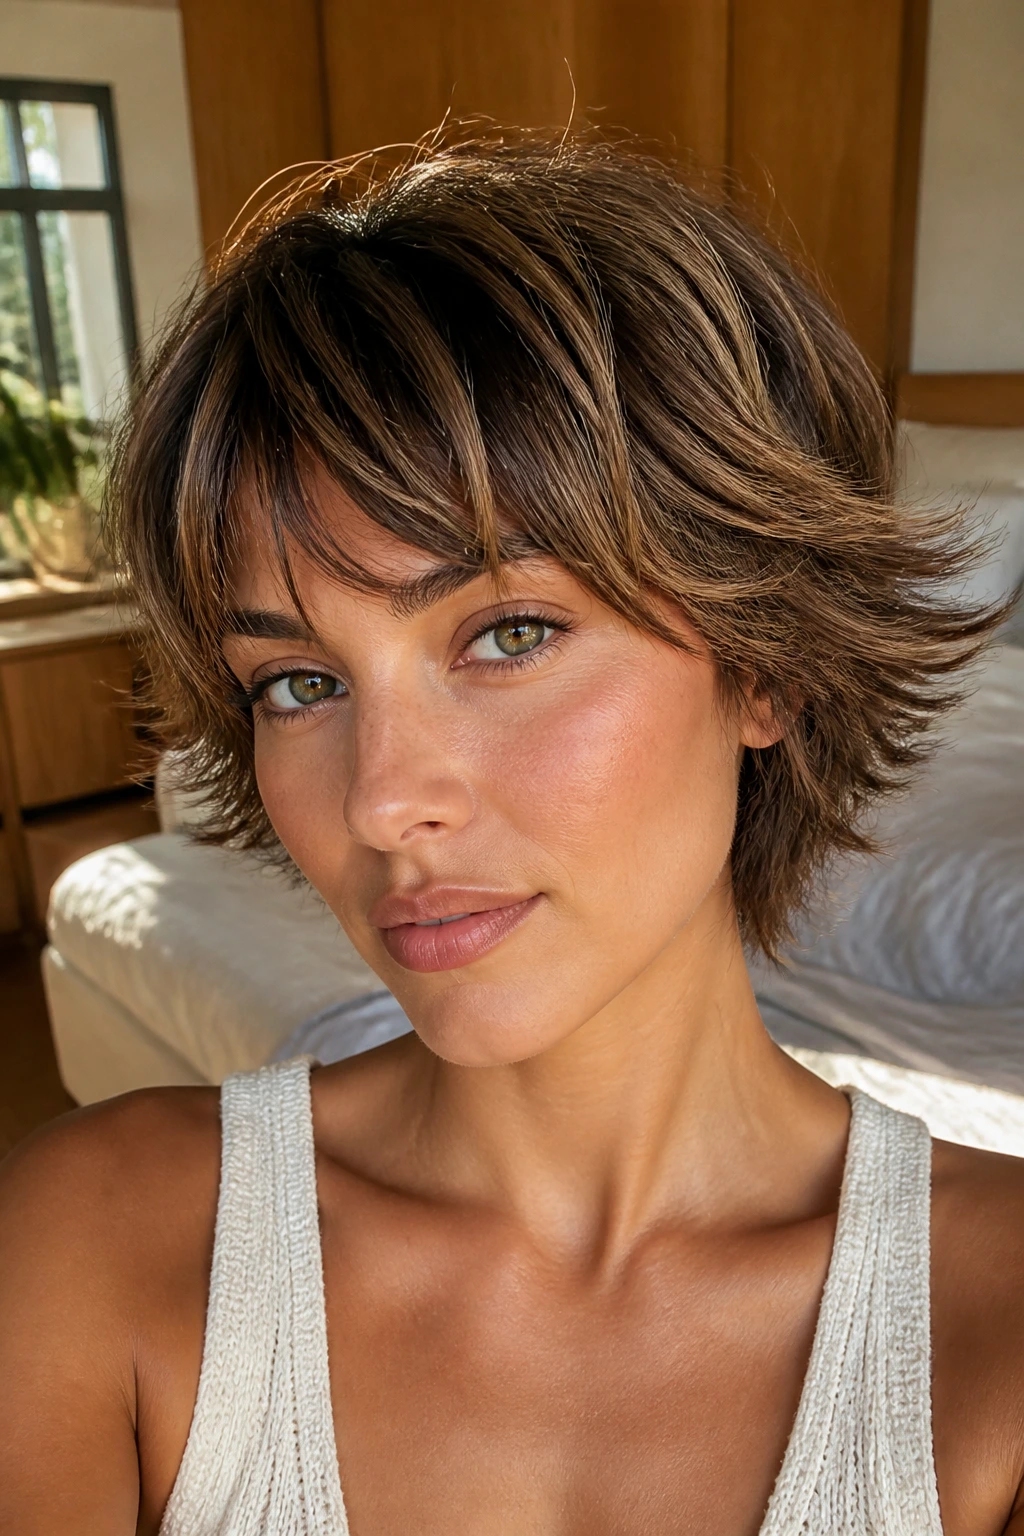
2. The Piecey Pixie Bend
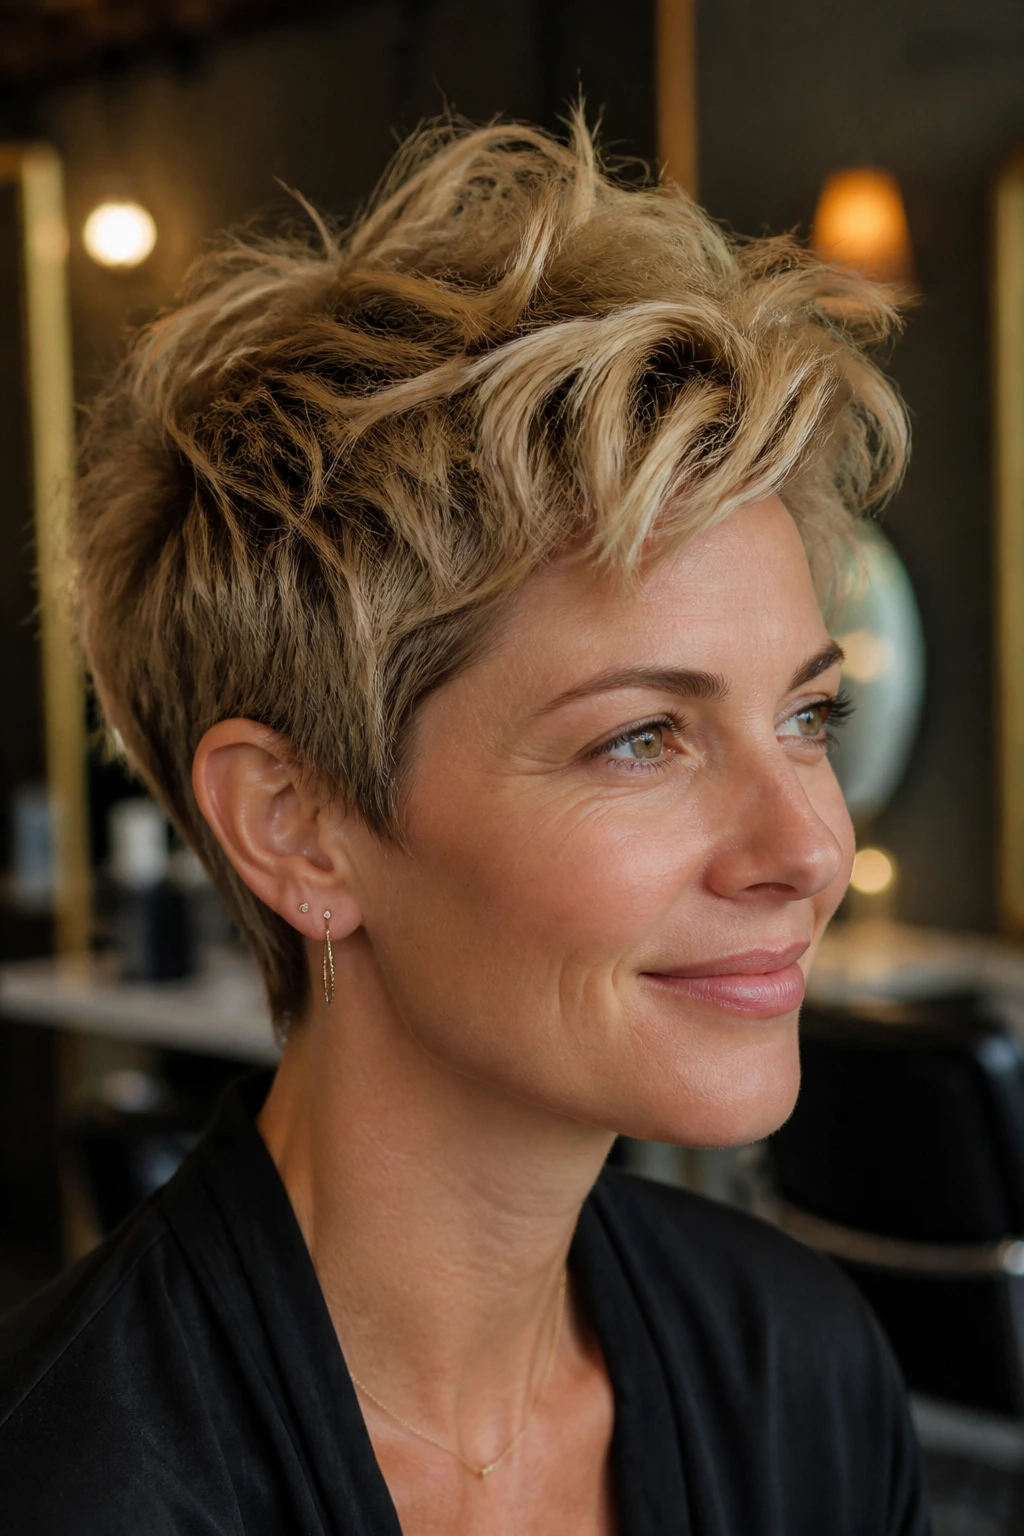
A pixie with movement at the top always feels a little mischievous in the best way. The sides stay close to the head, but the crown and front pieces get a bend that makes the cut feel intentional instead of spiky.
Use a flat iron or a 3/4-inch wand on the longer top sections, then twist each piece in a slightly different direction. One bend near the root, one bend through the middle, done. Finish with a pea-sized touch of matte paste on the ends and a quick blast of dry shampoo at the crown if the roots need lift.
3. The Side-Swept Wave Lob
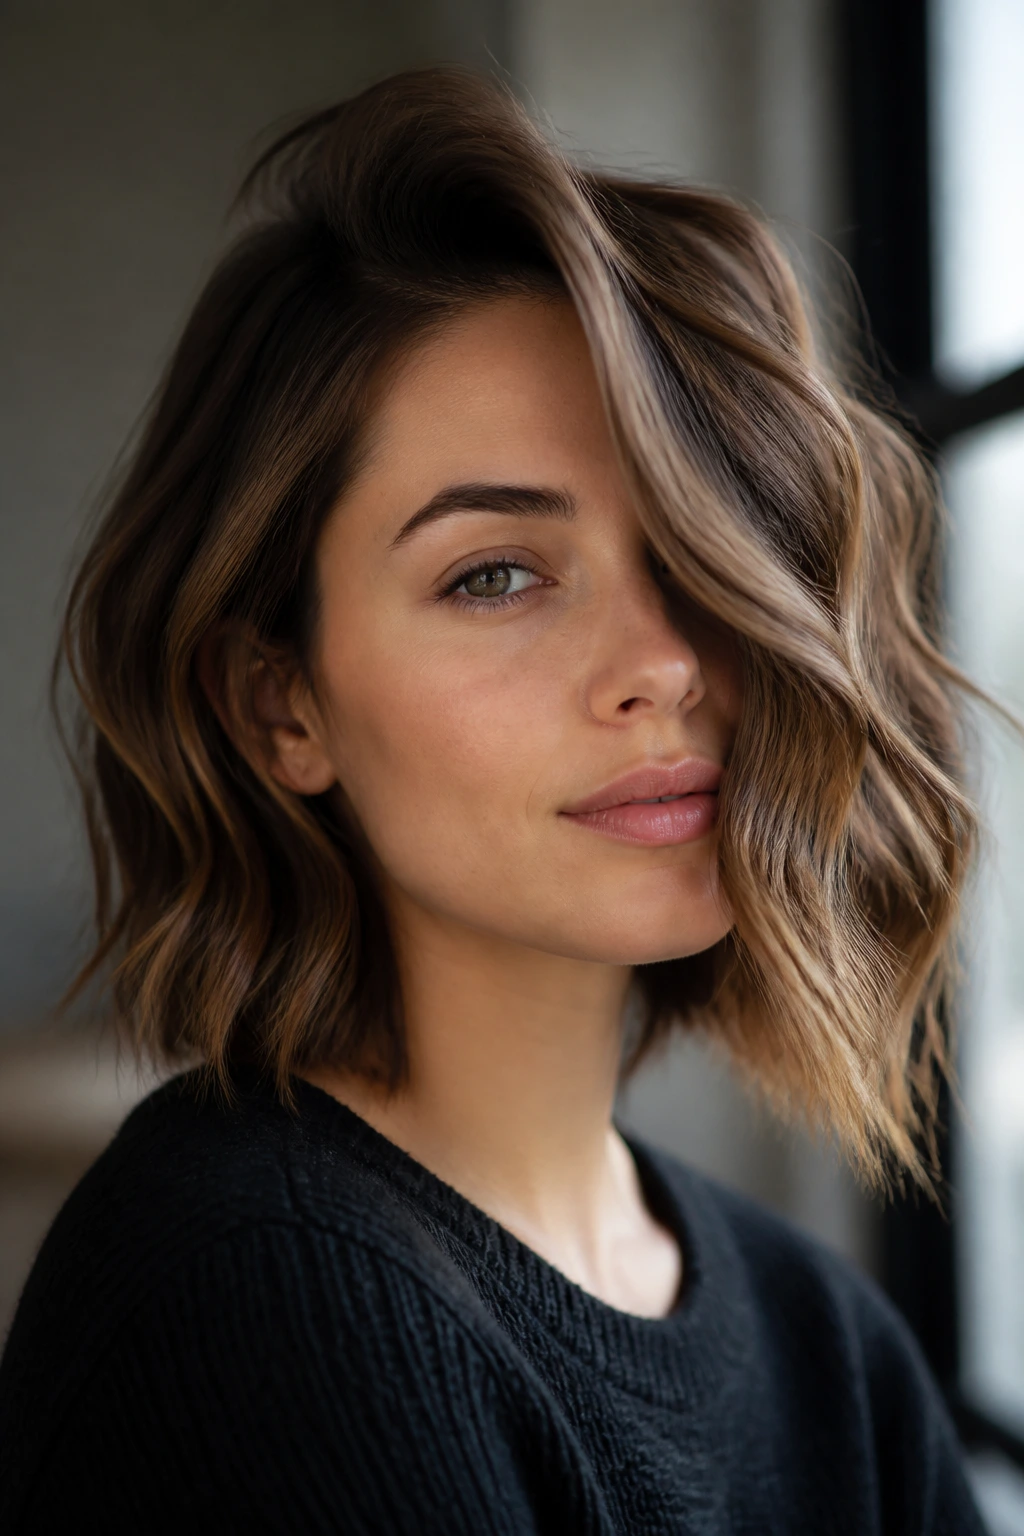
If your hair grazes the jaw or collarbone, this is the version that gives you shape without too much sweetness. The deep side part does half the work, then the loose wave falls forward and pulls the eye diagonally across the face.
It looks best with a slightly larger section size — about 1.5 inches — so the wave stays relaxed. Keep the side closer to the part smoother, then let the longer side drop in softer bends. This one is especially good when you want movement but not a lot of obvious curl.
4. The Curtain-Bang Bob

Curtain bangs can go messy in a hurry, and that’s why they’re fun here. Bend them away from the center with a round brush or the flat iron, then let them split naturally so they frame the face instead of sitting in one hard swoop.
The rest of the bob should stay loose and a little undone. If the bangs are too perfectly curled, the whole style turns fussy. A light mousse at the roots and a small hit of texture spray at the cheeks usually gives the shape enough lift without making the front pieces stiff.
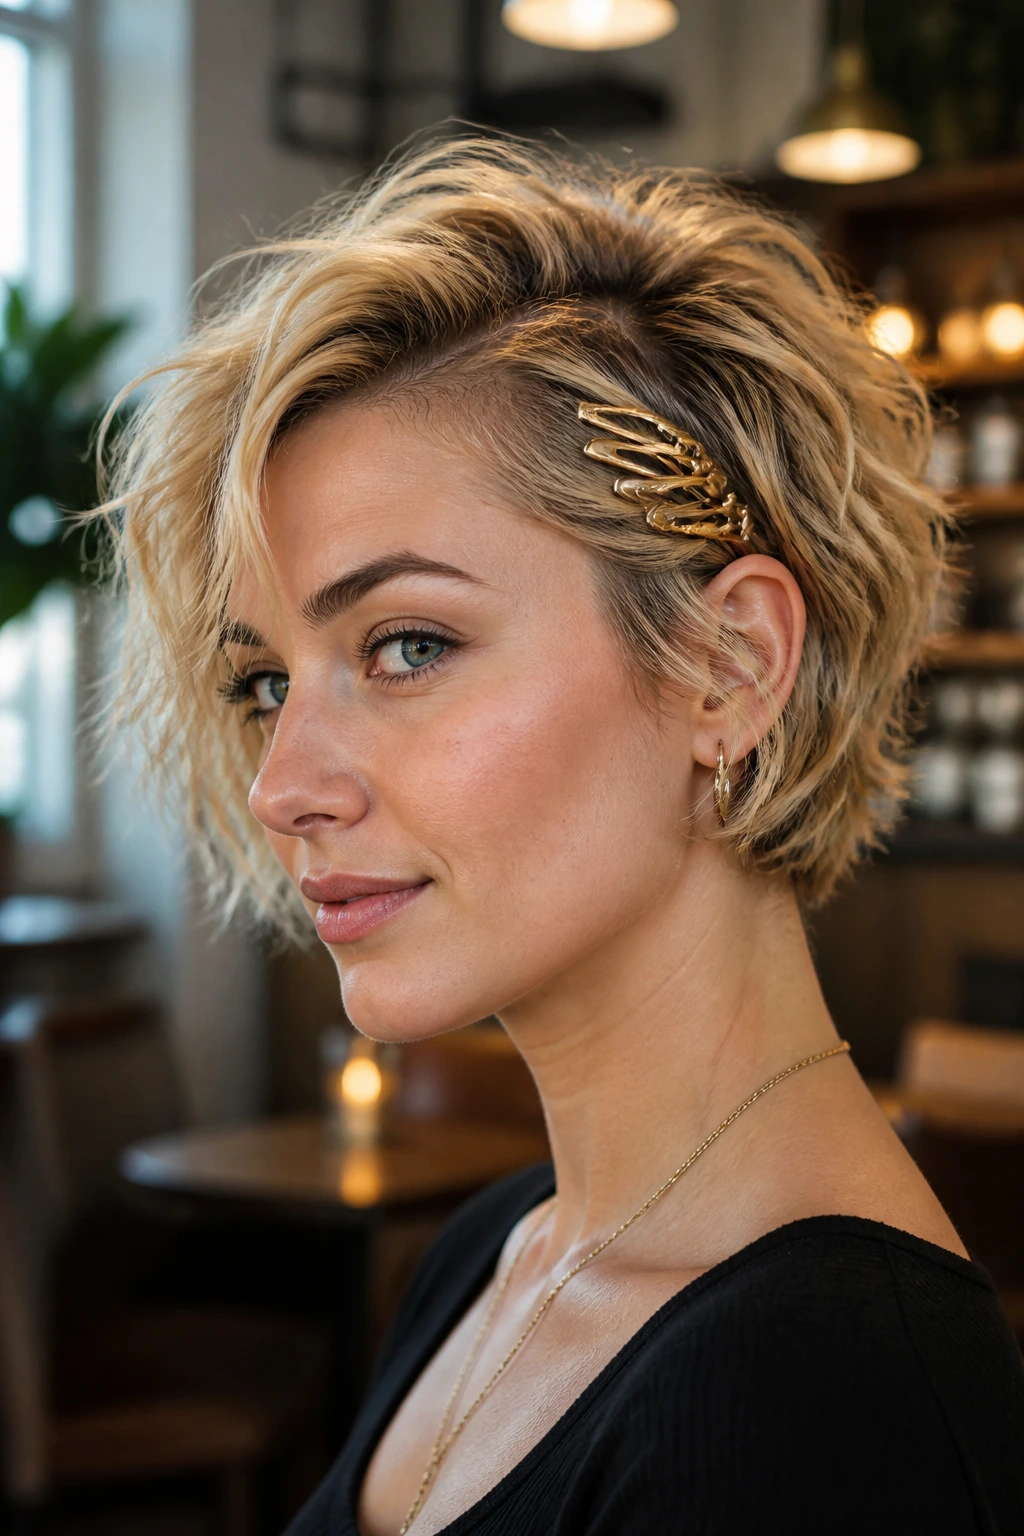
5. The Tucked-Behind-the-Ear Wave
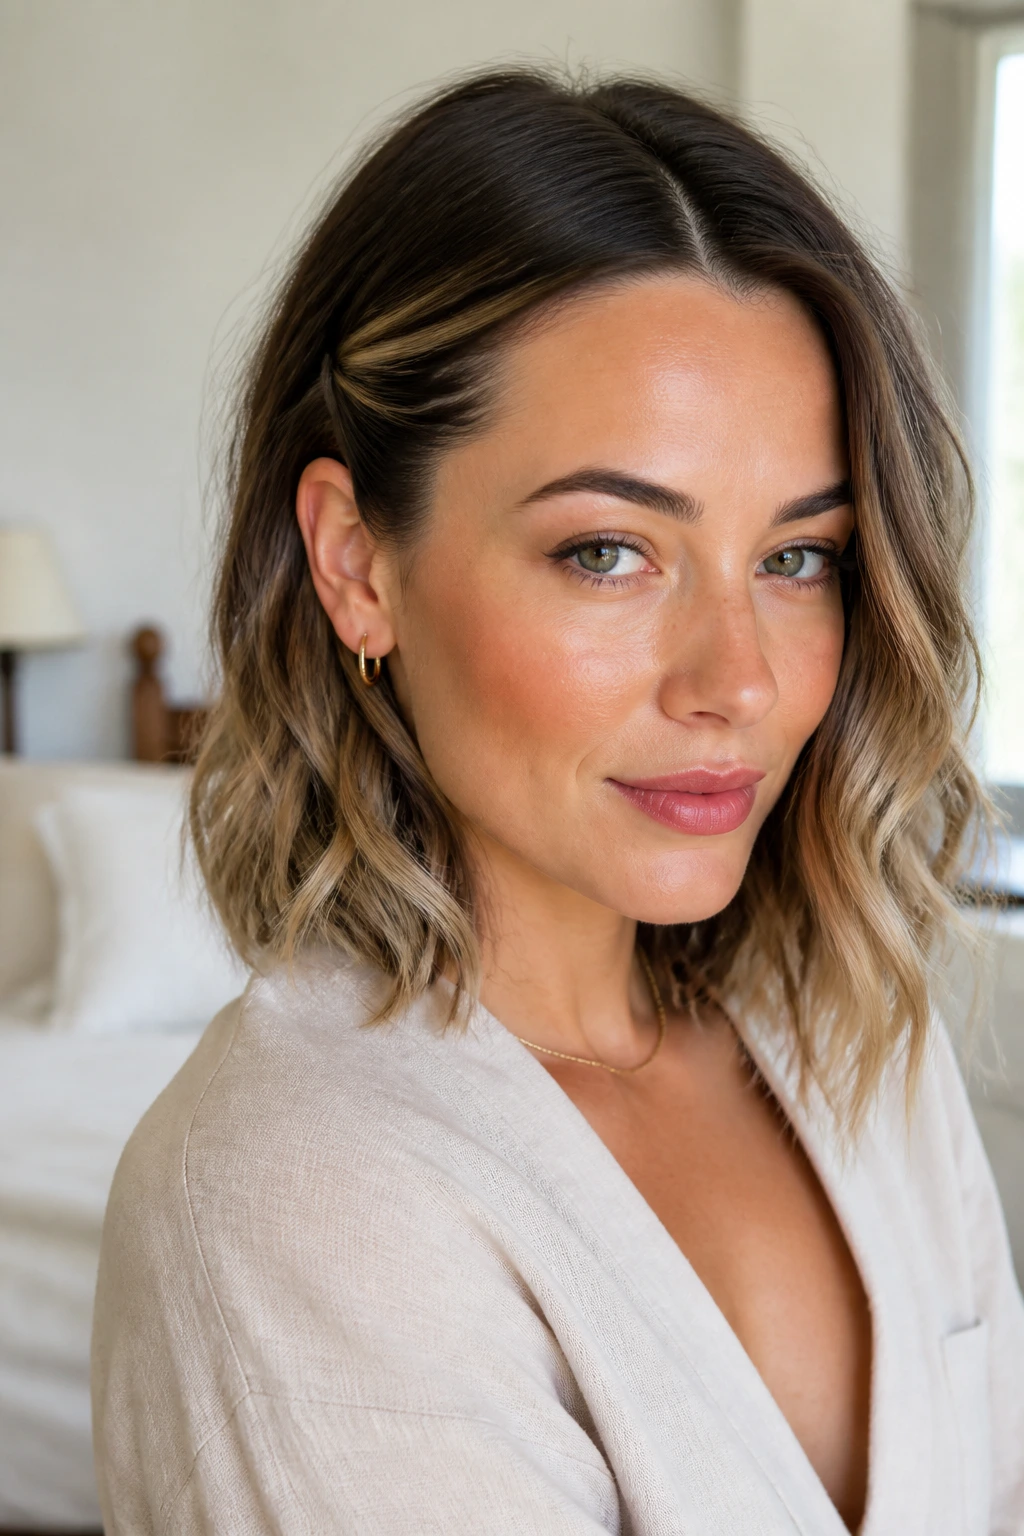
This one is all about asymmetry. One side stays loose and wavy; the other side gets tucked cleanly behind the ear so the haircut opens up around the cheekbone and jaw.
I like this with a center or slightly off-center part. Wave the lengths first, then tuck one side and secure it with a hidden bobby pin if the hair slips. A small hoop earring or a plain ear cuff sharpens the whole look. Without that tucked side, the style can feel too casual. With it, the shape suddenly has purpose.
6. The Half-Up Knot Bob
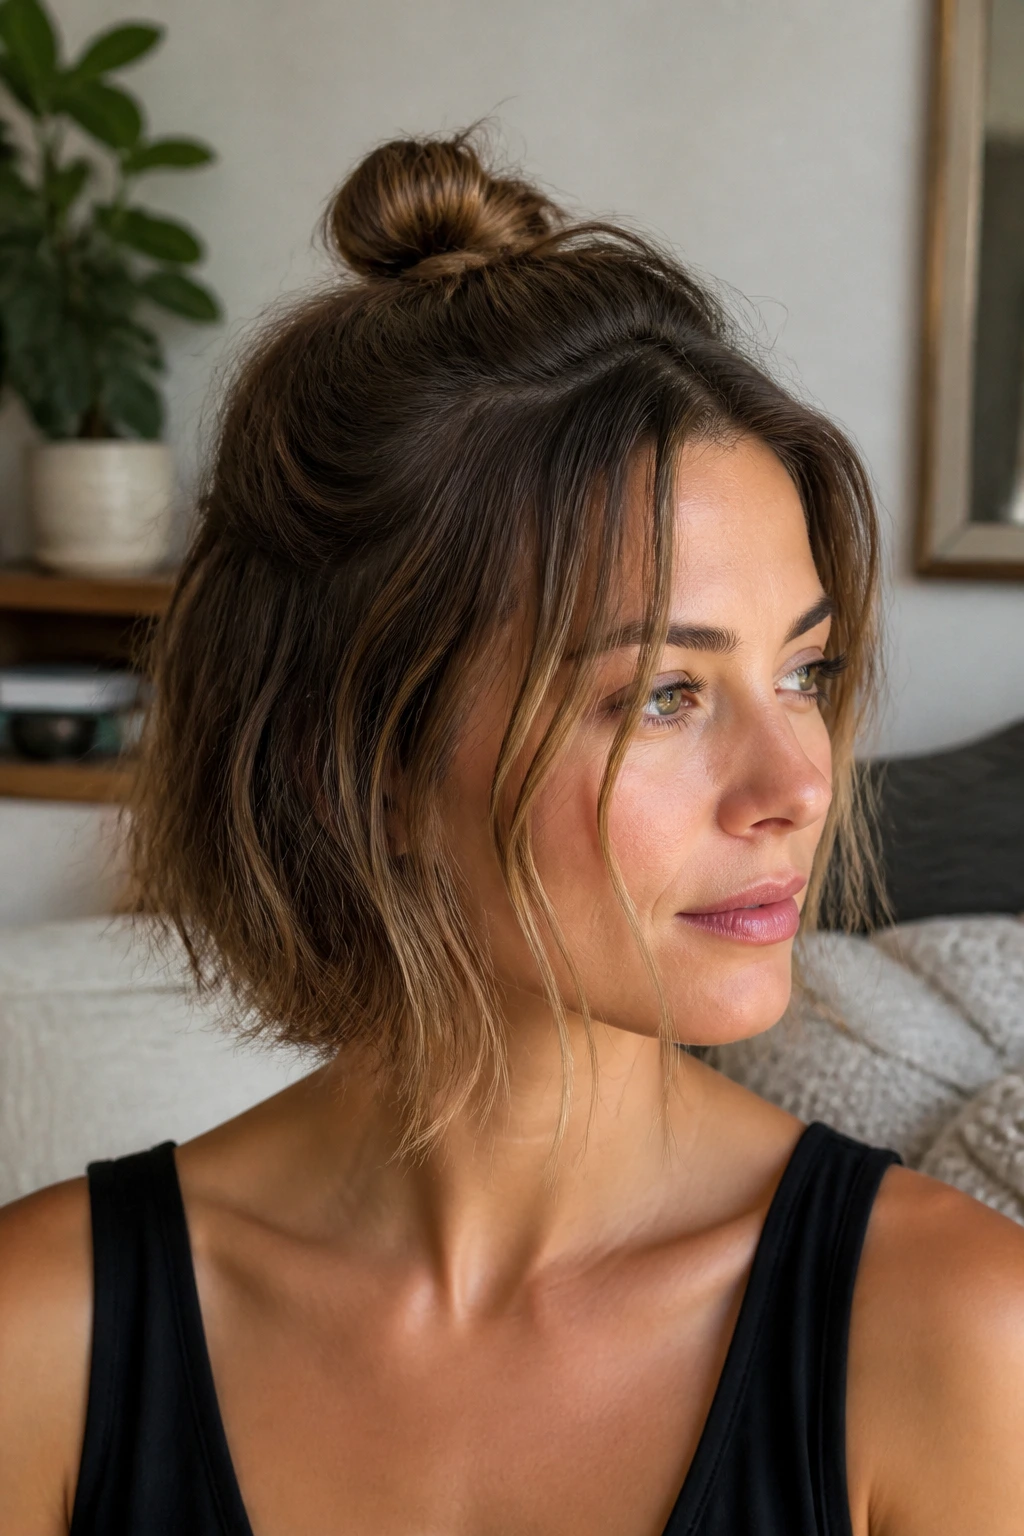
A half-up knot on short hair feels better when it is tiny. Not a full bun. More like a walnut-sized twist sitting at the crown, with the lower half left loose and beachy.
This works best when the bottom layers already have some bend, because the knot gives the style structure and the loose pieces keep it from becoming severe. Pull only the top third of the hair, twist once, pin it close to the scalp, then leave two face-framing strands out. It’s quick, and it looks like you spent more time on it than you did.
7. The Glossy Wet-Wave Crop
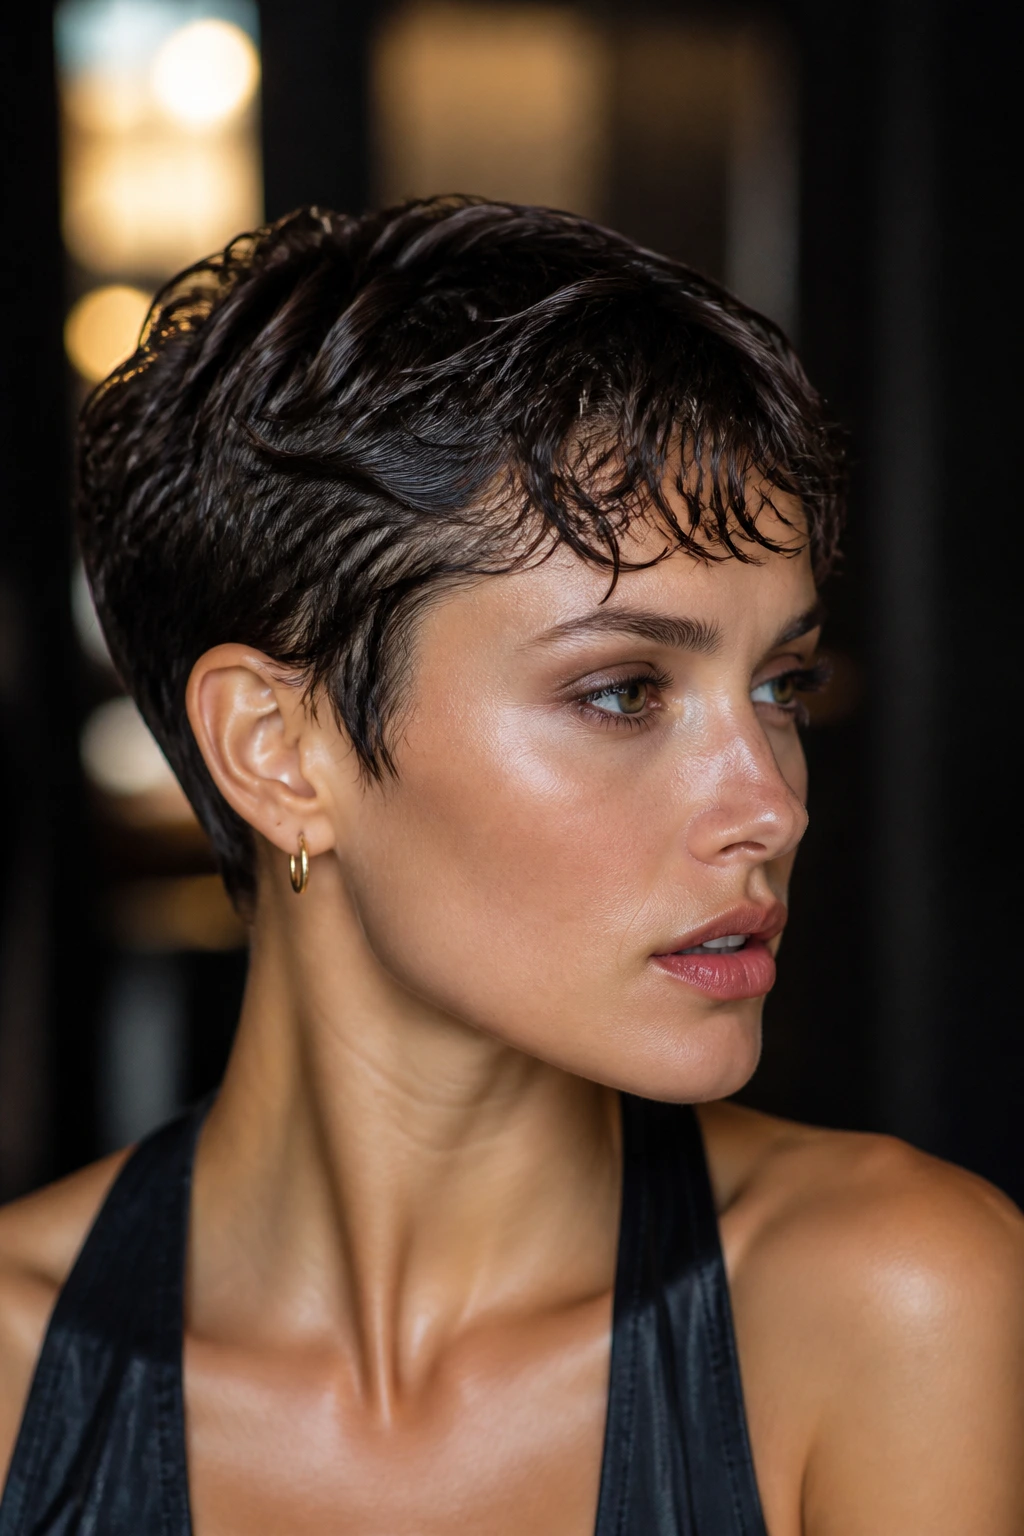
Some days, beachy doesn’t need to mean matte. On a short crop, a wet wave can look sleek and a little dramatic, especially at night or with sharper clothes.
The trick is product restraint. Mix a small amount of gel with a drop of cream, smooth it through damp hair, then press the wave pattern into place with your fingers or a wide-tooth comb. Keep the roots close to the head and let the shine live on the top layer. Too much gel and it turns helmety. Too little and the style loses the whole point.
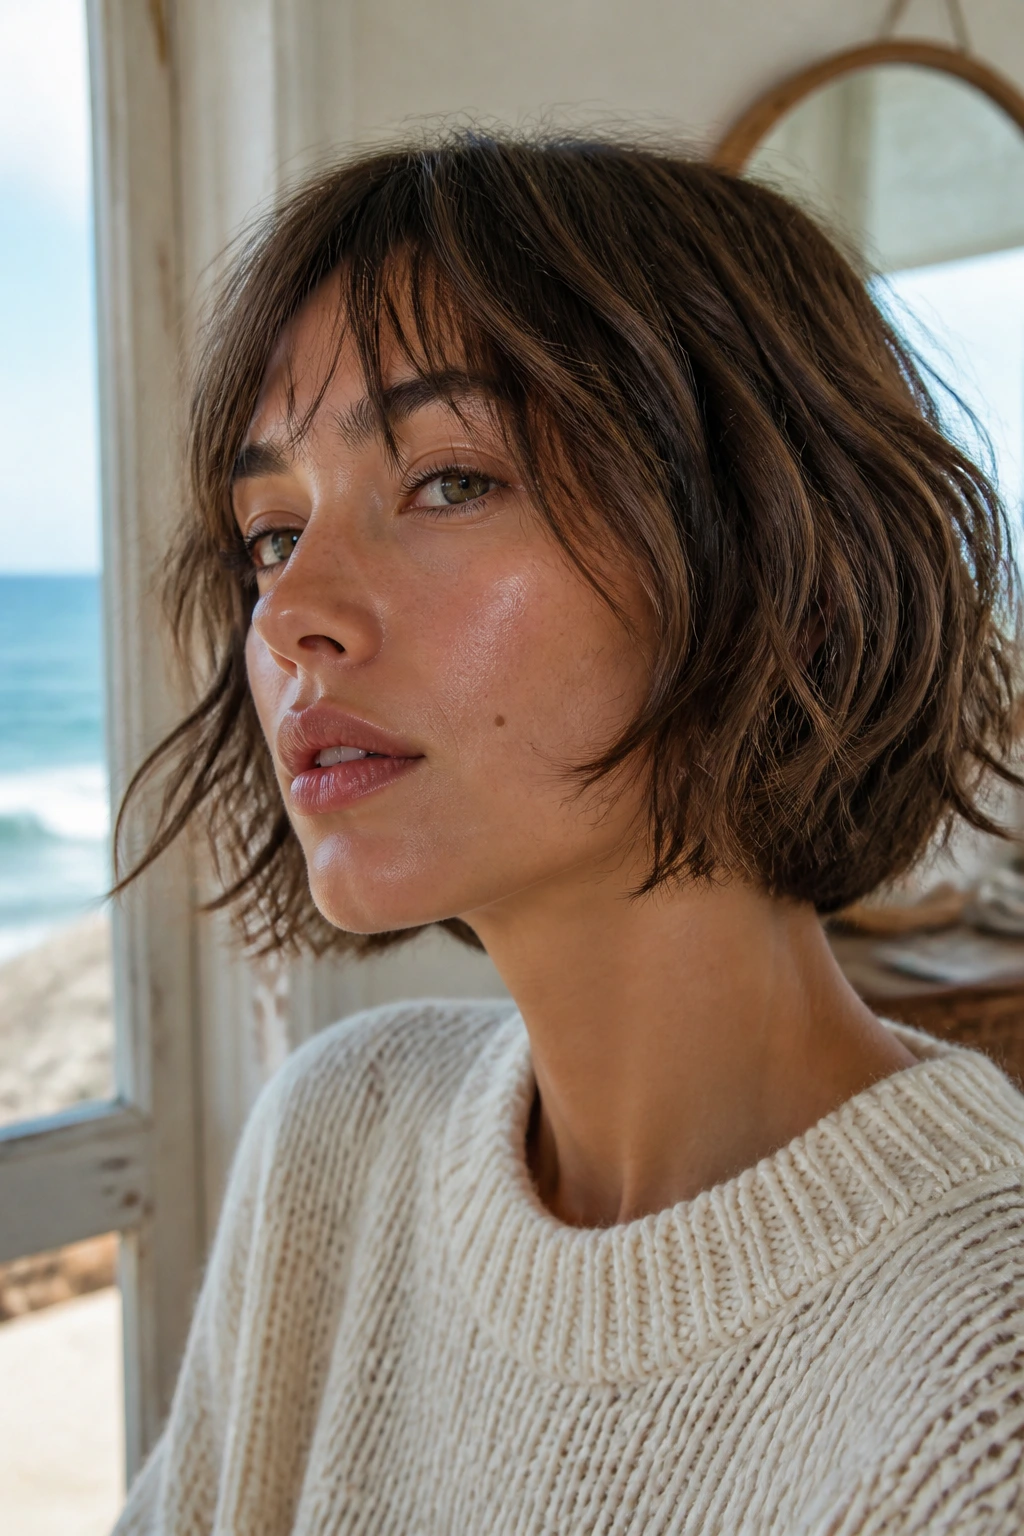
8. The Soft Shag With Loose Ends

A shag already knows how to move, so it rarely needs much help. The layers take care of the shape; you just need to rough up the ends and keep the crown from lying flat.
Air dry with mousse or use a diffuser on low heat, then flick the bottom inch outward with a flat iron if the ends feel too obedient. This is one of those cuts that gets better the less you fuss with it. If you brush it into submission, you lose the shag. Leave a little texture in the fringe and around the temples, and the cut does the rest.
9. The Asymmetrical Beach Bob
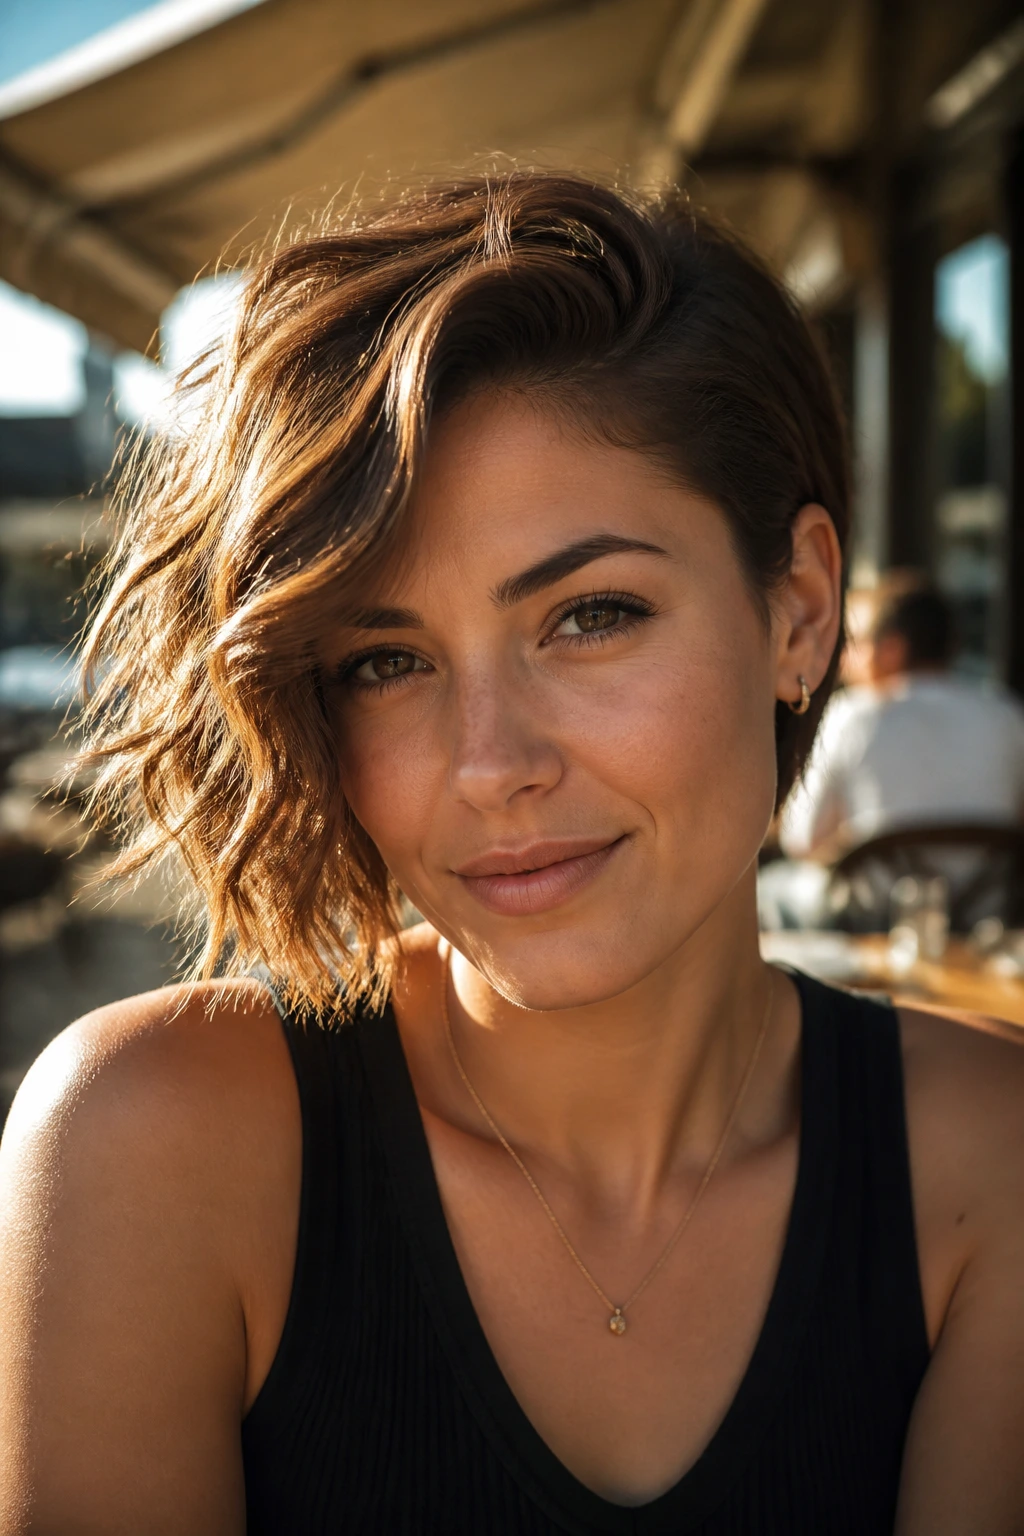
One side longer than the other? Fine. That’s the whole charm here. The wave should follow the longer side and let the shorter side stay a touch tighter or tucked so the contrast actually shows.
This shape likes a side part and a little directional styling. Bend the longer side away from the face in soft curves, then use a clip or ear tuck on the shorter side to keep the balance from feeling accidental. It works especially well when your bob already has a sharp line and you want to soften it without losing the cut.
10. The Clip-Stacked Messy Crop
This is the style that makes a few small clips do real work. Stack them near the temple or above the ear, then let the rest of the crop fall in rough, beachy pieces.
What makes it hold together is the contrast: polished little hardware on one side, messy texture everywhere else. I like to wave the front sections first, then pin two clips slightly apart instead of lining them up perfectly. It feels less costume-y that way. If the clips are too matchy or too centered, the style starts looking formal for the wrong reason.
11. The Deep Side-Part Wave
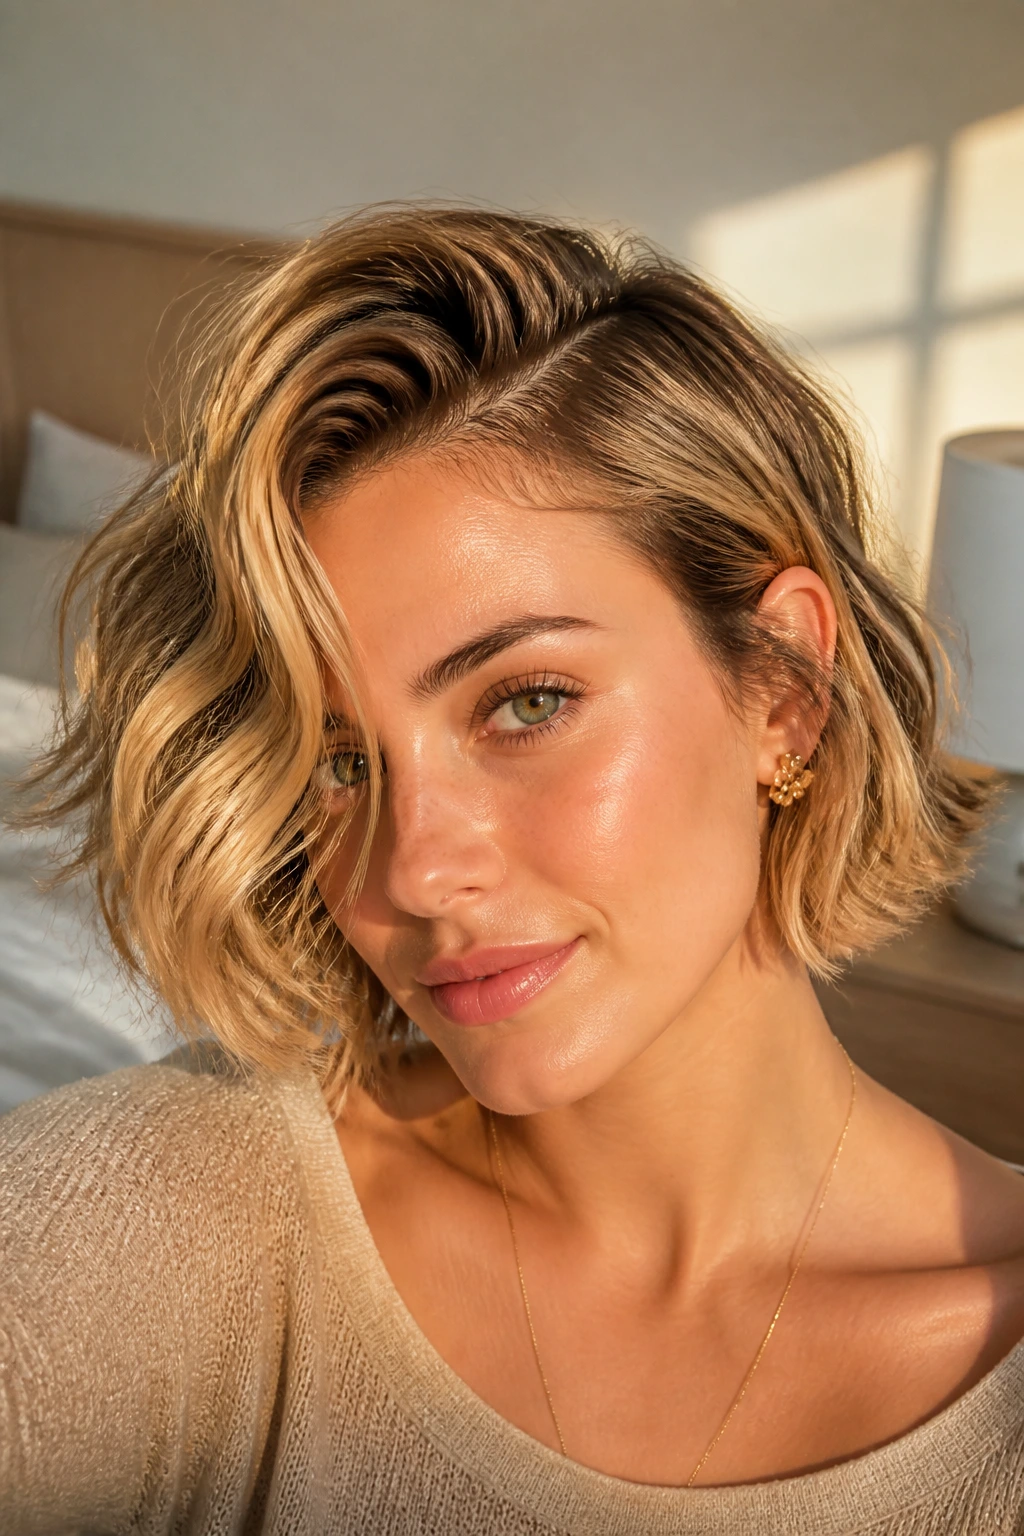
A deep side part can rescue short hair that’s gone flat at the roots. It gives you instant lift on one side and lets the wave sweep across the face in a way that feels more dramatic than neat.
Clip the heavier side at the crown while the hair cools if you want extra height. Then break up the wave with your fingers instead of a brush. That’s the part people skip, and it matters. A brush smooths the wave right out. Fingers keep the bend visible and let the hair fall in uneven pieces, which is exactly the good part.
12. The Braided-Front Bob
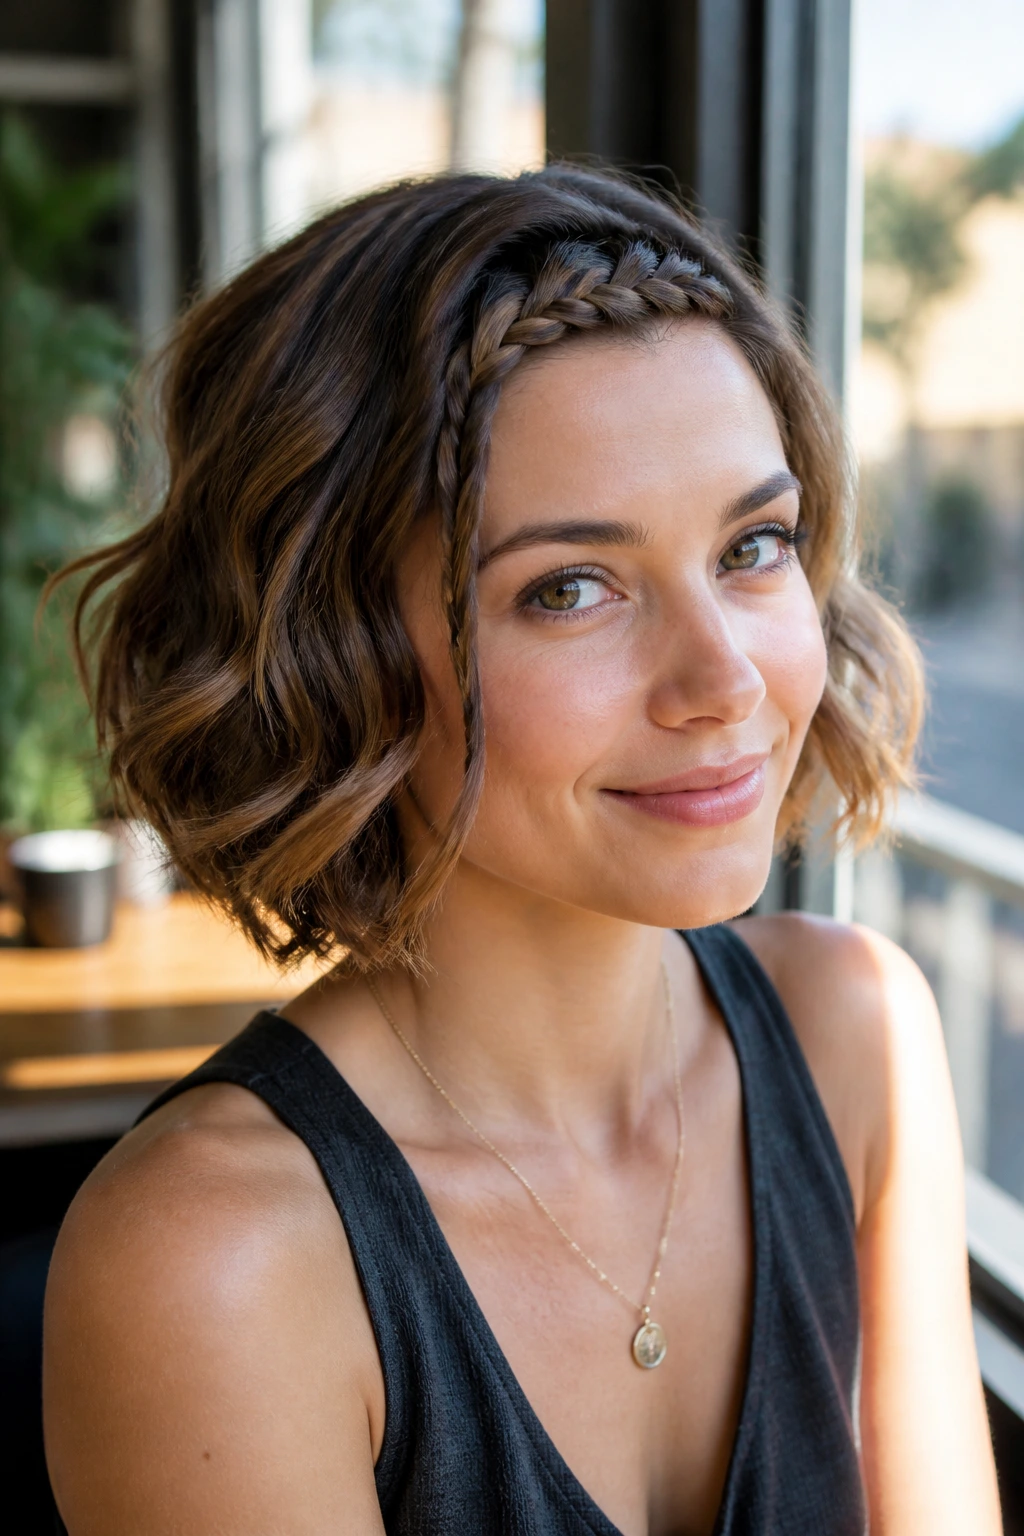
This one is a smart fix for grown-out bangs or front pieces that refuse to cooperate. Braid a narrow section along the hairline, then leave the rest of the bob loose and wavy behind it.
Tiny braids work better than chunky ones here. They sit flat, they don’t eat up too much length, and they keep the front from slipping into your eyes. Once the braid is pinned, you can rough up the rest with texture spray. It’s one of the easiest ways to make a bob look deliberate on a windy day.
13. The Mini Crown Braid Wave
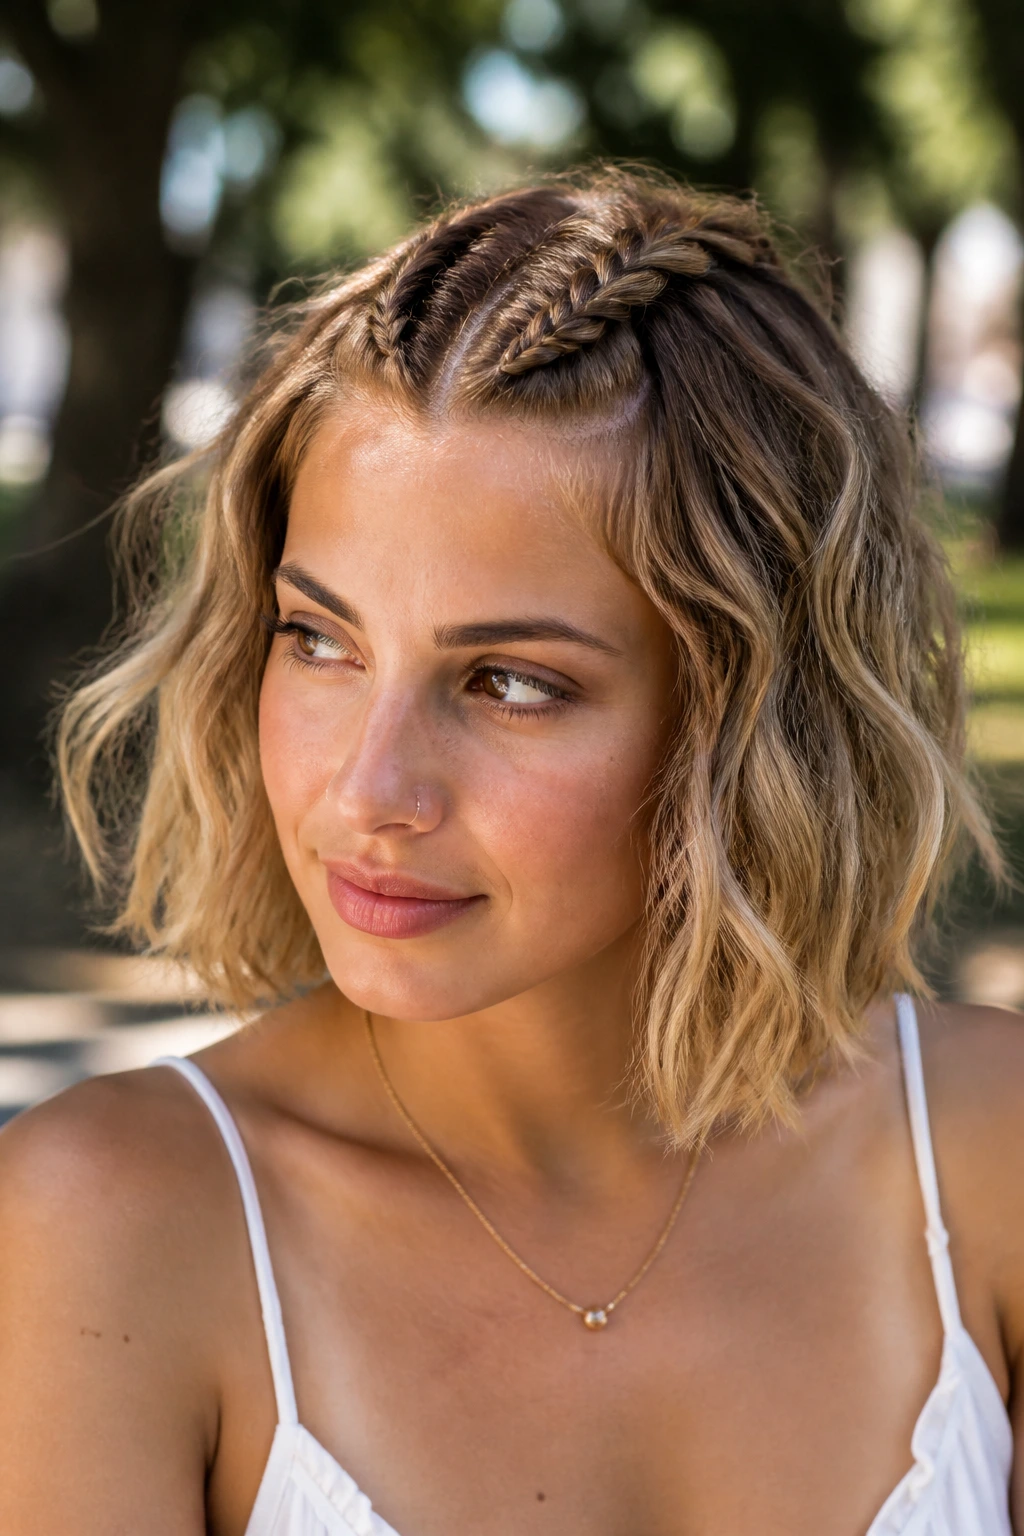
Full crown braids can swallow short hair. Mini versions solve that. Think two narrow braids feeding into the top section, not a heavy halo sitting like a headband.
The waves underneath should stay loose and a little undone so the braid doesn’t take over the whole style. This one reads best when a few ends stick out on purpose. Perfect braids feel too precious here. A little fray at the braid edge makes the whole thing feel softer and more believable.
14. The Feathered Layered Crop
Feathered ends are underrated on short hair. They keep the crop from looking blocky, especially if the cut is thick or naturally dense.
Use a round brush or a flat iron to turn just the last inch outward, then break the shape with your fingers so it doesn’t go retro in the wrong way. The layers around the crown should stay lighter and airier than the ends. That contrast keeps the style from collapsing into one heavy shape. It’s a good choice when you want movement more than curl.
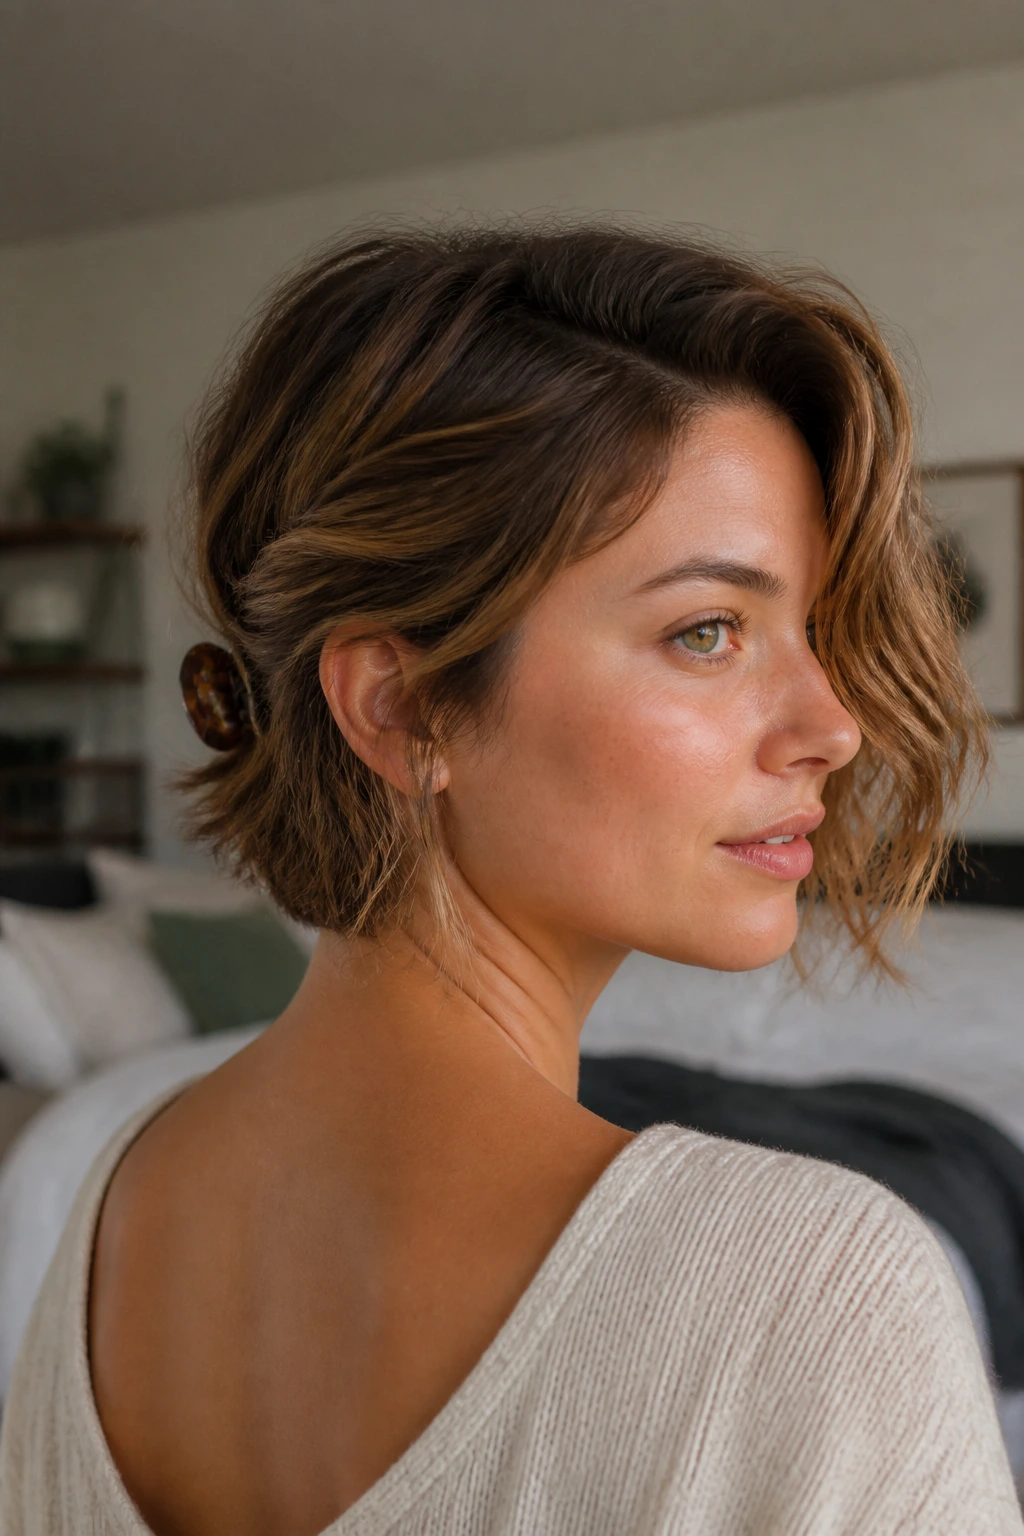
15. The Diffused Pixie-Bob
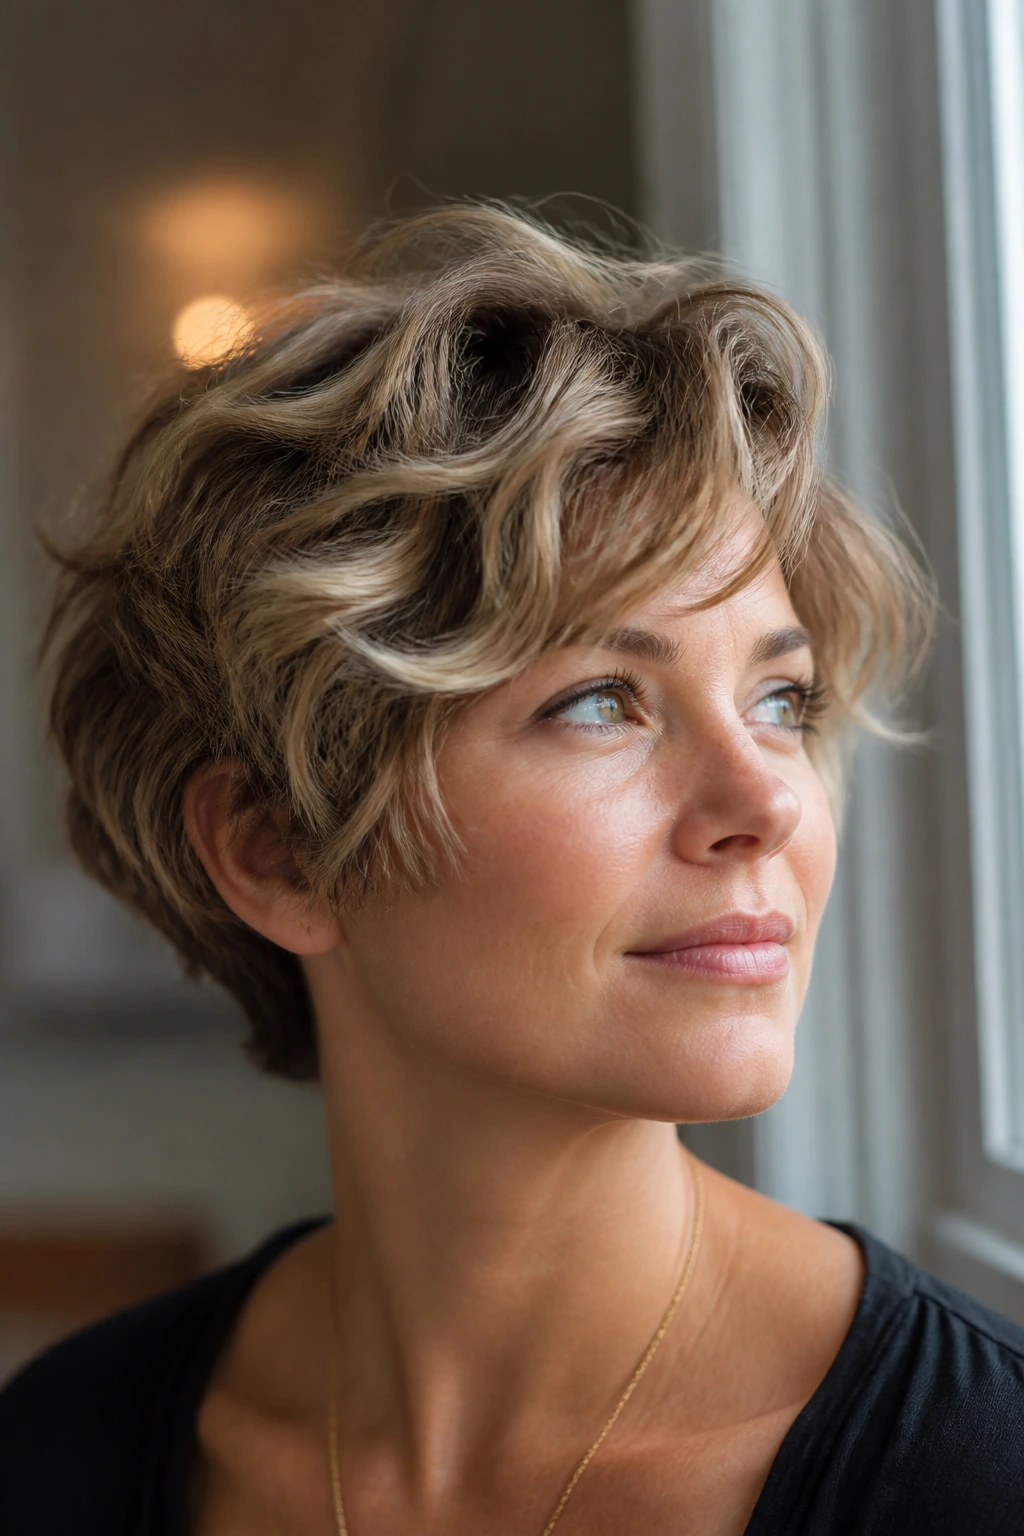
If your hair already bends a little on its own, this style makes the most of it. A diffuser keeps the wave pattern soft while lifting the roots enough to stop the haircut from sitting flat against the head.
Scrunch in a light curl cream or mousse, dry on low heat until the hair is about 80 percent dry, then clip the crown for a few minutes while it cools. That tiny pause matters. It gives the top section some memory. Once the clips come out, separate the pieces with dry fingers, not a brush.
16. The Low Mini Bun and Wave
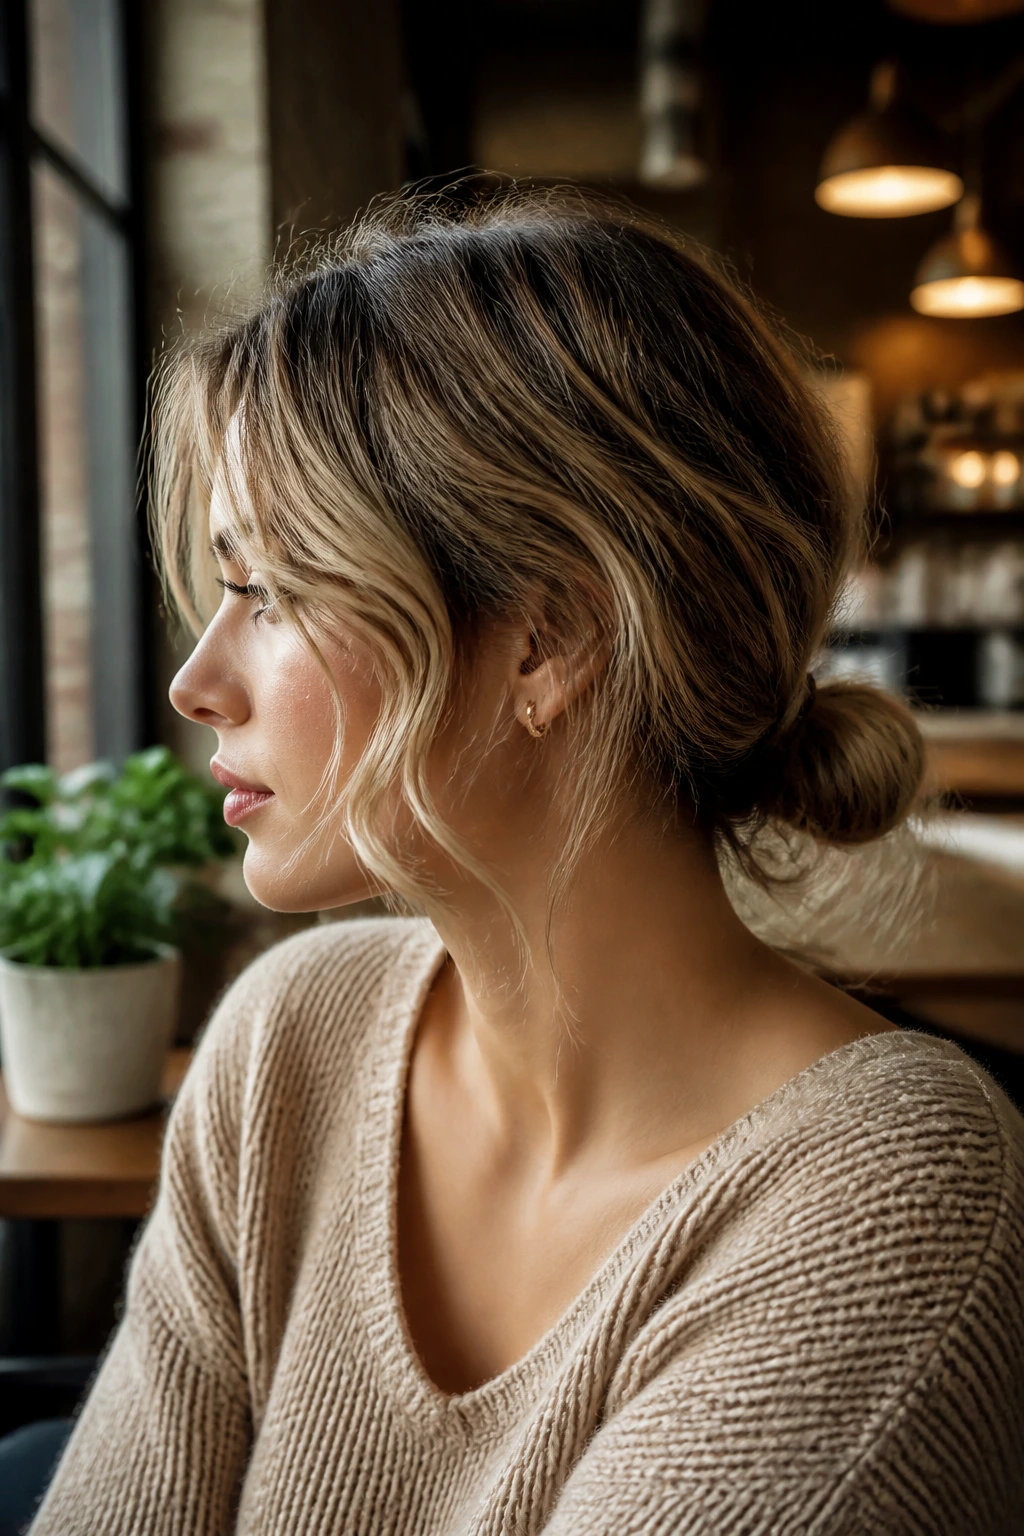
This is the short-hair version of “I tried, but not too hard.” Gather only the nape into a tiny knot or bun, leave the front and top waves free, and pin the rest low enough that the style doesn’t fight the haircut.
It works especially well on a bob with some face-framing layers. The bun gives shape at the back, while the loose wave around the face keeps it from feeling too tidy. If you want it to look softer, pull a few thin pieces loose near the ears. If you want it sharper, keep those pieces tucked and let the bun sit cleanly at the nape.
17. The Flip-Out Ends Bob
Not every beachy style has to curl inward. Flipped-out ends give short hair a looser, more lived-in edge, especially if the bob is a little blunt.
Use a flat iron to bend the bottom inch away from the face, then rough up the mid-lengths with texture spray. The result is part beach, part old-school blowout, and it works because the movement lives at the very tips instead of through the whole head. If you’re tired of inward curls that make the bob look round, this is a nice reset.
18. The Headband Sweep
A slim headband can fix a lot of short-hair problems in one shot. It pushes the top back, shows off the wave at the sides, and gives the cut a little volume where it matters.
I like this with a soft center part and two face pieces left out. Keep the headband narrow enough that it sits on the hair rather than swallowing it. A padded version can read more polished; a plain fabric one leans casual. Either way, the wave around the temples should stay loose. Tight curls under a headband look crowded.
19. The Low-Clip Tuck
This version is a close cousin to the tucked-behind-the-ear look, but the clip sits lower, near the nape or just behind the ear. That lower placement gives the style a more relaxed line.
Twist one side back gently, secure it with a flat clip, and leave the other side free to fall in loose waves. The clipped side should look pinned by choice, not by necessity. If you want more movement, pull the top a little higher before clipping. If you want more edge, keep the clip sleek and the front pieces rough.
20. The Scarf-Wrapped Bob
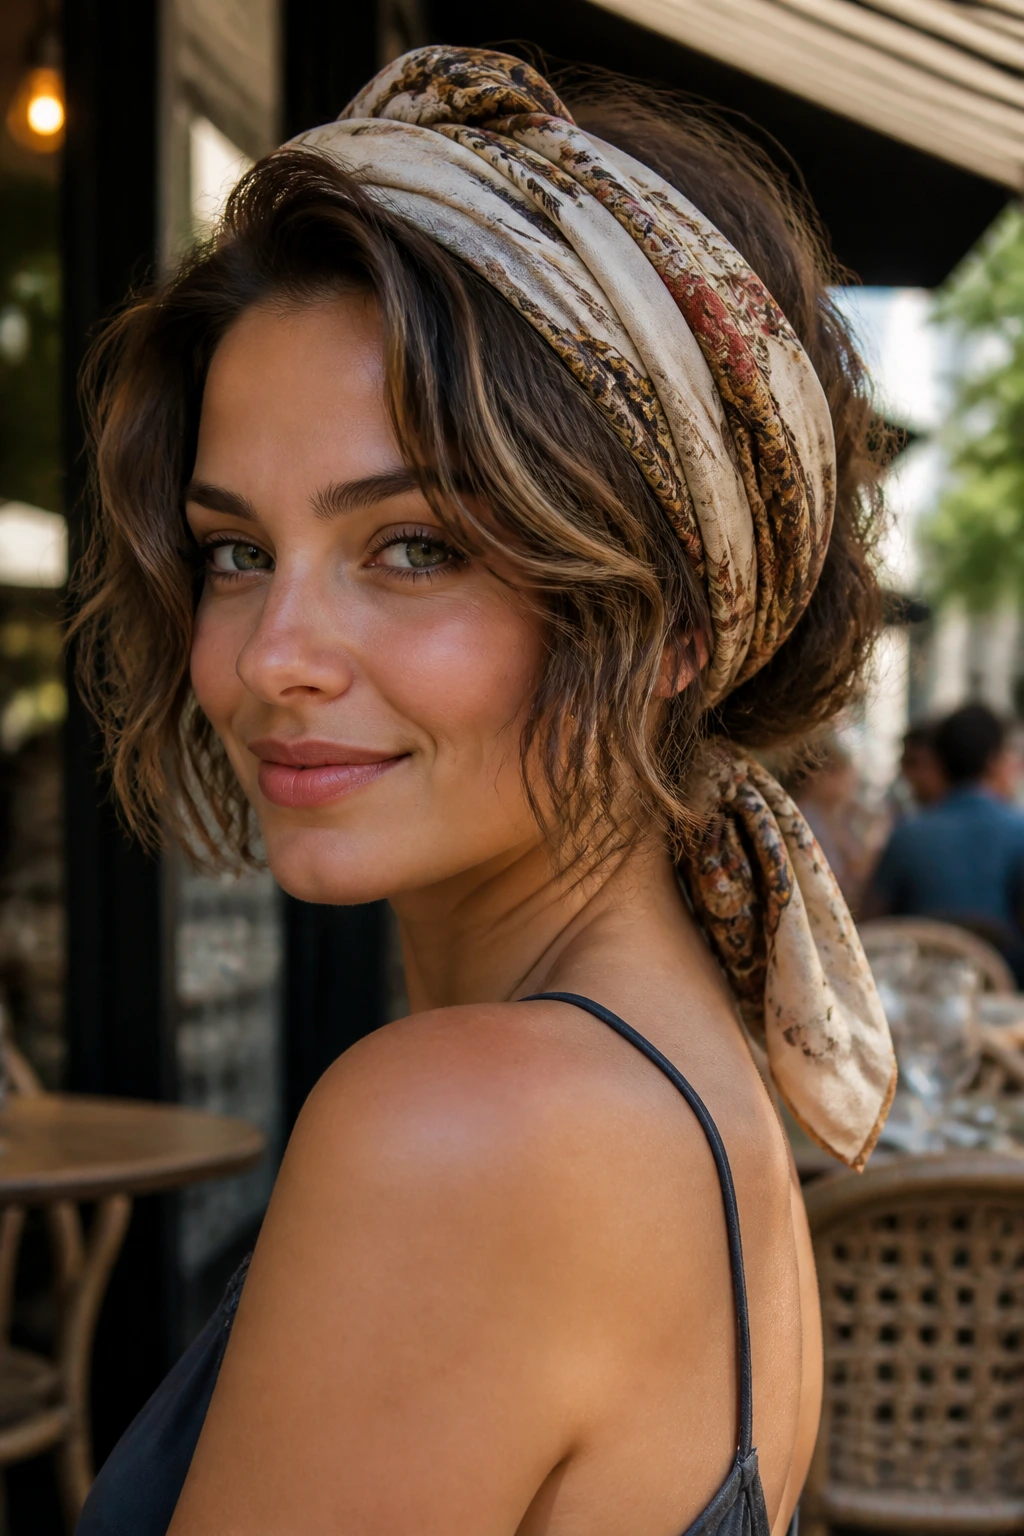
A scarf can make short hair look finished fast, especially on day two when the roots are less cooperative. Wrap it around the head, tie it at the nape, or fold it into a bandana shape and let the waves spill out underneath.
The key is not to crush the wave pattern. Leave the crown a little lifted and keep the scarf snug, not tight. This style is especially useful when the front layers are growing out or when the hair needs a break from heat. The scarf does the styling work, and the wave below keeps it from feeling flat.
21. The Grown-Out Pixie Shag
A grown-out pixie can look awkward for about five minutes. Then you add texture, and it starts looking deliberate. That’s the magic of the pixie shag.
Keep the nape and sideburns a little longer, rough up the top with paste or texture spray, and bend the front pieces away from the face so they don’t sit in one straight line. The style is happiest when it feels unforced. A too-clean pixie shag loses its edge. A little separation at the ends gives it that airy, beach-tousled shape.
22. The Air-Dried Texture Crop
No heat, no fuss, just enough product to hold the bend. That’s the appeal here.
Mist damp hair with sea-salt spray or a light mousse, scrunch it, clip the roots at the crown, and let it dry untouched. Once it’s dry, shake it out with your fingers and pinch the ends if they need more separation. This is one of the best options for hair that’s been through enough heat already. It gives you movement without the clamp marks and overworked ends.
23. The Side-Swept Volume Wave
A big side sweep creates instant lift, which short hair often needs more than more curl. The trick is to overdirect the front pieces so the wave lands away from the part and not straight down.
Clip the hair on the heavy side while it cools, then brush the surface lightly once it’s set. That softens the ridge without killing the height. This style is good when you want a little drama but still want the cut to feel easy. It’s also one of the better choices for fine hair, because the lifted root creates more shape than a bunch of small curls ever would.
24. The Faux Hawk Texture
This one has attitude. The sides stay controlled — sometimes even slicked a little flat — while the center line keeps its wave and height.
Use a small amount of cream or pomade on the sides, then rough up the center with texture spray and your fingers. Don’t make the ridge too perfect. A faux hawk that’s too neat loses the whole point. The messy version works because it leaves a few loose pieces around the temples and crown, which softens the edge and keeps it wearable.
25. The Soft Mullet Wave
A soft mullet sounds bold, but on short hair it can be surprisingly flattering. The front stays lighter and shorter, the nape carries a little more length, and the wave connects the two without making the cut feel choppy in a bad way.
This is the shape for someone who likes hair with personality. Keep the crown piecey, soften the fringe with a bend instead of a curl, and let the back move a little longer and looser. A small amount of matte paste at the ends keeps the mullet line from turning fuzzy. It’s not the quietest option here. It doesn’t need to be.
Why the Cut Matters Before the Curling Iron Comes Out
A good beach wave on short hair starts long before the iron heats up. The cut decides where the wave lands, how heavy it feels, and whether the style reads soft or merely puffy. A blunt bob needs a different finish than a shag. A pixie with a long top layer needs different product than a chin-length crop with no layers at all.
Layers decide the mood
More layers usually mean less product and less heat. The cut already has movement, so you’re shaping what is there rather than forcing it into place. Fewer layers mean more structure from styling tools, especially around the front and ends.
Density changes product choice
Fine hair likes light mousse and texture spray. Thick hair usually needs a little smoothing cream before heat, or the frizz will win by noon. Very coarse hair often behaves better when the wave is set in smaller sections and finished with a flexible hairspray instead of heavy oil.
Length decides the barrel size
A 3/4-inch wand can make a pixie look lived-in without swallowing the shape. A 1-inch tool is usually the sweet spot for bobs. Anything much larger can flatten the movement and leave short hair looking oddly polished, which is not what we’re after here.
Essential Tools and Texture Products
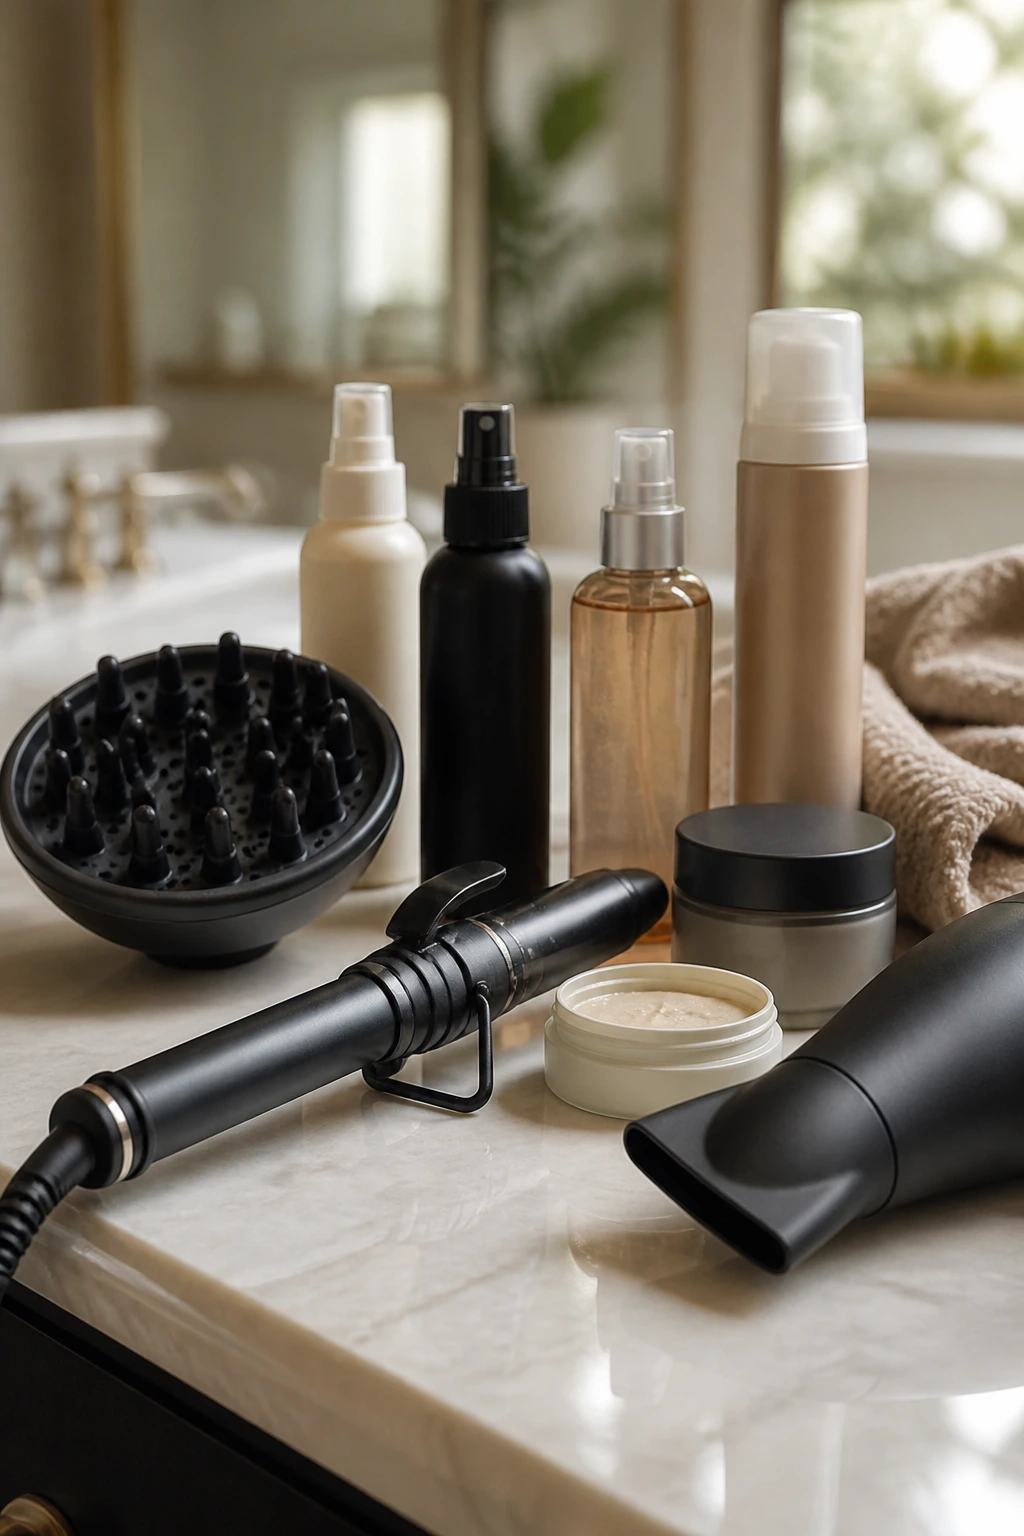
- 3/4-inch curling wand: Best for pixies and very short layers; it creates bend without swallowing the whole cut.
- 1-inch curling iron or wand: The most useful size for bobs and short lobs because it gives a soft wave instead of a tight ring.
- Flat iron with rounded edges: Handy for bends, flips, and face-framing pieces that need direction more than curl.
- Heat protectant spray: Use it every time heat touches the hair; short ends dry out faster than long ones.
- Sea-salt spray: Gives grip and separation, especially on clean hair that needs a little roughness.
- Light mousse: Good for root lift and soft hold on fine hair or air-dried styles.
- Dry shampoo or texture powder: Adds grit at the roots and keeps day-two hair from collapsing.
- Flexible-hold hairspray: Locks the wave without making it stiff or crunchy.
- Sectioning clips: Keep the top layers out of the way while you work the lower half.
- Silk pillowcase or bonnet: Helps short waves survive sleep without frizzing out.
Smart Product Picks and Prep Notes
The best products for short beach waves are usually the ones that leave some grip behind. Heavy creams can be useful, but only if your hair is thick, dry, or frizz-prone. Fine hair needs lighter texture. Think foam mousse, airy spray, and a very small amount of paste at the ends.
If your hair is freshly washed and slippery, dry shampoo at the roots before styling can make a huge difference. It gives the wave something to hold onto. On the other hand, if your hair is already a day or two old, skip the extra powder unless the roots feel greasy. Too much texture product on second-day hair can make it feel dusty.
Heat protectant matters more than people think on short hair because the ends are closer to the iron for longer. Spray it through the mid-lengths and ends, then comb it through so there are no wet patches. Wet spots plus heat equal weird bends. And if your hair is color-treated, keep the tool temperature lower rather than cranking it up to force shape. The hair will thank you later.
How to Wear These Looks Without Overthinking It
Presentation: Keep the front pieces the softest. That’s the part people notice first in a mirror, in photos, and in motion. The back can be rougher and still read as finished.
Accessories: Small claw clips, slim barrettes, pearl pins, scarves, and narrow headbands all work because they sit on top of short hair instead of burying it. Big, heavy accessories can overwhelm a cropped cut fast.
Portions: On a pixie, give yourself less wave and more separation. On a bob, let the wave travel farther through the mid-lengths so the cut doesn’t look too puffed at the roots.
Beverage Pairing: A coffee you can finish before the mirror gets crowded. Kidding — mostly. A clean, unfussy look pairs best with simple jewelry and clothes that don’t compete with the texture: a crew neck, a button-up with a few buttons open, or a neckline that leaves space around the hair.
Texture Boosters That Keep Short Hair From Falling Flat
Root Lift: Clip the crown while the hair cools, even if it’s only for five minutes. That tiny pause gives the root a little memory and stops the top from sinking.
Piece Definition: Rub a pea-size amount of paste between your fingertips and pinch only the last inch or two. That’s usually enough. If you spread it through the whole head, the style starts to look sticky instead of piecey.
Humidity Shield: Finish with a flexible spray, not a shell of hard lacquer. Short hair moves around your face all day, and a stiff finish tends to crack apart at the first sign of wind.
Second-Day Rescue: Re-bend only the front sections and the crown pieces. Don’t redo the whole head unless you want to spend the next 20 minutes fixing the back for no reason.
Common Mistakes That Make Short Waves Look Stiff
- Curling every section in the same direction: That creates one giant, obvious pattern. Alternate directions and leave a few ends straighter so the wave breaks up naturally.
- Using a barrel that’s too big: Big barrels can erase the bend on short hair. If the wave vanishes after two minutes, the tool is too wide for the length.
- Loading on too much cream or oil: The hair clumps into shiny ropes and loses all lift. Use light products first, then add a tiny bit of serum only to the ends if needed.
- Touching the hair before it cools: Hot hair forgets its shape fast. Let it cool fully before you rake it apart, or the bend drops out.
- Flattening the crown: Short hair needs some height at the roots, even if it’s messy height. Clip, diffuse, or rough-dry the top so the whole style doesn’t sit low and heavy.
- Spraying too close: Hairspray from two inches away turns soft waves into stiff netting. Hold the can about 8 to 10 inches away and mist lightly.
Variations for Fine, Thick, Straight, and Curly Hair
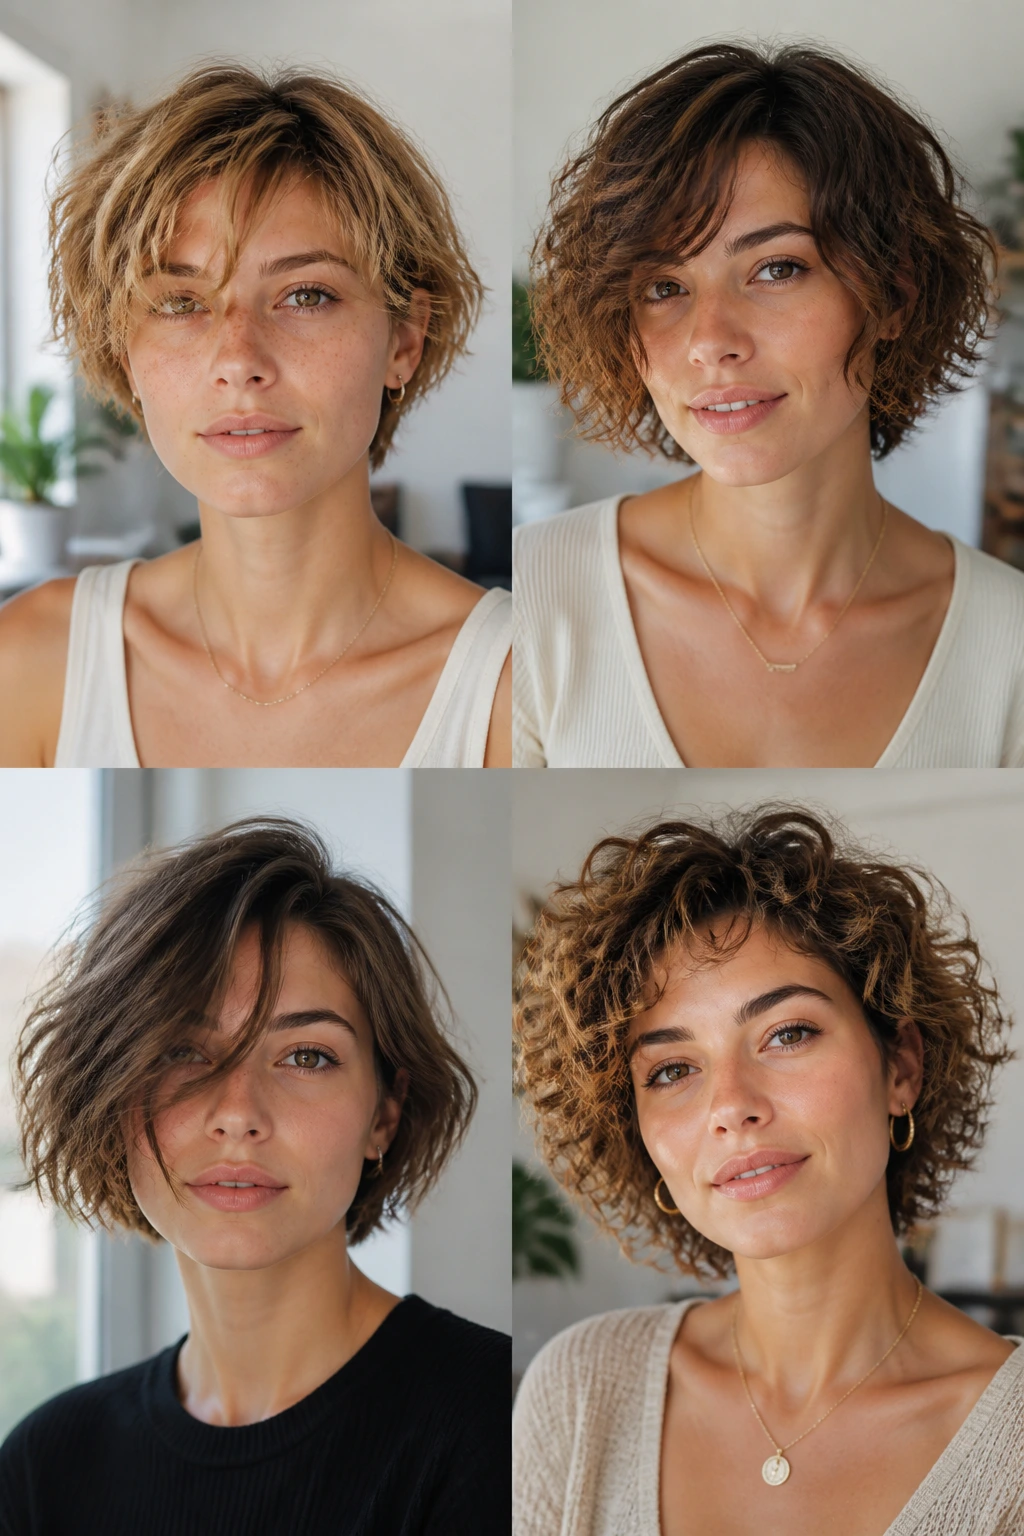
Fine-Hair Feathering: Start with mousse at the roots, then use a 3/4-inch wand in small sections. Finish with dry shampoo at the crown so the shape doesn’t collapse by lunch.
Thick-Hair Break-Up: Use a light smoothing cream before heat, work in smaller sections, and leave the ends a little straighter. Thick hair can handle texture, but it usually needs some control first.
Heat-Free Tide Line: Twist damp sections away from the face, pin them flat, and let them dry overnight. It won’t give you the same polish as a wand, but it can land in a very believable beach-wave zone.
Humidity Shield: Skip heavy oils near the roots and finish with a flexible anti-frizz spray only on the outer layer. That keeps the wave from puffing up when the air gets damp.
Curly-Pattern Remix: Don’t fight your natural bend. Scrunch in cream, diffuse on low heat, and separate the pieces once they’re dry. Brushing curly short hair usually creates more frizz than shape.
Keeping the Shape Going for Two or Three Days

Short beach waves usually look best on day one or day two, but they can stretch farther if you treat them well. The first rule is boring and necessary: let the hair cool completely before you go to bed. Warm hair gets smashed flat against the pillow.
A silk pillowcase helps a lot. So does clipping the front pieces loosely out of the way if they tend to bend strangely while you sleep. In the morning, a tiny mist of water on the front sections, followed by a quick re-bend with a wand or flat iron, usually brings the style back in under 5 minutes.
By day three, go smaller with the refresh. Dry shampoo at the roots, a little texture spray at the ends, and one or two face-framing pieces reset is usually enough. If the hair feels too coated, skip the extra product entirely and just reshape the parts that matter most. You don’t need to rebuild the whole head every morning. That gets old fast.
Questions People Ask Before They Try Short Beach Waves
Can short hair really hold beachy waves?
Yes, and often better than longer hair. The shorter length doesn’t weigh the wave down as much, so the bend stays visible and the style can look lively even with a small amount of texture.
What barrel size works best for a bob or pixie?
A 1-inch tool is usually the safest bet for bobs, while a 3/4-inch wand works better for pixies and very short layers. If the iron is too large, the wave can disappear before you even leave the house.
How do I keep short waves from looking crunchy?
Use less product than you think you need, and keep the stiff stuff away from the roots. A flexible hairspray and a light texture spray are usually enough; heavy gels and too much salt spray can leave the hair dry and stiff.
Can I do this without heat?
Yes. Overnight twists, small braids, or pin curls can give you a soft wave shape. The result is looser than an iron set, but it works well if you want to skip damage or your hair is already dry from styling.
What if my hair is very fine?
Start with mousse at the roots and a small amount of texture spray through the lengths. Fine hair usually needs more lift than moisture, so avoid heavy creams unless the ends are brittle.
Which short cut is easiest for this look?
A layered bob or a grown-out pixie is usually the most forgiving. The layers help the wave fall in pieces instead of one flat sheet, which makes the style easier to shape and easier to refresh.
How do I make day-two hair look intentional?
Re-bend only the front pieces, add dry shampoo at the roots, and separate the ends with your fingers. Day-two texture looks best when the wave stays soft and the part gets a little more definition.
Will a blunt bob work, or does it need layers?
A blunt bob works fine, but it usually needs more bend near the ends and a little lift at the crown. Without that, the line can look boxy instead of softly messy.
Soft Ends, Clean Shape
Short hair doesn’t need to be perfect to look finished. In fact, the less perfect it is, the better the texture usually reads. A few bends, a smart tuck, a clip placed a little off-center — that’s enough to pull the whole shape into place.
What matters is balance. Keep the roots from lying flat, keep the ends from curling into tiny sausages, and let at least one piece around the face stay a little irregular. That small bit of unevenness is where the style gets its character.
Pick the version that matches your cut, not the one that looks hardest in a photo. Then leave one or two pieces imperfect on purpose. That’s usually where the charm lives.