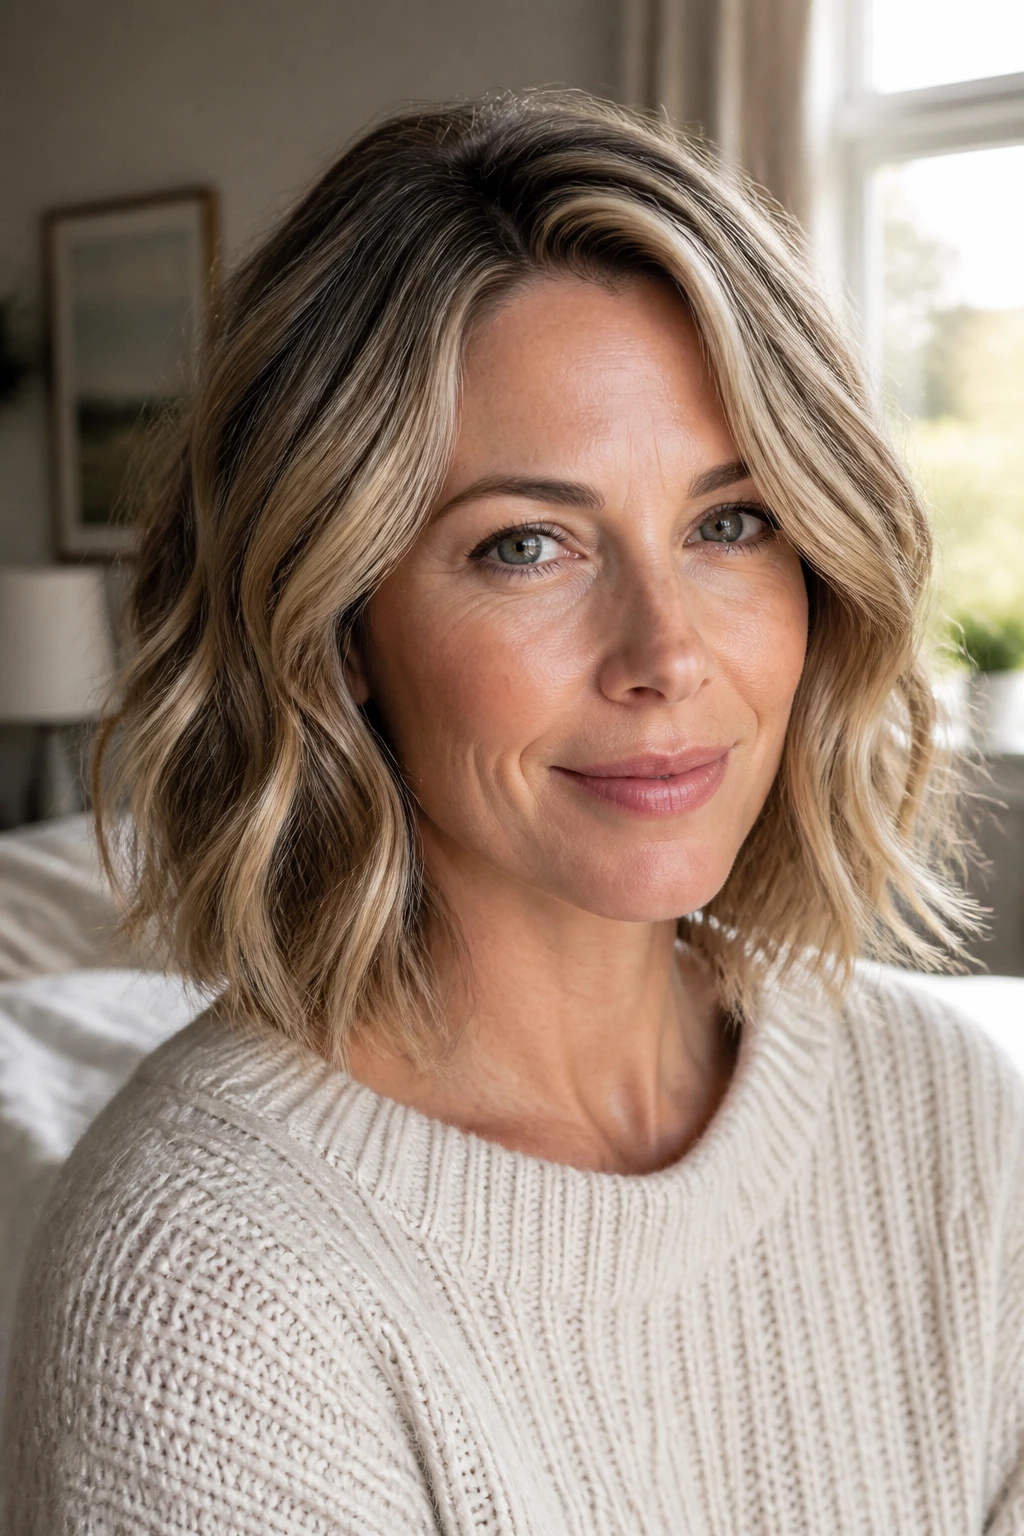
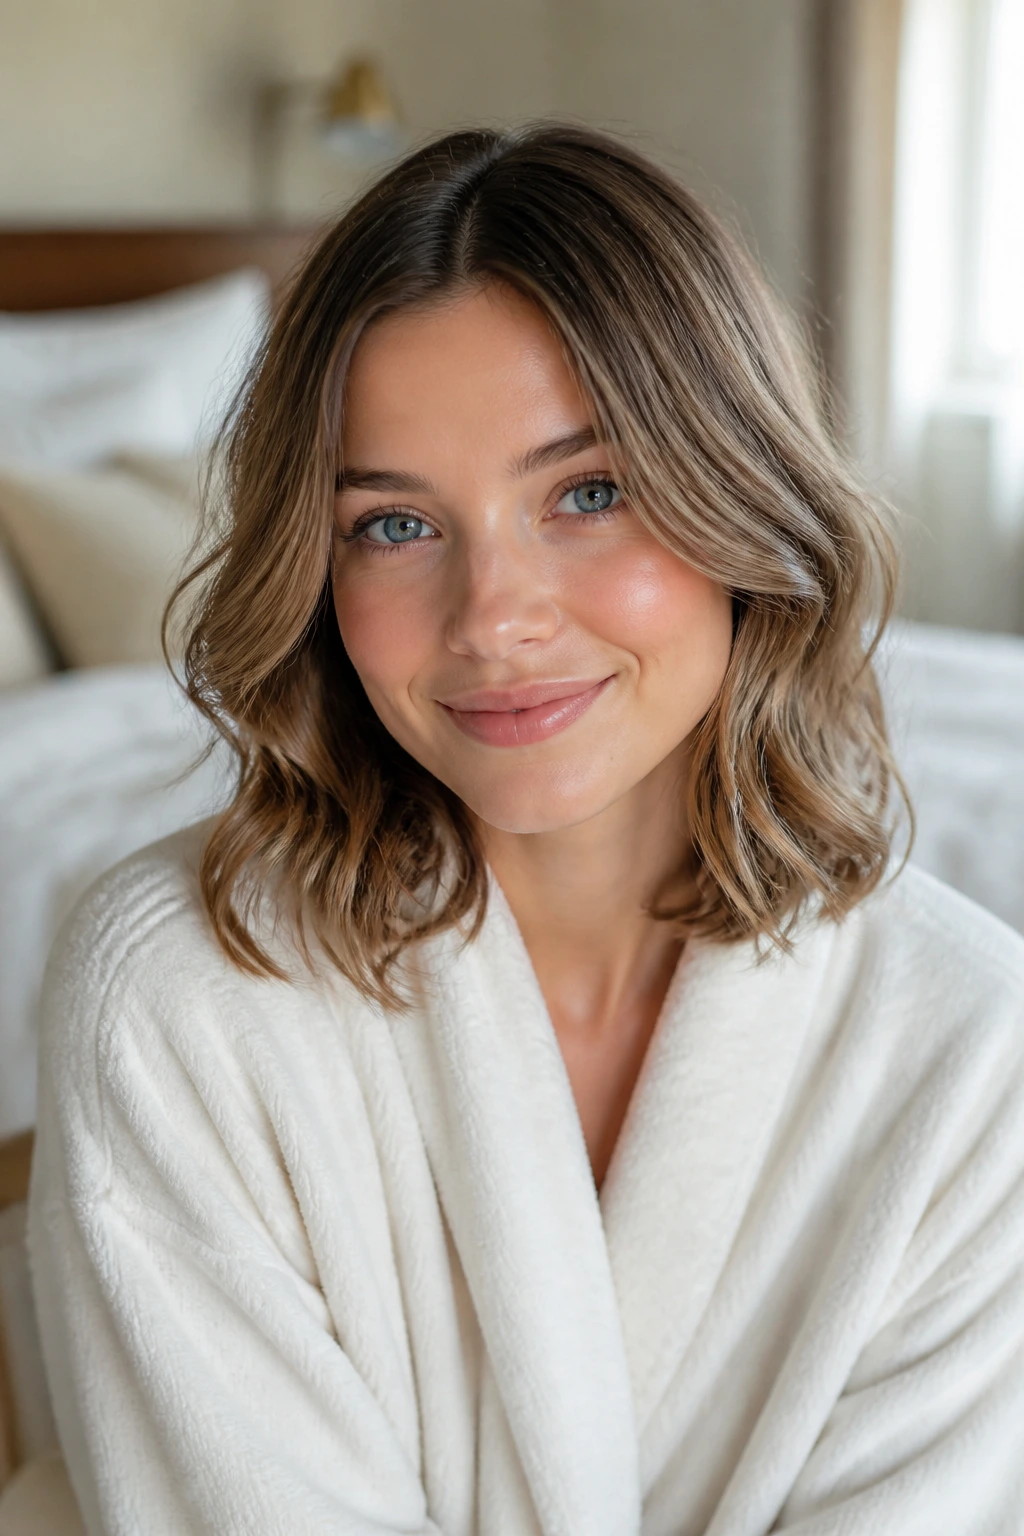
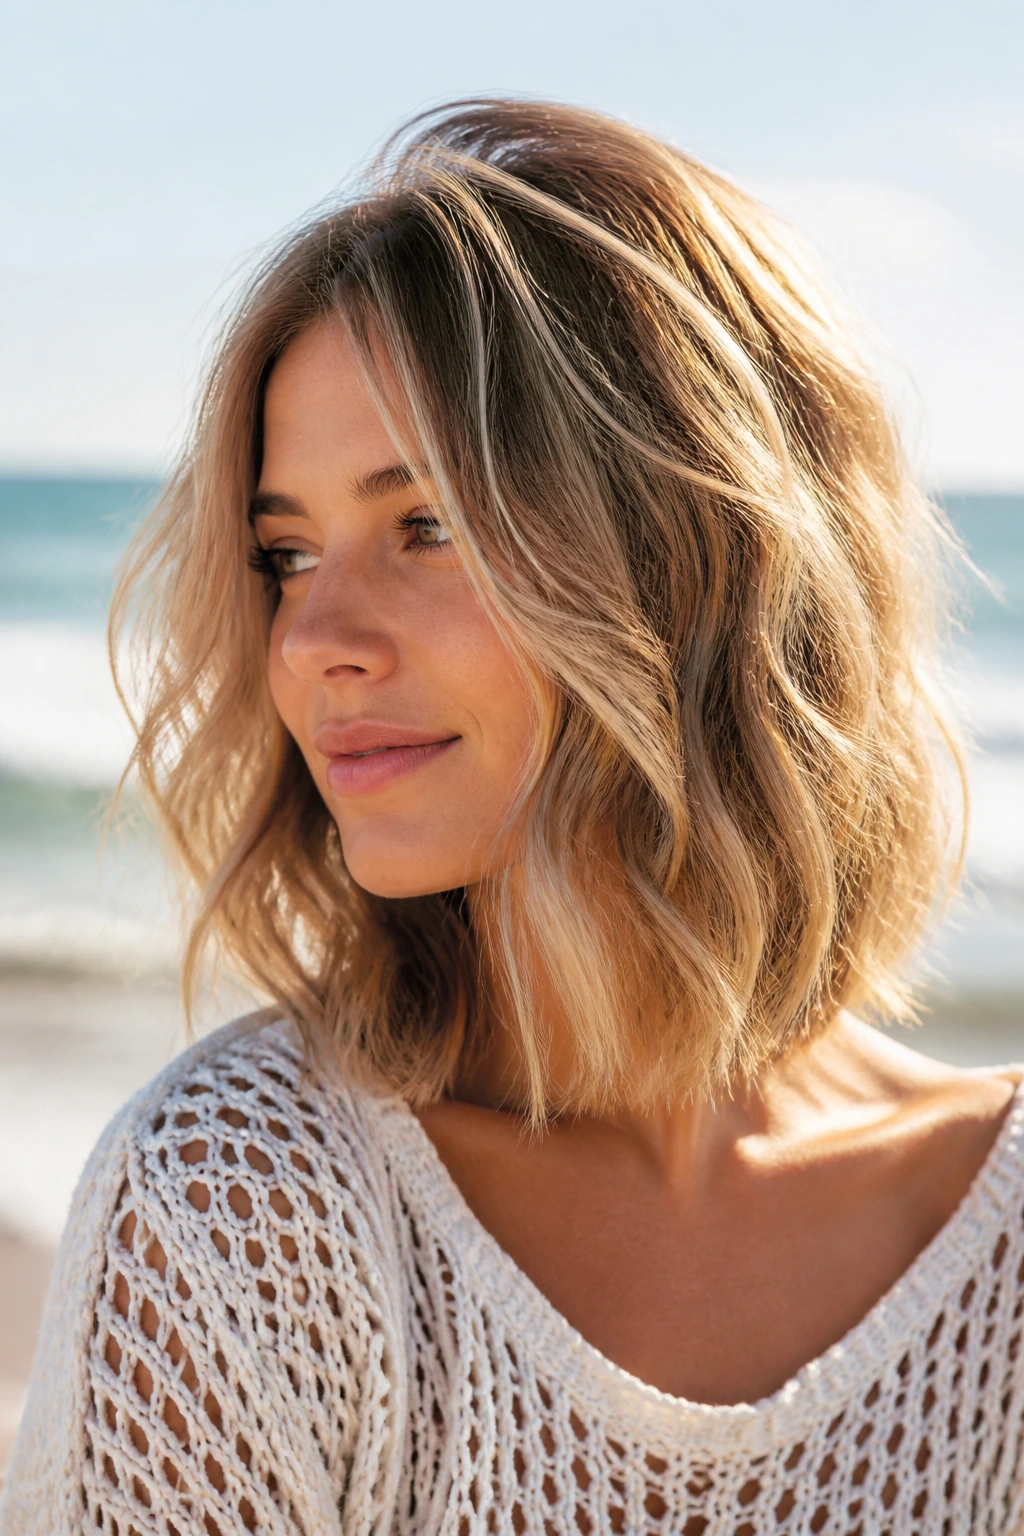
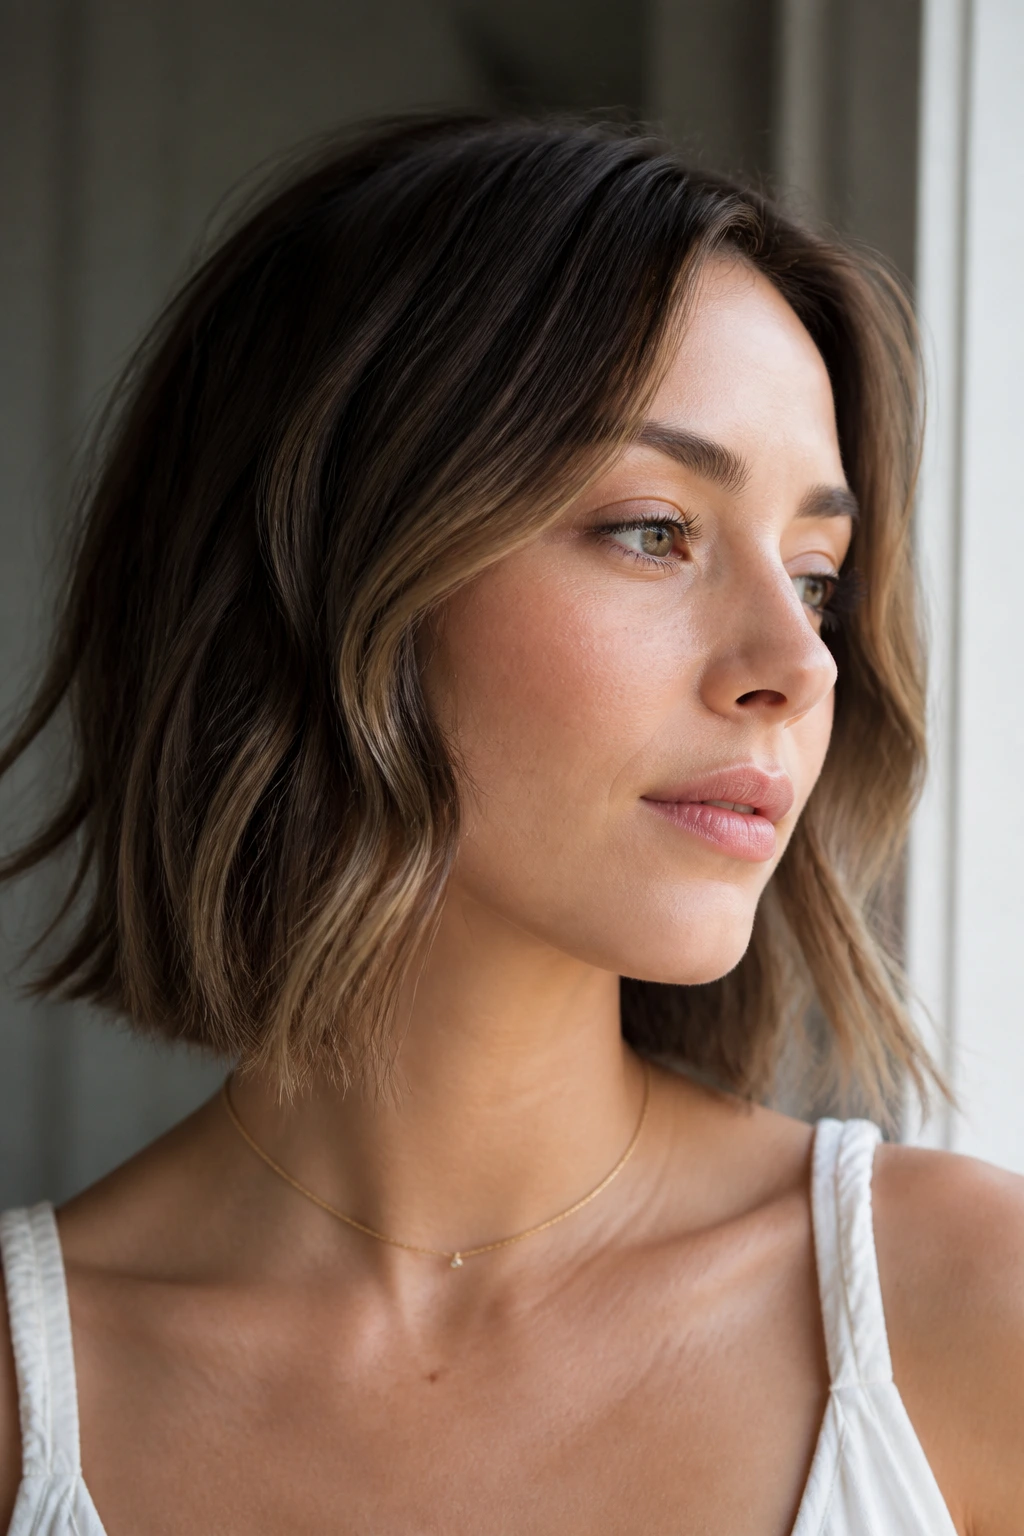
Fine hair has a nasty little trick: it can look polished for exactly long enough to take the mirror selfie, then the crown softens, the bend slips, and the whole shape starts hanging like it lost its opinion. That is why shoulder length waves for short hair with fine hair keep coming back into the conversation. The length is short enough to keep the bounce, long enough to give the curve somewhere to sit, and forgiving enough that you are not fighting gravity all day.
A shoulder-grazing cut changes the math. The wave does not have to survive the weight of long hair, so a one-inch bend can actually read as shape instead of wishful thinking. If the ends are blunt and the roots get a little lift, fine strands suddenly look denser without turning puffy or crunchy.
The real trick is restraint. Fine hair usually looks better with a wave that starts mid-length, leaves the last inch or so a bit straighter, and gets touched up with just enough product to hold the line. Heavy cream, oversized barrels, and too much brushing can flatten the whole thing in a hurry. A good shoulder-length wave should move when you turn your head. It should not sit there like a helmet.
Why These 22 Waves Make Sense on Fine Hair
-
Less weight, more bounce: shoulder-length hair gives the wave a fighting chance to stay lifted instead of stretching itself out by lunchtime.
-
A blunt edge looks thicker: when the perimeter is clean, the eye reads density before it notices strand thickness.
-
The same cut can wear two ways: one day it can look brushed out and glossy; the next day it can be a little piecey and undone with the same base shape.
-
Fine hair needs shape, not volume soup: a few well-placed bends and a lifted crown do more than a mountain of mousse ever will.
-
Day-two hair gets easier: once the cut sits near the collarbone, a little dry shampoo and a quick re-bend around the face can bring it back fast.
Why the Collarbone Line Gives Fine Hair More Shape
Fine hair is not the same thing as thin hair. Strand thickness is one thing; how many strands you have is another. That difference matters, because shoulder-length waves behave differently depending on whether the problem is a lack of width, a lack of body, or both.
A collarbone cut is the place where those problems start getting manageable. The hair is long enough to swing, but short enough that a wave can hold its shape without being pulled down by its own weight. I’ve seen the same pattern over and over: once the length drops past the shoulders, the bend softens fast. Bring it up to that in-between zone, and the curl pattern suddenly has memory.
The perimeter does a lot of the heavy lifting
A blunt or mostly blunt outline gives fine hair a stronger edge. Too many soft layers can make the ends look wispy, especially when the hair is dry or freshly washed. A few face-framing pieces are fine. A full shred through the interior usually is not.
Wave size matters more than wave count
A smaller, controlled bend tends to read fuller on fine hair than one giant loose curl. That is why the best shoulder length waves for short hair with fine hair usually look like texture first and curl second. You want movement in the shape, not an obvious ringlet pattern that gives up after two hours.
The crown is where the story starts
If the roots lie flat, the whole style goes with them. I would rather see a modest wave with a lifted crown than a prettier curl pattern sitting on a collapsed top. One is wearable. The other looks fine until you leave the house.
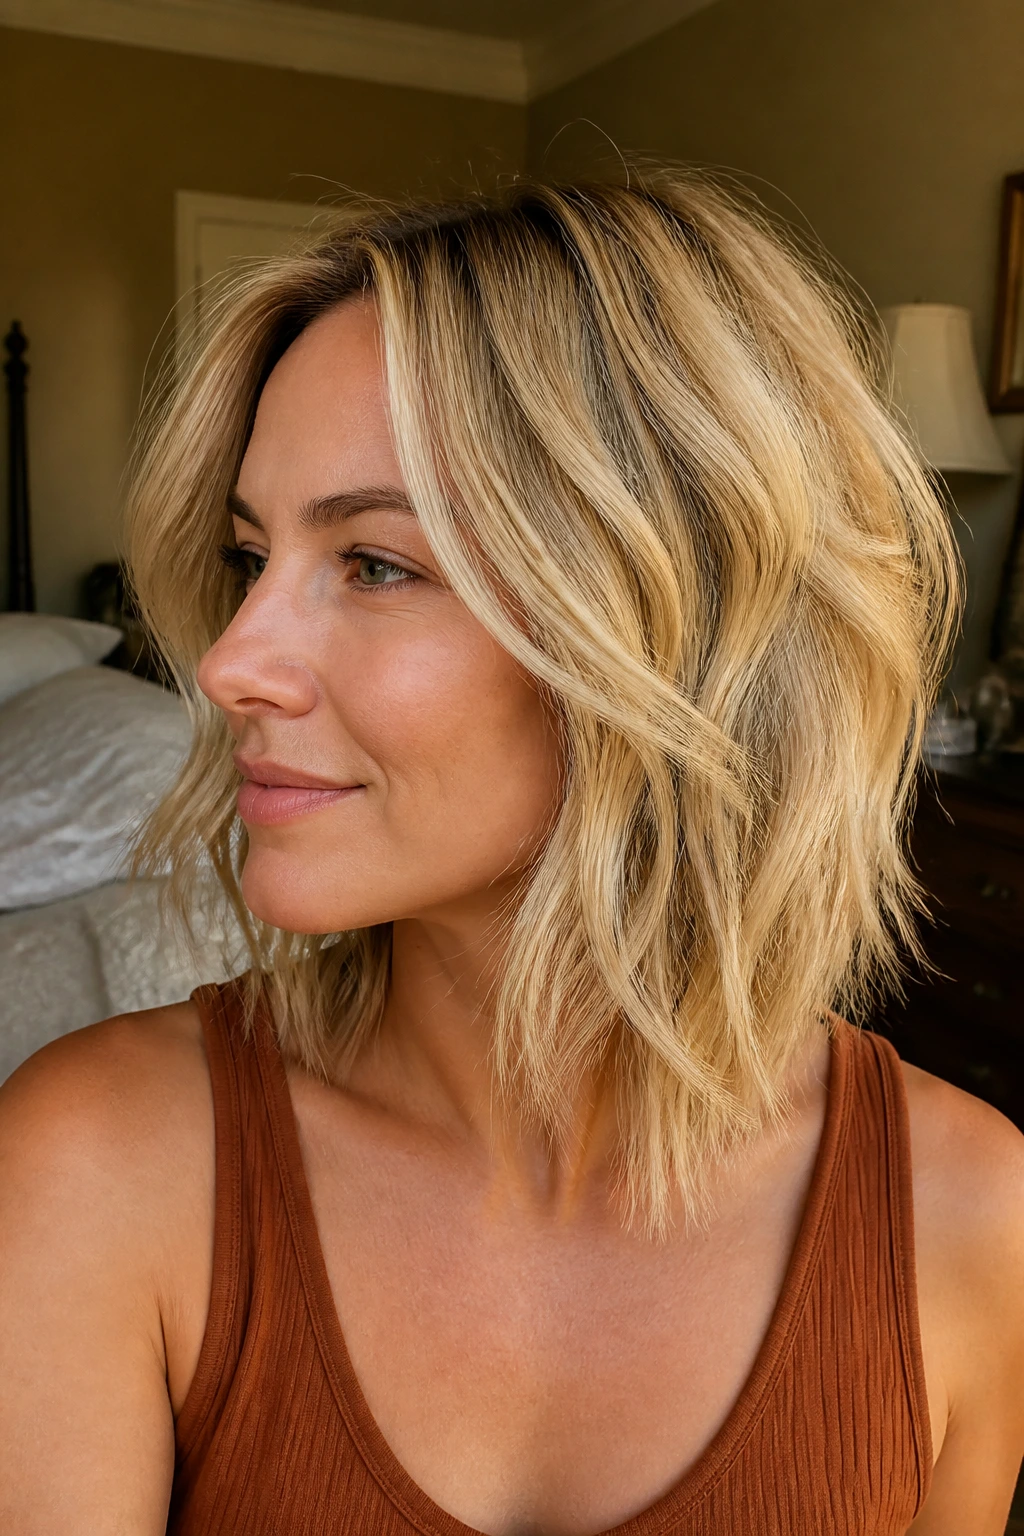
1. Soft Root-Lift S-Waves
If your crown drops the second you finish styling, start here. Soft root-lift S-waves keep the top full without making the ends look overworked, which is exactly where fine hair usually needs help.
How to build the lift
Use a lightweight root spray on damp hair, then rough-blow-dry the roots up and away from the scalp with a small round brush or even your fingers. Once the hair is dry, bend 1-inch sections around a curling iron, but stop before you fully wrap the ends. That slight straight tail keeps the look airy instead of curled-to-death.
- Root spray: aim it at the first 2 inches from the scalp.
- Barrel size: a 1-inch iron gives the right bend.
- Cooling time: pin each curl for about 20 seconds if you want more hold.
The best part is that this style does not ask for perfection. The bend can be slightly uneven. In fact, that usually looks better on fine hair. The whole point is to make the root area feel lifted and the mid-lengths feel soft, not to create a perfect row of identical curls.
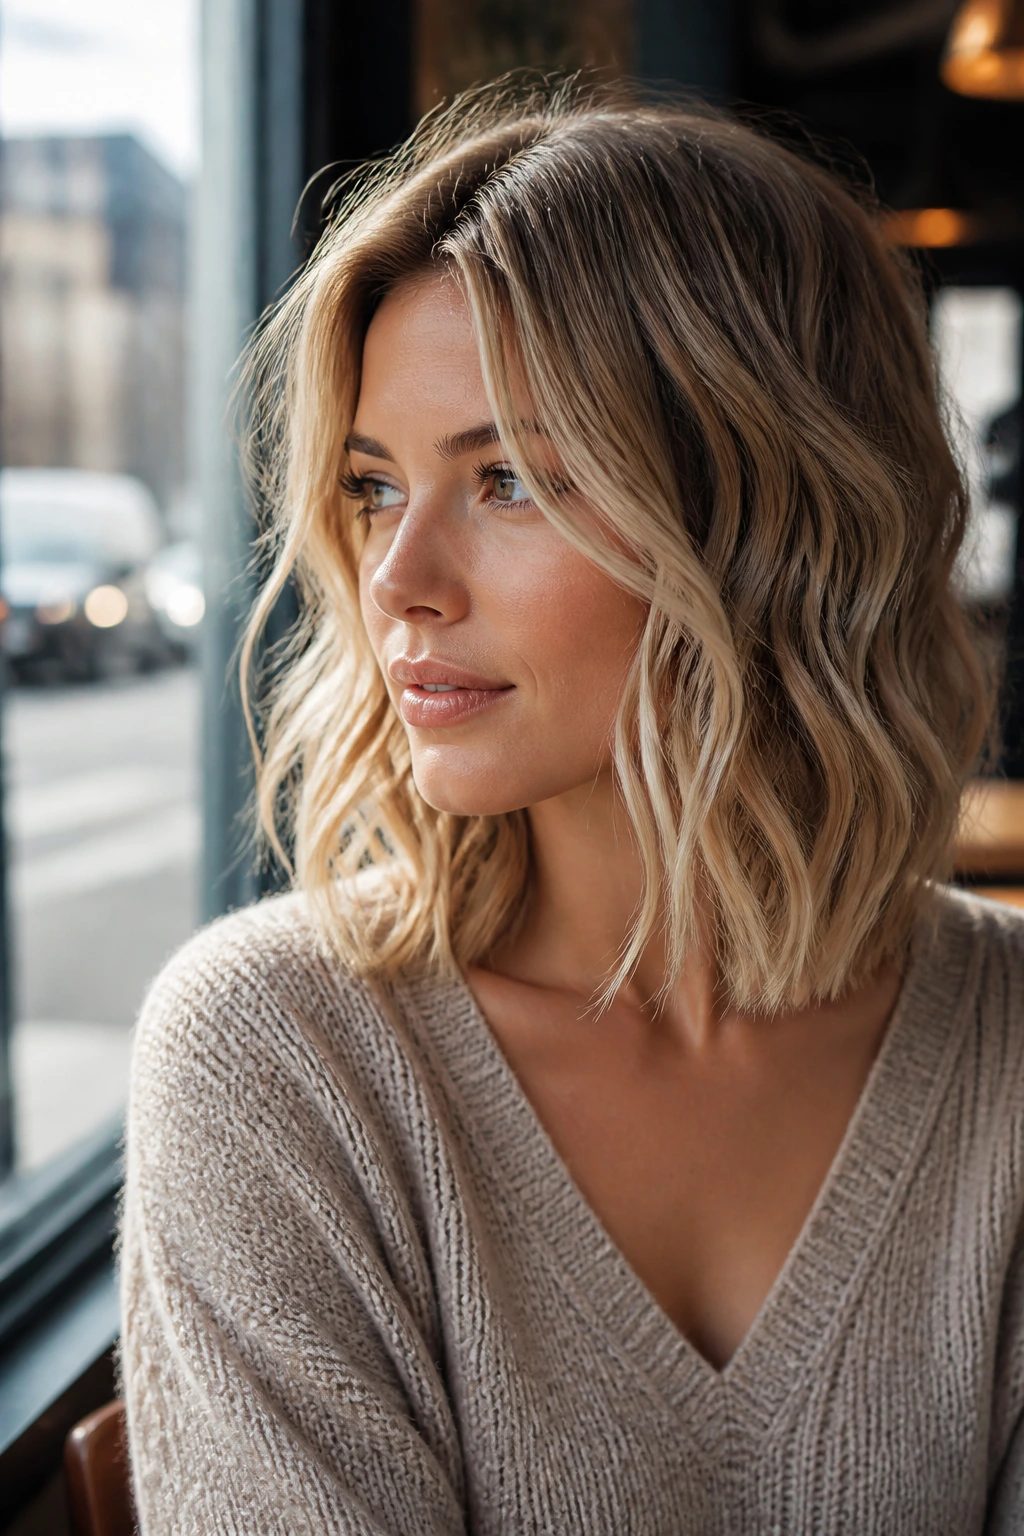
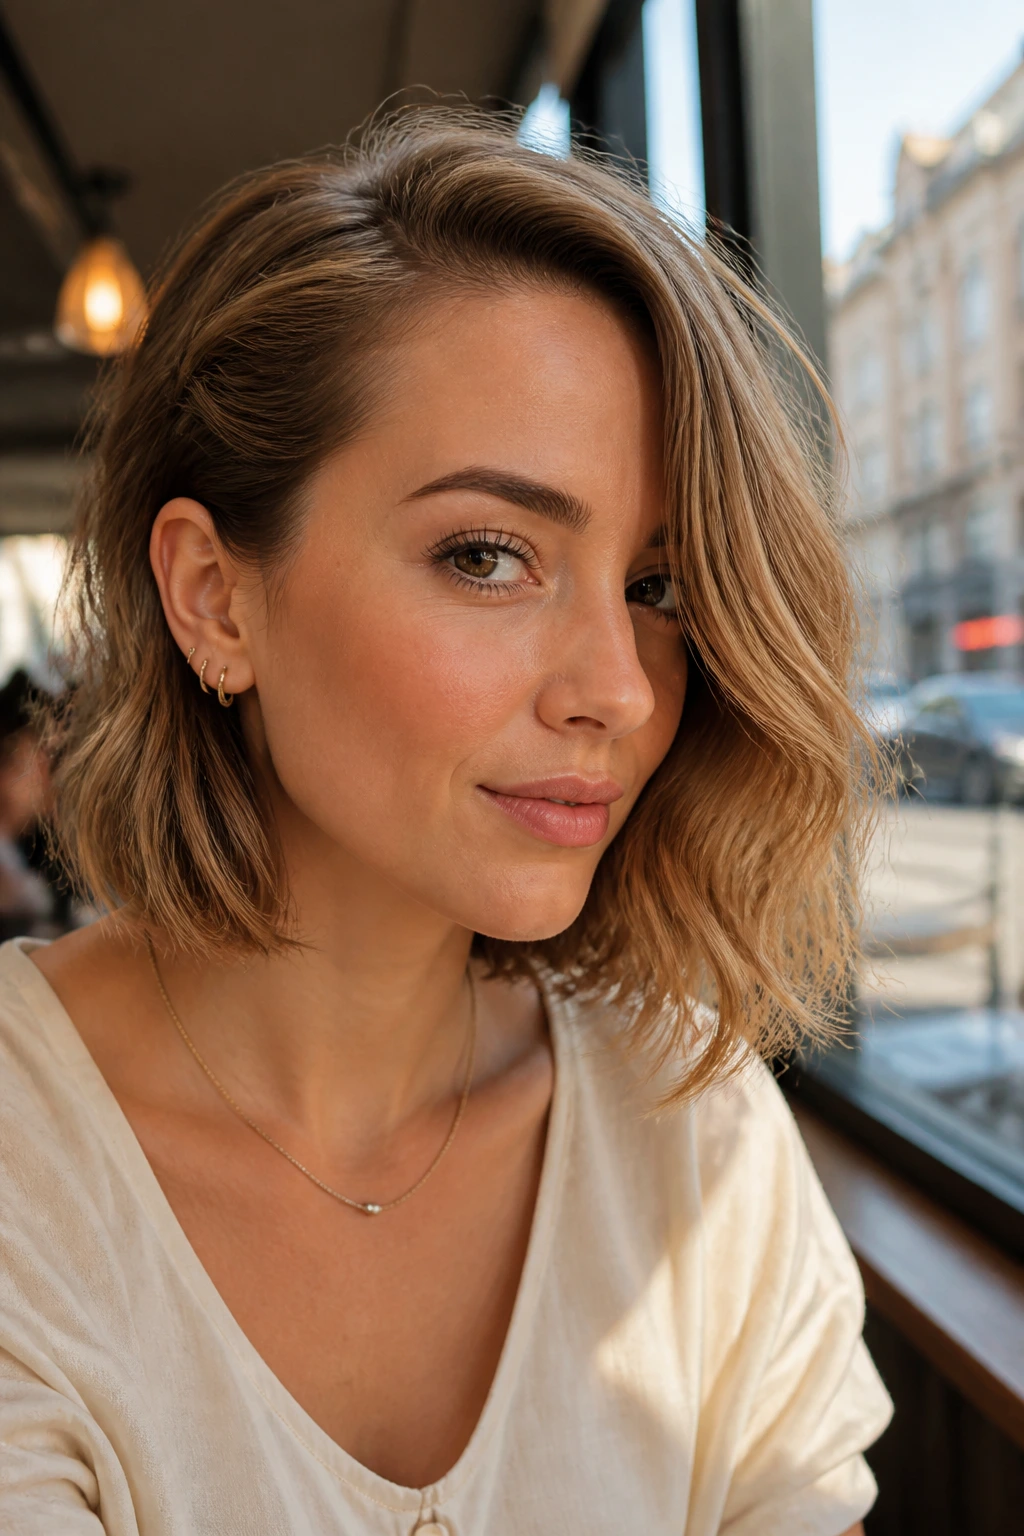
2. Deep Side-Part Waves
Why does one deep side part make such a difference? Because fine hair often looks fuller when it is forced to commit to one side. The lift at the root becomes part of the style, not something you are trying to fake later.
Move the part a good 2 to 3 inches off center, then set it while the hair is still warm from the dryer. Curl away from the face on both sides, but keep the larger side slightly more open at the front so the wave falls in a wide, soft line. The tucked side can sit behind the ear or near the cheekbone. That little asymmetry adds a lot.
This one works especially well if the hair is a blunt lob with not much layering. The deep part gives the illusion of body at the top, while the wave keeps the lower half from feeling too rigid. It is tidy without looking stiff.
3. Blunt Lob With Loose Ends
A blunt outline is one of the fastest density tricks on the list. You can have the same amount of hair and still make it look fuller just by cutting off the feathered, wispy perimeter that fine hair tends to get at longer lengths.
For this version, ask for a shoulder-skimming or collarbone lob with minimal internal layering. Then wave only the middle section of the hair, not the ends. A 1.25-inch barrel is useful here because it creates a broad bend that does not scream “curling iron.” Brush it out once it cools, but only once.
Why it works
- The blunt edge makes the outline read thicker.
- Loose ends keep the style from shrinking upward.
- Brushed-out waves create a single, fuller-looking shape instead of many tiny pieces.
I prefer this look when the hair is clean and a little slippery. Fine hair does not need a ton of texture to sell the style here; it needs structure. Give it a solid shape, then let the wave do the rest.
4. Air-Dried Salt-Spray Waves
Some mornings call for zero hot tools. That does not mean you have to surrender to flat, shapeless hair.
Mist damp hair with a lightweight mousse at the roots, then use a small amount of sea-salt spray through the mid-lengths only. Scrunch with your hands, twist a few sections around your fingers, and let the hair air-dry until it is about 80 percent dry. If you want a little extra bend near the crown, clip the roots up while it dries. That small move can save the whole shape.
The catch is salt spray. Too much and fine hair starts feeling rough and stiff. One or two light passes are enough. If the hair already leans dry, I’d keep the salt spray to the ends and use a soft mousse higher up instead.
This is the kind of style that looks better a little imperfect. The wave pattern should feel loose and touchable, not defined to the point of looking set.
5. Flat-Iron Ribbon Waves
A flat iron often makes better waves on fine hair than a curling wand. That sounds backward until you actually try it. The flat iron creates a narrow ribbon shape, which keeps the bend controlled and stops the curl from swallowing the whole strand.
Use a flat iron with rounded edges and work in 1-inch sections. Clamp near the root, give the iron a half-turn away from the face, then glide slowly down the hair while changing direction once or twice in the same section. Leave the last inch straighter. That straight tail is not a mistake. It keeps the wave from looking too round.
What to watch for
- Too much heat: fine hair only needs one slow pass.
- Too wide a section: the bend gets lazy and drops fast.
- Same direction every time: that gives the style a stiff, old-fashioned line.
Ribbon waves are good when you want movement, not fluff. They sit close to the head, which means they survive jackets, scarves, and a long day without losing the shape completely.
6. Heatless Robe-Curl Waves
Can you get a real wave pattern overnight without pressing the life out of fine hair? Yes, if you keep the wrap loose and the hair only slightly damp.
Center-part the hair, place a soft robe belt or similar fabric tie on top of the head, and wrap 1-inch sections around each side as you go. Secure the ends with scrunchies, not tight elastics. The set should feel snug, not tight enough to leave dents. Sleep on it, or let it sit for 6 to 8 hours if you are doing it in the daytime.
The beauty of this method is the way it keeps the hair from getting blasted by heat. Fine strands often respond well to that. The downside is that if the hair is too wet, the wave pattern can dry in a lumpy way. Slightly damp is the sweet spot.
When you take it down, separate the curls with dry hands and a very small amount of texturizing spray. Don’t rake through it. You’ll break the pattern before it has a chance to settle.
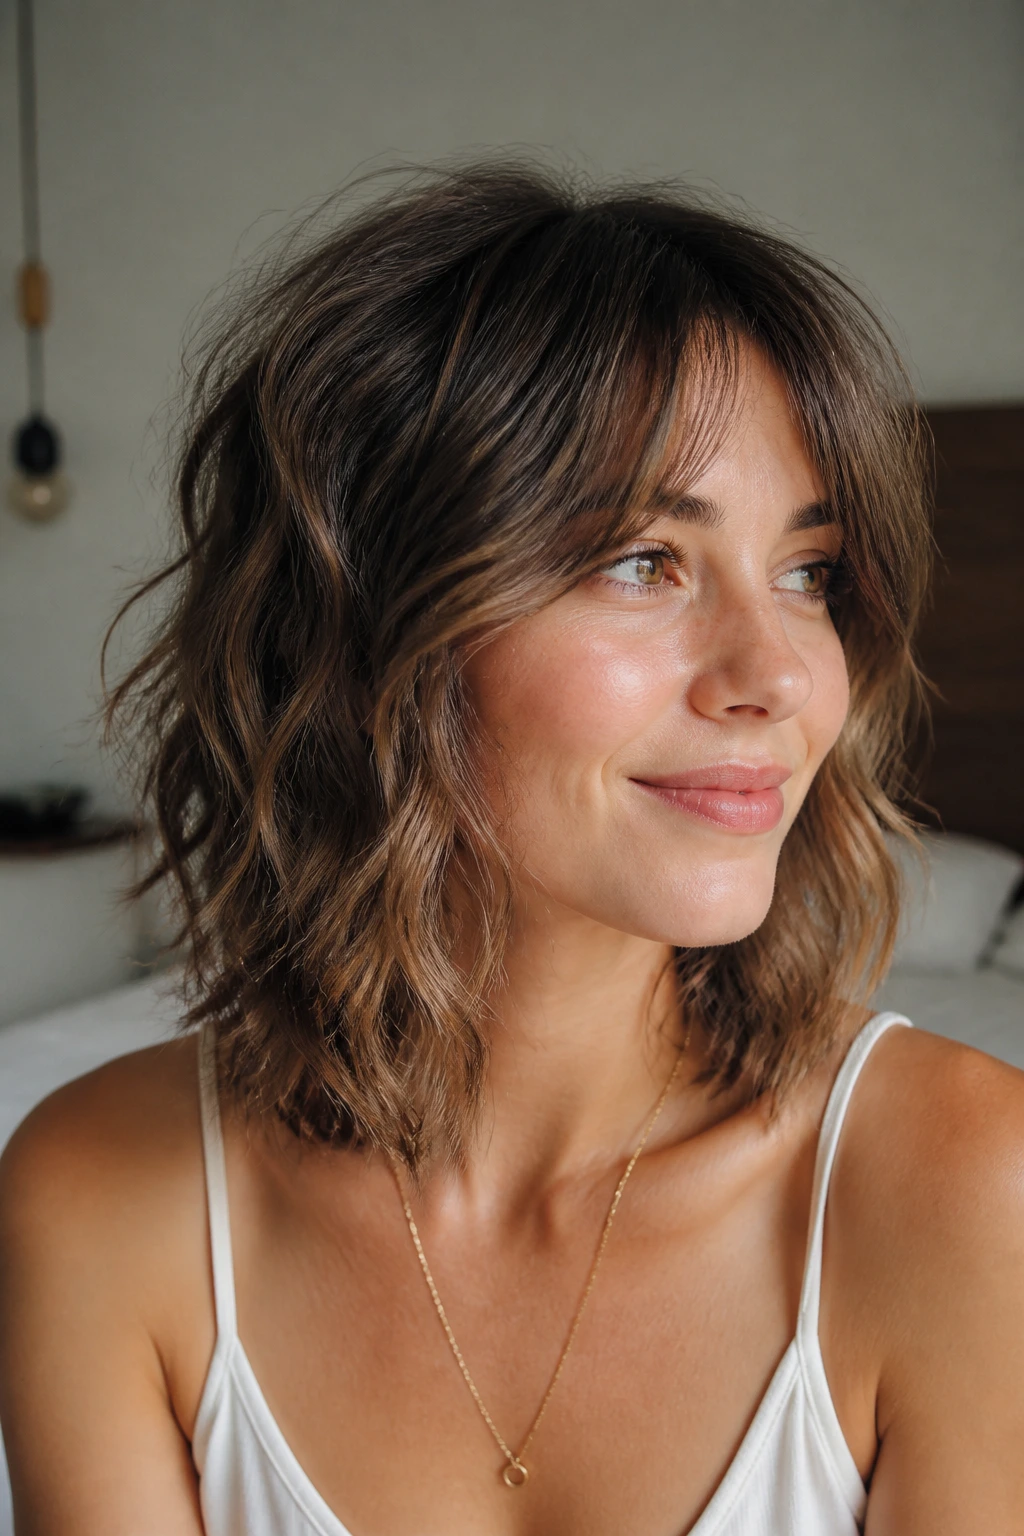
7. Curtain Bang Waves

Curtain bangs change the whole mood of shoulder-length waves. They break up the forehead area, soften the face, and help the sides feel fuller because the eye is pulled inward before it reaches the ends.
Start by styling the fringe away from the face with a small round brush or a 1-inch iron. Keep the bend soft, almost like a relaxed S shape, then wave the rest of the hair with a larger barrel. The key is not to curl the bangs too much. Fine hair can look fussy fast when the front pieces get too tight.
The length around the cheekbones should stay loose and swingy. If the bangs hit at lip level or just below the eyebrow, they create a nice little frame without stealing all the volume from the sides. This is one of those styles that looks polished even when the rest of the hair is a little undone.
8. Tousled Piecey Waves
Piecey beats fluffy when the strands are fine. Every time.
To get that look, start with a wave pattern that is already fairly soft, then separate only a few sections with your fingers. A texturizing spray at the mid-lengths gives the pieces some grip, but use it lightly. If you overdo it, the hair turns dry and feathery in a way that reads thin rather than airy.
How to keep it from looking stringy
- Leave a few larger sections intact around the front.
- Keep the product off the roots.
- Add a tiny bit of texture cream only to the ends if they need definition.
This style works well on second-day hair, especially if the crown still has a little life. The messier it gets, the more it should look intentional, not collapsed. Think broken-up shape, not tangled shape.
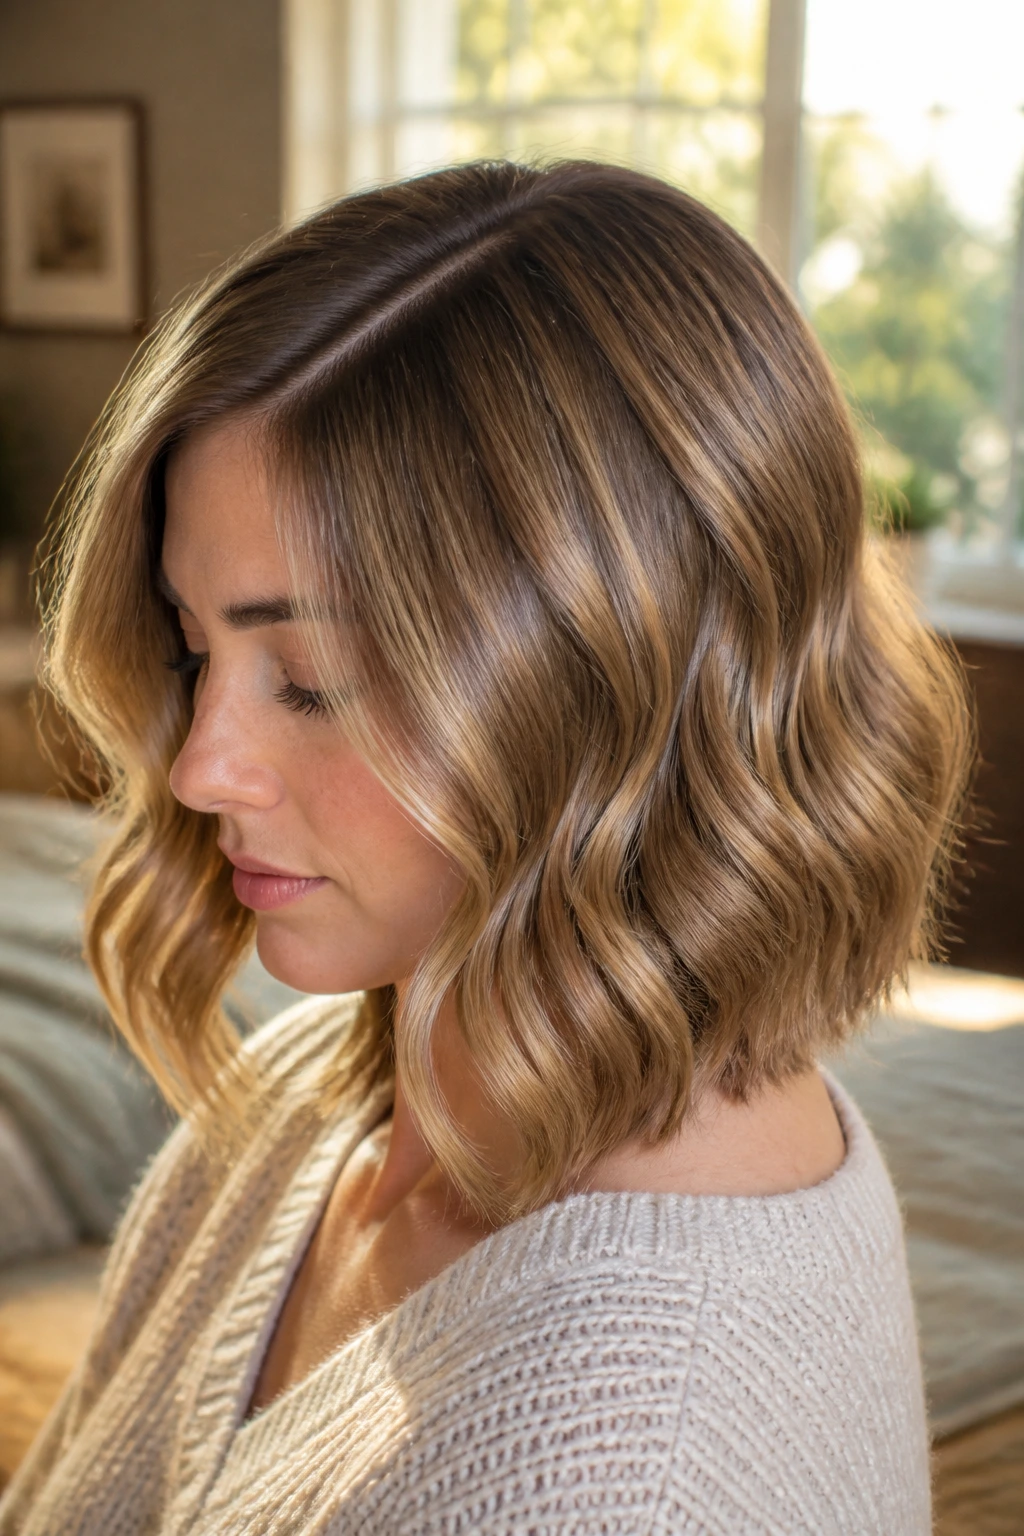
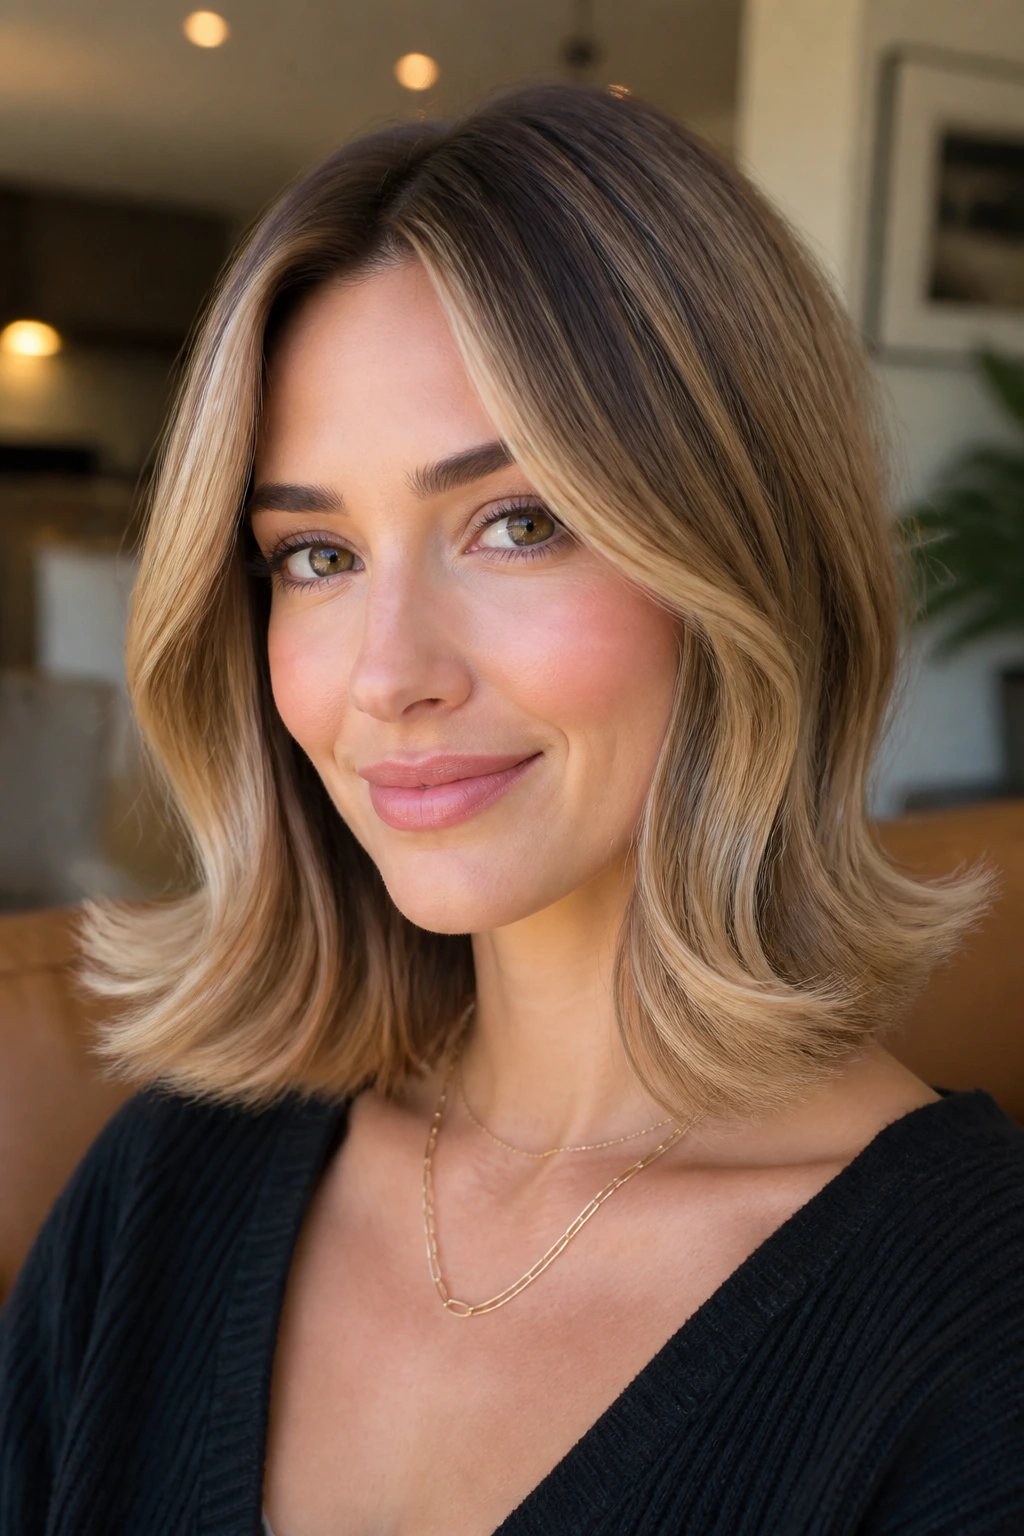
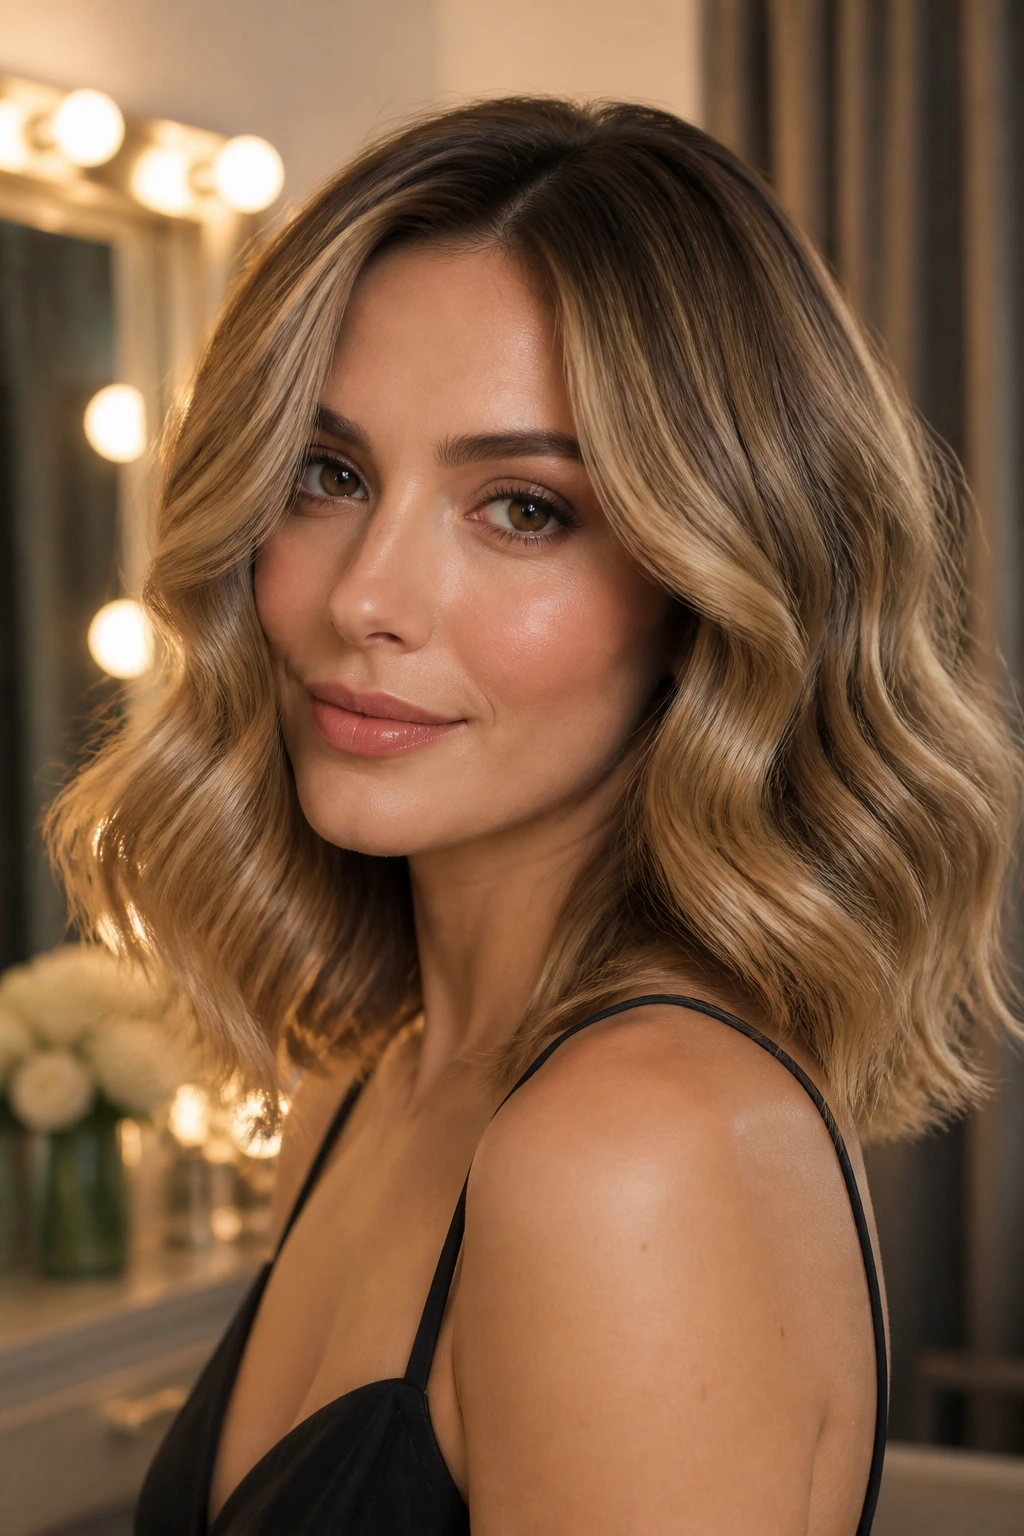
9. Polished Old-Hollywood Bend
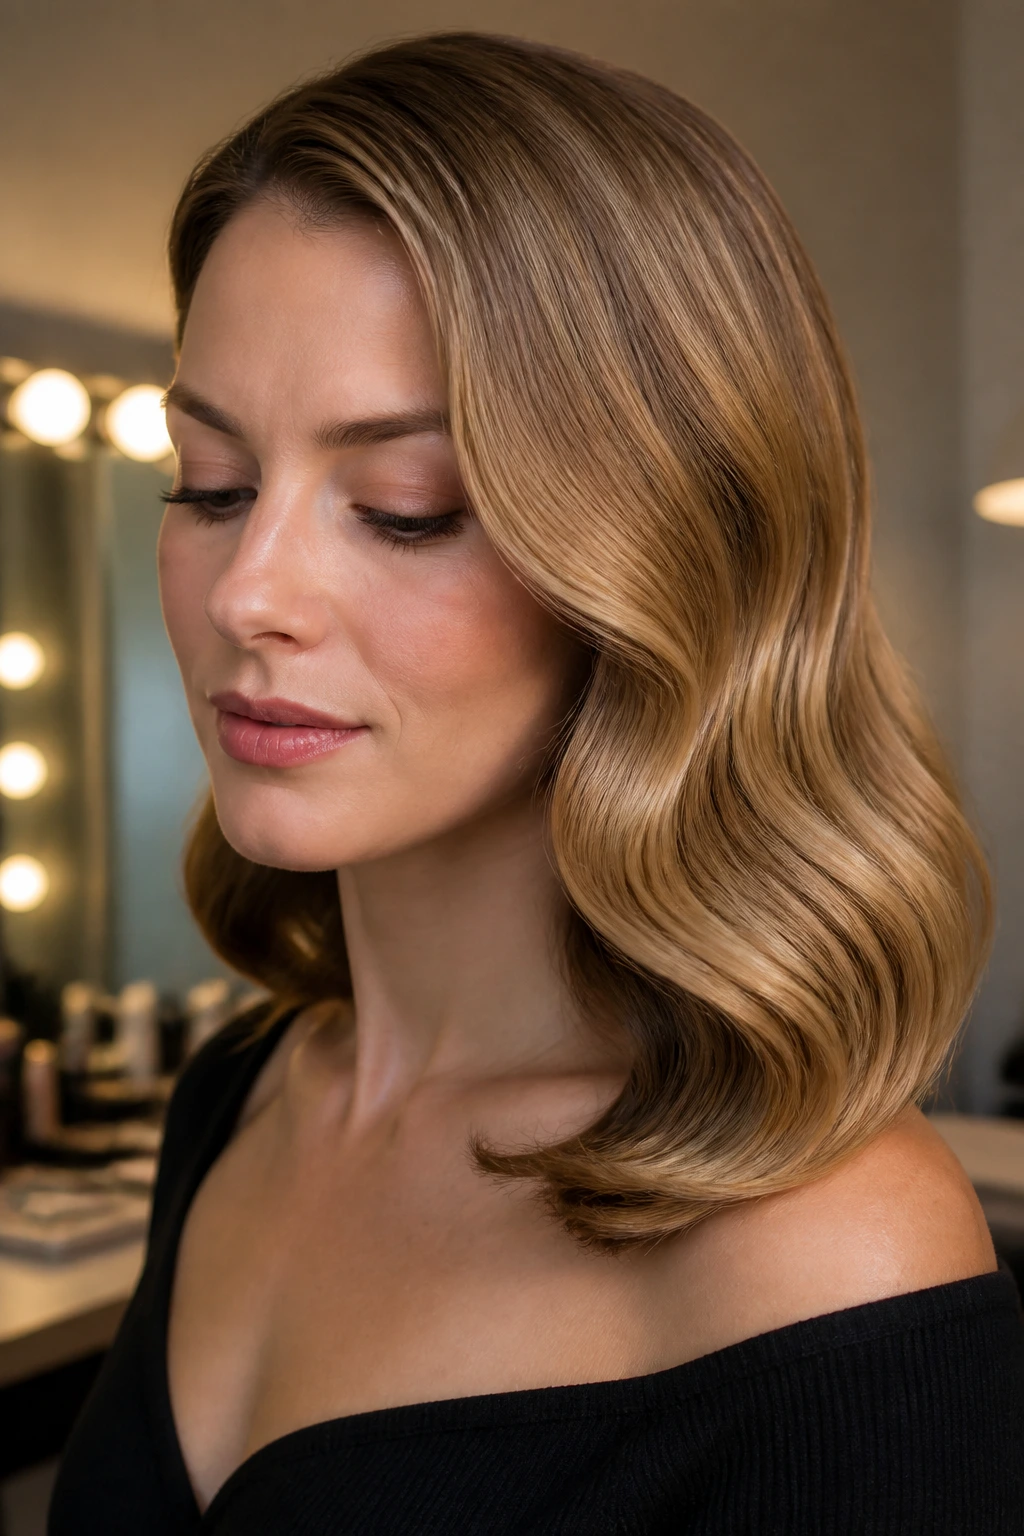
When you brush out a set on fine hair, you get one smooth wave instead of six separate curls fighting each other. That is why the brushed-out glamour look works so well at shoulder length.
Use a 1.25- to 1.5-inch iron, curl all the sections in the same direction, and let them cool completely before brushing. Once the hair is set, use a soft boar-bristle brush or a wide paddle brush to blend the bends into one flowing curve. Finish with a light mist of shine spray from about 12 inches away.
Don’t drown the hair in oil. One tiny drop at the ends is enough if they look dry. Too much shine product on fine hair just makes the roots go soft and the whole look collapse at the crown.
This style is elegant without being stiff, and it gives the impression of more hair because the wave line is continuous. I like it most when the cut is blunt or only slightly layered.
10. Half-Up Twist Waves
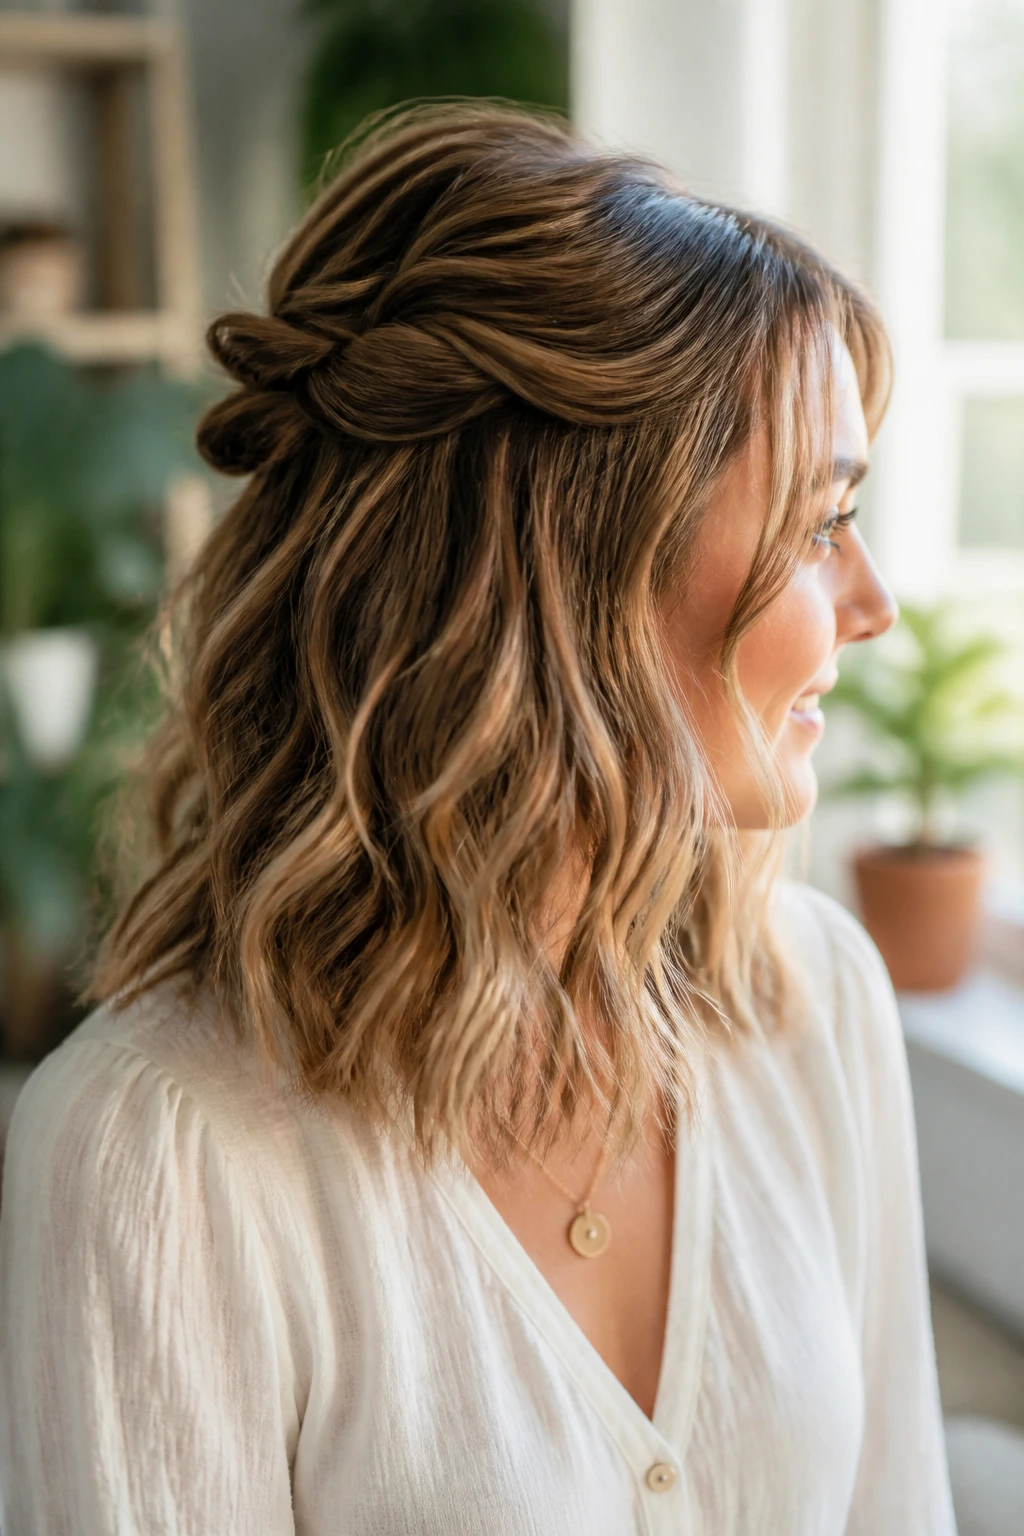
A half-up twist can rescue hair that has gone a little flat around the crown. It also adds a bit of height without needing a full teasing session, which is a relief if your hair hates backcombing.
Pull the top section back from temple to temple, twist it once or twice, and secure it with a small claw clip or a hidden bobby pin. Let the lower waves fall loose. If the top section feels too tight, loosen the twist by tugging a few strands at the hairline. That little slack keeps the look soft.
This is a smart style for day two or day three hair because the twist disguises the pieces that have lost their spring. It also gives the illusion of more density around the upper half of the head, which is usually where fine hair shows its cards first.
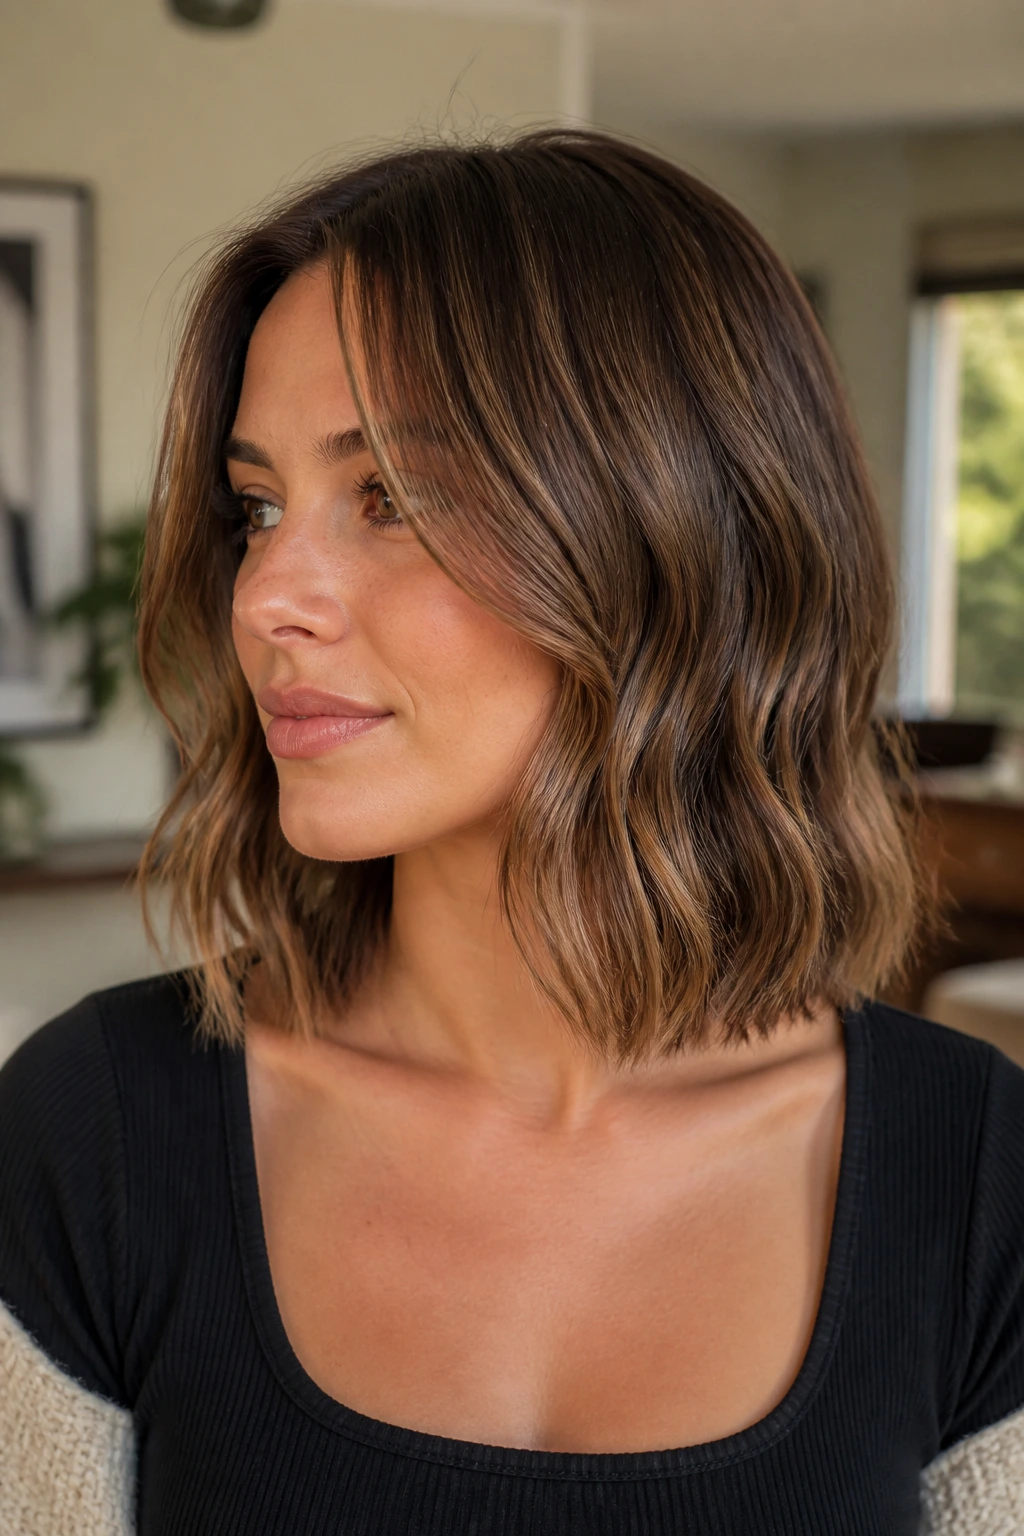
11. Layered Choppy Waves
Layered cuts get a bad rap when people go too far with them. On fine hair, I would rather see a few well-placed layers than a heavy cascade of shorn-up ends.
The useful version is choppy around the face and softly broken through the interior, not stripped from top to bottom. Ask for layers that start around the cheekbone or lower, then wave the hair with a medium barrel and finger-separate only the ends. The result should move, but not look shredded.
Ask for structure, not thinness
A good stylist can build motion into fine hair without leaving the perimeter see-through. That line matters. If the ends start looking wispy, the whole style loses weight. A choppy wave should feel lively, not sparse.
This cut also gives the light a few places to hit, which helps the hair look fuller in motion. It is one of the few times I think a little texture is worth the trade-off.
12. Side-Tucked Waves
Tucking one side behind the ear changes the balance of the whole cut. It opens the face, exposes the jawline, and lets the wave on the other side carry more visual weight.
Start with a soft wave pattern and choose the side that feels flatter or less interesting. Tuck that side behind the ear and hold it with a discreet bobby pin if the hair slips. The other side should stay loose and slightly fuller, with the front bend falling forward over the cheek.
This is a very good option when the hair is clean but not freshly blown out. The tuck creates structure even if the volume is modest. It also lets you show off earrings or a sharp neckline, which helps the style feel deliberate.
No heavy parting needed. Just one clean tuck and a little asymmetry.
13. Finger-Waved Front and Loose Ends
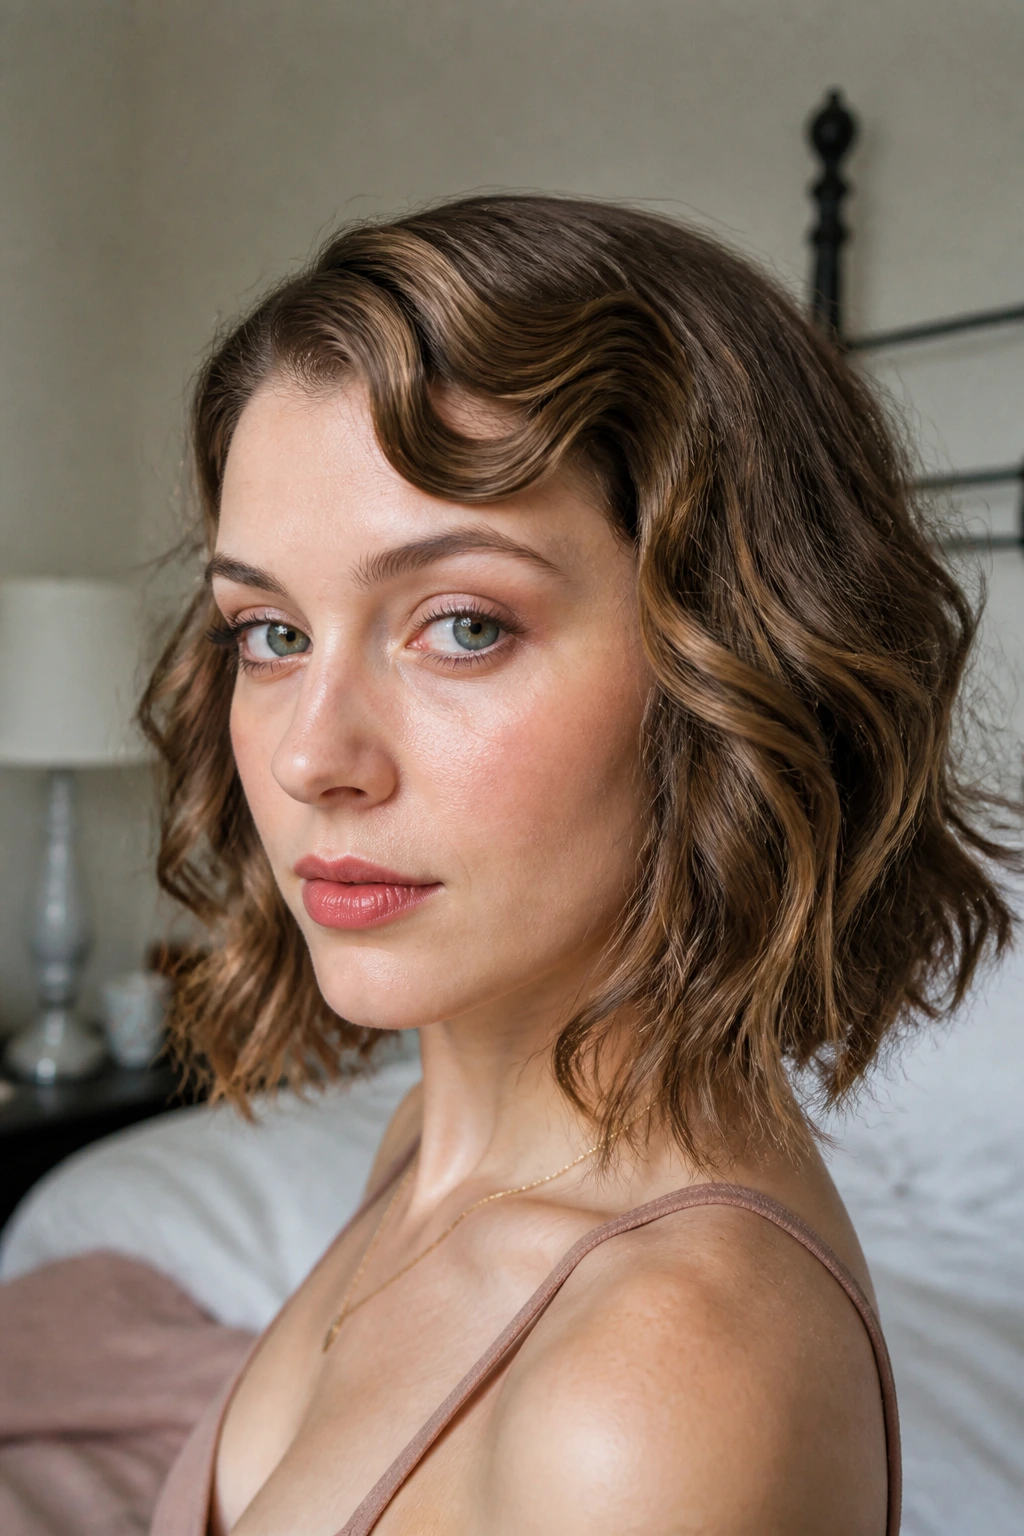
A small section of finger waves at the front can make shoulder-length hair look much more styled than it really is. You do not need to recreate a full vintage set. Just enough to frame the face.
Work a little setting lotion or light gel through the front pieces, then shape gentle S-bends with your fingers and a comb. Clip them flat while they cool. Leave the rest of the hair in loose, softer waves so the front has a little more structure than the back.
Where this shines
- Fine hair holds the front pattern well.
- The contrast between set front pieces and soft lengths adds interest.
- It works especially well for evening looks or photos.
I like this when the hair is shoulder length but still thin around the temples. The front pattern gives the style a stronger outline, which is where a lot of fine hair needs help most.
14. Face-Framing Bend With Flip Ends
The last two inches do not always need to curl inward. Sometimes they should flip out a little, especially when the hair is short and fine.
Use a flat iron or curling wand to create a soft bend around the face, then turn the ends outward in a subtle flick. Keep the rest of the hair relaxed. That little outward motion keeps the style from looking too round or too finished. It also helps the cut feel fresh when you are growing out a bob.
This shape works best when the hair is clean and the ends are trimmed recently. If the ends are old and dry, the flip can look ragged instead of sharp. A quick trim every 6 to 8 weeks keeps it honest.
I’d pick this version for someone who likes a modern look that does not ask for a lot of touch-up time.
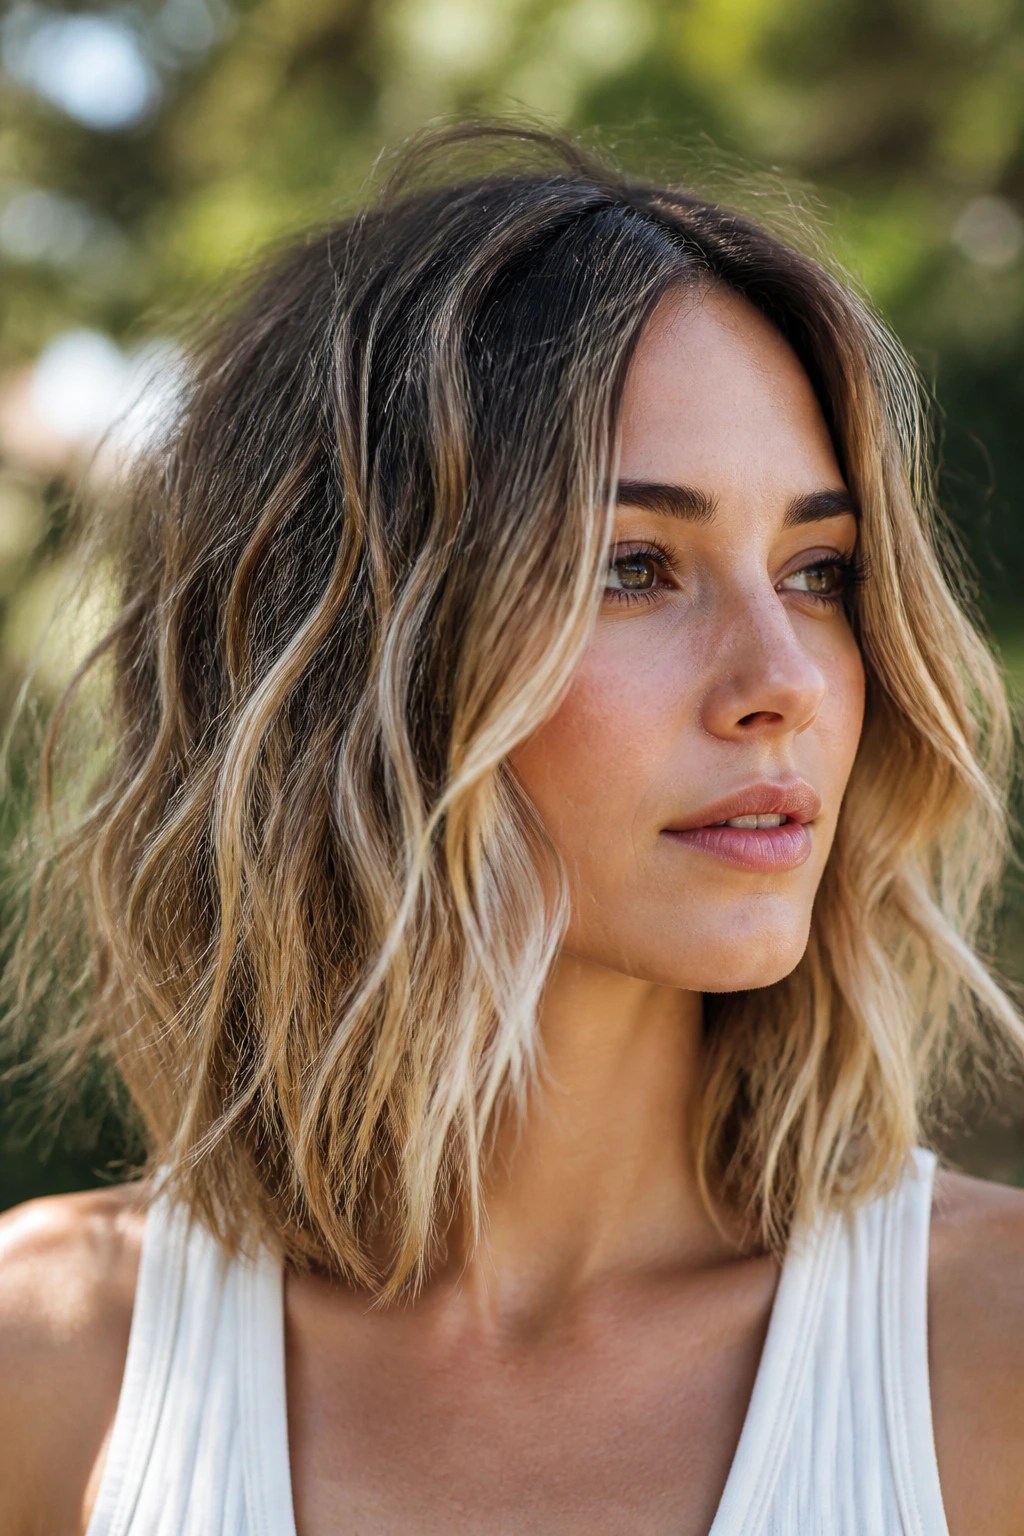
15. Messy Beach Lob With Hidden Volume
Beach waves can go limp fast on fine hair if you pile on too much salt spray. The cleaner version keeps the texture in the middle and hides the volume where the eye can’t see it.
Use a root-lifting mousse at the scalp, then wave the mid-lengths with a medium barrel. Once the hair cools, lift the top layer and mist a touch of texturizing spray underneath, near the crown and behind the ears. That gives the style a little lift without making the outer surface dusty.
The trick is not to make every strand look “beachy.” Fine hair usually looks better with a few broken-up pieces and a soft surface than with a full gritty finish. One or two passes of spray are enough.
This version reads casual, but it is built. That matters.
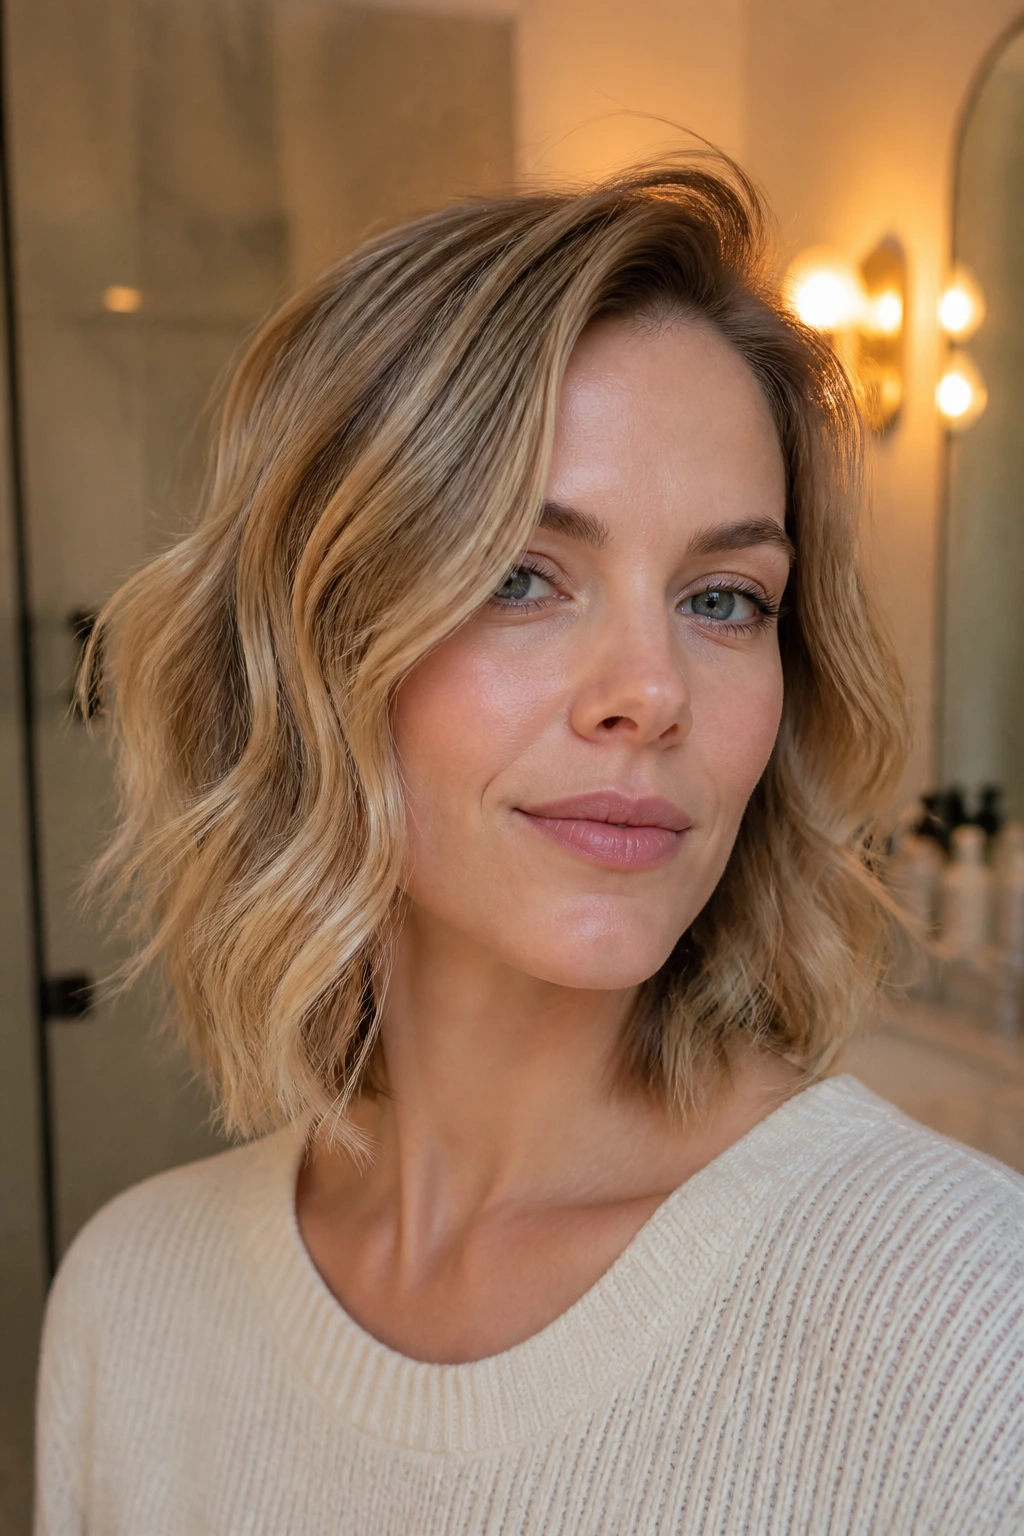
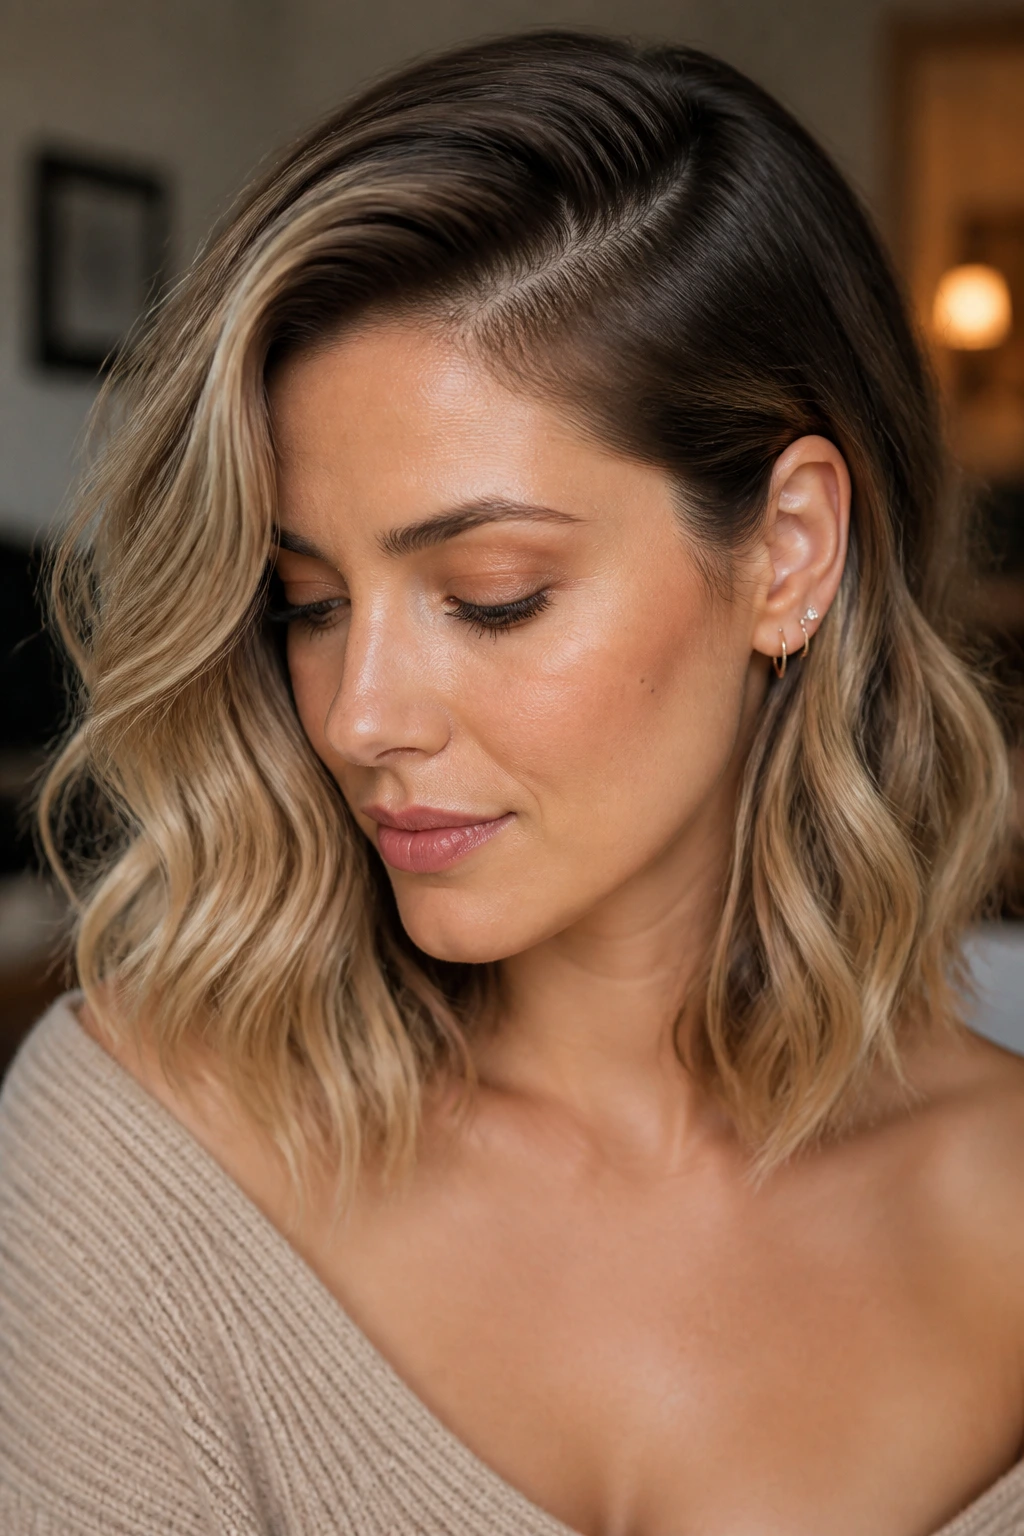
16. Soft Glam Waves With Gloss Spray
If you want the hair to look dressed up without feeling stiff, this is the route. Soft glam waves sit in that middle zone where the pattern is clear, the shine is controlled, and the ends are still soft enough to move.
Use a 1.25-inch iron and curl away from the face in consistent sections. After the curls cool, brush them out once or twice, then mist a gloss spray from about a foot away. You want a light veil, not a wet finish.
A single drop of serum on the ends can help if they look dry, but keep it low. Fine hair plus too much serum equals slippery roots and sad volume. That is the part people usually get wrong.
This style is excellent for dinner, events, or any day when you want the hair to look finished without feeling overdone.
17. Shoulder-Grazing Shag Waves
A shag and fine hair can be a good match, but only when the layers stay controlled. At shoulder length, the shag shape can add movement without making the ends disappear.
The best version has longer layers through the crown, a little softness around the cheeks, and enough perimeter left in place to keep the outline strong. Style it with mousse on damp hair and a diffuser, or wave it with a wand and then break up the pieces with your fingers. Don’t brush the whole thing out. That defeats the point.
Why the shag behaves at this length
The cut gets movement from the layers, while the shoulder length keeps the weight from spreading too thin. Fine hair often needs one or the other, not both. Here, the cut gives some lift and the wave gives the rest.
This is one of the few styles where a little frizz can be useful. It makes the shape look fuller, which is the whole game.
18. Braided Overnight Waves

Braids give fine hair a softer wave than curls, and the length is just right for it. Long enough to braid. Short enough that the wave pattern wakes up with decent shape.
Start with hair that is slightly damp, not wet. Make two low braids, or four if you want a tighter pattern, and secure them with satin scrunchies. Sleep on them or let them dry completely. In the morning, undo the braids, shake the roots once, and separate the pieces with dry hands.
A little leave-in mist on the ends before braiding can help the texture stay smooth, but do not soak the hair. If the braid starts damp all the way through the center, it can dry with dents and a flat crown.
This style is especially good when you want wave without heat and the hair is already leaning a bit fragile.
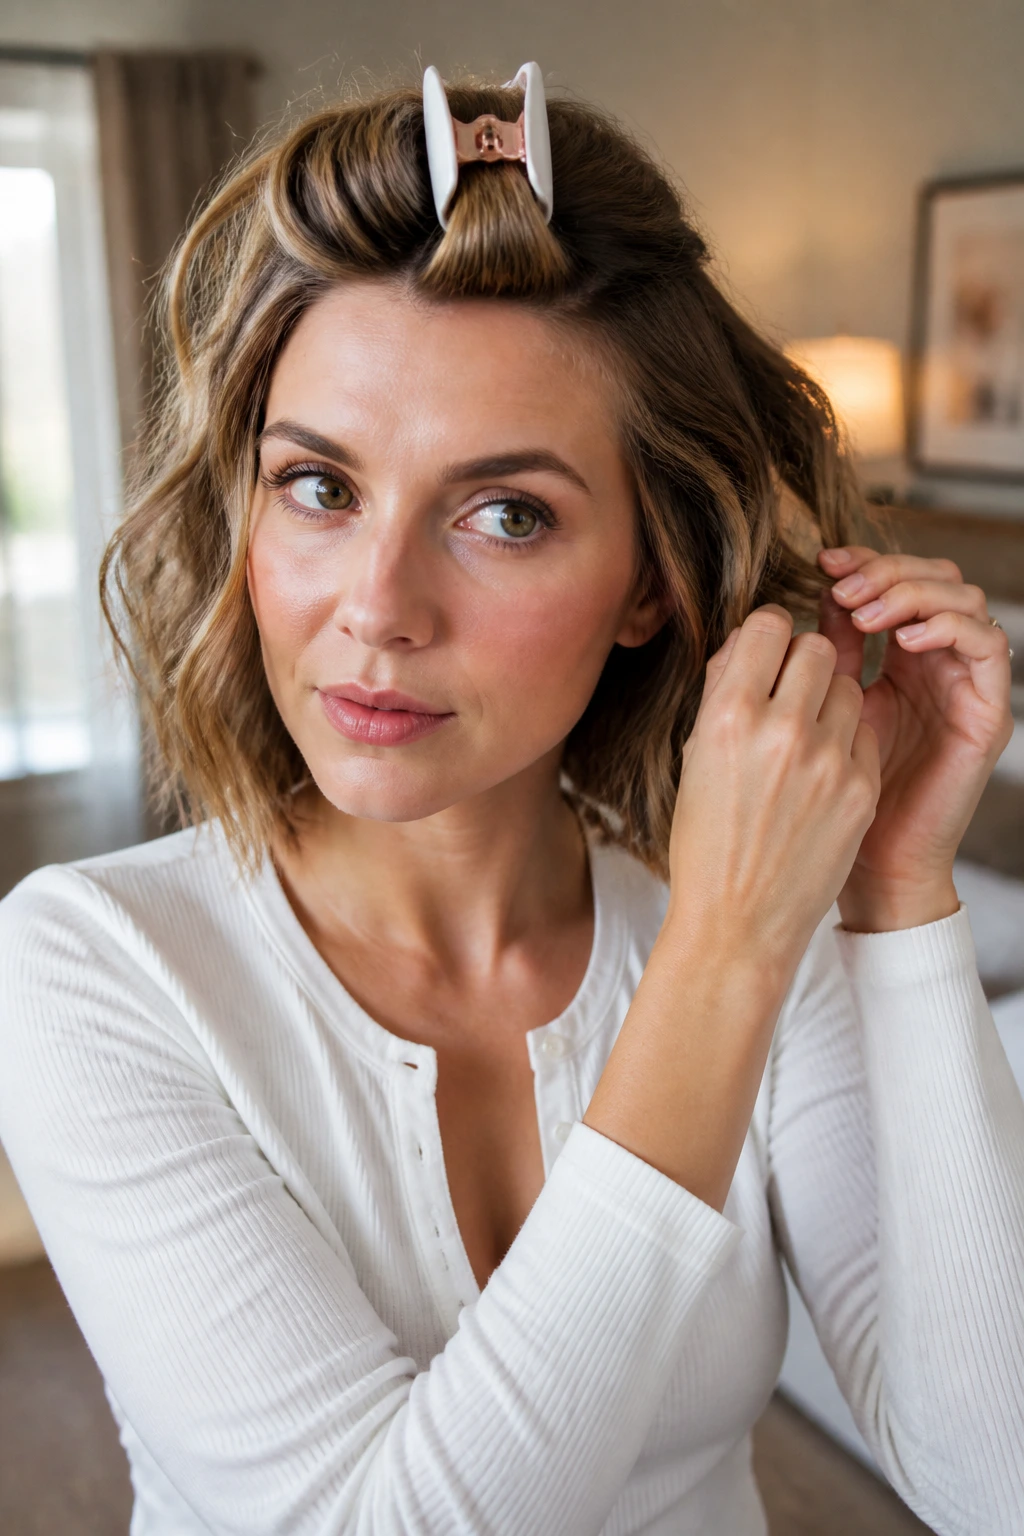
19. Root-Clipped Lift Waves
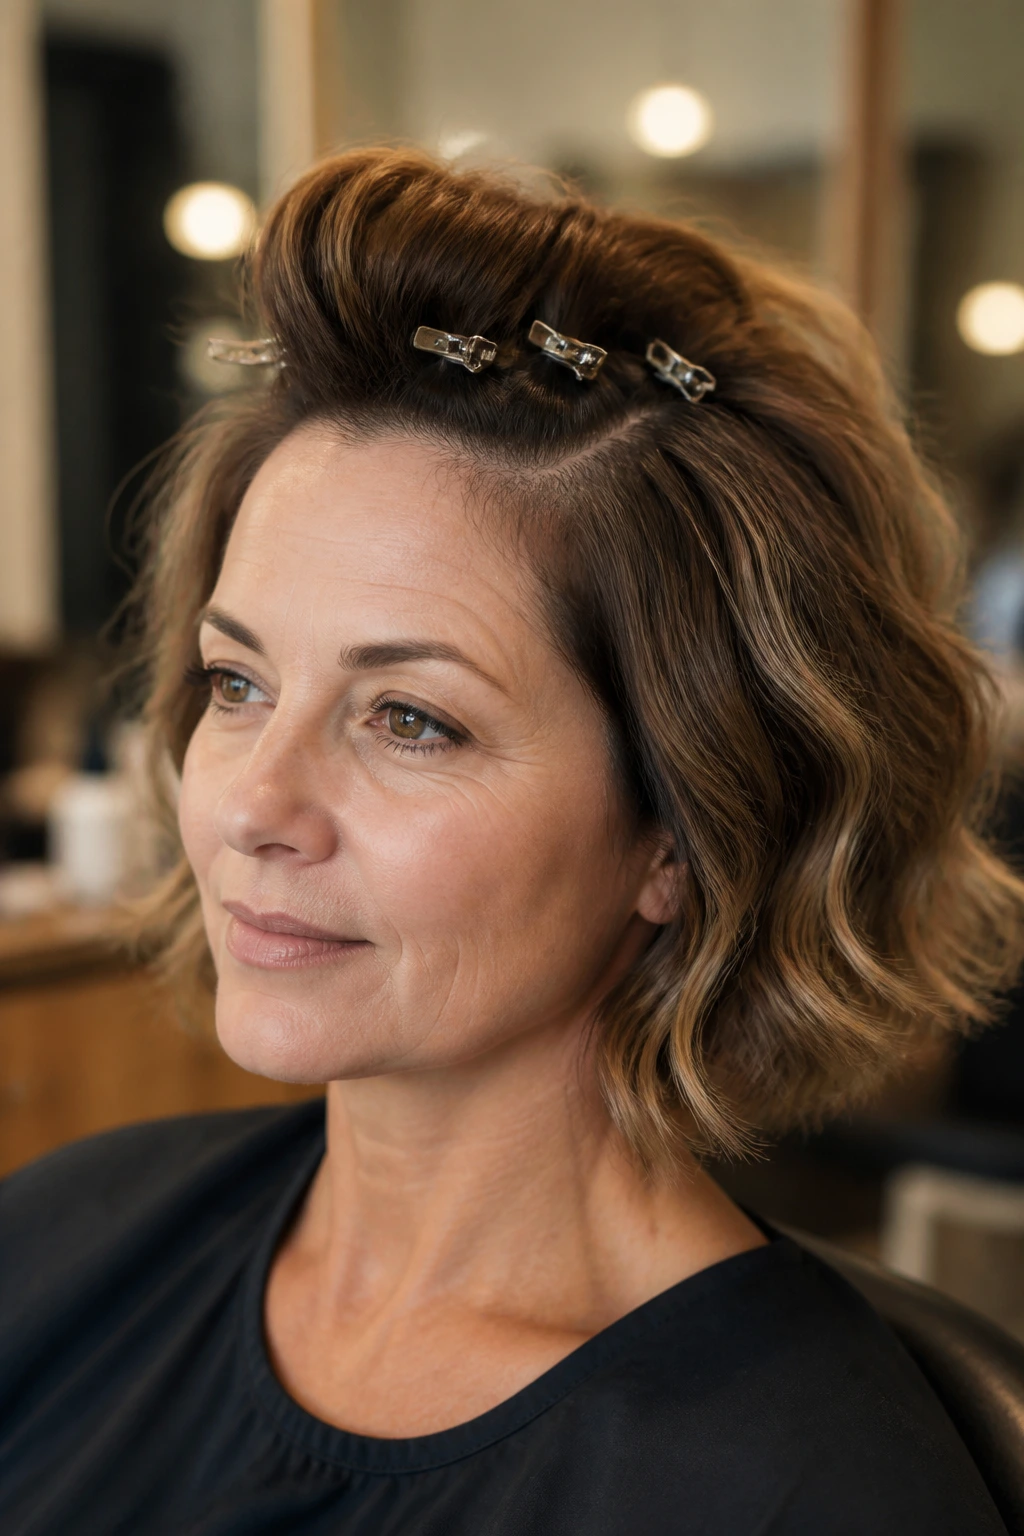
A lot of people spend all their energy on the wave pattern and forget the roots. That is usually where fine hair gives itself away.
After styling, use duckbill clips or small root clips at the crown to hold the hair slightly lifted while it cools. Ten to fifteen minutes can change the whole shape. You can also place clips at the temples and just behind the part to keep the top from collapsing as the hair sets.
The wave underneath can be soft. It does not matter nearly as much if the top has body. Once the clips come out, shake the hair lightly with your fingertips and set it with a flexible-hold spray.
This is one of the simplest techniques on the list, and one of the most useful. The hair does the same thing it would have done in a salon chair when someone clips it and tells you to wait. That waiting is the point.
20. Minimal-Makeup I-Bend Waves
Sometimes the best answer is a barely there bend. I-bend waves keep the hair from looking overstyled and work especially well when the strands are fine enough that a full curl seems like too much.
Use a flat iron or wand to create one soft bend near the cheekbone, another near the jaw, and leave the ends mostly straight. The result is more movement than curl. It feels modern, a little cool, and much less precious than a traditional wave set.
This style is good when the cut itself already does some of the work. A blunt lob, a clean collarbone line, or a subtle face frame all help the bend show up. The hair reads as styled because the line is controlled, not because the curl is loud.
It is also fast. That matters more than people admit.
21. Piecey Wet-Texture Waves
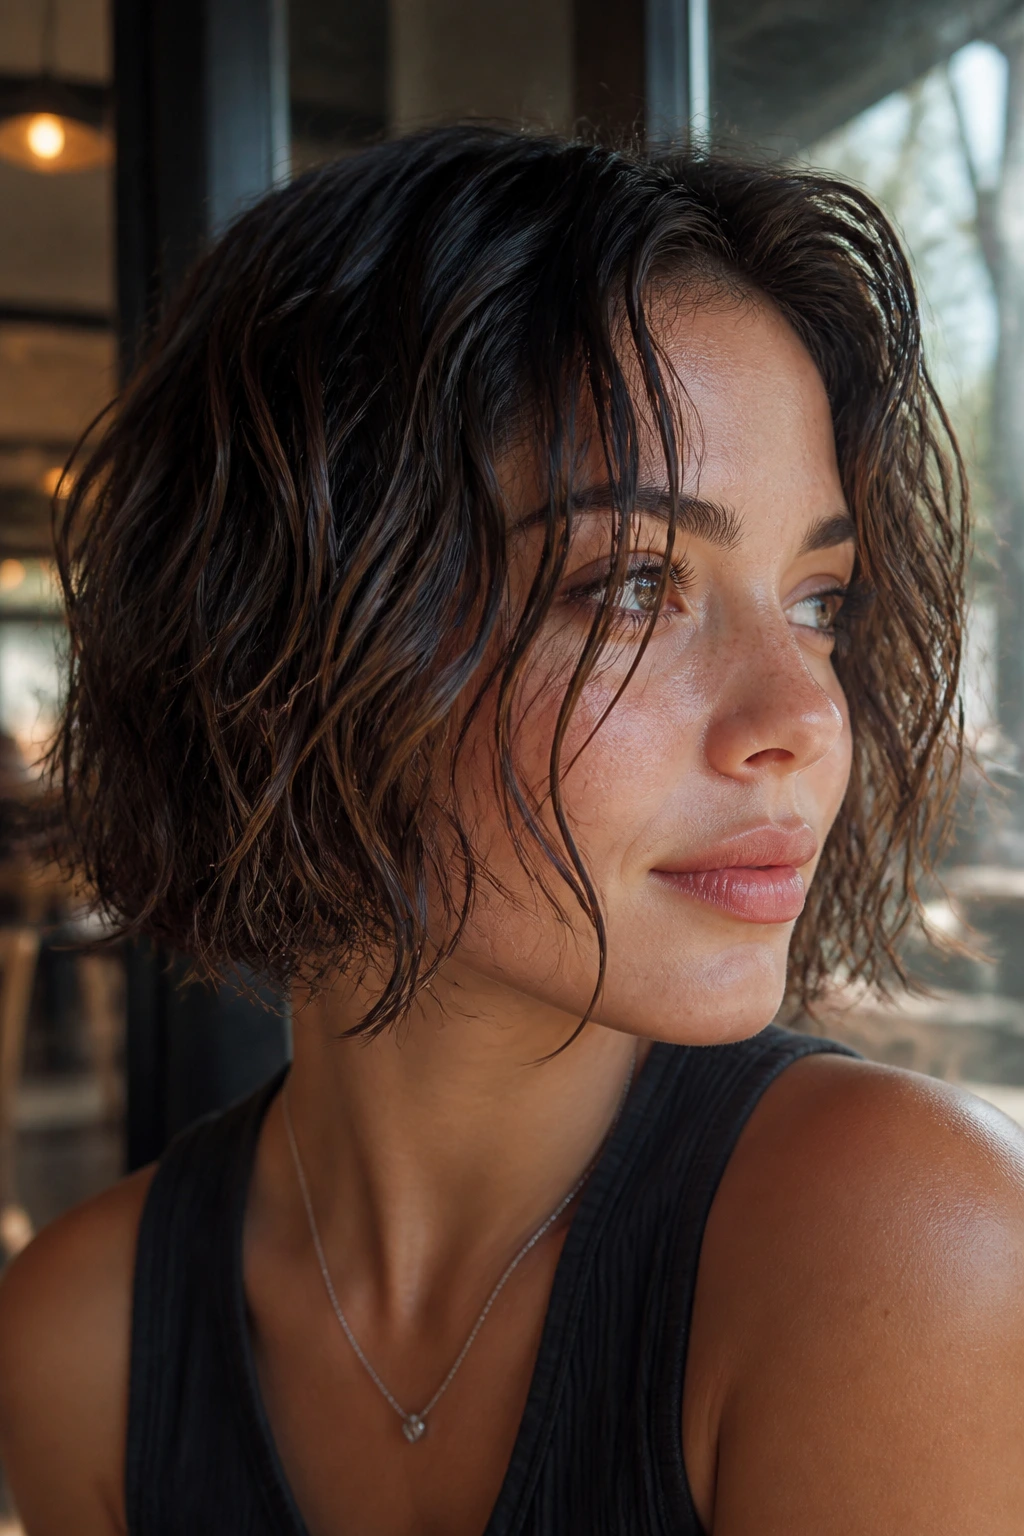
Wet texture can look striking on fine hair if the product load stays light and the wave stays intentional. You want the hair to hold its shape with a slightly glossy surface, not come out feeling crunchy or heavy.
Work a small amount of mousse through damp hair, then add a pea-sized amount of gel to the outer layer only if you want a stronger cast. Scrunch, diffuse on low heat, and do not touch the hair until it is mostly dry. Once the cast forms, break it with dry hands and a drop of serum on the ends.
The cast is doing the work
That firm feeling on the outside keeps the wave from puffing out. Once you loosen it, the shape stays in place underneath. Fine hair often benefits from this because the structure comes from the product film, not from a pile of bulk.
This style feels more editorial than casual, but it is useful if your hair likes definition and hates fluff.
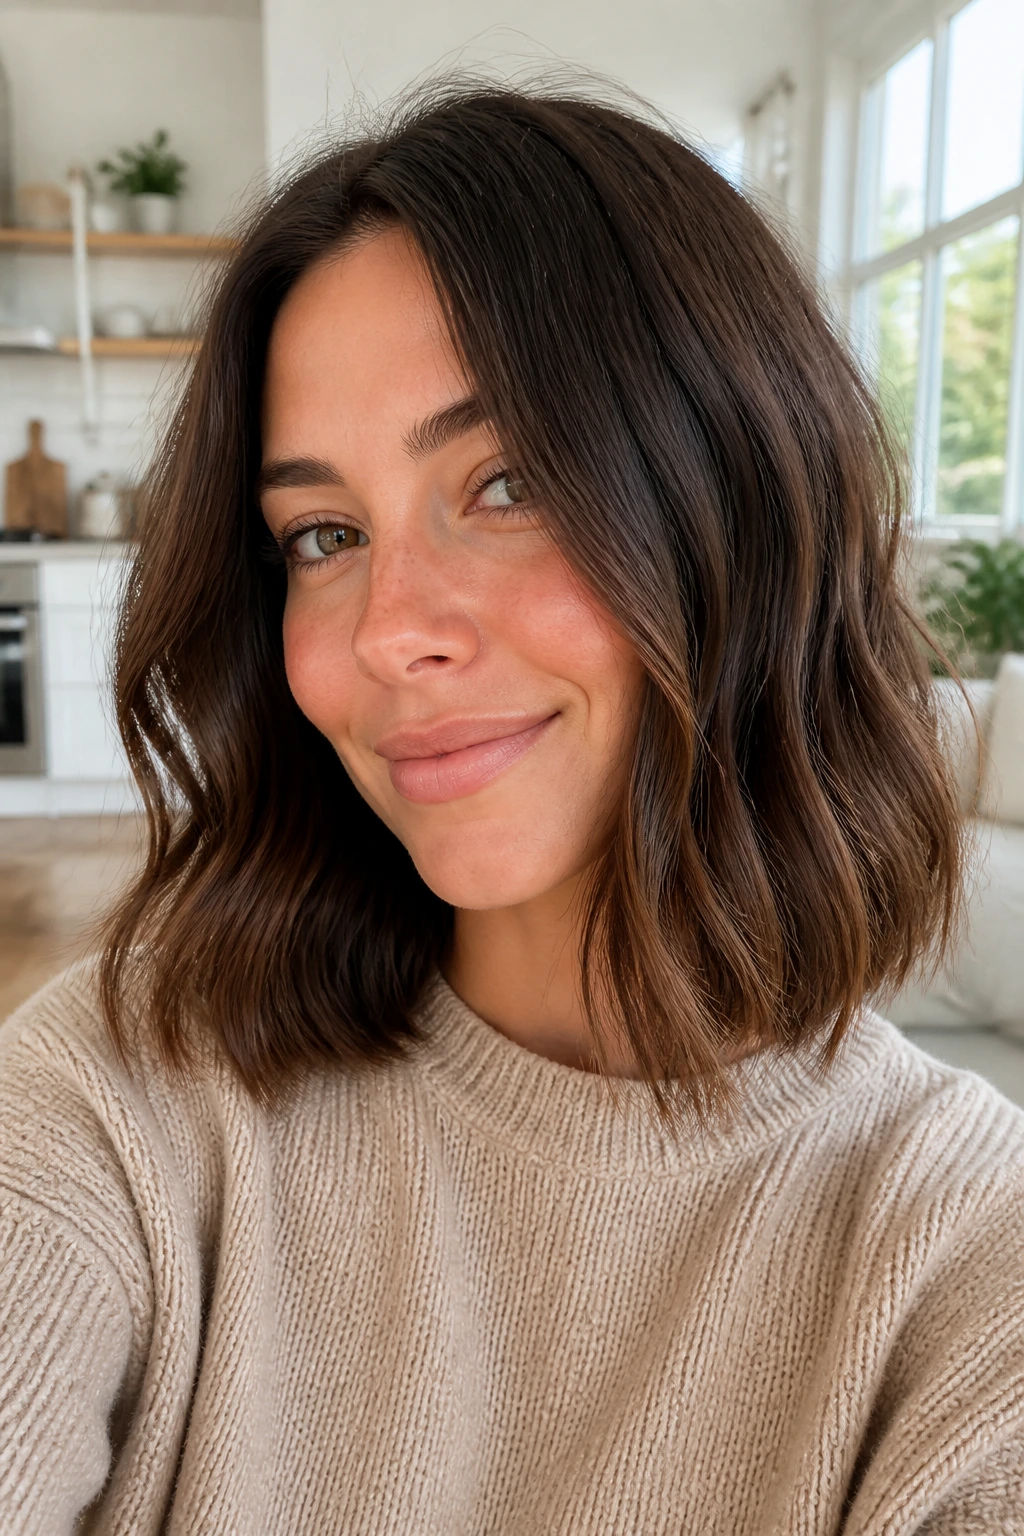
22. Soft Wave Bob-Lob Hybrid
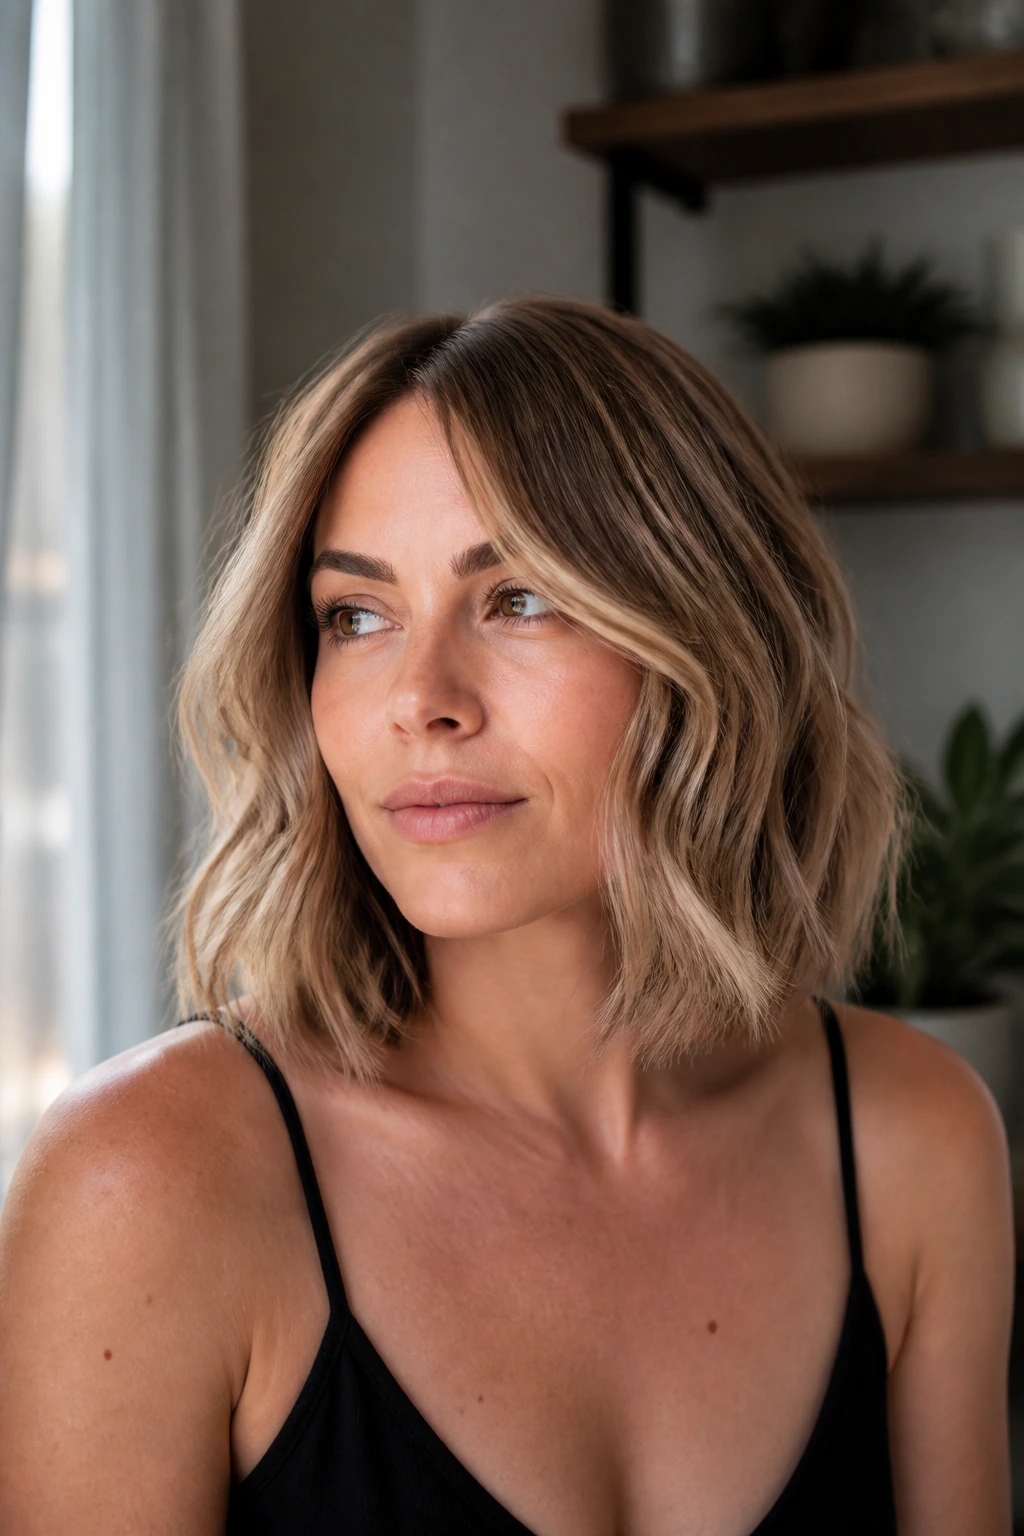
If your hair sits somewhere between a bob and a lob, this is the shape that makes that awkward in-between length work for you. A soft wave at this length keeps the cut from flipping out at random and helps the ends look deliberate.
Use a medium barrel or flat iron bend, but keep the wave soft and roomy. You want a curve that starts around the cheekbone and relaxes by the shoulder, not a tight curl that makes the length jump upward. A tiny side part or a tucked side can help the cut read fuller.
This is the style I’d point to for anyone growing out a short cut. It buys time. It also stops the grow-out from looking like a compromise, which is more than I can say for a lot of “in-between” hair stages.
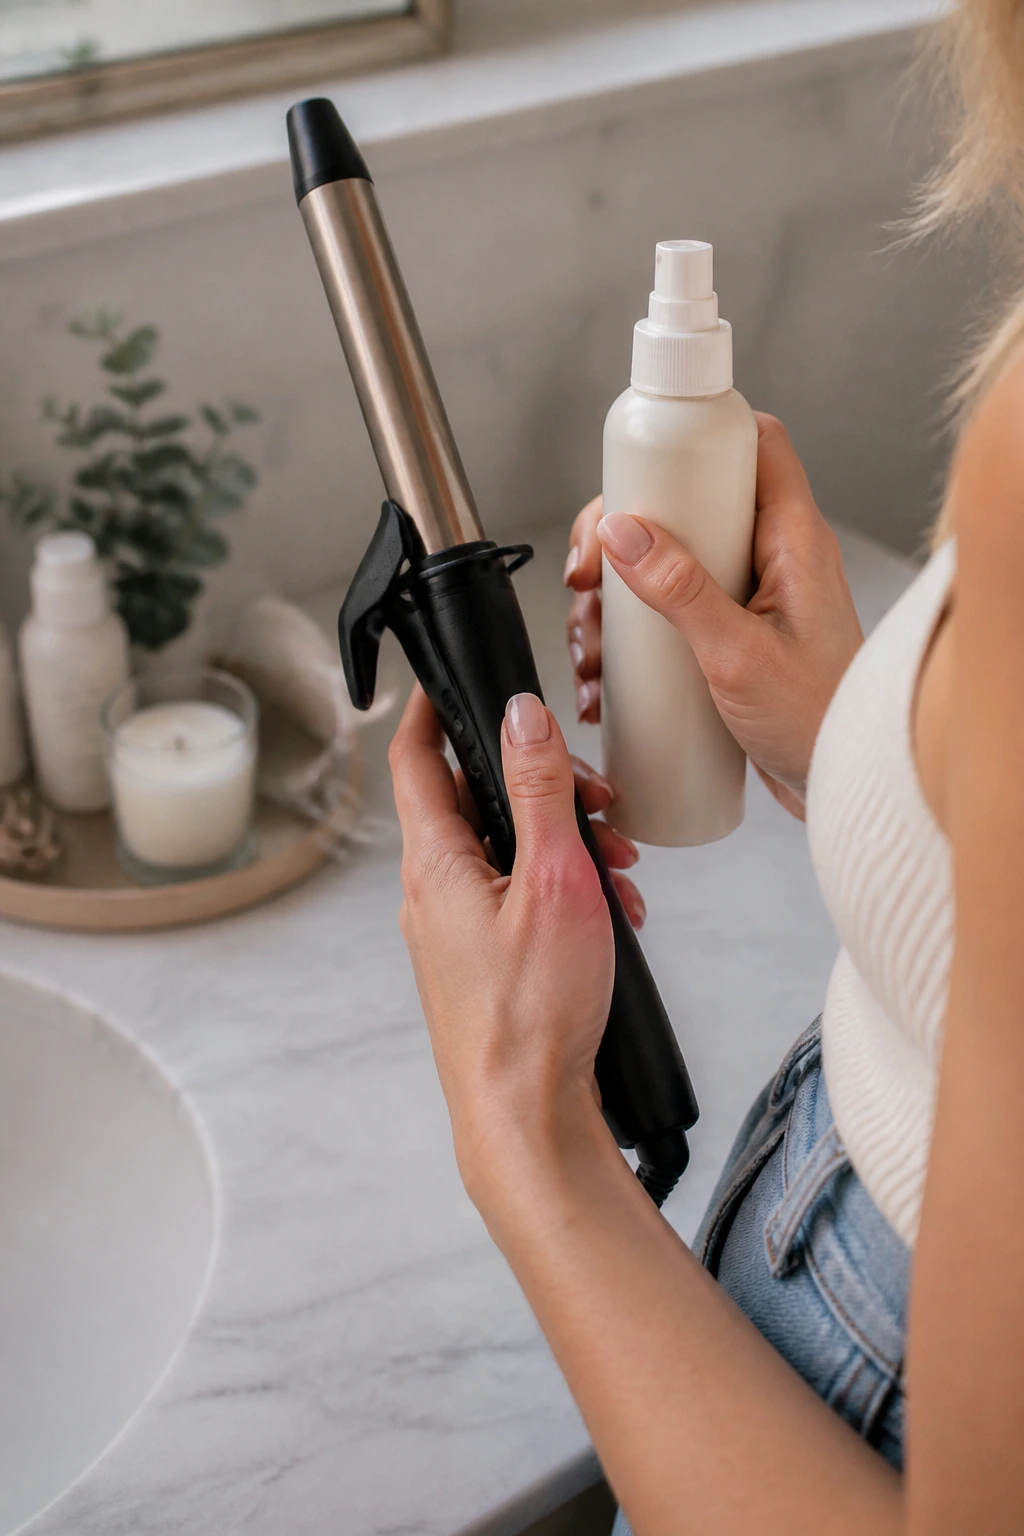
The Product Rules That Keep Fine Hair from Falling Flat
The fastest way to ruin a fine-hair wave is to feed it too much cream. Heavy leave-ins, thick oils, and rich smoothing balms belong on hair that can carry them. Fine strands usually cannot. They slide around, lose grip, and go limp near the scalp.
At the root, pick products that dry light: mousse, root-lifting spray, or a small amount of volumizing foam. These give the hair structure before it ever sees a hot tool. If your roots are the first thing to collapse, this is where the fix has to start. End-of-day dry shampoo can help too, but it works best as a refresh, not as the main styling base.
On the lengths, keep the formula thin. Heat protectant is non-negotiable. Just make sure it is the spray kind that disappears into the hair instead of the thick cream that leaves a film. If the ends need polish, use one drop of serum, rubbed between both hands and pressed only onto the bottom inch.
Salt spray is useful, but only in small doses. A few misted passes can add grit. A drenched application turns the hair rough and thirsty. Fine hair often does better with texture spray than with heavy sea-salt formulas because the finish is lighter and the movement stays softer.
Tools I’d Keep Close Before You Start
-
1-inch curling iron or wand: best for soft, visible bends that still read as waves on fine hair.
-
1.25-inch curling iron: useful for brushed-out glam and loose, fuller-looking bends.
-
Flat iron with rounded edges: ideal for ribbon waves and modern I-bends.
-
Heat protectant spray: keeps fine strands from getting rough and frayed near the ends.
-
Root-lifting mousse or spray: helps the crown hold lift instead of lying flat against the scalp.
-
Texturizing spray: adds grip to finished waves without the heaviness of cream.
-
Flexible-hold hairspray: keeps movement in place without turning the hair stiff.
-
Duckbill or root clips: useful for setting the crown while the hair cools.
-
Wide-tooth comb and soft brush: both matter; the comb shapes, the brush blends.
-
Satin scrunchies or a satin pillowcase: especially useful for heatless styles and overnight wear.
How to Make the Wave Last Past the First Hour
Section size: keep your sections around 1 inch wide. Bigger sections are faster, but fine hair usually needs the smaller chunk so the bend actually sets instead of sagging.
Cool-down time: let each curl cool fully before you touch it. Pinning the curl for 20 to 30 seconds is enough to make the shape hold longer. If you brush while it is still warm, the wave drops before it has had a chance to lock in.
Product order: use root-lifting product first, heat protectant second, texture spray last. If you layer the products in the wrong order, you end up with draggy roots and sticky ends.
Hands off: the more you touch the style, the faster the roots break down. I know. It is annoying. But fine hair gets soft fast when fingers keep running through it.
Choose one finish: go for gloss or texture, not both. Gloss spray plus texturizer plus oil plus hairspray is how people accidentally create a limp, overhandled look. Pick the finish that matches the outfit and stop there.
The Mistakes That Flatten Fine Hair Waves
-
Curling too much hair at once: the bend looks nice in the mirror, then disappears because the section was too wide. Fix it by working in smaller pieces and letting the tool heat the strand all the way through.
-
Starting at the root every time: tight curls at the scalp can make the crown look cramped instead of full. Leave the first inch or two softer and let root clips handle the lift.
-
Using heavy creams everywhere: this is the fastest way to make fine hair look oily and tired. Keep rich products off the roots and use only a tiny amount on the ends if needed.
-
Brushing before the hair cools: warm hair forgets its shape quickly. Let the curls cool, then brush or finger-comb them into the wave you want.
-
Over-texturizing the ends: fine hair can go from piecey to see-through in one extra spray. Stop once the ends separate enough to show movement.
-
Skipping the haircut itself: styling can do a lot, but a cut that is too long, too layered, or too thinned out will fight you from the start. The base shape matters.
Ways to Change the Mood Without Cutting More Hair

The Glossy Dinner Wave: use a large barrel, brush the curls out, and finish with a light shine spray. It looks the most polished and holds up well if the hair is recently trimmed.
The Heatless Weekend Wave: braid or robe-curl the hair overnight, then separate it only with fingers. The result is softer and a little less uniform, which is often exactly what fine hair needs.
The Airy Grow-Out Wave: keep the perimeter blunt, add one or two face-framing bends, and leave the ends mostly straight. This is the one I’d choose when a bob is growing into a lob and needs a little help behaving.
The Textured Day-Three Wave: add dry shampoo at the crown, mist texture spray through the mid-lengths, and twist a few front pieces around your fingers. It turns old hair into a style instead of a problem.
The Soft Evening Wave: curl away from the face, let the hair cool, then break it up just enough that the line stays smooth. It is quieter than glam but still looks deliberate.
How to Keep Shoulder-Length Waves Alive Between Washes

Fine hair does not usually like heavy buildup, so the refresh plan needs to stay simple. The first move is to let the style cool and settle before you mess with it. Touching warm waves is a fast route to flatness. Once the hair has set, sleep on a satin pillowcase or tuck it into a loose topknot with a satin scrunchie. Tight elastics leave dents. Soft ones do not.
If you wake up with a crown that has gone soft, dry shampoo can rescue it, but use it at the roots only. Let it sit for a minute, then massage the scalp with your fingertips and shake the lengths loose. For the face-framing pieces, a quick pass with a curling iron or flat iron at low heat is usually enough. You do not need to restyle the whole head every morning.
Day two and day three hair often looks better if you mist just the ends with water or a light leave-in spray and re-bend three or four strategic sections: one near the part, one near each cheek, and one through the back for balance. That is usually enough. If the hair starts to feel coated or dusty, wash it. Fine strands show product faster than thick ones do, and forcing more spray into the roots only makes the next day harder.
A clarifying shampoo every 1 to 2 weeks helps if you use mousse, dry shampoo, and texturizing spray often. That little reset keeps the scalp from feeling gunky and gives the wave a cleaner base.
Questions People Ask About Shoulder-Length Waves on Fine Hair
What wave size looks best on fine hair?
A medium wave usually wins. Very tight curls can shrink the length and make fine hair look sparse at the ends, while huge loose bends can fall out too fast. A 1-inch to 1.25-inch barrel tends to give the best balance of shape and movement.
Should fine hair be layered for waves?
A little layering helps, but too much can turn the ends wispy. I prefer light face-framing layers or soft internal layers around the cheekbone, not a heavily thinned-out cut that loses its outline.
Can I make these styles with a straightener instead of a curling iron?
Yes, and sometimes that is the better choice. A flat iron creates a cleaner ribbon bend and lets you keep the ends straighter, which often looks fuller on fine hair.
Why do my waves fall flat at the crown?
Usually because the roots were not set with enough lift or because the hair was touched before it cooled. Root clips, mousse at the scalp, and a 10-minute cool-down make a bigger difference than most people expect.
Is salt spray okay for fine hair?
It is, but lightly. A few sprays can add grip, yet too much makes the hair dry, rough, and smaller-looking. If your hair already feels fragile, use mousse at the roots and keep the salt spray for the mid-lengths or skip it.
How do I stop the ends from looking too thin?
Leave the last inch or two straighter and avoid over-layering the cut. Also, do not brush the wave into a puff. Blend it just enough that the outline stays soft.
Can heatless waves work on short fine hair?
Yes, especially robe-curl sets and loose braids. The trick is starting with hair that is only slightly damp and using satin scrunchies so the wave does not dry with dents.
How often should I wash if I wear waves a lot?
Many fine-haired people end up washing every 2 to 3 days because buildup shows fast. If you lean on dry shampoo, texturizing spray, and mousse, a clarifying wash every week or two keeps the roots from getting heavy.
The Shape I Keep Coming Back To
The more I look at shoulder-length waves on fine hair, the more I think the haircut matters as much as the styling. A smart collarbone line gives the wave somewhere to live. A blunt edge keeps the ends from disappearing. A little lift at the root keeps the whole thing from slumping into the shoulders.
That is the real draw of this length. It does not ask for heroic product use or a complicated routine. It just needs a clean base, a sensible barrel size, and enough restraint to let the hair look like itself on a good day. That is usually where the best styles live anyway.
If your hair has been dropping the second you step away from the mirror, this is the shape worth trying next. It has enough movement to feel alive, enough structure to survive real life, and enough flexibility to wear messy, glossy, or somewhere in between.