Middle hairstyles for fine hair with face-framing layers have one job: make the hair look fuller without making it look worked on. That sounds simple until you try it on a real head of hair, with a real center part, under real bathroom lighting. Fine strands show everything. They show a heavy cream, a sloppy section line, a flat crown, a blunt end that’s been over-processed into a little whisper of a tail.
The part itself isn’t the problem. A middle part can look sharp, balanced, even a little expensive-looking when the cut around it does the right work. The trouble starts when the layers are placed too high, the roots are buried under product, or the front pieces are left long and limp enough to hang there like wet ribbon. Face-framing layers fix that, but only if they start in the right place and move with a little intention. Cheekbone, lip, jaw, collarbone — those are the zones that matter.
I keep coming back to the same point because it saves so many bad haircuts: fine hair needs shape, not weight. A blunt perimeter can make it look denser. A soft bend at the face can make the whole head read thicker. A tiny lift at the crown can do more than another 10 minutes of teasing ever will. That’s the game here. Quiet tricks. Small geometry. No drama.
Why These Styles Earn Their Place
-
Root Lift First: A center part on fine hair only works when the crown gets a little height in the first 1 to 2 inches from the scalp, or the part line starts to split the whole style open.
-
Face-Framing Layers Do the Softening: Pieces that start around the cheekbone or lip level make the center line feel deliberate instead of severe, which matters even more if your hair falls flat fast.
-
Density Beats Big Volume: A blunt bob, a collarbone lob, or ends that flip inward usually look thicker than long, wispy lengths because the eye sees a fuller edge.
-
The Finish Changes Everything: The same cut can look polished, casual, or dressed up depending on whether you bend the ends under, tuck one side back, or let the front pieces fall loose.
-
Most of These Looks Are Easy to Reset: A brush, a cool shot, and a little dry shampoo can revive the crown without having to wash the whole head again.
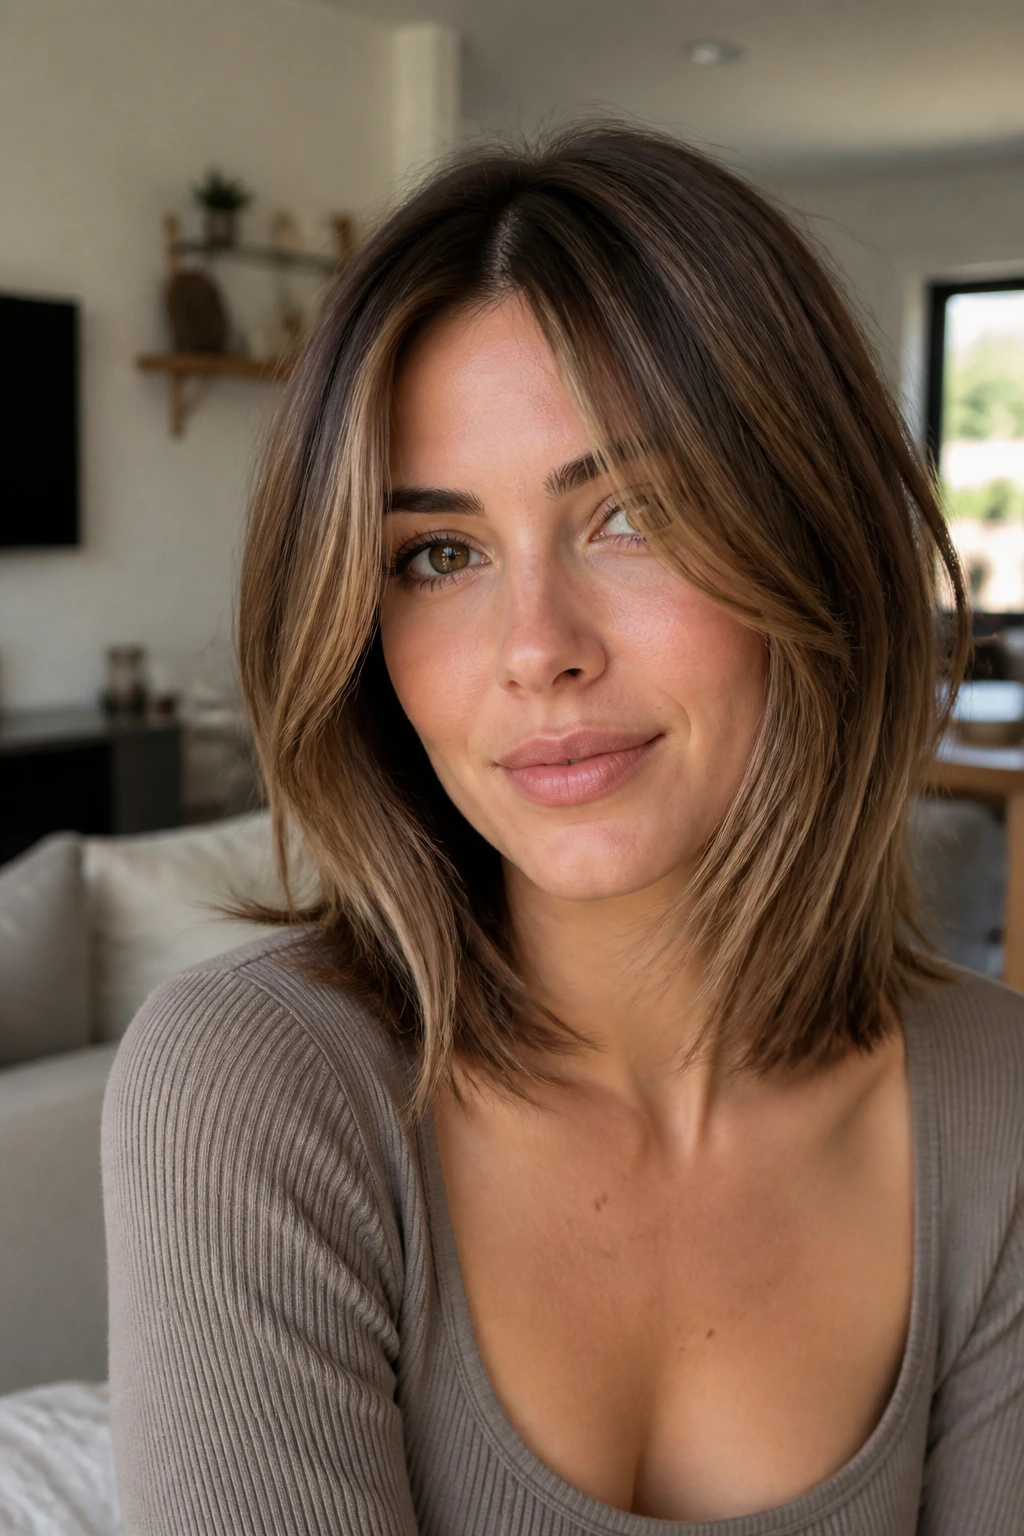
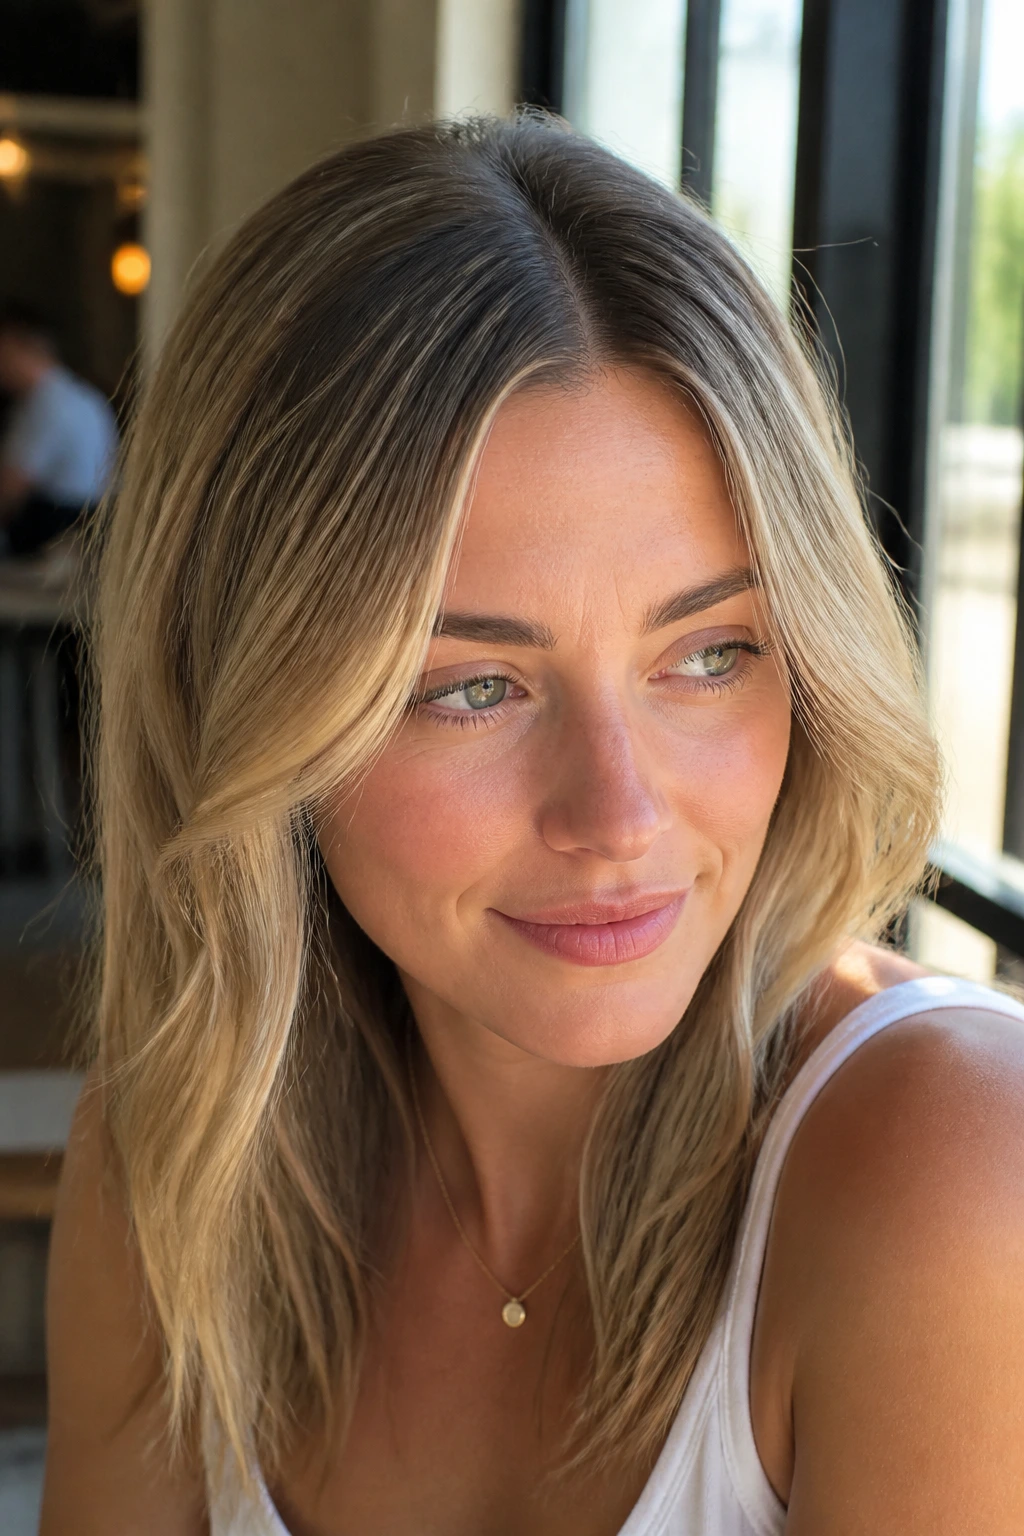
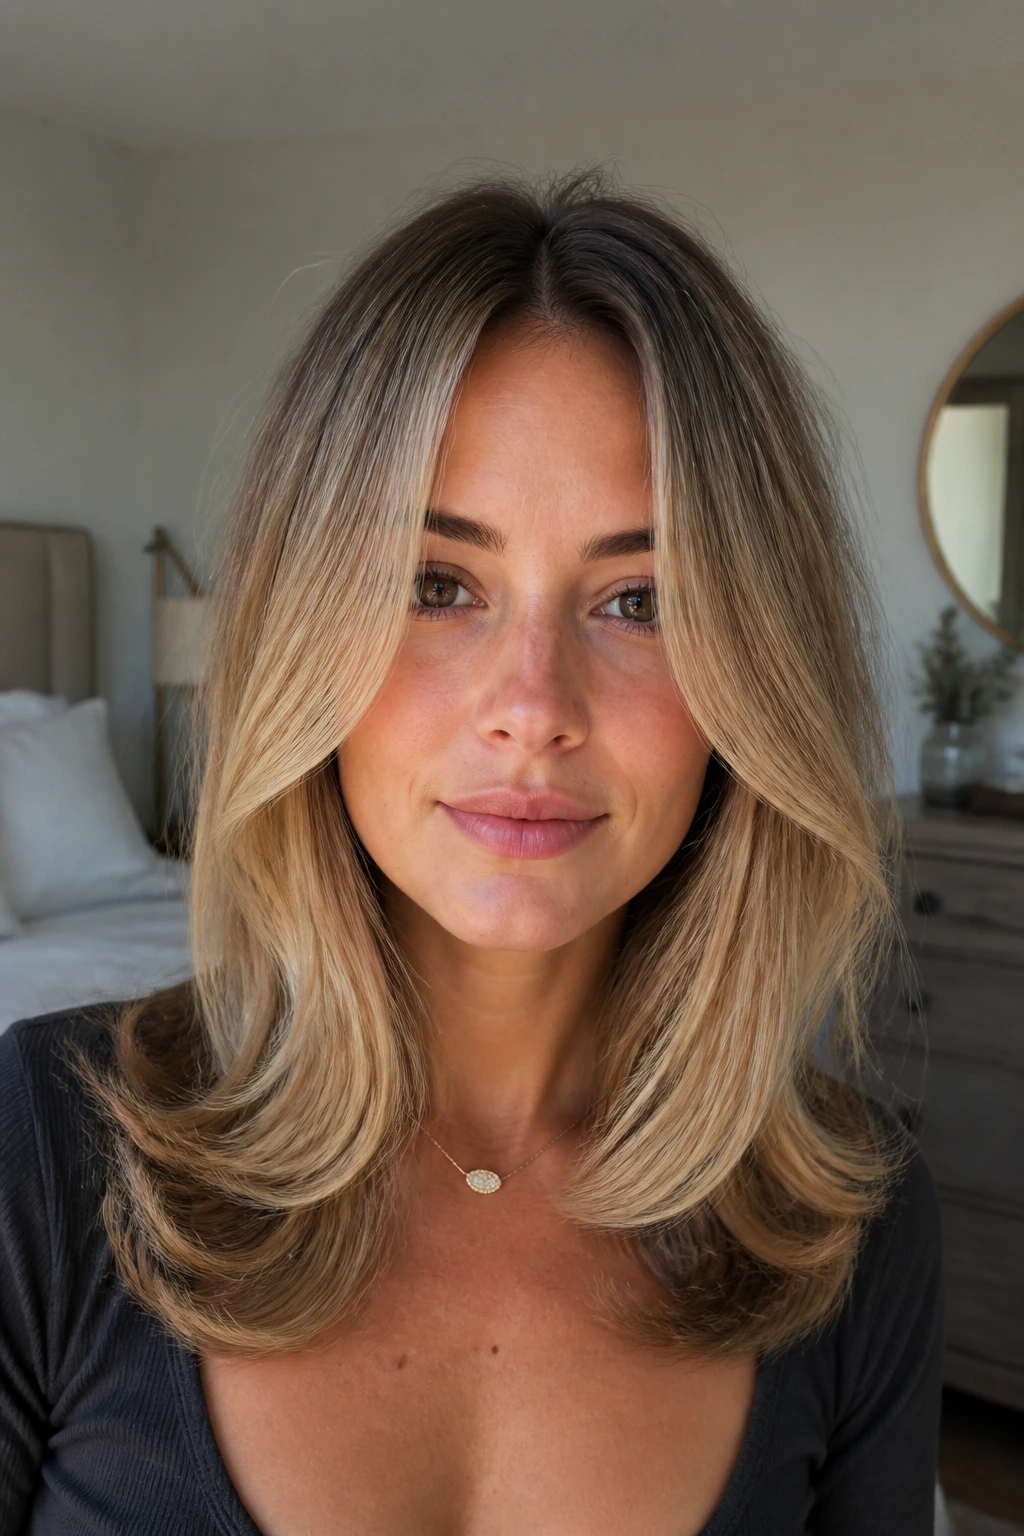
1. Soft Curtain Blowout
This is the style I reach for when fine hair needs to look airy without losing its outline. The center part stays clean, the face-framing layers sweep away from the cheeks, and the ends turn under just enough to keep the shape from fraying at the bottom. It’s not a giant salon blowout. Good. That’s why it works.
The trick is to keep the root lift concentrated at the top, not all over the head. Use a 1 1/4- to 1 1/2-inch round brush, blow-dry the crown first, then work the front layers away from the face and give the ends a soft undercurve. If the hair is very fine, a little mousse at the roots plus heat protectant through the mids is enough. Heavy cream near the scalp will sink the whole thing in under an hour.
Why It Flatters Fine Hair
Fine hair likes shape that reads from a distance. The curtain-style front pieces make the middle part feel intentional, while the rounded ends keep the length from thinning out visually. If you want one blow-dry that works for errands, dinner, and a blazer, this is it.
2. Tucked-Behind-the-Ear Lob
A lob becomes a different haircut the moment you tuck just the front inch behind each ear. The middle part stays visible, but the tuck opens the cheekbones and gives the jaw a clean line. With face-framing layers, you don’t lose softness; you just move the softness to the edge of the face instead of letting it drape over it.
Keep the tuck loose. If you shove half the front section behind the ear, the style turns lopsided and the fine hair starts to look sparse at the temple. I like to leave a few bent strands free around the temples and bend the ends inward with a flat iron set around 300°F to 325°F. That little bend keeps the lob from looking stringy.
This one works best when the lob hits somewhere between the chin and collarbone. Shorter than that, the tuck can look too forced. Longer than that, you lose the neat line that makes the style feel crisp. It’s a small window, but it’s a good one.
3. Chin-Grazing Textured Bob
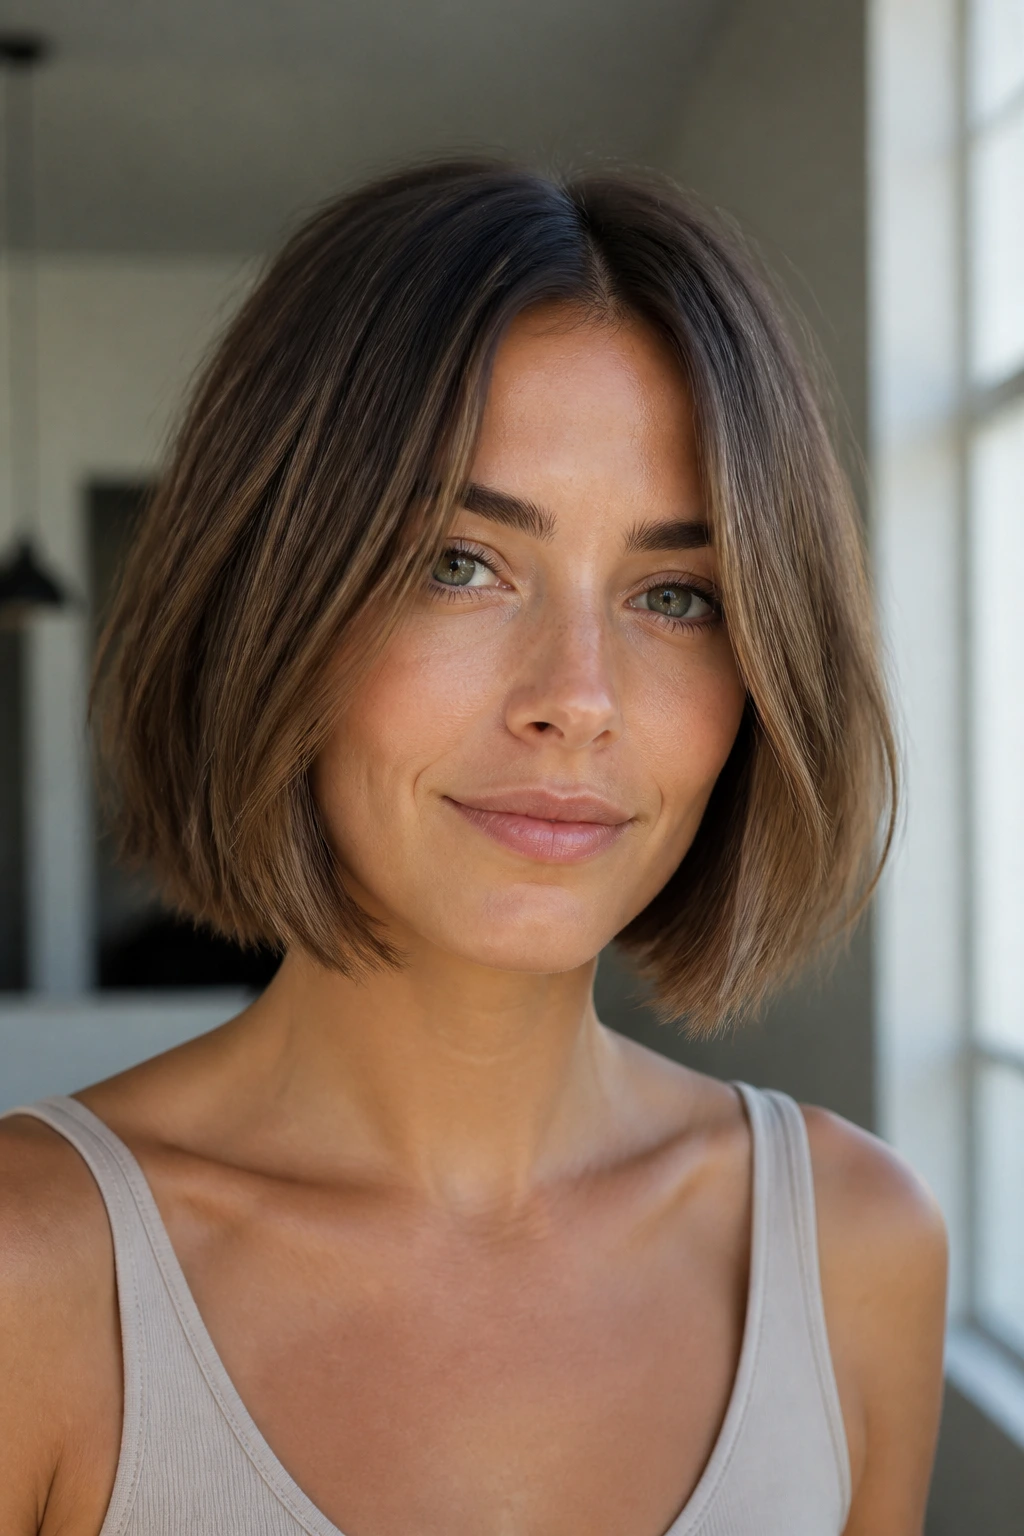
A chin-length bob sounds bold on paper and somehow looks softer in real life when the texture is handled well. Fine hair gets a real advantage here: the perimeter looks denser because the weight sits close to the head, and the face-framing layers can fall forward without dragging the whole cut down. The middle part keeps the shape honest.
What Makes It Work
- Keep the ends blunt enough to hold a line.
- Add texture only through the interior, not the edge.
- Lift the roots with a mousse or root spray before blow-drying.
- Bend the face-framing pieces slightly inward so they sit against the jaw instead of hanging straight.
The mistake people make is carving too much out of the bob to chase movement. Then the ends go wispy, and wispy is not the friend you think it is on fine hair. A little piecey texture is fine. A shredded edge is not. The cut should look compact, almost tidy, with the front layers acting like soft brackets around the face.
4. Collarbone Flip-Out Layers
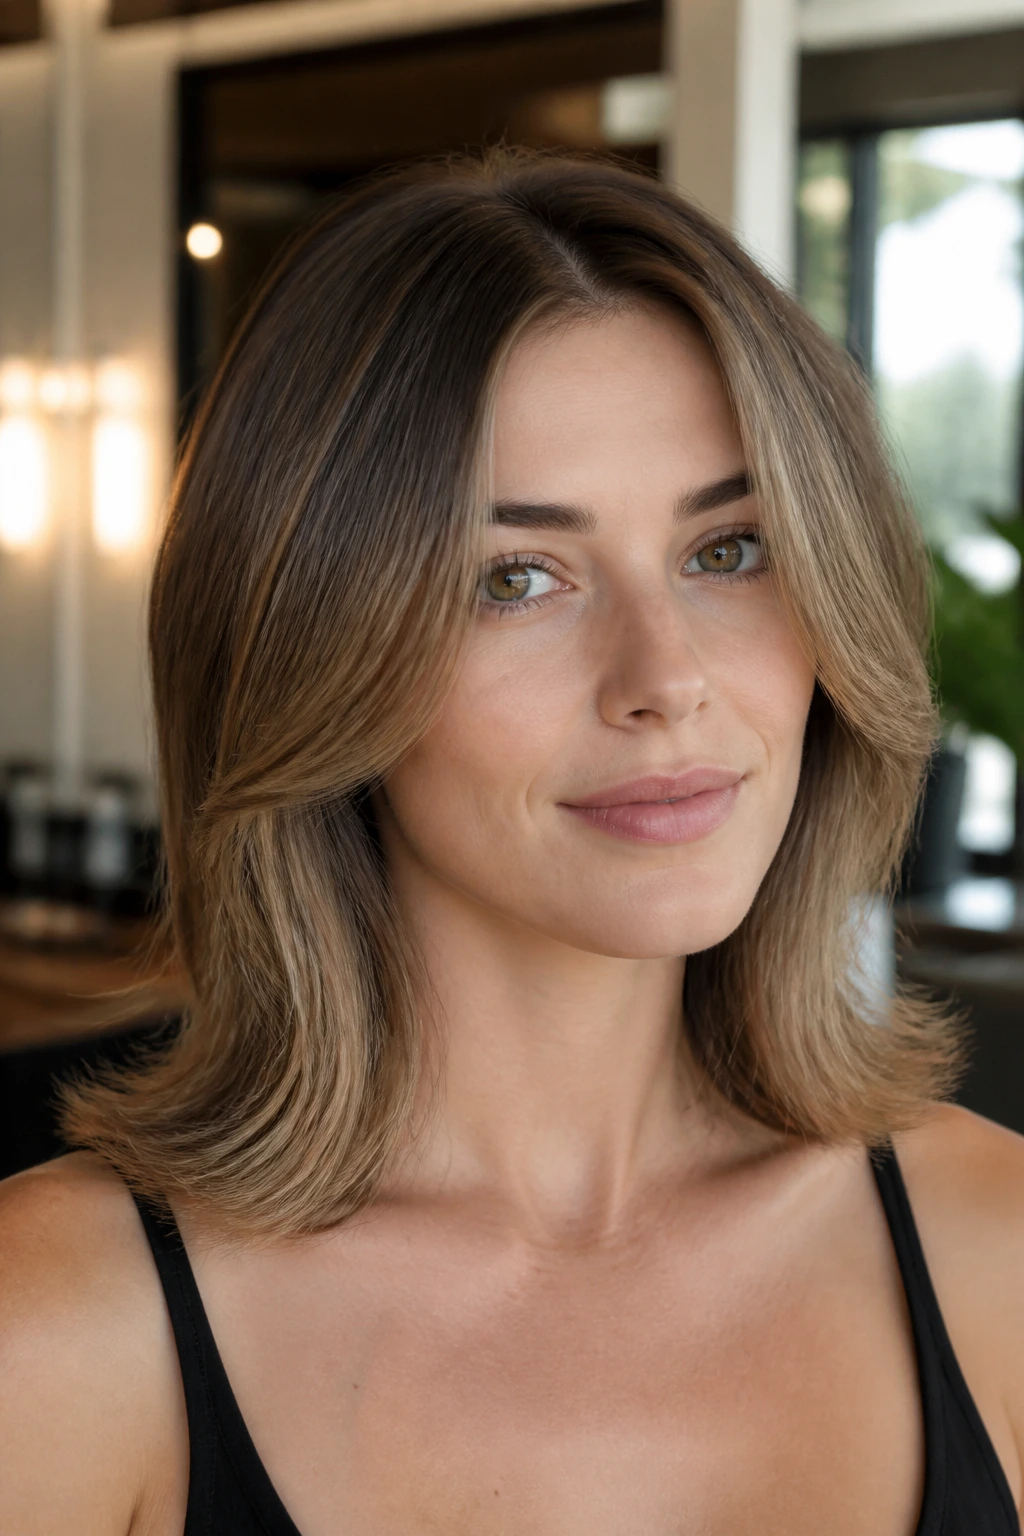
This style has a nice little bit of attitude without trying too hard. The hair lands at the collarbone, which gives the ends a place to flip out naturally instead of collapsing against the neck, and the face-framing layers bend away from the jaw just enough to keep the center part from feeling too straight. It’s one of those looks that seems casual until you notice how much shape is actually doing the work.
I like this on hair that has a small wave or a little stubbornness. The slight flip at the ends can happen with a round brush, a 1-inch iron, or even a quick pass with a flat iron tilted out at the bottom. Keep the flip soft. You want a bend, not a vintage pageant curl. That’s a different animal.
A small move makes a big difference here: dry the roots up and back first, then direct the front layers forward and out. If the crown lies flat before the ends are shaped, the whole style looks bottom-heavy. Once the top has a touch of lift, the collarbone flip reads playful instead of accidental.
5. Half-Up Crown Lift
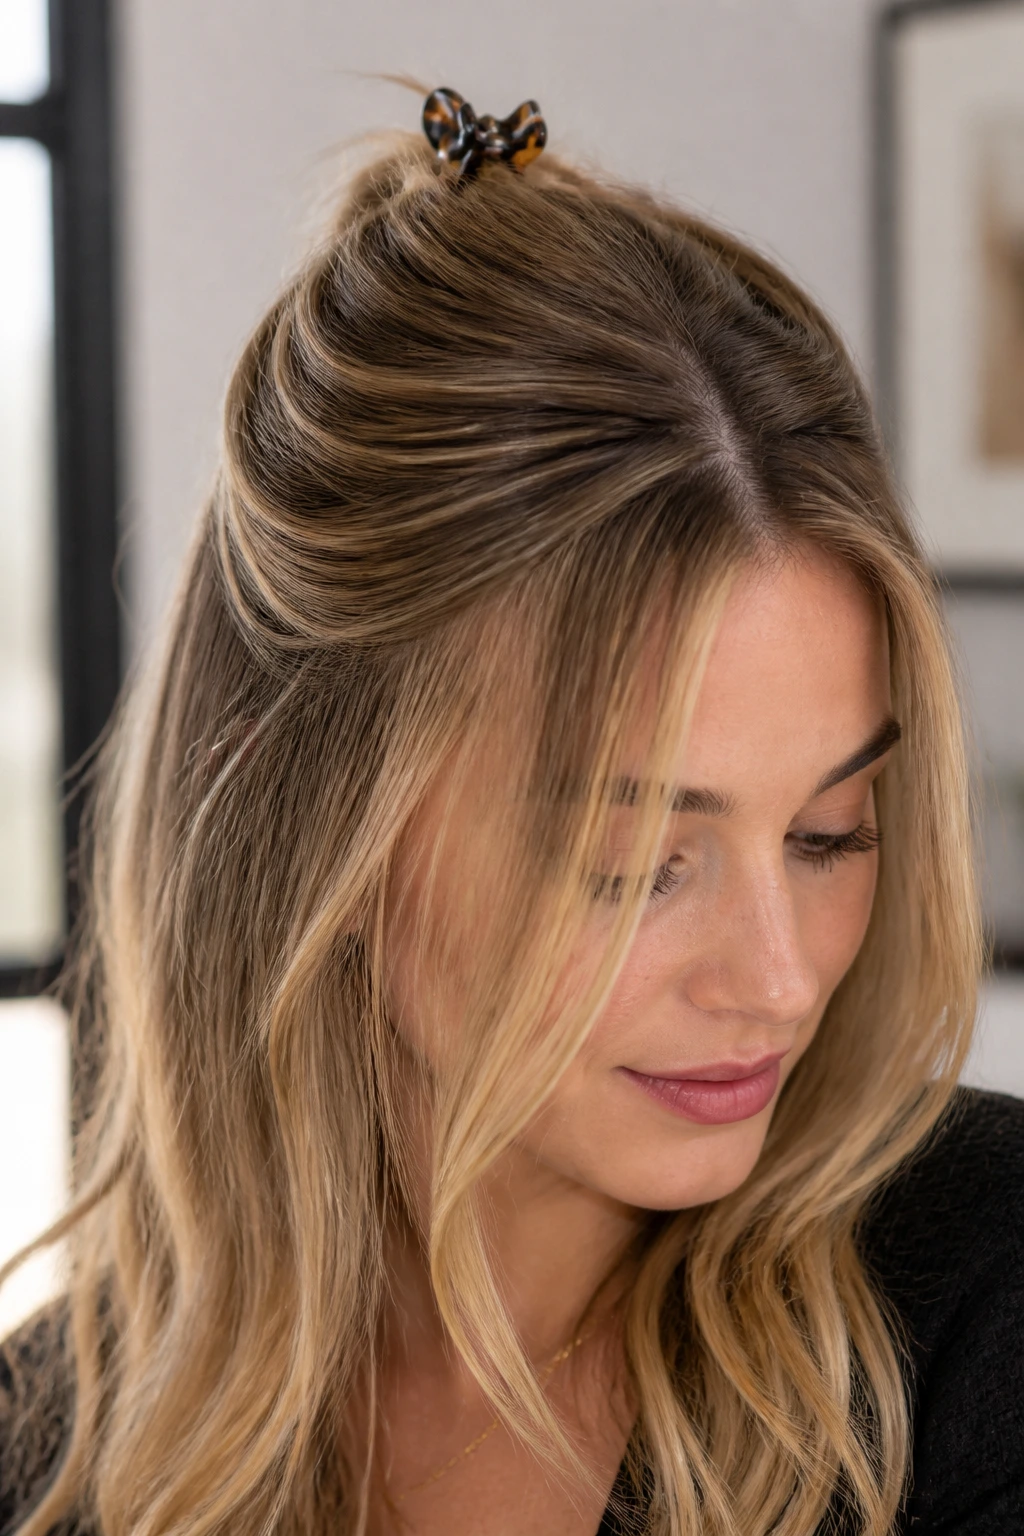
Need more height without a full updo? This is the one. Pulling the top half back takes pressure off the face-framing layers, which lets the front pieces stay light and visible while the crown gets a little breathing room. Fine hair often looks better in a half-up style than in a fully loose one because you can control the top without dragging the ends into the fight.
The anchor point matters. Don’t grab the half-up section too low, or you lose the lift at the part line. Start where the head begins to round, usually just above the temples, and secure it with a small claw clip or a slim elastic. Then tug the top a touch at the crown so the center line doesn’t look tight against the scalp.
A little teasing at the root can help, but keep it small — maybe a 1-inch strip at the crown, backcombed once or twice and smoothed on top. That gives the style a base without turning the fine strands into a rat’s nest. The face-framing layers should stay out in front and move freely. That’s the whole point.
6. Air-Dried Shaggy Lob
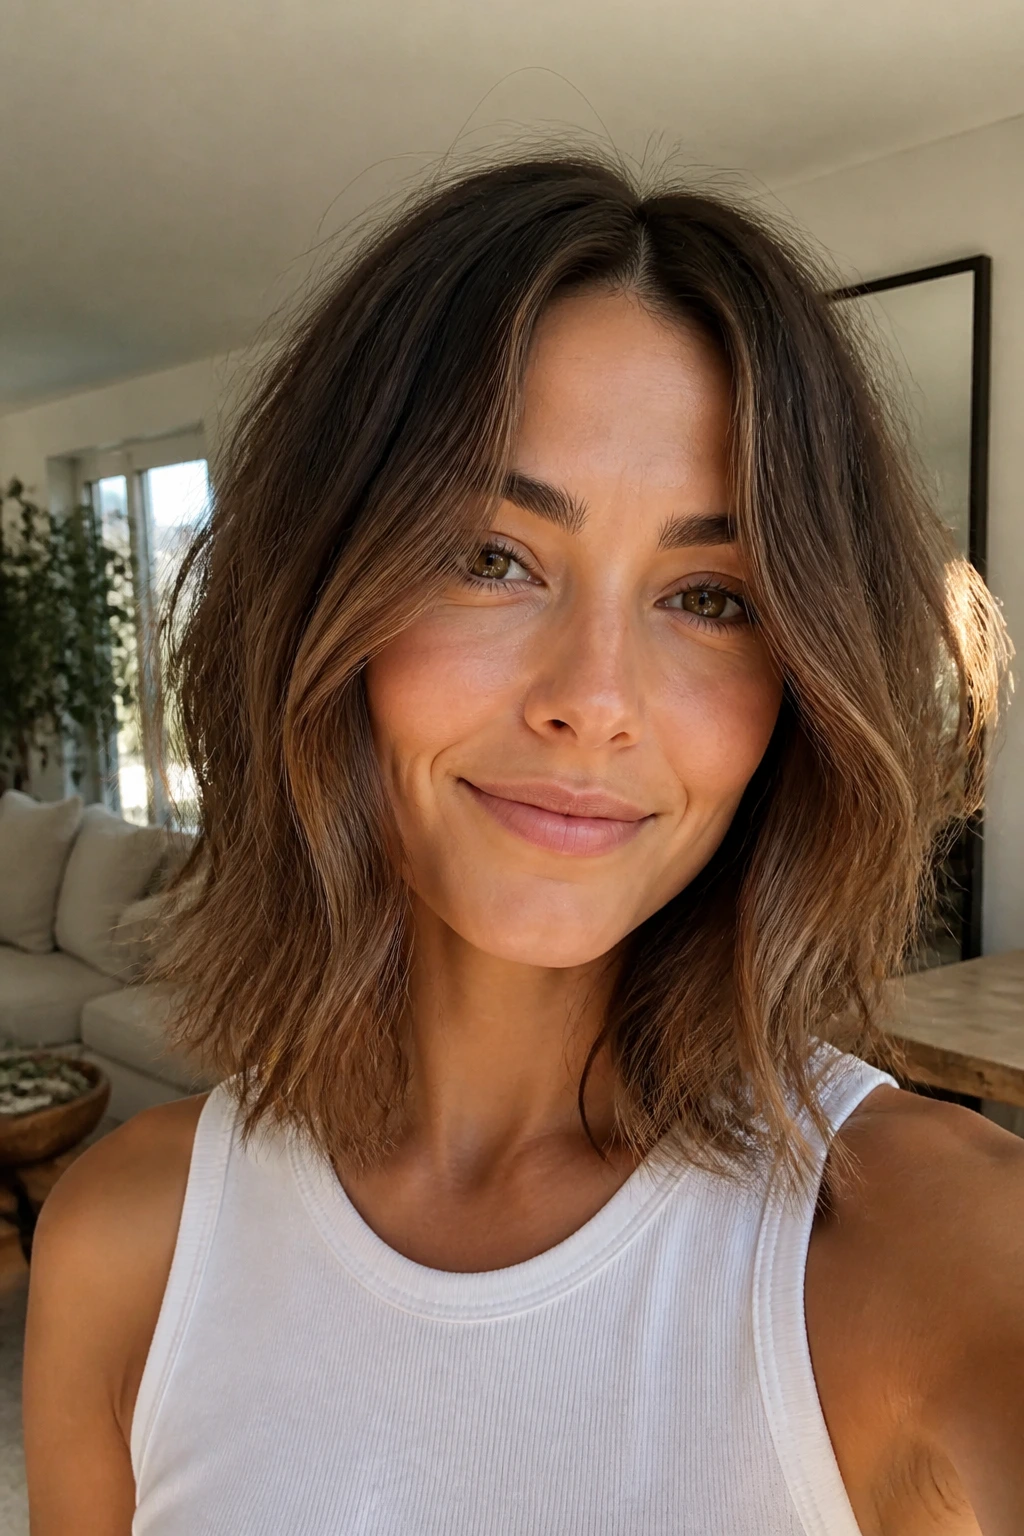
Air-dried hair can look lazy in a bad way or easy in a smart way. This is the smart version. The shaggy lob keeps the ends light, the middle part clean, and the face-framing layers loose enough to separate into soft ribbons as the hair dries. On fine hair, that movement can look richer than a fully brushed-out style because it keeps the hair from going limp and overhandled.
Start with a lightweight mousse or foam on damp roots, then a tiny amount through the mids if the hair gets frizzy. Scrunch the front layers away from the face, clip the crown up for 10 to 15 minutes if it tends to collapse, and then leave it alone. If you keep touching it, the shape falls apart. That’s the annoying part. Also the useful part.
Drying Map
- Part the hair while it’s wet.
- Push the top slightly forward at the root, then back.
- Scrunch the face frame in opposite directions so both sides don’t dry identically.
- Let the ends dry on their own instead of brushing them straight.
A shaggy lob is one of the few styles that actually improves if the layers don’t look too perfect. Fine hair often reads better with a bit of separation than with a smooth, flattened sheet.
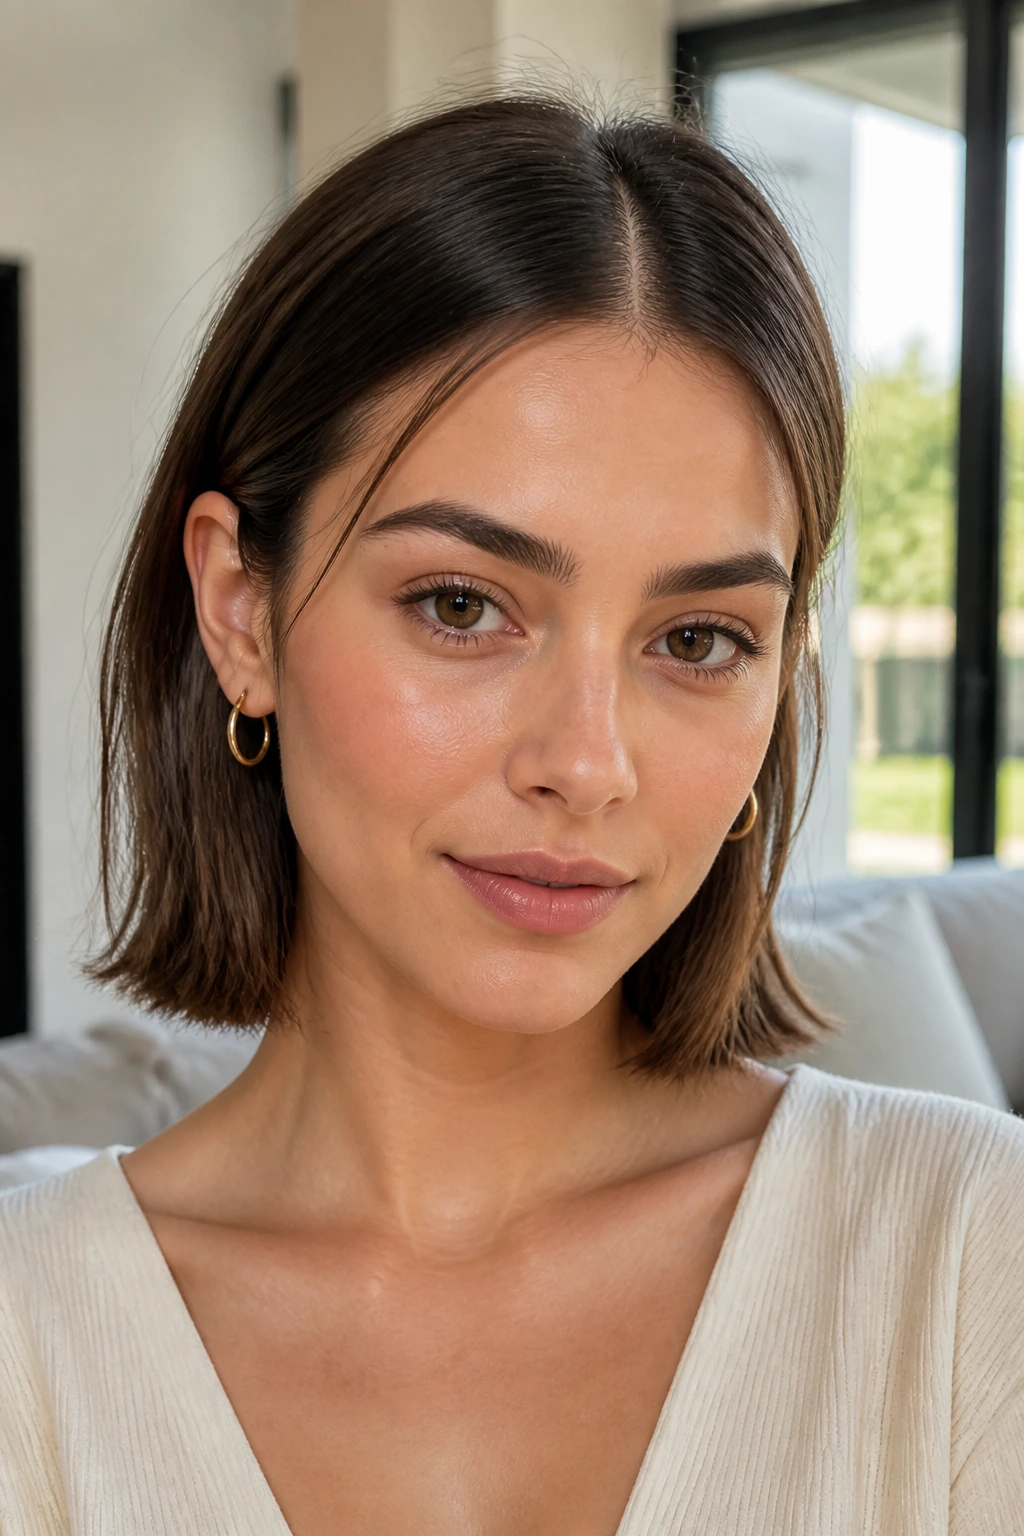
7. Pin-Straight Glass Bob
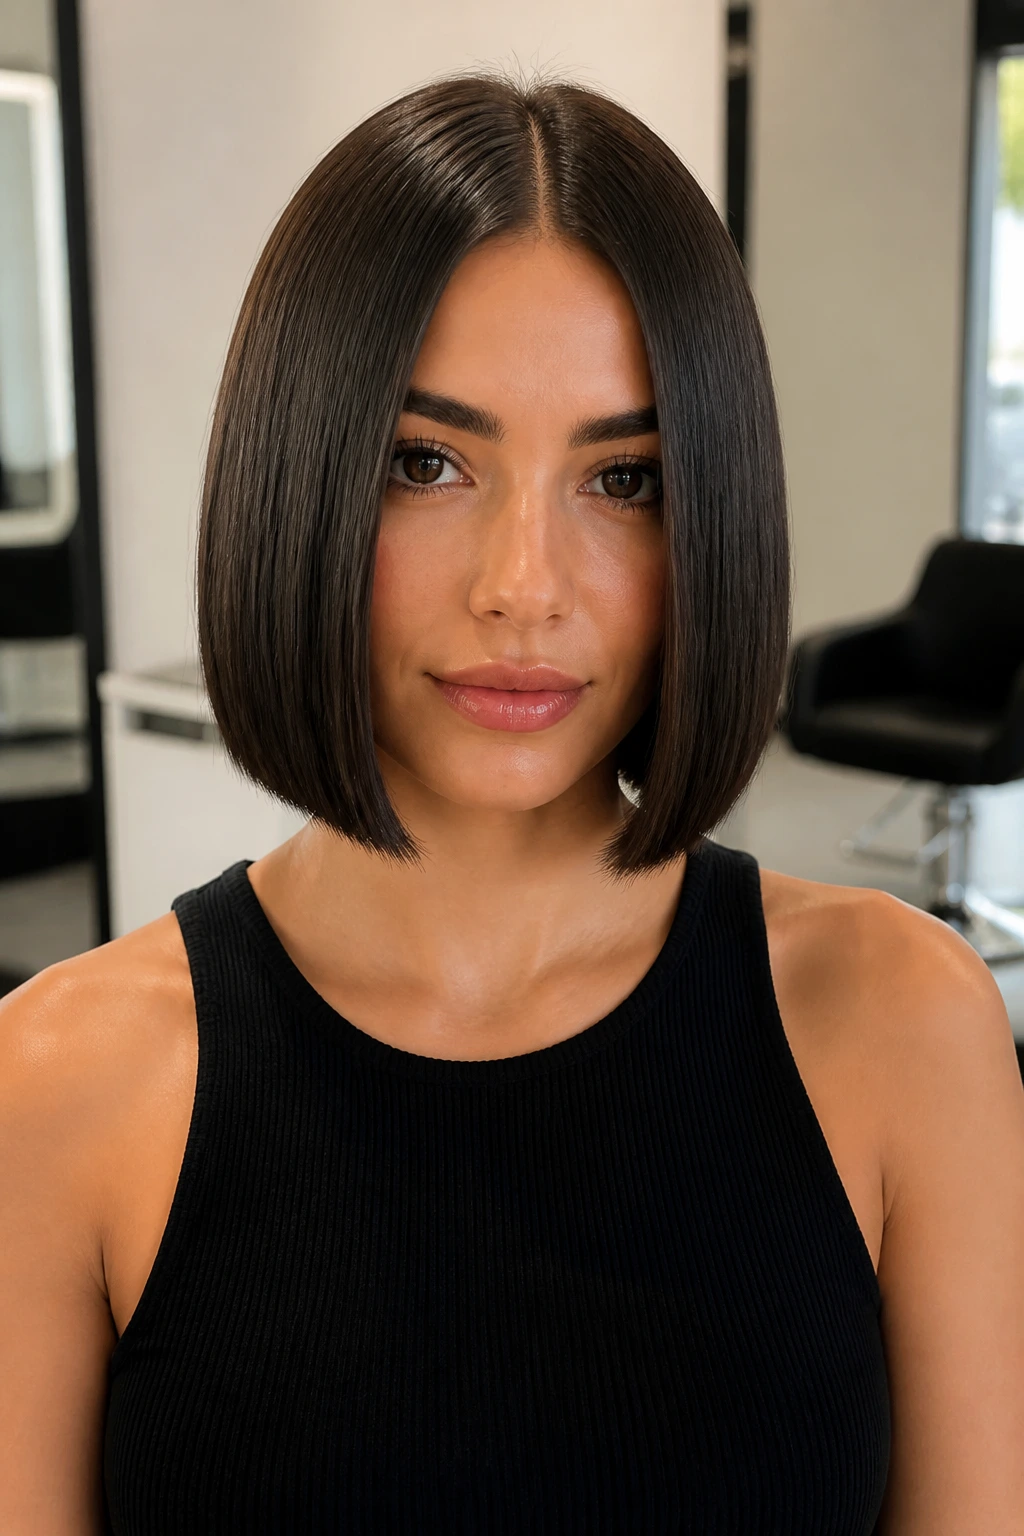
Not every fine-hair style needs bend. Sometimes a crisp, straight line gives the hair more presence than waves ever could. A pin-straight bob with a middle part looks deliberate, and the face-framing layers keep it from becoming severe. The clean edge at the bottom makes the hair look thicker because the eye sees one strong shape instead of a fuzzy perimeter.
The secret is shine without grease. Use heat protectant, blow-dry the roots smooth, then flat iron in small sections at a moderate temperature — around 300°F if the hair is fine and fragile, a bit higher only if it’s dense as well as fine. Keep serum off the roots. Put the tiniest amount through the ends only, then comb it through with your fingers.
This style is a good reminder that polished does not have to mean heavy. If the bob is cut blunt and the front pieces skim the cheekbones, the look can be sleek enough for a tailored jacket and still feel modern. Skip thick oils. They flatten the whole point of the style.
8. Loose S-Waves with Center Lift
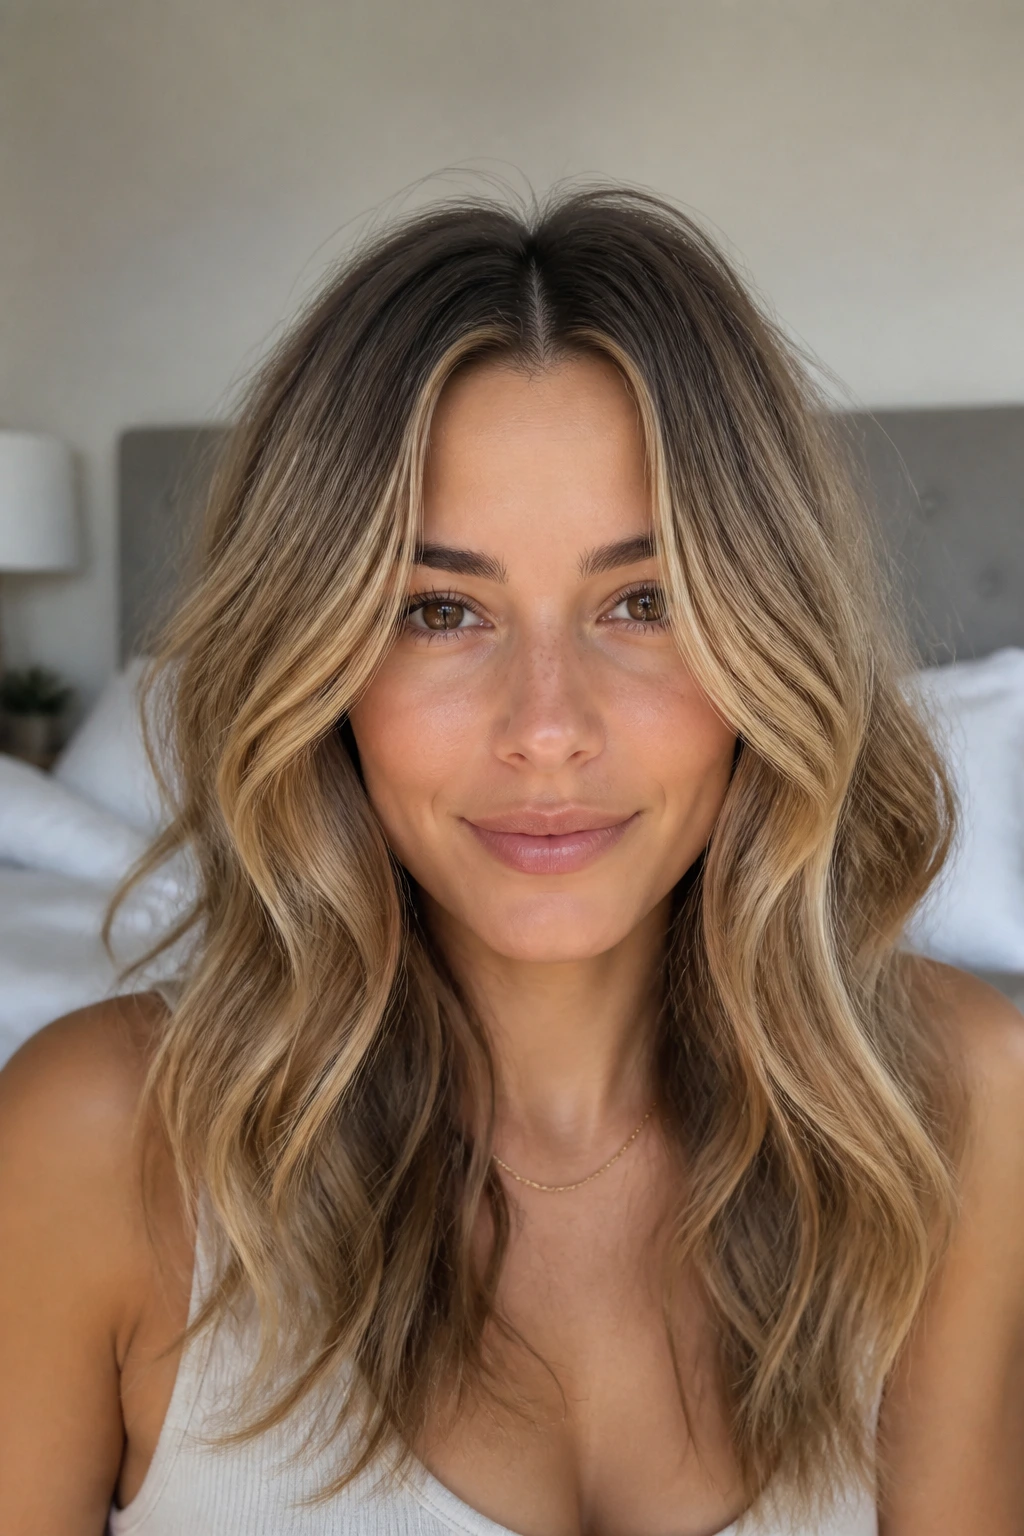
Loose S-waves are the safe place between straight and curled. They give fine hair movement without shrinking the shape into a tight curl pattern that collapses by noon. With a middle part and face-framing layers, the waves bend the eye around the face and make the hair look more abundant where it matters most.
Use a 1-inch curling iron or wand and wrap only the mid-lengths and ends, leaving the first inch or so near the root out. Alternate directions as you move through the head, but keep the front pieces curling away from the face. That makes the part look open instead of boxed in. Pin the warm sections for 30 to 60 seconds if you want the wave to hold longer. Annoying? A little. Effective? Yes.
The nice thing about S-waves is that they can look intentional even when they’re slightly imperfect. Fine hair doesn’t always need a giant curl pattern. It needs a bend that catches light at different points along the strand. S-waves do that without adding bulk.
9. Low French Twist with Wispy Pieces
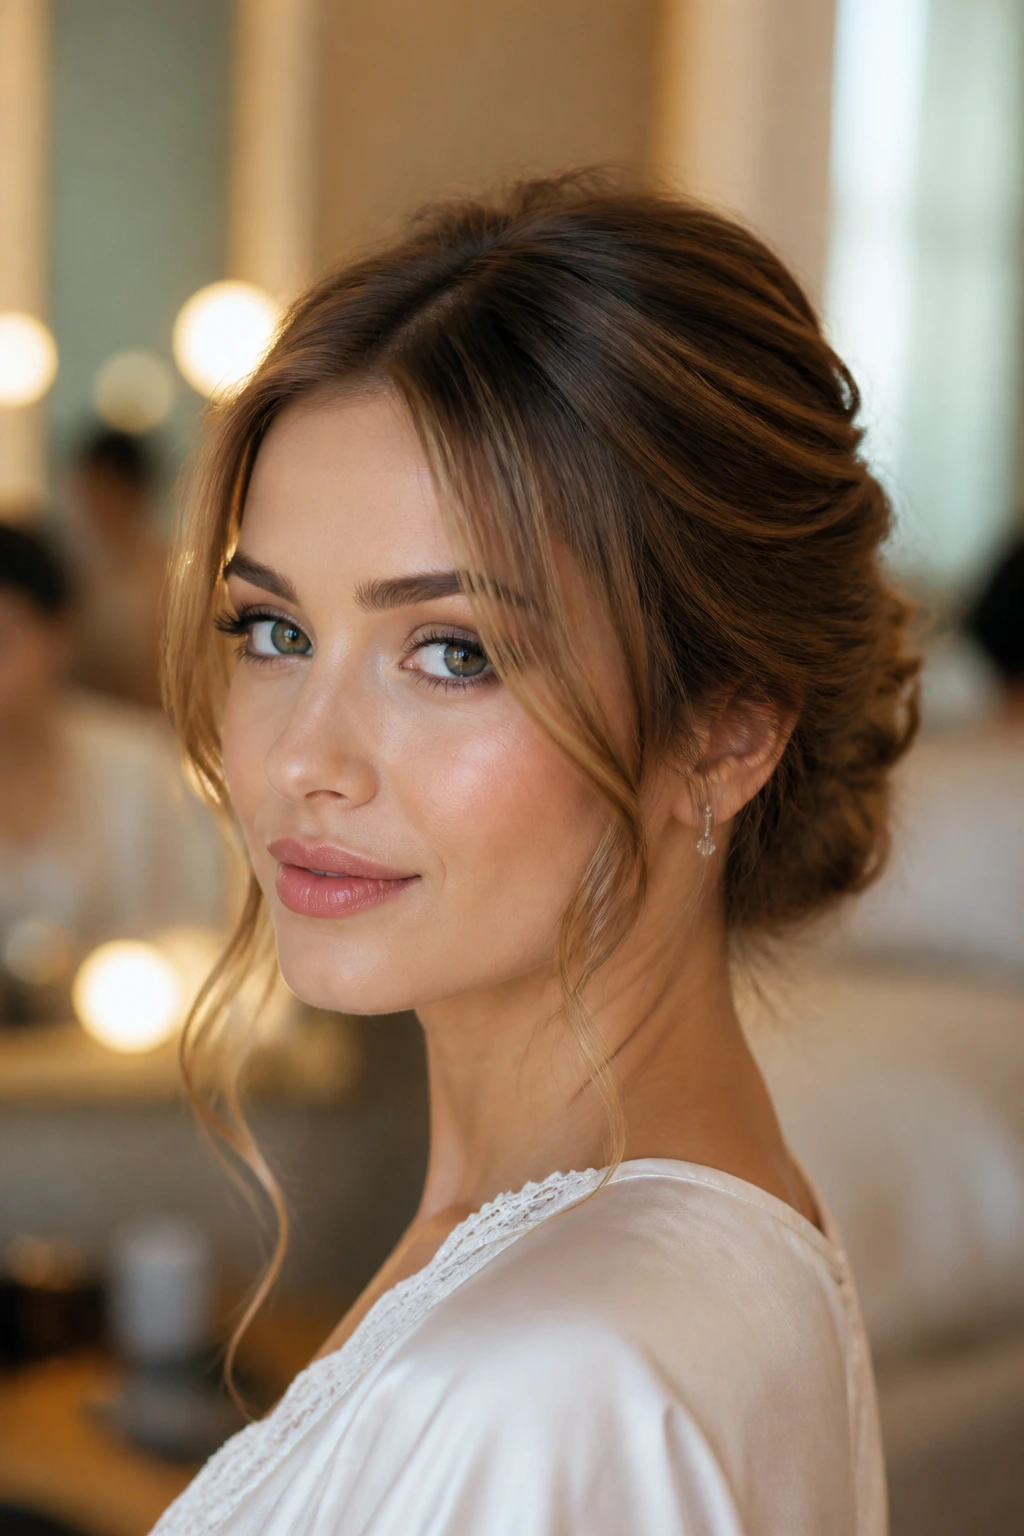
A low French twist sounds dressy, but on fine hair it can be surprisingly flattering because the bulk sits where the hair is usually strongest: at the nape. The middle part gives it balance, and the face-framing layers stay out in front, where they soften the line of the twist and keep the whole thing from looking too strict. A few wispy pieces around the temples go a long way here.
The twist itself should be loose, almost airy, not rope-tight. Pin it with crossed bobby pins so the shape stays in place without being crushed by one heavy clip. If the hair is too silky to stay put, mist the nape with texture spray before twisting. Just a little. You’re building grip, not making sandpaper.
This is one of my favorite event styles for fine hair because it doesn’t fight the texture. It uses the texture. The face pieces can be bent with a 1-inch iron and left soft around the jaw, which keeps the profile gentle. If the twist is too polished and the front pieces are too stiff, the style gets old fast.
10. Clipped-Back Center Part
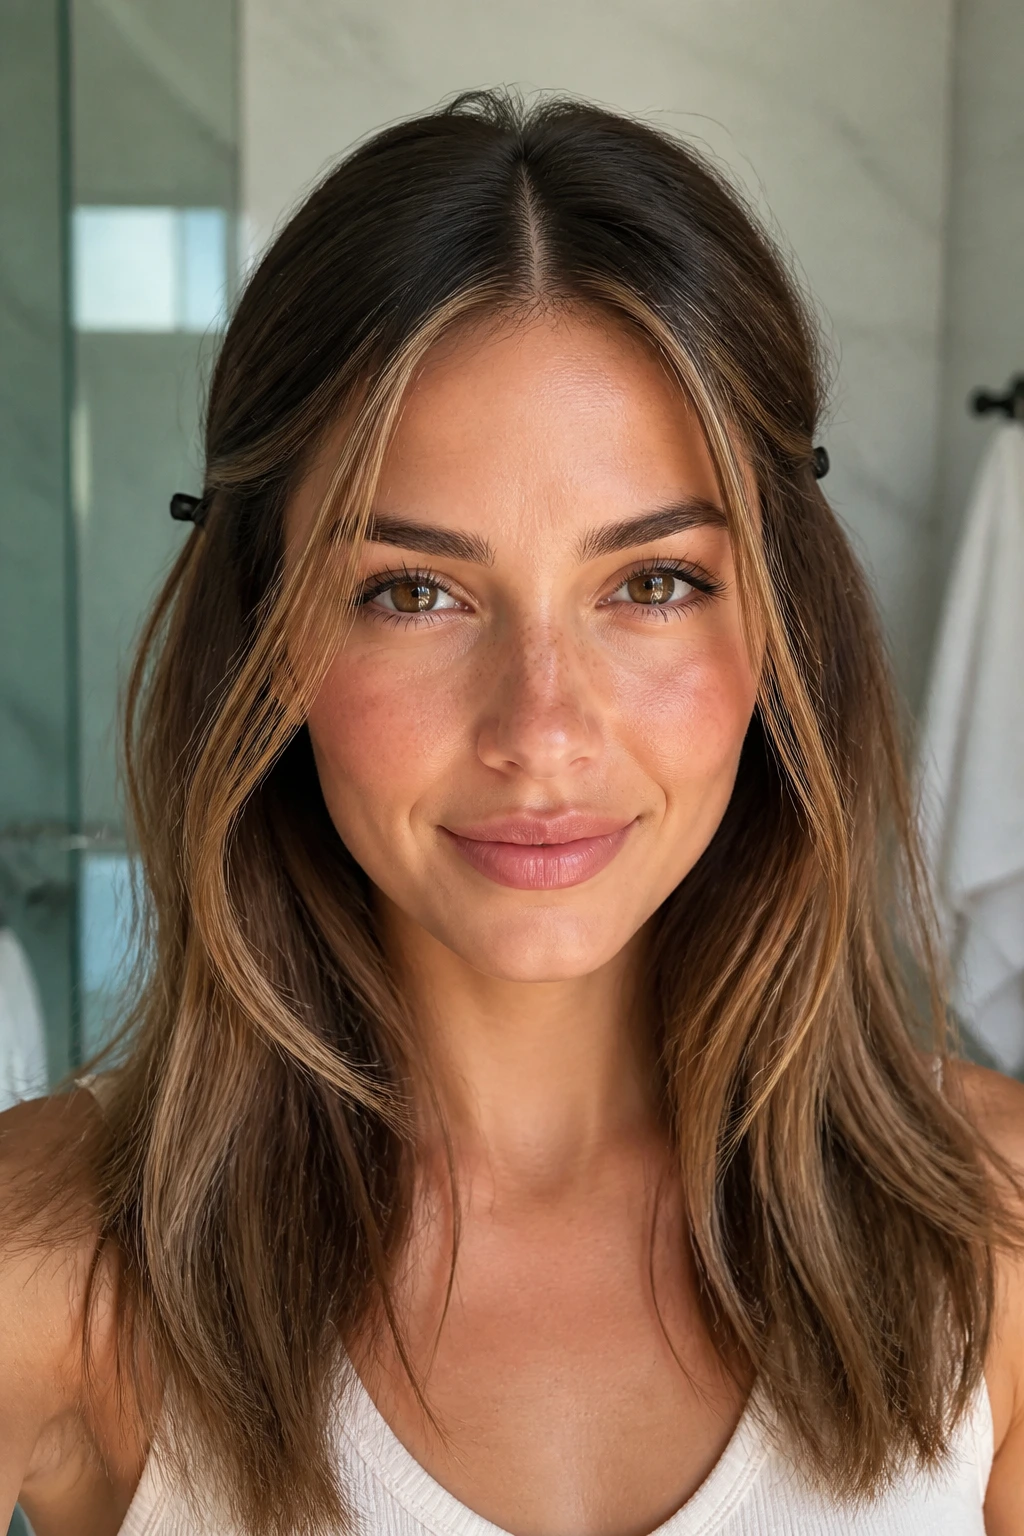
This is the easiest way to keep a center part and get hair off the face without sacrificing softness. Two small clips, one on each side, do the job. Not oversized barrettes. Not chunky claw clips. Tiny hardware. The face-framing layers stay visible, but the front sections are pushed back just enough to open the eyes and cheekbones.
Small Hardware, Big Difference
The clips should sit just behind the widest part of the face-framing layer, usually near the temple. That keeps the part visible while still controlling the front. If you clip too far back, the style loses the whole point. If you clip too far forward, the hair pulls flat at the temples. There’s a narrow sweet spot, and you’ll find it fast once you try it a few times.
This look is excellent on second-day hair. A little dry shampoo at the roots, a clean middle line, and two clips can turn flat hair into something that looks considered. I’d use it for school runs, office days, and any time you need your hair to stay off your face without looking pinned down.
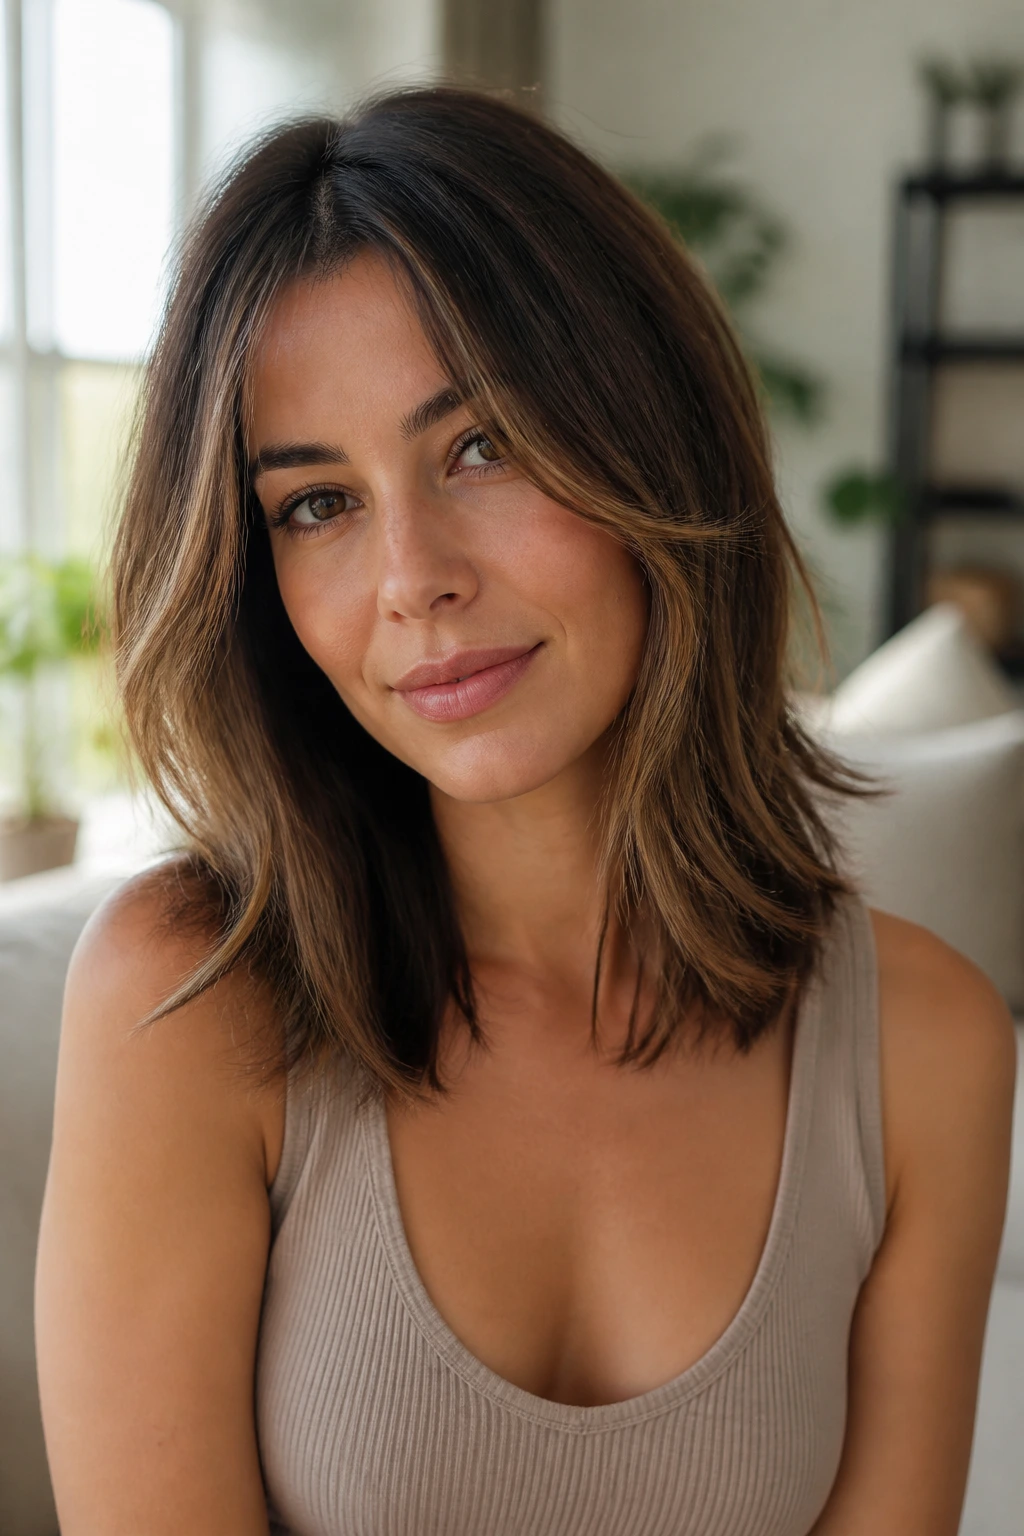
11. Butterfly Cut Blowout

The butterfly cut has earned its place because it gives fine hair the illusion of volume without sacrificing length. The shorter face-framing layers create movement around the cheeks, while the longer layers keep the bottom half from going see-through. With a middle part, the whole cut starts to read like two coordinated shapes instead of one long flat curtain.
This style depends on the blowout. The top layers need lift at the root and a soft bend away from the face, while the longer lengths should curve inward just enough to hold density at the ends. If you use a round brush, flip the top layers out slightly and the lower layers in slightly. That split in direction is what makes the shape look expensive rather than accidental.
It’s also one of the few layered cuts that can handle a little grow-out without getting awkward. Fine hair often looks better when the layers are not too short. The butterfly cut lets the front pieces do the heavy lifting while the back stays full enough to keep the length worth keeping.
12. Sleek Low Ponytail With Tendrils

A low ponytail can look plain on fine hair unless the face framing is handled well. That’s where the tendrils matter. Leave the front layers out, smooth the rest into a low pony at the nape, then bend the loose pieces around the cheekbones with a flat iron or a small round brush. The middle part keeps the shape tidy, and the tendrils stop it from feeling severe.
Use a tiny elastic so the pony doesn’t look bulky. Wrap a thin strand of hair around the base if you want the finish to look cleaner, then pin it underneath. Keep the crown smooth but not tight. Fine hair shows tension fast. If the scalp looks pulled, back off and loosen it a touch.
This is one of those styles that can move from work to dinner without a full redo. The ponytail stays polished, the front pieces soften the face, and the whole thing gives you a neat line without losing the texture of the layers.
13. Rounded Collarbone Curls

When the curls stop at the collarbone, they look fuller than curls that hang too long and start thinning at the bottom. That’s the appeal here. Fine hair can handle a soft rounded shape very well if the layers are face-framing rather than chopped all over the head. The middle part lets the curl pattern fall symmetrically, which is useful when the hair likes to slip flat on one side.
The Shape to Aim For
- Use a medium barrel — 1 to 1 1/4 inches is usually enough.
- Curl away from the face at the front sections.
- Let each curl cool before brushing it out.
- Stop brushing once the curl becomes a rounded wave, not a frizzy cloud.
The result should sit on the shoulders with a little bounce, not a lot of puff. If the curls get too tight, they shrink and the fine hair loses presence. If they’re too loose, they fall into straightness. The sweet spot is that curved, collarbone-length bend that holds its line for a few hours and still looks soft by evening.
14. Modern Rachel Cut
The old version of this cut could get a little too feathered, a little too busy, and that’s where fine hair sometimes gets hurt. The modern version keeps the face-framing layers, but the layers are cleaner and the ends stay denser. The middle part gives the shape a straight spine, while the front pieces curve outward just enough to frame the cheeks.
This cut works because it doesn’t overload the hair with short pieces. Fine hair needs movement, yes, but it also needs enough length in each section to keep the edge full. The best version of this cut usually lands at the collarbone or just below, where the layers can flick without exposing too much scalp or thinning the ends.
I like this one for people who want a little retro energy without the maintenance that usually comes with retro hair. Blow it out with a round brush, then turn the front ends in or out depending on mood. The haircut carries most of the shape. That’s the whole point. Less wrestling. More clean line.
15. Bubble Ponytail With Loose Layers
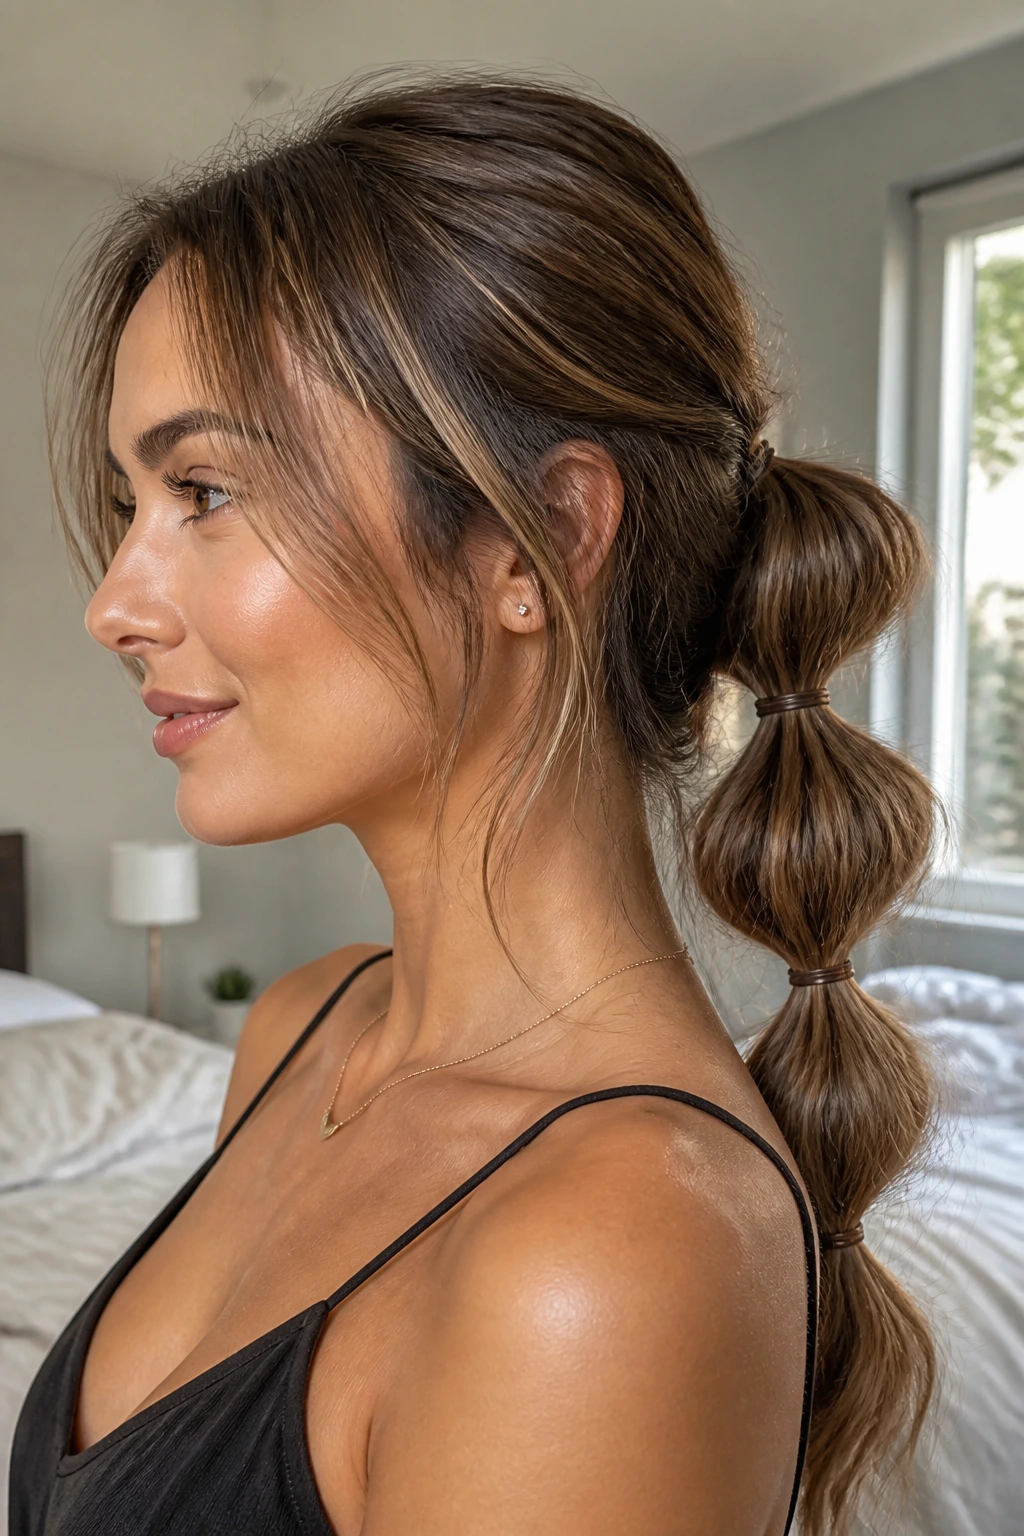
A bubble ponytail is one of the few styles that can make fine hair look intentionally fuller without pretending the hair is thicker than it is. You create shape by sectioning the ponytail with small elastics every 2 to 3 inches, then gently puffing each section between them. The face-framing layers stay loose in front, which keeps the center part from looking too hard.
This works best when the ponytail starts low or mid-low. If you go too high, the bubbles can look small and the hairline gets stressed. Keep the elastics snug enough to hold, not tight enough to dent. Then tug the sections outward just a little until each bubble feels round but not cartoonish.
It’s a good style for second-day hair because the extra grip from dry shampoo actually helps. Fine hair usually needs a little support to stay puffed, and this style gives it structure in a way that feels playful instead of fussy.
16. Soft C-Bend Ends
Sometimes the cleanest answer is the quietest one. A soft C-bend doesn’t ask the hair to curl, wave, or behave like somebody else’s texture. It just gives the ends a bend that keeps them from hanging straight and thin. With a middle part and face-framing layers, that bend can make the whole cut look more finished.
Use a flat iron or round brush to make a gentle C shape at the ends, especially around the front pieces. Don’t clamp hard. Don’t twist a full loop. Just tilt the tool so the strand curves in and then releases. The bend should be visible enough to catch the eye but soft enough that it doesn’t fight the cut.
This style is especially useful if your hair is naturally straight and a little slippery. The bend gives the layers a little grip without demanding a full curl set. It’s the kind of finish that can look plain in a mirror and better in motion, which is often where fine hair does its best work.
17. Knotless Half-Up Twist
A knotless half-up twist looks more complicated than it is. You take the top sections, twist them back from each side, and pin them into each other or into the back of the head without creating a bulky knot or a tight elastic bump. The face-framing layers stay out and move freely, which keeps the middle part soft.
The reason this works on fine hair is simple: it creates shape with tension, not weight. Fine hair often gets dragged flat when too much hair is gathered into a ponytail or bun. The twist spreads the structure out, so the crown keeps a little lift while the front remains light. If the hair slips, rough up the root with a little dry shampoo first. That gives the pins something to grab.
This is one of the easiest half-up looks to wear on a day when the front pieces need to stay off your face but you don’t want a hard, formal finish. It reads relaxed, but there’s enough shape to make the center part look intentional.
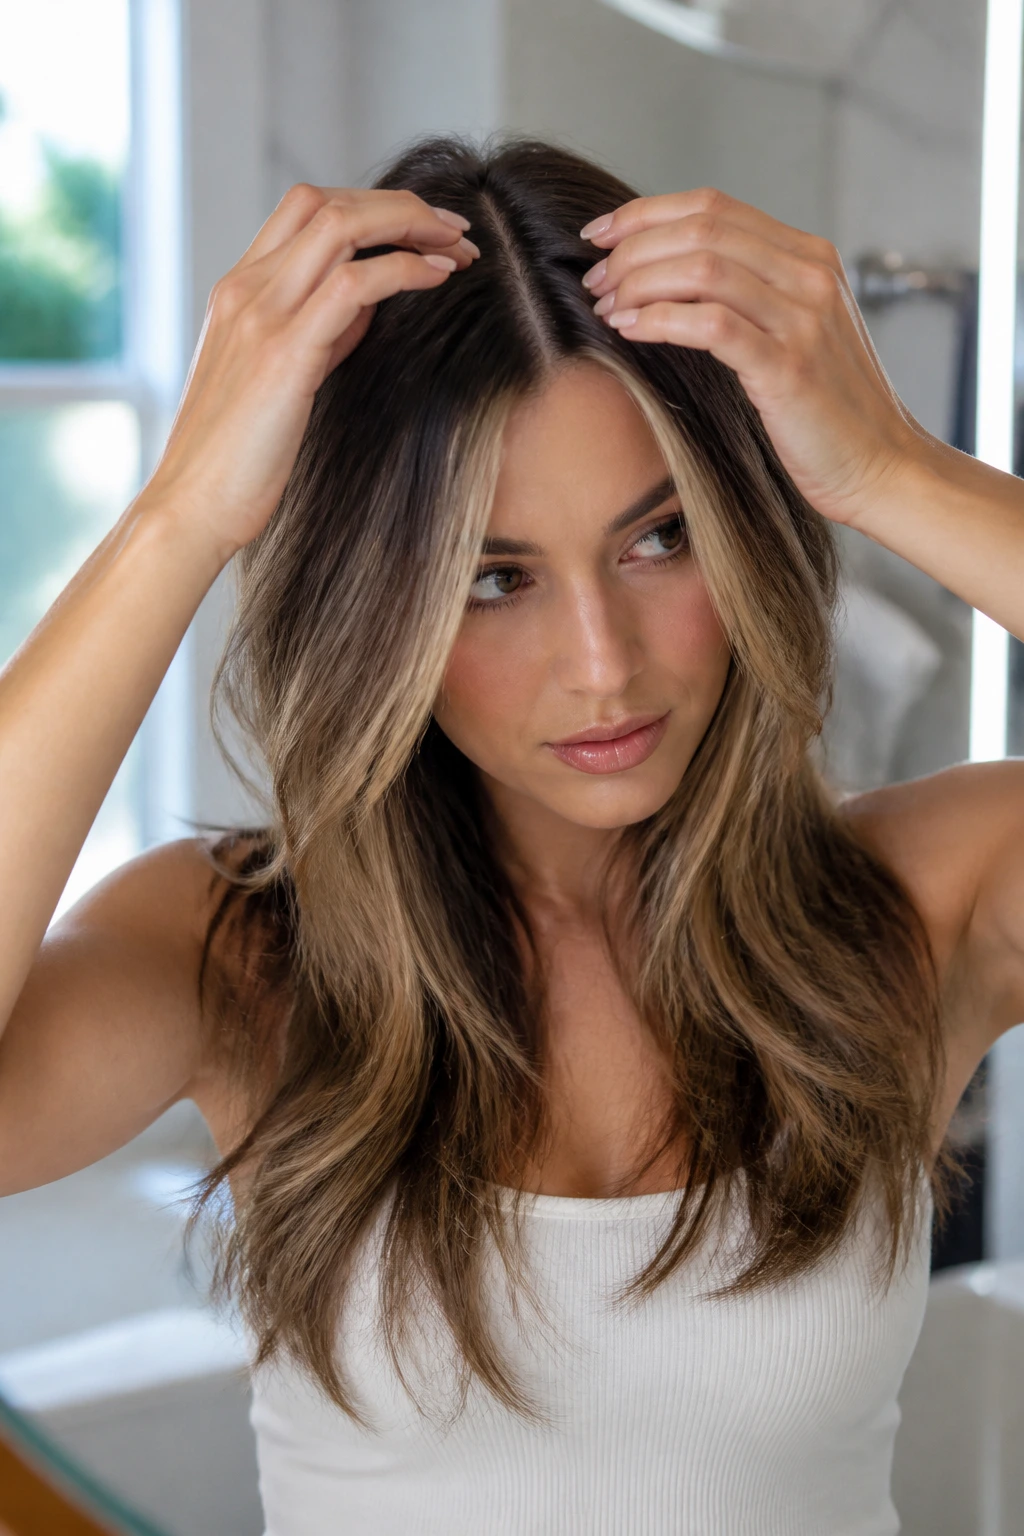
18. Root-Boosted Blowout With Velcro Rollers
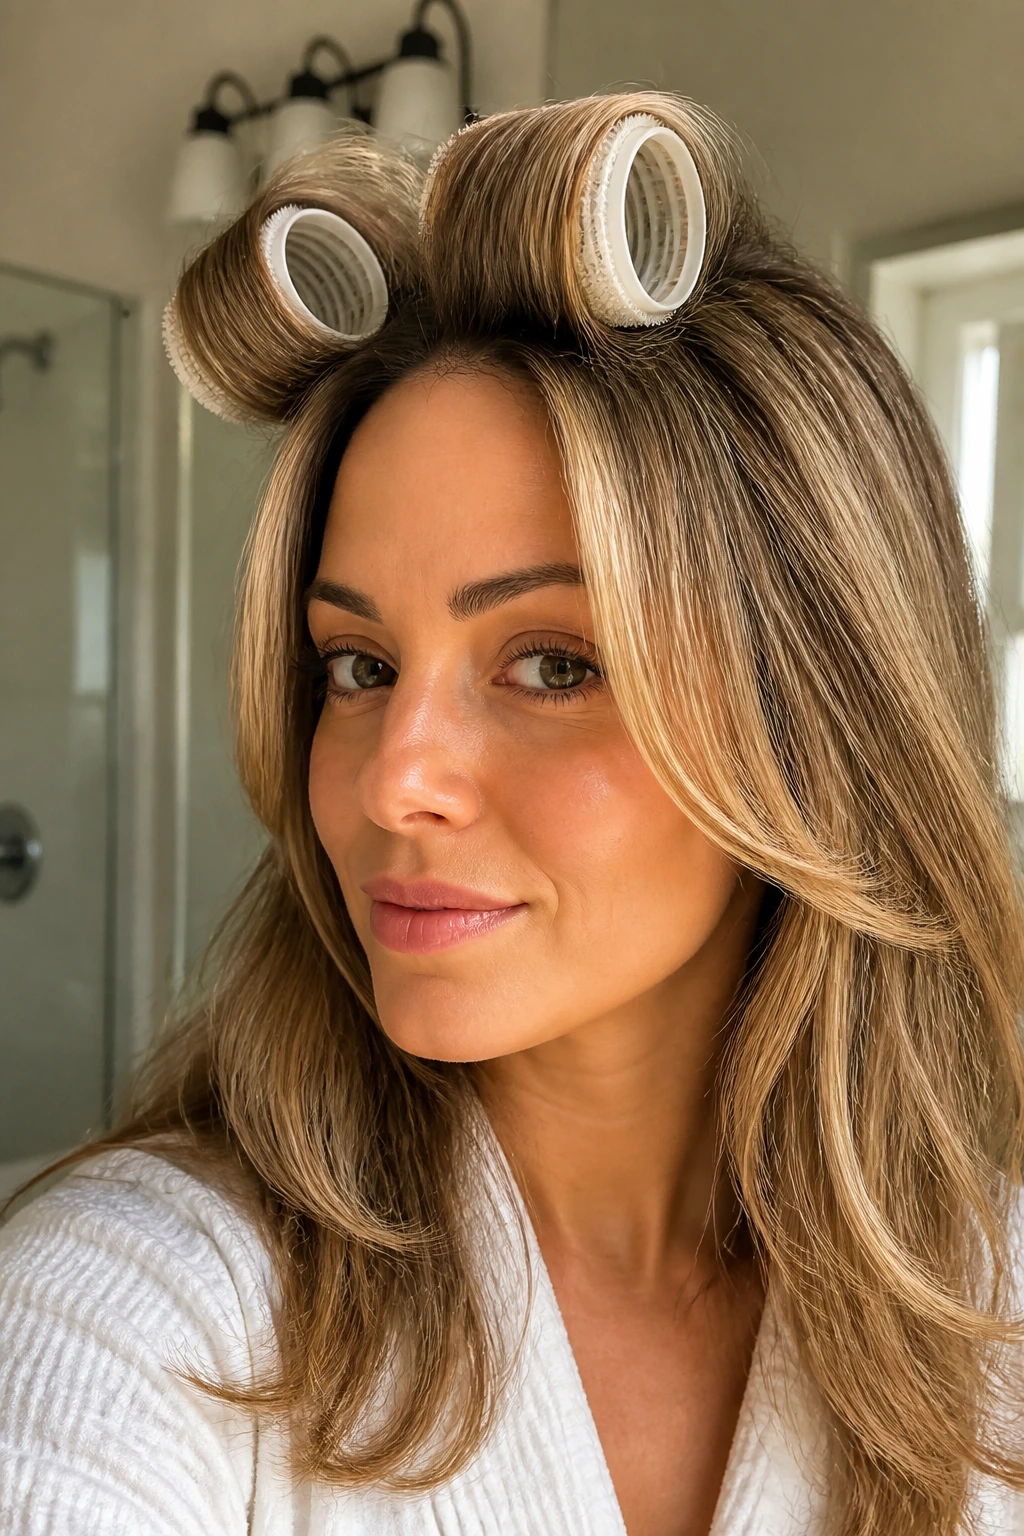
If your fine hair goes flat before lunch, this is the practical fix. The root-boosted blowout starts with rough drying at the crown, then moves to round brushing the front pieces and setting them in Velcro rollers while they cool. That cooling stage matters more than people think. Heat shapes the hair. Cooling locks it in.
How to Place the Rollers
- Use one roller on each side of the front section.
- Put the top roller just behind the part, not directly on it.
- Angle the face-framing pieces away from the face.
- Leave the rollers in until the hair is fully cool, usually 10 to 20 minutes.
This style builds a little height where the part would otherwise collapse, and it gives the face-framing layers a soft bend that lasts longer than a quick brush-out. It’s not the fastest method, no. But if you need the front of the hair to survive a long day, this is one of the few techniques that actually holds up.
19. Scarf-Tied Low Bun
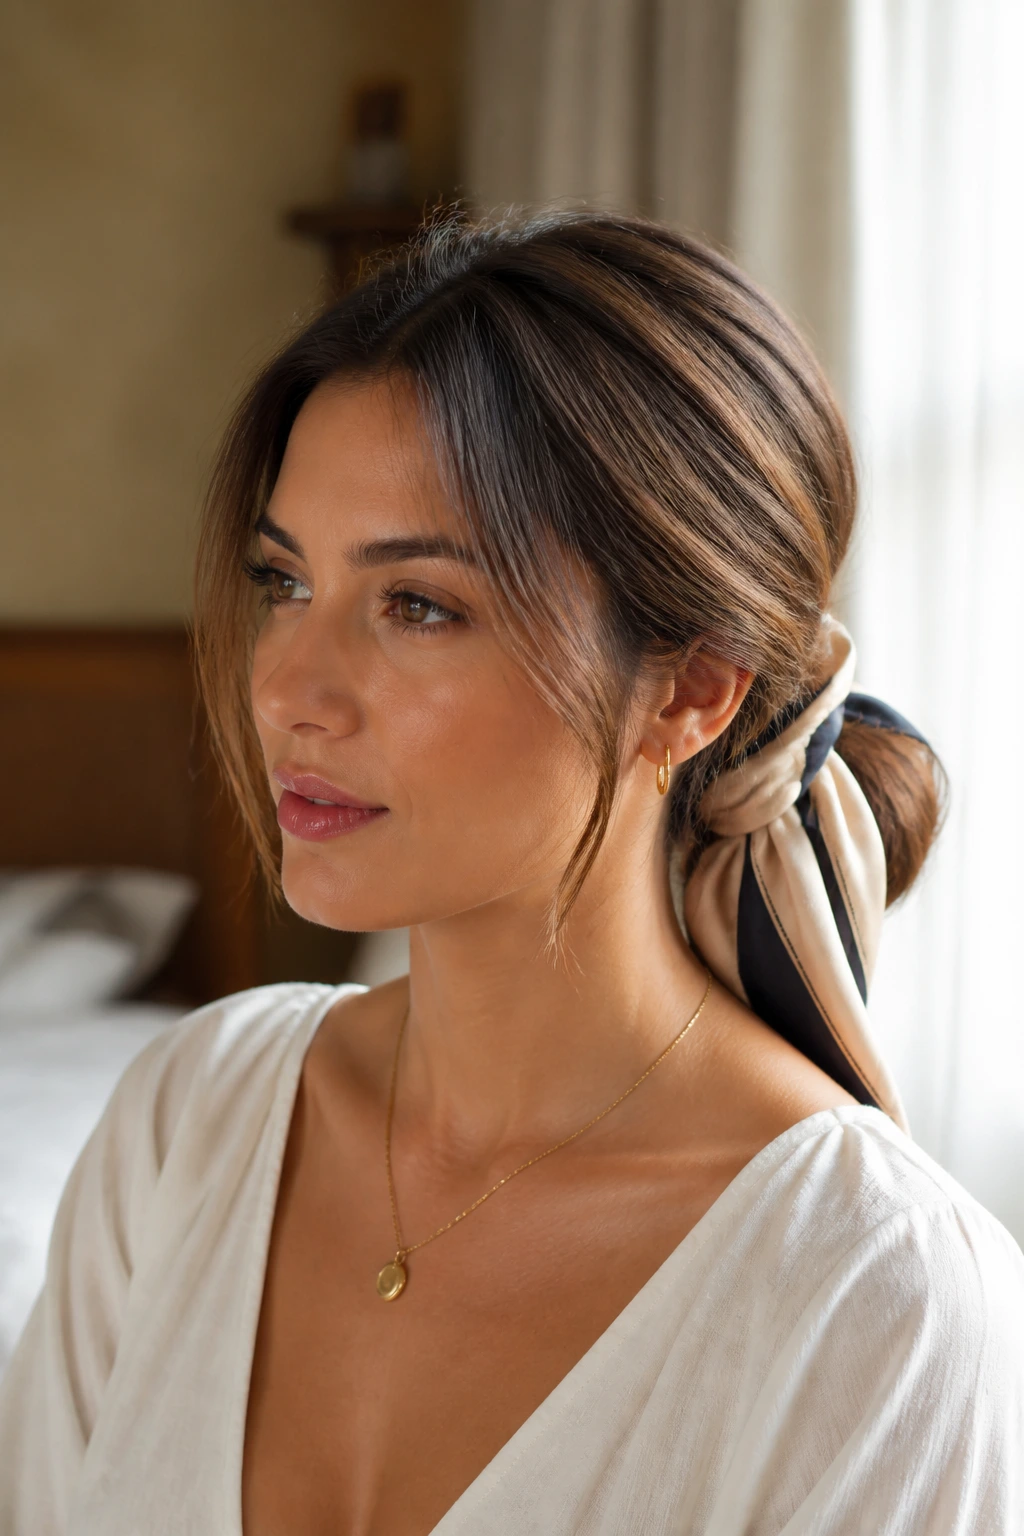
A scarf can rescue a low bun from looking too plain, especially on fine hair where the bun itself might not have much bulk. The middle part keeps the front neat, the face-framing layers soften the temples, and the scarf adds shape at the nape without weighing the hair down. I prefer a silk or satin scarf here because it glides instead of snagging.
Build the bun low and soft, not tight. Wrap the scarf around the base once or twice, tie it off, and let the ends fall or tuck them under depending on how polished you want it. If the face-framing layers are a little too straight, bend them with a flat iron before pinning anything. That keeps the front from looking severe against the softness of the scarf.
This one handles day-two hair nicely. It also works when you need to disguise roots that are a little oily but not ready for a full wash. The scarf becomes part of the shape instead of a cover-up, which is much better.
20. Wet-Look Center Part Lob
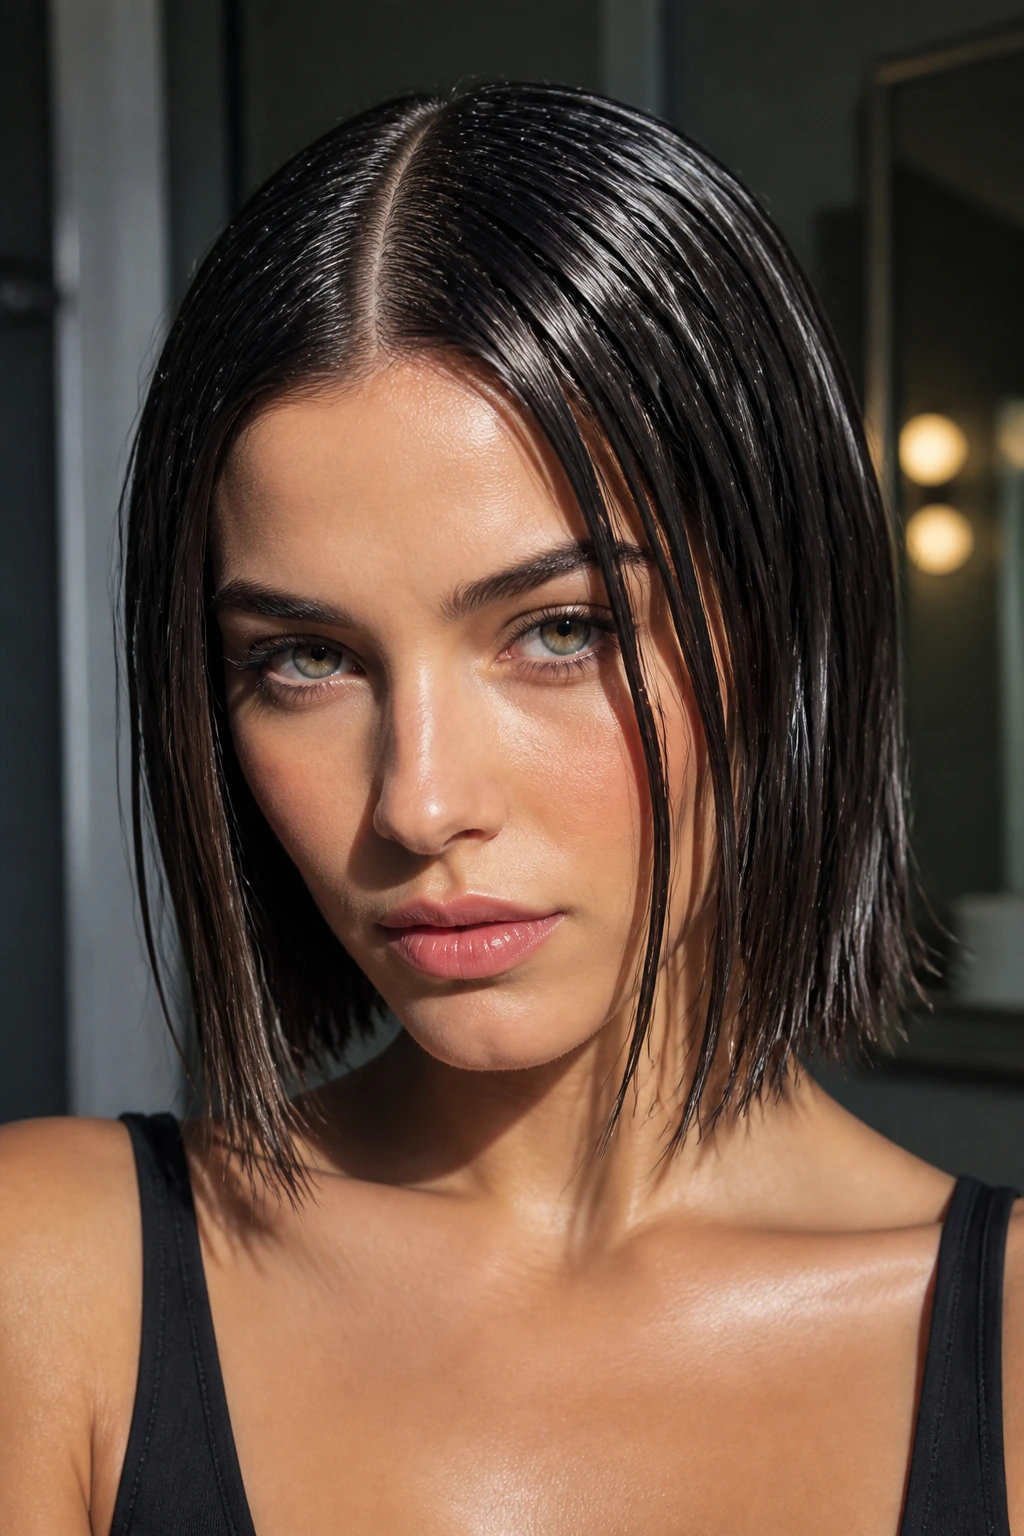
Wet-look hair can be a smart move on fine hair because the sleekness makes the strands line up neatly instead of scattering. The middle part looks sharp, the face-framing layers cling close enough to define the face, and the length of a lob keeps the style from turning into a heavy sheet. The key is to stop before the whole head looks drenched.
Use a lightweight gel or styling cream through damp hair, then comb the hair into the center part and smooth it back from the roots. Keep the product concentrated from the ears down and on the front sections. If you overload the roots, the style collapses and the scalp shows. If you keep the hold soft, the hair stays separated and glossy.
This is not a daily style for everyone. It’s a mood. But for evening, humid weather, or a sleek outfit, it can look sharper than a wave ever could. Fine hair handles this kind of finish well because there’s less bulk to fight.
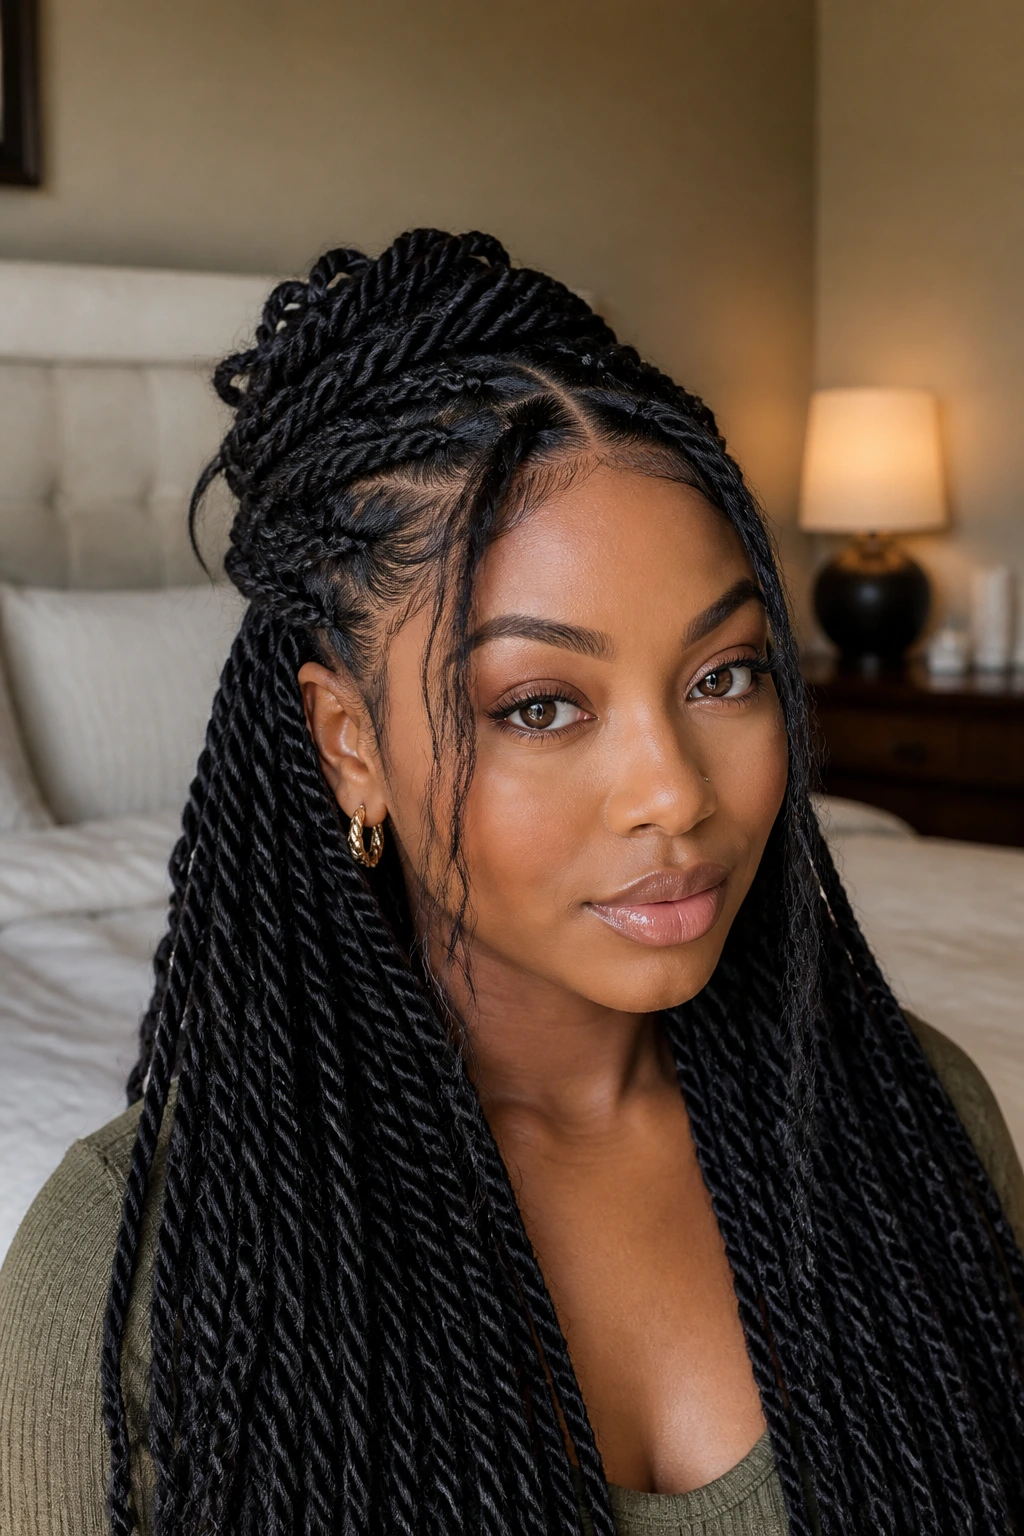
21. Micro-Braided Face Frame Accent
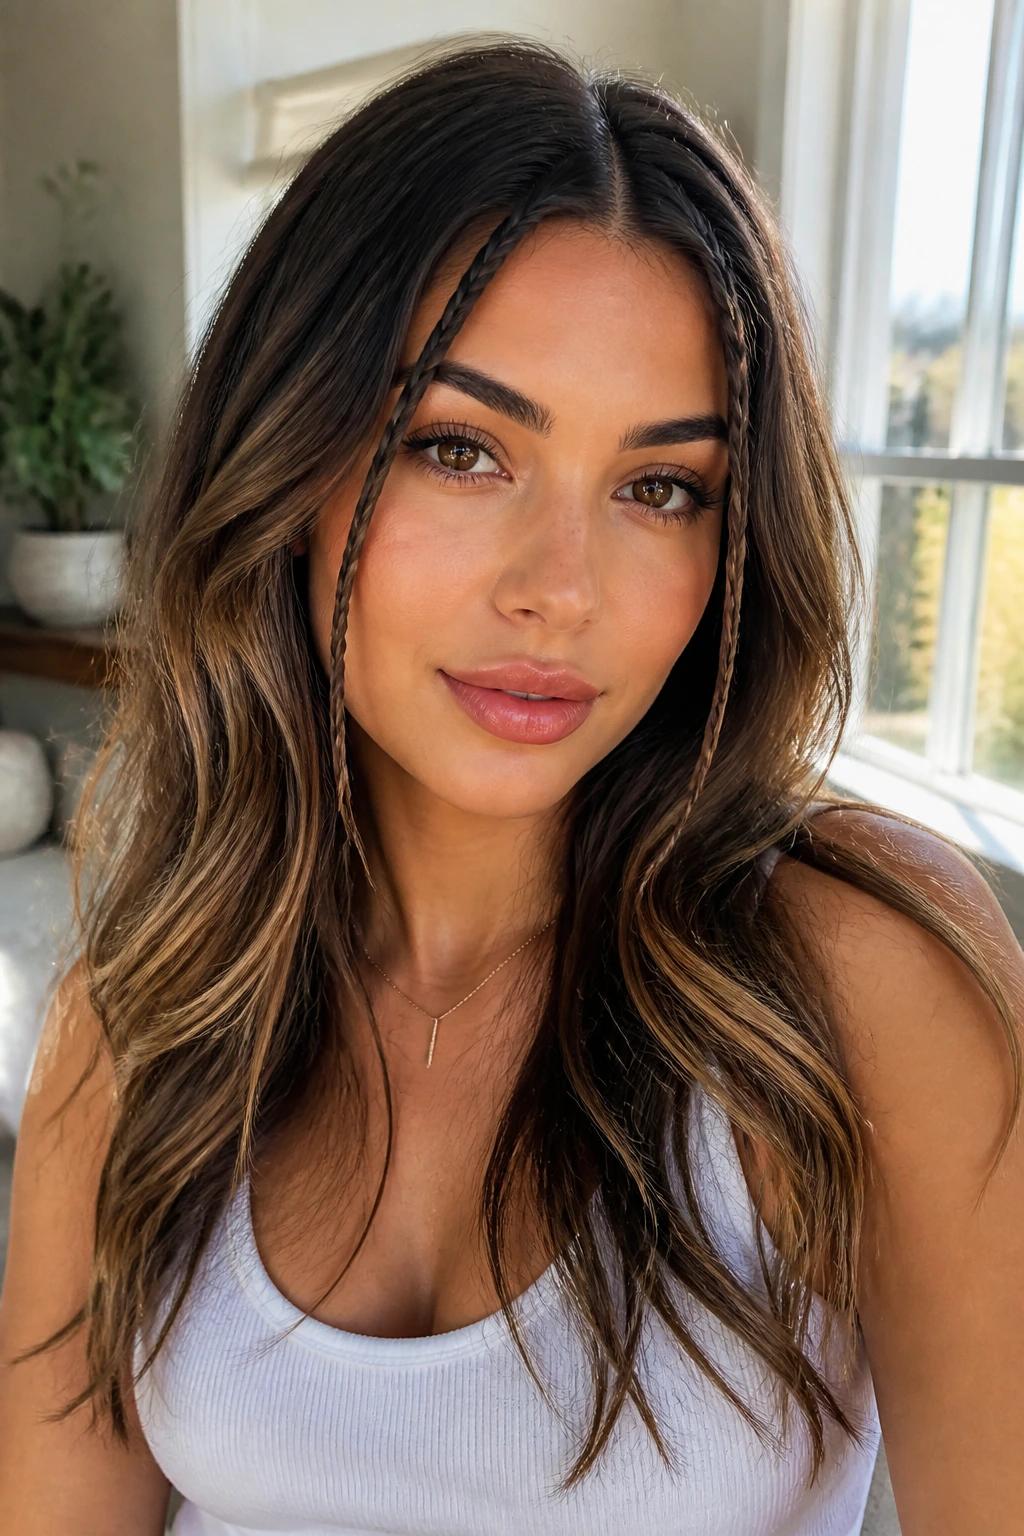
Tiny braids along the front sections can make a simple middle part look deliberate in a way that’s hard to fake. The braid holds the face-framing layers in place, gives the eye a clear line near the cheekbones, and keeps fine strands from drifting into your face every five minutes. You only need a small section on each side. No need to go full festival braid unless you want that energy.
The braid should stay close to the hairline and end around the cheek or jaw. Secure it with a clear elastic or tuck the end under with a pin. If the rest of the hair is straight, the braid adds texture without stealing the whole look. If the rest of the hair is wavy, it gives the style some structure so it doesn’t turn vague.
I like this one for people who want a small detail that changes the whole feel of the style. It’s low-cost, low-effort, and it turns an ordinary center part into something with a little point of view.
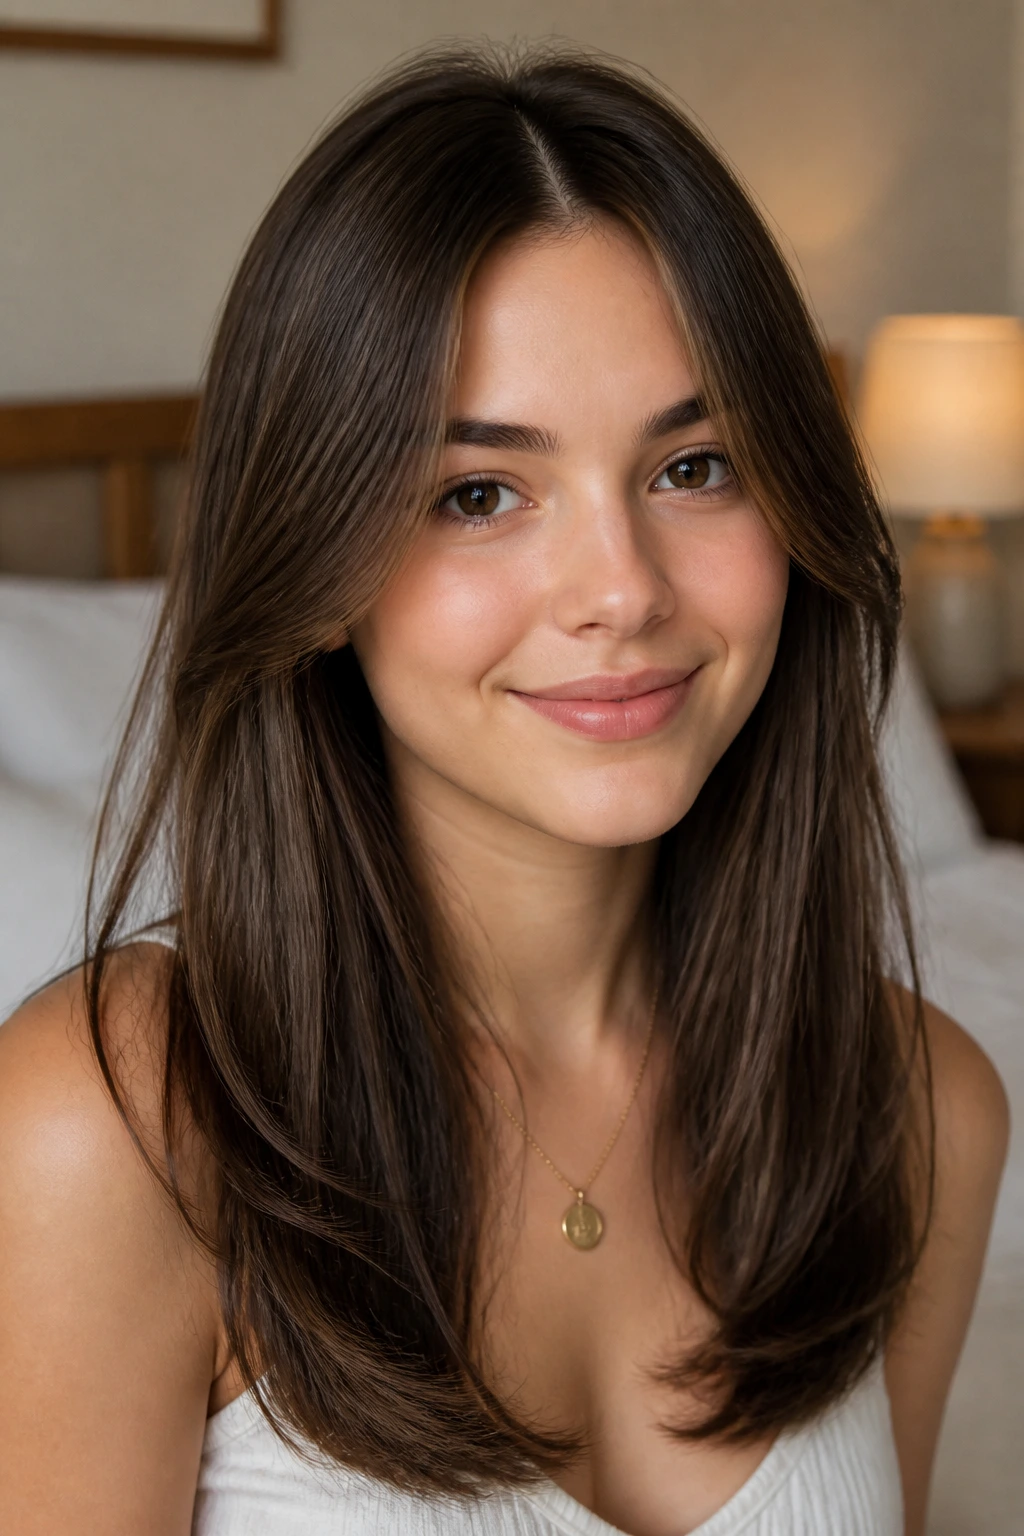
22. Soft Flipped-In Ends

This is the everyday style that earns its keep. The middle part stays straight, the face-framing layers curve around the jaw, and the ends flip inward just enough to keep the perimeter looking dense. On fine hair, that inward finish matters because it prevents the bottom from looking see-through and tired by noon.
A paddle brush or a round brush can do the work here. Blow-dry the hair smooth, then direct the ends in toward the neck or collarbone. The face pieces should hit around the cheekbone or lip line and soften the edges of the part. It’s tidy without feeling stiff.
This style is the quietest one in the group, which is part of why it’s useful. It doesn’t need a special occasion. It just makes fine hair look neat, full enough, and a little more intentional than a bare center part with no shape around it.
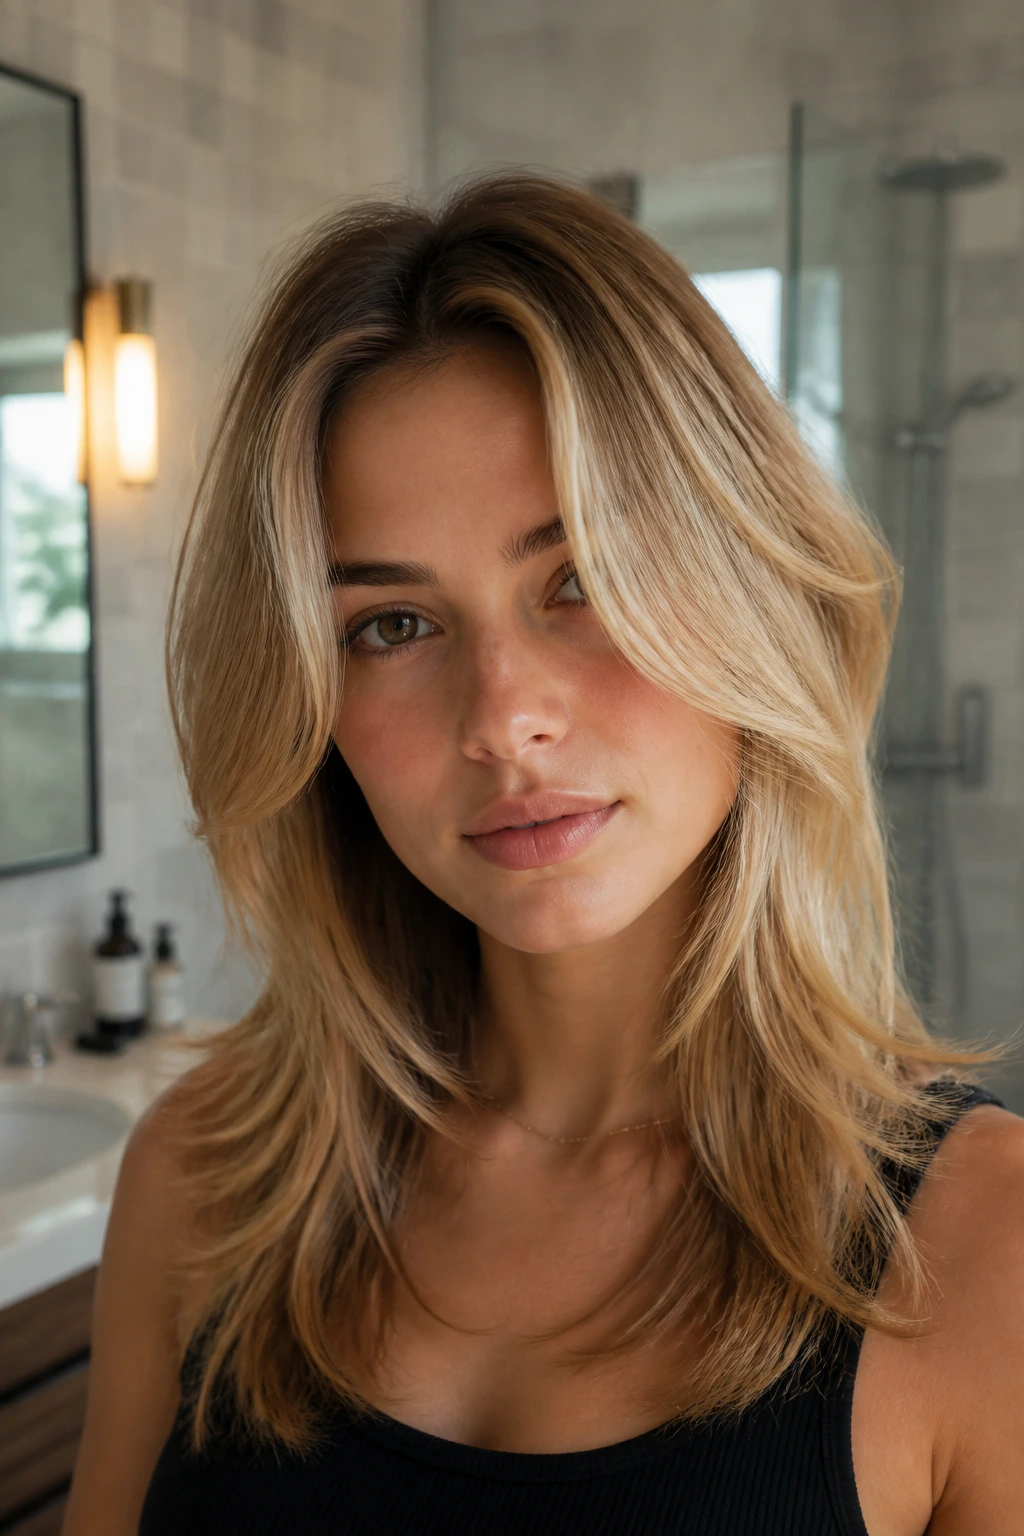
Why the Middle Part Changes the Hairline
A center part pulls the eye straight down the middle, which is why it can be unforgiving on fine hair if the roots are flat. The trick is not to avoid the part. It’s to give the hairline enough movement on both sides so the part feels like a design choice instead of a gap. Face-framing layers do that job well because they interrupt the line near the cheekbones and jaw.
The best versions of these looks keep the center line clean and the crown slightly lifted. If the part line is crisp but the roots are glued to the scalp, the whole style looks sparse. If the roots are lifted but the face frame is ignored, the style can look too puffy and unfinished. The sweet spot sits right between those two mistakes.
Another thing people miss: the length of the face frame changes the whole mood. Shorter pieces can open the face fast, but if they start too high, they expose too much of the temples. Longer pieces are safer for fine hair because they keep more weight in the front, but they need a bend or flip to avoid hanging limp. That’s why collarbone and cheekbone placements come up so often. They’re doing the balancing act.
The Tools Worth Keeping in Your Bathroom Drawer
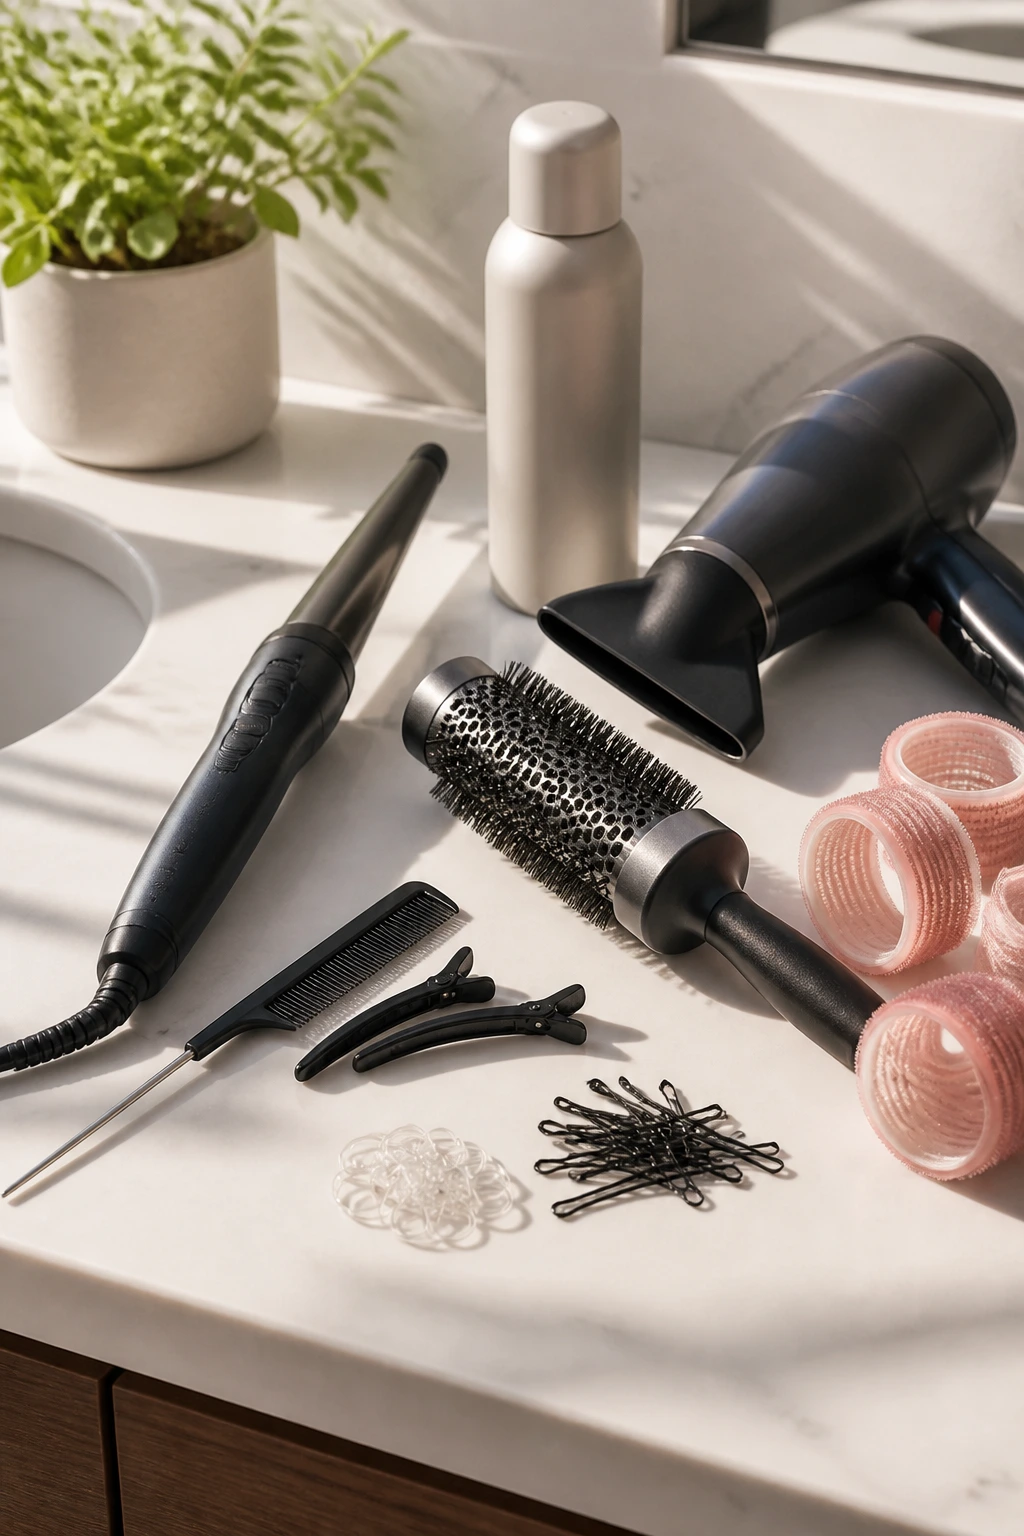
Fine hair is easier to style when you’ve got the right small tools nearby. None of this needs to be fancy. It does need to be specific.
-
Tail comb: Clean part lines and neat sectioning are much easier with a pointed tail comb than with fingers alone.
-
1-inch curling iron or wand: This gives soft bends and S-waves without making curls so large that they fall apart.
-
1.25- to 1.5-inch round brush: Better for blowouts, root lift, and turning face-framing layers under or away from the face.
-
Blow-dryer with concentrator nozzle: Direct airflow matters on fine hair; the nozzle helps smooth the cuticle and lift the roots in the right direction.
-
Velcro rollers: Useful for setting the front pieces and crown while they cool, which helps fine hair keep volume longer.
-
Duckbill clips: These hold sections without leaving the kind of dent that heavier clips can press into fine strands.
-
Mini elastics: Best for half-up styles, bubble ponytails, and low ponytails that need a smaller anchor.
-
Bobby pins: Cross two pins if you want a stronger hold on twists or low buns.
-
Flexible-hold hairspray: Fine hair usually does better with a movable finish than with a hard shell.
-
Dry shampoo: A little at the roots can add grip, absorb oil, and give the part line more stability.
-
Heat protectant spray: Use it before any iron or blowout. Fine hair burns fast, and once the ends go brittle, they look thinner than ever.
-
Silk scarf or silk scrunchie: Helpful for low buns, sleep protection, and keeping tension low around the face frame.
Products That Help Fine Hair Hold Shape
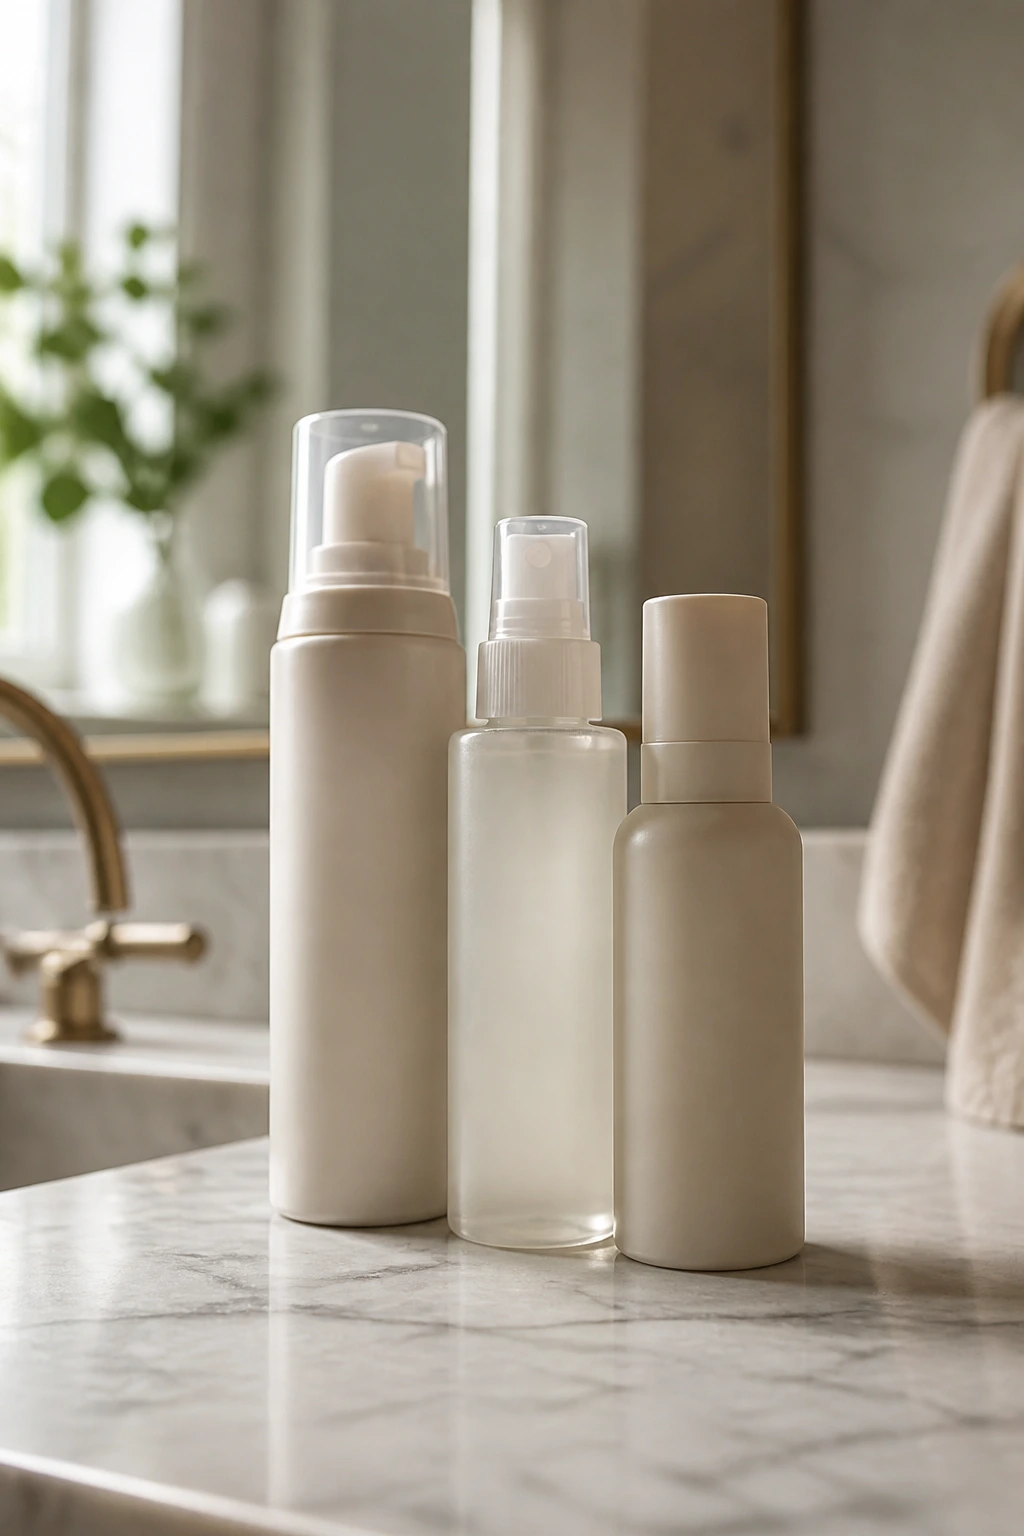
Fine hair does not need the heaviest styling products on the shelf. It needs the ones that disappear into the strand, leave a bit of grip, and don’t sink to the scalp. That usually means starting with a shampoo that rinses clean and a conditioner that goes from ears down, not from roots to ends. If you drench the crown in conditioner, the part falls in about 20 minutes and then you spend the rest of the day pretending it doesn’t.
Mousse is often the better first step than cream for this kind of hair. A golf-ball-sized amount worked into damp roots can give more lift than a walnut-sized blob of smoothing cream. Root-lifting spray is worth keeping too, especially if your hair naturally lies close to the scalp. It gives the part a little backbone before the blow-dryer comes in.
For dry hair, a light leave-in can help, but only if it behaves like water once it’s in. If it leaves a film on your fingers, it may be too heavy. Texturizing spray is useful after the style is set, mostly through the mid-lengths and ends. Dry shampoo is a strange little miracle on clean hair as well as dirty hair; used before styling, it gives the roots grip and keeps the part from slipping.
Skip thick oils near the crown. Seriously. They’re fine on ends that need softness, but they are a bad match for a center part and fine roots.
How to Wear These Looks With Different Outfits and Occasions

Presentation: Keep the face-framing layers visible, even in the sleeker looks. A tucked ear, a clipped temple, or a soft bend near the jaw helps the center part read as a feature instead of a blank line.
Outfits: Open necklines, crew neck tees, collarless shirts, and low V-necks tend to work well because they don’t compete with the long vertical line of the part. If you wear a turtleneck or a high collar, a style with more movement around the face — like curtain blowout, butterfly layers, or wispy tendrils — usually balances it better.
Longevity: Styles with a blow-dried root or set front pieces usually hold the longest. Loose waves and air-dried finishes can look lovely in the morning and need a quick reset by afternoon, especially if fine hair gets touched a lot.
Accessories: Small hoops, slim clips, and a silk scarf play nicely with a center part. Big, heavy accessories can drag fine hair sideways and flatten one side of the part. If the outfit already has a lot going on, keep the hair shape clean and let the face-framing layers do the softening.
There’s also a small, useful rule here: the more structured the clothes, the softer the front pieces can be. The more relaxed the outfit, the cleaner the center line can be. That balance keeps the whole look from tipping into either too stiff or too plain.
Extra Styling Moves That Add Shape Without Adding Weight
Volume Enhancement: Blow-dry the root area in the opposite direction of the part for 10 to 15 seconds, then reset it where you want it. That little reversal makes the crown stand up enough to matter.
Texture Enhancement: If the ends look see-through, mist them with texturizing spray and pinch them in 1-inch sections instead of adding another pass of heat. Fine hair tends to break down when you keep reheating the same spot.
Polish Move: Keep shine serum below the ears. The upper half of fine hair gets greasy fast, and a pretty style can go flat in a hurry if the crown gets too slick.
Make-It-Yours: If your hair is pin-straight, a slight bend at the front pieces keeps the face frame from disappearing into the rest of the length. If your hair has a wave, let it stay a little imperfect and focus on the root and perimeter.
One more thing: if you want more lift, don’t keep adding product in the same spot. Start with less. Set the shape. Then decide whether it needs another pass. Fine hair usually needs fewer steps than you think, just done in the right order.
The Mistakes That Make Fine Hair Fall Flat
-
Starting the face frame too high: When the shortest layers begin above the cheekbone, the front can look see-through and the center part starts to feel too wide. Ask for the first layer lower if your hair is already sparse near the temples.
-
Using heavy cream at the roots: The scalp goes limp fast, the part widens, and the style loses lift before lunch. Keep dense creams and oils on the ends only.
-
Trying to curl every inch of the hair: Too much curl on fine hair often makes the style look fluffy instead of full. Use bends and soft waves instead of tight loops.
-
Pulling ponytails and half-up styles too tight: The hairline gets stressed, the crown gets flat, and the face-framing layers stop moving. Leave the anchor a little looser and tighten only what needs to be held.
-
Skipping the cool-down stage: If you brush or touch the hair before the shape cools, it relaxes too soon. Pin the front pieces or keep them in rollers long enough to cool all the way through.
-
Spraying too much hairspray too close: The hair gets crunchy, the ends separate, and fine strands lose their natural swing. Hold the can back 8 to 12 inches and mist lightly.
Ways to Adapt These Looks for Different Lengths and Densities
The Short Bob Edit: If your hair sits at the chin or above, skip anything that relies on heavy waves. Go for tucked-back pieces, soft C-bends, or a sleek bob with bent front layers. Short fine hair tends to look fuller when the edge stays clean.
The Long Fine Hair Edit: For longer lengths, keep the bottom line blunt enough to hold weight and lean on blowouts, low buns, or soft flips rather than all-over curls. Long fine hair can look beautiful, but it needs a perimeter that doesn’t fray into nothing.
The No-Heat Edit: Use mousse on damp hair, clip the crown up, twist the face-framing layers away from the face, and let it air-dry with a little shape already built in. This works best when you accept a softer finish instead of demanding perfect symmetry.
The Low-Density Crown Fix: If your part shows too much scalp, keep the visible line centered but add root powder or dry shampoo just off the part, then lift the crown with a brush. You’re not hiding the part. You’re giving it a little support.
The Wavy Fine Hair Edit: If your hair already bends on its own, stop trying to iron every wave out. Focus on smoothing the roots and defining the front pieces. The rest can stay slightly undone. That’s usually where the good texture lives.
Keeping the Part and Layers Fresh Between Washes
Fine hair usually does better with a light reset than with a full restart every day. If the roots are still clean on day two, use a little dry shampoo at the part and around the crown, then work it in with your fingertips and a cool blow-dryer blast. That loosens oil and adds grip without making the hair chalky. If the part has gone a little wide, shift it back to center, press it flat with the tail comb, and give the front a quick lift.
By day three, many of these styles need a little shape repair. A 1-inch iron can re-bend the face-framing layers in under five minutes, and Velcro rollers can bring the front back to life while you do makeup or get dressed. Don’t keep piling product on top of old product. That’s the fastest route to limp hair that looks tired before noon.
Sleep matters here too. A silk pillowcase helps, but a loose clip or soft scrunchie at the nape can protect the front pieces if they tangle easily. If your hair gets oily fast, wash every 2 to 3 days. If it’s dry and holds shape well, stretch to 4 days and refresh with dry shampoo and a cool blow-dryer pass. Clarifying shampoo every 2 to 4 weeks can help remove buildup that makes fine hair collapse.
Frequently Asked Questions About Middle Hairstyles for Fine Hair
Can fine hair actually pull off a middle part?
Yes, but the cut and styling matter more than the part itself. Fine hair needs a little root lift and some movement around the face so the center line doesn’t show too much scalp.
Where should face-framing layers start on fine hair?
Cheekbone to lip level is a smart place to start for many people, because it softens the part without stripping away too much density near the temples. If the layers begin too high, the front can look wispy fast.
Do I need curls for these styles to work?
No. A clean blowout, a soft C-bend, or even a straight style with tucked sides can look fuller than loose curls on fine hair. The point is shape, not volume for volume’s sake.
What if my hair falls flat by lunchtime?
Use dry shampoo at the roots before styling, not after it’s already limp, and set the front pieces with rollers or clips until they cool. A little crown lift at the start saves you more time later.
Which look lasts the longest on day two?
The tucked lob, low pony with tendrils, bubble ponytail, and clipped-back center part usually hold up well because they rely on structure more than softness. Loose waves can work too, but they often need a quick reset.
Can I wear these styles if I have a narrow face?
Yes. Just keep the face-framing layers a bit fuller and don’t tuck everything tightly behind the ears. You want the sides to soften the face, not disappear.
Will a wet-look style make fine hair look thinner?
Not if you keep the product controlled and the length at least bobbed or lobbed. Fine hair can wear a wet look well because the sleek finish lines the strands up instead of scattering them.
How do I keep the front pieces from falling into my eyes?
Use tiny clips, a light bend away from the face, or a knotless half-up twist. If the hair still slips, add a little root spray or dry shampoo at the front hairline for grip.
The Style I’d Start With
If you’re standing in front of the mirror trying to decide where to begin, start with the style that matches your hair length instead of chasing the one that looks most dramatic on someone else. A soft curtain blowout or soft flipped-in ends will usually give shoulder-length fine hair the most mileage. A tucked lob or pin-straight bob is usually the cleaner answer for shorter lengths. If you need your hair to survive a long day, the root-boosted blowout with Velcro rollers or the clipped-back center part tends to pay back the effort.
The useful part is this: a middle part doesn’t have to flatten fine hair. It just asks for a smarter front section, a little lift at the crown, and ends that know where they’re going. Once those three pieces start working together, the whole style gets easier to wear. Try the one that fits your length first, then move outward from there.