Natural blowouts for thin hair and square faces have one job: make the hair look fuller without making the face look boxier. That sounds simple until you try to do it and end up with flat roots, puffy sides, or a blunt line that lands right on the jaw. I’ve seen that happen more times than I can count. The good versions are quieter. They lift at the crown, bend around the cheekbones, and soften the hard edges just enough that the whole face reads a little longer, a little lighter.
Thin hair changes the game. A heavy cream, a tiny round brush, or too much spray can flatten it in minutes. Square faces change the game too. A straight-across shape at the chin or a big triangle of volume at the cheeks makes the angles look sharper, not softer. The sweet spot is somewhere in between: airy root lift, curved ends, and face-framing pieces that start high enough to do some work.
That’s where a natural blowout really earns its keep. Not the stiff, lacquered version. The one that still moves when you turn your head, still looks decent on day two, and does not scream for attention from across the room. The best looks in this lineup all do the same basic thing in different ways, and the differences matter more than people think.
Why These Blowouts Work on Thin Hair and Square Faces
Thin hair wants lift, not weight. A natural blowout gives fine strands direction and memory without drowning them in product. The root gets enough heat to rise, the mid-lengths get enough bend to look fuller, and the ends stay soft instead of stringy.
Square faces need interruption, not more geometry. The jawline already brings structure. A good blowout breaks that structure with curves, diagonal lines, or a side part that shifts the eye upward and away from the corners of the face.
The best volume sits above the jaw. That’s the part many people miss. If the widest area of the style lands right at the jaw or lower cheek, the face can look wider. Put the fullness at the temples, crown, and upper cheek instead.
Movement matters more than size. You do not need giant hair. You need hair that bends, flips, or sweeps in the right spots. A two-inch round brush often does more for thin hair than a smaller brush that creates tight curls and steals length.
Weight distribution is everything. On thin hair, blunt ends can look sparse, while too many short layers can look wispy. The styles below keep enough edge to look intentional and enough softness to flatter a square face.
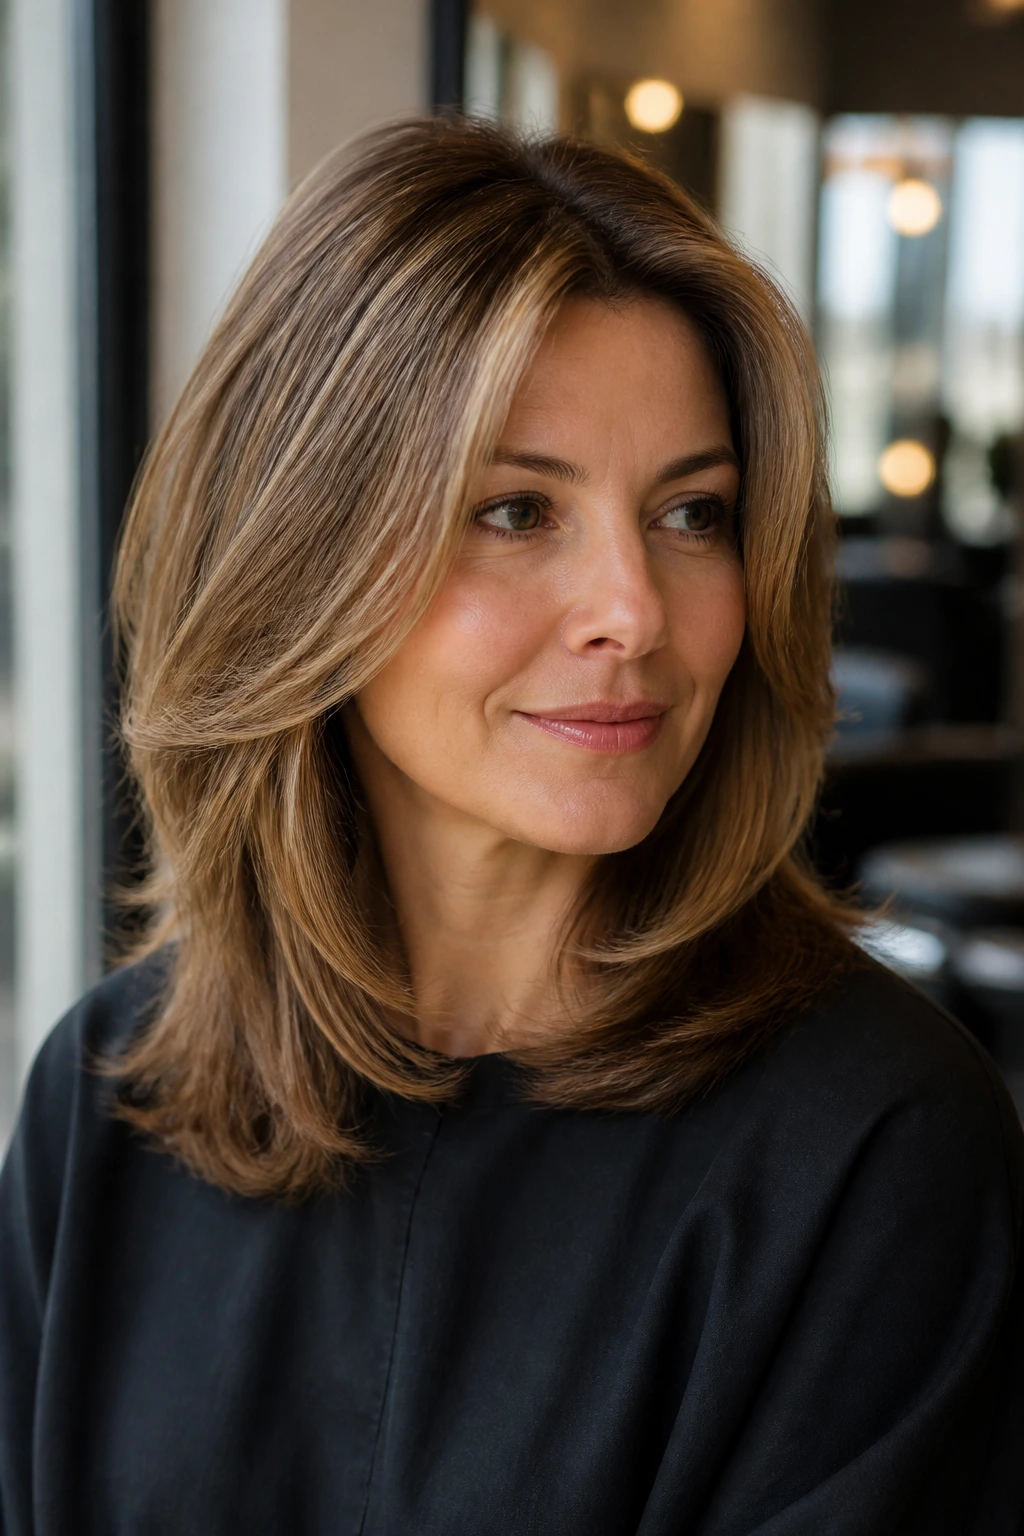
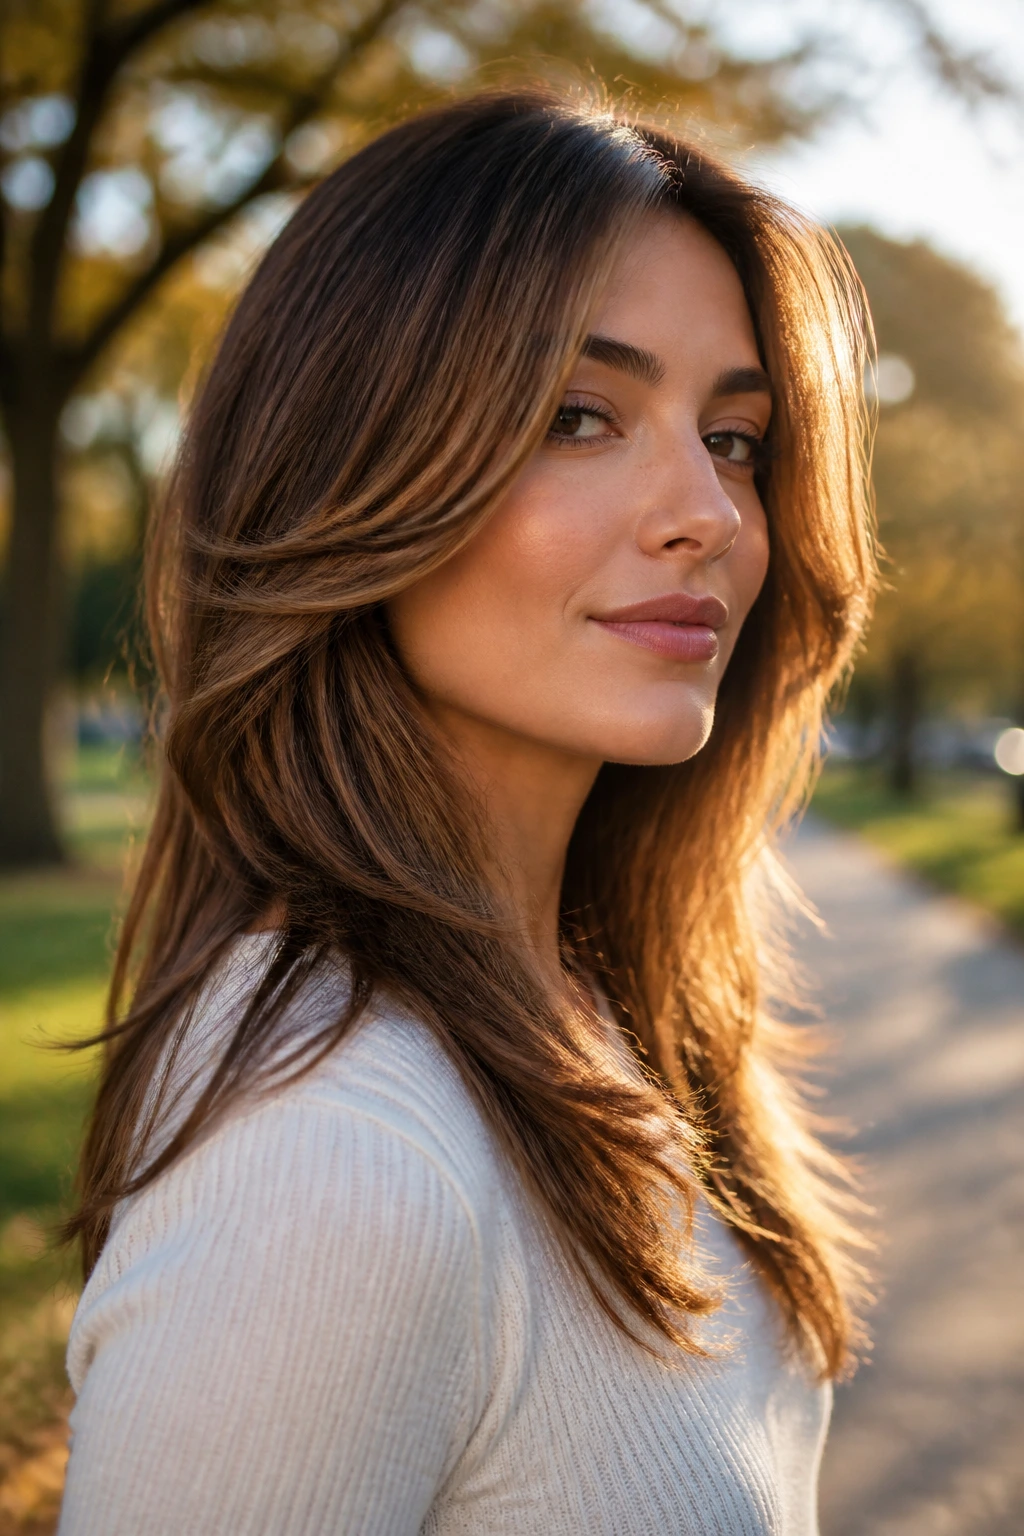
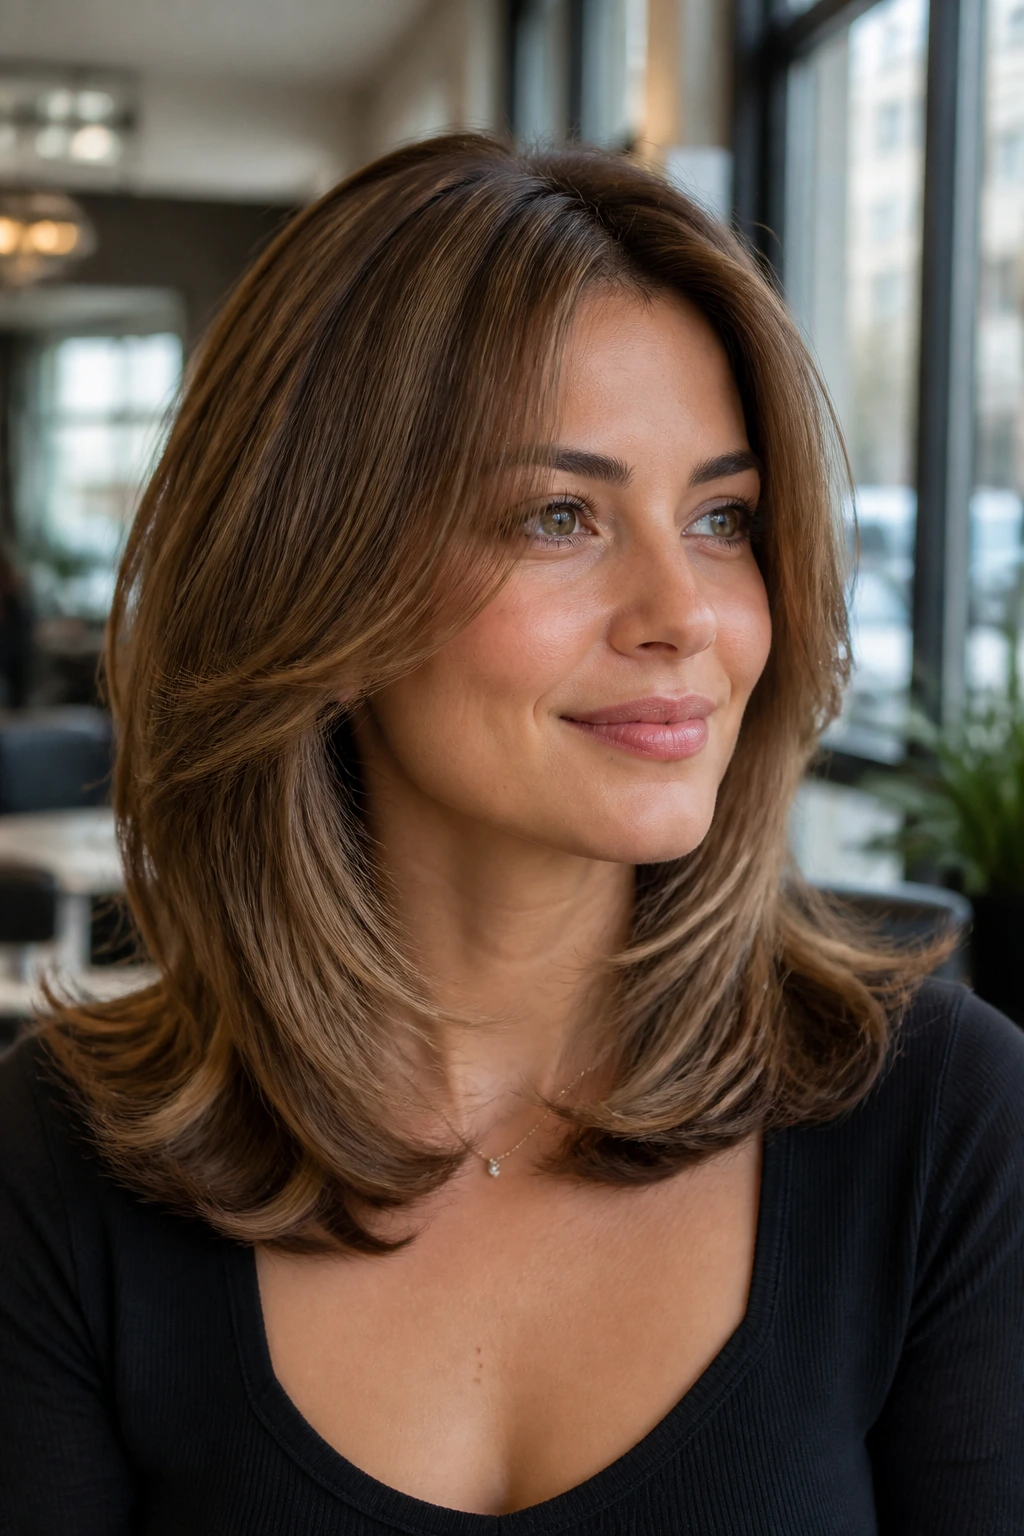
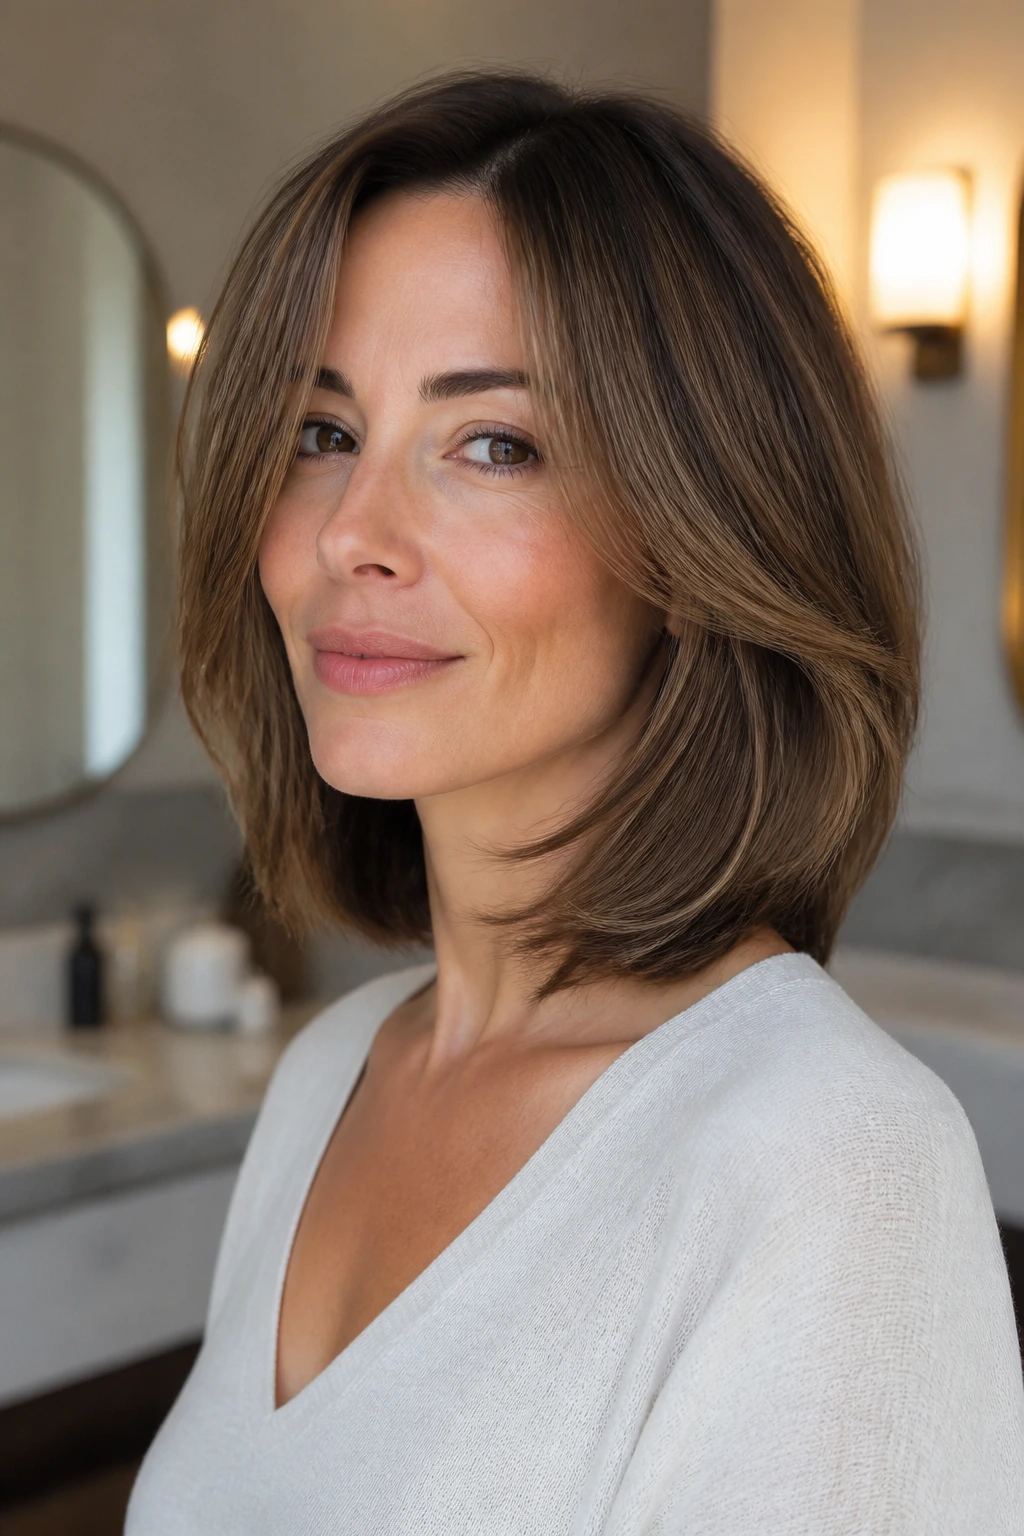
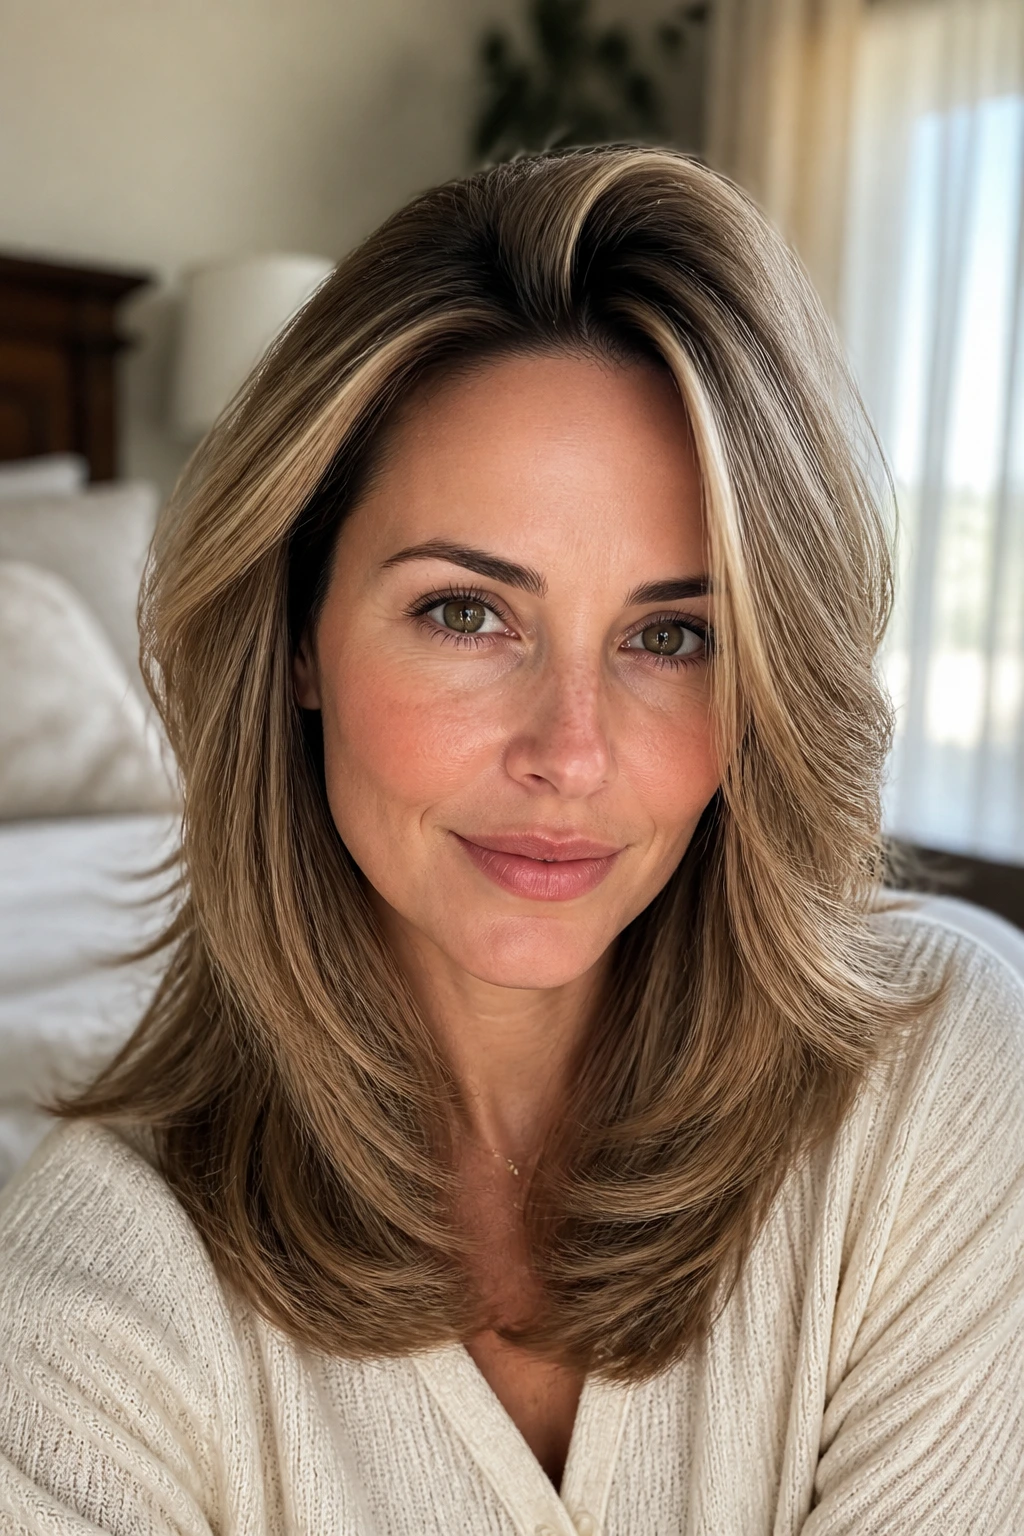
1. Center-Part Layers That Skim the Cheekbones
A center part can be tricky on a square face, but not when the front pieces start below the cheekbones and bend away from the jaw. That little bit of distance changes everything. Instead of framing the widest part of the face, the hair opens the middle and softens the sides.
Why It Flatters the Face Shape
Thin hair likes the clean vertical line of a center part because it gives the illusion of symmetry and length. Keep the crown lifted with a root spray, then wrap the front sections around a 2-inch round brush for just 10 to 15 seconds per side. You want a bend, not a curl. The ends should fall loose and a little airy, like they never worked that hard.
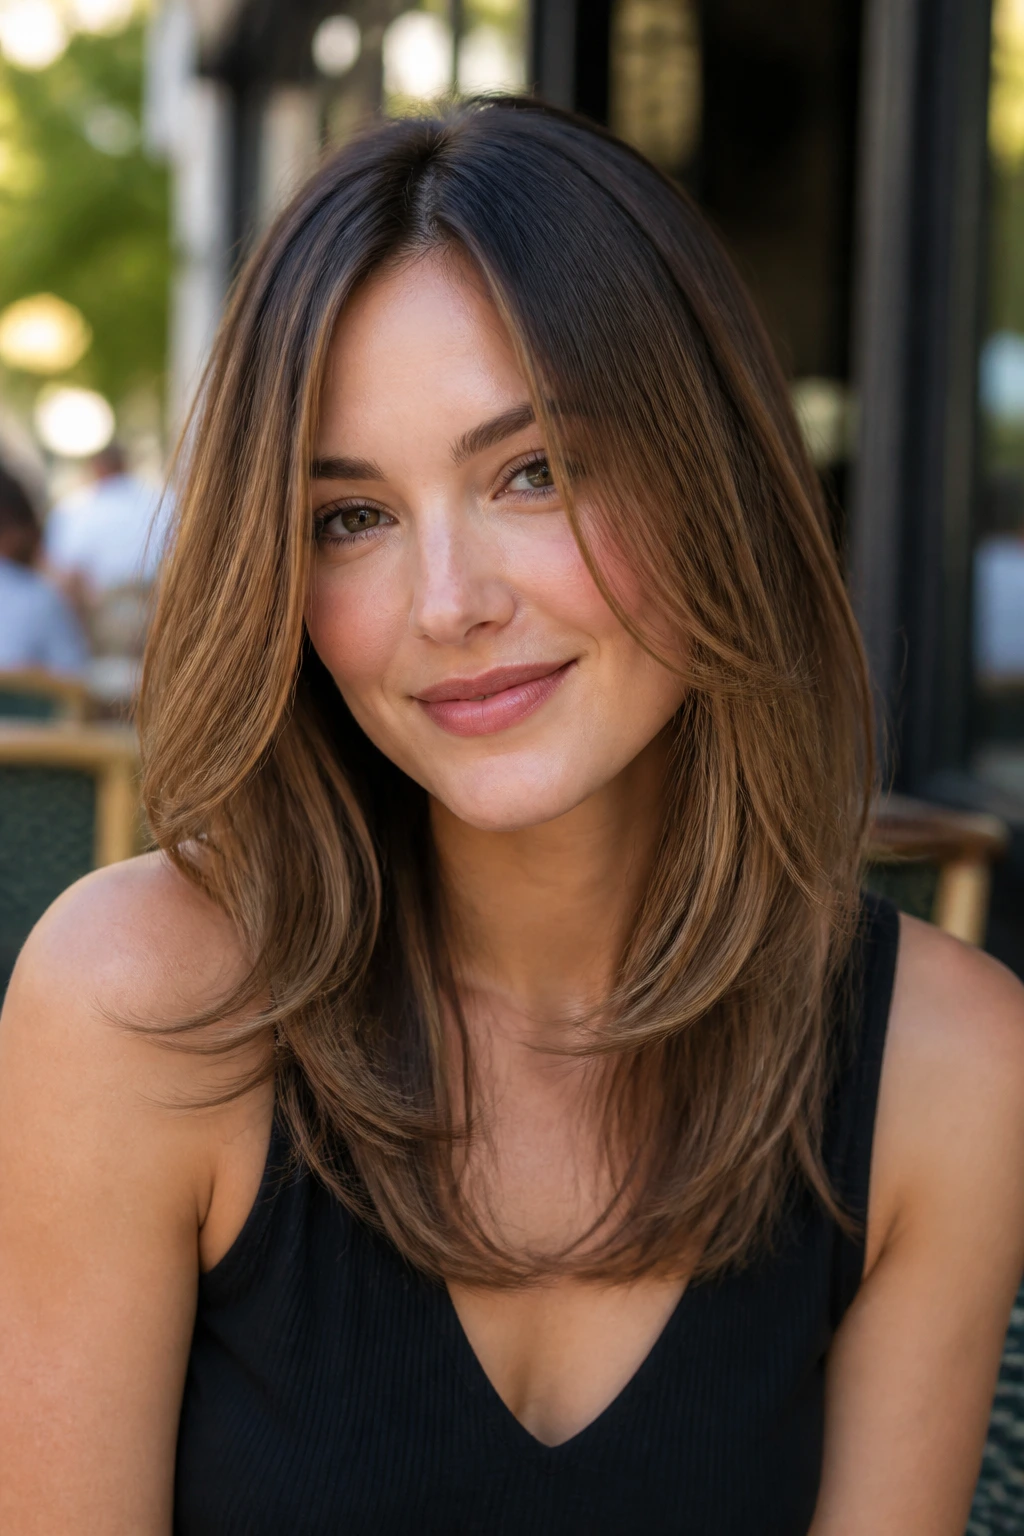
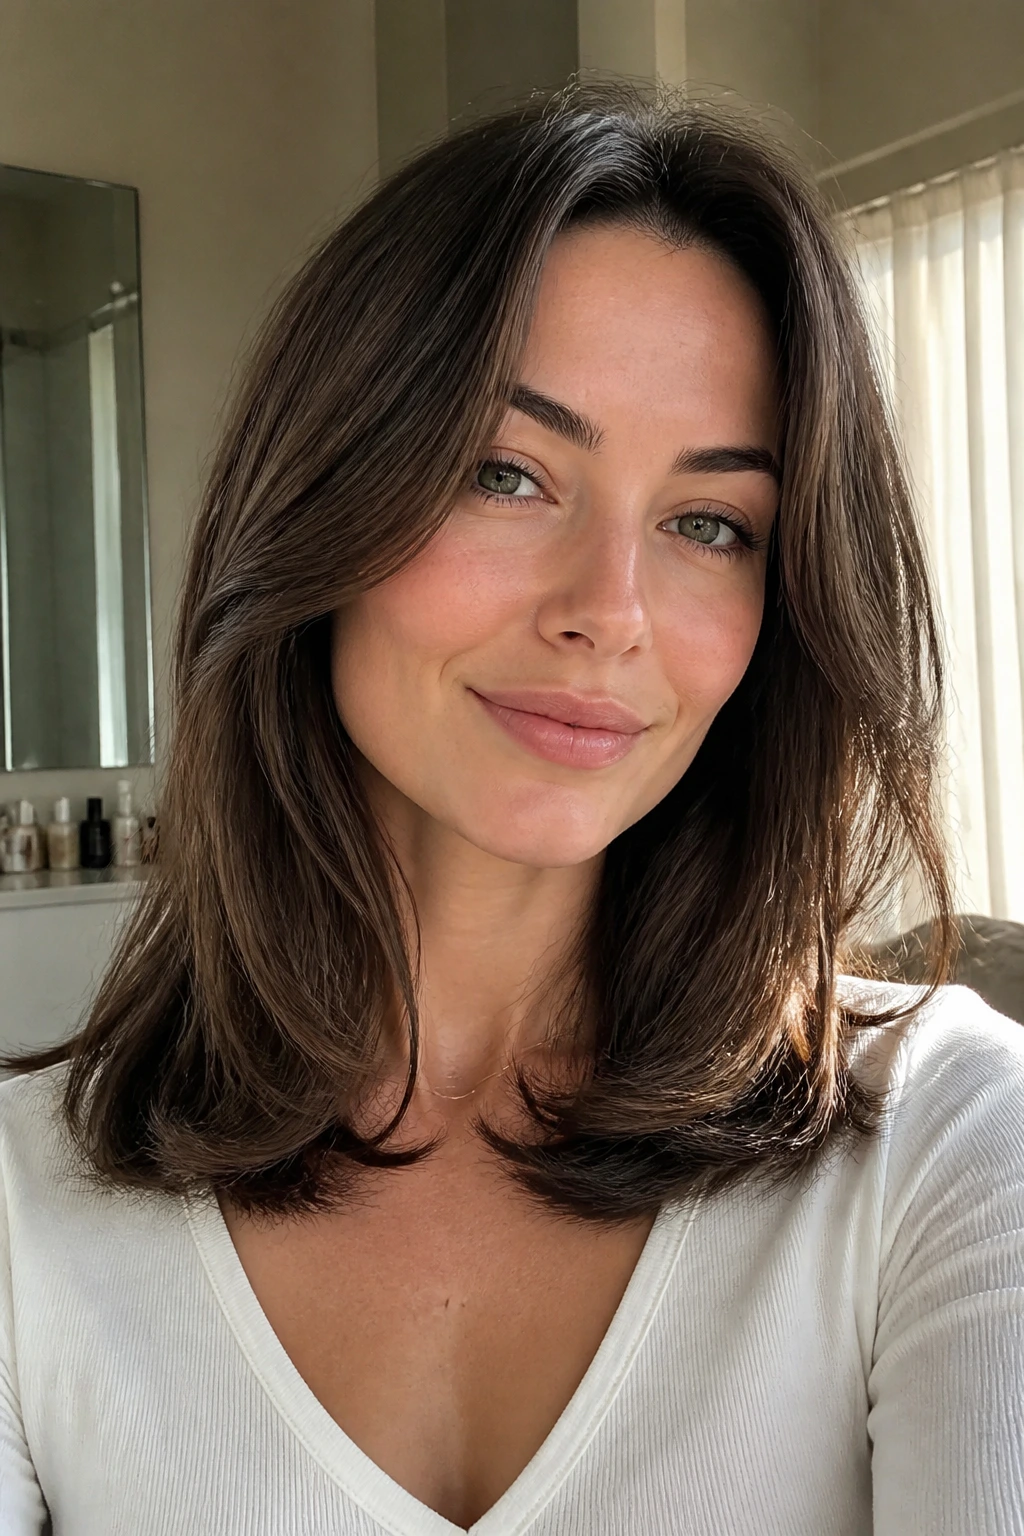
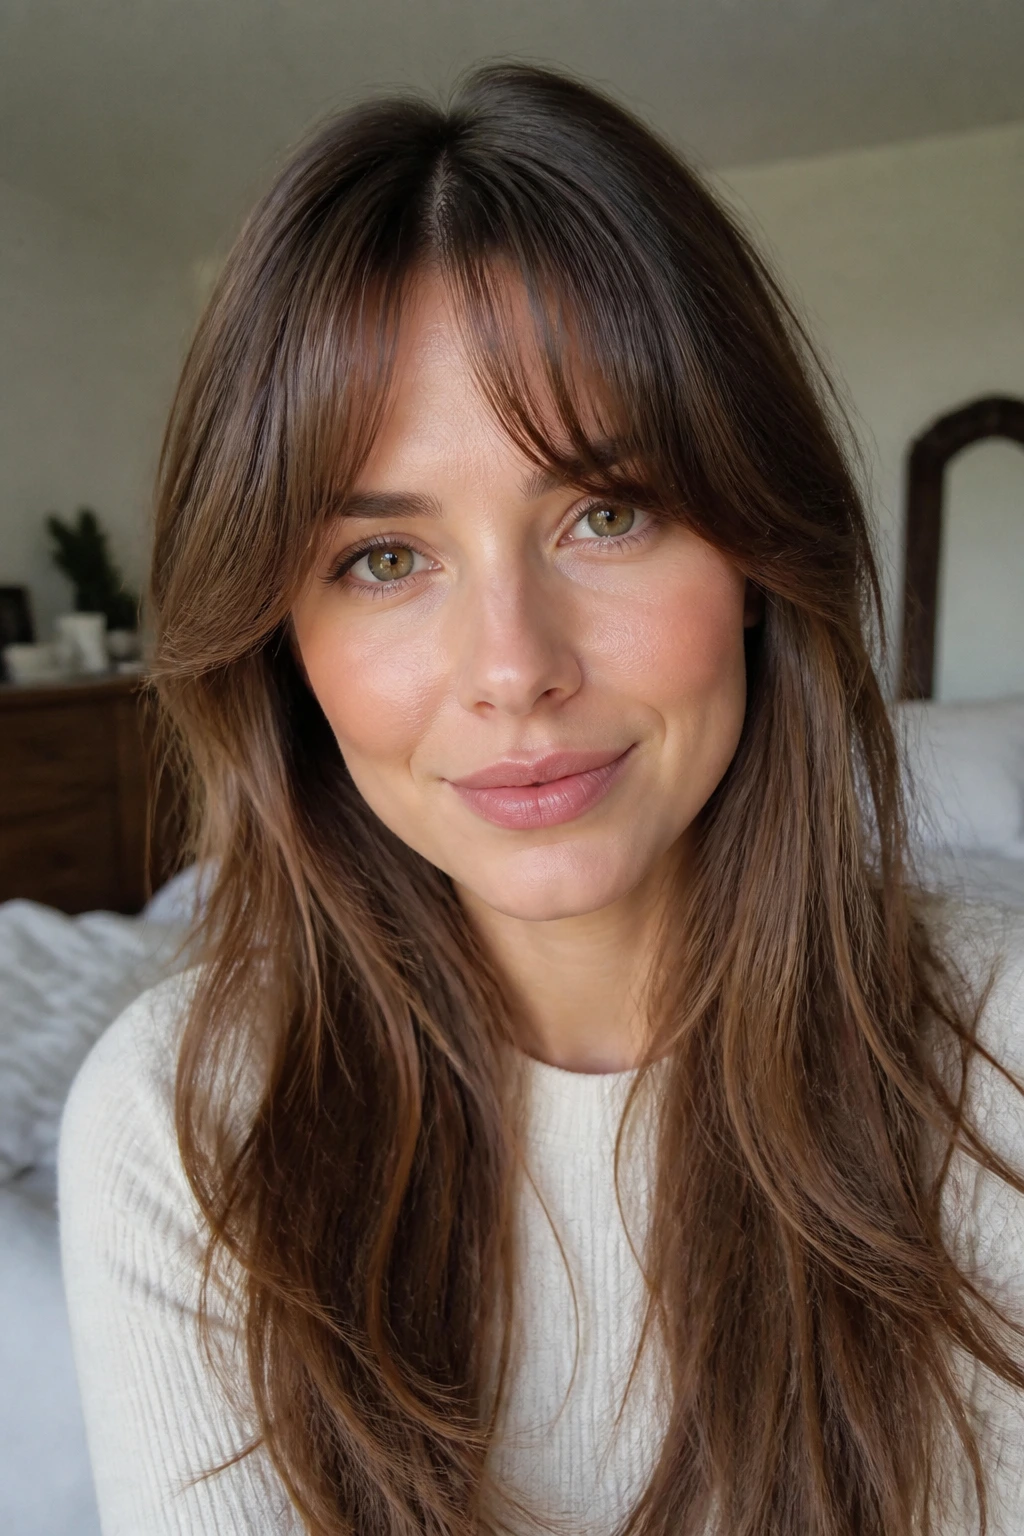
2. Curtain Bangs with a Soft, Airy Flip
Curtain bangs are one of the easiest fixes for a square forehead and a strong jaw. They split the face in the middle, then sweep outward before they hit the cheekbones. That outward motion matters. It keeps the face from feeling boxed in.
Thin hair does well here as long as the bangs stay light. Ask for a wispy center that gets longer at the sides, not a thick chunk that eats half your density. Blow-dry them with a small round brush, rolling away from the nose and then back through the temples. If the fringe starts to clump, you used too much product. Seriously.
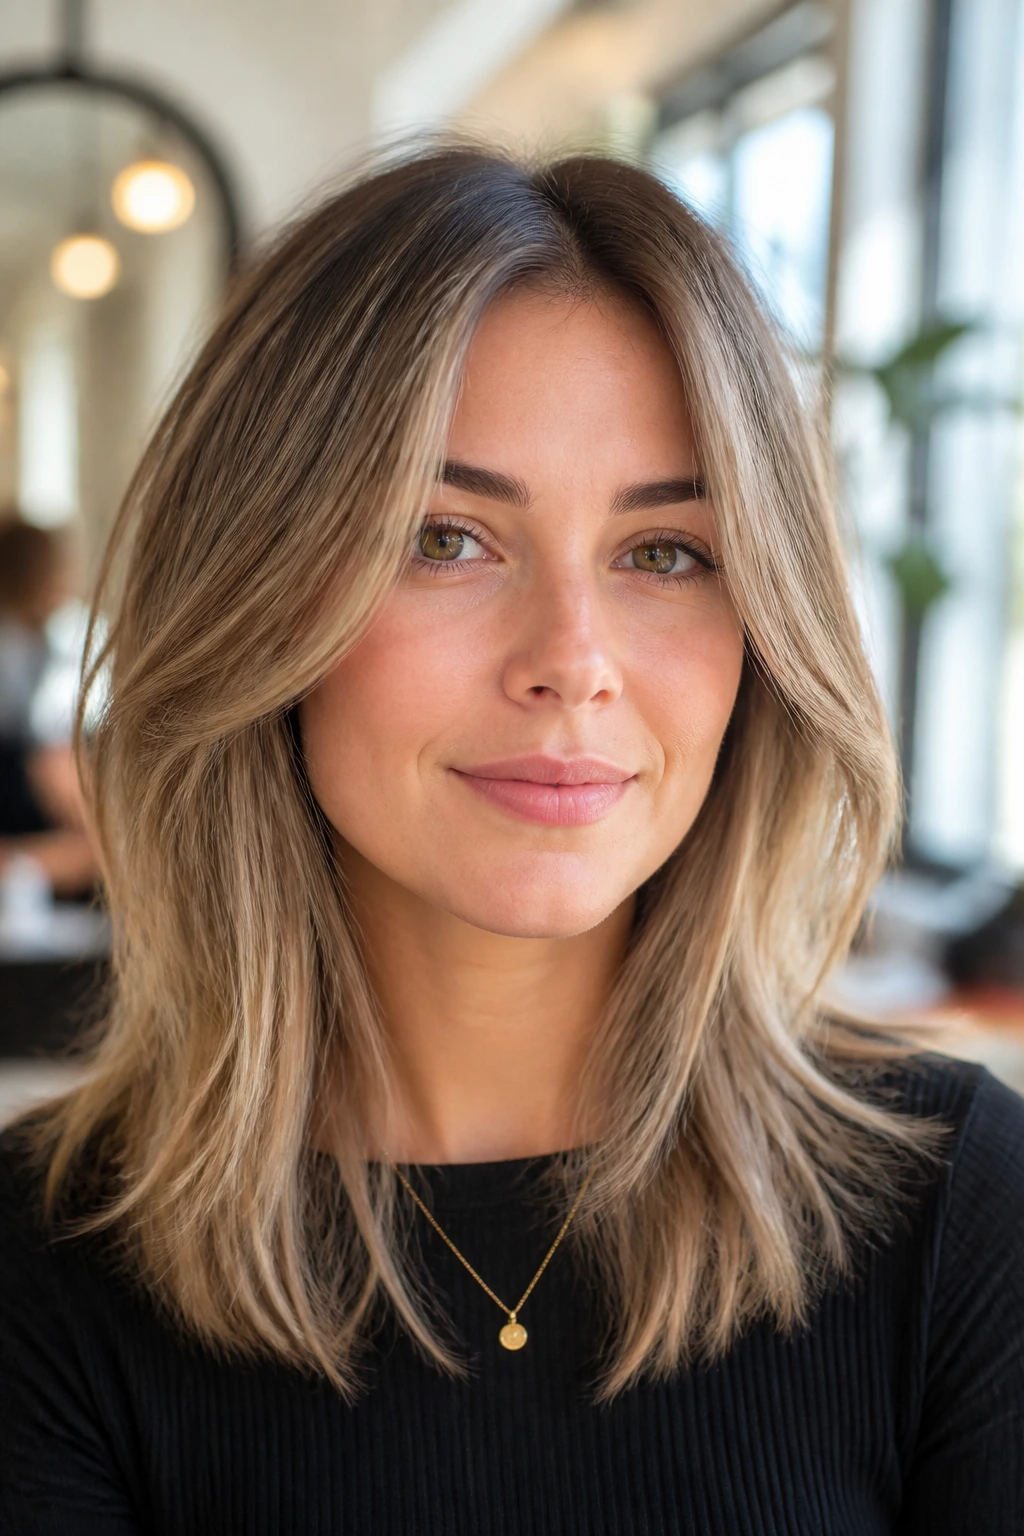
3. A Deep Side Part with Root Lift at the Temple

A deep side part is the quickest way to stop a square face from reading too symmetrical. It moves the strongest part of the style off-center and gives the top of the head a little height, which thin hair often needs badly. The result feels softer without looking fussy.
The Small Detail That Makes It Work
Place the part just past the arch of your eyebrow, not way over to the ear. Then clip the heavier side up while you dry the opposite side first. That creates lift at the temple instead of flattening it. A light mousse at the roots and a flexible hairspray at the end are enough. If you can still run your fingers through it, you’re in the right place.
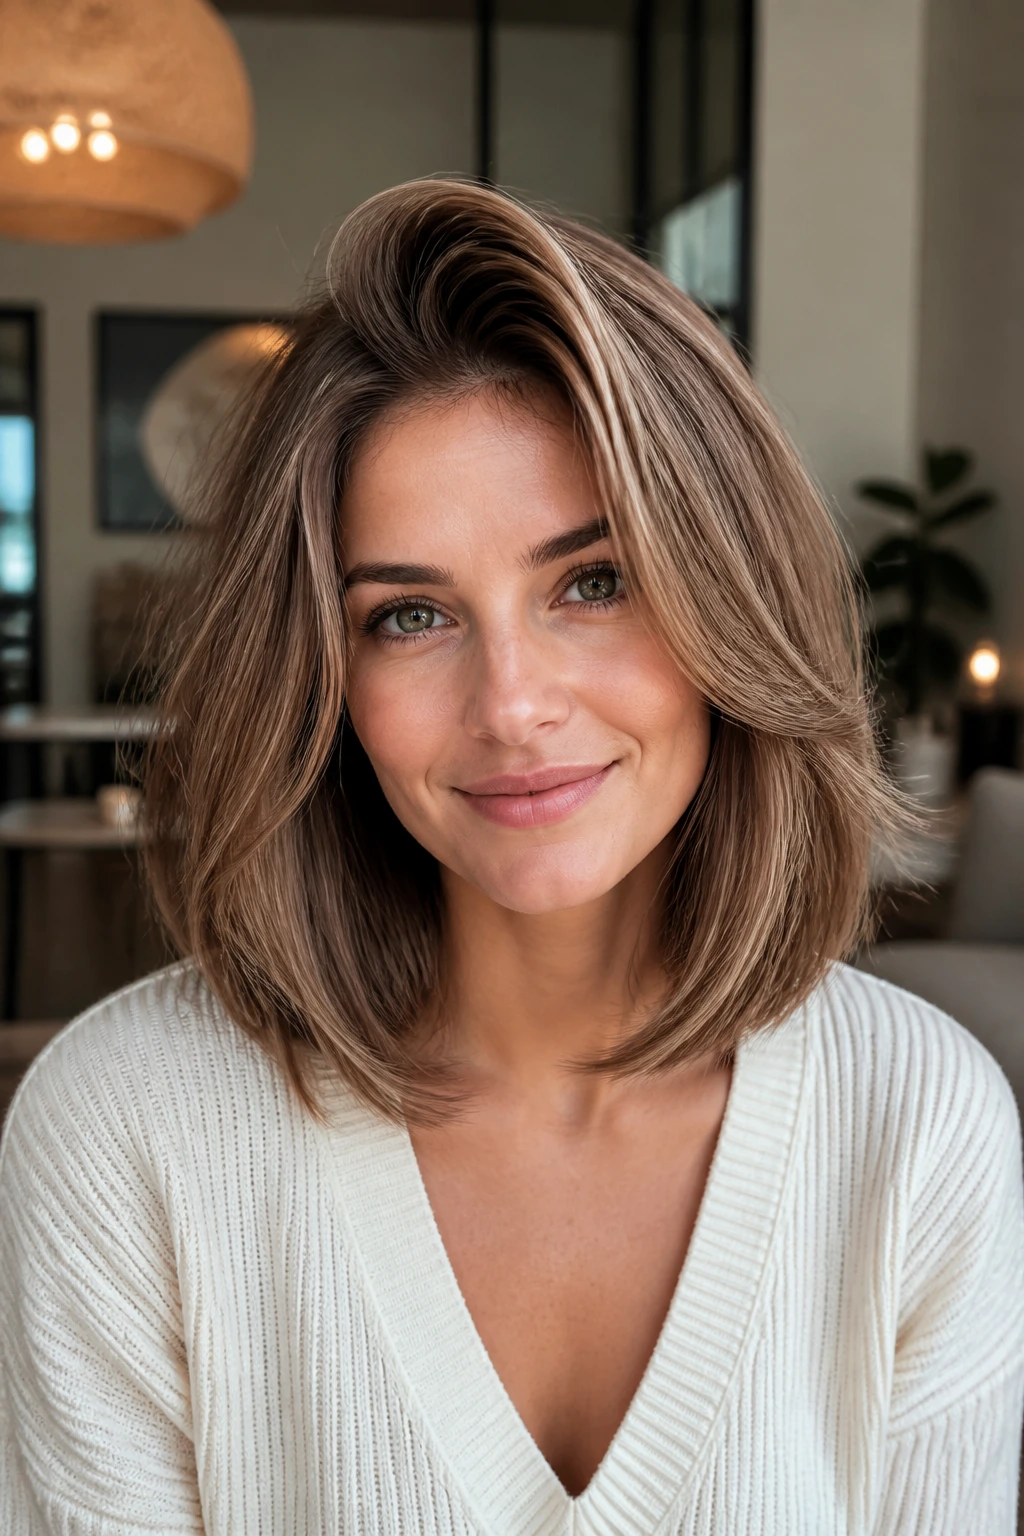
4. Collarbone Ends That Turn Out Just a Little

This is the kind of blowout that looks easy because it is not trying to be big. The length sits around the collarbone, then the ends flick out just enough to keep the line from feeling severe. On thin hair, that tiny turn adds movement without making the shape fuzzy.
Square faces usually do better when the ends miss the jawline by a bit, and this cut does that cleanly. Use a medium round brush and twist only the bottom inch of each section outward. Too much flip starts to look dated. Keep it light. Keep it soft.
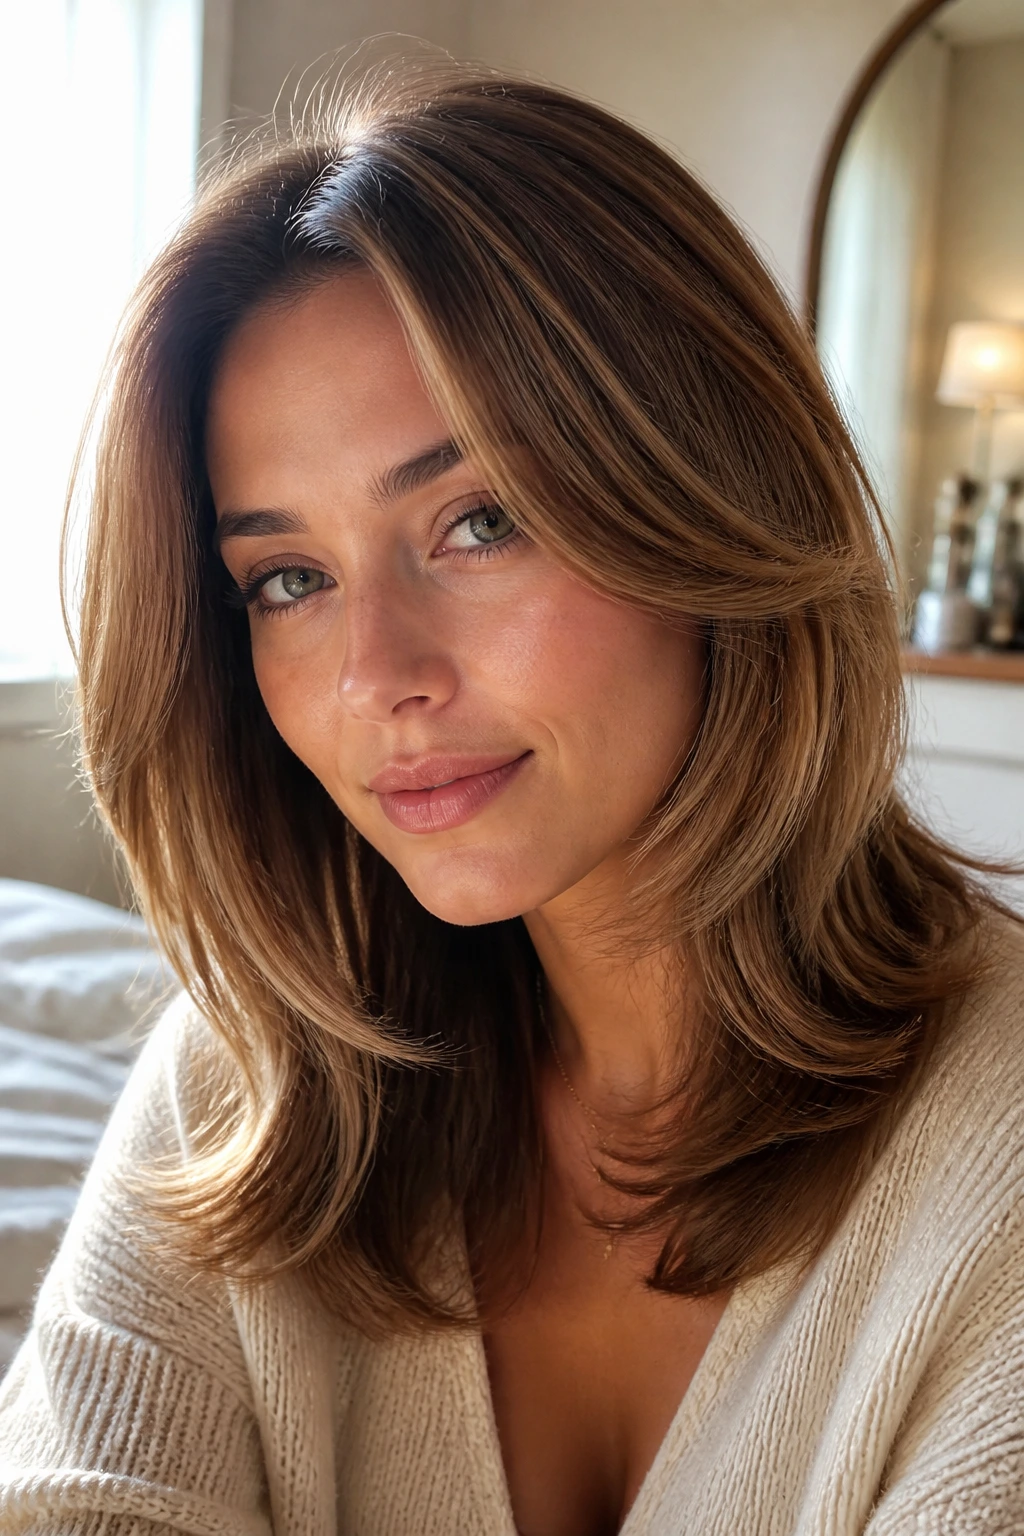
5. Long C-Shape Layers for a Narrower Jawline
C-shape layers are the quiet achievers of this whole group. The front curves in a soft arc from the temple down to the collarbone, then back out again near the ends. That line pulls the eye vertically and away from the corners of a square jaw.
Thin hair benefits because the layers remove bulk where the hair feels heavy, but they do not leave the perimeter chopped to pieces. Blow the front sections forward first, then back with a large brush so they settle into that curved shape. If you want a little extra hold, clip the face-framing pieces while they cool. Old trick. Still works.
6. Bottleneck Bangs and a Smooth Crown
Bottleneck bangs are a smart middle ground for square faces. They start a little fuller in the center, then taper longer at the sides, which softens the forehead without swallowing the face. Thin hair likes the shape because it does not require a thick fringe to look finished.
The key is to keep the crown smooth, not puffy. A slight lift at the roots is enough; too much volume there can make the bangs feel detached from the rest of the style. Dry the fringe first with a small brush, then move to the crown and direct the airflow back and up. The bangs should skim the brows, not sit on them like a shelf.
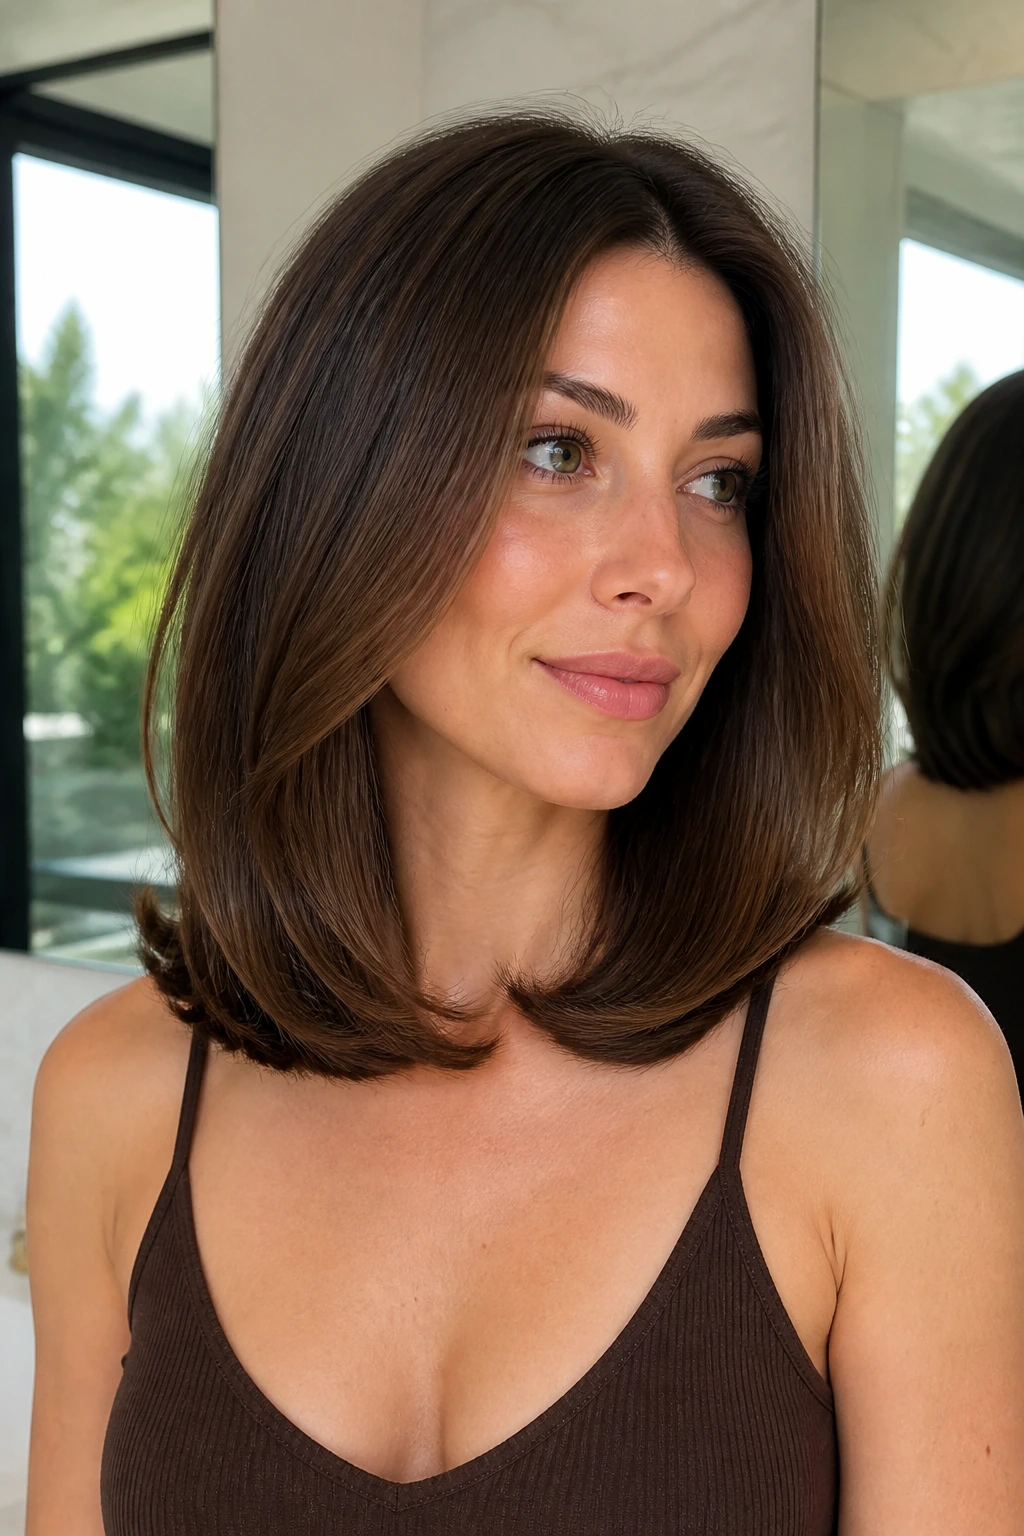
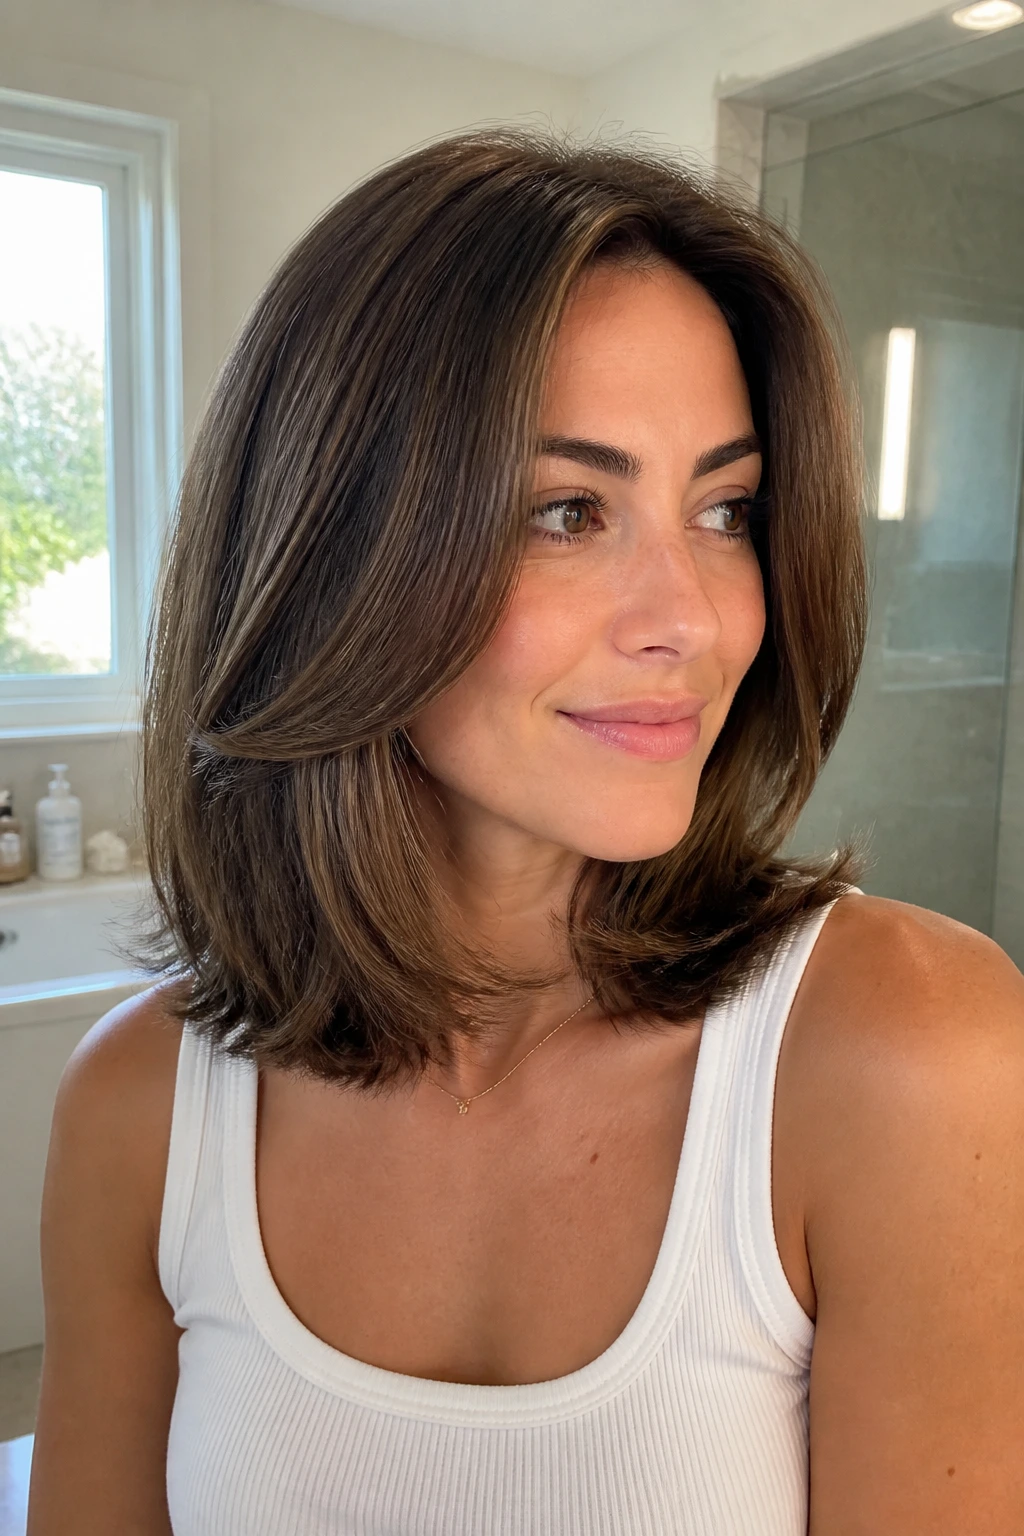
7. A Rounded Lob with Loose Volume
A lob that lands just below the chin or at the top of the collarbone can make thin hair look thicker fast. There’s less length to support, so the shape holds more easily, and the rounded blowout gives the ends a fuller edge. For square faces, the curve softens the lower half of the face instead of cutting across it.
I like this look with a 1.5-inch brush and a side part that isn’t too deep. Dry the roots first, then wrap the mid-lengths around the brush and let the ends tuck under slightly. Do not chase a perfect curl. The charm is in the softness. A sharp line would fight the whole point.
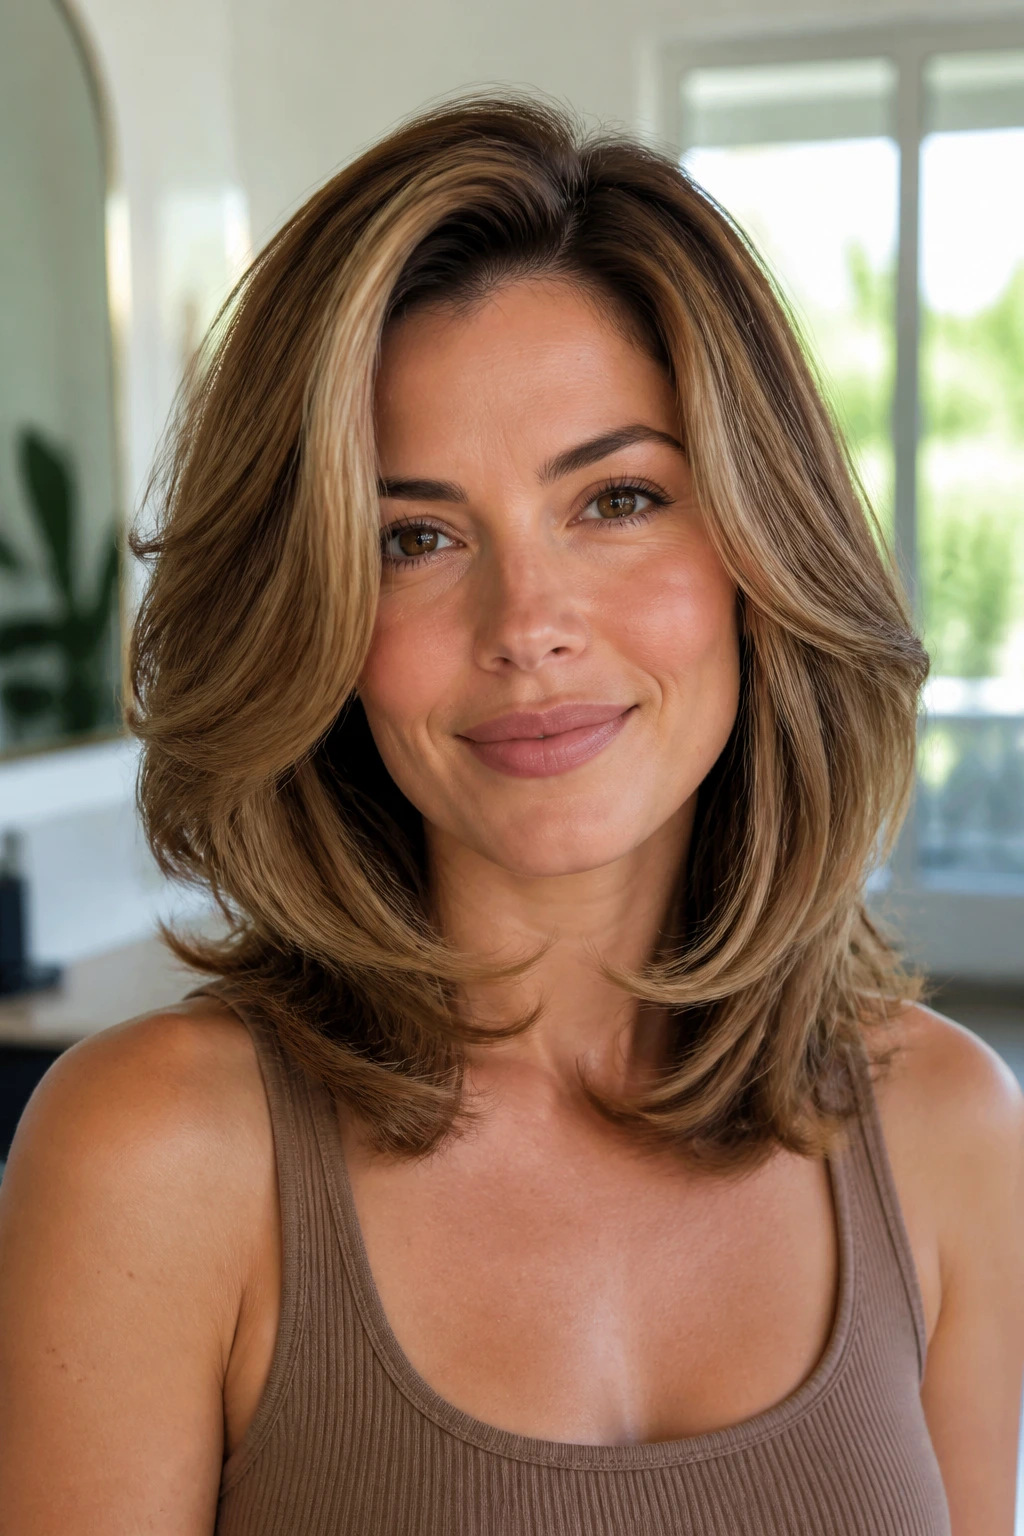
8. Feathered Shag Layers That Stay Light

A feathered shag can be a gift for thin hair if the layers are long enough to preserve body. Short, choppy shag cuts can turn wispy fast. Longer feathering, though, gives you movement at the sides and crown without stripping the ends bare.
Square faces do well with the broken-up texture because it interrupts the straight edge of the jaw. Rough-dry about 80 percent of the way, then use a round brush only on the front and top sections. A little mousse in the damp hair helps the shape hold. Skip thick oils here. They sink the style before it starts.
9. Butterfly Layers That Open Around the Face
Butterfly layers are built for people who want length but not heaviness. The shorter front layers open around the cheekbones, while the longer back length keeps the style from feeling thin at the ends. That contrast is useful on square faces because it lifts the eye upward and softens the lower half.
What to Ask for
Ask for face-framing layers that start around the cheekbone and continue into longer mid-lengths. You want a soft split between the front and back, not a dramatic chop. Blow the front pieces away from the face, then bring them back in with a loose bend. If the layers look too disconnected, they were cut too short. That’s the part to avoid.
10. A One-Side Tuck That Shows Off Earrings
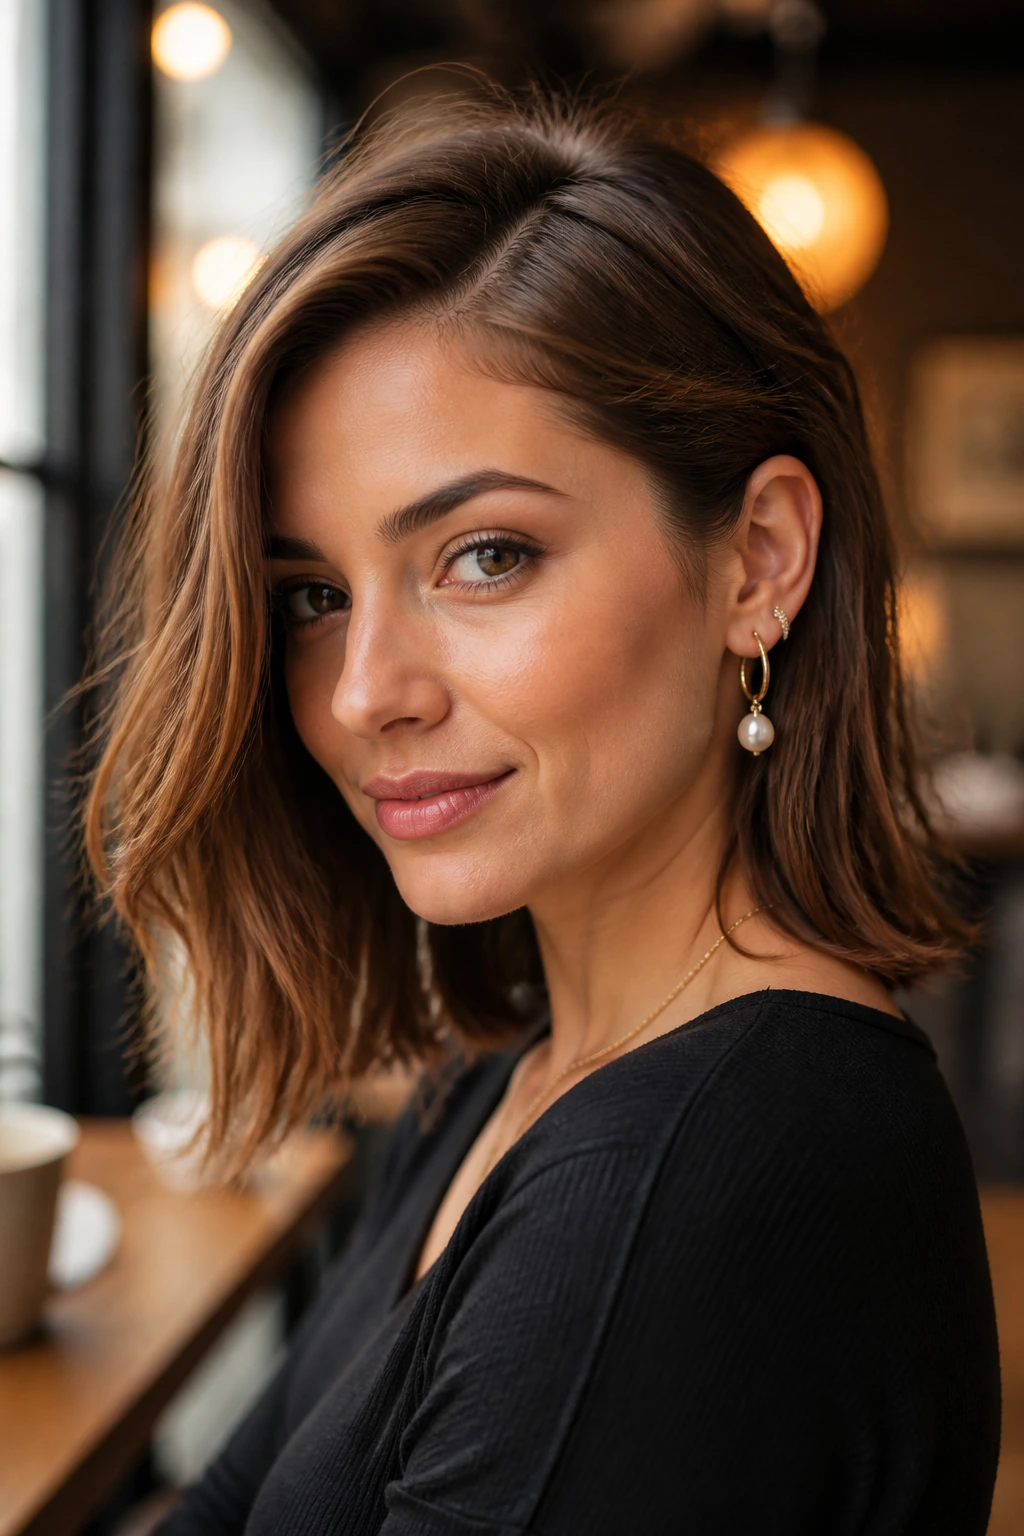
An asymmetrical tuck is one of the easiest ways to make a square face feel less rigid. One side stays loose and full, while the other gets tucked behind the ear, which breaks up the symmetry in a clean, adult way. Thin hair tends to look fuller when one side is allowed to fall uninterrupted.
Use a bit of root spray on the side you plan to leave out, then blow-dry that section over a large brush so it holds its shape. The tucked side should stay smooth and close to the head. Don’t flatten it completely. A tiny bit of bend near the cheekbone keeps the style from looking severe.
11. A V-Cut Blowout That Keeps Length Without Weight
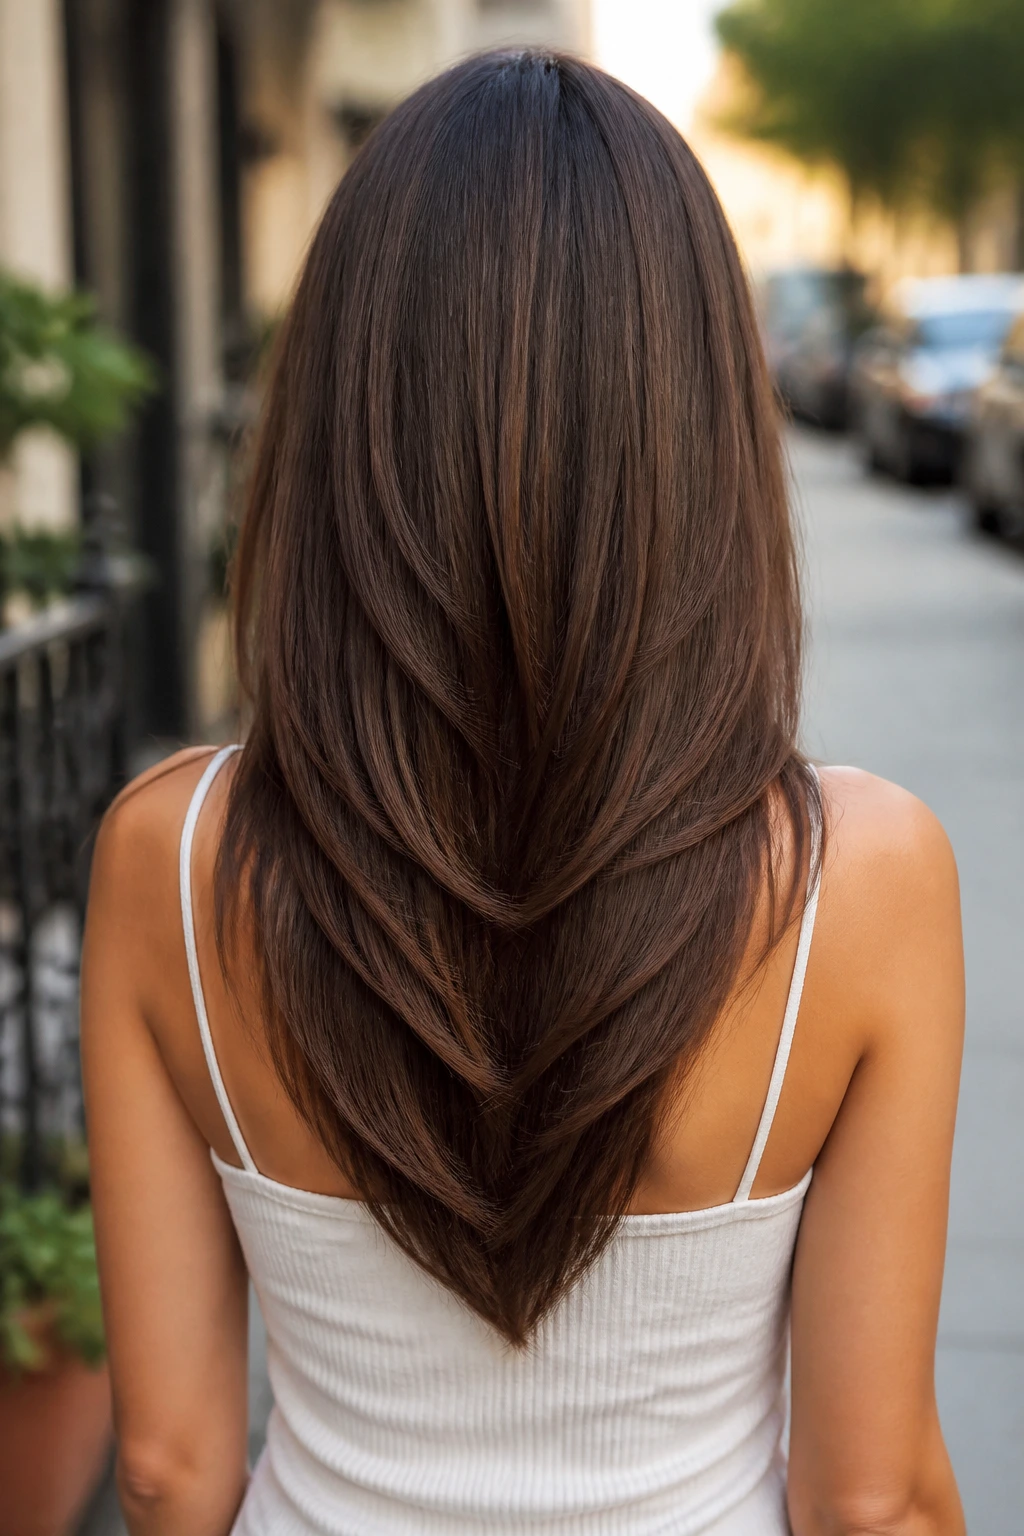
A V-cut keeps the back length centered while the sides taper softly, which is useful when fine hair starts to look stringy at the ends. The V removes some bulk from the lower back without making the perimeter look chopped. It also gives square faces a more vertical line.
This style works best when the front pieces are kept light and slightly curved, not straight and heavy. Use long brush strokes and keep the dryer nozzle pointed downward on the lengths. A lightweight detangling spray can help, but go easy. If your hair feels coated, the shape will collapse before lunch.
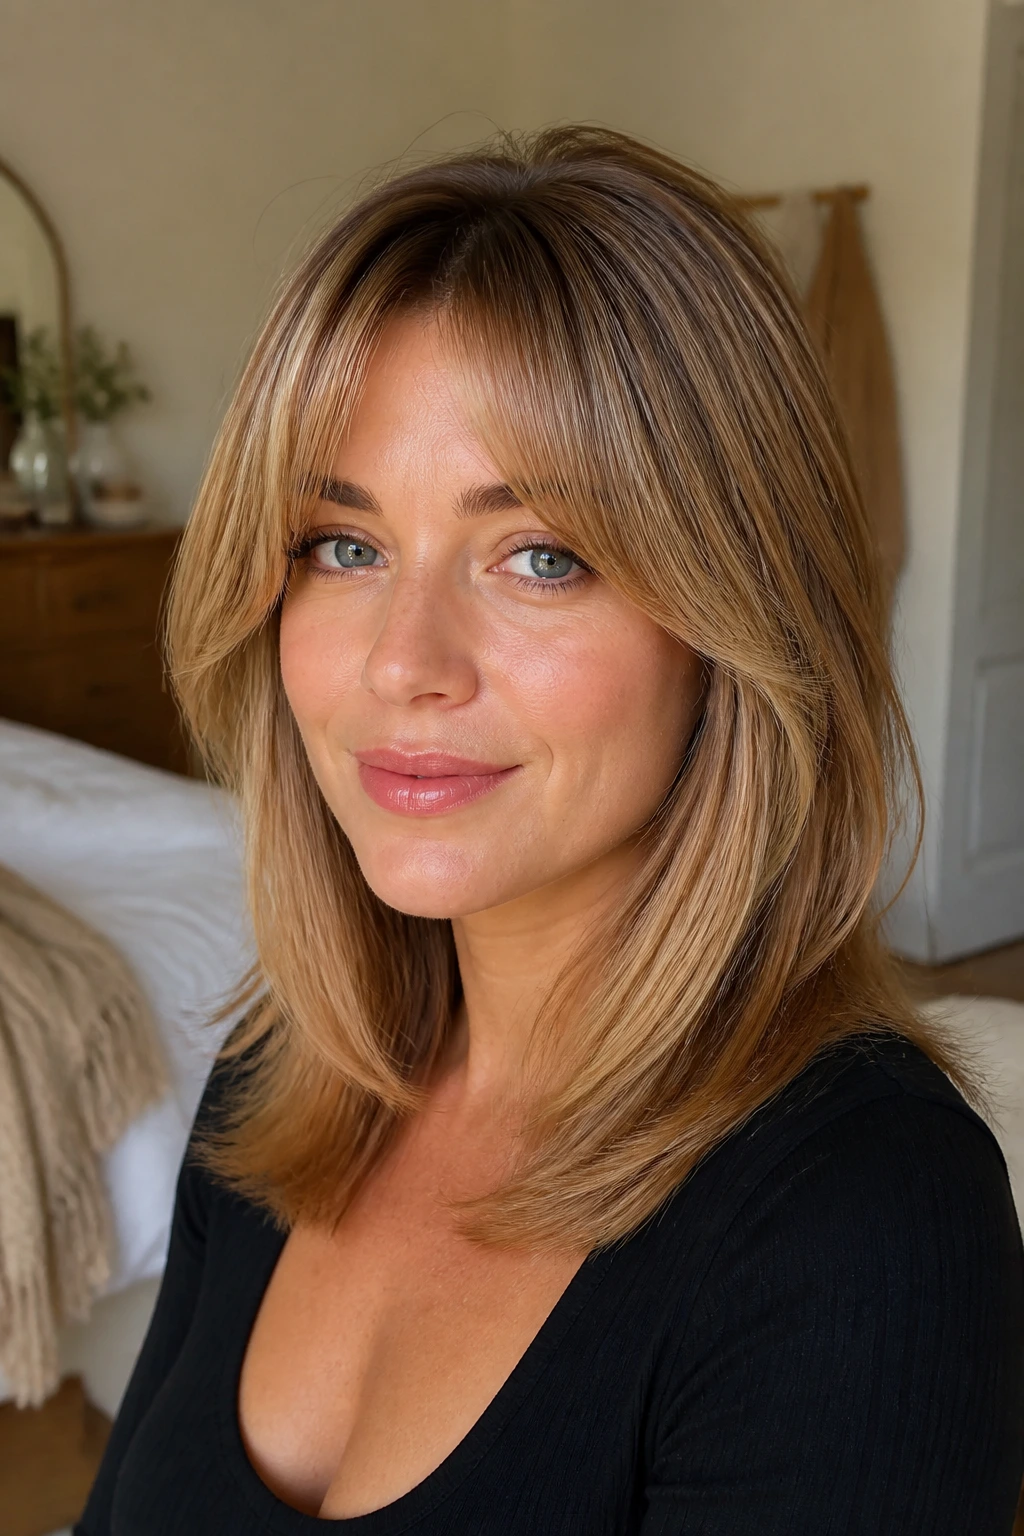
12. Wispy Fringe with Lift Through the Top
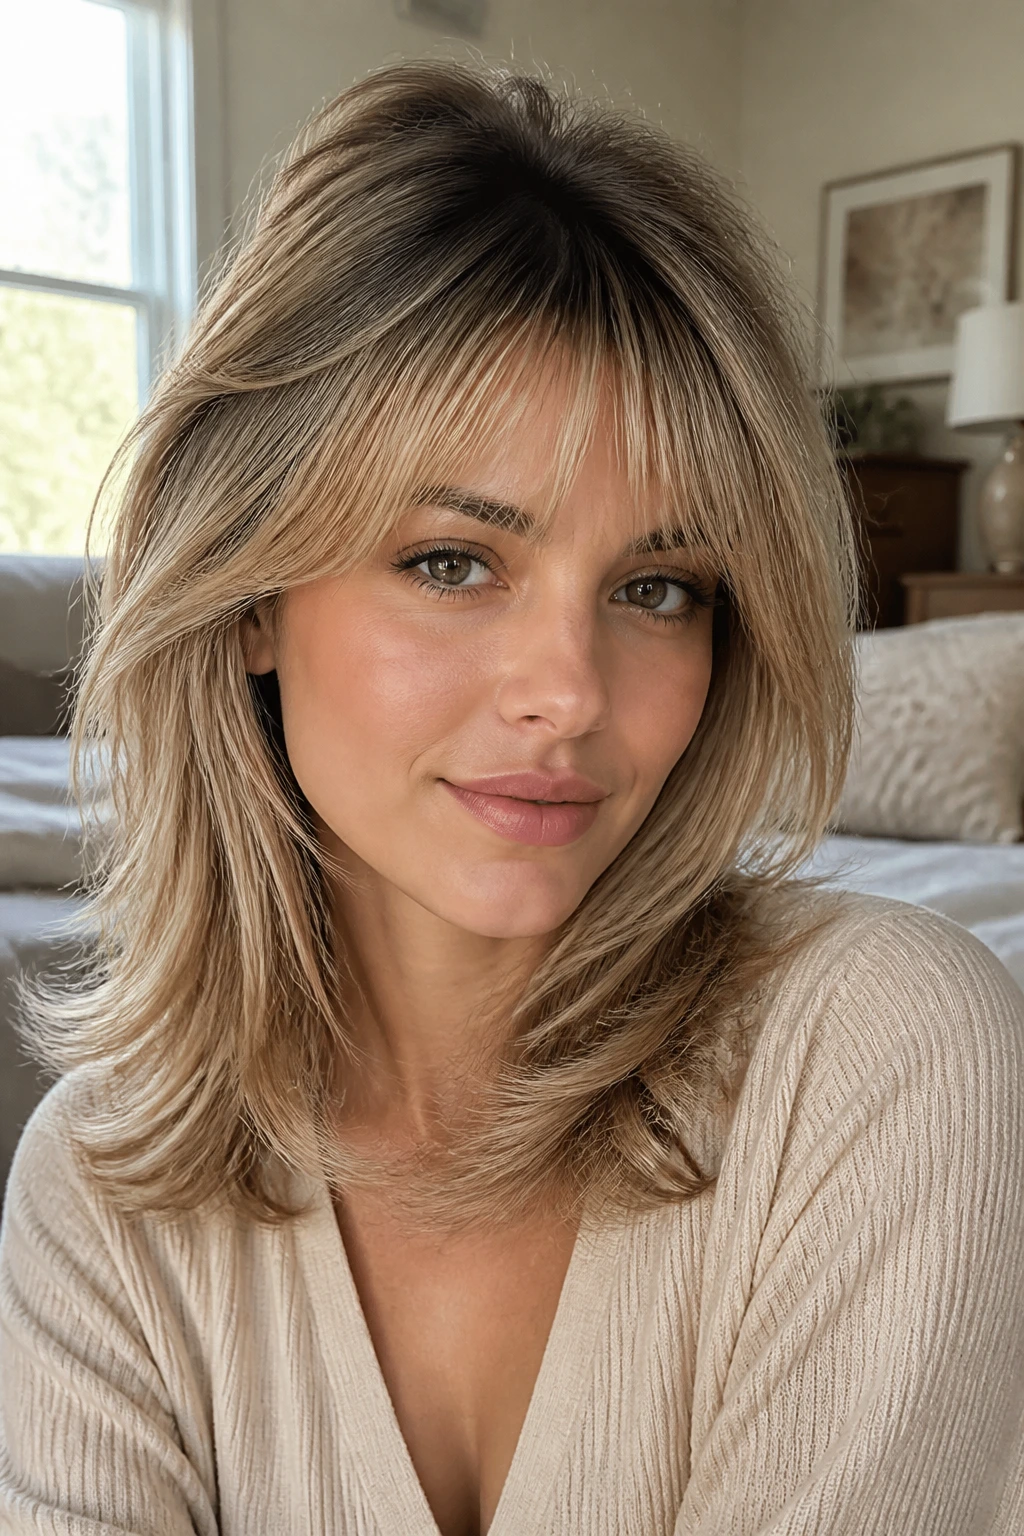
A wispy fringe can take the edge off a square forehead without boxing the face in. The trick is the word wispy. Not thin in a sad way. Light enough to move. Thick enough to exist.
Thin hair often looks better with this fringe than people expect, because the bangs are not carrying the whole style. The rest of the blowout does the heavy lifting through the crown and sides. Dry the fringe with a 1-inch brush, rolling slightly up and back, then let it cool before touching it. If it sticks to the forehead, wait longer. Hot hair always lies.
13. Invisible Layers for Hair That Needs Body
Invisible layers are exactly what they sound like: internal cuts that remove weight without leaving obvious steps. For thin hair, that’s a big deal. You keep the outline fuller while getting enough movement for the blowout to look soft instead of helmet-like.
Square faces benefit because the style can stay smooth at the jaw while still bending away from the cheeks. That is a better trade than obvious layers in this case. Blow-dry the hair in large sections, focusing the brush on the visible top layer and the face frame. The layers do the work underneath. You do not need to show them off.
14. A Half-Up Crown Lift for Second-Day Hair
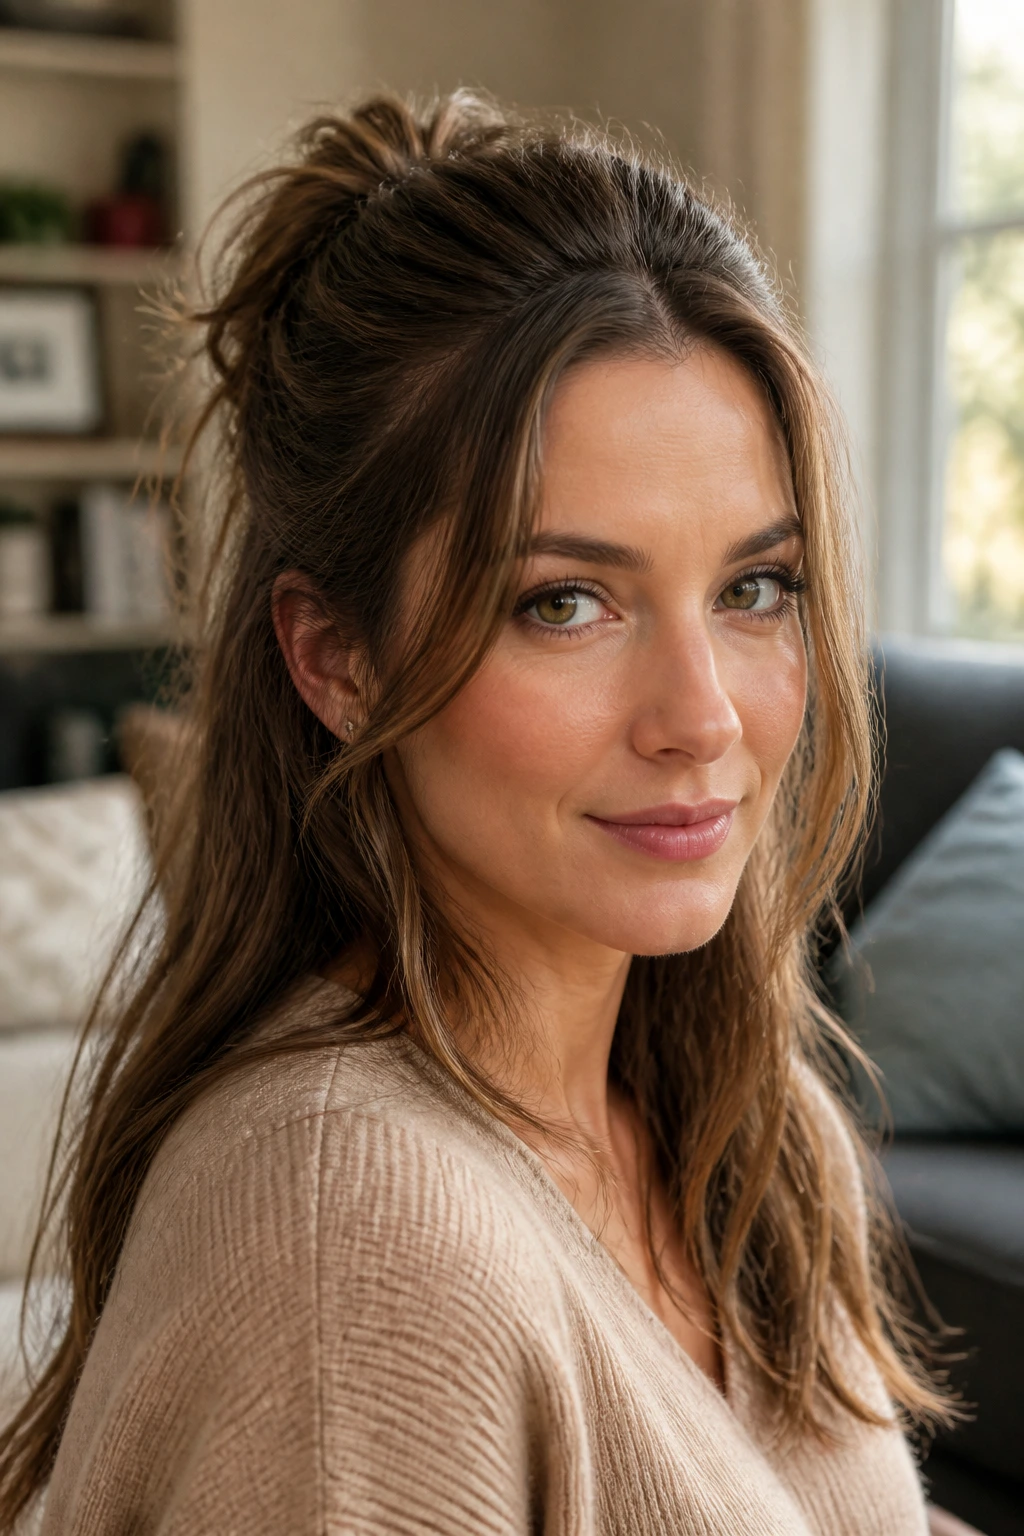
Second-day hair is where this style earns a place on the list. Pulling the top half up loosely at the crown gives the roots a reset and makes thin hair look like it found 20 percent more body overnight. Square faces get the benefit of extra height, which always helps a little.
Use a clip, not a tight elastic. You want lift, not a crease. Leave the front pieces out and re-bend them with a brush or even your fingers and a quick dryer blast. This is the kind of style that looks deliberate in under five minutes, which is more useful than it sounds.
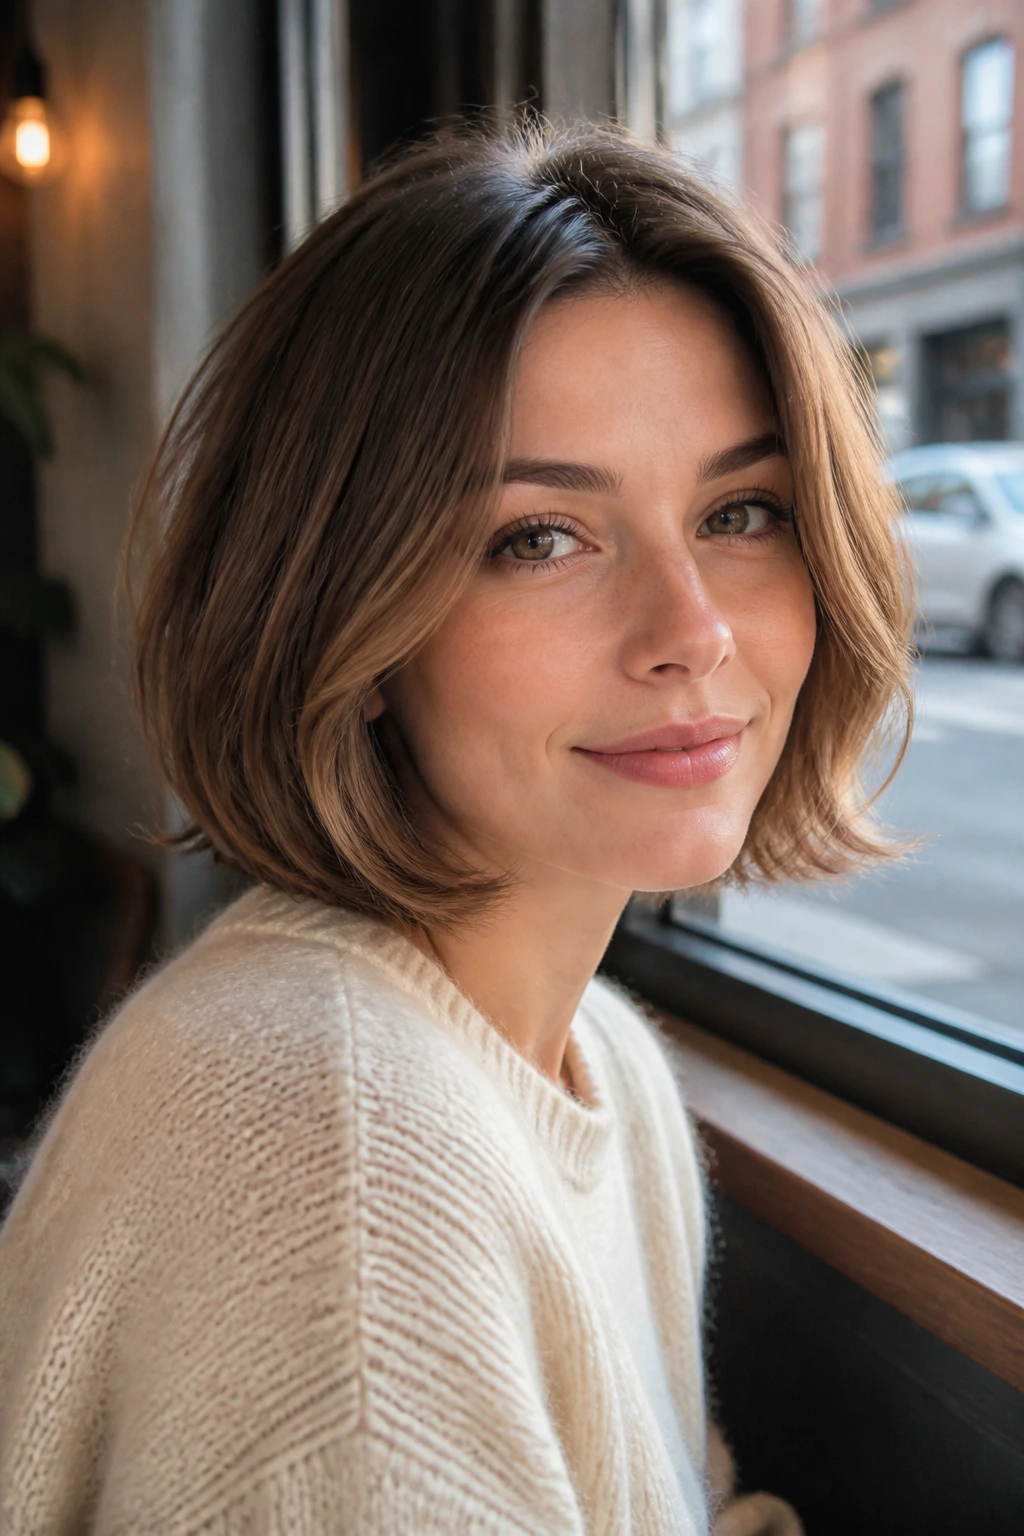
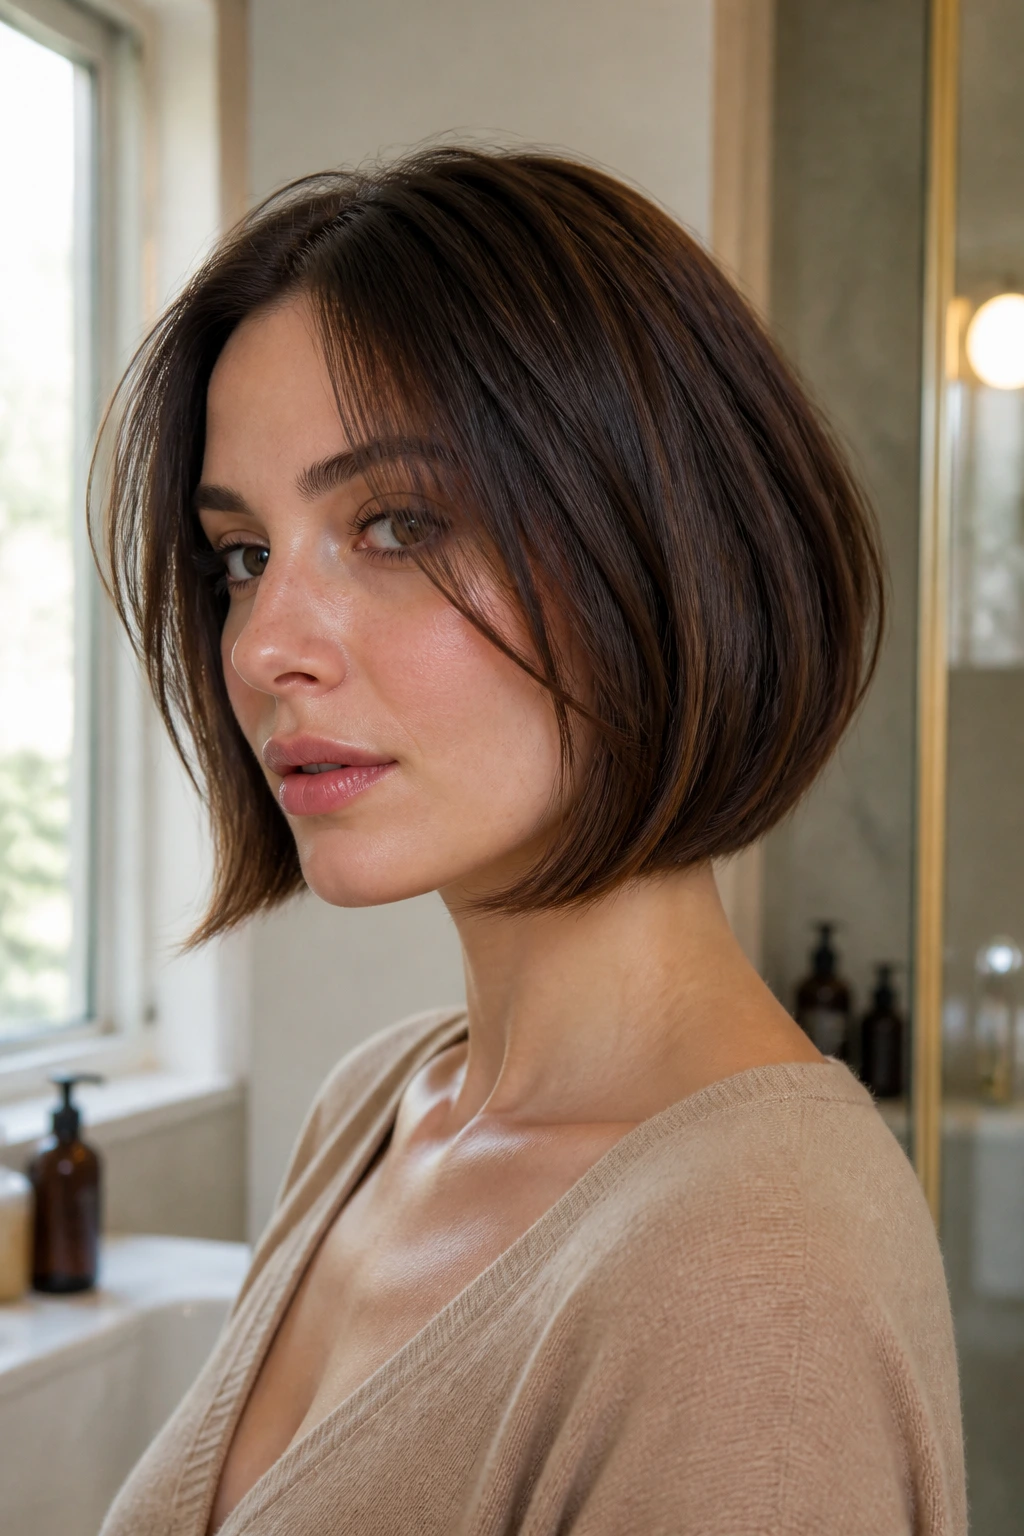
15. A Soft Bob with a Beveled Edge
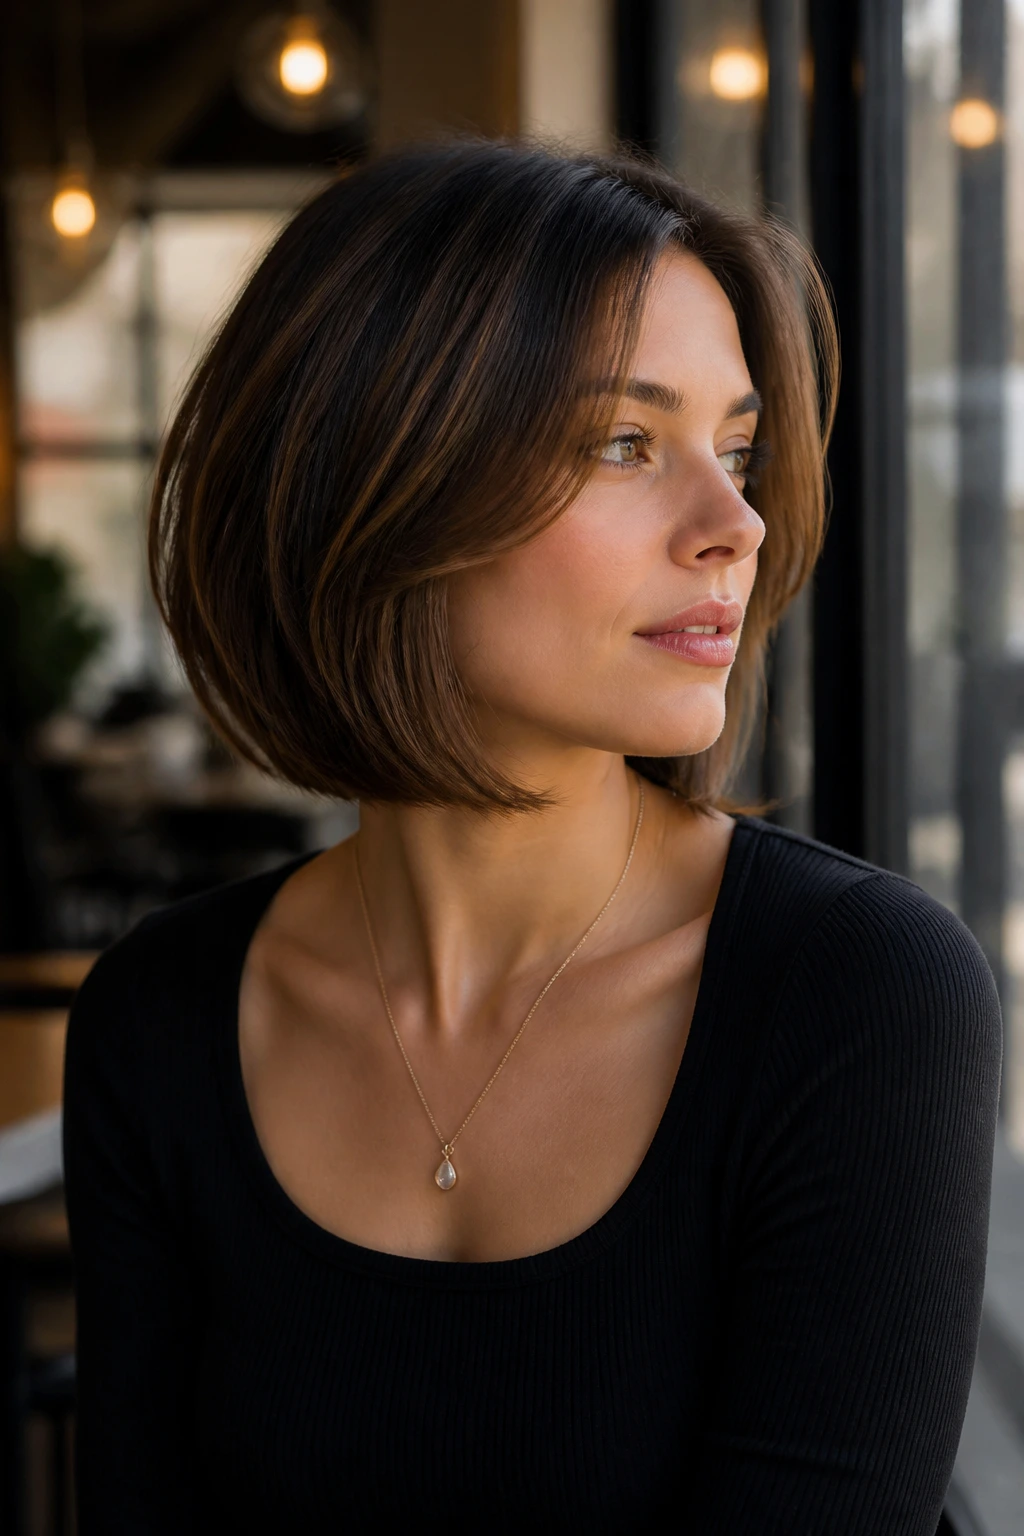
A bob can work on a square face, but only if the edge is softened. A beveled finish means the ends are curved slightly under or around the neck instead of stopping in a blunt line. On thin hair, that makes the cut look fuller and cleaner at the same time.
The length should sit above the chin or a touch below the jaw, not right on the widest point of the face. That’s the mistake that turns a bob into a box. Use a 1.5-inch brush and keep the crown lifted while the ends fold in. It should feel polished, not rigid.
16. Mid-Length Ends Pinched In at the Bottom
This is a good choice if you like a straighter silhouette but still want softness. The mid-length ends are turned in just enough to make the outline neat, which helps fine hair look denser. Square faces get a break from the hard horizontal line that a flat mid-length cut can create.
Dry the roots with tension, then use a round brush only on the last few inches. That split approach keeps volume near the top and discipline near the bottom. A little shine spray on the ends helps, but only a little. Thin hair and too much shine product do not get along for long.
17. A Long Pixie with Side Sweep and Height

Short hair gets left out of blowout conversations too often. A long pixie with a lifted top and a side sweep can look fantastic on thin hair because the cut stops the ends from looking sparse. The added height also stretches a square face in a nice, subtle way.
The top should be dried up and over, not plastered flat. A small round brush or even your fingers can push the front section across the forehead at an angle. Keep the sides soft and close, then use a tiny bit of paste only if the top needs help staying in place. Too much product here will make the cut look dirty fast. Don’t do that.
18. Chin-Length Curve with Extra Softness at the Jaw
A chin-length style can be tricky on a square face, but a curved finish keeps it from landing like a box. The ends should move under or around the jaw, never straight across it. Thin hair often likes this length because the blowout has less hair to support and more lift at the root.
The Part That Saves It
Leave the front pieces a touch longer than the back, even by half an inch, so the eye keeps moving. That extra softness near the face matters more than people think. If your chin is narrow and your jaw is wider, this style needs a side part or soft curtain-like front pieces. One blunt line and the whole effect changes.
19. Halo Volume Built Around a Deep Side Part

Halo volume sounds dramatic, but the version that works here is actually modest. The hair is lifted around the crown and upper sides, then curved softly around the face so it never expands at the jaw. Thin hair loves this because the shape makes the whole head look fuller without a wall of product.
Use clips at the root while the hair cools, especially on the heavier side. Once the hair is set, brush just enough to blend the sections. The result should read as rounded and airy, not teased. If it starts looking like it’s wearing a hat, the volume sits too low.
20. Temple-Swept Fronts That Blur a Square Forehead

Temple-swept fronts are one of the best ways to soften both the forehead and the jaw at the same time. The hair is directed from the temples forward, then down in a diagonal line, which interrupts the square shape without hiding the face. It’s a small move with a big visual payoff.
Thin hair works here because the front pieces are kept light and mobile. You’re not building heavy curtains; you’re drawing a soft line across the face. Use a dryer on medium heat and a brush that gives direction, not tension. If the front falls flat, pin it for a minute after drying. That pause helps more than another blast of heat.
21. Roller-Set Bounce with Loose, Wand-Free Ends
Velcro rollers or large hot rollers make a lot of sense for thin hair because they build shape while the hair cools. The hair gets lifted at the root, rounded through the mid-lengths, and left with soft movement at the ends. Square faces benefit because the curl pattern starts higher up and softens the sides.
This one feels old-school, but I mean that as praise. Cool the rollers completely before removing them, then finger-comb the sections into place. The bounce should look natural, not like a prom spiral. A little dry shampoo at the roots can keep the lift alive longer than you’d expect.
22. Glossy Barely-There Bend for the Quietest Finish

Sometimes the best blowout is the one that looks almost untouched. A barely-there bend keeps thin hair from being overworked, and it gives square faces just enough movement to soften the edges without adding bulk. The whole style depends on restraint.
Use a large brush, a light heat protectant, and a tiny amount of serum only on the ends. The crown should stay airy. The bend should show up mostly through the mid-lengths and front pieces. If the hair starts to feel overdone, brush it out once and stop there. That quiet finish usually looks better than the more ambitious version.
How a Natural Blowout Holds Its Shape Without Feeling Stiff
The shape starts before the brush ever touches the hair. Thin strands need less product than people think, and square faces need the bend in the right places more than they need volume everywhere. If the roots are flat, the whole style looks tired. If the ends are stiff, the face shape gets boxed in again.
The practical order matters. Dry the roots first with the nozzle pointed where you want lift, then move to the mid-lengths, then the front pieces. Let sections cool in clips or rollers before you touch them again. That cooling step locks in the bend far better than another pass with heat. A lot of people skip it because they’re in a hurry, and then they wonder why the style falls apart by noon.
A natural blowout should feel touchable. Not slippery with oil. Not crunchy with spray. If you can run your fingers through the ends and still see the shape, you’re doing it right.
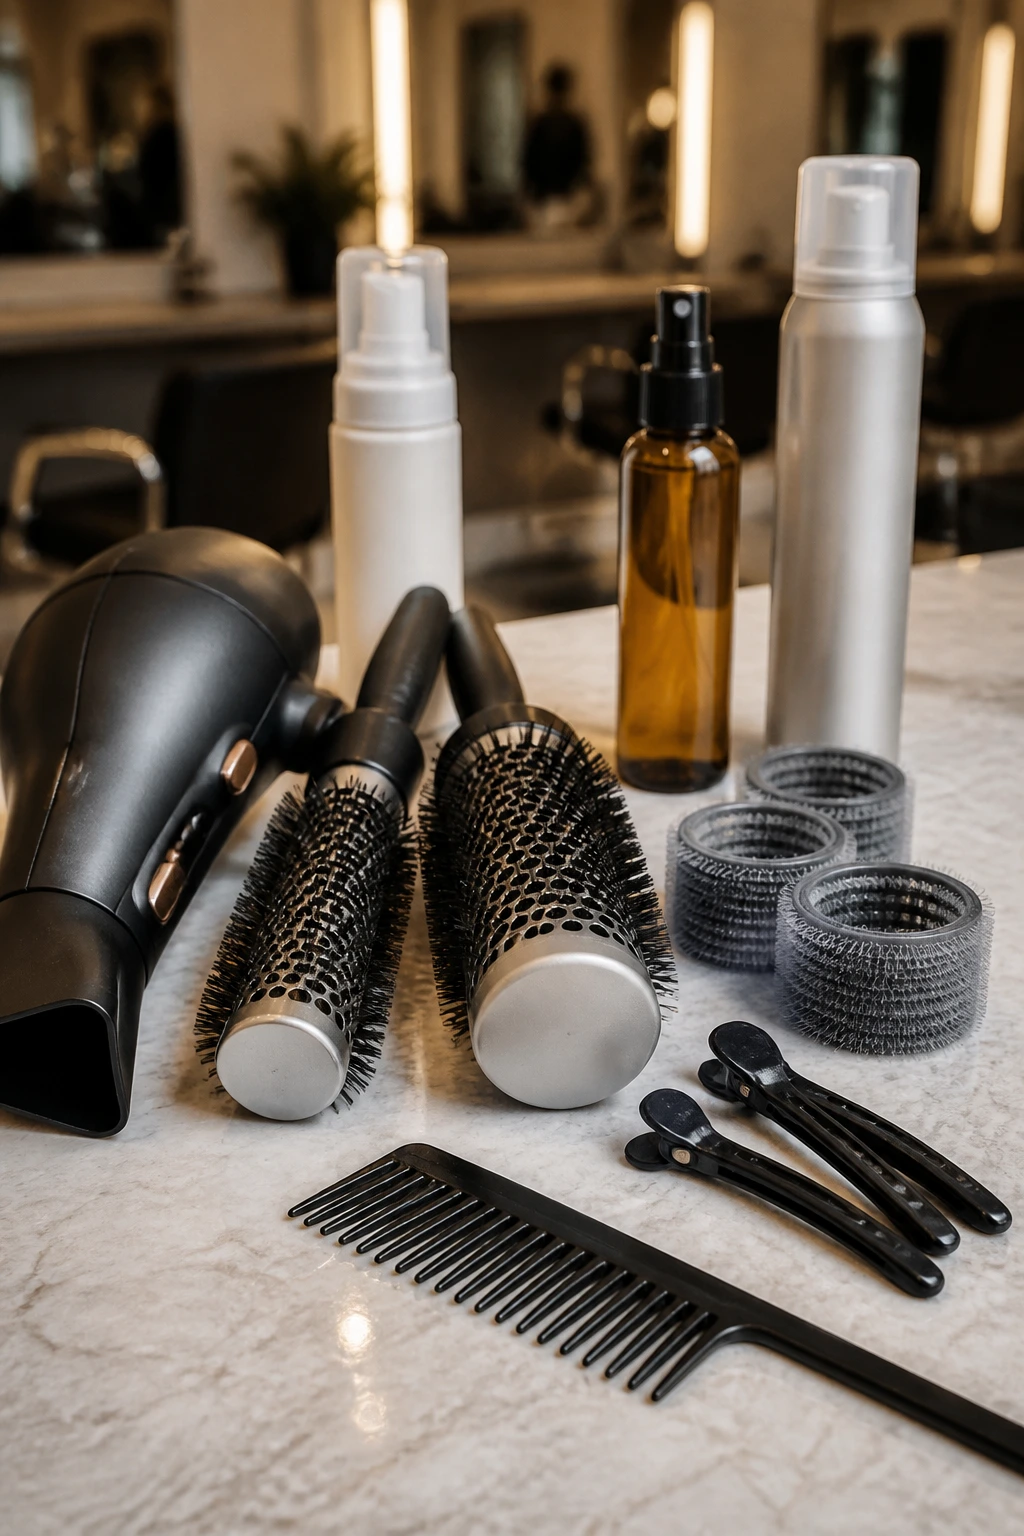
Essential Tools for These Looks
-
Blow dryer with a concentrator nozzle — The nozzle narrows the airflow so you can direct lift at the roots instead of blasting the whole head flat.
-
1.5-inch round brush — Best for bobs, lobs, and fringe work where you want bend without too much curl.
-
2-inch round brush — Useful for longer hair and face-framing pieces that need a softer arc.
-
Sectioning clips — Keep the top layers out of the way while you work the underneath sections.
-
Lightweight mousse — Gives thin hair a little memory at the roots without the sticky finish heavy creams leave behind.
-
Heat protectant spray — A must if you style often; fine hair burns and frays fast.
-
Velcro rollers or large hot rollers — Great for the crown, bangs, and second-day refreshes.
-
Flexible-hold hairspray — Holds shape without turning the hair into a shell.
-
Wide-tooth comb — Helps you set the part and separate sections before brushing.
-
Lightweight dry shampoo — Good for keeping root lift alive on day two or three without chalking the hair white.
Smart Product and Cut Tips
The cut does more of the work than most people want to admit. On thin hair, ask for long layers, invisible layers, or face-framing pieces that start around the cheekbone. If the stylist slices too much weight out of the ends, the hair can look stringy after a blowout. If the cut is too blunt at the jaw, the face can look wider than it is.
Product choice matters almost as much. Use a light mousse at the roots, not a thick cream through the whole head. Mousse should disappear into the hair after you comb it through; if it feels slick or sticky, it’s too much. For ends, a pea-size drop of serum is enough on fine hair. More than that and the style collapses.
Shampoo and conditioner matter too, and I’d be picky here. Conditioner should live from ear level down, not all over the roots. If your crown goes limp within an hour, your hair is probably carrying too much residue from the wash step. The fix is not more heat. It’s less product, cleaner roots, and a better cut.
How to Wear These Blowouts in Real Life

Presentation: Keep the shape soft at the jaw and slightly fuller at the crown. If the hair sits too wide around the cheeks, brush it up and back for a minute, then reset the front pieces with your fingers.
Accessories: Small hoops, longer earrings, and simple clips all work here because they echo the soft lines in the hair. Heavy headbands can crush thin hair at the temples, so use them carefully.
Scale: If your hair is very fine, keep the volume moderate and concentrate it where the part sits and where the face frame starts. If your hair is thin but dense, you can push the lift a little higher without losing the airy feel.
Finish: Use a flexible spray from about 10 inches away, then stop. A shiny, movable finish looks better with this haircut family than a hard, wet-looking shell.
Additional Styling Boosters
Flavor Enhancement: A drop of lightweight glossing serum on the very ends makes the bend look smoother and keeps flyaways from breaking the line around the jaw.
Customization: Swap a center part for a soft side part when you want more lift at the crown. Add a clip at one temple if you want the face to look a little longer without changing the cut.
Serving Suggestions: Pair these blowouts with a clean ear tuck on one side, a low-profile barrette, or a soft bend that lands just below the cheekbone. Those little choices matter more than most people think.
Make-It-Yours: If your hair is flat by lunchtime, use mousse plus root clips. If your hair gets puffy in humidity, keep the crown soft and the ends smoother. If your bangs separate too much, dry them first and let them cool before moving on.
Common Mistakes to Avoid
The first mistake is putting too much product at the roots. Thin hair cannot hide a heavy mousse or cream. The symptom is limp, sticky hair that collapses within hours. Use less than you think you need, and add only if the hair still feels too dry.
The second mistake is ending the shape right at the jawline. That’s the fastest way to make a square face look boxier. If the cut or blowout hits the jaw straight on, move the shortest front pieces higher or lower so the eye passes through the line instead of stopping there.
The third mistake is using a round brush that is too small. Small brushes create tight bends that shorten the hair visually and can make thin ends look sparse. A larger brush usually gives a softer, fuller result.
The fourth mistake is skipping the cool-down. Hair sets as it cools, not while it’s still hot. Clip the section, move on, and come back after it has cooled. That tiny pause is often the difference between a blowout that lasts and one that disappears before lunch.
The fifth mistake is over-layering very fine hair. The style gets airy in the wrong way, and the ends start to look see-through. Ask for softness, not shredding.
Variations and Adaptations to Try
The Root-Lift Version: Add mousse at the crown and clip the top two sections while they cool. This works when your hair goes flat fast and the face needs a little more length through the top.
The Humidity-Safe Version: Keep the shape looser, use less serum, and finish with a flexible anti-frizz spray only on the outer layer. It won’t fight the weather completely, but it will keep the style from puffing out at the sides.
The Short-Hair Version: Focus on bobs, pixies, and chin-length curves. Short hair on a square face needs bend more than length, so keep the sides soft and the top lifted.
The Bang-Friendly Version: Curtain bangs, bottleneck bangs, and wispy fringe all work here if they’re dried first and cooled flat before the rest of the head. The trick is to keep the fringe light enough that it doesn’t close off the face.
The Minimal-Heat Version: Rough-dry to about 80 percent, then use rollers only on the front and crown. This is a good option when hair feels fragile and you want shape without a full round-brush session.
How to Stretch the Shape for Two or Three Days
Let the blowout cool completely before you touch it too much. That sounds obvious, but it’s where a lot of people mess up. Once the style is set, sleep on a silk pillowcase or wrap the hair loosely so the crown does not get crushed flat. Thin hair gets flattened faster than thick hair, and there’s no reason to hand it a head start.
On the second day, use a small amount of dry shampoo at the roots, then wait a minute before brushing it through. That pause helps it absorb oil instead of just sitting on top of the hair. If one side goes limp first, lift that section with your fingers and give it a quick blast of cool air.
By the third day, the front pieces usually need the most help. Re-wrap them around a brush, clip them for five minutes, or use a large roller while you do your makeup. A little reset in the front can buy you another full day without rebuilding the whole style. If the ends start to look dry, stop adding spray. Smooth them with the tiniest bit of serum instead.
Frequently Asked Questions
What part is most flattering on a square face?
A center part can work if the front pieces are soft, but a slight side part often adds the most softness. It breaks up the symmetry and keeps the eye from landing on the jaw corners.
Can thin hair really hold a blowout without teasing?
Yes, if the cut and product choice are right. Fine hair usually holds better with lightweight mousse, good root direction, and cooling clips than it does with teasing and heavy spray.
Should I avoid chin-length hair if my face is square?
Not automatically. Chin length works if the ends are beveled or curved and do not stop exactly on the jaw. A blunt chin-length line is the thing to watch out for.
What product weighs thin hair down the fastest?
Thick creams, heavy oils, and too much conditioner near the roots are the main culprits. They make the hair feel nice for ten minutes and then flatten the shape.
How do I keep the front from falling flat?
Dry the front first, set it with a brush or clip, and let it cool before you move on. The front pieces need a reset while they’re still warm, or they drop straight back to the head.
Can I do these styles on second-day hair?
Absolutely. Many of them work even better on day two because the hair has a little grip. Add dry shampoo at the roots and re-bend the face frame with a brush or roller.
Is a small round brush bad for this hair type?
Not bad, just risky. Small brushes can make the ends too tight and shorten the style visually. A larger brush usually gives a softer, fuller result on thin hair.
What if my hair is too short for a round-brush blowout?
Use rollers, a vent brush, or your fingers with a dryer nozzle. Short hair on a square face still benefits from the same idea: lift on top, softness at the sides, and no blunt line at the jaw.
The Soft-Volume Sweet Spot
The best blowouts for thin hair and square faces do not try to fight the face shape. They work with it. A little lift at the crown, a little curve at the cheekbone, and a little softness where the jaw would otherwise look sharp — that combination is doing most of the heavy lifting here.
If you remember one rule, make it this: keep the volume above the jaw and the ends soft. That one shift can turn a flat, boxy blow-dry into something lighter and more flattering without making it look overworked.
Start with the style that matches your current length, not the one that requires six inches more hair and a fresh salon cut. The right blowout should make the hair you already have look better. And when it does that, it tends to keep doing it.