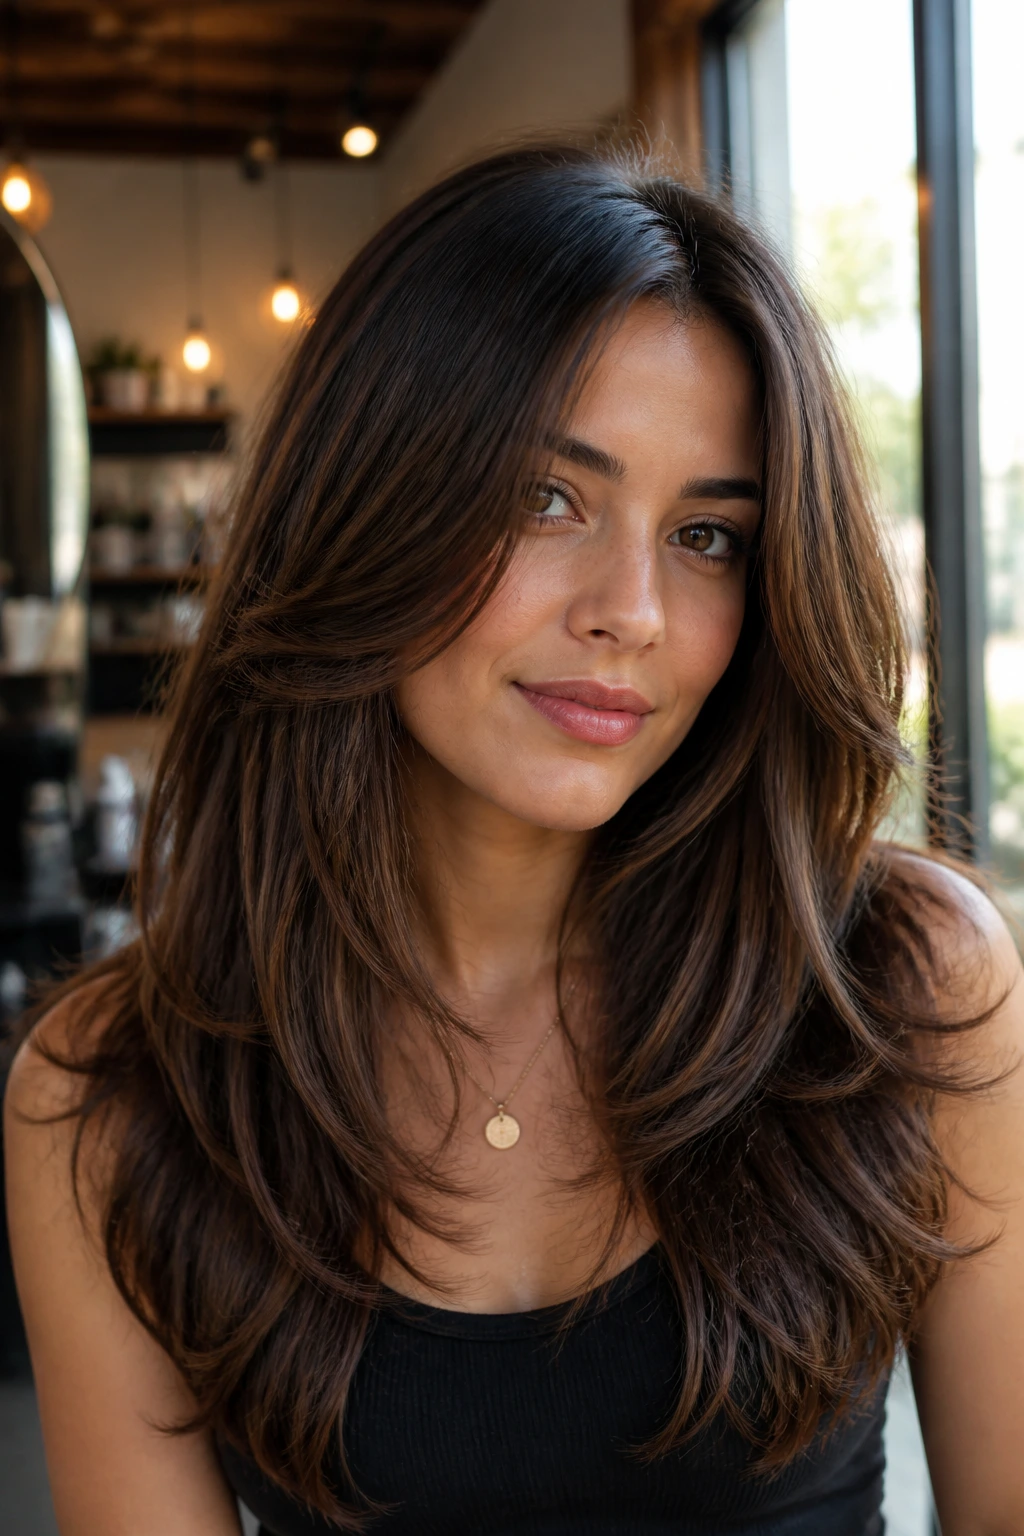
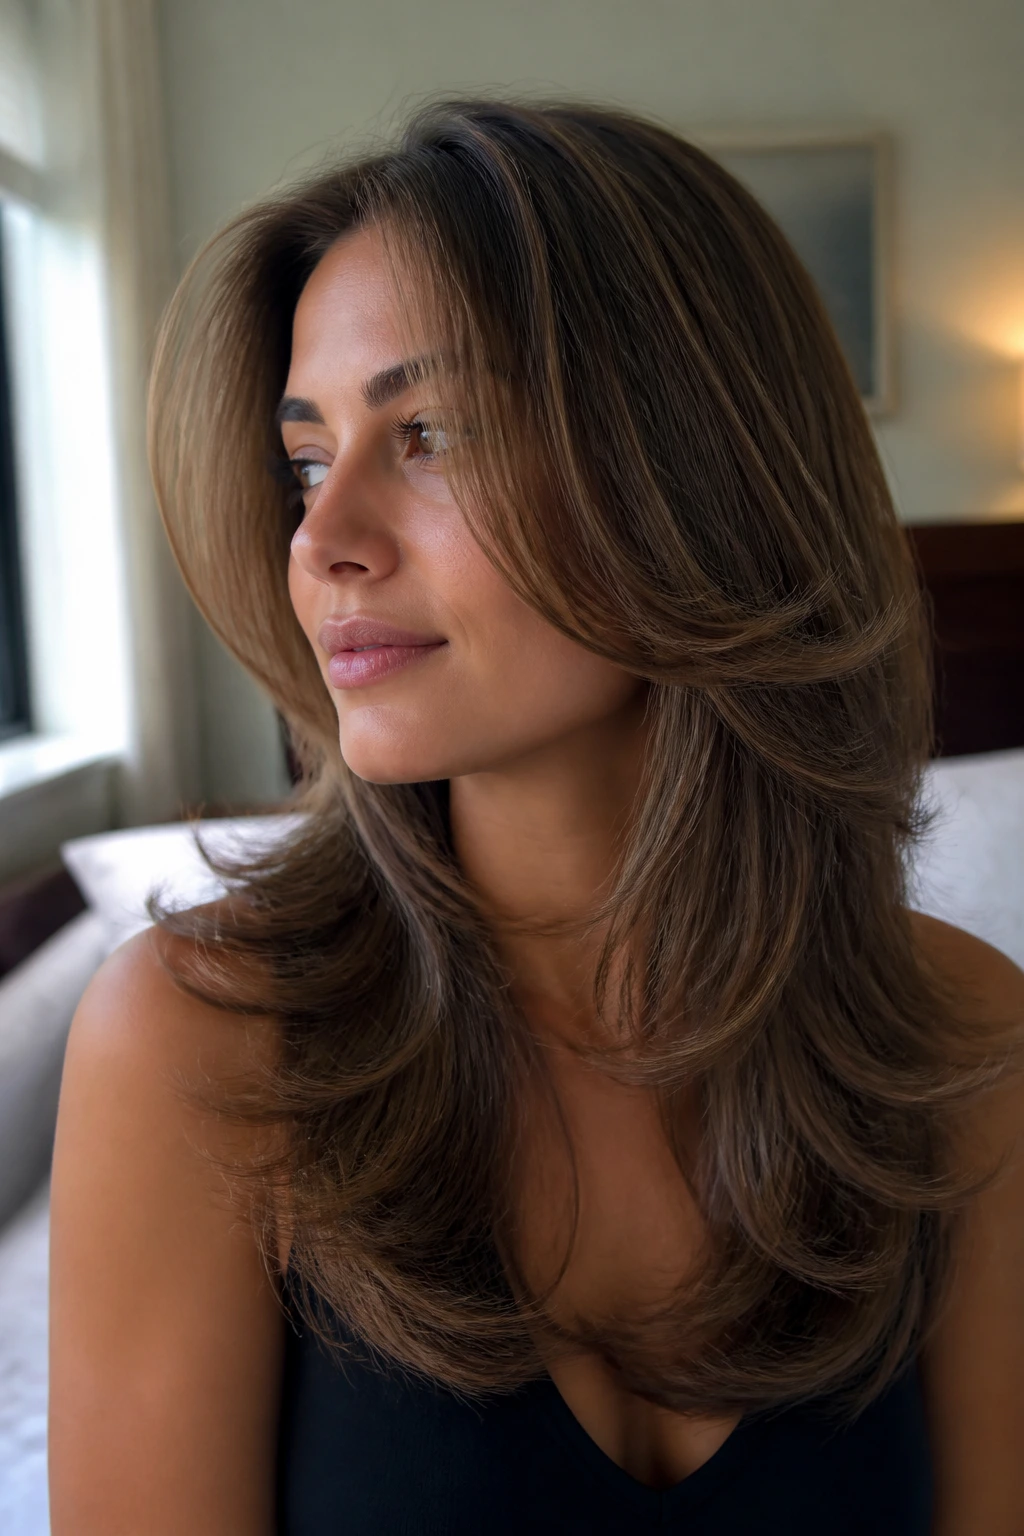
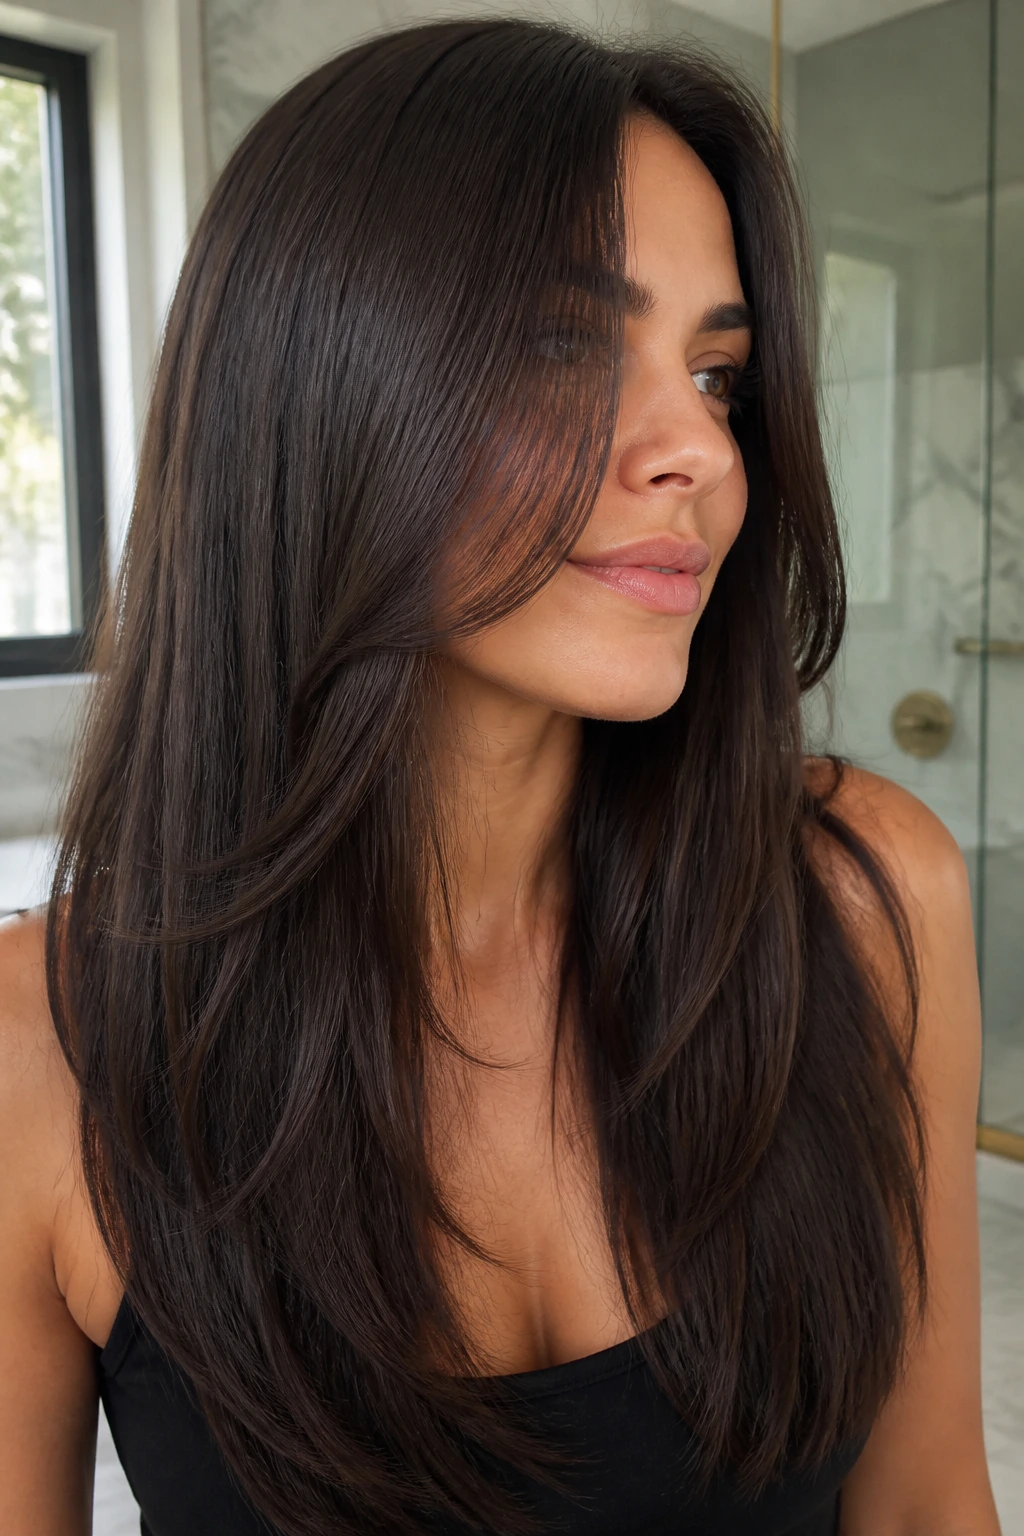
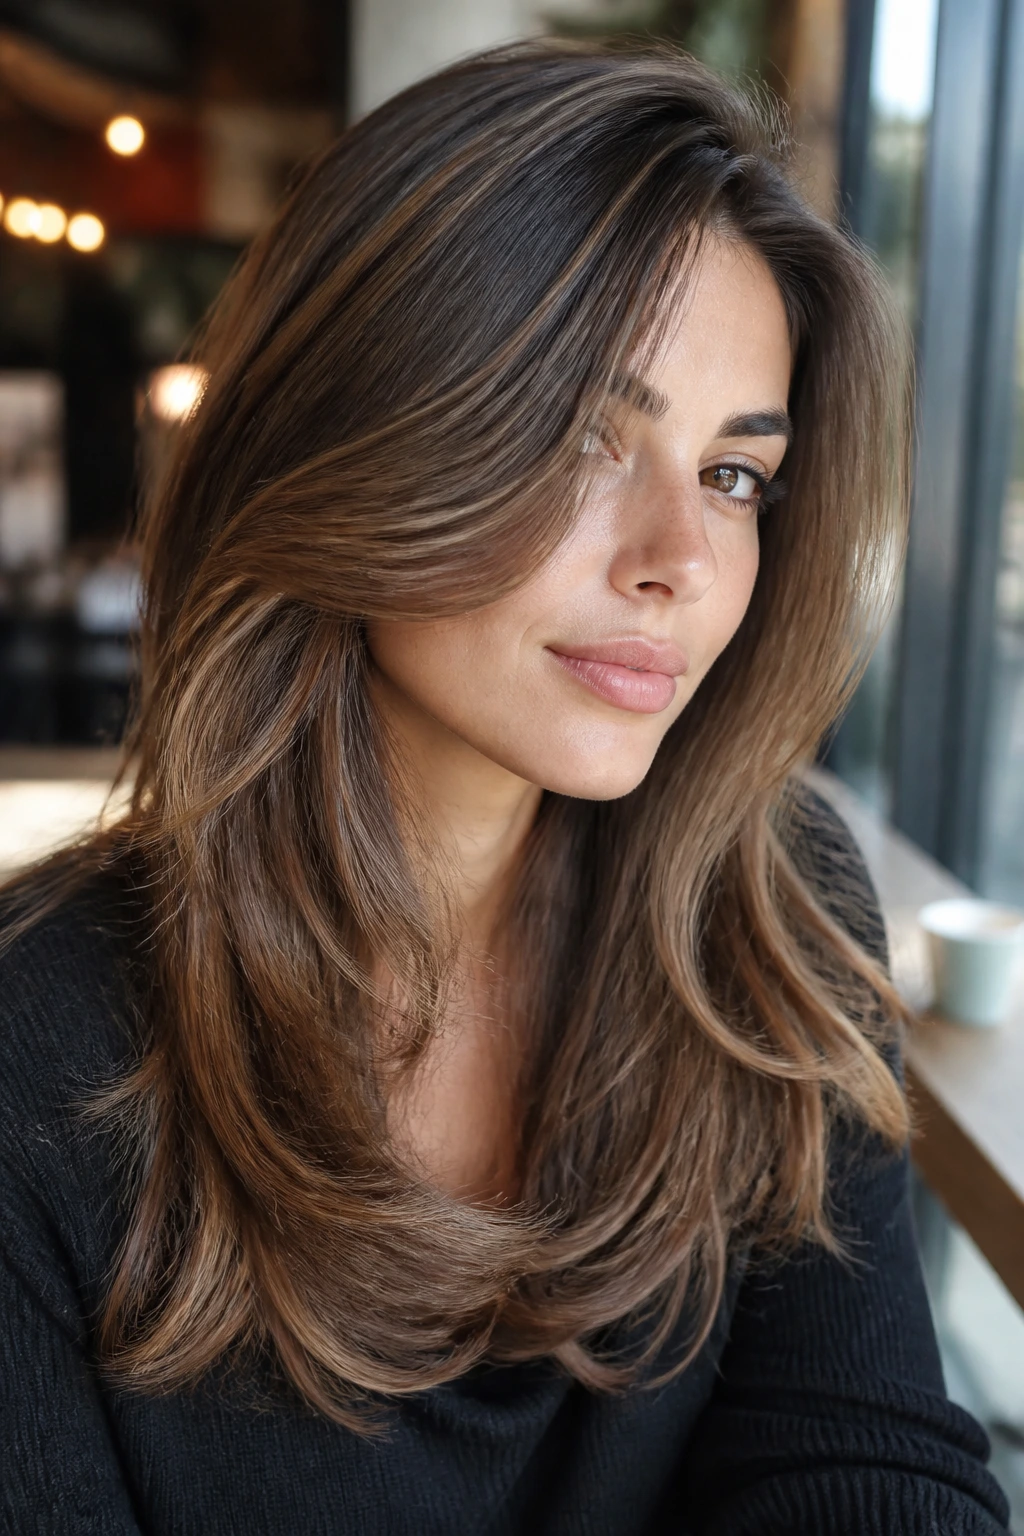
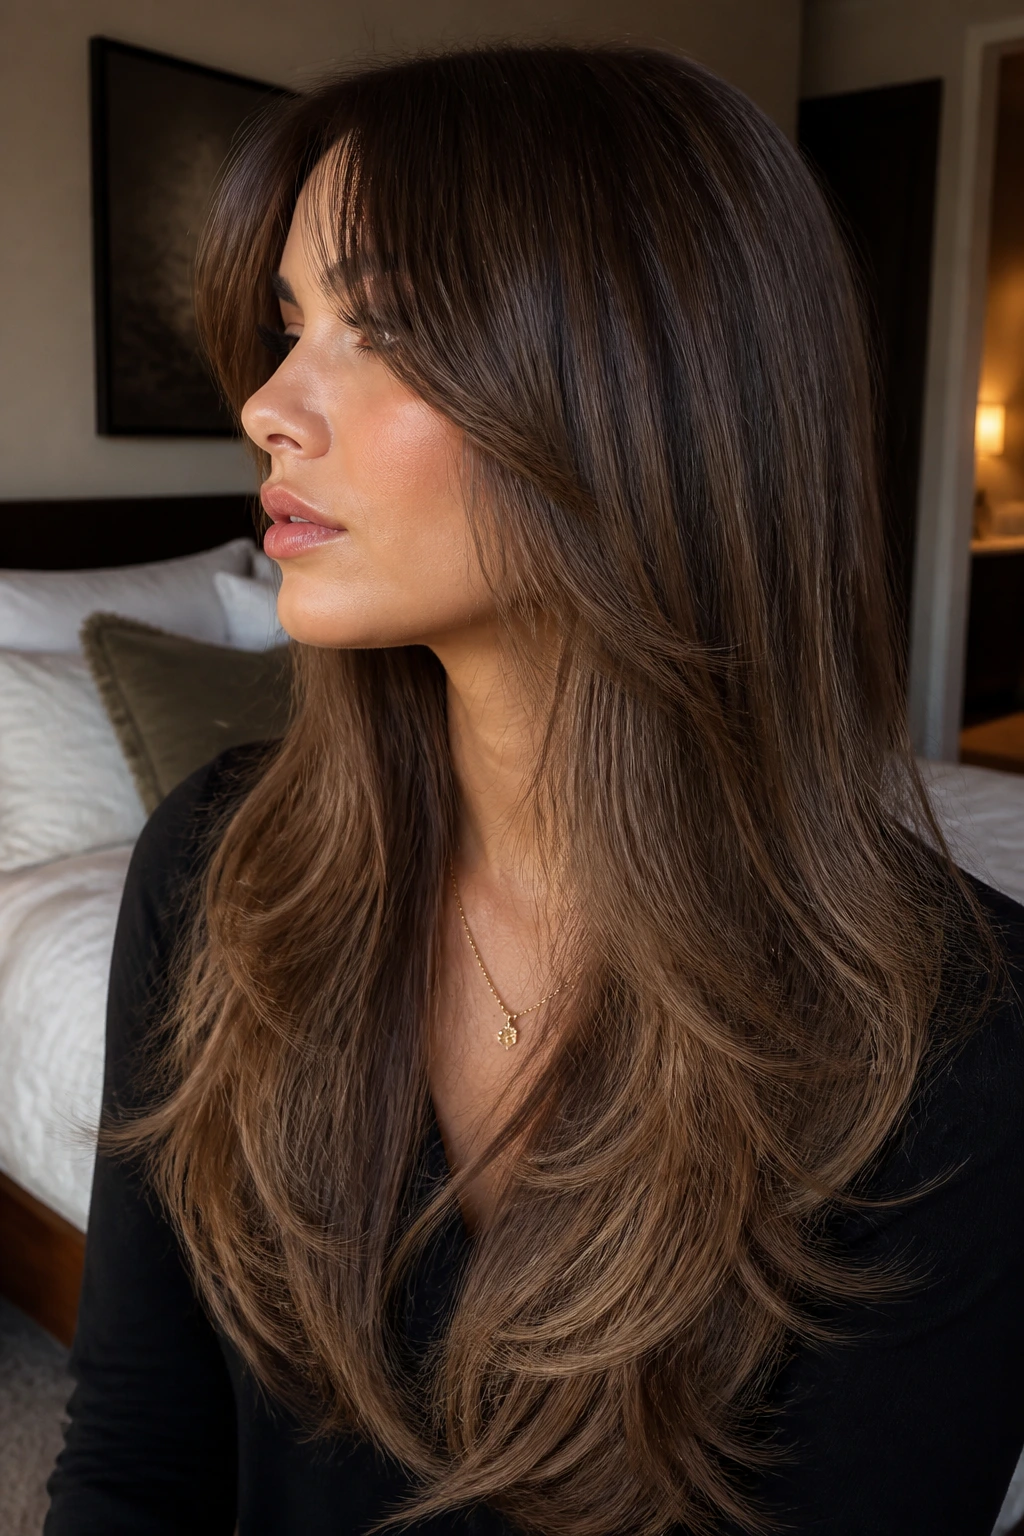
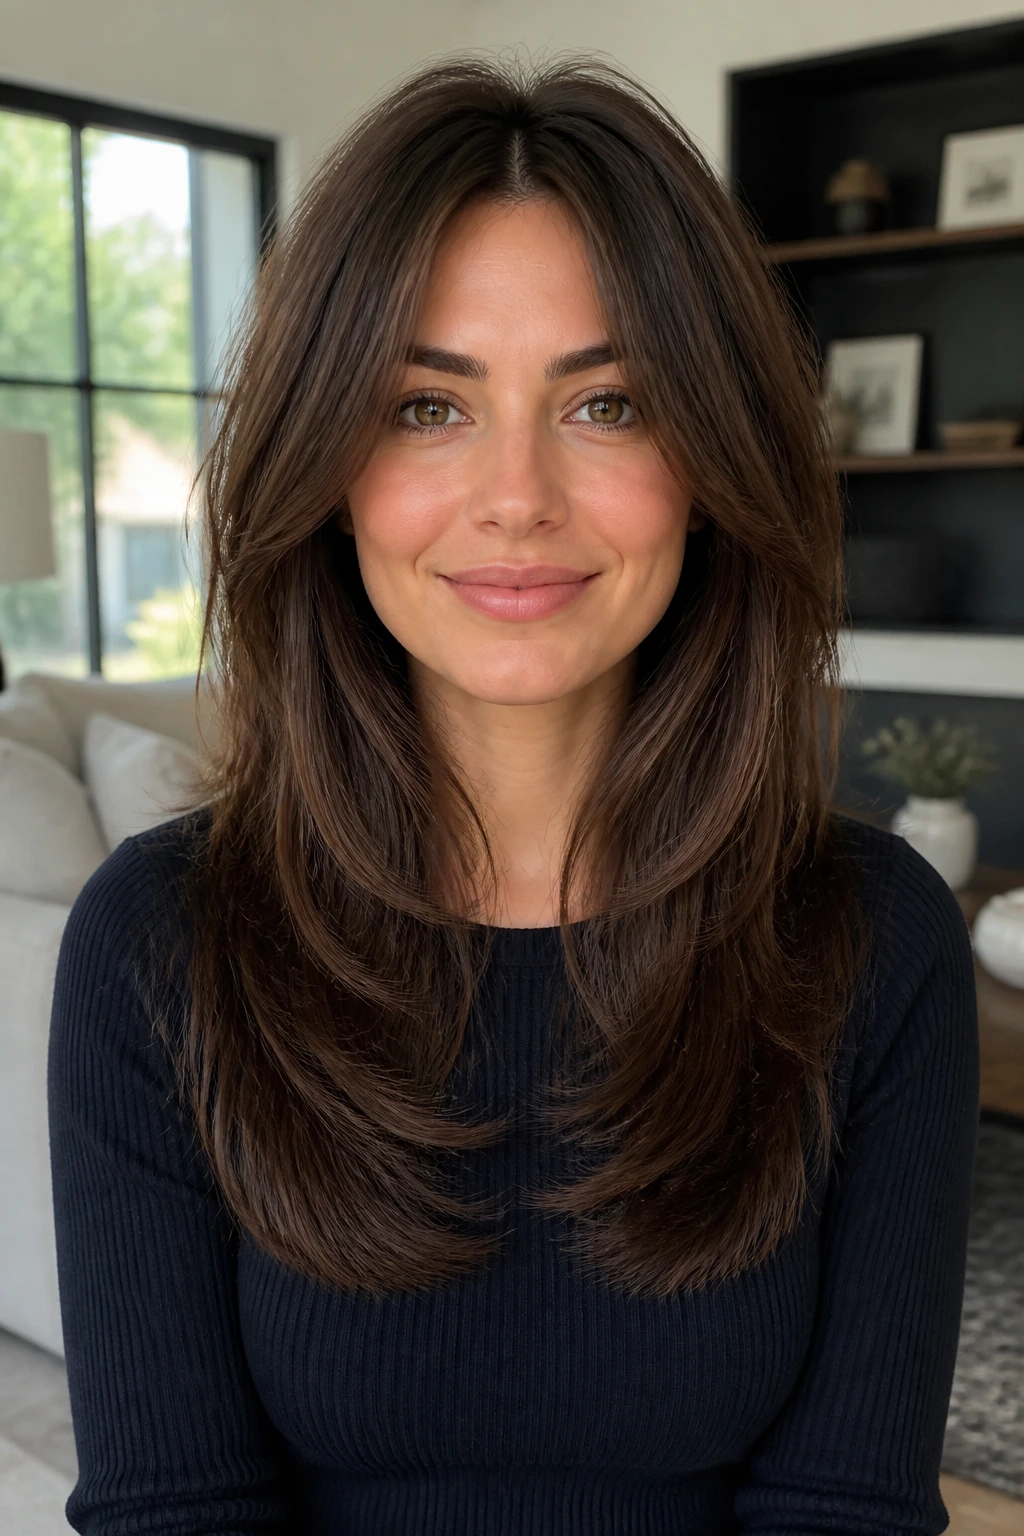
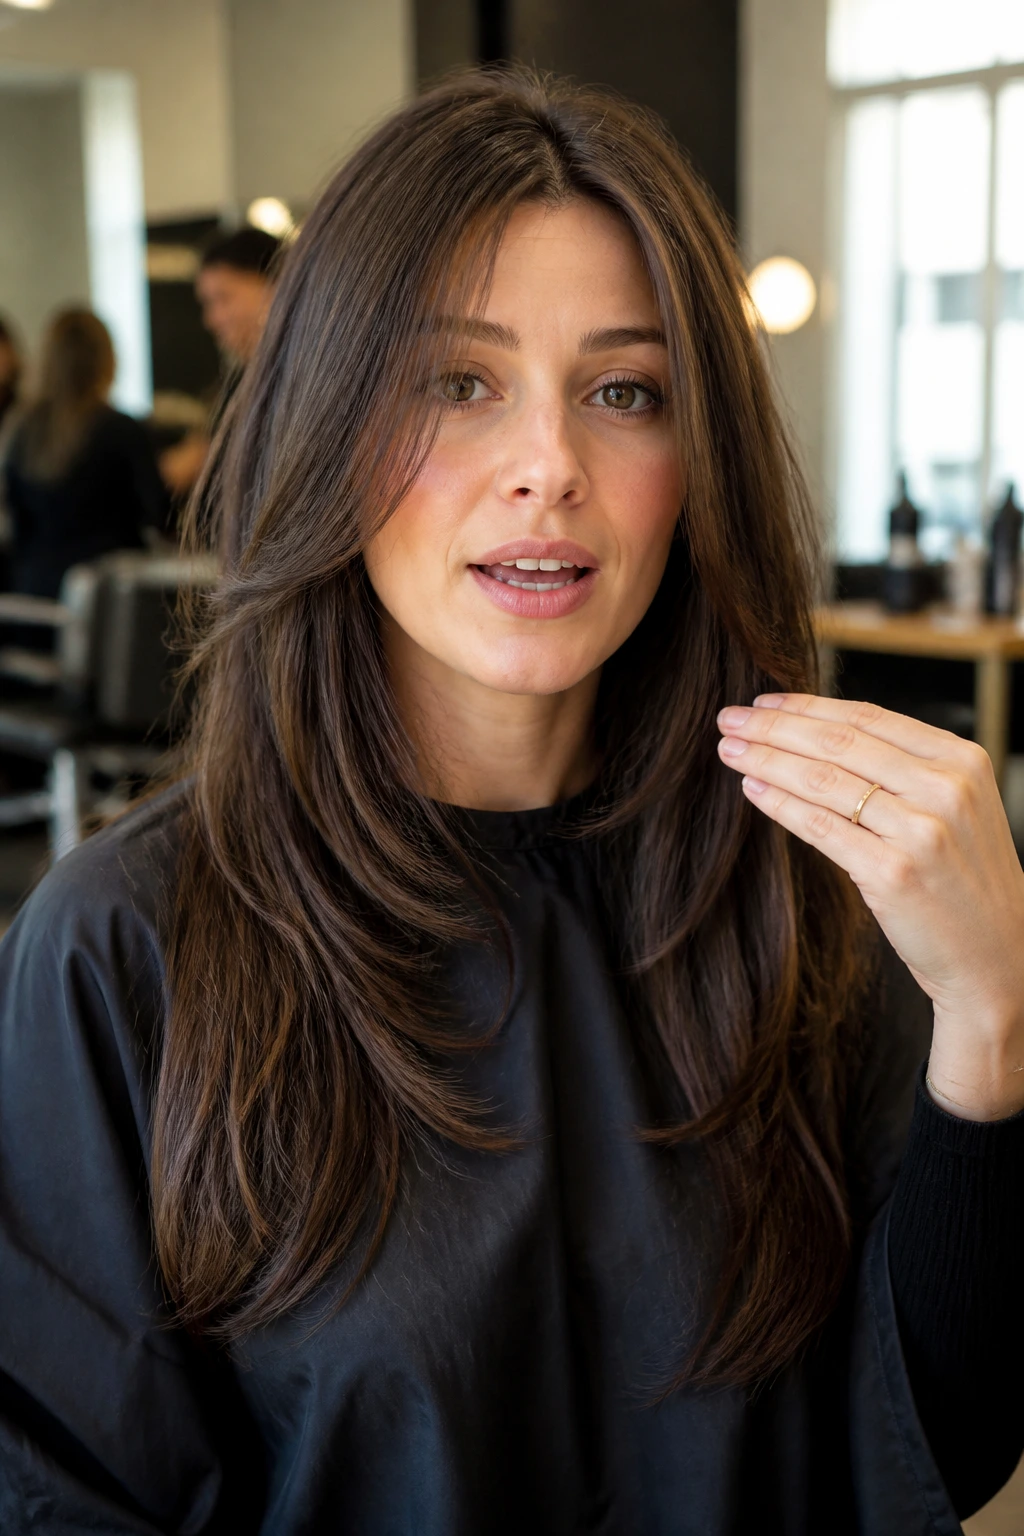
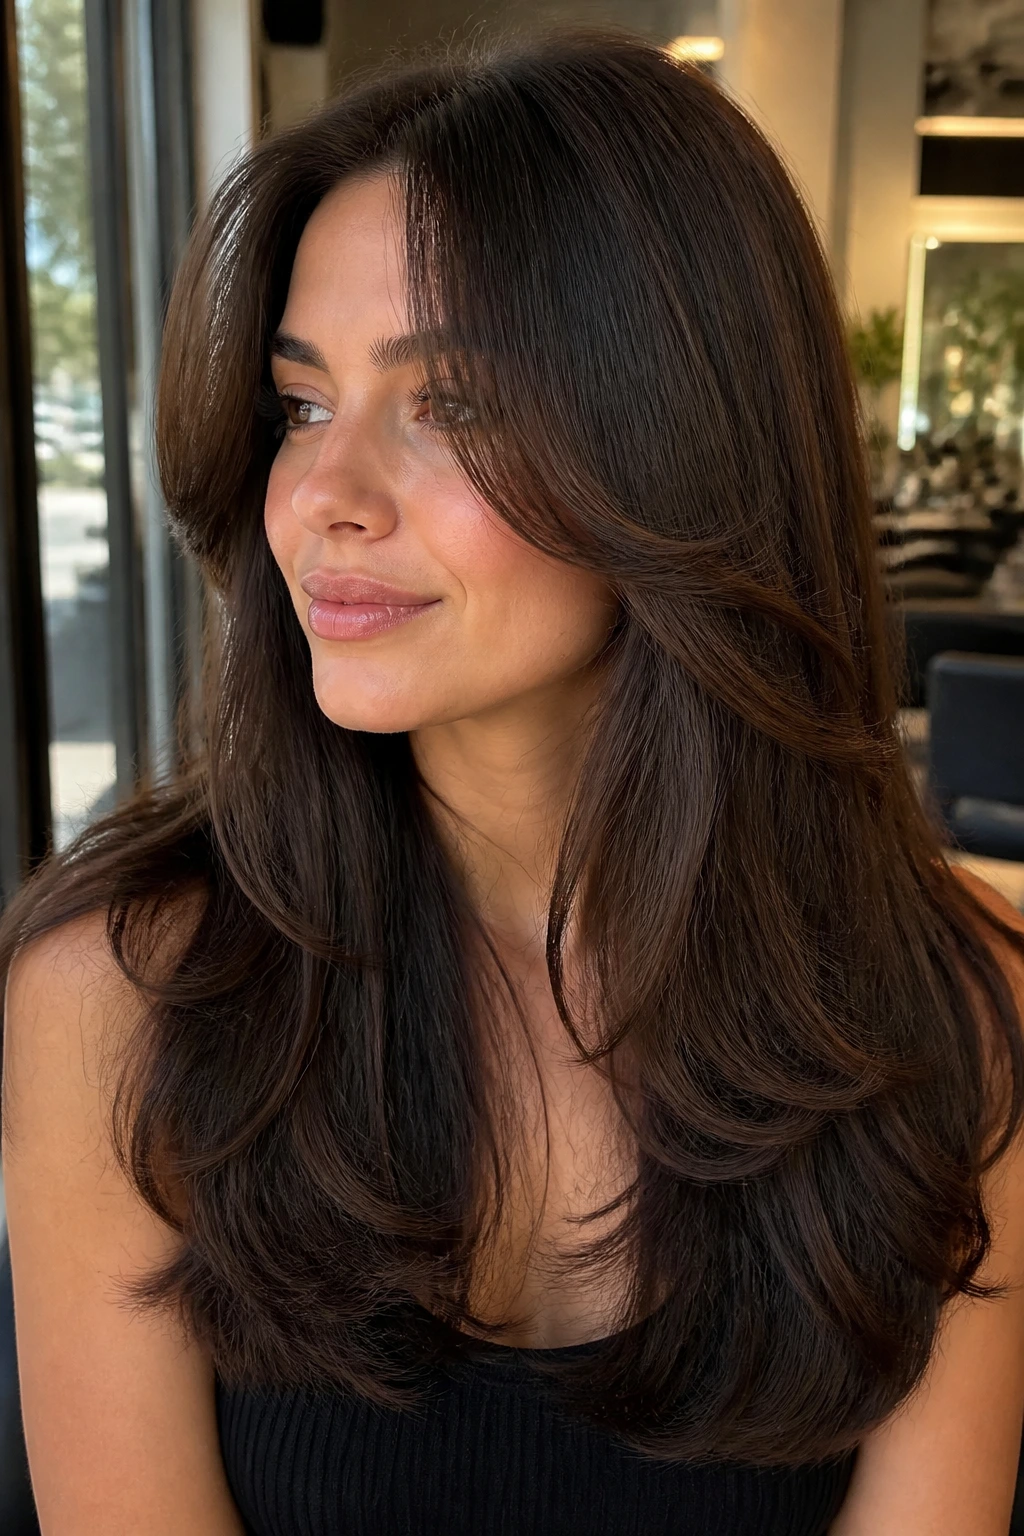
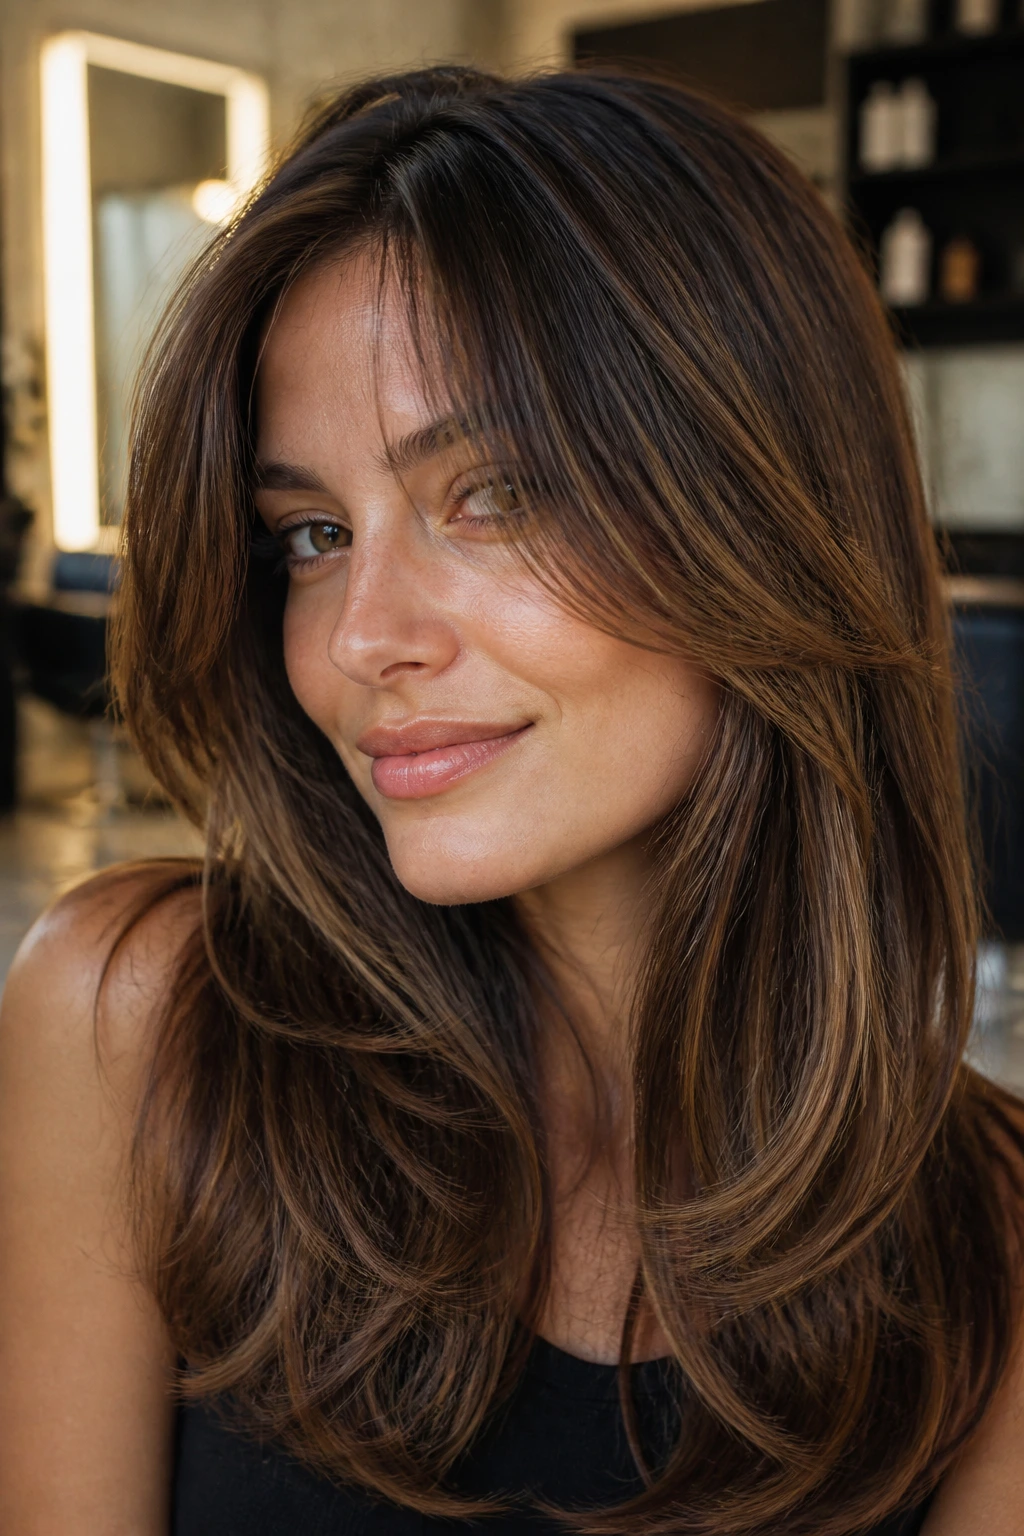
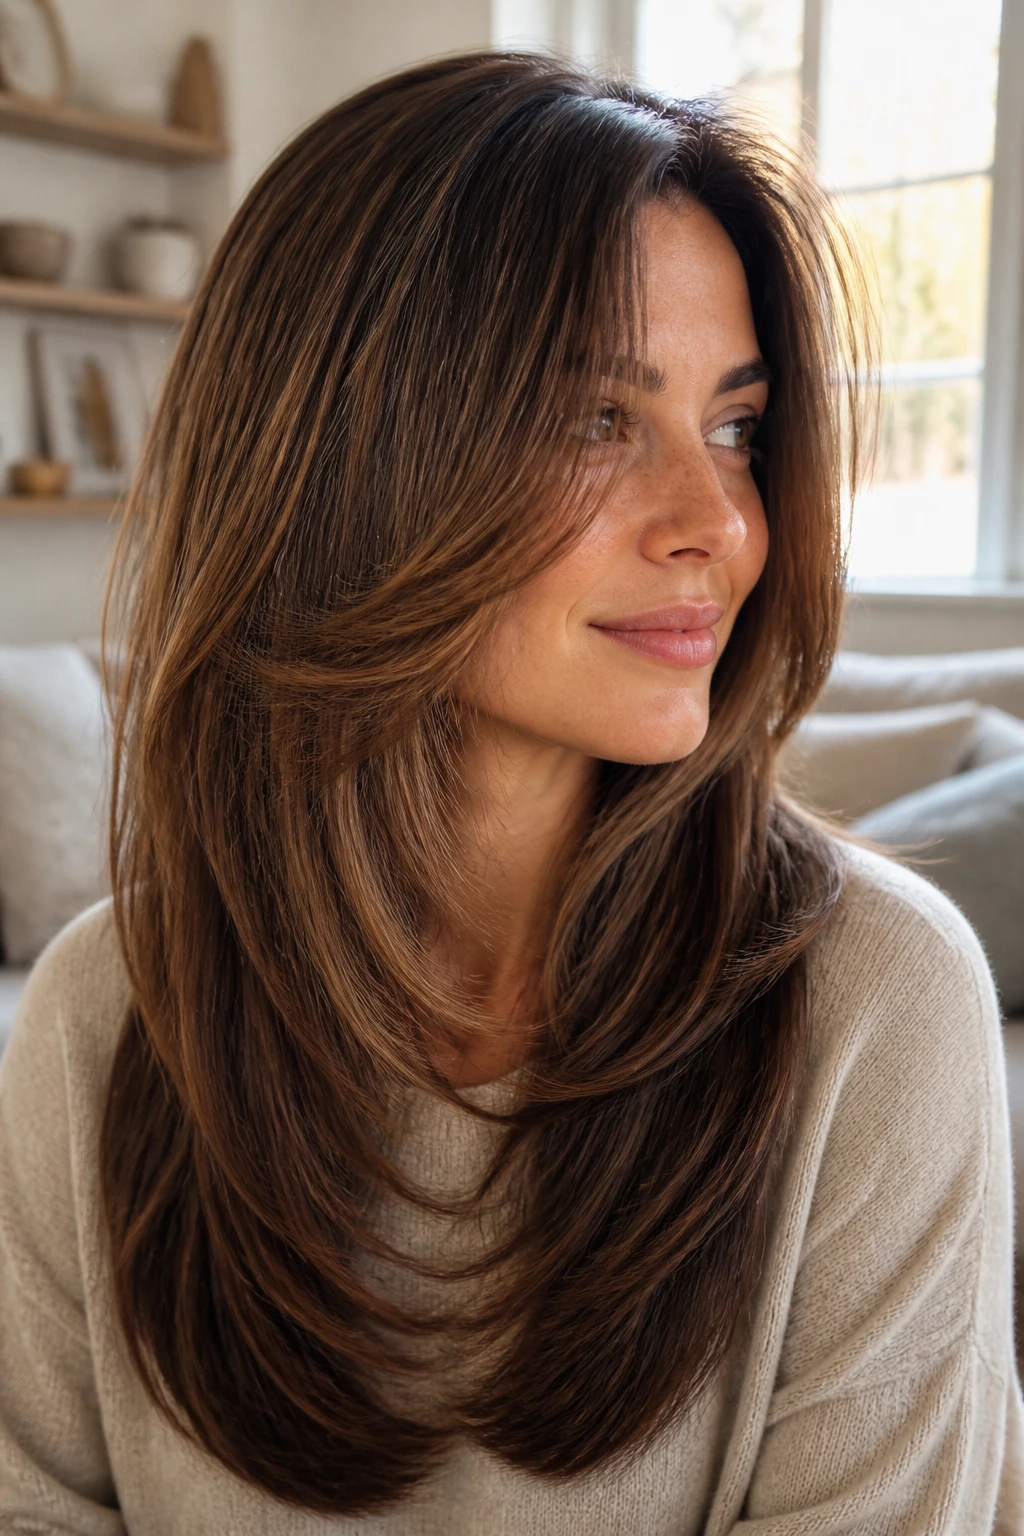
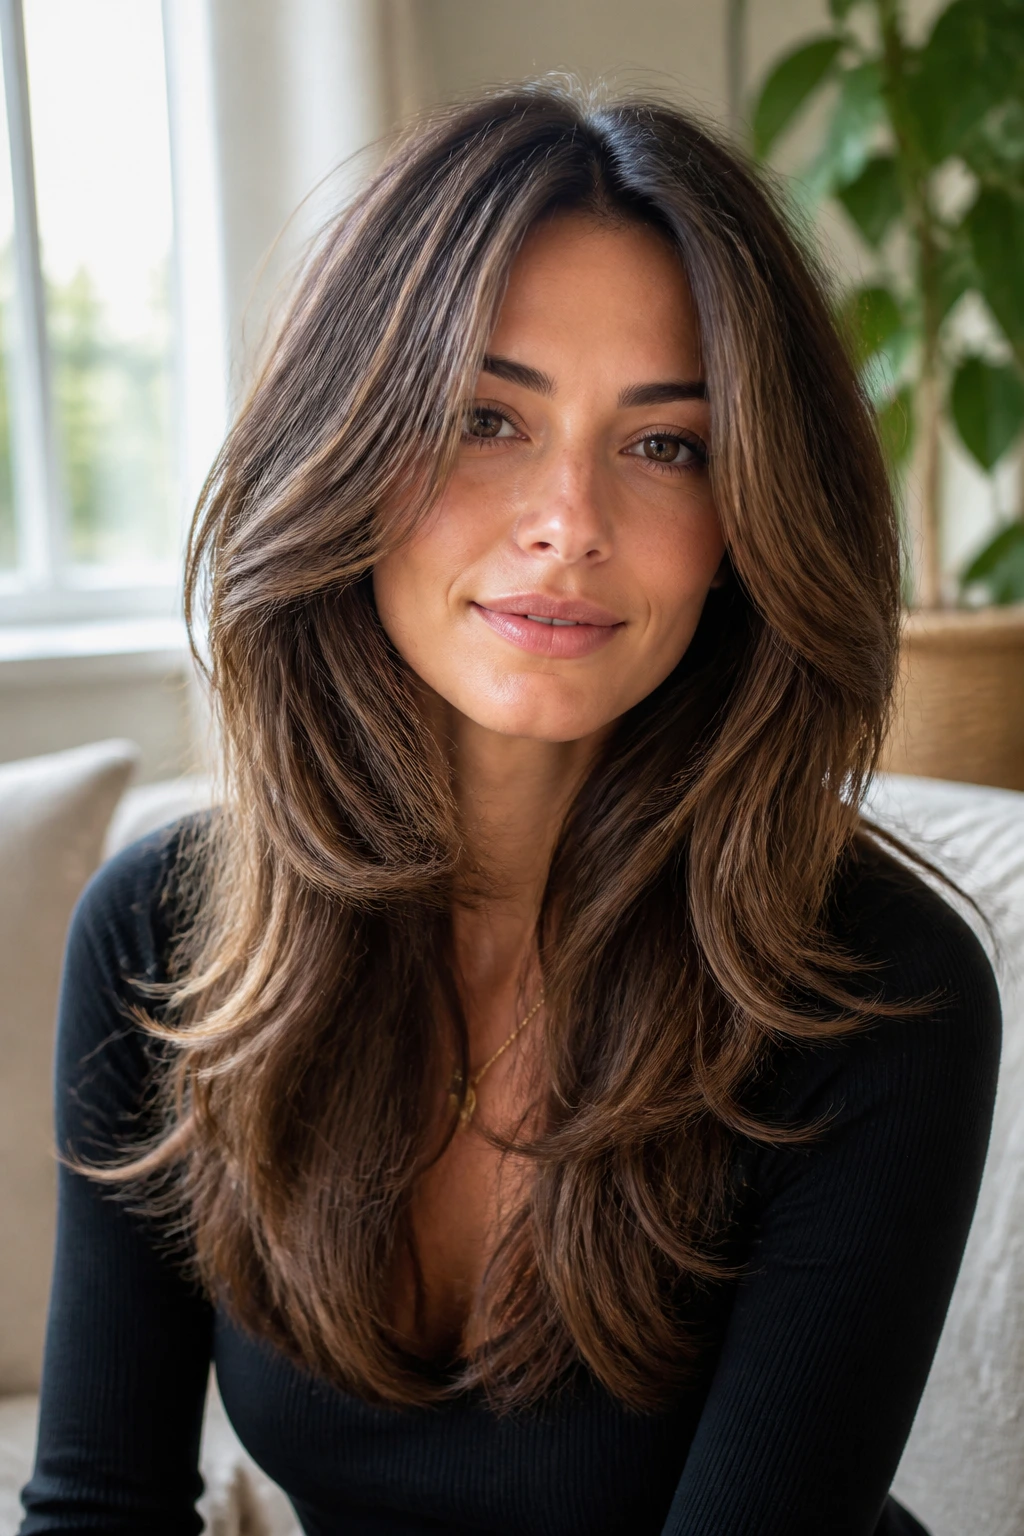
Thick hair can look luxurious in a salon chair and then feel like a lot of work the second you get home. One bad cut and the whole thing sits like a blunt wall around your face. One smart cut, though, and the same hair suddenly bends, floats, and moves in a way that makes you want to keep touching it. That’s the real job of long layered face-framing layers for thick hair: not to strip the length away, but to place the weight where it helps and pull it away where it fights you.
The trick is restraint. Thick hair does not need every strand chopped to bits. It needs geometry. Where the first layer starts matters more than people think. A piece that lands at the cheekbone gives a different effect than one that lands at the chin. A soft internal layer changes the whole silhouette without advertising itself. And because thick hair holds shape so well, even a small shift in angle can make the front read lighter, narrower, or more open.
I keep coming back to that because it’s the part most people miss. Long hair with density can go boxy fast, especially around the jaw and collarbone. The right face frame fixes that without making you lose the ponytail, the braid, or the length you waited so long to grow. The 22 looks below cover the gentle versions, the bolder ones, and the cuts that only look simple until you see how much shape they’re actually doing.
Why This Collection Feels Different
-
Bulk Without Losing Length: These cuts remove weight from the front and interior, which keeps thick hair from puffing outward like a triangle while leaving the back long enough to still feel like long hair.
-
Face Shape Control: A cheekbone start, a chin start, or a collarbone start changes where the eye goes first, and that matters more than people admit when the front of the hair sits heavy.
-
Styling That Has Options: Some of these layers air-dry with bend; others come alive under a round brush or curling iron. You’re not locked into one finish.
-
Grow-Out That Doesn’t Turn Ugly Overnight: Long face-framing layers usually soften as they grow, instead of turning into blunt shelves that need constant rescue.
-
Better Movement in Dense Hair: Thick hair often holds too much of one shape. These versions break that up so the ends don’t sit like a single slab.
-
Salon Language That Actually Helps: Each style gives you a clearer way to ask for the cut, which is half the battle. “Face-framing layers” is vague; “shortest piece at the cheekbone, with internal weight removal” is not.
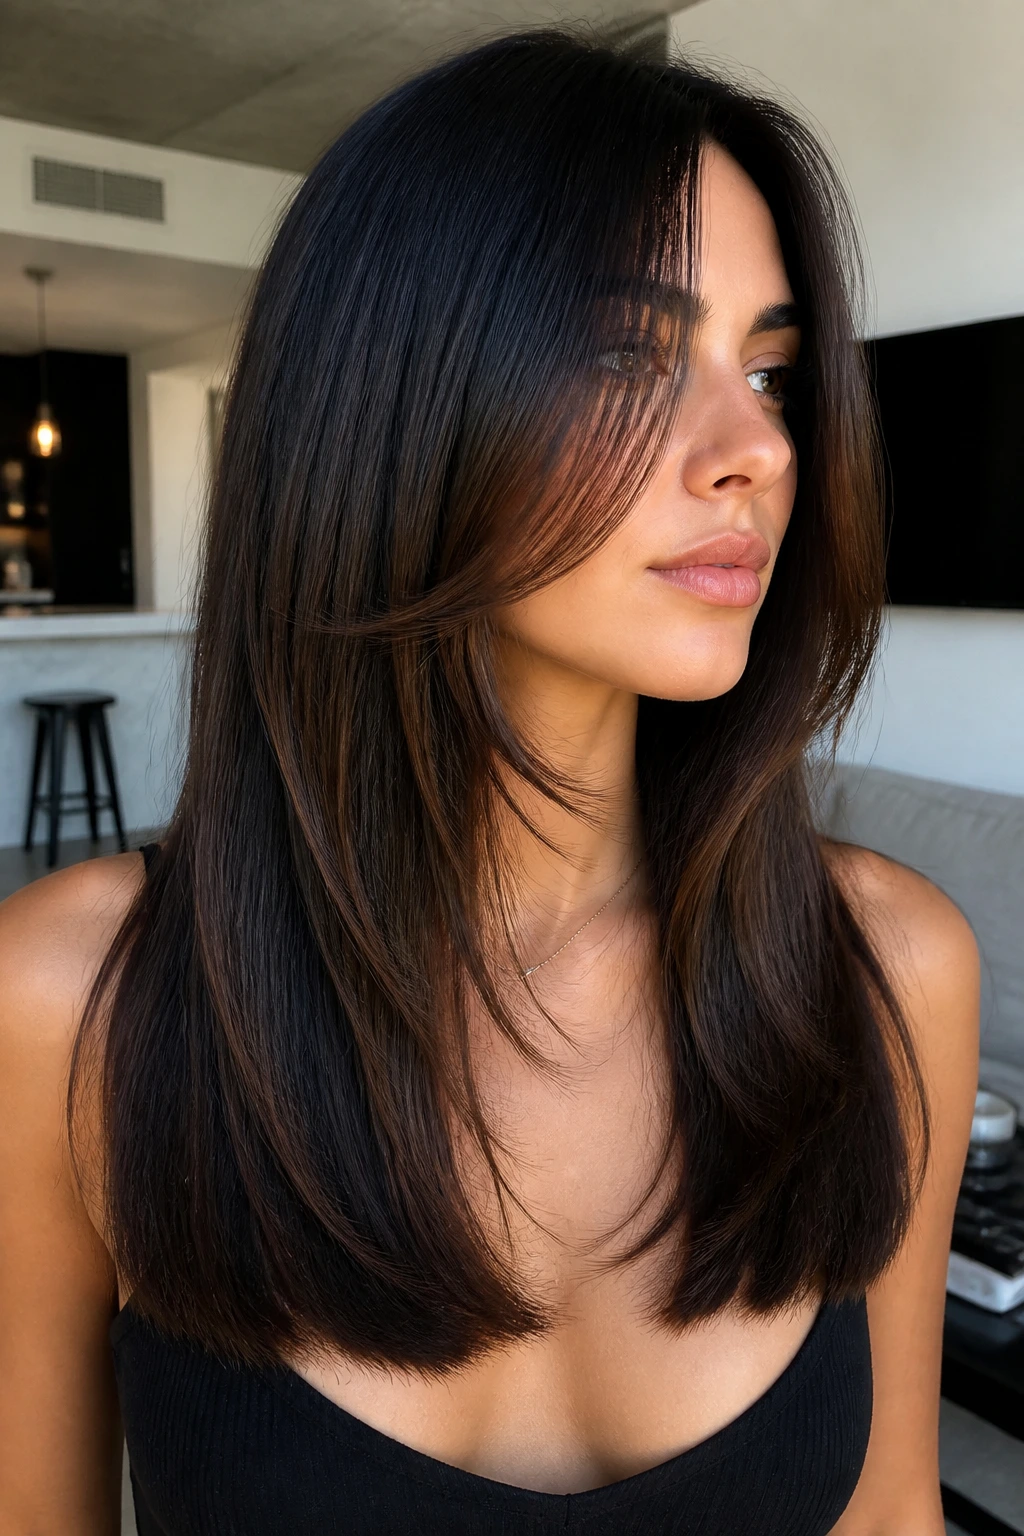
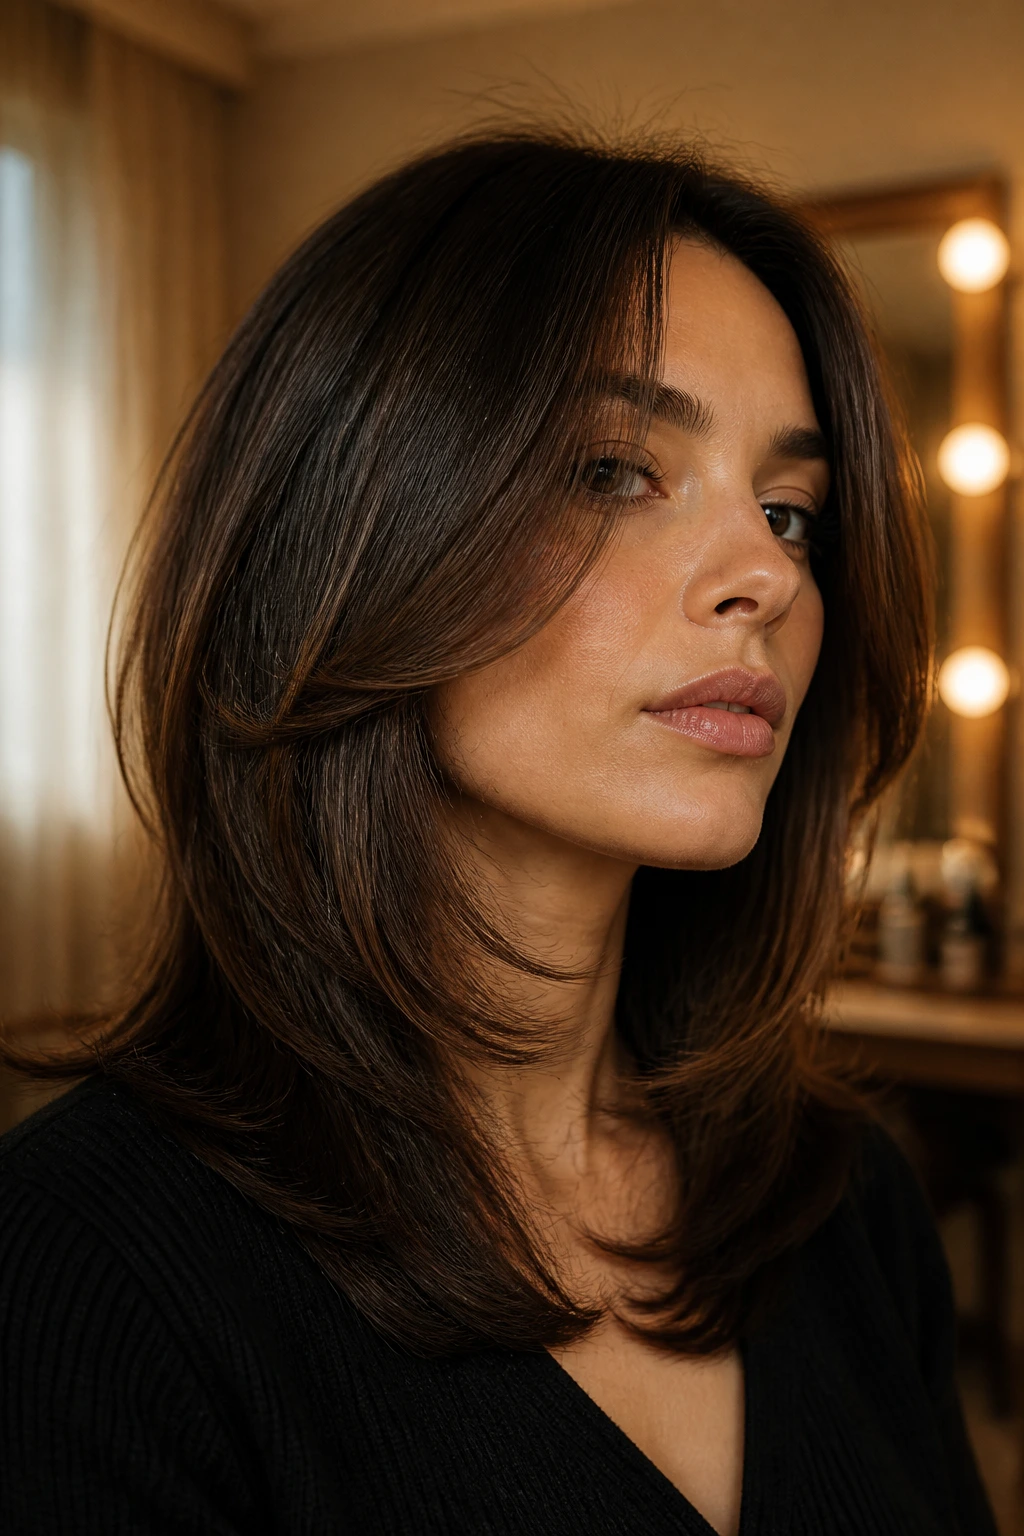
1. Cheekbone Curtain Layers for Thick Hair
These are the easy-entry layers most thick-haired people can wear without regret. The shortest pieces start around the cheekbone, then melt into longer front sections so the front opens instead of flaring. On dense hair, that cheekbone placement is gold. It breaks up the curtain effect without making the top look chopped.
The reason this works is simple: thick hair tends to swing as a unit. A cheekbone frame gives the front a place to turn inward, which makes the whole cut feel lighter even when the length stays well below the shoulders. I like this version on straight hair that goes flat at the roots and on soft waves that need a little direction.
Ask for the shortest piece to hit where your cheek naturally curves, not higher unless you want more drama. Too high and thick hair can mushroom. Too low and you barely notice the layers at all.
2. Chin-Hugging Front Layers That Open the Jawline
Want a little more shape? Push the frame down to the chin. That gives the front a longer diagonal line, and thick hair loves a longer diagonal because it sheds weight without looking pieced out. The result is cleaner around the jaw, which is often where dense hair gets bulky fastest.
This version is especially good if your face feels swallowed by your hair when you wear it down. The chin-length point pulls the eye outward and down, so the face reads a little longer and the cut feels more deliberate. If you wear a middle part, this can be a very flattering move.
I’d avoid taking the shortest piece much shorter than the chin unless you want a more editorial look. Thick hair will hold that shape hard, and the front can start to kick out instead of fall.
3. Invisible Internal Layers That Remove Weight Inside the Length
Not every face frame has to announce itself. Some of the best thick-hair cuts barely show from the front because the real work happens inside the shape. Internal layers remove bulk from the mid-lengths and lower half while keeping the outer line long and full.
This is the cut I recommend for people who love long hair but hate the way it sits heavy against the neck and shoulders. The hair still looks thick, because it is, but it moves more like a curtain with air in it instead of a sheet of velvet. That difference is subtle in a photo and obvious when you run your fingers through it.
Where it matters most
Internal layers shine when the hair is dense from root to tip, not just at the ends. A stylist can use point-cutting or slide-cutting to thin the mass without leaving visible steps.
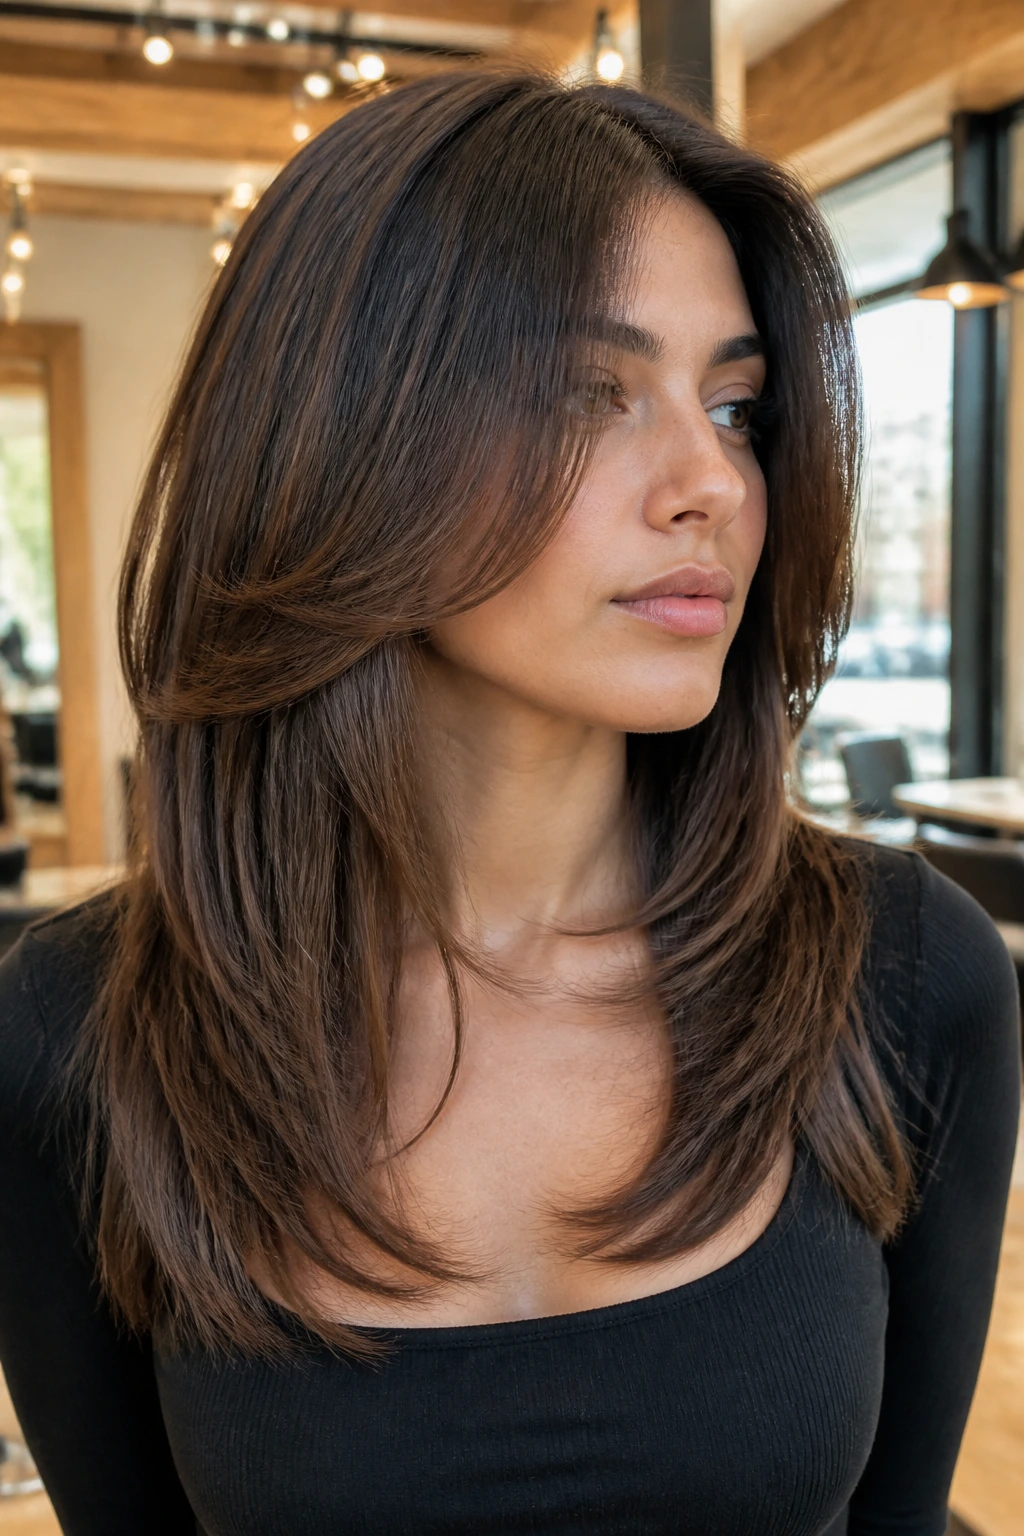
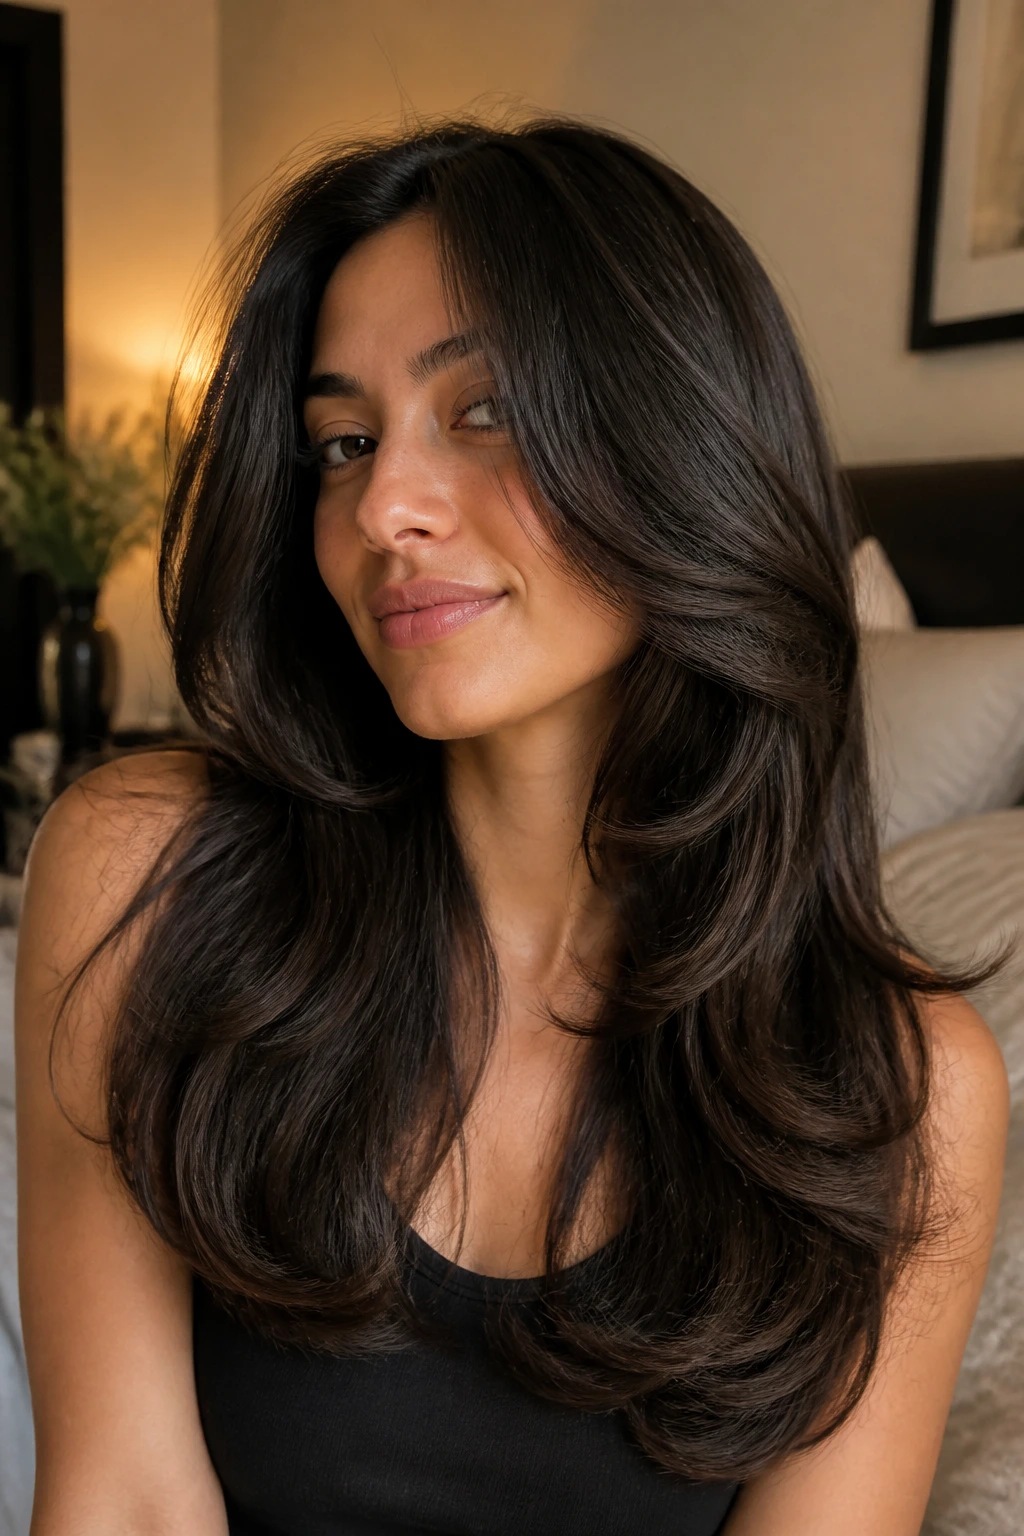
4. Butterfly Layers With a Heavy Bottom Line
Butterfly layers are the flashy cousin in this group, but on thick hair they make practical sense. You keep the bottom length heavy, then add shorter layers around the face and crown so the top half can move. It creates a kind of built-in lift that makes thick hair feel less like a single block.
The key is keeping the bottom line intact. If the perimeter gets thinned too much, the whole style can lose its shape and start looking wispy at the ends. Thick hair usually needs a strong base to look healthy, and butterfly layers respect that.
I like this cut on hair that already has some bend. If you blow it out, the top layers flip softly away from the face. If you air-dry, they can still fall in a flattering way, though they’ll be less dramatic.
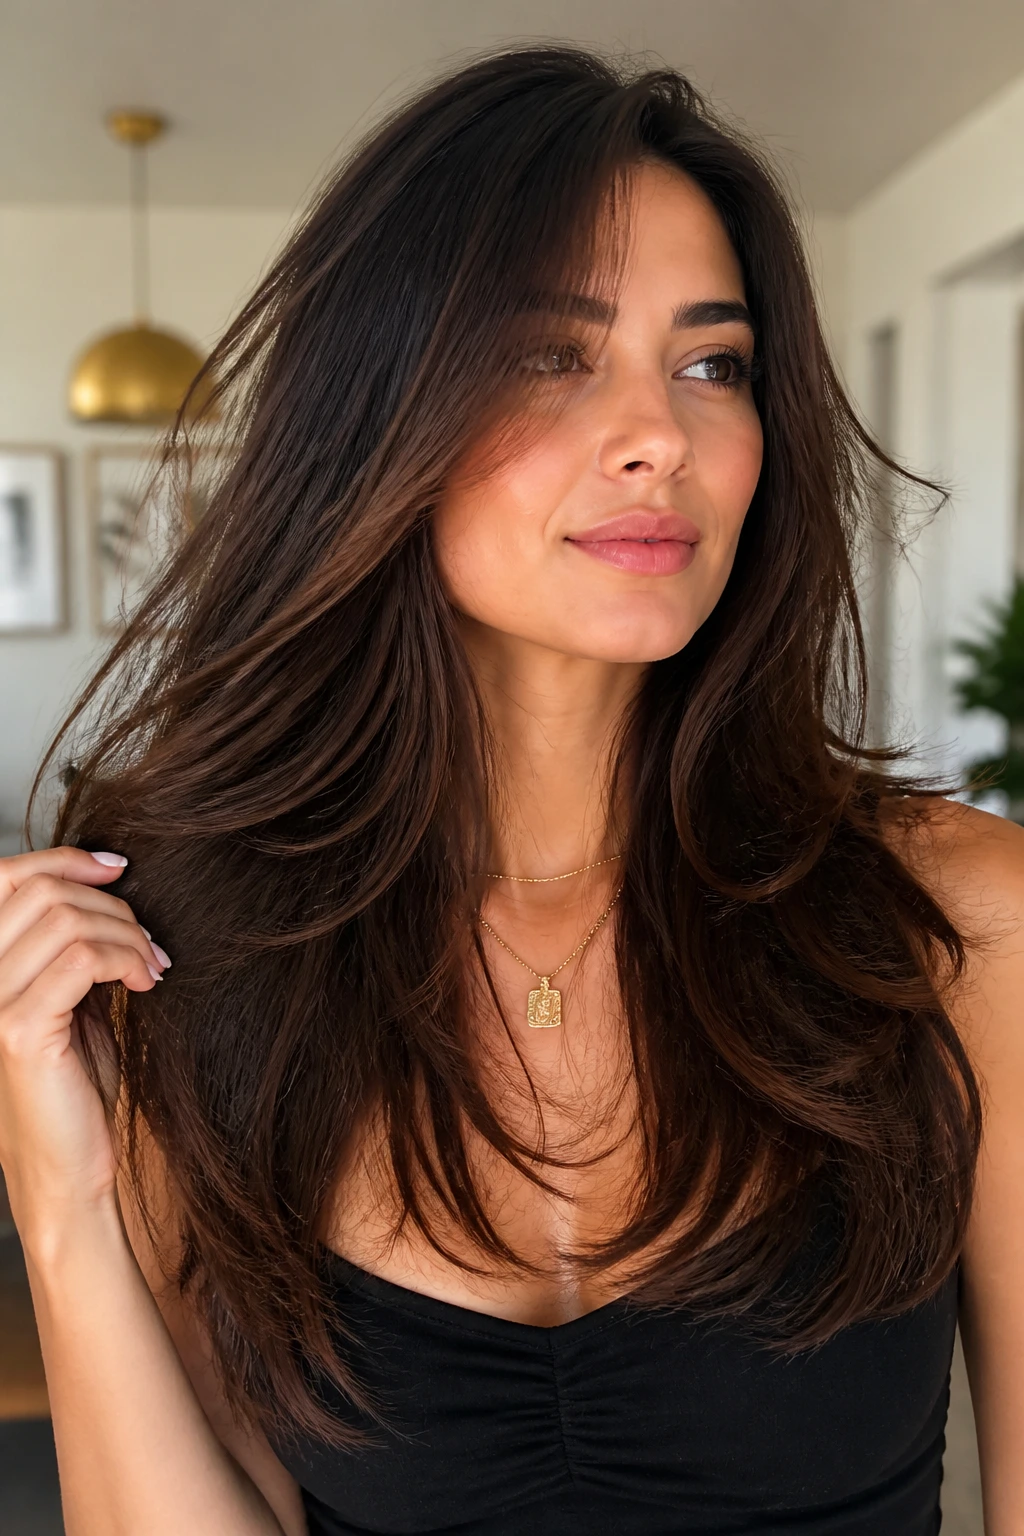
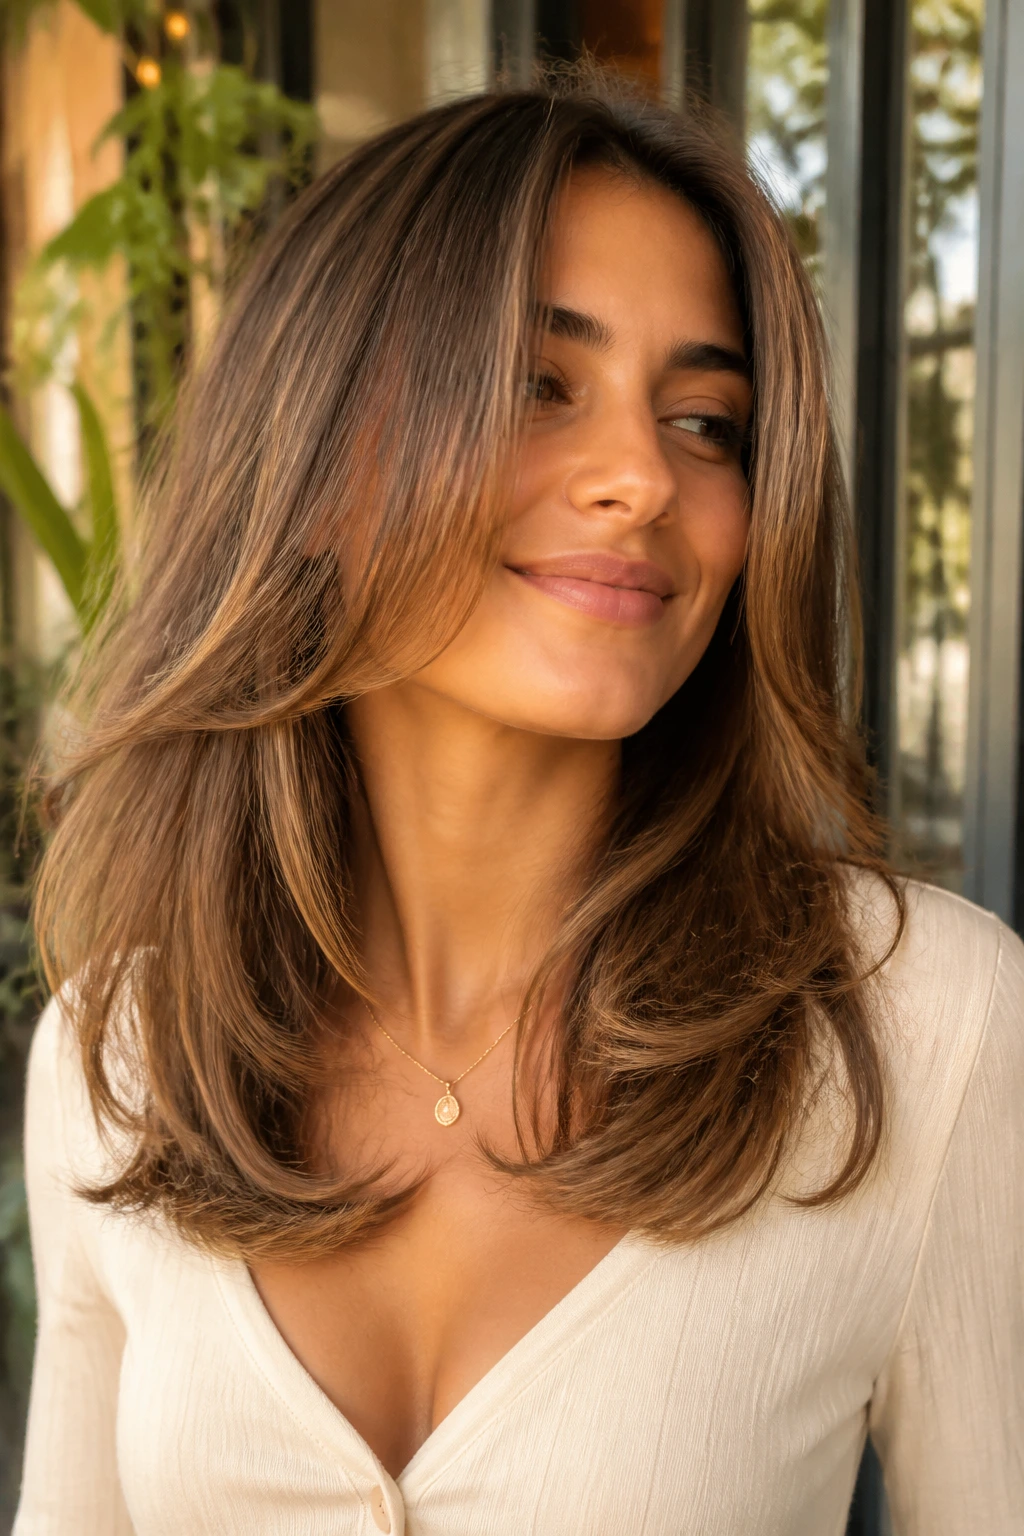
5. Collarbone Waterfall Layers for Soft Movement
Collarbone-start layers are one of those shapes that look expensive without trying too hard. The front pieces skim the collarbone, then continue into longer strands that spill down the front. On thick hair, that waterfall effect stops the front from becoming a heavy block under the cheekbones.
This cut is especially good if you like hair that moves when you walk. The collarbone is a useful landing point because it gives the layer enough length to bend, but not so much length that the front disappears into the rest of the hair. You get shape at the neckline and softness around the face.
It’s a smart choice for wavy hair that tends to balloon if it’s cut too short. The weight stays under control, and the front pieces have enough length to behave.
6. Rounded U-Shape Layers That Keep the Perimeter Full
A U-shape sounds old-school, but on thick hair it’s still one of the smartest outlines around. The back stays slightly longer, the sides sweep up just enough to round the shape, and the front layers can be tucked into that curve so the whole cut feels soft instead of boxy.
The big advantage here is balance. Thick hair often looks massive when cut straight across, especially if it’s all one length. A U-shape eases that visual weight without sacrificing the dense, healthy ends that make long hair look good in the first place.
This is one of my favorites for people who want hair that air-dries into a shape rather than needing a full blowout. It won’t do all the work for you, but it gives the hair a better starting point.
7. Feathered Blowout Layers With Flipped Ends
Feathered layers are for people who like a proper blowout. The front pieces are cut and styled so they flick away from the face with a little bend at the ends, the kind that makes thick hair feel lighter the second a round brush touches it. Done well, it looks smooth, not overworked.
The feathering matters because thick hair can take a lot of heat and still hold a clean line. A stylist can soften the edges with point cutting so the ends don’t stack up. That gives you movement without the frayed look that sometimes happens when thick hair is over-thinned.
If you like a salon finish, this one gives you a real payoff. It does ask for styling. That’s the trade-off. But the shape is worth it.
8. Razor-Soft Layers for Dense, Straight Hair
Razor work gets tricky on thick hair, and I’m picky about it. Used lightly and with skill, it can soften a dense straight cut so the front doesn’t sit like a hard shelf. Used badly, it turns the ends fuzzy and angry. There’s no way around that.
When it’s done right, razor-soft layers give straight thick hair a little slip at the face and a less bulky edge at the bottom. The cut looks airy, but not thin. That distinction matters. You want the hair to move, not collapse.
This style suits people who love sleek hair but hate the heaviness that comes with one-length bluntness. Ask for a controlled razor finish, not aggressive thinning. Those are not the same thing, and your ends will know the difference.
9. Deep Side-Part Face-Framing Layers With Sweep and Bend
A deep side part changes the whole personality of long layers. Instead of falling symmetrically, the front sweeps across the forehead and cheek before dropping into the length. Thick hair handles that asymmetry well because the density keeps the shape from falling flat.
The side part adds lift at the crown and softens strong jawlines at the same time. It’s also a nice fix if your face feels too wide with a middle part. You get a little drama without cutting the hair short enough to lose the weight in the back.
Best for
- Hair that looks flat through the top but heavy through the ends
- Round, square, or heart-shaped faces
- Blow-dried styles that need a clear direction
A quick note: if you constantly part your hair in the same place, ask the stylist to cut the front around that part. Thick hair remembers the habit.
10. Bottleneck Bangs Paired With Long Layers
Bottleneck bangs are the nice middle ground between fringe and face-framing layers. They start narrower near the center of the forehead, then widen as they reach the cheekbones, so the cut blends into the rest of the hair instead of looking pasted on. On thick hair, that shape keeps the front from feeling too heavy.
The long layers behind the bangs matter. Without them, the fringe can look like a separate unit, and thick hair likes a better connection between the front and the length. The layers help the bangs flow into the rest of the haircut.
This is a good choice if you want face framing but don’t want full curtain bangs in your eyes every day. It gives a softer, more wearable frame, especially if you wear glasses or spend a lot of time pushing hair back.
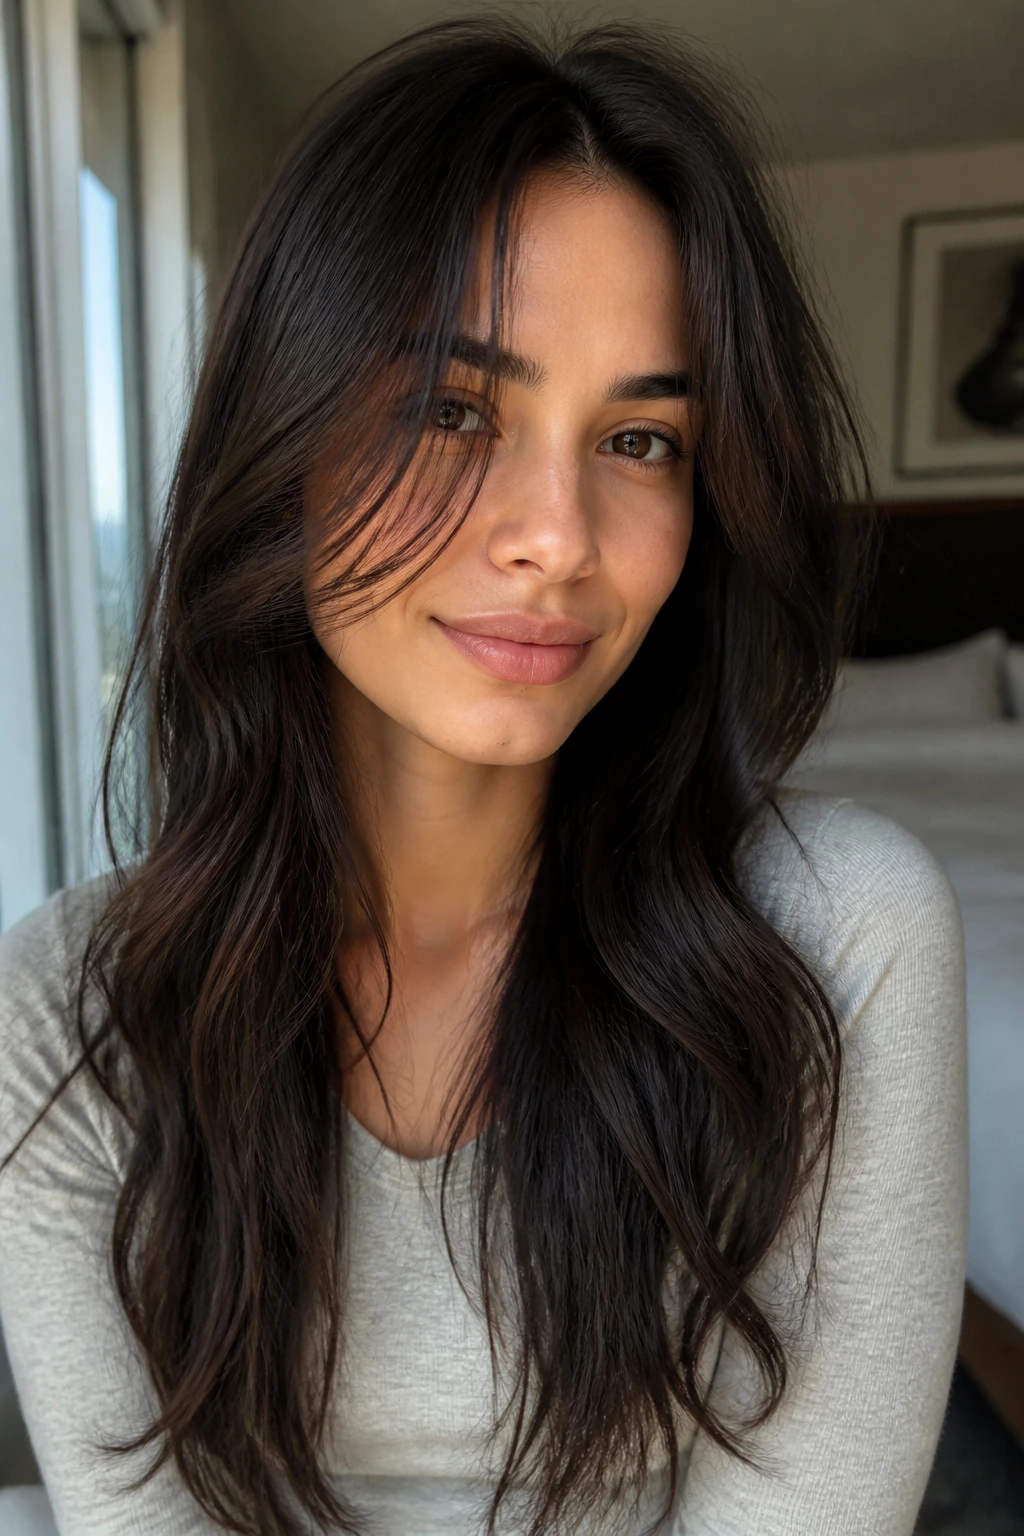
11. Wavy Front Pieces That Fall in an S-Curve
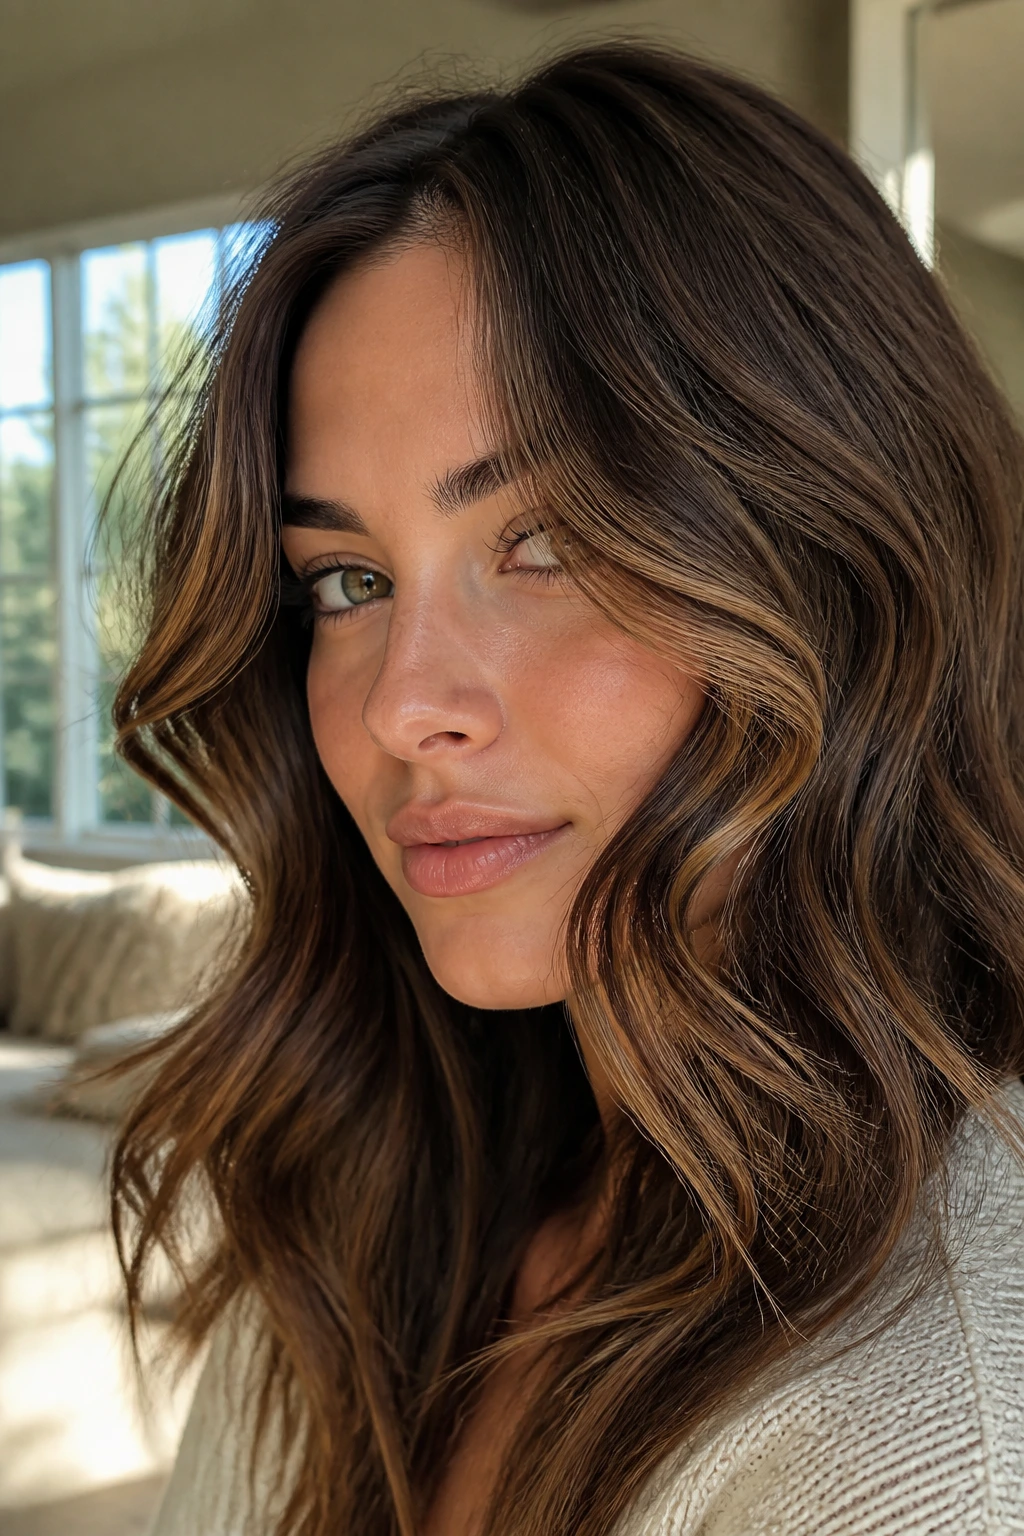
Thick wavy hair often needs front pieces that encourage the wave instead of fighting it. An S-curve frame does exactly that. The hair bends near the cheek, then curves again near the jaw or collarbone, which gives the front a natural shape that feels almost built in.
This cut is a favorite when the hair has body but no obvious direction. The S-shape helps the wave read as intentional, not messy. It also stops the front from bunching in one place and making the face look swallowed.
If your waves puff at the ends, keep the front layers long enough to bend under their own weight. That extra inch or two makes a surprising difference.
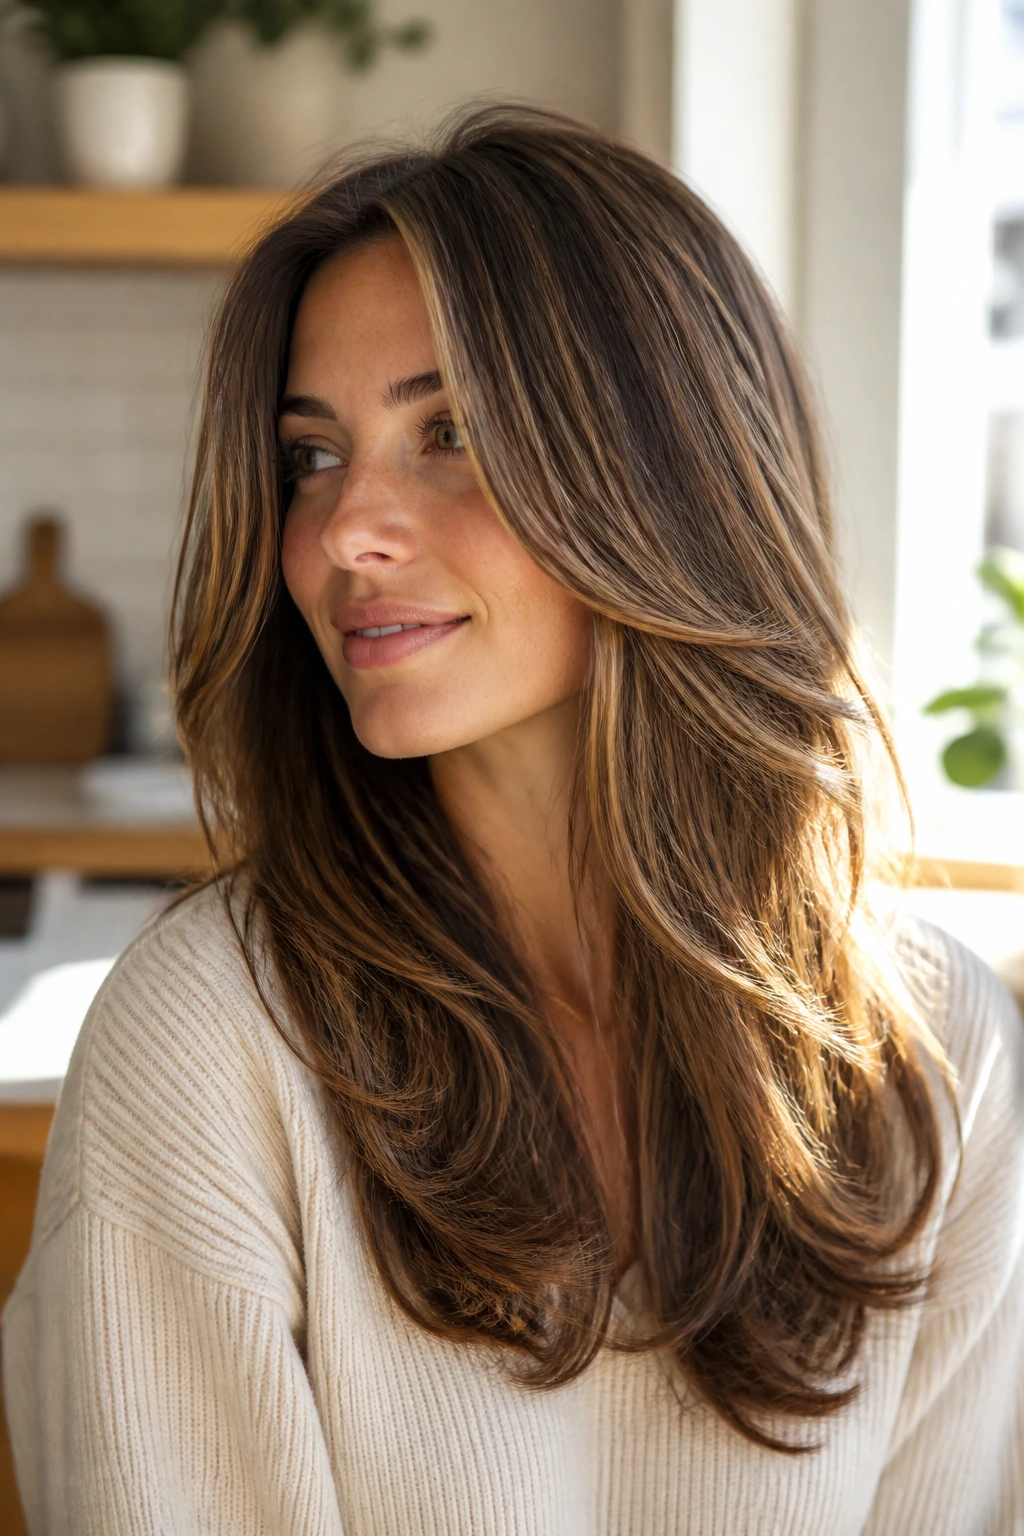
12. Money Piece Layers That Put Brightness at the Face
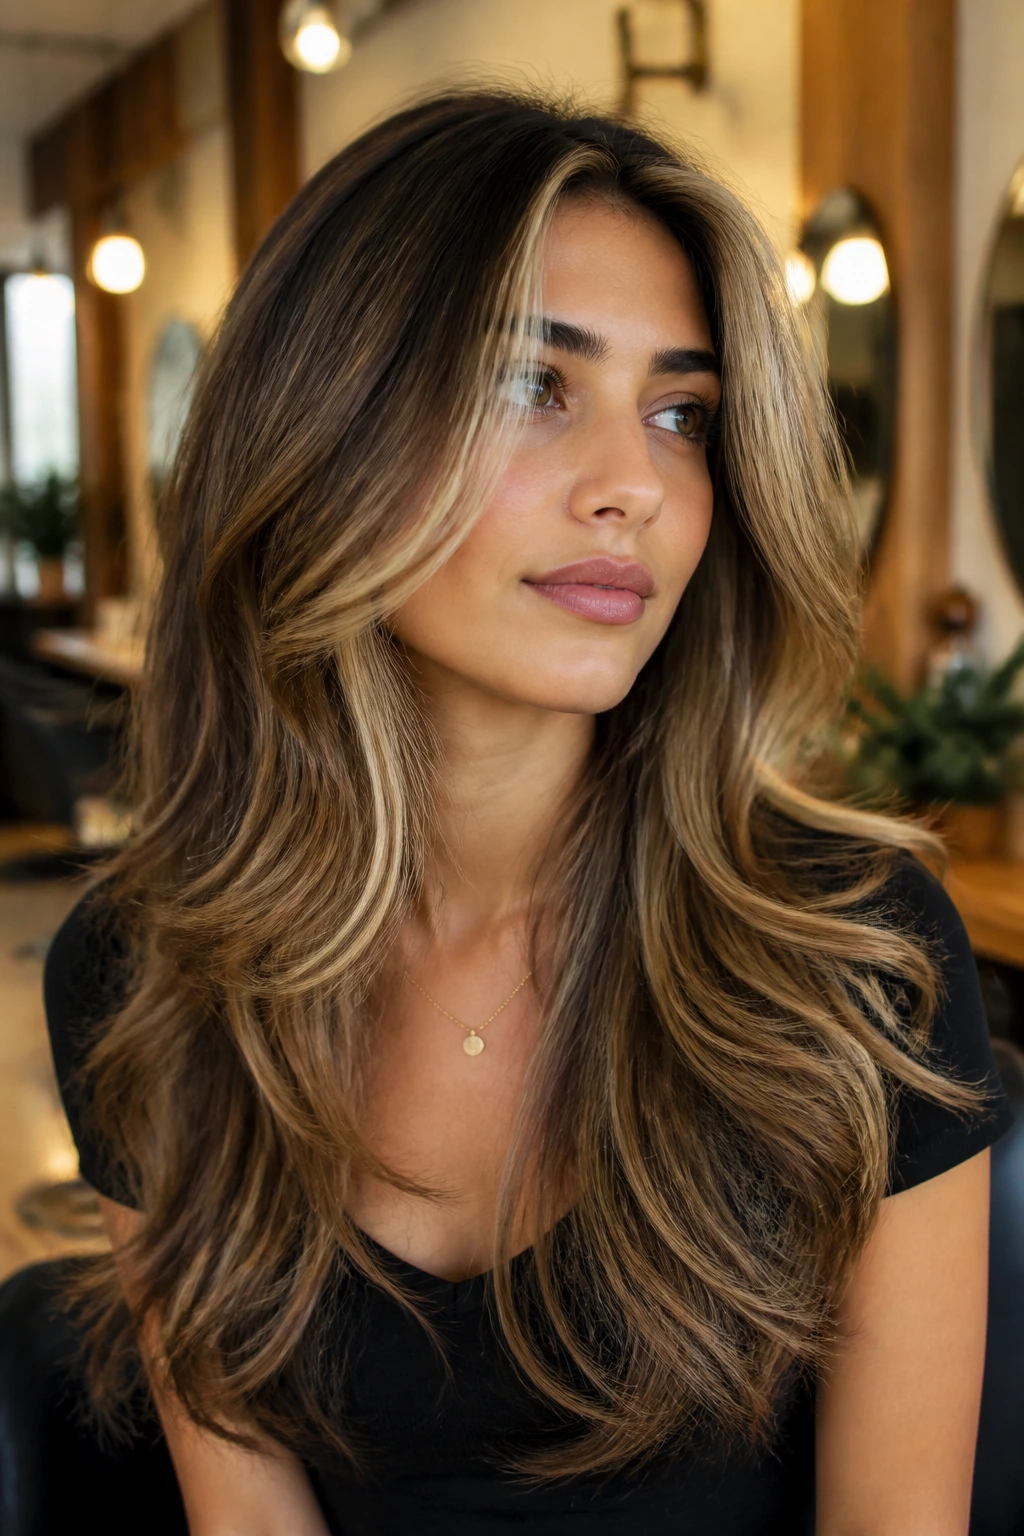
Money pieces get talked about so much that people sometimes forget the cut underneath still matters. On thick hair, brighter front strands look best when they’re paired with soft long layers, because the light color needs movement to keep it from reading stripey.
The cut here should stay long enough that the highlighted front pieces blend into the rest of the hair, not drop off like ribbons. You’re aiming for brightness around the face, not a pair of disconnected streaks. That means the shortest layer often lands at the cheekbone or just below.
This is a good option if your hair color is dark or monochrome and you want the face frame to do more than shape the cut. The light catches those front pieces first, which can make the whole style feel fresher with minimal effort.
13. Crown-Lift Layers That Stop the Top From Falling Flat
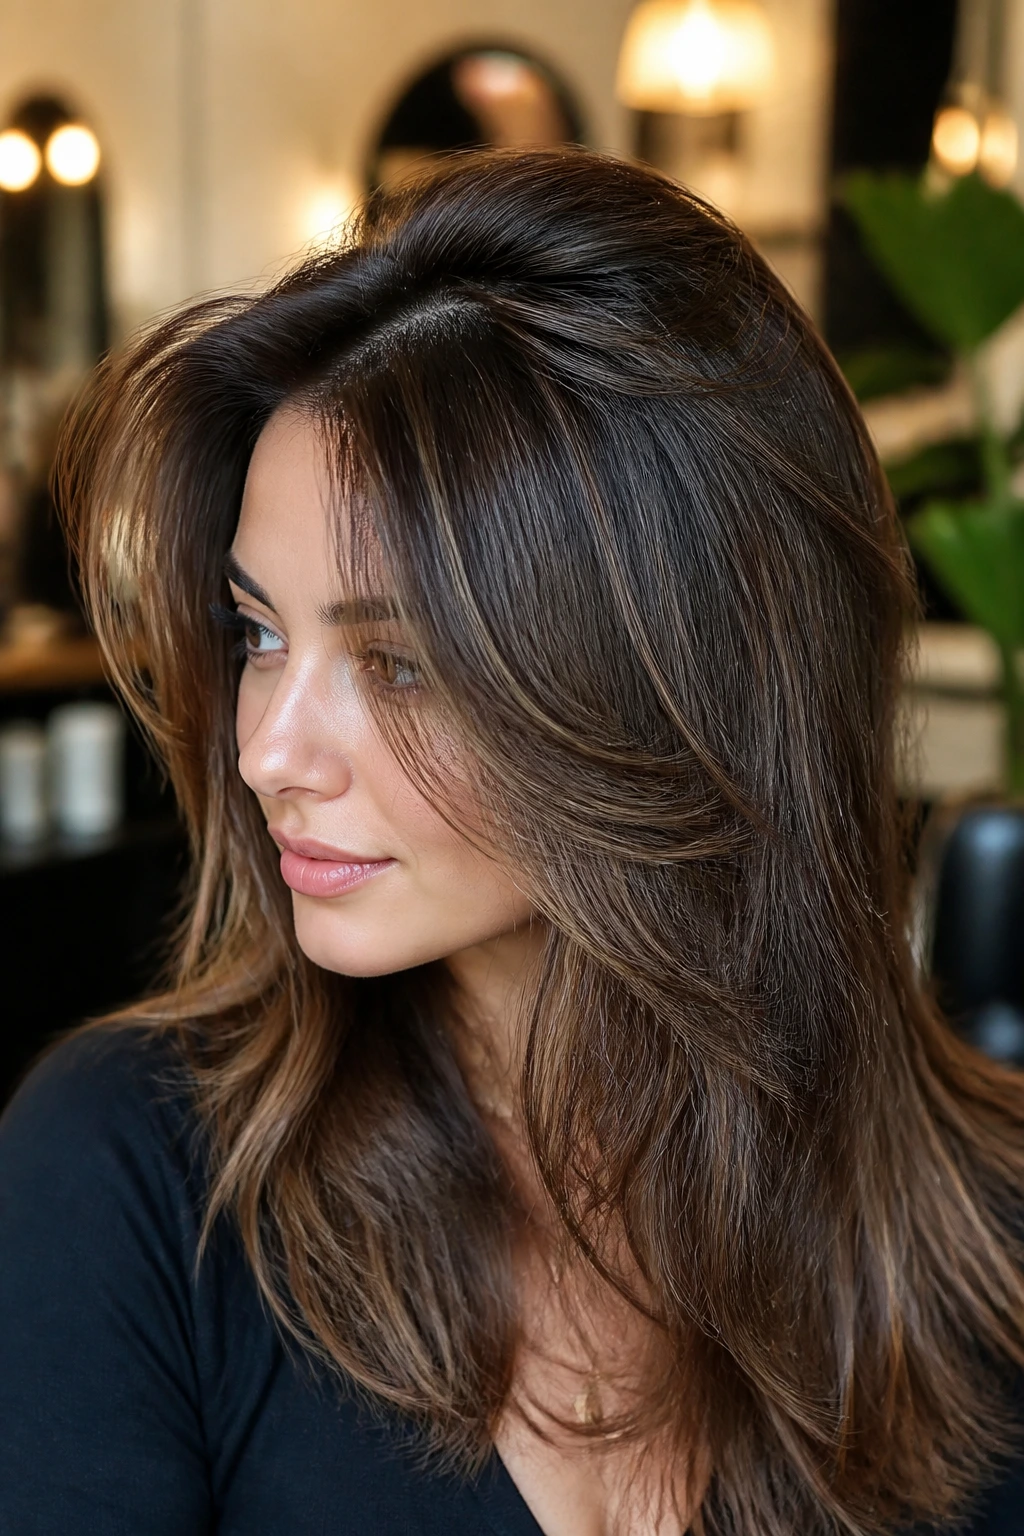
Heavy hair can have a strange problem: the ends are massive, but the crown lies limp. Crown-lift layers solve that by shortening a few internal layers near the top so the head shape reads better from above and from the side. It’s less about drama and more about balance.
I like this approach when the front looks good but the top sinks after an hour. Thick hair can weigh itself down, especially if the bulk sits low. Crown layers take some of that burden off without making the cut choppy.
If you wear your hair down most days, this can be the difference between “just hair” and “hair with shape.” It’s especially useful if you blow-dry only the roots and leave the rest to air-dry.
14. Soft Shag Layers With Long Length Left Intact

A shag-inspired cut doesn’t have to mean short, messy hair. On thick hair, a long shag keeps the length, adds airy texture around the face, and removes enough weight that the hair no longer sits as one heavy sheet. It’s a good option if you like a bit of attitude in the shape.
The front pieces are the story here. They should feel broken up, not blunt, but not so chopped that they stick out. Thick hair can make a shag look too full if the layers are too round or too short, so the best version stays long enough to move.
This cut works especially well if you style with texture spray or a diffuser. It rewards a little bit of mess. Too much polishing can fight the point.
15. Blunt Ends With Floating Face Framing
Sometimes the smartest move is to keep the ends blunt and let the front pieces do the work. Thick hair often looks lush with a heavy perimeter, and if you thin the ends too much, the cut loses that dense, expensive look. Floating front layers add movement without disturbing the line.
That contrast is what makes this cut interesting. The outline stays strong. The face frame goes soft. It feels modern without leaning too hard into trend language, and it grows out in a steady way because the base remains solid.
If your hair is naturally thick but not super coarse, this is a nice compromise. You get motion near the face, where you see it most, and structure at the hem, where thick hair usually looks best.
16. Curly Face-Framing Layers That Follow the Coil Pattern
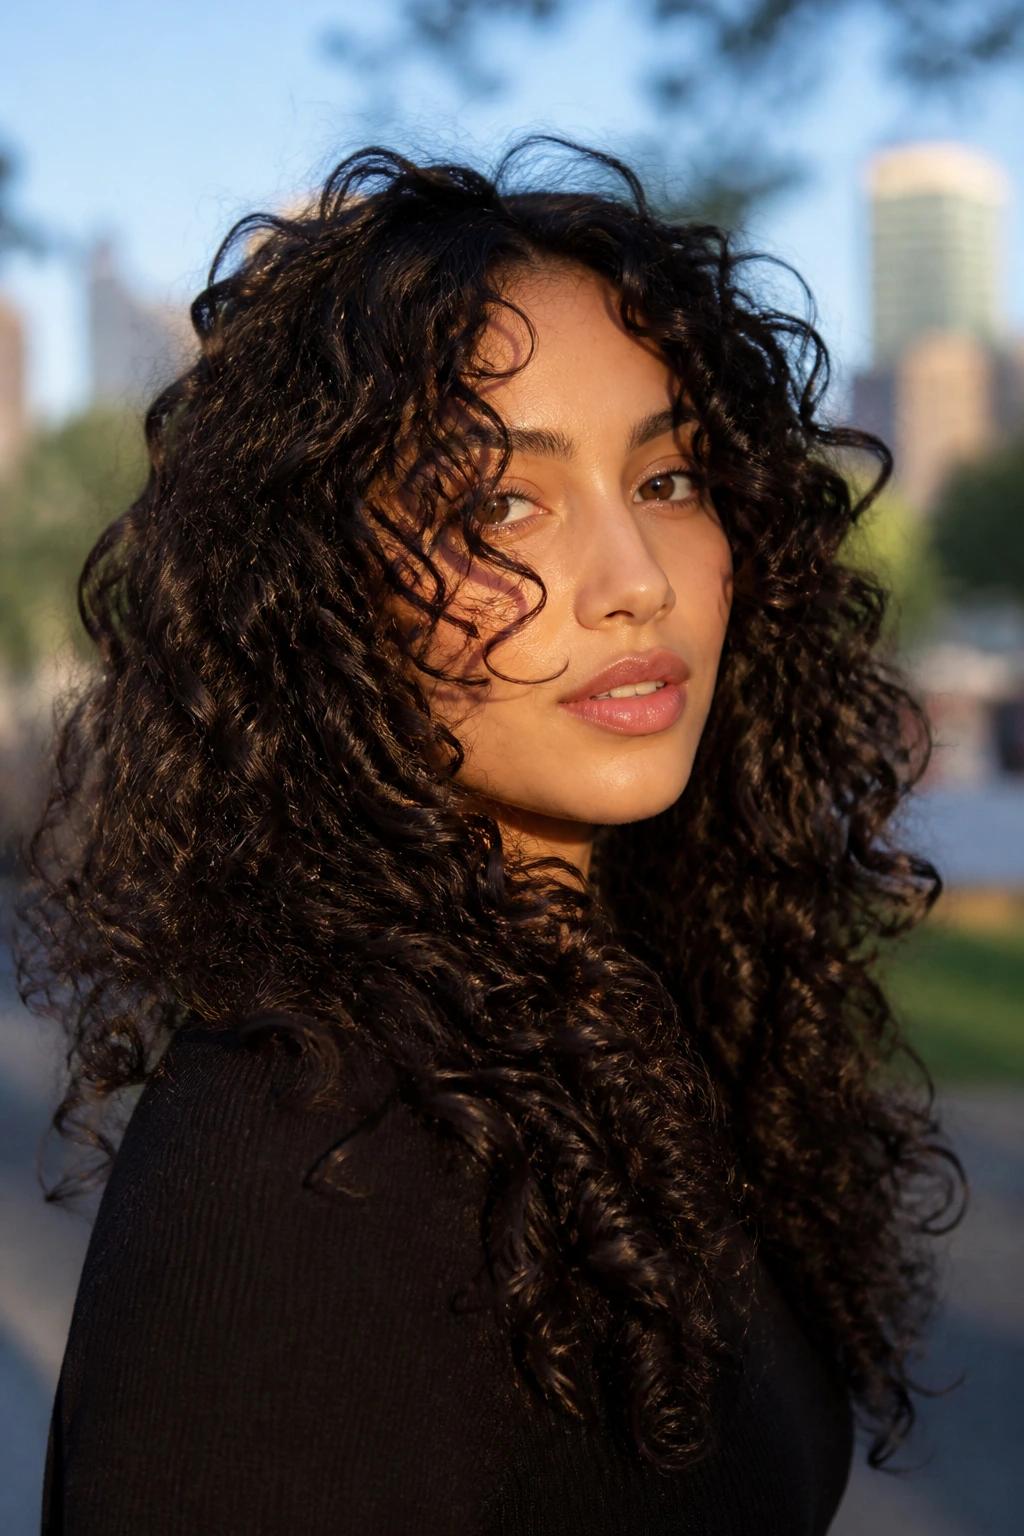
Curly thick hair has its own logic. Cutting it straight across while wet can leave you with a front that springs up too short or hangs too long once it dries. The better approach is to shape the face frame around the curl pattern, often with dry cutting or careful curl-by-curl work.
The shortest pieces should respect shrinkage. That part matters more than any trend. If your curls bounce up 2 inches, the cut has to account for that or the front will sit much higher than you expected. Thick curls also need enough length in the layers to keep the shape from puffing out.
This is one of the few cuts where the stylist’s hands matter more than the photo. A good curly face frame looks different wet and dry, and that’s normal.
17. Jaw-Opening Layers for Round or Full Cheeks

If you want the face to look a little longer and a little sharper, jaw-opening layers do the job. These start around the jawline or just above it, then angle down through the length so the front doesn’t sit right on top of the cheeks. Thick hair gives this shape some real muscle.
The effect is clean. The hair moves away from the center of the face instead of building a wall beside it. That makes this cut especially useful for round faces, fuller cheeks, or anyone whose hair tends to widen the face in photos.
I’d pair this with a center or slightly off-center part. The line down the middle helps the layers fall in a frame rather than a flap.
18. Tapered Ends for a Sleeker, Tailored Finish
Tapered ends are for thick hair that feels too blunt even after the layers are added. The cut gradually narrows toward the bottom, so the overall shape feels tailored instead of boxy. You still have length. You just don’t have a hard edge.
This is a good route if you like polished hair and don’t want the ends to look chopped. Thick hair can handle tapering better than fine hair because there’s enough density left to keep the perimeter full. The cut reads clean from across the room.
It’s also a nice solution for people who wear hair straight most of the time. The taper keeps the finish smooth, and the face frame has room to breathe.
19. Glasses-Friendly Long Layers That Stay Out of the Frames

If you wear glasses, the wrong face frame can sit right on the arms and make you want to push hair back all day. A glasses-friendly cut keeps the shortest front pieces below the top of the frame or bends them around it, so the hair and glasses stop fighting each other.
Thick hair is useful here because it can hold a shape beside the face without collapsing. The trick is length control. Too short and the layers bounce into the frames. Too long and the glasses disappear into the hair again.
I’d ask your stylist to show you where the front pieces will land once the hair is dry and the frames are on. That one detail saves a lot of annoyance later.
20. Grow-Out-Friendly Layers With a Low First Step
Some cuts look lovely on day one and then turn awkward by week six. This is not one of them. A low first step means the shortest layer starts well below the chin, so the face frame stays soft as it grows and the front doesn’t lose shape all at once.
This version suits people who can’t live at the salon every eight weeks. Thick hair grows in with enough body to keep a low layer visible, so you still get movement even when the cut is getting older. The shape just turns gentler.
Best if you want less maintenance
- The shortest front piece should sit around the chin or lower
- The layers should blend rather than jump
- The perimeter should stay strong enough to carry the length
It’s a calm cut. That’s not a bad thing.
21. Volume-Saving Layers for Hair That Mushrooms Out
Some thick hair gets bigger, not better, when layers are added carelessly. If the top lifts too much and the sides fan out, you end up with a mushroom shape. Volume-saving layers are the antidote. They remove weight under the surface while keeping the visible outline controlled.
The goal here is not to chase fluff. It’s to stop the hair from expanding outward at the widest part of the head. That usually means longer face-framing pieces, internal thinning in select zones, and a perimeter that stays heavier than you might expect.
This is a cut for people who’ve had too many “I thinned it out” haircuts that somehow made the hair look bigger. Been there. A good stylist knows the difference between removing bulk and just making holes.
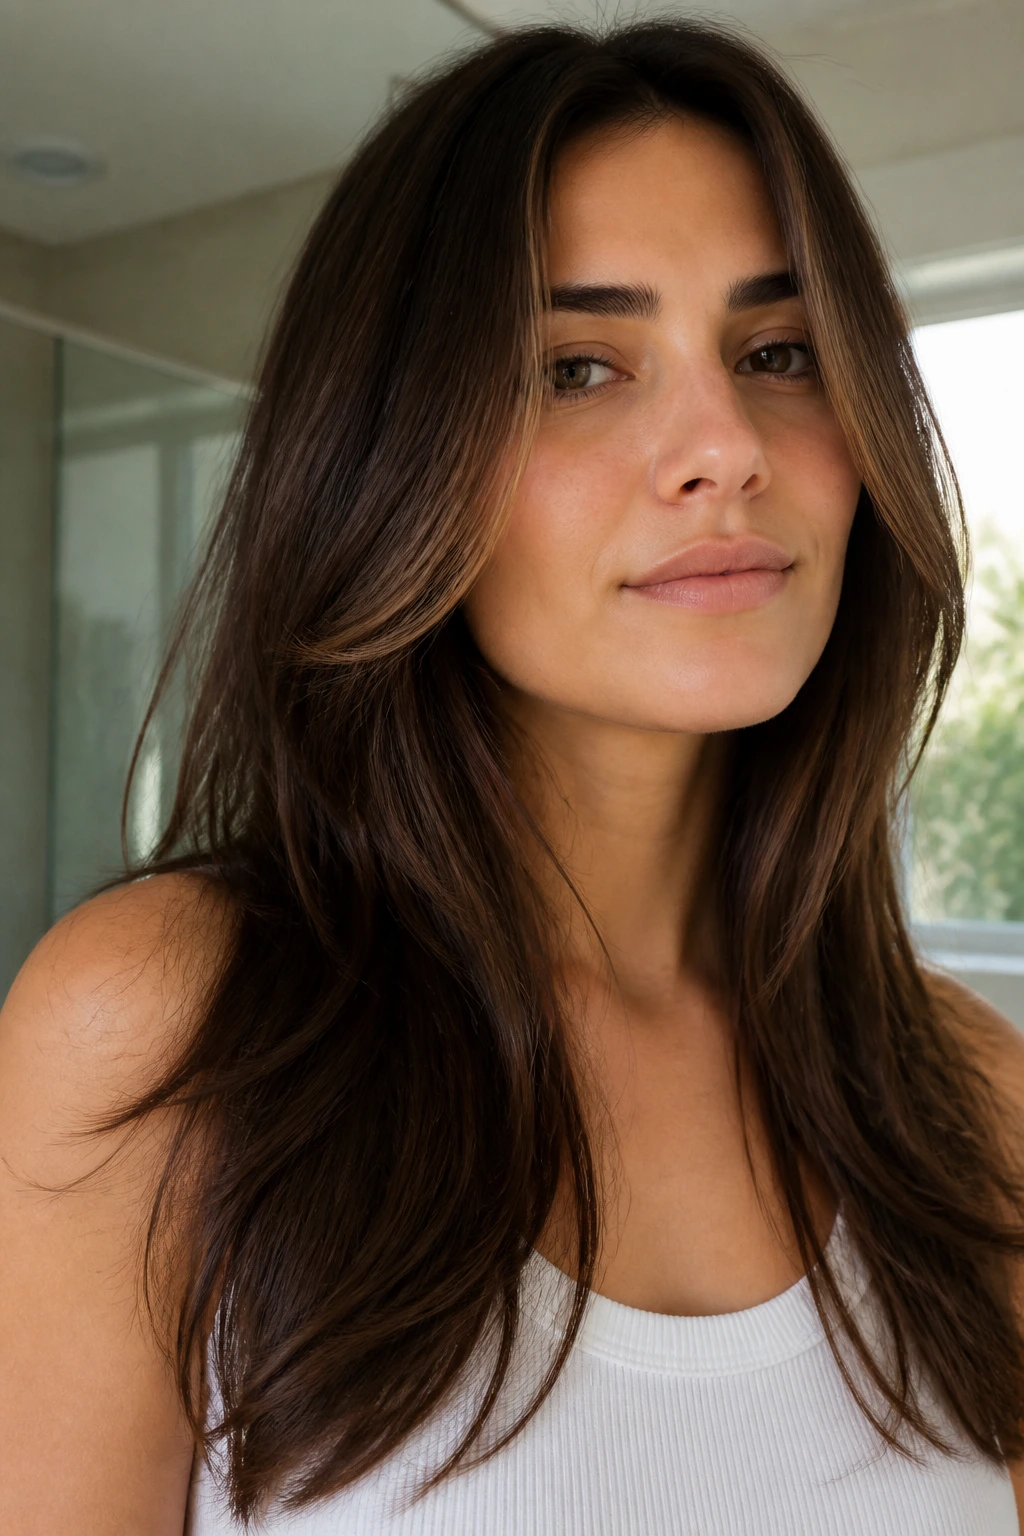
22. Long Face-Framing Layers That Air-Dry Cleanly
Some styles need a brush. This one is for people who want the front to fall into place with a little scrunching and not much else. The layers are long enough to bend with the natural wave or slight kink in thick hair, so the shape survives a lazy morning.
The cut works because it doesn’t depend on precision styling to make sense. The front pieces still frame the face when the hair is damp, and once dry they usually settle into a soft bend instead of sticking straight out. That’s worth something.
If you live in air-dry land, ask for layers that start lower and blend gently into the length. Thick hair usually needs that extra length to behave without a blowout.
Why Long Face-Framing Layers Work So Well on Thick Hair
Thick hair has a problem that fine hair people sometimes envy: too much of a good thing. There’s enough density to build a dramatic shape, but that same density can swallow your features if the haircut stays blunt from root to end. Long face-framing layers break the wall.
The most useful thing they do is shift weight. Hair is heavy, literally. If all the weight sits around the jaw and shoulders, the cut looks square. If some of that weight is removed from the front and upper layers, the hair starts to bend inward and the face gets room. That small change can make a haircut feel more expensive and less helmet-like.
They also give you flexibility. Thick hair can hold a styled bend, but it can also air-dry into a decent shape if the layers are placed well. That’s why this style works on straight hair, waves, loose curls, and even tighter textures when the haircut respects the shrinkage pattern. The cut does not force one finish. It gives you options.
How to Explain the Cut to a Stylist Without Waffling
“Face-framing layers” is a decent start. It is not enough. Thick hair rewards specifics, because the difference between a chin-length frame and a collarbone-length frame can be dramatic once the scissors come out. Say where you want the shortest piece to land. Say whether you want the front to open the face or just soften it.
Bring photos, but bring the right photos. A picture of someone with fine hair and a blown-out style can be misleading if your hair is twice as dense and air-dries with a wave. What you want to show is the shape: where the front begins, how much weight stays at the bottom, and whether the layers look feathery or solid.
Useful things to say at the chair
- “I want the shortest face-framing piece to hit at the cheekbone/chin/collarbone.”
- “Please keep the perimeter full.”
- “I want movement, not heavy thinning.”
- “Can you remove bulk inside the length instead of slicing up the whole outline?”
And if you know your hair tends to poof out, say that plainly. Stylists hear it all day. It saves everyone time.
Tools and Products That Help the Shape Last
You do not need a giant arsenal, but a few things make a thick-hair face frame behave much better.
-
A blow dryer with a nozzle: The nozzle matters because it points the air down the hair shaft and keeps the front smoother while you direct the layer away from the face.
-
A medium round brush: This is the sweet spot for cheekbone and chin-length pieces. Too small and the hair gets too bouncy; too large and you lose bend.
-
Sectioning clips: Thick hair grabs your patience. Clips keep the front pieces separate while you work on the rest.
-
Heat protectant: Use it before any hot-tool styling. Thick hair can take heat better than fine hair, but that does not mean it should.
-
Light mousse or root lift spray: Helpful if the crown collapses and the front layers need a little structure to hold their shape.
-
Texturizing cream or light wax: Good for piecey front layers or curls that need definition without crunch.
-
A diffuser: If your hair is wavy or curly, this is the difference between controlled bend and frizzed-out volume.
-
Wide-tooth comb or detangling brush: Thick hair knots where the face frame starts moving around. Keep it gentle.
Practical Styling Moves That Keep Thick Hair Moving
The simplest rule is also the one people skip: dry the roots first, then shape the front. If you start with the ends, thick hair will cool into whatever direction it wants, and that is usually not the direction you wanted. A little root lift changes the whole front.
For blowouts, direct the front pieces away from the face, then let them cool over the brush before you touch them again. Cooling sets the bend. Heat without cooling is half a style. If you are curling the face frame, wrap the hair away from the face for the most open look, and leave the ends out if you want a softer finish.
Air-dry styles need less fuss than people think. Scrunch a small amount of cream or mousse into damp lengths, twist the front sections once or twice, and leave them alone. Thicker hair can get frizzy if you keep re-touching it while it dries. Annoying, but true.
Additional Tips for Making Thick Hair Cooperate
Shape First, Texture Second: Get the cut right before you chase product. A bad layer placement will not be fixed by more cream, more spray, or more ironing.
Cost-Saver: Ask for the first face-framing layer to start a little longer if you can’t get frequent trims. It grows out better and buys you a few extra weeks.
Pro Move: If your hair puffs at the sides, have the stylist remove weight just behind the front frame instead of slicing the visible pieces shorter. That keeps the outline clean.
Low-Effort Finish: A tiny bend at the ends is enough. You do not need a full curl unless you want one. Thick hair already has presence.
Best Shortcut: If morning styling is limited to five minutes, choose a cut with a lower face frame and a strong perimeter. It will forgive a rough blow-dry better than a very short, highly layered shape.
Common Mistakes That Make Face Framing Go Wrong
-
Starting the shortest layer too high: If the first piece starts near the temple on thick hair, the sides can explode outward. The fix is to begin lower, around the cheekbone or chin, unless you want a very dramatic frame.
-
Over-thinning the ends: Thick hair does need weight removed, but not from everywhere. If the ends get too sparse, the cut loses its body and starts looking frayed.
-
Ignoring the way your hair dries: Wet hair can lie. If your hair expands as it dries, the cut has to account for that. Otherwise the layers will sit higher and wider than expected.
-
Using the wrong styling size: Tiny curling irons can make thick hair look puffy and overdone. A 1.25-inch barrel or a medium round brush usually gives a softer bend.
-
Chasing too many short pieces: A few face-framing layers are enough. Too many short bits around the face can make thick hair feel busy instead of shaped.
-
Leaving the crown untouched: If the top is heavy, the whole head can still feel flat or boxy. A good face frame often needs a little internal lift too.
Variations and Alternatives Worth Asking For
The Soft Curtain Version: This keeps the front pieces long and centered, with the shortest point near the cheekbone. It’s the easiest version to live with if you want movement without a bold change.
The Jawline Lift Version: Here the front starts a little shorter and angles past the jaw. It gives more shape around the face and works well when thick hair makes the lower half look too wide.
The Curly Shape-Respecting Version: Best for thick curls and coils. The cut follows the curl pattern dry, so the front frame doesn’t spring up into a surprise fringe once it’s washed.
The Glasses-Friendly Version: The layers are kept just below the frame line so they don’t keep catching on your glasses arms. It sounds small. It isn’t. Daily annoyance disappears fast.
The Minimal-Change Version: Keep the length, keep the outline strong, and just add long front pieces plus a few hidden layers inside. This is the route for people who want less bulk but hate looking “layered.”
How to Keep the Shape Between Haircuts
Thick hair can stretch a haircut longer than fine hair can, but the face frame still needs occasional cleanup. Most people will want a trim every 8 to 12 weeks if the shortest pieces start falling into the eyes or getting lost in the rest of the length. If you wear shorter front pieces, that trim window gets shorter.
Wash day matters too. Heavy conditioners near the roots can flatten the top and make the front frame hang too close to the face. Keep richer conditioner from the ears down, and use lighter products near the frame if your hair gets greasy fast. A small detail. Big difference.
If your cut starts to feel wide, don’t panic and chop at home. Thick hair can often be revived with a small adjustment in the front or a bit of internal weight removal. The shape usually needs tuning, not a rescue mission.
Frequently Asked Questions
Will long face-framing layers make my thick hair look thinner?
Not if they’re cut well. The point is to remove bulk in the right places, not to strip density out of the whole head. Thick hair still looks full; it just moves more.
Should thick hair be cut wet or dry?
Either can work, but dry cutting is often safer when the hair has a lot of wave or curl. Wet hair stretches and lies flatter, so a dry cut helps the stylist see the true shape and shrinkage.
How short should the first face-framing layer be?
For most thick hair, cheekbone, chin, or collarbone are the useful landmarks. Shorter than that can work, but it gets more dramatic fast and usually asks for more styling.
Do these layers work with a middle part?
Yes, and a middle part often shows the shape best. A side part can add extra lift and softness, though, so it depends on the effect you want.
What if my layers puff out at the sides?
That usually means the shortest pieces were cut too high or too blunt, or the hair needs weight removed inside the length instead of around the edge. A stylist can often fix it with a small reshape rather than a full haircut.
Can I get face-framing layers if I wear my hair in a ponytail a lot?
Absolutely, but keep the front pieces long enough to tuck back cleanly. If they’re too short, they’ll stick out around the hair tie and annoy you every time.
Are these styles good for curly thick hair?
Yes, but the cut should respect shrinkage and curl pattern. A curly face frame cut wet like straight hair will usually land wrong once it dries.
How often should I refresh the cut?
Every 8 to 12 weeks is a solid range for most thick hair, with shorter front pieces needing a touch-up sooner. If the face frame starts disappearing, it’s time.
The Shape That Makes Thick Hair Easier to Wear
Thick hair gets called “lucky” a lot, and that word misses the part where the haircut has to do some real work. Long face-framing layers are the work. They stop the front from sitting like a wall, keep the length intact, and let the hair bend instead of just occupy space.
The best version is the one that matches how you actually wear your hair. Air-dried, brushed out, curled, tucked behind glasses, tossed in a clip at lunch — all of that matters. Pick the frame that fits the way you live, not the way a photo looks for five seconds after a blowout.
And if you’ve been living with thick hair that feels heavier than it should, start with one small move: shift the shortest layer lower than you think, keep the perimeter full, and let the front pieces do the shaping. That’s where the good cuts live.