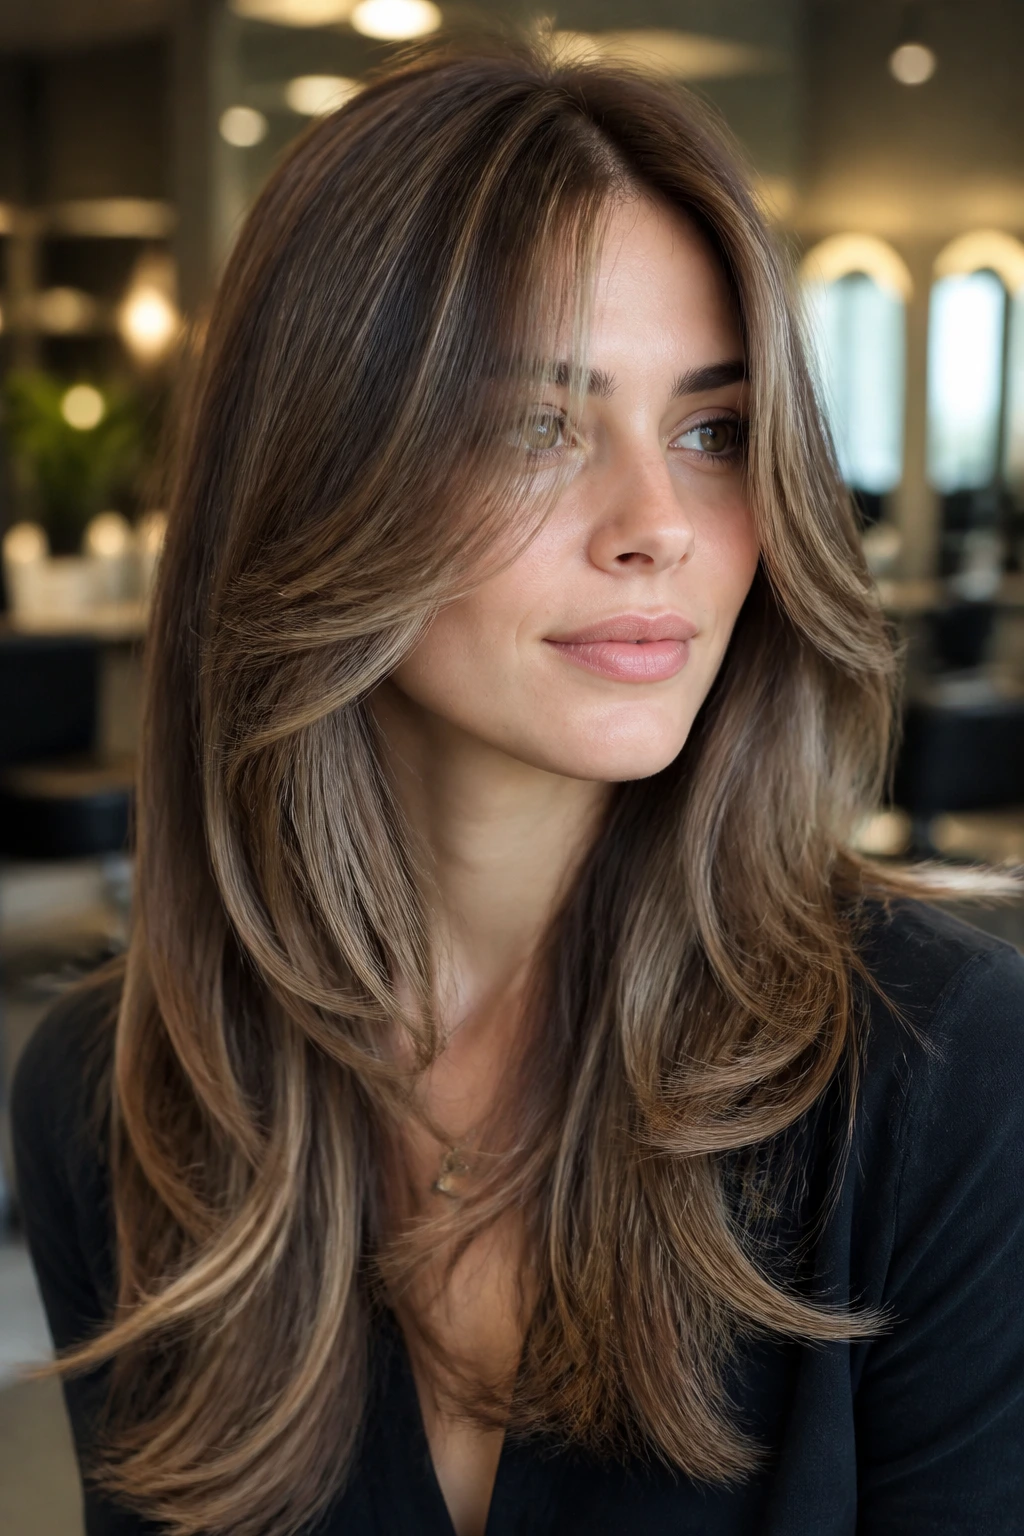
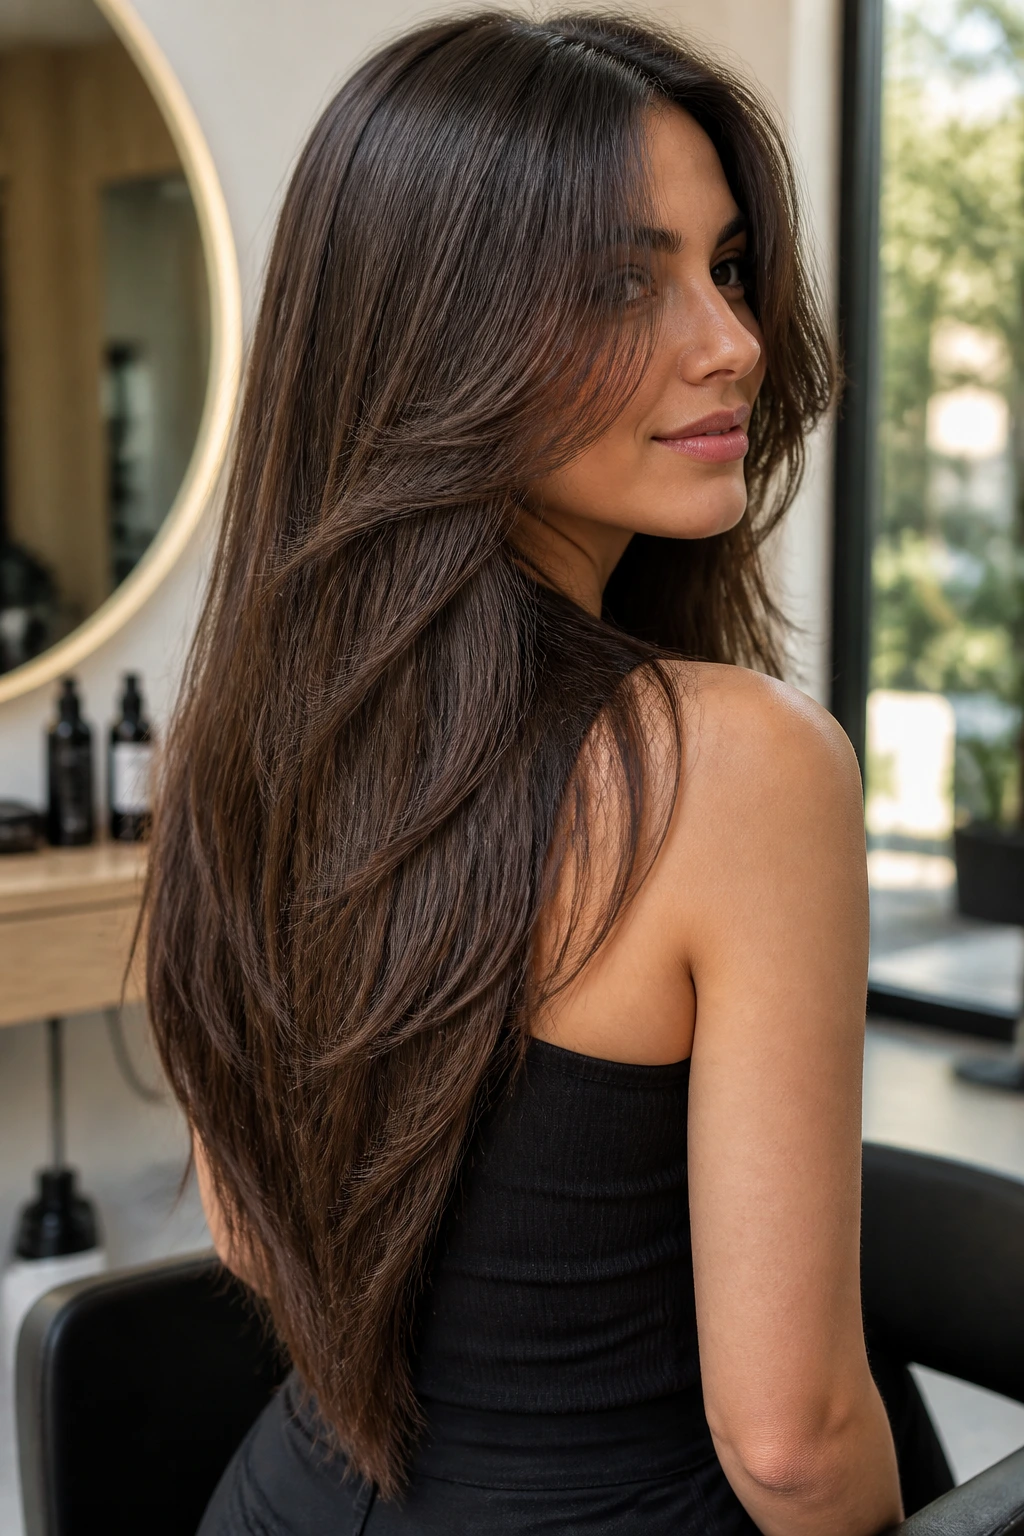
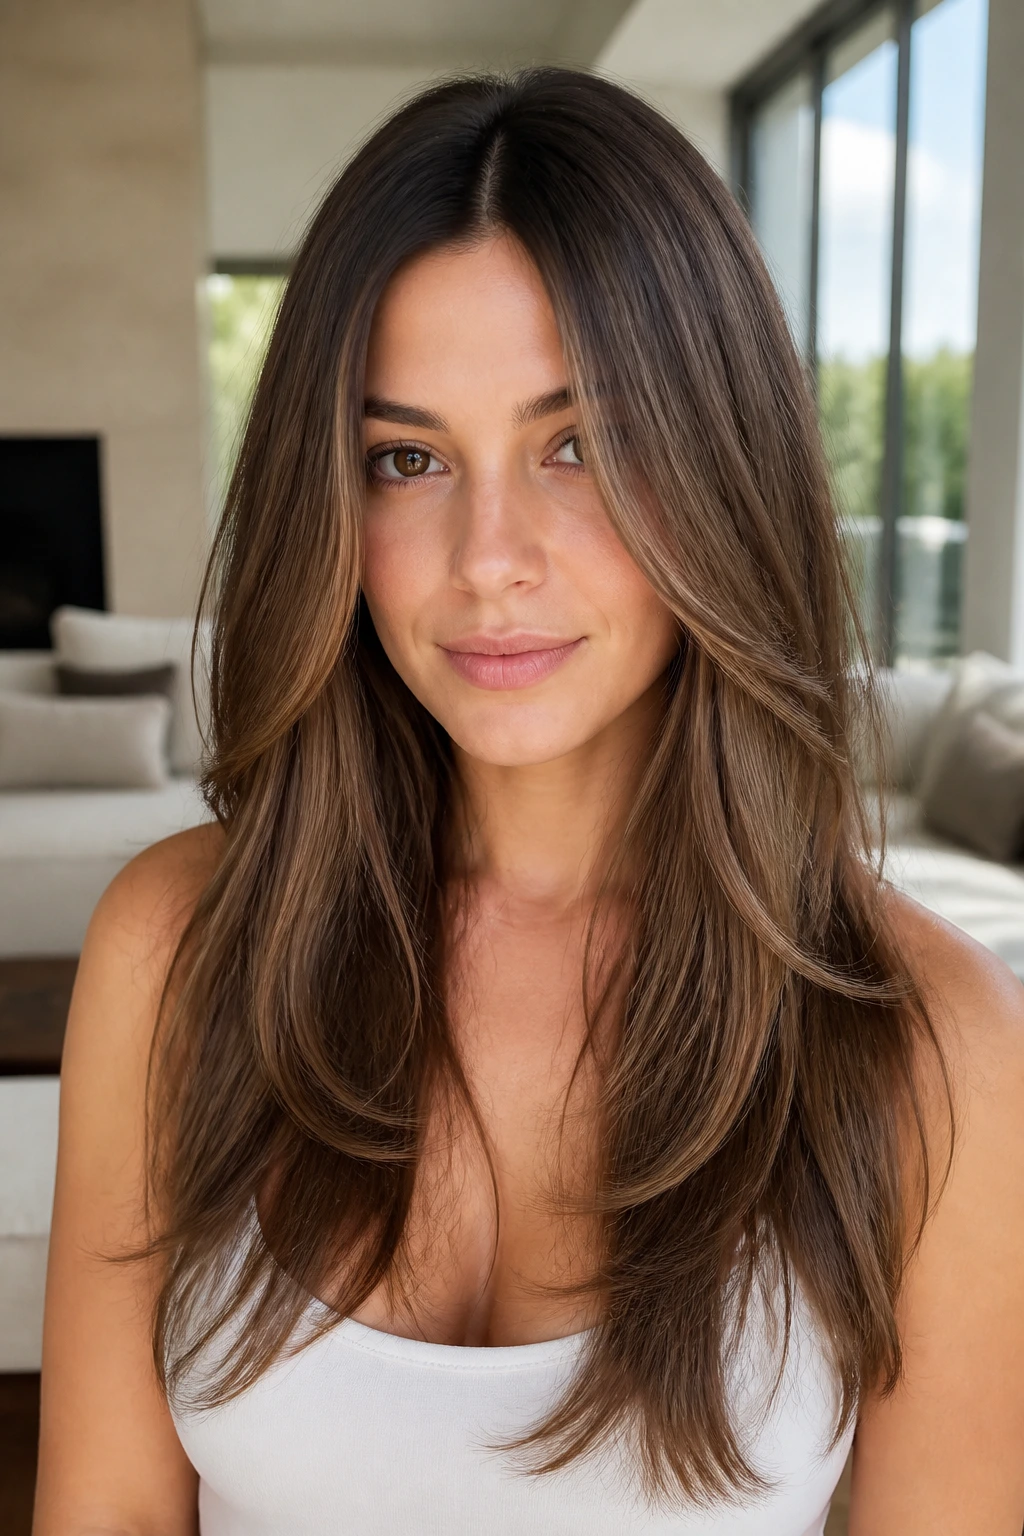
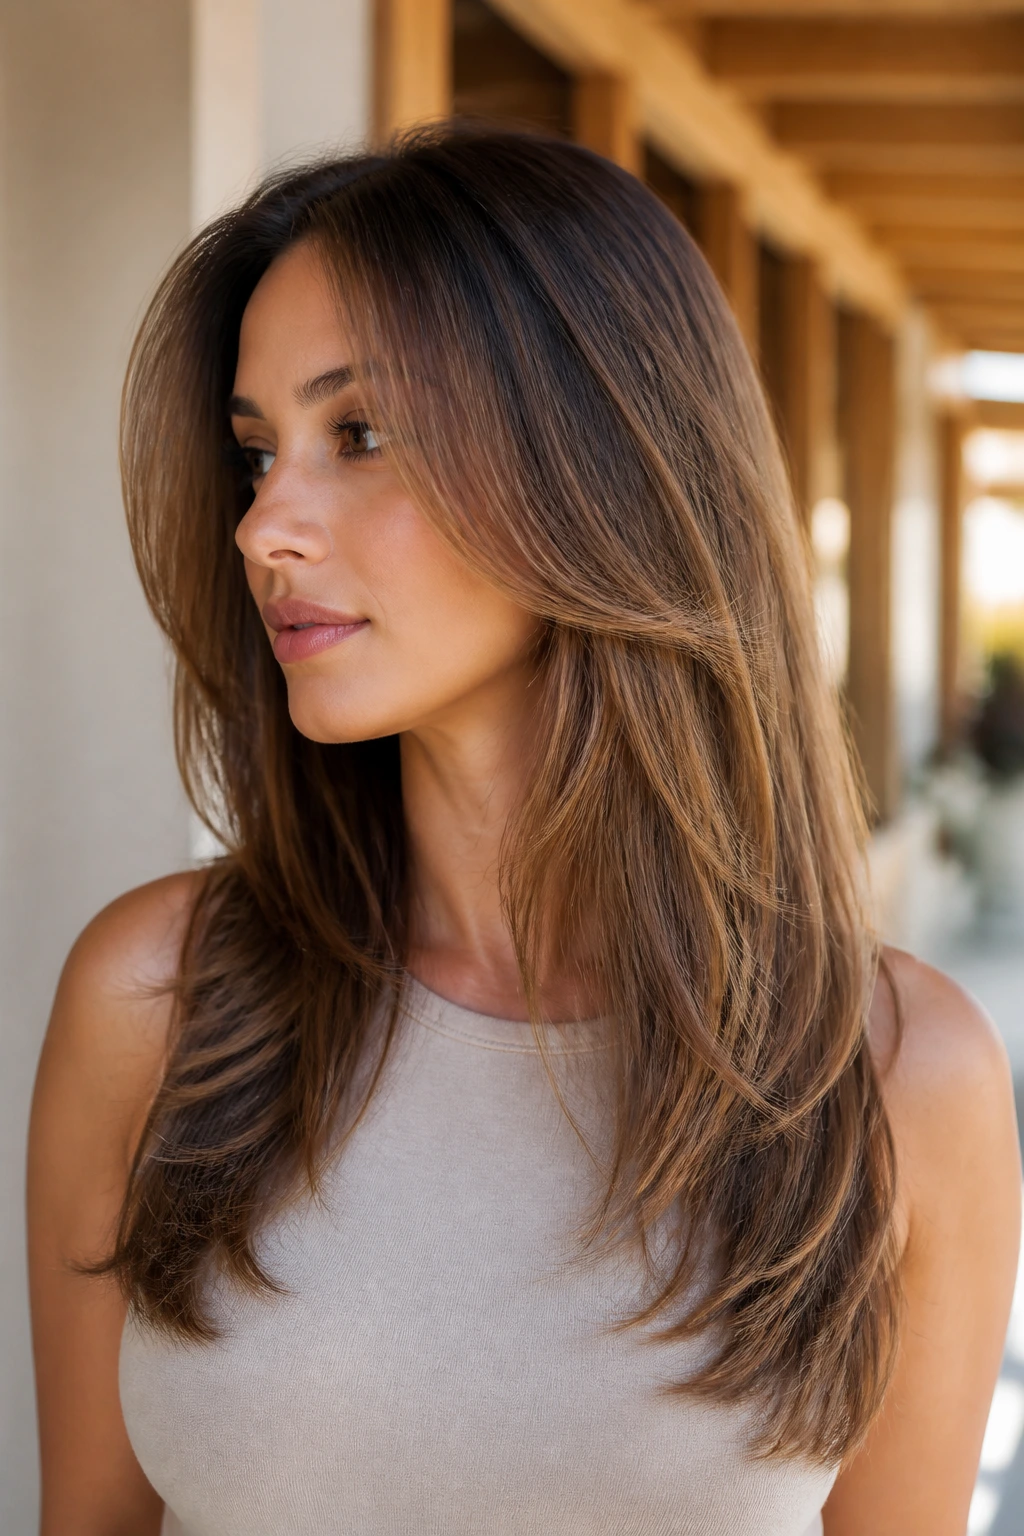
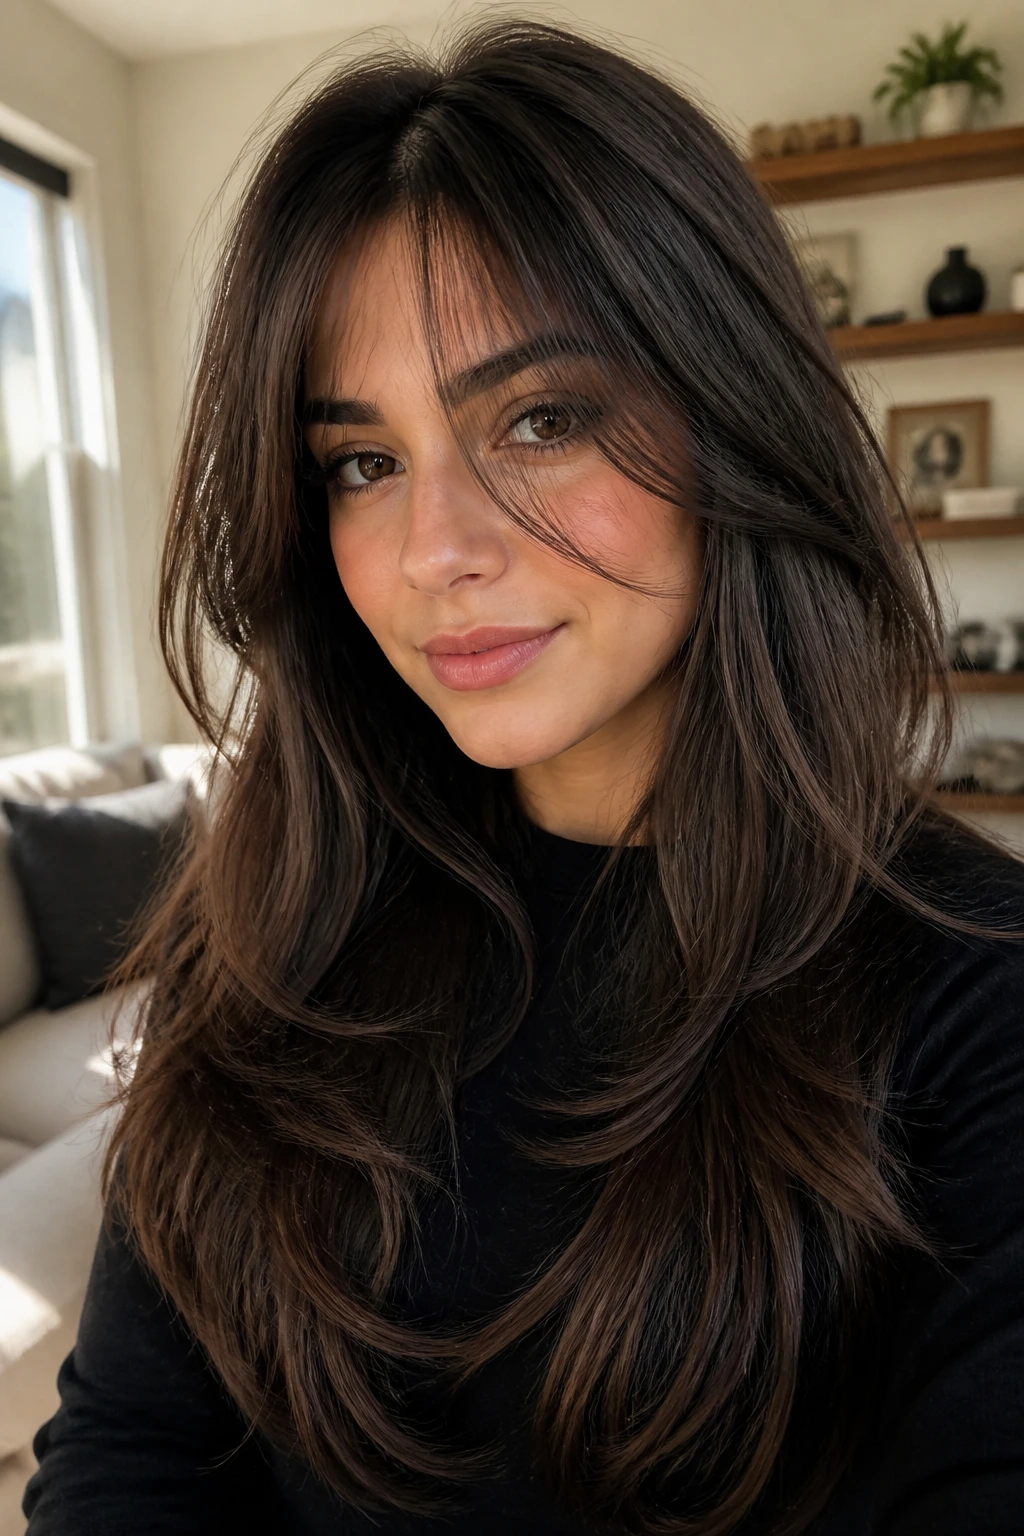
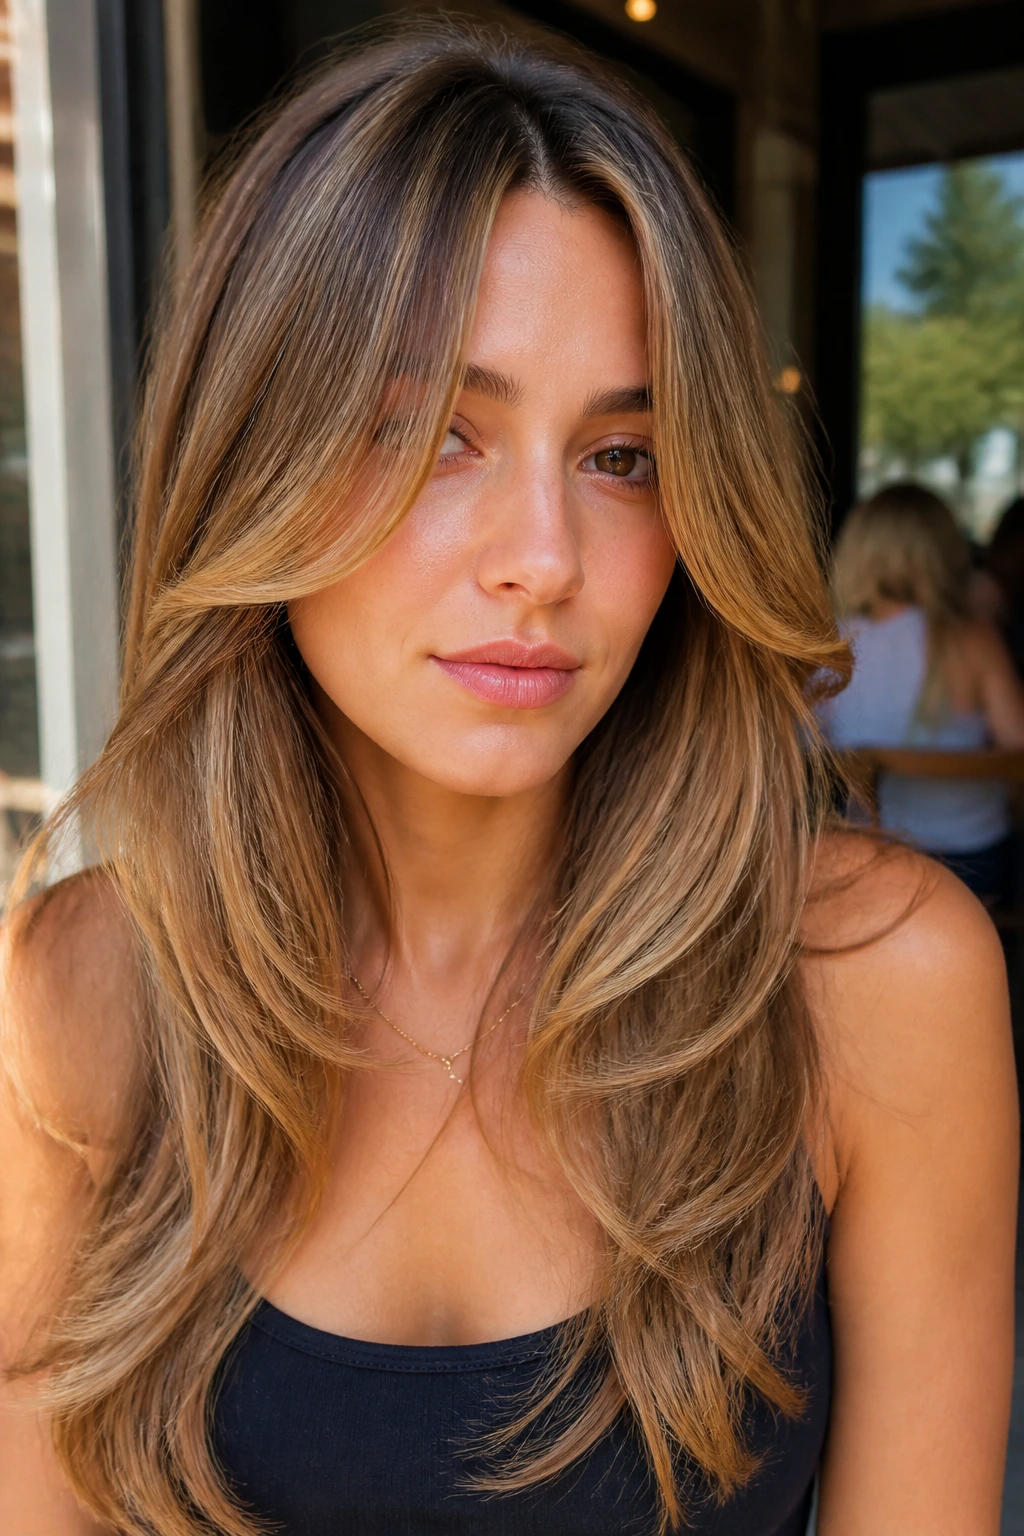
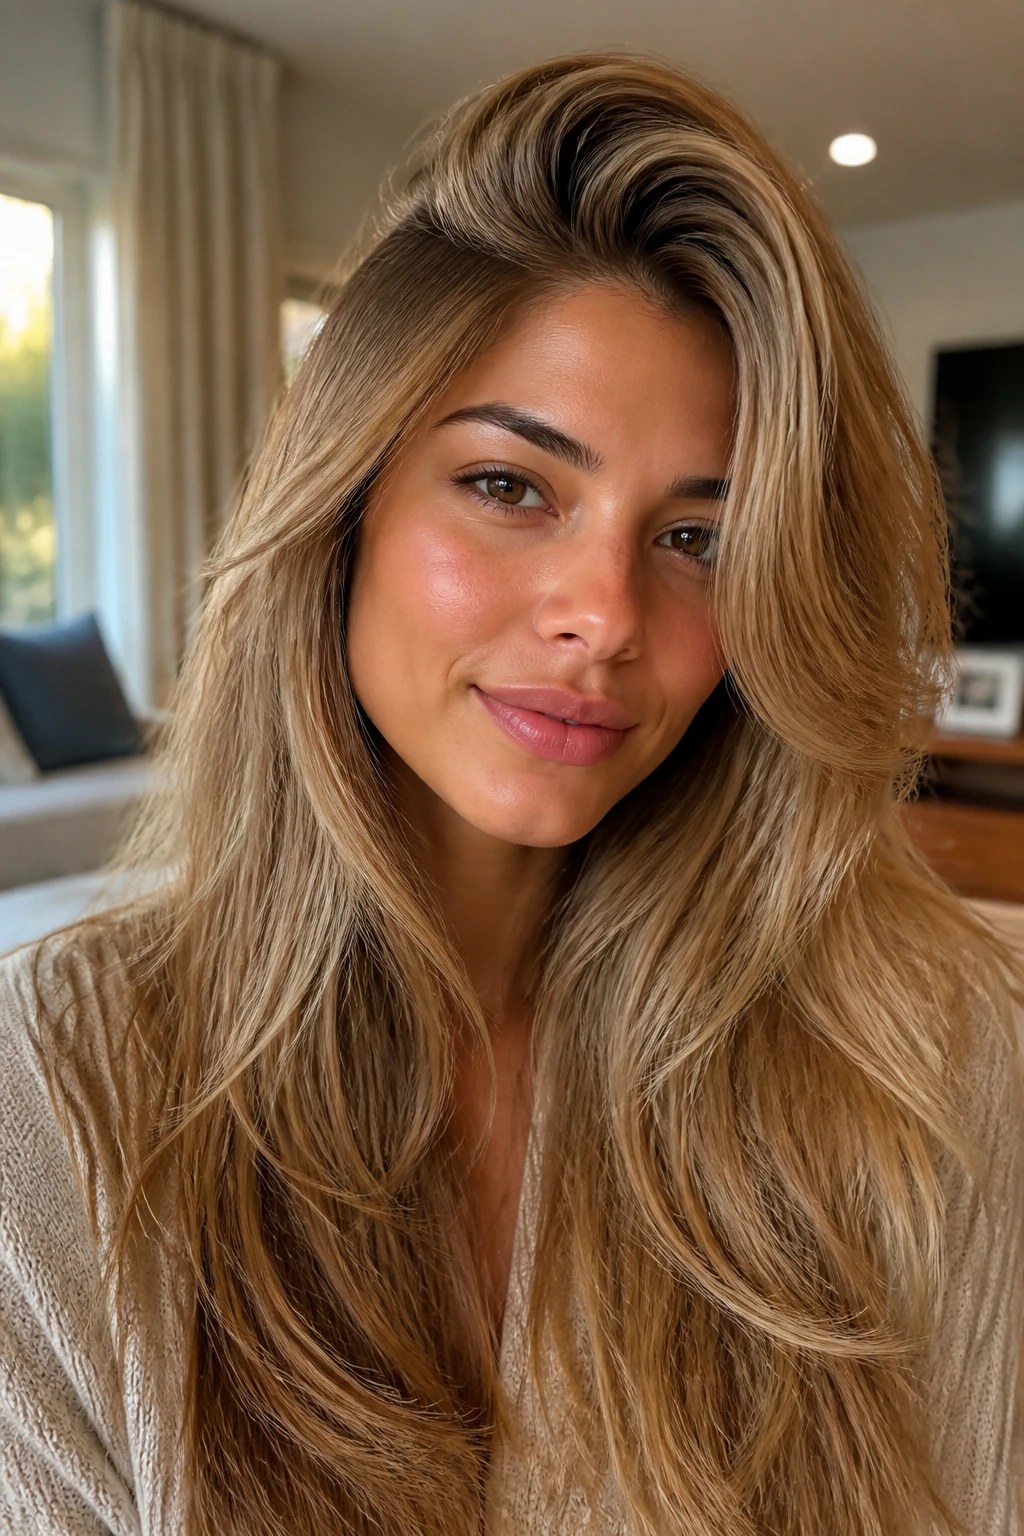
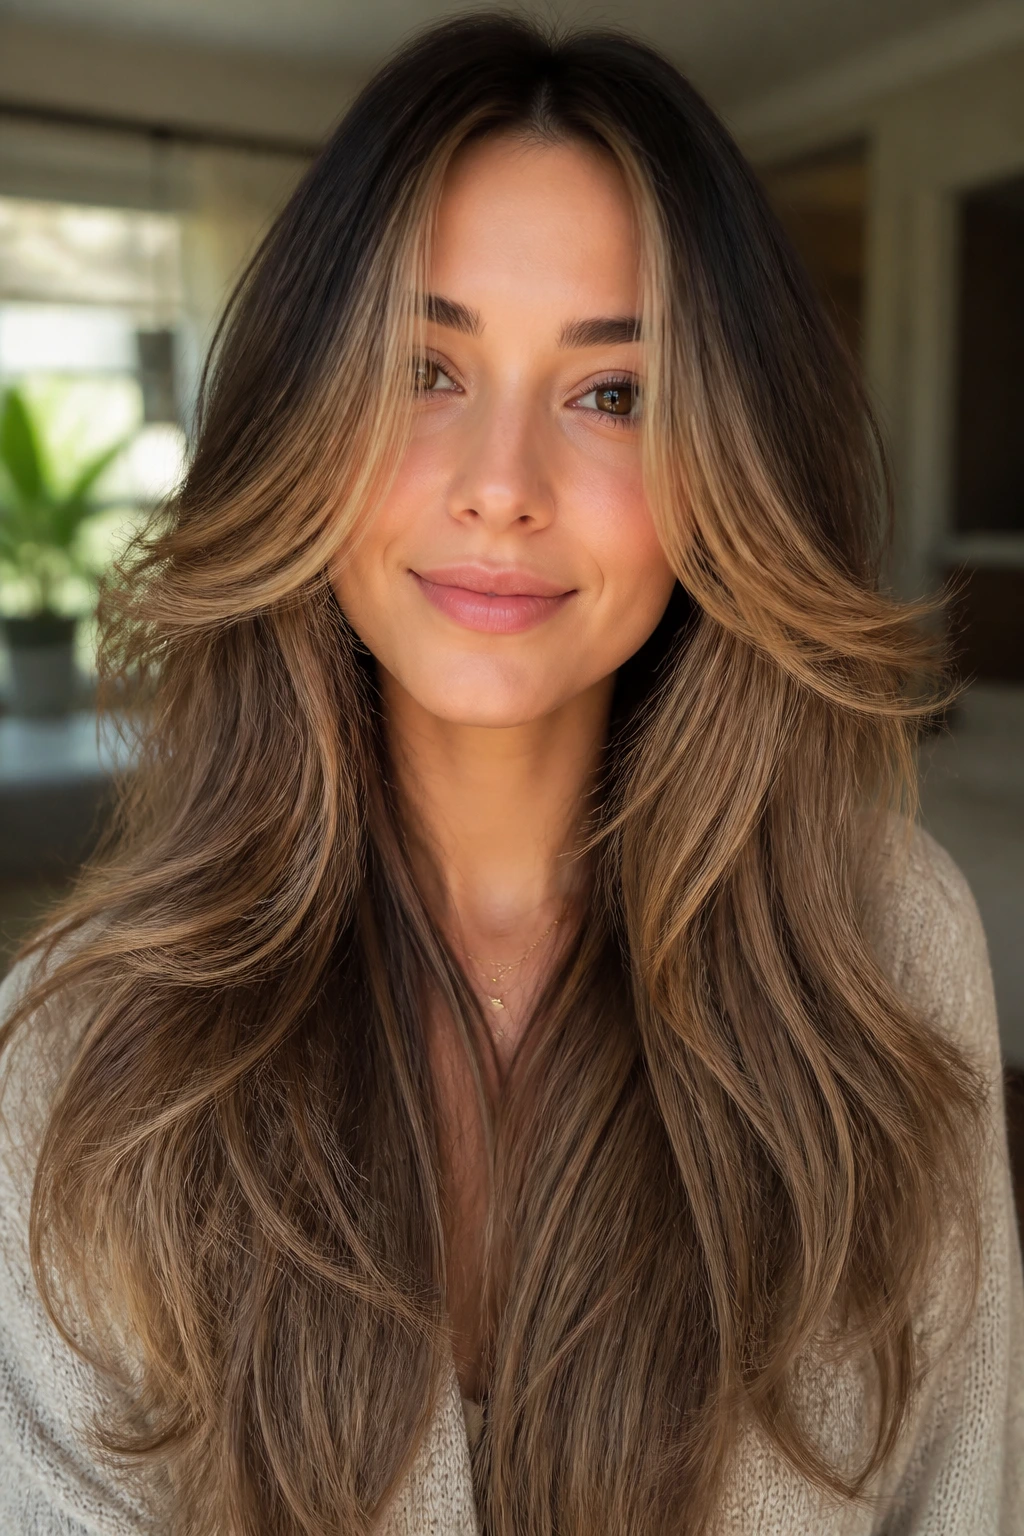
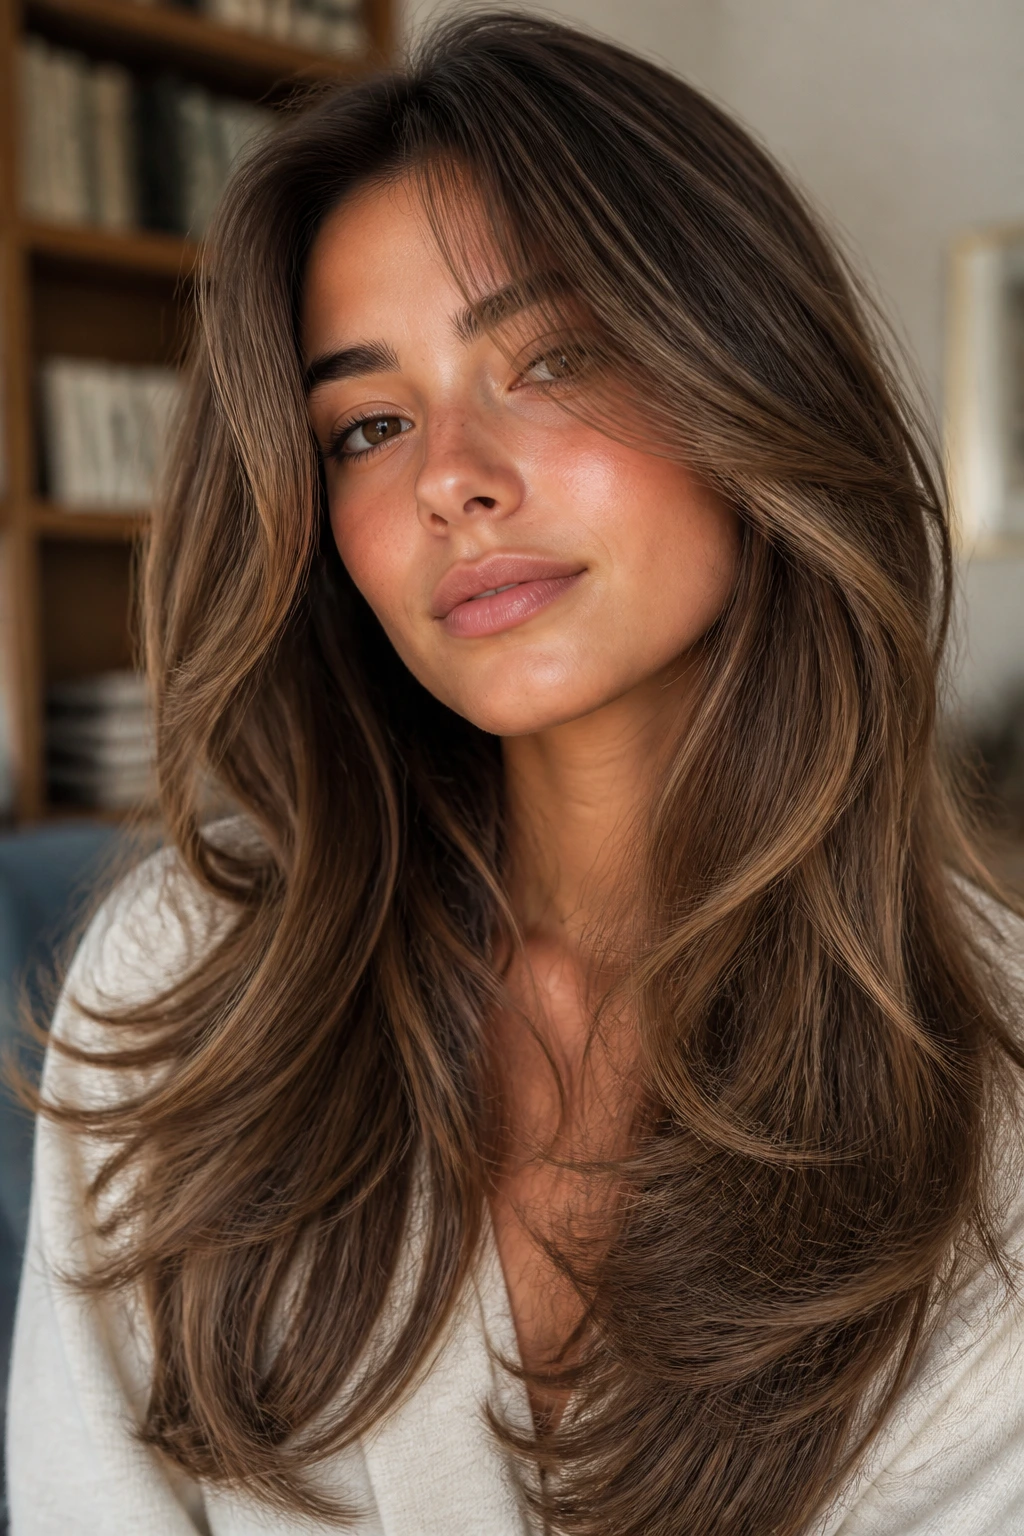
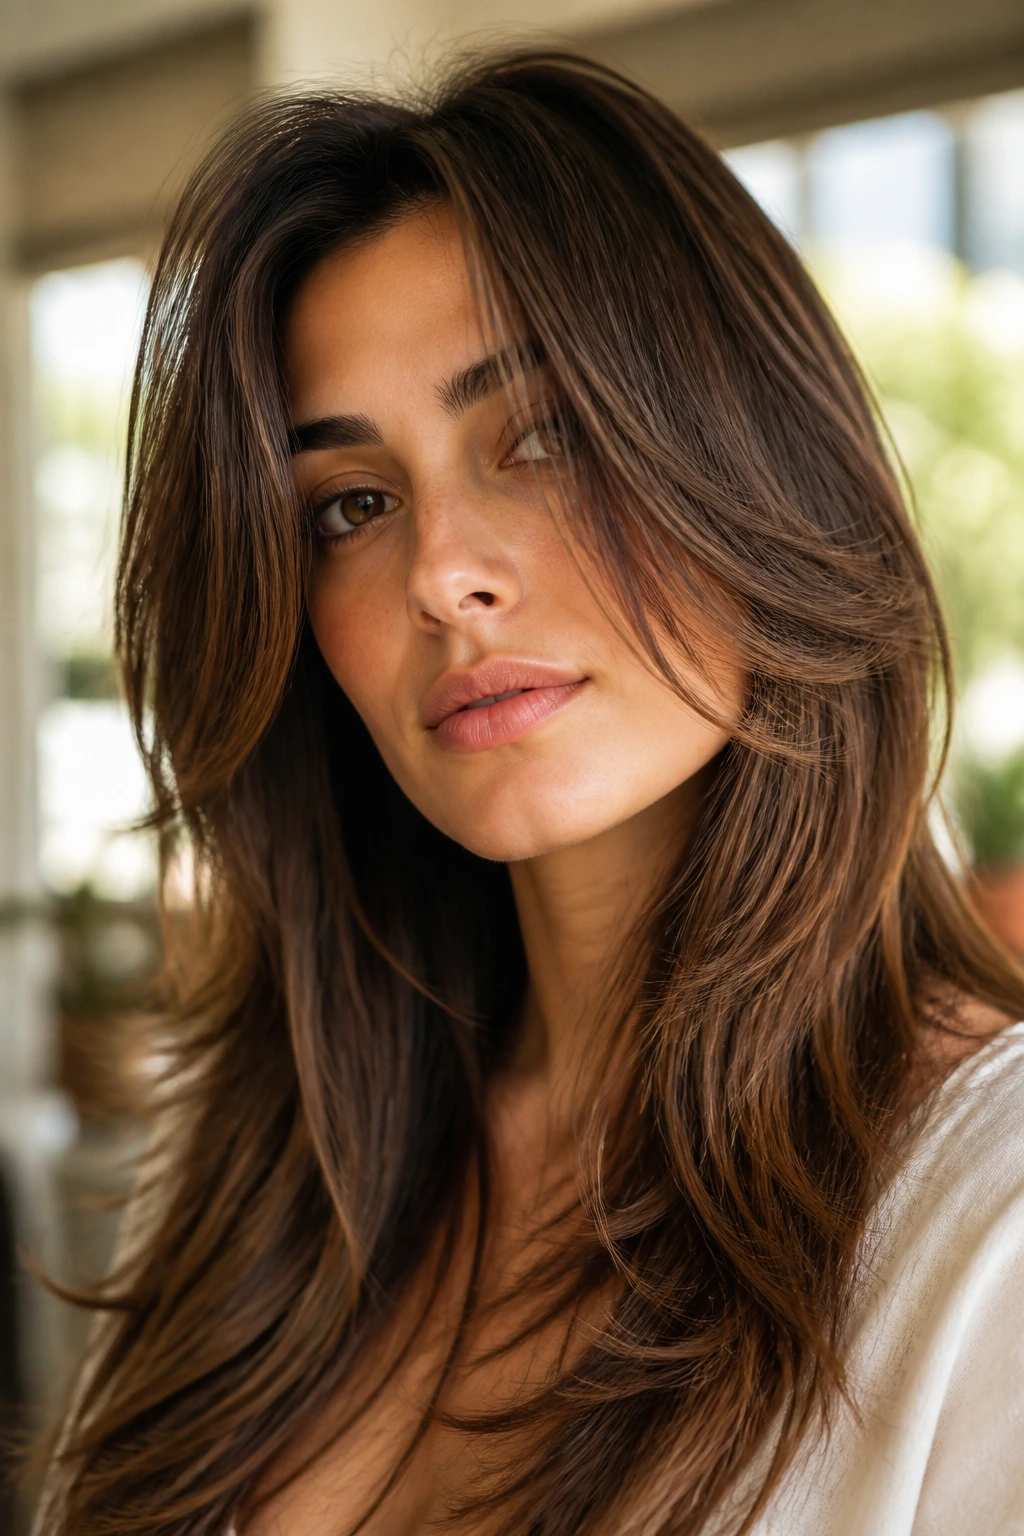
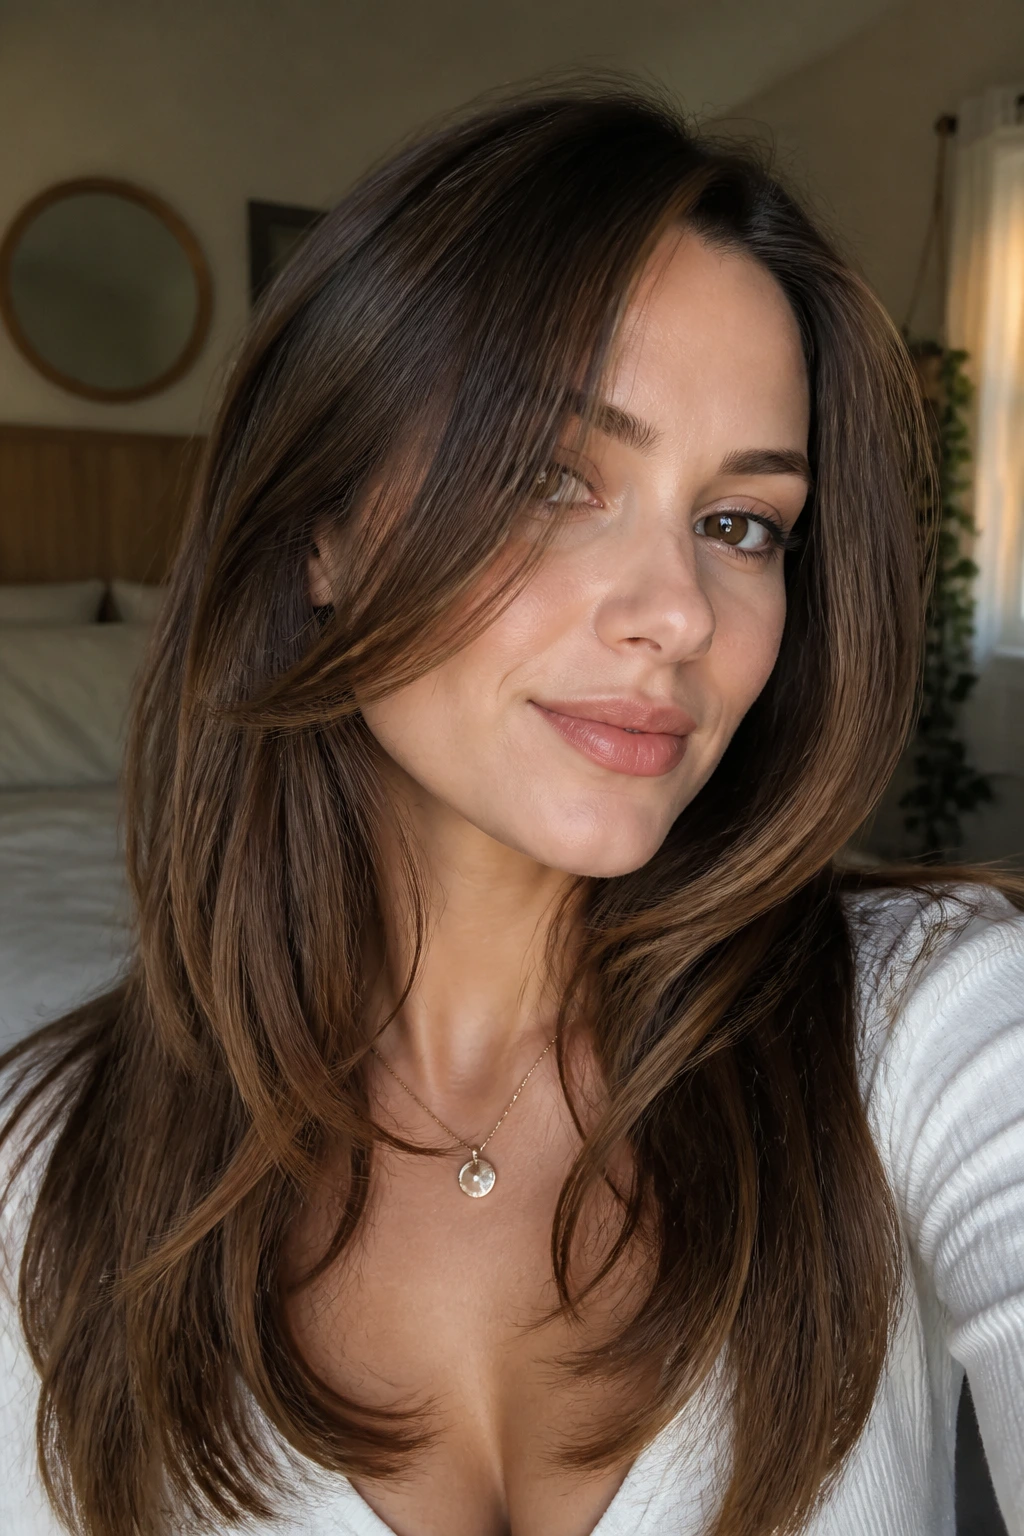
Long hair has a sneaky way of turning heavy at the exact point where you want it to feel light. The weight hangs on the sides, the front pieces drop straight down, and the whole cut starts looking like a curtain instead of hair with shape. Feathery face-framing layers for long hair fix that by carving movement around the face without sacrificing the length people spent months, sometimes years, growing out.
The best versions don’t scream “layers.” They whisper. A few well-placed snips near the cheekbone, jaw, or collarbone can change the way the entire cut falls, especially when the ends are softened with point cutting or a gentle razor pass. You notice it when you turn your head and the front pieces follow instead of sitting there like wet rope.
That tiny shift matters more than most people realize. A center part starts looking softer, a side part stops fighting the face, and a plain blow-dry can suddenly look deliberate. The difference lives in the first few inches around the face, which is exactly why these shapes deserve real attention.
Why These Layers Earn Their Keep
-
They keep the length intact: The back can stay long while the front pieces start higher, so you get shape without losing the dramatic sweep of long hair.
-
They soften blunt edges: Long hair with no face frame can look boxy around the jaw and cheeks, especially on straight textures. Feathering breaks that line.
-
They grow out with less drama: Soft layers blur as they lengthen. A hard shelf does not.
-
They work with more than one part: Center parts, deep side parts, and loose middle bends all look better when the front pieces are cut to move.
-
They change the blowout: Even a basic round-brush pass looks more polished when the front strands are tapered and not chopped flat.
-
They can be tailored hard or soft: The same idea can look barely-there on fine hair or more sculpted on thick hair, depending on where the shortest pieces land.
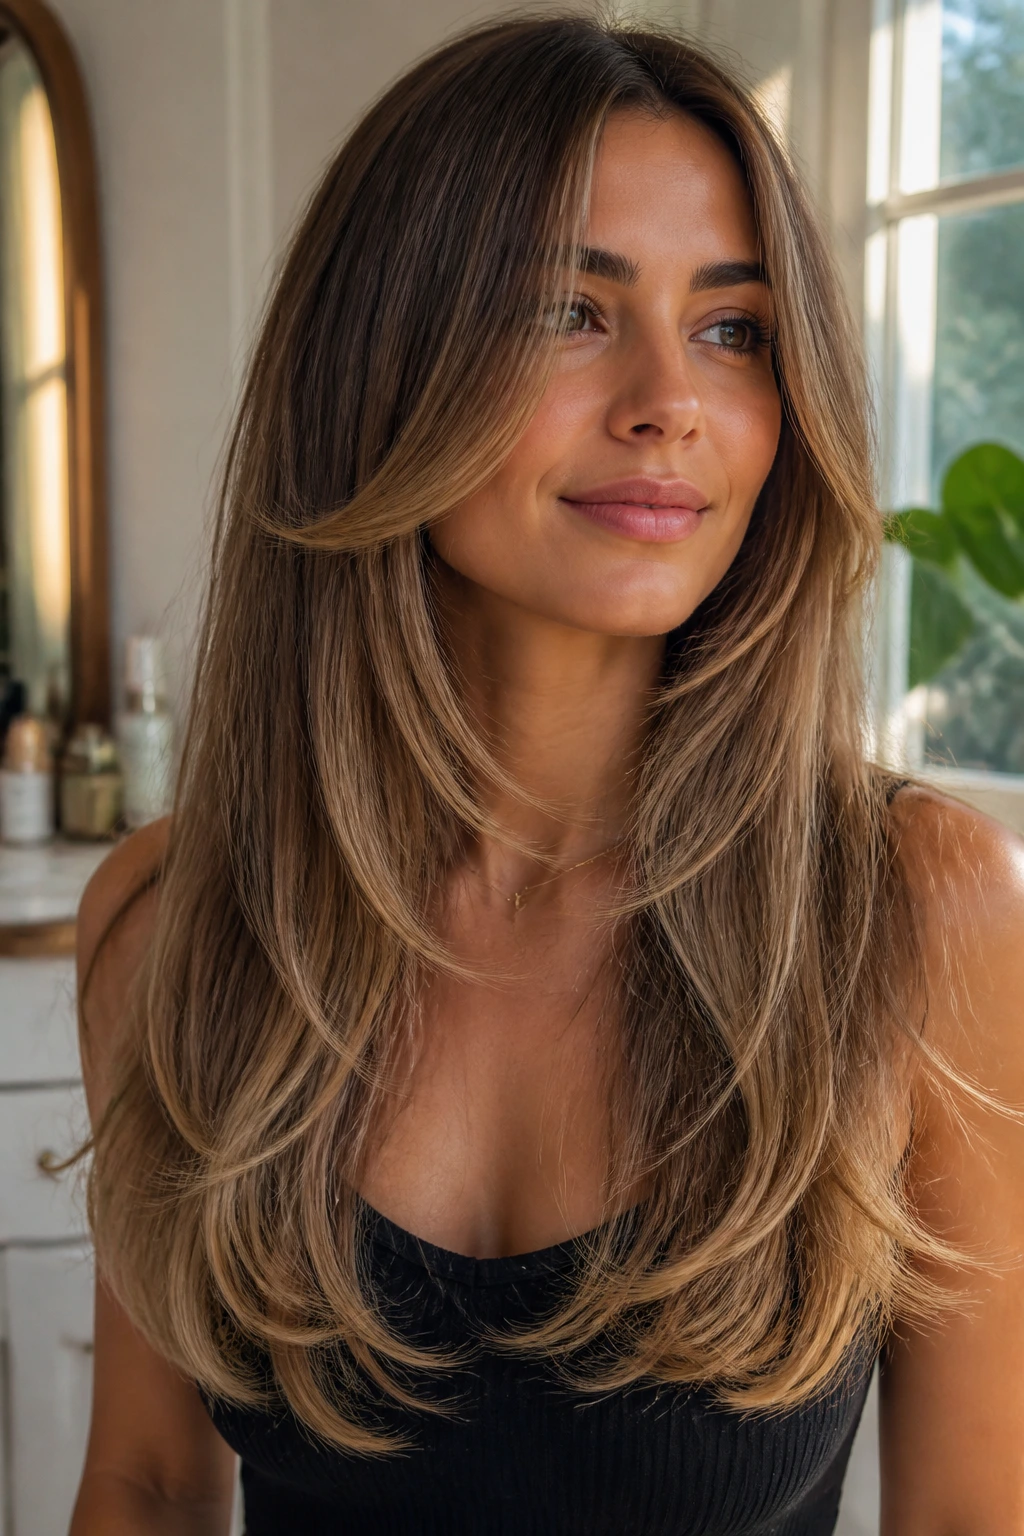
1. Chin-Grazing Curtain Feathers
The safest place to start is the chin. When the front pieces hit right there, they open the face without making the haircut feel chopped up, and that matters on long hair because the rest of the length keeps the drama. This version is the one I reach for when someone says, “I want shape, but I am not ready for a big change.”
Why It Works
Chin-grazing pieces sit in that sweet zone where they skim the jaw instead of sitting right on the cheeks. That gives the face a cleaner outline, especially if your hair tends to puff at the sides or stick straight down after a rough blow-dry.
Ask for the front to be point-cut or softly feathered, not blunt. The ends should move when you shake your head, not sit in one stiff line.
- Best for: round, heart, and oval faces that need a little opening around the mouth and jaw.
- Styling note: A 1.5-inch round brush gives the cleanest bend, and you do not need a full salon blowout to make it work.
- Watch the length: If the shortest piece lands above the mouth, it can start feeling more like fringe than frame.
Pro tip: Keep the longest front pieces blending into the collarbone area. That stops the cut from looking like two different haircuts stitched together.
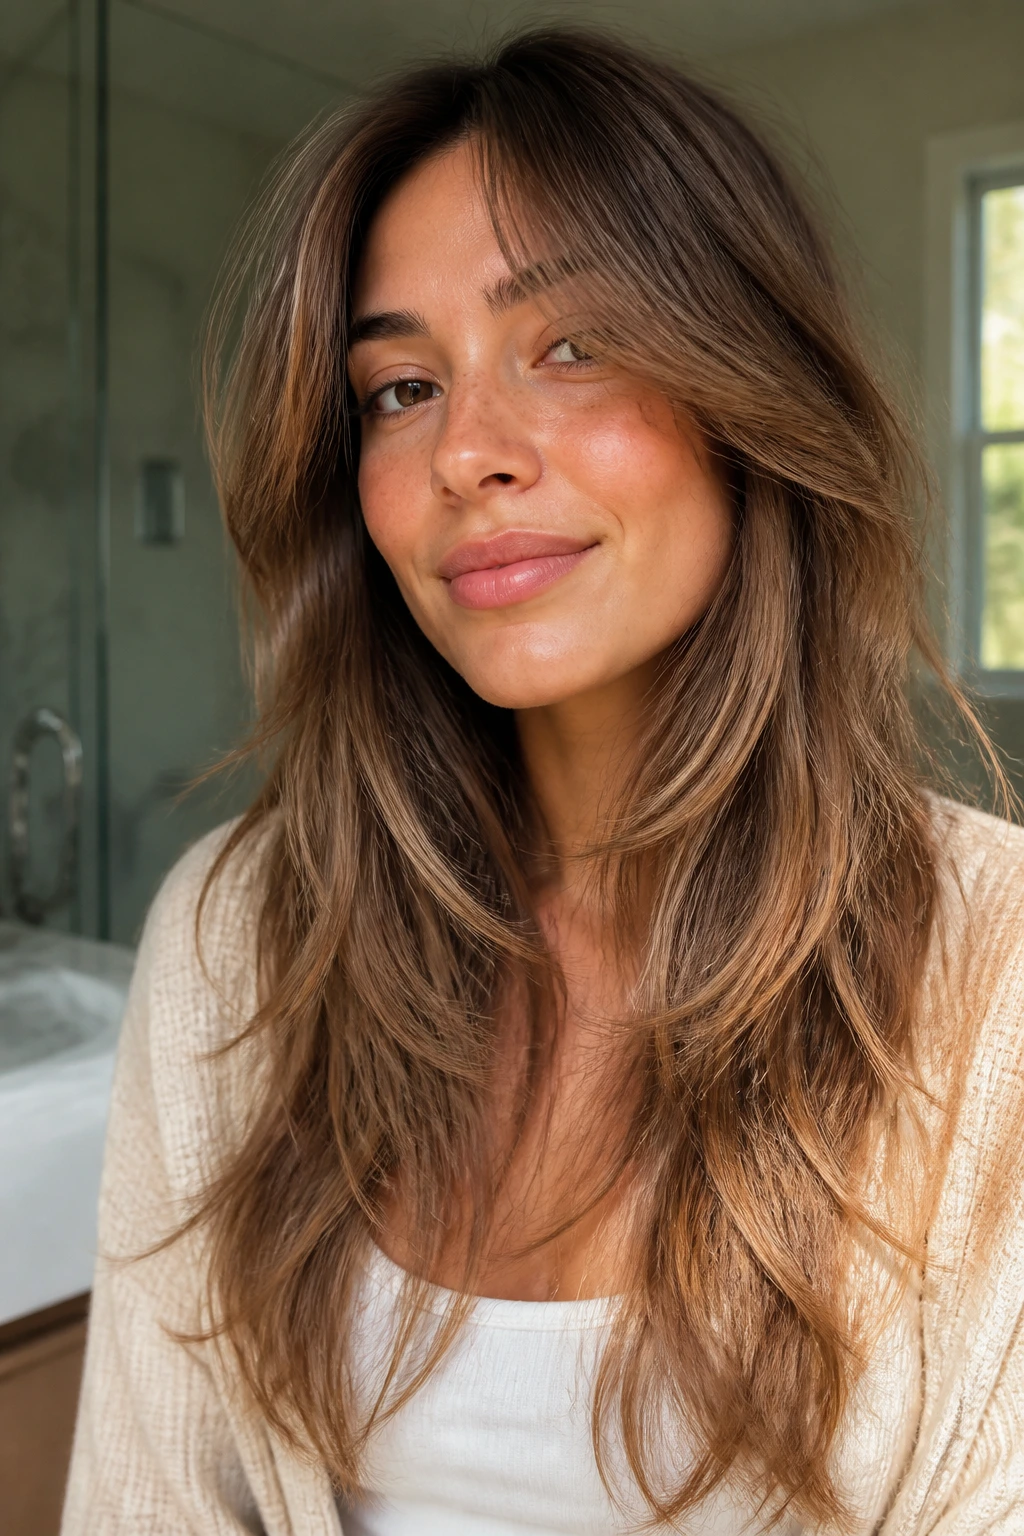
2. Collarbone Sweep Layers
Collarbone layers are the cleanest answer when you want movement but refuse to lose much length. The first pieces fall low enough to keep things soft, then taper inward so the front doesn’t drag the rest of the hair down. It’s a nice choice for long hair that feels heavy but not damaged.
These layers do their best work on hair that already has some natural bend. A soft wave bends around the collarbone beautifully; pin-straight hair needs a little more help from a round brush or large velcro rollers.
The real trick is restraint. If the front starts too high, the whole shape reads as choppy. If it starts at the collarbone and slides down toward the chest, the hair still feels long, just lighter.
3. Bottleneck Face Frame
Want the face to look narrower without cutting much off the sides? Bottleneck layers do that by starting a little shorter near the brow area, then opening wider through the cheekbones and tapering out again below the chin. The shape sounds technical, but the effect is easy to spot in the mirror.
The reason it works is simple. The narrower top section draws the eye in, then the wider sweep around the cheekbone makes the face feel framed instead of boxed in. On long hair, that shape is less harsh than a heavy curtain bang and less obvious than a plain face layer.
How to Ask for It
- Keep the shortest piece soft enough to tuck behind the ear.
- Ask for the layer to widen around the cheekbone, not stop there.
- Request a feathered end, not a sharp corner.
If your hair is thick, this shape can take a lot of bulk out of the front without changing the back. If your hair is fine, keep the feathering gentle. Too much removal near the face and the strands go wispy in a bad way.
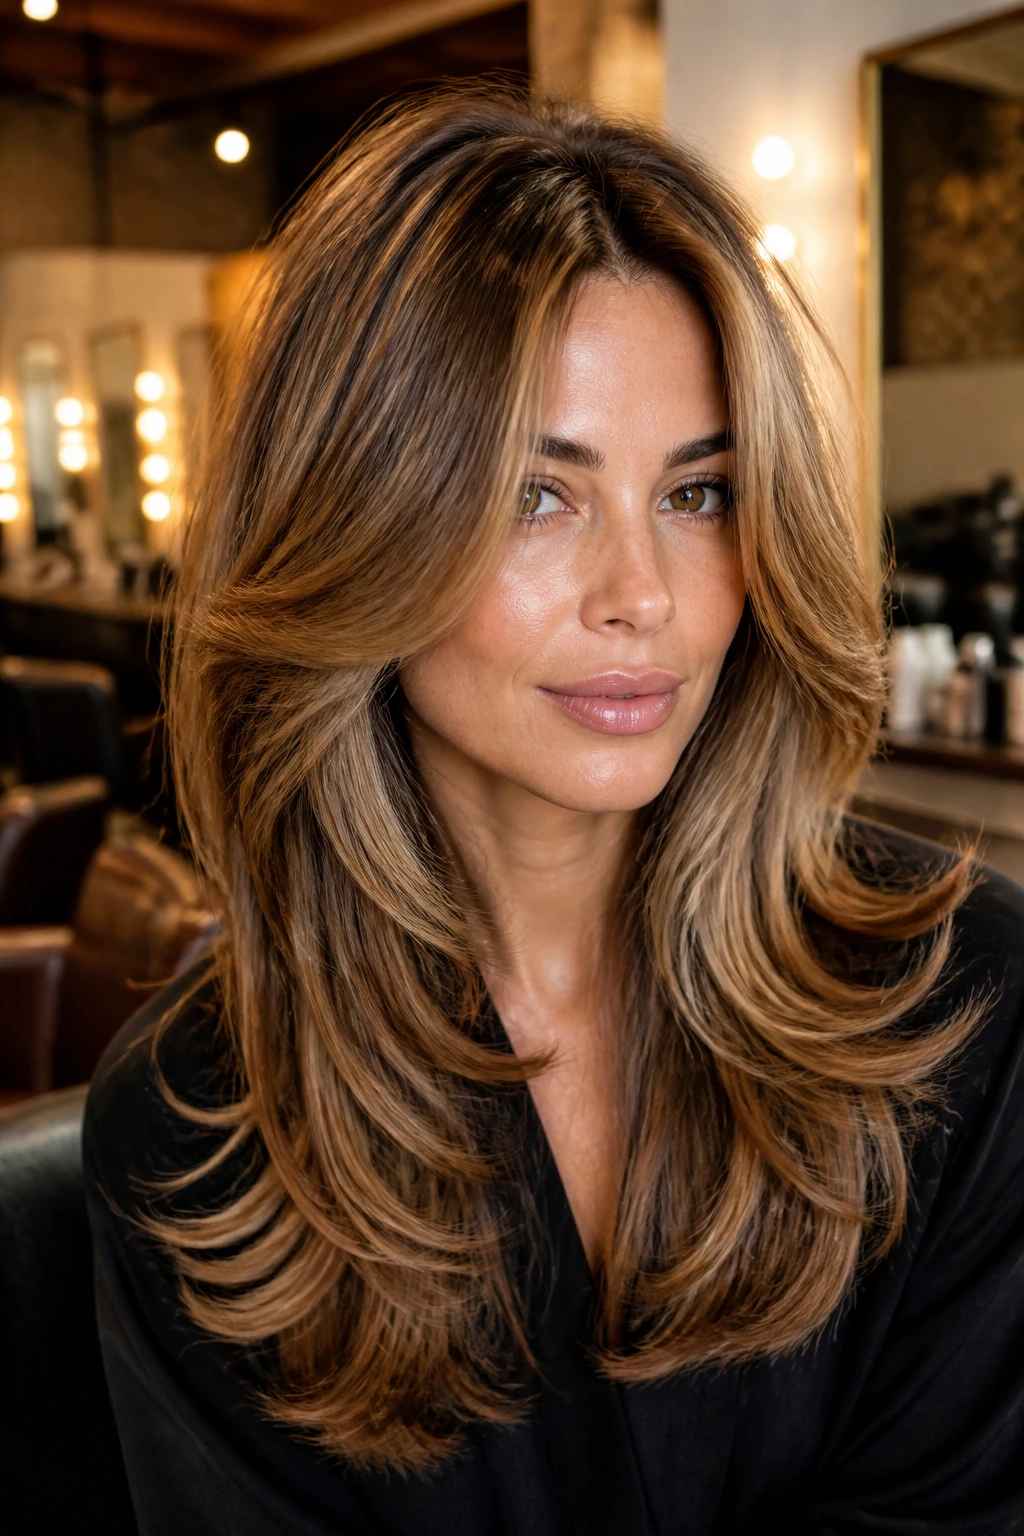
4. Butterfly Bounce Layers
There’s a reason the butterfly look keeps hanging around. Long hair can be all one length and still need a little lift at the front, and butterfly layers are built for exactly that. The shortest front pieces sit high enough to create motion, then the length behind them stays long and full.
I like this shape on hair that holds a blowout for a day or two. The shorter front pieces flip away from the face, and the longer layer beneath keeps the style from collapsing. It gives a feeling of volume without turning the haircut into a shag.
The one catch: if your hair is very fine and slippery, the short front pieces can fall flat fast. A root-lifting mousse at the crown and a light round-brush bend around the face make a huge difference.
5. Soft U-Shape with Tapered Front
A soft U-shape is one of those cuts that looks easy because it is understated. The perimeter curves gently around the back, while the front pieces are feathered just enough to keep the whole cut from feeling like a solid block of length. Nothing in it shouts, which is partly why I like it.
This shape is especially good if you wear your hair down most of the time. The curve keeps the silhouette graceful, and the face frame stops the sides from looking heavy near the cheekbones. It also grows out neatly, which is not a small thing.
The best version has no hard corners. The front pieces should blend into the lengths like smoke into air, not sit as separate chunks. If your stylist lifts the front too high, the U turns into a shallow V and the softness gets lost.
6. V-Cut Length with Airy Corners
The V-cut is the more dramatic cousin of the U-shape. The back point adds direction, and the long front pieces can be feathered to pull the eye downward in a nice, clean line. On very long hair, that shape gives the cut a bit of architecture.
Unlike a blunt perimeter, a V-cut does not leave the ends hanging in one dense line. The corners move. They swing when you walk, which sounds small until you’ve lived with long hair that sits like a blanket.
This version is best when the hair is thick enough to support the point in the back. Fine hair can do it, but the V needs to stay soft or the ends can look thin. Keep the front layers long enough that they still graze the chest after styling.
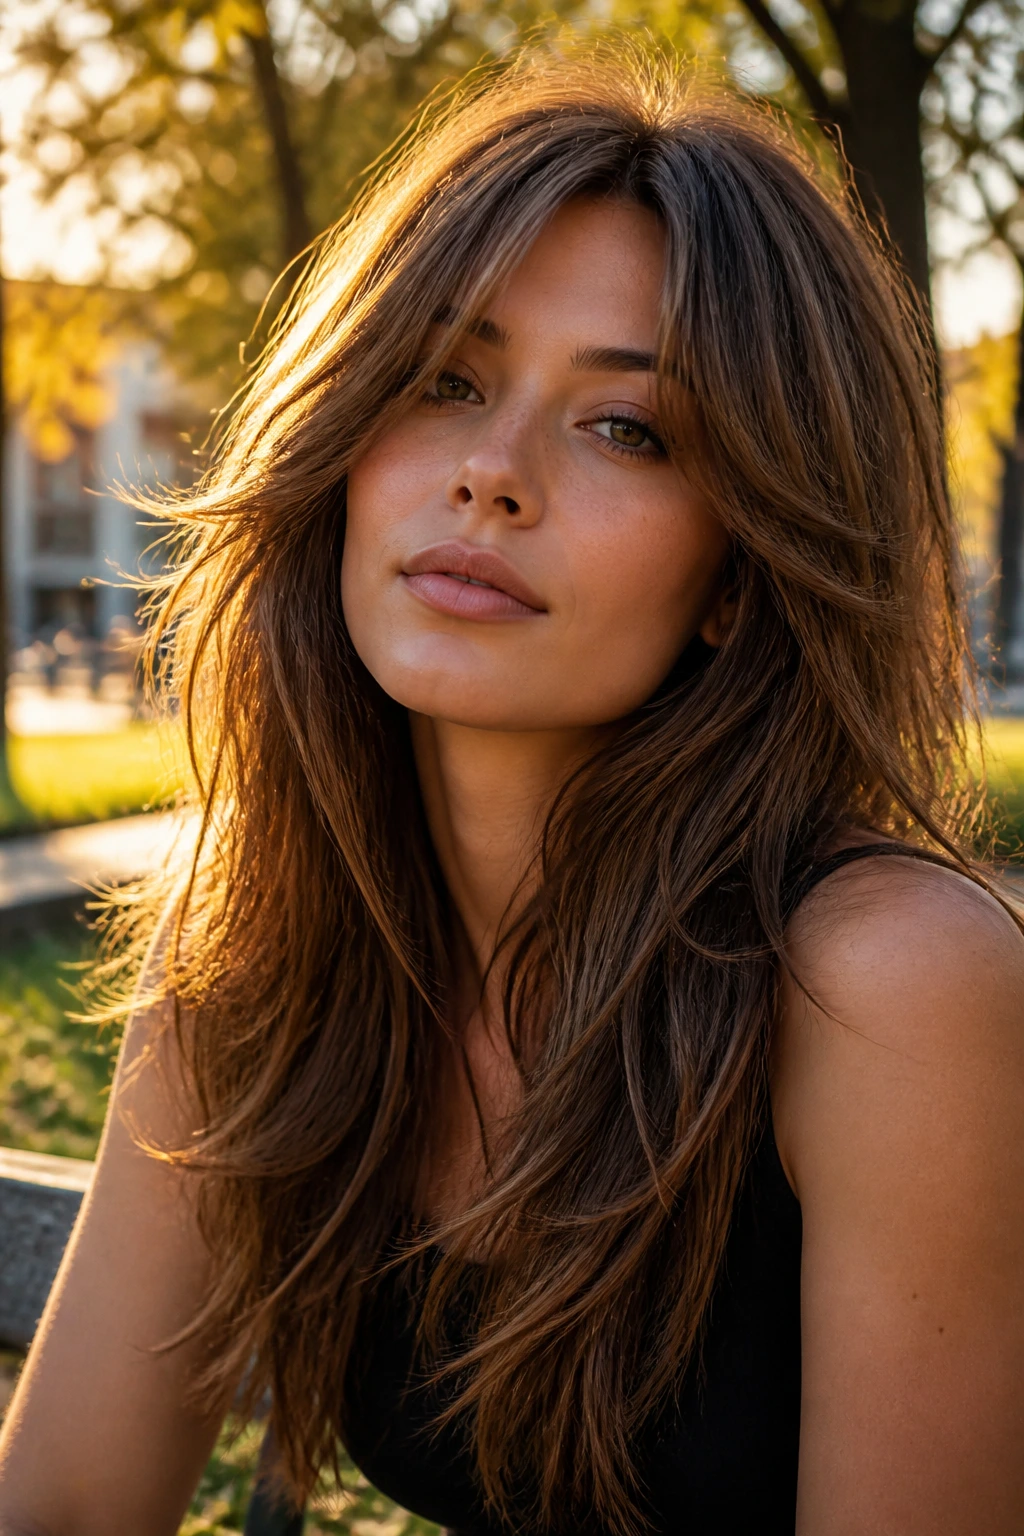
7. Long Shag with Wispy Face Pieces
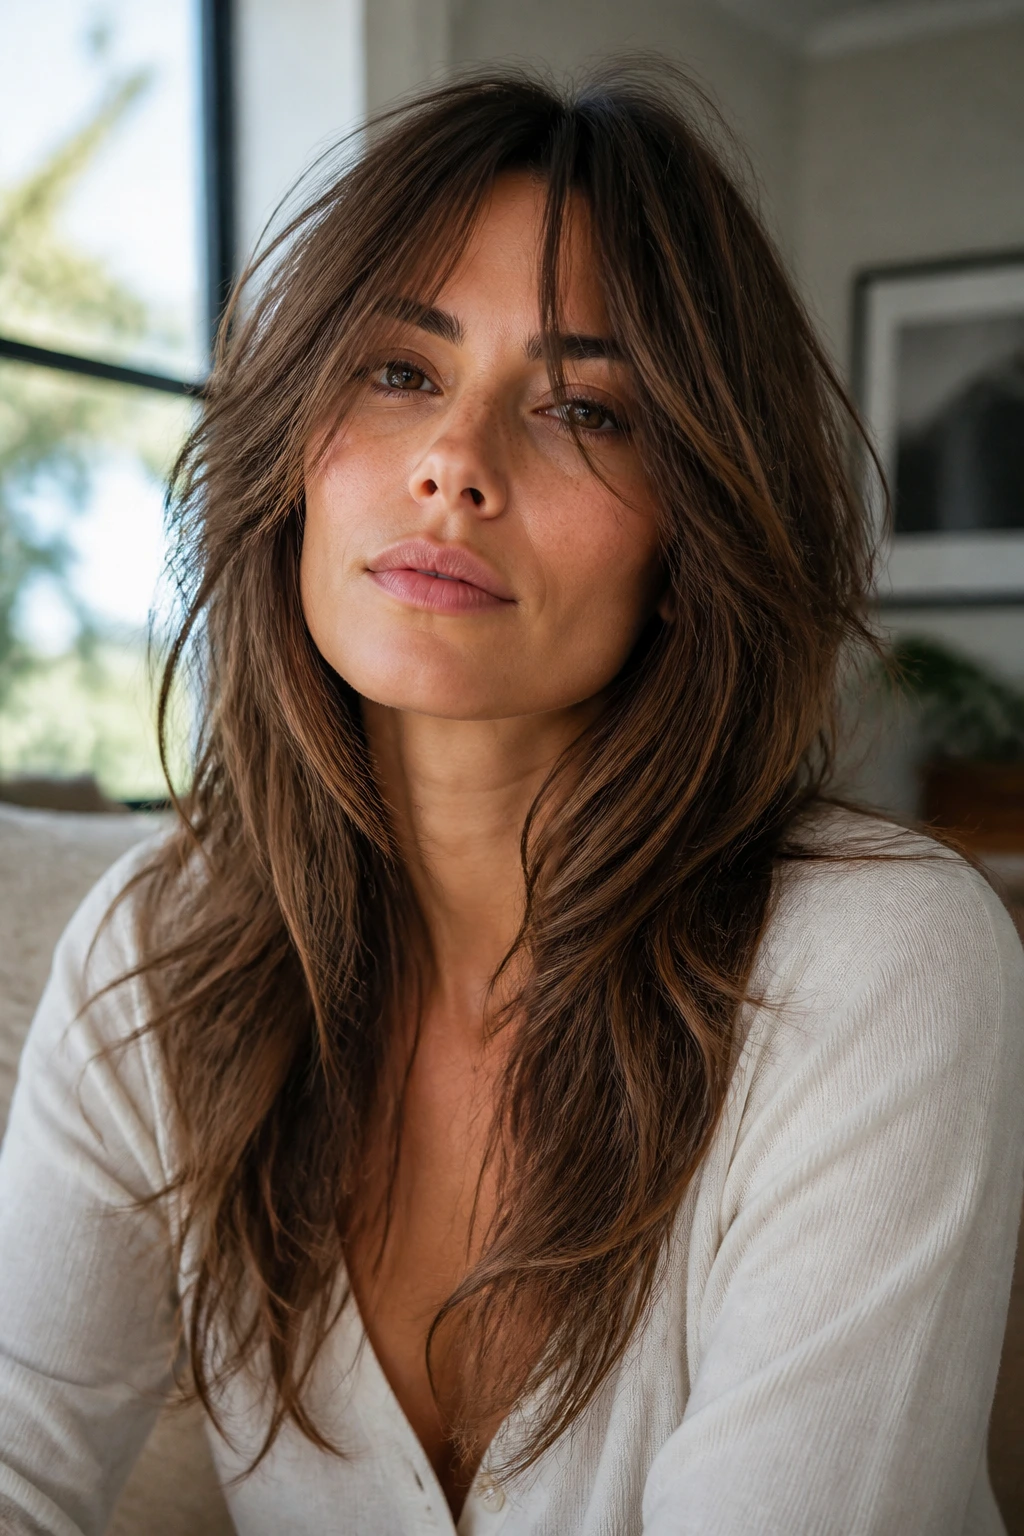
The long shag is for people who want movement and are not interested in pretending otherwise. It gives long hair a lived-in edge, with more layers through the crown and wispy pieces around the face that keep the shape from getting bulky. Done well, it looks intentional. Done badly, it looks like you grew out a haircut and gave up.
Why It Works
The shag takes weight out from the inside, not just the front. That means the face frame has room to fall softly instead of hanging on top of a thick pyramid of hair.
This cut loves texture spray, a diffuser, or a rough blow-dry with your fingers. If you spend ten minutes with a round brush trying to make it sleek every day, you’ll fight the cut instead of wearing it.
Best use case: long wavy hair that goes flat at the crown but still has enough density to hold airy layers.
8. Razor-Feathered Cheekbone Layers
The ends should feel soft, not chopped. That is the whole point of this cut. A razor-feathered cheekbone layer breaks up the outline around the face in a way scissors sometimes can’t, especially on straight or slightly wavy hair that needs a lighter edge.
The texture this creates is more airy than blunt. You see a little separation at the tips, a little swing at the cheek, and less of that heavy curtain effect that can make long hair look tired. It’s a very good move when the front of the hair is dense and stubborn.
The Science Behind It
A razor removes some weight while softening the edge, which lets the front pieces bend instead of clumping. That matters most when the hair is thick enough to swallow a regular layer.
Use this carefully on frizz-prone curls or very porous ends. A razor on the wrong texture can leave the surface puffier than you wanted.
9. Invisible Layers with a Polished Bend
Want movement that only shows when the hair swings? Invisible layers are the quiet answer. The interior gets lightly removed so the front and surface stay smooth, but the shape underneath stops the cut from lying like a flat sheet.
This is a smart choice if you like a glossy finish and do not want the word “layered” to be obvious from across the room. The front pieces still frame the face, but they do it with a controlled bend rather than a choppy edge.
A medium round brush and a clean center part make this shape shine. The layers are subtle enough to disappear when your hair is pinned back, which is handy if you like wearing it both down and up.
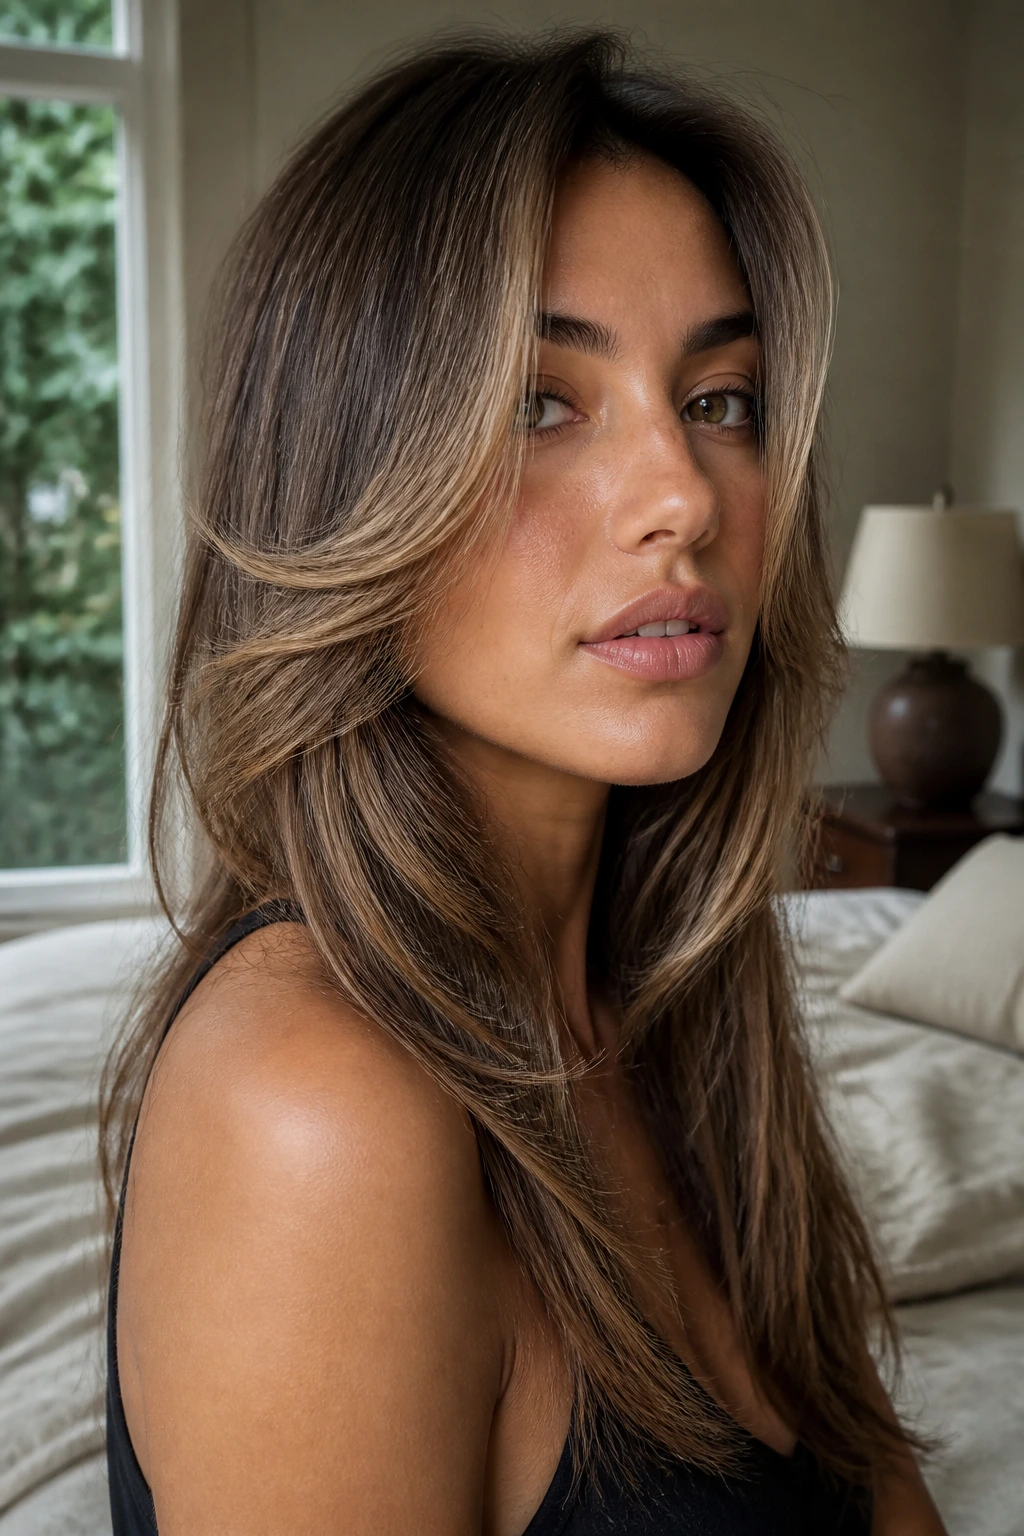
10. Waterfall Layers That Melt Into the Back
Waterfall layers are all about flow. The front pieces start softly and keep stepping down into the length, so nothing feels cut off in a hard line. The effect is especially nice on very long hair because the front still has shape even after a few months of growth.
I like this version on thick hair that tends to flare out at the ends. The waterfall shape lets the front glide while the back keeps enough weight to stay smooth. That balance is harder to get than it sounds.
If your hair is straight, the layers read clean and elegant. If it’s wavy, they turn airy and loose. Either way, the cut should look like it melts, not like it was interrupted halfway through.
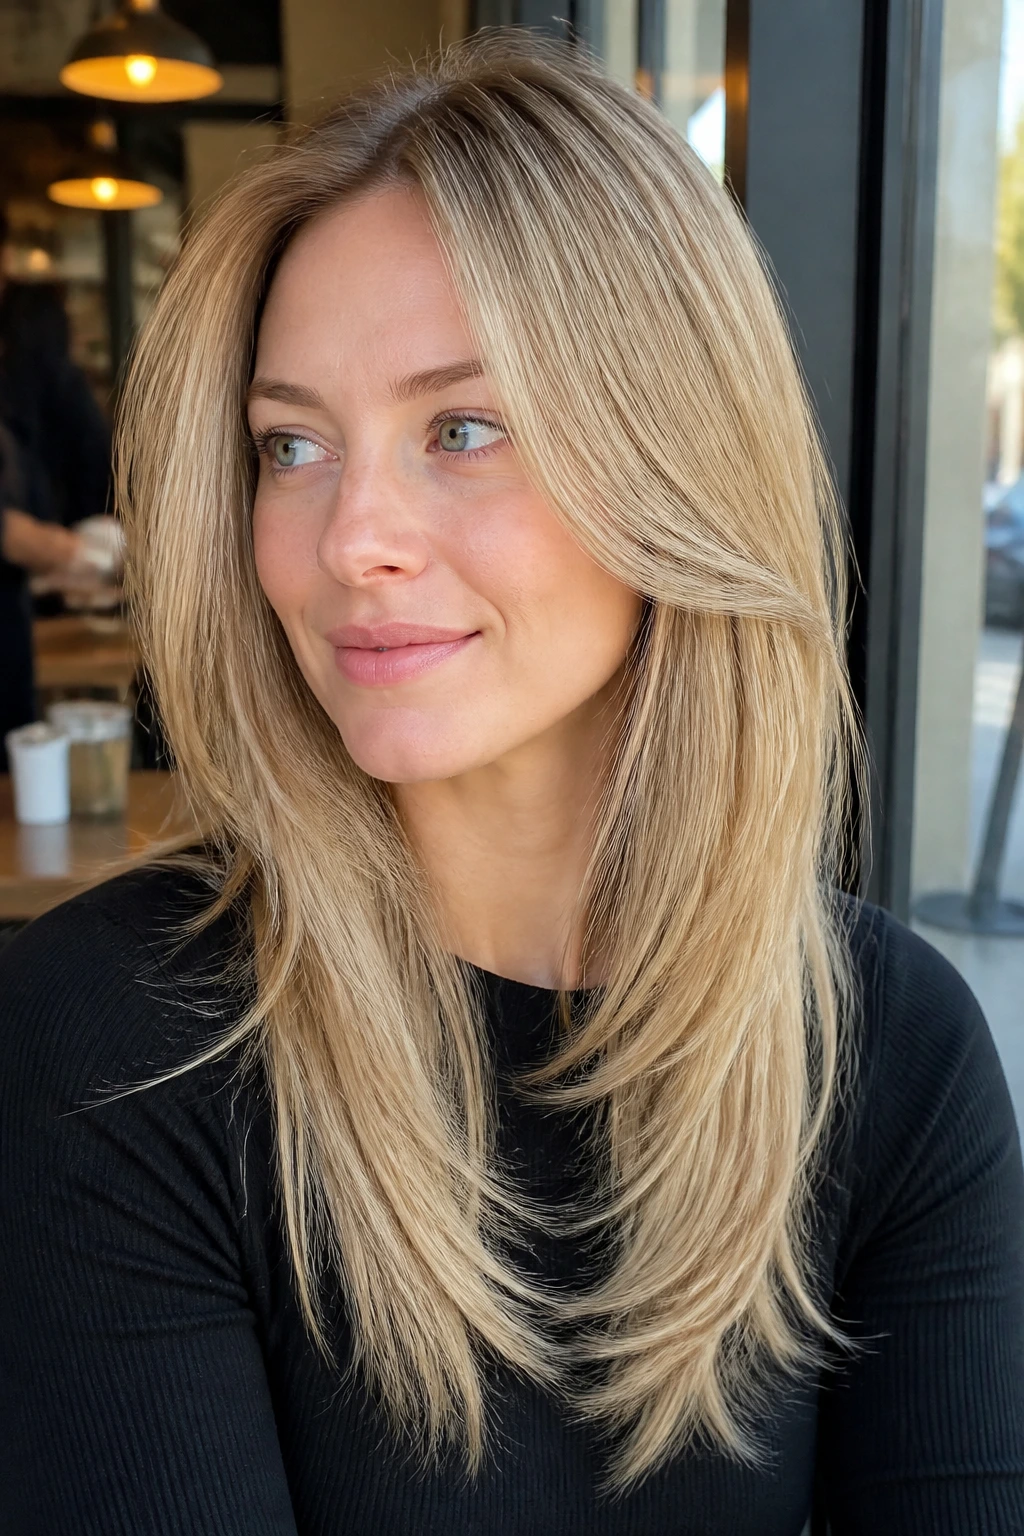
11. Side-Part Feather Sweep
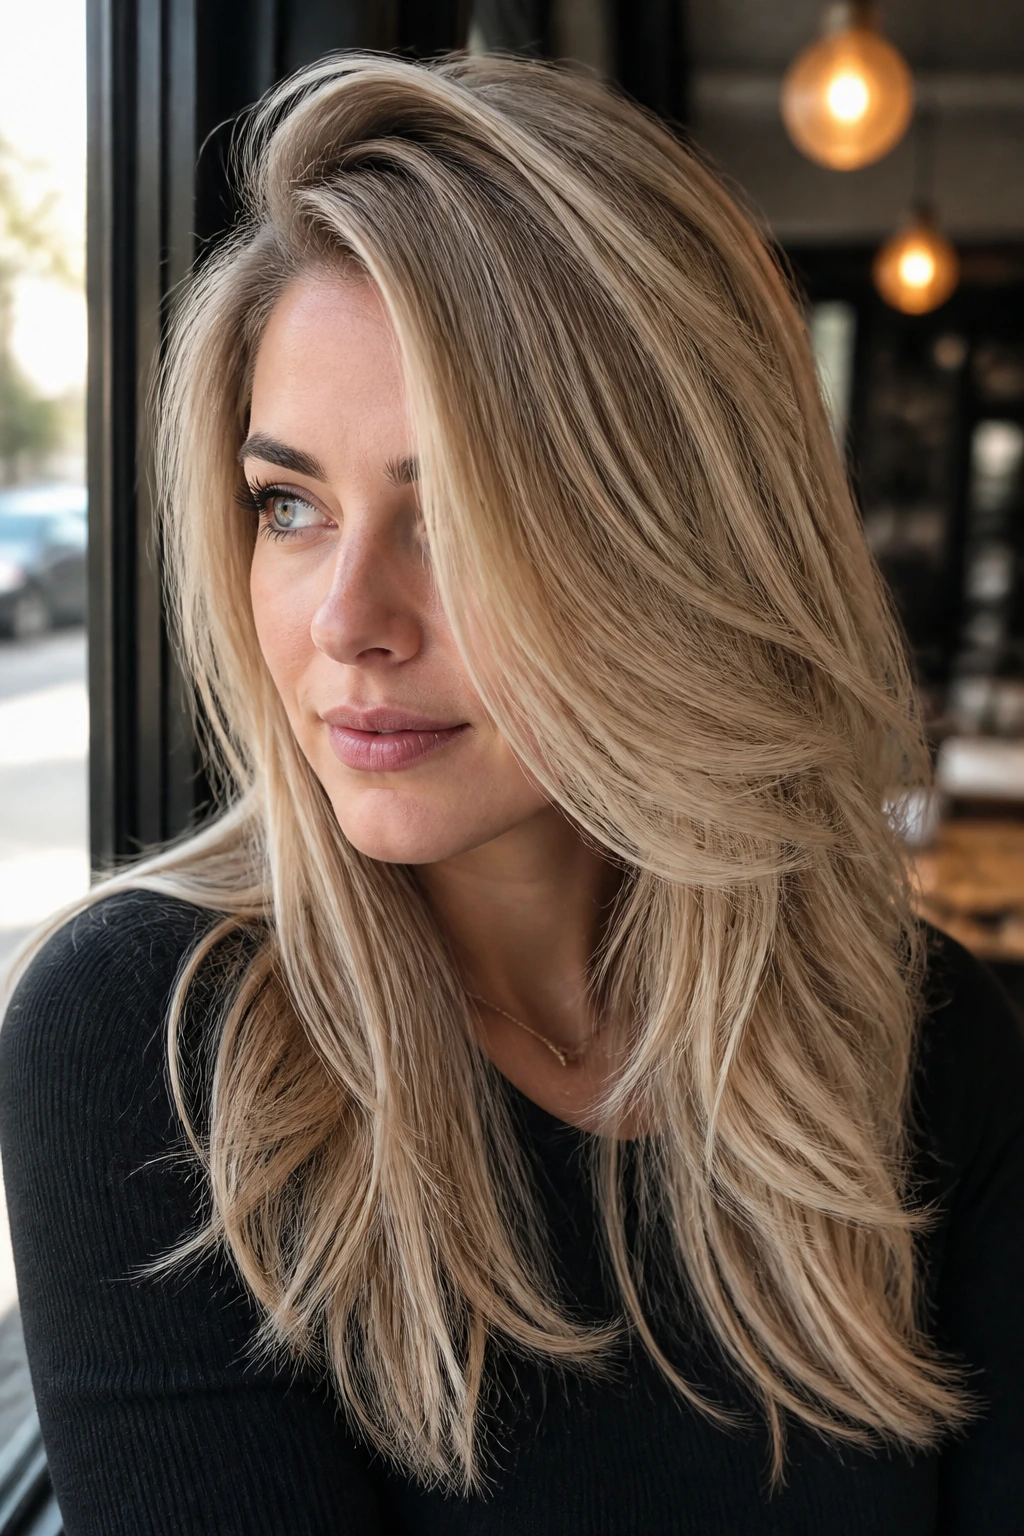
A deep side part can change the whole read of a face-framing layer. Suddenly the front pieces are doing more than softening the cheeks; they’re also creating lift at the root and a longer line along one side of the face. On long hair, that asymmetry is flattering in a very practical way.
This is a strong option if your hair tends to fall flat on the same side every day. The sweep gives the roots somewhere to go, and the feathered front pieces keep the part from looking severe. It is also one of the easiest shapes to style when you are short on time.
The key is not making one side too heavy. The longer side should still move, not disappear behind a wall of hair. If it sits there like a panel, the cut needs softer point cutting.
12. C-Shape Layers for Straight Hair
Straight hair can be gorgeous and unforgiving at the same time. If the layers are too blunt, you see every line. If they’re too soft, they can vanish. The C-shape sits in the middle and gives the front a curved path that wraps around the face instead of dropping in a straight line.
This shape is especially good if you like a polished blow-dry. The front pieces bend inward just enough to keep the hair from feeling severe, and the curve carries through the mid-lengths so the whole style looks planned.
The best C-shape layers are almost invisible when the hair is freshly styled. Then, when you tuck one side behind the ear or turn your head, you see the curve. That little reveal is the whole appeal.
13. ’90s Blowout Layers
There’s a reason the old blowout shapes keep coming back. They make long hair look big in a controlled way, with face-framing layers that lift away from the cheeks and ends that flip just enough to show they’ve been brushed. It’s glamorous, but not in a stiff, formal sense.
This cut wants bounce. Large round brush. Velcro rollers. Hot air aimed at the roots, not just the ends. If you let it air-dry and hope for the same effect, you’ll be disappointed.
A clean center part gives this shape a softer feel, while a side part makes it louder. Either way, the feathering around the face should feel full, not stringy. That’s the line to protect.
14. Wispy Face Frame for Thick Hair
Thick hair can turn into a triangle fast. Heavy lengths pile up, the sides puff out, and the face gets swallowed. A wispy face frame solves that by removing just enough weight around the front to keep the silhouette from feeling bulky.
The mistake people make with thick hair is taking too much off too high. That can leave the front looking disconnected from the rest of the cut. Better to start the feathering lower and let the pieces taper gradually into the body of the hair.
What to Watch For
- Ask for internal weight removal, not just front slicing.
- Keep the longest face-framing piece long enough to blend into the chest length.
- Use a smoothing cream at the ends, not at the roots, or the cut can look flat on top and puffy underneath.
This is one of those cuts that gets better when it’s styled with a little intention. Not much. Just enough.
15. Feathered Layers for Fine Hair
Fine hair needs a softer hand than thick hair, and that’s where feathered face framing earns its keep. The goal is not to remove every ounce of weight. The goal is to create the illusion of lift around the face while protecting the perimeter so the length still looks full.
I’d keep the front pieces longer here. Let them start below the cheekbone and taper out slowly. If the shortest layer is too short, fine hair can go wispy in a sad, transparent way that nobody wants.
A root spray helps, but so does simple body from a round brush. Fine hair often looks best with a very small bend at the front rather than a big, bouncy curl. Too much curve, and the shape starts to look overstyled.
16. Curl-Friendly Frame Layers
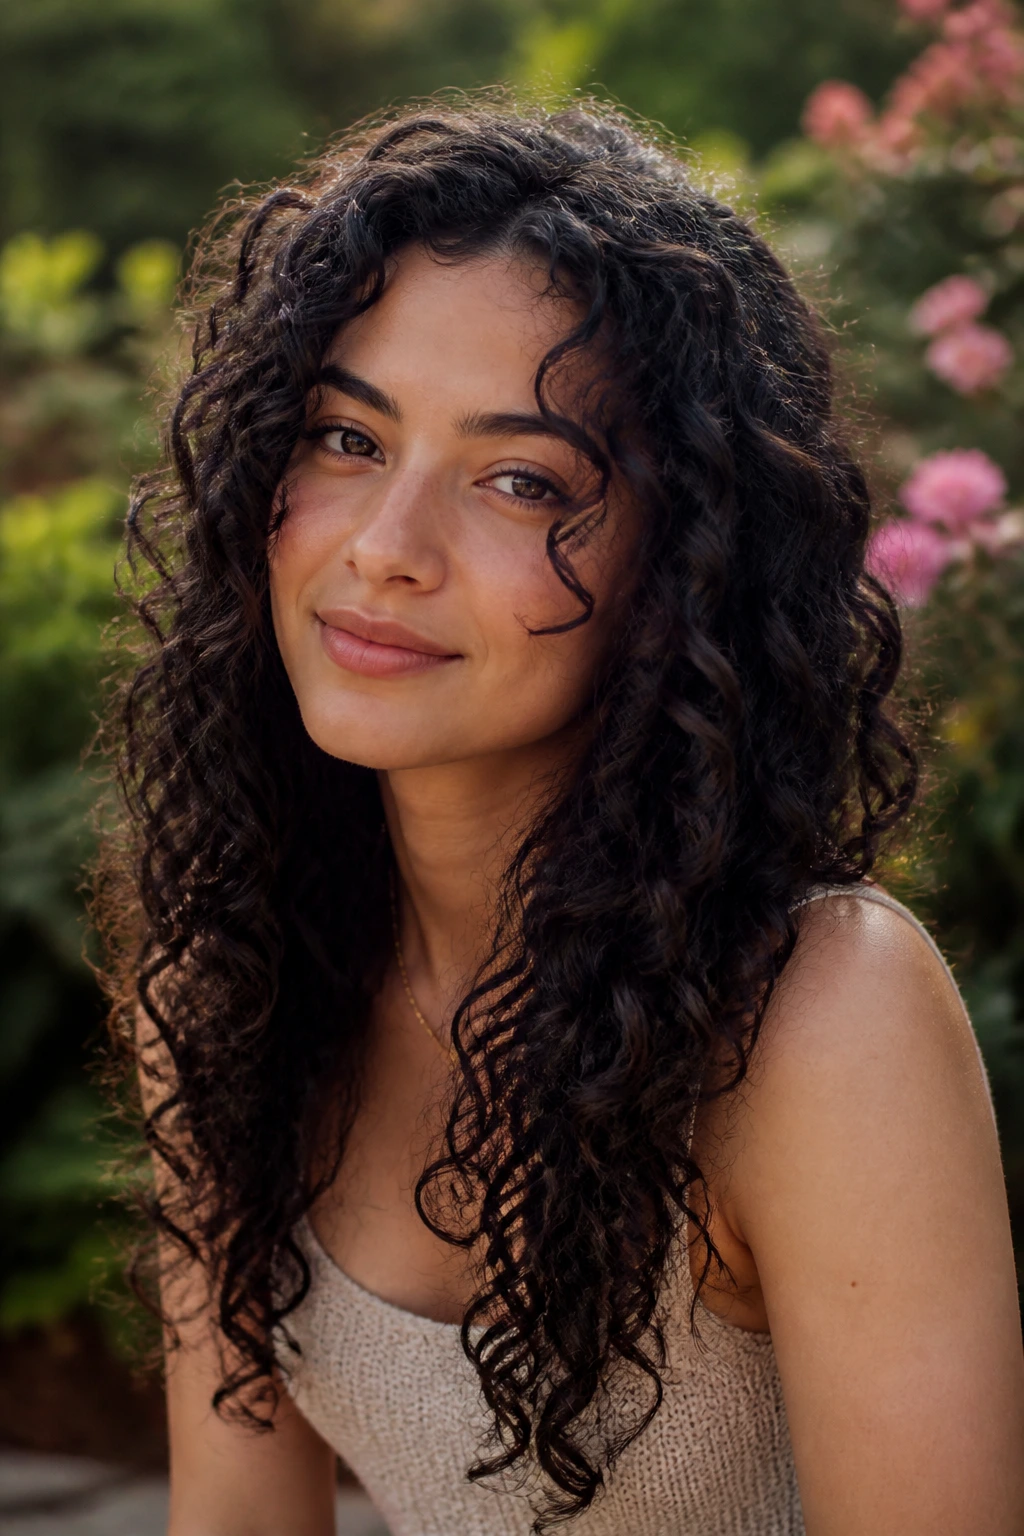
Curly hair needs face framing that respects shrinkage. A piece that lands at the jaw when wet might sit well above the cheek once it dries, so the safest curl-friendly frame starts longer than your eyes expect. That sounds obvious only after you’ve watched curls spring up and change their entire mood.
The best curls around the face are cut to move in their own pattern. They should follow the curl, not fight it. That means soft layering, careful curl-by-curl shaping, and no aggressive thinning on the ends.
If you wear your curls stretched or diffused, this shape gives the front a softer edge without losing the body you want. If you let them air-dry untouched, the face frame should still land in the right place once the shrinkage settles.
17. Center-Part Curtains With Long Wings
Center parts are honest. They show everything. That is why long curtain layers can either look elegant or look like they were forgotten. The trick is to make the front pieces long enough to frame the face and soft enough to split cleanly down the middle.
These “wings” should move away from the cheekbones instead of clinging to them. If they hit right at the cheek and stop, the effect gets too static. When they fall below the mouth and taper toward the collarbone, the look feels much better balanced.
This version works nicely on oval and heart-shaped faces, but it is not exclusive to them. The real deciding factor is how much front hair you want to keep visible when it’s tucked behind the ears.
18. Deep Side-Part Layers With Lift
If your hair lies flat at the root, a deep side part can be more useful than another round of short layers. It shifts the volume, changes the direction, and makes the front frame look more dramatic without cutting aggressively into the length.
This shape is especially good when you want long hair to feel dressier for an evening out. The side part creates a sweep, the feathered front pieces follow the line, and the style suddenly has a little attitude. Not loud. Just sharper.
A side part like this can also make thin areas near the front feel denser. The hair is still long, still soft, but the line of the cut looks more deliberate.
19. Textured Layers for Air-Dry Days
Some haircuts only work when you blow them out. These are not those. Textured face-framing layers can be built to hold up with a little leave-in conditioner and a scrunch, which is helpful if you hate spending twenty minutes with a brush every morning.
The key is weight removal in the right places. Too much, and the front goes frizzy. Too little, and it hangs. The sweet spot gives the hair room to form a bend around the face while keeping the ends from puffing out like old rope.
If you air-dry, clip the front pieces slightly away from the cheeks while they dry. That tiny habit keeps them from drying flat against the face, which is where they lose all shape.
20. Glossy Blunt Length With Hidden Front Layers
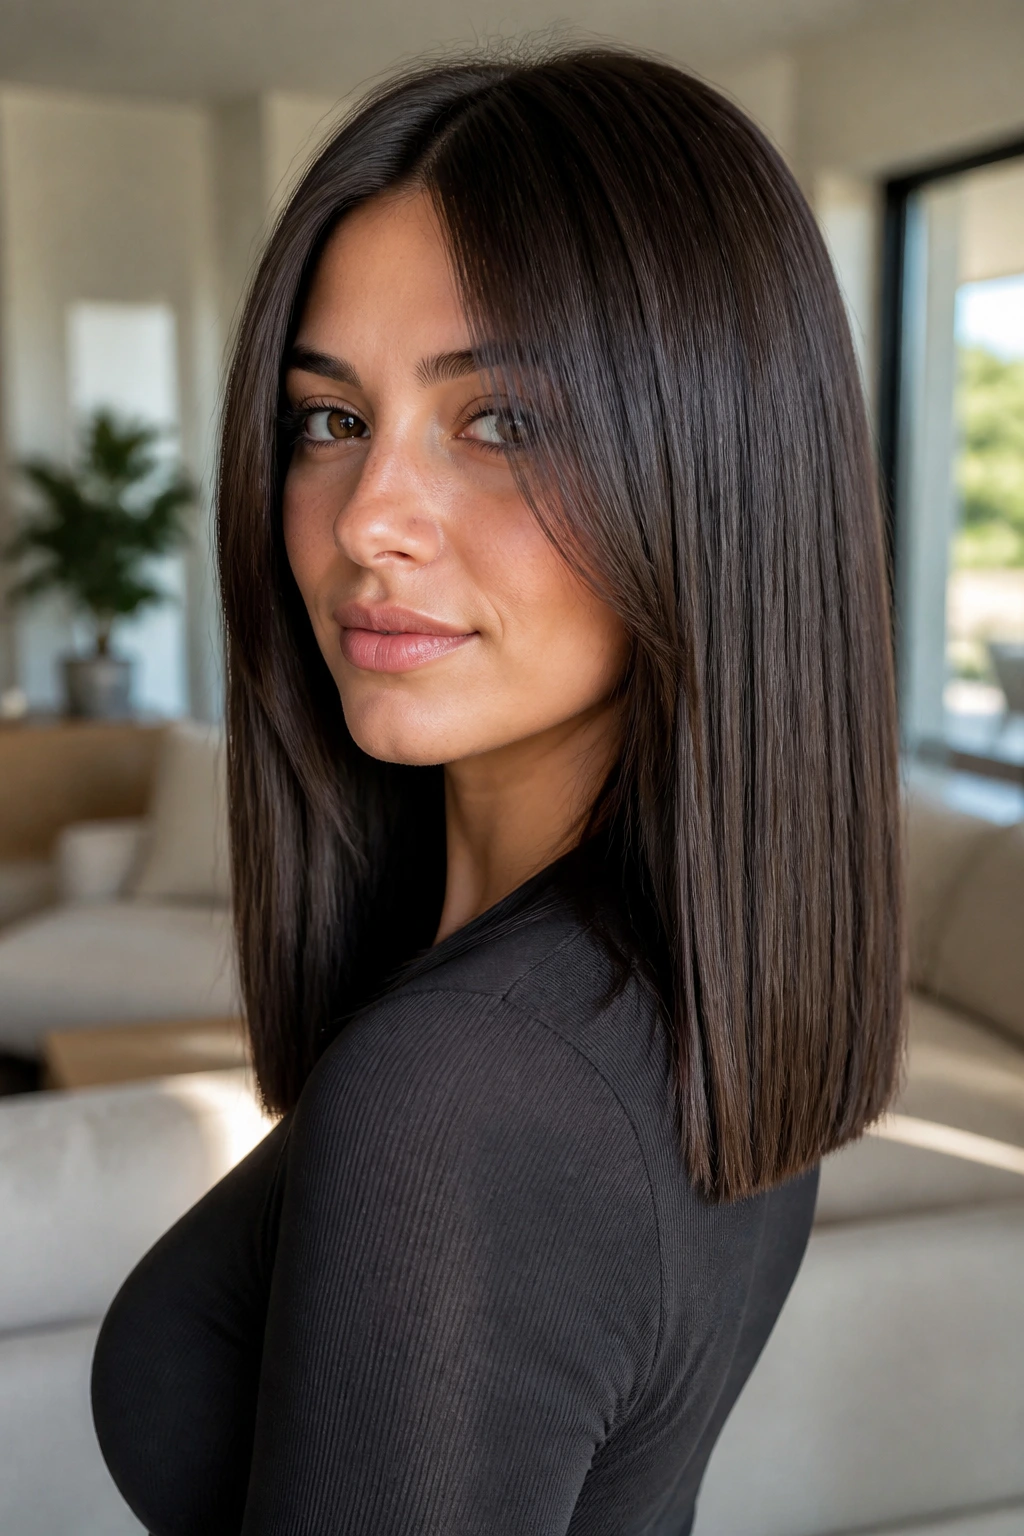
A blunt length does not have to mean no movement. Hidden front layers can soften the face without disturbing the glassy line through the back, and that combination is sharper than people expect. It’s a nice choice if you love polished hair but dislike the helmet effect.
The front pieces should be subtle enough that the cut still reads mostly blunt from the back. When you walk, though, the layers around the face should swing just enough to break up the heaviness. That contrast is what makes the style work.
I like this on hair that’s naturally straight or straightened often. The smooth perimeter gives the length presence, and the hidden feathering keeps the face from getting lost inside all that hair.
21. Soft Wolf-Lite Layers for Long Hair
A full wolf cut can be a lot on long hair. A softer version keeps the shag energy without turning the silhouette into a project. The face frame gets more lift, the crown gets some internal movement, and the ends stay long enough to keep the style grounded.
This is the cut for someone who likes a little edge but still wants to tie the hair back without a hundred short pieces escaping. It’s a little messier than a classic feathered layer, and that is the point. The shape should look good even when it’s not perfectly brushed.
Best for
- Long wavy hair that gets heavy around the temples.
- People who wear clips, claws, or half-up styles often.
- Anyone who wants texture without committing to a full shag.
22. Grow-Out-Friendly Feather Layers
The cleanest long-hair layers are the ones that still look right after they’ve been grown for a while. Grow-out-friendly feathering keeps the front pieces long enough that they blend instead of separating into a dated shelf shape. That matters more than people admit.
This version is my favorite for someone who trims infrequently or lives far from a salon. The shortest front pieces should be soft and long, and the transition into the back should happen slowly. A little point cutting around the face helps the cut age gracefully.
It also plays nicely with ponytails and clips. Shorter, choppier layers can fall out in annoying little bits. Softer feathering stays put or tucks in without looking like an afterthought.
What Gives Feathery Face-Framing Layers Their Shape
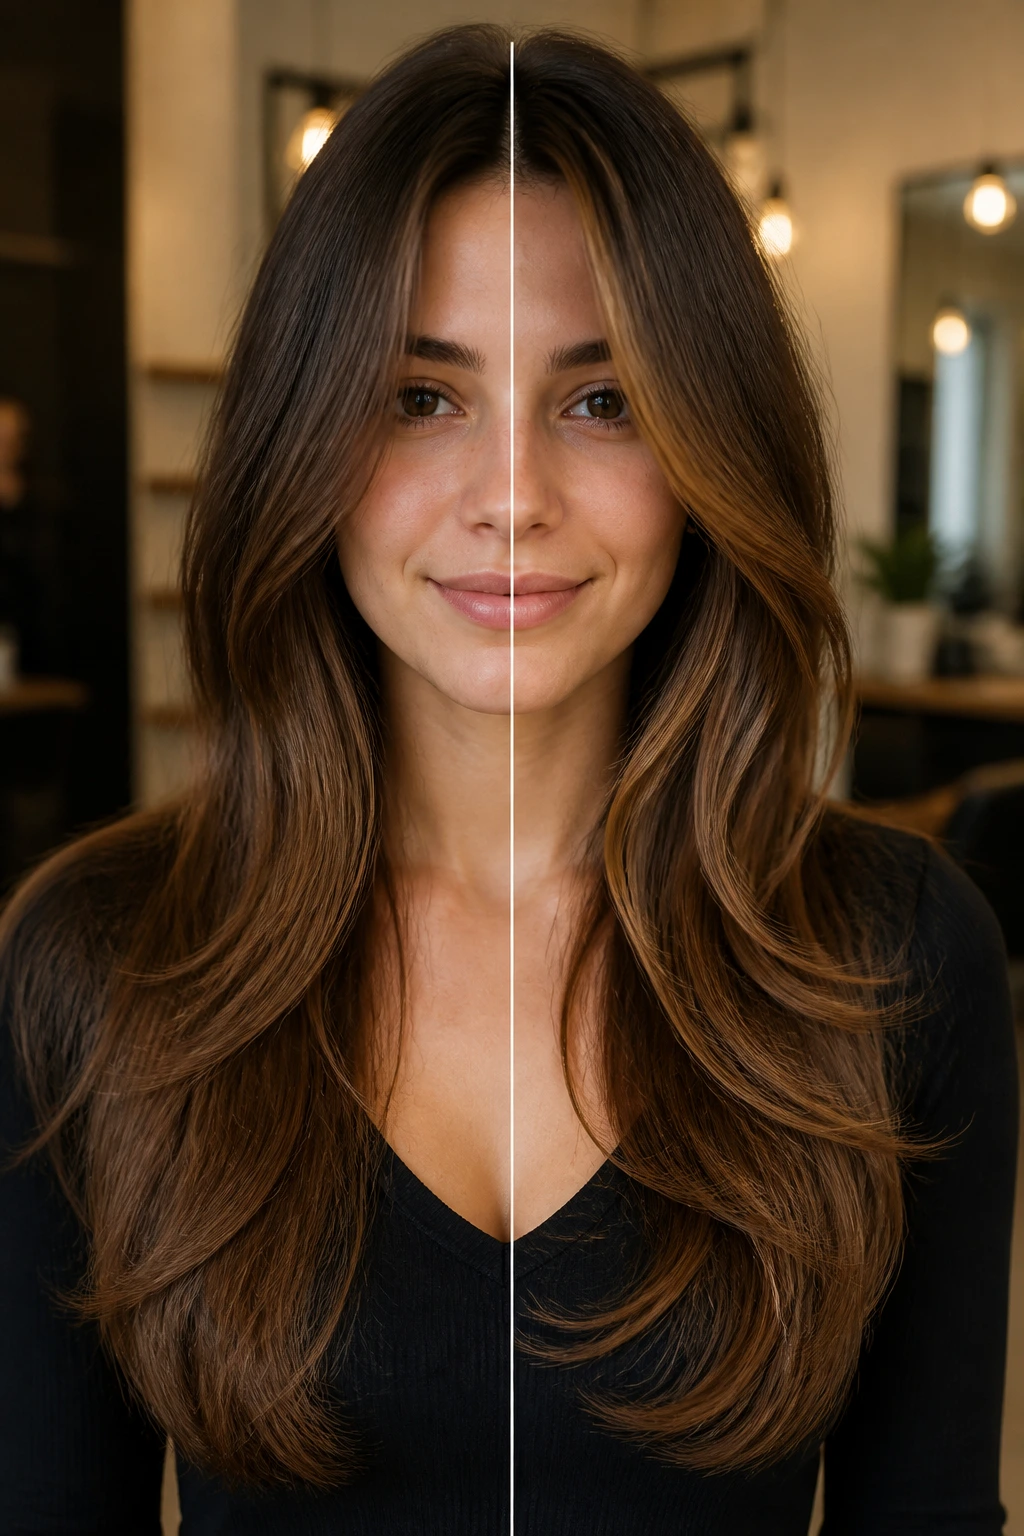
Long hair needs weight control more than it needs drama. That sounds boring, but it’s the whole story. If the front of the cut carries too much bulk, the face gets swallowed; if the layers are cut too high or too blunt, the whole shape starts looking choppy instead of soft.
The best feathery face-framing layers for long hair are built with three things in mind: where the shortest piece starts, how the ends are softened, and how the front blends into the length behind it. A good stylist will usually talk about those points before they ever pick up the scissors. Point cutting removes tiny bits from the ends so the line looks airy. Slide cutting can soften the transition even more. A razor can work too, but only on textures that can handle it.
The reason this matters on long hair is simple. Long length adds weight. Weight pulls the front down. If you don’t remove or redirect some of that weight near the face, the hair sits there like a heavy sheet. Feathering gives the front a bit of lift, and that lift changes how the whole haircut reads in motion.
It also changes how the cut grows out. Short layers with a hard edge can look fantastic for six weeks, then awkward by the second trim cycle. Feathered framing is kinder. It fuzzes out a little as it grows, which is one reason I prefer it for people who don’t want a salon schedule that runs their life.
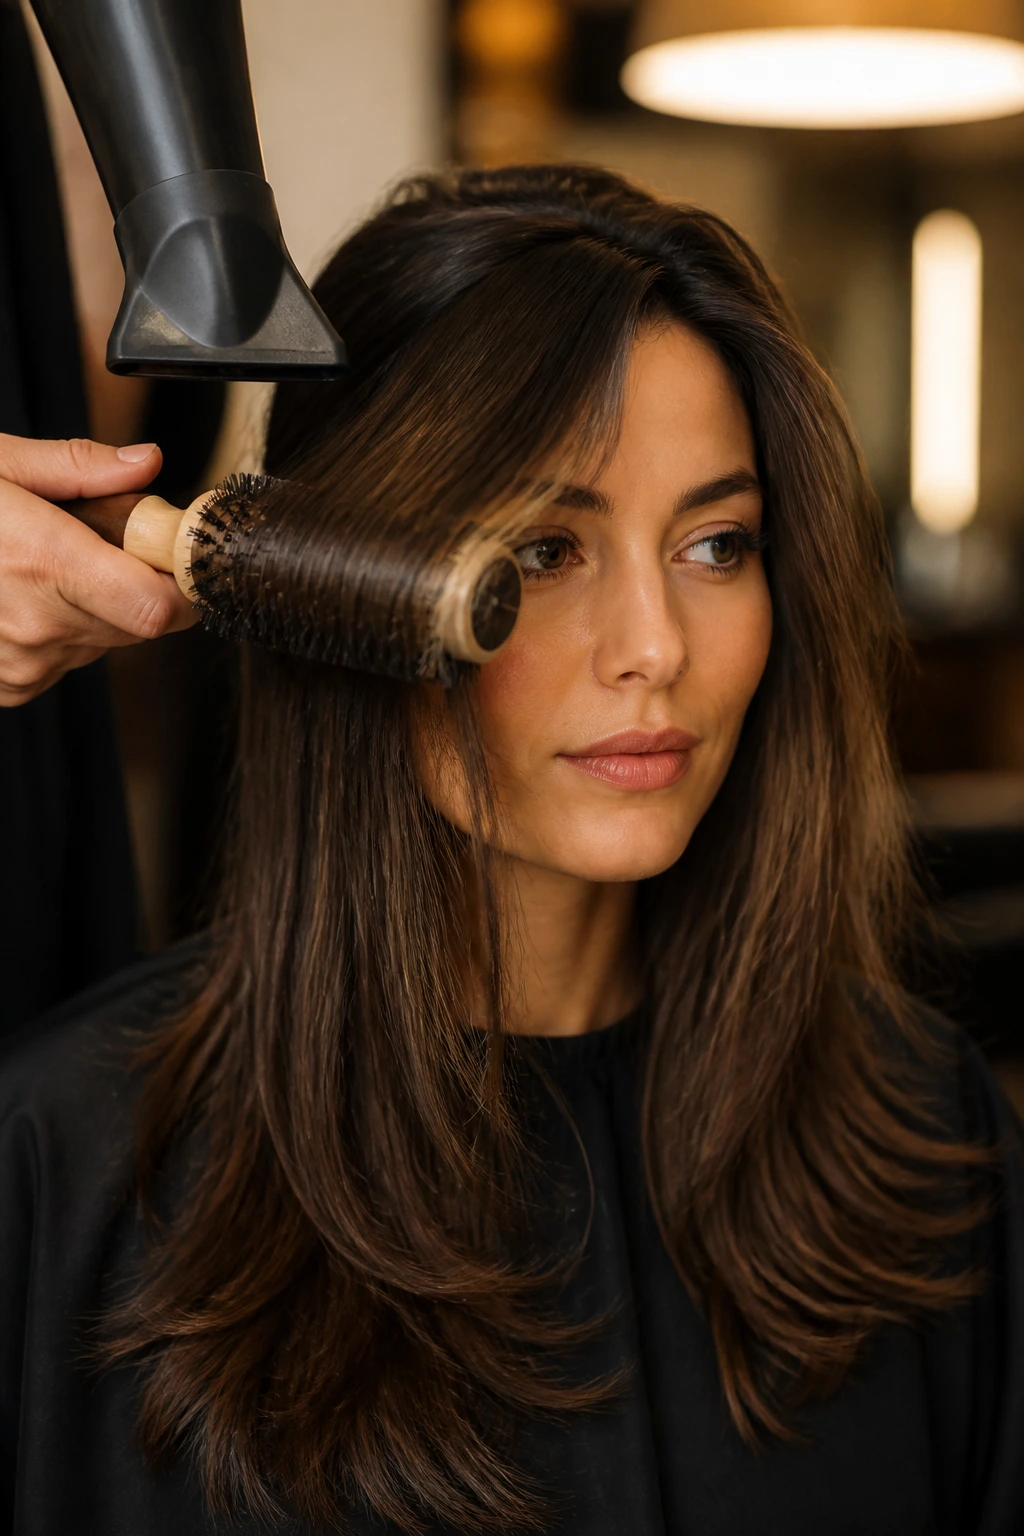
The Tools That Make the Style Look Intentional
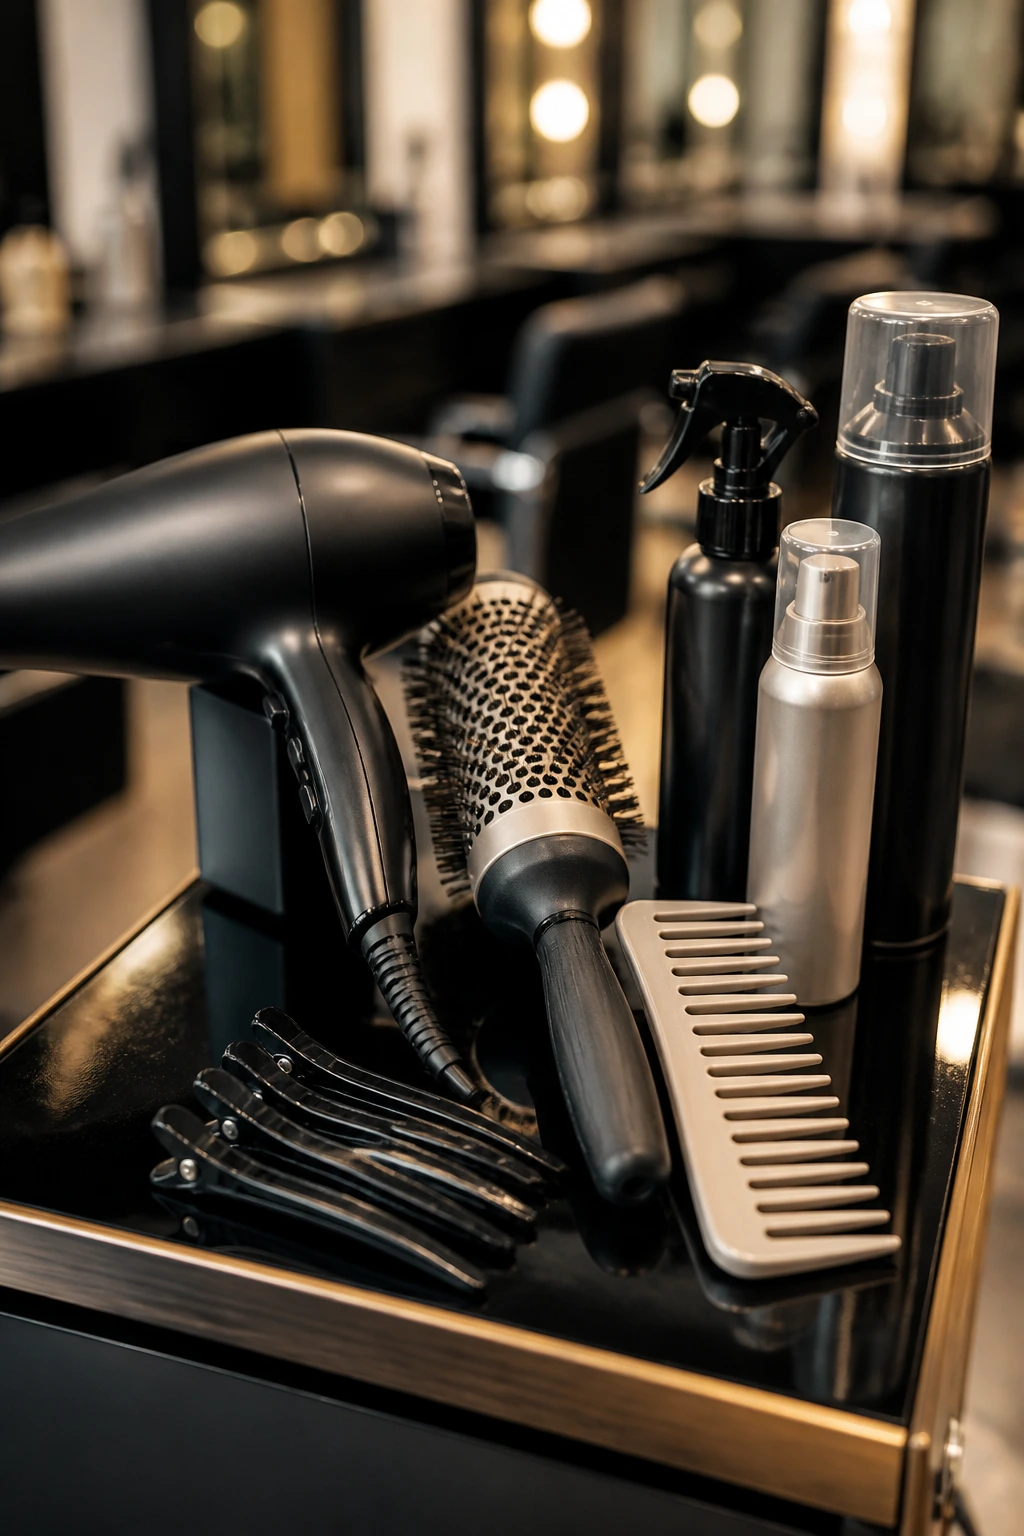
A good cut helps, but the right tools keep the front pieces from collapsing. You do not need a drawer full of gadgets. A few solid basics go a long way, and they matter more on long hair because the weight of the length can undo a nice shape fast.
-
A blow dryer with a nozzle: The nozzle matters. It directs airflow so you can push the front pieces away from the face instead of blasting them into a frizz halo.
-
A 1.25-inch to 2-inch round brush: Smaller brushes give more bend, larger ones give a softer curve. If your hair is very long, a 2-inch brush is usually easier to manage.
-
Wide-tooth comb or tail comb: Helpful for parting and sectioning without yanking the front pieces out of place.
-
Sectioning clips: Necessary if your hair is thick or layered heavily. They keep the face frame separate while you work.
-
Heat protectant spray: Non-negotiable if you’re using a brush and dryer. The front pieces get the most direct heat, and they show damage first.
-
Lightweight mousse or root spray: Best for fine or flat hair that needs the front to stand up instead of hanging down by noon.
-
Flexible hairspray: Use it at the end, not as a helmet. The goal is movement, not shellac.
How to Choose the Right Version at the Salon
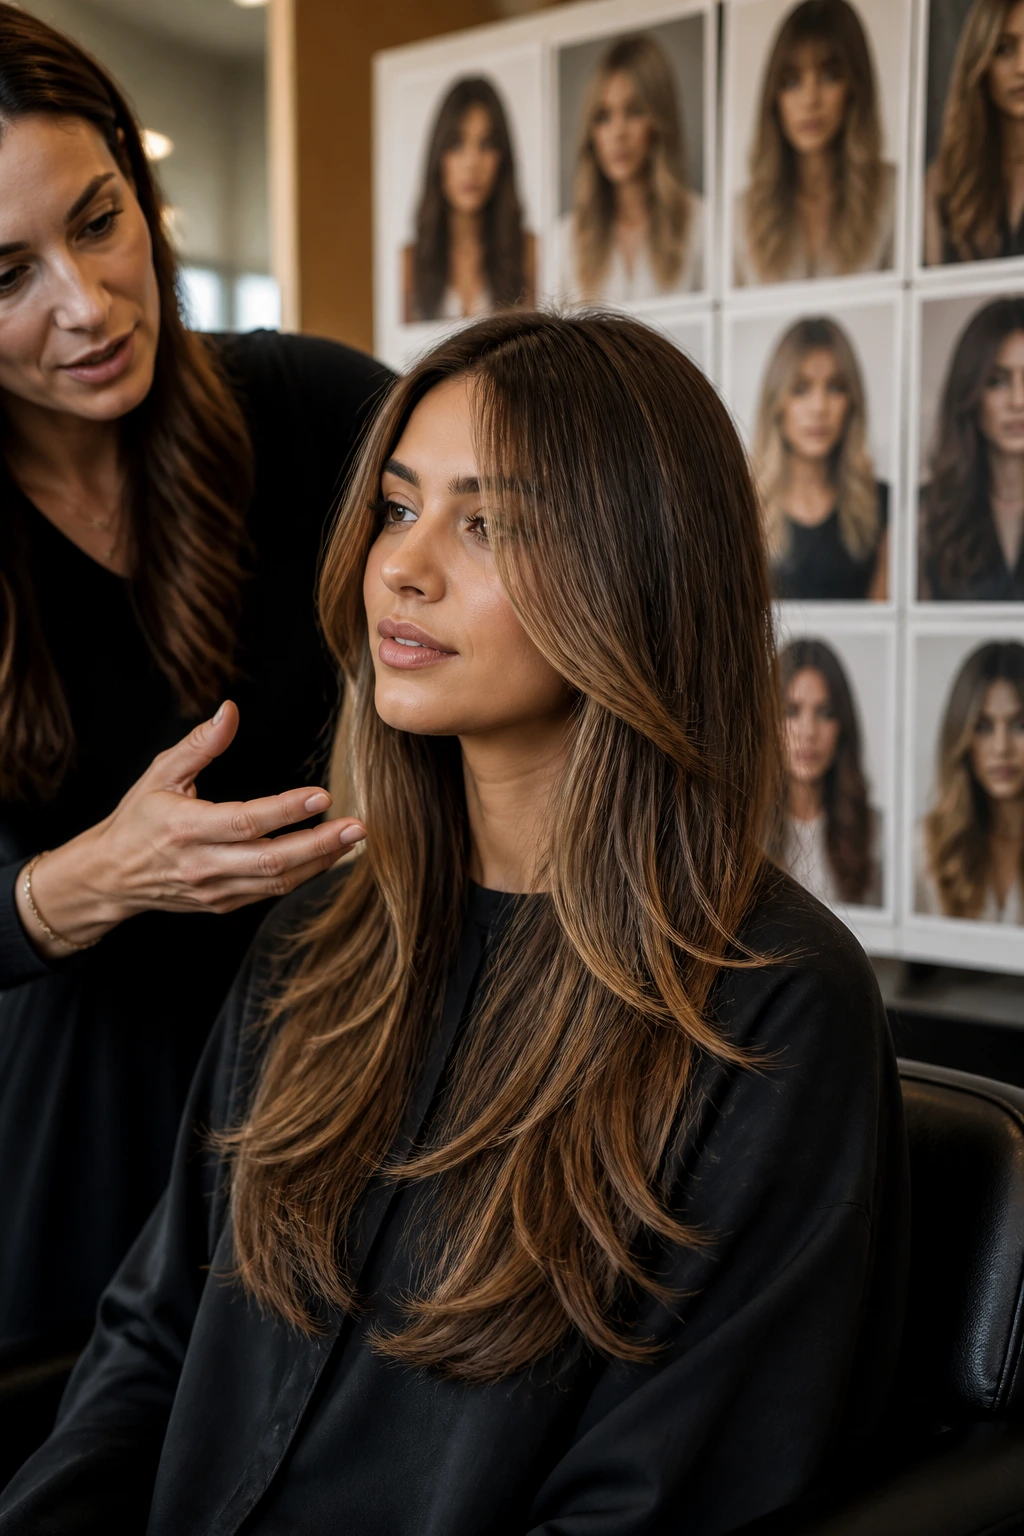
Bring photos, but bring the right kind. A picture of a model with curled, blasted-to-the-ceiling hair tells your stylist almost nothing if you plan to air-dry or wear your hair straight. I like to see one photo of the front, one of the side, and one of the back if possible. That makes the shape much easier to translate into real hair, not inspiration-board fantasy.
Say where you wear your part. Say how much length you want to keep. Say whether you want the front to skim the cheekbone, jaw, or collarbone. Those details change the cut more than the buzzwords do. “Feathered layers” can mean one thing on fine hair and something totally different on dense, curly hair.
Hair density matters a lot here. Thick hair can take a stronger front frame and more internal weight removal. Fine hair usually needs a gentler version, or the front starts looking sparse. If your hair is wavy, ask how the layers will land both blown out and air-dried. The best version is the one that works in the way you actually wear your hair, not the way it behaves for ten minutes in the salon chair.
How to Wear the Shape So the Feathering Shows
Presentation: Blow the front pieces away from the face with a round brush, then let them cool in the brush for a few seconds before you drop them. That tiny pause helps the bend stay put. If you skip it, the shape falls faster.
Accompaniments: A center part gives soft curtain energy, while a deep side part makes the frame look sharper. Small hoops, collarbone necklaces, and open necklines all make the front pieces stand out without fighting them.
Portions: For a subtle change, keep the shortest layer at or below the chin and let the rest blend quietly into the length. For a stronger frame, start around the cheekbone and taper outward. The more dramatic you go, the more styling the cut will need.
Beverage Pairing: A light mousse at the roots and a touch of flexible hairspray at the ends are the styling pair I trust most here; heavy oil near the front pieces will drag them flat before lunch.
Small Styling Moves That Make the Front Pieces Behave
Heat Direction: Aim the dryer downward through the mid-lengths and outward at the front pieces. That stops the face frame from flipping into random directions and makes the bend sit where you want it.
Texture Boost: If your hair is too soft to hold a bend, mist a little texture spray from cheekbone to ends. Do not hose down the roots unless you want the top to feel gritty.
Refresh Trick: On day two, twist the front pieces around two fingers, clip them for ten minutes, then let them fall. It’s a tiny reset that works better than re-wetting the whole front.
Customization: Tuck one side behind the ear, leave the other loose, or bend the front outward instead of inward if you want a looser feel. Small changes matter more here than people think.
Make-It-Yours: Fine hair usually needs less cutting and more root lift. Thick hair usually needs more internal removal and a smoother finish cream. Curly hair needs the shortest pieces longer than the final dry length, because shrinkage is real and merciless.
Common Mistakes That Make the Layers Fall Flat
-
Starting the shortest layer too high: The symptom is a face frame that looks disconnected from the length and grows out awkwardly. The fix is to keep the shortest piece lower and blend the transition more gradually.
-
Taking too much bulk out of thick hair near the cheeks: You end up with a halo of frizz and a front that sticks out. The fix is to remove weight inside the shape, not just cut shorter pieces around the face.
-
Using a razor on the wrong texture: Very porous or frizz-prone hair can puff up fast if the edge gets too shredded. The fix is softer scissors work and a careful point-cut instead.
-
Styling the front pieces too flat: Long hair can cling to the face if the roots don’t have a bend. The fix is a round brush, a quick cool-down, and a little lift at the root.
-
Ignoring how your part changes the cut: A center part and a side part do not frame the face the same way. The fix is to decide where you part your hair before the stylist cuts, or you can end up with one side looking too short.
-
Trying to make every layer obvious: Feathering loses its charm when every snip announces itself. The fix is to keep the blend soft and let the movement show in motion, not in hard lines.
Ways to Change the Shape Without Losing the Idea
The Soft Curtain Version: Keep the front pieces long and delicate, with the shortest layer landing around the chin. This is the easiest version to grow out and the least likely to surprise you in the mirror.
The Thick-Hair De-Bulker: Ask for more internal weight removal and a slightly stronger face frame. It works when the sides puff out and the ends feel dense enough to fight a brush.
The Fine-Hair Lift Kit: Keep the layers longer, softer, and more selective. You want a little shape around the face, not a thinning job that makes the ends look see-through.
The Curl-Respecting Frame: Cut the front pieces to dry longer than you think they should and shape them curl by curl. This keeps shrinkage from stealing the whole frame once the hair dries.
The Low-Key Grow-Out: Choose a gentle taper that can survive eight to twelve weeks without going stale. It is the best version if you hate trims or like wearing your hair up more often than down.
Keeping the Feathered Frame from Blunting Out
A feathery face frame looks its best when it gets tiny maintenance touches, not constant reinvention. The front pieces are the first part of the cut to grow into your eyes, brush against your cheeks, and lose their bend, so they need a little more attention than the length at the back.
Plan on a small trim to the front every 6 to 8 weeks if you want the shape to stay crisp. The full length can usually go 10 to 12 weeks before it starts feeling tired, but the face frame is what makes the haircut feel fresh. If your hair grows fast or you wear a middle part every day, the shorter pieces will announce their growth sooner.
A satin pillowcase helps the ends stay smoother overnight. So does a loose twist at the front if your hair is prone to waking up bent in the wrong direction. On day two, a little dry shampoo at the roots can bring the lift back, but don’t overdo it near the face or the front pieces can look dusty.
If you blow-dry, start with the front pieces first while your hair is still damp. They set the quickest and they lose shape the fastest. If you air-dry, clip the face frame away from your cheeks while it dries so the strands don’t cling to skin and fall flat.
Questions People Ask at the Salon Chair
How short can face-framing layers be on long hair?
Short enough to create shape, but not so short that they look detached. For most people, chin to collarbone is the safest range; anything higher starts needing more styling and a firmer commitment.
Do feathery layers work on straight hair?
Yes, and straight hair may show the shape most clearly. The catch is that the cut needs soft ends and a little bend from a brush, or it can look too linear.
Will these layers make fine hair look thinner?
Only if they’re cut too aggressively. Fine hair usually does better with longer, lighter face framing and less weight removed through the perimeter.
Can curly hair wear this shape?
Absolutely, but the cut has to respect shrinkage. A curl-friendly frame should be cut longer while the hair is dry or cut by a stylist who knows how your pattern behaves when it springs up.
What if I want the cut but hate blow-drying?
Ask for a softer version with longer front pieces. You’ll get movement on air-dry days and still have enough structure for the cut to make sense.
How do I fix it if the front ends up too short?
The easiest repair is not another big chop. Let the front pieces grow a bit, tuck them more often, and ask for a soft blend on the next trim so the transition stops looking abrupt.
Can I keep my length and still get shape?
Yes. That’s the whole point of a good feathered frame. The back can stay long while the front gets enough movement to change the silhouette.
Do these layers work with bangs?
They do, but the two need to be planned together. Curtain bangs plus feathered layers can look beautiful; blunt bangs plus a heavy face frame can feel crowded if both are fighting for space.
The Shape That Keeps Long Hair from Going Heavy
Long hair does not need more drama. Usually it needs a smarter outline. A few feathered pieces around the face can change the whole mood of a cut, especially when the rest of the length is left intact and the ends are softened instead of chopped blunt.
That’s why these shapes keep showing up in salon chairs. They solve a real problem: too much weight, too little movement, and a face frame that disappears under the rest of the hair. Get the front pieces in the right place, and the whole cut feels easier to live with.
Start soft if you’re unsure. The best feathered layers usually earn their place by moving well on day one and growing out politely for weeks after that, which is more useful than any flashy before-and-after shot.