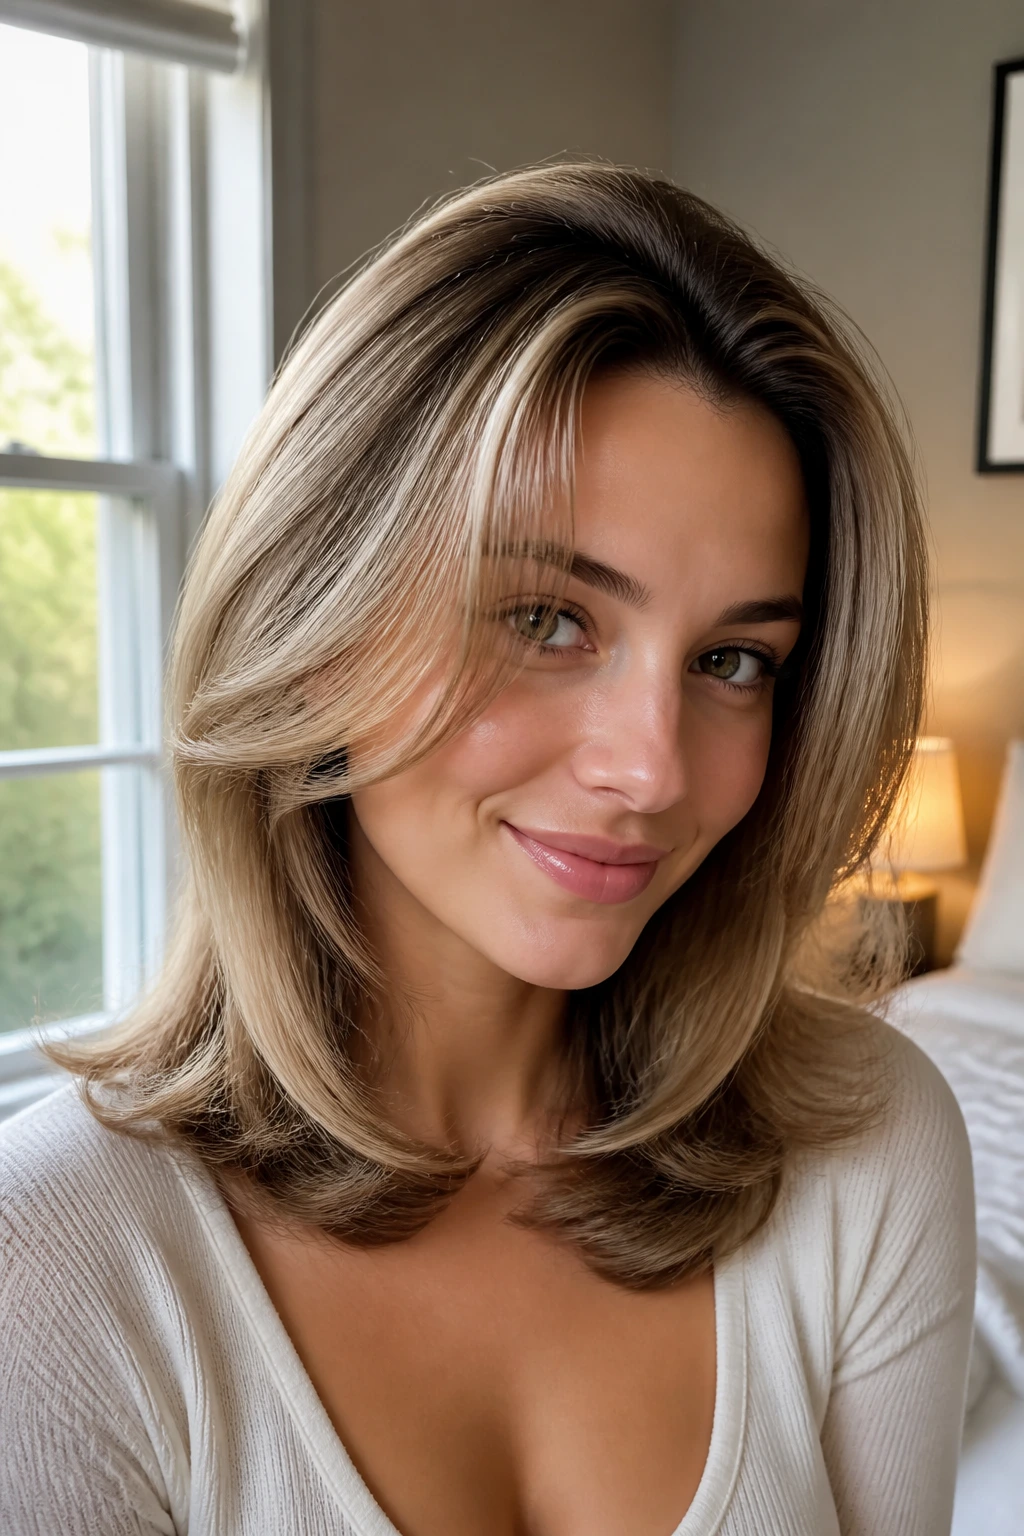
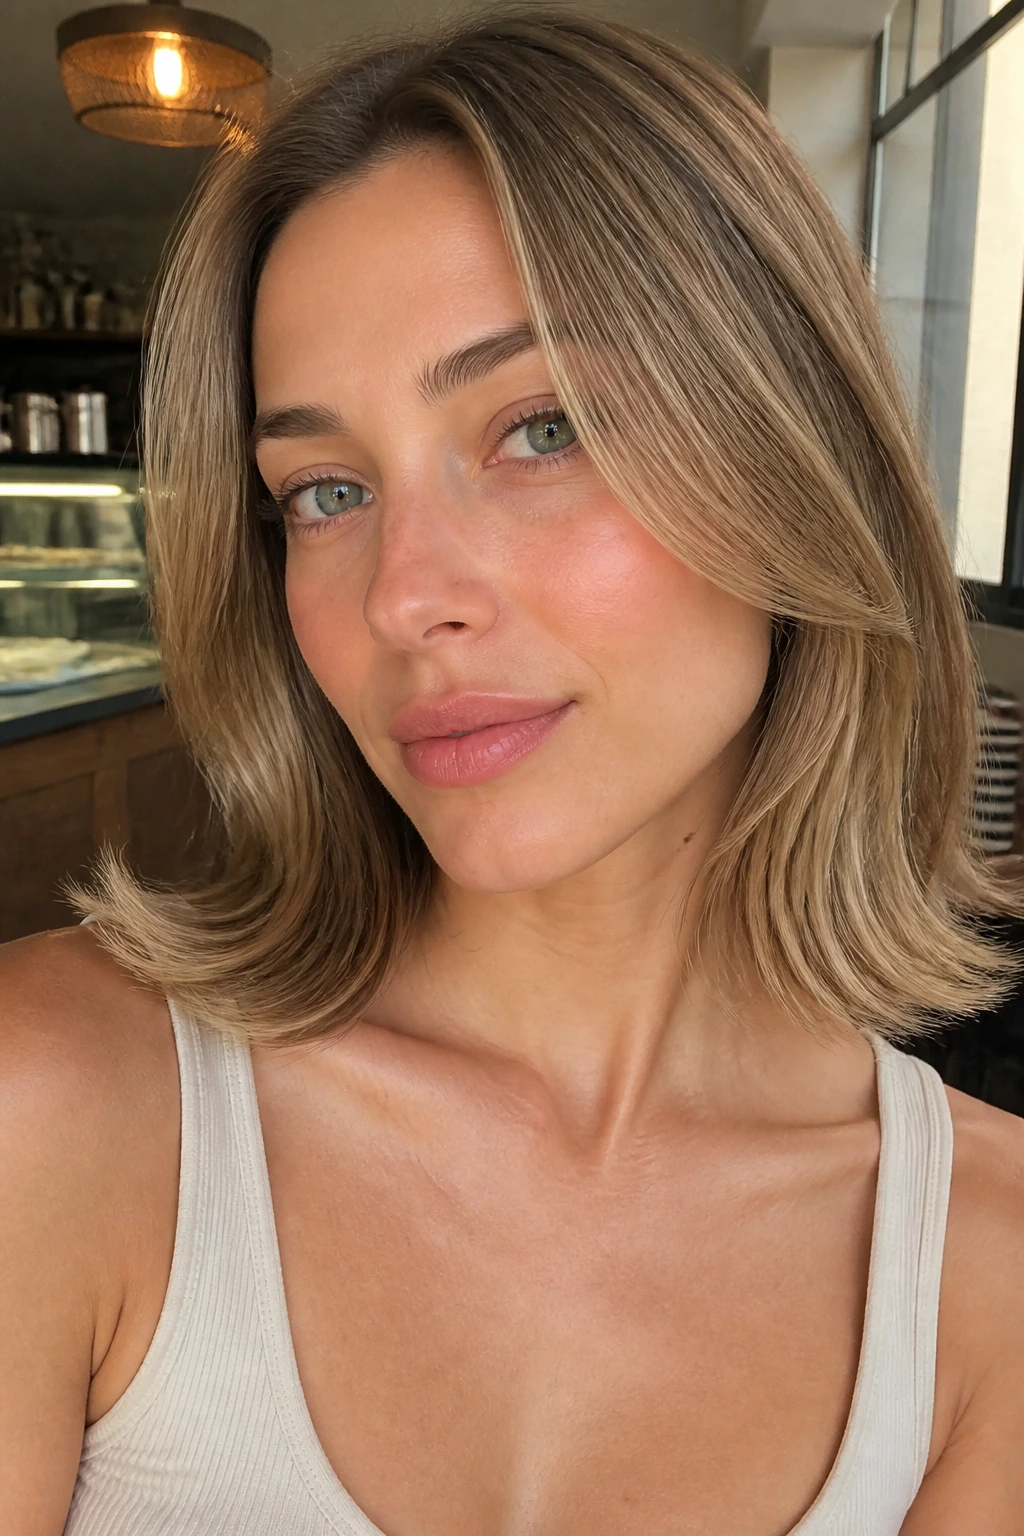
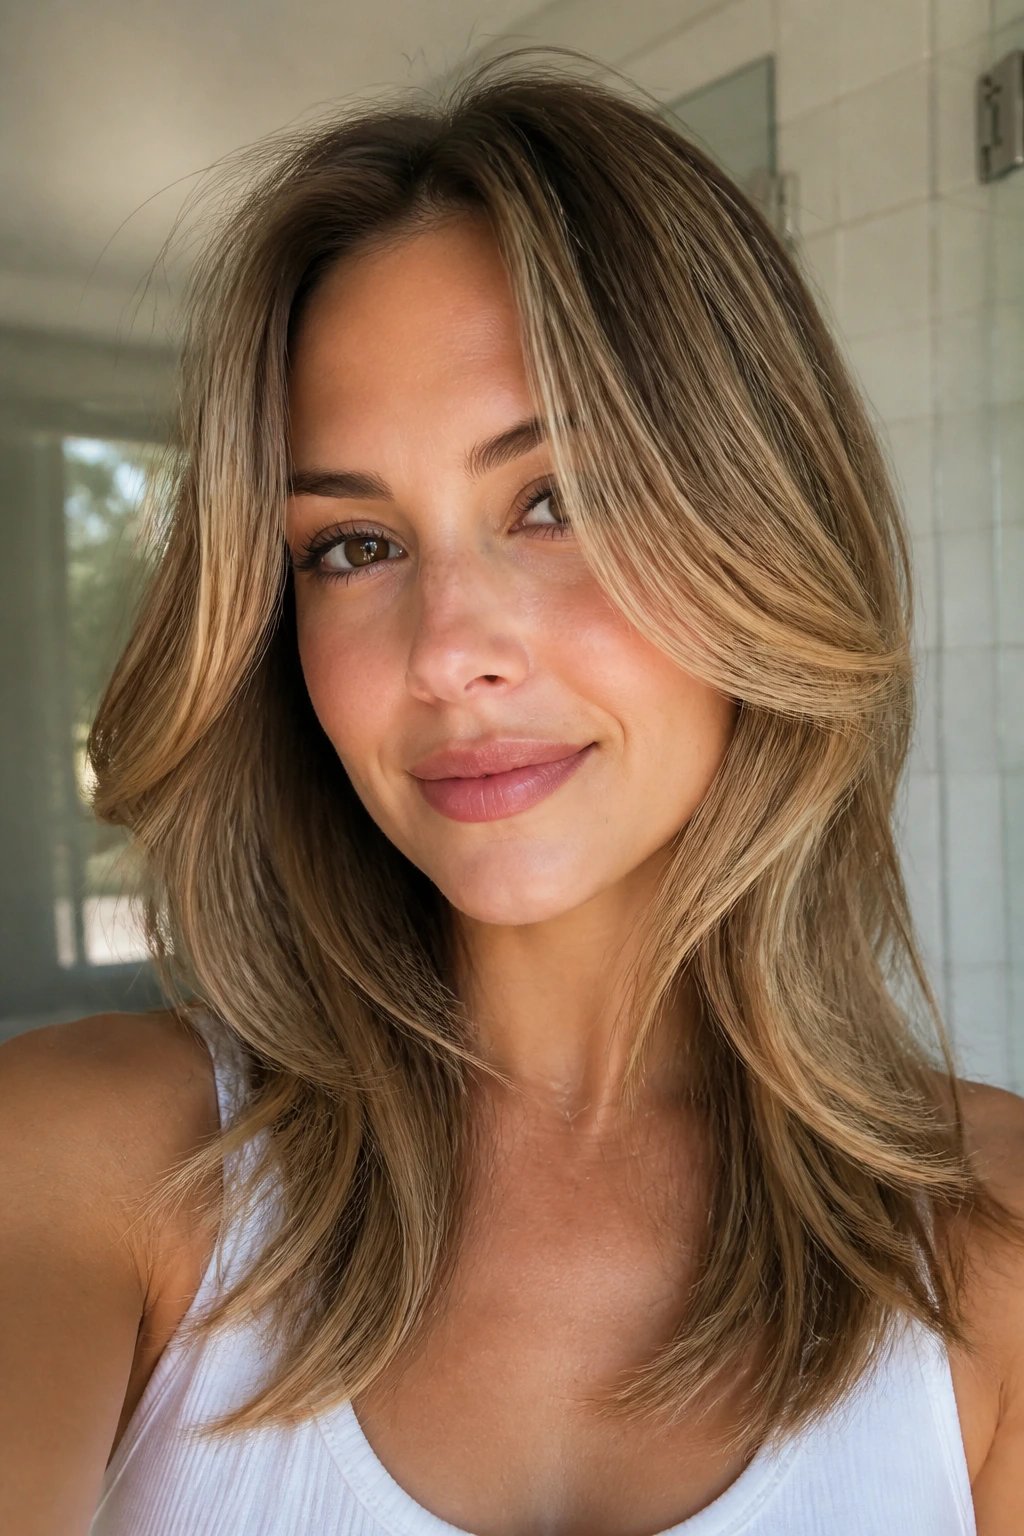
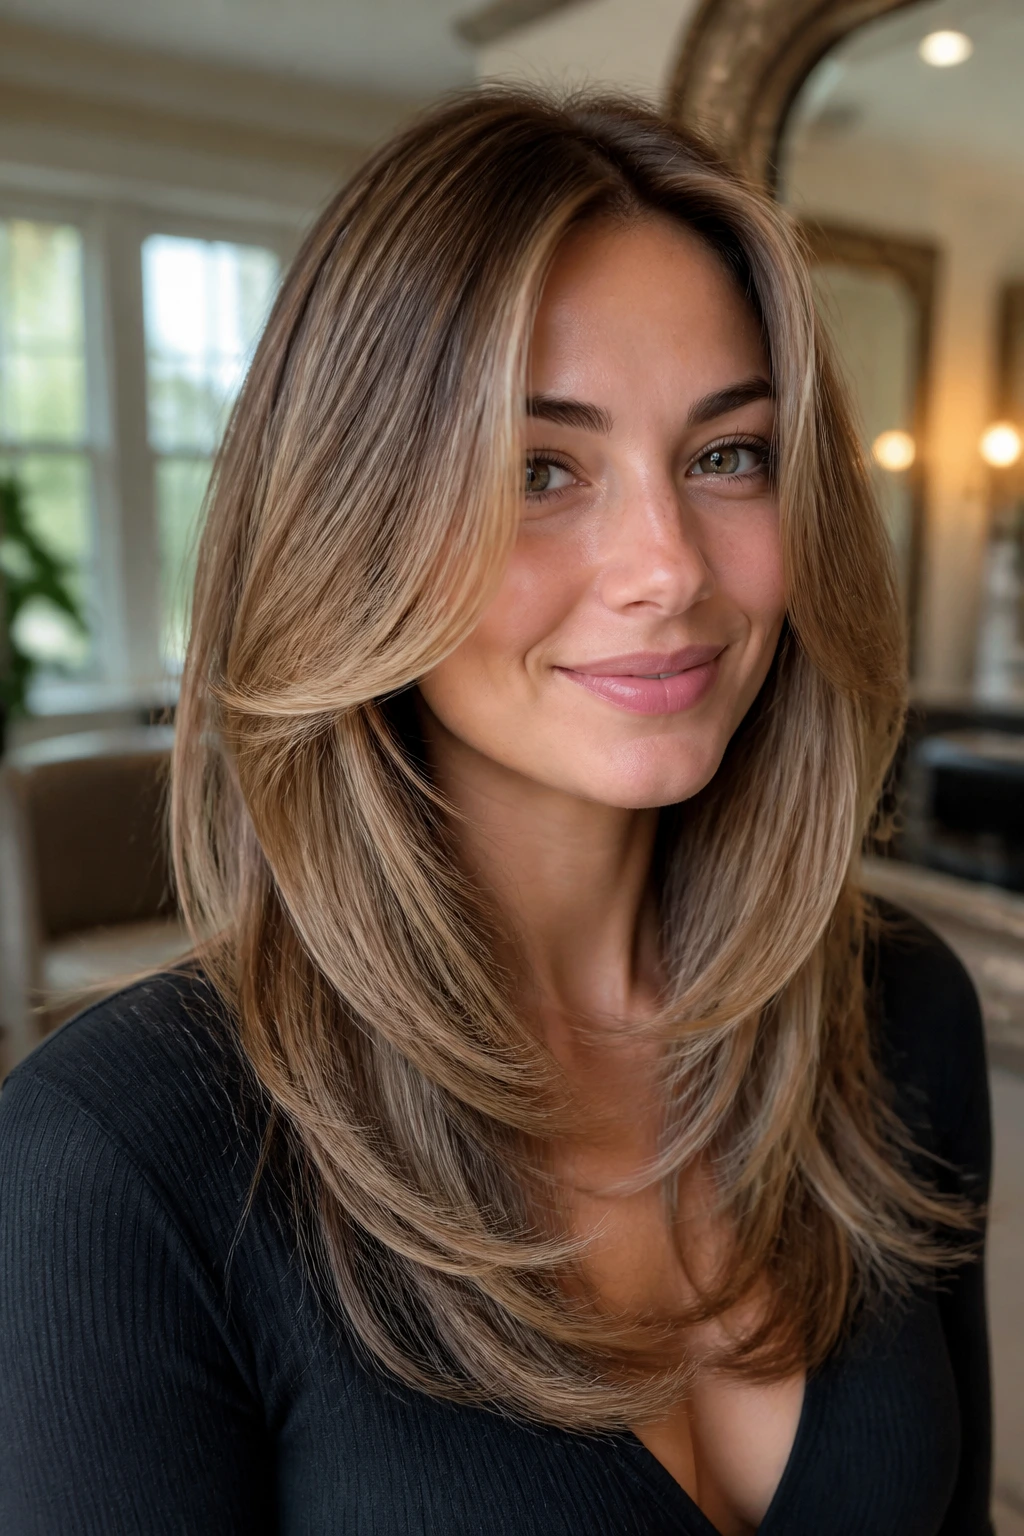
Fine hair and a heart-shaped face can be a tricky pairing for a blowout. Push the crown too high and the forehead starts shouting for attention; keep everything flat and the shape disappears by lunch. The sweet spot is narrower than most people think, which is why blowouts for fine hair and heart-shaped faces need a little more strategy than “round brush, spray, done.”
A heart-shaped face usually carries the widest point through the forehead and upper cheekbones, then narrows toward a smaller chin. That means the prettiest finish is rarely the biggest one. It is the one that softens the top third, gives a little weight back near the jawline, and keeps the ends from turning wispy and tired-looking.
Fine hair has its own rules. It loves movement, but it collapses under too much cream, too much oil, or too much teasing. A clean nozzle, a 1.25- or 1.5-inch round brush, a few clips, and a cool shot do more for this hair type than a cabinet full of heavy products ever will. The shape matters more than the hype.
Why These Blowouts Make Sense for Fine Hair and Heart-Shaped Faces
- The lift goes where it helps: These styles place volume at the crown, temples, or cheekbone level instead of stacking it straight up on top, which keeps the forehead from looking wider.
- The ends carry the weight: A soft flip, bend, or rounded edge near the jawline gives fine hair something to hang on to visually, so the style doesn’t vanish at the bottom.
- The product load stays light: Mousse, root spray, and flexible hairspray do the job here; thick creams and heavy oils usually flatten the whole thing by noon.
- The parting does real work: A center part, side part, or floating curtain fringe can change the balance of a heart-shaped face without touching the haircut itself.
- The styles age well: These blowouts are built to look decent on day one and still make sense on day two, which matters when fine hair starts to bend toward the scalp.
- You can change the mood fast: A tucked side, a roller at the crown, or a different brush size shifts the look from casual to polished in minutes.
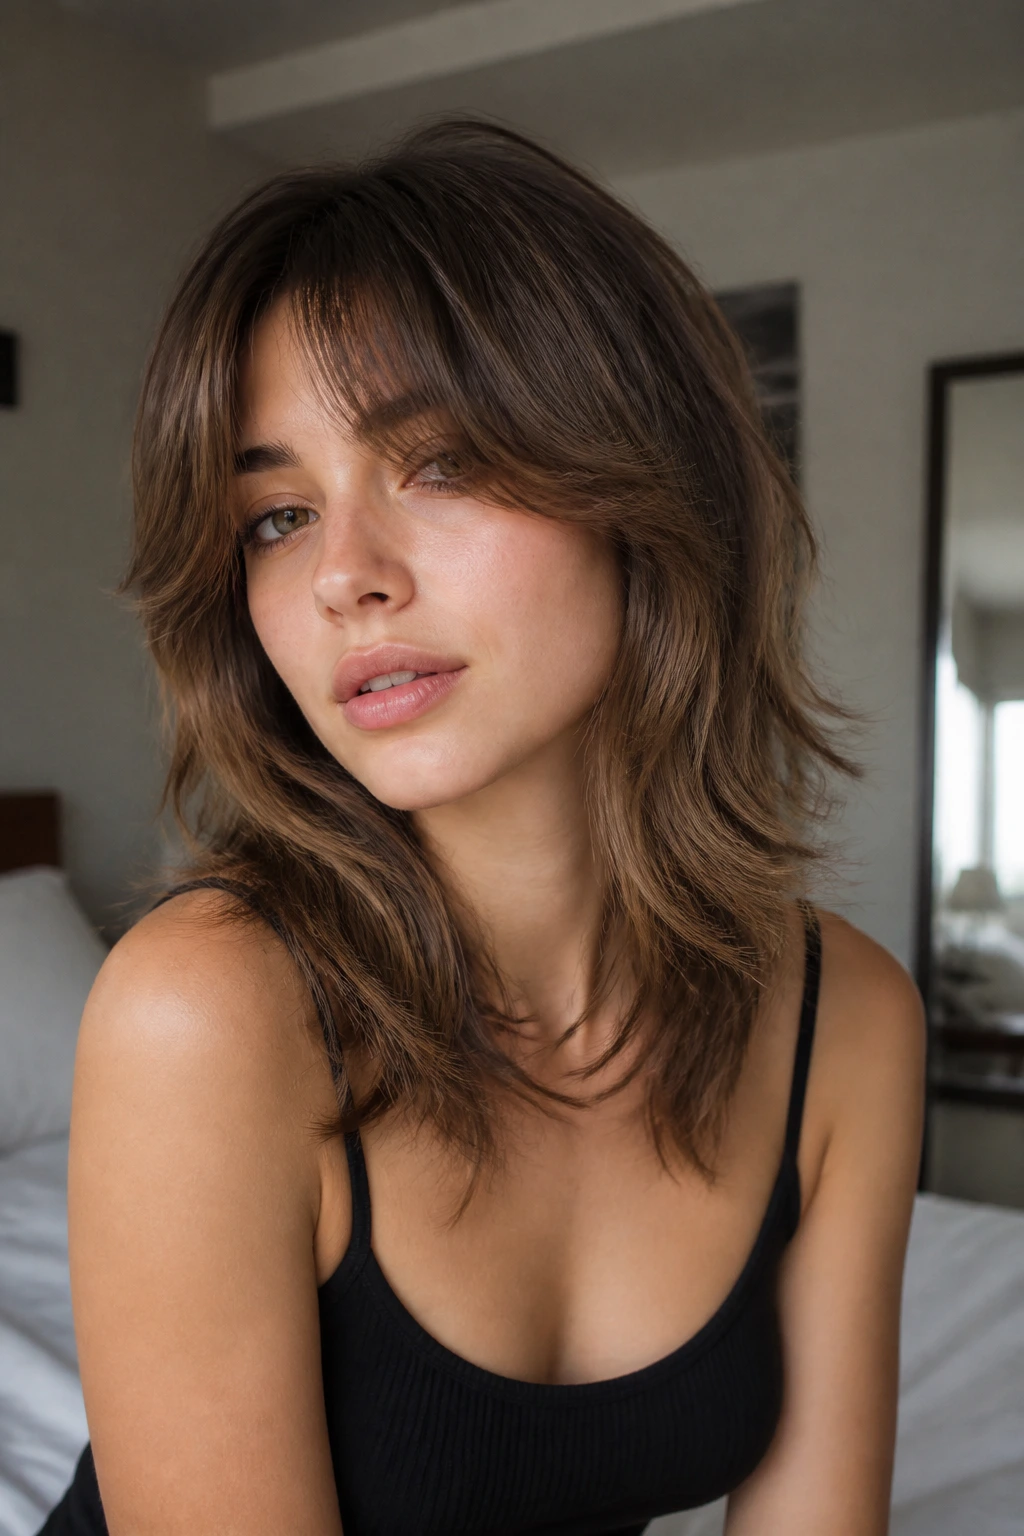
1. Curtain Bangs and Airy Layers
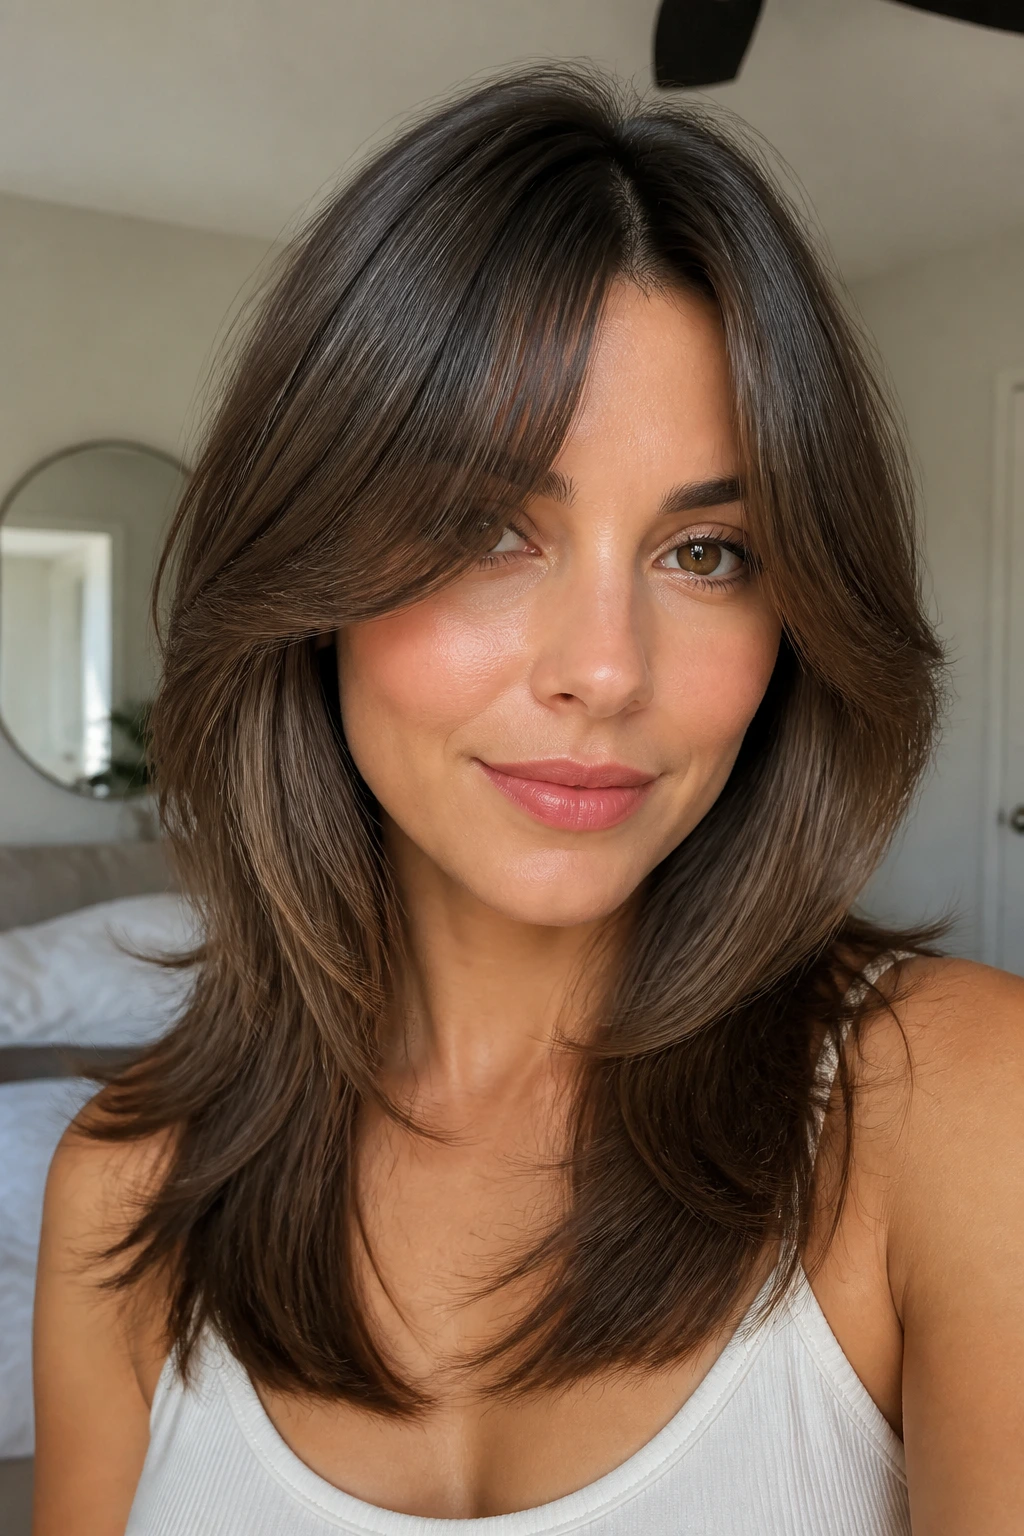
Curtain bangs are the easy place to start if you want shape without drama. The middle opens at the nose bridge, then the longer sides graze the cheekbones and melt into layers that begin below the chin. On fine hair, that gives you movement where you need it and keeps the top from turning into a flat sheet.
Why It Flatters the Face
A heart-shaped face usually benefits from anything that interrupts the width of the forehead without making the face feel boxed in. Curtain bangs do exactly that. They split the difference between a fringe and a face frame, so you get softness at the top and a little extra fullness near the cheeks.
Ask for the shortest point of the bangs to hit around the bridge of the nose or just below it, then let the sides travel to the cheekbone. That length keeps the front pieces light. If the layers start too high, the ends can go stringy fast.
- Part the hair slightly off the true center if your natural swirl fights you.
- Wrap the front sections away from the face around a 1.25-inch round brush.
- Use the cool shot before moving the brush out.
- Keep the back sections smoother so the fringe stays the star.
Tip: Spend more time on the two front sections than on the rest of your hair. That is where this blowout earns its keep.
2. Deep Side Part Swoop
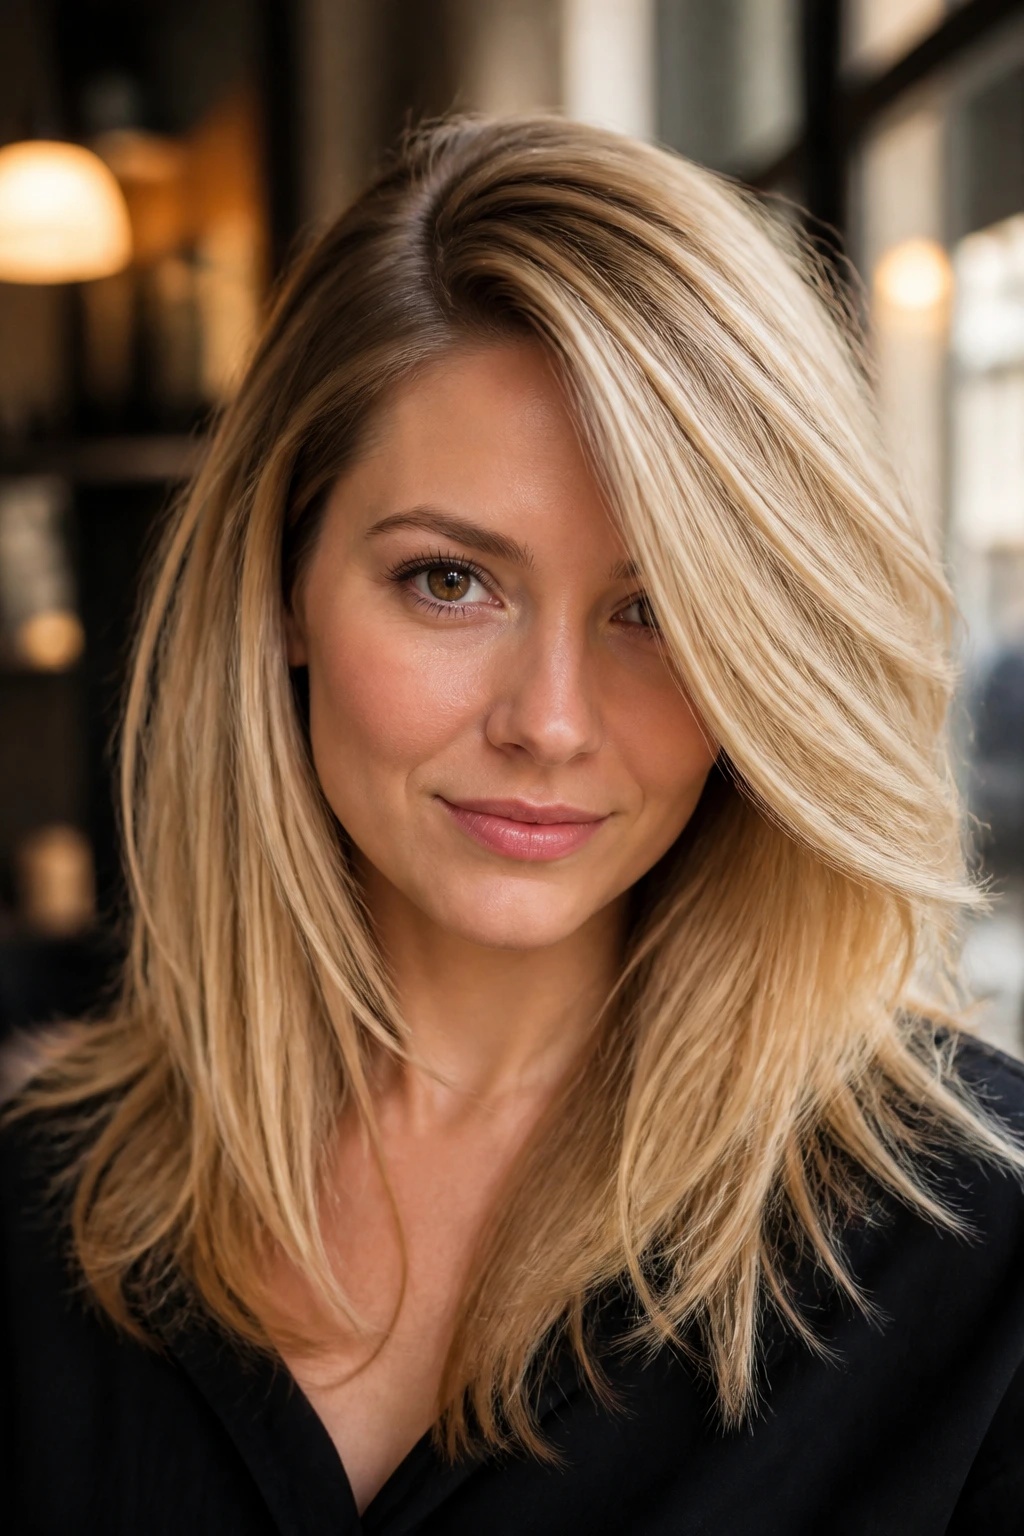
A deep side part does more for a heart-shaped face than a lot of teasing ever will. It shifts the visual weight away from the widest part of the forehead and sends one side of the blowout into a soft, clean sweep. On fine hair, that swoop also gives the illusion of density because the front section sits over a larger area instead of dropping straight down.
The trick is not to make the part extreme enough to look costume-like. Keep it about one to two inches from your natural center, then blow-dry the heavier side up and over the part before setting it back down. That small lift at the root creates shape without building a tall bump that collapses later.
This style works especially well if your hair is straight or only slightly wavy. The brush does the heavy lifting, and the lengths can stay sleek. If you want the face frame to feel softer, bend the front pieces just under the cheekbone with a brush or a large barrel brush. The finish should look brushed, not curled.
3. Collarbone Flip Out
Why does a tiny flip at the collarbone matter so much? Because it gives fine hair a place to stop. Instead of hanging limp past the shoulders, the ends turn outward just enough to add width near the lower face, which is exactly the area a heart-shaped face tends to want more visual balance in.
This is one of those styles that looks fussy in photos and much better in real life. Keep the top smooth, then use a round brush to coax the bottom inch or two of hair away from the neck. The flip should be loose, not sharp. If the ends curl too tightly, the style starts looking dated fast.
For a cleaner result, work in 1.5-inch sections and hit the ends with the brush for 8 to 10 seconds, then lock them with the dryer’s cool shot. Fine hair responds well to that tiny bit of shape memory. You do not need a hard curl. You need a direction.
4. Feathered Face-Framing Layers
Feathered layers around the face are the old salon trick that still earns its place. They break up the width at the forehead, graze the cheekbones, and then taper toward the jaw so the face looks a little longer and a little softer. On fine hair, feathering can be a gift or a mess; the difference is where the layering starts.
Keep the shortest layers around the cheekbone, not the temple. Too high, and the hair loses density right where fine strands already need help. Too low, and the style can drag the face downward. This is one of those Goldilocks cuts that needs a hand with a ruler, not a vague “face frame.”
How to Style It
Blow-dry the front pieces forward first, then sweep them away from the face while the brush is still warm. That creates the feathered bend instead of a hard curl. A pea-size amount of mousse through the mids gives the layers enough grit to hold the shape without feeling sticky.
5. Crown-Lift Bombshell Volume

A lot of people think a heart-shaped face needs big crown volume because the forehead is wider. I disagree. Too much height at the top can make the face look top-heavy, especially if the chin is narrow and the hair is fine enough to start frizzing when teased. The smarter move is lift at the root with controlled fullness through the mids.
This style uses a strong root set and smooth lengths. Blow-dry the crown upward with a nozzle and a medium round brush, then pin the top sections in place while they cool. The result is a soft dome of volume rather than a stiff bump. That distinction matters. One looks expensive; the other looks like you fought your hair and won by accident.
The ends should stay polished, almost calm, so the focus stays on the middle of the shape. If the hair around your jaw goes flat, this blowout puts a little body back in the right place. It is a good choice when you want your fine hair to look fuller without turning fluffy.
6. Bottleneck Bangs and a Loose Bend
Bottleneck bangs sit in that nice middle ground between curtain fringe and a fuller bang. They open more narrowly at the center, then widen near the cheekbones, which makes them a smart match for a heart-shaped face. The forehead gets softened, but the face still feels open.
Fine hair tends to behave better with this kind of bang because the center is lighter. A blunt fringe can look thin and poke-y if the density is low; bottleneck bangs solve that by giving the eye a shaped section without demanding a thick curtain of hair. The rest of the blowout should stay loose and bendy, not curled.
Use a small round brush or even a barrel brush on the bang area, then switch to a larger brush for the lengths. That size change keeps the front from looking too tight. If your hair falls forward at the temples, a little dry shampoo at the root can help the bangs stay lifted instead of clinging to the face.
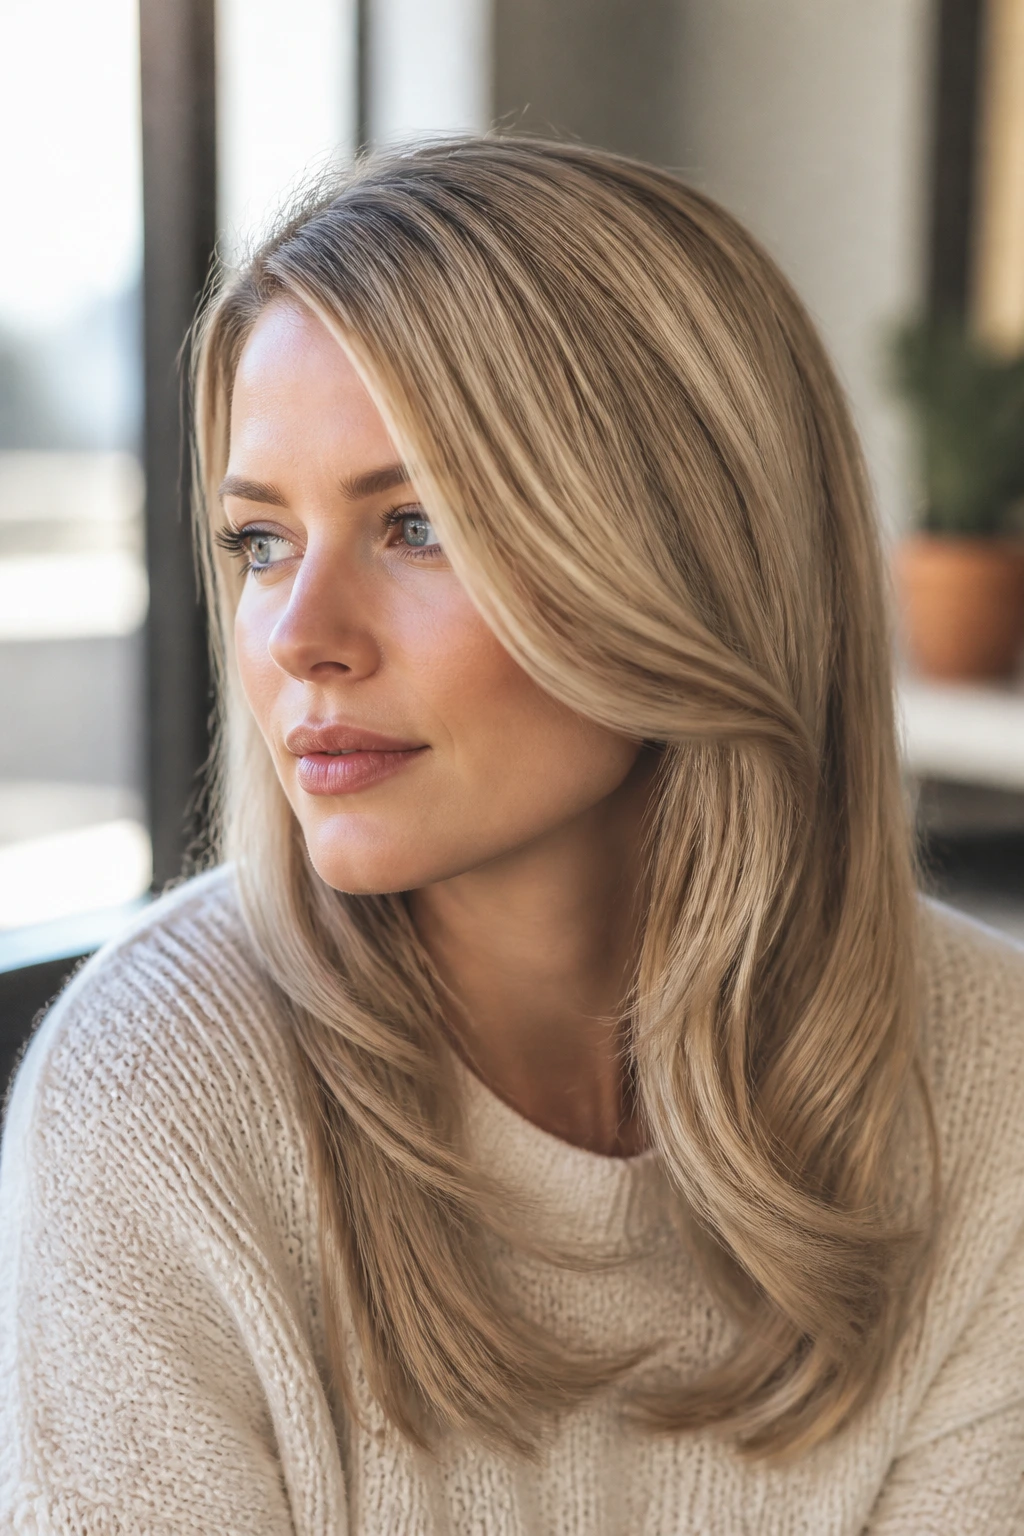
7. Sleek Roots, Bouncy Mid-Lengths

Not every blowout needs a fluffy crown. In fact, on fine hair, the sleek-root approach often looks better because it keeps the top clean and lets the movement start lower, around the ear line or cheekbone. That lower bend helps a heart-shaped face by adding width where the jaw starts to narrow.
The style is simple, but the order matters. Dry the roots flat with the nozzle pointed down, then switch to a round brush and build body through the middle lengths. The ends should have a soft curve, not a hard curl. If the root section puffs, the whole thing loses its polish.
This is one of my favorite looks for hair that gets oily fast. Keeping the scalp smooth means you can stretch the blowout a little longer, and the bouncy mids keep it from feeling severe. It reads clean. Not flat. There’s a difference.
8. Rounded Lob With Internal Layers

A rounded lob is one of the safest cuts for fine hair because it keeps enough weight at the bottom to stop the ends from looking see-through. Add internal layers, and you get movement without the hollowed-out look that can happen when fine hair is overcut. For a heart-shaped face, that rounded shape gives a little softness below the cheekbones.
The length usually sits somewhere between the chin and the collarbone. That zone matters. Short enough to hold shape, long enough to skim the jaw, and not so long that the hair drags itself down. If the cut leans too blunt, it can look stiff. If it gets too layered, it can go wispy. The rounded lob lives in the middle and minds its own business.
Blow-dry with a medium brush, then roll the sides slightly under. The back can stay straighter. That subtle curve around the perimeter creates a fuller line without making the style look curled. It’s polished, yes, but not precious.
9. Jaw-Skimming Ends That Turn Out
What makes the outward turn so flattering? It gives the lower face a little more width right where a heart-shaped face tends to narrow. The eye stops at the jawline instead of sliding straight down a limp length of hair. That’s a small visual fix, but it changes the whole read of the face.
This look works best on bob-to-lob lengths and on hair that is naturally straight or slightly bent. Use a brush to direct the ends away from the neck for the last two inches of each section. Keep the root area smooth so the style doesn’t puff upward. Fine hair can’t afford wasted movement.
A 1-inch brush is often enough here, especially if your hair is shorter. Bigger brushes can be too slippery on fine strands and won’t give the ends enough direction. You want a clean flick, not a dramatic curl.
10. Big Barrel Waves on Long Fine Hair

Long fine hair can look fantastic in big barrel waves, but only if the wave pattern stays loose. Tight curls are the wrong move here. They shrink the length, expose too much scalp at the part, and can make the ends look like they belong on a different head. A large barrel or a 1.5-inch round brush gives the hair a bend instead of a corkscrew.
The nice part is how this shape frames a heart-shaped face. The waves widen the lower half of the hair, which visually balances a narrower chin. If the front sections start at the cheekbone and drift down to the collarbone, the face gets a softer edge without looking hidden.
Keep the root smooth and let the movement begin lower. That’s the whole point. If the top is too big, the face shape gets exaggerated. If the mids and ends are fuller, the proportions settle down in a better way.
11. Center Part With Piecey Layers
A center part can work on a heart-shaped face, but it needs the right layers. Without movement, it can split the face too hard and call more attention to the forehead. With piecey layers around the front, though, the part reads modern and balanced instead of severe.
Fine hair loves piecey texture because it creates separation without bulk. Use a light mousse before drying, then finish with a little flexible spray and finger-comb the front sections apart. The pieces should move when you turn your head. If they sit like ribbons glued in place, the product load is too heavy.
This is a good choice when you want a cleaner, quieter blowout. No big swoop. No heavy fringe. Just a simple part, soft movement, and enough bend to keep the ends from looking flat. It’s a minimal style, but not a boring one.
12. The Rachel-Style Layered Blowout
The classic layered blowout from the 90s still hangs around for a reason: it gives fine hair body without forcing it into a hard curl pattern. The layers flip away from the face, the crown has lift, and the ends carry enough movement to make the whole head look fuller. On a heart-shaped face, that face-framing sweep helps soften the upper half of the face while giving the lower half more visual weight.
The modern version should be softer than the old one. You don’t want the chunky, over-directed layer look that can make fine hair feel chopped up. Ask for flowing layers that start around the cheekbone or just below. That keeps the shape airy and stops the ends from getting too thin.
If you style this at home, think in zones. Crown lift first. Face frame second. Ends last. It’s a lot less chaotic than trying to curl every piece the same way, and it gives the blowout that salon feeling without the stiffness.
13. Side-Swept Volume That Starts Low
A side-swept blowout is more forgiving than a lot of people give it credit for. The trick is to keep the volume low, not at the top of the head. Start the sweep around the outer brow or temple, then let the shape fall across the forehead and into the cheek area. That move softens the width of a heart-shaped face without building extra height where you don’t need it.
Fine hair tends to do well with this because the side sweep gives the front some substance. The hair has a direction to follow. It’s not just sitting there hoping for the best. Use the brush to roll the front section back and over, then set it with clips while it cools so the sweep keeps its line.
This is also a good style when your hair gets a little flat at the part by day two. The sweep disguises that better than a strict middle part. A small change, but a useful one.
14. Clip-Set Root Lift Blowout
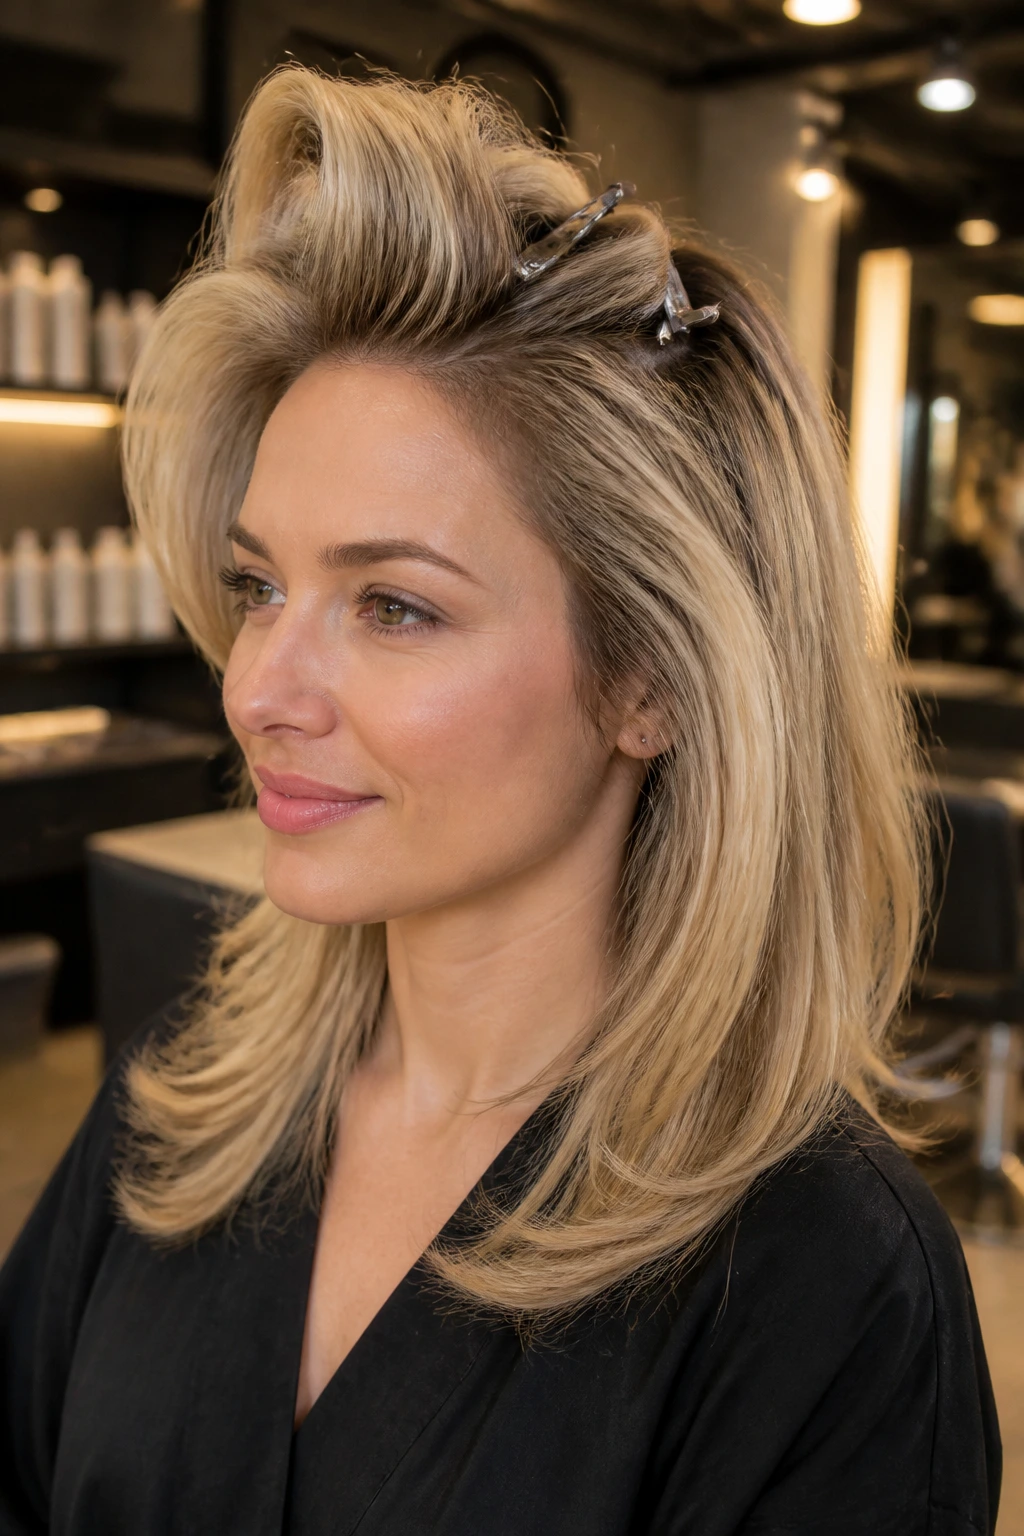
This is the salon trick that people forget to use at home. Duckbill clips, or even small jaw clips, can hold the root in an upright position while the hair cools. That cooling time is where the shape sets. Skip it and the root softens back down before you leave the mirror.
For fine hair, the clip-set method gives lift without abrasion. You don’t need to rough up the cuticle with backcombing. You just need the hair to dry in the direction you want it to stay. Place the clips at the crown, a touch behind the part line, and maybe one at the front bend if you want extra lift around the face.
Use this technique with almost any of the styles in this list. It’s not a hairstyle by itself so much as a way to make the hairstyle stick around. Good hair day insurance. Cheap, too.
15. Soft Shag With Curtain Fringe
A soft shag can work on fine hair if you keep the cut gentle. The key word is soft. Not ragged. Not choppy to the point of leaving holes in the shape. The better version uses longer layers, a light curtain fringe, and a blowout that bends the hair rather than roughed-up texture spray that turns everything dry.
Heart-shaped faces usually like the shag only when the fringe isn’t too short. Longer curtain pieces keep the forehead from feeling overexposed. The rest of the layers should taper around the chin and shoulders so the lower half of the face gets a little more visual balance.
This style has a little edge, but it still behaves like a blowout if you finish it with a brush. If you scrunch it or over-texturize it, the whole thing can get frayed. Fine hair rarely needs more texture than it already has.
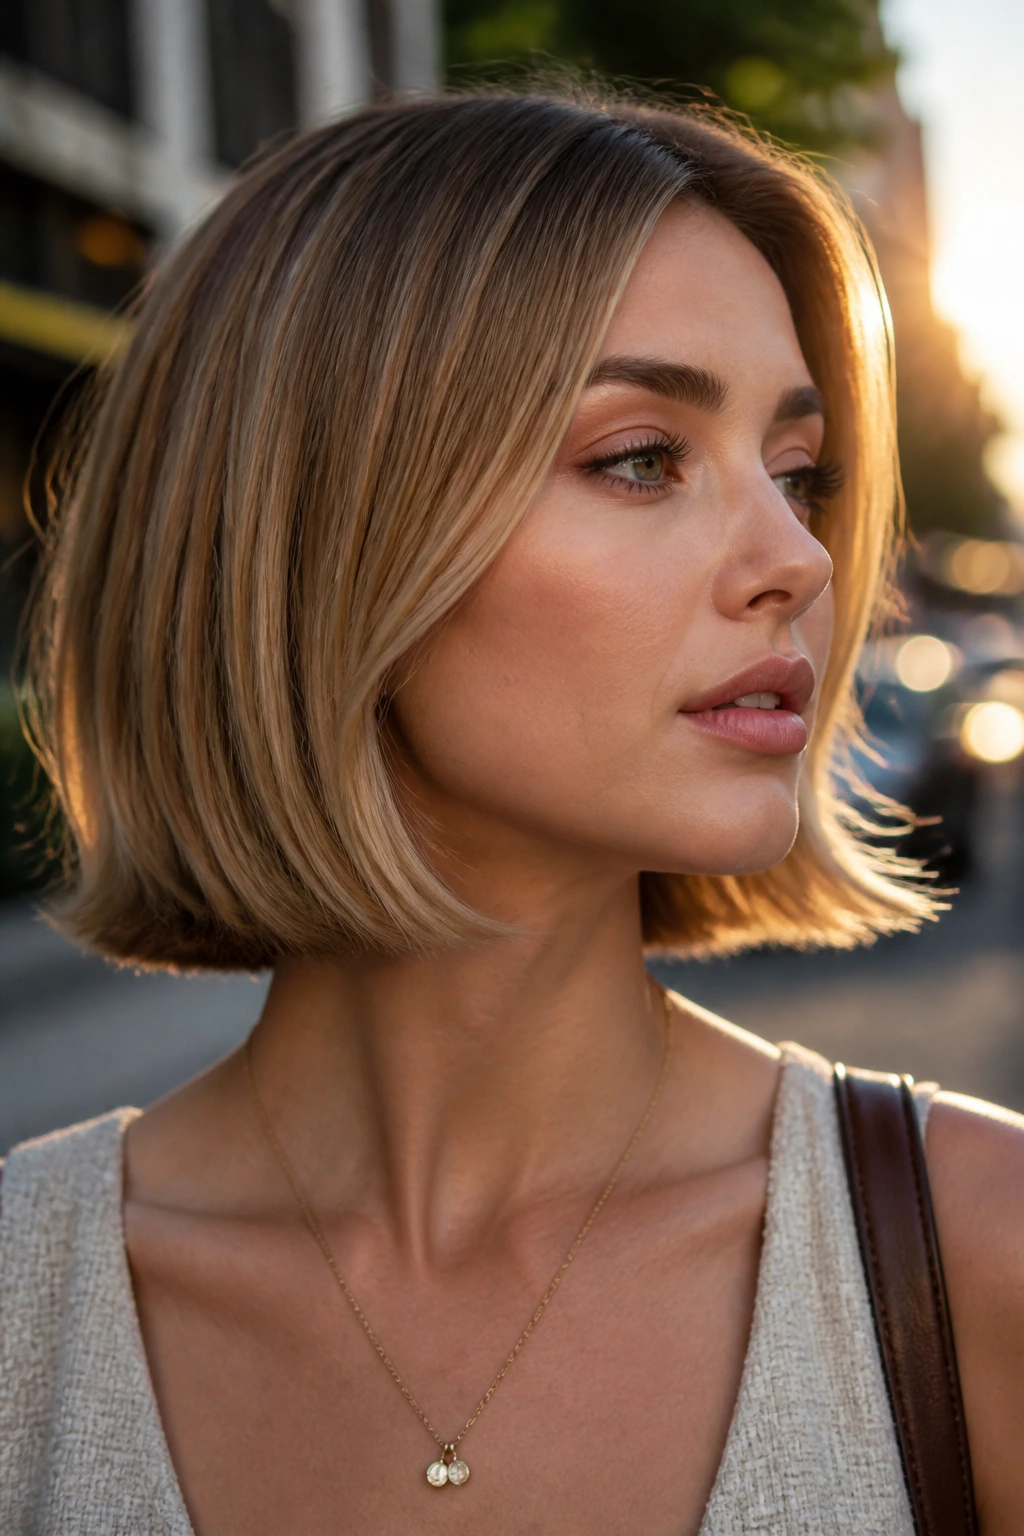
16. Polished Lob With Inward Ends

The inward-turned lob is the neat cousin in the group. It sits clean at the collarbone or just above it, and the ends curl slightly under rather than flipping out. That inward curve keeps the outline tidy and gives fine hair a thicker-looking edge, which can be useful if the ends tend to look sparse.
For a heart-shaped face, this shape is useful because it doesn’t add width at the forehead. Instead, it keeps the eye moving down to the lower half of the face. If your features are already strong up top, this is a calm, balancing option.
Use a round brush with steady tension, but don’t overwork the ends. A smooth curve is enough. If you spend too long forcing the hair under, it can look overdone and the bend won’t last. Simple is better here.
17. Velcro-Roller Volume and Shine
Velcro rollers are old-school in the best way. They give fine hair lift without pulling the shape apart. Once the blow-dry is done, roll the crown pieces and the face-framing sections while they’re still warm, then let them cool all the way before removing them. That cooling time matters more than the roller itself.
This style has a softer finish than a hard round-brush set. The hair stays shiny, the root has height, and the ends keep a little spring. On a heart-shaped face, the roller set helps because you can place volume exactly where you need it — a bit at the crown, a bit near the temples, and a touch around the jaw.
The only real mistake is removing the rollers too early. If the hair is still warm when they come out, the lift falls. Let them sit. Ten minutes is decent. Fifteen is better.
18. Chin-Skimming Face Frame
A chin-skimming face frame can do a lot of quiet work. The shorter front pieces land right around the lower half of a heart-shaped face, which helps widen the narrowest part of the face without making the forehead feel crowded. It’s especially useful if your hair is fine and you want the ends to appear denser.
This is one of those cuts that looks understated until you watch what it does from the front. The face frame pulls the eye down. The rest of the blowout can stay simple, even smooth, because the shape lives in the front. A small bend under the chin keeps the line soft.
If your hair is very fine, ask for the front pieces to be cut with a soft point rather than a blunt edge. That keeps the blowout from reading heavy or blocky. You want a little movement, not a shelf.
19. Low-Heat Airwrap-Style Bend
If your fine hair hates direct heat, this is the friendliest option in the bunch. A hot-air brush or wrap-style styler gives you a bend with less clamp and less friction than a hot barrel. The result is looser, shinier, and usually a bit less fragile-looking at the ends.
For a heart-shaped face, the good part is the flexibility. You can direct the front pieces away from the forehead, then bend the mids and ends just enough to widen the lower half. That keeps the overall shape soft. Not curled. Soft.
Use lower heat than you think you need. Fine hair gets fried fast, and once the ends start looking singed, no amount of spray will hide it. A slower pass with controlled tension gives a better shape than repeated hot passes.
20. Glossy Side-Bang Blowout
A side bang can be the right answer when the forehead feels like the loudest part of the face. It breaks up the width, gives the style a strong line, and still leaves enough openness around the eyes. On fine hair, the side bang also has a useful job: it creates the illusion of density because the hair sweeps across a larger area.
The rest of the blowout should stay glossy and smooth. If the lengths are too full, the side bang loses its job in the mix. If the lengths are too flat, the whole style looks unfinished. The sweet spot is a clean root, a soft bend through the mid-lengths, and a side bang that sits with movement rather than helmet-like stiffness.
This is a good choice when you want a little drama without going all in on fringe. It feels a touch sharper than curtain bangs, but not nearly as committed as a full bang. And on a heart-shaped face, that middle ground can be exactly right.
What Makes a Blowout Hold on Fine Hair
A good blowout on fine hair starts before the brush touches anything. If the hair is too wet, the brush slides around and the root never really sets. If the hair is too dry, you end up reheating the same section over and over, which is how fine ends start to look rough. The middle ground — damp, not dripping — is where the shape behaves.
Root direction matters more than most people admit. When you blow-dry the crown against its natural fall, then let it cool in that lifted position, you create the skeleton of the style. The lengths are just decoration after that. Nice decoration, sure, but still decoration.
The cool shot is not optional
Hot hair forgets. Cool hair remembers.
That’s the whole trick. Hold each round-brushed section for a few seconds with the cool shot on, and let the brush sit there until the hair loses its warmth. If you yank it out too soon, the bend softens almost instantly. Fine hair in particular needs that little memory cue because it doesn’t have much internal heft.
Product should support the shape, not smother it
Mousse at the roots. Heat protectant on the mids and ends. Flexible spray at the finish. That’s enough for most heads of fine hair. If the product makes your fingers feel coated and sticky before the dryer even comes out, it is probably too much.
I also like a layered approach: a light root-lift spray at the crown, then a foam mousse through the top third, then a mist of dry texture spray only if the style needs extra grip. You do not need all three on every head. Start light and build only where the hair collapses first.
Essential Tools for a Brush-Set Finish
- Hair dryer with a concentrator nozzle: The nozzle keeps the airflow pointed, which is what lets you smooth the cuticle instead of blasting the hair everywhere.
- Round brush in two sizes: A 1-inch brush is useful for bangs and shorter front pieces; a 1.25- to 1.5-inch brush works better for longer lengths.
- Duckbill or small claw clips: These hold the crown and face-frame pieces while they cool. That cooling time is not optional.
- Sectioning clips: They keep fine hair separated cleanly, so you do not accidentally over-dry the same piece three times.
- Tail comb: A clean part matters more on fine hair because a crooked part makes the scalp show in weird places.
- Lightweight heat protectant: Look for a mist, not a cream-heavy spray that leaves the roots greasy.
- Volumizing mousse or foam: This gives the roots a little grip before drying.
- Flexible-hold hairspray: You want hold you can brush through, not a shell that snaps when you move your head.
- Velcro rollers: Optional, but very handy for the crown and face frame when you want extra lift.
- Hand mirror: Useful for checking the back without spinning around the bathroom like a top.
Smart Product Picks for Fine Hair
The product aisle can wreck fine hair if you let it. Thick creams, heavy oils, and rich masks are fine in the shower, but they should usually stay away from the roots when you’re building a blowout. Fine strands don’t need much help slipping down into a limp shape.
- Volumizing mousse: Use a golf-ball amount on damp hair, concentrated at the roots and top third. Foam is easier to spread evenly than cream, and it gives the hair a little grit for brush work.
- Root-lift spray: These usually come with a nozzle that lets you target the scalp without soaking the mids. That matters because the mids and ends of fine hair are the first places to go flat when overloaded.
- Light heat protectant mist: Pick something that disappears fast after spraying. If it stays wet or slick for too long, the blow-dry takes forever and the hair can end up coated.
- Flexible hairspray: Look for brushable hold. You want enough stiffness to keep the bend, but not so much that the style cracks when you touch it.
- Dry shampoo: Apply it before the roots are visibly oily, not after the blowout has collapsed. A small amount at the crown can stretch the style by a day.
- Lightweight finishing serum: One or two drops, rubbed between the palms, then tapped on the ends only. If you can feel it at the roots, it’s too much.
The best product routine is boring in the nicest way. A little foam, a light mist, a clean finish. That’s it. Fine hair usually looks better when the product list gets shorter, not longer.
How to Balance a Heart-Shaped Face With the Right Blowout
Parting: A slightly off-center or side part softens the width at the forehead, but a hard deep part can feel too severe if the hair is already fine. Curtain parts and floating fringe pieces usually give the best balance because they open the face instead of cutting it in half.
Volume Placement: Keep the strongest lift between the cheekbone and jawline whenever you can. That’s the zone that balances a narrower chin without making the top of the head look overloaded.
Face Frame: Shorter front pieces should bend away from the face or skim the chin, not cling straight down. The movement should guide the eye outward and downward, which helps the face feel more even.
Outfit Pairing: Open necklines, scoop necks, and collars that don’t crowd the jaw tend to work well with these styles. If the hair already adds volume near the sides, a tall collar can fight with it. Small hoops, drop earrings, and a clean neckline give the blowout room to breathe.
Lift Boosters and Personal Tweaks
Lift at the roots: Clip the crown while it cools, then lift the part line with your fingers instead of brushing it flat. That gives you air without turning the top into a puff.
Texture where it counts: If the ends look too sleek, mist a tiny bit of texturizing spray from mid-length to ends and scrunch once or twice. Do not spray the roots unless you want them to feel dirty faster.
Customization: If you like softness, keep the front pieces longer and bend them away from the face. If you want a cleaner line, tuck one side behind the ear and let the other side sweep forward.
Make-It-Yours: For a softer everyday look, keep the part near center and the bend loose. For a sharper night-out finish, deepen the part a touch and smooth the crown with a little more tension on the brush.
Finish detail: A pea-size amount of serum on the last two inches of hair keeps fine ends from looking dry in photos and in real life. More than that, and you’ll flatten the shape you just built.
How to Keep the Shape Overnight
A fine-hair blowout rarely survives rough sleep. If you toss on a cotton pillowcase and go face-down, the roots will flatten and the front pieces will bend in odd directions by morning. That doesn’t mean the style is doomed. It means the overnight routine has to be gentle.
Before bed, let the hair cool fully. If it still feels warm, the shape is still soft. Then flip the front pieces away from the face, clip the crown with one loose jaw clip if you need extra lift, and sleep on a satin or silk pillowcase. A loose topknot is fine if it sits high and soft, but don’t twist the hair tight. Fine hair hates tension marks.
Most of these blowouts hold well for one to three days. On very fine hair, day two is usually the honest point where you need a small refresh. Dry shampoo at the roots, a quick pass with a round brush at the front, and maybe a 30-second cool-shot reset on the crown usually do more than a full redo. If the ends get fuzzy, use one drop of serum. Not three.
Humidity is the wildcard. In damp air, the front pieces may lose their bend first. If you know the weather is rough, finish with a light anti-humidity spray on the mids and ends only. Keep it away from the roots, or the style can go limp faster than you expect.
Common Mistakes That Flatten the Finish
- Using too much product at the roots: Fine hair turns sticky fast. If the roots feel coated before the dryer even starts, the blowout will collapse instead of lift. Fix it by using half the mousse you think you need and placing heavier products only on the ends.
- Building height in the wrong place: A heart-shaped face can look top-heavy if all the volume sits on the crown. The fix is to move some of that fullness to the cheeks, jawline, or lower mids.
- Using a brush that is too big for the length: A 2-inch brush on shoulder-length fine hair often slips through without shaping anything. A 1- to 1.25-inch brush gives better tension and more control.
- Skipping the cool shot: Hot hair lies. It looks set until it cools, then the style drops. Always let each section cool in the brush or in clips before moving on.
- Over-teasing the crown: Teasing can look heavy and rough on fine strands. A better fix is root clip placement and a clean directional dry.
Variations and Adaptations to Try
The Humidity Shield: Add a light anti-humidity spray at the very end, focusing on the mids and ends. This version is useful when the air feels sticky and your front pieces usually puff or frizz first.
The Short-Lob Edit: If your hair sits above the collarbone, use a smaller round brush and keep the bend tighter at the ends. The style stays cleaner when the brush diameter matches the length.
The Barely-There Volume Version: Skip roller sets and only lift the crown with clips while the hair cools. This is the move for anyone who wants softness more than drama.
The Bang-Friendly Version: If you already wear bangs, keep the rest of the blowout smoother and let the fringe do the face-framing work. Curtain bangs and side bangs both play well with heart-shaped faces as long as the roots stay light.
The Soft-Glam Version: Add a few large velcro rollers at the crown and around the front after blow-drying. This gives more lift and a smoother curve, which works well for events or photos.
Frequently Asked Questions
Which blowout looks most balanced on a heart-shaped face?
Curtain bangs with airy layers and a low side sweep are the safest bets because they soften the forehead without crowding the jaw. If you like more polish, a rounded lob with inward ends also balances the shape well.
Can fine hair really hold a blowout without a ton of hairspray?
Yes, if the roots are set correctly and the sections cool before you move on. Fine hair usually holds better with mousse, clips, and a brush set than it does with heavy finishing spray.
Should I avoid a center part?
Not automatically. A center part works fine if the front pieces are soft and the layers have movement, but a slight off-center part often makes a heart-shaped face look a little gentler.
What size round brush should I use?
Use a 1-inch brush for bangs and short front pieces, a 1.25-inch brush for most shoulder-length styles, and a 1.5-inch brush if your hair is long and you want a softer bend. Bigger brushes are not better if the hair is too fine to stay wrapped around them.
Do layers help fine hair or make it look thinner?
Both can happen. Soft layers placed below the cheekbone usually help because they add movement without chopping away too much weight. Overlayering the top, though, can leave the ends stringy.
How do I stop my blowout from falling flat by lunchtime?
Set the crown with clips while it cools, keep heavy products away from the roots, and use dry shampoo before the oil shows. If you touch the roots a lot during the day, that flattening happens faster too.
Can a hot-air brush replace a dryer and round brush?
For many fine-haired people, yes. It’s easier to manage and often gentler, but it gives a slightly softer finish than a true round-brush blowout. If you want maximum root lift, the dryer plus brush still wins.
What if the ends look wispy after styling?
That usually means the cut is too layered or the brush was too large for the length. A tiny amount of serum on the last two inches can help the look, but the real fix is usually in the haircut or the brush choice.
The Shape That Sticks
The nice thing about these blowouts is that they do the balancing for you. They soften the width up top, give the lower face a little more presence, and keep fine hair from looking like it vanished into the air halfway through the day. That combination is the whole point.
Pick one shape and keep the details tight: the right part, the right brush size, the right place for the bend. Once you start paying attention to those small choices, the difference is obvious in the mirror and even more obvious in motion.