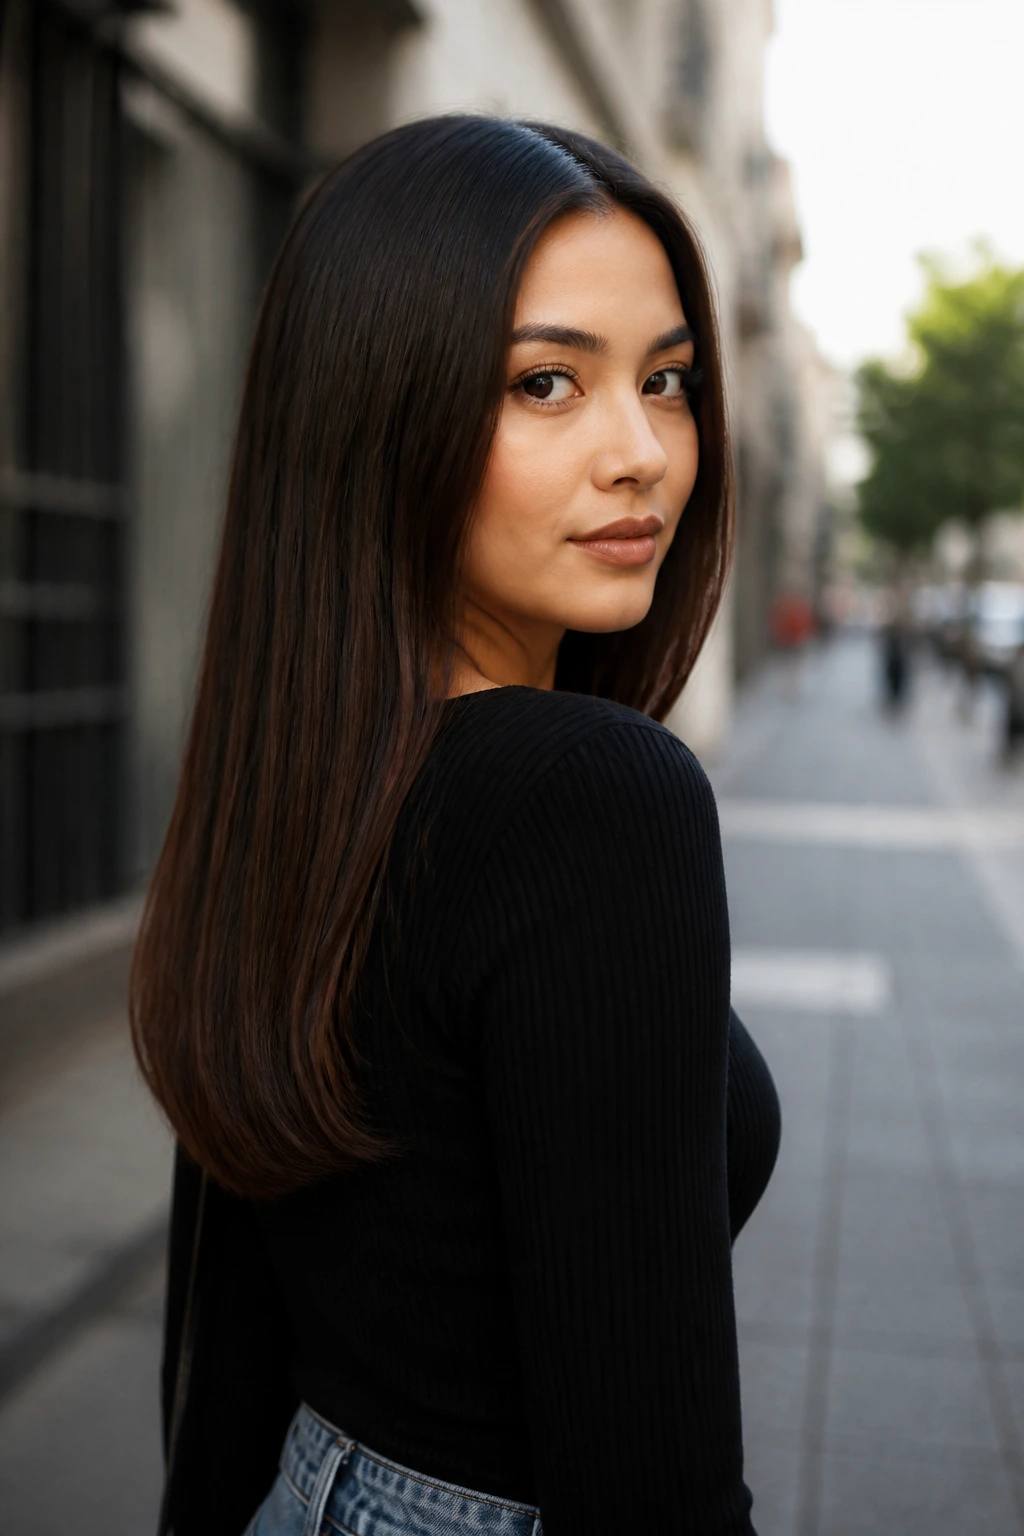
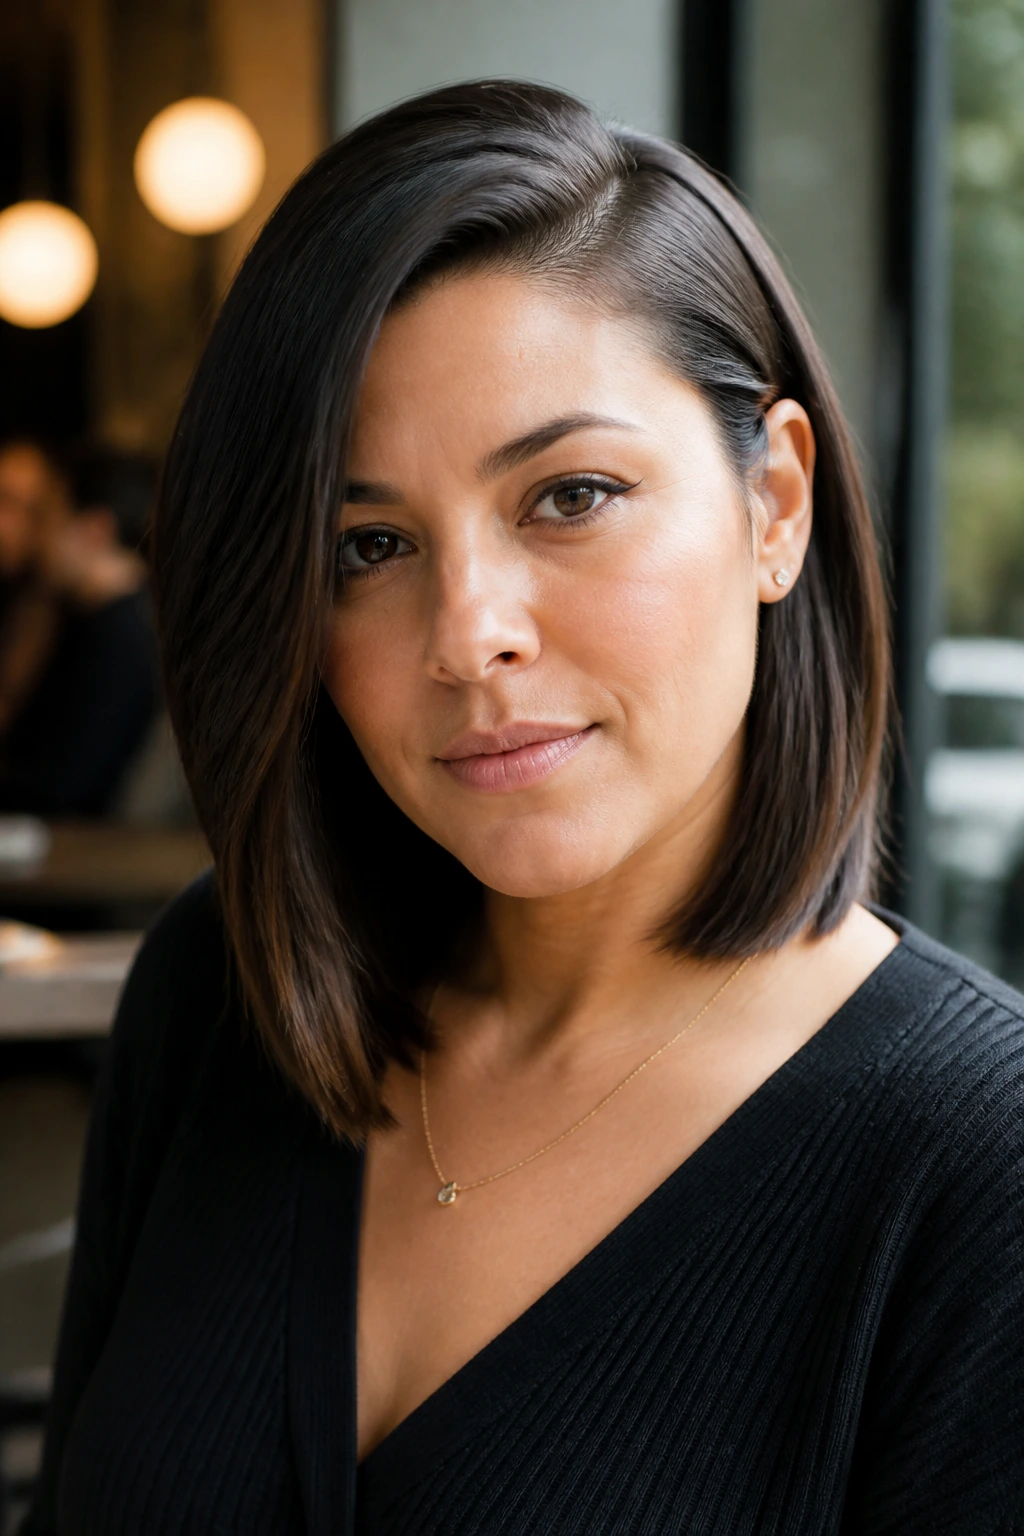
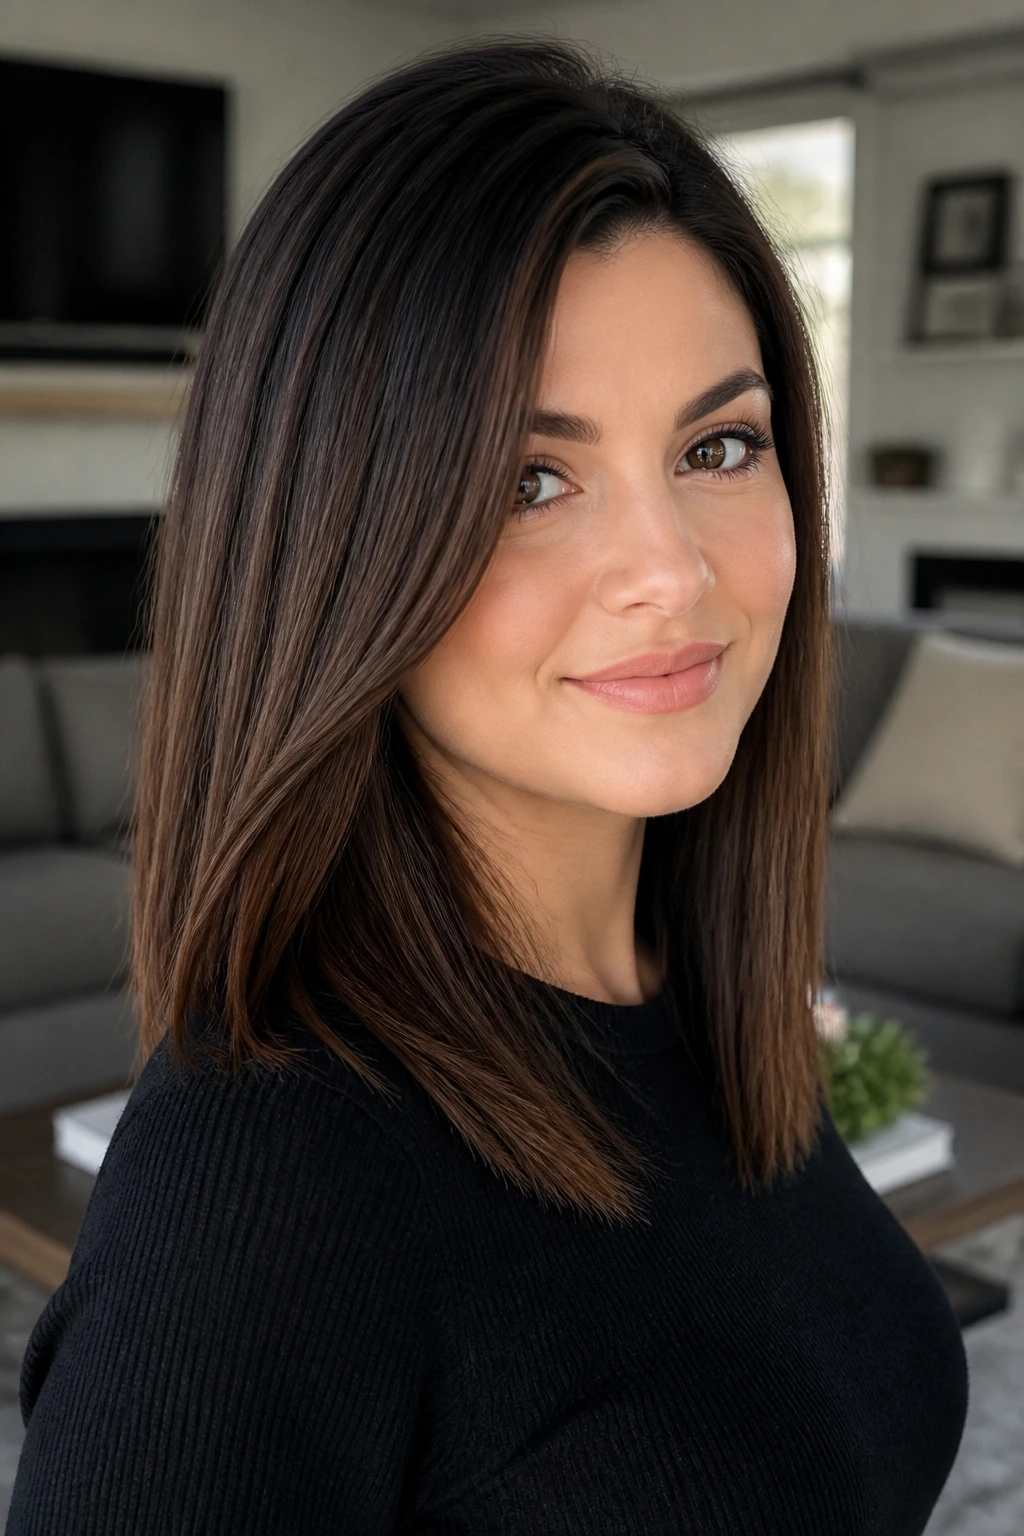
Round faces and medium straight hairstyles have a better relationship than most people give them credit for. The trick is not to hide your face. It’s to guide the eye past the cheeks, keep the line clean, and avoid ending the haircut exactly where the face is widest.
That matters more than people realize. A cut that stops at the chin can make a round face look broader in photos, while a collarbone-grazing shape, a slight off-center part, or a controlled layer that starts below the cheekbone can change the whole read of the haircut. Small shifts. Big difference.
I’ve always liked medium straight styles because they do two jobs at once: they stay easy to wear, and they can sharpen a round face without turning it into something severe. The good versions look calm, polished, and a little smarter from the side. The bad ones puff out at the cheeks and go boxy fast. The difference is usually a matter of inches, not drama.
Why These Medium Straight Hairstyles Work on Round Faces
They add length where the face needs it most.
A round face usually reads widest through the cheeks, so the smartest medium straight hairstyles pull the eye downward with length that lands at the collarbone, just below it, or longer in front.
They keep the widest point away from the cheeks.
Ends that sit right at the cheekbone or chin can make the face look fuller. The better cuts let the shape fall below that line, or they break it with a side part or diagonal fringe.
They use clean lines instead of extra width.
Straight hair already gives you a neat edge. When the outline is controlled — blunt, beveled, or softly angled — the haircut looks intentional, not puffy.
They leave room for movement without fluff.
A little bend at the ends, a few invisible layers, or a curtain bang that opens in the middle can soften the face without adding bulk.
They work with glasses, earrings, and necklines.
That sounds small, but it matters. A good medium cut should sit nicely with a blazer collar, a hoop earring, or a V-neck without crowding the face.
They are easier to style than you think.
You do not need huge blowout volume. A paddle brush, a flat iron, and a good part can do most of the work.
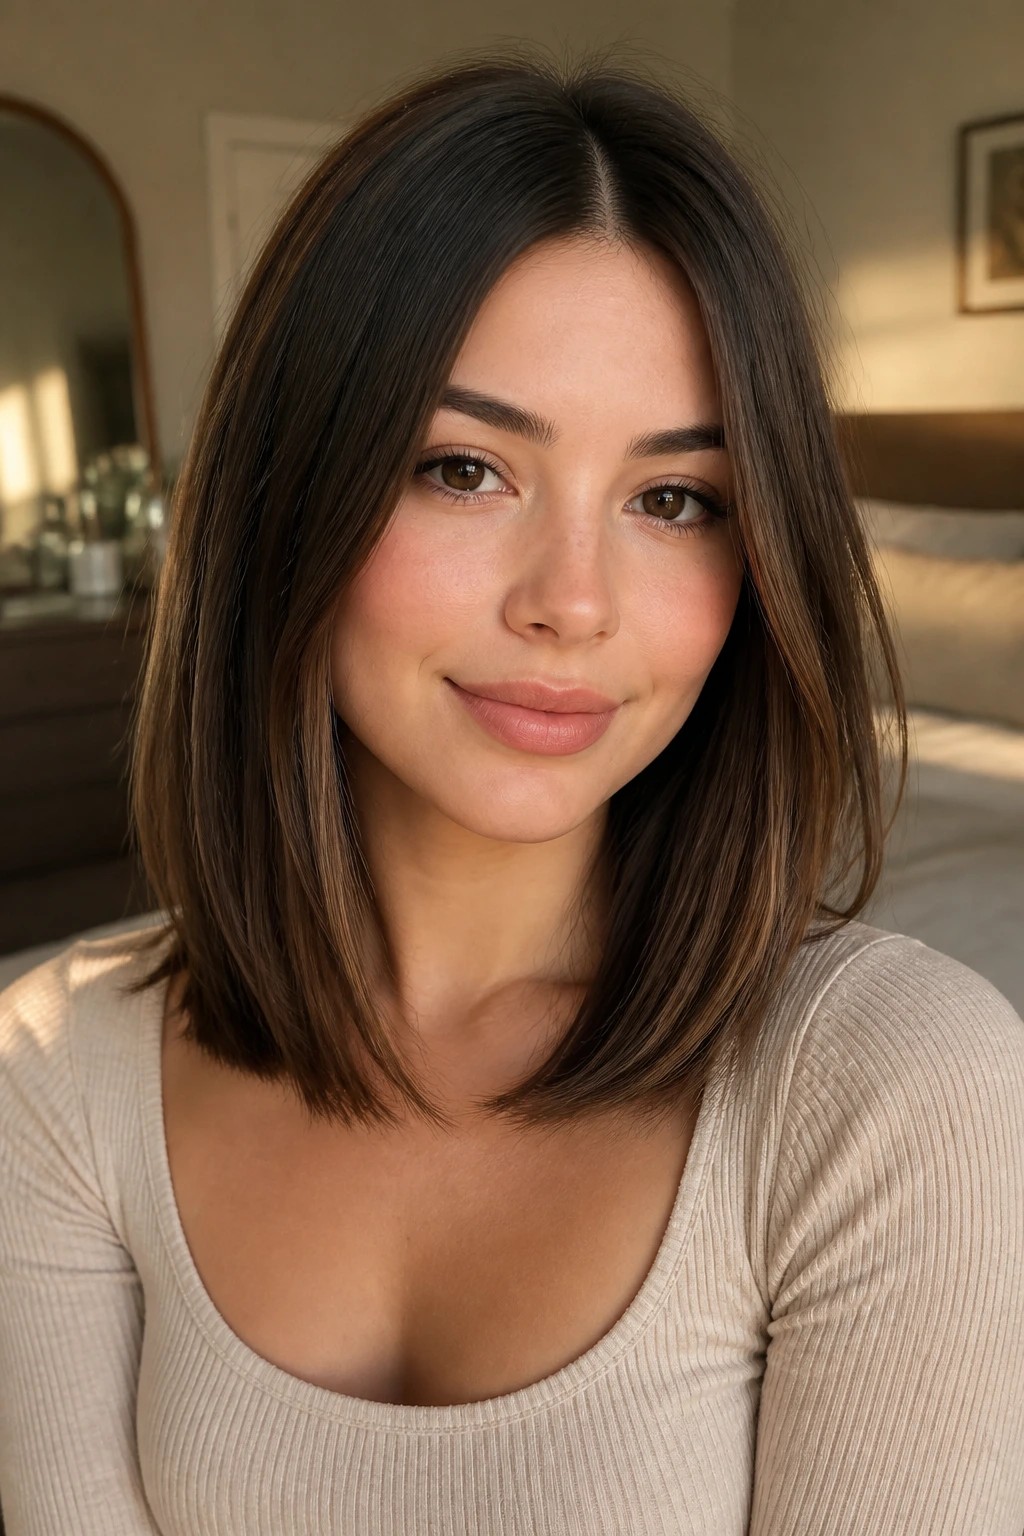
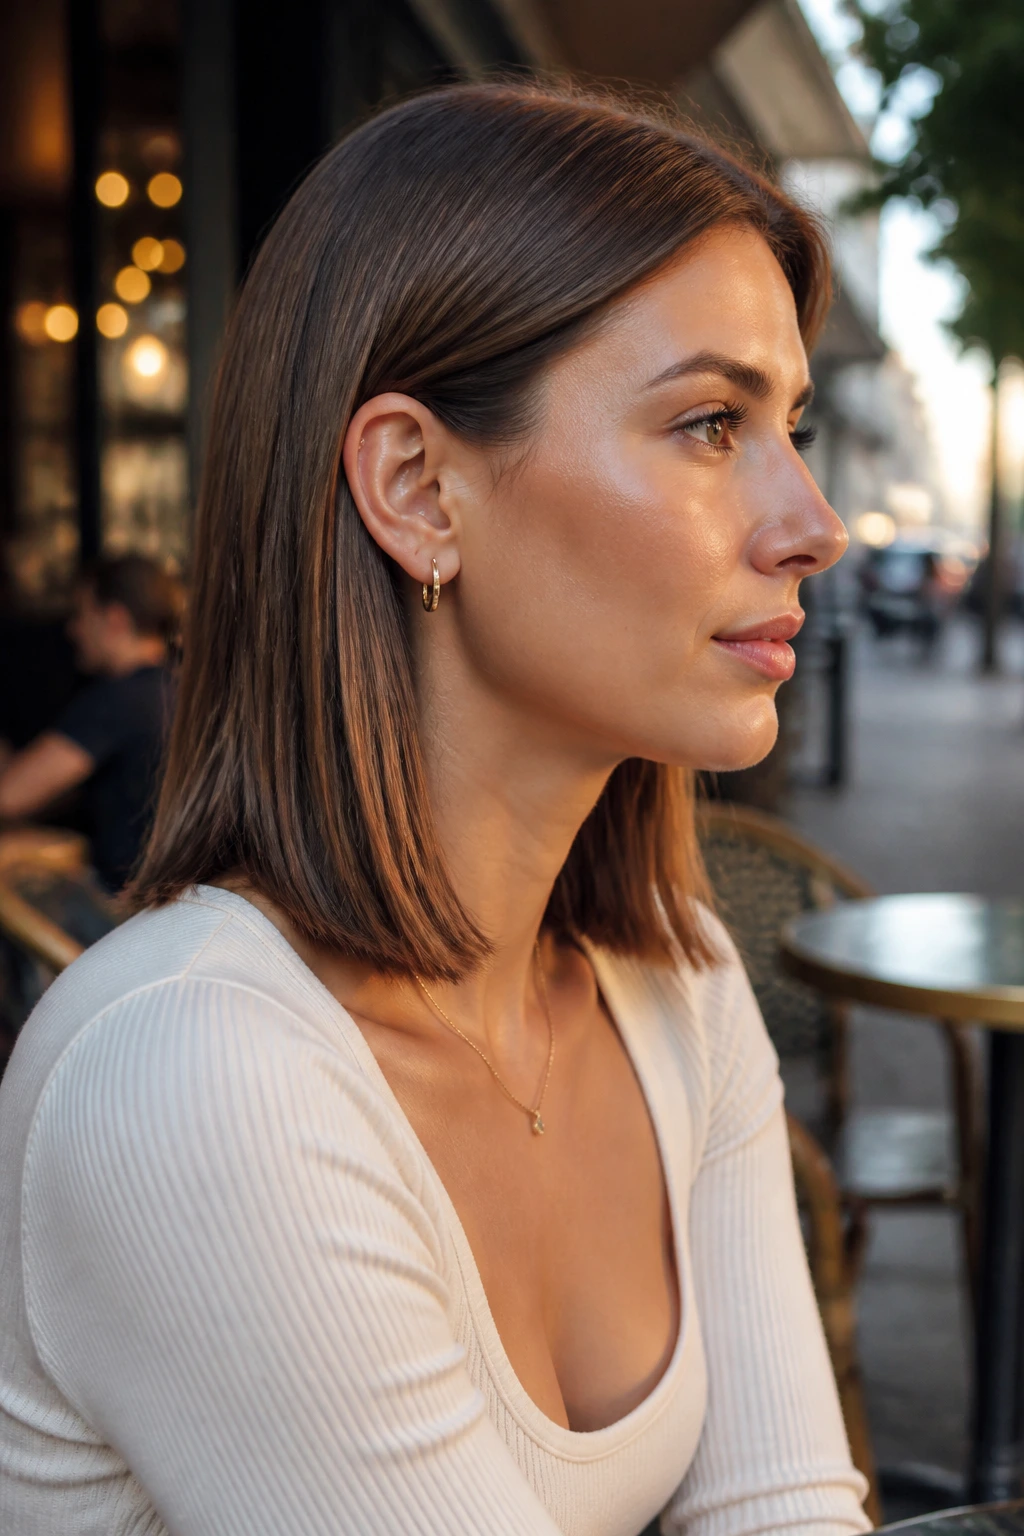
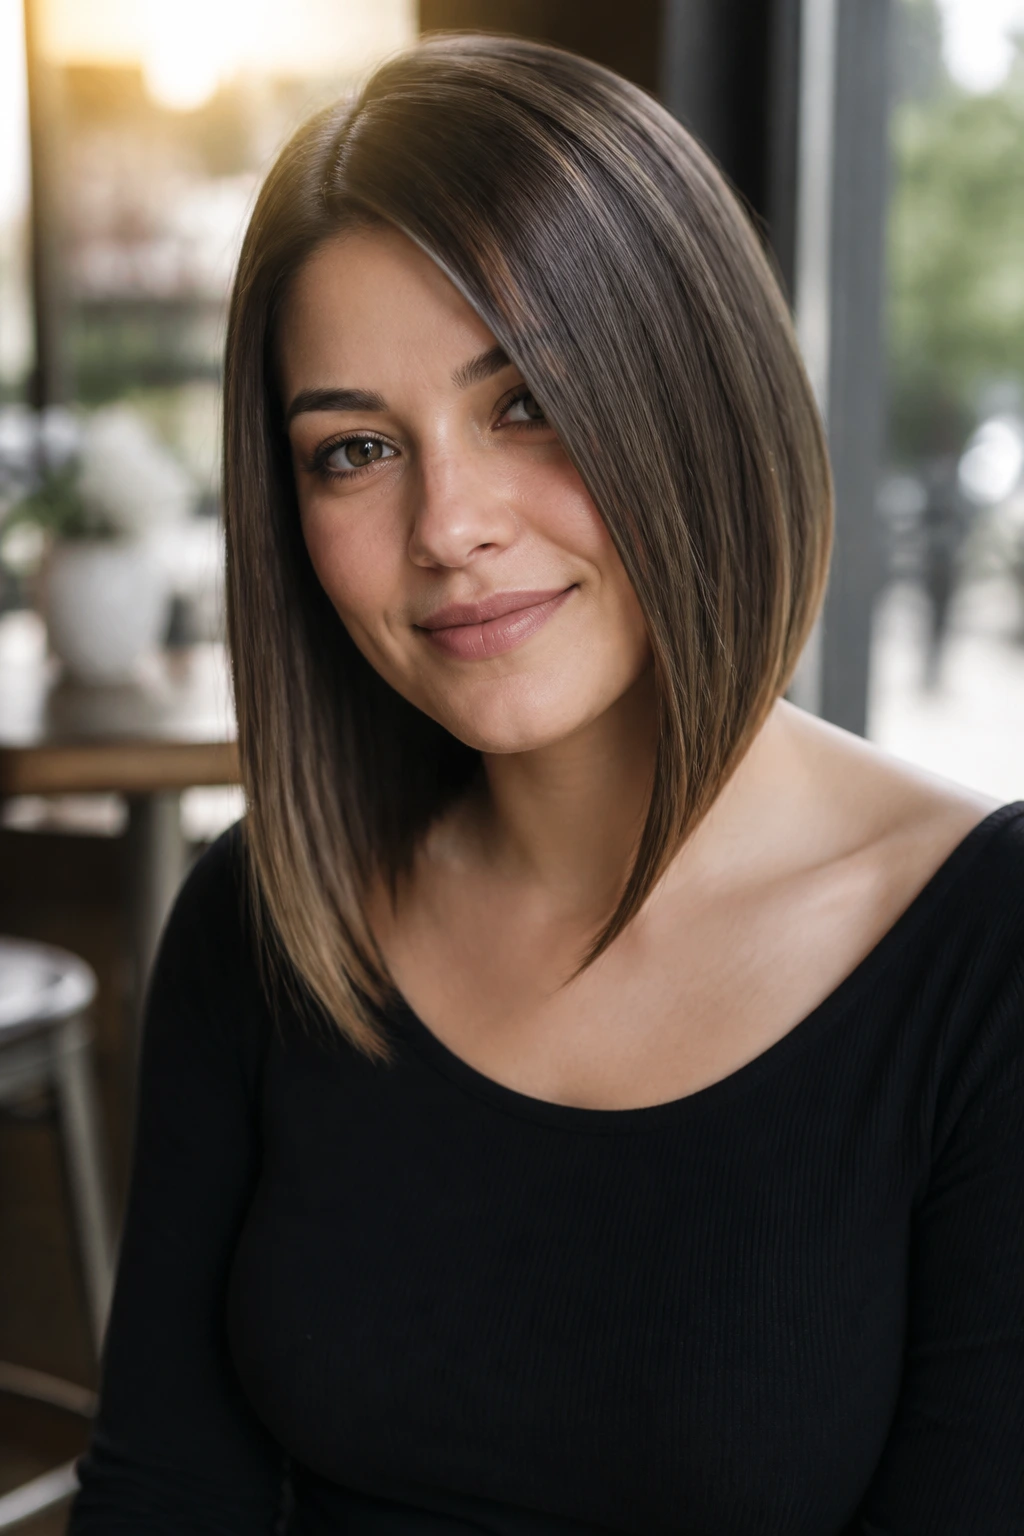
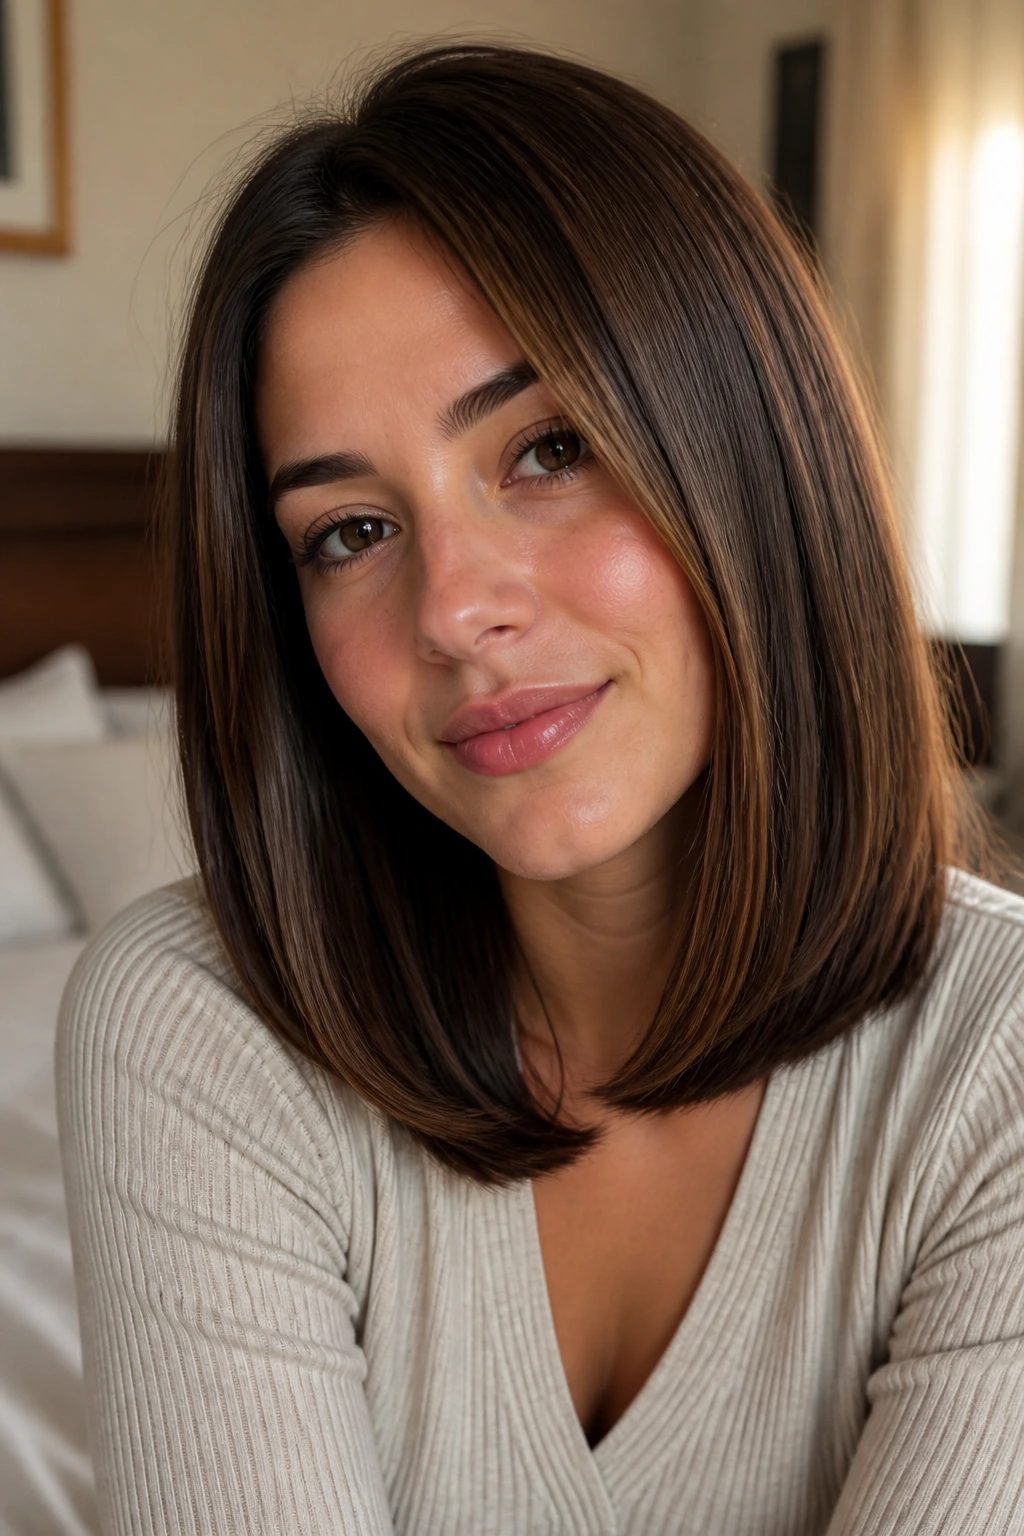
1. The Center-Part Collarbone Lob
A collarbone lob with a clean center part is one of those cuts that looks plain at first glance, then quietly does the right thing on a round face. The length hits just below the jaw, which means the eye keeps moving instead of stopping at the cheeks. That alone changes the shape in a mirror.
Why it works
The collarbone is the sweet spot here. It’s long enough to stretch the face visually, but not so long that the cut starts to feel heavy. On straight hair, the clean middle part creates two vertical lines that run past the cheeks, and that’s the real trick. It gives the face a longer frame without needing layers all over the place.
What to ask for
Ask for one length that brushes the collarbone, with the front pieces no shorter than the chin. If your hair is thick, a little internal weight removal helps keep the ends from flipping out like a triangle. If it’s fine, keep the perimeter blunt and polished.
A tiny bend under the ends looks better than a hard curl. A flat iron set to medium heat, used once through each section, is usually enough. Keep the roots sleek, keep the crown flat, and let the length do the work.
2. The Deep Side-Part Sleek Lob
A deep side-part lob gives a round face something very useful: asymmetry. One side falls across the forehead and cheek line, and the other side opens the face up. That unevenness makes the shape look less circular, even when the hair itself stays straight and smooth.
This is the cut I’d hand to someone who likes sleek hair but doesn’t want to look severe. It has polish, but not stiffness. The front can skim the jaw on one side and drift to the collarbone on the other, which creates a diagonal line that works hard without looking showy.
If you want this to land well, keep the heavier side long enough to tuck behind the ear sometimes. That little move opens the face and gives you a second look without changing the cut. A root-lift spray at the part helps stop the style from collapsing flat on top, which would undo the whole effect.
The side part does not have to be dramatic. Even a shift of two inches can change the balance. Small detail. Real payoff.
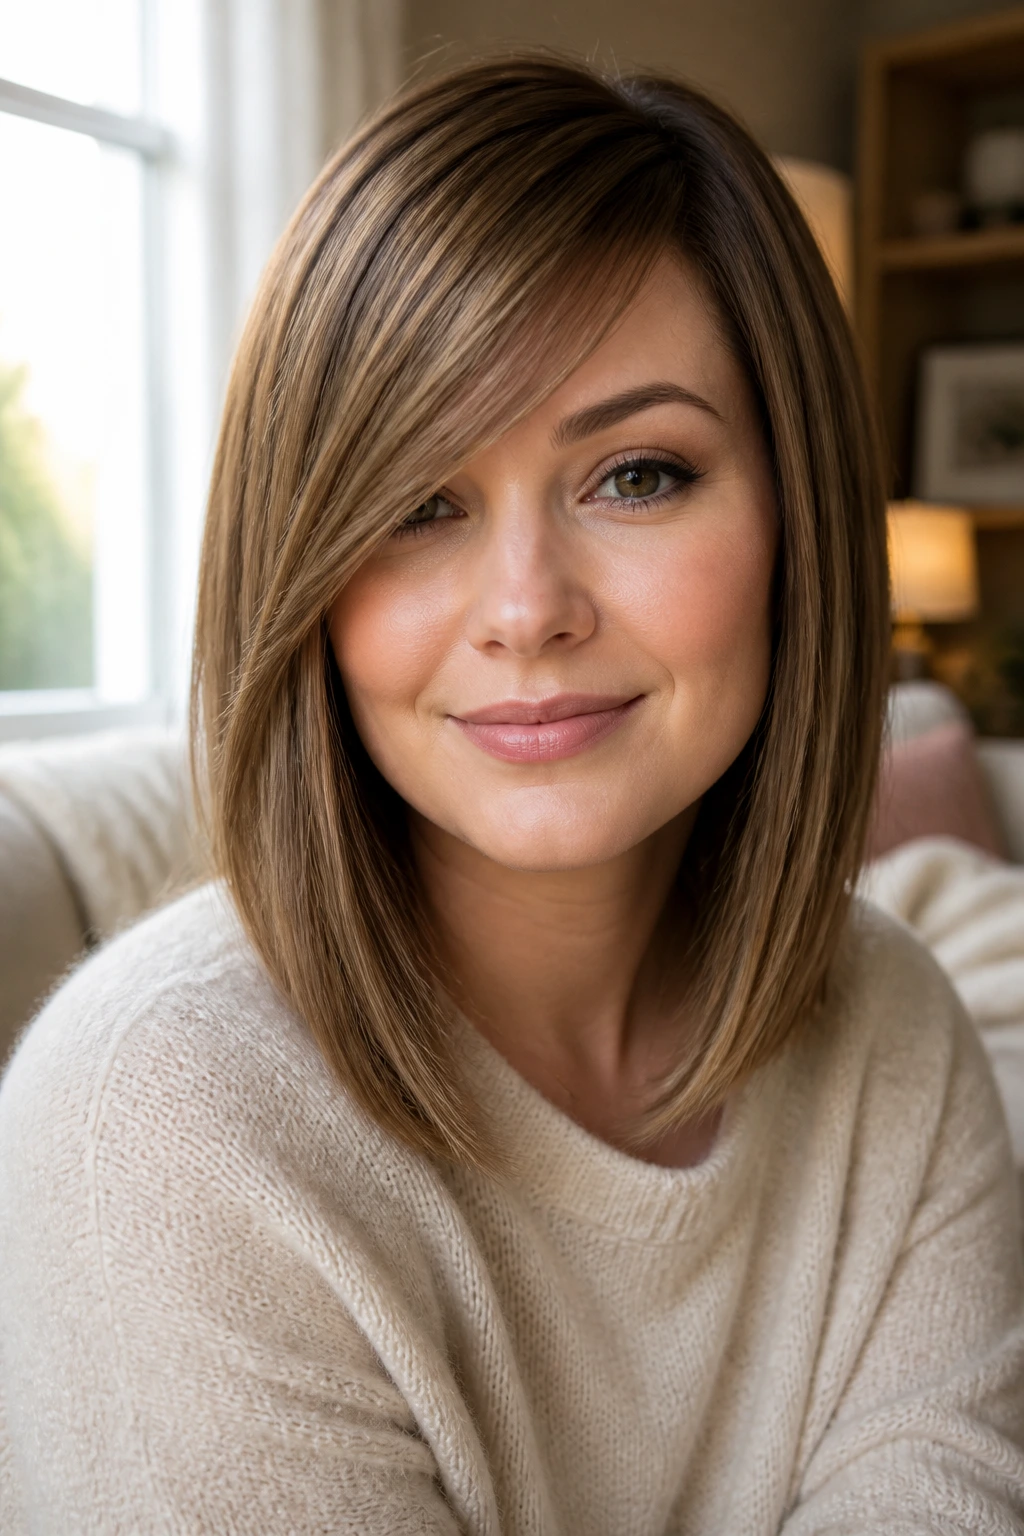
3. Curtain Bangs with Straight Lengths
Curtain bangs can be excellent on a round face, but only when they’re long enough to split and fall away from the cheeks. Short curtain bangs that sit too high can make the forehead look small and the face look wider. Long ones, brushed open from the center, soften the upper face and create a narrow path down the middle.
The shape to ask for
Tell your stylist you want curtain bangs that start around the cheekbone or just above it, then angle out toward the jaw. That keeps the shortest point high enough to lift the eye, while the longer pieces graze the face instead of boxing it in.
The rest of the hair should stay straight and medium in length. Collarbone to upper chest is the safest zone. Too short, and the bangs start doing all the work. Too long, and the contrast disappears.
I like this cut because it has a little movement without becoming fussy. Air-dry the bangs until they’re about 80% dry, then use a round brush or a small flat brush to push them away from the center. If they sit too flat, they lose that soft opening that makes the cut work.
4. The Blunt Shoulder-Grazing Cut
A blunt cut at the shoulders can be a very good answer for a round face, but only if the line is placed with care. The word “blunt” scares people, and I get why. Done badly, it can make the head look wider. Done right, it gives straight hair a crisp edge and keeps the shape from puffing out.
The key is where the line lands. Shoulder-grazing is better than chin-grazing. The moment the hair ends at the cheeks, the face starts feeling boxed in. Move the line down a few inches, and the whole look reads cleaner.
Best for
- Fine straight hair that needs the illusion of thickness
- Medium-density hair that goes flat when overloaded with layers
- Anyone who likes a tidy, minimal finish
Watch the ends
If your hair flips outward naturally, a blunt shoulder cut needs a little bevel under the ends. Not a curl. Just a soft tuck under with a paddle brush or flat iron so the perimeter stays neat. That keeps the shape from looking heavy at the corners of the face, which is the part that usually causes trouble.
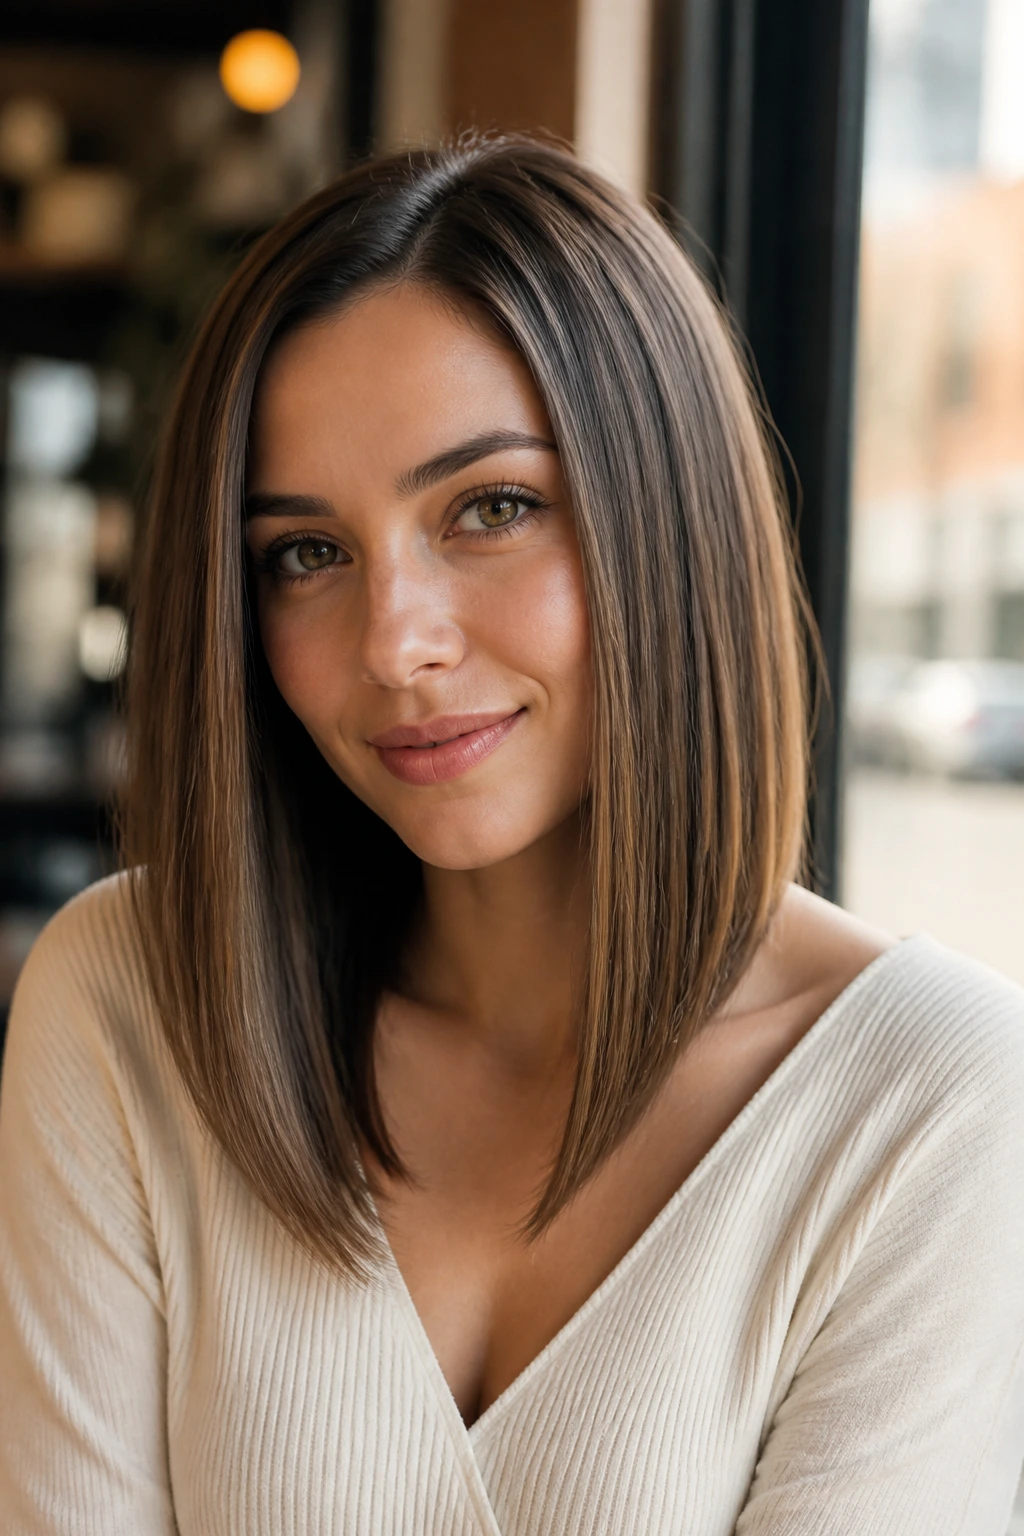
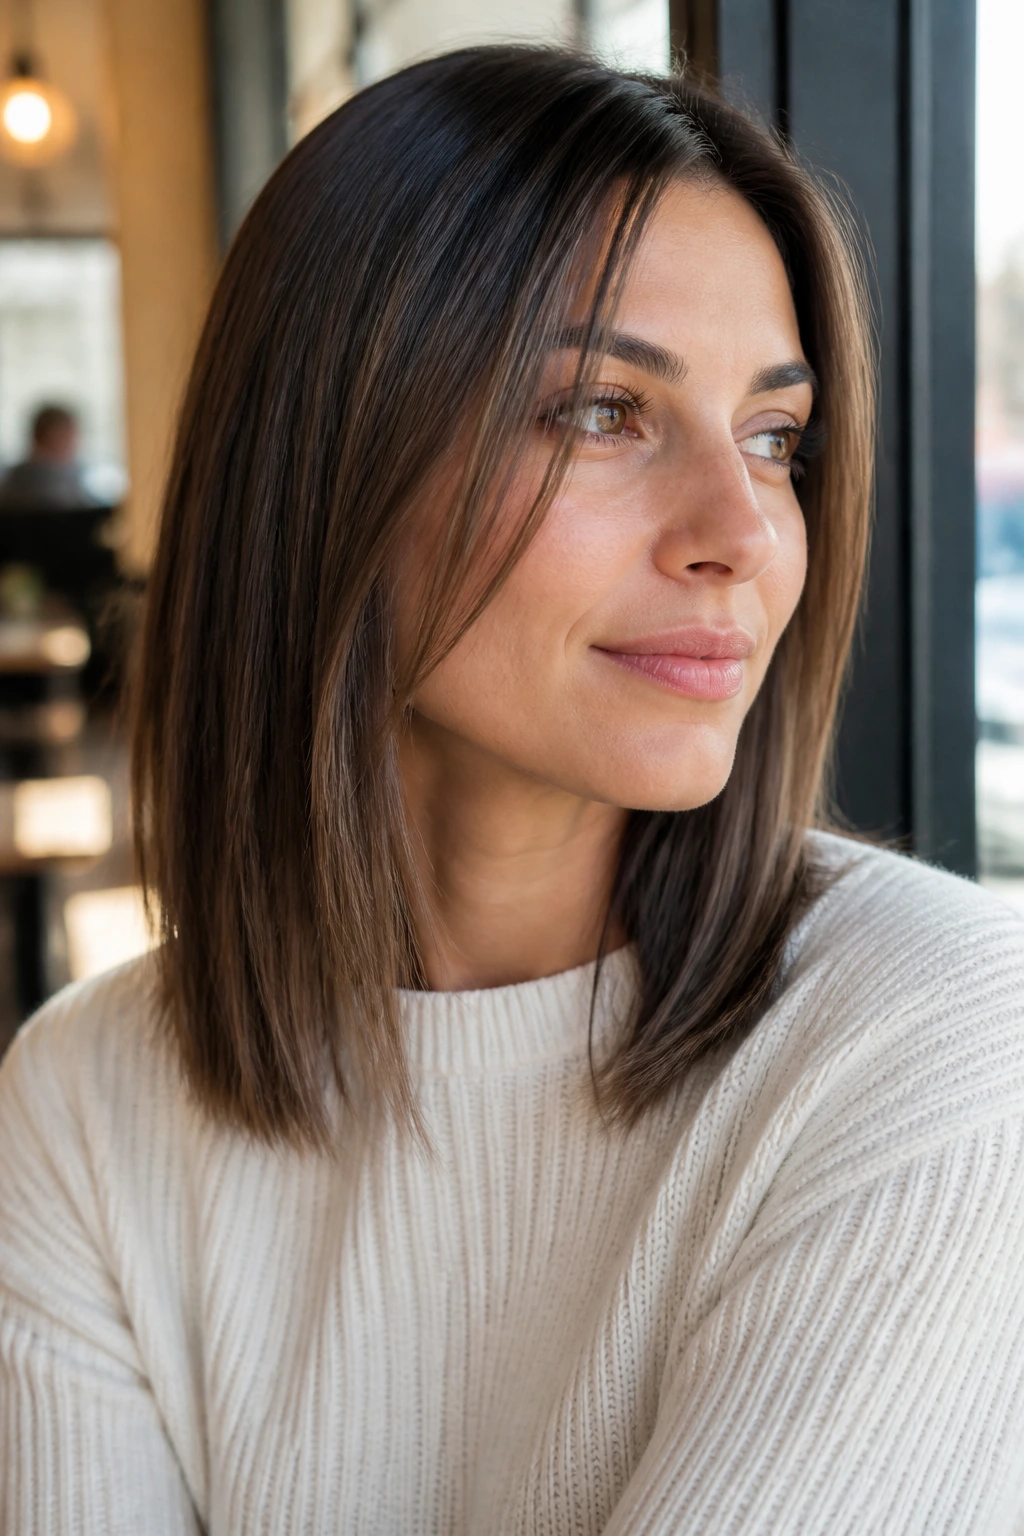
5. Long Face-Framing Layers
Long face-framing layers are the workhorse of medium straight hairstyles for round faces. They start below the cheekbone, often near the jaw or just under it, and they move the eye downward in a way that feels gentle rather than obvious. That matters. If the shortest layers sit too high, you add width right where you don’t want it.
These layers should not be chunky. I’m not talking about big, sliced pieces that swing around the face like curtains. I mean soft, controlled pieces that narrow the face a little and blend into the rest of the length. On straight hair, they look especially neat because the line stays visible.
The best version is a cut with a calm perimeter and two front pieces that angle in toward the chin, then fall past it. It works with a middle part or a slight side part. It also plays nicely with glasses because it doesn’t compete with the frame at the temples.
If your stylist asks where you want the shortest layer to sit, say “below the cheekbone.” That answer saves you from a lot of bad interpretations.
6. The Angled Lob with Longer Front Pieces
An angled lob is one of the most useful shapes for a round face because it quietly cheats geometry. The back sits a little shorter, and the front grows longer toward the collarbone. That forward angle pulls the eye down and forward, which gives the face more length without needing dramatic styling.
Why it beats a regular lob
A straight-across lob can look boxy if the hair is thick or if the ends land near the widest part of the face. The angled version creates motion from the neckline forward. It feels sharper. Cleaner. A little more deliberate.
The best length is usually somewhere between the collarbone and upper chest in front, with enough back length to keep the cut mobile. If the angle is too aggressive, the haircut starts to look dated. Keep it subtle. You want a slope, not a wedge.
This cut is especially good if your hair naturally falls toward the face. The longer front pieces give that habit a shape, instead of fighting it. A single pass with a flat iron, plus a tiny bevel at the tips, is often enough to make the whole thing behave.
7. Invisible Layers for Thick Straight Hair
Invisible layers are for people who like straight hair that moves, but do not want the outline chopped up. The layers sit inside the cut, so the outside still reads smooth. That makes them useful on a round face, because you get air and swing without extra bulk around the cheeks.
Thick straight hair can swell at the sides if it’s cut too blunt. Invisible layers solve that without taking away the clean line. The length stays medium, usually collarbone to a little below, while the interior loses weight in controlled sections. The result is less triangle, more glide.
The salon language that helps
Ask for internal layering only, with the perimeter left long and tidy. Say you want movement, not short face pieces. That distinction matters. A lot of stylists hear “layers” and jump too high around the face.
This is one of my favorite choices for someone who wants low-drama styling. Blow-dry it smooth, bend the ends once with a brush, and go. The cut does the heavy lifting, which is exactly what you want on a busy morning.
8. The Side-Swept Fringe and Straight Ends
A side-swept fringe changes the whole front of the face in one move. It brings a diagonal line across the forehead, and diagonals are your friend when you’re working with a round shape. They interrupt the curve and make the face feel a little longer, a little slimmer, and more defined.
The trick is keeping the fringe long enough to sweep, not chop. It should travel from the crown or part area and land near the cheekbone or jaw on the heavier side. If it sits too high, it becomes a short bang and loses the lengthening effect.
I like this cut when the rest of the hair stays straight and sleek. That contrast keeps the fringe from looking too busy. The ends can stay blunt or gently beveled; either way, the line should be clean. Dry the fringe in the direction you want it to sit, not straight down and then sideways. That’s how people end up with a cowlick fight every morning.
A light mist of flexible hairspray on the fringe is enough. Heavy product turns it stringy.
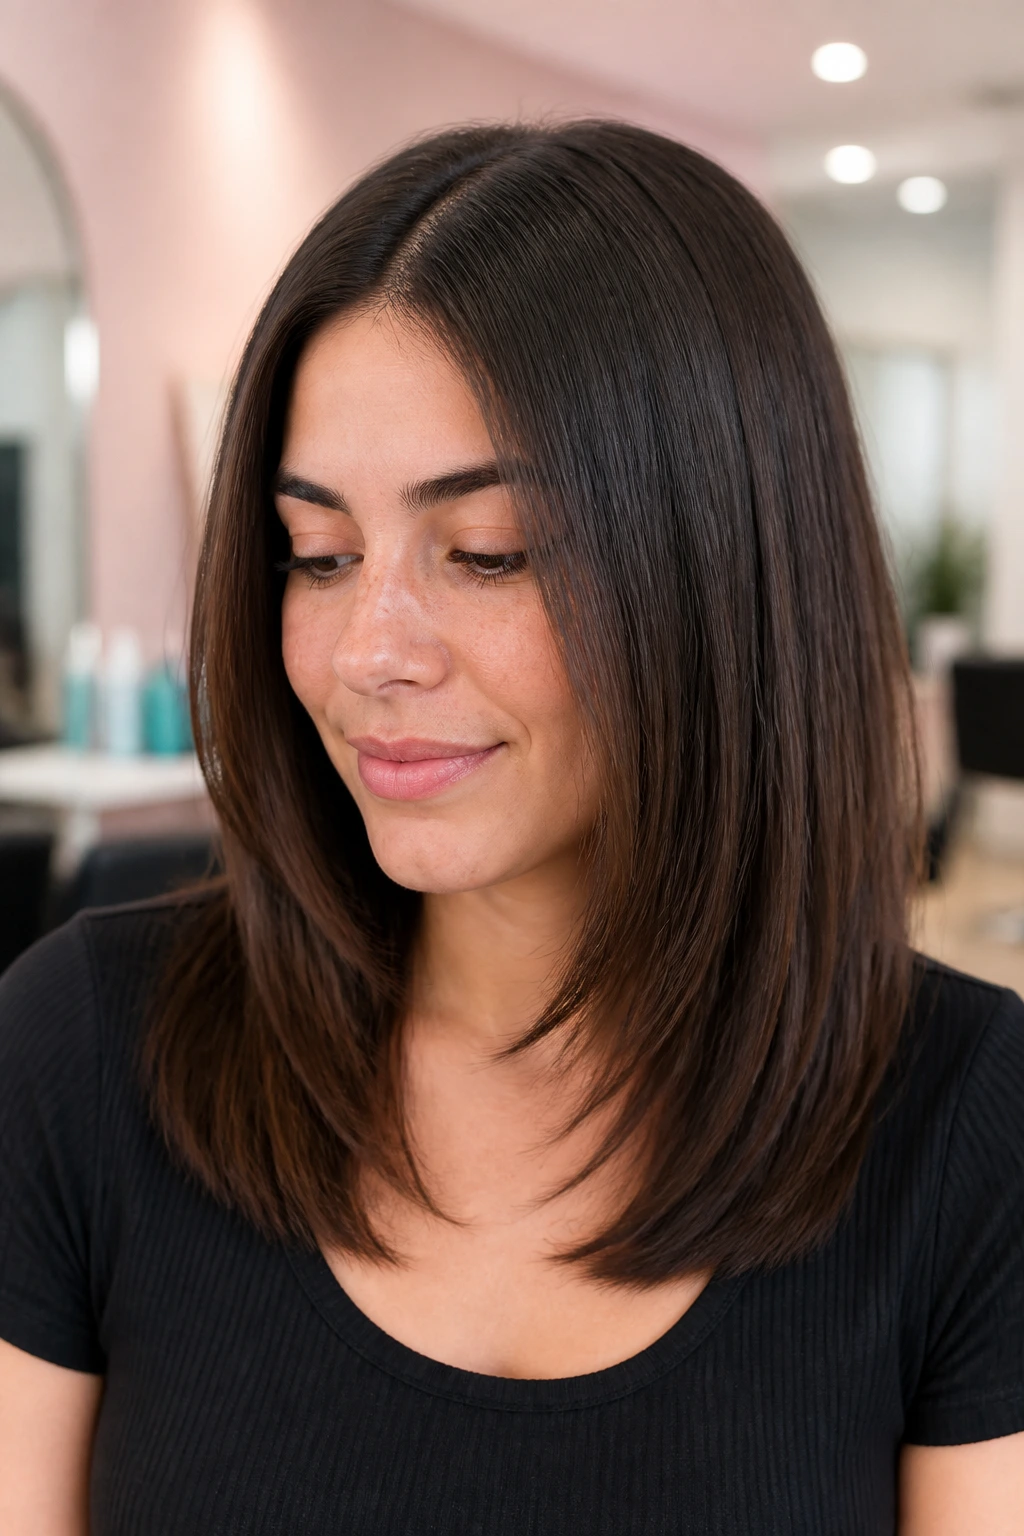
9. The U-Shaped Straight Cut
The U-shape is quieter than an angled cut, but it still helps a round face. The center back sits a touch longer than the sides, so the eye travels down the middle and doesn’t stop at the cheeks. It’s a soft trick, which is why I like it for people who want shape without obvious layering.
This cut works best when the difference between the shortest side and the center back is modest. A gentle U, not a dramatic one. On straight hair, a deep U can look disconnected. A shallow one keeps the line smooth and natural.
If your hair is fine, the U-shape can make the ends look fuller because the side sections stay a little shorter. If your hair is thick, it helps the perimeter lie flatter around the shoulders. Either way, the center length gives the face a vertical pull that a round face usually appreciates.
It’s also one of the better choices for people who tuck one side behind the ear a lot. The shape still reads well even when one side is open and the other is pulled back.
10. The Tucked-Behind-the-Ears Lob
There’s something practical and flattering about a lob that can be tucked behind the ears without breaking the line. On a round face, that creates open space around the cheeks and jaw, which can make the face feel less crowded. Simple move. Strong effect.
The length should hit at least the collarbone, and the front pieces need to be long enough to tuck without springing back in five minutes. If the cut is too short at the front, it puffs out beside the ears and adds width right where you wanted relief.
This style works well with clean, almost glassy straight hair. Use a smoothing cream before drying, then finish with a flat iron only if needed. The point is not pin-straight stiffness; it’s a smooth line that can be tucked, released, and tucked again.
I also like this option for anyone who wears earrings or glasses. The haircut leaves room for both. No competition. That matters more than people admit.
11. Feathered Ends with a Clean Line
Feathered ends get misunderstood all the time. People hear “feathered” and think of the wispy, shredded layers from old salon books. That’s not the move here. On medium straight hair for a round face, feathered ends should soften the perimeter while keeping the overall line intact.
That means the ends are point-cut or lightly textured, not thinned into nothing. You want the cut to skim, not fray. Done right, it removes the heavy look that some blunt cuts get on thick straight hair, while still preserving enough length to stretch the face.
This version is especially good if your hair has a little bend at the ends and likes to turn outward. Feathering calms that down. It also makes the haircut easier to wear on days when you don’t feel like styling every section.
If your stylist reaches for the thinning shears, ask what they’re doing and why. Sometimes they’re useful. Sometimes they make straight hair puff at the bottom. On this cut, less is more.
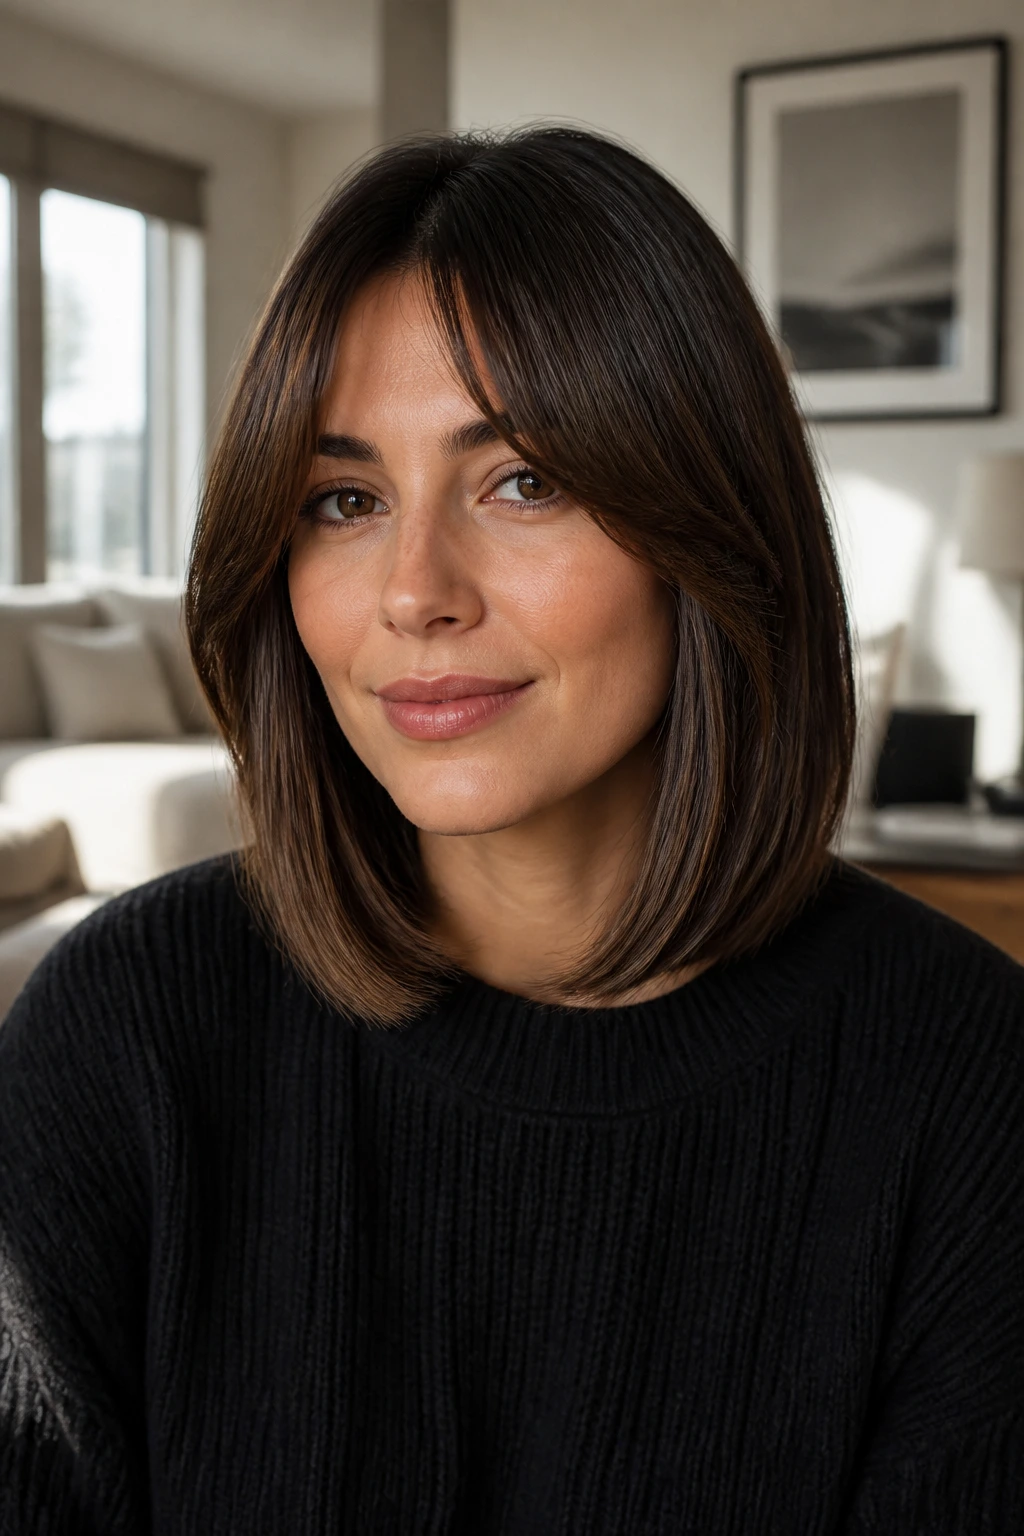
12. The Off-Center Part with Draping Layers
A part that sits just off center — not a full side part, not a middle part — can be the most flattering choice in the room. It gives a round face a subtle diagonal and keeps the cut from feeling too symmetrical. Symmetry can be lovely. It can also make a round face read even rounder.
The draping layers should begin below the cheekbone and fall past the jaw. That way, the front pieces frame the face without landing on the widest zone. Straight hair makes this shape easy to maintain because the line stays visible all day.
Best way to wear it
- Blow-dry the part first, before the rest of the head dries
- Lift the roots lightly at the crown so the part doesn’t collapse
- Keep the front pieces smooth, not curled
I prefer this cut for people who don’t want bangs but still want some softness around the face. It has enough movement to feel styled, yet it stays neat when pinned back or tucked one side away.
13. The Soft Shag for Straight Hair

A shag can work on a round face, but only when it’s softened for straight hair and kept medium in length. The goal is not to build a big halo of volume around the head. The goal is to break up the outline a little and add movement where straight hair can otherwise look heavy.
The best straight-hair shag for a round face keeps the crown lifted just enough, then lets the lengths fall past the cheeks. The front should stay longer than a classic shag, with face-framing pieces that do not end at the chin. That keeps the cut from widening the face.
This is a good fit if your hair is thick, dense, or a little resistant to styling. The texture gives the cut life, and the medium length keeps it from getting wild. It also works if you want something less polished than a lob but not messy enough to fight every morning.
Air-dry a straight shag only if your hair dries in a controlled pattern. If it tends to kink, blow-dry it smooth first. Otherwise the shape can go sideways fast.
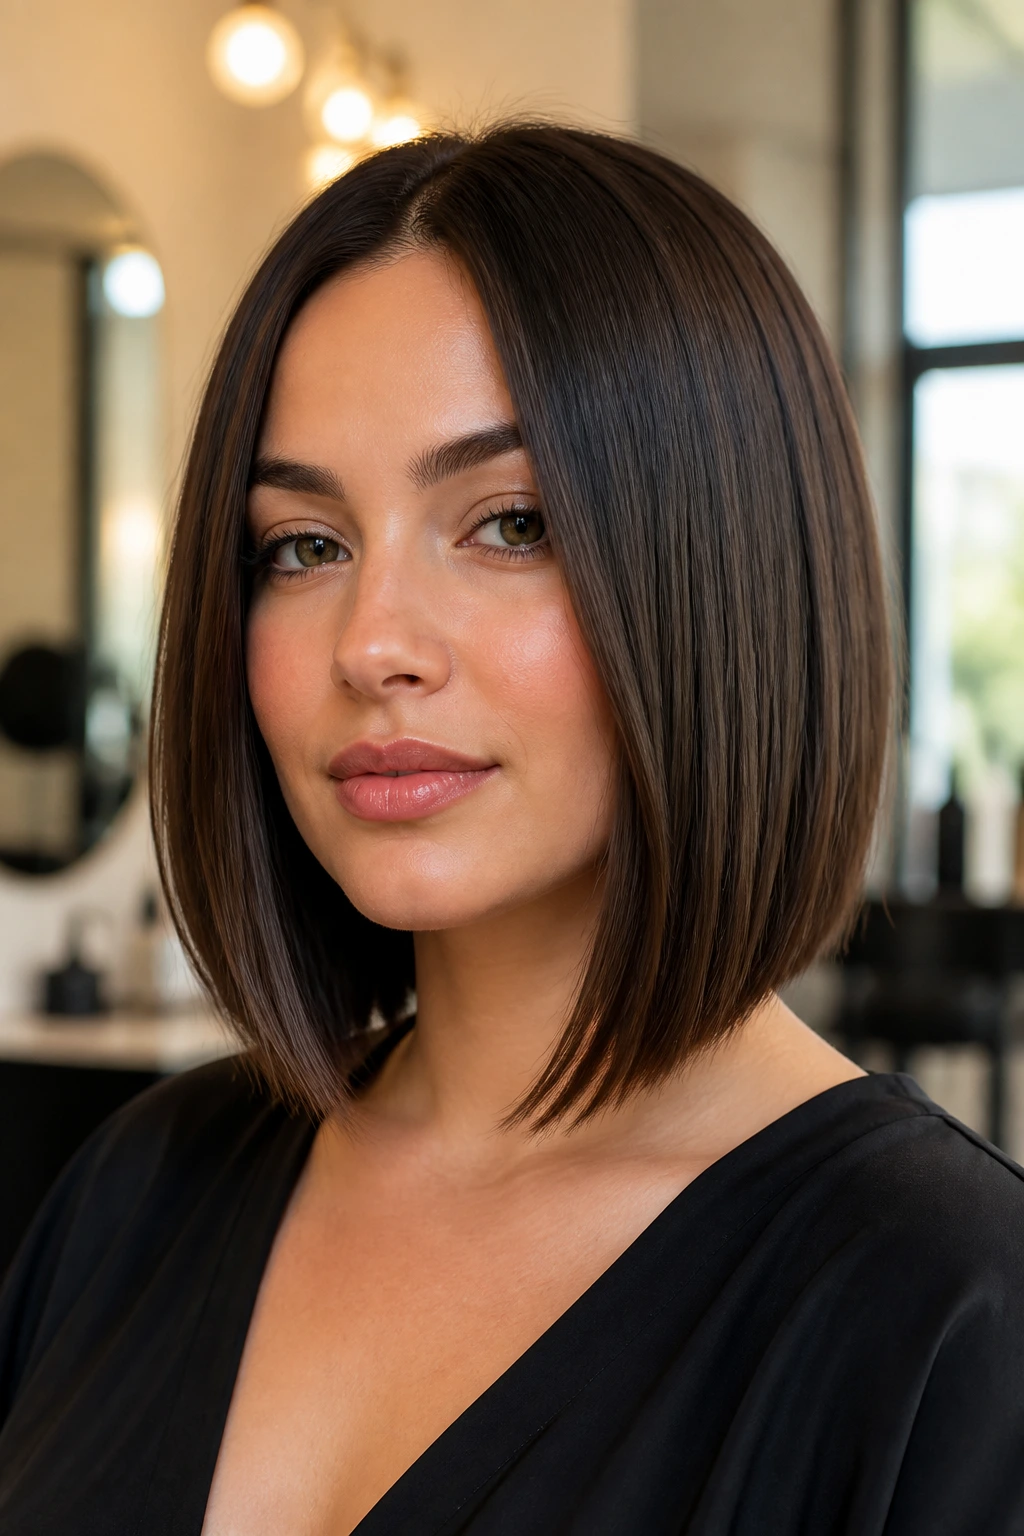
14. The A-Line Lob
An A-line lob looks small on paper and big in effect. The back sits slightly shorter, the front gradually gets longer, and the whole haircut points the eye toward the collarbone. On a round face, that forward slope keeps the eye moving, which is exactly what you want.
This cut is cleaner than a shag and a little sharper than a U-shape. It’s for someone who likes structure. The front pieces usually land somewhere between the chin and collarbone, but the real key is that they should not stop right at the cheek width. Keep them longer than that, or the angle loses its job.
A-line shapes work well on straight hair because the line is easy to see. You get all the shape with very little effort. Dry it smooth, tuck one side behind the ear if you want, and let the angle do the rest.
It’s a good choice if you like a haircut that looks smart in profile. From the side, it has real presence. From the front, it stays calm.
15. Micro Face-Framing Pieces with Length
Tiny face-framing pieces can do a lot without looking like a big haircut change. The key is restraint. The shortest pieces should start around the cheekbone or just below it, then drift down to the jaw or collarbone. Anything shorter starts to widen the face instead of narrowing it.
This is a strong choice if you already like your length and don’t want bangs. A few soft front pieces can break up the roundness without changing the main shape of the haircut. On straight hair, they blend neatly into the rest of the cut and don’t need much styling.
When this works best
If your hair is medium thickness and falls smoothly, these pieces sit in place easily. If your hair is very fine, keep the pieces subtle so they don’t look stringy. If your hair is thick, ask for blending that keeps the front light but not wispy.
I like this option for people who want a small change that reads in photos. It’s not dramatic. It just makes the face look a little longer, which is often enough.
16. Bottleneck Bangs with a Sleek Lob
Bottleneck bangs are one of the smartest fringe choices for round faces because they start narrow and open wider near the cheekbone. That shape draws attention upward at first, then lets it fall outward in a soft frame that doesn’t box the cheeks in.
With medium straight hair, they look especially good when paired with a sleek lob. The length below the jaw keeps the overall shape long, while the bangs give the top of the face a little structure. It’s a tidy combination. Not fussy. Just balanced.
The bangs need regular shaping, though. If they grow too long, they can collapse into your eyes and stop opening the face. If they’re too short, they lose the bottleneck effect. This is one of those cuts that rewards a little maintenance.
A round brush and a quick bend away from the center are enough. No need to overstyle them. The point is a soft frame, not a heavy curtain.
17. The Collarbone Cut with Flipped-In Ends

A collarbone cut with ends that flip in slightly is one of my favorite fixes for straight hair that tends to go flat or blunt in the wrong places. The inward bend creates a cleaner frame around the shoulders, which helps a round face look more vertical and less wide.
The flip should be subtle. Just enough to tuck the perimeter inward, not enough to make the cut look curled under from the 2000s. If the bend is too strong, the style becomes dated fast. A soft inward finish keeps it modern and neat.
This works especially well if your hair has a little weight to it. The bend helps the ends sit close to the body, instead of ballooning out beside the jaw. If your hair is fine, use a light volumizing spray at the roots and keep the ends smooth.
It’s a good everyday haircut. Nothing theatrical. It just behaves.
18. The Razored Glass-Hair Lob
A razored lob can look expensive in the best sense of the word when it’s kept glossy and controlled. The razor takes some weight out of the ends, which stops thick straight hair from turning into a hard block at the bottom. On a round face, that matters because a heavy outline can make the face feel broader.
The trick is to keep the surface smooth. Razor texture without shine can look frayed. Razor texture with a polished blow-dry looks sleek, modern, and a little sharper than a standard blunt lob. That contrast is what makes it useful.
This style is best if your hair can take a little texture without becoming fuzzy. If your strands are fragile or very fine, I’d skip heavy razor work and go for soft point cutting instead. Same idea, less stress on the hair.
The finish should look like glass from a few feet away, but not stiff. A lightweight serum on the mids and ends, then one careful pass with a flat iron, is usually enough.
What Makes These Cuts Flatter a Round Face

The whole game is line control.
Round faces look best when the haircut creates a little extra vertical movement, and these medium straight hairstyles do that by placing length below the cheeks and keeping the widest part of the cut out of the center zone.
A round face usually has soft fullness through the cheeks and a jawline that doesn’t create a hard angle. That is not a problem. It just means the haircut has to provide the angle for you. Long front pieces, off-center parts, and collarbone-length ends help. Short blunt ends at the chin usually do not.
I also think people overrate volume at the sides. If you load too much body around the cheeks, the face looks wider in a mirror and in photos. A touch of lift at the crown works better than fluff at ear level. That small difference changes the whole read of the style.
If you remember one thing, keep it simple: move the eye down, not out. That’s the rule that keeps these cuts flattering.
What to Tell Your Stylist Before the First Snip

Bring photos, but don’t bring only the front view. Show the side too. A medium straight haircut can look very different from the profile, and that’s where round faces either gain length or lose it. Ask for the front pieces to land below the cheekbone, and name the exact length you want in front and at the back.
Be specific about your part. If you wear a center part every day, say so. If you prefer a side part, say how deep you actually wear it, because “side part” can mean two inches or six inches, and those are not the same haircut. Tell your stylist whether you want movement in the ends, face-framing layers, or a blunt outline with tiny soft edges.
Say what you do not want, too. If you hate volume at the cheeks, say it. If your hair flips outward at the ends and you can’t stand it, say that before the scissors come out. That kind of blunt honesty saves everyone time.
And please, do not ask for “whatever makes my face look thinner.” That sounds helpful, but it’s vague enough to lead to a haircut you didn’t actually want.
Styling Moves That Keep the Shape Long and Clean
Start with the roots. If the crown collapses flat, the whole haircut can look shorter and wider than it is. A little root-lift spray or mousse at the part line gives the style height where it matters, and that height helps a round face look longer.
Use a paddle brush or a round brush, depending on how much bend you want at the ends. Paddle brush for sleek. Round brush for a soft inward turn. I usually prefer the second one for medium straight cuts because even a small bend at the bottom stops the shape from going boxy.
Keep the sides smooth, not puffy.
That’s the part people miss. A lot of at-home blowouts lift the hair too much at ear level, then the face looks wider than it should. Pull the airflow downward, follow the line of the hair, and finish the ends last.
A flat iron is useful, but only if you use it like a finishing tool, not a demolition tool. One pass through each section is usually enough. Too many passes make the hair too flat and can flatten the crown into the head. That’s not the look.
Essential Tools for Straight Medium Styles

- Blow dryer with a nozzle attachment — Keeps the airflow pointed downward, which helps the cut stay smooth instead of frizzy.
- Paddle brush — Best for quick, straight drying on medium lengths.
- Round brush, medium barrel — Useful if you want a soft bend under the ends.
- 1-inch flat iron — Good for polishing the front pieces and sharpening the perimeter.
- Heat protectant spray — Non-negotiable if you use hot tools more than once a week.
- Root-lift mousse or spray — Helps the crown stay lifted so the face looks longer.
- Light smoothing serum — A tiny amount on the mids and ends keeps the finish shiny without greasing it up.
- Sectioning clips — Make it easier to dry the hair in clean panels instead of grabbing random chunks.
- Tail comb — Handy for setting a precise part and separating the fringe.
- Wide-tooth comb — Useful for detangling wet hair before blow-drying.
Common Mistakes That Add Width at the Cheeks

Cutting the length too short.
If the ends stop at the chin or sit right at the cheekbone, the eye lands on the widest part of the face. The fix is boring but effective: keep the perimeter at the collarbone or lower in front.
Adding volume in the wrong spot.
Big roots at the sides can make a round face look broader. Push lift to the crown instead, and keep the area around the ears smoother.
Letting bangs stop too high.
Short fringe on a round face can work, but it has to be placed carefully. If the bangs sit too far above the brow and end at the cheeks, they can make the face feel shorter and wider at the same time.
Over-layering thick straight hair.
Too many short layers create a halo of fullness around the head. That puff is the enemy. Ask for invisible layers or soft internal removal instead.
Ignoring the part.
A part straight down the middle can be excellent, but not if the cut is too short or too wide at the sides. If the shape feels heavy, move the part a little off center and watch what happens.
Curling the ends too much.
A full curl at the bottom shortens the visual line. Keep the finish bent, not curled, if you want the face to look longer.
Variations and Alternatives to Try
Soft Bend Finish
Keep the same medium straight cut, but finish the ends with a slight inward bend and leave the crown flat. This is the easiest version to wear if you want polish without fuss.
Glass-Hair Center Part
Use a center part, a smoothing cream, and a flat iron for a high-shine finish. It works best on healthy straight hair that can handle a sleek surface without looking stringy.
Airy Face-Framing Version
Ask for longer front pieces and light internal layering, then wear the rest of the cut nearly one length. Good if you want softness without obvious bangs.
Side-Part Lift Version
Shift the part deeper and add root lift only at the crown. This gives a round face a longer line without changing the haircut itself very much.
Fringe-Free Minimal Version
Keep the entire shape clean, blunt, and medium in length, with no bang section at all. This is the least fussy option and the easiest to style on busy mornings.
Thicker-Hair Controlled Version
If your hair is dense, ask for internal weight removal and a slightly longer front angle. That keeps the ends from ballooning while preserving the straight outline.
Keeping the Cut Sharp Between Trims

Medium straight cuts lose their shape faster than people expect, especially when the ends start to fray or flip outward. For a blunt or collarbone-length style, a trim every 8 to 10 weeks usually keeps the line clean. If you have layers or face-framing pieces, 10 to 12 weeks is safer, but don’t push it much farther if the front starts slipping into the cheeks.
The daily routine matters too. Sleep on a silk or satin pillowcase if your hair tangles easily. It sounds fussy until you compare how the ends look on day two. Also, don’t overload the mids and ends with heavy cream. Straight hair shows product buildup fast, and buildup can make the cut lose that crisp edge.
If you heat-style often, keep a lightweight shampoo in rotation and use a clarifying wash when the roots start feeling coated. Once every 2 to 4 weeks is enough for most people. If your hair is fine, you may need it a little more often. If it’s dry, less is better.
One more thing: if the haircut starts flipping out at the sides, it may be time for a trim, not a new styling trick. That’s usually the first warning sign.
Questions People Ask Before They Cut the Length

Will a blunt medium cut make a round face look wider?
It can, if the line ends right at the cheeks or the chin. A blunt cut placed at the collarbone or just below tends to work better because it keeps the eye moving downward.
Are bangs a bad idea for a round face?
No. They just need to be chosen carefully. Long curtain bangs, bottleneck bangs, and side-swept fringes are usually easier to wear than short, heavy fringe.
What if my hair is fine and straight?
Fine straight hair usually does well with blunt ends, soft internal layering, or a slight angle. Heavy layering can make it look thinner and flatter at the same time, which is not helpful.
Can I wear a center part with a round face?
Yes, if the cut has enough length and the sides do not puff out. A center part can look very flattering when the front pieces fall past the cheeks.
Do these styles work with glasses?
They can, and many of them look better with glasses than without. Just keep the front pieces long enough to avoid crowding the frame at the temples.
How do I stop the ends from flipping out?
Use a brush to dry the ends inward, then finish with a light pass of a flat iron if needed. If they still flip, the cut may need a small trim or a softer bevel.
Which style is easiest to maintain?
The collarbone lob, the blunt shoulder-grazing cut, and the fringe-free minimal version are the easiest to keep neat with basic blow-drying.
What if my hair gets flat by midday?
Focus on crown lift, not side volume. A quick hit of dry shampoo at the roots and a finger-lift at the part usually restores the shape without changing the whole style.
A Shape That Keeps Working in Real Life
The best medium straight hairstyles for round faces do not try to fight the face into something else. They make the face look longer, cleaner, and a little more defined by using length, part placement, and a controlled edge. That’s the whole trick, and it works because it’s subtle.
If you’re standing in front of the mirror deciding between cuts, look for the one that keeps the widest point of the hair away from the widest point of the face. That’s the test. The rest is detail — and detail is where these styles either shine or fall apart.
Pick the shape that matches how much styling you actually want to do, then keep the line tidy and the crown a touch lifted. That combination has a long shelf life, and it tends to look good from the front, the side, and in that annoying photo someone snaps while you’re not looking.