Short hair doesn’t need to apologize for wanting a ponytail. A bob that only reaches the nape, a lob that grazes the collarbone, even a shag with stubborn layers can all be pulled into something neat, pretty, and a little playful. The trick is not pretending the hair is longer than it is. The trick is building shape on purpose.
That’s where cute ponytails for short hair and oval faces get interesting. Oval faces are the easy part, honestly. They can take height, width, a center part, a side part, a sleek finish, or a messier bend without the proportions getting angry. Short hair is the part that needs a smarter hand: tiny elastics, hidden pins, a little crown lift, maybe a ribbon or a twist so the style reads as intentional instead of “I ran out of patience halfway through.”
The worst short-hair ponytail is the one that gets yanked into a tight nub with every layer flying free. It looks like the haircut is fighting back. Much better to leave a few face-framing pieces, tuck the elastic with a strand of hair, or break the pony into bubbles, twists, or a half-up shape that gives the eye somewhere to go. Those small choices matter more here than on longer hair, and that’s exactly why these styles can be so useful.
Why This Collection Earns Its Keep
-
Face-Shape Friendly: Oval faces can carry a high crown, a deep side part, or a low nape pony without needing heavy correction, so these styles focus on balance instead of hiding anything.
-
Short-Length Smart: Every look here works with bob-length, lob-length, or layered short hair by using twists, mini elastics, bubbles, or half-up sections instead of asking for impossible length.
-
Fast to Build: Most of these styles take one brush, one comb, 2 to 6 bobby pins, and a handful of clear elastics, which means you can actually do them on a weekday morning.
-
Layer-Resistant: Short layers around the temples and neck don’t get ignored; they get tucked, braided, wrapped, or left loose on purpose so the finish feels deliberate.
-
Accessory-Ready: A ribbon, claw clip, or a single barrette can change the mood fast, which is useful when the same haircut has to work for errands, work, and dinner.
-
Low Drama, High Payoff: These ponies rely on shape, texture, and placement more than length, so you get a finished look without wrestling your hair for 20 minutes.
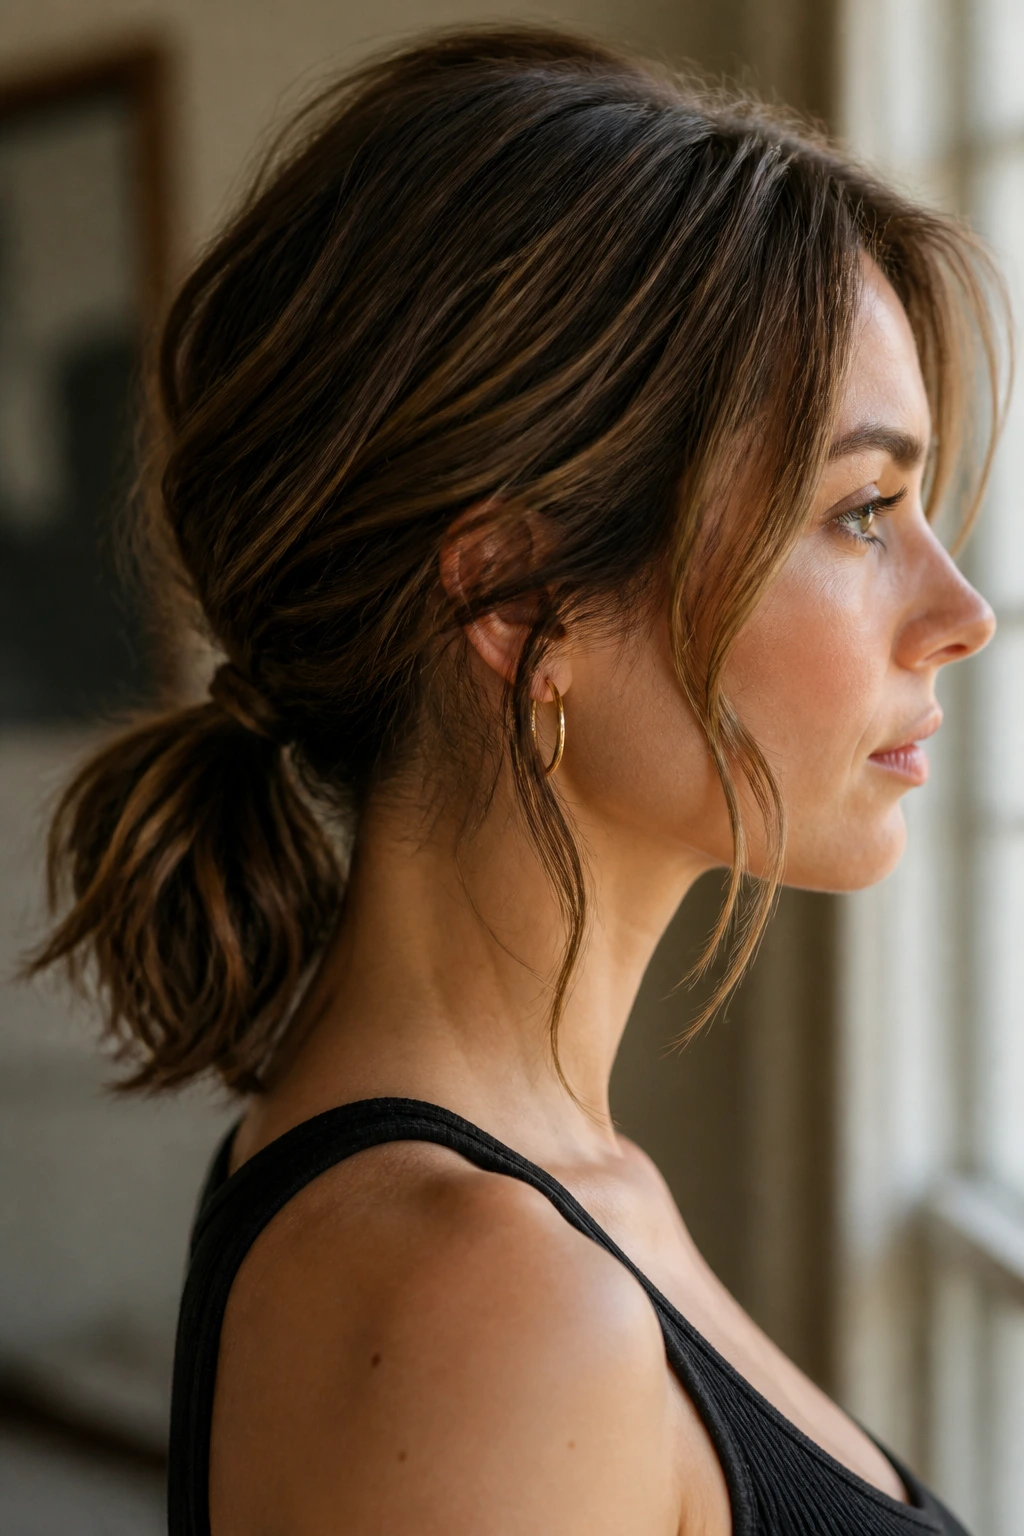
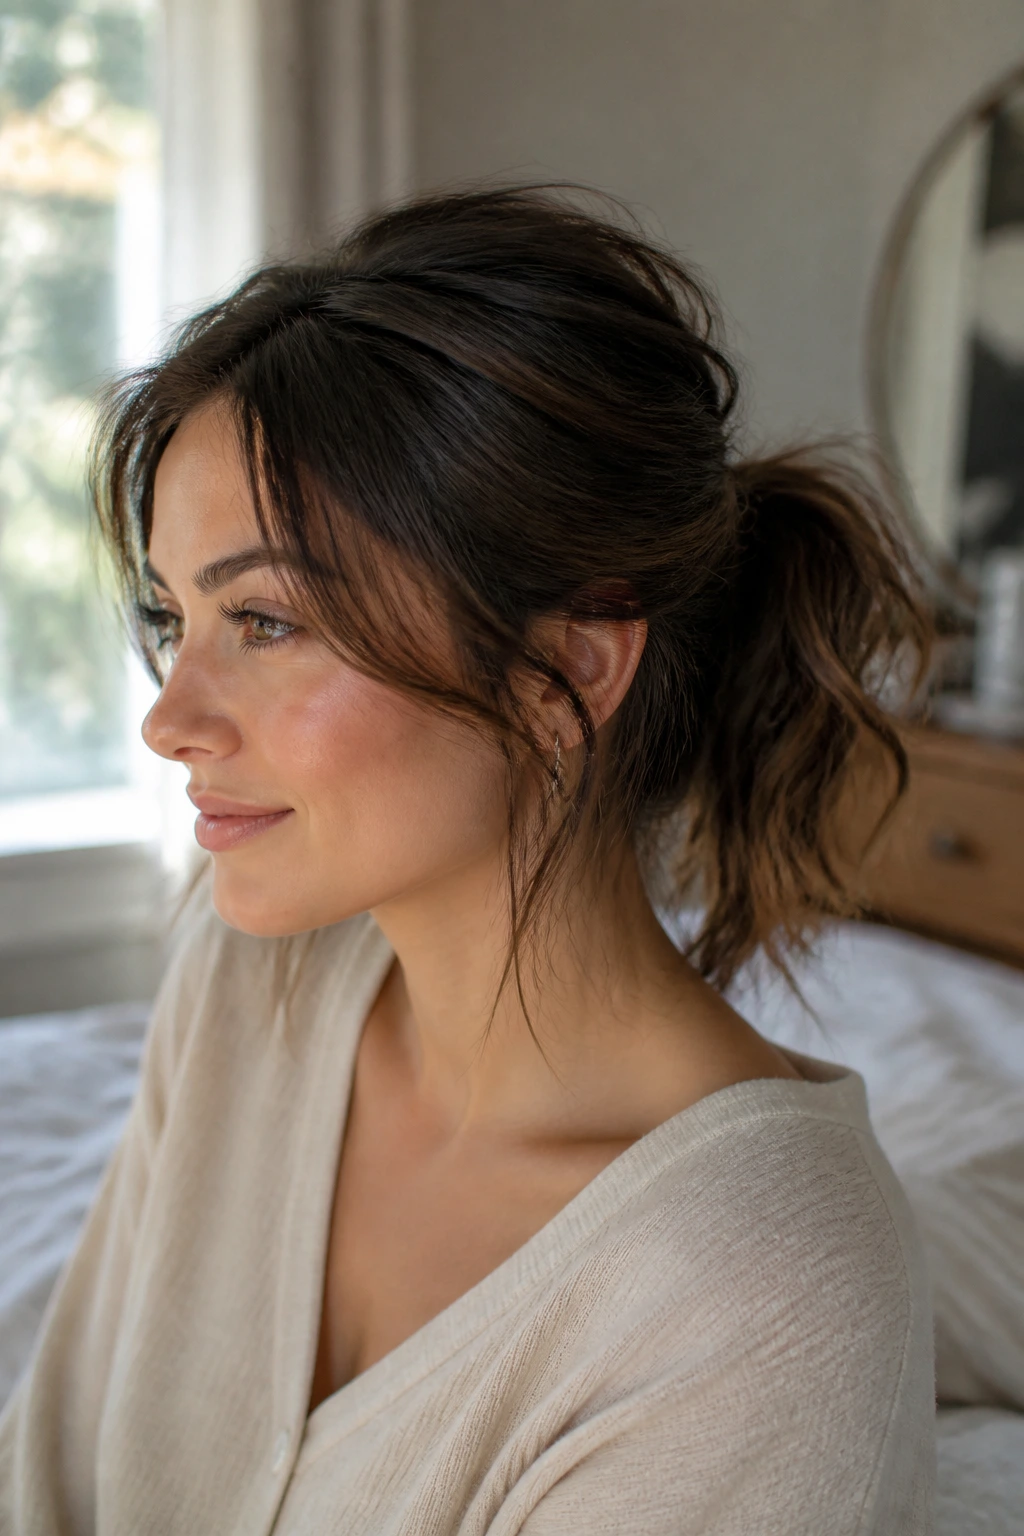
1. Soft Crown-Lift Mini Pony
A little crown lift changes everything here. On short hair, a ponytail can collapse into a flat little stump if the roots are too smooth, and an oval face will show that shape plainly. Add just enough height at the top — not a teased helmet, just a soft rise — and the whole look feels lighter and more alive.
Why the lift matters
The point isn’t to make the hair bigger for the sake of it. The point is to keep the profile from going straight up and down. A mini pony that sits slightly above the occipital bone gives the face a little lift without dragging the eye vertically.
How to build it
- Mist the roots with a light texturizing spray.
- Take a 2-inch section at the crown and backcomb it gently once or twice with a tail comb.
- Smooth the outer layer over the teased section so it still looks clean.
- Gather the hair at a mid-high point and secure it with a clear elastic.
- Pull the crown up about 1/2 inch with your fingertips.
- Leave the front pieces loose around the temples if you want a softer finish.
A tiny spritz of flexible hairspray is enough. Don’t flood the roots; short hair shows product fast.
Best move: Keep the tail itself straight or lightly bent under at the ends. The contrast between soft crown lift and tidy ends keeps the style from looking fussy.
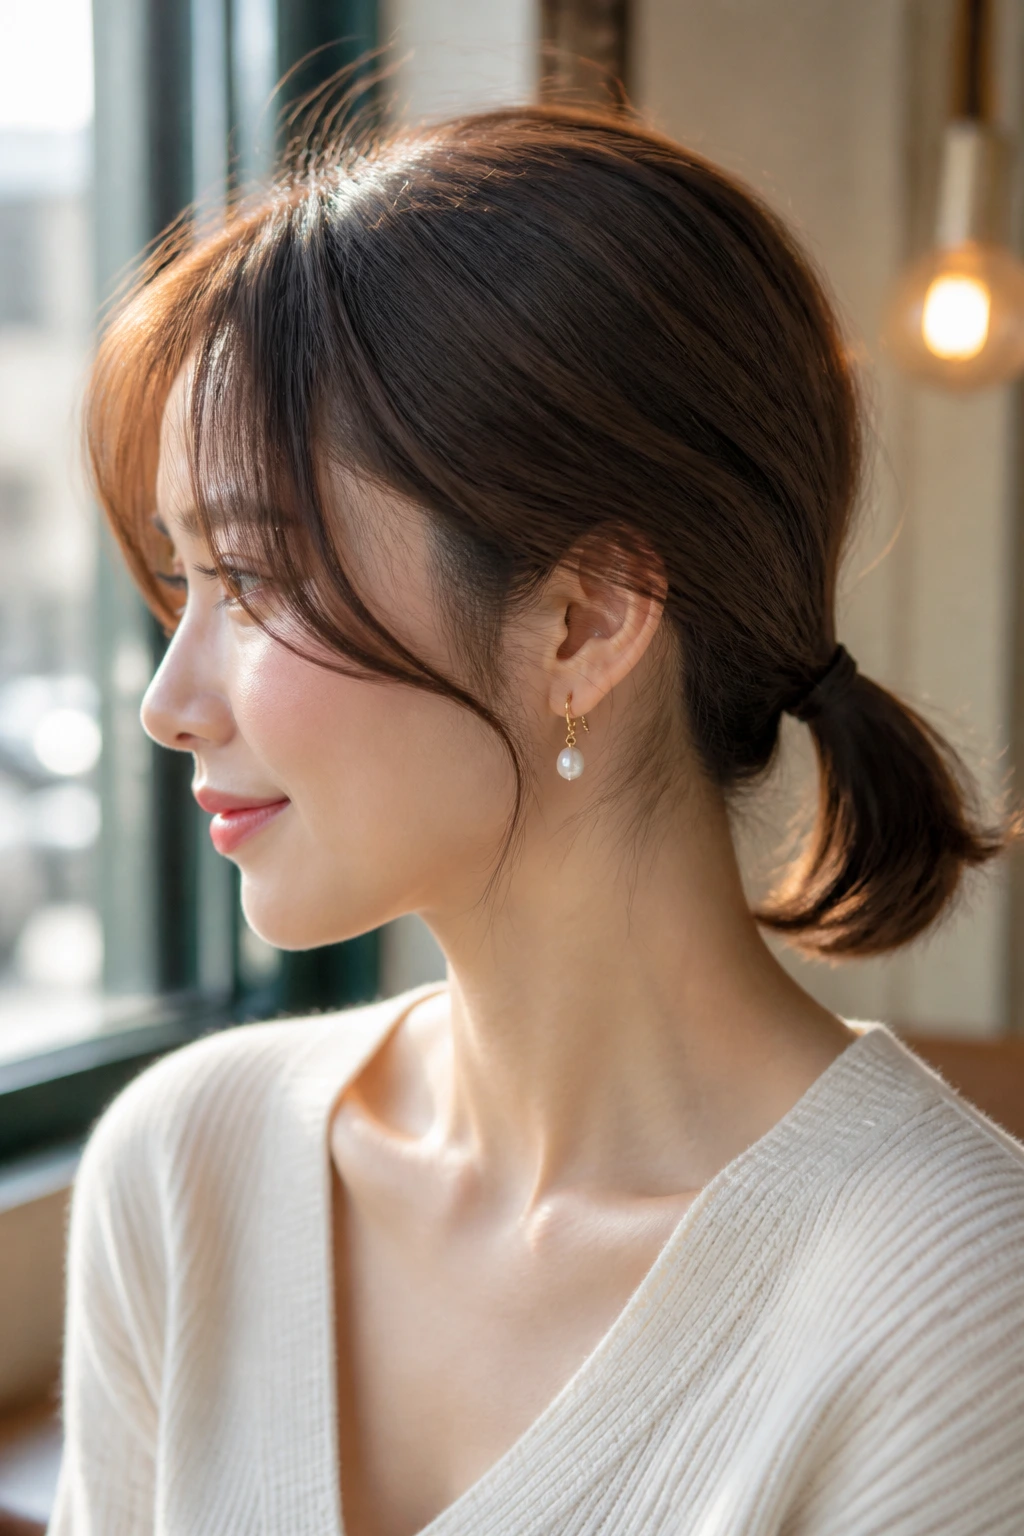
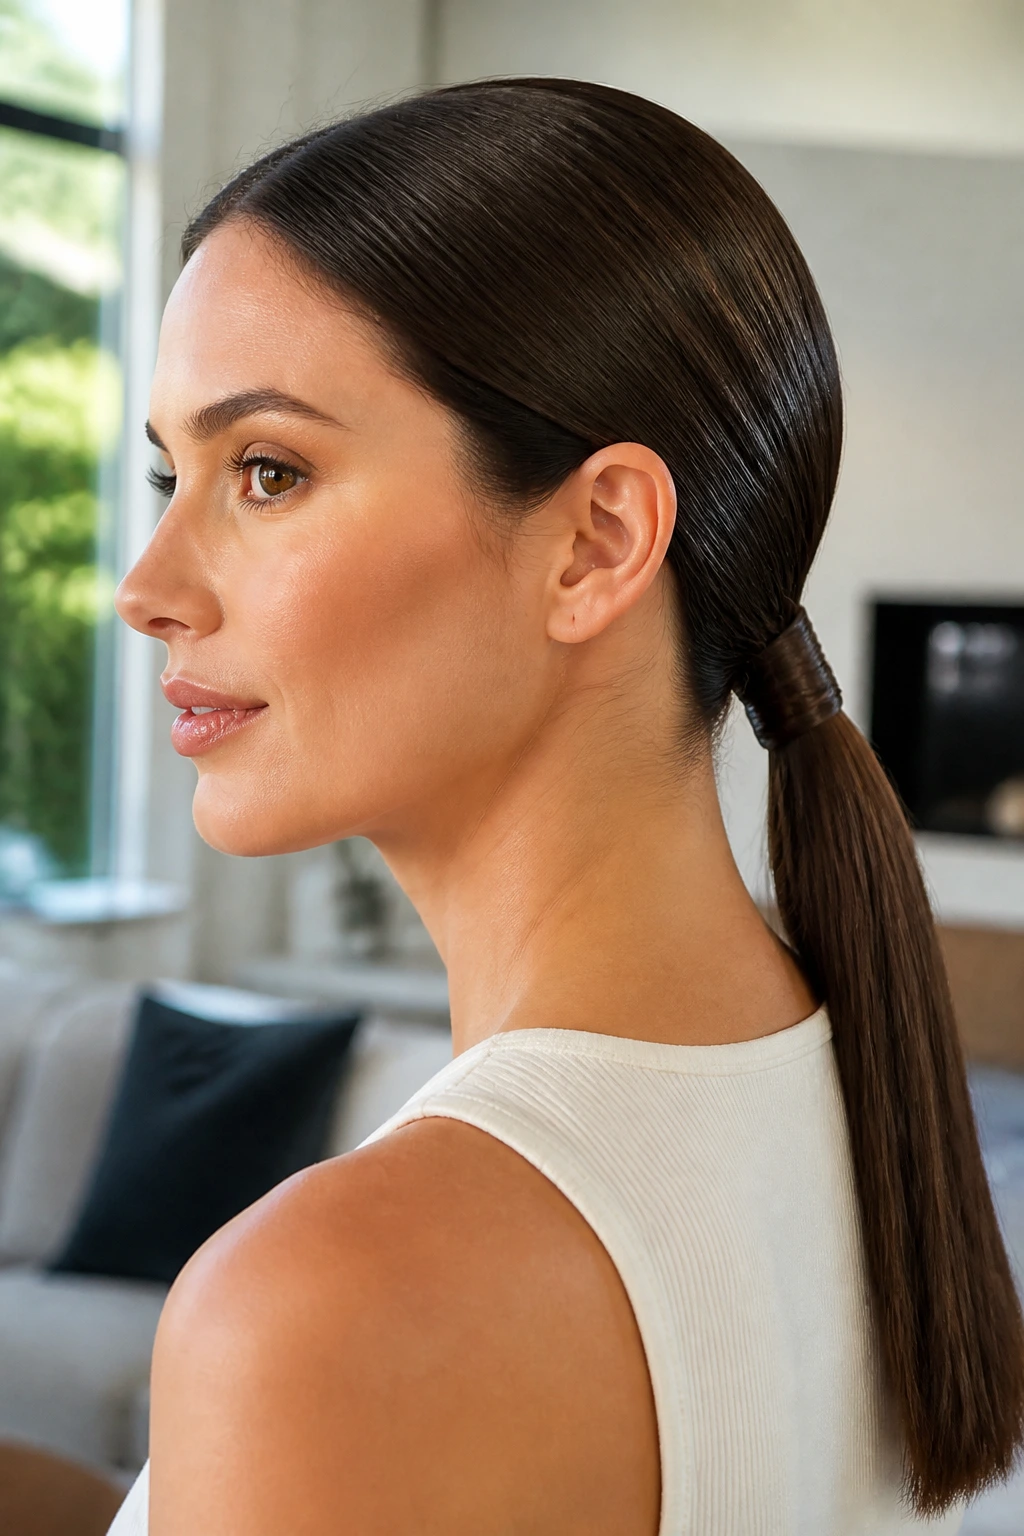
2. Sleek Low Pony with a Wrapped Base
This is the one I reach for when the hair is clean and a little stubborn. A sleek low pony on short hair looks sharp because it sits close to the nape, where the shorter pieces are easier to control, and an oval face can carry that clean line without needing much extra framing.
The wrapped base is doing a lot of work. It hides the elastic, yes, but it also makes the tail feel longer than it is because your eye sees one smooth shape instead of a tie-and-flop situation. That matters on short hair. A lot.
Use a smoothing cream or a pea-sized amount of gel at the hairline, brush everything back with a boar-bristle brush, and secure the pony low and snug. Then take a 1-inch strand from underneath, wrap it around the elastic twice, and pin the end underneath with a bobby pin. If the ends stick out, give the last inch a soft bend under with a flat iron.
The result is plain in the best way. No fluff, no struggle, no loose pieces sticking to your neck.
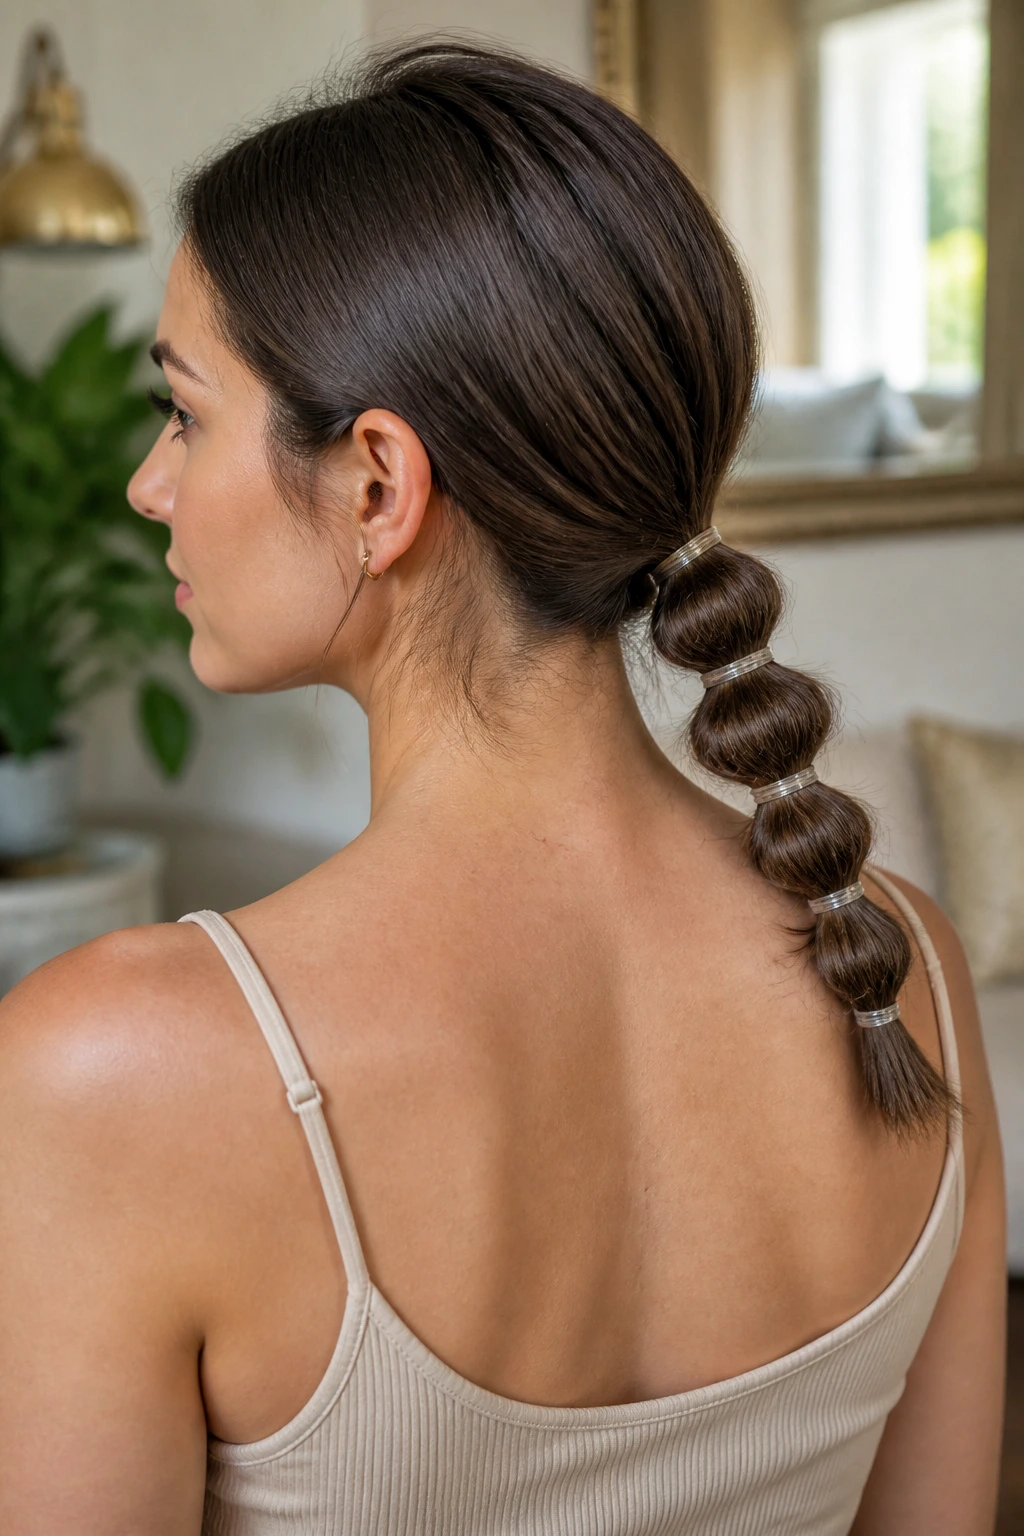
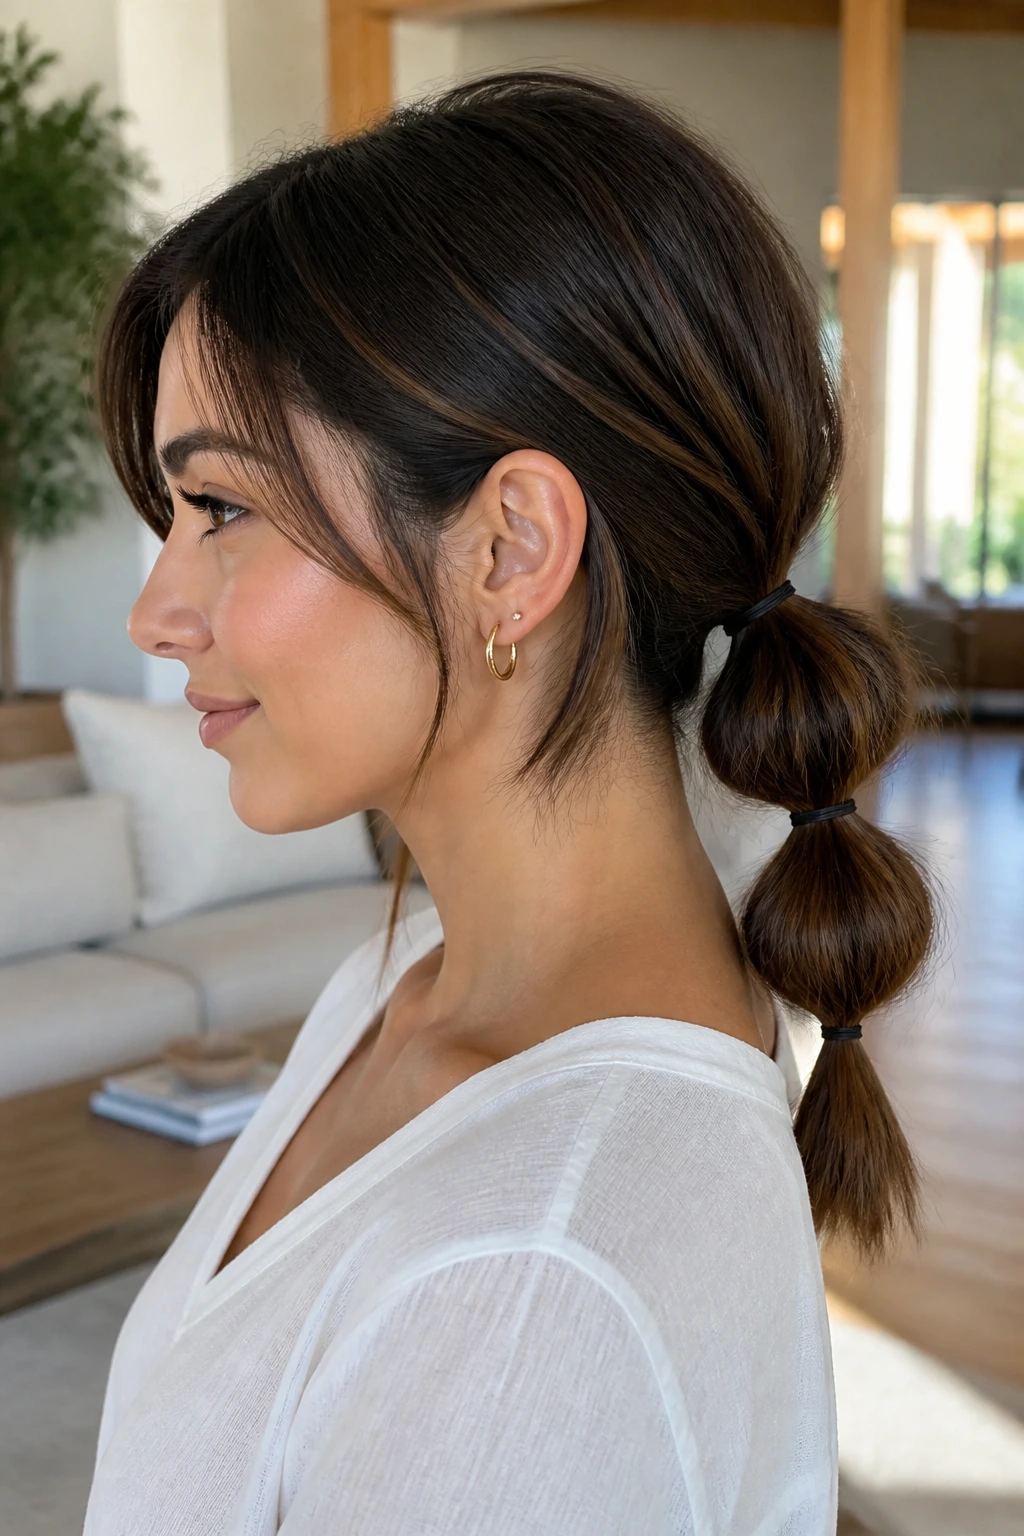
3. Bubble Ponytail for a Bob
Can a bob really pull off a bubble ponytail? Yes — and the shorter the tail, the more the bubbles look like a style choice instead of a length workaround. That’s the whole charm here. You turn a small tail into a chain of rounded sections, and suddenly the hair looks playful instead of abbreviated.
How to build the bubbles
Start with a low or mid ponytail and secure it with a small elastic. Move about 1 to 1.5 inches down the tail and add another elastic. Repeat once or twice, depending on how much length you have. Then pinch the hair between each elastic and pull it outward until each section puffs into a rounded bubble.
If your bob is barely long enough, stop after two bubbles. That’s not a failure. It usually looks cleaner than forcing a third section that hangs limp. Clear elastics work best because they disappear, but tiny black elastics are fine if your hair is dark.
The face shape part is simple: oval faces can handle the extra width from the bubbles, so the style feels balanced rather than too top-heavy. Keep the crown smooth and let the bubbles do the talking.
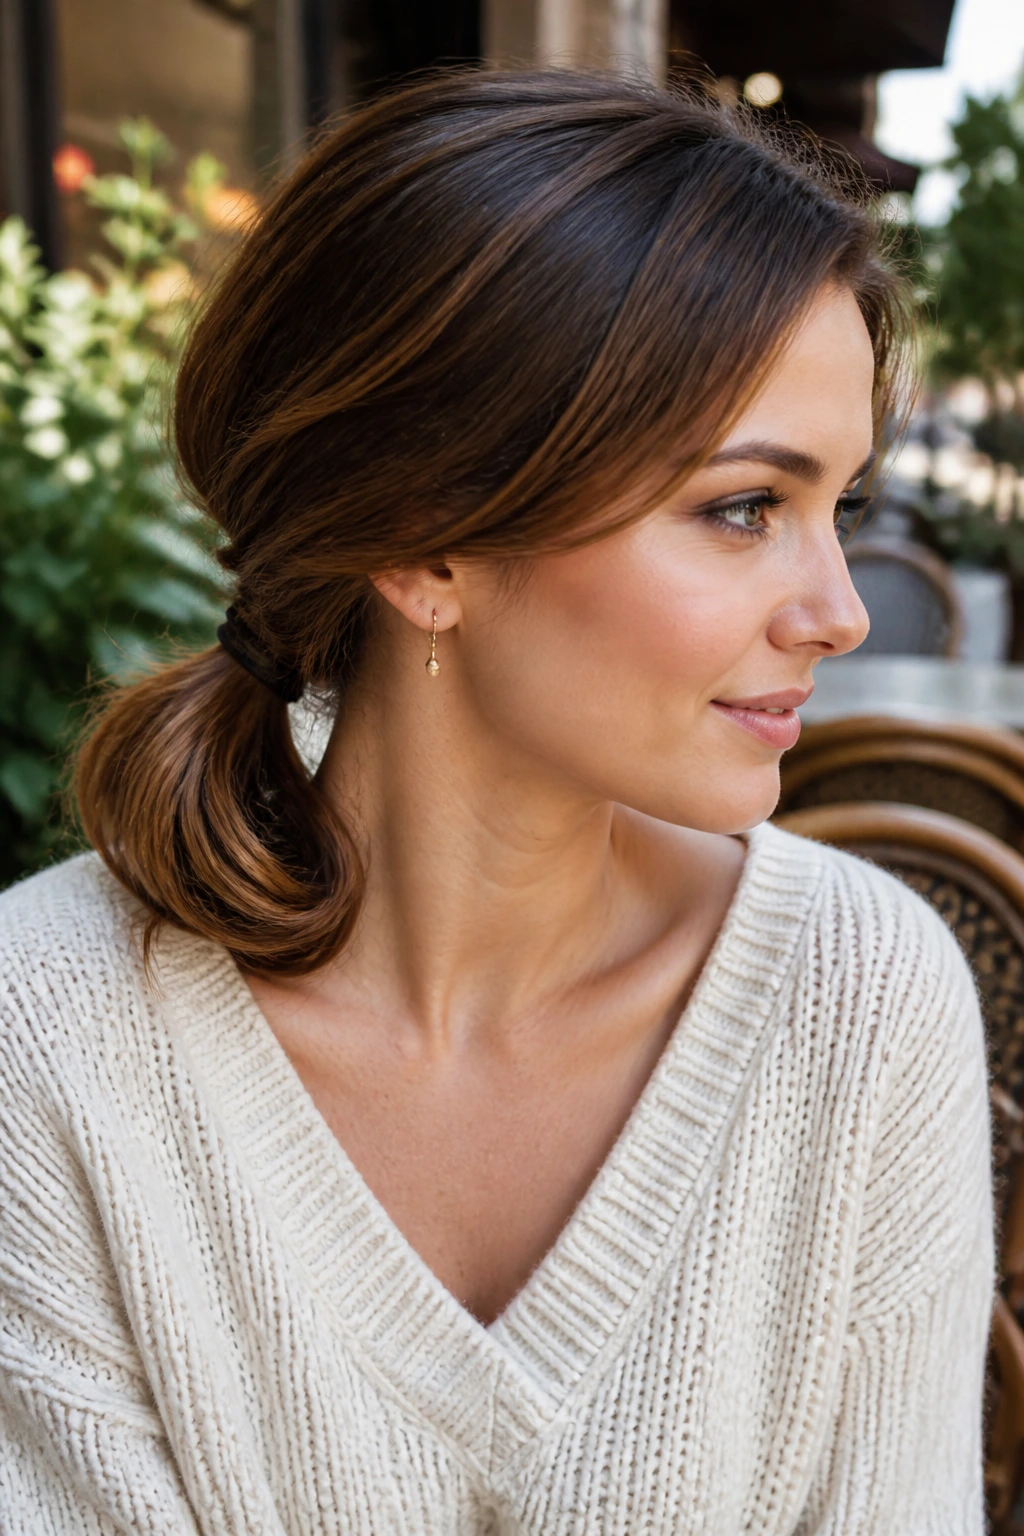
4. Side-Part Pony with Face-Framing Pieces
A side part changes the whole mood in two seconds. With short hair and an oval face, it softens the symmetry just enough to make the ponytail feel less plain, especially if the hair has a blunt edge that can otherwise look too straight.
Leave two front pieces loose, one on each side of the face, and keep them about chin length or a touch shorter. That little detail gives the ponytail some movement near the cheekbones. If the pieces are too long, they drag the style down. Too short, and they stick out like antennae. Chin to jaw length is the sweet spot.
Gather the rest of the hair into a low or mid pony, then smooth the side with the deeper part tighter than the other side. That uneven tension is what makes the part look intentional. If your hairline has a stubborn cowlick, mist the part with water first and press it flat with the tail of the comb before it dries.
This one works when you want a ponytail that feels neat but not severe.
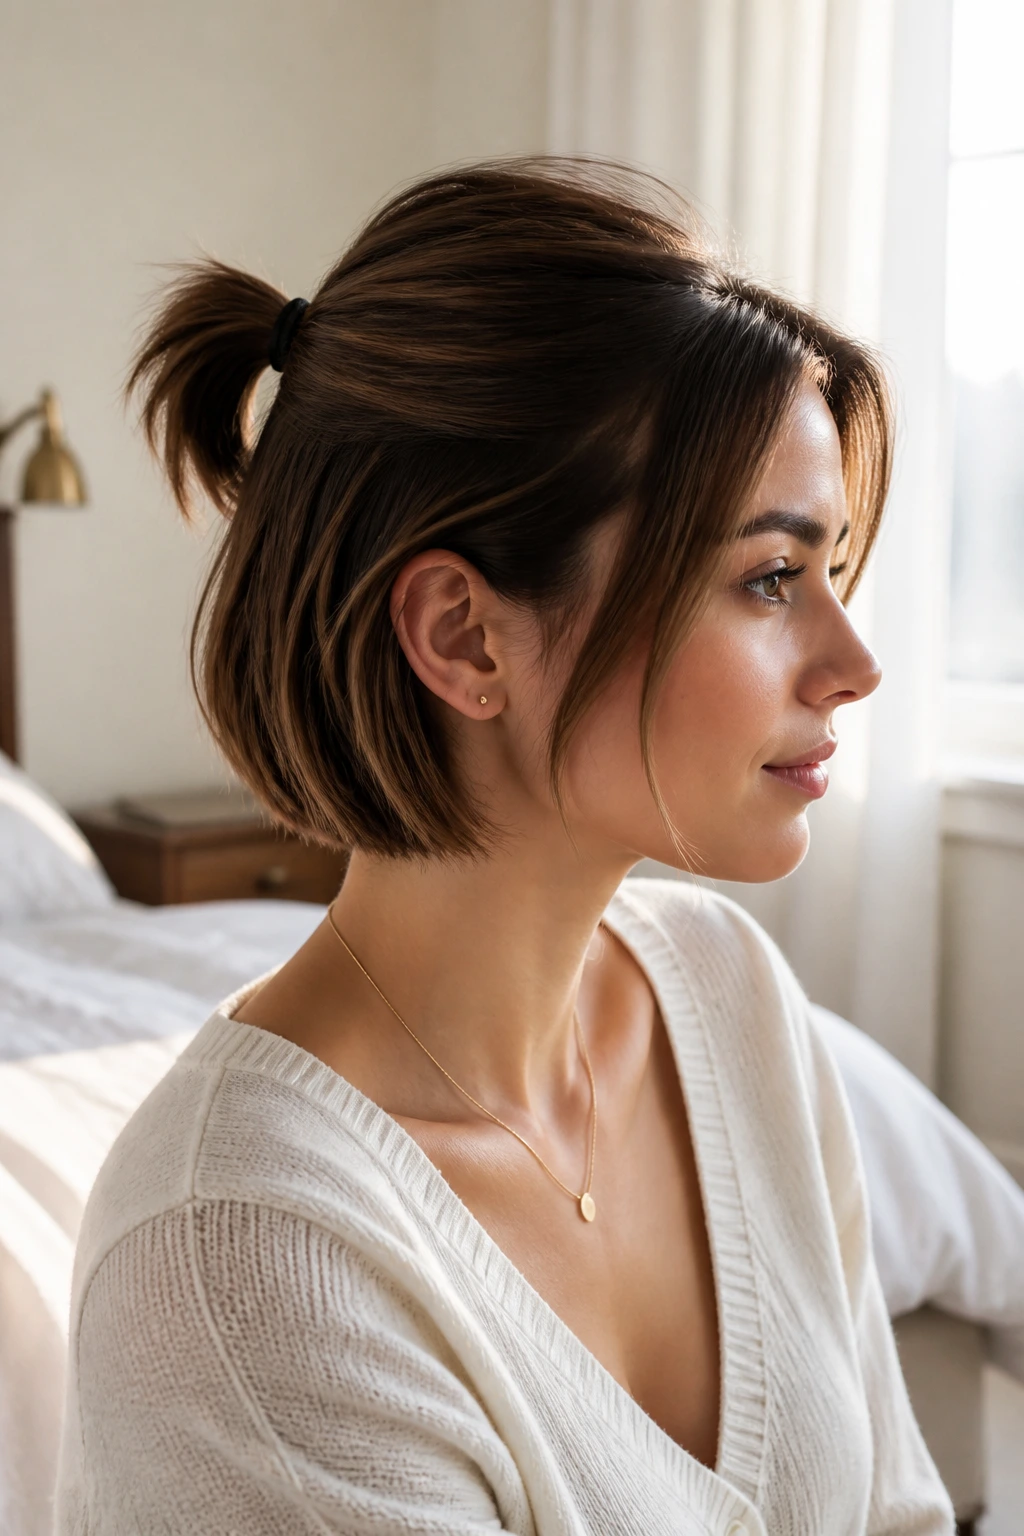
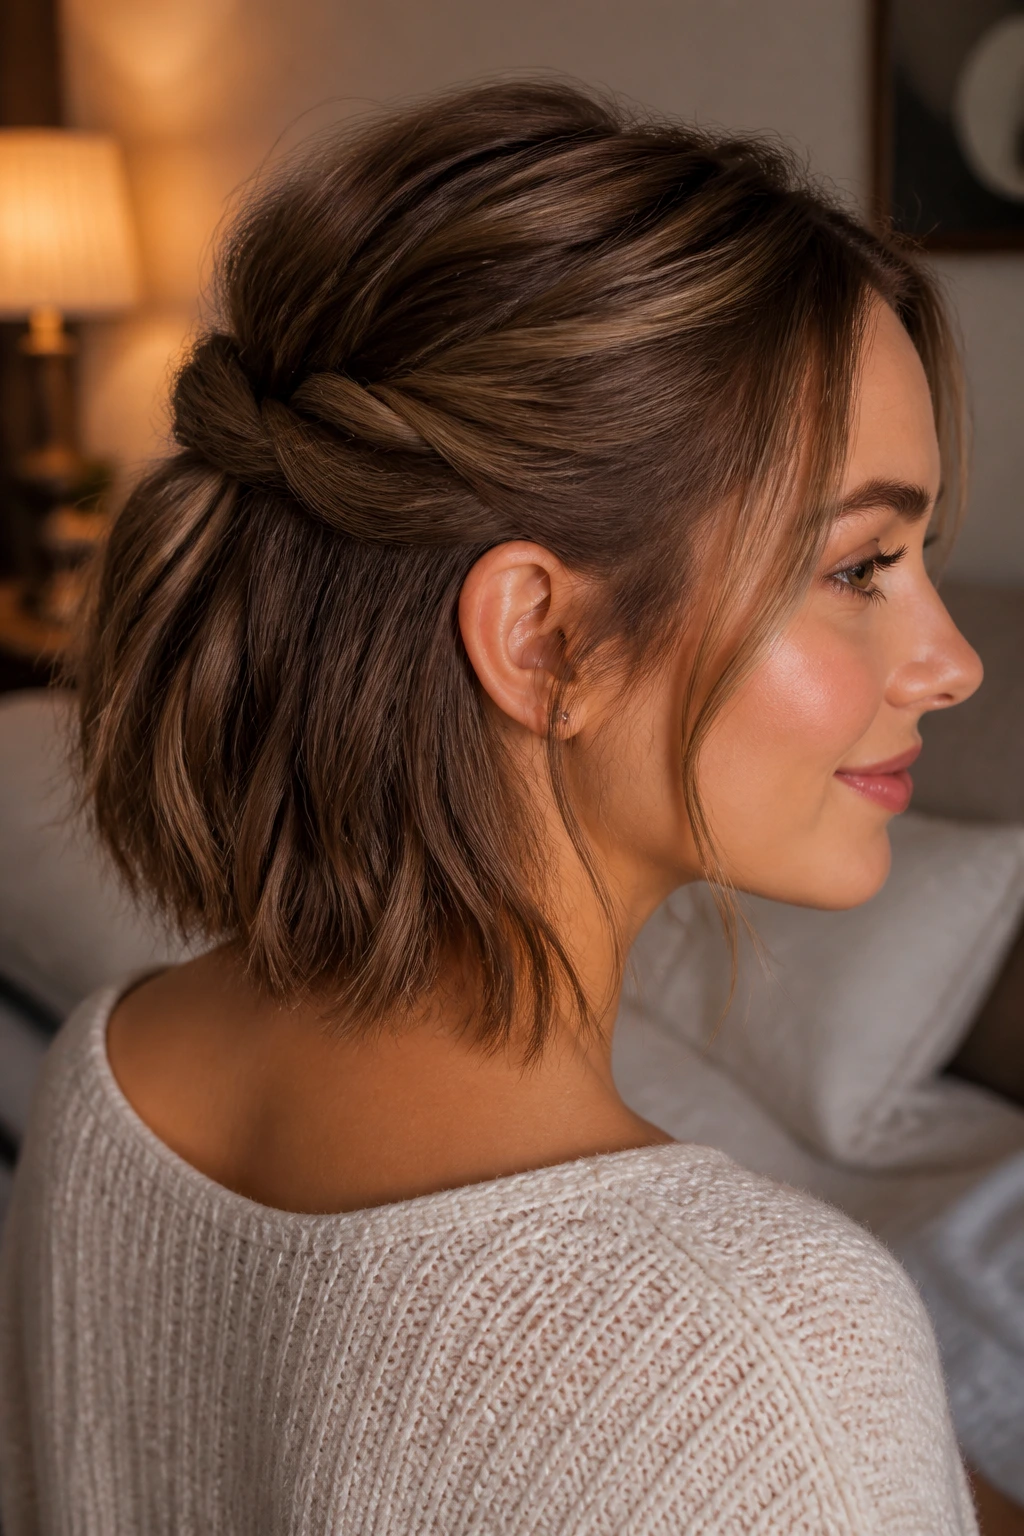
5. Twisted Half-Up Pony
A full ponytail isn’t always the answer when the hair is short. Sometimes the better move is to stop at half-up, let the lower length stay loose, and use a twist to keep the top section from looking like an accident.
Take the hair from each temple and twist it back toward the center of your head. Join the two twists and secure them with a small elastic or a tiny claw clip just above the occipital bone. Leave the lower section down. That extra hair at the bottom keeps the style from feeling too tiny, and on an oval face it adds width where a fully pulled-back style might feel too long.
I like this one for second-day hair because the twist grabs better when there’s a little grit in the roots. If the ends flip out, let them. The point is a soft, lifted shape, not a formal updo. A touch of texture spray at the roots and a dab of cream on the ends usually does enough.
Simple. Useful. No tugging.
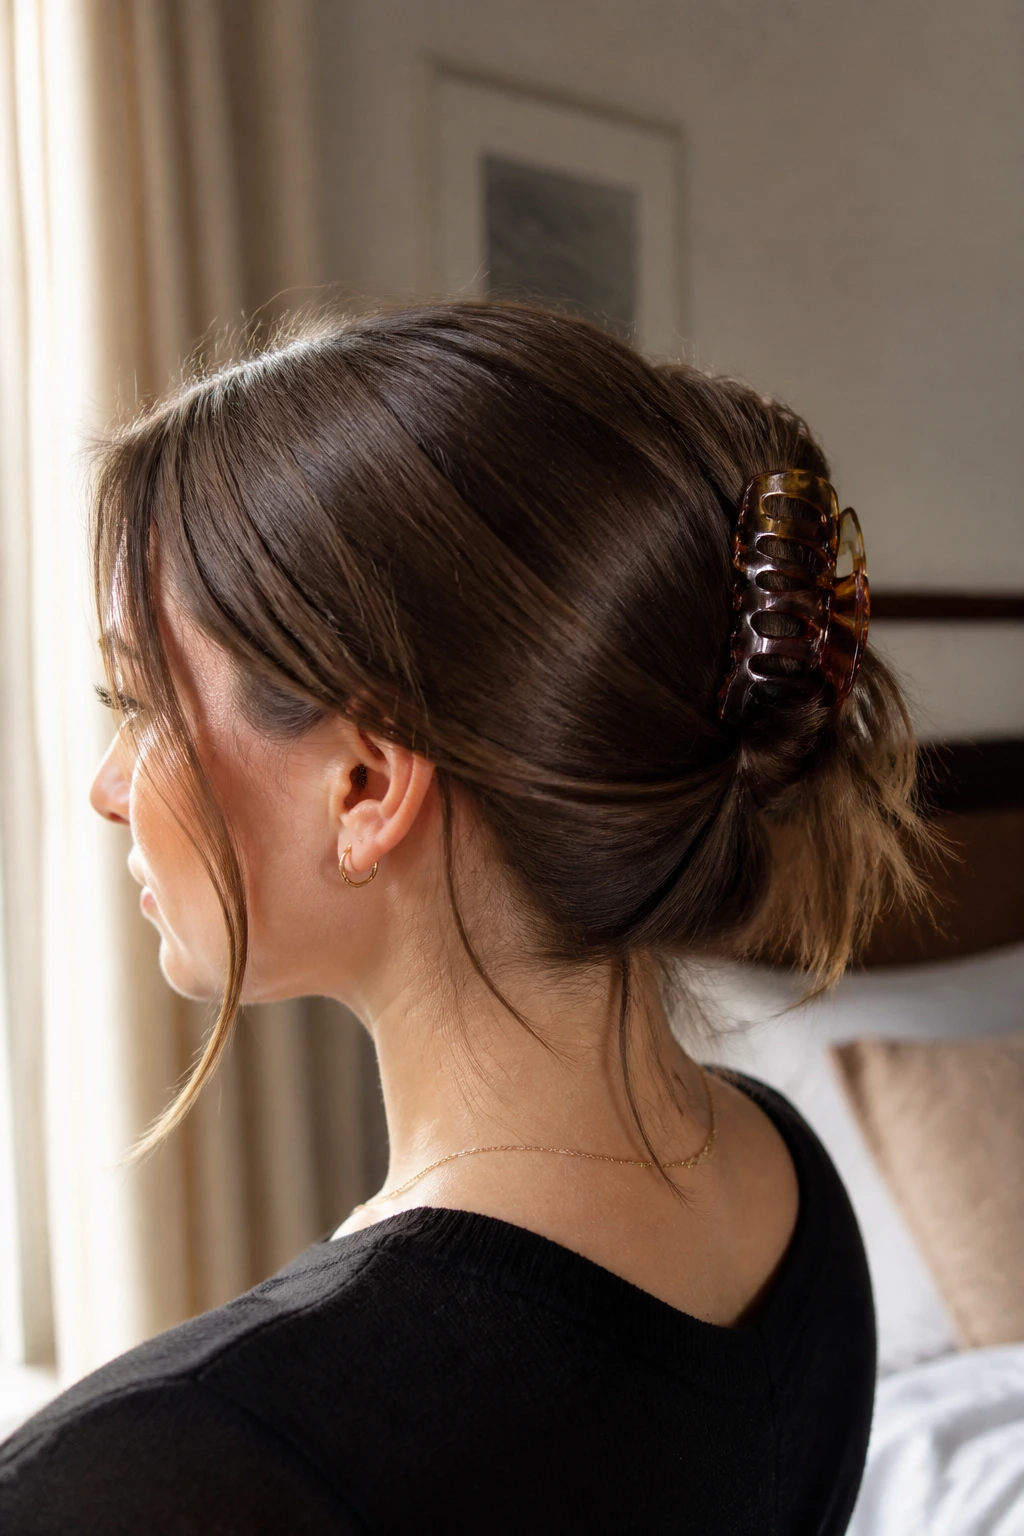
6. Claw-Clip Pony Hybrid
Unlike a full ponytail, this one keeps the lower layers loose and uses the clip as part of the shape, not as an afterthought. That’s why it works so well on short hair. If your ends barely reach a true tail, or if you want something that looks styled without being tight, the hybrid does the job.
Gather the top and middle sections into a low ponytail and secure them with a small elastic. Then fold the tail upward or inward and catch it with a medium claw clip. Let a few lower pieces stay free at the neck. You get the feeling of a ponytail without the strain of forcing every layer into one point.
For oval faces, the loose lower pieces soften the jawline and keep the style from looking too stripped back. I’d choose this on days when you want movement more than polish. It also saves you from that sore-head feeling you get after an overly tight pony.
If your hair is very slippery, lightly rough up the roots with dry shampoo before you start. The clip needs something to bite into.
7. Curled Ends Mini Pony
A short ponytail looks twice as deliberate when the ends are curled. Straight little tails can feel abrupt, almost unfinished. A soft bend at the ends changes the silhouette and gives the eye a place to land.
The bend at the ends matters
Use a 1-inch curling iron or a flat iron to curve the last inch of hair under or out, depending on the mood you want. Under reads neat. Out reads playful. Either one works, but on short hair I prefer a gentle outward flip because it keeps the tail from disappearing against the back of the neck.
What to watch for
- Curl the ends after the ponytail is secured, not before.
- Let the iron touch the hair for only 5 to 8 seconds.
- Hold the tail with your fingers while it cools so the bend sets.
- Finish with a tiny spritz of hairspray from about 10 inches away.
Oval faces handle this style nicely because the curl adds width instead of more height. It’s one of those tiny changes that looks small in the mirror and much better in motion.
8. Textured Low Pony with Loose Pieces
This is the one for hair that behaves better on day two than day one. A smooth low pony can look a little too exact on short hair, especially if the cut has layers that want to stick out. Texture fixes that. Not crudeness — texture.
Start with dry shampoo or texture powder at the roots, then rough-dry or finger-comb the hair until it has a little grit. Gather the pony low at the nape, but don’t iron every strand flat. Leave a few short pieces near the temples and behind the ears. They stop the style from feeling severe and help the pony sit naturally against the face.
Oval faces can take the looseness without losing shape. In fact, the slightly messy finish keeps the face from looking over-elongated. If the tail itself looks thin, pinch the top of the pony once it’s tied and pull it apart just enough to widen it.
This isn’t the cleanest ponytail on the list. That’s the point. It looks like you meant to wear your hair this way.
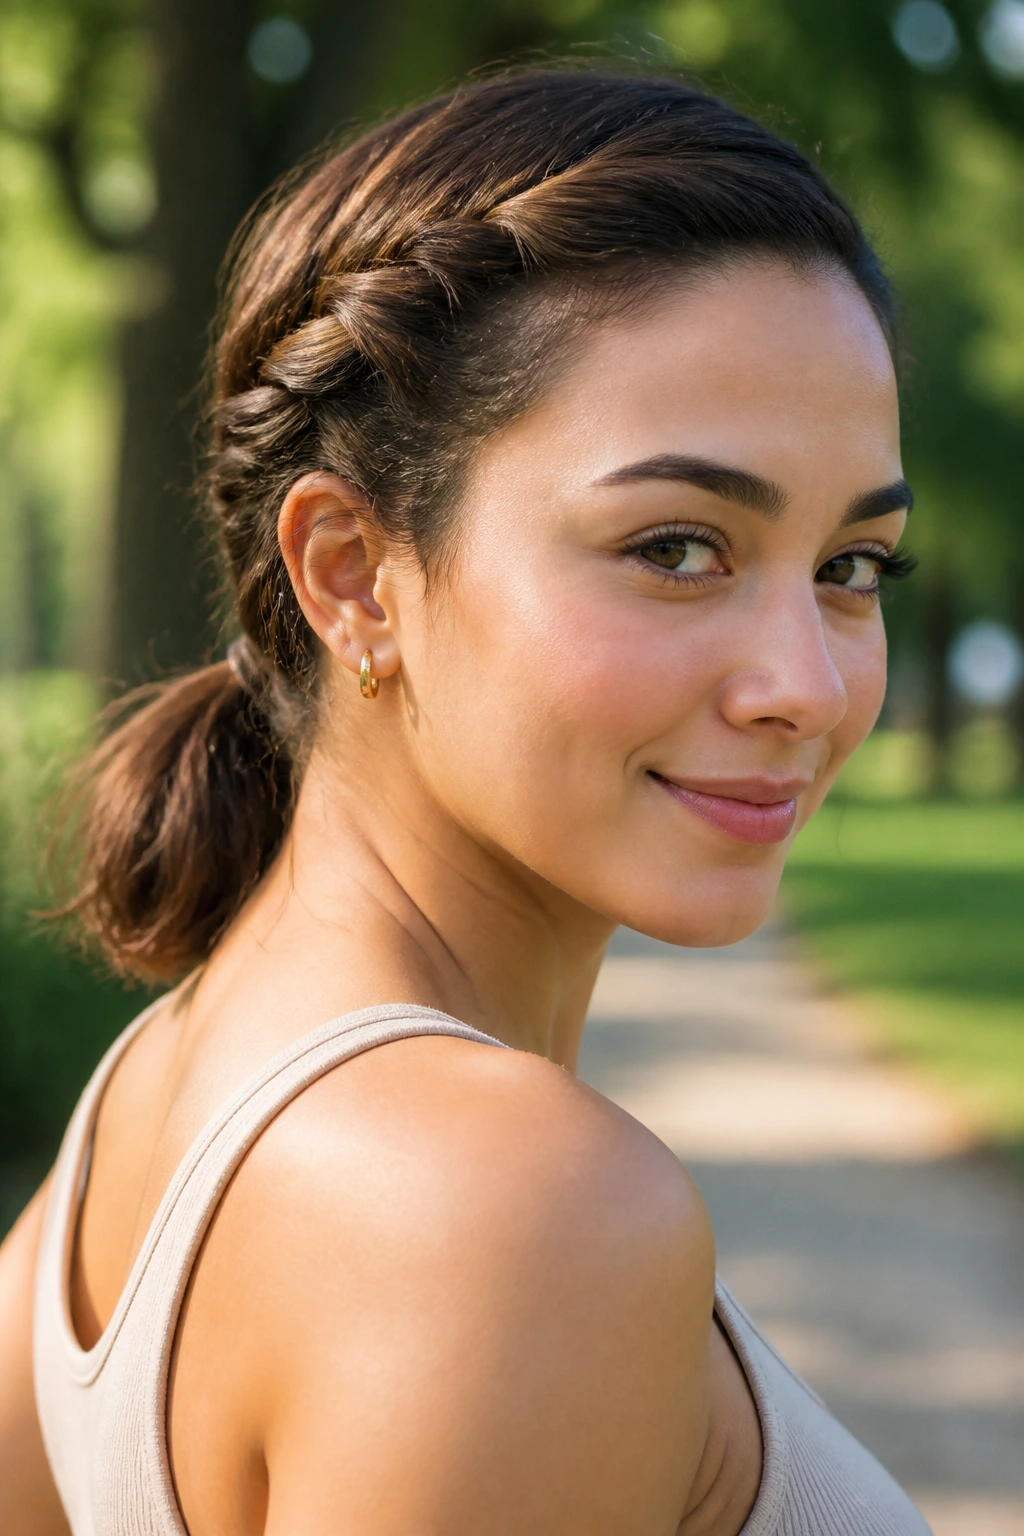
9. Braided Base Pony
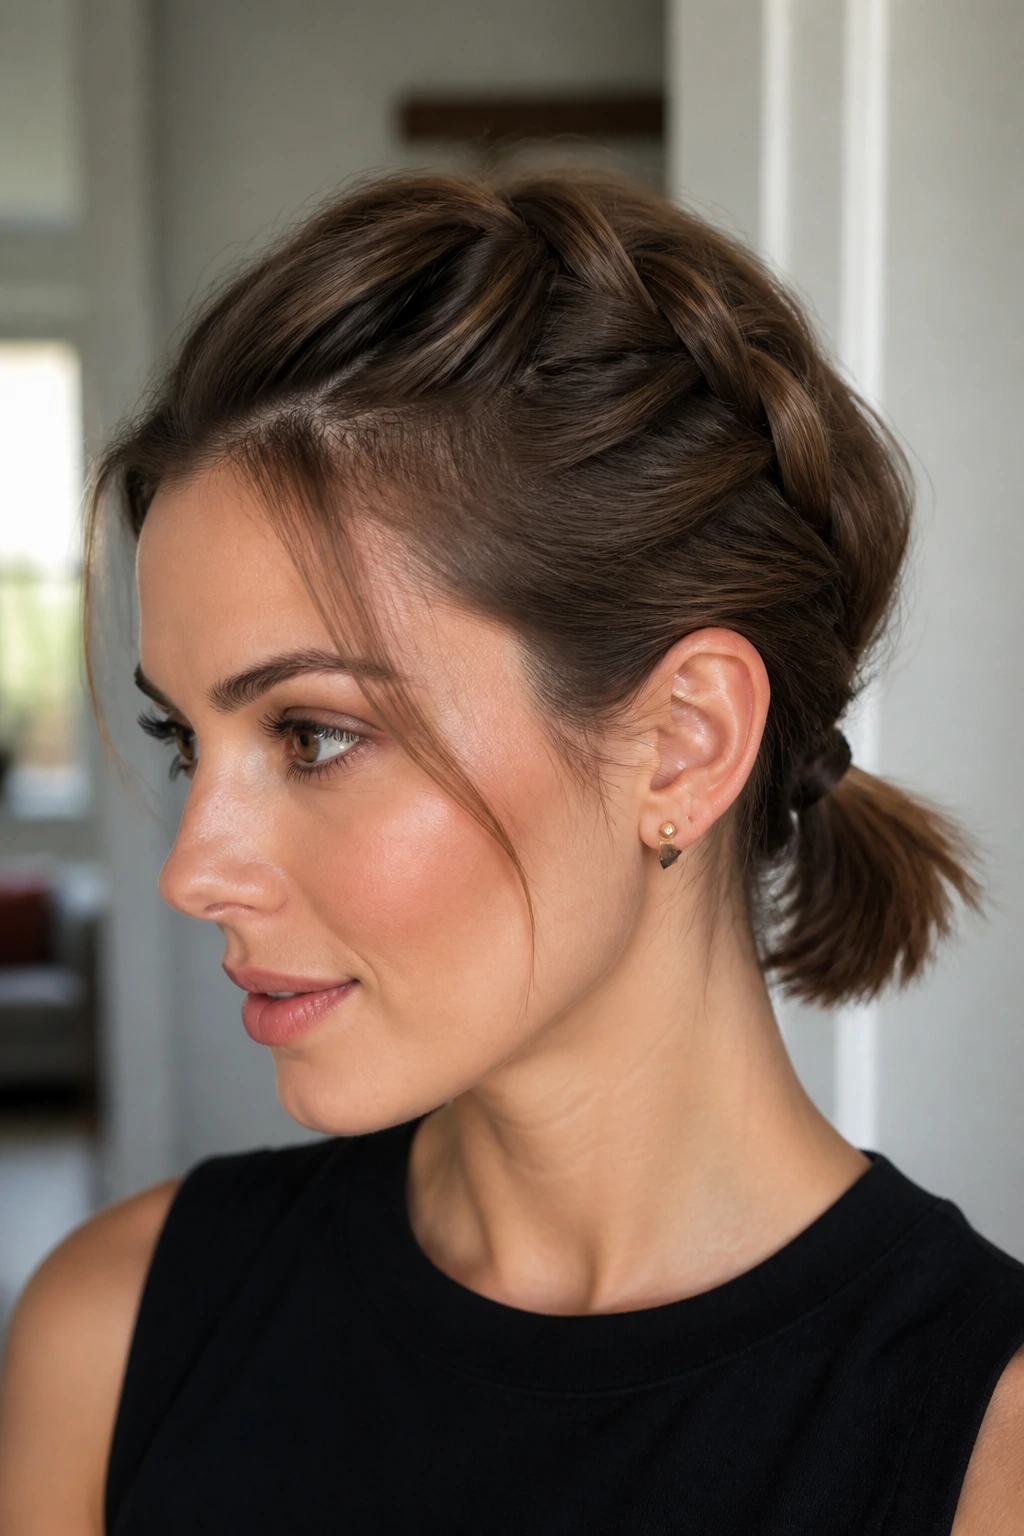
Why braid the base instead of just tying the ponytail and moving on? Because on short hair, the braid can do three jobs at once: it hides awkward layers, gives the style grip, and makes the pony look finished even when the tail itself is tiny.
Take the top section or the first 2 inches at the back and make a small three-strand braid down toward the nape. Secure it with a tiny elastic. Then gather the remaining hair into a low ponytail or leave the braid as the top part of the style if your length is limited. The braid acts like a built-in detail, which is useful when the tail wouldn’t win any prizes on its own.
How to use it
- Keep the braid loose enough to stay soft.
- Use a clear elastic at the end so it disappears.
- Tug the braid edges gently with your fingertips for width.
- Finish with a tiny amount of cream on the shortest pieces near the hairline.
Oval faces like the added texture because it breaks up the vertical line at the back of the head. This one also holds better than it looks like it should.
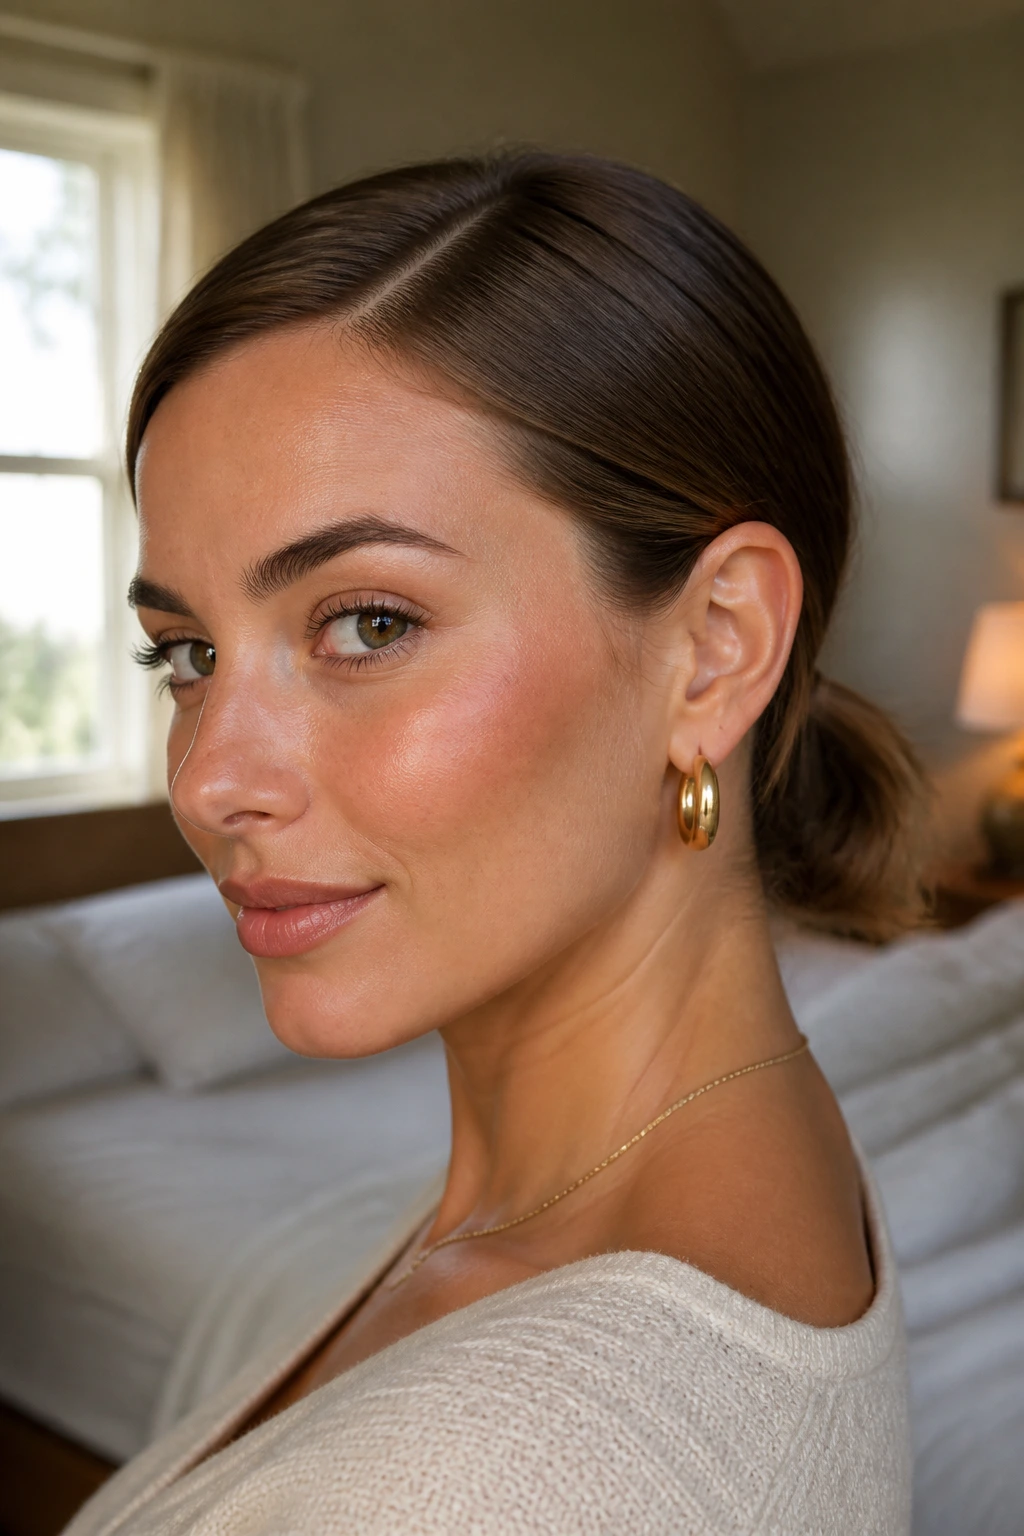
10. Slicked-Back Pony with a Deep Side Part
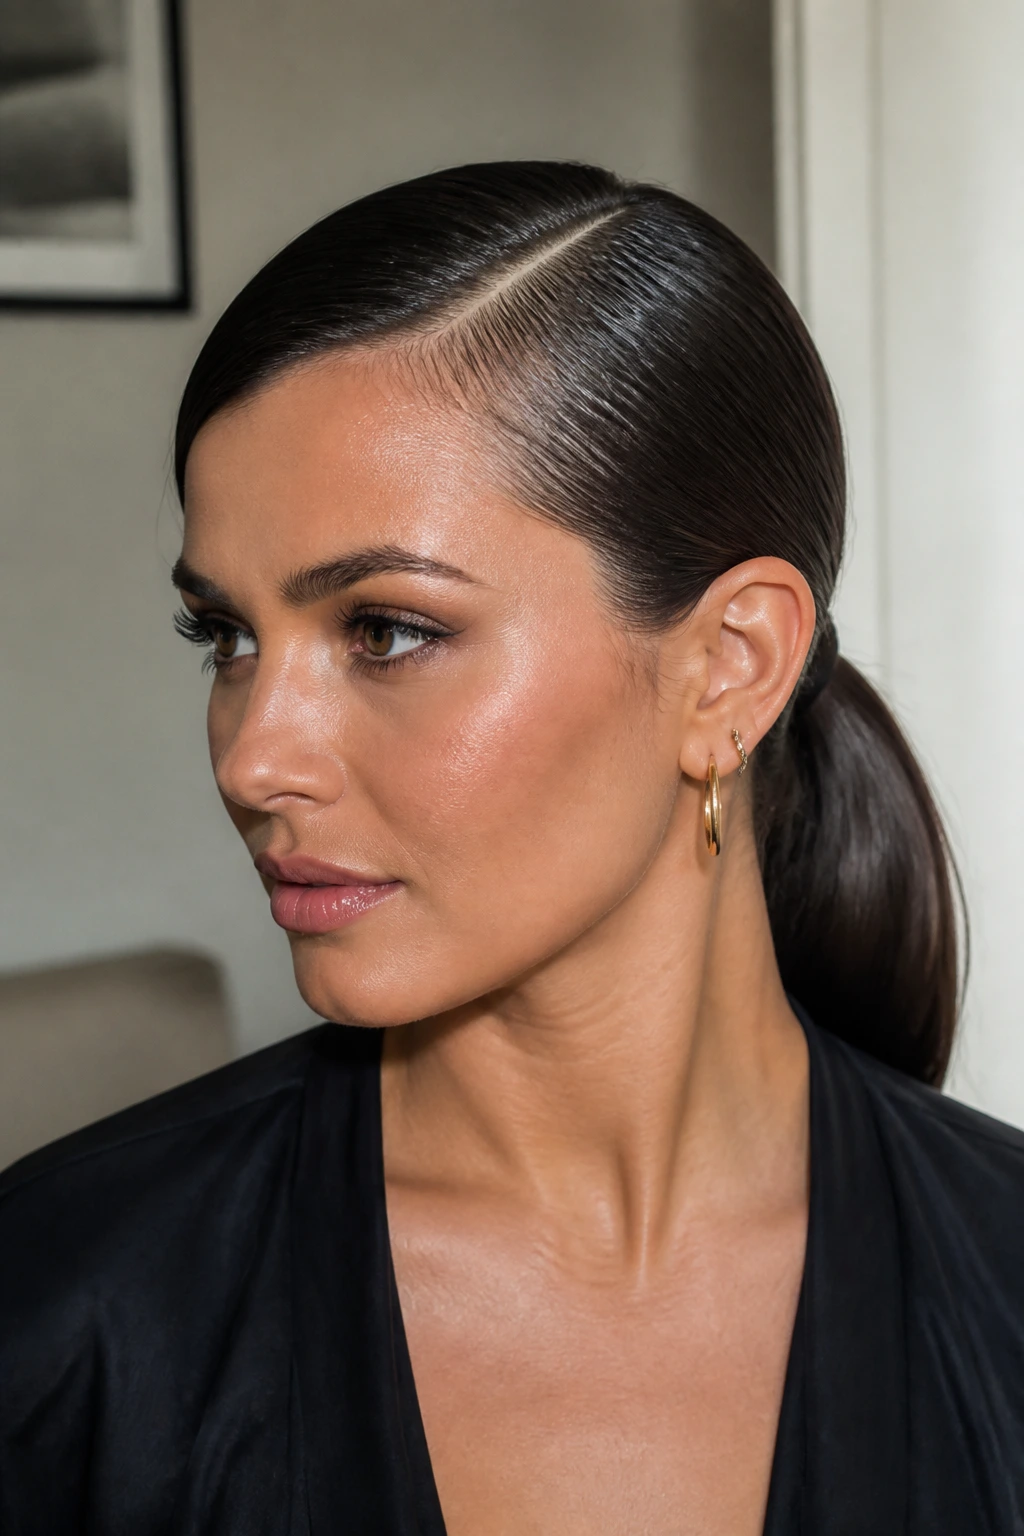
A deep side part plus a slicked-back pony is a clean, strong look, and oval faces can carry it without getting swallowed by the shape. The side part interrupts the symmetry; the slicked back finish keeps the short layers under control.
Use a small amount of gel or styling cream along the hairline and part the hair about 1.5 inches off center. Brush everything back toward the nape or mid-back point, keeping the part side slightly flatter than the other side. That tiny imbalance is what makes the whole style look deliberate. If you want a tighter finish, use a toothbrush-sized edge brush for the temples.
I like this on short hair because the polished surface makes the length look longer than it is. The eye follows the smooth line, not the exact length of the tail. It’s also one of the few styles here that can look sharp with very little actual hair gathered.
If you have flyaways at the crown, press them down while the gel is still wet. Waiting until it dries makes the job twice as annoying.
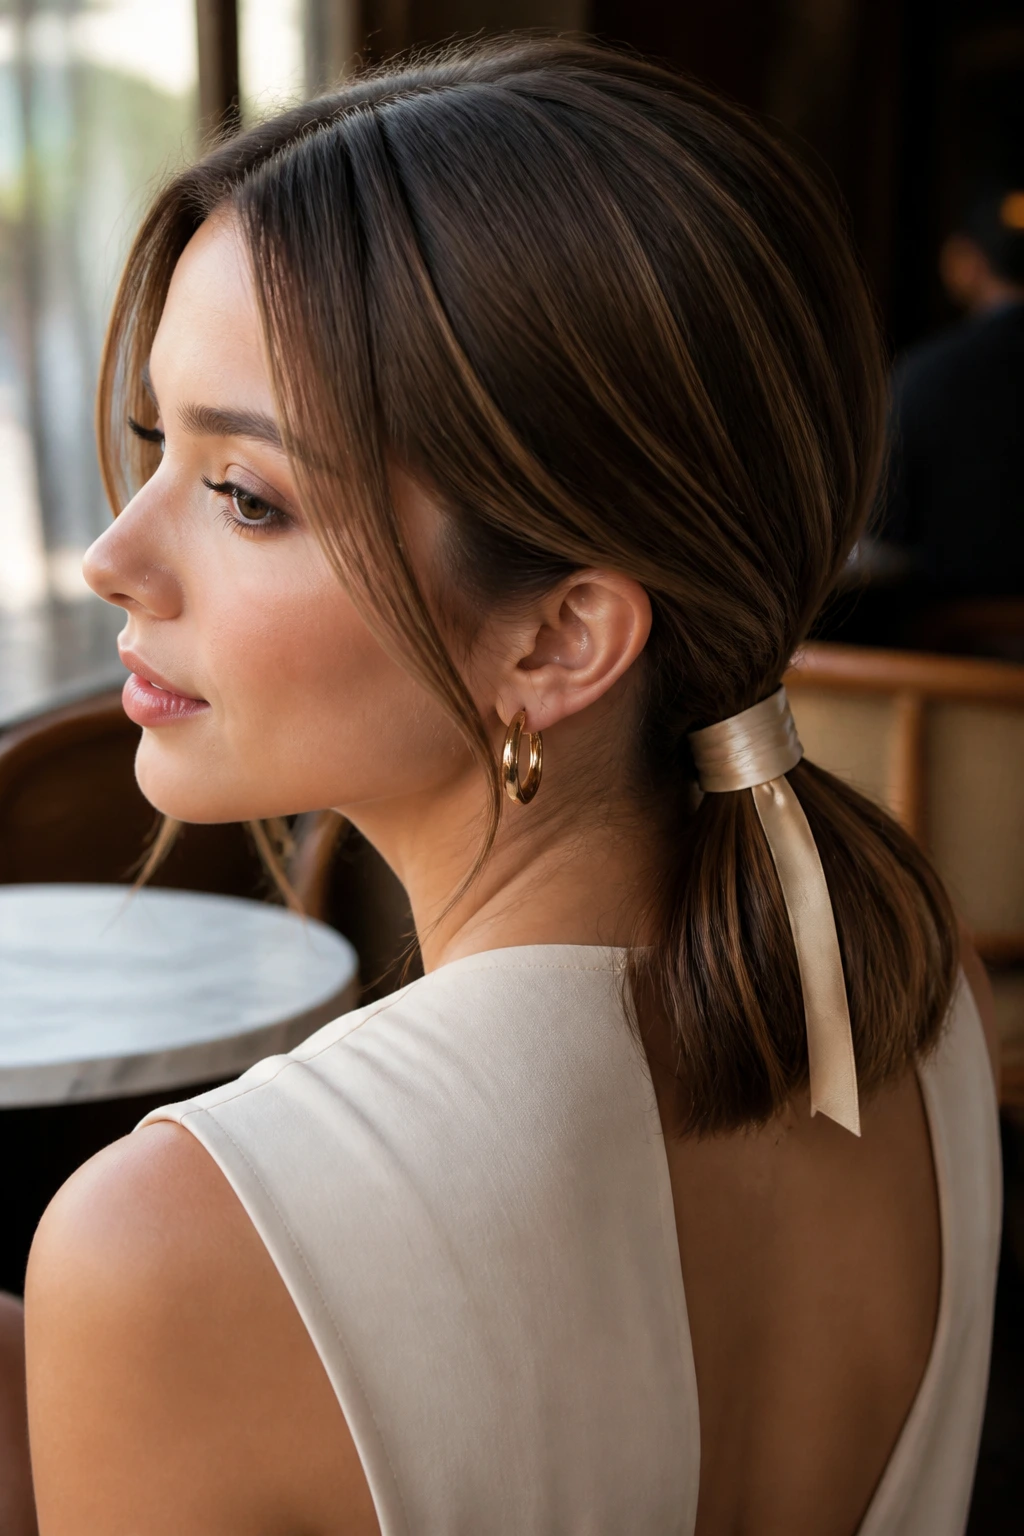
11. Ribbon-Tied Pony
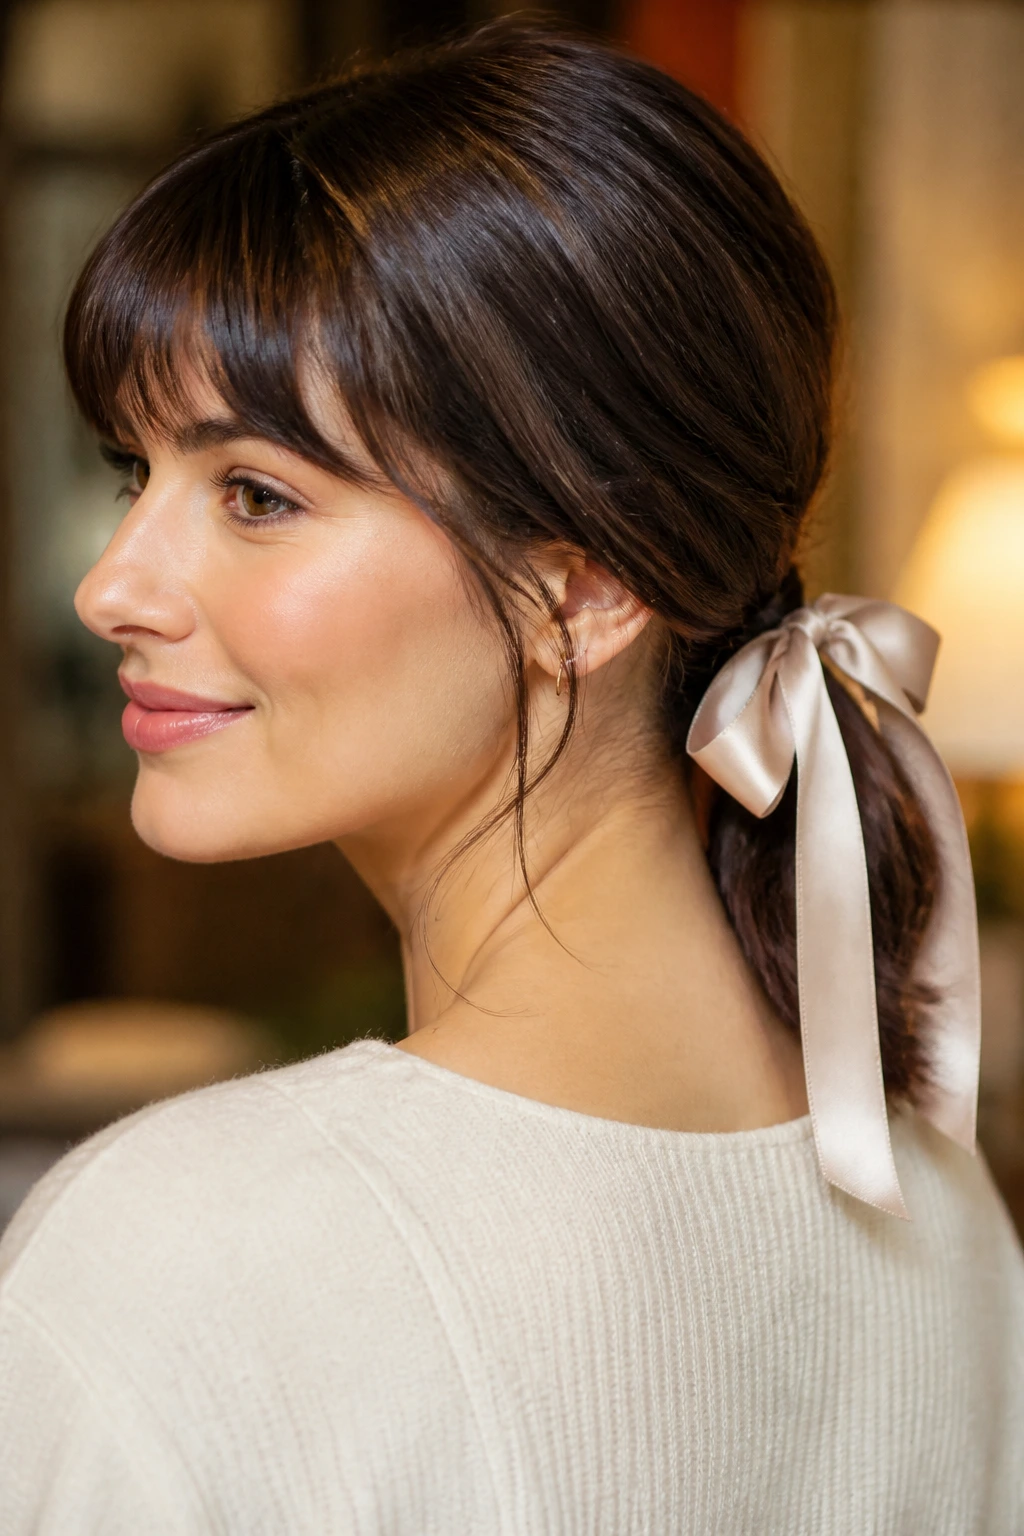
A ribbon does something that a regular elastic can’t. It softens the whole ponytail, and on short hair that softness matters because the tail is often smaller and more exposed. One narrow ribbon can make a short pony feel dressed up without looking overworked.
Satin gives the softest finish. Grosgrain gives a little more structure. Velvet feels richest when the hair itself is simple. Pick a ribbon that’s about 1/2 to 1 inch wide so it doesn’t swallow the ponytail. Tie it around a low or mid pony after the elastic is in place, and let the ends hang long enough to echo the hair itself.
Oval faces can take the little bit of extra width the ribbon adds near the nape. If the hair is blunt, the ribbon keeps it from reading too abrupt. If the hair is layered, the ribbon helps contain the ends so they don’t separate and fray.
This style looks best when the rest of the hair stays clean. Too many loose pieces and the ribbon starts to feel decorative in the wrong way. Keep the finish simple and let the ribbon do the work.
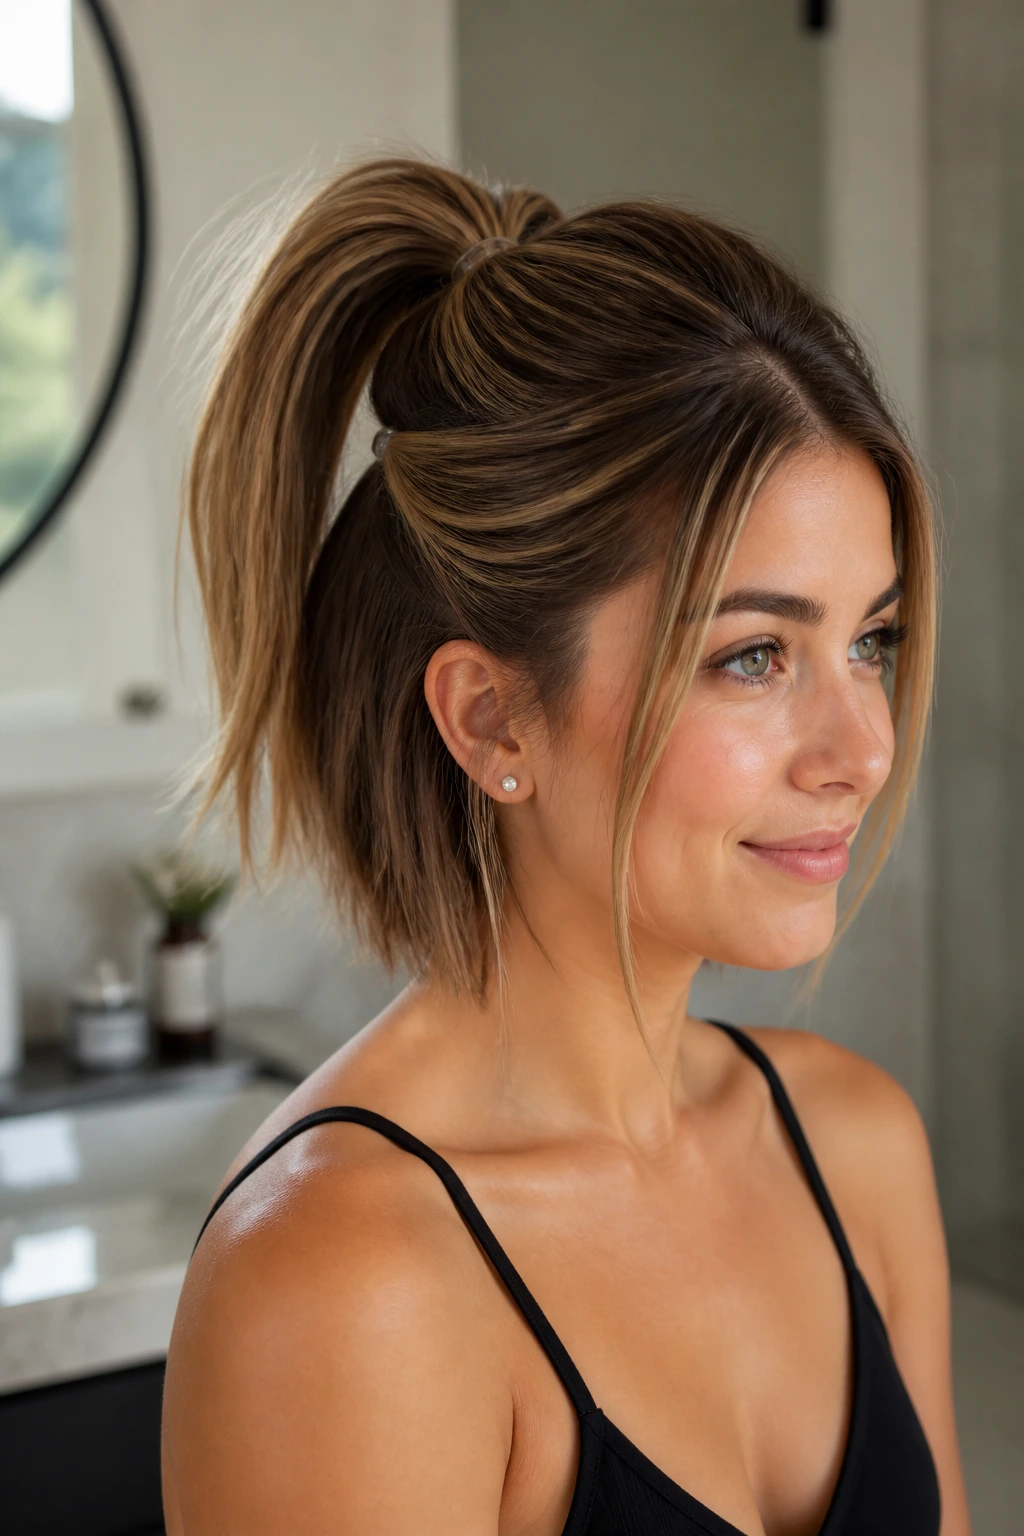
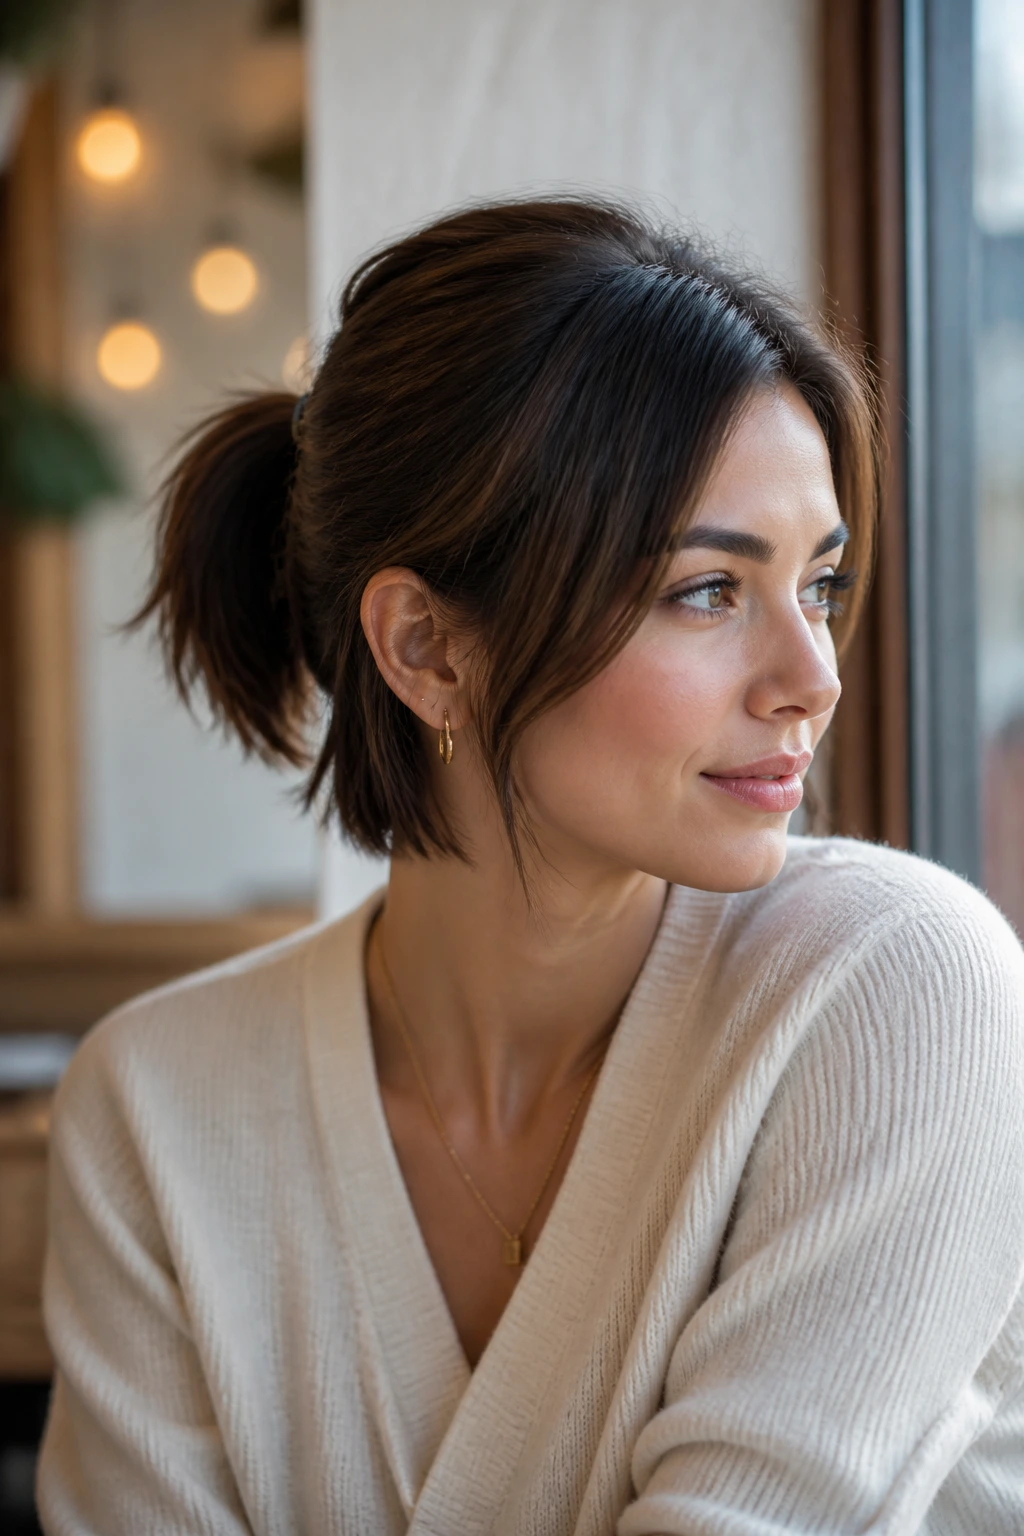
12. Messy Mid Pony with Volume Crown
A mid ponytail sits in that nice middle spot where the style feels relaxed but not lazy. On short hair, it’s often the safest place to build a pony because you’re not asking the layers to travel too far, and on an oval face the placement adds width without stretching the shape up or down.
Tease the crown lightly, maybe just 1 inch deep at the roots, then smooth the top layer over it with your palm. Gather the pony at about ear level or slightly above, and pull a few pieces loose around the temples. Don’t make them too perfect. A little unevenness is what gives the style movement.
This one is especially kind to wavy hair. The natural bend fills in the tail, so you don’t have to fake fullness. If your hair is very straight, a quick pass with a texturizing spray before you tie it will save you from the flat-flag effect that short ponies can get.
I’d wear this one when I want “done” more than “slick.” There’s a difference.
13. Double-Elastic Faux Full Pony
Short hair usually looks fuller when you stop trying to make one elastic do all the work. Two elastics, stacked in a smart way, can fake both length and density. That’s why this style earns a spot.
How the stack works
Start by making a small ponytail at the crown or upper mid-head with the top half of the hair. Secure it with a clear elastic. Then gather the lower section of hair underneath and tie it into a second ponytail directly below the first one. When you let the upper section fall over the lower tie, the whole thing reads as one longer tail.
Gently blend the two sections with your fingers so the split disappears. If the hair is blunt, flip the ends slightly under. If it’s layered, let the top pony drape over the lower one so the missing length becomes much less obvious.
This style is useful when your hair is just long enough to fake it, which is a very specific and annoying stage. The double-elastic trick solves that stage. It also gives oval faces a little vertical lift without making the face feel too long.
14. Micro-Bubble Pony with Clear Elastics
This version is tiny, but it has attitude. Micro-bubbles turn a short tail into a chain of little rounded sections, and the clear elastics keep the whole thing looking clean instead of busy. It works especially well on blunt cuts where a plain ponytail would otherwise look clipped off.
Secure the pony low or mid-low, then place tiny elastics every 1 inch down the tail. After each elastic is in, pinch the segment between your fingers and puff it out just a little. The shape should look rounded, not exploded. Three or four micro-bubbles are usually enough for short hair.
Oval faces can take the extra visual detail because the bubbles add width without piling on height. If you want to make the style feel softer, leave a slim side part or a thin face-framing piece loose at the temple.
This is one of those styles that looks like it took more effort than it did. That’s not a bad thing.
15. Rope-Twist Pony
Why does a rope twist work so well on short hair? Because twisted sections grip each other better than plain strands do, which means the style survives slippery roots and layered ends a little longer. It’s a practical choice, but it doesn’t look practical, which is the nice part.
Split the front hair into two sections, one on each side of the part. Twist each section back toward the center and join them into a low ponytail, or use the twists to lead into a half-up pony if the hair is especially short. Secure with a small elastic, then smooth the tail with a drop of cream if it frizzes.
If the twist wants to unwind, hold the section tighter while you twist in the same direction from root to end. It sounds boring. It works. A rope twist also gives the sides a little curve, which oval faces wear well because the shape softens the straight line from forehead to chin.
I reach for this one when I want control without a slick finish. It keeps the hair contained and still looks a little relaxed.
16. Flipped-Out Pony with a Soft Bend
There’s something cheerful about a flipped-out ponytail. On short hair, the outward bend makes the tail look intentional, not like the ends just gave up halfway through the day. It also adds motion to the back of the head, which helps an oval face feel a touch less long.
Use a flat iron or a round brush to bend the last 1/2 to 1 inch of the ponytail outward. The curve does not need to be dramatic. In fact, a small flip looks better on short hair because it matches the scale of the cut. Keep the pony itself low or mid-low so the flip sits where people can actually see it.
A side part works well here, especially if you want the style to feel softer around the temples. The bend at the ends gives the eye something to read at the bottom of the style, which keeps the pony from feeling like one straight line glued to the back of your head.
It’s a cheerful style. That’s the best word for it.
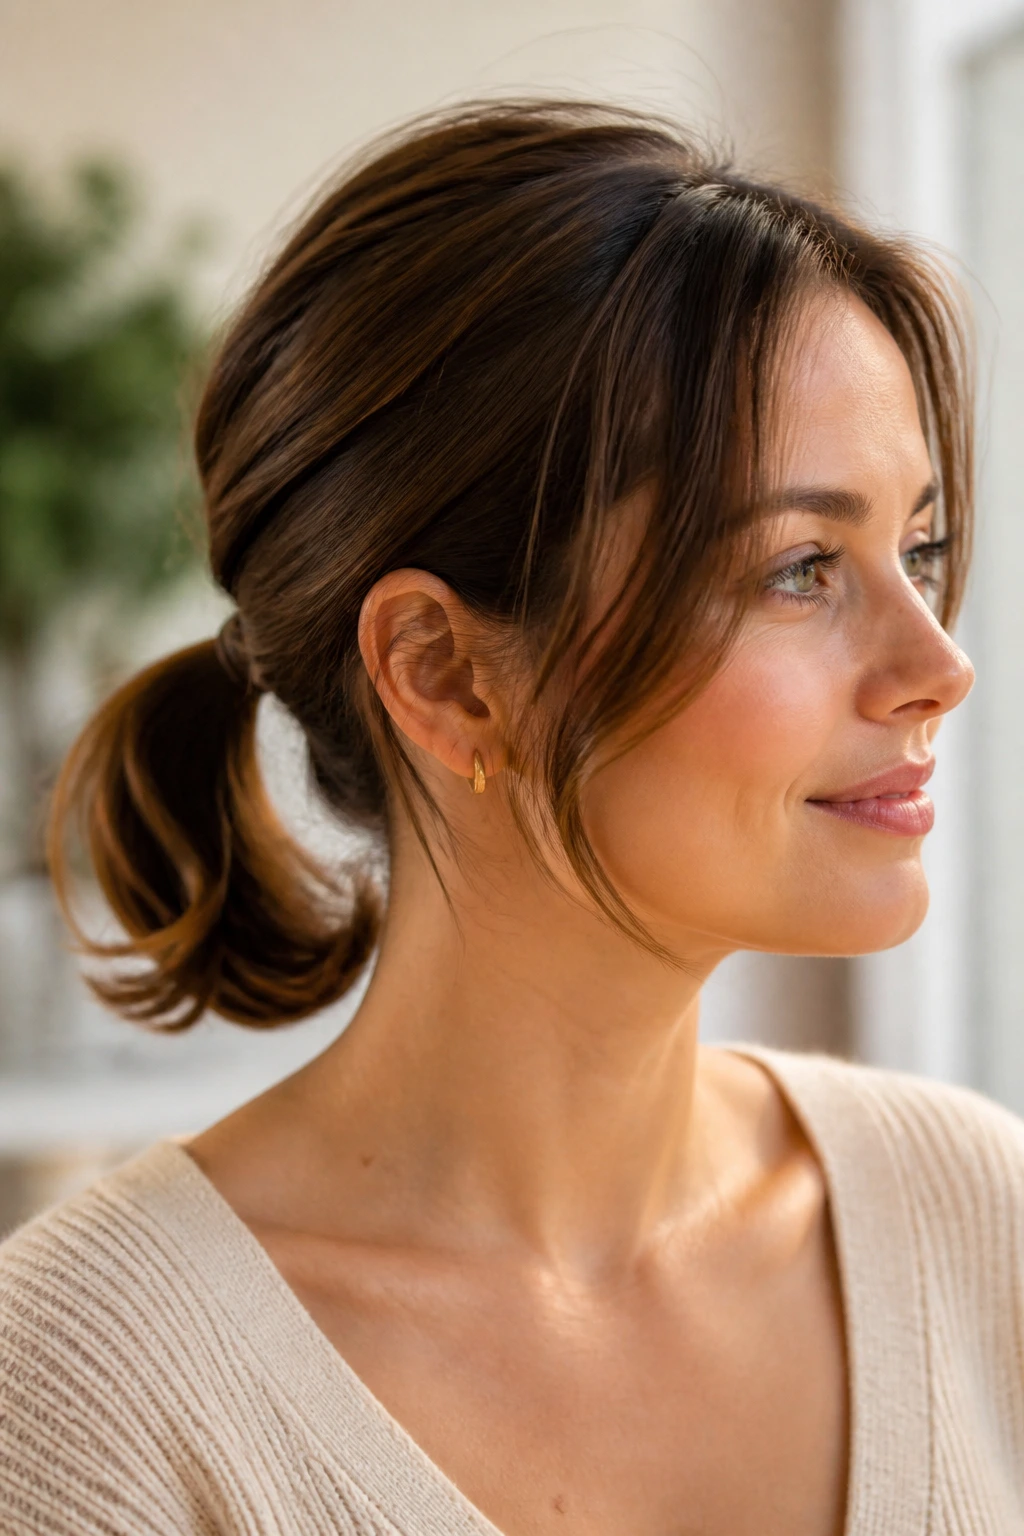
17. Side-Swept Low Pony with Tucked Ends
This one is neat without being severe. Sweep the hair into a low pony behind one ear, then tuck the tail under so the ends sit in a soft loop or short fold rather than hanging straight down. Short hair handles this shape beautifully because the tuck can hide how little length you’re actually working with.
The side sweep does a lot for oval faces. It shifts the focus off the center line and makes the whole style feel more relaxed. Keep the side with more hair slightly fuller, and smooth the other side close to the head. That small imbalance keeps the shape from feeling stiff.
If your hair is too short to make a real tucked loop, use two bobby pins crossed under the elastic. The illusion is enough. That’s the theme of a lot of these styles, really: use what the haircut gives you, then make it look on purpose.
This is a nice one for earrings, by the way. The open side leaves room for them to show.
18. Wrapped Mini Pony with a Clean Side Part
A clean side part and a wrapped mini pony are the shortest-hair version of polished. There’s no pretending this is a long tail. The charm is that it doesn’t need to pretend.
Part the hair slightly off center, smooth it back, and gather it into a small pony just behind the ear or at the nape. Wrap a narrow strand around the elastic and pin it underneath, then gently tug the top layer so the part has a little air. If the ponytail is barely there, even better. The wrapped base makes it feel deliberate instead of small.
This is the style I’d pick when the haircut is at that awkward stage between bob and pony. It’s also a good fit for oval faces because the side part breaks the symmetry and the compact pony keeps the profile tidy.
When short hair wants to behave like short hair, this is the kindest thing you can do for it.
Why Cute Ponytails for Short Hair and Oval Faces Work So Well
Oval faces are forgiving in a way that’s almost unfair. You can push the hair up a little, sweep it to one side, or keep it low and clean, and the shape usually still looks balanced. The goal isn’t correction. The goal is to decide where the attention goes — eyes, cheekbones, jawline, neck.
Short hair changes the game by forcing you to think about structure instead of length. A bob or lob does not need to fake being waist-length. It needs a good base, a few hidden pins, and a shape that keeps the shortest layers from turning into static. That’s why bubbles, twists, wrapped elastics, and half-up ponytails show up so often here. They work with the cut you have.
There’s also a practical detail people skip over: short hair looks better when the ponytail has a reason to exist. A tiny elastic by itself can look like a failed attempt. Add a side part, a braid at the base, a wrapped strand, or a slight bend in the ends, and the same length suddenly reads as styled. That tiny bit of intention is doing more than a lot of spray ever could.
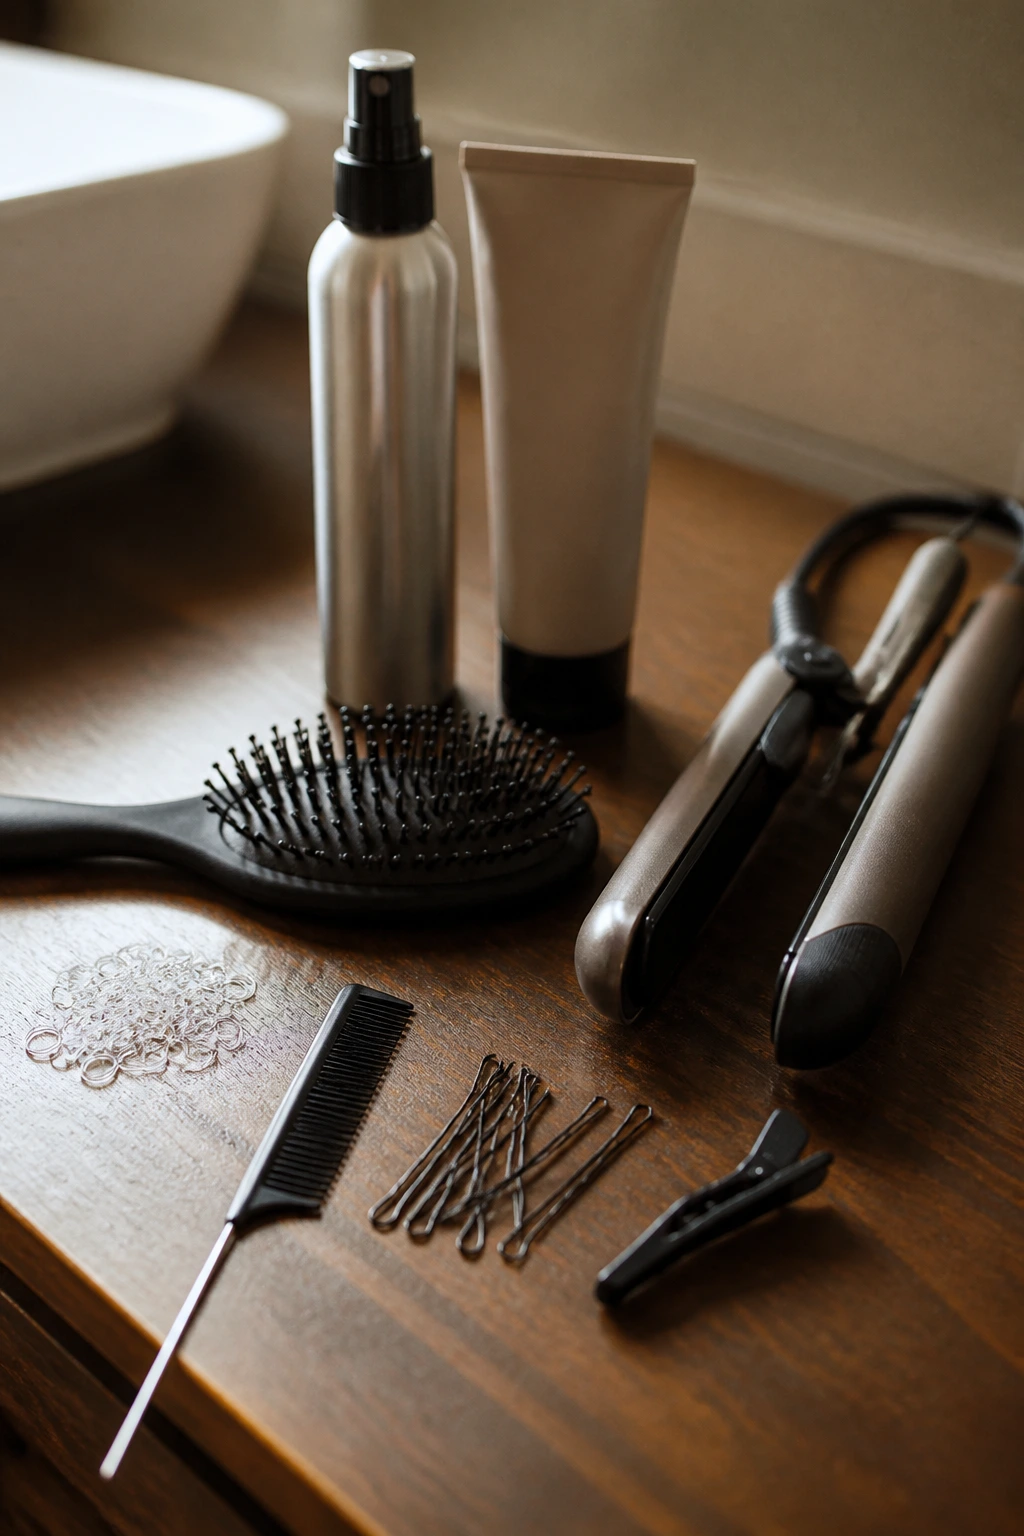
Essential Tools for These Ponytails
-
Tail comb: The pointed end helps with clean parts, crown lifts, and tiny sections around the temple.
-
Mini clear elastics: These hold short tails better than bulky hair ties and disappear into fine or layered hair.
-
Bobby pins: Use bobby pins to anchor wrapped sections, tucked ends, and stubborn layers that slide out.
-
Texturizing spray or dry shampoo: This gives short hair enough grip to stay where you put it, especially if it’s freshly washed.
-
Smoothing cream or light gel: A small amount calms flyaways and keeps sleek styles from puffing out at the hairline.
-
1-inch curling iron or flat iron: Handy for bent ends, soft flips, and adding a little shape to a stubby tail.
-
Boar-bristle or smoothing brush: Better for low sleek ponytails than a wide paddle brush because it gathers short pieces cleanly.
-
Ribbon, claw clip, or small barrette: Optional, but worth keeping nearby when you want to change the feel of the style fast.
Picking the Right Grip and Finish
For Fine or Slippery Hair: Use dry shampoo at the roots before you start, even if the hair isn’t oily. The powder gives the elastic something to hold, and short hair slips fast when the roots are too soft.
For Wavy or Curly Hair: Don’t overbrush the texture out unless you want a sleek finish on purpose. A ponytail with a little wave at the crown or tail usually looks fuller, and oval faces can take the extra movement without getting crowded.
For Short Layers: Work in smaller sections than you think you need. If you grab too much hair at once, the shortest layers around the temples and neck escape, which is how the style goes from cute to chaotic in ten seconds.
For Finish: Match the product to the mood. Cream gives a softer look, gel gives a cleaner one, and texture spray sits in the middle. I’d rather use too little product and add more than flood short hair with a heavy layer that shows every strand.
How to Wear These Ponytails in Real Life
Best Setting: Sleek low ponies, wrapped minis, and side-swept styles feel right for work, school, or any day you want the hair out of your face without making a big deal of it. They stay close to the head and hold up better under jackets and scarves.
Weekend and Errand Days: Messy mid ponies, claw-clip hybrids, and rope twists are the easiest to live in. They forgive second-day hair, and they don’t fall apart the second you bend over to tie a shoe or shove sunglasses on your head.
Dressier Moments: Ribbon-tied ponies, curled-end minis, and double-elastic faux full ponies look a little more finished with earrings, a button-down, or a top with a clean neckline. The trick is letting one detail do the dressing up. Too many details and the style starts to wobble.
When Hair Is Very Short: Bubble ponytails, twisted half-up styles, and braided bases are the safest bets. If the tail is tiny, make the shape elsewhere — at the crown, through the twist, or in the spacing between elastics — and let the actual tail stay small.
Small Styling Boosts That Change Everything
Lift Boost: If the pony looks flat, lift a few strands at the crown with the tip of your tail comb instead of redoing the whole style. A half-inch of height is enough to change the profile on short hair.
Customization: Swap the elastic for a ribbon, barrette, or mini claw clip when the outfit needs a different mood. The haircut stays the same; the feel changes fast.
Sleek Finish: Put a drop of serum or cream on your palms and smooth it only over the surface and tail, not at the roots. Short hair goes greasy faster than long hair, and one heavy swipe can ruin the whole thing.
Make-It-Yours: Fine hair likes texture spray and small sections. Thick hair likes stronger elastics and more pins. Curly hair usually looks best when you preserve the natural bend and shape the pony around it instead of fighting it into a stiff line.
Keeping Short Hair Ponytails Fresh Between Washes

A lot of these styles live best on day-two hair. Freshly washed hair can be too clean, too slick, and too slippery, especially if it’s fine. On the second day, the roots usually have enough grip to hold a mini elastic without sliding, and the styles look less fragile.
If you want to keep a ponytail shape overnight, don’t sleep on a tight tie. It flattens the crown and leaves a crease that’s hard to fix in short hair. Pull the style out before bed, sleep on a silk or satin pillowcase if you have one, and re-style in the morning with a quick mist of water or dry shampoo at the roots. That takes 3 minutes and saves a lot of grumbling.
Heat-shaped ends tend to hold for one day before they relax into a softer bend. That’s normal. If you want to revive the flip or curl, hit only the last inch of the tail with a flat iron for a few seconds, then let it cool in your fingers. For slick looks, a tiny dab of gel at the temples and a toothbrush or edge brush can tidy the hairline without redoing the full pony.
The safest general rule: use the least amount of product that keeps the shape in place, then add more only where the style starts to slip. Short hair will tell on you if you overdo it.
Variations and Adaptations to Try
Fine-Hair Lift Edit: Start with mousse at the roots and a texturizing spray through the mid-lengths. Keep the pony low or mid-low so the shorter tail doesn’t look stringy, and use two mini elastics if one feels loose.
Curly-Texture Version: Leave the curls intact and gather them gently with your hands instead of brushing them smooth. A satin scrunchie or soft elastic protects the curl pattern, and an oval face can carry the extra width around the cheekbones nicely.
Extra-Sleek Office Edit: Use gel or styling cream at the hairline, part the hair cleanly, and pin the wrapped base tightly. This version works best when you want the haircut to look deliberate and neat, not soft and airy.
Ribbon-Ready Dressy Version: Choose a satin or velvet ribbon that’s about 1/2 inch wide, and tie it over a low ponytail after wrapping the base. Keep the rest of the hair clean and simple so the ribbon stays the star.
Ultra-Short Bob Fix: If the hair barely reaches, use a half-up pony, a tiny bubble section, or a double-elastic stack instead of forcing a single tail. The style reads better when it fits the length honestly.
Second-Day Texture Version: Skip washing, add dry shampoo at the roots, and create a mid pony with loose pieces around the temples. The slightly rough texture helps the style stay put and gives the whole shape more life.
Common Mistakes to Avoid
-
Pulling the pony too high: On oval faces, a pony that sits too high can stretch the face vertically and make short hair look even shorter at the sides. Keep most of these styles at crown height, mid-height, or lower unless you want that sharper effect.
-
Using one thick elastic for everything: Big hair ties often slip on short hair and leave a dent where you don’t want one. Mini elastics hold better, and you can always hide them with a wrap or ribbon.
-
Ignoring the shortest layers: Those little pieces at the temples and nape are the ones that escape first. If they’re left untouched, the style frays fast; if you tuck or twist them in with intention, the whole pony holds together longer.
-
Overloading with product: Heavy cream, thick oil, and too much hairspray make short hair look stringy or crunchy. Start small, especially around the hairline, and build only where the hair actually needs control.
-
Forcing a full ponytail when the length isn’t there: Some hair just doesn’t want to make one big tail. Fine. Use a bubble, a twist, a ribbon, or a half-up shape and stop fighting the haircut.
Questions People Ask Before Trying These Styles
Can short hair really go into a ponytail?
Yes, if you redefine what counts as a ponytail. On a bob or lob, that often means a mini pony, a half-up pony, or a pony with wrapped, twisted, or bubbled sections that make the shape read as finished.
What length works best for these styles?
Chin-length hair can handle half-up ponytails, twists, and bubble sections. Once the hair reaches the nape or collarbone, low ponytails and wrapped minis become much easier to build and keep in place.
Do oval faces need face-framing pieces?
Not always, but they help soften sleek styles and keep the face from looking too long when the pony sits high. A few loose temple pieces can change the mood fast, especially on very short hair.
How do I keep short layers from falling out?
Use texture at the roots, work in smaller sections, and pin the loose pieces before you tie the elastic if needed. A tiny bit of gel on the ends of shorter layers can help them stay inside the style instead of drifting free.
Is a high ponytail or low ponytail better for oval faces?
Both can work. High ponies add lift and energy, while low ponies keep the line calm and clean; the better choice depends on whether you want the face to feel longer or softer that day.
What if my hair is too slippery for ponytails?
Start with dry shampoo, texture spray, or even a little root powder at the crown. Freshly washed hair is often the worst for short ponytails because it has no grit at all.
Can I make these styles without heat?
Absolutely. Twists, bubbles, ribbons, and braid bases all work without curling irons or flat irons. You’ll get a softer, less polished look, but that’s often the prettier option on short hair anyway.
How do I make a short ponytail look fuller?
Use a double-elastic stack, fluff the sections between bubble elastics, or wrap a strand around the base to hide how small the tie is. A little crown lift helps too, because fullness near the roots sells the whole shape.
The Small Ponytail Sweet Spot
Short hair has a funny way of looking its best when you stop trying to turn it into something else. A ponytail doesn’t need to be long to be good. It needs a shape that fits the cut, a base that stays put, and a few smart details that keep the style from collapsing into a shrug.
Oval faces make that easier. They give you room to play with height, side parts, low wraps, and loosened pieces without the proportions turning awkward. If one of these styles feels a little too neat, loosen it. If it feels too small, add texture or a ribbon. That’s usually where the good version lives.
The styles here work because they respect short hair instead of arguing with it. Start with the one that matches your texture and your morning tolerance, and the rest falls into place fast enough to be worth doing again.