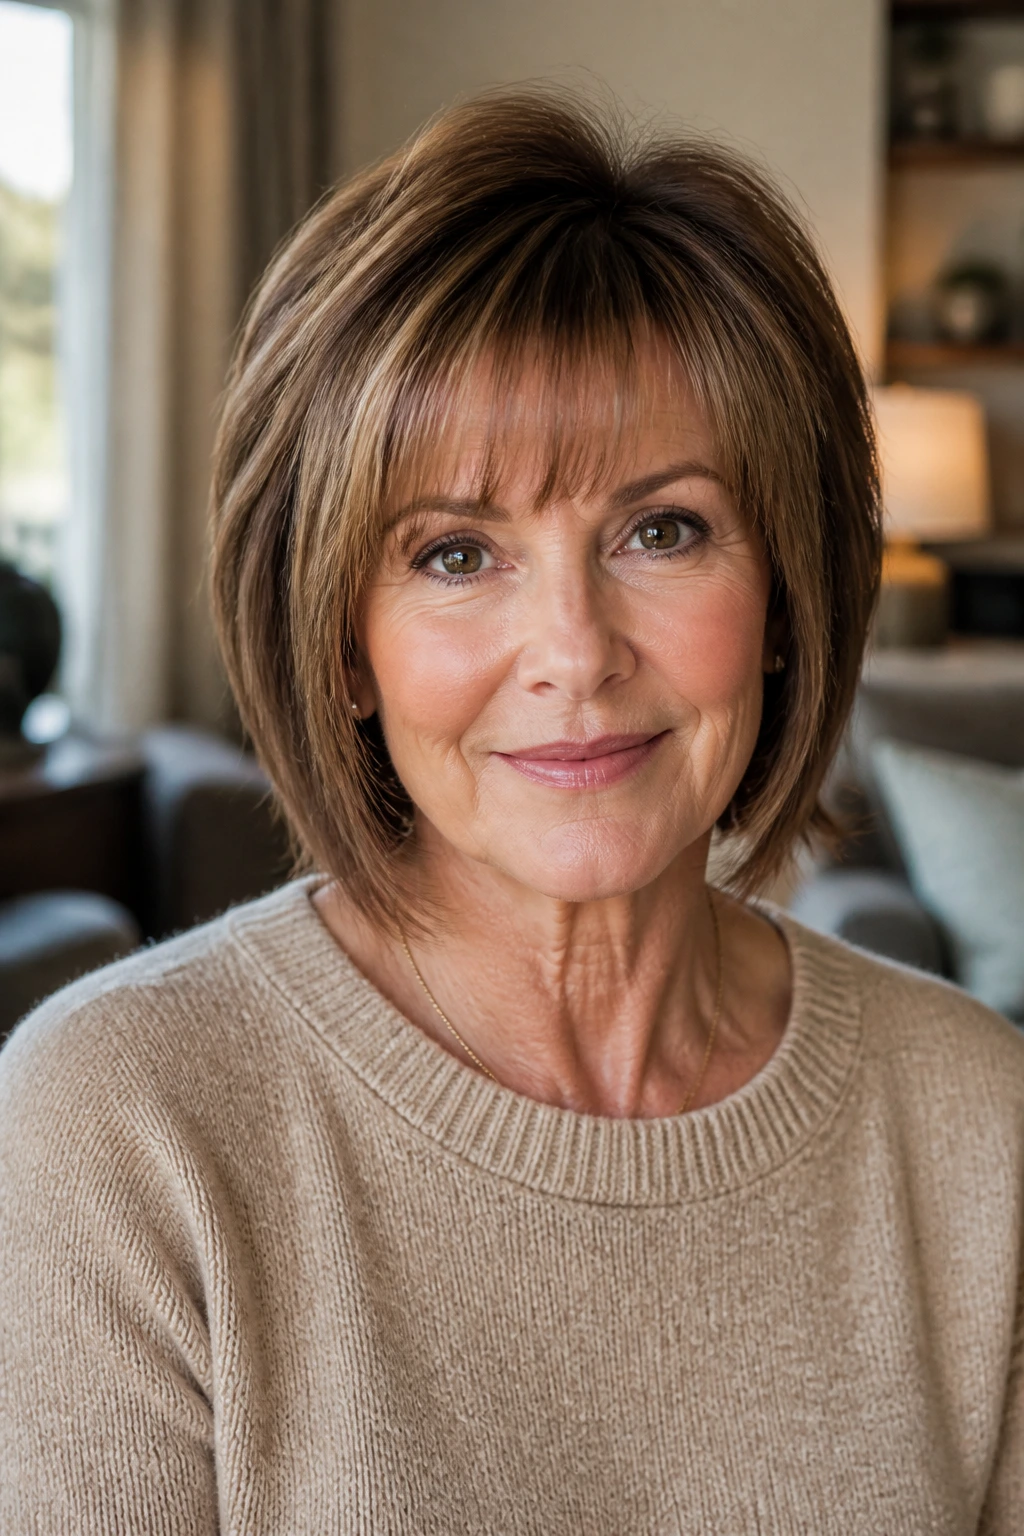
Thin hair after 50 has its own rules. Add too much weight, and the clips show. Add too little, and the whole thing looks like a rumor instead of hair.
The best clip hair extensions for women over 50 with thin hair are rarely the longest ones in the box. They’re the pieces that sit flat at the root, blend through the ends, and give you enough body to make a part line, a bob, or a low ponytail look deliberate. I’ve seen too many people chase length when what they really needed was width, especially at the crown and around the temples.
Gray hair changes the equation, too. It can be wiry in one section, silky in another, and stubborn right where you want the clips to disappear. That’s why the smart choices are usually small, light, and slightly more textured than the glossy showroom pictures suggest. Get the placement and density right, and the result reads as hair. Simple. Better hair.
Why These Clip-In Looks Earn Their Keep
-
Less pull at the root: Smaller wefts distribute weight across more of your scalp, which matters when your strands are fine and your part line is a little more visible.
-
Better crown coverage: A little lift at the top does more for thin hair than extra inches ever will, because the eye reads fullness before it notices length.
-
Gray blending looks calmer: Multi-tone pieces, rooted shades, and salt-and-pepper mixes stop that hard line you get when one flat color sits on top of natural silver.
-
Easy off at night: Taking clip-ins out before bed keeps delicate hair from getting bent, rubbed, or tugged while you sleep.
-
More control, less commitment: You can wear a few pieces for errands, all 18 for an event, or nothing at all the next day. That flexibility is the whole point.
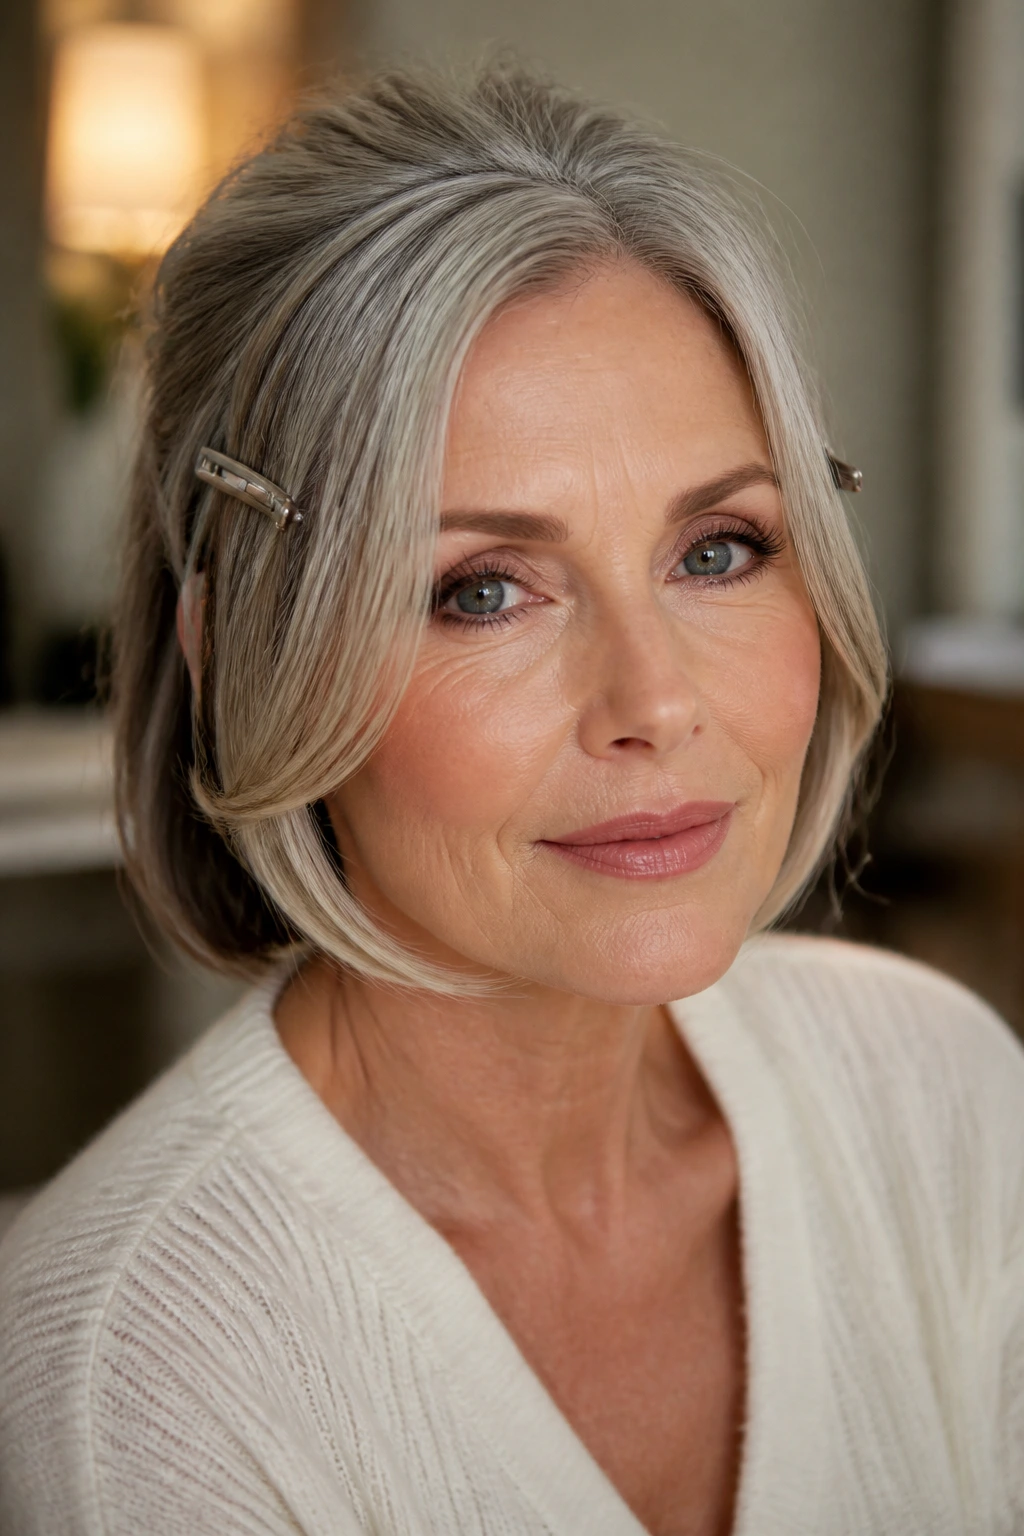
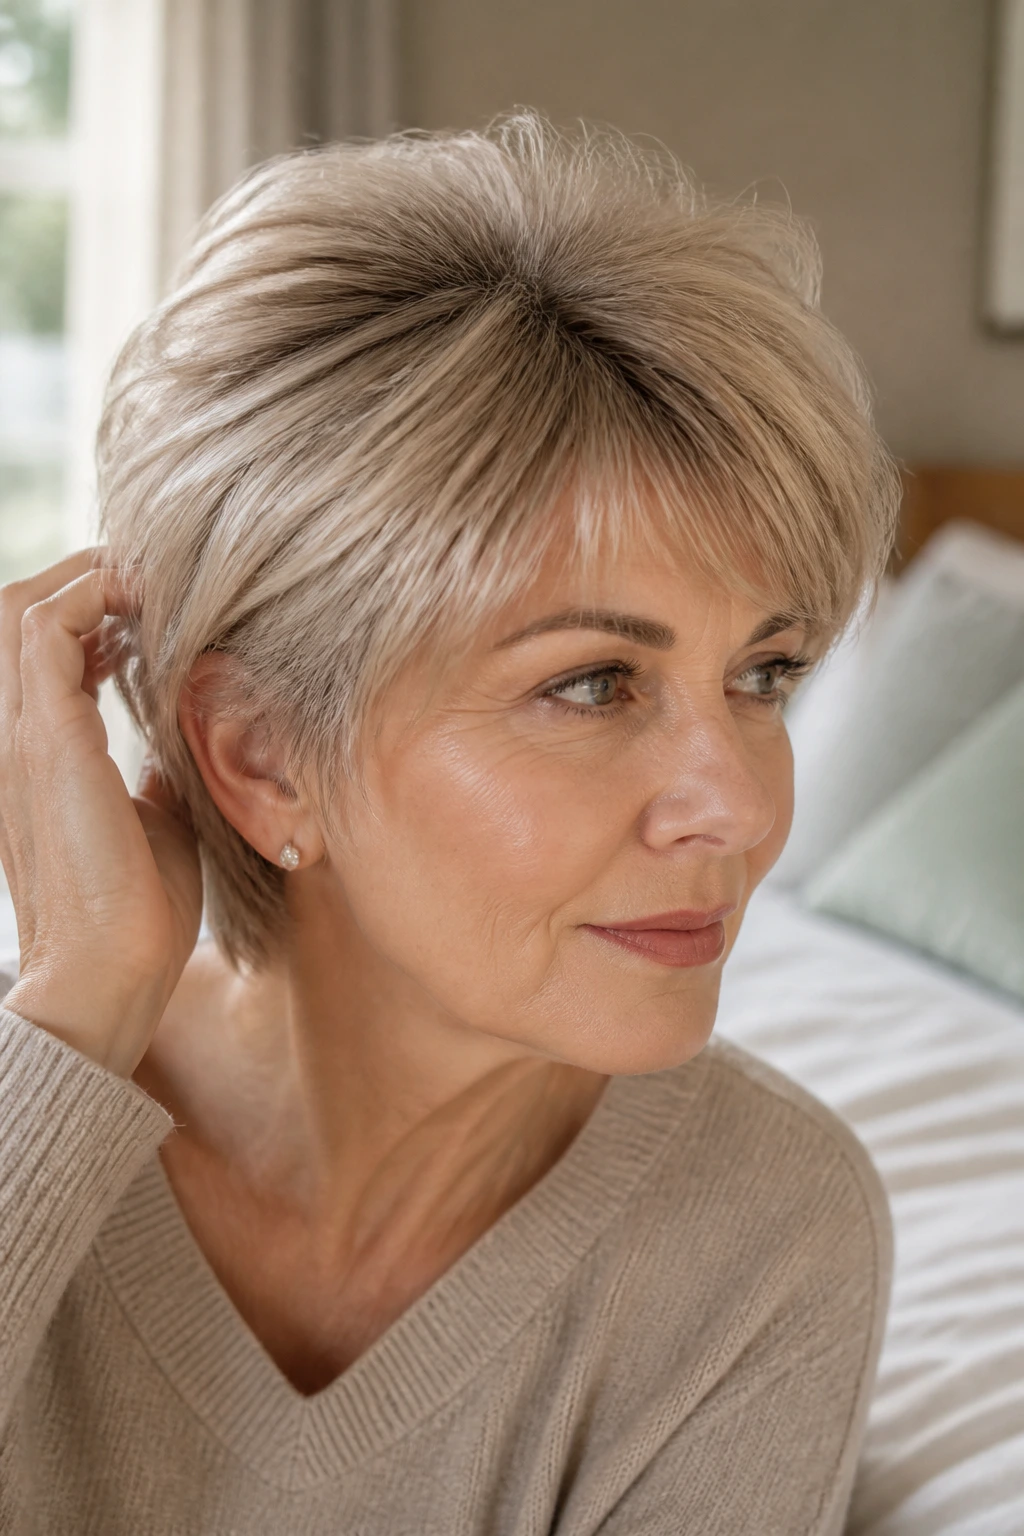
1. Crown-Lift Pieces That Hide a Sparse Part
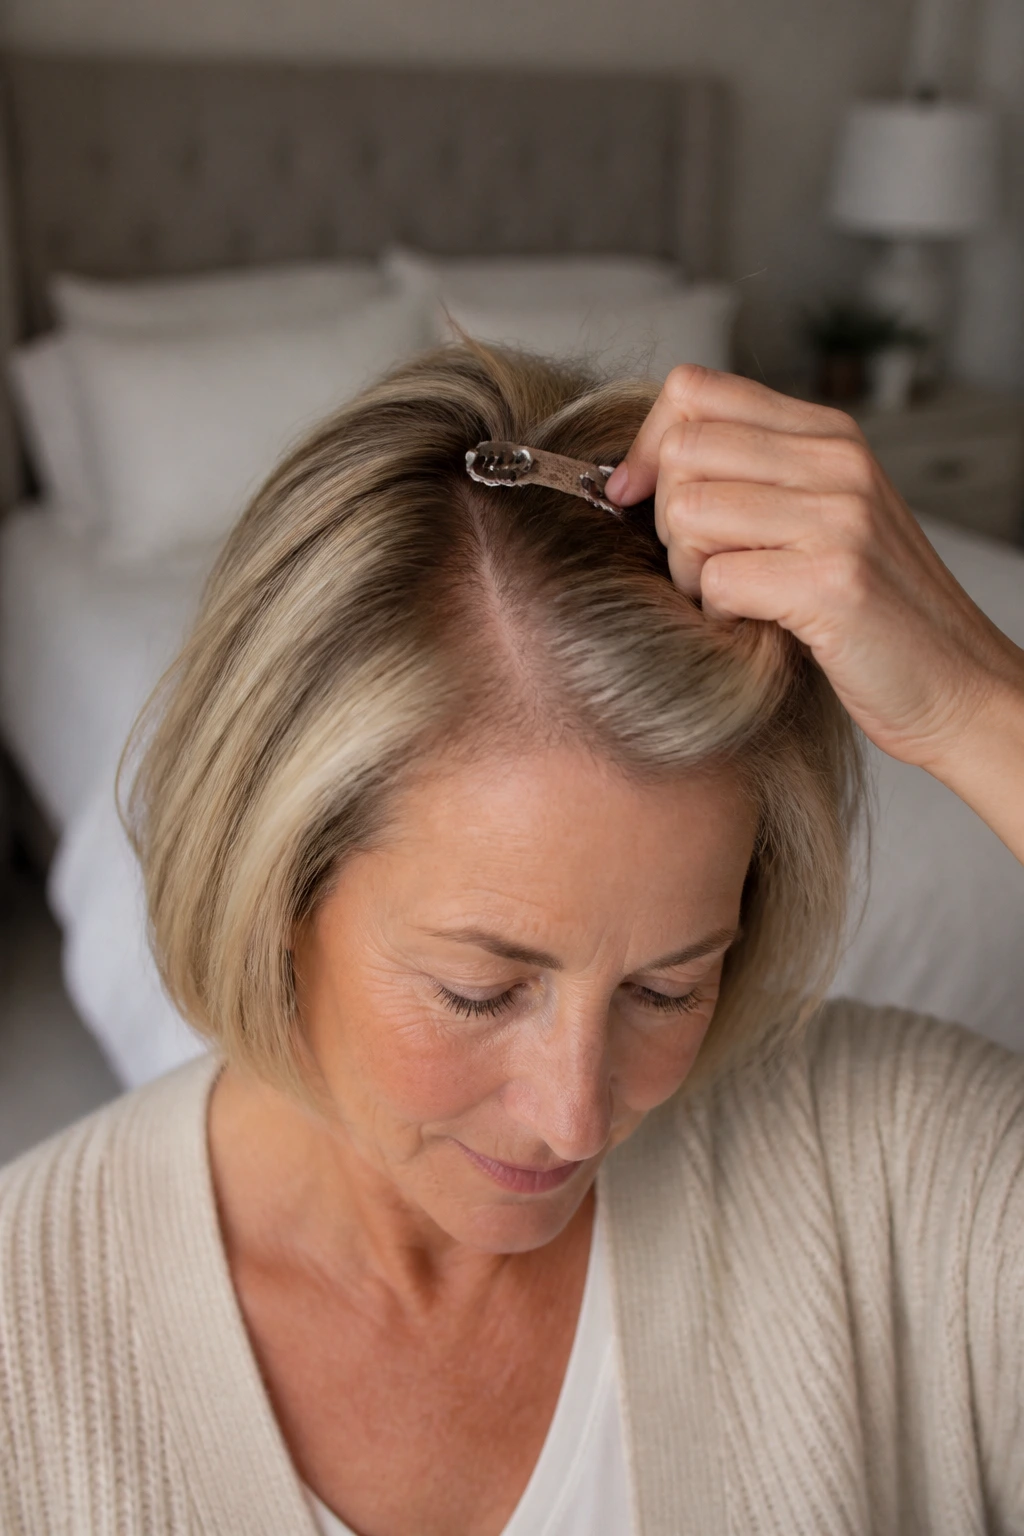
A flat part can make the whole head look thinner than it is. That’s the cruel little trick of fine hair: one narrow strip of scalp in the wrong light, and suddenly the entire style feels sparse.
Crown-lift clip-ins fix that by sitting just behind the visible part line, not on top of it. You want a small topper or a short, lightweight weft placed about ½ inch behind the hairline at the crown, then covered with a thin veil of your own hair. Tease the base gently with a tail comb first. Gently. You are building a cushion, not a nest.
Where to place it
Put the piece where your head starts to flatten, usually behind the highest point of the crown. If you clip too far forward, the teeth can show when you turn your head. If you clip too far back, you lose the lift that makes this style useful.
This is the best starting point if you look in the mirror and keep thinking, my part is wider than it used to be. It’s not about hiding everything. It’s about making the scalp line less bossy.
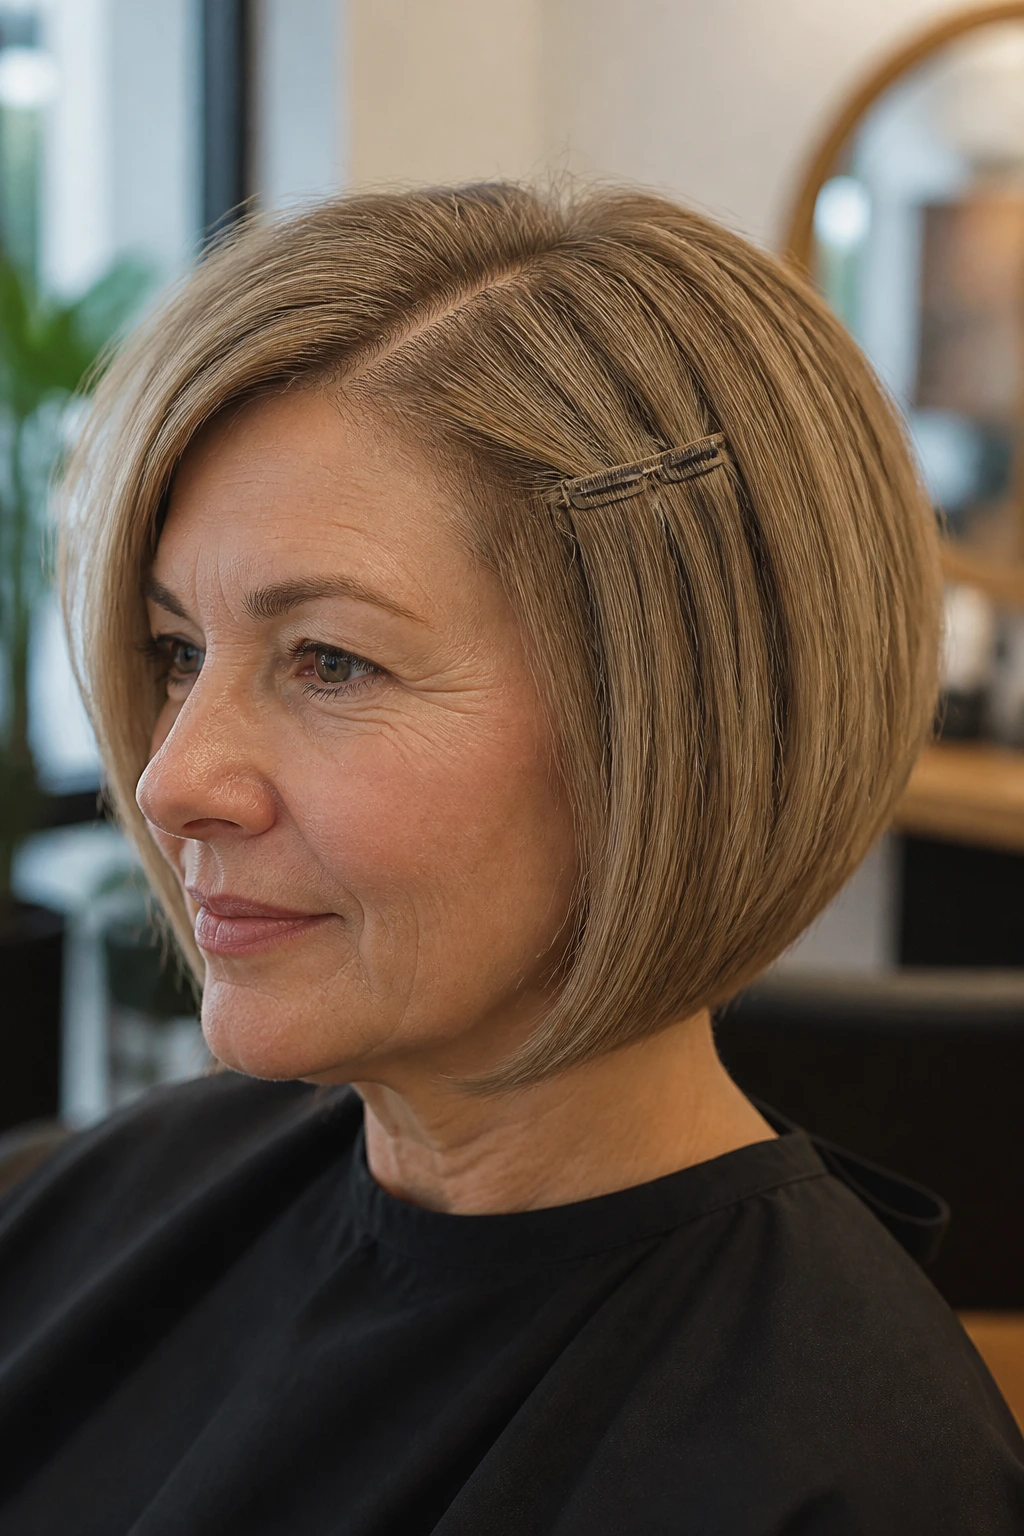
2. Temple Fillers That Soften the Sides of the Face
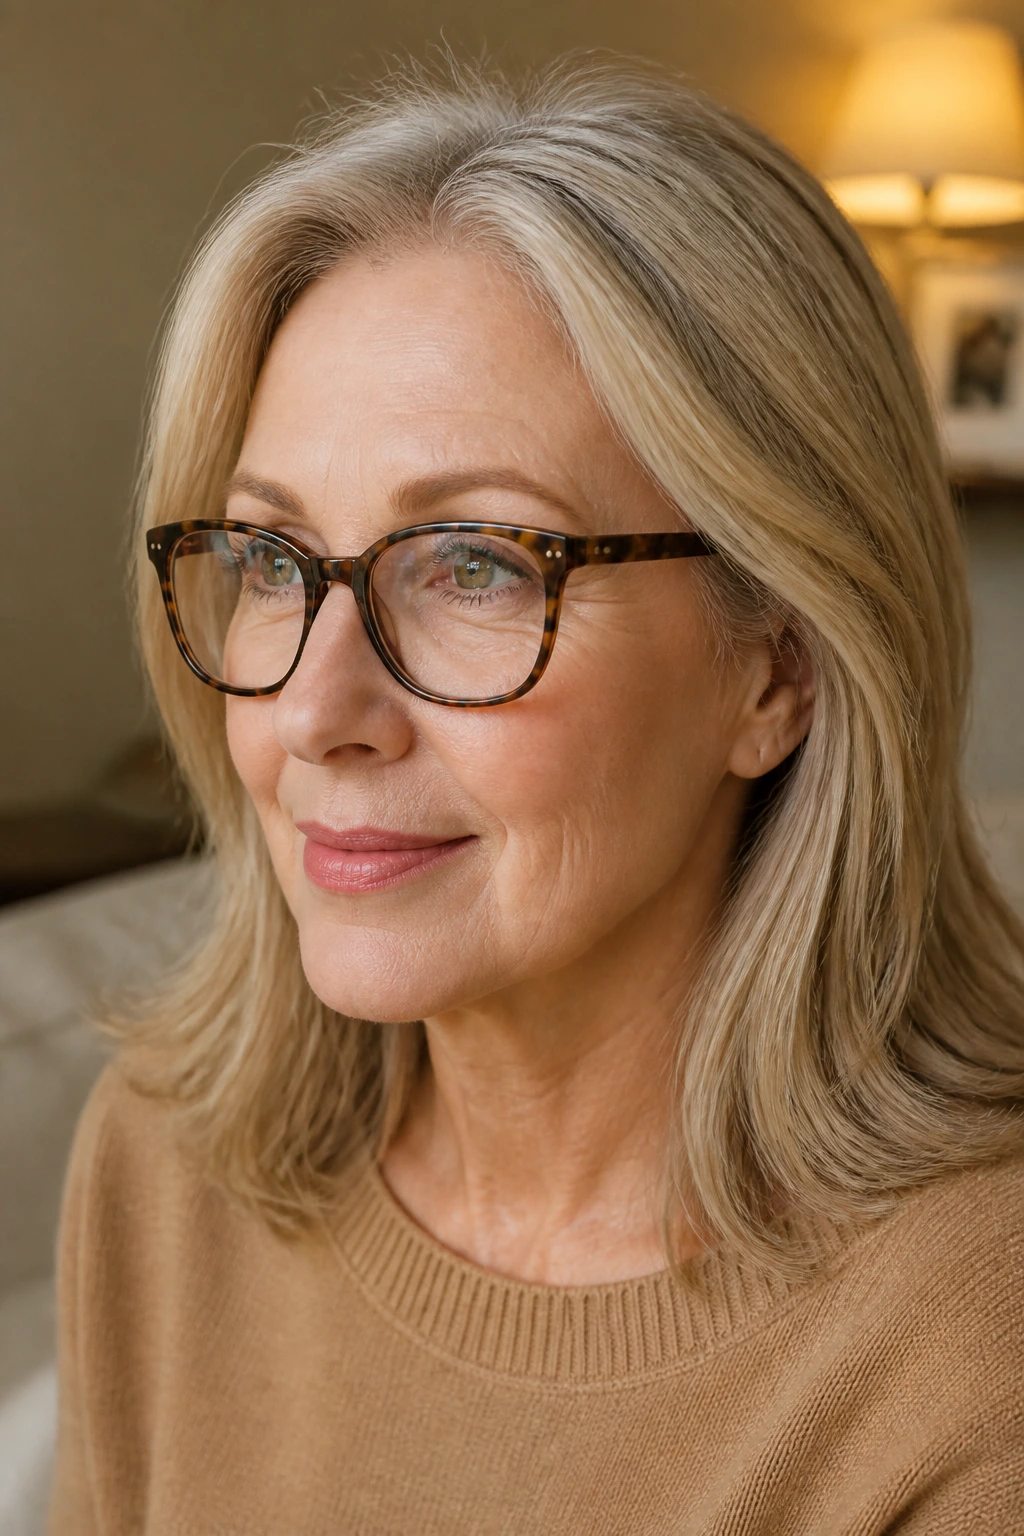
The temples are easy to overlook. They also happen to be the first place many women notice thinning after 50, especially if hair has been tied back for years or color-treated hair has lost some bite.
Temple fillers are tiny. That’s the charm. A 1-clip or narrow 2-clip piece tucked just behind each temple gives the sides a softer frame without puffing the whole head outward. It works especially well with glasses, because the hair and frames stop fighting each other. The shape looks intentional instead of accidentally sparse.
Use these when you want the face to read a little gentler. Not younger. Gentler. There’s a difference, and it matters.
3. Collarbone-Length Lob Builders
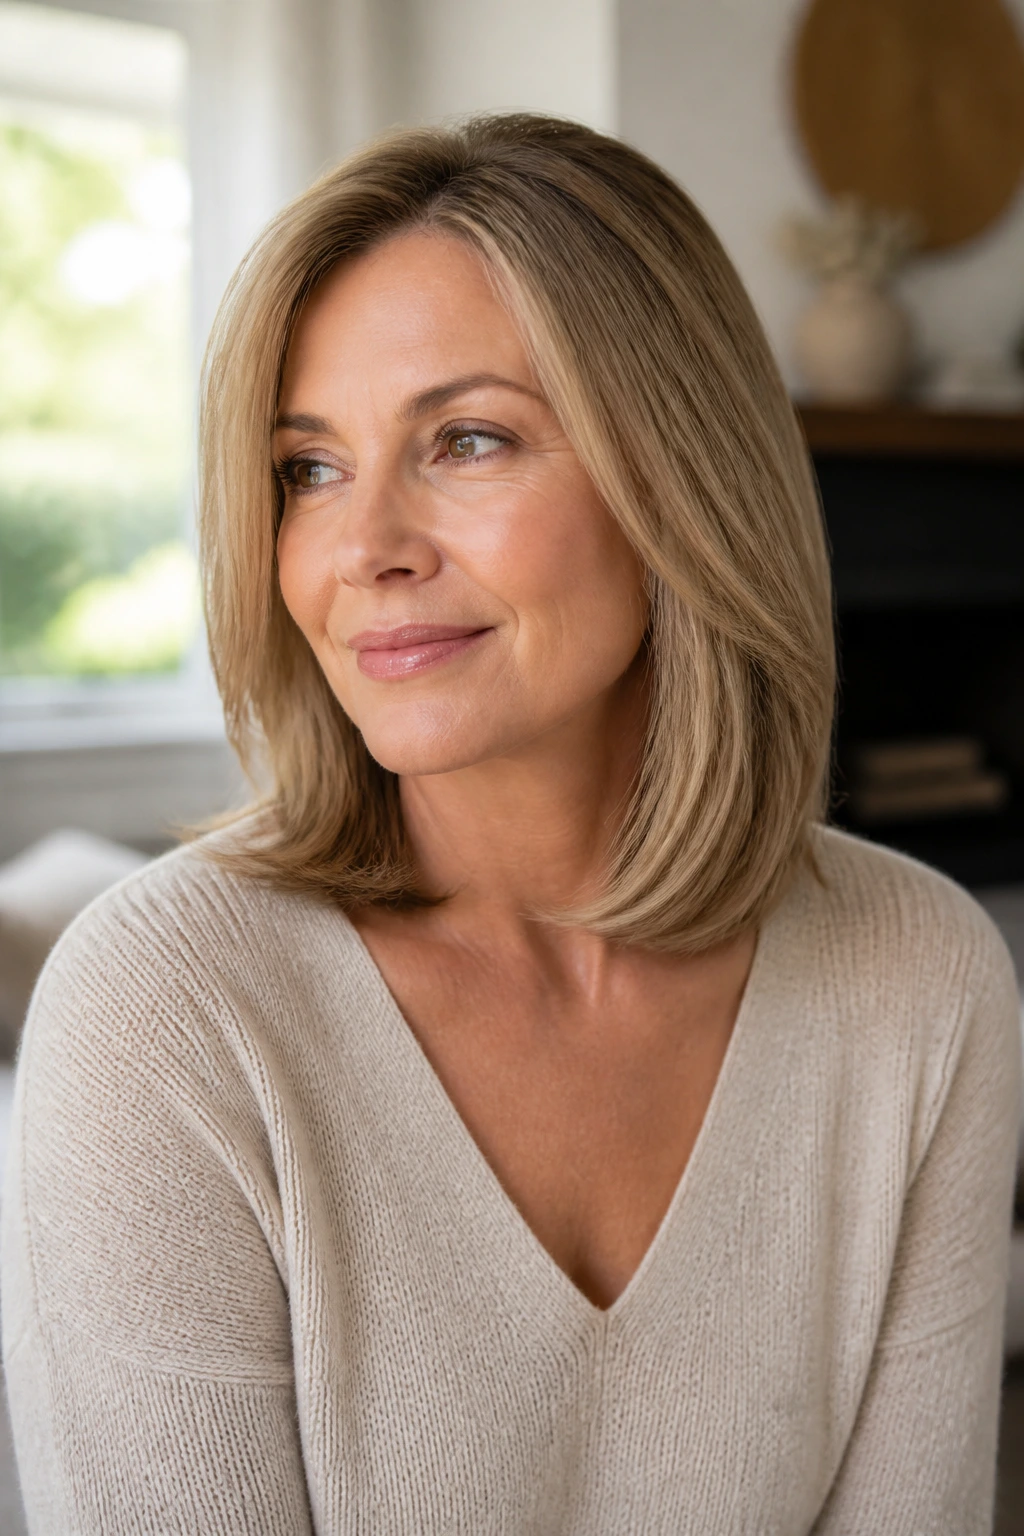
A shoulder-grazing lob is the sweet spot for a lot of thin hair. It gives you enough length to style, but not so much that the ends look wispy and tired by mid-afternoon.
Collarbone-length clip-ins are built for that in-between cut. Keep the extensions close to 14 to 16 inches if your natural hair already brushes your shoulders. Longer than that, and you often get the see-saw effect: full near the top, stringy at the bottom. That’s a dead giveaway.
The best version of this look uses a few short wefts layered low enough to add weight through the perimeter. The ends should be blunt enough to read as healthy, but not so blunt that they look helmet-like. A soft bend at the ends is usually enough. Straight, pin-straight lengths can expose thin hair fast.
4. Gray-Blend Highlight Wefts
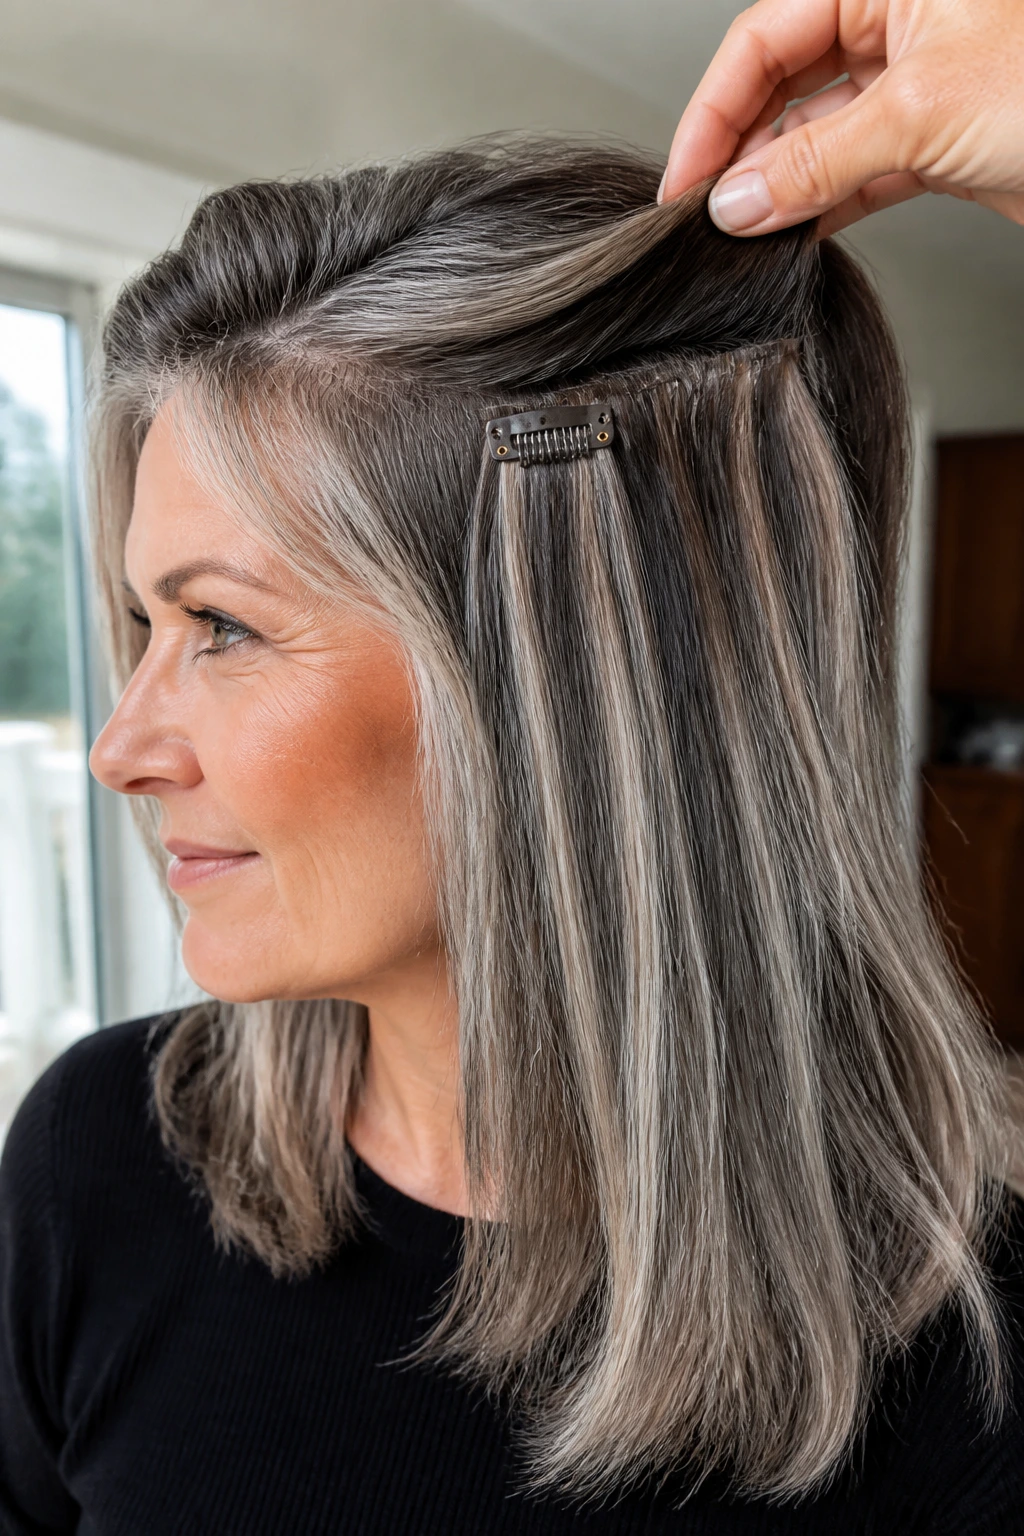
Gray blending is where clip-ins stop being a workaround and start being useful.
If your natural color has turned salt-and-pepper, or if you’re growing out dye, single-shade extensions can look harsh. Multi-tone wefts solve that. Look for pieces with ash brown, beige blonde, silver, or smoky lowlights running through the same set. The mix should look like real hair under daylight, not like stripes laid on top of each other.
The color trick that saves the whole look
Match the mid-lengths and ends first. Not the roots. That’s the mistake. Most people stare at the top of the head, pick the wrong shade, and then wonder why the extension line shouts at them from three feet away. The best blend happens through the body of the hair, where the movement lives.
5. Cheekbone Face-Framers
Need a little lift without extra bulk? Start at the face.
Face-framing pieces are short, feathered sections clipped lower and farther forward than a regular side weft. They soften a sharp jawline, break up a heavy bob, and keep thin hair from disappearing into a straight curtain. If your haircut has layers around the chin or cheekbone, this one is worth paying attention to.
The key is restraint. Too much front volume can make the face look wider than you want. A small amount of movement near the cheekbones is enough. You want the hair to fall forward in a soft sweep, not sit there like a wigged-out fringe.
6. Feathered Ends Instead of Blunt Length
Blunt extension ends are the fastest way to make thin hair look borrowed.
Feathered ends are friendlier. They taper into the natural haircut and keep the bottom edge from looking like a hard shelf. If you buy straight, one-length clip-ins, get them lightly cut into your hair shape before you wear them out in daylight. Point-cutting or slide-cutting the last inch or two makes a huge difference.
This matters even more if your own ends are a little translucent. Thin hair rarely benefits from a sharp, heavy line. The softer the finish, the more believable the whole style becomes.
7. Half-Up Crown Boosts
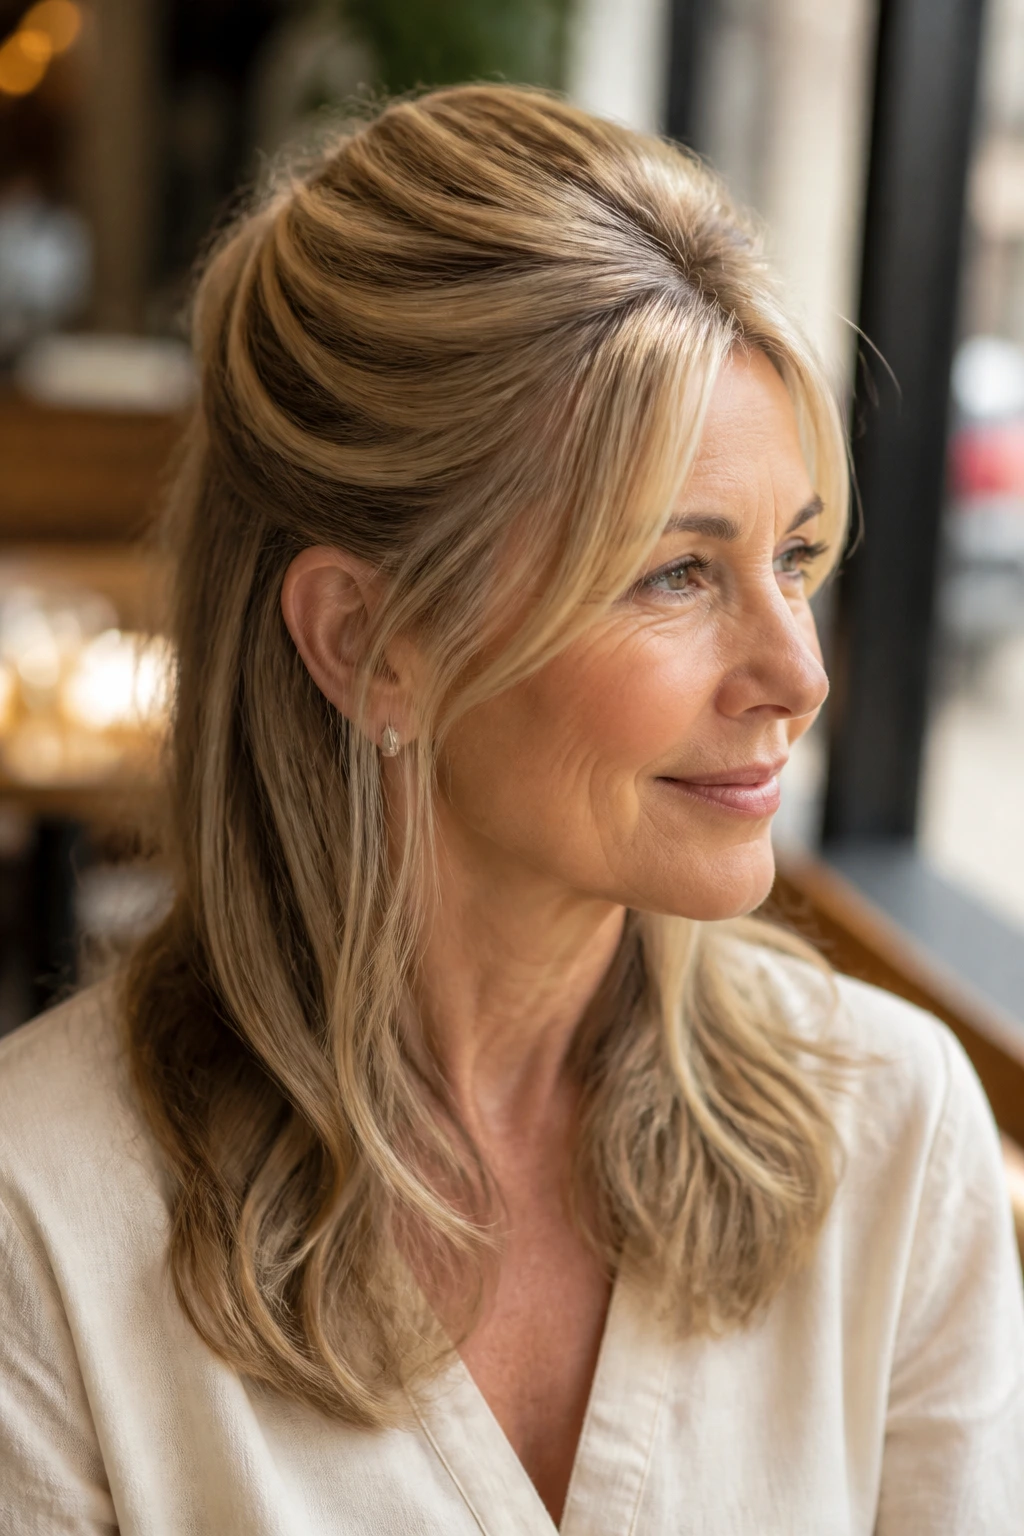
Half-up styles are sneaky good on thin hair because they let the crown do the talking while the lower half stays softer and lighter.
A couple of small wefts at the crown can make a half-up twist, barrette, or mini ponytail sit higher and fuller. The trick is to place the clips low enough that the top layer of your own hair still covers them once you pull the front back. Then gently pinch the crown area with your fingers before securing it. That little lift matters.
This is one of those styles that reads polished without needing a lot of length. It’s also a smart choice when the ends of your natural hair are fine but you still want a dressier shape.
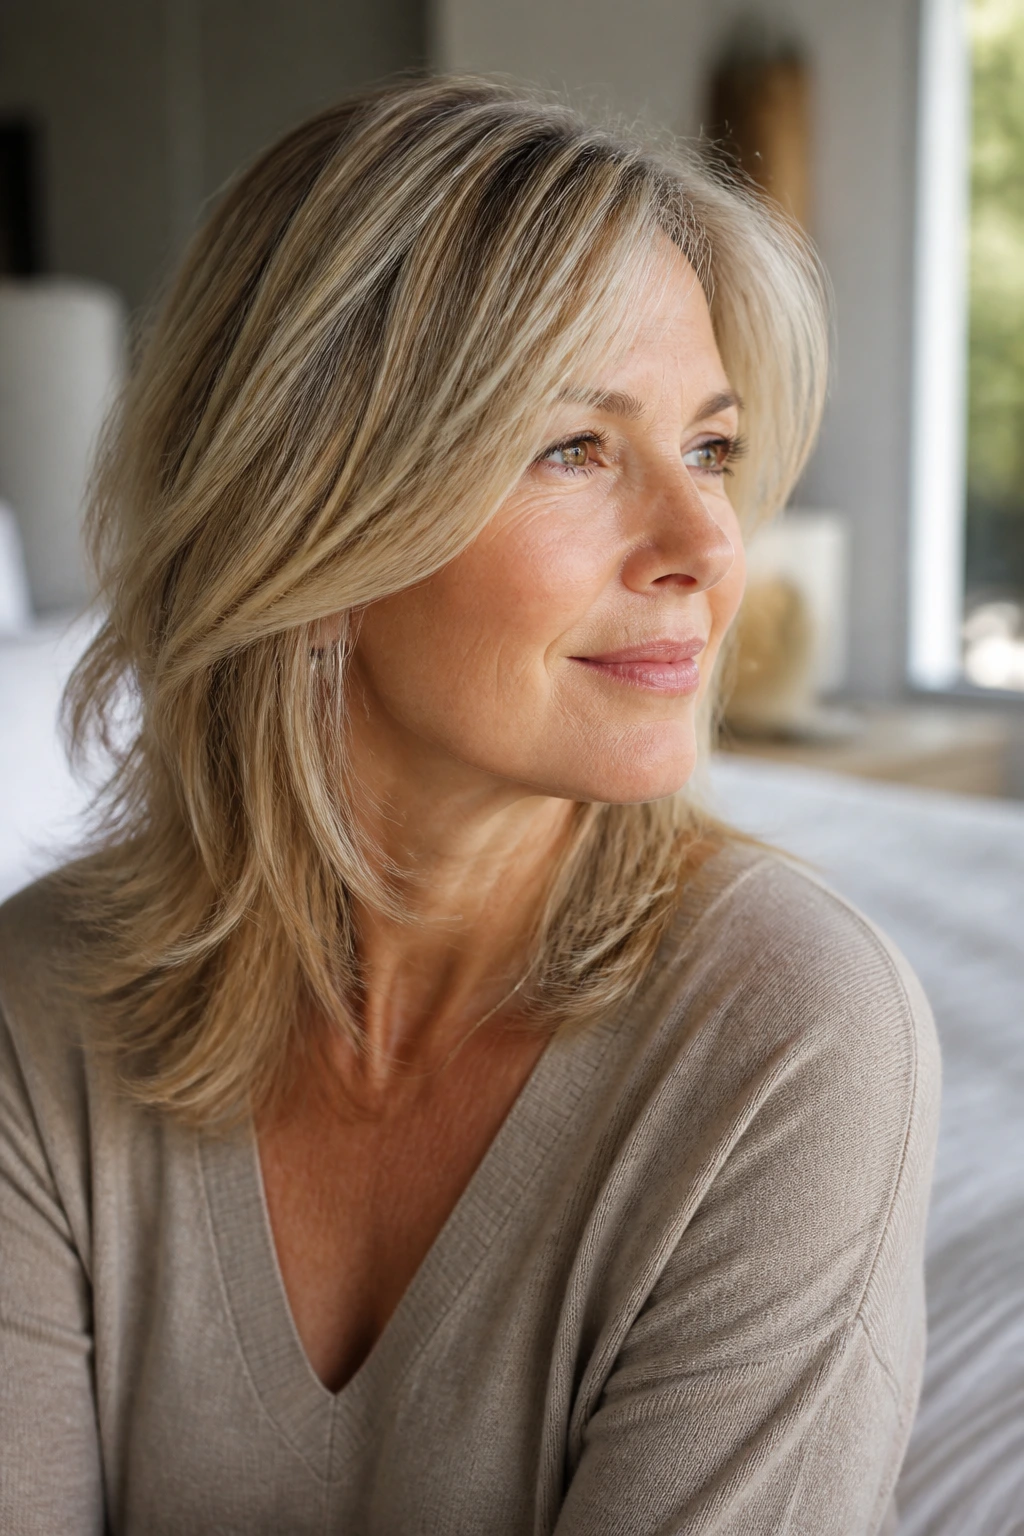
8. Shoulder-Skimming Waves

Shoulder-skimming waves are my personal favorite for fine hair because they avoid the two classic mistakes: too long and too glossy.
A 16-inch set with moderate density usually does the job. The waves should be loose enough to move, not so curled that they turn springy by noon. Use a 1-inch iron, wrap for about 6 to 8 seconds per section, and let the curl cool in your hand before you brush it out. That cooling step matters. It helps the bend hold without turning into a puffball.
This is the kind of style that flatters almost everybody, but it especially helps women who want body without the drama of mermaid-length hair sitting on delicate ends.
9. Salt-and-Pepper Transition Sets
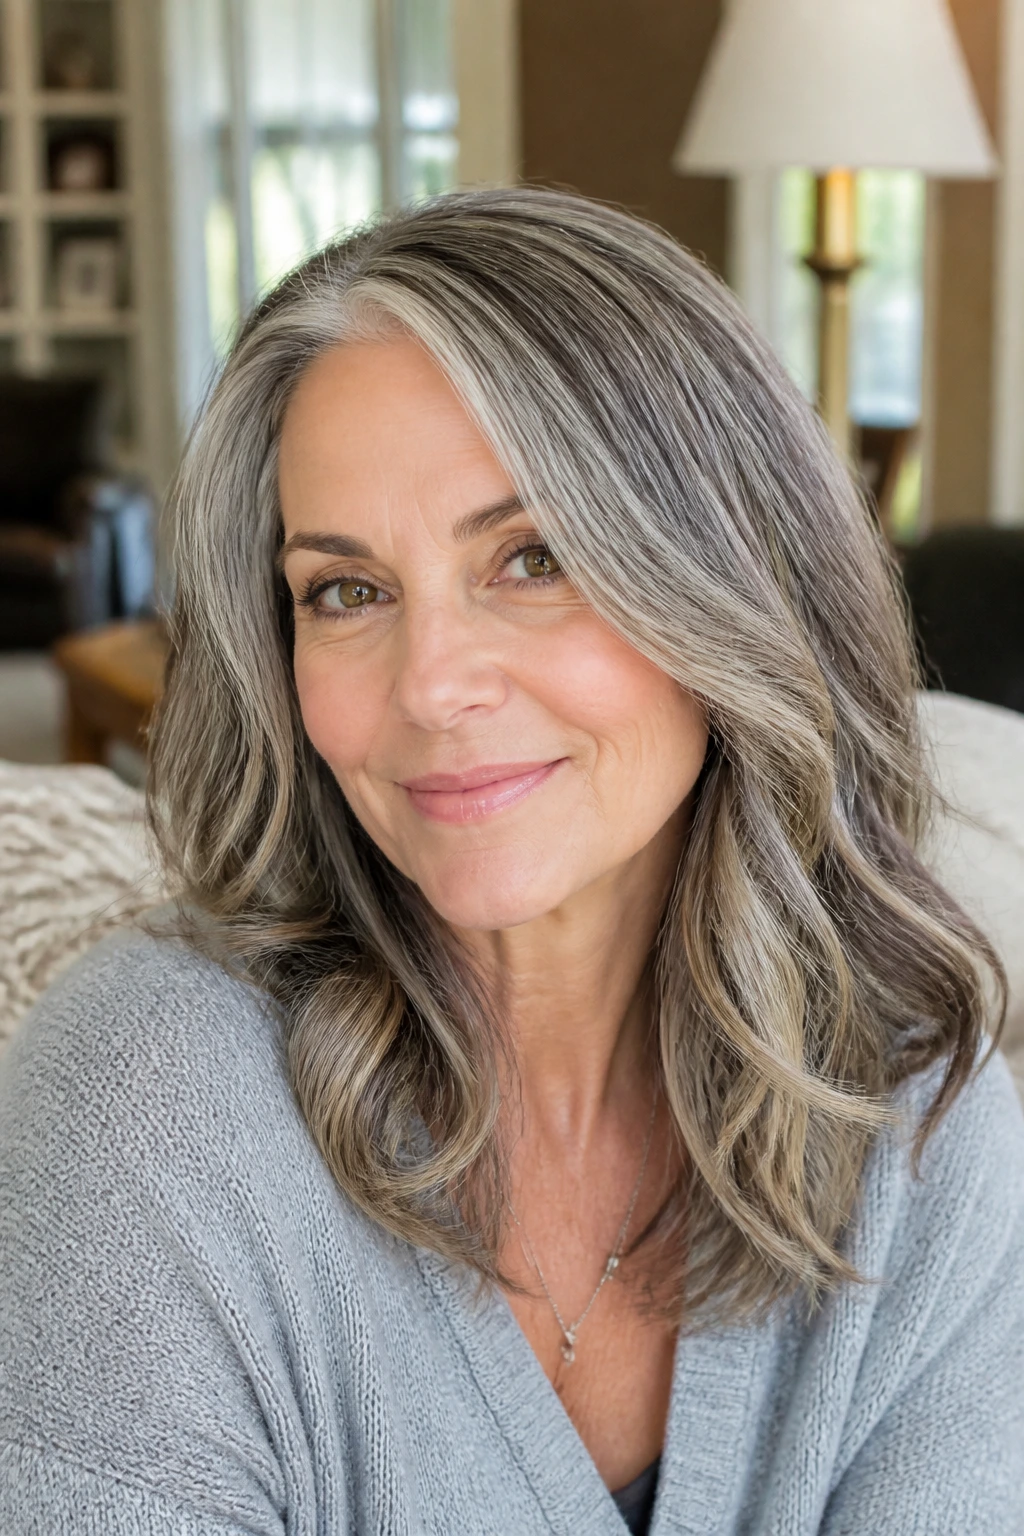
Growing into gray can be elegant. It can also look patchy for a while, which is where the right clip-ins save the day.
Salt-and-pepper sets work because they match the messiness of real transition hair. You want a mix of cool silver, smoky brown, and maybe a little dark ash woven through the same piece. That softens the contrast between dyed roots and natural gray strands. It also keeps the overall color from looking flat, which is a problem many women run into when they keep everything one shade.
If your silver is bright around the hairline but darker underneath, choose extensions that live in the middle of those two tones. Not the brightest. Not the darkest. Middle ground wins here.
10. Rooted Dimension Wefts

Flat color can make thin hair look thinner. That’s one reason rooted dimension wefts are so useful.
A darker root shadow with slightly lighter mids and ends gives the hair some depth without asking your own strands to do all the work. It also hides the clip line better, because the eye reads shadow and movement instead of a hard stripe. This is especially good for brunettes with a lot of one-note color or blondes whose hair has gone pale and translucent at the tips.
You do not need a dramatic ombré. In fact, too much contrast can look harsh on mature hair. Keep the change subtle, almost like a soft grown-out color job.
11. Bob Perimeter Fillers
Bobs can be tricky. They’re chic, but they expose every thin spot at the bottom edge.
Perimeter fillers are small wefts clipped low and hidden under the top layer to give the bob a denser outline. The goal is not to make the bob longer. It’s to make the line look thicker and more expensive. That subtle distinction matters. A bob that sits at the jaw or just below it benefits from a little extra body around the outer edge, especially if the ends tend to separate.
If your cut is blunt, this can make it look crisper. If your bob is layered, it can make it look fuller without changing the shape much.
12. Clip-In Fringe Without the Chop
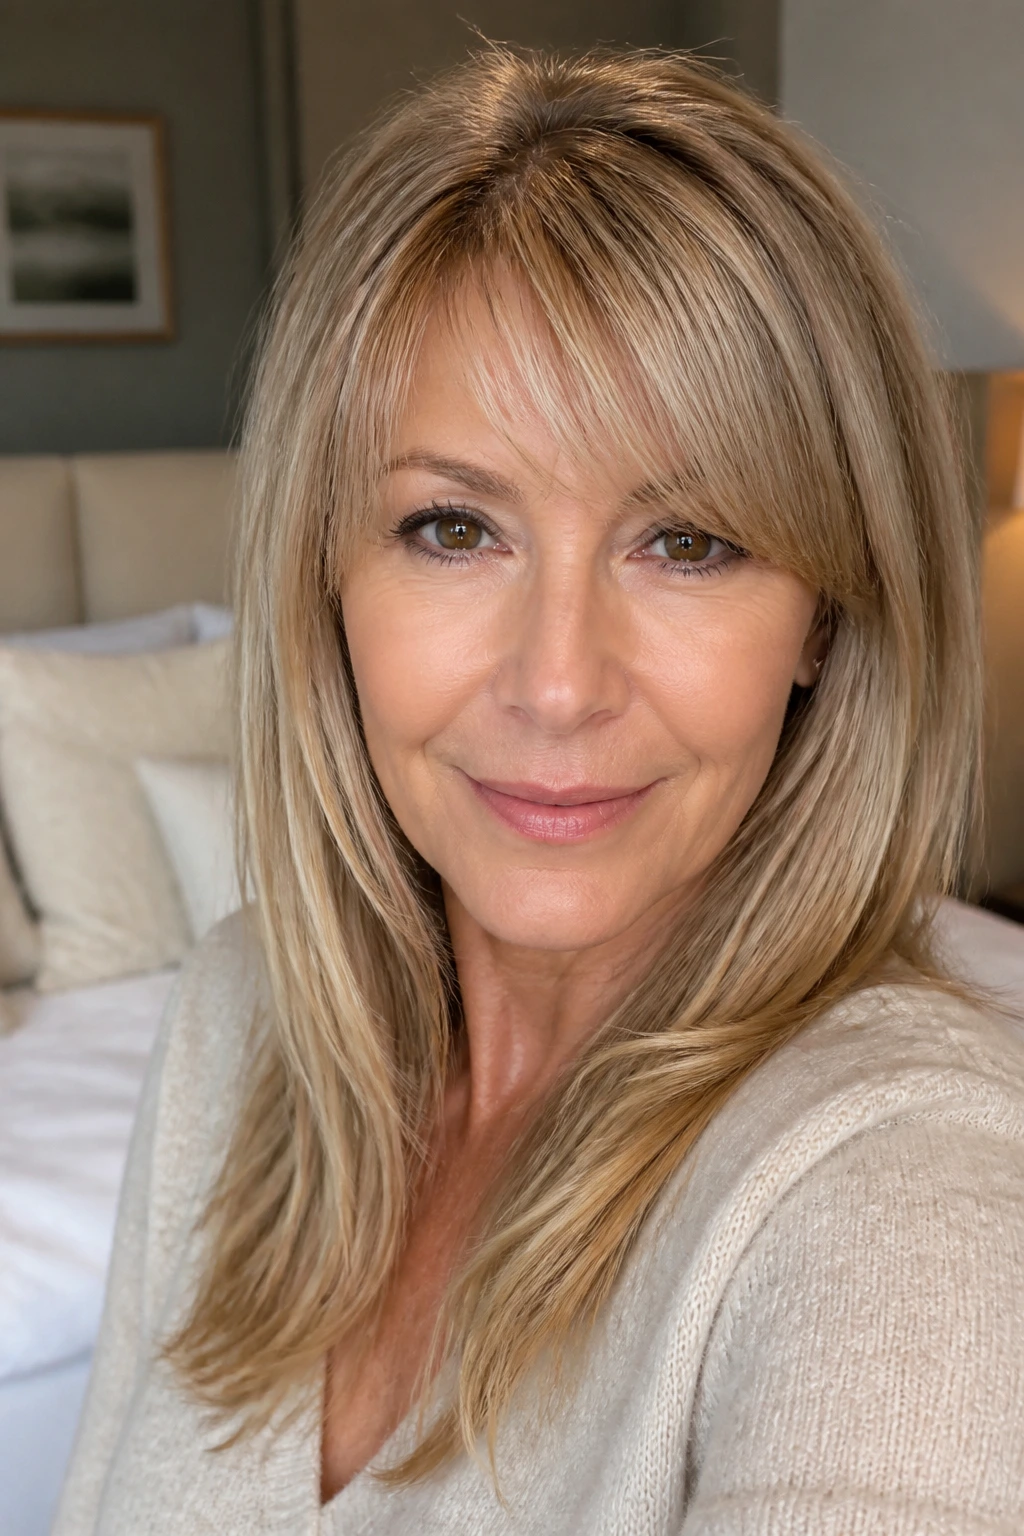
Want bangs without actually cutting bangs? Good. Plenty of women do, and for thin hair, it’s often the smarter move.
A clip-in fringe can soften the forehead, hide a high hairline, and bring attention back to the eyes. The important part is trimming it properly. Bang pieces almost always need a little shaping to match your face and your natural growth pattern. Straight out of the box, they tend to sit too heavy or too perfect, which is suspicious on mature hair.
Side-swept fringe pieces are easier to blend than blunt ones. Curtain-style fringe can work too, as long as it doesn’t fight your cowlicks. If your front hair is sparse, this is one of the few extension tricks that can change the whole mood of the cut without asking for a major commitment.
13. Side-Part Sweepovers
A side part is not just a styling choice. For thin hair, it’s a strategy.
Sweep the hair a little off-center, then add a slim filler on the fuller side to create a diagonal line across the head. That line distracts the eye from any flatness on the opposite side. It also gives the style a little lift near the crown, which is where the part usually starts to collapse first.
This works especially well if one temple is thinner than the other. Most people have one side that behaves better than the other anyway. Use it.
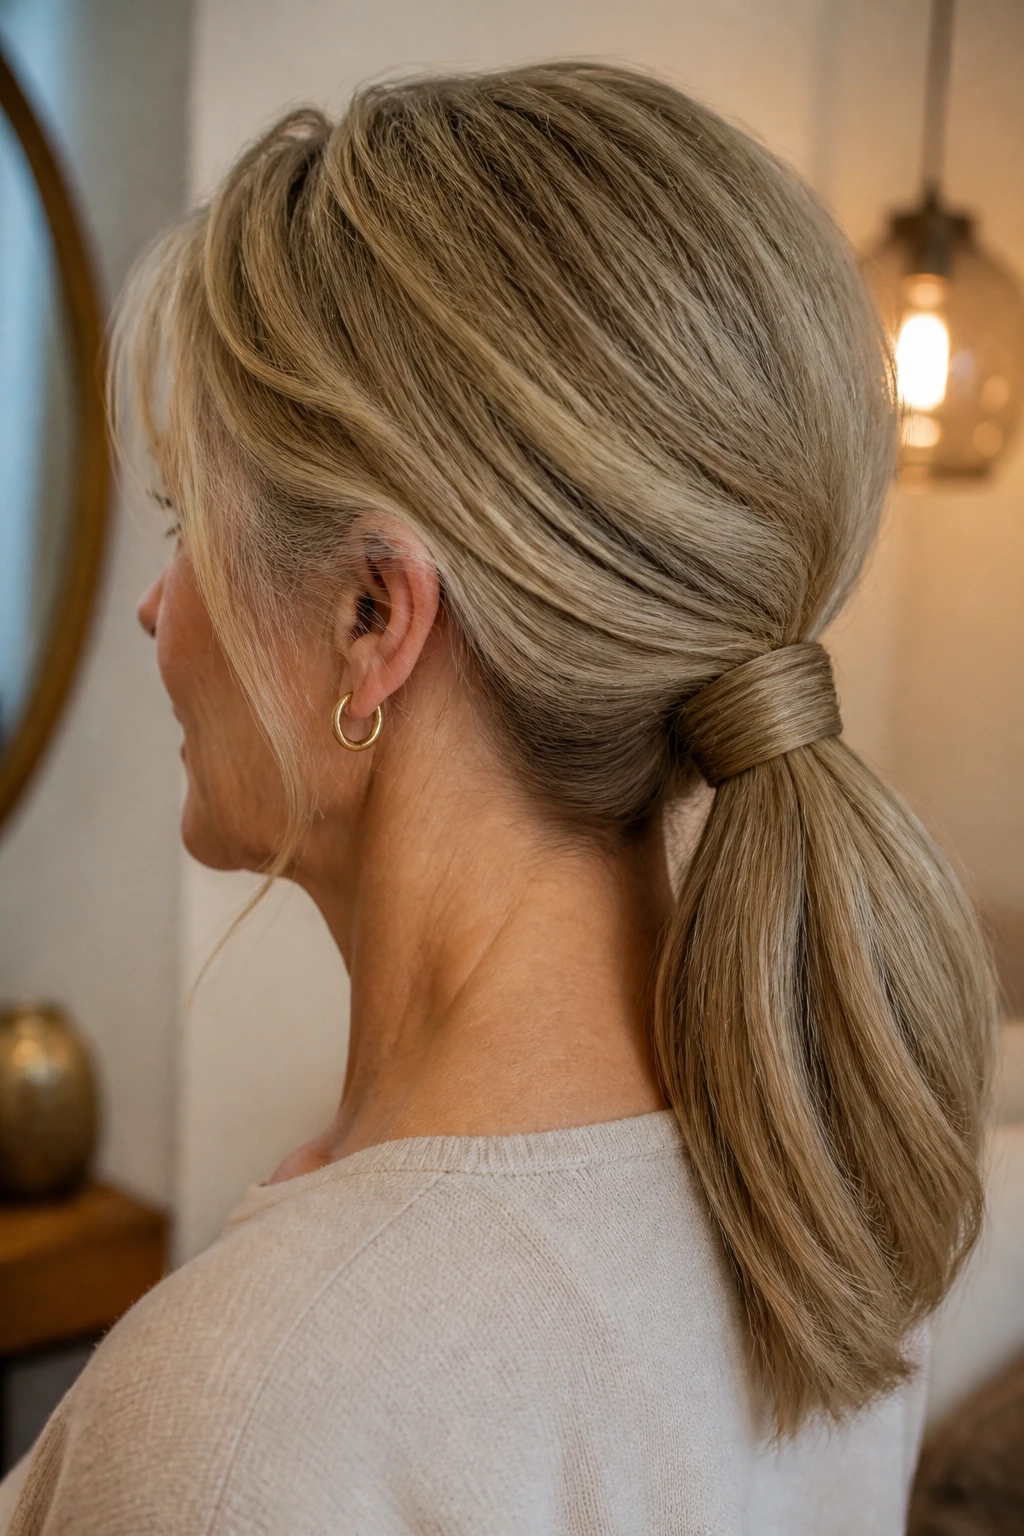
14. Low Ponytail Thickeners
High ponytails are unforgiving. Low ponytails are kinder.
A low ponytail thickener adds substance at the nape and around the elastic, where thin hair often looks paling and wrapped too tight. You can use a wrap-around ponytail piece or build the base with a few small clip-ins before pulling the hair back. Either way, keep the ponytail low, just above the nape. That position hides the attachment better and keeps the profile soft.
This is a smart daytime style when you want your hair off your neck but still want the ponytail to look like a ponytail, not a scrubby little cord.
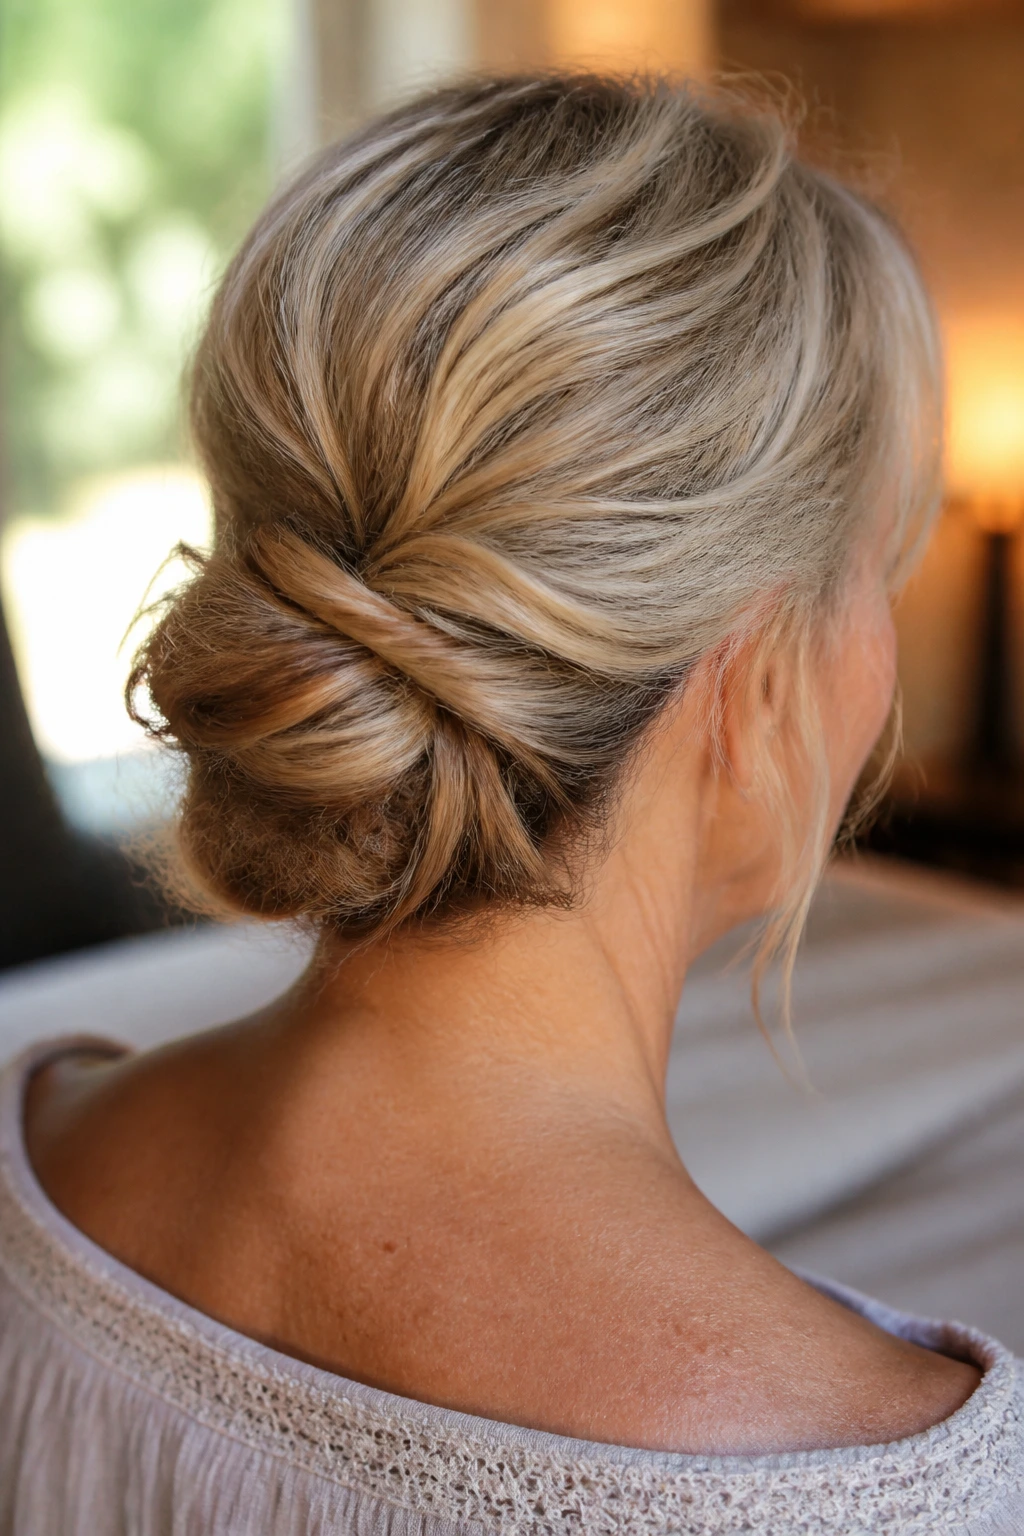
15. Soft Chignon Nape Fillers
The back of the neck is where thin hair gives up first.
Soft chignon fillers solve that by adding a little body right where the bun or twist needs it. Clip the pieces low and slightly off-center, then gather the hair into a loose knot. Pin it with bobby pins that match your hair color, and stop before it gets too perfect. A slightly undone chignon is easier to sell than a tight, polished one when the hair is fine.
This look is useful for weddings, dinners, and any event where you want your hair up but still want the style to feel soft around the head.
16. Air-Dried Texture Sets
Not every woman wants sleek hair. Some hair just looks better with a little bend and grain.
Air-dried texture sets are made for naturally wavy, slightly frizzy, or piecey hair that would look strange next to glossy poker-straight extensions. These pieces usually blend better when the hair is encouraged to keep its own natural texture. A little mousse, a scrunch with the hands, and a diffuse-dry around the roots can get you most of the way there.
If your own hair has texture, don’t fight it. Matching the texture is half the job. Trying to force everything smooth often makes the extensions stand out more, not less.
17. Long-Layer Density for Shoulder-to-Back Length
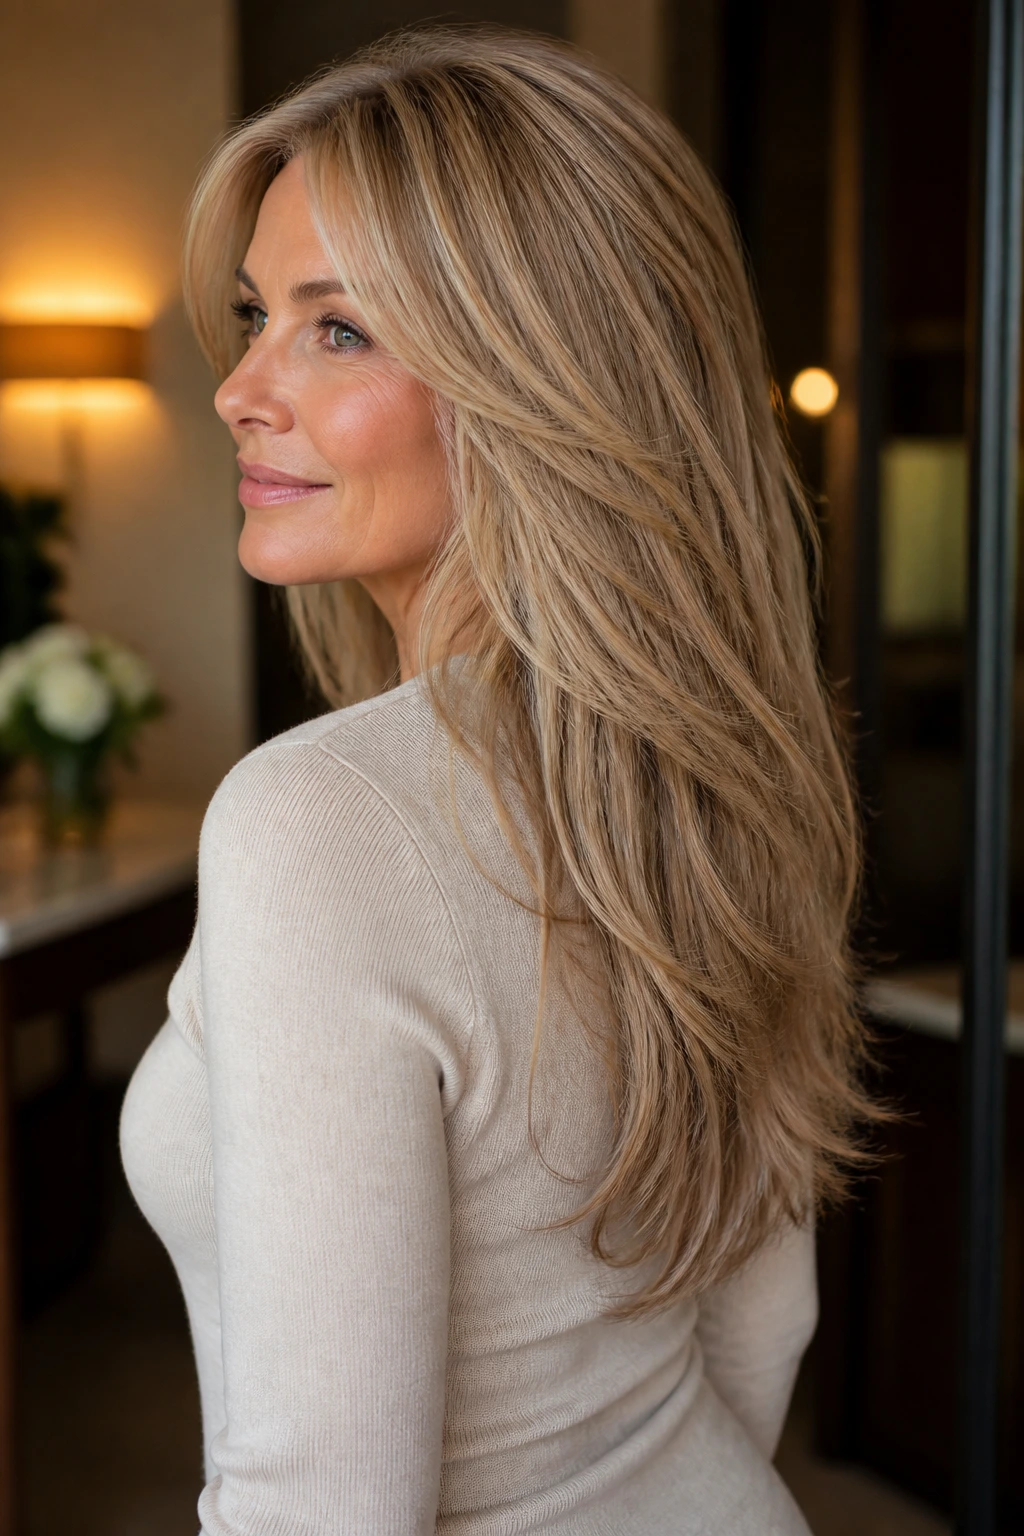
Some women do want the length. Fair enough. But on thin hair, long length only works if the layers are doing real work.
A layered set that reaches just past the shoulders can look rich if the density is distributed through the mid-lengths and not dumped only at the bottom. Ask for soft layers in the extensions so the ends don’t hang like ribbons. The natural hair underneath should still support the length, or the whole thing starts to look dragged down.
Keep the final length within a few inches of your own hair if possible. That usually keeps the look believable and saves the ends from looking see-through.
18. Everyday Minimal Volume Routines
Not every day needs a full glam install. Most days don’t.
An everyday set is usually one topper or two small wefts, used only to give the crown and sides a little body. Five minutes is the target. Maybe less once you get used to it. This is the look for school pickup, errands, work, and the kinds of days when your hair just needs to look awake. Nothing more.
I like this approach best for women who are new to clip-ins because it teaches placement without the pressure of a full head of hair. You learn where your own hair needs help. That’s the real skill.
Why Weight Distribution Matters More Than Extra Length
A lot of extension advice gets stuck on inches. I think that’s backwards.
Thin hair is mostly a weight problem, not a length problem. Put 180 grams of hair on a fine head of hair and it may look full for twenty minutes. Then the clips start to slide, the roots go flat, and the style feels tired before lunch. Spread that same effort across smaller wefts, a crown piece, and a couple of face-framing sections, and the result usually looks more expensive because it moves better.
The scalp is part of the style. That sounds obvious, but it’s where bad extension jobs go wrong. If the clips fight the part, the hairline, or the natural direction of growth, the eye catches the problem before it catches the pretty part. If the pieces sit where the head already wants to move, the whole look calms down.
For women over 50, this matters even more because the hairline is often a little softer and the density pattern is less even than it used to be. Temple fill, crown lift, and low-profile sides tend to do more work than big, dramatic length. A good set doesn’t announce itself. It fills in the missing shape and lets the haircut keep its dignity.
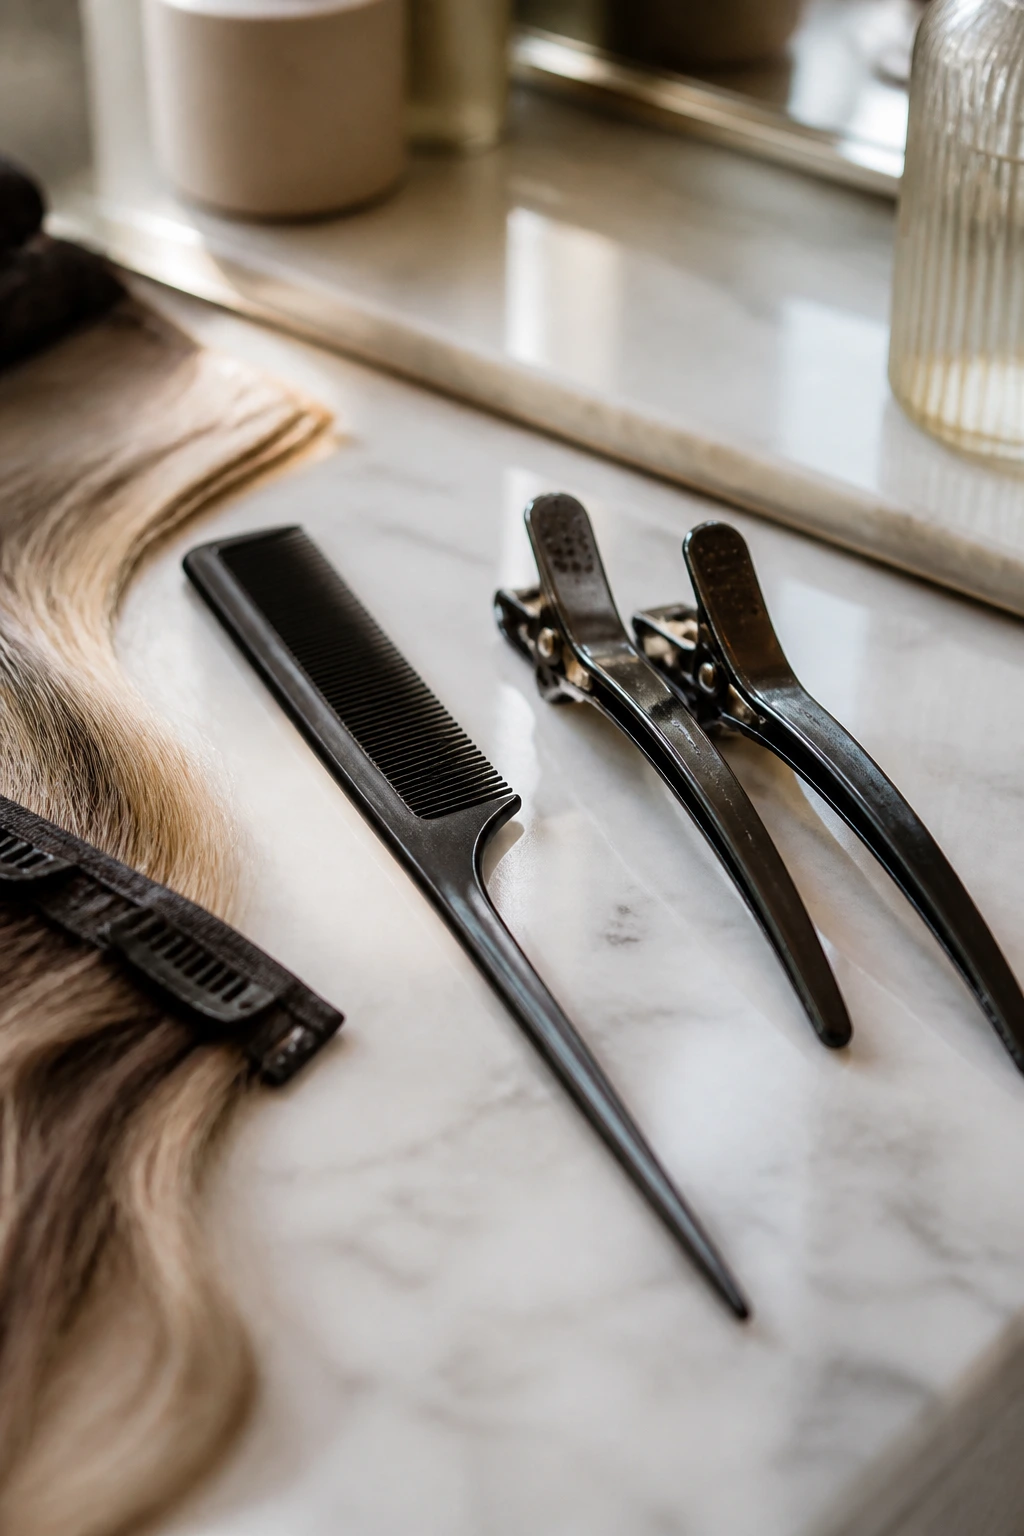
Essential Equipment for These Looks
-
Tail comb: Best for making clean sections and nudging hair over the clips without tearing at the roots.
-
Duckbill clips or sectioning clips: Keep the top layers out of the way while you place the extensions. Cheap ones work fine.
-
Two mirrors: One in front and one hand mirror behind you make it much easier to catch exposed clips at the crown and nape.
-
Light teasing brush: Use this only at the base, not through the ends. A little grip helps fine hair hold the weight.
-
Extension-safe brush or soft paddle brush: Detangles without ripping the wefts or frizzing the blend.
-
1-inch curling iron or flat iron: A small iron makes soft bends and waves that help the natural hair and extensions meet in the middle.
-
Flexible-hold hairspray: A hard shell of spray makes thin hair look stiff. Light hold is enough.
-
Heat protectant: Necessary if you’re styling human-hair pieces with heat.
-
Silicone-lined storage pouch or hanger: Keeps the clips from tangling and the hair from getting crushed between wears.
Smart Shopping for Thin Hair and Mature Hairlines

The first thing to look at is weight, not just length. For thin hair, a set in the 80 to 120 gram range is usually easier to wear than something heavier, especially if you’re using more than a couple of pieces at once. If your hair is very fine, even 100 grams can feel like a lot if every piece is clipped high. Light and strategic beats heavy and obvious.
Texture comes next. If your own hair has any bend, wave, or frizz, buy pieces that already lean that way. Bone-straight, shiny extensions can look too perfect against hair that has a little body. Human hair usually blends more naturally and can be toned or curled, which is why it tends to suit this topic better. Synthetic hair can work for occasional wear, but it often looks too smooth under daylight unless you’re very careful.
Color matching is where people make the most expensive mistakes. Match the ends first. Then the mids. If you have gray, consider rooted shades or salt-and-pepper blends instead of trying to force one flat color. And if your hair is between shades, choose the one that disappears in the middle of your hair length, not at the roots under bathroom lighting.
Clip design matters too. Silicone-lined clips hold better without needing as much teasing. That matters on fragile hair. Small, well-spaced clips are easier to hide than big, stiff teeth. If the set looks bulky in the box, it will usually look bulkier in your hair. Trust the weight in your hand.
How to Wear These Pieces So They Read as Your Own Hair

Placement: Keep the biggest wefts below the crown ridge and away from the hairline. The closer a clip sits to the top of the head, the more likely it is to show through fine strands.
Accompaniments: Pair these looks with shoulder-length cuts, soft bobs, long layers, side-swept bangs, and loose waves. Straight, one-length cuts can still work, but they need more careful blending at the ends.
Balance: Match the amount of extension to the amount of hair you already have. If your natural hair reaches your shoulders, don’t ask it to disguise a set that hangs halfway down your back. The mismatch shows. Keep the added length within a believable range.
Finish: Once the pieces are in, lightly curl or bend the top layer so the texture matches from root to end. A tiny bit of root lift and a flexible spray are usually enough. The goal is movement, not shellac.
Extra Finishers and Style Boosters
Root Prep: A dusting of dry shampoo or texturizing powder at the roots gives the clips something to hold onto. Use a little, wait a minute, then lift with your fingers. Too much product can make the pieces gritty and dull.
Customization: Have the ends trimmed into your haircut. Seriously. A tiny cut at the bottom line often does more than a full new set. It turns “extension hair” into “my hair on a good day.”
Color Story: If your hair has silver, golden, and brunette tones mixed through it, do not settle for one flat shade. A two- or three-tone blend usually looks calmer and more expensive in daylight.
Pro Move: For temple areas that keep slipping, place the clip a half-inch lower and let the top layer fall over it. Most people clip too high because they want maximum coverage, but lower placement often hides better and feels lighter.
Care, Storage, and Between-Wear Maintenance
Clip-ins last longer when they’re treated like a garment, not a bathroom afterthought.
Brush them before and after each wear with a soft extension brush or paddle brush, starting at the ends and working up. If you use them often, wash human-hair pieces every 10 to 15 wears, or sooner if you’ve used a lot of dry shampoo or hairspray. Use a sulfate-free shampoo, keep the water lukewarm, and apply conditioner from mid-lengths to ends only. The clip base does not need conditioning. It needs to stay clean and dry.
Let them air-dry flat on a towel or hang them from a storage hanger. Do not twist them into a knot or store them damp. That smell never leaves quickly, and the fiber can rough up at the ends.
At night, take them out. Every time. That habit matters more than people think. Sleeping in clip-ins bends the wefts, tangles the ends, and tugs at hair that may already be fragile. Store them in a silk pouch, a satin bag, or a hanging organizer with the clips closed.
If your pieces are human hair, keep heat low to medium. Around 280°F to 320°F is enough for most styling. Higher heat shortens the life of the hair fast.
Variations and Adaptations to Try
Silver Halo Blend: Use a topper or crown piece with bright silver around the front and softer ash brown underneath. It works well when your gray is concentrated near the face but darker through the nape.
Bob-Friendly Perimeter Pack: Choose shorter wefts and keep all added length close to your bob. This is the one to try if you want fullness, not extra inches, and hate the feeling of hair dragging on your shoulders.
Soft Glam Event Set: Build the style with a crown piece, two side fillers, and a shoulder-length wave. That combination gives you camera-friendly fullness without pushing into costume territory.
Five-Minute Daily Set: Keep one topper and one narrow side weft together in a pouch. This is the no-fuss routine for mornings when your hair only needs a little lift before coffee.
Fringe-and-Frame Combo: Pair a clip-in fringe with a cheekbone face-framer. Used together, they soften the forehead and the sides at the same time, which is useful for thinner front hairlines.
Common Mistakes to Avoid
-
Buying too much hair: A heavy set can pull at delicate roots and sit like a block. If you feel the clips before you even style them, the set is probably too much for your hair.
-
Matching the roots instead of the mids: A perfect root match can still look wrong if the lengths clash. Match the hair where the eye spends most of its time.
-
Placing clips too high: High placement makes clips show through fine strands and can irritate the scalp. Lower usually hides better.
-
Leaving the ends too blunt: Blunt extension ends look harsh on thin hair. A light trim or soft wave helps them blend.
-
Styling one texture on top of another: Straight extensions over naturally wavy hair, or curly pieces over smooth hair, tend to separate. Match the movement first, then worry about polish.
-
Sleeping in them: This one wrecks both the pieces and your own hair. Take them out. Always.
Frequently Asked Questions
Can women over 50 with very thin hair wear clip-ins safely?
Yes, if the set is light and placed carefully. The trouble starts when people buy too much hair or clip it too high on delicate roots. Start with a smaller set and build from there.
How many clip-in pieces should I use to start?
For most fine hair, one topper or two to four small wefts is enough for the first try. You can always add more volume later, but too many pieces at once make blending harder.
Should I choose human hair or synthetic?
Human hair is usually the better choice if you want to heat-style, tone, or blend with gray. Synthetic pieces can work for occasional wear, but they often look too polished against mature hair textures.
Can I wear clip-ins with a bob or lob?
Absolutely. In fact, bob and lob cuts are some of the easiest shapes to work with because they already have a defined line. Keep the added length close to your own cut so the finish stays believable.
What if my gray hair doesn’t match any extension color?
Look for rooted shades, silver blends, or multi-tone pieces. Flat single colors almost never work as well on gray transition hair because real silver hair is rarely one shade all over.
How do I keep the clips from slipping?
Use a little dry shampoo or texture spray at the roots before clipping in, and avoid putting conditioner near the base on styling day. If the section is still slippery, clip a half-inch lower where the hair has more grip.
Will clip-ins damage fine hair?
They can, if you wear heavy pieces too often or tug them out roughly. The lighter the set and the more careful the removal, the less stress they put on delicate strands.
Can I curl or straighten them?
If they’re human hair, yes, within reason. Use heat protectant and keep the temperature moderate. Synthetic hair is a different story and should only be styled if the packaging says it can handle heat.
The Shape That Still Feels Like You
The best clip-ins for thin hair do not try to impersonate a whole new head of hair. They fill in the places where age, genetics, color, or a few years of shedding have thinned the shape a little. That’s a more honest goal, and usually a prettier one.
If you keep the weight low, the color soft, and the placement smart, the result stops looking like an add-on. It starts looking like your haircut finally had enough help to behave.
And that’s the real win: fuller hair that still moves like yours.