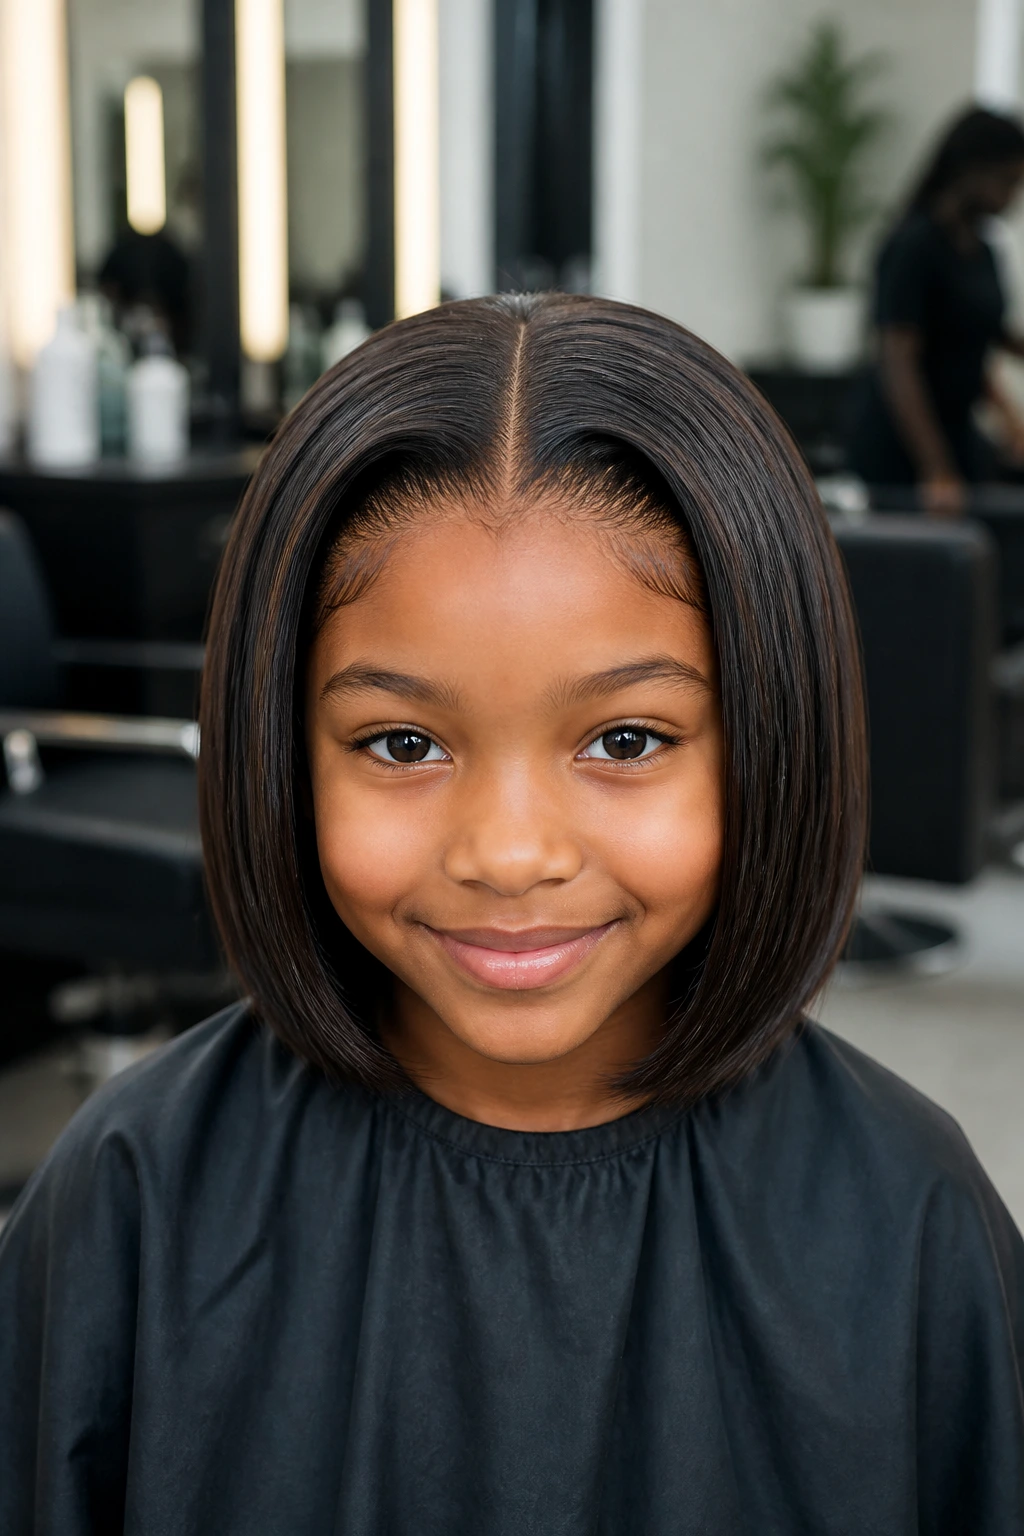
Fine hair and long bundles do not get along.
Once the install starts hanging past the shoulders, the weight shows up at the braid base, the ends look stringier than they should, and every little slip in the cut becomes obvious. A bob sew-in changes that math. The shape is shorter, the root stays lighter, and the whole style can look fuller because the eye lands on one clean line instead of chasing wispy ends.
For kids, that matters even more. A bob needs to sit flat, dry quickly, and stay comfortable after a full day of school, recess, car rides, and sleeping in a bonnet that never seems to stay put. If the style pulls at the temples or feels bulky at the nape, it’s too much. Full stop.
I’m picky about bob sew-ins for fine hair because the cut has to do more than look cute in a photo. It has to protect the child’s own hair, hide the tracks, and still move naturally when they turn their head. The best versions below do that with blunt lines, soft bends, gentle angles, and just enough texture to create the illusion of density without adding weight.
Why These Bob Sew-In Styles Earn Their Place
-
Light on the scalp: Shorter bundles and closure-focused installs keep the braid base flatter, which matters a lot when the natural hair is soft and easily stressed.
-
Thicker-looking ends: A blunt hem, an under-turned finish, or a soft curl line makes the bottom of the style read fuller than a long, see-through weave.
-
Faster morning reset: A chin-length sew-in or lob dries and settles faster after a wash, mist, or mousse refresh, so you’re not waiting around for hours.
-
Less heat pressure: Styles built around a closure or a smart part reduce the amount of leave-out that needs regular flat-ironing.
-
Better comfort for active kids: Shorter bobs stay away from backpack straps, hoodie collars, and car-seat headrests, which is one of those boring details that turns into a big deal fast.
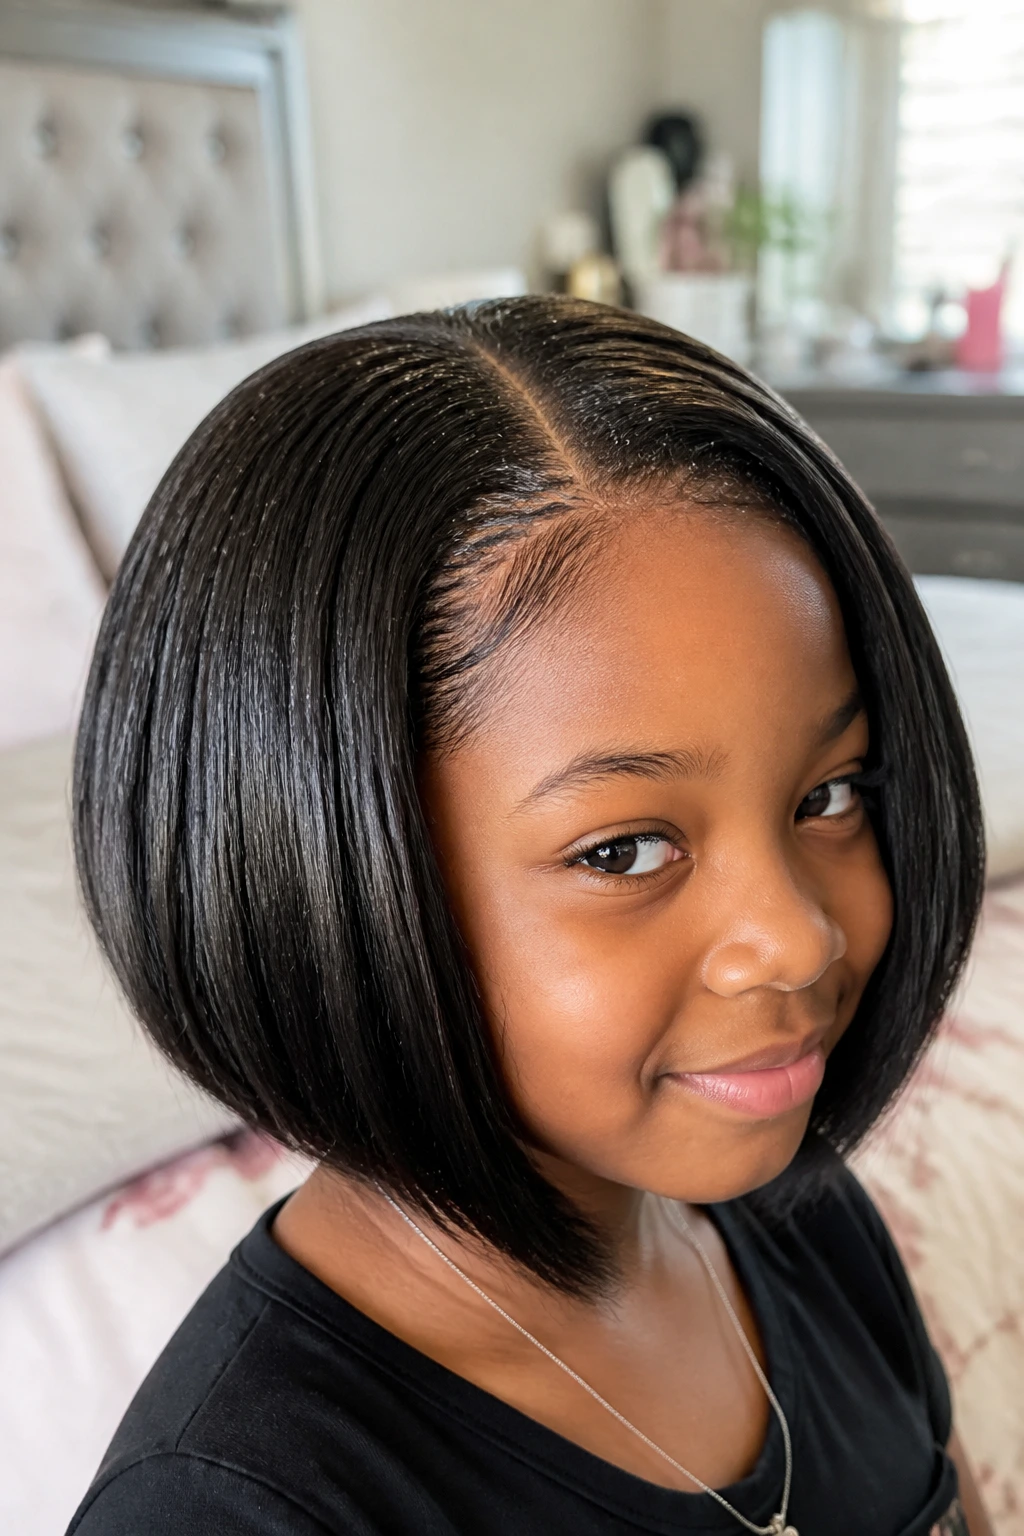
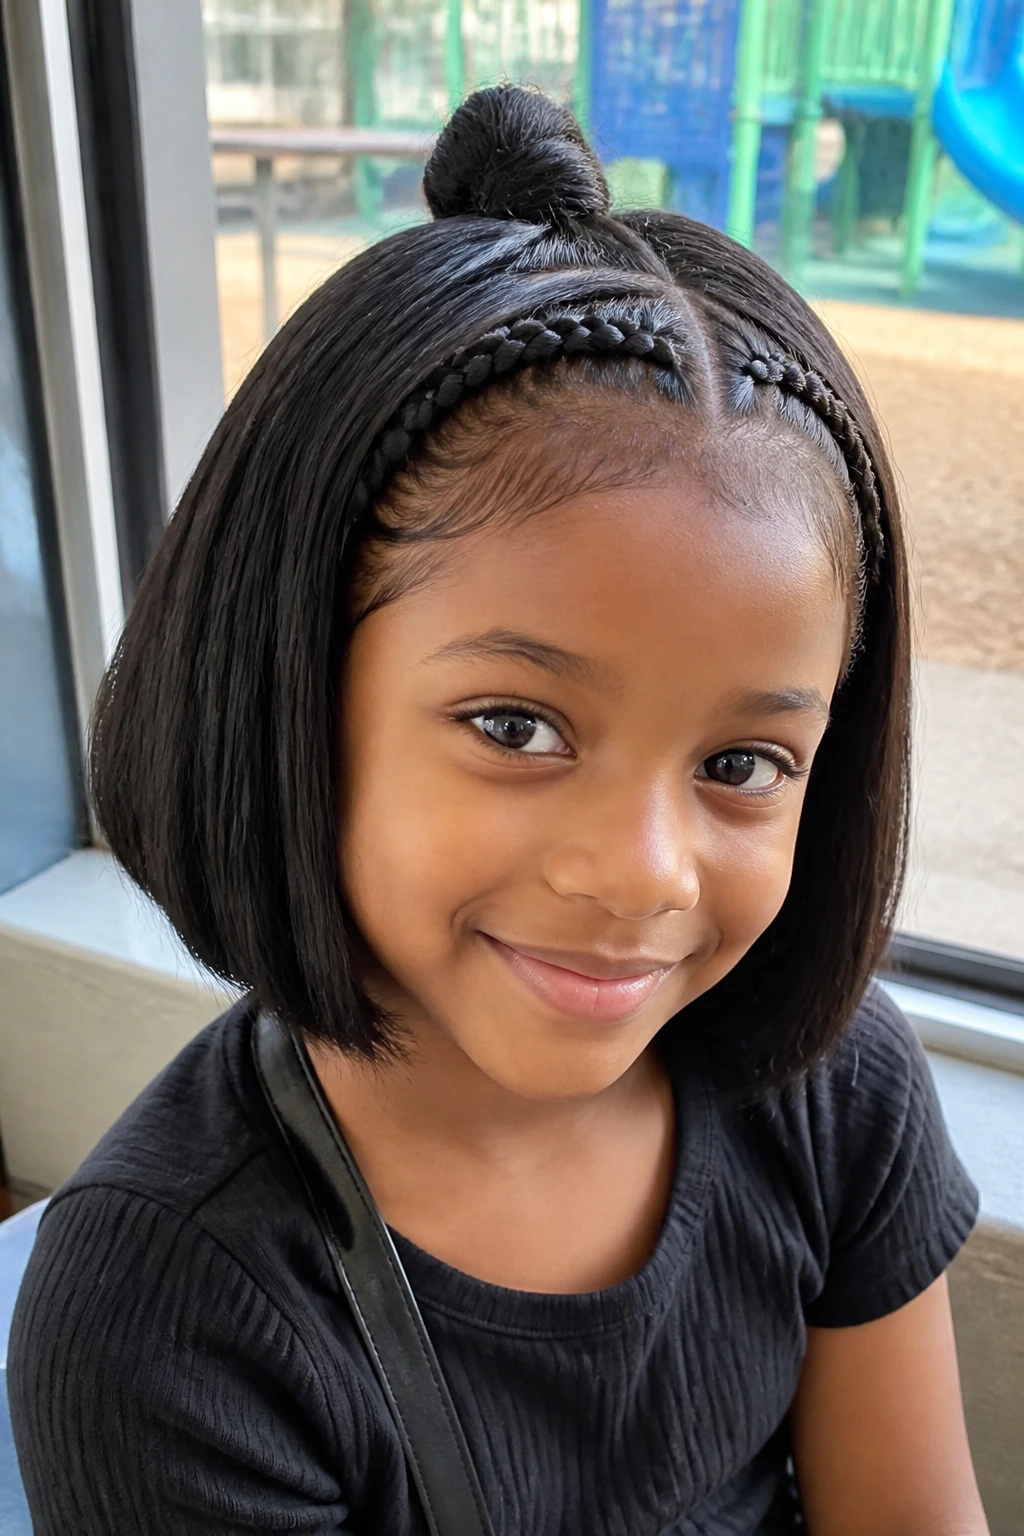
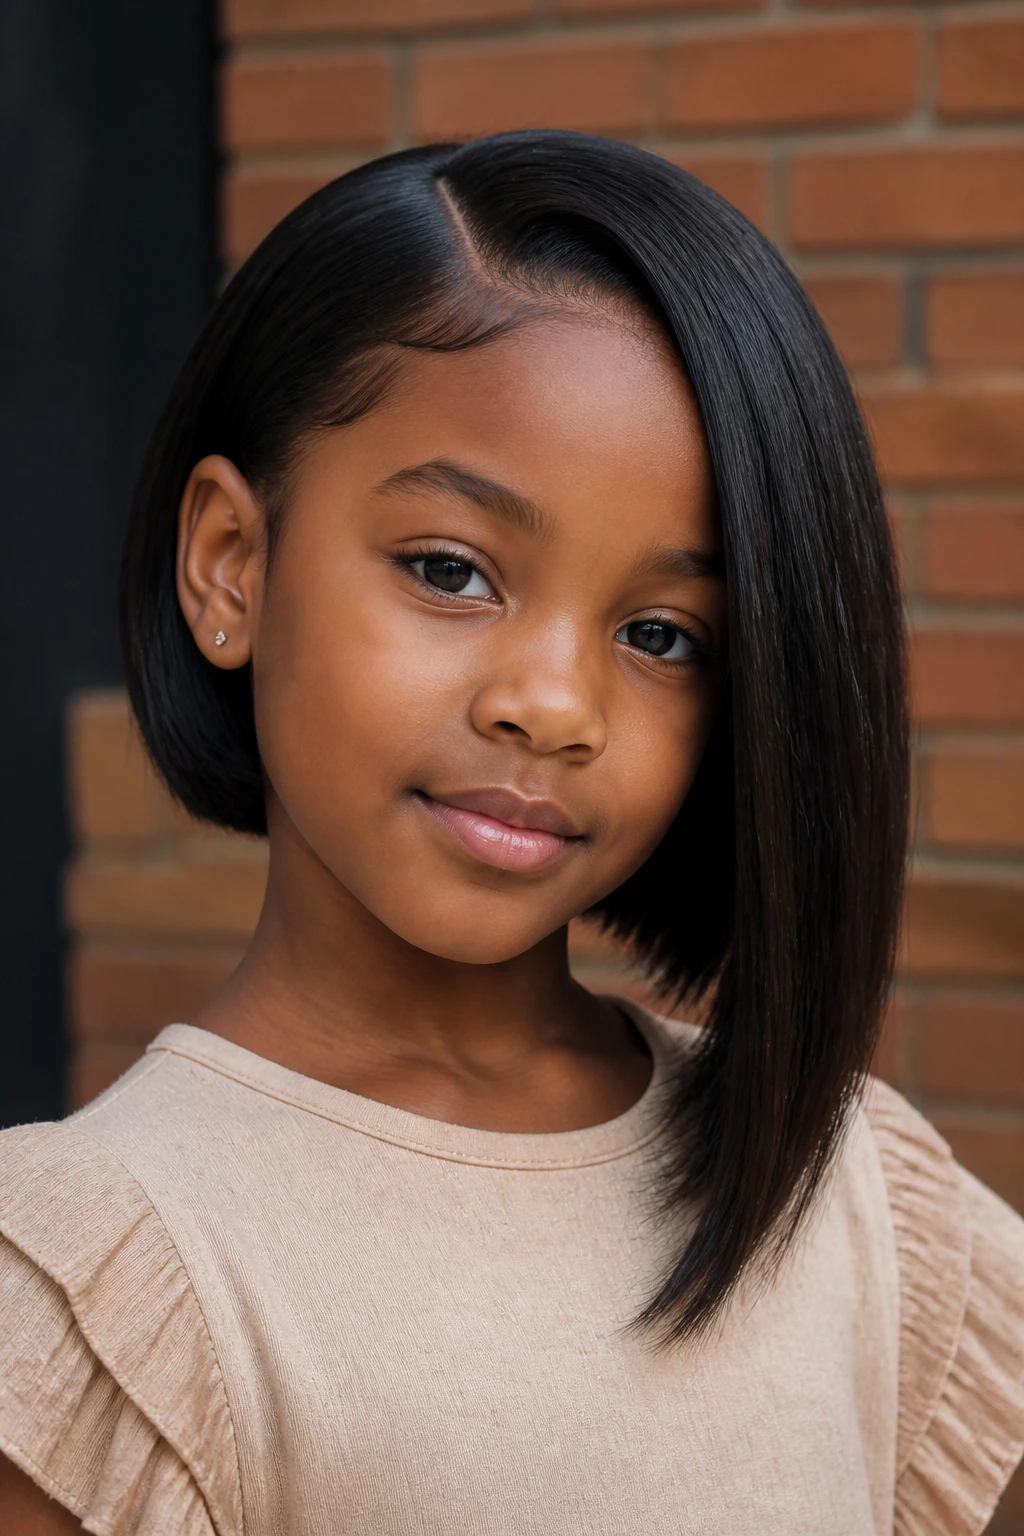
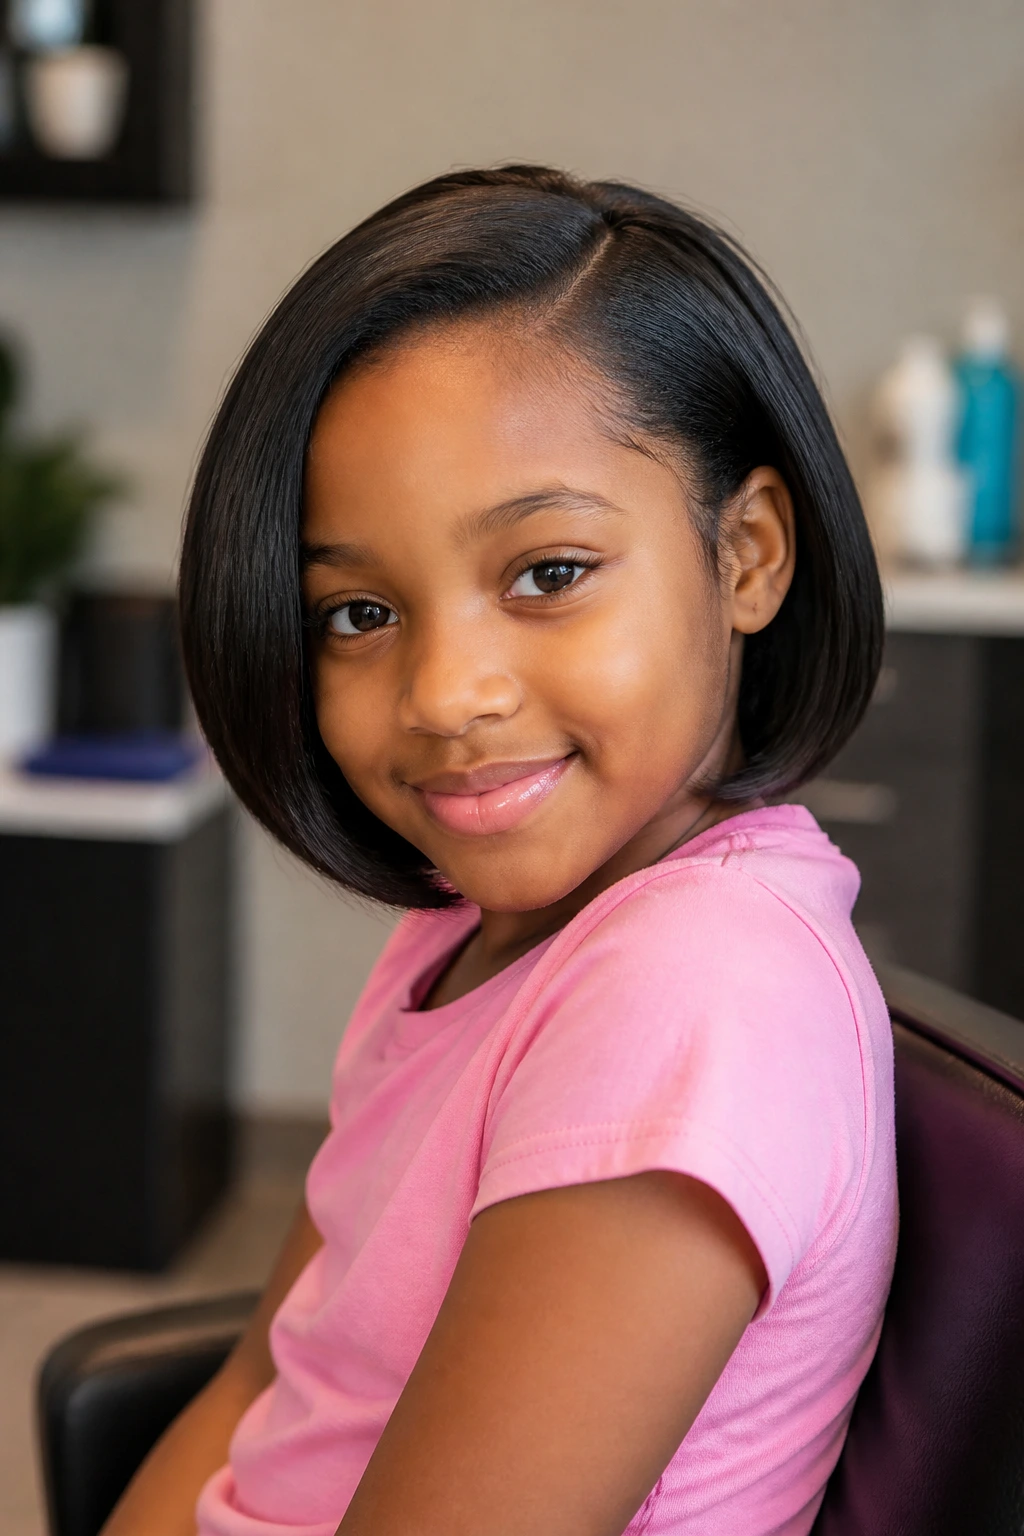
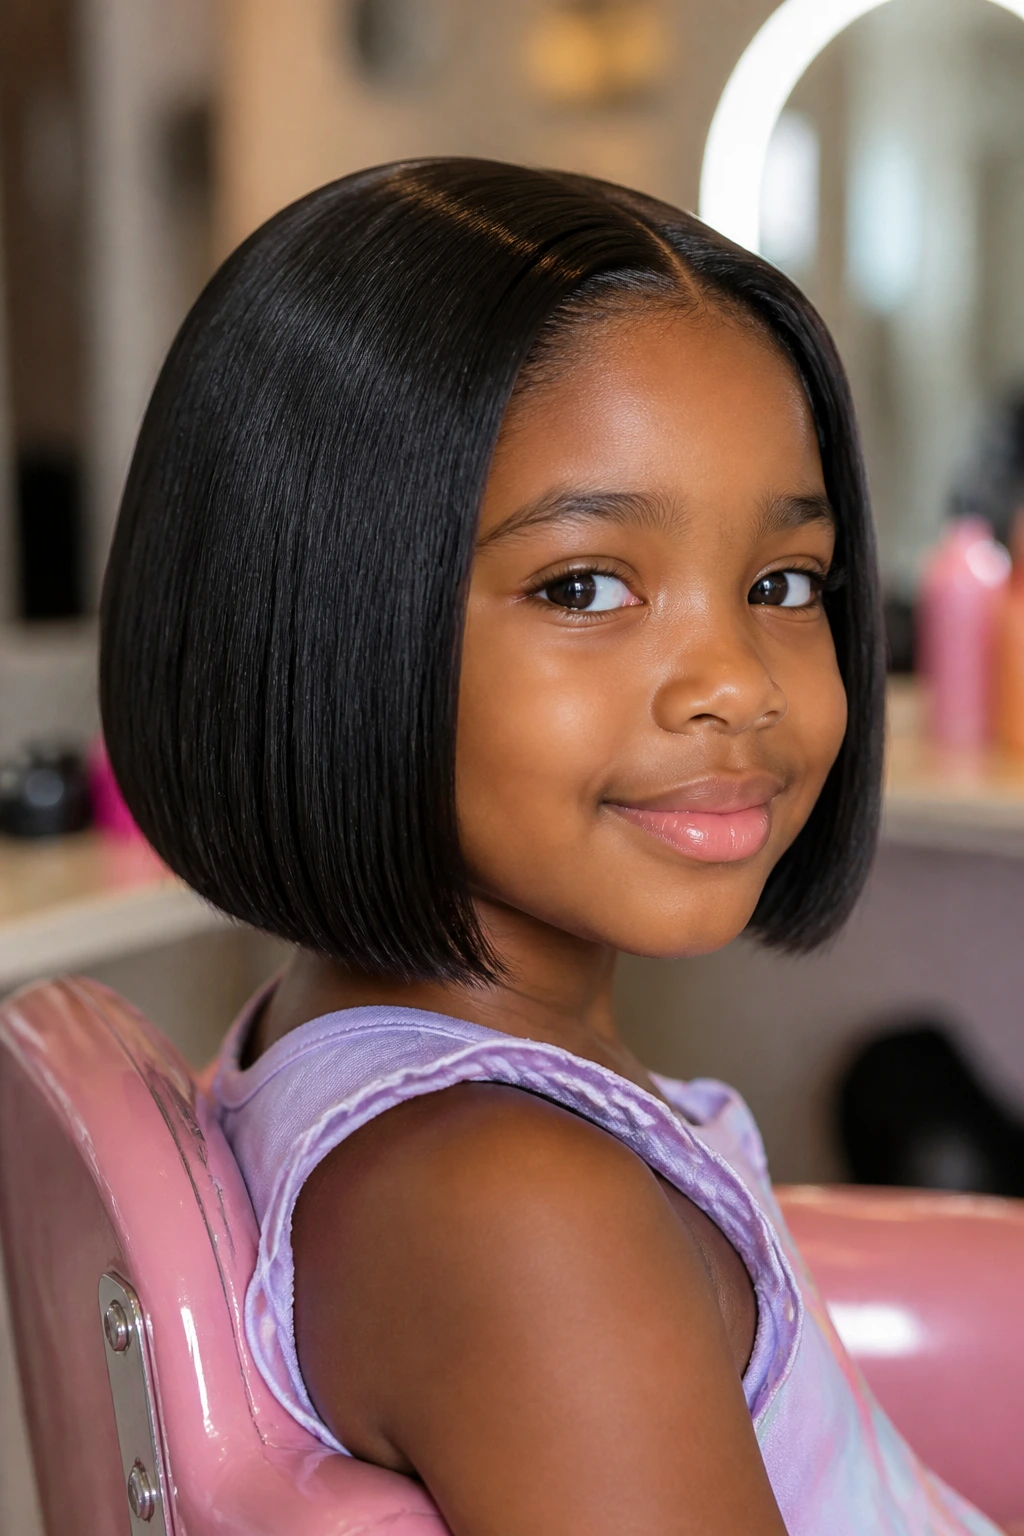
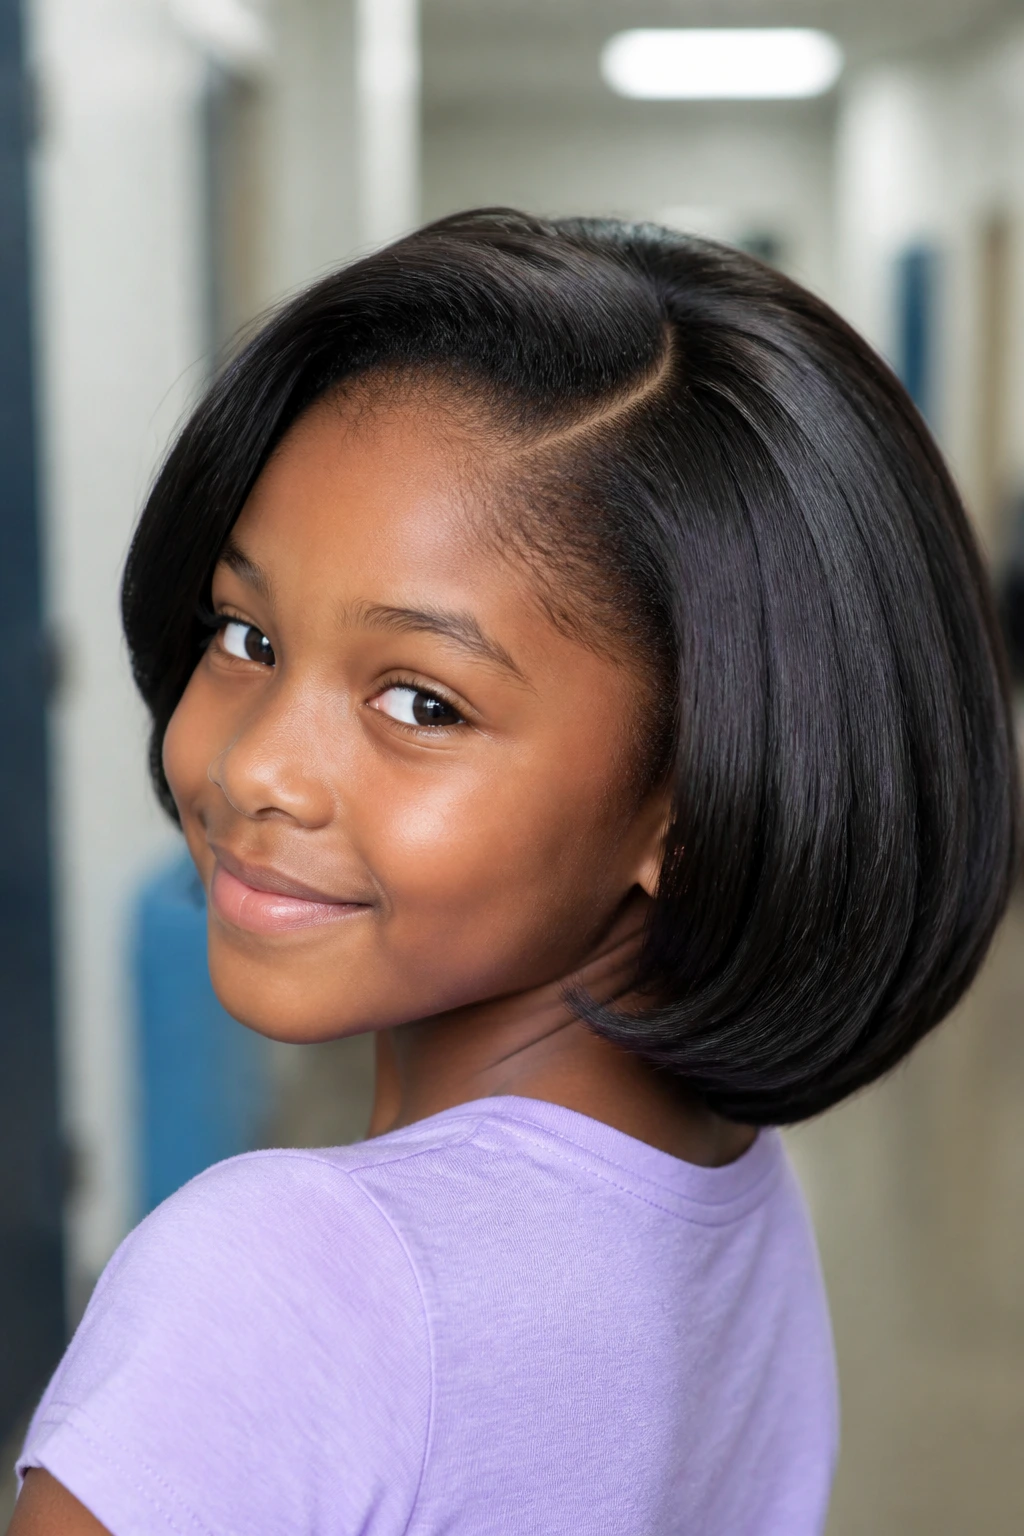
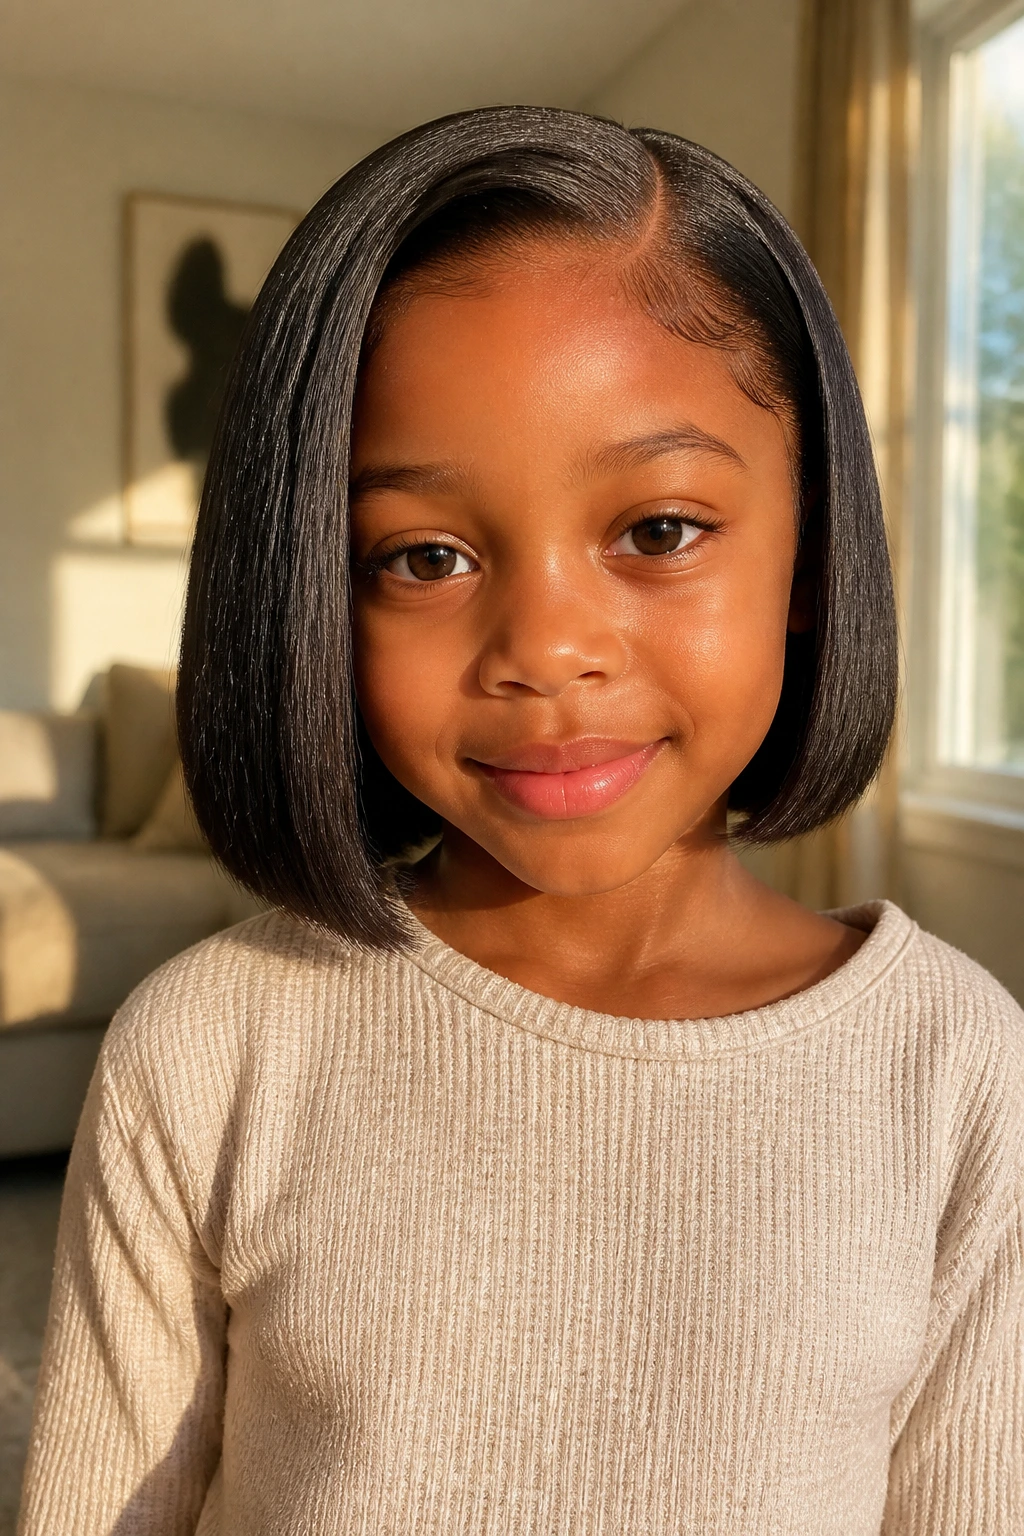
1. Chin-Length Blunt Closure Bob
The cleanest version of a bob sew-in for fine hair is the blunt, chin-length cut. One solid line at the bottom does a lot of heavy lifting. It makes the style look denser, hides sparse ends, and keeps the whole shape neat even when the child has been running around all day.
A closure helps here more than people expect. A 4×4 or 5×5 closure lets you keep the crown tidy and avoid a big leave-out section, which is usually where fine hair starts to look flat. I like this cut around 10 to 11 inches before trimming, because the hair always settles a little once it’s wrapped and worn.
Ask for this when: you want the safest, cleanest option with the least heat on the child’s own hair.
Best detail: have the stylist trim the bob after the install has sat overnight, not five seconds after the last track goes in.
That little delay makes the edge look straighter and the overall line more believable.
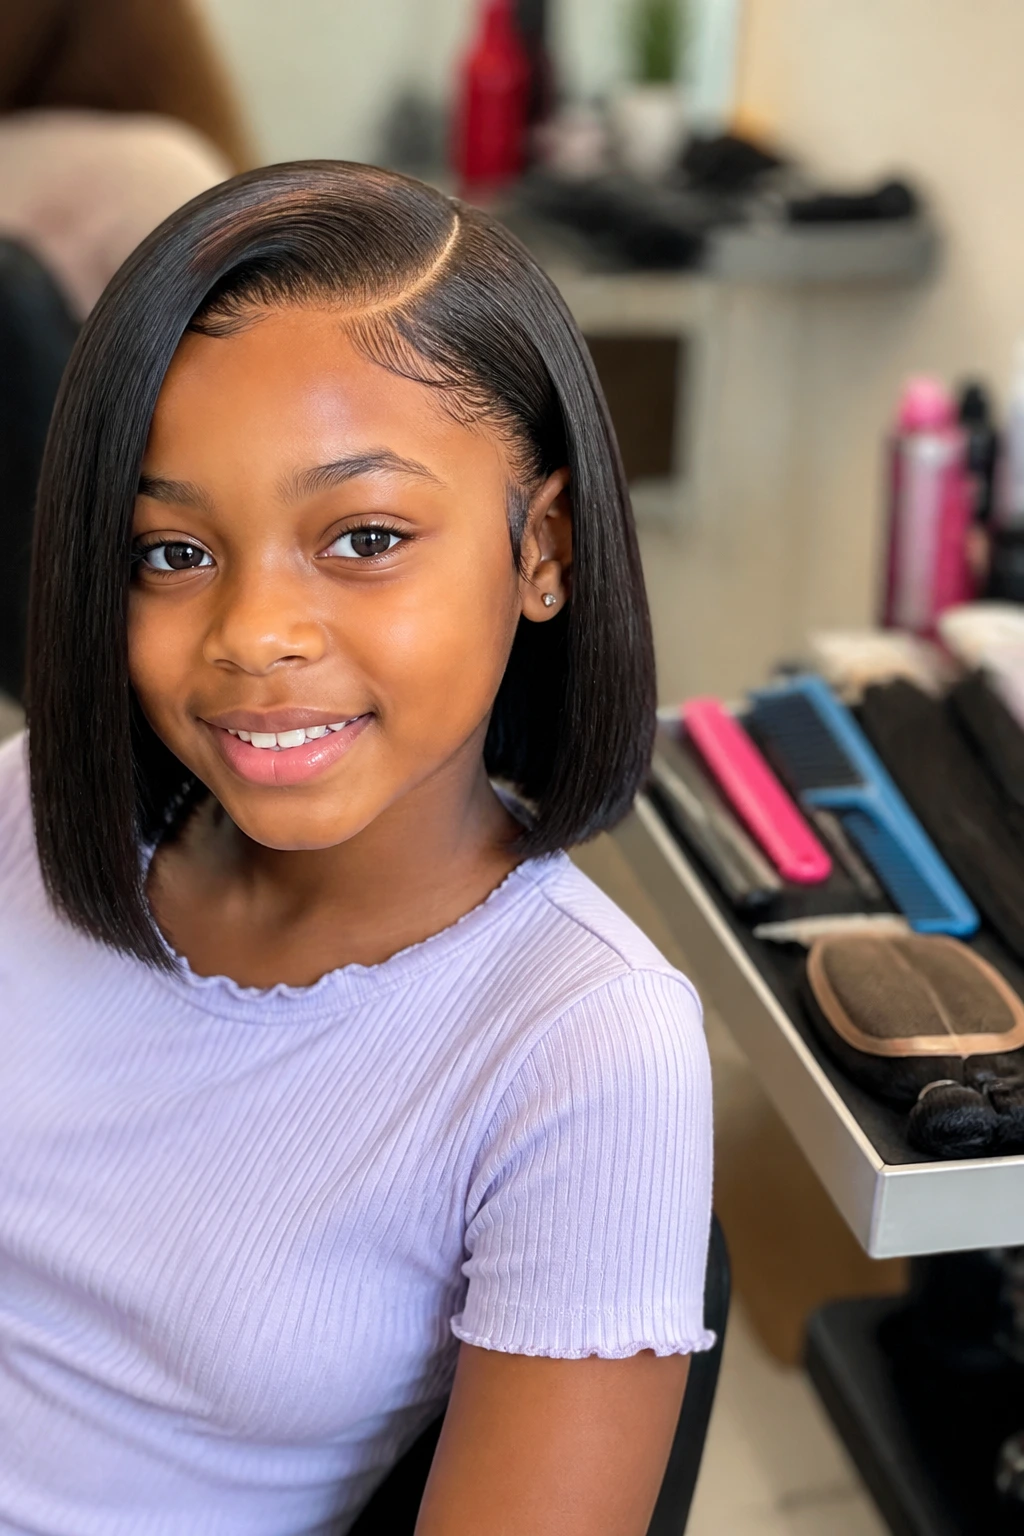
2. Side-Part Tucked-Behind-Ear Bob
A side part changes the whole mood of a short sew-in. It gives a little lift at the root, shifts the bulk away from the center, and opens the face without needing a lot of extra hair. On fine hair, that small shift keeps the style from looking too flat on top.
The tucked-behind-the-ear finish is the part I like most. It keeps the front clean, shows off the jawline, and makes the bob behave better on school mornings when nobody wants to spend ten minutes fixing one side. If the child has a narrow face or likes a softer shape, this one lands nicely.
What makes it work
- A slight off-center part keeps the crown from looking stiff.
- Ear-tucking hides the lace line or tracks near the front.
- A light bend at the ends stops the style from flaring out at the collar.
Keep the front pieces just long enough to brush the cheek, not so long that they drag the whole silhouette down. That’s where this style goes from neat to fussy.
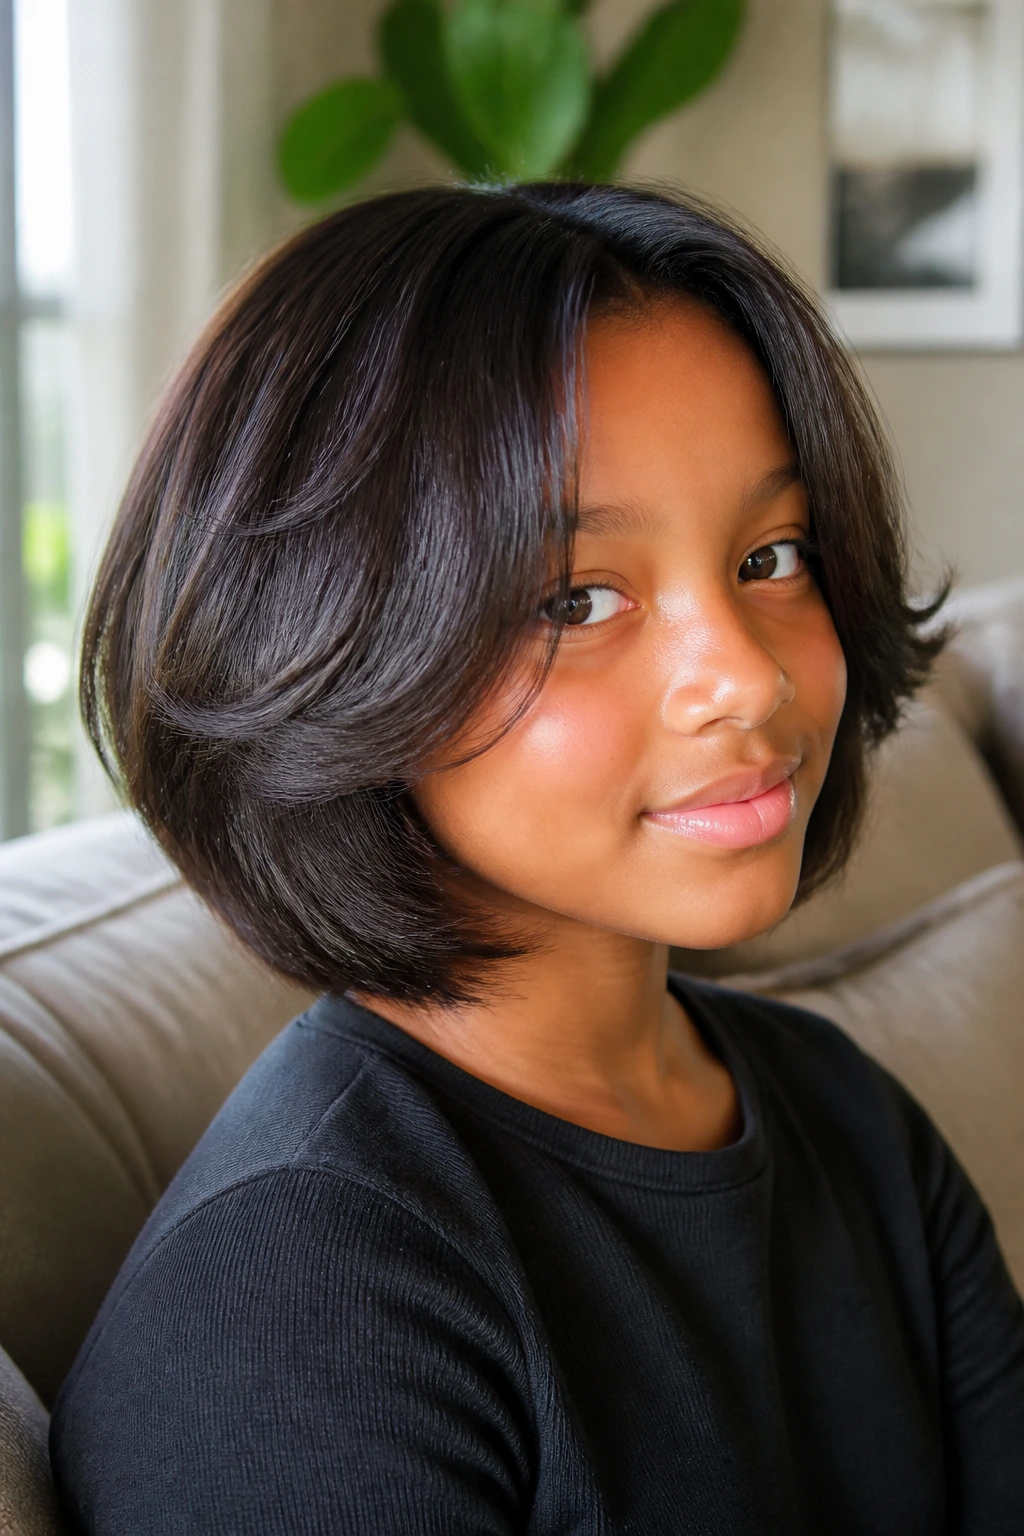
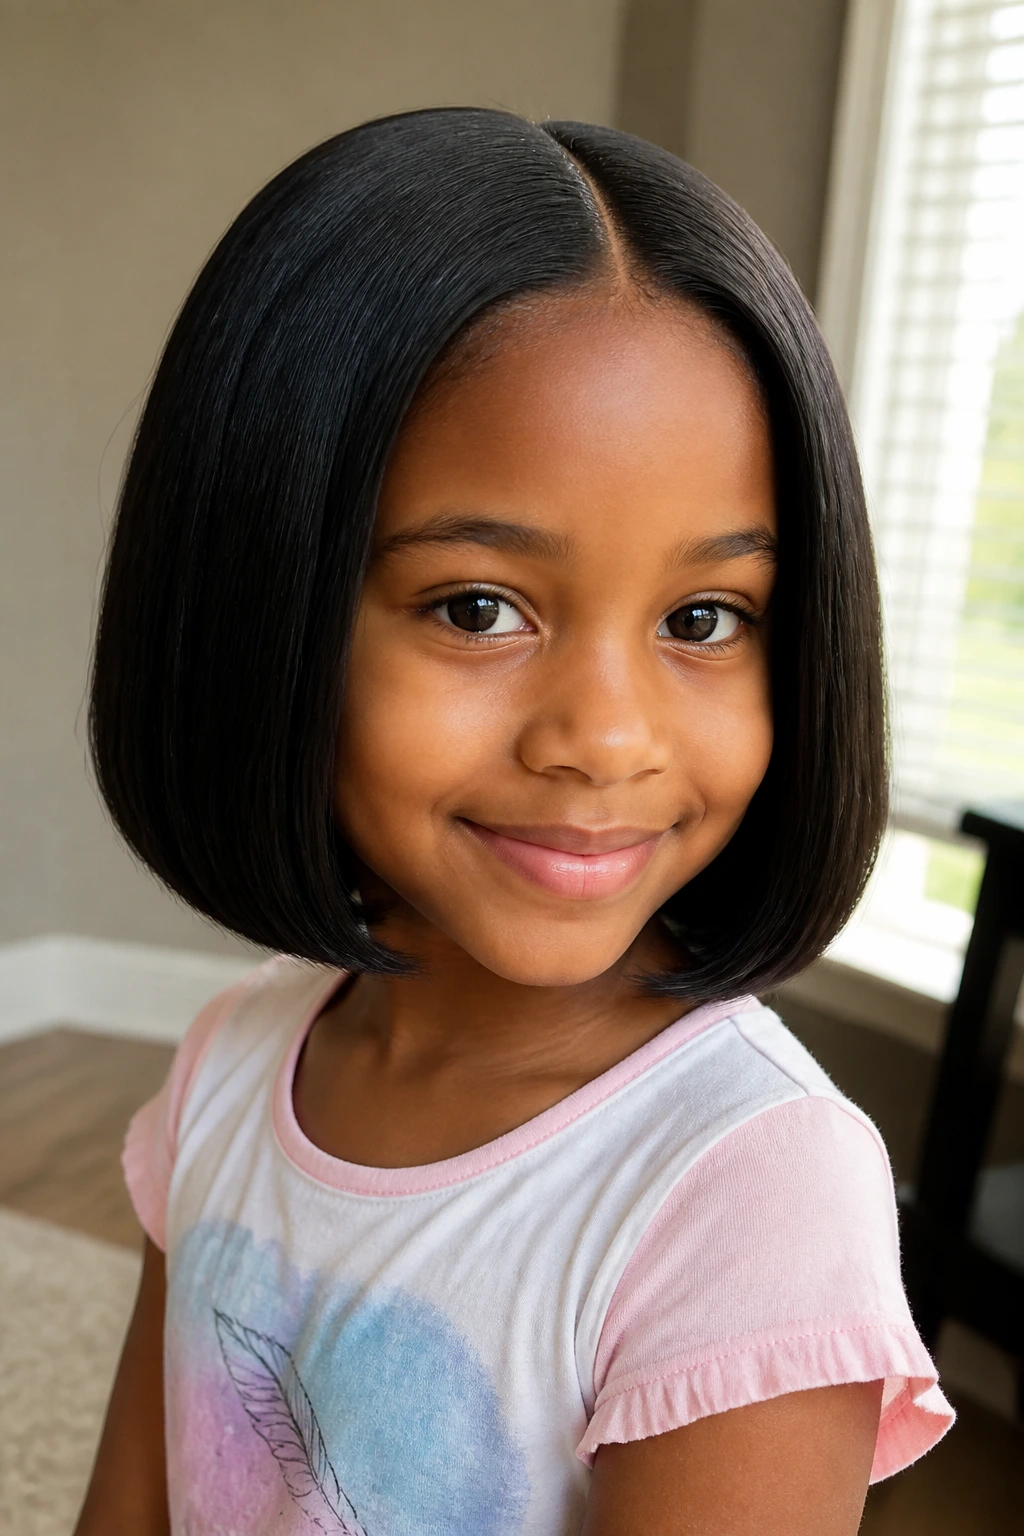
3. Rounded Flip-Under Bob
When the ends curve inward instead of hanging straight, the bob suddenly looks thicker. That’s the entire trick. A rounded flip-under bob gives fine hair a soft, full edge that feels old-school in the best way, with no hard corners and no skinny-looking tips.
This style is especially good when the install is short enough to sit right at the jawline. A 1-inch flat iron, a foam wrap, or a roller set can all create that inward bend, but the finish has to stay soft. If the ends are too stiff, the bob starts looking helmet-like. Nobody wants that.
The nape should be a touch shorter than the front so the shape hugs the neck instead of puffing out at the back.
Best for: kids who wear uniforms, collared shirts, or sweaters that would otherwise catch the ends.
Stylist note: ask for a gentle bevel, not a sharp curl. The goal is a smooth curve, not a barrel roll.
4. A-Line Bob with a Slim Nape
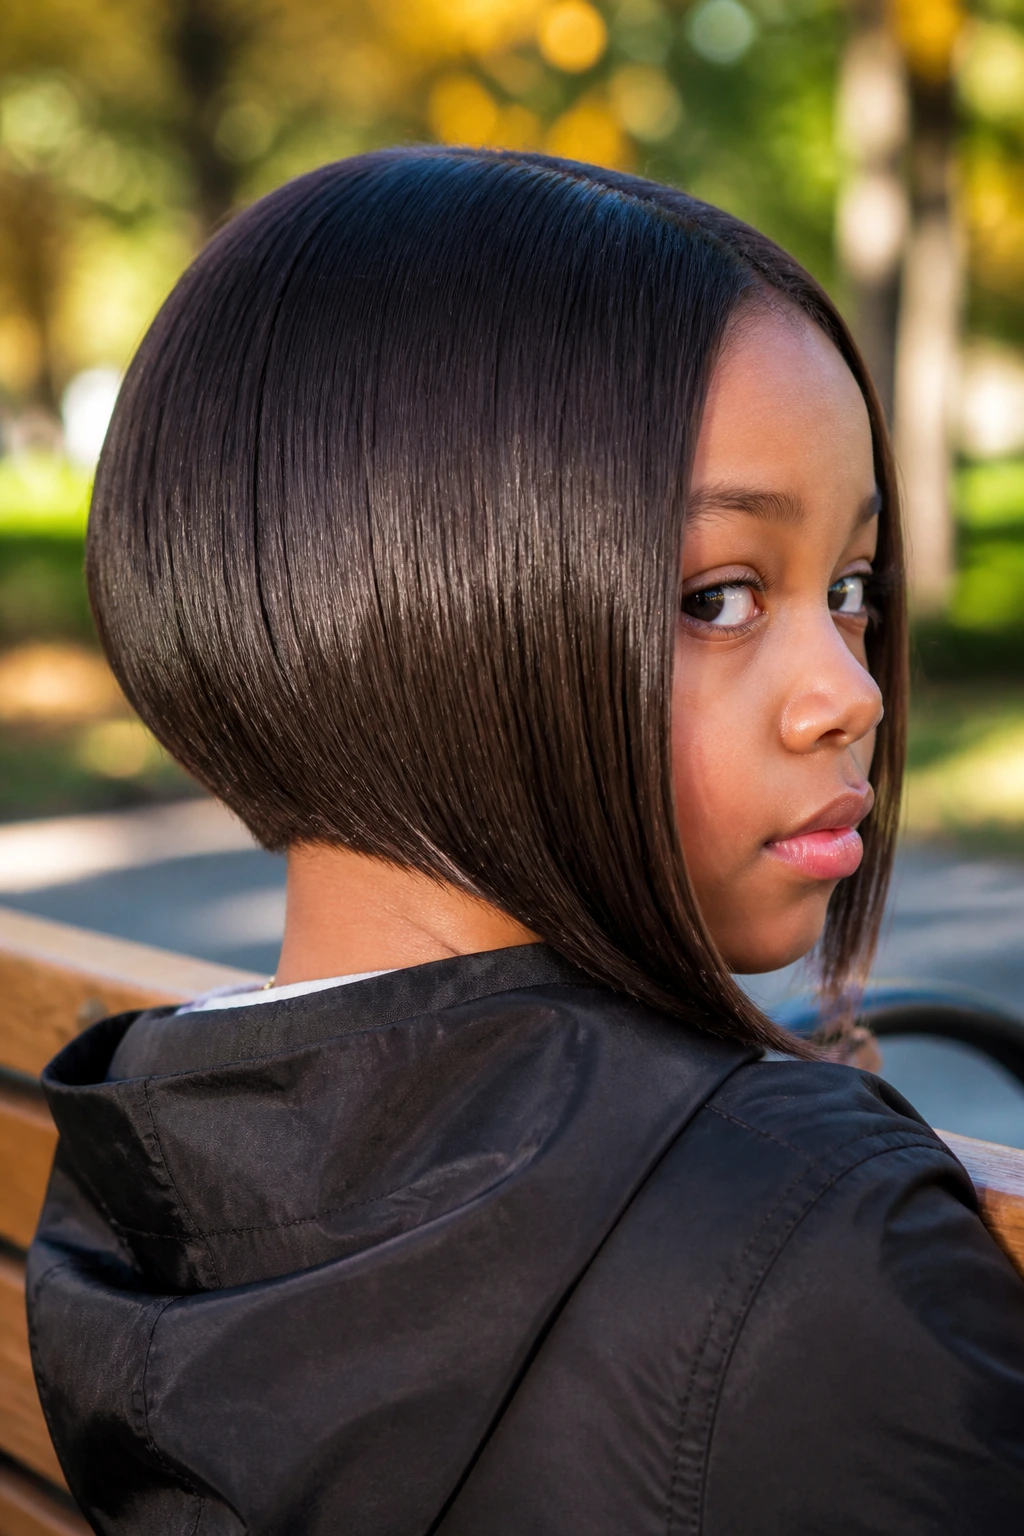
A good A-line bob keeps the back a little shorter and lets the front glide forward just enough to frame the face. That shape is a gift for fine hair because it shifts visual weight to the front, where the eye expects to see a little movement, and keeps the back from feeling bulky.
The slim nape is the real win here. It sits close, lies flatter under scarves and jackets, and makes the whole install easier for a child who hates feeling hair brush the neck. If the hair is very soft, ask the stylist not to over-stack the back. Too much layering under the nape creates a puff that looks bigger than the actual hair can support.
This style reads polished without trying too hard. It has a bit of angle, a bit of swing, and enough structure to stay in place when the weather gets humid or the day gets long.
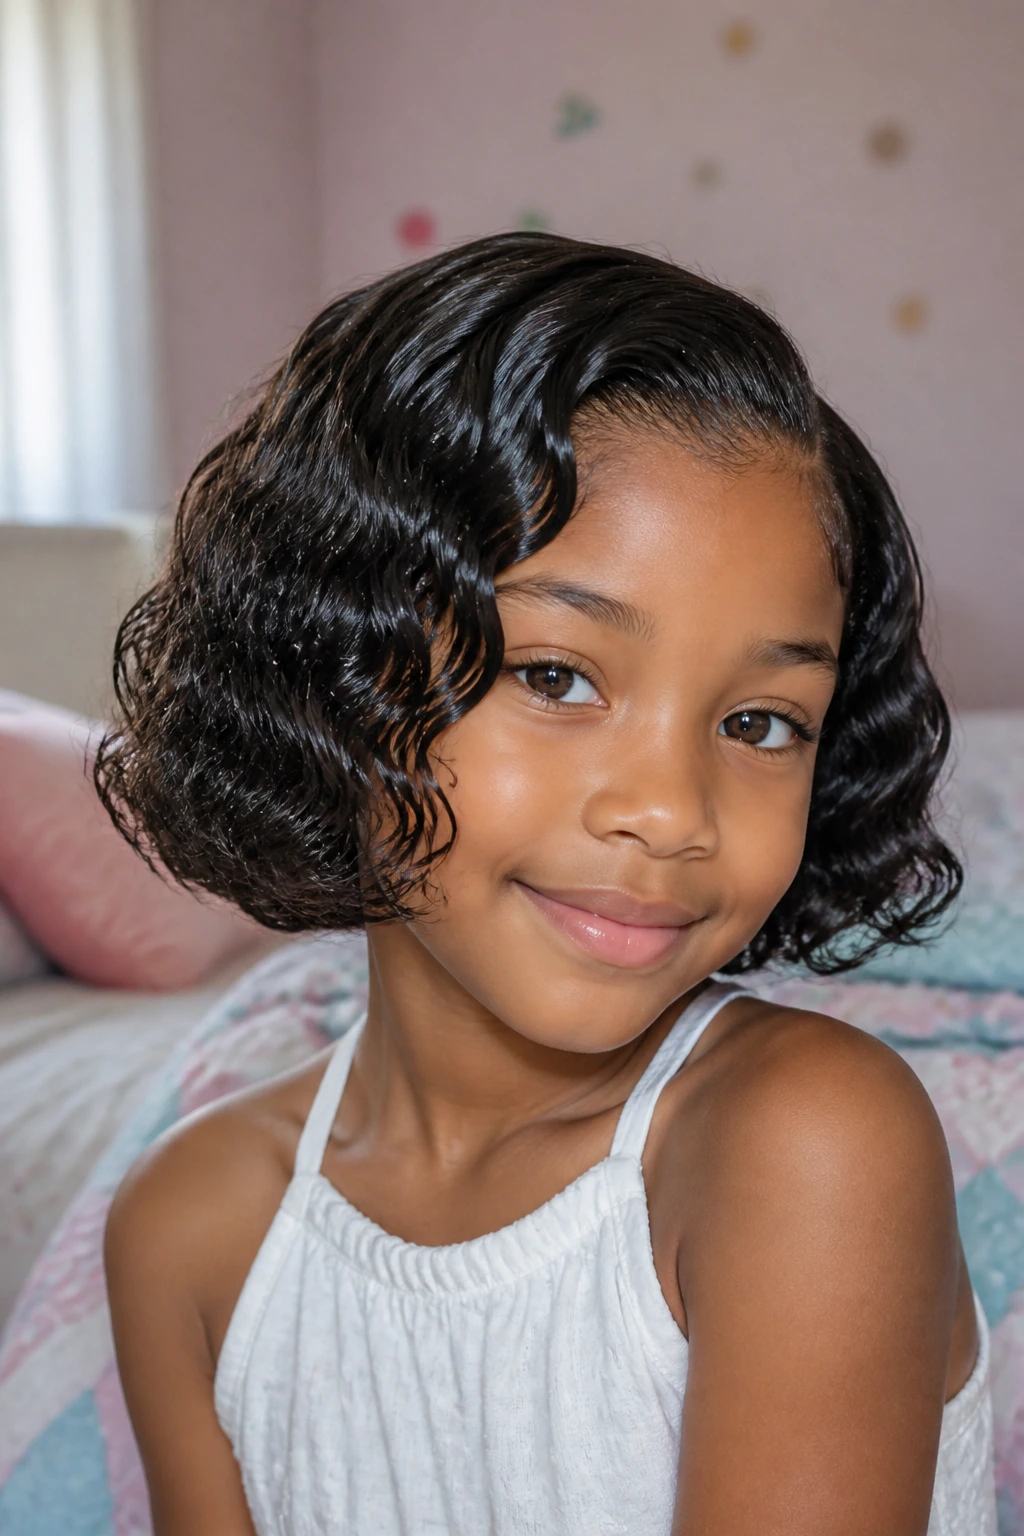
5. Soft Curled Bob with Body and Bounce
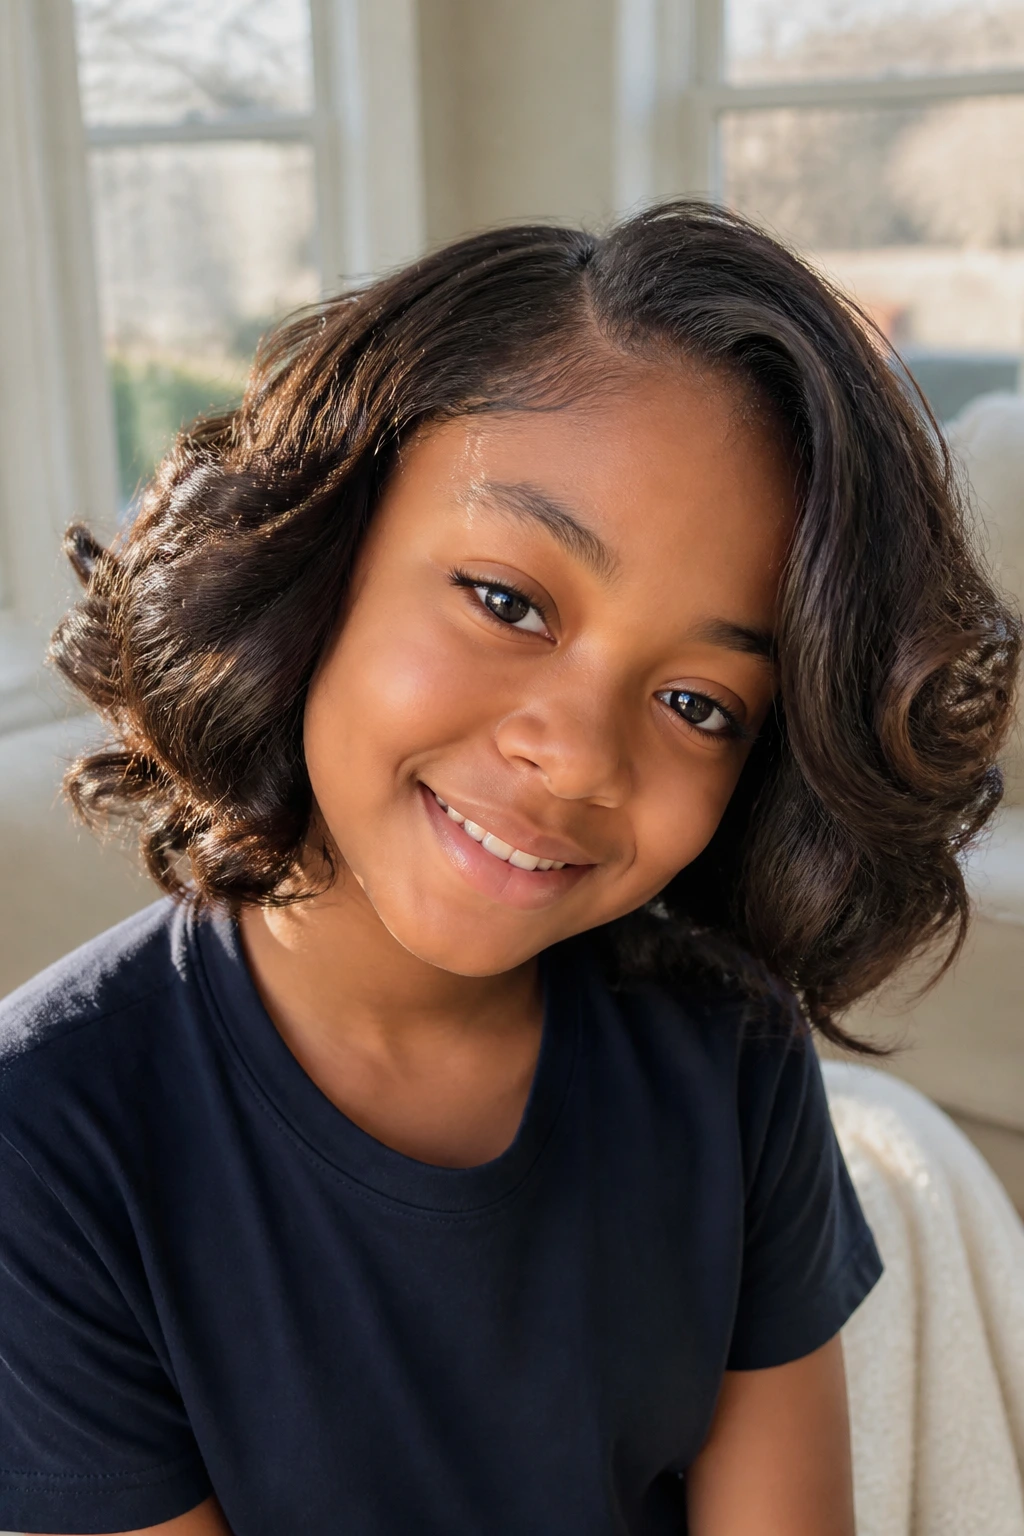
Soft curls are one of the smartest ways to fake fullness on fine hair. A loose wave gives the illusion of more strands because the eye stops tracing individual pieces and starts reading the whole shape. That matters on a child’s bob, where you want movement without a lot of fuss.
Body wave bundles or a loose wand curl work well here. Keep the curl pattern relaxed, not tight. Small curls on a short bob can shrink the length too much and make the style feel crowded around the jaw. A gentle bend, then a light finger comb or wide-tooth comb, keeps the finish soft.
Why this style earns its keep
- Curl texture hides thin areas faster than straight hair.
- The shape looks fuller without adding another bundle.
- Mousse refreshes it fast in the morning, which is a relief on busy days.
A little water and a foaming wrap lotion are enough. Skip the heavy oils. They flatten the curl and make the bob look greasy by day two.
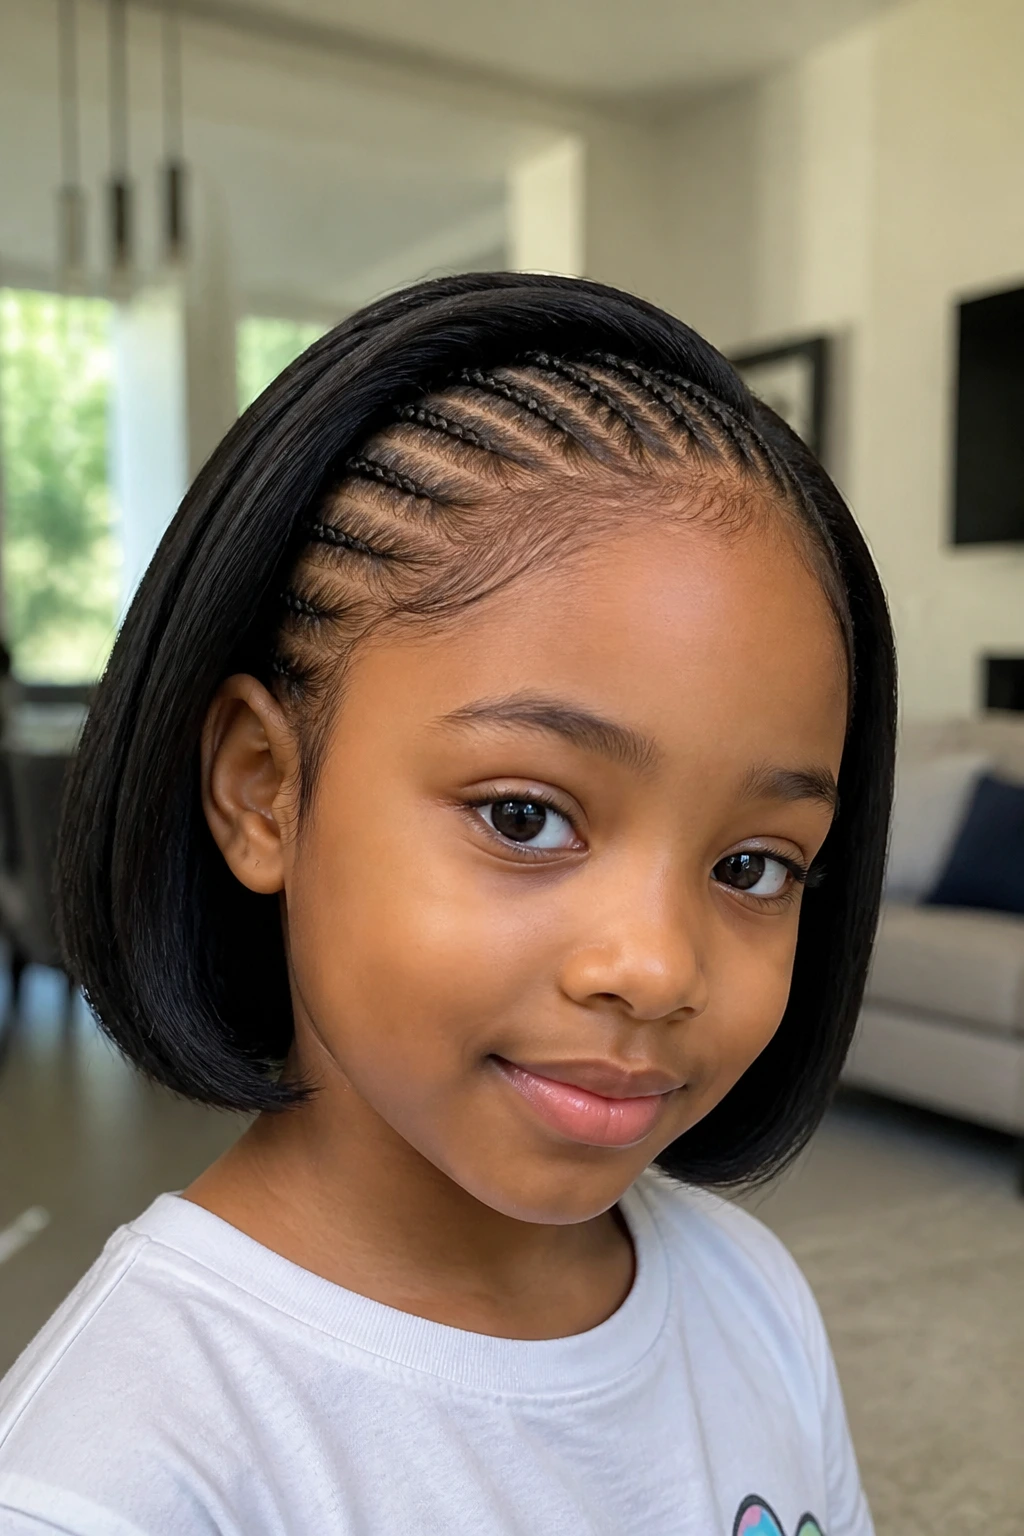
6. Deep Side-Part Closure Bob
A deep side part does two jobs at once. It creates height at the crown and moves the eye away from any area where the child’s hair is thin or delicate. On a bob sew-in, that can make the whole install feel more dimensional without actually adding much hair.
This is one of the better choices when the child’s hairline needs a break from constant styling. A closure closes off the top, the part is built into the piece, and the rest of the bob can stay sleek and light. I’d keep the part deep enough to be obvious, but not so deep that the front of the style starts collapsing over one eye.
A side-part bob like this looks especially good when the ends are blunt or slightly beveled. Curly ends can work too, but the key is keeping the top smooth and the front soft. Too much product at the roots ruins the shape fast.
7. Kinky Curly Bob with Full Texture

Texture does a lot of the visual work here. A kinky curly bob can make fine hair look fuller because the curl pattern fills space that straight hair leaves empty. The style also hides the join between tracks better than a super-sleek finish, which is useful when you want the install to look soft and natural.
This one is strong on kids because it doesn’t demand perfect flat-ironing every morning. A little water, a small amount of mousse, and finger detangling are usually enough. The curls should be loose enough to move but tight enough to hold shape after sleep.
What to ask for
- 10 to 12 inches if you want chin length after curl shrinkage.
- A curl pattern that matches the child’s natural texture or sits close to it.
- Light layers only, because too many layers make the ends look thin.
One caution: don’t drown this style in oils. Curly bob sew-ins can go limp fast when the roots and ends get overloaded.
8. Half-Up Braided-Front Bob
For playground days, assemblies, or any day that starts with a lot of motion, a half-up bob keeps the hair out of the face without turning the style into a full ponytail. The front can be braided back in a small row, twisted into a tiny top knot, or clipped up with a bow, while the rest of the bob stays free.
The point is balance. You want just enough lift to show the face, not so much that the top starts looking top-heavy. Fine hair already benefits from a light install, so keep the front detail modest. One slim braid or a small half-up section is enough.
This style is practical in a way that parents usually appreciate by the second week. It stays neat, hides a little frizz near the hairline, and still looks intentional when the child has to go from classroom to practice to dinner without a full reset.
9. Invisible-Part Sleek Bob

An invisible-part bob is the kind of style that looks simple until you notice how tidy it is. The parting is hidden or barely there, the closure is blended carefully, and the whole cut sits low and smooth. For fine hair, that means less leave-out, less heat, and fewer signs that the natural hair is being pushed too hard.
I prefer this one when the child’s hairline is delicate or the scalp gets irritated easily. A good closure does the work that a lot of flat-ironing would otherwise try to do. The result is cleaner, and the style usually lasts better because there’s less daily handling.
Best use case: when you want a sleek look without the constant maintenance of a leave-out install.
Stylist warning: the closure has to match the density of the natural hair. If it’s too full, it sits like a patch on top. If it’s too thin, the scalp shows through in a way that looks unfinished.
10. Feathered Layer Bob
A blunt bob is not the only answer. Sometimes fine hair needs a little movement so it doesn’t hang there looking stiff and separate. Feathered layers around the jaw and cheek can soften the edge just enough to give the style life.
The trick is restraint. Too many layers on fine hair create the opposite of what you want: ends that look wispy and weak. A few light face-framing pieces and a subtle taper near the bottom can make the bob swing better without losing its shape.
Best for
- children who dislike hard, boxy lines
- installs that need a softer frame around the face
- hair that looks too heavy when cut straight across
Feathered layers work best when the hair has some texture, even if it’s only a small bend from a wrap set or loose curl. Straight, feathered ends can look stringy if the cut gets too aggressive.
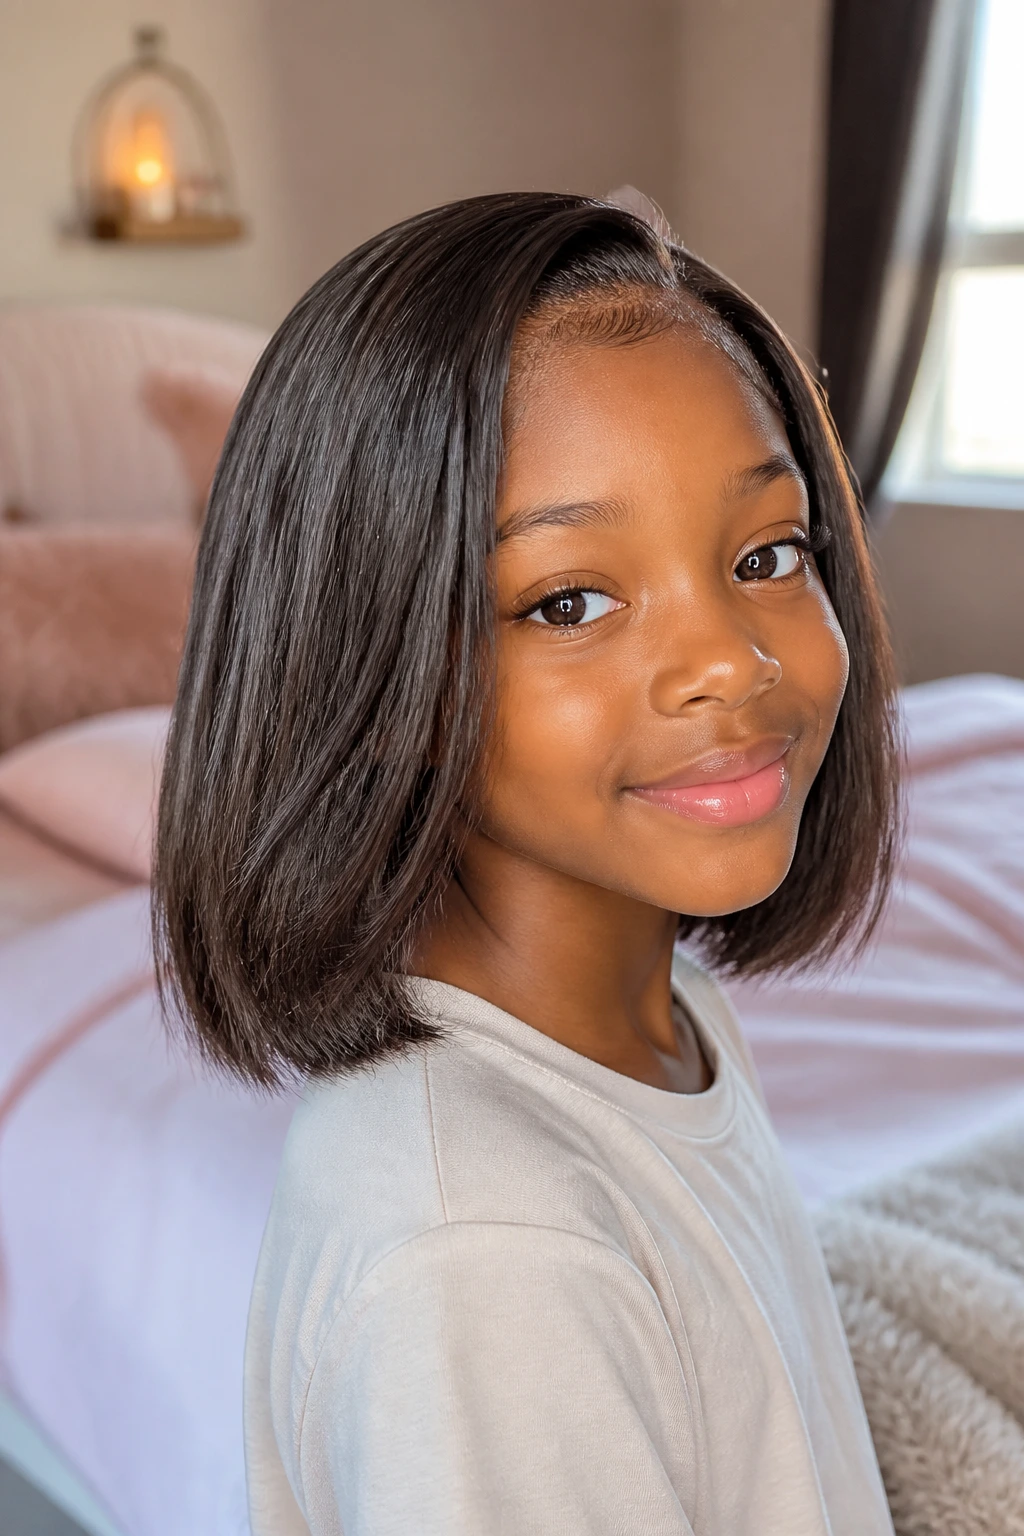
11. Collarbone Lob with Airy Ends

A collarbone lob is the longest style I’d keep in this group for a child with fine hair. It gives more movement than a chin bob, but it still avoids the drag and tangling that come with long sew-ins. That extra length can be useful if the child likes to tuck hair behind the shoulders or wants a little more swing.
The airy part matters. Don’t let the ends get packed with too much hair. A lob should skim, not sit like a heavy curtain. If the bundle count creeps too high, the back puffs up and the style loses the lightness that makes it work.
This is a nice middle road for a kid who is not ready for a super-short cut but still needs something easy. It works especially well with body wave or a soft press, because both textures keep the length looking calm instead of bulky.
12. Wet-Set Wave Bob
A wet-set wave bob gives the style a soft, shiny bend that looks neat without turning stiff. Flexi rods, large rollers, or a loose pin-curl set can create that finish, and the result is usually gentler than a flat-iron wave on a child’s fine hair.
The reason I like it is simple: it moves. The waves break up the shape just enough to make the bob look thicker, and they fall back into place after sleep if you wrap them properly. Heavy gel is a mistake here. It leaves the hair crunchy, and crunch does not flatter a short weave.
How to keep the wave soft
- Set the hair while it is only lightly damp.
- Use a small amount of mousse, not a thick cream.
- Let the hair dry all the way before taking the rods out.
A wet-set bob also helps if the child is tender-headed, because the style doesn’t need a lot of daily heat to stay shaped.
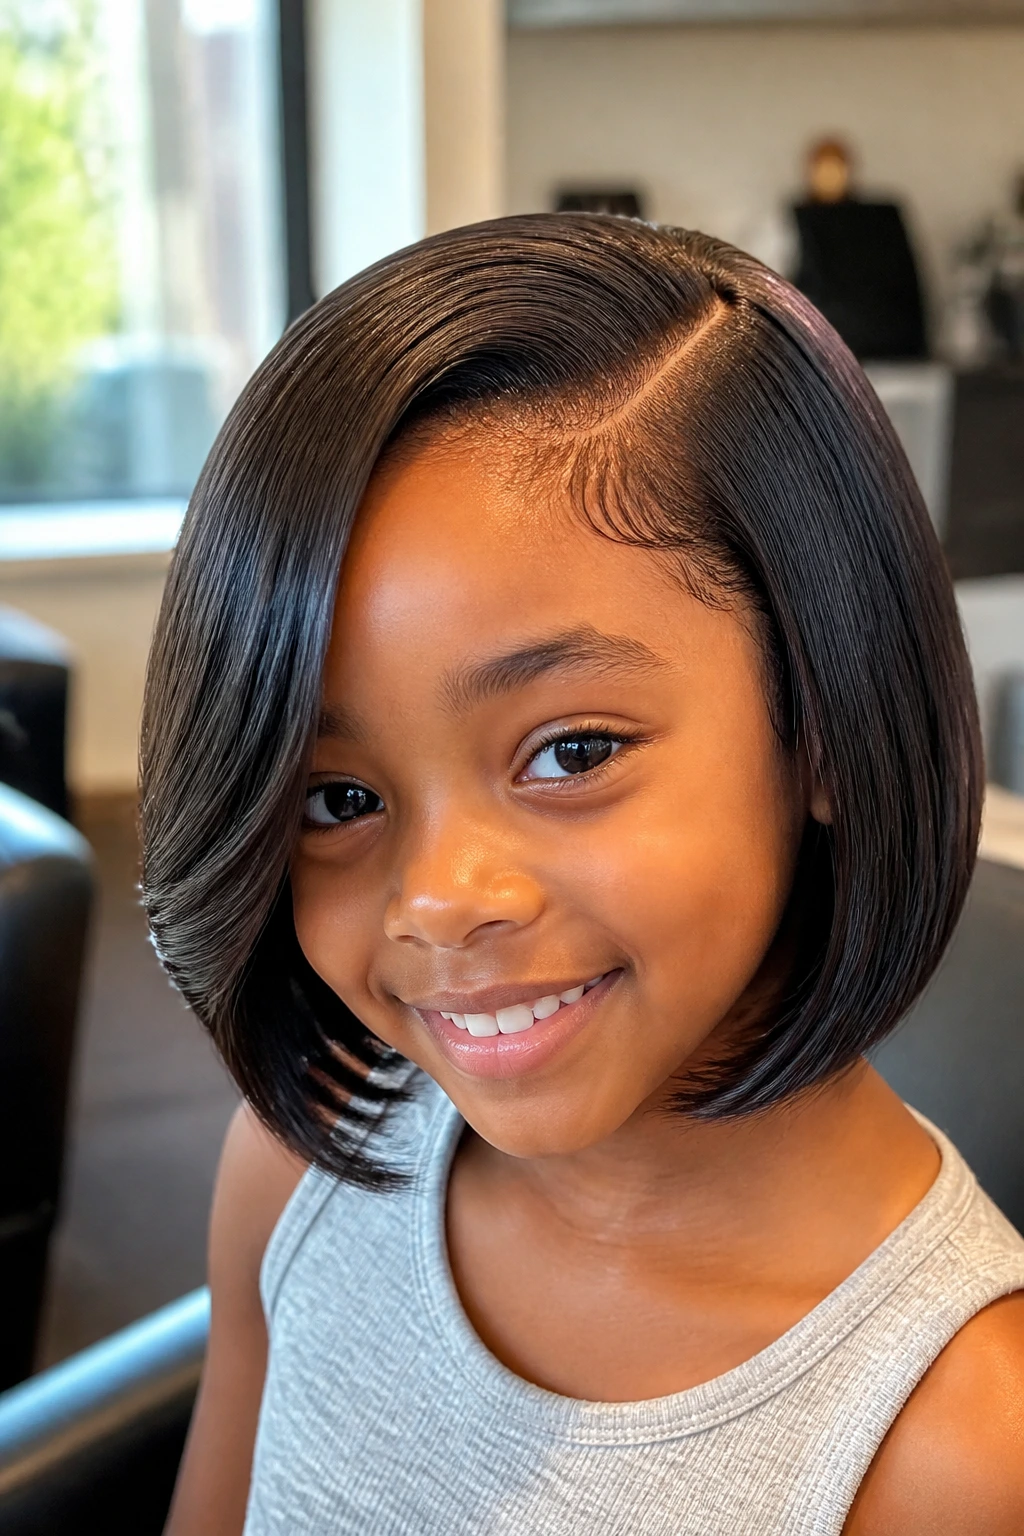
13. Center-Part Silky Bob
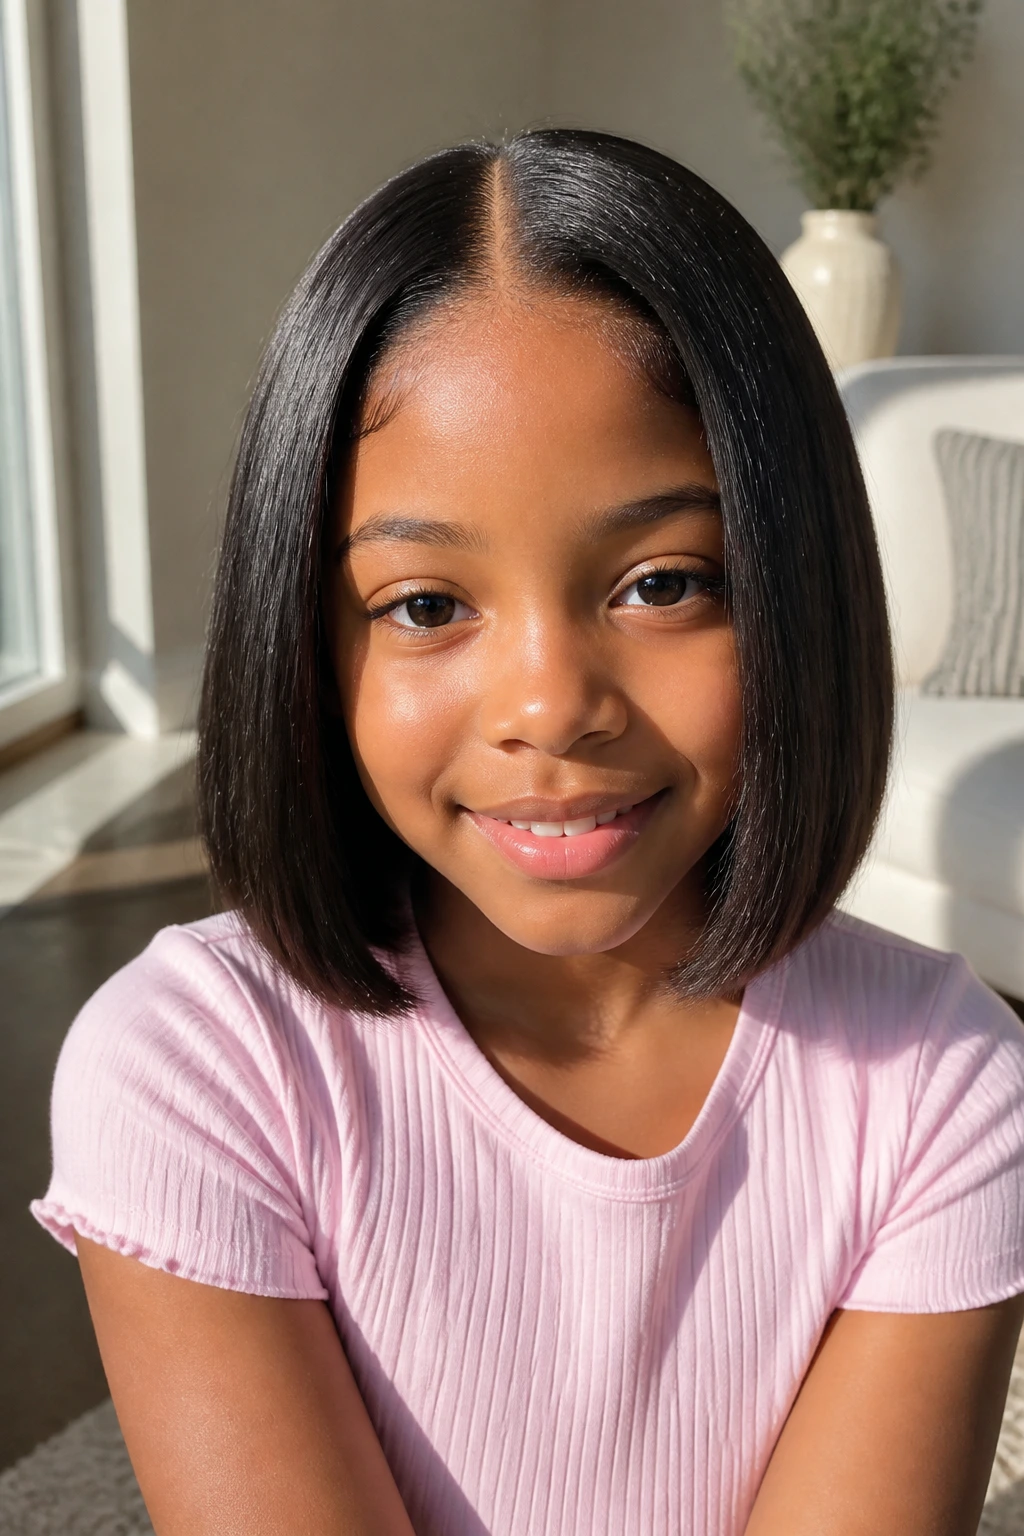
A center-part bob can look very clean on fine hair when the cut is balanced and the closure sits flat. The middle line gives the style a crisp frame, and the blunt ends keep it from looking too sparse on either side. It’s one of those looks that depends on good execution. There isn’t much room to hide a sloppy install.
That said, when it’s done well, it’s sharp. The symmetry makes the bob look neat in photos, and the hair can be tucked behind both ears without changing the overall shape too much. If the child’s natural part is already close to center, this style usually settles fast.
The main caution is density. A center part on a child with fine hair needs a careful match at the crown. Too much hair at the top makes the part look puffy. Too little makes the scalp show through. The sweet spot is a slim, clean line and a soft finish at the ends.
14. Asymmetrical Bob with One Longer Side
A little asymmetry goes a long way on a short sew-in. One side can sit about an inch to an inch and a half longer than the other, and that small difference creates movement without making the cut look wild. For fine hair, it’s a nice trick because it draws the eye to the shape rather than the density.
This is a style I’d pick for a child who wants something a bit more stylish than a straight bob but still needs the install to stay practical. The longer side can skim the cheek, hide a sparse temple, or soften a sharp jawline. The shorter side keeps the nape light and easy.
Don’t go too dramatic. Once the length difference gets big, the bob stops reading as a bob and starts looking like a haircut that’s arguing with itself. Small angles are enough.
15. Fringe-Front Bob

A soft fringe can be a cute way to frame a child’s face, especially if the forehead is wider or the hairline needs a little visual balance. On a sew-in, though, bangs need a lighter touch than people think. Heavy blunt bangs on fine hair collapse fast, split in weird places, and turn sweaty at the first warm afternoon.
That’s why I prefer wispy or softly curved fringe for kids. It blends more naturally, keeps the front from looking too heavy, and sits better under a bonnet. The rest of the bob should stay short and tidy so the bangs do not take over the whole style.
Good version, bad version
- Good: light fringe, softened edges, closure under the top.
- Bad: thick, dense bangs that need constant re-blowing.
If the child likes a face-framing look but hates hair touching the forehead, skip full bangs and ask for a slight front layer instead.
16. Braided-Hairline Bob
A braided-hairline bob gives the front of the style a little personality without adding much bulk. Small cornrows or stitch braids along the front edge can protect the hairline, decorate the install, and make the overall look feel more finished. For kids, that balance matters. You want cute, not crowded.
Keep the braids slim. A few narrow braids are enough to set off the bob. If the front gets too dense, the style starts feeling heavy right where you want it to stay light. Beads can work too, but I’d keep them minimal so the sound and weight don’t annoy the child after an hour.
This style is especially useful when the natural edges need a break from brushing and gel. The braids take some of the stress off the front, while the bob handles the rest of the shape. That’s a decent trade.
17. Tucked-Nape School Bob
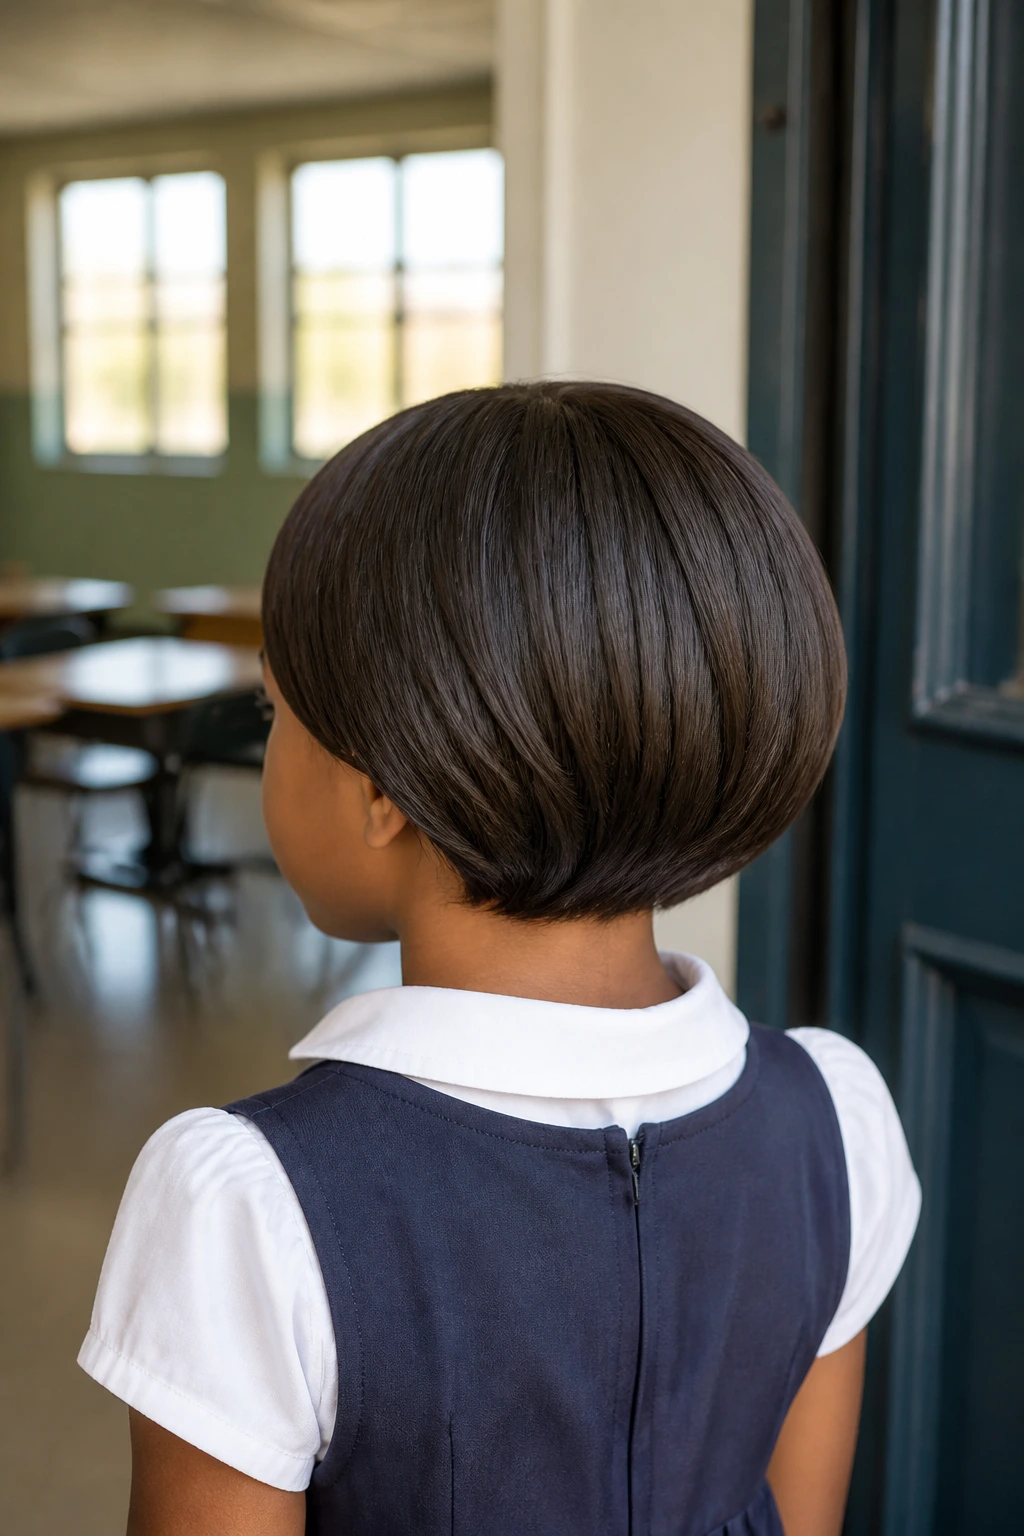
This is the sensible one. The tucked-nape school bob sits close to the neck, curves inward under the ends, and stays out of the way of collars, backpack straps, and desk chairs. For a child with fine hair, that is worth a lot. Less rubbing means less frizz and fewer little tangles at the bottom.
The style works best when the back is cut or wrapped to follow the head, not float away from it. A flat nape and a soft bend under the ends make the install look neat from every angle. I like this shape for uniforms and everyday wear because it doesn’t need a lot of attention after the first styling.
If your child sweats a lot or runs around outdoors, this one is calmer than a bigger, curlier style. It stays closer to the head and usually needs less fixing by the end of the day.
18. Shoulder-Skimming Midi Bob
A shoulder-skimming midi bob is the longest style I’d include here, and it only works if the install stays light. The point is to give a little more swing and length without sliding into the weight and maintenance of a long sew-in. It’s the style for the kid who wants hair that moves but doesn’t want a heavy head.
Keep the bundles airy and the cut soft. A 12- to 14-inch range usually lands in a good spot, but the final look depends on the child’s height and neck length, so the stylist has to check it while the child is standing and sitting. That sounds fussy, but it saves a lot of regret later.
This is the version I’d choose when a child is growing out of shorter bobs and wants something a little more grown without making a mess of fine hair. It still behaves like a bob. It just has a little more room to breathe.
Why a Shorter Sew-In Shape Works So Well on Fine Hair
Fine hair tends to show weight fast. A long install can look nice for about five minutes, then the nape starts to swell, the ends separate, and the whole style looks busier than it should. A bob avoids that problem because the hair spends less time fighting gravity.
Less drag at the root
Short hair pulls less. That is the simplest reason bob sew-ins behave better on kids with fine hair. The braid base stays flatter, the scalp gets less strain, and the style feels lighter by the end of the day.
Faster wash days
Short weaves dry faster, which matters more than people think. A child does not have the patience for a long dry time, and damp braids are where smells and buildup tend to linger. A bob usually clears that problem before it grows.
More shape, less bulk
A blunt bob, an A-line cut, or even a soft curl line can make the style look denser than it is. The eye reads the shape first. That’s the cheat code. If the cut is clean, the install does not need to be thick to look finished.
Essential Tools for a Kid-Friendly Bob Sew-In
-
Rat-tail comb: For clean parts and sectioning; a smooth plastic tail is kinder than a sharp metal one.
-
Weaving needle and thread: A pro tool, not a casual DIY item; the install should feel secure but never tight.
-
Lightweight bundles, usually 10 to 14 inches: Shorter lengths keep the style from getting bulky at the nape.
-
Closure piece, 4×4 or 5×5: Helps reduce leave-out and makes the crown easier to maintain.
-
Hair clips or duckbill clips: Useful for keeping braid sections flat while the stylist works.
-
Foam wrap strips or a silk scarf: Helps the bob settle and keeps the ends curved under overnight.
-
Mousse or setting foam: Best for curls, waves, and soft flip-under shapes.
-
Heat protectant: Needed if any part of the style is pressed or curled with hot tools.
-
Wide-tooth comb: Safer for the ends than a fine-tooth comb, especially after sleep.
-
Satin bonnet or pillowcase: Keeps the style smoother and cuts down on frizz.
-
Spray bottle with water and a little leave-in: Handy for refreshing curls without soaking the whole install.
Choosing Hair, Closure, and Length Without Bulk
The smartest bob sew-ins start with the hair you choose, not the cut you hope to get at the end. Fine hair needs enough density to hide the tracks, but not so much that the style balloons at the nape. That balance usually starts with the bundle count and texture.
Length first, then texture
For a chin-length bob, 8 to 11 inches usually lands in the safest range. For a lob, 12 to 14 inches is enough. Anything longer starts drifting away from the shape you actually want. The more length you add, the more likely the style is to feel heavy.
Texture matters too. Silky straight hair can look sleek, but it sometimes shows every line underneath. A light yaki texture, body wave, or soft curly pattern often gives better coverage on fine hair because it reads fuller from the first glance.
Closure or leave-out?
For kids with fine hair, I usually favor a closure. A 4×4 or 5×5 closure keeps the part area neat and reduces the heat needed on the child’s own hair. Leave-out can work, but it comes with more flat-ironing, more blending, and more chances for the natural hair to look tired before the install is even halfway through.
Density without drama
One mistake people make is buying too much hair because they think more bundles automatically means better results. Not here. A bob often looks cleaner with fewer, better-chosen bundles than with a stack of heavy wefts stuffed under a short cut.
How to Wear and Refresh the Style
Presentation: A kid’s bob should sit close to the face, not float away from it. Chin-length or collarbone length usually looks the cleanest, and a gentle bend under the ends keeps the outline tidy. A center part reads neat and balanced; a side part softens the front without asking for extra work.
Accessories: Small satin bows, slim barrettes, and one or two clean clips are enough. Heavy headbands can shove the front up and expose more than you meant to show, which is a nuisance on fine hair. Keep the extras small. The cut is already doing enough.
Wear Time: The best bob sew-ins for children are the ones that can survive a bonnet at night and a quick mousse refresh in the morning. If the style needs a full heat reset every day, it is asking too much from the install. A little wrap, a little finger-combing, and you’re back in business.
Best moments: Blunt and tucked bobs are strong for school and family photos. Curly and angled versions work better for birthdays, church, and special outings when the child wants a little more movement.
Extra Tips for a Lighter, Neater Finish
Length Tip: Ask for the cut a half inch longer than the final target, then trim it after the install settles. Hair always shifts a little once it’s wrapped and worn, and that small cushion saves you from ending up too short.
Root Tip: Keep the braid foundation flatter at the crown than at the ends. Fine hair shows lumpiness fast, and a bulky top ruins the clean line you want from a bob.
Heat Tip: If the style needs smoothing, use low to medium heat and keep the pass quick. One controlled pass is better than chasing one frizzy section over and over until the hair looks stressed.
Comfort Tip: Ask how the child feels after a few hours, not just right after the install. A style that feels fine in the chair but pinches after recess is telling you the braid map is too tight.
Common Mistakes That Show Up Fast

-
Buying too much hair: The bob starts puffing at the nape and loses its shape. Fix it by keeping the bundle count modest and choosing a shorter length.
-
Cutting the bob too soon: Hair settles after wrapping, and a fresh cut can look uneven by the next morning. Let the style sit, then refine the ends.
-
Tight braid foundation: Red marks, soreness, and a child who keeps reaching for the scalp are the warning signs. The fix is simple: flatter braids and less tension near the hairline.
-
Heavy oils and edge grease: They make the closure look greasy and can flatten curls or waves into a dull sheet. Use just enough product to add shine, not enough to coat everything.
-
Leaving the style in too long: Fine hair gets fuzzy fast once buildup starts. On kids, a shorter wear window is usually smarter than trying to stretch the install until it looks tired.
Variations and Adaptations to Try

School-Week Blunt Bob: Keep it chin length, straight, and closure-based. This version is the easiest to wrap at night and the least likely to show bulk around the ears.
Birthday Curl Lob: Add loose curls, a side part, and one decorative clip. The length gives a little swing, but the curl keeps the lob from looking flat in photos.
Heat-Free Texture Bob: Choose body wave or kinky-curly hair and set it with mousse instead of constant flat-ironing. Good for families that want to keep heat to a minimum.
Sport-Ready Tucked Bob: Shorten the nape, tuck the ends in, and keep the front simple. This one stays out of the way during gym class, dance, or playground time.
Ribbon-Accent Bob: Add one satin bow or a small ribbon at the side part. It changes the mood without changing the structure, which is exactly what you want when the hair itself already works.
Night Care, Washing, and Take-Down

Night wrap
A bob sew-in lasts longer when the ends are wrapped inward before bed. A silk scarf or bonnet keeps the cut smooth, and a satin pillowcase gives you a backup when the scarf slides off halfway through the night. That happens. More than people admit.
Wash day
Clean the scalp every 7 to 10 days, or sooner if the child sweats a lot or uses heavier styling products. Aim the shampoo at the scalp with a nozzle bottle, work gently between the braid rows, and rinse well so product does not collect near the base. The hair itself should be handled lightly; scrub the weave like you’re trying to win a prize, and it will frizz faster than you want.
Drying and refreshing
Let the roots dry completely. Short styles dry faster, which is one of the reasons they’re so practical, but a damp braid base still causes trouble. If the style is curly, use mousse and a few minutes under a hooded dryer or with air drying to bring the shape back. For straight looks, a quick wrap and a low-heat pass is usually enough.
Take-down and storage
On a child, I’d keep the wear time shorter than adults often do. Around 3 to 5 weeks is a sensible window if the scalp is still calm and the braids are holding up. Store reusable bundles in a satin bag or the original packaging after detangling and washing them, then let them air-dry fully before packing them away.
Bob Sew-In Questions Parents Ask
How short should a bob sew-in be on fine hair?
Chin length is the safest starting point because it keeps the install light and gives the ends a fuller look. If the child wants more length, a collarbone lob is the next step, but I would not jump much longer than that.
Is a closure better than leave-out for kids with fine hair?
Usually, yes. A closure cuts down on daily heat, hides the crown more easily, and reduces the amount of natural hair that has to be blended again and again.
How many bundles do I need?
Most bob installs need less hair than people expect. A chin-length bob often works with 1.5 to 2 bundles plus a closure, while a lob may need 2 to 2.5 depending on density and texture.
Can a child sleep in a bob sew-in without ruining it?
Yes, if the style is wrapped properly. A silk scarf, a bonnet, or both keeps the ends curved under and stops the friction that makes short styles frizzy.
What if the bob starts flipping out at the ends?
That usually means the wrap wasn’t tight enough or the ends were cut a bit too blunt for the hair texture. A low-heat wrap set or a quick bevel at the ends usually fixes it.
Are curls or straight styles better for fine hair?
Curls often look fuller, while straight styles look neater and show the cut more clearly. If the child’s hair is very fine, a soft wave is the safest middle ground.
How do I know the install is too tight?
If the child winces when turning their head, keeps touching the front, or has visible marks around the hairline, the braids are too tight. A good install should feel snug, not sore.
Can this style handle an active child?
Yes, if you keep the length short and the front simple. The neatest bob sew-ins are usually the ones that stay out of the face and don’t depend on daily fussing.
The Shape That Makes Sense
A bob sew-in makes sense for fine hair because it respects the hair the child already has. It does not ask for a ton of bulk, a long dry time, or a heavy braid base that fights the scalp by the end of the week. Shorter shapes just behave better.
That is why I keep coming back to blunt lines, small angles, soft curls, and clean closures. They’re not flashy tricks. They’re practical choices that make the style hold together in real life, which is where kids actually wear their hair.
If you’re choosing between a longer install and a tidy bob, the shorter shape usually wins for comfort, maintenance, and sheer staying power. Start there, keep the density light, and let the cut do the work.