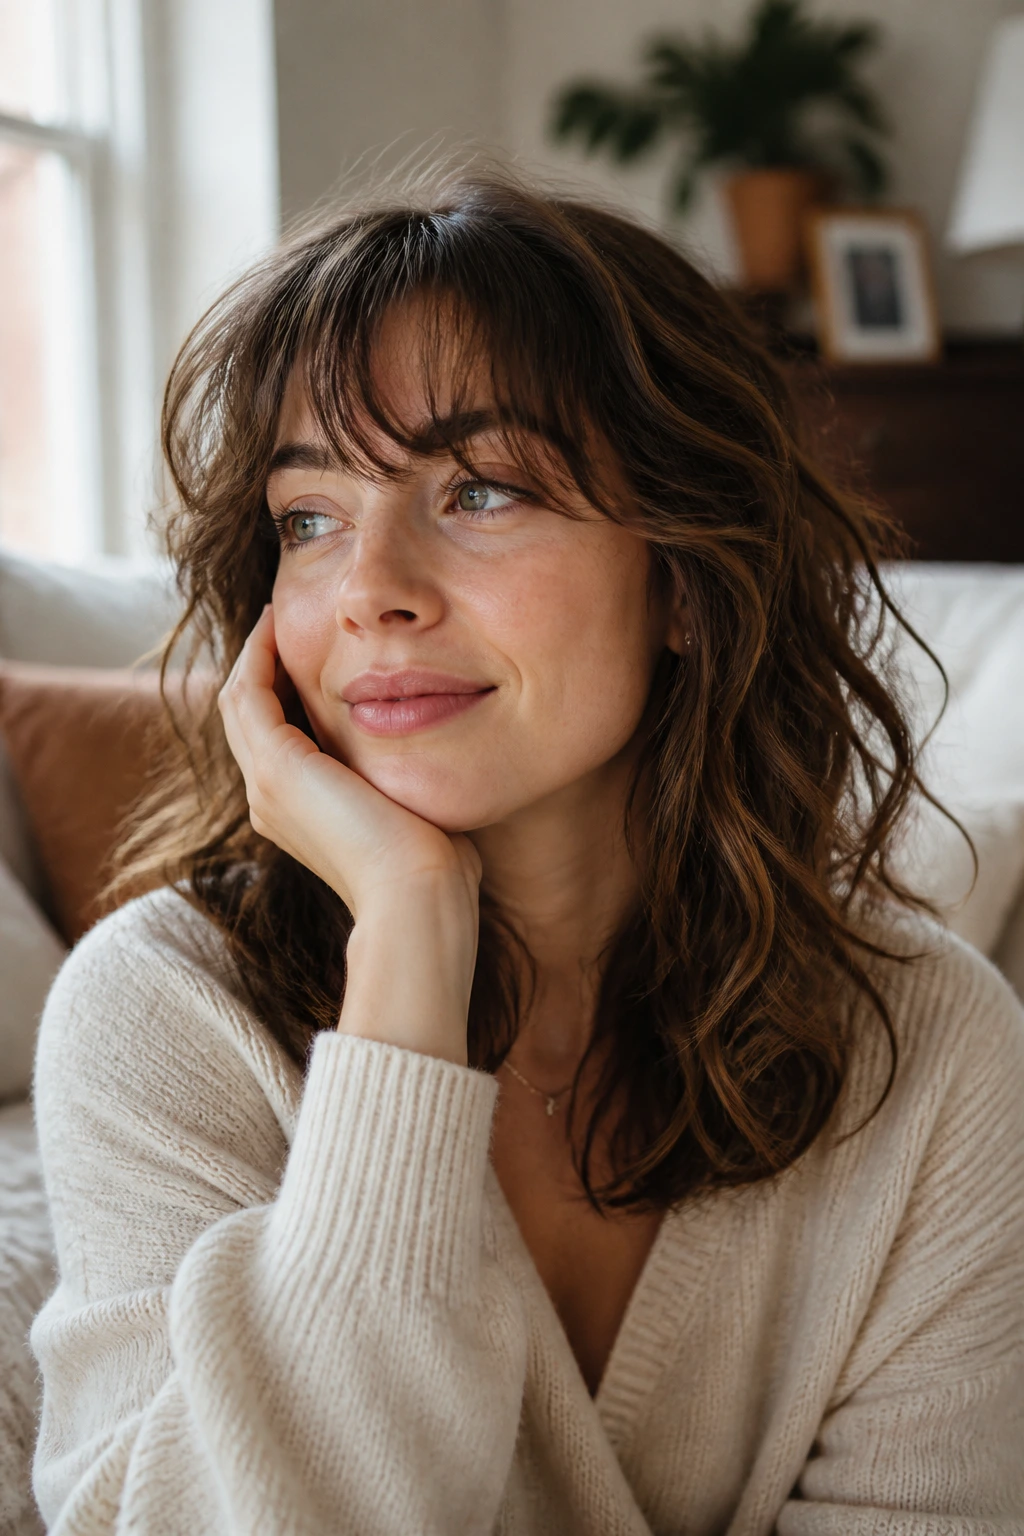
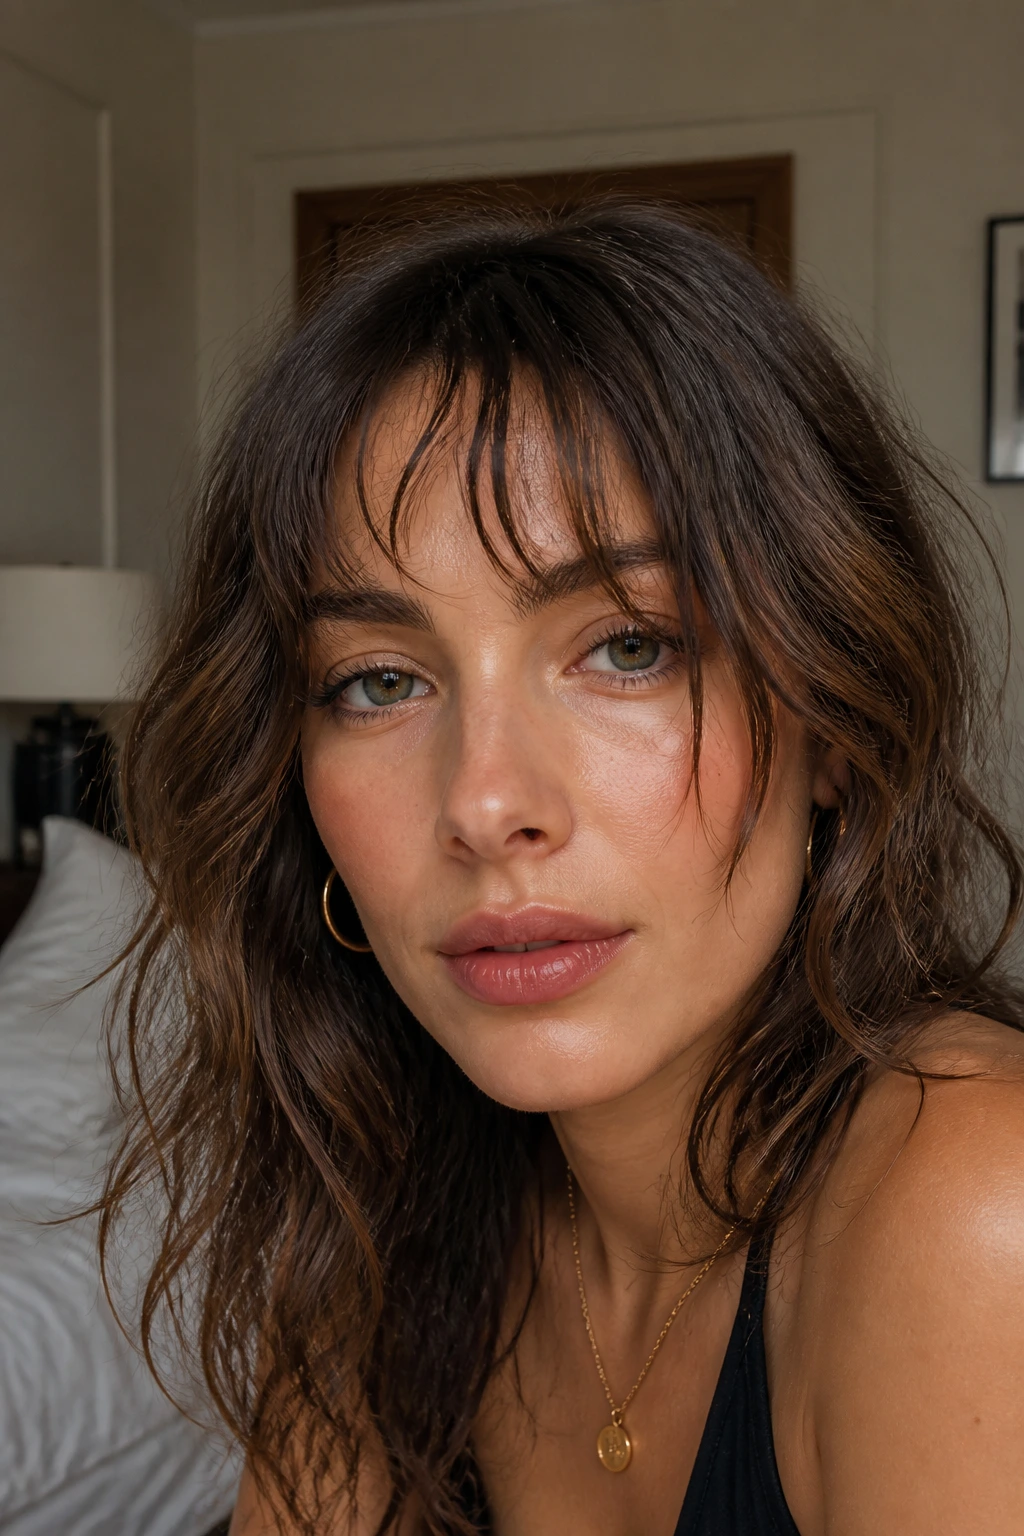
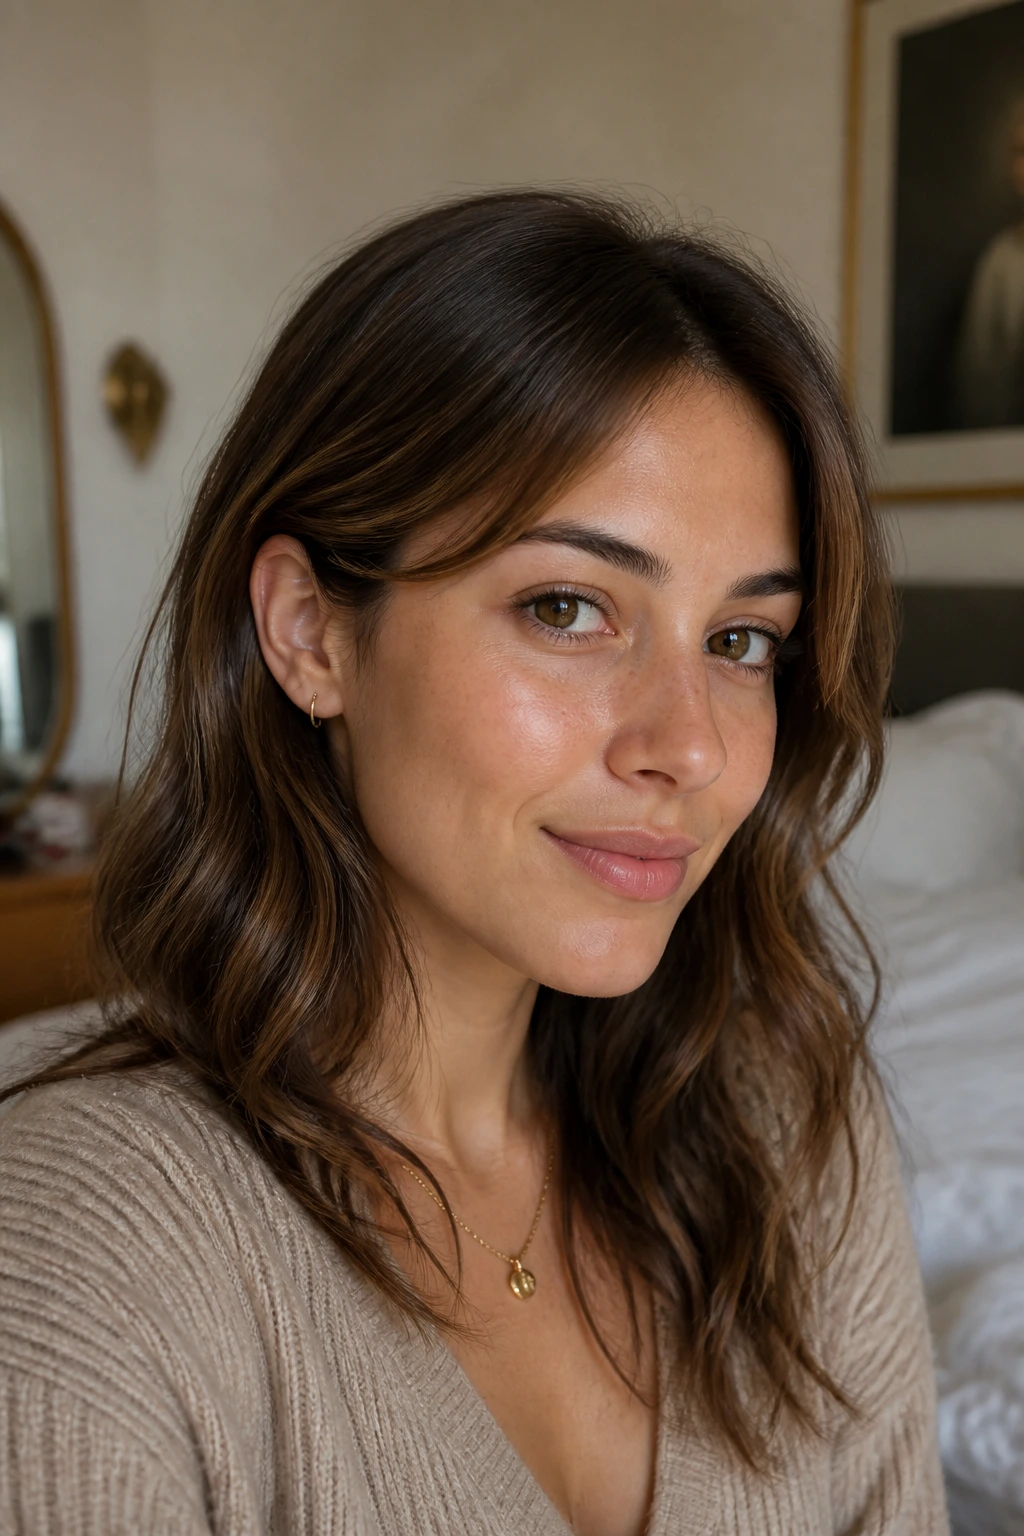
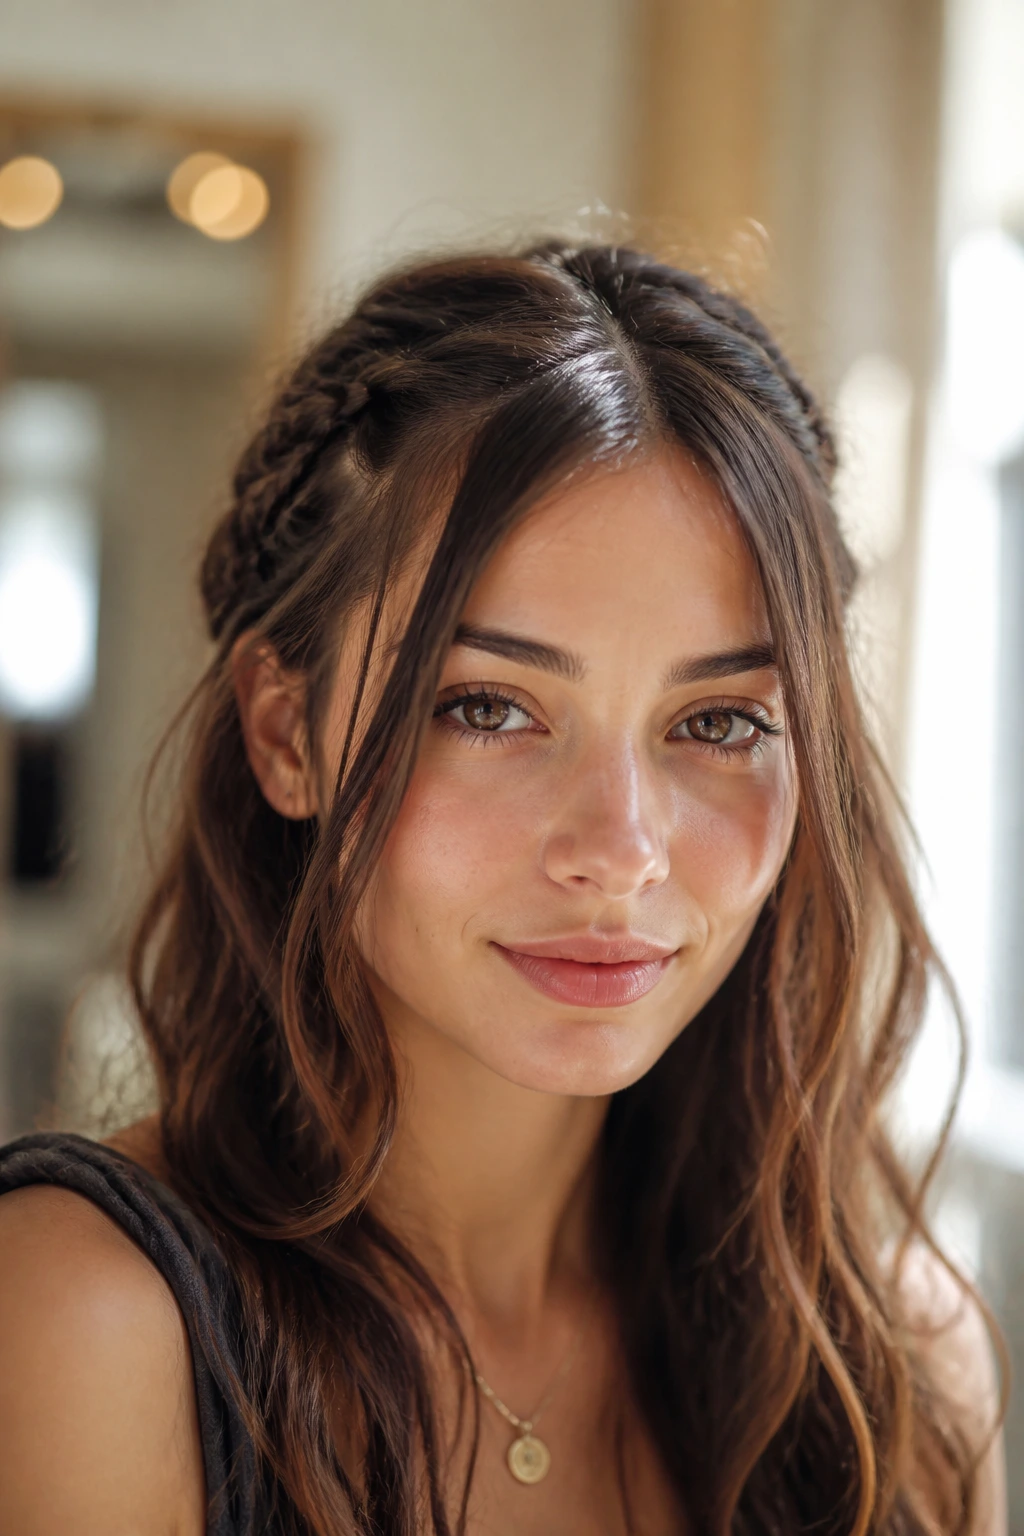
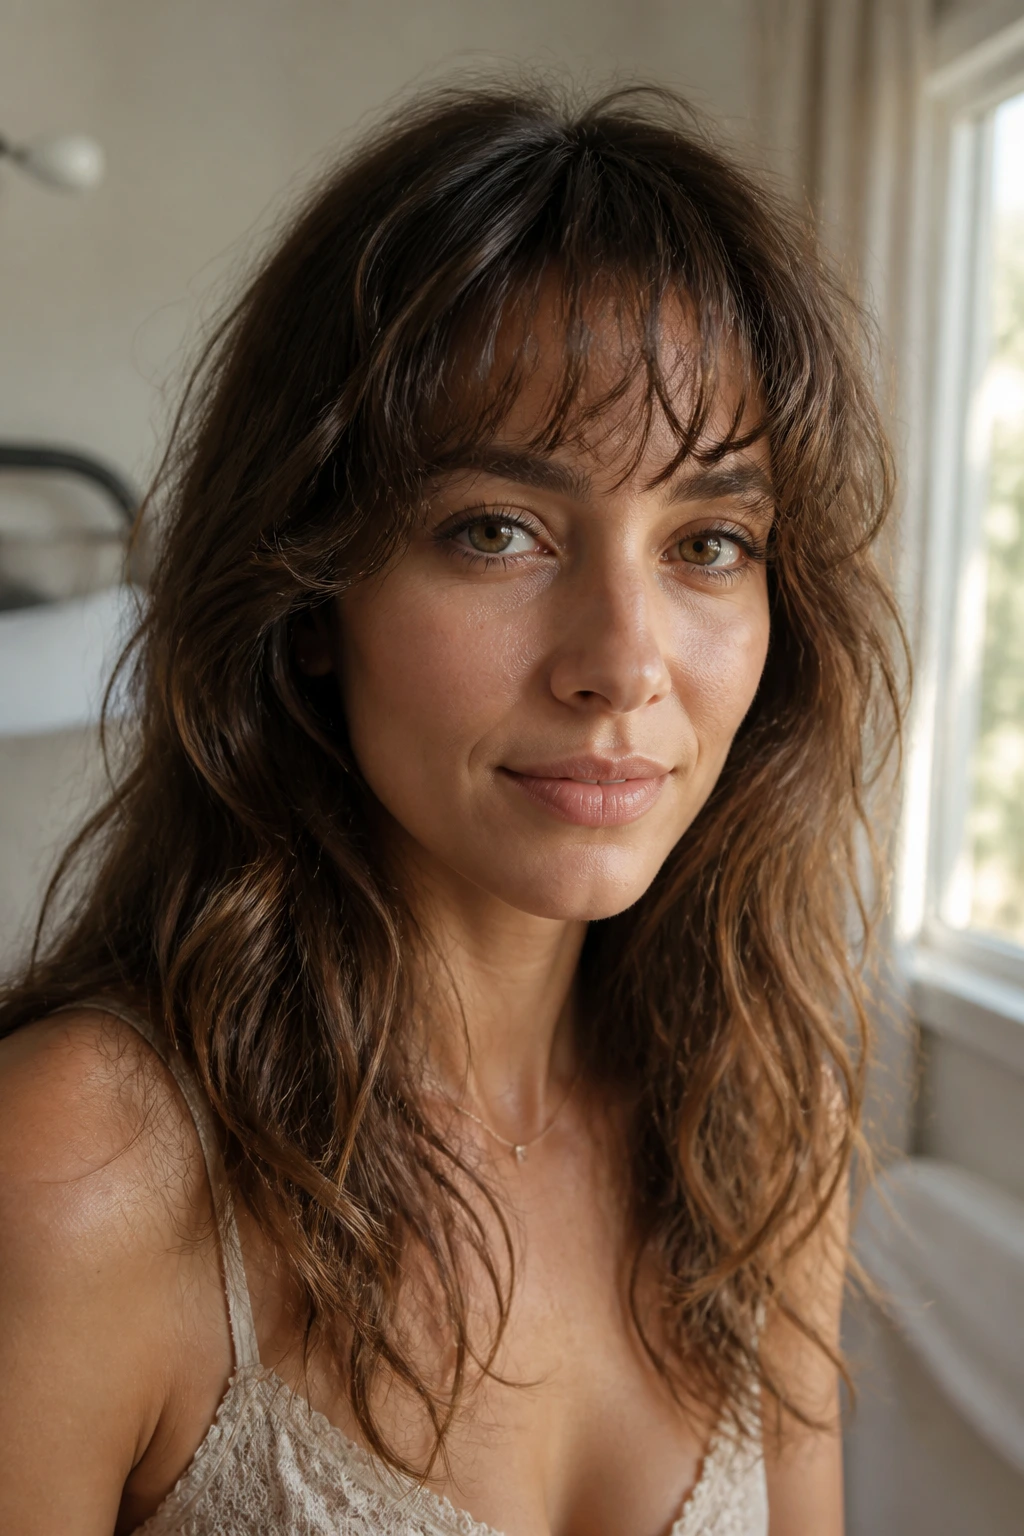
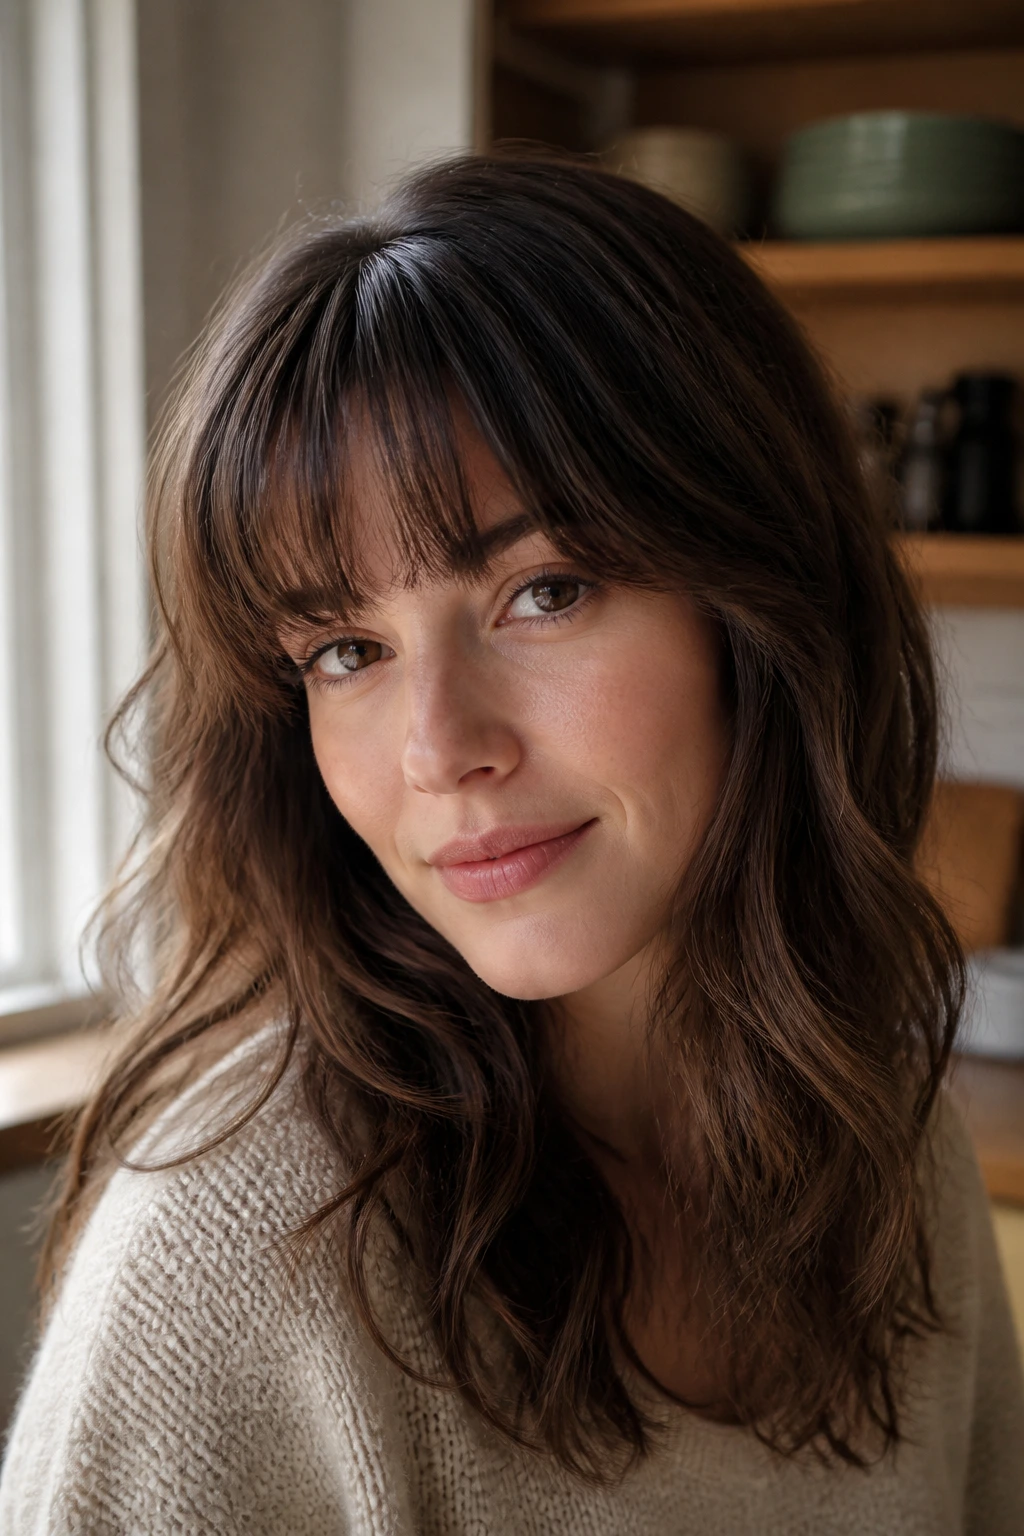
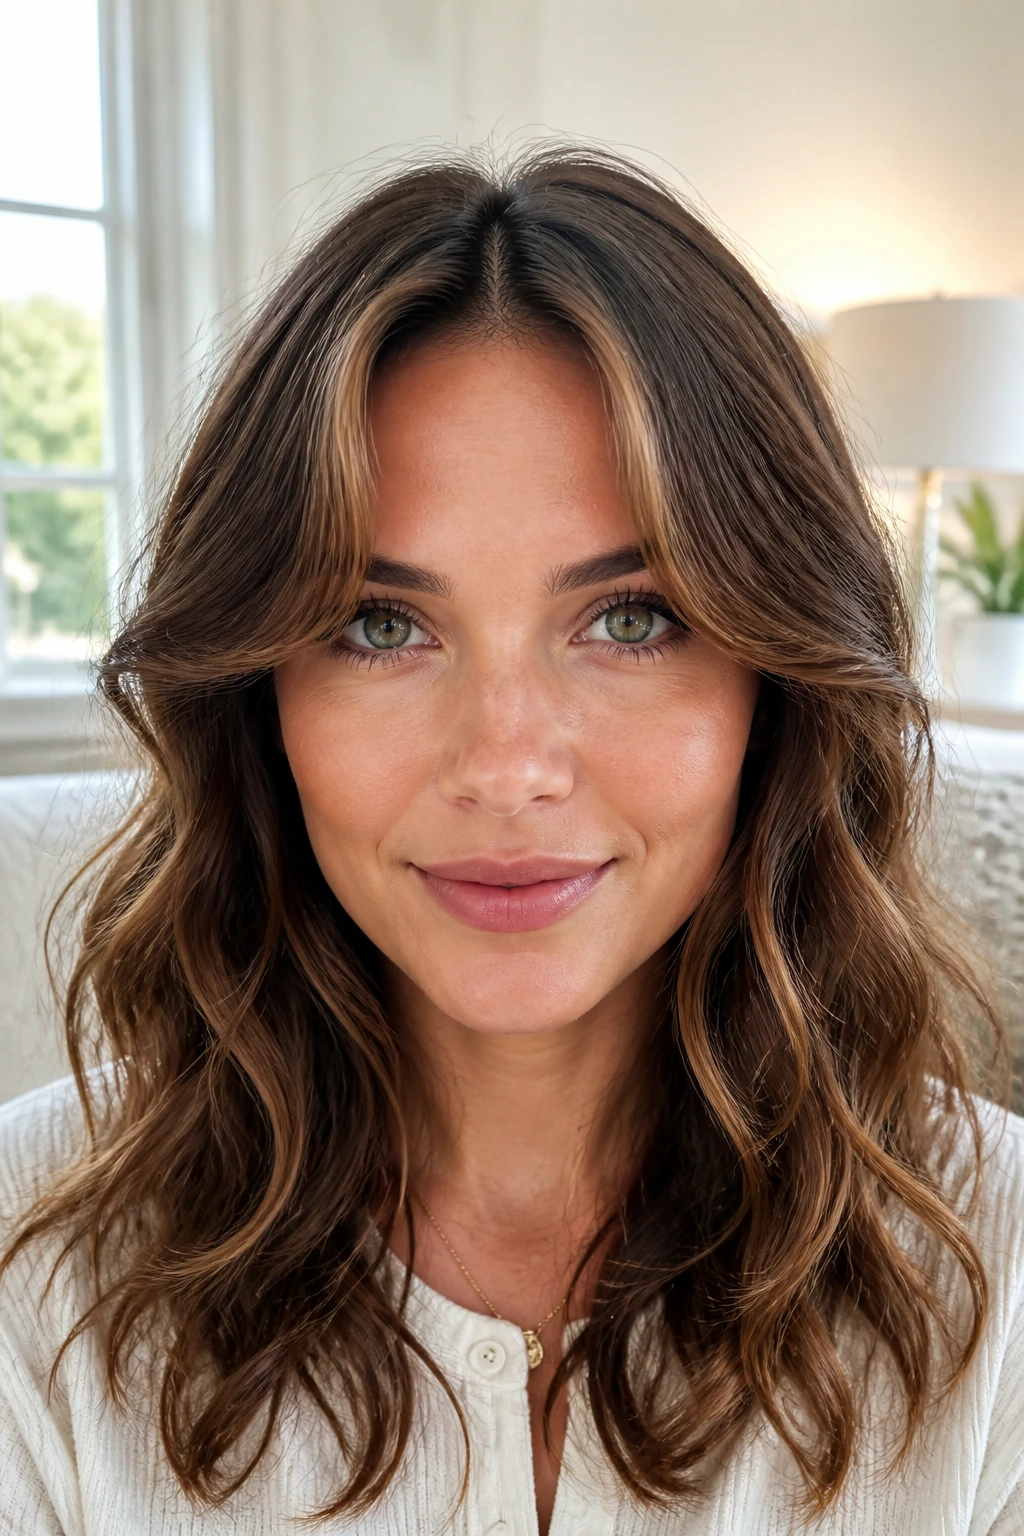
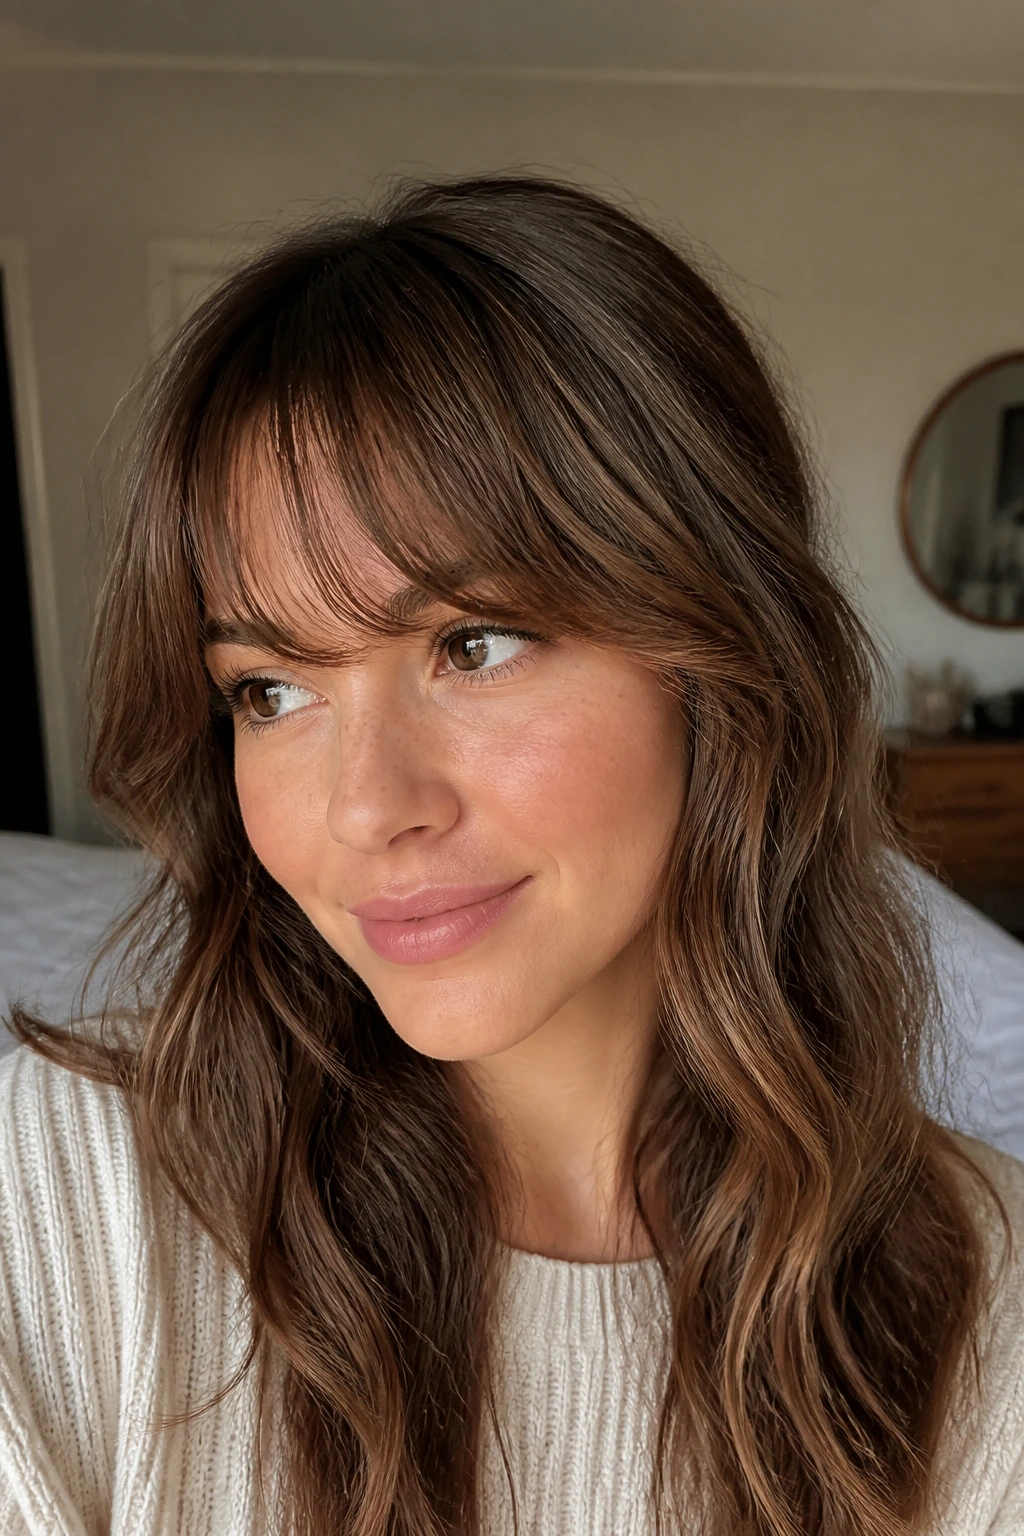
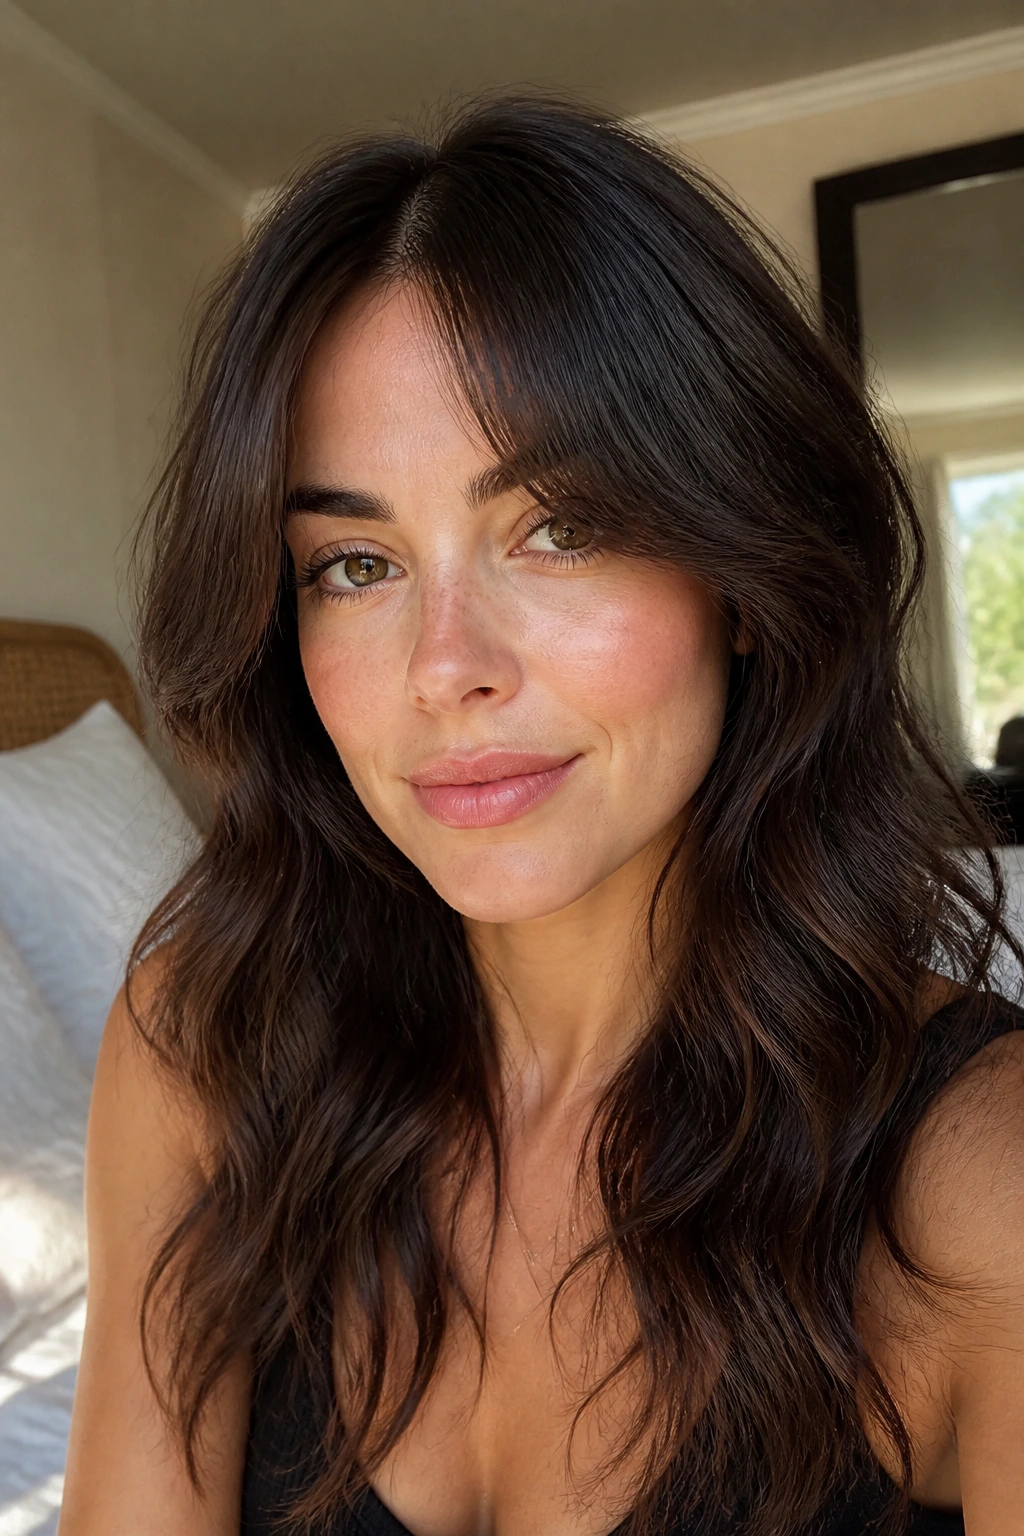
Bangs for oval faces with wavy hair can be a gift or a headache, and the difference usually comes down to one thing: whether the fringe is working with the wave pattern or fighting it. An oval face can carry a surprising amount of fringe without losing balance, which is part of the appeal. The wavy texture, though, has opinions. It wants movement, softness, and a little room to bend.
I’ve seen too many people flatten their bangs into submission and then wonder why the shape breaks apart by noon. Wavy hair rarely stays polite when it’s forced into a rigid line. The better move is to treat the fringe like a feature, not a correction. Let it bend. Let it feather. Let it look like hair, not a helmet.
And that’s where the fun starts. The best bangs for this face-and-texture combo aren’t one-note at all; some skim the cheekbones, some split at the center, some look sharper with a side part, and some need nothing more than a quick pass with a round brush and a dry shampoo mist at the root. Small details make the biggest difference here.
Why This Collection Is Worth Your Time
-
Oval Faces Give You Range: A balanced face shape can wear center parts, side sweeps, short fringes, and longer curtain shapes without needing heavy correction around the jaw or forehead.
-
Wavy Hair Adds Built-In Movement: The wave pattern keeps bangs from looking stiff, which makes softer, piecey, and blended styles look intentional instead of overworked.
-
Tiny Styling Tweaks Change Everything: A one-inch shift in your part, a different brush size, or a 10-second cool shot can make the fringe sit flatter, rounder, or looser.
-
Most of These Looks Age Well Between Washes: A little texture on day two often helps bangs look better, not worse, because the oils calm down flyaways and let the wave sit.
-
You Don’t Need a Heavy Product Cabinet: Most of these styles rely on a lightweight mousse, a dry texture spray, and one good brush, not a shelf full of styling potions.
-
They Work With Grow-Out, Too: Several of these approaches keep the fringe long enough that you can grow it out without hitting that awkward, puffy halfway stage.
Why Oval Faces and Wavy Hair Give You More Room To Play
An oval face is the easiest face shape to work with when you’re choosing bangs, and I don’t say that to flatter anybody. The proportions are already balanced, so the fringe doesn’t have to do heavy lifting. You can bring the visual line down, open it up, split it, or sweep it sideways without making the face look shorter or wider than it is.
Wavy hair changes the game in a good way and a tricky way. Good first: the natural bend keeps fringe from looking flat and lifeless. Tricky second: that same bend shrinks the length once the hair dries, especially if the wave is strong near the hairline. That’s why bangs that are cut or styled too short often bounce up into a line that sits way higher than expected.
The sweet spot is softness with structure. Not limp. Not crispy. The best styles give the roots a little direction, let the mid-lengths move, and stop just before the ends start looking frayed. If you’ve ever seen bangs that sit beautifully for the first twenty minutes and then split into three stubborn directions, you already know why this matters.
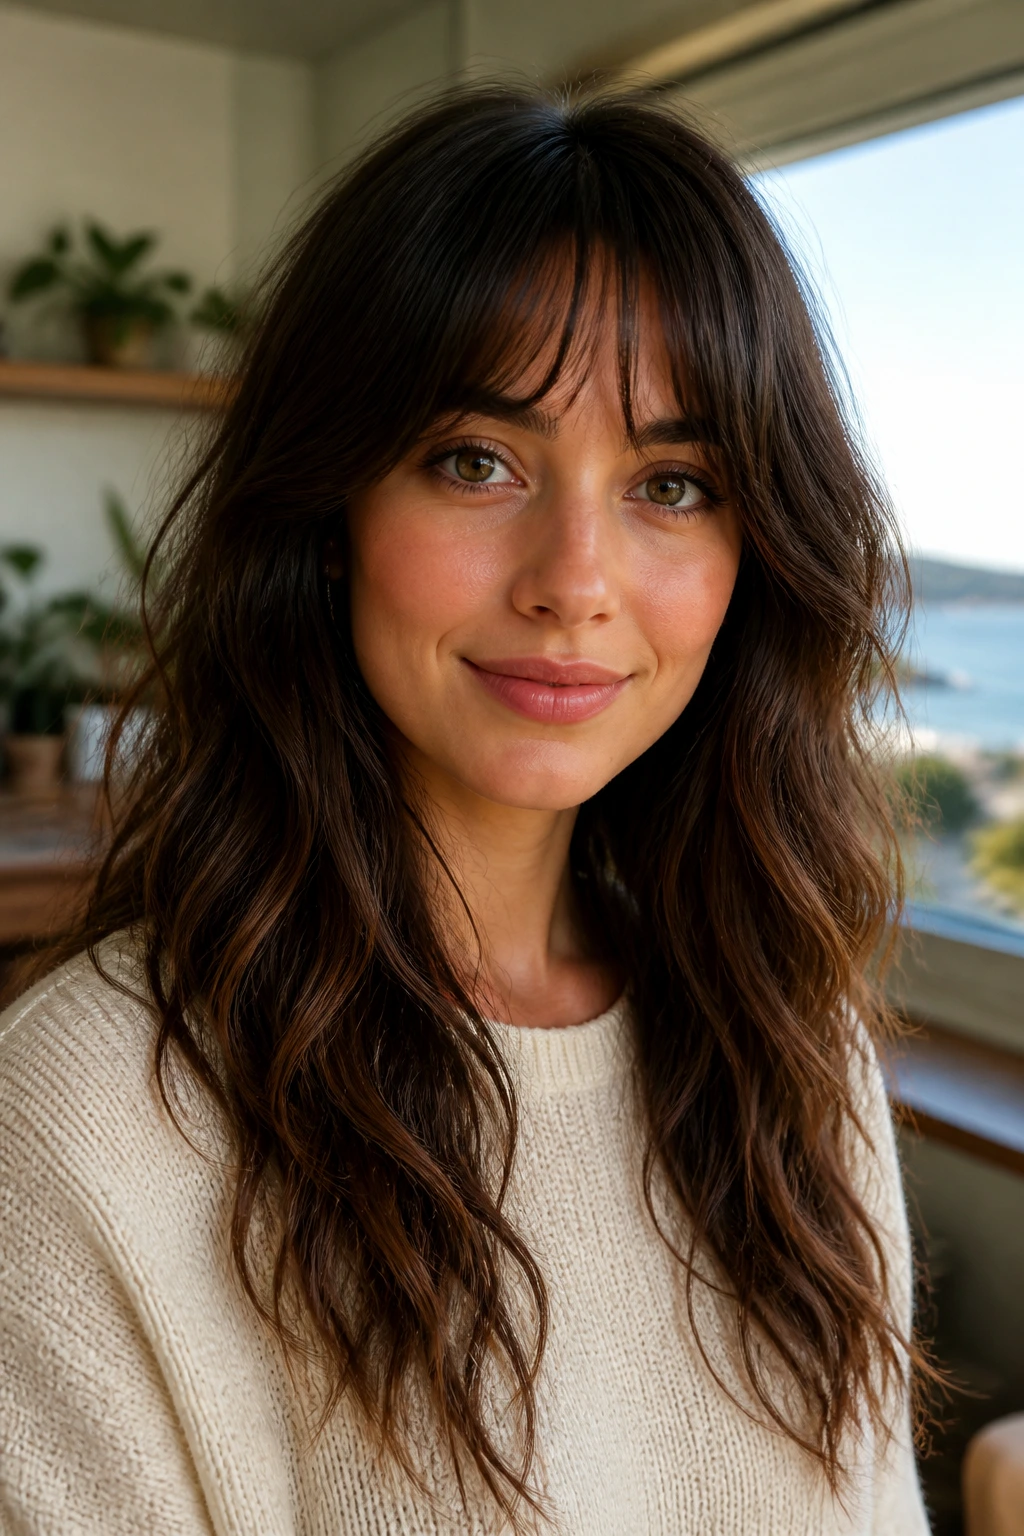
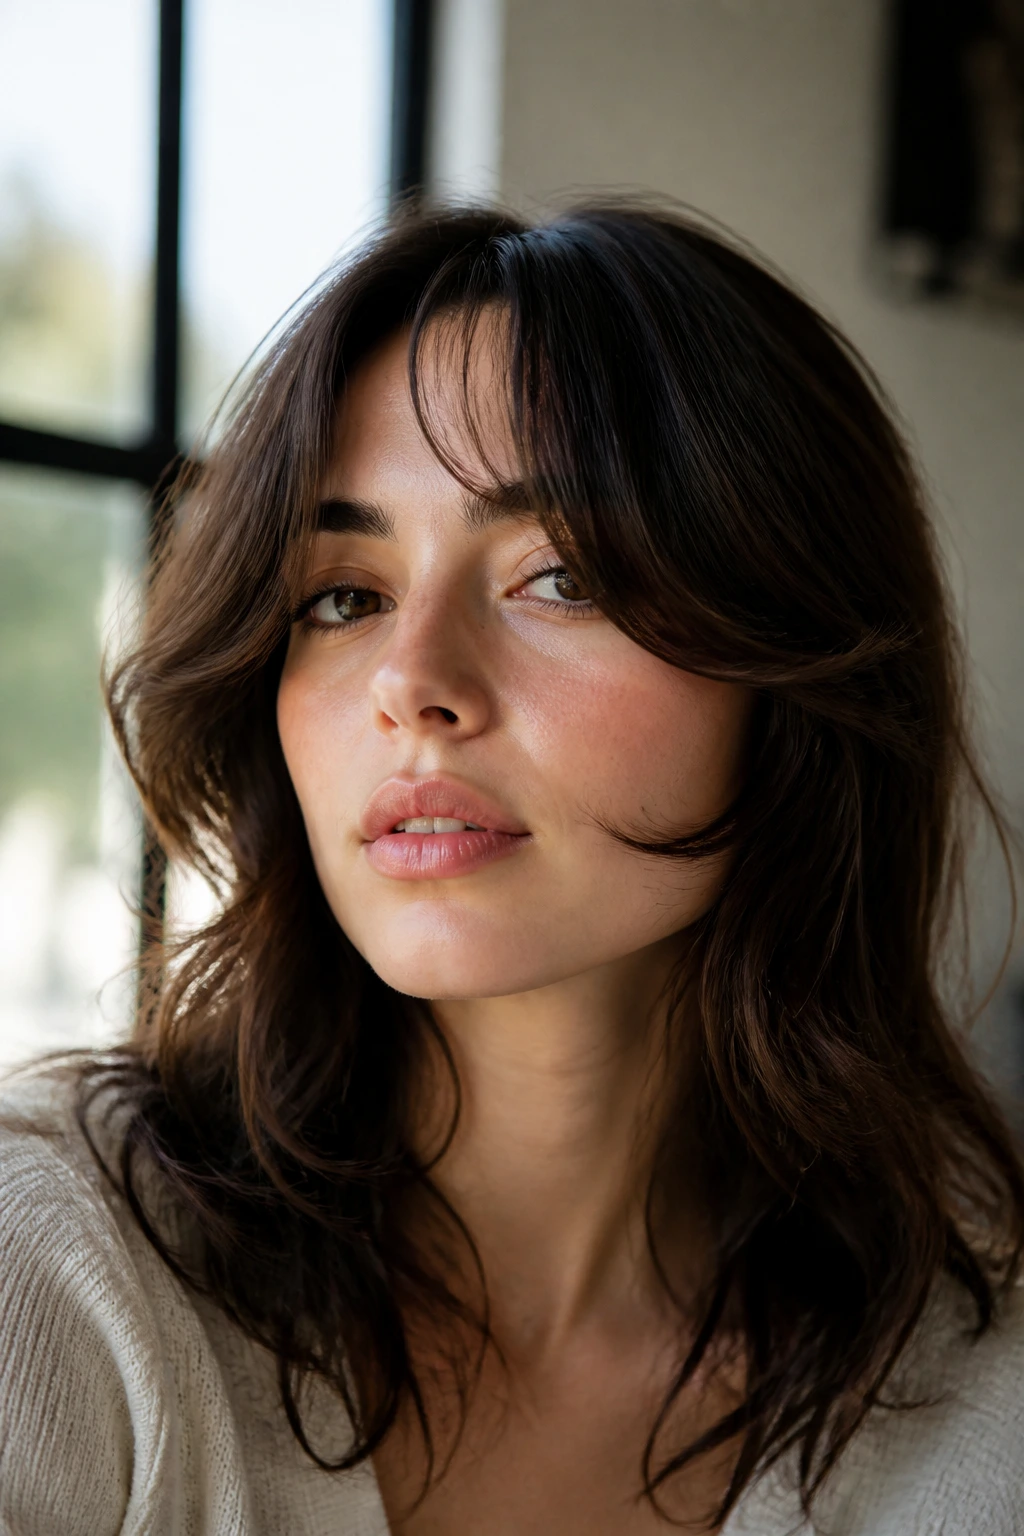
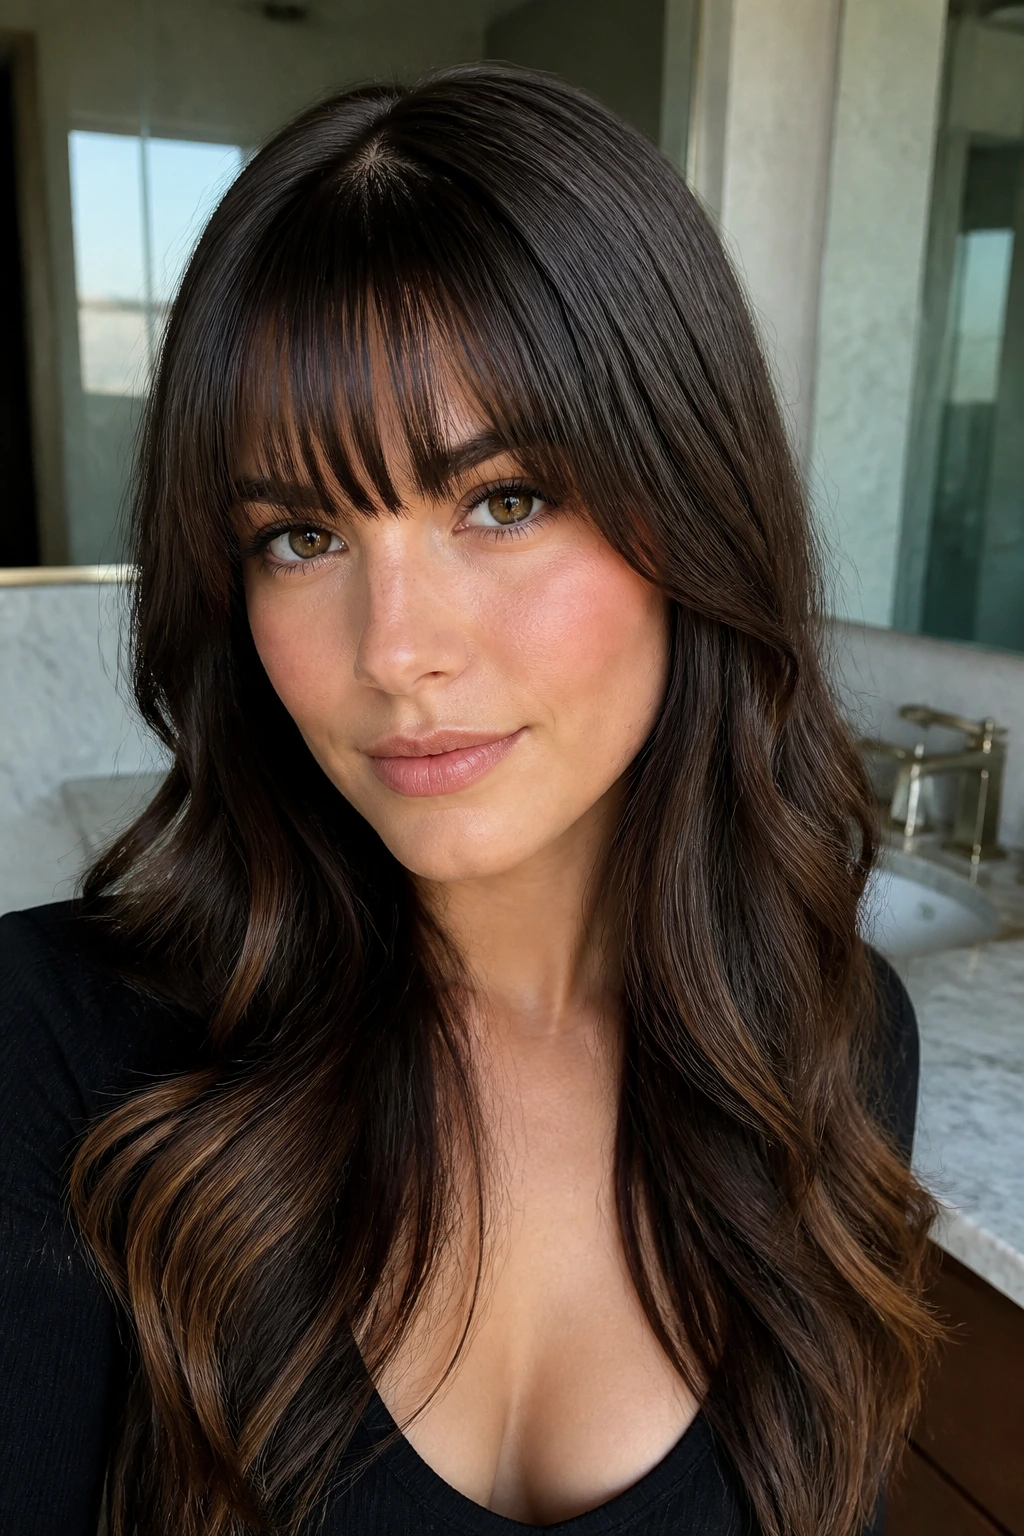
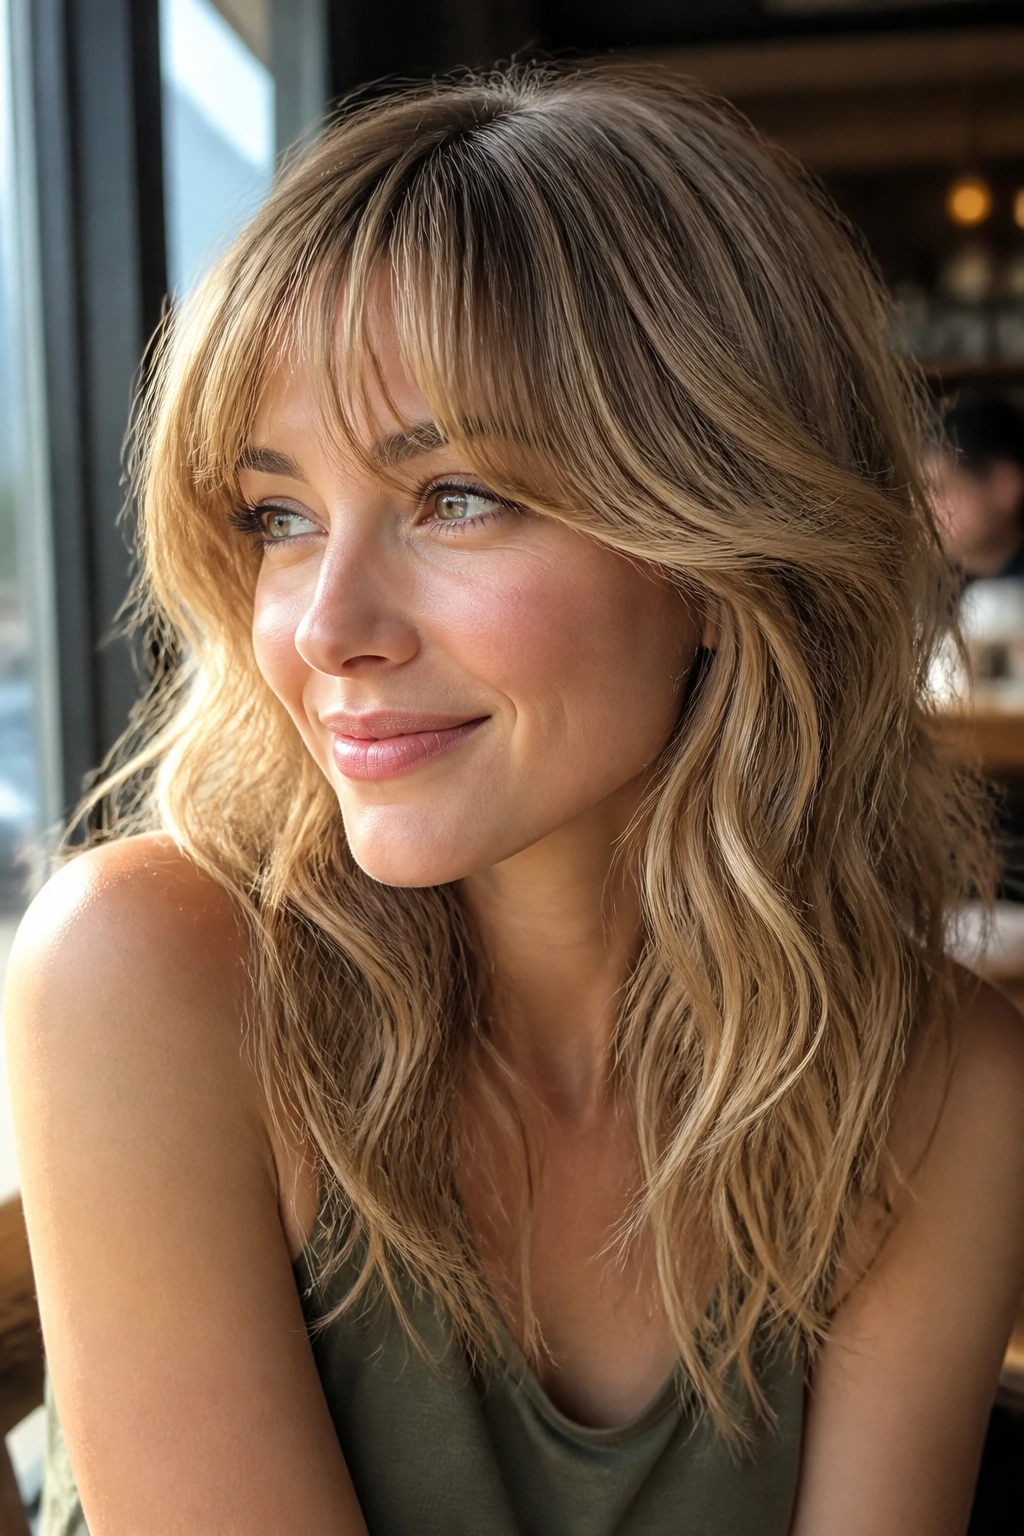
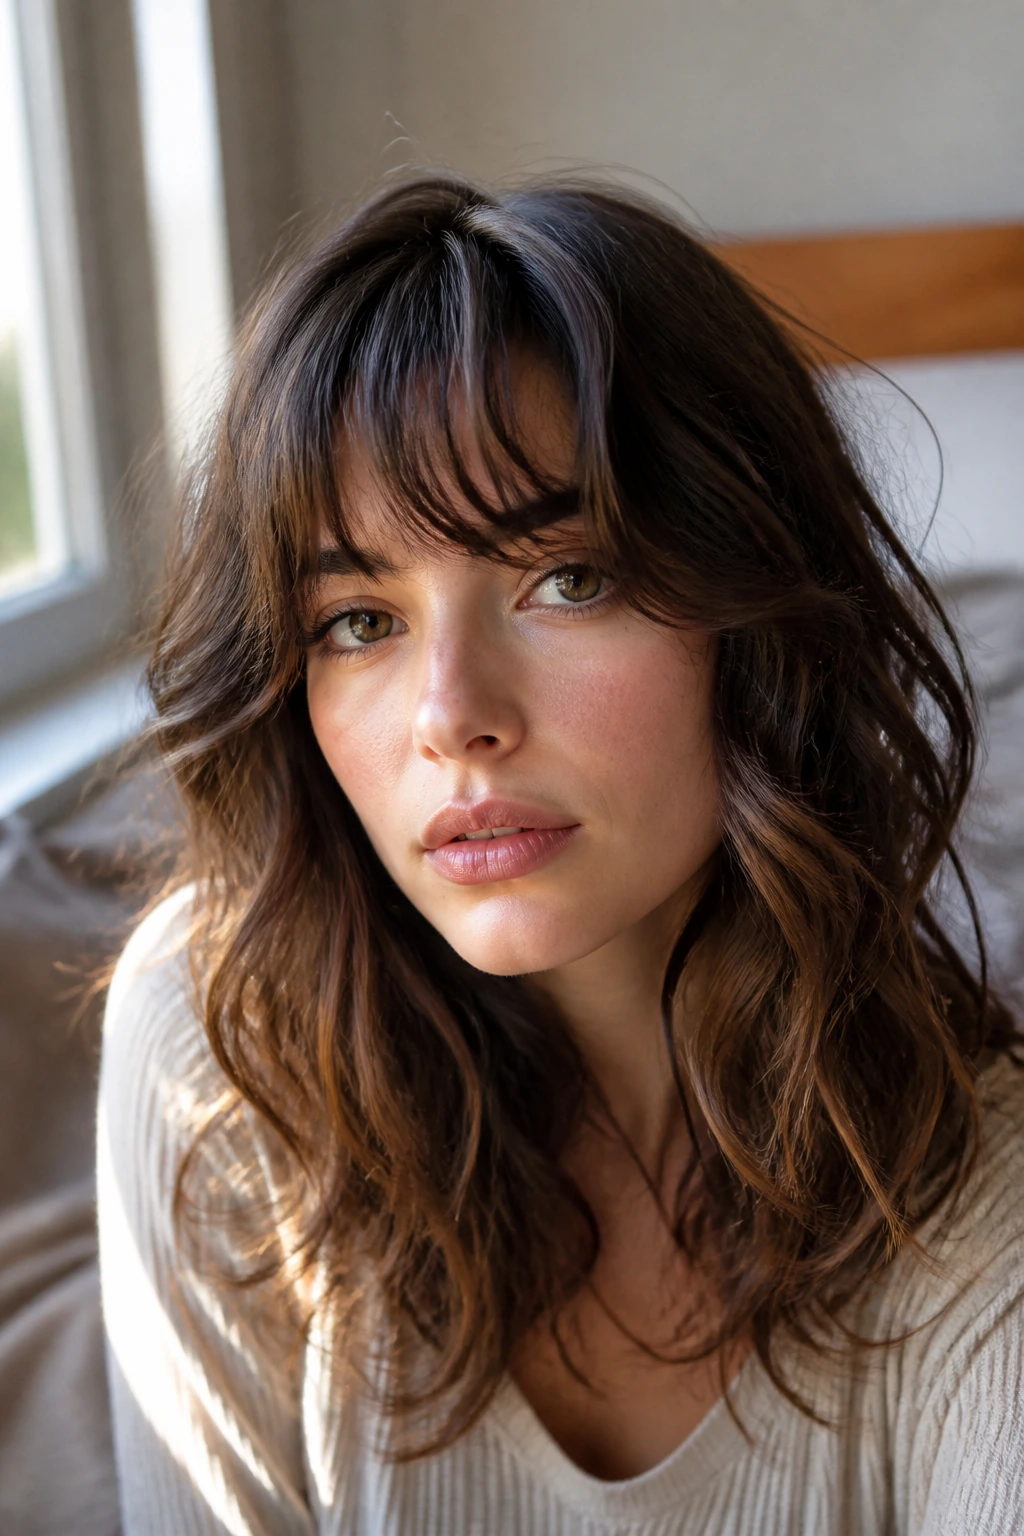
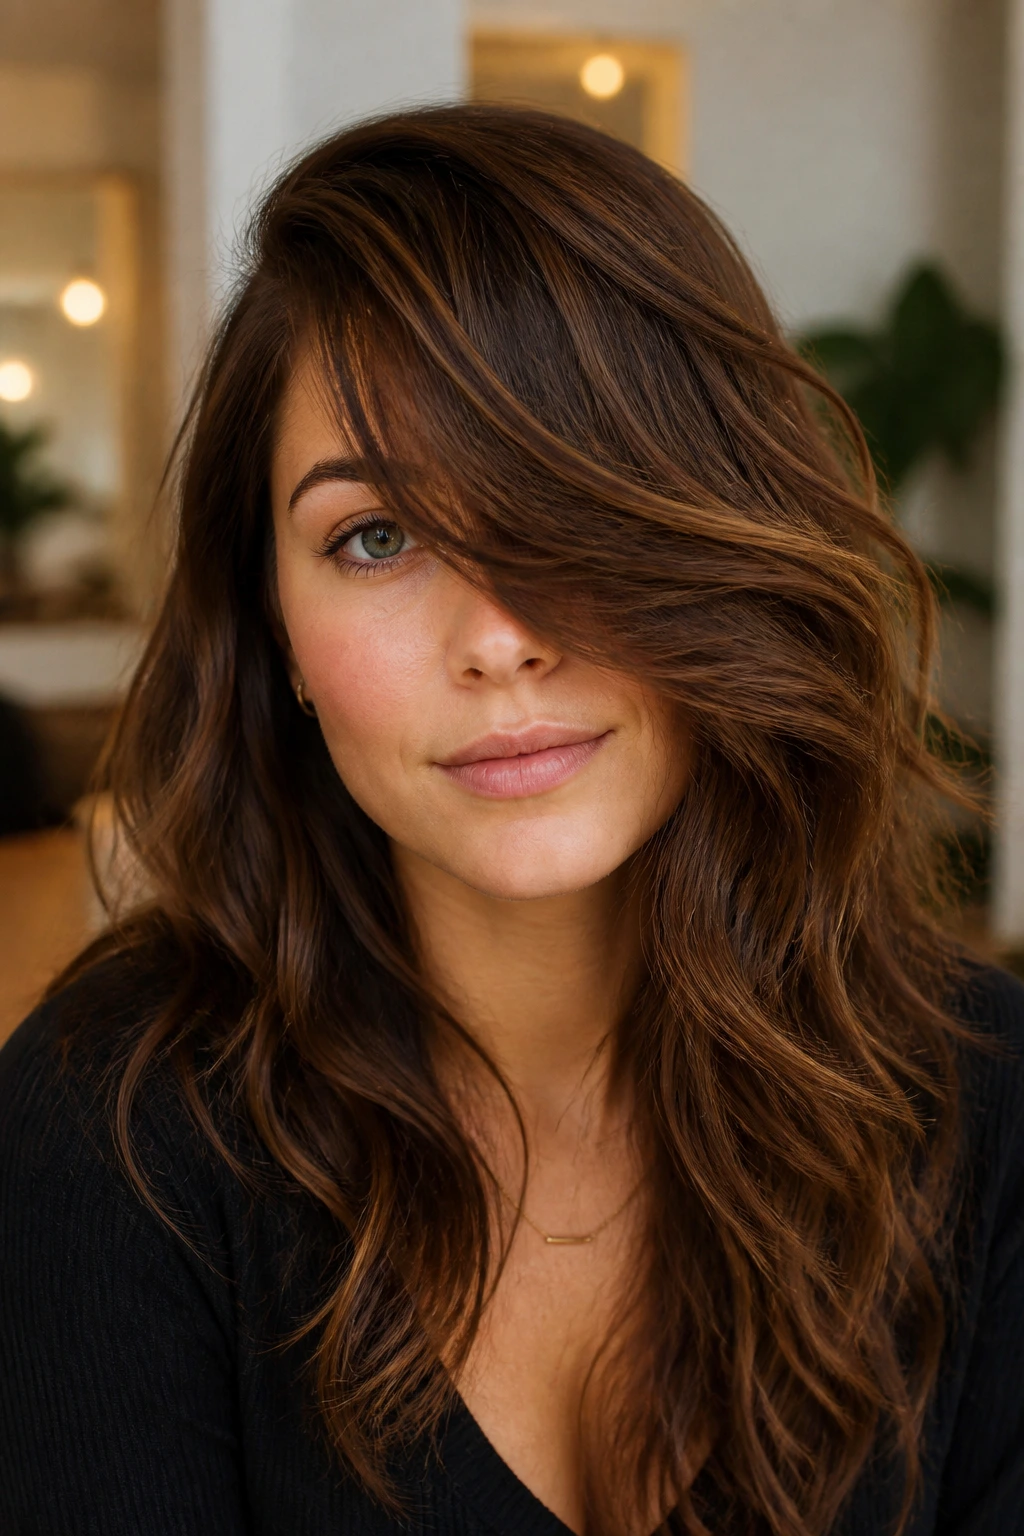
1. Curtain Bangs That Melt Into the Center Part
Curtain bangs are the easiest place to start if you want bangs for oval faces with wavy hair that feel wearable from day one. The center part keeps the face open, while the longer outer pieces follow the cheekbone instead of sitting in a blunt line across the forehead. The result is soft and forgiving, which is exactly what wavy texture likes.
How to Style It
Blow-dry the roots forward first, then sweep each side away from the face with a 1.5-inch round brush. Stop when the roots are dry and the ends still have a little bend. If you flatten every wave, the fringe loses its shape the second humidity walks into the room.
- Mist a pea-sized amount of lightweight mousse through damp bangs.
- Split the fringe down the center.
- Roll each side off the face with the brush, then pin them for 2 minutes while they cool.
- Finish by pinching the ends with dry fingers so the pieces stay soft and separated.
Best for: anyone who wants a face-framing look that grows out cleanly and doesn’t need a daily fight with the root.
2. A Deep Side Sweep That Opens One Eye
A deep side-swept fringe gives oval faces a little drama without throwing the whole cut off balance. On wavy hair, it looks especially good because the bend keeps the sweep from going flat and dull. One side gets lifted, the other side falls with just enough weight to make the shape look deliberate.
The trick is to start the part farther over than feels comfortable. Seriously. Most people stop too soon and end up with a halfhearted side fringe that flops across the brow by lunch. Push the hair over, blow-dry the root in the new direction, and let the bang section cool with a clip tucked at the temple. That little cool-down step matters more than people think.
Use this when you want softness at the forehead but still want one eye and one cheekbone to stay open. It also pairs well with a wavy lob or shoulder-length cut, because the side sweep gives the whole style a little movement near the face.
3. Bottleneck Bangs With Lift at the Temples
Ever notice how bottleneck bangs can make wavy hair look more expensive without looking fussy? That’s the appeal. The center section stays narrow and short enough to skim the brows, while the sides open out around the temples and cheekbones. On an oval face, that shape adds a little framing without boxing in the features.
What Makes Them Different
The center is the part that needs control. Dry that piece first with a small round brush or a flat brush aimed downward, then bend the side pieces away from the face. You want the middle to sit lightly on the forehead, not stand straight up like a tiny curtain rod.
This style is especially good if your wave pattern is loose at the root and stronger at the ends. The narrower center keeps the fringe tidy, while the wider sides soften the transition into the rest of the hair. If you have dense hair, ask for internal texturizing rather than slicing the entire front section thin. Otherwise the fringe can get fluffy fast.
Styling Cue
Stop drying when the root is smooth but the ends still have a soft curve. That’s the whole point.
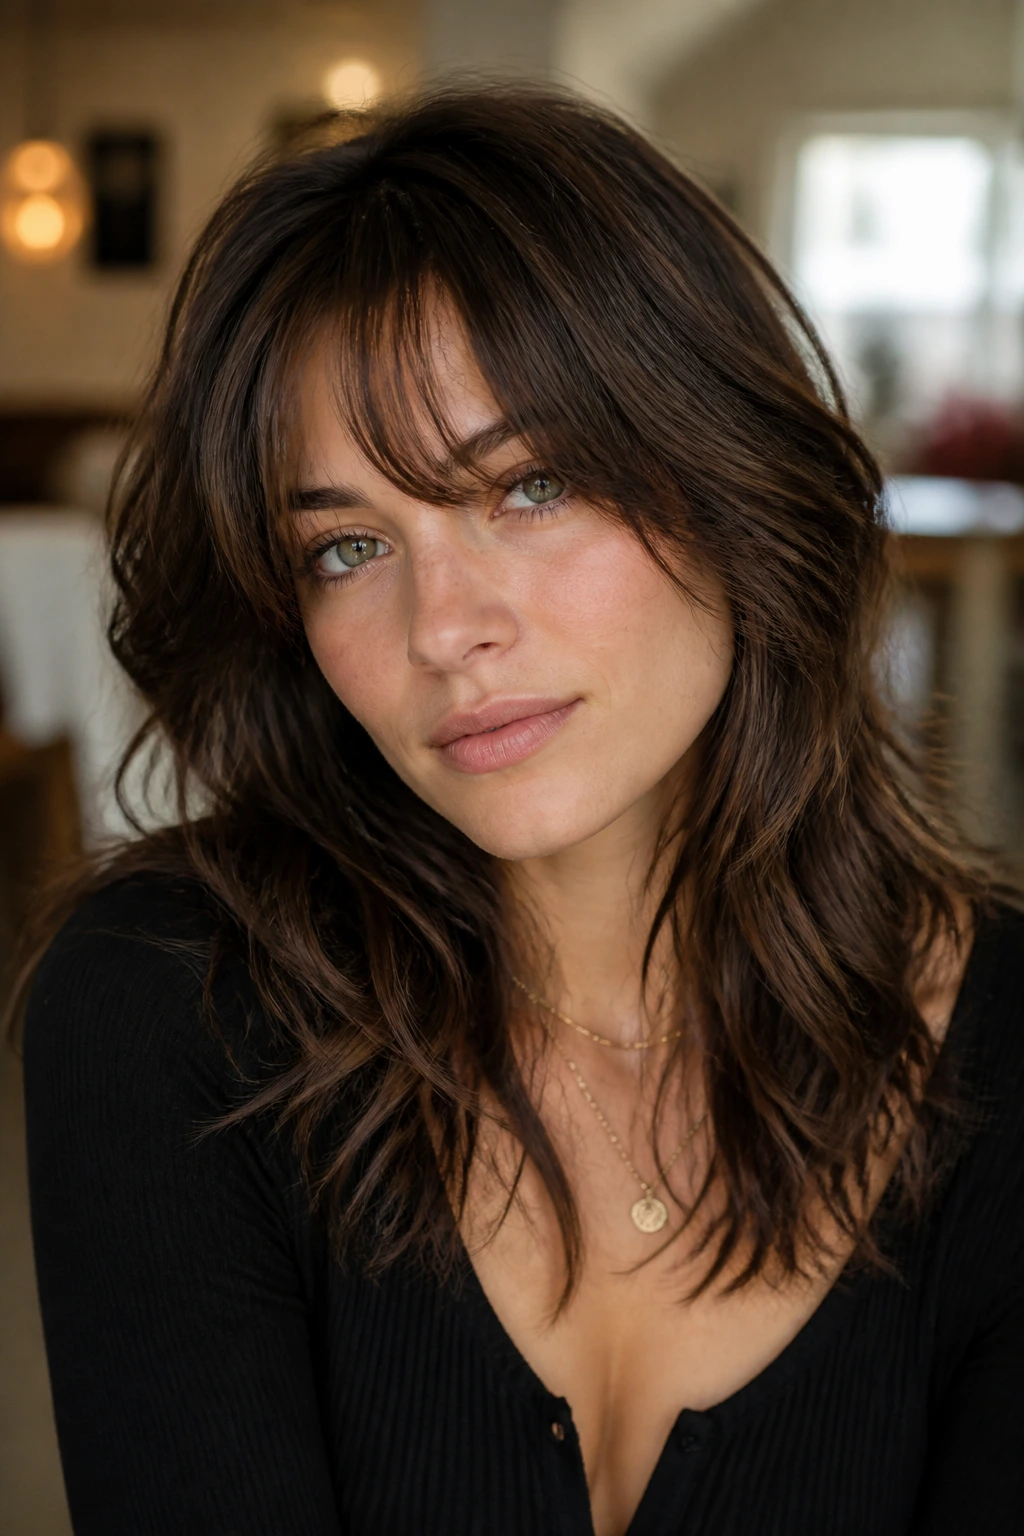
4. Wispy Brow-Grazing Fringe With Soft Ends
Wispy bangs are what I recommend when someone wants fringe but doesn’t want to feel like the bangs are running the show. They sit right around brow length, but the ends are airy enough that the wave can break them up a little. On an oval face, that keeps the forehead framed without stealing attention from the rest of the cut.
These look best when they’re cut with a light point-cutting hand, not a blunt line. The styling should follow the same idea. Use a tiny dab of styling cream on damp bangs, then rough-dry with your fingers until the roots are about 80 percent dry. Finish with a flat brush or your fingers, and leave the ends a touch imperfect.
- Good if your hair is fine to medium.
- Good if you wear glasses, because the softness keeps the fringe from crowding the frames.
- Not so good if you’re craving a heavy, high-impact bang line.
The best part? They make second-day texture look intentional. That’s a nice way of saying they forgive a lot.
5. Piecey Air-Dried Fringe With Separation
Piecey bangs are the low-effort, high-return answer when your wavy hair already has a bit of natural bend and you don’t want to overstyle it. Instead of forcing the fringe into one smooth sheet, you let the wave break into little sections. The effect is airy, a little undone, and very much alive.
Start with damp bangs and a small amount of mousse or wave foam. Comb the product through with your fingers, not a brush, then twist the bang section once or twice while it dries. When it’s almost dry, split the pieces apart with a tiny drop of serum rubbed between your palms. Do not smooth the whole thing down. That kills the texture.
This style is a good match for oval faces because the broken-up fringe keeps the center of the face open while still giving you something interesting around the eyes. It also hides a few imperfect bits at the hairline, which is a blessing on mornings when the front section is doing its own thing.
6. Rounded Blowout Bangs With a Soft C-Shape
Rounded blowout bangs are a little more polished, and I like them when you want the fringe to sit as a shape rather than a texture. The goal is a soft C-curve that starts at the root, bends over the forehead, and brushes the brow line without folding in on itself. Wavy hair can absolutely do this, but it needs directional drying.
Use a small round brush and direct the bangs forward first, then slightly under. Hold the brush still for a beat at the ends so they learn the curve. If the hair is very wavy, clip the fringe in the rounded shape for a minute while it cools. That tiny pause helps the bend stay put longer than a second blast of heat ever will.
This style is especially useful if your face reads softly rounded in photos and you want a cleaner front edge. It keeps the fringe controlled without making it look stiff. And yes, a blowout like this takes a few minutes. Worth it. Every time.
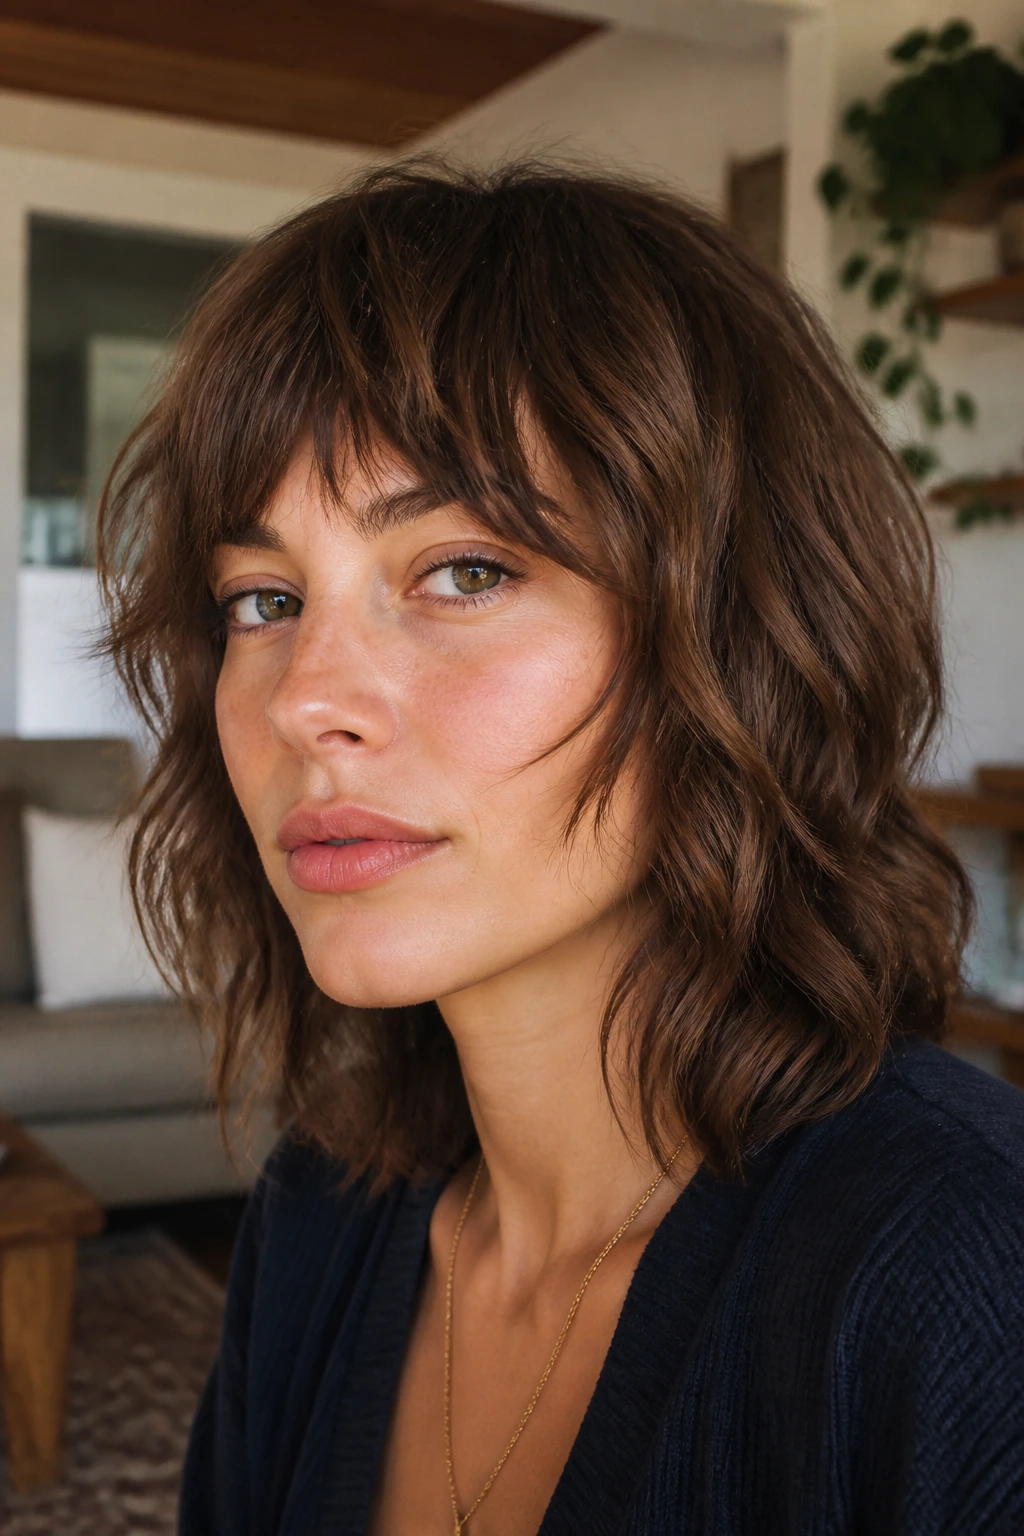
7. Shag-Blended Fringe That Lives Inside the Layers
If your haircut already has shaggy layers, forcing the bangs to look separate can make the whole cut feel chopped into pieces. Better to let the fringe disappear a little into the rest of the shape. Shag-blended bangs do exactly that. They’re choppy enough to have texture, but long enough to merge into the side layers.
Dry them with a diffuser on low air, or let them air-dry and then bend the front pieces around a finger. The goal is not a perfect curtain or a precise sweep. The goal is movement that starts at the brow and rolls outward into the cheekbone area.
What to Watch For
If the front section is too short, the shag can look spiky instead of soft.
If the front section is too long and heavy, it disappears into the rest of the cut and loses all purpose.
The sweet spot sits in the middle, where the fringe looks like part of the haircut instead of a separate attachment.
8. French-Girl Fringe With Grit and Separation
French-girl fringe gets tossed around online like it’s a magical category, but there’s a real styling logic behind it. It’s usually a little shorter in the center, a touch longer at the sides, and finished with just enough grit to keep the pieces from clumping. On oval faces, that shape can look chic without crowding the features.
Use a lightweight texturizing spray, not a heavy wax. Dry the bangs from side to side with your fingers, then direct a little heat upward at the roots before smoothing them down. That first upward puff gives the fringe some lift. After that, use your fingertips to split the ends into narrow pieces.
This style is not for someone who wants every strand behaving the same way. It likes a little roughness. That’s the charm. If the hair is too polished, the fringe looks flat; if it has some texture, the whole thing feels relaxed and lived in.
9. Tucked-Behind-the-Ear Bangs for an Easy Lift
Not every fringe has to live across the forehead all day. A tucked-behind-the-ear look is one of the simplest ways to style longer bangs on oval faces with wavy hair, especially when you want the front off the face but don’t want a hard side sweep. The trick is to direct the fringe to one side, then tuck the heavier side behind the ear so the rest falls loosely forward.
I like this for days when the bangs are growing out and need a little cooperation. It also works if your wave pattern makes the front section puff up when it’s left to hang straight down. Tucking one side controls the width at the forehead, which keeps the overall shape tidy.
A light mist of flexible hairspray on the root area helps the tuck stay put. Don’t drown it. A damp, crunchy bang is a bad mood in hair form.
10. Curved Temple Bangs That Skim the Cheekbone
Temple bangs are one of my favorites for oval faces because they create a visual line from the forehead out toward the cheekbones. With wavy hair, the bend does a lot of the work. You’re not trying to flatten the front. You’re asking it to arc outward and land softly at the temples.
Best Way to Style Them
Use a round brush or even a vent brush to lift the root and curve the ends away from the center of the face. Work from the middle of the fringe outward so the inner pieces sit shorter and the temple pieces stay longer. That taper is what makes the look feel soft instead of blocky.
A little root spray helps if your bangs collapse easily. Spray it under the front section, not through the lengths, and then blow-dry on low heat. If the wave wants to kink, twist the ends around the brush for two or three seconds and let them cool before letting go.
The effect is subtle in a good way. Your face stays open, but the forehead doesn’t disappear.
11. A Long Side Part Sweep That Stretches the Face
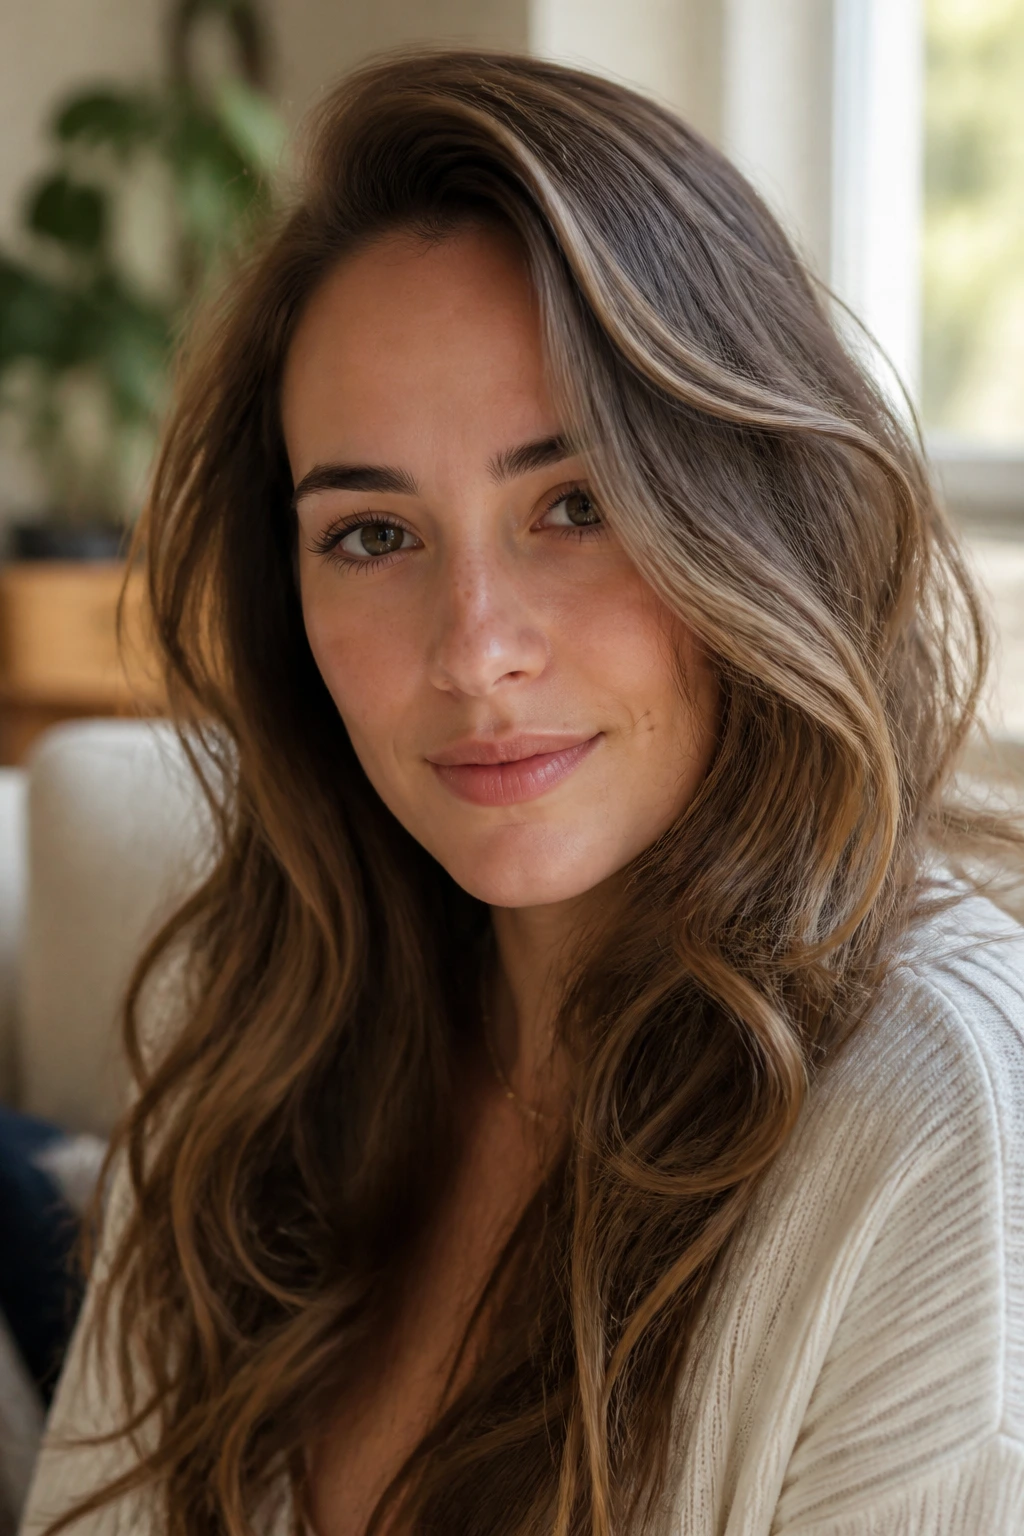
Sometimes the smartest move is to leave the bang length long and let the side part do the styling. A long side sweep works especially well on oval faces because it stretches the front line without distorting the proportions. On wavy hair, the extra length keeps the bend from flipping too short.
This is a good “I do not have time for drama” option. Create the side part, blow-dry the roots in the direction you want them to sit, and then clip the bang section to cool. Once it’s set, finger-comb it across the forehead and let the ends skim past one brow.
It’s a useful style if you’re between haircuts or growing out a shorter fringe. The length makes it flexible. You can wear it tucked, swept, pinned, or blended into the rest of the hair. And because the shape is long, it doesn’t fight the wave as much as a crisp brow-grazer does.
12. Micro Bangs Softened So They Don’t Feel Hard
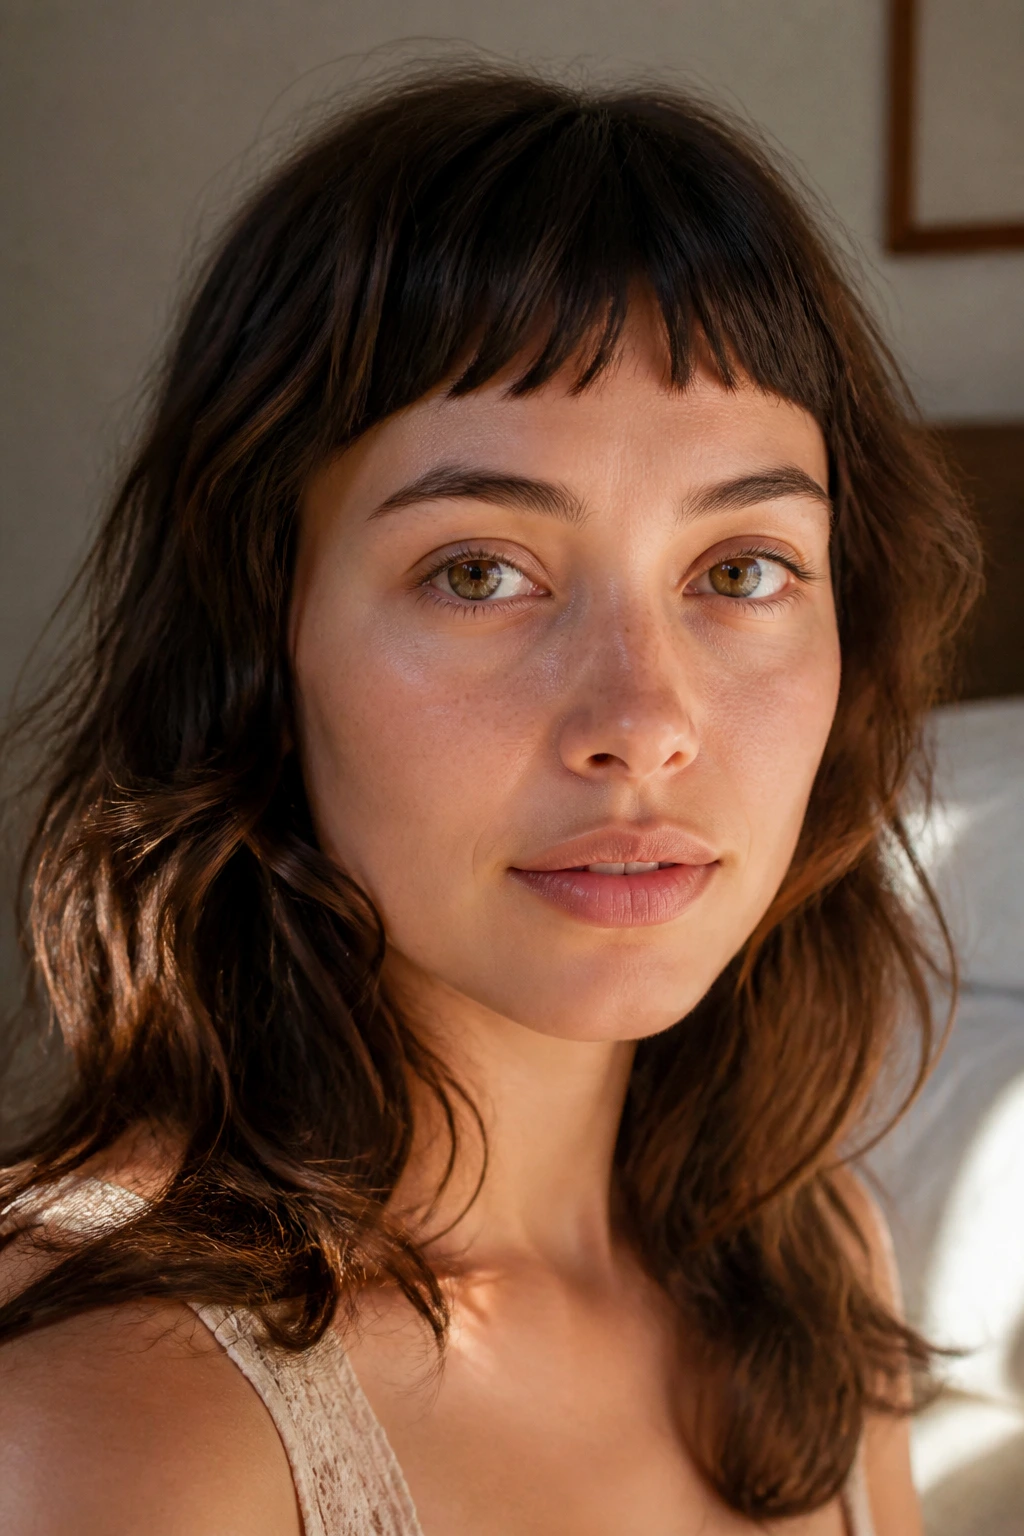
Micro bangs can be a sharp look, and I’m not going to pretend they’re for everyone. On oval faces, though, they can work if the ends are softened and the texture is a little messy rather than razor-straight. Wavy hair helps here because it keeps the line from looking too severe.
What matters is the finish. If you wear micro bangs dead straight and glassy, the cut can feel severe fast. If you use a tiny round brush or your fingers to give the ends a soft bend, the fringe reads more playful and less severe. Keep the sides a bit longer so the front doesn’t turn into one blunt little bar.
This is the style I’d choose when I want the forehead fully visible but still want some edge near the eyes. It’s bold. It just needs restraint in the finishing.
13. Split Bangs With Loose Braided Texture
Here’s a fringe trick that’s underrated: split it, then rough it up with a braid or twist overnight. The result is a softer, more irregular wave across the front that looks better than a perfect part on some days. Oval faces can wear this easily because the split keeps the center open.
Braid the damp bang section into two tiny twists or one loose rope twist, depending on length. In the morning, undo it, shake the hair once, and separate the pieces with your fingertips. If the bend is too strong, run the warm air from the dryer over it for 5 to 10 seconds, then shake again.
The finish is casual but not lazy. It gives you movement without making the fringe look overdone. Good for weekends, good for travel, good for any day when your hair wants to be a little strange and you decide to cooperate.
14. Face-Framing Bangs That Feed Into the Layers
This is the style for anyone who wants bangs but doesn’t want the front section to look like it was cut in isolation. Face-framing bangs start near the brow, then melt into the side pieces and the longer layers around the jaw. On an oval face, that creates a clean line that doesn’t crowd the center.
Styling is more about direction than shape. Blow the front forward first, then guide the outer portions away from the face with a brush or your fingers. The goal is a soft diagonal that draws the eye down, not a hard curtain across the forehead. If your hair is dense, work in thin sections so the front doesn’t puff at the roots.
This style is a nice compromise if you want fringe that’s visible but not high maintenance. It also survives a messy ponytail better than most bang shapes. That alone makes it worth a look.
15. A Messy Center Part With Root Lift at the Crown
A center part can look flat if you let it sit dead on the scalp. Give the crown a little lift, and the whole style changes. On oval faces, a messy center part with a lifted fringe keeps the balance open while allowing the wavy bangs to fall in soft pieces on either side.
I like this style best when the bangs are drying naturally but need a bit of help at the root. Clip the front away from the part for a few minutes while the rest of the hair dries. Then remove the clips, finger-rake the fringe, and let the wave fall where it wants. If the roots still sit too close to the scalp, flip the bangs side to side with a blow-dryer for 20 seconds.
It’s less precise than curtain bangs and more relaxed than a full blowout. That middle ground is where wavy hair often looks best.
16. Tucked-Under Retro Bangs With a Vintage Curve
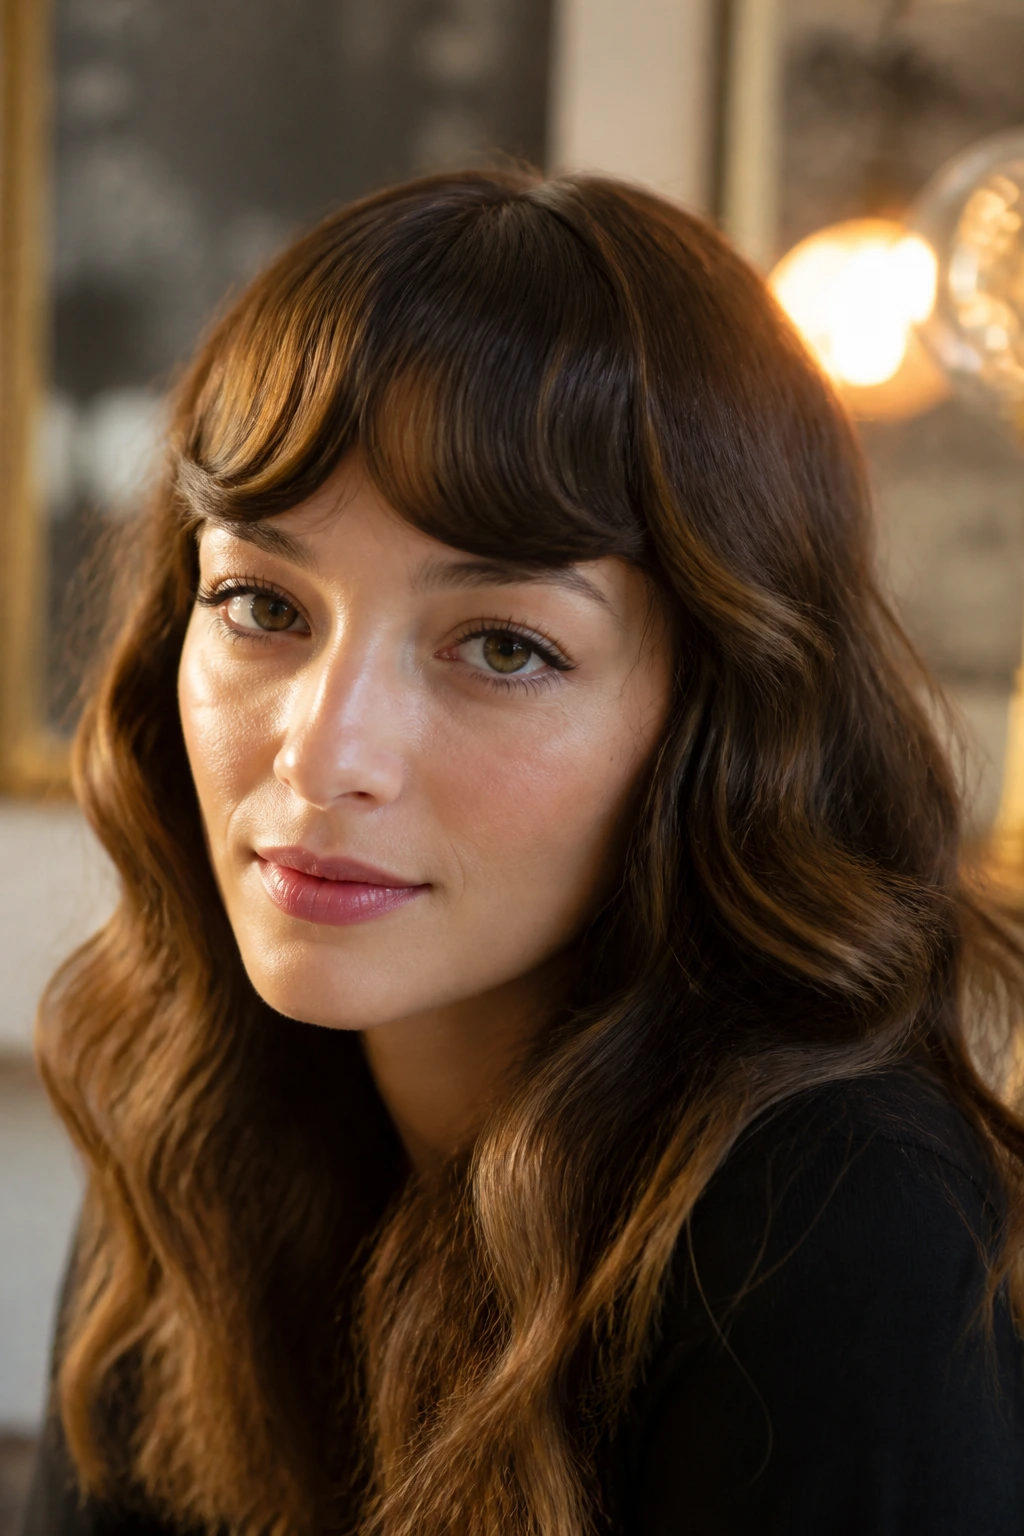
Tucked-under bangs have a retro feel, and they can look especially polished on oval faces when the curve lands right at the brow. The idea is to roll the ends under just enough to create a smooth arc, not a tight curl. Wavy hair can do this well because the texture already wants to bend.
Use a small round brush or a narrow flat brush and direct the ends under as you dry. Hold the shape for a second before releasing it, then let the bangs cool against the forehead. If you skip the cooling step, the curve usually relaxes too fast and you’re left with a half-bend that feels awkward.
This style reads cleaner than a piecey fringe and softer than a blunt one. It’s a nice choice when you want the bangs to feel dressed up without becoming fussy. Also, it looks good with lipstick. I can’t explain that part in math terms, but it’s true.
17. Diffused Fringe That Holds Up in Humidity
Some bangs styles collapse the second the air gets damp. Diffused fringe is the opposite approach. Instead of chasing a smooth blowout, you encourage the wave to set in a controlled, soft way that holds shape even when the weather is sticky.
Start with a lightweight mousse at the roots and a little through the mids. Then use a diffuser on low heat, cupping the bang section gently so the wave stays separated. Don’t blast the hair from below like you’re drying a towel. Keep the air soft and patient, and stop when the bangs are mostly dry but still have a tiny bit of movement.
This is one of the more practical looks on the list if your hair frizzes at the forehead first. The diffuser keeps the fringe from being over-stretched, and the texture helps hide little bends or flips that would bother a sleeker style. It’s not the prettiest option on a hanger. It’s one of the smartest in real life.
18. Sleek Roots and Wavy Ends for a Polished Mix
If your bangs tend to puff at the root but curl beautifully at the ends, split the difference. Smooth the roots with a brush and heat, then leave the ends loose and wavy. That contrast can look really sharp on an oval face because the front stays tidy while the movement lives lower down.
What Makes It Different
The root area gets the focus first. Use a nozzle attachment on your dryer and pull the hair forward with a flat brush until the scalp area sits smooth. Stop before the wave is completely erased. You want the middle and ends to keep a little bend, because that’s where the texture gives the style personality.
This works best when you don’t have time for a full styling routine but still need the bangs to behave. It’s also a smart choice for anyone whose wave pattern is stronger at the ends than at the scalp. The look is clean without being stiff, which is a nice place to live.
19. Pin-Curled Bangs for a Soft Event Finish
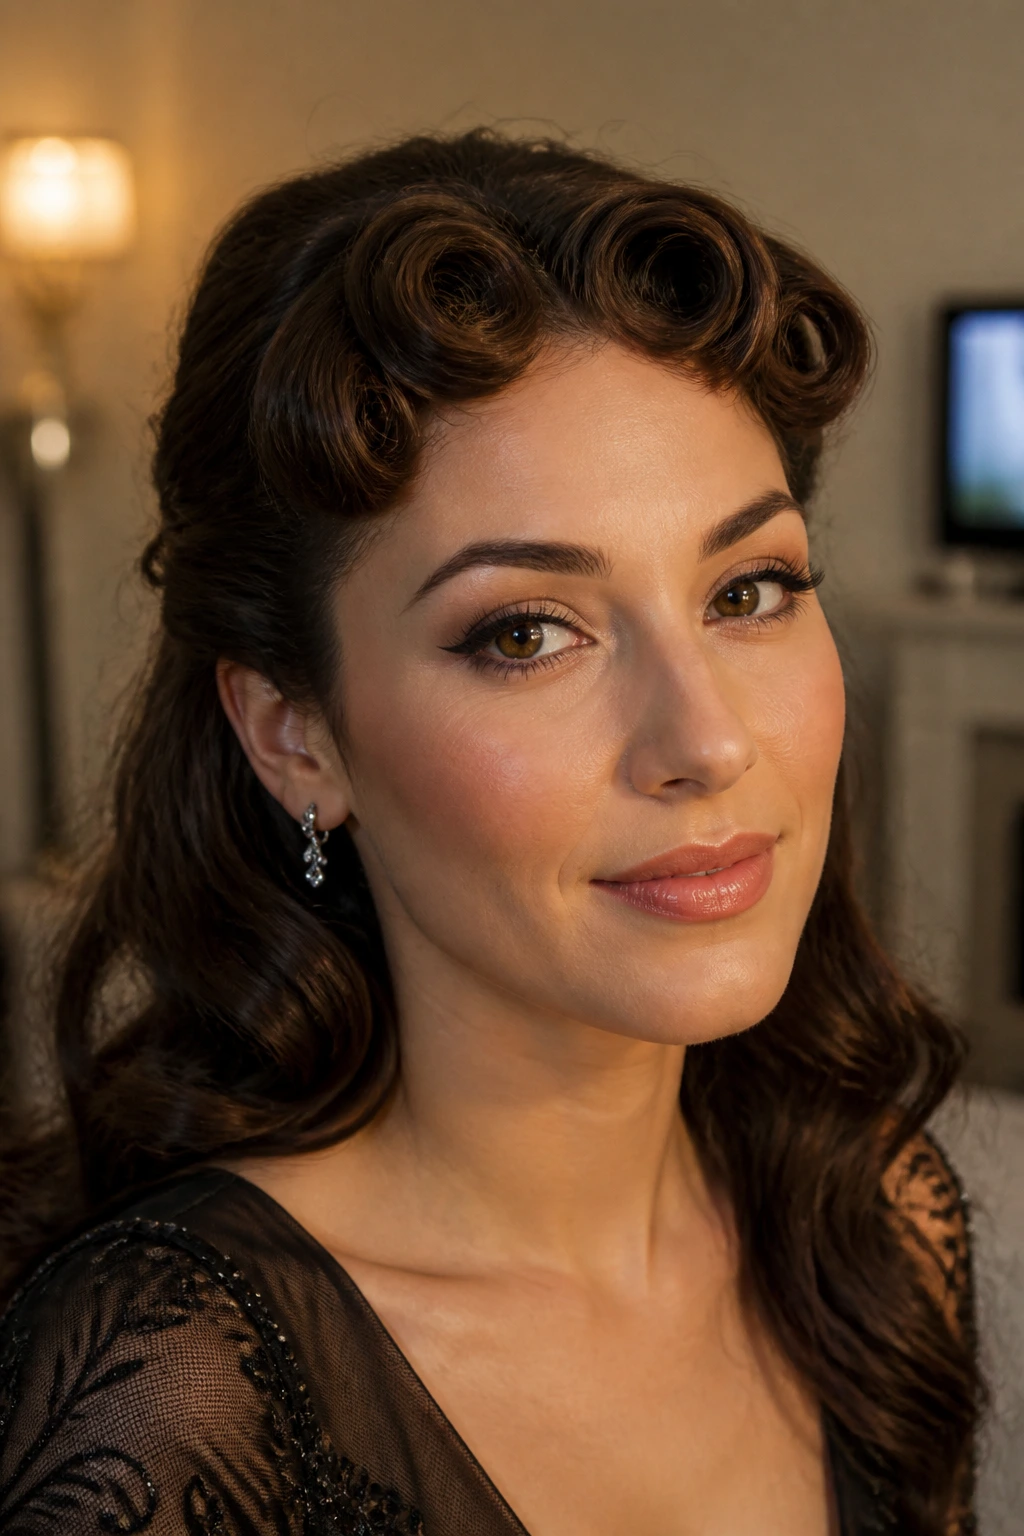
Pin curls are a little old-school, and I mean that as a compliment. For an event or a dinner where you want the fringe to sit neatly and then fall into a soft curve, they’re hard to beat. Wavy hair already knows how to bend, so the pin curl just teaches it where to land.
Wrap the bang section around your fingers or a small roller while it’s still warm from drying. Clip it in place for 10 to 15 minutes, then release it and shake it out lightly. The result should be a controlled wave that brushes the forehead instead of separating into random bits.
This is not the fastest option on the list, but it’s one of the prettiest when you want a more finished front shape. It also photographs well in low light because the curve stays visible without becoming stiff.
20. Dry-Shampoo Bangs With Extra Grip on Day Two
Day-two bangs can look better than day-one bangs if the roots are too clean on the first day. Dry shampoo gives the front some grip, which helps wavy hair hold shape instead of sliding flat against the forehead. On oval faces, that grip keeps the fringe from losing its frame.
Spray the product at the roots from about 6 to 8 inches away, then wait a minute before touching it. That waiting step matters. Rubbing immediately just pushes the powder around and makes the bangs look dusty. After it settles, massage the roots lightly and re-bend the ends with your fingers or a small brush.
This is the style for people who don’t want to restyle their bangs from scratch every morning. It also works when the front section separates into little pieces and needs a bit of body to come back together. Practical. Quietly useful. Not glamorous, but very real.
21. Curled-Away Fringe That Opens the Eyes
A curled-away fringe gives oval faces a nice lift because it pulls the attention outward instead of down. On wavy hair, the curve tends to hold better than a flat sweep, especially if you bend the front away from the face while it’s still warm. The eye area ends up open, and the forehead keeps just enough coverage.
Use a small round brush or a mini flat iron to guide the front outward, then clip it until it cools. If the wave resists, don’t force the whole section straight. Bend only the first inch or two from the root and let the ends stay loose. That gives you direction without killing the texture.
It’s one of the prettiest ways to keep bangs from feeling heavy. The whole face looks a little more awake, which is useful on days when you haven’t had enough coffee to justify your existence.
22. Soft Graduated Bangs for Fine Wavy Hair
Fine wavy hair needs a lighter hand. Heavy bangs can swallow the face, while too much texturizing can make the front look sparse. Soft graduated bangs solve that problem by keeping a little more length through the outer corners and a softer taper in the center.
Blow-dry with a small round brush and focus on root lift rather than over-smoothing the ends. A tiny amount of mousse at the root is enough; too much product will weigh fine strands down and make the bangs stick together. The finished shape should look feathery, not wispy in a thin, fragile way.
This style fits oval faces because it keeps the front balanced without creating a hard straight line. If your hair is both fine and wavy, this is one of the safer fringe options. Safe does not mean dull. It means your bangs still look like bangs at the end of the day.
23. Dense Full Bangs Softened With Slicing

Full bangs can work on wavy hair, but they need more finesse than people expect. If the fringe is dense and blunt, it can puff outward and sit like a wall. Softening the interior with slicing or point-cutting breaks up that heaviness so the bangs move instead of bulge.
Dry the bangs with tension using a round brush, then finish by shaking the ends apart with your fingers. The wave will give the fringe a little texture, and that texture is what keeps the style from going too heavy across the forehead. If the front starts to separate in a weird way, use a tiny amount of styling cream only on the ends.
This is a strong style for oval faces when you want more coverage at the forehead but don’t want a strict geometric line. It feels fuller, but not blunt in the bad way. There’s a difference.
24. Short Shag Fringe That Hits the Cheekbones
A short shag fringe is energetic. It has edge. It also behaves better on wavy hair than a lot of people expect because the texture is part of the point. On an oval face, the cheekbone length helps anchor the front and gives the cut a clear shape.
Use your fingers or a diffuser to keep the texture loose. If you brush it smooth, the fringe can turn puffy and lose that choppy feel. A touch of texture spray at the mids, not the roots, helps keep the pieces separated while the front still feels light.
This is the fringe I’d pick if I wanted the haircut to look alive even when the rest of the style is simple. It has personality. You’ll know within two seconds whether that’s your thing.
25. High-Lift Blowout Bangs With Swept Sides
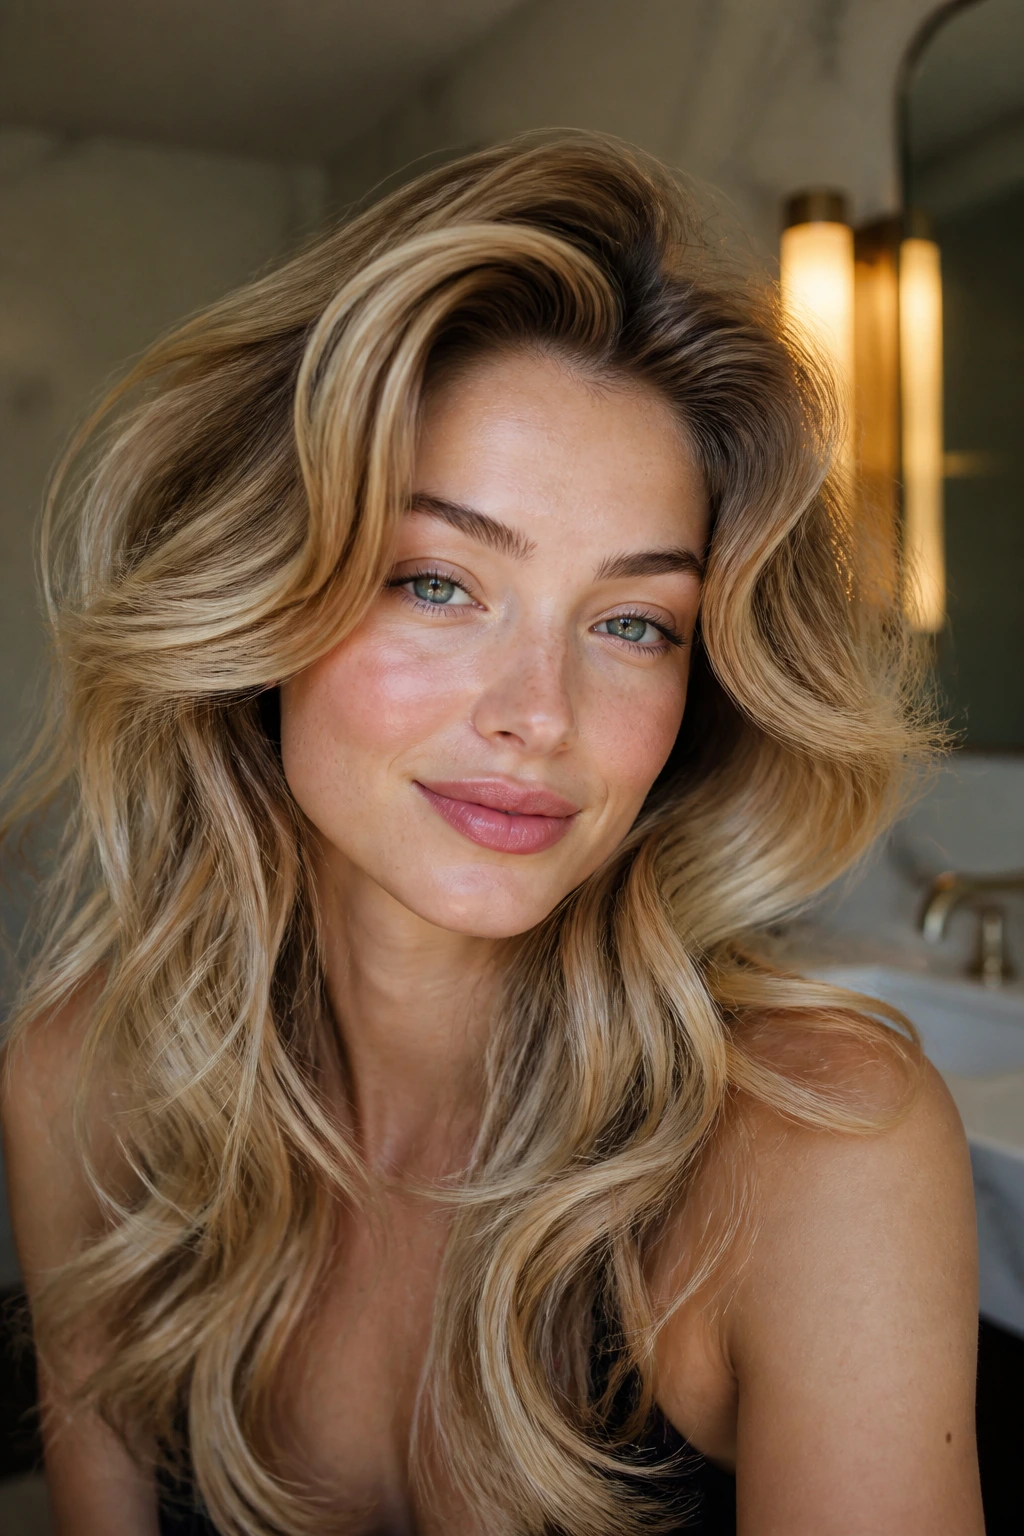
The last style is the one I reach for when I want the bangs to look finished, not merely arranged. High-lift blowout bangs use volume at the root, sweep the sides away from the forehead, and keep the ends soft enough to move with the rest of the wave pattern. On an oval face, that lift gives the front a clean, bright shape.
Work with a round brush and lift the root straight up before guiding the hair outward. A quick cool shot while the bang is rolled around the brush makes the bend last longer. Then sweep the ends to the side and separate them with your fingers so the fringe doesn’t harden into one tidy piece.
This look sits somewhere between polished and casual, which is why I like it. It can handle dinner, work, errands, and the odd windy sidewalk without falling apart immediately. That’s not a small thing.
The Styling Rule That Saves Wavy Bangs From Falling Flat
If you want bangs for oval faces with wavy hair to stay in shape, the real trick is not some magical product. It’s direction. The hair needs to know where you want it to live while it dries, and it needs enough room to keep a little bend once it gets there.
I’d rather see someone use a medium brush, a low heat setting, and a pinch of product than bury the fringe in creams and hope for the best. Heavy product sinks the root. Excess heat makes the wave snap back in the wrong place. A lighter hand, a short cool-down, and a clean part line usually beat all the drama.
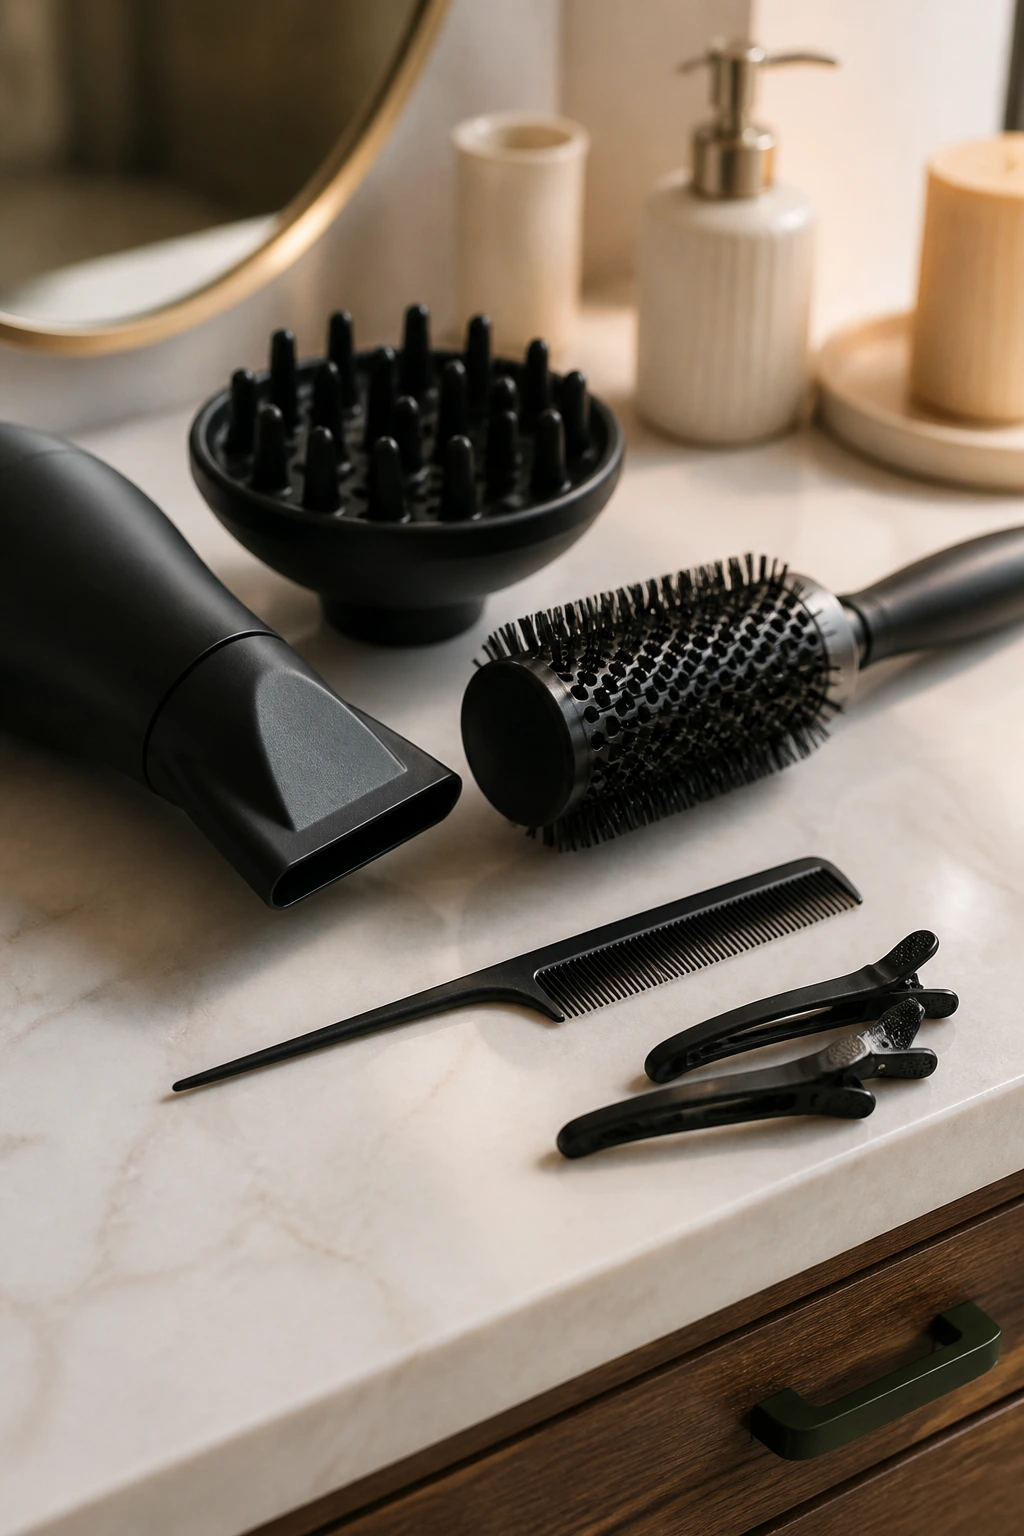
Essential Tools for These Looks
-
Blow dryer with a narrow nozzle: This gives you direction at the root instead of blasting the fringe every which way.
-
1-inch round brush: Best for shorter bangs, bendy brow-grazers, and tighter curve work near the forehead.
-
1.5-inch round brush: A safer pick for curtain bangs and longer fringe because it softens the bend without making the hair too curled.
-
Fine-tooth comb: Useful for parting and for placing the bang section before heat touches it.
-
Duckbill clips or sectioning clips: These help the fringe cool in the shape you want, which matters more than people admit.
-
Diffuser attachment: A smart choice if you want your wave pattern to stay loose and frizz to stay calmer.
-
Mini flat iron: Optional, but handy for a quick root polish or a subtle outward bend.
-
Lightweight mousse: Gives damp bangs a bit of memory without turning them stiff.
-
Heat protectant spray: Non-negotiable if you use heat on the front section every day.
-
Dry shampoo: Useful for root grip and for absorbing forehead oil before it travels into the fringe.
-
Texturizing spray: Good for piecey looks, shaggy styles, and second-day bangs that need separation.
-
Microfiber towel or soft cotton T-shirt: Helps blot the bangs gently before styling so you don’t rough up the cuticle.
Smart Product and Length Notes
Wavy bangs almost always need less product than people expect. A pea-sized amount of mousse can be enough for the front section, and that’s not me being stingy. Too much product weighs down the root and turns the bangs into a sticky little patch. If your hair is fine, start with half that amount and build only if the bangs fall apart.
Length matters more than most people want to hear. Wavy fringe usually reads shorter when it dries, so if the bangs are cut wet, they should often live a touch longer than the final goal. The exact amount depends on how strong your wave is, but a quarter to half an inch can disappear fast once the hair dries. That tiny difference saves a lot of regret.
Dense bangs need room to move. Fine bangs need lift, not bulk. If the hairline has a strong cowlick, it helps to keep the bang section slightly longer in the center so the wave doesn’t kick straight up. That one adjustment can change the entire mood of the front.
Practical Tips for Styling Bangs That Actually Behave
-
Cut or style with shrinkage in mind: Wavy hair rises when it dries, so leave the front a little longer than you think you need.
-
Aim heat at the roots first: The root direction sets the shape; the ends are just along for the ride.
-
Use the smallest amount of product that works: If the bangs feel tacky, you’ve probably used too much.
-
Cool the hair before you let it go: A 20-second clip or hold on a brush gives the bend a memory that air-drying alone can’t.
-
Keep dry shampoo at the root, not the lengths: The front needs grip, not chalky ends.
-
Work in the mirror from both angles: Bangs can look balanced straight on and lopsided from the side if one temple piece is shorter than the other.
-
Trim with the wave pattern, not against it: Hair that bends strongly at the forehead should not be cut exactly where you want it to sit when wet.
Common Mistakes That Flatten the Shape
The first mistake is cutting the fringe too short while it’s wet. Wavy hair will spring up, and the result is a bang that looks like it got startled. The fix is simple: leave extra length, dry the hair fully, then make the final judgment. If you’re doing the styling at home, work in tiny steps instead of hacking off a big chunk at once.
Second, people overload the front with cream or oil. The bangs stop moving, the root collapses, and the forehead ends up shiny in the wrong way. Use lighter product and keep it off the scalp unless you need just a whisper of hold.
Third, a lot of people dry the bangs in the wrong direction. If the hair wants to split to one side, pushing it straight down every morning can create that annoying middle crack. Train it the way you want it to sit, even if that means blow-drying side to side for a few seconds first.
Fourth, the cowlick gets ignored until it starts acting like a tiny tornado. If your front hairline lifts or splits naturally, style around that pattern instead of pretending it doesn’t exist. A clip, a small brush, and a little extra root drying solve more problems than brute force ever will.
Variations and Alternatives to Try

Grow-Out Friendly Curtain Swap
If your fringe is halfway grown out, turn it into a longer curtain shape and let the outer corners hang past the cheekbones. It’s less precise, but it gives you flexibility on the days when you want to tuck it away or part it differently.
Fine-Hair Lift Version
For finer waves, keep the bang section airy and use mousse at the root only. The hair needs lift more than it needs texture. A small round brush and a quick cool shot are usually enough.
Thick-Hair De-Bulk Version
Dense waves can handle fuller bangs, but they often need internal thinning so they don’t puff out across the forehead. Ask for soft slicing rather than a hard texturizing pass that can leave the fringe stringy.
Humidity-Guard Air-Dry Version
If heat styling is not your thing, let the bangs dry with a twist or two and finish with a touch of texturizing spray. This keeps the wave pattern intact and avoids the flat-then-frizzy cycle that shows up in damp weather.
Short-Front Shag Version
If you like edge, pair a shorter fringe with shaggy layers around the face. The bangs become part of the haircut rather than the main event, which makes the whole look feel more relaxed.
How to Keep Bangs Looking Good Between Washes

Bangs usually need attention before the rest of the hair does. That’s normal. The front touches skin, picks up oil, and gets bent by sleep faster than the lengths do. If your fringe is prone to getting limp, a light dry shampoo mist at the root on day two can buy you another clean-looking day without a full wash.
For the cleanest refresh, separate the bangs from the rest of the hair and blow-dry only the front section for 30 to 60 seconds. You do not need to rewash the whole head every time the fringe loses shape. Sometimes you only need to remold the root and re-bend the ends. If the bangs are long enough, pin them loosely to one side before bed or roll them on a soft Velcro roller for 10 minutes in the morning.
Trim timing matters, too. Most wavy bangs need a tidy-up every 3 to 6 weeks depending on how fast they grow and how short the shortest point sits. If the fringe starts poking into the eyes or losing its original curve, that’s your cue. Waiting too long usually means the bang line gets too heavy to style cleanly.
Frequently Asked Questions
Which bang style is easiest to live with on oval faces and wavy hair?
Curtain bangs are usually the easiest starting point because they can be swept, split, or tucked as they grow. They don’t demand perfect symmetry, and the wave gives them enough movement that they still look finished on a rough morning.
Should wavy bangs be cut wet or dry?
Either can work, but wavy hair is easier to judge when the final shape is checked dry. If a stylist cuts them wet, they should leave a little extra length and account for shrinkage. That’s the part that saves people from forehead surprises.
How do I keep bangs from separating in the middle?
Train the roots in the direction you want while they dry, then cool them in place for a minute. If the split keeps coming back, you likely need a different part line or a slightly heavier center shape such as bottleneck bangs.
Can I air-dry bangs and still have them look styled?
Yes, but the front usually needs a little guidance first. A twist, a clip, or a finger-coil at the ends gives the wave some structure before it dries on its own. Pure air-dry without any direction can leave the fringe vague and uneven.
What if my bangs puff up at the root?
That usually means the root is drying too loose or getting too much product. Dry the front with the nozzle pointed downward first, then use less cream and more controlled tension from the brush. A tiny amount of dry shampoo at the root can also help the fringe sit flatter.
Are micro bangs a bad choice for wavy hair?
Not automatically, but they need softness. On oval faces, micro bangs can work if the ends are lightly textured and the sides are long enough to balance them. A hard, blunt micro fringe is much tougher to manage with a strong wave.
How often should I trim my bangs?
Most people need a trim every 3 to 5 weeks if the fringe is short, or every 5 to 6 weeks if it’s longer and more blended. Once the bang line loses its shape or starts falling into your eyes, styling gets harder than it should be.
What’s the fastest way to refresh bangs in the morning?
Mist the roots lightly with water or dry shampoo depending on how oily they are, then re-bend the front with a round brush or your fingers. Thirty seconds of heat on the root and a quick cool-down is often enough. No need to restart the whole head.
A Fringe That Moves With You
The best bangs for oval faces with wavy hair don’t fight the texture and don’t pretend the face needs fixing. They frame. They bend. They leave room for movement, which is usually where the nicest hair lives anyway.
If there’s one thing I’d press into the forehead mirror, it’s this: style the fringe to the wave you actually have, not the straight line you wish it made. That one shift makes every blow-dry easier, every trim smarter, and every morning a little less annoying.