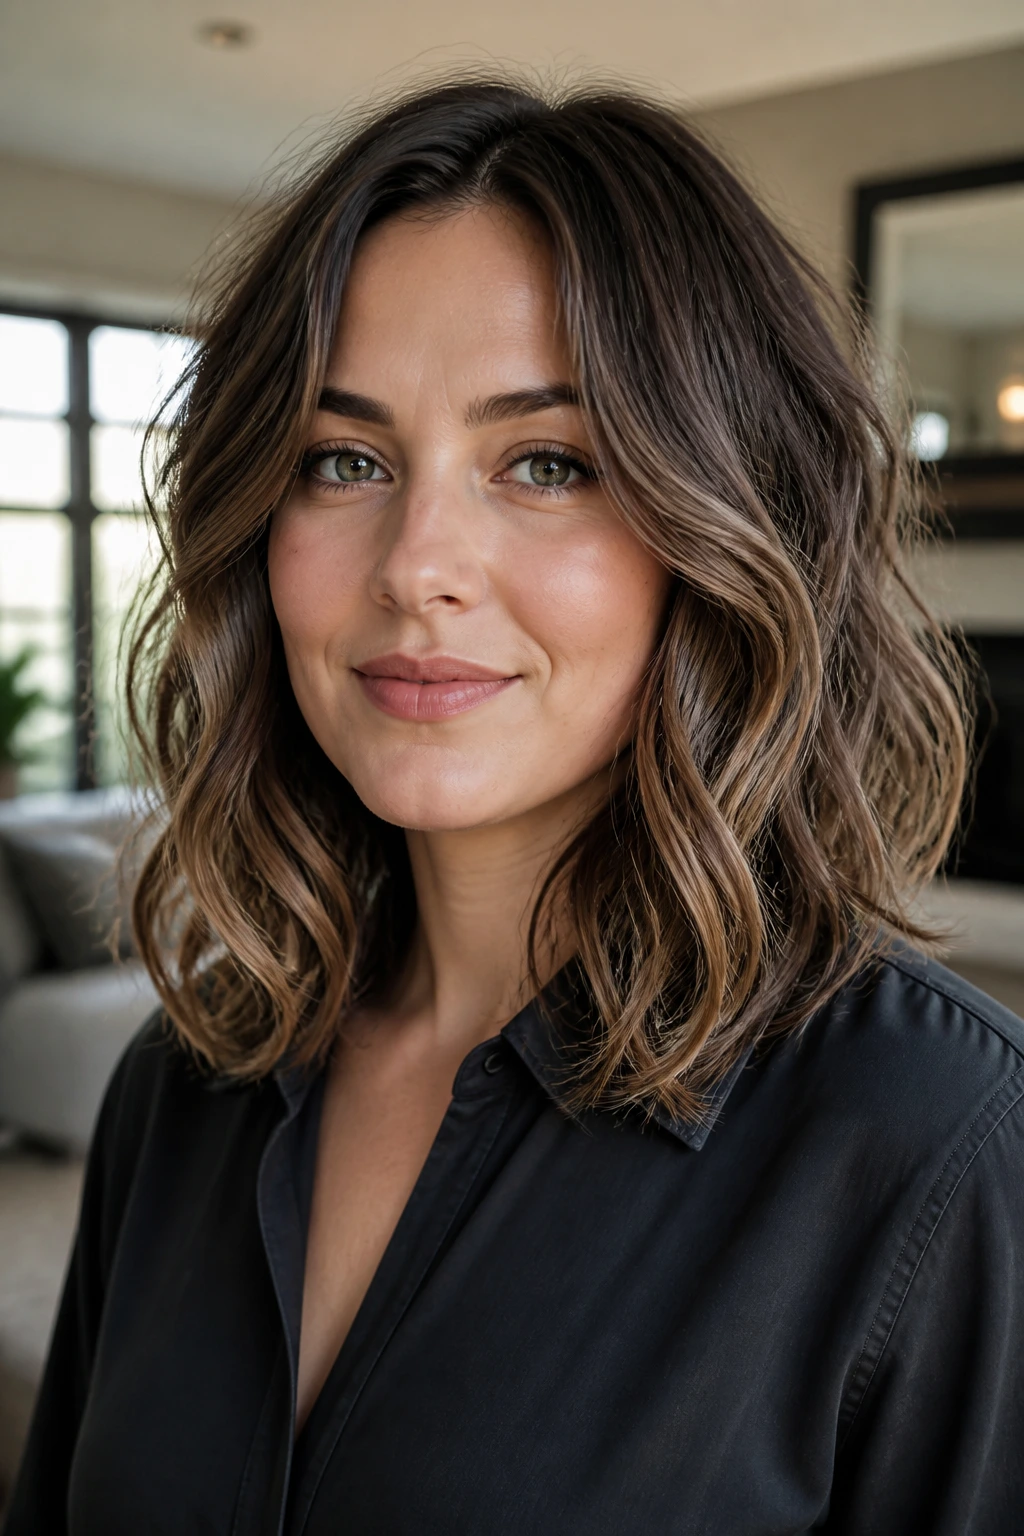
Round faces do not need to be hidden; they need better lines. That’s the whole trick. With wavy mid length haircuts for round faces, the goal is not to bury the cheeks under curtain-heavy hair or chase length for the sake of length. The goal is to create shape: a little lift at the crown, a little movement past the cheeks, and a finish that breaks the circle instead of echoing it.
I’ve seen too many medium cuts go wrong for one simple reason. The hair lands exactly at the widest part of the face, puffs out at the sides, and then the wave pattern adds more width where nobody asked for it. That’s when a lob starts to feel heavy, or a shoulder-length cut suddenly looks shorter than it is. The fix is usually small—an off-center part, a softer front angle, face-framing layers that start below the cheekbone—but the effect is huge.
The good versions are easy to spot. They skim the collarbone, bend around the jaw instead of stopping on it, and let the ends move while the roots stay in control. That balance matters more than people think. The cuts below all work for a reason, and the reason changes from one to the next: some use diagonal lines, some use internal layers, some use a fringe to draw the eye upward. Same face shape. Different strategy.
Why These Cuts Work So Well on Round Faces
- They build length where it matters: A cut that lands at the collarbone or just below it creates a vertical line the eye follows, which helps the face read a little longer.
- They keep volume off the cheeks: Waves are useful, but only when they start below the widest part of the face instead of blooming right at cheek level.
- They use angles instead of circles: Off-center parts, side-swept fringe, and forward-leaning layers break up the round outline without making the hair look stiff.
- They give you movement without bulk: Mid length hair can swing and bend; it does not have to sit like a helmet. The right layering keeps the ends soft and the sides light.
- They work with wave pattern, not against it: Loose bends, S-waves, and piecey texture add shape. Tight barrel curls right at the face usually add width.
- They are easier to live with than very long hair: Mid length cuts still ponytail, still half-up, still air-dry well. You get shape without the weight of extra inches.
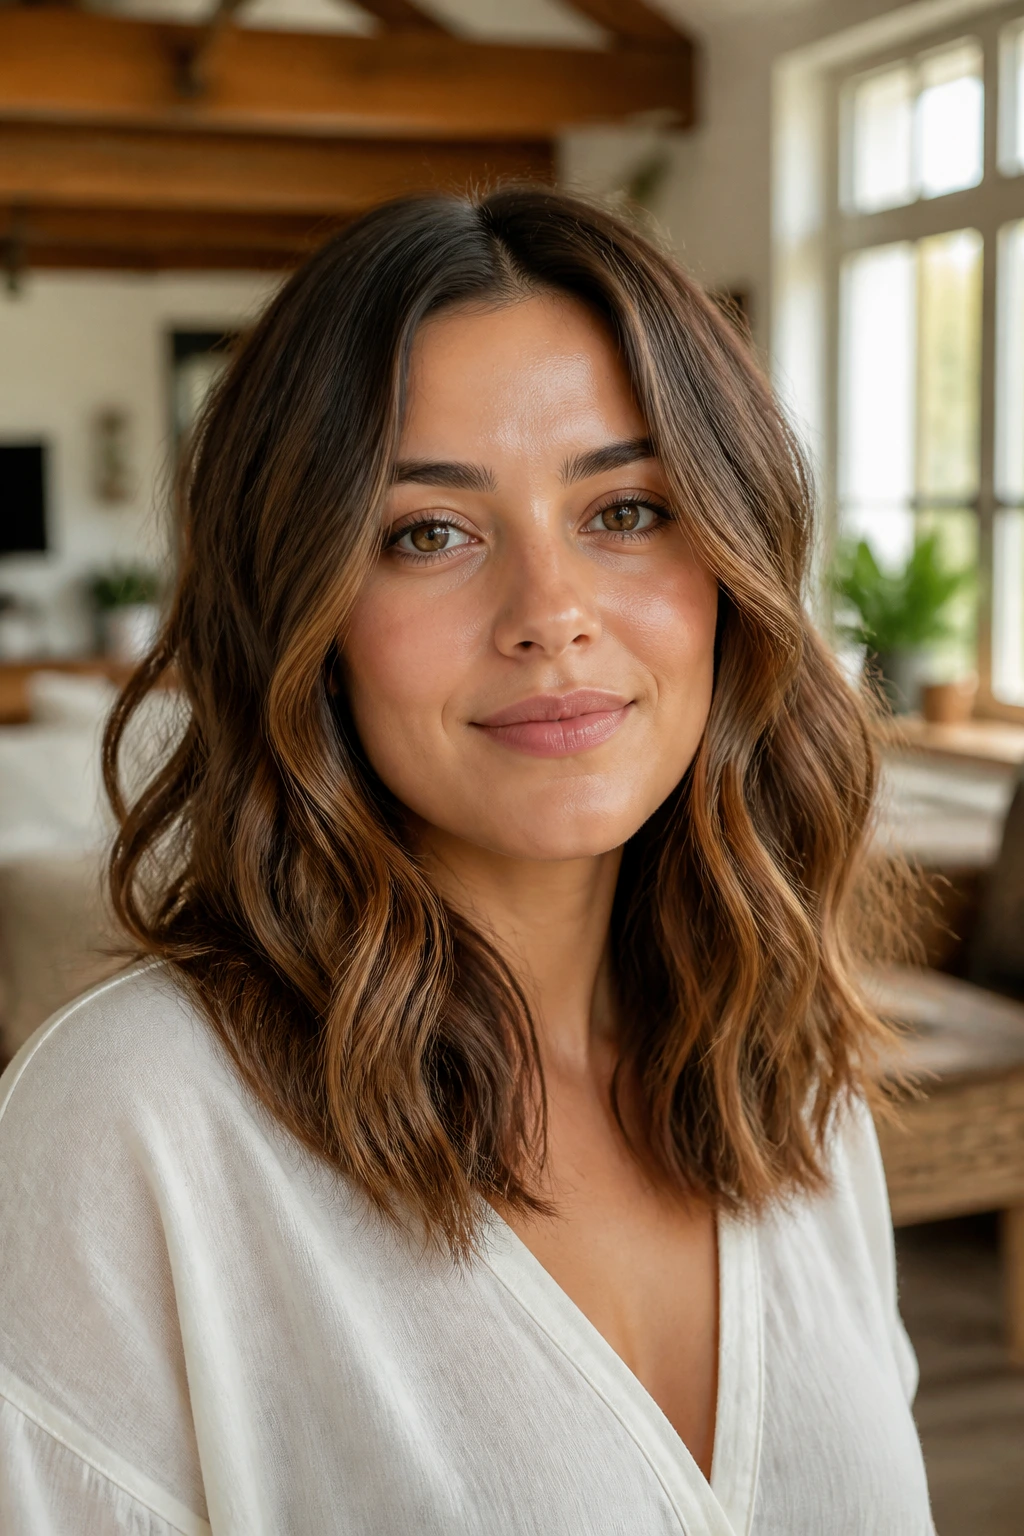
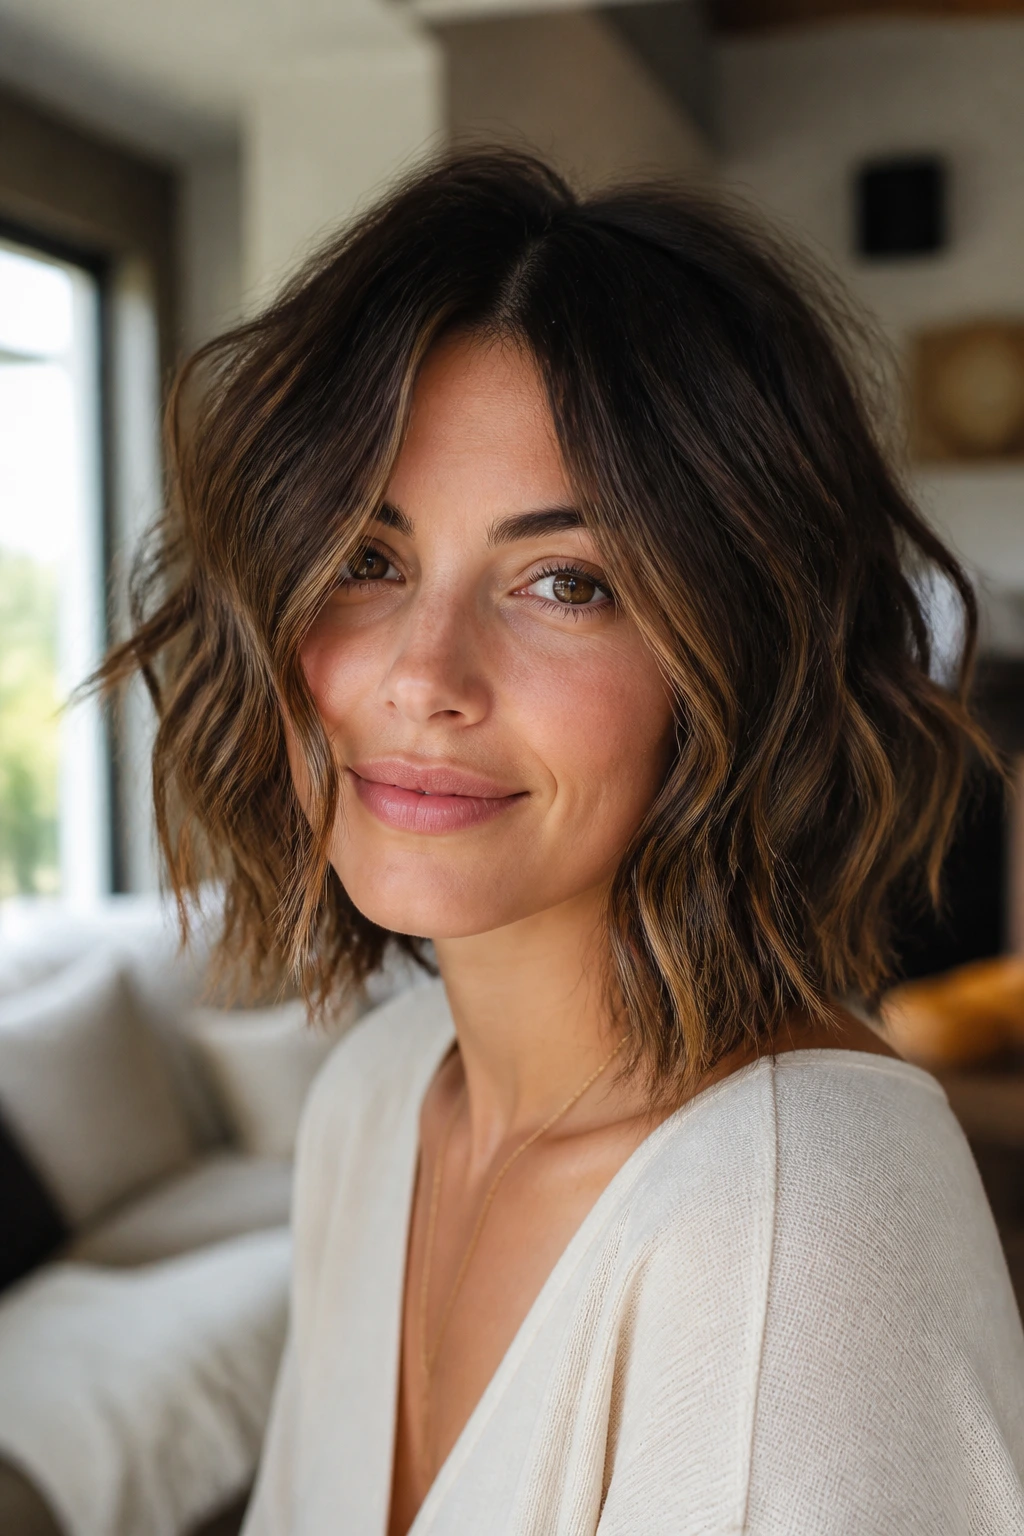
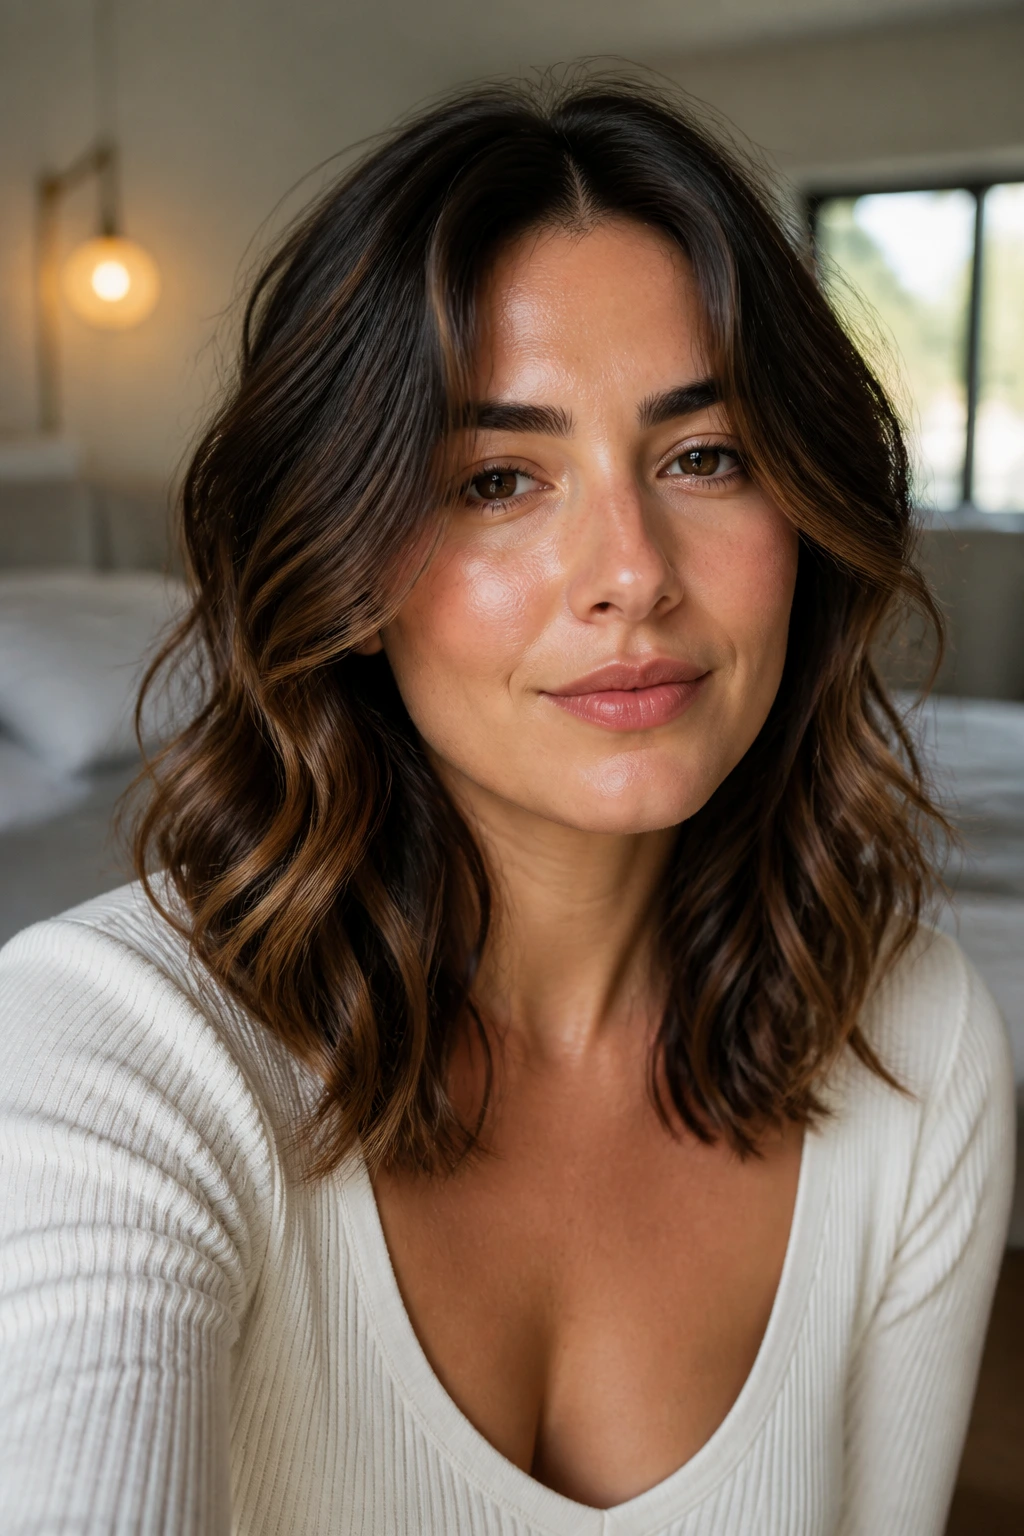
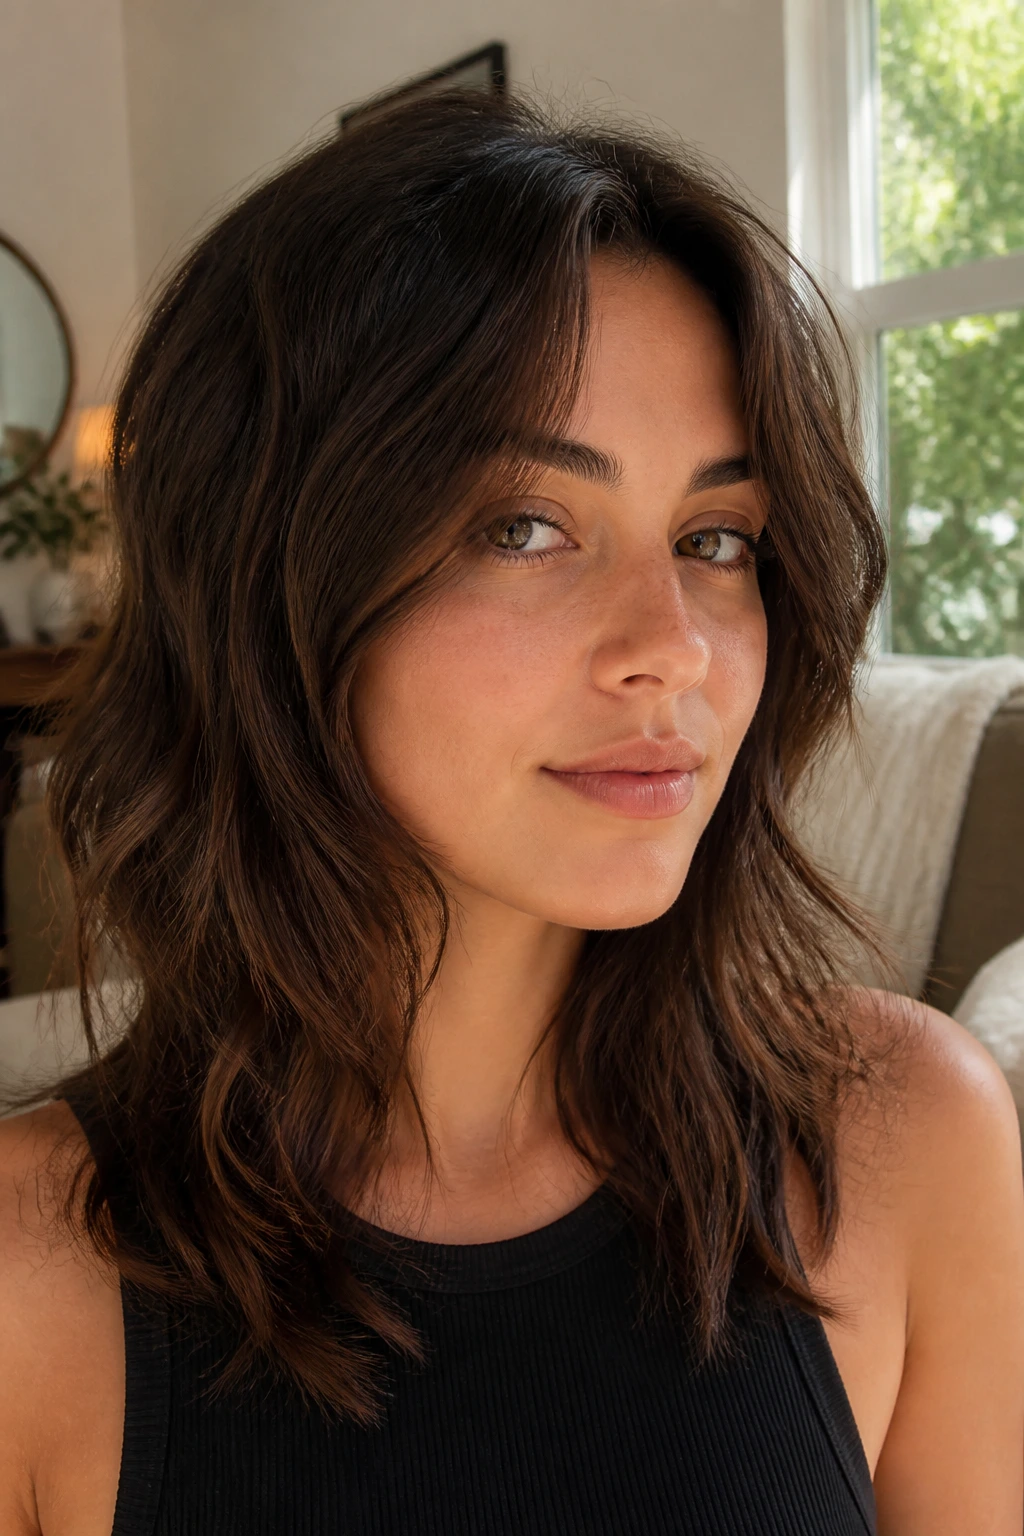
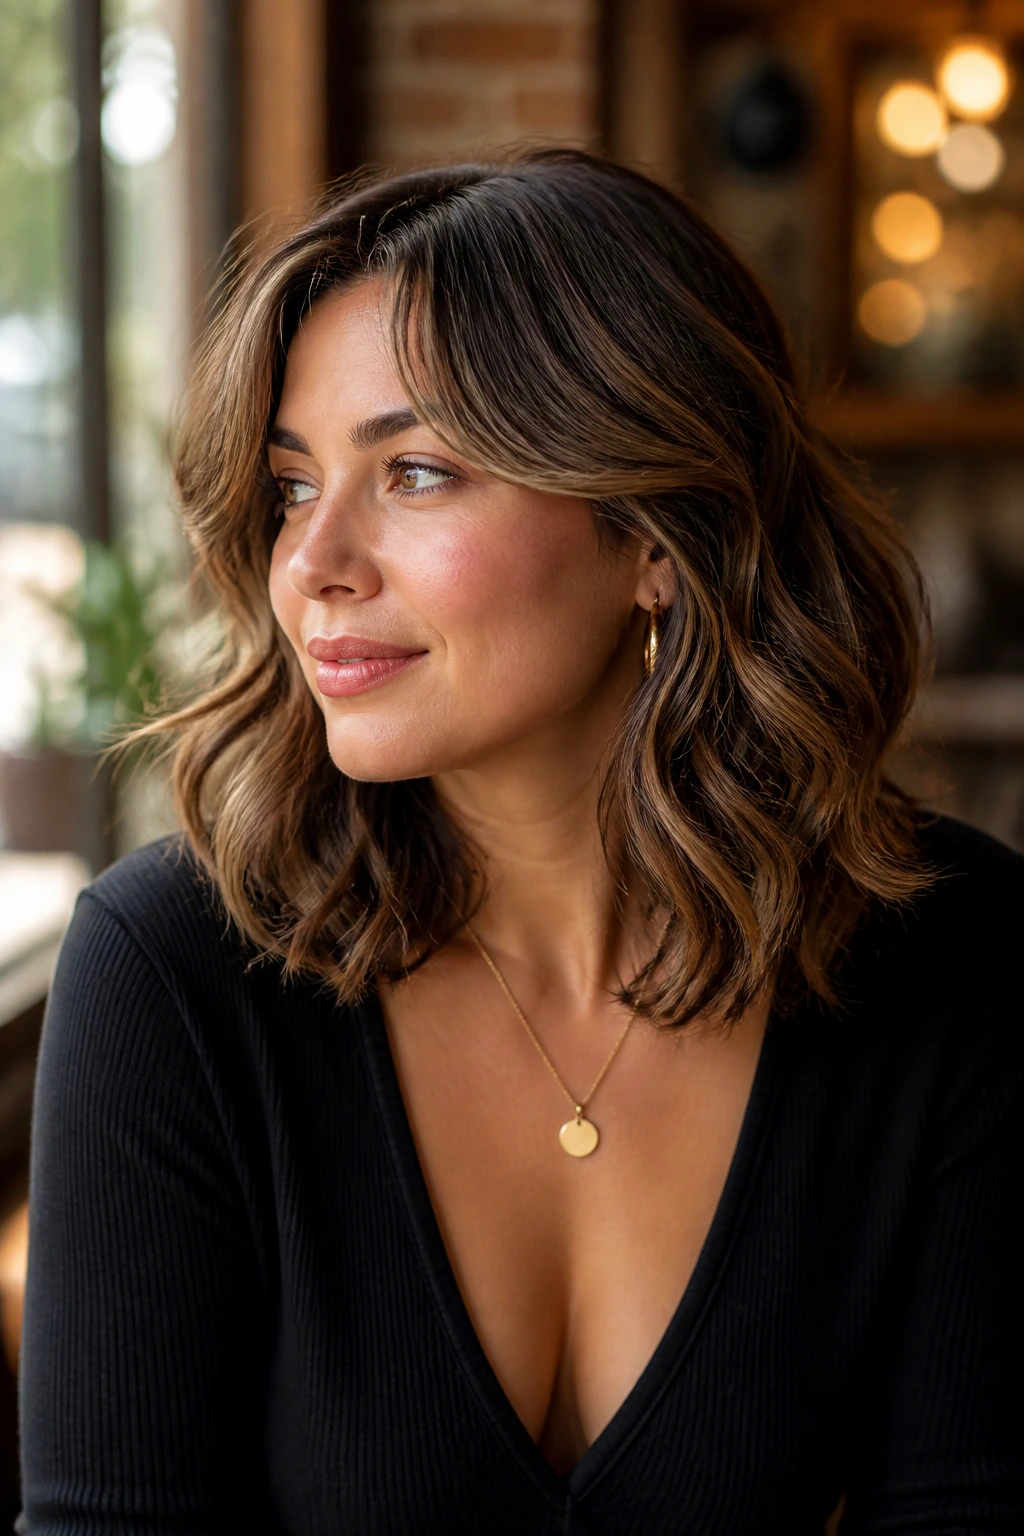
1. Collarbone Lob with Soft S-Bends for Round Faces
The collarbone lob is the cut I reach for when someone wants a safe shape that doesn’t look boring. The length hits right where the collarbone gives the hair a natural landing place, and the soft S-bends keep the ends from sitting in one blunt line across the face.
Why It Flatters the Face
The longest point sits below the cheeks, which is the part that matters most. If the front pieces graze the collarbone and the shortest layers stay a little lower than the jaw, the cut opens up the face instead of boxing it in.
A deep wave would make this feel too full at the sides. Soft bends are the move here—bends that start around the mid-lengths and relax as they drop.
Best note: ask for the front pieces to be a touch longer than the back, even if the difference is only an inch. That tiny angle changes everything.
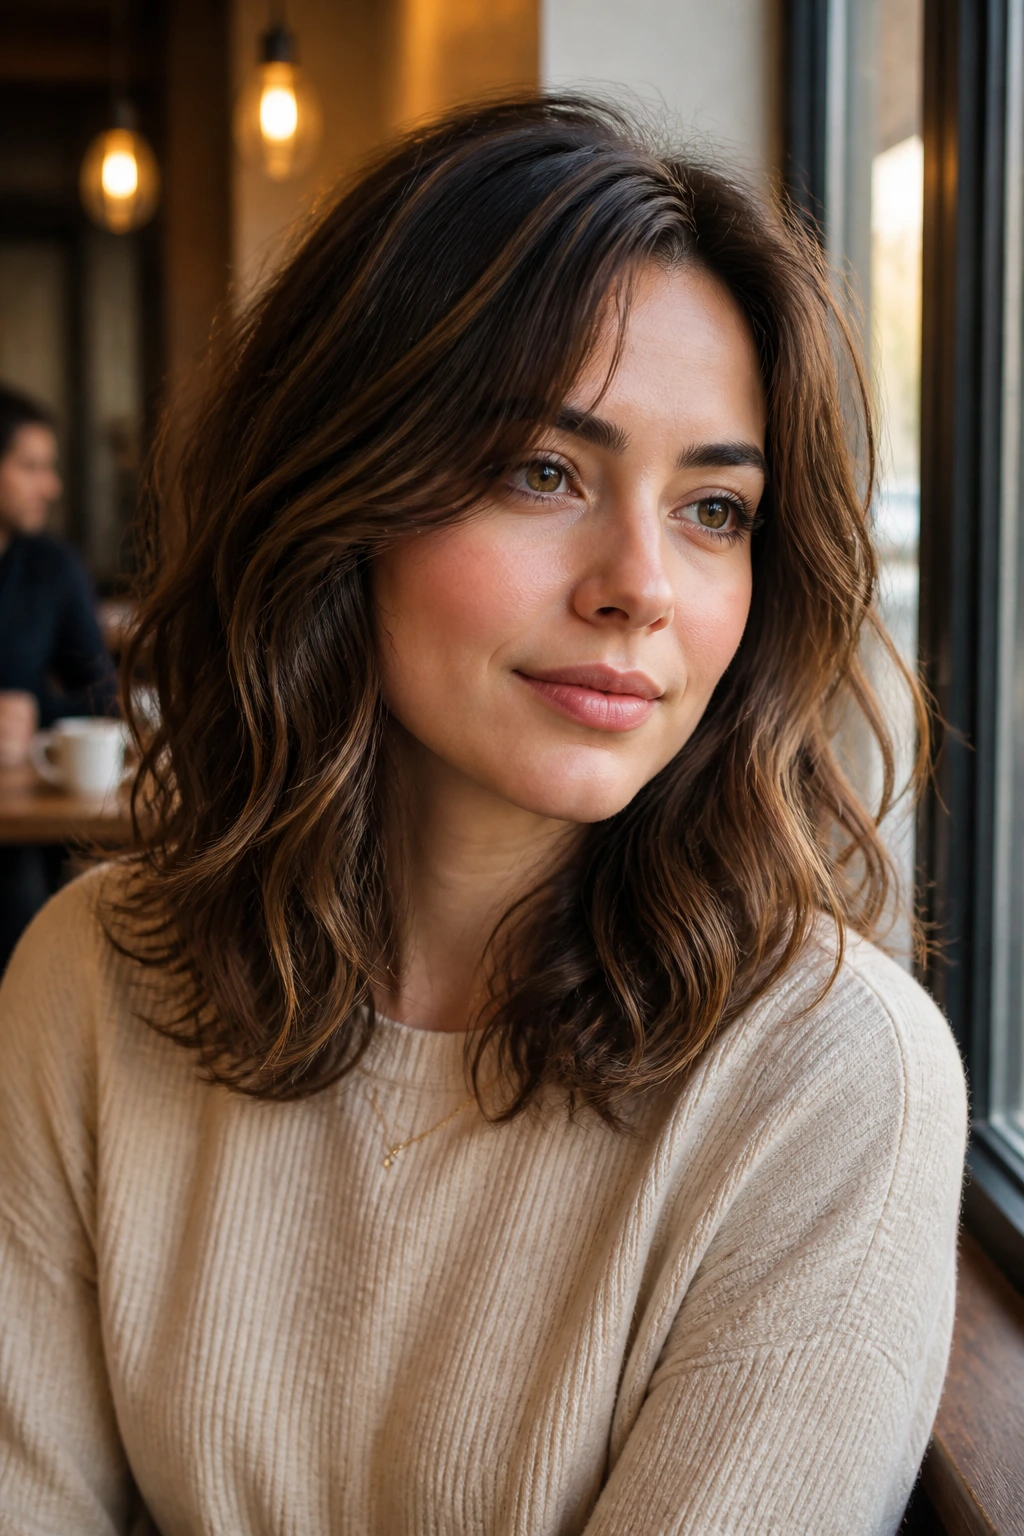
2. Deep Side-Parted Wavy Lob
A deep side part is one of the fastest ways to change the shape of a round face without taking off another inch of hair. It sends the eye diagonally instead of straight across, and that diagonal line does the slimming work while the wave pattern does the rest.
I like this cut on people who don’t want layers flying everywhere. The line can stay clean through the bottom, while the part and the wave give enough movement to keep it from feeling flat. Tuck the heavier side behind one ear, and the face opens right up.
This is also one of the easiest cuts to style on a rushed morning. Blow-dry the roots in the opposite direction of the part for lift, then bend the mid-lengths with a 1.25-inch iron and brush them out once they cool.
The result is polished, but not stiff. That matters.
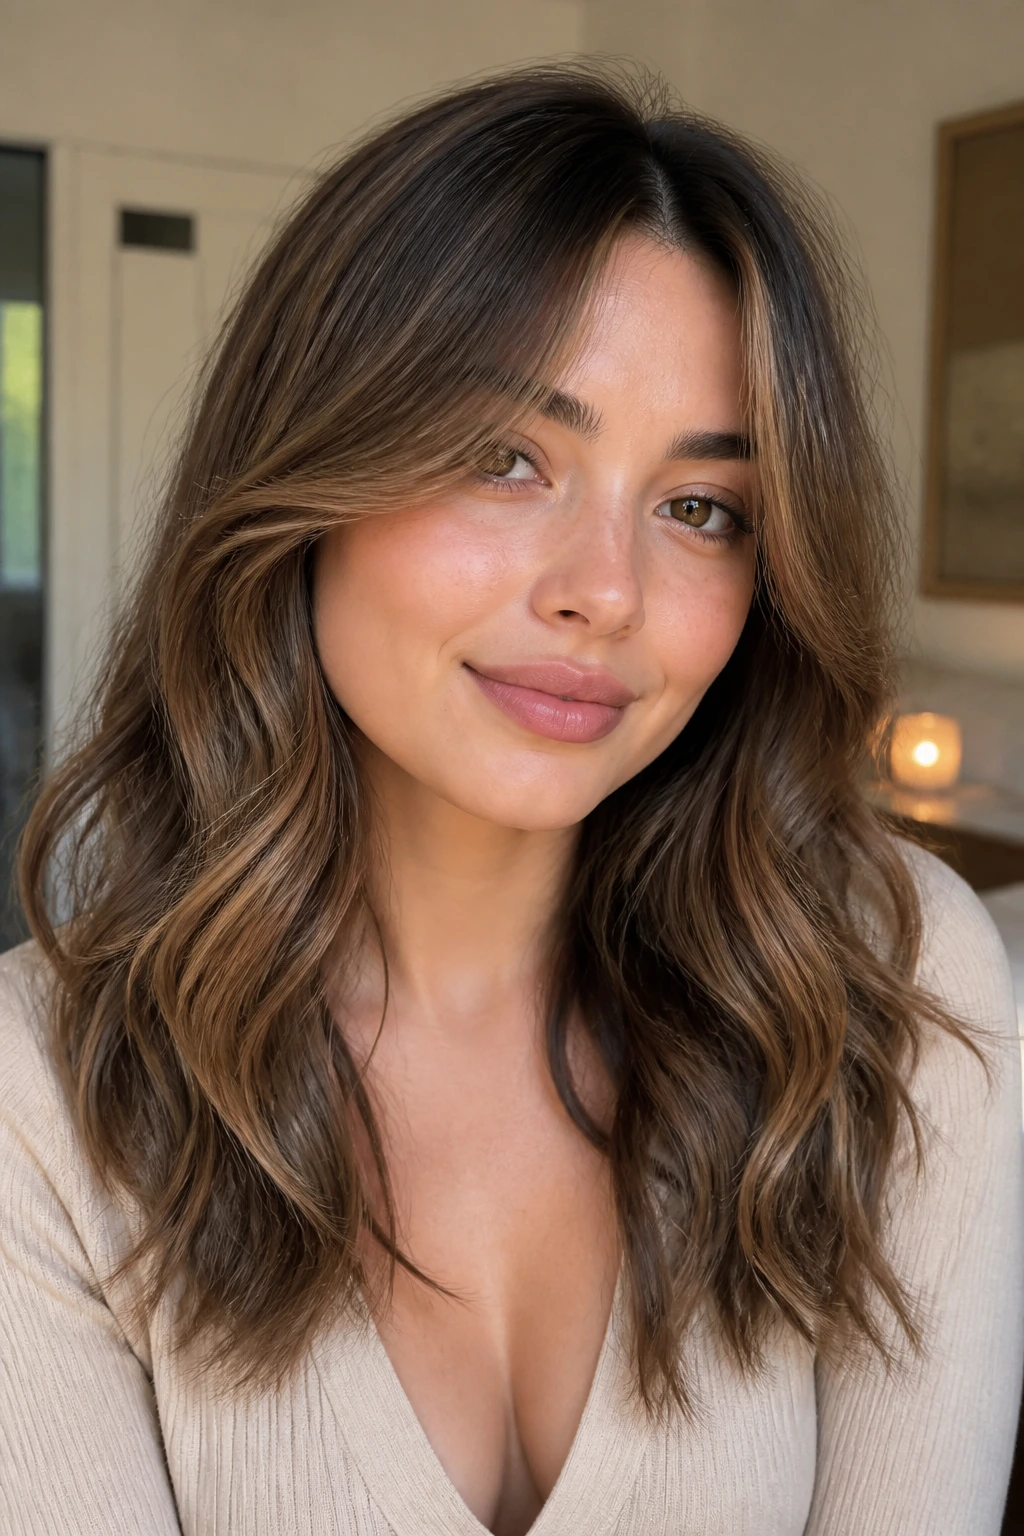
3. Curtain Bangs with Floating Layers

Do curtain bangs work on a round face? Yes—if they’re cut with enough length and enough air around them. The sweet spot is a fringe that starts around the cheekbone and opens down toward the mouth, not bangs that sit thickly across the forehead like a curtain rod.
What Makes It Work
The bangs draw the eye upward, then the layers fall away from the face in a soft split. That split matters. It creates two vertical lines right where you want them, and those lines keep the face from reading as one wide shape.
I’d avoid heavy, brow-skimming curtain bangs here. They can collapse into the cheeks and make the face look shorter. The better version has a bit of swing, a little separation, and a part that is not dead center.
How to Style It
Use a round brush or a hot brush to bend the bangs away from the face for 5 to 8 seconds per side. Then let the rest of the hair dry with a light mousse or wave cream so the lengths stay loose, not puffy.
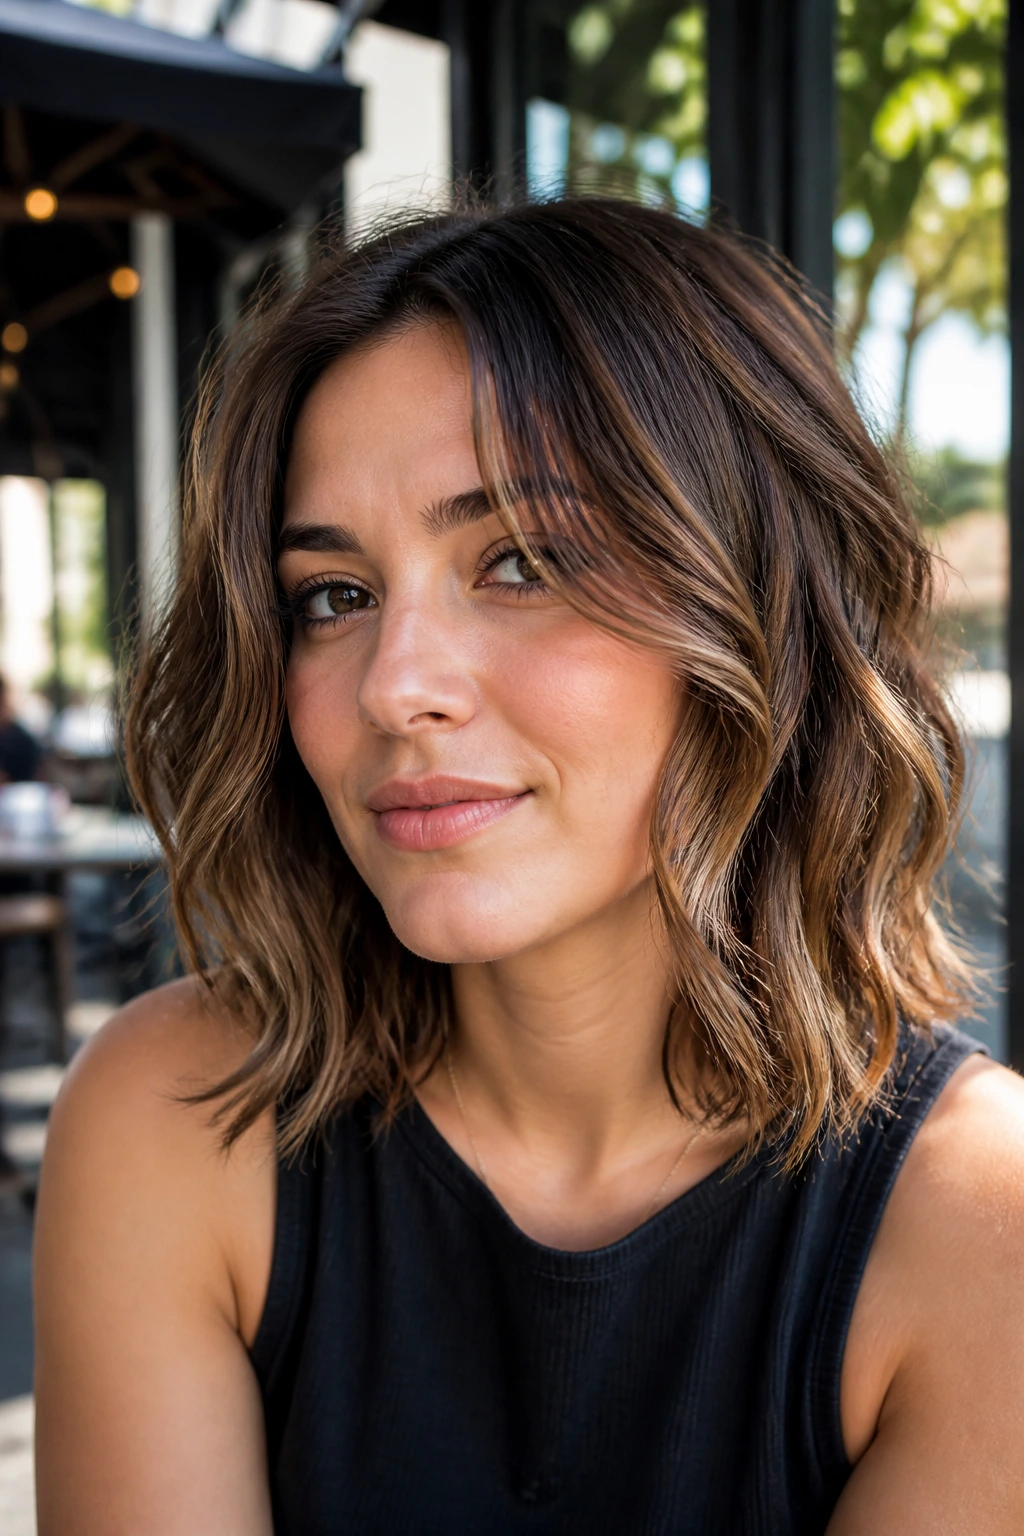
4. Textured Shag Lob

The shag lob is for the person who likes hair with a little attitude. It has choppier ends, broken-up layers, and enough edge that the cut never feels too precious. On a round face, that broken texture helps because it interrupts the smooth curve of the cheeks.
This is not the cut I’d choose if you want sleek and tidy every day. It thrives when the hair has some grit—air-dried texture, salt spray, a rough blowout. The movement lives in the layers, not in perfect curl definition.
The crown should stay lighter than the sides, and the shortest layers should sit above or below the cheekbone, not right on it. That one rule keeps the shag from puffing out in the wrong place.
If your hair is thick, this shape can feel freeing. If your hair is fine, ask for fewer internal layers so you don’t strip away too much body.
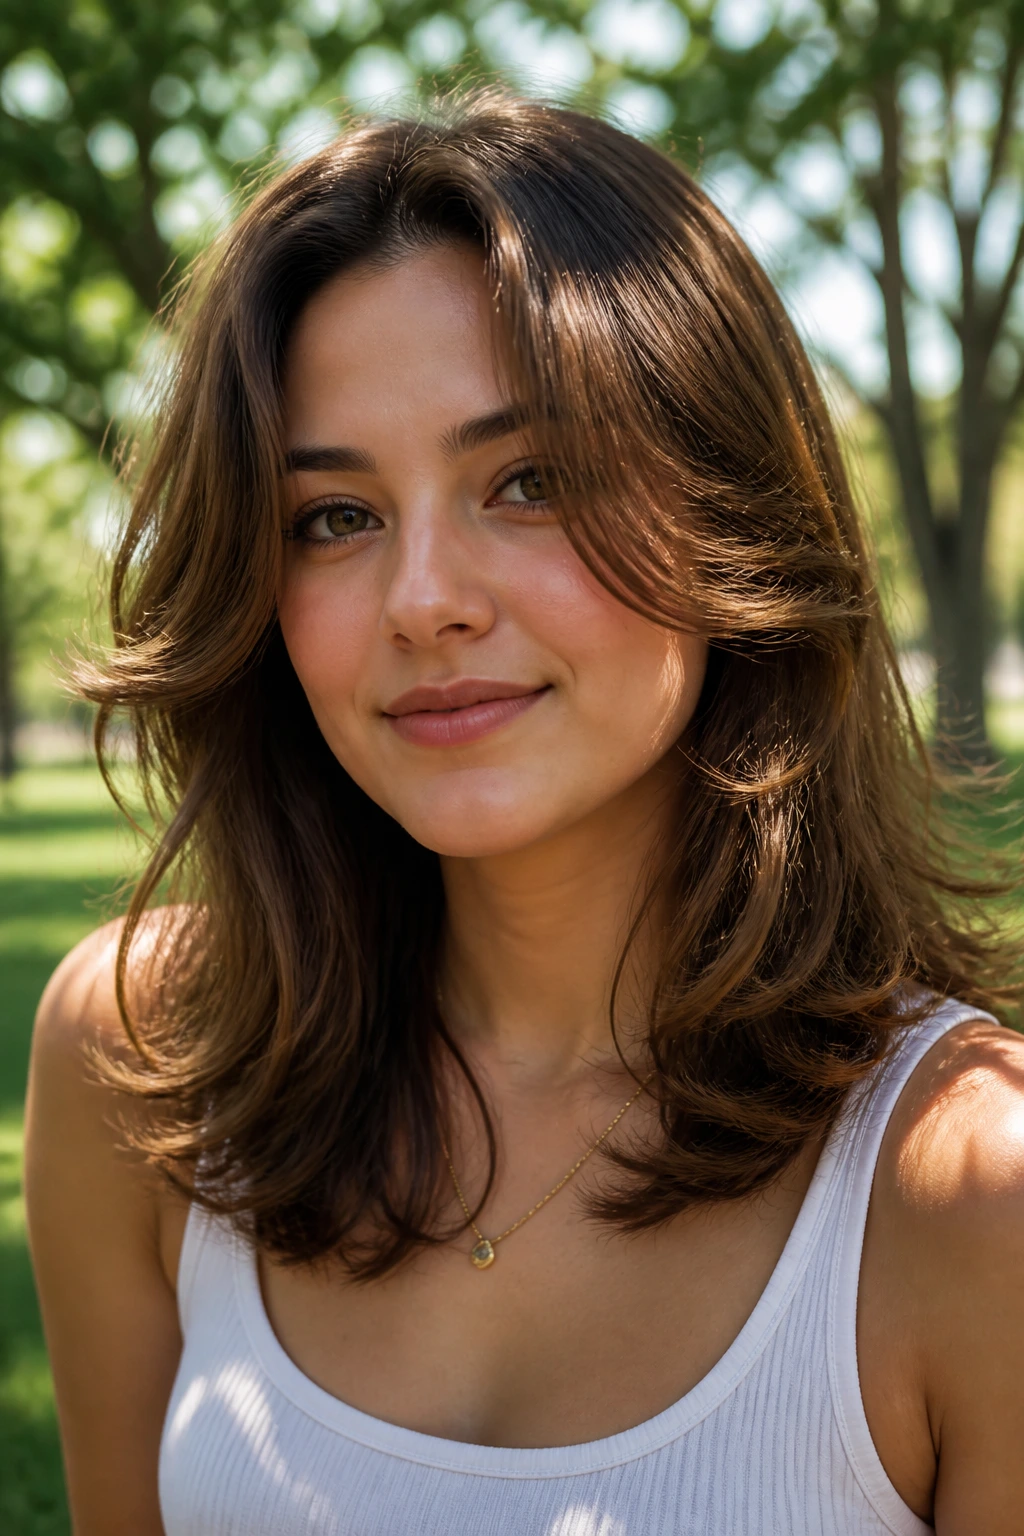
5. Cheekbone-Grazing Face Frames
The smartest face-framing layers are not always the shortest ones. On a round face, the pieces that graze the cheekbone can be the most useful, because they create a soft frame without landing on the widest point of the face like a visual arrow.
These layers work especially well when the rest of the cut stays fairly simple. You do not need a lot of drama. You need the front pieces to fall forward, then curve back out around the jaw so the overall shape feels longer than wide.
I like this approach on wavy hair that tends to swell at the sides. The front can be controlled while the rest stays easy. Ask your stylist to cut the frame in a dry or nearly dry state if your wave pattern is unpredictable. Wet cutting can hide where the wave actually sits.
A small thing, but worth saying: if the front pieces hit exactly at cheek level and stop there, the cut can look rounder than intended. A half-inch lower is often better.
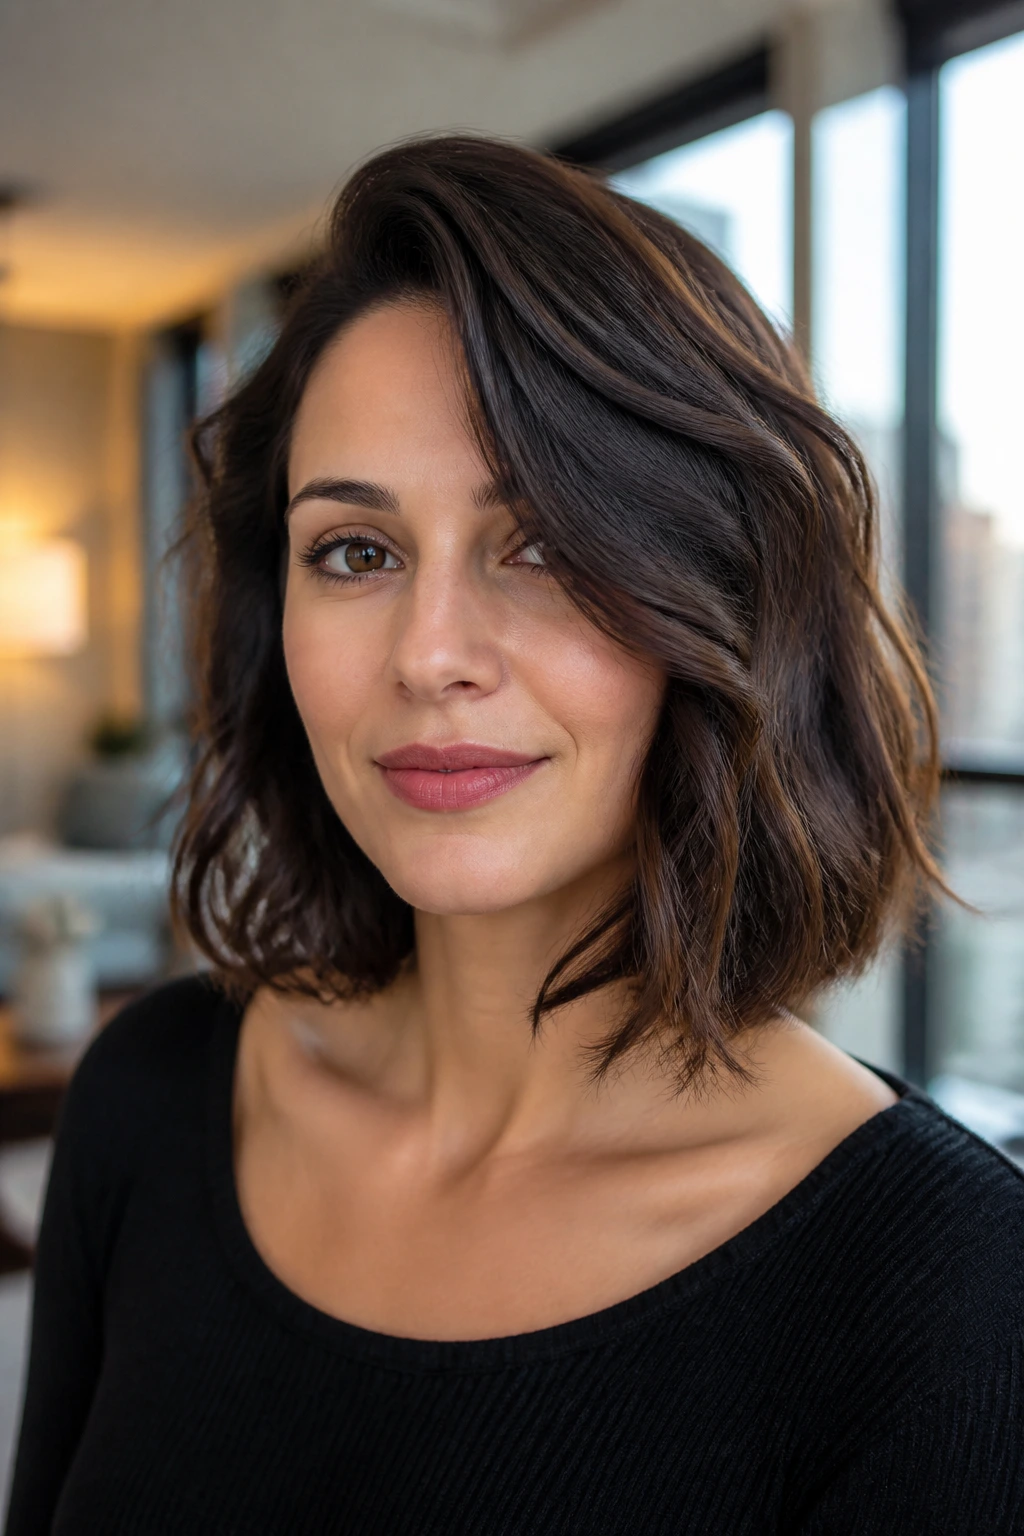
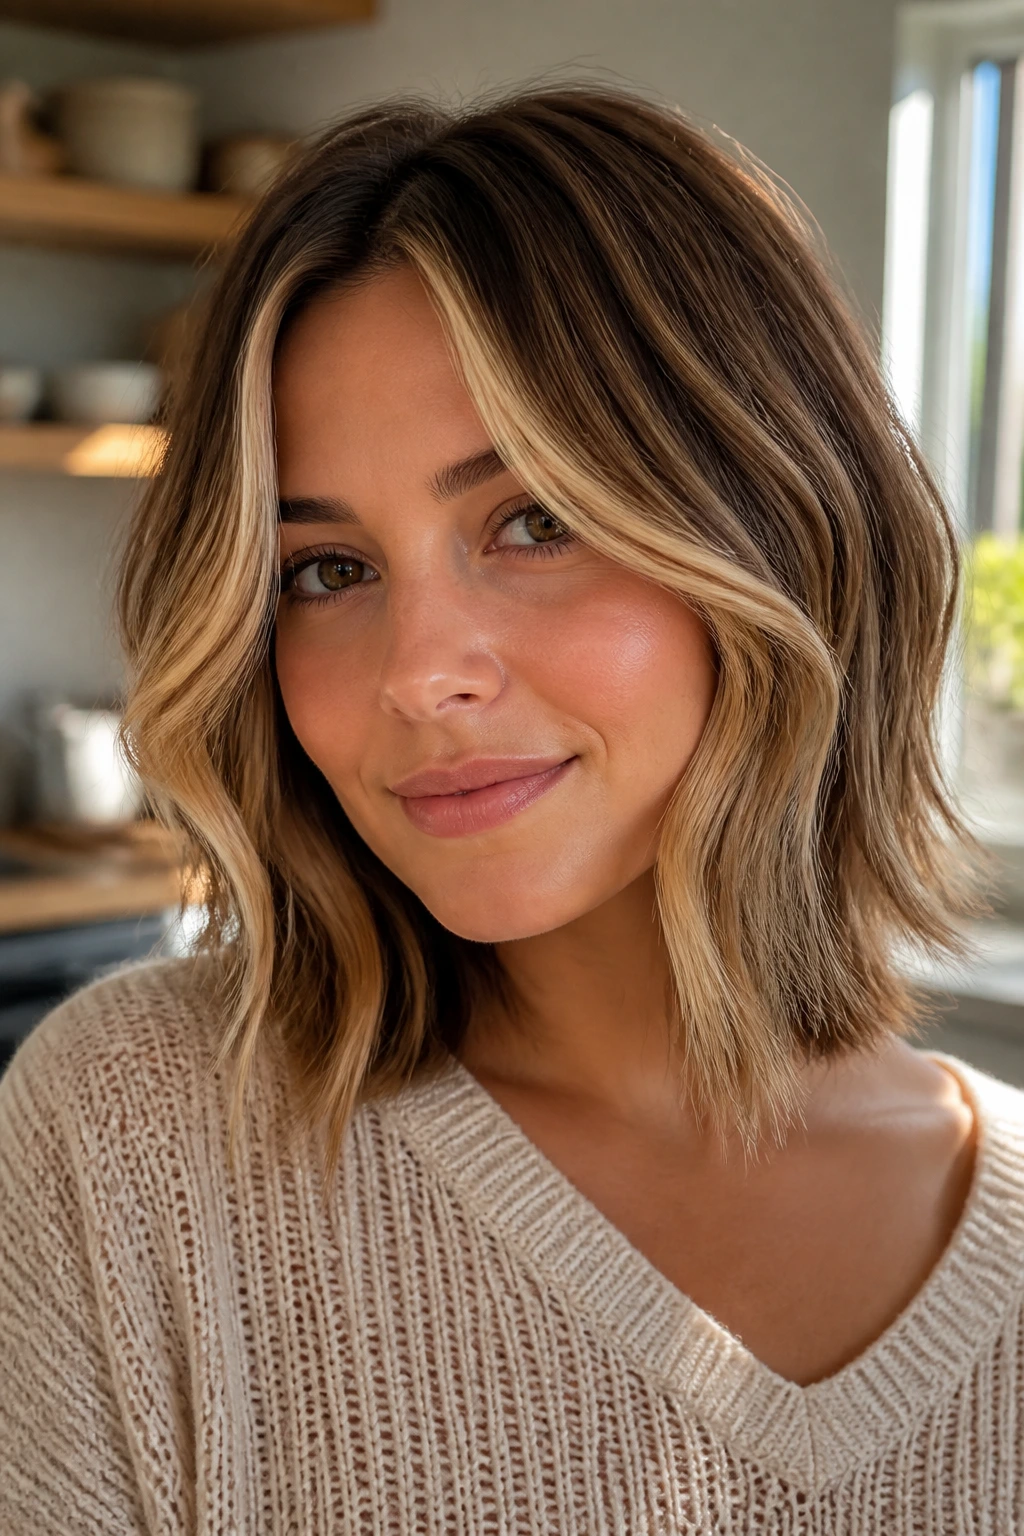
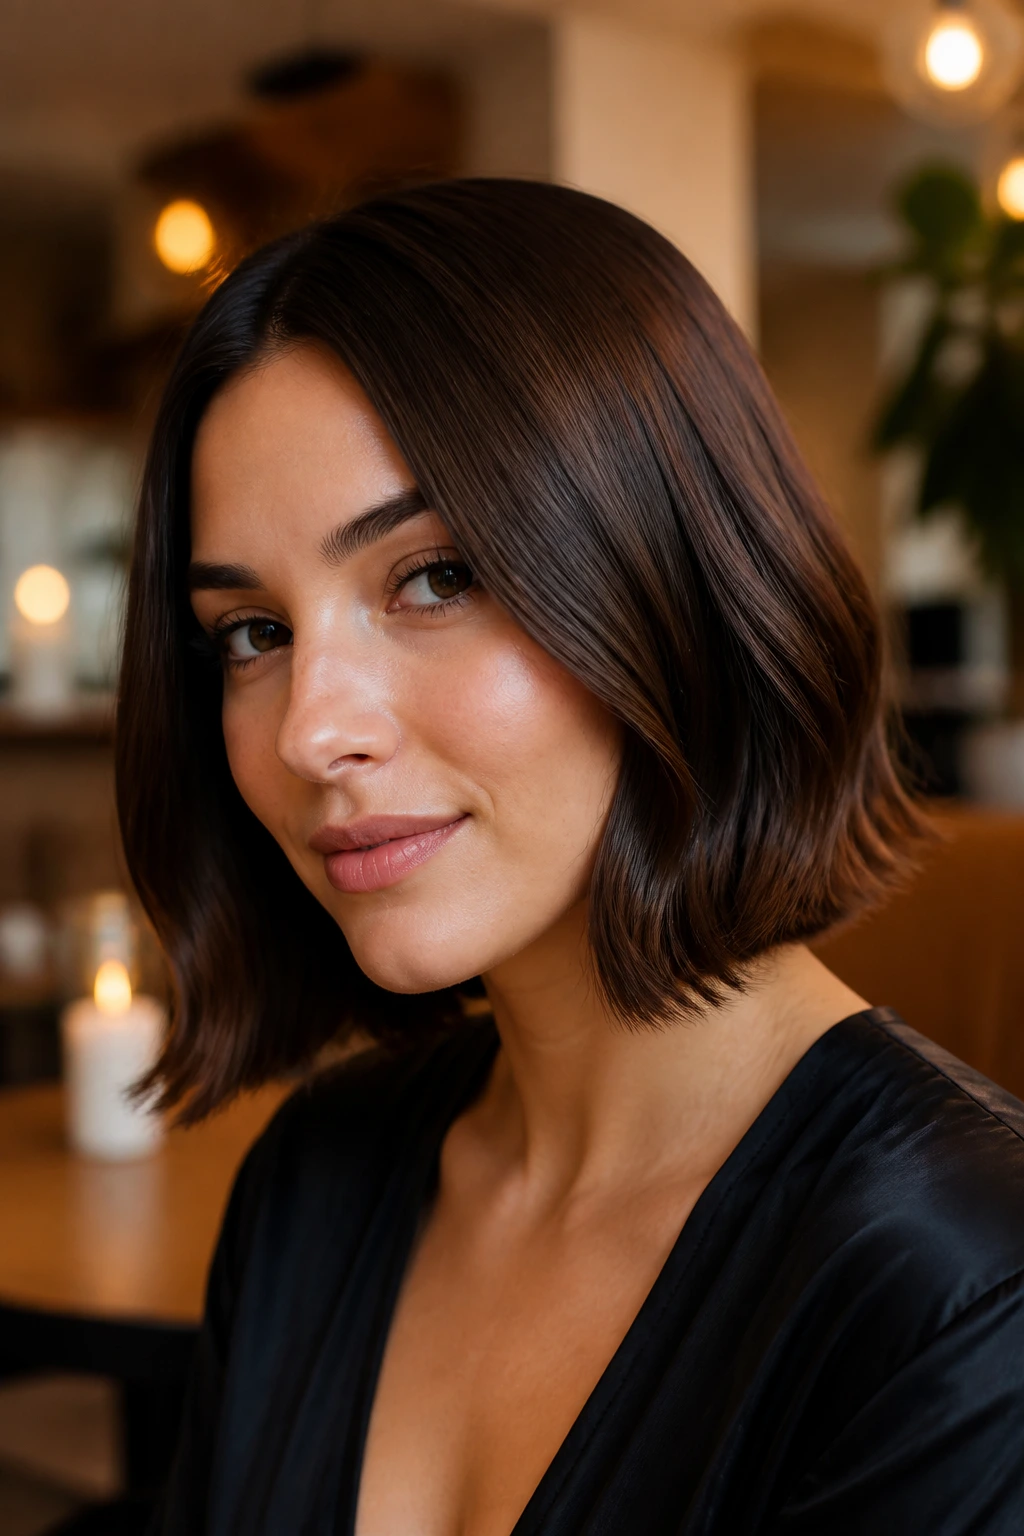
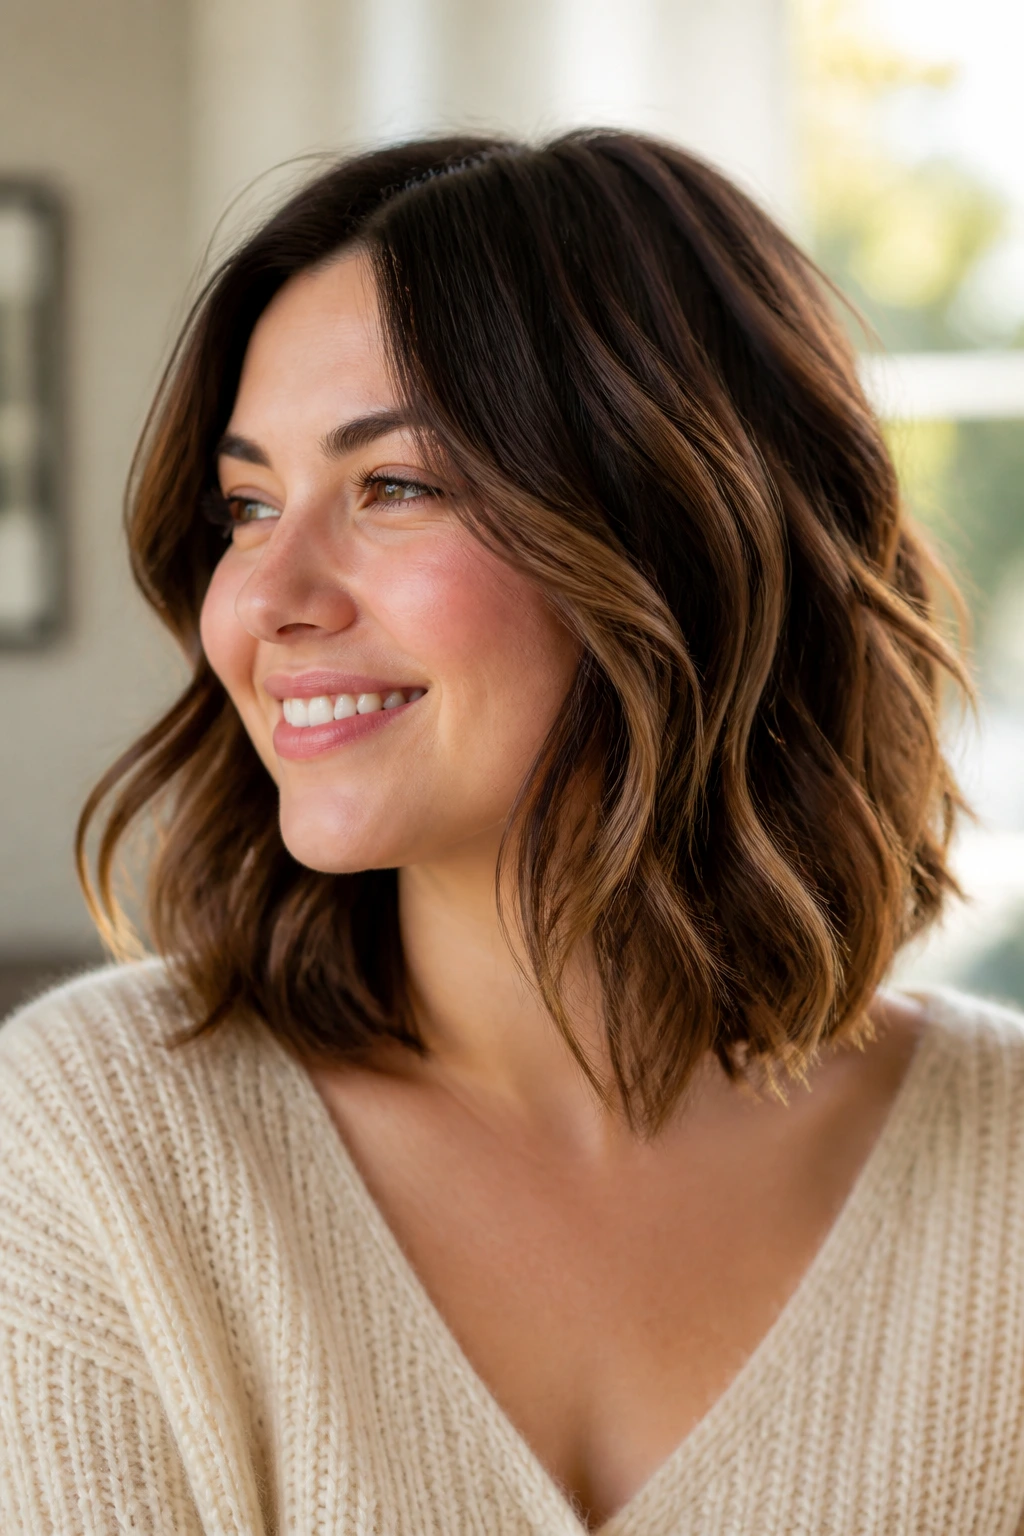
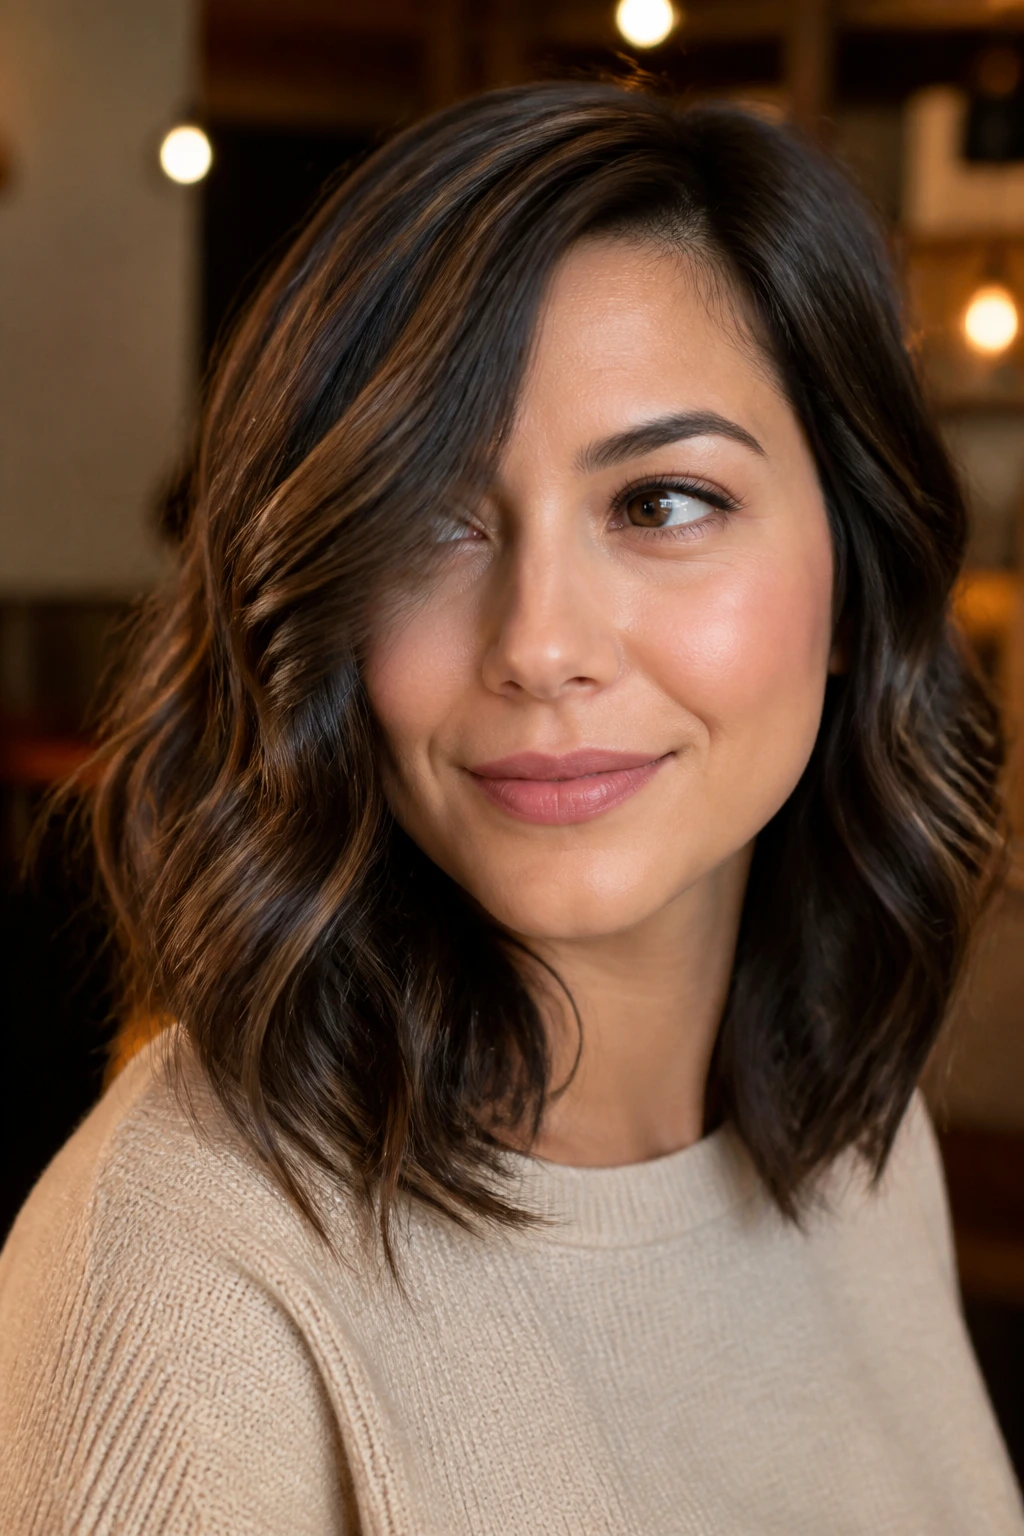
6. Choppy Wavy Bob-Lob
The choppy wavy bob-lob sits in that sweet middle zone between a bob and a lob, which means you get structure without the bluntness of a true one-length cut. The piecey ends are the point here. They stop the bottom edge from forming one solid horizontal line across the face.
Why It’s Different
Unlike a blunt mid length cut, this one has little changes in length through the ends. Those changes make the haircut read lighter, especially when the waves separate into ribbons instead of one thick sheet.
It’s a good match if you want a modern shape that still feels low-fuss. The choppiness does half the styling for you. You can rough-dry it with a diffuser or let it air-dry and then pinch a few pieces with a little cream.
What to Watch For
- Don’t over-layer the crown if your hair is already fine.
- Keep the shortest edge below the jaw.
- Use a light hold product, not a heavy balm.
Too much product makes the waves clump and widen the sides. That’s the part to avoid.
7. Bottleneck Bangs with Mid-Length Waves
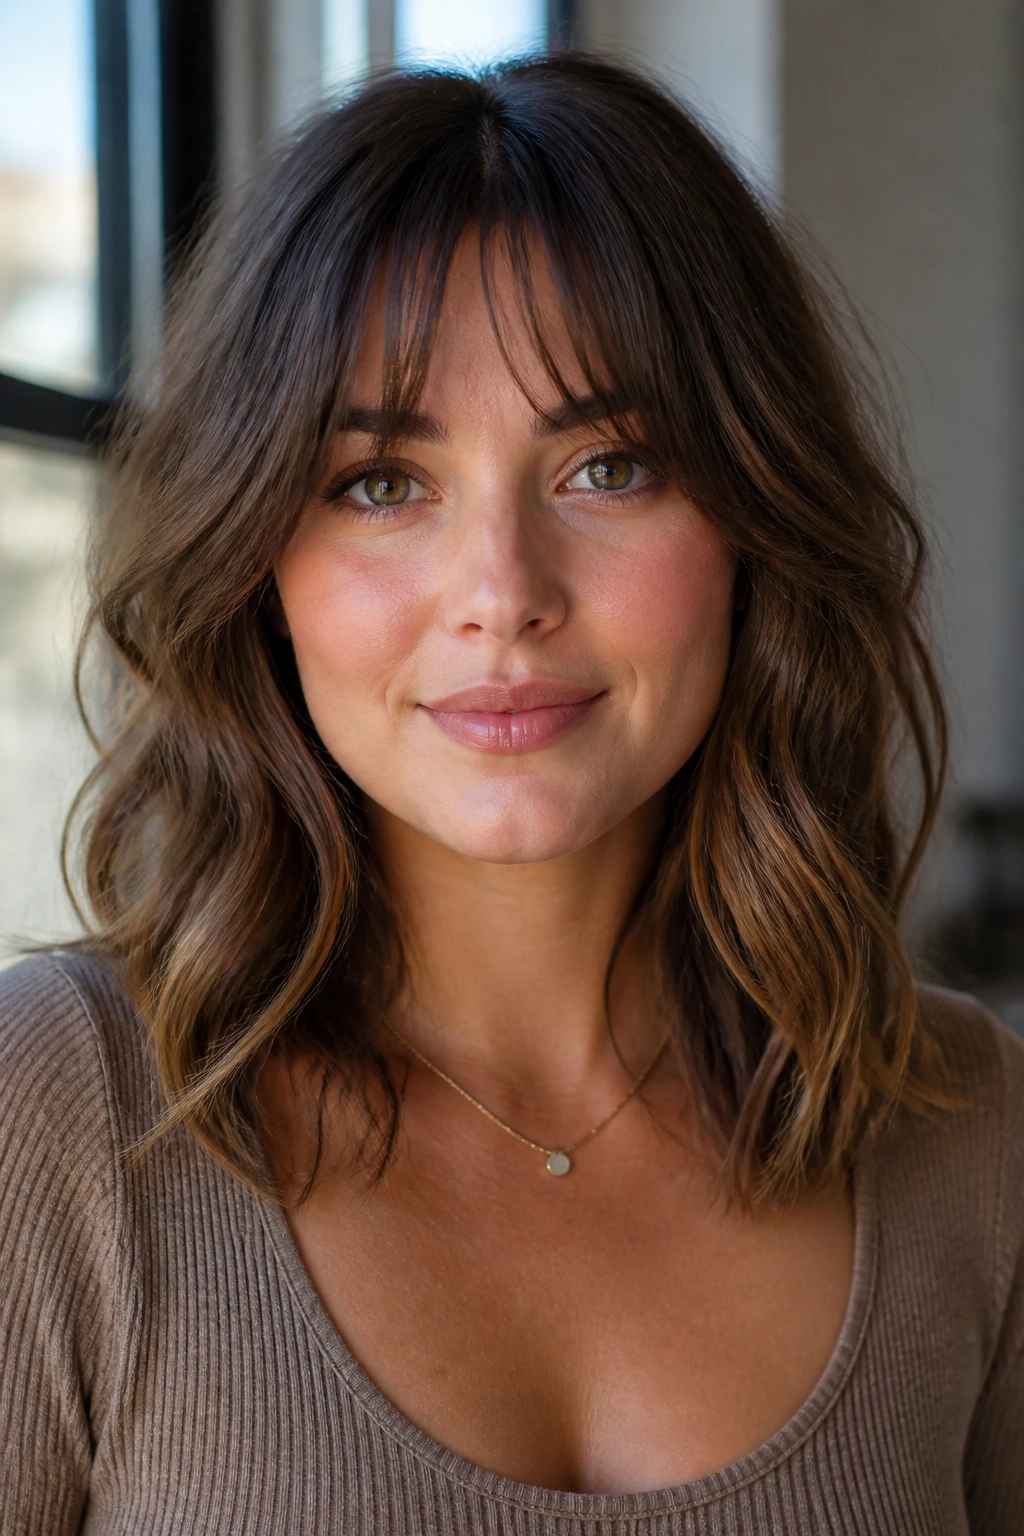
Bottleneck bangs are one of the prettiest fringe choices for a round face because they start narrow in the center and open as they move outward. That shape echoes a bottleneck, yes, but the real value is the visual taper. It doesn’t chop the forehead in half.
The bangs create a line that pulls the eye upward, while the mid-length waves carry the length downward. That’s a useful combination. It means the haircut has movement in both directions, not just side to side.
I prefer this with hair that has a soft, bendy texture. If your wave is very loose, the fringe can feel airy and easy. If your wave is strong, the fringe needs a little more shaping at the salon so it doesn’t spring too short.
The worst version of this cut is too thick at the center. The better version has a little transparency around the brows and cheekbones.
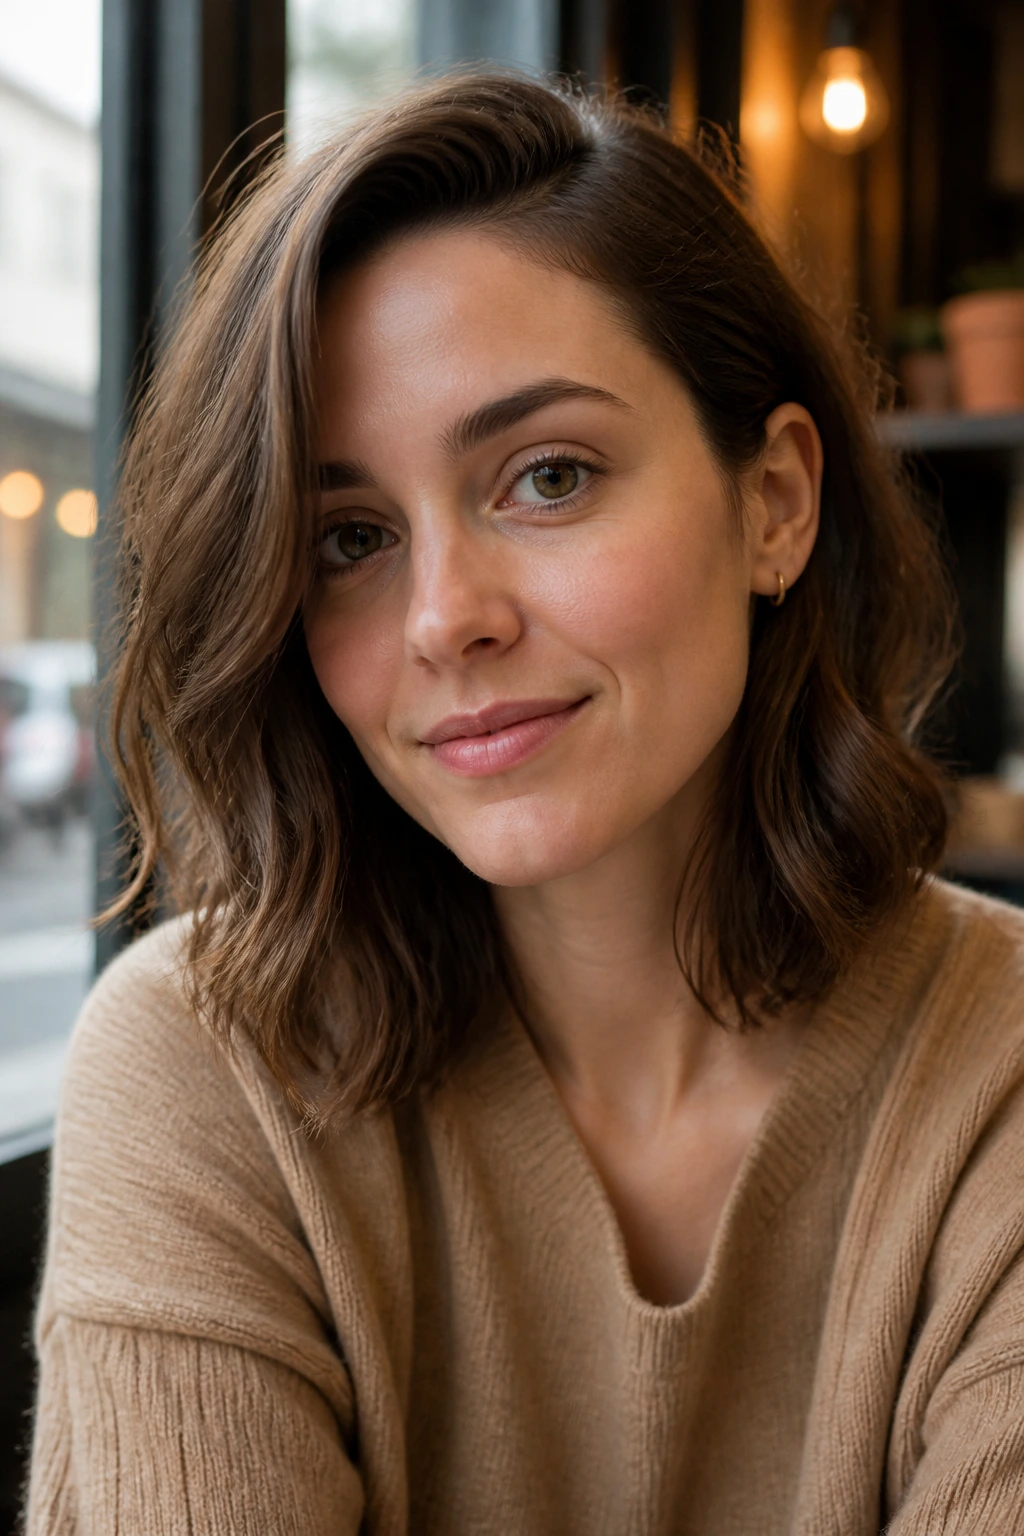
8. Side-Swept Fringe Midi

A side-swept fringe is old-school in the best way. It puts a diagonal across the face, and diagonals are useful when you want to break up roundness without relying on heavy layering. There’s nothing flashy about that. It just works.
The mid length underneath can stay fairly simple. I like a soft wave through the mid-shaft, then a looser end section that brushes the shoulders. The fringe becomes the focal point, so the rest of the haircut should stay quiet.
This shape is especially good if you wear glasses. The side sweep gives the face a frame that doesn’t fight with the frames on your face. And if you like a tucked-behind-the-ear moment, this cut handles it well.
If your hair whorls fight a side part, don’t force a dramatic one. A shallow side sweep still gives the same effect without asking your roots to behave like they’re in a different mood than the rest of your head.
9. Butterfly Cut at Shoulder Length
The butterfly cut can be a little too much if it’s overdone, but at shoulder length it becomes a smart option for round faces. The crown layers lift the top of the head, and the longer front pieces fall forward like soft wings. That shape gives you height without losing the length around the face.
Why It Helps
Round faces benefit from the illusion of vertical space. The butterfly cut gives that through volume at the crown and length at the front, which is a better trade than width at the cheeks.
This is one of the few layered cuts that can look dressed up with very little effort. A round brush, a blow-dryer, and a touch of heat protectant are usually enough to make the layers fall into place.
I’d ask for this
- Shorter layers at the crown only.
- Longer front pieces that start below the cheekbone.
- Ends that stay soft, not chopped into a hard line.
If the shortest layers are too far down the head, the whole cut loses its lift. That’s where the magic lives.
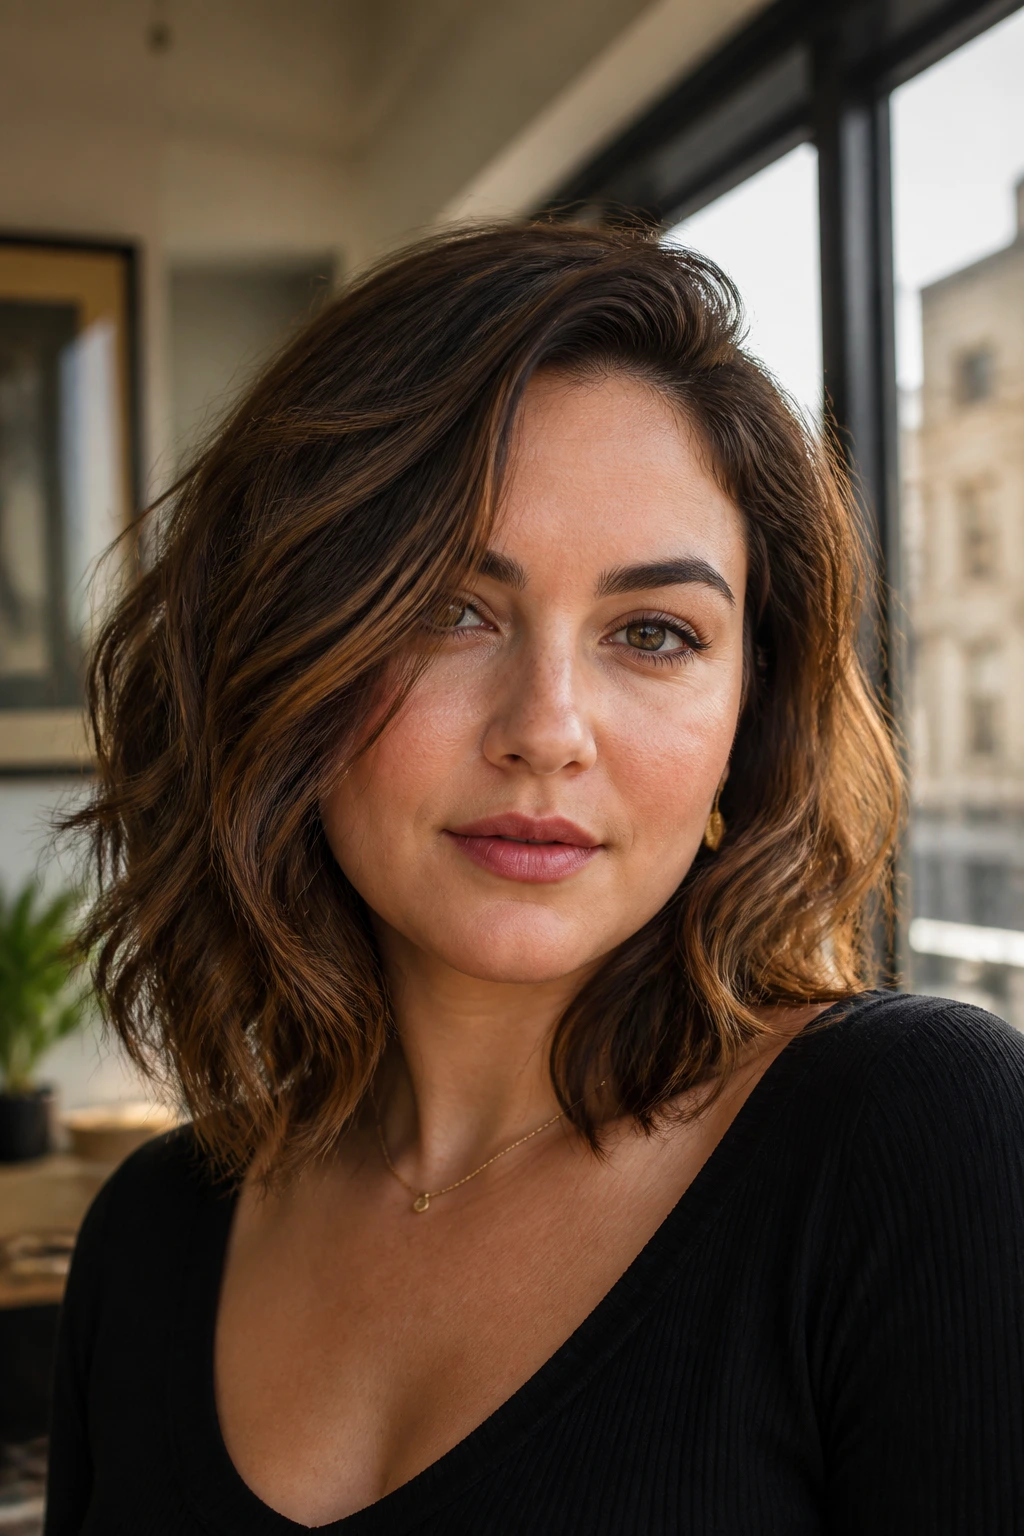
10. Rounded-Edge Lob with Internal Layers
This cut sounds simple because it is. And honestly, that’s why it deserves a place here. A rounded-edge lob keeps the outline soft, while internal layers remove bulk from the middle without creating obvious steps around the face.
That internal work matters on wavy hair. Waves can swell in the middle and make a medium cut feel wider than expected. Hidden layers help the hair fold inward a bit instead of ballooning out to the sides.
I like this one for thicker hair that needs shape, not drama. It can also work for finer hair if the layers are very controlled. The key is not to expose too many short pieces near the face. Keep the silhouette smooth.
If you like a more polished finish, this cut bends beautifully under a blowout brush. If you want a messier finish, scrunch a little cream into the ends and let the waves do their own thing.
11. Razored Midi with Undone Ends

A razor cut can be a mess in the wrong hands, but on wavy mid length hair it can create a really soft edge. The ends feather out a little instead of stacking into a blunt line, which helps the haircut sit lighter around a round face.
That softer edge is the point. Straight-across ends can make the bottom of the face look heavier. Razored ends bend and separate, so the whole cut feels airier.
I’d choose this version if your hair is naturally wavey and you hate the look of a hard, thick perimeter. It’s also a good choice for anyone who wants a lived-in shape that doesn’t need daily precision.
How It Differs From a Blunt Midi
A blunt midi gives you a clean block of hair. A razored midi gives you movement and a little irregularity at the tips. On a round face, that irregularity is a friend. It breaks up the outline.
12. Wavy Midi with Long Cheekbone Layers
This cut is built around restraint. The layers stay long enough to move but not so short that they widen the face, and the face-framing pieces begin around the cheekbone or just below it. That timing is what keeps the shape flattering.
What Makes It Good for Round Faces
The wave pattern should fall forward, then soften away from the jaw. If the hair puffs out at the side, the layers are too short or the wave is too tightly curled at the face.
A long cheekbone layer gives you shape without a big swoop. That’s a fine line, but it matters. Too much swoop and the cut becomes theatrical. Too little and it reads like one length with no planning.
My practical note
Ask for the face frame to be cut dry if possible. Wavy hair shrinks in strange ways, and dry cutting shows where the piece will actually land once it’s styled.
13. Clavicut with Invisible Layers

The clavicut sits right at the collarbone, which is one of the most forgiving lengths for a round face. Invisible layers keep the inside of the cut from getting bulky, but the outside line stays clean and almost blunt.
That combination is sneaky-good. You get the neatness of a solid line and the movement of a layered cut, which means the hair can look polished without appearing flat. It’s one of my favorites for medium-density hair that needs shape but not obvious texture.
The trick is not to make the layers too short. If the shortest bits pop out around the cheeks, the cut starts to widen the face instead of lengthening it. Keep the internal work subtle.
This is also a strong choice if you wear your hair half-up often. The clean perimeter makes those styles look tidy, even when the wave pattern is loose.
14. Shaggy Midi with Wispy Fringe

The shaggy midi is the cut for someone who wants texture first and neatness second. The wispy fringe softens the forehead without turning into a heavy bang, and the layered body keeps the sides from feeling like one round cloud.
It does not need perfect styling. Good, because perfect styling is annoying. A diffuser, a little mousse, and maybe a dab of paste through the ends are enough to make it feel intentional.
If your face is round and your hair is dense, this cut can be a relief. It removes the heaviness that often sits at the bottom of medium hair and replaces it with breaks and movement.
The fringe should stay light. If it gets too full, it pulls the eye straight across the face. Wispy is the point.
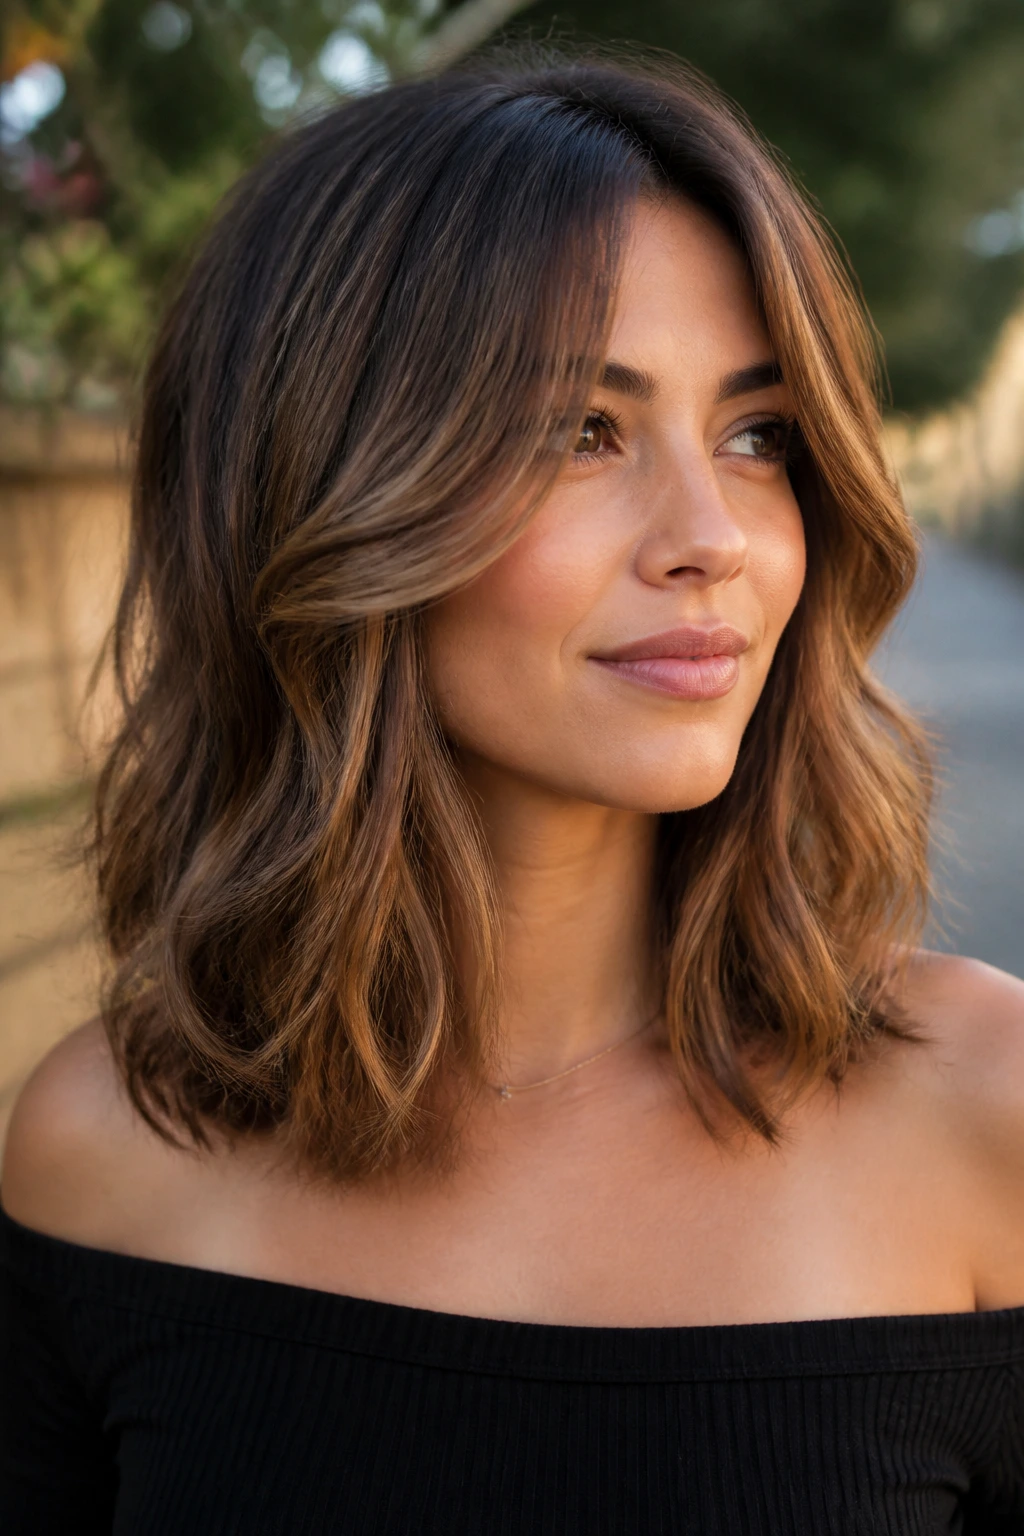
15. U-Shape Waves with Long Front Pieces
A U-shape cut is a quiet shape-shifter. The back stays a little shorter, the front falls longer, and the whole silhouette curves gently instead of forming a straight horizontal line. On round faces, that curve is useful because it adds length through the front without making the sides puff out.
I like this shape for hair that naturally falls flat in the crown but still has wave through the lengths. The longer front pieces can be styled forward, then nudged back a little at the ends so they sit around the jawline instead of on it.
This one is especially good if you want a haircut that grows out well. The shape stays readable for weeks, not days. That’s not glamorous advice, but it is the kind that saves you from hating your hair halfway between trims.
A blunt edge can be too boxy here. The U shape keeps the whole look softer.
16. Off-Center Part and Tucked-Behind-Ear Lob
Why does an off-center part matter so much? Because it changes the balance of the whole haircut without asking you to go full side part. The hair falls slightly heavier on one side, and that asymmetry helps a round face feel a little longer and a little less uniform.
The tucked-behind-ear move adds another angle. One side opens the face, the other side drops forward. You get a clean line from the part down through the face frame, which is better than letting both sides sit evenly at the cheeks.
This is the cut I’d pick for someone who wants a simple lob that can still be styled in different moods. Wear it smooth for work. Add a few bends for dinner. Nothing about it is fussy.
If the side you tuck keeps slipping out, ask for a slightly shorter bit around the ear on that side. Small adjustments can make the whole style cooperate.
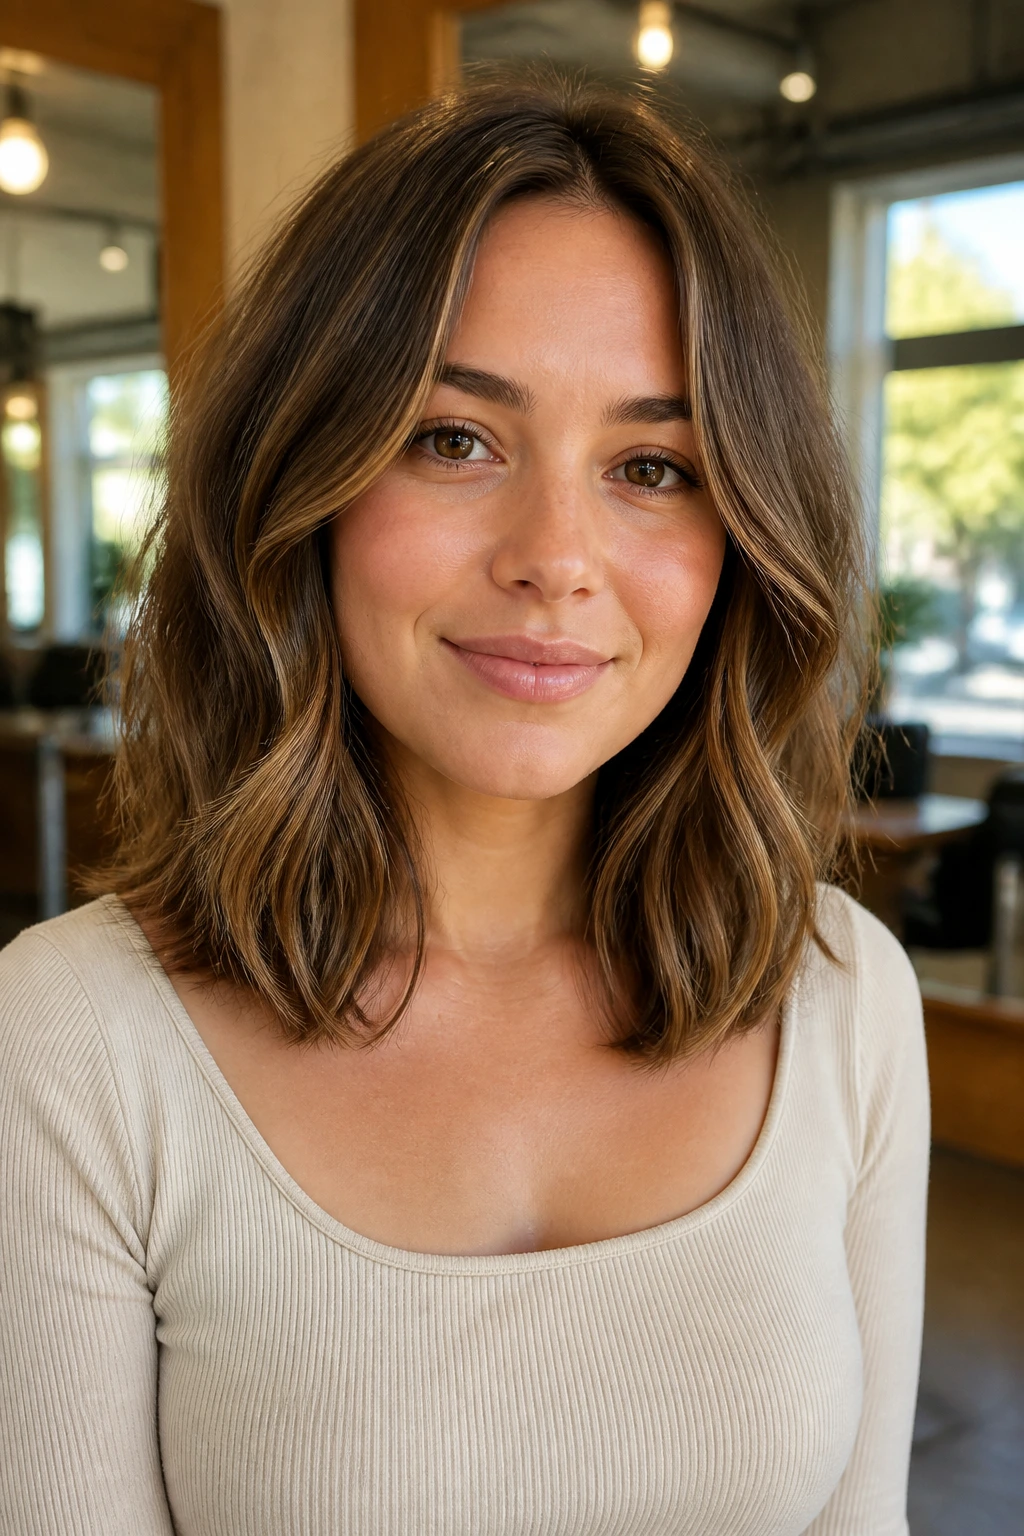
17. Layered Lob with Light Face-Framing Highlights
The cut is the star here, but the shape gets even better when the front pieces are made a little brighter than the rest. Not chunkier. Brighter. Light near the face pulls attention vertically and helps the layers show up in a soft way.
The haircut itself should stay layered through the mids, with the front just long enough to swing below the cheekbones. On round faces, that combination gives the illusion of lift without building a hard frame.
I prefer this on wavy hair that can look heavy in one solid color. The highlights break up the mass visually, which is a real help when the hair is dense. The cut reads lighter, and the waves look more separated.
If you do not want color, skip it. The haircut still works. But if you already highlight your hair, keep the brightest pieces around the front and crown, not at the sides where they can widen the outline.
18. Soft Wolf Cut for Medium Hair
A wolf cut can get wild fast, so soft is the important word here. The crown has some lift, the face frame stays longer, and the bottom edge keeps enough length to avoid looking choppy for the sake of it.
This version suits round faces because it adds height and texture without putting a lot of width at the cheeks. The shape has attitude, but not the kind that swallows the face. Good wolf cuts know when to stop.
I’d recommend this to someone who likes a lived-in finish and doesn’t mind a bit of mess. Air-dried texture looks especially good here. If you brush it too much, the shape can collapse and turn fuzzy.
The best part? It grows out well if the layers are cut with restraint. Over-layered wolf cuts can go shaggy in a bad way. Keep the layers controlled and the front long enough to guide the eye downward.
19. Wavy Midi with Crown Micro-Layers
Crown micro-layers are tiny, but they change the head shape in a useful way. They create lift at the top without removing much length, which means the haircut gets a little more vertical presence and a little less side bulk.
That matters on round faces because a flat crown can make the whole cut feel wide. Micro-layers fix that by giving the roots some room to breathe. The wave pattern then falls in a cleaner line through the sides.
This is a smart cut if your hair is fine but naturally wavy. You want movement, not a huge amount of hair lifted away from the head. A few short interior pieces near the crown can make the shape feel lighter and more intentional.
Do not overdo it. Too many tiny layers create frizz and separation in all the wrong places. A little goes a long way.
20. Blunt Midi with Bent Ends

Blunt cuts are usually not my first pick for a round face, but a blunt midi with softly bent ends earns its place when the ends are styled under or out just enough to create movement. The line stays clean, which gives polish, and the bend at the bottom keeps it from turning into a box.
The trick is to keep the blunt edge below the widest part of the face. That often means just at or below the collarbone. If it sits at the jaw, it can make the face feel broader.
This cut works well if you like a neat look and your waves are more loose than wild. You can smooth the top, bend the ends with a flat iron or large iron, and leave the middle alone. The result feels sharp without being severe.
I would not pair this with super dense, short face-framing layers. The point is clean shape, not extra parts fighting each other.
21. Feathery Cut with Curved Layers
Feathering gets overlooked because people picture outdated blowouts, but the modern version can be lovely on round faces. The layers are curved rather than stacked, so the hair moves away from the cheeks in a soft sweep instead of a hard puff.
This is a strong option for hair that feels heavy around the shoulders. The feathered layers lighten the mid-lengths, and the curved shape keeps the overall silhouette from feeling blocky. It’s especially useful if your waves tend to sit in one thick ribbon.
I like it best with a side part or a very soft off-center part. Center parts can work, but they need enough lift at the crown to avoid flattening the whole effect.
There is a fine line here. Too much feathering and the ends get wispy in a sad way. Enough feathering and the cut has movement that looks easy, not overworked.
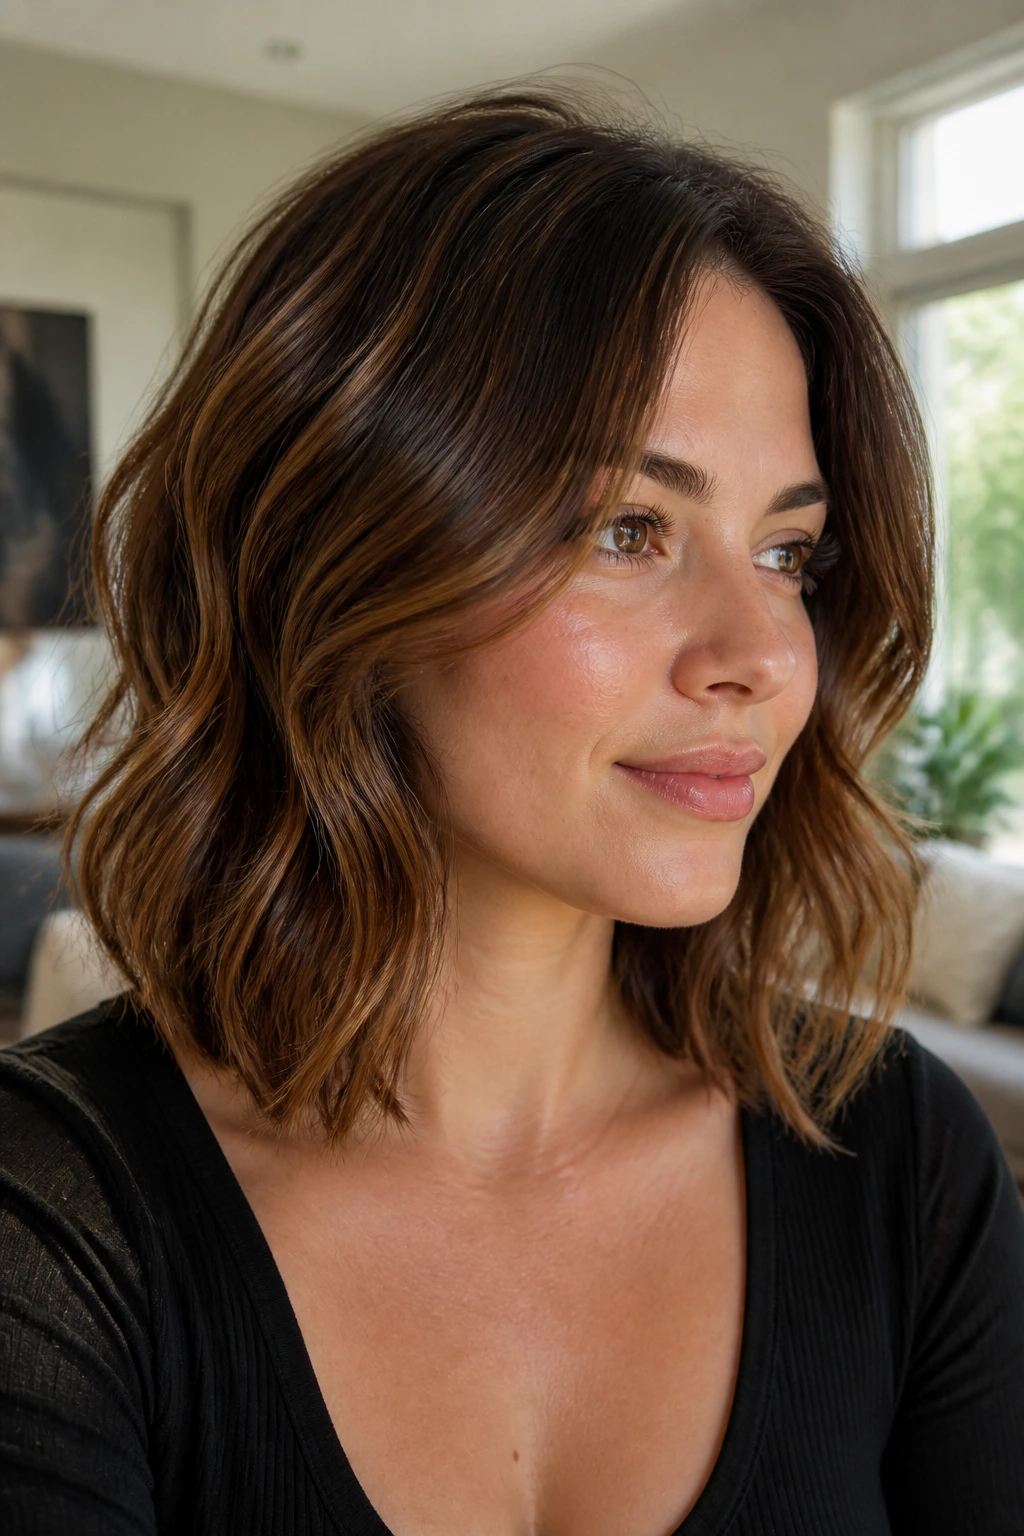
22. Sleek-Top, Wavy-Through-Ends Clavicut
This is the polished option for someone who wants the ease of waves but the discipline of a neat shape. The top stays smooth, almost tucked into place, and the movement happens mostly through the bottom few inches. That split is useful on round faces because it keeps bulk low while still giving the cut life.
The clavicut length is doing the proportion work here. It falls below the cheekline and near the collarbone, which means the eye gets a vertical drop before it reaches the ends. The waves at the bottom keep it from feeling stiff.
I like this cut for work settings, events, or anyone who hates that “too done” feeling. It looks intentional without shouting for attention. A flat iron can be used to make one or two bends through the ends, or you can set it with a large curling iron and brush it out once it cools.
The shape is calm. That’s the appeal.
What Makes a Mid-Length Wavy Cut Work Better Than a Straight-Across Medium Cut
A straight-across medium cut can be pretty, but on a round face it often does one stubborn thing: it draws a hard horizontal line where the face is already widest. That line sits there like a ruler. Fine on some faces. Not my favorite here.
A smarter mid length cut uses shape the way a tailor uses seams. The front can drop a little longer. The waves can start lower. The crown can get a touch of lift, which keeps the eye from getting stuck on the cheeks. Even a tiny bit of asymmetry can change how the whole head reads.
Wavy texture helps because it breaks up the outline. Straight hair can still work, but the wave adds movement that softens the sides and gives the cut depth. The catch is that wave can also add width if it’s placed badly. So the actual job is not “add waves.” It’s “place waves where they lengthen, not widen.”
That’s why so many of these cuts lean on collarbone length, diagonal parts, and front pieces that start below the cheekbone. They’re all doing the same quiet job: guiding the eye up and down instead of side to side.
Tools That Make Styling Easier
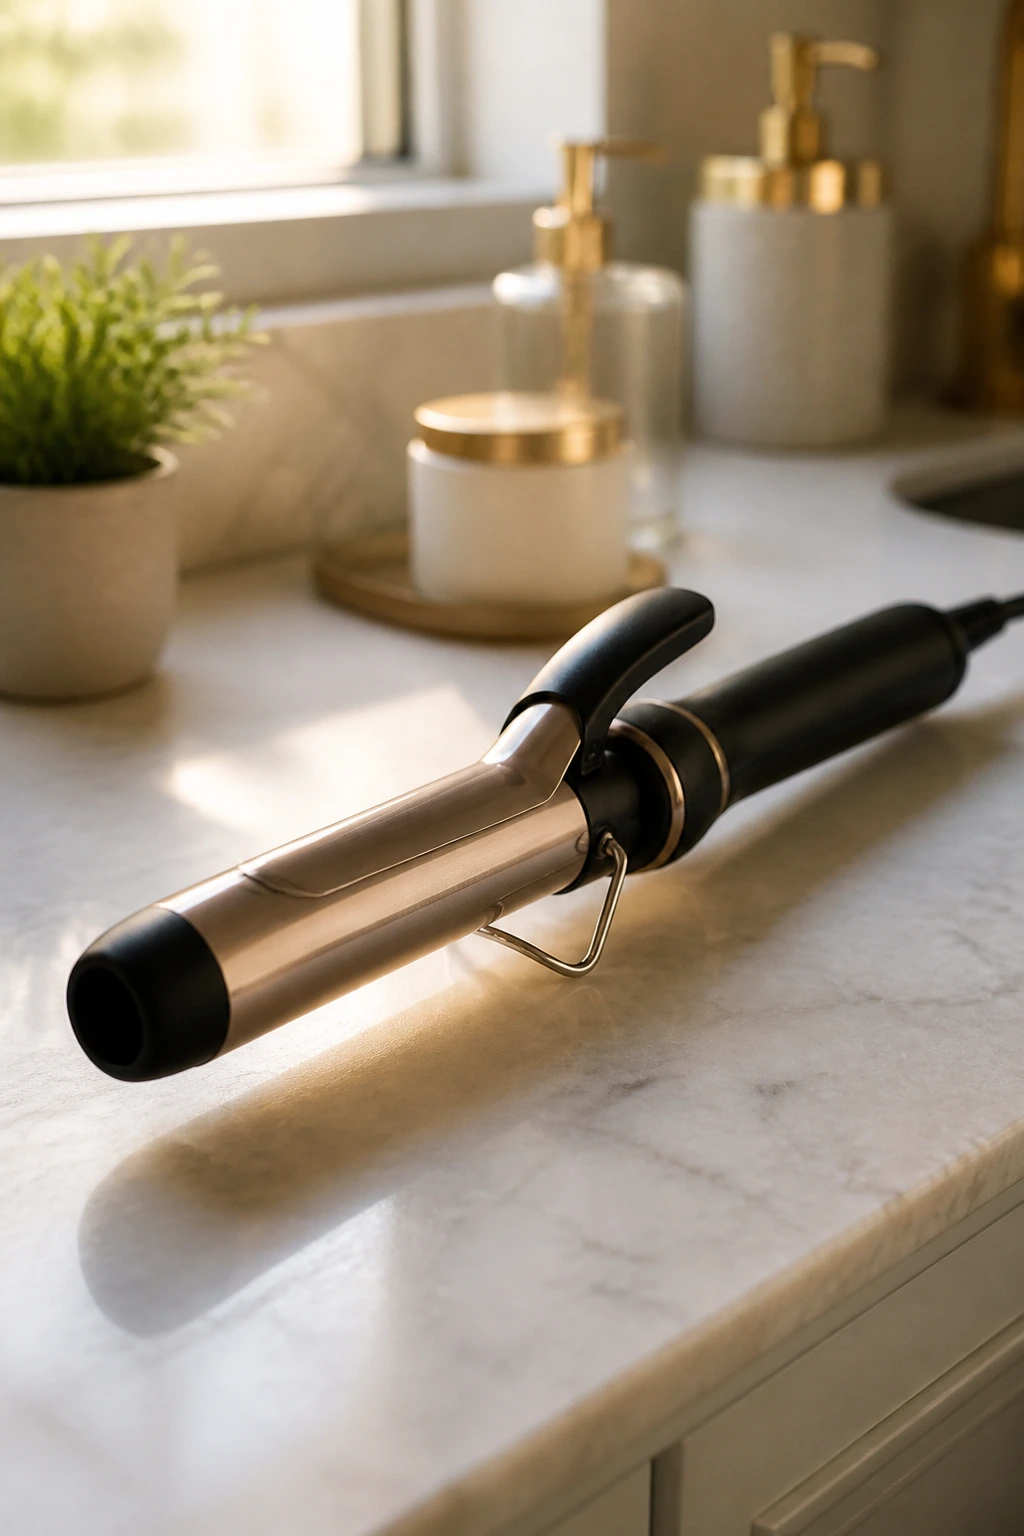
- 1.25-inch curling iron or wand: This size gives soft bends and loose waves without making tight curls that widen the face.
- Heat protectant spray: Use it every time you put heat on the hair, especially on the face-framing pieces that get styled most often.
- Round brush or hot brush: Good for lifting the crown and smoothing the front without flattening the wave through the ends.
- Diffuser attachment: Helpful if you air-dry or rough-dry wavy hair and want the pattern to stay soft instead of frizzy.
- Wide-tooth comb: Better than brushing waves dry; it separates knots without pulling the shape apart.
- Clips or duckbill pins: Useful for setting the front pieces while they cool, which helps the bend last longer.
- Light mousse or wave cream: Gives body and grip without building a stiff shell around the hair.
- Dry texturizing spray: Good for day-two lift at the crown and for keeping the ends from lying flat.
How to Ask for the Cut at the Salon
Walk in with the face-shape problem first, not a photo of a celebrity who has different hair and a different bone structure. Say you want a mid length wavy shape that does not widen the cheeks. That sentence alone helps.
Then get specific. Ask for the shortest layers to start below the cheekbone, or around the lip if your face is fuller. Ask for the length to land at the collarbone or just below it. If you want bangs, say whether you want curtain bangs, bottleneck bangs, or a side sweep, because each one changes the balance in a different way.
Bring one or two photos, but don’t stop there. Point to the exact part you like: the parting, the front angle, the amount of layering, the finish at the ends. A stylist can work with that. “I like the texture” is not enough.
If your hair is thick, mention that you want bulk removed without the sides puffing out. If your hair is fine, say you need movement without losing density. Those are different jobs, and the cut should be built for yours.
How to Style the Shape at Home
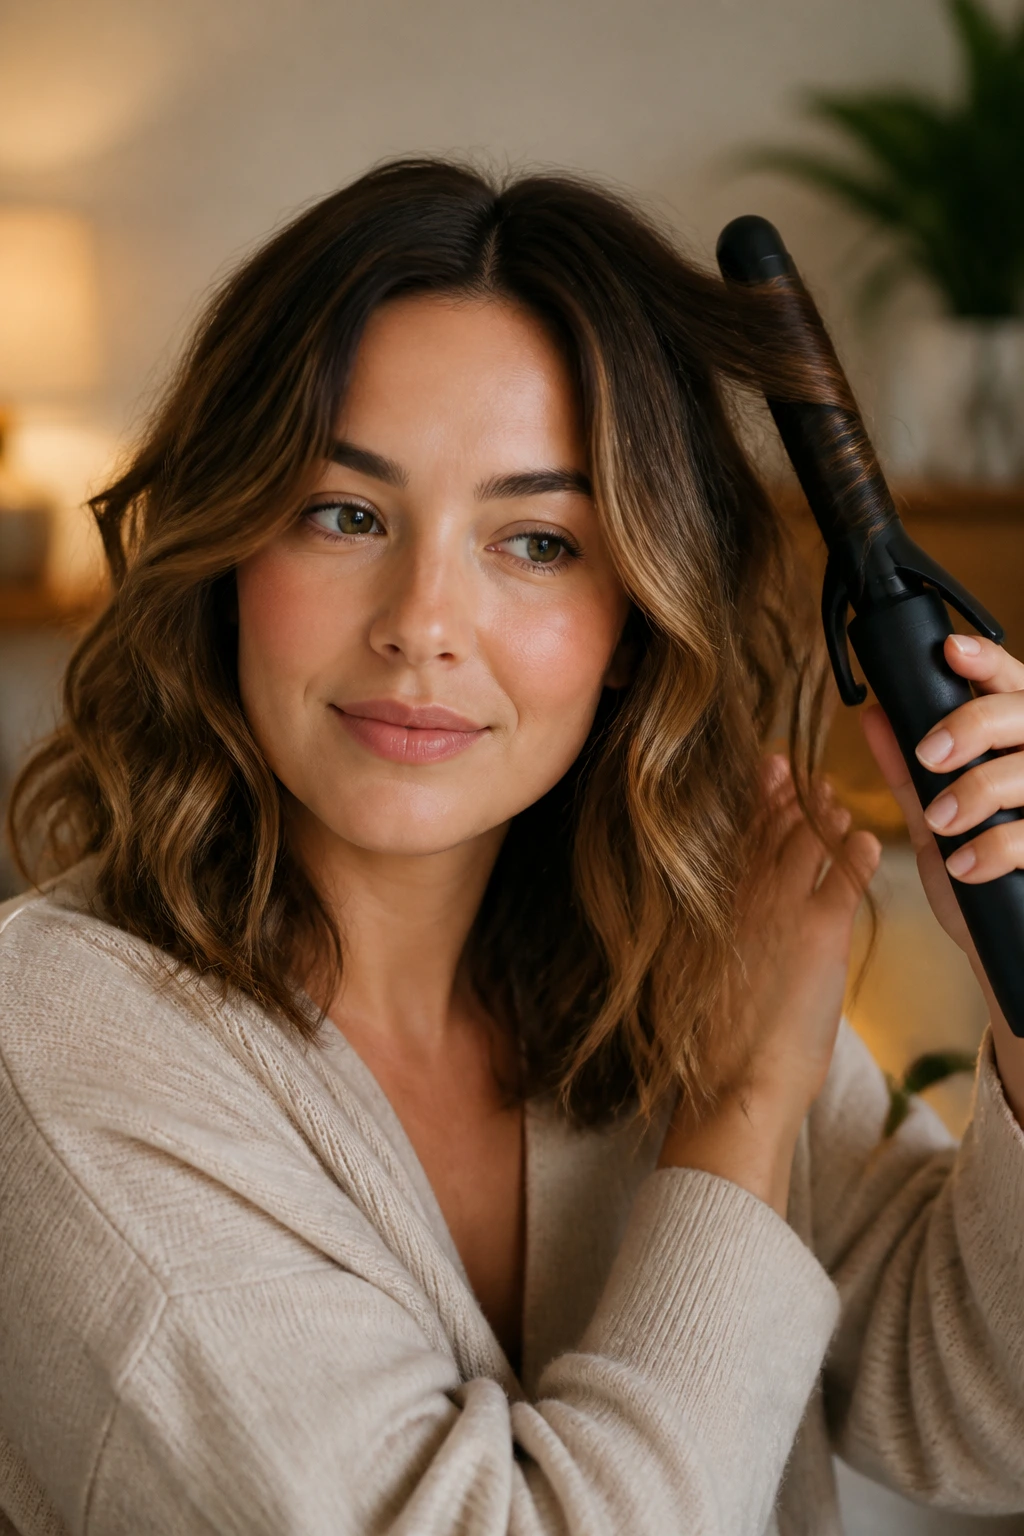
The easiest styling rule is this: keep the roots calmer than the lengths. That means a little lift at the crown, but not a giant round brush blowout that gives the sides too much body. The movement belongs lower.
For air-dried waves, scrunch in mousse or wave cream from the ears down and keep your hands off the roots. Let the front pieces fall where they want, then separate them once they’re dry. If they sit too close to the cheek, bend them forward and out with a curling iron for a few seconds.
For heat styling, wrap the hair away from the face on the crown side and toward the face only at the very ends. That tiny directional change gives the haircut a softer frame. Don’t curl every strand the same way. It turns too symmetrical, too round.
And yes, a little mess is better than over-styling here. Wavy cuts for round faces look best when the finish has movement, not perfection.
How to Wear These Cuts With Necklines and Accessories
Presentation: Let the haircut show some vertical movement. A slightly off-center part, longer front pieces, and ends that skim the collarbone keep the shape from sitting all at one level.
Accompaniments: V-necks, open collars, and scoop necks usually work better than tight crew necks because they keep the neckline from fighting the hair. Hoop earrings, slim drops, and glasses with a little lift at the outer corners echo the lengthening effect.
Proportion: If your face feels especially full through the cheeks, keep the shortest face-framing pieces below that point. If your neck is short, avoid too much volume right at shoulder level. That area can get crowded fast.
Finish: Sleek roots with loose ends look cleaner for work or events. For weekends, air-dried texture and a slightly imperfect part give the haircut a more lived-in feel. Both can work; the shape just needs the same basic geometry.
Styling Tweaks and Personal Touches
Wave Direction: Curl the front pieces away from the face on the side you want to open up, then let the opposite side fall a little heavier. That small asymmetry helps more than people expect.
Root Lift: A puff of volumizing spray at the crown before blow-drying is enough. You do not need a helmet of volume. A little height keeps the face from looking widest at the middle.
Finish: A pea-sized amount of serum on the ends stops frizz, but only on the last inch or two. If you put it too high, the wave collapses and the sides can start to feel thick.
Make-It-Yours: Fine hair usually wants fewer layers and a softer bend. Thick hair can handle more structure and more internal removal. If you wear glasses, ask for the front to start a little lower so the frames and the bangs do not crowd each other.
Common Mistakes That Make Round Faces Look Wider
The first mistake is cutting the shortest layers right at cheek level. That’s the danger zone. The hair lands where the face is already broadest, and the whole style reads wider. Move that layer lower or keep it higher.
Another one: too much width at the sides. Big waves that flare out beside the cheeks can look gorgeous in a mirror and then seem strangely boxy in photos. If the silhouette is ballooning, the waves are too big or the layering is too short.
People also overdo the center part. A dead-center part on a round face can work, but only when the crown has enough lift and the front pieces are long enough to drop below the cheeks. Without that, the face can look very circular. That’s the problem.
Heavy fringe is another trap. Straight-across bangs that sit low on the forehead can shorten the face and make the cheeks look fuller. If you want bangs, go airy, split, or side-swept.
Finally, some cuts lose their shape because the ends are too blunt and too thick. Mid length hair needs movement at the bottom. If the perimeter looks like a ruler line, it often fights the face shape instead of flattering it.
Variations and Alternatives to Try
The Fine-Hair Lift: Keep the layers long, add a slight side part, and use a lightweight mousse at the roots. This gives the illusion of fullness without too much side bulk.
The Thick-Hair Release: Ask for internal debulking through the mids and a collarbone finish. Thick hair needs room to breathe, or it can puff out like a triangle.
The Soft-Air-Dry Version: Leave out the iron and scrunch with cream and a little gel, then break the cast once dry. This works when your wave pattern is already pretty clear.
The Polished Blowout Version: Smooth the top with a round brush, then bend only the bottom third of the hair. The top stays clean, the ends stay soft, and the face gets a longer line.
The Edgier Shag Version: Add more broken layers and a wispy fringe. This is for people who want texture first and neatness last.
Frequently Asked Questions

Can round faces wear mid length waves without looking wider?
Yes, but placement matters. Keep the length below the cheekbone and put the heaviest wave pattern lower on the hair shaft, not right at the sides of the face.
Are curtain bangs good for round faces?
They can be, as long as they’re cut long enough to open at the cheekbone or lower. Short, heavy curtain bangs tend to widen the face. Airy ones with a center split work much better.
Should I choose a middle part or a side part?
A side part or soft off-center part is easier for most round faces, because it creates a diagonal line. A middle part can work if the haircut has real crown lift and enough length in front.
What if my hair is fine and flat?
Keep the layers subtle and avoid over-thinning the ends. Fine hair usually looks better with controlled movement, a little root lift, and a collarbone length that gives the hair something to swing against.
What if my hair is thick and poofy?
Ask for internal removal through the mids and a perimeter that sits below the jaw. Thick hair needs shape control, not just more layers. Too many short layers can make it widen out.
How short can I go with a round face?
You can go short, but once the hair lands at the jaw, the shape needs a lot more planning. Mid length is easier because it gives you room to create vertical lines without fighting the widest part of the face.
Do waves make a round face look softer or bigger?
Both, depending on where they sit. Loose waves that fall through the lengths soften the face in a good way. Waves that puff out at the cheeks can add width. The difference is placement, not the wave itself.
How often should I trim a mid length wavy cut?
Every 8 to 12 weeks is a good range for keeping the shape clean. If the face-framing pieces are important to the cut, they may need a quick refresh sooner than the rest.
The Shape That Keeps Working
The nicest thing about wavy mid length haircuts for round faces is that they do not force you into one look. They can be polished, messy, modern, soft, sharp, or almost undone. What stays constant is the geometry: keep the width away from the cheeks, give the eye some vertical movement, and let the waves work below the face instead of around it.
That’s why these cuts hold up in real life. They grow out with enough grace to survive a busy month. They also give you room to change your mind—side part one day, curtain fringe the next, air-dry on Sunday, blown out on Monday. Not bad for a haircut that starts with a simple idea: let the face breathe, then build the shape around it.