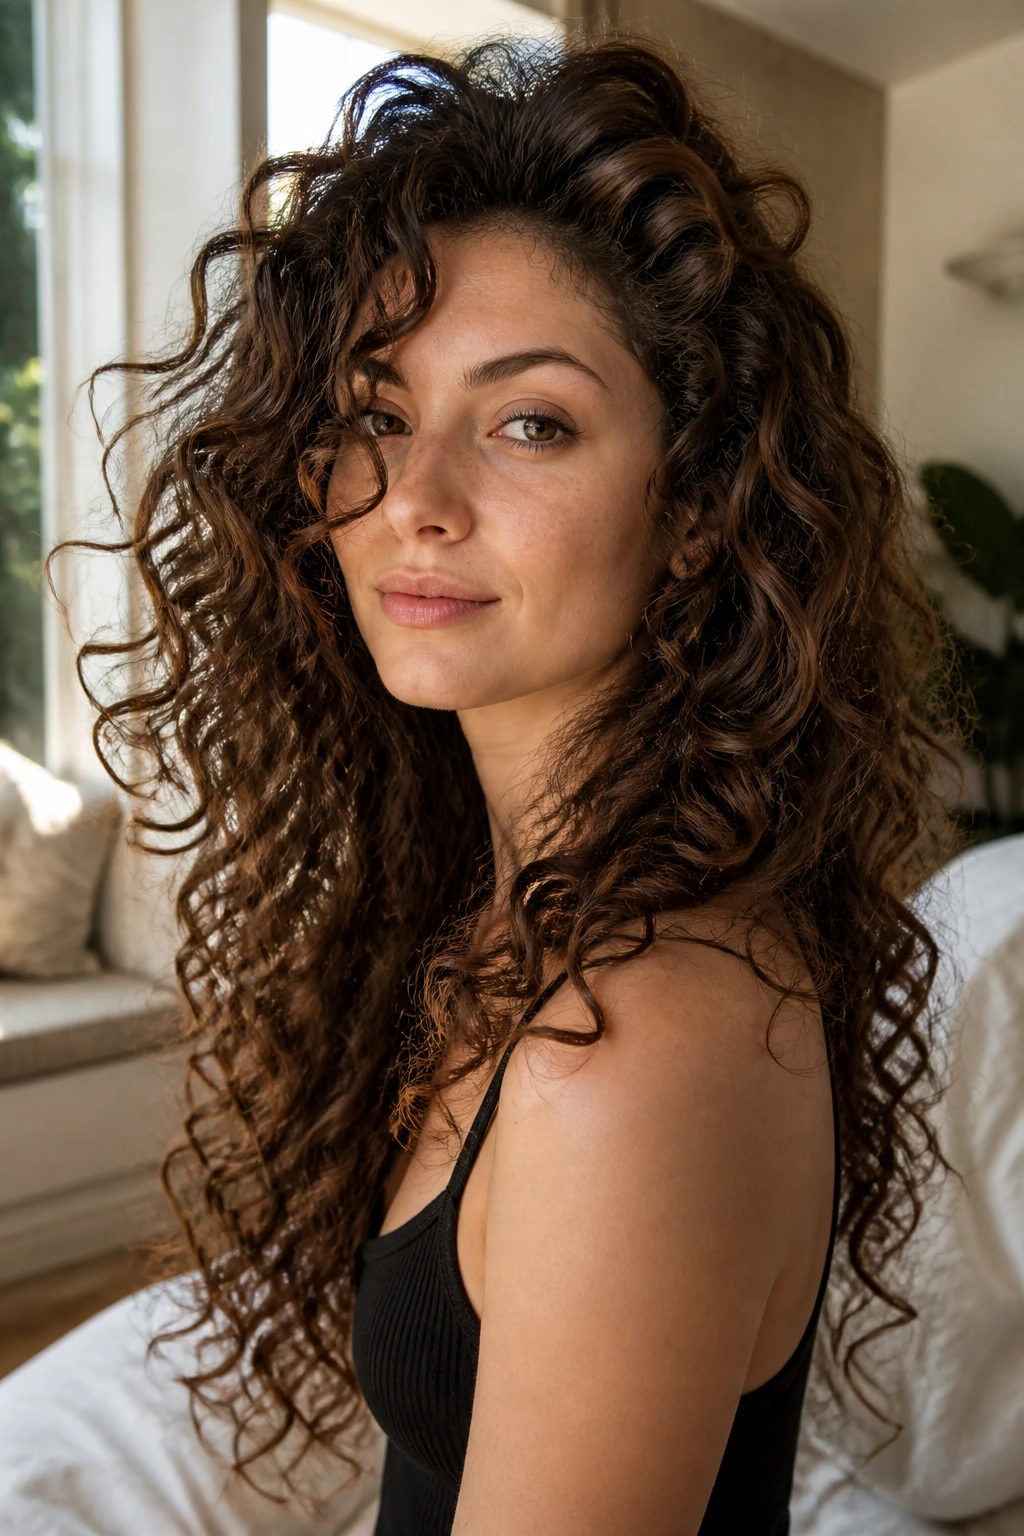
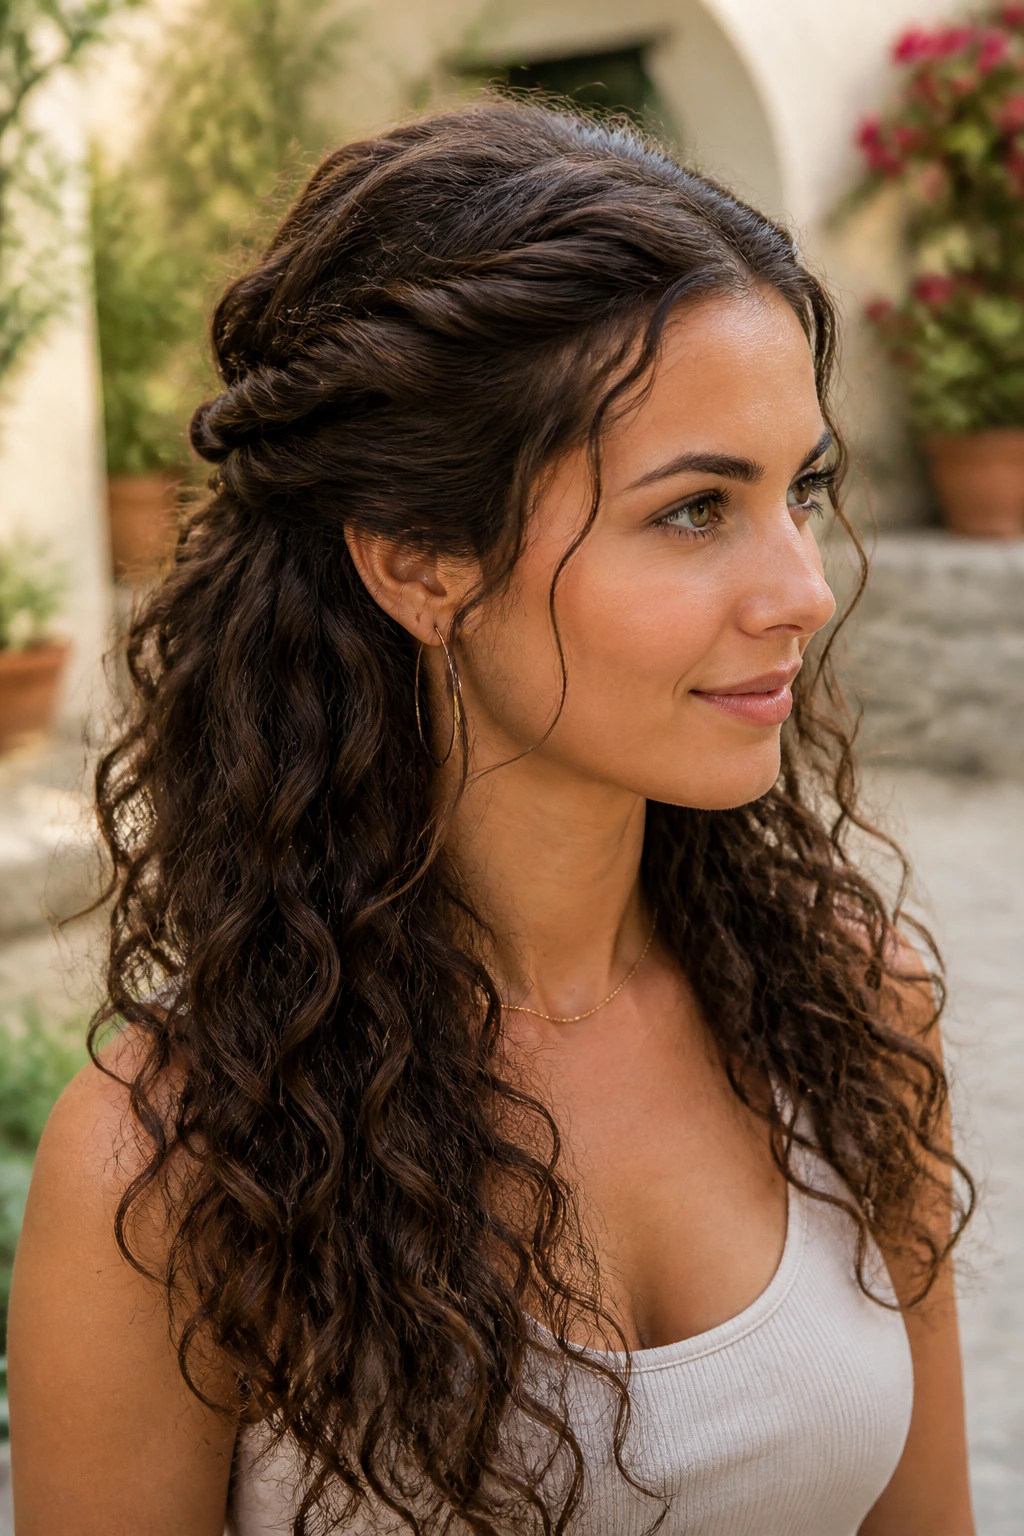
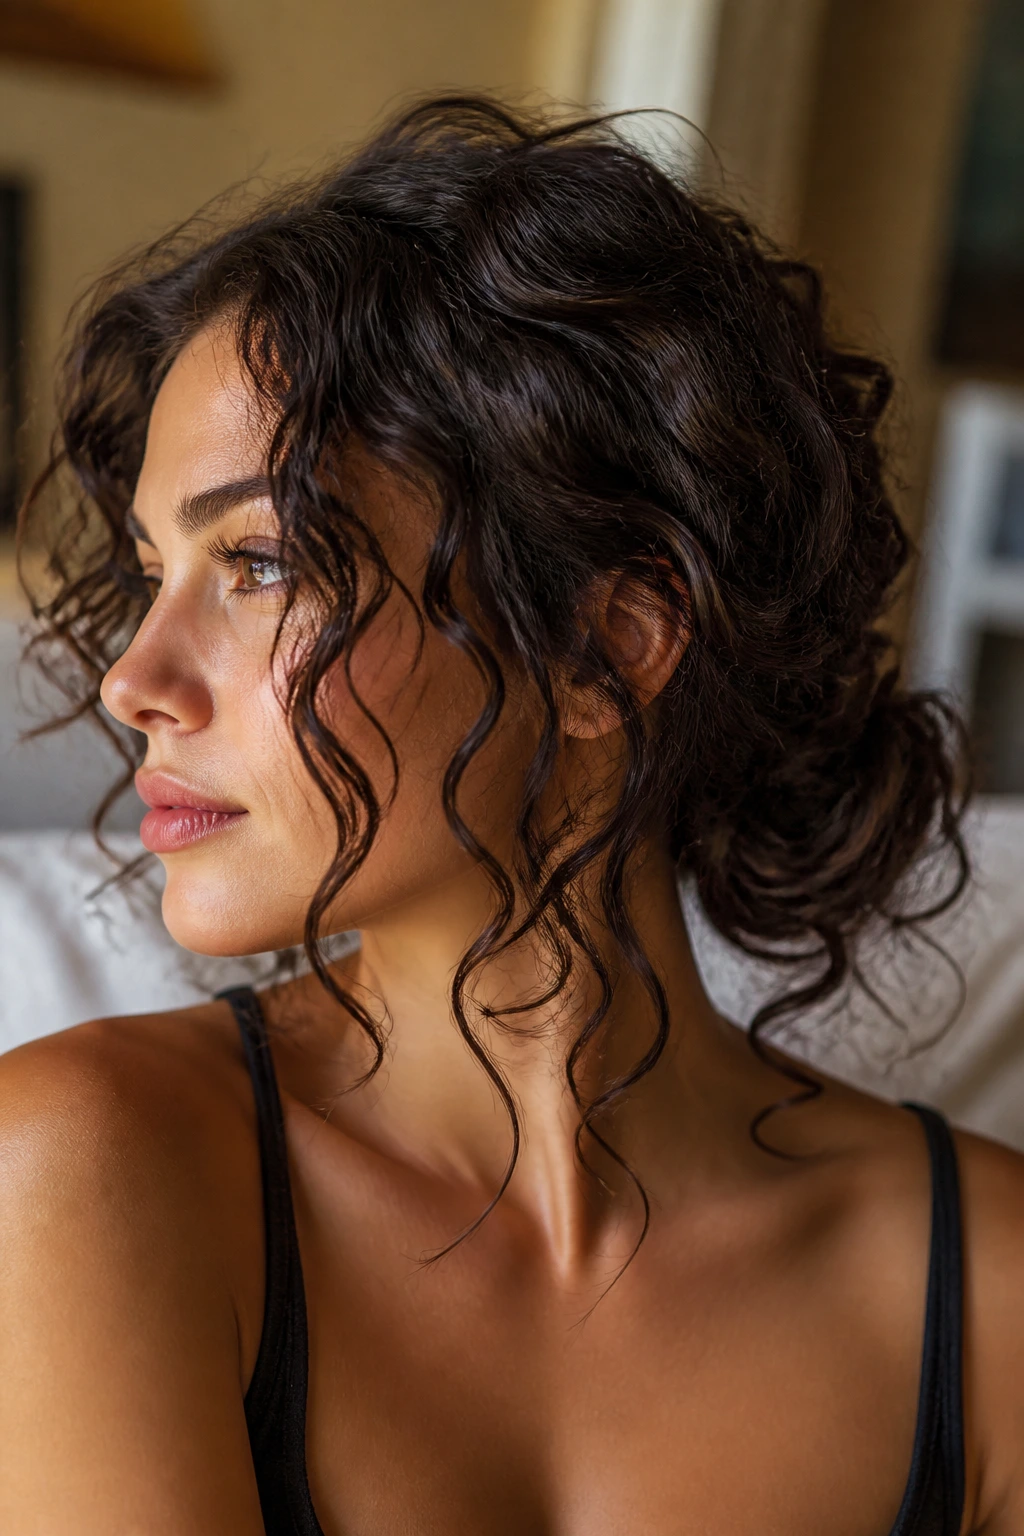
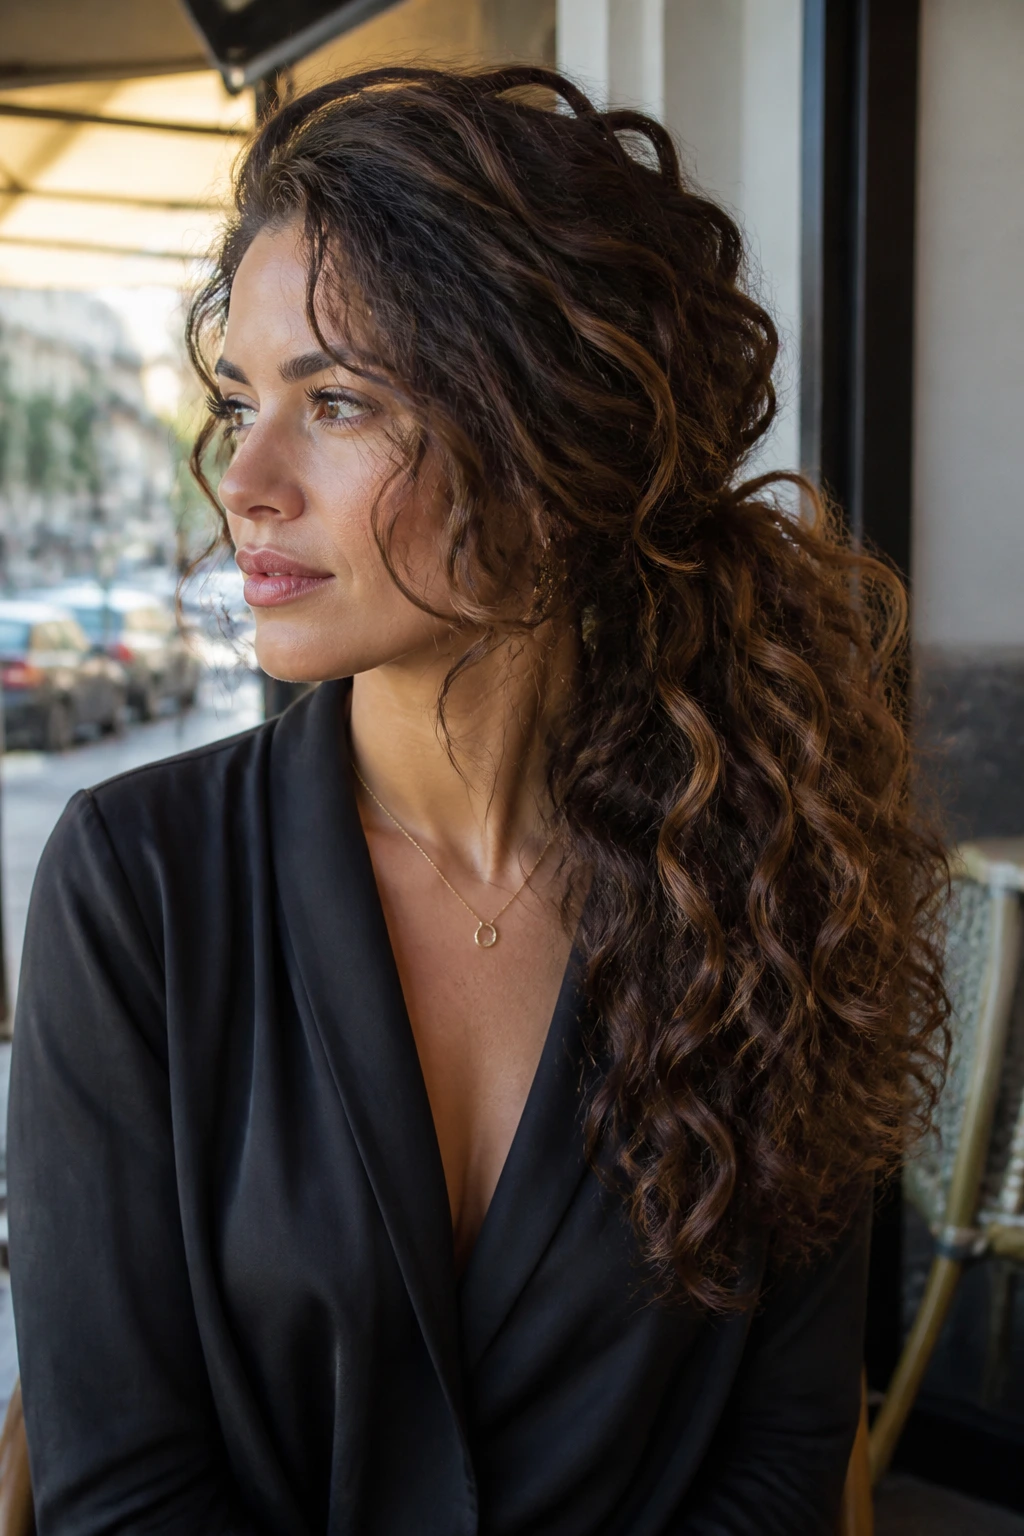
Long curls don’t need rescuing; they need a shape. The best rockstar hairstyles for long hair with curly hair work with the spring in the strand, not against it, so the crown stays lifted, the lengths keep moving, and the whole style still looks like hair instead of a helmet.
I’m partial to looks that leave some curl visible. A tight braid all the way down the back has its place, sure, but it also hides the thing that makes long curly hair worth showing off in the first place: the texture, the bend, the little rebellious ends that catch on a collar and refuse to behave. That’s the fun part.
What matters most is balance. Too much tension and the scalp starts complaining; too little and the style slumps before lunch. The hairstyles below are built for that middle ground, where long curls can be polished, a little wild, and still practical enough to survive a day of moving around.
Why These Styles Work So Well on Long Curly Hair
Curl-first shaping: These looks are built around the way curls actually fall, so you’re not trying to flatten a spring into a straight line and pretending it was the plan all along.
Weight control: Long curly hair gets heavy fast, especially at the crown, and the right updo or half-up style moves that weight where it won’t drag the whole shape down.
Less breakage, less drama: Satin scrunchies, loose pins, and twist-based shapes keep tension softer than tight elastics and bare-metal clips rubbing in the same spot.
Built-in movement: The styles that work best on long curls leave some texture out on purpose, which keeps the finished look from turning stiff by hour three.
Easy to dress up or down: A ribbon, a clip, a side part, or one extra braid can push the same base style from errands to a night out without rebuilding it from scratch.
Works across curl types: Ringlets, waves, coils, and stretched curls all show up differently here, but the same core idea holds: keep the roots intentional and let the length have a little freedom.
1. High Curly Ponytail with a Wrapped Base
A high curly ponytail is the quickest way to turn long hair into something that looks awake. The lift at the crown does most of the work, and the wrapped base hides the elastic so the whole thing feels deliberate instead of improvised in the parking lot.
Why It Works
Long curls are heavy, and a high placement changes the weight distribution right away. Instead of pulling the style down at the neck, you’re stacking that length above the crown, which gives the face a cleaner frame and keeps the back from looking flat.
The wrapped base matters more than people think. It turns a plain ponytail into a shape with a clear finish, and it also hides the little bumps that happen when curly hair gets gathered fast. If your curls are dense, this style looks better when the pony sits slightly off-center at the crown rather than dead center.
- Best for dense or medium-dense curls that need lift at the roots.
- Use a satin scrunchie or a strong, snag-free elastic under the wrap.
- Leave one thin curl section out to wind around the base.
- If your hairline frizzes, smooth it with a pea-size amount of gel on damp fingertips.
Best move: Pull the pony up in two stages—first to the crown, then slightly higher with your fingers before you secure it. That tiny second lift changes the whole silhouette.
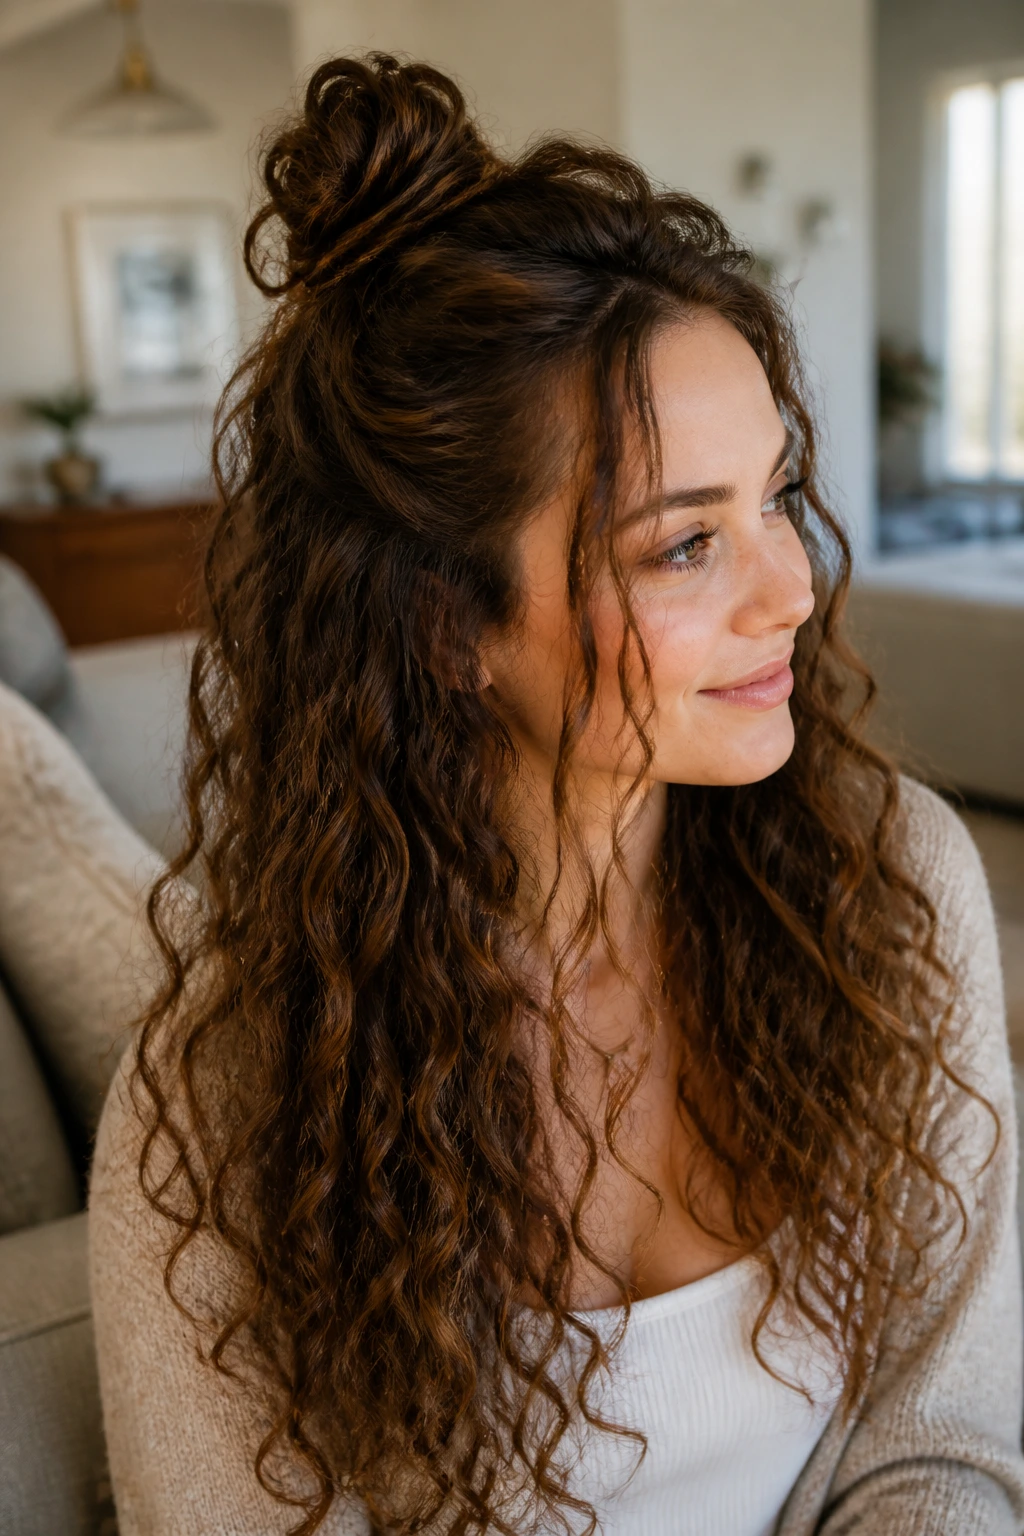
2. Half-Up Knot with Loose Curly Length
This is the style I reach for when the top third of my hair wants to take over the room but I still want the length to swing. A half-up knot gives you control at the crown and keeps the bottom half loose enough to show off the curl pattern.
The knot should feel soft, not tight. Twist the top section once or twice, fold it into a little loop, and pin it so it sits like a small knot rather than a slick bun. If your curls are long enough to drag the knot downward, gather a slightly higher section than feels natural; long curly hair always settles lower than you expect.
The nice part is that this style looks a little different on every curl type. Loose waves make it airy. Tight coils make it sculptural. And if a few face pieces fall out, leave them alone. That’s not a mistake. That’s the point.
Best when: you want your hair off your face without losing the drama of the length.
3. Deep Side-Part Glam Curls
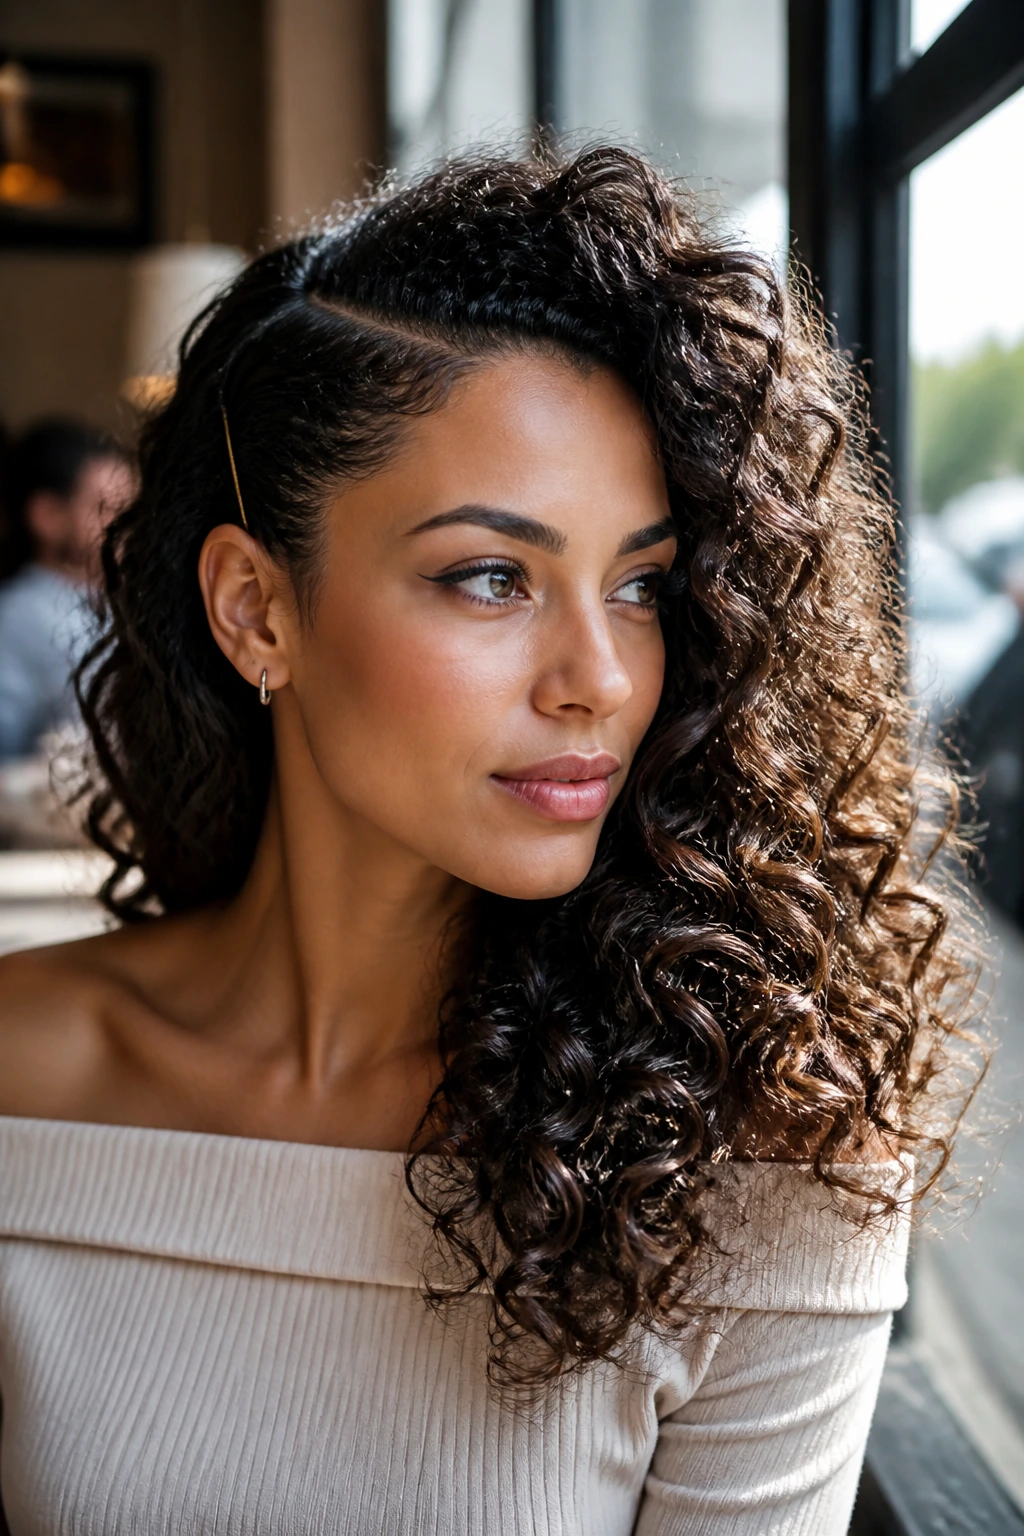
Why does a side part change the whole mood? Because on long curly hair, the part line decides where the weight falls first, and that shifts the whole frame of the face before you touch a single pin.
A deep side part gives the curls a sweep and a direction. It works especially well when the roots are flat on one side and full on the other, because the asymmetry makes the volume look intentional. I like to draw the part on damp hair with a tail comb, then clip the heavier side back for a few minutes while the curls dry in that new direction.
How to Set the Part
- Make the part while the hair is still damp, not after it’s fully dry.
- Use the tail of a comb or the tip of a rattail brush for a clean line.
- Clip the heavier side back for 10 to 15 minutes so the root remembers the new shape.
- Finish with a light mist of flexible-hold spray if your curls tend to collapse.
This one is more glamorous than fussy. It’s also a very good fix for curls that want to sit too symmetrically and lose all personality in the process.
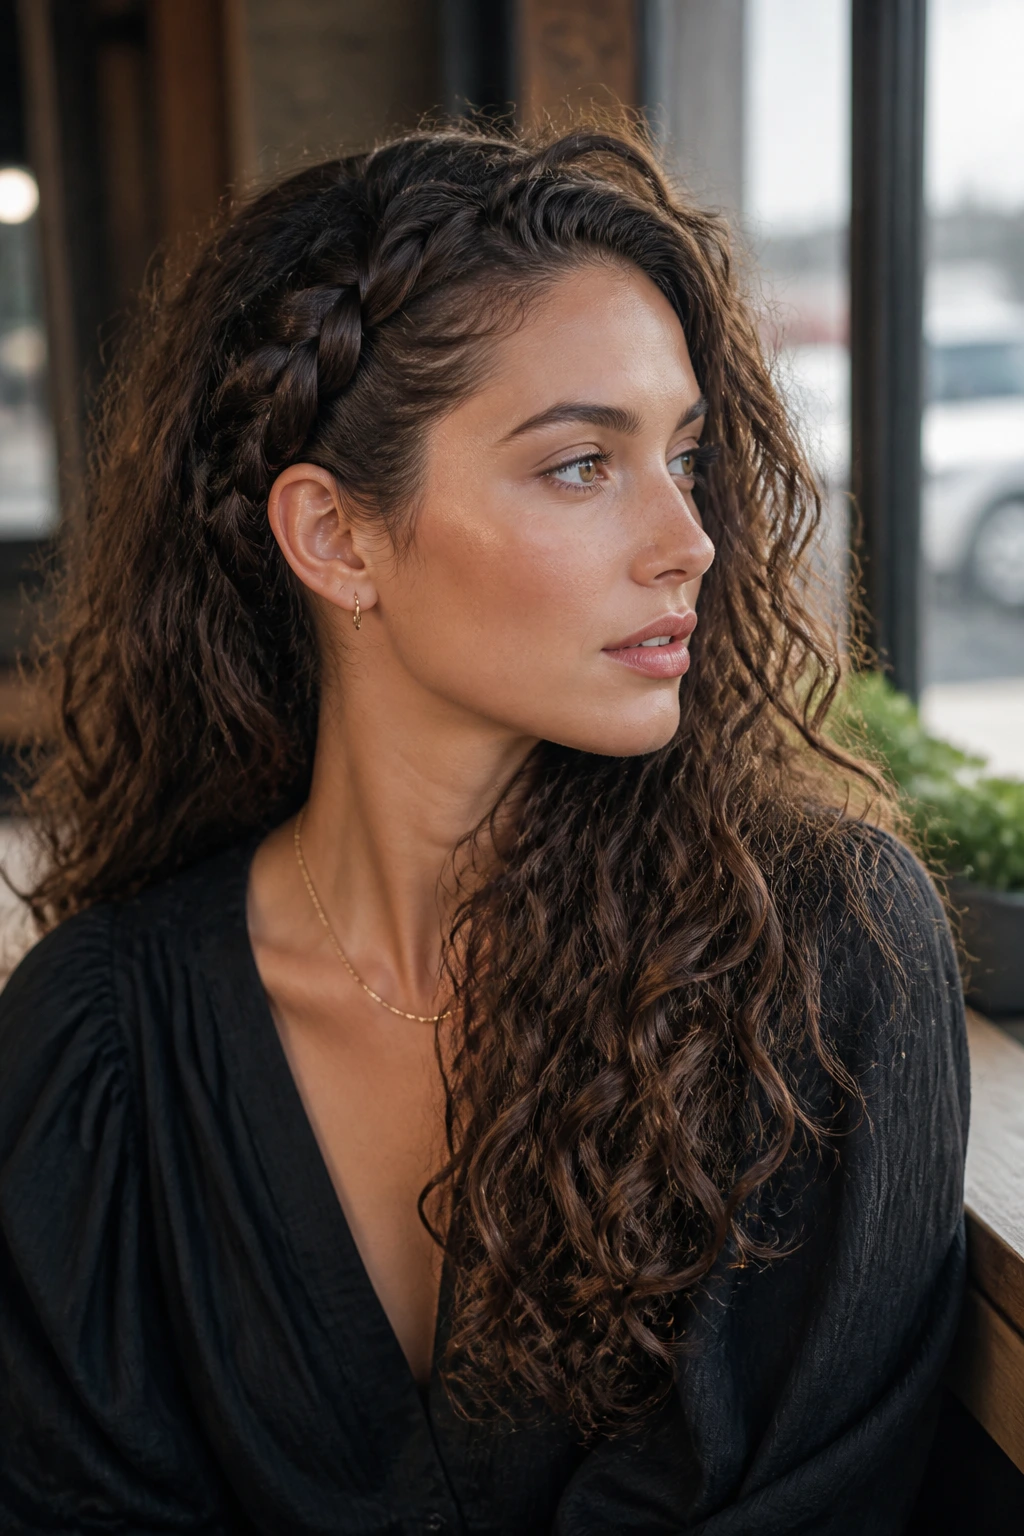
4. Crown Braid Halo with Free Ends
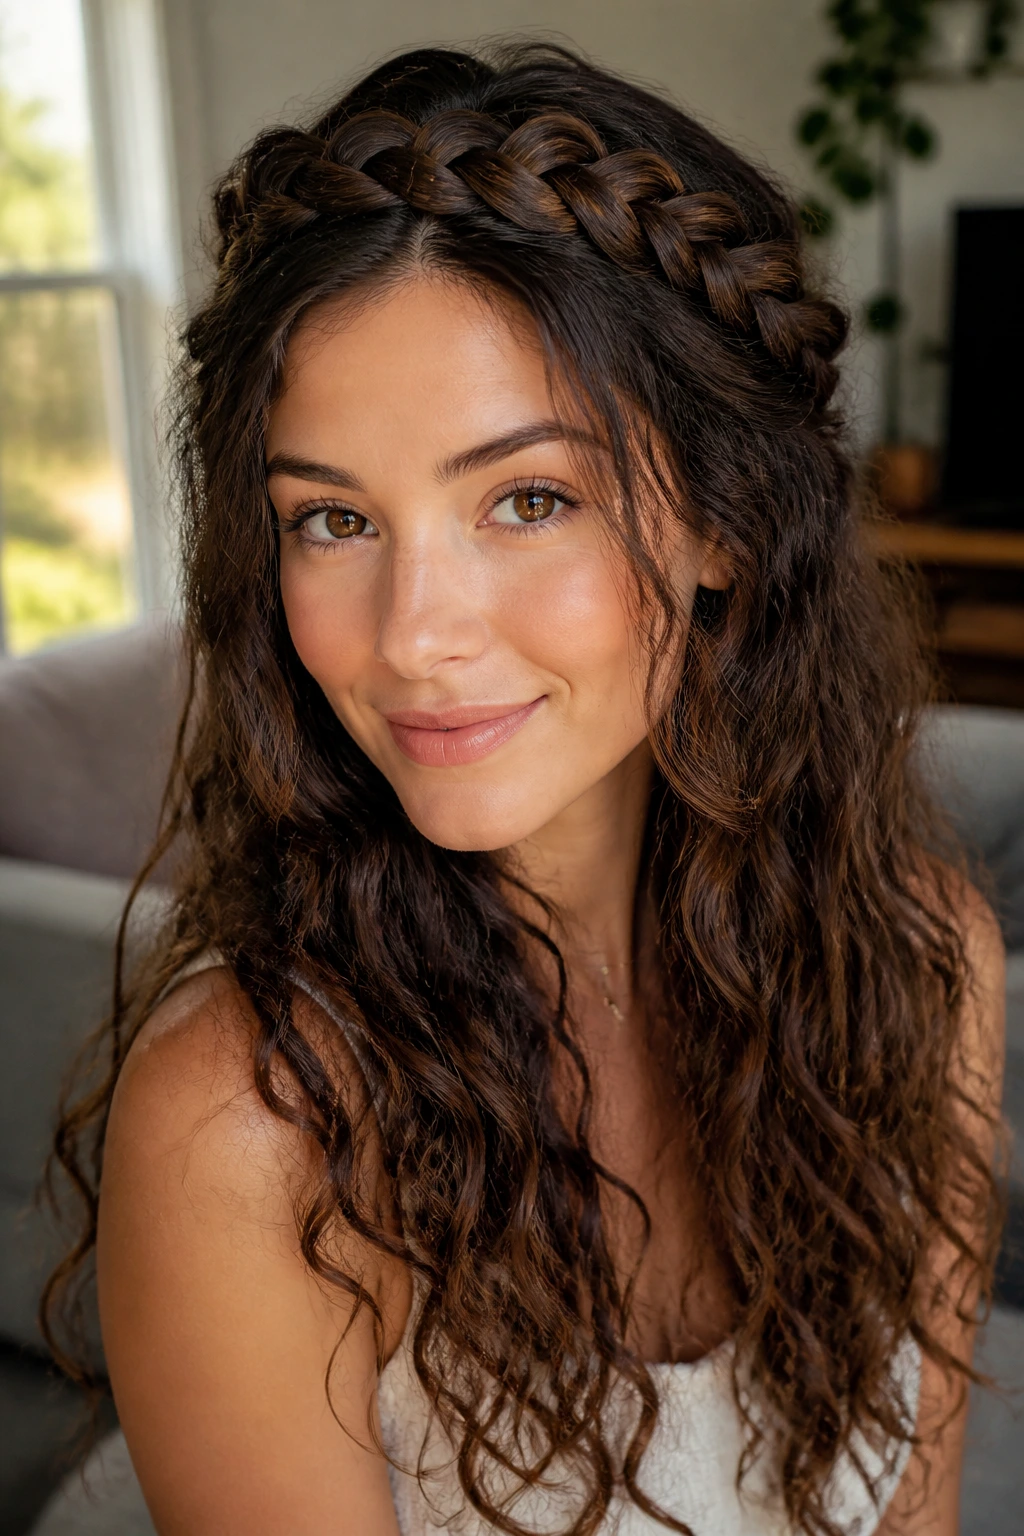
A crown braid halo is what I suggest when the front of the hair needs control but the length still deserves to be seen. The braid runs along the hairline like a frame, then lets the rest of the curls drop open at the back.
That combination matters. A full braided halo can look pretty, but on long curls it can also swallow the texture and make the style feel heavier than it needs to be. Keeping the ends free gives the whole look movement, and the braid itself does the quiet job of keeping hair off the face, which is where long curls tend to get annoying first.
A looser braid is better here than a tight one. Pull too hard and the halo sits stiff against the scalp. Braid gently, then widen the links a little with your fingers once it’s pinned. It should look like it belongs there, not like it’s been nailed down.
5. Low Curly Chignon with Tendrils
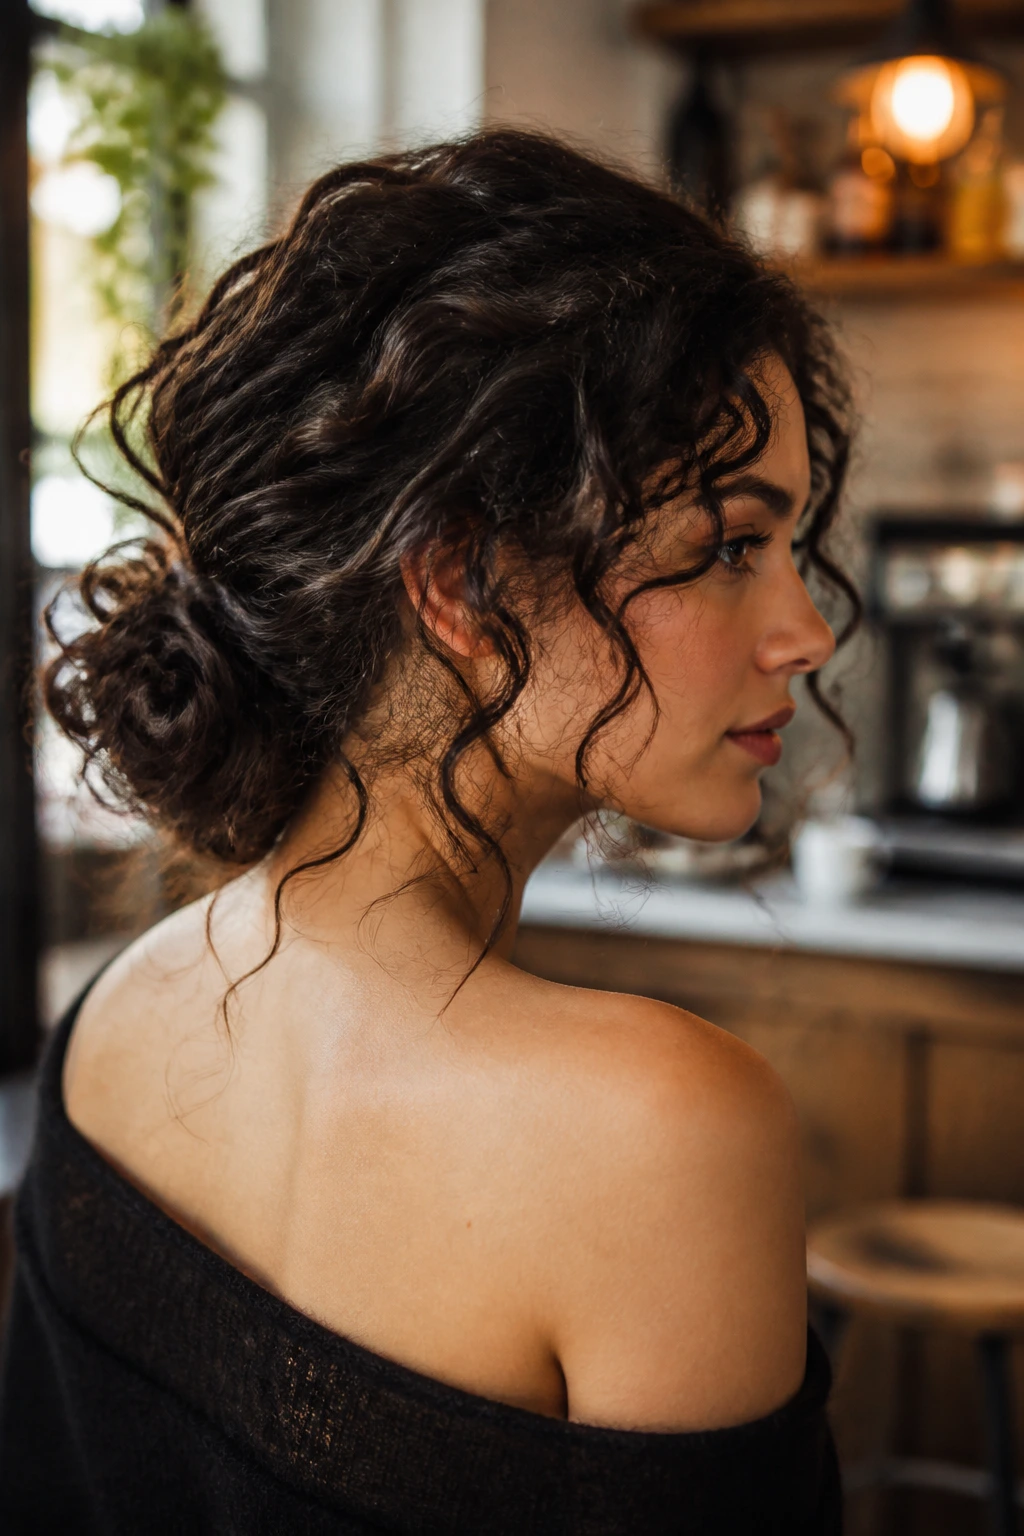
A low chignon on curly hair has a nice contradiction built into it. It looks formal, but it still keeps the texture. It looks neat, but the curl pattern keeps peeking out anyway, which is exactly why it works.
The trick is to place it at the nape, not too high and not jammed under the occipital bone where the head starts to round. Gather the hair low, twist it loosely, and pin it into a soft coil or figure-eight shape. If you force it into a compact ball, the curls fight back and the whole bun gets lumpy.
Leave two slim tendrils near the face and maybe one at the nape if your neckline feels too bare. Those little pieces keep the style from looking too severe. They also give the curls something to do when the rest of the hair is tucked away.
My preference: Use U-pins for the bun itself and save standard bobby pins for the loose pieces. The U-pins hold the shape without crushing the texture.
6. Curly Space Buns
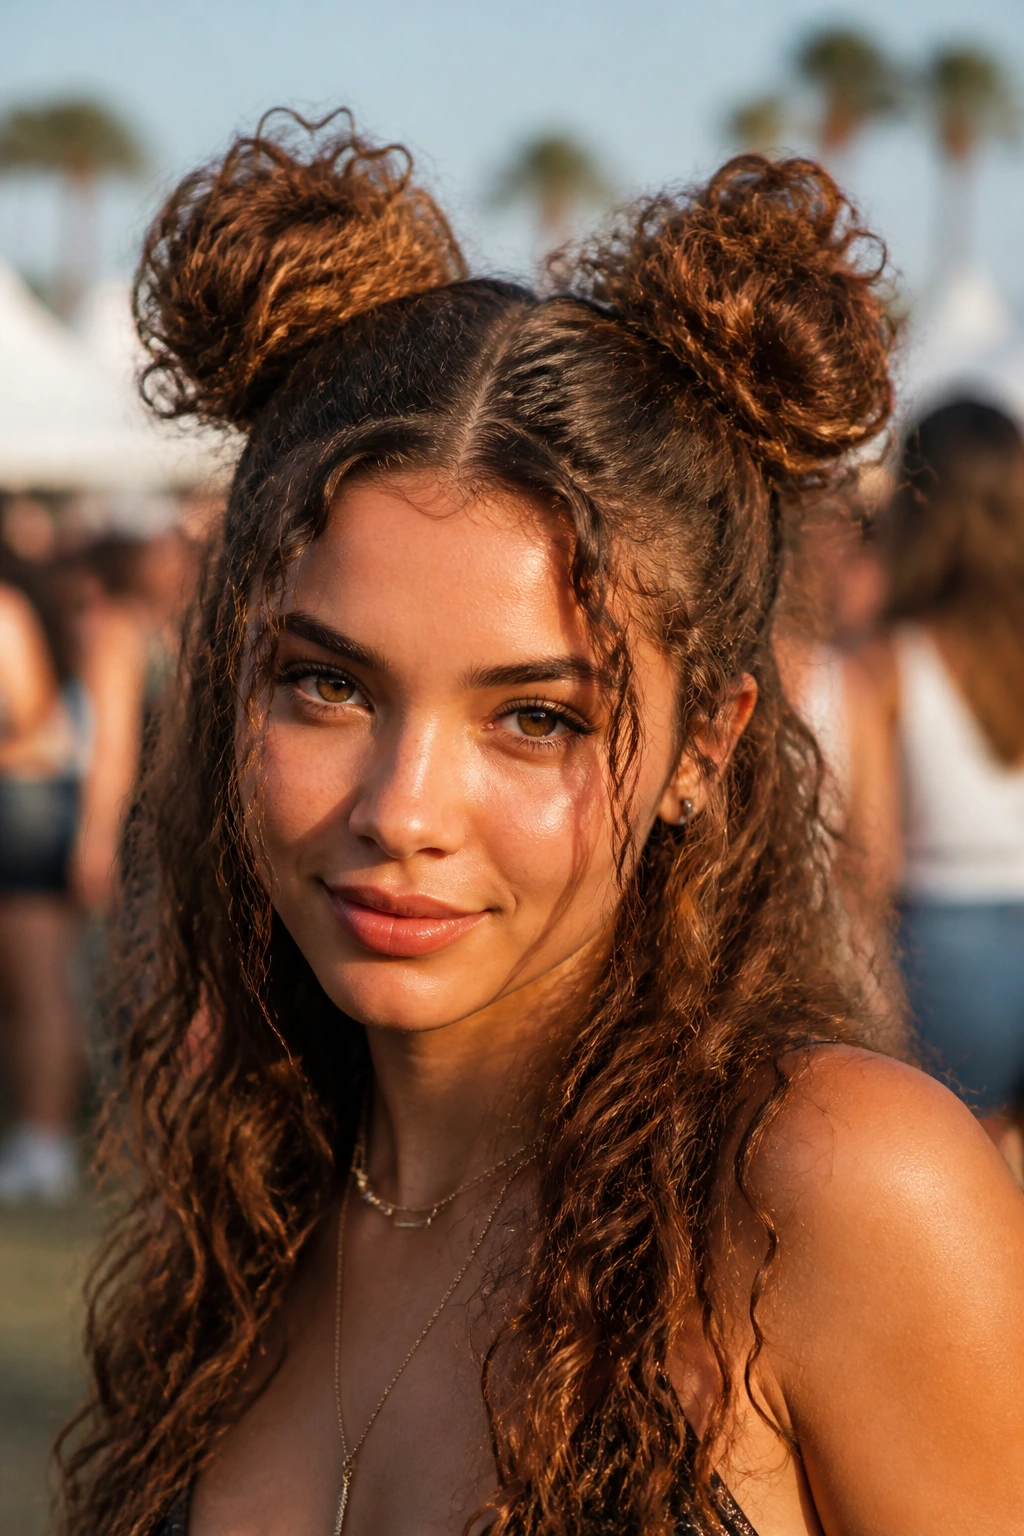
Space buns are not cute in the childish sense when they’re done well on long curls. They’re bold. A little mischievous. And they solve the weight problem by splitting the hair into two smaller shapes that each hold their own.
The best version starts with a clean center part and two high ponytails. Twist each pony loosely before coiling it into a bun, and don’t worry if the ends stick out a bit. On curly hair, a few escaped ends make the buns look alive instead of frozen in place. If your hair is thick, make the buns wider and flatter rather than trying to stack them into neat little domes.
This style is happiest when the crown is smooth and the buns are loose. Pull the roots too tightly and the scalp will complain before the day is half over. Keep the tension even, then tug a few curls around the temples if you want the style to soften.
Best for: festivals, concerts, humid days, and any time you want the whole shape to read louder than the outfit.
7. Waterfall Braid into a Curly Cascade
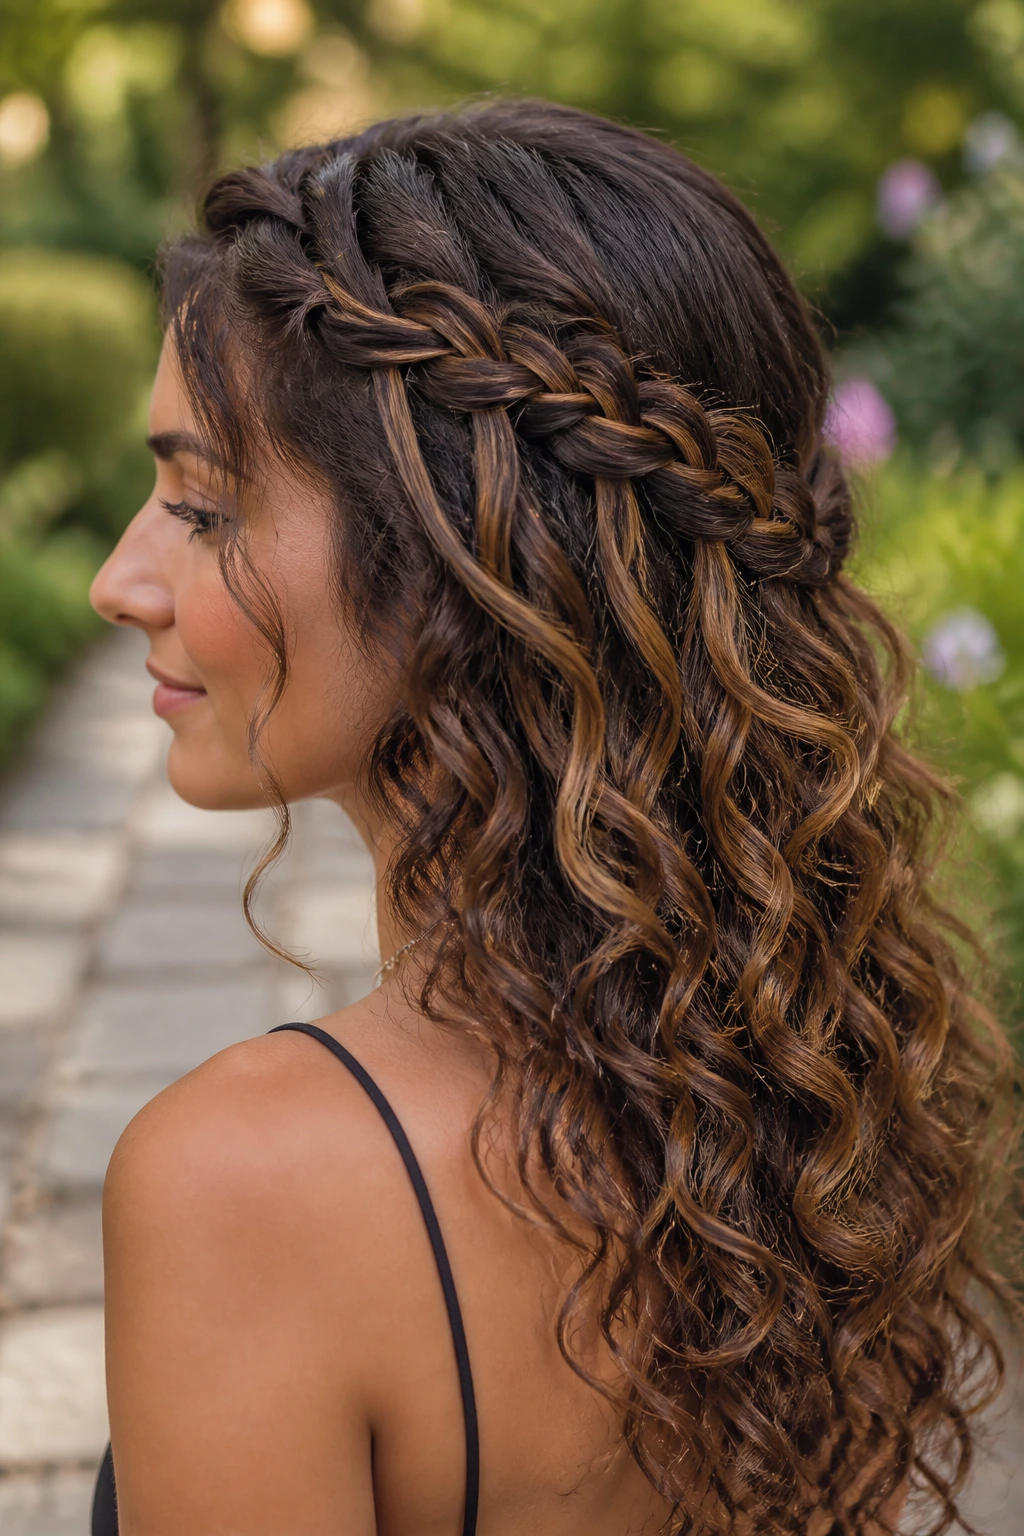
Want braid detail without hiding the length? A waterfall braid does that better than almost anything else. It gives you a moving line across the top of the head and lets sections drop through, so the curls still spill down the back instead of disappearing into a full plait.
The braid itself should stay loose enough that the dropped strands don’t get pinched. If you braid too tightly, the waterfall pieces get bent at strange angles and the whole thing loses that soft sweep. I like this style best on curls that have been stretched a little or dried with enough definition to hold a clean edge.
What to Watch For
A waterfall braid can frizz at the crossover points if the hair is very dry. A tiny bit of curl cream on the finger pads helps, but don’t overdo it or the braid will slip. Secure the end with a pin hidden under the top layer, not with a chunky elastic sitting out in the open.
This one looks more complicated than it is. That’s part of the charm.
8. Bubble Ponytail with Curly Sections
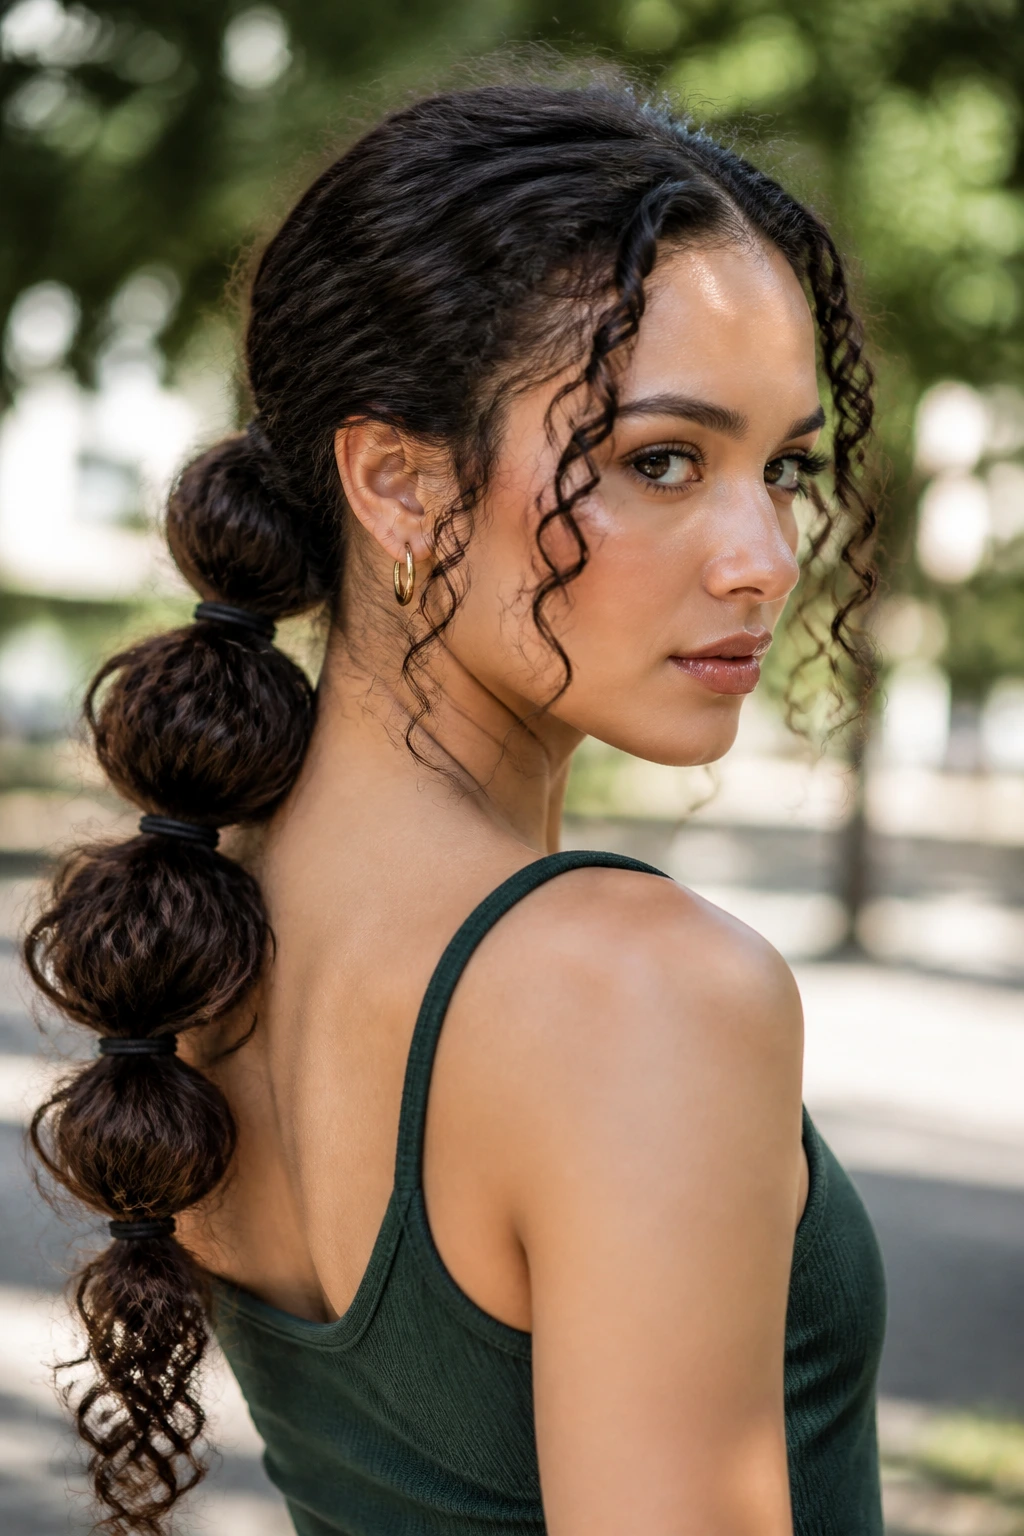
A bubble ponytail changes the silhouette fast. Instead of one long rope of hair hanging straight down the back, you get a series of puffy sections that make long curls look fuller and more styled without asking much from the hands.
Start with a low or mid ponytail and add small clear elastics every 2 to 3 inches down the length. Then gently tug each section outward so it rounds into a bubble. On curly hair, the bubbles don’t need to be perfect circles. If anything, the unevenness makes them look better. The curl pattern adds a little fuzz around the edges, and that softens the geometry.
This style is especially good when the ends are a little dry or the pattern looks flat at the bottom. The bubbles break up the weight, which keeps the ponytail from turning into a heavy curtain. If your hair is very long, it can handle five or six bubbles. If it’s just long enough to reach mid-back, three is plenty.
Quick note: Use elastics that match your hair color if you want the bubbles to stand out instead of the hardware.
9. Faux Hawk with Pinned Sides
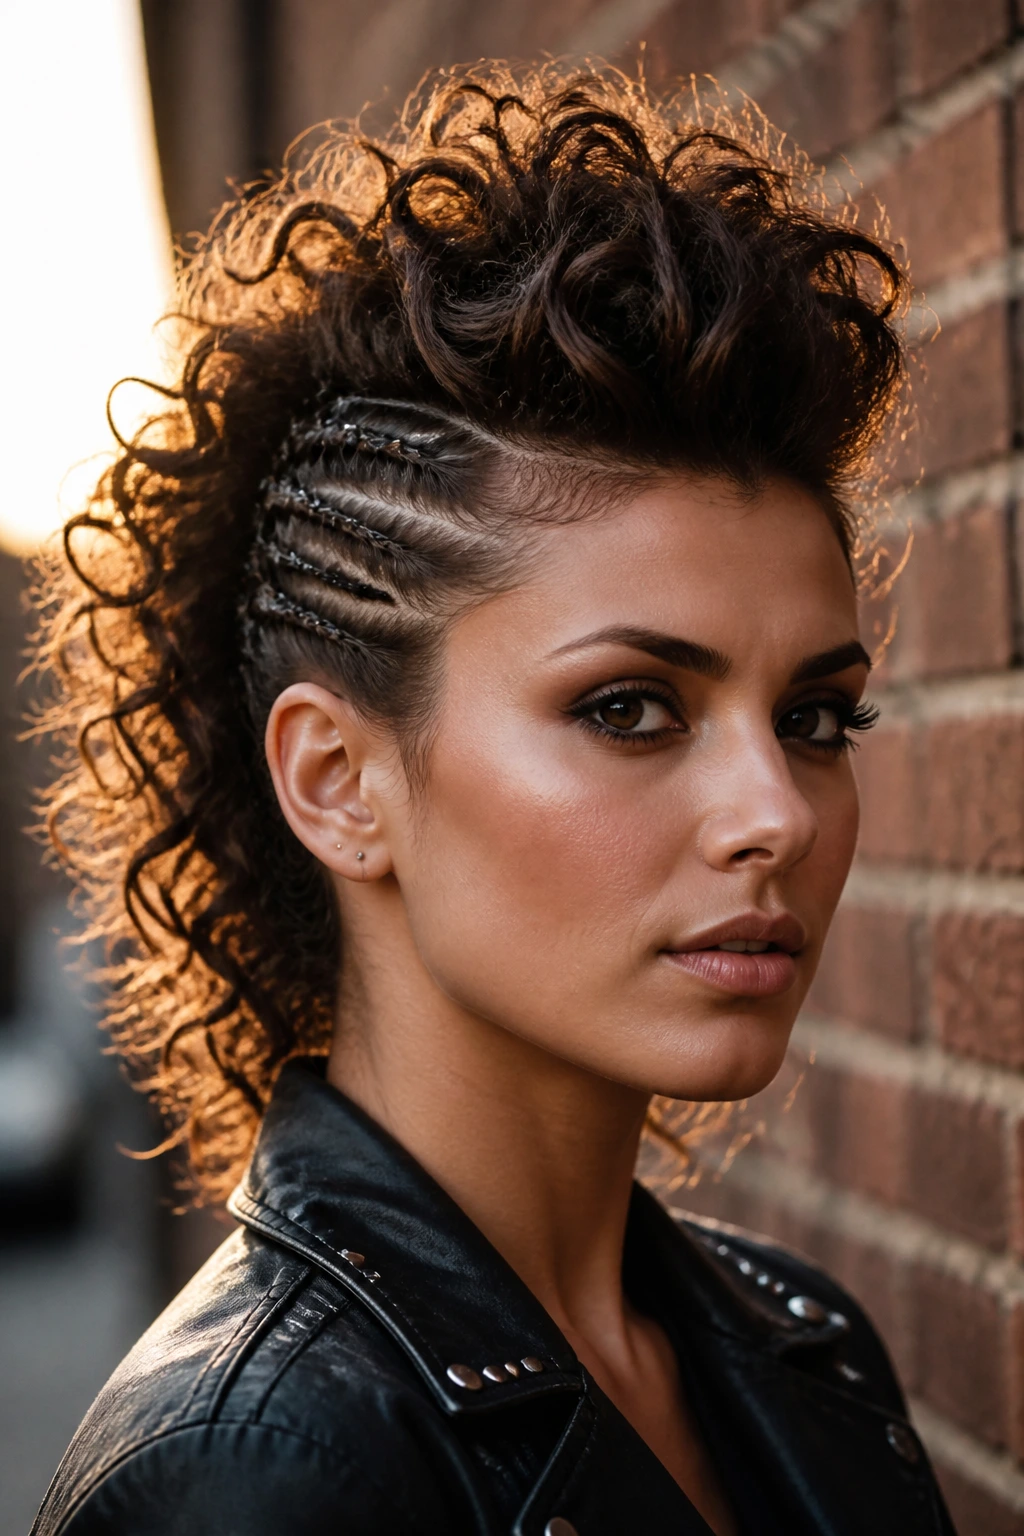
If you want attitude without cutting your hair, this is the one. A faux hawk takes the sides back, raises the center section, and lets the curl pattern become the star instead of the length hanging everywhere at once.
The sides can be pinned flat, twisted backward, or braided close to the scalp before they’re secured. The center section should stay full and lifted, not squeezed into a skinny ridge. On long curly hair, the faux hawk works because the length creates its own shape once the sides are controlled. You don’t need to force height everywhere. Just build a strong line through the middle.
I like this style for thick hair that gets big fast at the temples. It calms the sides without killing the personality. And if a few curls pop loose near the ears, good. That keeps it from reading too severe.
One thing to skip: tiny pins that slide out after twenty minutes. Use real grip here—strong bobby pins or flat clips tucked under the curl layers.
10. Rope-Twist Half-Up
A rope-twist half-up is the cousin of the braid, but it feels smoother and faster. You take two sections from each side, twist them around each other, and pin them at the back. That’s it. No three-strand weaving, no fuss.
What makes it useful on long curls is the texture it leaves visible. Braids can look chunky and busy on dense hair. Rope twists keep more shine on the outside and let the curl pattern at the ends stay front and center. The style sits nicely on day-two curls, too, because the slight roughness helps the twists hold.
It’s also a good option when you don’t want the top section to be too wide. Twists give shape without eating half the head. If your hair is layered, take smaller sections from the temples and keep the twist low and close to the head so the shorter pieces don’t spring out awkwardly.
Best paired with: a middle part or a soft side part, depending on whether you want symmetry or a little more edge.
11. Side Braid into Open Length
A side braid works because it gives one side of the head a job. The other side gets to stay loose and full, which keeps long curly hair from looking over-managed. It’s a good compromise when you want some structure but you don’t want to pin everything away.
Best on Curls That Need One Side Controlled
This style is especially useful if one side of your hair falls into your face more than the other. Start the braid just above the ear, keep it loose, and stop a few inches before the ends if you want the curl texture to show. Pancake the braid a little with your fingers once it’s secured; that softens the edge and makes the braid feel wider.
A side braid is not the place for perfection. It should look hand-done, a little plush, and slightly asymmetrical. That’s what gives it movement. If you’re wearing layers, let the shorter face pieces sit outside the braid instead of fighting to capture every strand.
The real bonus is how easy it is to refresh. If the braid gets fuzzy later, pin it tighter at the crown and leave the rest alone.
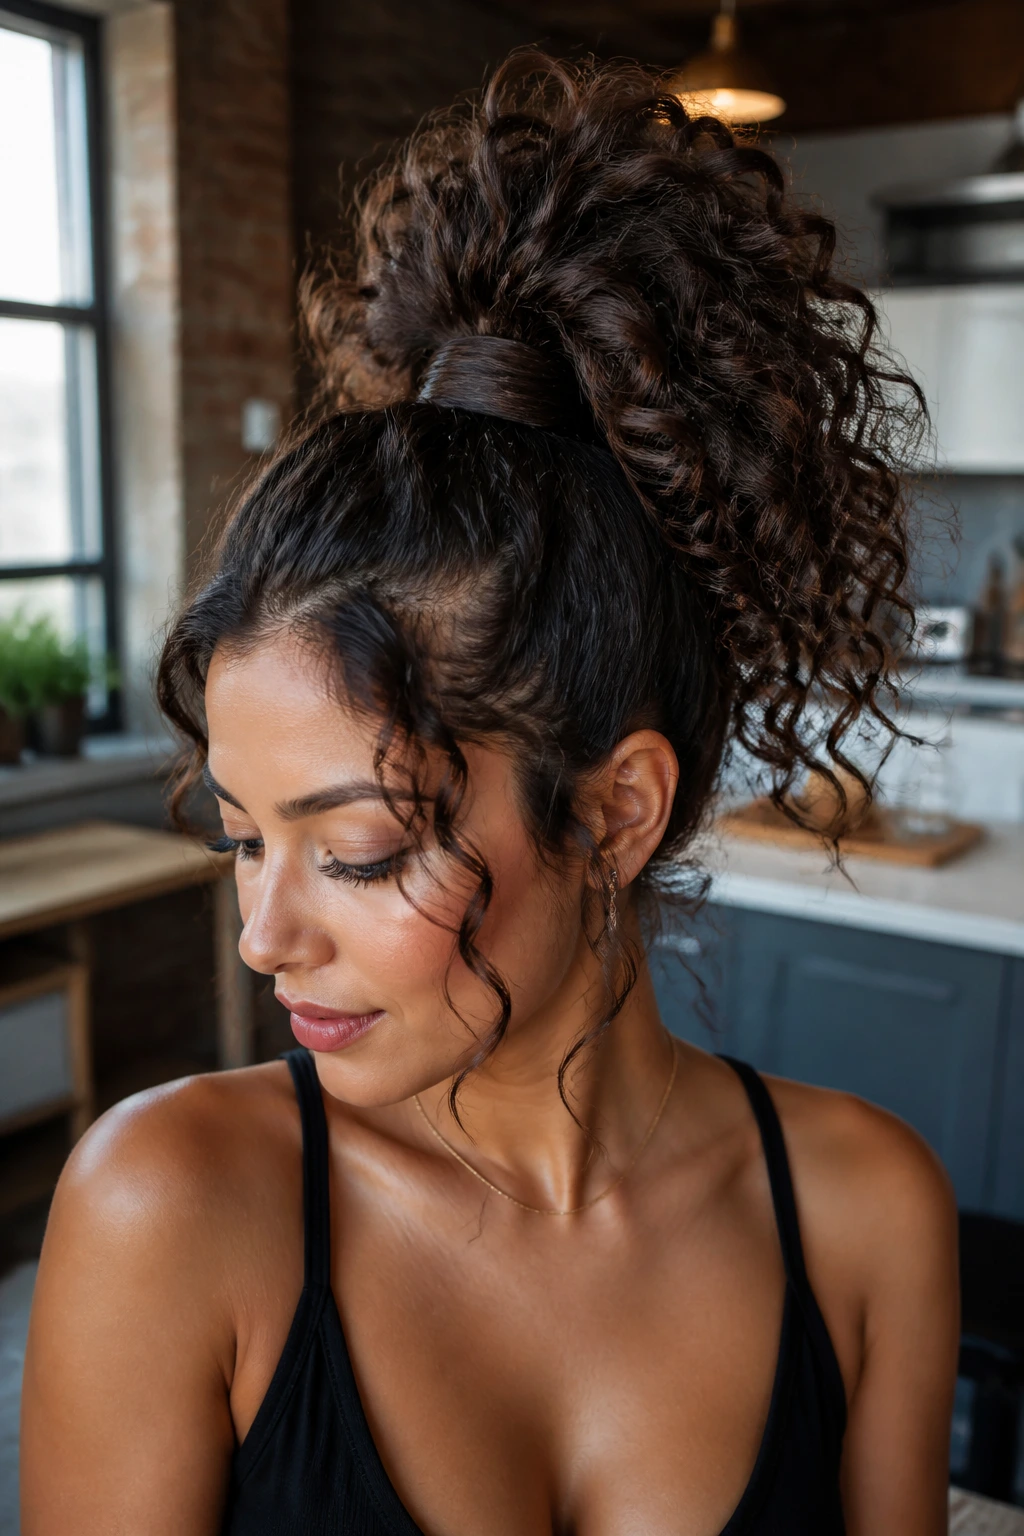
12. Sculpted High Puff Ponytail
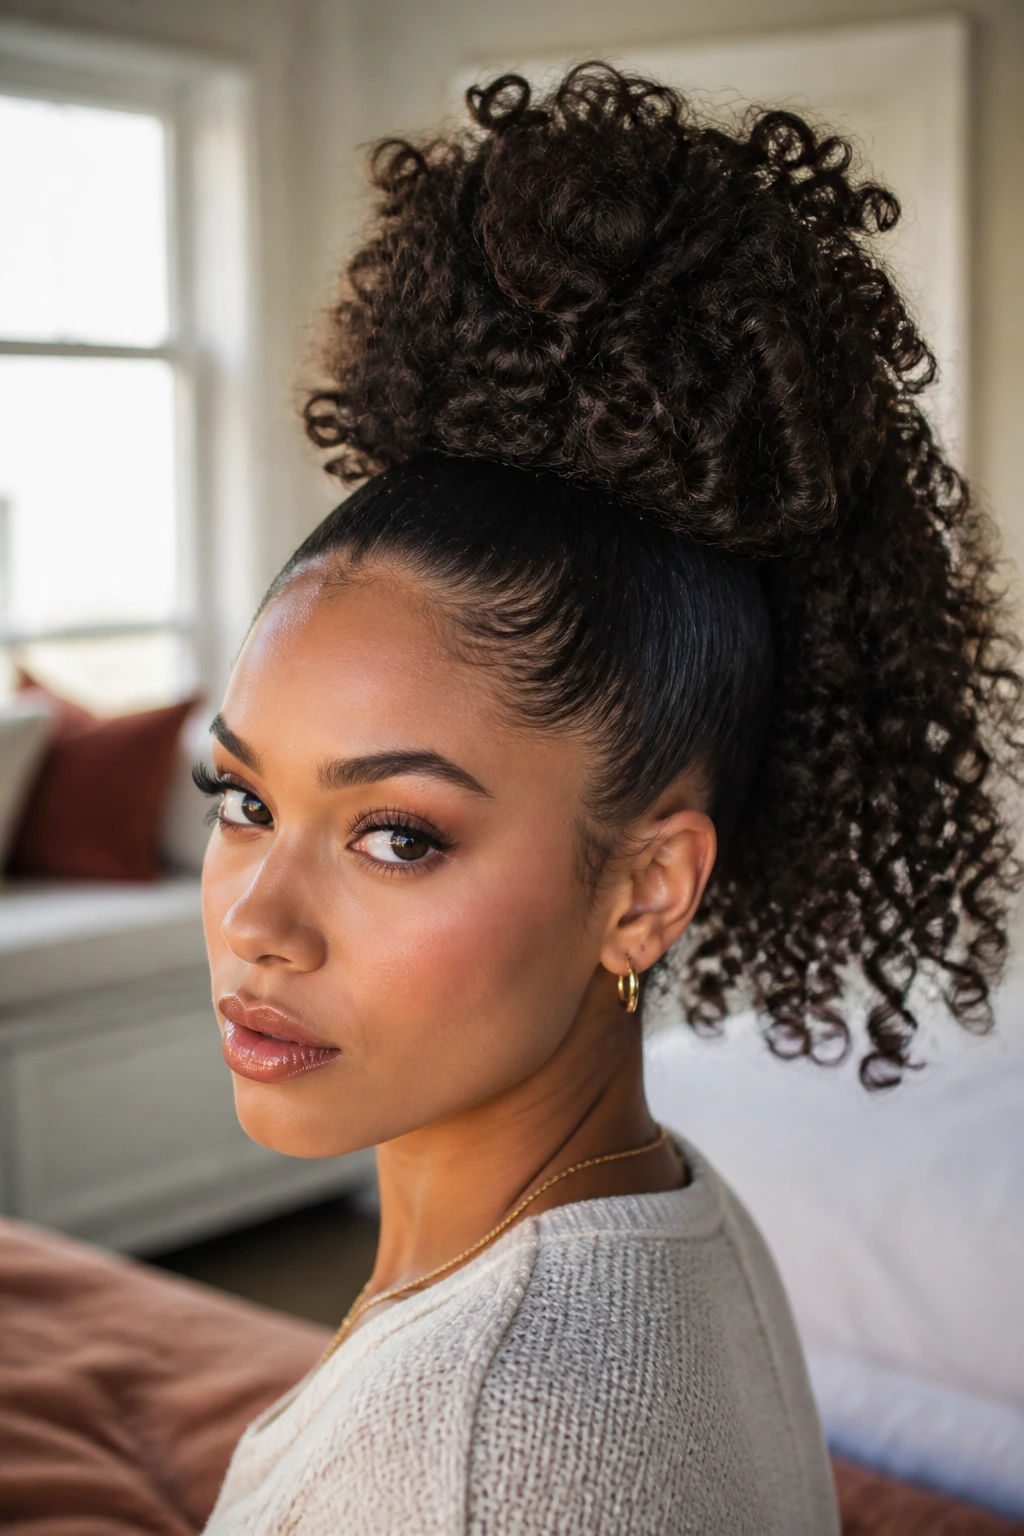
This is the style for when you want height and movement in the same breath. A sculpted high puff ponytail gathers the roots upward and lets the length fan out, which gives long curly hair a little power without turning it into a hard, slick shape.
The crown should be clean, but not scraped painfully tight. Gather the hair where the head starts to round, secure it with a strong elastic, then gently stretch the puff so it has room to breathe. If your curls are tighter, the puff will look fuller and more vertical. If they’re looser or stretched, the shape will read more like a lifted ponytail with a textured tail.
A small amount of gel along the hairline keeps the front from frizzing into a halo that keeps getting bigger. That’s the only part I’d really control hard. The rest should stay soft. If the tail is long enough to dip low on the back, you get a nice contrast between the lifted top and the swinging bottom.
- Works best when the roots need a reset and the lengths still look good.
- Use a strong elastic, then cover it with a curl or a small wrap.
- Smooth the edges only where needed; over-smoothing kills the shape.
13. Ribbon-Wrapped Low Ponytail
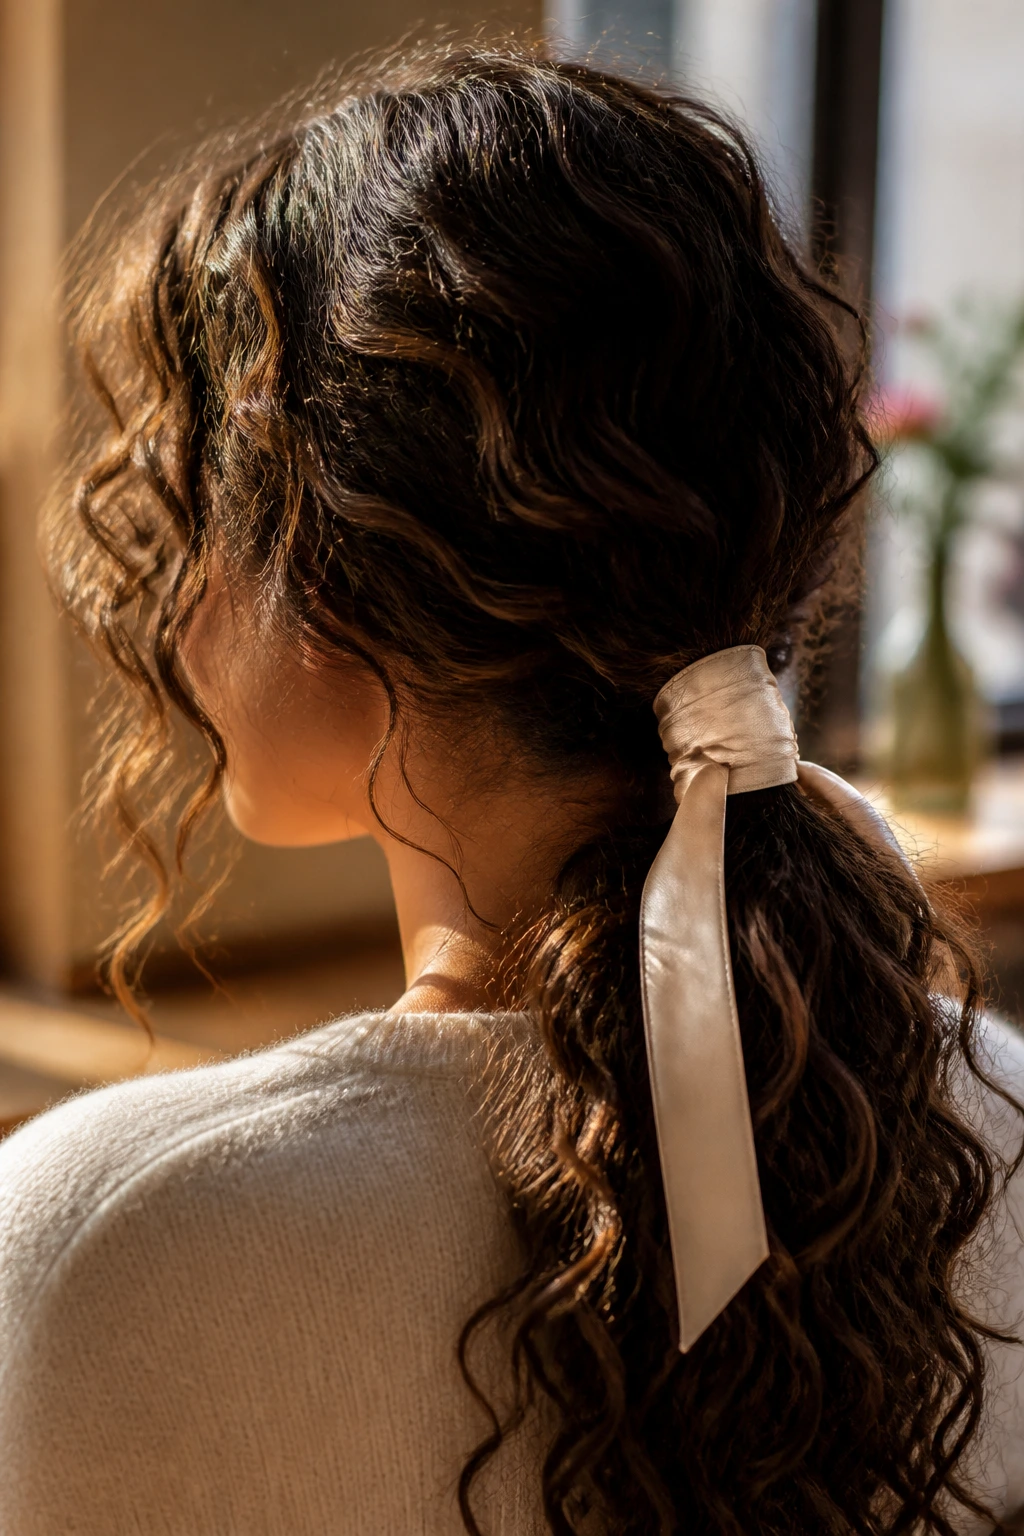
A ribbon-wrapped low ponytail is one of those styles that looks fancier than the effort it takes. The ribbon changes the whole mood. Suddenly the ponytail feels finished, even if the curls are doing most of the visual work.
The trick is to place the pony low and keep the wrap clean around the elastic. Satin or velvet works better than stiff ribbon because it sits flat and doesn’t fight the texture. A ribbon about 1 to 1½ inches wide is enough for most hair densities. Too wide and it starts competing with the curls instead of framing them.
I like this style when the lengths are healthy and defined, because the ribbon draws the eye to the movement at the ends. It also gives you a clean way to dress up second-day hair without re-wetting the whole head. Tie it so the tails hang just below the pony, not to the waist, unless you want the ribbon itself to become the focal point.
Best detail: Let one small curl spiral over the knot. That tiny imperfection makes the style feel lived-in rather than stiff.
14. Claw-Clip French Twist
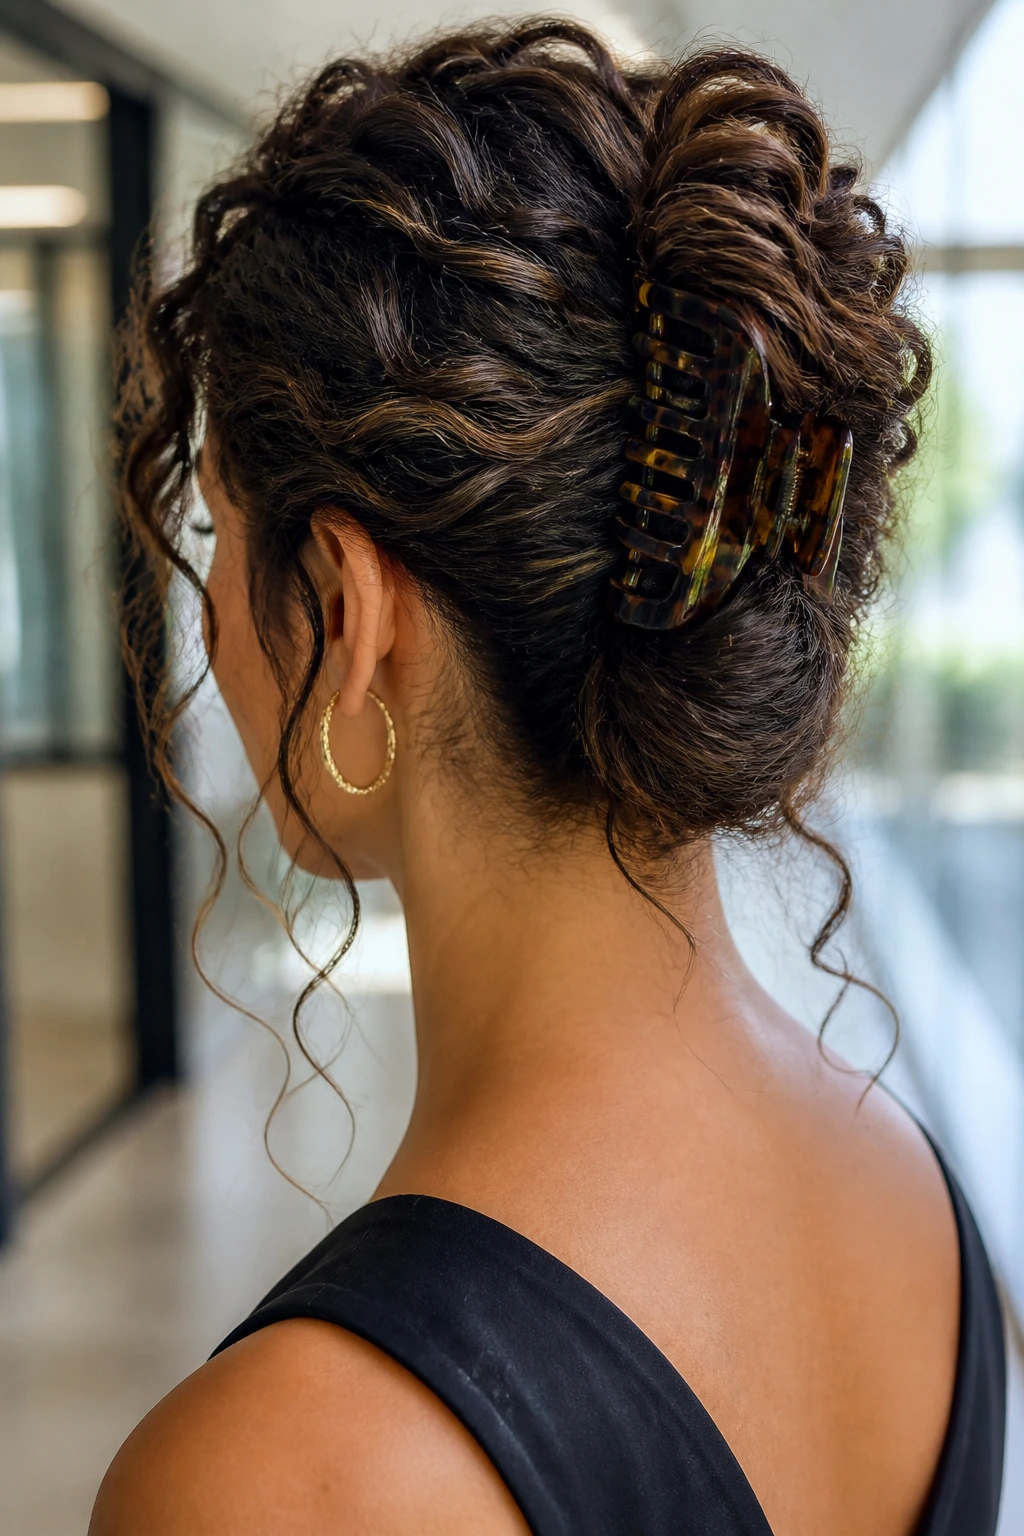
A claw-clip French twist is proof that one good clip can do more than a drawer full of weak elastics. On long curly hair, the trick is folding, not cramming. You gather the hair upward, twist it once, and tuck the length into the clip in a way that lets the shape sit against the head without crushing the curl pattern.
The best clip size depends on density, but a 3½- to 4½-inch claw clip is usually the sweet spot for long curls. Too small and the teeth snag. Too large and the clip slides because it’s trying to grip too much hair. If your hair is very thick, leave the ends slightly out so the twist has somewhere to go.
This is a strong workday style because it’s fast, but it still has shape. It’s also easy to loosen later into a softer bun by pulling a few curls free from the base. That makes it one of the better transition styles on the list.
One good habit: Put the clip in at an angle, not straight across. It holds better and looks less like an afterthought.
15. Double Dutch Braids into Ends
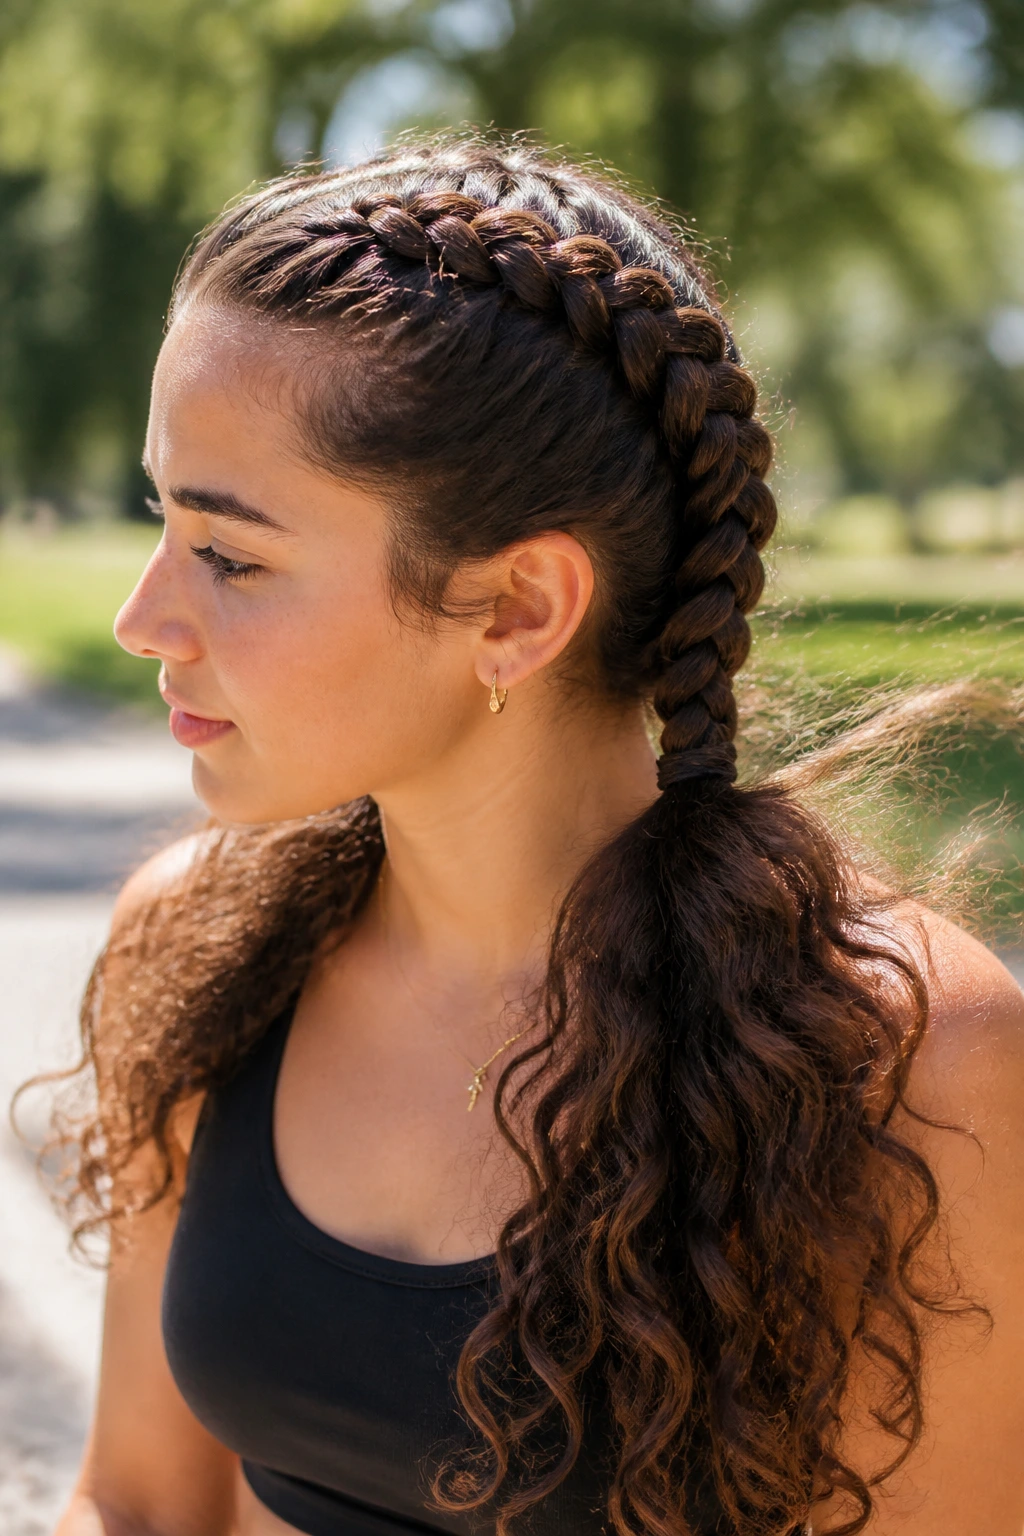
Double Dutch braids are a workhorse move, but on long curly hair they don’t have to feel sporty in a boring way. The braids give structure and keep the roots controlled. The loose ends keep the whole look from turning into a school-gym cliché.
This style is at its best when the braids start at the front hairline and stay fairly close to the scalp. Dutch braids pop more than French braids, so the braid pattern reads clearly even in thick curls. I like to braid until the nape, then either leave the ends loose or join them into a low pony if the hair is especially long.
The useful part is how stable it feels. If you’re moving all day, you’re not constantly pushing pieces back from your face. The curls at the ends still swing, though, and that keeps the look from feeling boxed in.
- Great for thicker textures that frizz when left half-up.
- Keep the first few braid passes gentle so the scalp doesn’t feel pulled.
- Pancake the braid only after it’s secure, or the shape can loosen too much.
16. Twisted Crown with Loose Ends

What if you want crown-braid energy without the hours of braiding? Use twists. They’re faster, softer, and easier to adjust when the curls don’t want to sit in a neat woven line.
Take two sections from each temple, twist them back toward the crown, and pin them where they meet. Leave the length open, and let the curls at the back carry the rest of the style. The twists do the framing; the loose hair does the movement. That’s the whole point.
Where to Pin
Pin at the back of the crown, not too low at the neck. If the twists sit too far down, the whole thing loses the lifted shape and starts to look like a half-done ponytail. Use two pins crossed in an X if your hair is slippery. If it’s thick, add a third pin under the meeting point so the twist doesn’t wobble.
This style suits people who like braid looks but don’t always want the time commitment. It’s also a kind option for layered hair, because the twists gather the shorter pieces without forcing them into a full braid.
17. Headband Tuck with Curly Ends
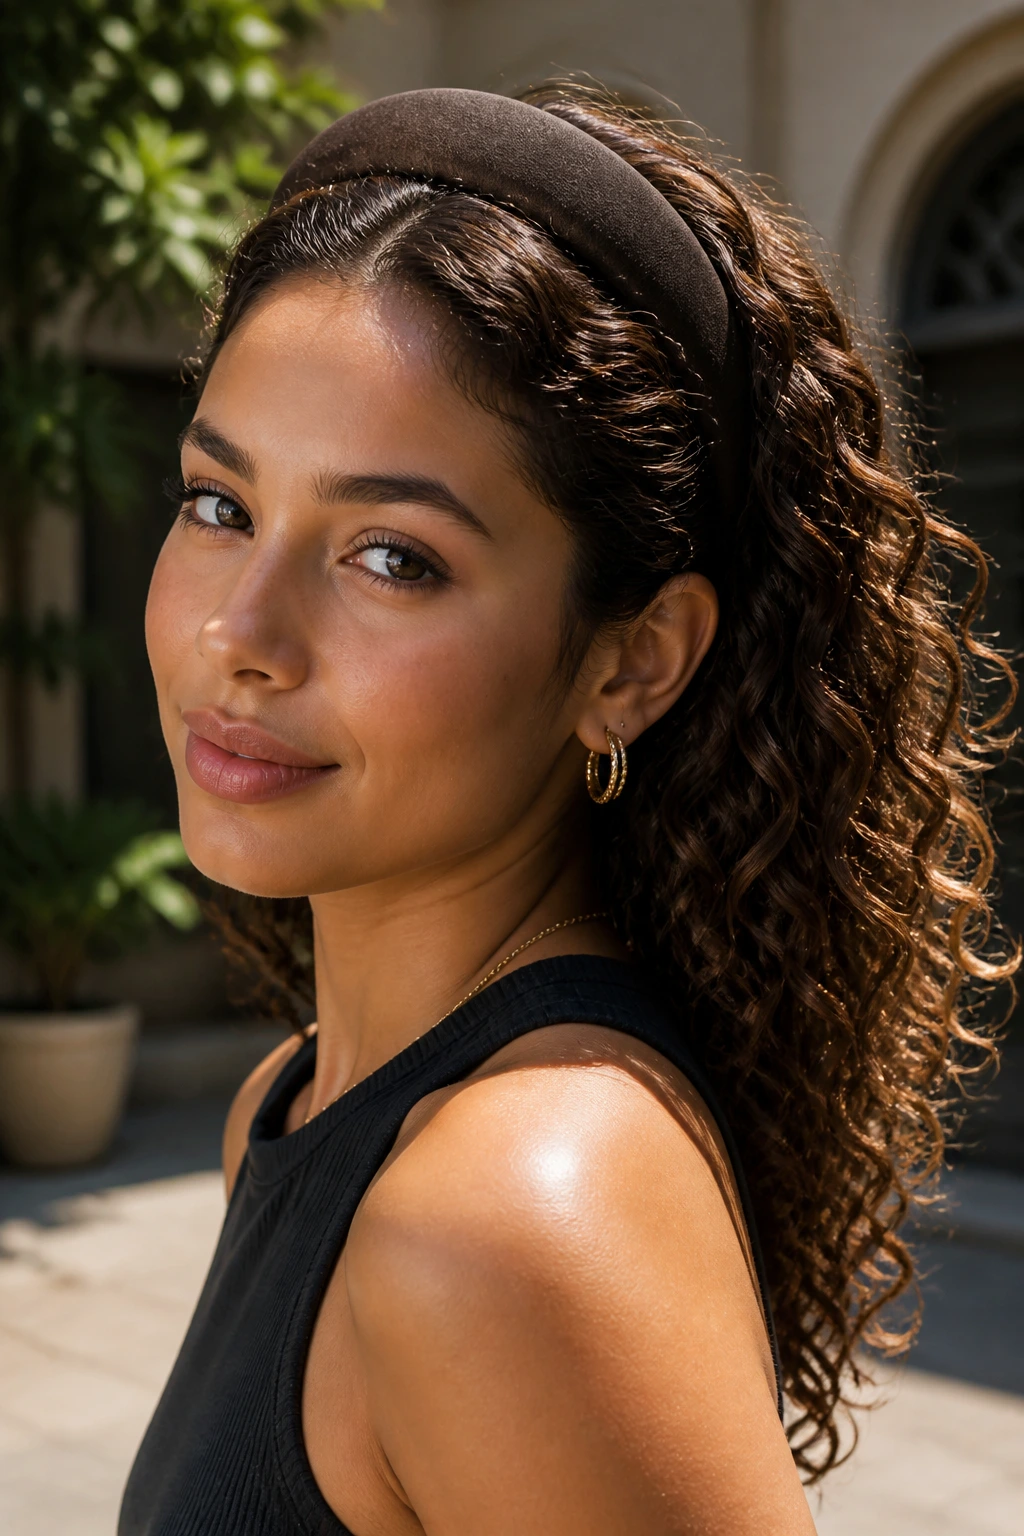
A headband tuck is one of the fastest ways to make long curls behave without hiding them completely. The band controls the front and sides, and the ends stay loose, so you still get volume through the back.
The trick is to choose a headband that grips without biting. A padded band gives the most security, but a satin-wrapped or narrow elastic band can work if your hair is fine or very slippery. Tuck the front sections just behind the ears, then let the rest of the curls fall naturally. If the crown starts to puff up too much, press it down lightly with your palms instead of brushing, which only makes the frizz louder.
This style is good on days when the roots need help but the curl pattern still looks decent from mid-length down. It also plays nicely with second-day hair, because a slightly lived-in root area makes the tuck look more natural.
Best use: humid afternoons, busy mornings, and any day where you want your hair out of your face in about thirty seconds.
18. Curly Pigtail Braids
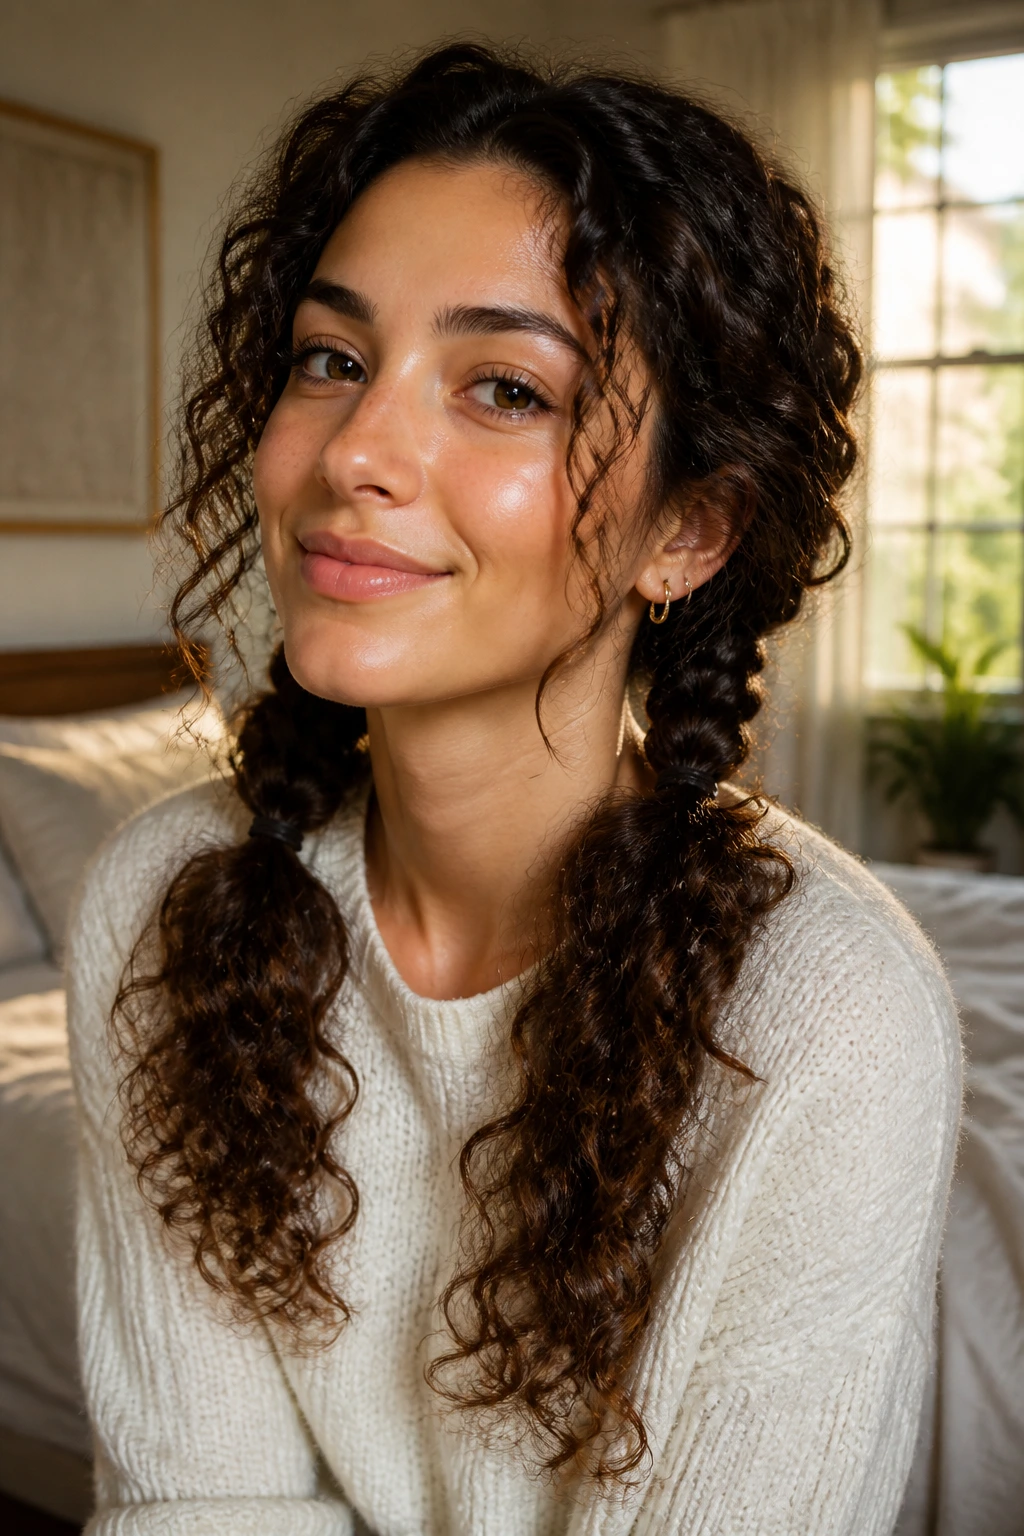
Pigtail braids can look grown-up on long curls when they’re kept low, loose, and a little uneven in the right places. Start them just behind the ears or a touch lower, then braid down until the ends have enough length to swing. That little bit of looseness keeps them from reading too childish.
They work especially well when the hair is very long, because the braids stay substantial instead of shrinking into little ropes. If your hair has layers, let some of the shorter pieces sit free near the temples so the braid doesn’t look overpacked. And if the ends are still visibly curly, even better. That gives the style a softer finish.
I like this version when I want the scalp to feel light. Two separate braids distribute the weight better than one heavy plait down the back. They also make the hair easier to refresh later, since you can loosen one side without disturbing the whole head.
- Keep the part clean, but not razor-sharp.
- Secure the ends with soft elastics that won’t snag when removed.
- Pull the braids a little wider after they’re tied off so they look fuller.
19. Messy Low Bun with Tendrils
A messy low bun on curly hair only looks good when the mess is controlled. That sounds contradictory, but it’s true. You want the shape to feel soft, not sloppy. The bun should sit low at the nape, with a few tendrils left around the face and maybe one or two curls escaping near the neck.
The best way to build it is to gather the hair low, twist only the middle lengths, and pin the coil under itself instead of wrapping every strand into one tight knot. If you over-twist the curl pattern, the bun gets dense and the surface turns rough in an ugly way. A little space in the coil lets the curls keep their shape.
This is one of the best styles for formal settings because it reads polished without looking severe. It also works when the hair is a little too frizzy for open wear. The bun gives the frizz a job. The tendrils keep the rest from looking too finished.
If your hair is very thick: split the bun into two loose coils stacked low rather than forcing one oversized knot.
20. Side-Swept Volume Ponytail
Side ponies are drama in one move. Pulling the ponytail to one side instantly changes the balance of the hair, and on long curls that sideways fall creates a thick, swinging shape that feels intentional and a little louder than the usual center-back pony.
The crown should stay full. Don’t flatten it in the name of neatness. Gather the pony just behind one ear or slightly lower toward the nape, then wrap the base and leave the length loose enough for the curls to separate. If your hair is especially dense, a side pony can get heavy on one shoulder, so place it where it feels balanced and not like it’s dragging your neck down.
This style pairs well with statement earrings, but even without them it has presence. The off-center line keeps the eye moving. It’s also one of the easiest ways to make second-day curls look styled instead of merely surviving.
Good finishing move: slide one finger under the crown and lift gently before you leave the house. That tiny lift keeps the ponytail from sitting flat against the head.
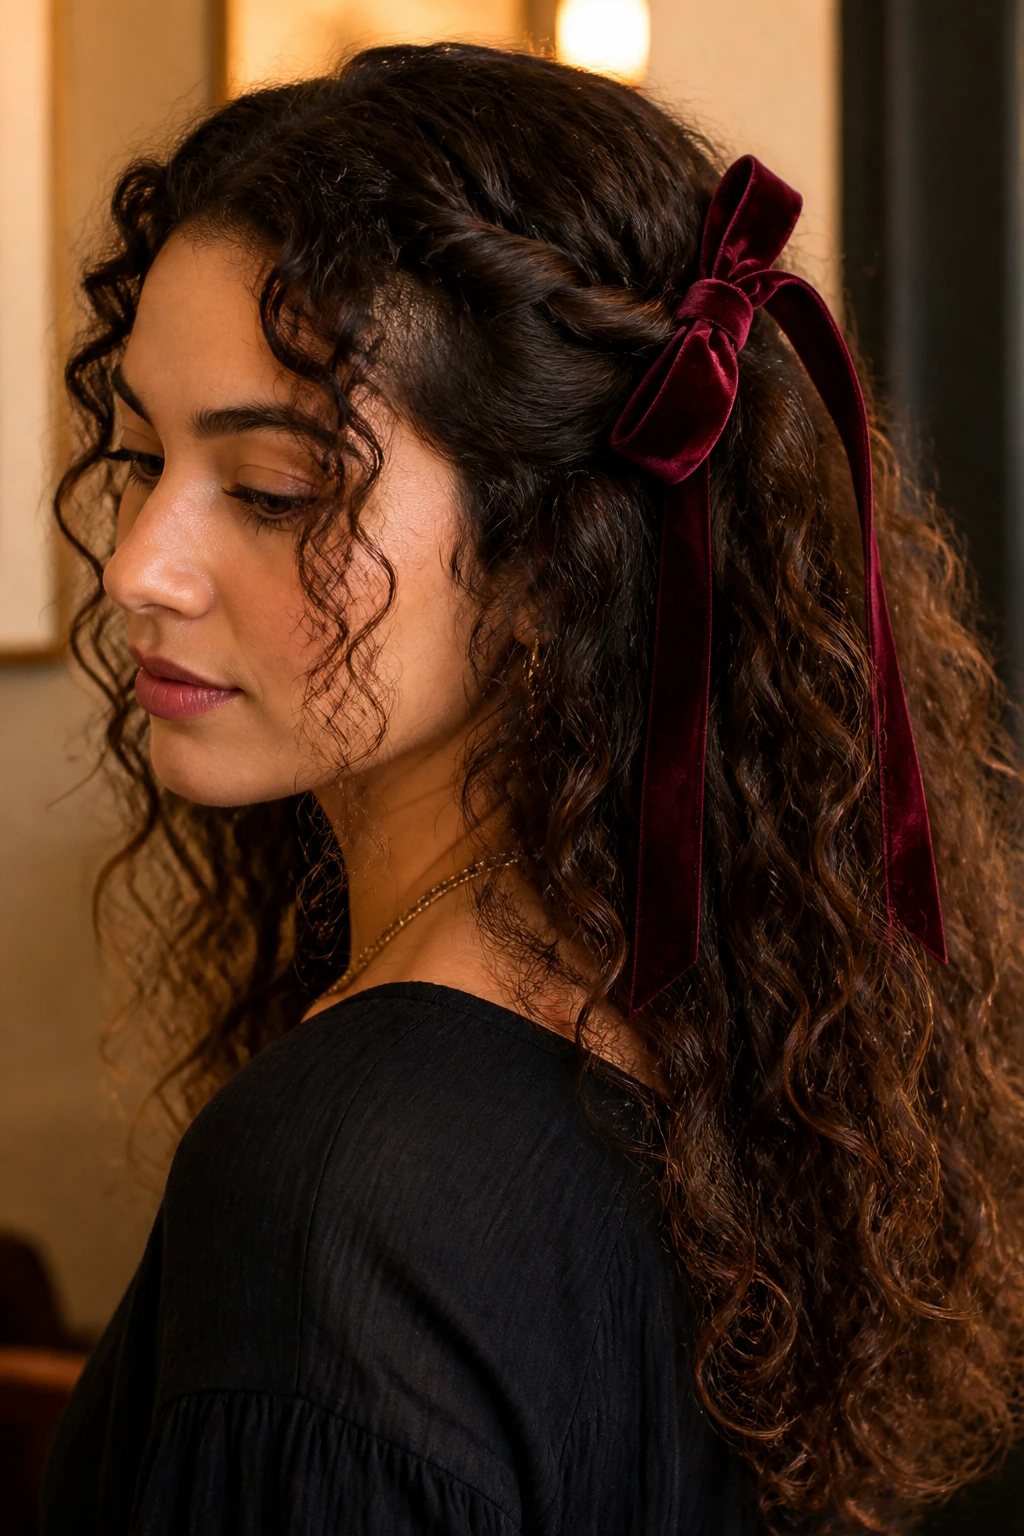
21. Velvet Bow Half-Up
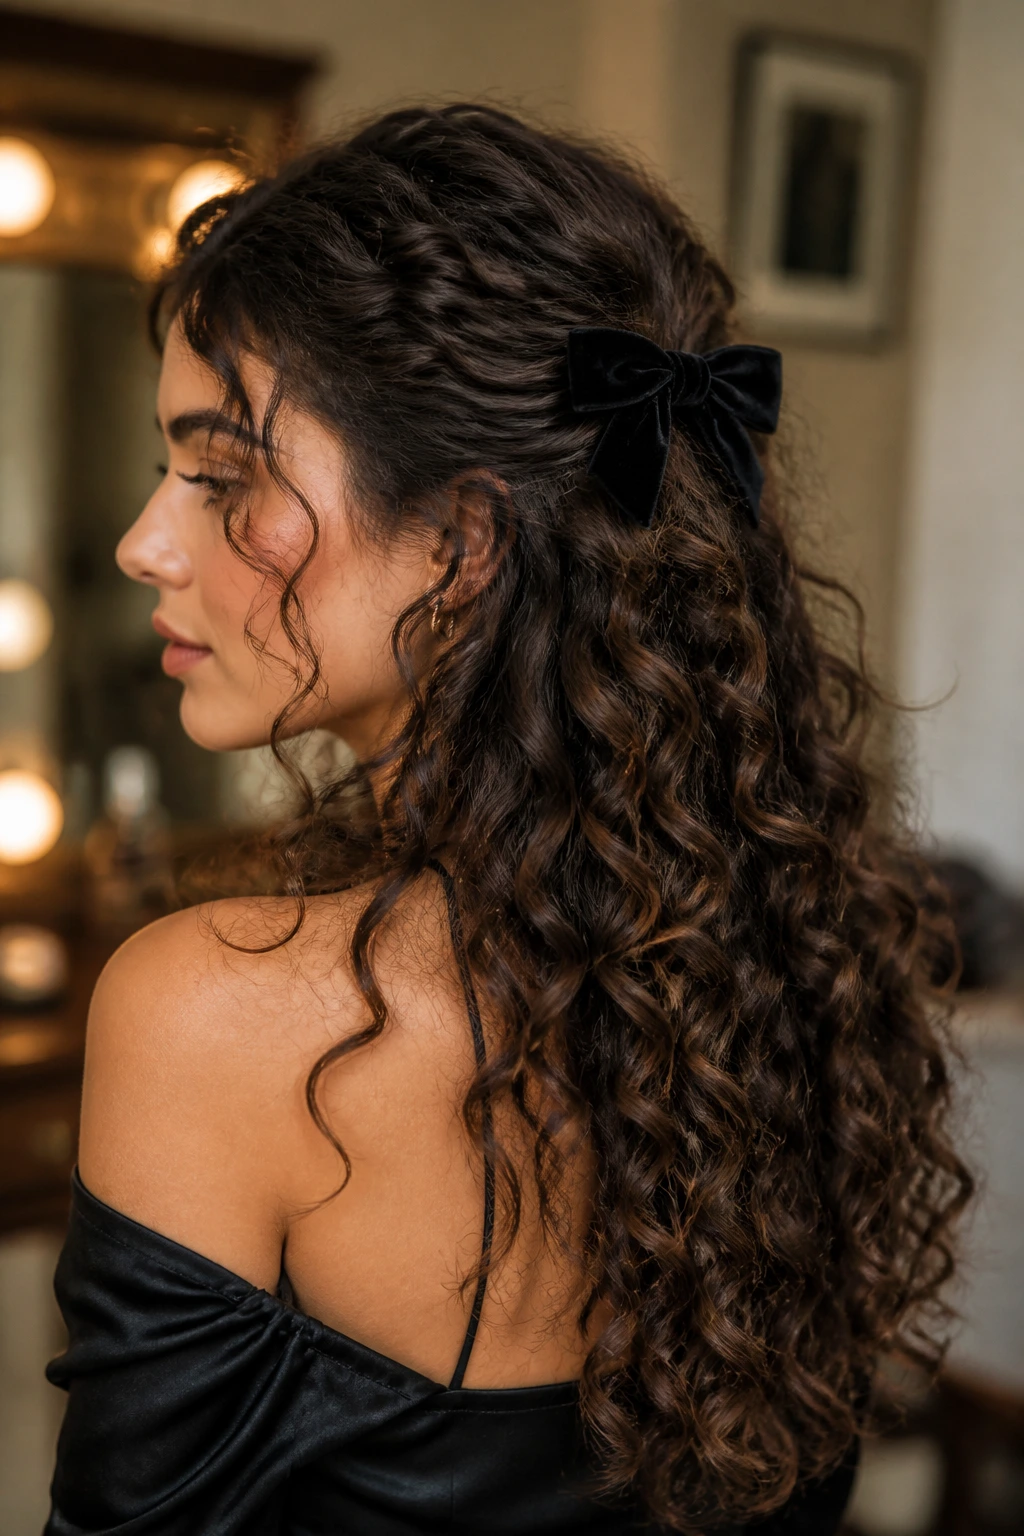
How do you dress up long curls without hiding them? Tie the top half back with a velvet bow and let the rest do the talking. It’s a simple move, but it changes the mood immediately.
The bow works best when it sits just below the crown, not too high. If it’s placed too high, the style can look juvenile. If it’s too low, the bow disappears into the curls. A medium bow, roughly 2 to 3 inches across, is usually enough for long hair. Velvet gives the best contrast against curly texture, though satin can look softer and more reflective if that’s the feel you want.
Keep the half-up section loose. The bow should be an accent, not a clamp. And if the bottom length is extra full, let the curls spread over the back of the shoulders instead of trying to tame every last strand. The bow and the curls should share attention.
This one is especially nice when you want something festive without adding heat or a complicated braid. It’s dressy in a quiet way, which I’ll take over overworked styling any day.
22. Statement Clip and Defined Length
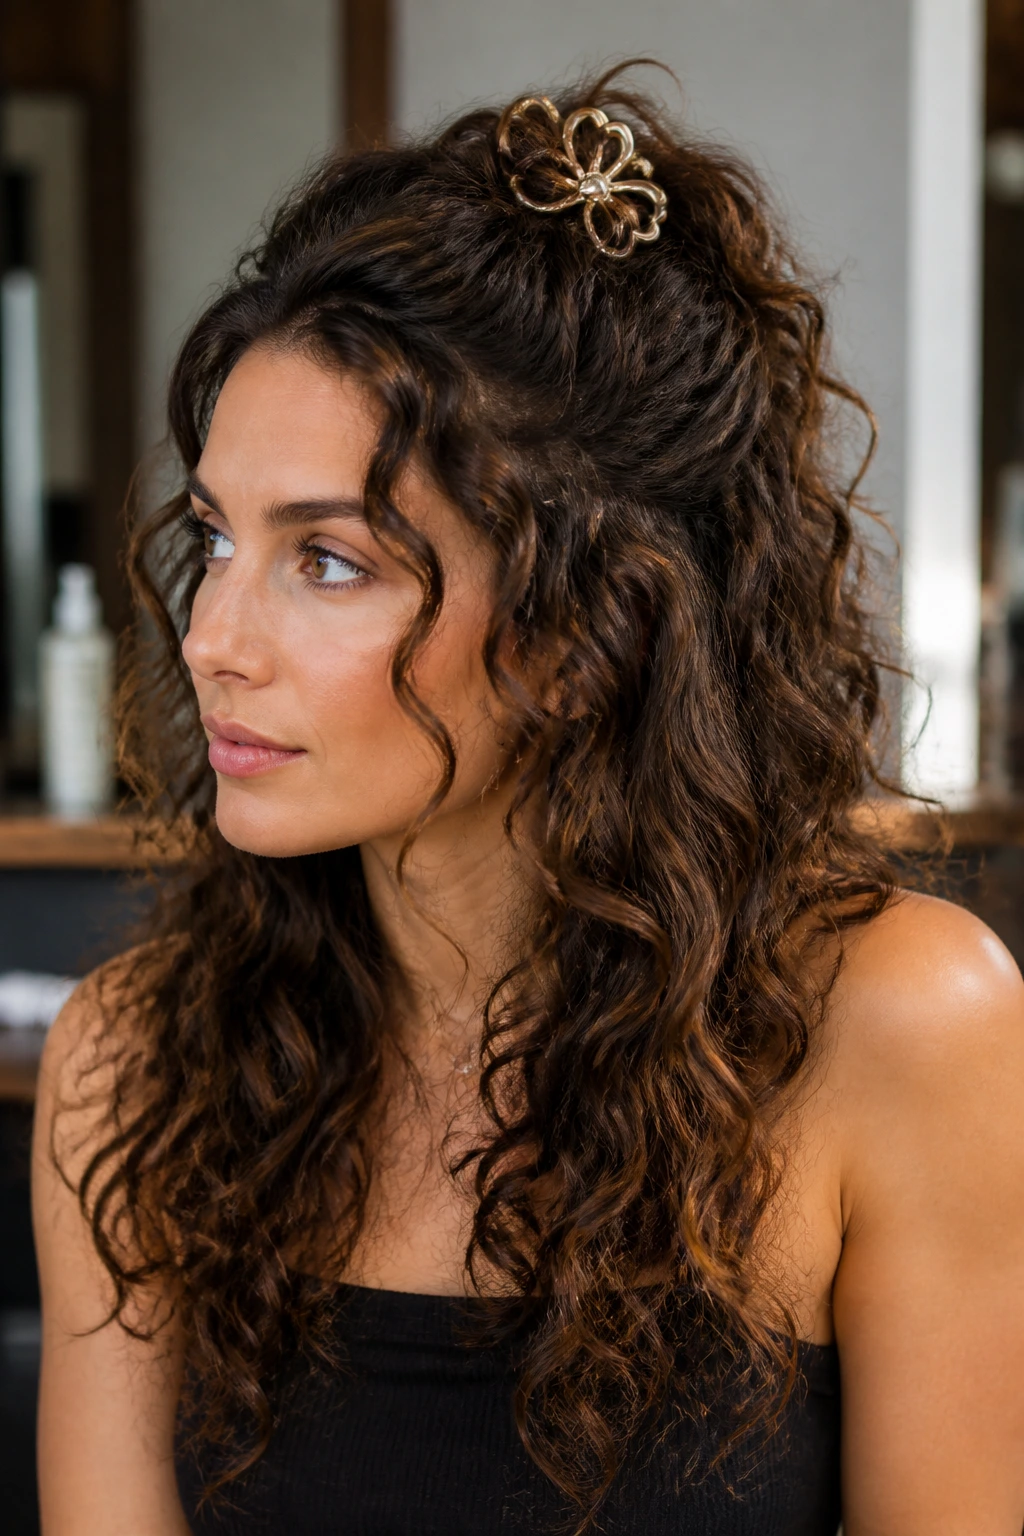
Some days the best style is the one that lets the hair stay itself. A statement clip-back takes the top third or half of the curls, pins them away with a strong decorative clip, and leaves the rest open so the length stays visible.
The clip matters here. A flimsy one slides; a good resin or metal clip with a firm spring holds the weight without chewing up the strands. Position it where the head starts to round, not too low, or the top section will collapse. If your hair is fine, a smaller clip with a tight grip often works better than a giant accessory trying to hold more hair than it should.
This style is useful when the curls are fresh and you don’t want to hide them, but you also don’t want them in your face. It’s low effort, yes, but not lazy. The shape is in the placement. A clean clip line and well-defined lengths can look sharper than a complicated updo that’s fighting the texture.
My honest take: when the curls are good, don’t bury them under ten pins. Give them one solid anchor and let the rest breathe.
Why Long Curls Need Shape, Not Restraint

Long curly hair has a specific problem: the length is beautiful, but it can also drag everything downward if you treat it like straight hair. The crown loses lift, the roots collapse, and by the time you’ve finished getting dressed the silhouette already feels tired. That’s why the styles above keep coming back to the same core idea—control the top, preserve the movement below.
Weight at the crown is the first thing to manage. A high pony, a half-up knot, a twist, or even a clip can shift the center of gravity so your face doesn’t get buried under its own hair. That matters more on curly hair because the spring adds bulk that straight hair doesn’t have.
Tension at the hairline matters just as much. If the front is pulled too tightly, the style looks severe and the scalp starts to ache. I prefer secure, not tight. You want the hair to feel held, not trapped.
The ends should stay alive. That’s the part too many styles flatten into submission. Letting some length hang loose, whether it’s a ponytail tail, a braid finish, or free curls under a halo, keeps the style from turning into one dense block.
A lot of curl styling advice gets weirdly obsessed with control for its own sake. I’m not interested in that. I want shape, movement, and enough grip to keep the style from changing personalities by noon.
Essential Tools for Styling Long Curly Hair
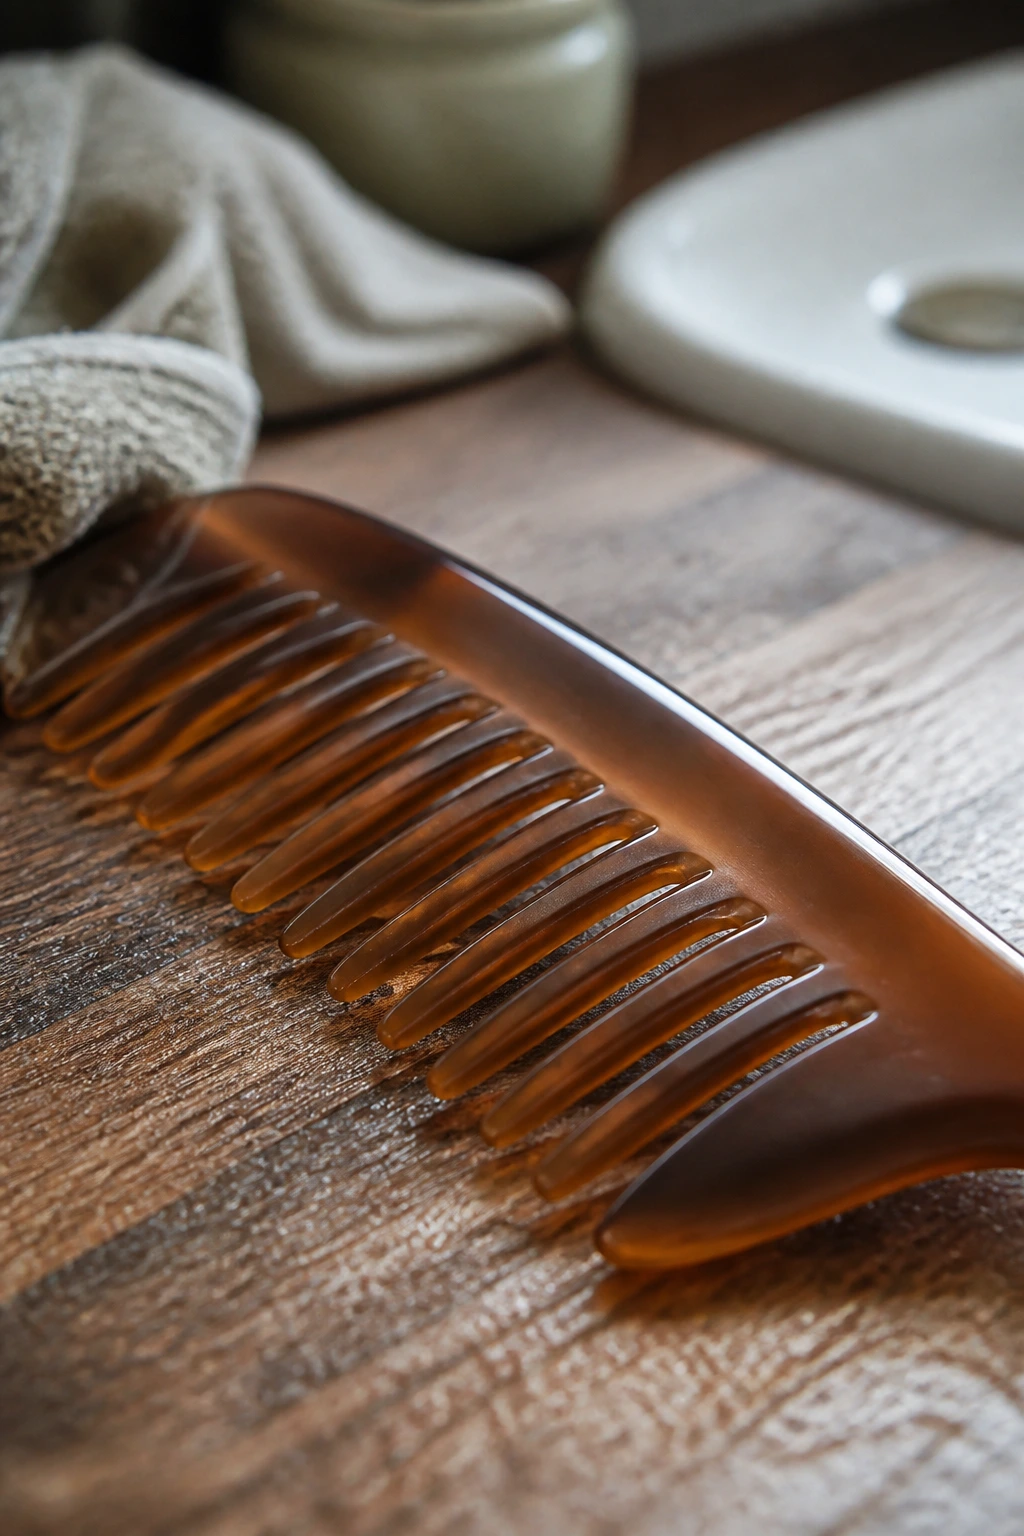
- Wide-tooth comb: Good for sectioning and detangling without ripping through curl clumps.
- Tail comb: Useful for clean parts, braid sections, and precise half-up divisions.
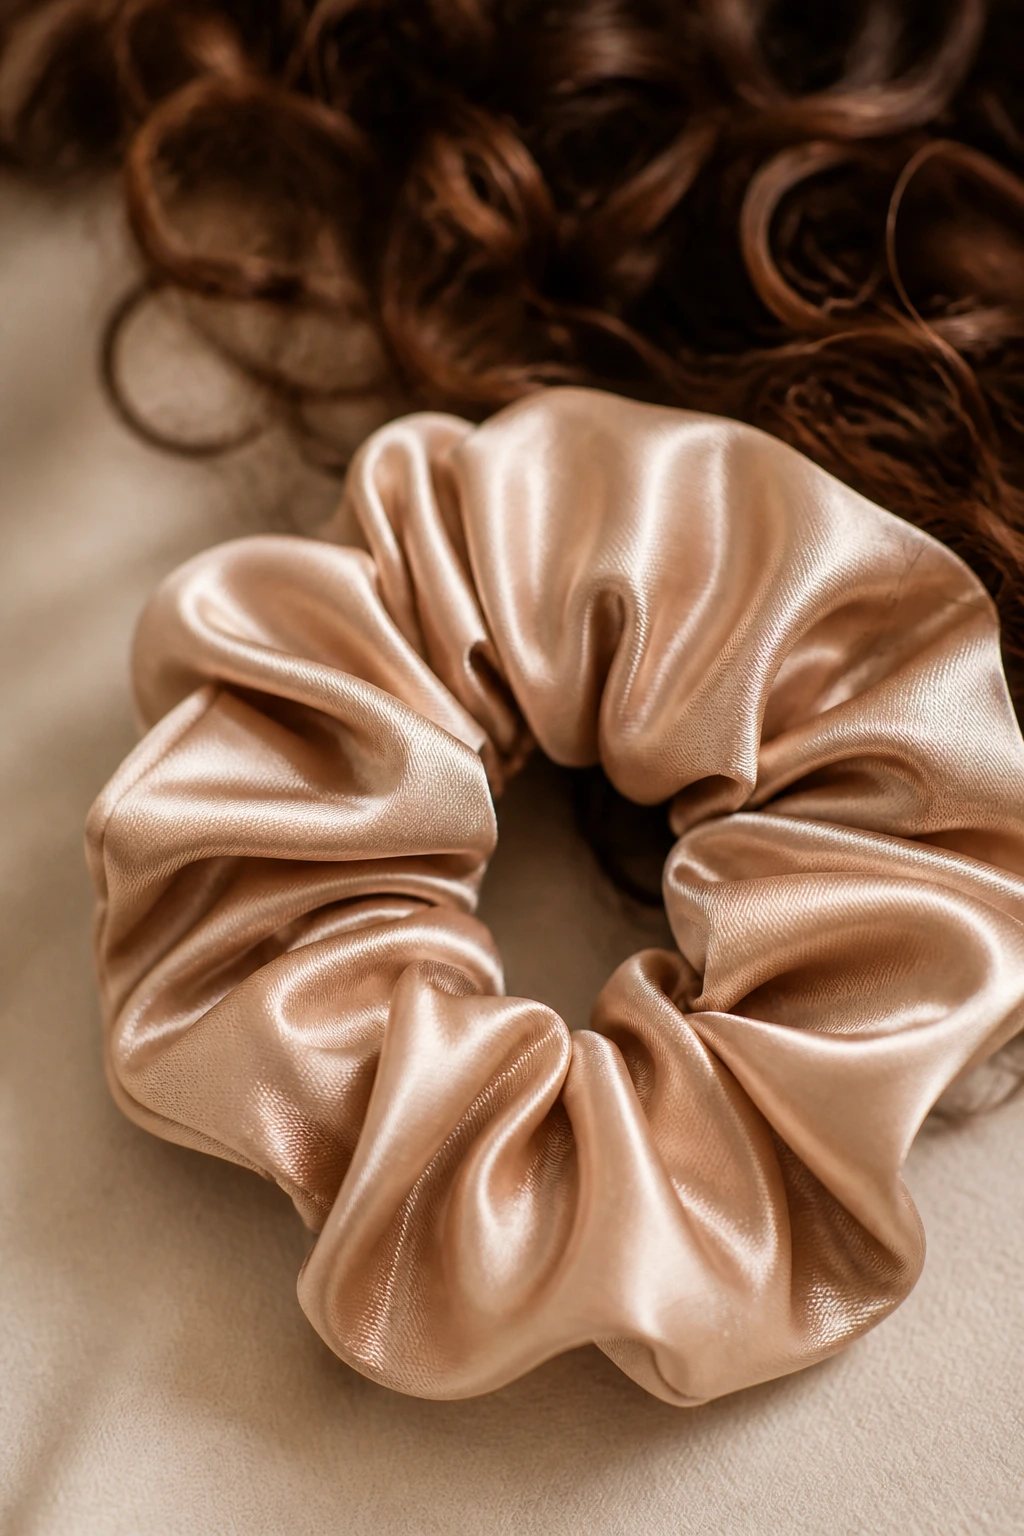
- Satin scrunchies: These grip without leaving harsh dents or snapping delicate ends.
- Small clear elastics: Helpful for bubble ponytails, pigtails, and rope-twist anchors.
- Bobby pins with a firm bend: Cheap, soft pins slide out of curly hair too easily; look for pins that actually hold.
- U-pins: Better than standard bobby pins for low buns and twists because they support the shape instead of pinching it.
- Claw clip, 3½ to 4½ inches: A strong clip can hold a lot of length if the teeth are deep enough.
- Spray bottle: Keeps hair damp enough for clean parts, braid definition, or a quick curl refresh.
- Diffuser: Useful when you want curls dry enough to style without stretching them flat.
- Edge brush or soft toothbrush: Handy for smoothing the hairline and laying down flyaways without disturbing the rest.
- Microfiber towel or T-shirt: Better than rough terry cloth when you’re drying before styling.
- Satin scarf or bonnet: Keeps the style from being crushed overnight and cuts down on friction.
Products and Accessories That Actually Help
Not every style needs a heavy product stack. Some do better with a little slip and a soft hold. Others need a firmer cast so the front doesn’t puff out the second you step outside. The key is matching the product to the style instead of throwing the same cream at every head.
For smooth-up styles: a light gel or edge control along the hairline keeps the crown from fuzzing out. Use it sparingly, though. Too much and the front looks greasy while the curls stay dry.
For braid-heavy looks: a small amount of curl cream or leave-in on the lengths helps the plaits stay soft and prevents rough, snaggy sections. You want enough moisture for glide, not so much that the braid slips apart.
For volume styles: mousse is underrated. It can give the roots a little lift without weighing them down the way a thick butter sometimes does on long hair. If your curls are fine, this matters even more.
For accessories: silk and satin are kinder than rough elastic or cheap metal. A bow, headband, or scarf can change the whole look, but the attachment point has to be strong enough for curly texture. Flimsy hardware is a waste of time.
My bias is simple: buy fewer things, but buy the ones that grip, glide, and survive a full day. That makes more difference than five extra jars sitting in the bathroom.
Practical Tricks for Volume, Hold, and Frizz Control
Start a little drier than you think. Long curls styled at 100 percent wet usually shrink, shift, or frizz after the shape is already pinned. Let them get to about 80 to 90 percent dry if you want the style to hold its outline.
Work in sections that match the style. A half-up knot needs a clean top third. A braid halo needs the front hairline sectioned carefully. A bubble ponytail needs evenly spaced ties. If the sections are random, the finished shape will look random too.
Use your hands for finishing, not a brush. A brush can break up the curl clumps you spent all that time preserving. If you need to soften a section, use a little oil or cream on your fingertips and shape it that way.
Pin into structure, not into fluff. Hidden seams in the hair hold better than the airy top layer. When a style slips, it’s often because the pin never reached a solid anchor point.
Pick one main goal per style. Lift, sleekness, or shape—choose one to lead. If you try to maximize all three at once, the hair starts fighting back. Long curls rarely reward overcontrol.
Respect your curl density. Thick hair wants bigger hardware and more surface area. Fine curls need lighter accessories and fewer pins. One size does not fit all here, and pretending otherwise usually ends with a flat crown and a headache.
Common Mistakes That Flatten Long Curls
Pulling the roots too tight: The symptom is obvious—tender scalp, flat crown, and a style that looks strained. The fix is to secure the base firmly but leave a little give at the first wrap or tie.
Using regular elastic everywhere: Basic elastics snag, dent, and break up curl clumps. Swap them for satin scrunchies, soft ties, or small no-snag bands when the hair will stay up for more than an hour.
Styling before the hair is ready: Wet curls can look smooth for ten minutes and then collapse into a soft, puffy mess. Wait until the hair is nearly dry before you shape the final style, unless you’re deliberately doing a slicked-back look.
Overloading product: Too much cream or gel can make the crown heavy and the ends stringy. Start with less than you think you need, then add only where the frizz actually shows up.
Ignoring the layer situation: Layers are useful, but they also escape from braids, buns, and clips if you don’t account for them. Shorter face pieces need either a looser hold or a separate pin.
Forcing symmetry: Curly hair often looks better when one side has slightly more volume than the other. Perfectly even can read stiff. Slightly off can read expensive. That’s the honest truth.
Variations and Alternate Ways to Wear the Looks
Humidity Shield Version: Swap satin scrunchies for strong elastics under the style, then finish the crown with a light gel and a flexible spray. This is the version to reach for when the air is heavy and the hair expands the second you step outside.
Fine-Curl Version: Use smaller sections, lighter clips, and fewer heavy products. A rope twist or small half-up knot usually holds better than a giant bun, because the style doesn’t have to support as much weight.
Thick-Coil Version: Choose bigger anchors, larger clips, and wider braids. A faux hawk, high puff ponytail, or double Dutch braid tends to hold the shape better than delicate twists that disappear under the density.
Day-Two Rescue Version: Start with a mist of water and a little leave-in on the ends, then pick a style that hides the less-defined pieces. Headbands, low buns, and side braids are especially good here because they make frizz look intentional.
Dress-Up Version: Add a velvet bow, a metal barrette, or a satin ribbon at the finish point. The style itself can stay simple; the accessory does the formal work.
Low-Effort Version: Pick one anchor point and stop there. A claw-clip French twist, a half-up knot, or a statement clip-back gives you shape fast without asking for a mirror and twenty minutes of patience.
Overnight Care, Refreshing, and Day-Two Fixes

Long curls last better when the night routine is boring and consistent. A satin bonnet or scarf is the easiest answer, because friction is the enemy here. Cotton pillowcases rough up the cuticle and make the next morning look fuzzier than it needs to be.
If the style is a ponytail or a braid, don’t sleep with the elastic digging into the same spot all night. Loosen it if you can, or switch to a softer tie before bed. For buns and clips, remove anything heavy that could bend the hair in a weird line while you sleep. The shape will come back faster if the curl isn’t trapped under pressure for eight hours.
Refreshing is usually a two-step job: a tiny mist of water, then a little product worked only where the curl has gone limp. Don’t soak the whole head. That just resets the whole style and steals time in the morning. A few scrunched sections are usually enough.
If you’re reviving a braid or twist style, pull it apart only after your hands are dry. Wet fingers make the frizz worse. And if a style looks too flat at the root the next day, lift the top with your fingers and give it two minutes before deciding it’s a lost cause. Most of the time, it isn’t.
Frequently Asked Questions
What’s the easiest style in this list for a beginner?
The high curly ponytail with a wrapped base and the statement clip-back are the fastest starting points. Both need only one strong anchor, and neither depends on perfect braid work or a precise part.
Which styles hold up best in humidity?
The faux hawk, double Dutch braids, headband tuck, and low chignon usually hold up well because they control the root area and don’t depend on every curl staying perfectly defined. A light gel at the hairline helps a lot here.
Can I do these styles on day-two curls?
Yes, and some of them look better that way. Bubble ponytails, side braids, headband tucks, and messy buns often have more character when the hair has a little lived-in texture.
How do I keep pins from sliding out of curly hair?
Slide pins into a solid section, not the fluffy outer layer, and point the wavy side toward the scalp. If the hair is slippery, cross two pins in an X. One pin alone often isn’t enough for dense curls.
What if my curls are very fine and the style collapses?
Use smaller sections and lighter accessories. A rope twist, ribbon ponytail, or half-up knot tends to hold better than large buns that put too much weight in one place.
Are these styles protective?
Some of them are, in a loose sense, because they reduce tangling and keep the ends contained. The braids, buns, and tucked styles are kinder than repeated brushing and re-tying, but they still need gentle tension to stay scalp-friendly.
How can I make a style look more polished fast?
Clean up the hairline, hide the elastic, and keep one part of the hair more controlled than the rest. That’s usually enough. You do not need every curl to behave for the whole style to read finished.
What if my layers keep popping out?
Either change the style or keep the layers out on purpose. Shorter face pieces work well in loose tendrils, twists, headbands, and half-up looks. Fighting them into a tight bun usually creates more mess than it fixes.
Big Hair, No Apology

Long curls look best when they’re given a shape that respects the hair’s own spring. That’s the thread running through all 22 styles here: lift at the root, softness where it counts, and enough structure to keep the day from flattening the whole thing into one tired shape.
Pick the style that matches the mood, not the fantasy of perfectly obedient hair. Some days that means a high ponytail with a wrapped base. Some days it means a low bun, a clip, and a face-framing curl that refuses to stay tucked. Either way, the length gets to stay the main event.
Start with one or two favorites and wear them until your hands know the moves without thinking. After that, the rest gets easier, and your curls start looking less like a problem to manage and more like the best part of the outfit.