Thick hair and babylights can look luxurious together, but only when the style leaves enough air between the strands. A flat blow-dry or one blunt curtain of length can swallow those fine ribbons of color, and suddenly the whole head reads heavier than it really is. The best let down hairstyles for thick hair with babylights do the opposite: they break the bulk into movement so the light has somewhere to land.
That’s the part people miss. Babylights are tiny on purpose. They’re meant to flicker through the hair, not shout from across the room. On thick hair, they need a shape that opens the curtain a little — layered ends, lifted roots, bends around the face, and enough texture that the color shifts every time you turn your head.
Some styles lean polished. Some feel soft and loose. A few are built for the days when you want the highlights to show without spending half the morning with a curling iron. The trick is matching the cut, the part, and the finish so the hair keeps its fullness without turning into one solid block. Start with the looks that let the color breathe.
Why These Styles Earn Their Place
- They make babylights visible from more than one angle: Thick hair can hide fine highlights fast, so styles with bends, layers, and movement keep the color from disappearing into the interior.
- They control bulk without flattening the hair: The right shape trims the edges of heaviness while leaving enough body for the style to still feel full.
- They work with dense strands instead of fighting them: Big hair tends to hold wave, curl, and lift longer, which is a gift when the goal is to show depth in the color.
- They keep the front pieces from looking blocky: Face-framing layers, side parts, and soft bends stop thick hair from sitting like one wide curtain.
- They make the babylights look more expensive than they are: That tiny weave of color looks richer when it’s moving through a cut that gives it room.
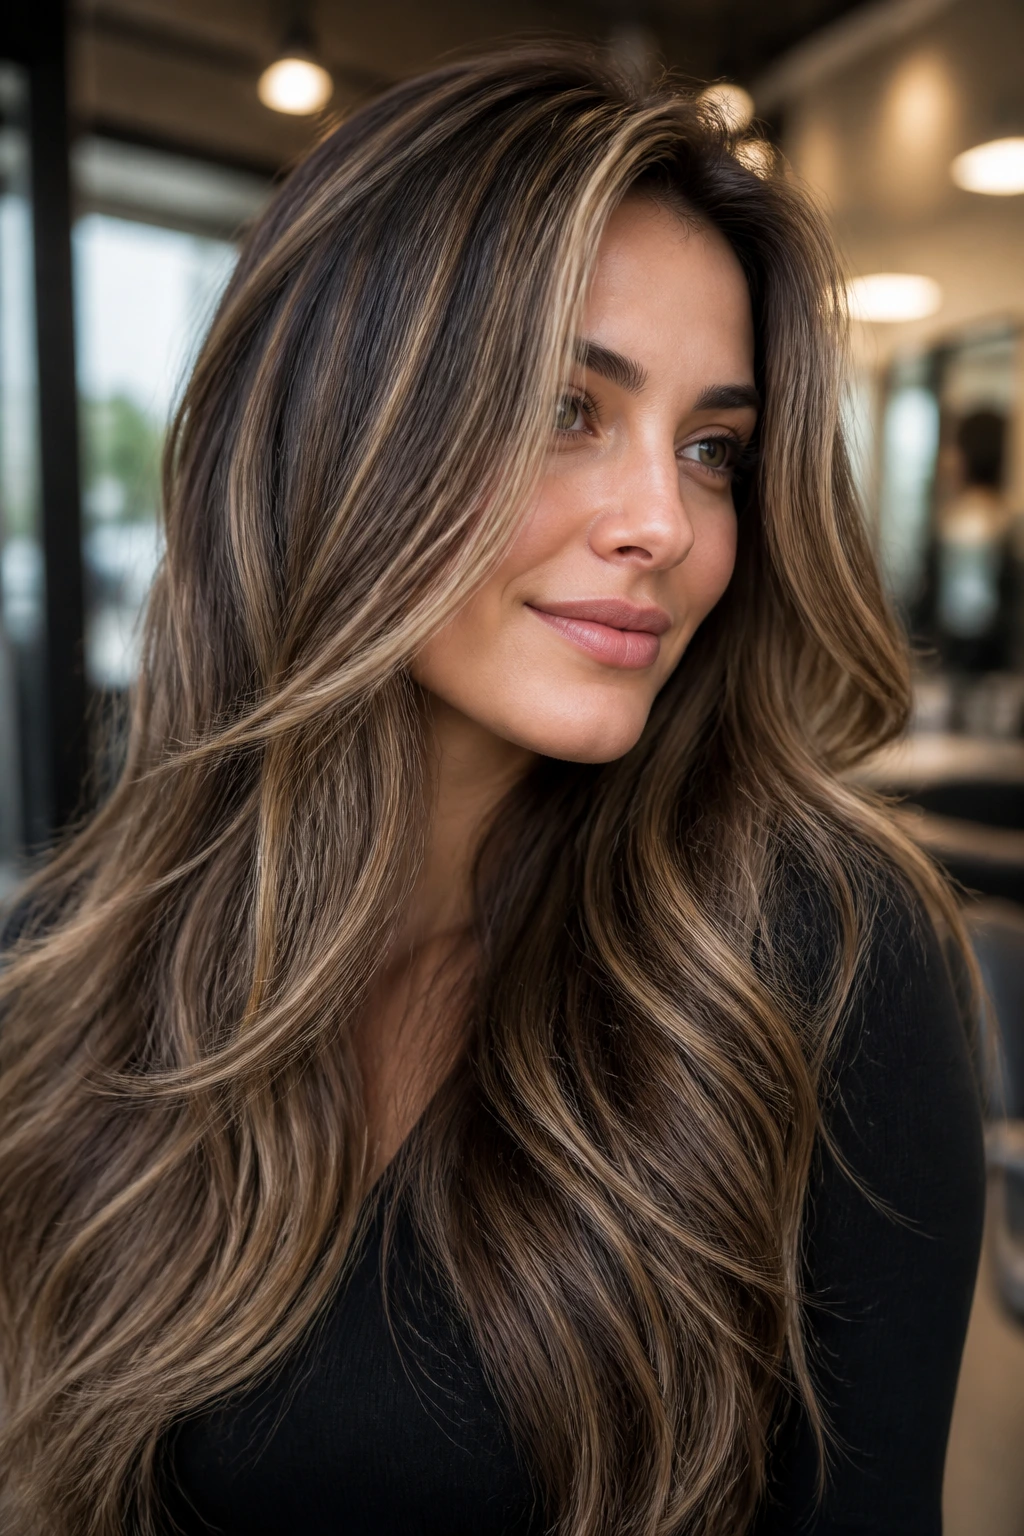
1. Soft Middle-Part Blowout
A clean middle part is doing more work than people think. On thick hair, it creates two balanced halves that feel intentional instead of heavy, and babylights get to show up in those smooth, blown-out surfaces instead of hiding under a matte, flat shape. I like this look when the color is subtle — beige, honey, champagne, caramel — because the finish is smooth enough to let every fine ribbon of light catch the air.
The styling is simple, but not lazy. Use a volumizing mousse at the roots, a heat protectant through the mid-lengths, and a large round brush to pull each section away from the face. Keep the sections about 2 inches wide so the blow-dry stays controlled, then finish with a cool shot to lock the bend.
What to watch for: if the roots go limp, the whole style collapses into a sheet. A little lift at the crown keeps the babylights from disappearing into the top layer.
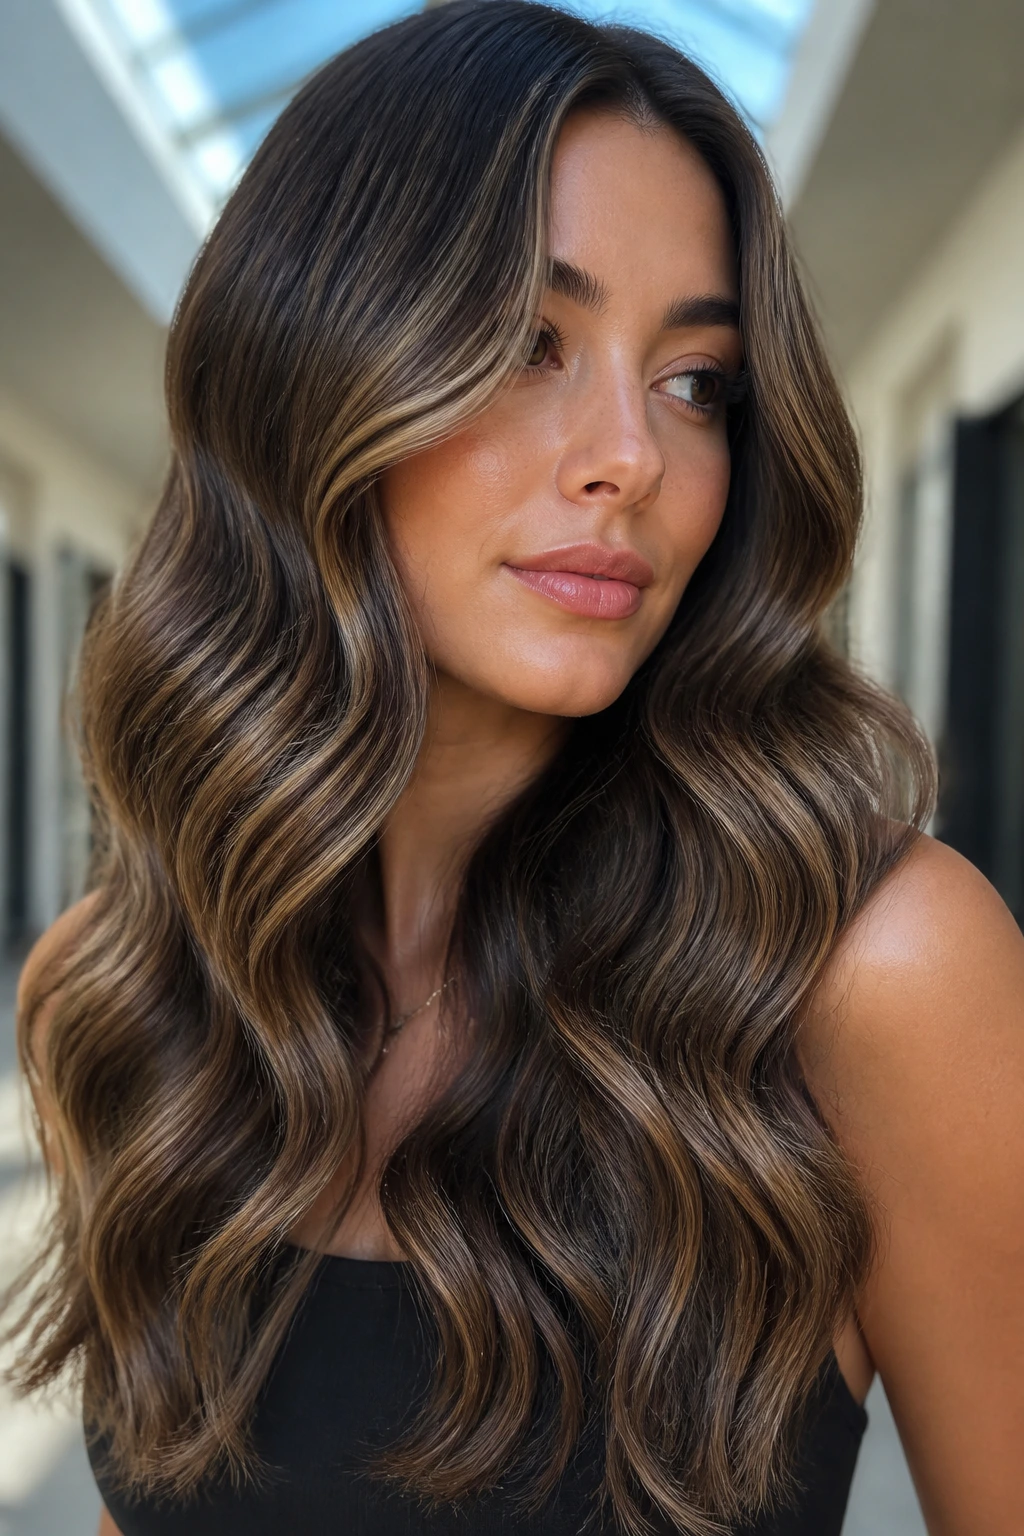
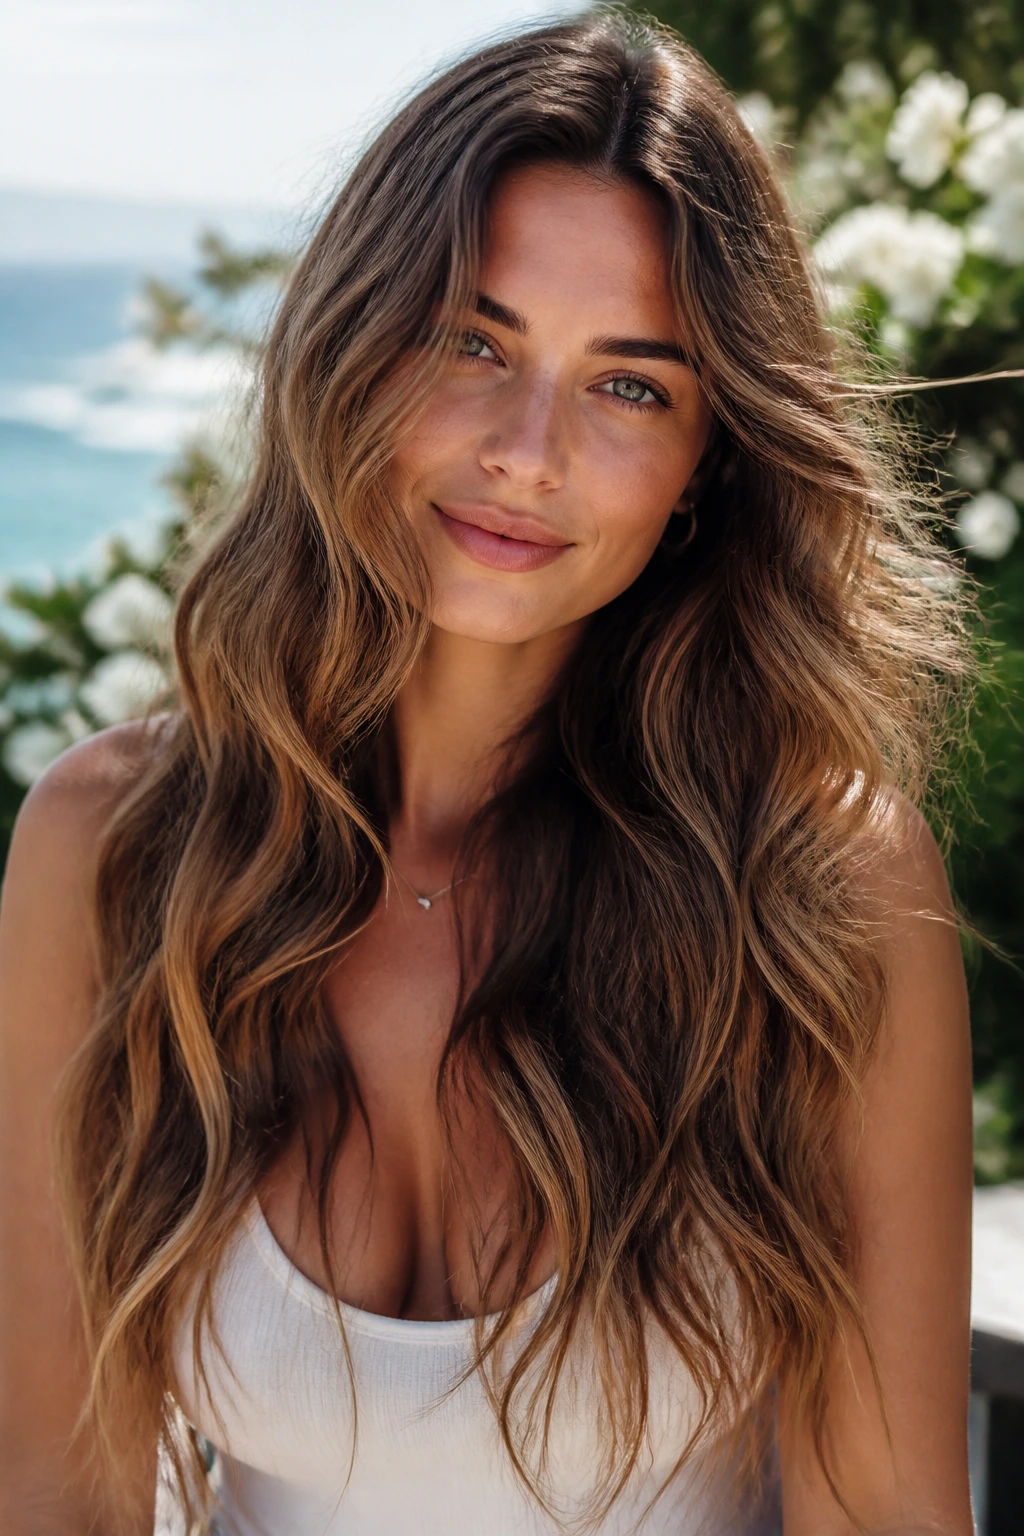
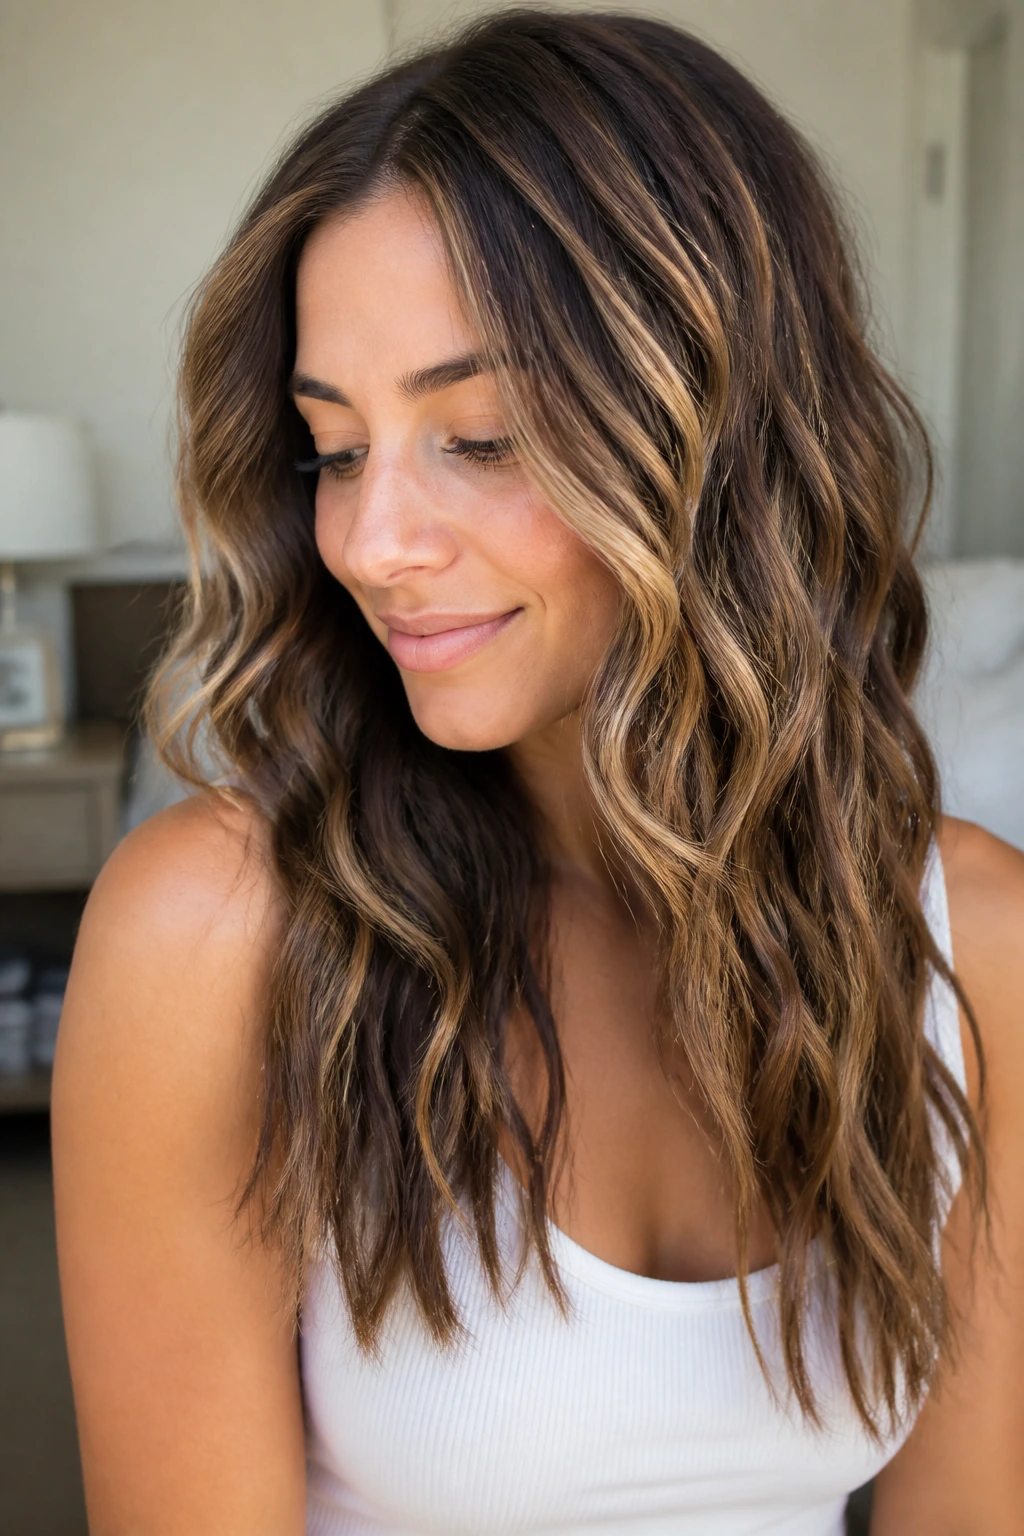
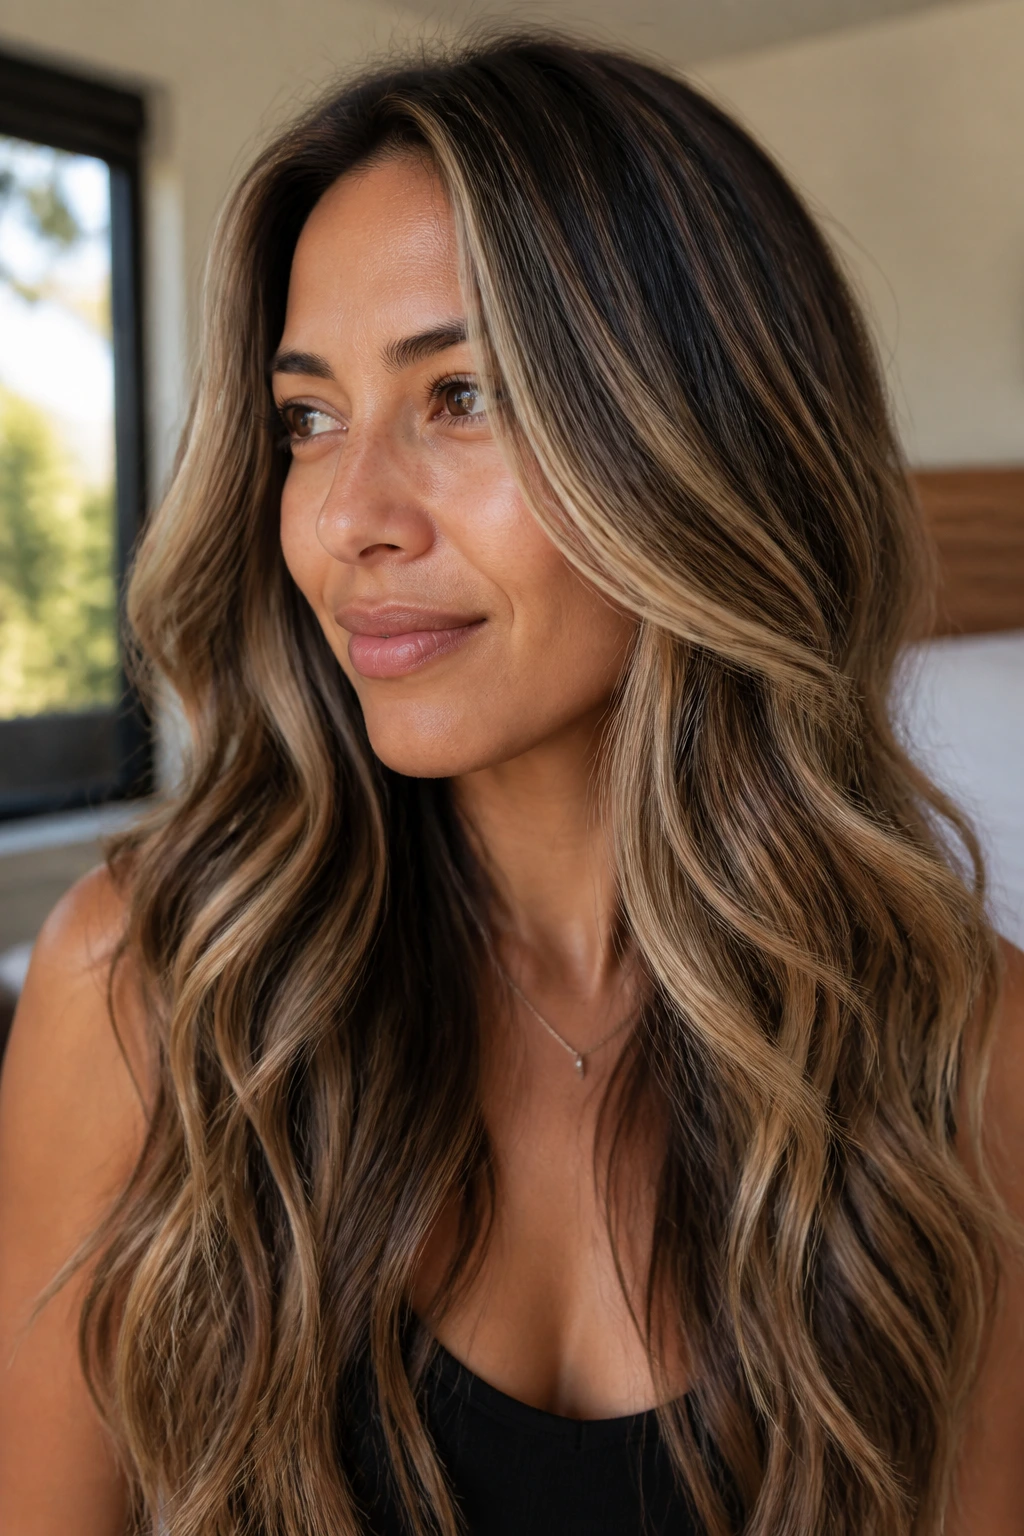
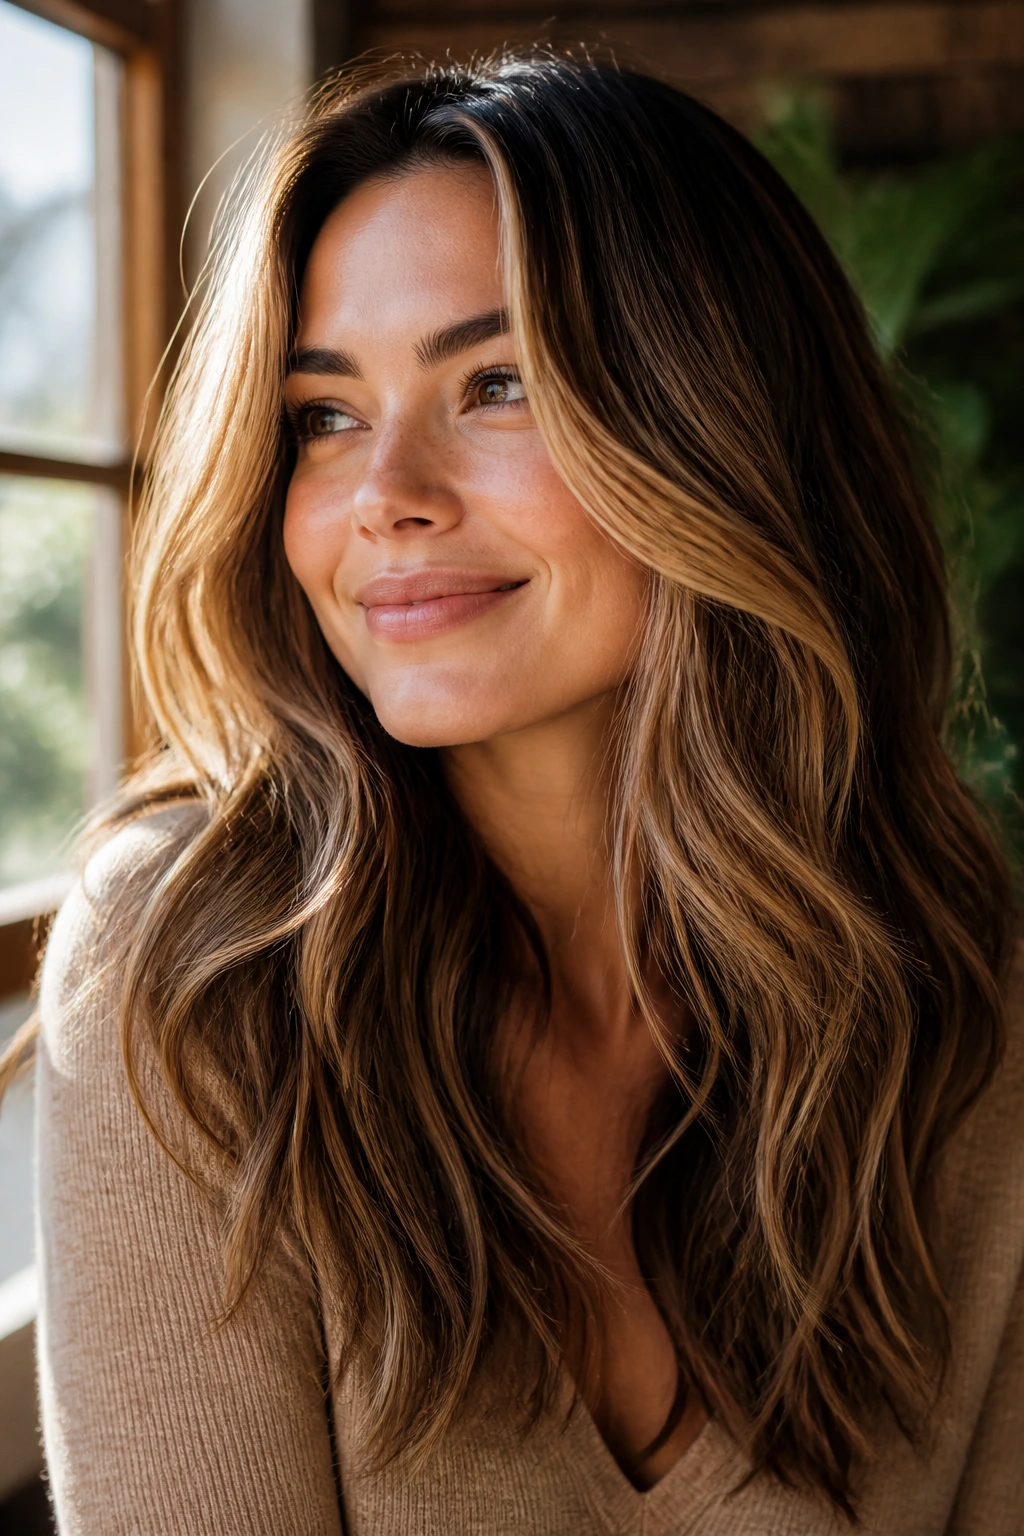
2. Loose Ribbon Waves
Ribbon waves are the reason babylights look rich on thick hair. The wave pattern is soft enough to keep the hair wearable, but defined enough to catch light in long, thin flashes instead of wide, chunky bends. That matters. Thick hair can swallow detail, and this shape keeps the fine highlight pattern visible from root to end.
How to build them
- Use a 1.25-inch curling iron and wrap 1.5-inch sections away from the face.
- Leave the last 1 to 1.5 inches out on every section so the ends stay loose.
- Let the curls cool completely before brushing.
- Break the waves with a wide-tooth comb or a boar-bristle brush.
- Finish with a flexible hairspray, not a stiff shell.
The trick is to make the waves look like they were formed by movement, not by a perfect curling-iron spiral. If your babylights are fine and closely woven, this is one of the cleanest ways to show them without making the hair feel overdone.
3. Butterfly Cut with Floating Layers
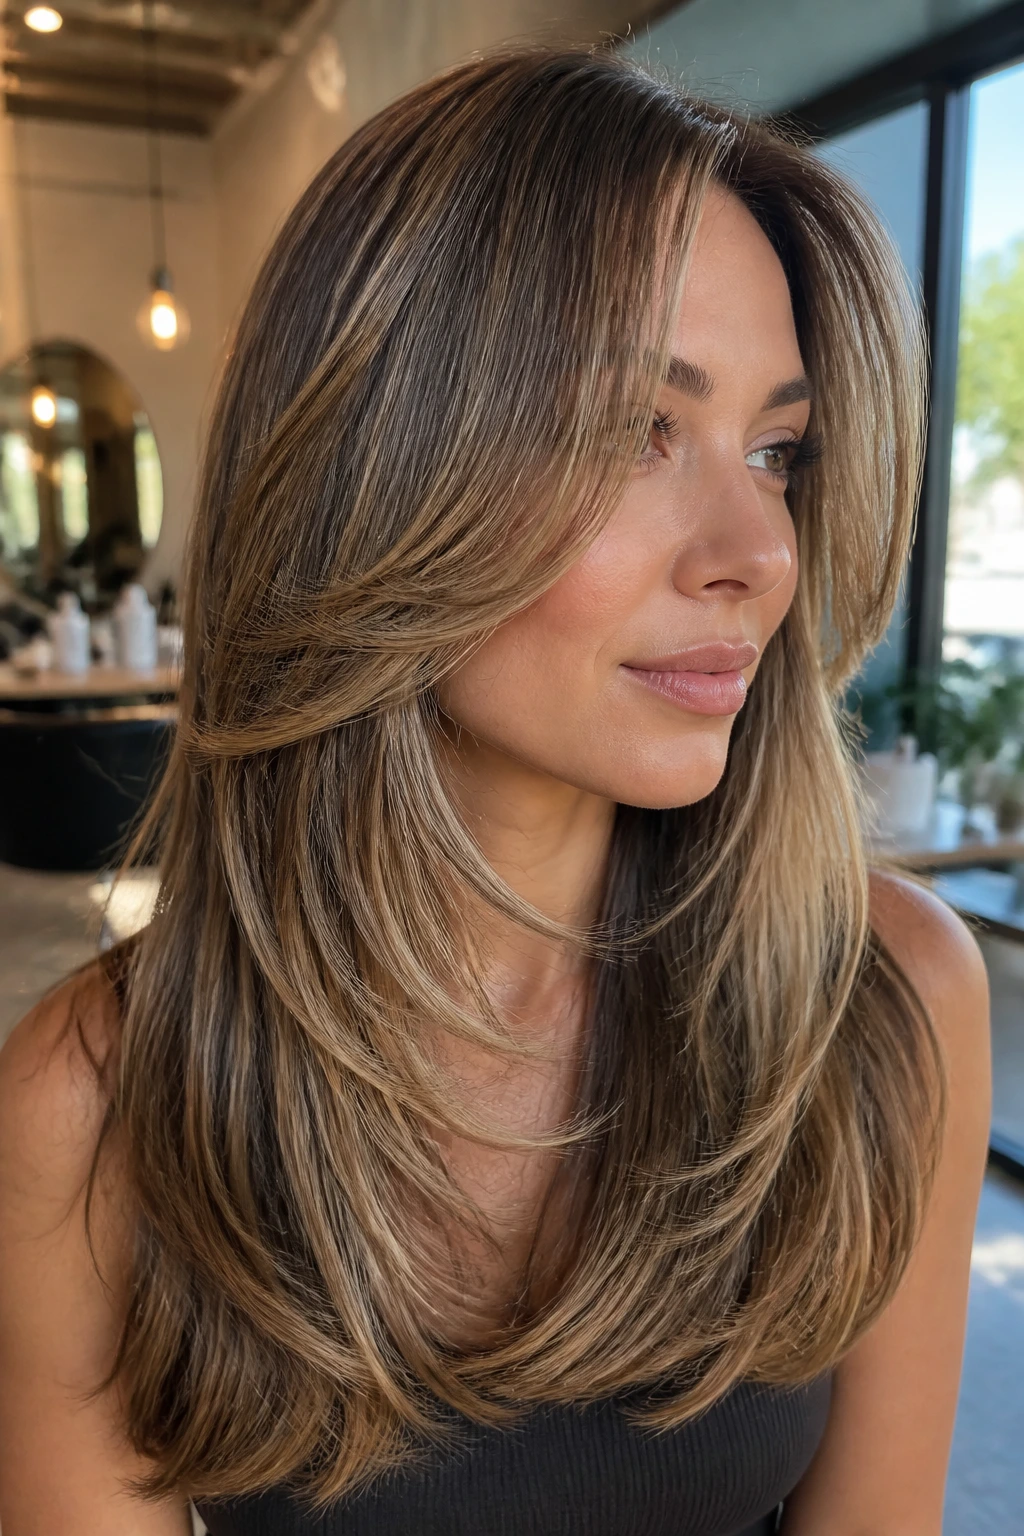
Why does the butterfly cut flatter babylights so hard on thick hair? Because it gives the color a staircase to climb. The shorter face-framing pieces bring brightness up near the cheekbones, while the longer back layers keep the weight from puffing out like a triangle. You get lift where you need it and length where you want it.
Ask for the shortest front layer to hit around the cheekbone or upper lip, depending on how dramatic you want the frame. The longer layers should blend into the rest of the length instead of stopping abruptly. That blend is what makes the babylights look like they’re floating through the shape instead of sitting on top of it.
What to ask for at the salon
- Long internal layers through the back
- Shorter face pieces that can sweep away from the face
- A soft, not choppy, connection between the two
- Babylights placed near the front and crown for movement
A butterfly cut is one of those styles that looks expensive when it’s done right and bulky when it isn’t. The difference is usually the amount of layering around the front.
4. Curtain Bangs and a Long Bend

Curtain bangs are the fastest way to give thick hair a lighter face frame without chopping off the length. They split the heaviness right at the center, which lets the babylights around the face do their job instead of getting buried under one wide curtain of hair. I’d choose this when the color has brighter pieces near the front and you want people to notice them first.
Blow the bangs forward, then sweep them away from the face with a round brush or a flat brush and a quick bend from a flat iron. Keep the rest of the hair in a soft, long bend — not a tight curl, not poker-straight. The contrast between the fringe and the length is what keeps the whole look from feeling too heavy.
One small thing. Don’t over-spray the fringe. Curtain bangs that are sticky at the roots lose their shape fast.
5. Glossy S-Waves
S-waves are the cleanest way to make babylights look deliberate. The curve of the hair creates alternating light and shadow, so every fine highlight thread gets a chance to flash without looking streaky. On thick hair, that repeating S pattern also stops the style from ballooning into one wide, puffy shape.
Start with a smoothing cream and a heat protectant. Use a flat iron or curling iron to create gentle bends in opposite directions, then pinch each curve lightly while it cools. The goal is a soft, connected line, not neat parade curls. If the waves are too tight, the babylights start looking busy instead of dimensional.
This style likes a polished finish. A tiny bit of shine spray on the mid-lengths is enough. Too much serum, and the whole thing loses that crisp, reflective edge.
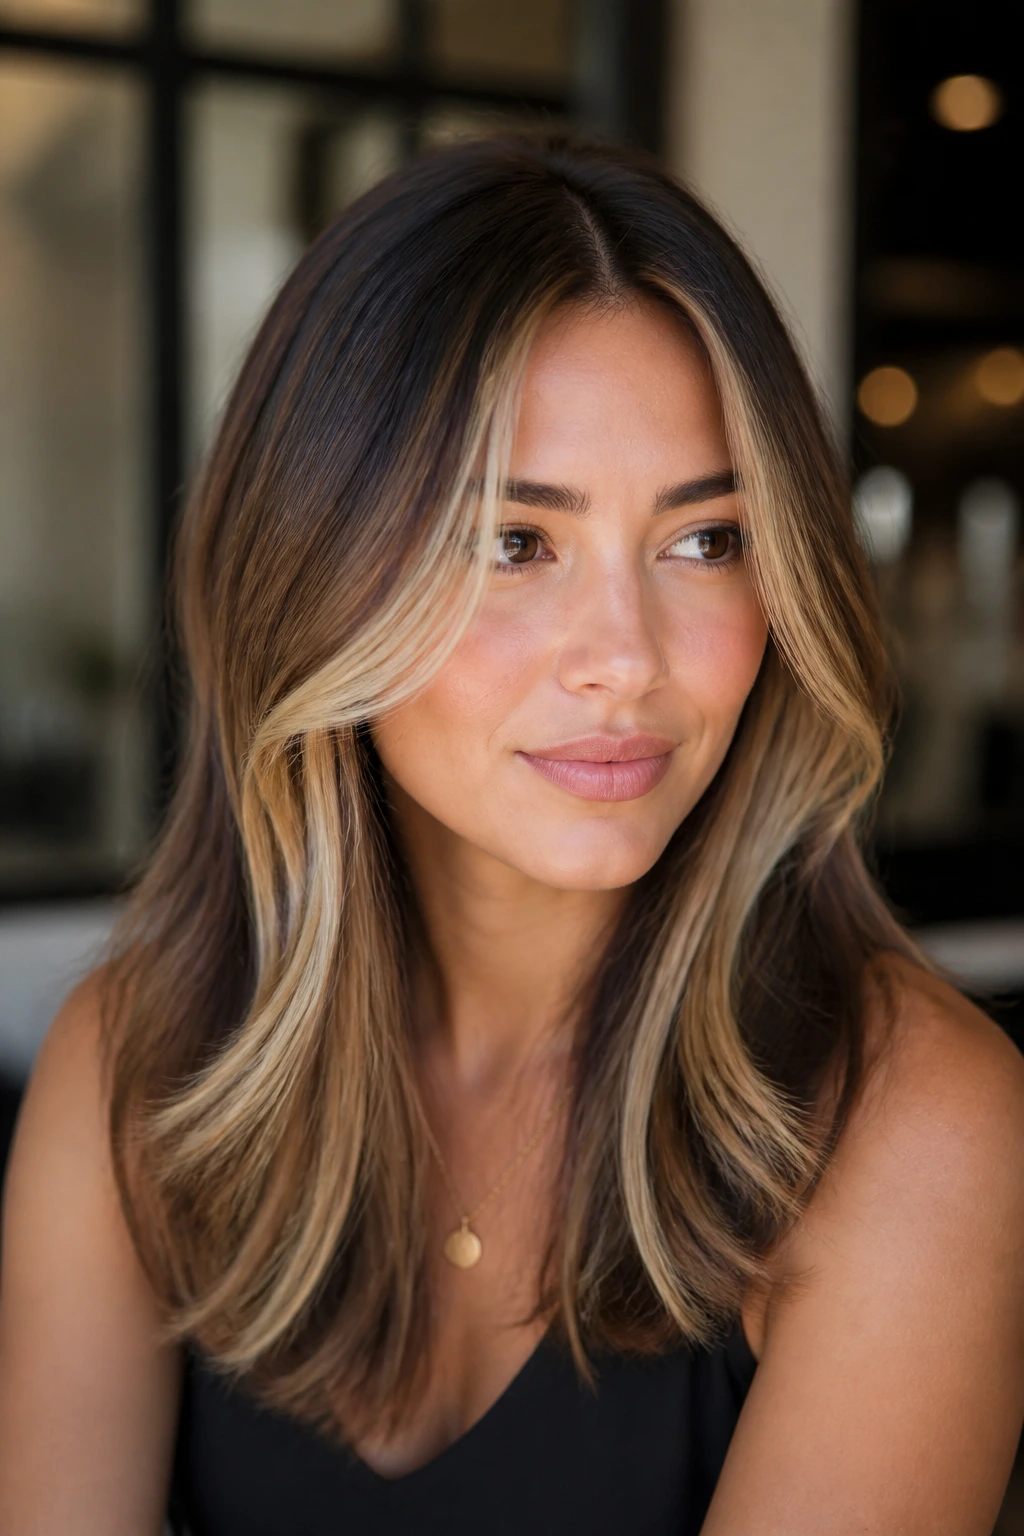
6. Deep Side Part Glam Waves
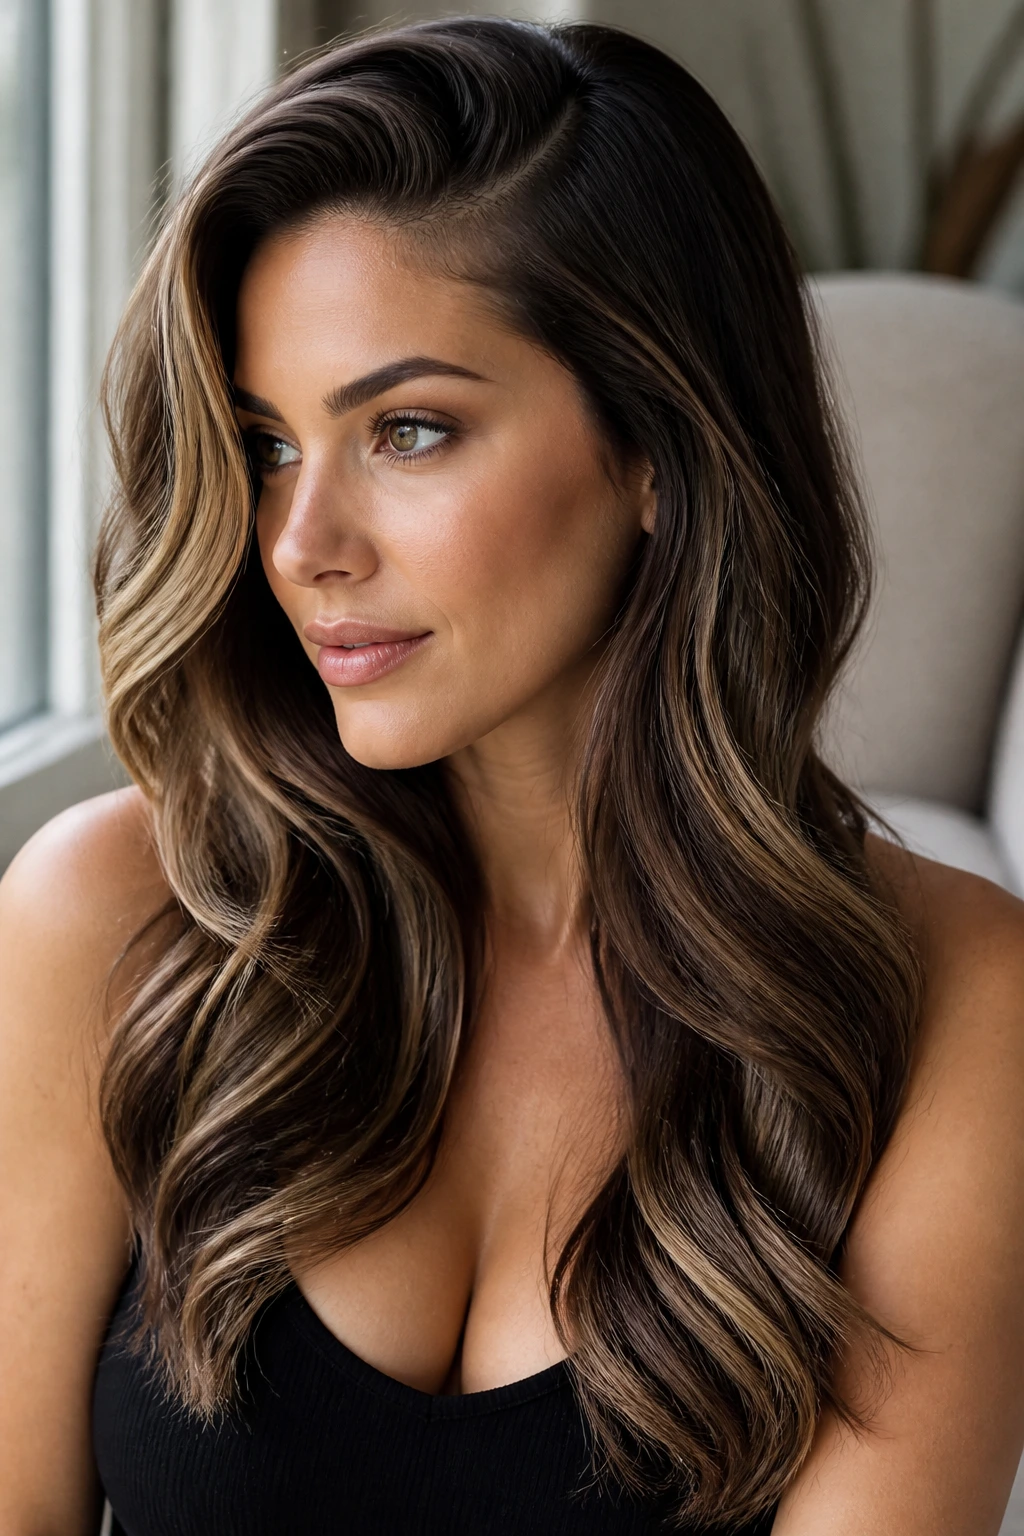
A deep side part gives thick hair a shape with attitude. One side lifts, the other side falls, and that asymmetry makes babylights look brighter because the lighter side gets more surface area and more movement. It’s a better choice than a center part when you want drama without losing length.
The side with less hair should get a little root lift at the base — mousse, a round brush, or a few minutes in a velcro roller if you have them. The fuller side can hold a larger wave or a brushed-out bend. That imbalance is the point. It makes the color look richer at the front instead of spread evenly and blandly across the head.
Best when
- You want a formal finish
- Your babylights are concentrated around the front
- Your crown tends to lie flat
- You like one side to frame the face more than the other
This is a style I reach for when the outfit needs the hair to do some heavy lifting.
7. Air-Dried Layers with Natural Bend
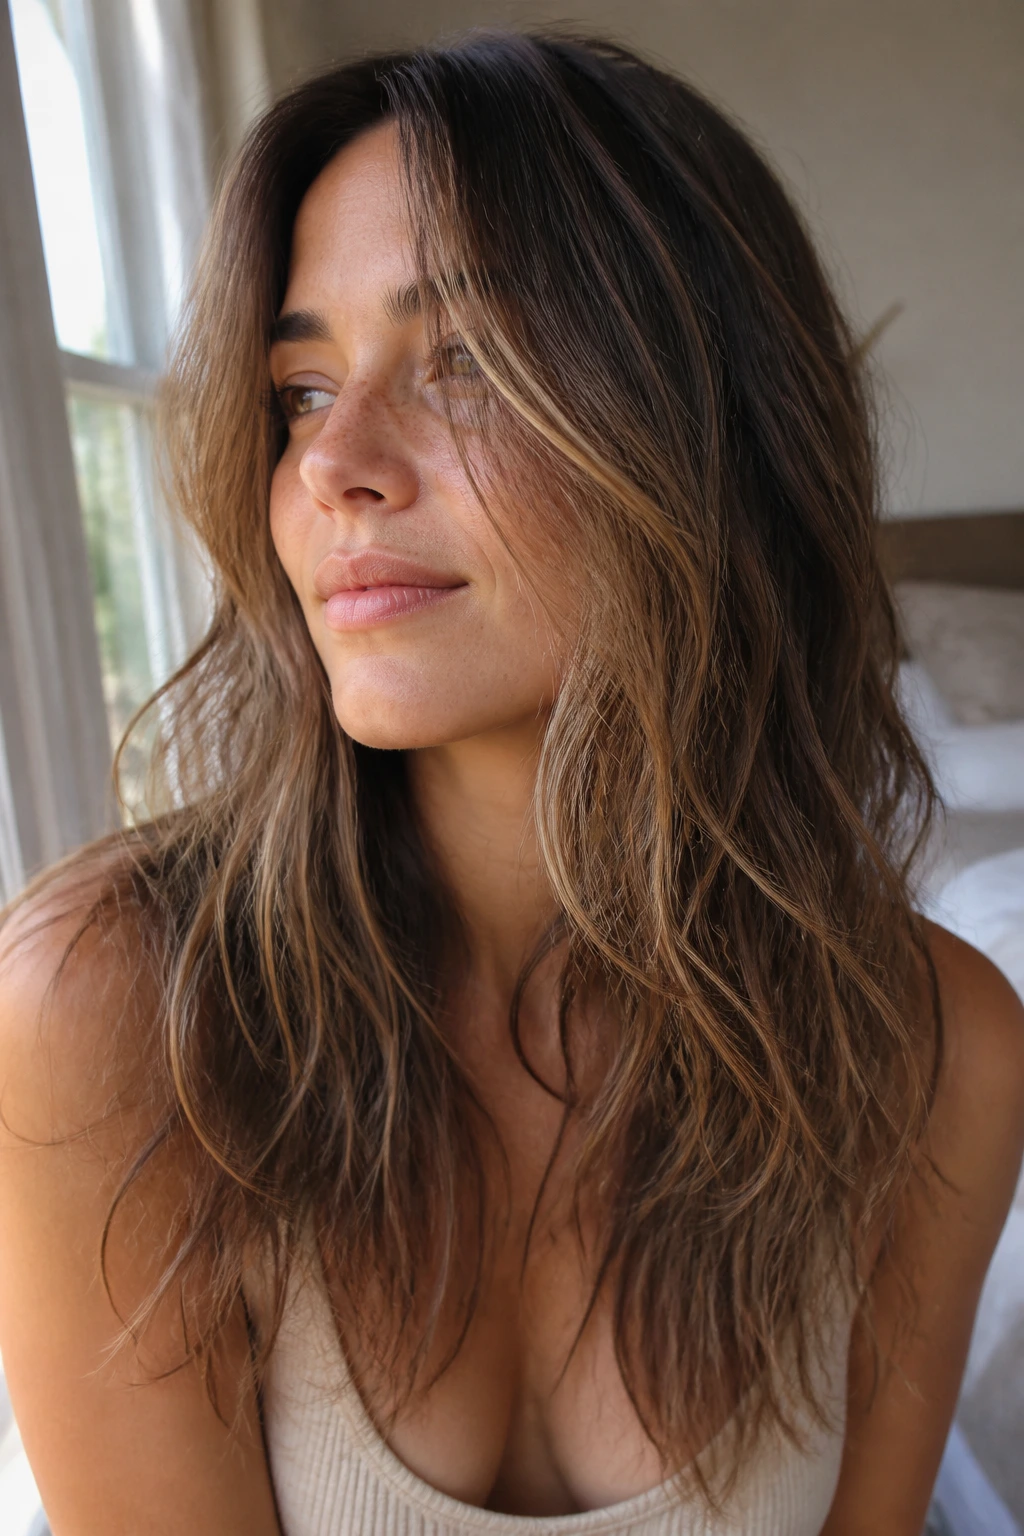
When thick hair air-dries without a plan, it can go from soft to shapeless fast. The trick is to add shape while the hair is damp, not after it has already puffed out. Babylights look especially pretty here because natural bends make the color feel woven into the texture instead of placed on top.
Work a light curl cream through the mid-lengths, then add a mousse at the roots if the hair needs lift. Scrunch the ends, twist the front pieces away from the face, and leave the rest alone until it’s dry. If you touch it too much while it sets, the surface frizz starts to blur the highlight detail.
This look is good for thick hair that already has some wave. It is not the one for hair that dries very flat unless you’re willing to give it a little help with clips at the crown.
8. Brushed-Out Hollywood Curls
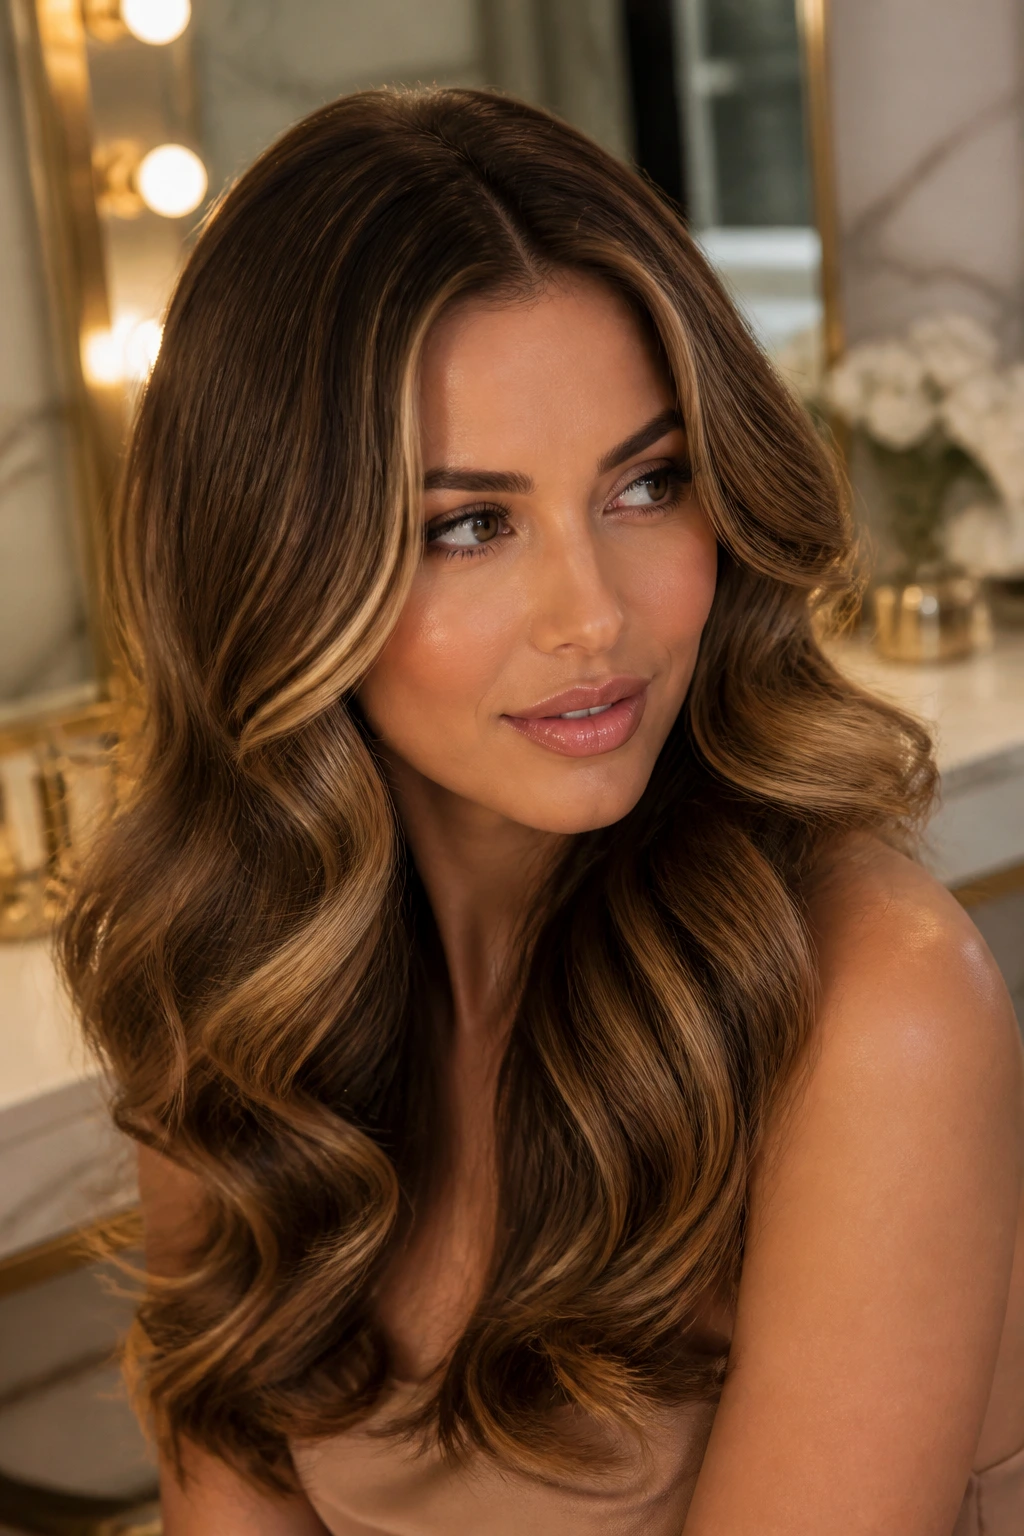
Brushed-out Hollywood curls give thick hair that smooth, expensive-looking movement without making the babylights disappear. The curls start tight enough to hold their shape, then get brushed into a soft wave that stretches the highlights into wide, luminous bands. It’s a little more formal than a beach wave. I like that.
The setup
- Curl 1-inch to 1.5-inch sections with a 1.25-inch iron
- Pin each curl flat against the head while it cools
- Wait until the hair is completely cool before brushing
- Use a soft paddle brush to smooth the wave pattern
- Mist with a flexible hold spray only after shaping
The pinned cooling step matters. Skip it, and thick hair springs back before the wave has time to set. With babylights, the brushed finish makes every lighter strand look stitched into the shape instead of sprayed across the surface.
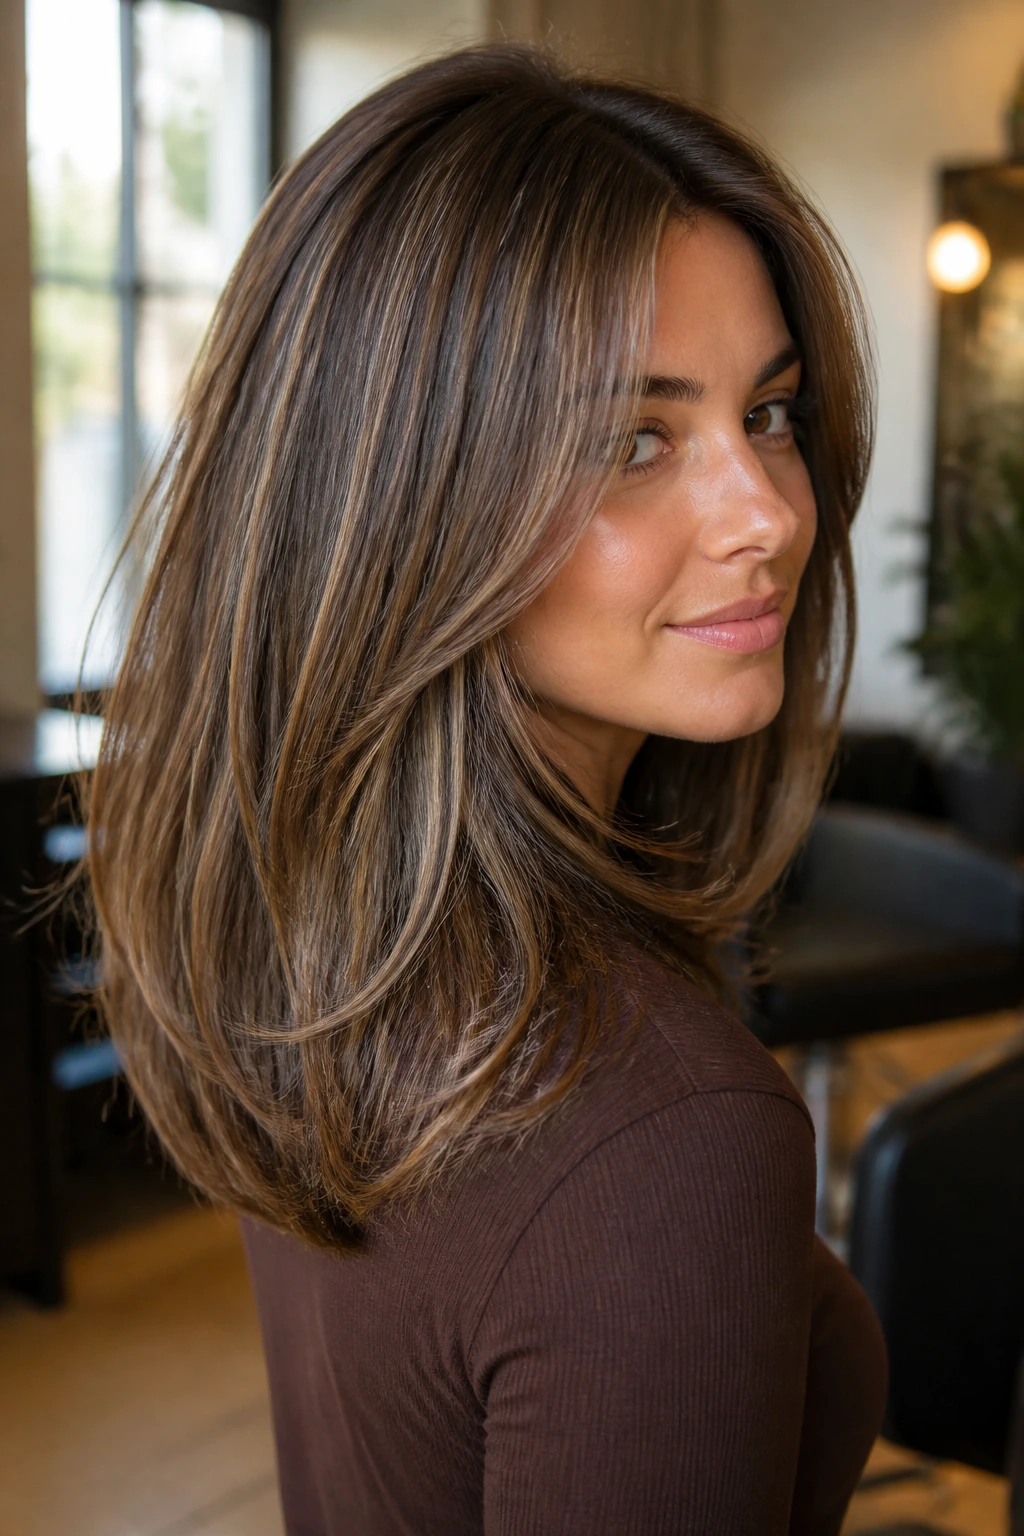
9. Long Feathered Layers
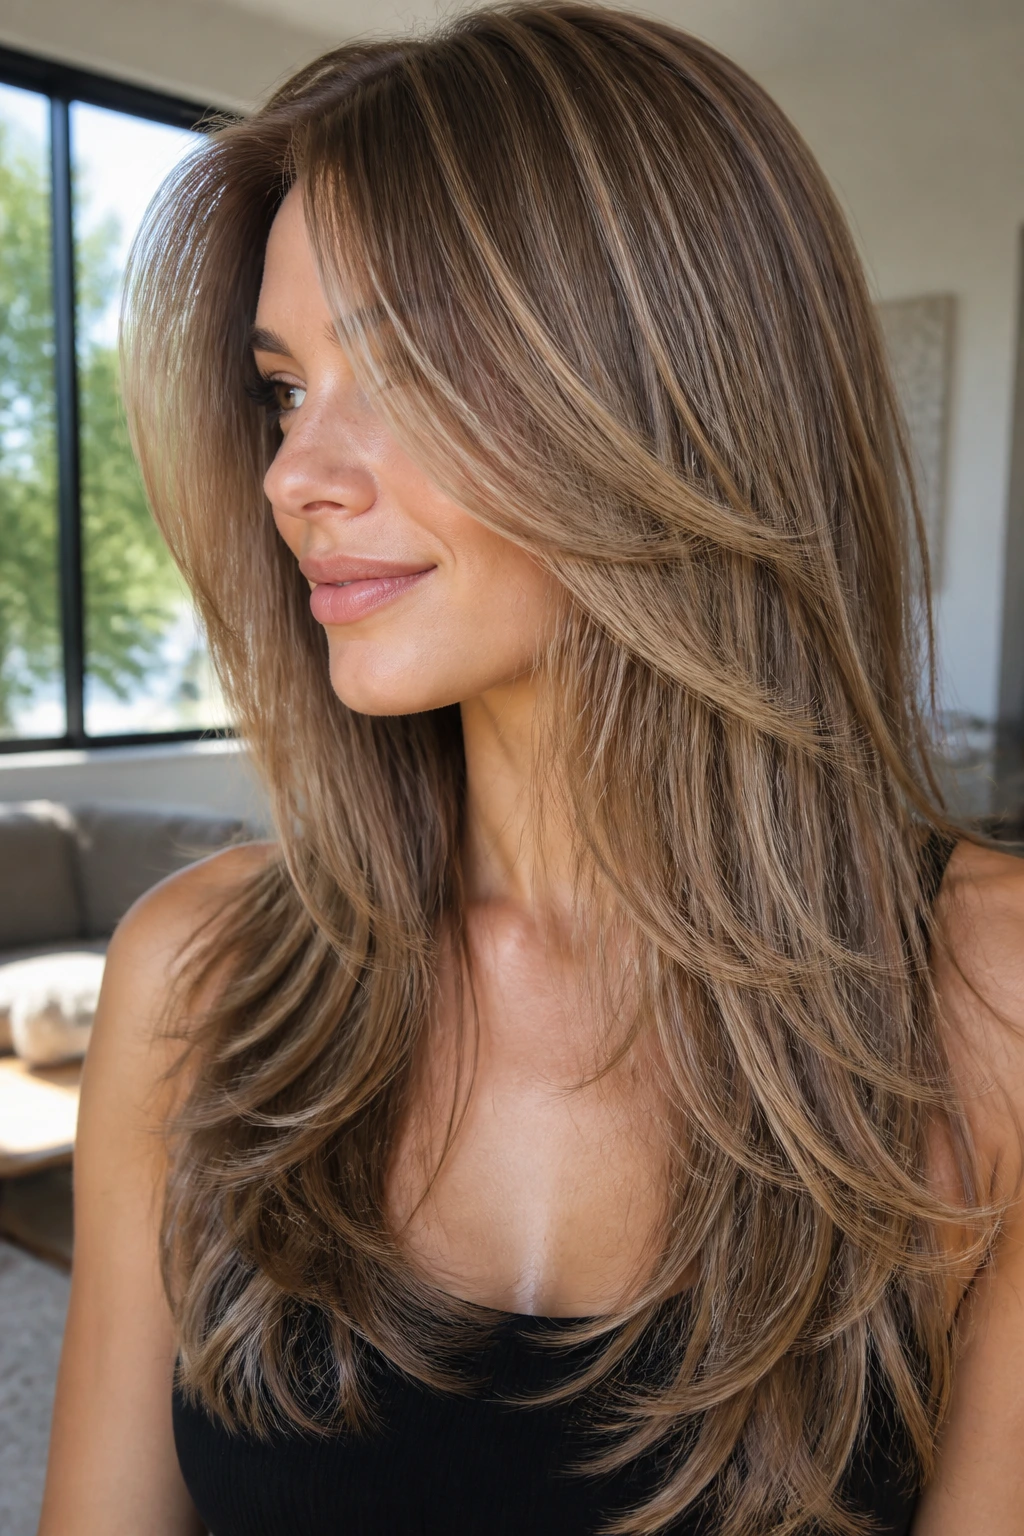
Feathered layers are one of my favorite fixes for heavy ends. They remove weight without stealing length, which is exactly what thick hair needs when the babylights are fine and detailed. The ends look softer, the hair swings more easily, and the color gets a bit of breathing room near the perimeter.
A blowout brush works well here, especially if you turn the ends slightly under or out depending on the shape of your cut. The important thing is not to leave the bottom edge blunt. Blunt ends can make babylights feel boxed in, while feathered edges let them scatter more naturally.
This style is especially useful if your hair feels thick but not coarse. It keeps the density you want while losing the shelf-like look that can happen at the bottom.
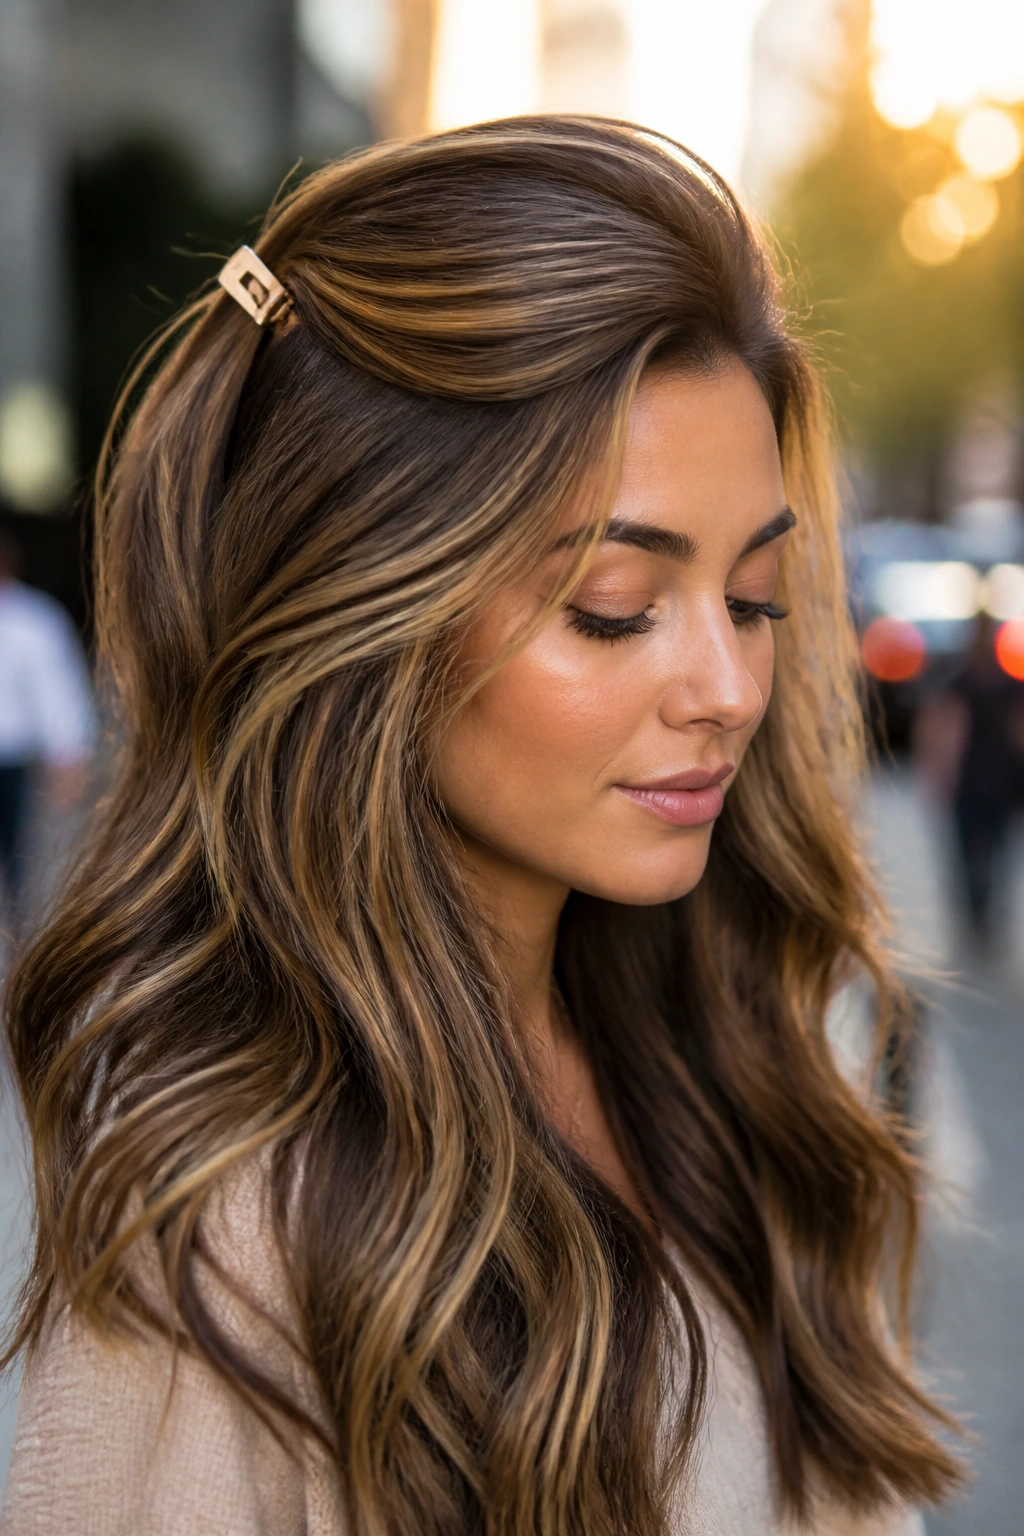
10. Pinned Crown Accent, Loose Lengths
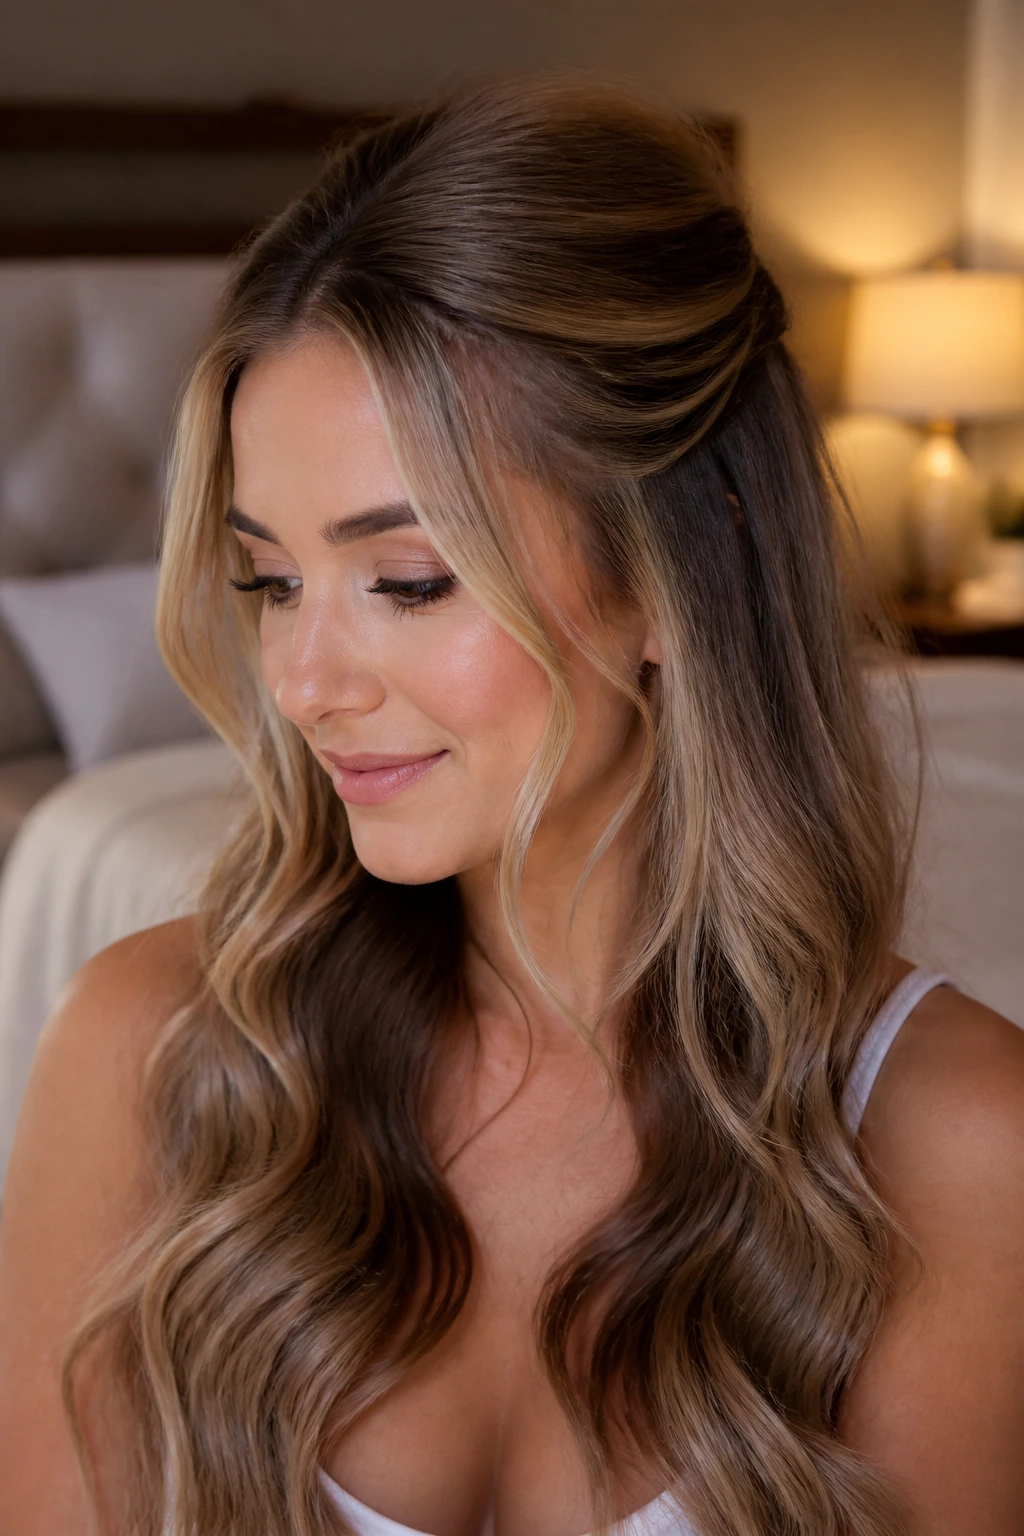
A tiny pin at the crown can change the whole mood of thick hair. Instead of pulling the hair back into a full half-up style, you lift just enough from the front and secure it with two hidden bobby pins or a small decorative clip. The length stays down, the babylights around the face stay visible, and the top gets a little lift.
That lift matters more than people think. It creates a break between the root area and the rest of the style, so the top doesn’t read as one heavy panel. Pair it with soft bends through the lengths, and the whole shape feels lighter without giving up the fullness that thick hair is known for.
This is a good choice on second-day hair. The roots have a little natural grip, which helps the pins stay put.
11. Boho Braids into Loose Ends
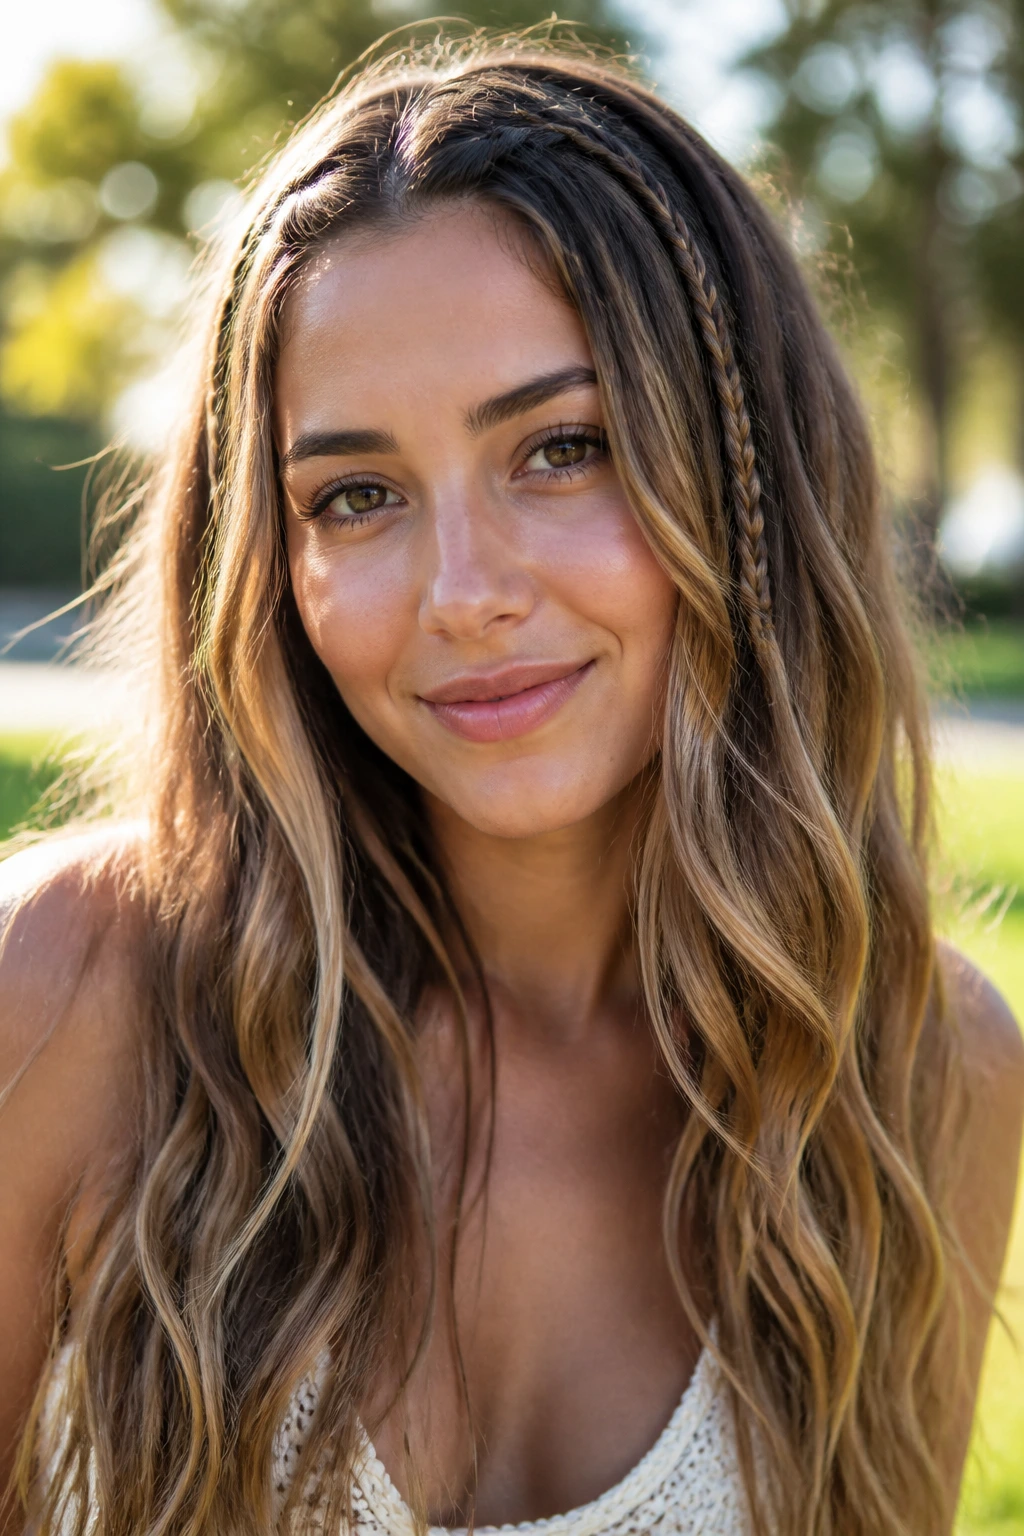
Braids are not only for updos, and thick hair proves the point. Small braids at the temple or hairline can blend into loose waves, giving the babylights a woven look that reads especially well in sunlight. Because the hair stays mostly down, the style still fits the theme without feeling too constructed.
Start with loose texture spray or dry shampoo for grip. Braid just the front pieces, or make two narrow braids and let them disappear into the rest of the hair. Keep the braid tension soft. Tight braids can make thick hair puff around the edges and hide the color instead of showing it.
This one works for casual days, concerts, and weekends when you want something with more detail than plain loose hair. A small braid often does more than a whole complicated style.
12. U-Shaped Cut with Invisible Layers
A U-shaped cut is one of the quiet heroes for thick hair. It keeps the perimeter soft and rounded instead of blunt, which helps babylights move through the lengths without getting trapped at a hard line. Add invisible layers, and the hair gets lift inside the shape without looking choppy on the outside.
What makes it different
- The ends curve softly instead of forming a shelf
- Internal layers remove weight from the middle
- Babylights stay visible when the hair swings
- The style works with straight, wavy, or blown-out finishes
This is the kind of cut I’d choose for someone who wants length to feel sleek, not bulky. It gives you room to style in different ways without fighting a dense perimeter every time you pick up a brush.
13. Modern Shag with Soft Texture

A shag can absolutely work on thick hair, but only if the layers are soft enough to move. Sharp, choppy shags can turn dense hair into a puffed-up mess. Soft texture, on the other hand, gives the babylights tiny landing spots all over the head — around the crown, at the cheeks, through the ends.
The easiest way to style it is with mousse and a diffuser, or with a quick air-dry plus a few bent pieces added by hand. Don’t smooth every inch flat. The piecey texture is what makes the color look interesting. If the hair is over-brushed, the layers stop showing and the whole point disappears.
I like this version for people who want movement first and polish second. It has a little edge, but it still feels wearable.
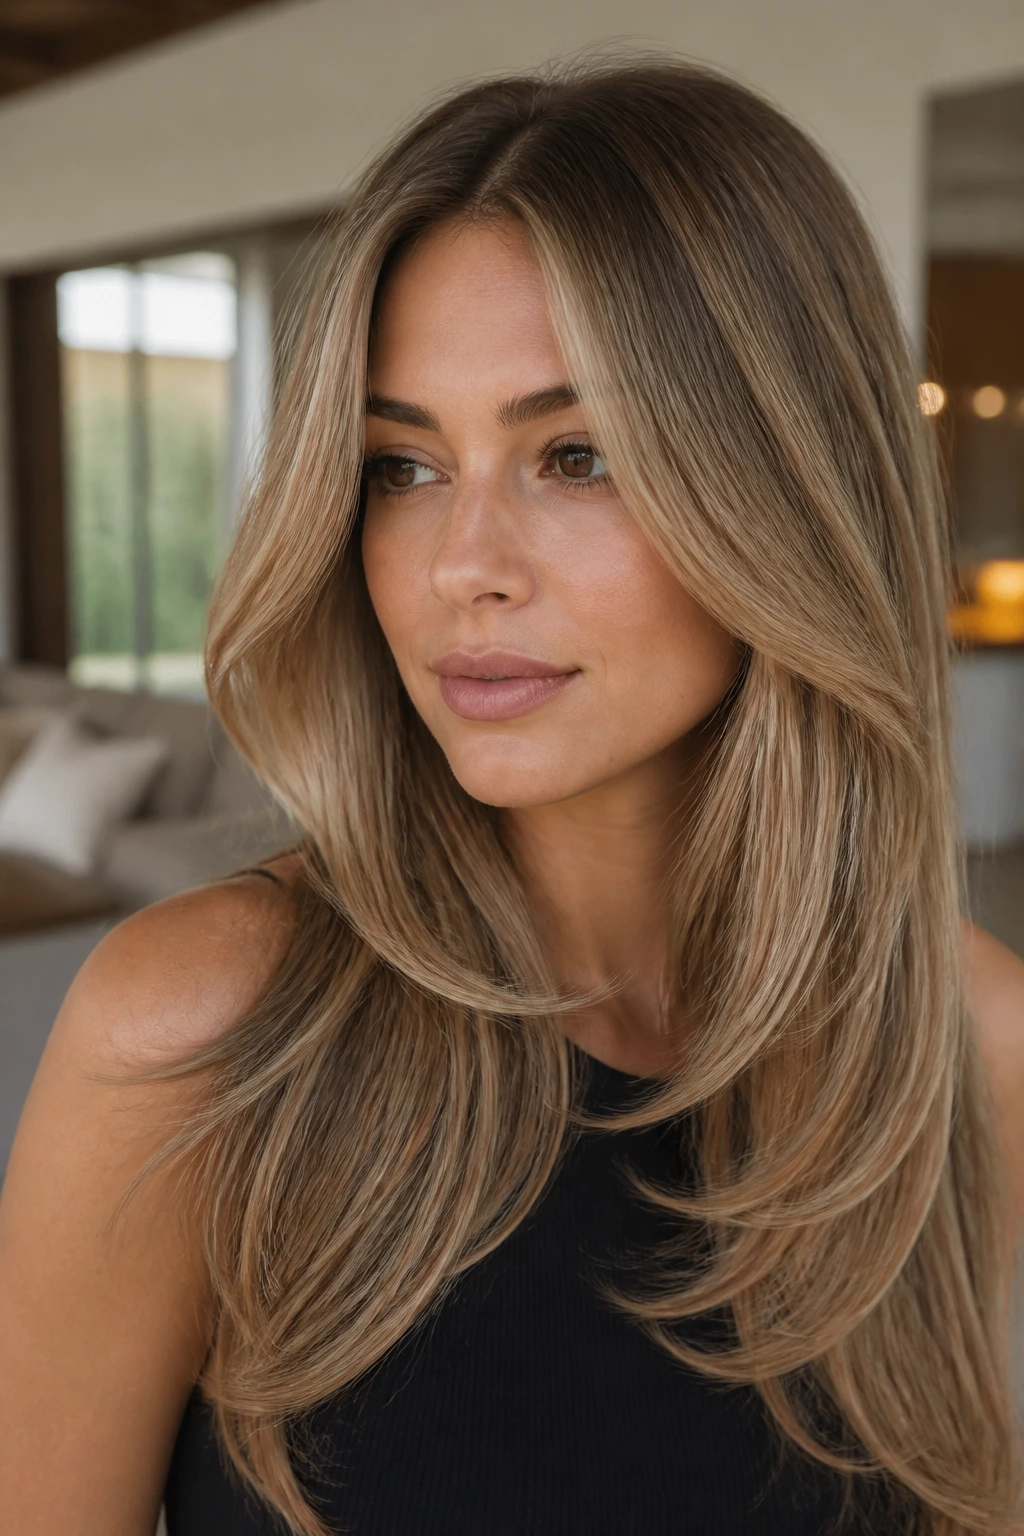
14. Sleek Straight with Beveled Ends
Why not go completely poker-straight? Because thick hair with babylights needs a little shape at the bottom to stay alive. A slight bevel — the ends turned under just a touch — keeps the perimeter from looking like a board and lets the lighter strands sit in clean, vertical lines.
Use heat protectant, then pass a flat iron through small sections rather than trying to flatten giant panels all at once. A single slow pass at a moderate temperature is better than two hot passes that dry the hair out. Babylights show beautifully here when the hair is polished and the ends still have a hint of curve.
This is the style for people who like clean hair. No fluff. No big wave. Just a smooth sheet with enough movement to keep the color interesting.
15. Old-Hollywood Side Sweep
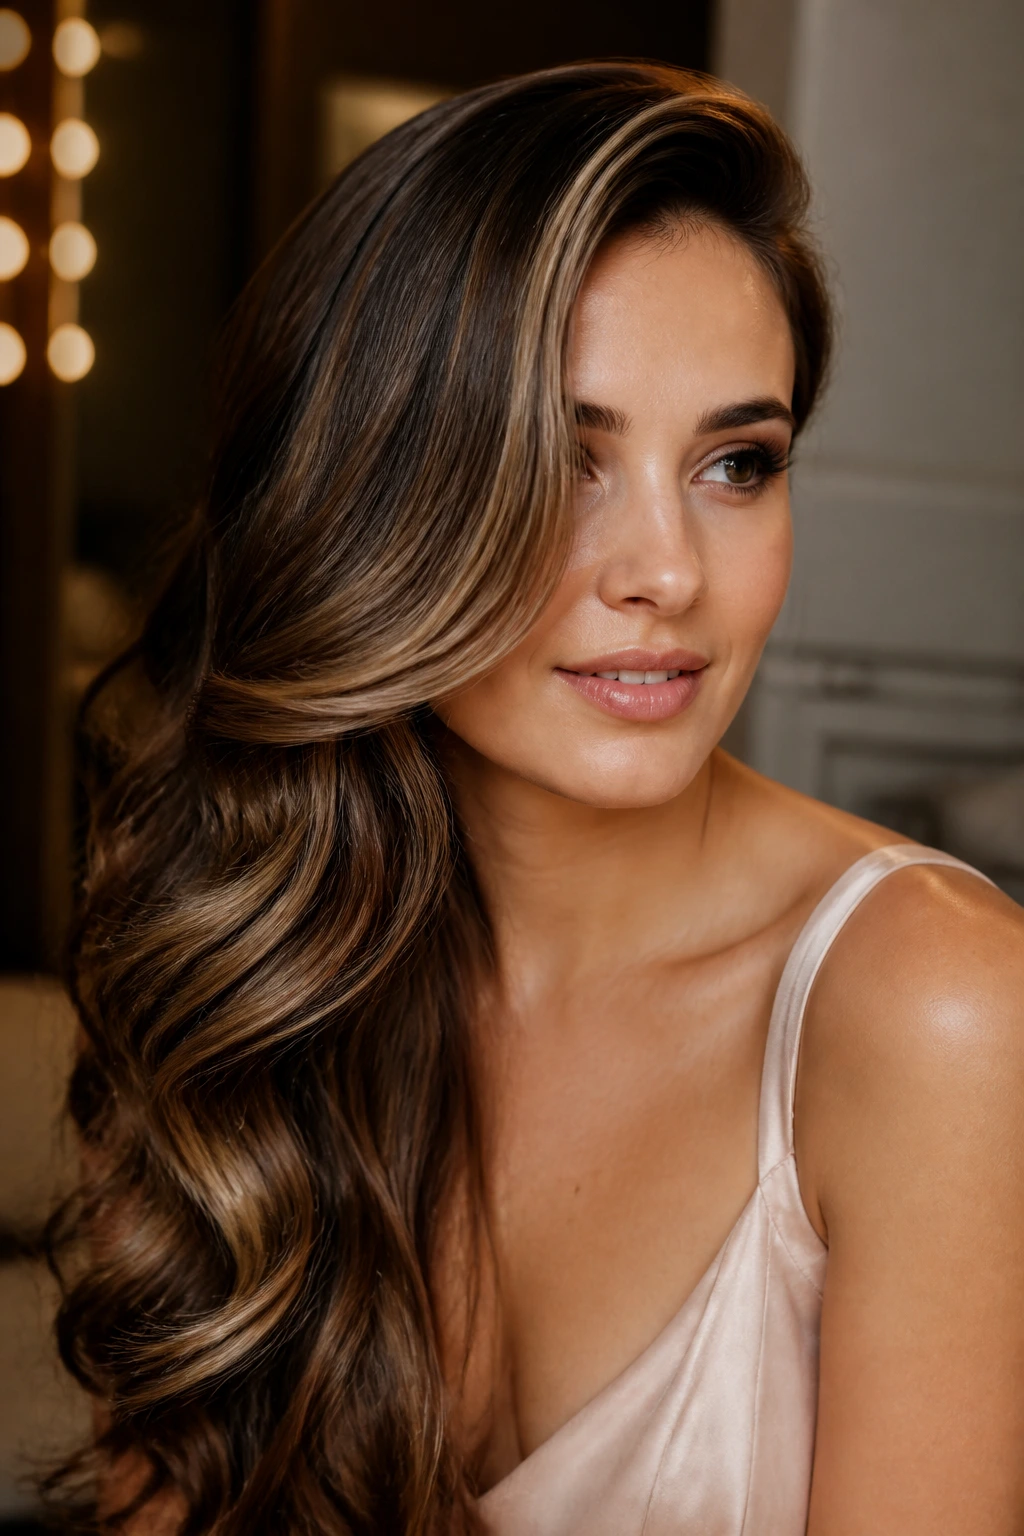
A side sweep gives thick hair a kind of formal softness that a center part can’t match. The hair falls in one glossy wave across the head and over one shoulder, which turns babylights into broad, elegant ribbons instead of small flashes. It’s a strong choice for events, dinners, or any night when you want the hair to look finished.
The styling usually starts with a deep side part and a large-barrel curl set. Pin the front curl into place while it cools, then sweep everything to one side and secure the back discreetly with pins if needed. The shape should feel controlled, not stiff. If the wave sits too high at the crown, it starts to look theatrical in a bad way.
This style loves long earrings. It also loves a collarbone-baring neckline.
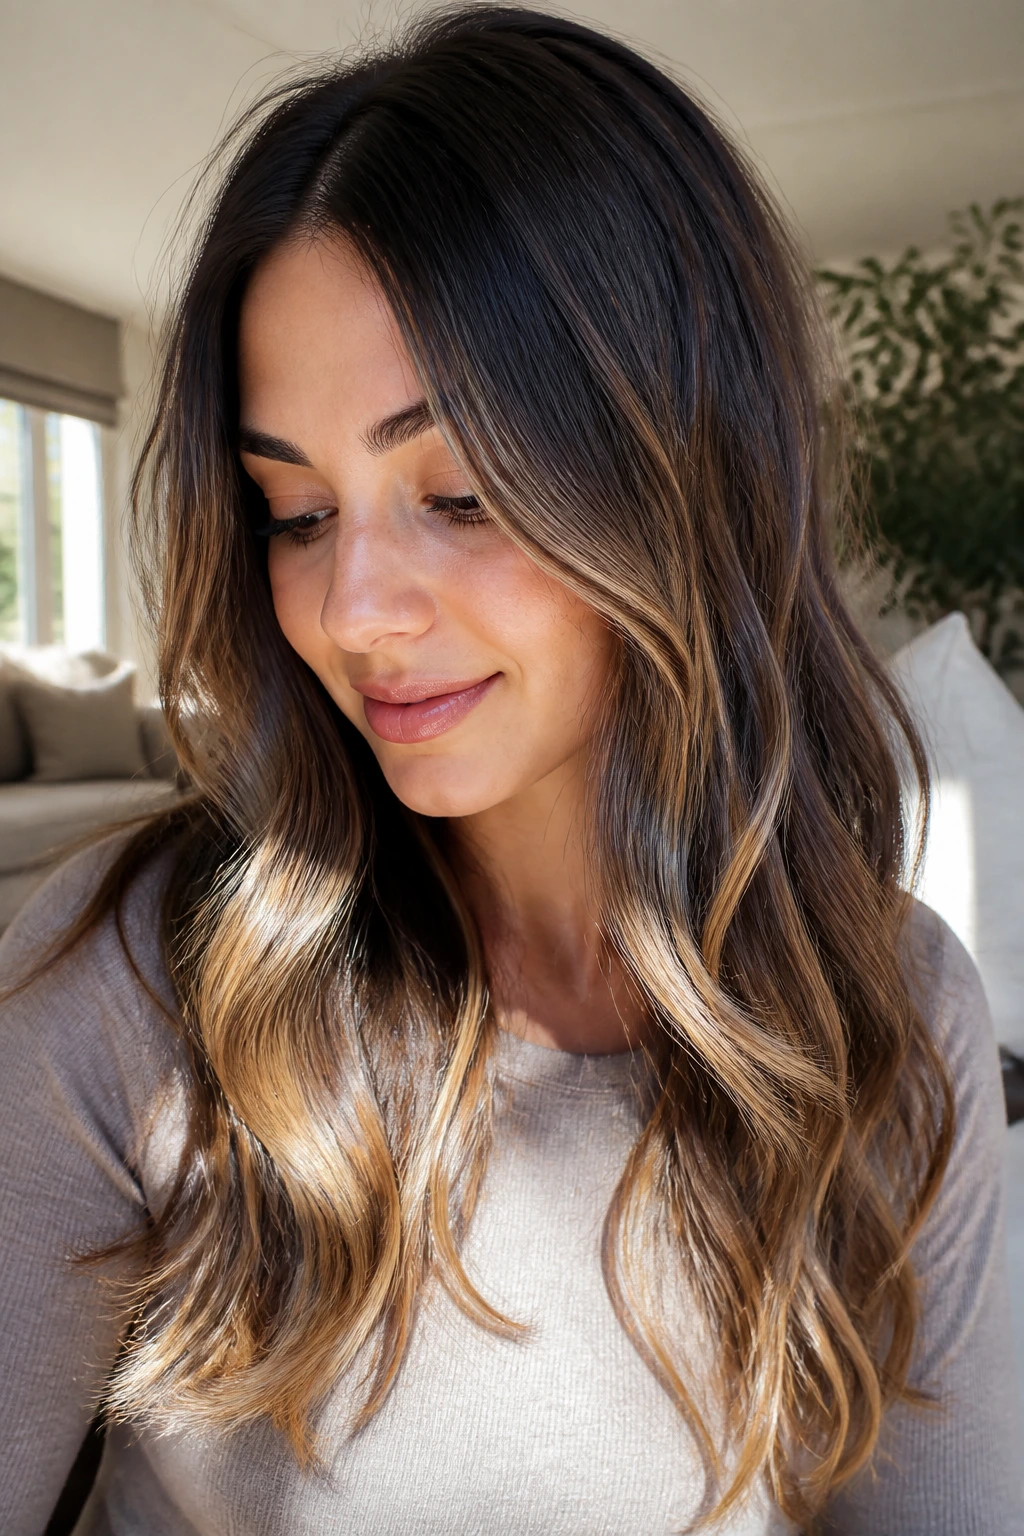
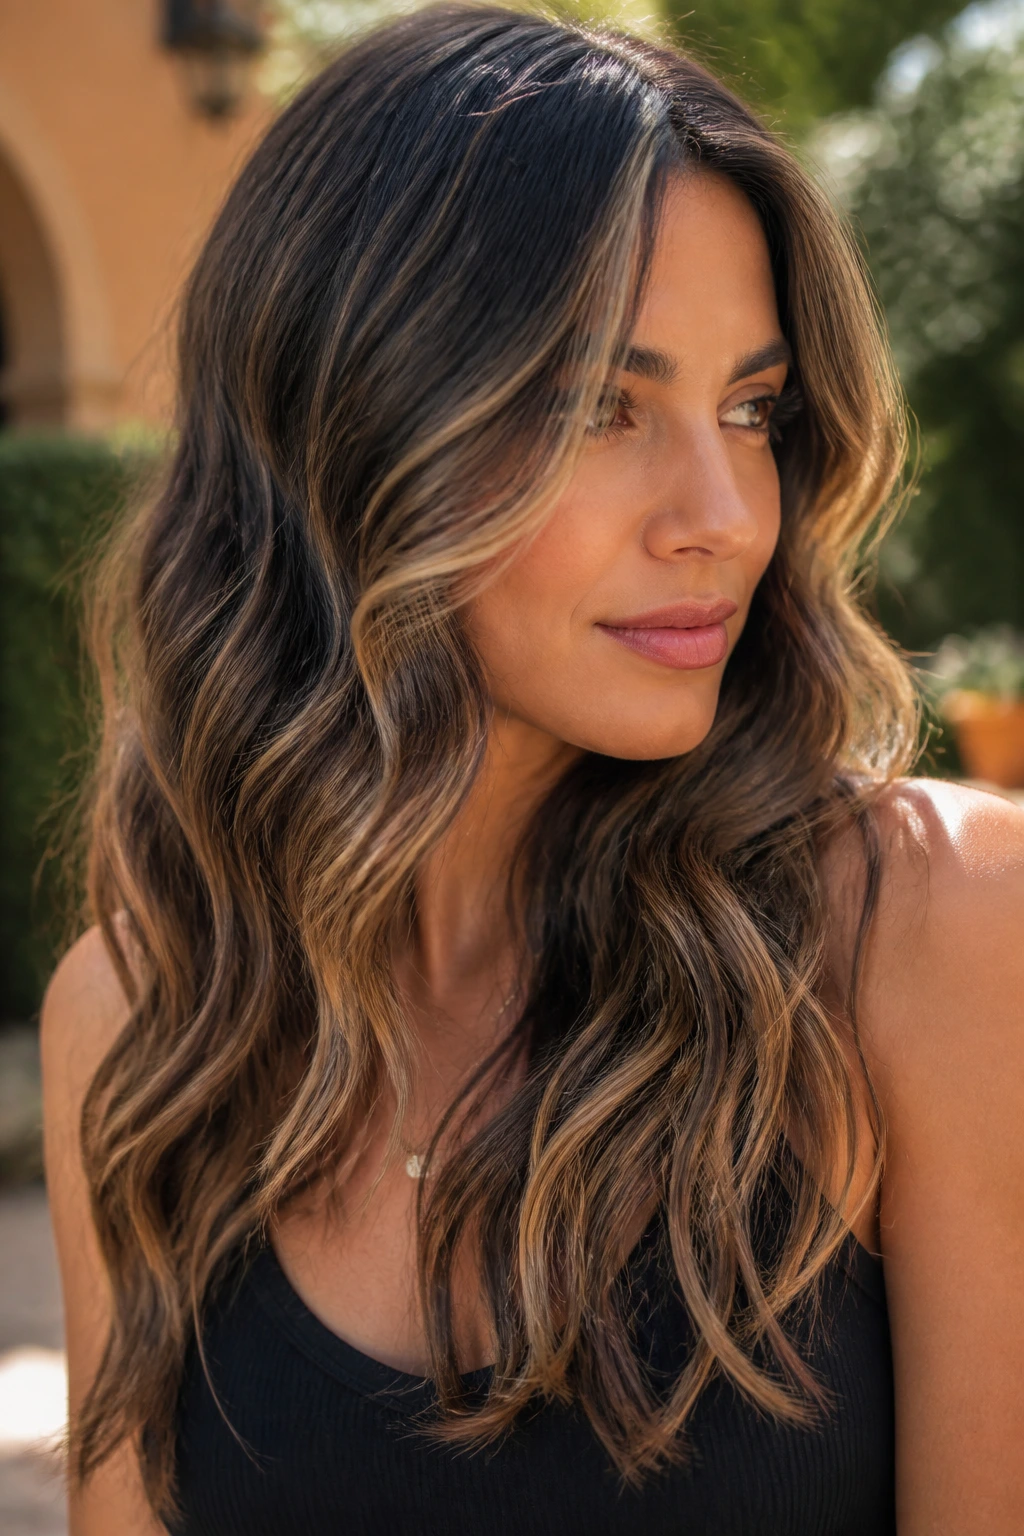
16. Soft Mermaid Waves
Soft mermaid waves are about length first and polish second. On thick hair, they keep the body of the hair visible while breaking it into long, loose bends that make babylights sparkle in the middle and lower sections. The ends stay a little straighter, which keeps the whole style from getting too puffy or too round.
Use a 1.25-inch or 1.5-inch barrel, depending on how much bend you want, and leave the last inch or so of each section out. That detail matters. If you curl all the way to the ends, thick hair can look dense at the bottom and swallow the light instead of showing it.
This is one of the easier styles to wear for a full day because it doesn’t need every wave to stay perfect. A few pieces falling slightly flatter only make it look more relaxed.
17. Crown-Clip Lift and Loose Lengths
A clip at the crown sounds simple because it is, and that’s why it works. Thick hair often needs a touch of lift at the top so the babylights can show on the upper layers instead of sinking under the weight of the rest of the hair. A small claw clip, tucked under a top section, gives you that lift without dragging the lengths up with it.
The key is placement. Slide the clip in just behind the front hairline, then let the top layer drape over it. You want the structure, not the hardware. Leave the rest of the hair loose in waves or a blowout, and the color gets more surface area around the face and crown.
This is a strong second-day style. It keeps the shape from going flat without asking for another full round of heat.
18. Voluminous Blowout with Flipped Ends
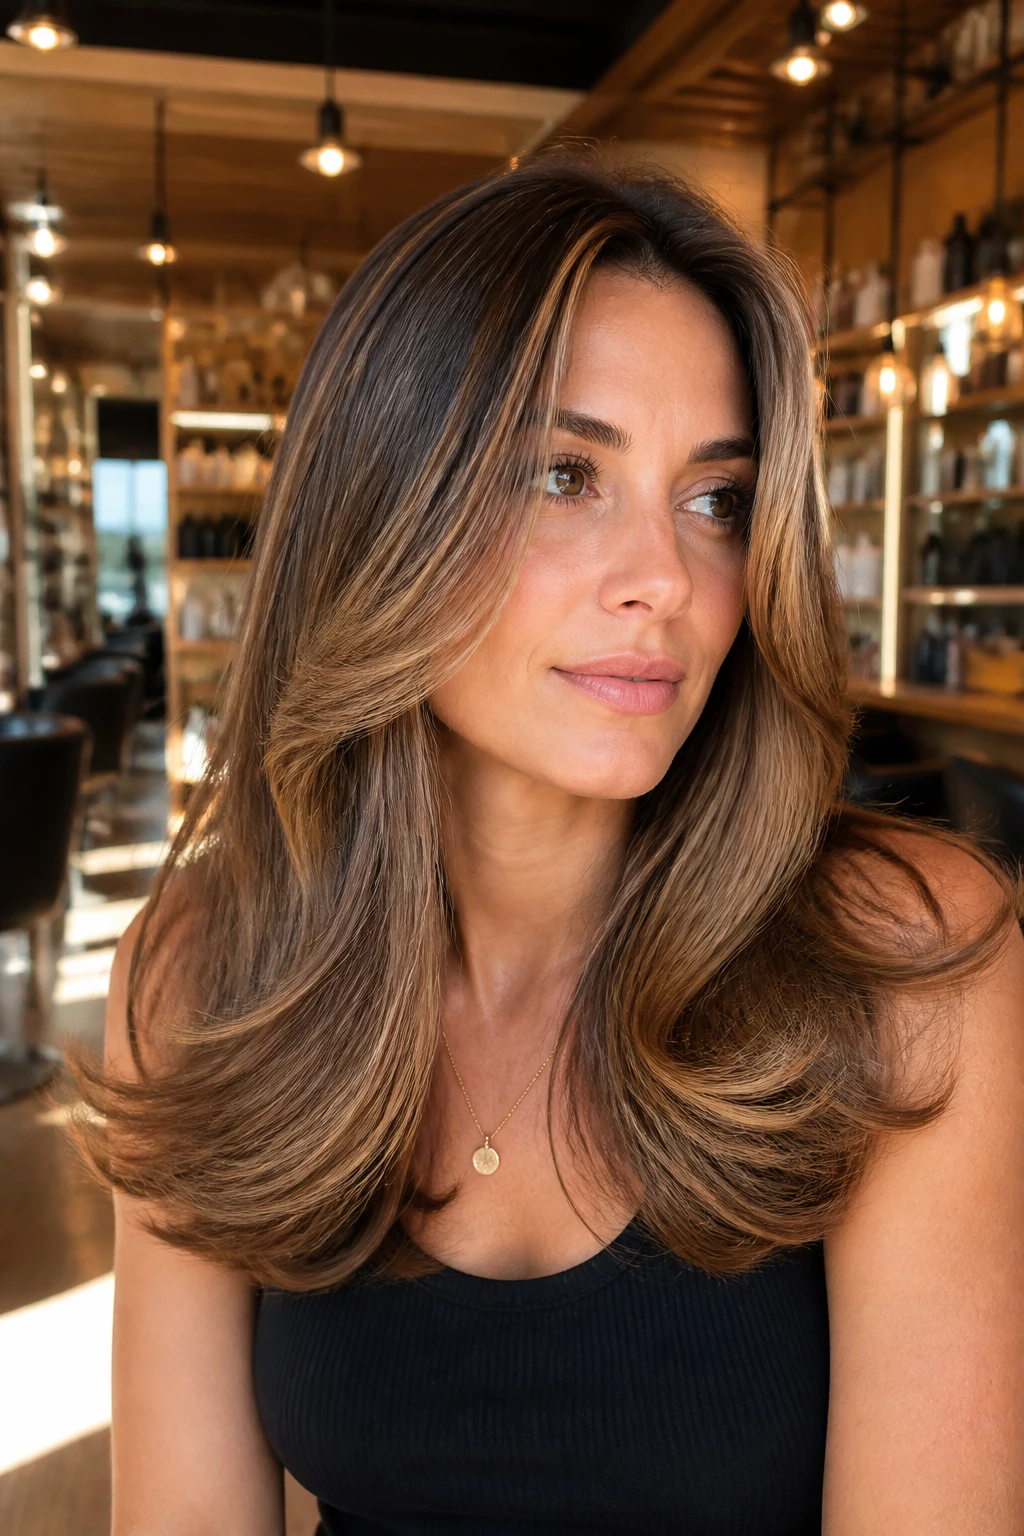
A voluminous blowout with flipped ends is a very specific kind of cheerful. The roots get lift, the mids stay smooth, and the ends turn outward just enough to catch the light. On thick hair, that outward flip stops the bottom edge from feeling heavy, which helps the babylights show through the length instead of hiding inside it.
Round brush the hair away from the face, then turn the brush slightly at the ends so they kick out instead of curling under. A large roller set at the crown for ten minutes can help if your roots are stubborn. Finish with a light mist of hairspray and a quick pass of shine spray on the front pieces.
This look feels retro without leaning costume-y. That’s the sweet spot.
19. Tucked-Behind-Ears Polished Length
Sometimes the cleanest answer is the easiest one. Tucking thick hair behind the ears pulls the babylights at the cheekbones and temples into view, which is exactly where a lot of subtle highlight work looks richest. The rest of the hair can stay loose, straight, or softly bent, but the front line needs to be smooth.
Use a tiny amount of smoothing cream through the outer layer, then tuck one side or both sides behind the ears. If your hair has a stubborn wave at the front, a quick pass with a brush while it’s warm helps it stay put. This style is especially good when you want earrings or a high neckline to stay visible.
It’s minimal, but not plain. That’s the difference.
20. Rope-Twist Waves
Rope twists create a softer, less uniform wave than braids, and thick hair takes to them well. The twist pattern bends the babylights in a way that looks slightly random in the best possible sense — irregular enough to feel relaxed, controlled enough to show the detail in the color.
How to wear it
- Divide damp hair into medium sections
- Twist each section tightly in one direction
- Fold it over itself and secure at the ends
- Let it dry fully before releasing
- Separate the waves with fingers, not a brush
If you want a no-heat style with more shape than a simple braid-out, this is the one. It gives the hair texture without turning the babylights into straight stripes.
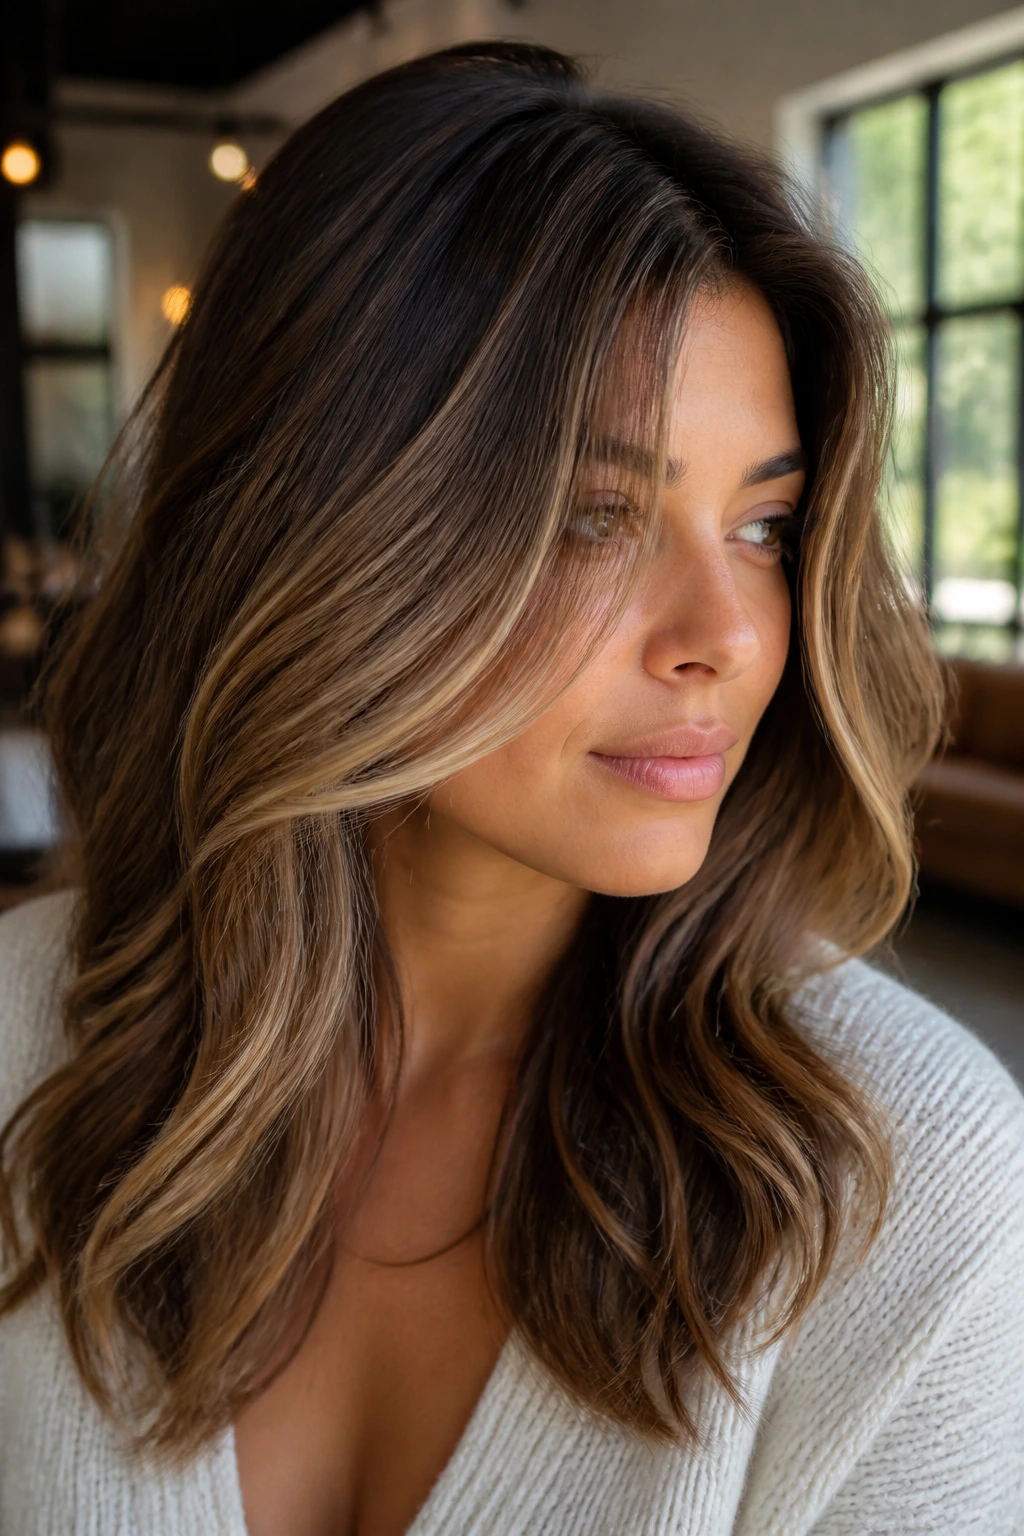
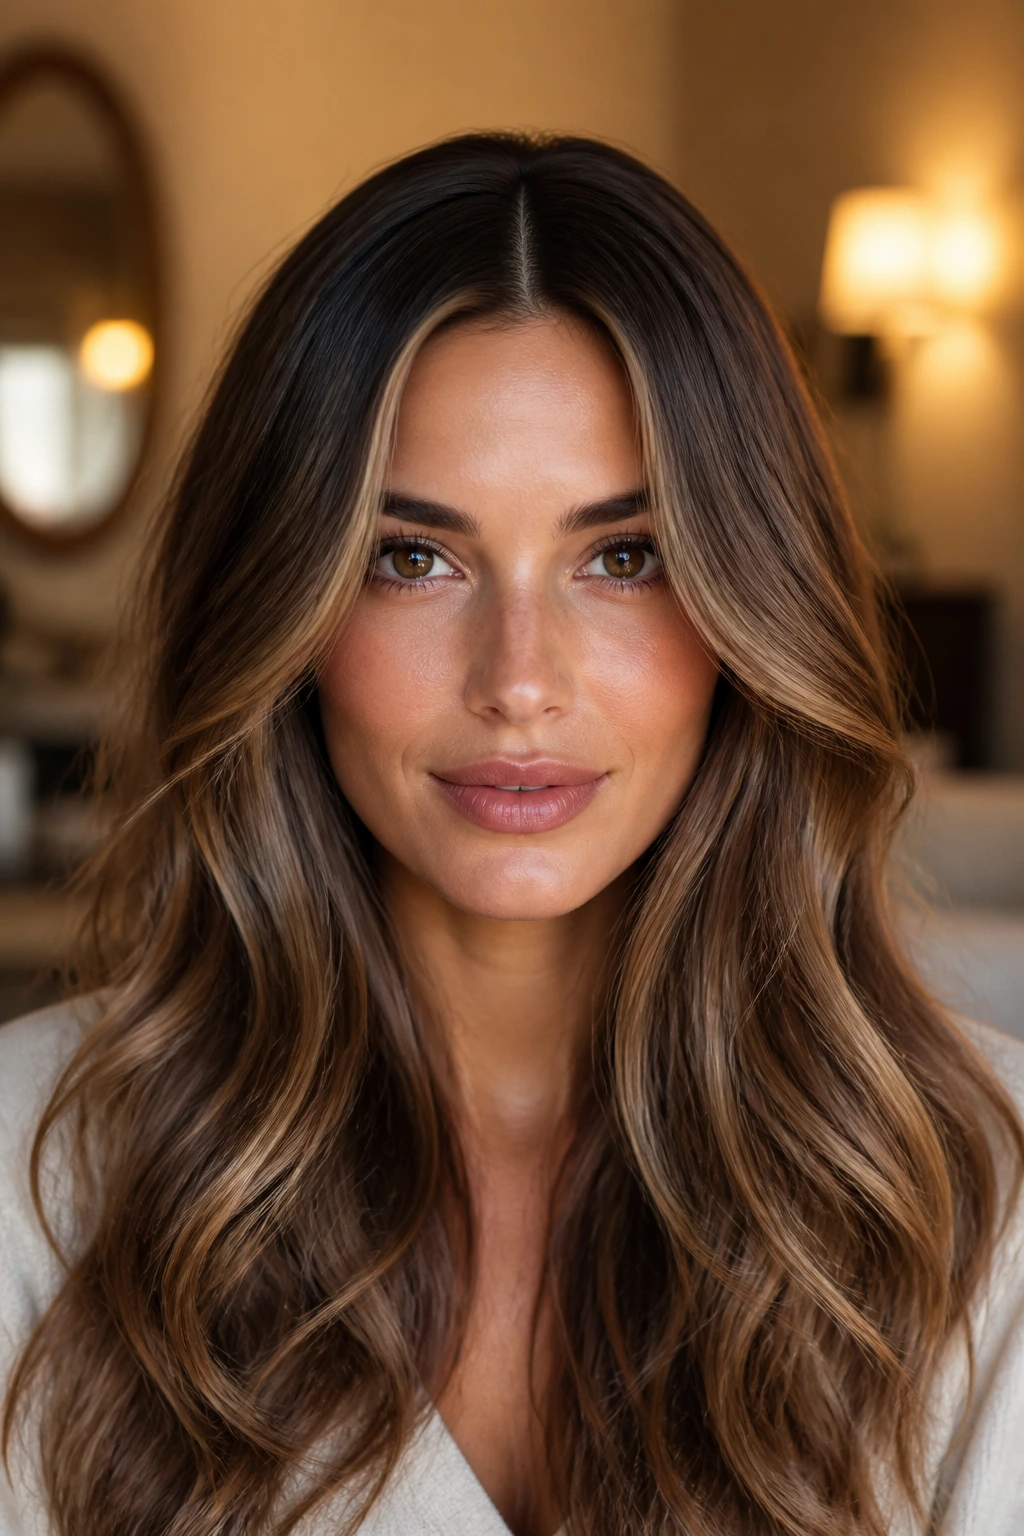
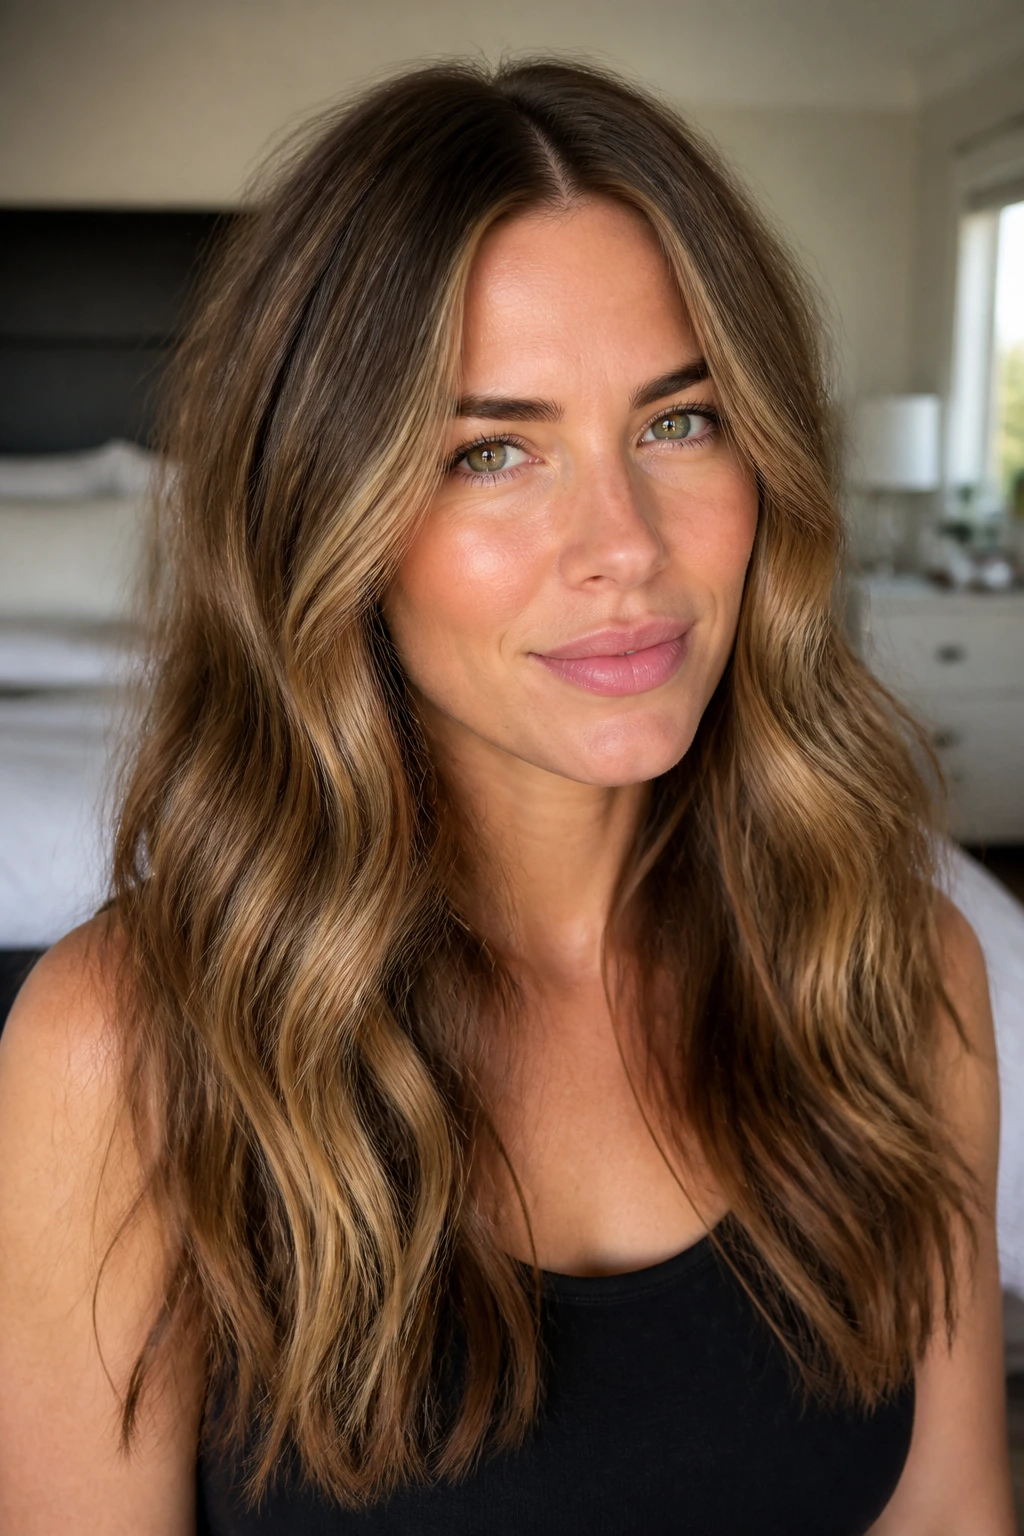
21. Face-Framing Layers with Bright Pieces
Face-framing layers are where babylights earn their keep. When the front pieces are cut to hit around the cheekbone, jaw, or collarbone, the color has a place to sit near the skin instead of disappearing into the rest of the hair. Thick hair needs that structure, or the front can feel like one solid wall.
I like this look when the babylights are a little brighter around the face and softer through the back. It creates a built-in focal point. You can wear it with loose waves, a blowout, or even straight hair, and it still reads clearly because the framing does the heavy lifting.
A small detail helps here: bend the front pieces away from the face so they don’t collapse inward. That little flip changes everything.
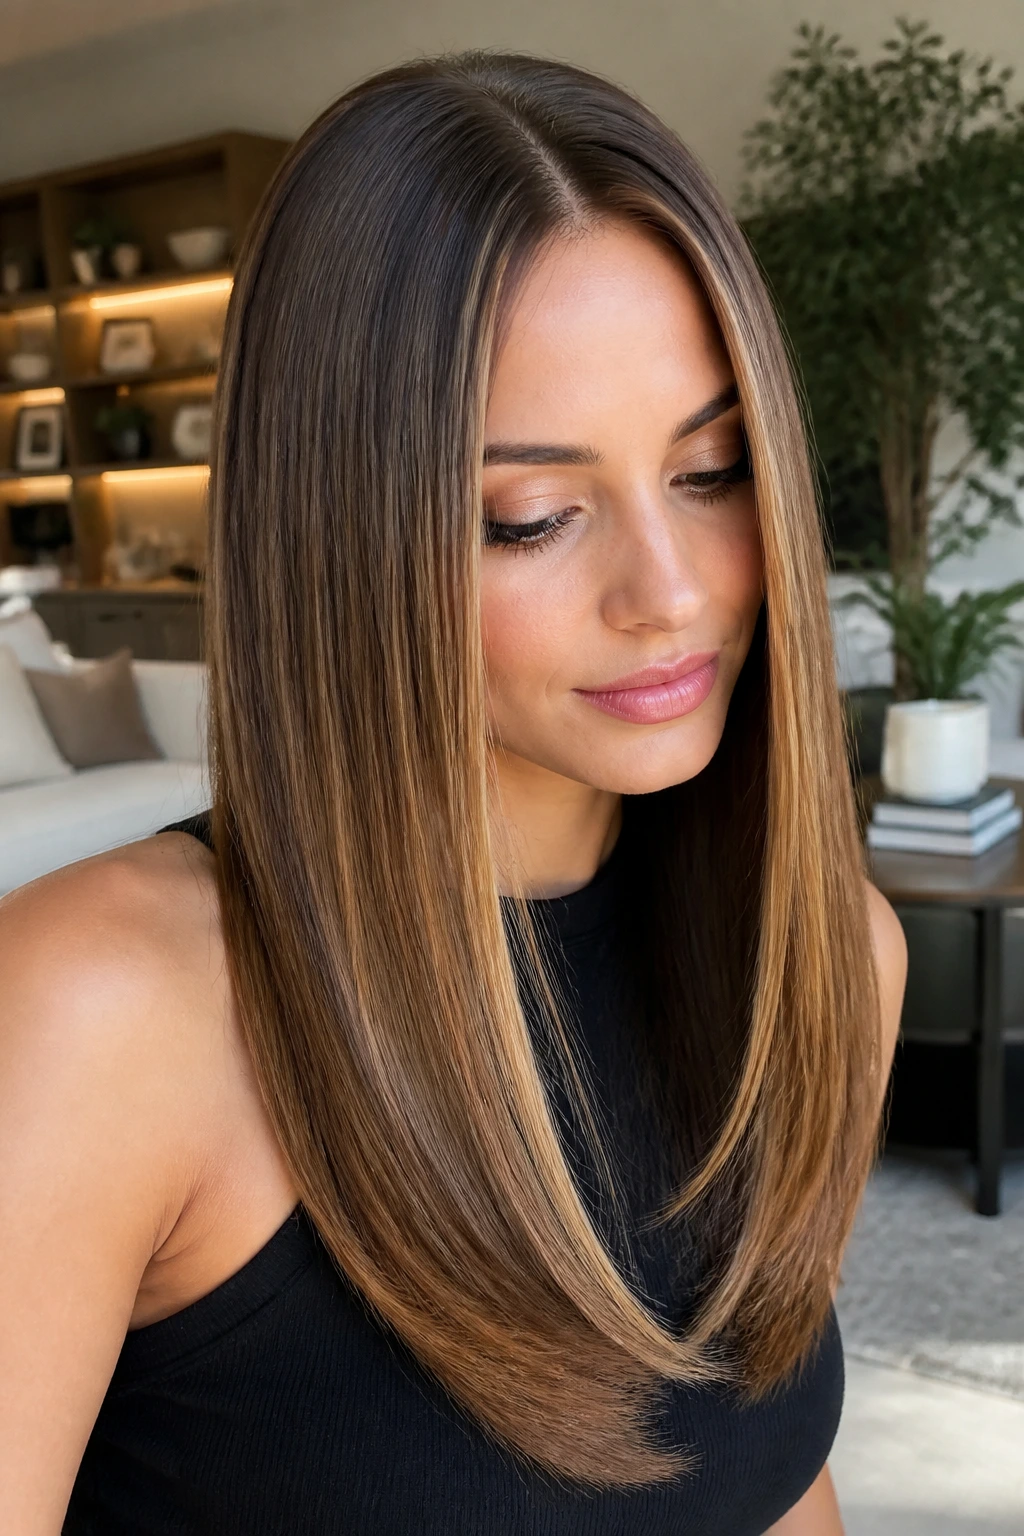
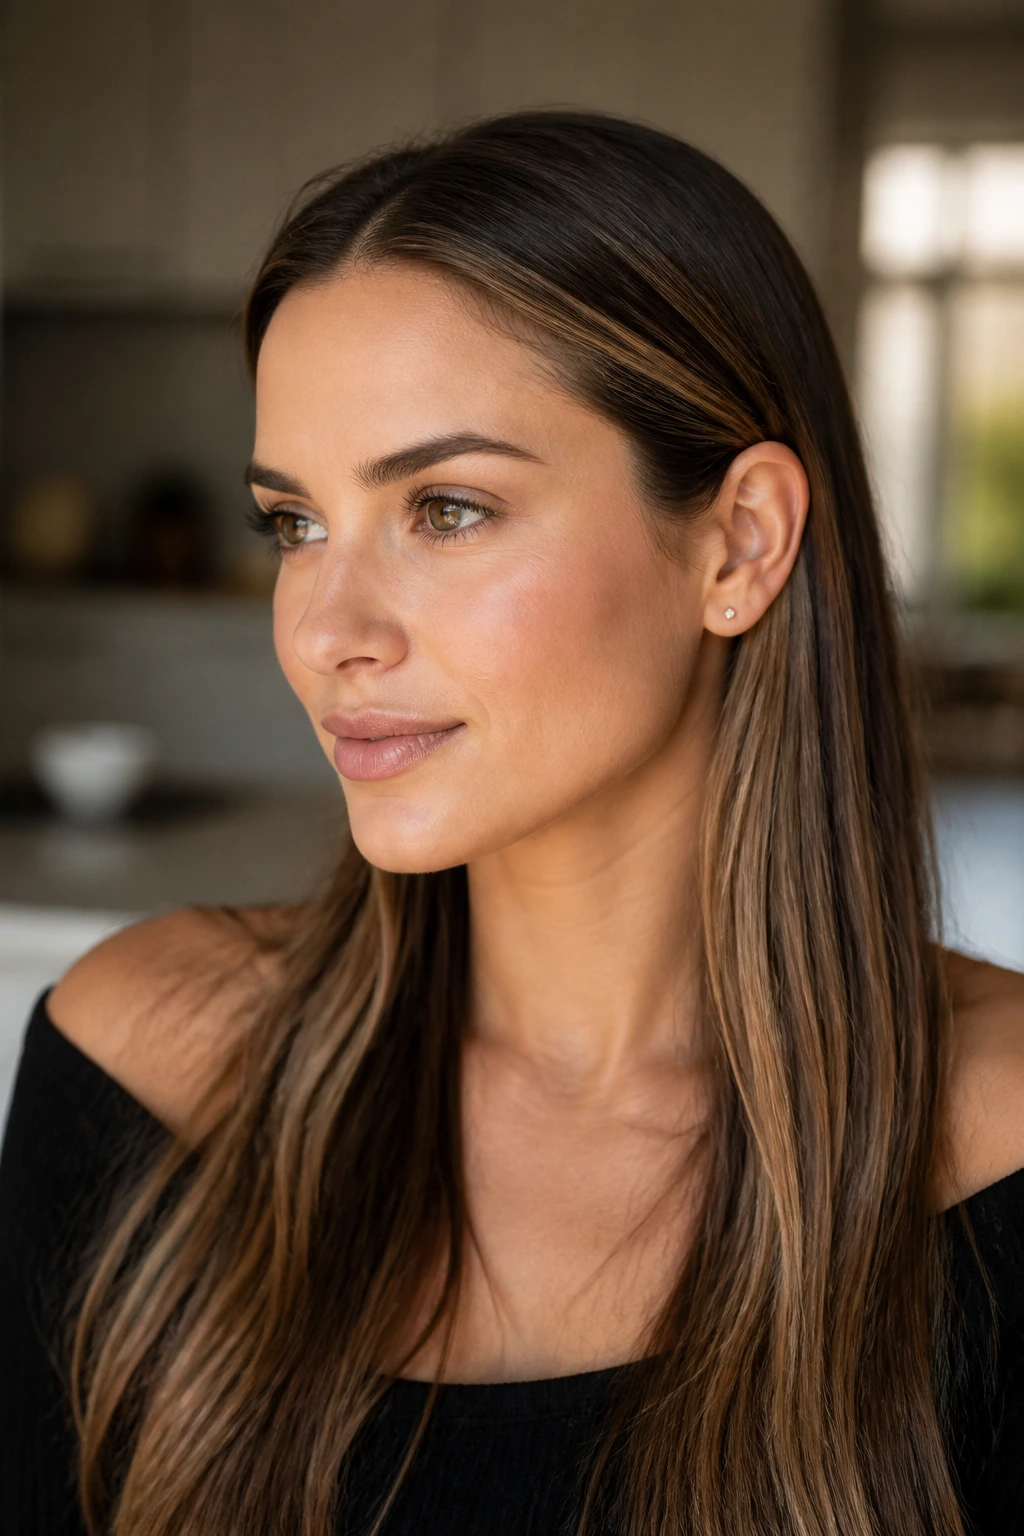
22. Glassy Straight with a Center Part
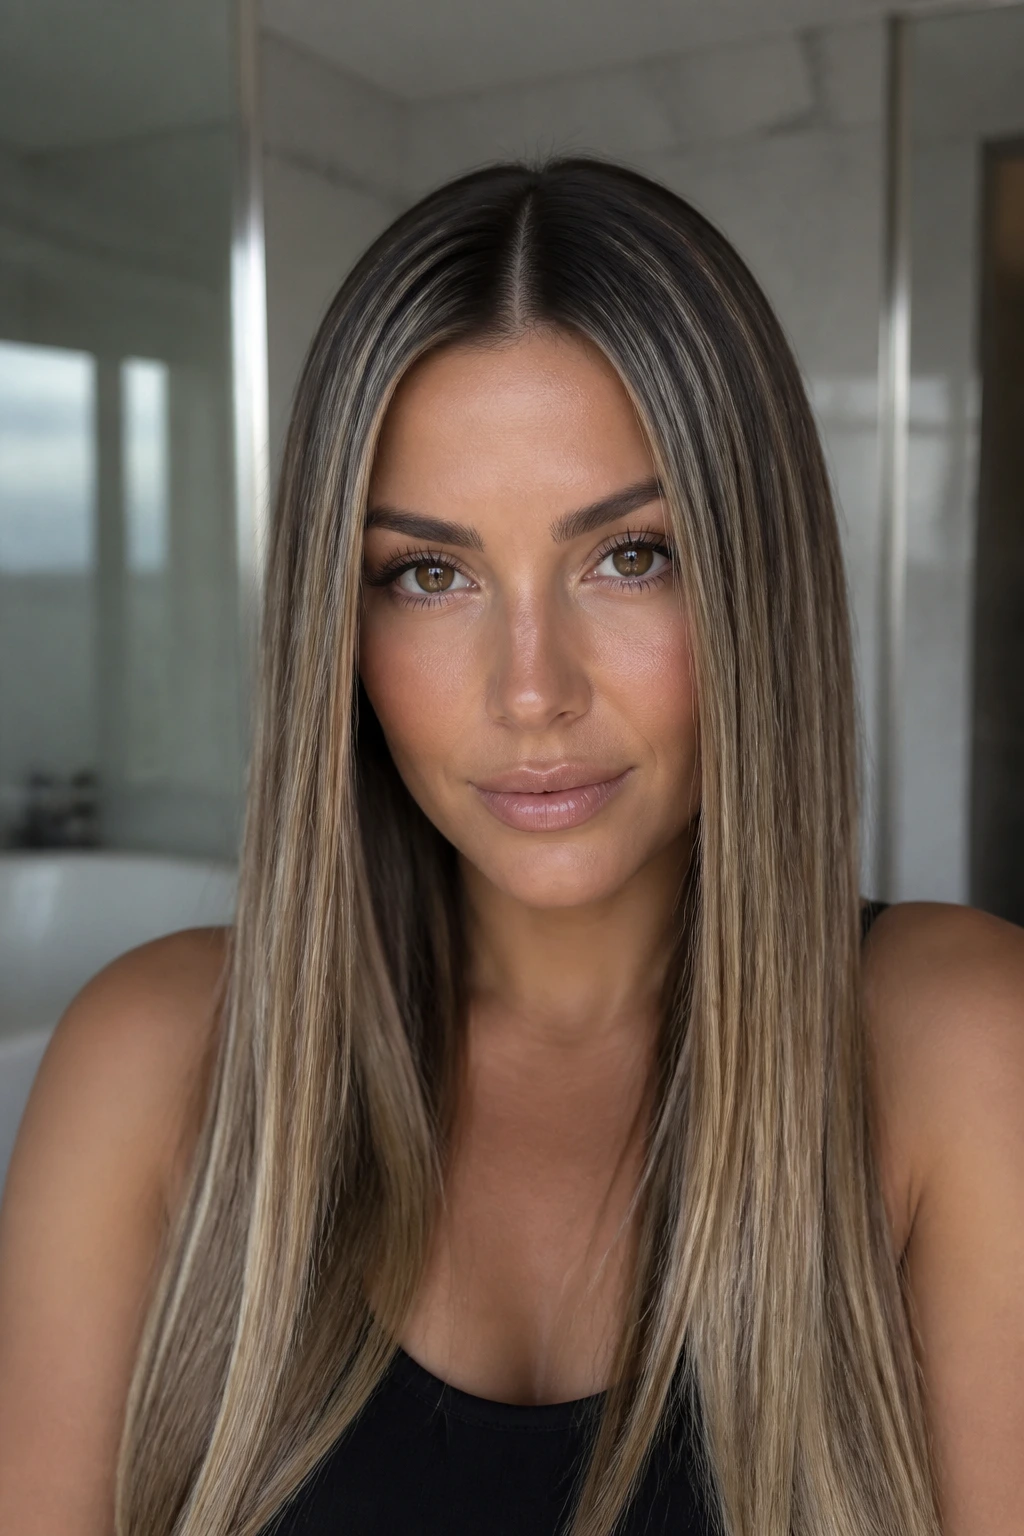
Glass-straight hair on thick hair is not about crushing the volume out of it. It’s about turning the surface smooth enough that every babylight strand looks crisp and clean. The center part keeps the style balanced, and the shine makes the color appear as fine vertical ribbons instead of soft blur.
Use heat protectant first, then work in small sections with a flat iron. One pass is usually enough if the hair has been dried properly. Finish with a drop of serum on the ends only and a mist of shine spray from about 8 to 10 inches away. Too much product, and the look turns greasy fast.
This style is best when you want precision. It has a sharper edge than the waves and blowouts, and that contrast is exactly why it belongs in this lineup.
Why Thick Hair and Babylights Need Different Styling Rules
Thick hair has more surface area, more weight, and more resistance than finer hair. That sounds obvious until you try to style babylights into it and realize the color can vanish under one blunt, heavy layer. The hair isn’t difficult. It’s just honest. If the cut and finish are too dense, the highlights stay hidden.
Babylights need movement because they’re tiny. A few broad curls, a lifted crown, a bend at the ends — those are what make the fine pieces of color show up in the real world instead of only in the mirror under bathroom lighting. Thick hair gives you the volume to make that movement last, which is a gift if you use it well.
The other piece is shape. Dense hair can sit like a block when it’s all one length, and that’s where babylights start to look flat. Long layers, invisible layers, feathered ends, and soft framing around the face stop that blocky feeling before it starts. I’d rather see a little irregularity in the shape than a perfectly even cut that buries the color.
The Cut, Color, and Products That Make Babylights Pop
If you’re shopping for the right cut, think long layers before you think dramatic chopping. Thick hair usually needs weight removed from the interior, not hacked off the bottom. U-shapes, butterfly layers, curtain bangs, and soft feathering all keep the perimeter from looking too solid while still leaving enough length for waves and curls to settle into.
Color placement matters just as much. Babylights placed only underneath the top layer can disappear unless the hair is parted or moved a certain way. A few brighter pieces around the front, crown, and top mid-lengths give the style more life because those are the sections people actually see first. A touch of lowlight underneath can keep the babylights from looking washed out, especially on very thick or very light hair.
Products need to be light enough to support movement without weighing the hair down. For root lift, I’d reach for a mousse or foam. For mid-length control, use a heat protectant cream or spray, depending on how coarse the hair feels. Save the heavier serums for the ends only. If the hair gets greasy at the crown by lunch, the product is too rich.
Essential Tools for These Looks
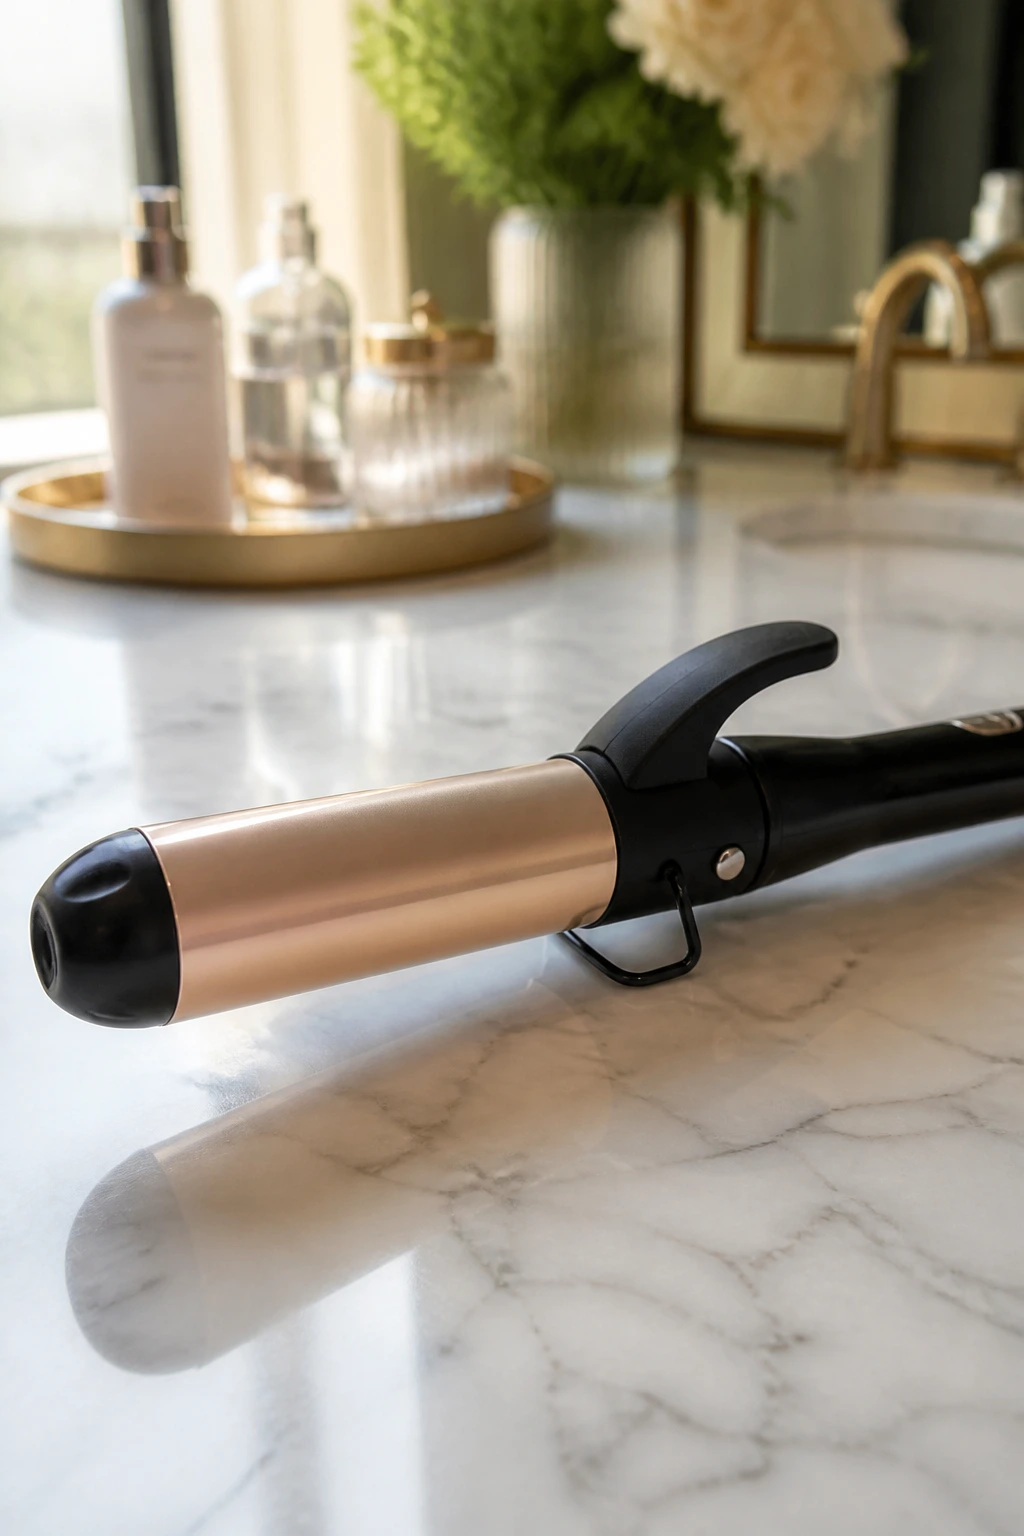
- 1.25-inch curling iron or wand — the most versatile barrel size for thick hair; it creates bend without making the waves too tight.
- Blow dryer with a concentrator nozzle — helps direct the roots and smooth the outer layer without blasting the color flat.
- Large round brush — useful for blowouts, beveled ends, and root lift around the crown.
- Sectioning clips — thick hair needs clean sections or it turns into a wrestling match fast.
- Heat protectant spray or cream — non-negotiable if you’re styling with heat more than once a week.
- Volumizing mousse — gives the roots some grip so the style doesn’t settle by noon.
- Flexible-hold hairspray — keeps movement in place instead of freezing the hair stiff.
- Paddle brush or boar-bristle brush — good for brushing out curls into soft waves.
- Lightweight shine serum — use a few drops on the ends; anything more will flatten the babylights.
- Silk pillowcase or scarf — not a styling tool in the strict sense, but it saves the finish overnight.
How to Wear These Styles for Work, Weddings, and Weekends
Presentation: Keep the part clean and deliberate. A center part feels polished, a side part adds lift, and a tucked front section lets babylights show around the face without needing more styling.
Accessories: Thin hoops, pearl pins, silk bows, and small claw clips all work with babylighted thick hair because they don’t fight the volume. Heavy headpieces can crush the crown and hide the highlight detail.
Outfit Pairings: Open collars, square necks, off-the-shoulder tops, and soft knits let the hair sit around the face and shoulders instead of getting crowded out by the neckline. For formal looks, a sleek dress with a high shine finish in the hair reads more precise than something overly fussy.
Best For: Blowouts and brushed-out curls fit office days and dinners. Side sweeps, Hollywood waves, and glossy straight styles lean formal. Air-dried bends, rope twists, and boho braids feel more relaxed, but they still show off the babylights if the front pieces are shaped well.
Shine Boosters and Personal Tweaks
Color Enhancement: A clear or demi gloss every few weeks keeps babylights from looking dusty on thick hair. If the tone starts to drift warm or brassy, ask for a toner that respects the base instead of chasing a silvery finish that doesn’t belong there.
Customization: Coarse thick hair usually likes cream-based smoothing products and a bigger barrel. Wavy thick hair does better with mousse and a little texture spray. Curly thick hair often looks best when you shape the curls instead of brushing them out into a blur.
Frizz Control: Keep serum off the roots and use it only on the last few inches. That’s where thick hair usually fuzzes first, especially around the ends and front layers.
Make-It-Yours: If you want more drama, deepen the side part and add root lift. If you want a softer mood, keep the part close to the center and brush the waves out until they feel loose, not styled to death.
Keeping Babylights Fresh Between Washes

Babylights stay sharp longer when the hair isn’t overloaded at the roots. On the day you wash, use a light shampoo and keep conditioner away from the scalp. Thick hair usually needs conditioner somewhere, but it does not need it on the top inch of the head unless you want the style to collapse early.
The next morning is usually the best time to refresh a blowout or wave. A quick mist of water on the front sections, a touch of mousse or leave-in on the mids, and a few minutes with a round brush or curling iron around the face is often enough. You do not need to redo the entire head. That’s the mistake people make when they panic and overstyle the whole thing.
By day two or three, dry shampoo can help the crown stay lifted, but use it sparingly. Too much powder turns thick hair dull and can make the babylights look dusty. If the ends feel frizzy, smooth them with one small drop of serum warmed between your palms. For nighttime, a silk pillowcase or loose silk wrap keeps the surface from roughing up.
Color maintenance matters too. A gloss or toner every 6 to 8 weeks keeps the babylights crisp, and a hydrating mask once a week helps thick hair hold shine without going limp. If you use hot tools often, a stronger deep-conditioning treatment every 10 to 14 days is worth the time.
Variations and Adaptations to Try
Warm Honey Glow: Swap cooler blonde tones for honey, caramel, or amber babylights if your base is warm. This version looks especially good in waves and blowouts because the highlights read rich rather than icy. It also blends more softly as the color grows out.
Cool Beige Ribboning: If you like a cleaner, ashier finish, ask for beige or beige-blonde babylights and keep the styling smooth. Glassy straight hair, S-waves, and side sweeps work especially well because the cooler tone shows up best in sleek movement.
Humidity-Resistant Bend: Thick hair in humid air needs a style with structure at the root and softness through the ends. Use mousse, blow-dry completely, then set the front pieces with a curling iron and let them cool before touching them. The babylights stay visible even when the air gets sticky.
No-Heat Texture Stack: For a gentler routine, try rope twists, loose braids, or a twist-and-air-dry method. This keeps the babylights from looking rigid and gives the hair a more lived-in shape. It also buys the cut some breathing room if you’re trying to stretch wash days.
Curly-Thick Definition: If your thick hair is naturally curly, keep the layers soft and the styling light. Diffuse with a curl cream, avoid heavy brushing, and let the babylights sit inside the curl pattern instead of forcing them into a blown-out shape. The color often looks strongest when the curls are defined, not stretched flat.
Common Mistakes to Avoid
- Curling every section the same way: When all the waves bend in one direction, thick hair can look like one giant tube. Alternate the curl direction and leave a few front pieces away from the face so the babylights don’t get swallowed.
- Using too much serum: A heavy oil can flatten the crown and blur the highlight detail. Keep shine products on the ends and use only a few drops.
- Skipping layers in a very dense cut: One-length thick hair often hides babylights at the lower half and turns the ends bulky. Ask for long or invisible layers if you want movement.
- Overheating the hair: High heat may smooth fast, but it also fries the surface and makes babylights look dry. A moderate temperature and slower sectioning usually give a cleaner finish.
- Brushing out too much texture: A little softness is good. Over-brushing turns waves into puff and removes the very bends that help the color show.
- Ignoring the front pieces: If the face frame lies flat, the whole style can feel dull even when the back looks fine. Rework the front with a brush or iron before you call it done.
Frequently Asked Questions
Which hairstyle shows babylights best on thick hair?
Soft ribbon waves, a butterfly cut, and a polished blowout usually show the most dimension because they break the hair into moving sections. If the hair is very dense, the babylights need that movement or they get buried under the top layer.
Do babylights make thick hair look thinner?
Not by themselves. Babylights add visual depth, but the cut decides whether the hair feels lighter or bulkier. Long layers or a U-shape can take the weight down without making the hair look sparse.
Can I wear these styles if my hair is naturally curly?
Yes, but the best versions keep the curl pattern in mind. Diffused curls, soft twist-outs, and layered shapes let the babylights show without forcing the hair into a blown-out finish it doesn’t want.
What barrel size works best for thick hair?
A 1.25-inch barrel is the most flexible choice. It makes a bend that reads soft after brushing, and it’s large enough to hold shape in dense hair without creating tiny, stiff curls.
How do I stop thick hair from looking puffy around the ends?
Use a cut with long layers or a U-shaped perimeter, then keep the finish smooth at the bottom. A tiny bevel or a soft wave at the ends keeps the style from turning into a triangle.
Can I do these looks without heat?
Yes. Rope twists, braids, and air-dried bends work well when the hair has enough natural texture. You’ll get a softer result than a hot-tool style, but the babylights can still show nicely if the front pieces are shaped.
What if my waves fall flat halfway through the day?
Usually the roots were underprepared or the sections were too wide. Use mousse at the base, cool the curls fully before brushing, and carry a small dry texture spray for the crown if your hair is especially heavy.
How often should babylights be toned or refreshed?
A gloss every 6 to 8 weeks is a solid rhythm for most thick hair. If the hair is porous or picks up brass quickly, you may need the toner refreshed sooner, but the exact timing depends more on the base and products than the calendar.
The Styles That Let the Color Breathe
The best babylighted styles for thick hair do one thing well: they leave room for the color to move. A heavy cut, a flat finish, or too much product can hide those fine highlights in a hurry, while a good layer, a clean part, or a soft bend wakes them right back up.
That’s why the simplest looks here often win. A blowout with a little crown lift, a wave with brushed-out softness, or a sleek center part with beveled ends can show more dimension than a fussy style that tries too hard. Thick hair already brings the volume. Let the shape do the talking.
If you want one place to start, pick the style that matches how you actually wear your hair most days — then make one small upgrade: better layers, a cleaner part, or a softer wave at the front. That single shift is usually where the babylights finally stop hiding and start doing what they were meant to do.