Thin hair changes the rules, and the usual weave sew-in styles for Black hair with thin hair need more thought than a simple bundle count. If the install is too heavy, too tight, or too busy at the front, the whole style starts fighting the hair underneath it. You feel it first in the scalp. Then you see it in the part line and the edges.
The fix is not to give up on sew-ins. It’s to choose shapes that do some of the visual work for you. A blunt bob can make fine density look fuller than a waist-length install ever will. A closure can protect a fragile hairline better than a wide leave-out. Soft waves, layered ends, and strategic parts can hide a lot of scalp without making the style look bulky or fake.
That’s the sweet spot here: styles that read full on the outside and stay gentle on the inside. Not every sew-in has to be heavy to look expensive. Some of the smartest looks are actually the lightest ones.
Why These Styles Work for Thin Hair
- Less leave-out, less pressure: Styles built around closures, minimal leave-out, or hidden parts keep delicate edges from doing the whole job.
- Shape creates fullness: A blunt cut, a side part, or a layered wave can make the hair look denser without adding more bundles.
- Medium length usually wins: Shoulder-length and collarbone cuts often look thicker than very long hair because the ends don’t stretch out and go wispy.
- Texture hides track lines: Body wave, water wave, kinky straight, and curled ends break up flat lines better than pin-straight hair.
- A lighter install feels better: When the braids underneath aren’t carrying extra weight, the style sits flatter and lasts longer before the scalp starts complaining.
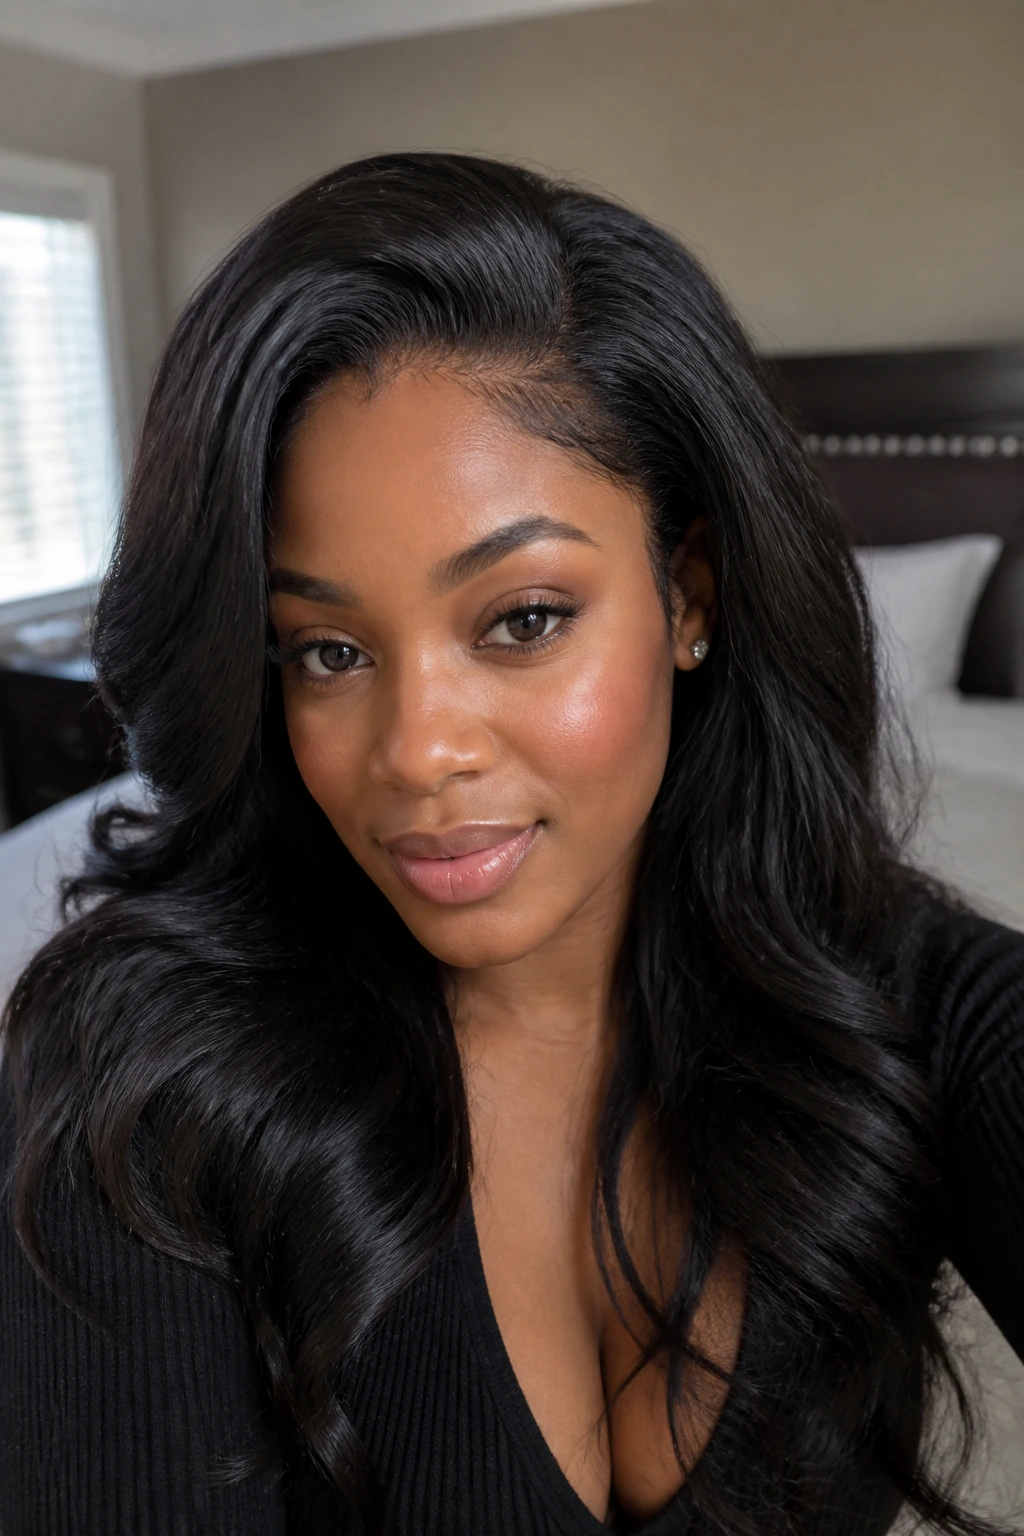
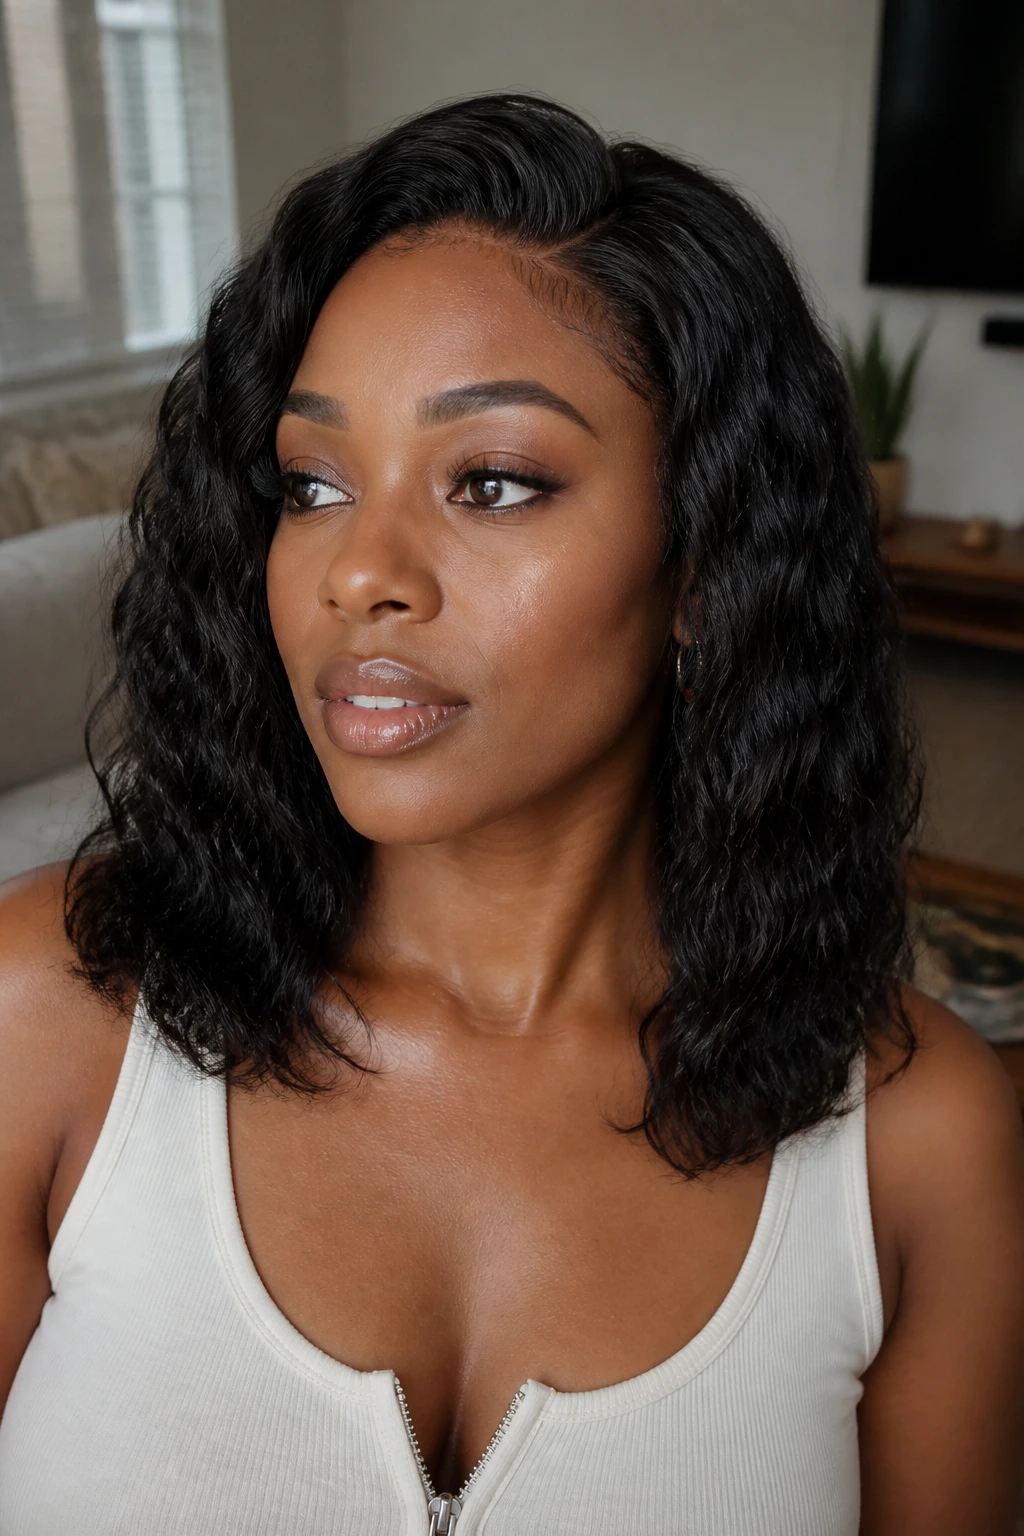
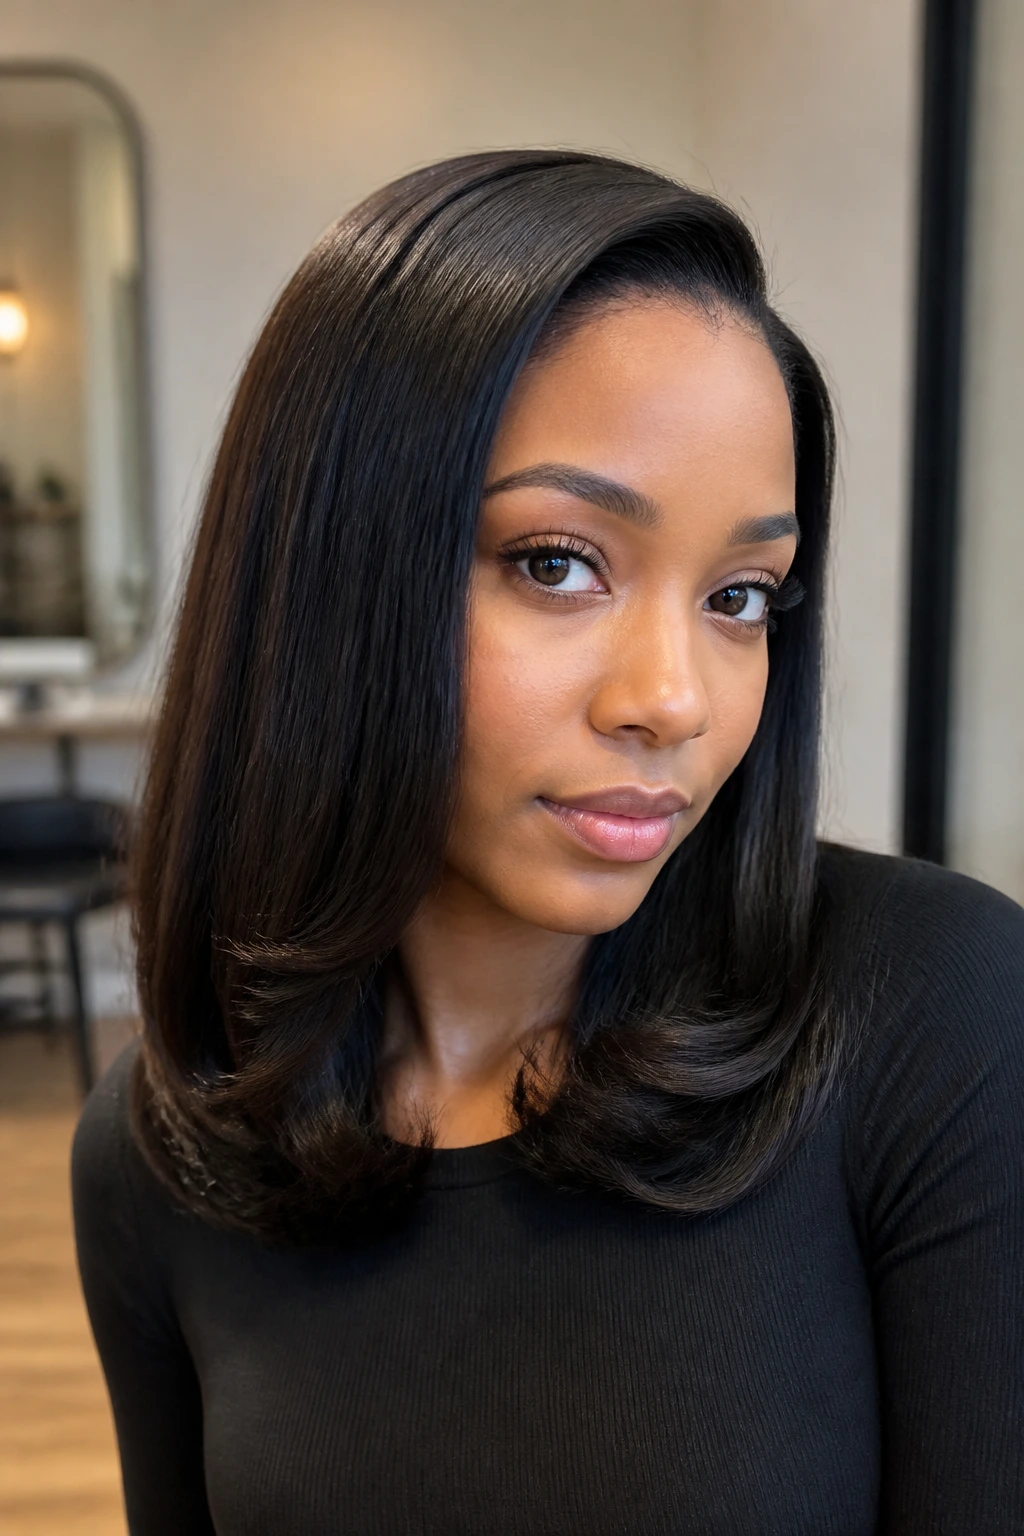
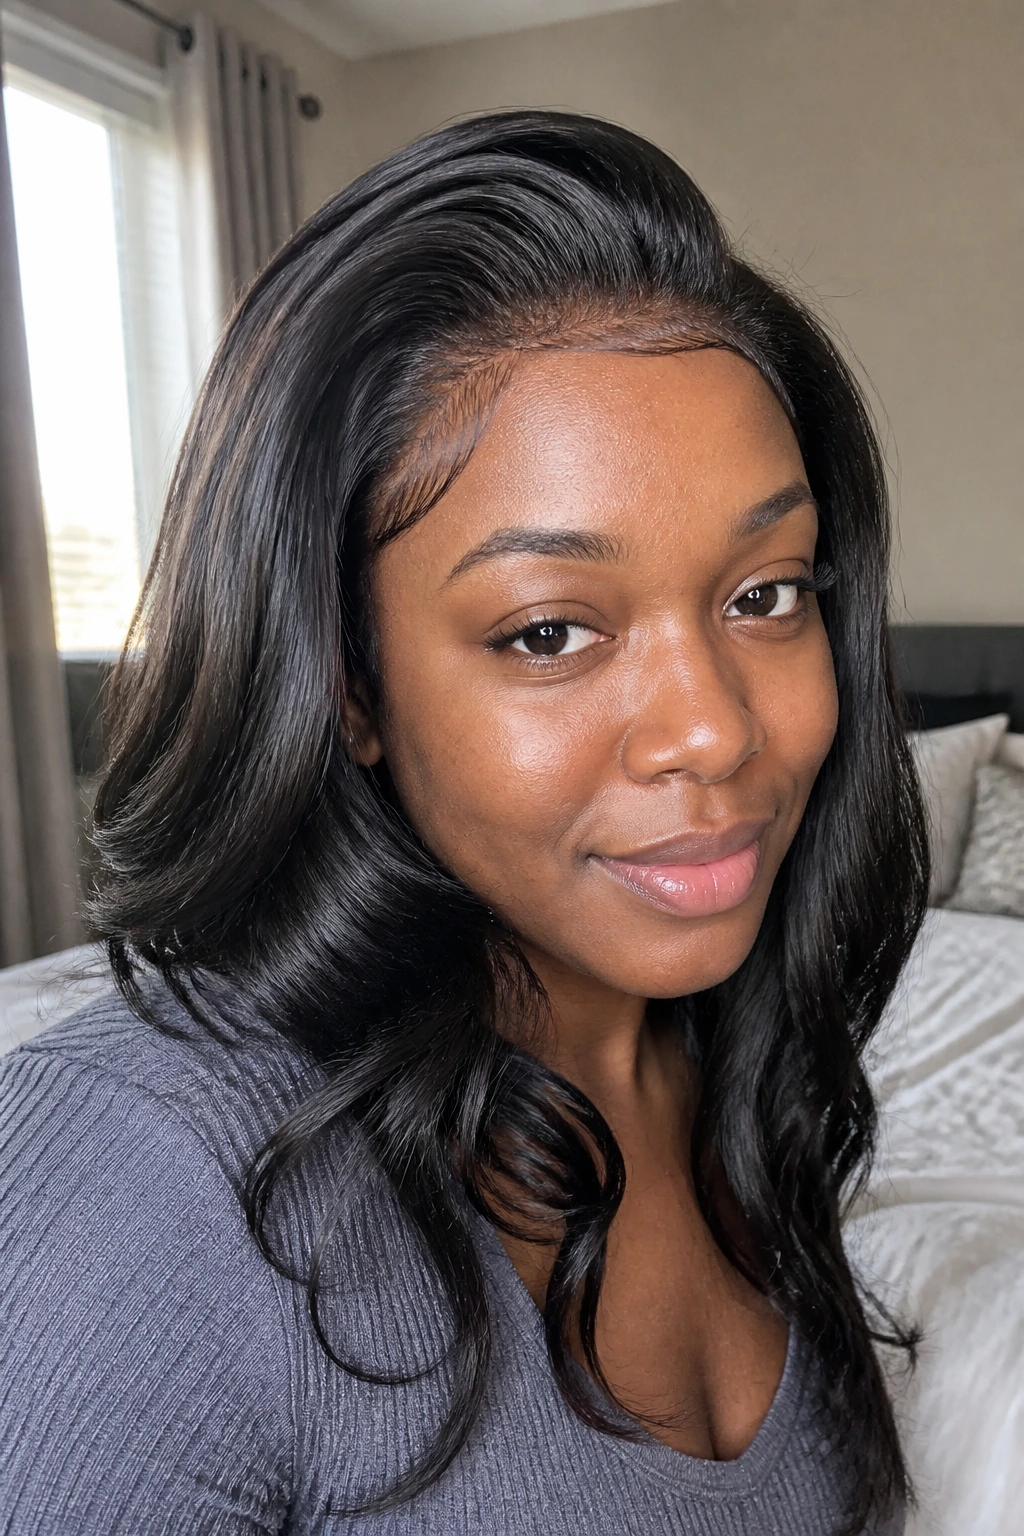
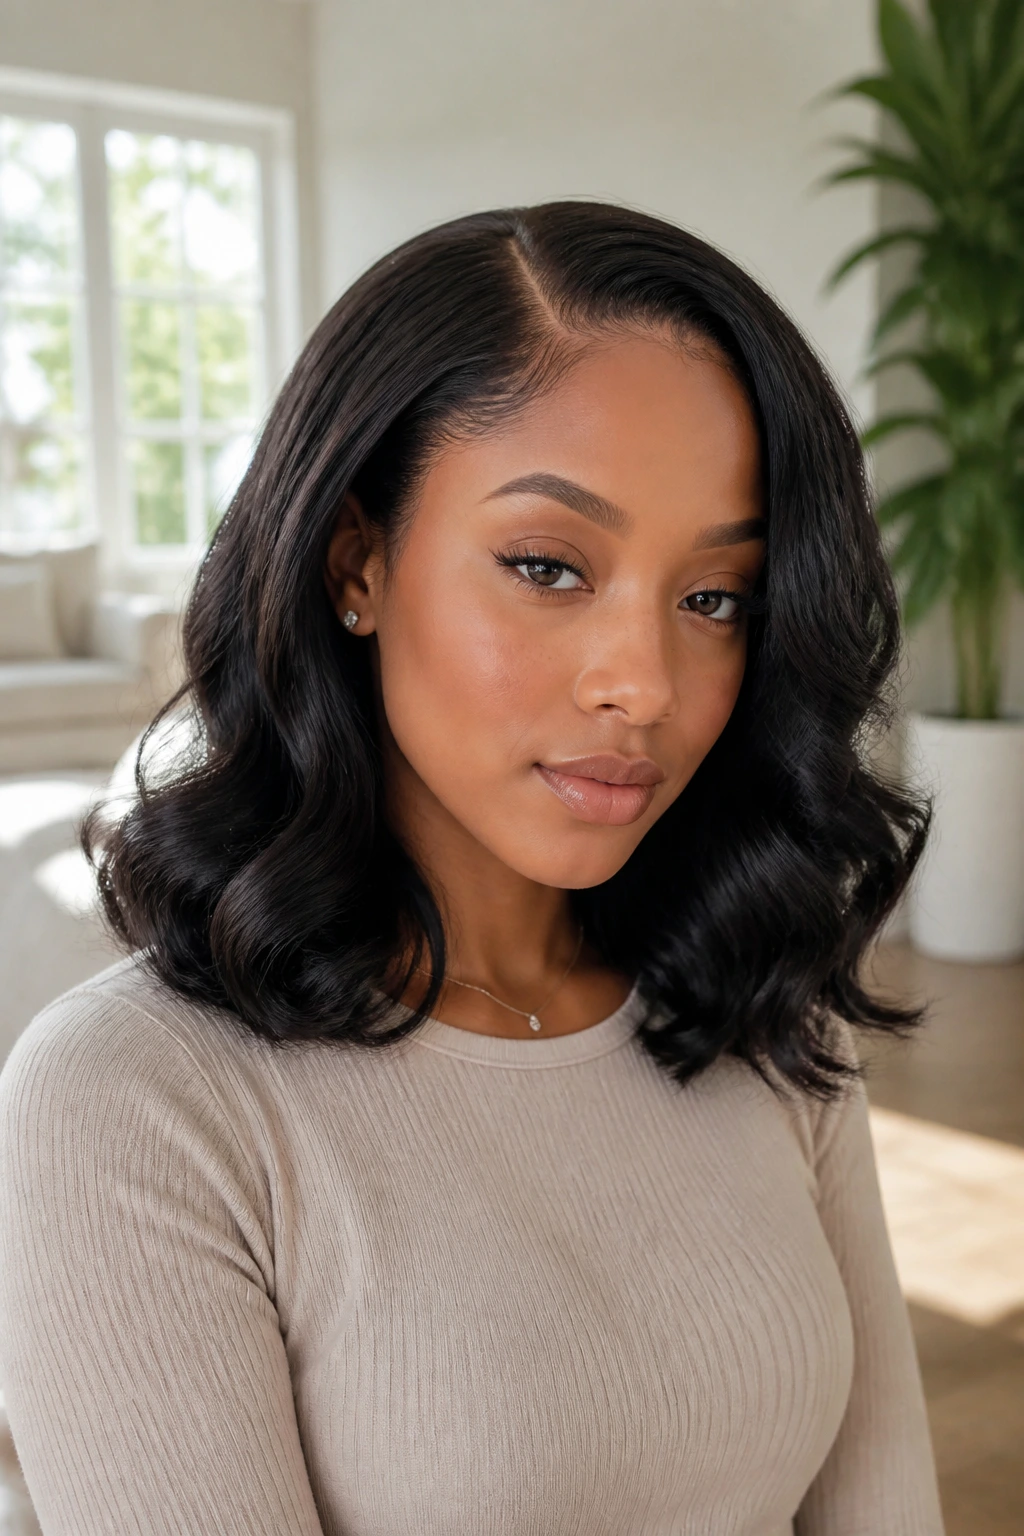
1. Side-Part Bone-Straight Sew-In with a 5×5 Closure
Straight hair is unforgiving. That’s exactly why this version works so well on thin hair. A clean side part and a 5×5 or 6×6 closure hide the front line, and the blunt smooth finish makes the hair read thicker than it is.
What I like here is the restraint. You do not need a huge stack of bundles to make this look polished. Two bundles for a shoulder-length install can be enough if the hair is dense, while three bundles works better once you get past that length. Keep the ends trimmed blunt, not shredded into tiny layers, or the whole look starts to look sparse at the bottom.
What to Ask Your Stylist For
- A deep side part that starts a little behind the arch of the brow
- A closure that matches your scalp tone closely
- A subtle bevel at the ends so the line doesn’t look harsh
- Minimal leave-out, or none at all if your edges are fragile
The magic is in the part. A side part gives the top a little lift, which helps thin hair look less flat around the crown. And because the closure covers the front, you are not asking your own hair to stretch over tracks all day.
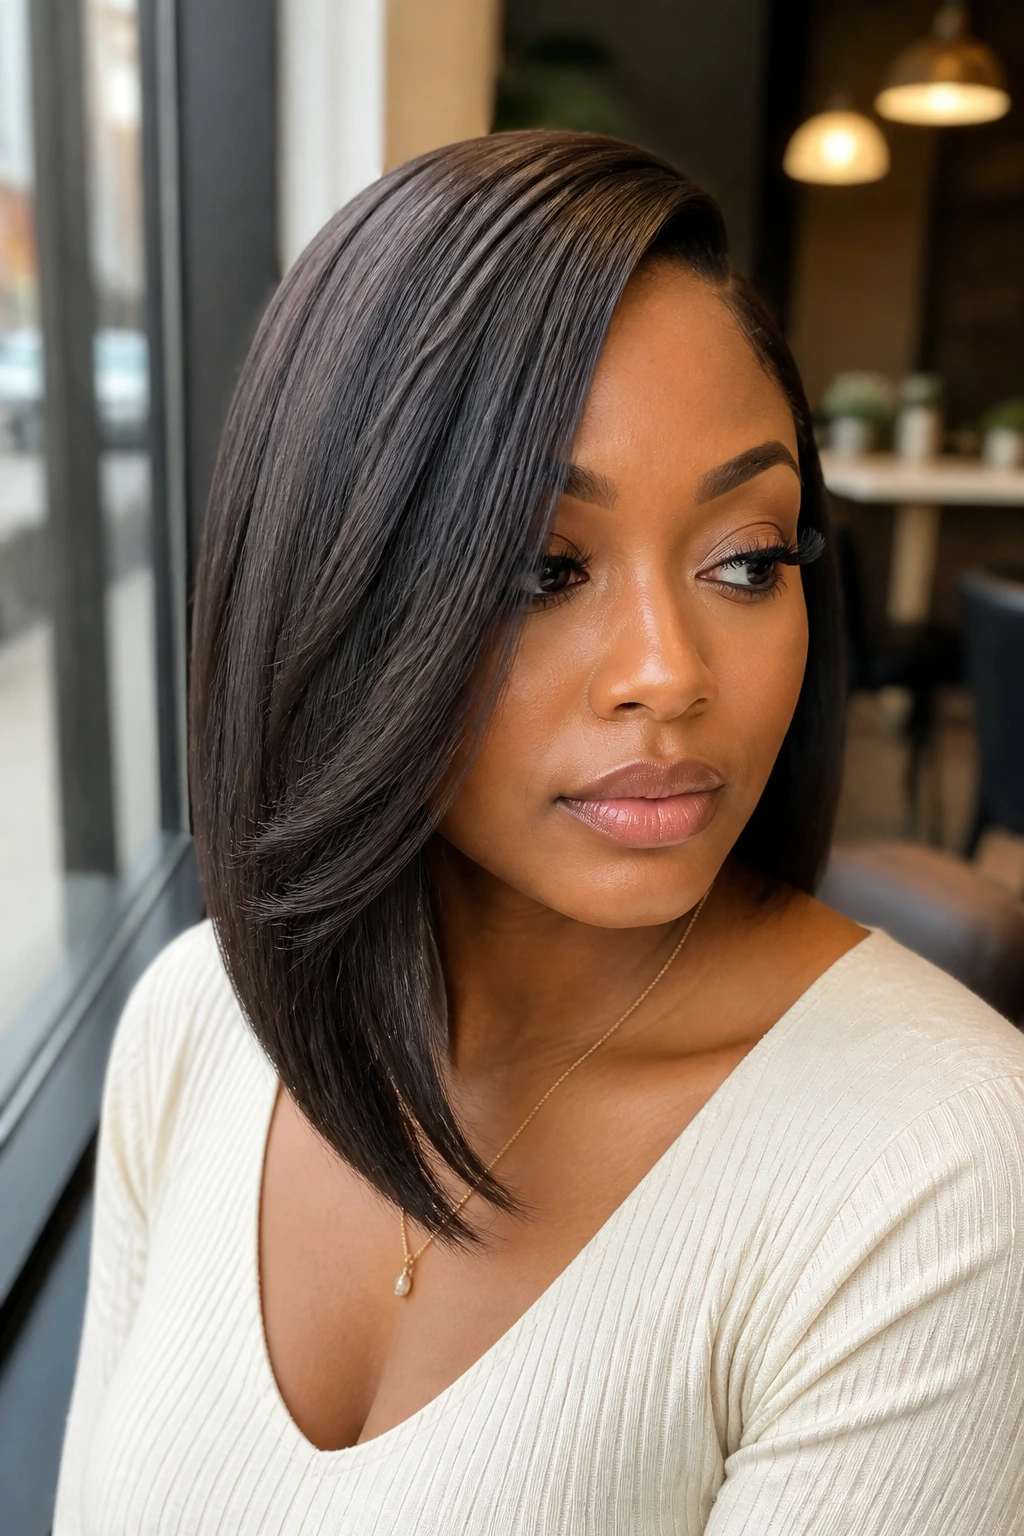
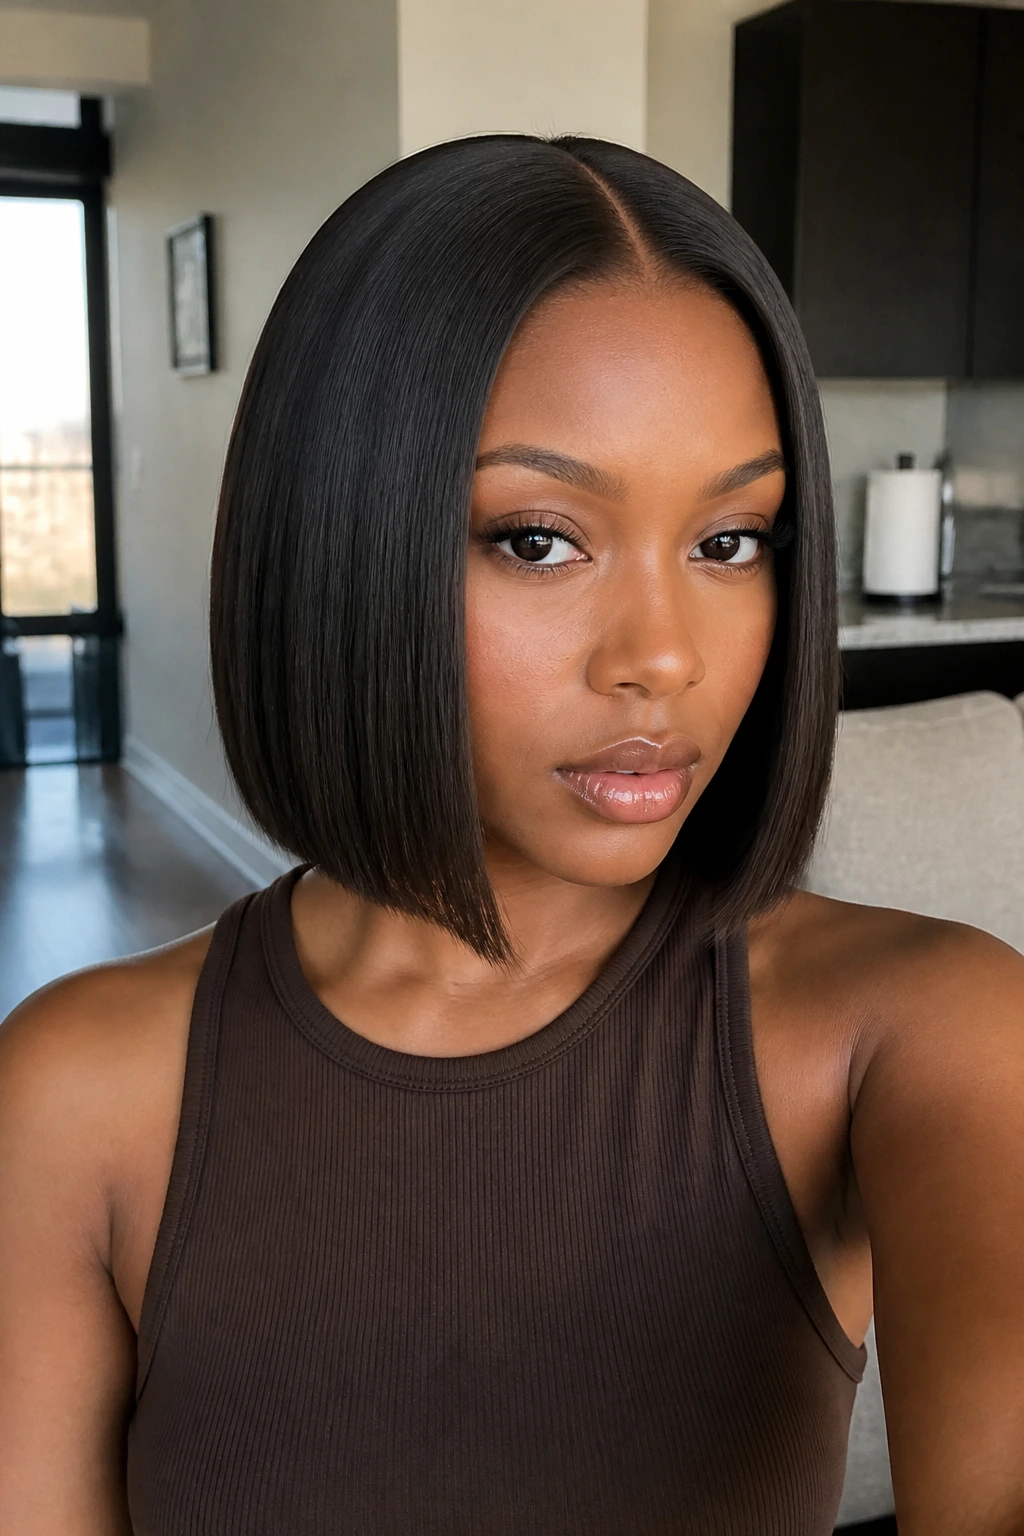
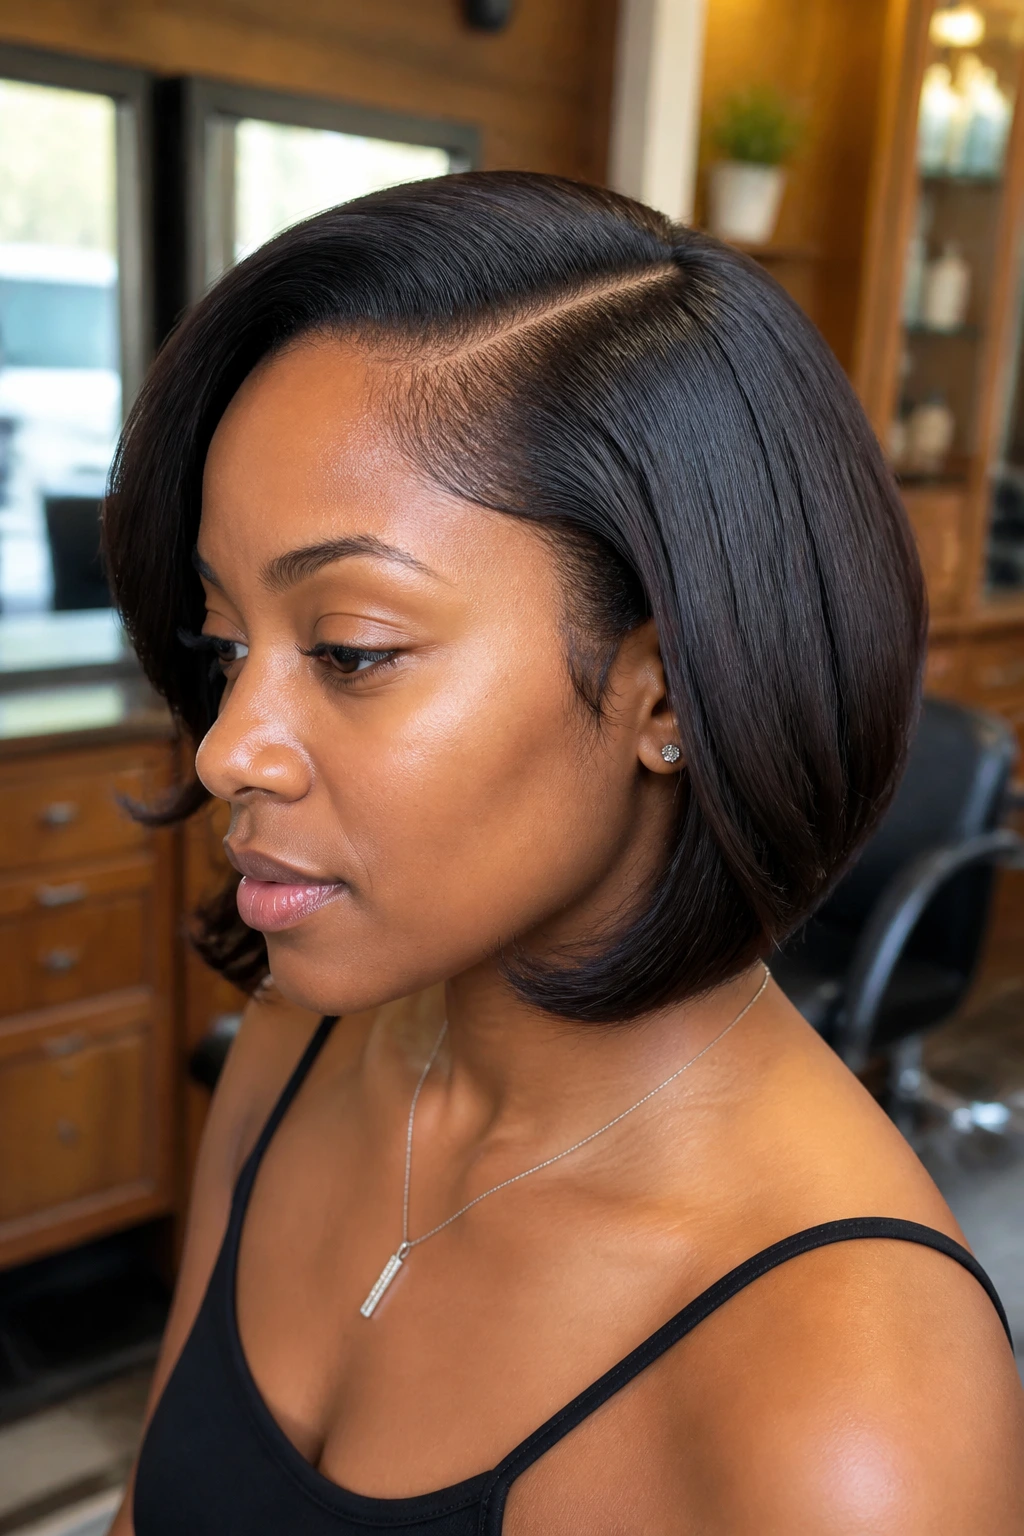
2. Center-Part Blunt Bob Sew-In
Why do bob sew-ins work so well on thin hair? Because the cut does half the styling for you. A blunt bob sits heavy at the ends, and that weight creates the illusion of density even when the bundles are not packed in like a pillow.
Keep this one at the chin or just below the jaw if you want the fullest look. Once the length drops too far past the shoulders, the ends start to thin out in a way that thin hair can’t really hide. A closure keeps the part clean, and a middle part makes the shape feel modern without demanding much from the front hairline.
This is one of those styles that looks expensive when it is cut with discipline. No ragged layers. No overly feathered perimeter. I like a slight inward bend on the ends, almost like the hair is hugging the jawline. That little shape makes the bob feel deliberate instead of flat.
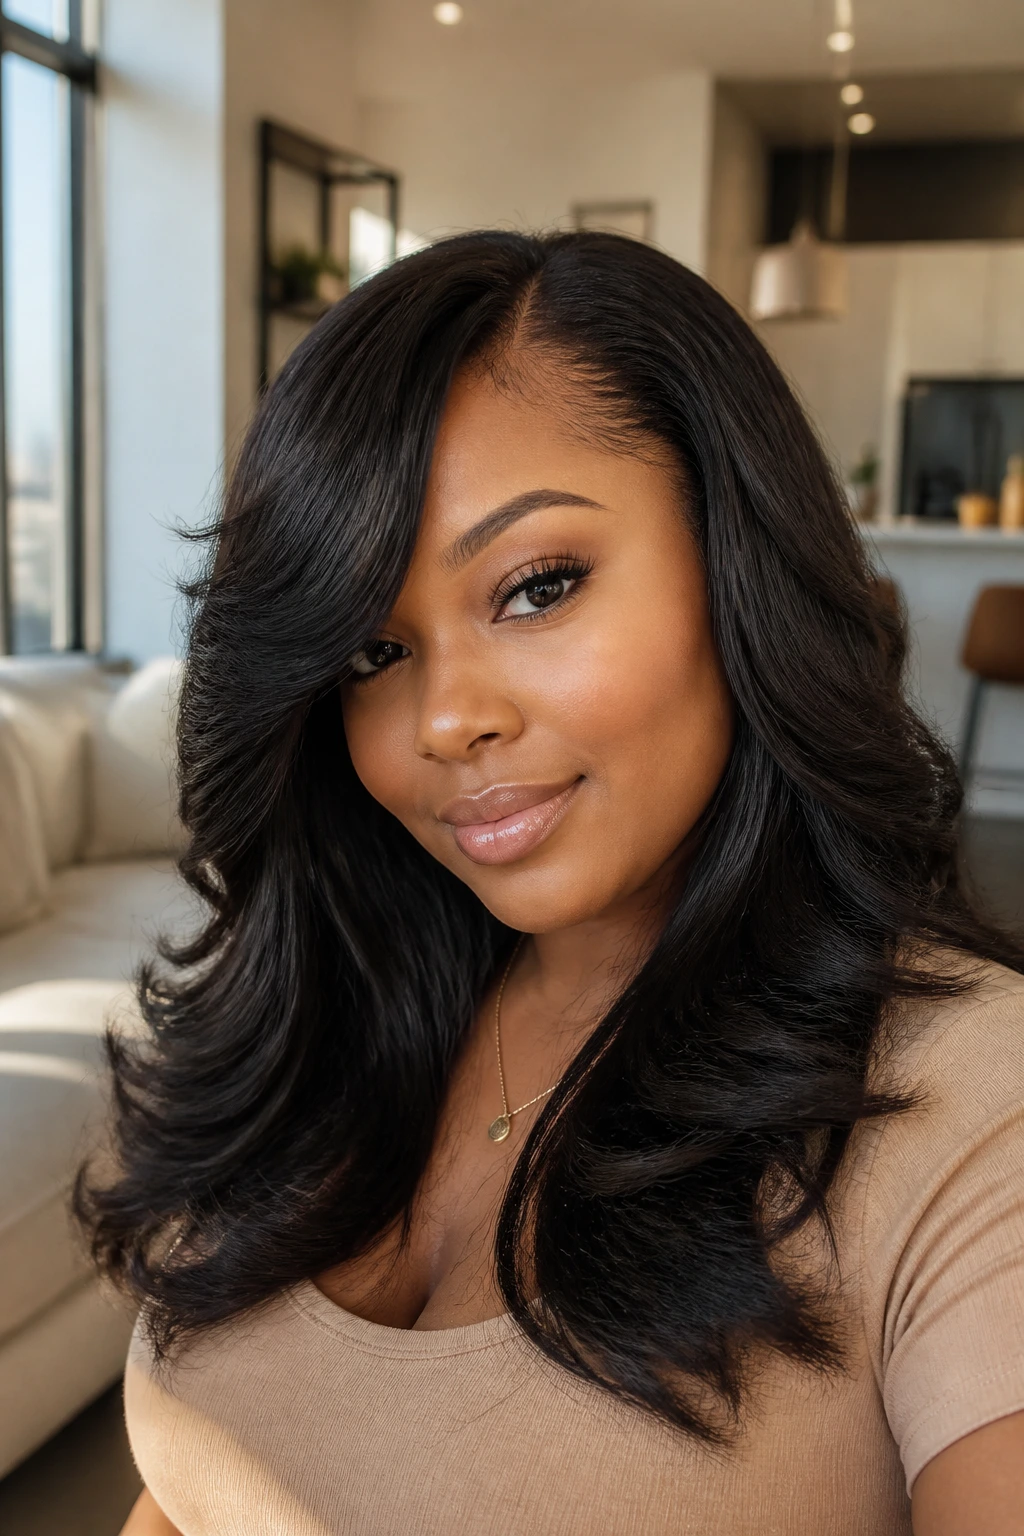
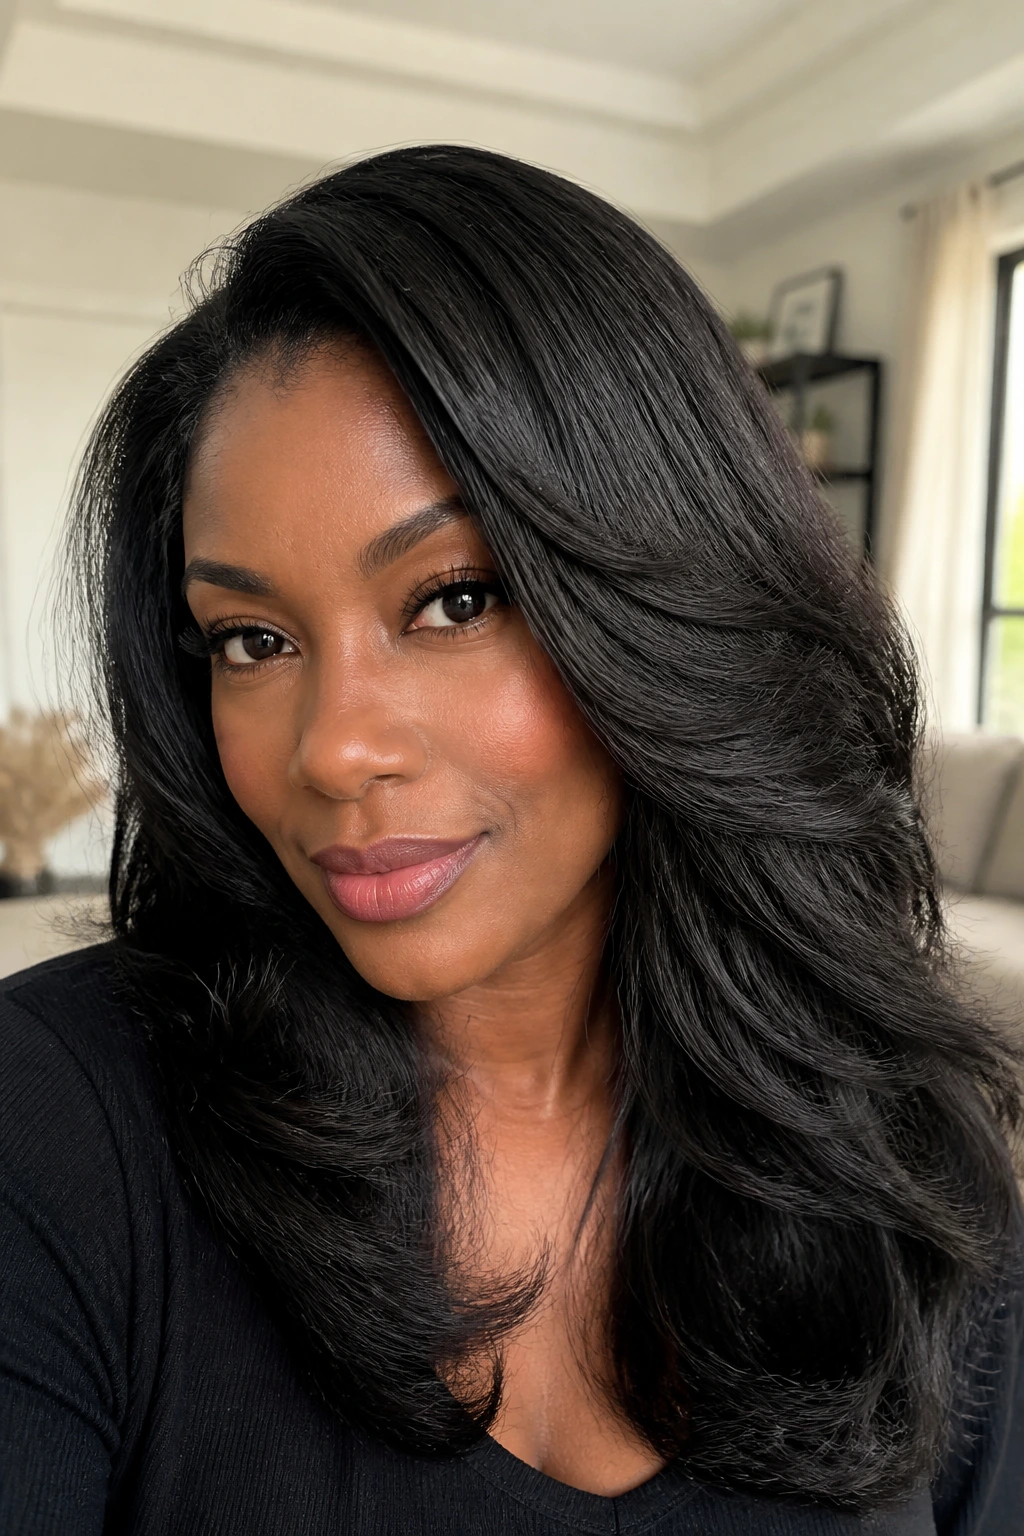
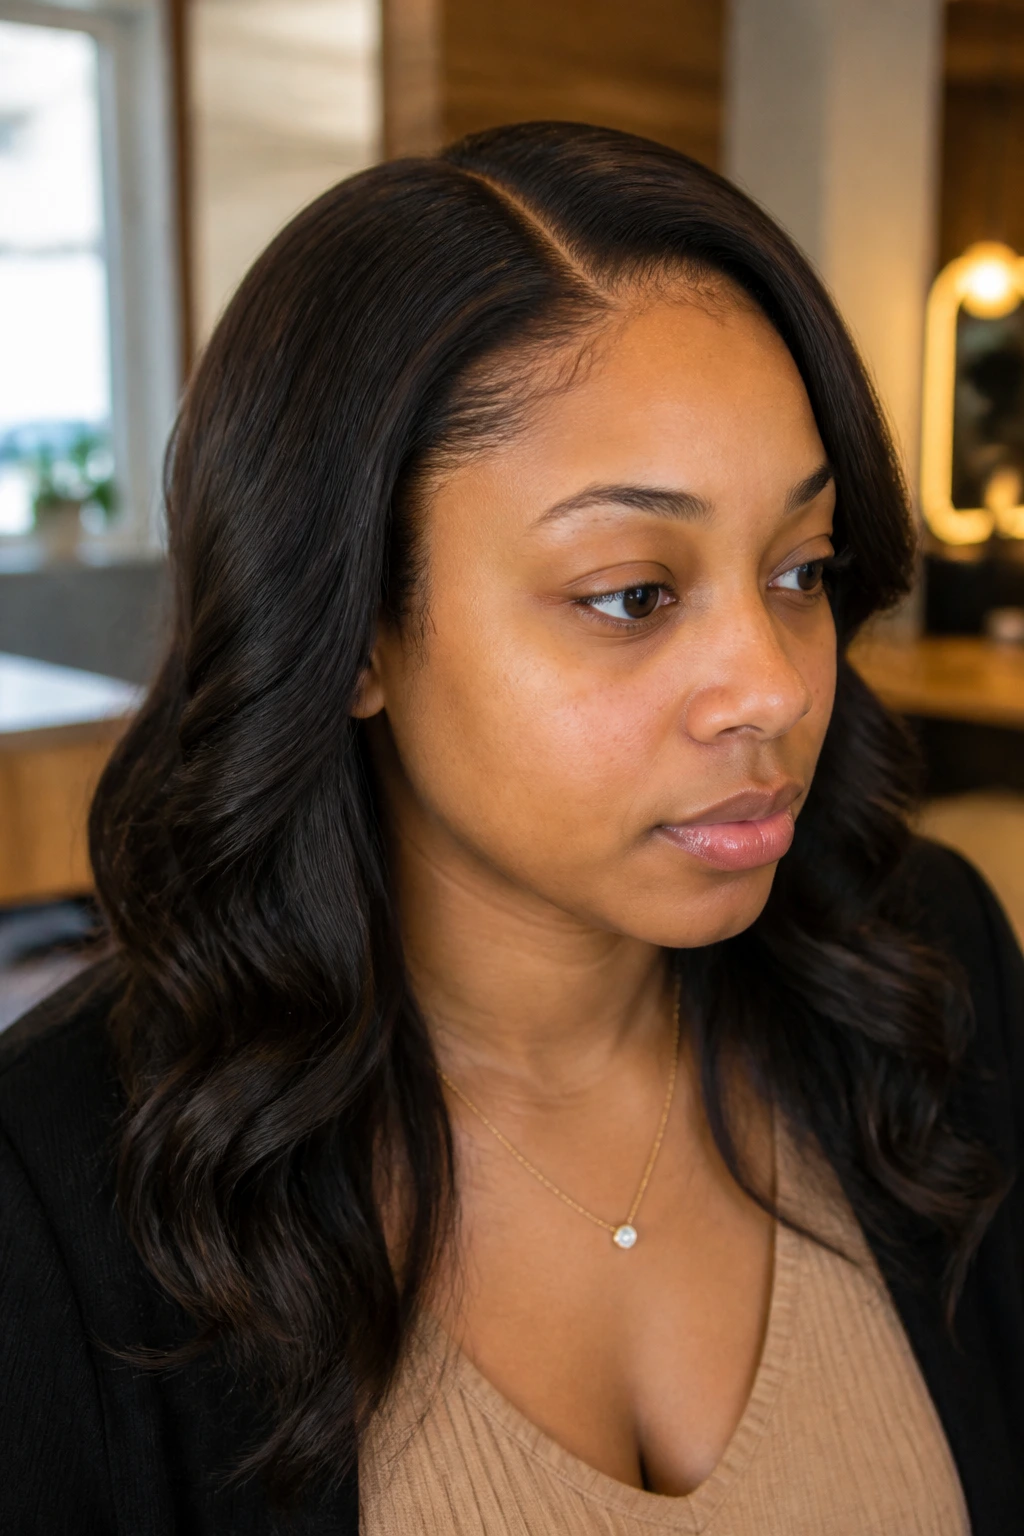
3. Shoulder-Length Body Wave Sew-In
Body wave is a friend to thin hair because the bends create shadows. Those little dips and curves interrupt the eye, so the hair looks fuller than straight strands of the same length. Shoulder length is the sweet spot; it gives you movement without dragging the style down.
A lot of people try to force extra bundle count into wave styles, and then the install gets puffy in the wrong places. Don’t do that. Keep the install light enough that the roots lie flat, then let the wave pattern do the visual thickening. If your hair tends to frizz easily, a closure can save you a lot of leave-out maintenance.
I prefer this style when someone wants hair they can wear down every day without constant heat. A spritz of water, a little foam mousse, and a wrap at night usually keep the wave pattern soft. It is the kind of style that looks even better on day two, when the curls settle a little and stop looking newly done.
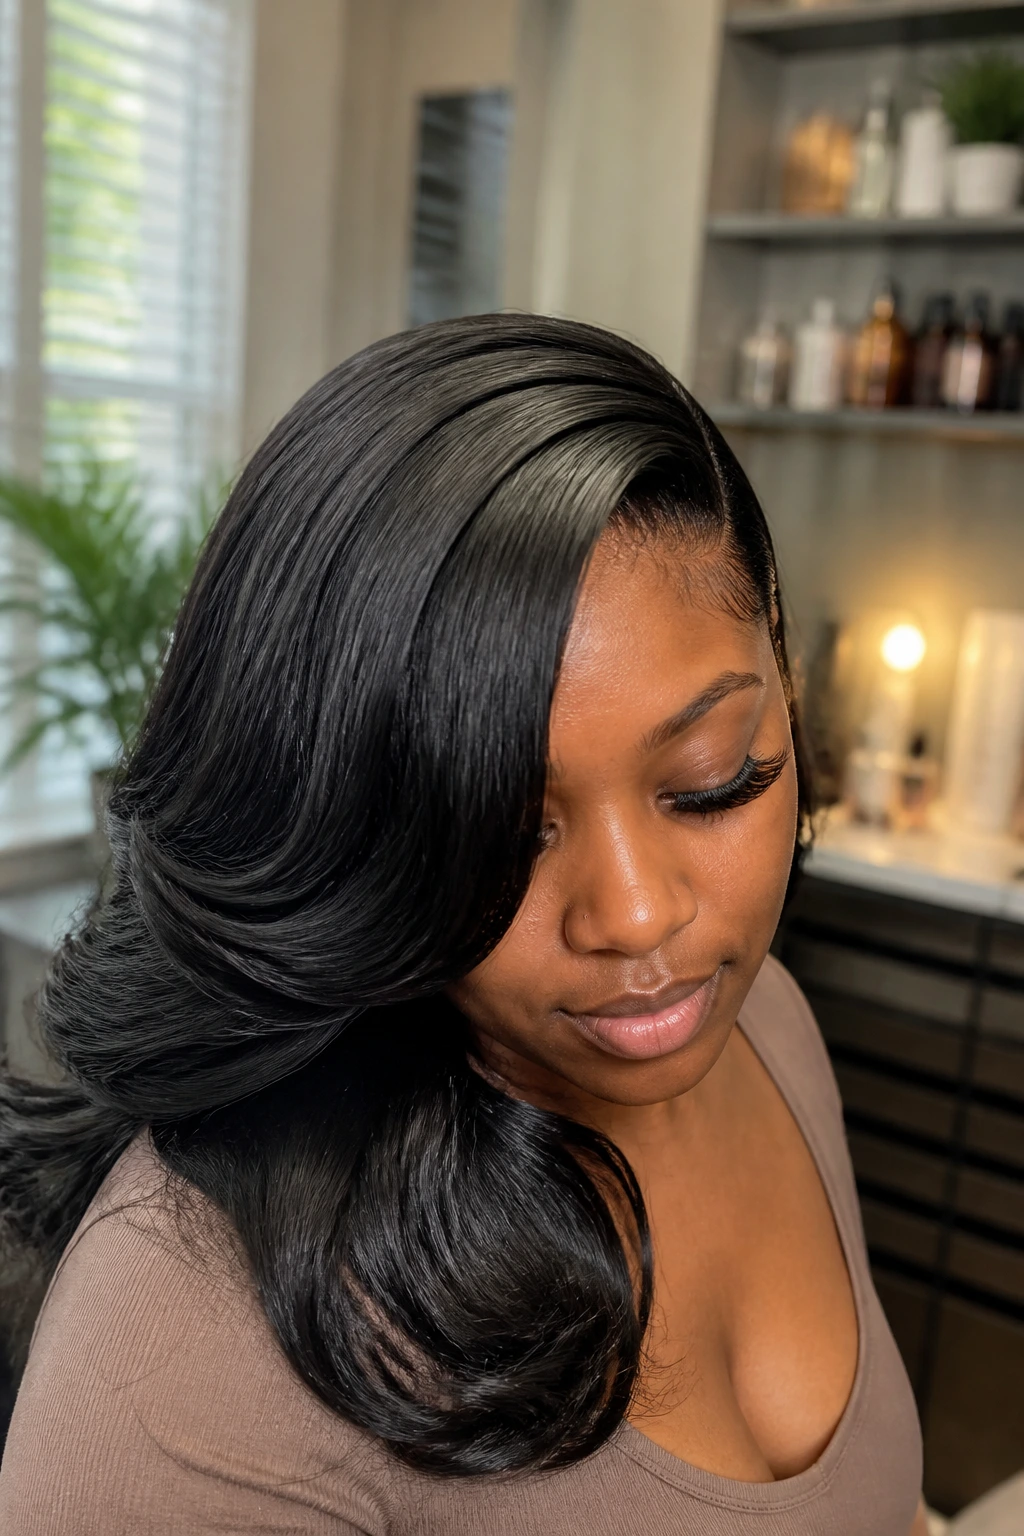
4. Deep Side-Part Glam Waves

A deep side part is one of the fastest ways to make the crown look fuller. The hair shifts all the visual weight to one side, and that creates lift where thin hair often needs it most. Add soft glam waves, and the style stops lying flat against the head.
This one works best when the waves start below the roots. If the curl begins too high, the install can look bulky up top and skinny at the ends. The better version is smoother at the crown, with wider bends from mid-shaft down. That keeps the shape airy and clean.
Heat matters here. Use a medium barrel, not a tiny curling wand that turns everything into tight ringlets. Tight curls can make thin installs look smaller. Wider waves give you width without making the style feel crowded.
5. Layered Vixen Sew-In with Curled Ends
The vixen install is a little more involved, but it can be worth it when you want versatility without giving up fullness. Tracks are left hidden in sections so you can wear the hair in different directions, and thin hair benefits from that flexibility because the parting doesn’t have to be rigid.
The key is not to overdo the leave-out. If your hair is sparse at the temples or crown, keep the leave-out small and ask for the exposed sections to sit where your own density is strongest. The style should look movable, not like it is trying to prove a point.
A curled finish gives the layers some weight. Straight vixen hair can look stringy if the lengths are long and the install is very light. Soft curls at the ends fix that fast. They also hide the exact ends of the tracks, which is always helpful when density is working against you.
6. Flip-Over Sew-In with Hidden Tracks
Flip-over styles are a quiet little cheat, and I mean that in the nicest way. There is no fixed part line to expose, which makes them excellent when the scalp is a little see-through or when the crown needs a break from being stared at. You wear the hair swept to one side, then change the direction whenever you feel like it.
This style likes body wave, kinky straight, or deep wave hair best. Bone-straight hair can work, but the flip-over shape looks softer when the texture has a little bend to it. That bend hides the tracks and keeps the top from looking like a sheet.
Best Things About It
- No permanent part to maintain
- Less pressure on the front hairline
- Easy to change the look with one brush stroke
- Works well when you want body without a strict style
It’s practical. It’s forgiving. And on thin hair, forgiving matters.
7. Half-Up Half-Down Sew-In with Face-Framing Pieces
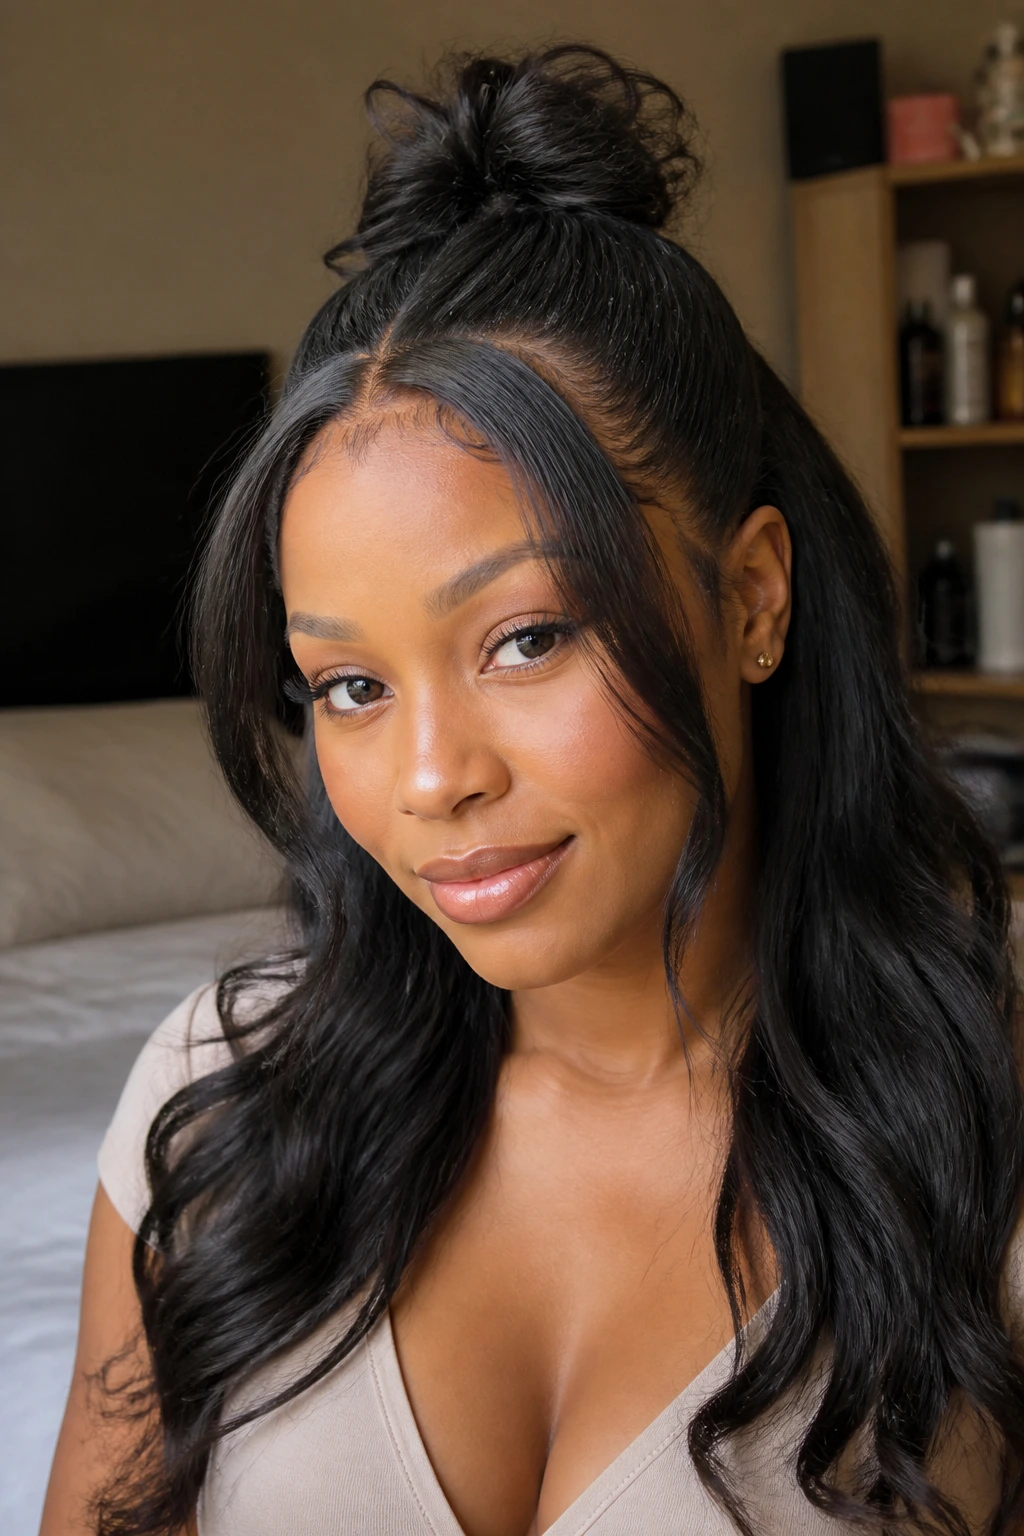
Half-up styles are useful when you want some hair off the face but still want the lower half to do the heavy lifting. Thin hair often looks better this way because the top knot or puff can stay small and neat while the loose hair gives the real fullness.
The trick is placement. Don’t haul the top section too high if the crown is thin. Keep the gathered section at the upper half of the head, where the braids can support it without strain. A few face-framing pieces soften the hairline and stop the style from reading too severe.
I like this on people who want a soft, dressed-up look without building an enormous ponytail from a small base. A little volume up top, a little movement around the jaw, and then a fuller section through the back. That balance does more for thin hair than trying to fake a giant top bun.
8. Low Ponytail Sew-In with a Sleek Nape

There is something clean about a low ponytail on Black hair, especially when the nape is sleek and the pony sits right at the occipital bone. For thin hair, that lower placement matters. It keeps the weight from pulling upward, which is where installs start to feel uncomfortable fast.
This style works best when the base is neat but not cranked tight. You want the braids or foundation to hold the pony, not fight the scalp. A closure can keep the top smooth, and a small wrap of hair around the base hides the attachment point so the style looks finished.
A long ponytail can look lush without being heavy if the hair texture has enough body. Body wave or kinky straight usually gives the best result because the ponytail has movement instead of hanging like a stiff rope. That movement matters more than people think.
9. Collarbone Water-Wave Sew-In
Water wave is one of my favorite textures for thin hair because it creates density without looking stiff. The curl pattern is loose enough to move, tight enough to hide track lines, and soft enough to keep the style from feeling overworked. Collarbone length is the right call here; it gives the waves room to breathe.
You do need a little routine with this one. A foam wrap or mousse helps the pattern stay together, and a loose braid at night can stop the ends from tangling into one big knot. Heavy oils are not your friend here. They weigh the curl down and make the hair look stringy at the roots.
This is a good choice if you want volume that looks natural in photos and in real life. Water wave has a way of looking fuller from every angle, which is exactly what thin hair needs.
10. Asymmetrical Lob Sew-In
An asymmetrical lob is one of those cuts that makes the eye work for the illusion. One side sits a little longer than the other, and that uneven line creates movement at the ends. Thin hair loves movement. It keeps the style from looking like a flat curtain.
The best version stays around the collarbone on the longer side and just above the shoulder on the shorter one. That gives enough length to feel styled without dragging the ends thin. A side part usually works better here than a center part because the angled shape has more room to show off.
What Makes It Stand Out
- The uneven length gives the hair more visual body
- The cut hides sparse ends better than a perfectly straight long style
- It works with straight, body wave, or loose curl bundles
- It gives a clean look without needing heavy density
If you’ve been wearing long hair and wondering why it starts to look limp halfway through the week, this cut is the reset button.
11. U-Part Sew-In with a Soft Crown Blend
Do you have enough density at the crown to leave a small section out? Then a U-part sew-in can be a nice middle ground. You keep a natural blend at the top, and the rest of the hair gets the fullness of bundles. On thin hair, the catch is making the U shape small enough that your own hair is not doing a job it cannot handle.
The texture match has to be close. If your leave-out is pressed straight and the bundles are silky, the blend shows immediately. Kinky straight, yaki straight, or a blown-out texture usually looks better because the finish is closer to Black hair after heat styling. A little root spray or light wand curl can smooth the seam.
I would not push this style if the crown is truly sparse. It works when the top section is healthy enough to cover the opening without strain. If not, a closure will usually be the kinder choice.
12. Closure Pixie Sew-In
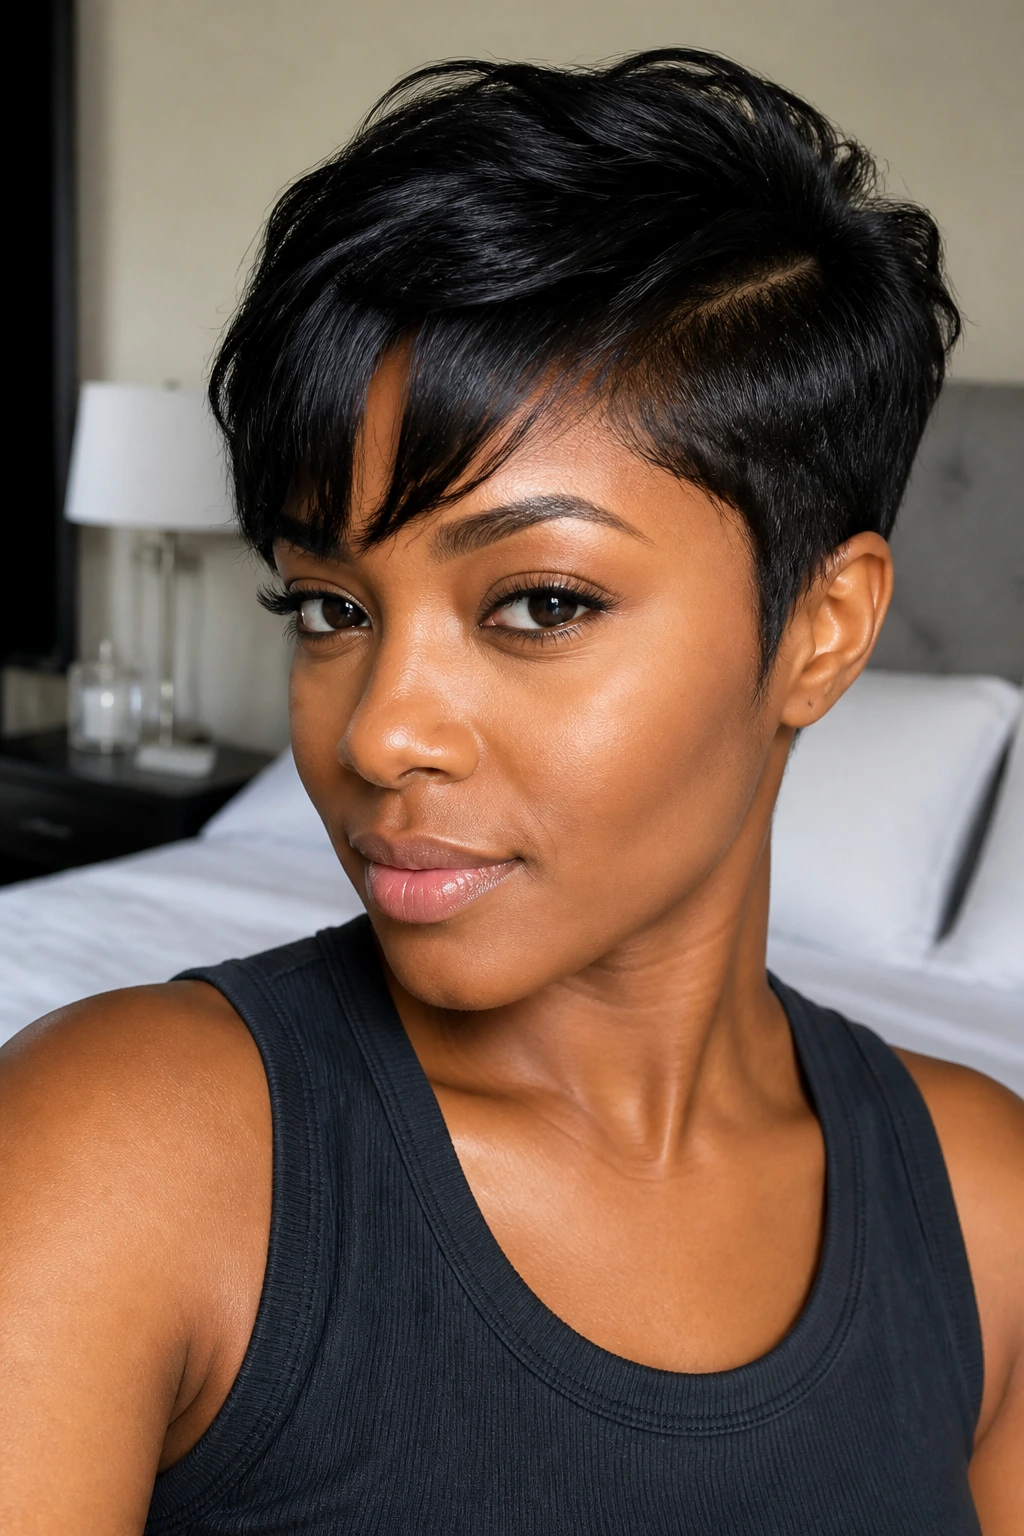
Short sew-ins deserve more respect than they get. A closure pixie is sharp, light, and excellent for thin hair because the cut itself brings the shape. You are not asking the head to support a mountain of hair. You are asking it to support a clean, sculpted finish.
This works best when the sides are feathered and the top has a little lift. Too much bulk turns the style clumsy. A side-swept bang or a soft bang across the forehead helps the pixie read feminine and balanced instead of stiff. Since the length is short, the install feels lighter almost immediately.
I like this for anyone who wants movement around the face without the weight of long bundles. It’s also easier to maintain than most people expect. A satin wrap, a little mousse, and a quick finger comb in the morning are usually enough.
13. Straight Sew-In with Curled Under Ends
Straight hair can look a little too sparse when it hangs dead-straight from root to tip. Curling the ends under fixes that in one small move. The bottom line gets fuller, the style looks finished, and the hair stops reading flat at the shoulders.
This is one of the most practical looks on the list. It gives you the clean feel of straight hair with a little shape at the bottom so the bundles don’t separate into stringy pieces. If you use a closure, the top stays neat; if you wear a side part, the top gets a little lift. Either way, the slight bend under the ends makes a visible difference.
A round brush or a quick pass with a flat iron at the very ends is enough. Don’t overcurl it. The point is thickness, not a flip that turns into a 1990s pageant moment.
14. Shaggy Layered Sew-In with Curtain Pieces
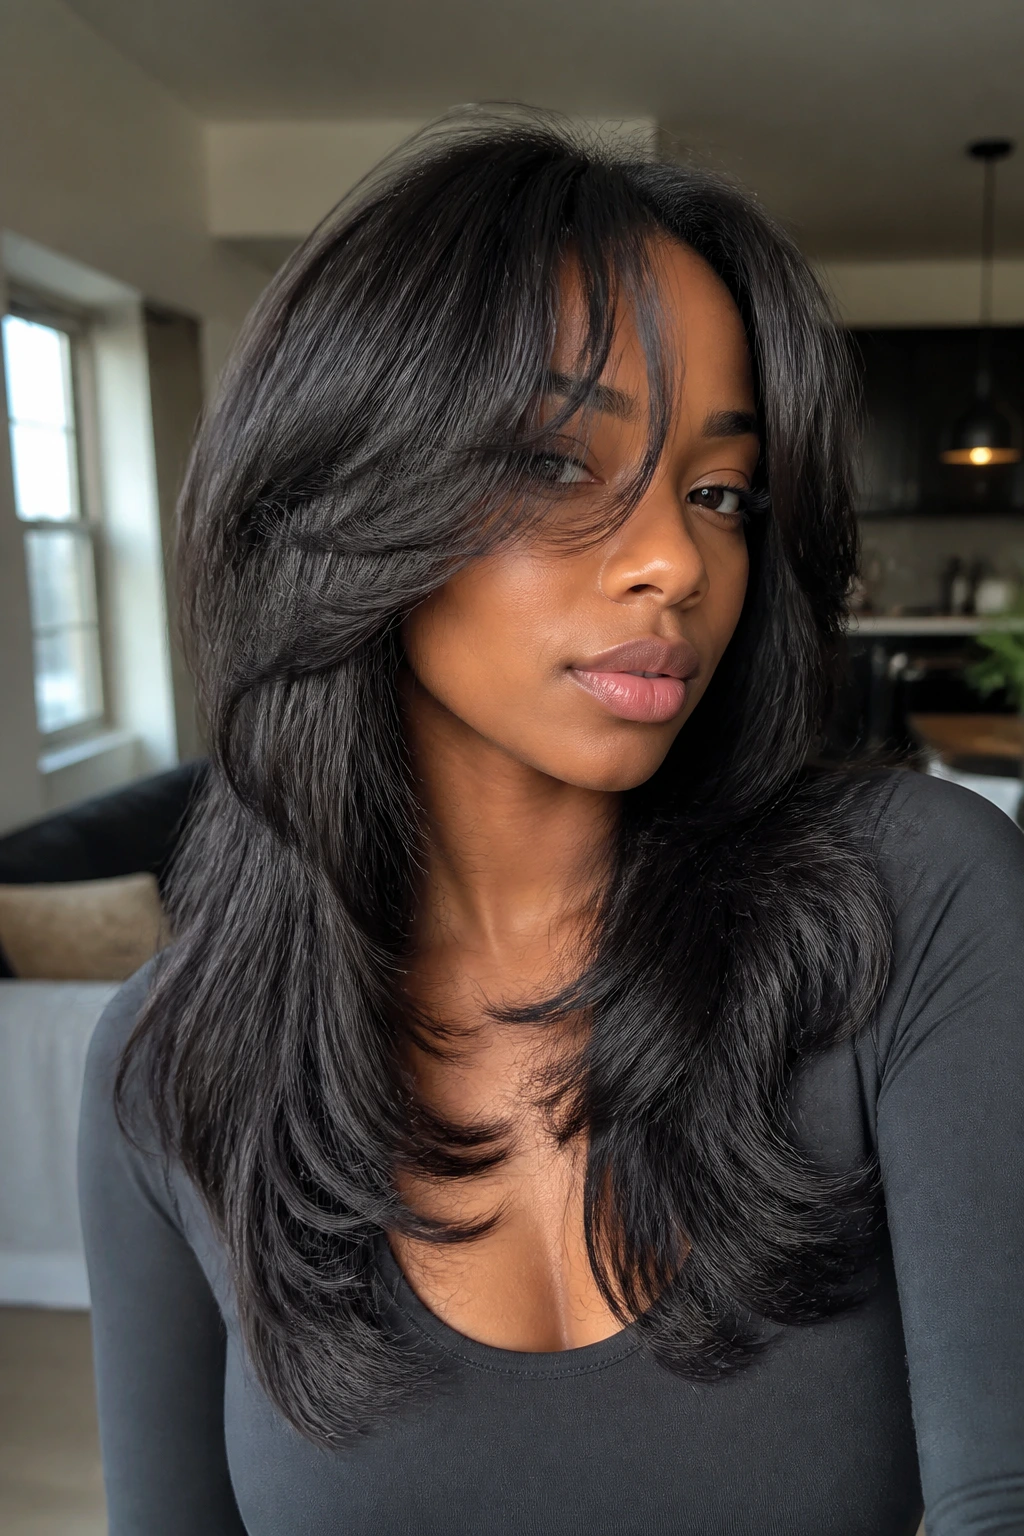
A shag is a sneaky good answer for thin hair because the layers create a sense of fullness without making the whole head heavy. Curtain pieces around the face soften the front, and the chopped layers around the crown keep the style from looking like one long flat sheet.
This is where texture matters again. Kinky straight, body wave, or soft curl bundles all work better than ultra-silky hair because the cut needs a little grip. The layers should be soft, not razor-thin. Too much razor work can make the ends look wispy in a way that thin hair cannot afford.
I like this style on people who want a little edge and movement. It doesn’t feel stiff. It doesn’t try to be perfect. That looseness is part of the appeal, and on the right face shape, it does a lot of flattering work without screaming for attention.
15. Middle-Part Goddess Curls with a Closure

Middle parts can be brutal on thin hair if the scalp line is obvious. Goddess curls solve part of that problem because the curls sit around the face and break up the straight line of the part. A closure makes the front even easier to manage, especially if your natural hairline needs a break.
The curls should be loose and soft, not tiny and crunchy. You want bend, not a helmet. The longer face-framing pieces help the style look airy, and the closure keeps the top clean without asking you to over-style the front every day.
This one has a softer mood than the straight looks. It reads romantic without getting fussy. And if you are the type who gets bored quickly, it holds shape well enough that you can wear it down, tuck one side behind the ear, or clip it half up without fighting the whole install.
16. Sleek High Bun Sew-In
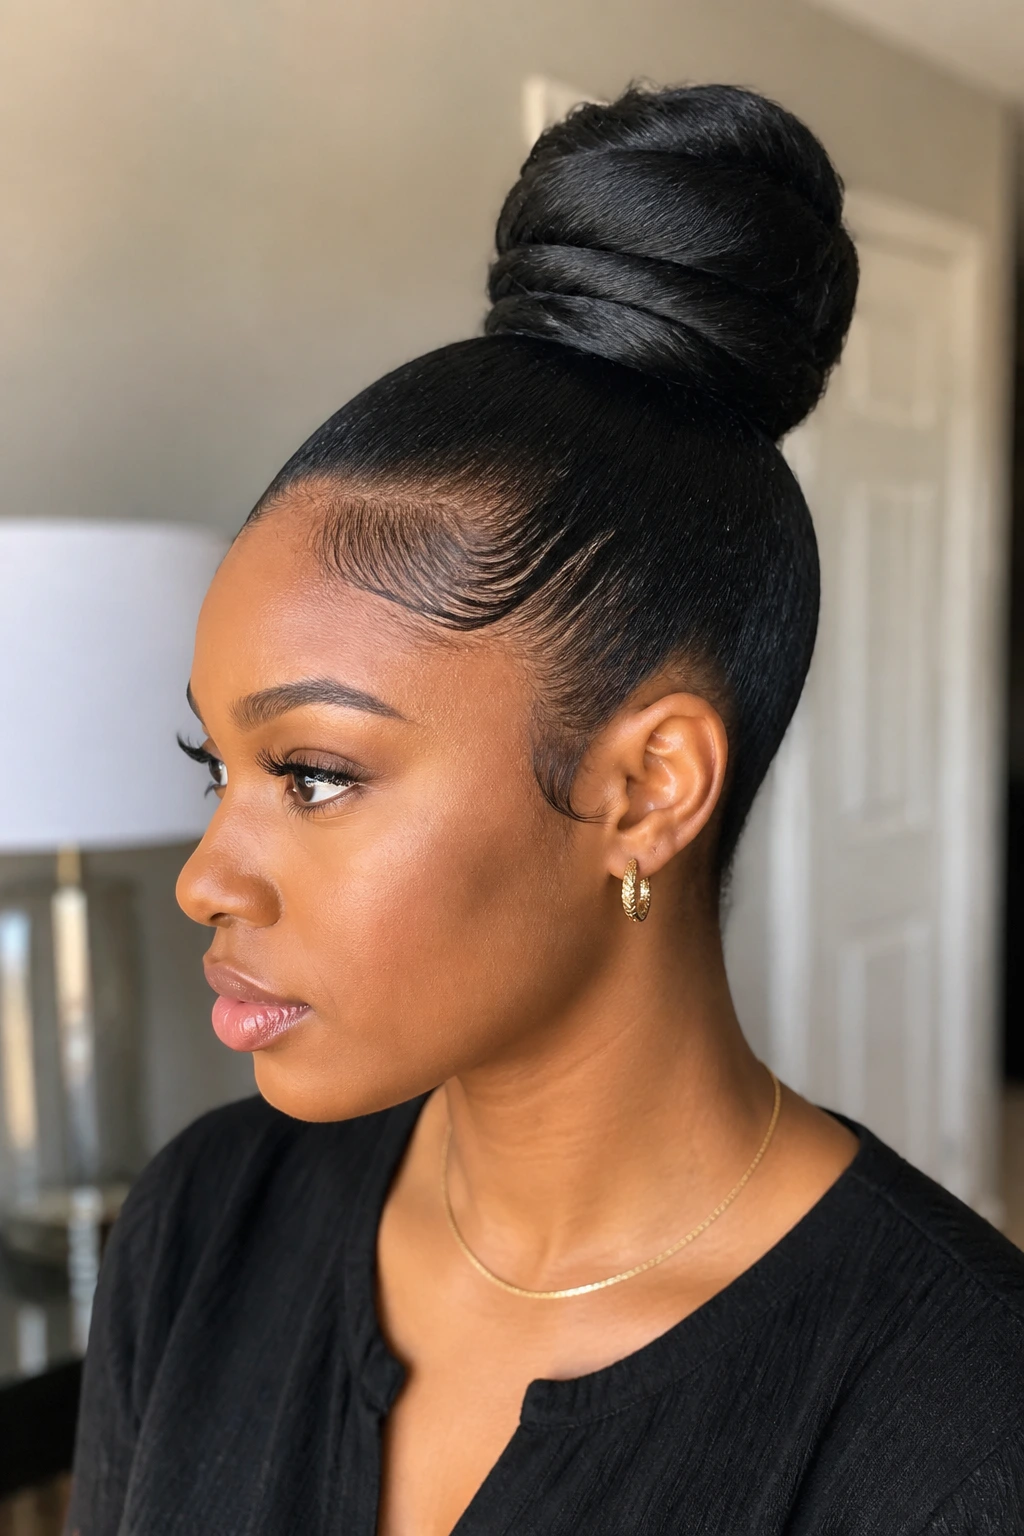
A high bun can be lovely on thin hair, but only if the base is handled with care. Too much tension and it becomes a headache with lipstick. The version I like keeps the bun modest in size and the foundation smooth, with the lift coming from placement instead of piled-up hair.
The point is not to make a giant donut of bundles on top of a small base. The point is to create height and polish. A closure can help the top look clean before the bun gets wrapped or pinned into place, and the nape should stay smooth so the style has a neat finish from every angle.
This is a strong special-occasion look. It can also be a smart everyday style if you want your hair off your neck. Just keep the bun smaller than your ego wants it to be. Your scalp will thank you.
17. Invisible Part Sew-In with Feathered Volume
Sometimes the best move is to avoid a strict part altogether. An invisible part sew-in sweeps the hair into a soft direction without showing a hard scalp line. That can be a huge relief when the crown is thin or when a center part keeps exposing more than you want to show.
The feathered volume gives the hair life. Instead of a rigid shape, you get movement that looks accidental in the good way. A little bend around the ends, a soft brush through the roots, and a light serum on the tips are usually enough. The finish should look airy, not puffy.
This style works especially well for people who do not want to spend every morning checking whether a part has shifted. There is less to manage. Less to expose. That alone makes it worth considering.
18. Highlighted Face-Frame Sew-In with Minimal Leave-Out
Color can do some of the same work as texture. A few caramel or honey face-framing pieces pull the eye forward and make the hair look deeper and fuller, especially around the front where thin hair can sometimes read flat. The rest of the install can stay neutral and calm.
I prefer subtle highlights here, not chunky streaks that split the hair into obvious sections. Thin hair looks better when color acts like shadow and light, not stripes. A closure or minimal leave-out keeps the front neat, and the brighter pieces near the face give the style shape even when the rest is simple.
This is one of those styles that looks richer in person than it does on a screen, which is saying something. The extra dimension helps the bundles look more abundant, and the face-framing color keeps the style from disappearing into one flat block.
Why Lighter Installs Win on Thin Hair
Thin hair does not need more hair everywhere. It needs smarter hair in the right places. That sounds obvious, but people still miss it all the time. They buy extra bundles, stack them too thick at the nape, and then wonder why the style feels heavy by day three.
Weight distribution matters more than most people admit. A longer install pulls harder on braids, and a crowded install can make the scalp look even flatter because the hair sits too close together. A blunt bob, a collarbone lob, or a shoulder-length wave often looks fuller because the eye gets a clean shape instead of a stretched-out outline.
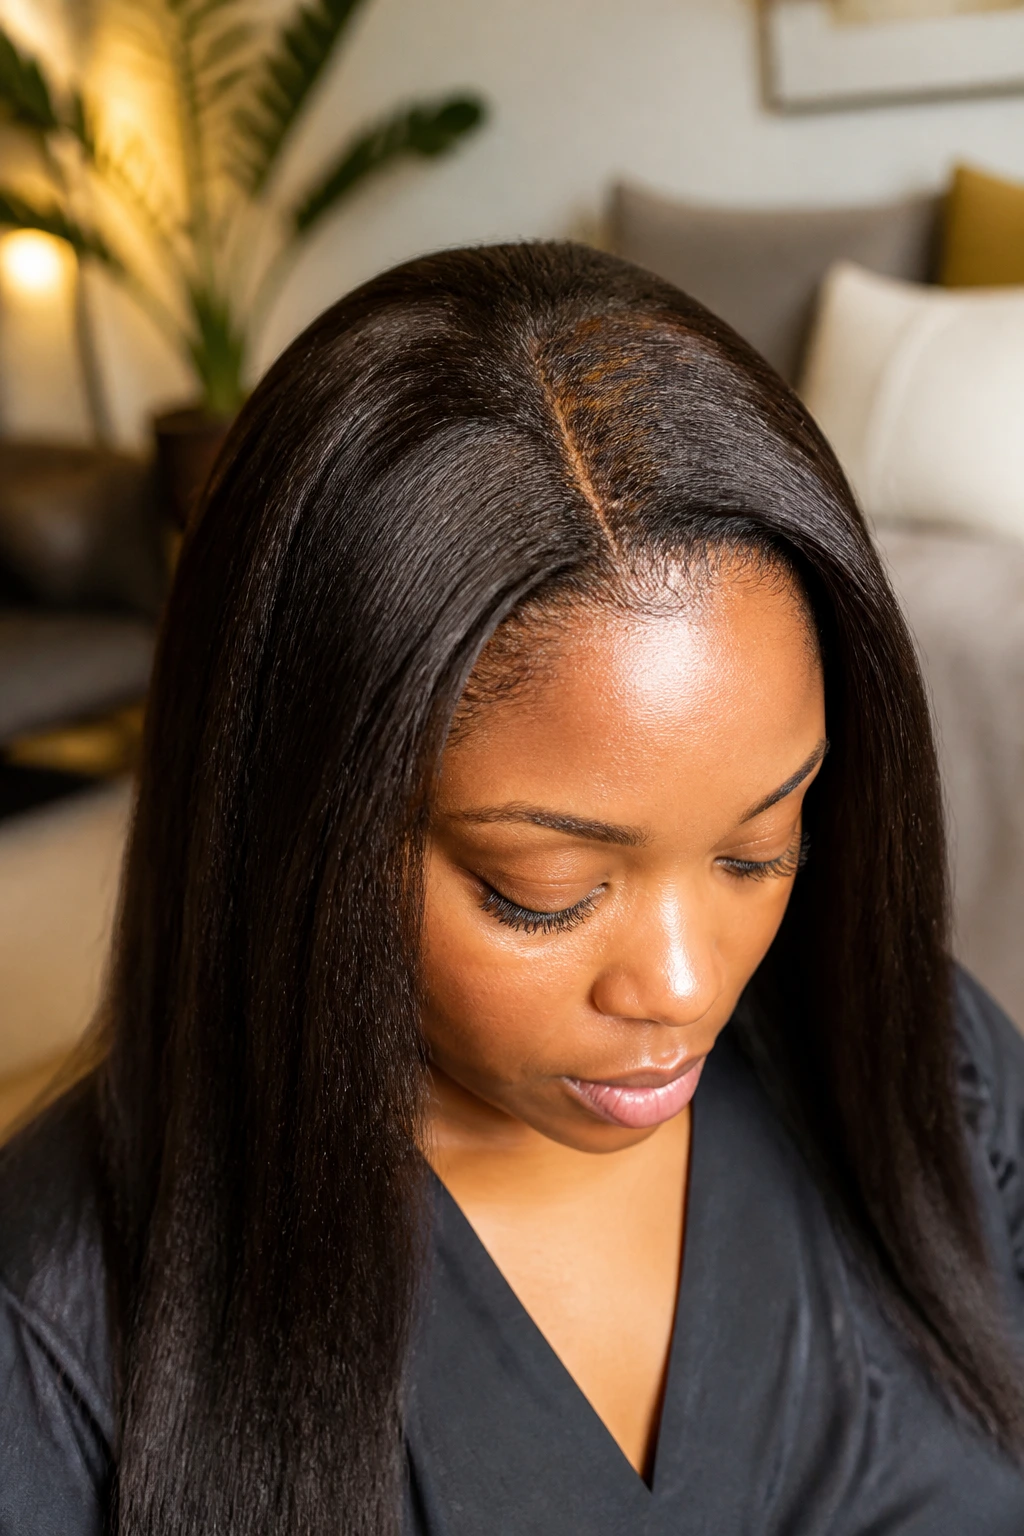
Closures are a big deal here. A 4×4, 5×5, or 6×6 closure can remove a lot of stress from the front hairline, which is usually the first place thin hair gets into trouble. Frontal installs can be beautiful, but they demand more maintenance and more tension management. If your edges are already delicate, I would rather see a well-placed closure than a front row of baby hairs that need constant fixing.
The other thing that helps is cutting. Blunt ends hide more than wispy ones. Slight layers around the face can soften the style, but too many feathered pieces make thin hair look lighter than it really is. I keep coming back to this because it matters: shape is doing half the work for you.
Essential Tools for a Clean Sew-In
- Rat-tail comb: Helps map clean parts and section the hair without tearing at the roots.
- Curved sewing needle: Easier to maneuver through braids and wefts than a straight needle.
- Matching weaving thread: Black or dark brown thread usually disappears best against the braid base.
- Sectioning clips: Keep the leave-out, closure area, and braid rows separate while you work.
- Braid spray or light scalp moisturizer: Useful for keeping the natural hair comfortable under the install.
- Mousse foam: Helps lay the top flat and refresh wave or curl patterns without grease.
- Flat iron with adjustable heat: Good for smoothing the bundles and blending leave-out on low-to-medium heat.
- Blow dryer with comb attachment: Useful if your natural hair needs a smooth base before braiding.
- Satin scarf and bonnet: These are not optional if you want the install to last without getting rough overnight.
- Small scissors: Handy for snipping thread ends and trimming stray pieces after the install is finished.
Smart Shopping and Bundle-Buying Tips
Shop for texture before you shop for length. That sounds backwards, but it saves money and disappointment. If your hair is naturally textured or your leave-out is minimal, kinky straight, yaki straight, body wave, deep wave, and water wave usually blend better than bone-silky hair. Silky bundles can look shiny in a way that makes thin hair look even thinner by comparison.
Bundle count matters, but more is not always better. For a bob or a short layered style, two bundles plus a closure can be enough if the hair is dense. For collarbone or shoulder length, three bundles is the safer number. Once you push past that, the install starts asking more from the scalp, and thin hair rarely enjoys the extra load.
Length changes the whole feel of the style. A 10- to 14-inch install usually sits lighter and looks fuller. Eighteen inches and up can be gorgeous, but only if the hair quality is dense and the braids underneath are not overpacked. If the bundles feel airy in your hands at the store, they may look airy on your head too.
Closures are worth paying attention to. A lace shade that sits close to your scalp tone saves time with tinting and powder later. A closure that lays flat is worth more than one that looks “extra” in the package but refuses to lie down once it hits the braid base.
How to Make the Install Look Full Without Overloading the Scalp
Start with the braid pattern. Flat cornrows laid in the right direction make the whole install sit cleaner, and clean foundations matter more on thin hair because there is less natural density to hide a sloppy base. Ask for the braids to stop short of the hairline if your edges are fragile, then let the closure or part cover that area.
Keep the part width small. A huge part line can expose more scalp than you want, especially under bright light. A narrower middle part or a side part with a slight curve usually reads fuller. If the scalp shows through at the closure, a tiny bit of powder or a well-matched tint can help, but don’t smother it. Less is more.
Cutting the bundles into shape is a bigger deal than most people think. A blunt perimeter can make a bob or lob look expensive. A slight layer around the face adds movement without stealing density from the ends. And when in doubt, curl the hair away from the face instead of toward it. That opens the style up and gives the front some lift.
Heat should be used sparingly. If the install is already straightened smooth, do not keep chasing it with the flat iron every morning. That only makes the hair look thinner and the leave-out look sad. A wrap, a soft brush, and a little mousse usually do more good than another pass with heat.
Common Mistakes That Make Thin Hair Look Thinner
- Too much bundle weight: The scalp starts feeling sore, the braids loosen faster, and the style can sit bulky at the crown. Keep the install proportional to the length and texture you actually want.
- A leave-out section that’s too large: Thin hair has a hard time covering tracks when the weather turns humid or the style gets old. Use a closure or keep the leave-out small and strategically placed.
- Over-tight braids at the hairline: The style may look crisp for a day, then the edges start to sting or lift. Ask for tension that feels snug, not pulling.
- Silky bundles with coarse leave-out: The difference shows immediately. Match the texture close enough that the blend does not need constant heat.
- Skipping nightly wrap-downs: The hair starts tangling at the nape and the part loses shape. A satin scarf, bonnet, or both keeps the style together much longer.
- Wearing the install too long: Thin hair gets tired faster under stress. Once the braids start growing out and the front gets fuzzy, take it down before the install starts doing damage.
Style Swaps and Close Alternatives
The No-Leave-Out Switch: If your own hair is too sparse to blend safely, swap any leave-out style for a closure version. A 5×5 or 6×6 piece lets you keep the front neat without forcing fragile strands to cover tracks.
The Shorter, Fuller Cut: Take any lob or long style and cut it to chin length. Shorter hair usually looks denser on thin strands, and the install feels lighter from the first wear.
The Texture Match Upgrade: Replace silky bundles with kinky straight, yaki straight, or body wave if your natural hair has texture. The closer the finish is to your own blown-out hair, the less you’ll need to fuss with blending.
The Color Dimension Edit: Add subtle caramel or honey face-framing pieces instead of going all-over blonde. A little color near the front creates depth, which helps the style read fuller without extra bulk.
The Curl Pattern Swap: When a straight style feels too flat, change only the ends or the front into soft waves. You keep the clean shape, but the movement hides density issues better.
Make-Ahead Care, Maintenance, and Reinstall Timing
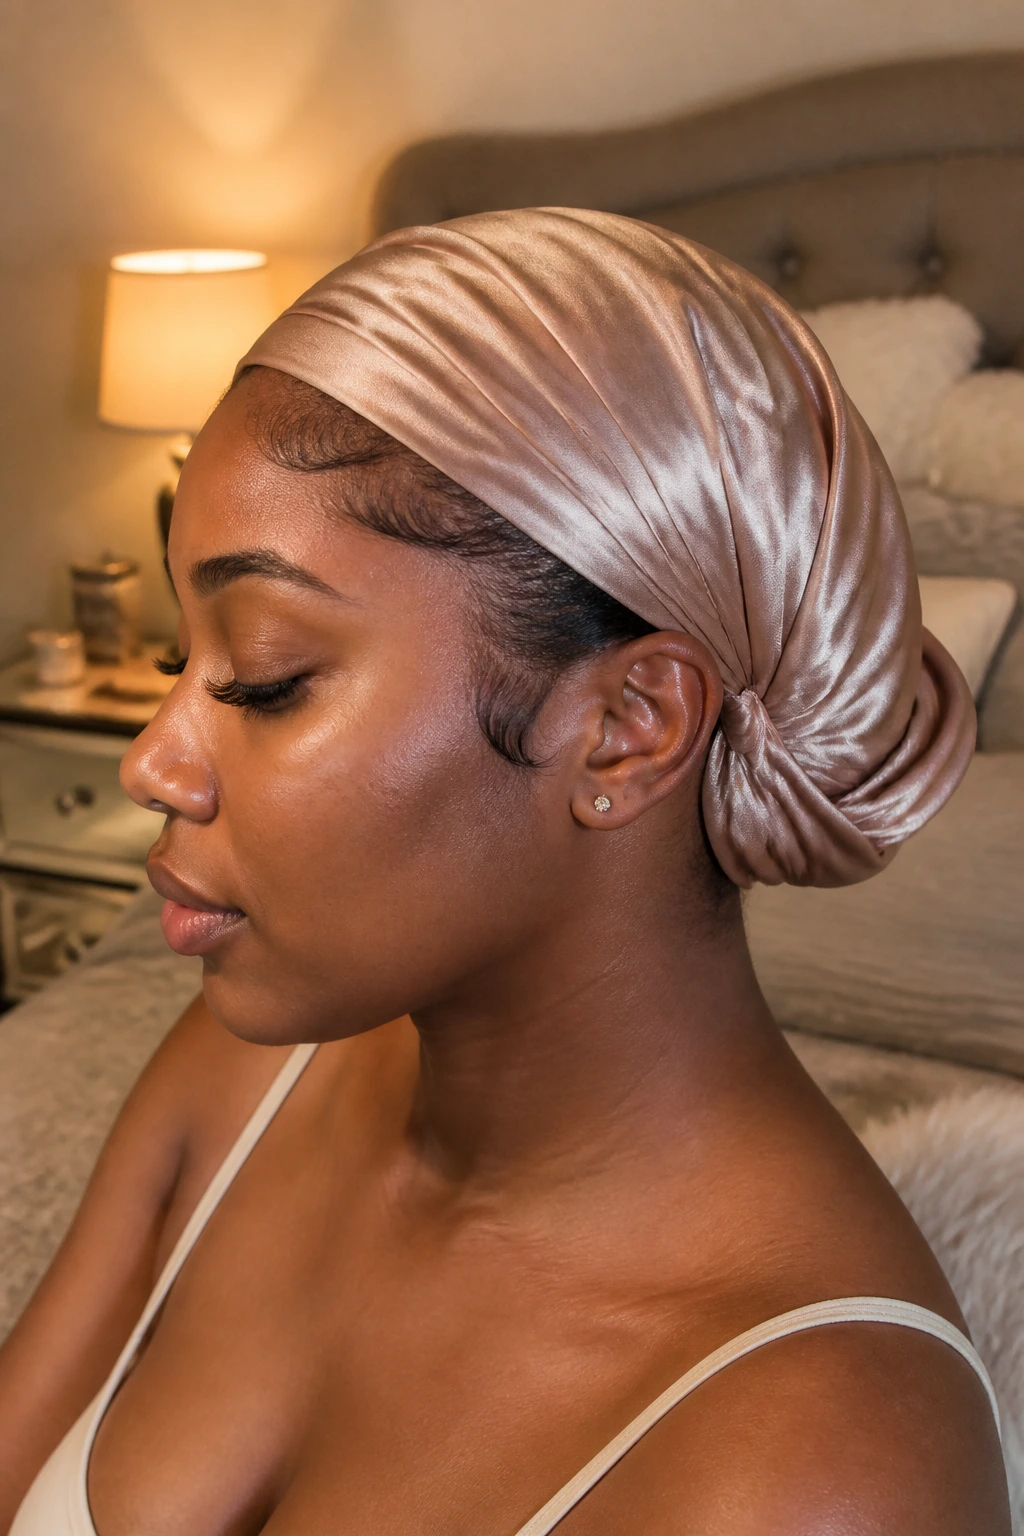
A sew-in starts aging the minute it’s finished, so the first night matters. Wrap the hair with a satin scarf and, if the style is long enough to tangle, tuck it into a bonnet as well. Straight styles should be smoothed down in the direction they were installed. Waves and curls usually do better in loose braids or a large twisted wrap so they do not mat at the ends.
Wash the scalp gently every 1-2 weeks if product buildup starts to itch or smell stale. Use a diluted shampoo in an applicator bottle so you can reach the braid rows without soaking the whole install. Then dry the braids completely. Damp braids are a bad idea. They hold that sour, musty smell nobody wants, and thin hair underneath does not need extra stress from trapped moisture.
For most thin-hair installs, I like a shorter wear window than people expect. A closure sew-in can often stay comfortable for 6-8 weeks if the scalp feels calm and the braids remain flat. Leave-out styles usually need closer attention, and 4-6 weeks is often a smarter ceiling. If the edges start feeling tender, take that seriously and shorten the wear time.
When you reinstall, give the scalp a real break. A week or two with deep conditioning, low-manipulation styles, and no tension at the hairline can make a difference. Thin hair does not always need more “growth hacks.” Sometimes it just needs less pressure.
Frequently Asked Questions
Which sew-in style is safest for thin hair?
A closure sew-in with a bob, lob, or shoulder-length wave usually puts the least stress on fragile edges. The less leave-out you need, the less the hairline has to work.
Is a closure better than a frontal for thin hair?
Usually, yes. A closure covers the front without asking you to maintain a larger lace area, and it often feels lighter around the hairline. A frontal can still work, but it asks for more upkeep and more careful tension control.
How many bundles do I need if my hair is thin?
For a bob or short layered install, two bundles may be enough. For shoulder-length styles, three bundles is often the safer choice. Past that, the style should be chosen for shape, not just bundle count.
Can I wear long hair if my hair is thin?
You can, but I would keep the install balanced. If the length gets too extreme and the bundles are too heavy, the scalp starts carrying more than it should. Long styles work better when the texture has some body and the density is not overloaded.
What texture looks fullest on thin Black hair?
Body wave, water wave, kinky straight, and yaki straight usually give the nicest illusion of fullness. They break up the outline enough to hide track lines without forcing the style into a stiff shape.
How do I keep a sew-in from looking flat at the crown?
Ask for a slight side part or a lifted middle part, and keep the top smooth but not plastered down. A little mousse and a proper wrap at night help the crown stay soft instead of collapsing.
Can I wear a ponytail sew-in without stressing my edges?
Yes, if the ponytail is placed low enough and the base is not pulled too tight. A low ponytail or a modest high bun is kinder than a giant updo that has to be yanked into place.
What if my part looks too wide or my closure looks sparse?
Start with a narrower part next time, and use a closure that matches your scalp tone better. In the meantime, a tiny bit of powder or tint can soften the look, but do not pile product on until the lace turns dull and chalky.
How tight should the braids be underneath?
Snug, not painful. If your scalp throbs, burns, or feels hot, the tension is too much. Thin hair shows stress fast, and the install should feel secure even when you shake your head.
The Sew-In Looks That Respect Thin Hair
Thin hair does not need apologies, and it does not need overbuilt installs either. The smartest weave sew-in styles for Black hair with thin hair are the ones that understand balance: light enough to sit comfortably, shaped enough to look full, and clean enough around the front to protect the hair that matters most.
A sharp bob, a soft wave, a clever part, a closure that lies flat — those details do more than extra bundles ever could. Pick the shape that gives your hair room to breathe, and the style starts doing the flattering for you. That is the version worth wearing again.