A curly pixie can look crisp, playful, and expensive in the good way — or it can look like your hair lost a fight with humidity in a parking lot. The difference is not bravery. It’s shape, weight, and whether the person holding the scissors understands that curls do not sit where they did when they were wet.
Oval faces make short hair easier to wear, but they do not erase bad cutting. A fringe that lands too bluntly can swallow your forehead; sides that are too full can widen the face; a nape that’s left bulky turns the whole cut into a triangle. The nice part is that oval proportions give you room to play, which is why pixie cuts for curly hair and oval faces can look so sharp when the cut is built around the curl pattern instead of fighting it.
The best versions feel deliberate. A soft taper, a lifted crown, a side sweep that lands at the brow, a little room around the ears — those details decide whether the style looks tailored or just short. And since curly hair shrinks, bends, and frizzes on its own schedule, the smart cuts are the ones that still look like a haircut on day six.
Why These 15 Cuts Work So Well on Curly Hair and Oval Faces
-
Shrinkage is the first thing to respect: A curl that looks eyebrow-length when wet may spring up an inch or more once it dries, so the shape has to be built with that bounce in mind.
-
Oval faces can handle contrast: You can go close at the sides or keep more length at the fringe without throwing off the balance, which gives curly pixies a lot of room to move.
-
Bulk placement matters more than raw length: Moving weight from the temples to the crown changes the whole silhouette faster than adding another inch everywhere.
-
Dry cutting gives a truer shape: A curl-by-curl trim shows where each section actually lives instead of where it pretends to live when damp.
-
The grow-out matters just as much as the first week: The best curly pixies soften neatly instead of turning into a fuzzy helmet, and that matters more than people admit.
What to Know Before You Pick a Curly Pixie
Bring two photos, not one. A front view shows fringe and face framing; a side view shows whether the nape is tapered or left soft. On curly hair, those are two different haircuts.
Ask how the cut will be made. Dry or mostly dry is better for most curls because a wet curl tells lies; it stretches, then snaps back later and steals your intended length. If your stylist only cuts curly hair wet, make sure they leave the front and crown longer than you think you need.
Decide what bothers you most. Forehead? Cheekbone width? A flat crown? A puffy nape? That answer tells you which pixie shape belongs on your head. I’d rather see someone choose the wrong mood than the wrong geometry.
Shrinkage Comes First
If your curls spring up hard, keep the fringe longer than your instinct says. If they barely shrink, you can go shorter and cleaner around the brow and ears. The cut should follow the curl, not the other way around.
Density Changes the Outcome
Dense curls need internal weight removed, not a surface razoring that turns the ends fuzzy. Fine curls need less aggressive layering or they disappear into air. That one detail decides whether a pixie looks plush or patchy.
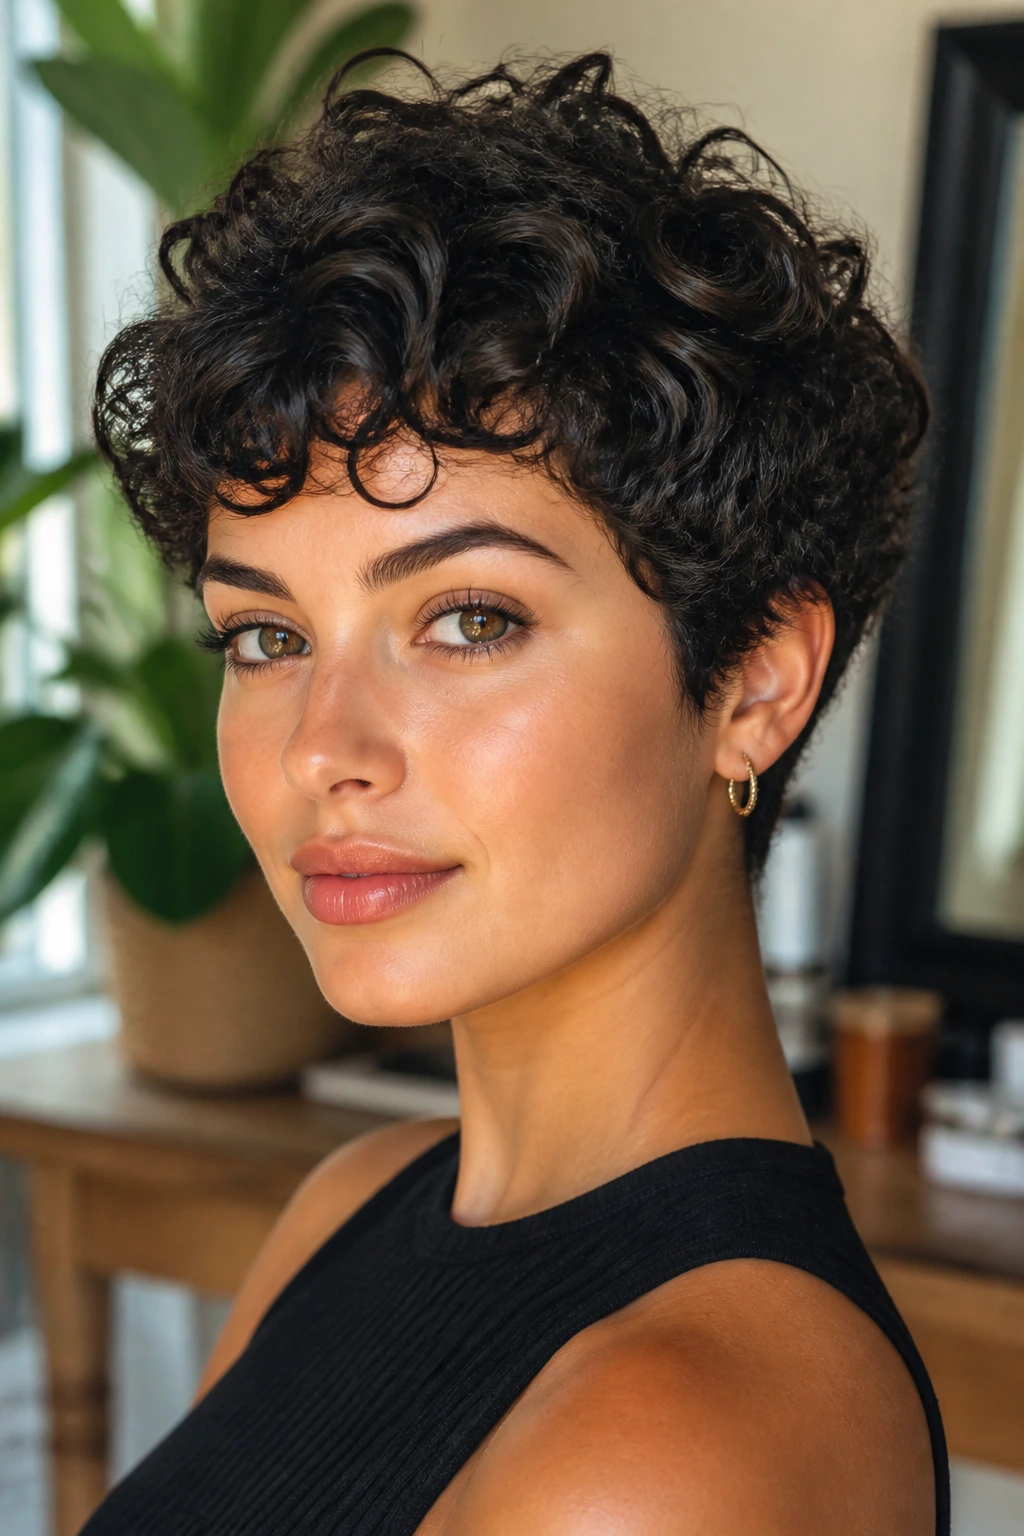
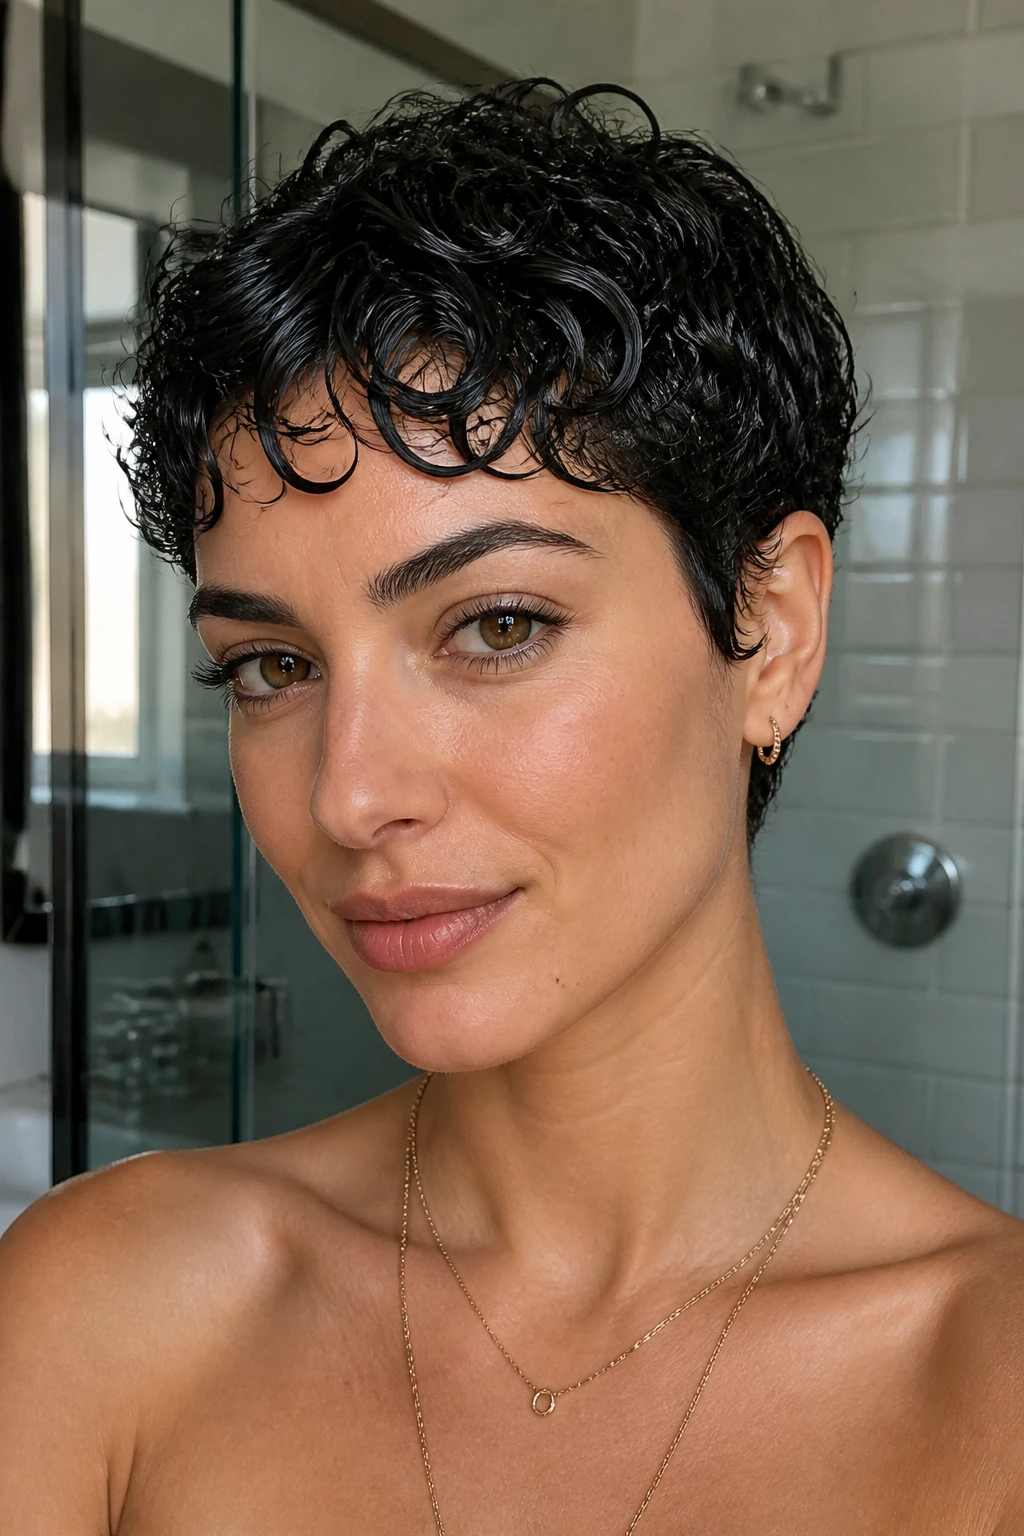
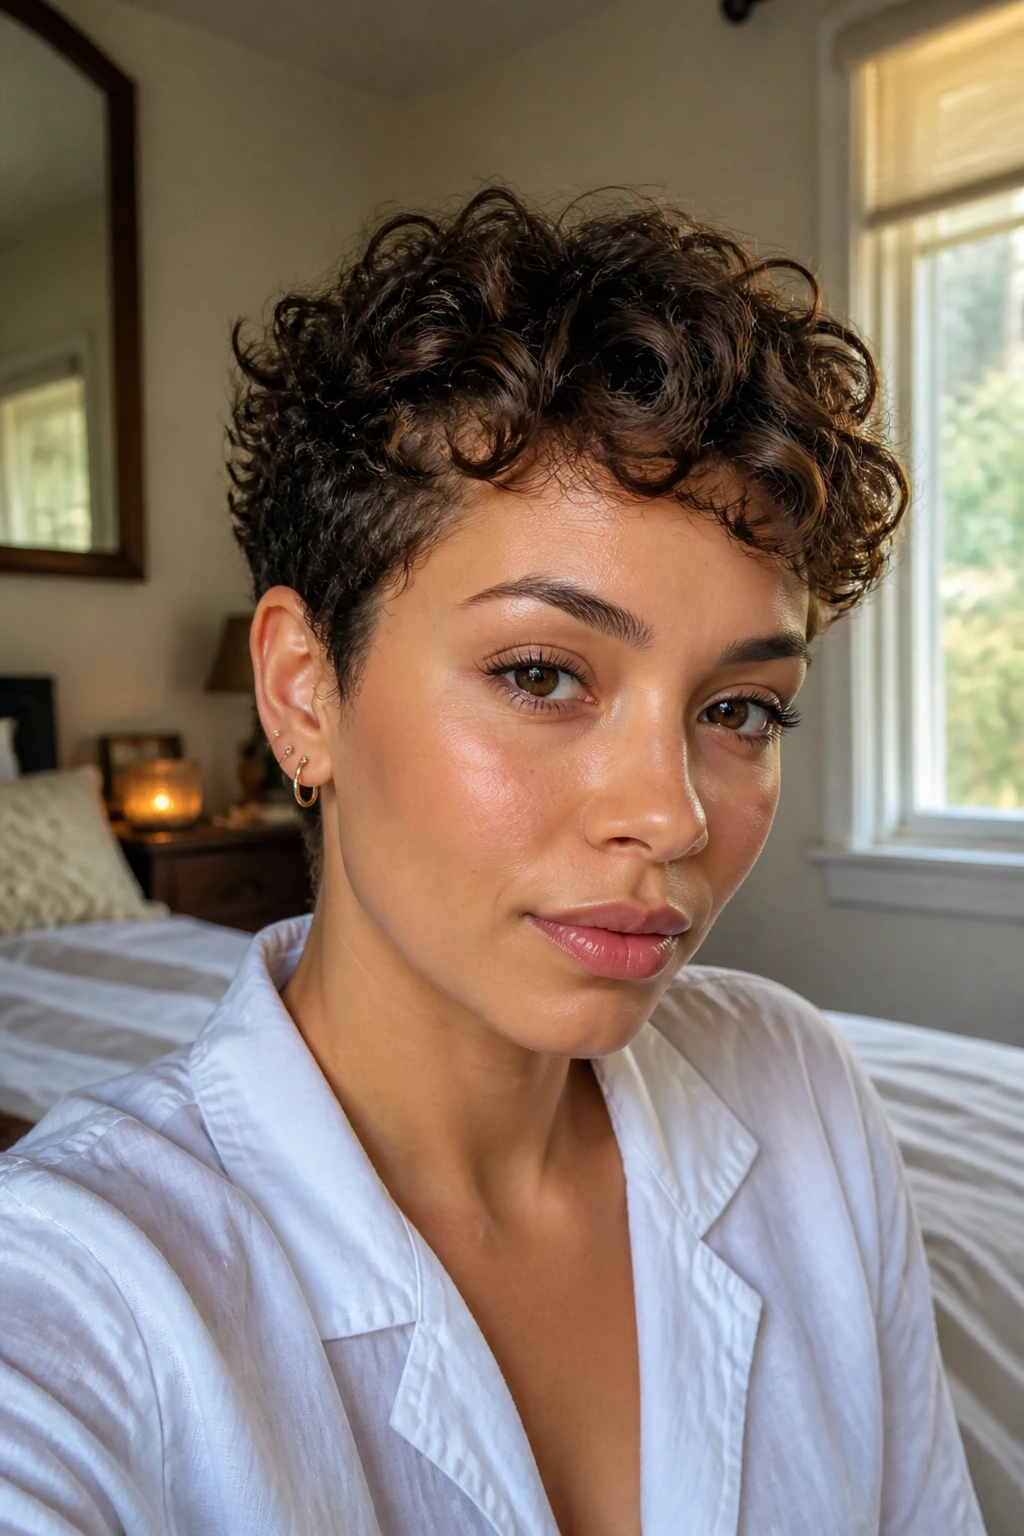
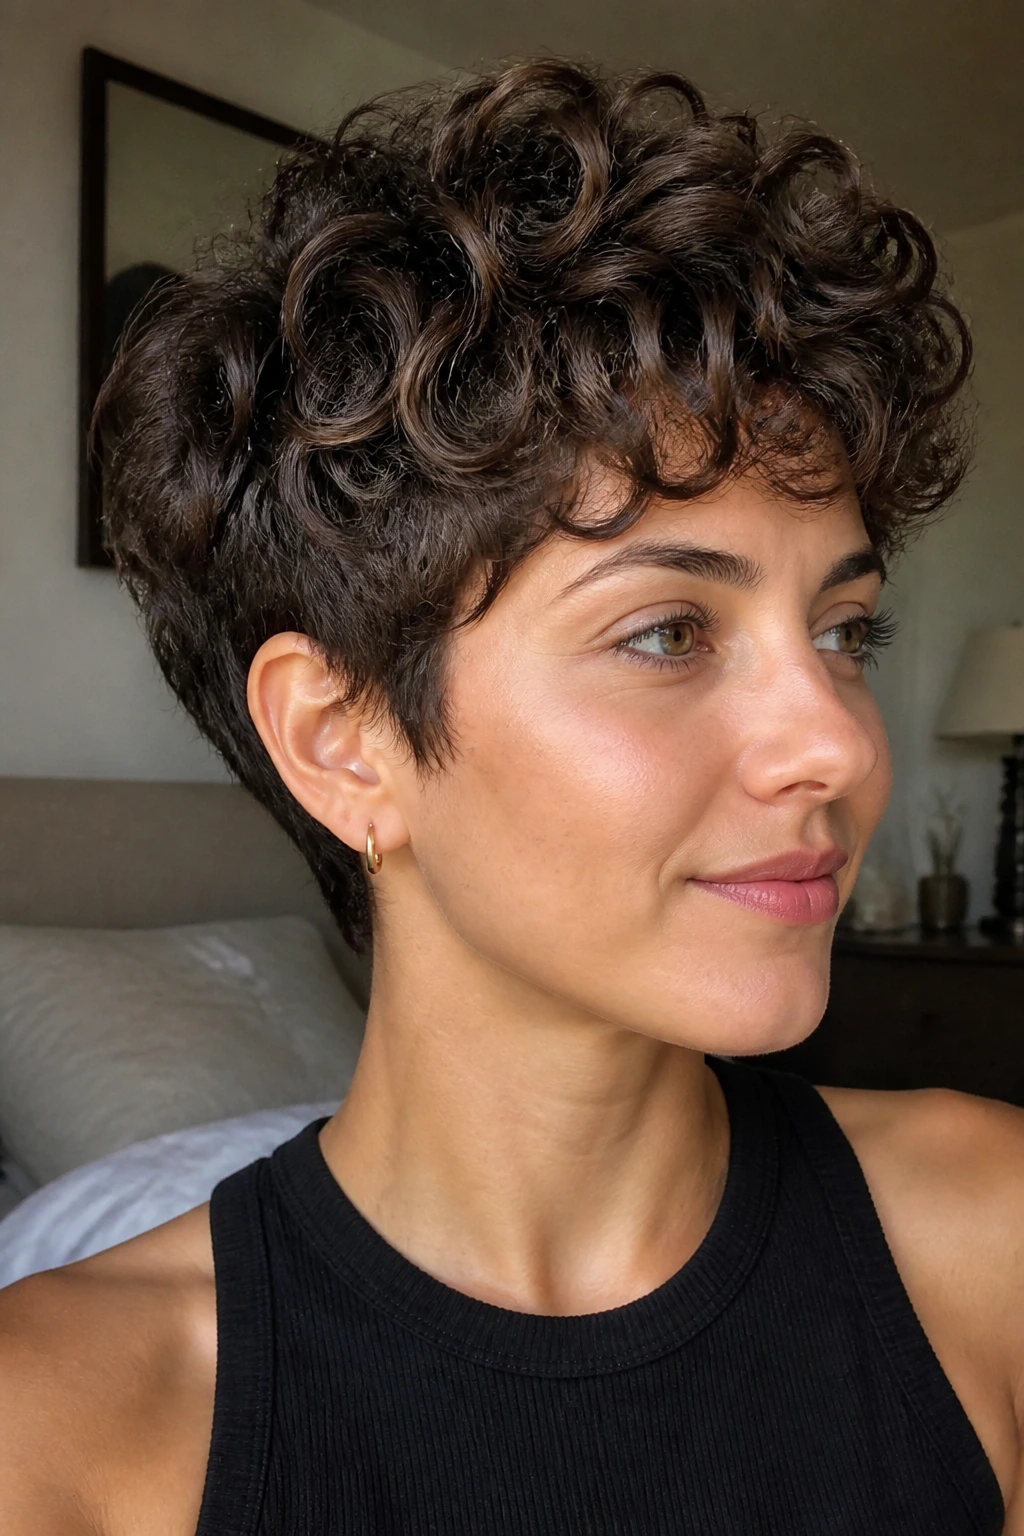
1. Soft Tapered Curly Pixie with Airy Fringe
This is the curl-friendly pixie I point toward when someone wants short hair but still wants movement at the forehead. The sides sit close enough to show the jawline, while the crown and fringe stay soft, broken, and touchable instead of stiff.
Why it flatters an oval face
An oval face already has balance through the forehead, cheeks, and chin, so the job here is not correction. It’s control. A tapered side and a fringe that skims the brows keep the face open without turning the top into a triangle.
- Keep the sides snug, but not shaved to the skin.
- Leave the crown about 2.5 to 3.5 inches if your curls spring tight.
- Use foam or mousse first; heavy cream will drag the fringe down.
One more thing: ask for the fringe to be cut with the curl pattern dry, not pulled straight. That single detail keeps the front from landing two inches shorter than planned.
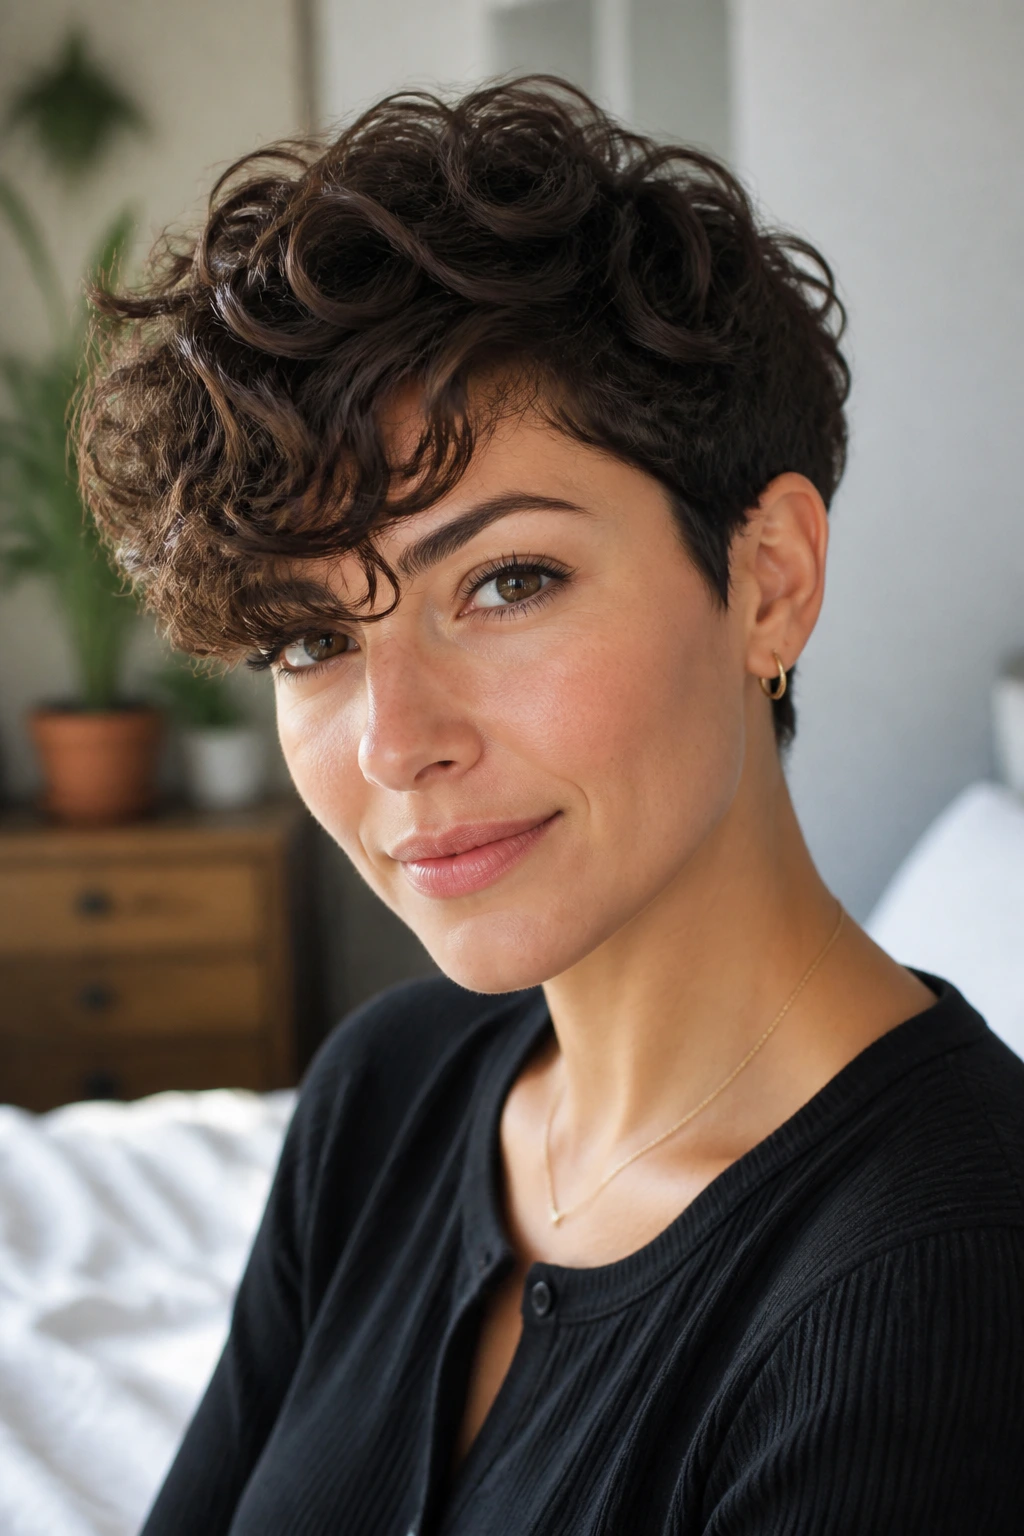
2. Rounded Curly Pixie with Micro Layers
If your hair is dense, this shape can save you from the mushroom effect. The outline stays rounded, but tiny internal layers remove weight from the inside so the silhouette doesn’t balloon at the sides.
That roundness works especially well on an oval face because the face can carry a little curve without needing hard correction. The trick is to keep the crown round, not wide. Wide is what makes the cut look like a helmet.
I like this version best on 3A to 3C curls that clump into visible spirals. Ask for micro layers inside the top and back, not choppy surface layers all over the head. Then dry with a diffuser pointed up at the roots so the shape lifts where it should. If the ends feel too frayed, back off the scissors next time; this cut needs structure more than texture.
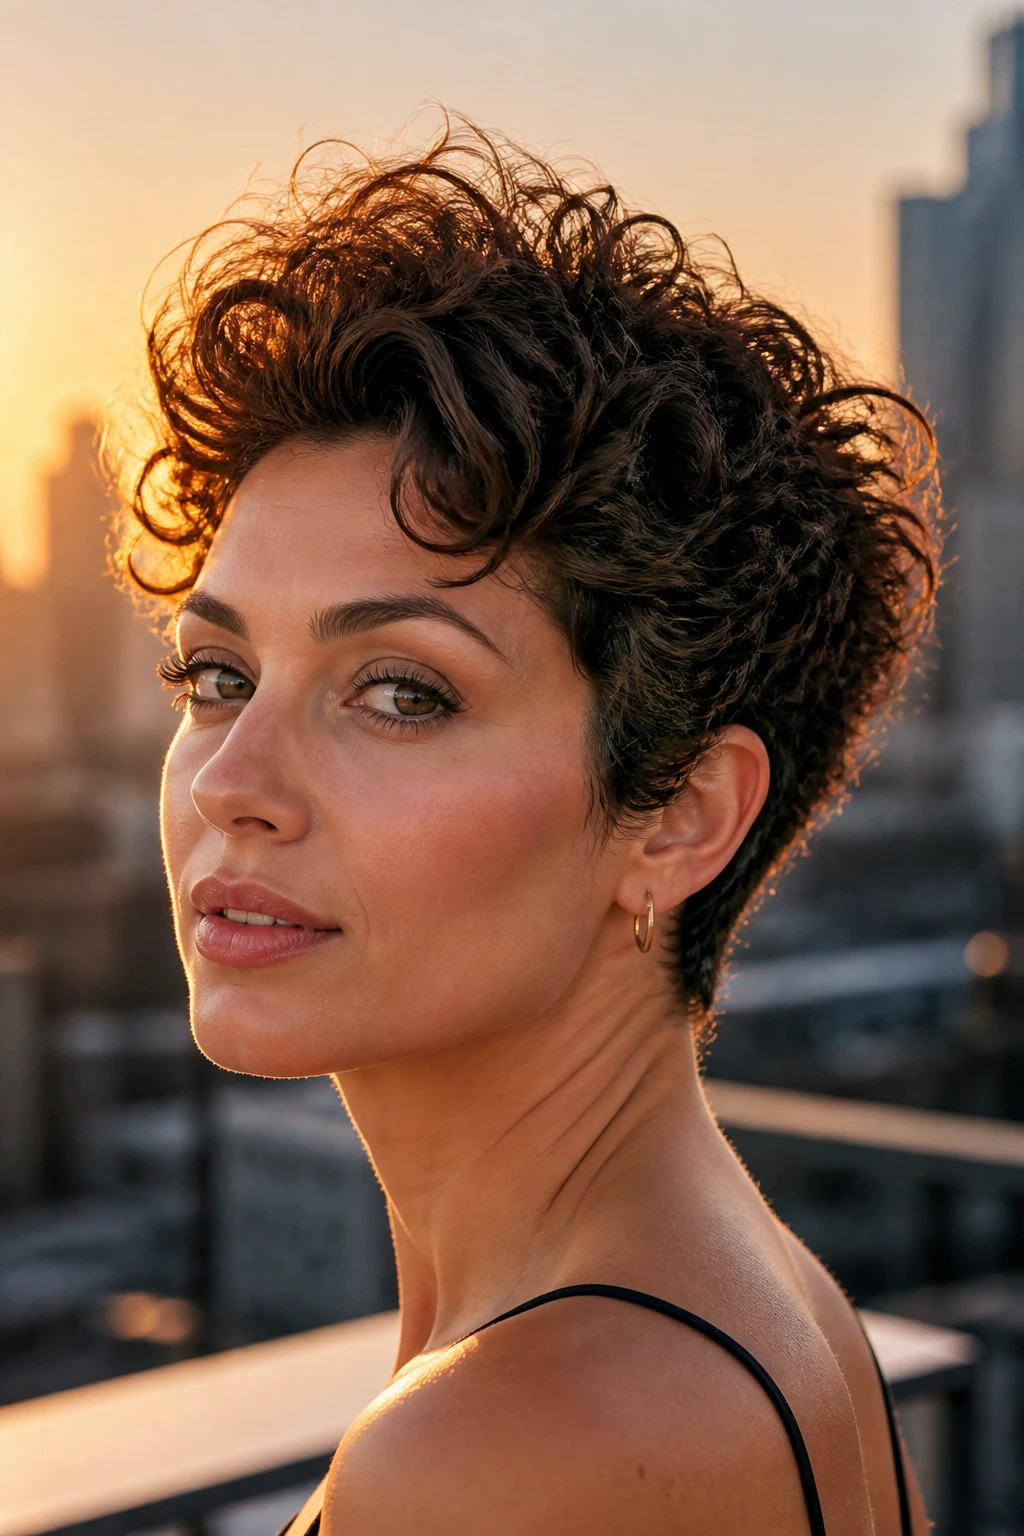
3. Asymmetrical Curly Pixie with Deep Side Part
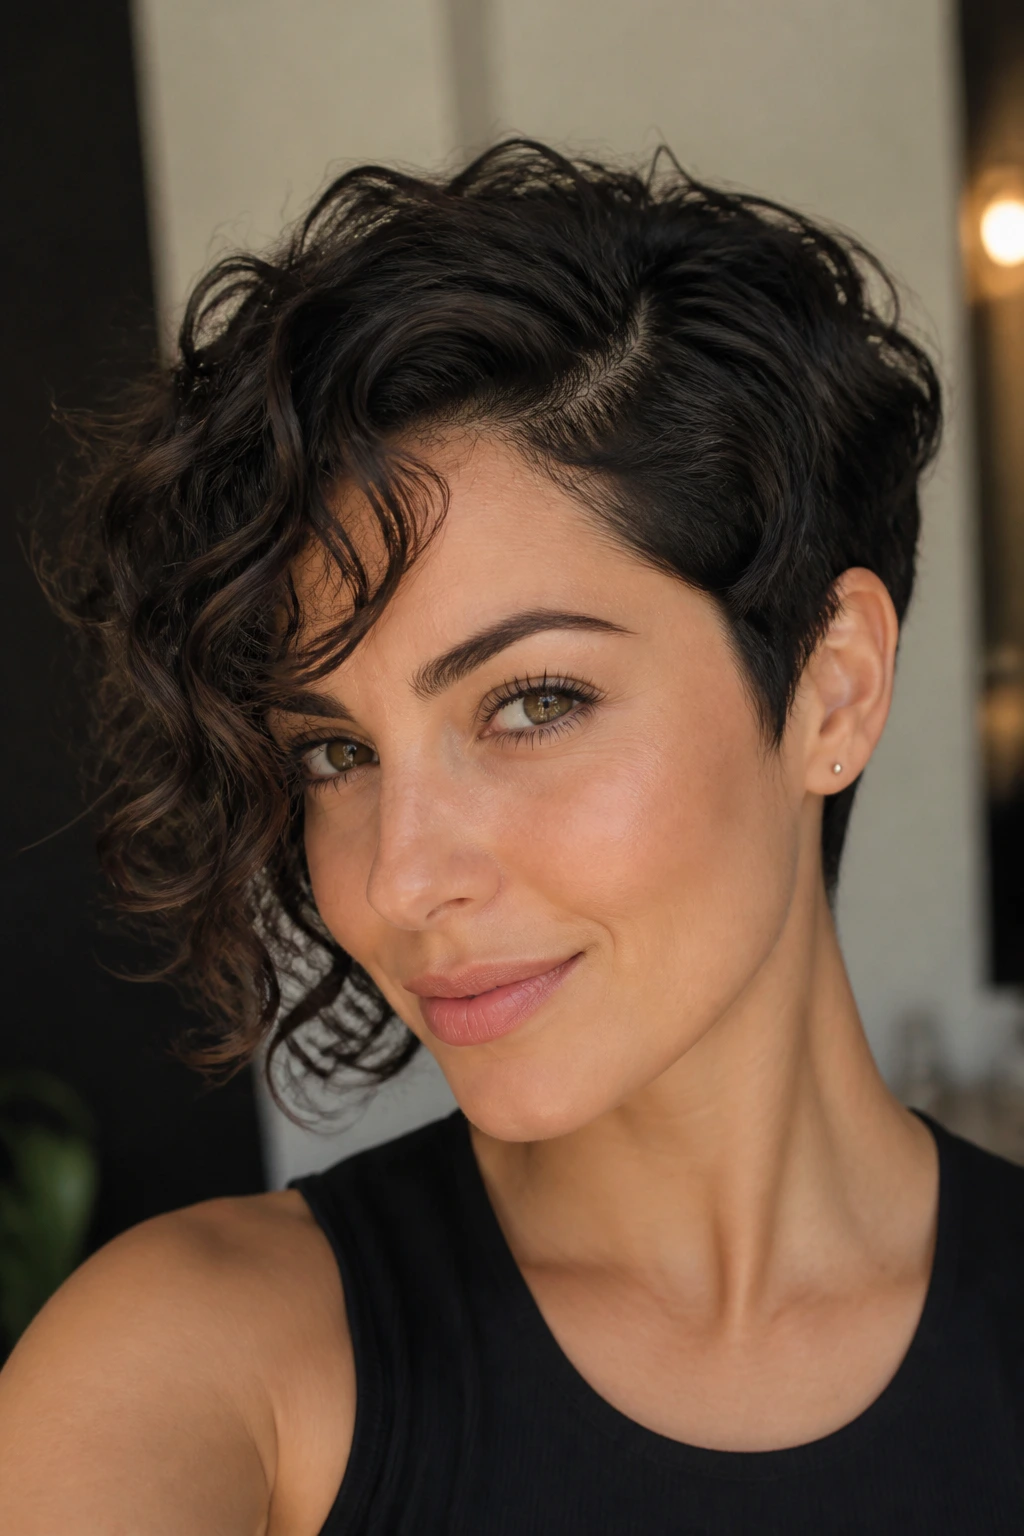
Why does a deep side part work so well on an oval face? Because it throws the eye diagonally instead of letting the haircut sit in a neat little circle. That diagonal line adds motion, and curls make the motion look richer.
The longer side usually lands around the eyebrow or cheekbone, while the shorter side hugs the temple and ear. You do not need a giant difference — one to two inches is enough when the curl pattern is strong. Bigger than that and the cut starts to look like it’s making a statement before it’s making sense.
What gives it the shape
The part itself does a lot of work, but the weight line matters too. Keep the longer side soft and broken up, not heavy and chunked. On curly hair, a blunt asymmetry can get loud fast.
I’d choose this version for someone who wants a little drama without going full undercut. It’s also a smart fix for a crown that naturally wants to lean to one side. If that sounds familiar, stop fighting it. Let the hair do the twist for once.
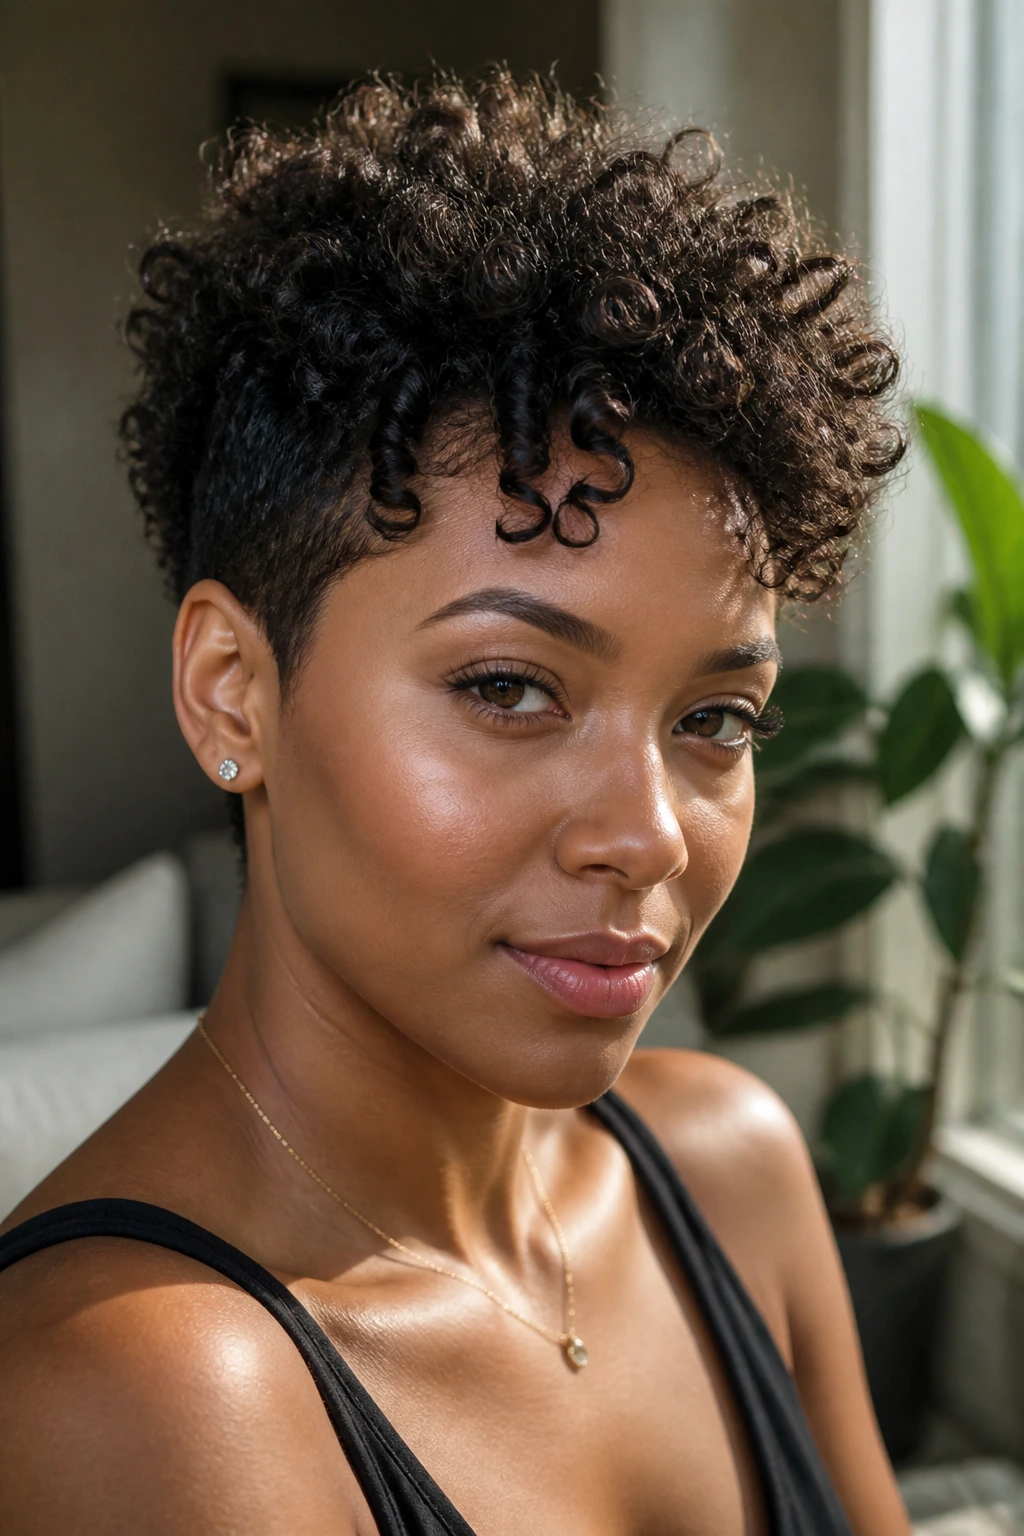
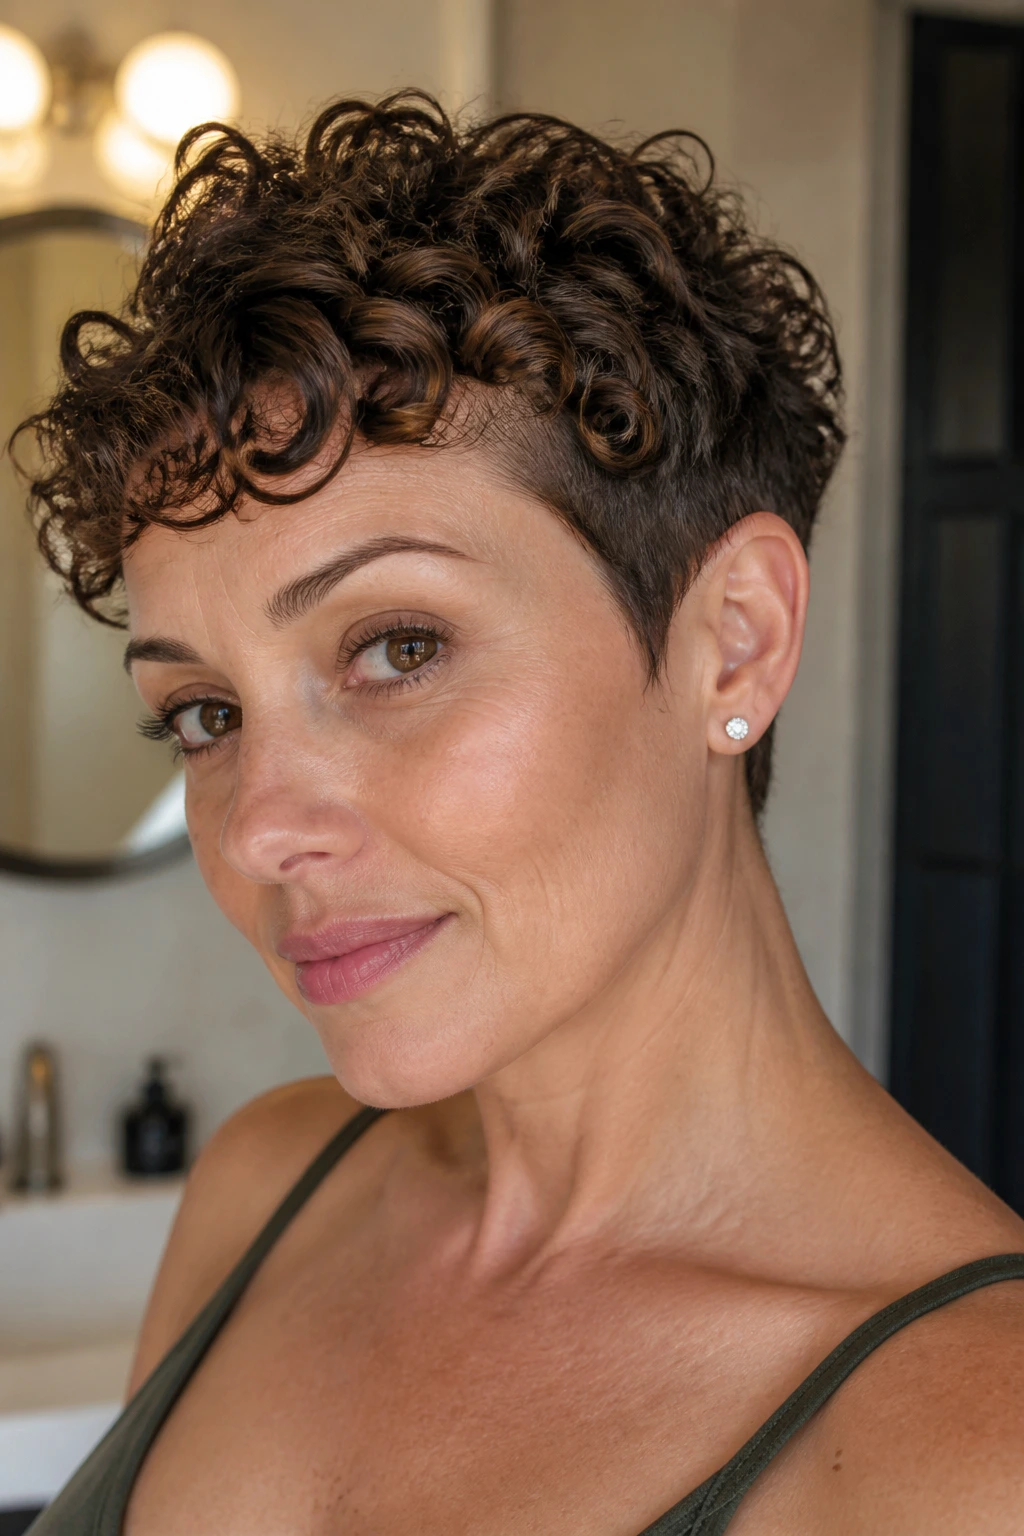
4. Curly Pixie with Clean Undercut Sides
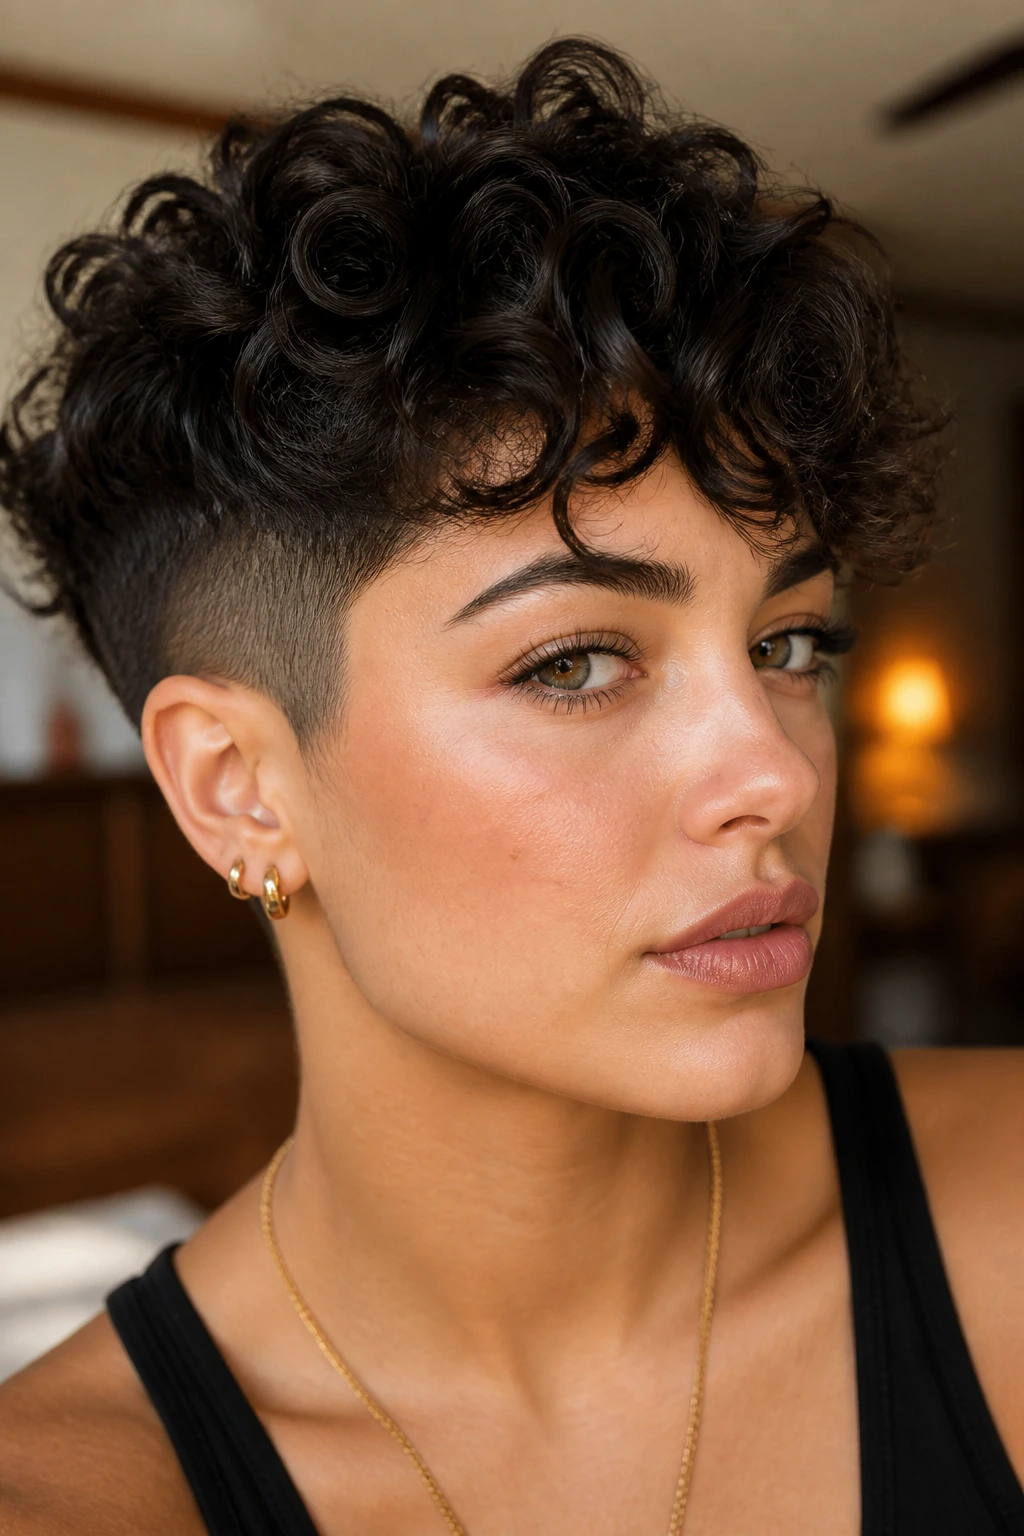
If your curls puff out at the temples by noon, this cut solves the problem at the source. The undercut removes bulk where curly hair tends to spread, and the top keeps enough length to show real curl shape.
This one needs confidence, but not recklessness. Keep the top long enough to move — usually around 3 to 4 inches, depending on curl pattern — and make sure the undercut stops high enough to keep the shape connected. Too low and you end up with two separate haircuts on one head.
- Best for dense curls that swell at the sides.
- Keep the temple line clean, not stripped to the scalp if your hair is fine.
- Plan on tidying the undercut every 3 to 4 weeks.
Oval faces wear this well because the clean sides sharpen the jawline without needing extra length around the chin. The cut looks strongest when the contrast is obvious. Half-measures tend to read as unfinished.
5. Long-Top Pixie with Defined Coil Shape
This is the pixie for people who want a little more styling range on top. The crown stays longer — often 4 inches or so on curly hair — so the coils can stack and show off their own pattern instead of being flattened into a crop.
The sides stay shorter, but not severe. On an oval face, that keeps the proportions clean and avoids stretching the face visually. The result is a short cut with a little altitude.
How the top should behave
The top should have room to bend, not room to flop. That means leave enough length for the curls to spring into shape, then use a lightweight gel or foam at the roots. If the crown falls forward every time you air-dry, the cut was probably too short on top or too heavy with product.
This version looks especially good if you like finger-defined coils. Twisting a few front pieces while damp can make the whole cut look neater without turning it into a polished helmet. And yes, the back still needs to be trimmed down; a long top only works if the silhouette stays tight below it.
6. Tousled Curly Pixie-Bob Hybrid
This is the cut I suggest when someone says, “I want a pixie, but not yet.” The nape stays a little longer, the front can brush the cheekbone, and the whole thing slips between a pixie and a tiny bob. That buffer matters on curly hair, because grow-out is calmer when you don’t have a hard shelf sitting right at the back of the head.
It also suits oval faces because it keeps the vertical balance without crowding the cheeks. The added length around the lower back of the cut softens the transition from short to long hair, which is useful if you’re not ready to commit to a close crop.
The trick is keeping it tousled, not bulky. Ask for internal weight removal through the back and sides so the cut doesn’t sit like a little mushroom cap. I like this one on medium-density curls that want movement but not too much scalp exposure. It’s forgiving, and I mean that in the best possible way.
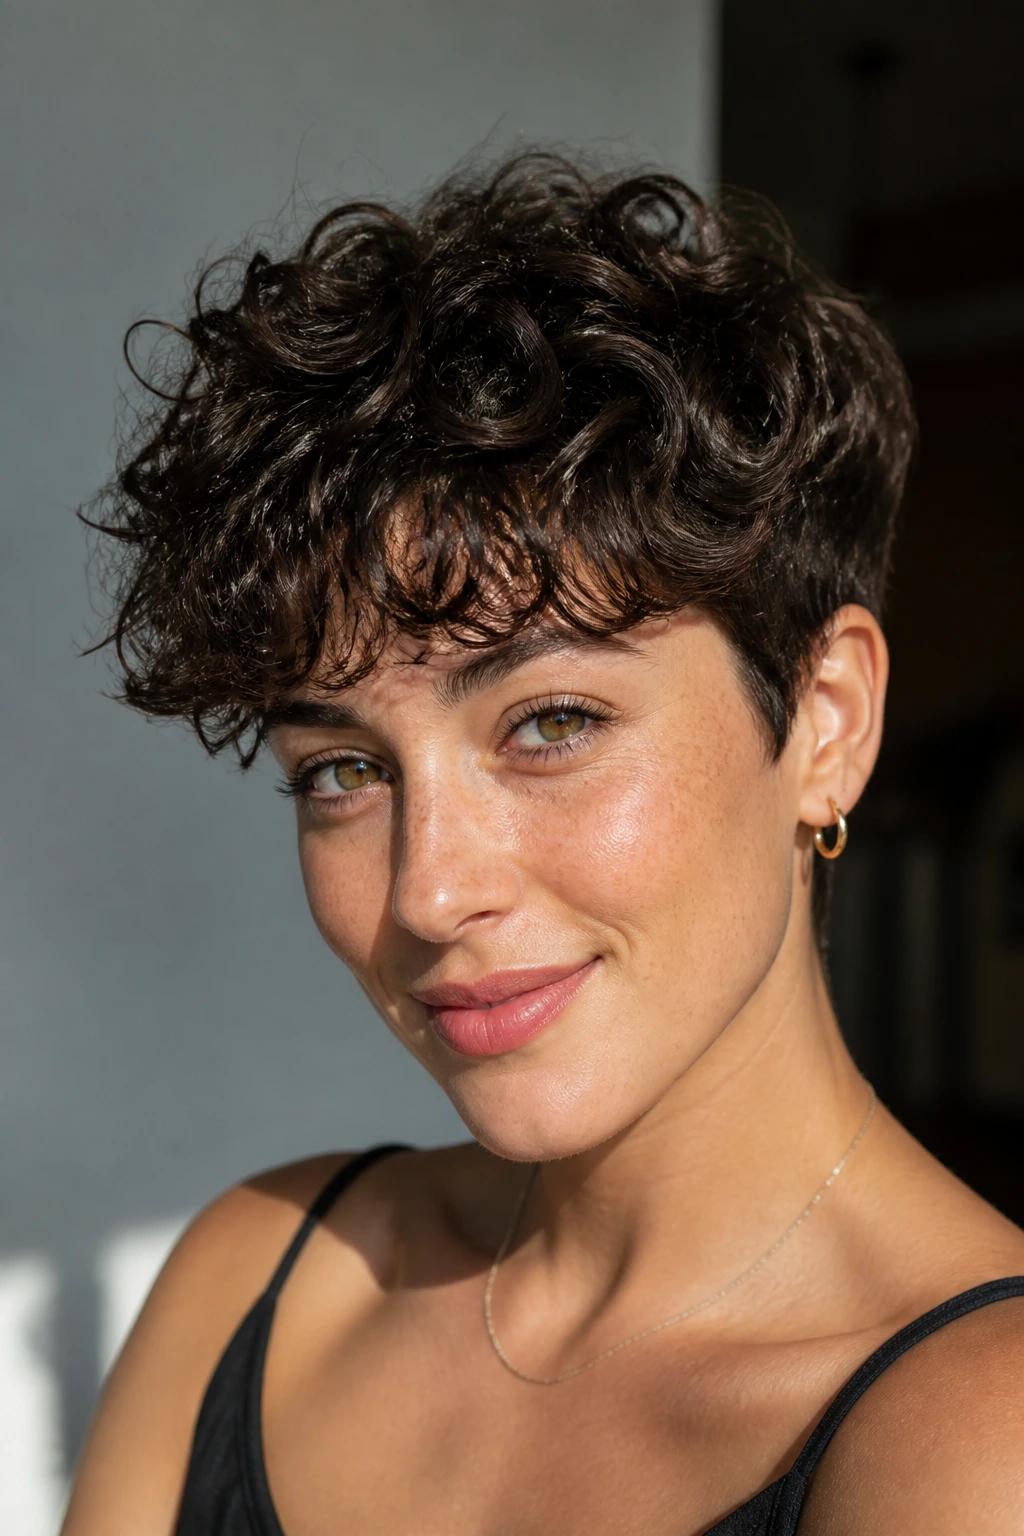
7. Curly Pixie with Side-Swept Bangs
A side-swept fringe is the easiest way to soften a strong forehead without hiding half the face. On an oval face, that diagonal sweep adds interest without needing more width at the sides.
The bangs should be left longer than you think, especially if your curls bounce hard. A fringe that looks perfect when wet may spring up and sit too high once dry, which is how people end up cutting again too soon. Leave the front pieces long enough to brush the brow or eyelash line, then let them shrink into place.
How to style it without fighting the curl
Clip the fringe in the direction you want while it dries. Use a small dab of gel on the first inch near the root, then let the ends stay soft. If the fringe splits, don’t panic and start dragging a comb through it. Pinch it back into place with wet fingers.
This style works best when the part isn’t too rigid. If the side part sits a little off-center, the fringe looks more natural and the curl pattern has room to move. Too precise, and the whole thing starts looking stiff.
8. Choppy Cropped Pixie with Piecey Ends
Unlike the rounded pixies, this one wants separation. The point is not to make every curl cooperate; it’s to let the ends sit in little broken pieces that feel sharp and modern.
That means the cut should be textured with scissors, not hacked apart with a razor just because someone wants “movement.” Curly hair can get frizzy fast when the ends are over-thinned. Ask for choppy definition at the top and fringe, then keep the perimeter a bit cleaner so the shape still holds.
The oval face gives this cut room to breathe. Because the face is balanced already, the piecey ends can play against the bone structure without making it feel crowded. I’d use a light paste or foam for this style, not a creamy product that softens the edges too much. If you want the pieces to read, they need a little hold.
9. Wet-Look Curly Pixie for Glossy Finish
If you like defined curl clumps and a close, sculpted outline, this is the one. The wet-look pixie keeps the curls together, so the shape reads sleek instead of fluffy.
It’s especially useful when your hair frizzes the second you touch it. Apply gel to soaking damp hair, scrunch from the ends upward, then let the diffuser do the rest on low heat. Don’t blast it apart with your hands while it’s drying. That defeats the whole point.
Where this cut shines
The top should be long enough to hold a curl clump, but not so long that the product gets heavy and sticky. On an oval face, the glossy finish can look very clean because the face doesn’t need extra width to feel balanced.
The danger is stiffness. If the hair looks shellacked, you used too much gel or let it dry without scrunching out the cast lightly. The finish should feel controlled, not crunchy. That’s a narrow line, but it’s worth learning.
10. Stack-Back Curly Pixie with Lifted Crown
The back is the whole story here. Short stacked layers at the nape build a little curve into the cut, while the crown rises enough to give the shape some posture.
This is a good option when your curls are thick and want to sit heavy in the back. The stacked layers keep the lower half from collapsing, which makes the overall silhouette cleaner. On an oval face, the lift at the crown draws the eye upward without widening the cheeks.
I like this cut when the front is kept a touch softer than the back. Too much stacking everywhere can make the shape puffy. Keep the nape tight, the crown lifted, and the side panels controlled, and the whole thing reads as intentional. It’s one of those haircuts that looks tiny from afar and carefully built up close.
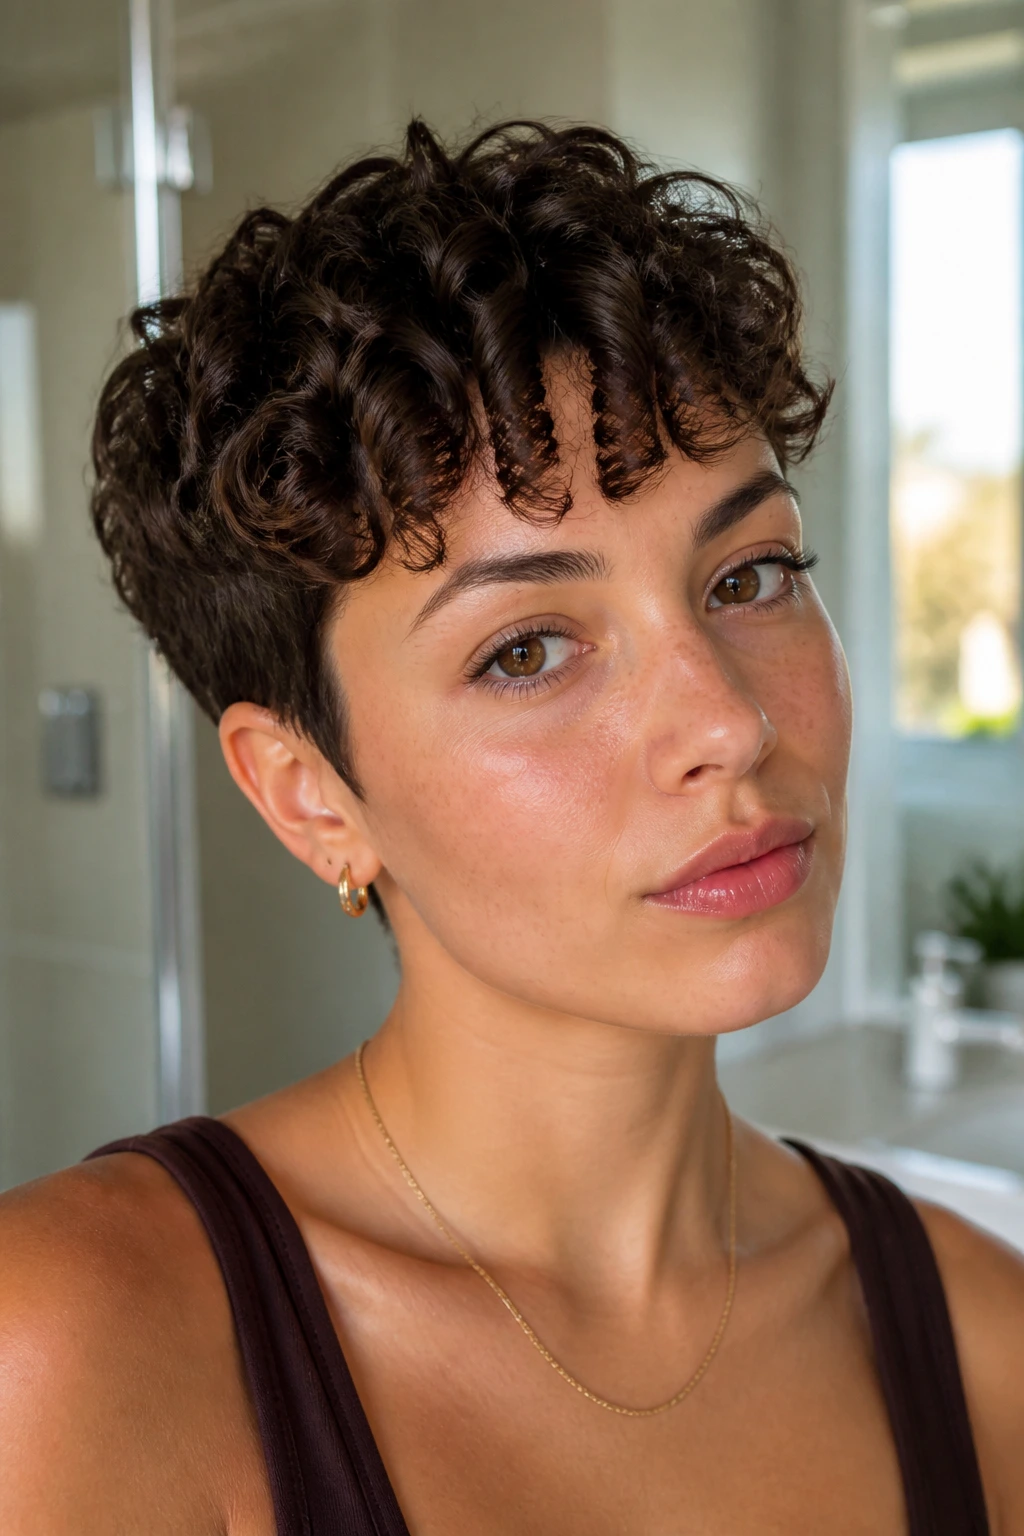
11. Curly Pixie with Baby Bangs
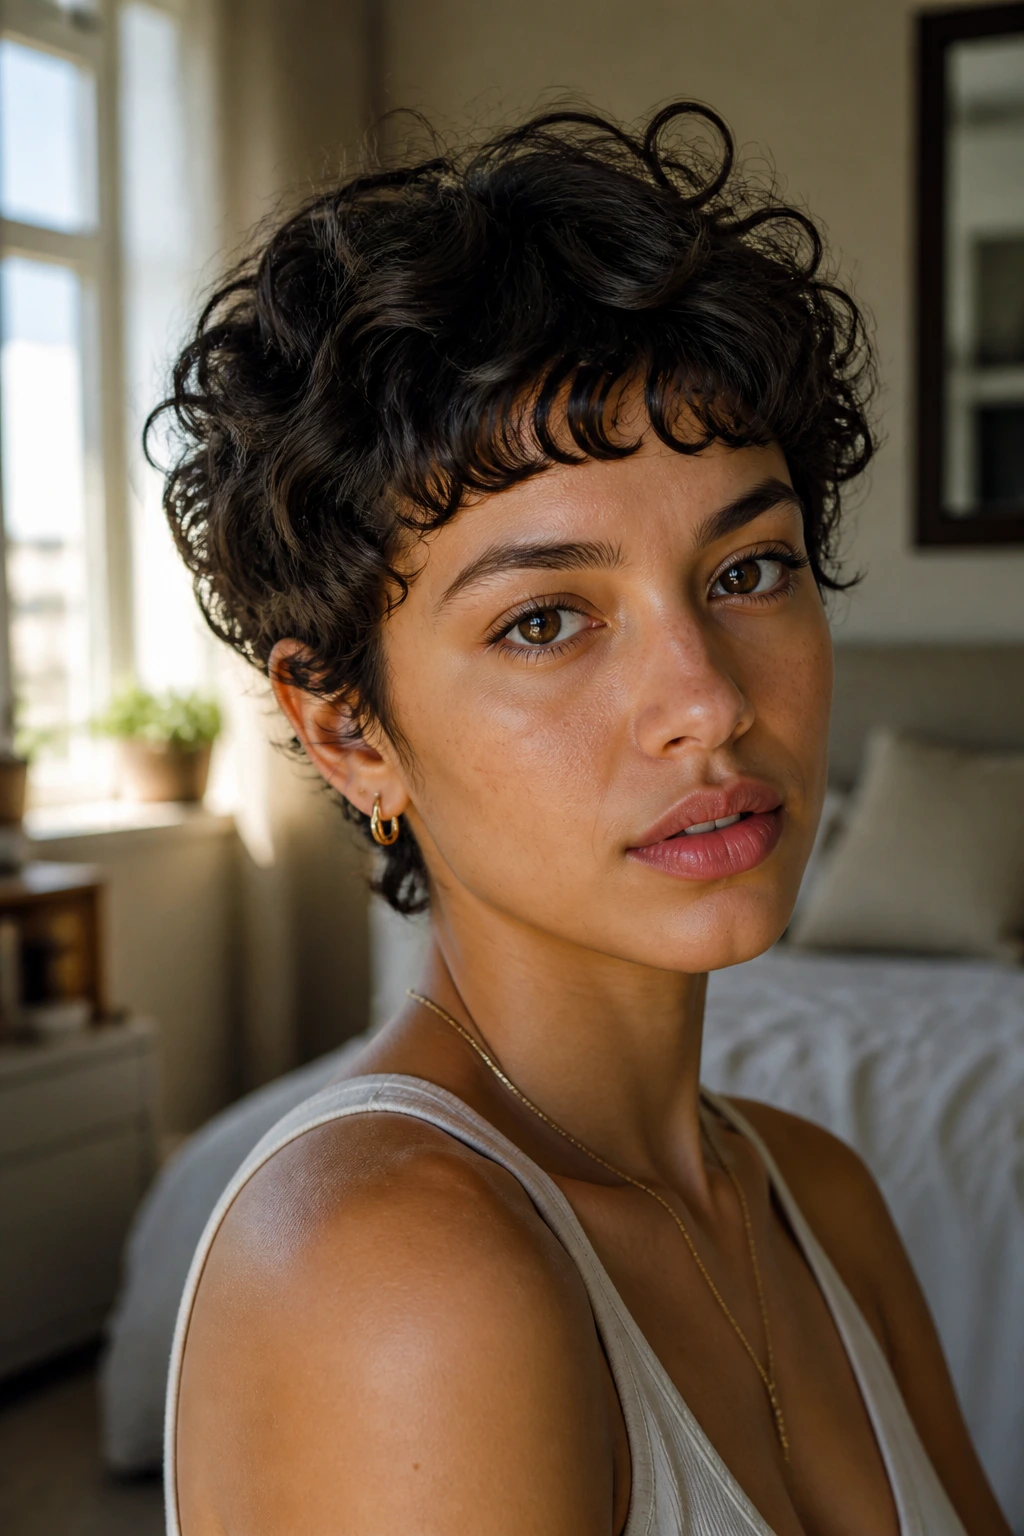
Tiny fringe, big attitude. That’s the whole deal here. On an oval face, baby bangs can look sharp rather than costume-y because the proportions already balance the rest of the cut.
The catch is shrinkage. A curly fringe that’s cut too short can jump halfway up the forehead once it dries, which is not the mood most people want. Leave more length than you think, especially if your curls are springy, and let the final shape happen after the hair settles.
The face-framing logic
Baby bangs work best when the sides stay tidy and the crown carries a bit of lift. If the whole cut is too bulky, the short fringe starts feeling disconnected. If the haircut is clean and snug around the temples, the bangs become the focal point instead of a surprise.
I would not choose this version for very loose waves that don’t hold together well, because the fringe can separate into random pieces. On tighter curls, though, it can be terrific. The contrast is the point.
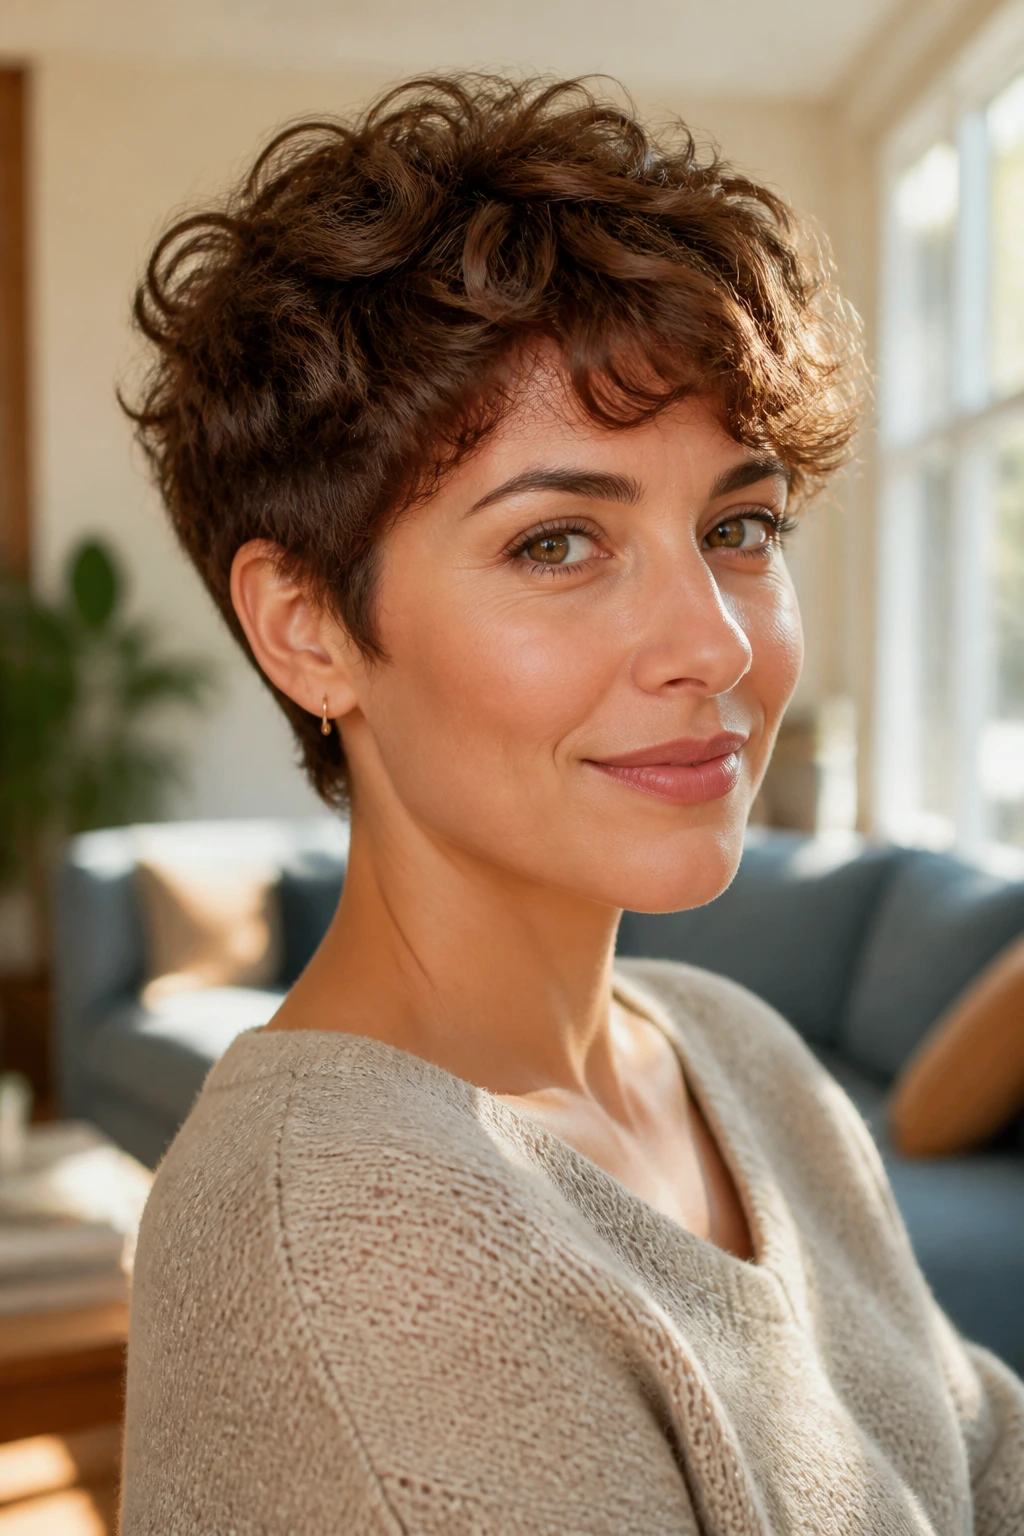
12. Feathered Curly Pixie for Fine Hair
Can fine curls wear a pixie without disappearing? Yes, if the layering is feather-light and the perimeter stays honest. Too many short layers make fine curls look wispy. A better cut leaves enough length for the curl to show up clearly.
This shape keeps the top slightly longer and uses soft feathering to remove just enough weight for movement. The sides stay trimmed, but not hollowed out. On an oval face, that softer outline looks airy without making the head look small.
- Use mousse or foam first.
- Skip heavy butters and thick creams.
- Keep the crown a touch longer than the sides so the shape doesn’t collapse.
This is one of the few curly pixies where less product often looks better. Fine curls can go flat fast if they get coated in too much cream. I’d rather see a clean, airy finish than a slick, overfed one.
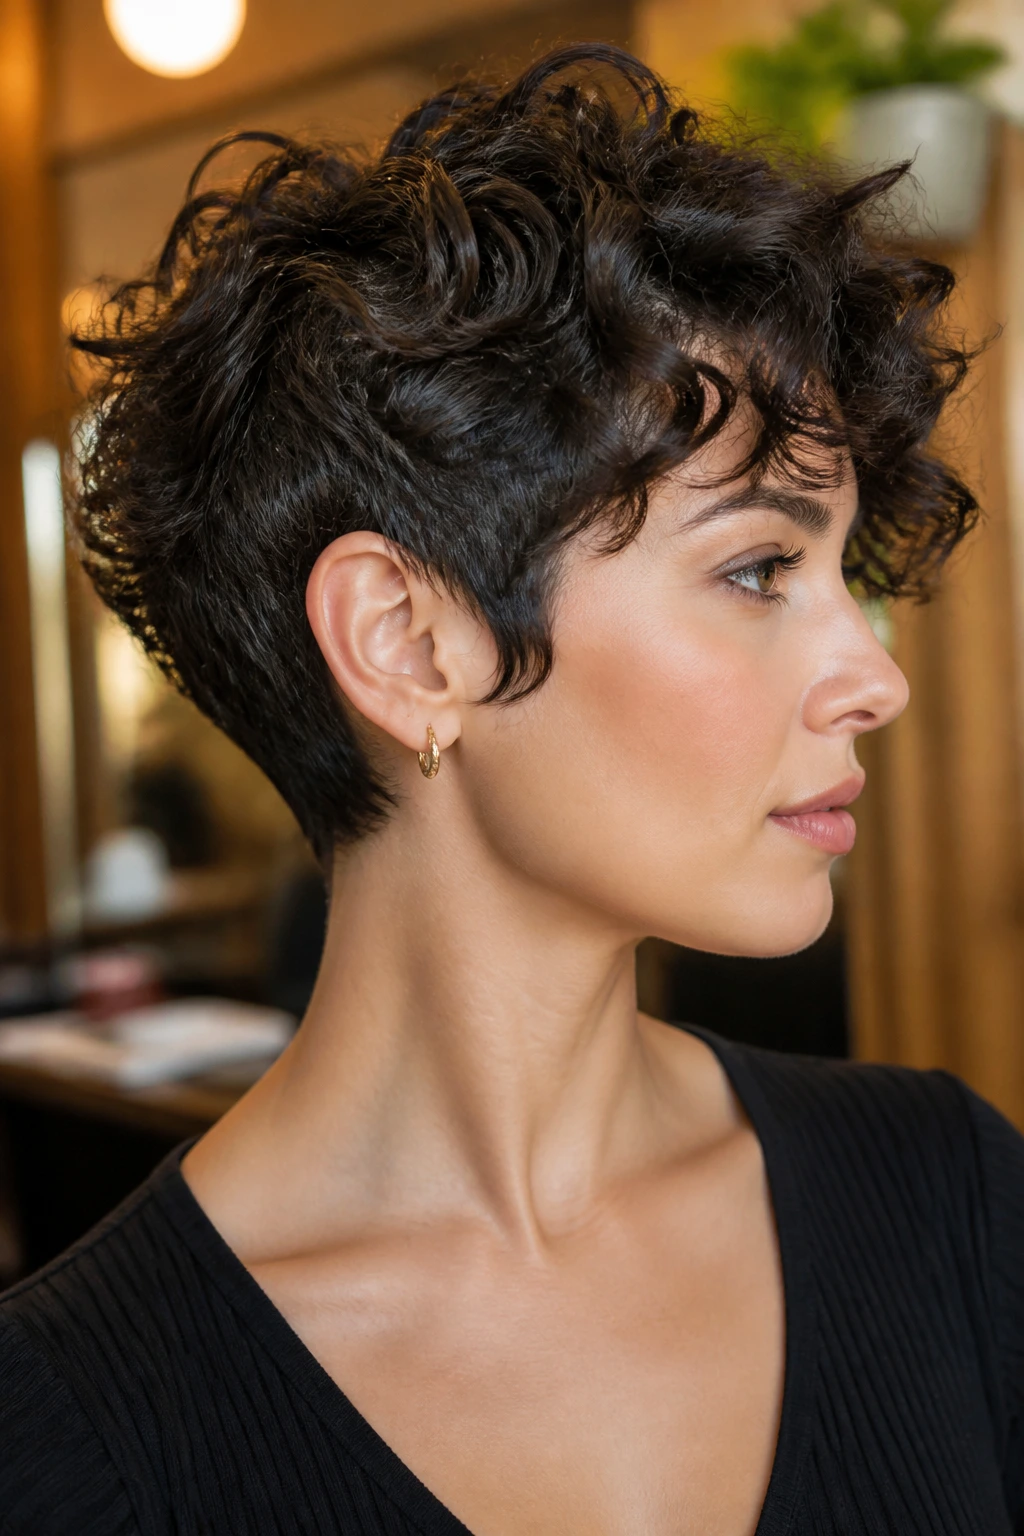
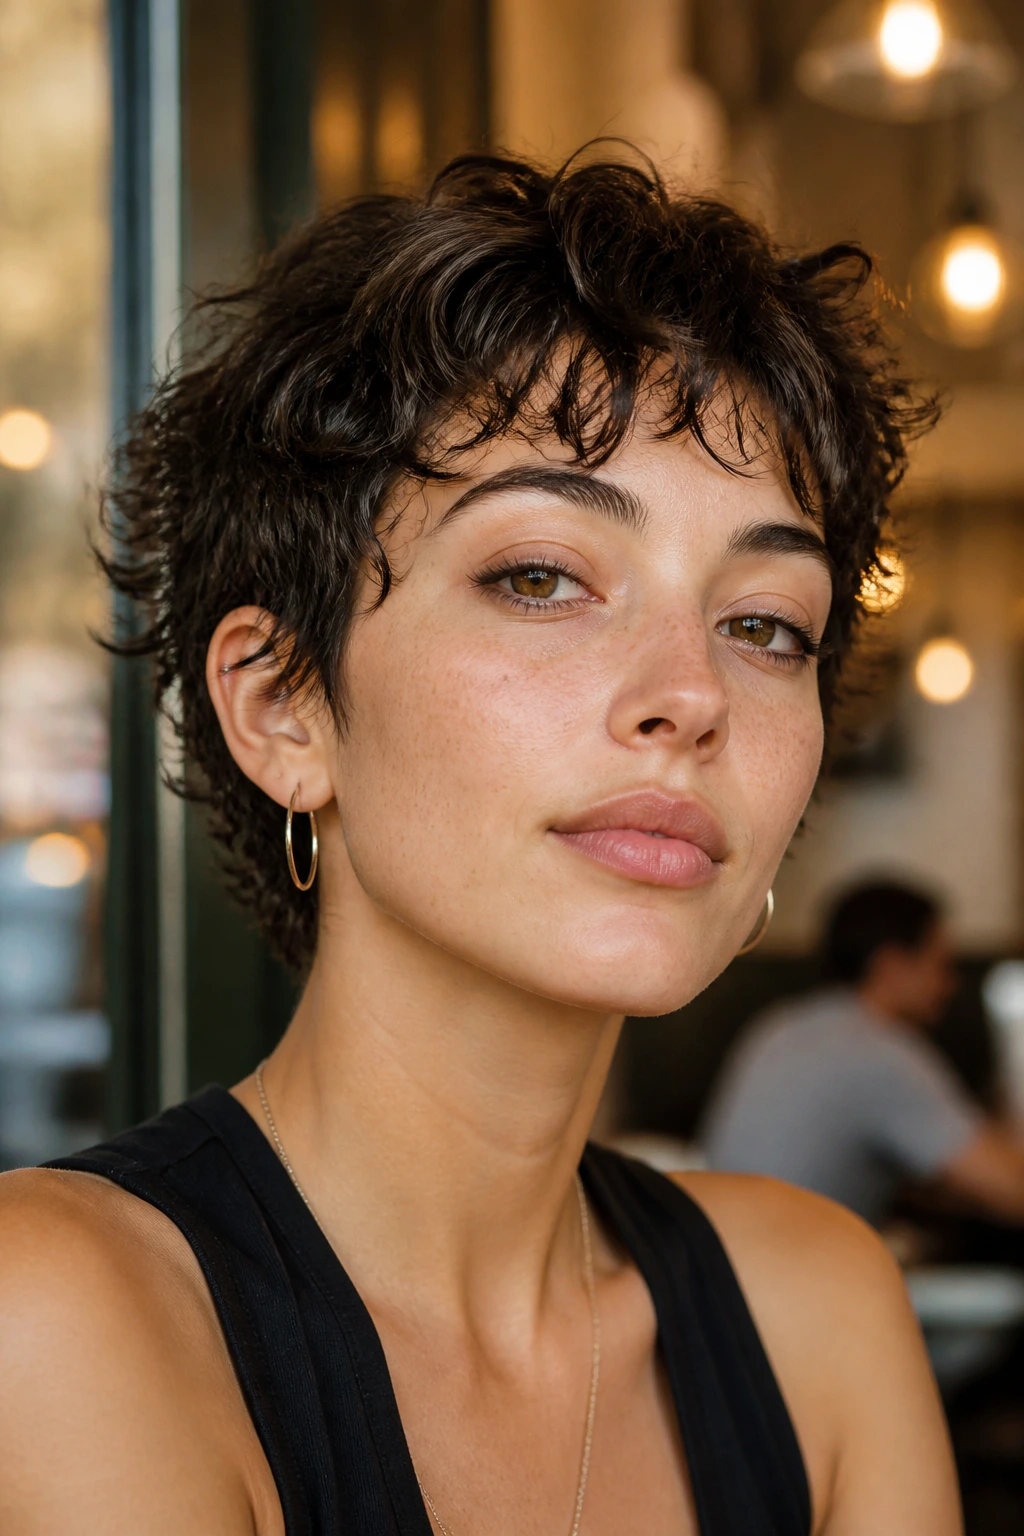
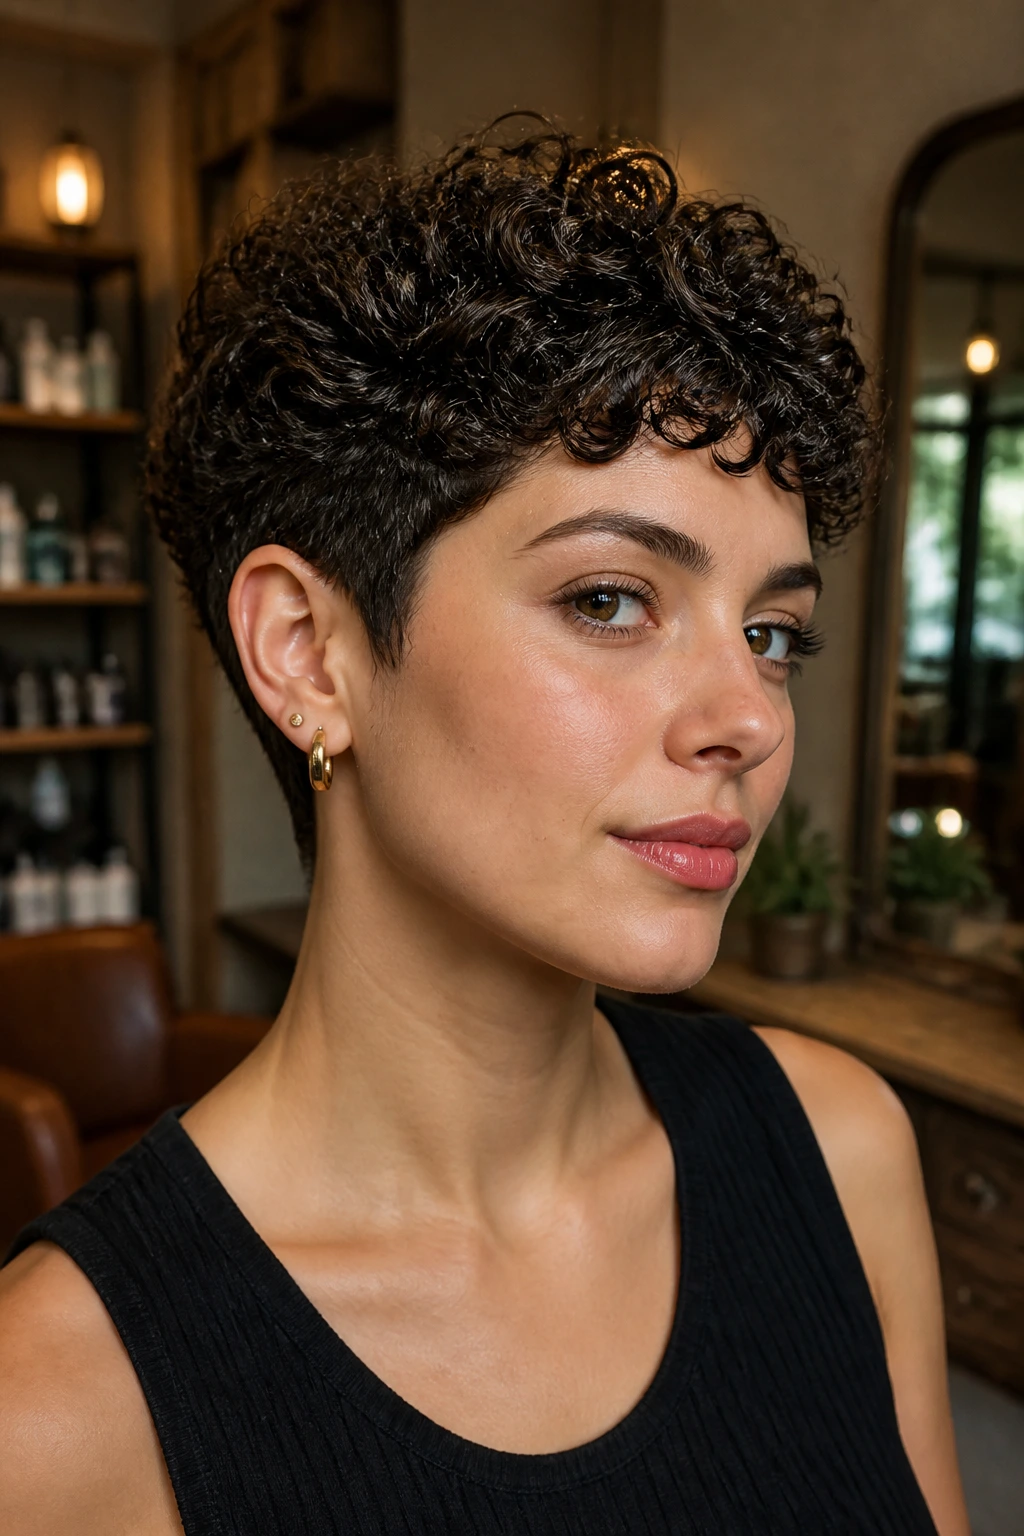
13. Sculpted Tapered Pixie for Tight Coils
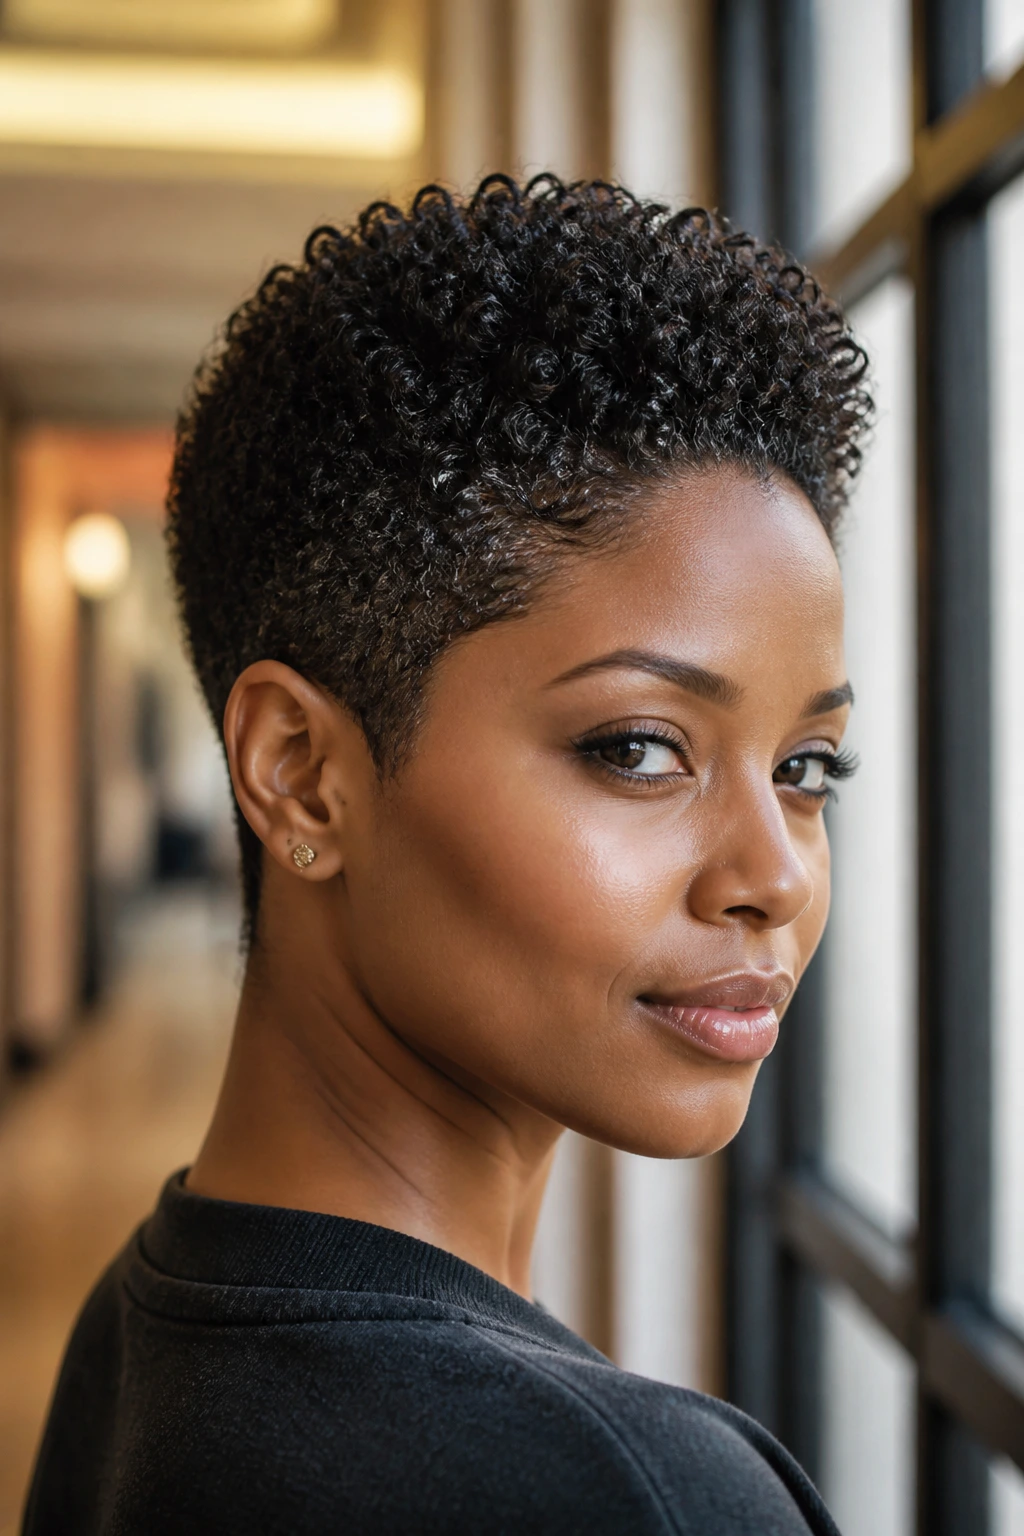
When tight coils are cut like an afterthought, they puff where they want. A sculpted taper gives them a frame. The perimeter is tight, the temples are neat, and the top is shaped so the coils can rise without taking over the whole head.
This cut should be made curl by curl, preferably dry or mostly dry. Tight coils change shape a lot once stretched, and a wet cut can fool you into taking too much off. The taper around the sides and nape keeps the silhouette clean, while the top can hold a little extra length for softness.
Oval faces wear this beautifully because the close sides sharpen the outline without crowding the chin. The style looks strongest when the hairline is clean and the crown has a shaped curve, not a flat top. Use a moisturizer only where the coils need it, then finish with gel to hold the outline. Heavy product is a fast way to flatten the shape.
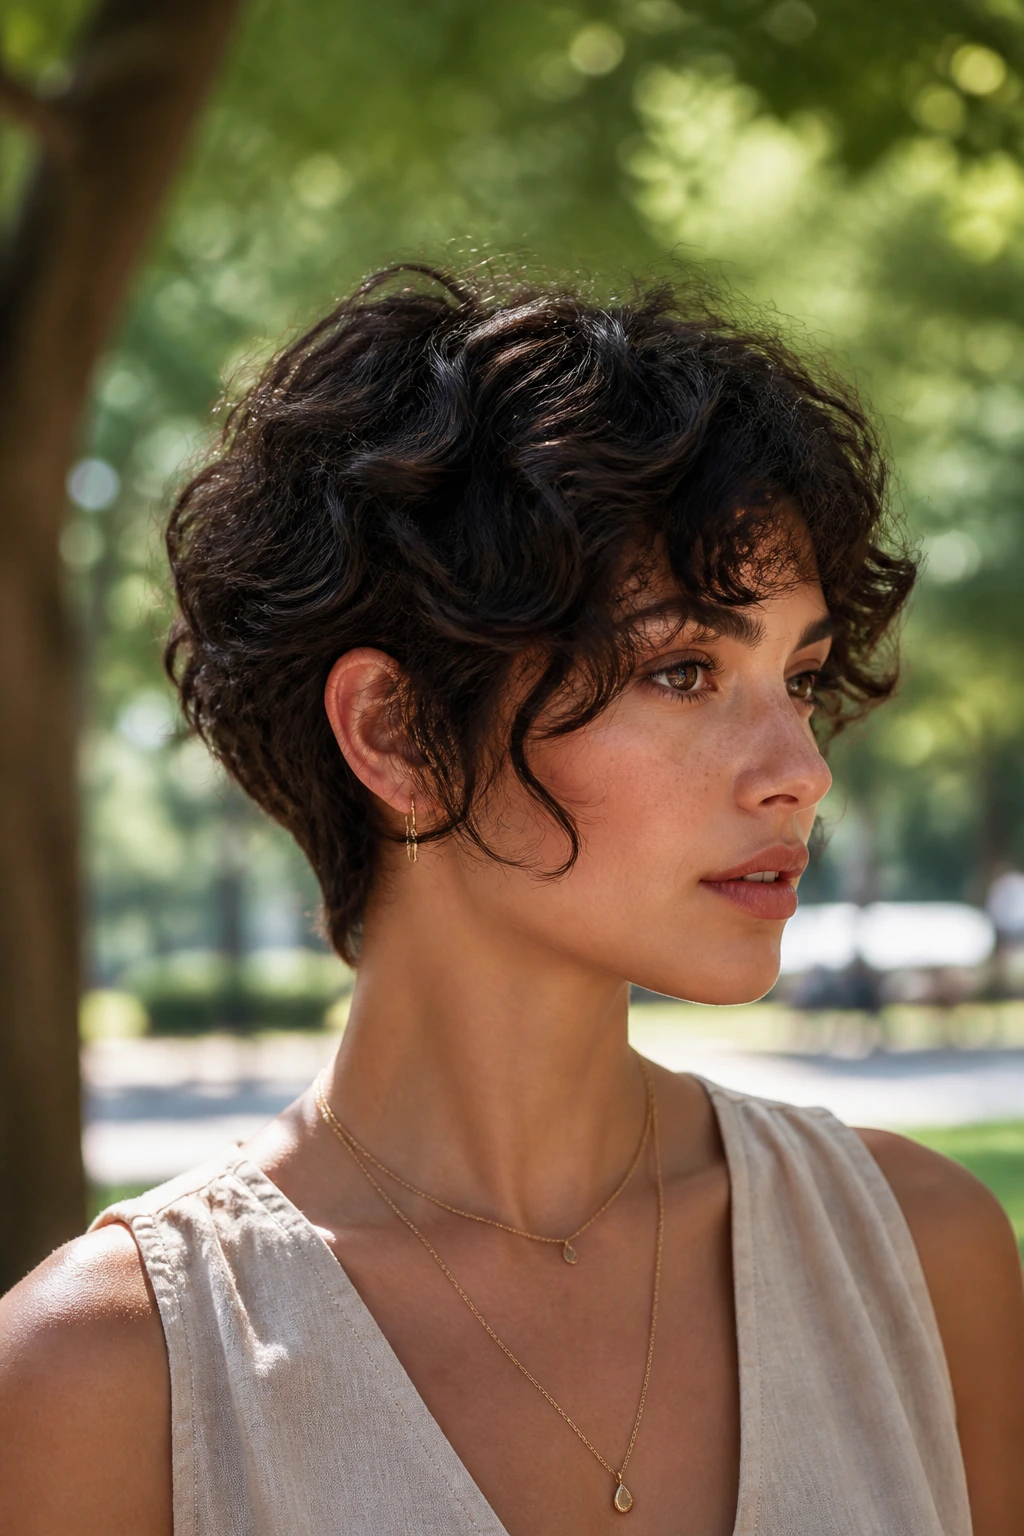
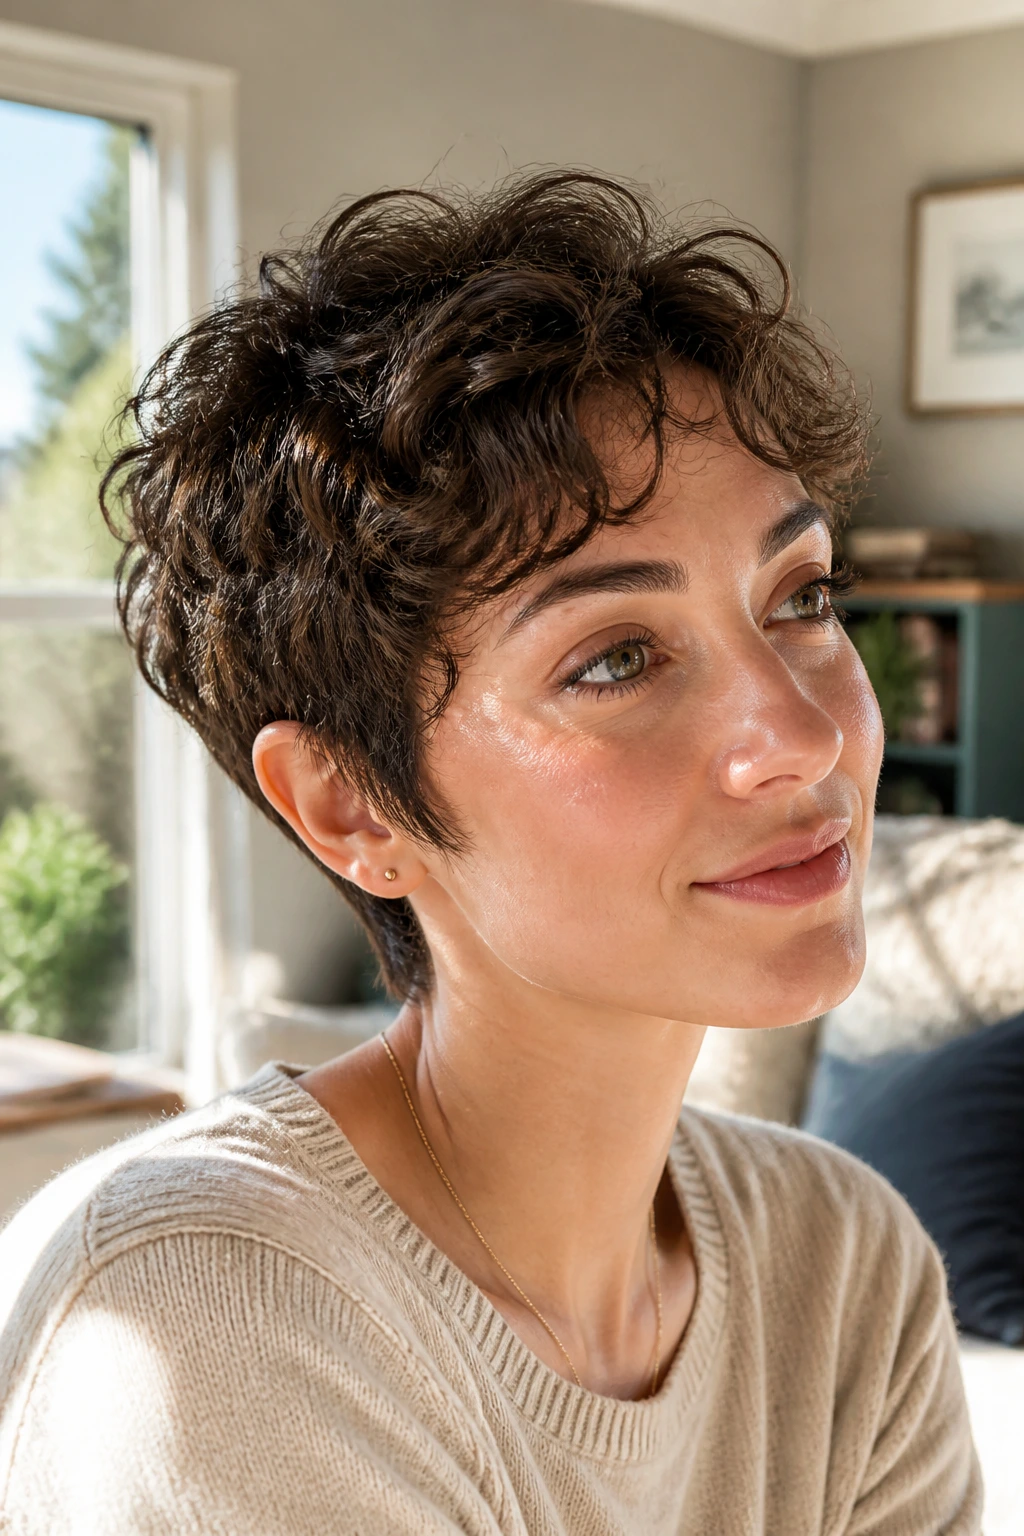
14. Shaggy Curly Pixie with Longer Nape
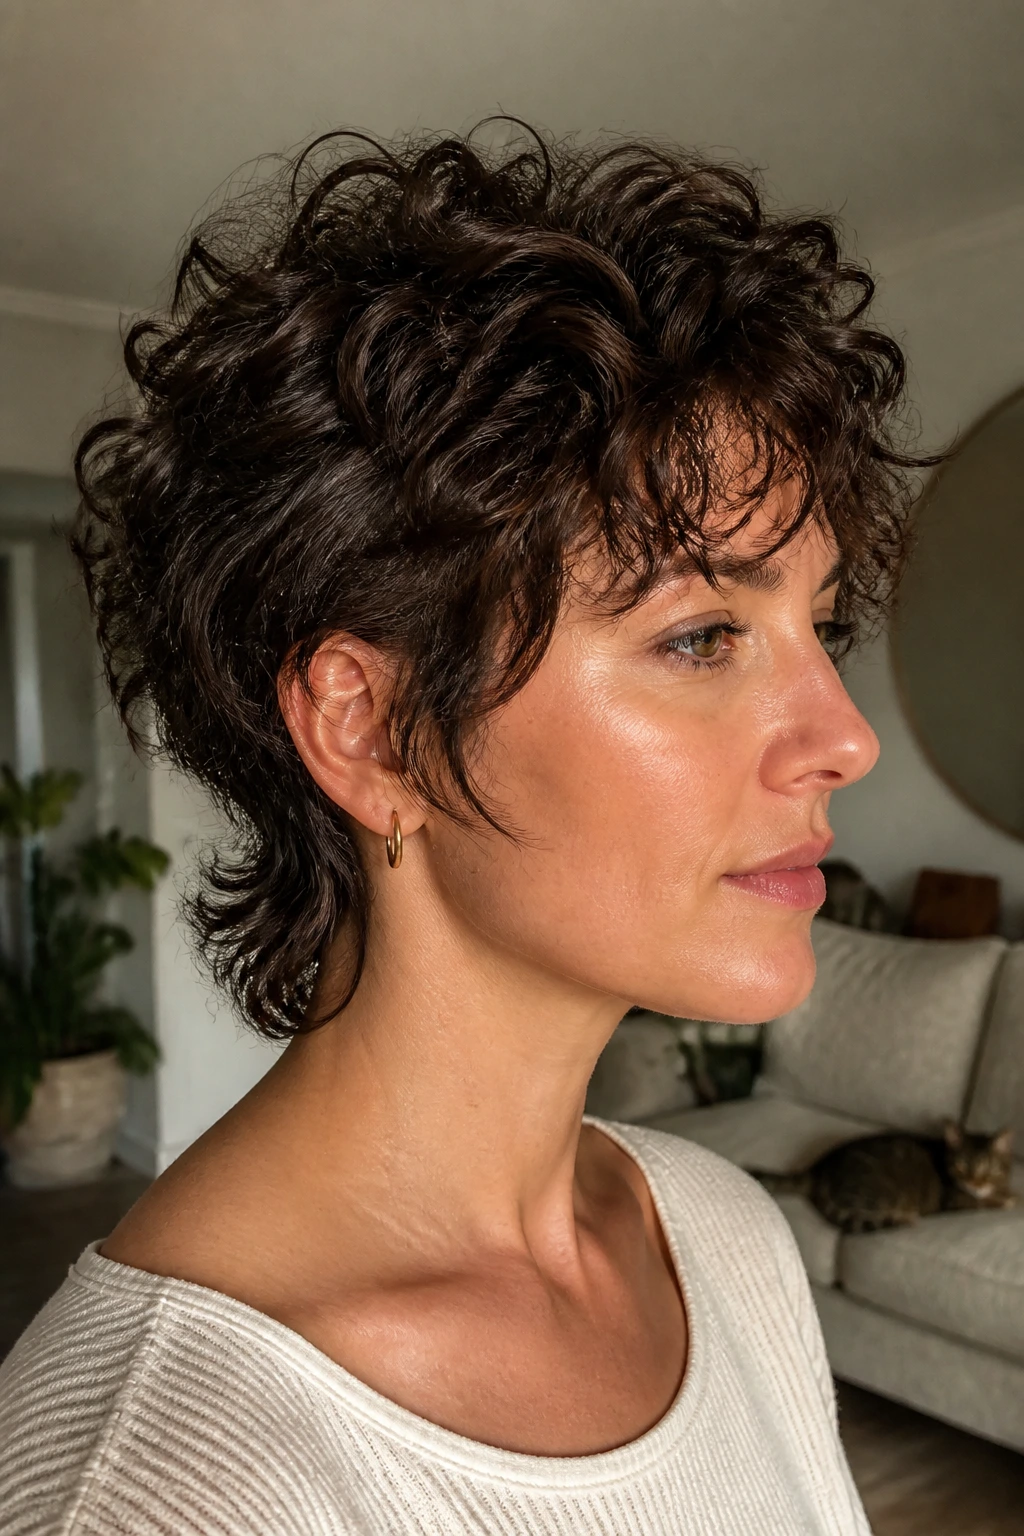
If a classic pixie feels too polite, this version keeps a little shag energy. The top and crown stay loose, the nape hangs slightly longer, and the whole cut moves with a more relaxed swing.
It works well on curly hair because the shaggy texture keeps the shape from feeling overcontrolled. On an oval face, the longer nape adds a little softness at the back without dragging the whole silhouette down. I’d choose this for someone who likes short hair but hates a rigid outline.
Why it stays interesting
The key is not to over-layer the nape. You want a deliberate tail of length, not a random fuzzy back. The front can be cut a little piecey, especially if your curls like to separate in small clumps. That gives the style a lived-in look without making it sloppy.
This cut is also kinder during grow-out than a super-short crop. When the back starts to lengthen, it blends into the rest instead of hitting a wall. That makes a difference if you’re the kind of person who stretches haircuts a little too long between trims.
15. Low-Maintenance Wash-and-Go Curly Pixie
The easiest curly pixie is still a haircut with a plan. The sides stay short enough that they don’t puff out, the crown has just enough length to show curl pattern, and the fringe can move to either side if you decide you’re over it one morning.
This is the cut for people who want the shower routine to stay simple. Cleanse, condition, apply a small amount of mousse or gel, scrunch, and let the shape dry. No round brush. No marathon styling session. If the haircut is designed well, the curls do the rest.
A wash-and-go pixie works best when the outline is already tidy. If the nape is bulky or the temple hair is too long, the “easy” cut turns into a daily fix-it project. Keep the silhouette close, keep the top flexible, and trim it before the edges get fuzzy. It sounds fussy, but it saves you time.
Tools That Make Styling a Short Curly Cut Easier
You do not need a crowded bathroom shelf for this. You need a few things that help the shape hold.
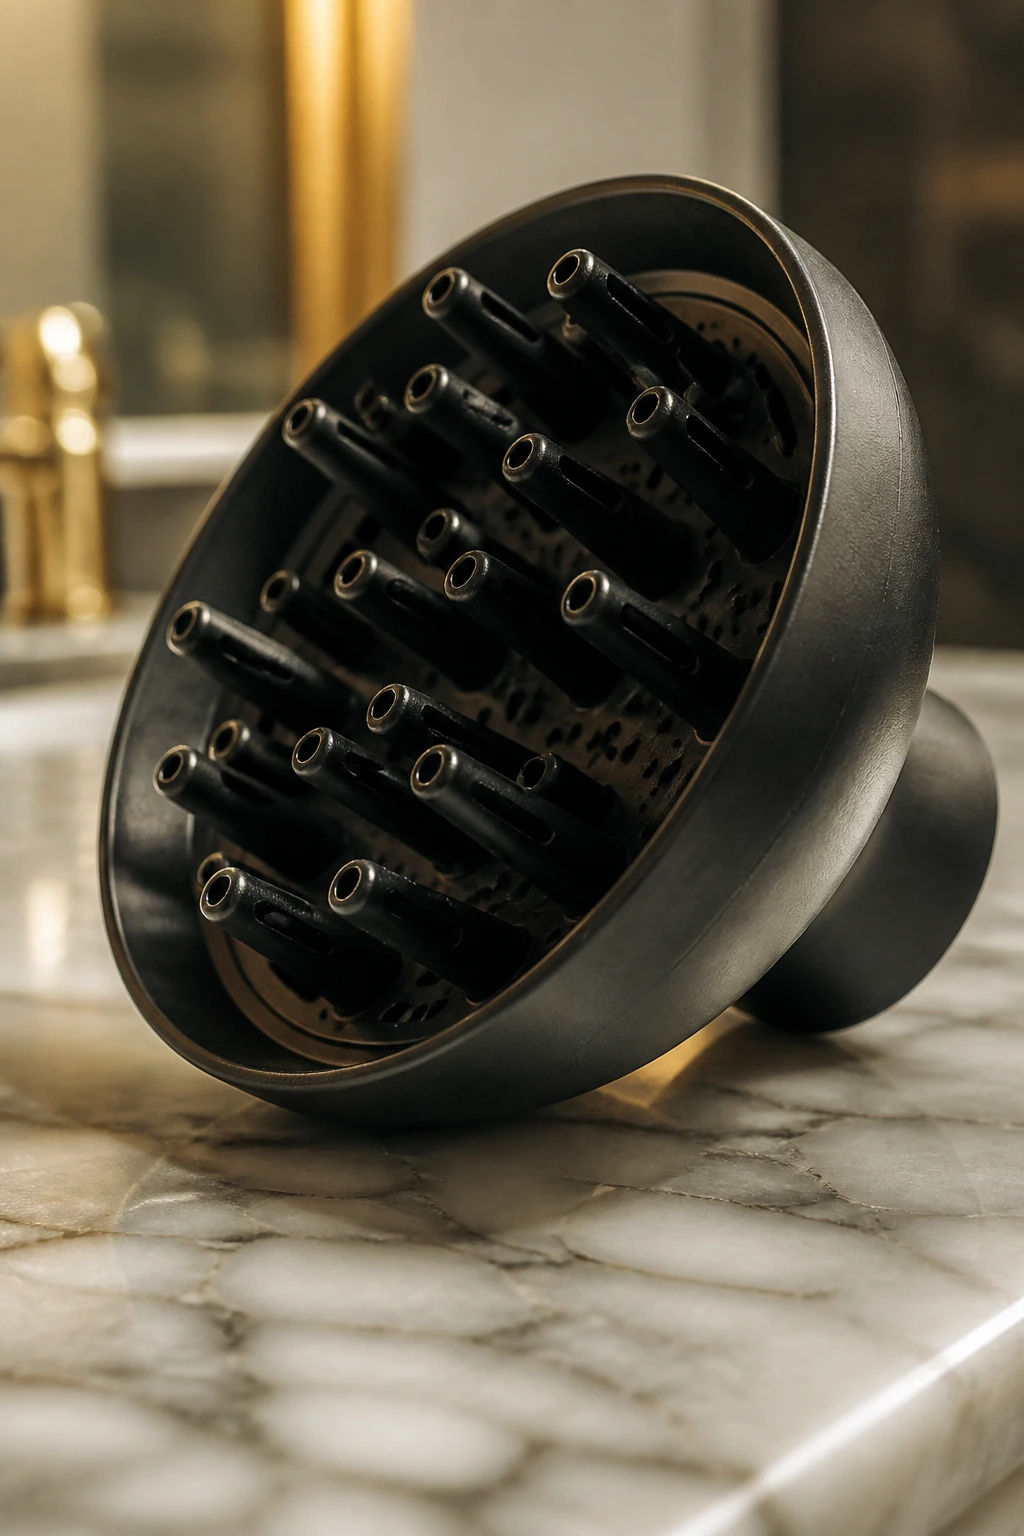
- Diffuser attachment: Lifts the roots without blasting the curl pattern flat.
- Microfiber towel or cotton T-shirt: Blots water without roughing up the cuticle.
- Spray bottle: Lets you refresh the front or crown without soaking the whole head.
- Wide-tooth comb: Good for detangling in the shower or after conditioner.
- Lightweight mousse or foam: Gives body to fine curls and keeps short styles from collapsing.
- Flexible-hold gel: Useful for wet-look finishes and tighter coil shapes.
- Duckbill clips or small claw clips: Hold the fringe or side part in place while it dries.
- Hand mirror: Lets you check the nape and sideburns so the back does not sneak up on you.
How to Style a Curly Pixie Without Puffing Out the Sides
Start with damp hair, not dripping hair. Too much water weighs the curl down at the root and makes the top flop before it sets. Squeeze out extra water with a T-shirt, then work product through with your fingers so the curls stay grouped.
Choose the lightest product that still gives hold. Fine curls often do better with mousse or foam. Dense or tighter curls usually want a bit of gel at the perimeter so the sides stay close to the head instead of ballooning outward.
Dry the crown first. That sounds backwards until you’ve lived with a curly pixie. If the crown collapses, the entire shape looks tired. Diffuse from underneath with low heat, then move to the sides and fringe once the roots have some lift.
Leave the fringe alone until it sets. People mess this up constantly. Touching the front every thirty seconds breaks the curl clumps and turns the bangs fuzzy. Clip them where you want them, let them dry, and only break the cast when the hair is fully dry.
Refresh only what needs it. A pixie does not need a full reset every morning. Mist the flat side, pinch a little gel between damp fingers, and reshape the top piece by piece. The less you disturb the rest of the cut, the longer the style lasts.
Keeping the Shape Sharp Between Trims
Curly pixies need small, regular cleanups because a quarter inch can change the whole outline. If you like a very close crop, book trims every 4 to 6 weeks. Softer versions can go 6 to 8 weeks, but the nape and fringe should not be left to wander.
The neckline usually goes first. Then the temples. Then the fringe starts poking into your eyes and making you think the whole haircut is wrong, when really it just needs a tiny dusting. A good trim schedule prevents that spiral.
At home, sleep on a satin pillowcase or wear a bonnet if you already use one. Flattening from rough cotton can undo a neat shape in one night. In the morning, use a spray bottle to wake up only the flat pieces, not the whole head.
If you want to stretch the cut, clean up the neckline more often than the top. That tiny maintenance move keeps the back looking crisp, which makes the entire pixie read as fresh even when the front has started to soften. It’s boring. It works.
Common Curly Pixie Mistakes That Flatten the Shape
-
Cutting the fringe too short while it’s wet: The curl springs up later and lands halfway up the forehead. Fix it by leaving extra length and cutting the final line on dry or mostly dry hair.
-
Leaving the temples too full: The cut widens at the sides and starts looking like a mushroom. Fix it by removing weight underneath, not hacking at the surface curl.
-
Using too much cream: The curls clump, then droop and separate into greasy-looking wisps. Fix it by switching part of your routine to mousse or gel and using cream only where the hair feels dry.
-
Ignoring the neckline: The back grows fuzzy fast and makes the whole haircut look tired. Fix it with regular nape cleanups or a barber who knows how to taper short curly hair.
-
Chasing perfect symmetry: Curly hair rarely sits in a mirror image, and that’s not a failure. Fix it by balancing the silhouette, not forcing every curl to match its twin.
Variations and Adaptations Worth Trying
The Softer Fringe Swap keeps the front longer and less committed. It’s a good move if you want the pixie shape without putting your forehead on full display.
The Temple Taper tightens the sides around the ears and gives the haircut more edge. It works best on denser curls that need bulk removed from the outer corners.
The Pixie-Bob Bridge leaves a longer nape and a slightly fuller front. That’s the one I’d choose if you’re growing out a very short cut and want the transition to feel deliberate.
The Glossed Coil Set leans into a wet-look finish with gel and defined clumps. Use it when you want the curls to read sculpted rather than fluffy.
The Air-Dry Minimalist uses almost no heat and only enough product to hold the root shape. It’s the cleanest choice for people who want the cut to look easy instead of styled.
Frequently Asked Questions
How short can a curly pixie be on an oval face?
Shorter than most people think, but not as short as a buzz cut unless that’s the look you want. Oval faces can wear close sides and a short crown well, yet curly shrinkage means the top should usually stay a little longer than a straight-haired pixie would.
Should a curly pixie be cut dry or wet?
Dry or mostly dry is usually safer because curls change shape so much as they dry. Wet cutting can work in skilled hands, but only if the stylist leaves room for shrinkage and knows how your curl pattern behaves.
Will a pixie make my curls look frizzy?
Only if the cut is over-thinned, the product is too heavy, or the shape is left vague around the edges. A well-built curly pixie can look sharper than long hair because the outline is cleaner and the curl pattern is easier to read.
Can fine curly hair wear a pixie without going flat?
Yes, if the layering stays light and the product stays light too. Fine curls do best with a little mousse, a gentle crown lift, and fewer short layers than people usually ask for.
How often should I trim a curly pixie?
Every 4 to 6 weeks for a tight shape, or 6 to 8 weeks for a softer version. The neckline and temples usually tell you first when it’s time.
What if my curls shrink a lot after the cut?
Tell the stylist up front and show them how your hair looks fully dry. Leaving the fringe and crown a touch longer is usually the fix, not adding more product after the fact.
Can I wear glasses with a curly pixie?
Absolutely, but the temple length matters. Keep the side pieces trimmed so they don’t fight the frames, and avoid a heavy fringe that drops into the top of the glasses.
How do I grow out a curly pixie without hating the process?
Let the nape and sides lengthen in a controlled way instead of ignoring them for months. A slightly longer pixie-bob bridge is usually easier than a hard grow-out, especially when curls start to stack in the back.
The Cut That Grows Out Gracefully
The best curly pixie is not the shortest one. It’s the one that understands where your curls want to land and gives them a shape worth keeping after the first wash. On an oval face, that freedom is a gift, but it still needs boundaries — a clean nape, a thoughtful fringe, a crown with enough room to move.
That’s why the strongest versions in this lineup feel so different from one another. Some lean soft, some lean sharp, some keep the front long enough to flirt with a bob. All of them work because they respect the curl pattern first and the face shape second, which is the only order that makes sense.
Pick the version that matches your density, your patience, and how much forehead you actually want to show, and the haircut will keep earning its keep long after the first wash.