Shoulder-length curls have a sweet spot most cuts miss. They keep enough weight to stop the halo from exploding upward, but not so much that the curl pattern goes limp at the ends. The result is movement that actually looks like movement. Not helmet hair. Not a triangle. Not that awkward in-between stage where everything seems to be growing in different directions.
That is why shoulder length hairstyles for curly hair stay useful across curl types, face shapes, and styling habits. The length sits close enough to the face to frame it, but it still leaves room for a curl pattern to breathe, spring, and rearrange itself after a wash day. If your hair shrinks a lot, that matters even more. A shoulder-grazing cut can read like a chin-length bob when it’s dry, then stretch back out to the collarbone after a refresh.
There’s also a practical side people don’t talk about enough. This length is long enough for clips, braids, twists, and half-up shapes, but short enough that you can actually diffuse it without standing under a hair dryer for forty minutes. The styles below lean into that middle ground. Some are polished, some are messy in the best way, and some are the kind of no-fuss shapes you can wear three days in a row if you know how to refresh them properly.
Why Shoulder-Length Curls Keep Working
- The shape holds without feeling heavy: Curls at the shoulders still have enough length to drop into a flattering line, which keeps the bottom from puffing out like a bell.
- Shrinkage works in your favor: A shoulder-length cut can look tailored when dry, but you still get a bit of length to play with once the curl pattern settles.
- Styling takes less time: A diffuser pass, a few clips, and some air-drying time usually do the job faster than with longer curls.
- You get more styling choices: Half-up styles, side parts, scarves, clips, braids, and low ponytails all sit neatly at this length.
- It grows out better than short cuts: If your trim schedule slips, the shape usually softens instead of turning chaotic at the first sign of growth.
- Day-two hair behaves better: Shoulder-length curls can be refreshed with a mist bottle and a little product instead of a full reset.
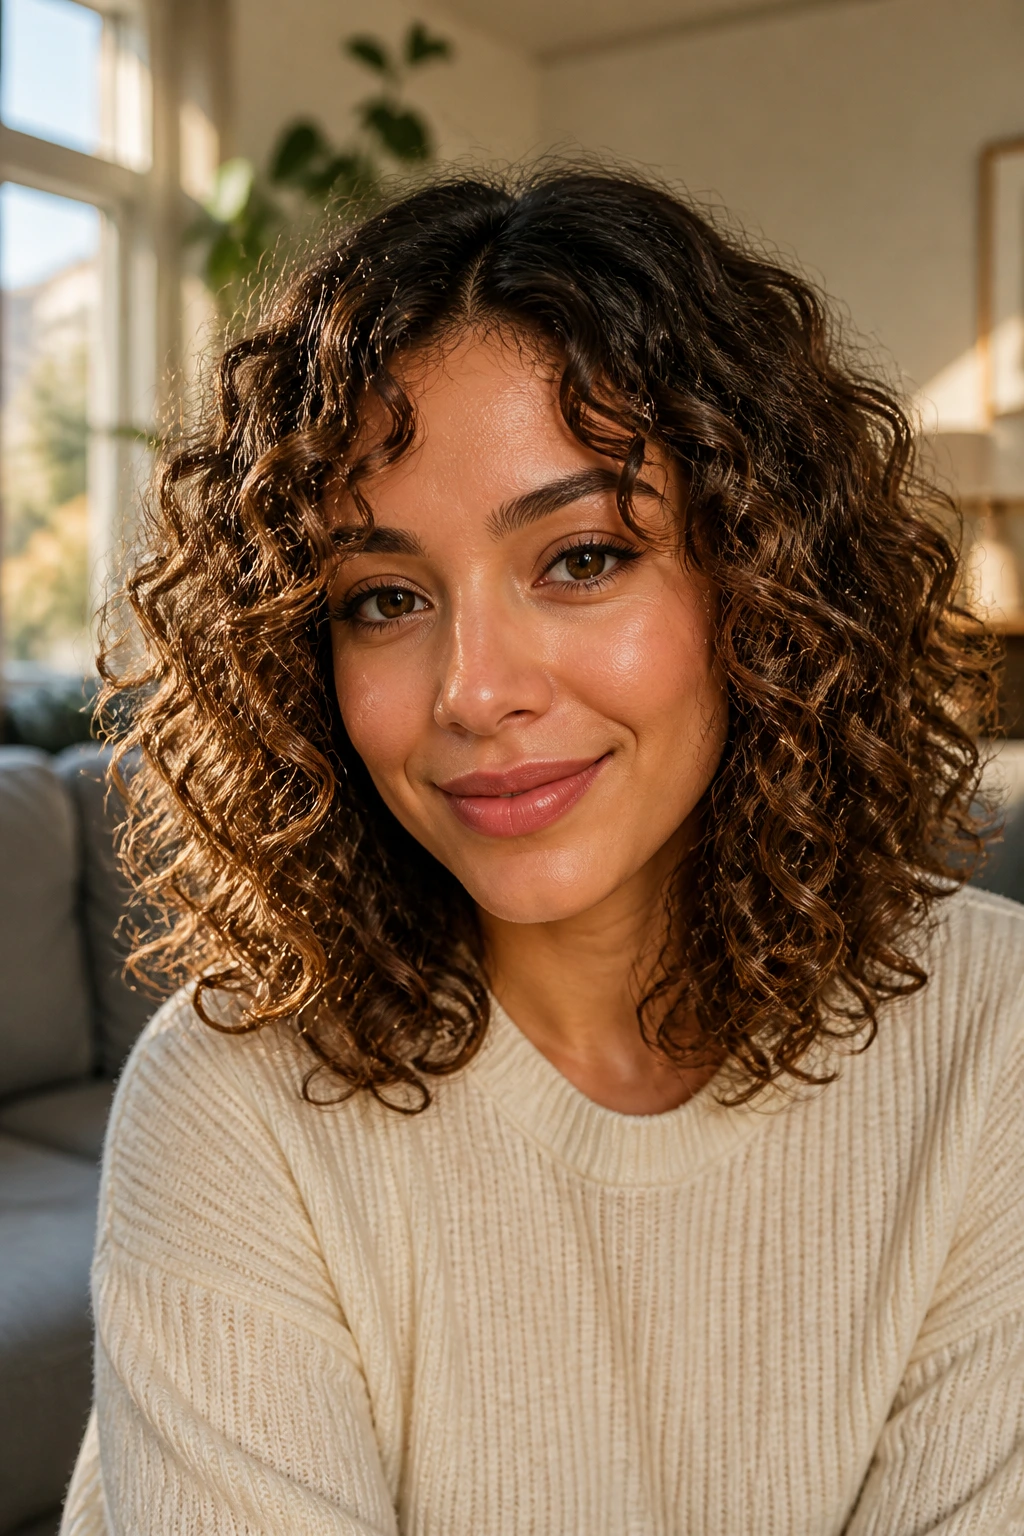
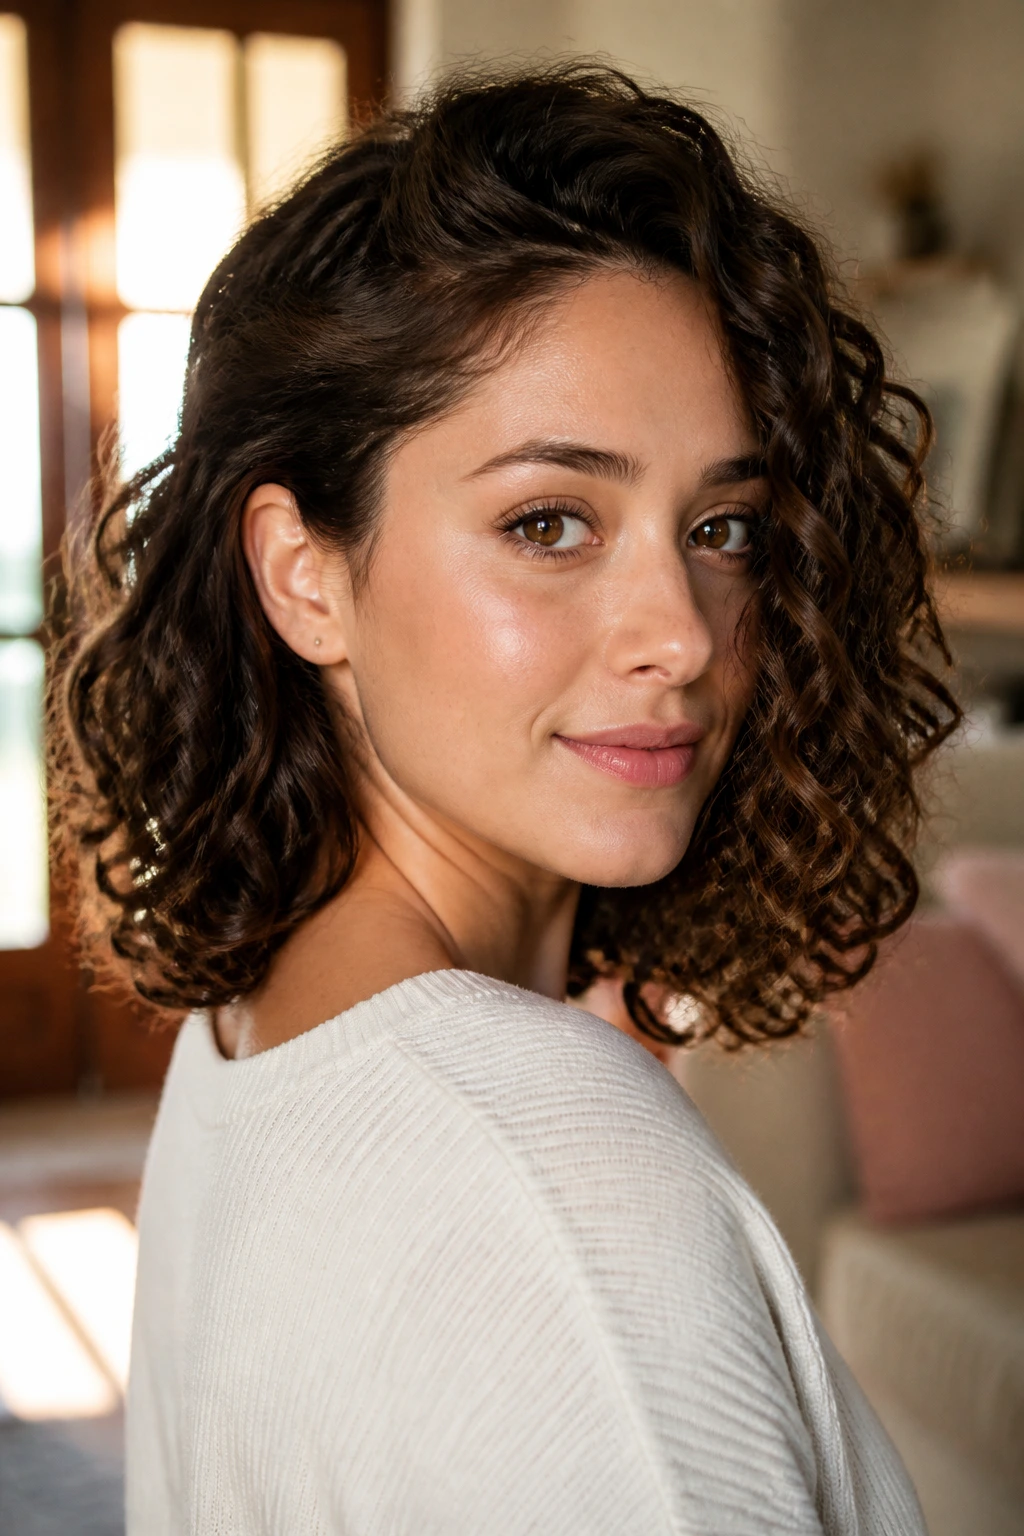
1. The Soft Curly Lob That Falls at the Collarbone
A collarbone-length lob is the safest place to start if you want shape without drama. The ends skim the collarbone, so the curls can stack softly instead of piling up around the ears. It feels clean, polished, and a little understated in the best way.
Why It Works
The cut gives your curl pattern a long enough runway to spring, but it keeps the silhouette from getting bulky. If your curls tend to widen at the sides, this length lets them drop a little more naturally. It also grows out neatly, which is useful if you don’t want a cut that looks bad after three weeks.
How to Style It
Use a leave-in and a light gel on soaking-wet hair, then rake the product through in sections. Scrunch with a microfiber towel and diffuse on low heat until the roots are dry and the cast has formed. Break the cast with a drop of oil only after the hair is fully dry.
Best For
This shape works especially well on medium to loose curls that want movement more than maximum volume.
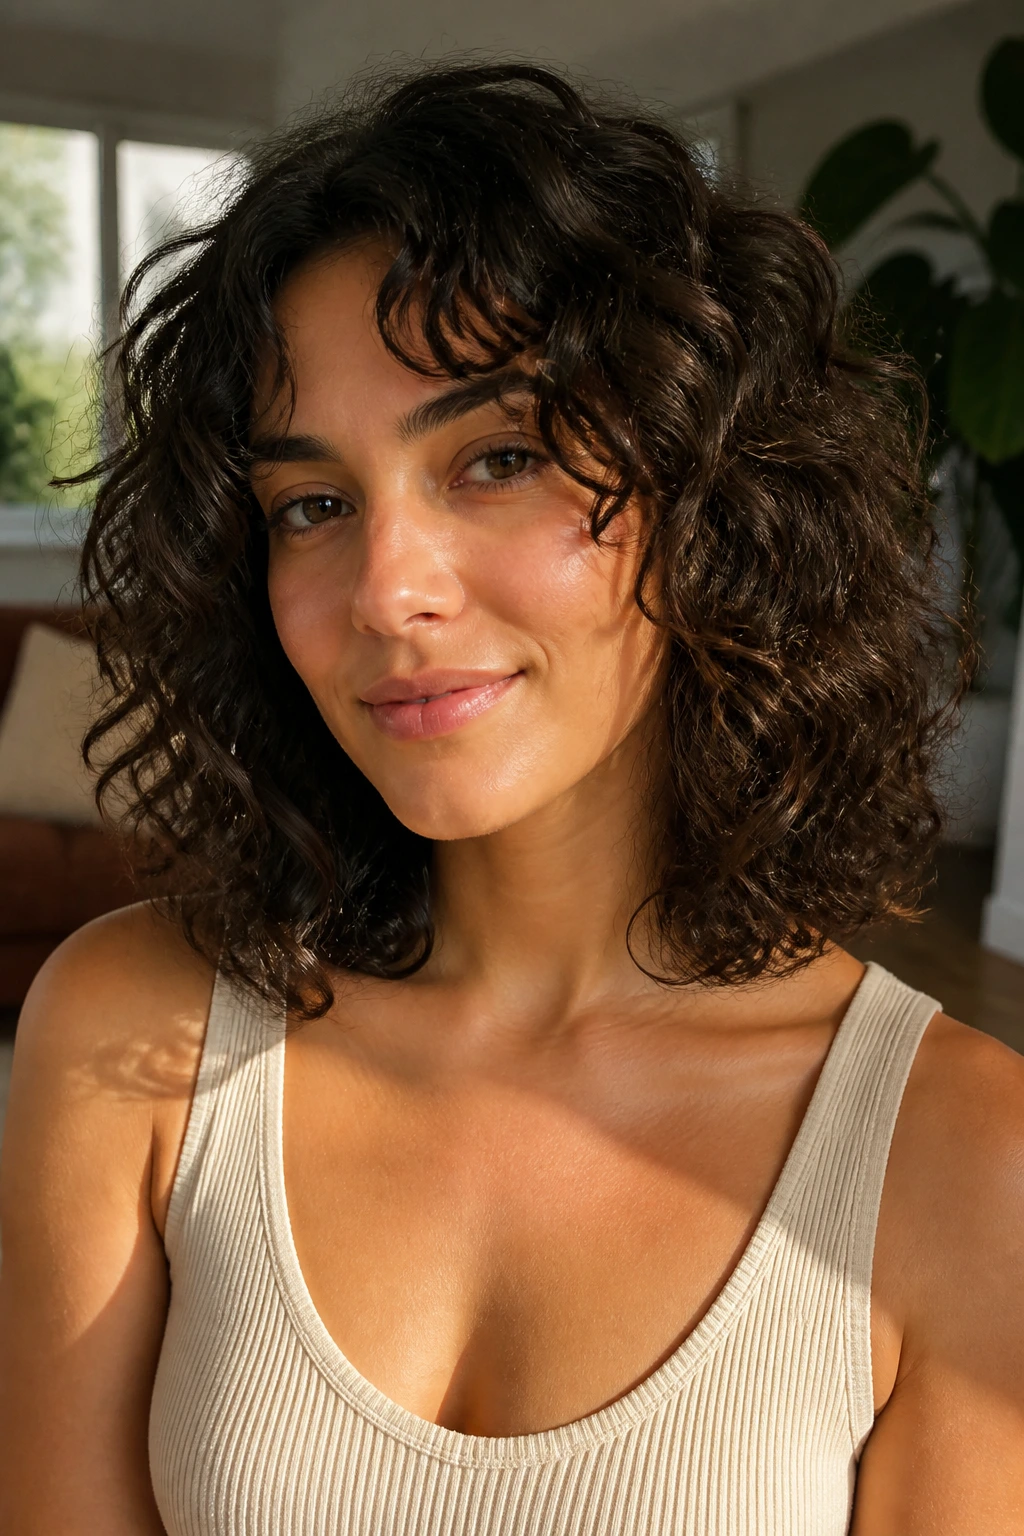
2. The Layered Curly Shag with Airy Ends

This one has attitude, and I mean that as a compliment. The curly shag is the style you choose when you want the cut to do half the work for you. The layers sit high enough to create lift, but the shoulder length keeps the shape from floating away from your face.
A shag is a good answer if your curls feel too dense at the bottom. The shorter top layers let the crown rise, while the longer pieces at the ends keep the look grounded. It’s a nice fix for hair that goes flat at the roots and puffy at the sides. Messy works here. Clean edges are not the point.
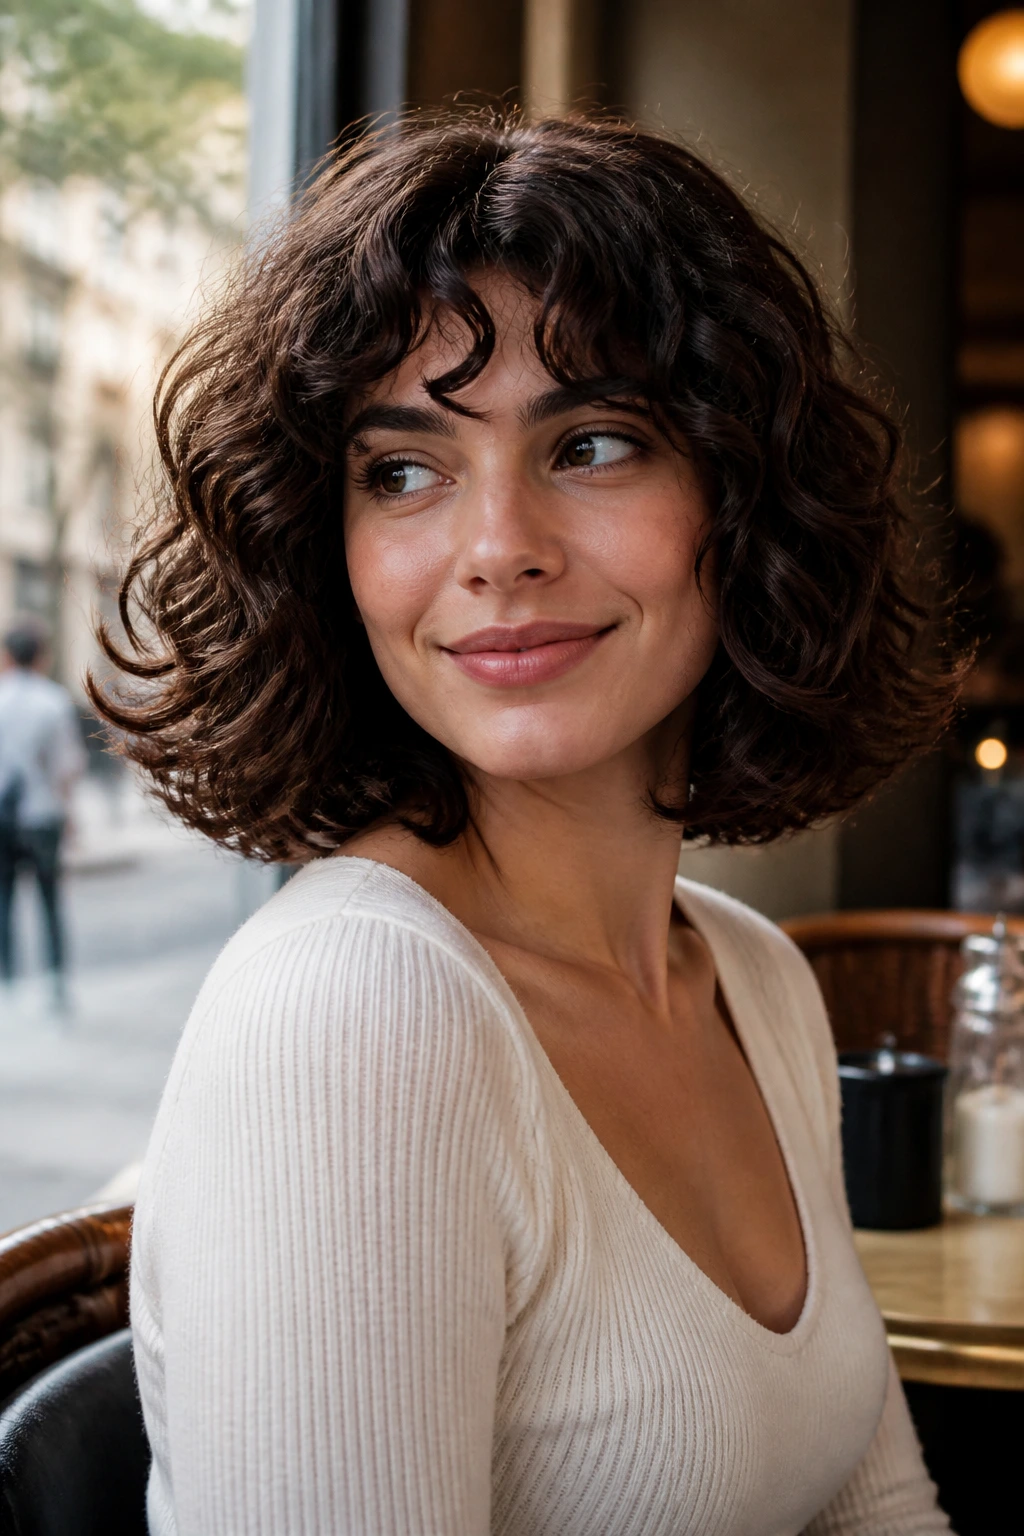
3. Curly Lob with Curtain Bangs and a Center Part
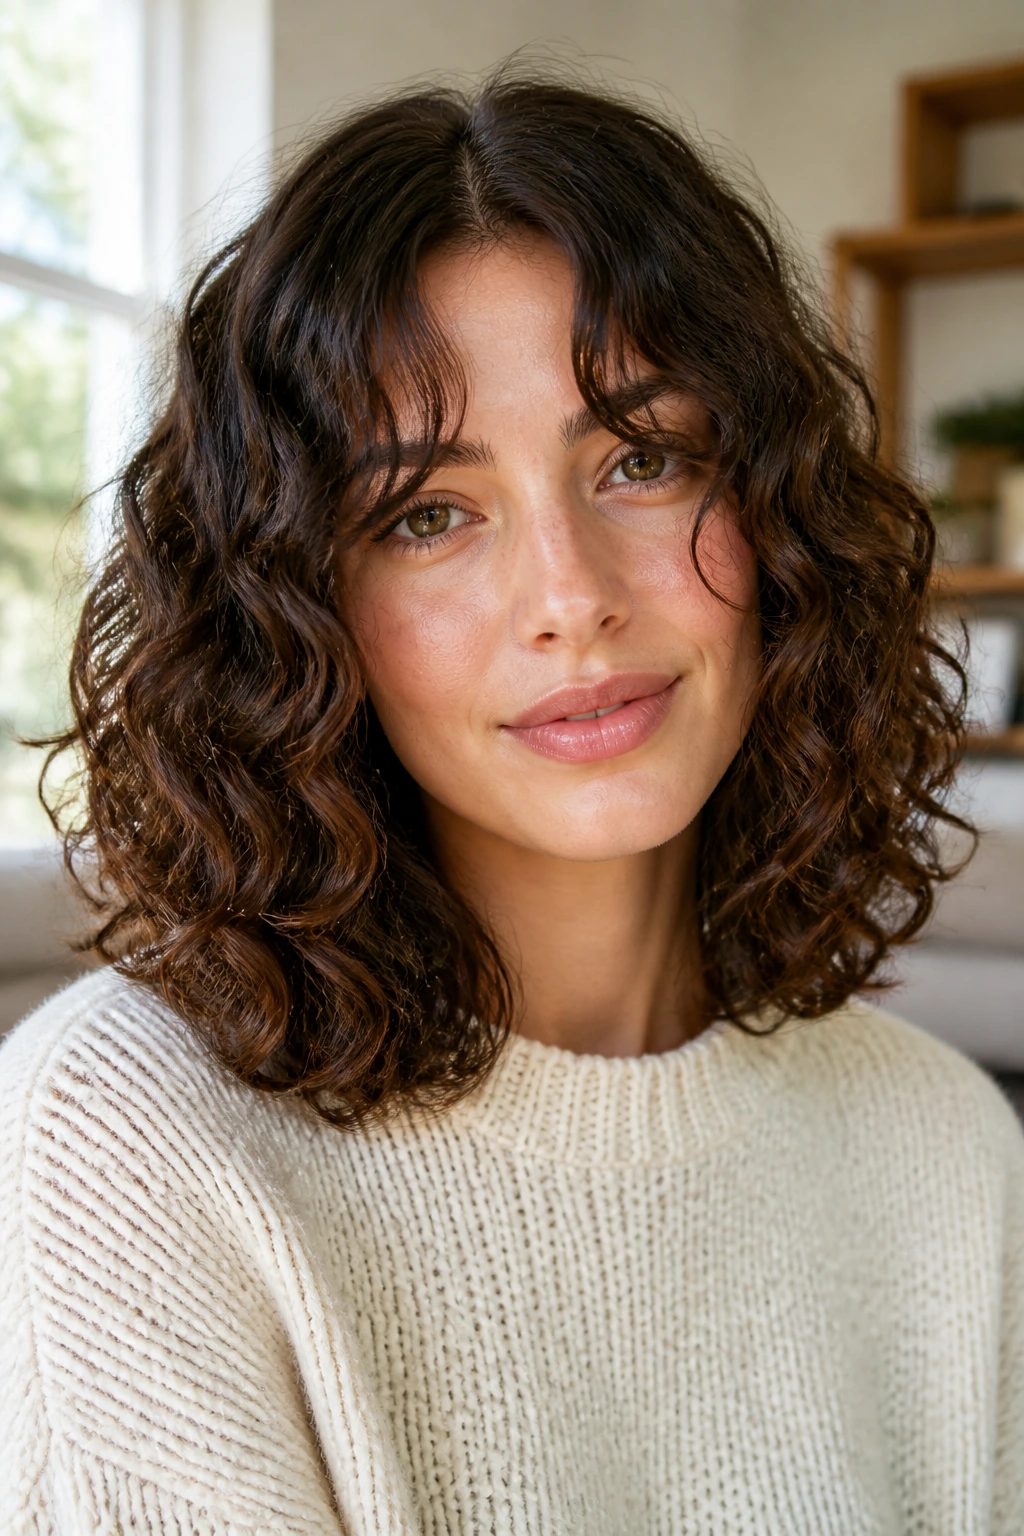
Curtain bangs on curly hair can look expensive or awkward, and the difference is usually in the cut. When they’re done right, they open the face in the middle and taper softly into the rest of the curl pattern. Shoulder length gives them enough support so they don’t disappear into the rest of the hair.
What to Watch
The bangs should be cut to sit a little longer than you think, because curly fringe always bounces shorter. Keep the center part clean, then encourage the front pieces to fall away from the cheeks with a touch of curl cream. If the front gets too wide, clip the bangs at the root while they dry.
Quick Note
This style is especially good if you like the look of bangs but don’t want full coverage on your forehead every day.
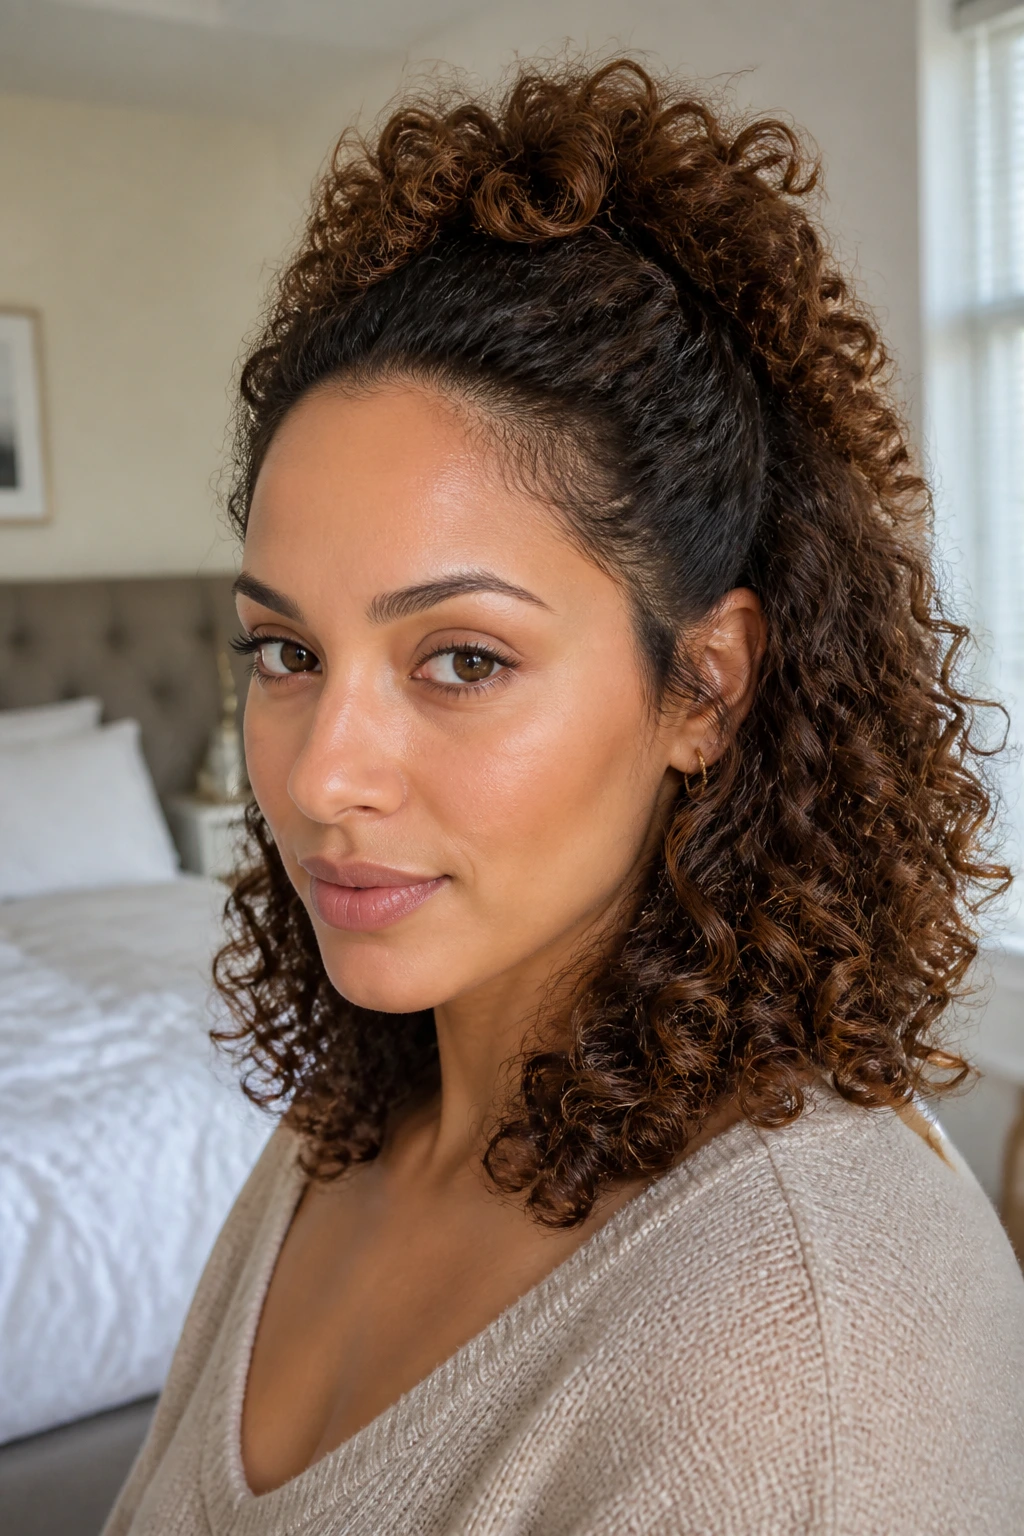
4. The Half-Up Pineapple Puff
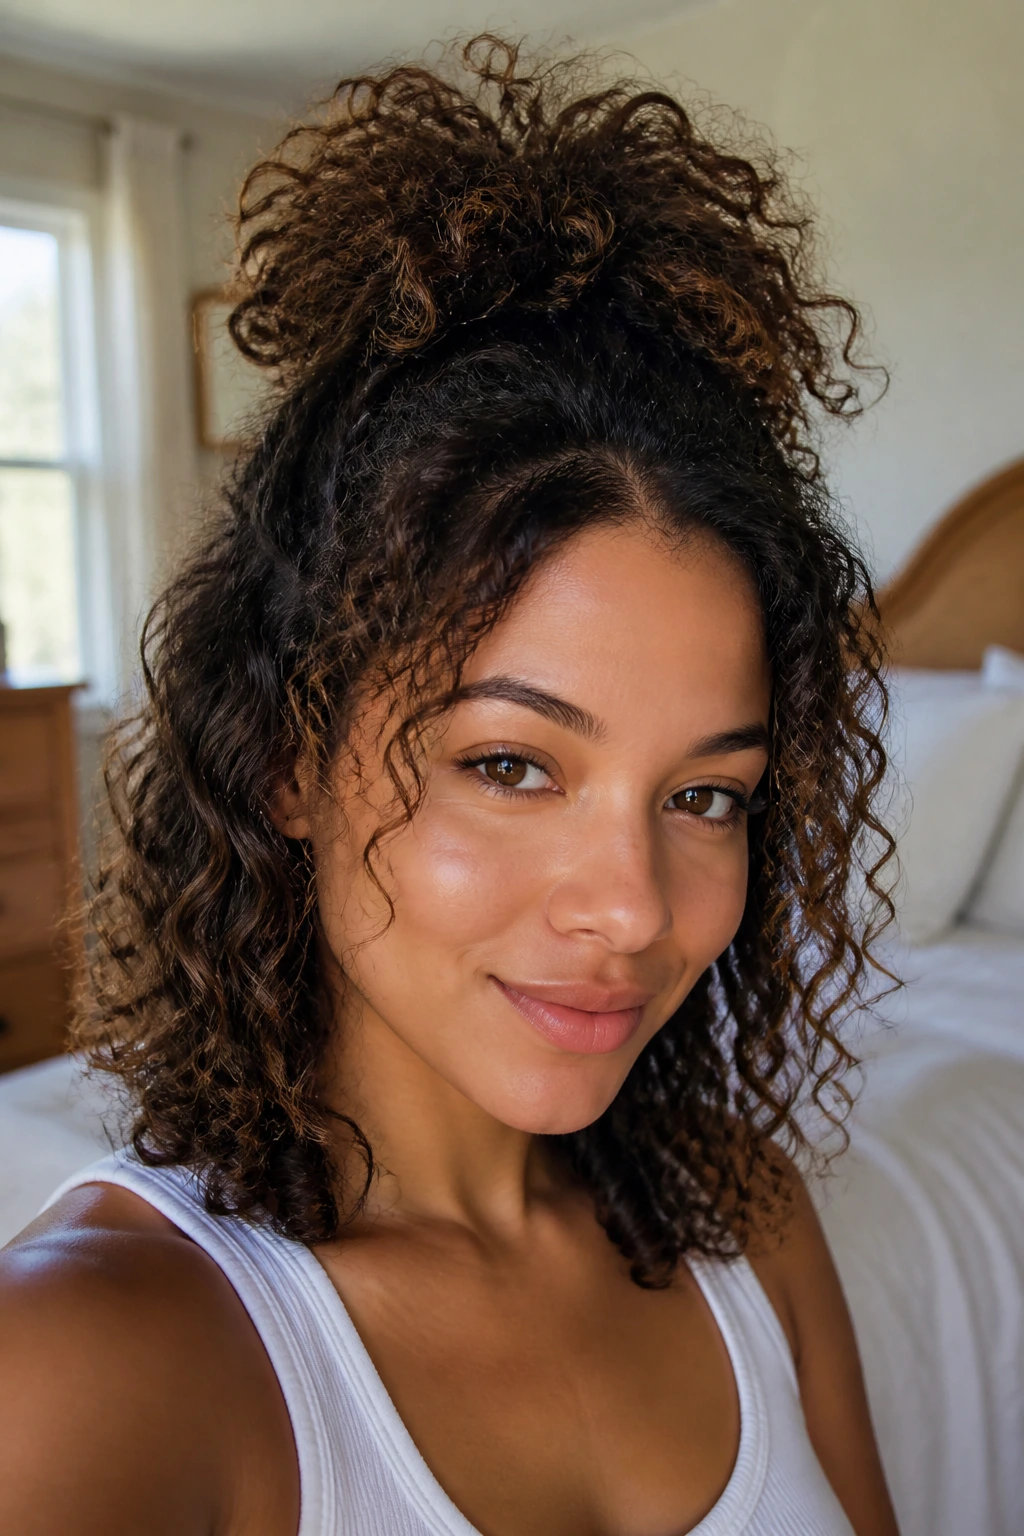
If your curls get crushed on the sides by noon, pull the top half up and call it a design choice. The pineapple puff keeps the crown high, shows off the shoulder-length ends, and gets hair off the neck without flattening the curl pattern.
The trick is not to yank the top section tight. Use your fingers, not a brush, and gather the curls loosely at the crown with a soft coil tie or clip. Leave a few curls around the temples and ears so the style looks lived-in instead of severe. This one saves the shape on second-day hair, which is reason enough to keep it in rotation.
5. The Deep Side-Parted Volume Sweep
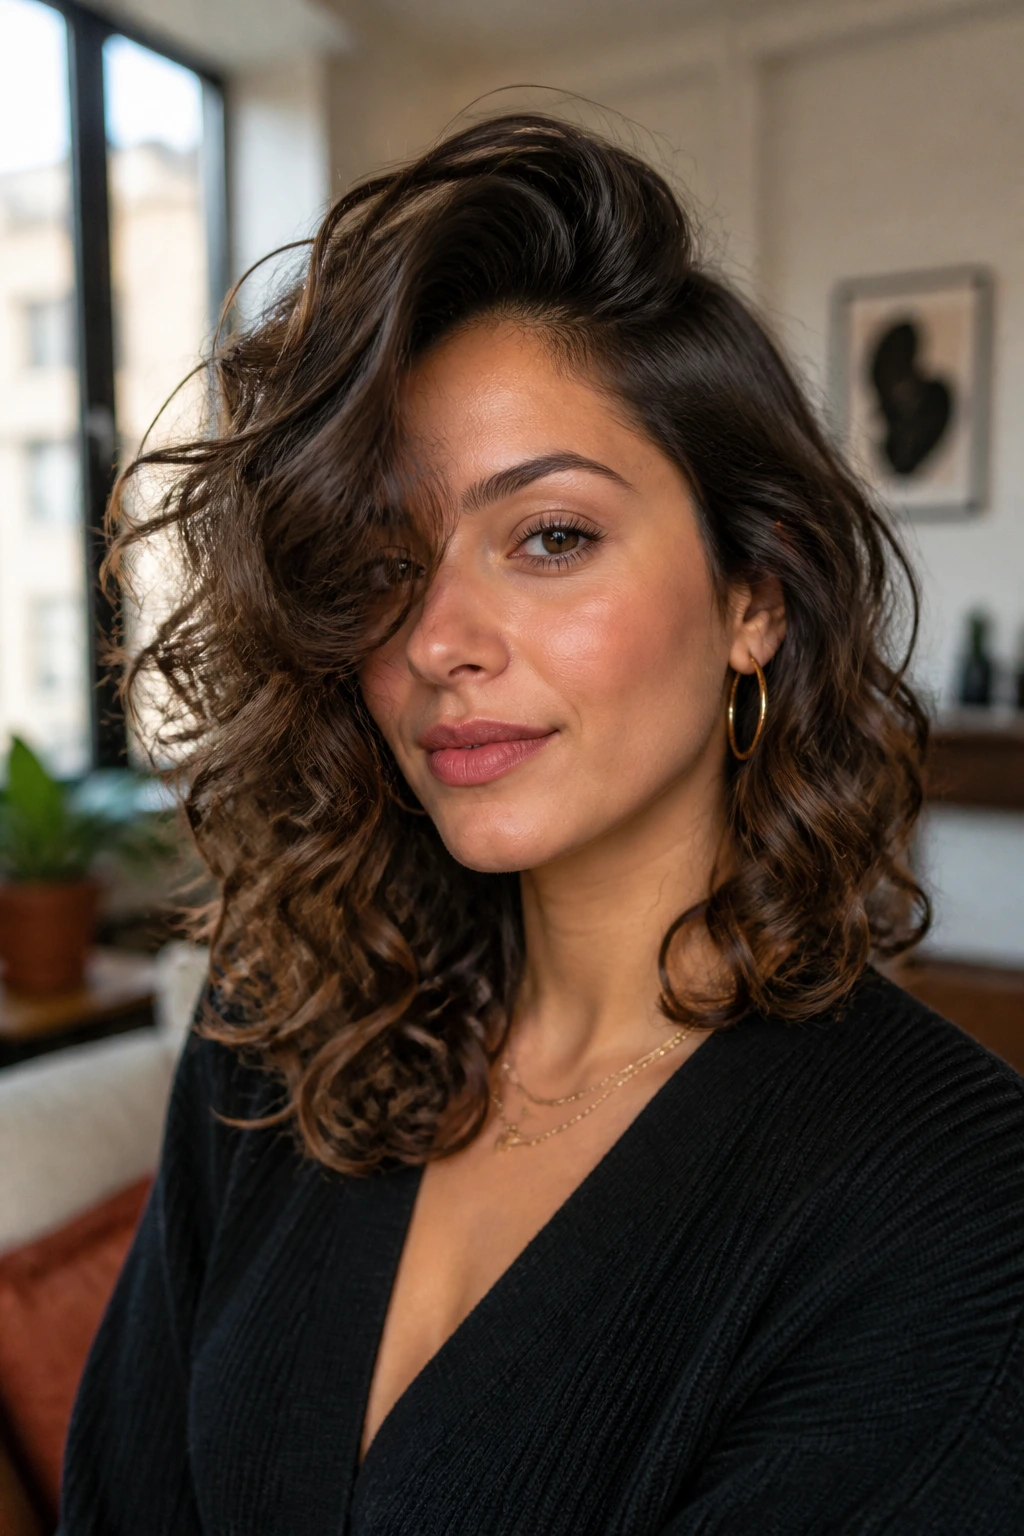
A deep side part changes the whole mood of shoulder-length curls. Suddenly the hair has a lead side and a supporting side. It’s a small shift, but it pushes the curls into a sweeping line that can make the cheekbones look sharper and the whole style feel more deliberate.
What I like about this one is how fast it changes flat, middle-parted curls. Flip the part while the hair is still damp, clip the roots for ten minutes, then diffuse. The side with more hair gets the drama; the other side gives the eye a place to land. No complicated cutting needed. Just a strong part and some patience while the roots dry in the right direction.
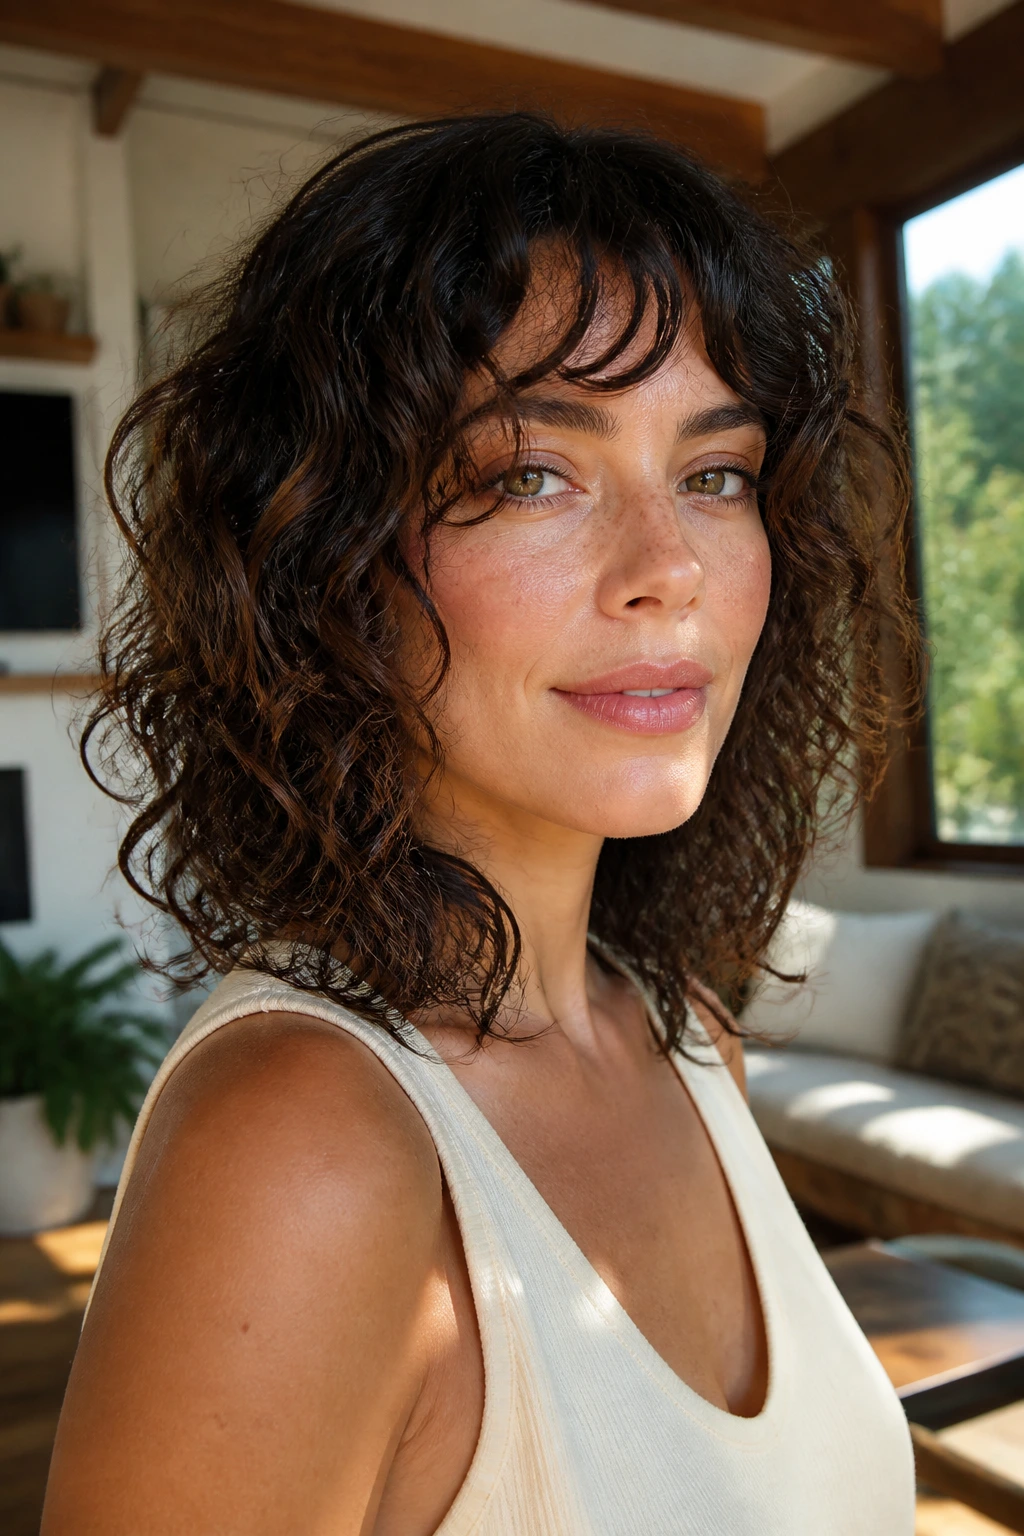
6. Face-Framing Layers That Open Up the Cheeks
Face-framing layers are one of those cuts people ask for because they sound soft, and then they realize the real benefit is structure. The layers start around the cheekbone or jaw and follow the curl pattern down to the shoulders, which keeps the front from sitting in one heavy block.
Why It’s Worth It
This shape is the answer for curls that feel too round around the face. The shorter front pieces create movement near the eyes and cheekbones, while the back keeps enough length to maintain balance. It also gives you easy styling options. A curl that falls forward can frame, not flatten.
My Take
If you like your hair to look styled even when it’s air-dried, this is one of the most forgiving cuts on the list.
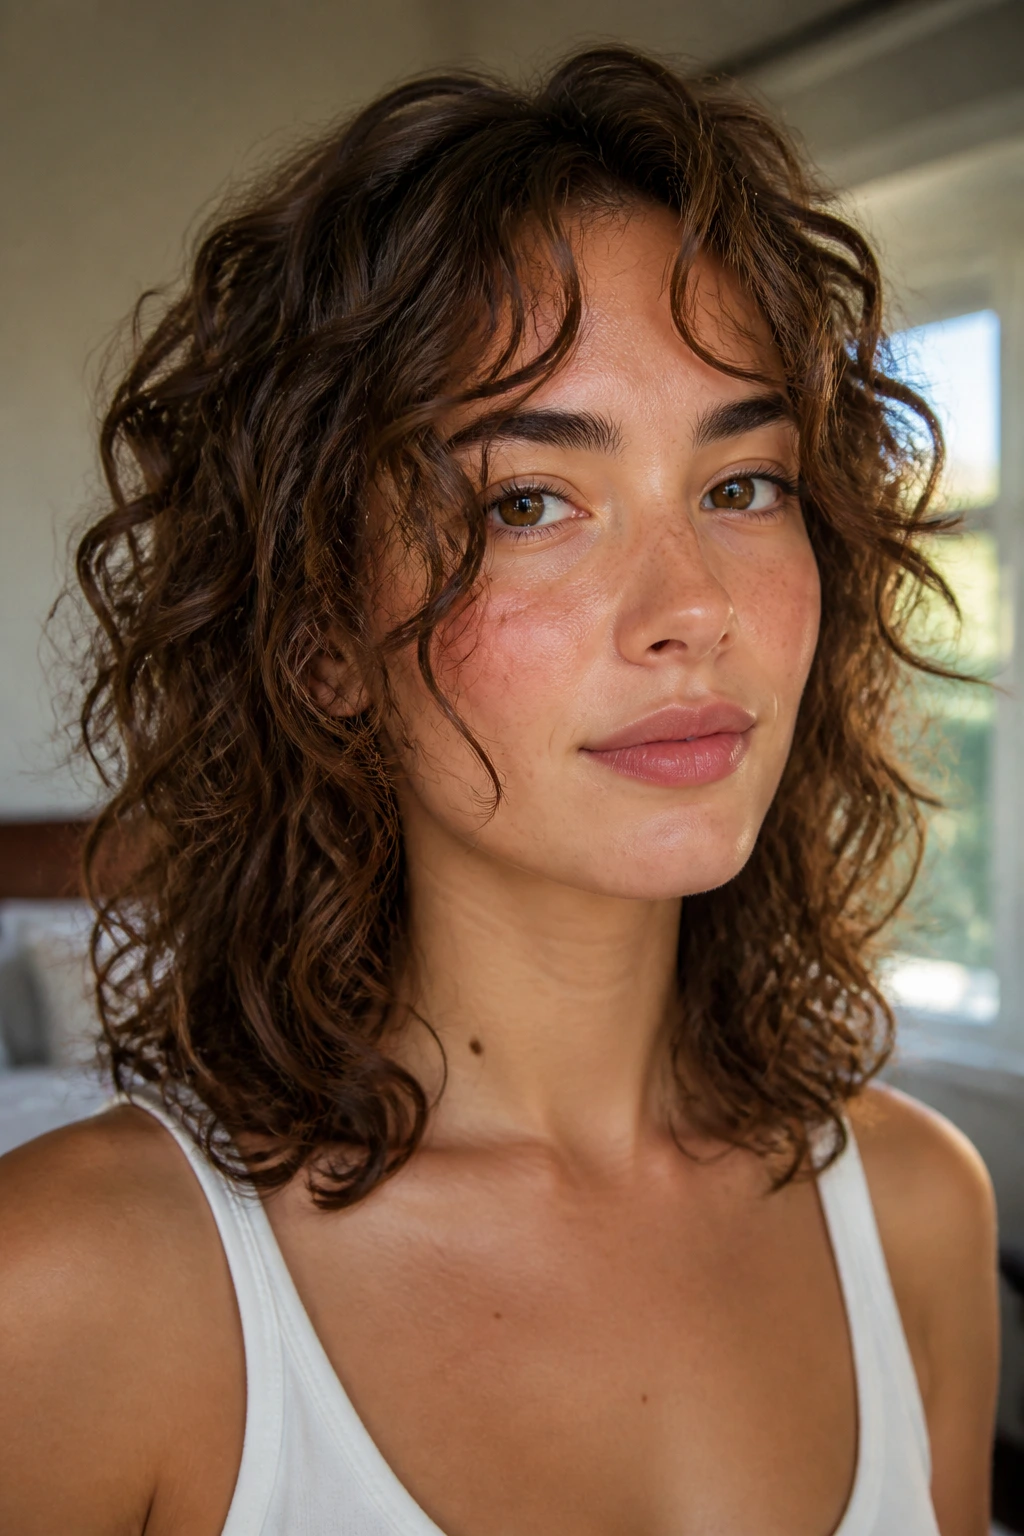
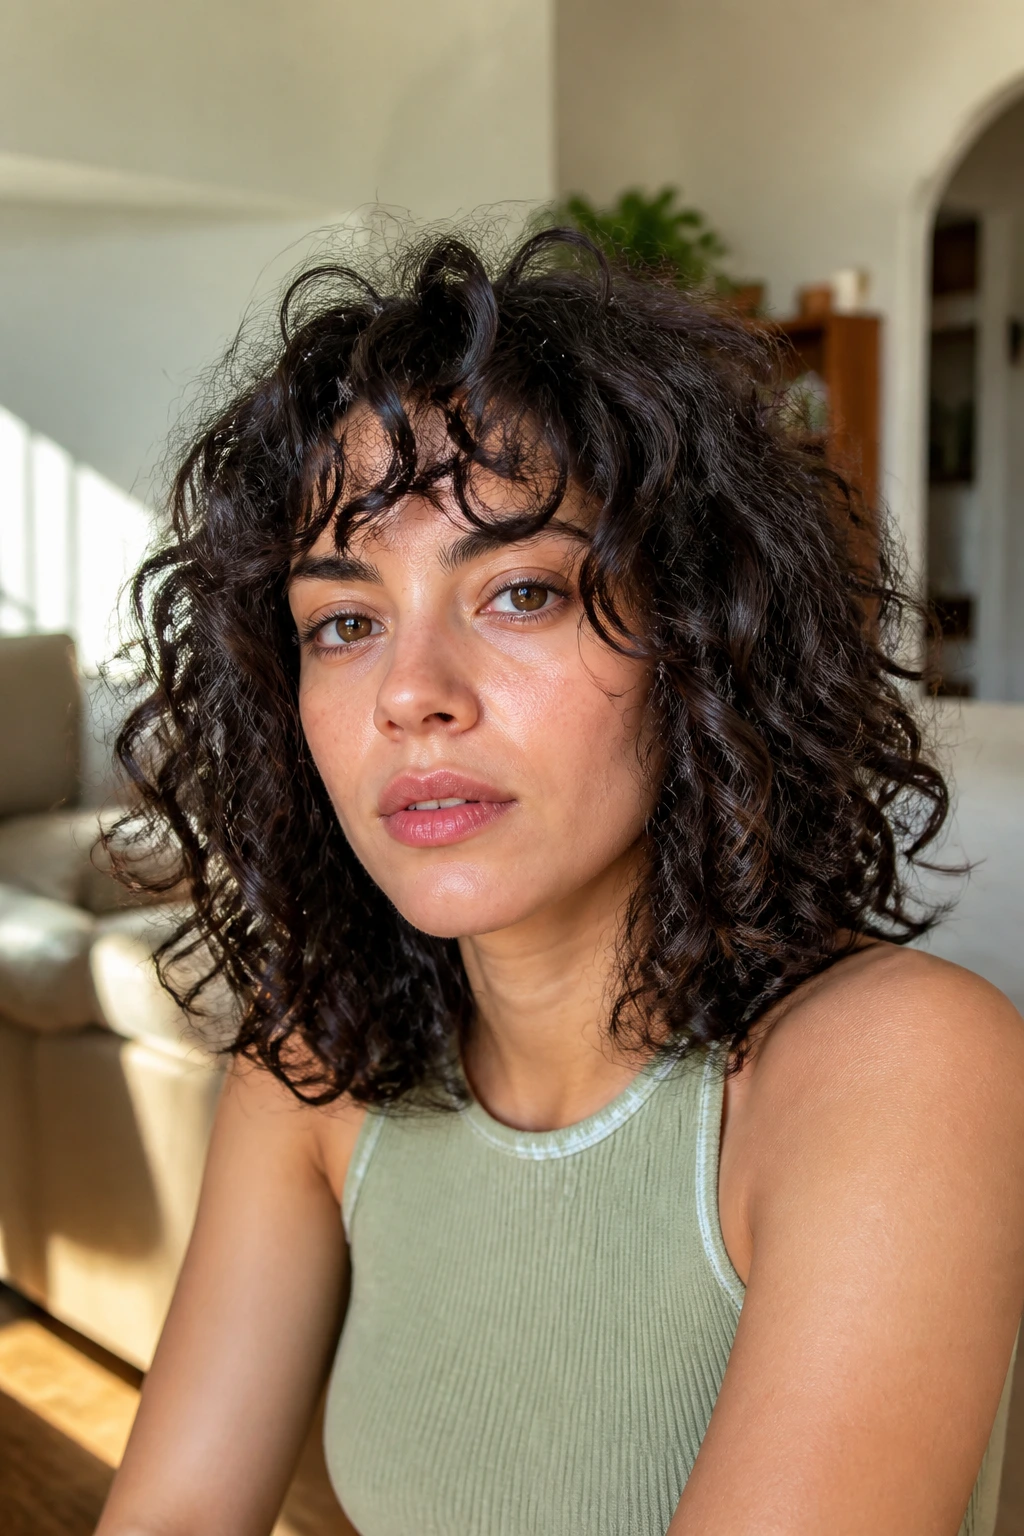
7. The Curly Wolf Cut with Choppy Crown Layers
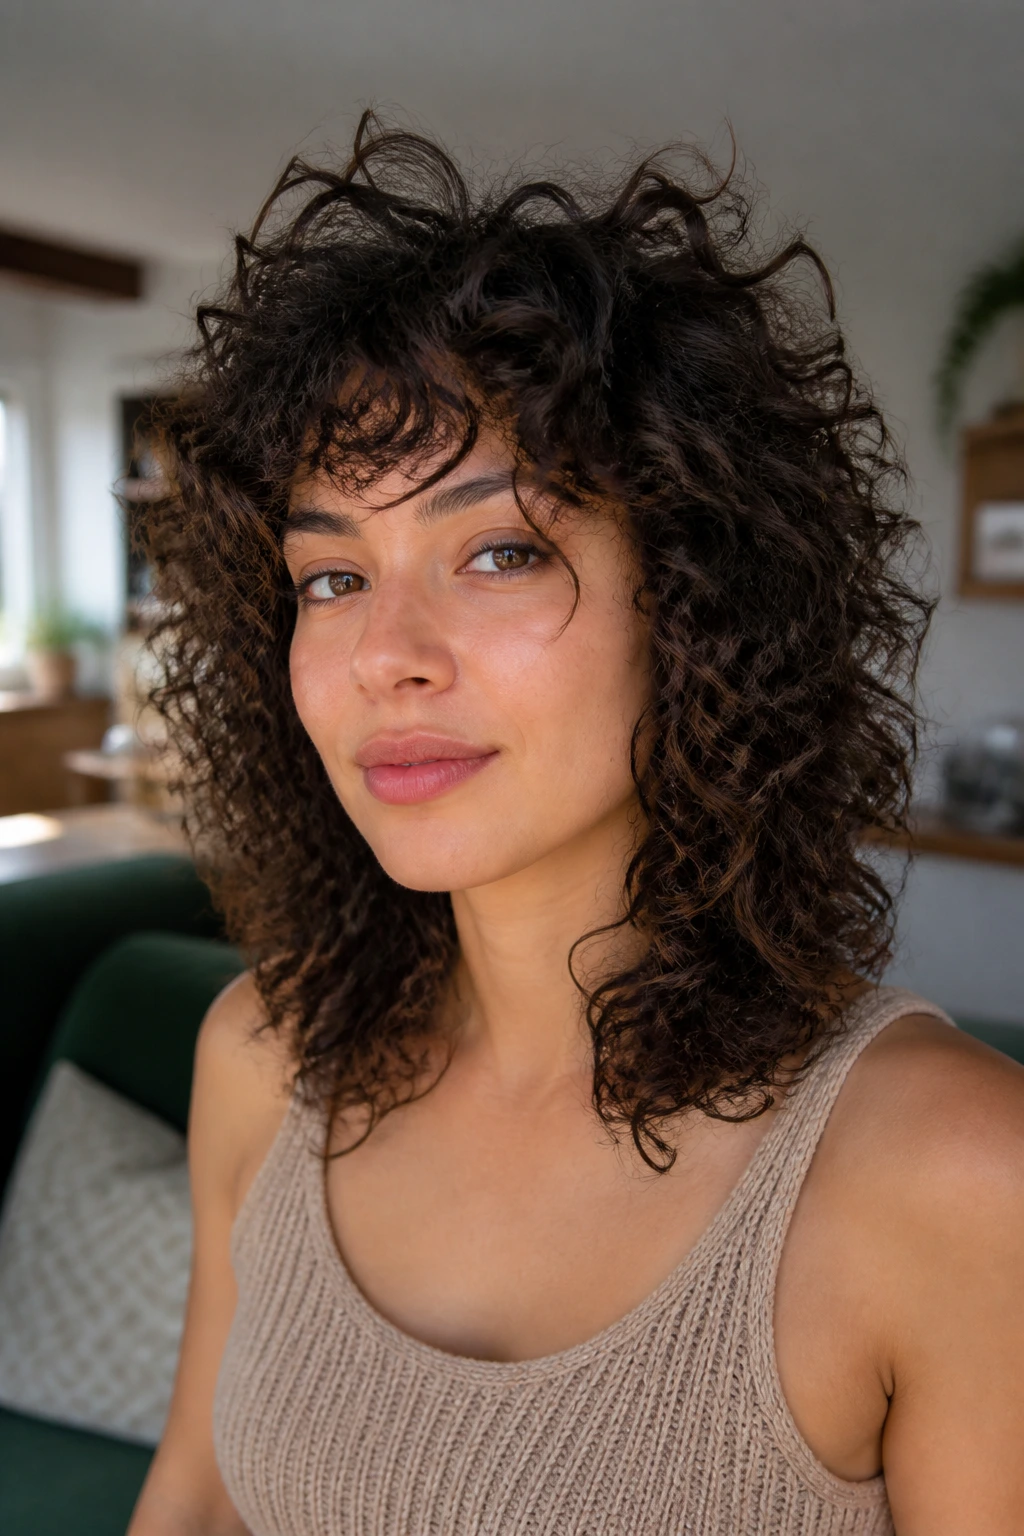
The wolf cut has a rougher edge than a shag, and that’s the point. The crown layers sit high and uneven, then the length drops into shoulder-length ends that keep the whole thing from turning into a puffball. It has a little rebellion built in.
This cut is happiest on curls that want volume at the top and texture all the way through. Ask for choppy internal layers instead of a soft round shape if your curls are thick or dense. The style does not need perfect symmetry. In fact, a tiny bit of unevenness is part of the charm.
8. The Twist-Out Lob with Stretch and Shine
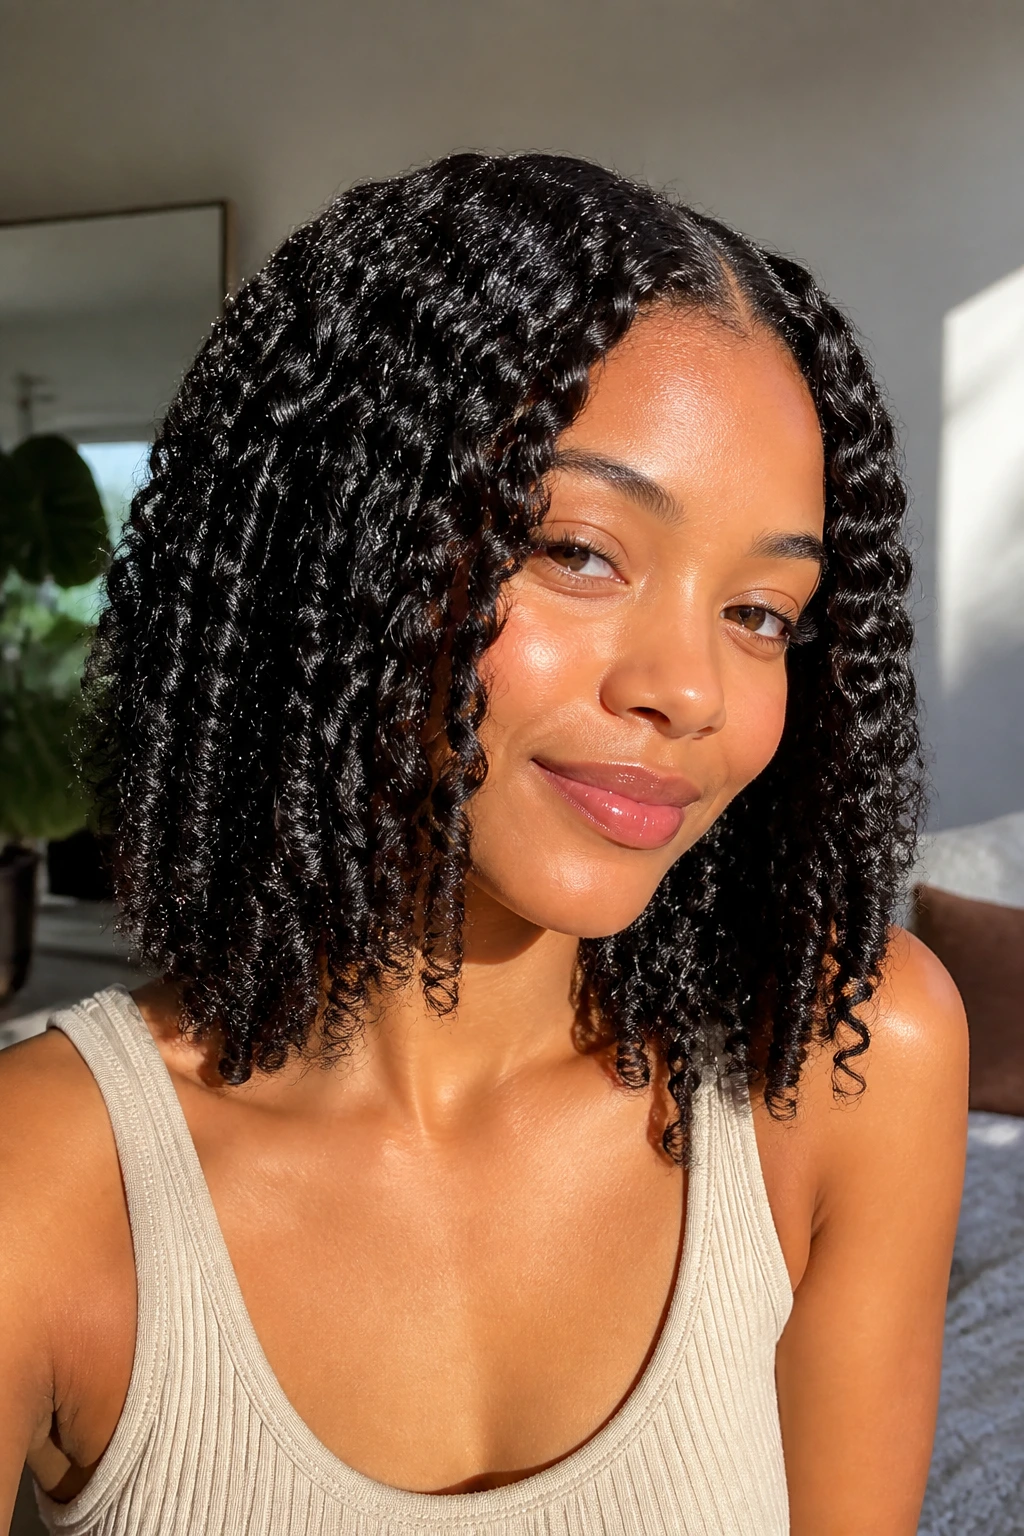
Twist-outs at shoulder length have a nice balance: enough length for definition, not so much that the twist pattern gets weighed down. The result is stretched curls with a rope-like texture that reads neat, not stiff.
How to Wear It
Set the hair in medium two-strand twists on damp hair with a cream and light gel combo. Let them dry fully, overnight if needed, before separating the twists with oiled fingers. The key is patience. If you pull too soon, the curl clumps frizz apart instead of opening into soft pieces.
Best Moment for It
This is the style I’d pick when you want your curls to look intentional without losing the natural pattern.
9. The Defined Ringlet Middle Part

A middle part plus ringlet definition can look almost architectural. The line down the center gives the eye symmetry, and the shoulder length keeps the ringlets from collapsing into a mushroom shape. When the curls are well defined, this style has a neat, glossy finish.
Use a generous amount of styling gel and resist touching the curls while they dry. That’s the whole game. Once dry, separate only the biggest clumps if you want more fullness. If your hair is finer, a mousse underneath the gel can keep the roots from feeling too slick.
10. Wet-Look Curls with Glossy Hold
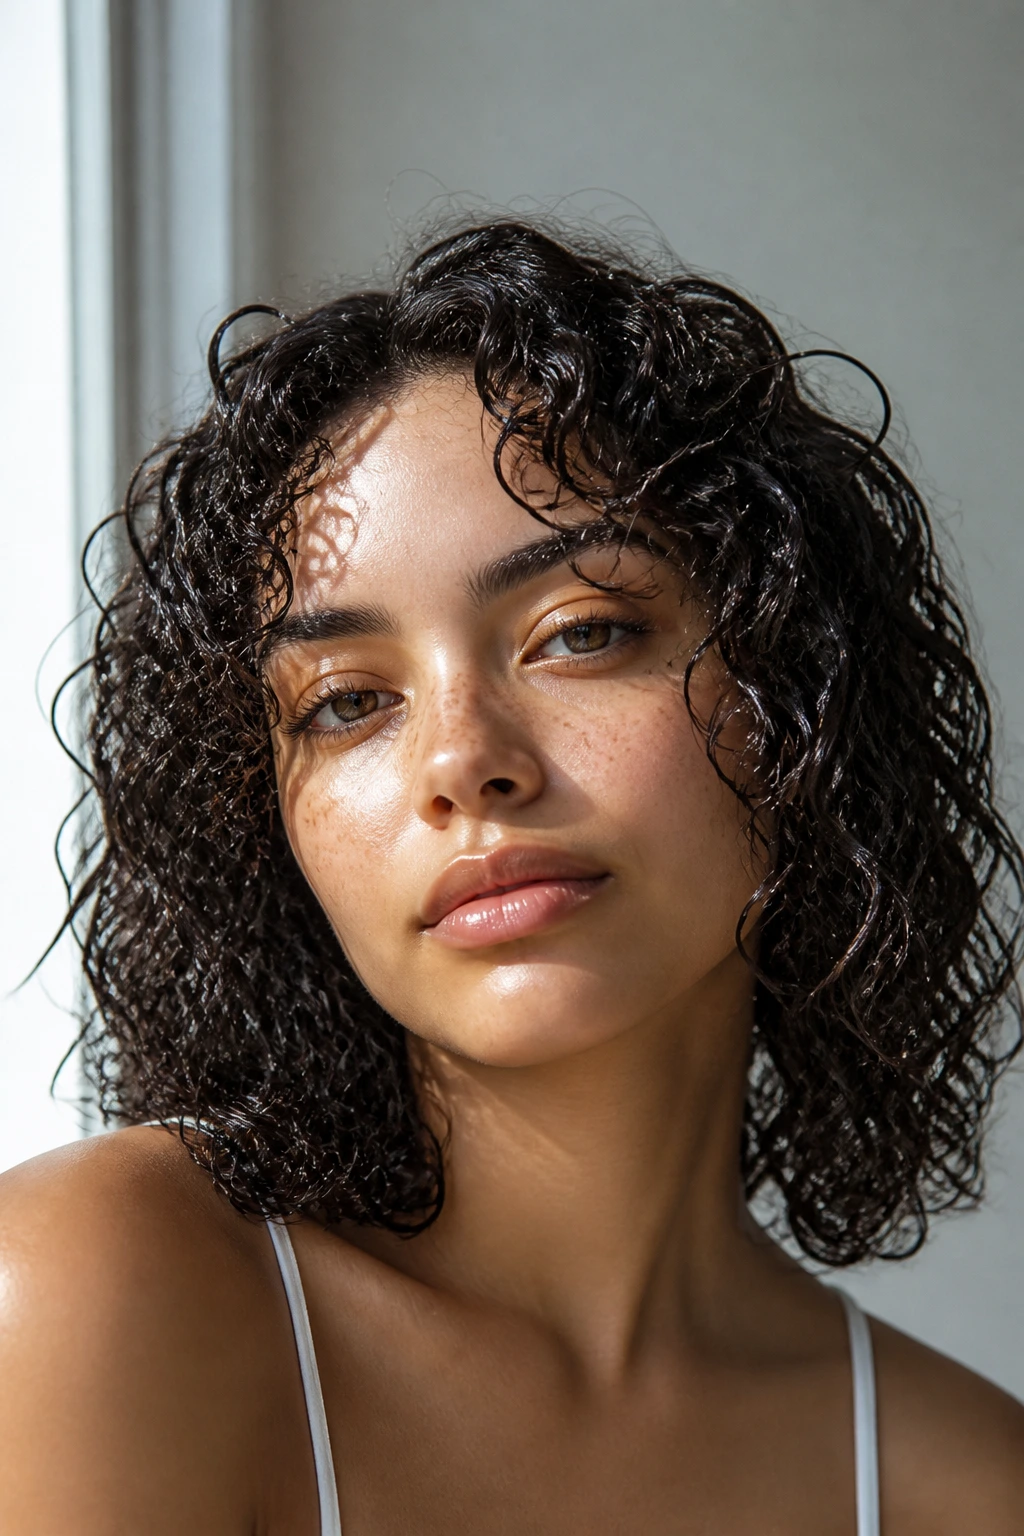
Wet look curls are not just for runway hair. On shoulder-length curls, the style can feel sharp and modern because the shorter length keeps the glossy finish from looking heavy. The curls stay clumped, shiny, and slightly sculpted.
This works best when the product has hold, not just slip. Use a strong gel over leave-in, smooth it through in sections, and let the hair set without fluffing it up. A diffuser on low can help if you want the roots dry while the ends keep that damp-looking finish. It’s a committed style. Mess with it too early and it loses the effect.
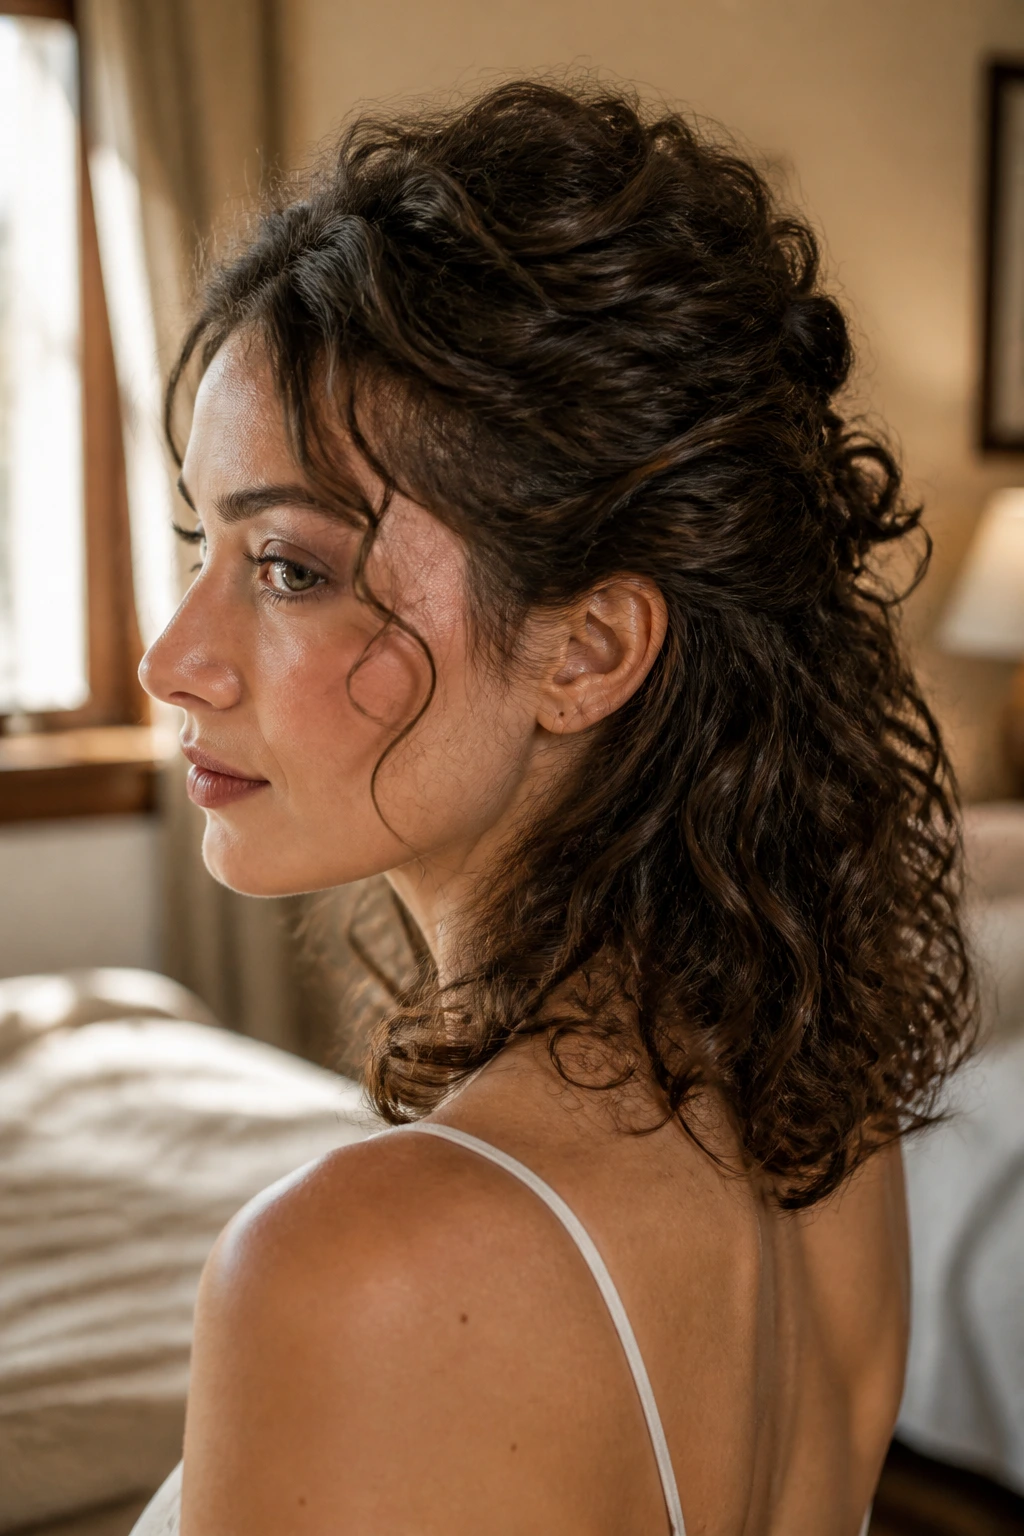
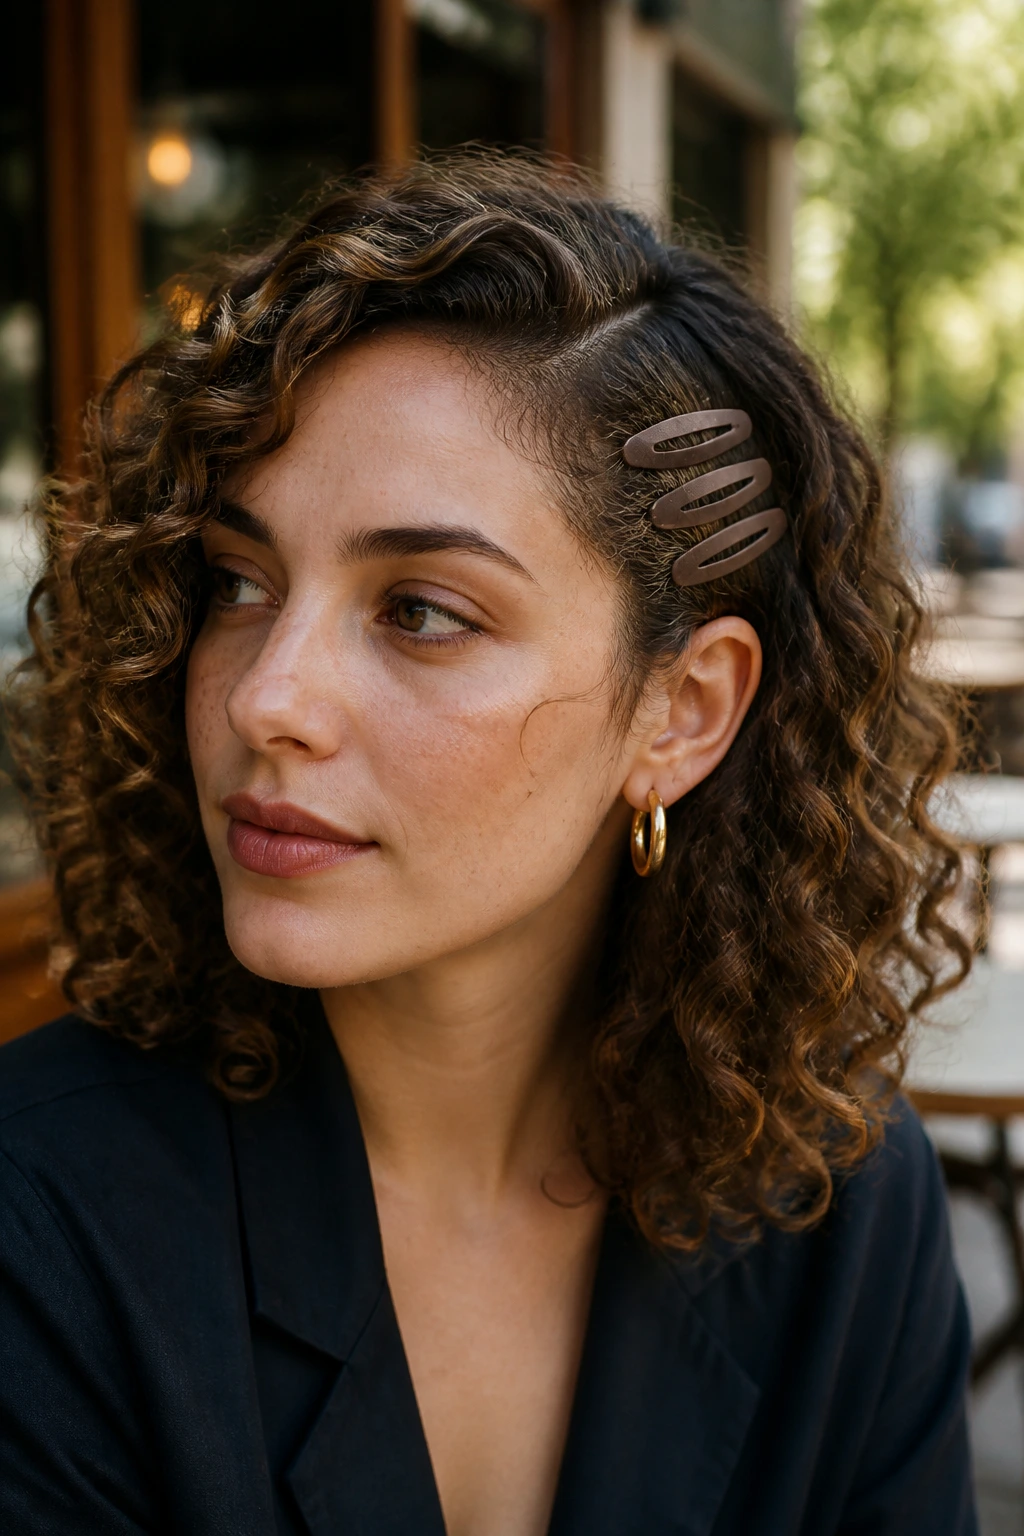
11. The Clipped-Back Crown and Loose Ends
If you’ve ever wanted your curls out of your eyes without sacrificing the rest of the shape, this is the move. Pin the crown back with two or three small clips, then let the shoulder-length ends stay loose and springy. It creates lift at the front and keeps the silhouette open.
The beauty of this look is that the clips become part of the style instead of a last-minute fix. Choose plain metal if you want it clean, or a matte clip if you want the texture to stay center stage. The hair around the temples should stay soft. Hard edges kill the effect.
12. A Curly Halo Braid Across the Front
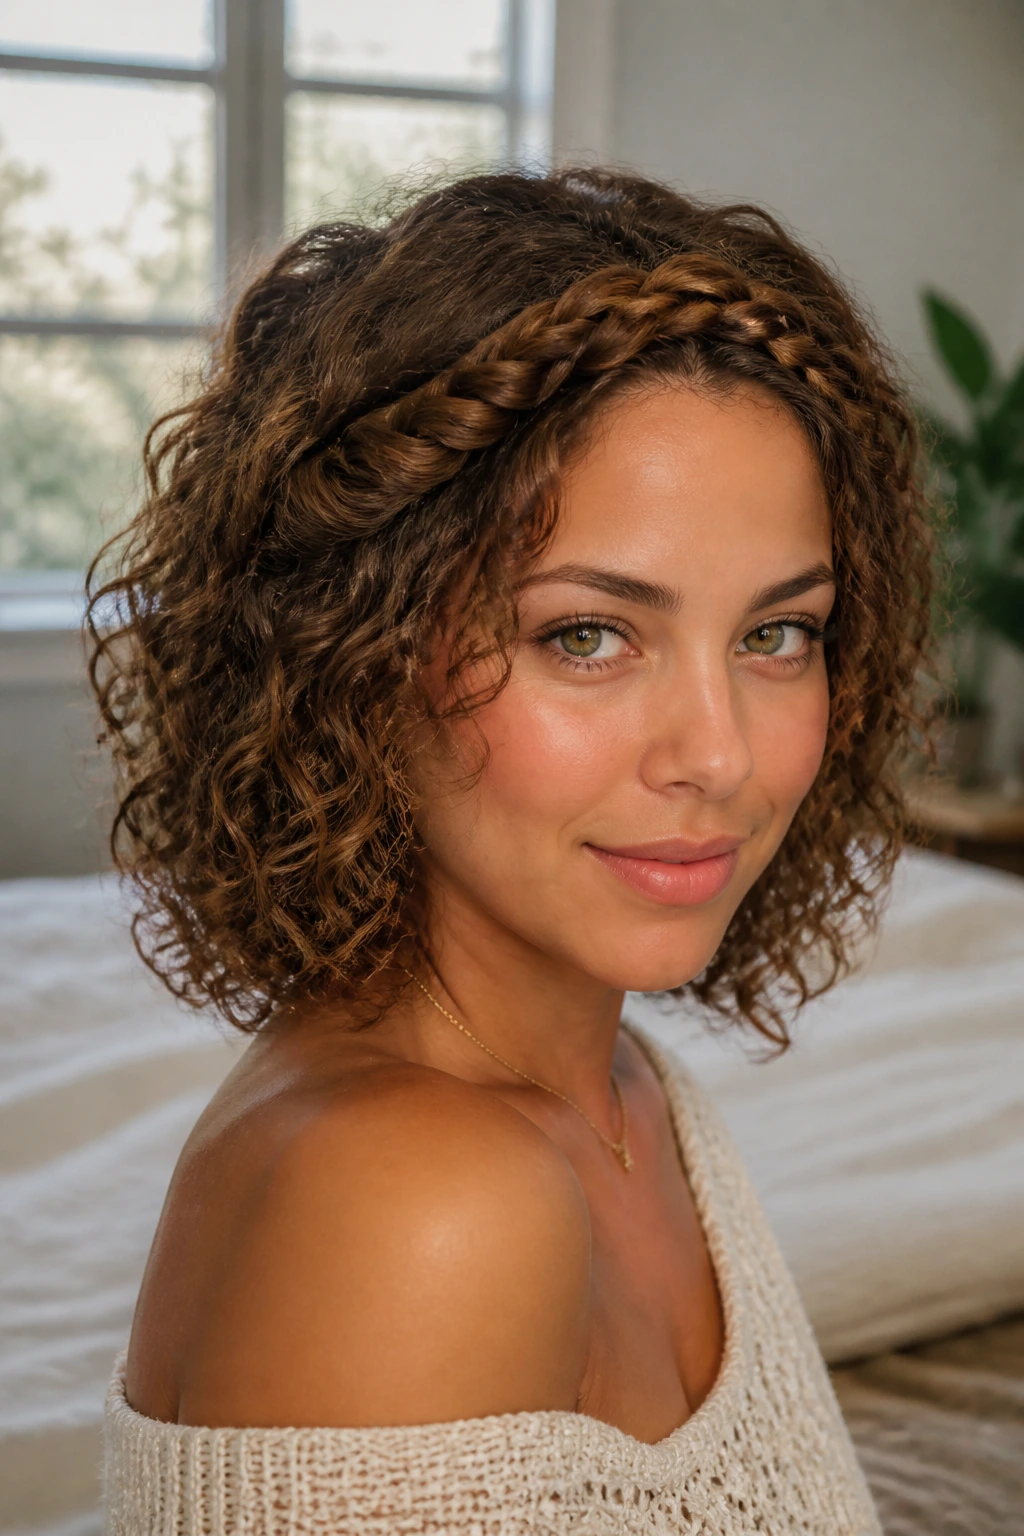
A braid across the front of shoulder-length curls gives the face a frame without pinning the whole head back. The braid sits like a narrow headband, and the loose curls underneath keep the style from feeling too formal. It’s a nice answer when you want control at the hairline but still want the rest of the texture to move.
Start the braid on slightly damp or second-day hair so the front pieces grip. Keep it loose enough that the braid doesn’t flatten the curl pattern underneath. I prefer this style when the front layers are a little shorter than the rest. They tuck into the braid cleanly and stop those annoying baby curls from sticking straight up.
13. The Curly Ponytail with a Wrapped Base
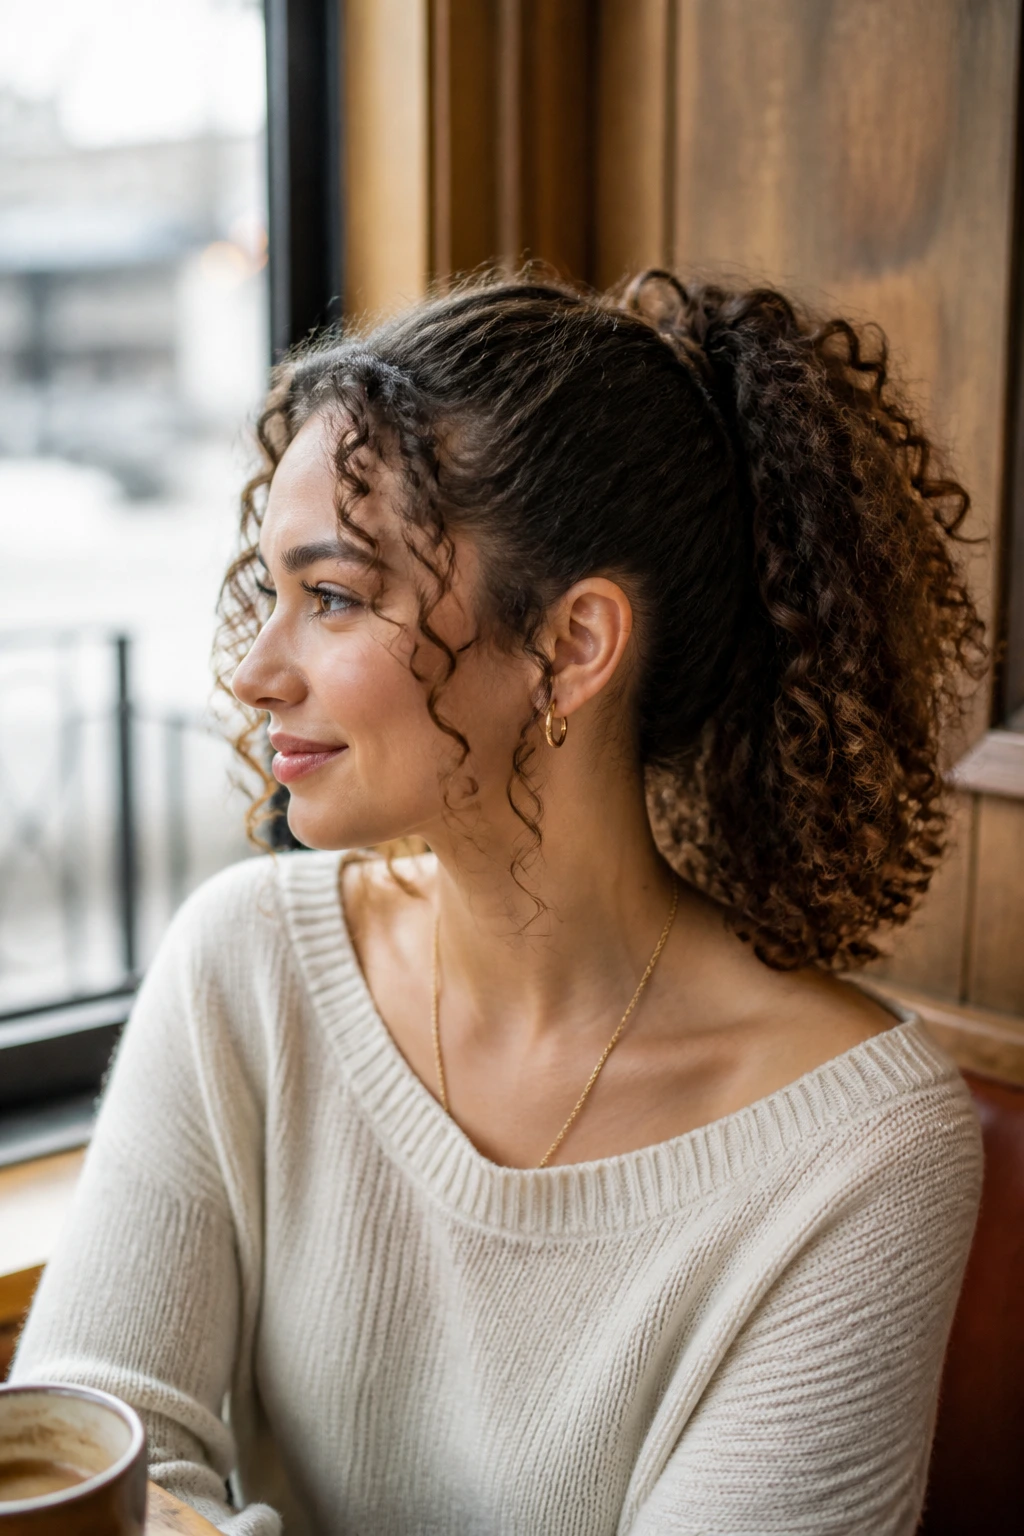
Yes, a ponytail counts at shoulder length if the curls are dense enough. A low or mid-height ponytail can look surprisingly full at this length, especially when you wrap a curl or a small section of hair around the base. That tiny finish makes the whole thing feel intentional.
Pull the hair back gently so the crown keeps some lift. Don’t stretch the curls flat unless you want a sleeker look. Leave a few face-framing pieces free, and let the ponytail sit soft rather than tight. This is one of those styles that makes day-three curls look useful instead of tired.
14. The Scarf-Tied Shoulder-Length Curly Look
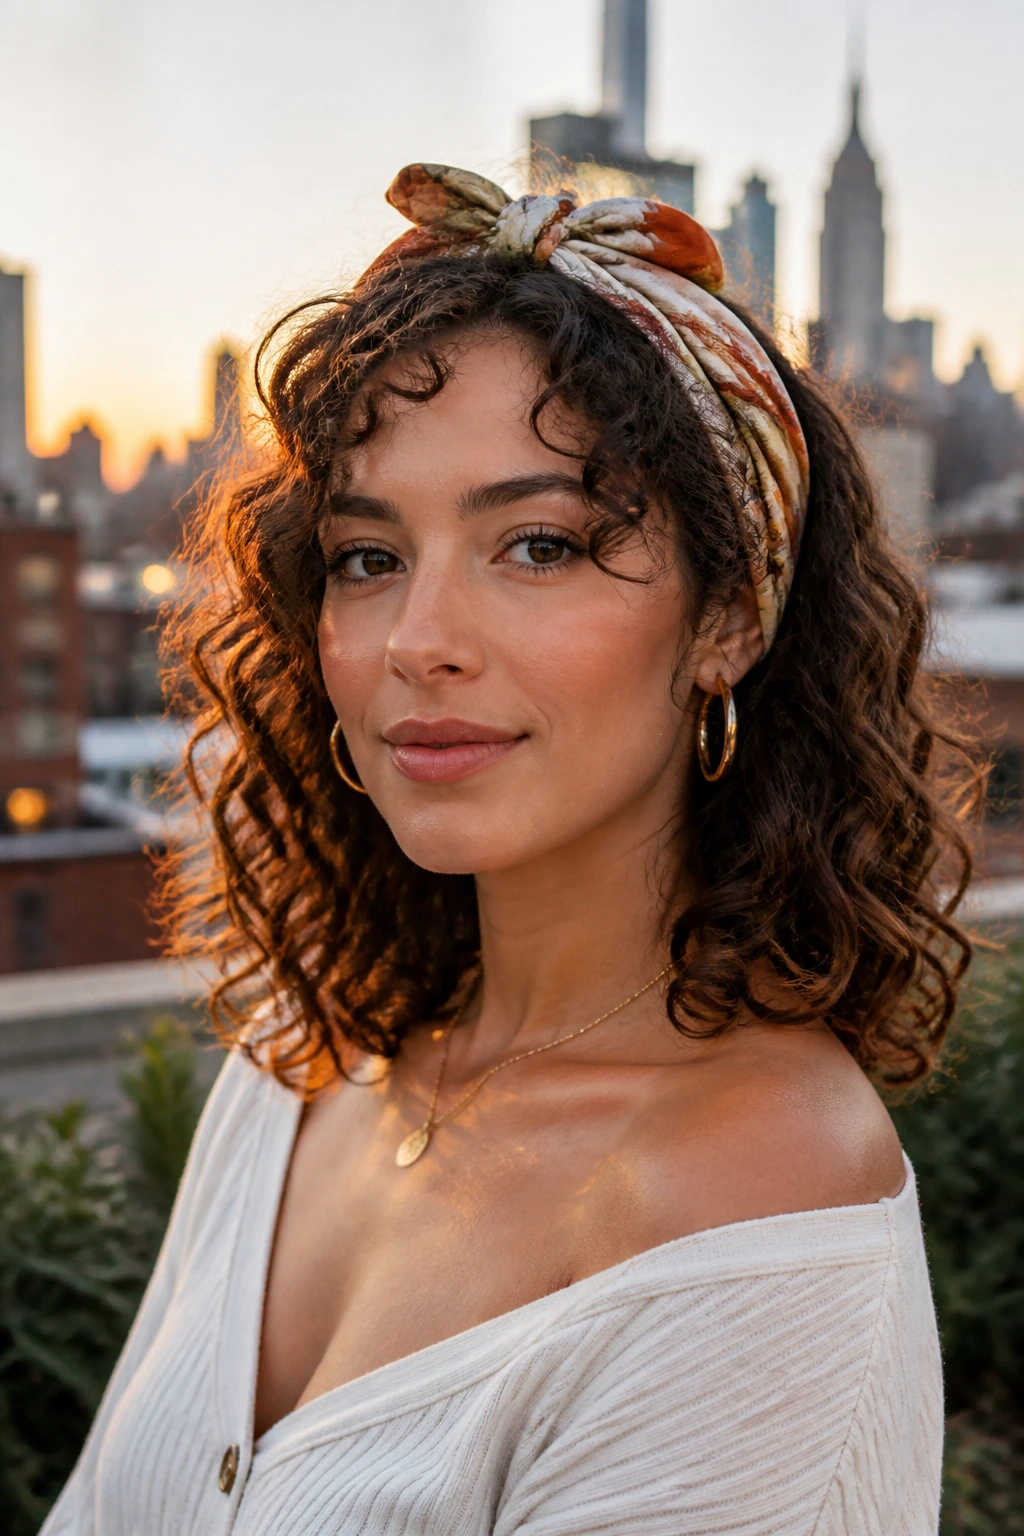
A scarf changes the tone of shoulder-length curls fast. Tie it at the crown, around a low ponytail, or as a band at the front, and the style goes from casual to styled without a complete redo. The curls still do the work; the scarf just gives them a frame.
How to Style It
Use a silk or cotton scarf with enough width to stay in place. If you have a lot of volume at the crown, fold the scarf into a band and tie it behind the head so it doesn’t keep sliding up. The best part is that a scarf can hide root frizz while leaving the curls themselves visible. Handy. No drama.
15. The Tapered Nape Shape with Full Crown Volume
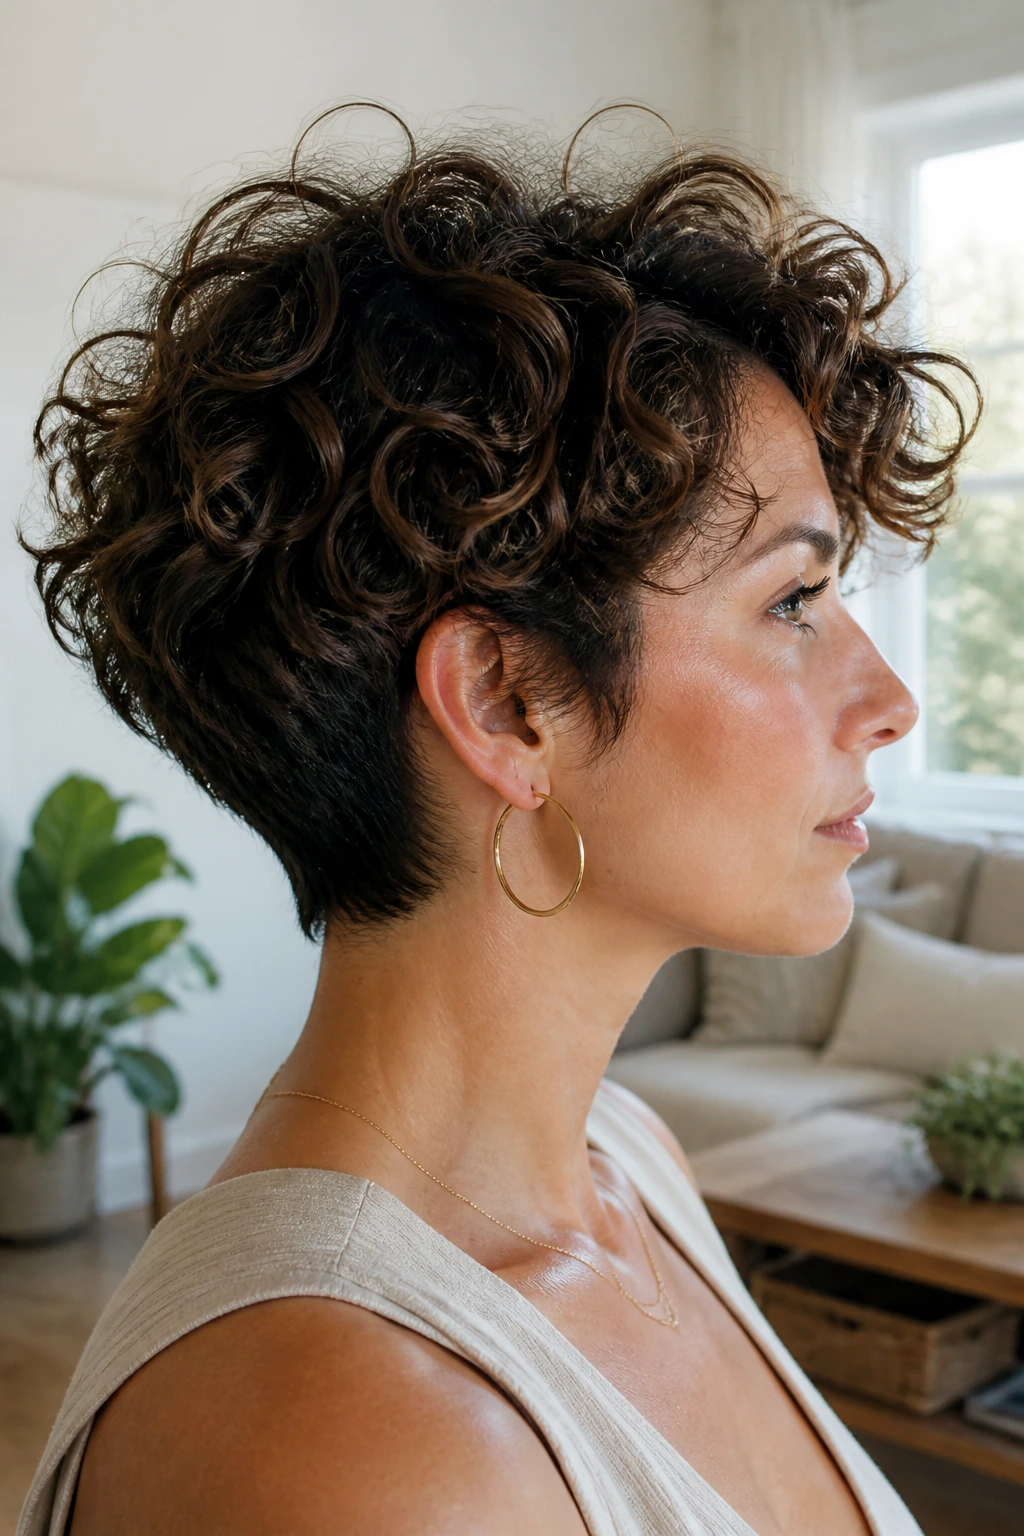
This shape keeps the neck area light and the top full. Shorter pieces around the nape remove bulk where curls often stack up, while longer layers on top let the crown rise. It’s a smart cut if your hair grows wide before it grows long.
The effect is especially good on thick curls that need space. The hair sits closer to the head at the bottom, then opens up above the ears and toward the crown. That vertical balance matters. Without it, shoulder-length curls can drift into a triangle. Nobody needs that.
16. Razor-Layered Ends That Move Fast
Razor layers are for people who want ends that don’t sit there like furniture. The cut takes some bulk out of the bottom and gives the curls a lighter, more fluttery movement. At shoulder length, that can make the whole style feel faster and less heavy.
A Careful Note
This is not the cut I’d hand to someone with fragile ends unless the stylist knows how to work with curl texture. On healthy curls, though, it can be beautiful. The edges move, the layers separate, and the silhouette feels airier. Ask for softness, not choppiness, unless you want a more shredded look.
17. The Vintage Flip-Out Curly Lob
Flip-out ends on curly hair are half retro, half playful. The shoulder length gives the bottom enough weight to kick outward a little, especially if you smooth the roots and let the ends dry with a slight bend. It’s a clever way to make curls look styled without losing texture.
Use a round brush only at the ends if your hair tolerates it, or twist the bottom sections outward while diffusing. A bit of mousse helps the curl cluster hold the shape. I like this with a side part and a clean neckline. It feels dressed up without getting fussy.
18. The Messy Half-Up French Twist
The French twist version of a half-up style works well at shoulder length because there’s enough hair to twist, but not so much that the back becomes a knot of pins. The top gets tucked and lifted, while the lower curls stay loose and soft.
Keep the twist loose and use pins that grip without crushing. A few face pieces should fall free. If every curl is pinned back, the style loses the easy part and starts looking overworked. This one is best when the twist has a little height and the back keeps its natural spring.
19. Diffused Volume That Stacks at the Crown
This isn’t really a cut so much as a styling decision, and sometimes that matters more than the haircut itself. Diffuse the roots upward with clips at the crown, then stop before the hair gets too flat around the top. The goal is a rounded shape that builds height without turning triangular.
The shoulder length helps because the ends still hold the weight while the crown dries lifted. If your hair is fine, use mousse at the roots before gel on the lengths. If it’s thick, try a stronger hold gel and dry in sections. This style rewards patience, and it punishes touchy hands.
20. The Air-Dried, Hands-Off Natural Shape
Some styles are about doing less, not more. Air-dried curls at shoulder length can look especially good when the haircut already has enough internal shape to support the curl pattern. The result is softer than a diffused finish and usually a little more relaxed around the edges.
Use a leave-in and a light styling cream, then leave the curls alone while they dry. No fluffing. No finger-picking. If you need a bit of lift at the crown, clip the roots for the first twenty minutes and then walk away. The appeal here is the easy texture, not glossy perfection.
21. Sleek Roots with Curly Ends
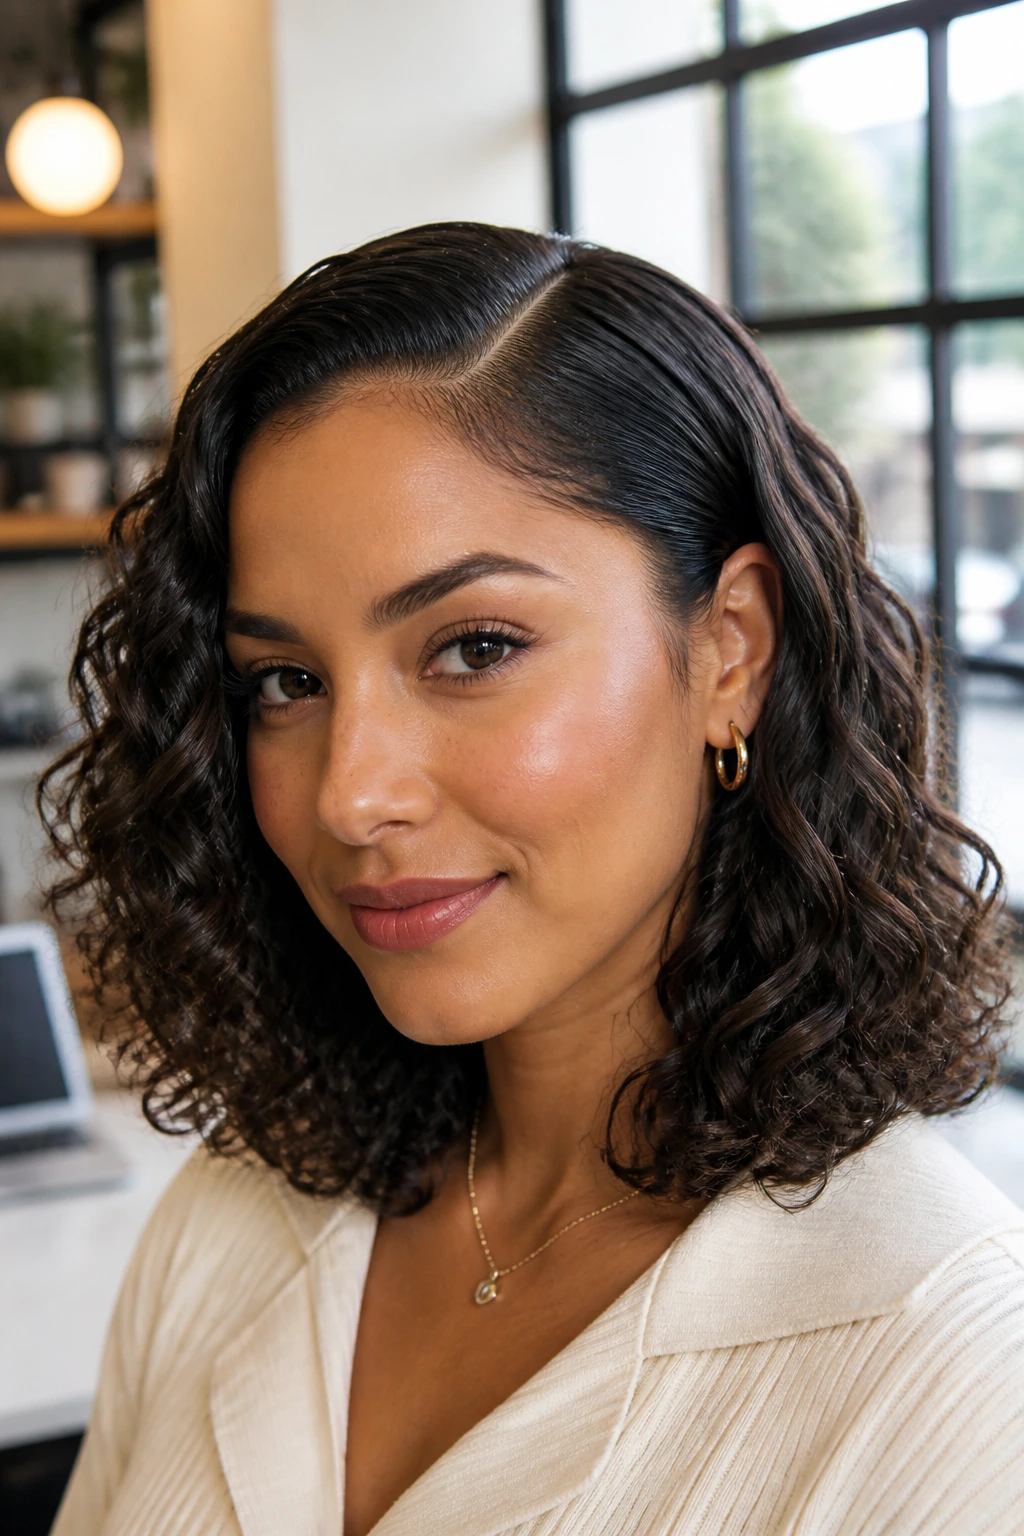
This hybrid look keeps the top smooth and the bottom curly, which sounds odd until you see it. The contrast gives shoulder-length curls a sharp line at the roots and plenty of texture below. It’s one of the cleanest ways to wear curls when you want them to look controlled.
Brush or smooth the top section with a small amount of gel, then let the lower half keep its curl. A side or center part both work, but keep the root area neat. This is the style I’d pick for a blazer day or any time you want your hair to sit a little closer to your head without losing personality.
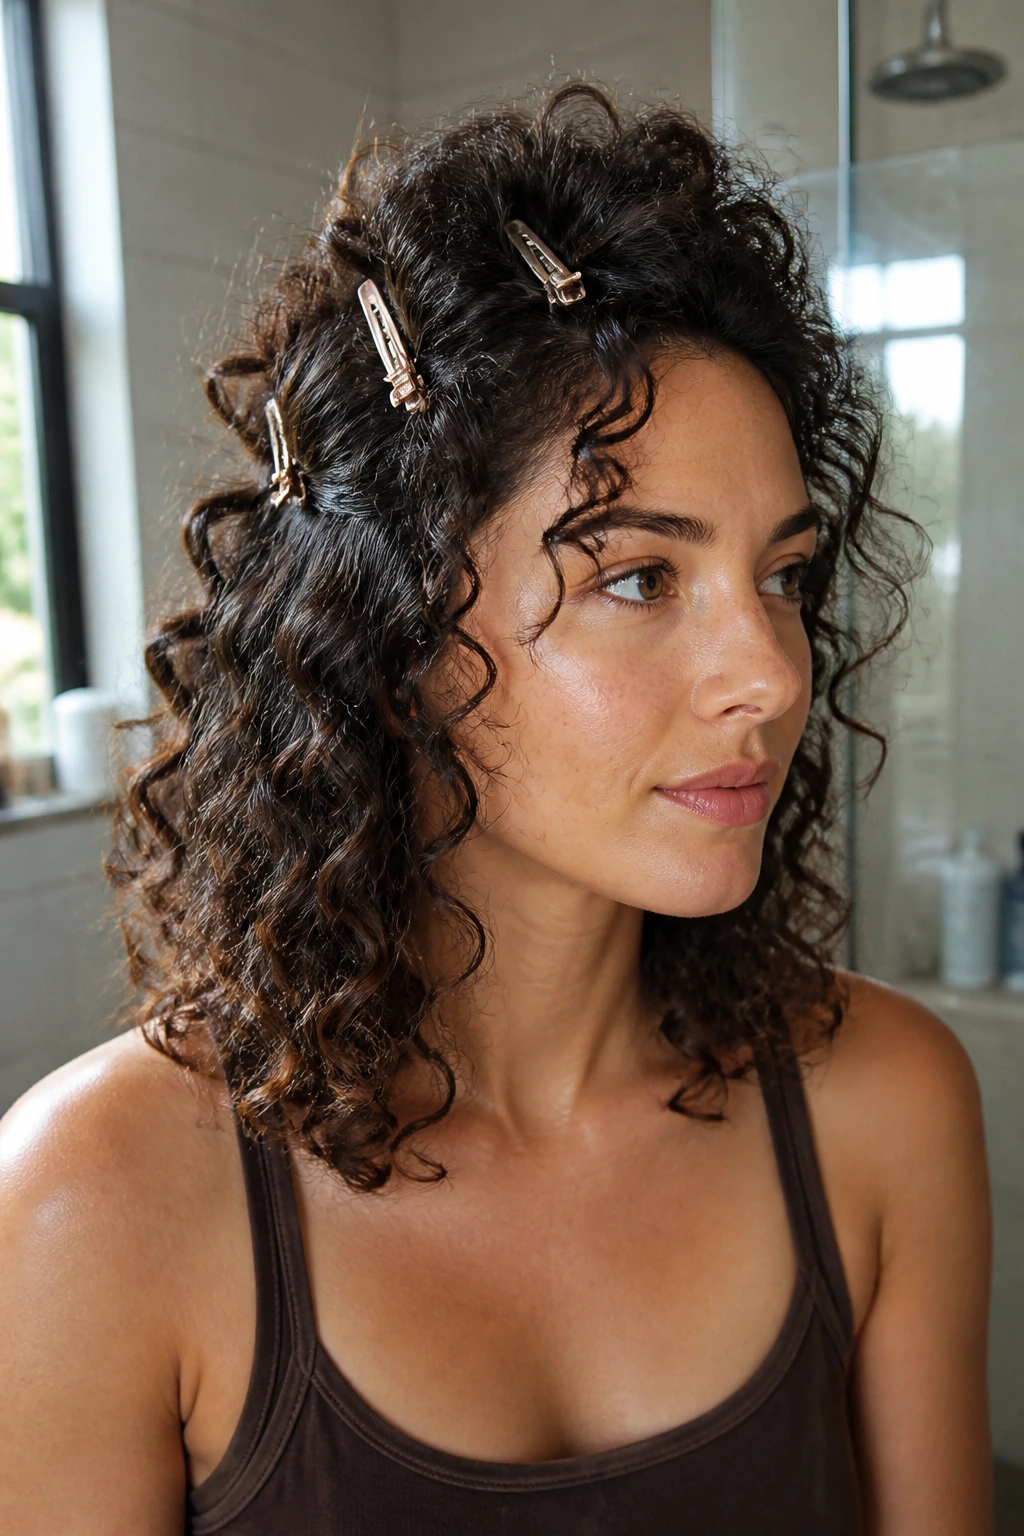
22. The Statement Clip Cluster
A single clip is fine. Three clips in a clean cluster? Better, if you ask me. On shoulder-length curls, a set of clips can pin one side back or create a stacked accent at the temple. The curls stay visible, but the style gets a little structure.
Stick to one color family so the clips don’t fight each other. Metallics read sharp, tortoiseshell feels warmer, and matte black disappears into darker hair. The haircut underneath should still do most of the work. Clips are there to sharpen the line, not replace the shape.
23. The One-Side Tuck Behind the Ear
This is the simplest idea on the list, and I use that word on purpose. Tuck one side behind the ear, let the other side fall forward, and suddenly the shoulder-length curls have asymmetry. That tiny shift changes the whole frame of the face.
It works best when the tucked side has a little root volume so the ear doesn’t flatten the hair completely. A small pin can keep the tuck in place, but the point is ease. The style looks best when it doesn’t look overthought. Clean, fast, a little off-center. Done.
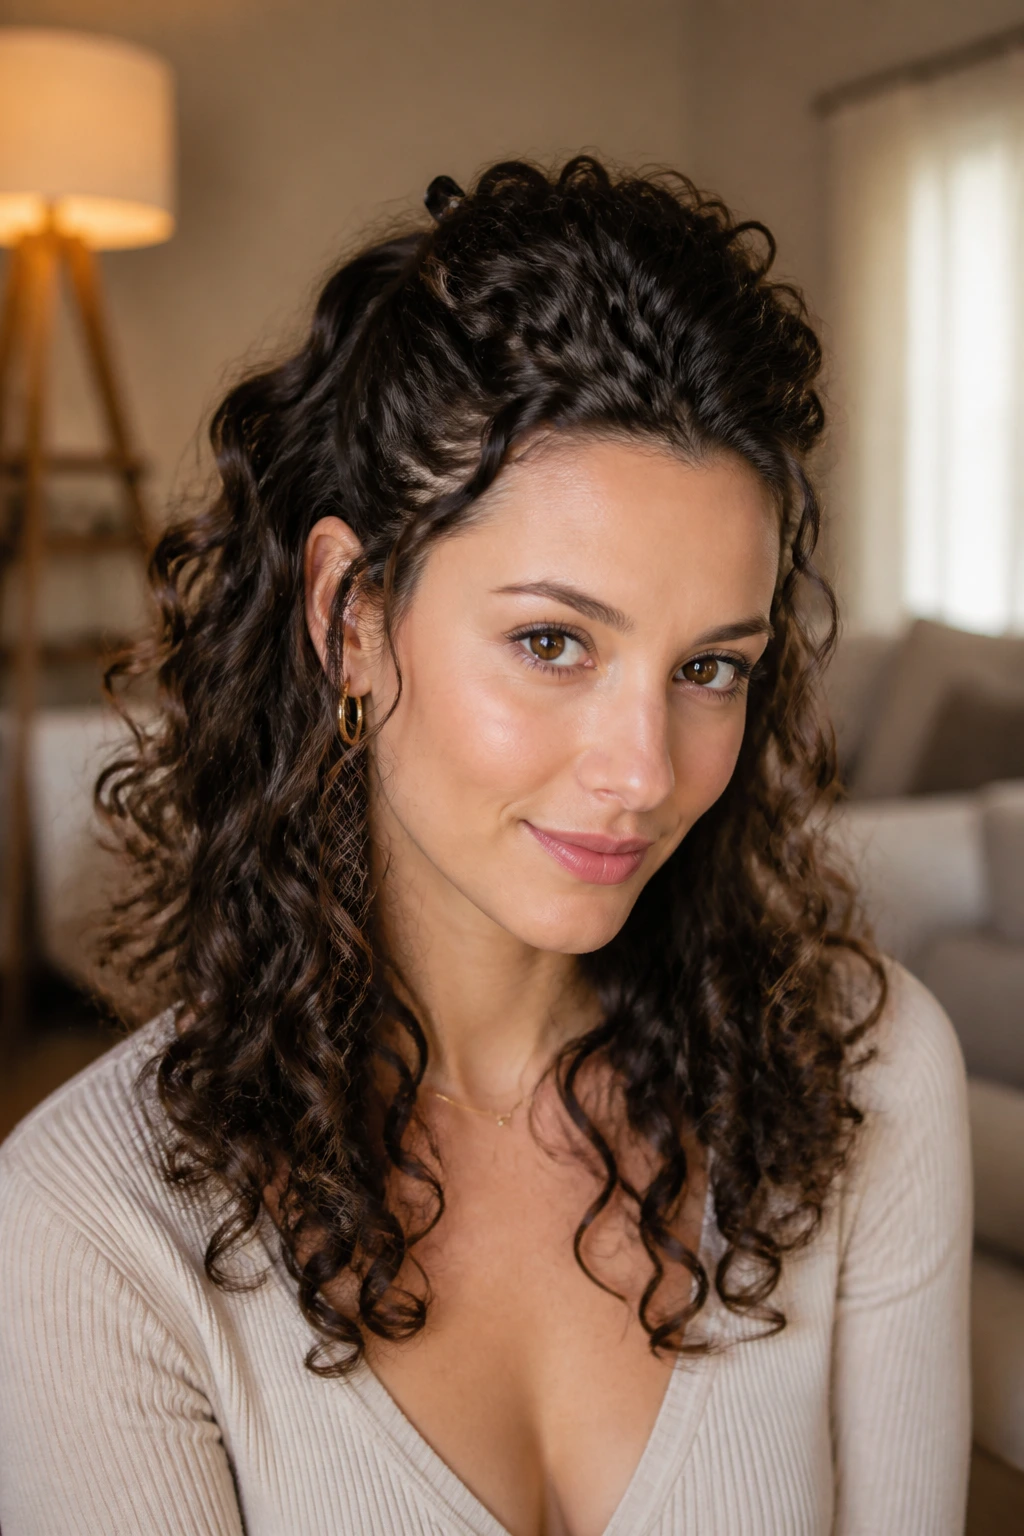
24. The Crown Puff with Loose Spiral Ends
A crown puff gives the top of the head height while the lower curls stay loose and defined. It has a playful feel, but the shoulder-length ends keep it from reading like a full updo. The split between volume up top and movement below is the interesting part.
Use a soft band or a few pins to lift the crown, then leave the rest of the hair alone. If your curl pattern is tighter, the puff will look compact and neat. If it’s looser, the shape opens up more. Either way, it gives you a bit of height without asking the whole head to cooperate.
25. The Clean Center-Part Minimalist Lob
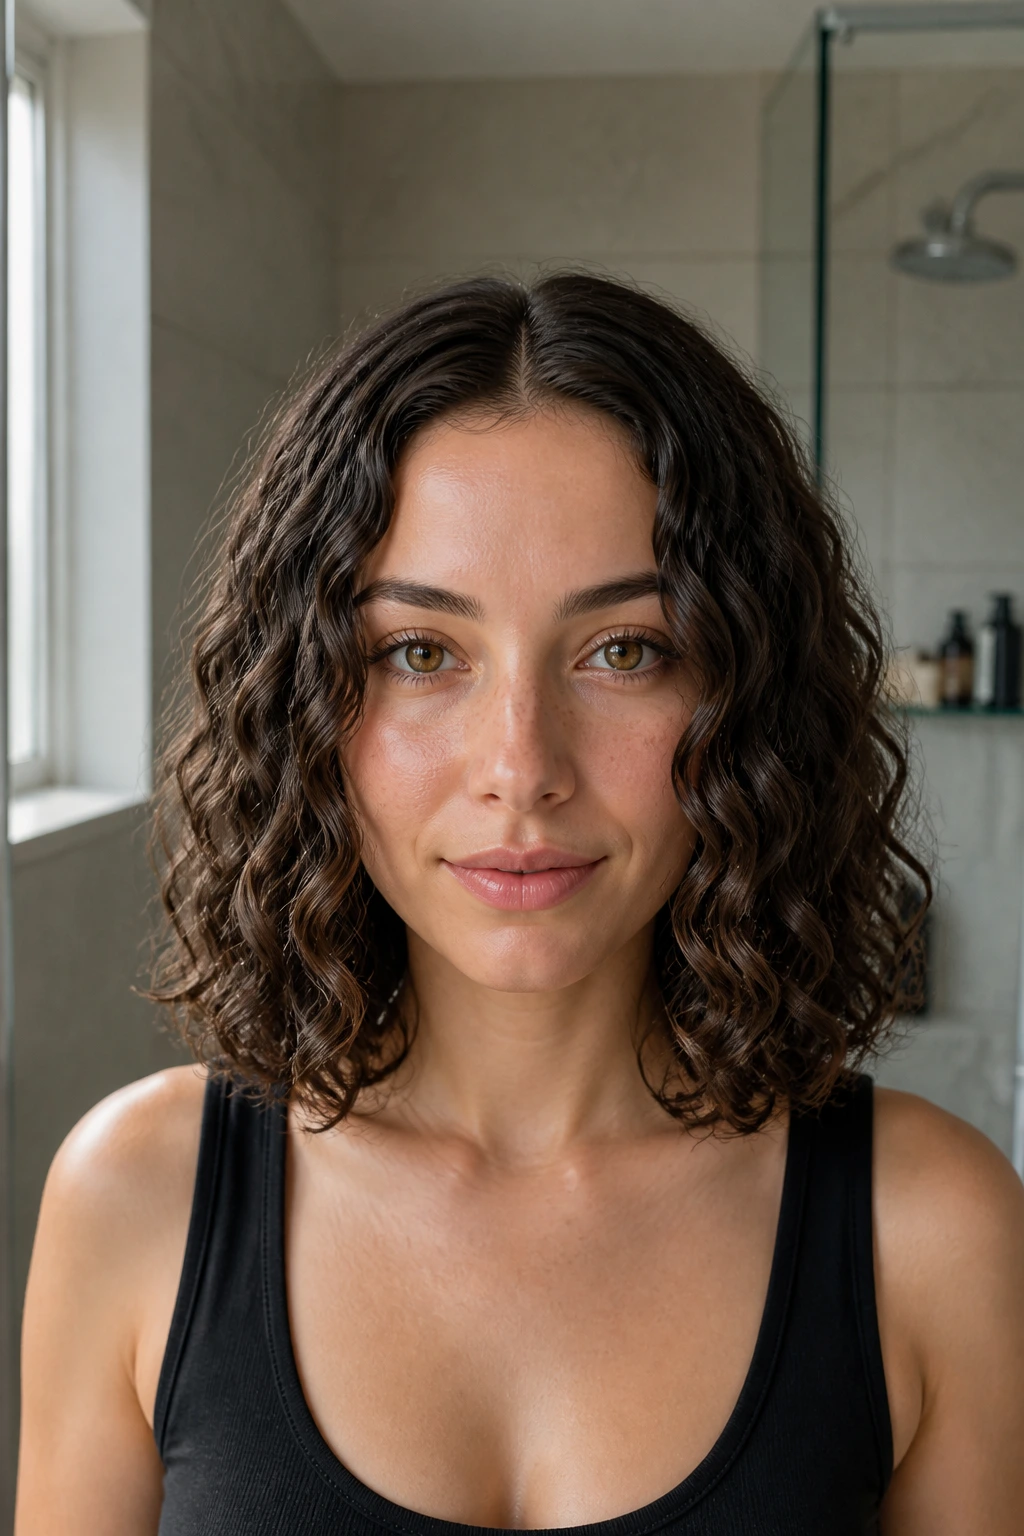
The minimalist lob is the quiet one at the end of the list, and it earns its place. The center part is straight, the shape is controlled, and the curls sit in clean, even columns on both sides. No extra pieces. No accessories. Just the cut doing its job.
This style looks best when the curl pattern is defined but not crunchy. Use enough product to keep frizz down, then let the hair dry in its natural fall. If you want a more precise edge, tuck the ends under slightly with your fingers while the hair is still damp. It’s restrained, but not boring. There’s a difference.
Why Shoulder-Length Curls Hit the Sweet Spot

Shoulder-length curly hair works because the cut sits right where the curl pattern needs a little help and a little freedom at the same time. Too short, and some curls spring up hard, leaving the head shape rounder than you meant. Too long, and the weight drags the top flat while the ends disappear into a line that feels tired. Right here in the middle, the hair can expand, relax, and still show off its shape.
There’s also a shrinkage advantage. Tight curls can look dramatically shorter when dry, which is exactly why collarbone or shoulder grazing cuts can be such a smart move. You get a shape that looks intentional both wet and dry. That matters if your hair has a strong spring pattern, because the same haircut can read very differently depending on how much the strands contract.
The best part is the styling range. You can wear it loose, clipped back, half-up, scarfed, braided at the front, or pulled into a low ponytail that still looks full. It gives you options without forcing you into daily precision. And honestly, that’s the real win. Hair that behaves on normal days.
Essential Tools for These Styles
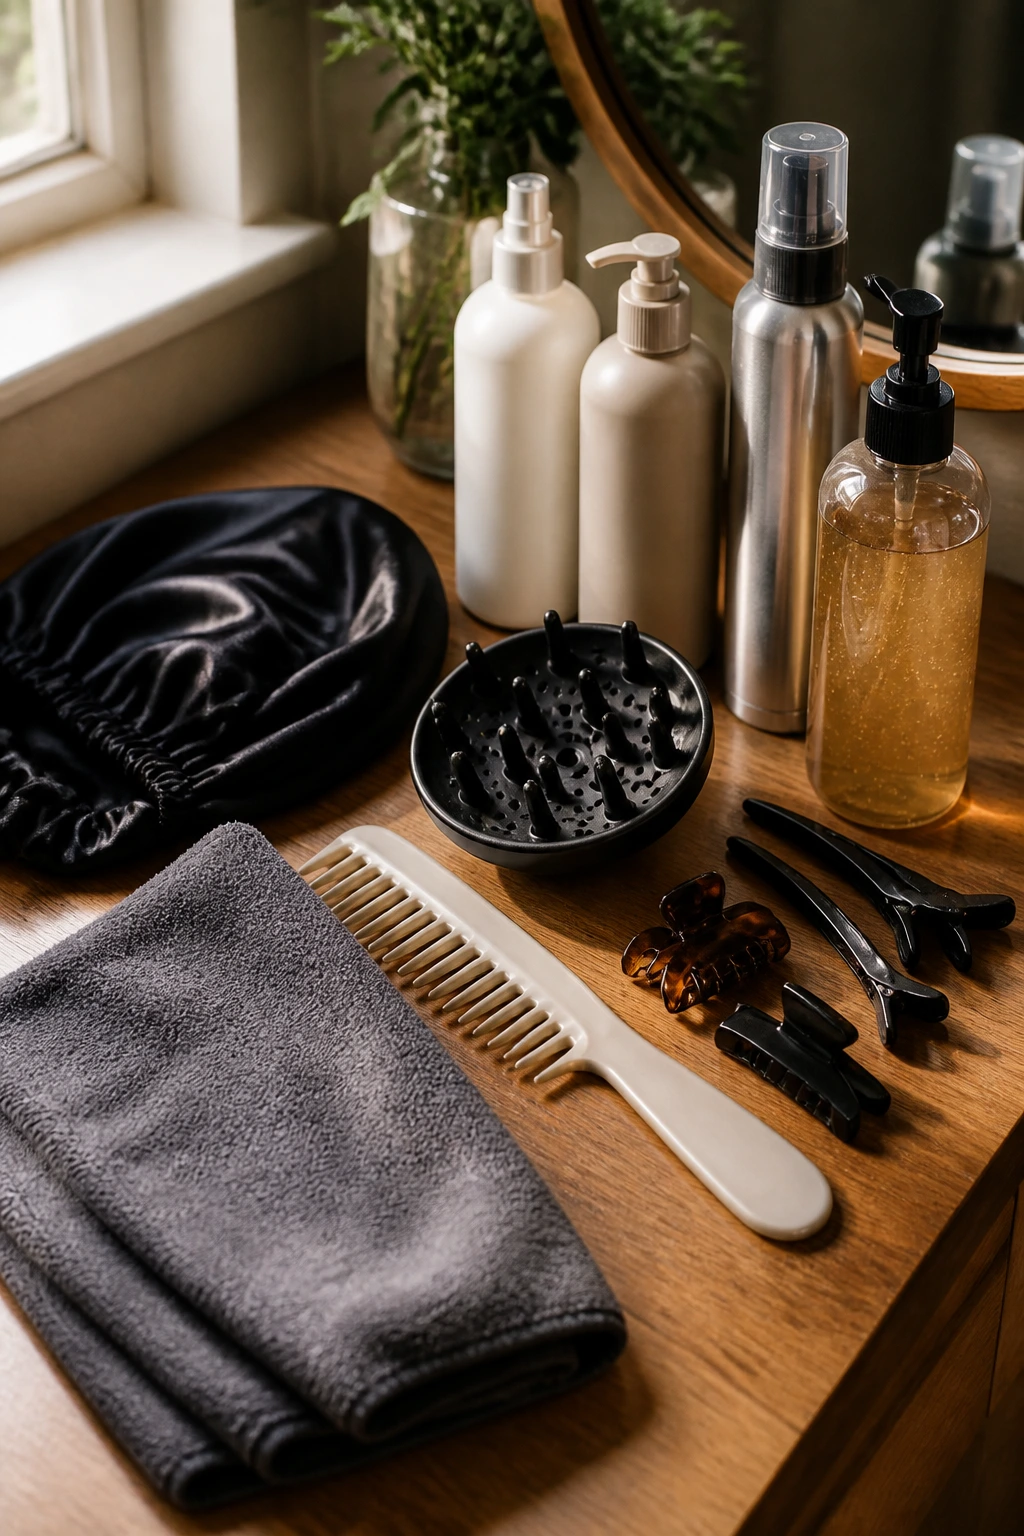
- Wide-tooth comb: Good for detangling wet curls without ripping through the pattern.
- Microfiber towel or soft T-shirt: Cuts down on rough frizz and helps curls clump before styling.
- Leave-in conditioner: Gives slip and keeps the ends from feeling dry or crunchy.
- Curl cream or styling milk: Useful for softer, more touchable definition.
- Mousse: Adds lift at the roots and gives looser curls some structure.
- Gel with medium or strong hold: Helps styles last past day one without collapsing.
- Diffuser attachment: Lets you dry the roots with less blowout and less frizz.
- Duckbill or alligator clips: Great for root lifting, sectioning, and setting parts.
- Silk or satin bonnet/pillowcase: Helps preserve the curl shape overnight.
- Small claw clips and pins: Handy for half-up styles, crown lifts, and quick fixes.
How to Pick the Right Products for the Finish You Want
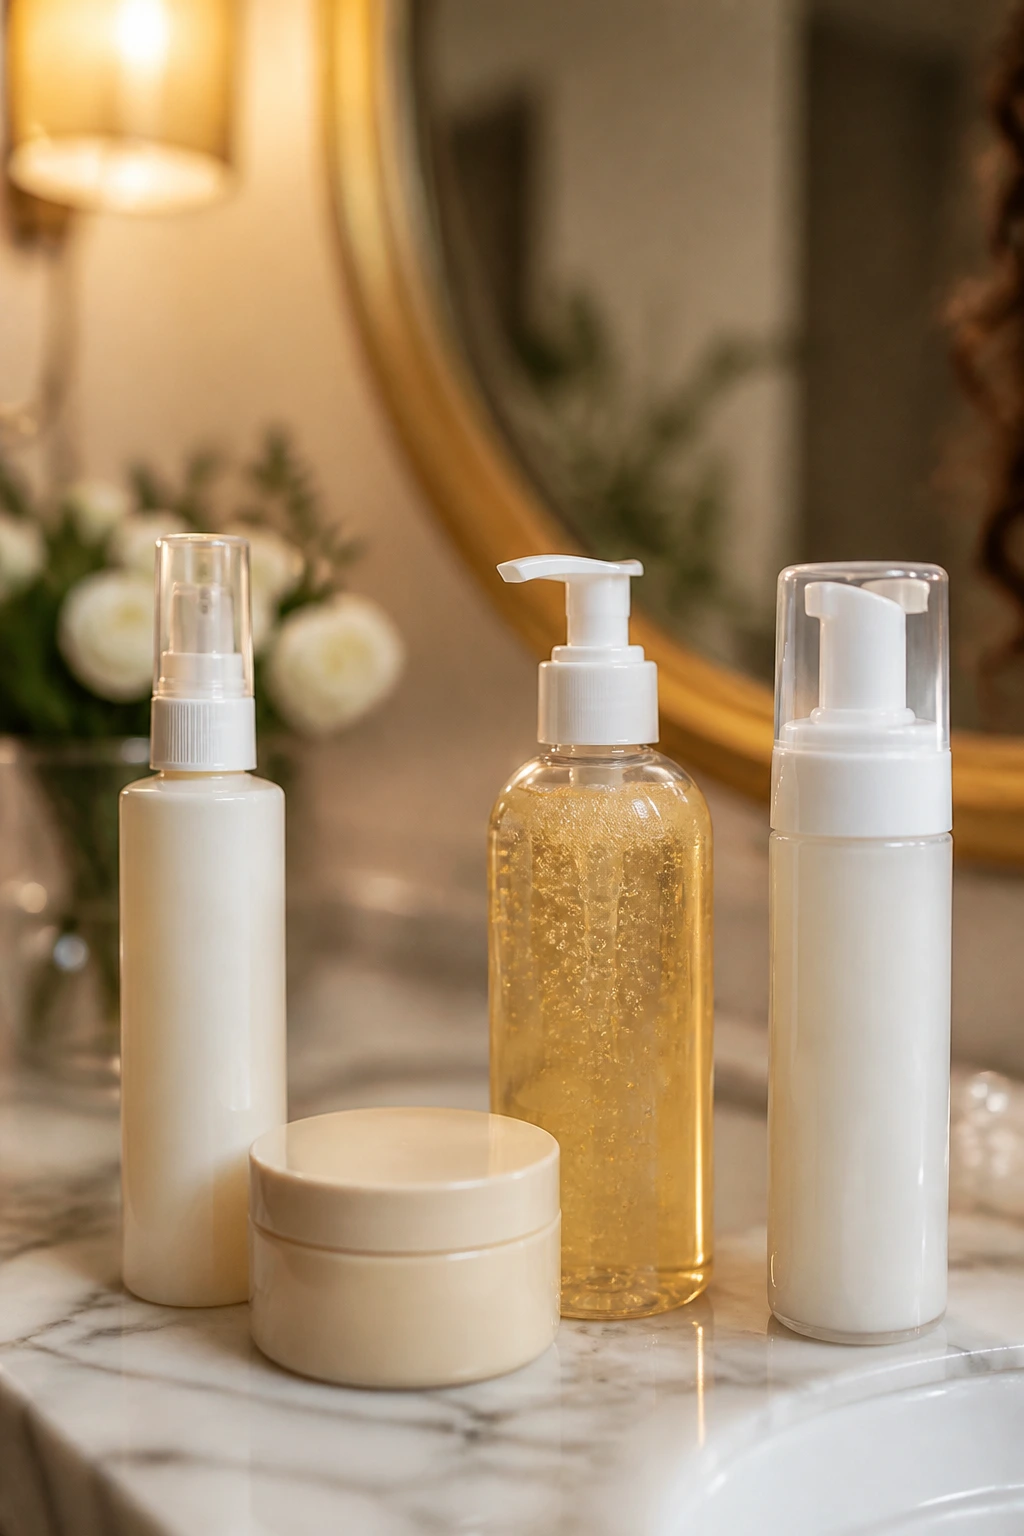
If you want soft curls that move, reach for a leave-in and a light curl cream first. That gives you slip and a little hold, but it won’t lock the curls into a stiff shell. Fine or loose curls often like this route because too much product weighs them down fast.
Want definition that lasts? Add gel. Not a tiny dab. A real layer, smoothed through damp hair in sections so the curls can form a cast as they dry. That cast is what keeps frizz down while the hair sets. If your hair feels dry, use a little cream under the gel instead of drowning the whole head in oil.
Mousse is the tool I’d pick when the roots need lift and the lengths need structure without heaviness. It works especially well for layered cuts, shag shapes, and crown-heavy styles. A lot of people skip mousse because it sounds old-fashioned. Their mistake. It can save a flat top in about five minutes.
For hold without crunch, look for gels that dry clear and break softly once the hair is fully dry. If the product leaves flakes on your hands before the hair is dry, it usually wants to be layered more lightly or paired with a compatible leave-in. Same with oils. A drop or two is fine at the end. A heavy pour will flatten the style and make the roots look greasy by noon.
How to Wear These Styles on Busy Days
Everyday: The simplest move is a center part, a little gel, and a diffuser pass at the roots. That keeps shoulder-length curls neat enough for work, school pickup, or a day when you do not want to think about your hair twice.
For a cleaner finish: Tuck one side behind the ear, add a clip at the temple, or smooth the crown with a small brush and gel. You do not need a full blowout to look put together. A controlled top with loose ends can carry a whole outfit.
Second-day hair: Refresh the front pieces with a spray bottle, re-scrunch the ends, and pin the roots for ten minutes while they reset. Sometimes that’s all the shape needs. If the curls have gone fuzzy, don’t soak the whole head again. Target the spots that flattened.
For accessories: Earrings, scarves, and clips show up better at shoulder length than they do on very long curls. The hair stays out of the way without losing personality. That balance is why this length keeps winning.
Additional Tips and Finishing Moves
Definition Boost: If the curls separate too much at the ends, finger-coil just the front pieces and the outer layer around the face. You do not need to coil every strand. Two or three visible pieces can change the whole look.
Volume Boost: Clip the roots at the crown while the hair is drying, then remove the clips once the hair is about 80 percent dry. This keeps lift without locking the roots in a weird bend.
Frizz Control: Smooth a pea-sized amount of serum over the very top layer only after the hair is dry. The top frizz is usually the part people notice first, and you rarely need to coat the whole head.
Make-It-Yours: If your taste runs minimal, keep the part clean and skip accessories. If you like a little more drama, use a scarf, a statement clip, or a side part. Same hair. Different mood.
How to Keep Shoulder-Length Curls Fresh Between Washes
Shoulder-length curls hold up best when you stop treating day-two hair like a failure. At night, either pineapple the hair loosely at the crown or clip it into a very loose top section, then sleep on a silk pillowcase or wear a satin bonnet. That keeps the curls from getting shredded at the back and flattened at the sides.
If the shape gets squashed, mist the problem areas with water or a water-and-leave-in mix, then scrunch lightly. Focus on the ends and the outer layer first. The roots usually need less help than you think. Heavy soaking often causes more frizz than it fixes.
If you want the style to last longer, avoid loading on new product every morning. A little mousse at the roots or a tiny bit of gel on the front pieces is enough most days. Wash-day curls can usually wear well for 2 to 4 days with a decent refresh routine, and some shapes—especially the clipped-back or scarfed looks—can stretch even further because the styling actually helps hide the change.
Common Mistakes That Flatten Shoulder-Length Curls
- Cutting the length too blunt: A blunt line can make shoulder-length curls puff outward at the bottom. Ask for internal layers or face-framing shape so the hair can move.
- Using too much oil too early: Oil before the curl sets can break the hold and make the roots collapse. Save it for the very end, and use only a little.
- Skipping root lift: If the crown dries flat, the whole style looks weighed down. A few clips at the roots or a diffuser pass aimed upward fixes that fast.
- Touching the curls while they dry: This is the fastest route to frizz. Let the cast form first, then break it once the hair is fully dry.
- Ignoring shrinkage: Shoulder-length on the wet head can turn much shorter once dry. Plan the shape with shrinkage in mind or the cut may land too high.
- Choosing one product for everything: Fine curls, dense curls, and loose waves do not need the same amount of hold. Adjust the cream, mousse, and gel based on how your hair actually behaves.
FAQ
Does shoulder length work for every curl pattern?
It works for a wide range, but the shape should change with the curl type. Tighter curls often need more layering and a little extra length to account for shrinkage, while looser curls may need softer internal shape so the style does not go flat.
Will shoulder-length curls make thick hair look bulky?
They can if the cut is too blunt or the layers are skipped. Thick curls usually look better with internal layering, a bit of weight removed around the sides, and a shape that keeps the crown from puffing wide.
What part looks best on curly shoulder-length hair?
A center part gives symmetry and makes ringlets or loose curls look neat. A deep side part adds lift and drama. If your face is rounder, a side part can lengthen the shape; if your face is longer, a middle part can balance it.
Can I wear bangs with shoulder-length curly hair?
Yes, but curly bangs need to be cut longer than straight bangs because they spring up. Curtain bangs and face-framing fringe tend to be the easiest starting point because they blend more smoothly as they grow.
How do I keep the roots from going flat?
Clip the roots while the hair dries, diffuse upward, or flip the part while the hair is still damp. A mousse at the roots can help, too. Flat roots usually come from drying hair in one position for too long.
What if my curls frizz up by midday?
Check the hold level first. If the style frizzes fast, the product may be too light for your texture. A stronger gel, less touching, and drying the hair fully before separating the curls usually helps more than adding more oil.
Is this length better for air-drying or diffusing?
Both work. Air-drying gives a softer finish, while diffusing gives more lift and faster set time. If your hair tends to go flat, diffusing the crown for a few minutes can make a noticeable difference.
How often should I trim shoulder-length curly hair?
A shape like this usually benefits from trims every 8 to 12 weeks if you want the layers and frame to stay clean. If you like a softer, grown-out look, you can stretch that a bit, but the ends may lose definition.
Which styles here are easiest on second-day hair?
The clipped-back crown, the scarf-tied look, the side tuck, and the half-up styles usually refresh fastest. They hide a little frizz and flattening better than a fully loose ringlet look.
The Shape That Keeps Working
Shoulder-length curls earn their keep because they don’t ask for one single personality. They can look neat, undone, romantic, sharp, or a little messy, and they usually do it without a major styling session. That flexibility is the whole point.
Pick one cut that fits how your hair actually behaves, not how you wish it behaved. Then test it for a few days: loose, clipped, parted differently, maybe with a scarf or a half-up finish. The right shoulder-length shape will tell you quickly.