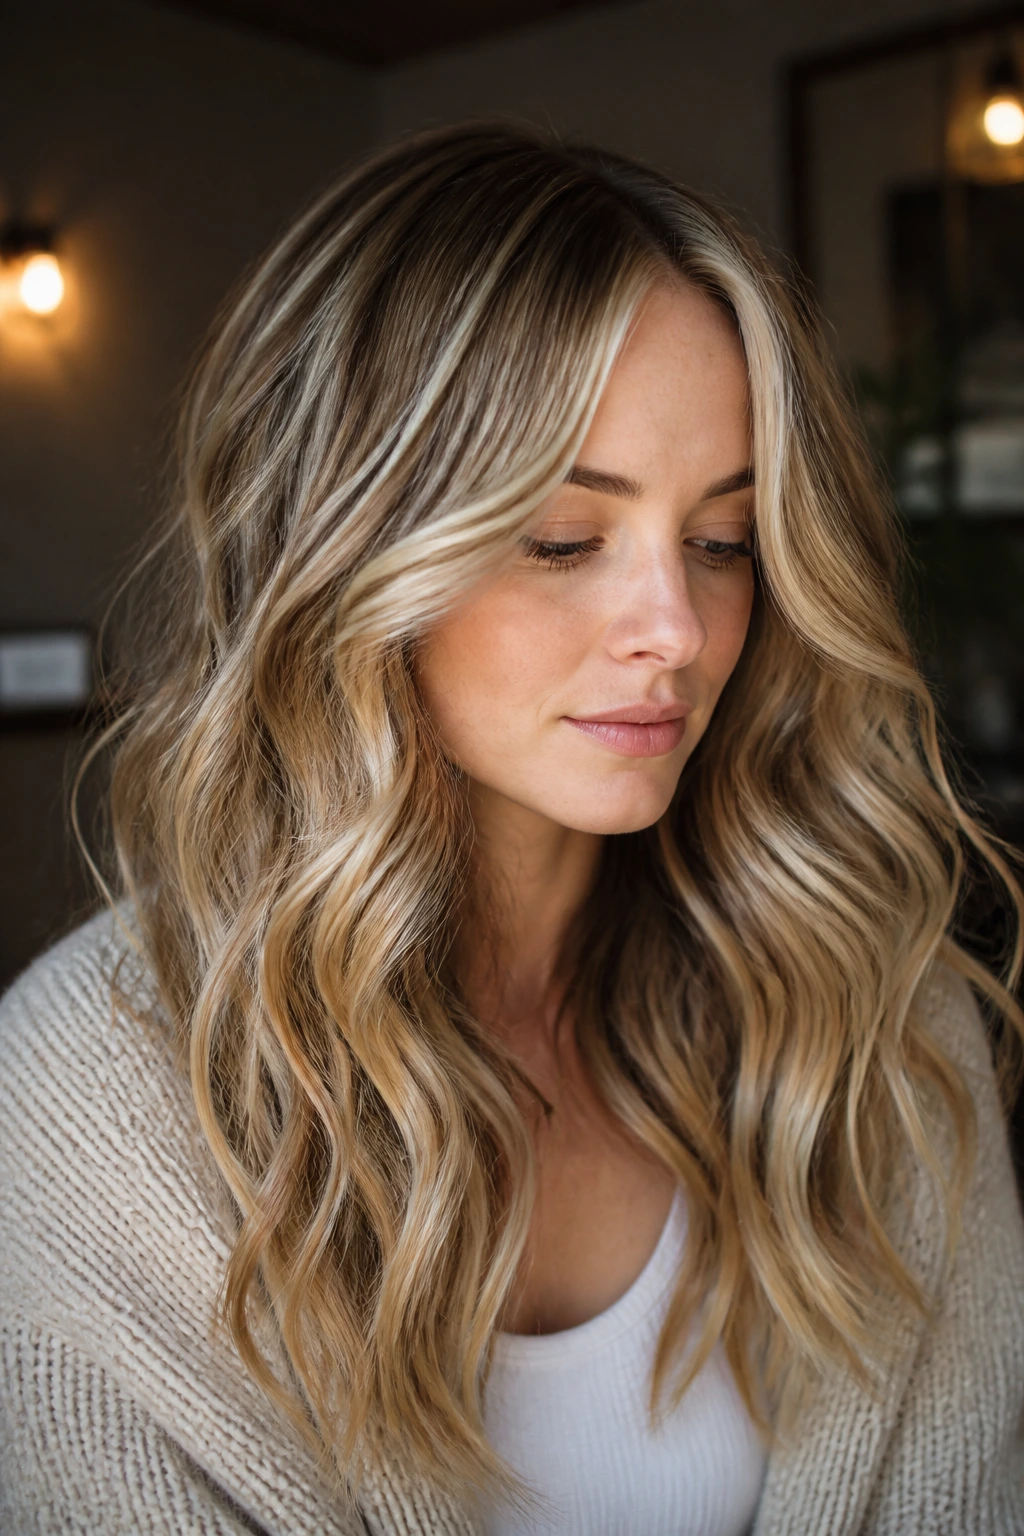
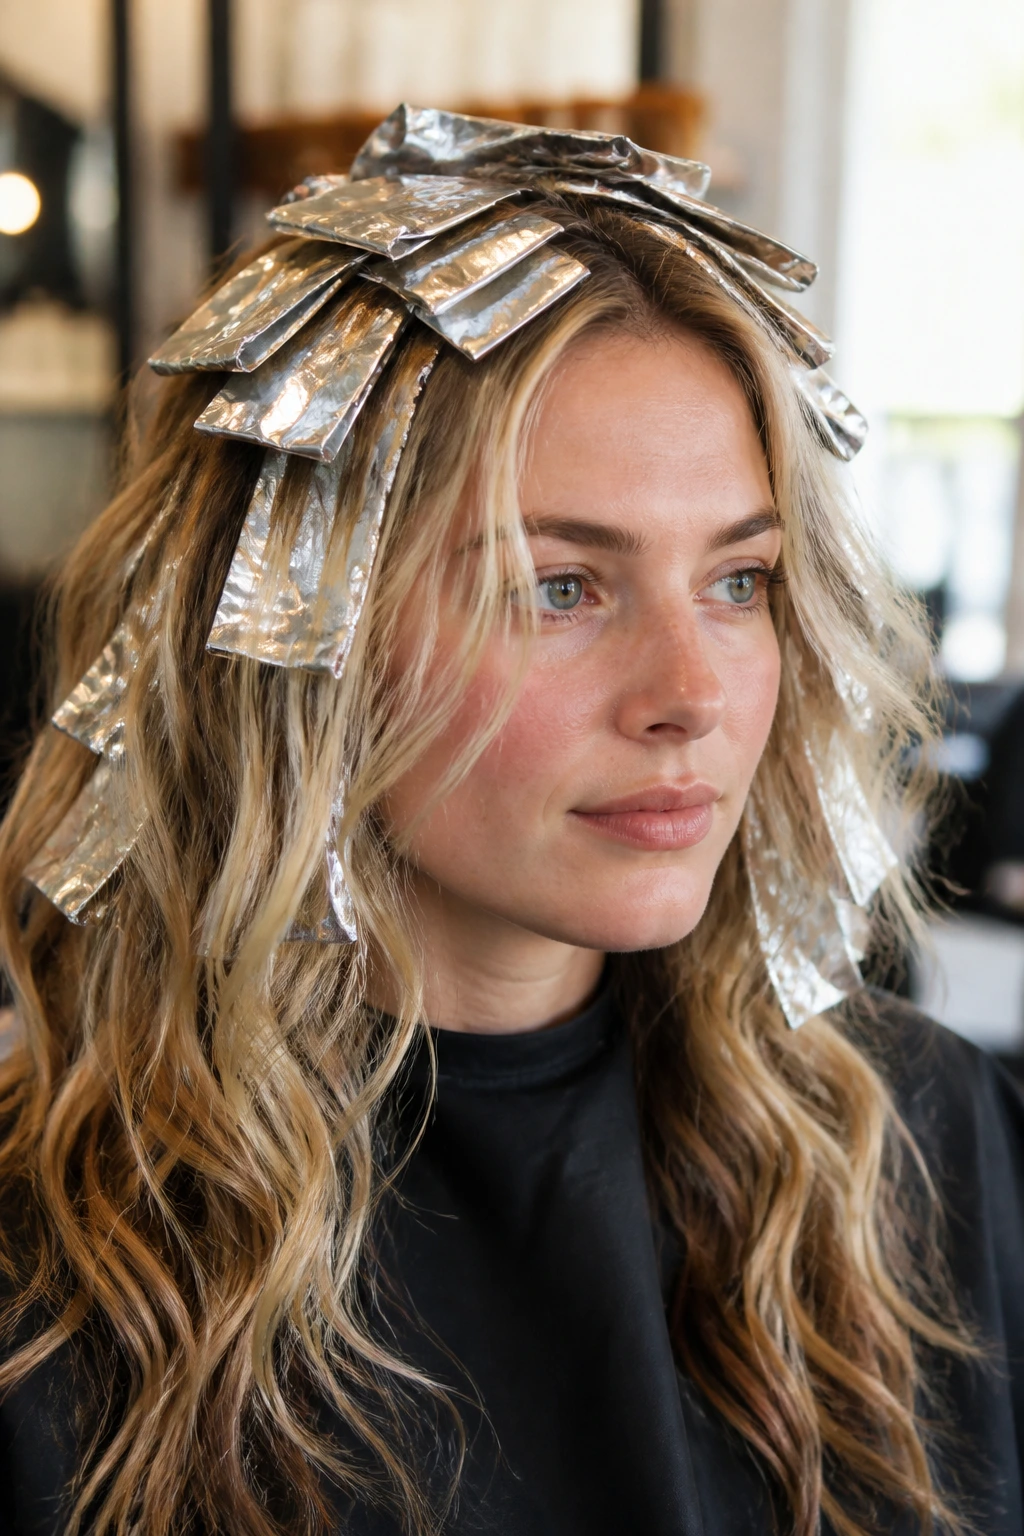
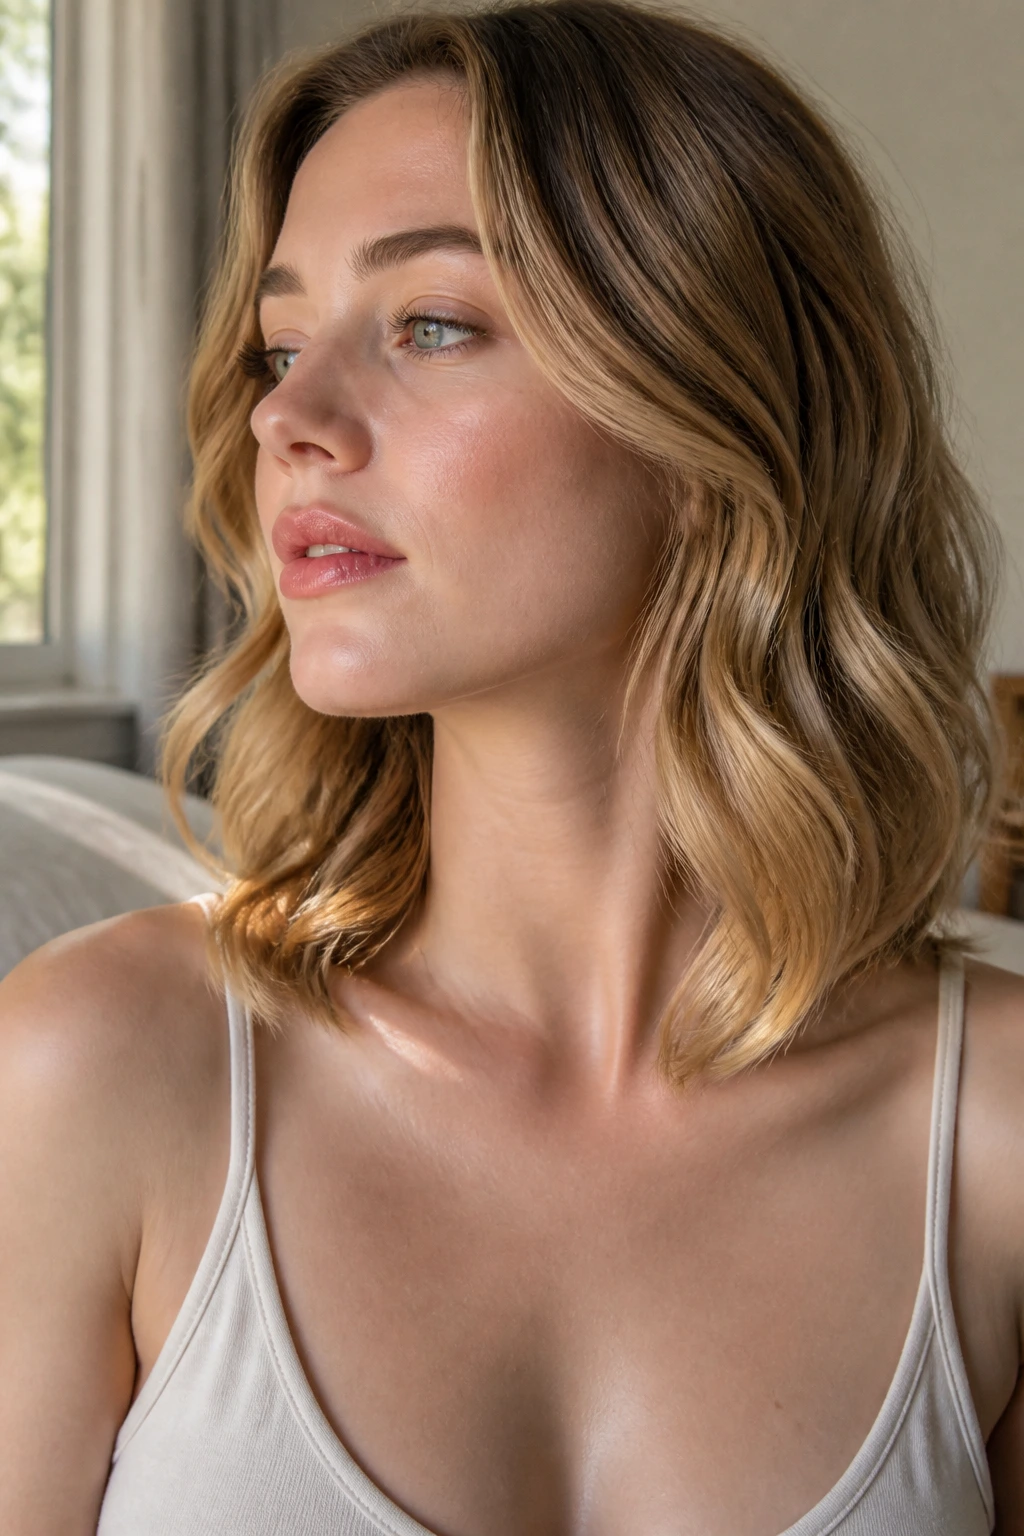
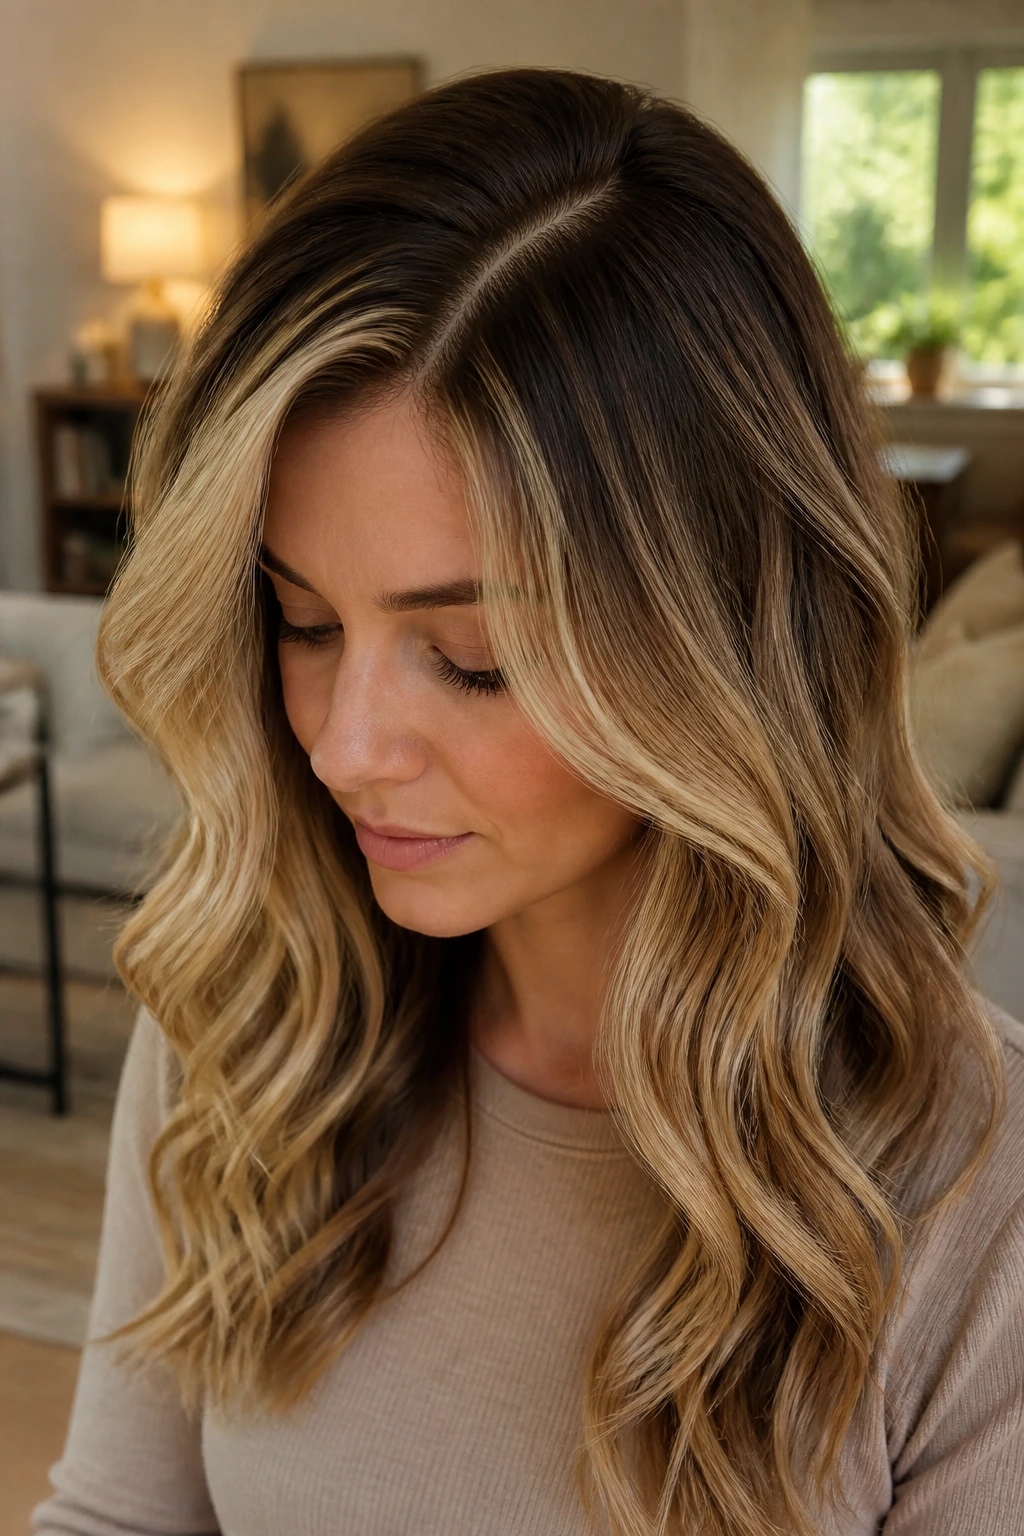
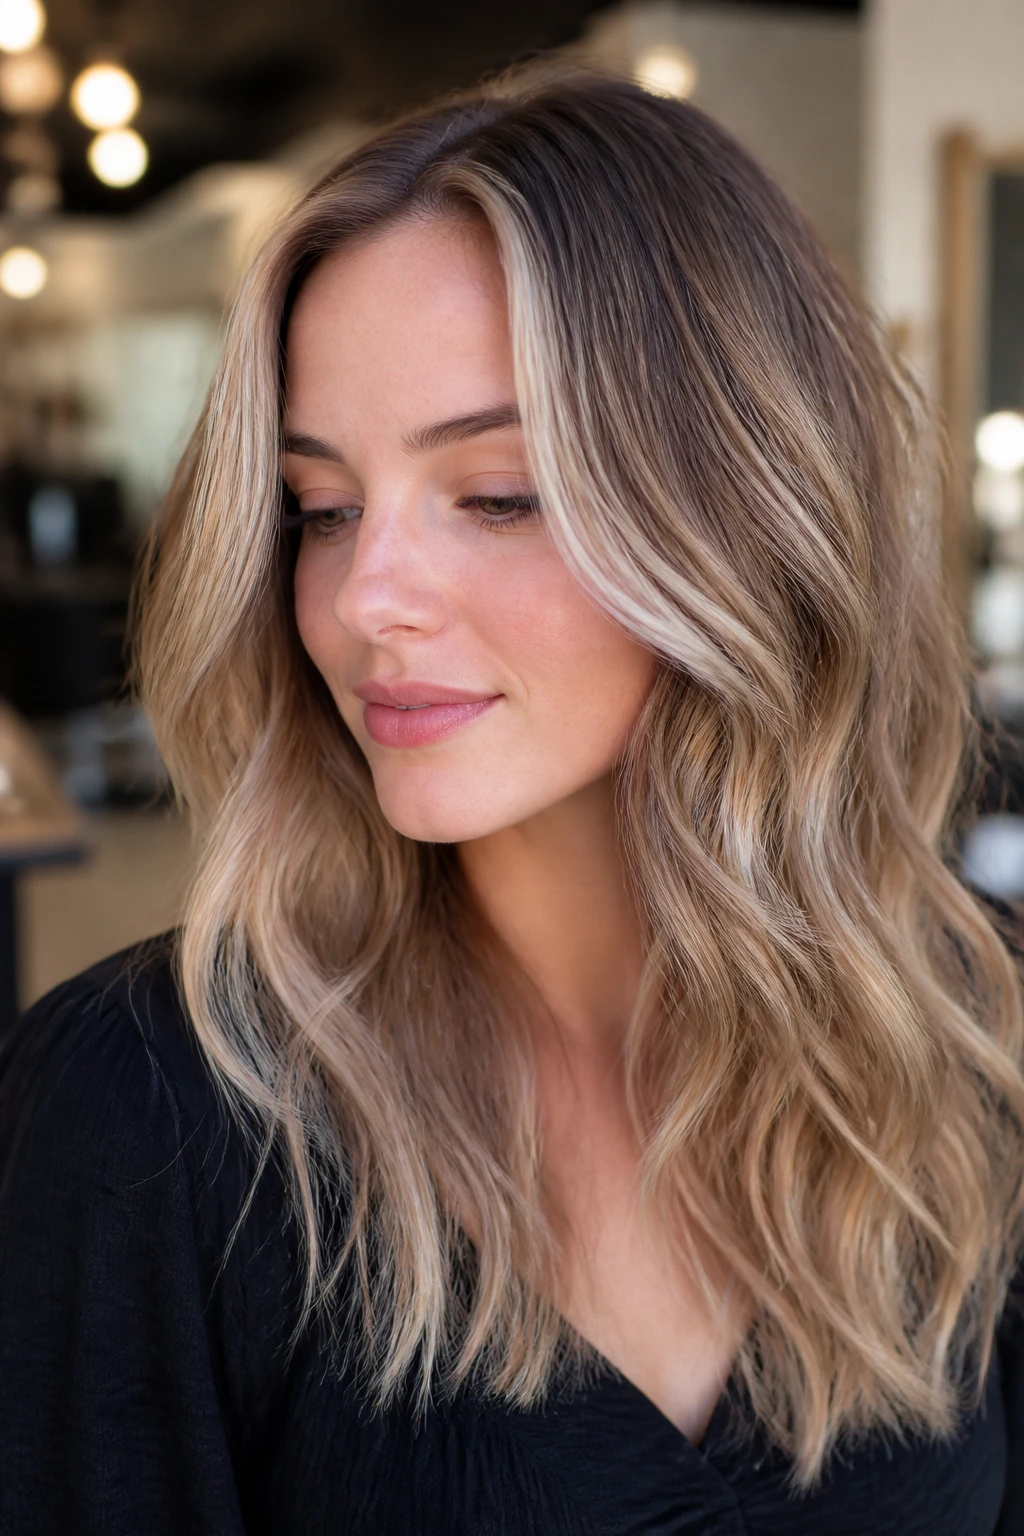
Fair skin with wavy hair can look washed out fast when highlights are dropped in the wrong places. Put the brightest pieces too close to the part and the hairline can turn chalky; bury all the light underneath and the waves lose their shape. The sweet spot lives in the placement. Not the slogan. Not the salon menu. The placement.
That’s why placement highlights for fair skin with wavy hair are such a useful conversation to have before anyone touches a bowl of lightener. Waves bend. They catch light on the ridge and hide shadow in the dip. Fair skin, meanwhile, shows every shift in tone a little more plainly than deeper complexions do, which is exactly why a strip of pale blonde in the wrong spot can look louder than the rest of the head. A good colorist reads the face first, the wave pattern second, and the lightness level last.
I’ve always liked this part of hair color more than the “how blonde do you want to be?” question. It’s the smarter question. A face-framing ribbon sitting at cheekbone height does something totally different from a crown babylight, even if both are the same shade. One brightens the eyes. The other lifts the whole silhouette. That difference matters, and on wavy hair it matters even more because the bends keep moving the highlight around.
Why These Placement Highlights Work on Fair Skin and Wavy Hair
- The wave pattern does half the styling: Soft bends break up a highlight, so a few well-placed ribbons look richer than a full sheet of lightened hair.
- Fair skin needs controlled contrast: Bright pieces near the face can look fresh and clear, while too much all-over platinum can make pale skin read flat or even a little gray.
- Placement changes the mood more than the shade does: A beige blonde placed high at the crown feels different from the same beige blonde tucked under the top layer.
- Grow-out is easier when the roots are part of the design: Smudged roots, lowlights, and interior lights keep the line from shouting at you six weeks later.
- Wavy hair hides blunt mistakes less kindly than straight hair: Chunky foils can look stripy once the hair bends, which is why finer weaving often wins here.
- A few bright spots carry farther than you think: On fair skin, one face-framing ribbon and one crown lift can change the whole read of the haircut.
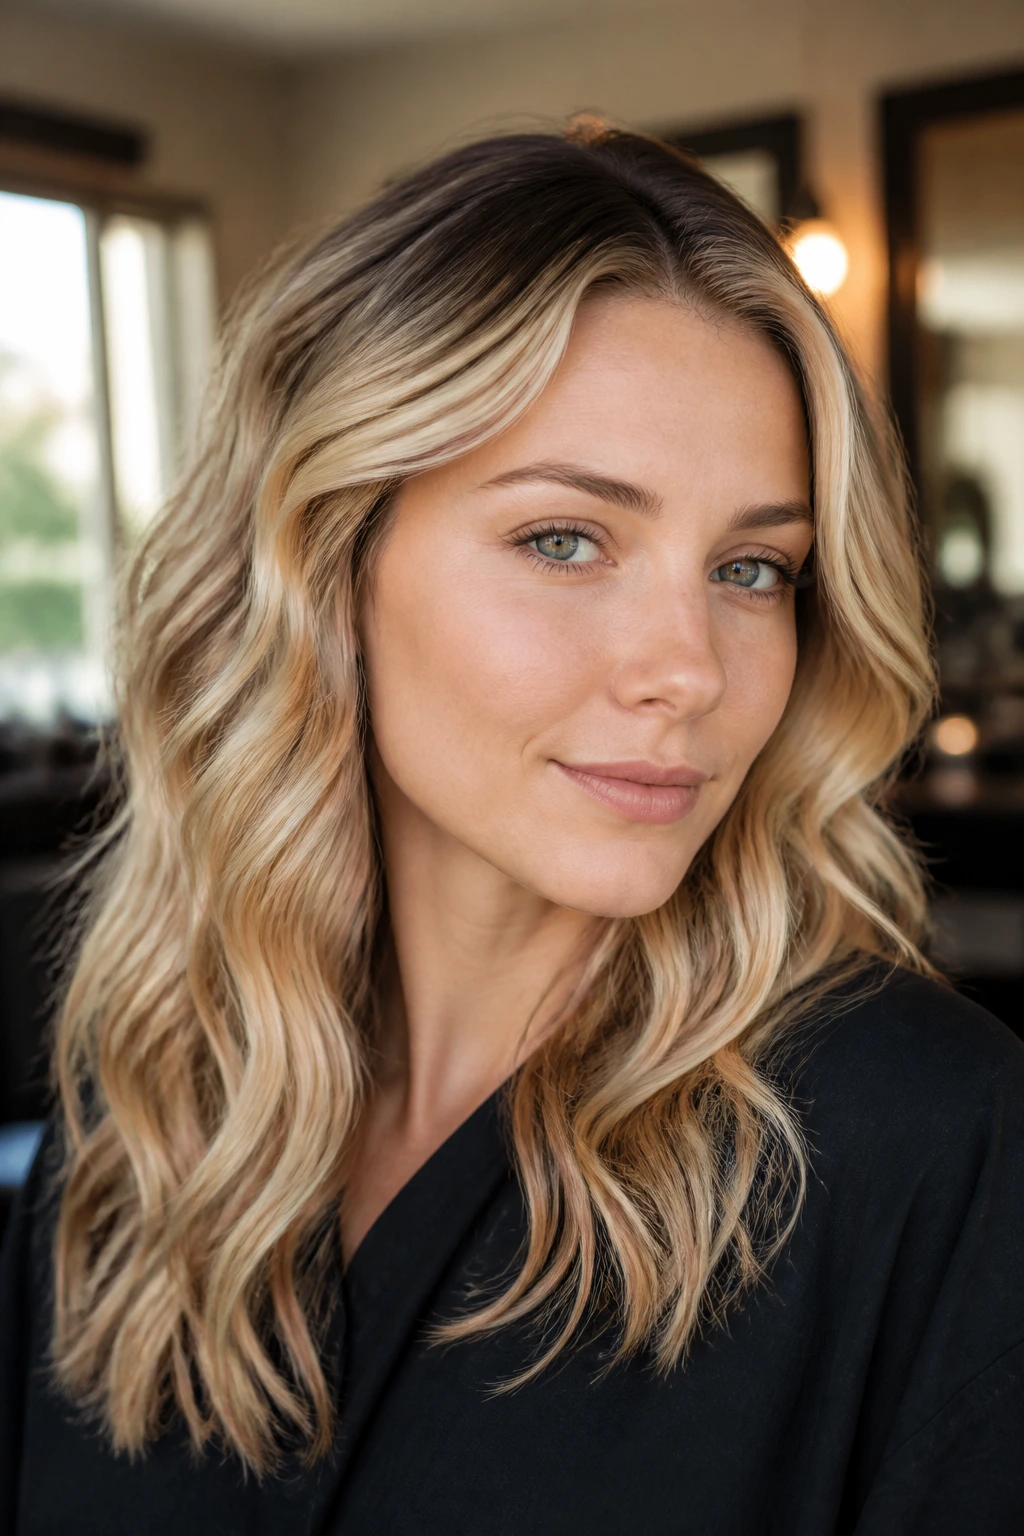
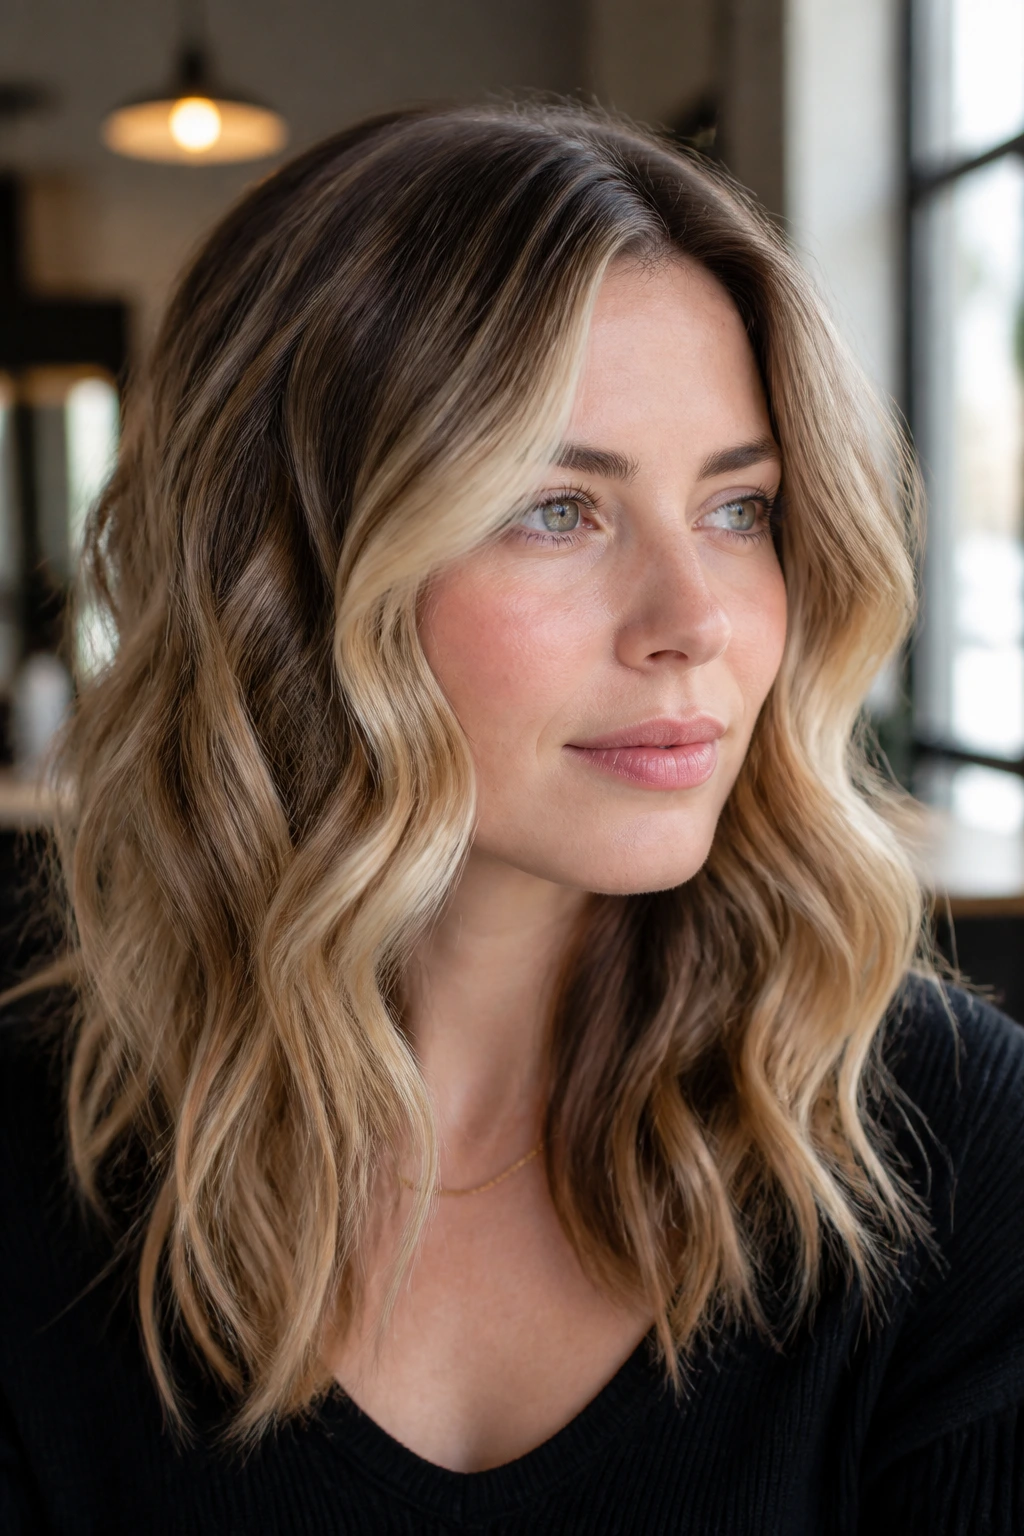
1. Cheekbone Money Piece for Fair Skin and Wavy Hair
The cheekbone money piece is the boldest thing in the room, and that’s fine when it’s kept narrow. I like it best when the brightest ribbons start just below the part and skim the cheekbone, because that’s where fair skin gets a clean lift without the whole hairline turning into a neon sign. On wavy hair, the bend at the front makes the piece flash and fade as you move, which keeps it from looking harsh.
Ask for two slim foils on each side, no wider than a pinky finger, with the brightest point sitting around the cheekbone rather than right at the temple. Beige blonde, soft champagne, or a pale vanilla tone usually flatters fair skin better than icy white. If your skin runs rosy, keep the front piece a touch softer and let the brightness live one inch back from the edge. That little adjustment saves a lot of regret.
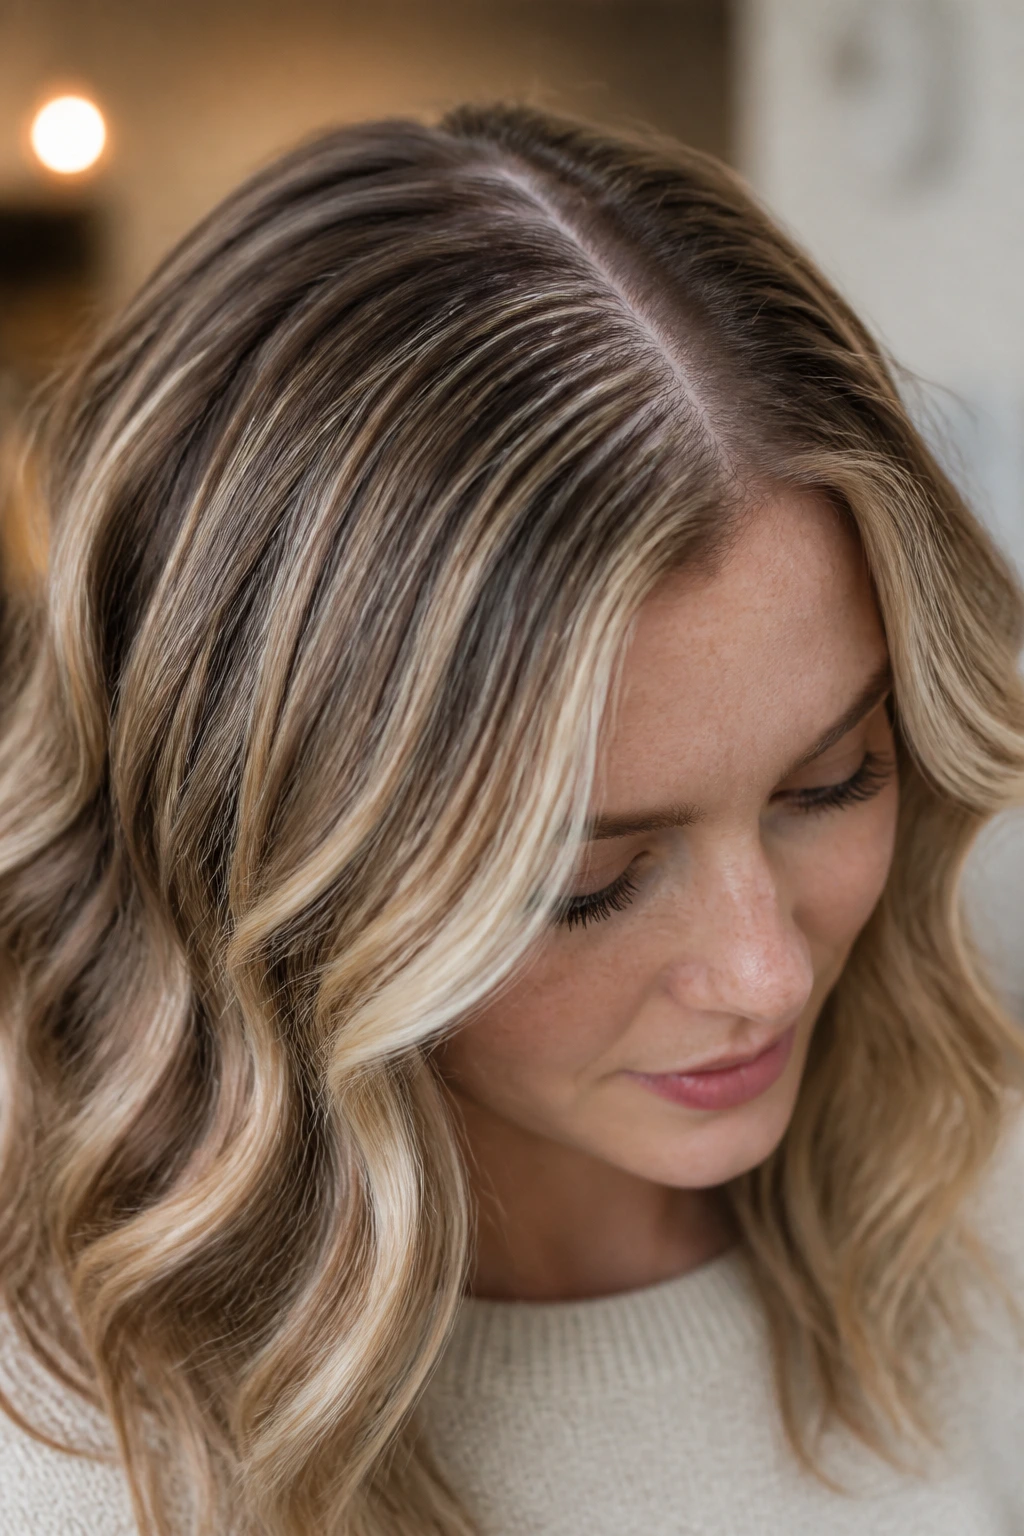
2. Micro-Babylights Along the Part Line
Tiny babylights along the part are the quietest way to make fair skin and waves look awake. They don’t shout. They shimmer. On a center or side part, those delicate micro-weaves catch light every time the hair lifts away from the scalp, which gives the top of the head a soft, airy look instead of a solid block of color.
Why It Flatters a Pale Face
The trick here is scale. A fair complexion can handle brightness near the part if the pieces are fine enough to blur together. I’d rather see ten whisper-thin foils than three chunky ones, because the first reads like natural sheen and the second reads like stripes once the hair dries into its wave pattern.
This is a smart option if your hair is fine or medium in density and you hate obvious grow-out. Keep the lightness one to two levels brighter than your base, not four levels brighter. That keeps the effect believable and stops the part from looking like a runway stripe.
3. Soft Root-Shadow Balayage
Root-shadow balayage is the placement I recommend when someone wants lighter hair but hates the “freshly highlighted” look. The color stays softer at the root, then melts into brighter mids and ends. On fair skin, that darker root gives the face a frame, which matters more than people realize. Without it, very light waves can float away from the face and leave the skin looking a little washed out.
The best version starts the lightener about one to two inches from the scalp, then gets brighter from the mid-lengths down. For fair skin, I like beige or sand tones more than a silvery ash here. Ash can look chic on the right face, but on pale skin it sometimes reads like dust if the base is already cool. A smudged root keeps the whole thing grounded and makes regrowth less fussy.
4. Crown Halo Lights
Crown halo lights are for the person who wears waves with a little lift at the roots and wants that lift to glow. The idea is simple: concentrate light around the top curve of the head, especially where the hair naturally separates and bends. When you tilt your head, the crown catches light first. That’s the whole point.
This placement suits fair skin because it brightens the area that’s closest to the face without loading everything at the front. It also works well if your waves are loose and a bit airy, since the crown pieces peek through in movement instead of sitting there like painted stripes. I’d keep the ribbons fine near the part and slightly wider as they move back, so the top has sparkle but not a helmet effect.
5. Underlayer Peekaboo Panels
Underlayer peekaboo panels are the answer when you want dimension but don’t want to see the light all the time. The brighter pieces live beneath the top curtain of hair, so they appear when the waves swing or when you tuck one side behind your ear. It’s a sneaky little move, and on fair skin it stops the blonde from overwhelming the face.
This is one of my favorite placements for shoulder-length wavy hair because the movement does the reveal for you. You get flashes of brightness at the ends and under the bends, while the top layer keeps enough depth to make the color feel expensive. If you go this route, ask for softened panels rather than thick slices; big panels under wavy hair can look patchy instead of airy.
6. Curtain-Bang Framing Foils
Curtain-bang framing foils open the face in the same way a good haircut does: they split the difference between softness and structure. The light lands where the curtain fringe bends away from the cheeks, which is a lovely spot on fair skin because it lifts the eyes without making the forehead look overly bright. There’s a reason colorists love this placement on people with long layers and loose waves.
The key is restraint. Two to four foils around the fringe area are enough if the rest of the head already has some dimension. I like a soft beige-blonde or creamy champagne here. Too much white at the bang line can look flat against pale skin, especially if the waves are brushed out. Keep the pieces just fine enough that they melt into the cut.
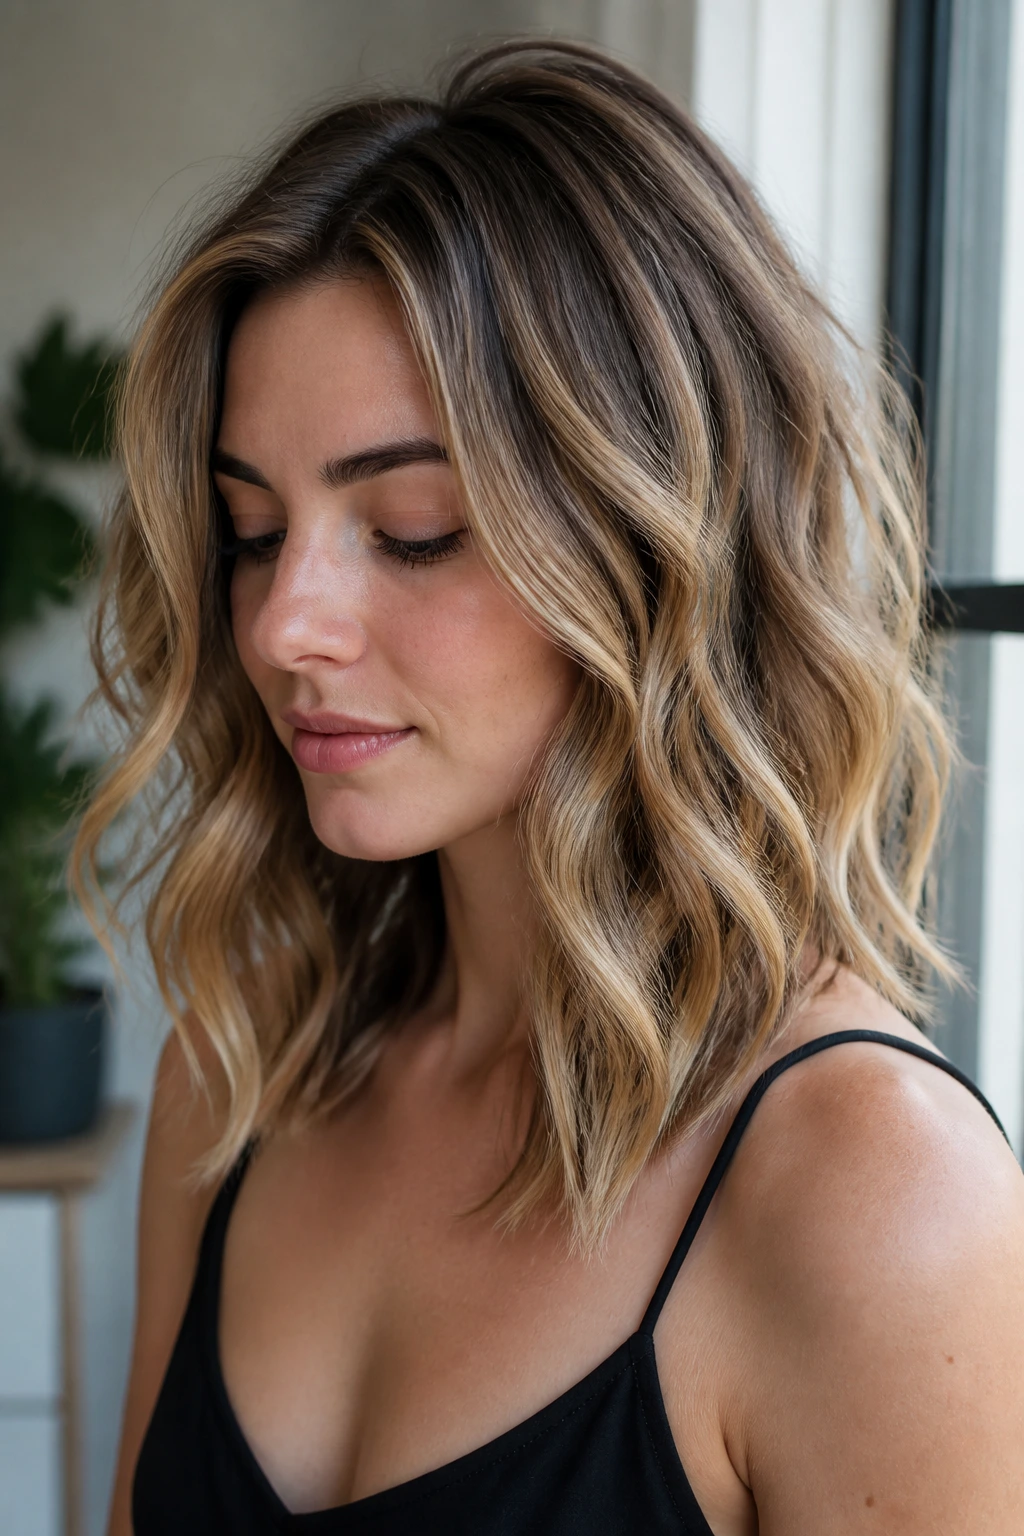
7. Mid-Length Ribbon Lights
Mid-length ribbon lights sit in the most flattering part of wavy hair: the bend. Not the root. Not the blunt end. The bend. That’s where the hair naturally bends forward and back, so a ribbon of light there catches movement in a way that reads as texture instead of stripe.
This placement is especially useful if your fair skin gets overwhelmed by highlights that sit too close to the face. Push the brightness down a little, and the whole head looks softer. It also works if your hair is medium density and you want something visible without going blond all over. I’d ask for alternating fine and medium ribbons through the mid-lengths, then leave enough base between them that the waves can still cast shadow. Without that shadow, the whole look gets mushy.
8. Temple Curve Hairline Foils
Temple curve foils follow the natural arc from the temple toward the ear, which sounds tiny but makes a real difference. The line mirrors the face, so the highlight feels integrated rather than stamped on. On fair skin, this placement can soften the edge of the hairline and brighten the outer corners of the eyes in a way that looks very intentional.
This is a good one if you often tuck hair back, wear half-up styles, or have waves that fall away from the face rather than forward. The color peeks out exactly where the style needs it. Keep the foils narrow and place them on the bend of the temple, not too far forward on the forehead. That’s where people go wrong. Too far forward and it can look like a stripe. Right on the curve, it looks tailored.
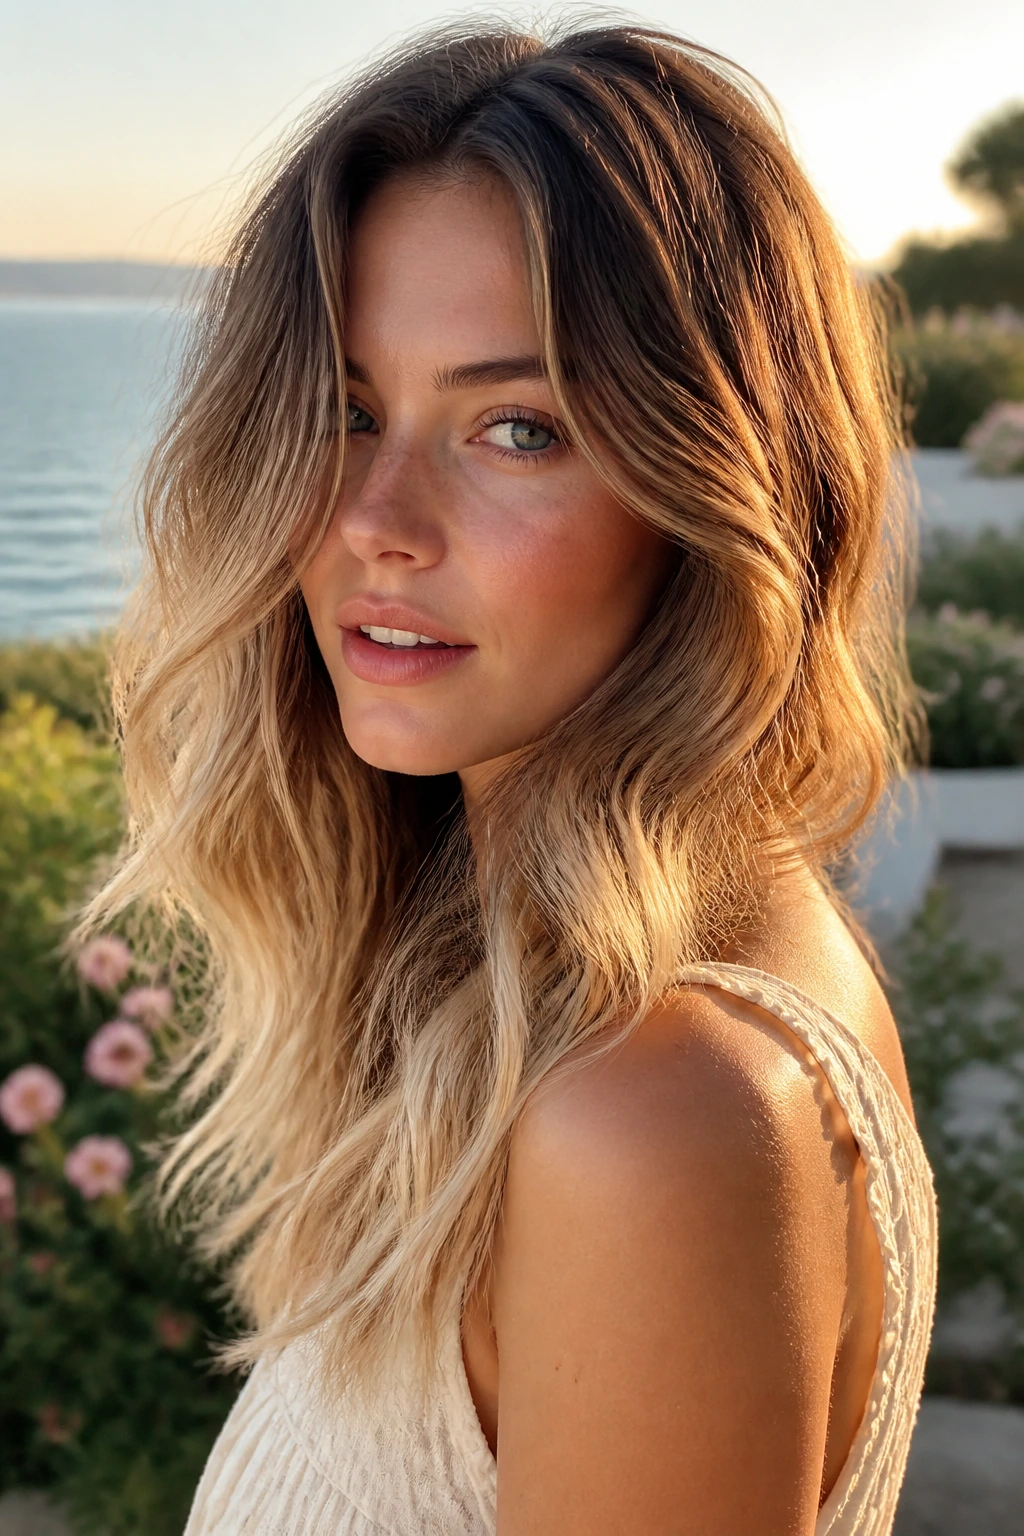
9. Soft Ombré Ends
Soft ombré ends are still useful because they let the top stay a little deeper, which is kinder to fair skin than a head full of pale brightness. The light lives mostly on the lower third of the hair, feathering upward just enough to avoid a hard line. On wavy hair, the gradient shows nicely because each wave picks up a different amount of brightness.
I like this more than a sharp color melt on fair skin when the complexion is already light and delicate. The deeper root keeps some shape around the face, while the ends do the sunlit work. Ask for a gradual shift, not a dramatic dip-dye. If the bright ends start too high, the whole thing loses the softness that makes it flattering in the first place.
10. Top-Layer Partial Highlights
Top-layer partial highlights are a practical choice, and practical is not a dirty word in hair color. If only the visible top sheet gets brightened, the waves still show dimension underneath, and the hair doesn’t swell into a solid blond mass. That matters a lot on fair skin, where too much light on every surface can flatten the features instead of sharpening them.
This placement is especially good for thick hair. The inner layers keep the darker base color, so the head doesn’t turn into a single note. I’d keep the brightest pieces on the top layer and around the part, then let the underneath stay calmer. It’s a subtle look, but not boring. In good light, you can still see all the bends.
11. Interior Scattered Lights
Interior scattered lights are the opposite of neat, and that’s why they work. Instead of lining up all the brightness at the surface, the colorist places fine pieces inside the wave pattern so the light pops out as the hair moves. On fair skin, that makes the whole style feel softer because the blonde isn’t all parked at the front.
Best for: people who part their hair differently from day to day.
Best for: waves that bunch up and separate naturally.
Best for: anyone who wants dimension without a hard grow-out line.
The placement can be almost invisible when the hair is still, which sounds odd until you see it in motion. Then it suddenly makes sense. I like this a lot for busy haircuts, layered lobs, and shaggy waves where the shape is doing most of the work already.
12. Temple-and-Jaw Contour Lights
Contouring isn’t just makeup talk. On hair, it means placing brightness where the face needs a little shaping. Temple-and-jaw contour lights draw the eye from the temple down toward the jawline, which can soften a square face or gently narrow a round one. Fair skin tends to show contour placement clearly, so the effect can be very clean when it’s done with a light hand.
The best version uses a few thinner foils near the temple and a slightly softer ribbon near the jaw. Don’t make both spots equally bright or the line gets stiff. Keep the color soft beige, warm vanilla, or pale gold if your skin is neutral to warm. If you run cool and pink, stick to champagne so the face doesn’t look too red by comparison.
13. Alternating Tight-and-Loose Foils
One of the easiest ways to make highlighted waves look natural is to stop making every foil the same size. Alternating tight-and-loose foils gives the hair a broken, irregular pattern that reads like sunlight instead of checkerboard. It’s especially good for fair skin because the eye sees softness first, then brightness second.
The tighter foils usually sit closer to the face and part; the looser ones can live through the mid-lengths and ends. That mix matters. If every section is packed tightly, the result can feel overworked. If every section is too loose, the blonde disappears. This placement gives you both control and movement, which is exactly what wavy hair likes.
14. Foilayage Around the Face for Fair Skin and Wavy Waves
Foilayage sits in the middle ground between hand-painted balayage and traditional foils, and I think that middle ground is where fair skin often looks best. The brighter pieces are painted or swept where the face needs lift, then wrapped for more controlled lightening. The result is softer than chunky foils but more defined than open-air painting.
Around wavy hair, that definition matters. The light can sit on the outer curve of each wave near the face, then melt into quieter pieces as it moves back. Ask for the brightest lift around the front perimeter, especially at eye level and cheekbone level, then let the interior stay a shade deeper. That gives the face a clean glow without sacrificing the depth that makes the waves look full.
15. Nape-Lift Peekaboo Lights

The nape is an underrated place to put brightness. People rarely think about it because they don’t see it head-on, which is exactly why it works so well. When wavy hair moves or gets pinned up, the hidden brightness at the nape flashes through like a little surprise. On fair skin, that keeps the top looking calm while the whole style still has life.
This is a smart choice if you wear low buns, clipped half-up styles, or messy twists. You get a little sparkle in the back without crowding the face. Keep the pieces fine and soft, though. Thick nape panels can look obvious when the hair is up. Tiny ribbons blend better and give the underside of the cut a soft glow.
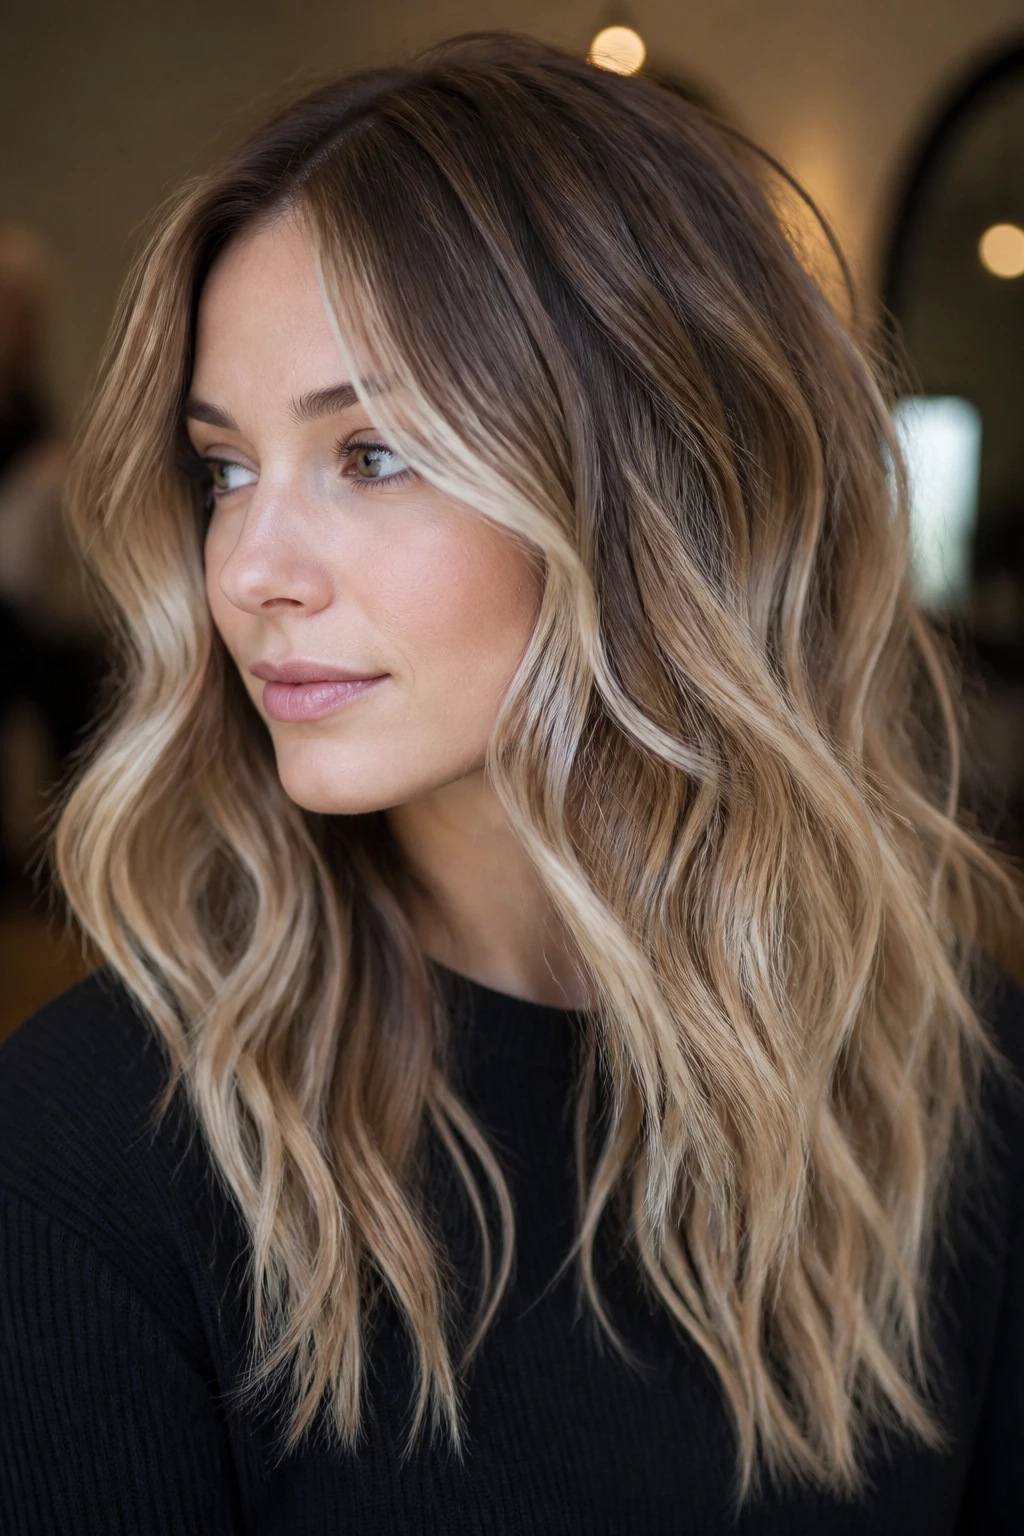
16. Shoulder-Length Wave Ribbons
Shoulder-length waves are a gift for highlight placement because the bends sit right where people can see them. Ribbon lights placed through this length follow the shape of the wave and keep the hair from reading like one solid block of color. On fair skin, that matters because the brightness doesn’t have to be extreme; it just has to land in the right curve.
I like ribbons that start mid-shaft and soften toward the ends, especially if the haircut has movement around the collarbone. The brightest spots should hit the outer edge of the wave, not the center of the section. That makes the hair feel fuller. If the hair is very fine, keep the ribbons thinner so they don’t swallow the cut.
17. Bright Ends With Smudged Roots
If you like blond ends but you’re not in the mood for obvious regrowth, this is the move. Bright ends with smudged roots keep the top section deeper and cooler, then let the light gather at the bottom where wavy hair often frays a little and needs visual lift. The darker root also keeps fair skin from going flat, which can happen when the whole head is equally light.
This placement is easier to maintain than a full-head lift, and it usually grows out with more grace. The caveat is tone control. If the ends get too pale and the smudge gets too dark, the contrast can turn sharp. I’d stay one to two shades apart at most, especially if your skin is very fair and your natural color is already light brown or dark blonde.
18. Collarbone-Curve Lights
The collarbone is one of the best reference points for waves because hair bends there whether you mean it to or not. Collarbone-curve lights are placed where the hair hits that bend, which means the brightness lands exactly where the wave turns outward. It’s a small placement trick that makes the haircut feel more dimensional in motion.
This works particularly well on fair skin because the light doesn’t crowd the face; it hangs a little lower and balances the top. If your haircut sits around the shoulders, ask for the pieces to be concentrated near the front of the collarbone and then diffused as they travel back. You want the eye to move, not stop dead at a hard foil line. Hard lines and wavy hair do not always get along.
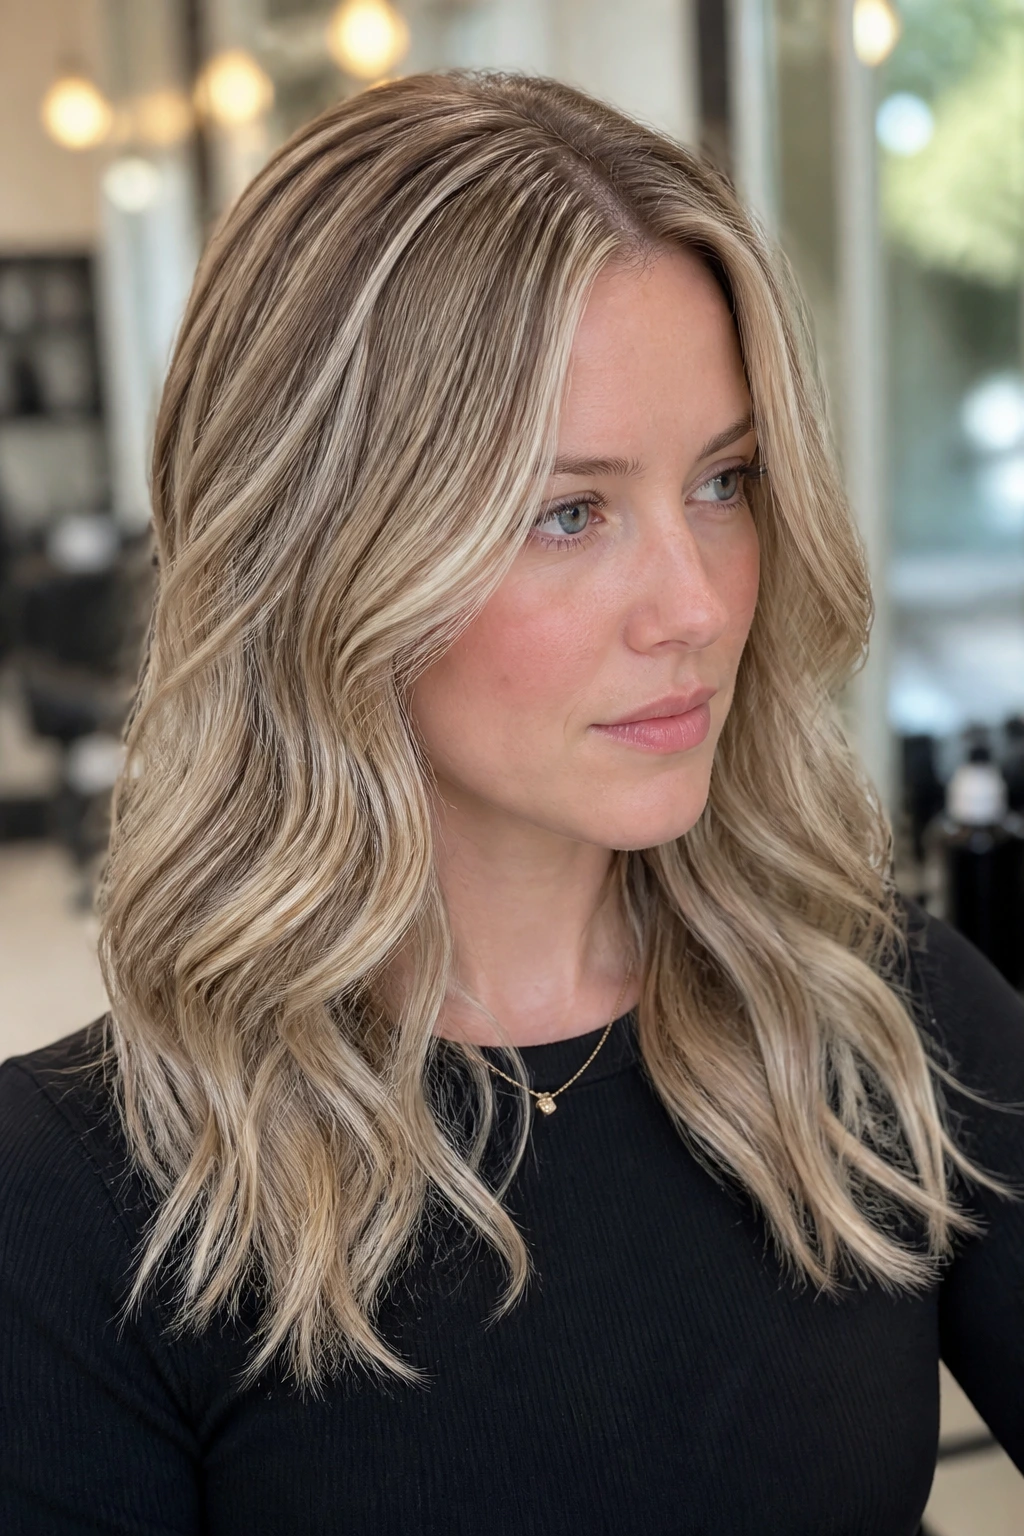
19. Platinum Accent Panels
Platinum accent panels are for the person who wants a little bite. Not a whole head of pale blonde. Just a few bright, cool panels placed with intention. On fair skin with cool or neutral undertones, these can look crisp and modern, especially if the waves are soft enough to break up the contrast. The key is sparing use. One or two panels are often enough.
I would not push this placement on very pink skin unless the rest of the tone is carefully controlled. Platinum can make redness stand out if the surrounding color is too cool. But when the undertone and brightness level line up, the effect is sharp in a good way. It feels polished, not muddy. The panels should live around the top layers and near the face, never scattered everywhere.
20. Honey-Soft Ribbon Mix
This is the placement I like for fair skin that looks tired with ash blonde. A mix of honey and neutral ribbons keeps the hair from drifting gray, which can happen when cool blonde is pushed too hard against a pale complexion. The ribbons are still placed with restraint — mostly through the mid-lengths and front sections — but the tone carries some warmth.
Wavy hair loves this because warm ribbons show up beautifully on the curves. They don’t need to be loud. They just need to be there. If your skin is fair but leans beige or slightly golden, this kind of placement keeps the face lively. If your skin is very pink, ask for honey only in the ends and face frame, with the rest staying beige so it doesn’t get brassy near the roots.
21. Diagonal Sweep Foils
Diagonal sweep foils are one of those salon details that sounds fussy until you see the result. Instead of dropping foils straight down or straight back, the colorist angles them diagonally so the highlight follows the way waves naturally fall over the head. That diagonal line makes the hair look longer and more fluid, which is a nice trick on fair skin because the brightness doesn’t sit in one stiff band.
This placement gives you movement even before you style the hair. The light travels across the bend of the wave rather than fighting it. It’s also a good way to avoid chunky stripes at the front. If your hair has a side part, the diagonal angle can help the front look lifted without screaming for attention.
22. Champagne Lights at the Crown

Champagne lights at the crown are a softer answer to big blonde foils. The crown gets the most light, but the tone stays creamy and reflective rather than icy. On fair skin, that champagne note keeps the brightness from turning stark. It feels airy, not bleached within an inch of its life.
This placement works especially well if your hairline is a little thin or your part tends to open up. A few lighter pieces at the crown create the illusion of fuller density. I’d keep the underside quieter so the top remains the focal point. Too much light underneath can make the crown effect disappear. A crown highlight needs some darkness around it to look bright.
23. C-Section Part Highlights
A C-section part is a curved sectioning line that follows the head instead of cutting straight across it, and it makes a better foundation for some fair-skin highlight placements than a blunt part. The curve lets the brightness sit more naturally around the face, especially on wavy hair, where hard section lines can show up once the hair dries and bends.
This is one of those details clients don’t always think to ask for, but it changes the whole result. The highlights can be placed so they fan out softly from the part, which keeps the face from looking boxed in. If you wear a side part most of the time, a curved section can make the regrowth look less obvious too. Straight lines are honest. Curves are kinder.
24. Behind-the-Ear Glow
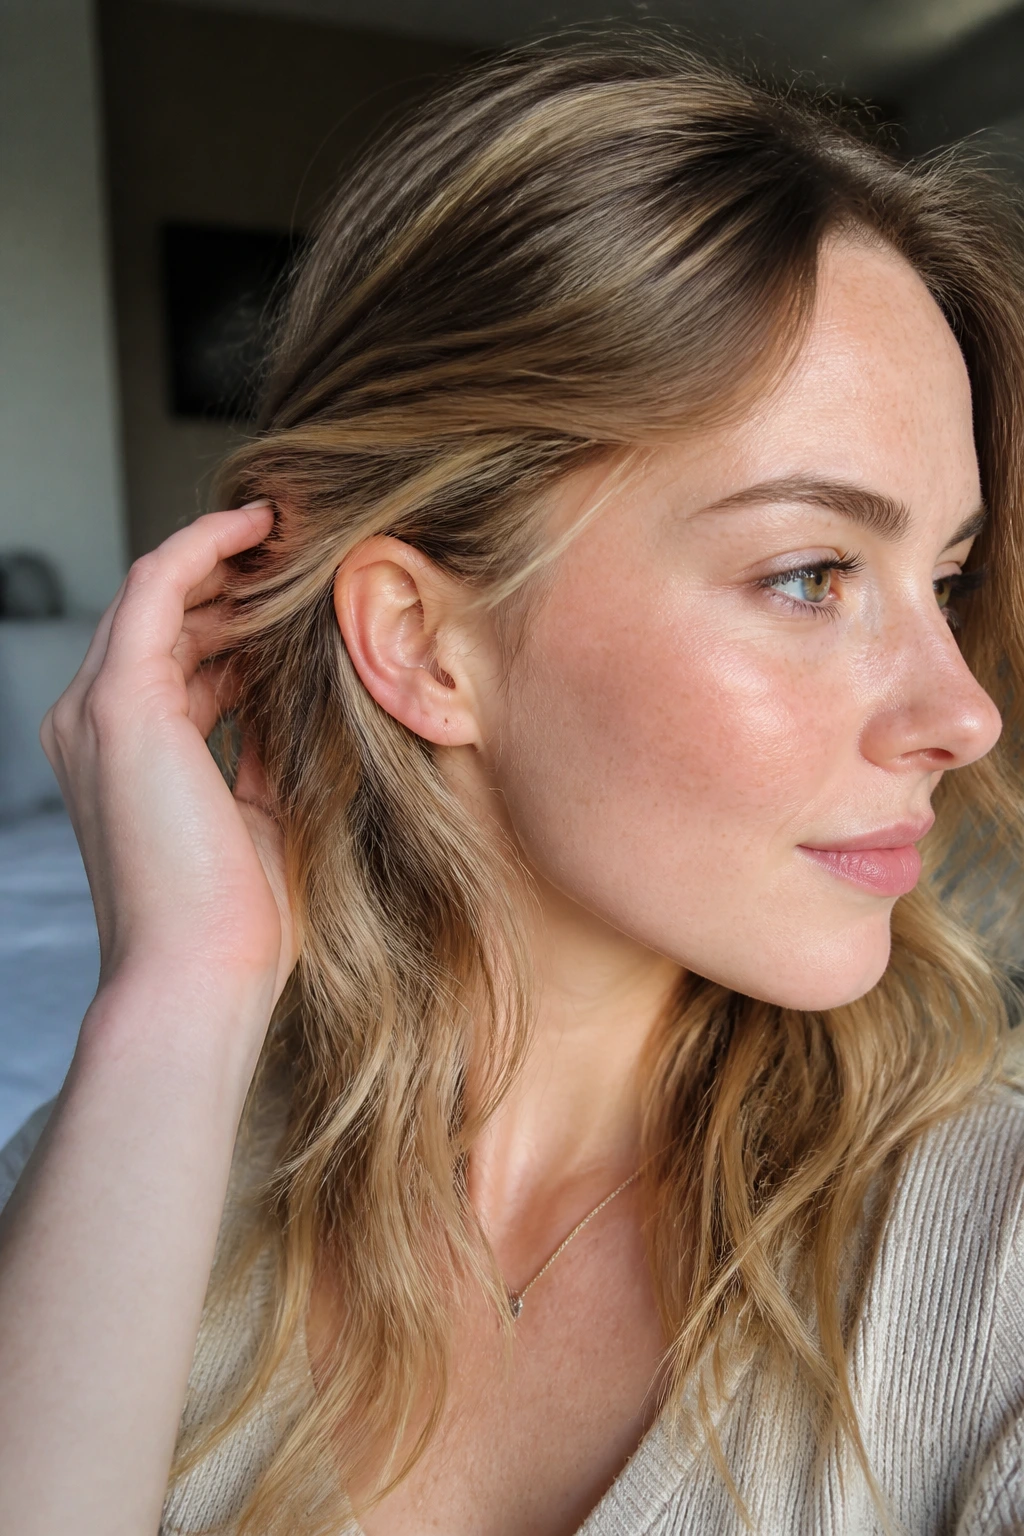
Behind-the-ear glow is one of the prettiest placements for people who tuck hair back often. Light is painted or foiled just behind the ear and slightly into the sideburn zone, so the brightness flashes when the hair moves away from the face. On fair skin, that tiny pop can brighten the cheek edge in a really flattering way.
It’s also a good placement when you don’t want the front too blond. The color stays a little hidden until the wind, a clip, or a tuck reveals it. That keeps the look soft and wearable. I’d keep the pieces thin and avoid putting them too close to the skin at the hairline. You want glow, not a pale stripe tracing the ear.
25. Full-Head Micro Ribbons for Fair Skin and Wavy Hair
Full-head micro ribbons are the answer when you want the softest possible finish and the most built-in dimension. The colorist weaves fine ribbons throughout the whole head, keeping the strands narrow enough that they blur together in waves. On fair skin, this is a smart way to brighten without forcing one obvious focal point near the face.
The payoff is movement. A lot of movement. Because the ribbons are small, they don’t fight the wave pattern; they ride with it. This is the most “all over” option in the bunch, but it still feels airy if the foils stay fine and the toner stays soft. I’d call this the safest choice for someone who wants lightness everywhere but doesn’t want their hair to look patched or striped when it air-dries.
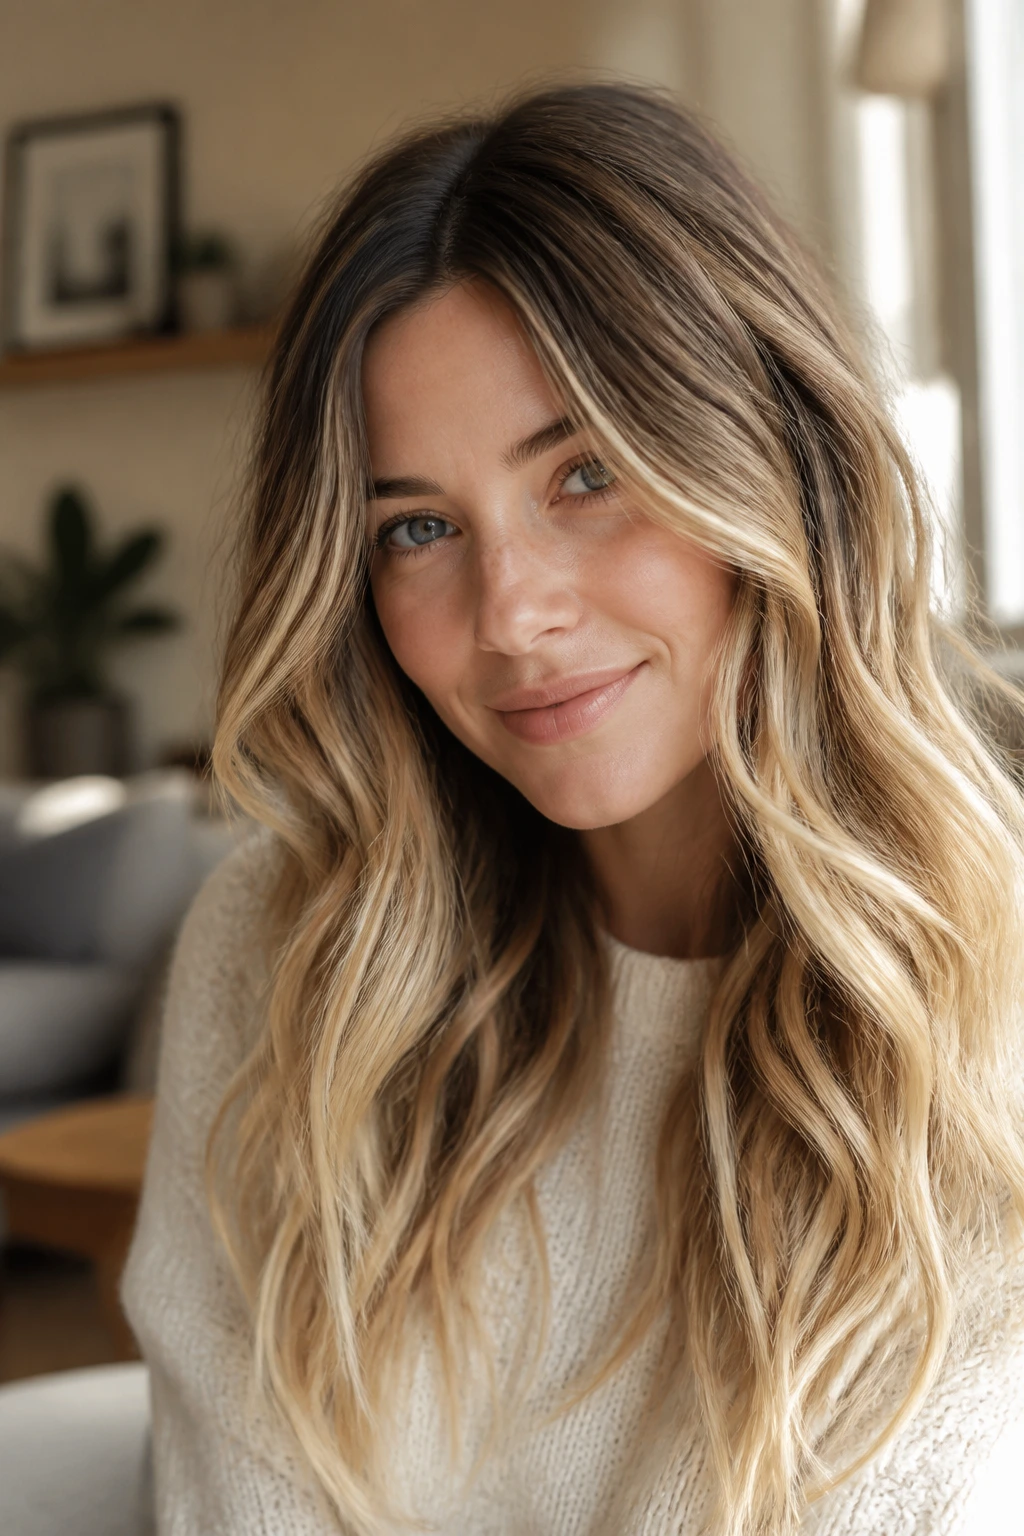
What Makes Placement Matter More Than the Shade
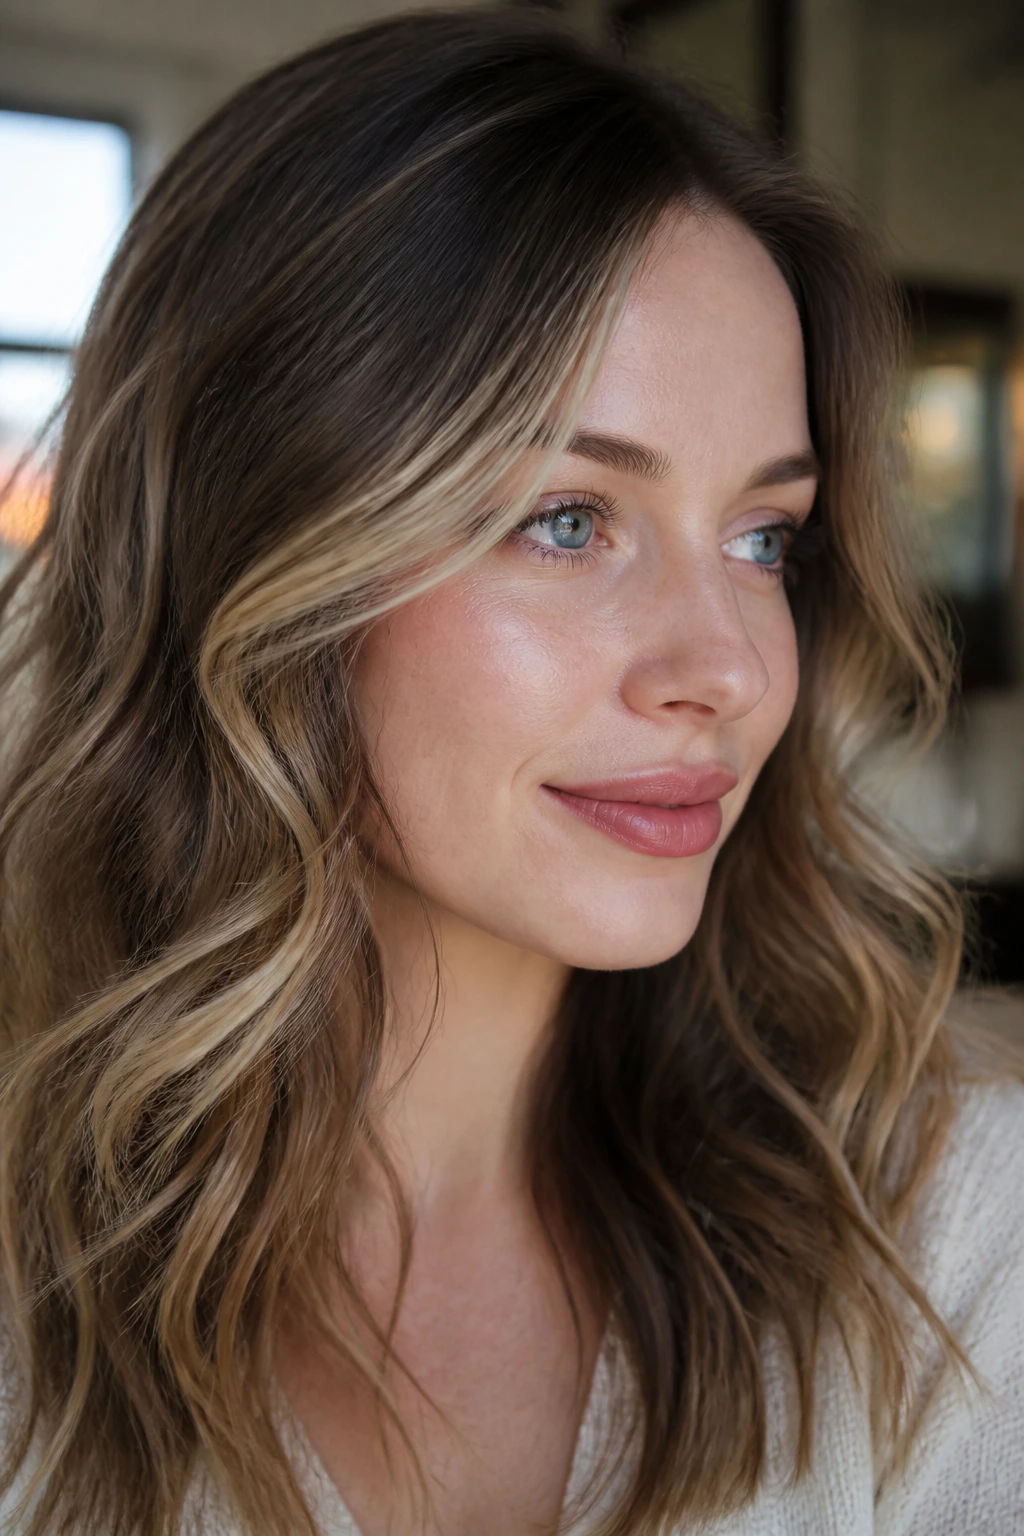
Shade gets all the attention, which is a shame, because placement does the actual heavy lifting. A beige blonde in the wrong place can look flat. A beige blonde in the right place can make fair skin look clearer, brighter, and more alive. Waves make that difference even sharper because every bend creates a little pocket of shadow and a little plane of light. The colorist can either work with that or fight it. There isn’t much middle ground.
I prefer placements that leave some depth near the roots and use brightness where the hair moves: hairline, cheekbone, crown, collarbone, and the bends in between. That keeps the look from turning into a pale sheet. It also helps grow-out, which is not a small thing. If you want color that survives a messy part, a humid day, and one too many dry shampoos, structure matters more than the exact blonde name on the bowl.
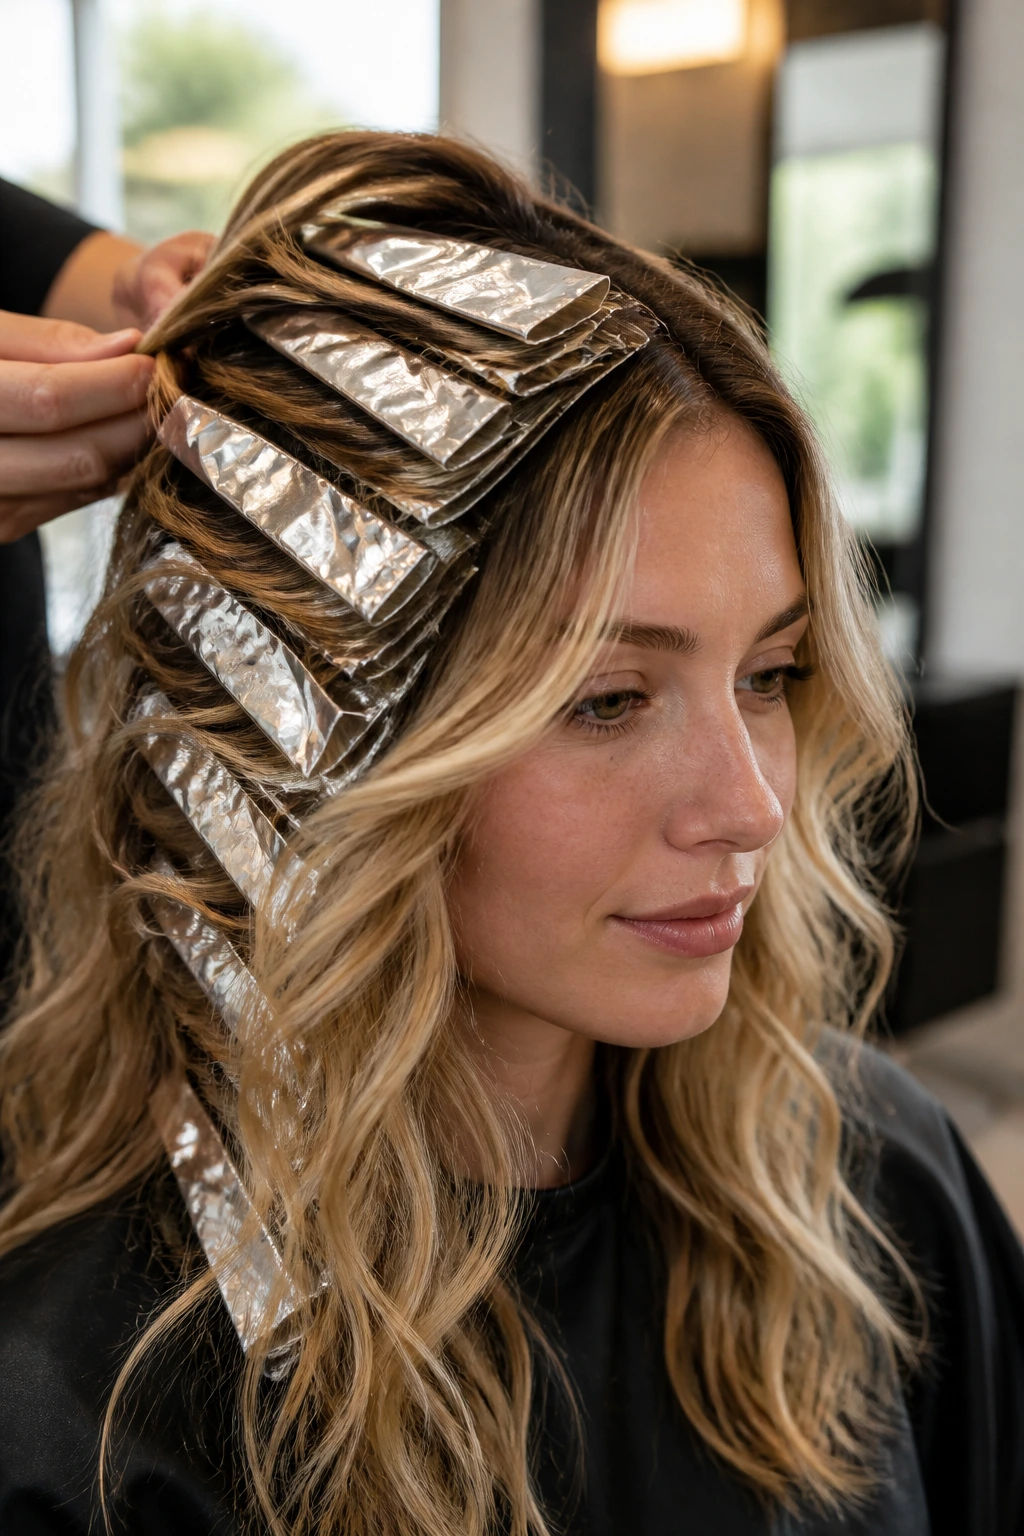
Essential Tools for These Looks
- Tail comb: Useful for showing your colorist exactly where your part lives and where the front pieces should start.
- Sectioning clips: Keep hair separated while you style waves at home so the highlight placement doesn’t collapse into one puff.
- Wide-tooth comb: Safer than a brush when you want to keep the wave pattern intact after washing.
- Color-safe shampoo and conditioner: Helps keep toner from slipping out too fast and keeps fair blonde from turning dull.
- Purple shampoo: Good for light blonde highlights that start to yellow, but use it sparingly so the hair doesn’t go dull or lavender.
- Heat protectant spray: Essential before curling or diffusing; lightened wavy hair burns faster than untouched hair.
- 1.25-inch curling iron or wand: Useful for reinforcing loose bends when your waves need a little help showing the placement.
- Diffuser attachment: Keeps natural waves soft instead of blasting them flat.
- Microfiber towel or T-shirt: Cuts down on frizz, which matters because frizz can hide the clean edges of a good highlight.
- Hand mirror: Handy for checking whether the underlayers and nape still have dimension when you move your hair around.
Choosing the Right Tone for Fair Skin
Fair skin is not one thing. That’s the first truth to get straight. Some pale skin runs pink or rosy, some leans beige, some has a cool porcelain look, and some picks up a little golden warmth in daylight. The highlight tone should follow that, not bully it.
If your skin flushes easily or you see a lot of pink in your cheeks, beige, cream, champagne, or a soft neutral blonde usually behaves better than icy white. If your skin is more ivory or cool, a cleaner blonde can work, but I’d still keep some depth nearby so the face doesn’t go flat. Warm fair skin can wear honey or soft gold in small amounts, especially through the ends and face frame. Just don’t pack every foil with warmth and call it dimension. That ends badly fast.
One more thing people skip: ask where the brightest point should land. Near the eyes? At the cheekbone? At the crown? The answer changes the whole look. A good consultation should talk about placement before anyone talks about “blonde.”
How to Wear the Finished Highlights

Parting: If the front pieces are the brightest part of your look, part the hair slightly off-center so the money piece doesn’t sit dead square in the middle of the forehead. A small shift softens the line and makes the highlights blend into the haircut.
Styling: Loose bends suit these placements better than tight ringlets. Use a 1.25-inch iron or a diffuser and leave the ends a little undone; that keeps the ribbons visible. If you brush the hair out too hard, some of the highlight placement disappears into a single blur.
Finish: A pea-sized amount of serum on the mids and ends is enough. More than that can turn the wave pattern greasy and make lighter pieces cling together. I like a matte or satin finish here more than a glossy one, because too much shine can flatten the dimension.
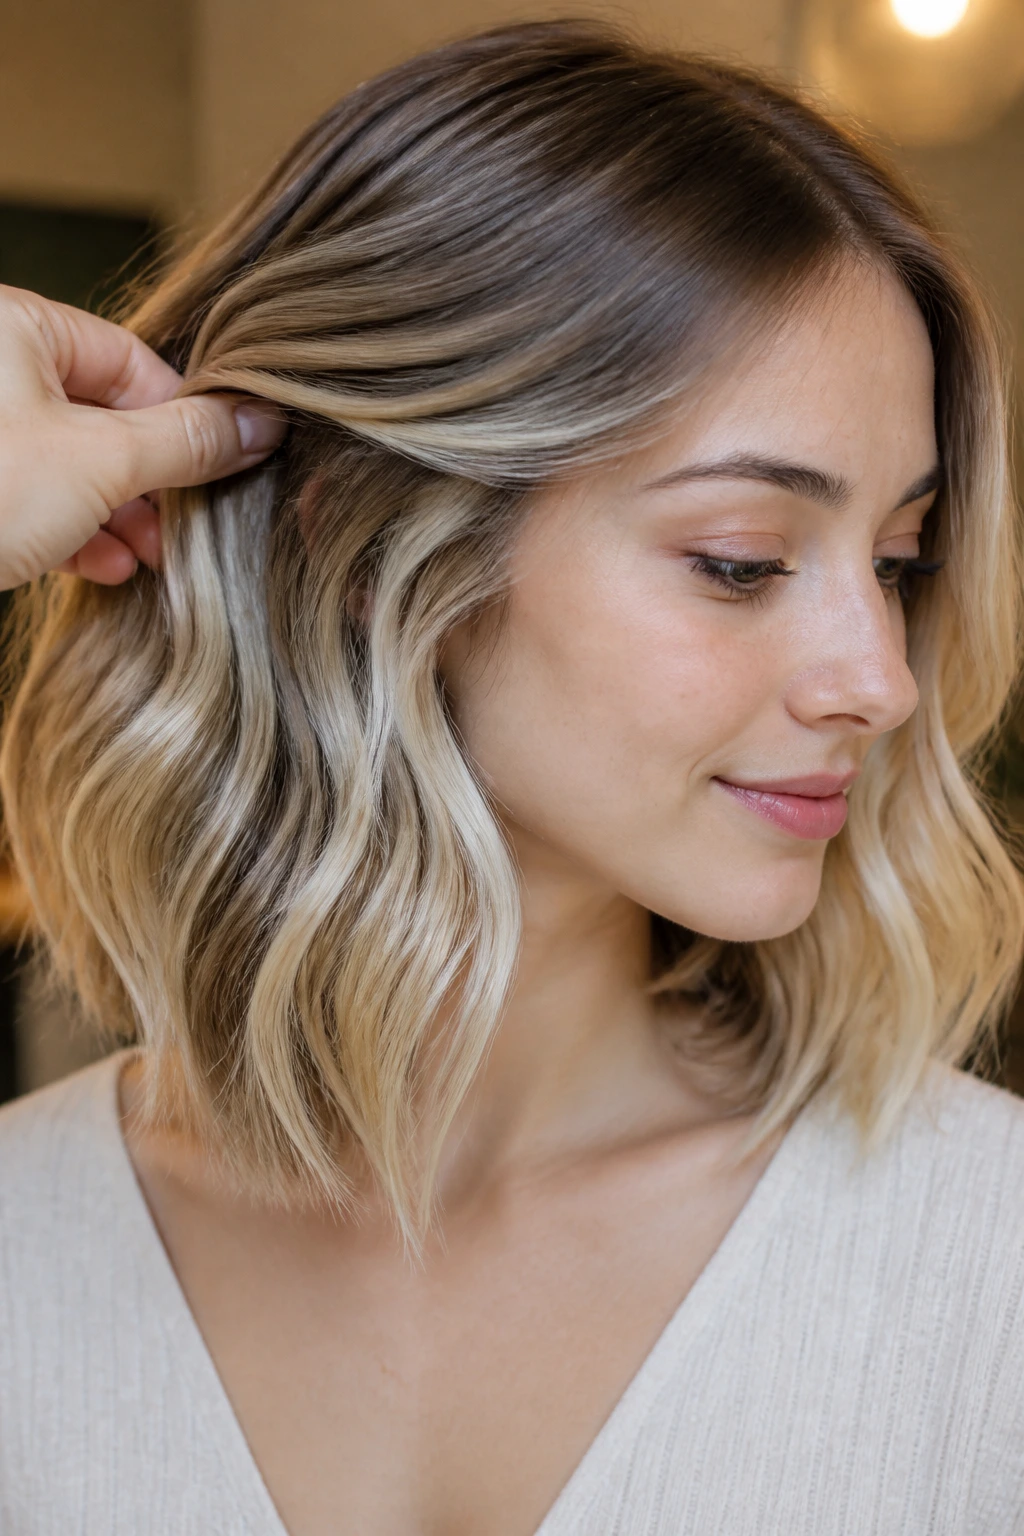
Face Framing: Tuck one side behind the ear now and then. The temple and behind-the-ear placements show their work there, and it’s a small styling trick that costs nothing.
Extra Ways to Make the Color Read Softer
Depth: Leave at least 20 to 30 percent of the natural base visible, especially near the underside and root zone. That contrast is what lets the lighter pieces pop without turning chalky.
Sparkle: Ask for one brighter ribbon at the front, not five. One strong line of brightness can carry the whole face frame if the rest of the color is broken up properly.
Motion: Air-dry to about 70 percent, then diffuse or bend with a wand. The highlight placement looks more alive when the wave pattern stays loose and irregular.
Polish: A gloss between major appointments can calm brass, add shine, and keep beige tones from turning flat. Six to eight weeks is a sensible rhythm for many lightened looks.
Make-It-Yours: If your skin is very pink, lean beige and champagne. If your skin reads more beige-gold, a little honey near the ends can soften the look without turning it brassy.
Common Mistakes That Flatten Wavy Hair
The first mistake is putting all the brightness at the front. Yes, the money piece matters. No, it should not be the only thing anyone sees. When the front is too light and the rest of the head is too dark, the hair can look top-heavy. The fix is to repeat lighter threads through the crown or mid-lengths so the front has company.
Another common problem is over-toning to ash. Pale skin plus overly ash blonde can become a little lifeless, especially if the face already leans cool. The answer is usually a softer beige or champagne toner, not more blue or purple pigment.
Chunky sectioning is a third problem. Big foils on wavy hair can look neat while wet and stripy when dry. Fine weaving, diagonal placement, or alternating foil sizes usually fixes that.
Skipping depth is the one I see most often. If everything is the same lightness, the waves lose shape. Leave some natural color in the interior and underneath. Hair needs shadow to show shine.
Variations to Ask For at the Chair
Barely-There Beige: Ask for micro-babylights with a beige toner and very little contrast at the root. This is the quietest option and works well if you want movement more than brightness.
Bright Blonde Frame: Keep the interior soft but push the face-framing pieces lighter, especially at the cheekbone and temple. This suits fair skin best when the rest of the head still has enough depth to hold it up.
Honey Ribbon Glow: Use warmer ribbons through the mids and ends, especially if your skin looks washed out in icy tones. It adds warmth without forcing a full golden blonde.
Cool Champagne Sheen: Choose a cooler beige-blonde with a champagne finish if your skin is fair and neutral. It reads polished and soft, not stark.
Low-Maintenance Grow-Out: Blend root shadow with balayage and scattered interior lights. This is the one to choose if you do not want a hard line every time the roots appear.
Keeping the Tone Fresh Between Appointments
Lightened waves need a little maintenance, but not the kind that eats your week. Most fair-highlighted looks stay nicest with color-safe shampoo two or three times a week, a deep conditioner once a week, and heat protectant every time you use a dryer or iron. If the blonde is very light, a purple shampoo once every one to two weeks can keep yellow tones from creeping in. More than that and the hair can start to look dull.
Glossing every 6 to 8 weeks helps keep beige, champagne, and honey tones from going flat. If you wear a root shadow or balayage, you can usually stretch the full highlight refresh to 10 to 14 weeks, sometimes longer, depending on how fast your hair grows and how much contrast you like. Trims every 8 to 10 weeks keep the ends from fraying, which matters because dry, split ends steal light.
If your waves frizz easily, don’t load them with heavy oil. Use a leave-in on damp hair, then a tiny bit of serum once it’s dry. Too much product hides the placement you paid for.
Questions People Ask Before Booking
Should fair skin go warm or cool with highlights?
Either can work, but the skin tone and undertone matter more than the label. Rosy fair skin usually likes beige, cream, or soft champagne better than icy platinum, while beige-golden skin can take a little more honey without looking yellow.
Are babylights better than balayage for wavy hair?
Babylights give finer movement and a softer blur, while balayage gives a looser grow-out with more hand-painted shape. For wavy hair, I often like a mix: babylights near the front and balayage through the lengths.
How bright should the front pieces be?
Bright enough to lift the face, not so bright that they detach from the rest of the hair. A good rule is one to two levels lighter than the surrounding mids, unless you want a bolder contrast.
What if my waves are fine and sparse?
Fine waves usually do better with micro-weaves and scattered lights than with chunky ribbons. Too much contrast can make the hair look thinner, not fuller.
Can I keep my natural root and still get dimension?
Absolutely. Root shadow, partial highlights, and interior lights are built for that exact job. You do not need a fully blonde scalp to get a bright effect.
How often should toner be refreshed?
A toner or gloss every 6 to 8 weeks is a solid starting point for fair blondes. If you wash often, swim, or use a lot of heat, you may need it sooner.
What if my highlights look brassy after a few washes?
Start with a purple shampoo once a week, not every wash. If the brass is stubborn, the salon likely needs to adjust the toner rather than stacking more purple product on top of it.
Can I ask for these placements if I wear a side part half the time and a center part the other half?
Yes, and that’s actually smart. Ask for flexible placement around both part lines so the look still makes sense when you switch it up. The best highlights do not fall apart the moment you move hair two inches.
Soft Light, Better Placement
The strongest highlight looks on fair skin with waves are not the loudest ones. They’re the ones that know where to sit. A ribbon at the cheekbone, a whisper of light at the crown, a few hidden flashes under the top layer — those pieces do more than a heavy-handed blonde block ever will.
I like hair color that works with the cut and the wave pattern instead of fighting them. That usually means finer foils, softer toners, and a little restraint near the front. Not no brightness. Just smarter brightness.
Bring a few photos, point to the exact places you want the light to land, and ask your colorist to think in planes rather than in blanket blondness. That one conversation changes the result more than people expect.