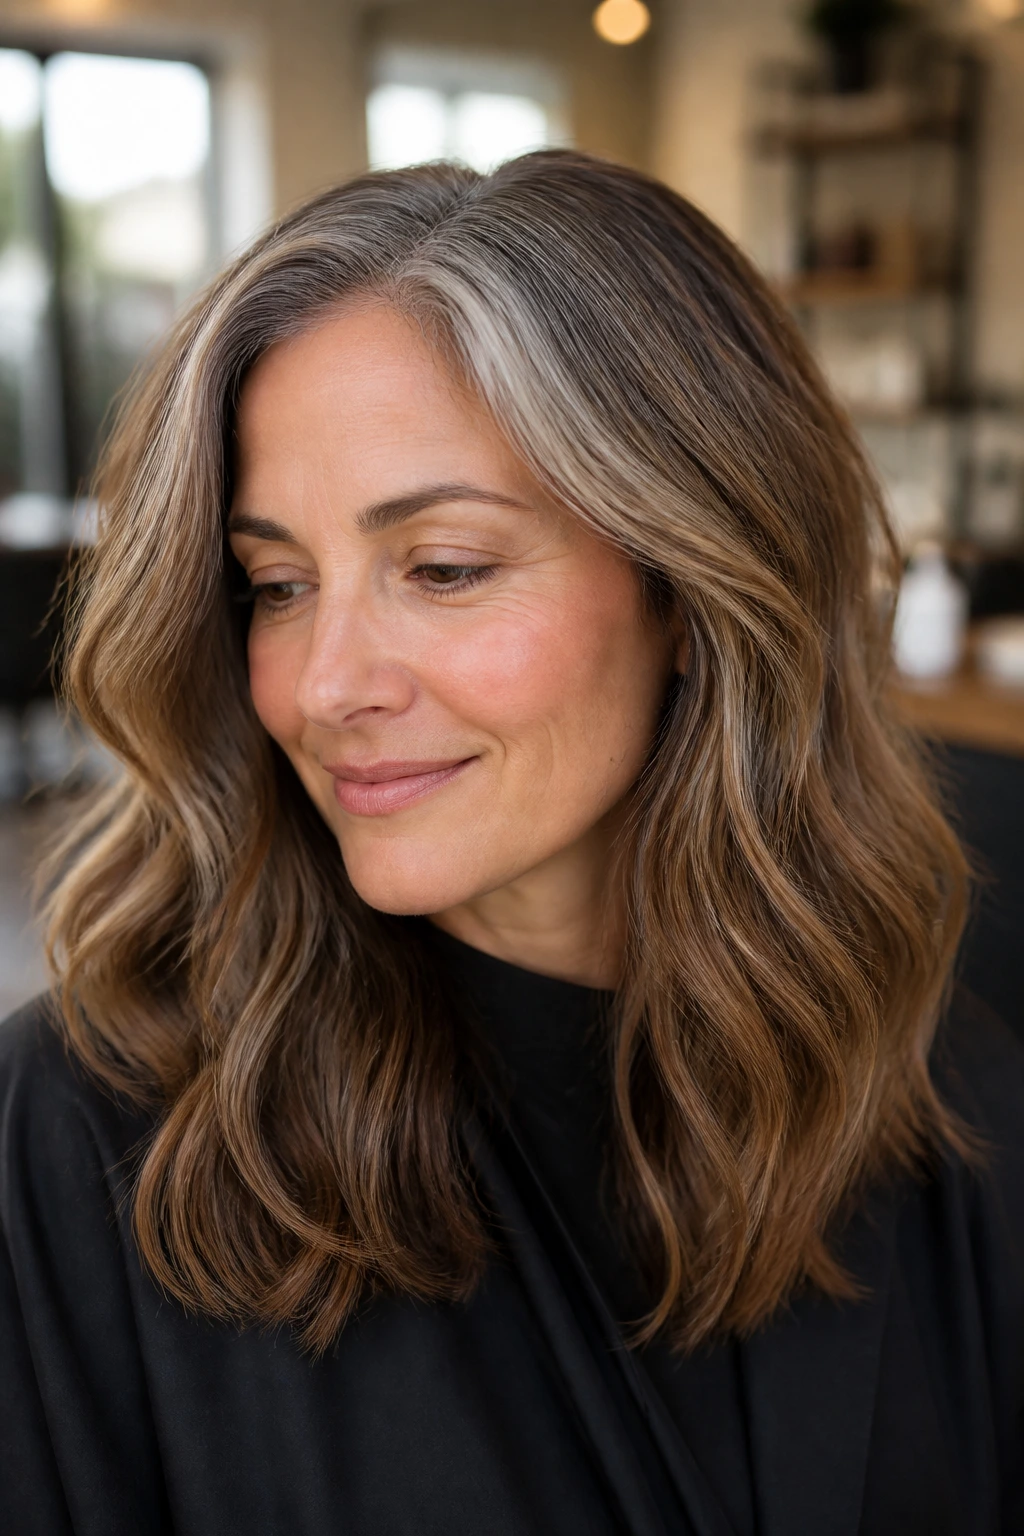
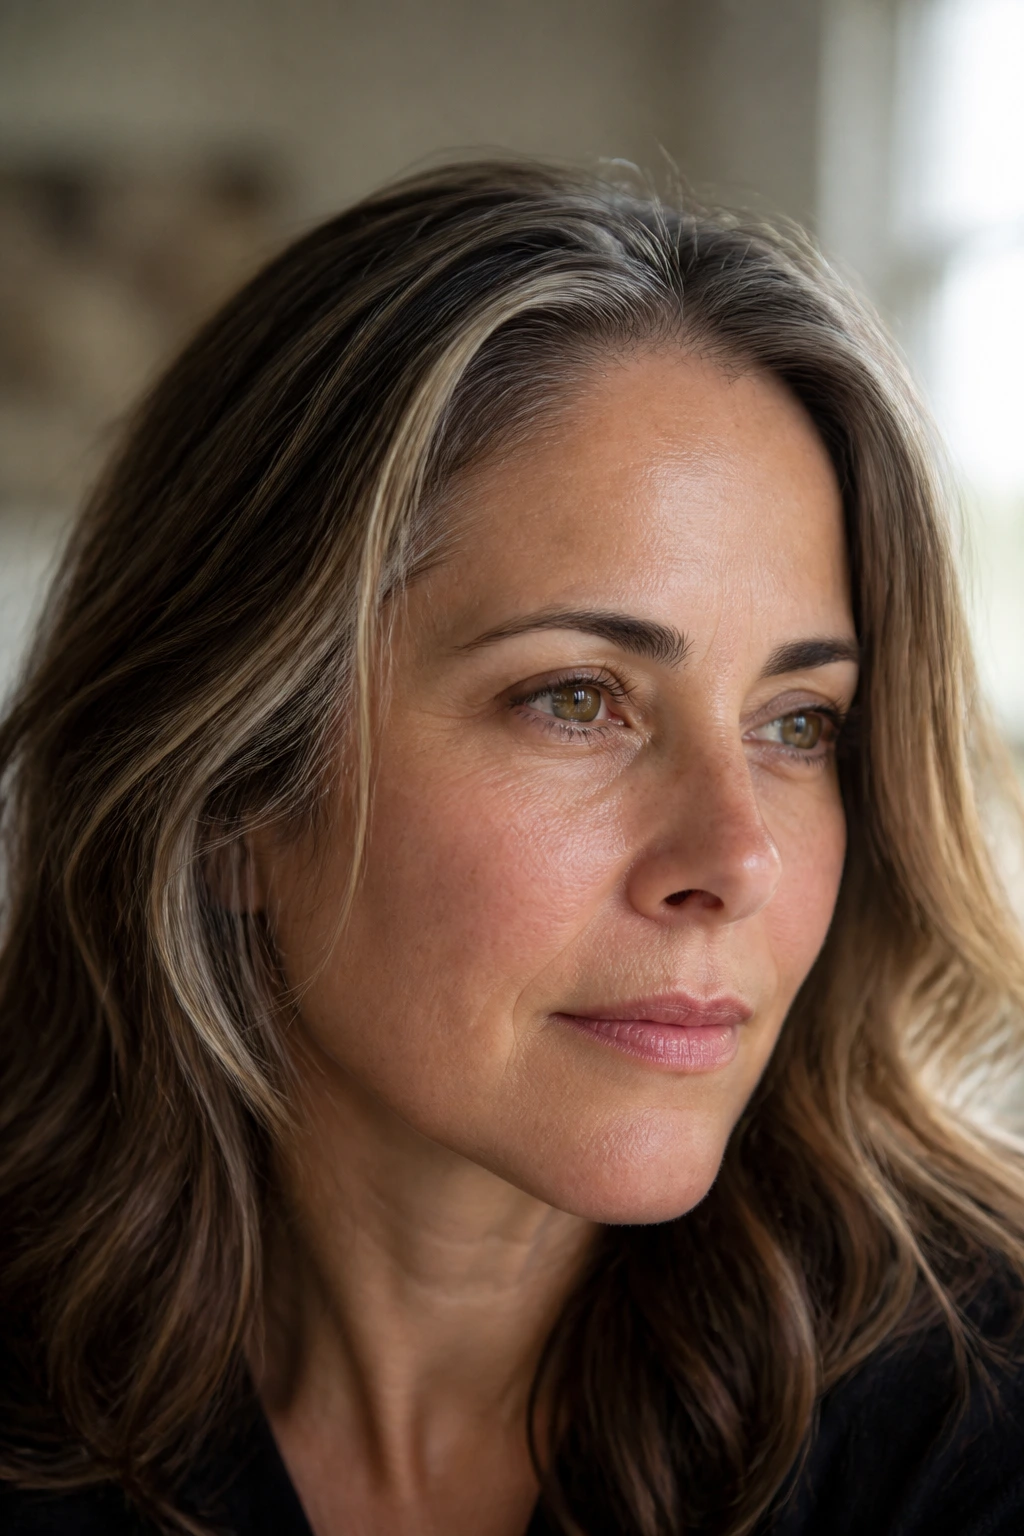
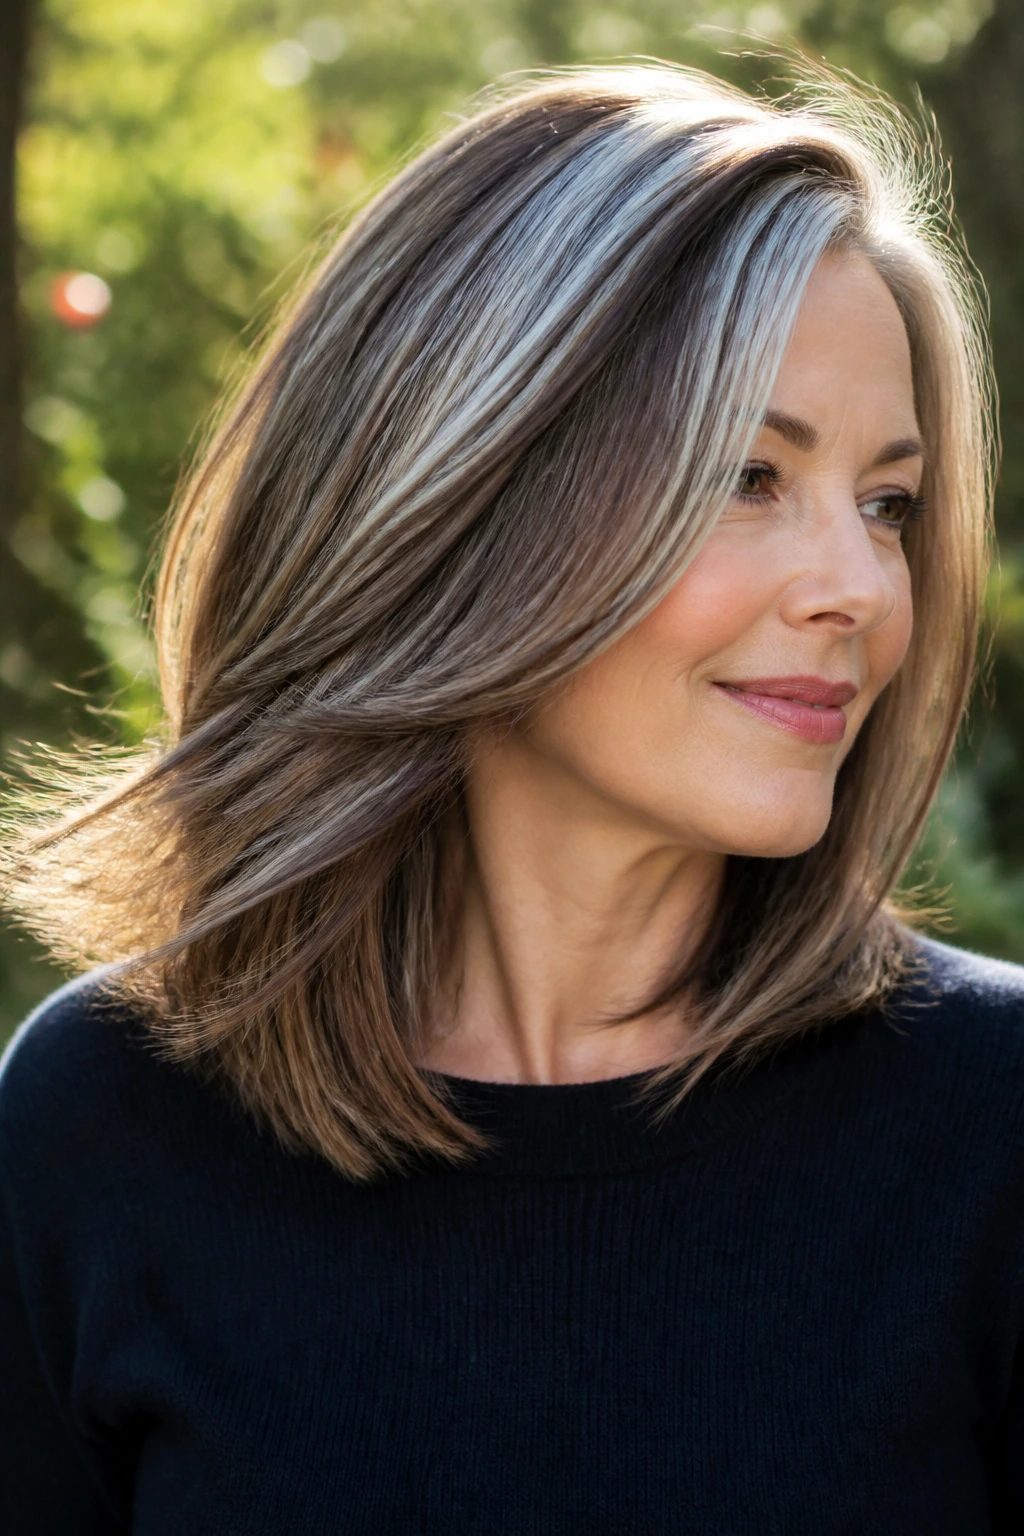
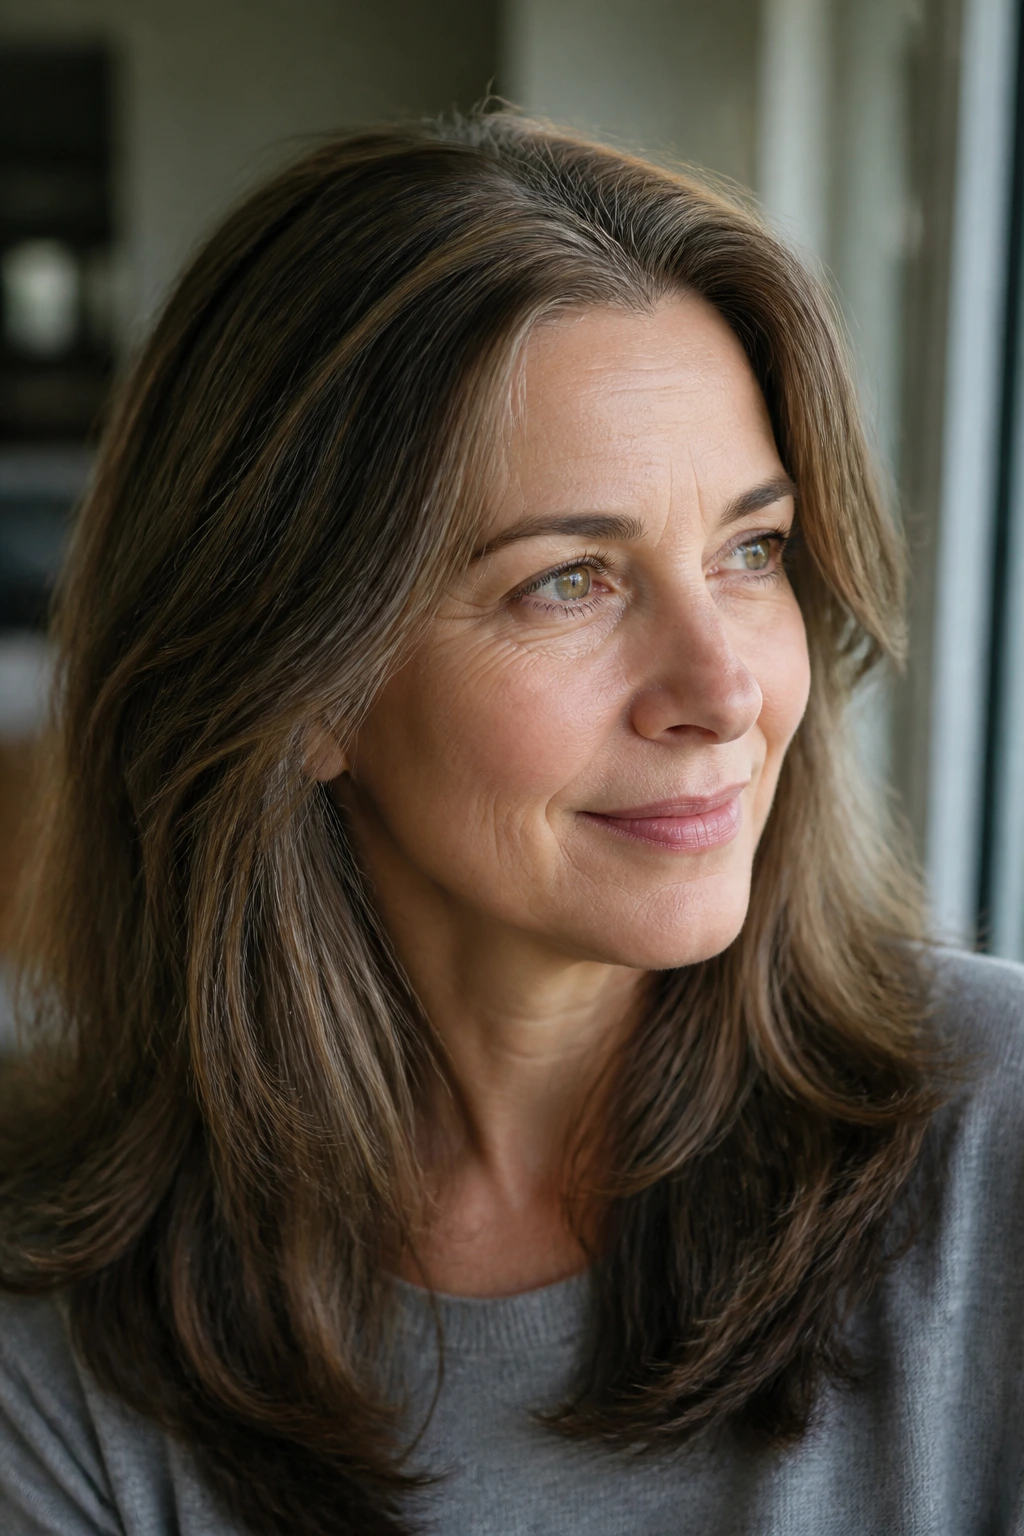
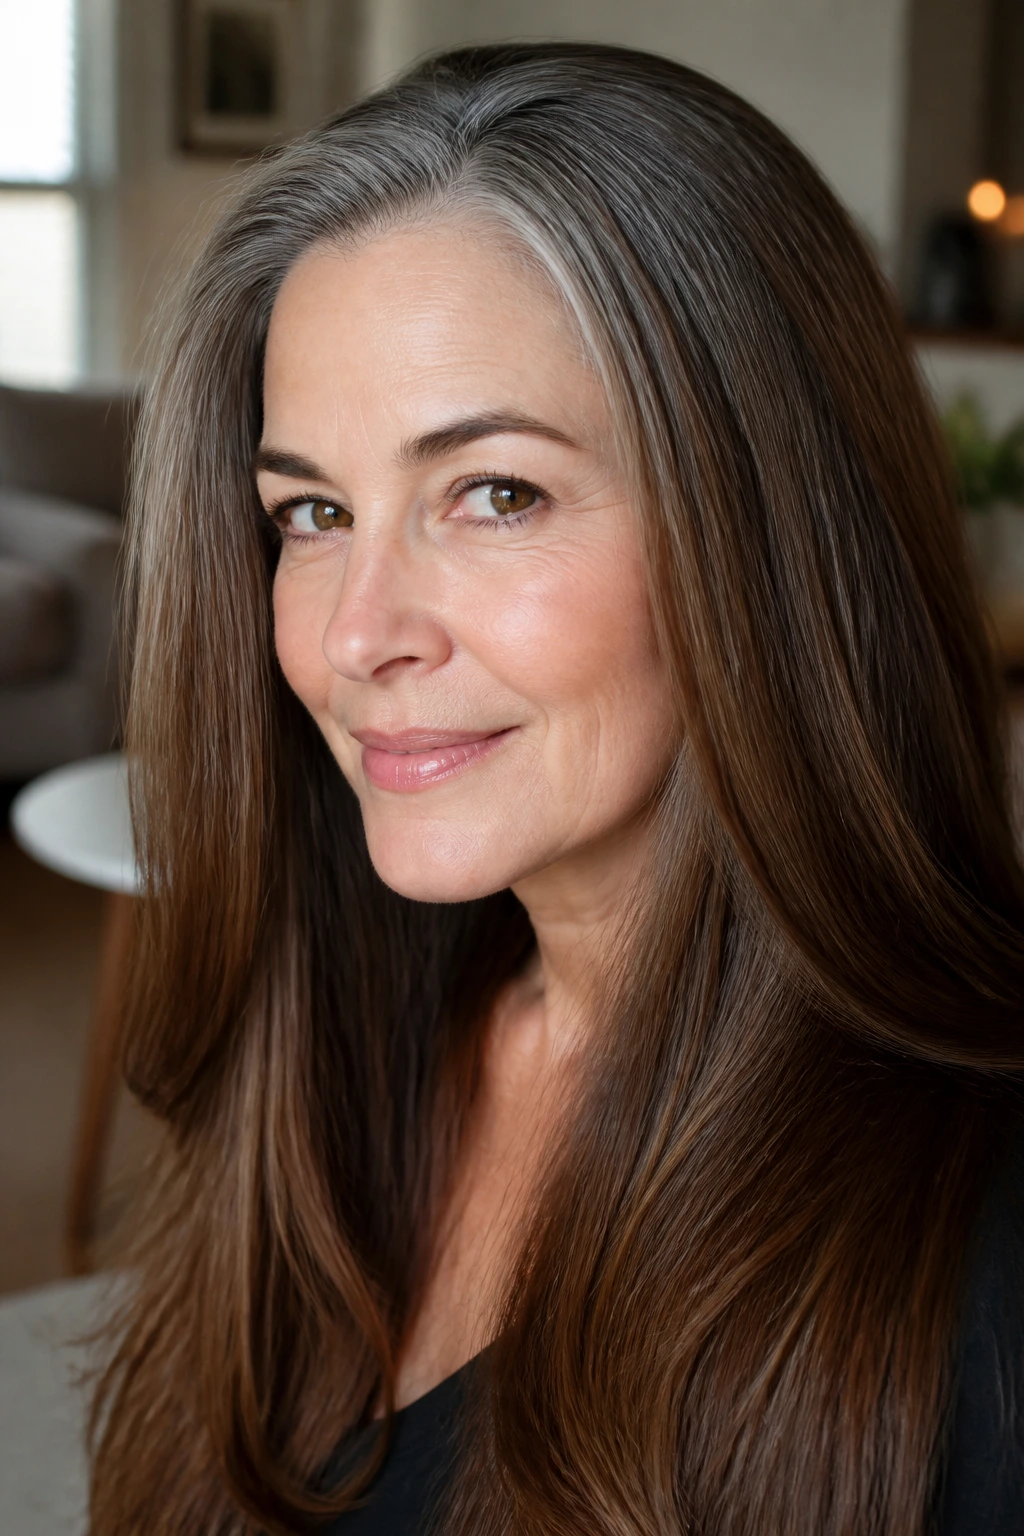
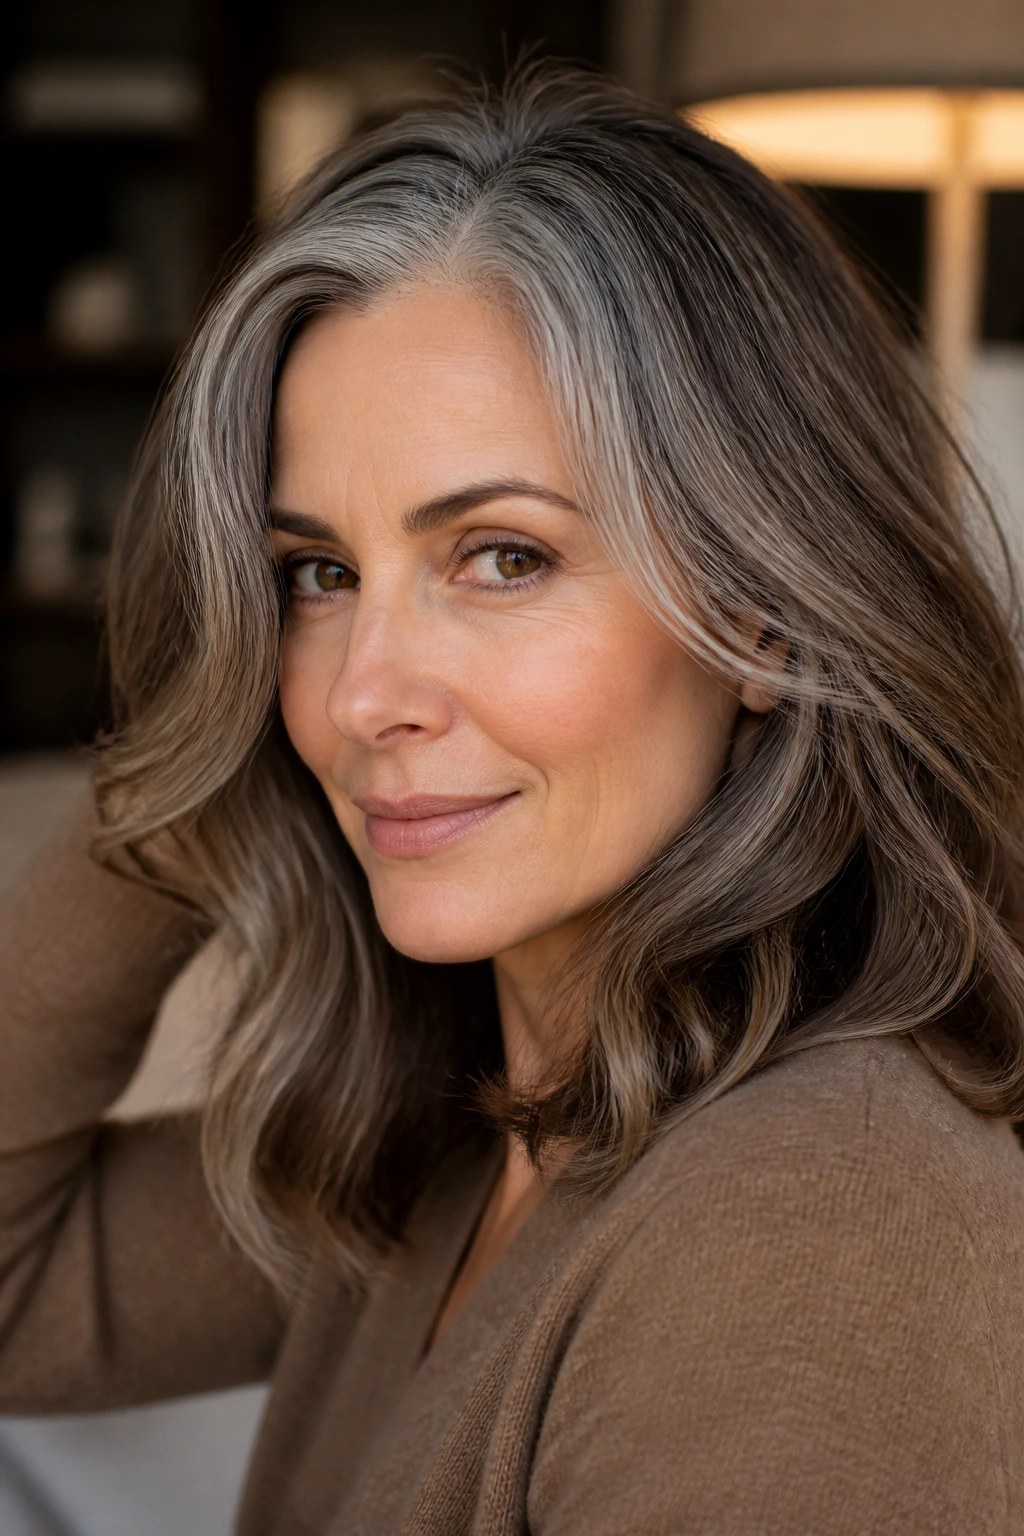
Growing out gray into brown hair works best when the shift looks gradual, not stamped on. The hard part usually isn’t the gray itself. It’s the line. A bright silver temple against a flat brown length can look sharper than either shade would on its own, especially on straight hair or on a cut that sits close to the face.
Gray strands are a little stubborn. They often feel wirier, they can be resistant at the hairline, and they tend to show up first right where you part your hair and where your mirror gives you the least mercy. That’s why a smart brown transition is rarely one tube of color and a prayer. It’s root shadow, lowlights, gloss, haircut, and a little patience.
The good versions look calm. The bad ones look like you tried to erase nature with a marker. The difference lives in the details, and the details are where the good stuff starts.
Why This Collection Is Different
-
It softens the line instead of chasing it away: A brown grow-out works better when the gray, brown, and new regrowth meet in a blended band rather than a hard stripe at the part.
-
It gives you real options for different gray percentages: A person with 20% gray does not need the same plan as someone who is mostly silver at the temples and brown through the back.
-
It keeps brown hair from looking flat: The best brown transitions use depth, not one solid shade. That extra movement is what keeps the finish from feeling helmet-like.
-
It respects texture: Coarse gray at the front, porous ends, and finer brown on the back of the head do not behave the same way. Good placement takes that into account.
-
It works whether you want full coverage or a softer blend: Some people want the gray hidden. Some want it blurred. Both are valid, and both need different color choices.
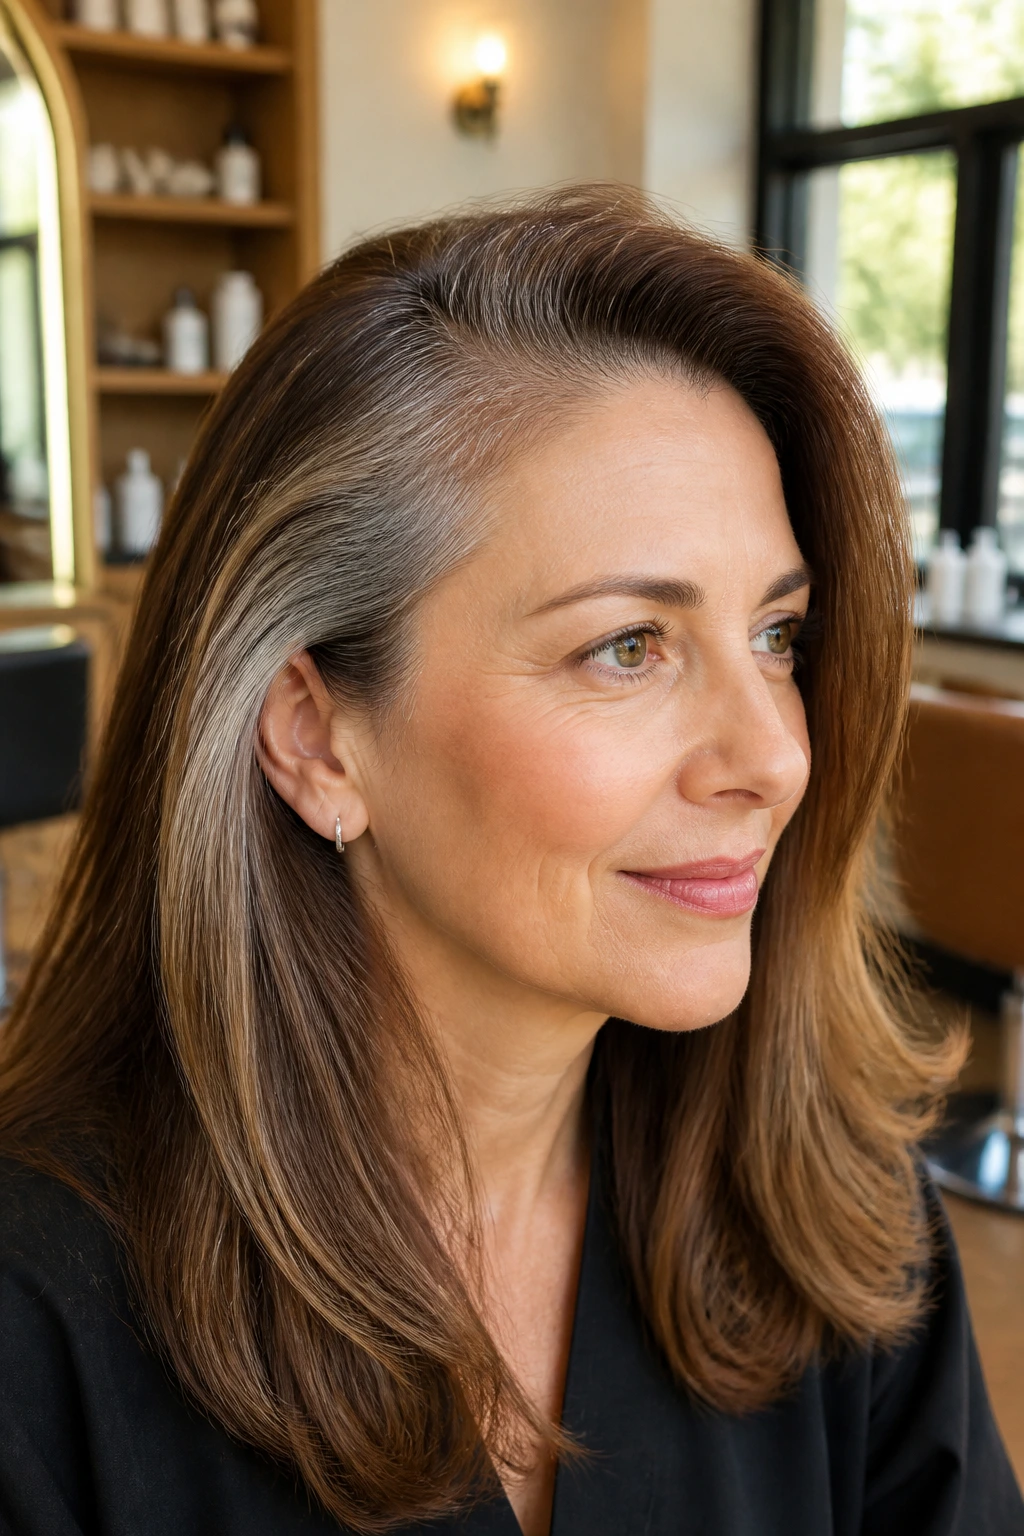
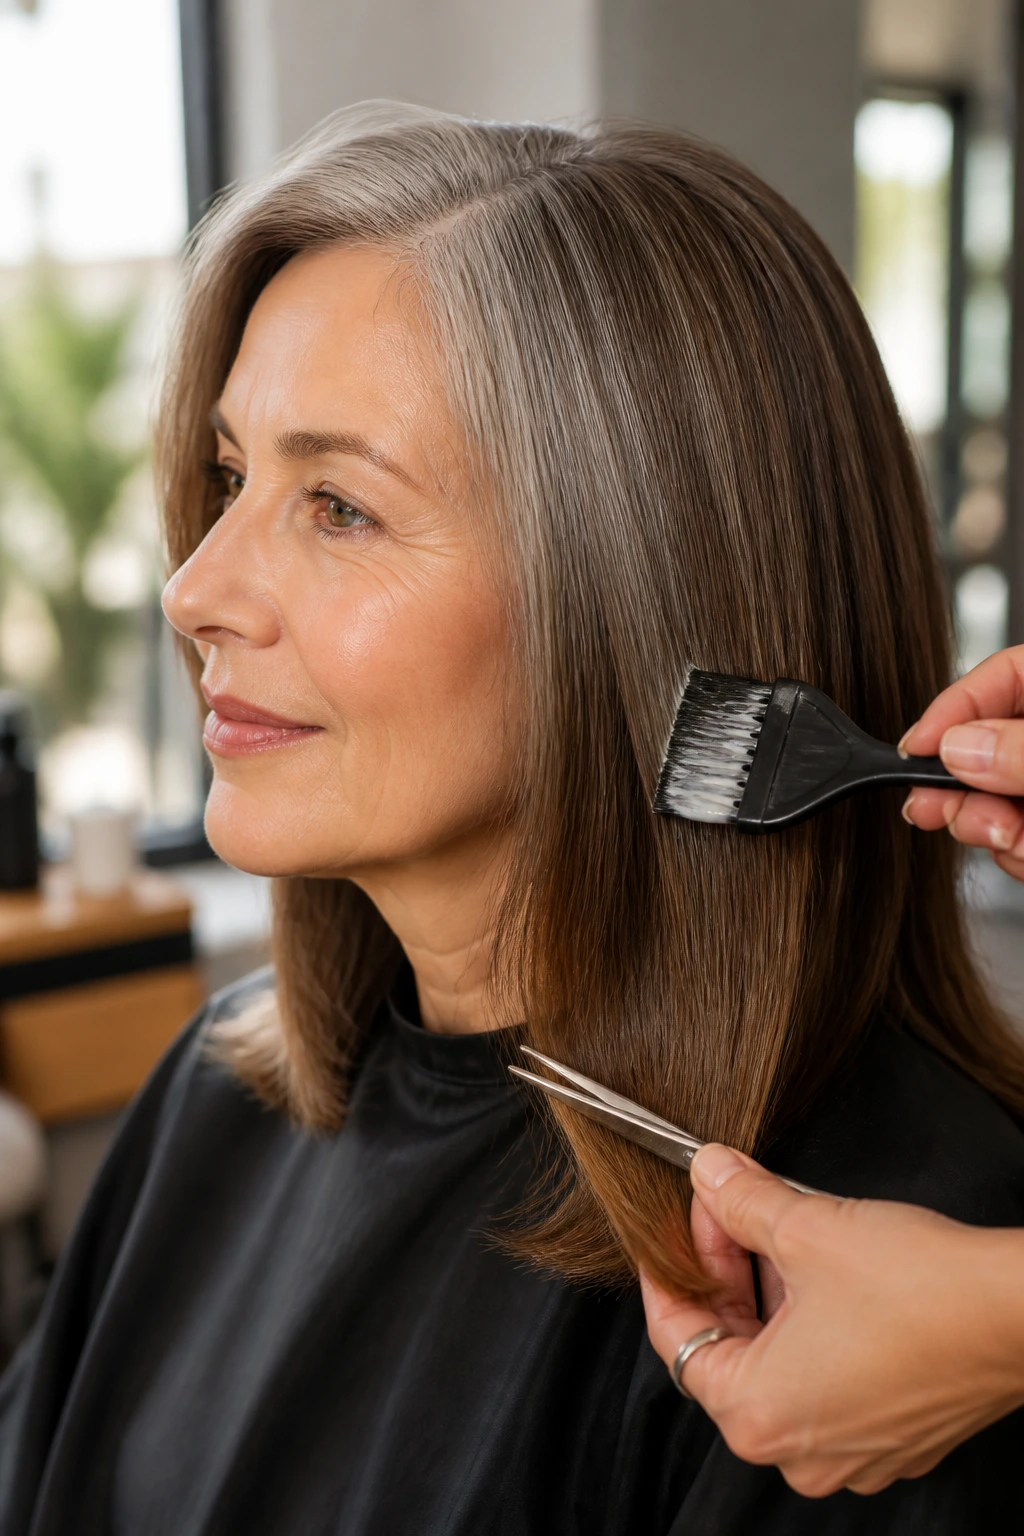
1. Soft Root Melt for a Gray-to-Brown Transition
A soft root melt is the easiest place to start if the part line is what bugs you most. Ask for a brown root shadow that drops just half an inch to an inch into the regrowth, then melts into the mids instead of stopping dead. The eye sees a gradient, not a border. That matters more than most people realize.
I like this route when the gray is concentrated at the temples or along a middle part. Ask for a neutral or beige brown at the root rather than something muddy or too dark, because a flat espresso line can look harsher than the gray ever did.
A good root melt should not feel painted on. It should feel like the brown grew there.
2. Mushroom Brown Gloss That Calms Bright Silver
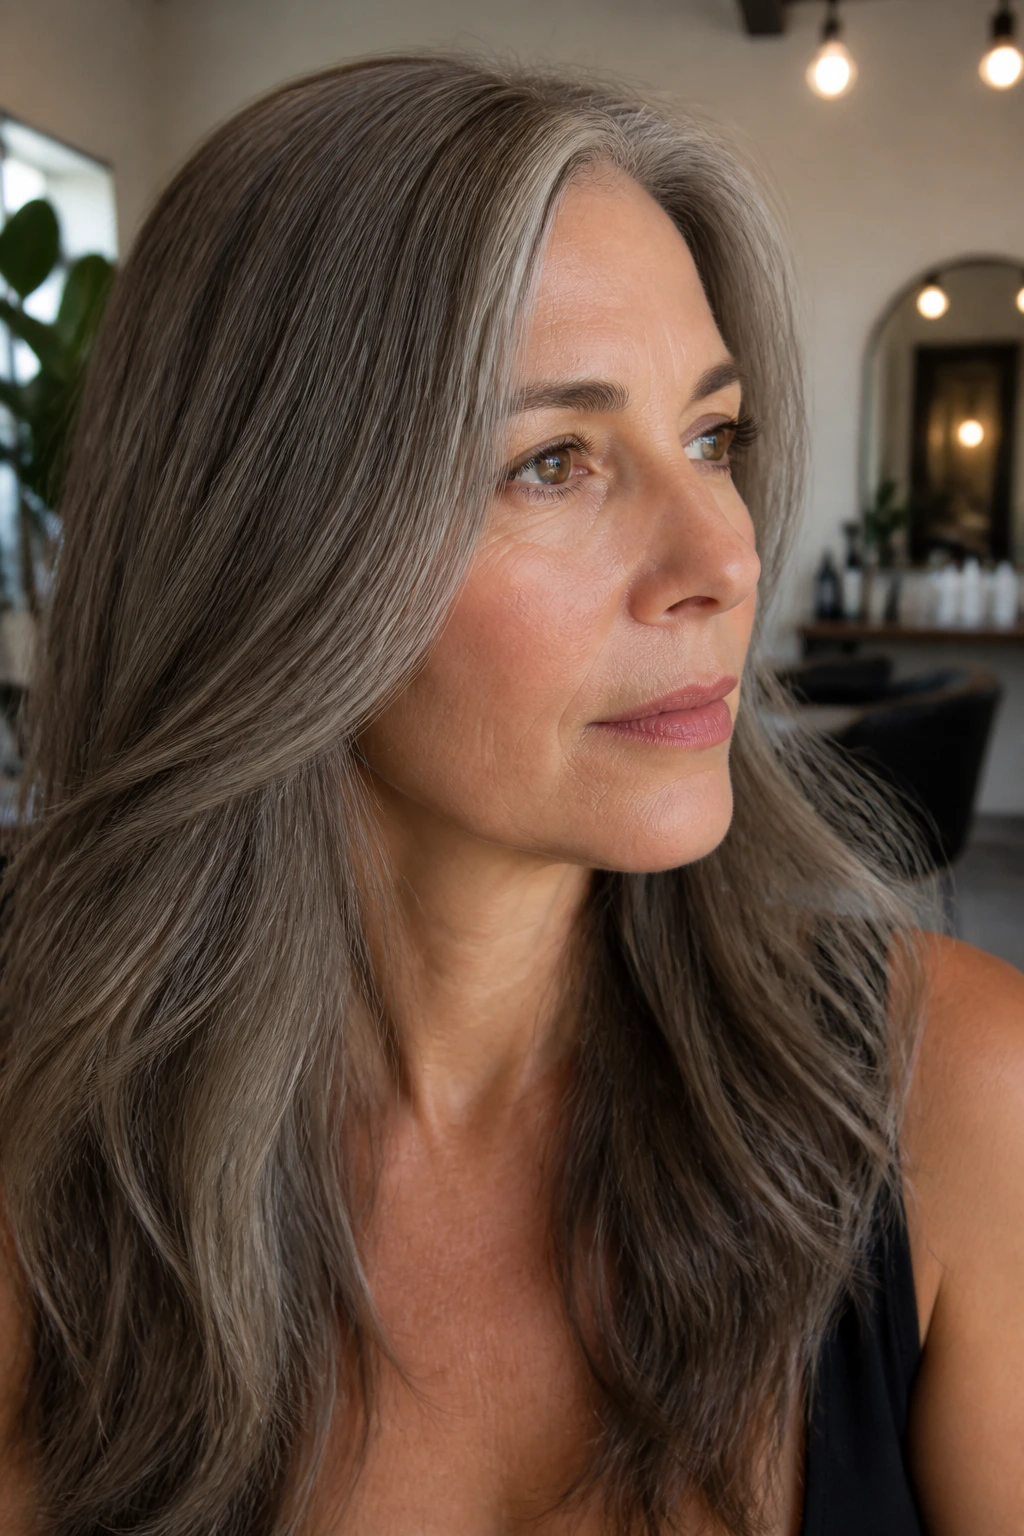
Why does cool beige brown look so much softer on gray? Because silver strands can turn loud next to warm, orange-brown dye. A mushroom brown gloss keeps the whole head in a cooler lane, which helps the gray blend instead of flash.
What to Ask For
- Level: Ask for a level 5 or 6 beige-ash gloss if your hair is already brown.
- Tone: Keep the formula neutral to cool, not gold-heavy.
- Placement: Focus the gloss on mids and ends if your roots are still mostly gray.
This is a good move when your hair pulls red every time you color it. The cool beige keeps things grounded. It also fades more softly than a permanent brown job, which is handy if you’re testing the waters.
3. Espresso Lowlights That Break Up the Gray Line
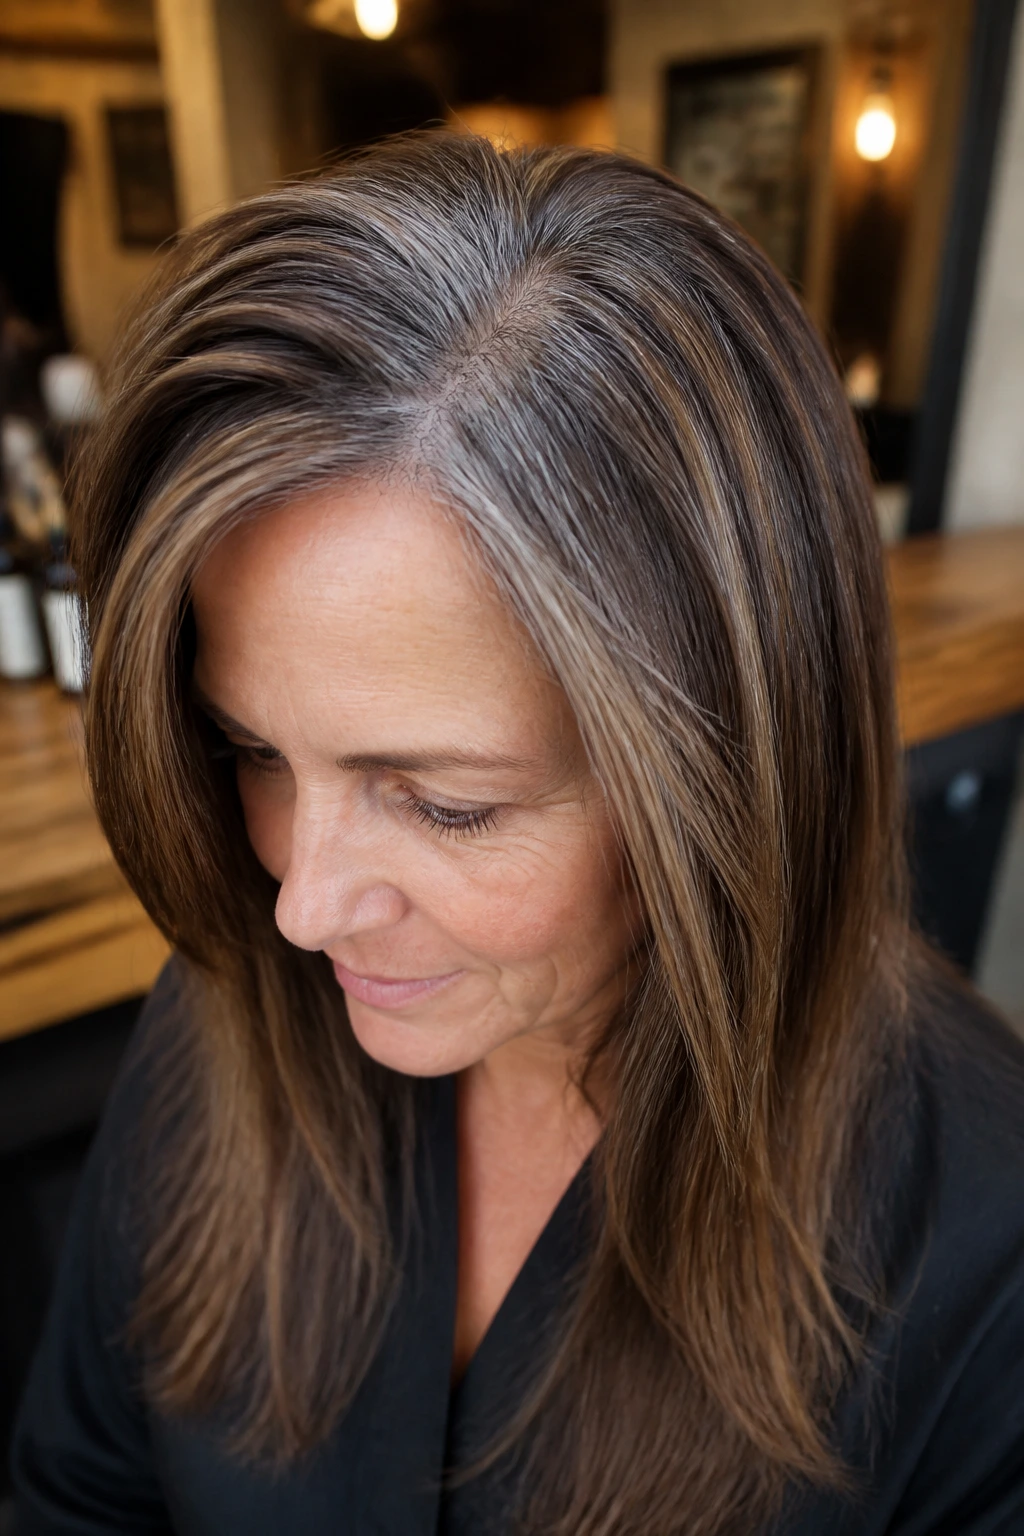
Tiny highlights are not your friend when gray is running the show. Espresso lowlights are. They add darker ribbons through the brown, which breaks up the bright silver strands and keeps the grow-out from looking striped.
This works especially well on thick hair and longer lengths, where one flat shade can look heavy fast. Ask a colorist for fine woven lowlights that sit one to two levels deeper than your base. If they’re too wide, you lose the subtlety and start looking patchy. Narrow placement under the canopy and around the crown does the best work.
The trick is restraint. You want depth, not a blackout.
4. Baby Lights Around the Hairline
Why does the front always give you away first? Because that’s where the eye goes. The temples, part, and hairline take all the attention, so baby lights there can do more than a full head of color ever will.
How to Use It
- Keep the pieces very fine, almost threadlike.
- Place them around the face and part, not all over.
- Use a neutral brown or soft beige brown so the transition stays believable.
This is a smart choice if you’re trying to soften the gray without covering every strand. It’s especially nice on medium-length cuts because the face frame pulls the whole look together. A few tiny lights around the front can take the pressure off the rest of the head.
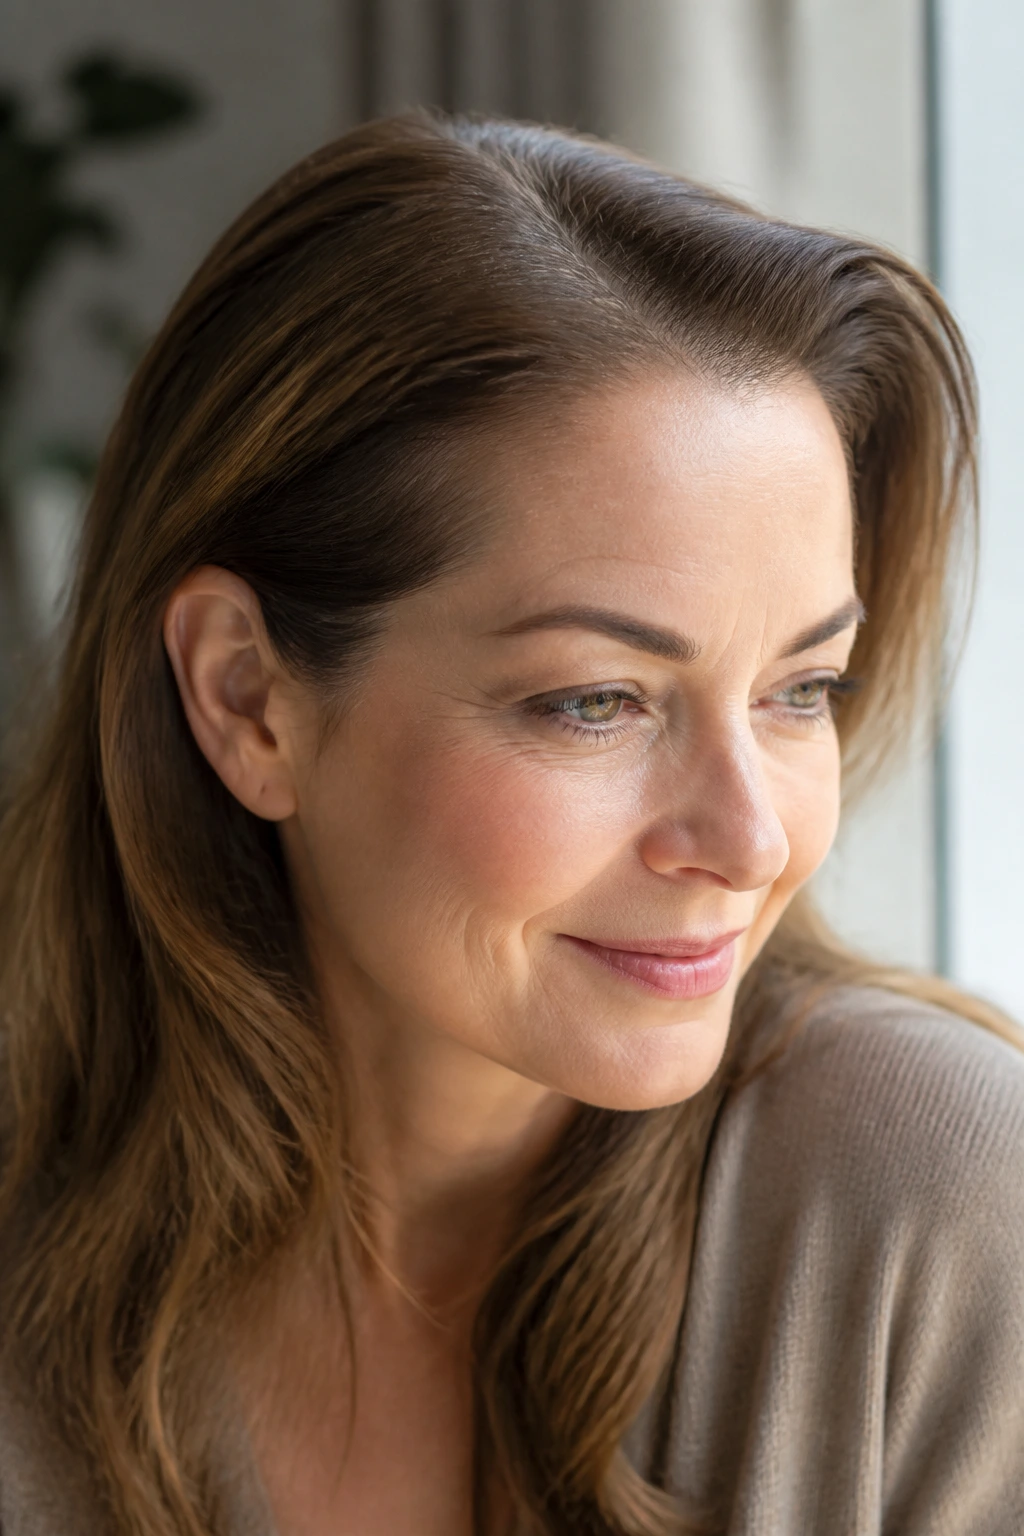
5. Chestnut Balayage for a Softer Midtone
A warm chestnut balayage is one of my favorite answers when gray hair starts looking too stark against brown lengths. The warmth makes the silver read less like a problem and more like part of the movement.
The balayage placement matters. Keep the color swept through the mids and a little lower, where it can blur with the existing brown, and leave the roots a touch deeper. That keeps the grow-out from turning into a band. If your skin has olive, peach, or gold in it, chestnut is often kinder than a smoky ash brown.
This look gives the hair a little warmth without turning it coppery. That’s the sweet spot.
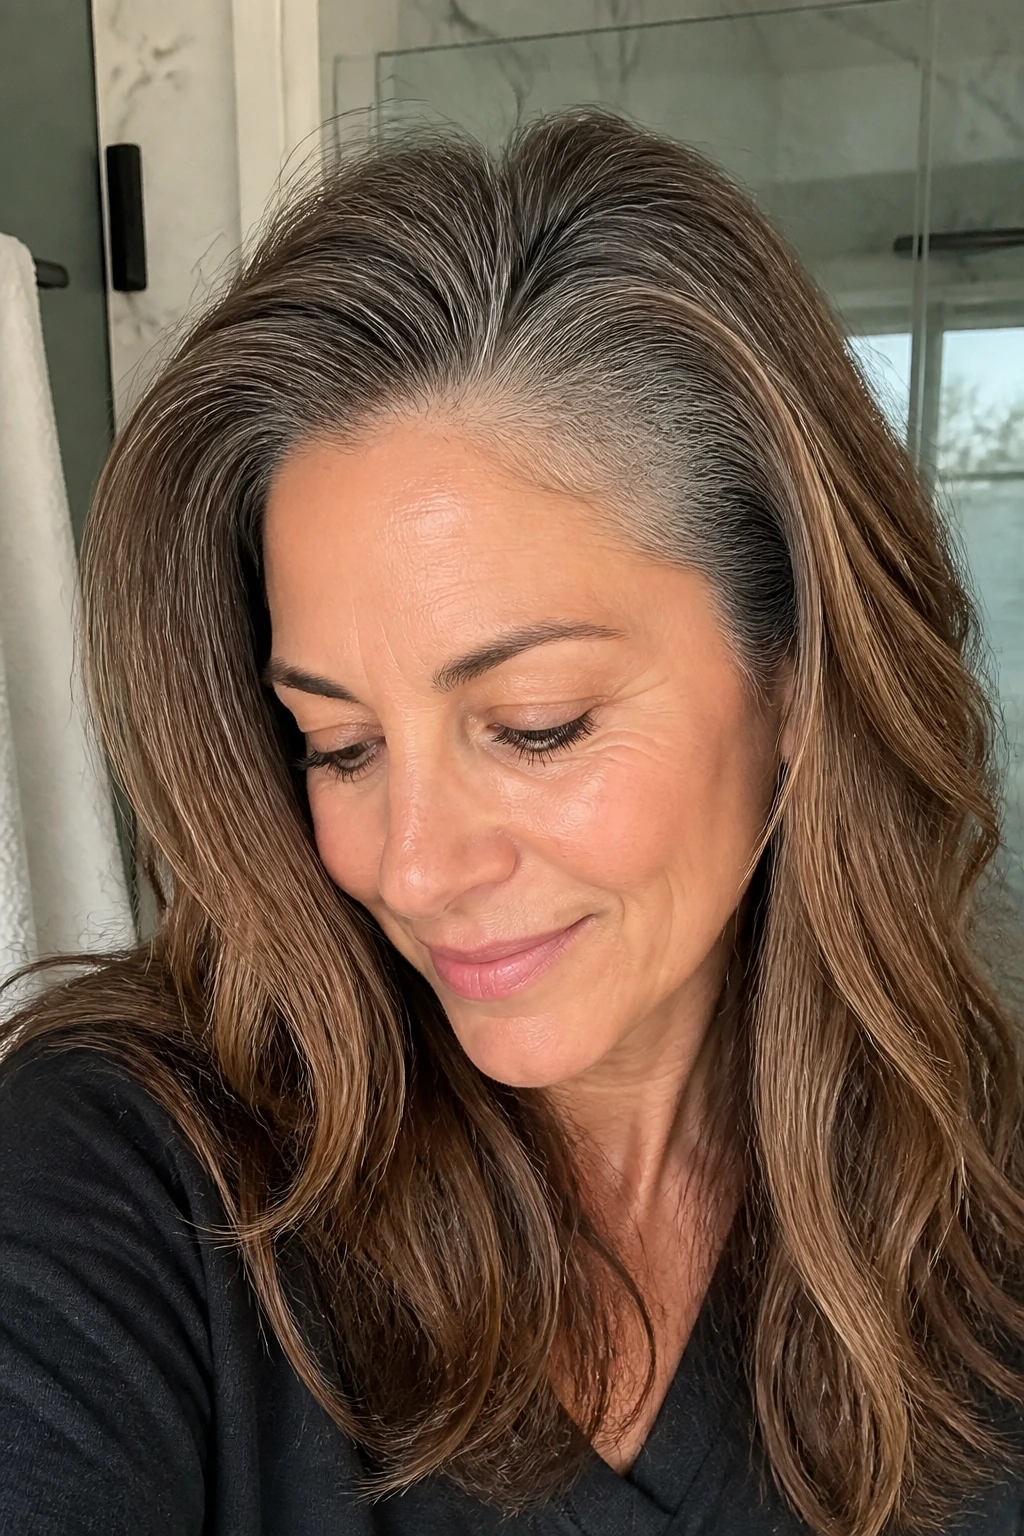
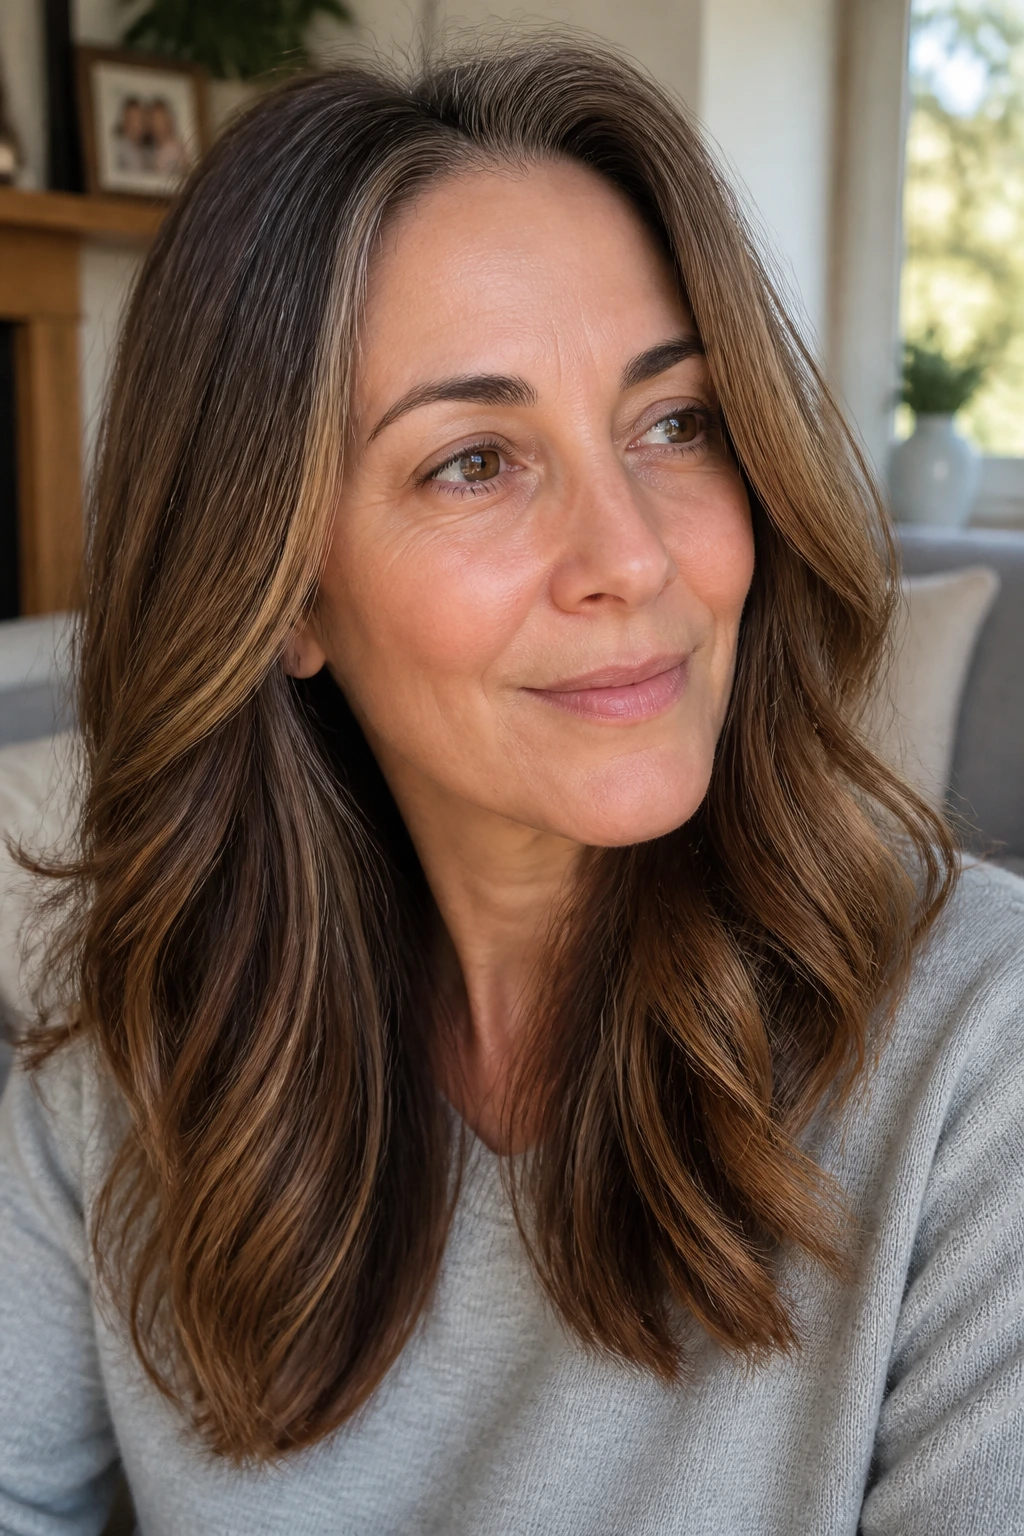
6. Beige Brown Shadow Root for Straight or Wavy Hair

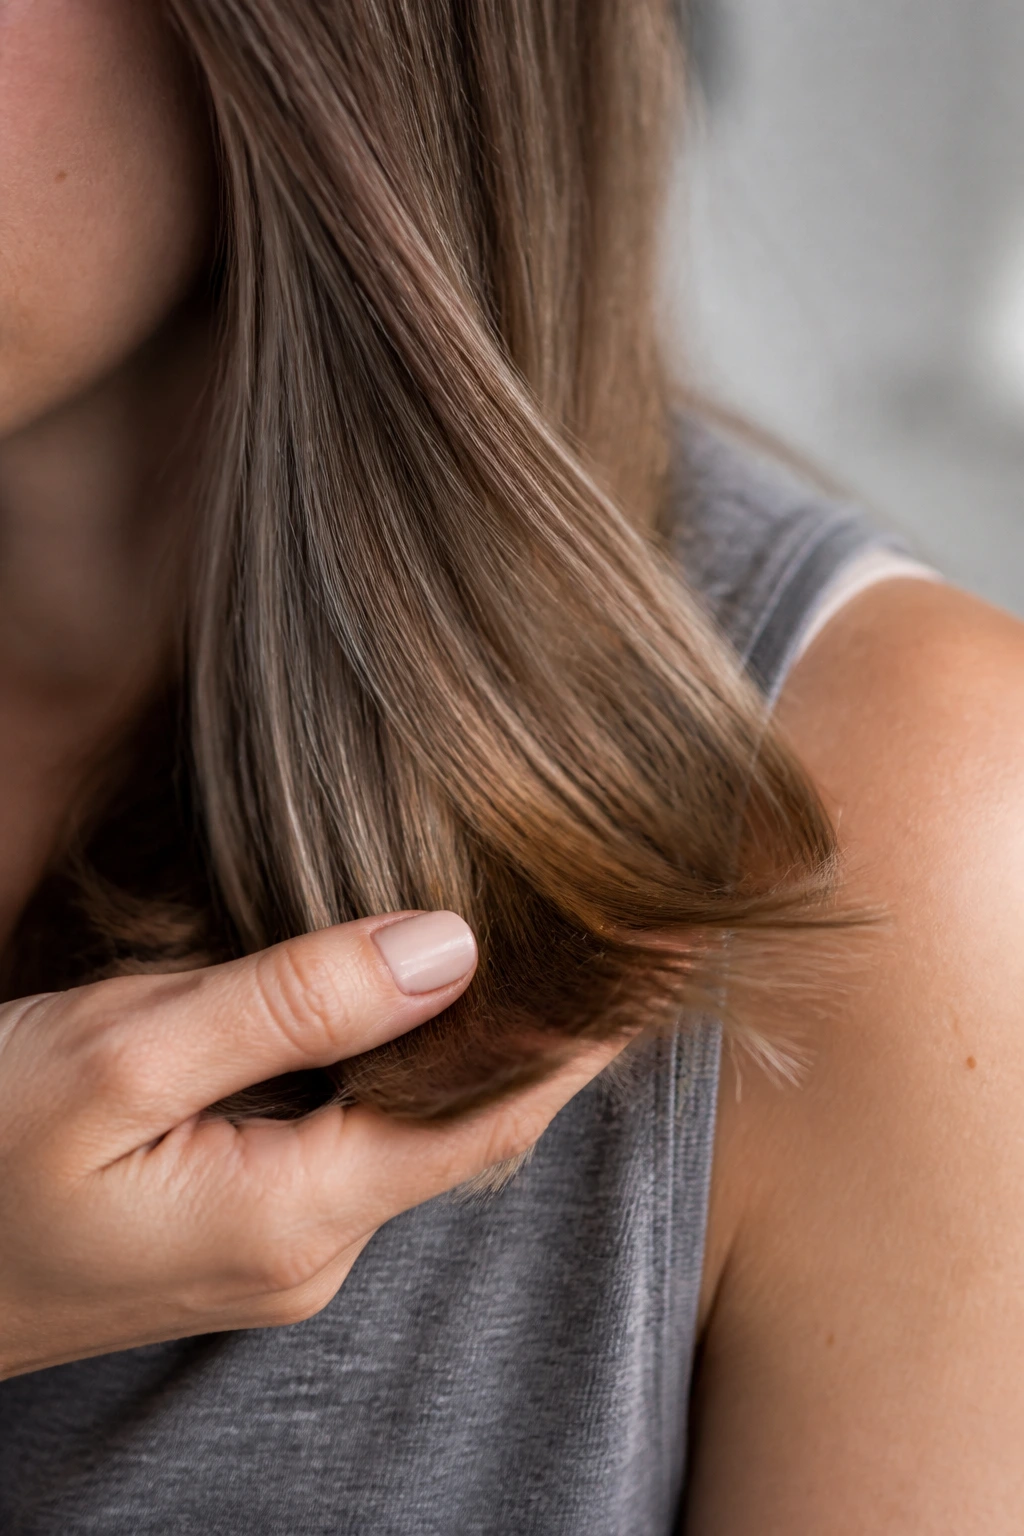
Unlike a solid brunette color, a beige brown shadow root leaves room for the gray to breathe. It’s softer, and on straight or wavy hair that matters because every line shows up more clearly.
The idea is simple: keep the root a shade deeper than the mids, but not so deep that it looks like a block. Beige tones are useful here because they sit between ash and gold. They’re less likely to go red, and they’re less likely to go muddy. That middle ground is where a lot of gray-to-brown work looks most natural.
If your hair is naturally level 5 or level 6, this can be the least fussy path. The line stays blurred, and regrowth doesn’t announce itself the minute it shows.
7. Curly Gray Blend That Disappears in Movement
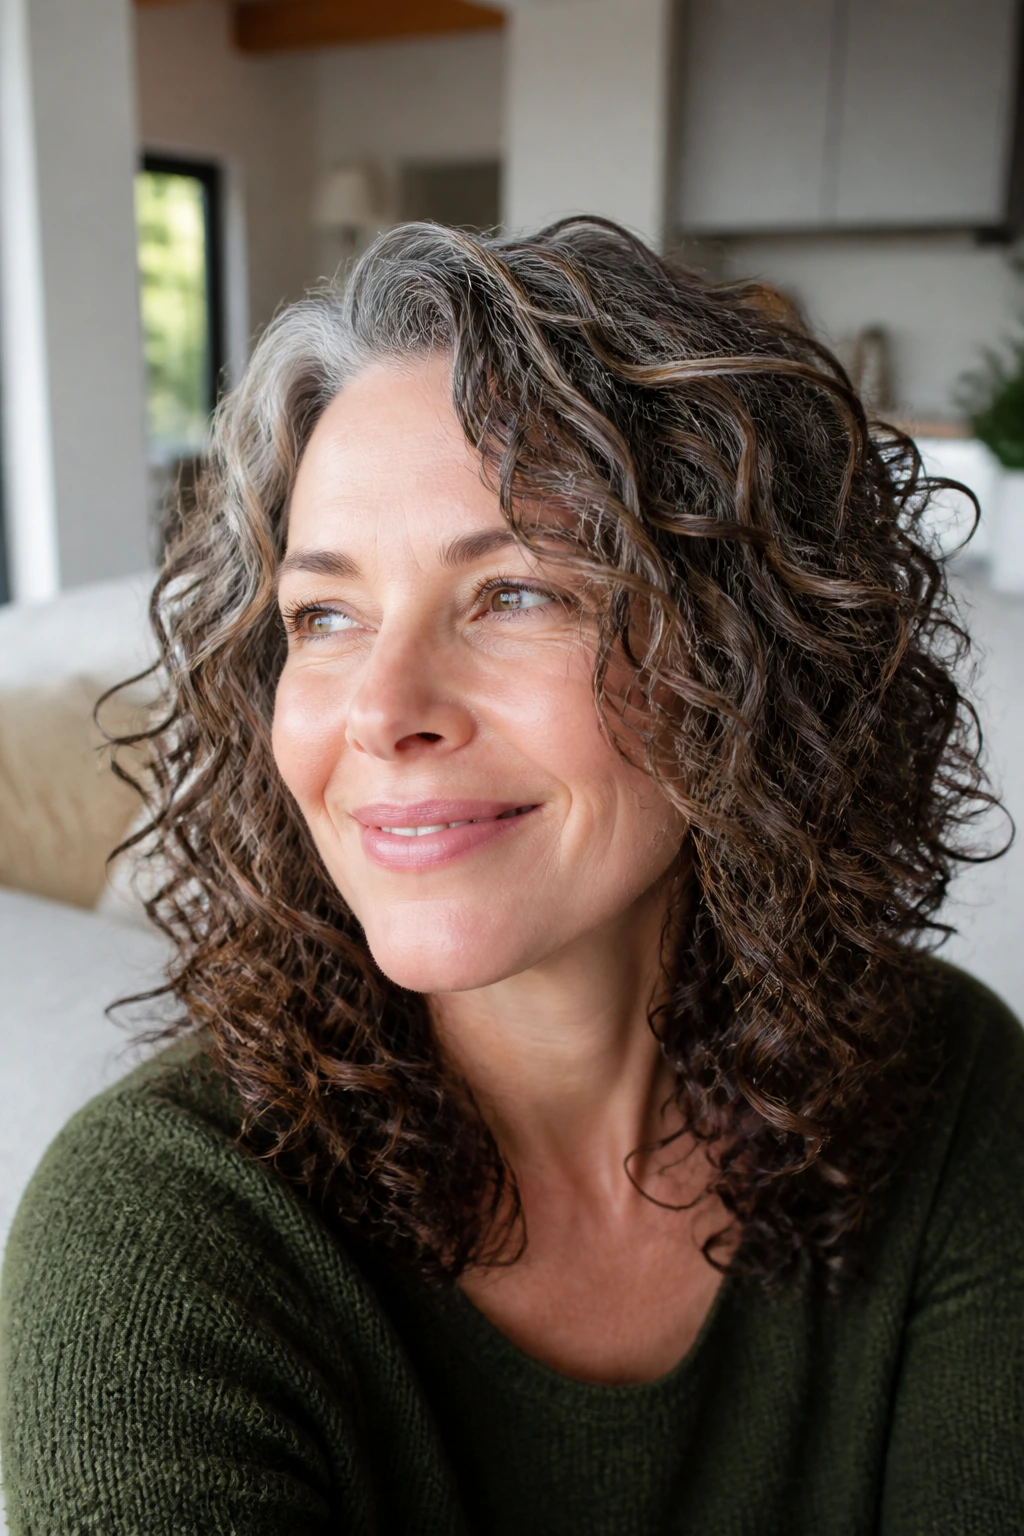
Curly hair gives you an advantage. The pattern itself hides a lot of the transition. Gray and brown sit on top of each other, bend over each other, and move enough that no one strand gets the whole story.
A good colorist will usually paint the outer curve of the curl more softly and leave some brightness inside the bend. That keeps the hair from looking matte or over-processed. If you’re styling at home, a diffuser and a curl cream with a little slip can help the color look blended instead of frizzy and spotty.
The best curly gray-to-brown transition does not fight the curl. It lets the curl do half the work.
8. A Pixie Cut That Lets the Temples Stay Silver
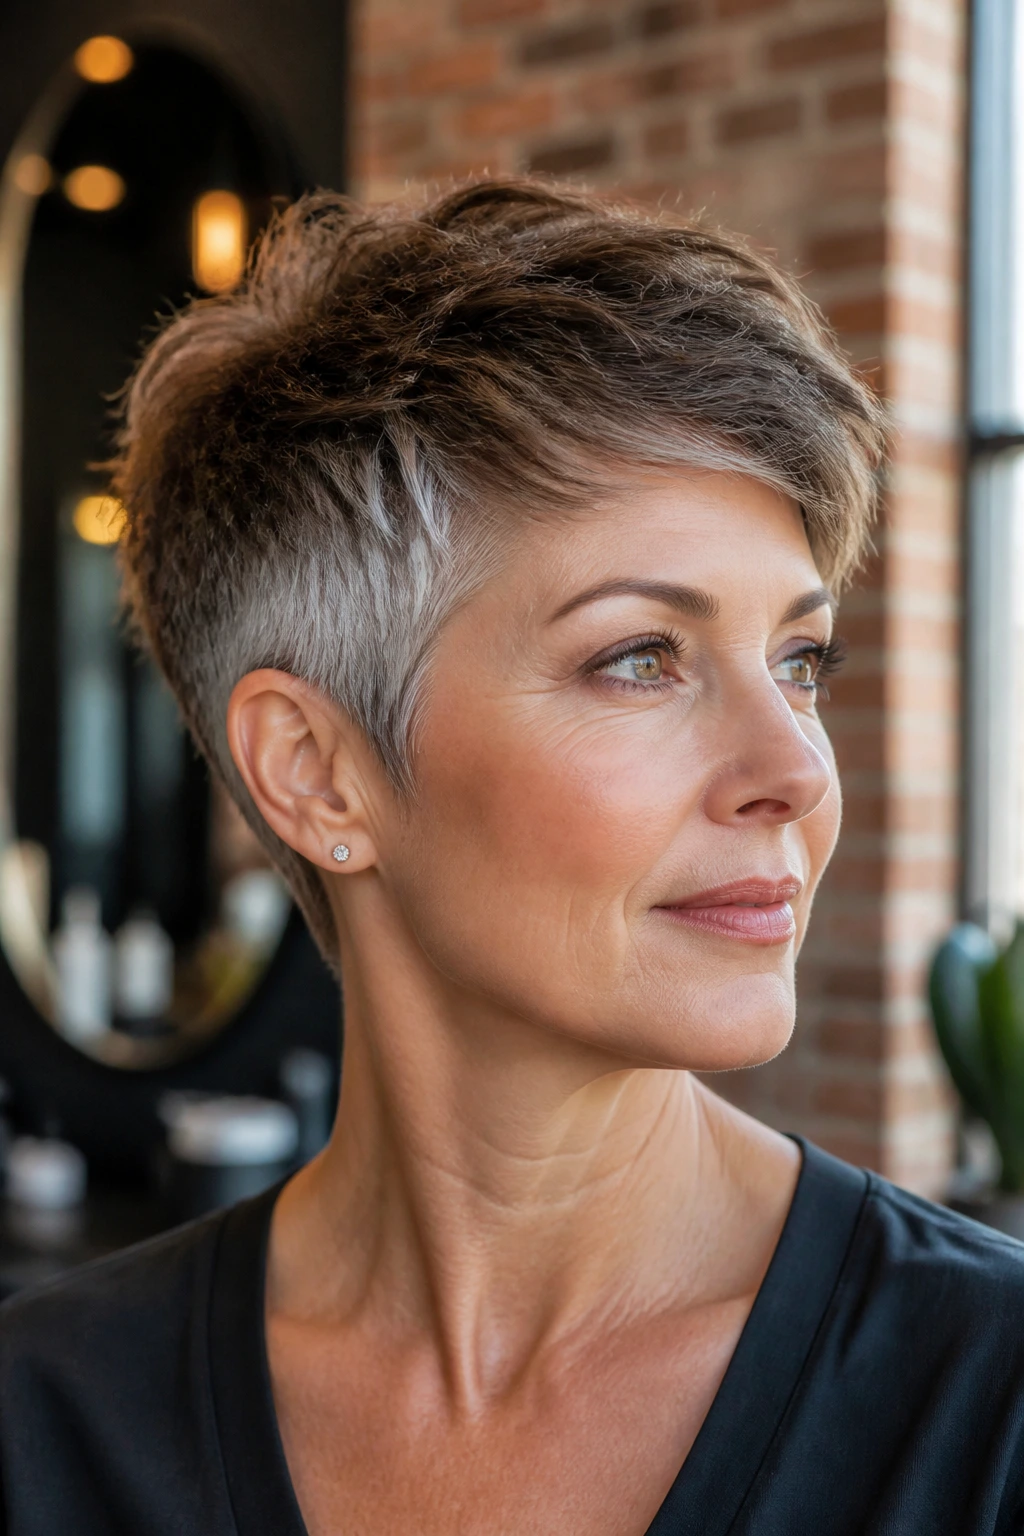
The Haircut Does Half the Work
A pixie can be a relief when the gray sits stubbornly at the temples. Short hair removes the long curtain that makes the color split so obvious, and it gives the gray a place to live without taking over the whole head.
Ask for a textured top, softer sideburns, and enough length on top to sweep the front a little off center. That little bit of movement matters. A pixie that’s cut too uniformly can look severe. One with choppy texture and a clean nape feels easier to live with.
This cut is also practical. It keeps appointments short, and the grow-out stays manageable because there’s less length for the old color story to hang onto.
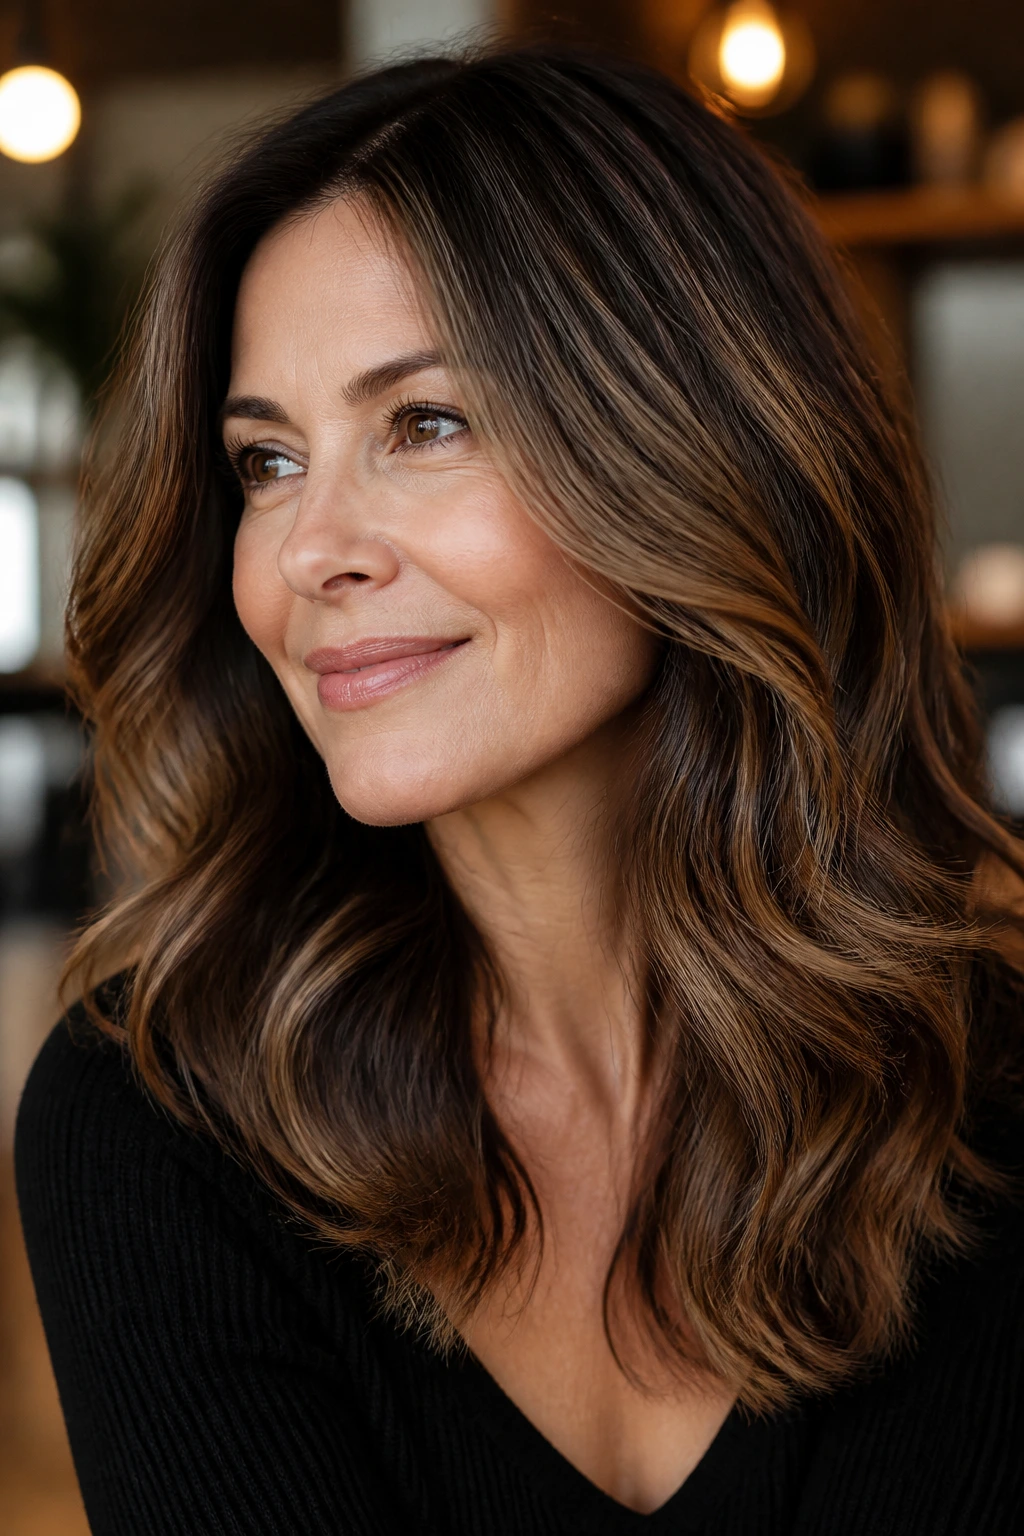
9. Chocolate Ribboning Through Longer Lengths
If the grow-out looks streaky, the fix is usually not more streaks. It’s wider ones. Chocolate ribboning means painting broader, hand-placed brown pieces through the lengths so the gray has something to merge into.
That works beautifully on hair that’s shoulder length or longer. The wider ribbons make the silver feel intentional instead of accidental. They also stop the head from looking like a zebra crossing of light and dark strips, which is what happens when the placement gets too tiny and too busy.
My bias here is pretty clear: I’d rather see a few strong, soft ribbons than a thousand thin ones. The stronger shape looks richer in motion.
10. Cool Cocoa All-Over Color for a Faster Shift
Sometimes the cleanest move is the blunt one. If your gray is dense and you want a clear brown result, a cool cocoa all-over color can get you there faster than blending alone.
The key is tone and level. A level 4 or 5 brown with a neutral-cool base usually looks more believable than a near-black brown. Too dark, and the face can start to look hard. Too warm, and the gray can pop even more. Permanent color at the roots is often the better choice here, especially on resistant grays that don’t want to take a softer formula.
This route is for people who want brown to win. No apology, no half-measure.
11. Blunt Bob with Smudged Roots
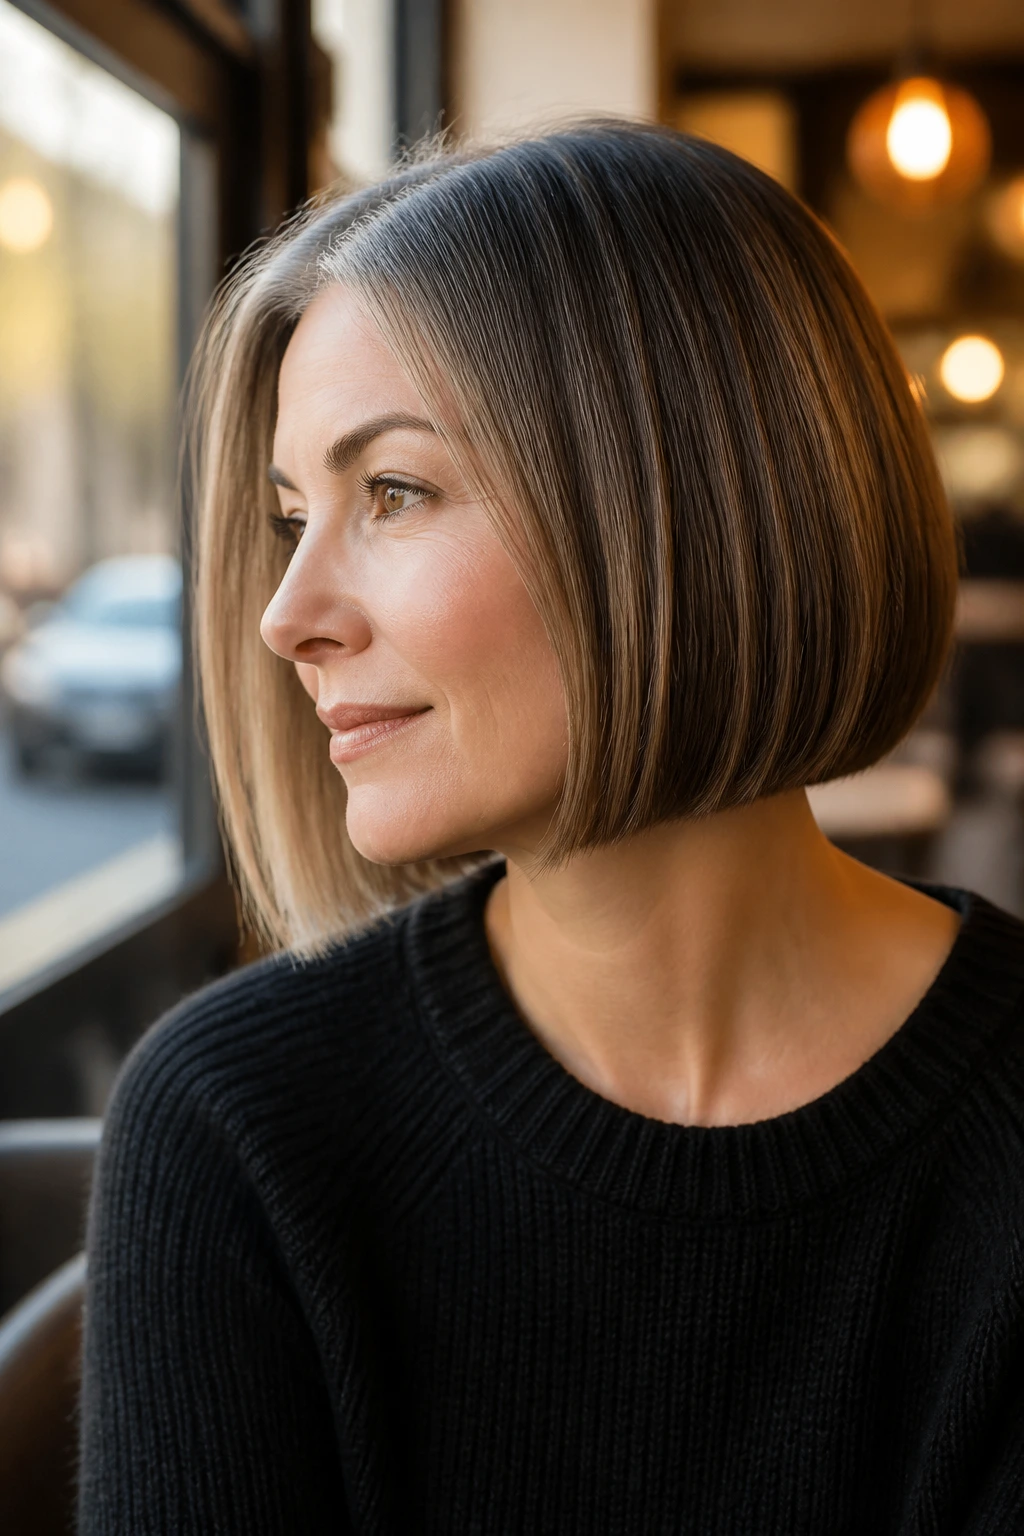
A blunt bob is useful because it gives the eye a clean edge to hold onto. When the outline is crisp, a soft root smudge underneath it looks deliberate rather than messy.
The cut also shortens the visual distance between gray roots and brown lengths. That sounds minor. It isn’t. On longer hair, the contrast stretches out and can feel louder. On a bob, the transition sits closer together and reads as a single shape.
If the hair is straight, this is especially helpful. Blow it smooth, tuck one side behind the ear, and the whole color story gets calmer.
12. Demi-Permanent Overlay for Low Commitment
A demi-permanent overlay is the compromise move for people who want brown without building a hard wall at the roots. Demi color deposits tone and fades gradually, which keeps the grow-out from leaving a blunt line behind.
It won’t fully cover every stubborn gray strand, especially at the temples. That’s the tradeoff. But it can soften the overall impression fast, and it’s kinder to hair that’s been colored, highlighted, or heat-styled a lot. Think of it as a layer of tone rather than a total rewrite.
For someone trying brown for the first time, this is often the safest door in. If you hate it, it fades. If you like it, you can deepen it later.
13. Warm Chestnut Softening When Ash Reads Too Dark
Cool brown is not always the answer. If ash tones make your gray look bluish or the whole head starts to feel flat, warm chestnut softening can be the better call.
Warmth gives the eye something to hold onto. It makes the brown feel softer against silver, and it tends to work well on skin with peach, gold, or olive undertones. The trick is to stay in the chestnut lane, not drift into bright copper territory. Too much warmth can make the grays look dingy instead of integrated.
This is one of those shade choices that makes more sense in person than in a tube. Trust the reflection in daylight, not the name on the box.
14. The Porosity-Fix Fill Formula for Faded Ends
Why the Ends Go Hollow
Porous ends grab color differently. If the hair has been lightened, sun-stressed, or colored a lot, brown can sink in too fast and come out looking khaki, smoky, or patchy. That’s when a fill formula earns its keep.
A colorist will often pre-fill those ends with a warm tone that sits about one level lighter than the final brown, then apply the target shade over it. At home, the same principle still applies: don’t keep slapping a dark brown on fragile, see-through ends and expect them to behave. They won’t.
This is one of the least glamorous parts of the process, and one of the most useful. Skip it, and the whole head can go muddy.
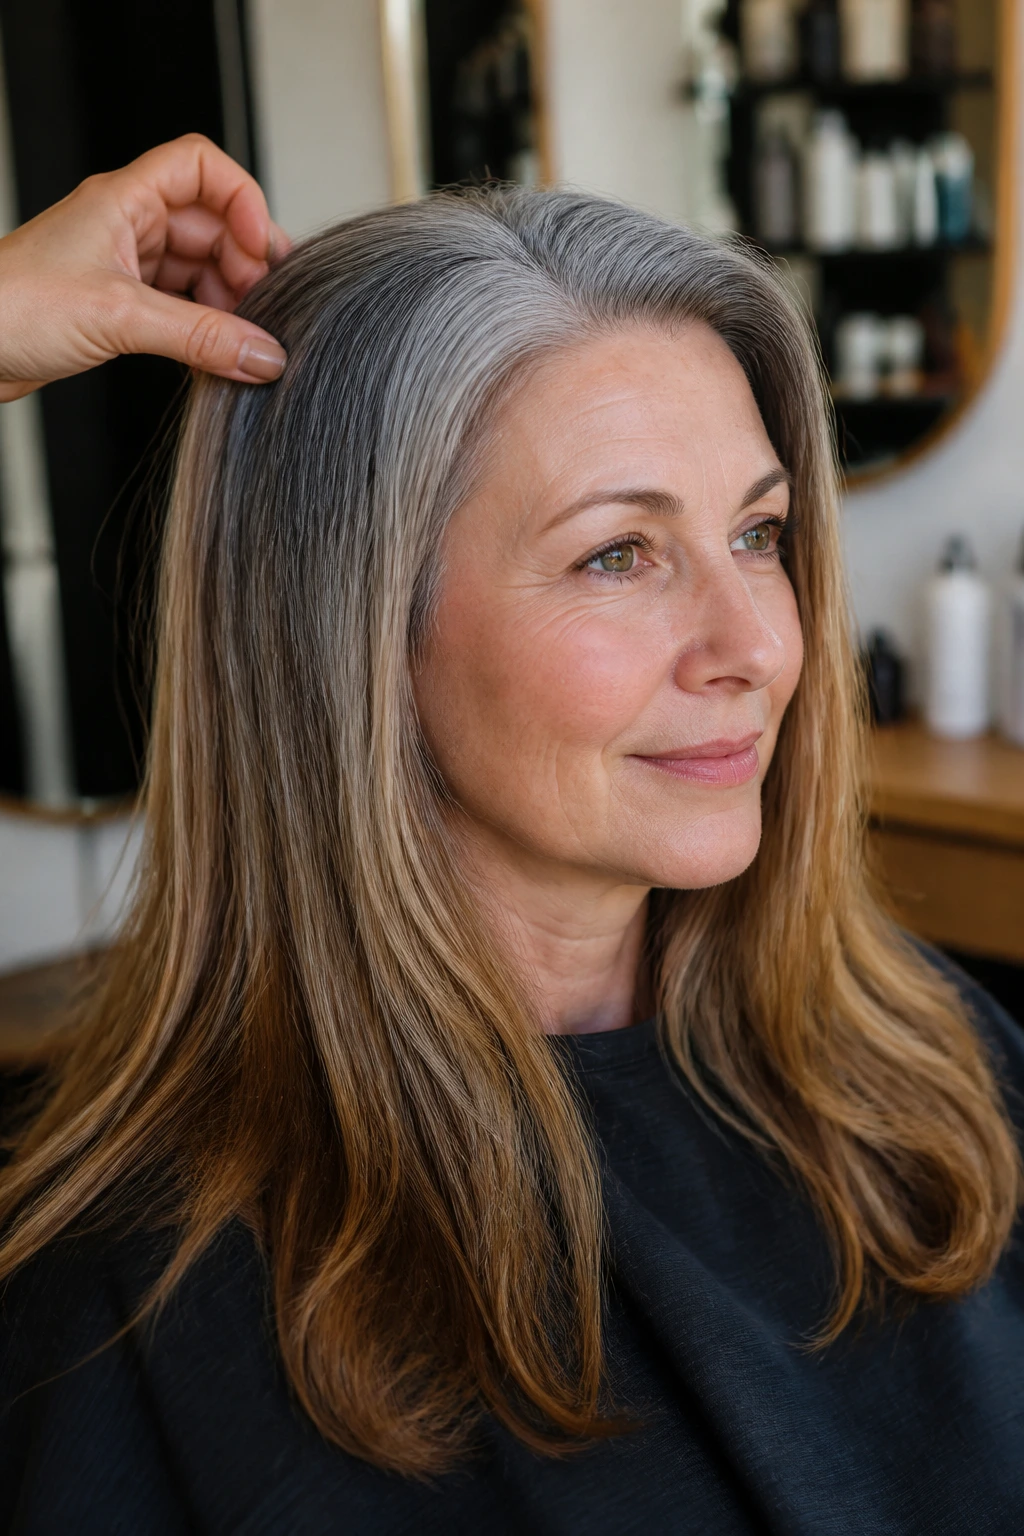
15. Salt-and-Pepper Contrast with Intentional Brown Placement

You do not have to erase every silver strand to look finished. In fact, trying to cover all of it can make brown hair look heavier than the gray ever did.
A salt-and-pepper contrast works when you keep some gray visible but place brown strategically around the crown, part, and face frame. That gives the eye a plan. It says, “Yes, the gray is here, and yes, it belongs.” The result feels calmer because the contrast is spread out instead of concentrated in one loud stripe.
This option is good if your gray percentage is already high and you don’t want a lot of upkeep. It also feels more honest, which I think matters. Hair looks best when it isn’t pretending too hard.
16. Root Concealer Powder for In-Between Days
Need the part to behave for one night? Root concealer powder is the fastest fix in the drawer. Brush it onto dry hair along the part and temples, let it sit for a minute, and tap away the extra with a clean brush or your fingers.
It works best on sparse gray, not a whole head of silver. Think of it as a visual patch, not a full color service. A shade slightly lighter than your target brown usually looks better than something too deep, because it blends into the scalp instead of sitting on top of it like makeup.
This is the thing I’d keep in a bag if I had a big meeting, a dinner, or a photo day. It buys time. It does not replace color, and that’s fine.
17. Honey Lowlights That Keep Brown From Going Flat
A brown transition can feel dull if every piece is cool and dark. Honey lowlights add a little warmth and movement without pushing the hair into obvious blonde territory.
This works especially well through the midlengths, where the eye likes to settle. One or two shades lighter than the base is usually enough. You’re not trying to create stripes. You’re trying to give the brown somewhere to breathe so the gray doesn’t look like it’s sitting on top of a dull paint job.
A loose wave or a round-brush blowout shows this placement nicely. Straight, heavy hair can swallow it.
18. Gloss-Only Grow-Out for a Gentle Shift
A gloss-only route is for the person who does not want a dramatic color fight on their hands. A tinted or clear gloss every four to six weeks adds shine, tightens up the tone, and helps the gray and brown sit closer together.
It will not cover resistant gray the way permanent color will. That is the point. You keep more of the natural silver, but the brown lengths stop looking tired or faded. On hair that’s already healthy and fairly even, this can be enough to make the whole grow-out look thoughtful instead of unfinished.
A good gloss should make the hair feel slippery and look a little richer, not coated. If it looks painted, it’s too much.
19. Side-Part Camouflage for an Easier Daily Look
A center part is honest. Sometimes too honest.
A side part shifts the visible line of gray off center and breaks up the symmetry that makes regrowth look loud. If the temple gray is the problem, moving the part just an inch or two can change the whole mood of the hair. A few face-framing pieces falling across that side help even more.
This is one of the cheapest tricks in the whole list. No color appointment. No dramatic change. Just a different way of dividing the same hair. On days when the roots are winning, I’d rather flip the part than stare at the mirror and get annoyed.
20. Multi-Stage Darken-Down Without Banding
Why Two Visits Beat One Big Jump
If you want a deeper brown but hate the look of a sudden stripe, go in stages. Start with a root shadow and a few lowlights, then deepen again a few weeks later if needed. That keeps the color from stacking into one harsh band.
This is especially smart if you’re moving from salt-and-pepper to chocolate brown. The hair and your eyes both need time to adjust. One all-over dark formula can make the root look painted and the mids look hollow. Two or three gentler steps usually land better.
It’s slower. It also looks better when the grow-out starts to settle.
21. Braids and Twist-Out Texture That Blends the Contrast

Texture is camouflage. Braids, twists, braid-outs, and twist-outs all break the line between gray and brown so the eye sees pattern instead of a color mistake.
This is especially useful on coily and curly hair, where a little lift and movement can turn silver strands into part of the shape. A fresh twist-out can make gray look bright and dimensional. A tight braid can hide the front line for a day and give the hair a cleaner profile.
Keep the styling product light enough that the hair doesn’t sit flat at the roots. Flat roots make the gray show up faster. Texture hides more than people think.
22. Collarbone Lob with Soft Ends
Why do the ends matter so much? Because old, faded lengths keep the attention on the bottom half of the head. A collarbone lob trims away a lot of that noise and makes the transition easier to read.
The blunt truth
A clean edge at the collarbone is easier to color than long, porous ends that have been through every mistake under the sun. Soft internal layers stop the lob from looking stiff, and a slight bend at the ends keeps the shape from feeling boxy.
This cut is a good reset if the hair has too many shades baked into it. Sometimes the fastest way to improve the color is to shorten the canvas.
23. Special-Occasion Clip-Ins for Extra Density
Clip-ins and toppers are not cheating. They’re tools.
If you want a richer brown look for a wedding, a photo, or a long work stretch, a good set of human-hair clip-ins in a neutral brown can fill out the lengths and make the gray less noticeable. The key is matching the tone carefully. Too shiny and too dark, and the pieces sit on top like they belong to someone else.
A loose style hides the attachment points better than a tight one. A soft wave or a half-up twist usually makes the blend look cleaner than pin-straight hair.
24. The Long-Game Trim-and-Gloss Plan
If you hate frequent permanent color, the long game may suit you better. Trim the hair regularly, gloss it on a schedule, and let the older, more stubborn lengths disappear bit by bit.
A half-inch trim every eight to ten weeks keeps the ends from hanging onto old color forever. A gloss every six to eight weeks keeps the brown from getting dull while the gray grows in more naturally. It is not fast. It is also much easier to live with if you dislike the feel of a heavy color line.
This approach works best when you’re willing to let the cut do some of the transition work. Hair grows. Use that.
25. Fixing Banding in a Gray-to-Brown Transition
Banding is the part that makes a grow-out look accidental: dark roots, a lighter middle band, and older brown ends that don’t match either one. It’s common, and it’s fixable.
A colorist can blur the band with lowlights, a soft root shadow, or a demi glaze that pulls the three zones closer together. If box dye has built up over time, this is the point where I would stop guessing and let a pro clean it up. Banding gets worse when you keep adding the same brown over the same area without changing the formula.
Once the band is softened, the whole head looks calmer. That is usually the real goal.
Why Brown Reads Softer When the Color Has Depth

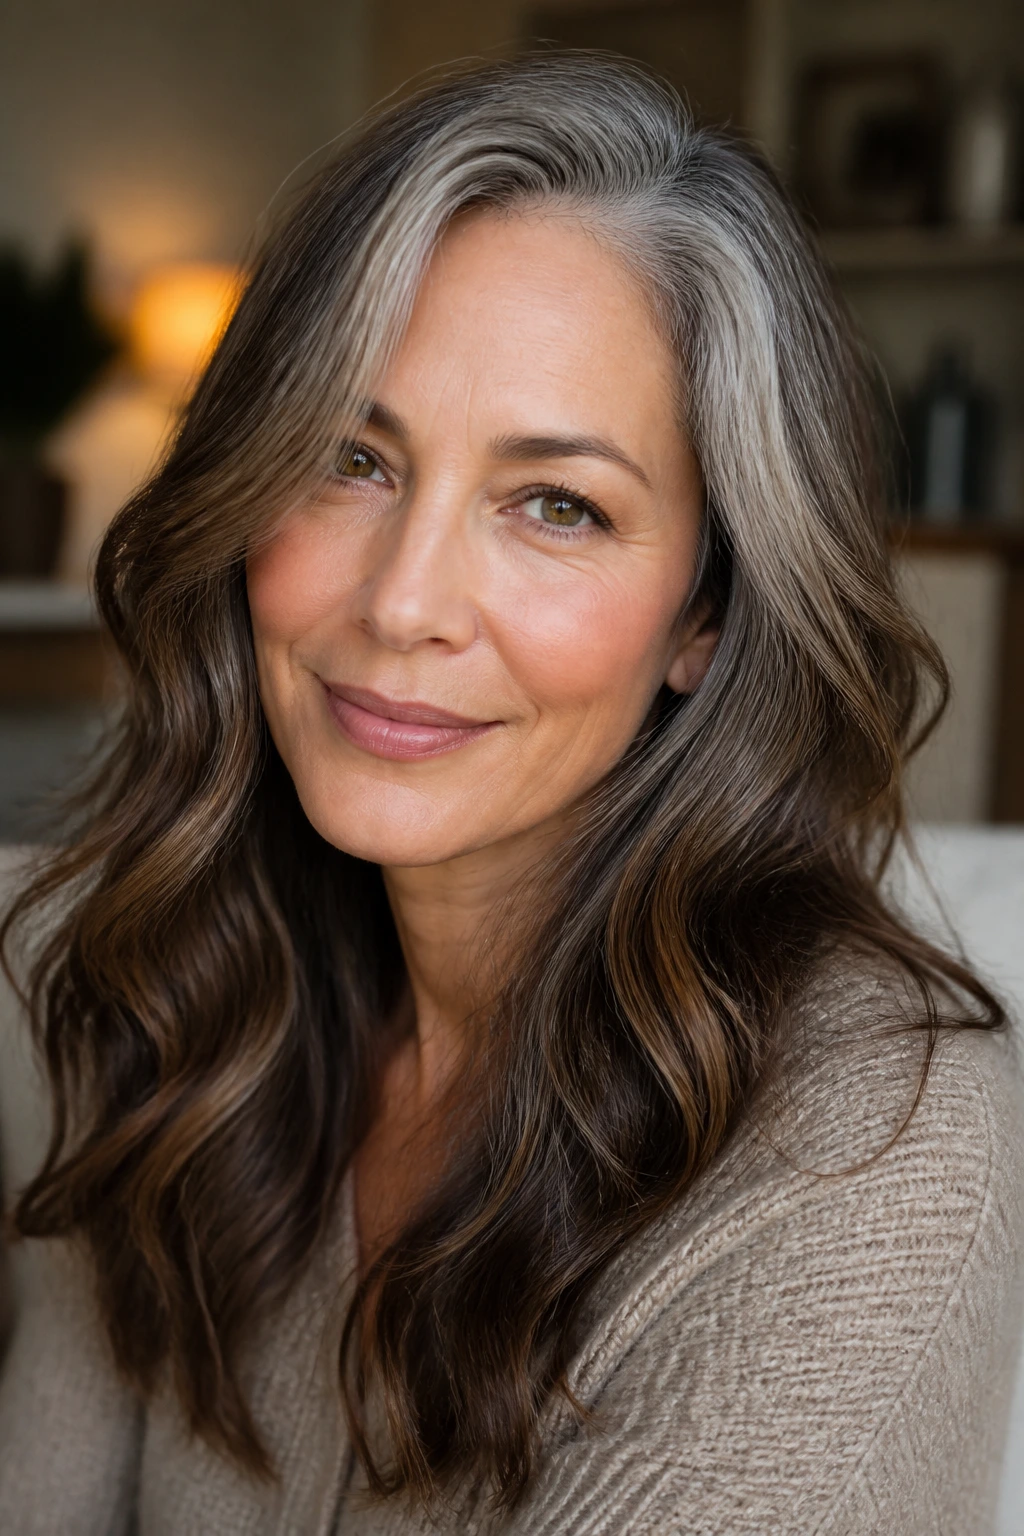
Gray hair is not just brown hair without pigment. It behaves differently. The strand often looks brighter, sometimes wirier, and sometimes a little more reflective at the part and temples where the scalp gets the most light. That is why one flat brown color can make the head look heavier than it needs to.
Depth fixes that. A root shadow gives the scalp area a middle tone. Lowlights pull the mids away from that washed-out, one-note look. A gloss helps the silver and brown meet somewhere in the middle instead of arguing with each other.
The prettiest gray-to-brown transition usually isn’t the most covered one. It’s the one with enough variation that your eye stops hunting for the seam.
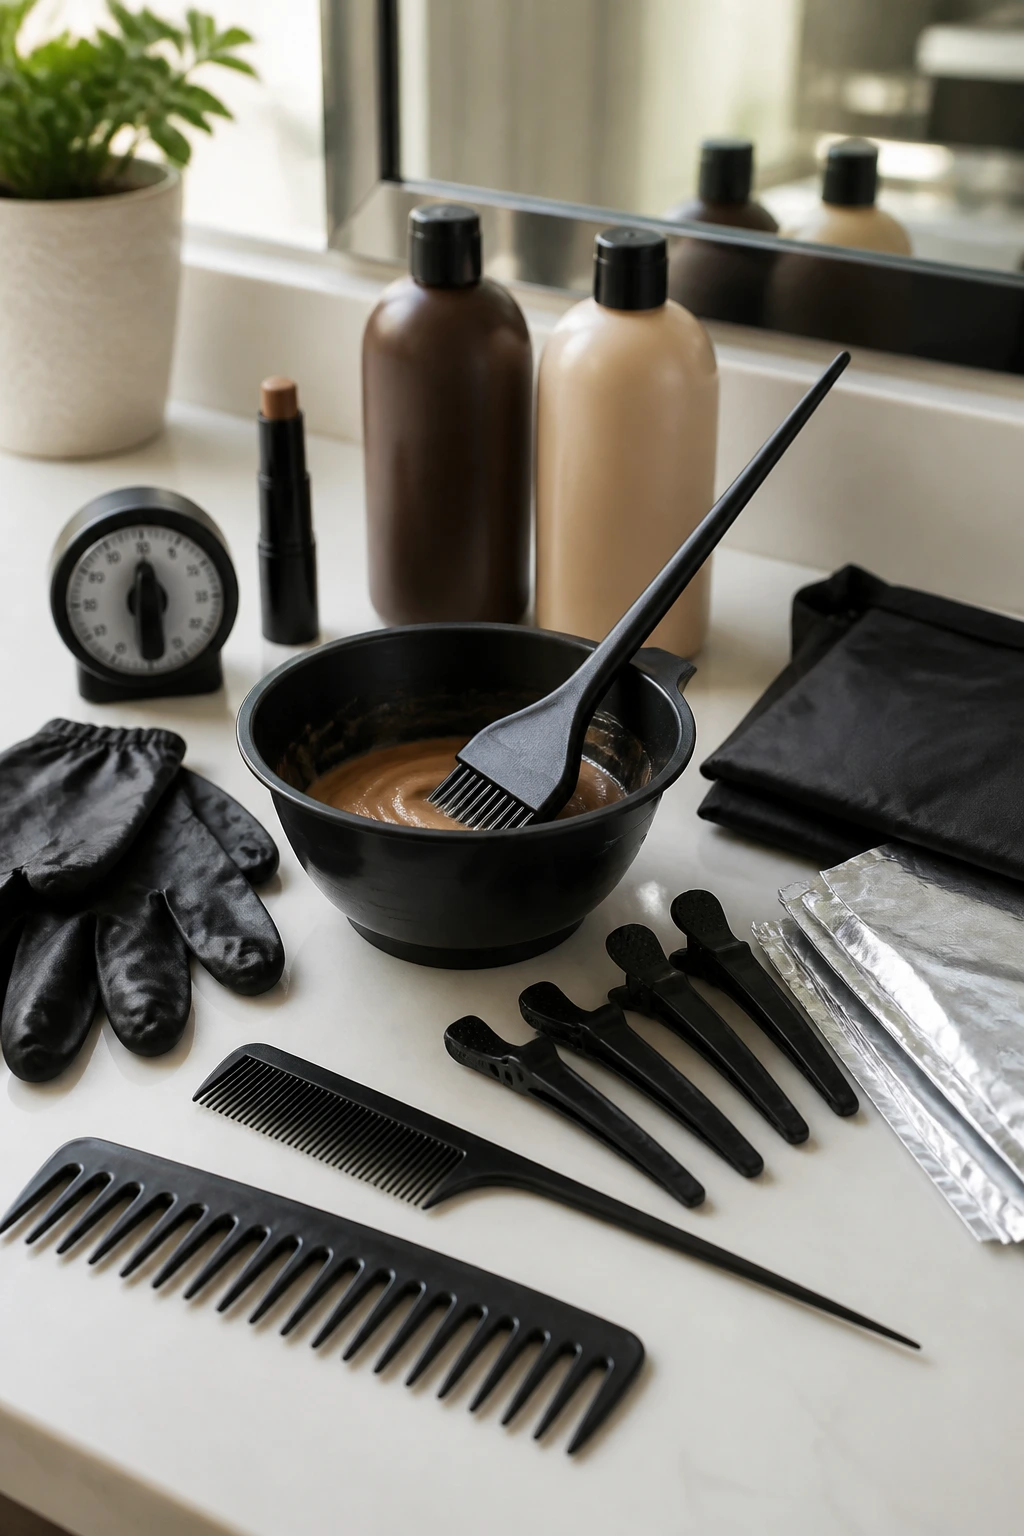
Essential Tools for a Gray-to-Brown Transition
-
Tint brush and color bowl: Gives you control when you’re placing root shadow, gloss, or lowlights.
-
Tail comb: Useful for clean parts, fine sections, and exact placement at the temples.
-
Sectioning clips: Keep the hair separated so color doesn’t bleed where it shouldn’t.
-
Gloves and a cape or dark towel: Brown dye stains fast, and it does not care what fabric you love.
-
Foils or meche paper: Helps when you’re painting lowlights or baby lights and need clean separation.
-
Timer: Gray hair often needs exact timing, especially at the resistant front hairline.
-
Color-safe shampoo and conditioner: Keeps brown from fading too quickly into a dull red-brown.
-
Root concealer spray or powder: Handy between appointments when the part line gets loud.
-
Wide-tooth comb: Spreads gloss through the lengths without yanking on fragile, processed ends.
Picking the Right Brown Shade at the Salon or Store
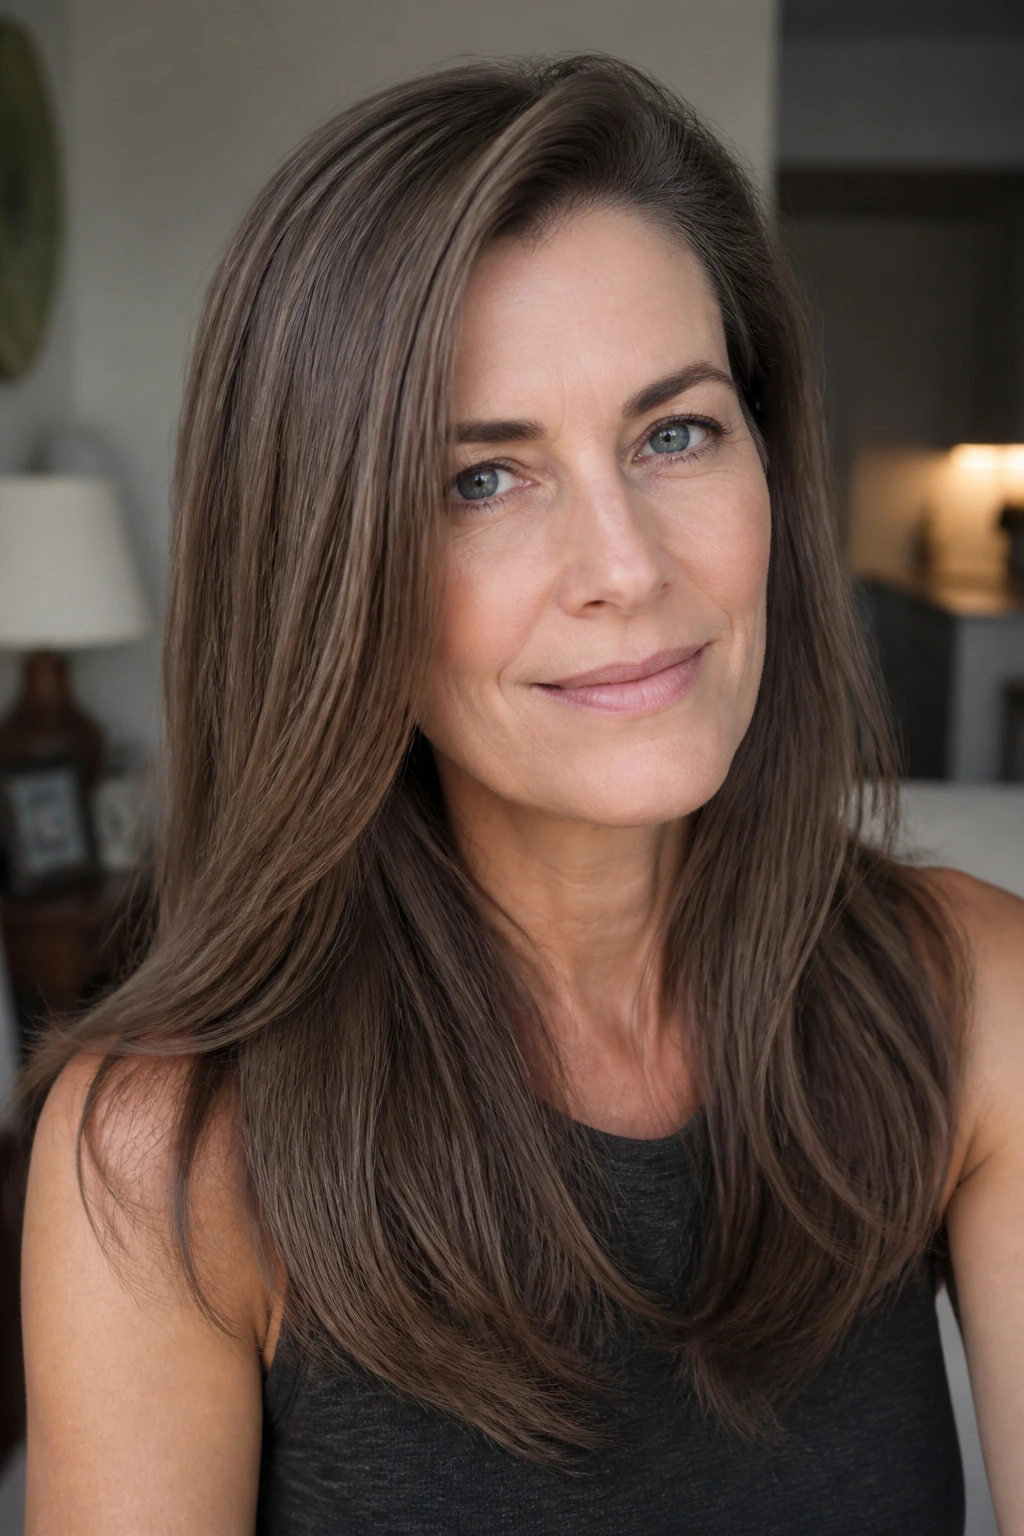
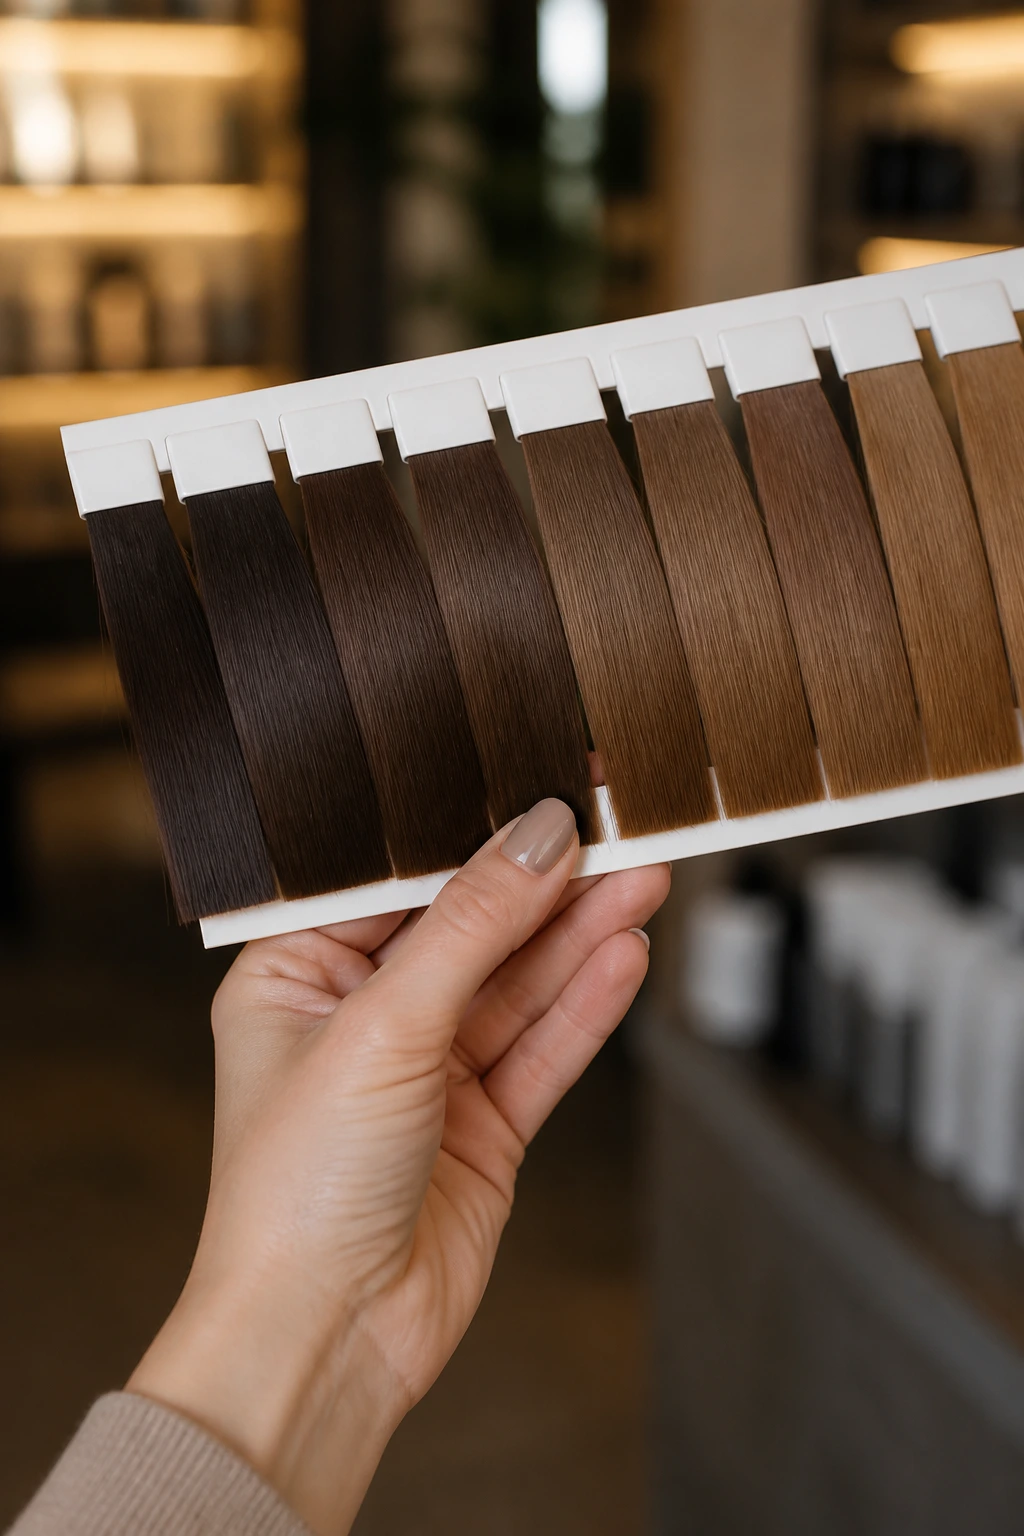
Shade choice matters more than most people expect. Level 5 or level 6 brown usually gives the easiest transition because it keeps enough lightness to feel soft. Level 4 can look rich, but it can also feel severe if your skin is pale or cool and your gray is bright white at the front.
Tone matters too. Ash and neutral shades calm silver hair. Chestnut and beige brown soften warmth. If your gray is resistant, permanent color at the roots often covers better than demi-permanent, while a demi or gloss through the mids keeps the whole head from going too dark too fast.
Porosity matters as well. If the ends are old, lightened, or frayed, they may need a warm filler before the brown goes on. Skip that step and the color can land hollow or muddy. That’s why a quick strand test is worth the time. It shows you whether the shade is going to behave or fight you.
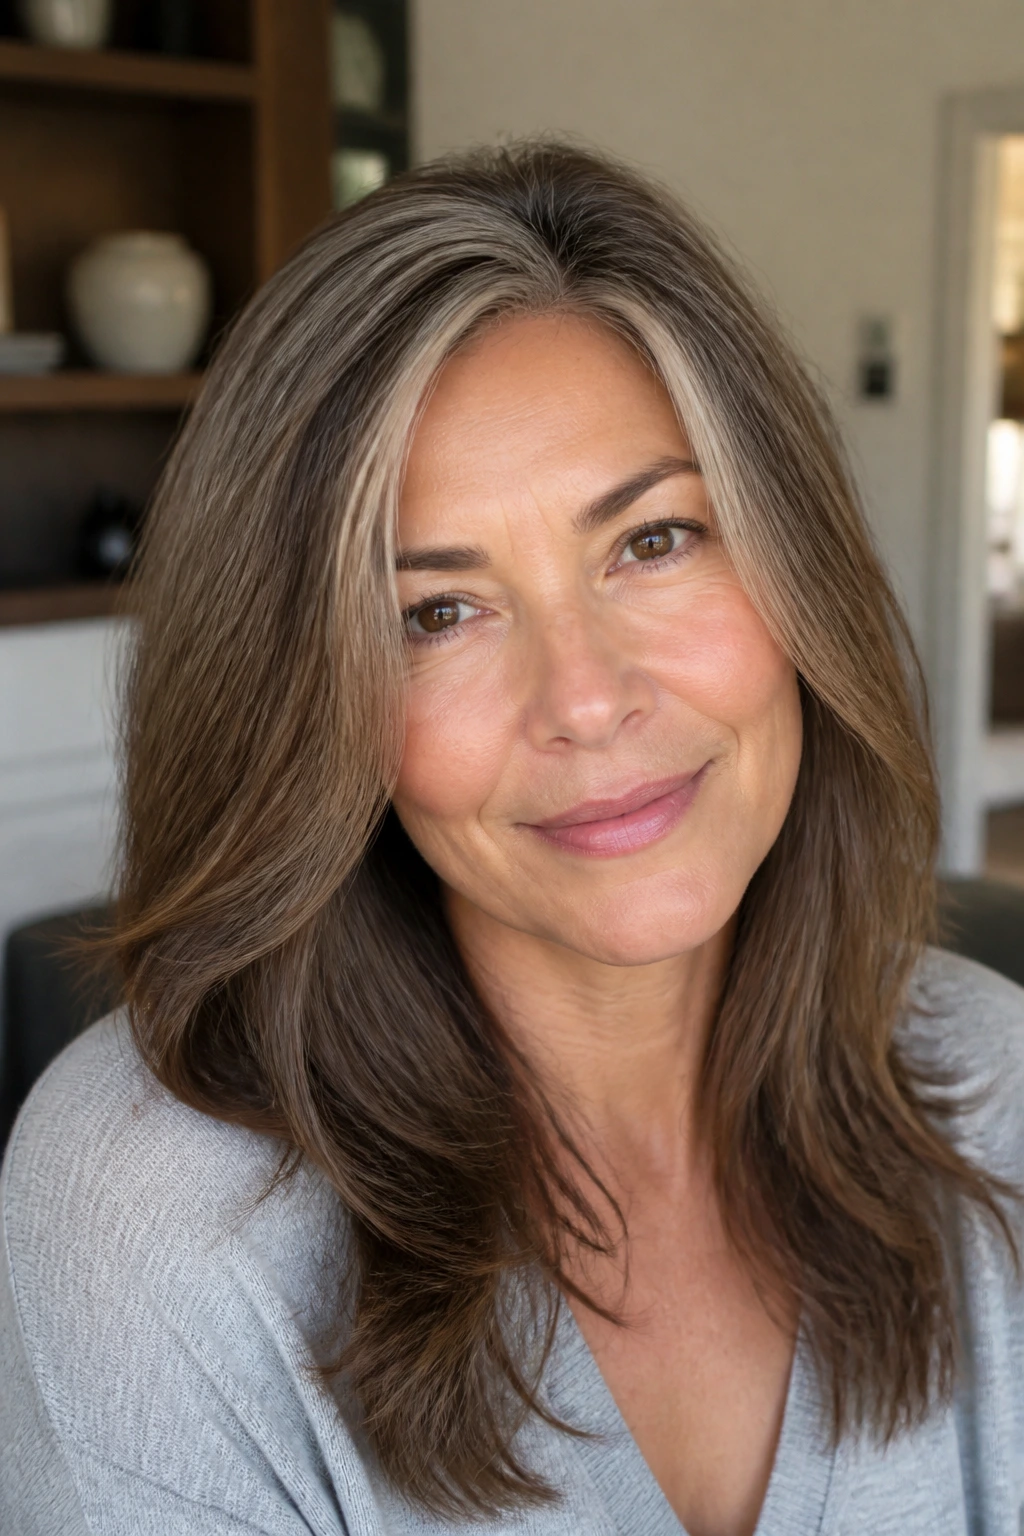
How to Wear and Style These Gray-to-Brown Looks
Presentation: A loose bend, soft wave, or smooth blowout usually shows the transition at its best. Pin-straight hair exposes every border, so if the grow-out is fresh, a little movement helps.
Accompaniments: Pair sharper color work, like a root shadow or lowlights, with a cut that has some shape — a bob, lob, pixie, or layered style. Heavy one-length hair can make the contrast feel bigger than it is.
Coverage Level: Decide whether you want full camouflage, partial blending, or a salt-and-pepper look with brown support around the face. That choice changes the whole formula.
Finish: A pea-sized amount of serum on the mids and ends, plus a flexible spray at the crown if needed, keeps the brown from looking chalky or overworked. A little root powder can help on days when the part line needs calming.
Extra Tips and Tone-Saver Tricks
Tone Enhancement: If brown keeps pulling red, ask for a cooler gloss or a beige-based toner. If it keeps looking flat, add a few chestnut or honey lowlights through the mids.
Customization: Put the deepest brown under the canopy and around the nape where it adds depth without shouting. Keep the face frame a half-step softer if the gray is concentrated at the temples.
Finishing Touches: Use root concealer only on dry hair, let it set for a minute, then brush the excess away. Too much product at the part makes the scalp look dusty.
Make-It-Yours: For curls, focus on surface placement and softness. For straight hair, use a root shadow and a cleaner cut. For thick hair, widen the painted pieces so the brown doesn’t disappear into the mass.
Common Mistakes That Make Gray Grow-Out Look Harsh
-
Going two or three shades darker than your natural brown: The result can look like a helmet instead of a transition. Choose a shade that still leaves some softness around the face.
-
Painting every inch the same color: One flat brown on roots, mids, and ends makes gray stand out even more when it comes back. Use depth, not sameness.
-
Skipping a filler on porous ends: Brown can go hollow, smoky, or muddy on damaged lengths. A warm pre-fill keeps the final shade honest.
-
Ignoring the temples: The front hairline is where the eye goes first, and resistant gray there can make the whole color job feel unfinished. Give that area extra attention.
-
Stacking box dye over old color without a plan: Repeated at-home brown can create banding fast. If you already have layers of old dye, a correction appointment is usually cheaper than fixing a bigger mess later.
Variations and Other Routes to Try
Barely-Brunette Blend: Keep a good amount of gray visible and let brown lowlights carry the transition. This suits people who want less maintenance and don’t mind a salt-and-pepper finish with structure.
Warm Chestnut Cover: Lean into chestnut, beige, and honey tones if your skin has warmth and your gray looks harsh against cool browns. The warmth softens the contrast and keeps the hair from feeling icy.
Cool Mushroom Finish: Choose ash-beige or mushroom tones if your brown tends to turn red. This is the quieter, cooler route, and it usually looks clean on fine or straight hair.
Short-Cut Reset: Go shorter — pixie, bob, or lob — if the old color line is too loud. Cutting off the most stubborn lengths can solve more of the problem than another round of dye.
Gloss-Only Route: Use glosses, not permanent color, if you want the gray to stay part of the picture. That keeps the grow-out soft and gives you room to decide later whether you want more brown or less.
Keeping the Color Fresh Between Visits
After a permanent color service, wait about 48 hours before the first shampoo if you can. That gives the pigment time to settle down. After that, wash two to three times a week with lukewarm water and a color-safe shampoo. Hot water lifts tone fast, and brown can turn dull on you in a hurry.
A gloss usually holds for 4 to 6 weeks, while lowlights often stay useful for 8 to 12 weeks depending on how fast your hair grows and how much gray you have at the front. Root shadow tends to need a refresh closer to 6 to 8 weeks if the part line is your main concern. Between visits, root powder or spray can cover the busy areas for a day or two, but only on dry hair.
Keep the products closed tightly and stored somewhere dry. Root powders hate humidity. Also, don’t pile heavy conditioner on the roots if your hair is fine; put most of the moisture through the mids and ends, where the color is older and usually more fragile.
Frequently Asked Questions
Can you go from gray to brown without bleaching first?
Yes, and that is usually the better route. Gray hair has no pigment to lift out, so the job is mostly about depositing the right brown and blending the line. Bleach only enters the picture if you need a major correction from old dark dye or uneven color bands.
What brown shade looks safest on stubborn gray?
A level 5 neutral brown is often the easiest starting point. It has enough depth to cover or soften gray, but it does not usually feel as severe as a level 3 or 4 can. If your skin runs cool, ask for a beige-neutral version instead of something redder.
Will demi-permanent color cover gray at the temples?
Sometimes it will blend them, but full cover is less reliable on resistant gray. The temples are usually the toughest area because the hair there can be coarser and more glassy. If those strands keep shining through, permanent color at the root plus a demi through the mids is often the cleaner fix.
How often do I need a gloss or root refresh?
Most people need a gloss every 4 to 6 weeks and a root refresh every 6 to 8 weeks if the regrowth line bothers them. Faster growers may need it a little sooner, especially around the hairline. The back often needs less attention than the front.
What if my brown turns muddy instead of rich?
That usually means the tone is too cool, too dark, or sitting on porous hair without a filler. A colorist can warm it back up with beige or chestnut pieces, or shift the formula so it stops swallowing light. Don’t keep putting the same dark brown over it and hoping it will improve.
Is a short haircut easier than long hair for growing out gray?
Often, yes. Shorter hair removes old ends faster and shrinks the visible distance between gray roots and brown lengths. A pixie, bob, or lob also lets you style the transition instead of staring at it all day.
Can I keep some gray and still look polished?
Absolutely. A salt-and-pepper blend with brown lowlights around the face can look clean and intentional. You do not need full coverage to look finished, and in a lot of cases, full coverage is the part that starts looking forced.
Is box dye a bad idea for this?
It is risky if you already have different tones on the head. Box dye tends to be one-size-fits-all, and gray hair almost never fits that description. If your hair has old salon color, highlights, or banding, a custom formula is safer.
A Softer Finish
The prettiest gray-to-brown transition is usually the one that stops trying to win every strand at once. A softer root, a little depth through the mids, and the right cut around the face can change the whole mood of the hair without making it look overworked.
Start with the least aggressive fix that solves the real problem. If the temples are loud, soften them. If the ends are dull, cut them. If the brown is too flat, give it depth. The line gets quieter fast when the plan matches the hair that’s actually on your head.