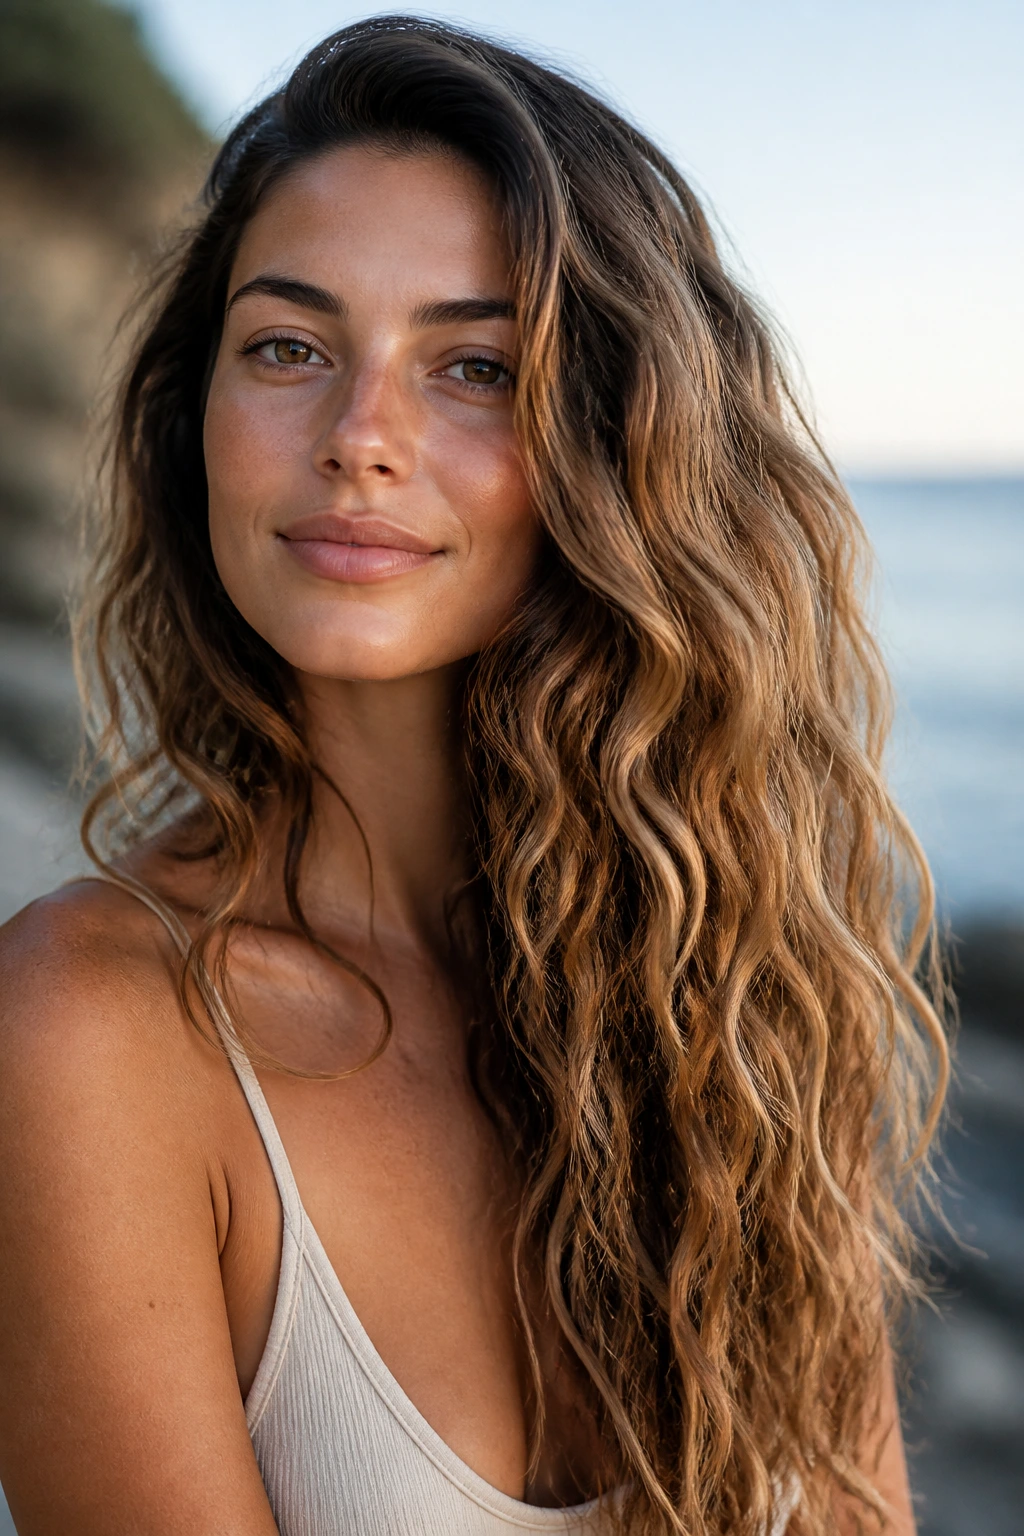
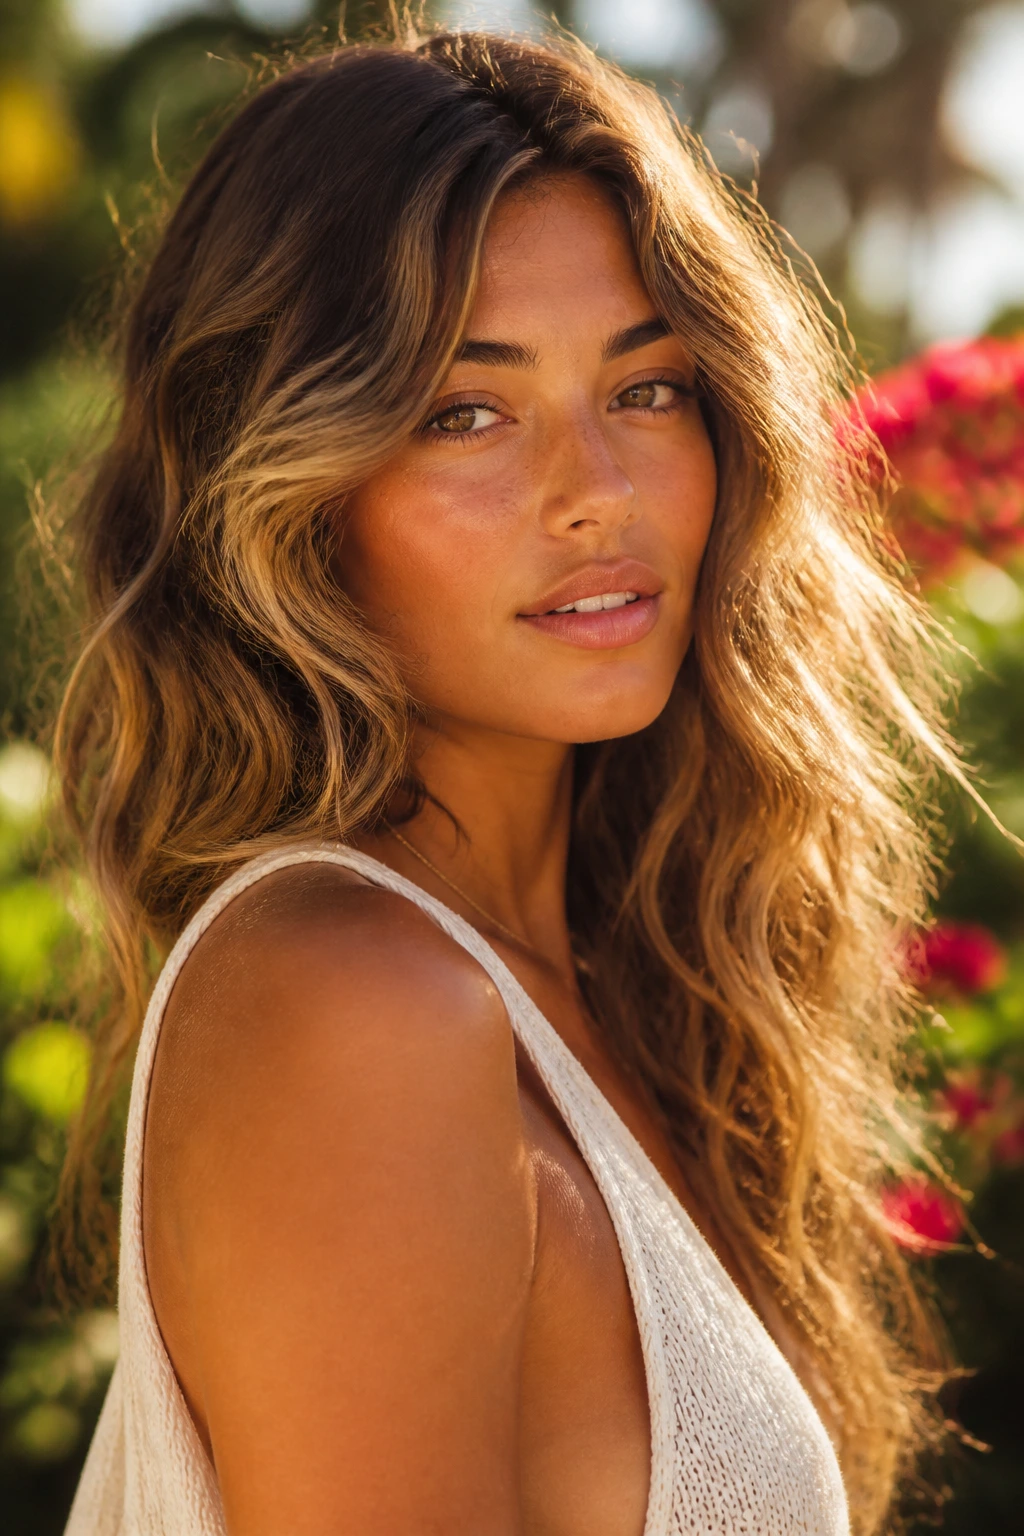
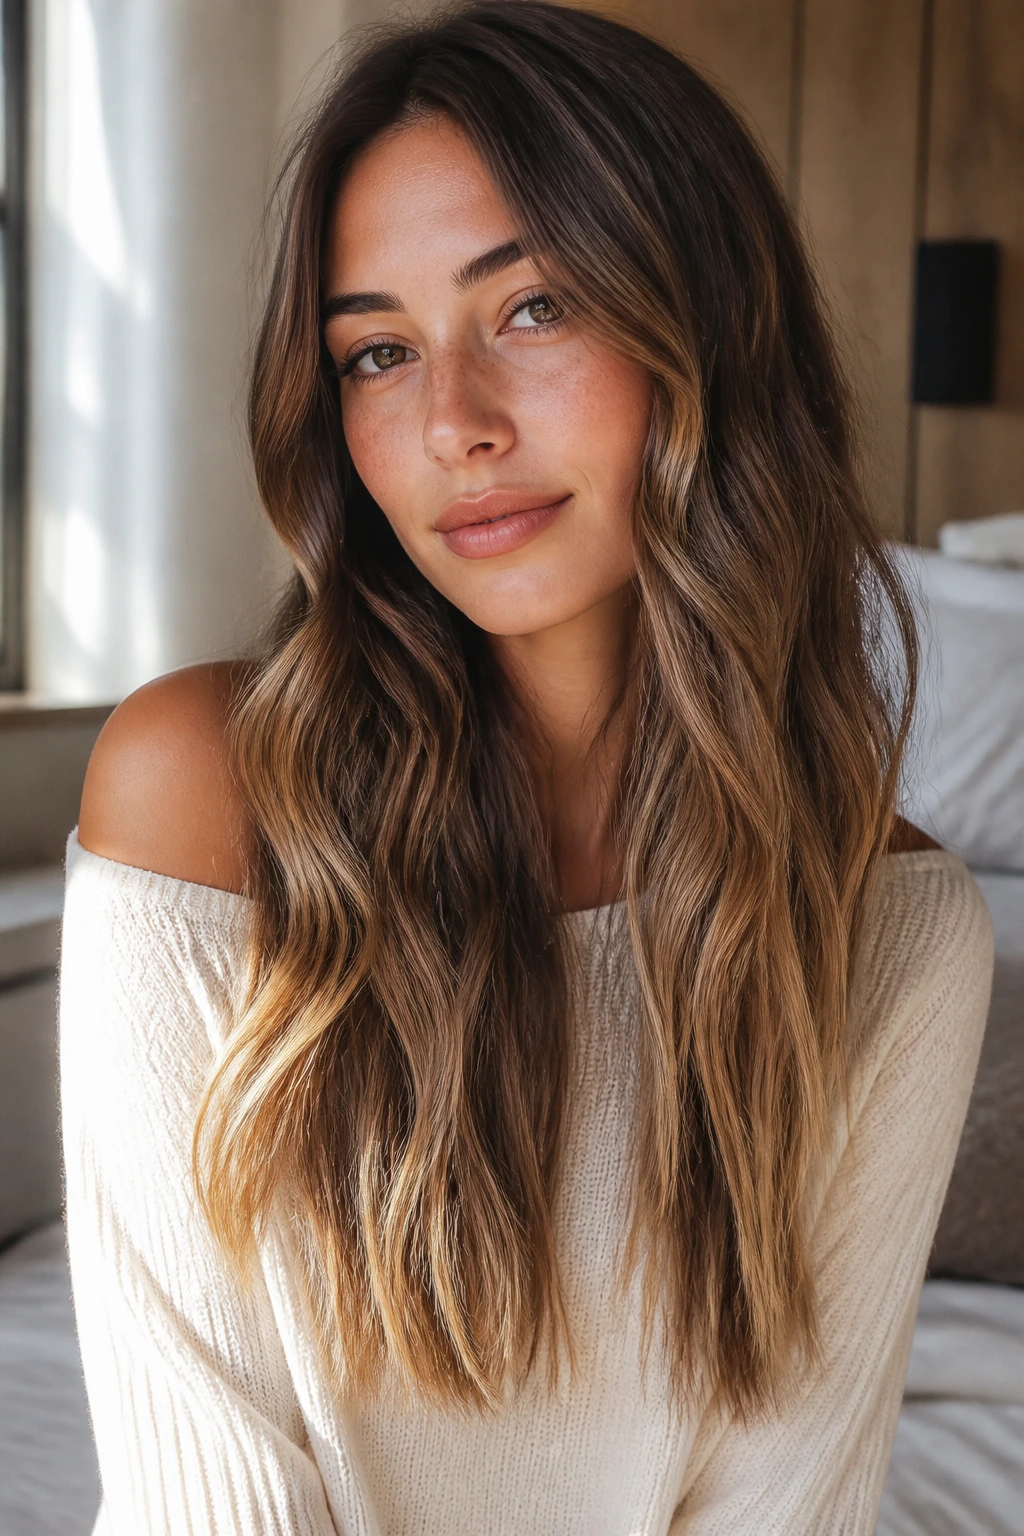
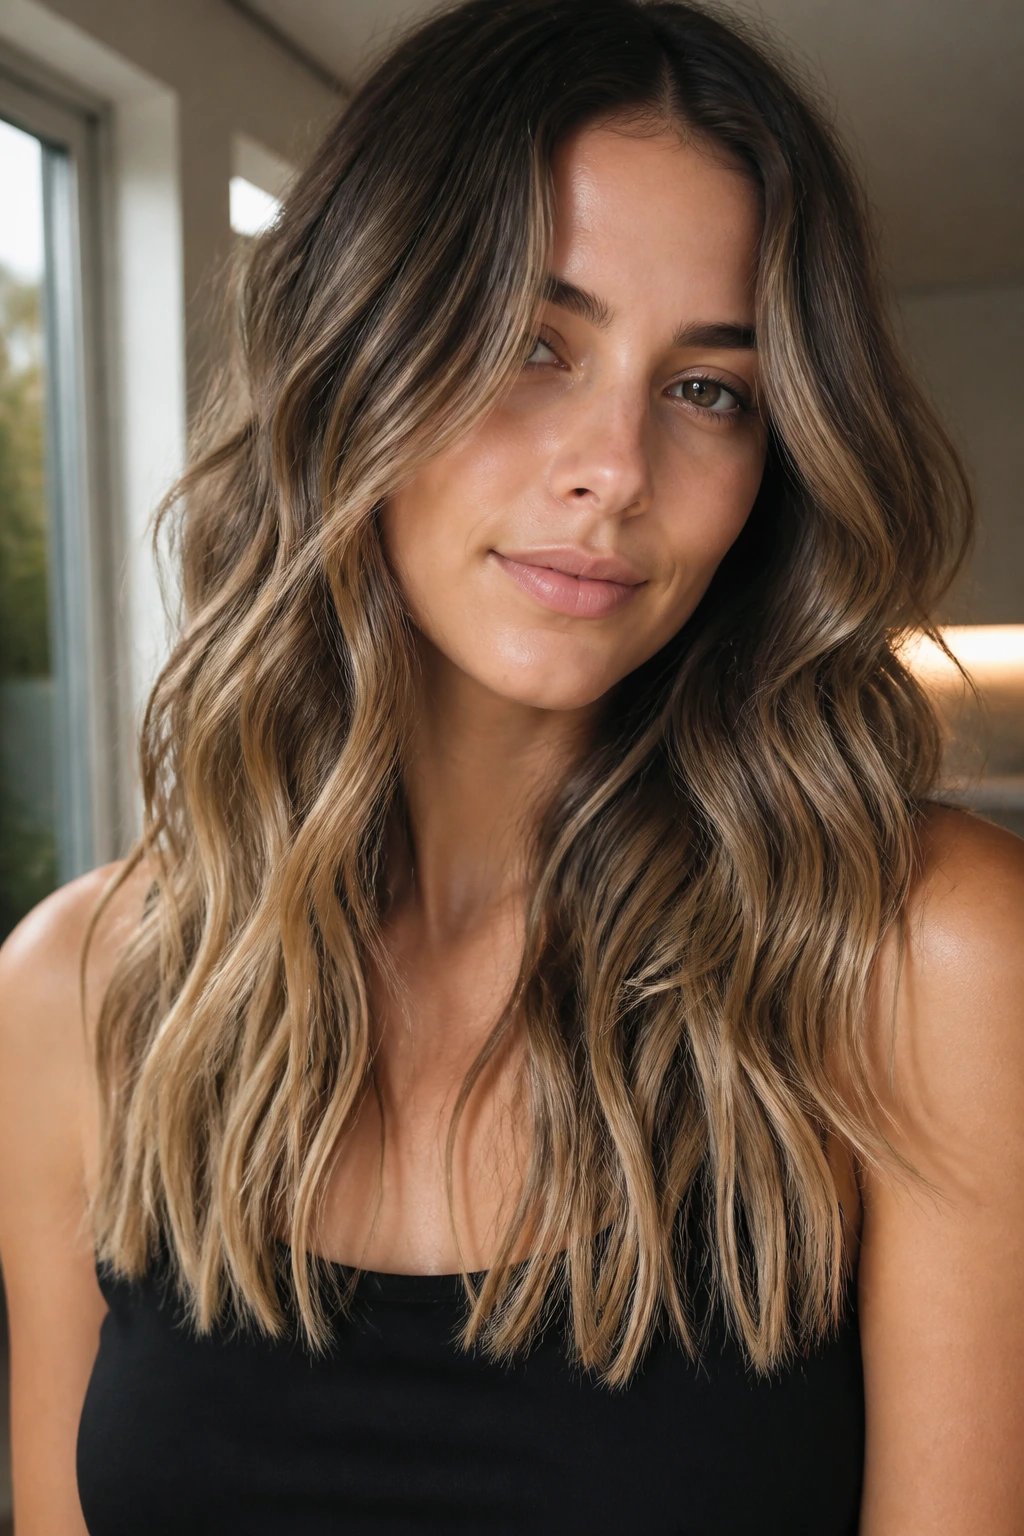
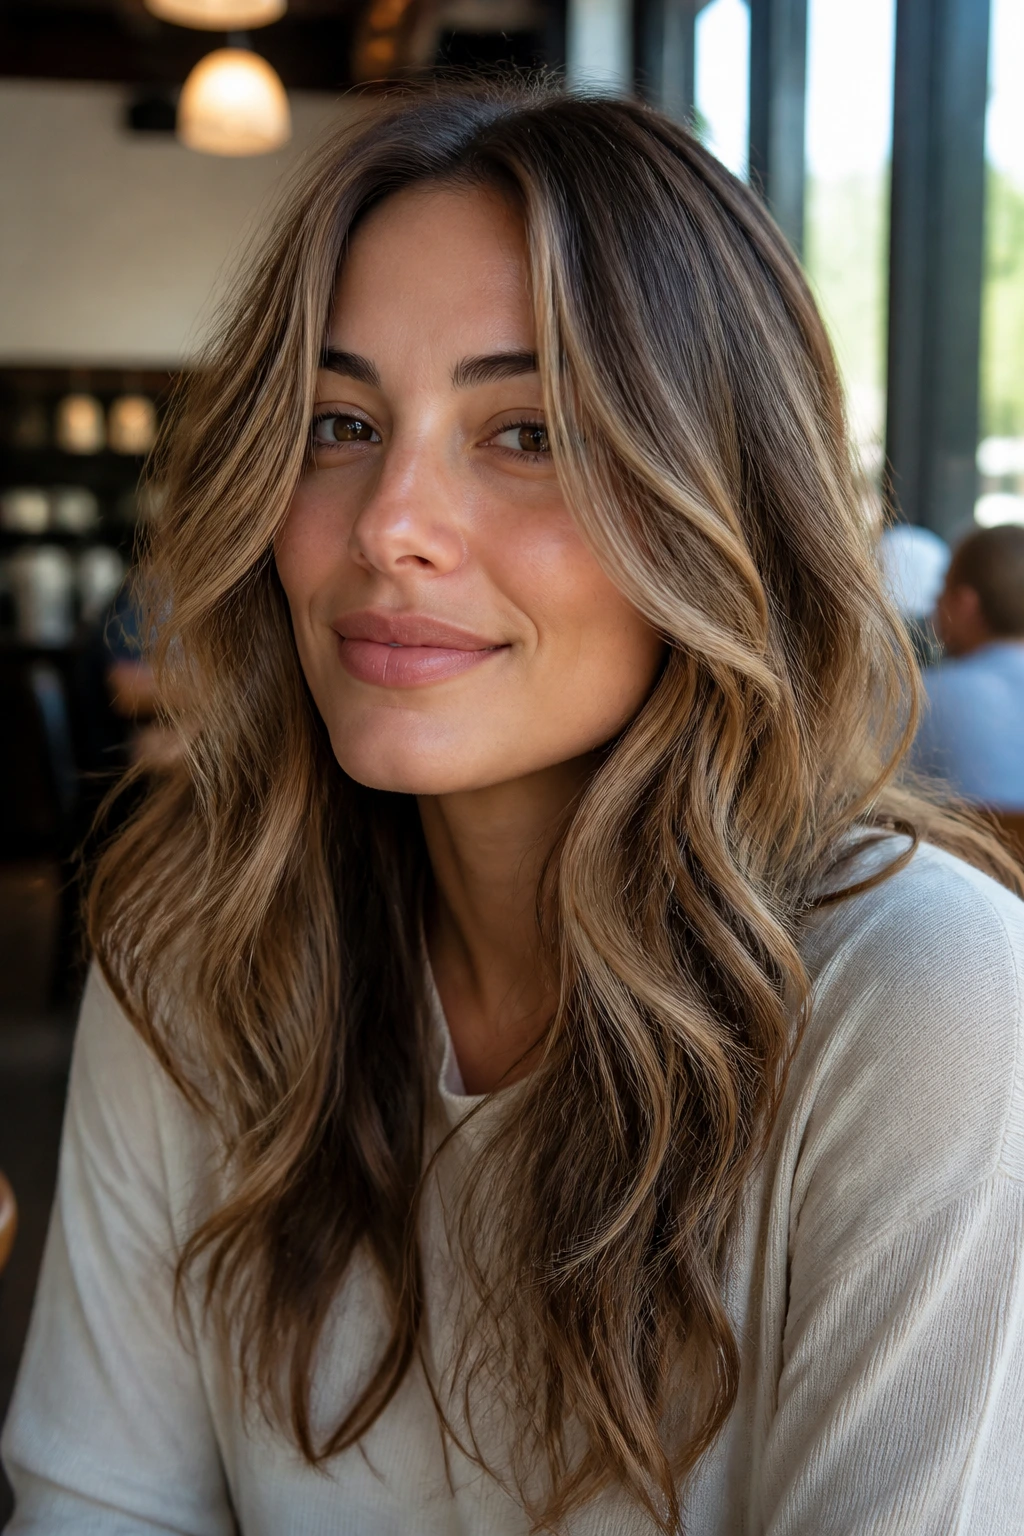
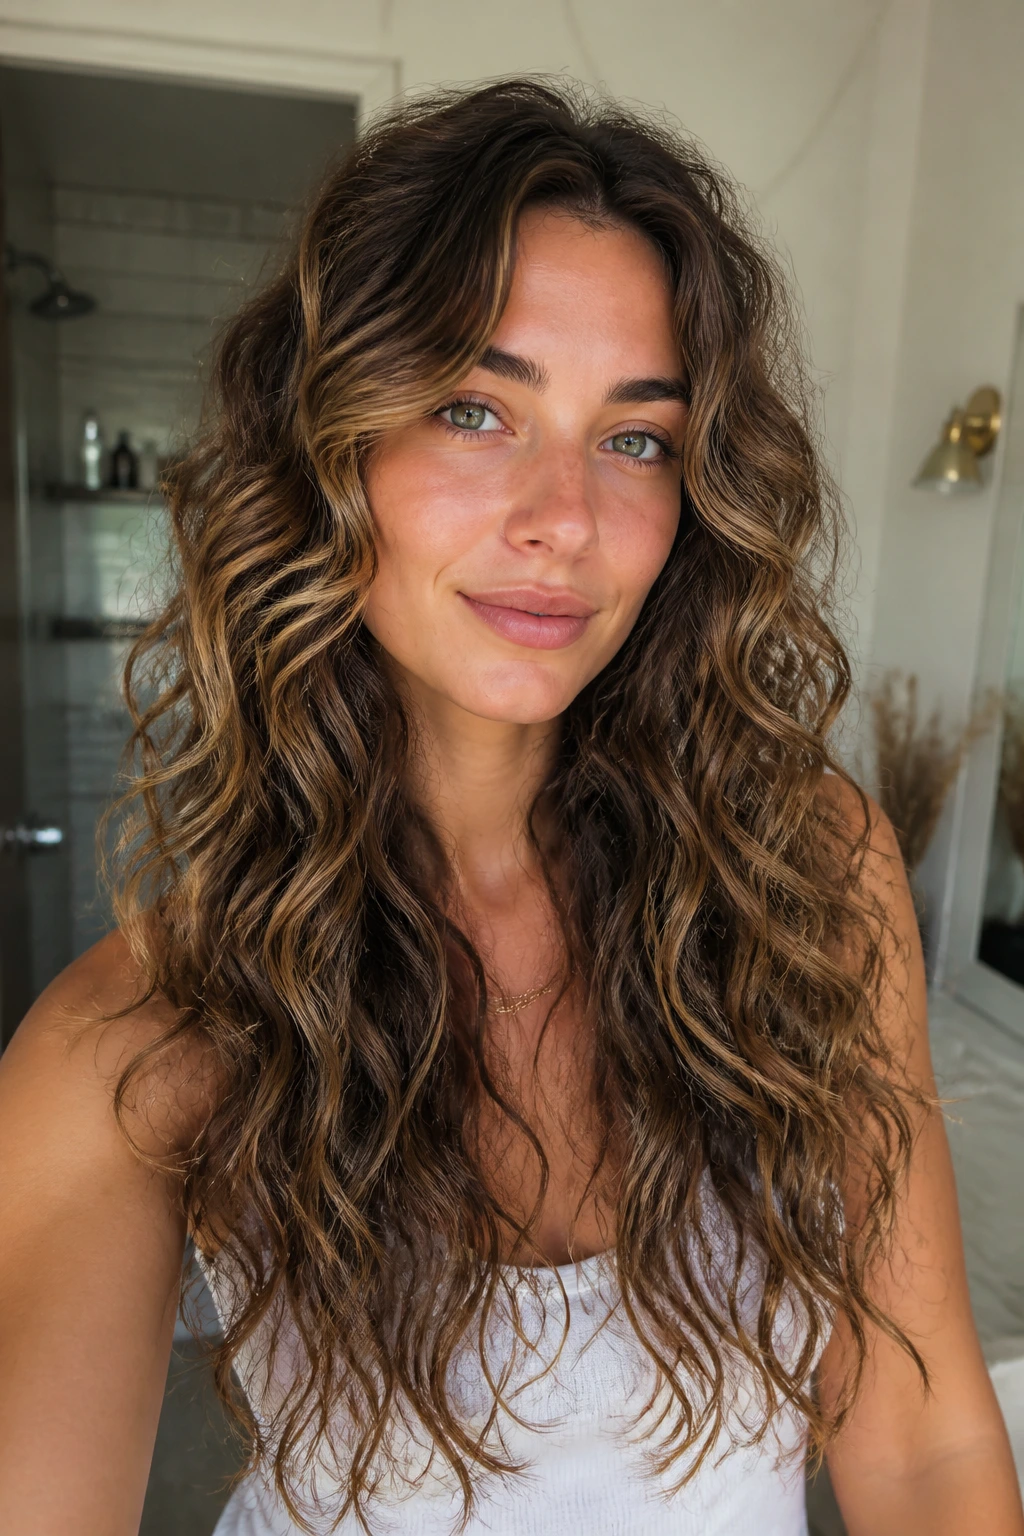
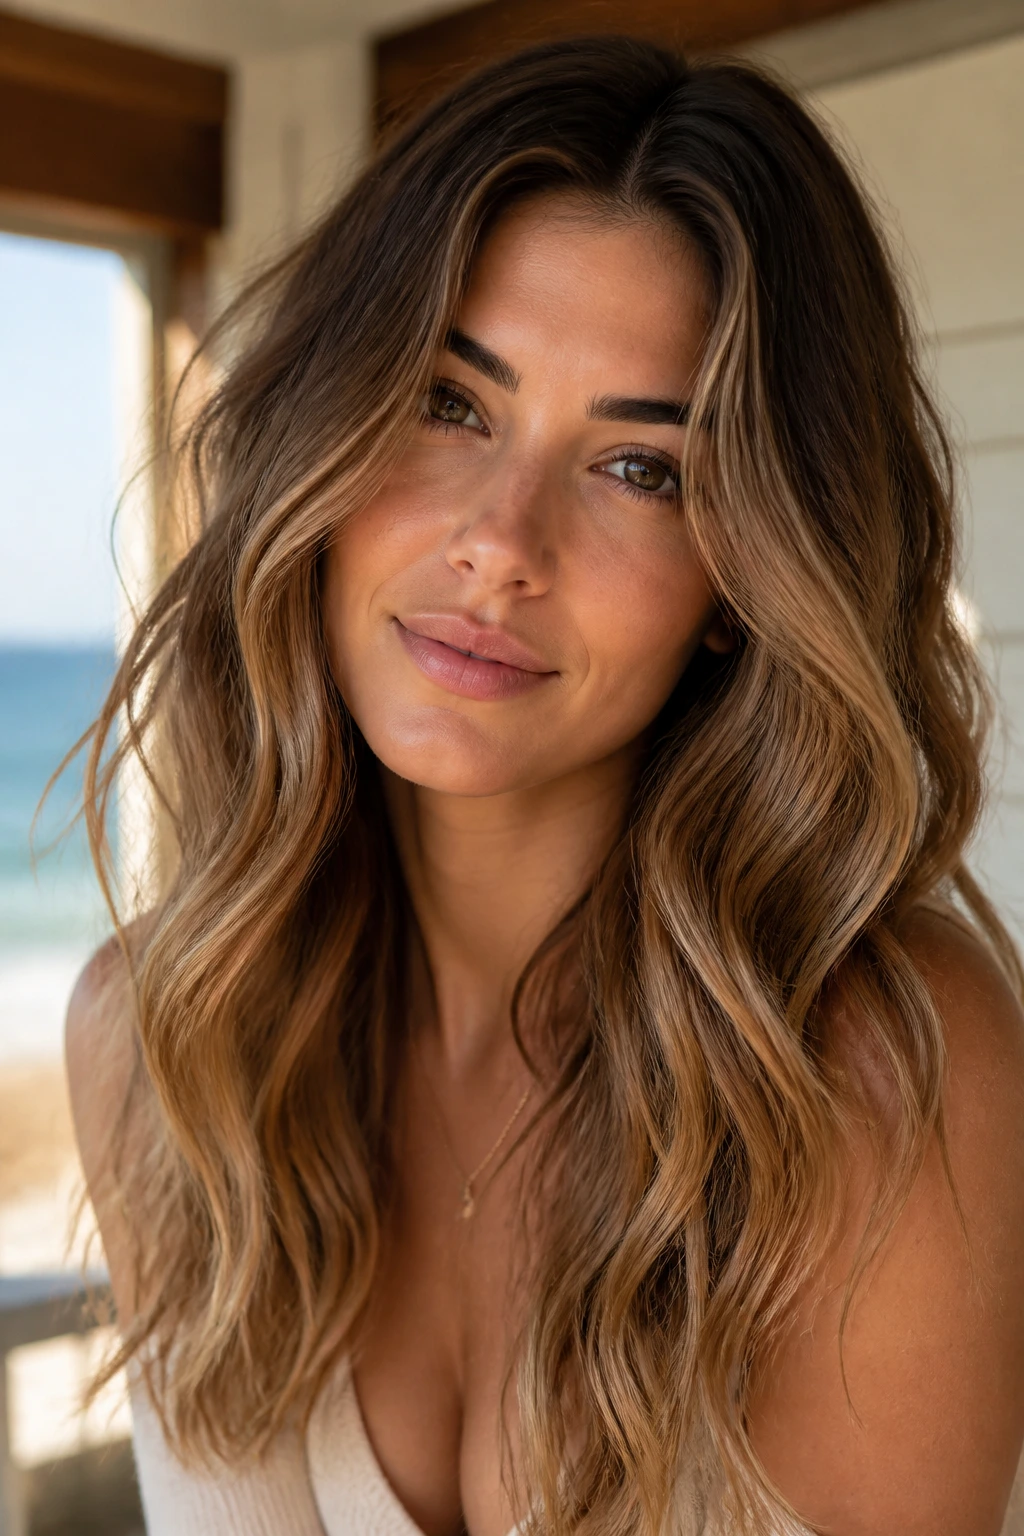
Long hair can make beachy waves look like you stepped off a salt-sprayed pier—or like the curl pattern gave up somewhere around your collarbone and never recovered. The difference usually comes down to three things: where the bend starts, how much texture you build into the mid-lengths, and whether the ends stay soft instead of turning into stiff hooks.
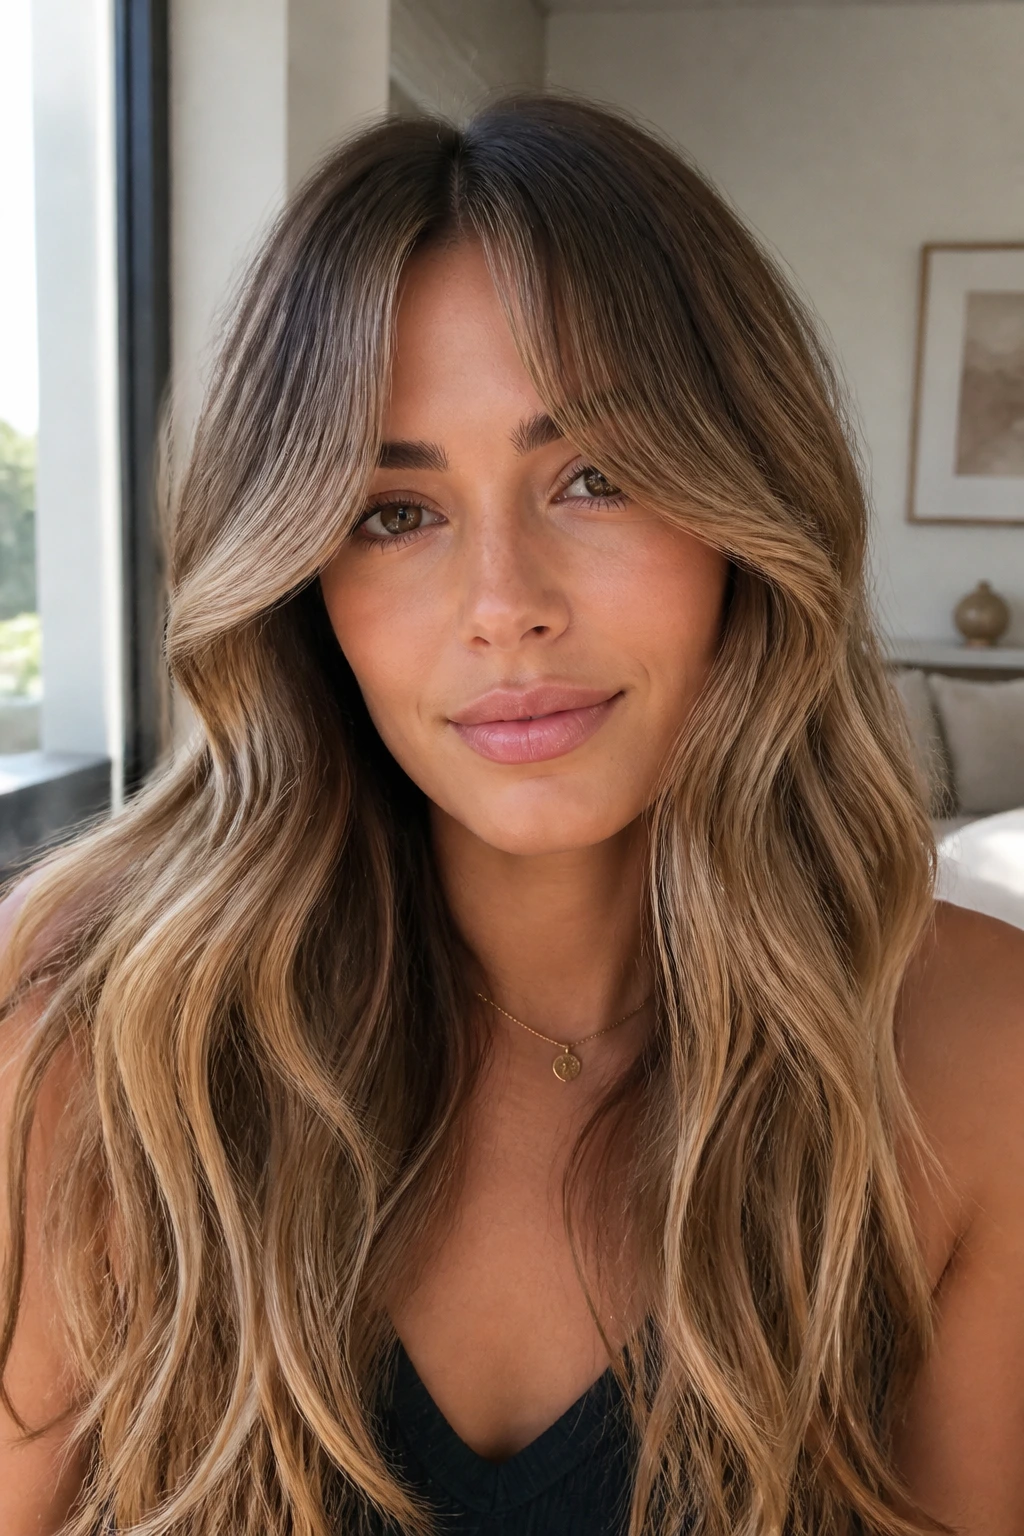
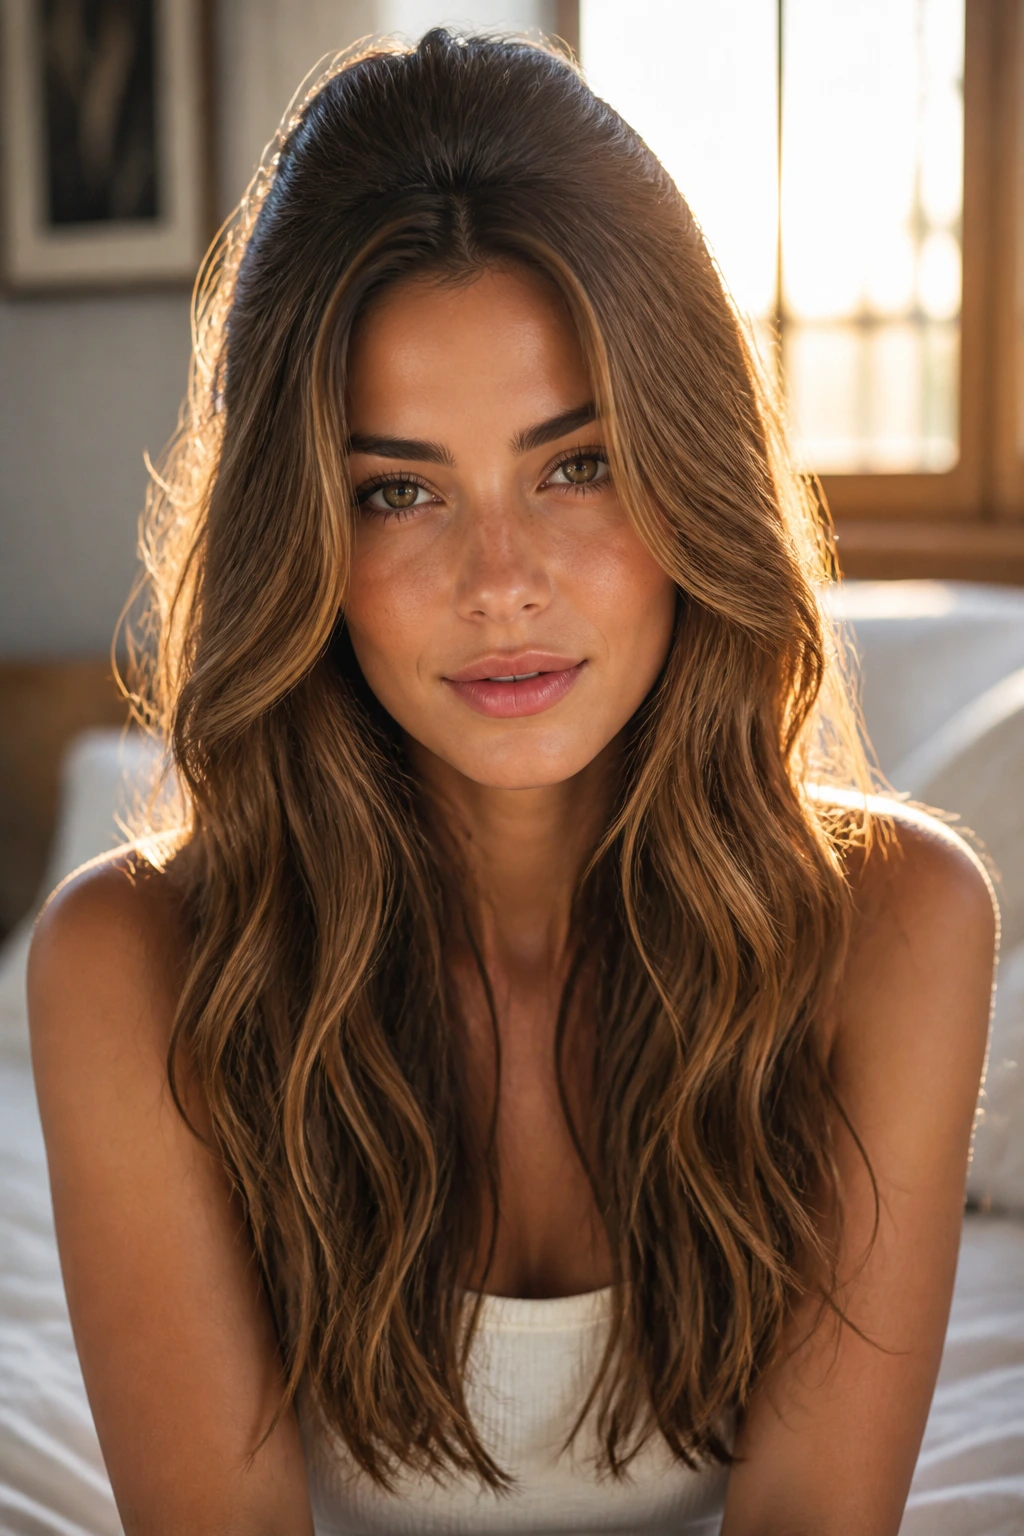
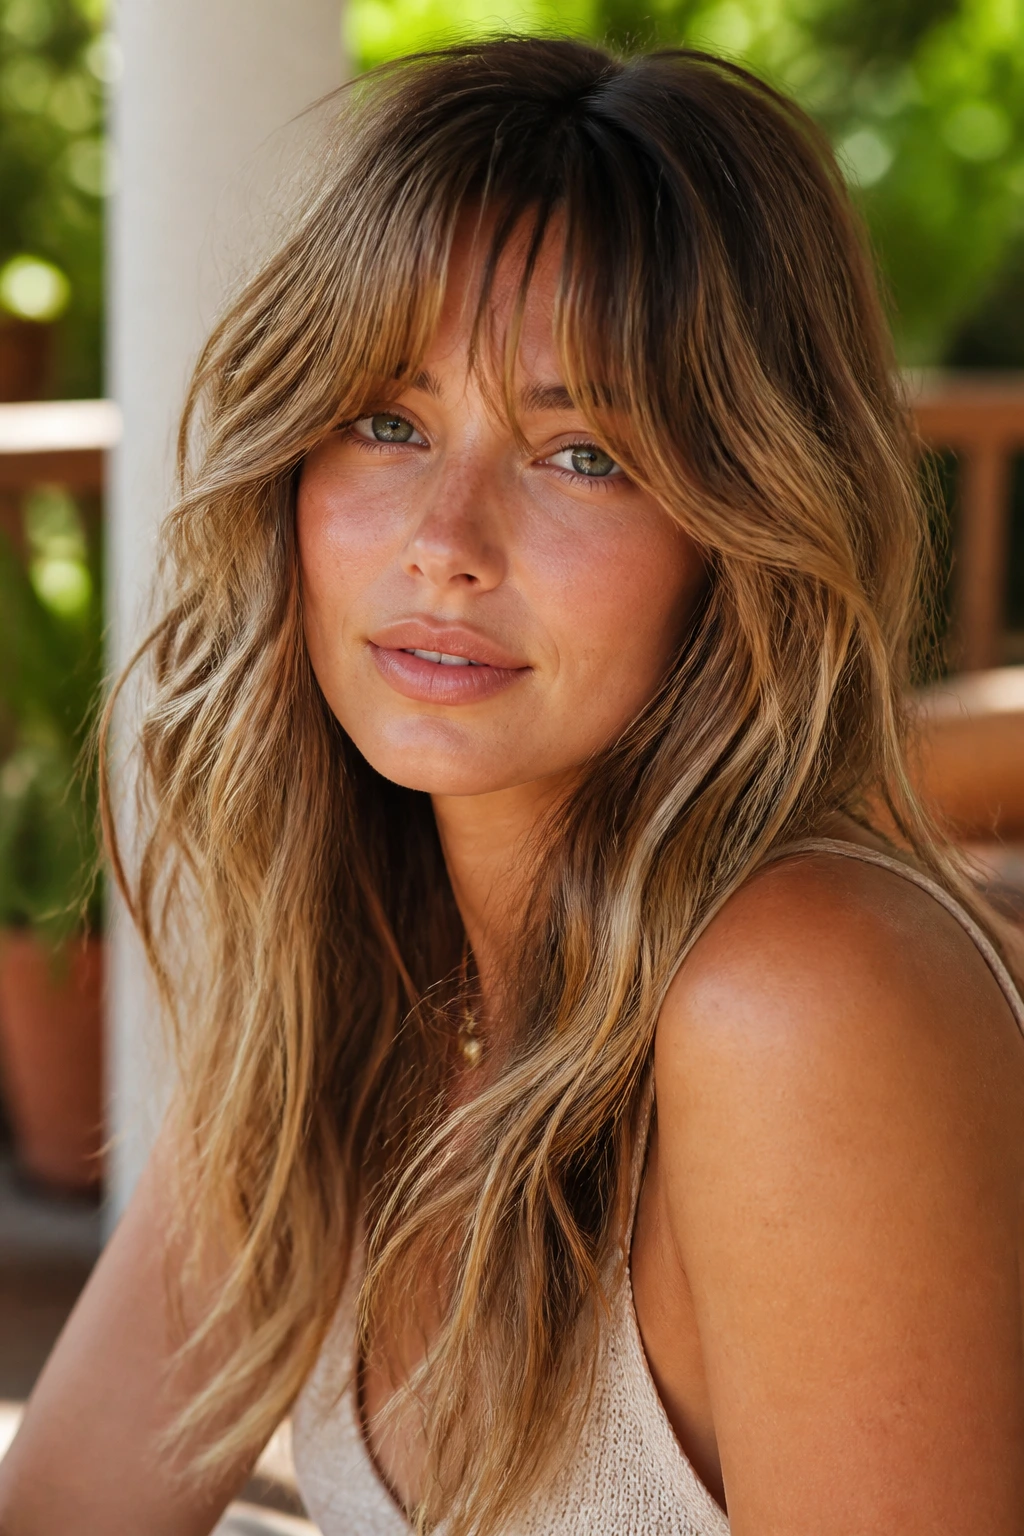
An oval face is a lucky canvas, but it still needs a little editing. Waves that sit too high can crowd the forehead; waves that start too low can make the face feel longer than it is. The sweet spot is usually somewhere between the cheekbone and the jaw, with a few pieces that break the line near the chin and keep the whole shape open.
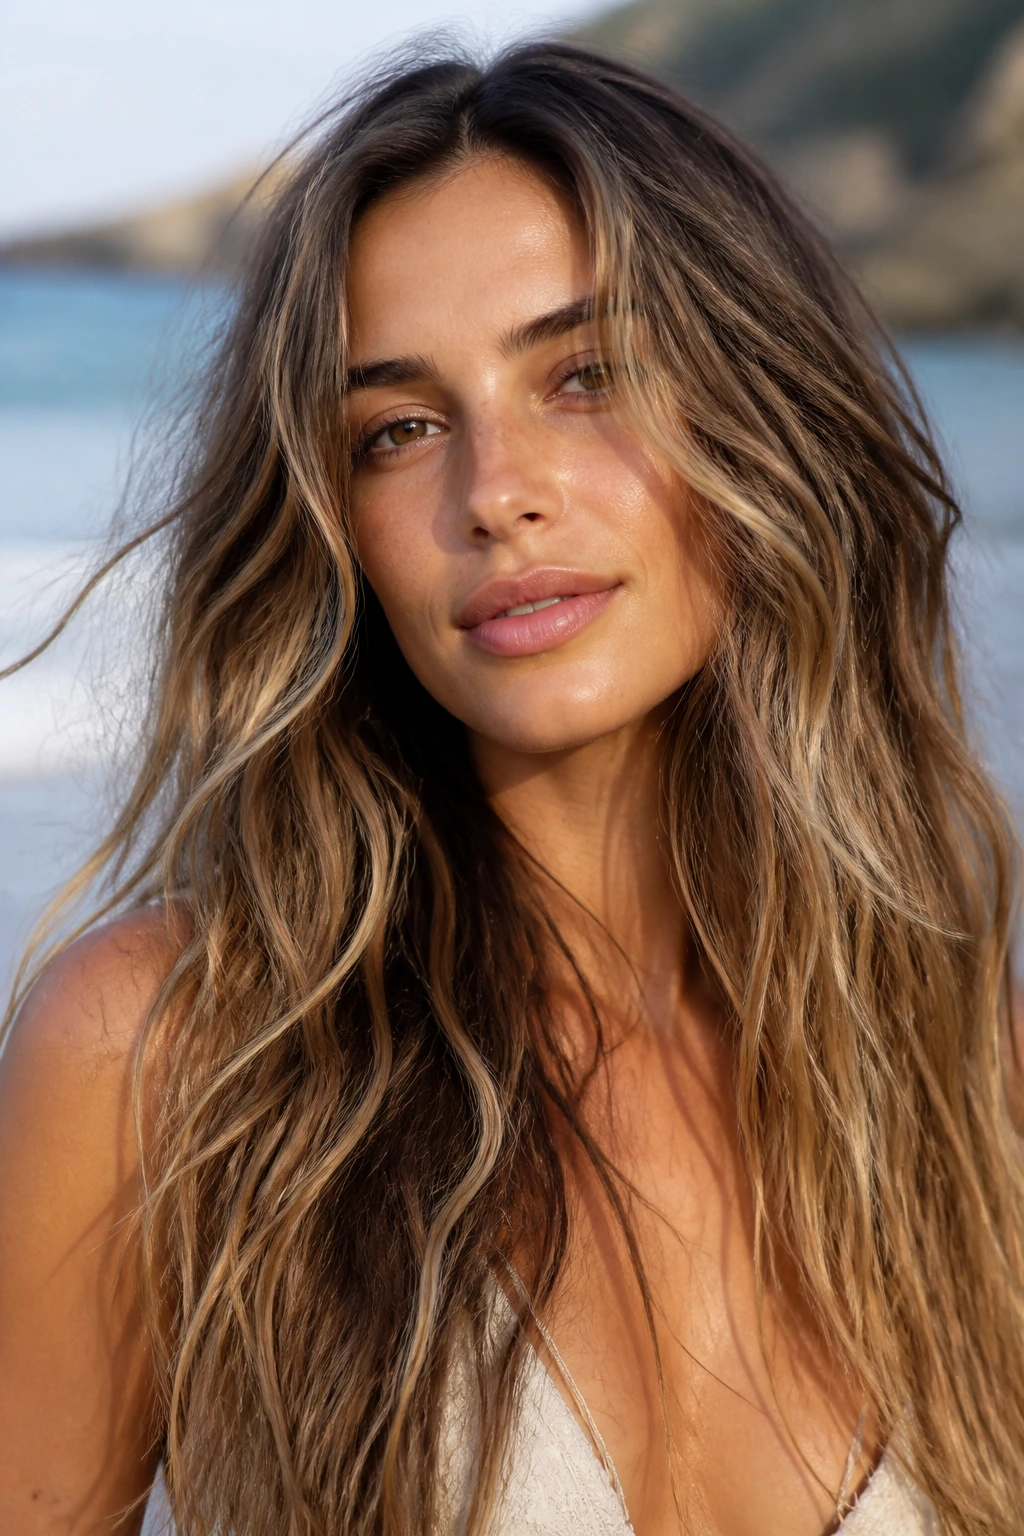
That’s where beachy waves shine on long hair. You can play with parting, texture, and face-framing without locking yourself into one look. Some versions are airy and undone. Others are polished enough for dinner but still move when you turn your head. The good ones look worn in, not overworked.
Why These Waves Keep Showing Up on Oval Faces
Balanced shape: Oval faces already have even proportions, so the right wave pattern doesn’t need to “fix” much. It just needs to add movement where long hair can sometimes go flat, especially around the cheekbones and ends.
Length with softness: Long hair can look heavy fast. Beachy waves break up that weight, which keeps the style from hanging like a curtain.
Parting control: A center part opens the face, while a side part creates a little drama and shifts the eye line. On an oval face, both can work; the real question is what mood you want.
Low-drama styling: These waves don’t need perfect symmetry. In fact, a slight mismatch between the left and right side is part of the charm.
Easy to refresh: Long hair gives you more material to work with on day two. A few spritzes of water and texture spray can wake the whole style back up without starting from scratch.
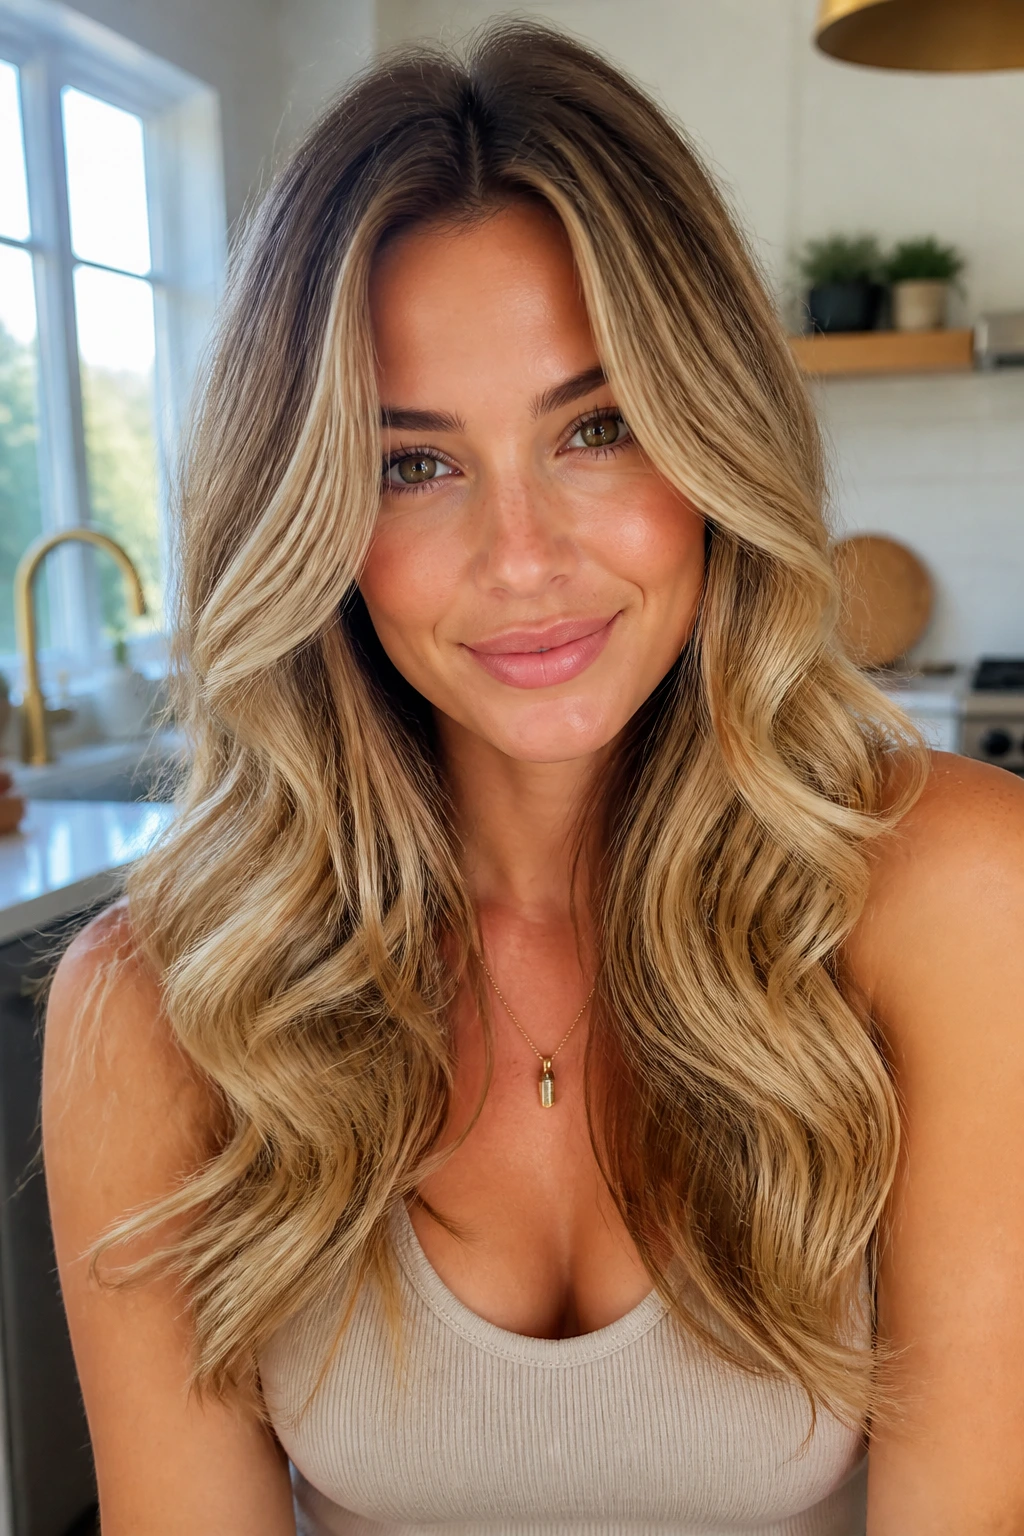
Why Beachy Waves Work So Well on Long Hair and Oval Faces
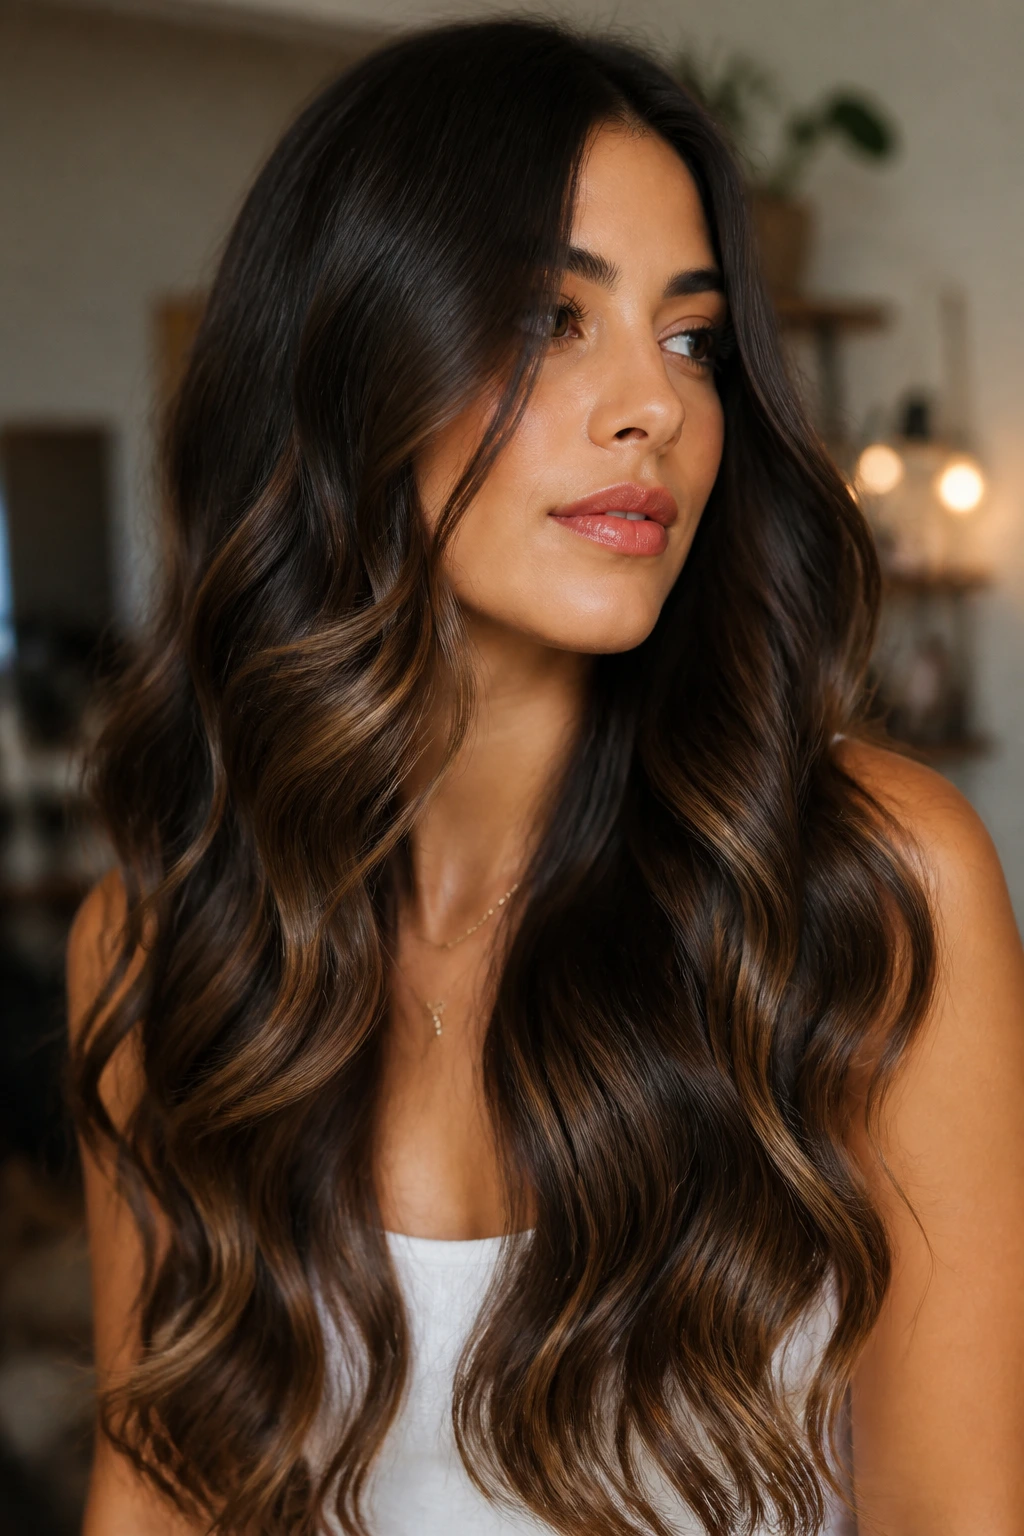
Long hair gives beachy waves room to breathe, which is the whole point. On shorter lengths, a wave pattern can feel crowded or overly curled. On long hair, the bend can stretch out, relax, and still hold its shape, so you get movement instead of a tight ringlet situation.
Oval faces are forgiving in the best sense. That does not mean every wave looks the same on them. A style that starts at the cheekbone makes the face feel lifted. One that begins lower, around the jaw or collarbone, looks softer and more relaxed. The face shape can take either direction; the hair length decides how loud you want the result to be.
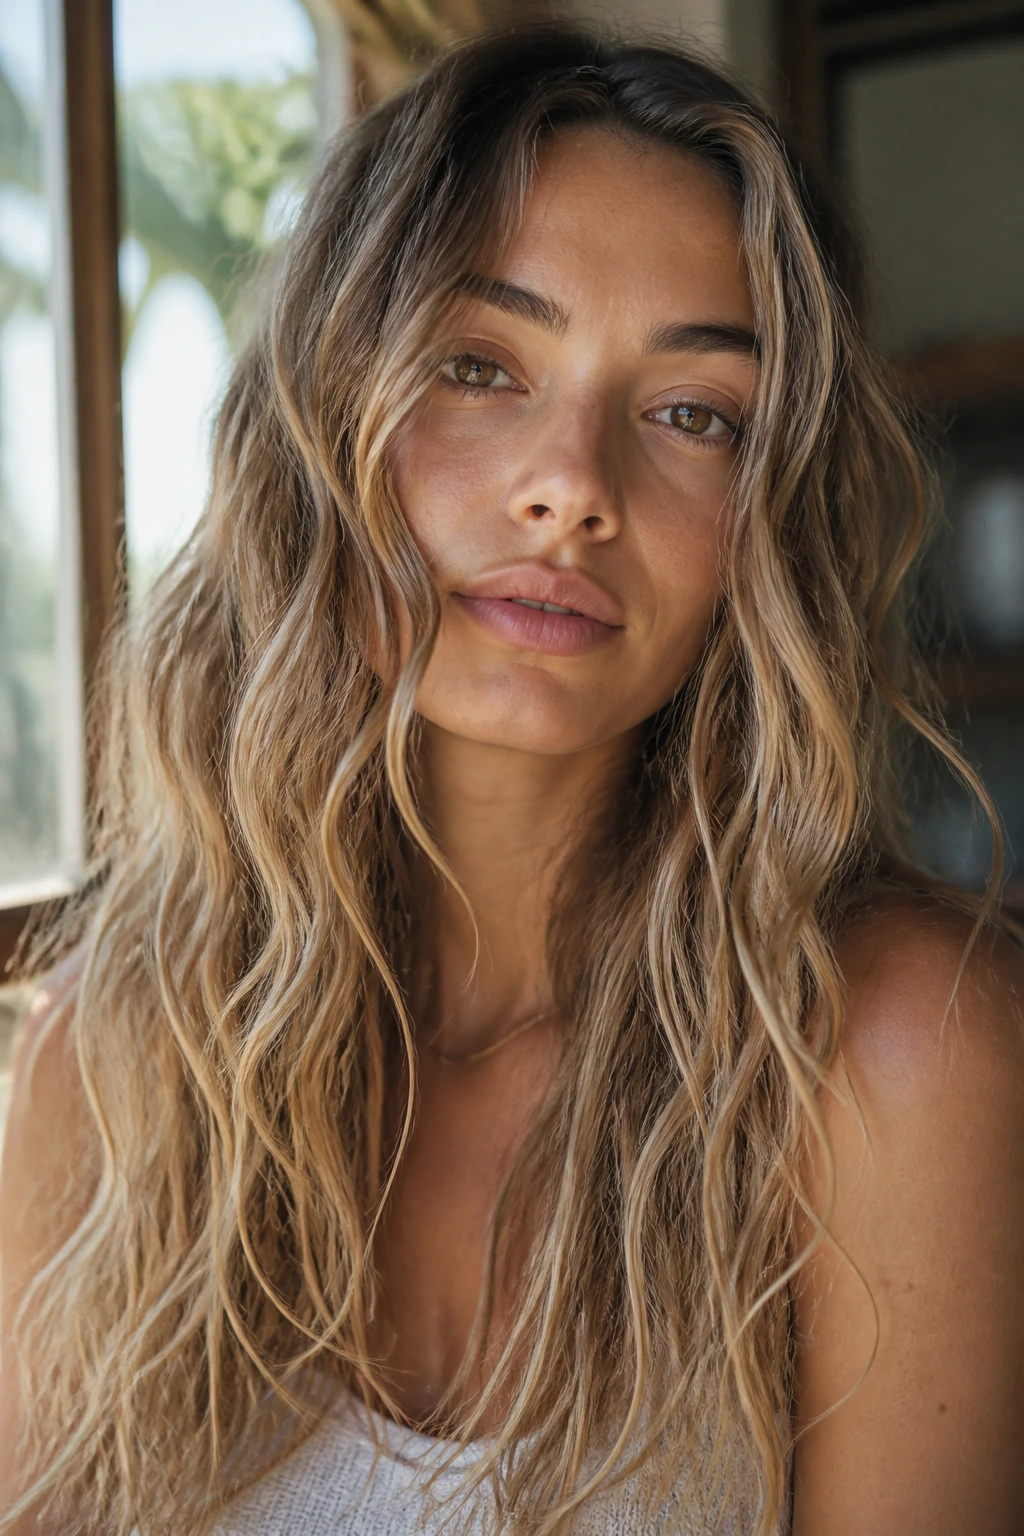
The big mistake is treating all beach waves like one template. They’re not. Some are clean and glossy, some are dusty with salt spray, and some are barely-bent pieces that look like the hair dried in a warm breeze. The best choice depends on density, cut, and how much time you want to spend with a wand in your hand.
One more thing: long hair can collapse under its own weight if the waves are too tight at the root. That’s why the more flattering versions often start midshaft, leave the first inch or two around the scalp smoother, and keep the ends touchable. It’s a small adjustment, but it changes everything.
The Tools That Make the Texture Hold
A pretty wave that dies in two hours is just a photo idea. The tools matter.
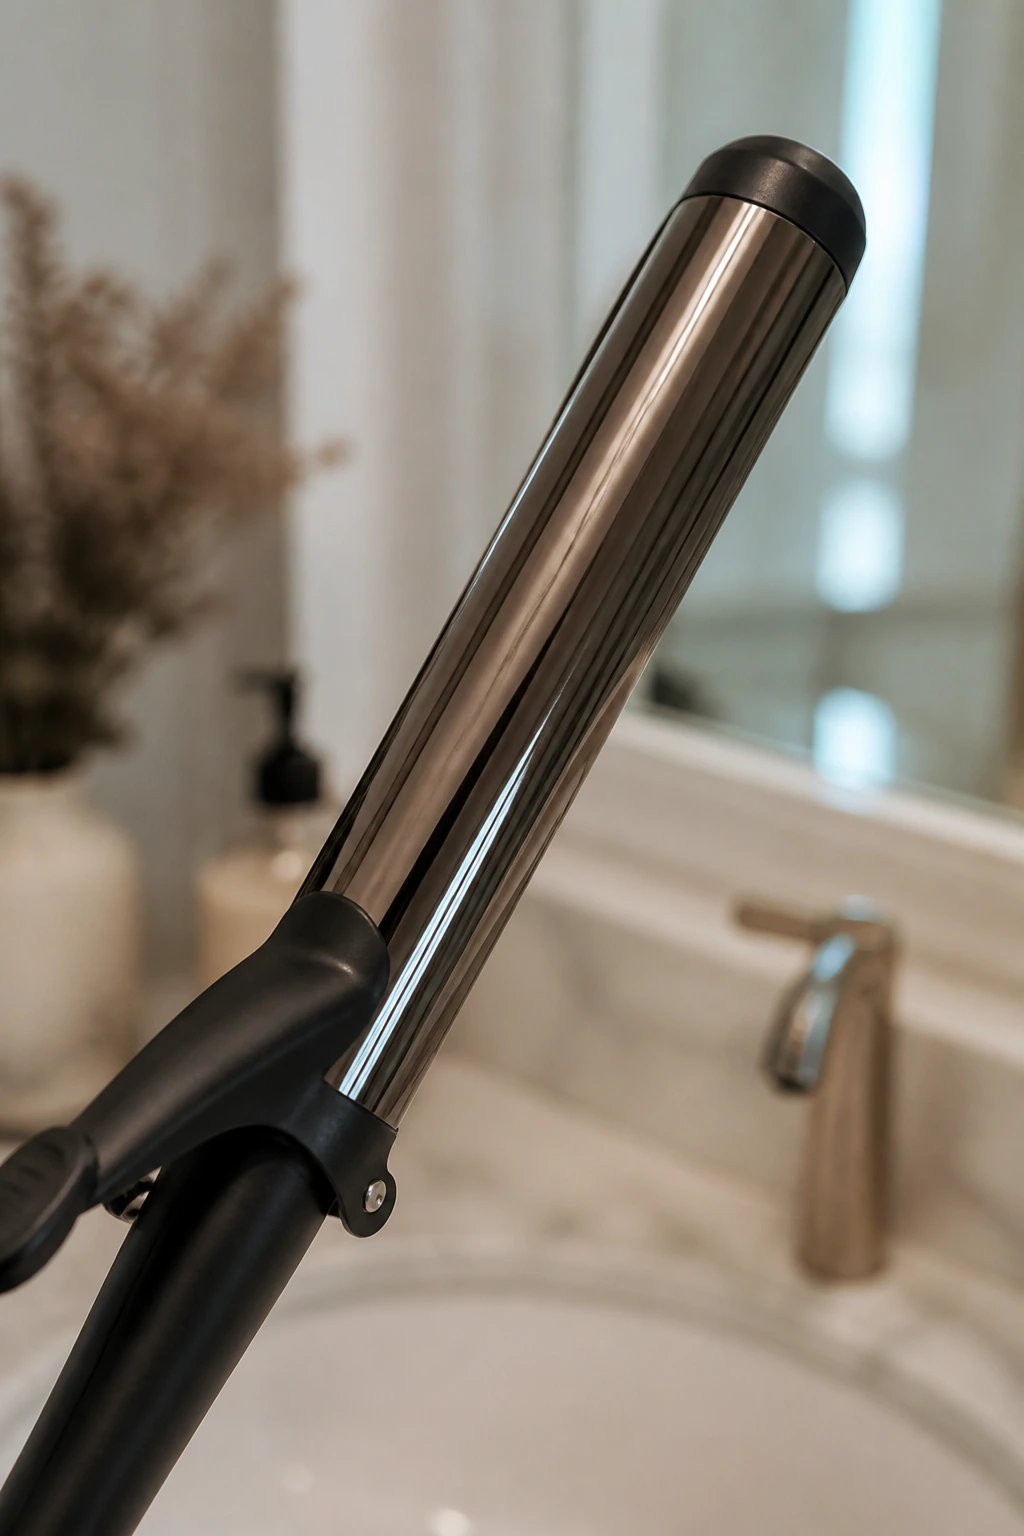
- 1-inch to 1.25-inch curling wand: This is the sweet spot for long hair if you want a bend that relaxes into a wave instead of a tight curl.
- Flat iron: Better for ribbon waves, S-bends, and those softer bends that start to look lived-in after brushing.
- Heat protectant spray: Use it on dry hair before any hot tool. A light mist is enough; you do not need to soak the hair.
- Sectioning clips: Long hair tangles into a mess fast. Clips keep the top layers out of the way while you work.
- Texturizing spray or sea salt spray: Texturizing spray gives grip after styling. Salt spray gives grit before or after air-drying.
- Light-hold hairspray: You want memory, not helmet hair.
- Wide-tooth comb or paddle brush: Use this only when you want to soften the wave pattern, never to bulldoze through a fresh set of curls.
- Dry shampoo: Not just for oily roots. A bit at the crown gives long hair lift, which helps waves stay visible.
- Silk scrunchie or clips: Useful for heatless sets and for pinning waves while they cool.
How to Pick the Right Wave Pattern for Your Hair Density
Thin long hair needs a different wave than thick long hair, and pretending otherwise wastes time. Fine hair usually looks better with softer, looser bends and a little root lift. If you crimp or curl it too uniformly, it can end up looking smaller instead of fuller.
Dense hair can handle more structure. If your strands are thick, you can use slightly larger sections, a stronger hold product, and a more defined wave pattern without losing the airy feel. What you do not want is a wave that’s too uniform from root to tip. Thick hair already has presence; it needs shape, not extra weight.
The cut matters too. Long layers make beachy waves sit better because they remove some of that blocky heaviness at the bottom. Blunt ends can still work, but they usually need more deliberate bending near the lower third so the ends don’t look like a brick with texture on it.
If your hair is fine
Keep the product light. Aim for a wave that starts lower and brush it out once it cools.
If your hair is thick
Use clips and set the curl longer. Thick hair often needs heat and cooling time to remember the shape.
If your hair is naturally wavy
You’re halfway there. Focus on defining the front pieces and smoothing the crown instead of forcing every strand to match.
1. Center-Part Soft S-Bends

A center part with soft S-bends is the cleanest, easiest beach wave on an oval face. It opens the face evenly and lets the wave pattern do the work instead of a heavy styling routine. The line down the middle gives the whole look a calm, balanced feel.
Why It Works
This style is especially good on long hair because the waves have room to stretch. Start the bend around cheekbone level and leave the last inch or two straighter so the length still feels airy. If you curl too high on the strand, the style can tip into pageant territory.
Best for: Fine to medium hair that needs movement without looking overstyled.
Styling note: Wrap 1-inch sections away from the face on one side, toward the face on the other, then brush everything out once it cools. That alternating pattern creates the S-shape without making the hair look ringleted.
Oval faces love the openness here. There’s no visual weight pulling the face sideways, so the eye goes straight to the eyes and cheekbones. Clean, simple, and harder to mess up than it looks.
2. Deep Side-Sweep Glam Waves
A deep side part changes the entire mood in one move. Suddenly the wave pattern feels more dramatic, and the longer side of the hair gives you a strong sweep that frames the cheekbone instead of just hanging there.
For oval faces, this works because it adds asymmetry without fighting the face shape. The volume over one temple softens the forehead, while the looser side falls into that easy beach-wave line down the body of the hair. If you want the style to look intentional rather than accidental, clip the front ridge while it cools.
I like this version best when the hair is very long and all one length, because the side part gives the eye a place to land. Use a 1.25-inch wand, curl away from the face, and brush only the bottom half of the wave. That keeps the roots from puffing up.
A little shine serum on the ends helps. Not much. Two drops between the palms is enough.
3. Mermaid Waves with Straight-Through Ends
Mermaid waves are what happen when you want movement but refuse to give up length. The bend runs through the middle of the hair, while the ends stay mostly straight and soft. That contrast keeps long hair from turning into a wall of texture.
On an oval face, this style is useful because it draws the eye downward without making the face feel stretched. The waves create width through the mid-lengths, then the ends drop cleanly, which is a much better look than a tight curl all the way down.
Use a large-barrel iron or wand and leave the bottom 1 to 2 inches out on every section. That one move changes the whole mood. The style looks more expensive when the ends are not curled into the same pattern as the rest of the strand.
What to watch for
If your hair is heavy, set the waves with clips until they cool. Otherwise the pattern relaxes too fast and the whole style turns into a vague bend by lunchtime.
4. Curtain-Bang Face Frame Waves
Curtain bangs and long beach waves are a strong match because both pieces of the cut want movement. The bangs soften the forehead, and the waves around the face keep the long length from feeling severe.
This style is a nice answer for oval faces that want a little more shaping near the eyes. You’re not hiding the face. You’re guiding it. The wave should begin just below the cheekbone at the front and slightly lower in the back so the frame looks natural instead of carved in.
Dry the bangs first with a round brush or a small flat brush, then bend only the mid-lengths of the wave. If the bangs are left too wavy, they can disappear into the rest of the hair. They need a little separation to do their job.
A touch of lightweight cream on the front pieces keeps them from frizzing, especially if your hairline gets fuzzy when humidity rises.
5. Flat-Iron Ribbon Waves
Ribbon waves have a smoother, more polished bend than the usual wand curl. They look like long strips of hair were folded gently instead of wrapped around a barrel. On long hair, that smoothness is a gift.
Oval faces can wear this look because the shape is tidy near the top and loose through the bottom half. The ribbon effect keeps the wave from getting too fluffy around the cheeks, which is a problem on some long cuts. This one stays sleek.
The trick is all in the wrist. Clamp a flat iron on a 1-inch section, twist half a turn, then glide down slowly, changing direction once or twice as you move. If that sounds awkward, it is at first. After a few sections, the motion becomes second nature.
Quick note
Don’t brush these too hard. One pass with a wide-tooth comb is enough. A paddle brush can erase the ribbon line and leave you with a flatter, less interesting wave.
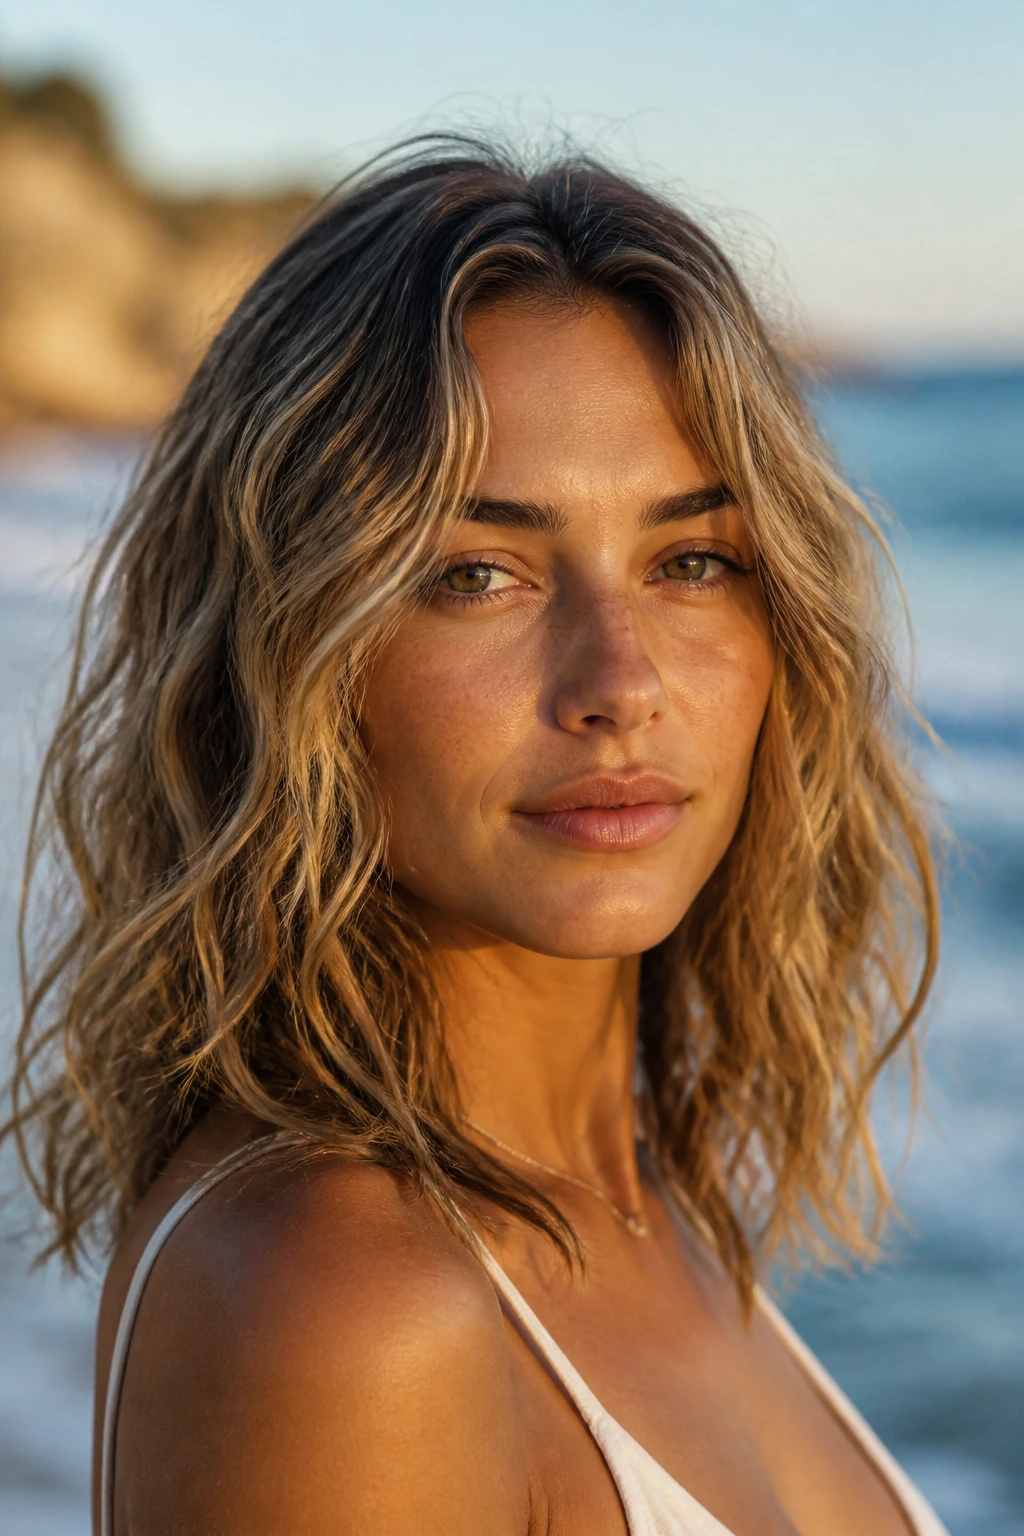
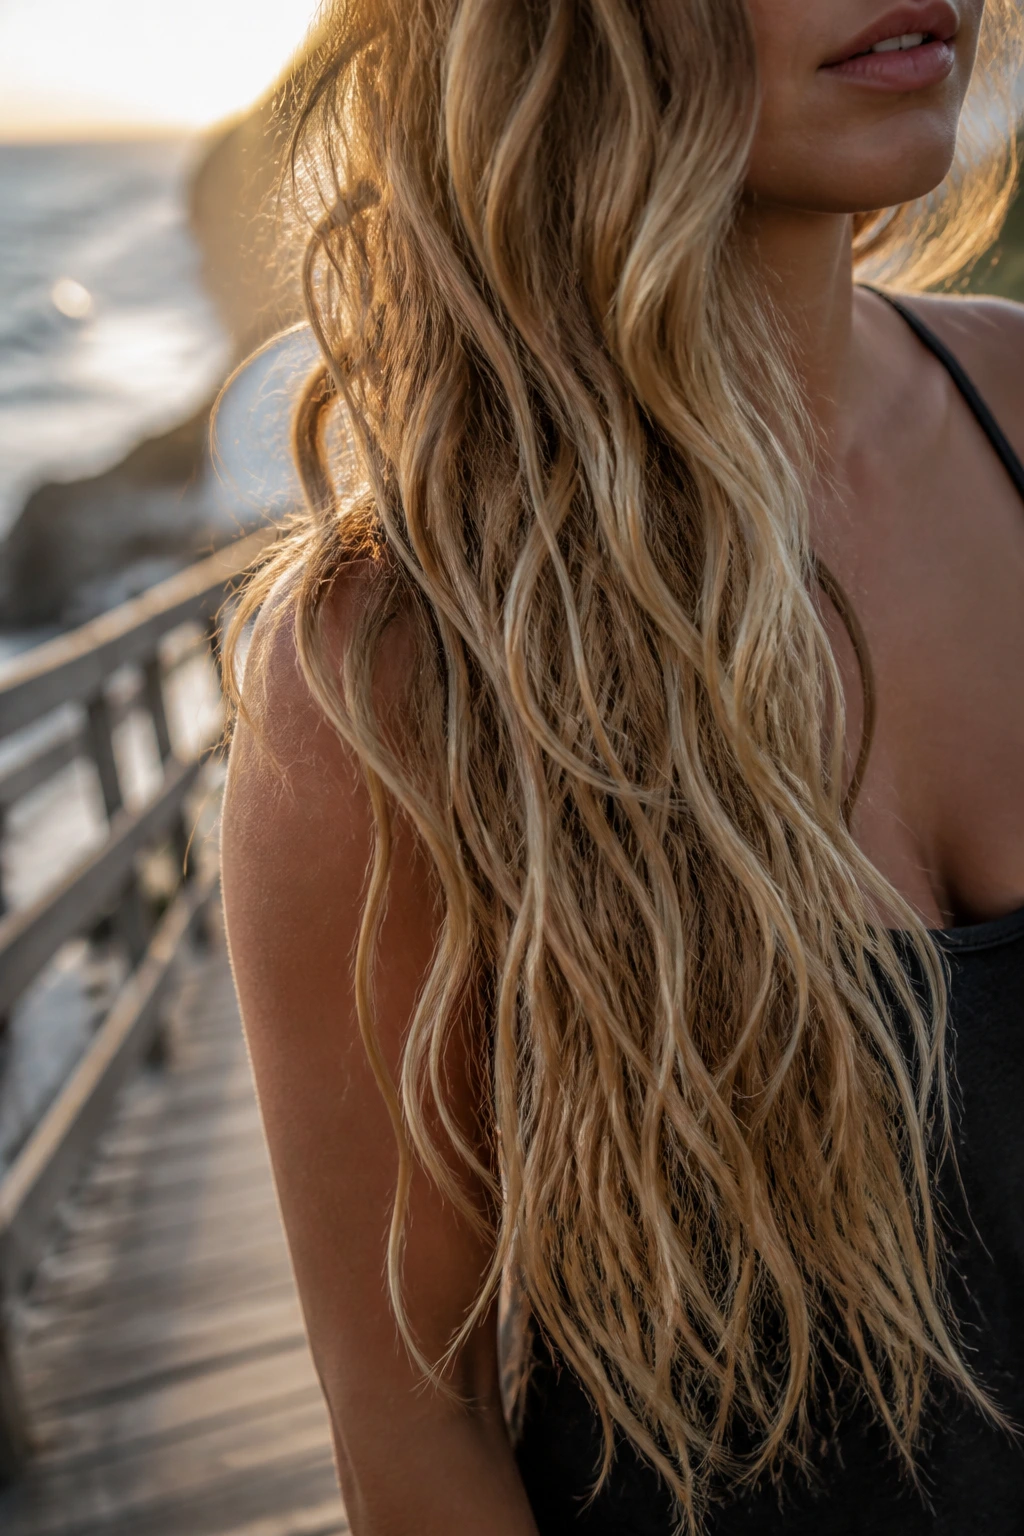
6. Salt-Spray Air-Dry Waves
Air-dried waves are what happen when texture gets to keep its own personality. You mist damp hair with salt spray, twist a few sections, and let the shape form as the hair dries. No hot tools. No precision. No nonsense.
This is especially good on oval faces if you want a more relaxed frame. The wave doesn’t need to be exact, and that looseness keeps the face from looking overstyled. Long hair works well here because the weight helps pull the wave into a softer line.
Squeeze the spray through the mids, then twist 4 to 6 sections away from the face. Let them dry completely before you separate them. If you touch them while damp, they’ll frizz in the wrong places and the wave will look fuzzy instead of beachy.
I prefer this on naturally wavy or slightly coarse hair. Fine hair can do it too, but it usually needs a little mousse at the roots so the style doesn’t collapse before lunch.
7. Midshaft Tousle with Straight Ends
This is the cool-girl version of beach waves, and I say that in the least annoying way possible. The wave starts around the middle of the strand, not at the root, and the ends stay relatively straight. That contrast gives long hair shape without making it too sweet.
Oval faces look sharper with this style because the bend sits below the cheekbone line. You get movement around the jaw and collarbone, which is where long hair often starts to feel heavy. The straight ends also keep the style from looking over-curled.
Use a wand on alternating directions, but don’t wrap the hair all the way to the tip. Stop early. Let the last inch hang out. Then shake the sections apart with your fingers, not a brush.
This one is strongest on hair with some natural texture already. Bone-straight hair can still do it, but you’ll need a texturizing spray after curling so the bends don’t relax too fast.
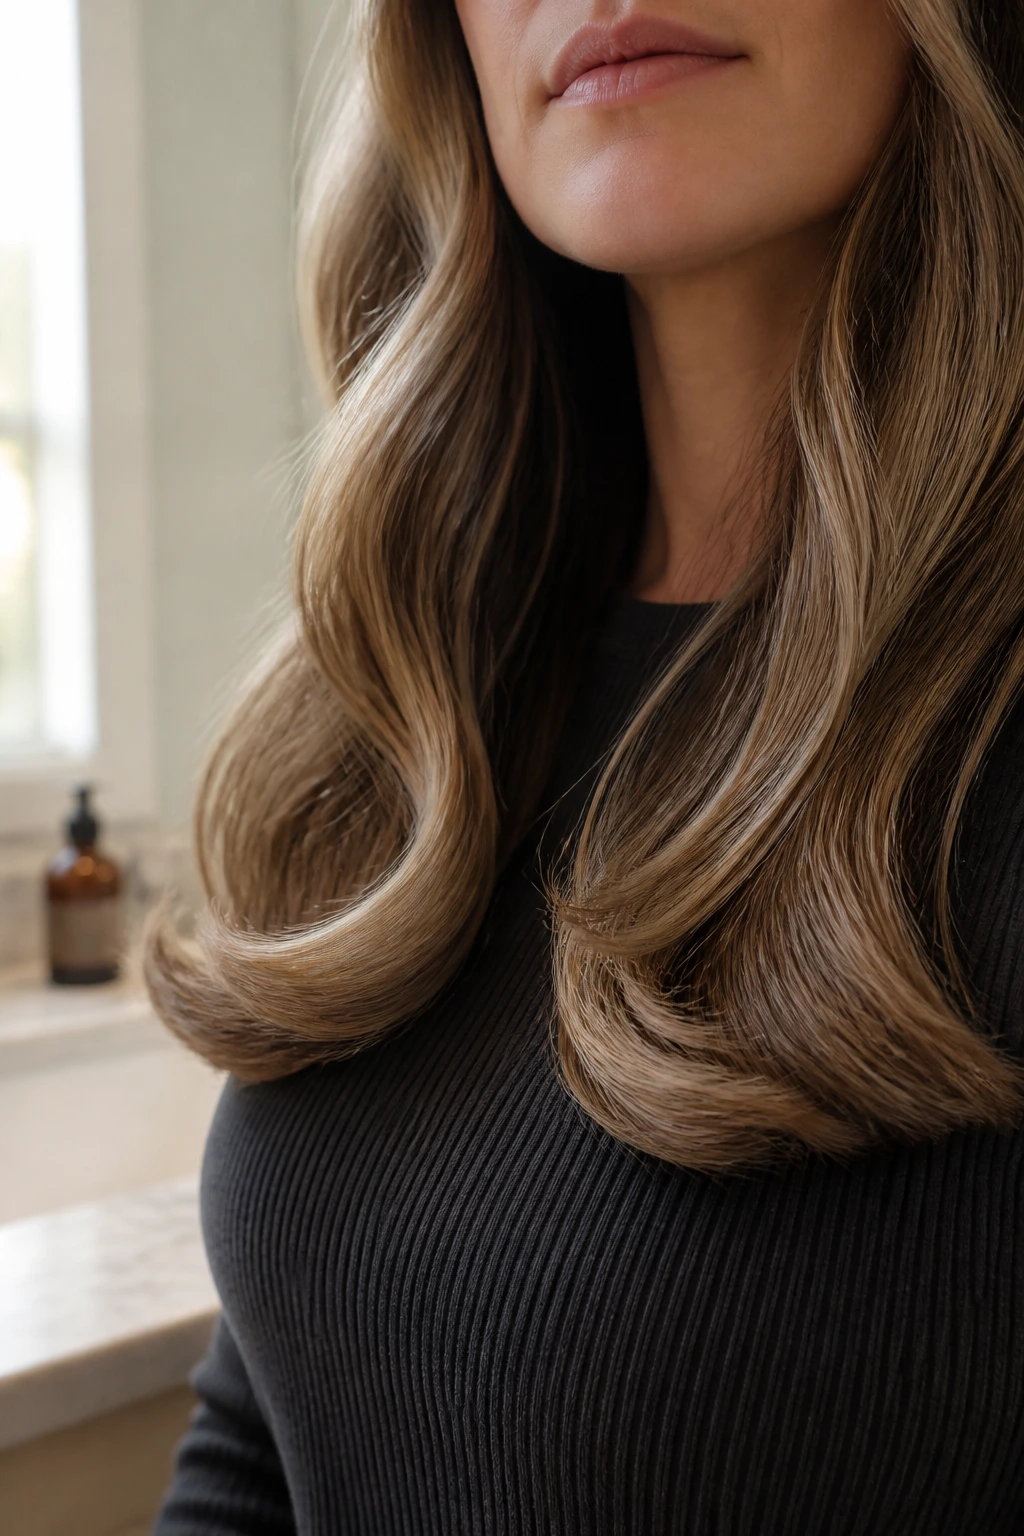
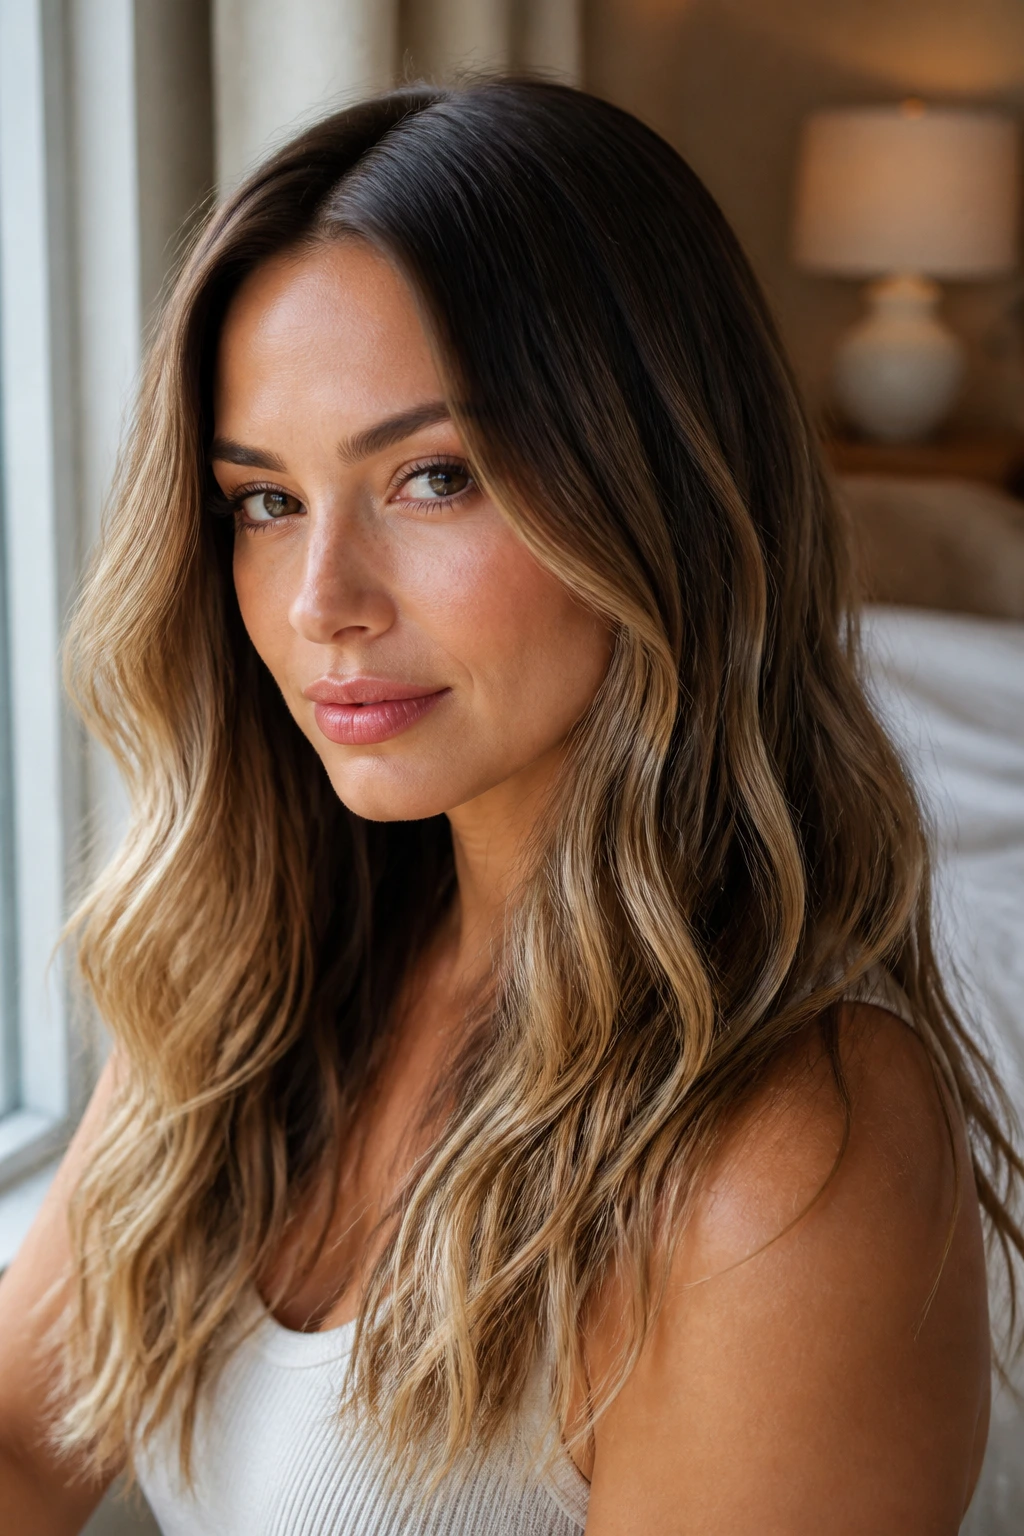
8. Glossy Brush-Out Waves
Some waves look best when they’re brushed out until they’re soft, shiny, and a little bit luxurious. Not stiff. Not crunchy. Just smooth enough to swing when you walk.
For oval faces, a glossy brush-out wave keeps the frame clean and flattering. The smooth finish stops the style from swallowing the face, which can happen when long hair gets too puffy around the sides. The shine makes the texture feel intentional instead of accidental.
Set the waves with a curling iron or wand, let them cool fully, then brush through with a soft paddle brush. Add a tiny amount of serum to the very ends only. If you put serum near the roots, you’ll lose lift fast and the whole look will fall flat at the crown.
This version is good when you want beachy texture that still looks polished in daylight. It’s the one I’d choose for dinner, photos, or any time you want the hair to look touched but not fussed over.
9. Overnight Braid Waves
Braid waves are a dependable heatless option when you want texture without frying the ends. On long hair, they’re especially useful because the length gives the braid enough weight to form a real wave instead of a vague kink.
Oval faces benefit from the softer frame this creates. The wave usually starts lower, around the cheek or jaw, which keeps the face open. The look is more relaxed than a wand curl and less polished than ribbon waves, which is part of the appeal.
A single loose braid gives a long, soft bend. Two braids create a little more width and texture. If your hair is thick, braid it while it’s about 80 percent dry, not dripping. Damp hair that’s too wet can stay bent in odd places and dry with rough ends.
How to use it
Unbraid only when the hair is fully dry. Then shake it out with your fingers and mist the mids with a light texture spray. Too much brushing turns the wave into fluff.
10. Half-Up Wave Cascade
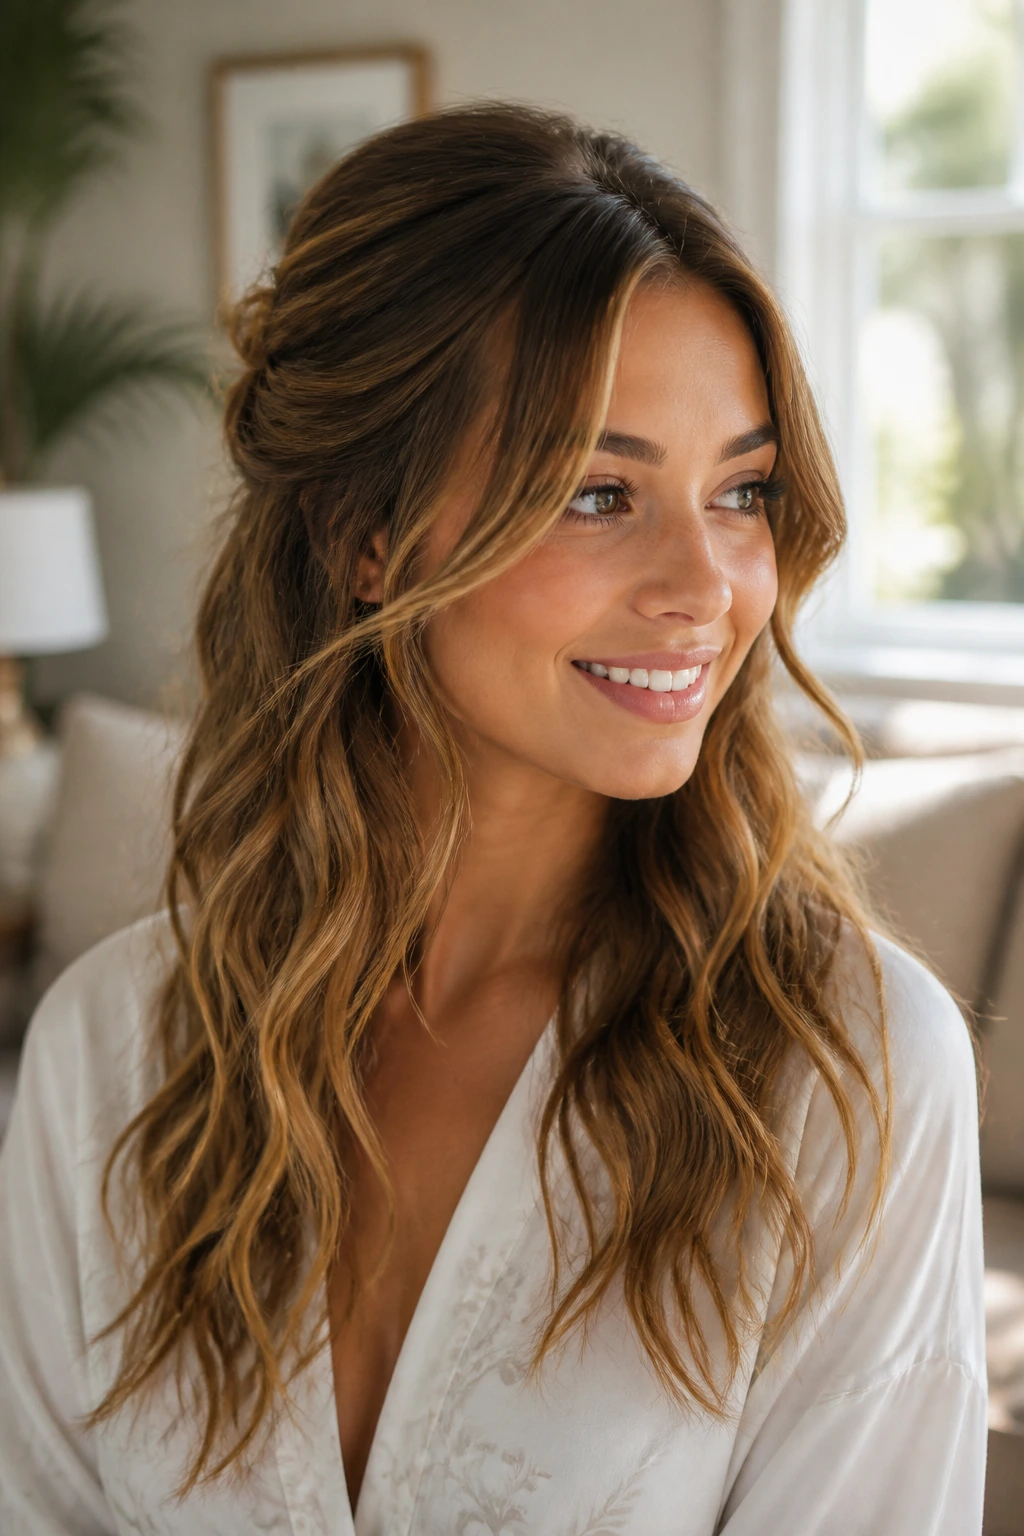
Half-up waves solve a quiet problem with long hair: all that length can drag the face downward if nothing lifts the top. Pulling the crown back gives height, while the loose lower half keeps the soft movement.
For an oval face, this style is flattering because it keeps the forehead open and lets the waves frame the cheeks and shoulders. The result feels balanced rather than heavy. It also keeps hair off the face without forcing a full updo.
Leave a few face-framing pieces out on each side, then curl them away from the face for a soft sweep. If the half-up section is too tight, the style loses its beachy feel and starts looking formal. Loosen it at the crown with a fingertip before you pin or tie it.
This is one of the easier looks to wear on second-day hair. The texture has already settled, so the top section stays put better than it would on freshly washed strands.
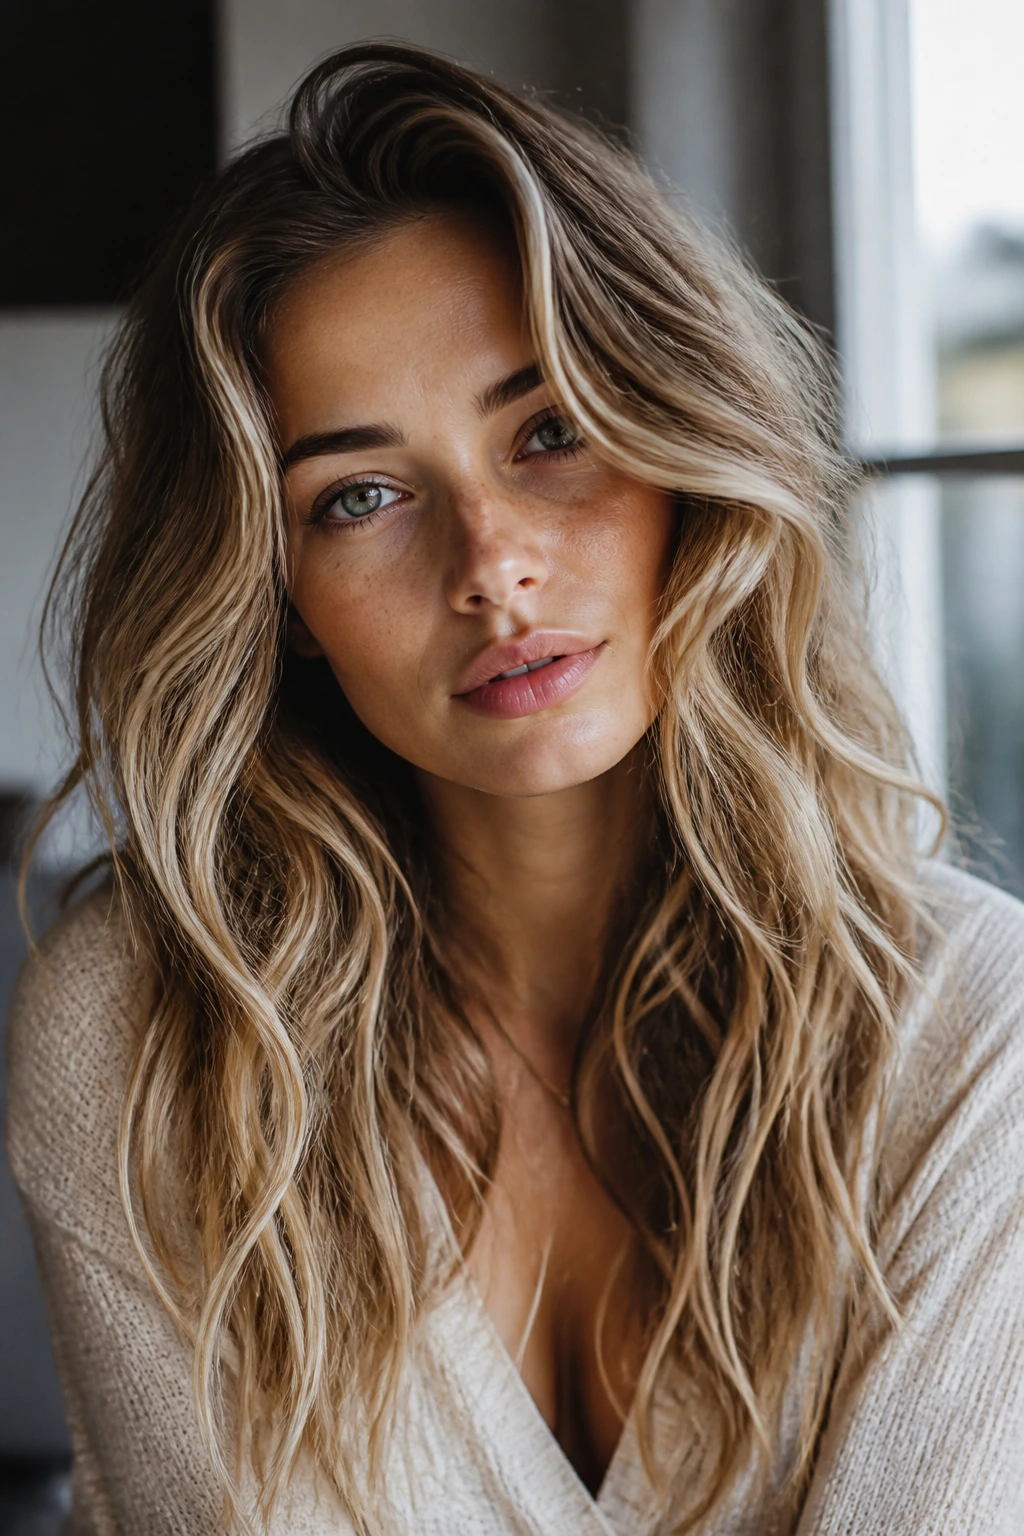
11. Invisible-Layer Waves
Invisible layers are the secret weapon nobody talks about enough. They’re the reason some long, wavy hair looks light and bouncy while other long hair looks like one big sheet. The layers remove weight where the wave needs room to move.
On an oval face, layered beach waves can help the hair hug the face softly instead of hanging in a block. The front sections get more shape, the back gains swing, and the whole style looks less dense. If your hair is one length and very thick, this difference is dramatic.
The styling is simple. Use a medium barrel, wrap 1-inch sections, and let the layers do their job. You don’t need to create every bend from scratch. The cut already gives you half the work.
I’d choose this version for anyone who wants beachy waves but dislikes the “triangle” effect that can happen when long hair gets too wide at the bottom. Layers solve that faster than any styling product.
12. Beachy Blowout Waves
A beachy blowout sits between smooth and textured, which is why it has such staying power. The roots look brushed and lifted. The mid-lengths bend. The ends stay soft. Long hair really likes this shape because the style feels full without getting heavy.
Oval faces work well with this because the volume sits around the head, not just at the ends. The face stays visible, and the wave pattern gives enough movement to keep the style from looking flat on top.
Use a blow-dry brush or round brush first, then add a few bends with a wand if needed. That’s the part most people skip, and it matters. If the blowout is too perfect, the beachy finish disappears. A few imperfect bends at the back and sides bring the whole thing back down to earth.
A little root spray at the crown helps hold the lift. Don’t overdo the ends with oil. You want swing, not weight.
13. Wet-Look Editorial Waves
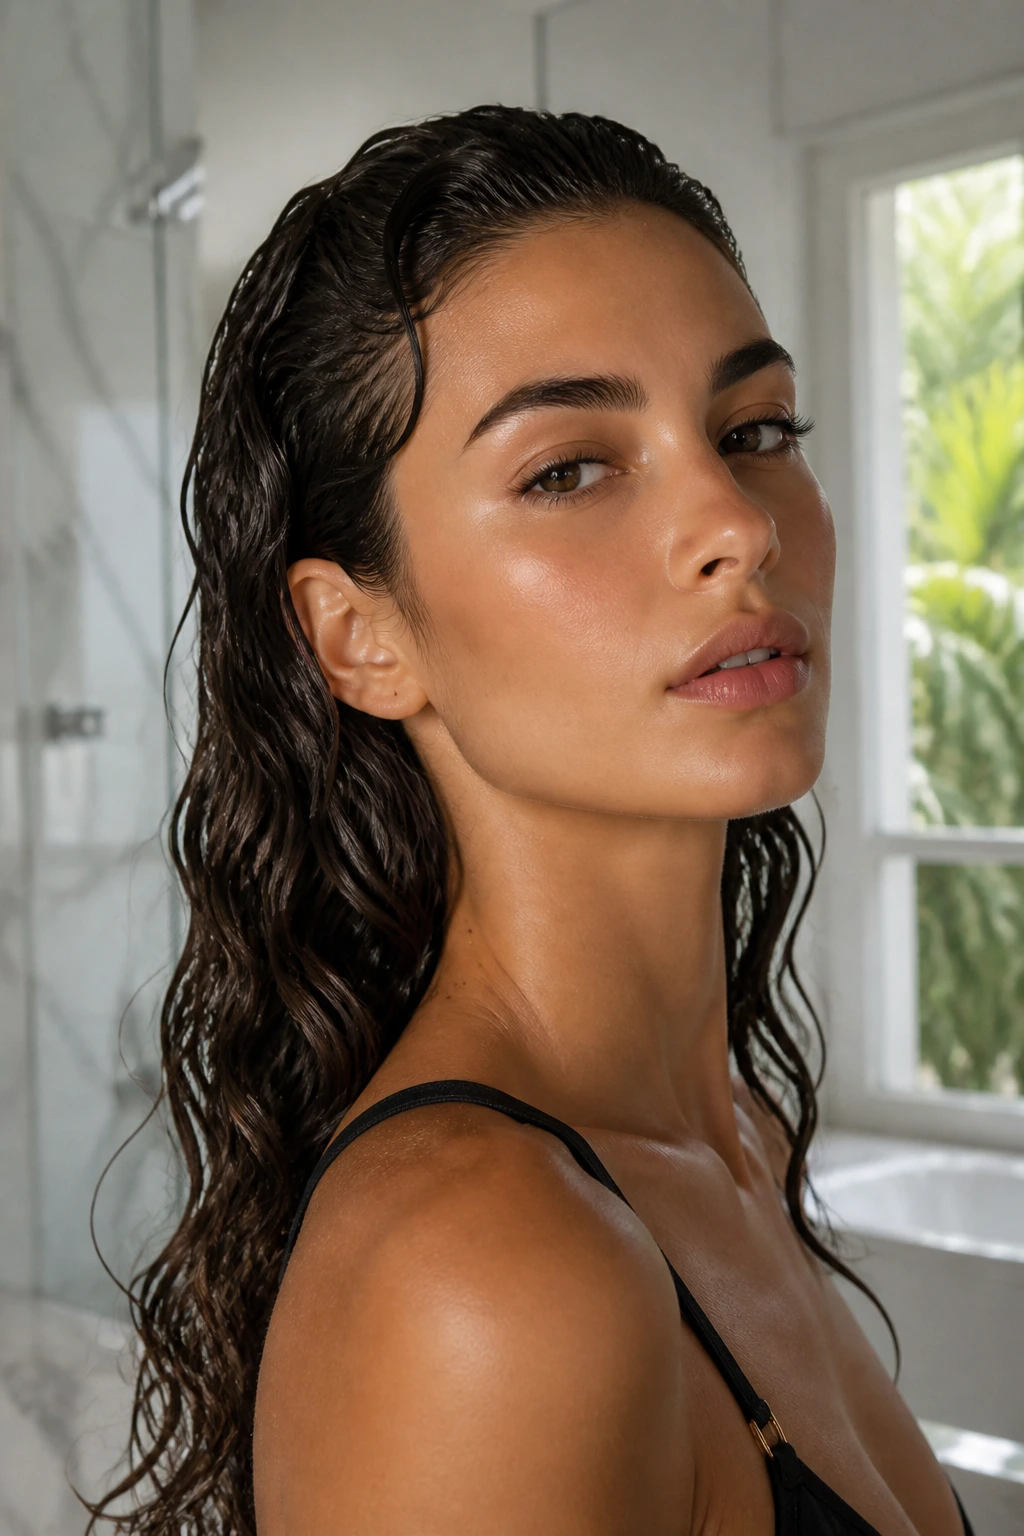
Wet-look waves are the boldest style in the group. They’re slicker at the top, sharper through the wave, and much more editorial than laid-back. If soft texture is a linen shirt, this is a silk slip with purpose.
On an oval face, the wet finish can be very flattering because it keeps the hair close to the head and lets the shape of the face lead. There’s no puff around the cheeks. The wave line does all the talking.
Use gel or a strong mousse on damp hair, then form wide bends with your fingers or a comb. Let the roots lie flat and focus the definition from midshaft down. It helps to set the front pieces carefully, because once they dry, they’ll hold that shape with almost stubborn commitment.
This is not the style for everyone. Fine hair can look stringy if you use too much product. But when the amount is right, the result is sleek in a way ordinary beach waves never are.
14. Broken-Bend Waves
Broken-bend waves are for people who want texture but not curl. The hair bends in a few places, straightens in others, and keeps a loose, casual line from top to bottom. That irregularity is the whole point.
Oval faces do well with this because the style does not add a hard outline around the face. It just interrupts the long length enough to create movement. The bends often work best around the shoulder and chest area, where long hair can otherwise start to feel like one uninterrupted sheet.
You can create this with a flat iron in quick, angled motions. Clamp, bend, release. Clamp again a few inches lower, bend in the opposite direction, release. The result should look accidental, even though it is not.
I like this one for days when you want texture without looking styled. It reads a little cooler than a neat wand wave. Less “done,” more “I ran my fingers through it and it stayed there.”
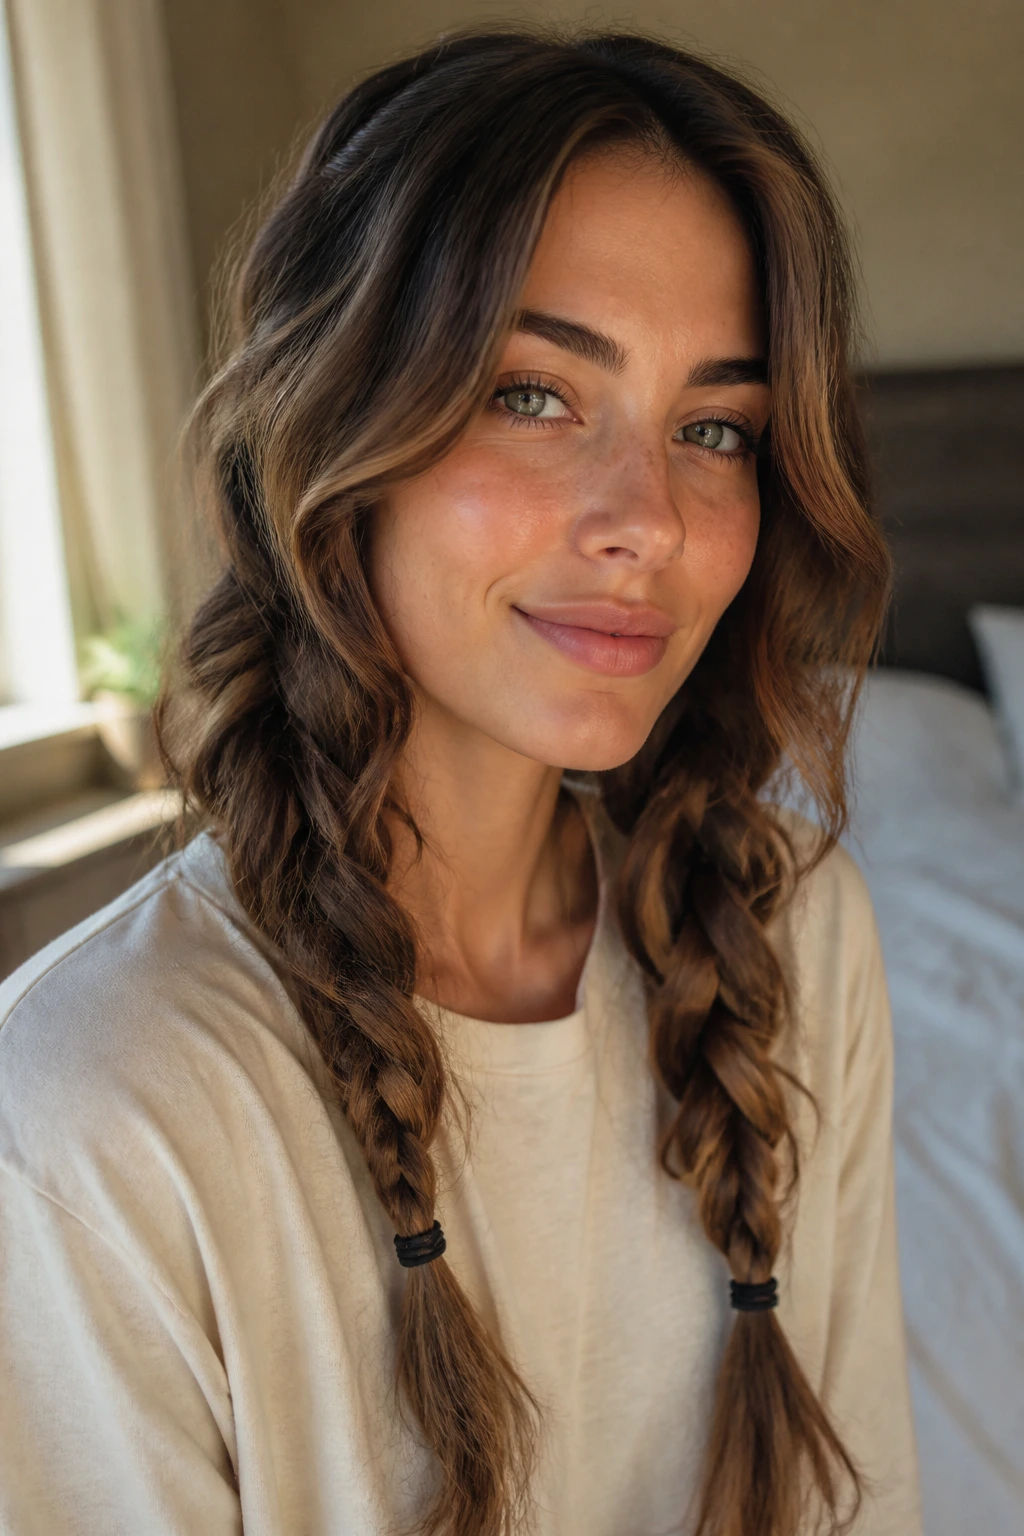
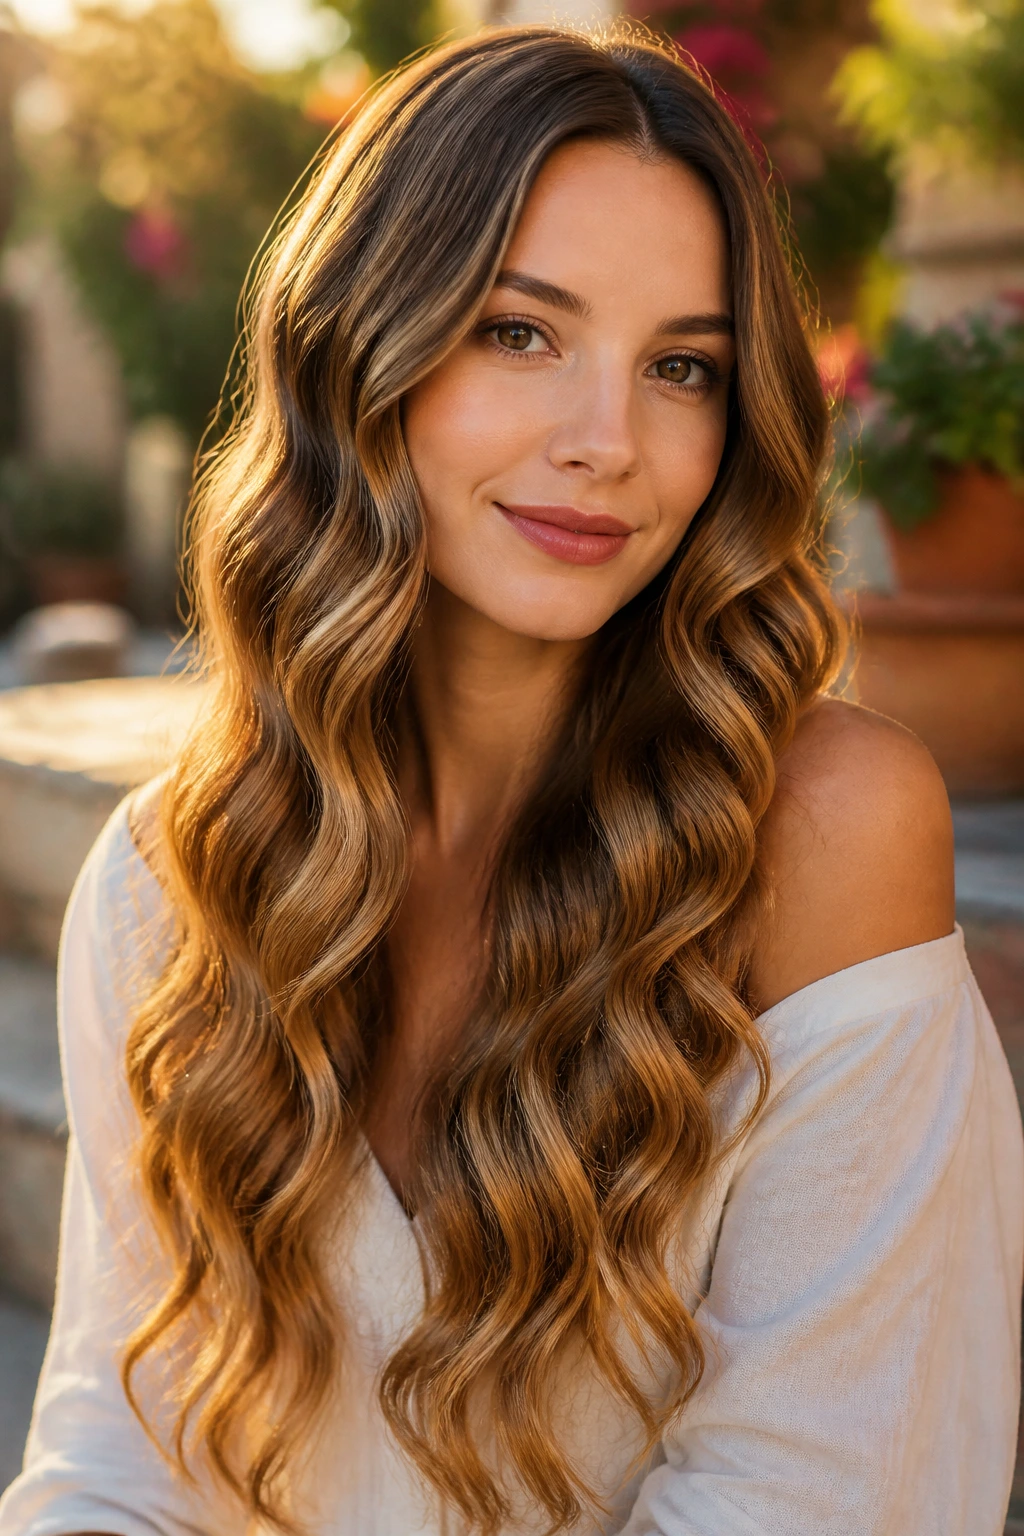
15. Rope-Twist Waves
Rope-twist waves come from twisting two sections around each other while the hair is damp or lightly misted. They’re especially useful for hair that doesn’t love braids, because the twist can create a more open wave than a braid does.
Long hair takes beautifully to this method. The weight of the length helps the twist settle into a looser shape, and the finished wave has a softer, rounder feel. On an oval face, that softness works well around the jaw and collarbone.
Split the hair into 4 to 6 sections, twist each one tightly, then coil it into a bun or secure the ends. Once it dries, release and separate with a little oil on the fingertips. The trick is not to pull too hard while uncoiling. That’s how you end up with frizz instead of wave.
This is one of the better heatless choices for coarse or medium-textured hair. It holds shape better than a loose braid and usually gives more interesting bends.
16. Tucked-Side Lived-In Waves
Tucked-side waves are a small styling move that changes the whole mood. One side gets tucked behind the ear, the other stays loose. That asymmetry gives the face a little frame and keeps the style from looking too symmetrical or too predictable.
Oval faces can carry this especially well because the shape already balances itself. The tuck creates a clean line along one cheekbone, while the loose side keeps movement on the other side. It’s a simple edit that looks deliberate.
You do not need to curl every strand. In fact, the tucked side looks better if it’s smoother near the temple. Let the loose side carry more of the wave. That keeps the style from looking like it was attacked by a curling wand in a parking lot mirror.
A small barrette or a hidden pin can help if your hair slips out of tucks easily. Keep the accessory minimal. The waves should stay in charge.
17. Soft Glam Side-Sweep Waves
This is the version that sits between red-carpet polish and beach texture. The side sweep adds drama, but the waves remain loose enough to keep the whole thing from getting stiff or old-fashioned.
Oval faces usually benefit from the diagonal line created by the sweep. It narrows nothing, widens nothing, and just gives the eyes a strong path to follow. That makes the face look framed instead of overdecorated.
Use a larger barrel and keep the curls consistent in direction on the front section, then alternate direction toward the back so the style doesn’t become too uniform. The front needs a little more planning than the rest. It’s the section people notice first.
I’d reach for this look when the outfit is already simple. A clean neckline, earrings, and these waves can carry the whole appearance without needing more.
18. Clipped-Set Waves
Clipped-set waves are what you get when you let the curl cool in place before dropping it. That cooling time matters more than people think. Long hair holds better when the shape is set while it’s still warm.
The style works on oval faces because the wave comes out smooth and controlled, not fluffed up from heat. The face stays clear, and the texture falls in a neat pattern that still looks relaxed.
Curl each section, then pin it flat against the head or clip it in a loop while it cools. Wait until the hair is fully room temperature before taking the clips out. If you rush this, the waves relax too quickly and lose the shape you worked for.
This is one of my favorite methods for event hair. It takes longer than a quick curl-and-go pass, but the result lasts better and looks more finished.
19. Diffused Wave-Curl Hybrid
If your hair is naturally wavy or loosely curly, fighting that pattern is a waste of time. A diffused wave-curl hybrid keeps the movement you already have and shapes it into something softer and more beach-like.
Oval faces usually look good with this because the pattern can be controlled around the front while staying loose through the rest of the length. The trick is to define the front pieces and crown, then let the rest do its own thing.
Use curl cream or mousse on damp hair, scrunch lightly, and diffuse on low heat until about 80 percent dry. Then stop. Let the rest air-dry if you can. Over-diffusing can make the shape frizzier and smaller, which is the opposite of what long hair needs.
This style is honest about texture. It doesn’t pretend the hair is something else. That’s why it often ends up looking better than a fully forced curl pattern.
20. Crown-Lift Waves
Crown-lift waves are about one thing: keeping long hair from dragging the face down. A little lift at the top changes the balance immediately. The waves still stay relaxed through the lengths, but the head itself looks lighter.
Oval faces benefit because the lift keeps the proportions open. The style feels soft, not flat. If your hair is very long, this detail matters more than people expect.
Blow-dry the crown with a round brush or use a root-lifting spray before styling. When you curl, keep the first inch near the scalp smooth, then work the wave lower. A backcombed bump is not the goal. Lift without teasing is cleaner and less likely to collapse.
I’d choose this if your hair tends to go heavy on day two. Crown lift buys you time.
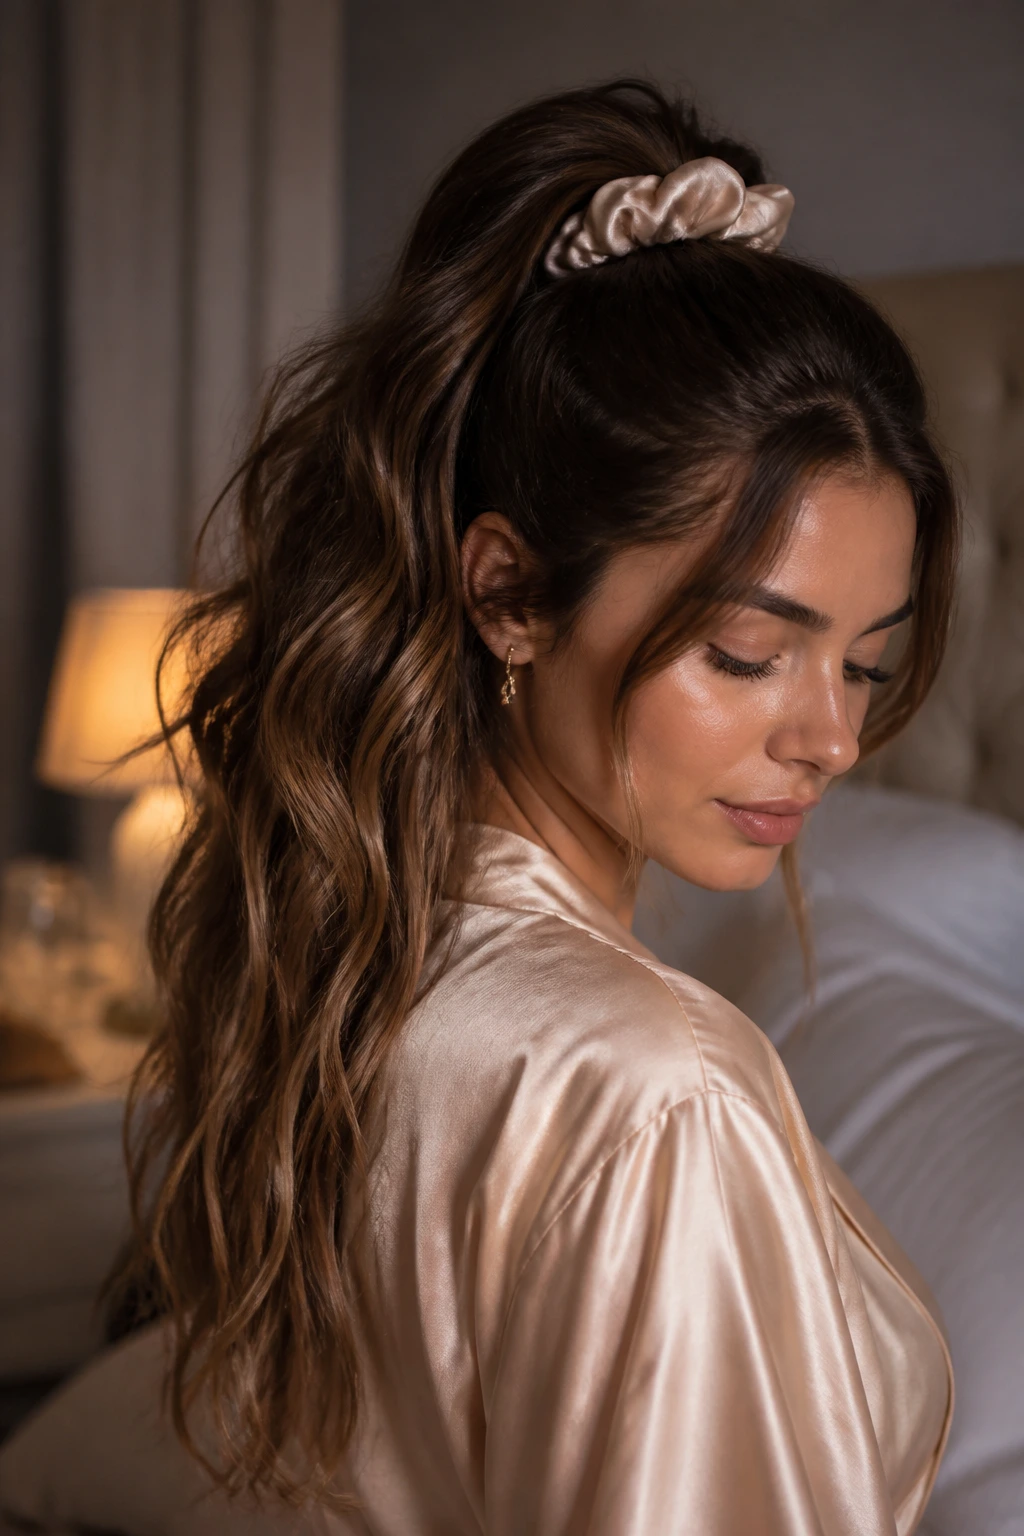
21. Loose Wave Ponytail
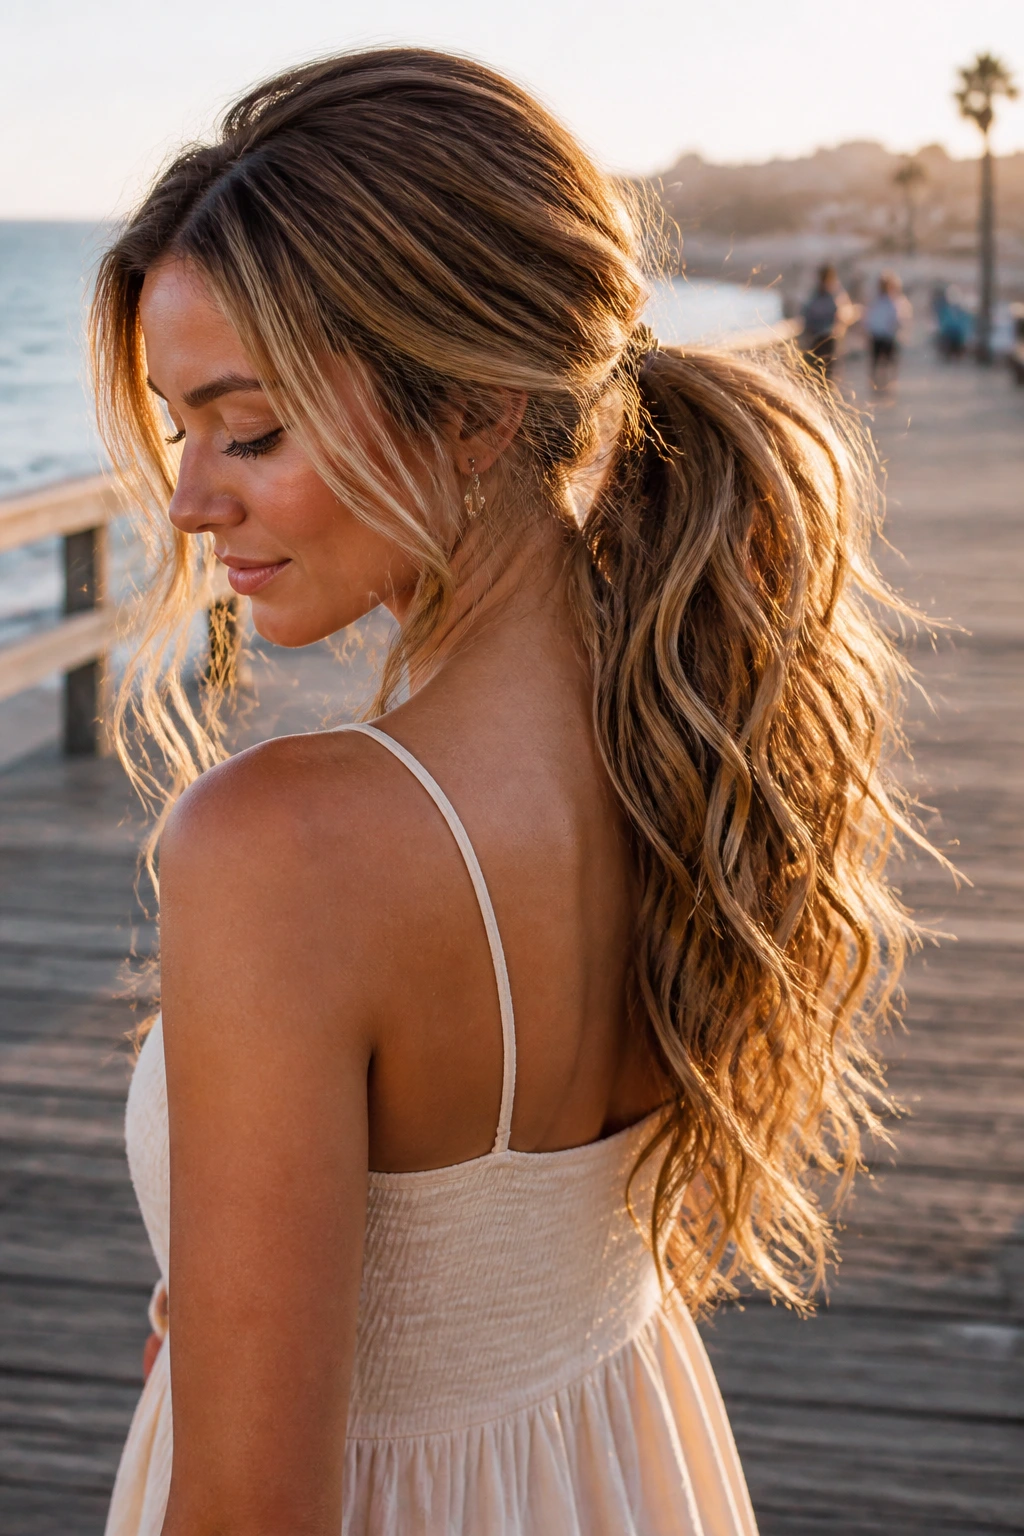
A ponytail can still be beachy. In fact, on long hair, a loose wave ponytail often looks more modern than leaving everything down. The texture stays visible, but the face gets a cleaner outline.
Oval faces can wear this without losing softness because you can leave a few front pieces out and bend them gently away from the face. The ponytail itself should sit low or mid-height, never yanked tight unless you want the look to turn sporty.
Curl the hair first, then gather it with a silk tie or hidden elastic. Tug a few sections loose around the ears and at the crown. If the ponytail feels too neat, gently separate the wave with fingers instead of brushing it out.
This is a smart option for long days. The style keeps the hair off the neck while still looking like you made an actual choice.
22. Tucked-Under Ends Waves
Tucked-under ends give the wave a cleaner finish at the bottom. Instead of leaving the ends completely loose, you bend them inward just a touch so the hair finishes with a soft curve.
On oval faces, this keeps the silhouette controlled. It stops long hair from looking stringy at the bottom, which can happen when the wave lives only in the mid-lengths. The tucked ends create a more complete shape.
Use a flat iron or a curling wand on the final inch of the hair and rotate the tool inward as you release. Keep it subtle. If the ends curl too much, the style loses that beachy looseness and starts looking like a traditional curl set.
This is a nice move when the hair has blunt ends or when the overall wave pattern is very loose and needs a little finish.
23. Boho Fringe Waves
Boho fringe waves mix soft texture with bangs, wisps, or longer fringe pieces around the forehead. The result feels easy and a little undone, which suits beachy waves better than a hard fringe ever could.
Oval faces can wear this because the fringe changes the balance without hiding the face. The wave pattern still frames the cheeks and shoulders, while the front pieces soften the forehead line.
If the fringe is straight across, keep the waves below it loose and touchable. If the fringe is curtain-like, let it blend into the side pieces with a smaller bend. That makes the transition from bangs to length look natural instead of chopped into separate zones.
A tiny bit of dry shampoo at the roots helps the fringe stay separated. Bangs and humidity are not friends.
24. Salted-Ends Textured Waves
This version leans into the gritty, sun-tossed side of beachy waves. The ends get the most texture, while the roots and upper lengths stay smoother. That contrast makes the long hair feel raw in a good way.
Oval faces benefit because the textured ends add interest without crowding the face. The style doesn’t need much height at the crown if the bottom half is doing the work. It looks casual, but not lazy.
Mist salt spray or texturizing spray through the last third of the hair, then scrunch or twist lightly. Don’t saturate the roots. If you do, the style can get puffy in the wrong place and lose its clean shape.
This one looks especially good with a simple center part and very long layers. The extra texture at the bottom keeps the length from feeling too uniform.
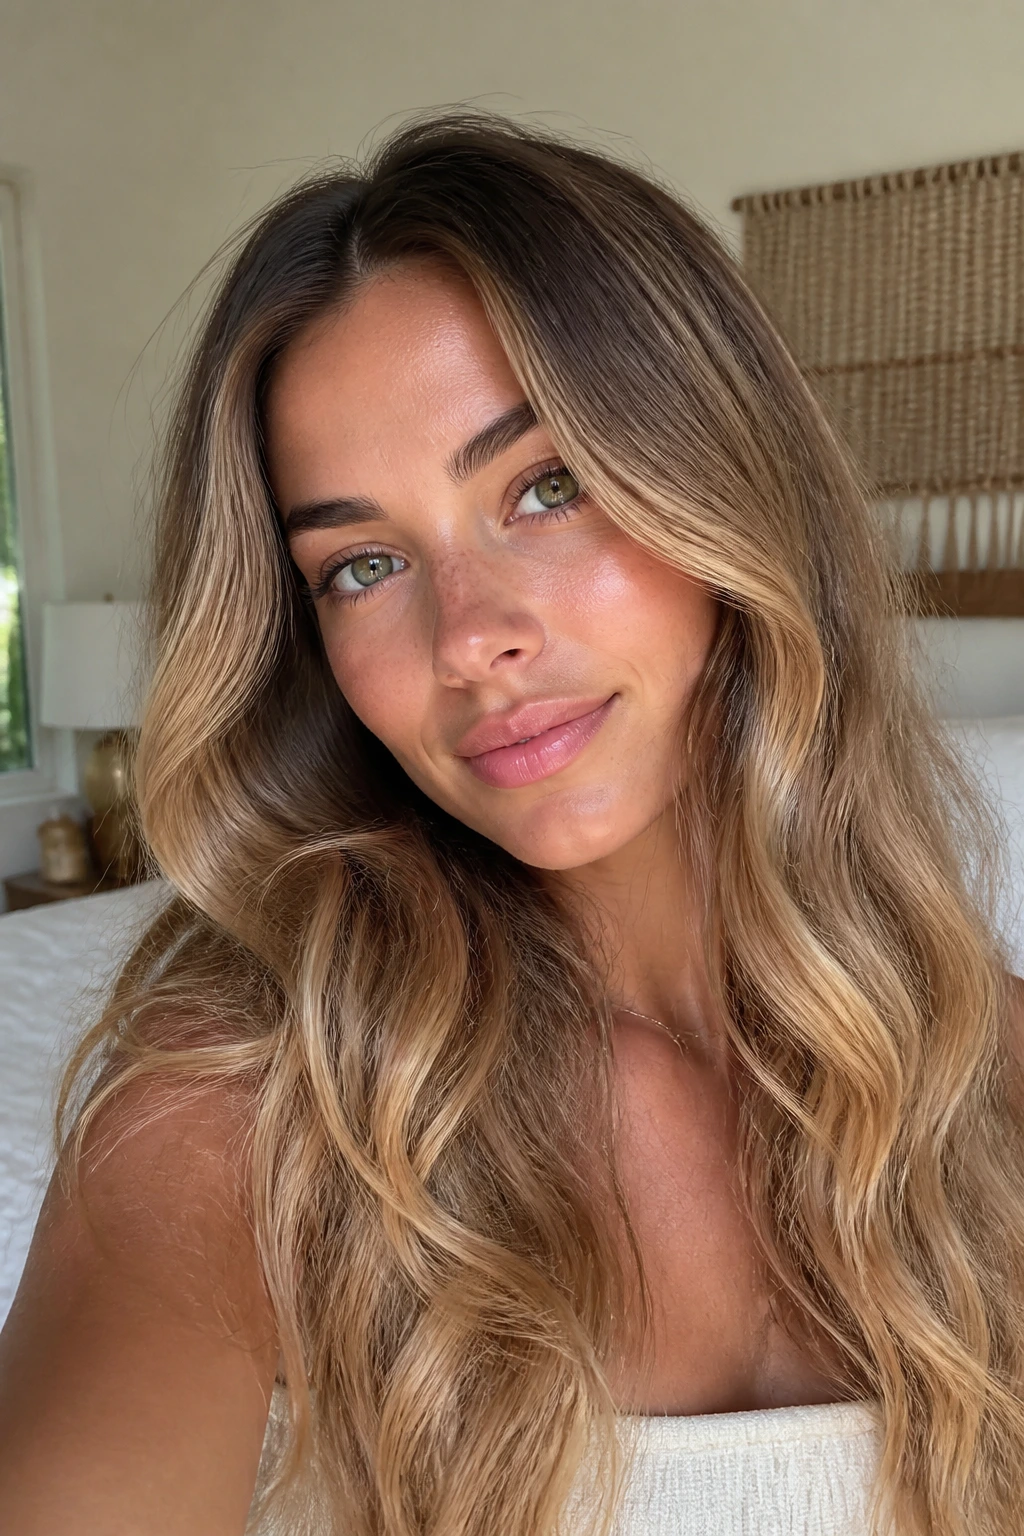
25. Smooth-Root Airy-Length Waves
Smooth roots with airy lengths is the wave I’d hand to anyone who wants polish without stiffness. The top stays sleek, the middle bends, and the ends float rather than clump. Long hair looks expensive in this shape, even when the styling process is nothing fancy.
Oval faces suit this because the face frame stays clean. The root area doesn’t compete with the features, and the wave starts low enough to keep the head shape open. It’s one of the most balanced ways to wear beach texture on longer lengths.
Use heat protectant, smooth the roots with a dryer or flat brush, then add waves only from midshaft down. Finish with a light mist of flexible hairspray and separate the lengths with fingers. That separation matters. Without it, the style can tip into one heavy mass.
This is the version I’d choose when you want the look to survive lunch, errands, and one too many photos in bad light.
Small Tweaks That Keep the Shape from Falling Flat
Prep matters more than product overload. Long hair needs grip before it needs shine, so start with a light mousse or heat protectant that gives some structure. If the roots are too slick, the wave slides out early and the whole style sinks toward the shoulders.
Wave placement changes the face. Start the bend around the cheekbone if you want more framing, or just below the jaw if you want a softer, longer line. On an oval face, both work, but the starting point decides whether the style feels lifted or relaxed.
Cooling is not optional. Curling hair and then immediately brushing it is how you lose the shape you just built. Clip the waves up for a few minutes while they cool. Ten minutes beats thirty seconds every time.
Less brushing, more separation. Finger-comb first. Brush only if you want a fully softened finish. That tiny decision separates airy waves from flattened ones.
Choose one shine point. Put serum either on the ends or on the front pieces, not all over. If every inch of long hair gets coated, the wave loses grip and starts sliding out by the afternoon.
Common Mistakes That Flatten the Shape
Starting the waves too high: If you curl from the root down on very long hair, the top can look puffy while the lengths go heavy. Start lower, and keep the crown smoother unless you specifically want volume there.
Making every section identical: Uniform waves can look stiff on long hair. Alternate directions, vary the section size, and leave a few ends straighter so the pattern feels natural instead of stamped on.
Using too much product at once: Salt spray, mousse, serum, and hairspray all piled together can make the hair sticky or dull. Pick one product for grip, one for finish, and stop. The hair should still move.
Brushing before the waves cool: Warm hair is still setting. If you brush it too soon, the bend drops out fast and the wave turns vague. Wait until the hair is fully cool to the touch.
Ignoring the front pieces: Long hair can be beautiful and still hide the face. A little extra care around the cheekbones and jaw makes the whole style feel intentional. Those first two sections matter more than the back.
Forgetting the ends: Beachy waves look best when the ends stay soft. Over-curling the bottom makes the hair look more prom than beach.
Variations and Alternatives for Heat, Humidity, and Hair Type
Heatless Rope Twist Set: Twist damp hair into two-strand ropes before bed, then take them out in the morning for a softer wave. This works well if your ends get dry easily and you want less friction from hot tools.
Flat-Iron S-Bends: Use a flat iron to create a repeated bend through the mid-lengths. It gives a smoother, less curly result than a wand, which is handy if you want beach texture without ringlets.
Humidity-Ready Mousse Waves: Build the style with a mousse base, set the wave, and finish with a flexible hold spray that resists puffiness. This approach keeps the front pieces from frizzing first, which is usually where long hair betrays you.
Glossy Studio Waves: Skip salt spray entirely and lean on serum plus brush-out waves. The texture stays controlled and polished, with enough movement to still fit the beachy brief.
Naturally Wavy Shape-Set: If your hair already waves on its own, define the pattern with cream and clips instead of forcing a new shape. You’ll get a more believable result, and the hair usually holds longer because it isn’t being fought into submission.
The Tools That Make Long Waves Easier to Wear
- 1-inch curling wand: Best for tighter beach texture that softens as it cools.
- 1.25-inch curling iron: Useful for longer lengths that need a bigger bend.
- Flat iron: Ideal for ribbon waves, S-bends, and broken-wave styles.
- Heat protectant spray: Keeps the ends from drying out when you use hot tools.
- Sectioning clips: Help you work in clean layers instead of grabbing random pieces.
- Texturizing spray: Adds grit after styling and keeps waves from slipping.
- Sea salt spray: Best for air-dried styles or a rougher finish.
- Light-hold hairspray: Holds shape without freezing the hair.
- Wide-tooth comb: Softens the wave without crushing it.
- Boar bristle brush: Good for glossy brush-out waves if you want a smoother finish.
- Silk scrunchie: Helps with heatless sets and loose ponytails.
- Dry shampoo: Gives crown lift and refreshes day-two roots.
How to Keep the Waves Fresh for the Next 2 Days
Beachy waves usually look best on day one, but long hair can carry them into day two and sometimes day three if you treat them well. The key is not touching the hair too much once it’s set. Every extra finger through the lengths knocks texture off the strand.
At night, use a loose silk scrunchie, low braid, or a pineapple-style loose tie if the wave pattern is more curly than bent. A satin pillowcase helps, too. Cotton roughs up the cuticle, and long hair will show that damage fast in the form of frizz at the front and dull ends at the back.
In the morning, don’t rewash unless you have to. Flip the hair, mist the mids lightly with water or texture spray, and scrunch the ends. If the crown has collapsed, a bit of dry shampoo at the roots restores lift without making the lengths dusty.
If one side falls flatter than the other, re-curl just the front pieces. No need to start over. That’s the advantage of beach waves on long hair: they forgive a partial fix.
Frequently Asked Questions
Which beachy wave style flatters an oval face most?
The safest bet is a center-part S-bend or a soft side-sweep wave. Both keep the face open while adding movement around the cheeks and jaw, which is where long hair tends to need shaping.
Should the waves start at the roots or lower down?
Lower down, most of the time. Starting around the cheekbone or jaw keeps long hair from puffing out at the top and makes the face look more open. Root lift is useful, but it should be controlled.
Can I do beachy waves without heat?
Yes. Braids, rope twists, and damp-set buns all work, especially on hair that already has some wave. The trade-off is time: heatless sets need full drying before you take them down.
Why do my waves fall out so fast?
Usually the hair was brushed too early, set with too much slip, or curled in sections that were too big. Long hair also weighs itself down, so using clips while the waves cool makes a bigger difference than people expect.
How do I keep long beach waves from looking stringy?
Use a light texturizer at the mids, not a heavy oil everywhere. Long hair looks stringy when the ends are over-separated but the body has no lift. A little crown volume and a soft brush-out fix that fast.
Is a curling wand better than a flat iron for this look?
A wand is easier for loose, classic beach waves. A flat iron gives you more varied bends, ribbon waves, and broken texture. If you want a softer, more relaxed result, the wand wins.
Can I wear beachy waves with bangs?
Absolutely. Curtain bangs, soft fringe, and even blunt bangs can work if the front pieces are styled with a little separation. The trick is not letting the bangs blend into the wave pattern so much that they disappear.
What if my hair is very thick and long?
Work in smaller sections and let each curl cool fully before brushing it out. Thick hair needs more time to set, and if the sections are too large, the wave will collapse under the weight.
How can I make the style look more polished?
Smooth the roots, brush out the top half of the wave, and add a tiny amount of serum only to the ends. That gives you shine and control while keeping the length soft.
The Shape That Stays Soft

Long hair and an oval face can handle a lot, but the best beachy waves still do one thing well: they keep the face open while giving the length some life. That balance is the whole game. Too much curl and the hair looks busy. Too little shape and it just hangs there.
The styles that last are the ones with a point of view. A deeper side part. A lower wave start. A little crown lift. A clean end. None of those details is dramatic on its own, but together they turn plain long hair into something with movement and shape.
Pick the version that matches your day, your texture, and how much time you actually want to spend in front of the mirror. The right wave is the one you’ll wear, not the one that sounds good in theory.